JeroenPeters
-
Posts
4,867 -
Joined
-
Last visited
Content Type
Profiles
Forums
Events
Gallery
Everything posted by JeroenPeters
-

1/32 Westland Whirlwind
JeroenPeters replied to JeroenPeters's topic in LSM 1/35 and Larger Work In Progress
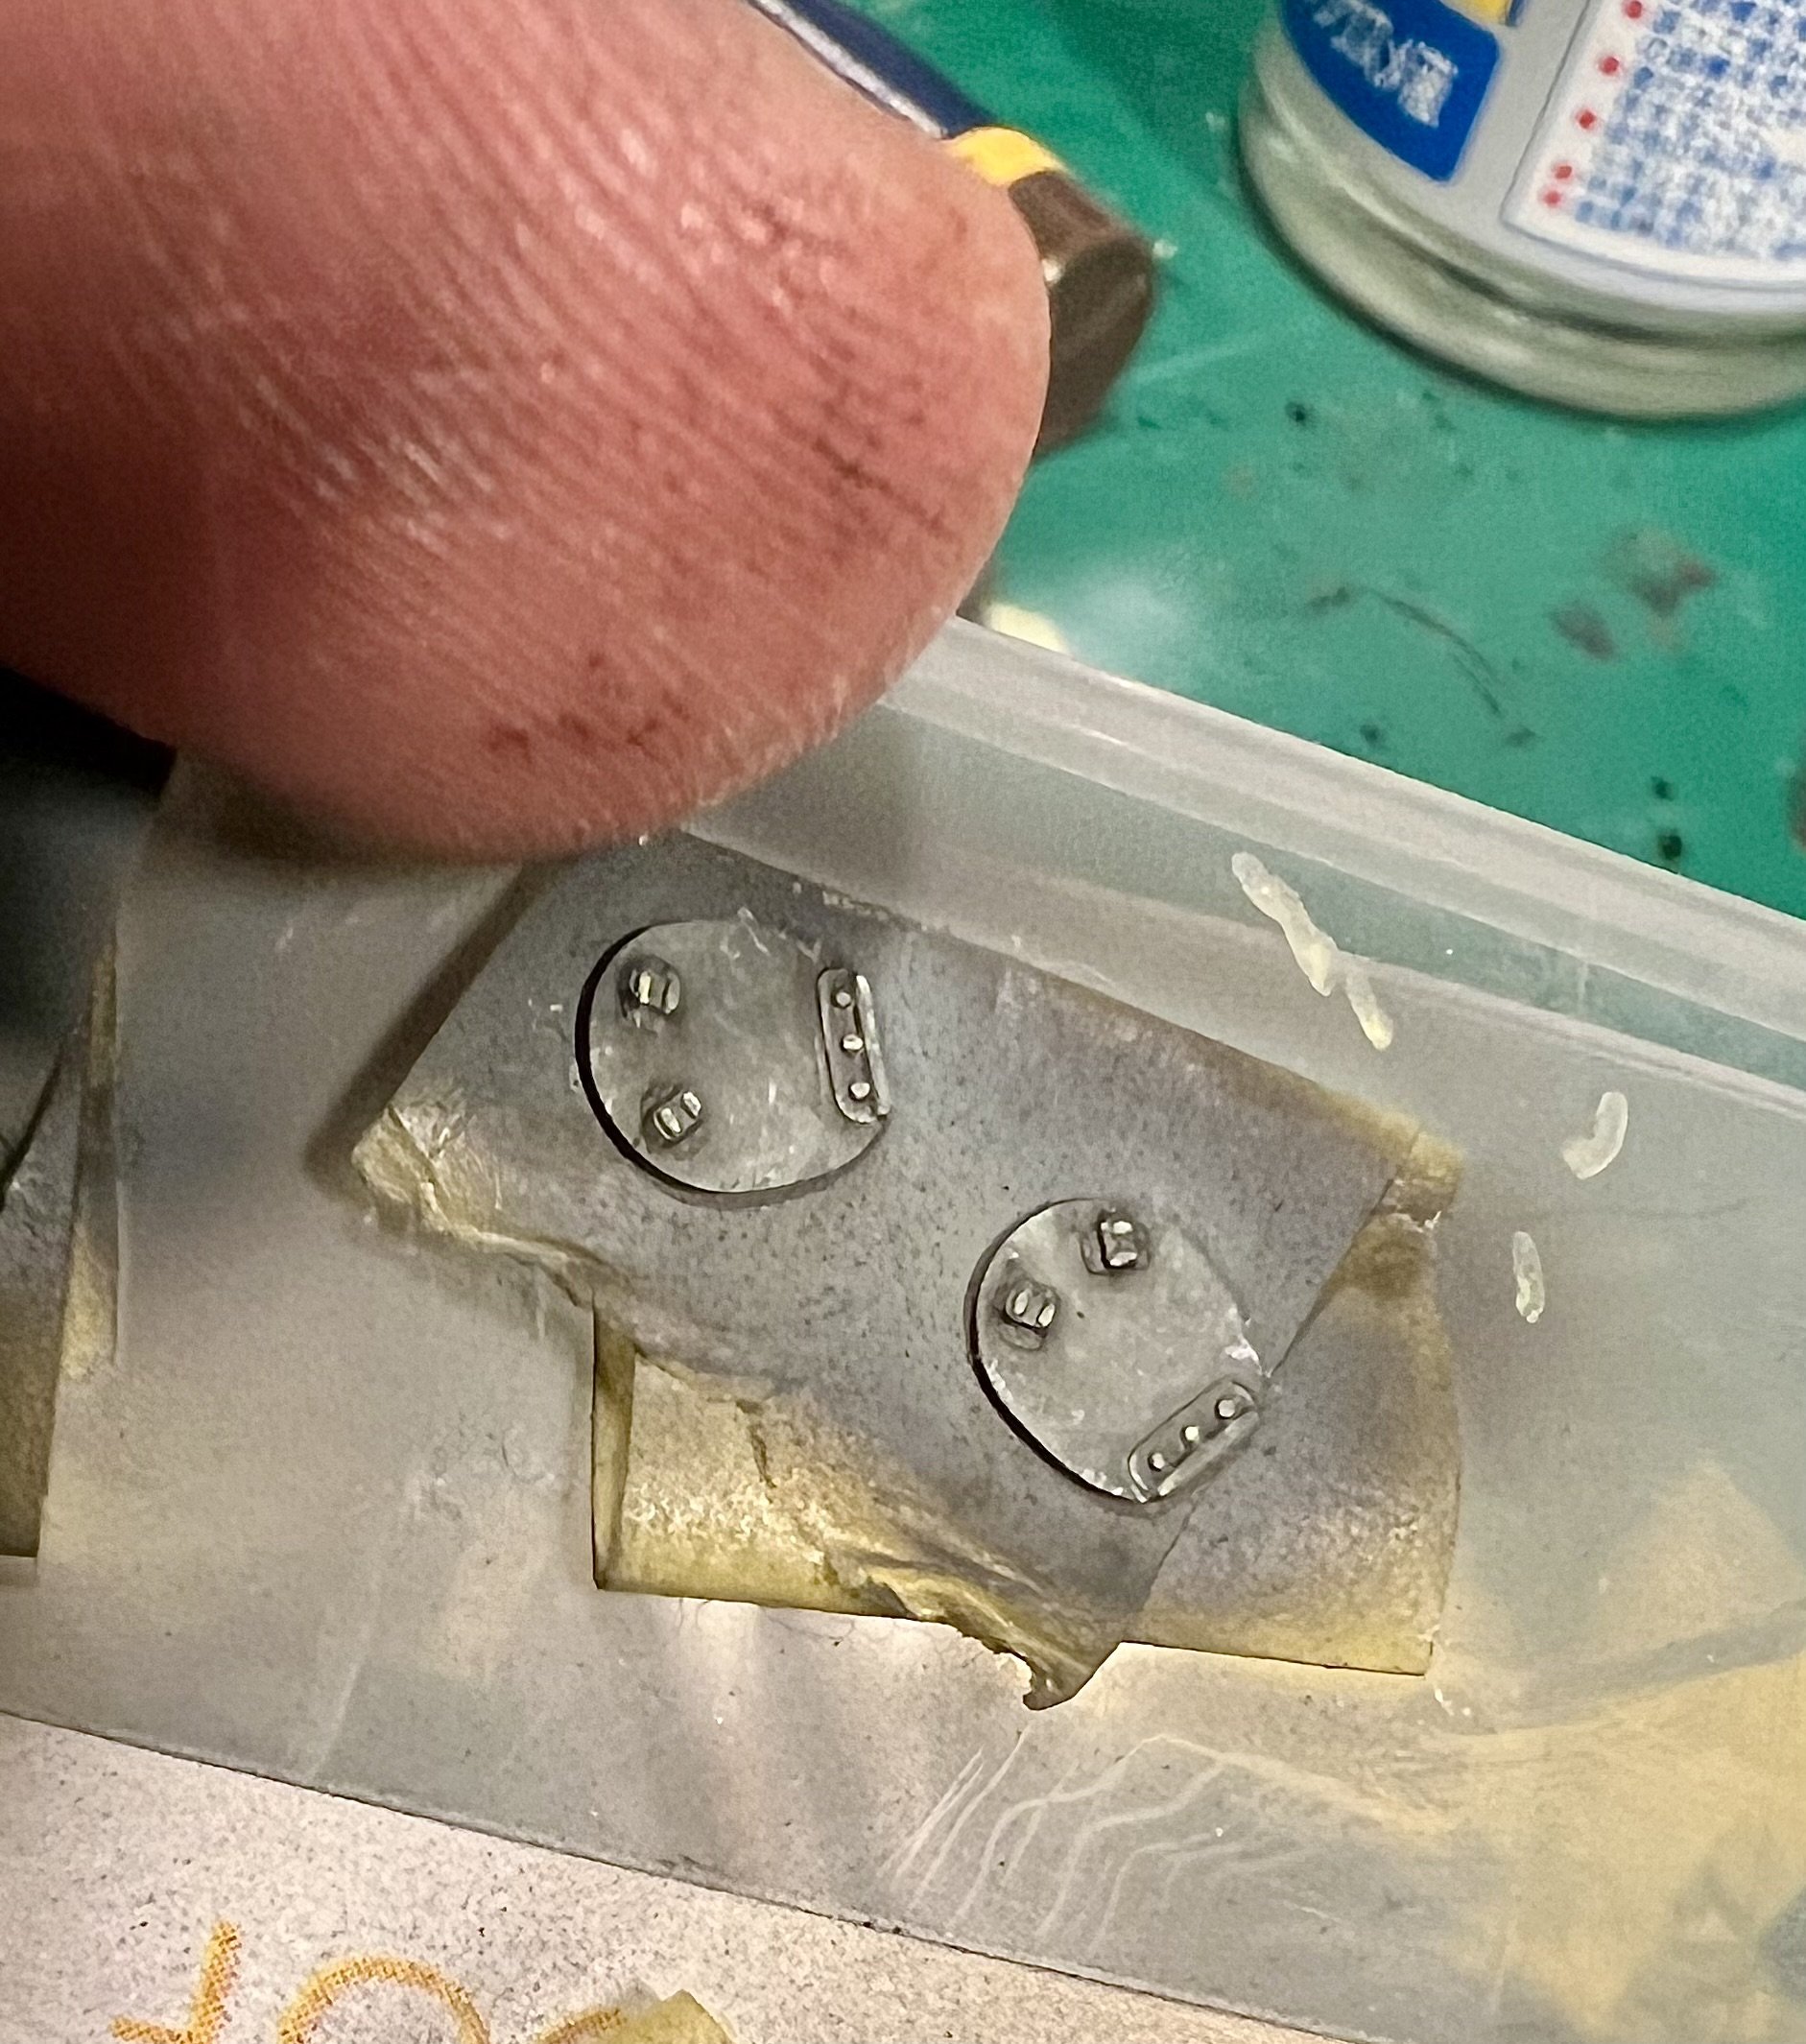
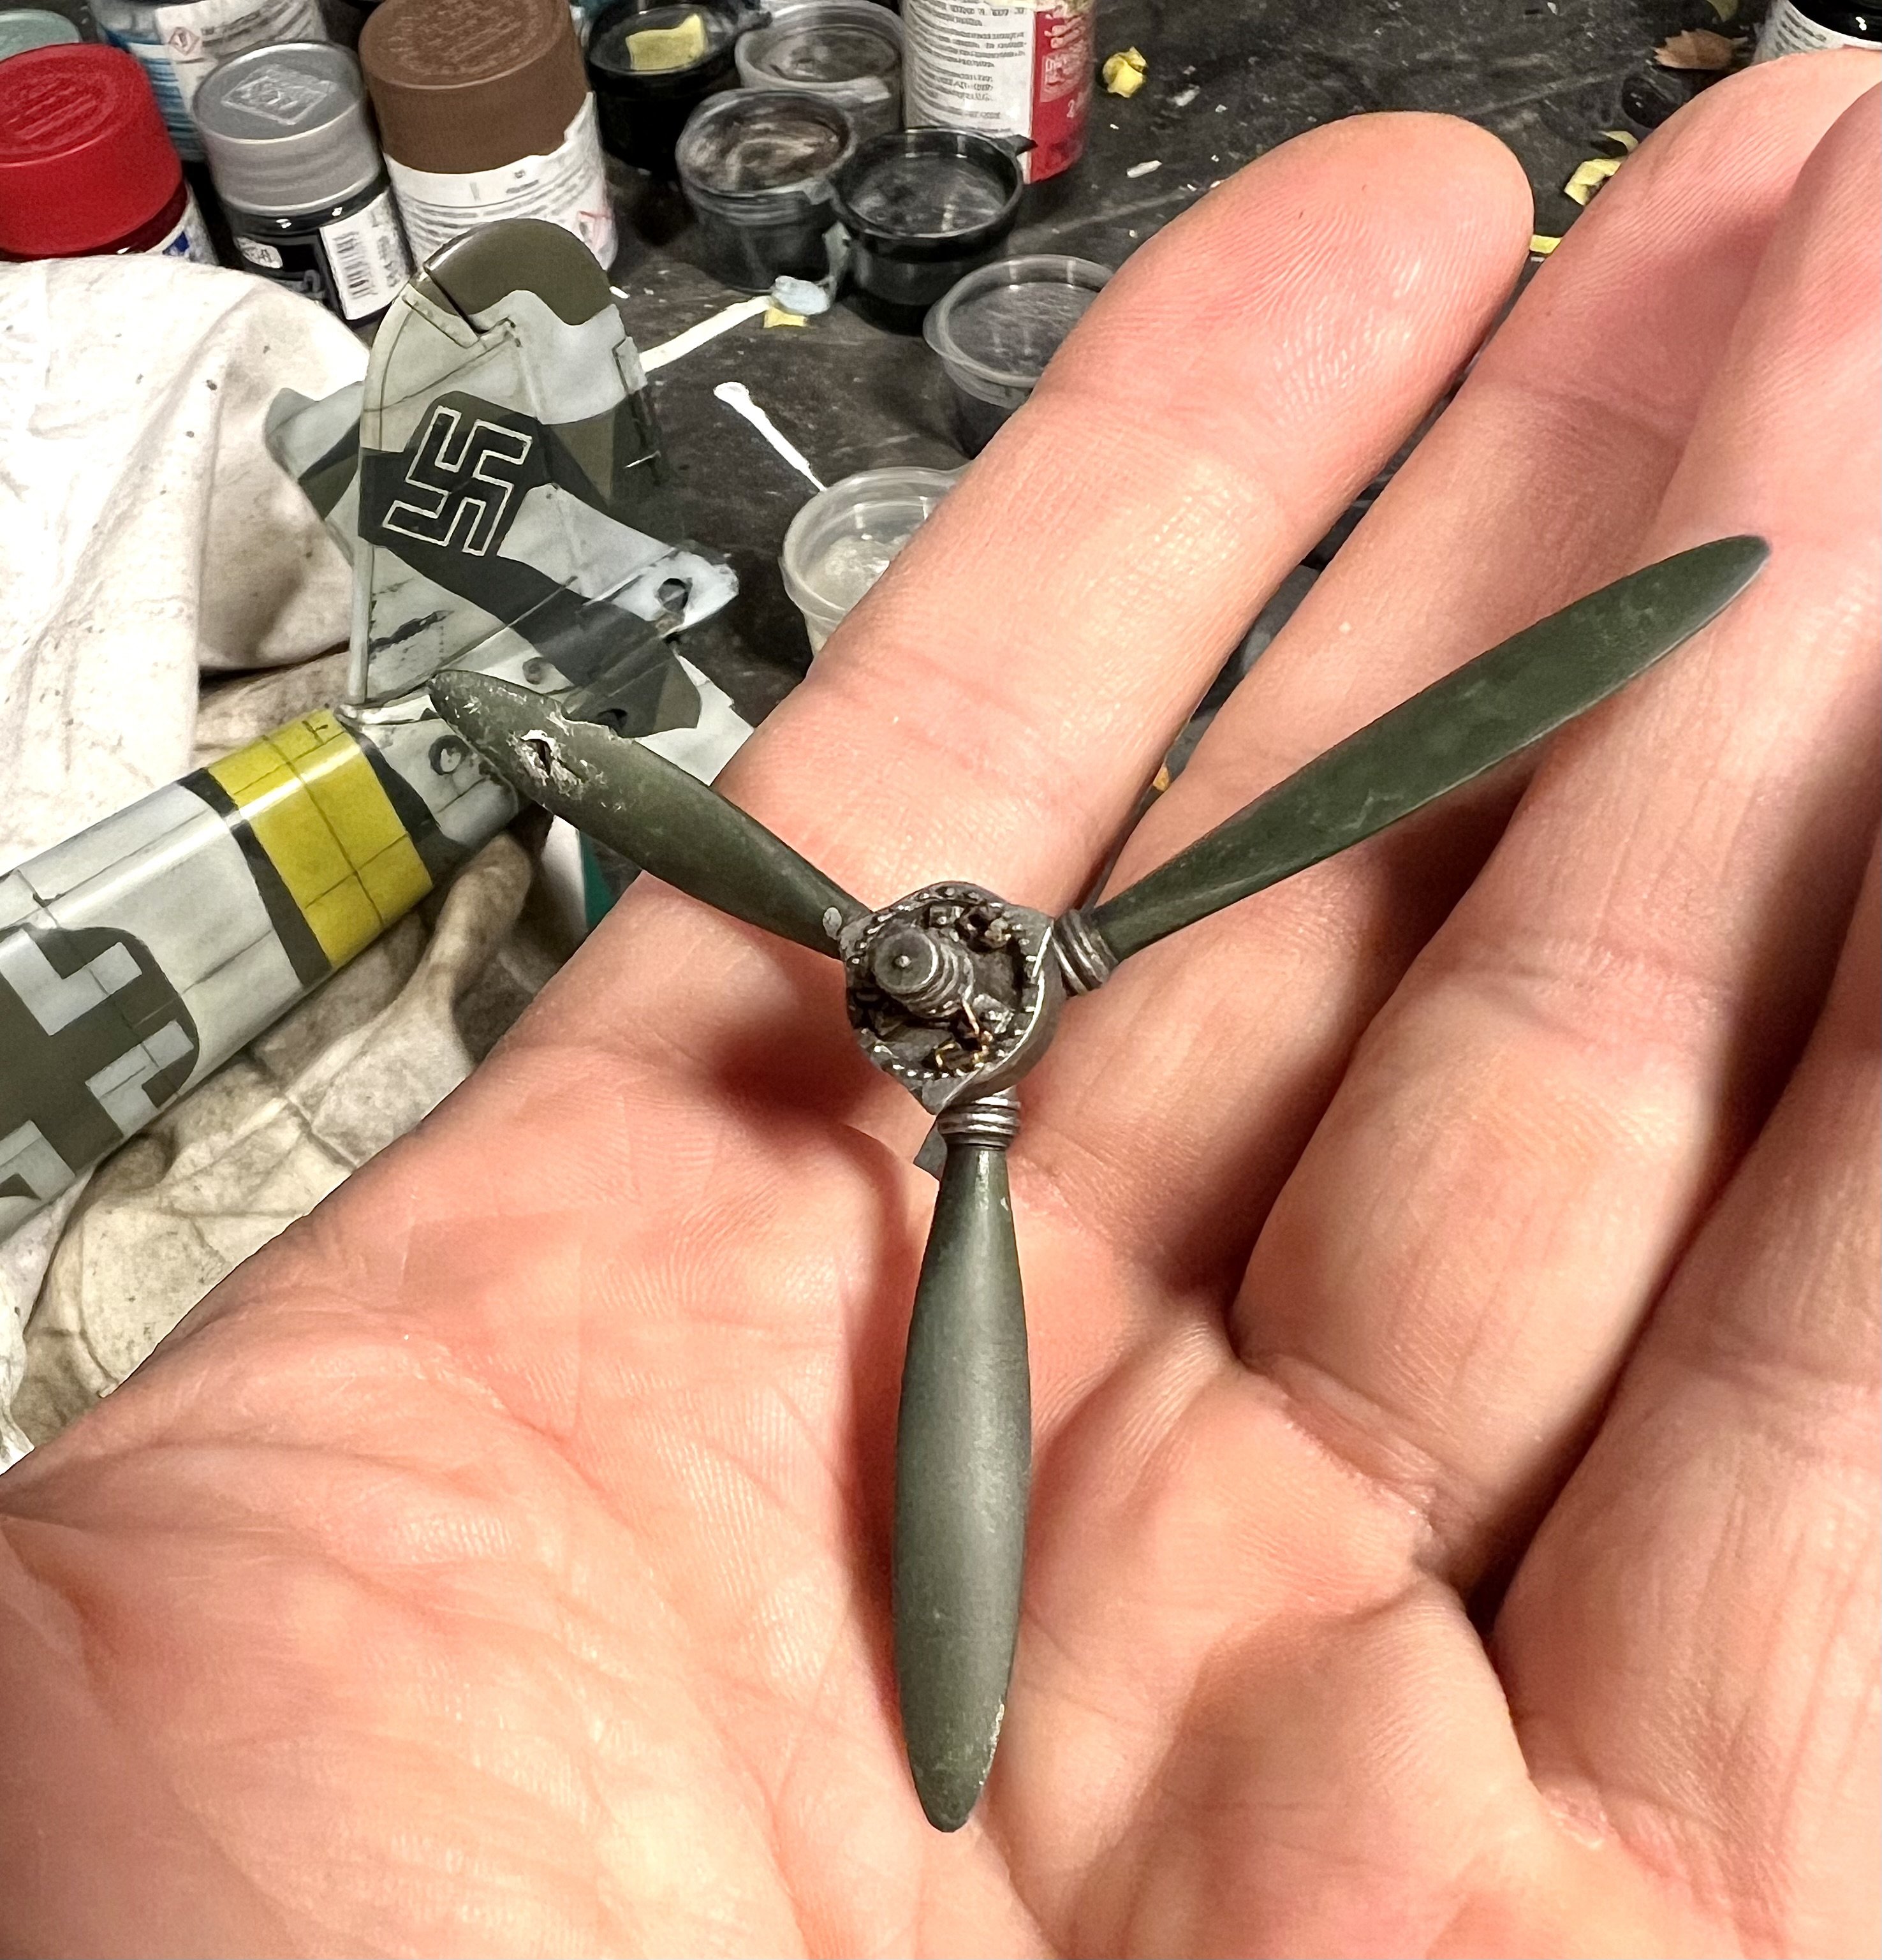
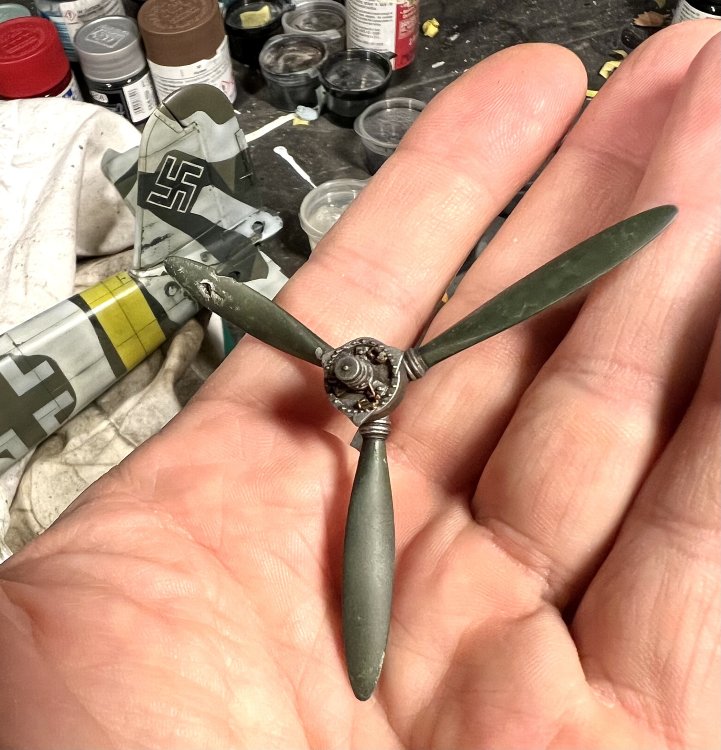
On to the spinner plate. Still all rough shapes.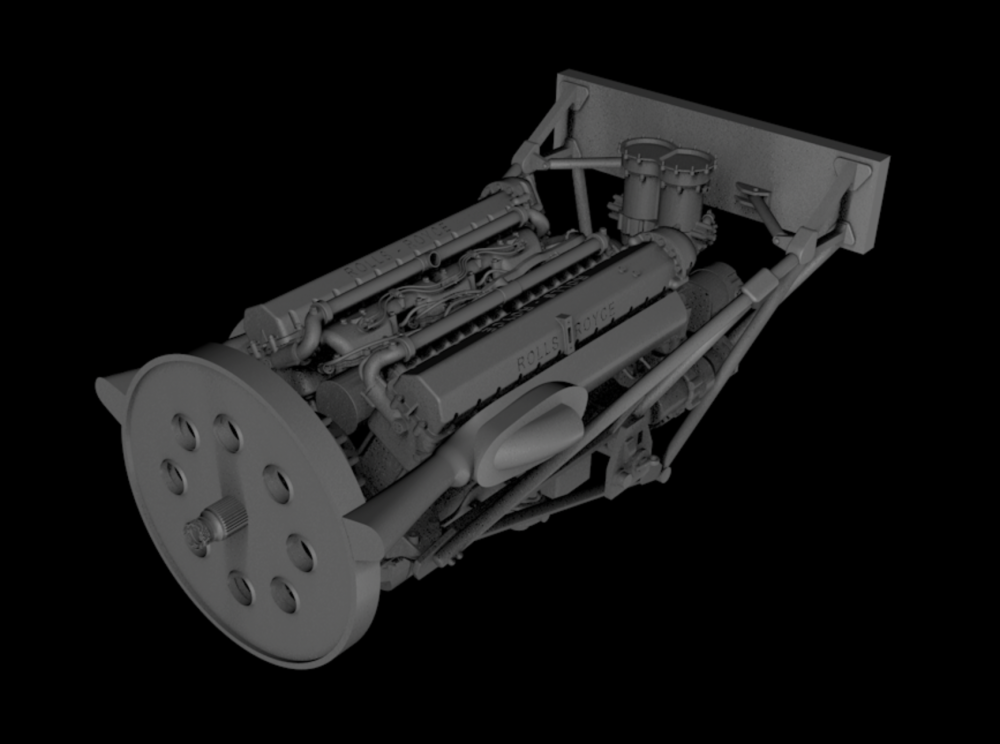
-
1/32 Westland Whirlwind
JeroenPeters replied to JeroenPeters's topic in LSM 1/35 and Larger Work In Progress
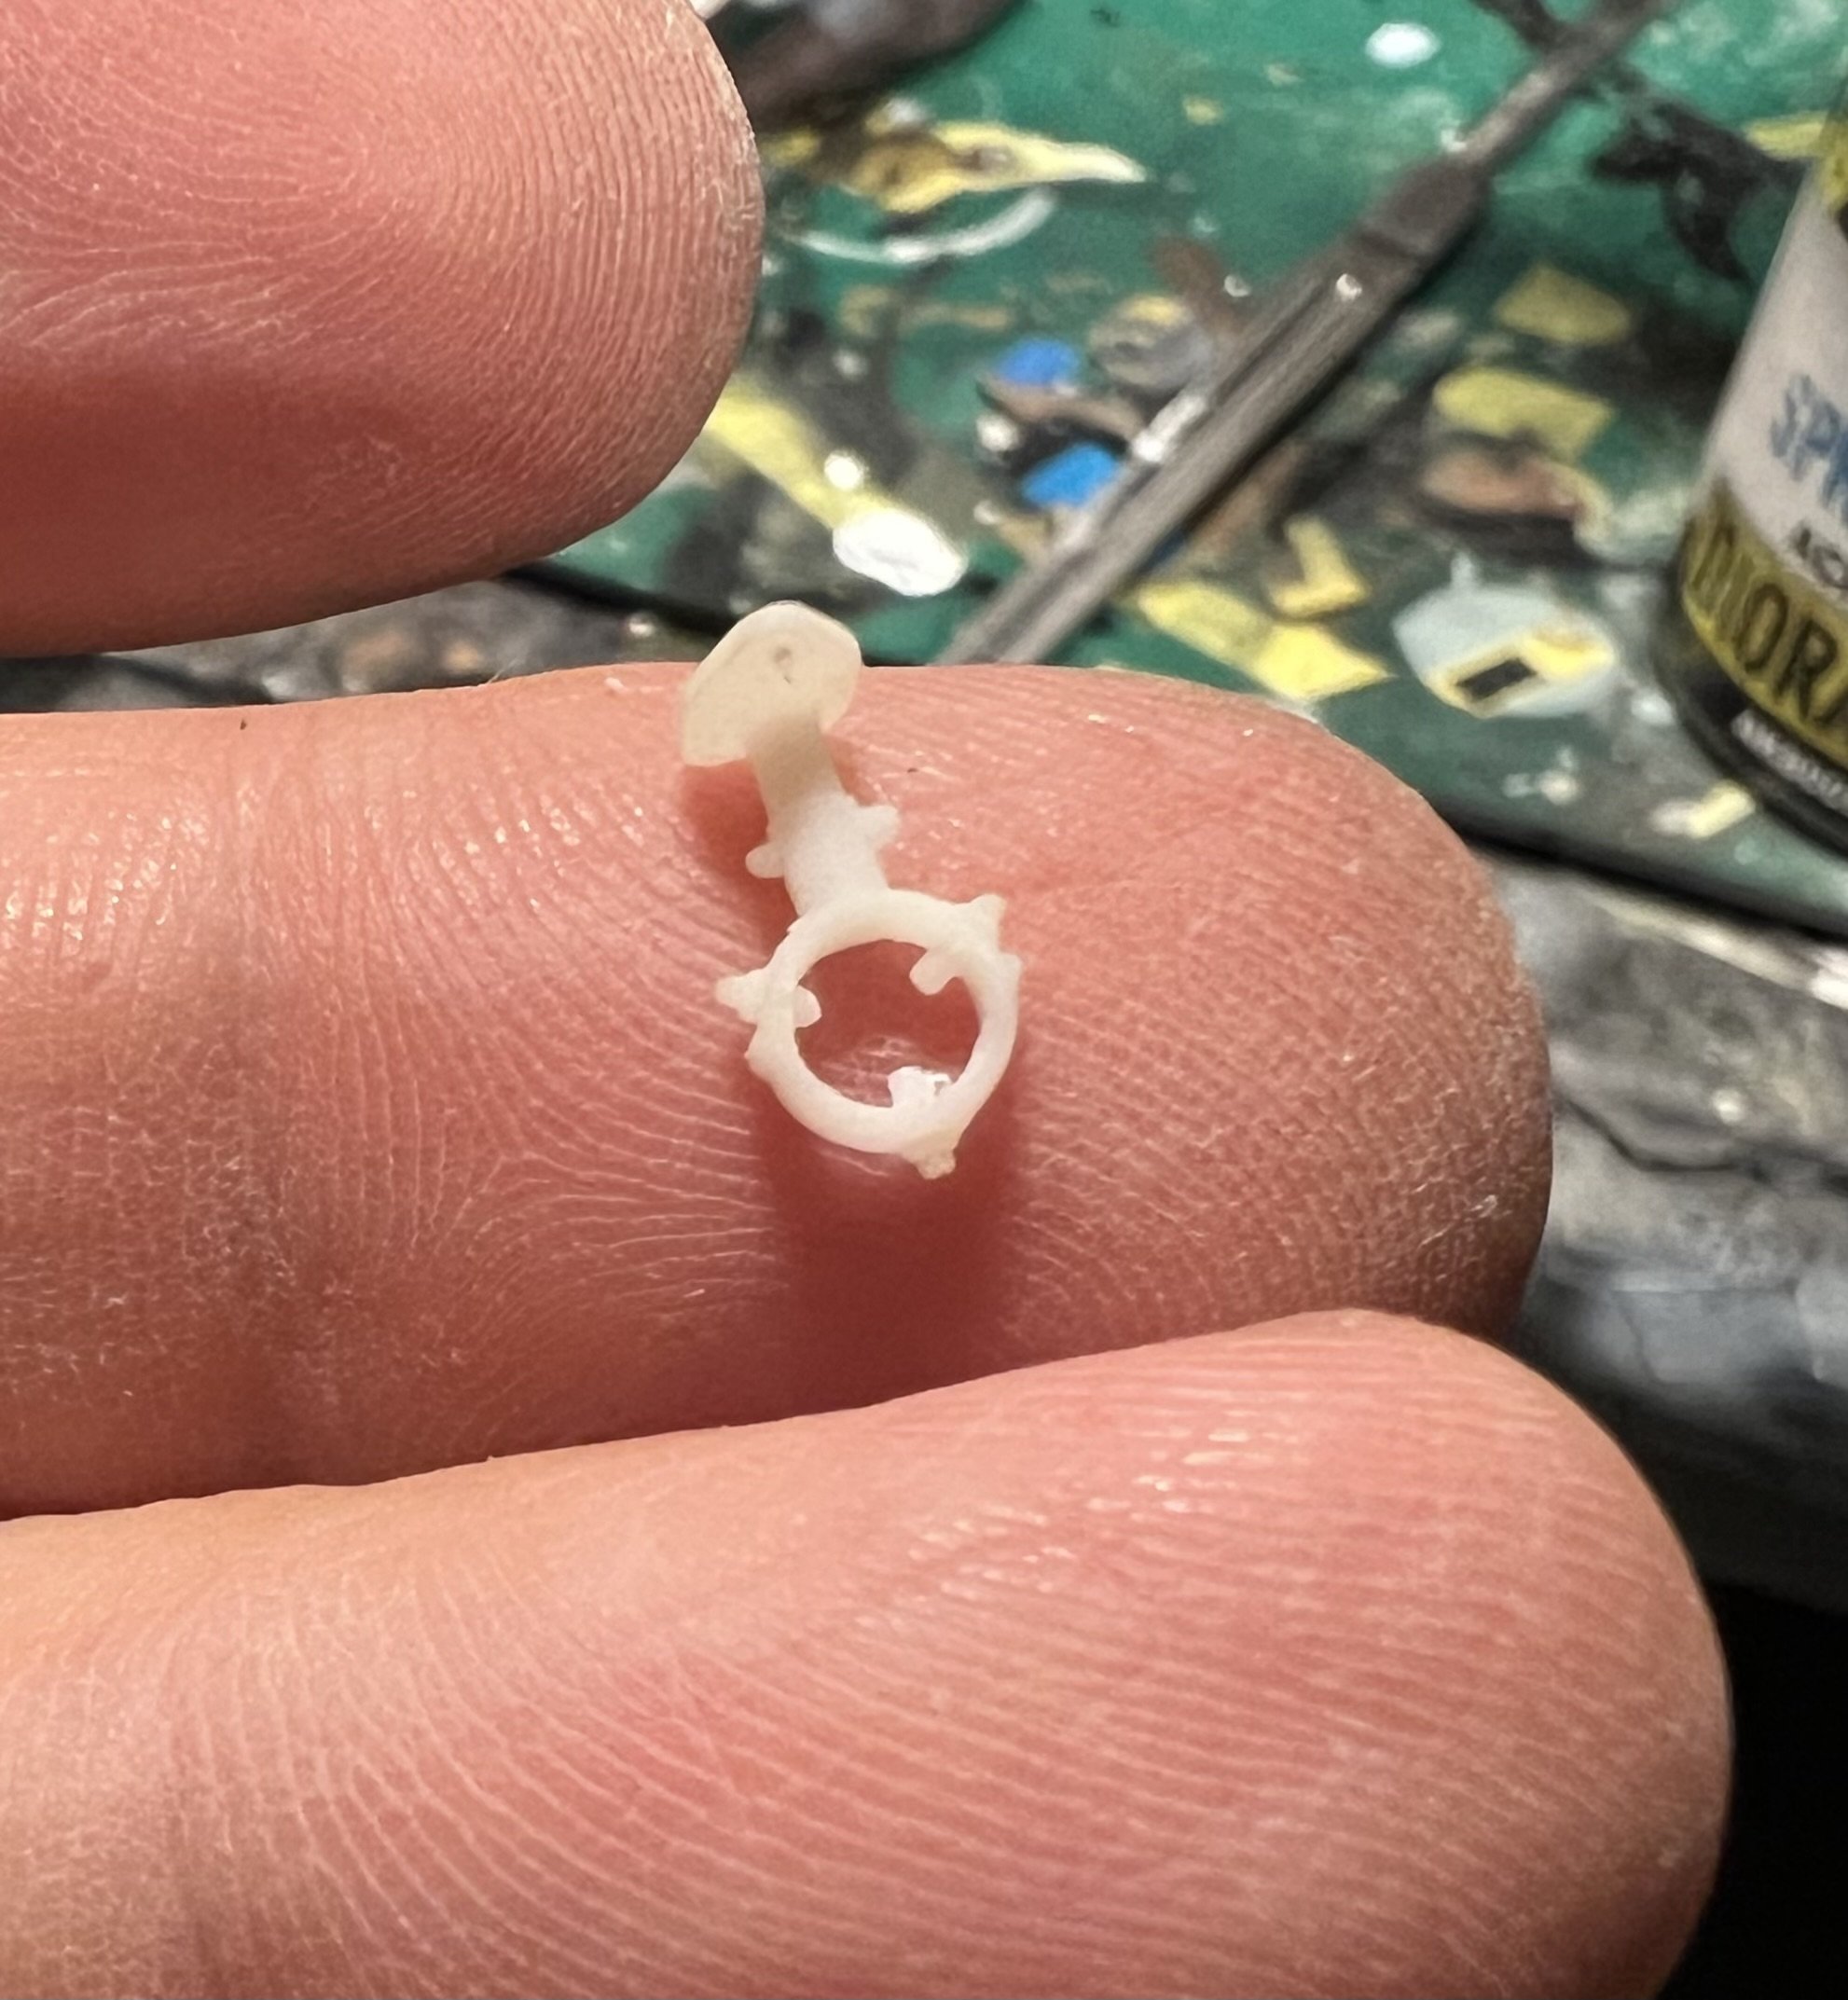
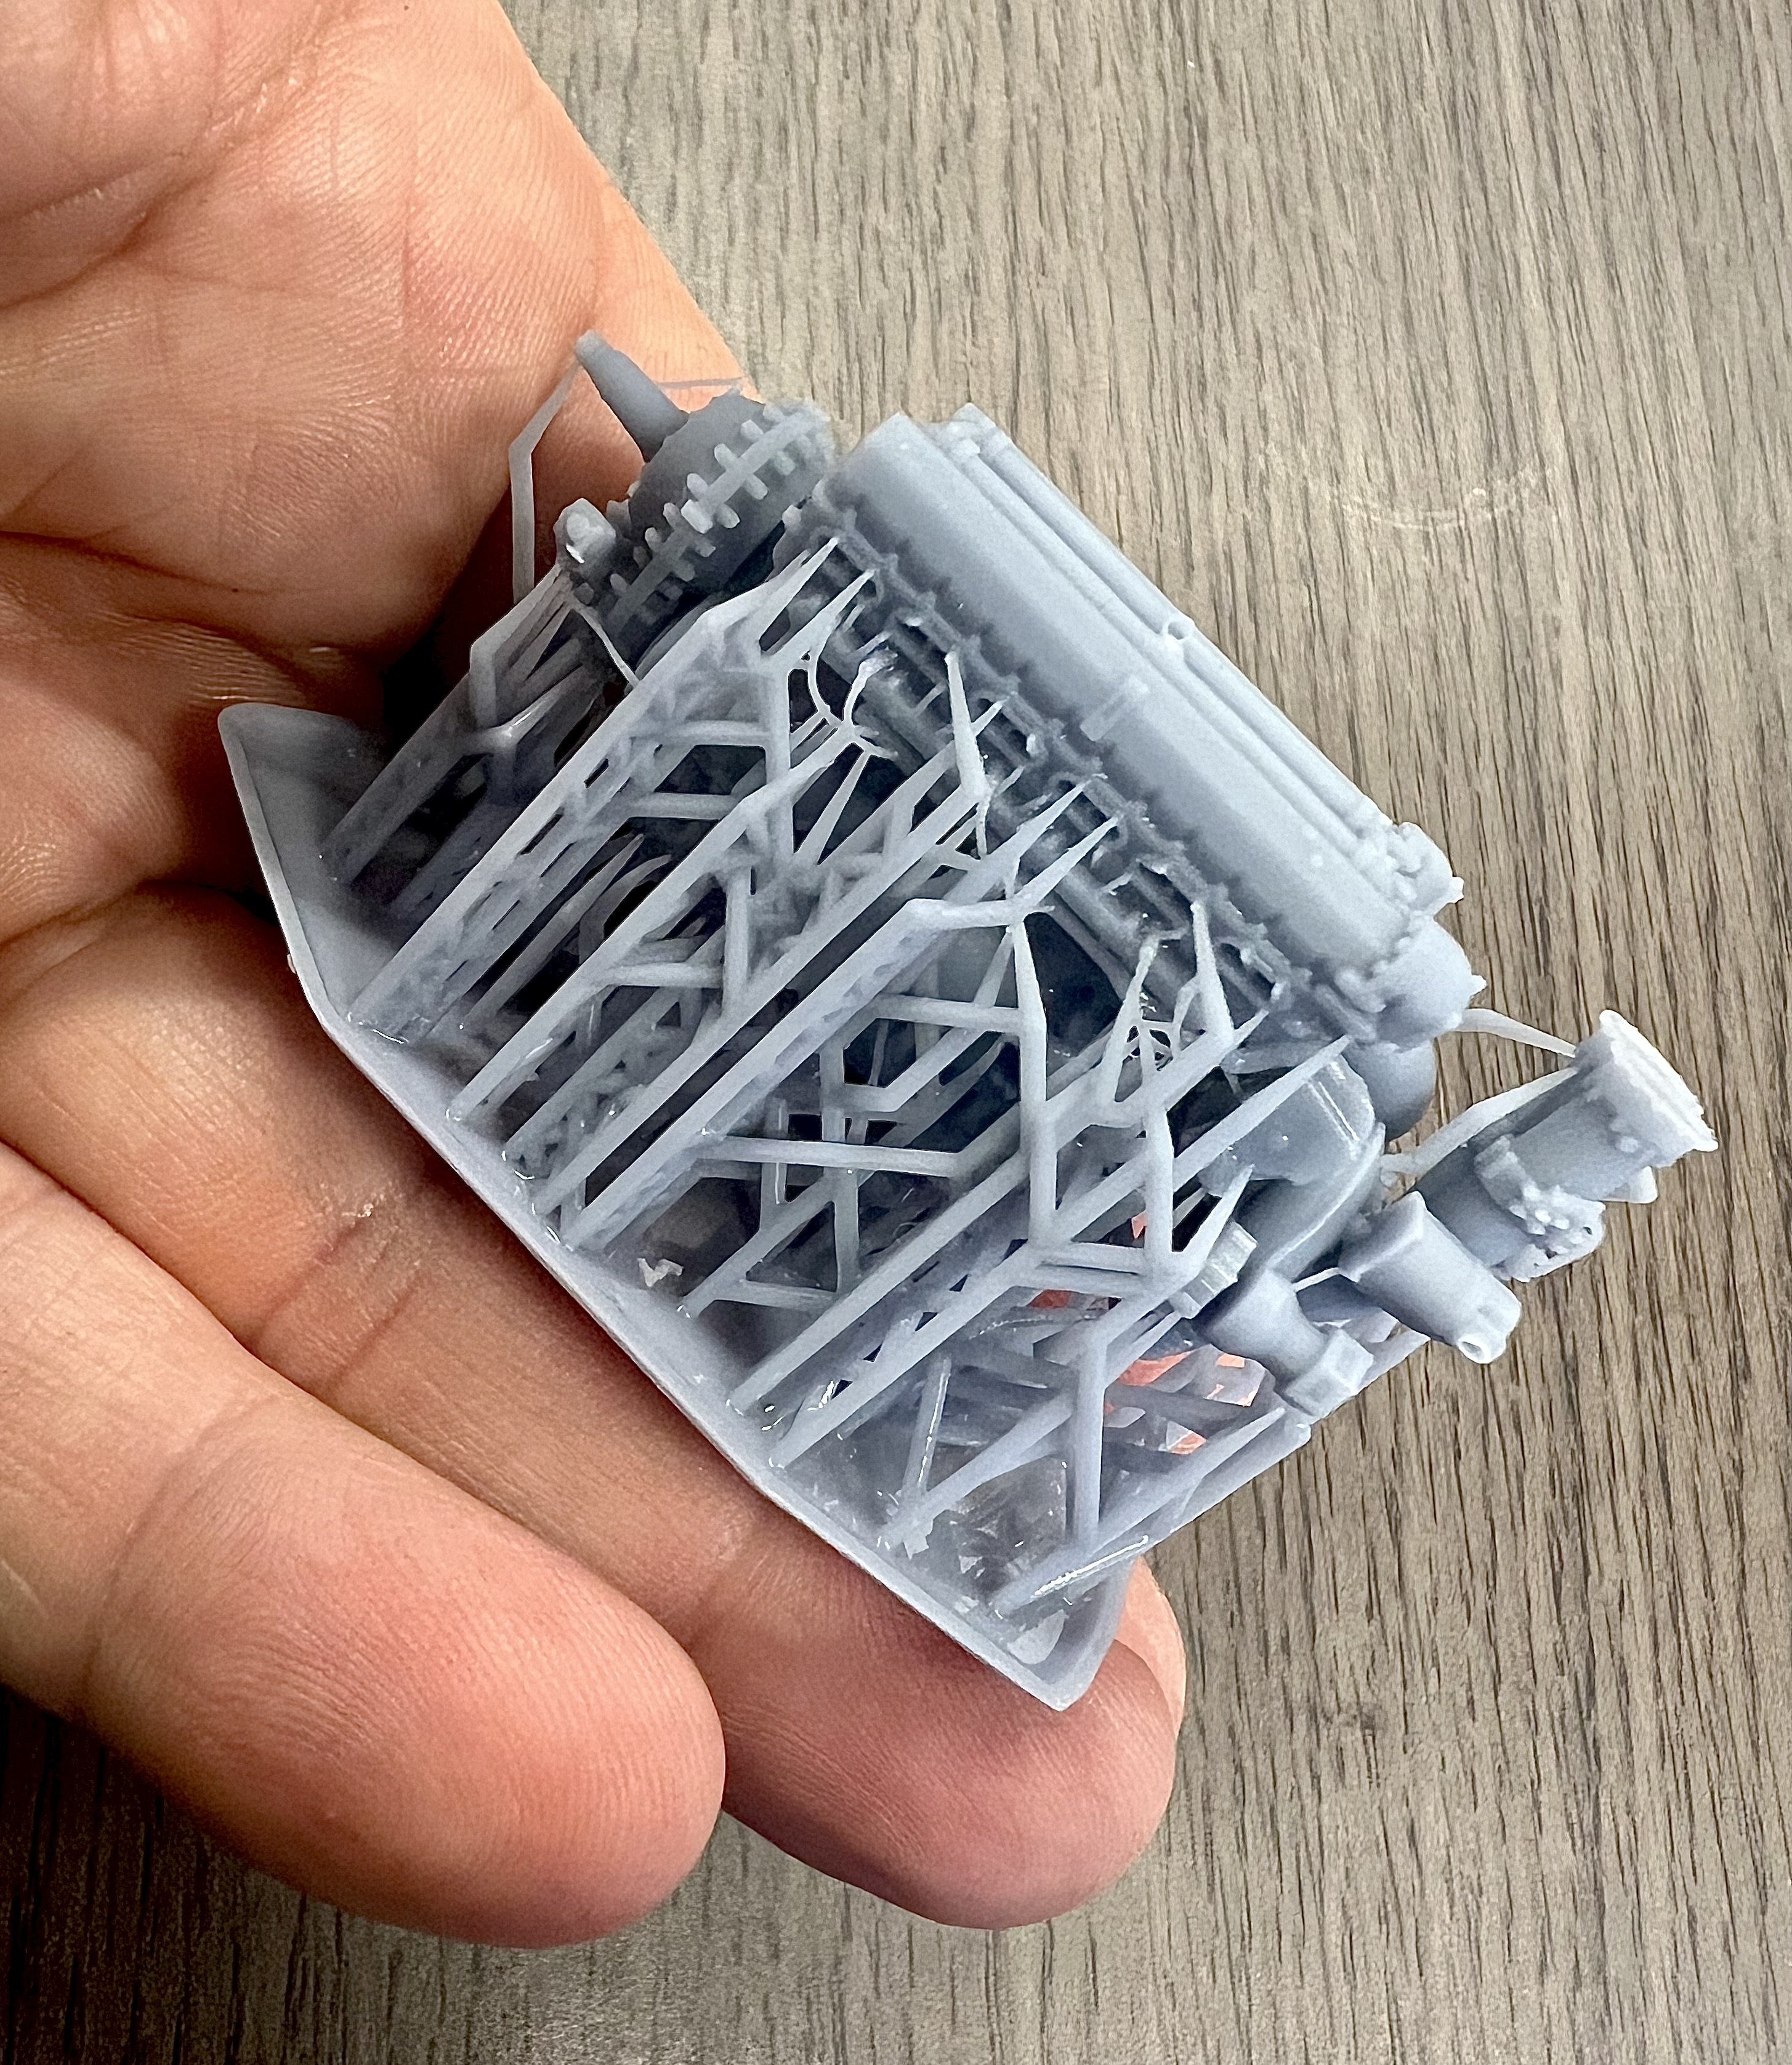
Started work on one of the exhausts. This is a really complicated shape. Roughing it out on the side of the engine.
-
1/32 Westland Whirlwind
JeroenPeters replied to JeroenPeters's topic in LSM 1/35 and Larger Work In Progress
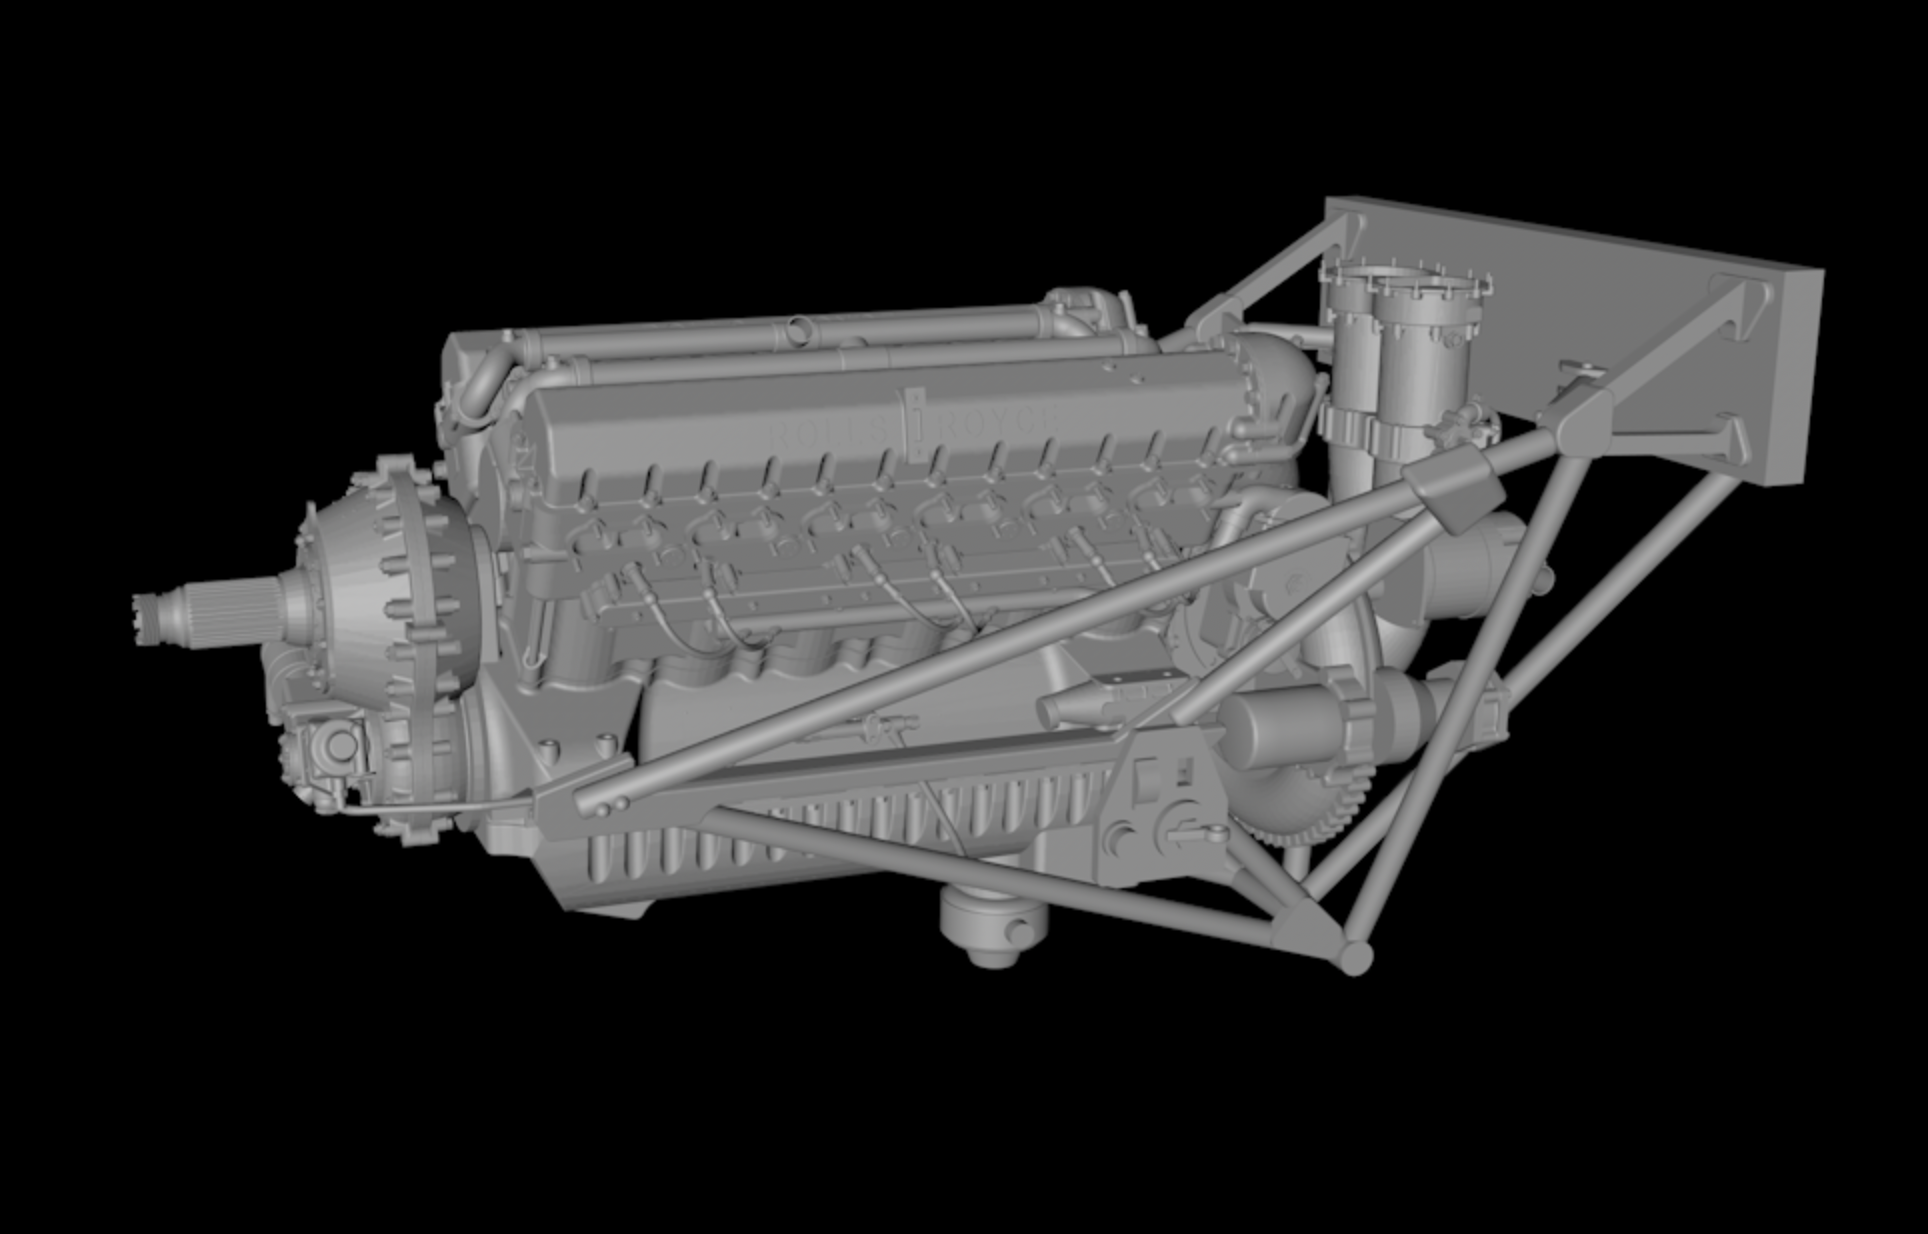
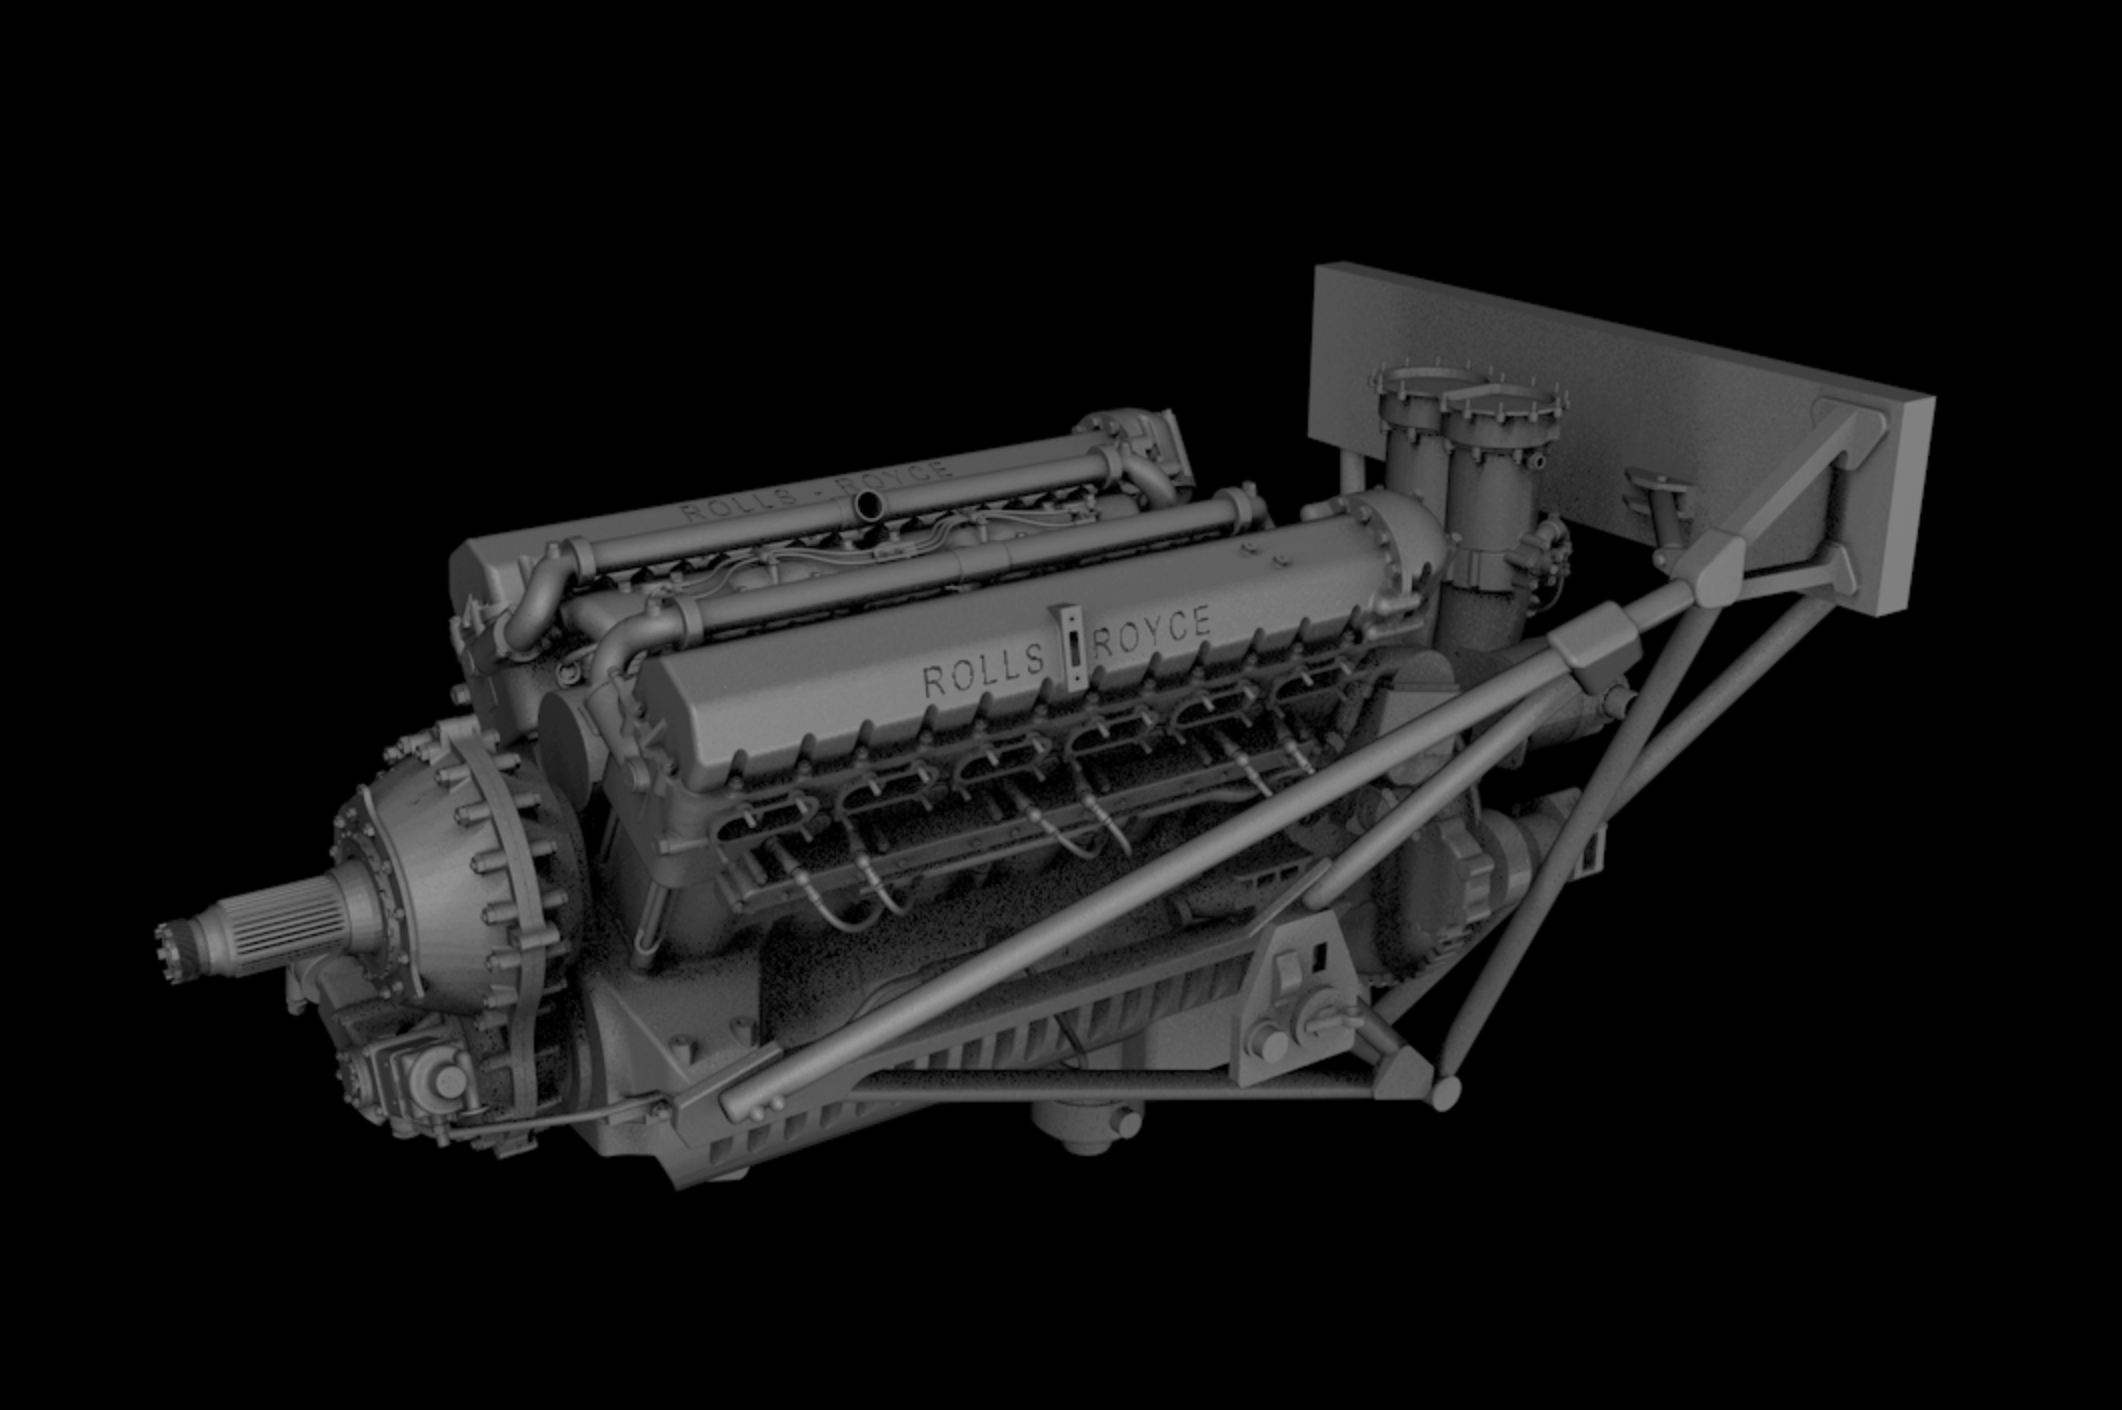
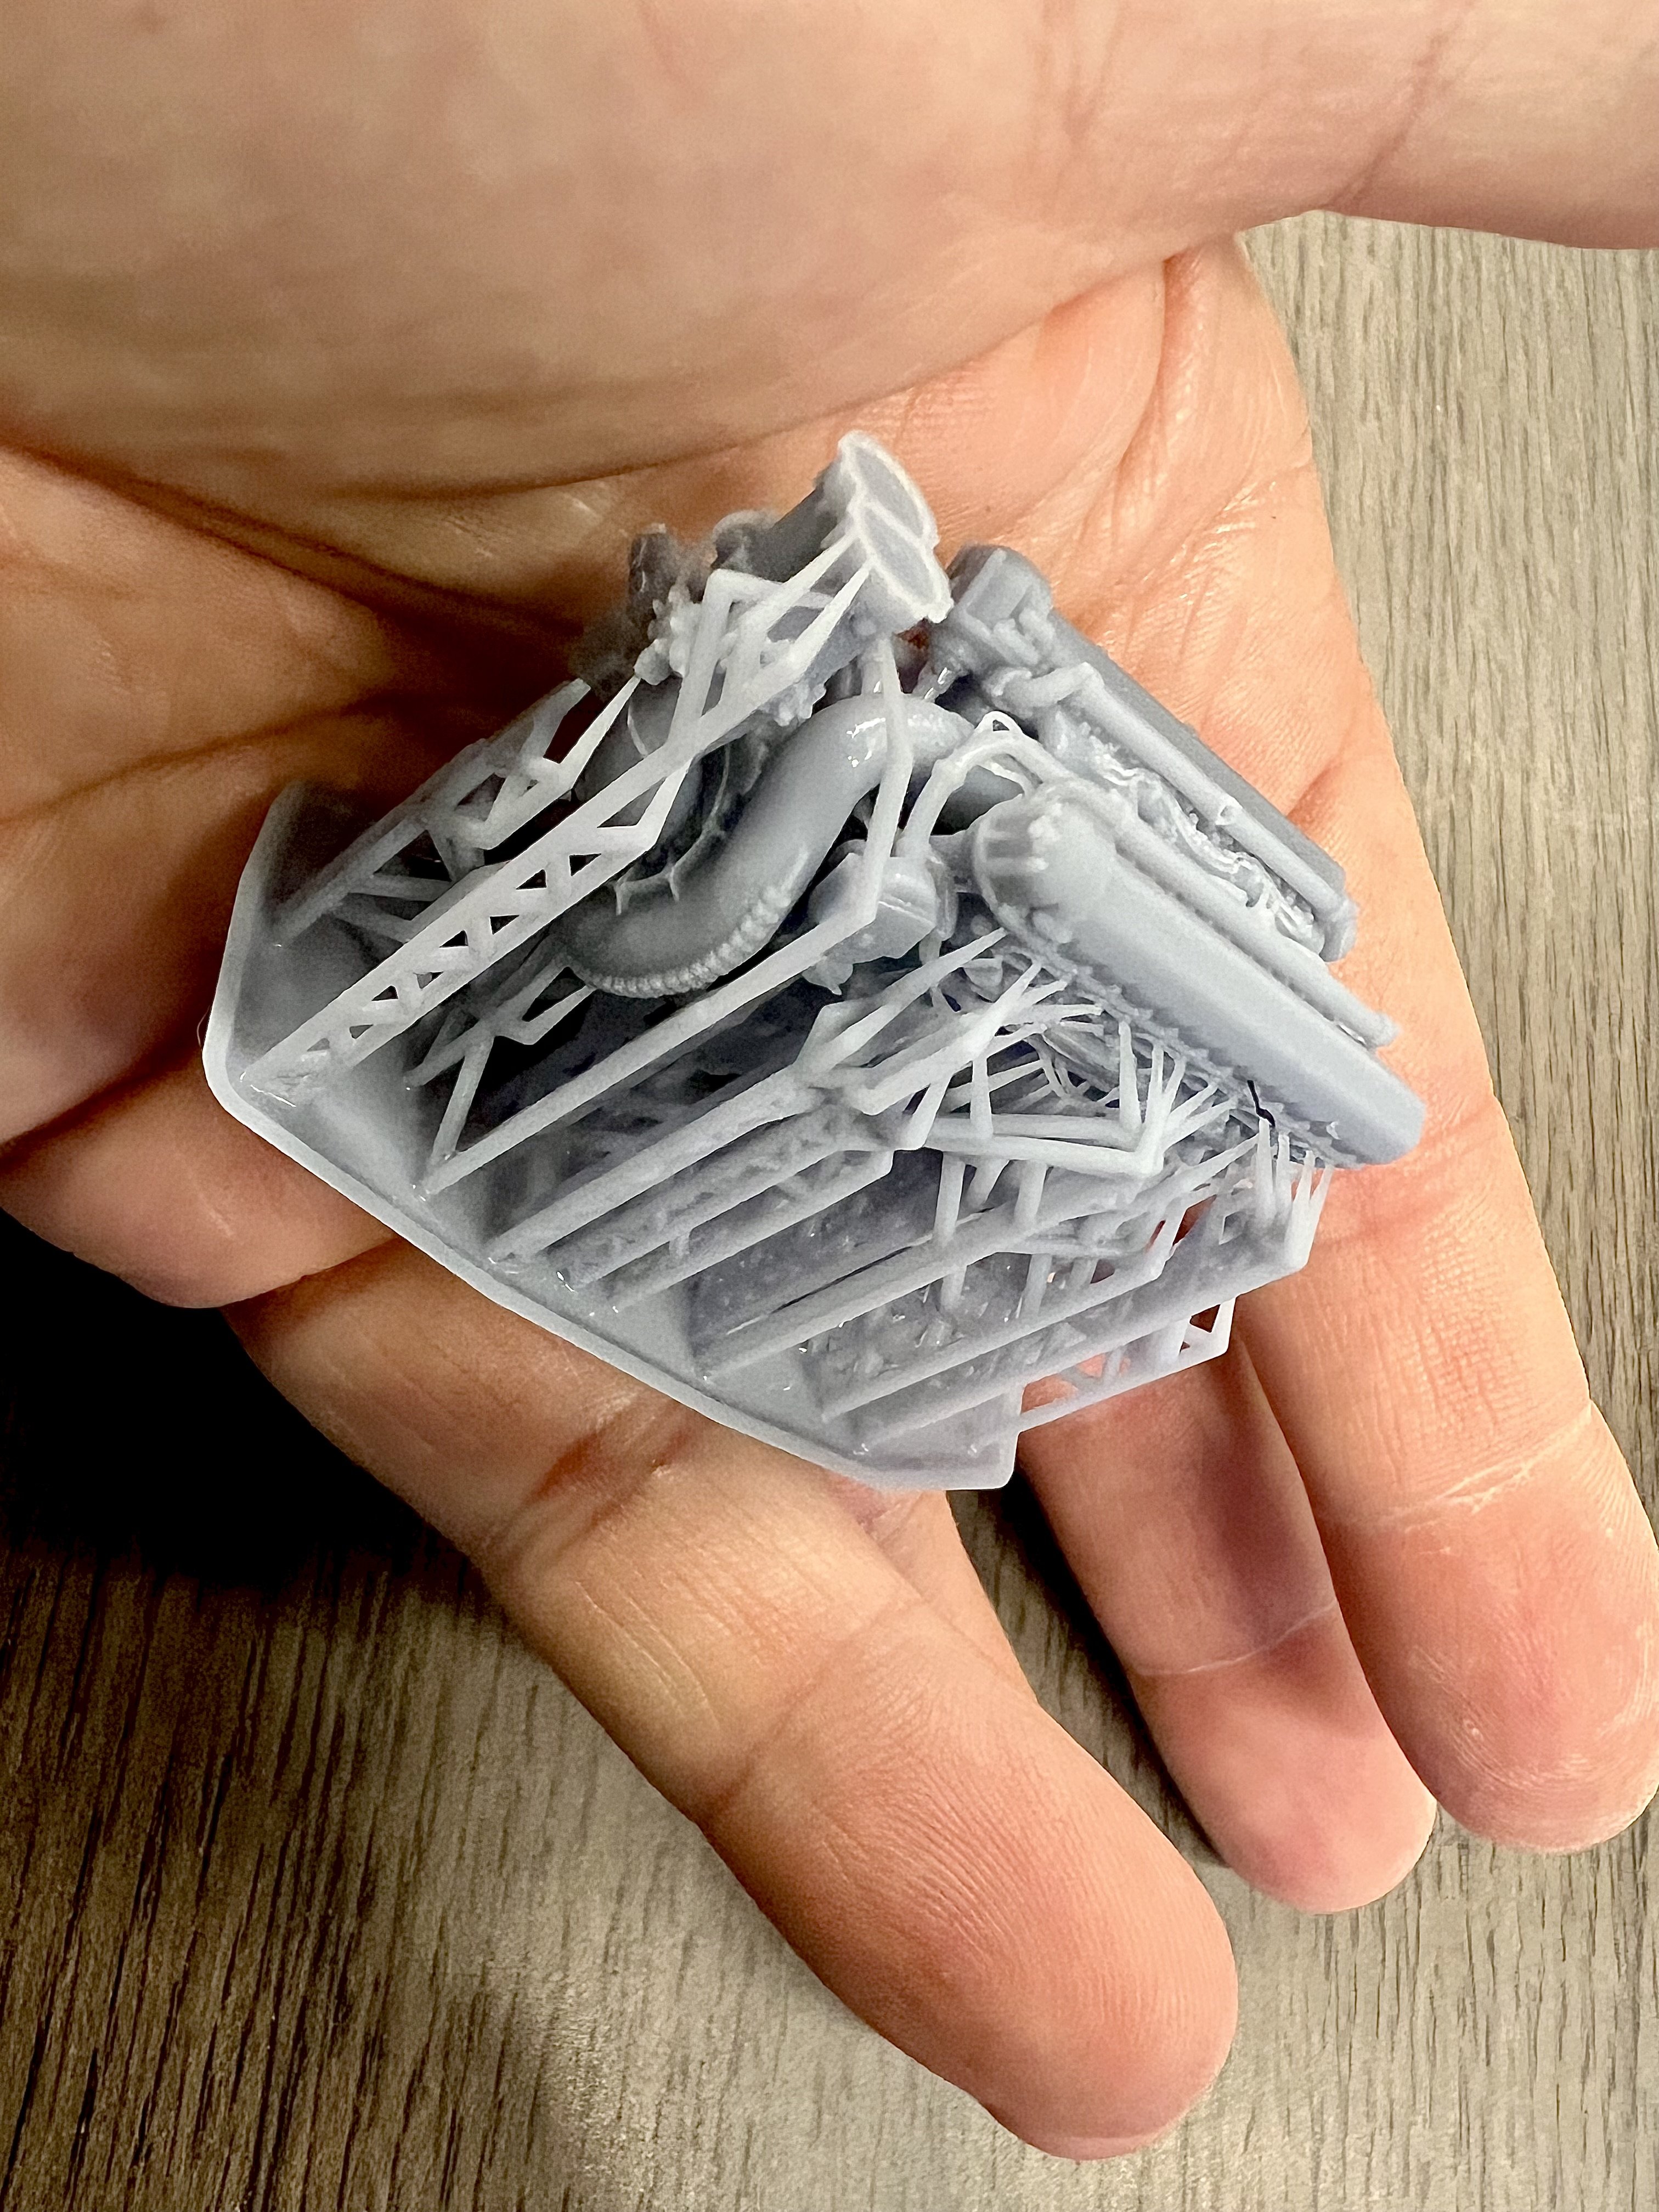
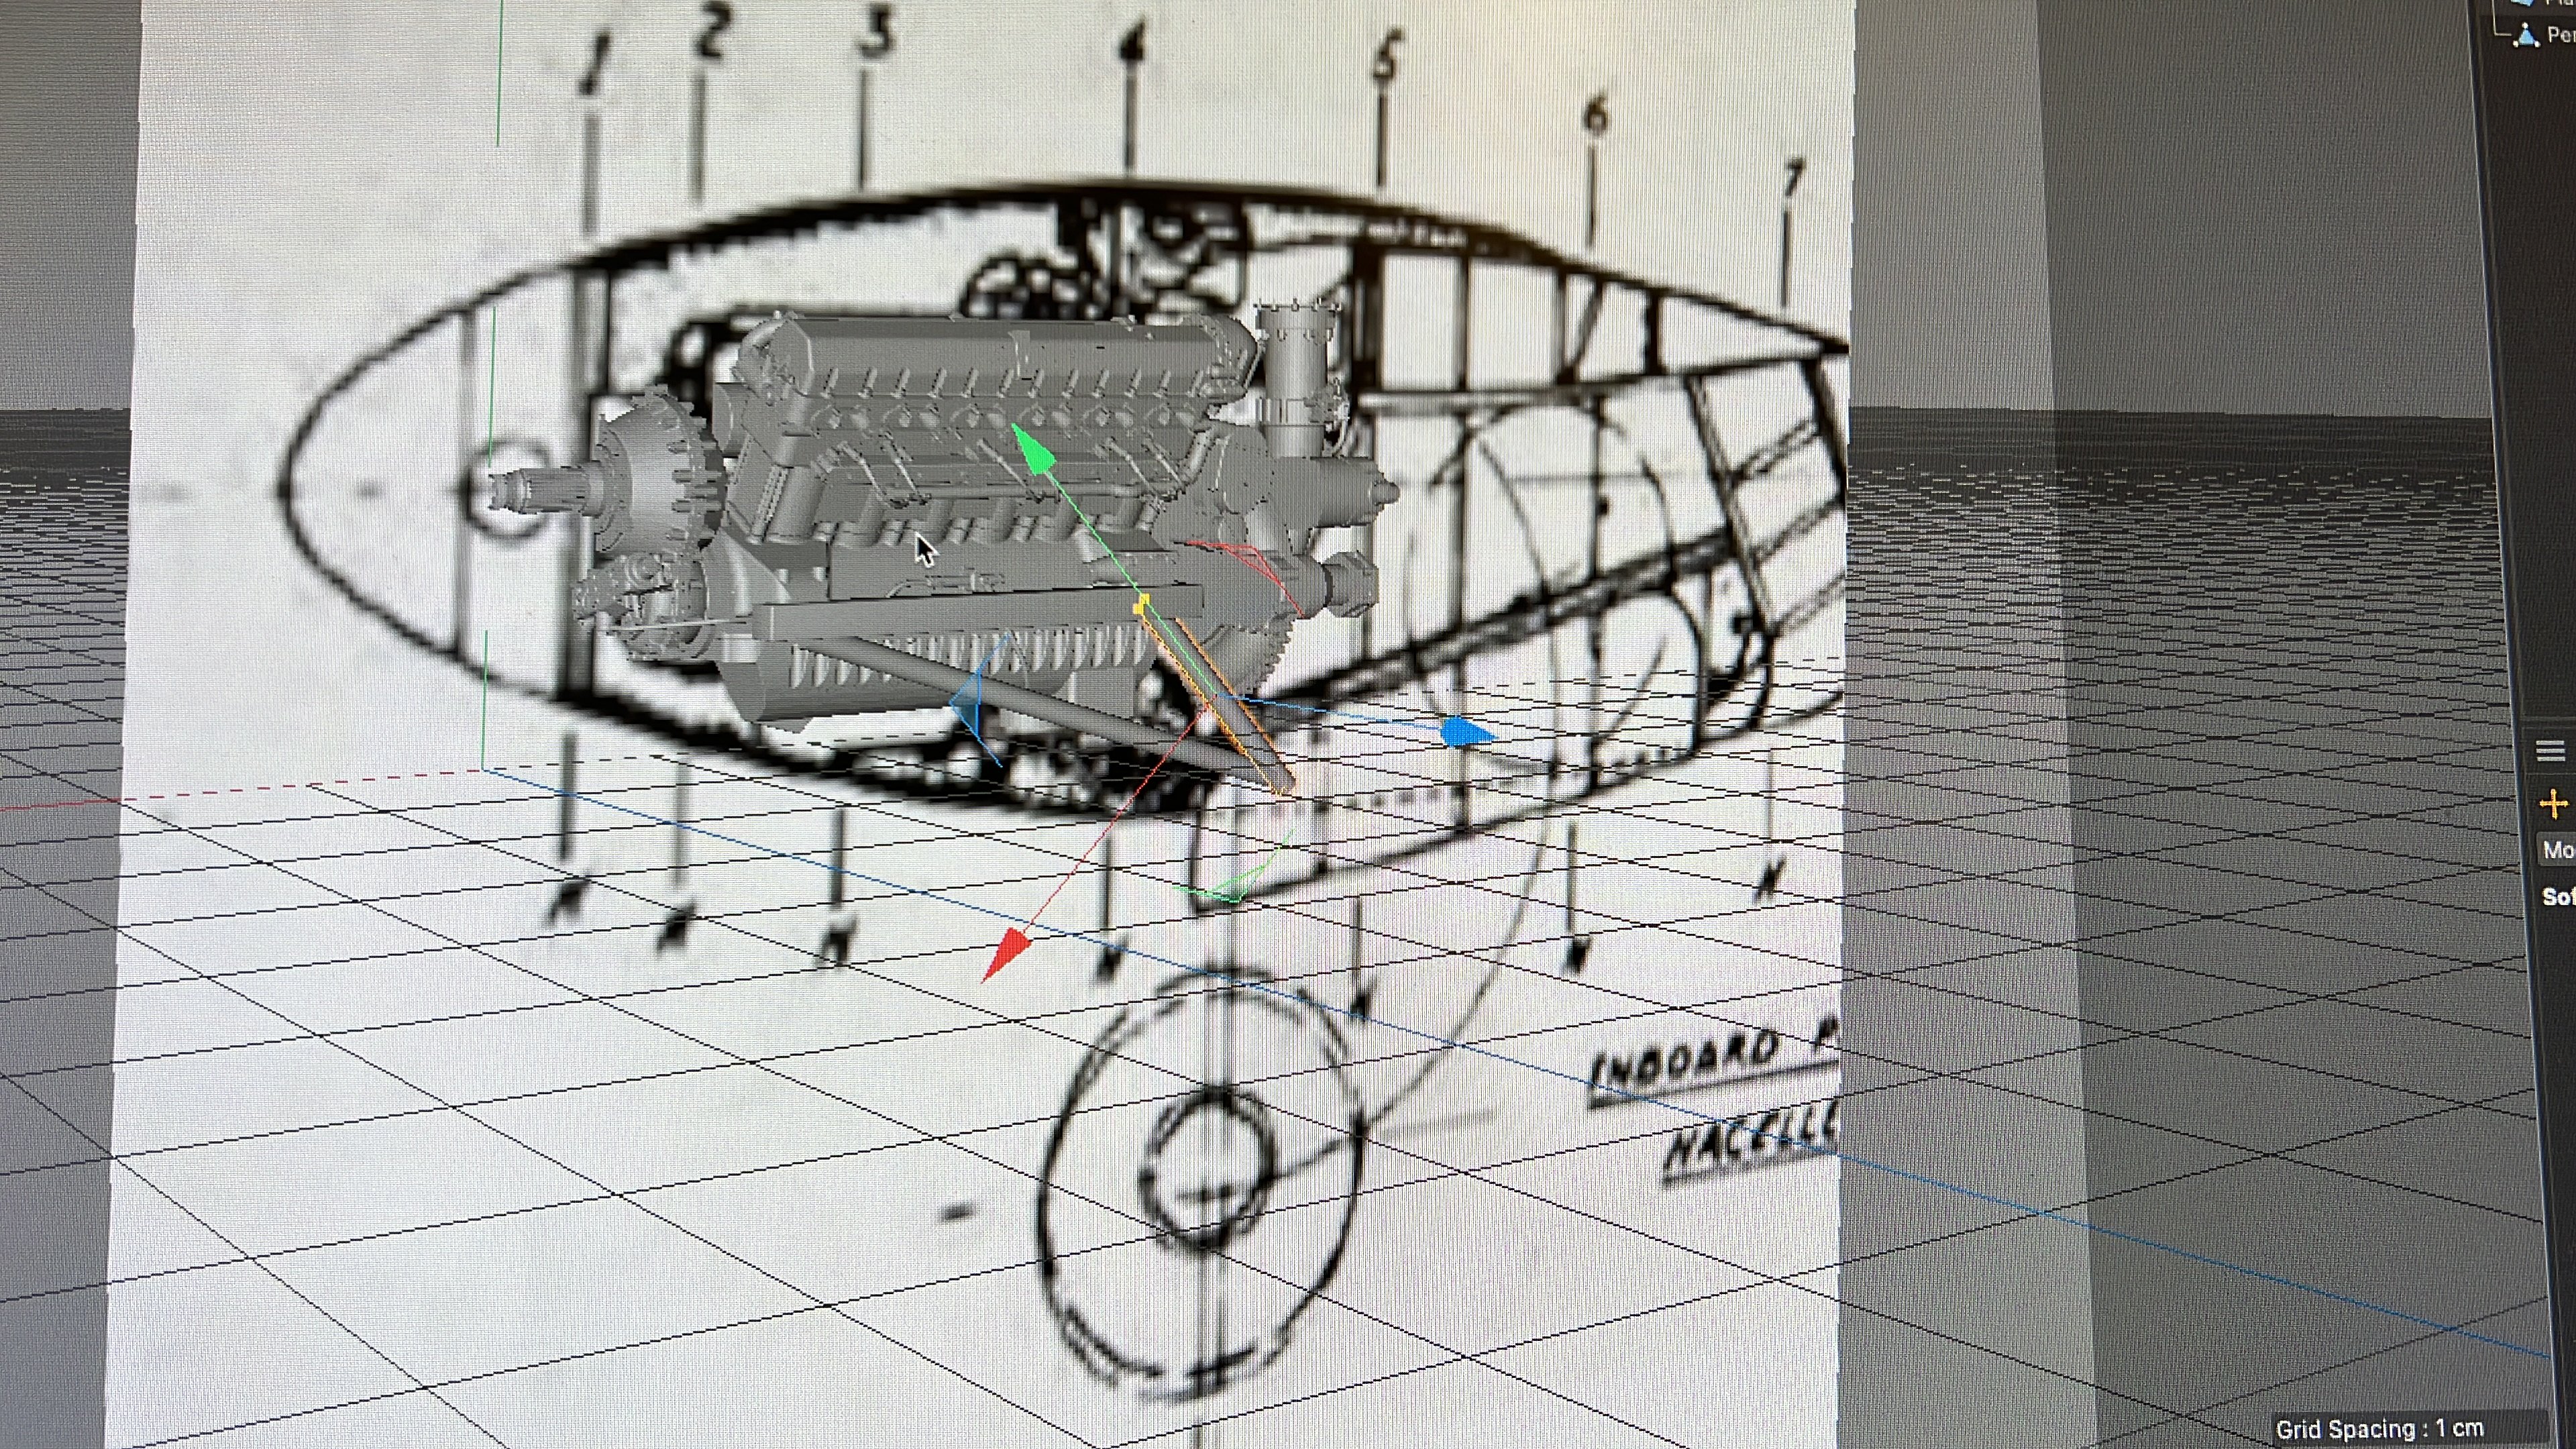
What a puzzle. Struggling to draw the missing components from the engine. I want to print the engine separately, which means it should drop fit in its cradle. The front of the wing spar is just a simple cube at the moment, until I am sure what the measurements of the wing thickness of the kit is. It's no use drawing everything in drawing measurements, if it doesn't fit the kit the parts are designed for.
-
1/32 Westland Whirlwind
JeroenPeters replied to JeroenPeters's topic in LSM 1/35 and Larger Work In Progress
Wow, thnx Gunnar. René told me about the signaling function of the Coffman starter, but I couldn't make sense of it and assumed he was mistaken I started work in the engine bearers today. Lot's of figuring out to do. I see I'll still have to draw the electric starter. Would it be more logical to add the glycol tank in front behind the spinner plate or the version with the relocated glycol tank? My 3D work is still a bit rough, but that's because I keep altering the angles of the frame a little...
-
1/32 Westland Whirlwind
JeroenPeters replied to JeroenPeters's topic in LSM 1/35 and Larger Work In Progress
Wow! Yes! It looks as of the glycol tanks are missing in these drawings? Behind the spinner back plate? And another question: did these engines have a Coffman starter?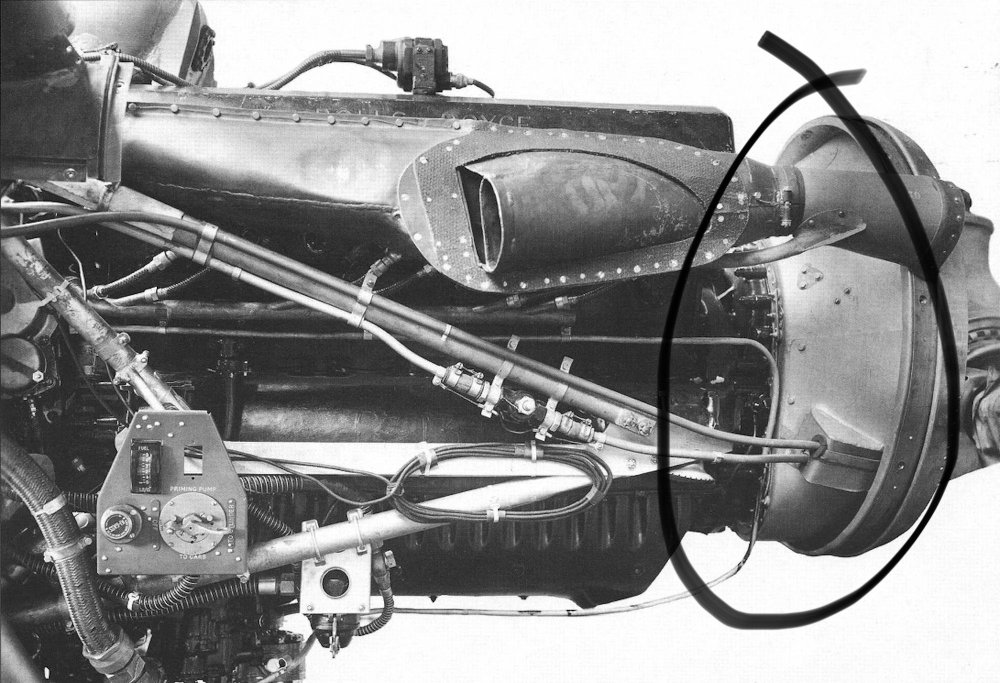
-
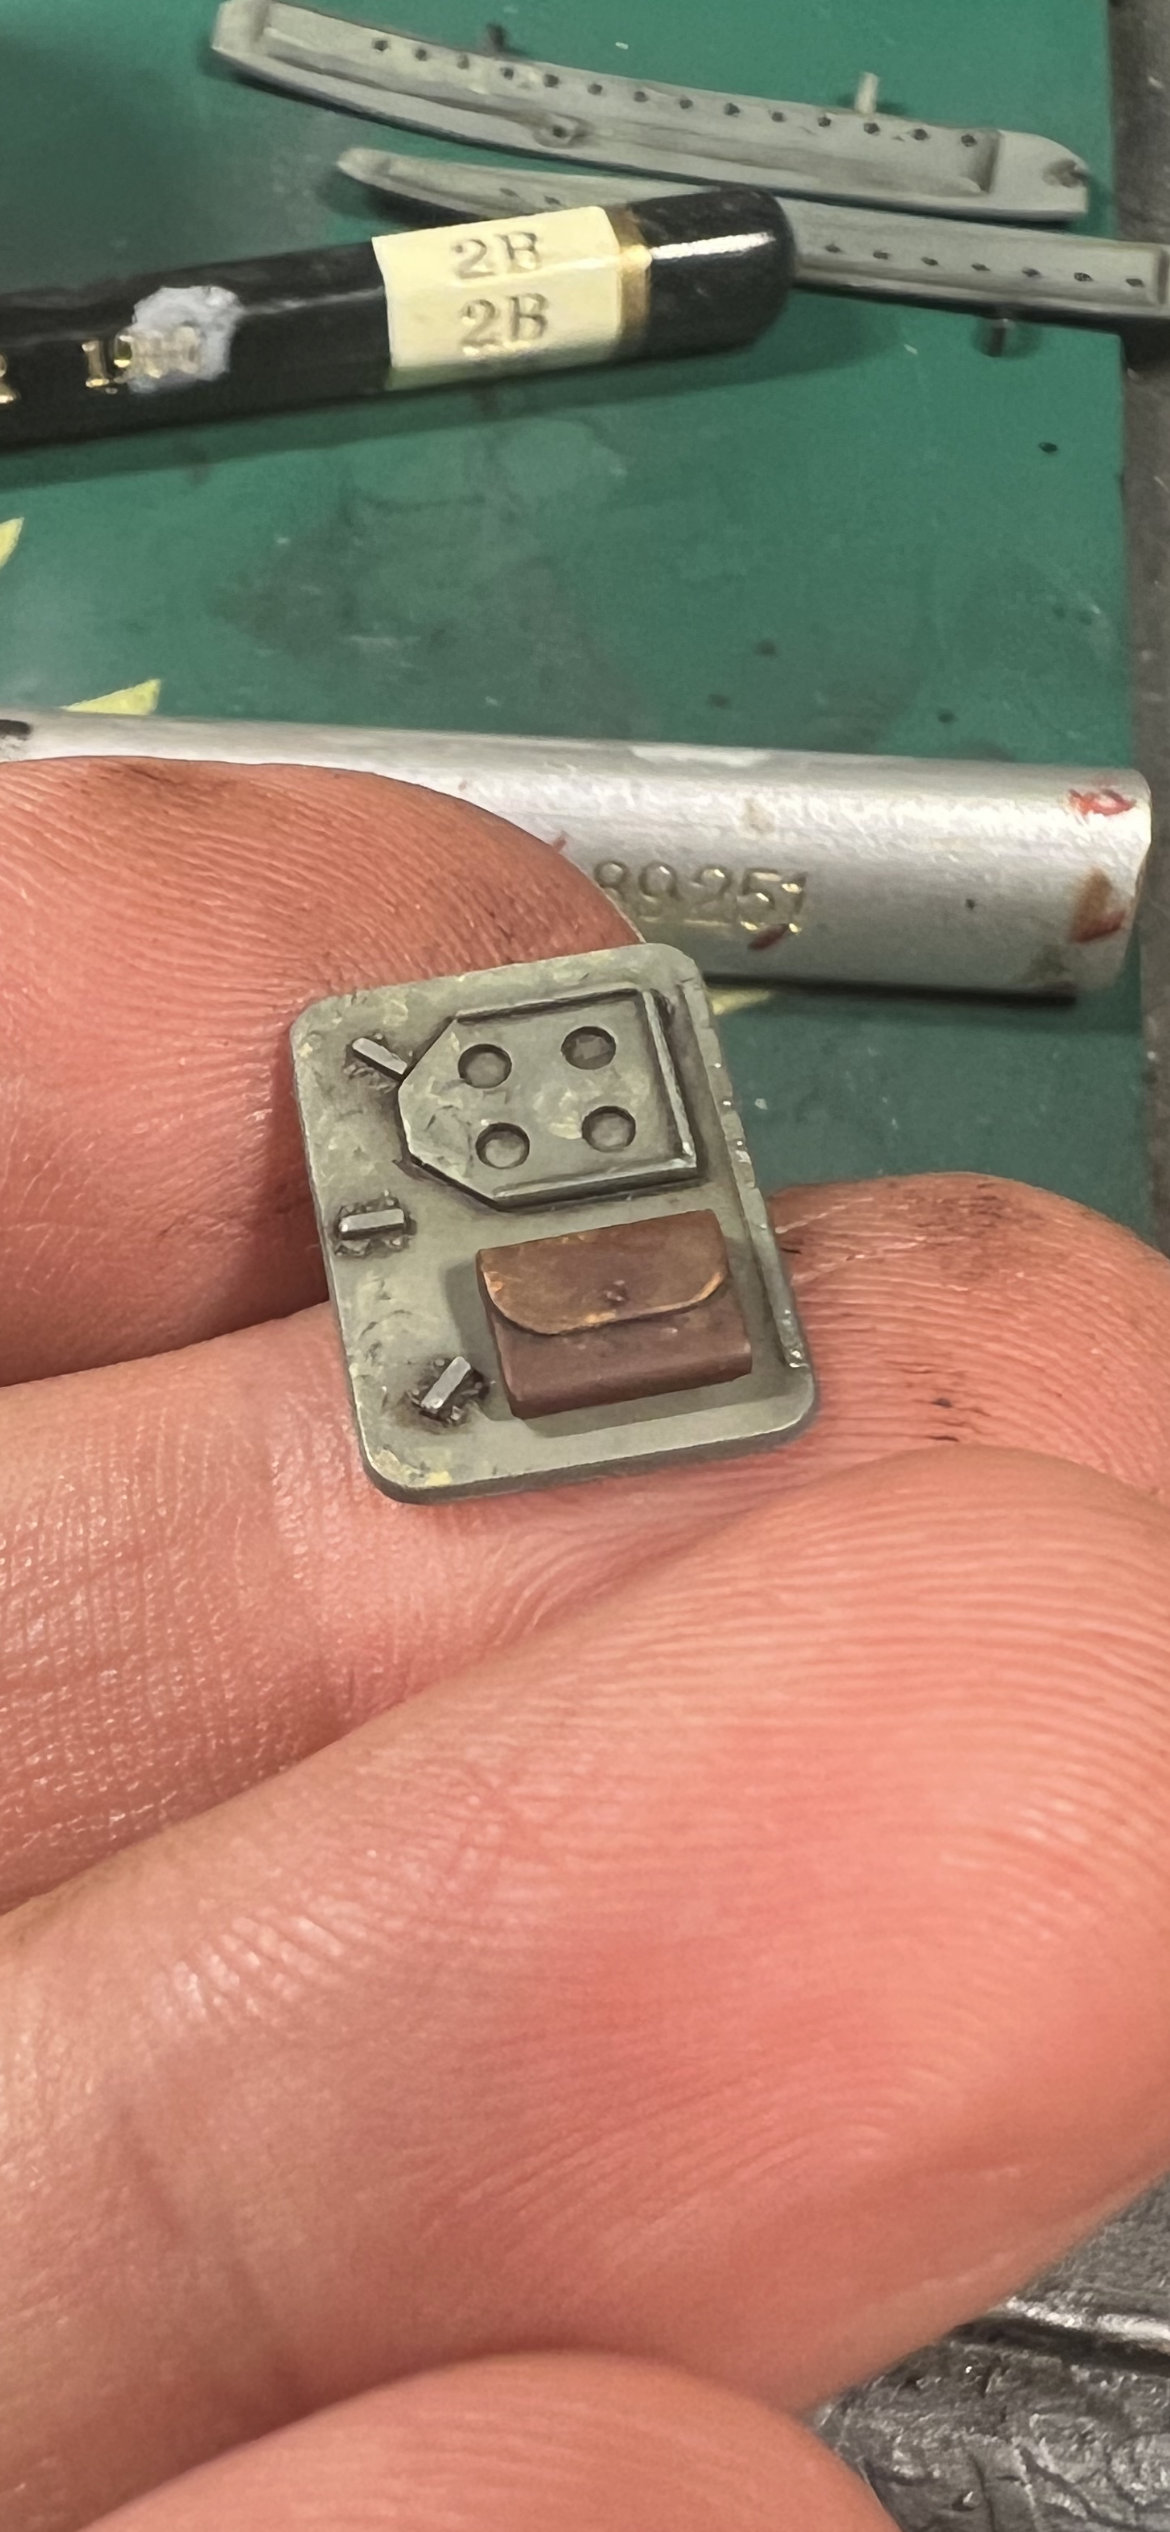
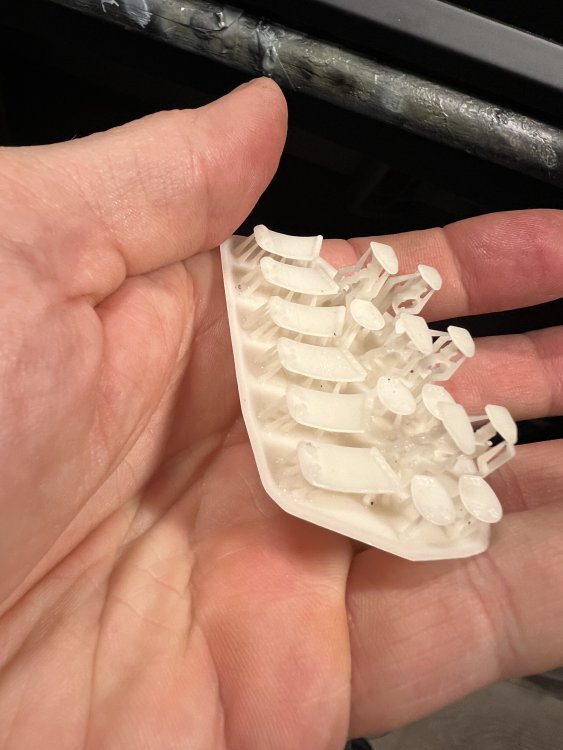
Getting there! Here are some of the 3D drawn and printed hatches.

-
1/32 Westland Whirlwind
JeroenPeters replied to JeroenPeters's topic in LSM 1/35 and Larger Work In Progress
Thnx Thnx Gunnar! For these images and the other ones you sent. Almost finished the Hs129, after the Whirlwind gets my full attention. -
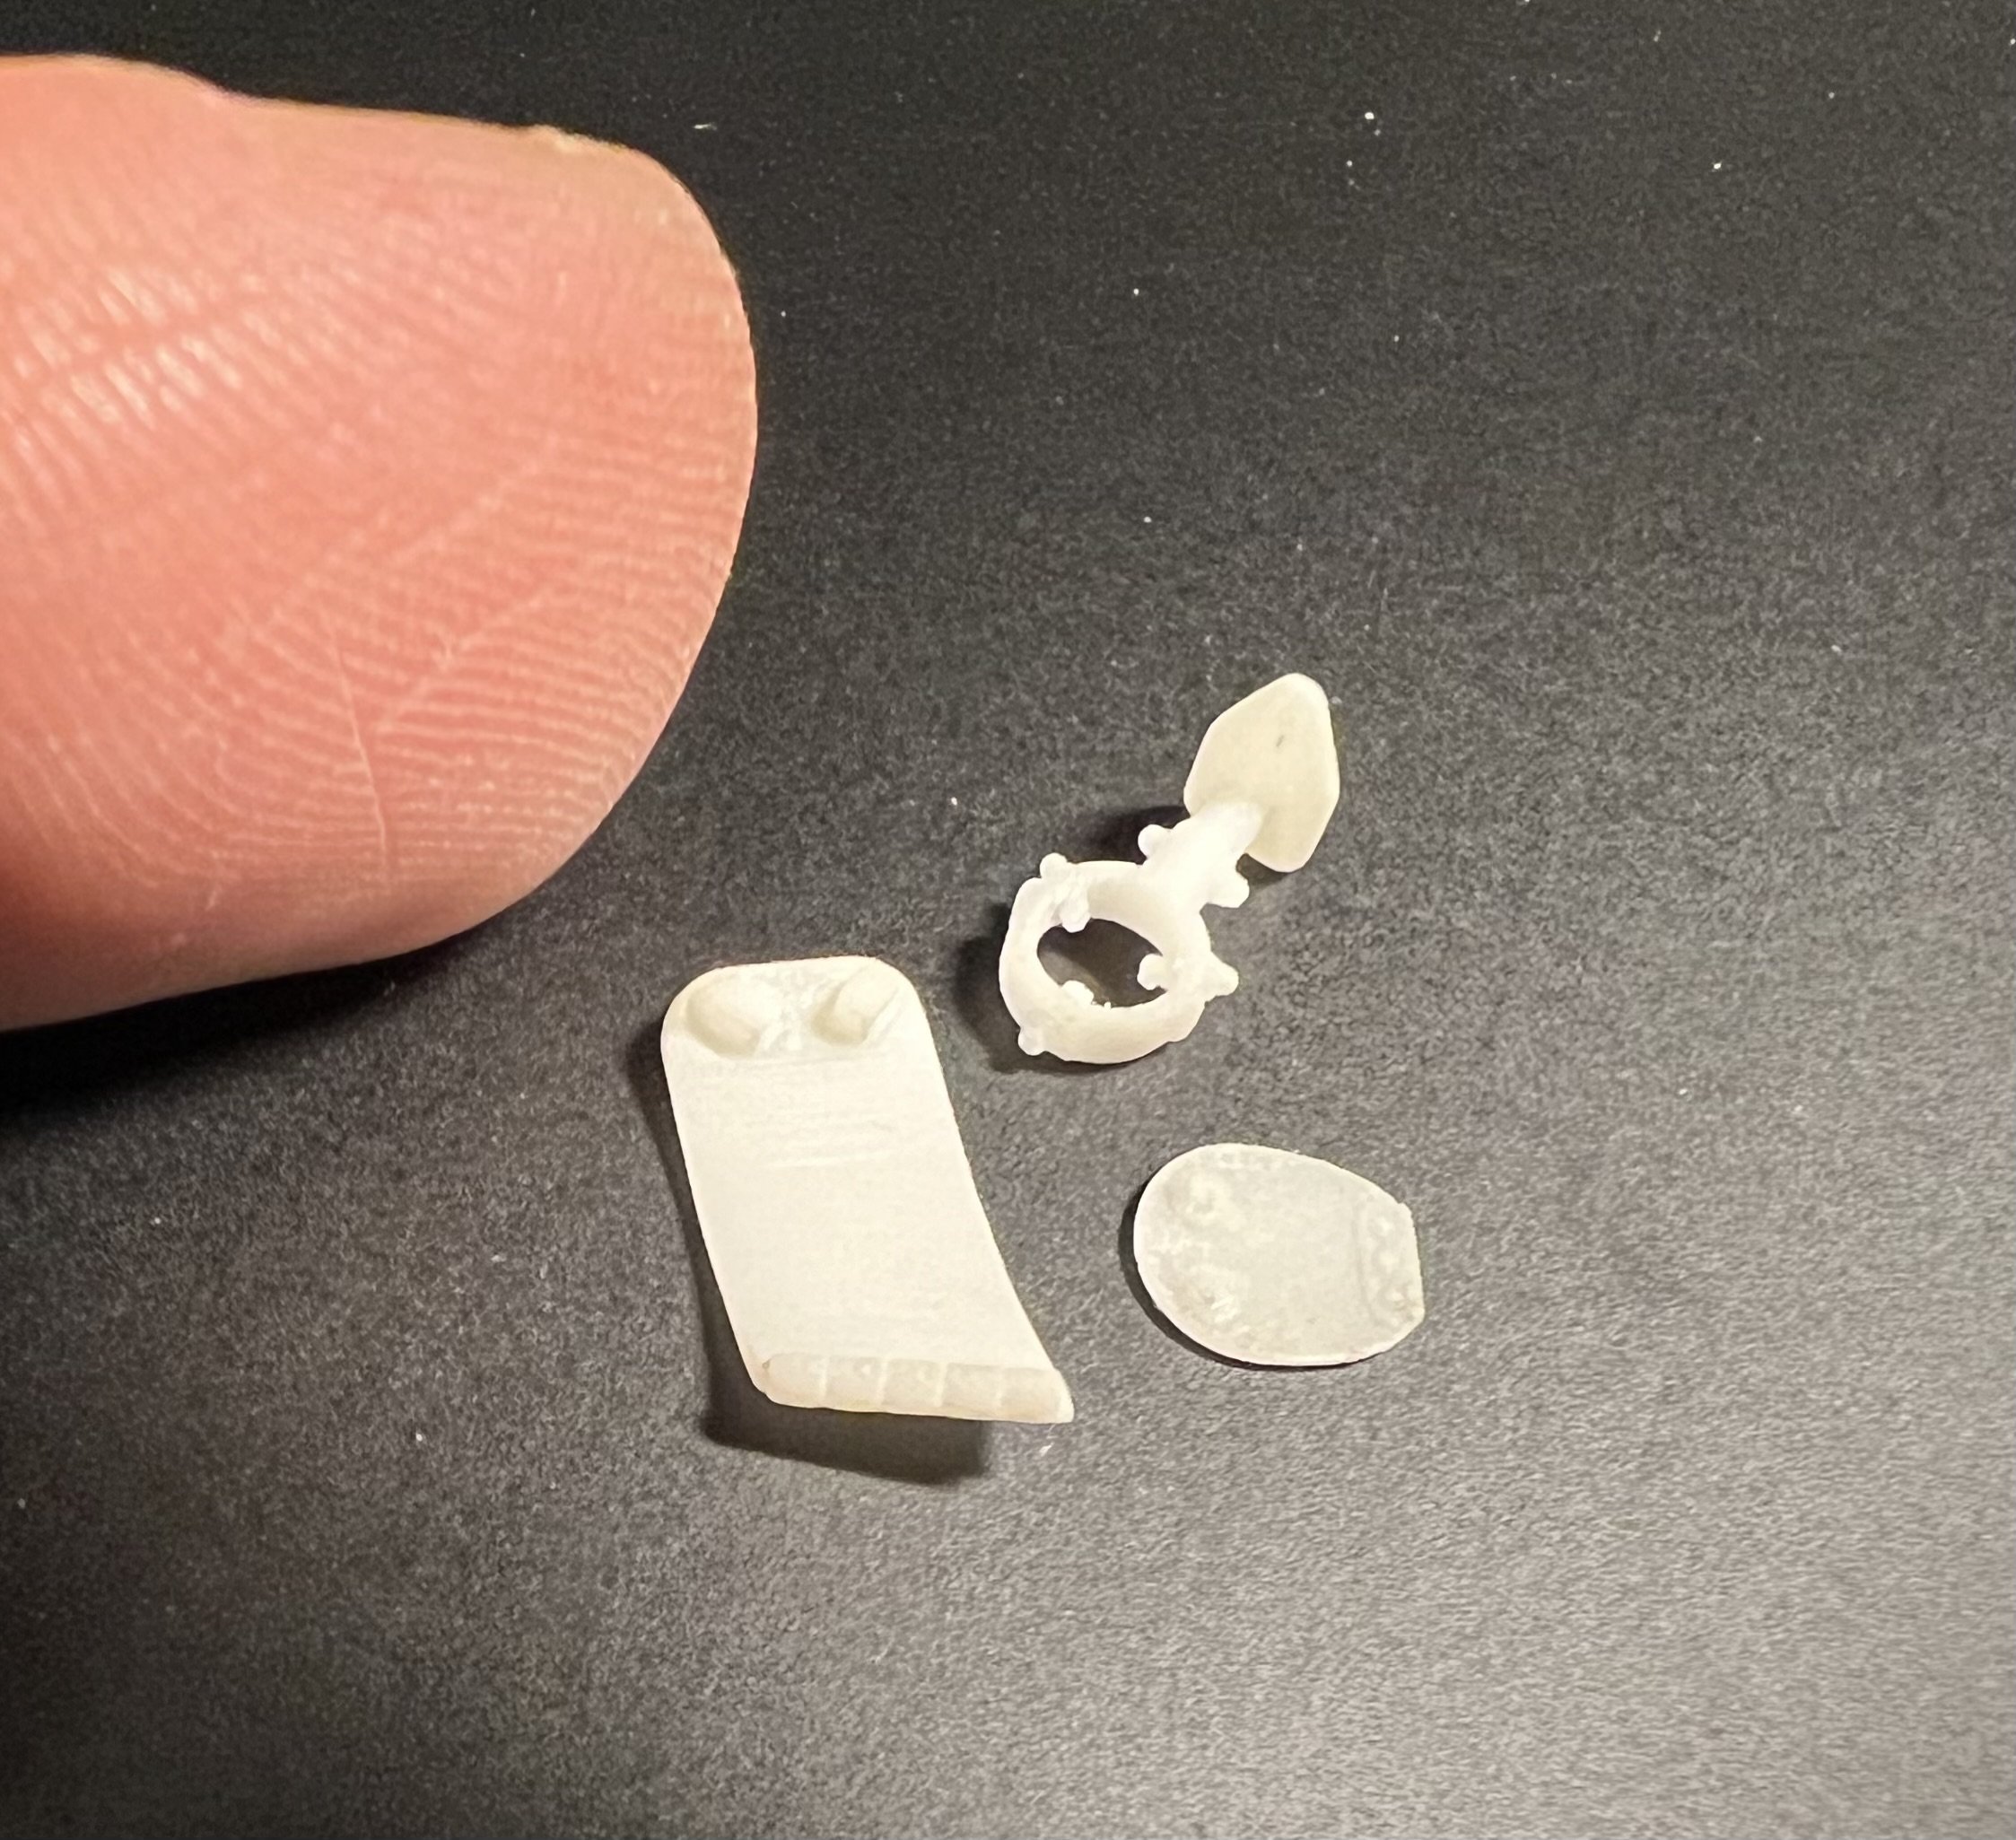
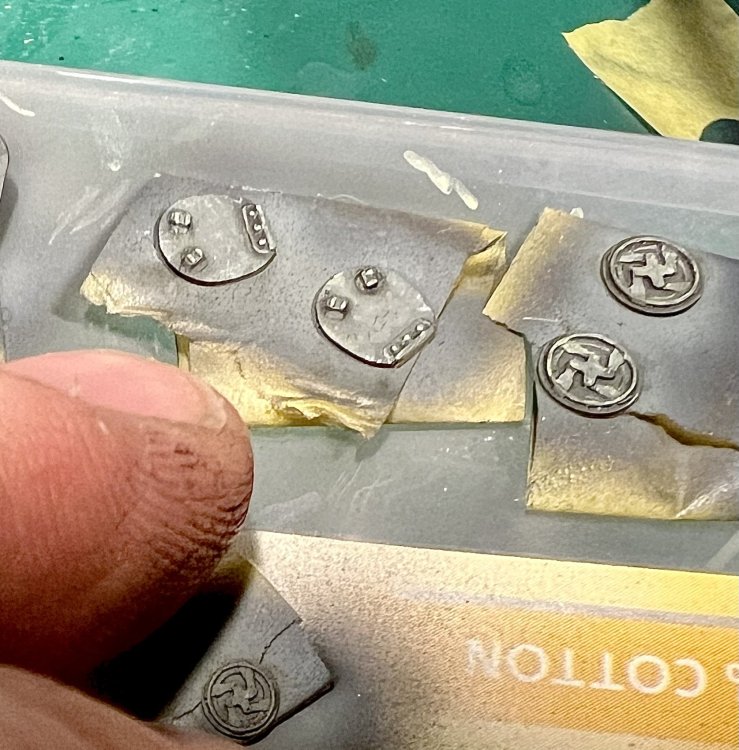
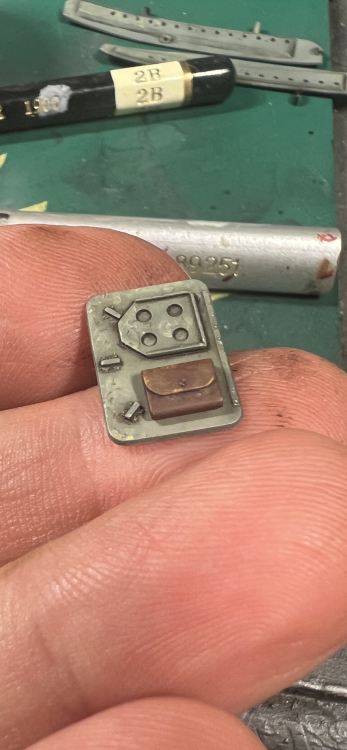
Cleaned a few parts up


-
1/32 Westland Whirlwind
JeroenPeters replied to JeroenPeters's topic in LSM 1/35 and Larger Work In Progress
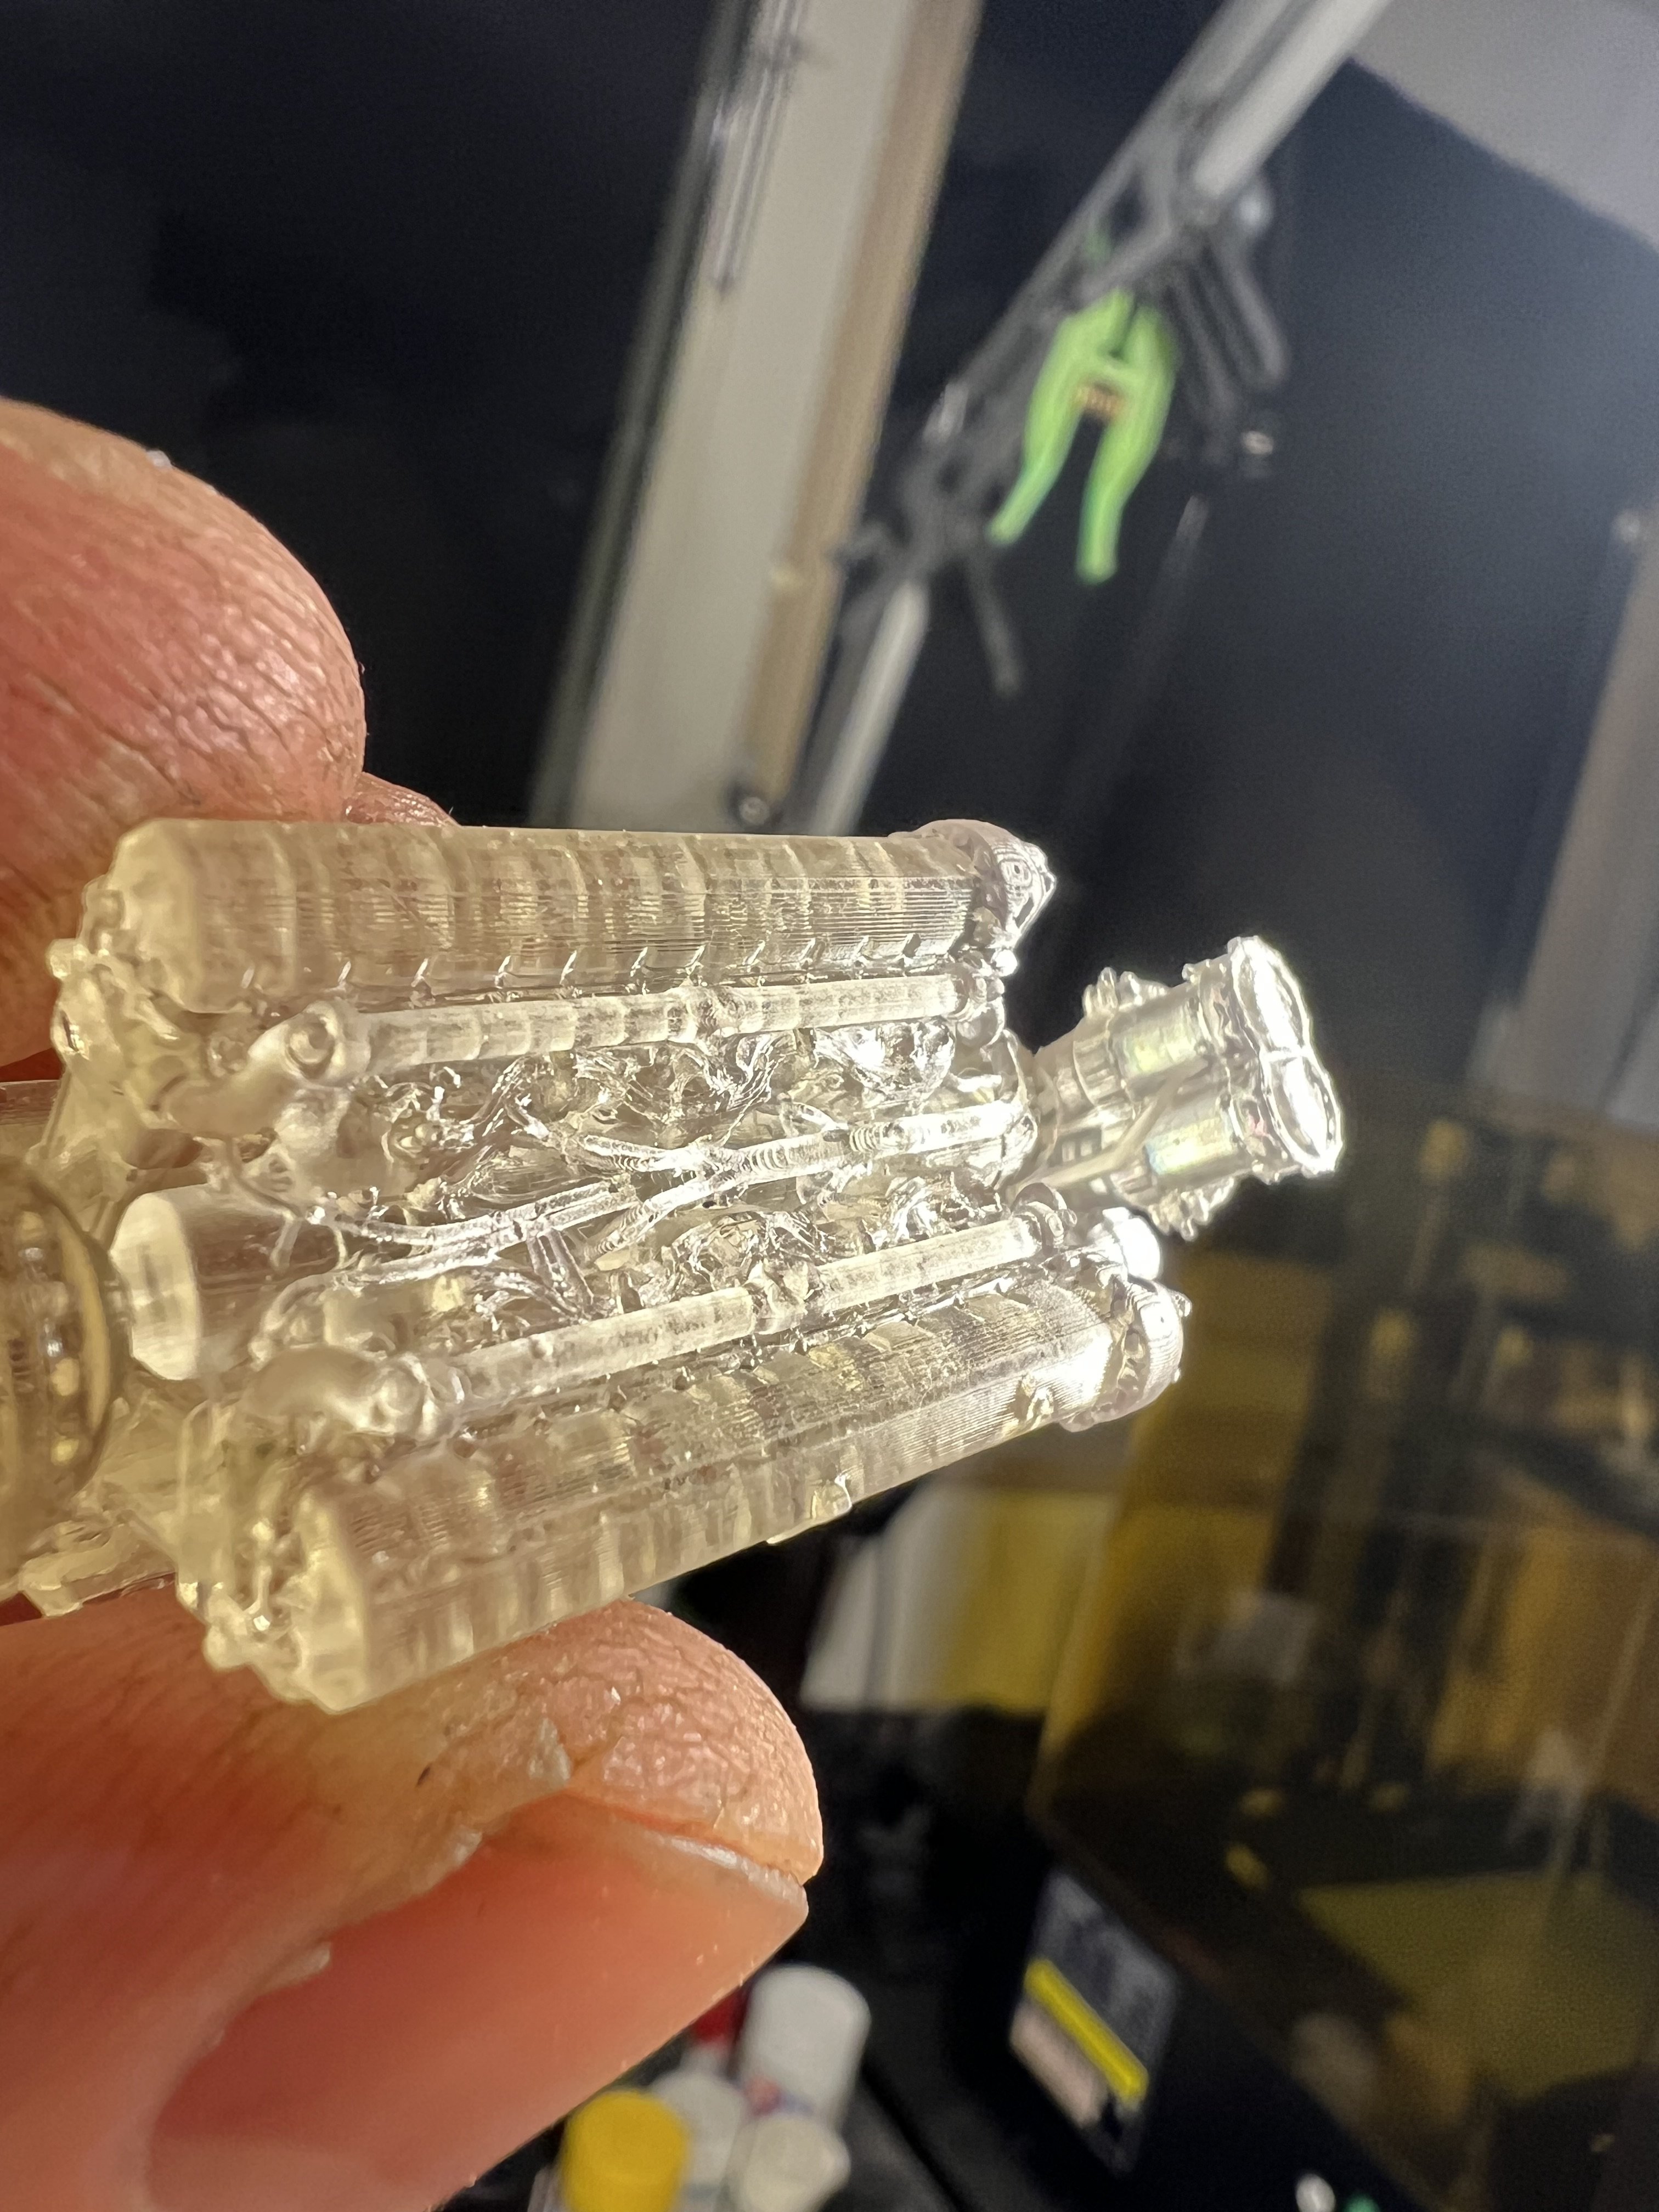
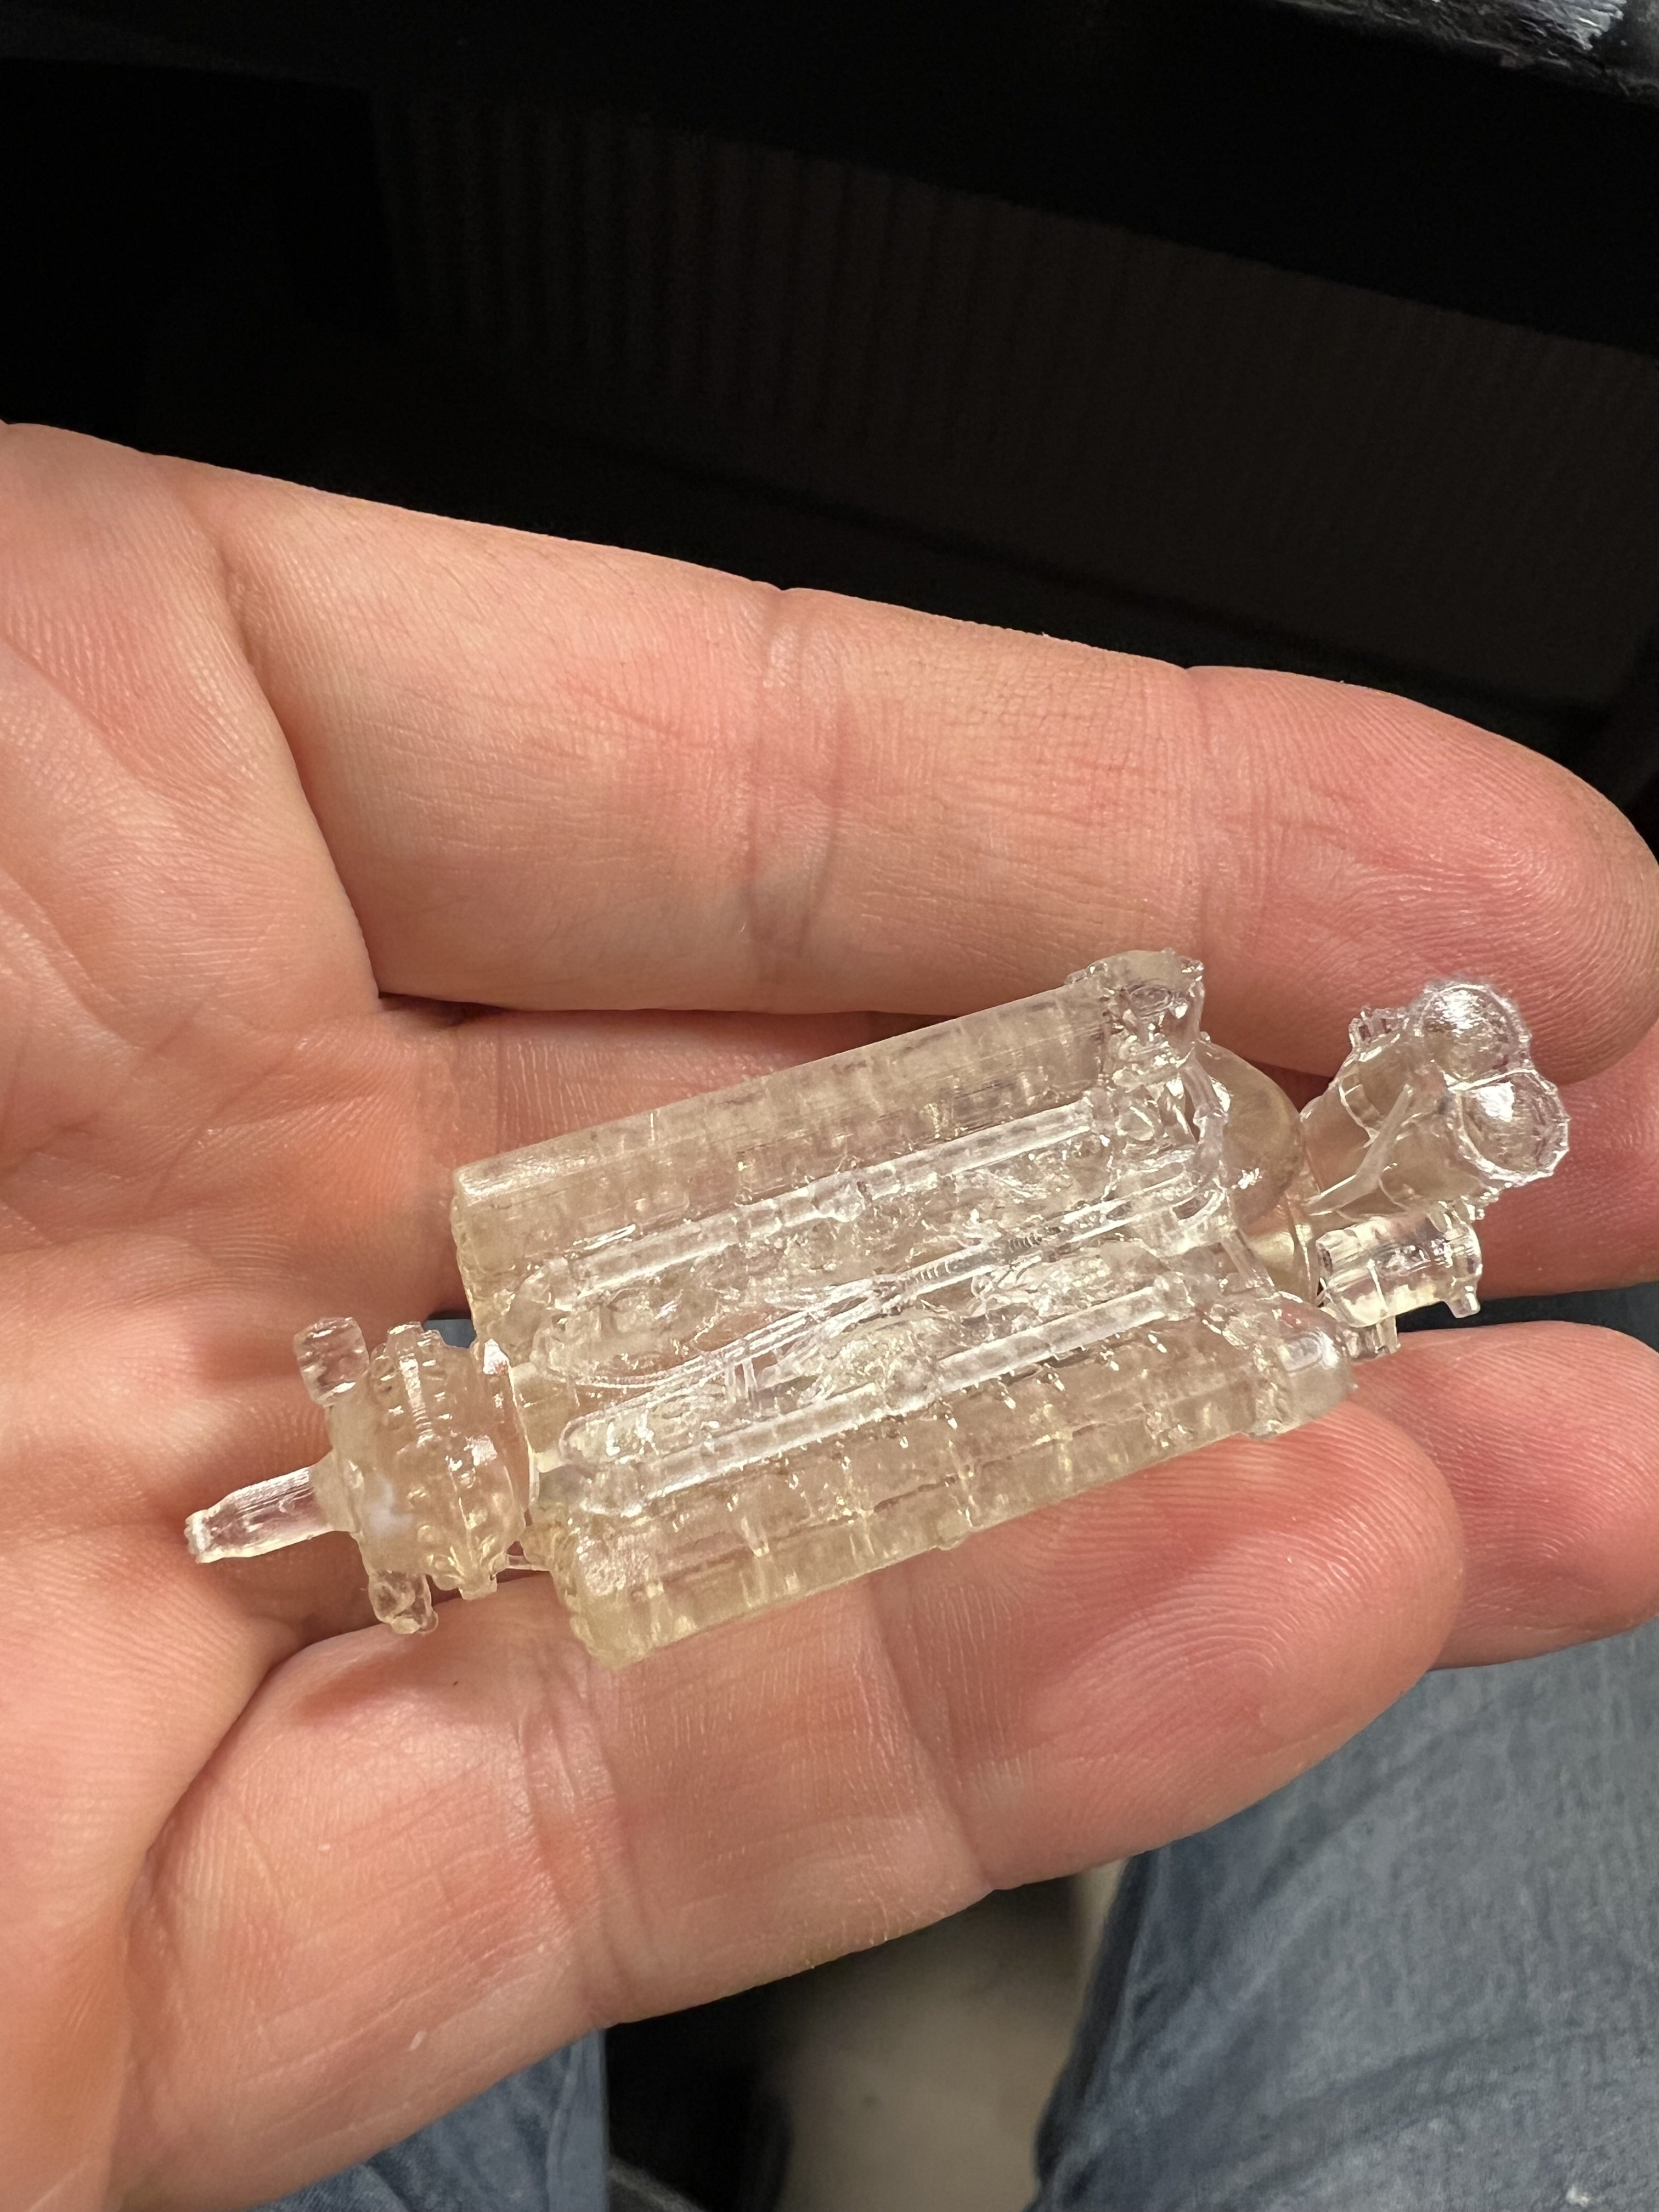
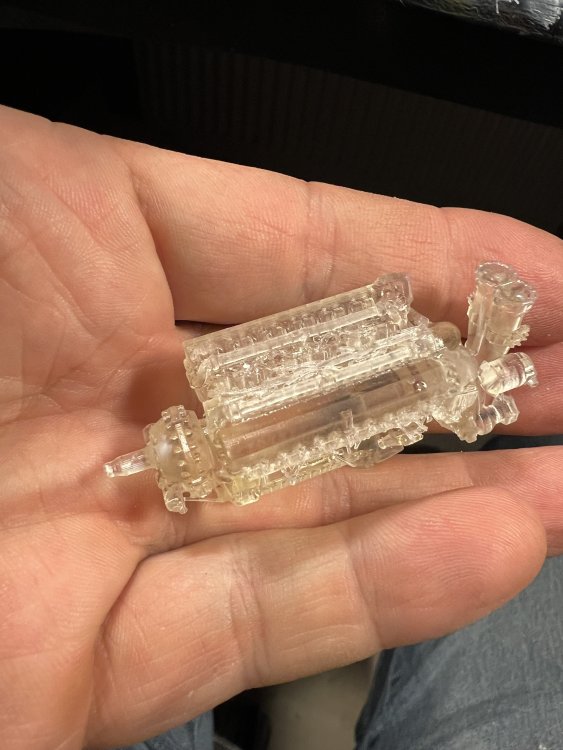
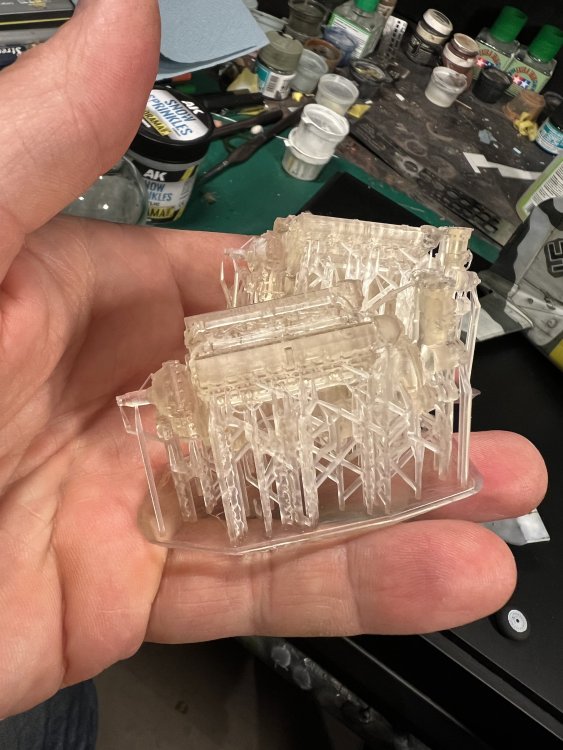
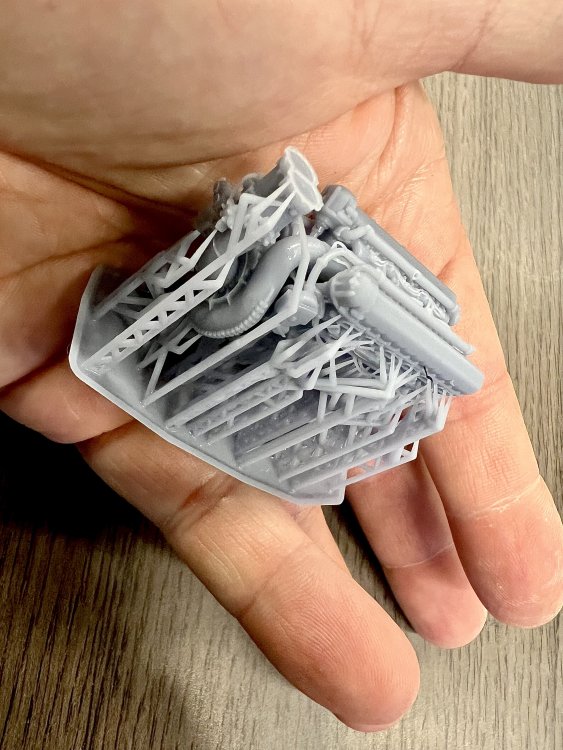
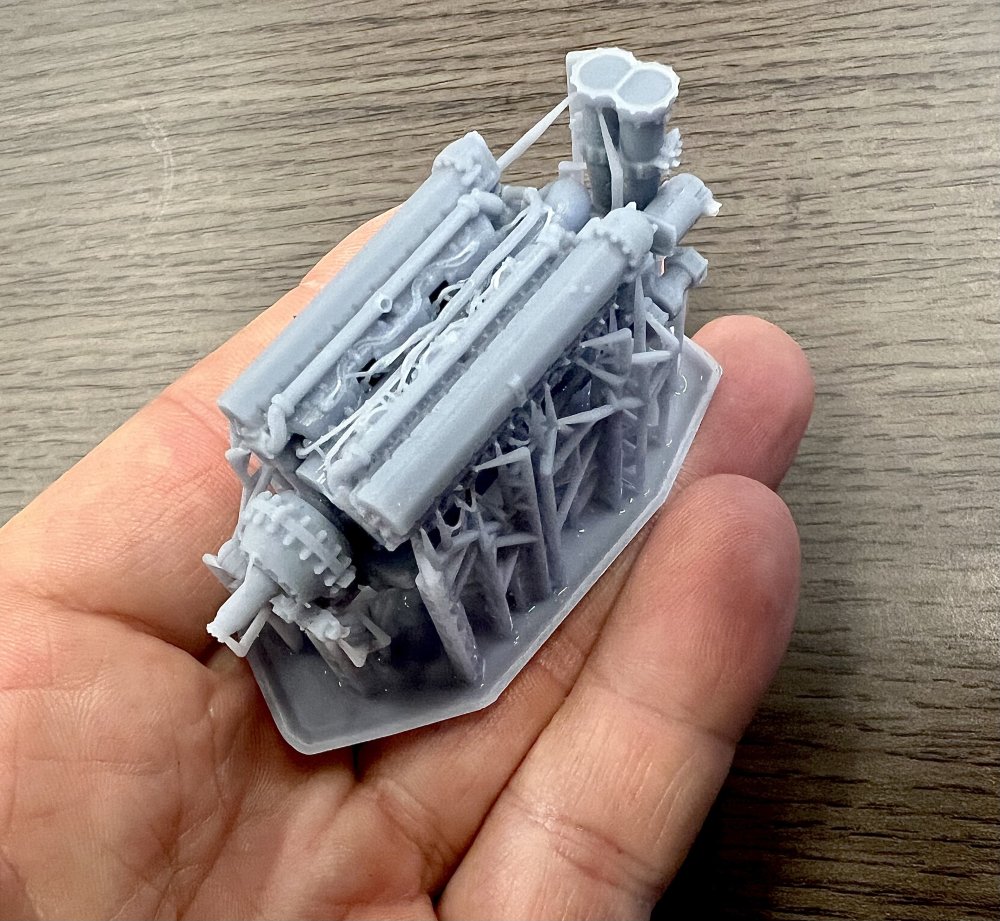
I printed 2 engines in clear resin. Funny detail is that it allows you to see the pistons, since all the detail is inside. waiting for the kit now so i can measure the firewall. Already started drawing the engine bearers.


- 439 replies
-
- 11
-

-
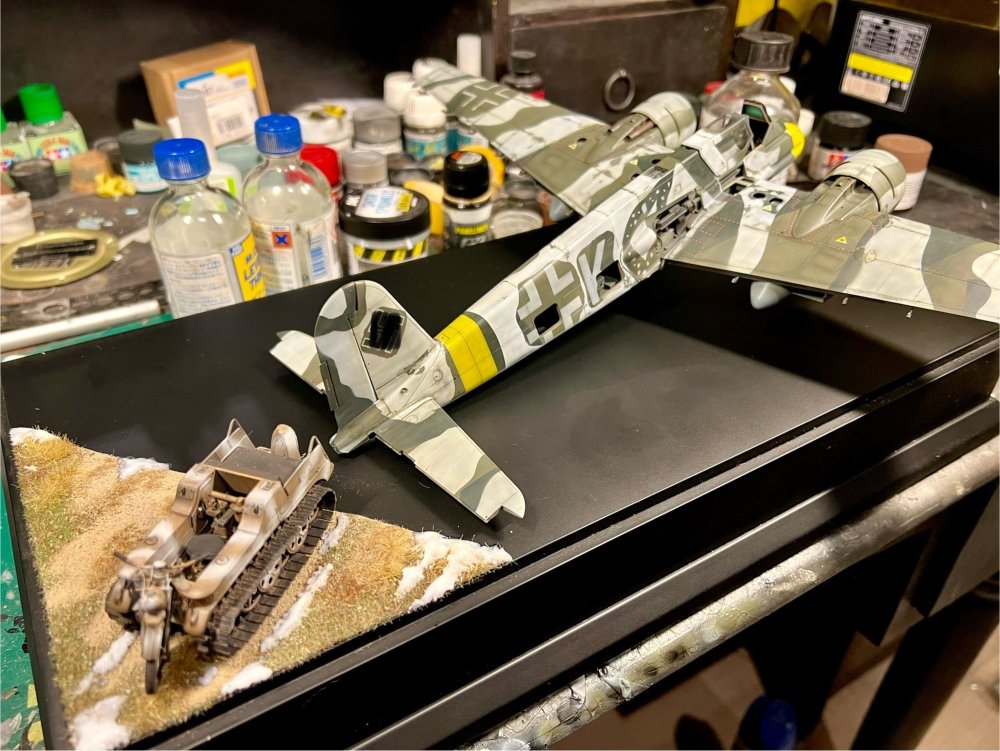
Printed the final bits. Hatches and the brace for the gun barrel. also adding snow to the corner of the base. IMG_4870.mov
-
Mapping out the composition

-
1/32 Westland Whirlwind
JeroenPeters replied to JeroenPeters's topic in LSM 1/35 and Larger Work In Progress
I indeed plan on using the new high tech kit -
Here we go. My idea is to build a Special Hobby Whirlwind with both engines and nose guns open and exposed. problem: the whirlwind had Rolls Royce Peregrine engines and data on them is hard to find. Very hard to find… Special Hobby knows this and thats the reason they don’t offer an engine. i looked for weeks and then stumbled on someone who drew up a 3d engine. By coincidence this was a fellow dutch guy. Turned out he drew it for the UK Westland Whirlwind Fighter Project. They gave him all the technical data and drawings. Took him a few years. I visited him and saw his work. He’s willing to sell it to Special Hobby and have me exclusive rights to print it for my build. At the moment I’m drawing up the engine bearers and firewall.


- 439 replies
-
- 15
-
-
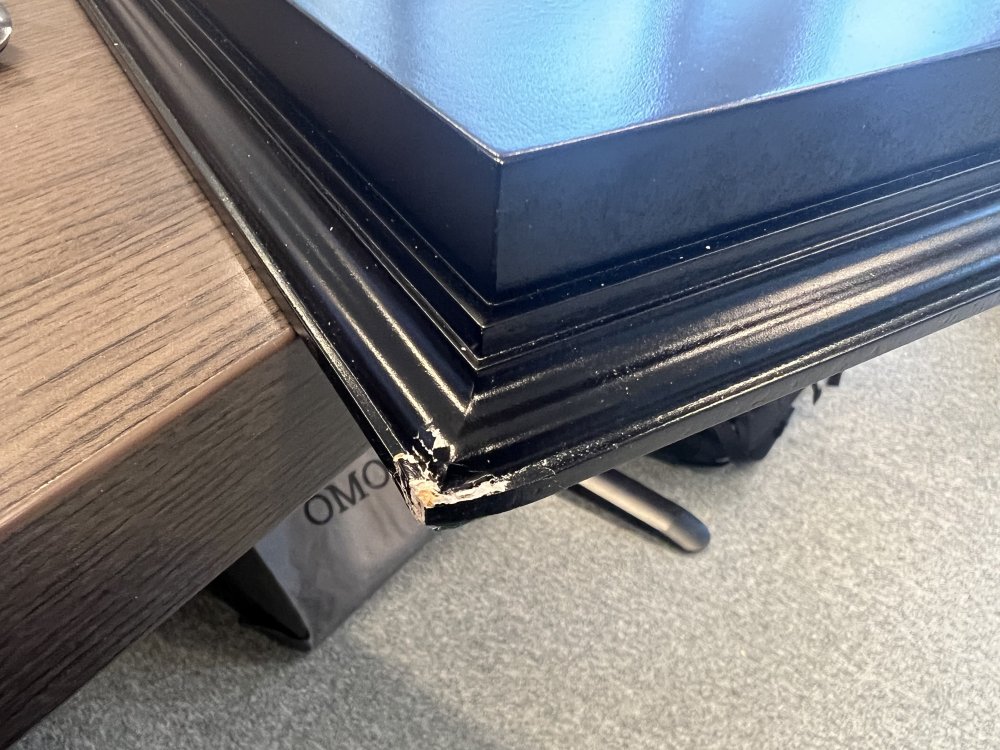
Ordered a custom base fromthe Rugged Company in the UK. Had to wait months! He would not ship to the Netherlands so i asked him to send to a UK friend. Parcel was sent from my friend to me. Box arrived today. In good shape. But the plinth was damaged. It really should have been packed better. geezz… 85€. i’ll try to fix it.

-
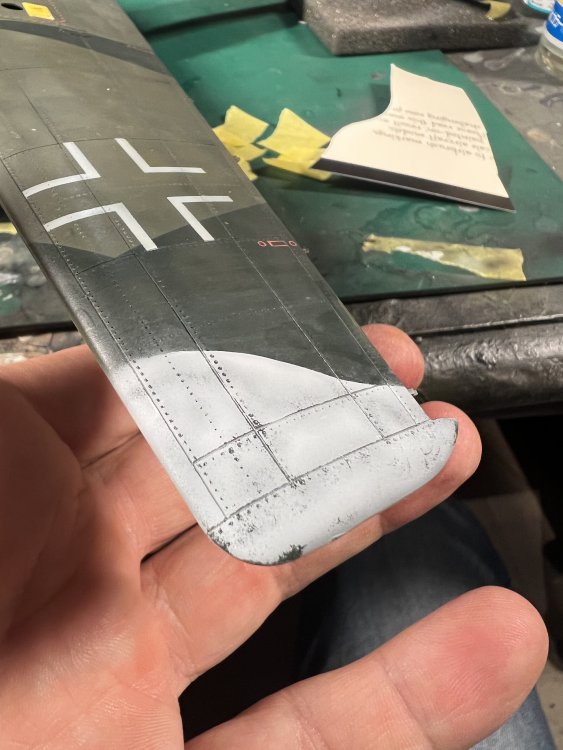
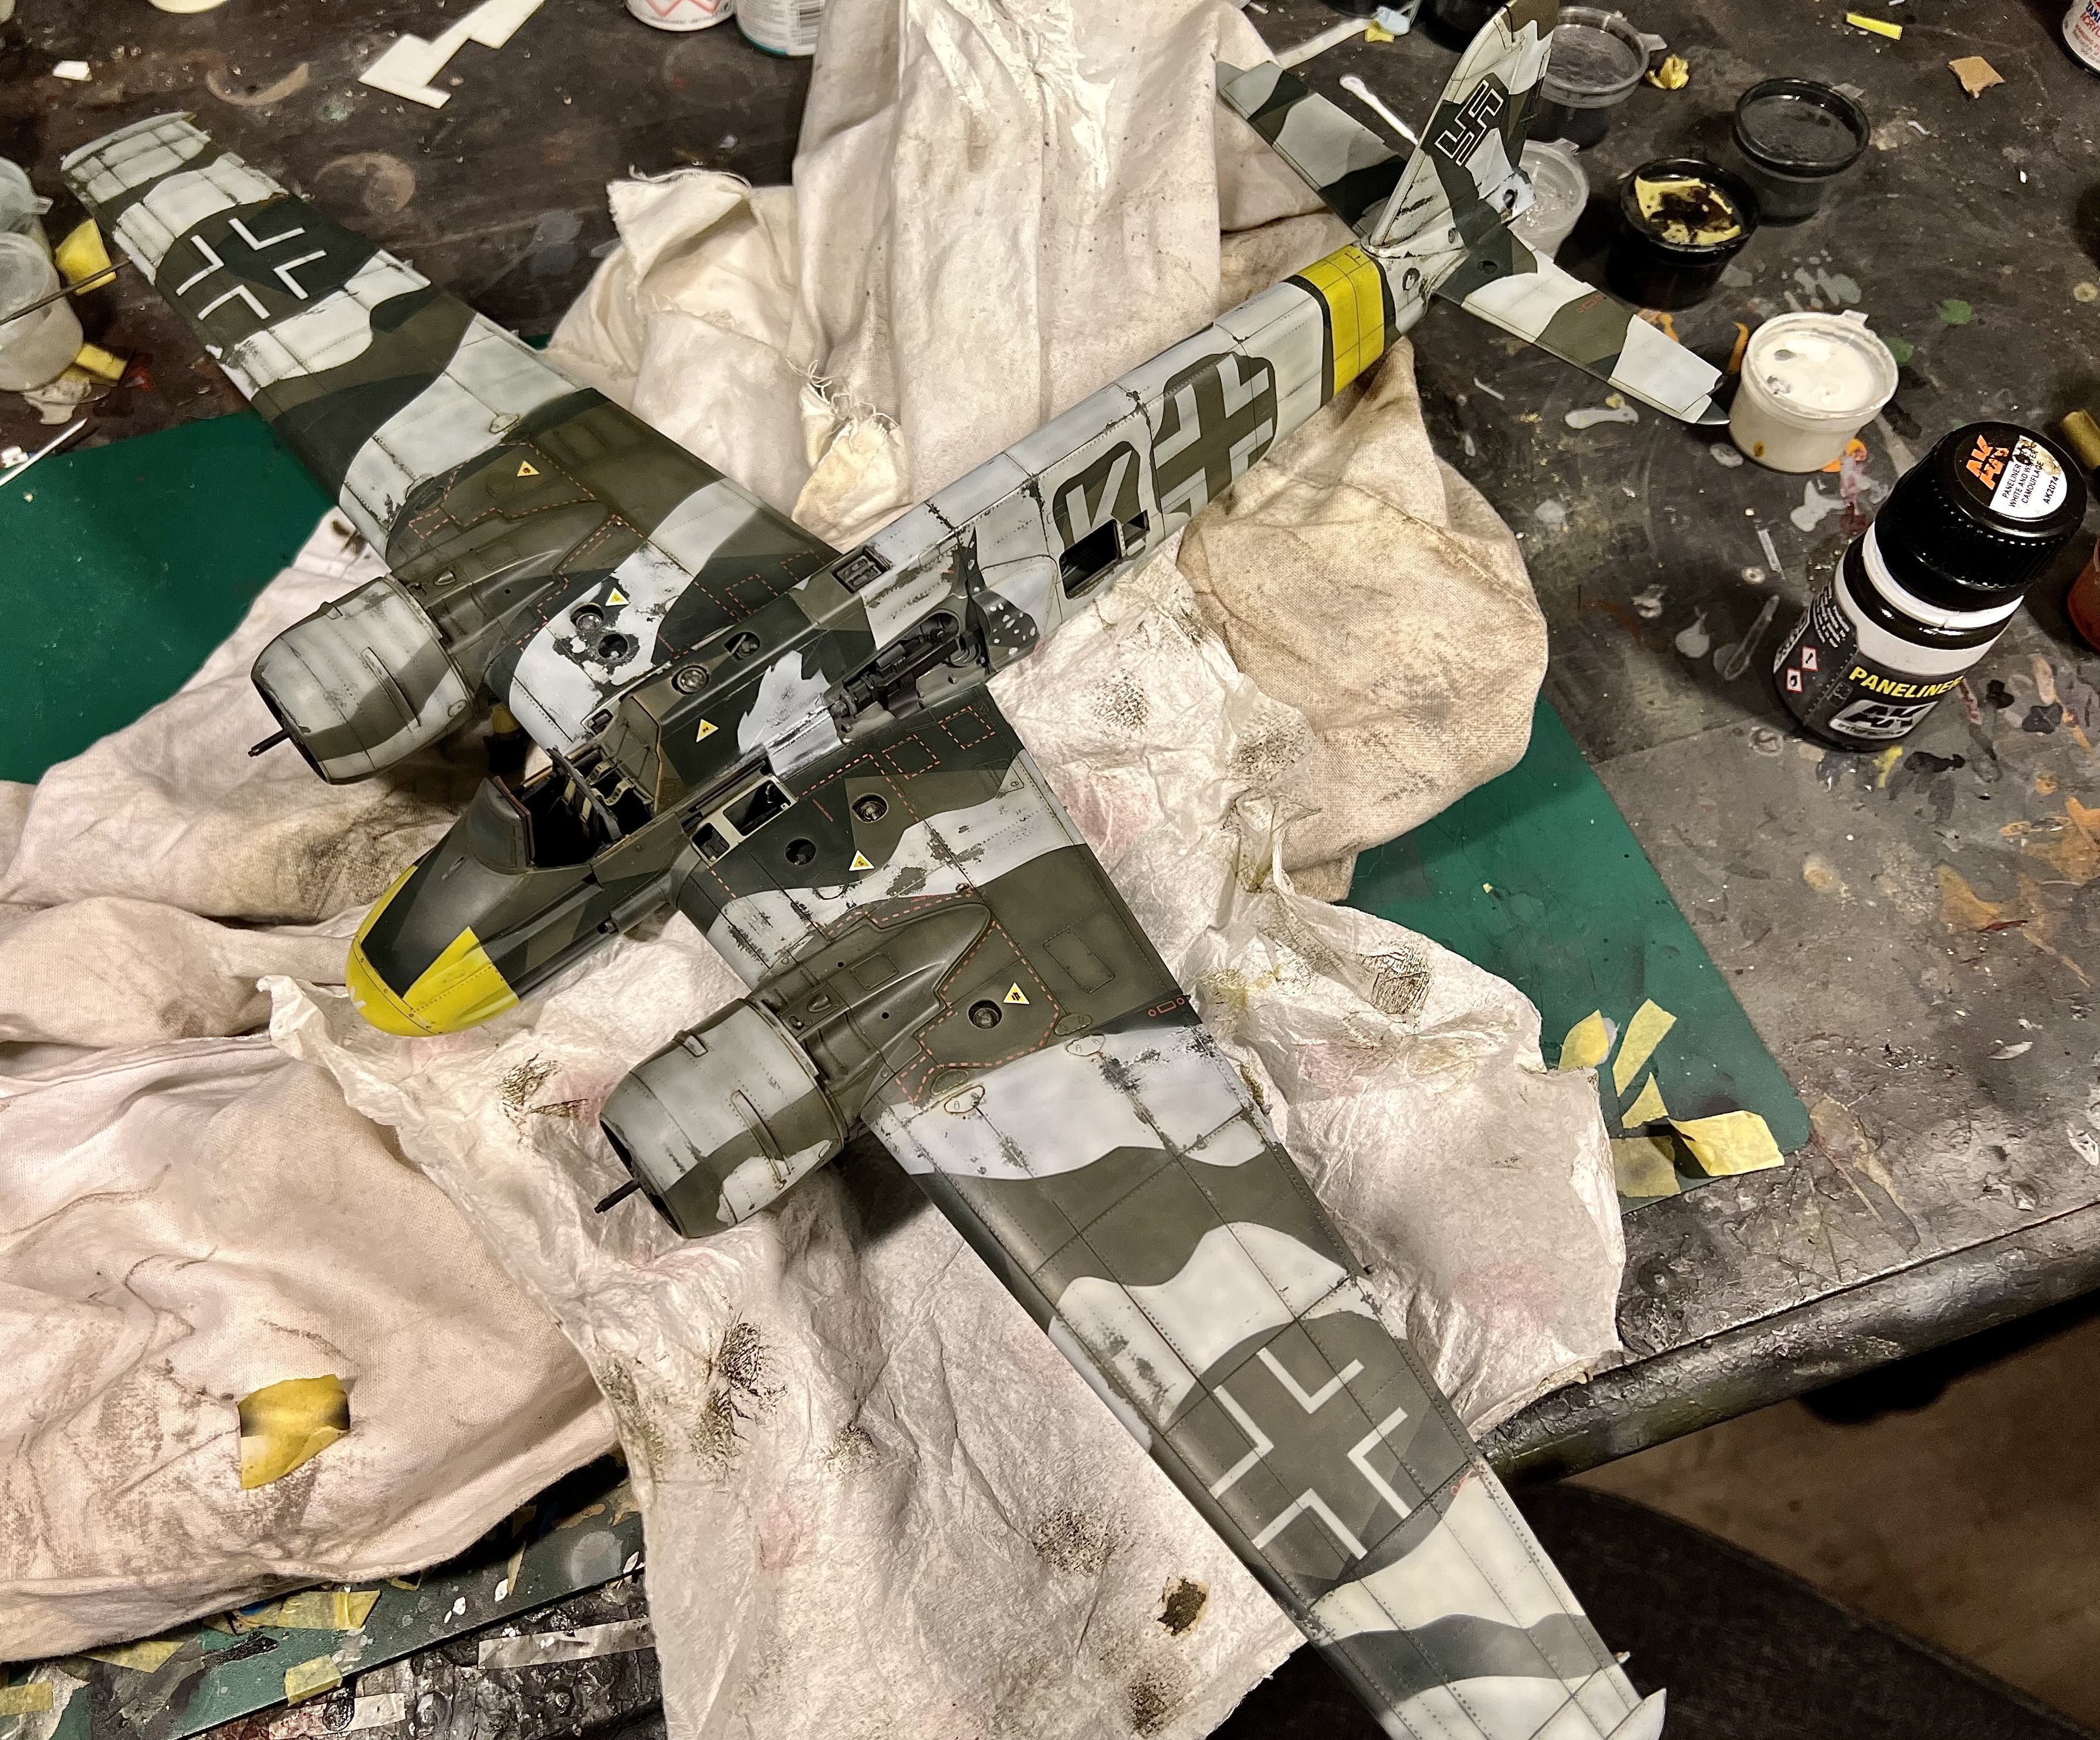
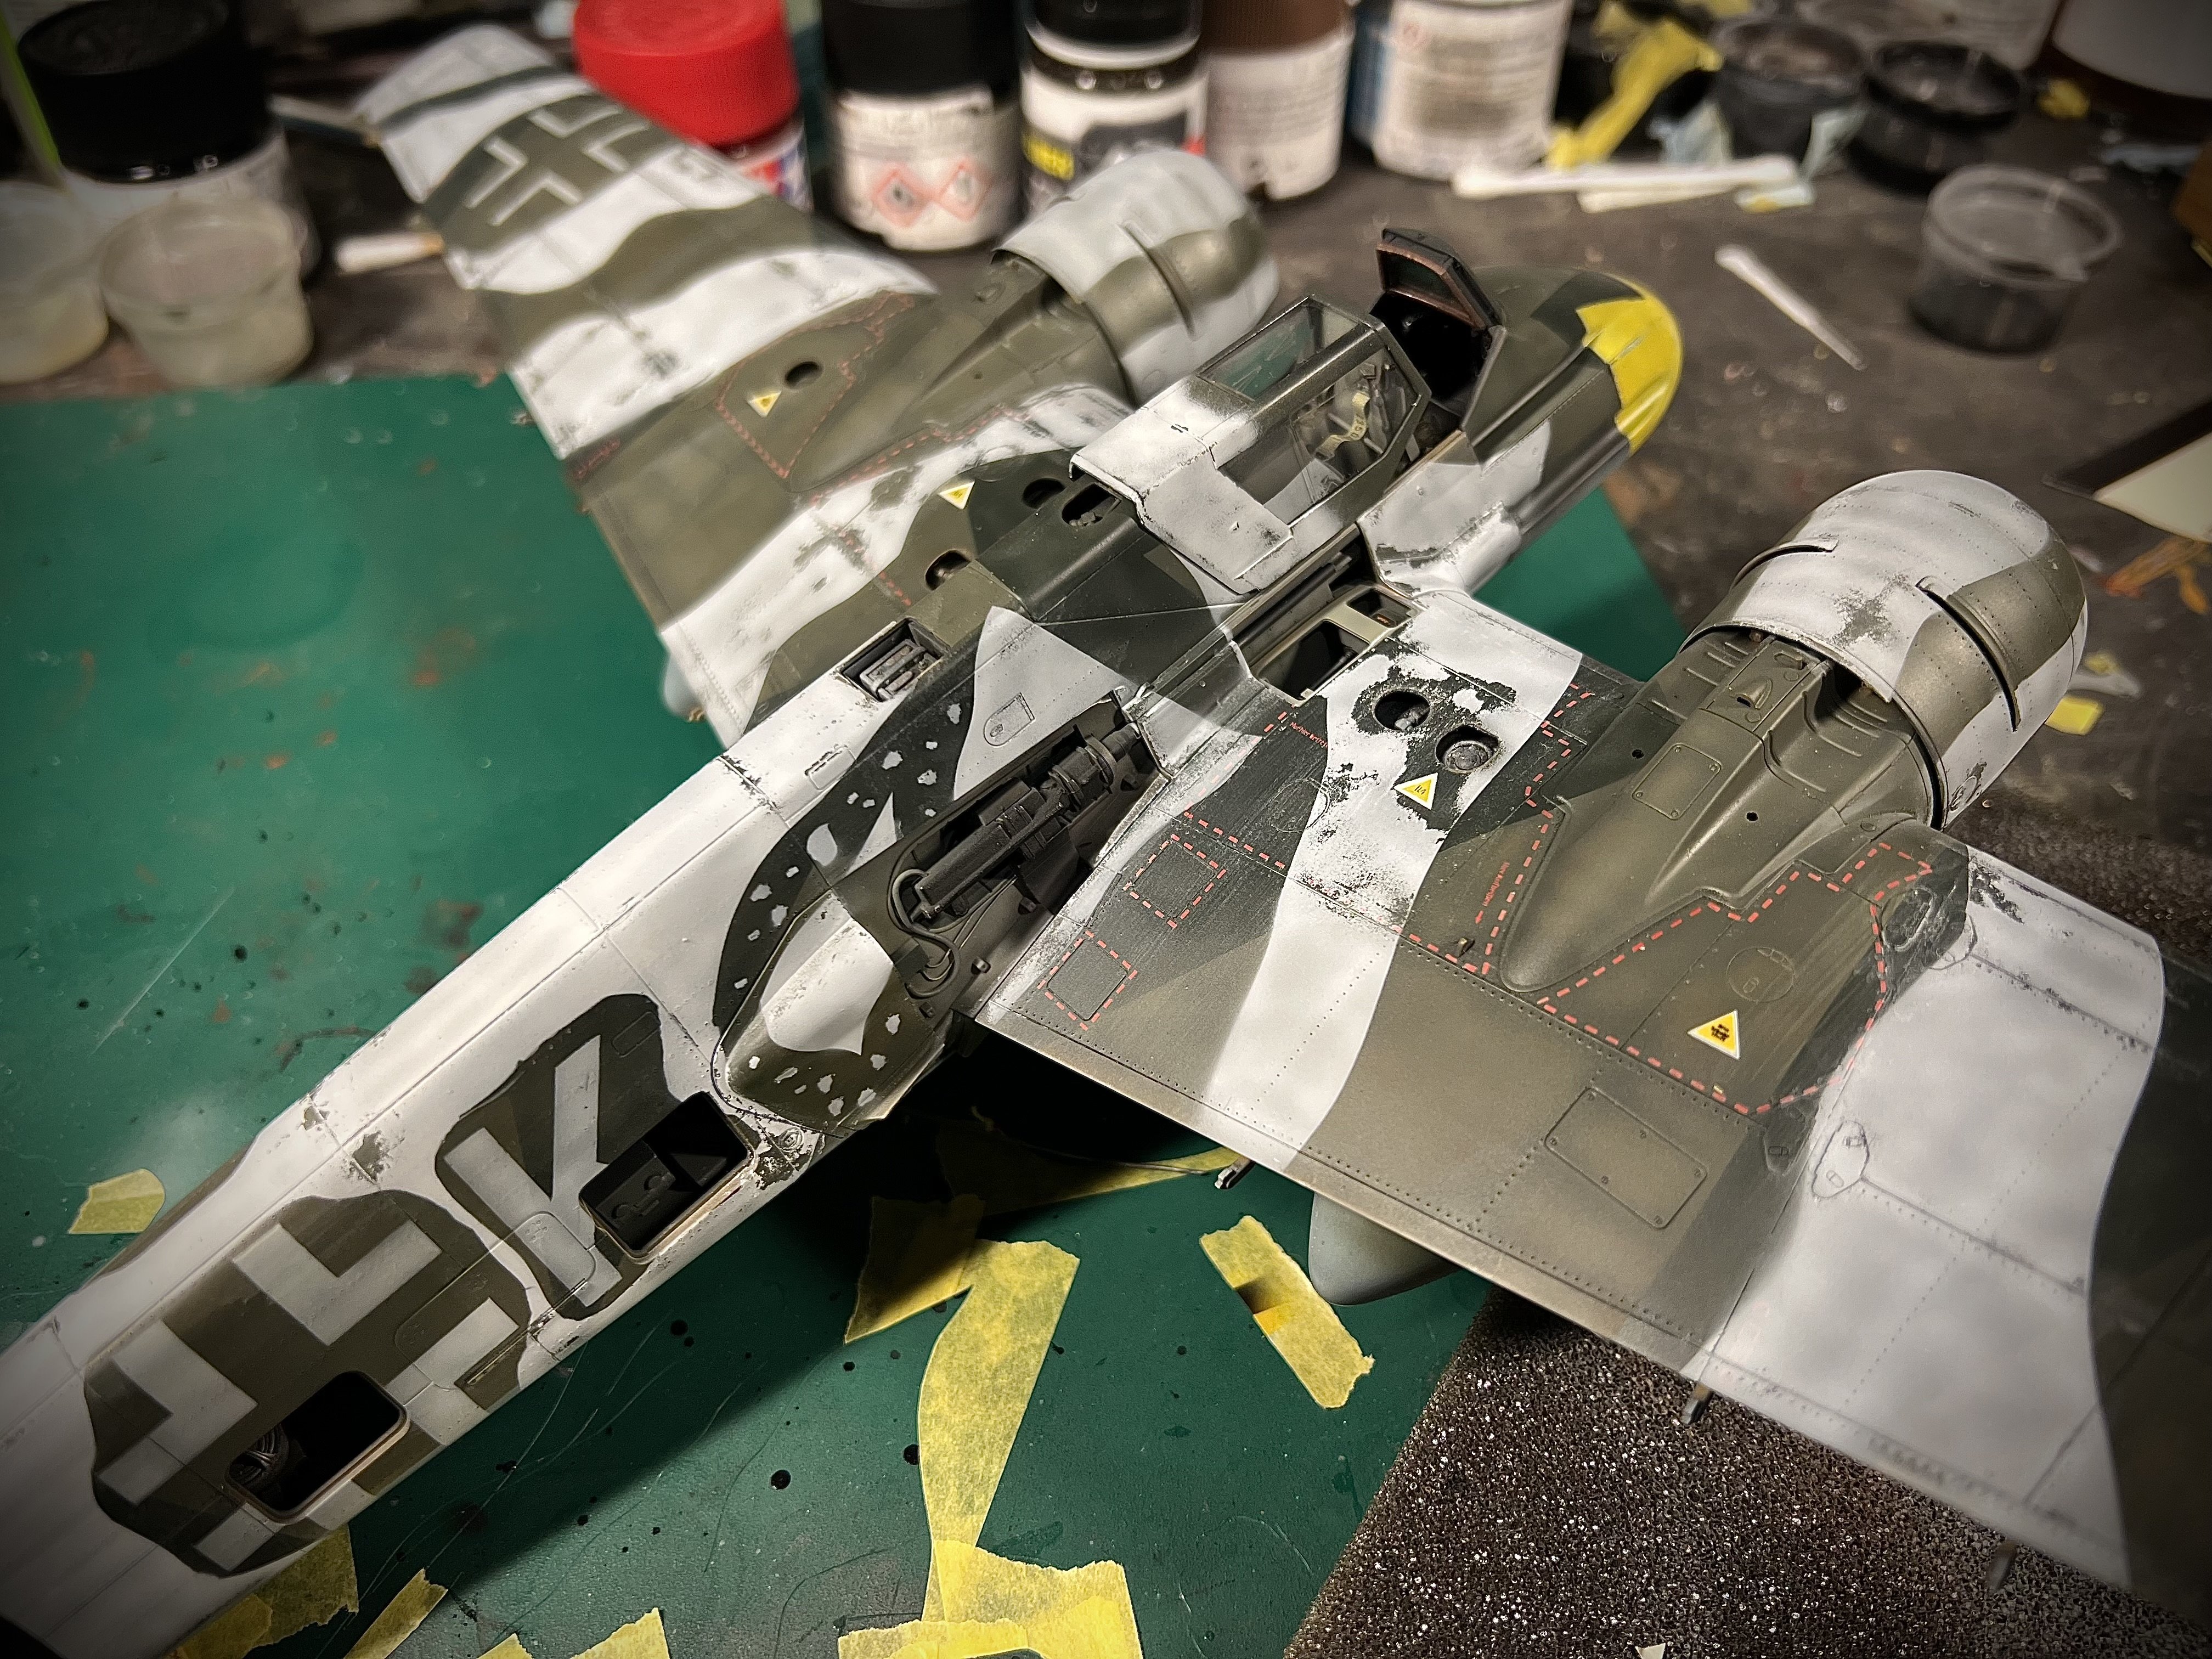
The next phase will take the most time. Pencil weathering, highlights and chipping.
-
Washes

-
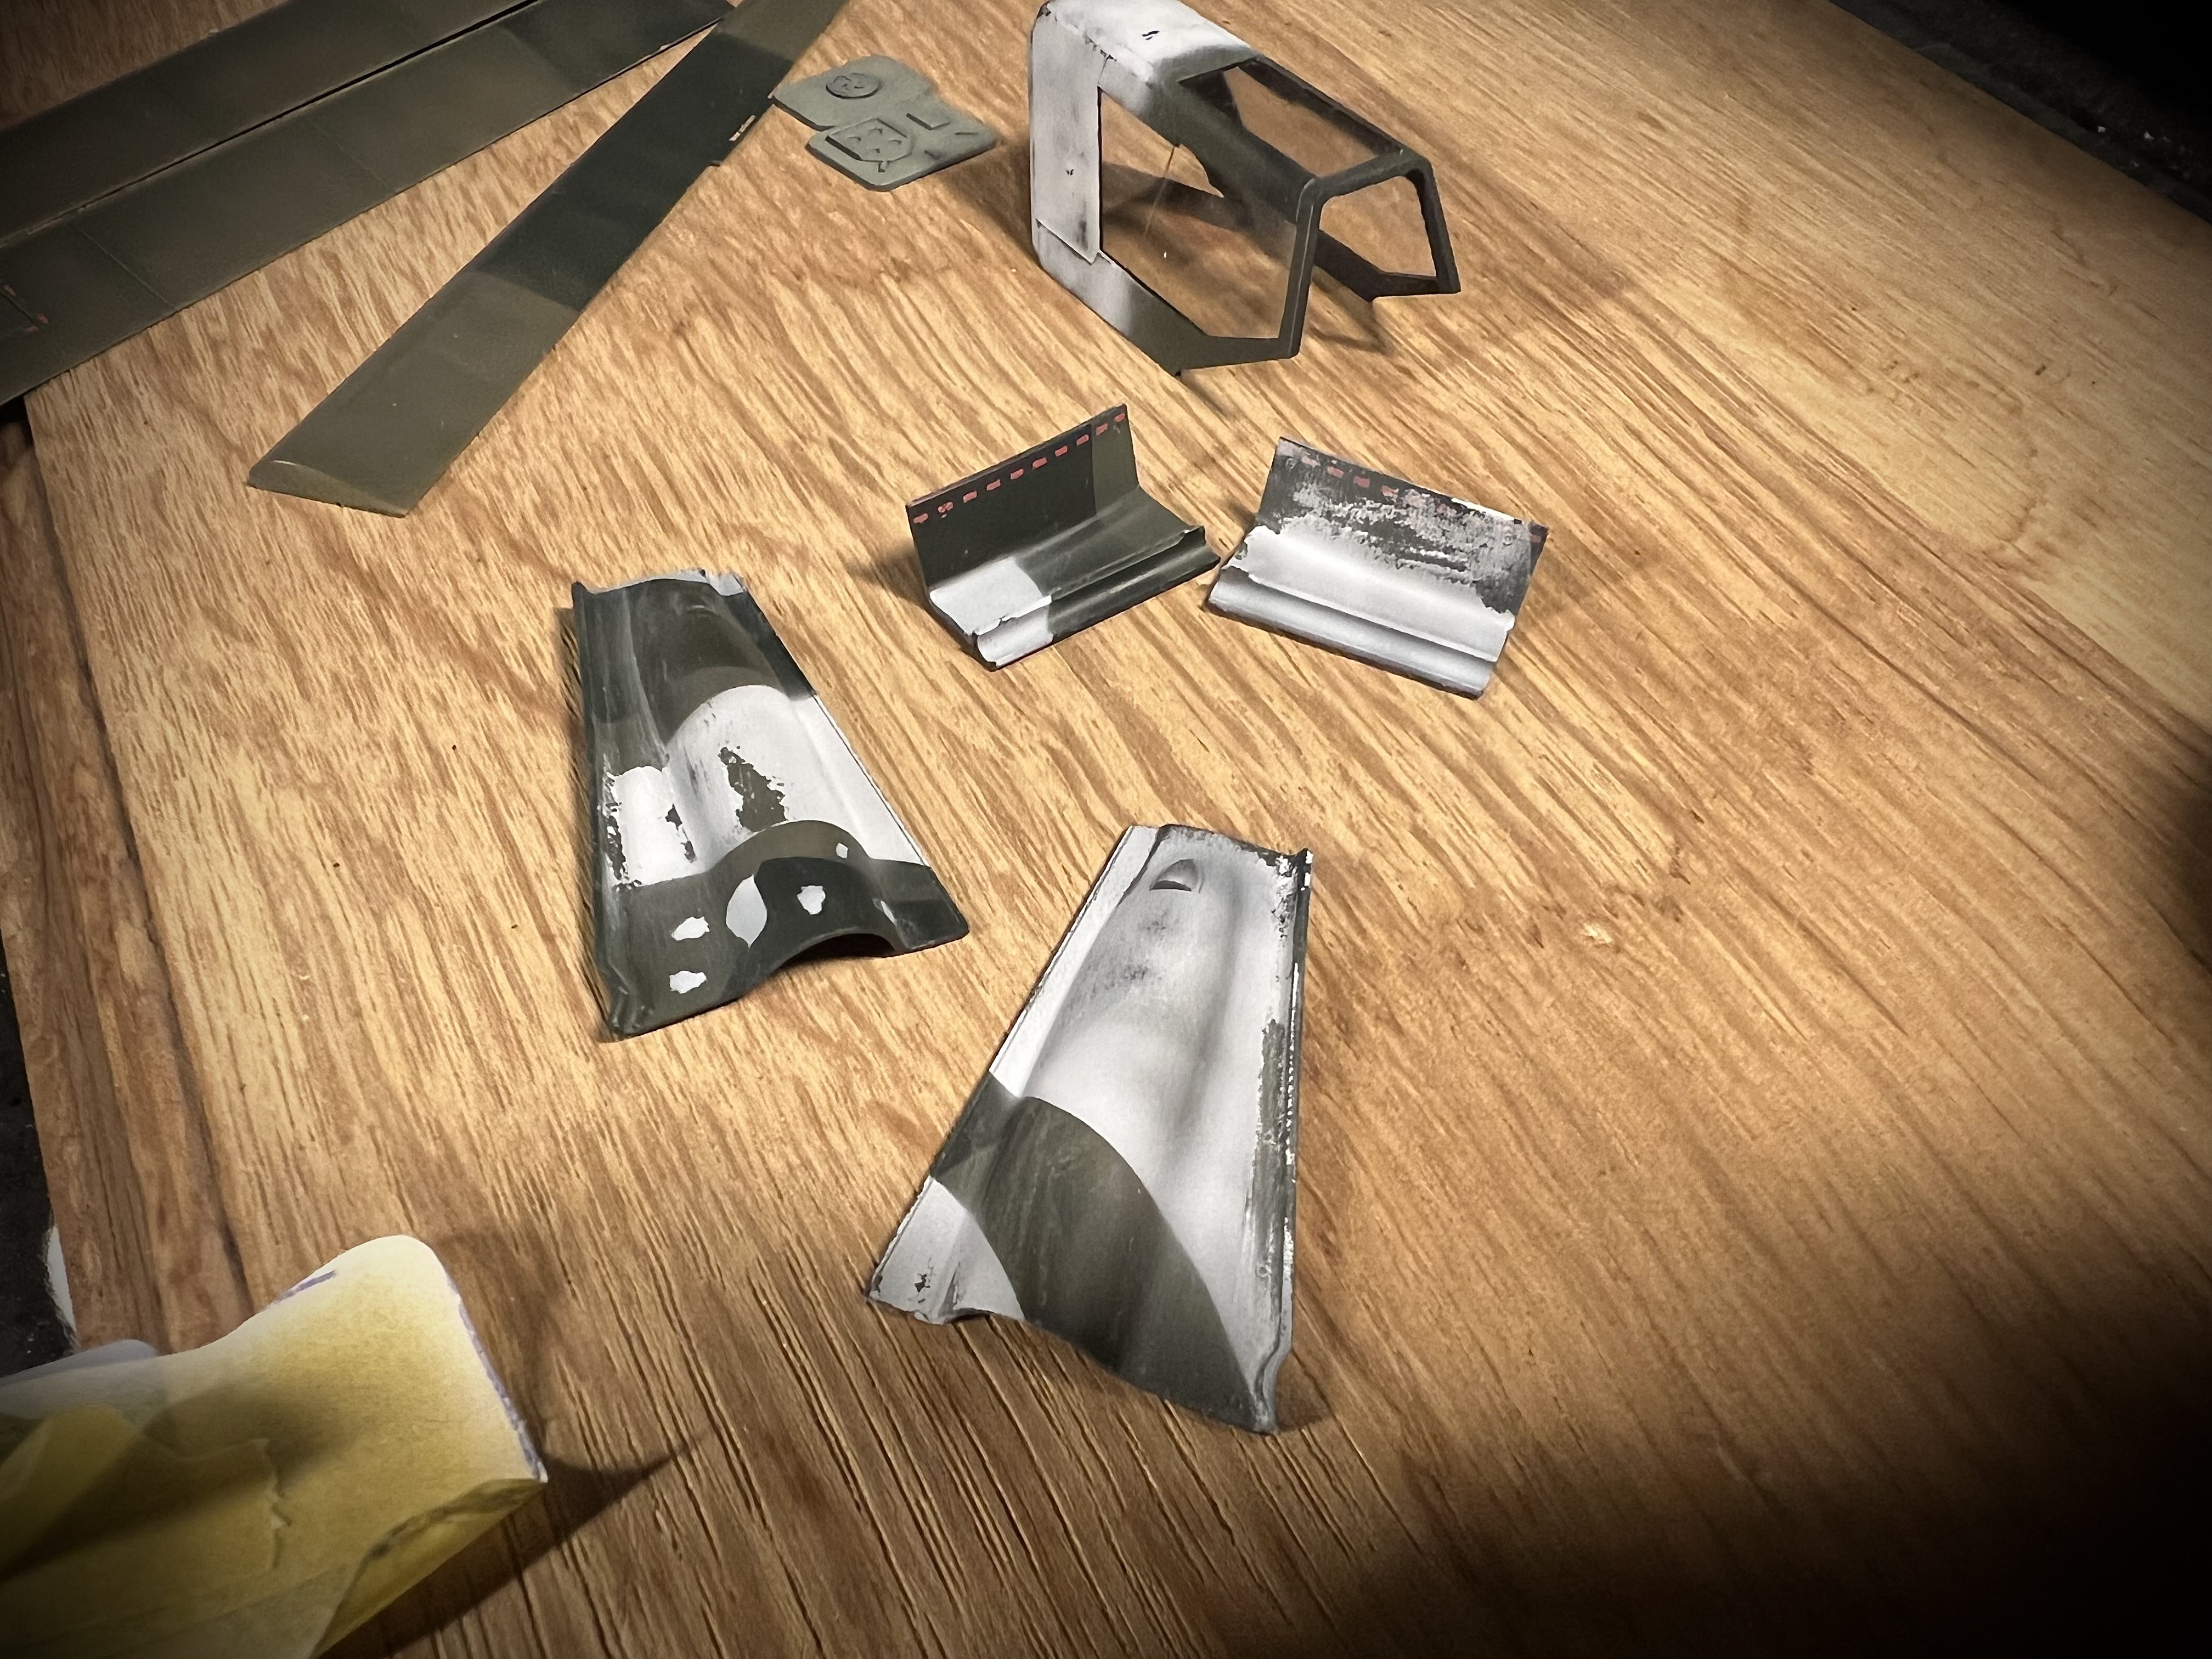
Taking my time with the smaller parts and hatches. Loving the AK weathering pencils
-
Yes i do! Still lots to do but i cant wait to start a new project. A few are lined up 🙃
-
More washes
-
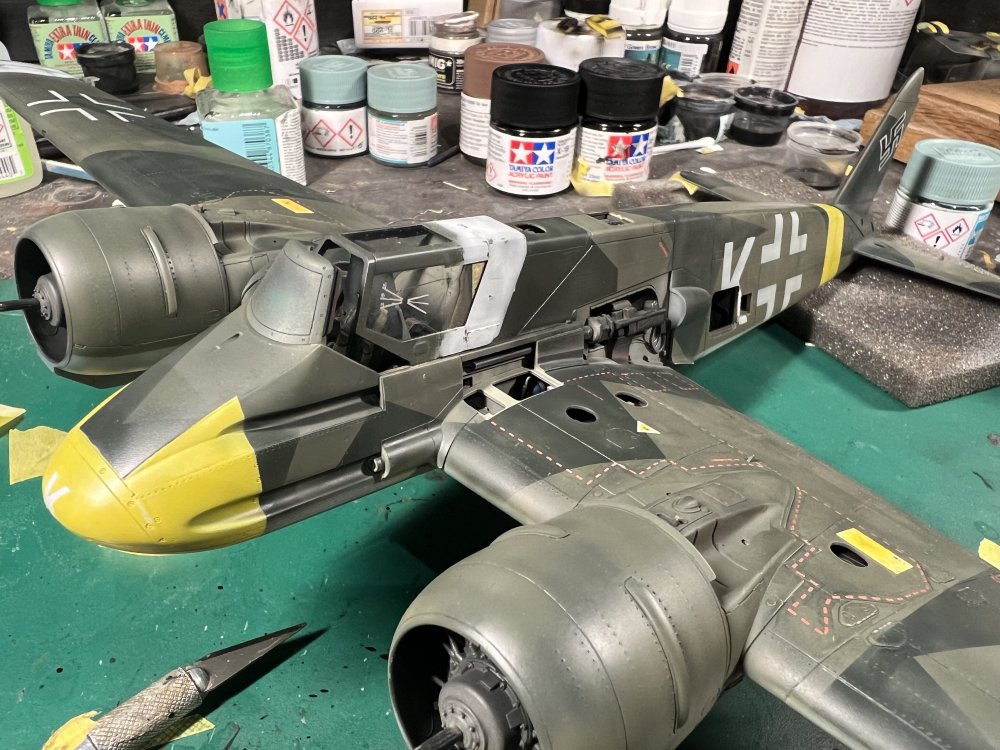
Full speed now. First panelline wash is on

-
Aaaand more


- 256 replies
-
- 10
-
-

-
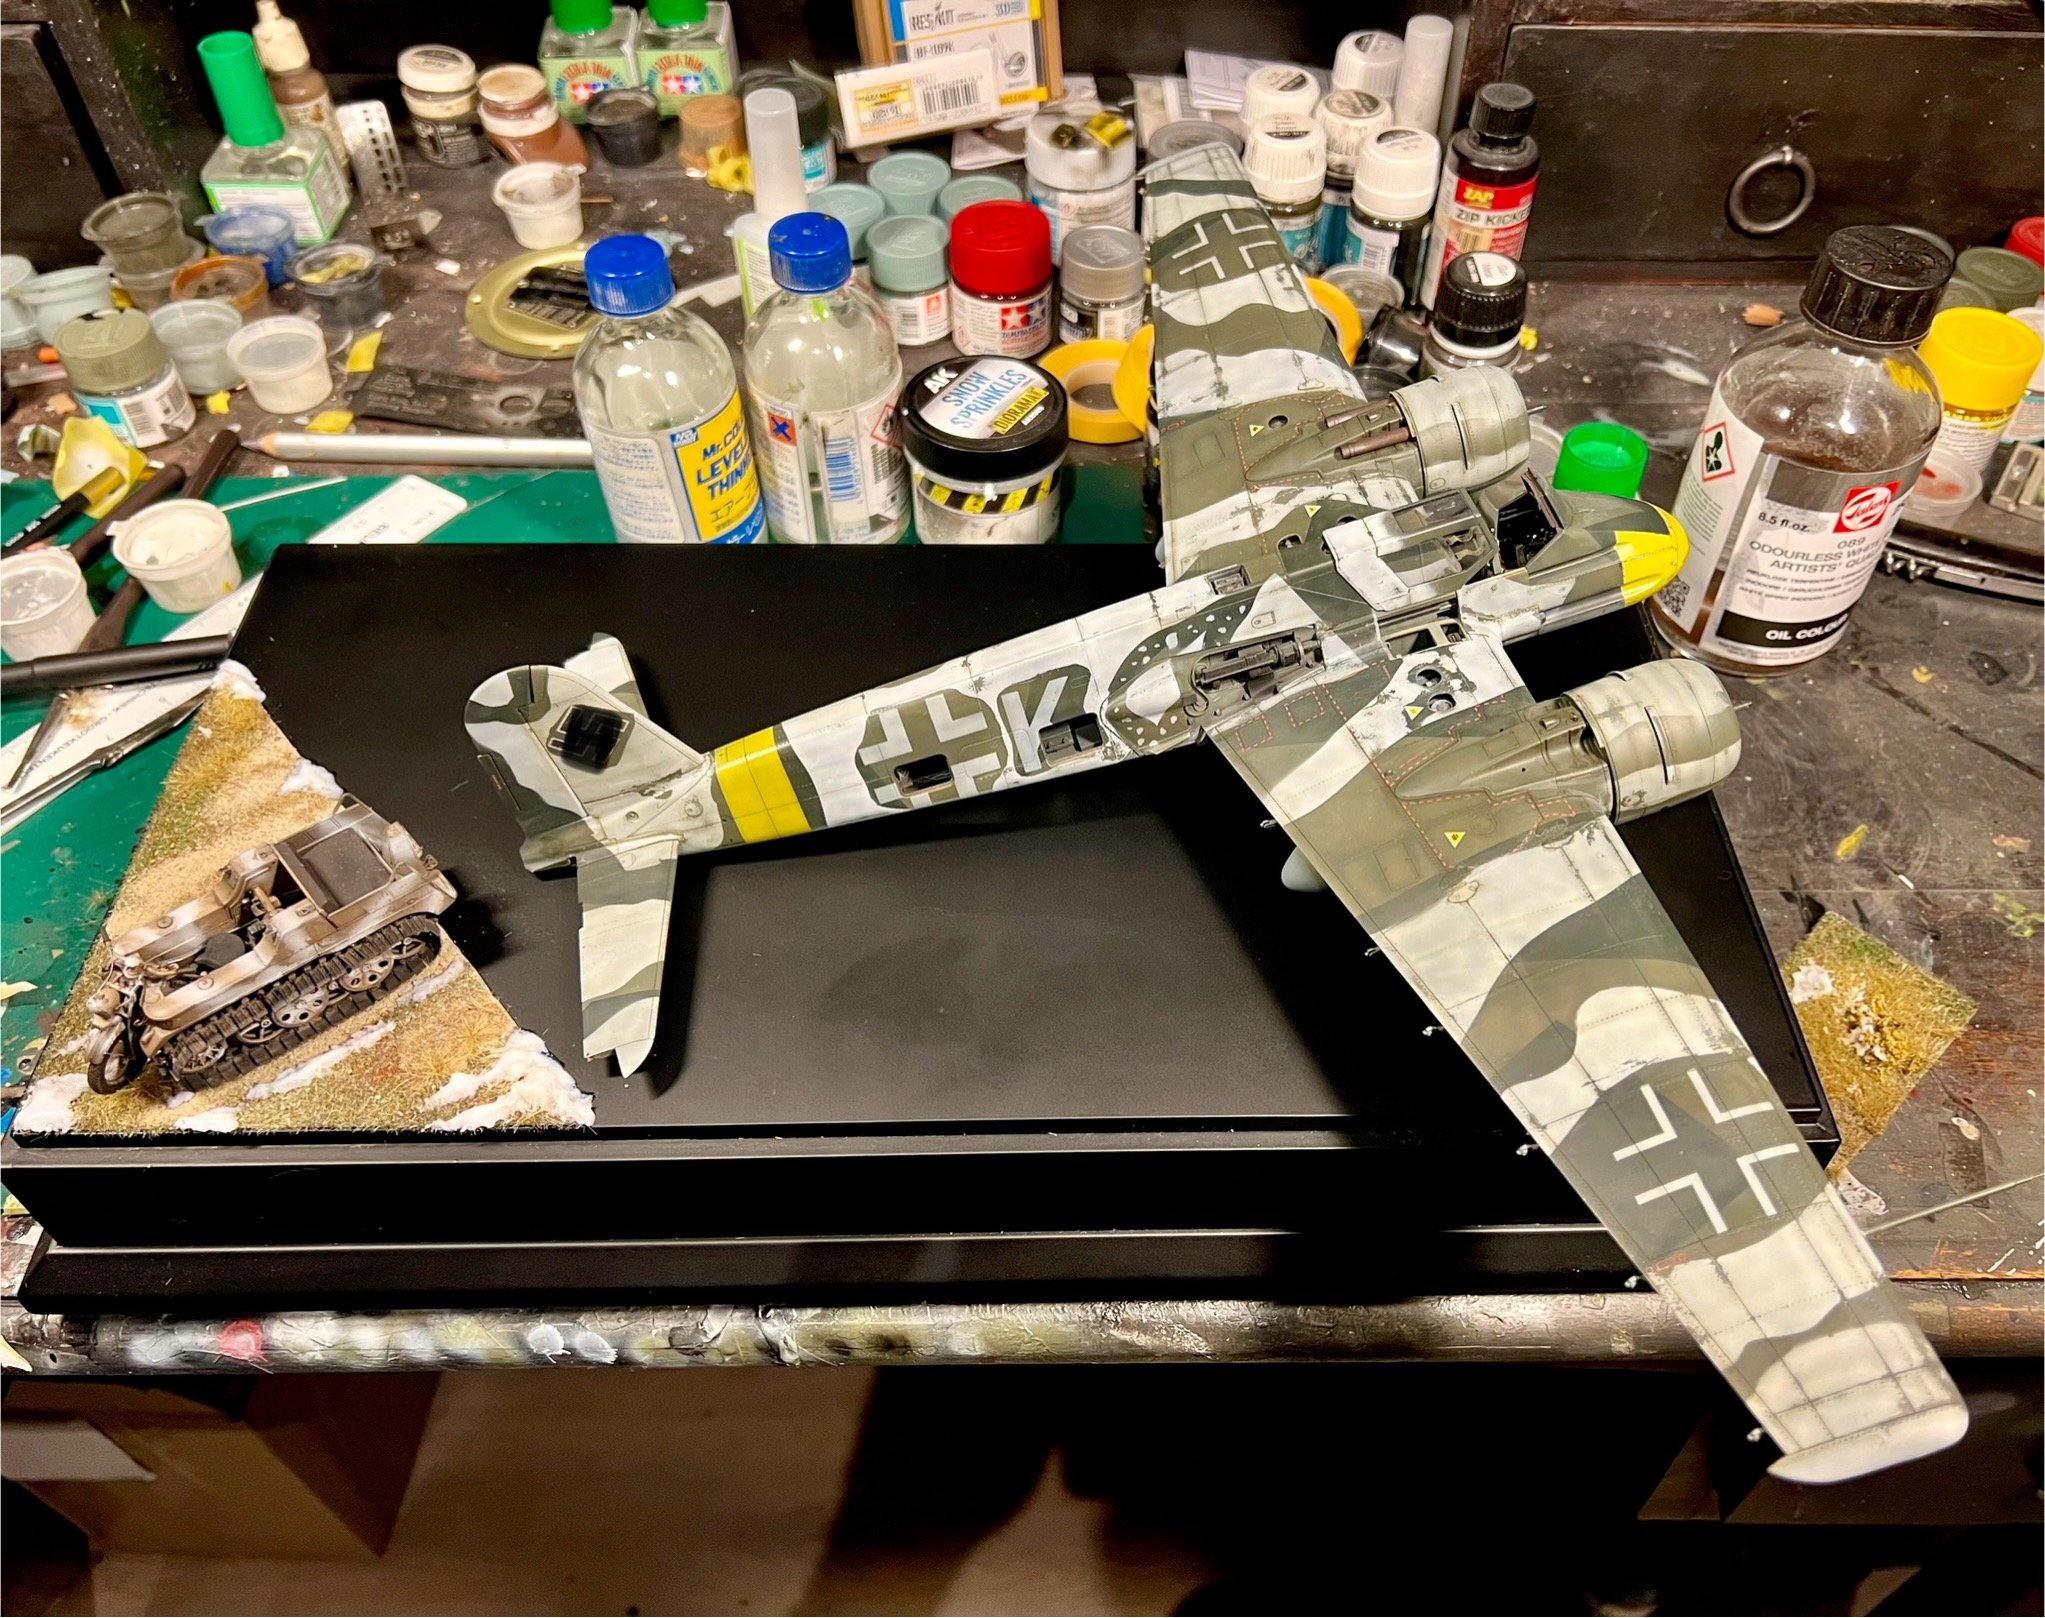
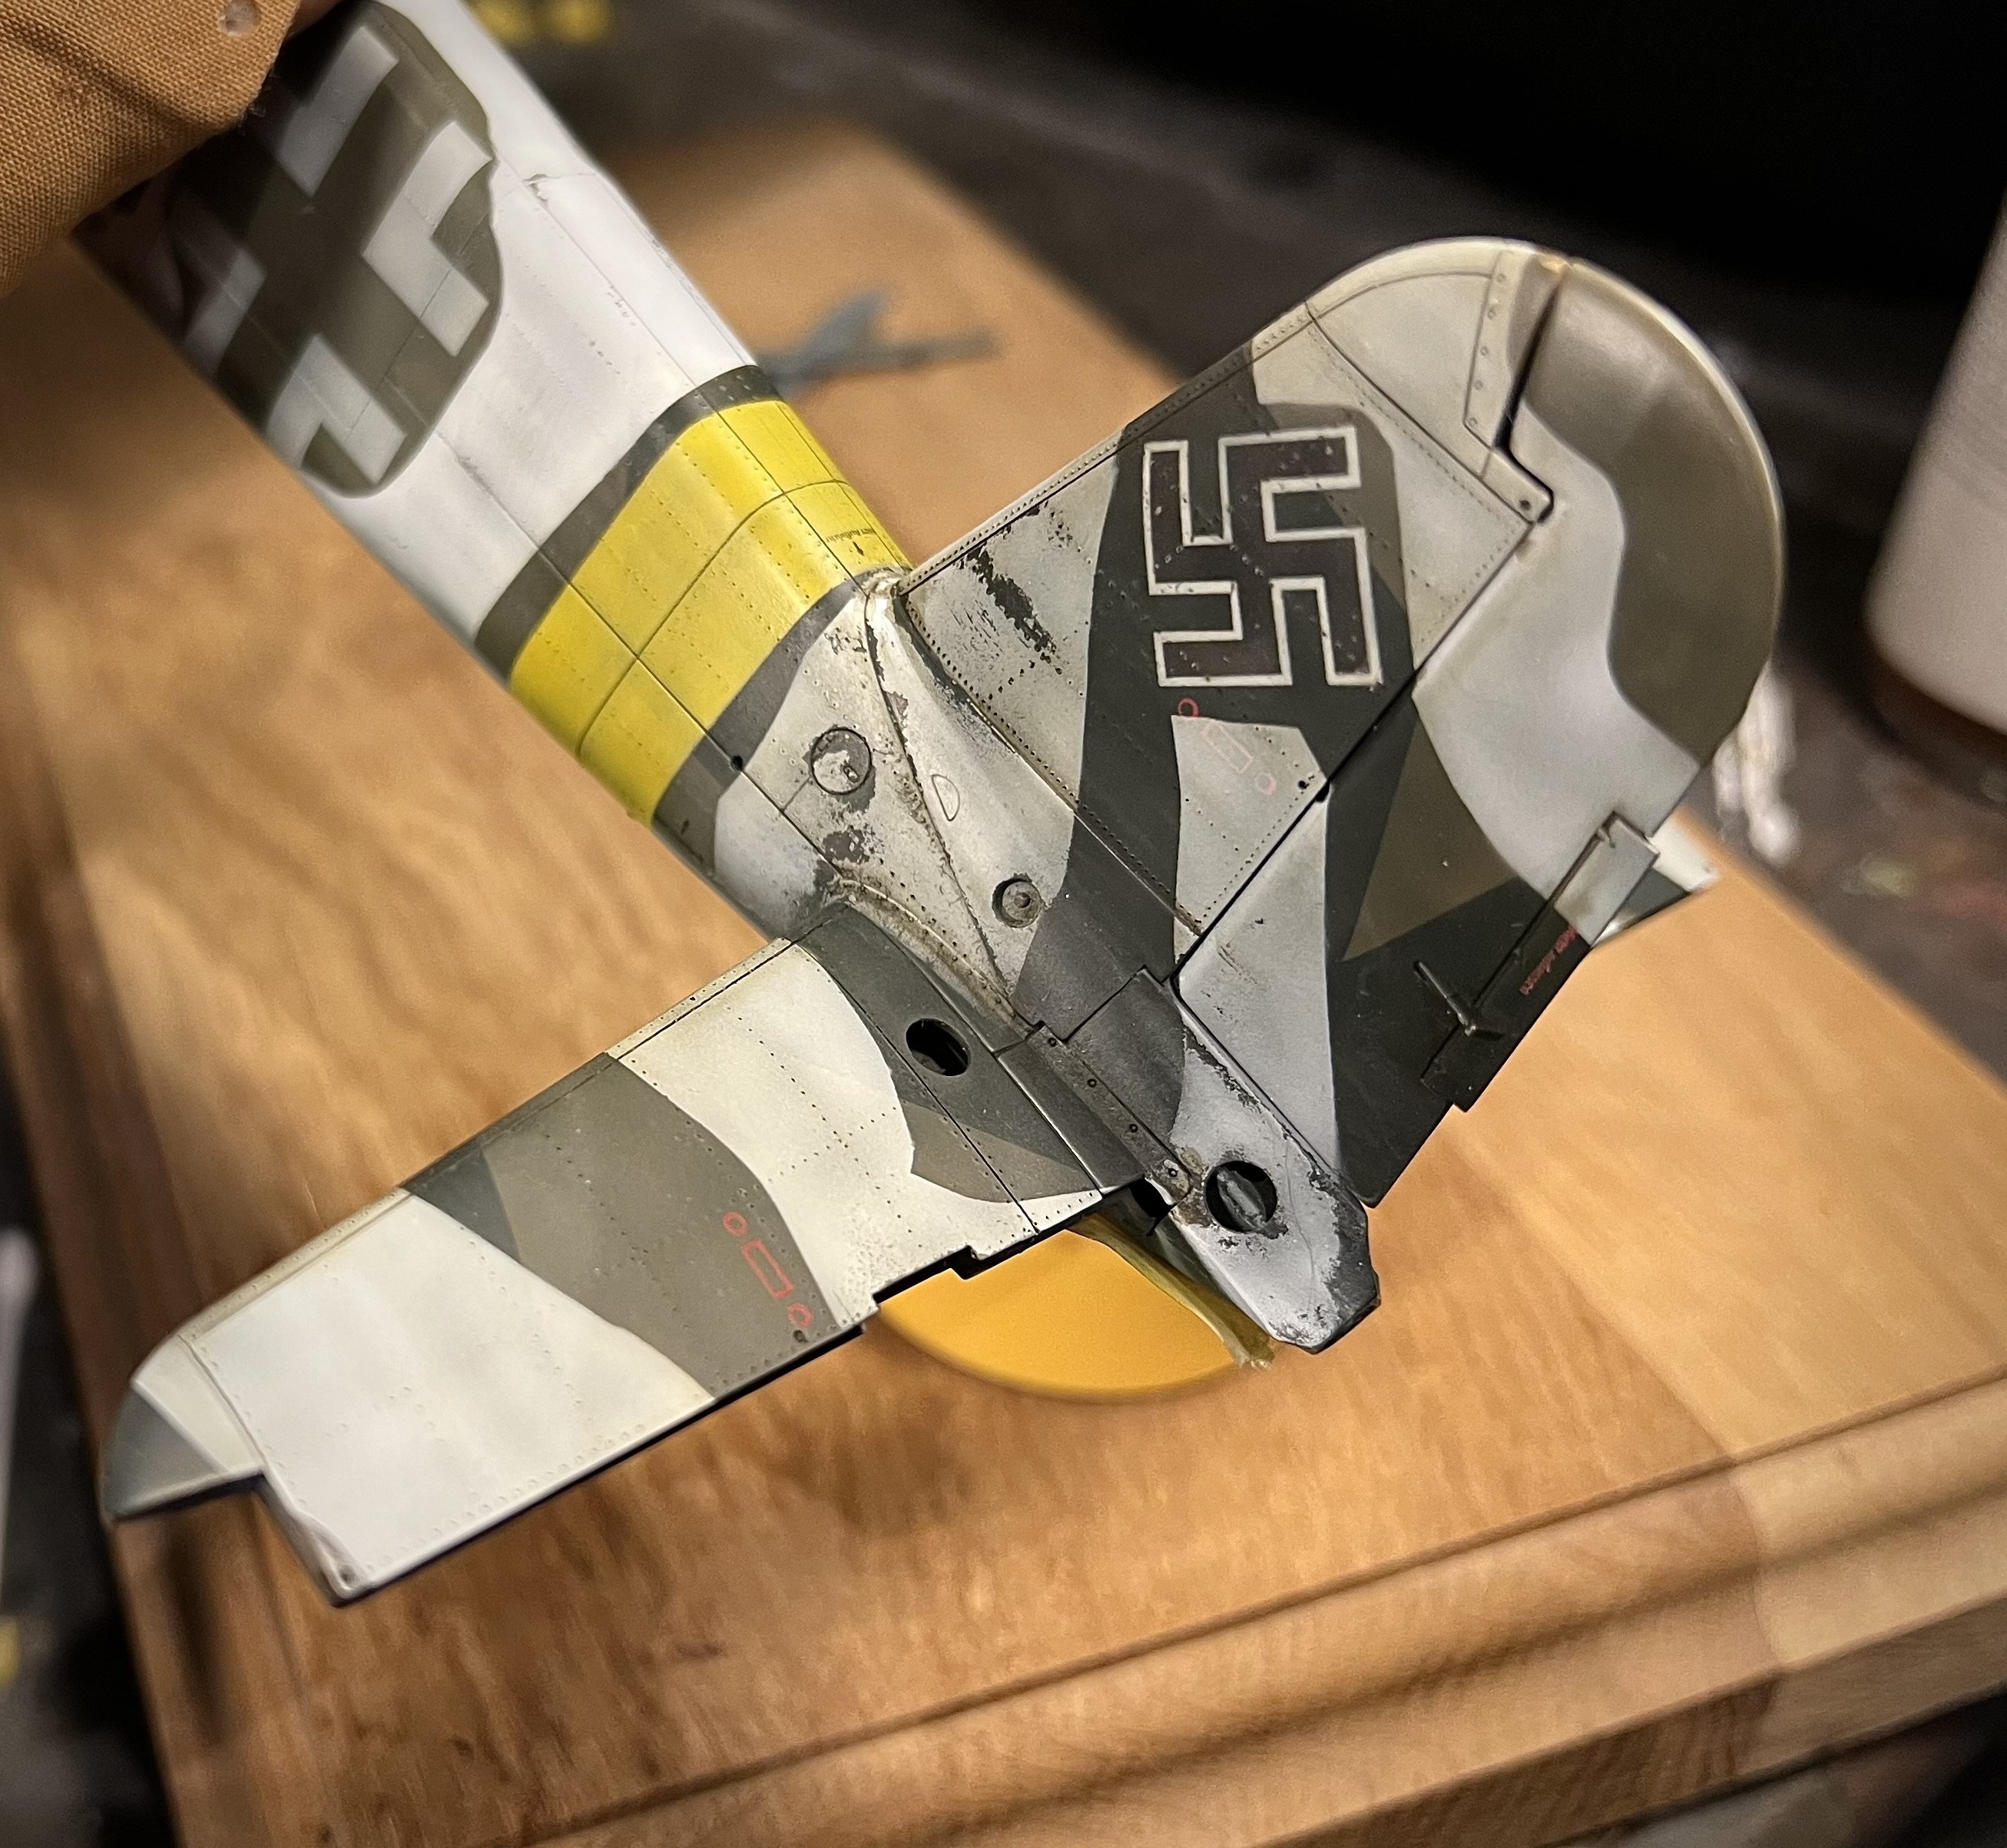
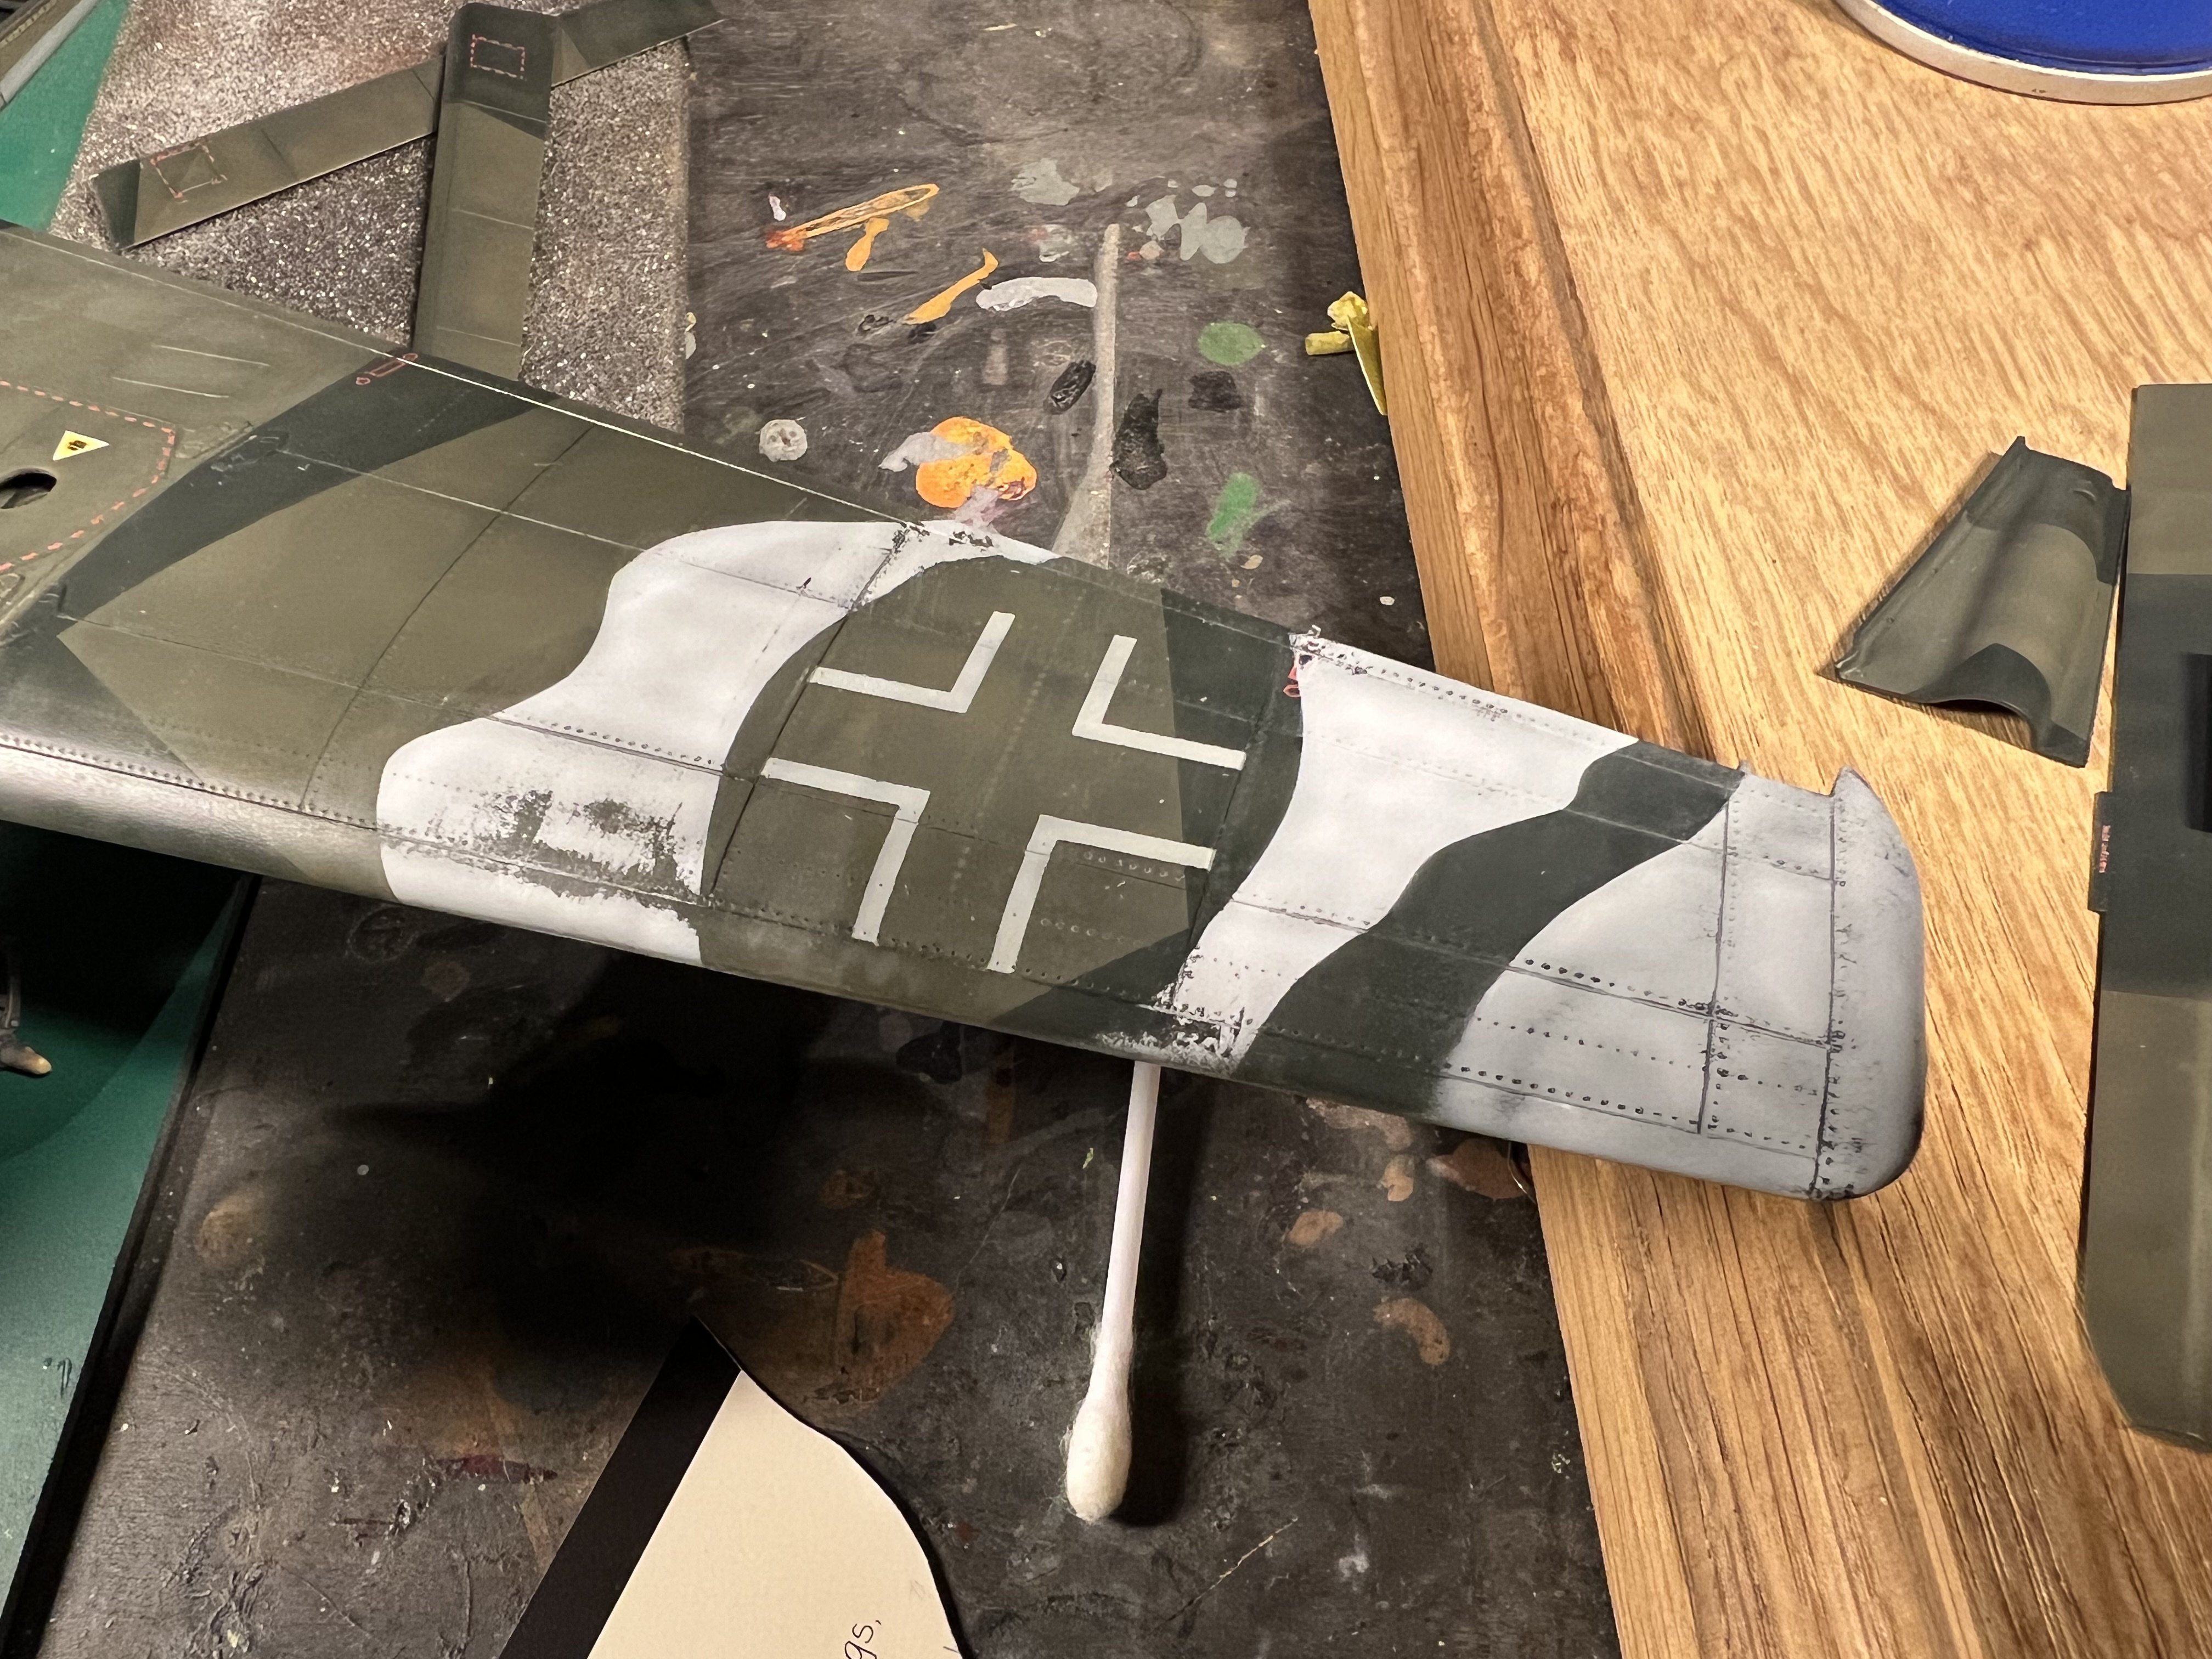
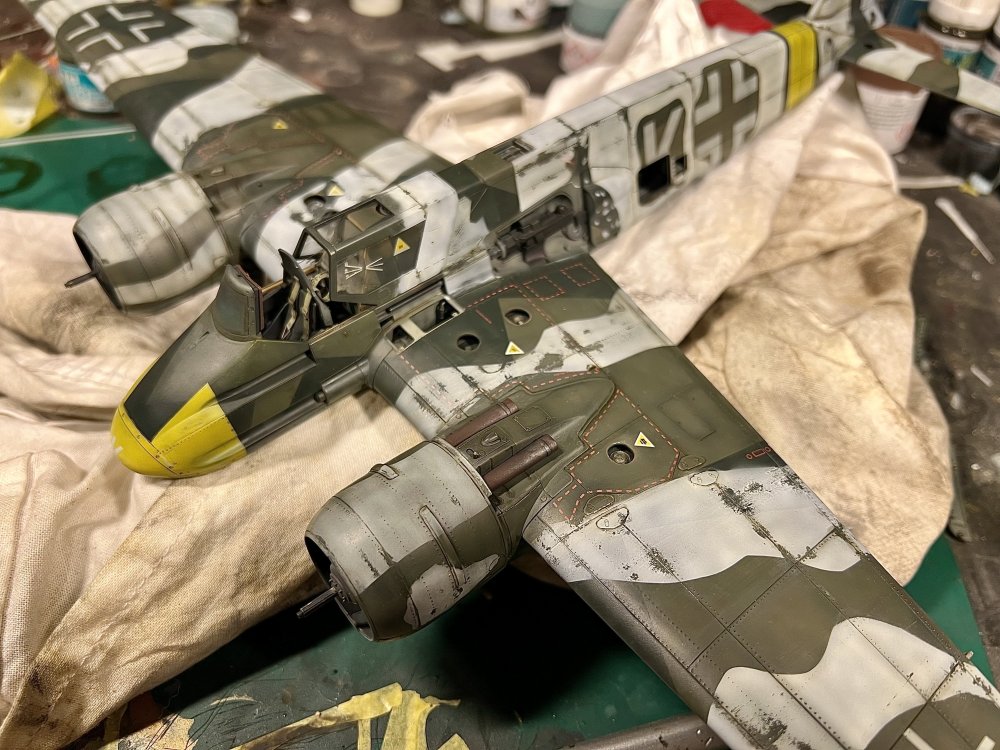
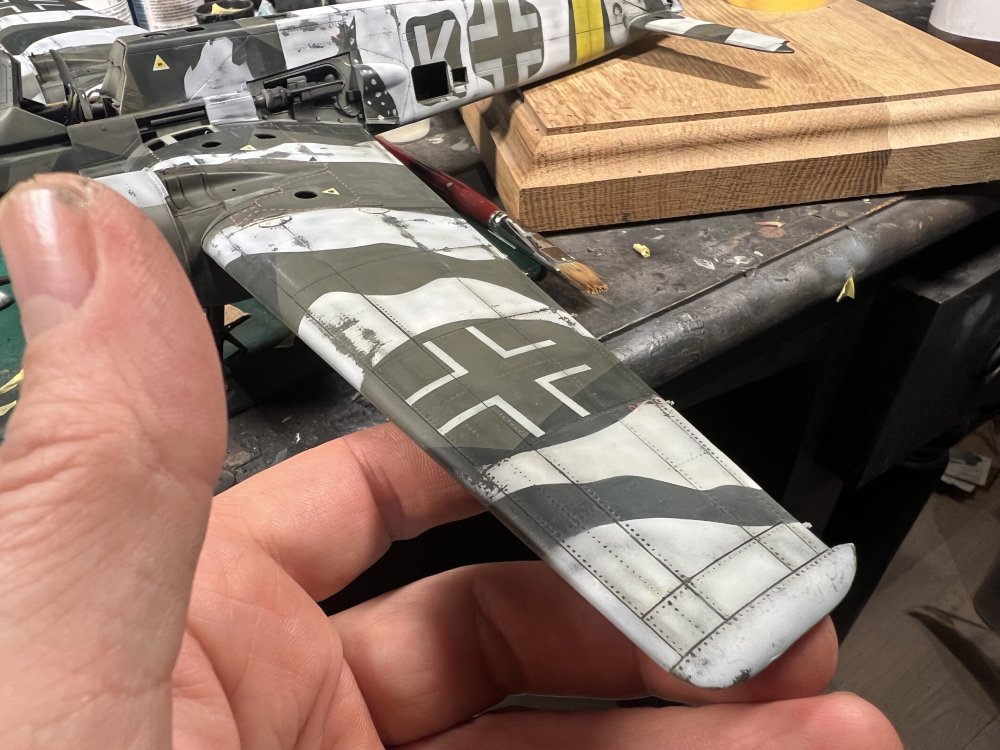
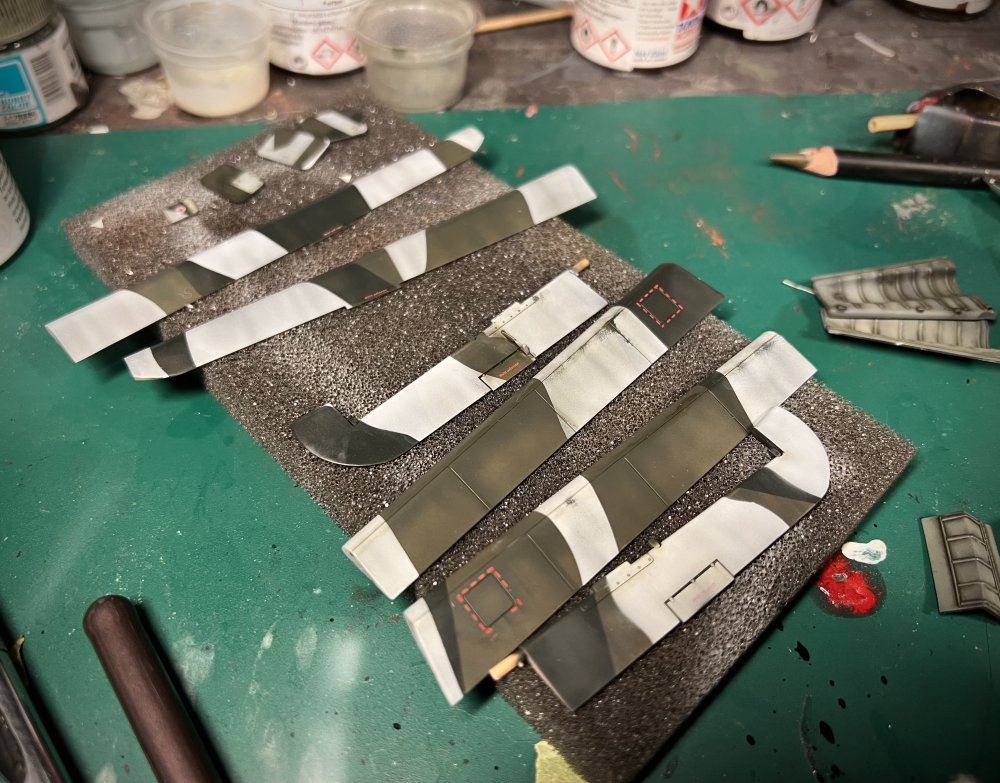
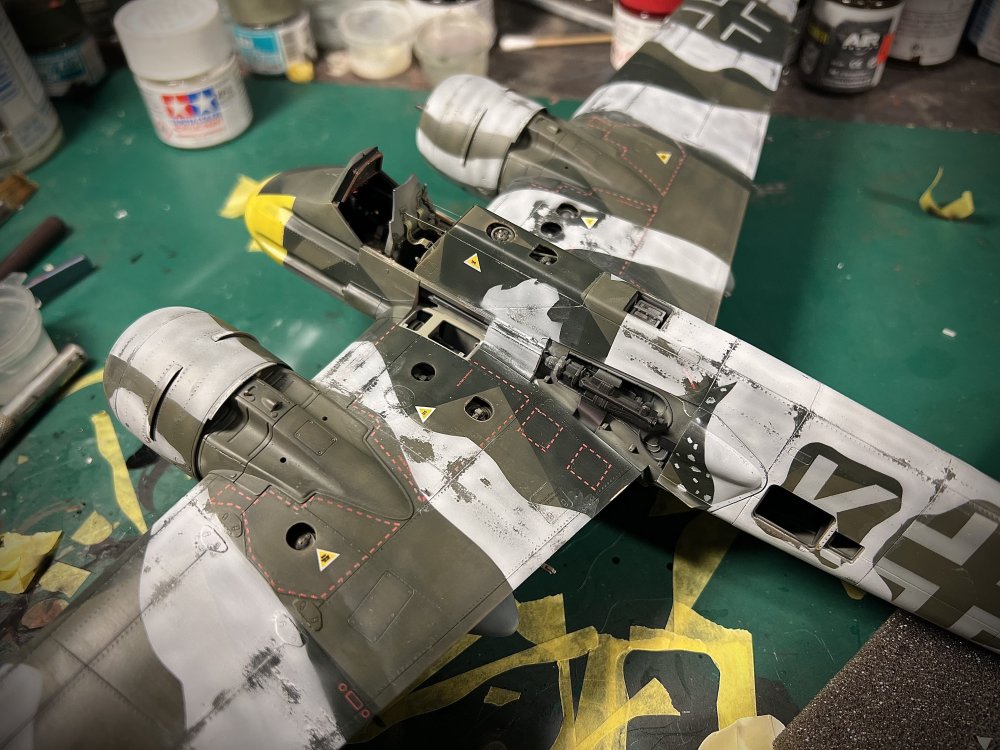
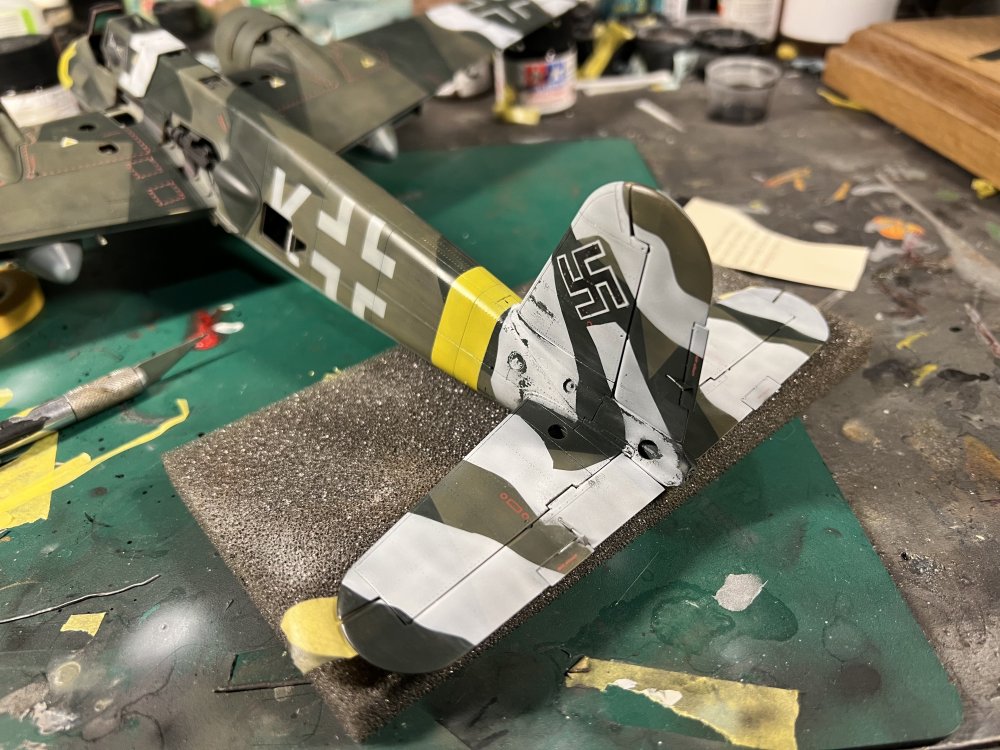
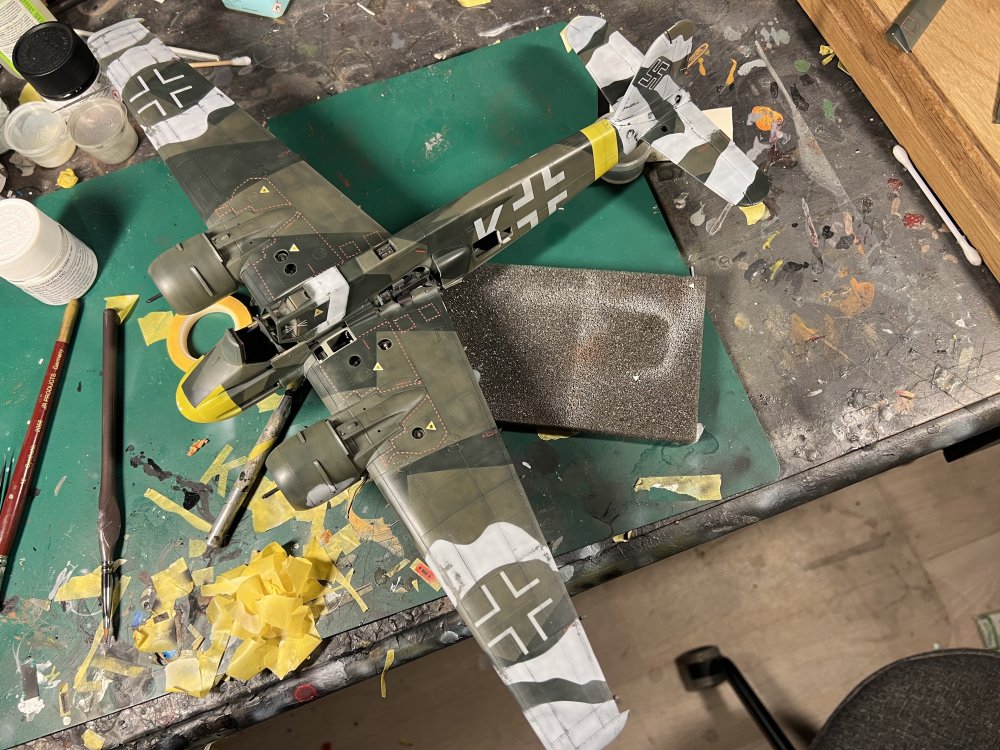
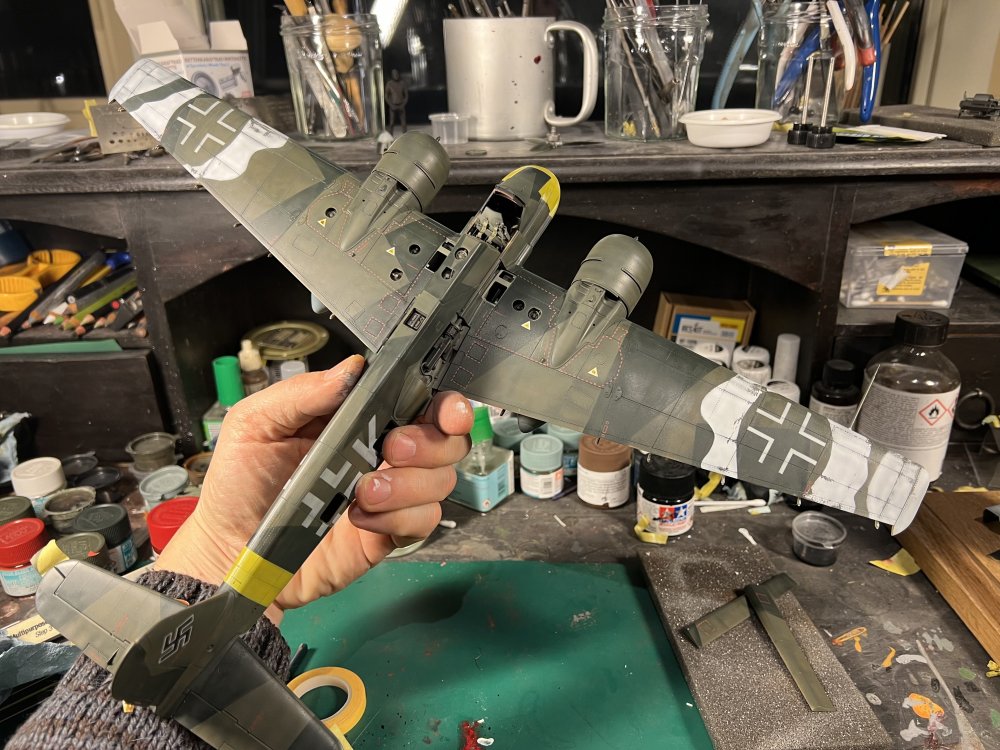
More white camo

-
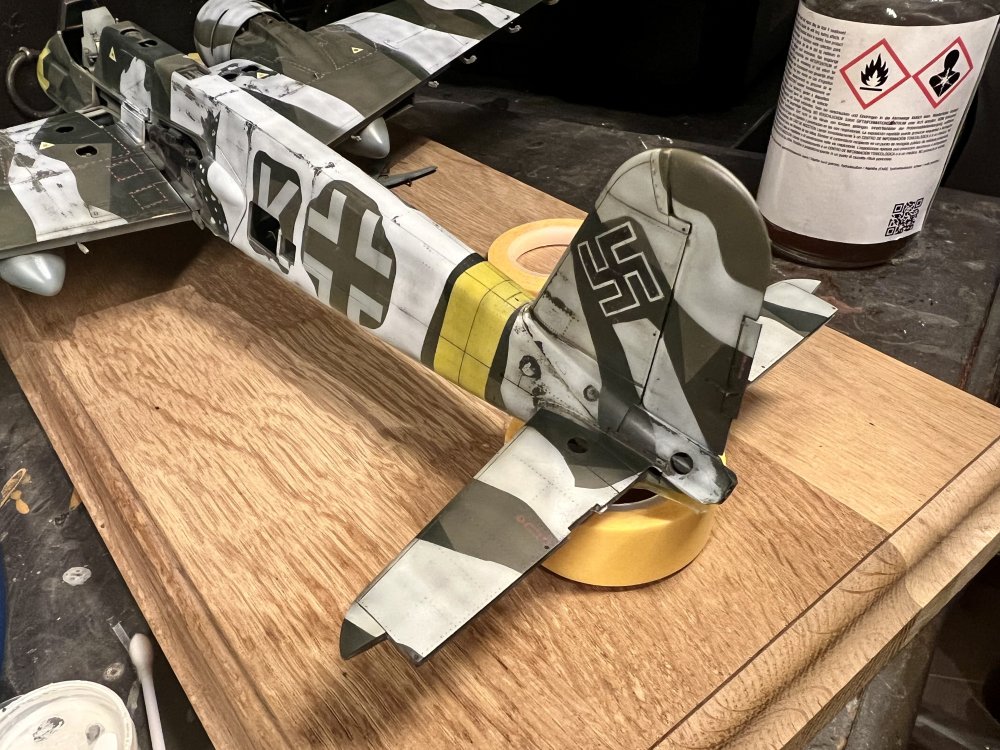
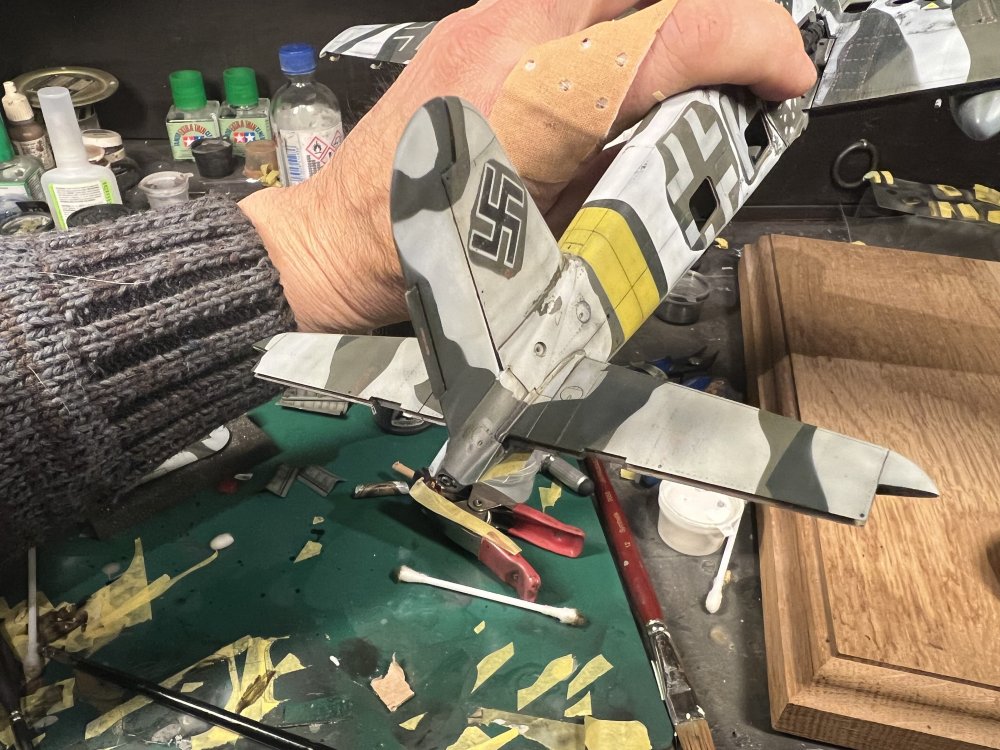
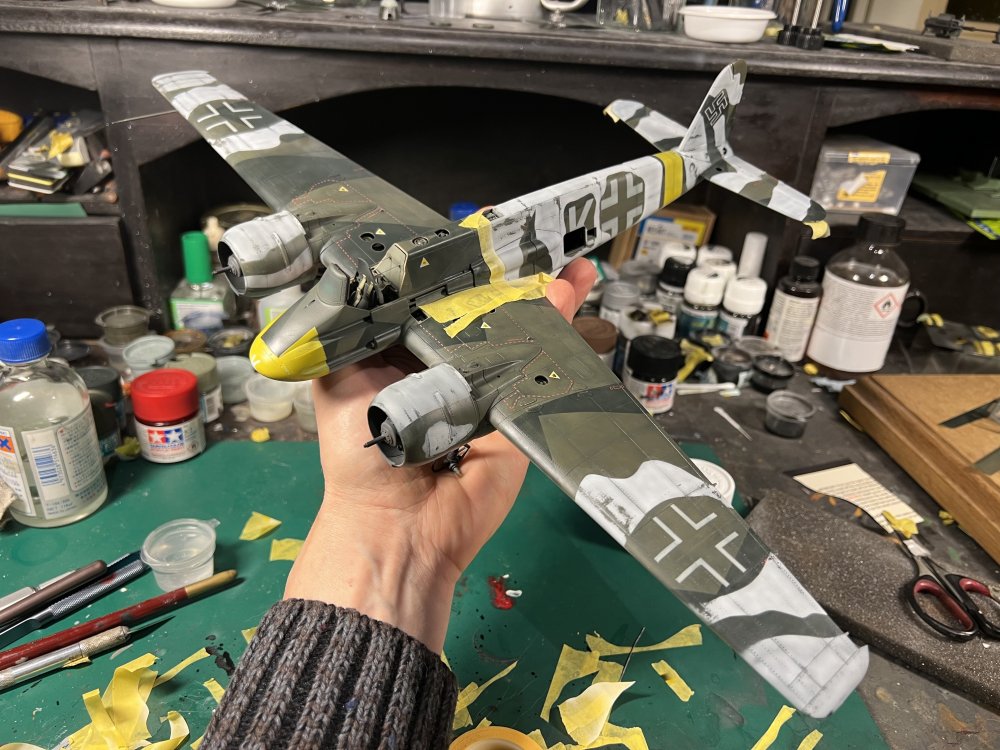
Knitting is what my wife does. Believe me: she swears a whole lot more that i do with my hobby! 😂 just airbrushed the tail. No swearing was involved
- 256 replies
-
- 11
-
-
-
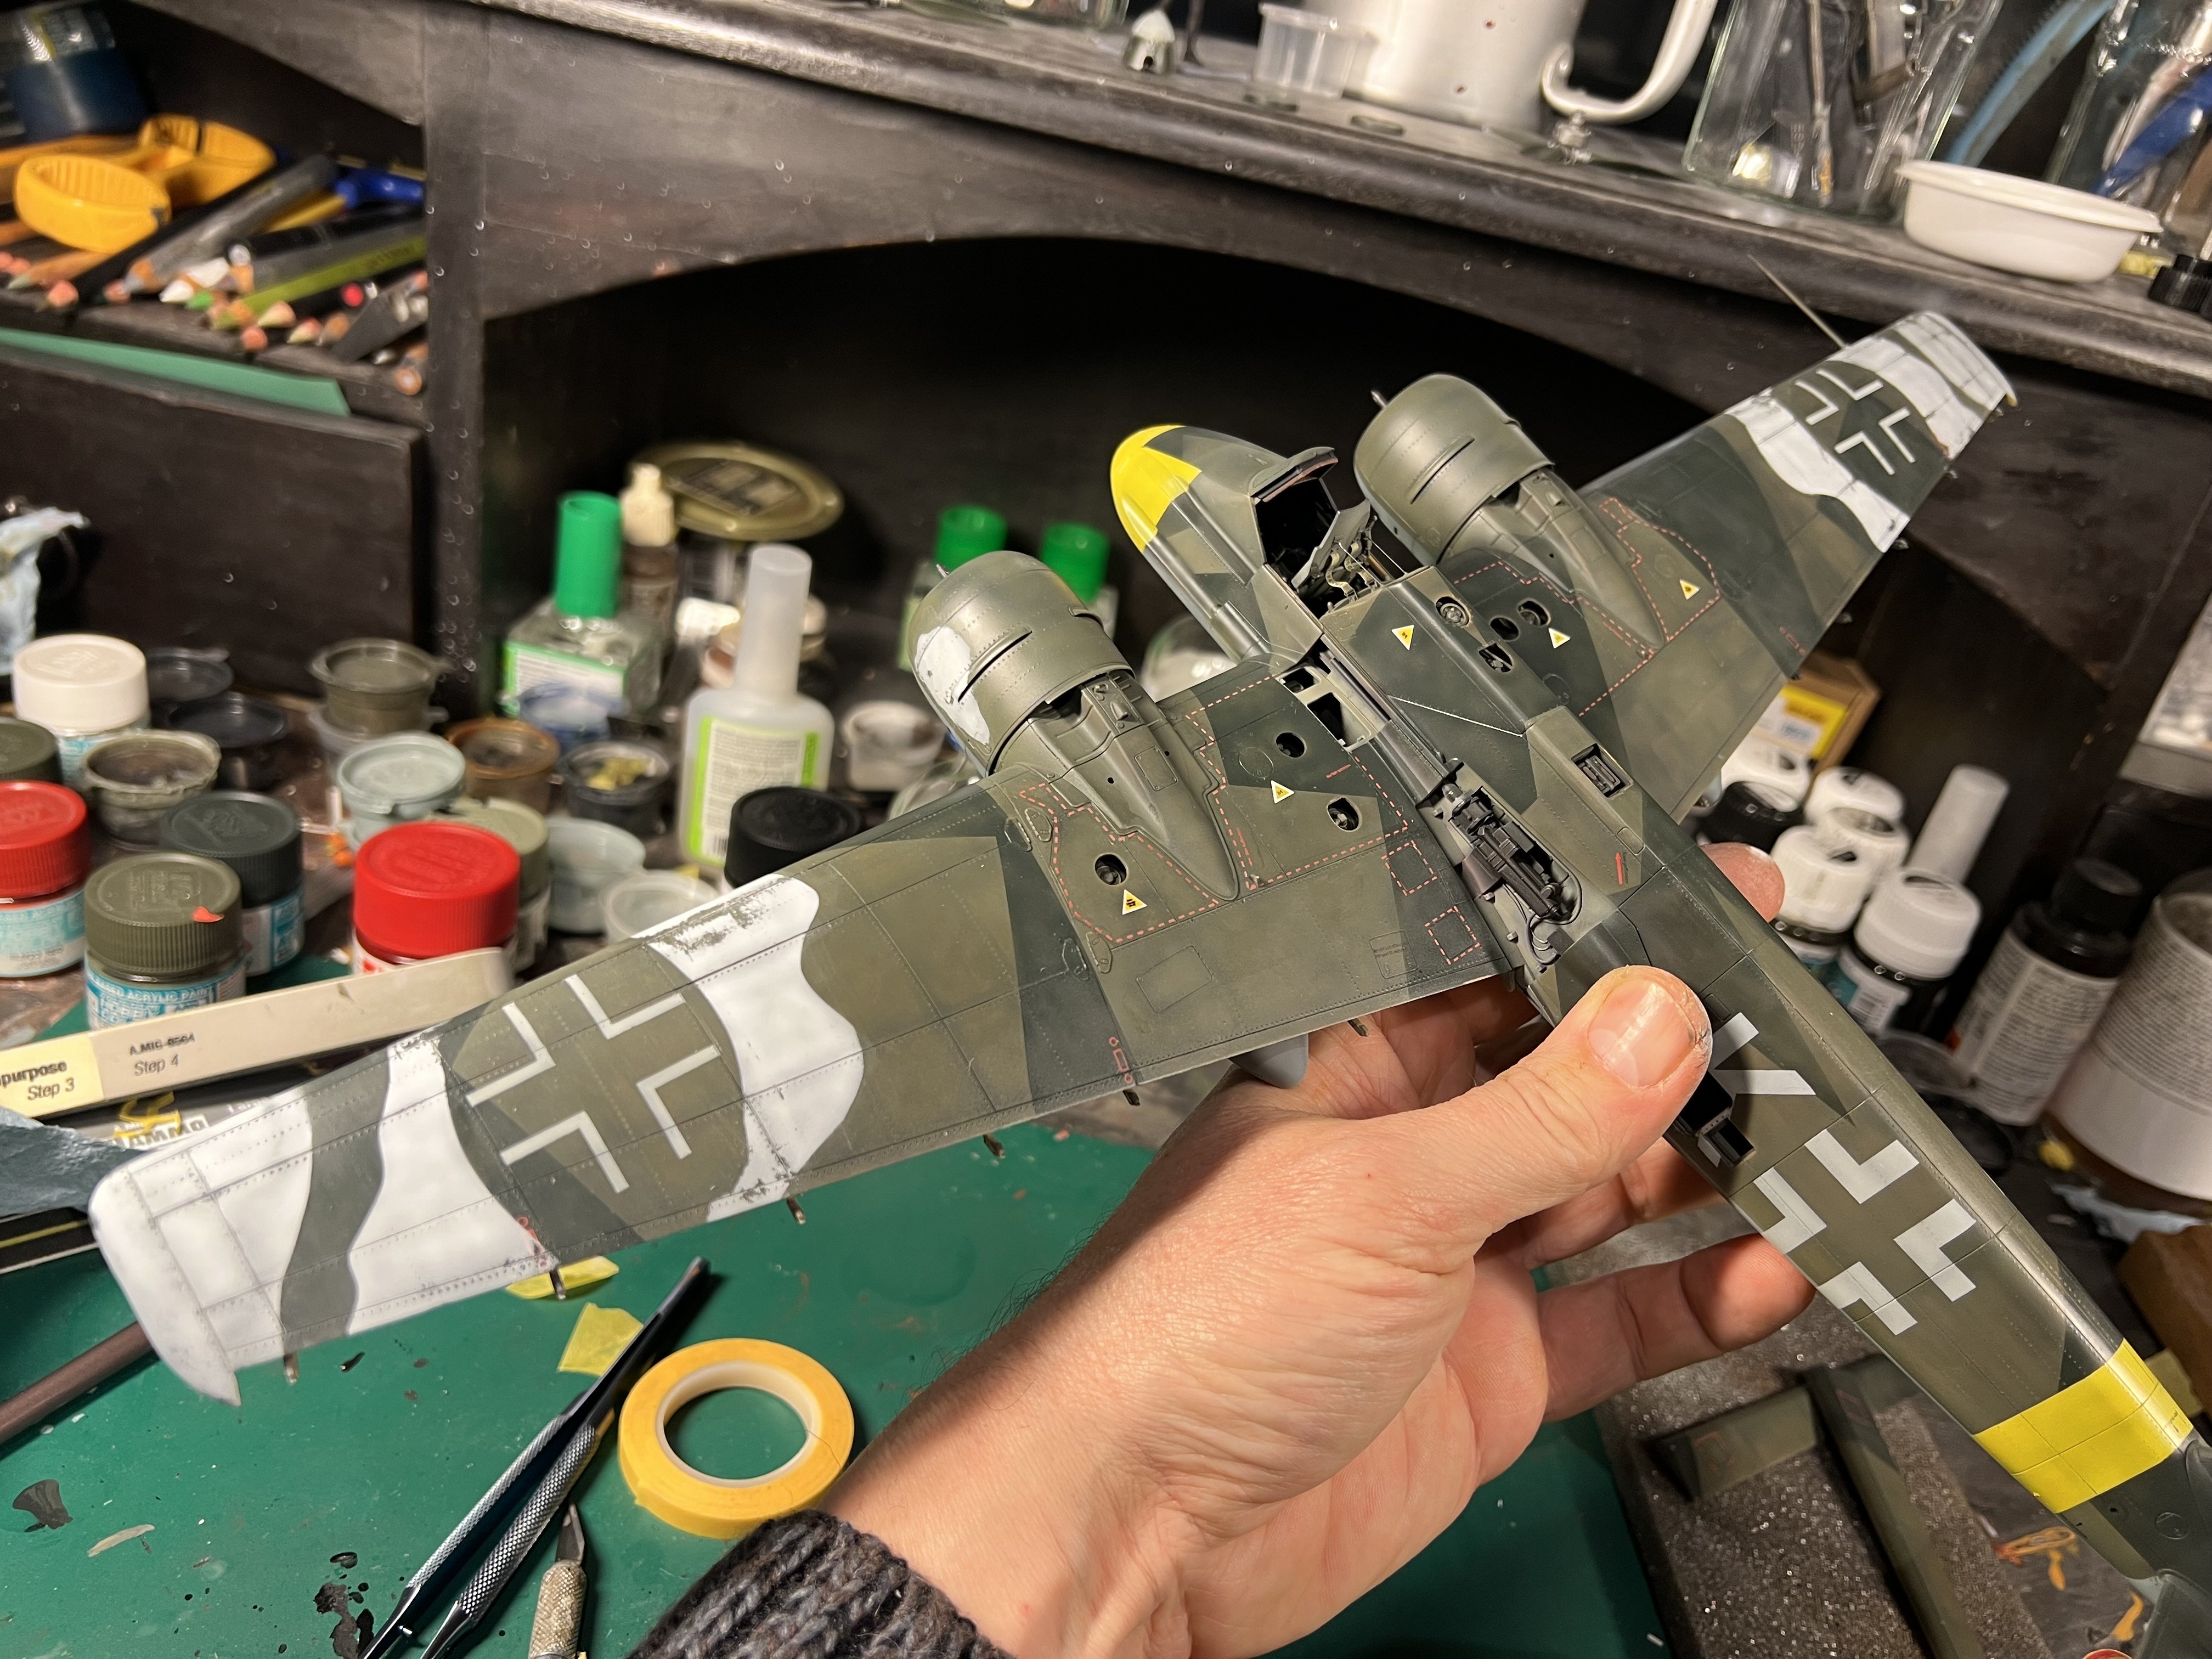
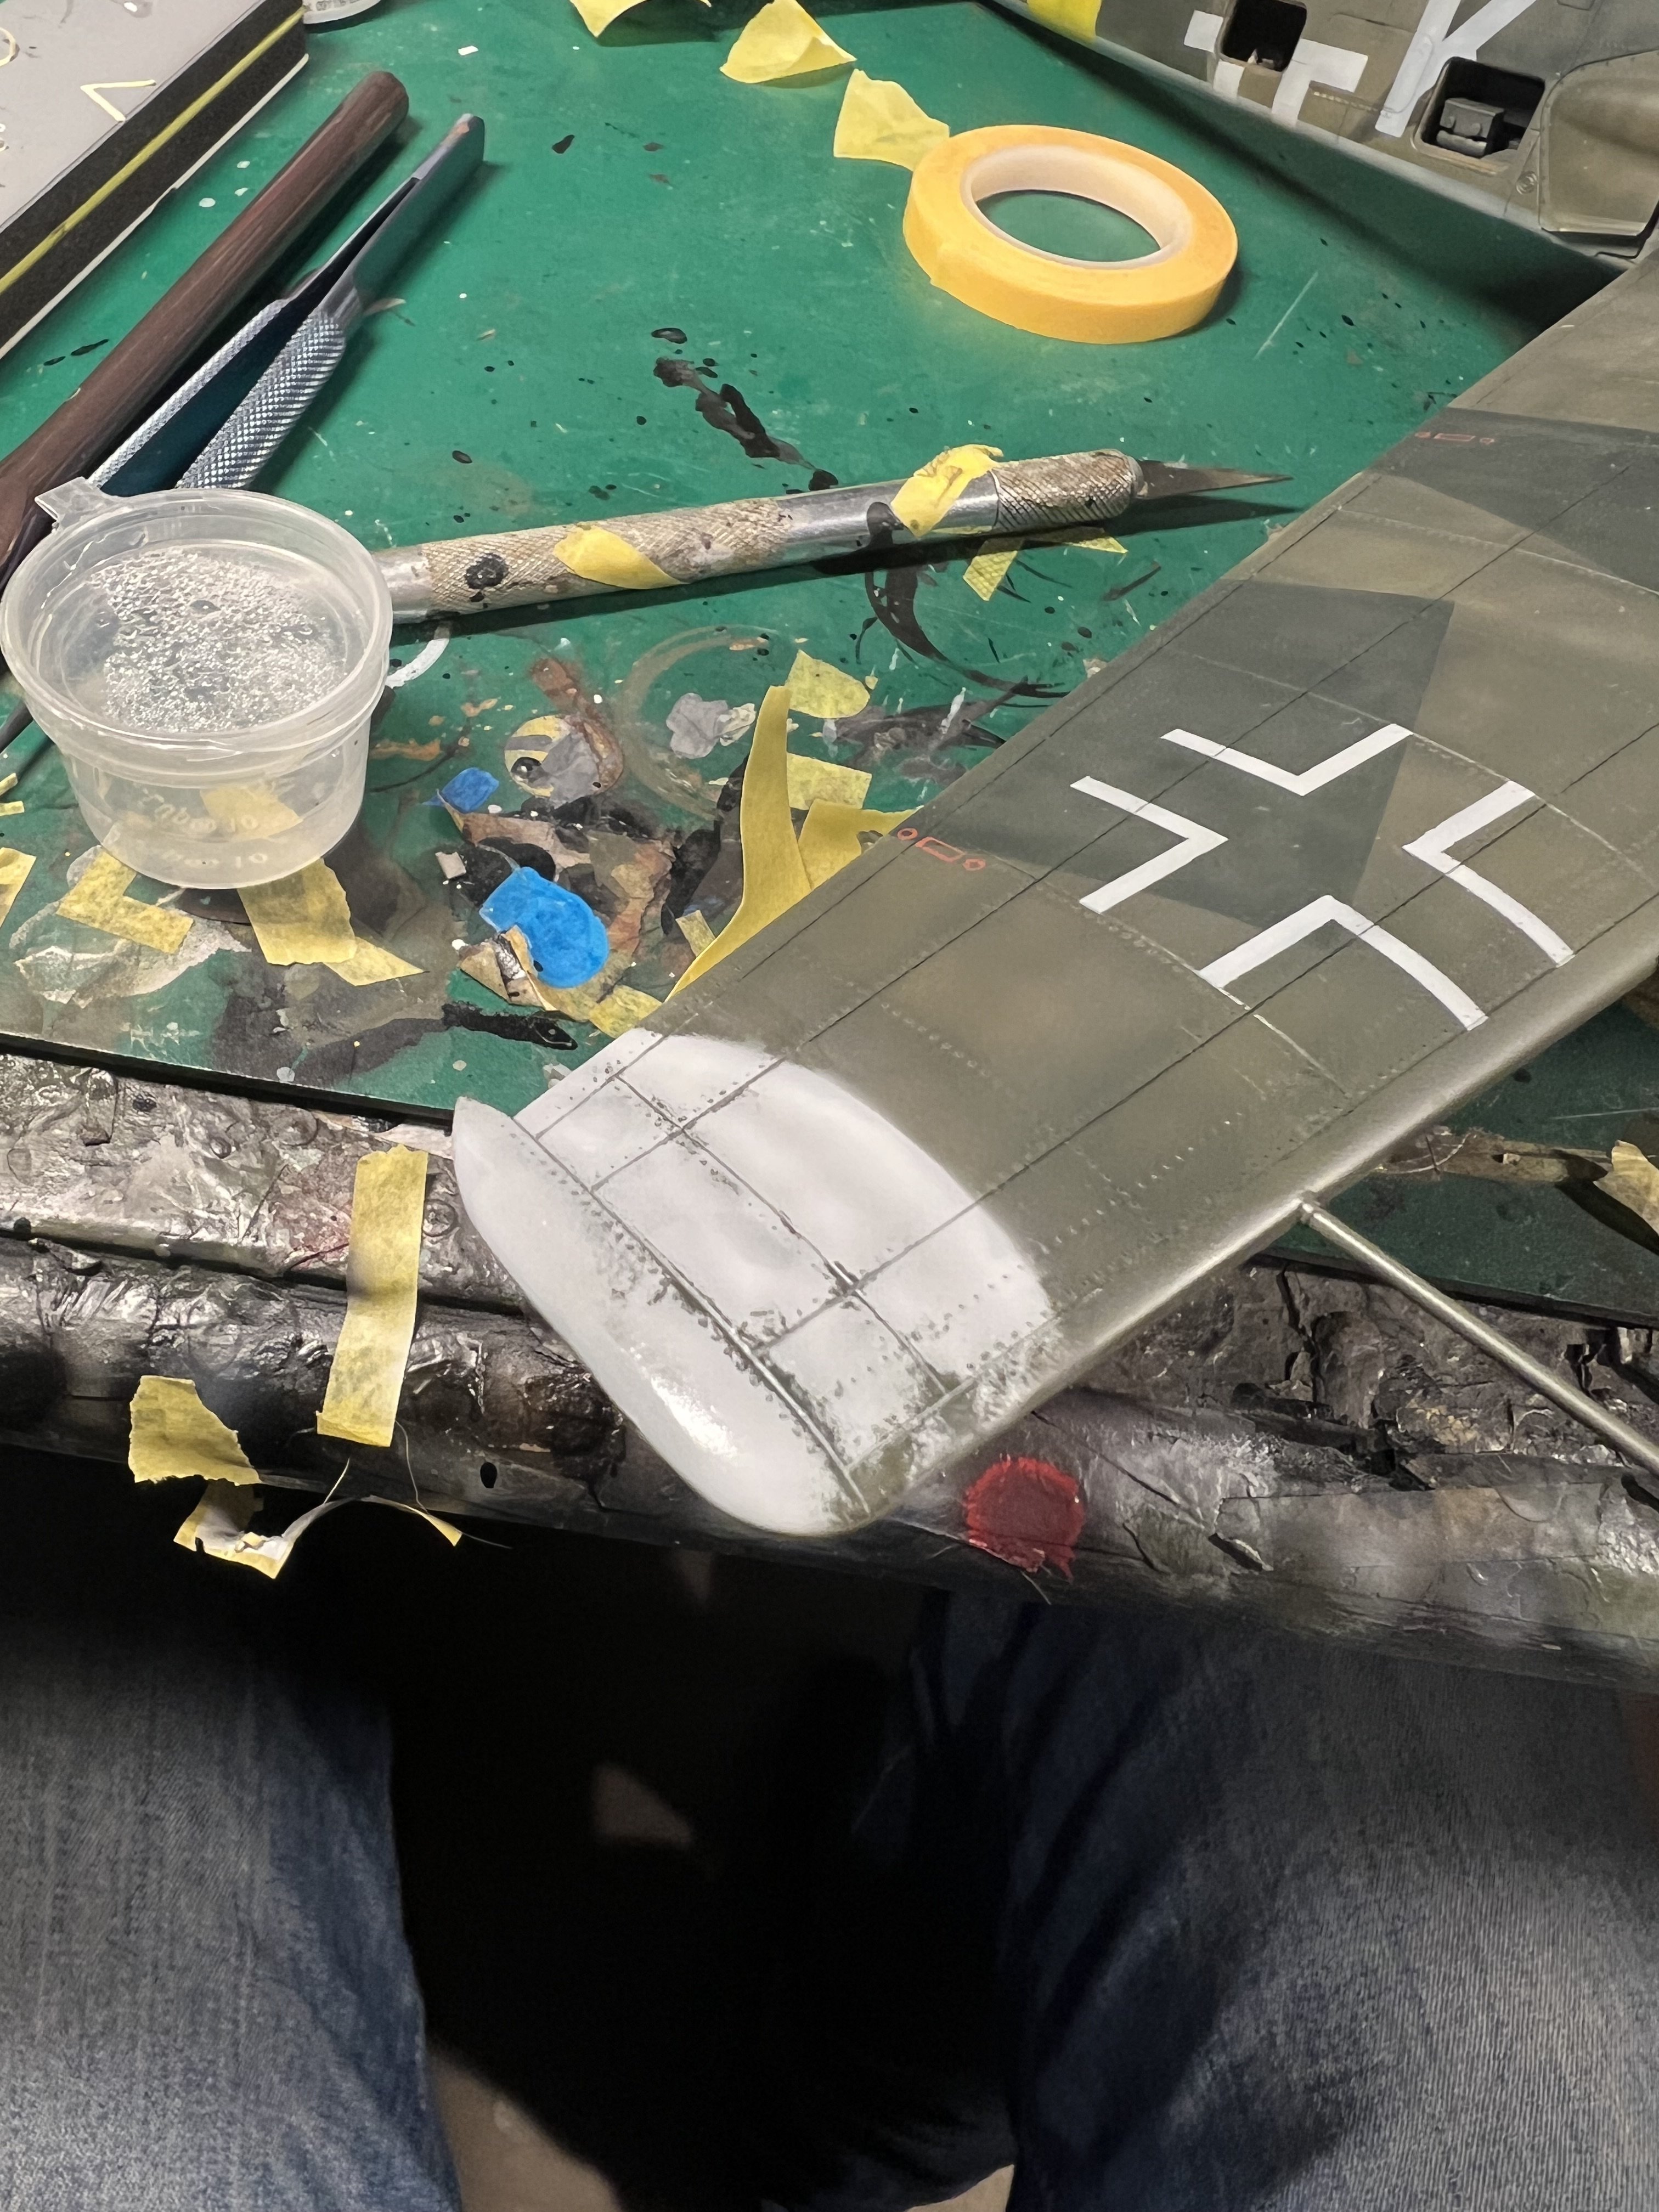
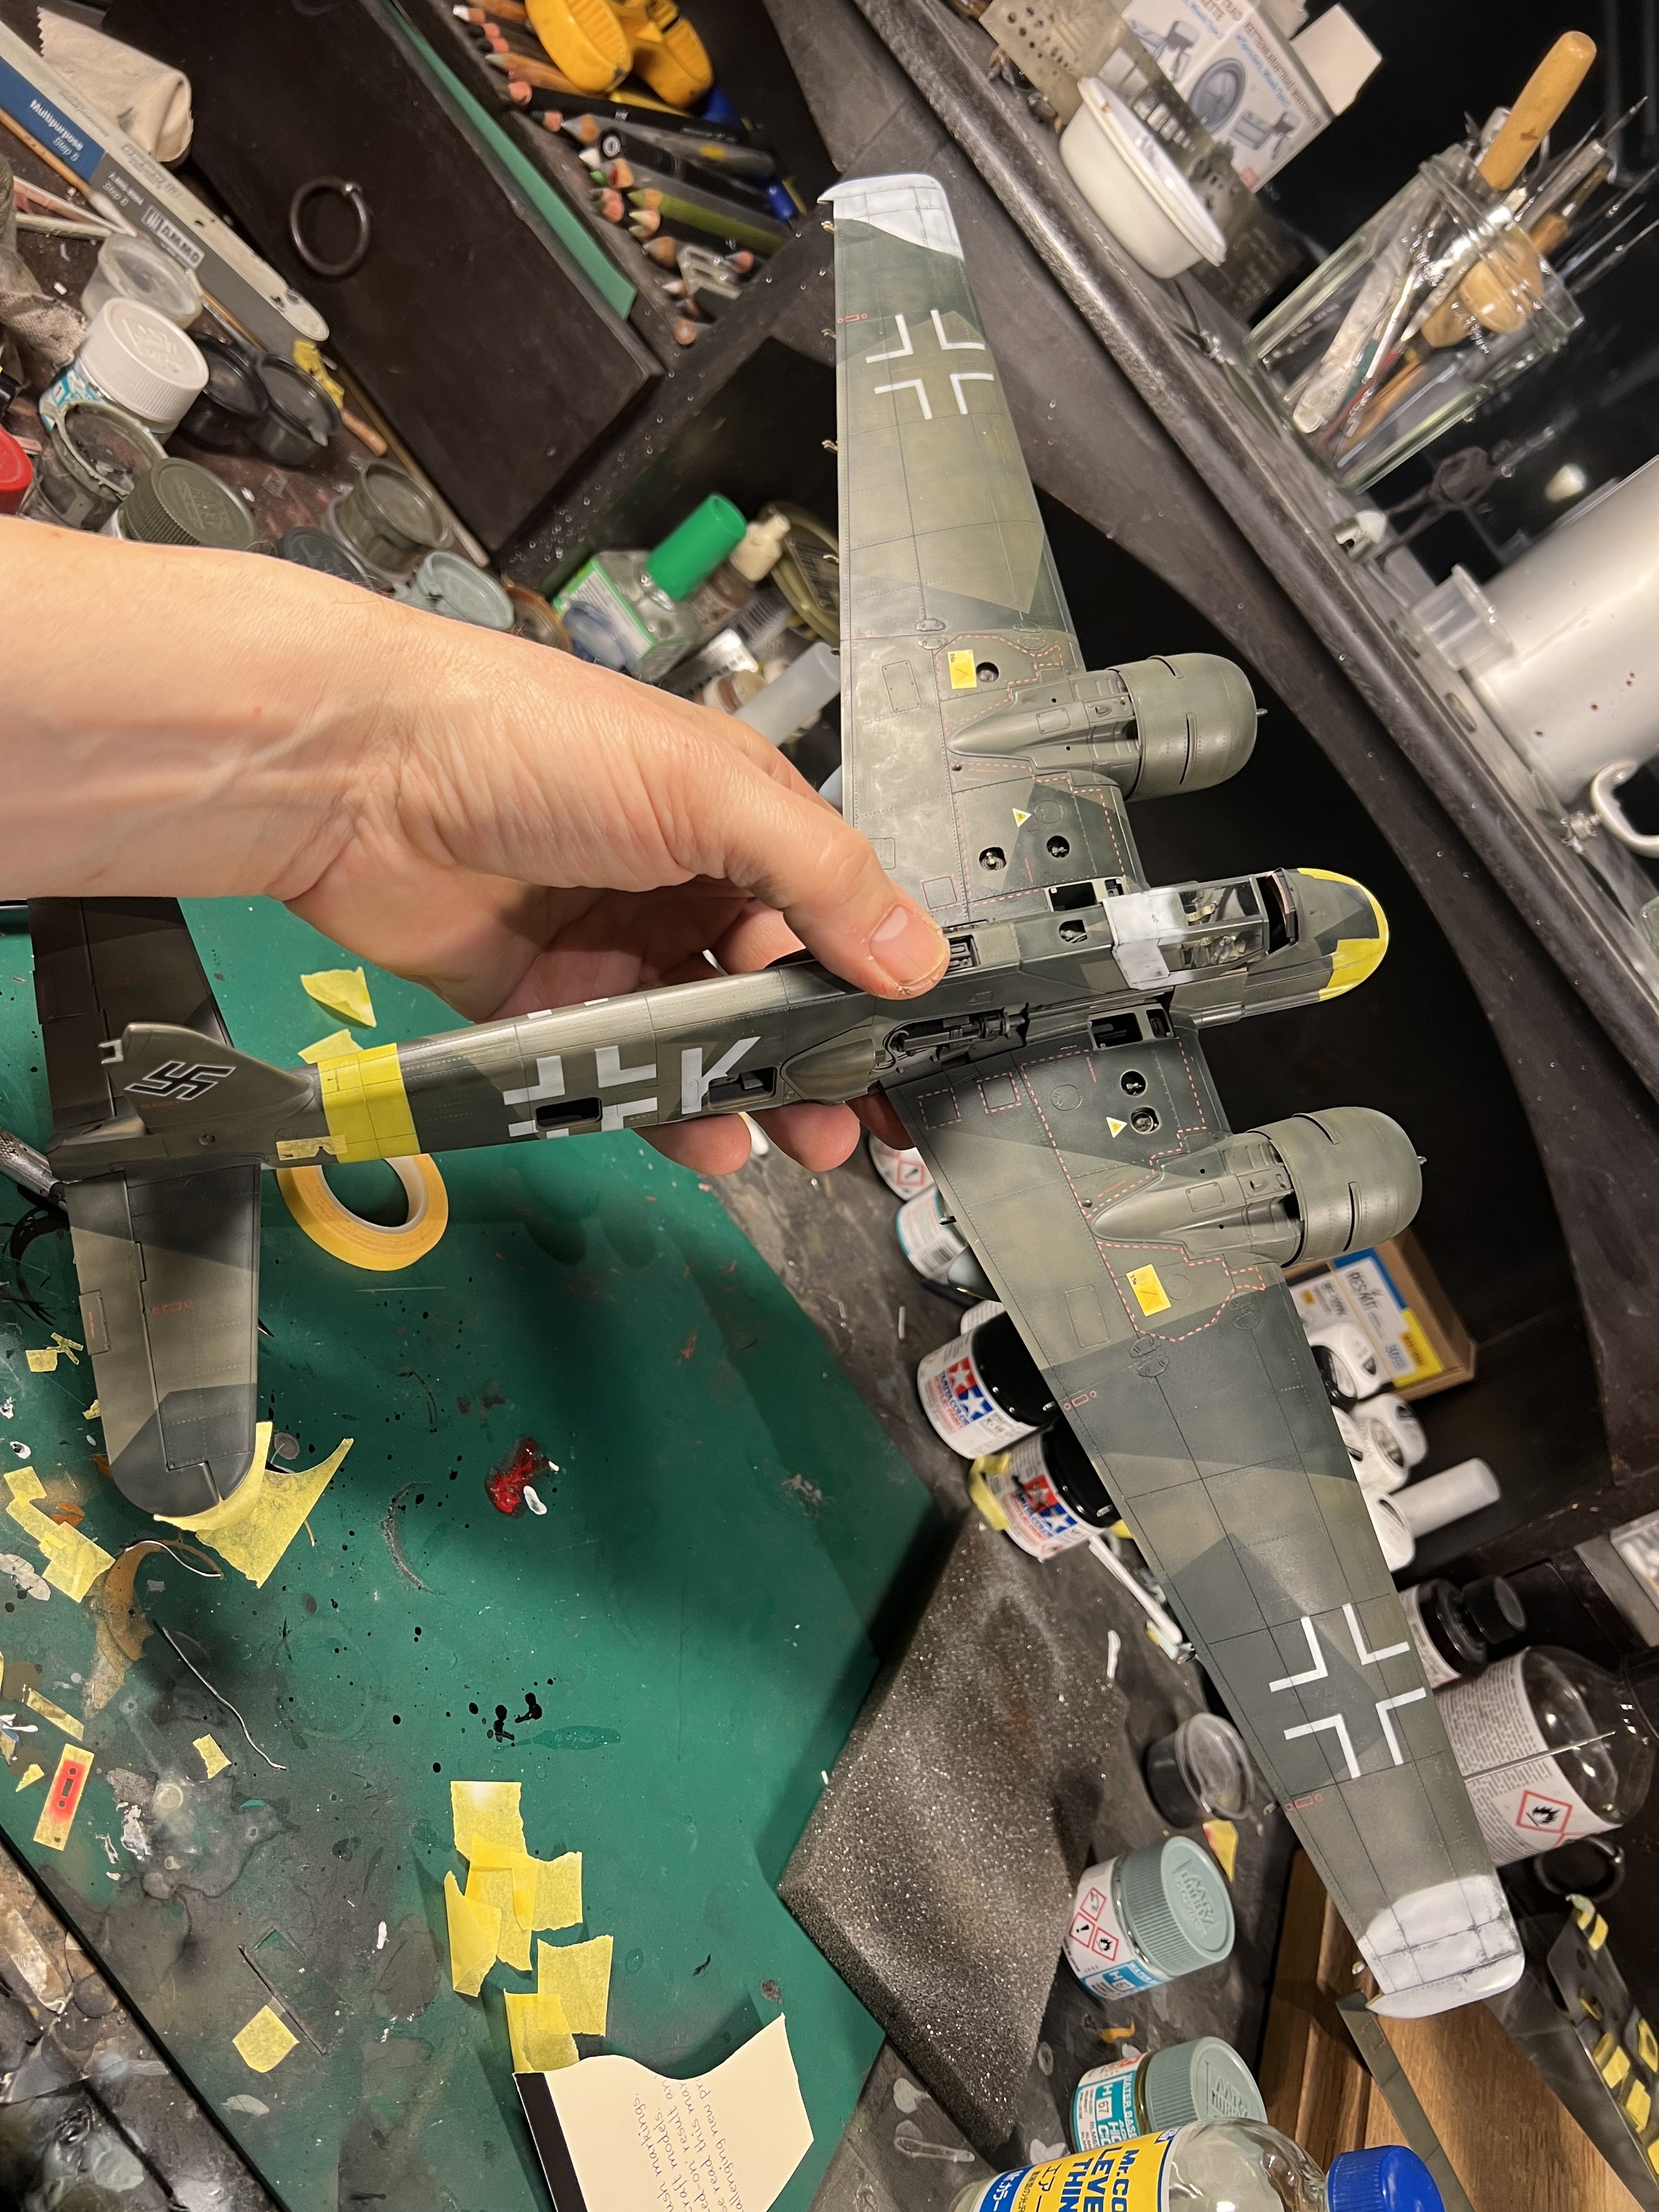
Taking the winter camo step by step. Mainly because the hairspray technique works best right after applying the top paint coat


- 256 replies
-
- 11
-
-
-
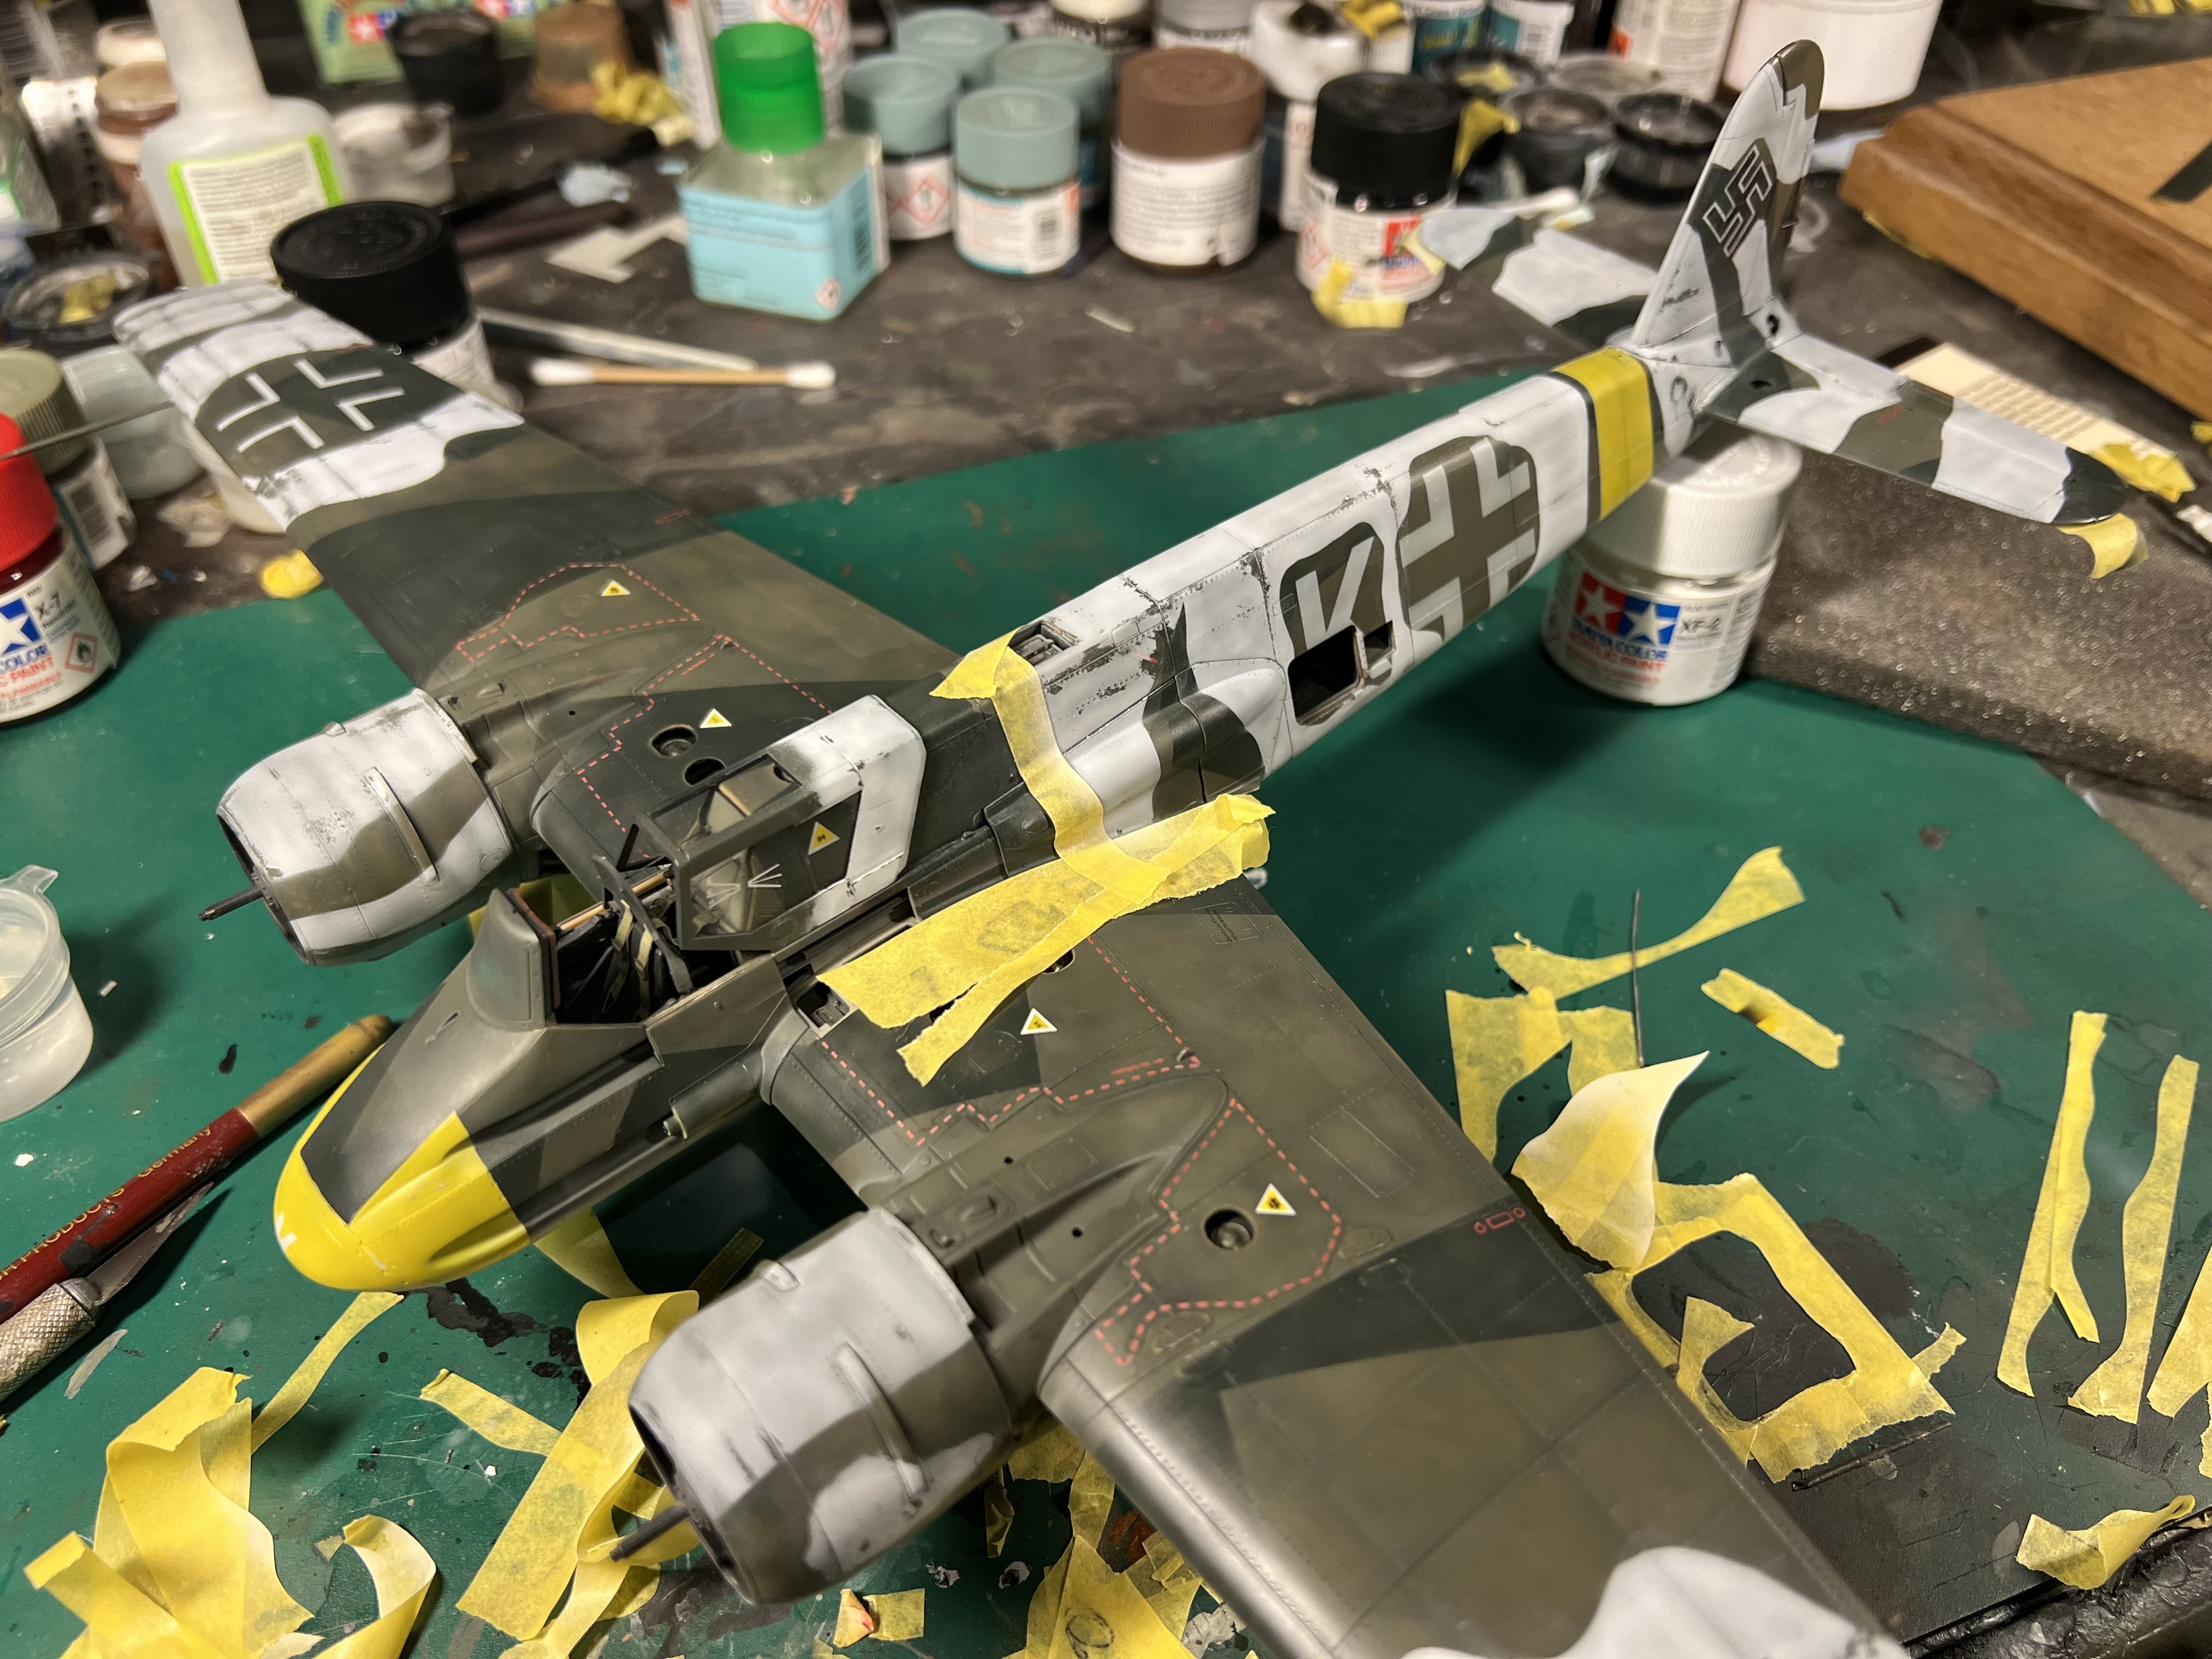
Decided to fix the canopy markings after all. Couldnt get it off my mind.