JeroenPeters
-
Posts
4,904 -
Joined
-
Last visited
Content Type
Profiles
Forums
Events
Gallery
Everything posted by JeroenPeters
-

1/32 ME-262A-2a/U2
JeroenPeters replied to JeroenPeters's topic in LSM 1/35 and Larger Work In Progress
Creeping along…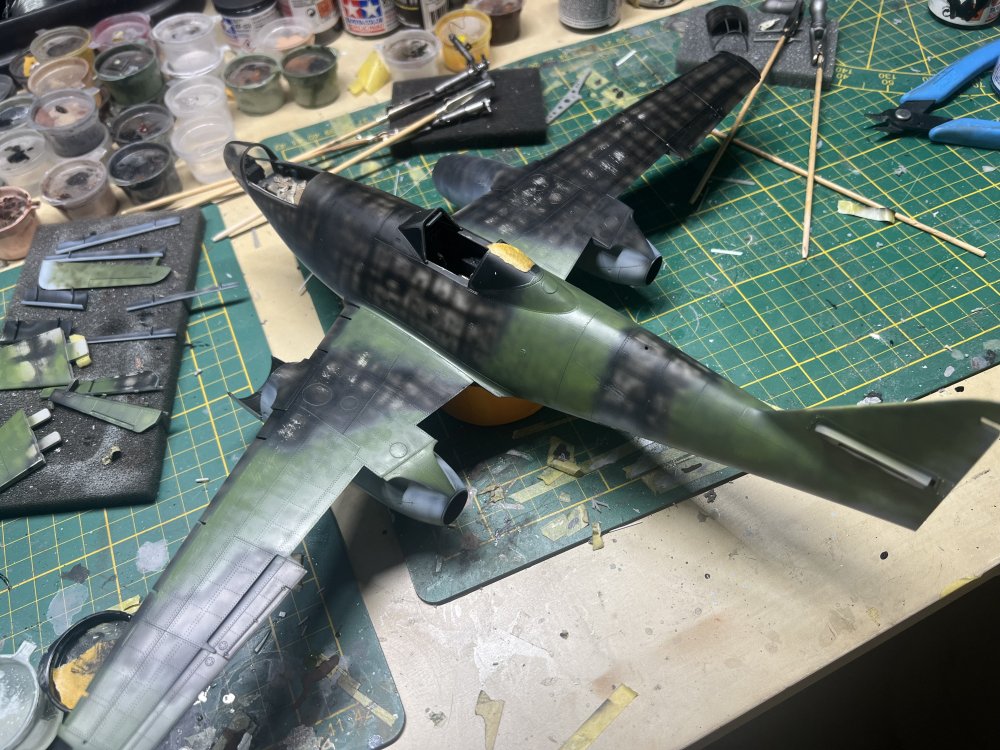
-
1/32 ME-262A-2a/U2
JeroenPeters replied to JeroenPeters's topic in LSM 1/35 and Larger Work In Progress
Very slowly building up the colours. This weekend i’ll start cutting my own masks. For the smaller stencils i have 1manarmy.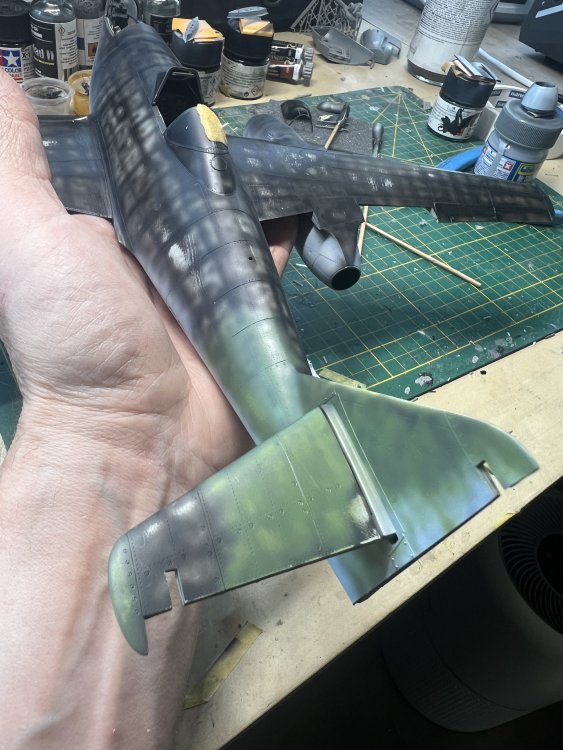
-
1/32 ME-262A-2a/U2
JeroenPeters replied to JeroenPeters's topic in LSM 1/35 and Larger Work In Progress
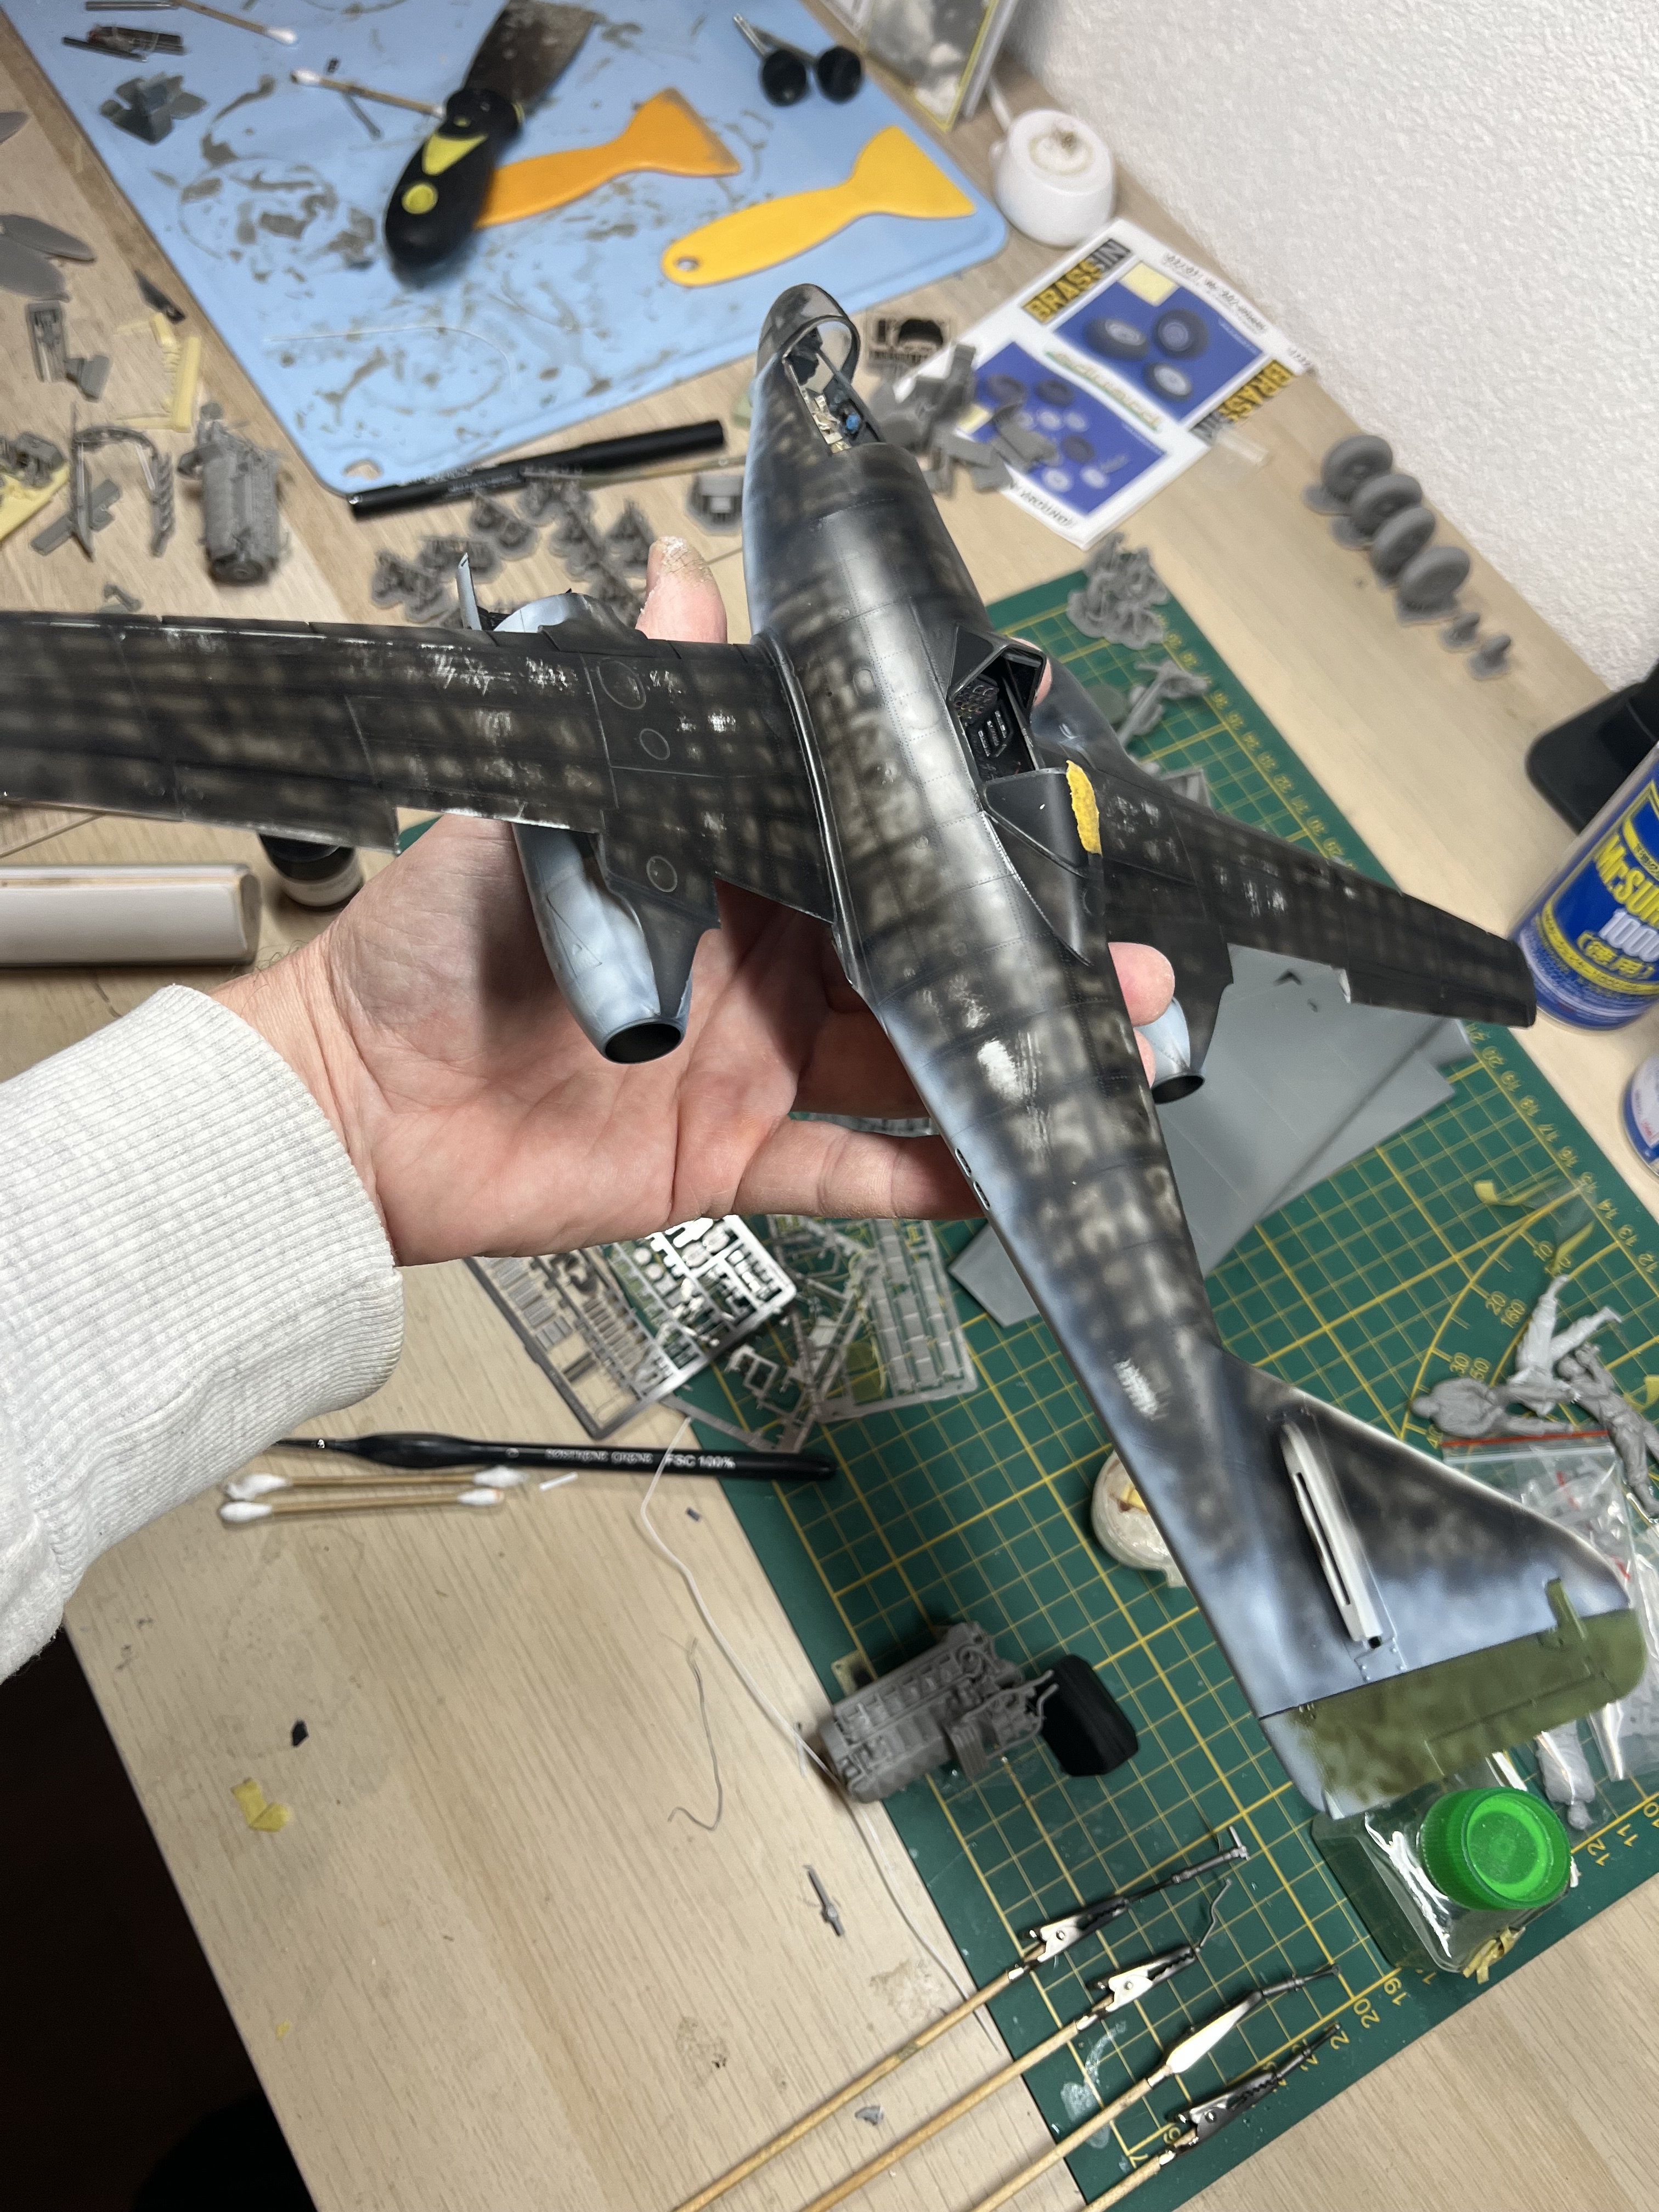
Starting the Rlm81 and Rlm82 mottling.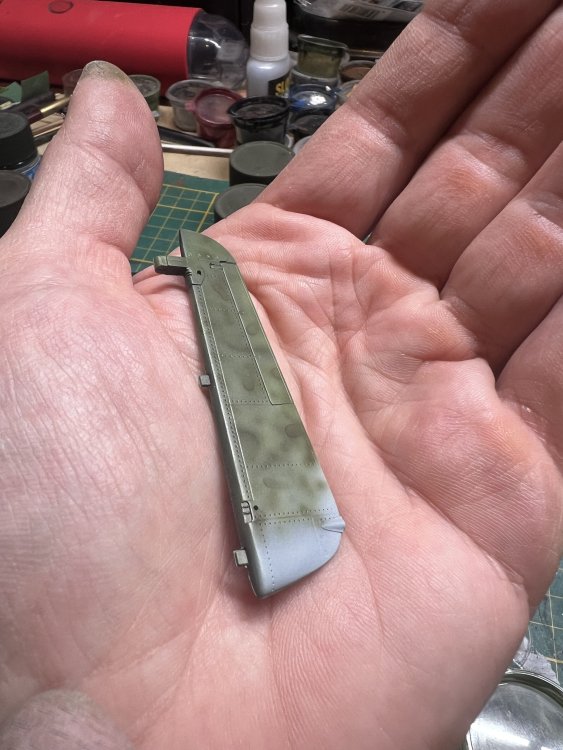

-
1/32 ME-262A-2a/U2
JeroenPeters replied to JeroenPeters's topic in LSM 1/35 and Larger Work In Progress
It was on Amazon: https://www.amazon.nl/gp/aw/d/B09LY1KS7D?psc=1&ref=ppx_pop_mob_b_asin_title -
1/32 ME-262A-2a/U2
JeroenPeters replied to JeroenPeters's topic in LSM 1/35 and Larger Work In Progress
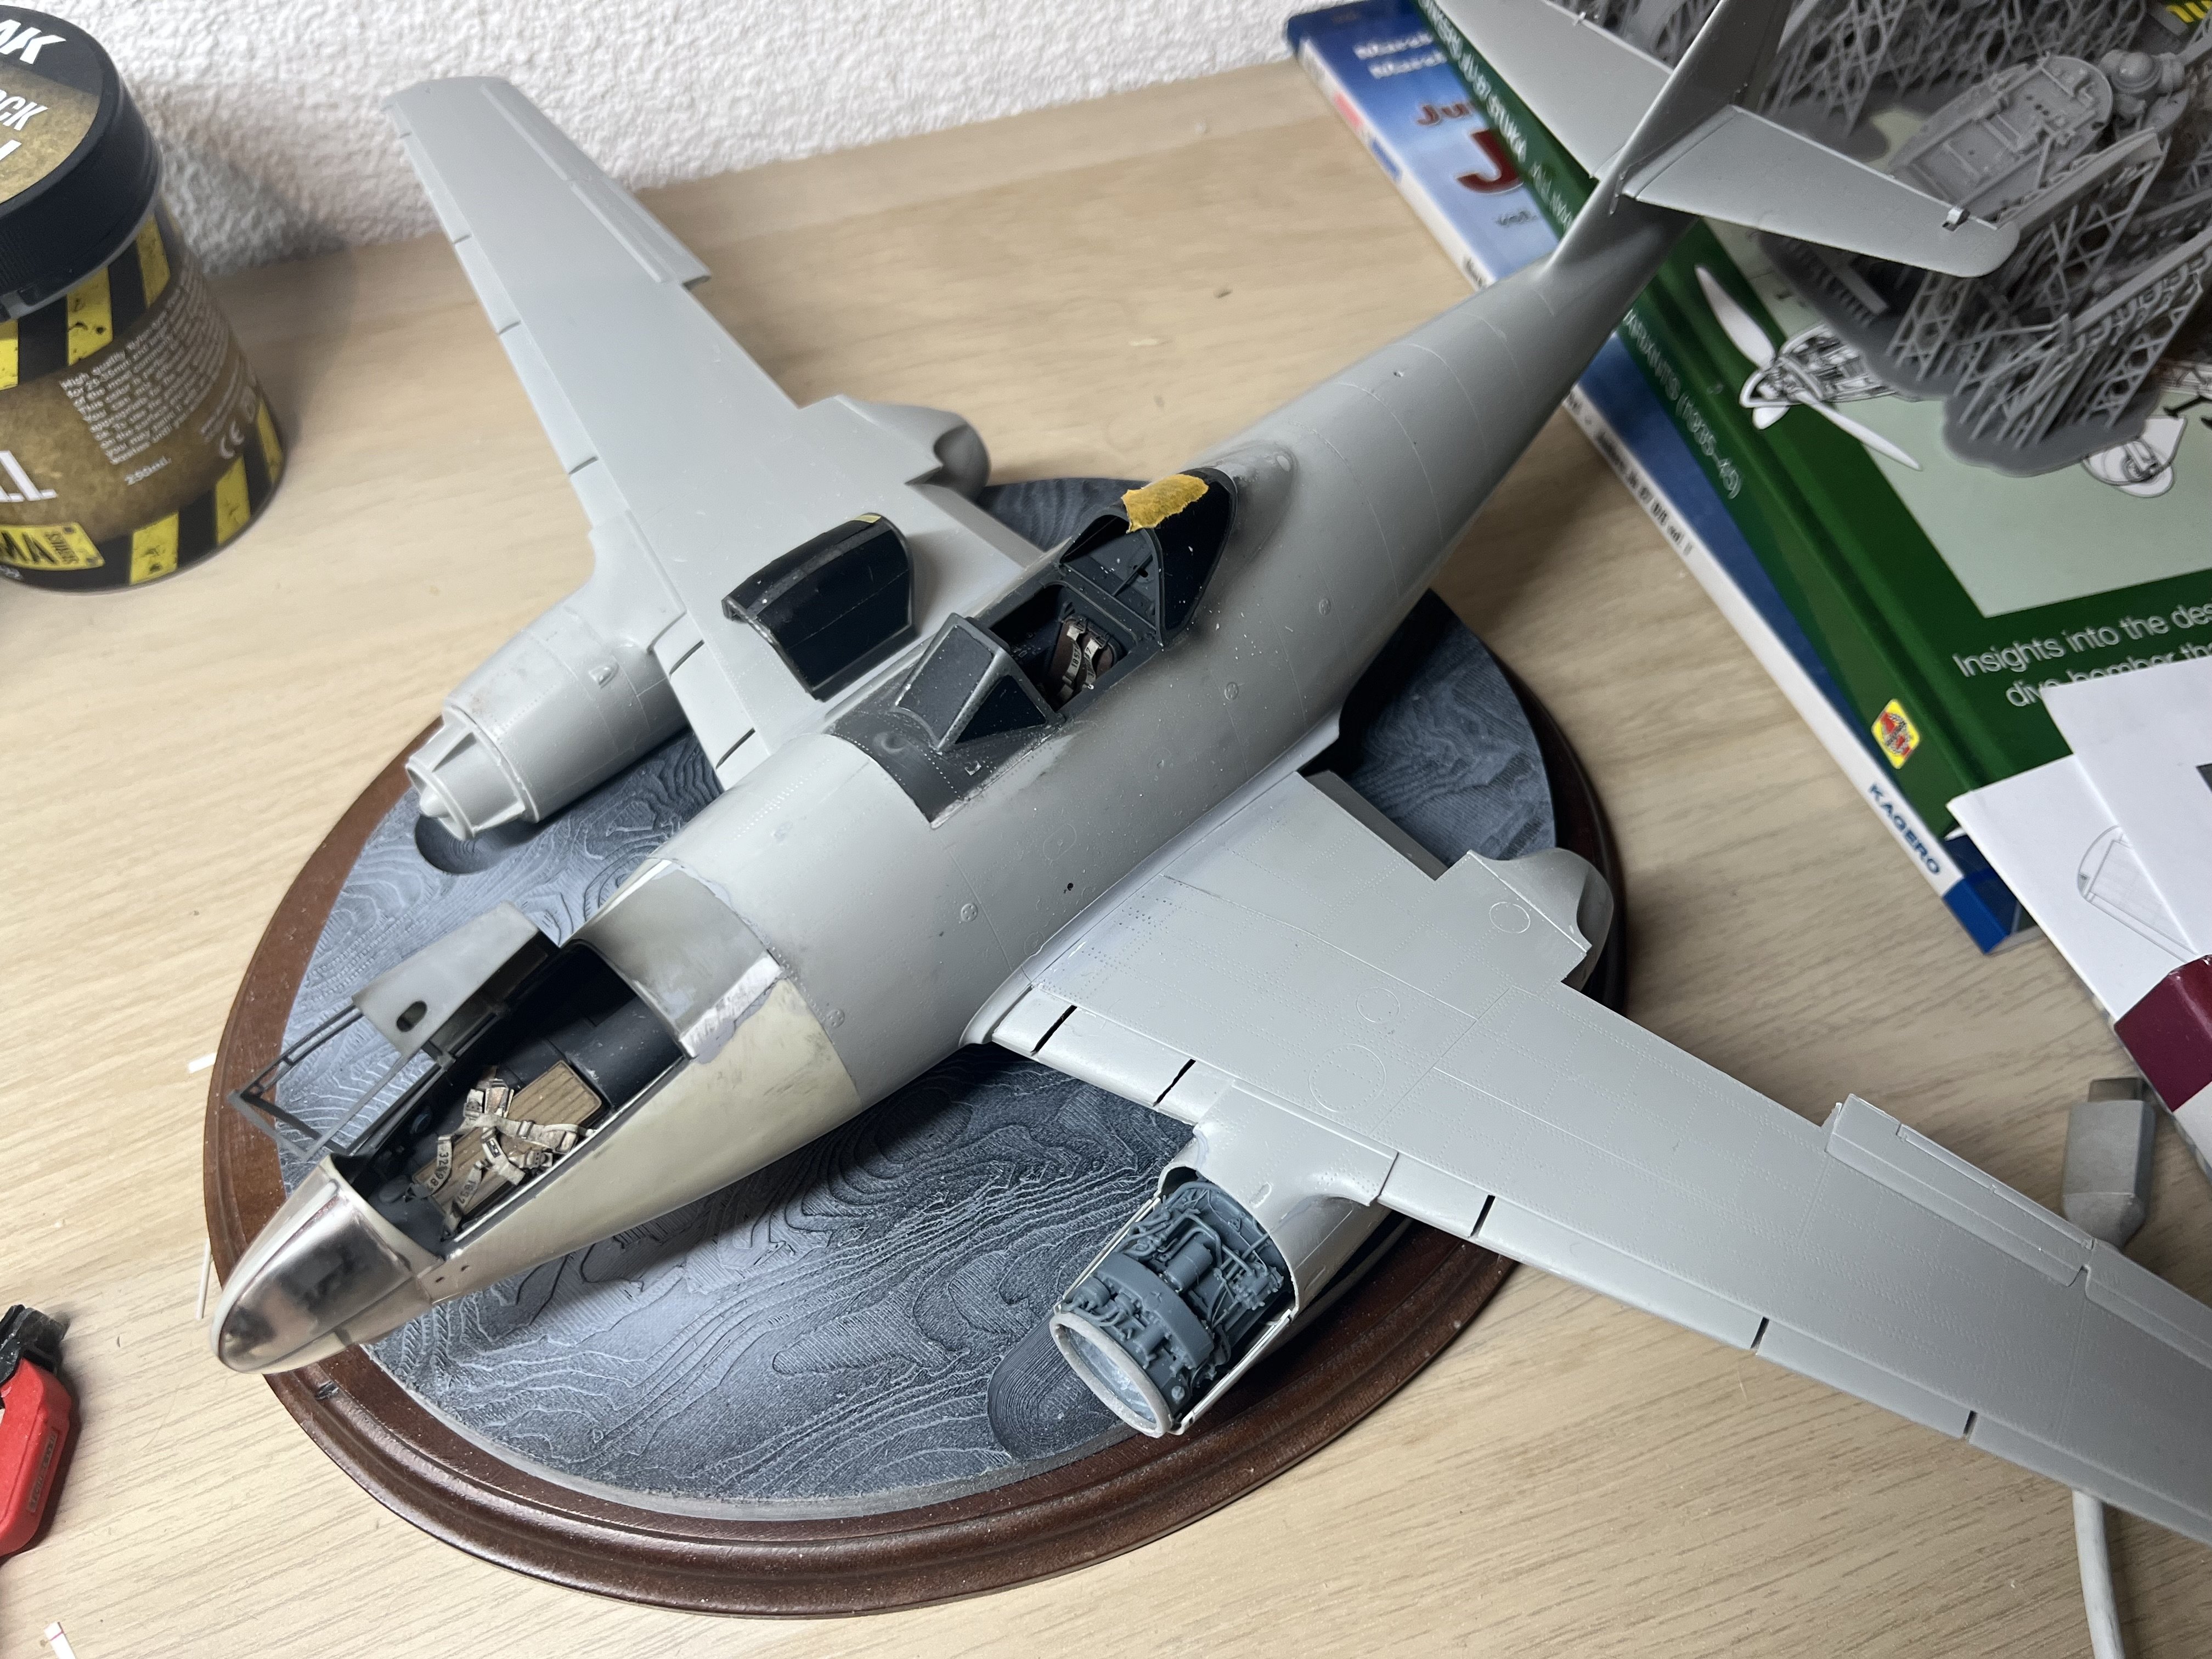
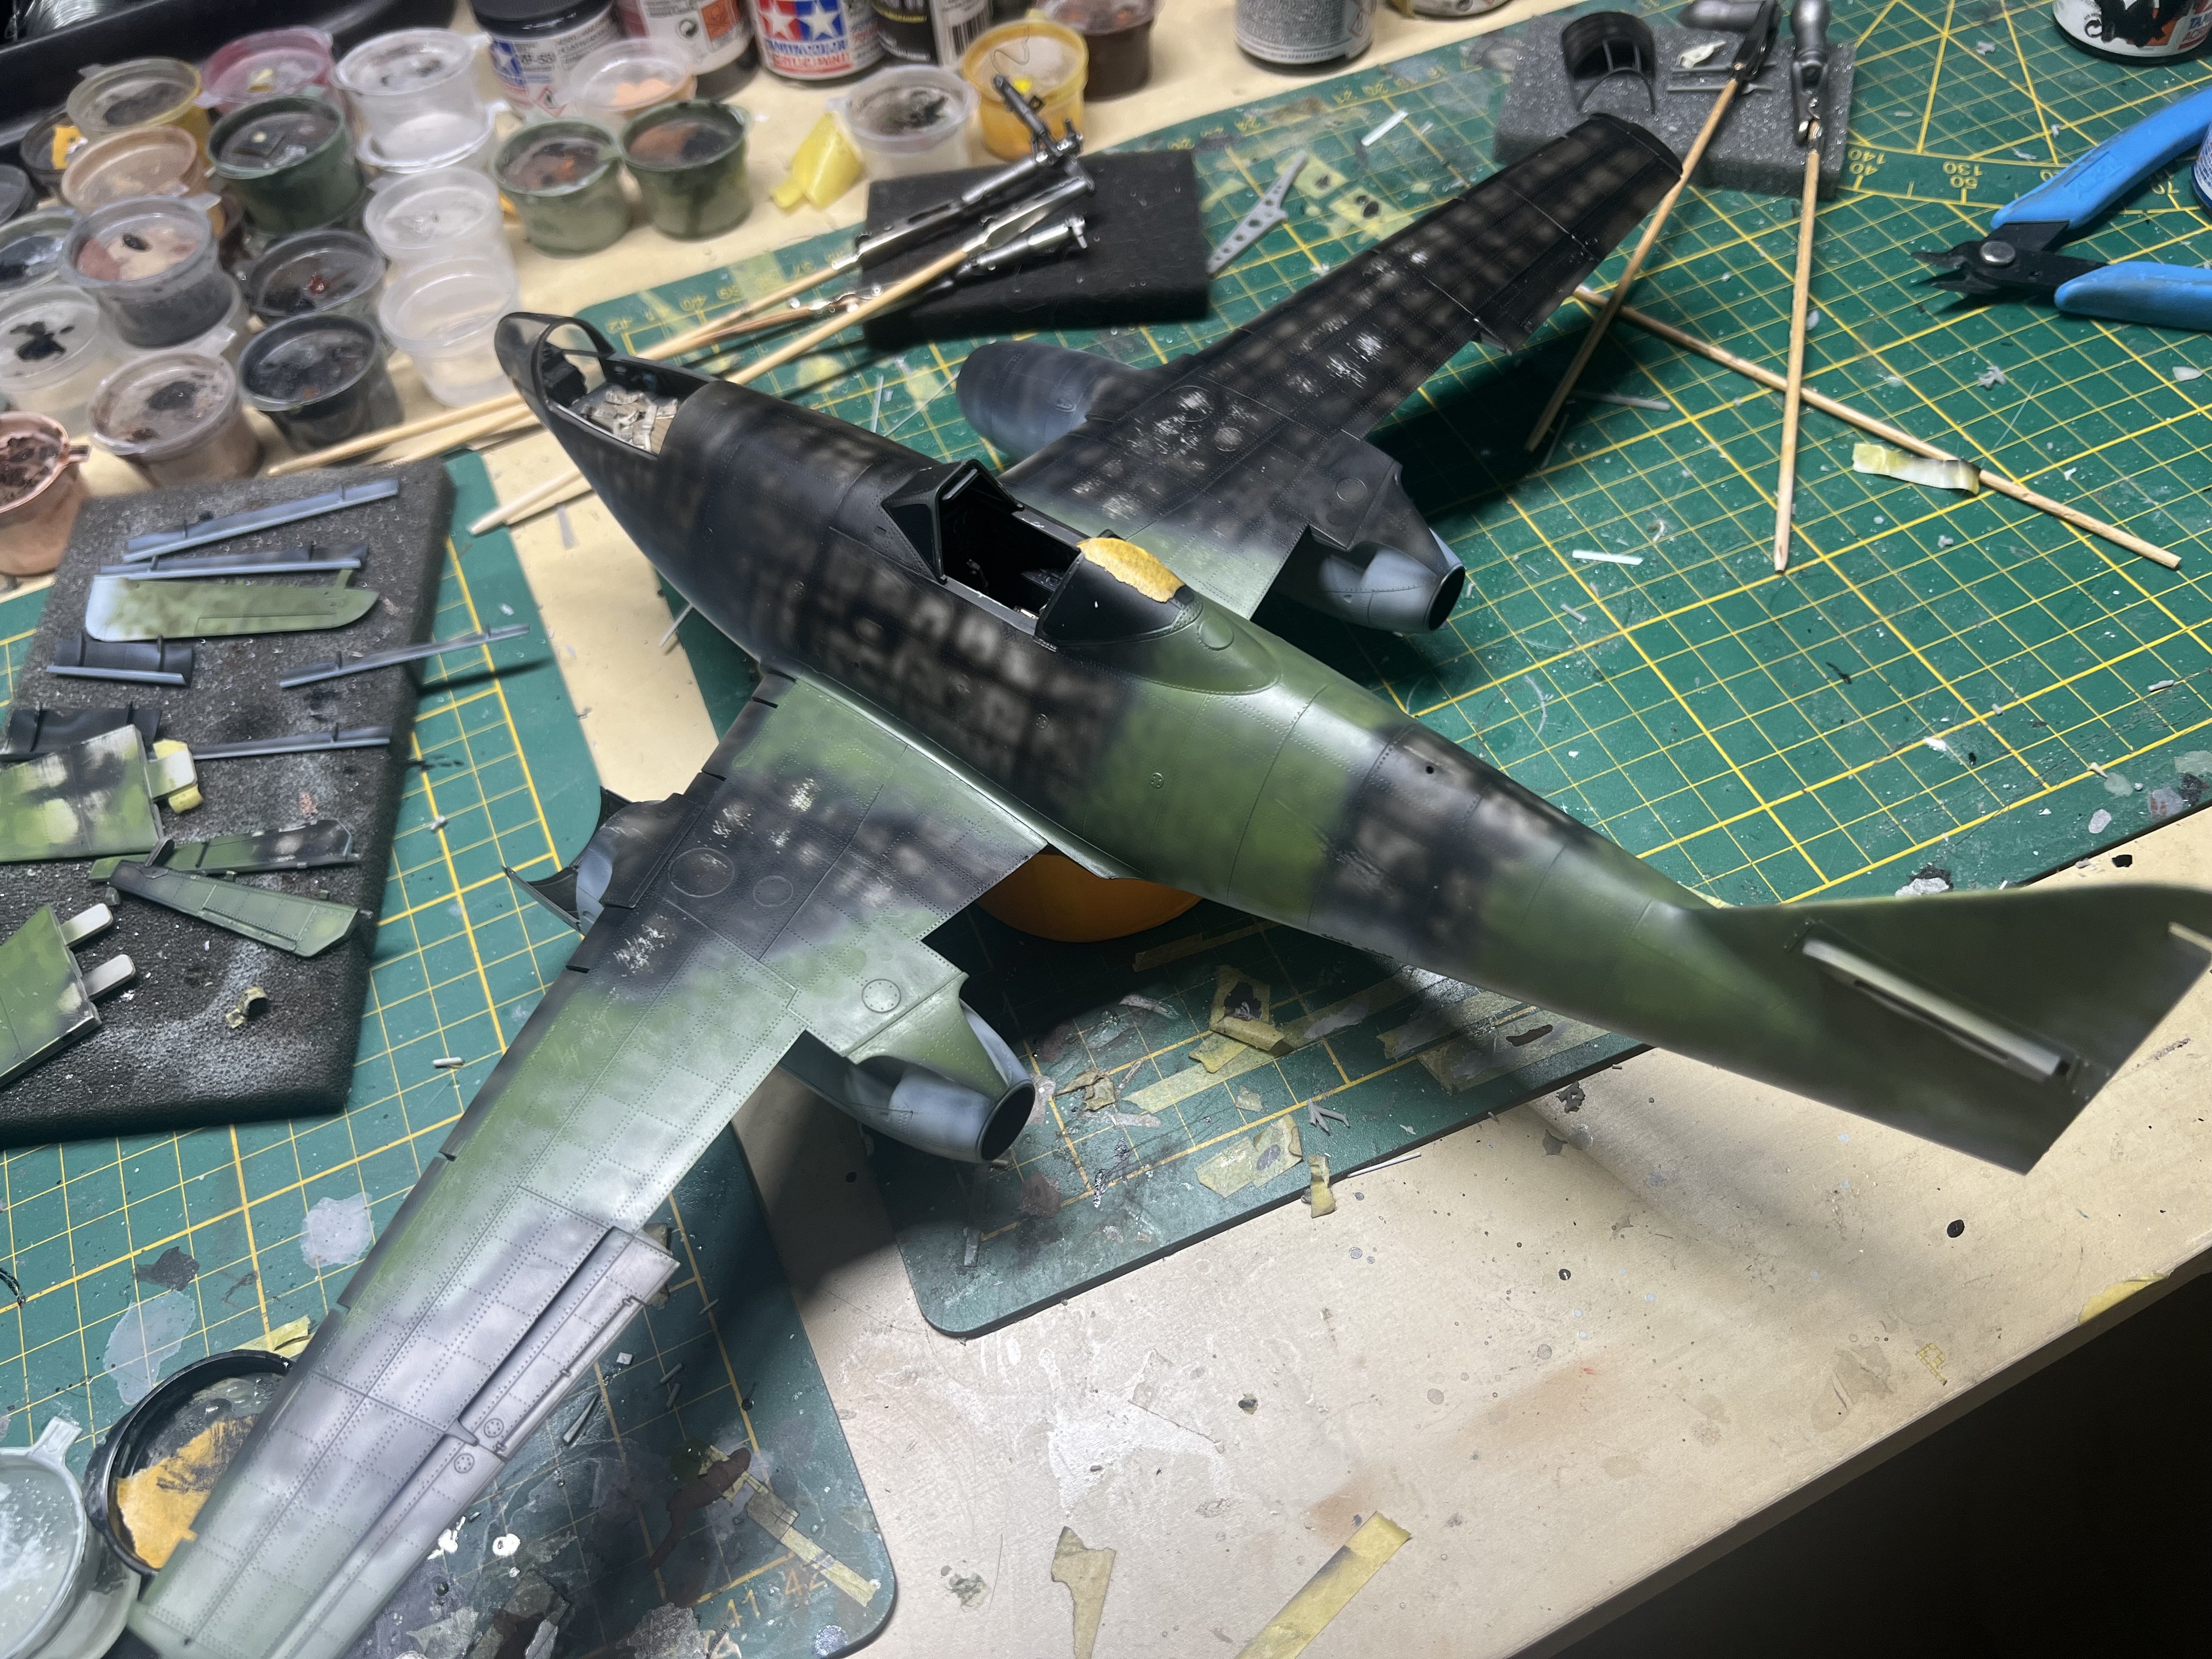
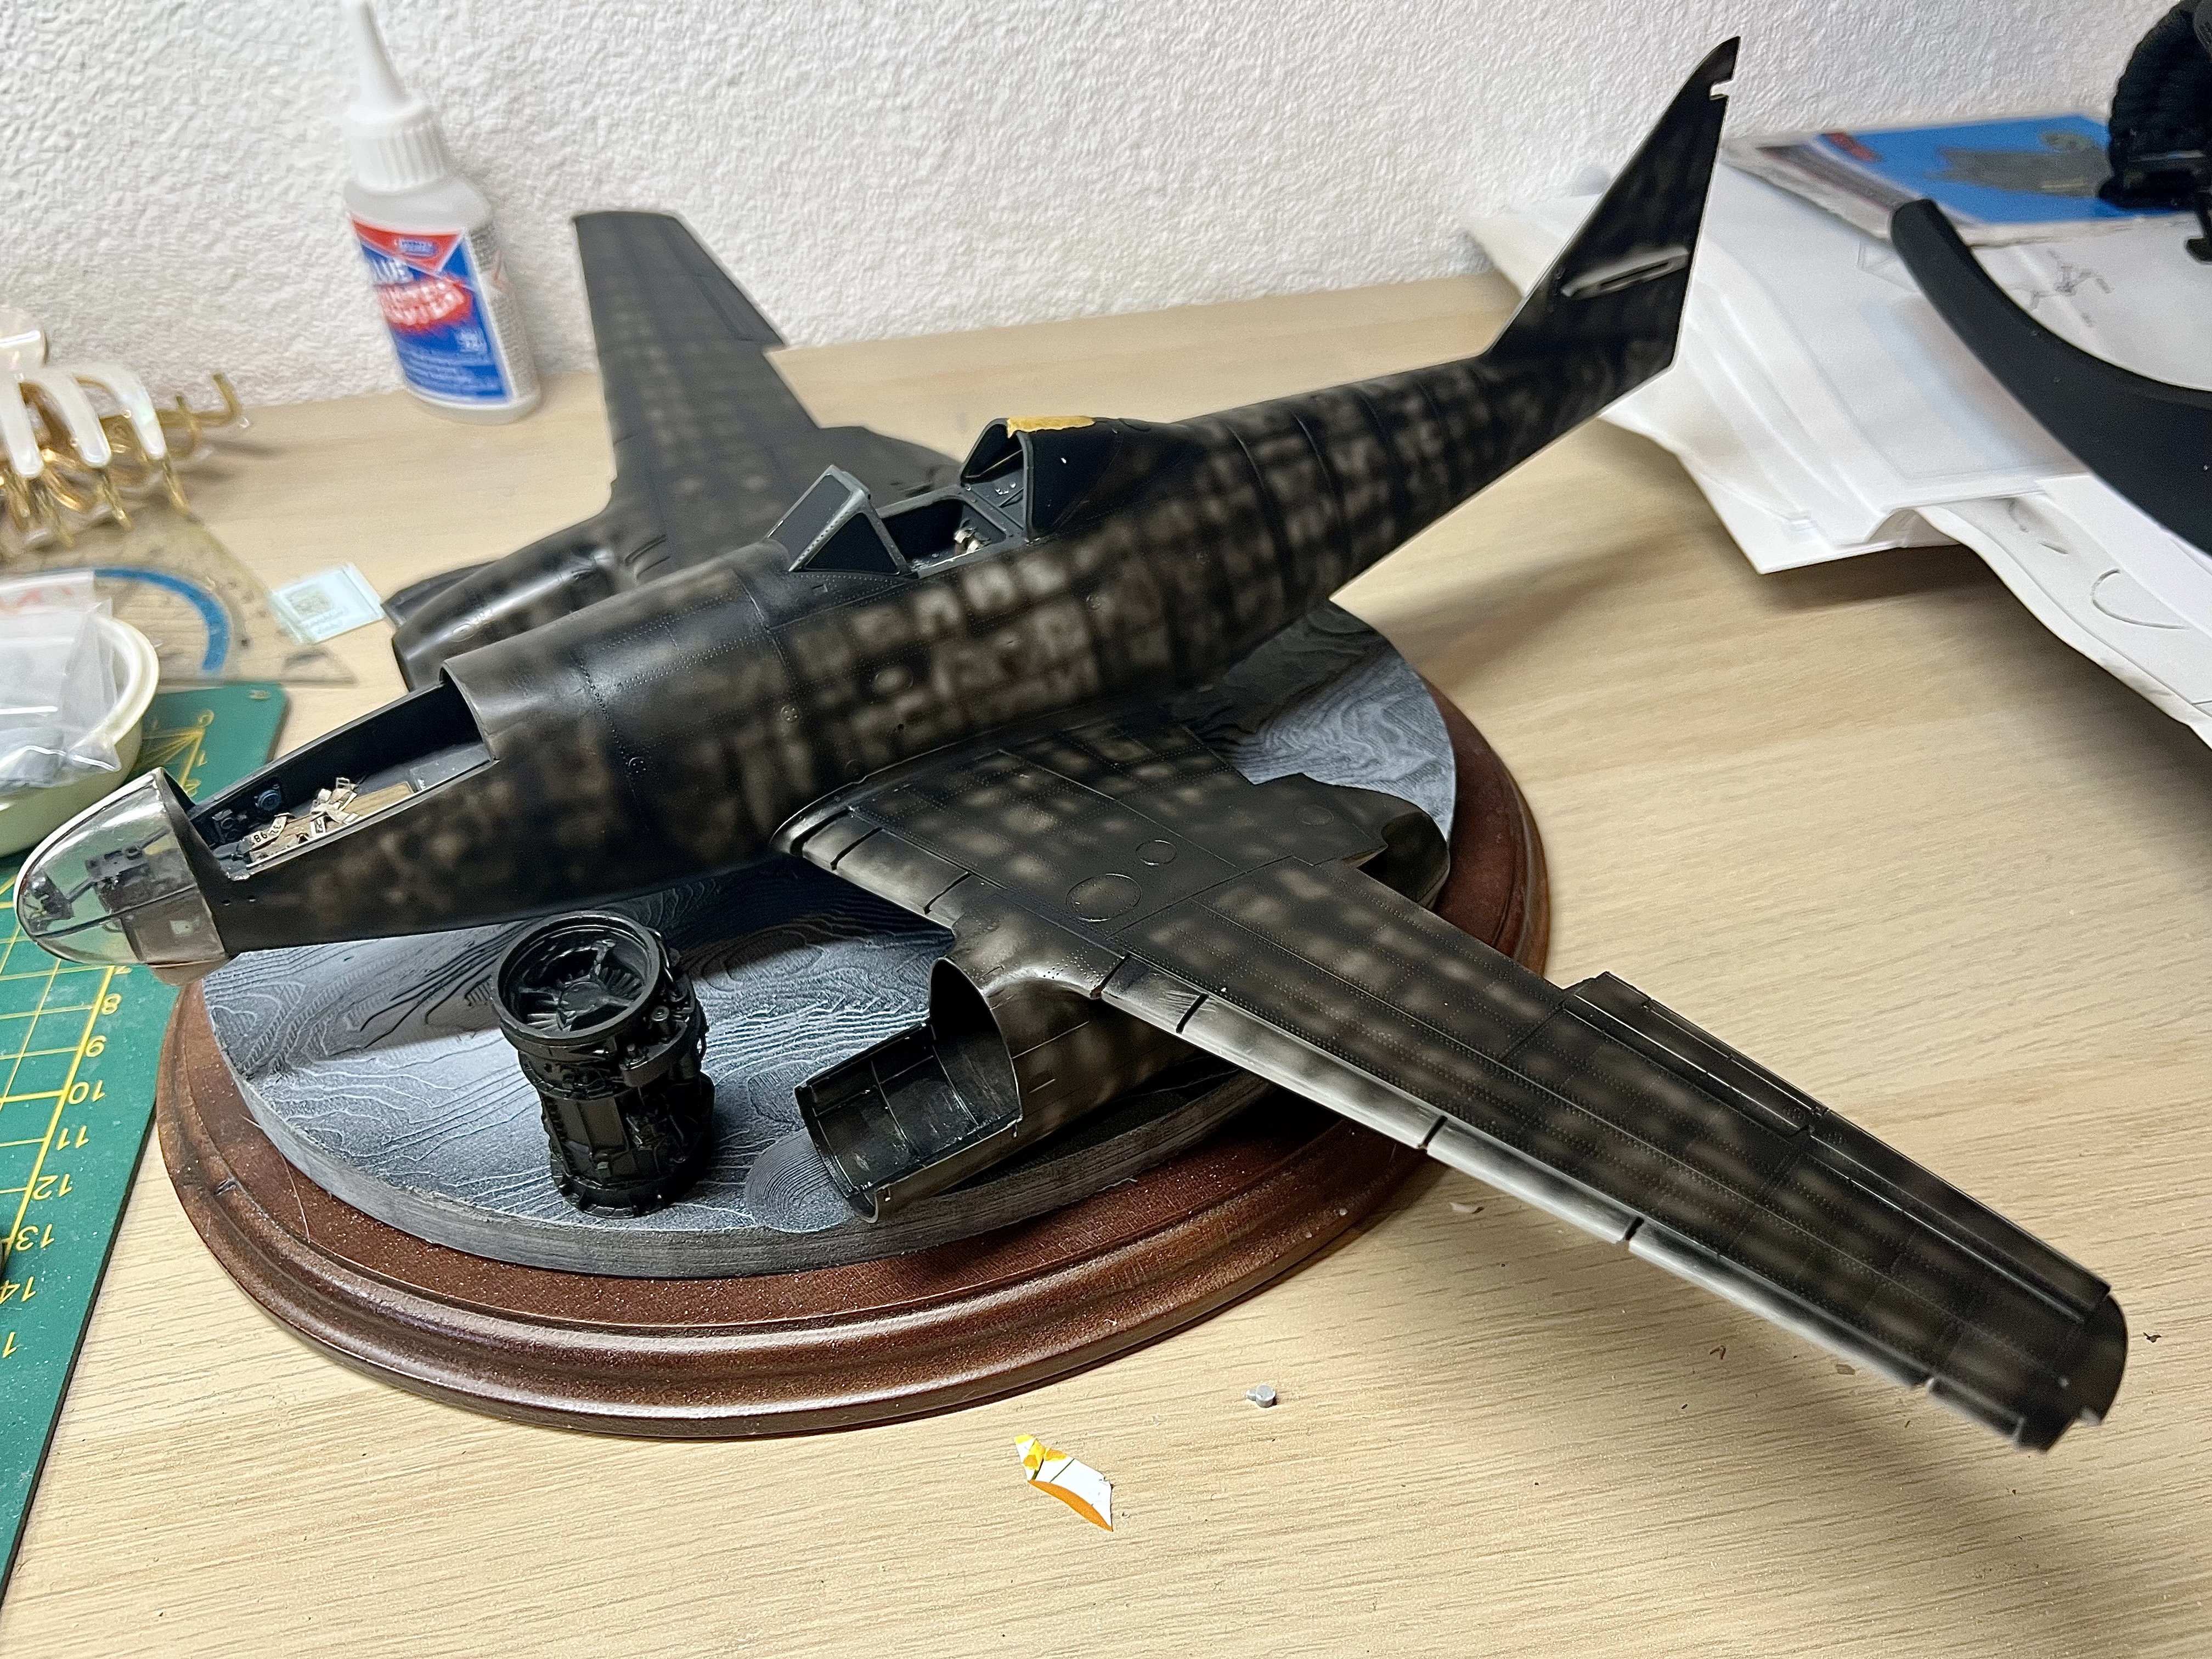
Made a long session spraying rlm76. Now to figure out the exact scheme of rlm80 and 81.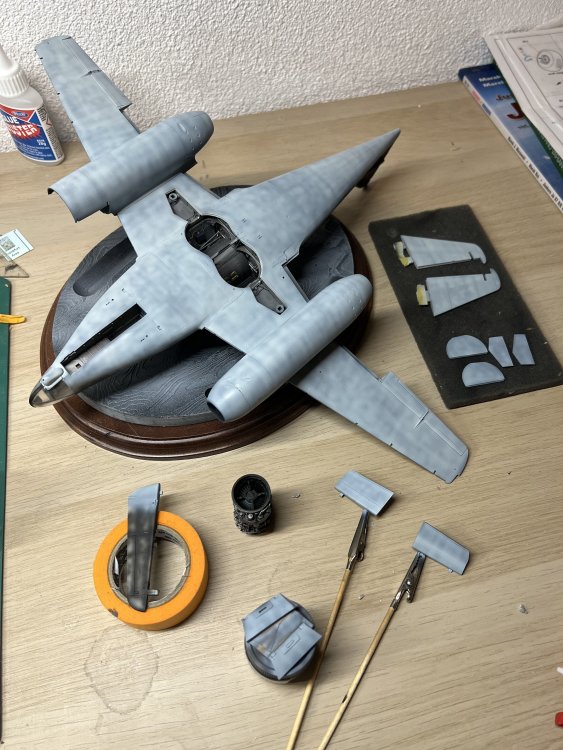
-
1/32 ME-262A-2a/U2
JeroenPeters replied to JeroenPeters's topic in LSM 1/35 and Larger Work In Progress
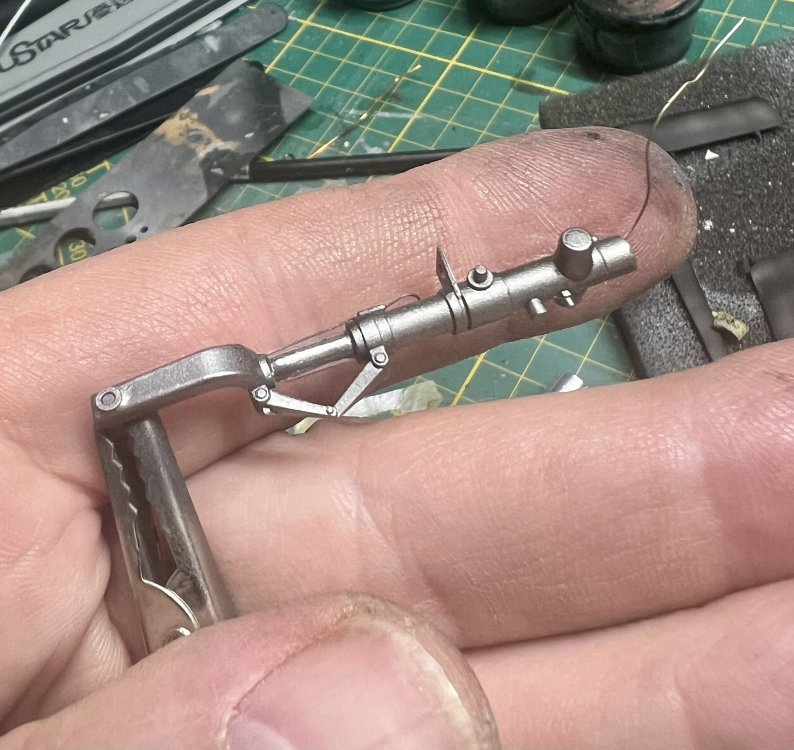
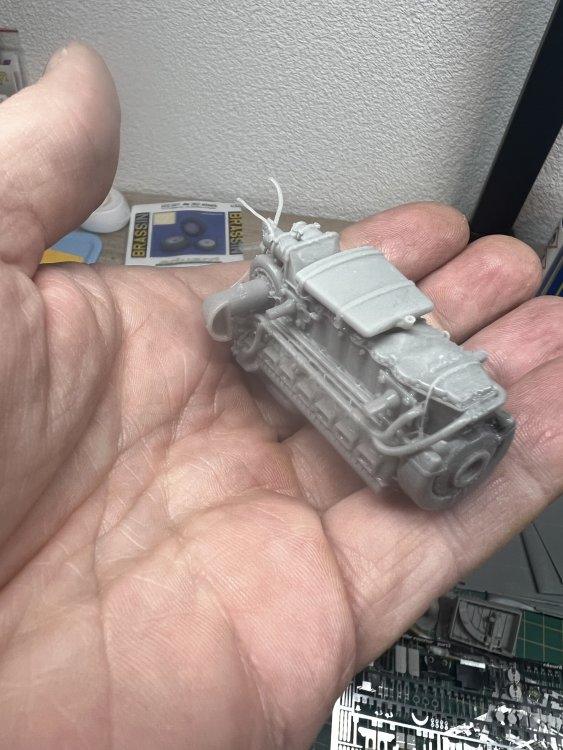
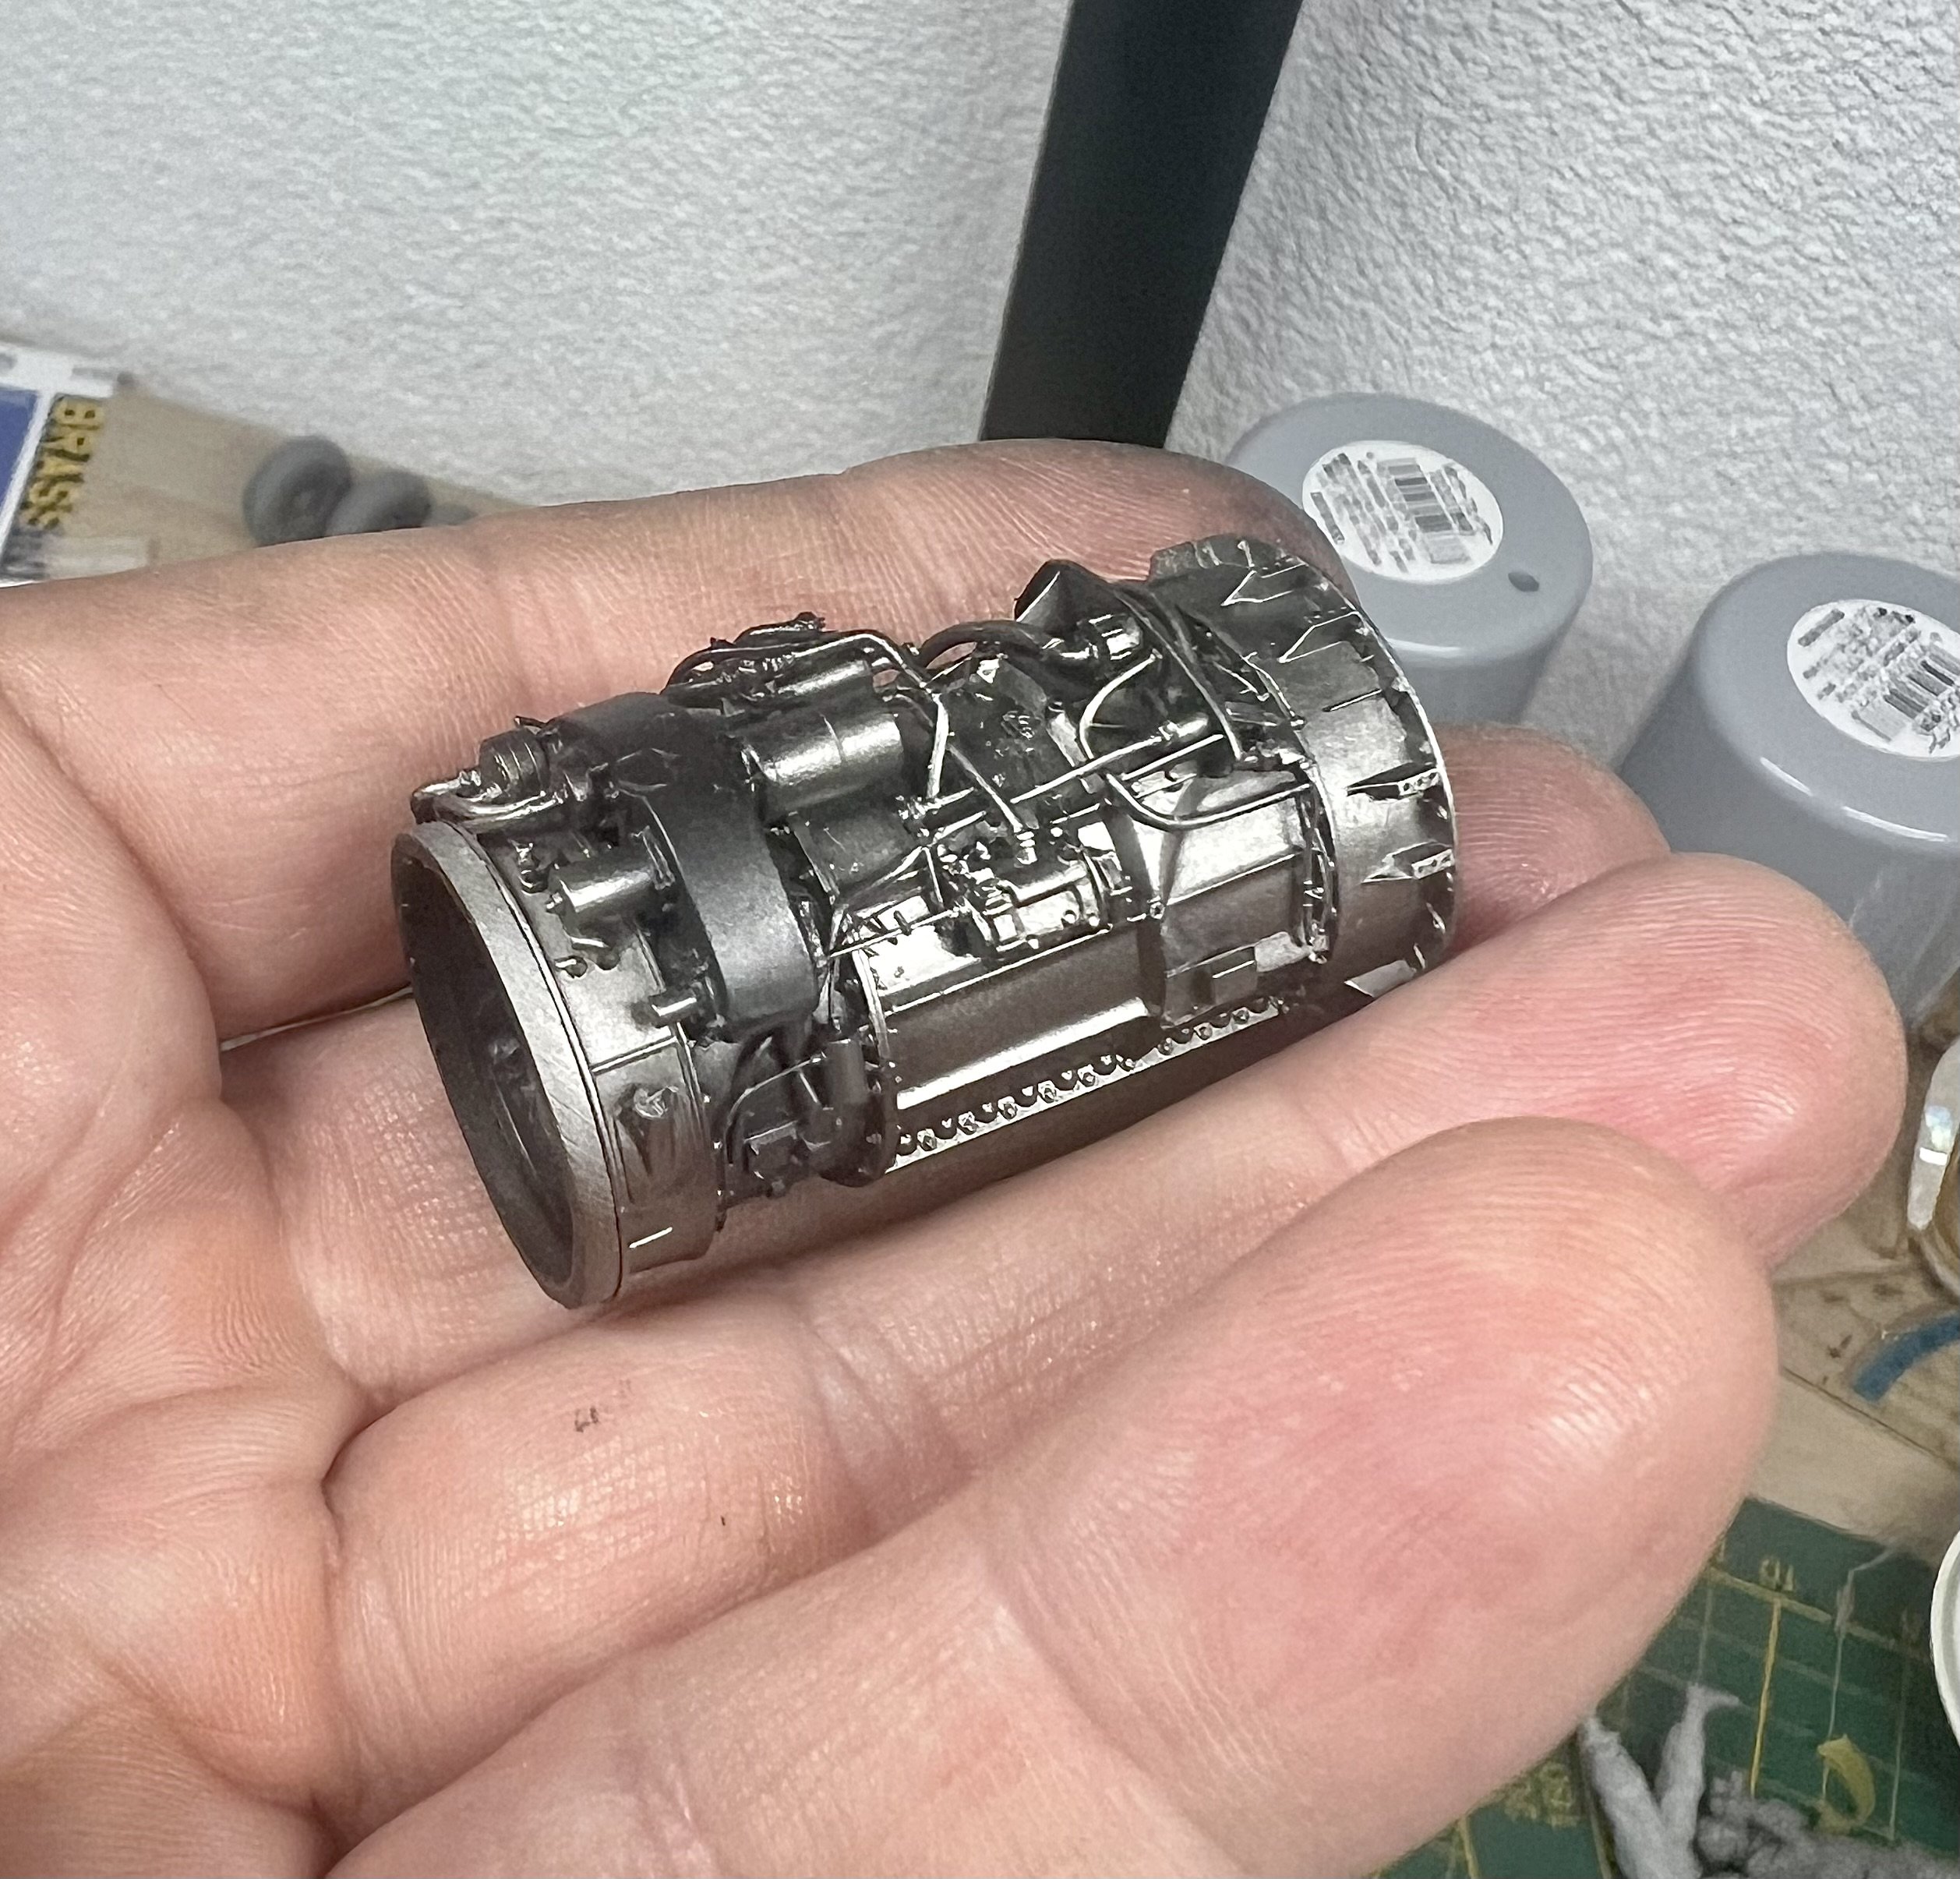
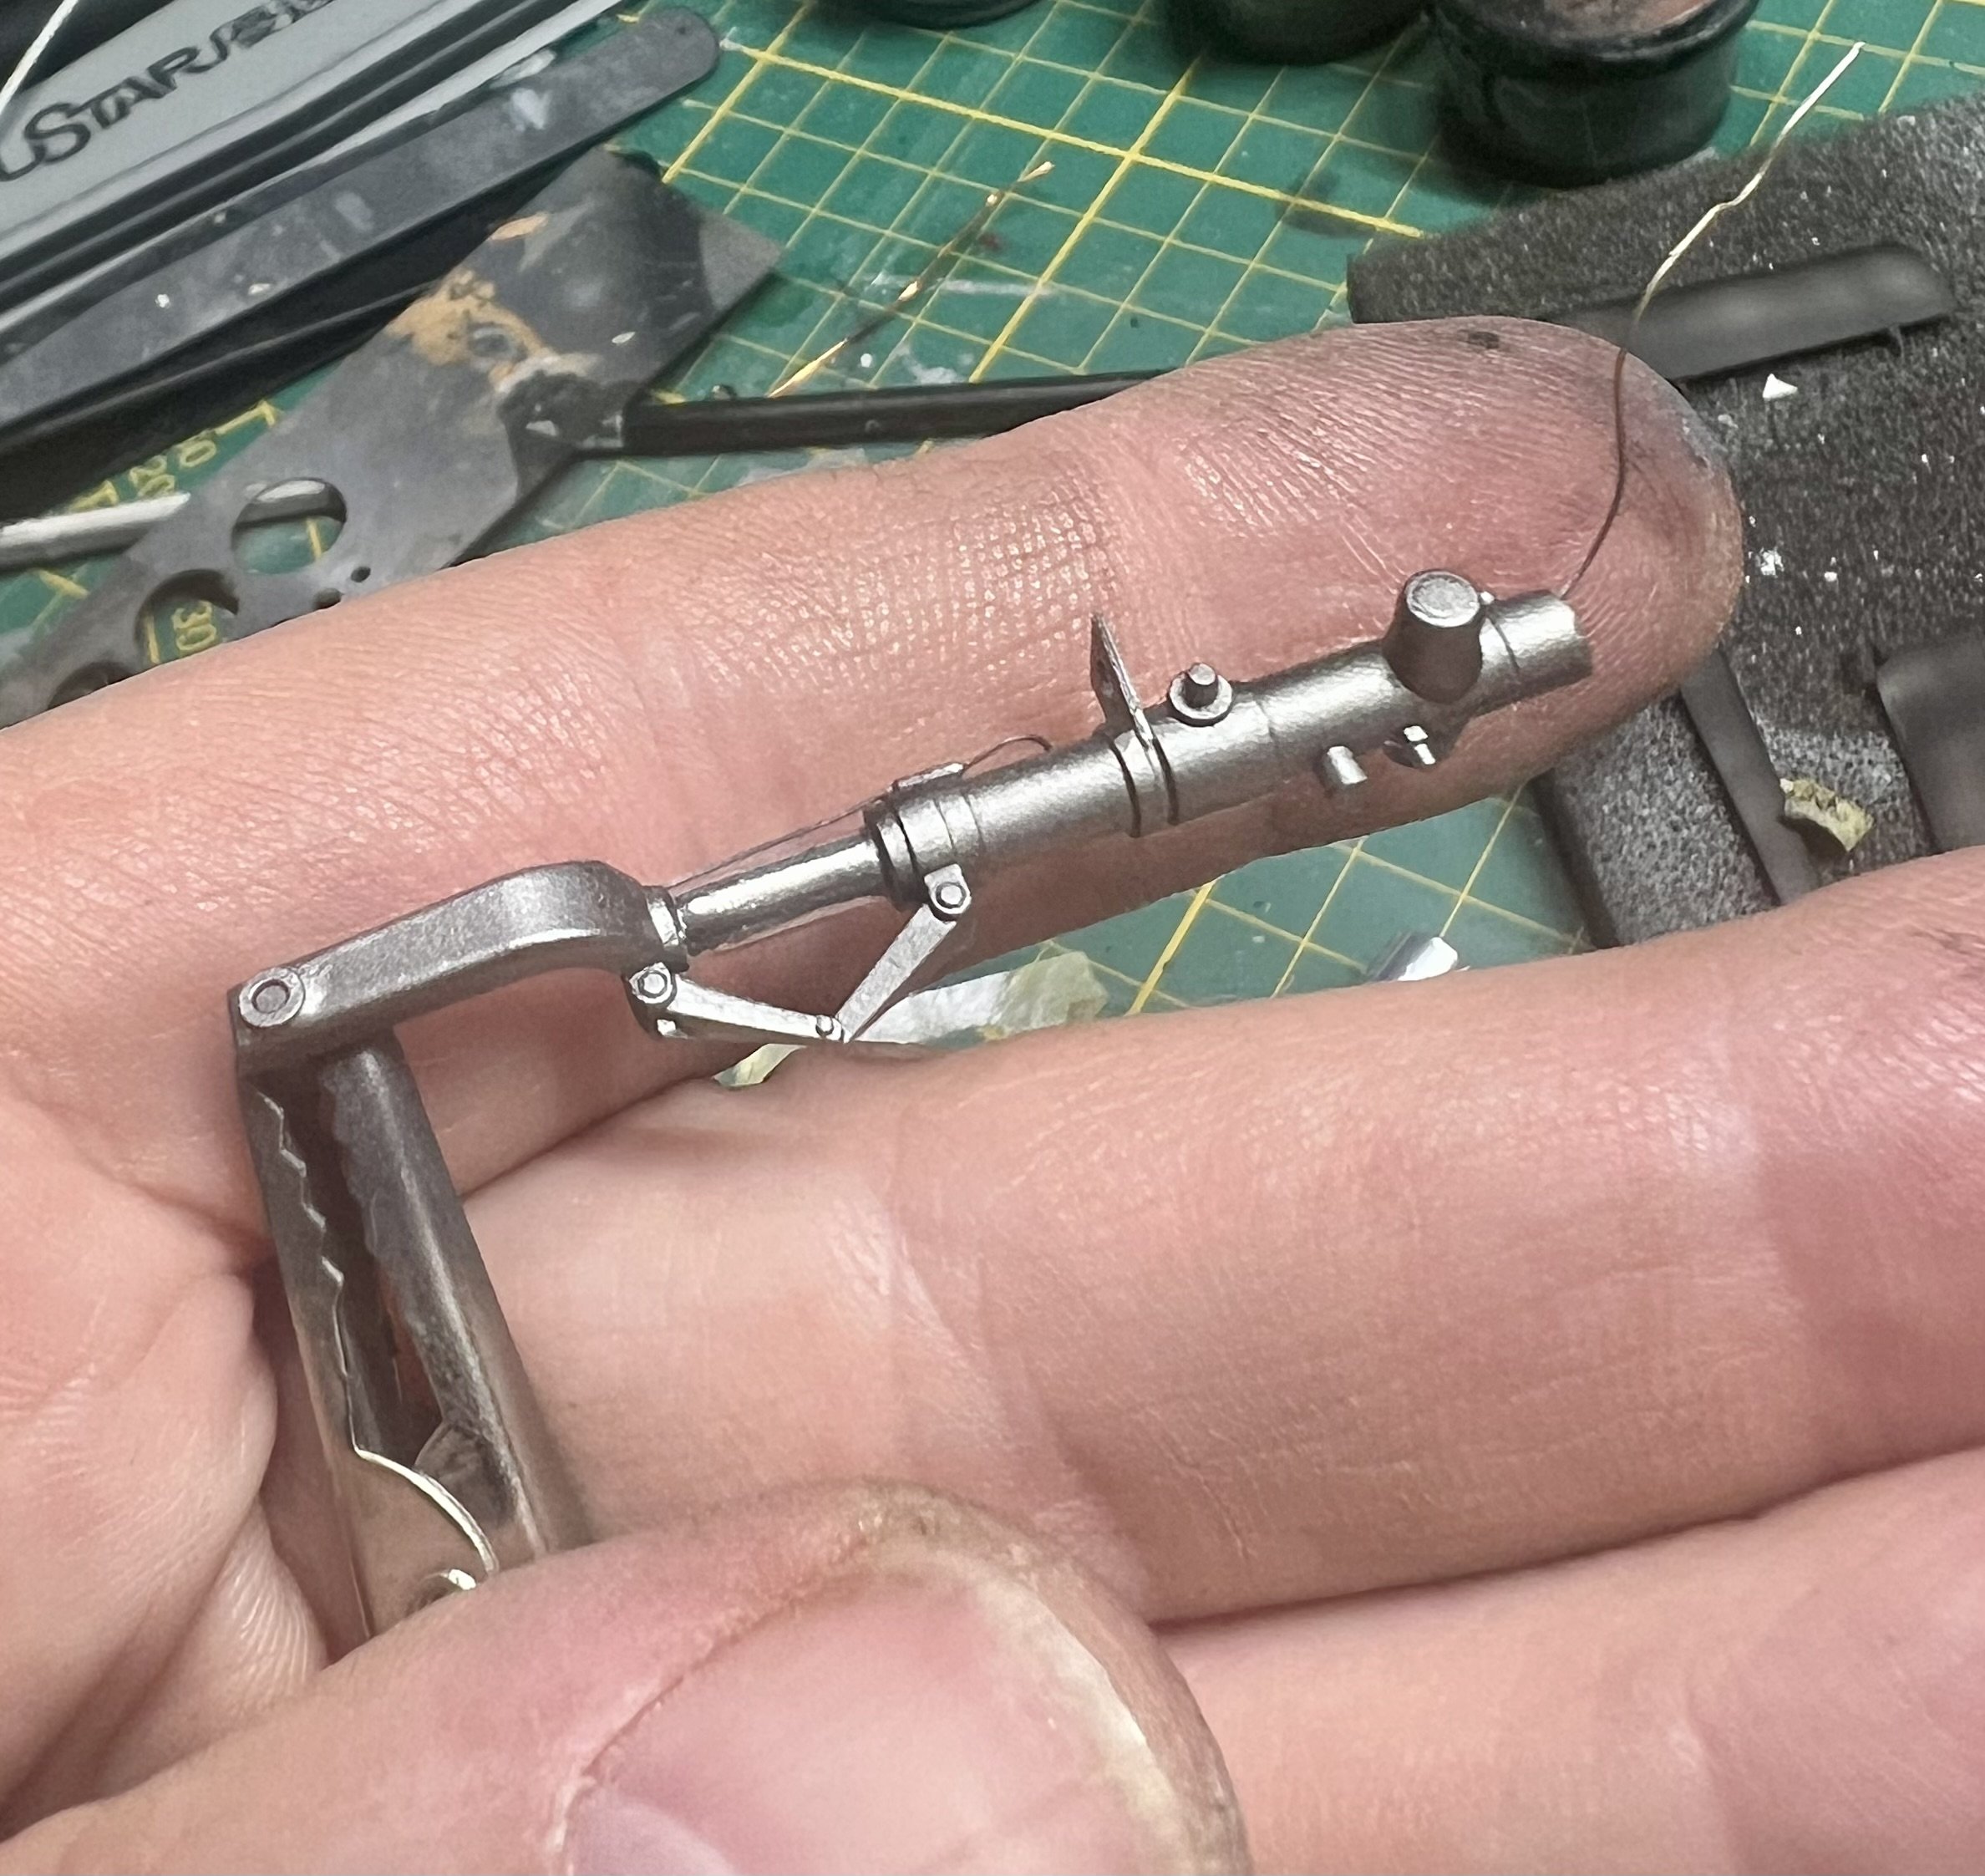
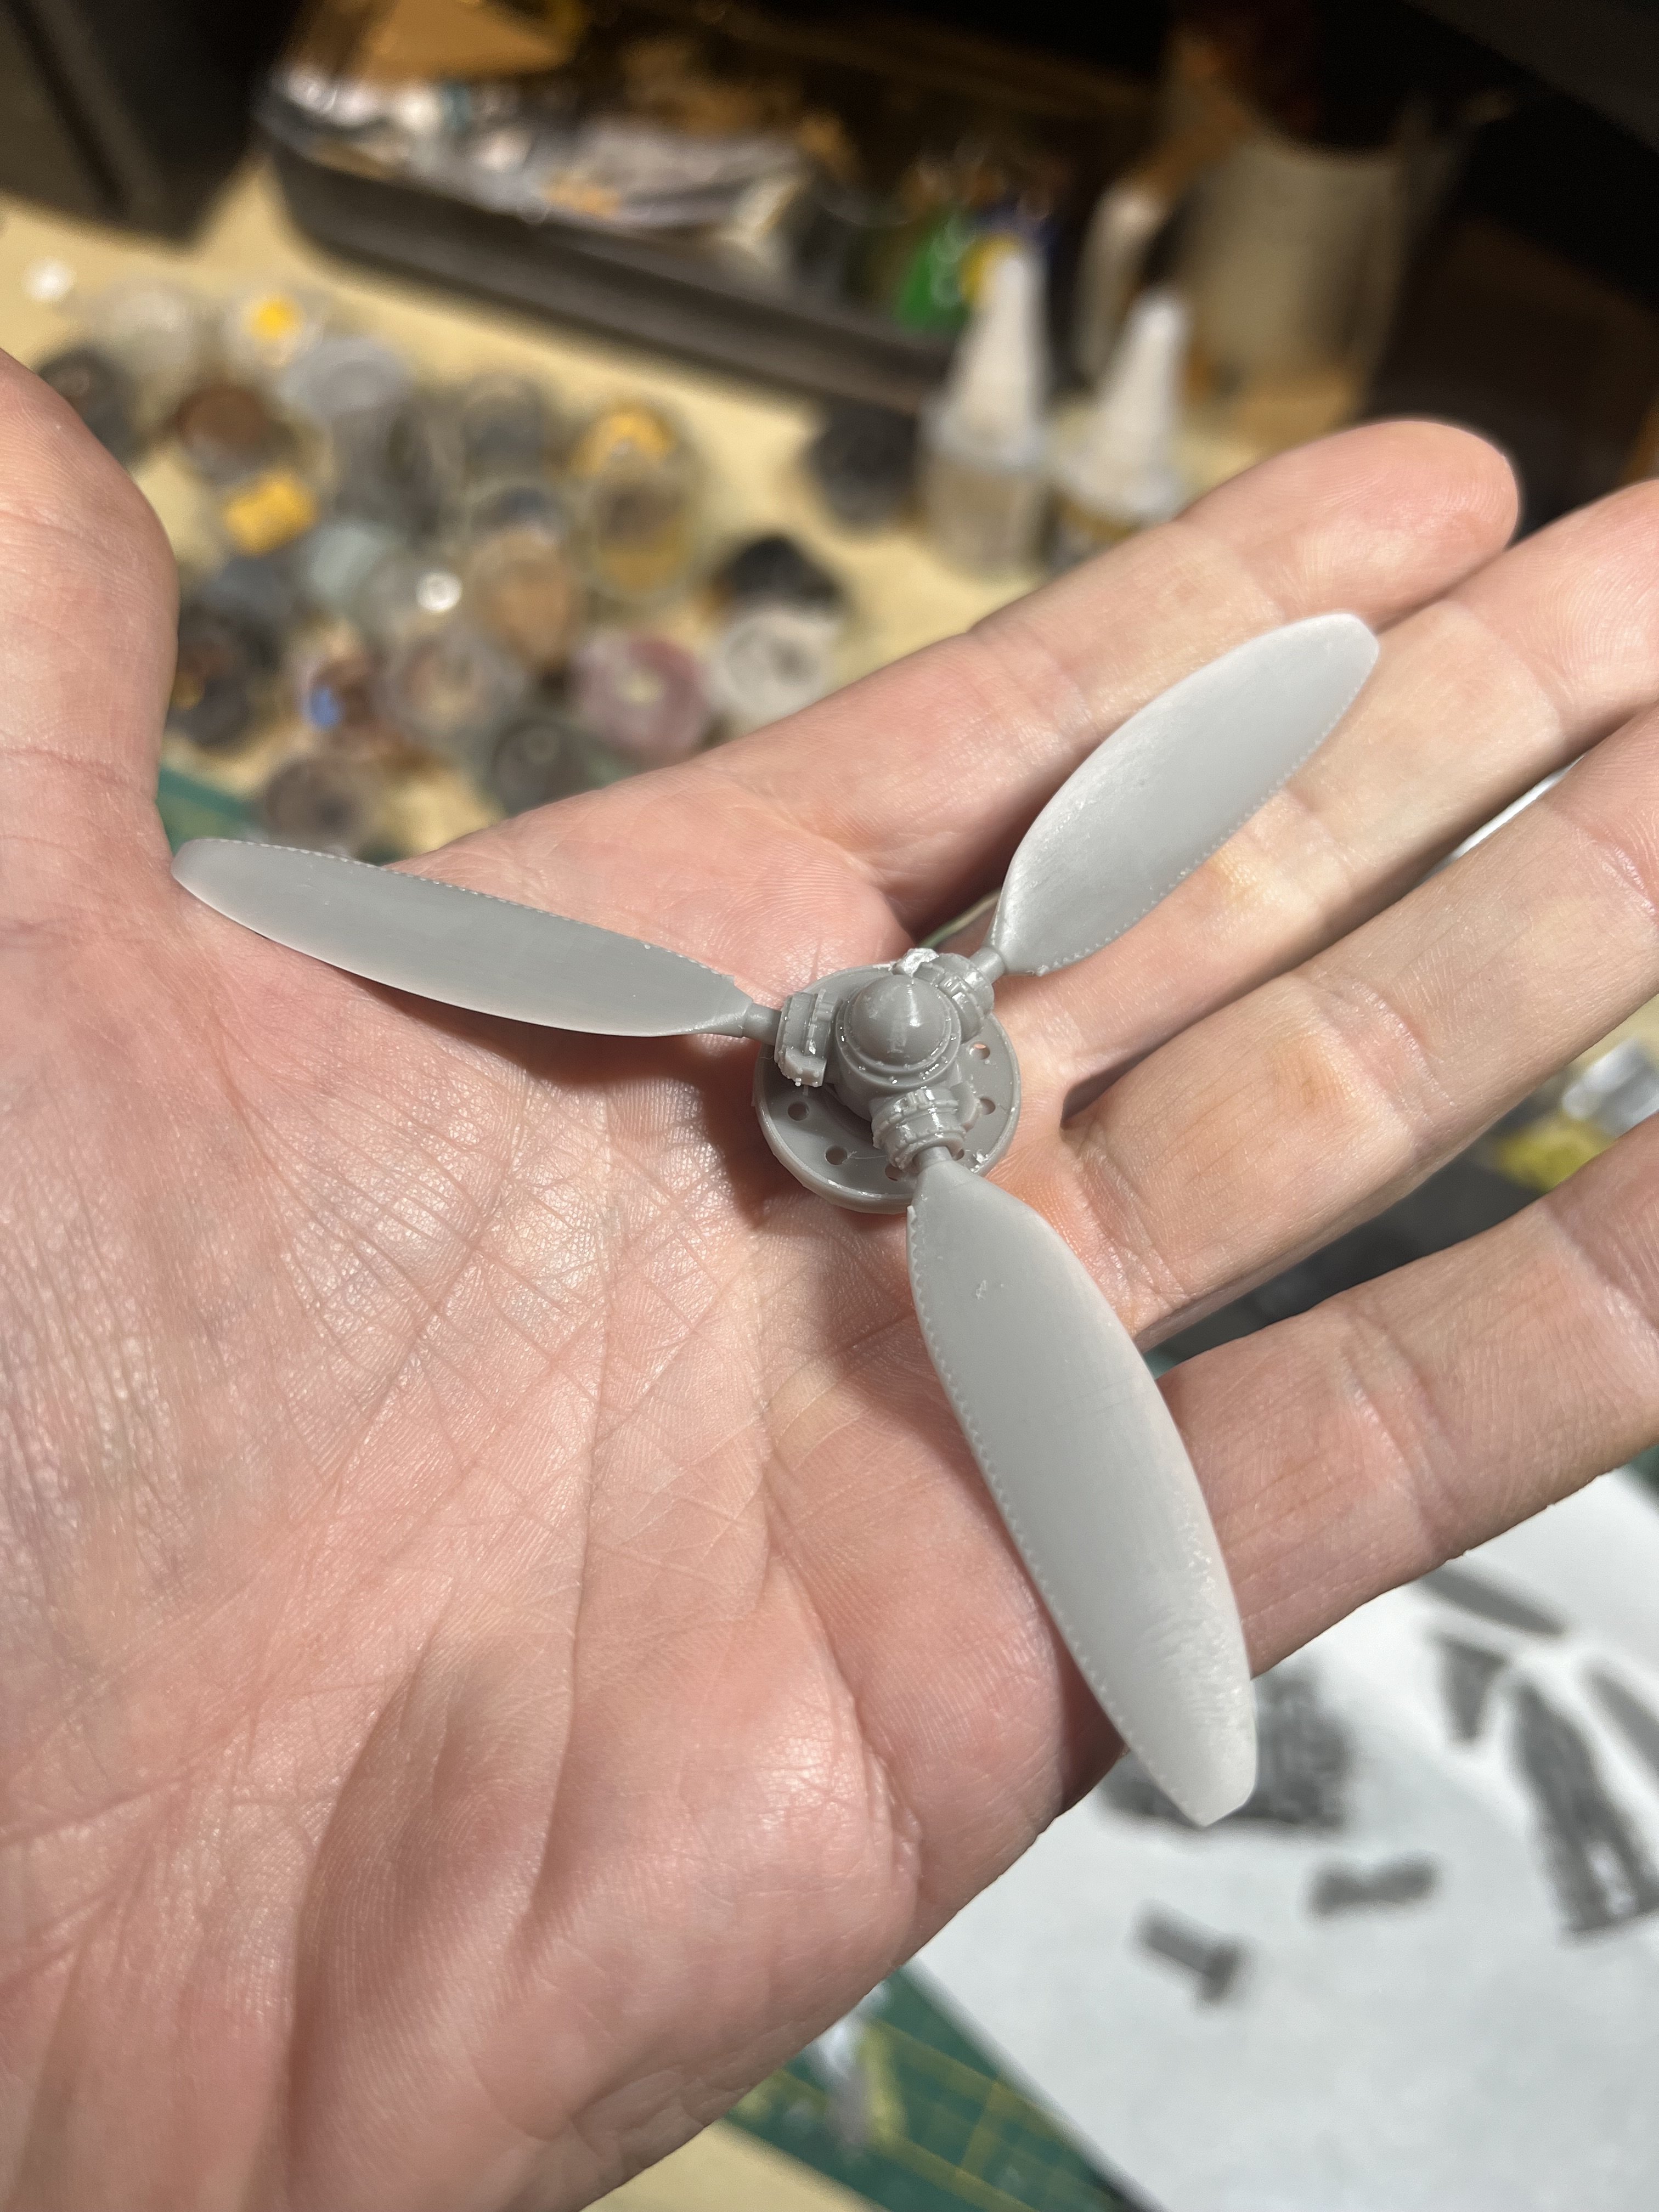
Finally found chrome that looks kike chrome for the gear. This comes from a pen. Ordered from Alixpress. And first Alclad colours to the engine.

-
1/32 Ju-87D Stuka
JeroenPeters replied to JeroenPeters's topic in LSM 1/35 and Larger Work In Progress
Aaaand printed.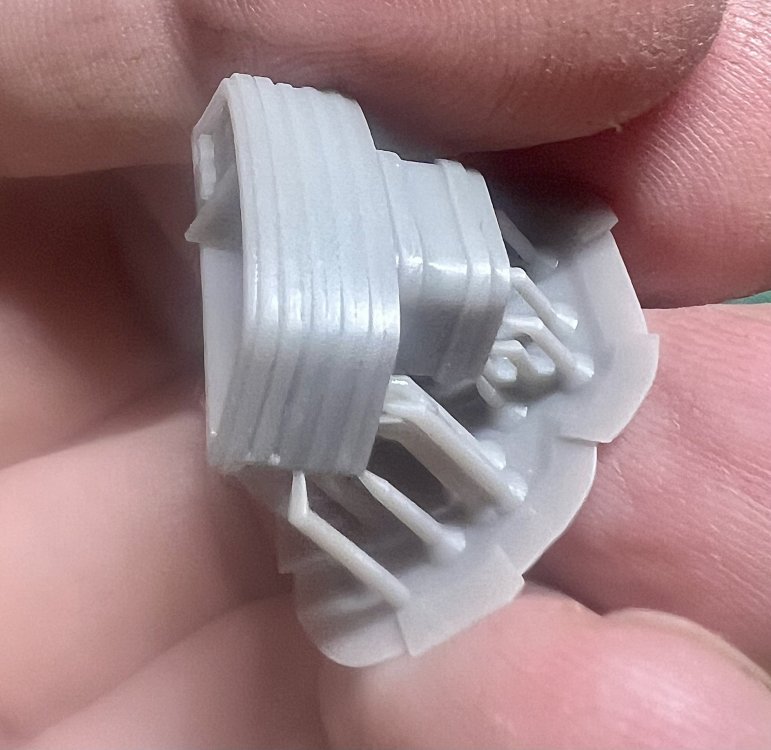

-
1/32 Ju-87D Stuka
JeroenPeters replied to JeroenPeters's topic in LSM 1/35 and Larger Work In Progress
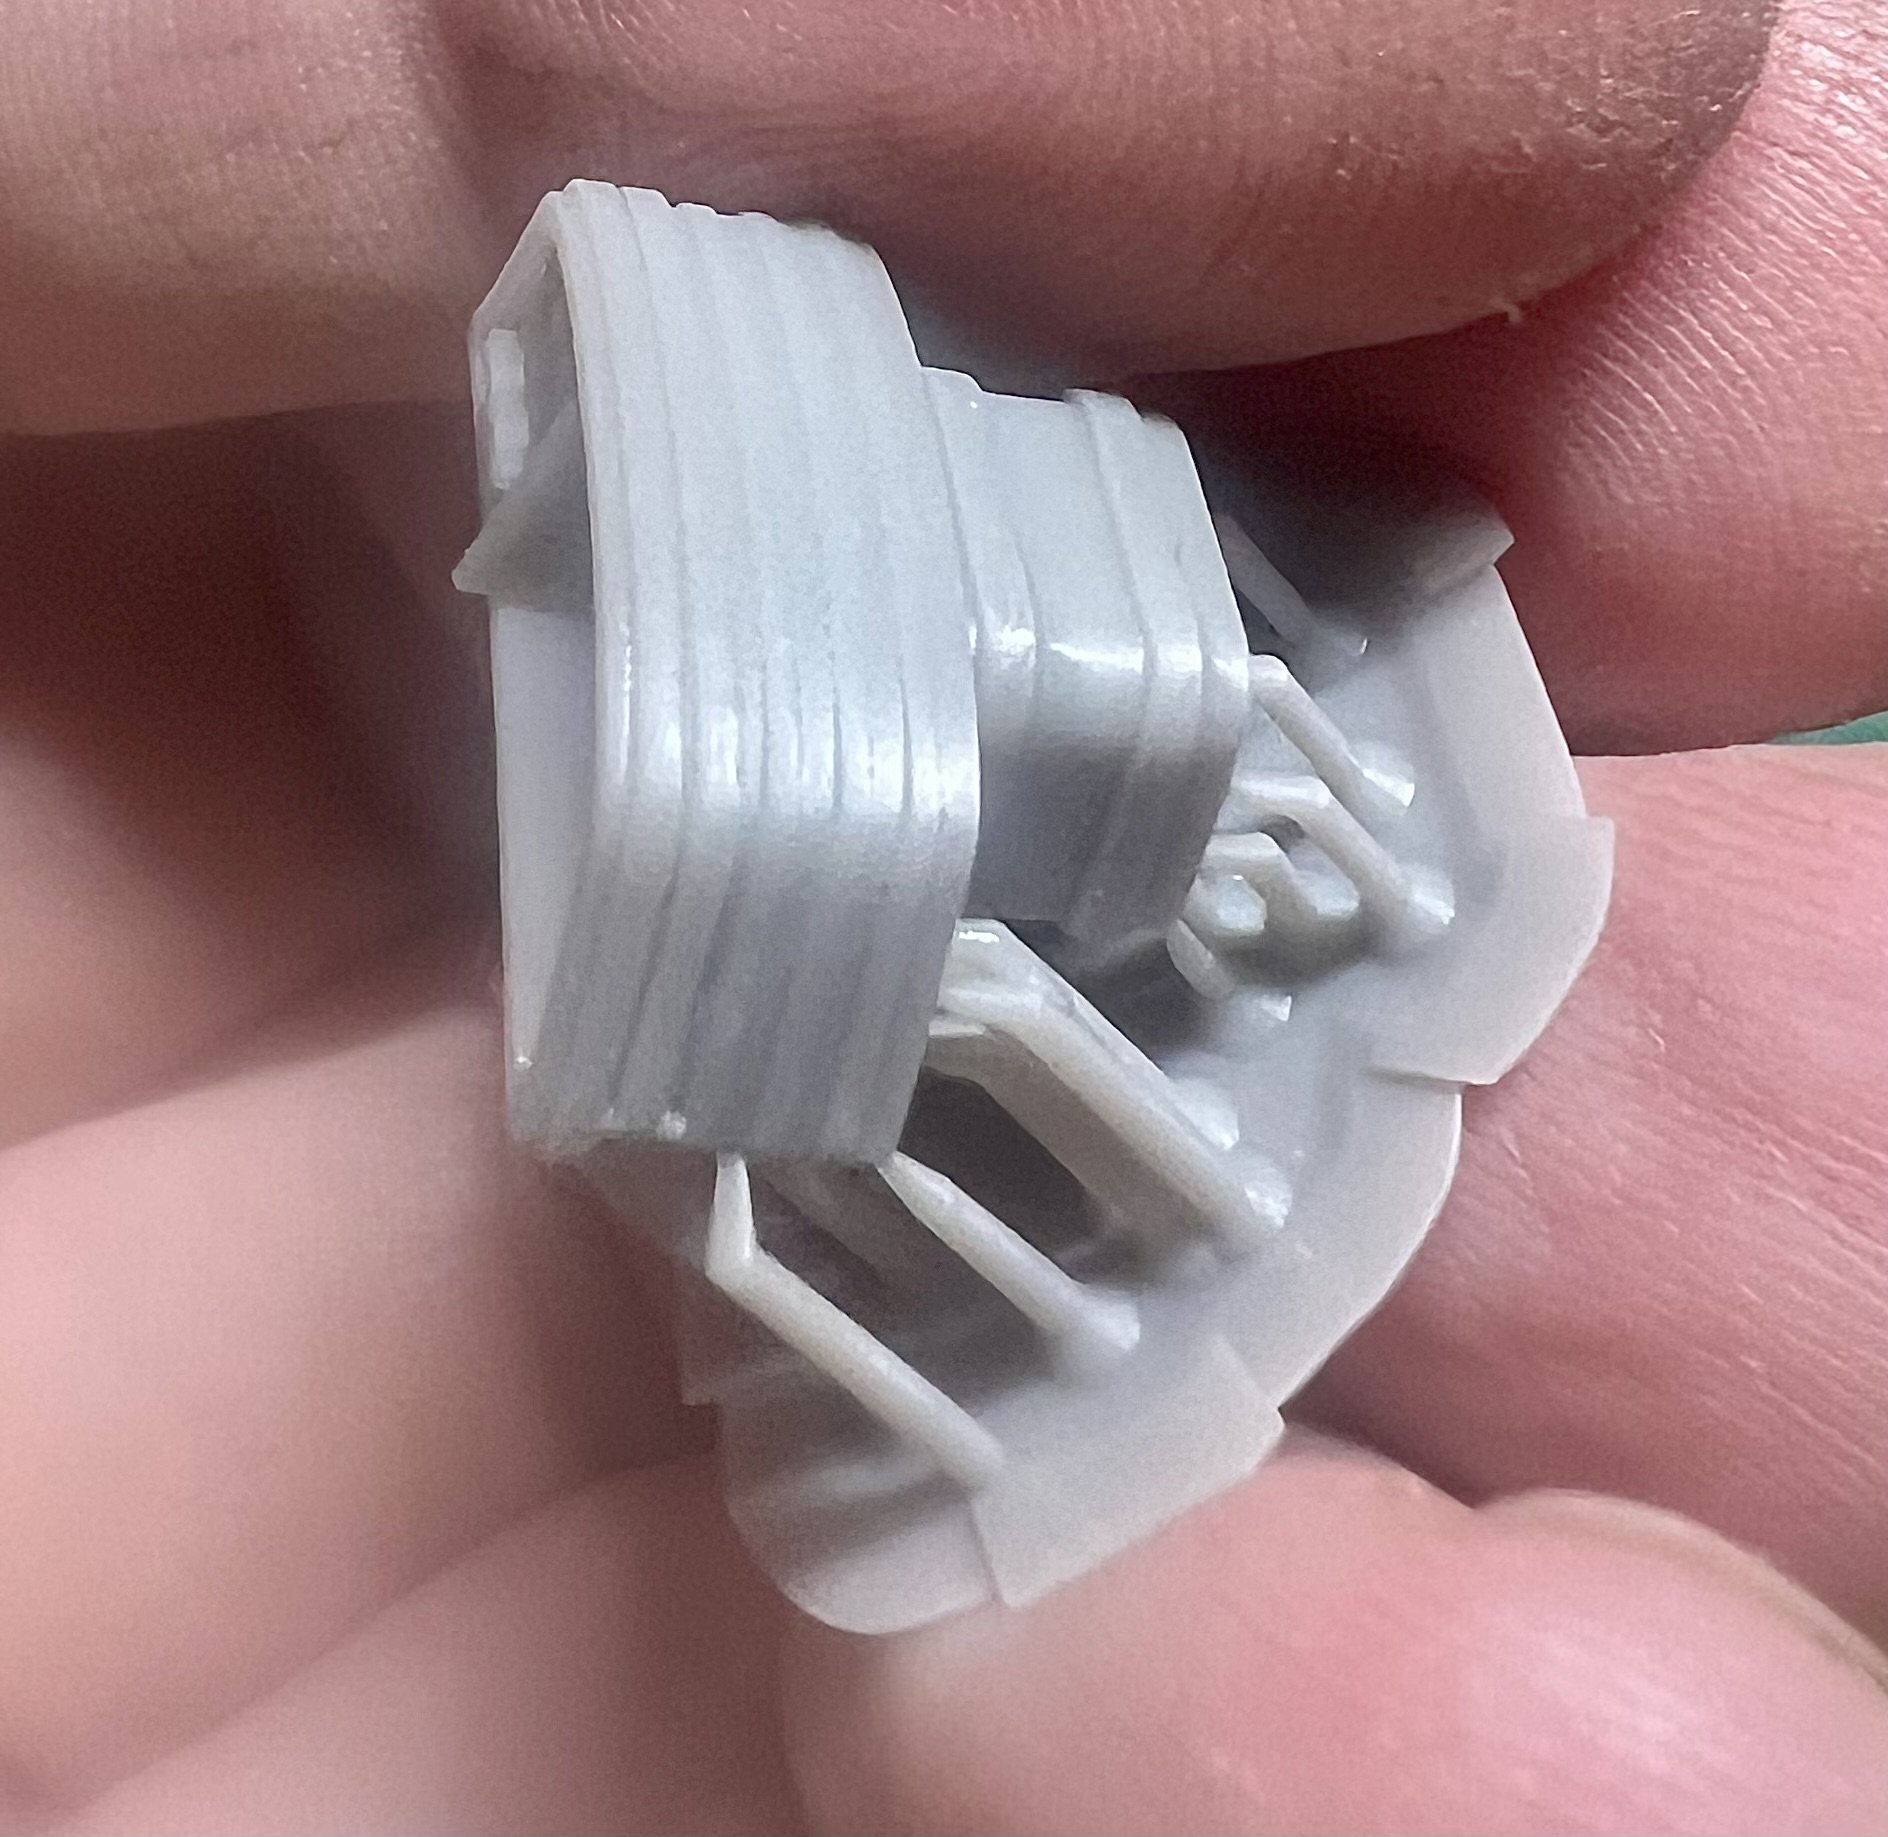
Adjusted the intake of the carburator more along the lines of the Aero Detail book.
-
1/32 Ju-87D Stuka
JeroenPeters replied to JeroenPeters's topic in LSM 1/35 and Larger Work In Progress
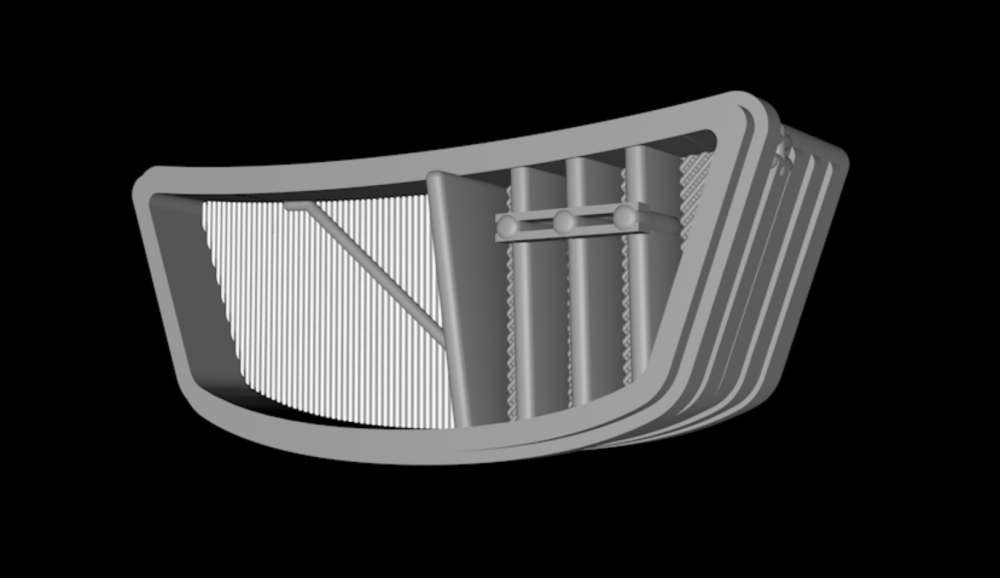
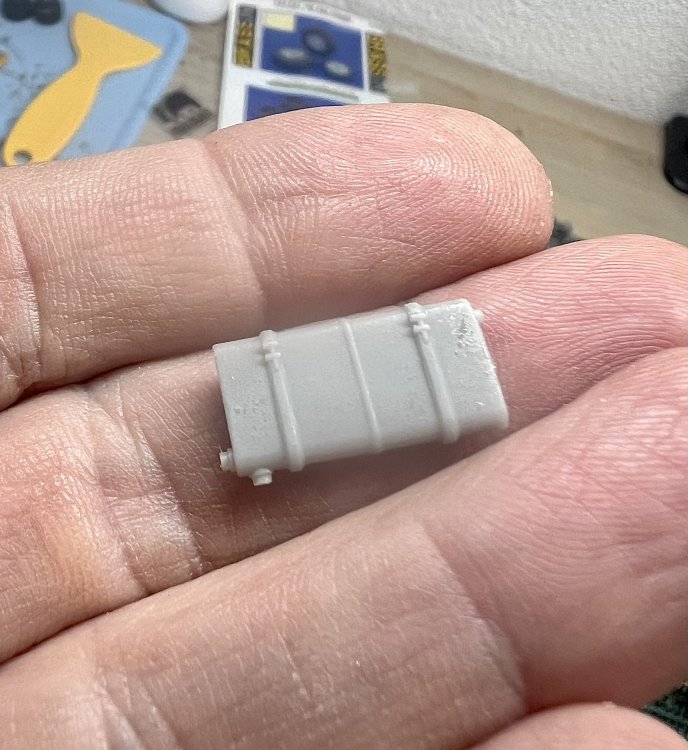
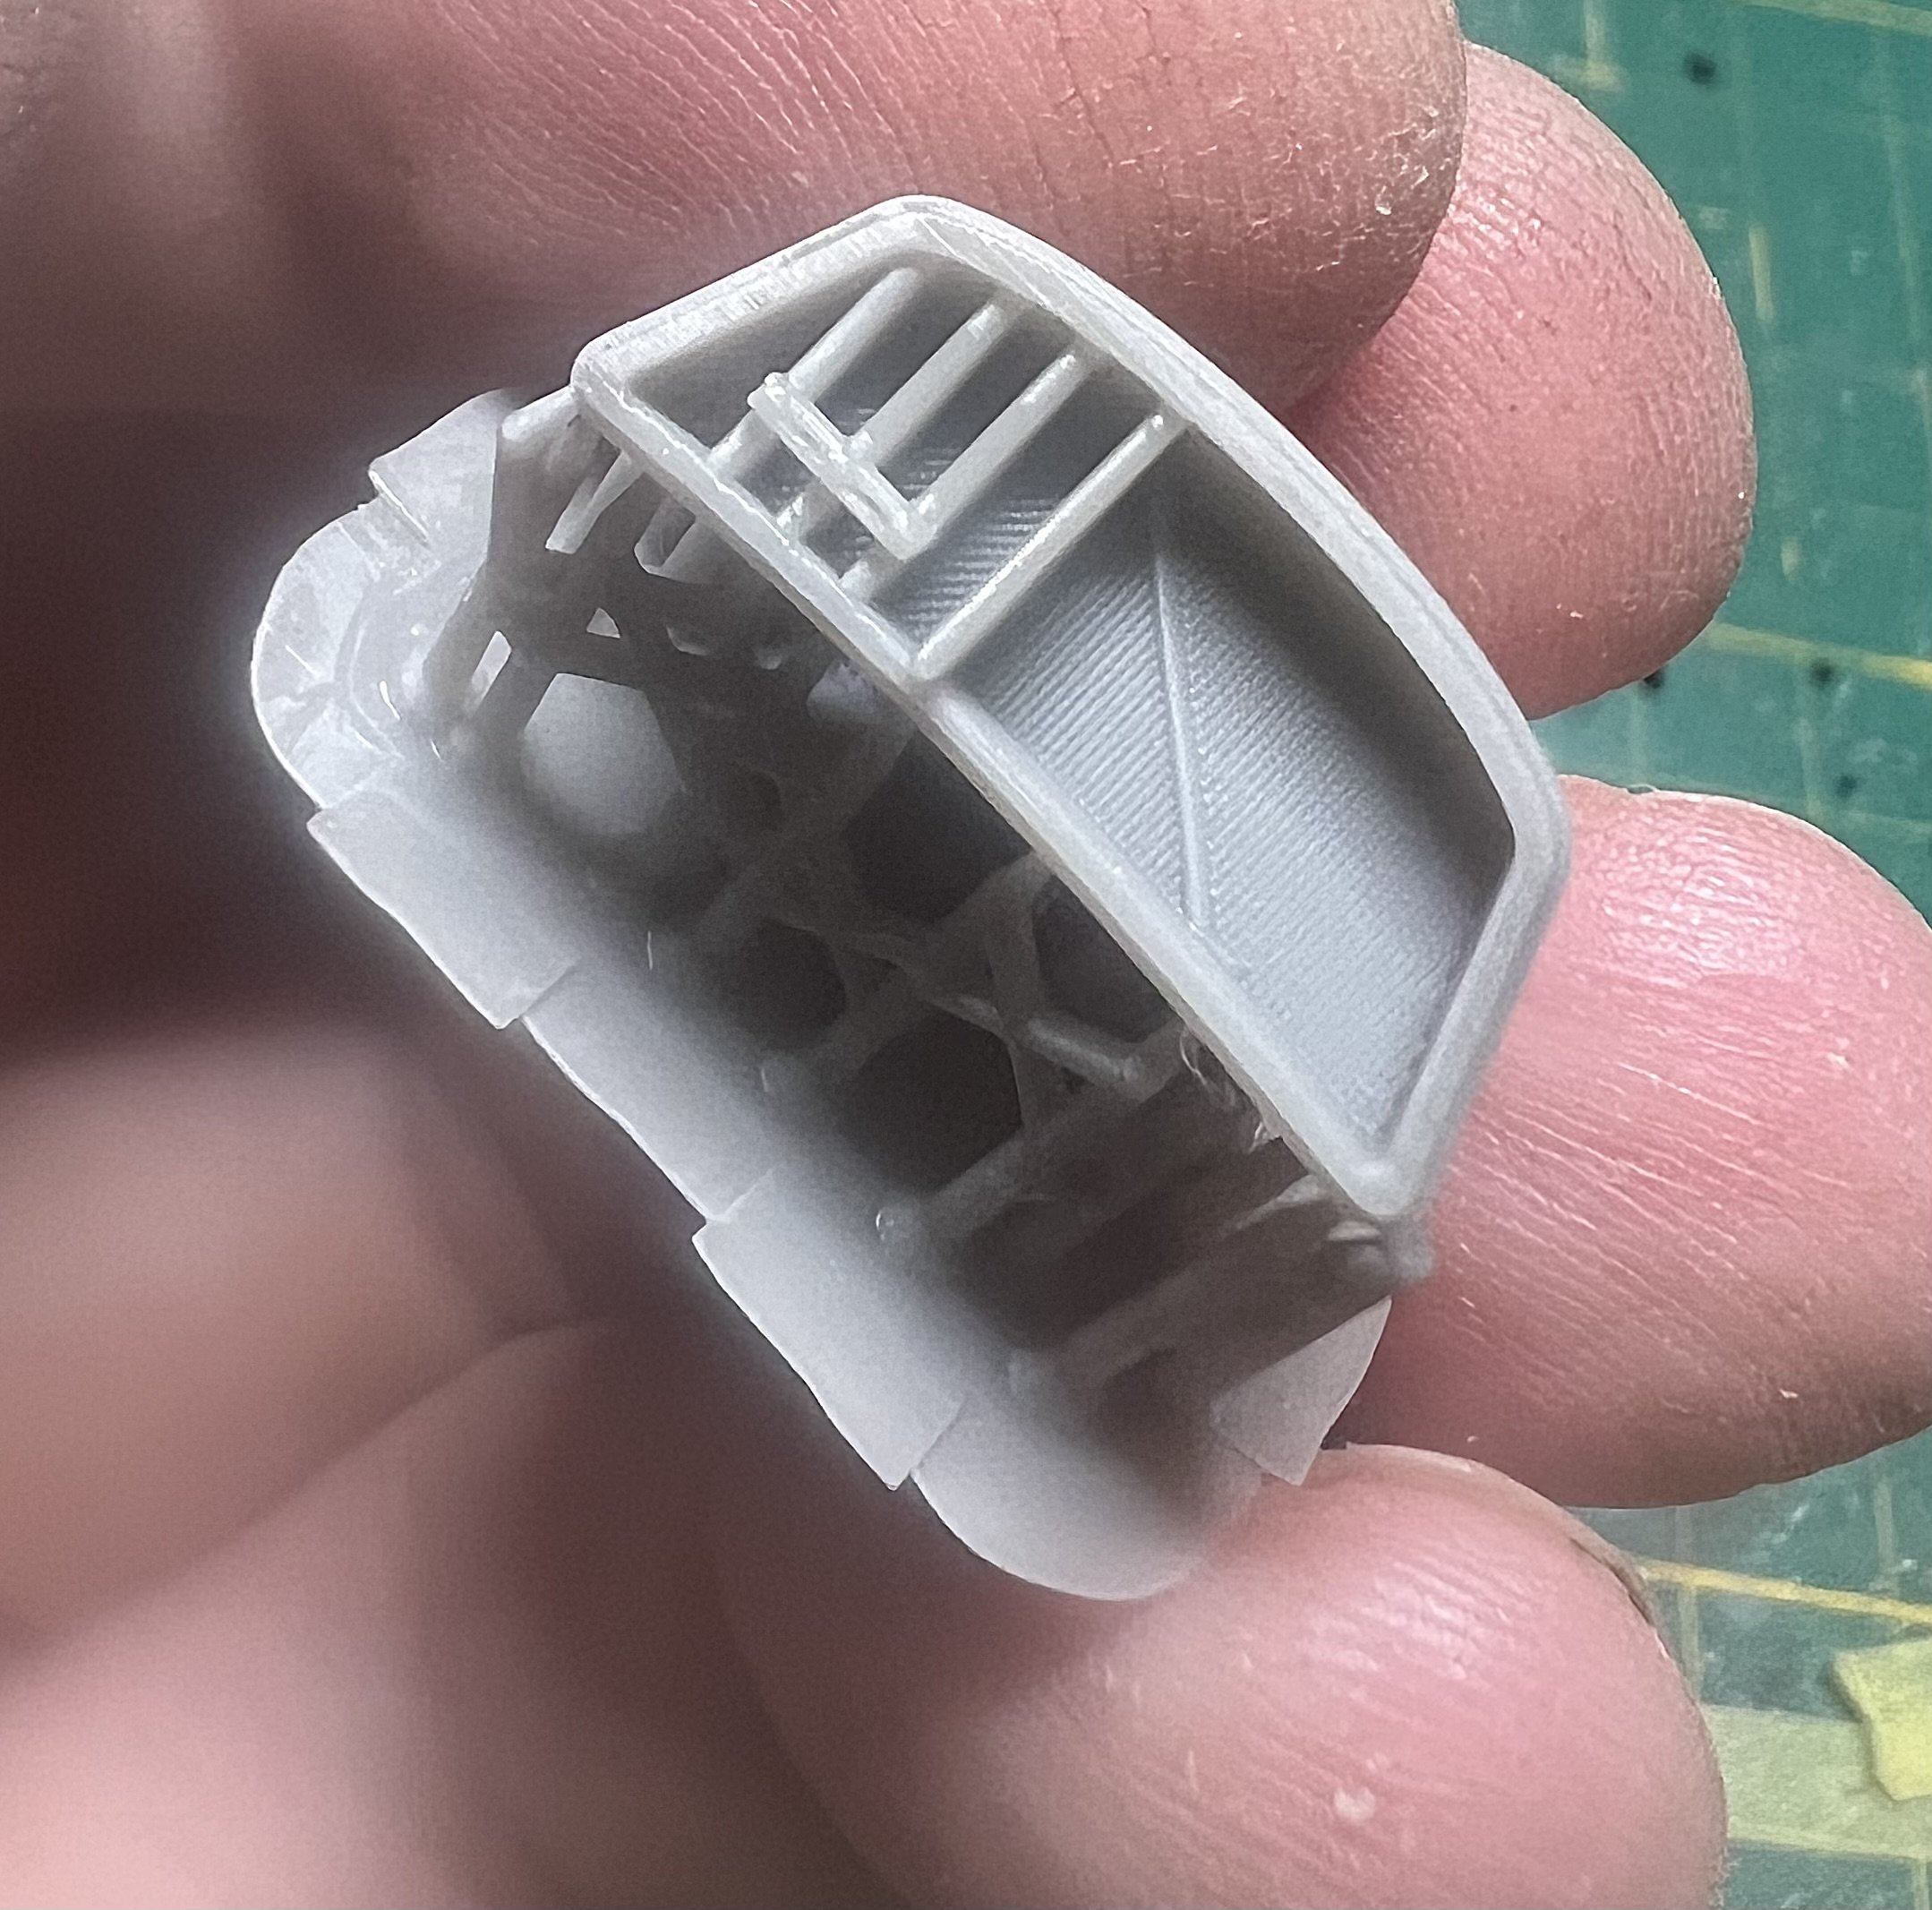
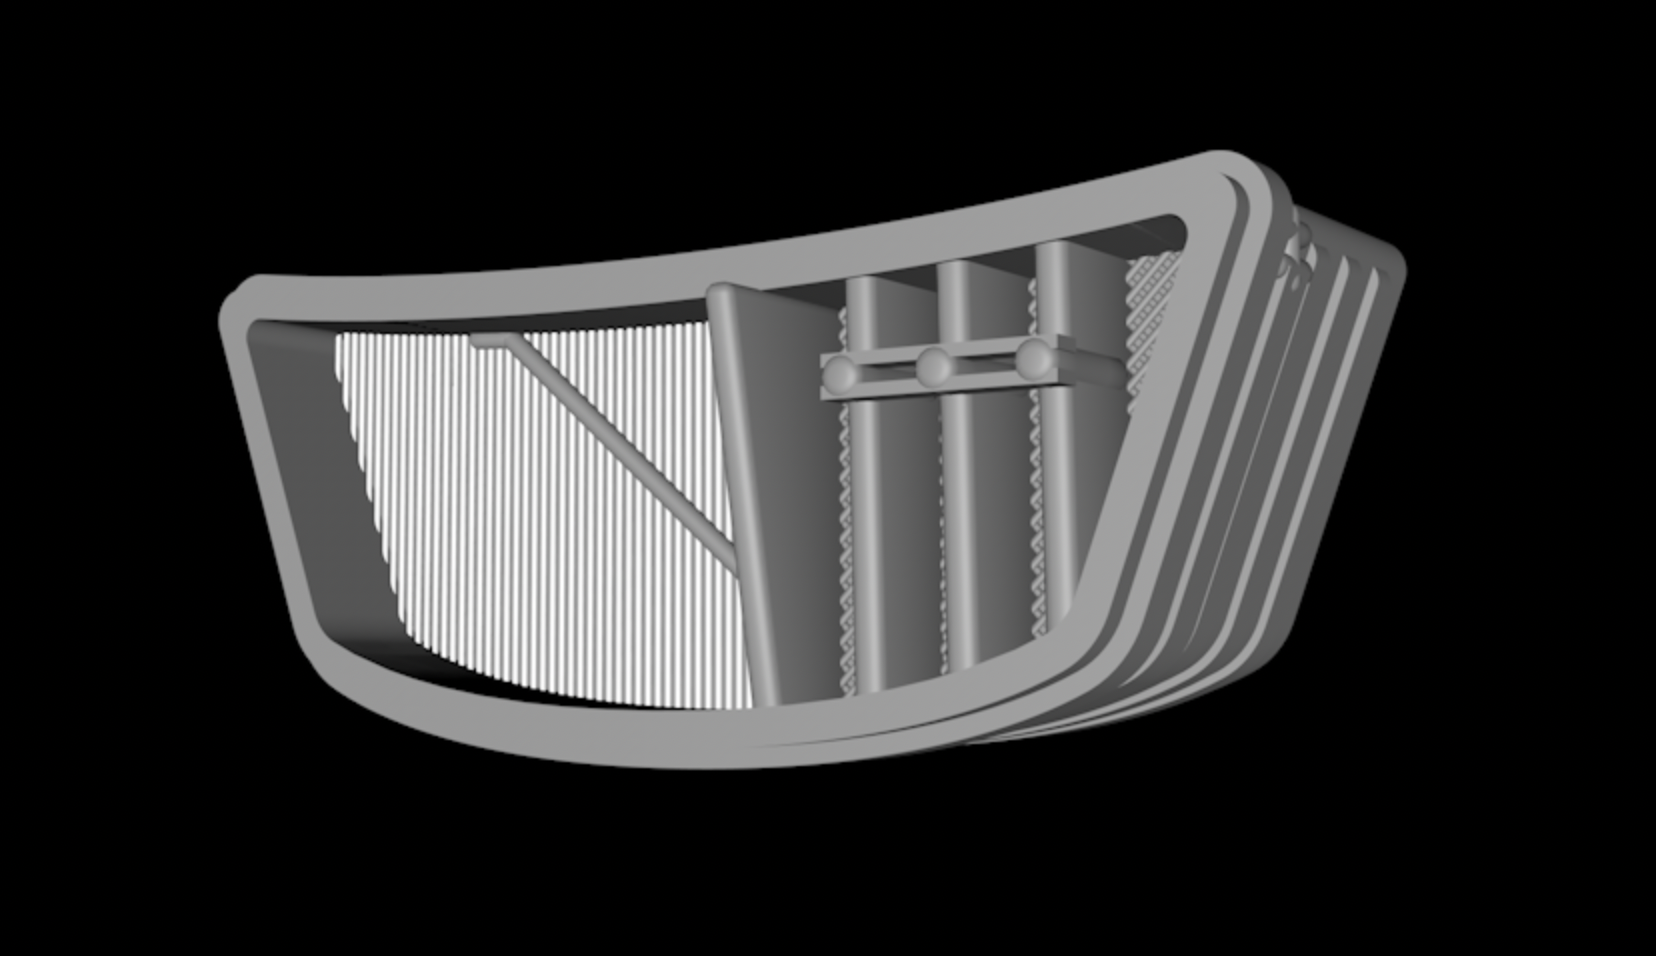
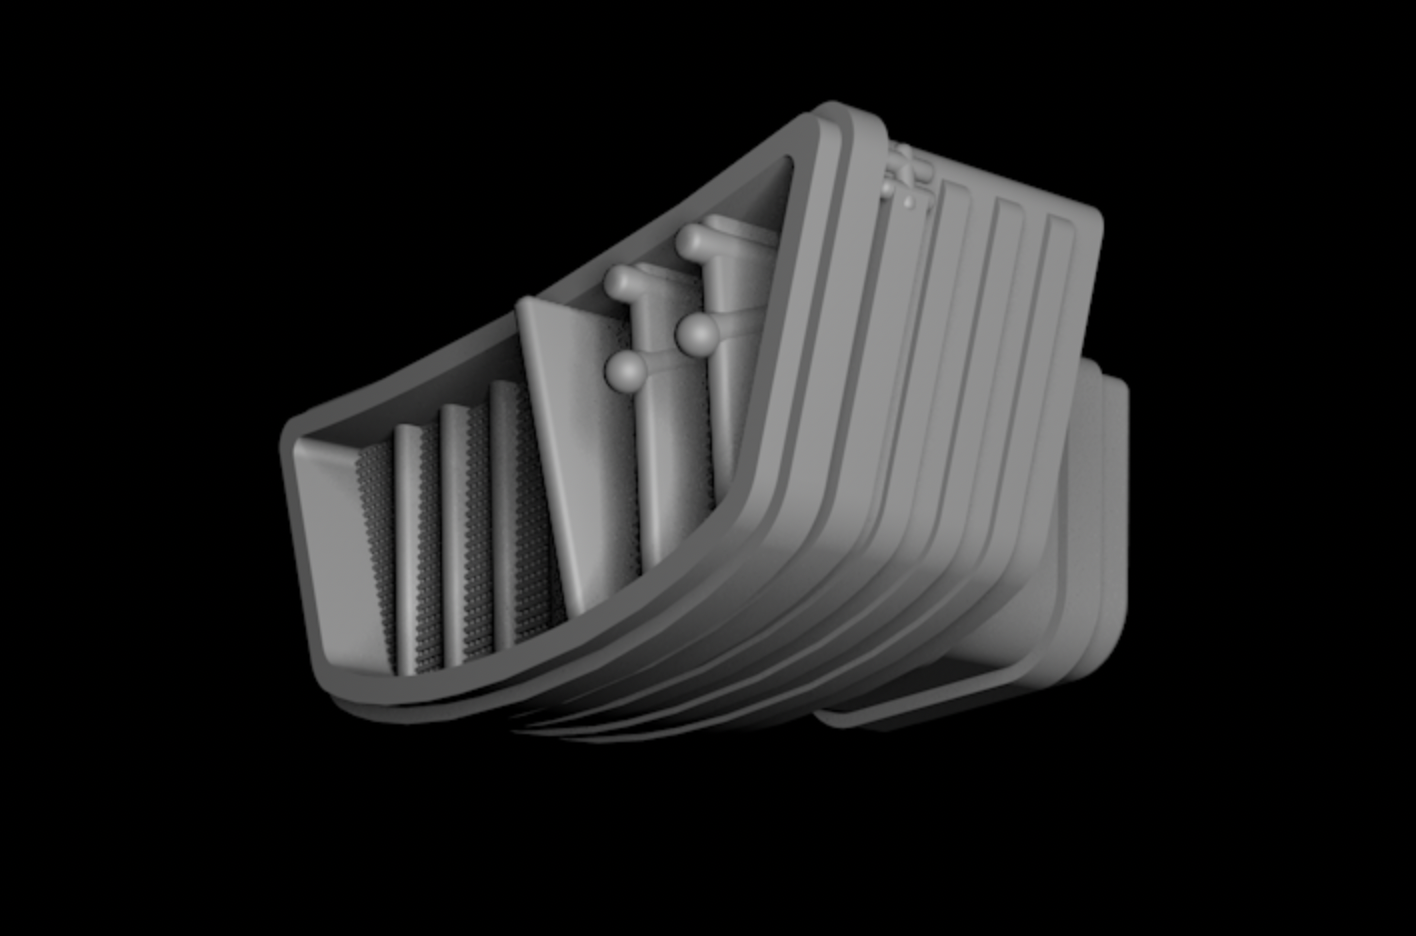
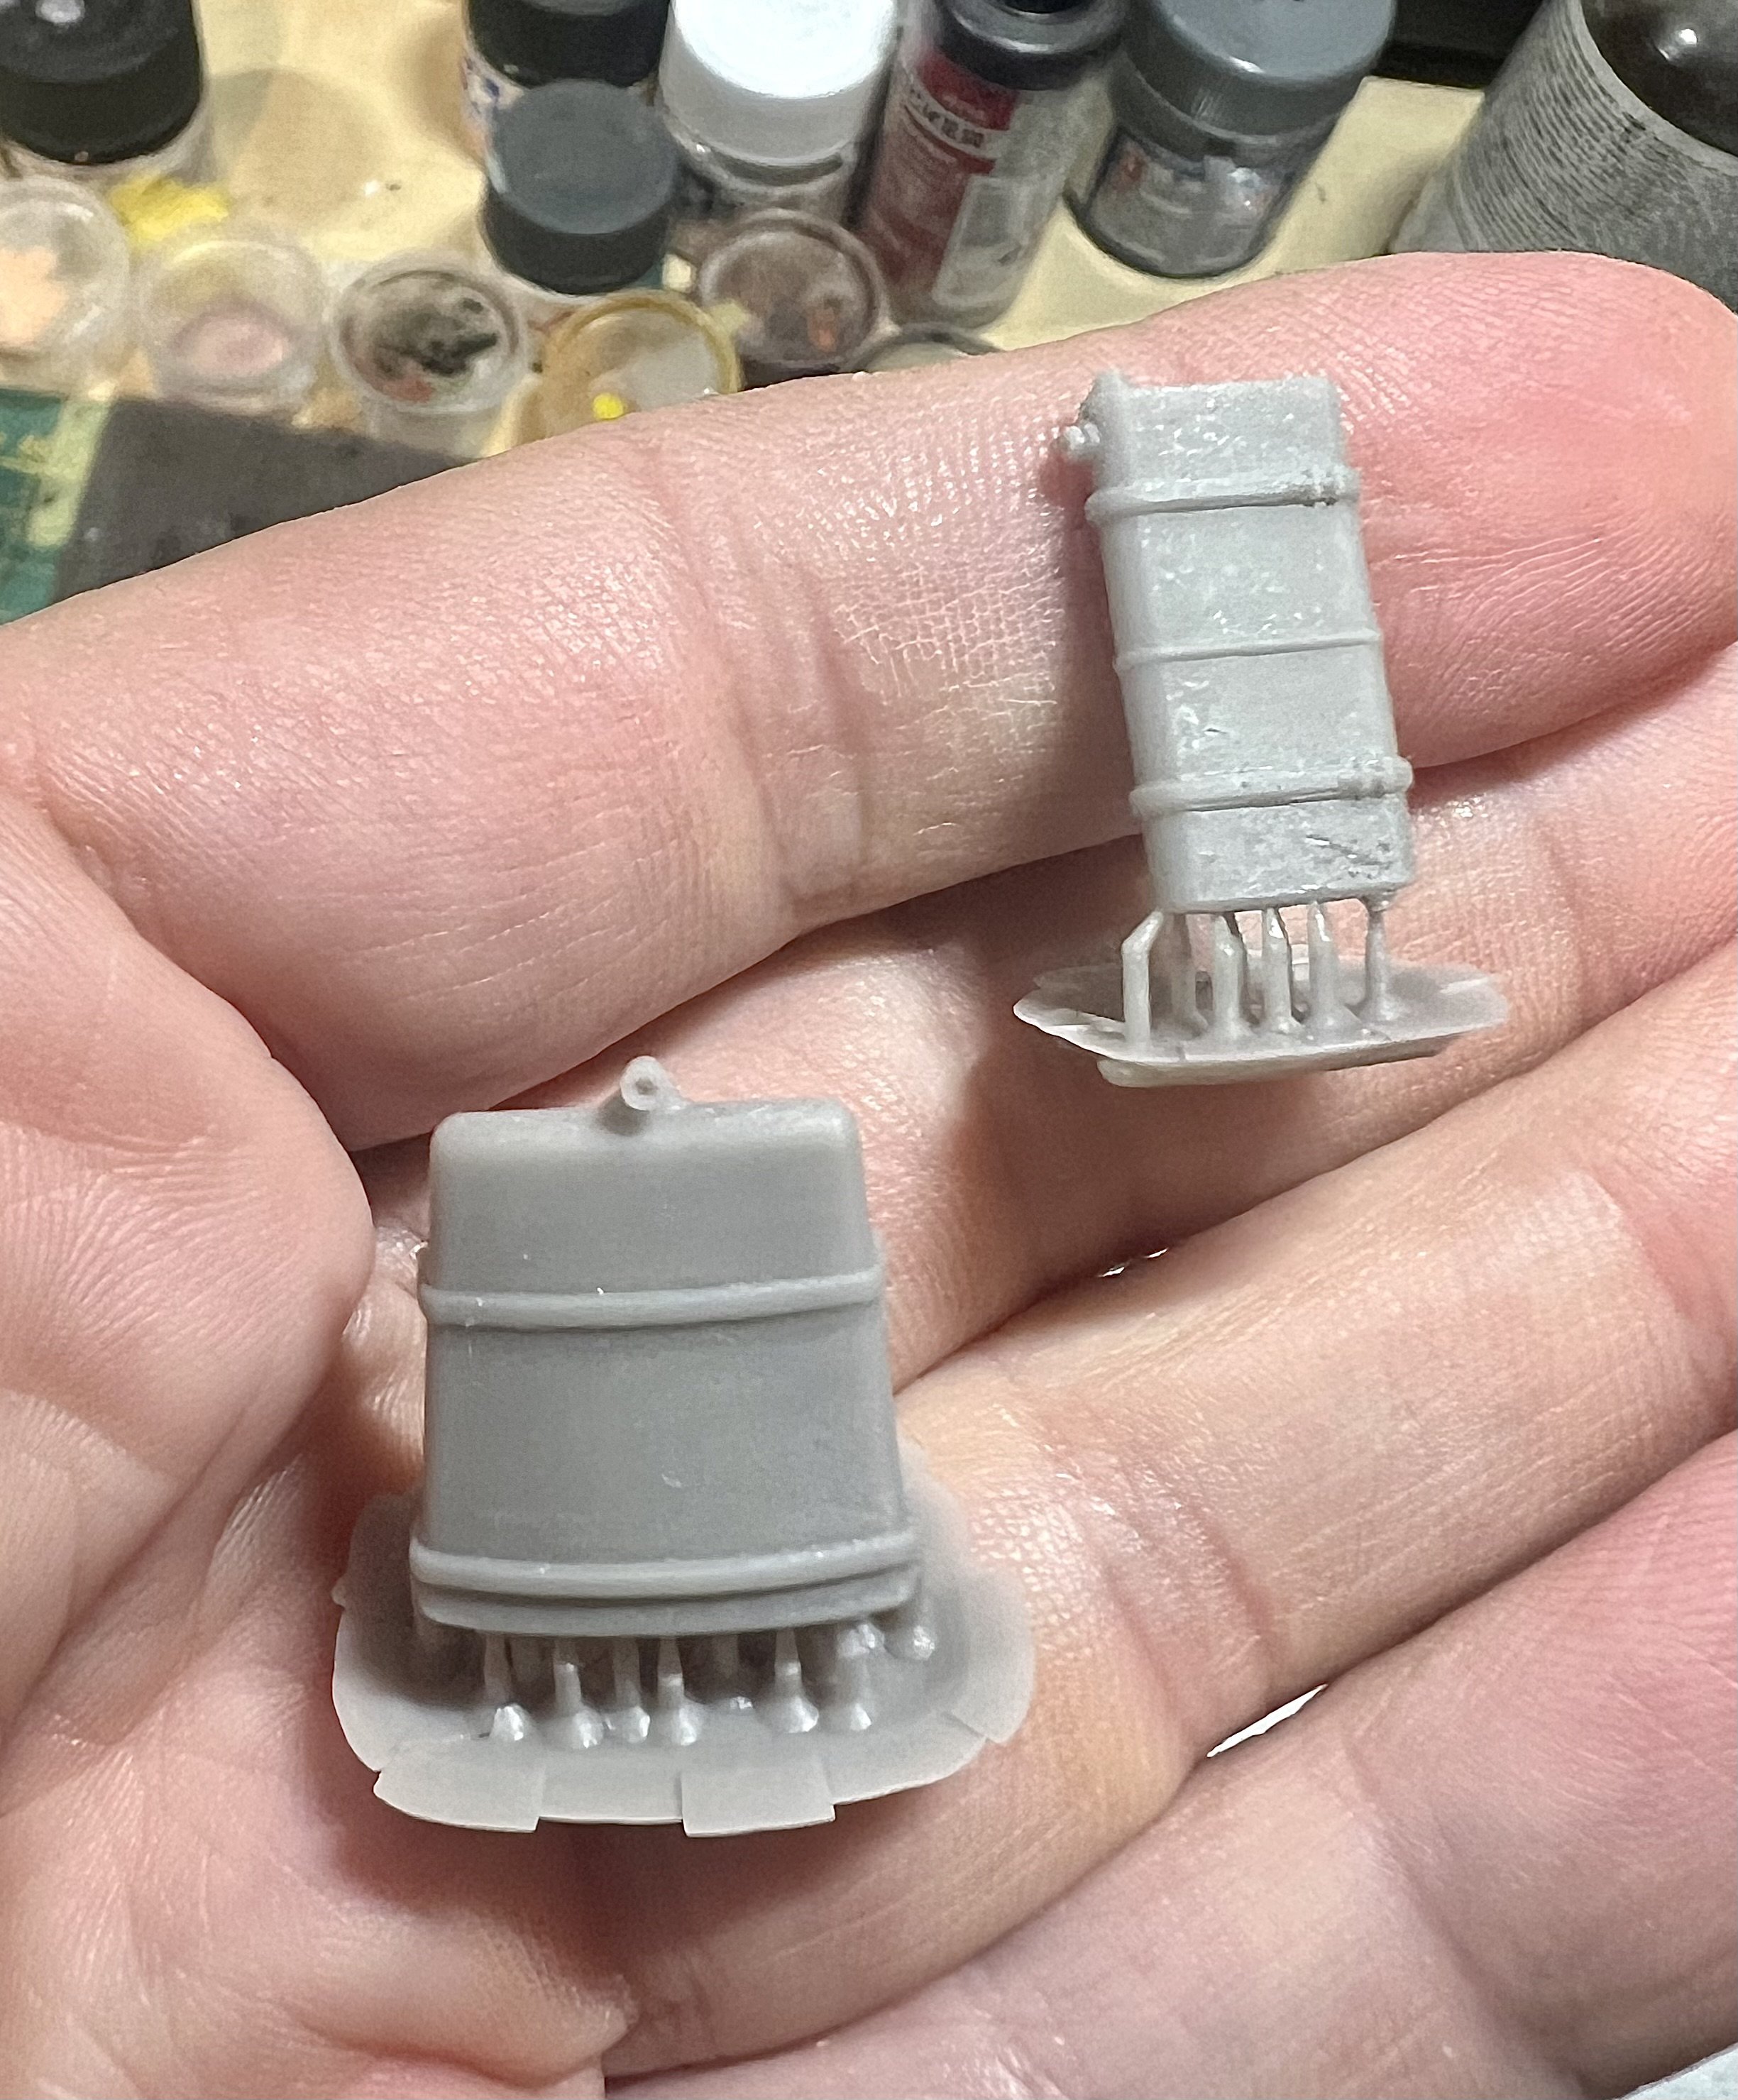
Final part for the engine. The radiator. There are many different designs for this part. Most of them show a protective casing around it, making it less interesting to look at.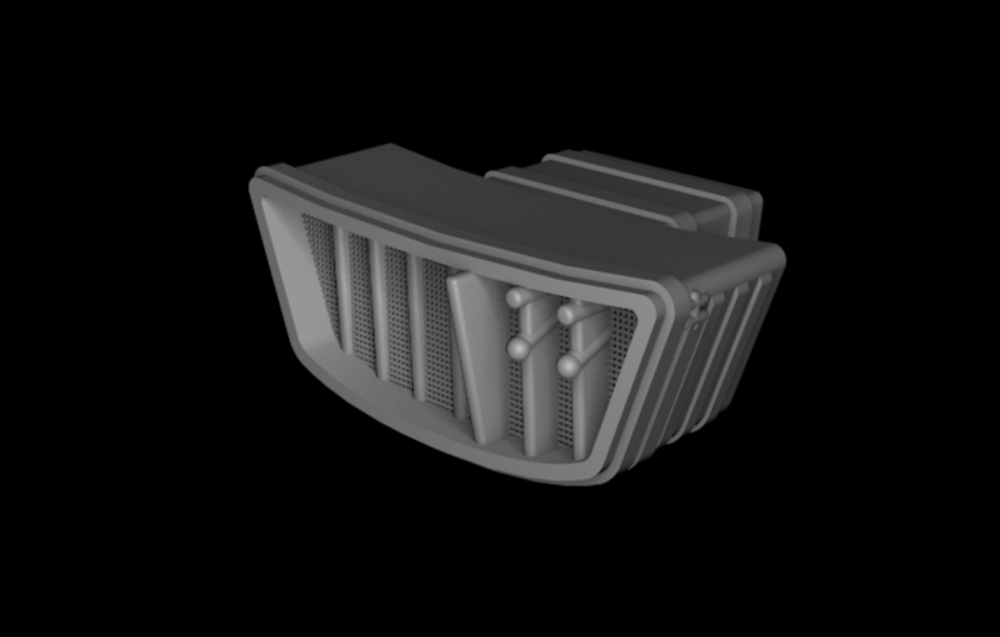

.thumb.png.8fa3ffbf134af131608673cce7416e9b.png)
-
1/32 ME-262A-2a/U2
JeroenPeters replied to JeroenPeters's topic in LSM 1/35 and Larger Work In Progress
Another evening of marbling.
-
1/32 ME-262A-2a/U2
JeroenPeters replied to JeroenPeters's topic in LSM 1/35 and Larger Work In Progress
Here we go!
-
1/32 Ju-87D Stuka
JeroenPeters replied to JeroenPeters's topic in LSM 1/35 and Larger Work In Progress
Printed a bunch and now fitting them. So far so good.


-
1/32 Ju-87D Stuka
JeroenPeters replied to JeroenPeters's topic in LSM 1/35 and Larger Work In Progress
Ready to fire up the printer.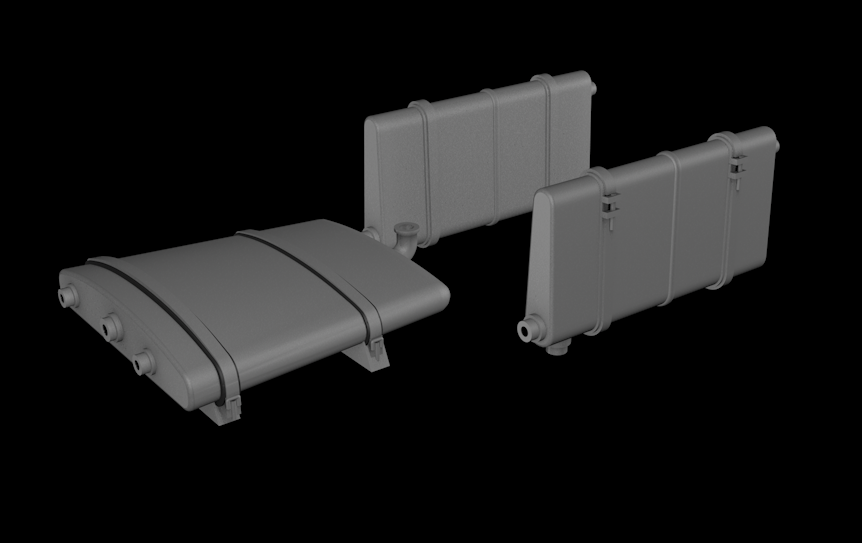
.thumb.png.cbc1ae4a8a19b021441caa6bacee1c52.png)
-
1/32 ME-262A-2a/U2
JeroenPeters replied to JeroenPeters's topic in LSM 1/35 and Larger Work In Progress
Here are the resin Radu Brinzan Wikingerschiffe.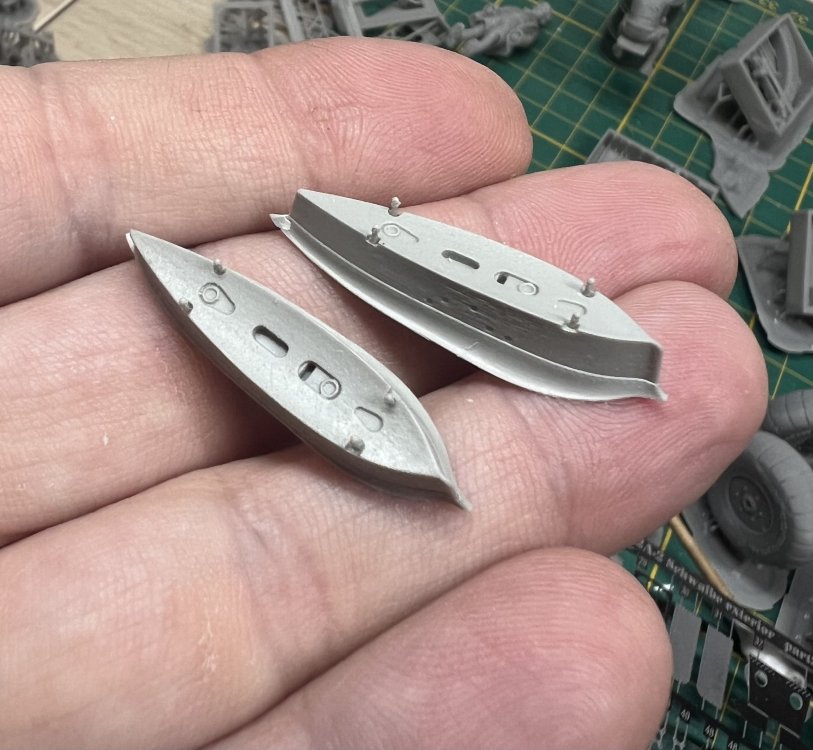
-
1/32 Ju-87D Stuka
JeroenPeters replied to JeroenPeters's topic in LSM 1/35 and Larger Work In Progress
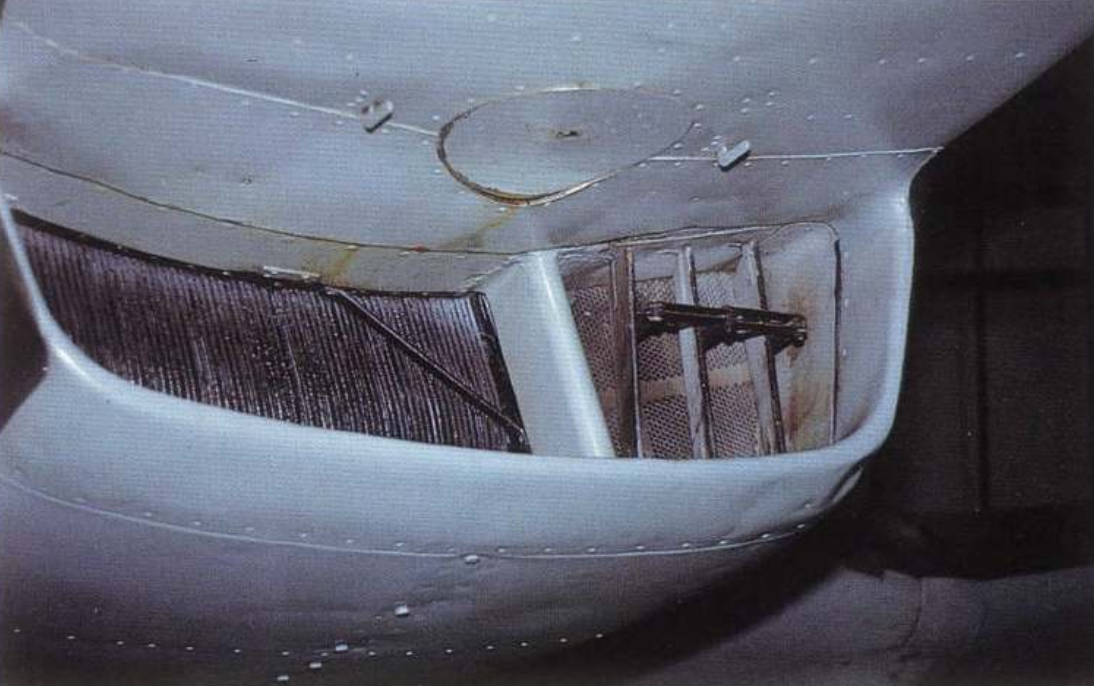
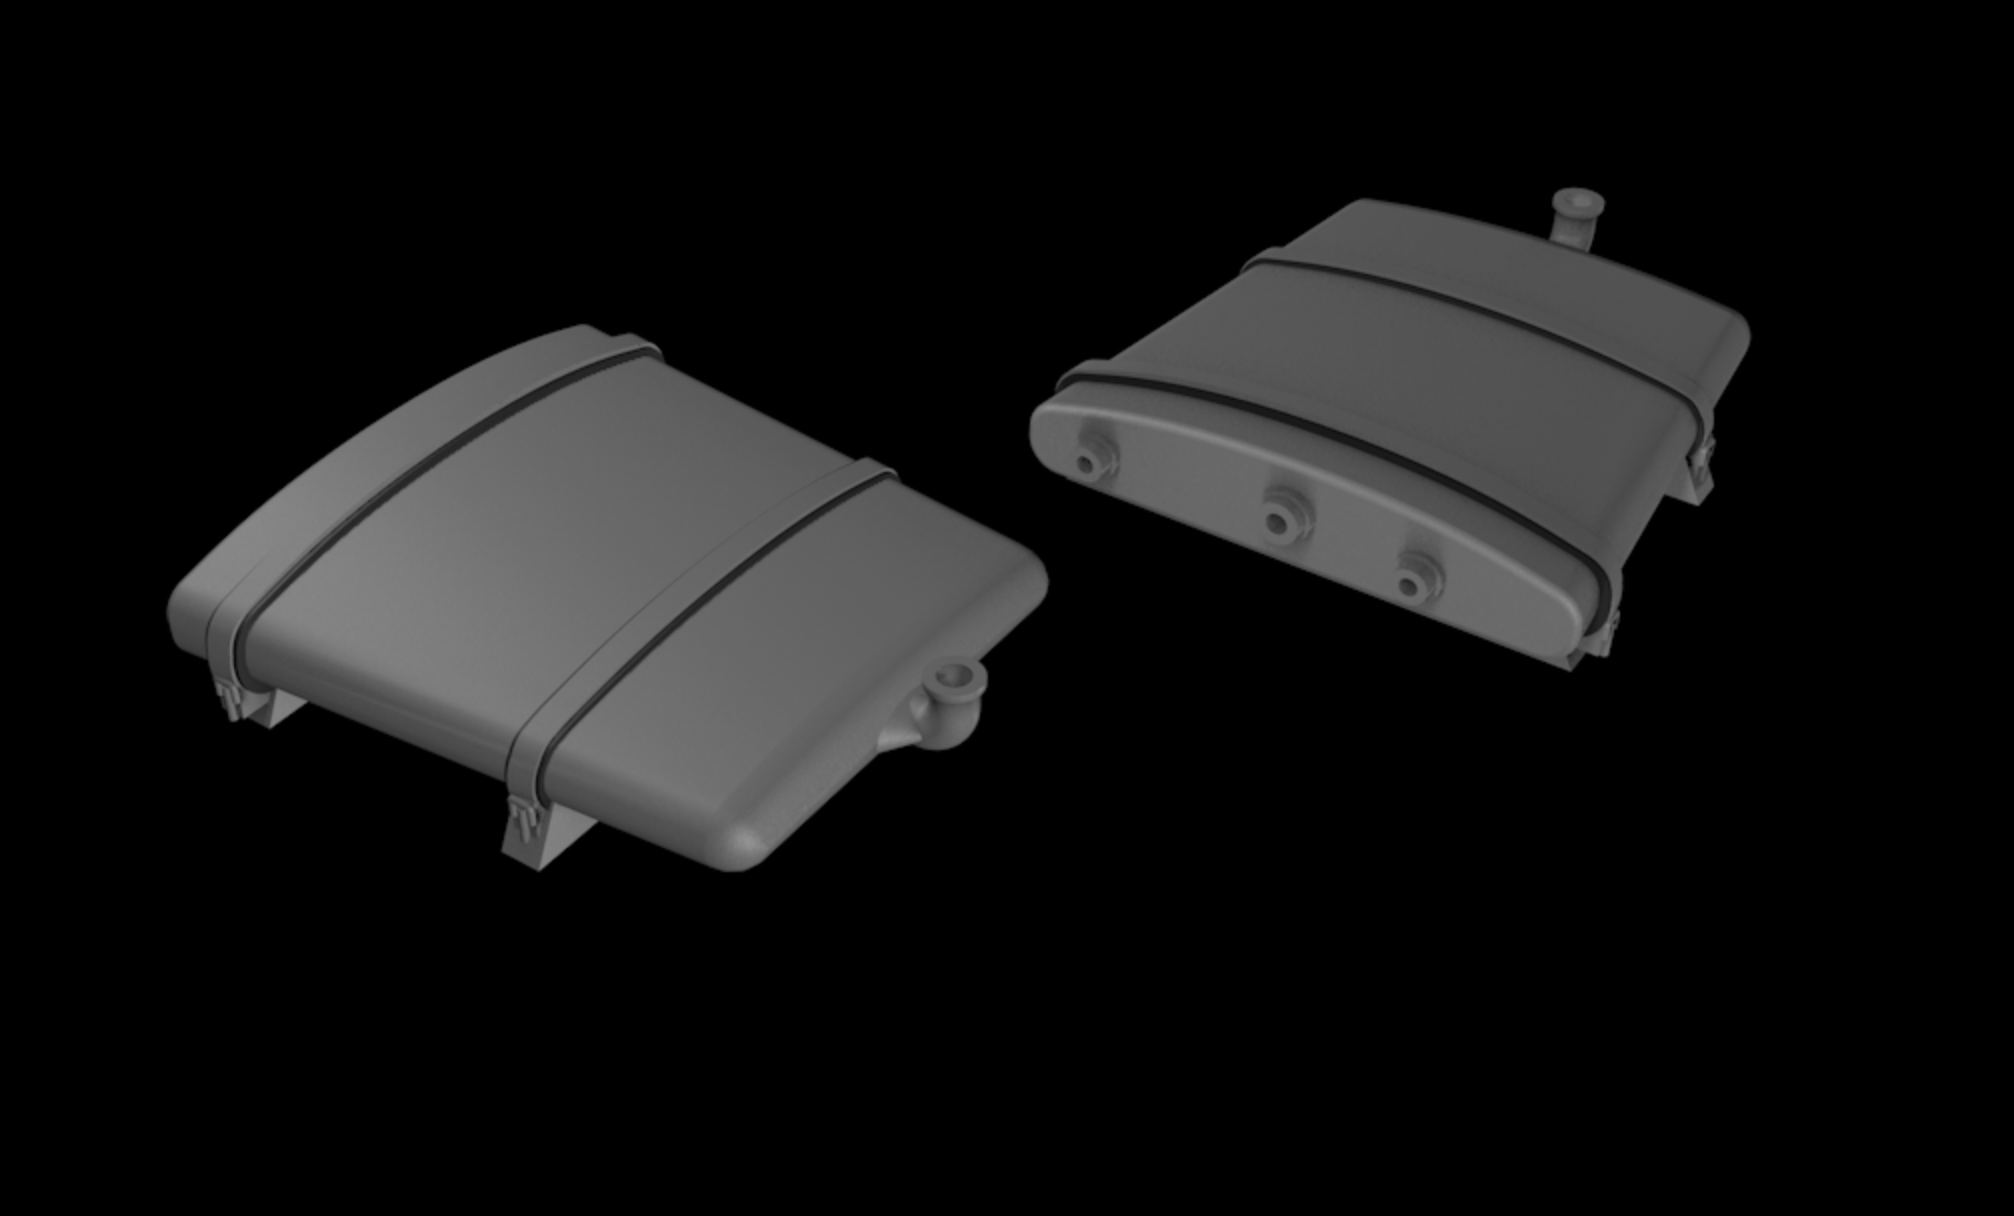
Started drawing the oil tank that sits on top of the Jumo 211 engine. Only on the later D and G Stuka models. For this I had to cut off and sand down the radiator that sat on top of the Jumo 211 engine I printed, but what was designed of the ju87B model.
.thumb.png.b9612c757e0d16731d6d77fd230cc222.png)
-
1/32 ME-262A-2a/U2
JeroenPeters replied to JeroenPeters's topic in LSM 1/35 and Larger Work In Progress
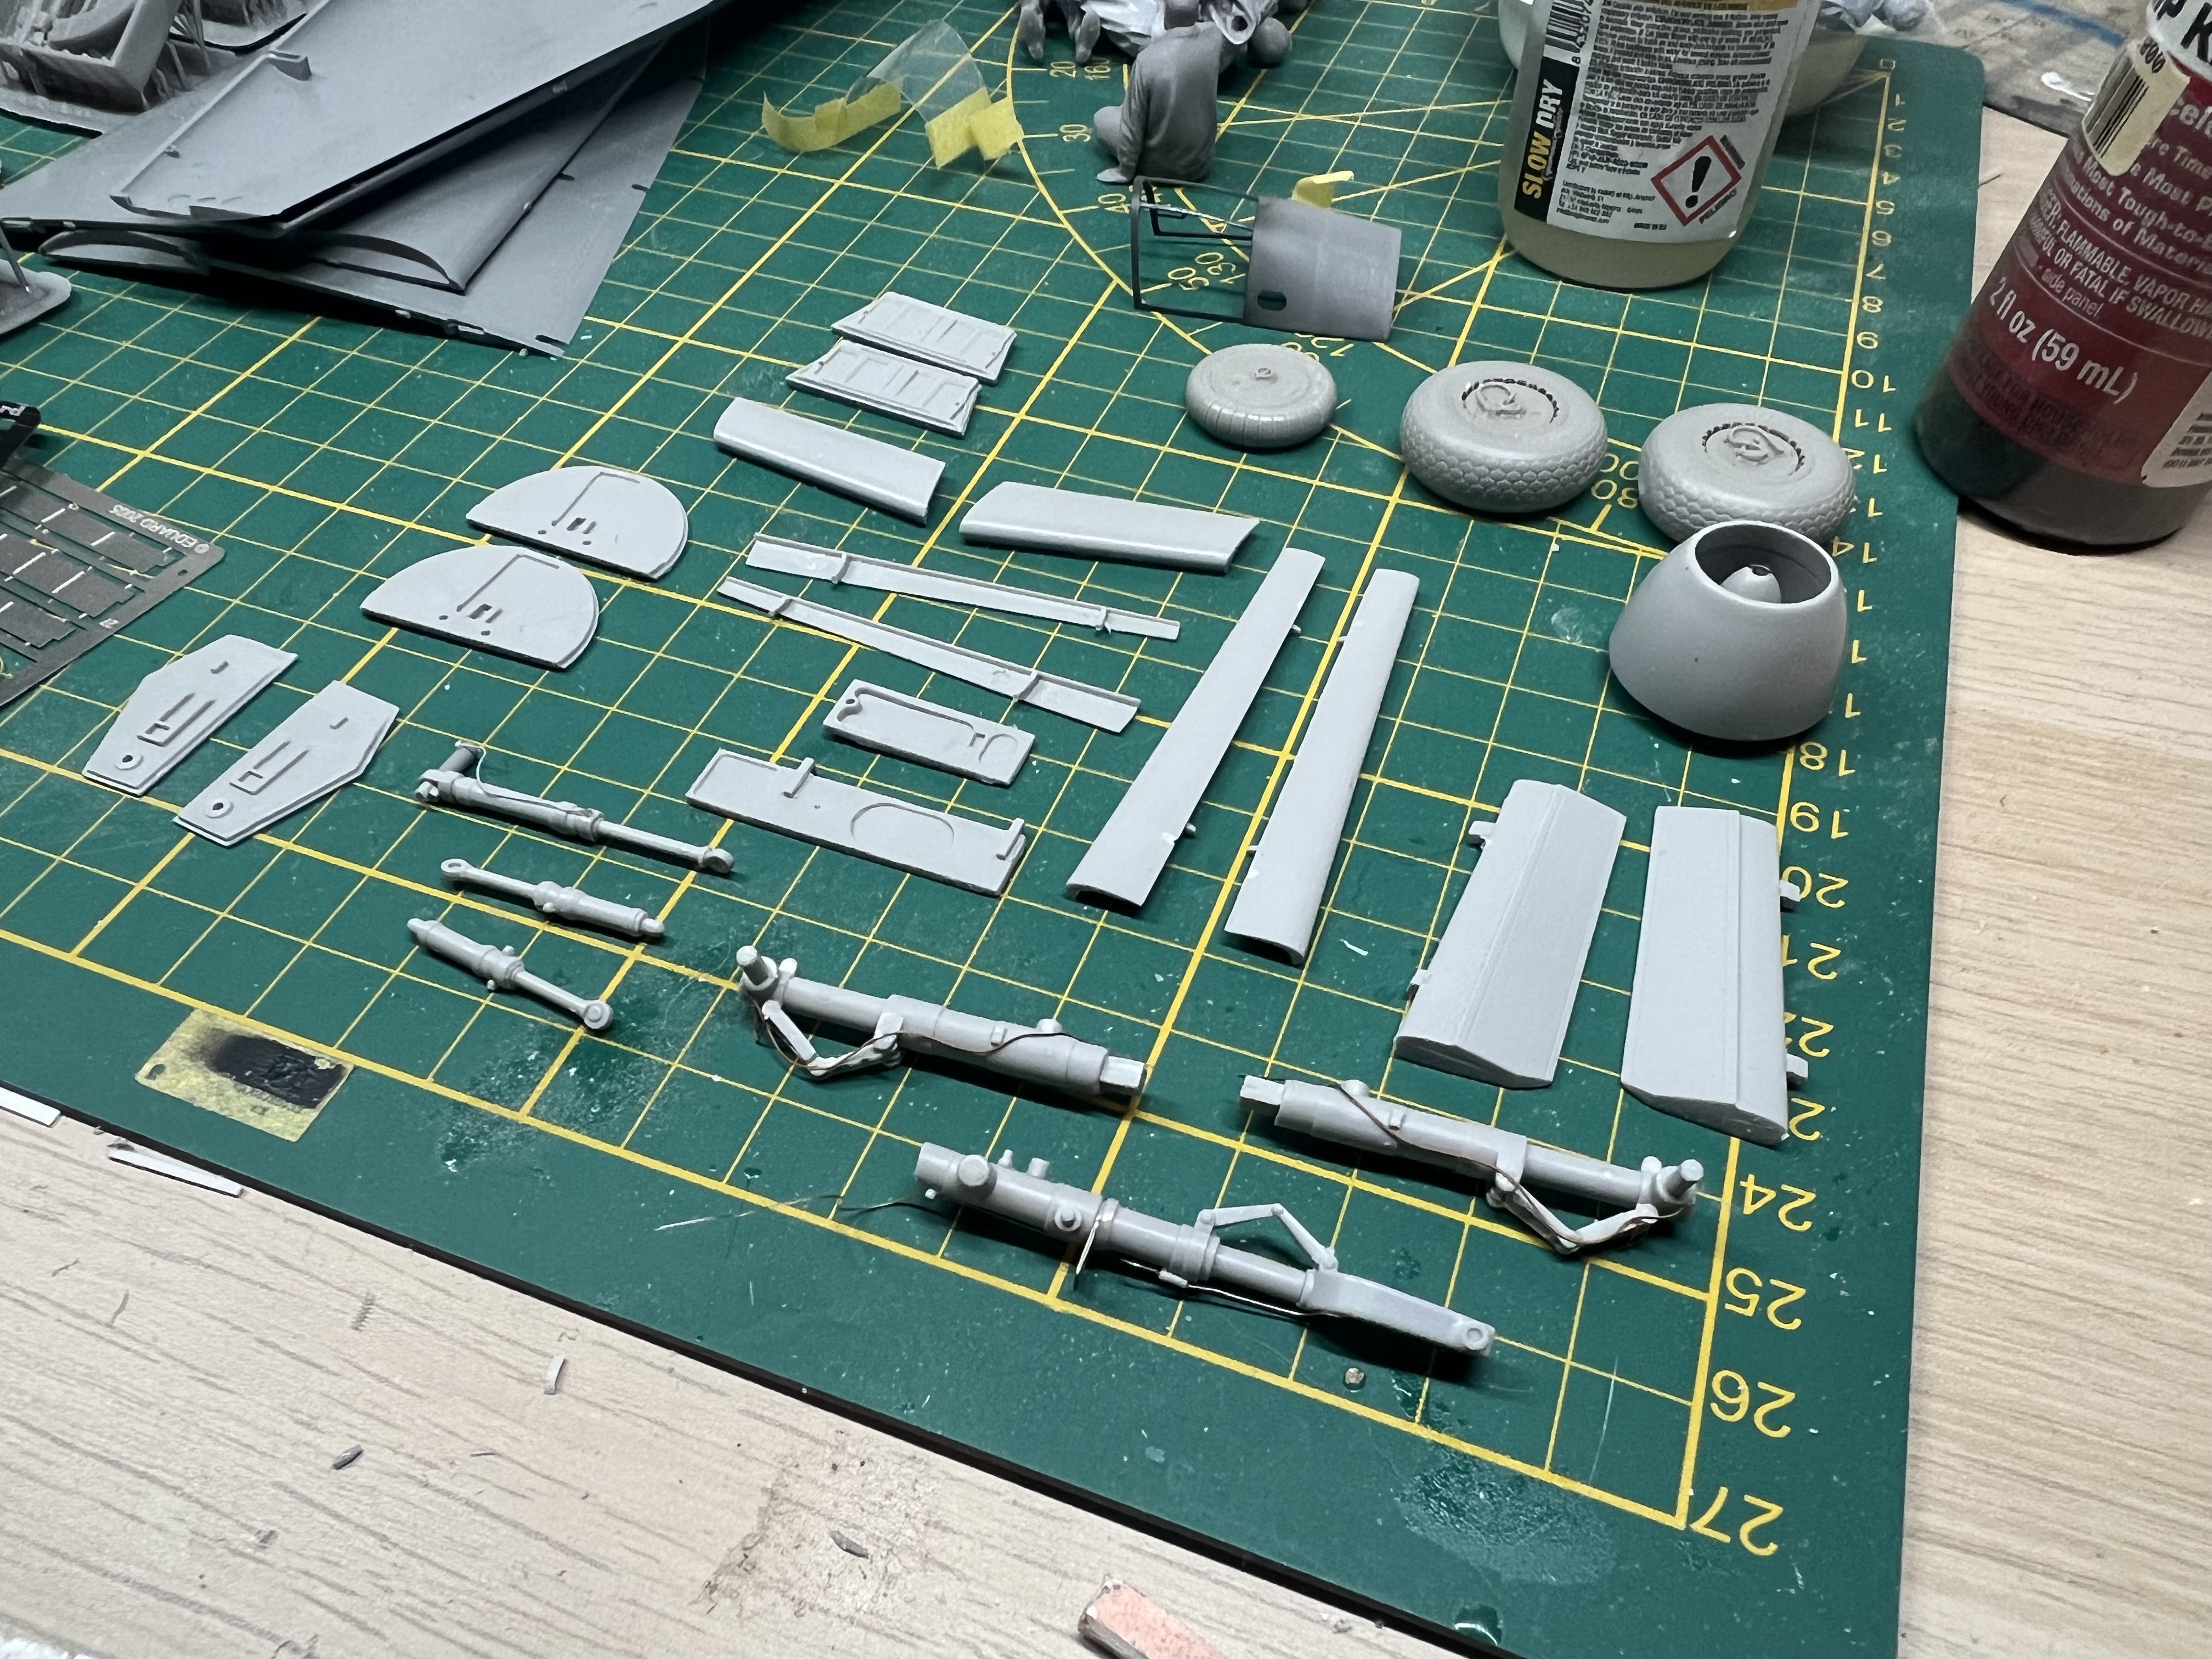
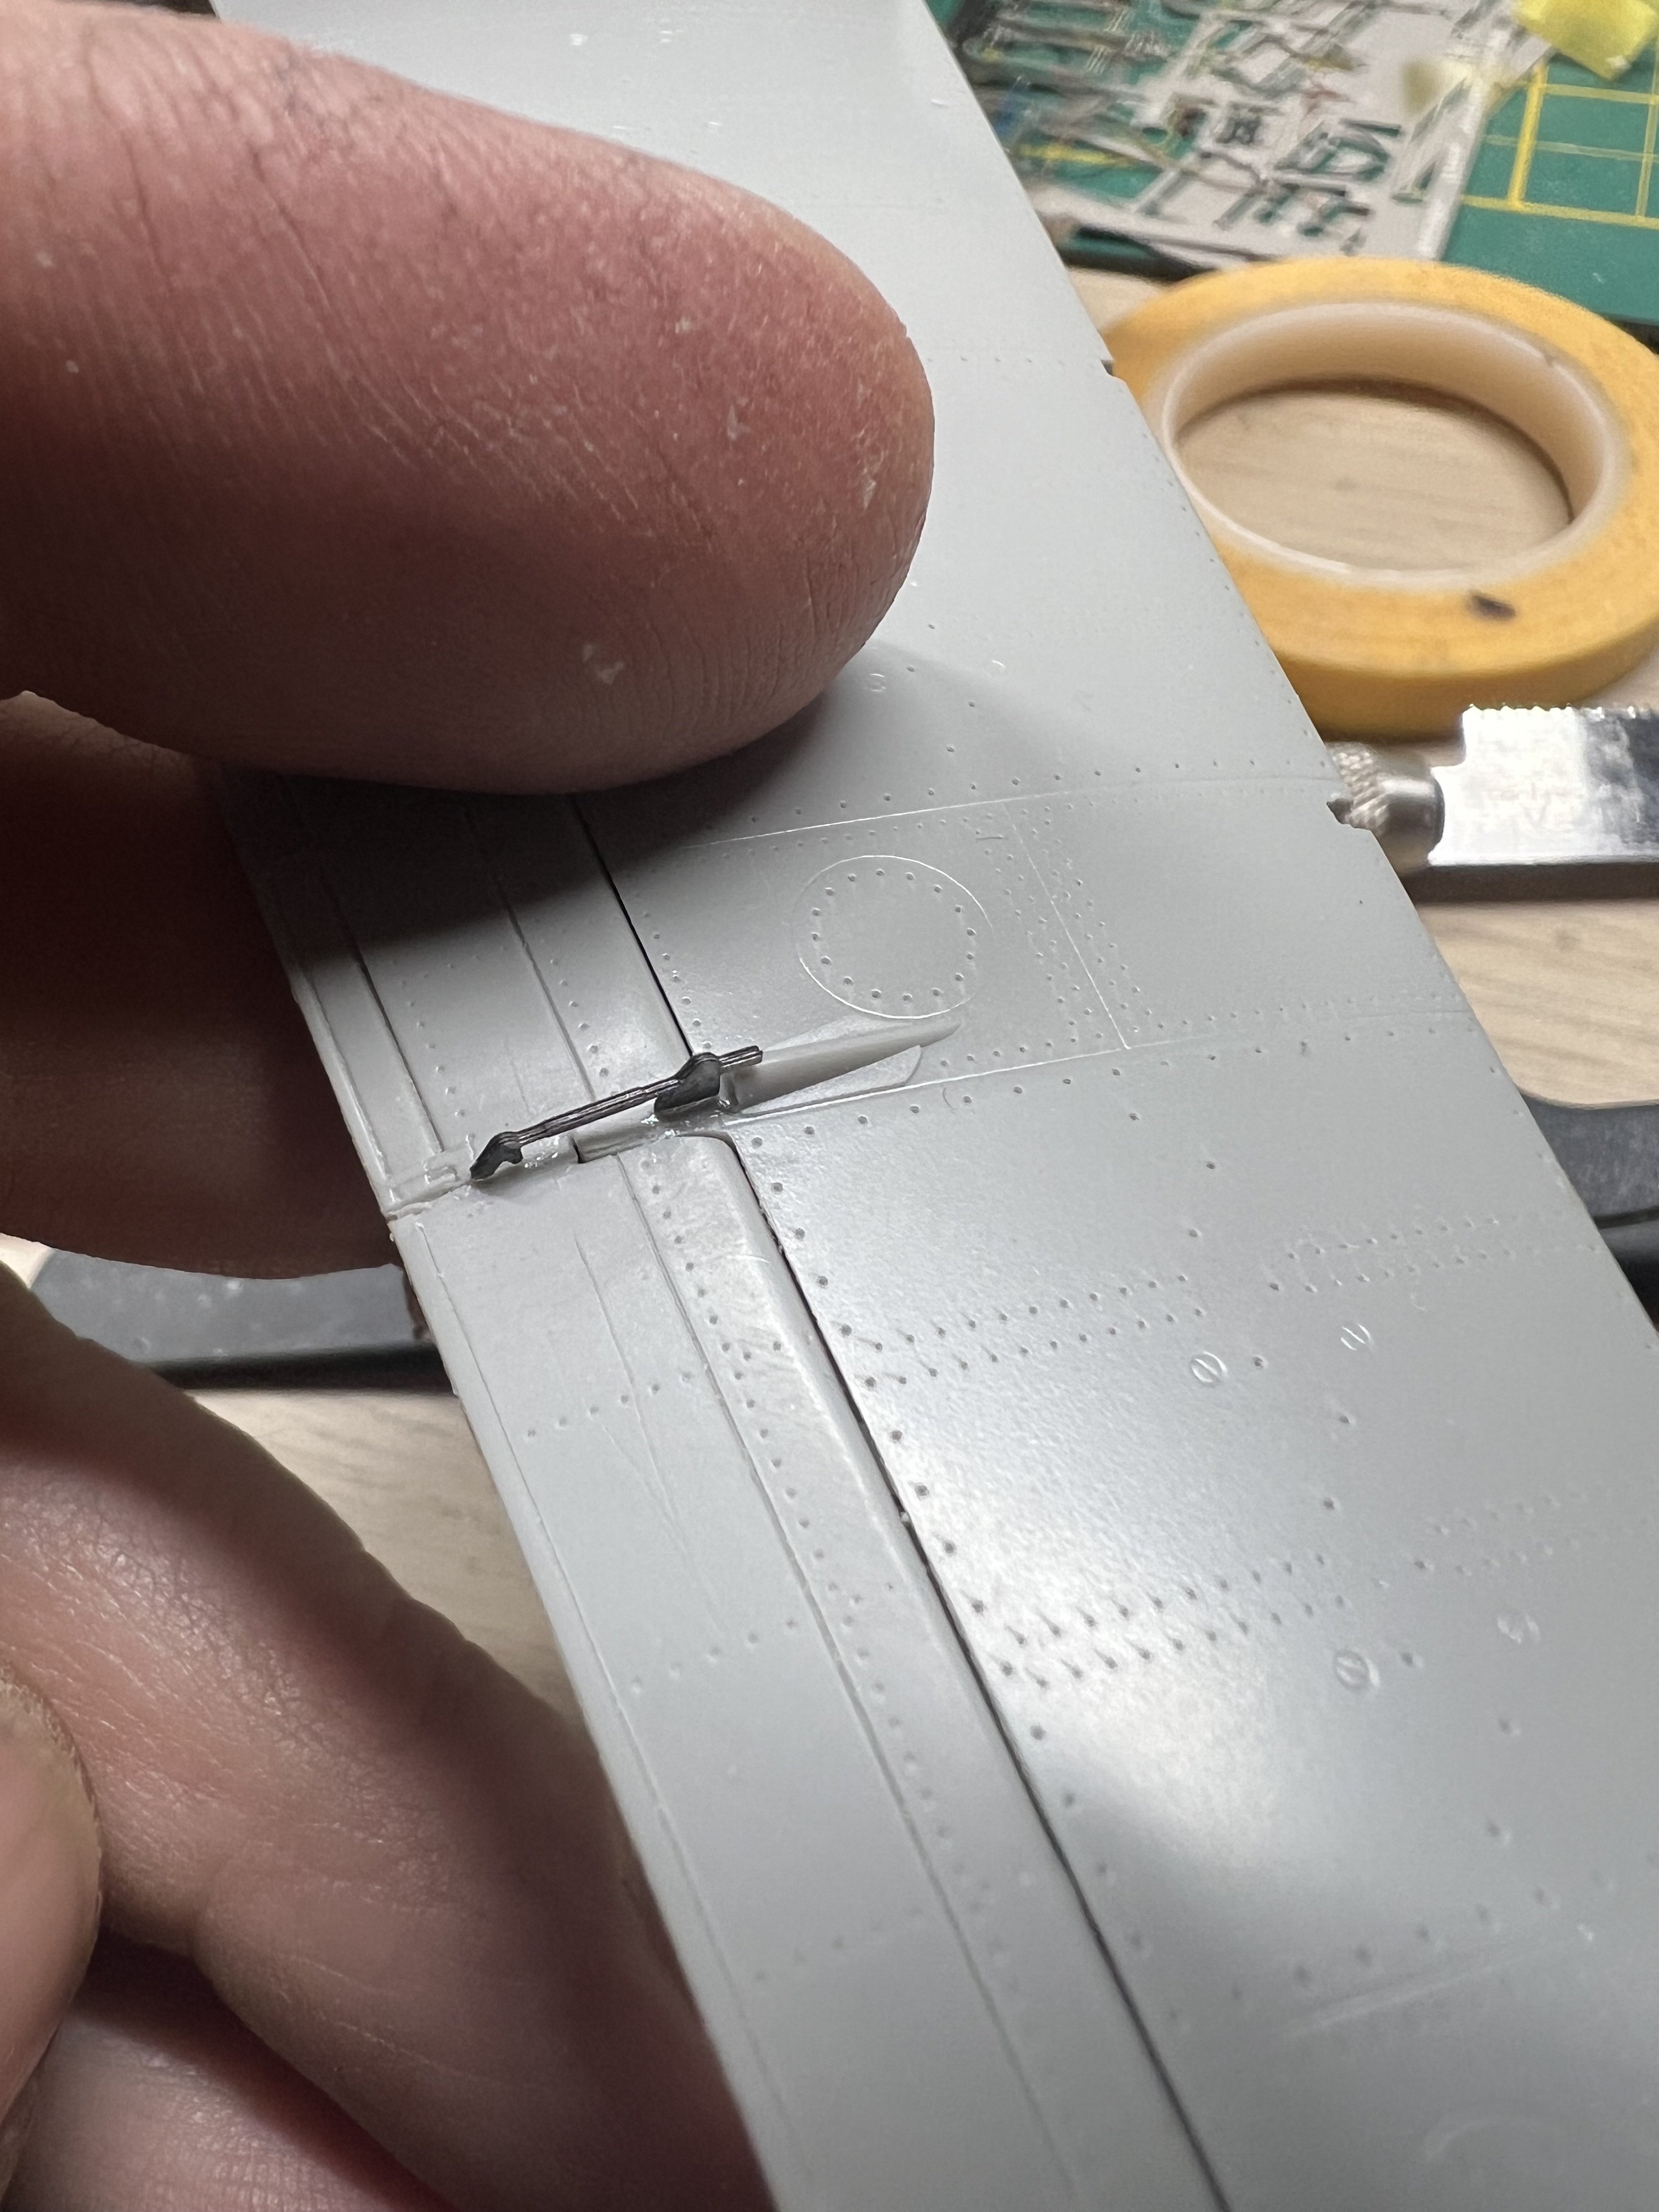
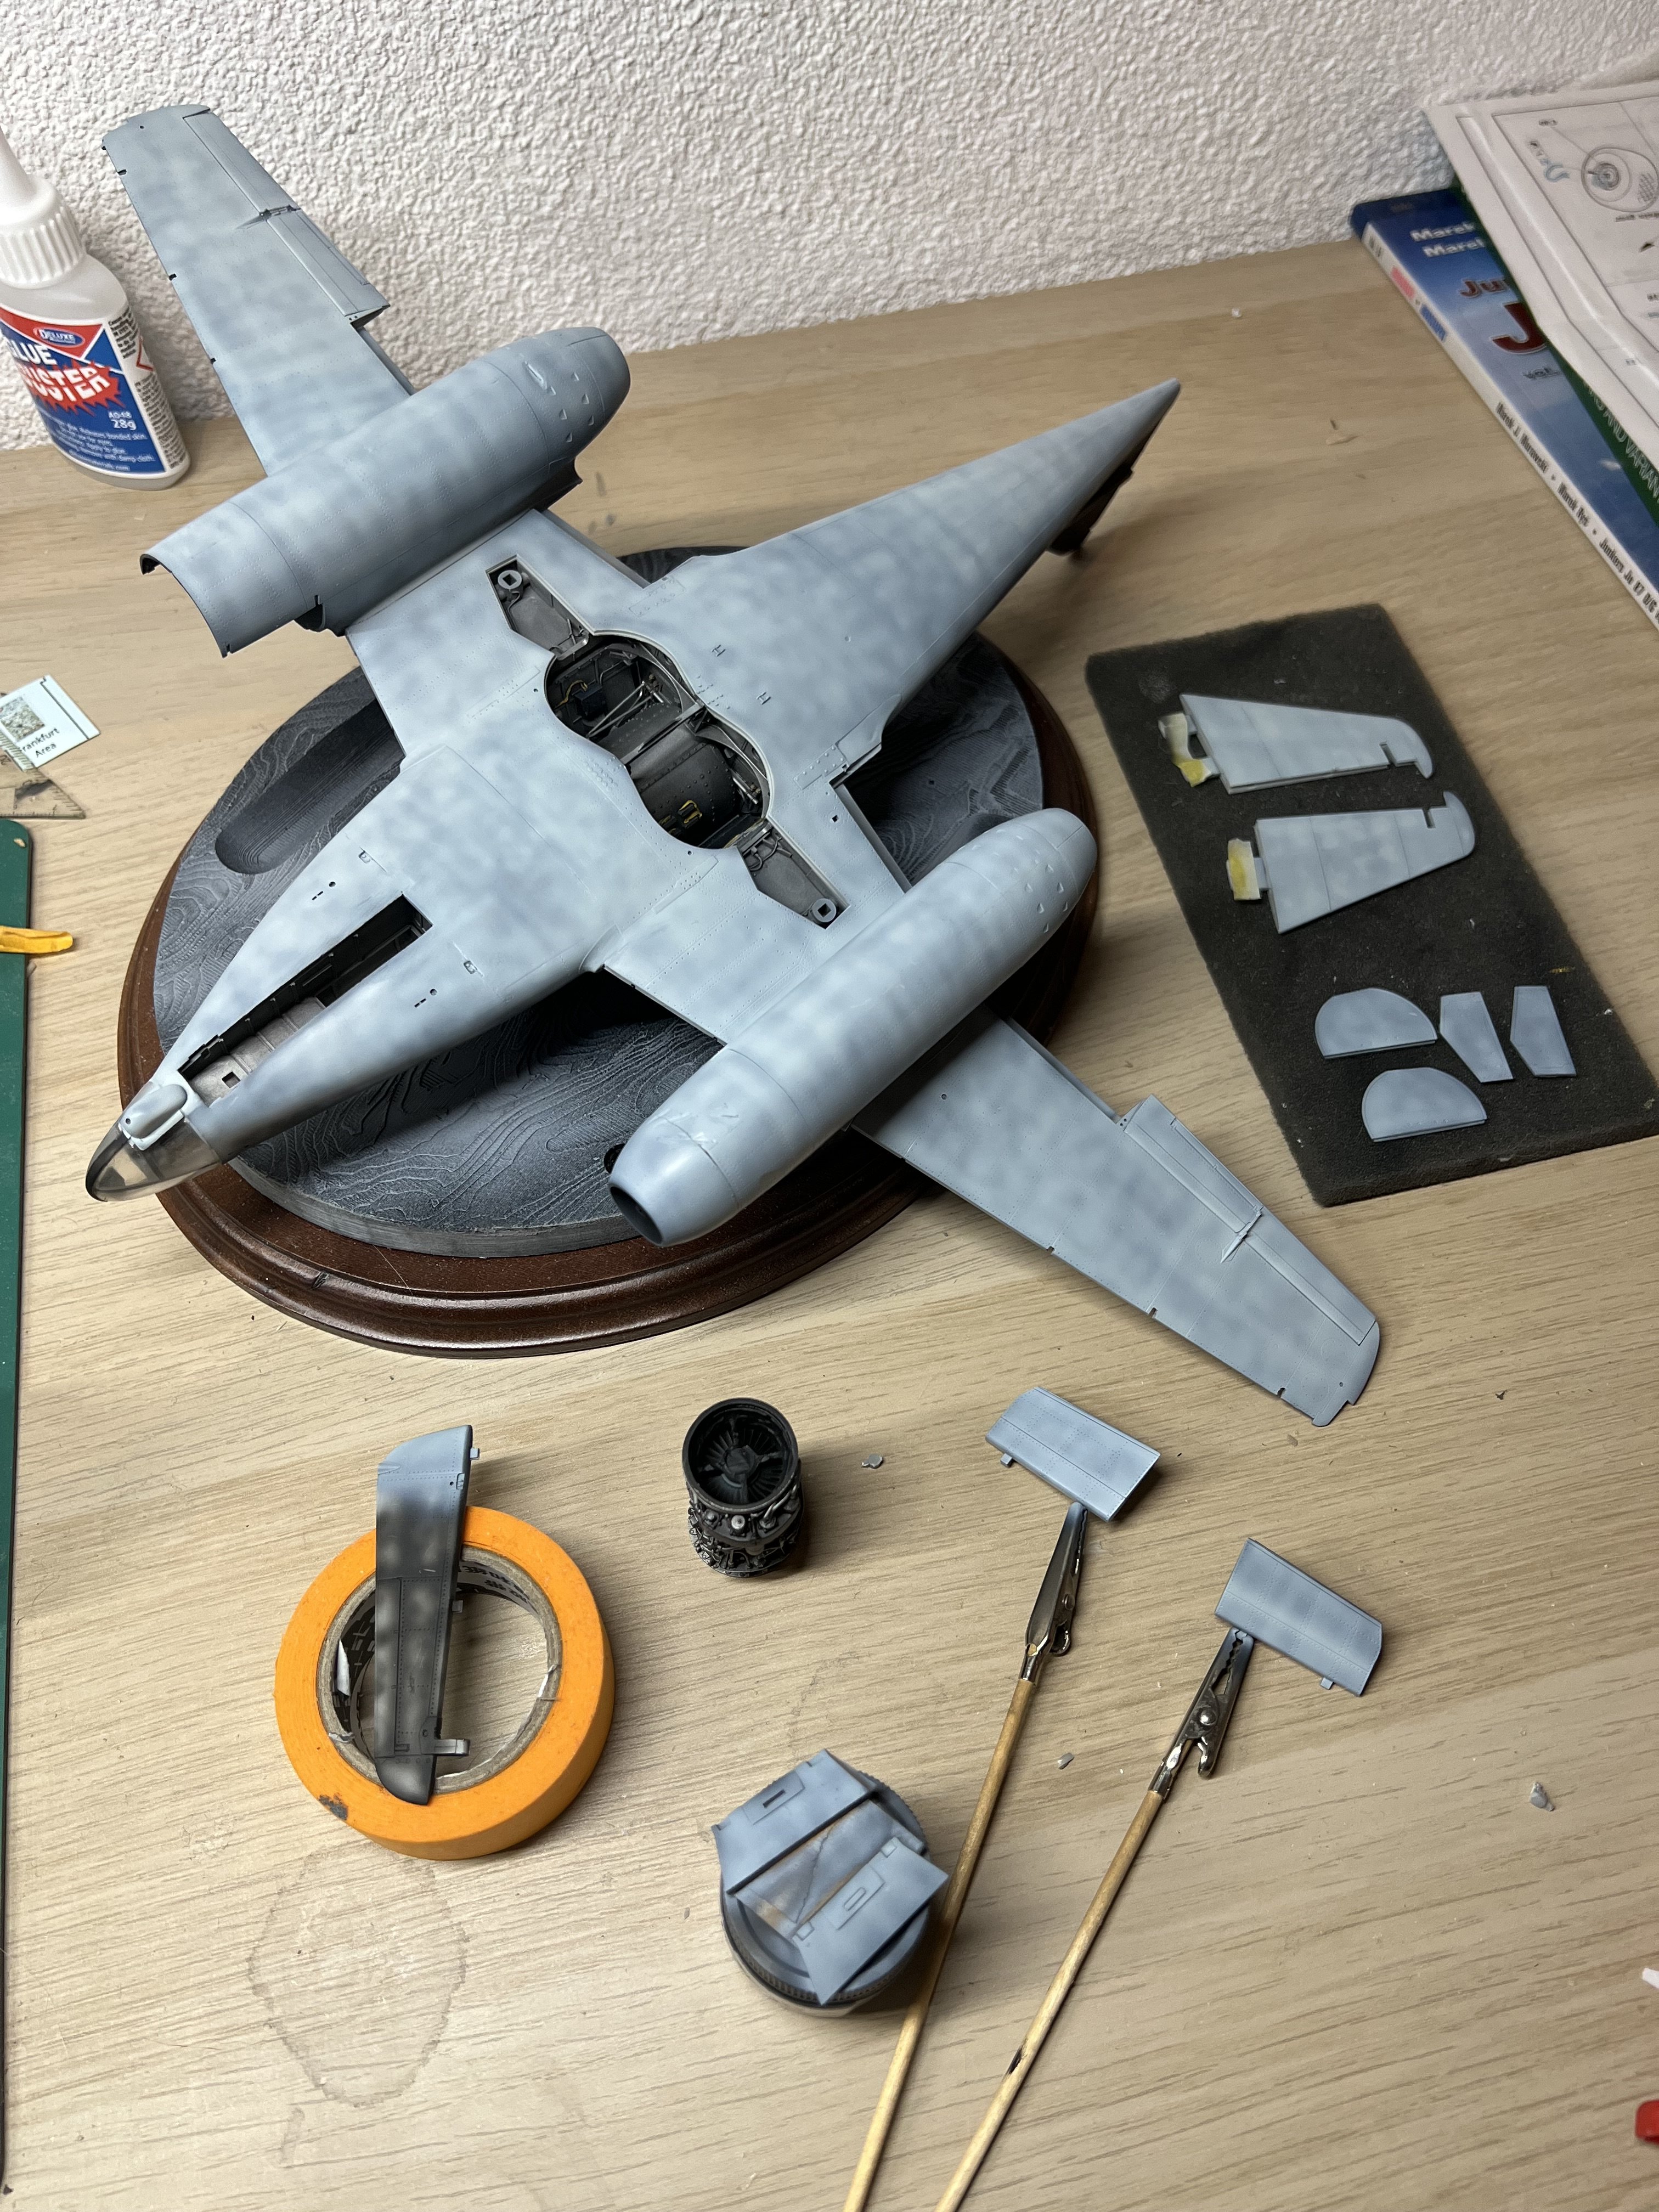
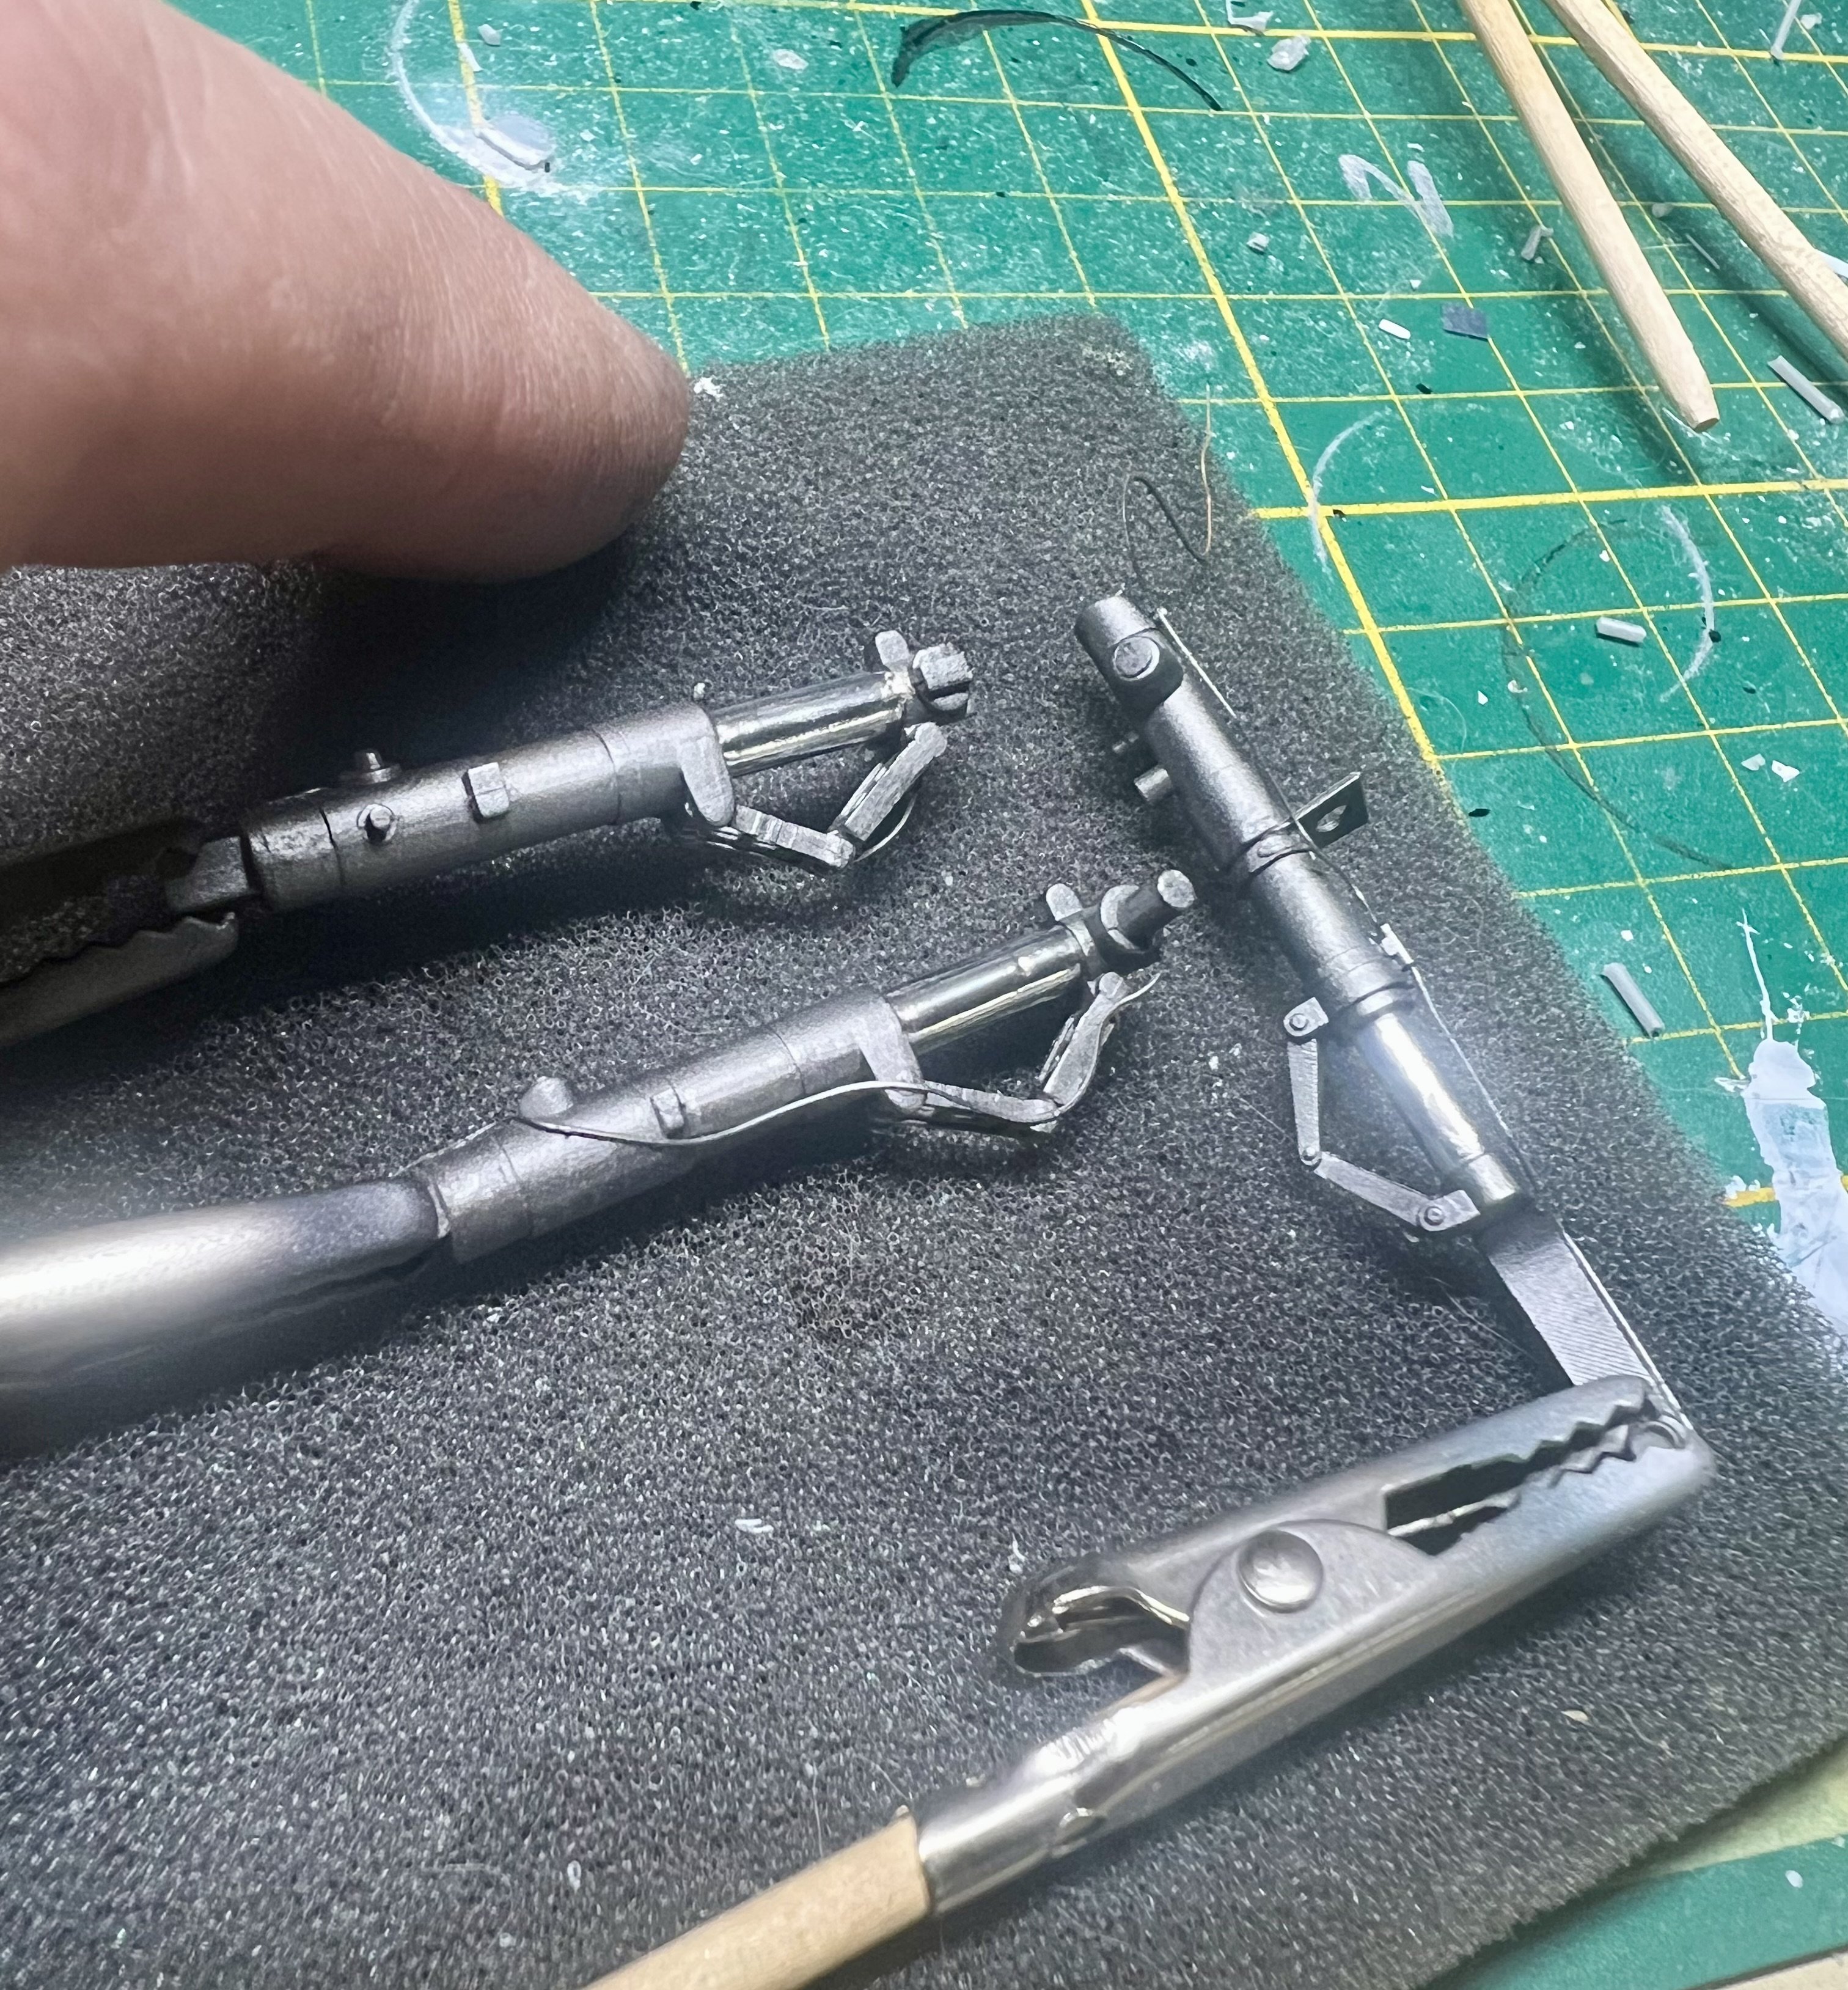
Prepping all the parts. Adding brake lines, PE details, etc.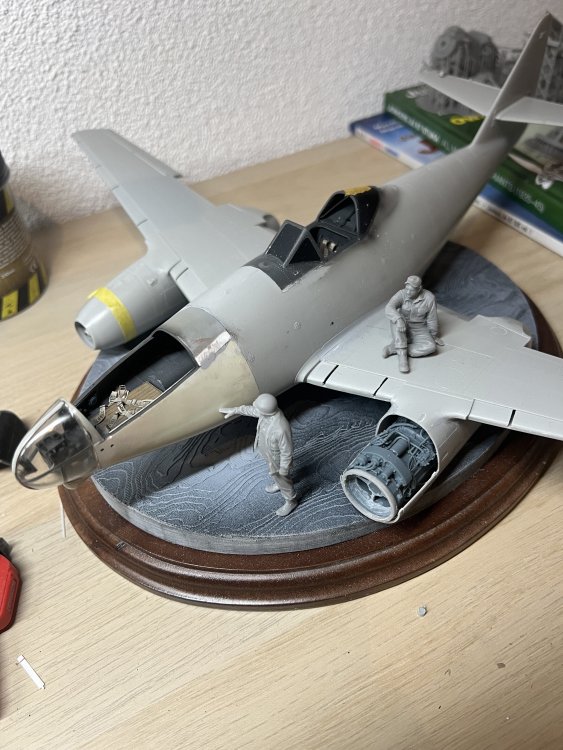

-
1/32 ME-262A-2a/U2
JeroenPeters replied to JeroenPeters's topic in LSM 1/35 and Larger Work In Progress
I know it looks like no progress, i prepped all the slats, ailerons, gear, ready for paint. Also adding the Eduard exterior set which makes a difference.

-
1/32 Ju-87D Stuka
JeroenPeters replied to JeroenPeters's topic in LSM 1/35 and Larger Work In Progress
Et voila.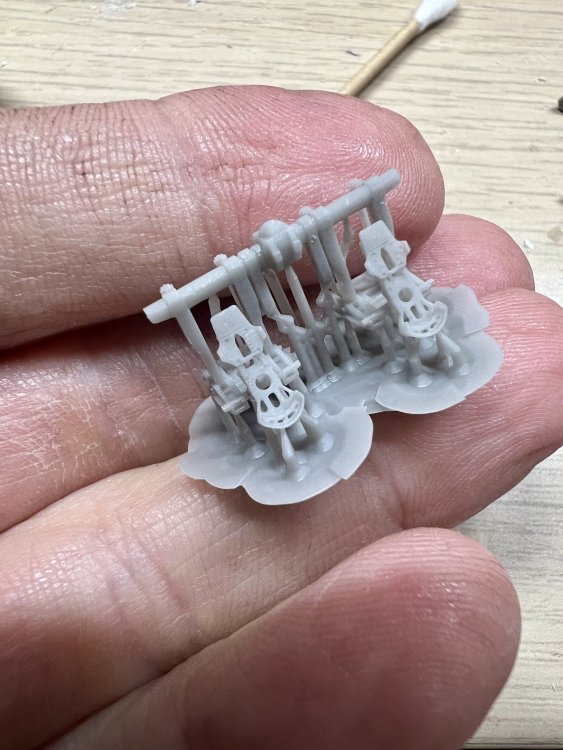
-
1/32 Ju-87D Stuka
JeroenPeters replied to JeroenPeters's topic in LSM 1/35 and Larger Work In Progress
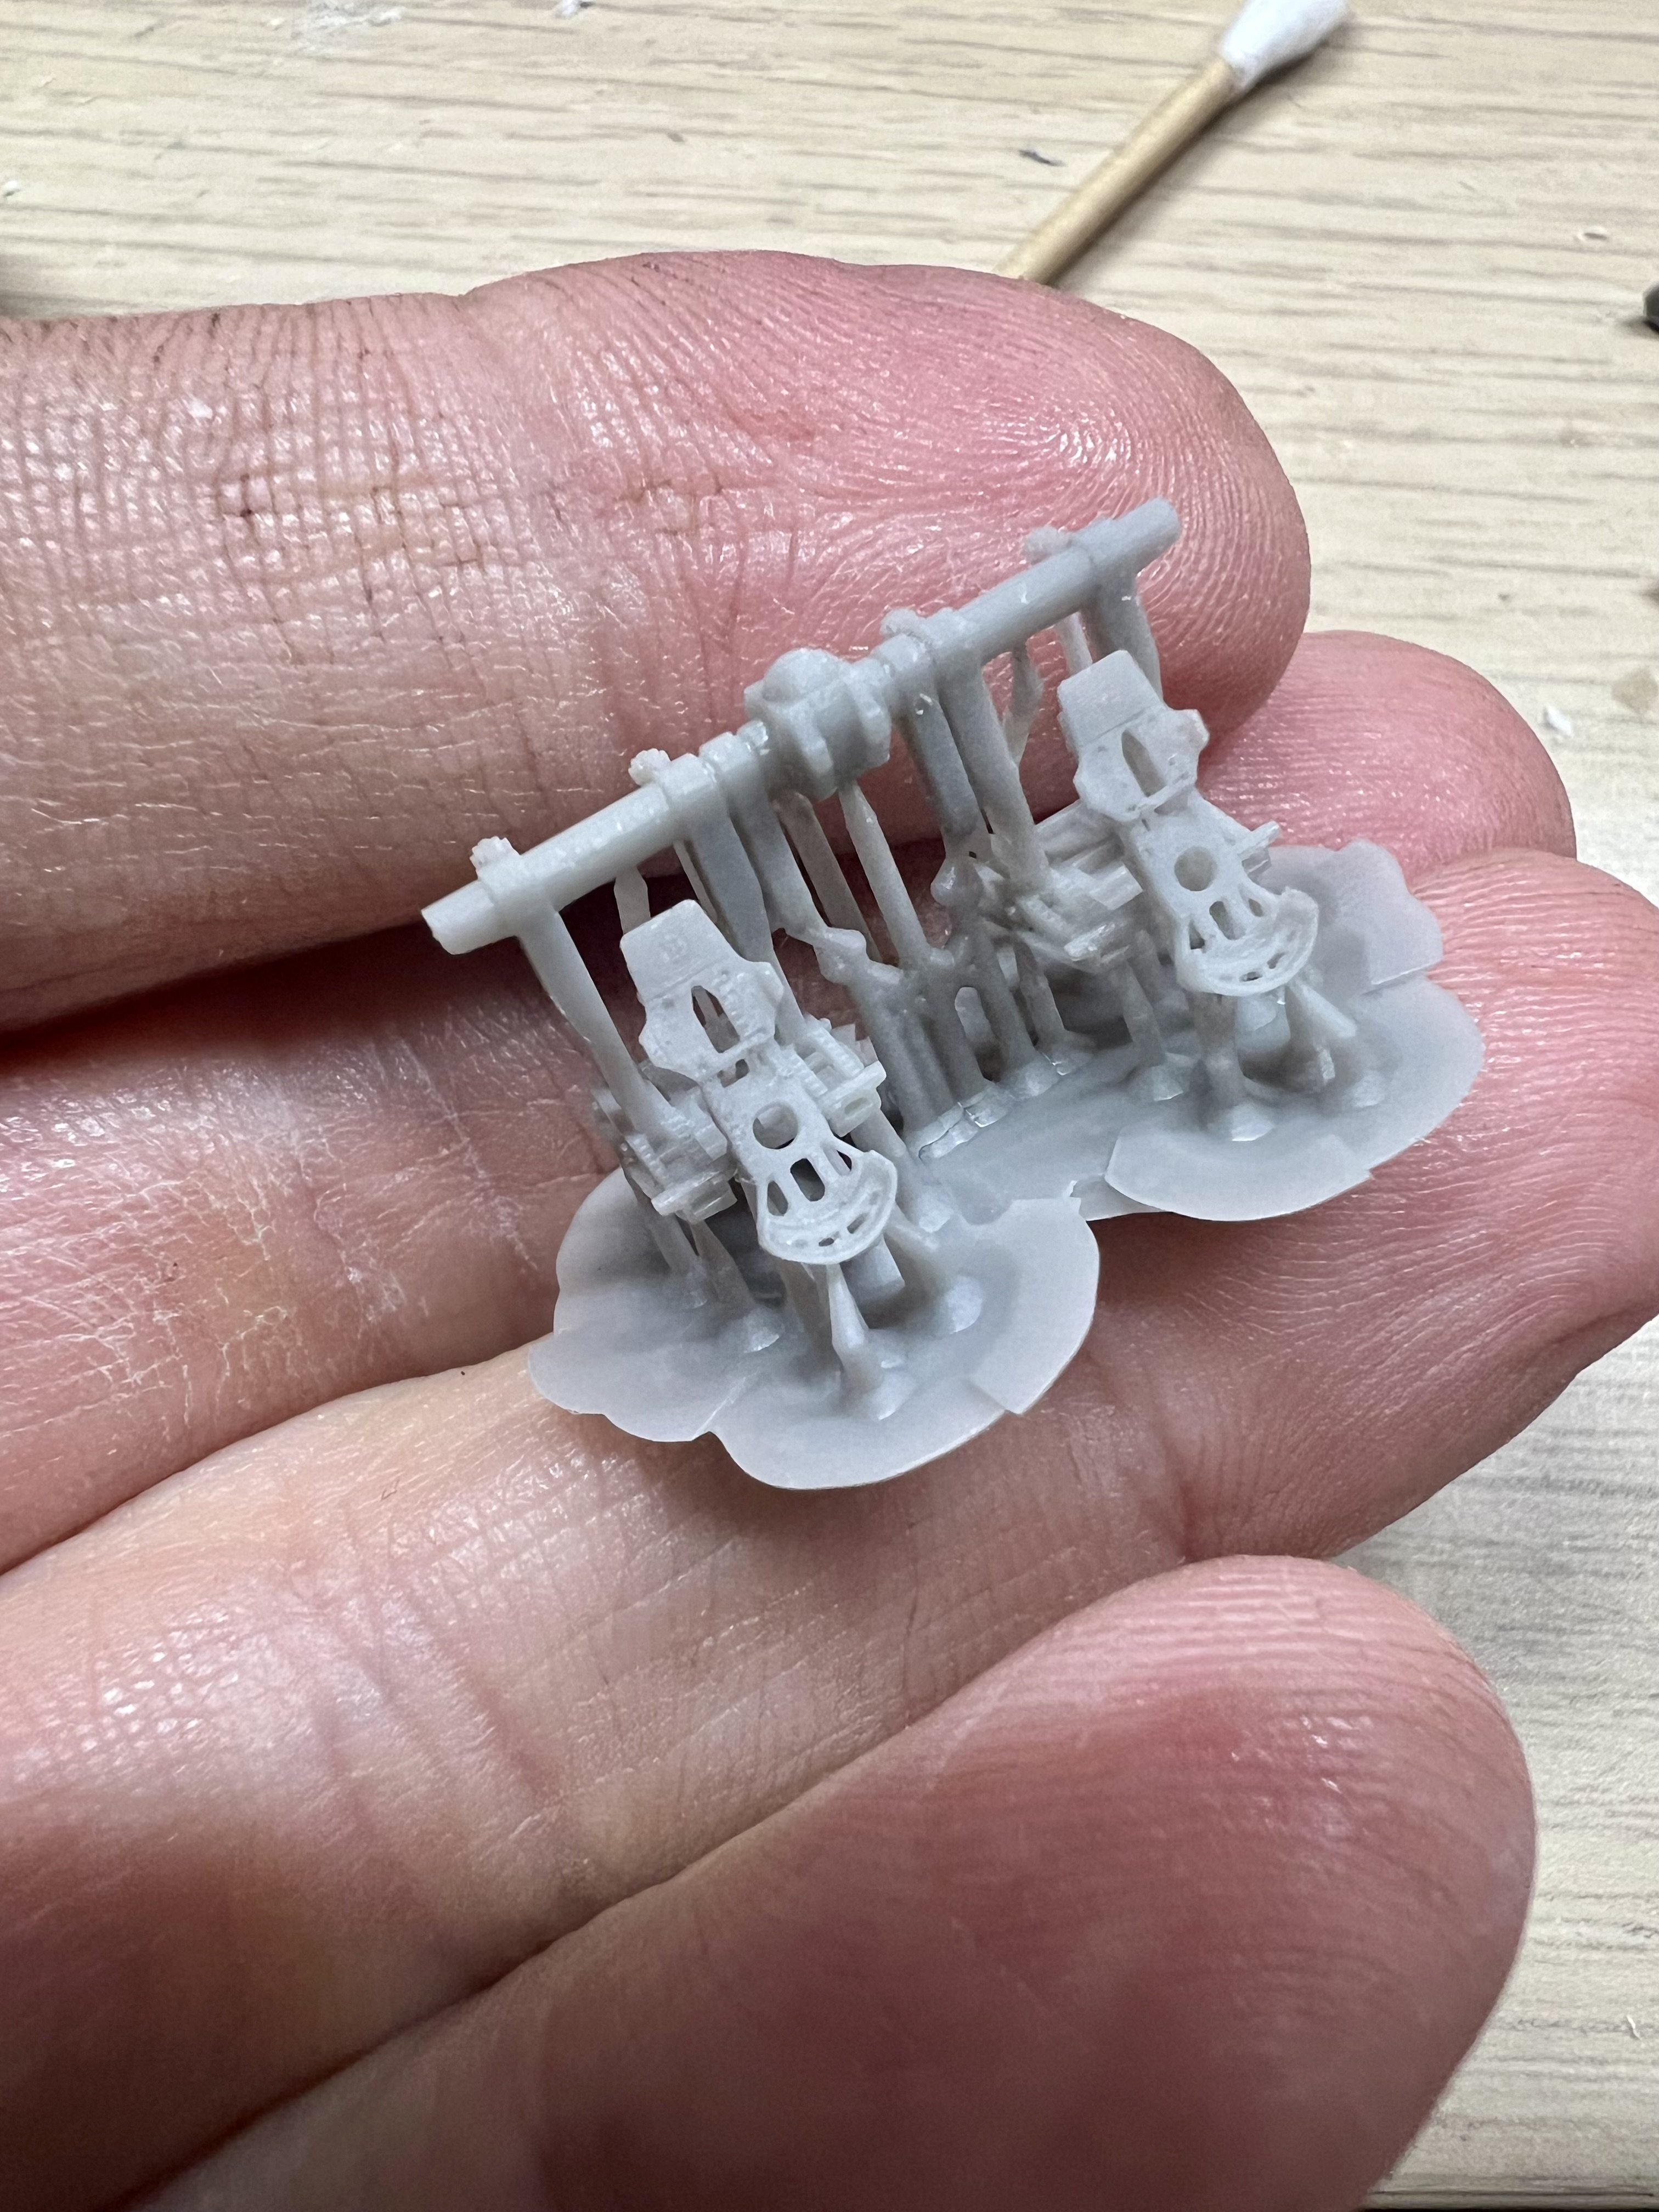
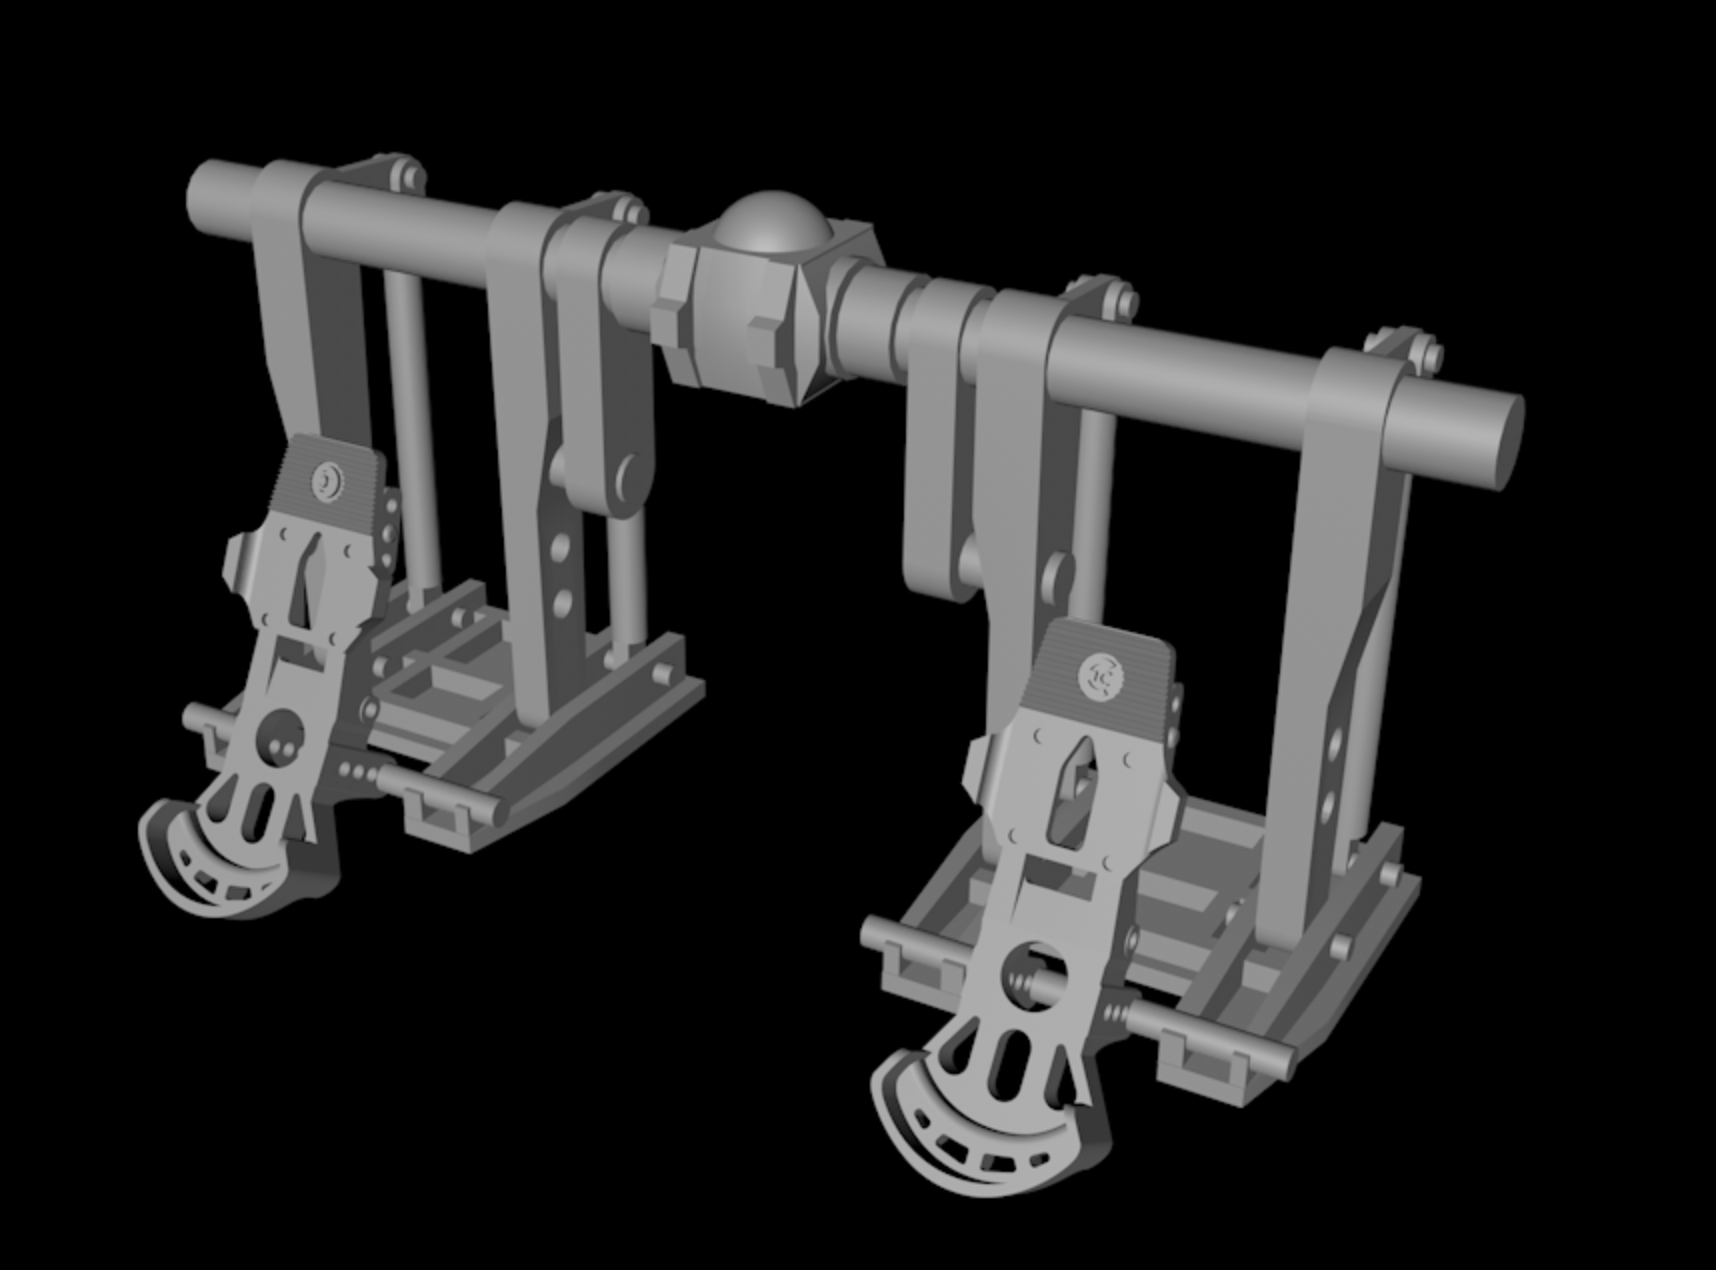
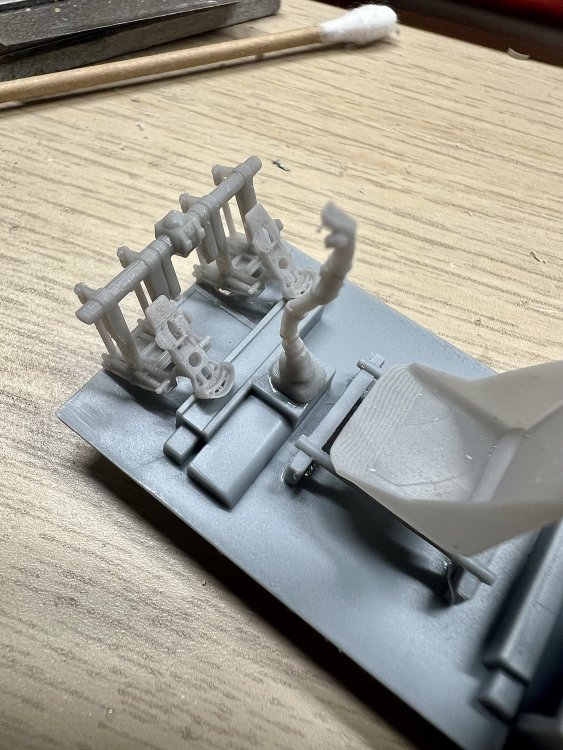
Did some 3d work on the rudder pedal installation. I can print this for both planes.
-
1/32 Ju-87D Stuka
JeroenPeters replied to JeroenPeters's topic in LSM 1/35 and Larger Work In Progress
Building the two pits side by side. The Trumpie pit is loving the 3d printed parts. Looks like oxygen bottles are next.


-
1/32 Ju-87D Stuka
JeroenPeters replied to JeroenPeters's topic in LSM 1/35 and Larger Work In Progress
Thnx! Cool stuff right? Expensive, but they keep their value. Just takes a long time finding pieces. Especially if you want a good price. -
1/32 Ju-87D Stuka
JeroenPeters replied to JeroenPeters's topic in LSM 1/35 and Larger Work In Progress
Fresh from the printer.


-
1/32 Ju-87D Stuka
JeroenPeters replied to JeroenPeters's topic in LSM 1/35 and Larger Work In Progress
Managed to trade my pressluft gauge for the proper sauerstoff one. Now its perfect. I’m 3d designing a ficture for it to attach it to the model base. And i meed to Paint the screws black.
-
1/32 Ju-87D Stuka
JeroenPeters replied to JeroenPeters's topic in LSM 1/35 and Larger Work In Progress
Correct. Just added it (which was easier than i feared) and printing now -
1/32 Ju-87D Stuka
JeroenPeters replied to JeroenPeters's topic in LSM 1/35 and Larger Work In Progress


.png.616af617cc99edaae60e3bd6f8019ede.png)


.png.71029f2ecf6ea1251490f6bdd2b40178.png)

.png.516824b7ac8344d3707be7fe53a801d9.png)