
RalphSarc
-
Posts
2,070 -
Joined
-
Last visited
Content Type
Profiles
Forums
Events
Gallery
Everything posted by RalphSarc
-

From the album: Tamiya 1/35 Tiger 1 (Production)
-

From the album: Tamiya 1/35 Tiger 1 (Production)
-

From the album: Tamiya 1/35 Tiger 1 (Production)
-

From the album: Tamiya 1/35 Tiger 1 (Production)
-

From the album: Tamiya 1/35 Tiger 1 (Production)
-

From the album: Tamiya 1/35 Tiger 1 (Production)
-

From the album: Tamiya 1/35 Tiger 1 (Production)
-

From the album: Tamiya 1/35 Tiger 1 (Production)
-

From the album: Tamiya 1/35 Tiger 1 (Production)
-

From the album: Tamiya 1/35 Tiger 1 (Production)
-

From the album: Tamiya 1/35 Tiger 1 (Production)
-

From the album: Tamiya 1/35 Tiger 1 (Production)
-

From the album: Tamiya 1/35 Tiger 1 (Production)
-

From the album: Tamiya 1/35 Tiger 1 (Production)
-
 Oh my goodness the bike is perfect!!!
-
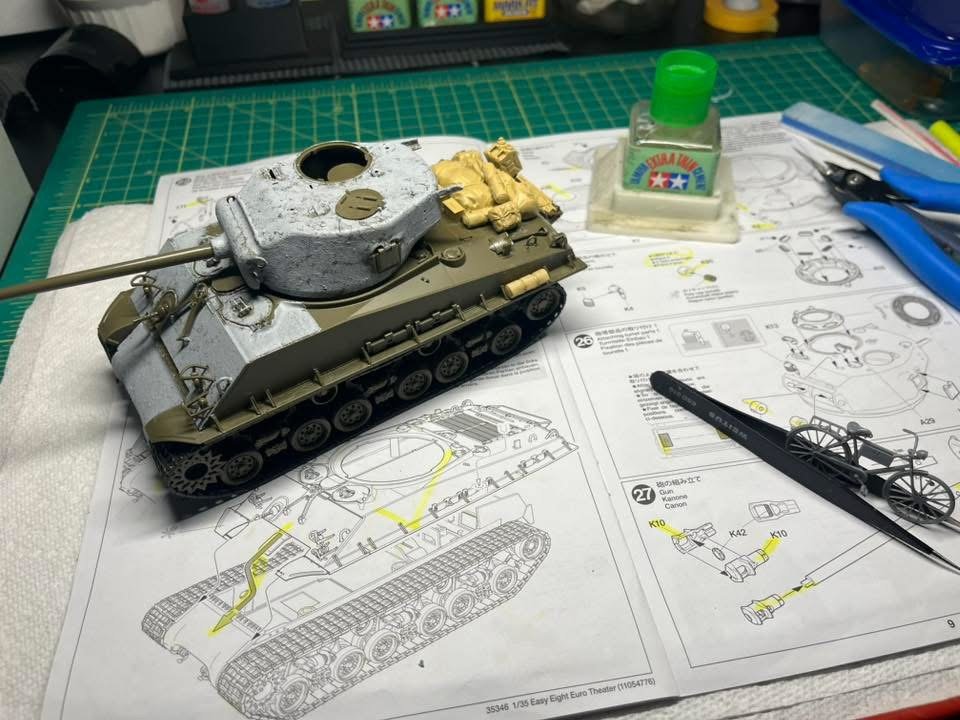
Work bench Saturday!!!
-
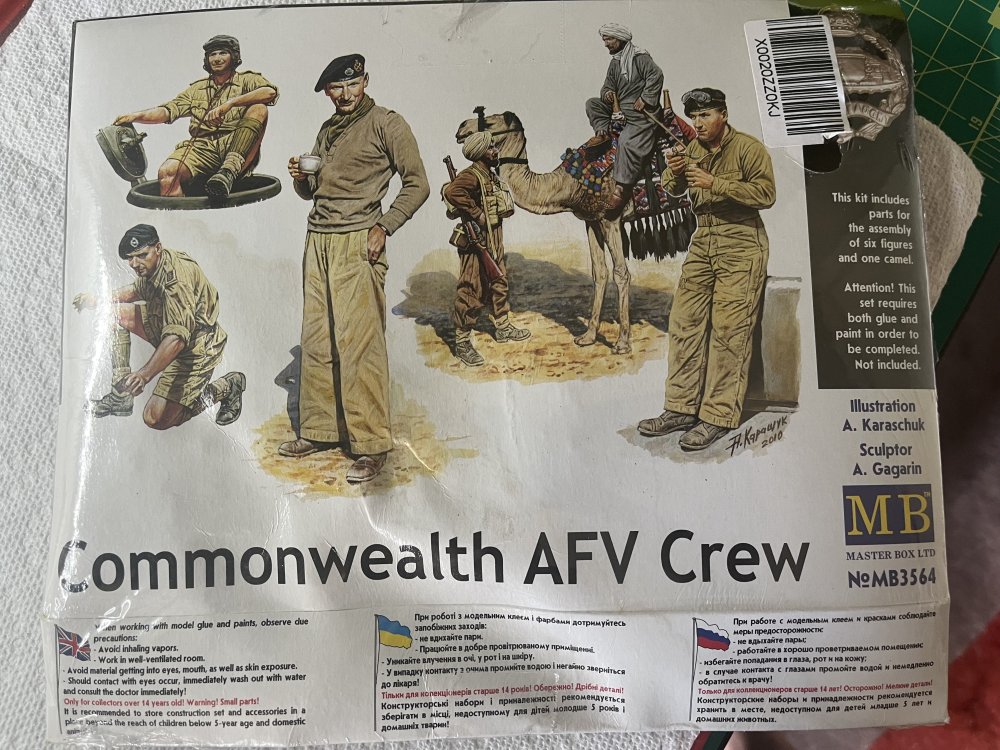
This little Tamiya figure set arrive just before we left. Planning for a diorama build!

-
Revell ProModeler 1/48 German Me 410B-6/R-2 Build Thread
RalphSarc replied to RalphSarc's topic in LSM 1/48 Work in Progress
Definitely will try!! -
I’ve always said stowage makes the tank….plus tarps and camouflage netting! Oh and did I say a Tamiya 1/35 bike too!!!


-
I’m looking forward to building the Comet and the rest of Tamiya’s British Tanks.
-
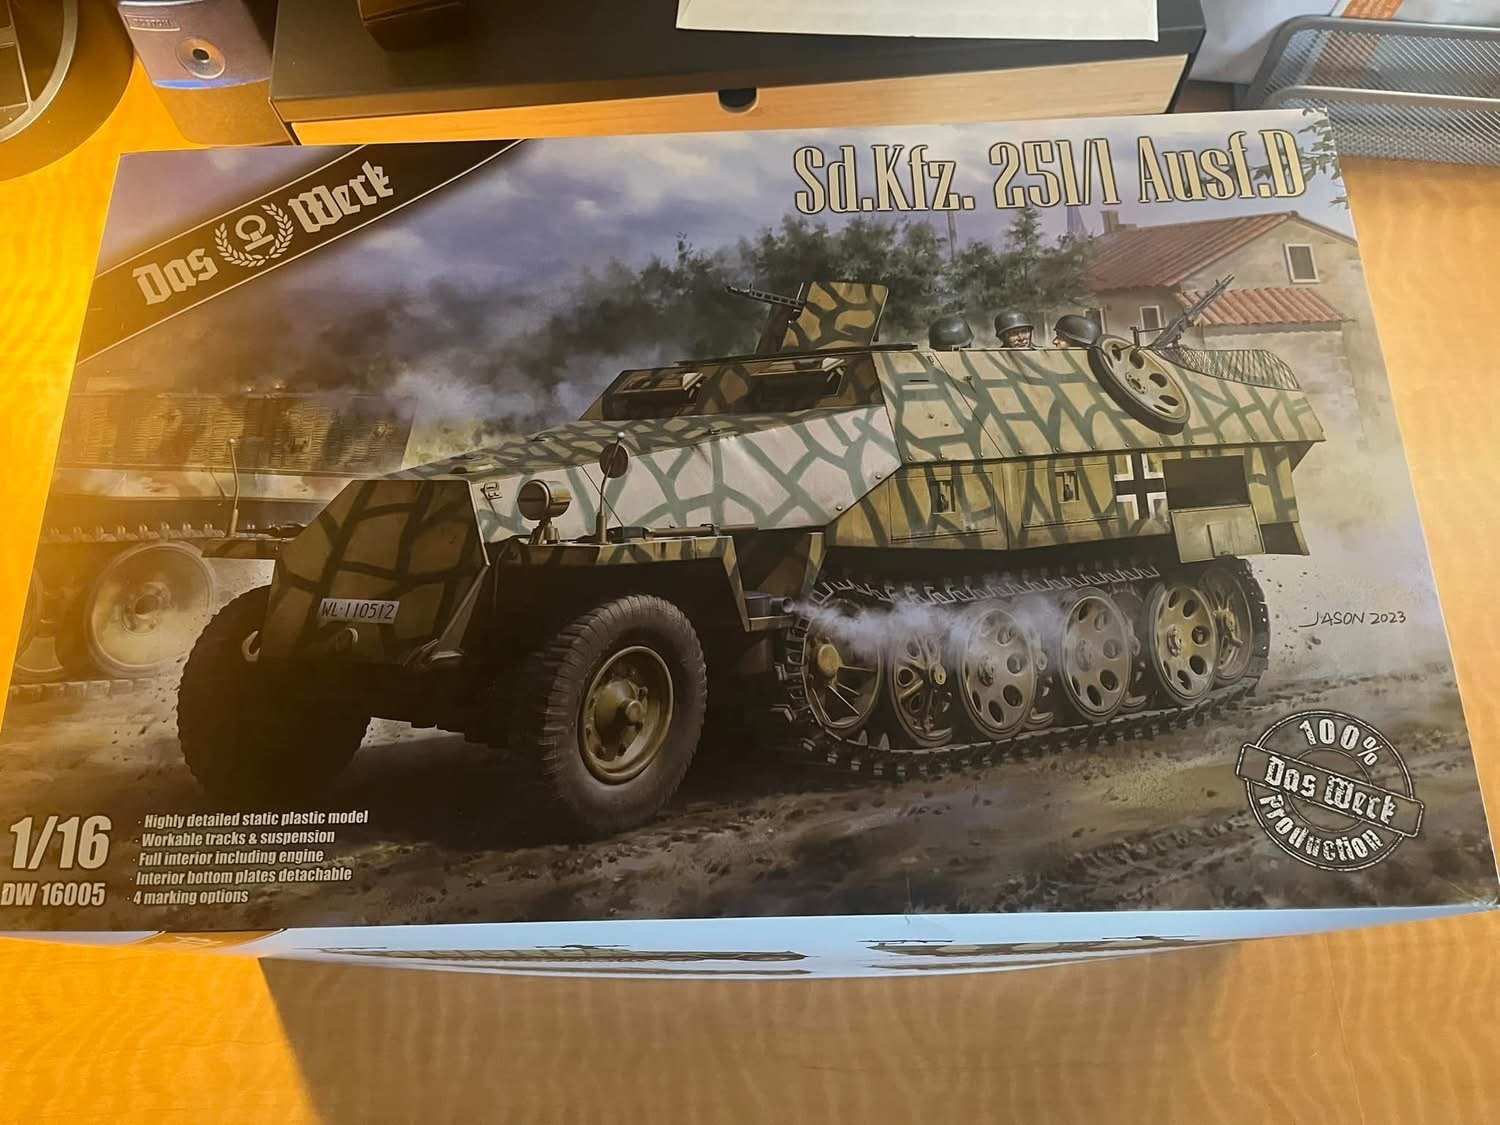
I’ve fallen in love with that cast marking technique. Really gives satisfying results. I’m a big Tamiya fan boy also. I’m building a 1/16 kit also and they are tedious due to the part counts and complexity of the kits.


-
Revell ProModeler 1/48 German Me 410B-6/R-2 Build Thread
RalphSarc replied to RalphSarc's topic in LSM 1/48 Work in Progress
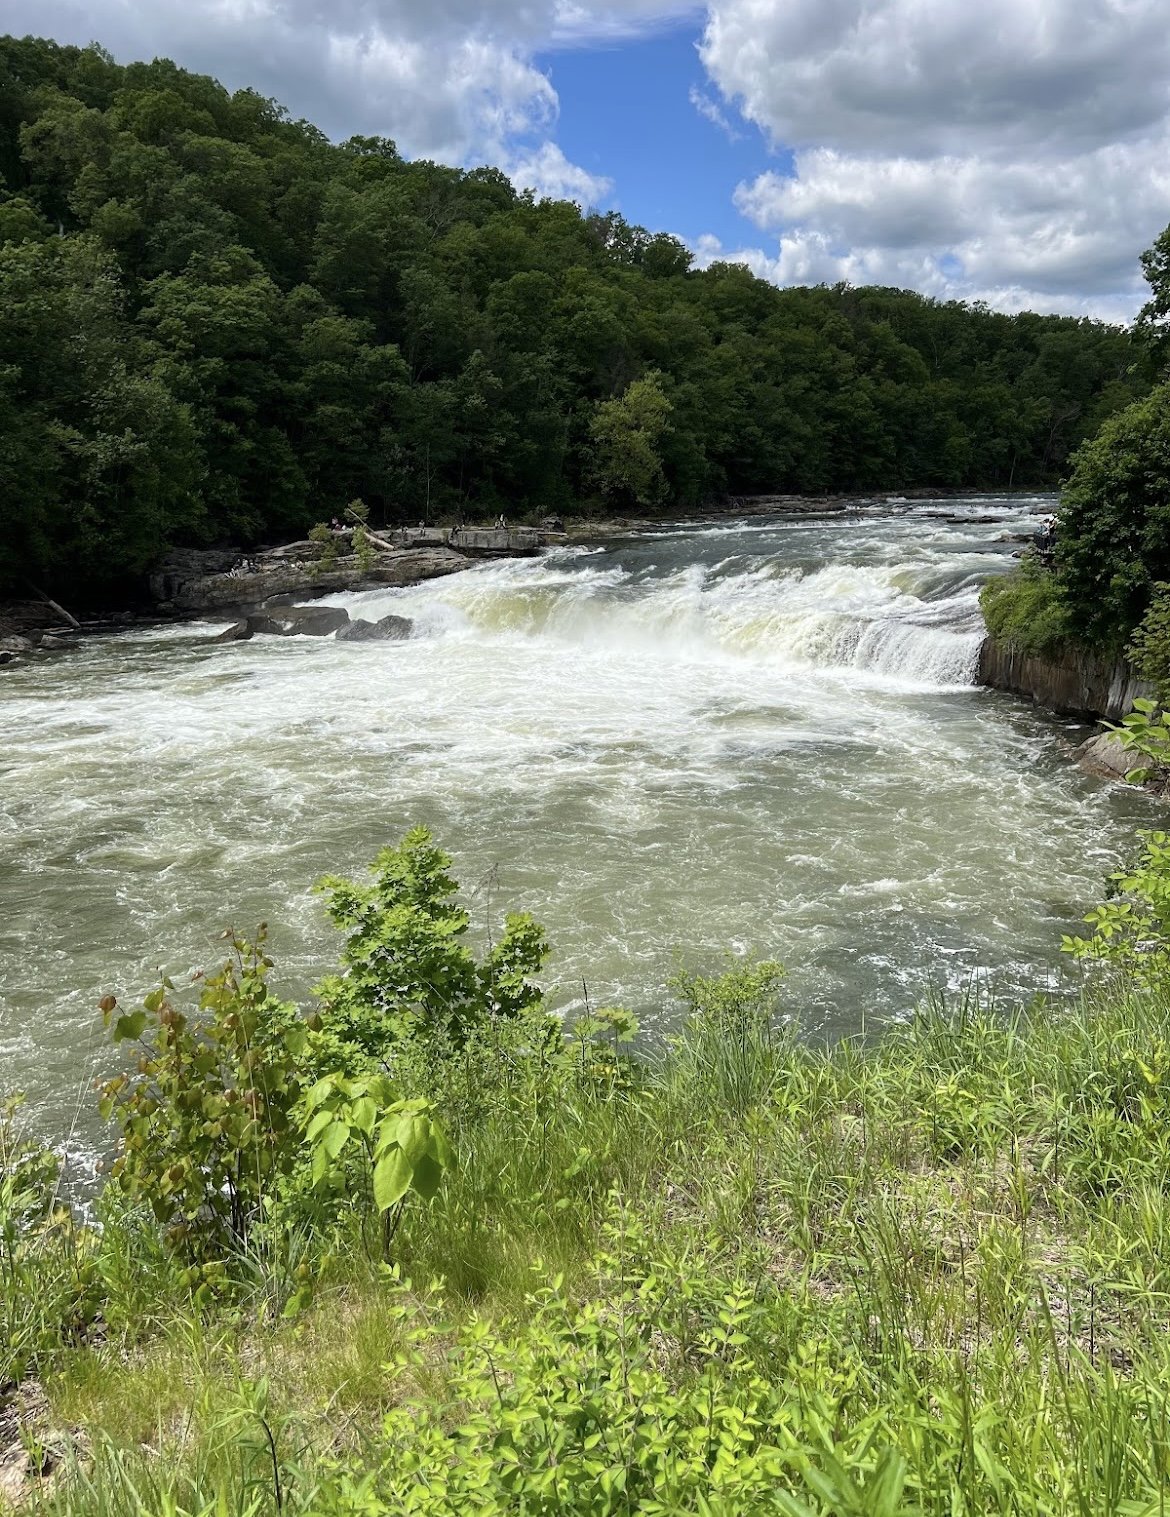
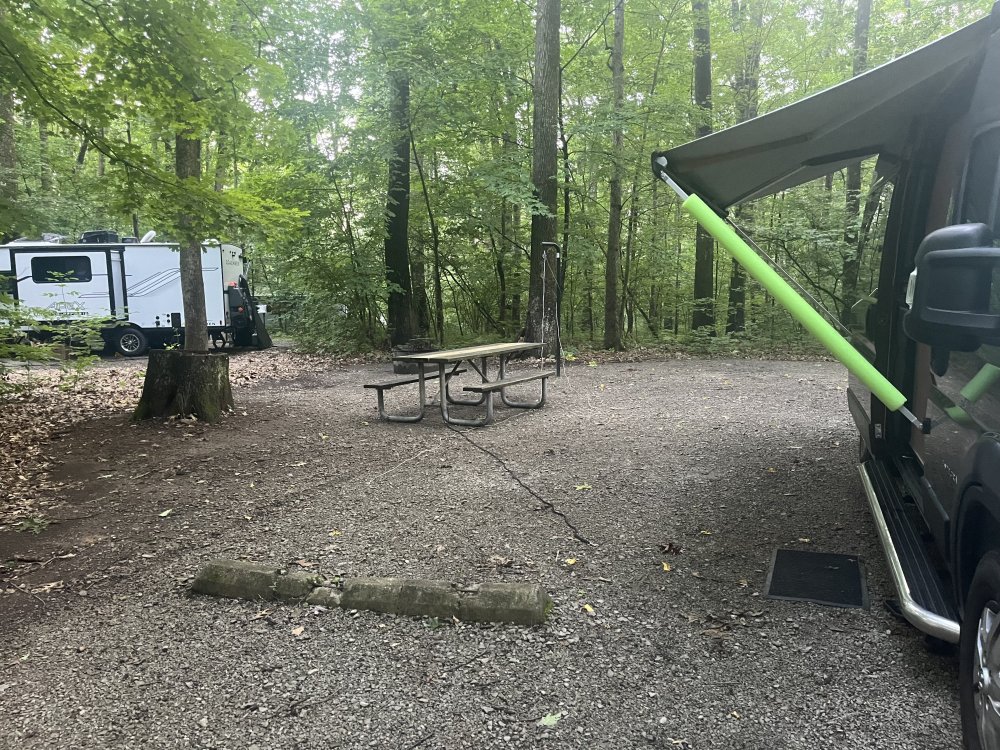
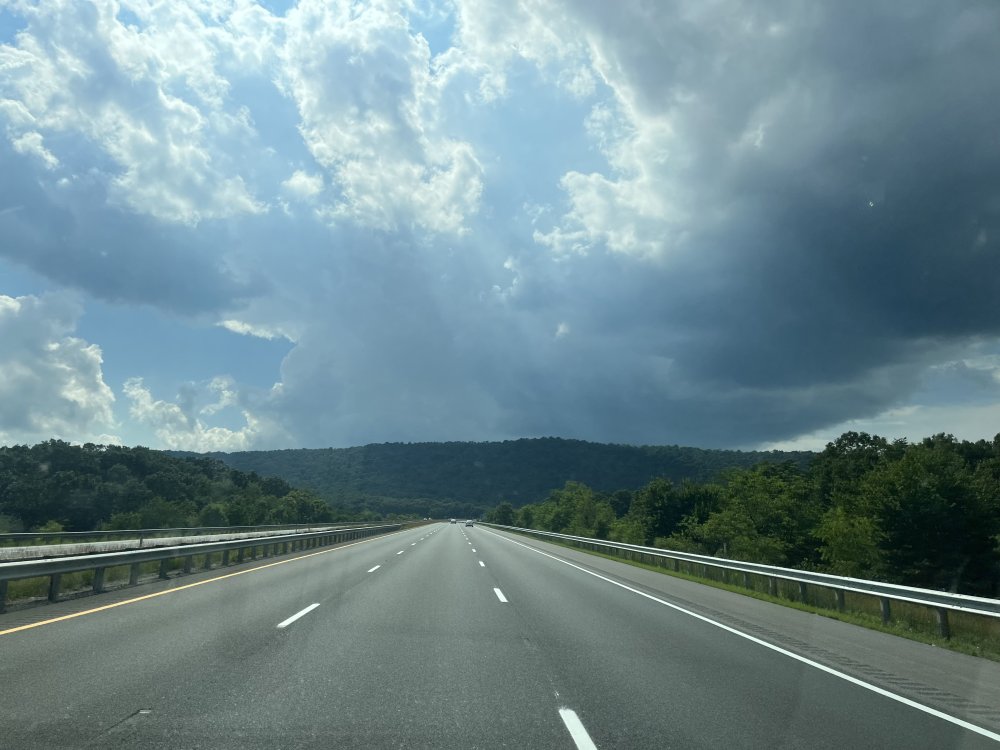
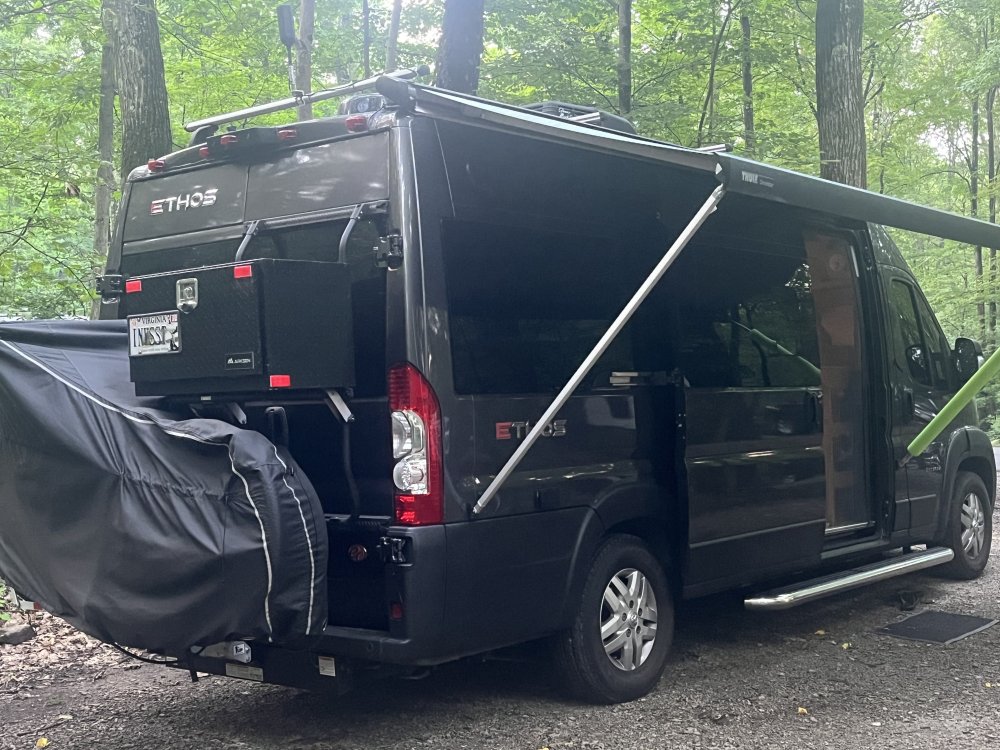
Thanks! We’re in PA now at a beautiful state park. Headed to Niagara Falls tomorrow.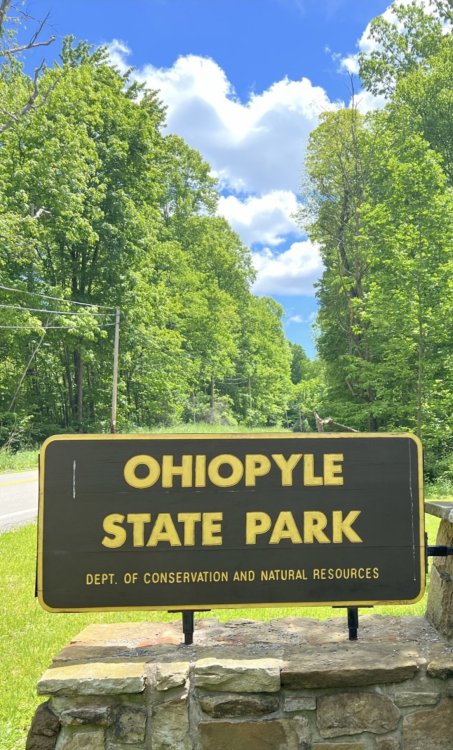


-
Revell ProModeler 1/48 German Me 410B-6/R-2 Build Thread
RalphSarc replied to RalphSarc's topic in LSM 1/48 Work in Progress
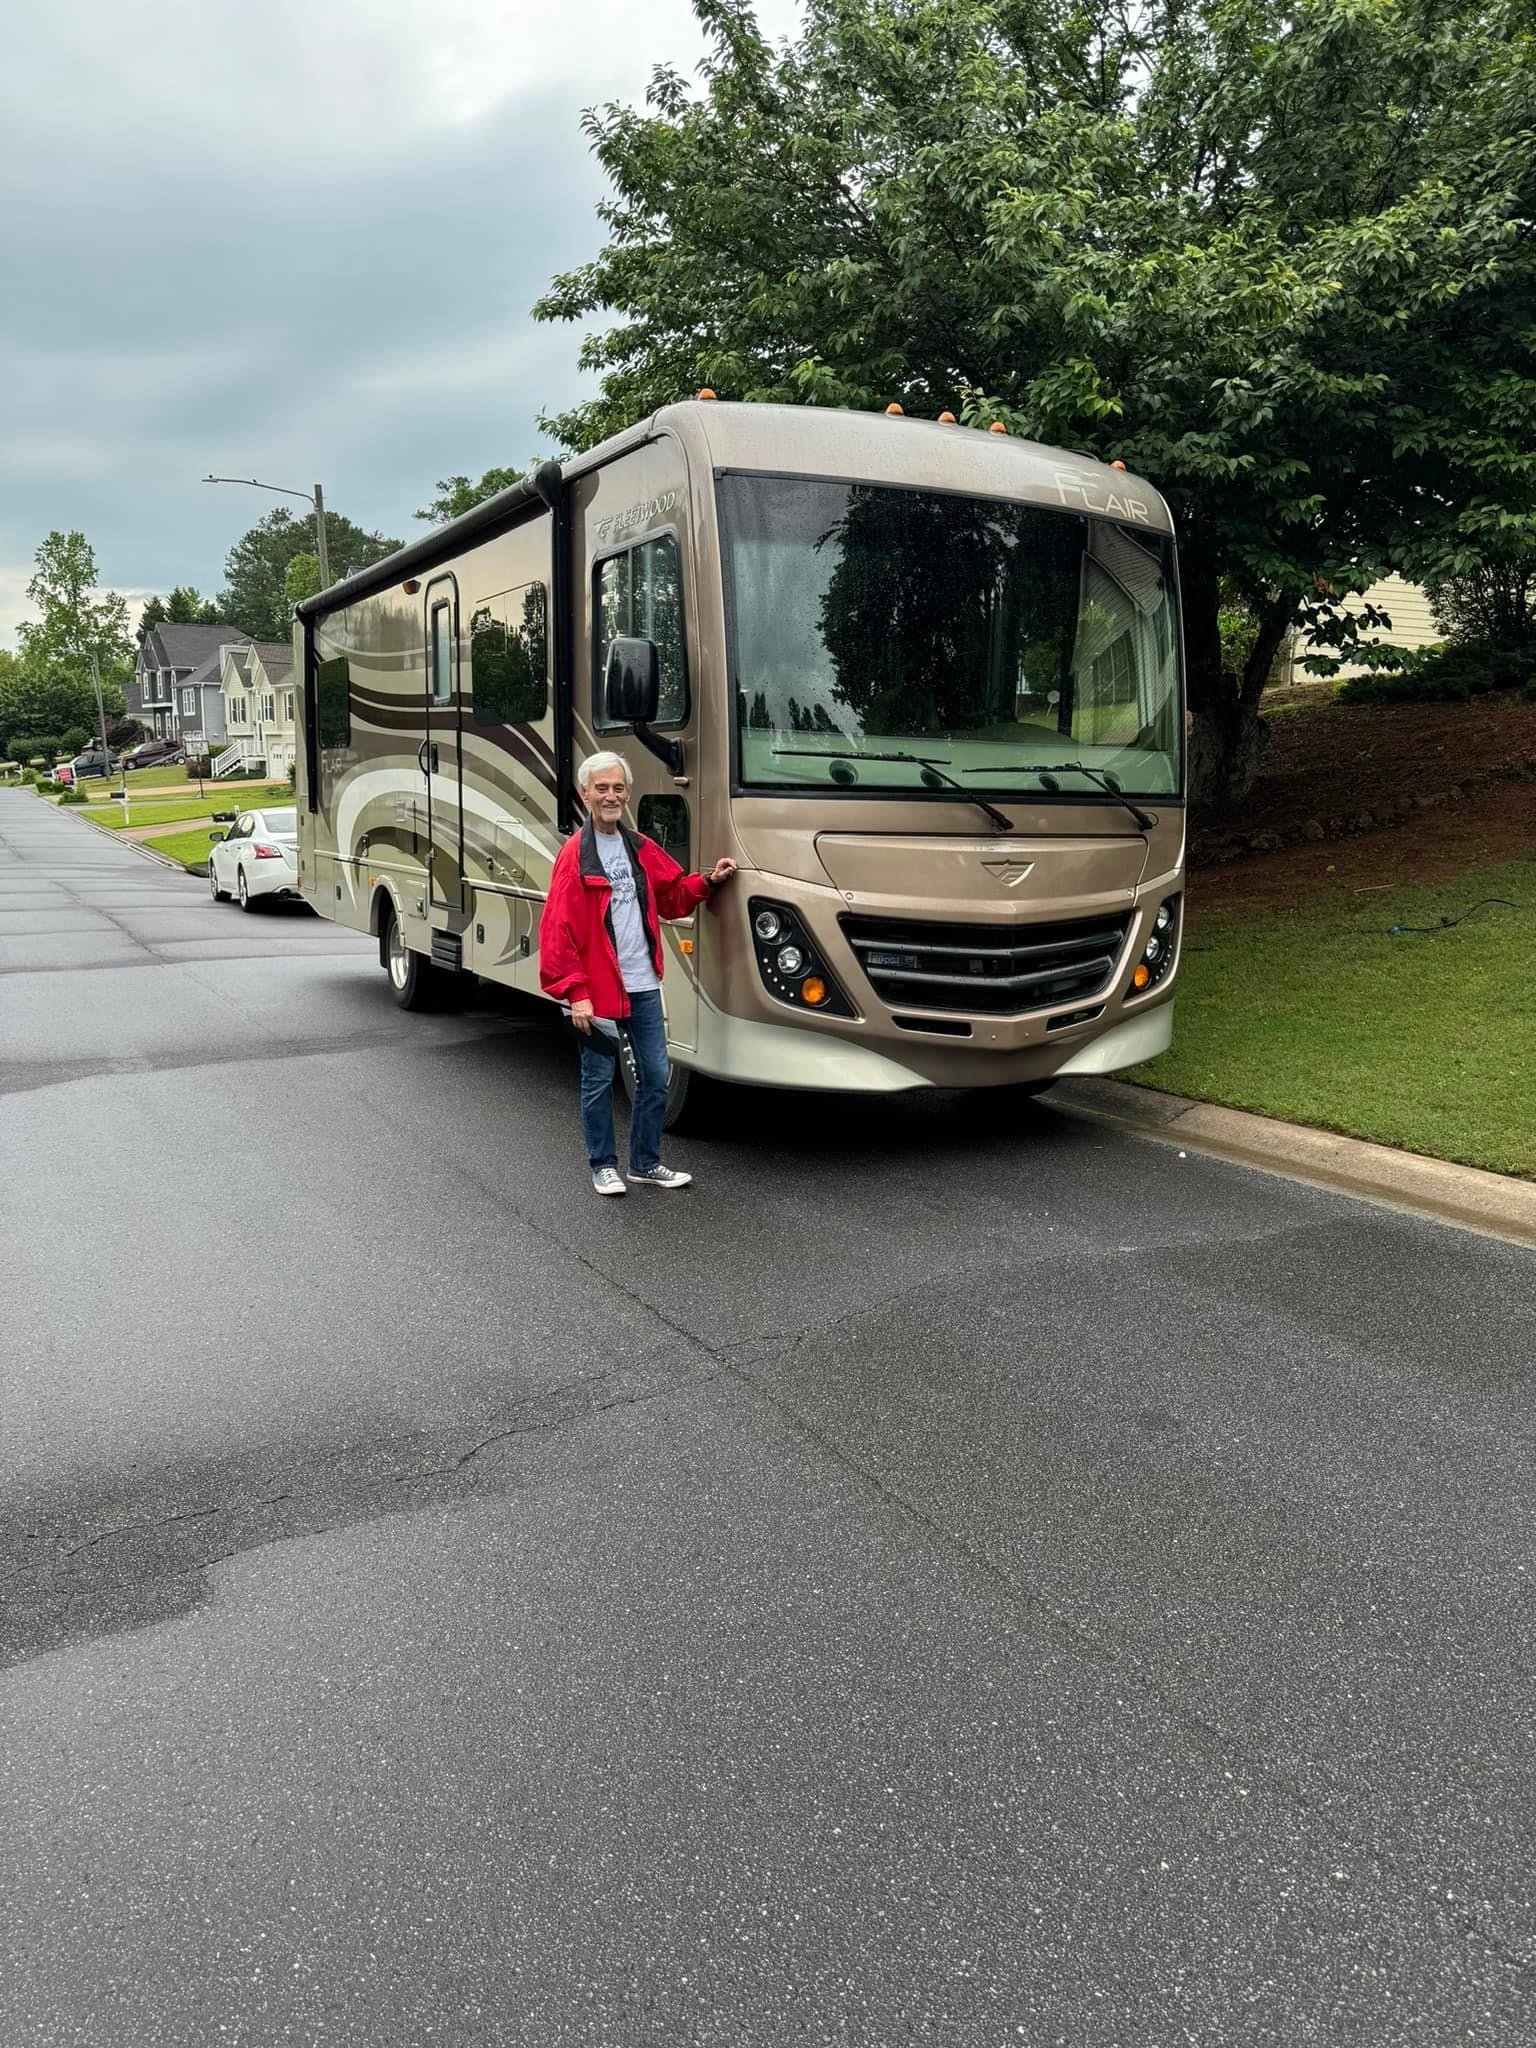
Gone RVing!!! We’ll be back the end of July!!

-
Lots and lots of fiddly handholds, headlight and taillight brackets plus the main gun attached to the turret. Starting to really look like an Easy Eight now!!

-
Revell ProModeler 1/48 German Me 410B-6/R-2 Build Thread
RalphSarc replied to RalphSarc's topic in LSM 1/48 Work in Progress
Let me know if you find an inexpensive source.