Wingco57
-
Posts
3,925 -
Joined
-
Last visited
Content Type
Profiles
Forums
Events
Gallery
Everything posted by Wingco57
-

RN FG-1 Phantom 1/32 scratch conversion
Wingco57 replied to Wingco57's topic in LSM 1/35 and Larger Work In Progress
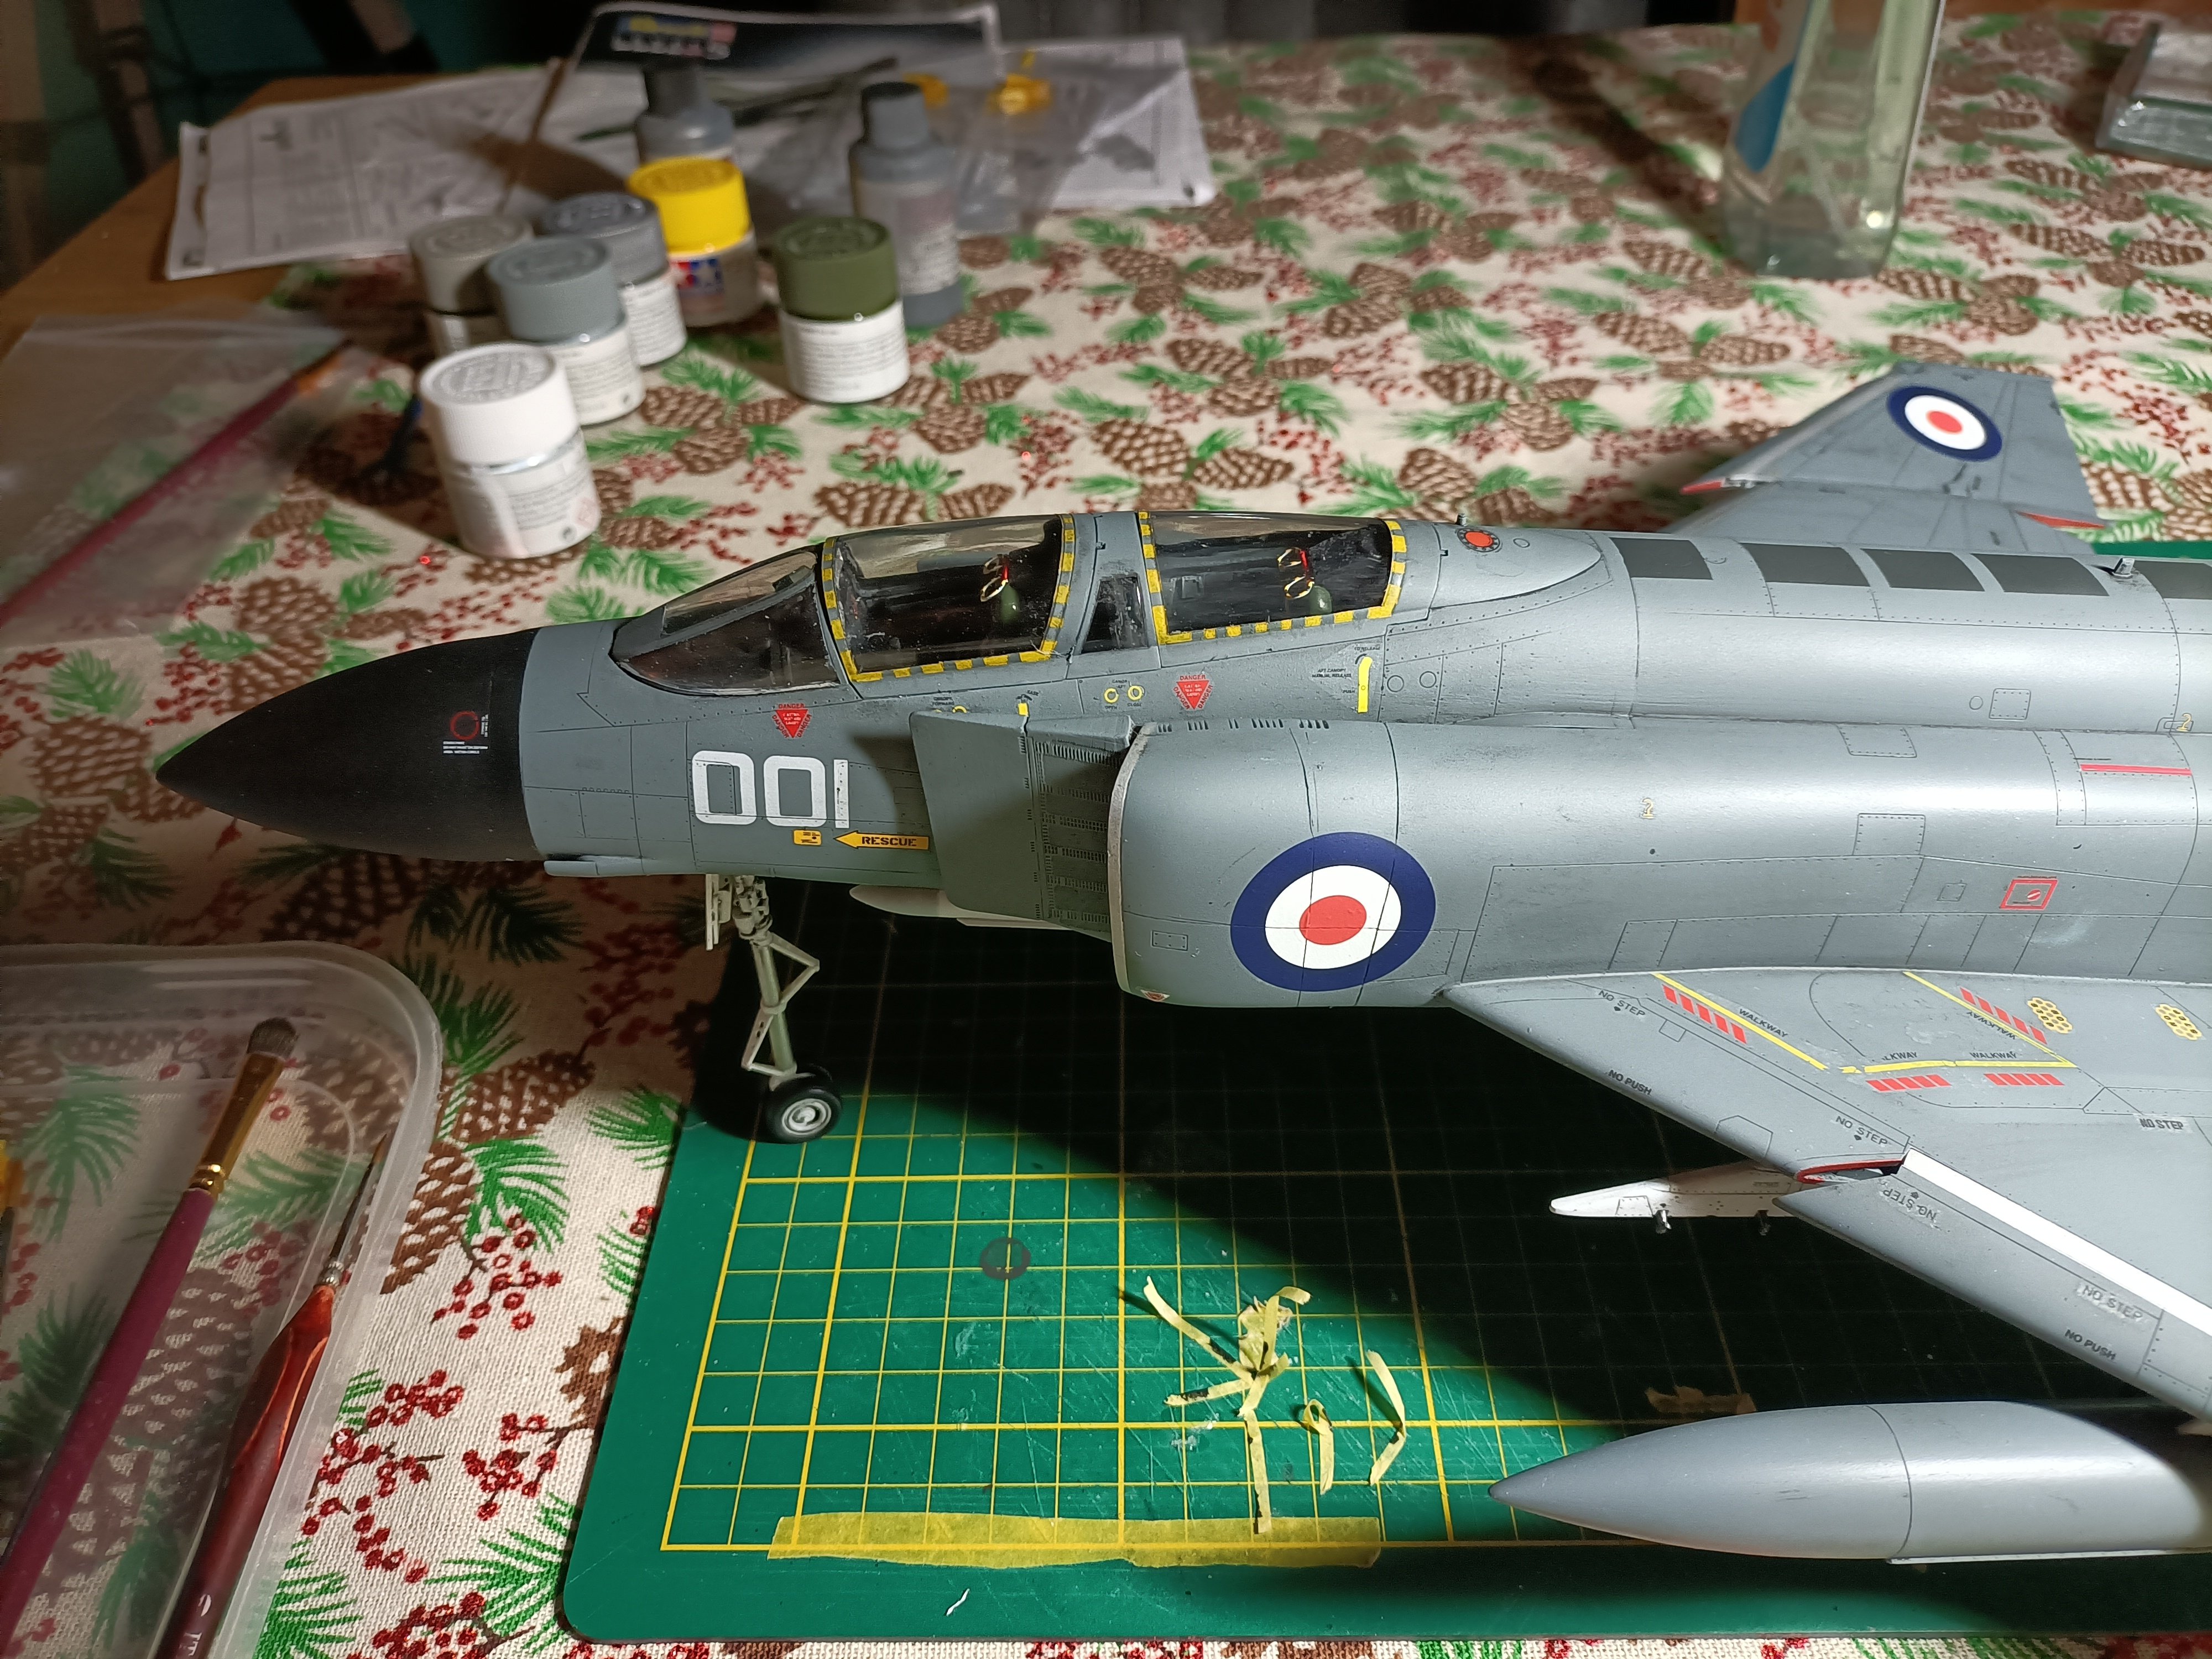
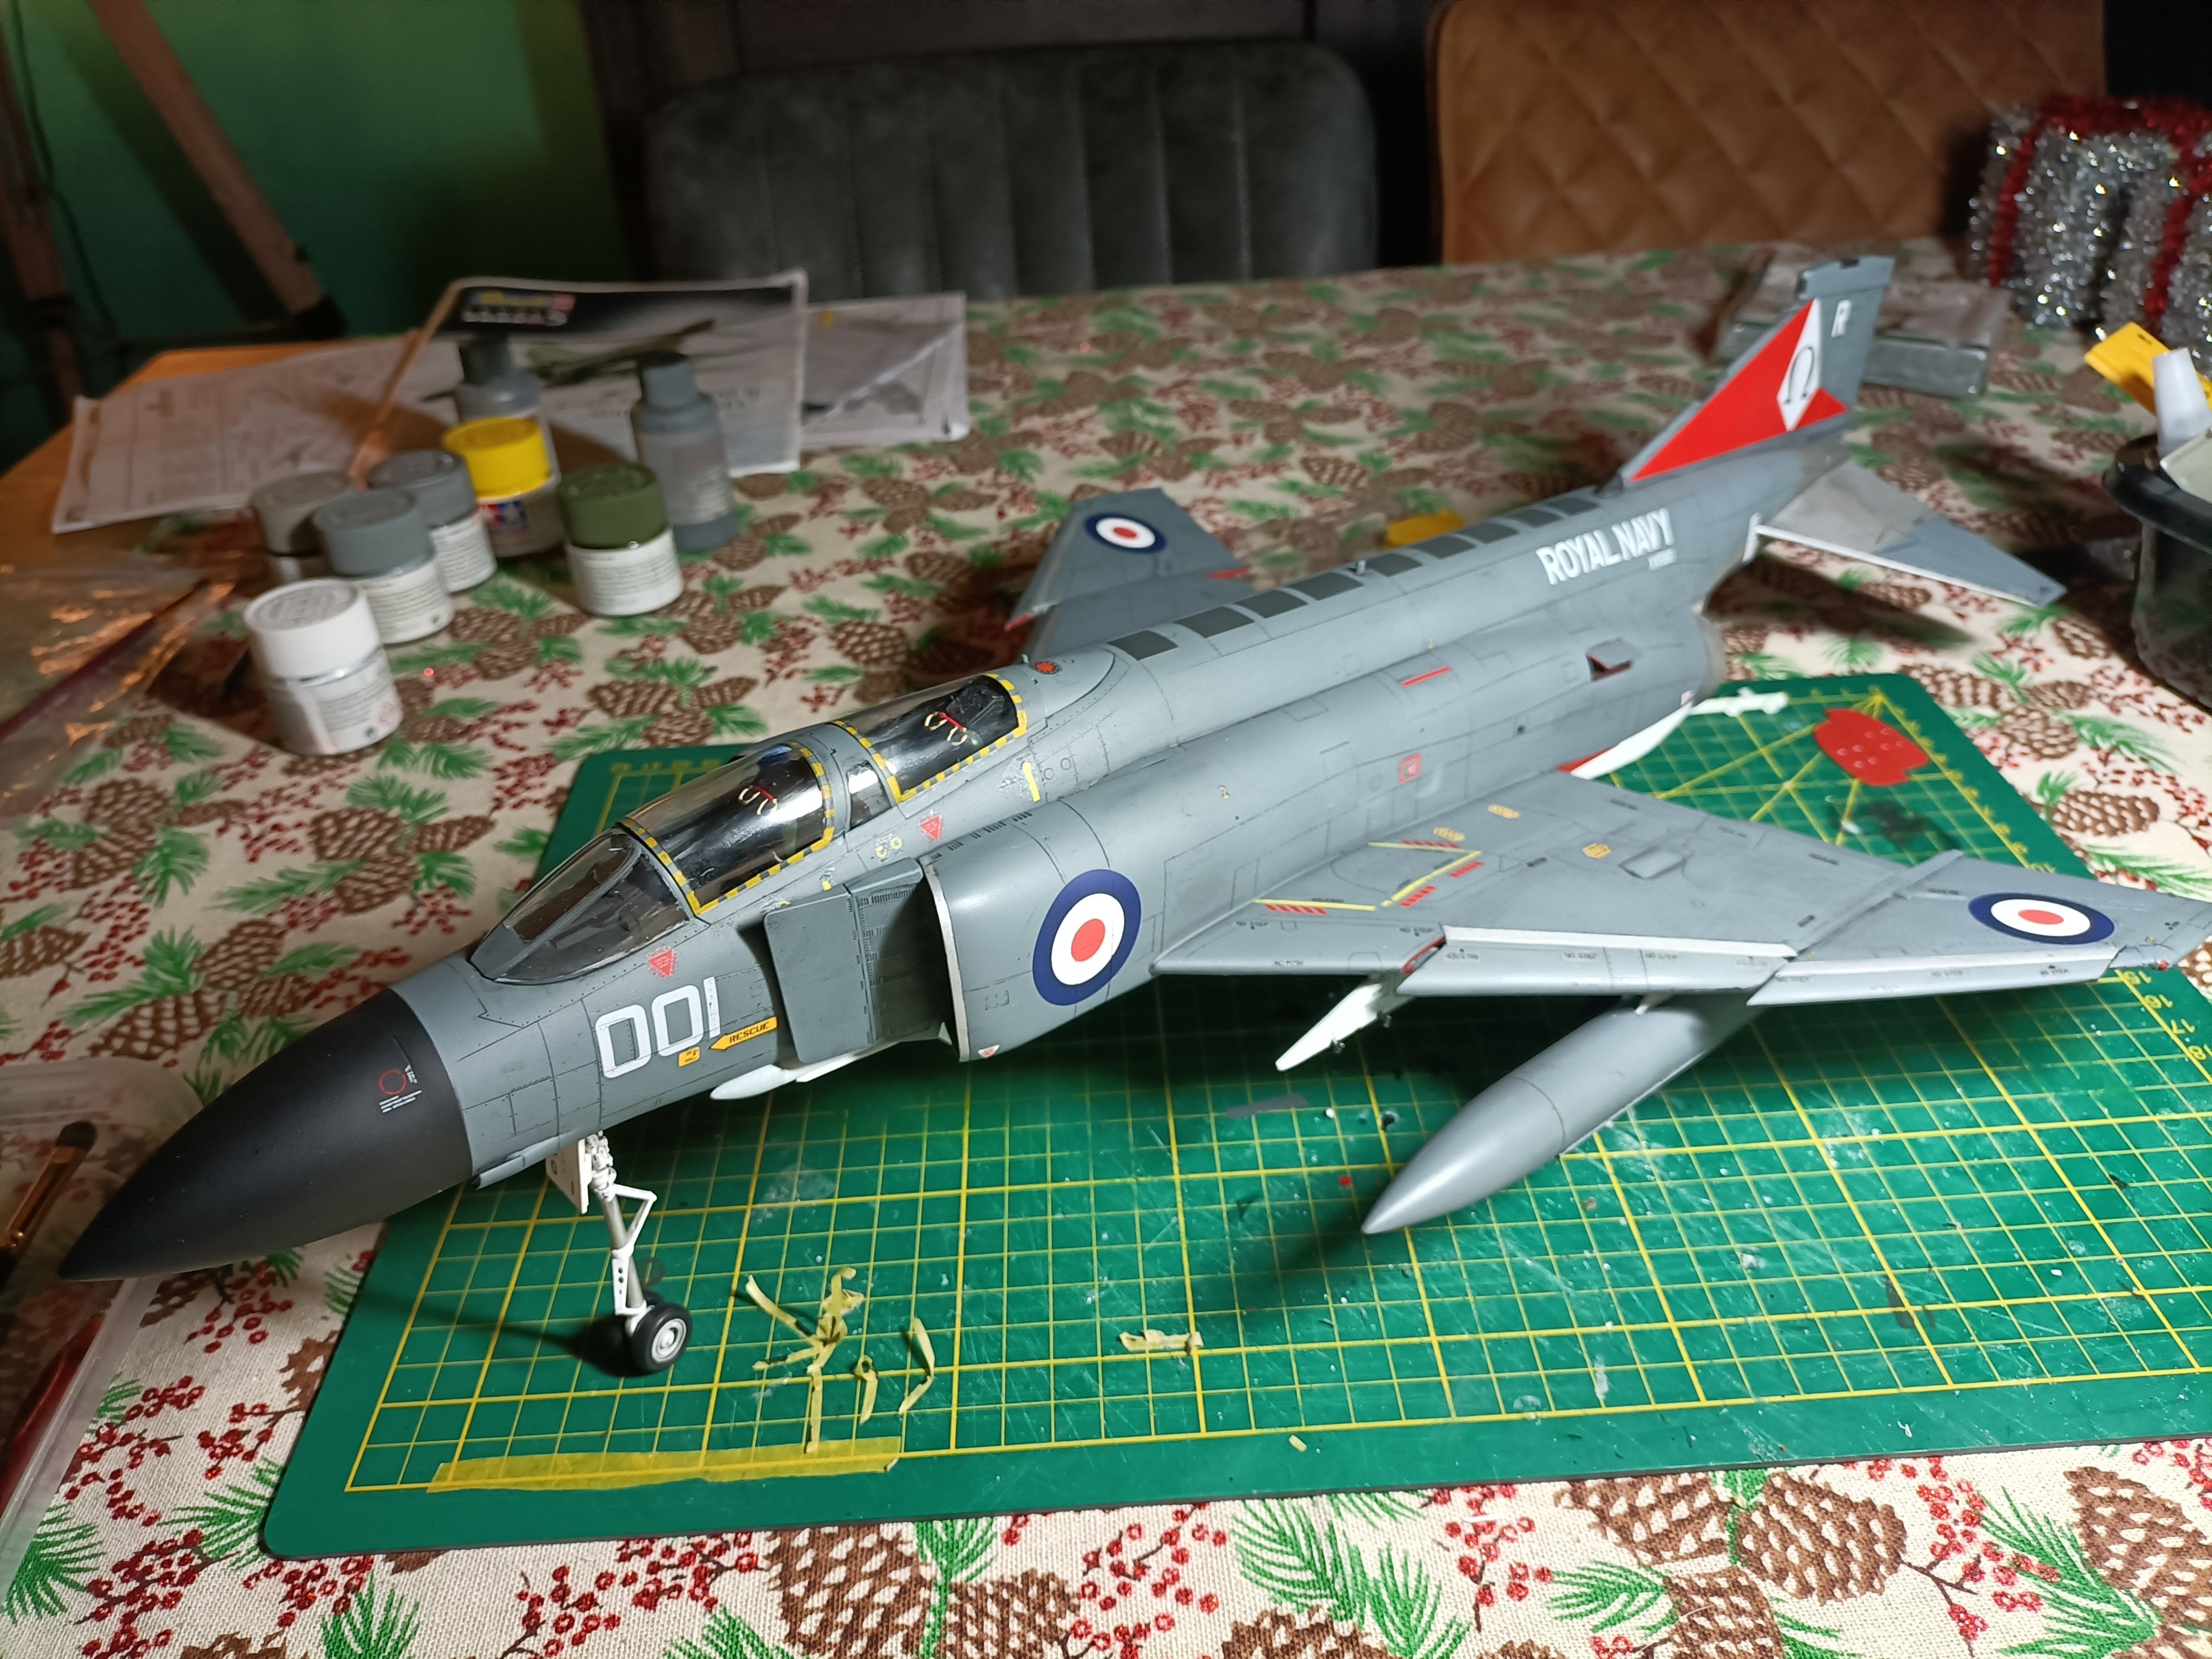
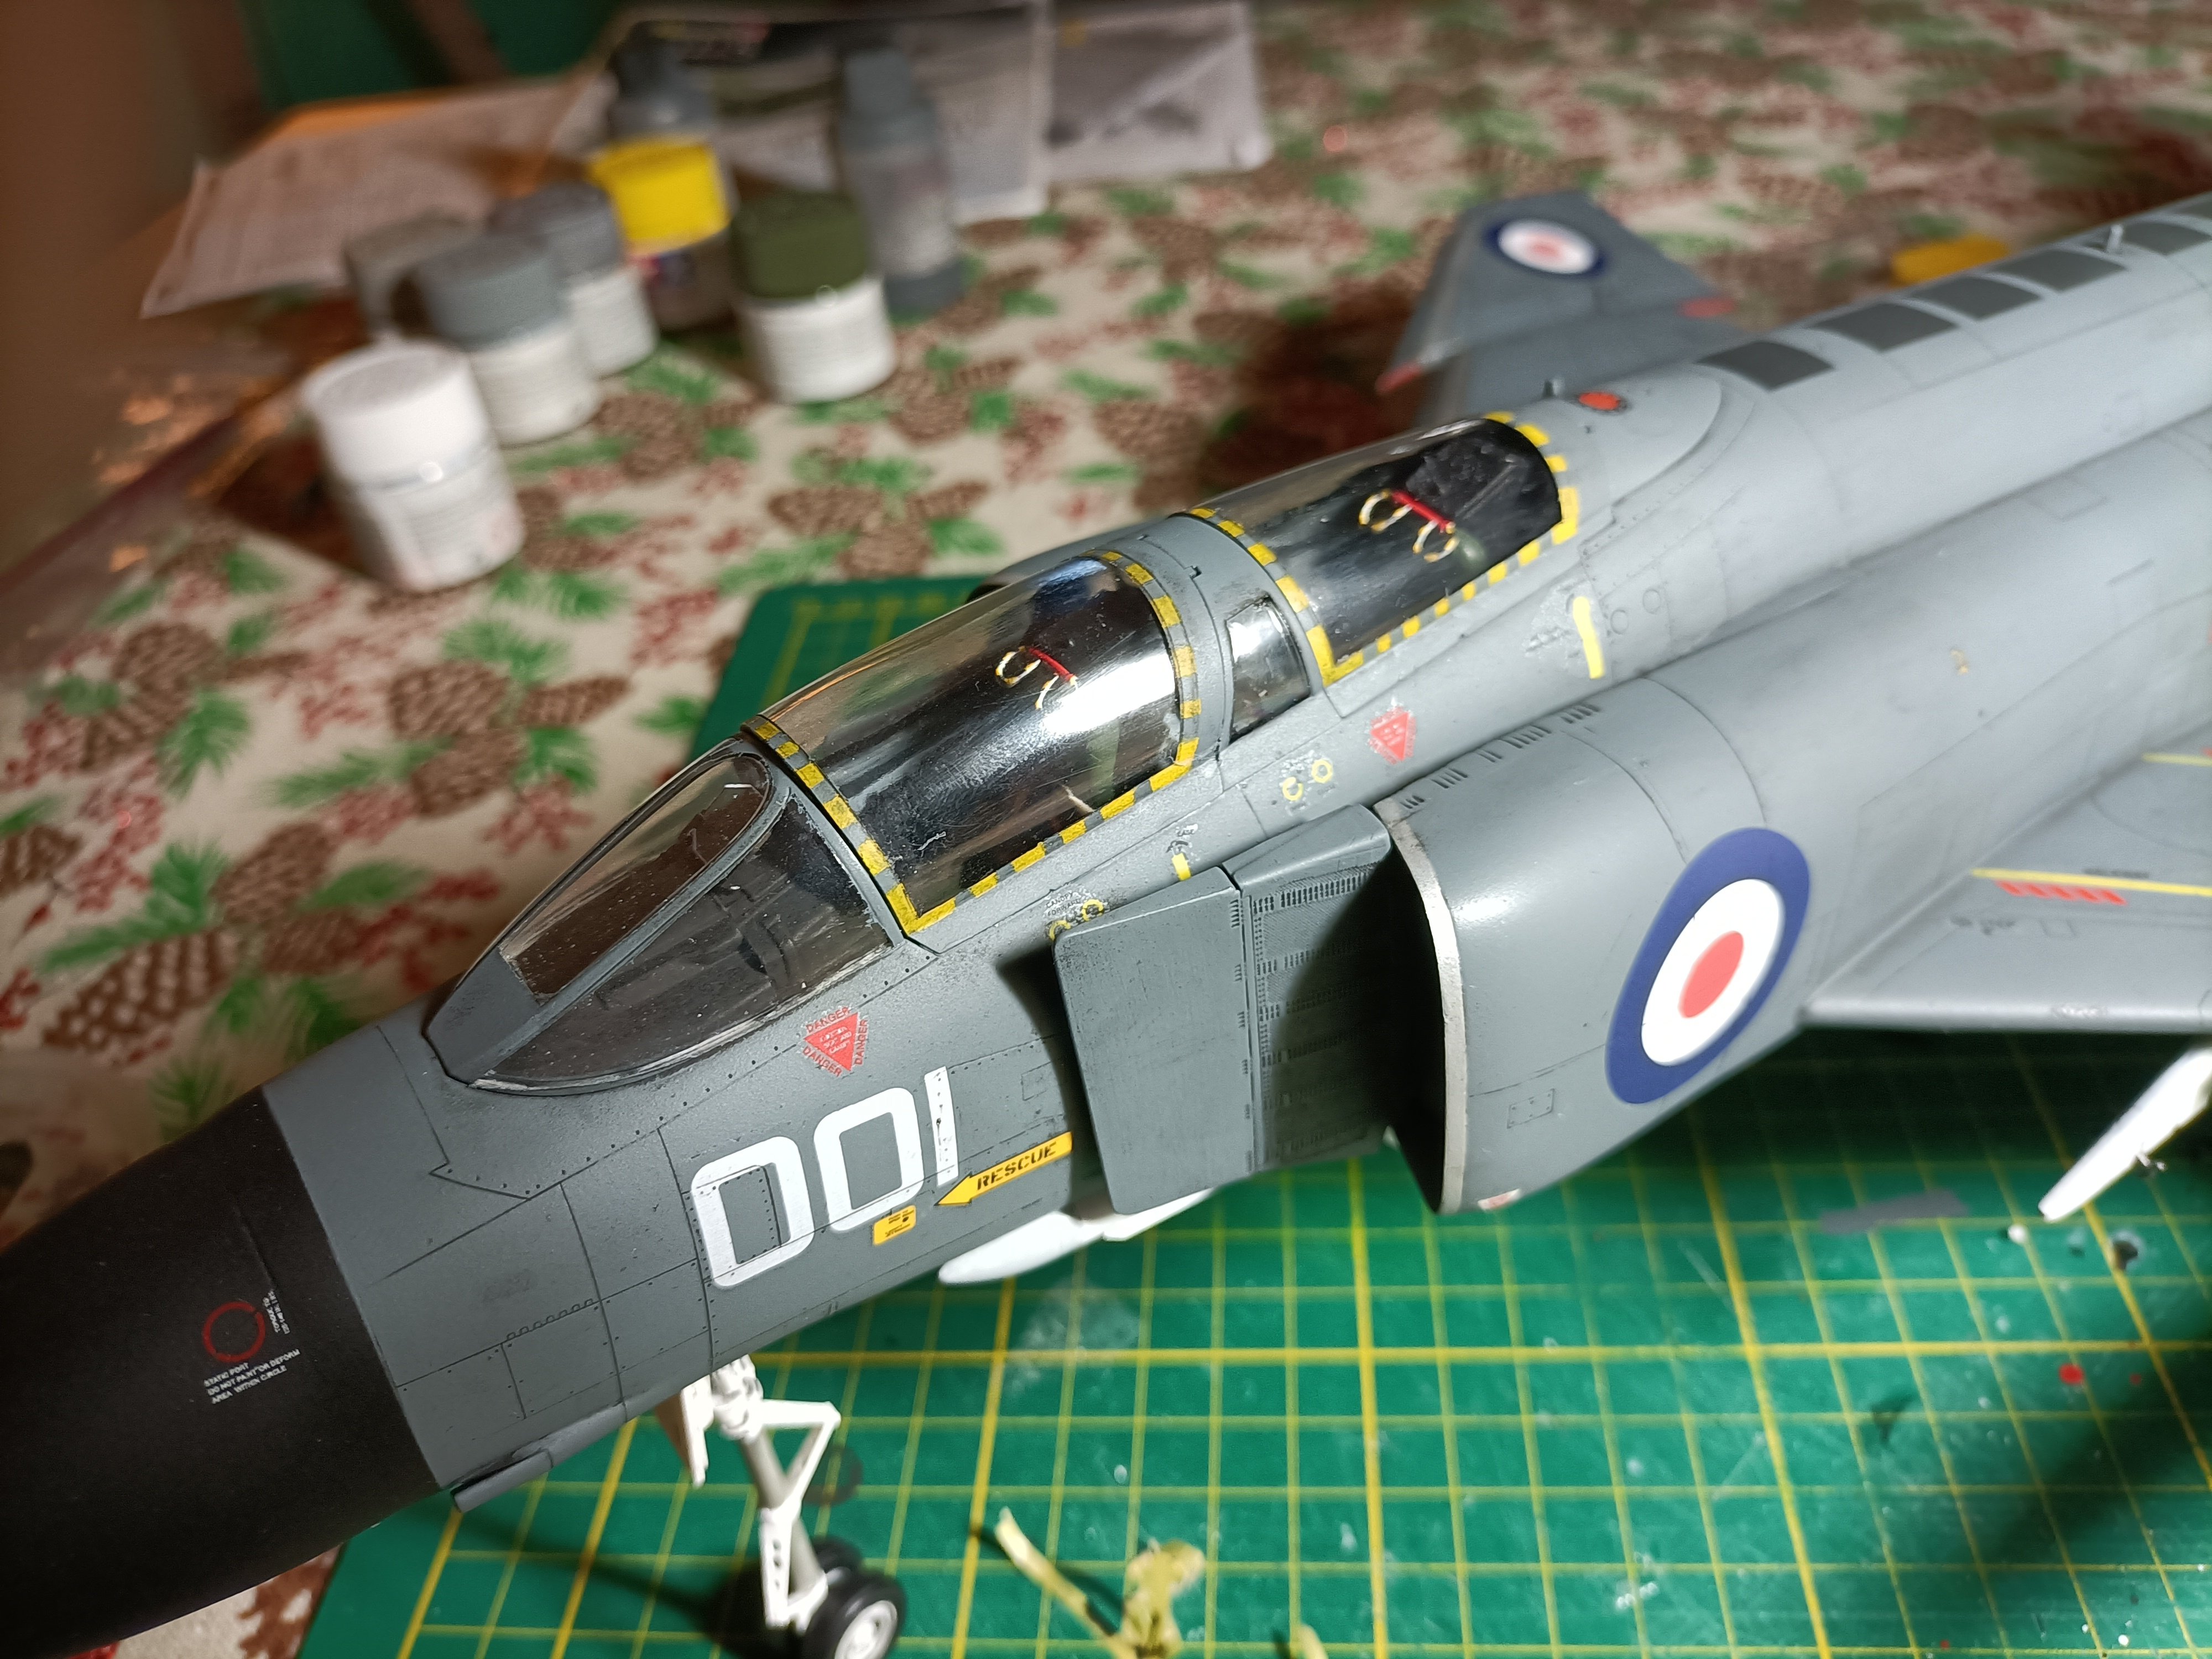
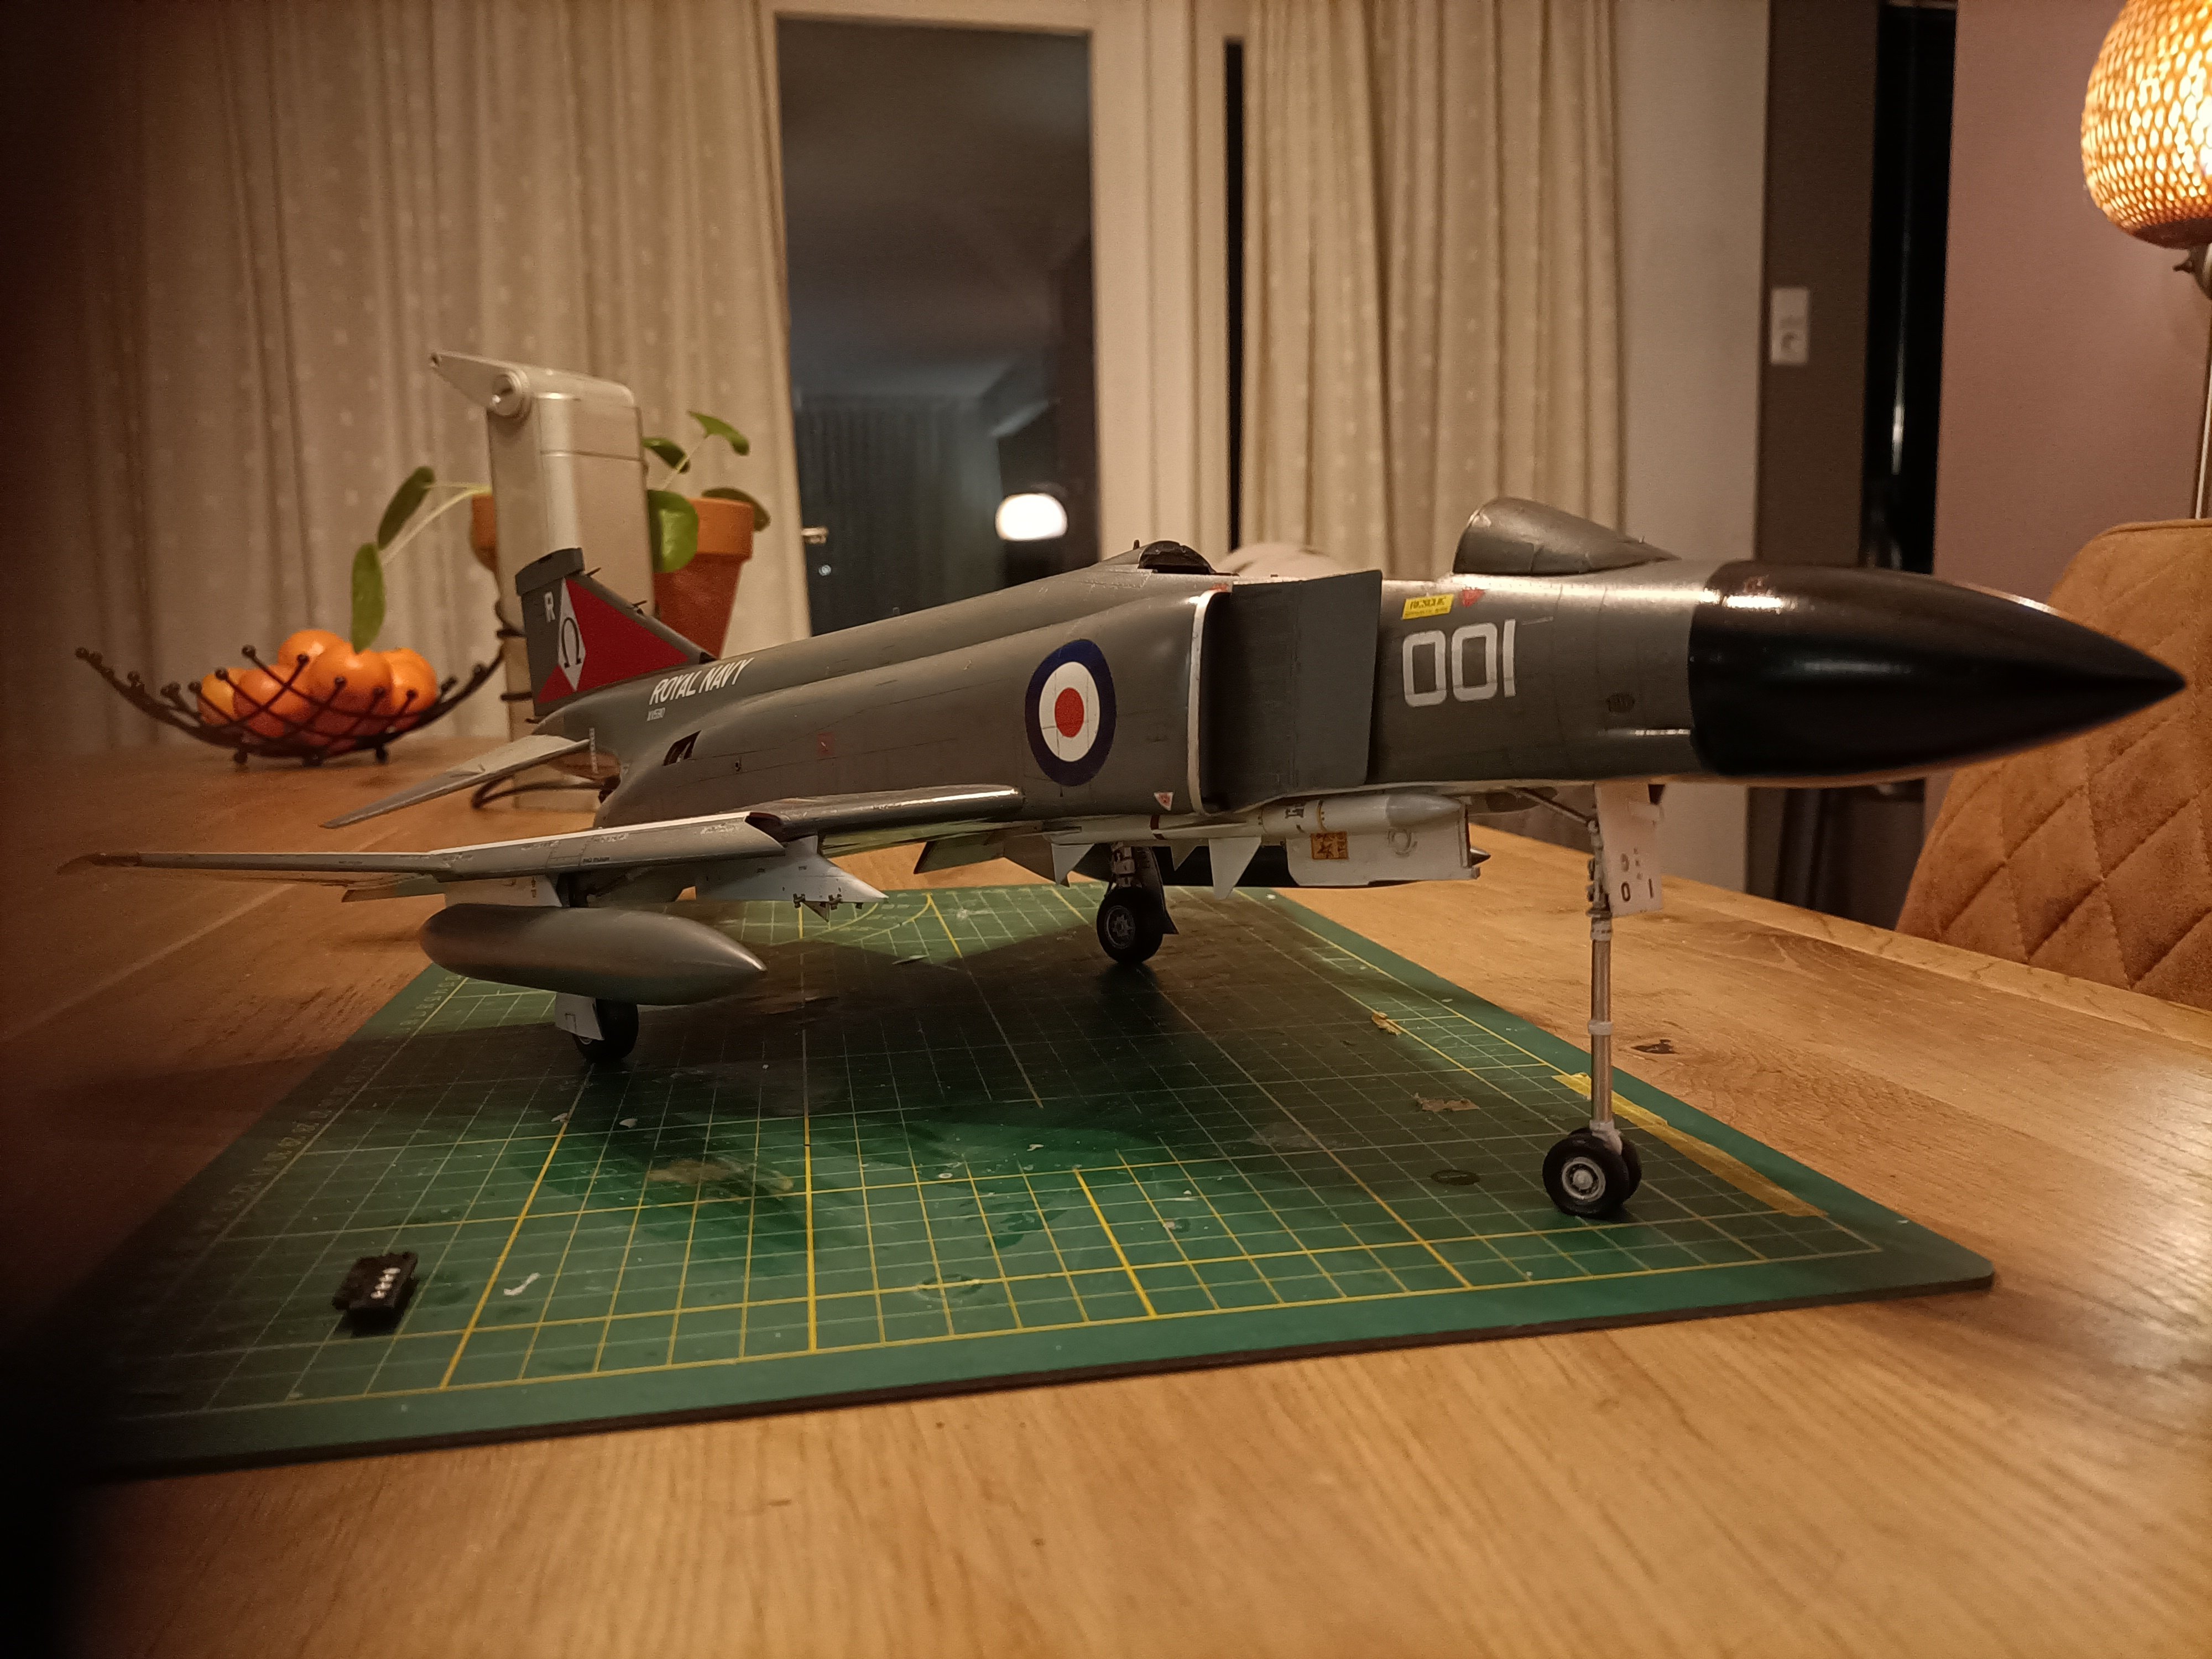
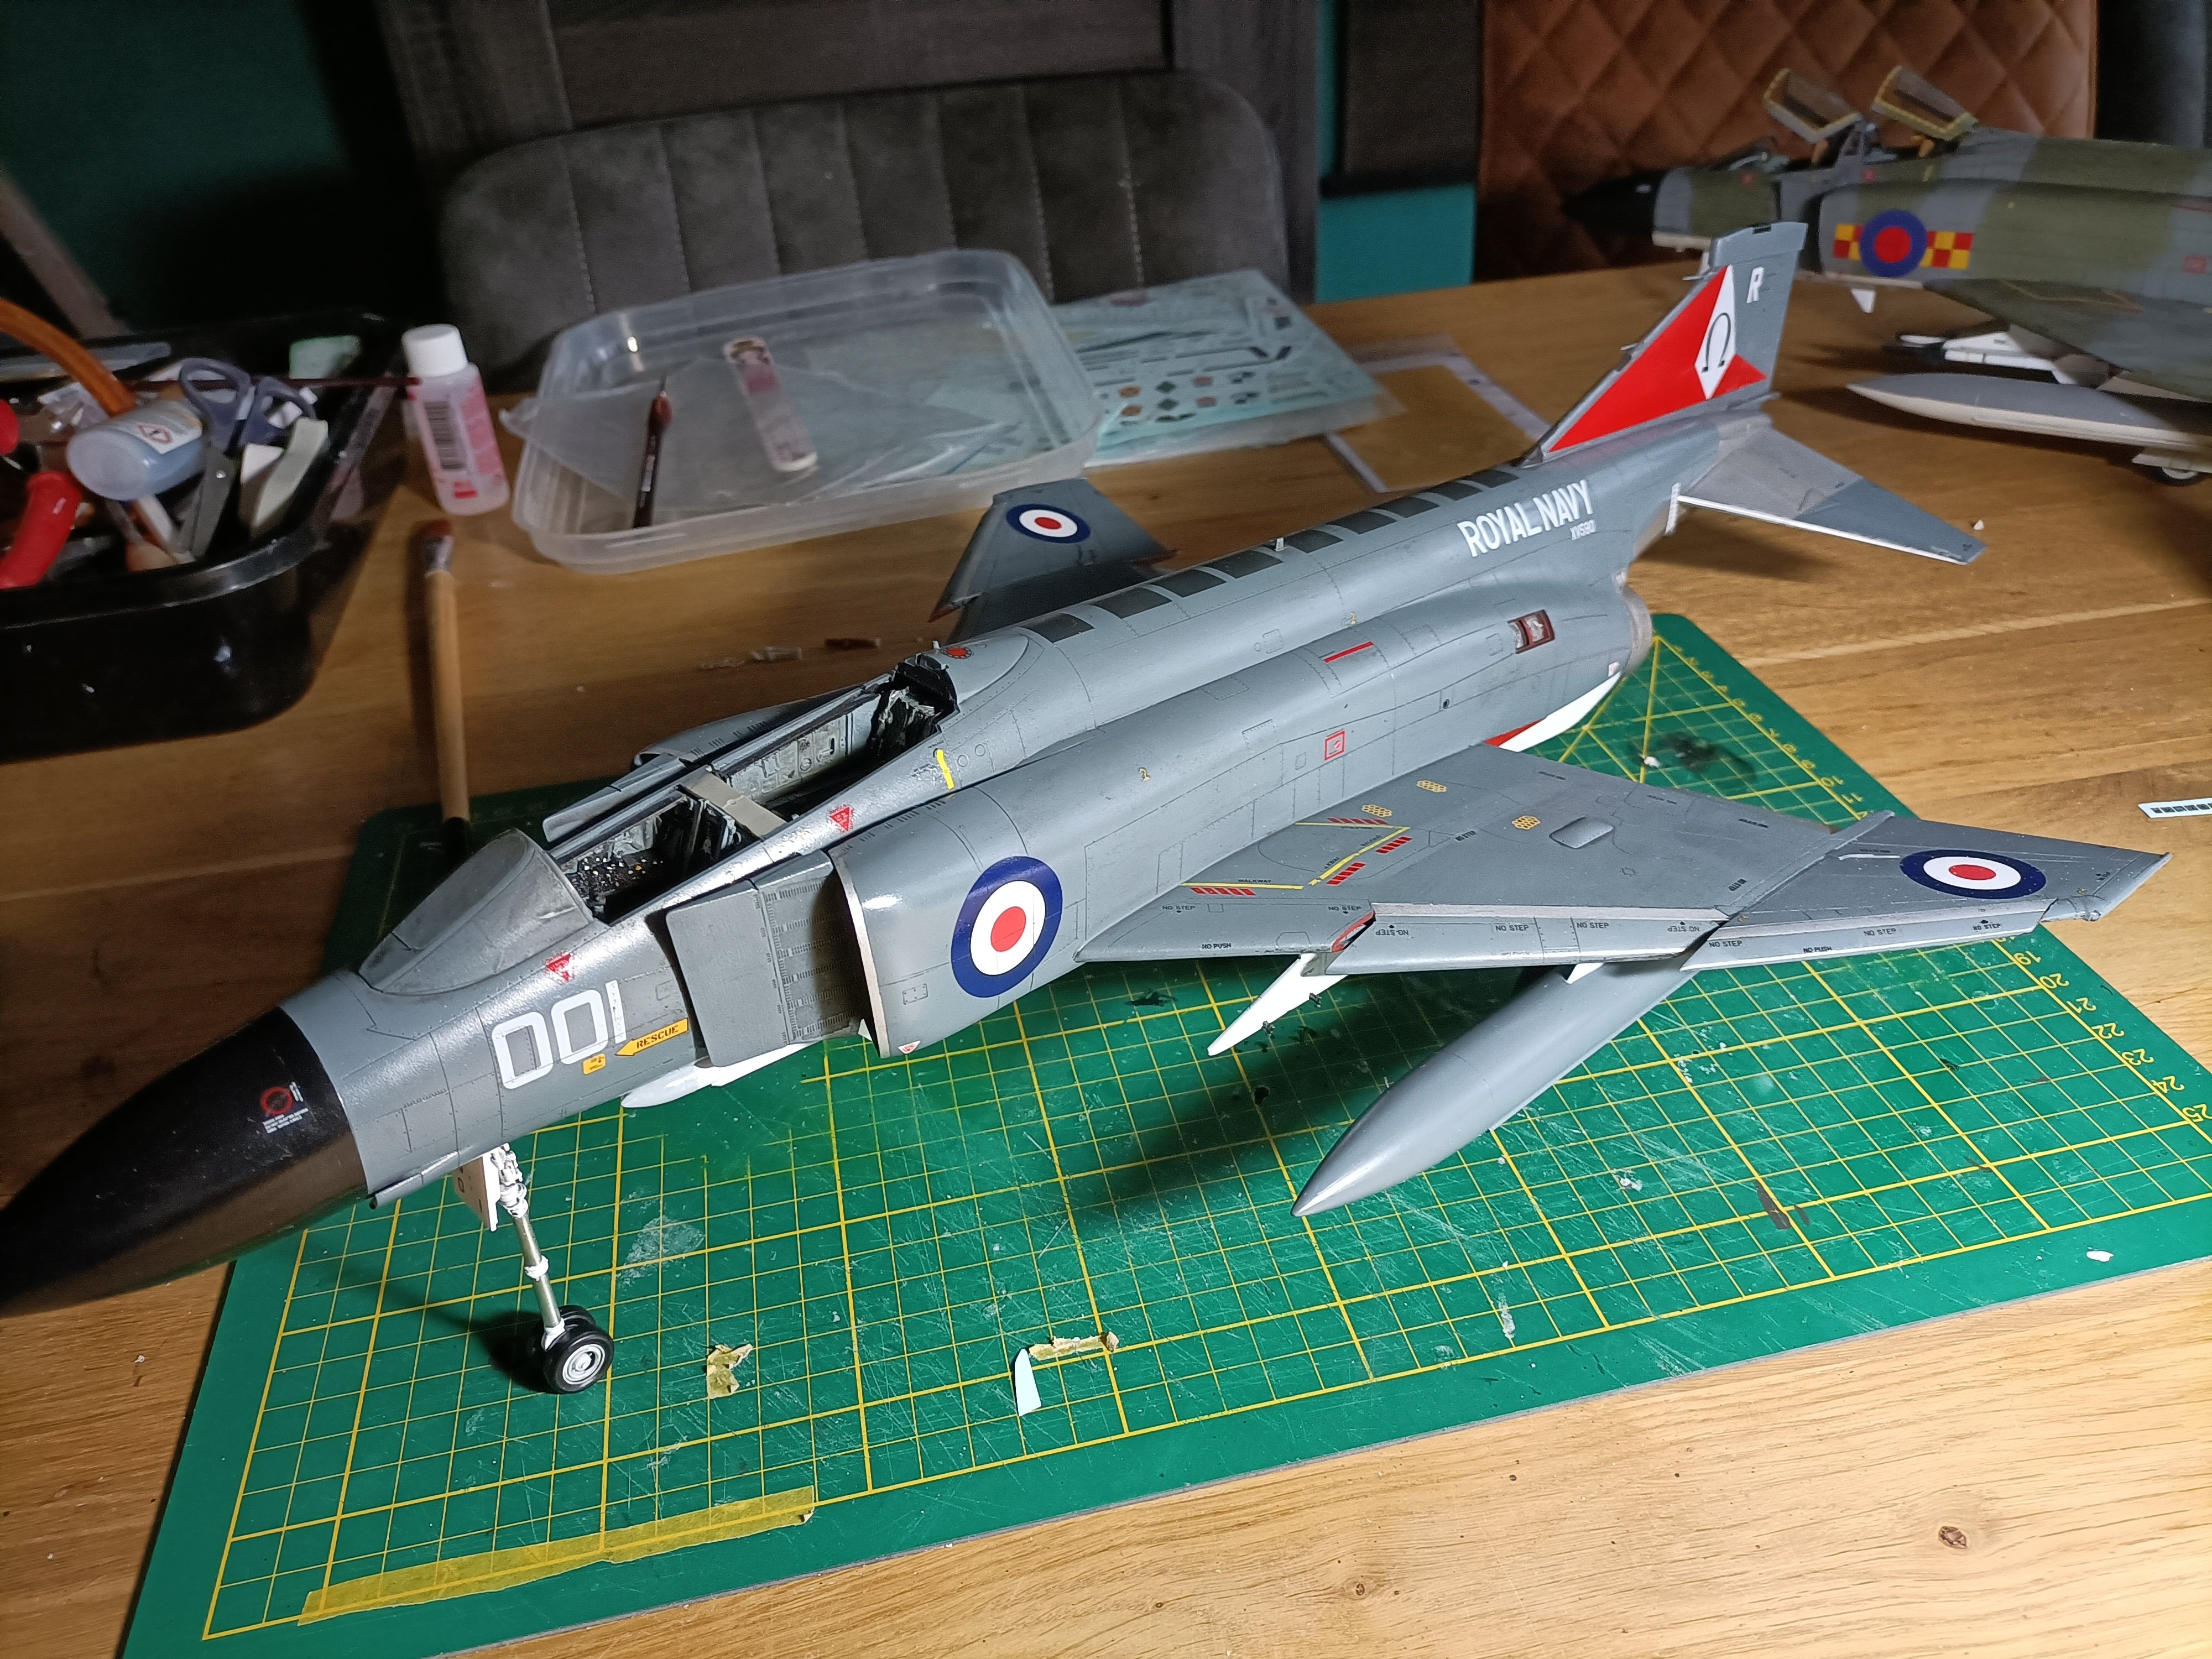
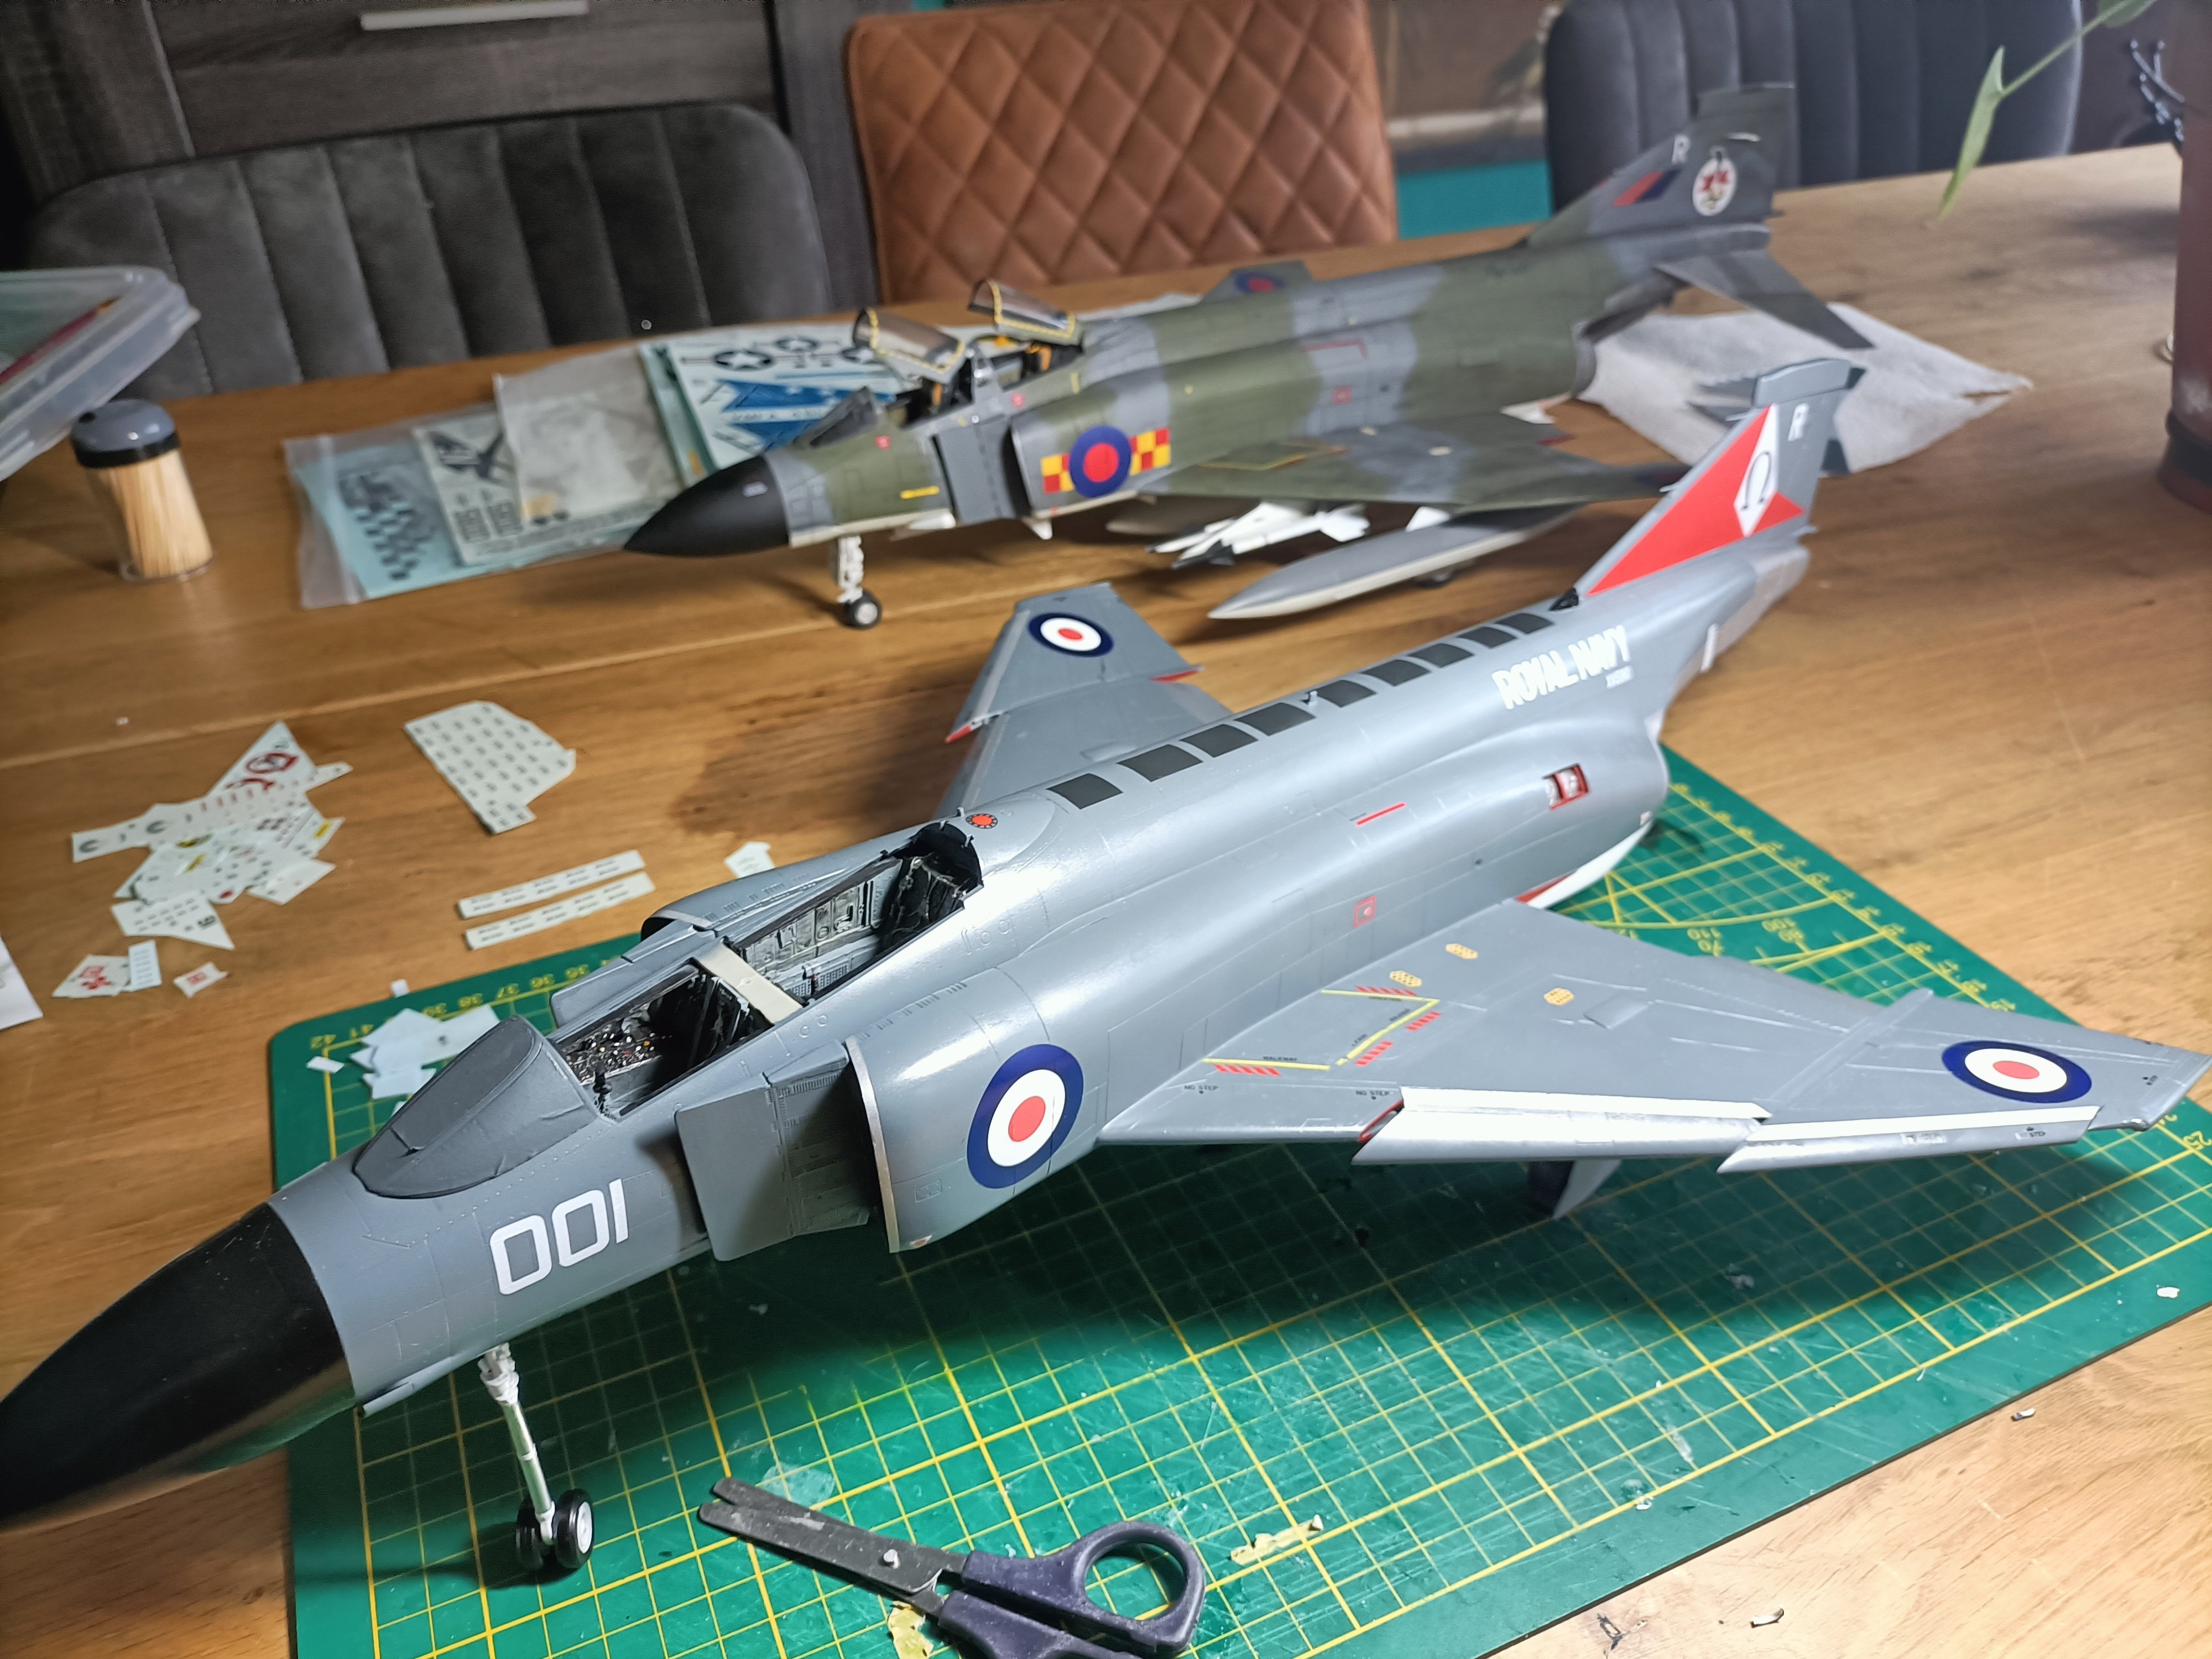
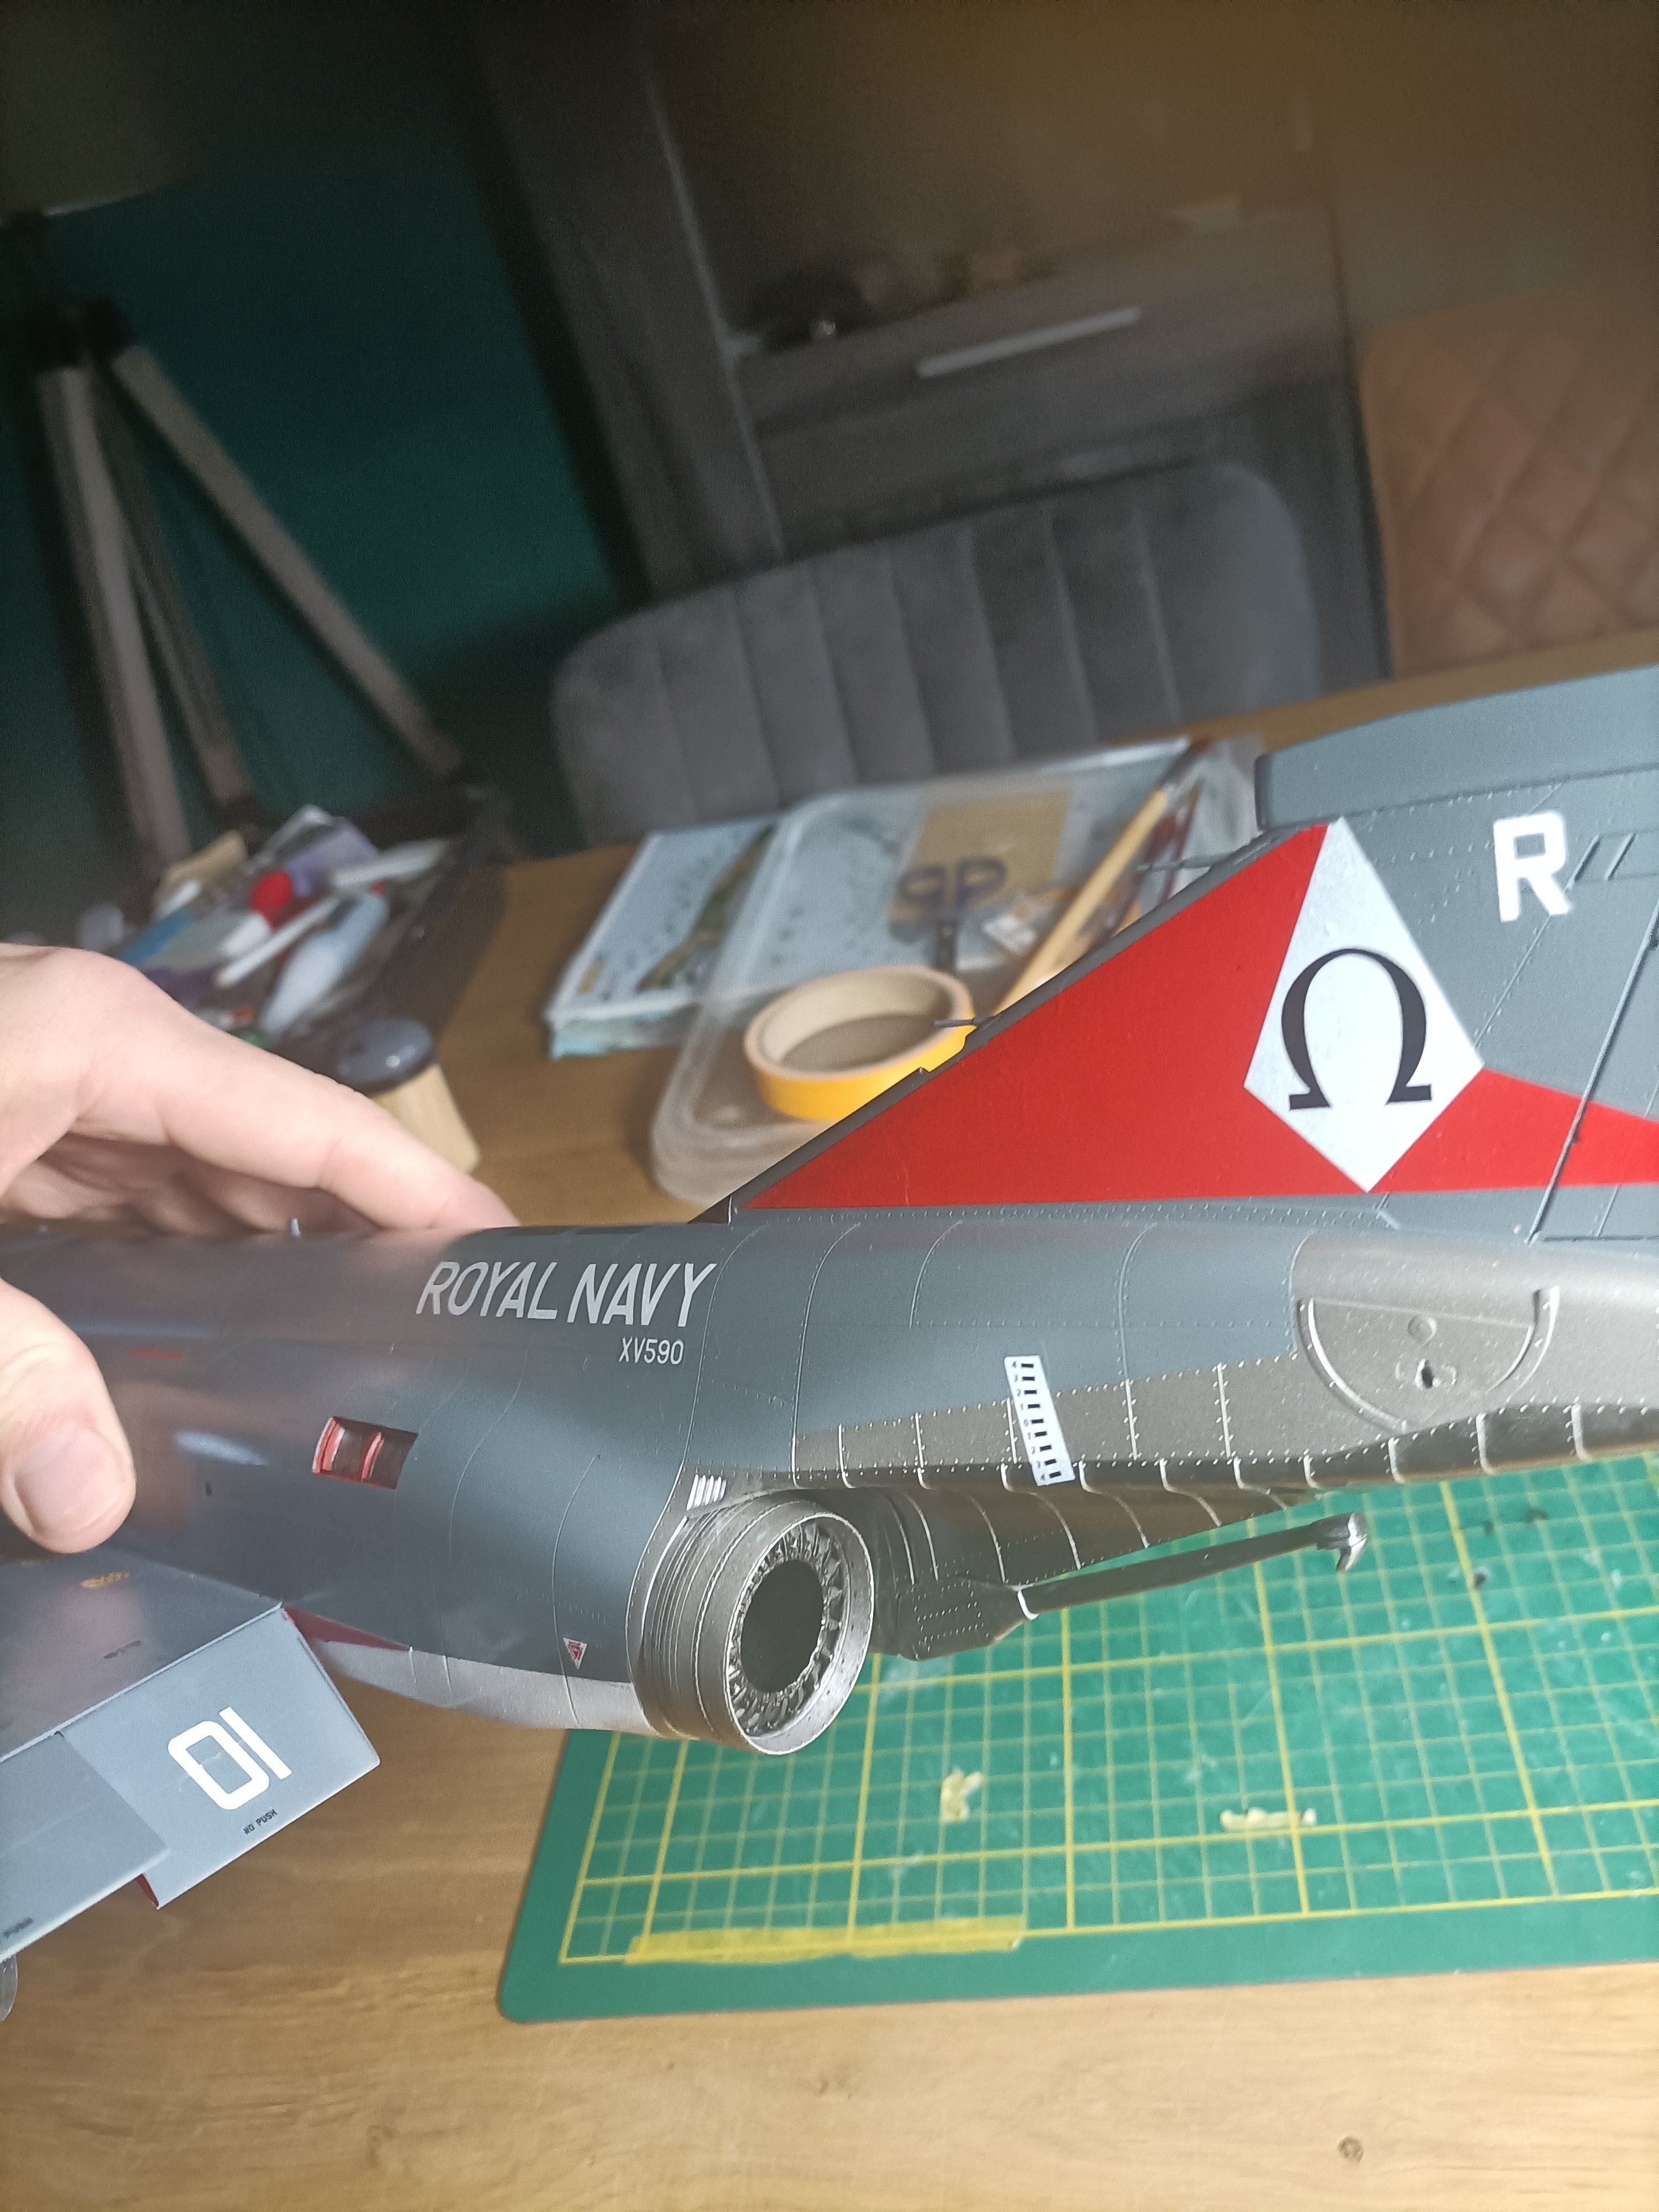
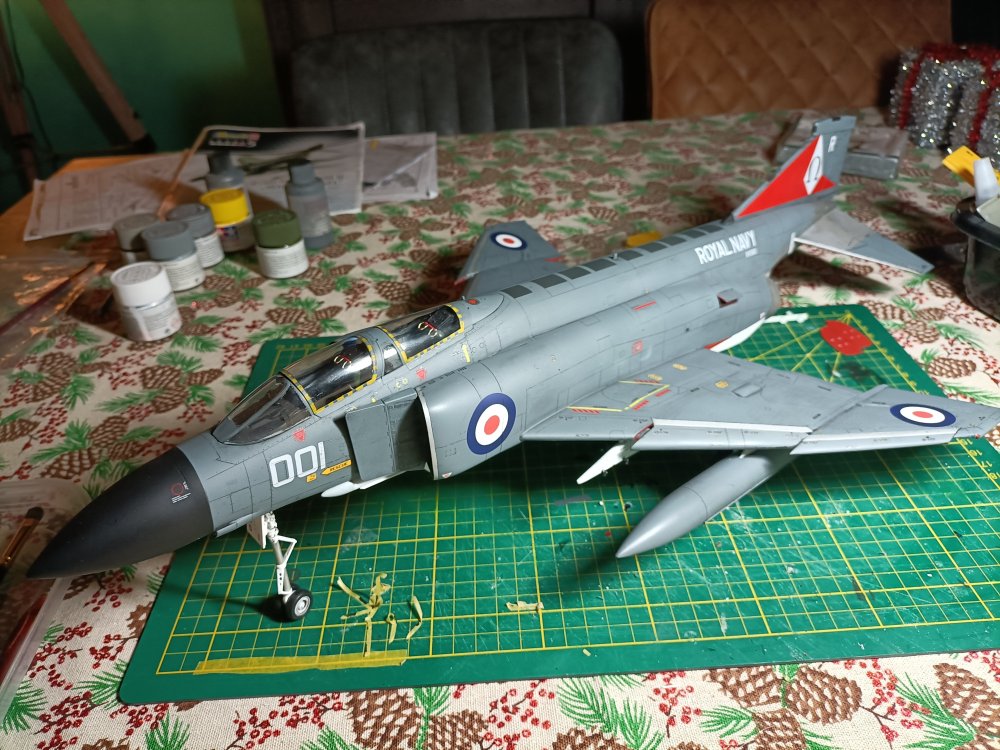
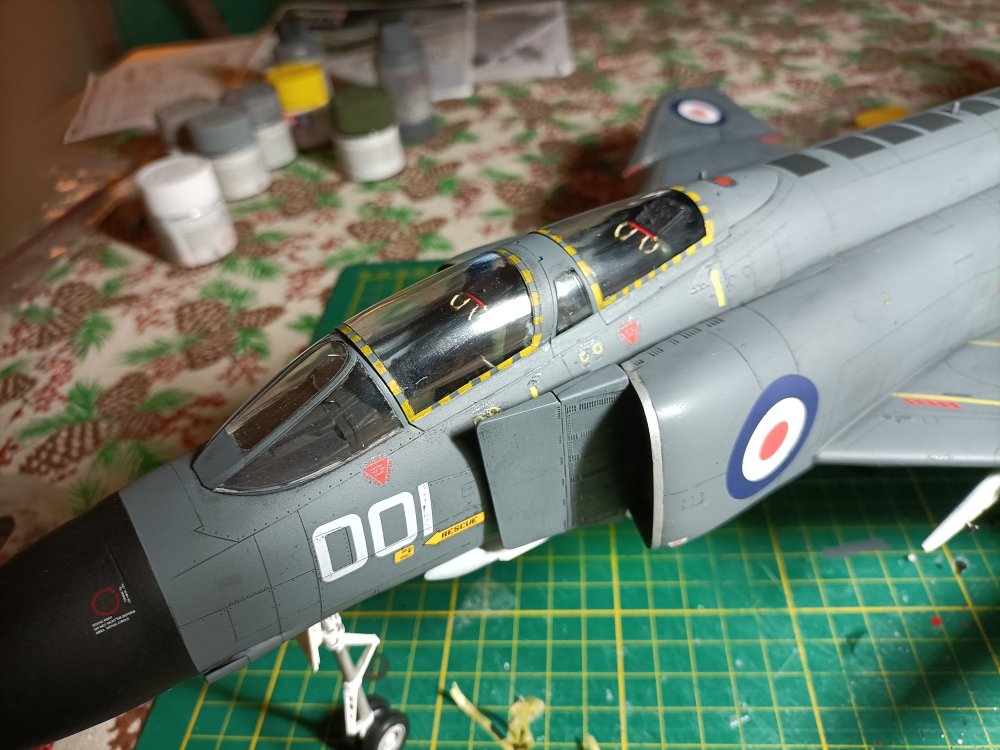
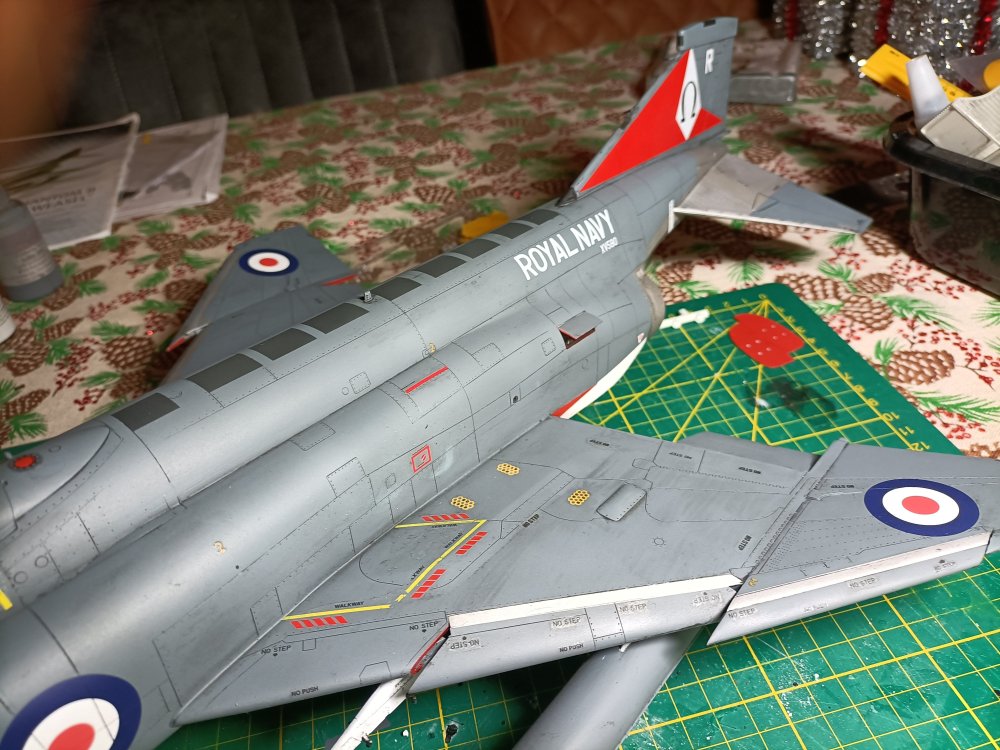
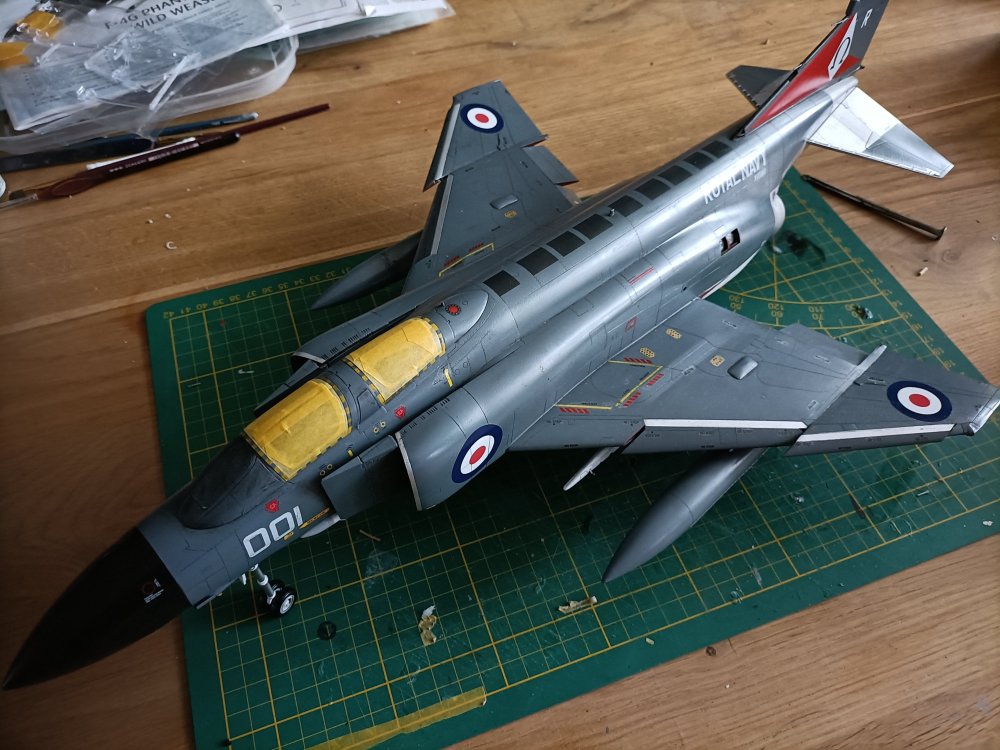
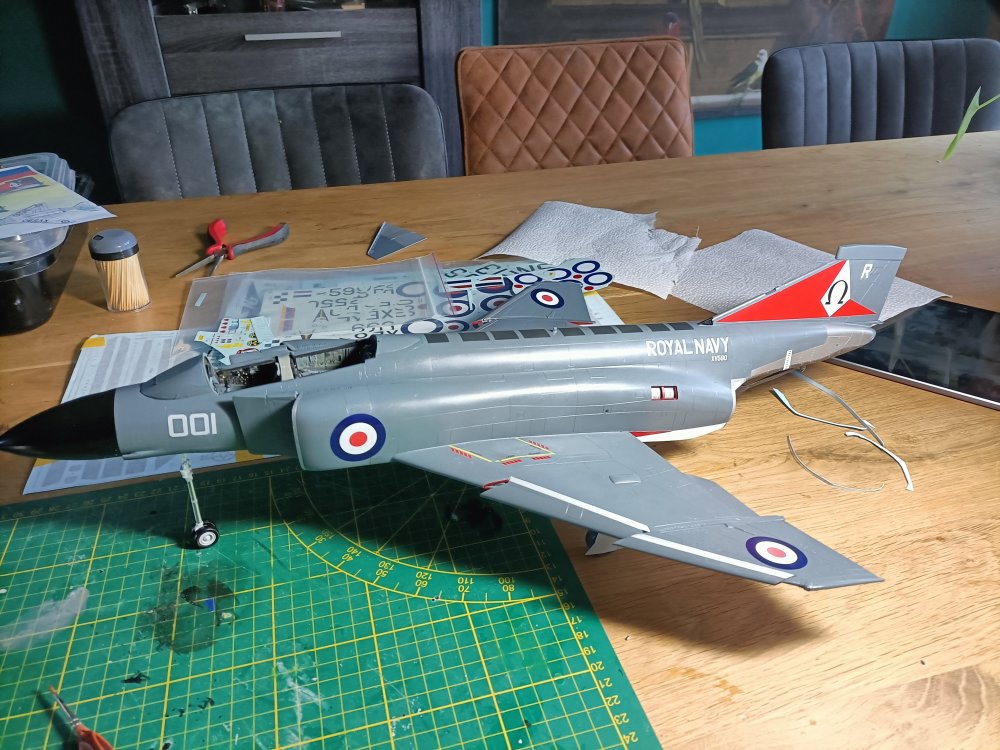
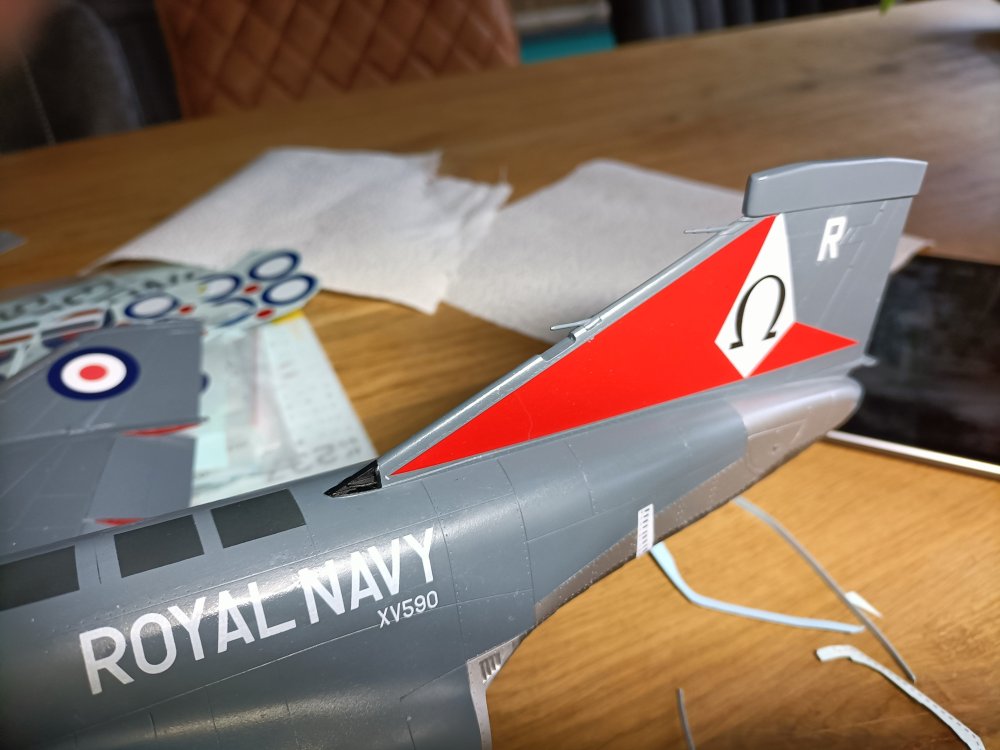
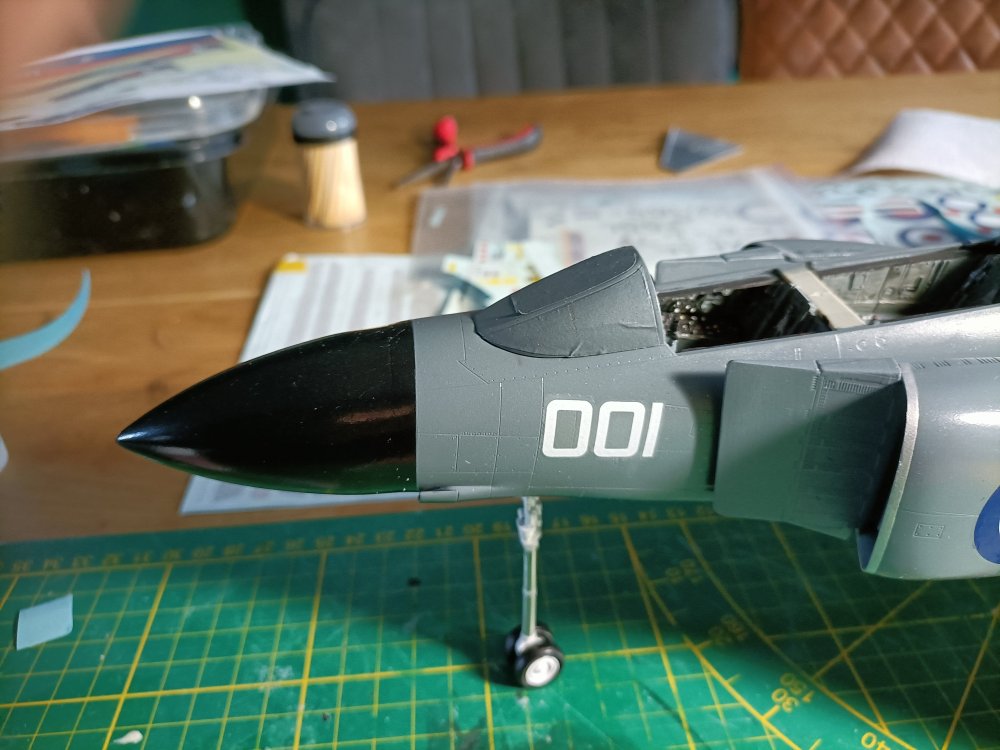
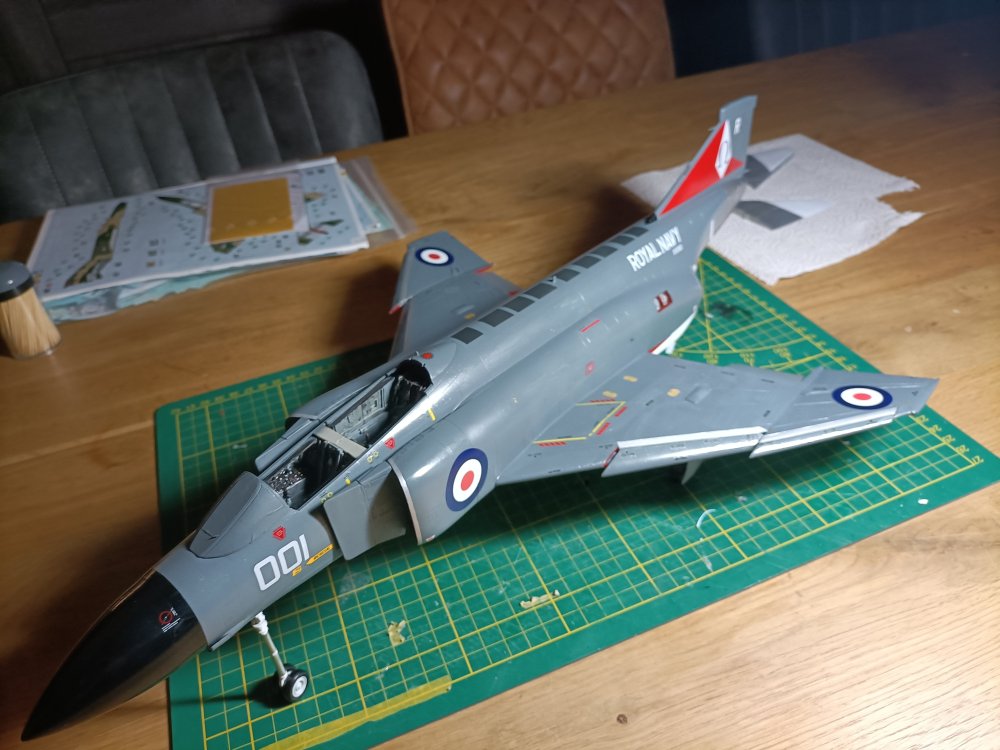
A little disaster struck in the final lap. Upon removing the canopy masks, a lot of residu was present. Most of it could be removed but some sticks irremovably. Only one formationlight on the fin still to do and both FOD-guards. But I am fed up with Phantoms at the moment. So, 99,9% finished.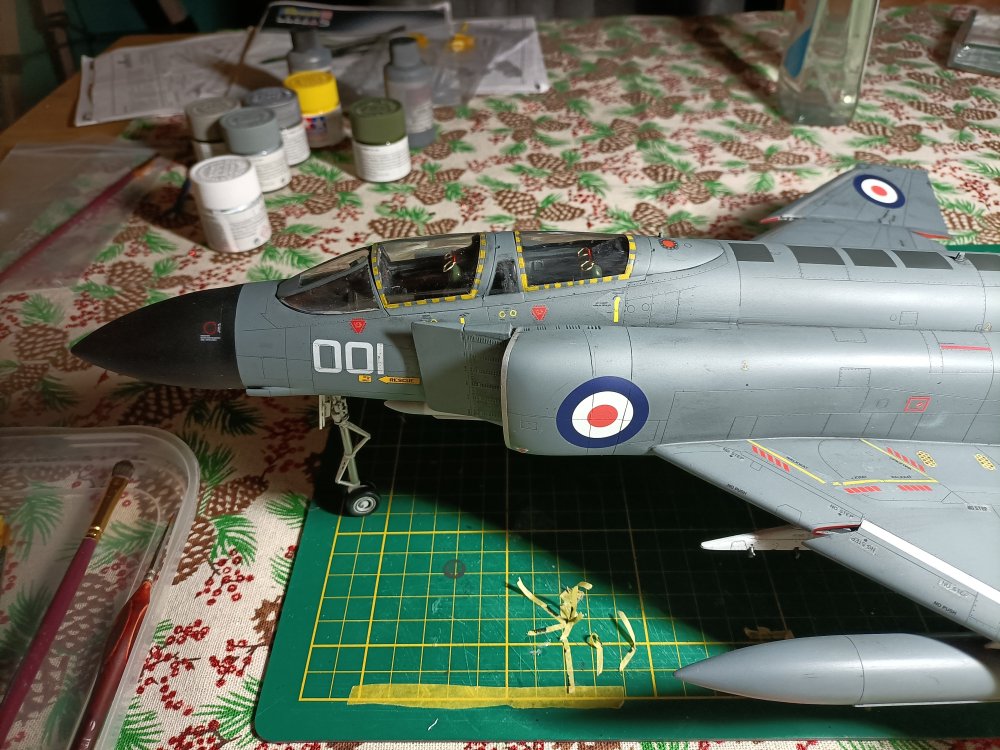
- 76 replies
-
- 4
-

-
- revell
- 1/32 phantom
- (and 1 more)
-
RN FG-1 Phantom 1/32 scratch conversion
Wingco57 replied to Wingco57's topic in LSM 1/35 and Larger Work In Progress
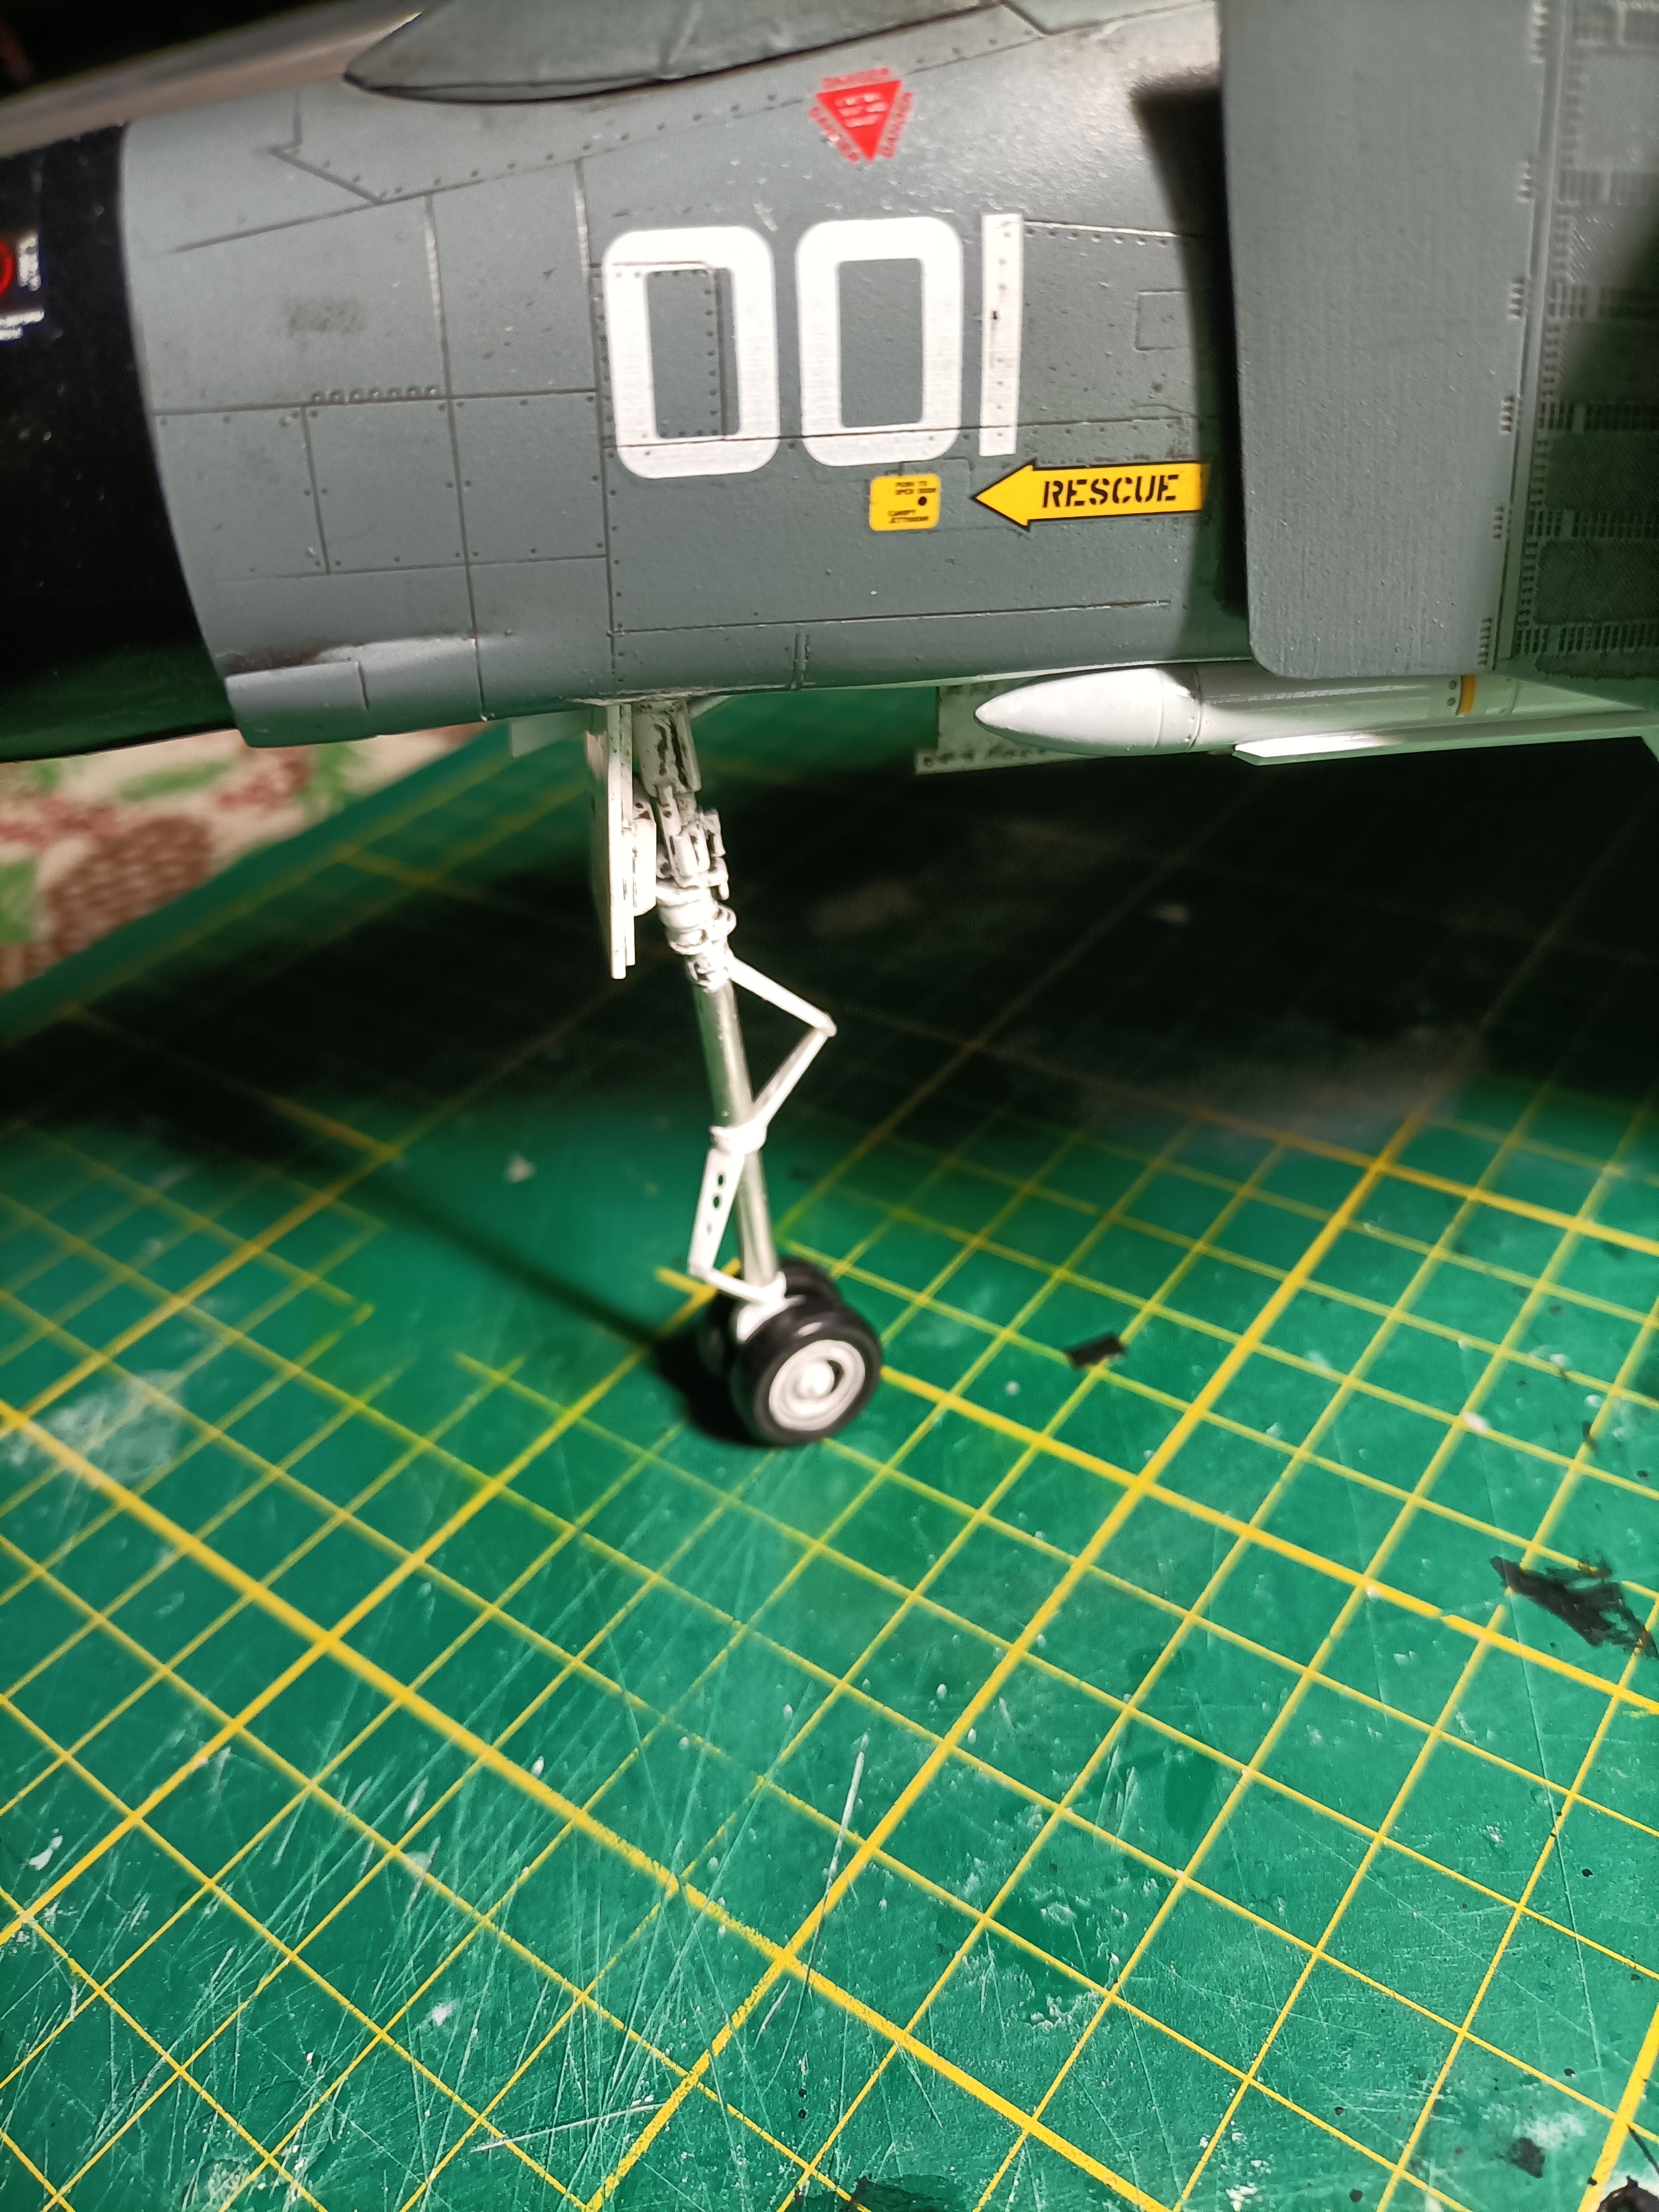
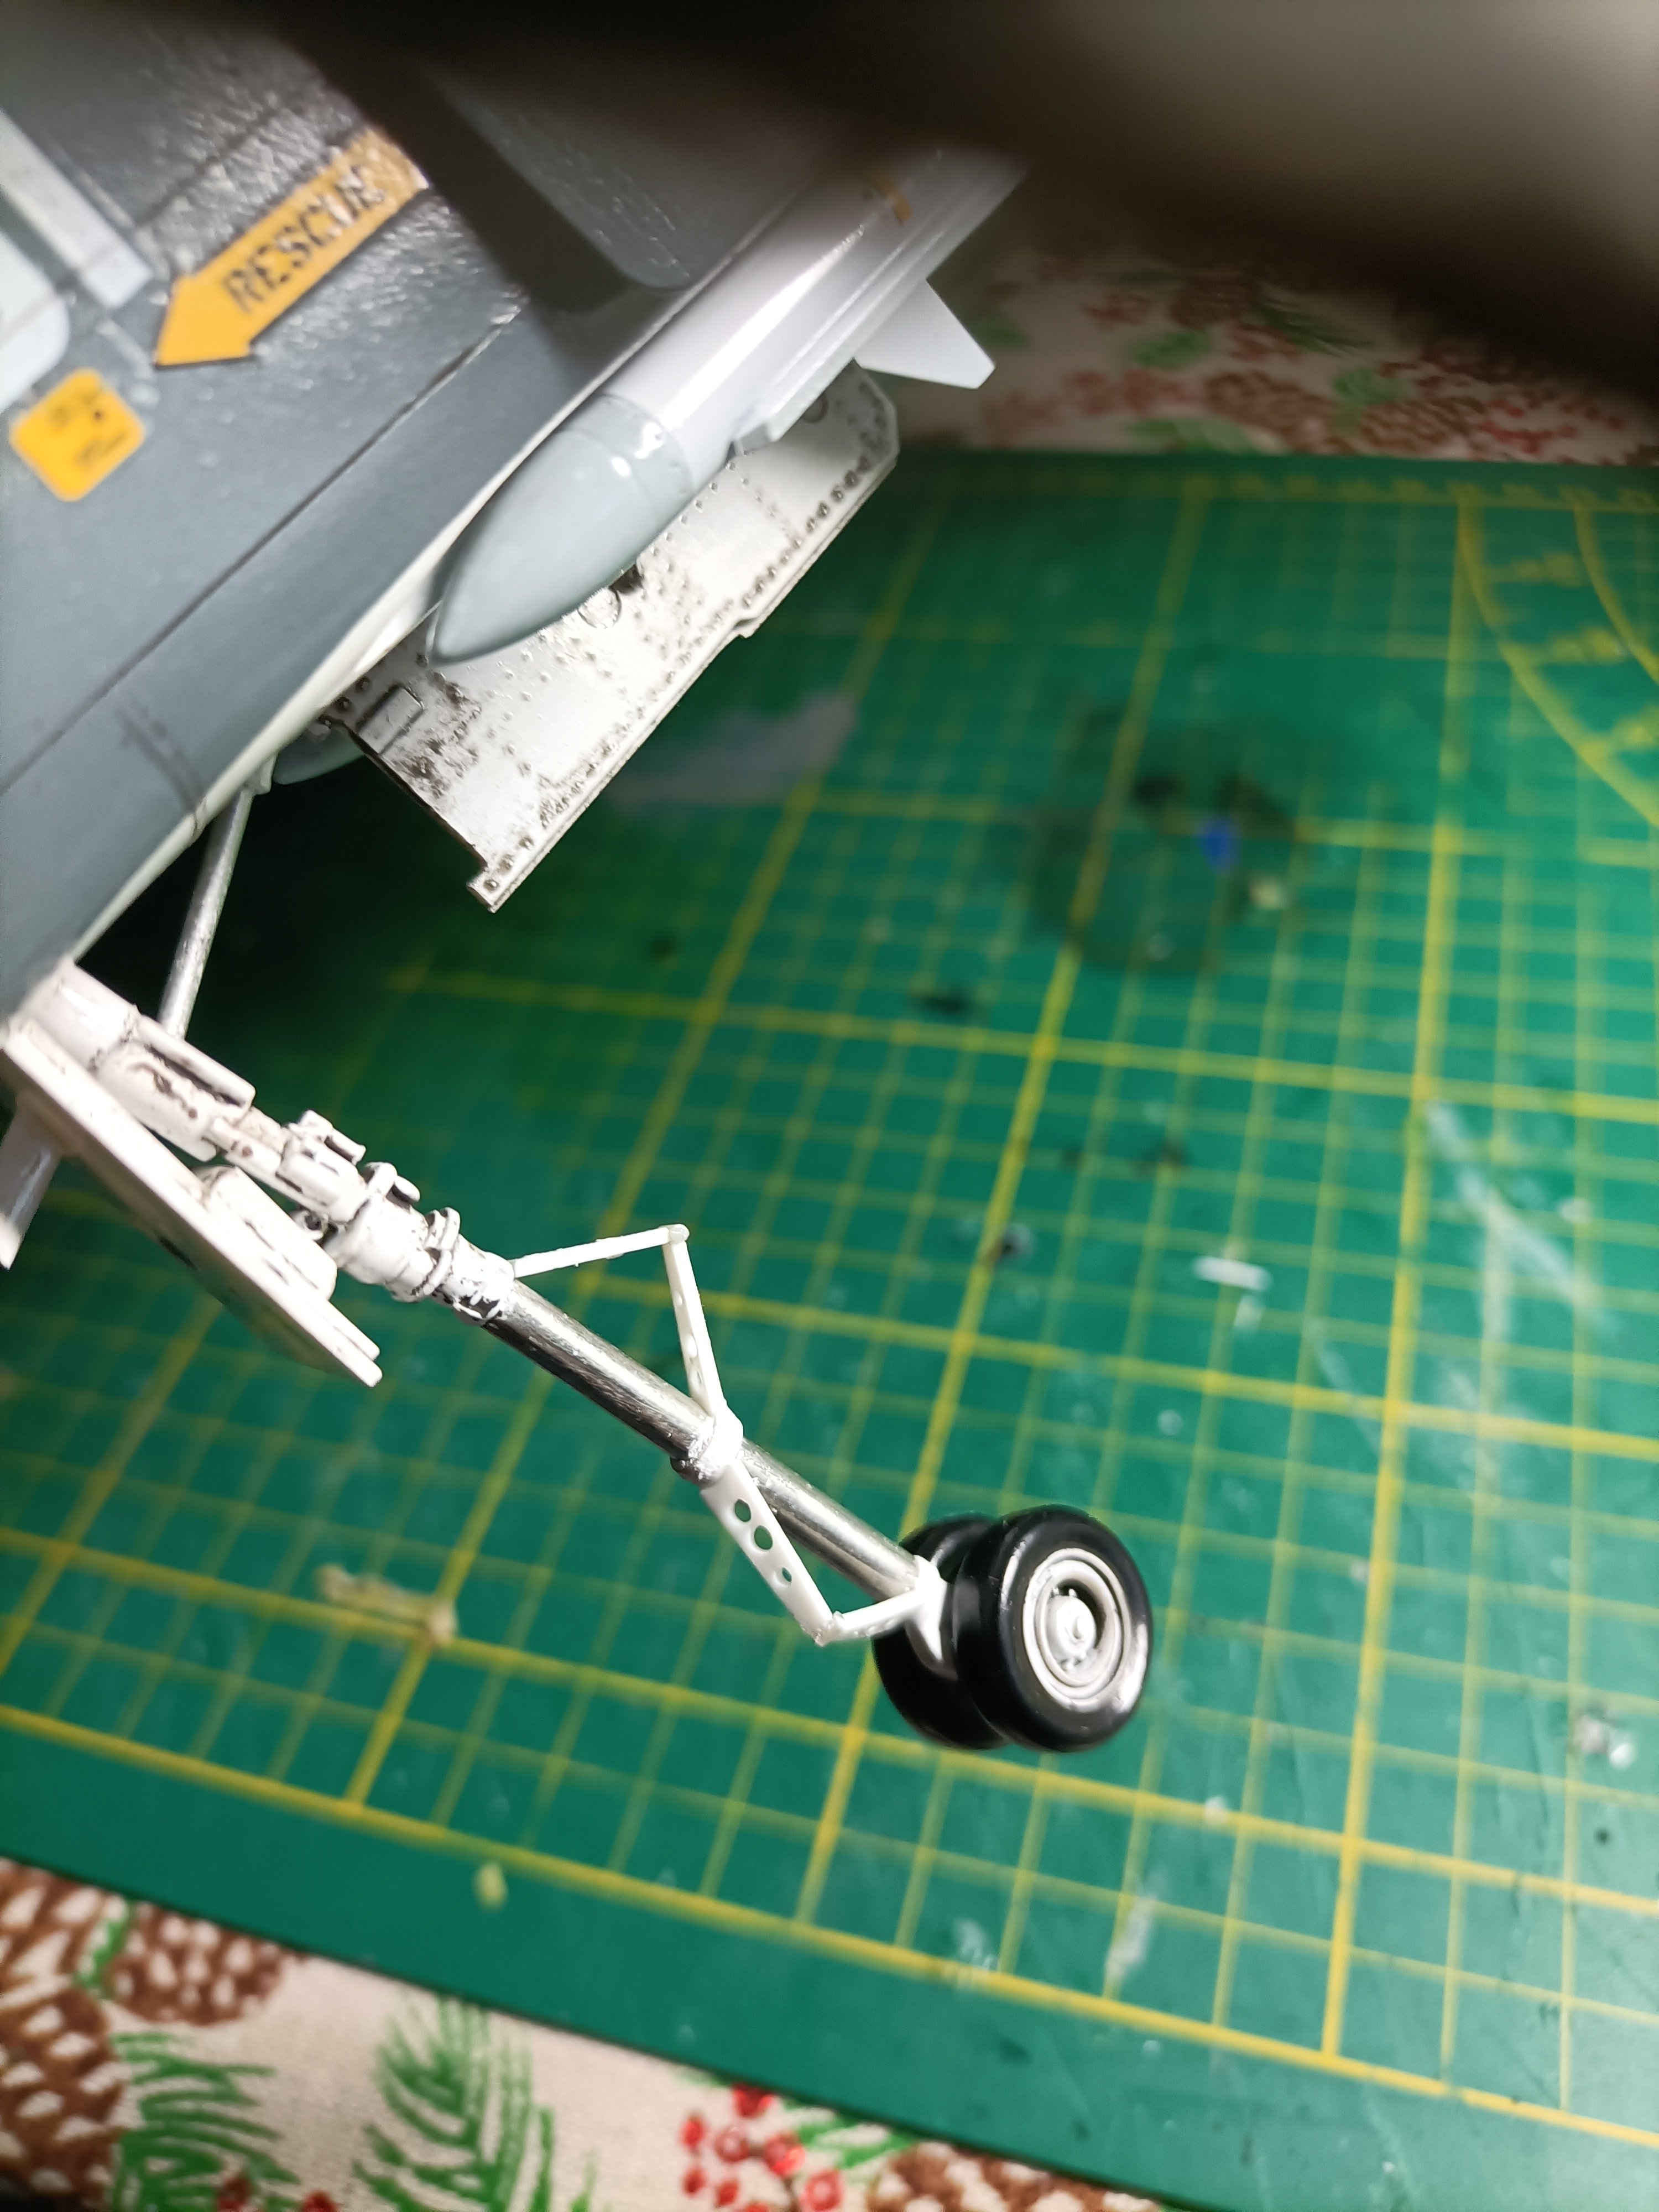
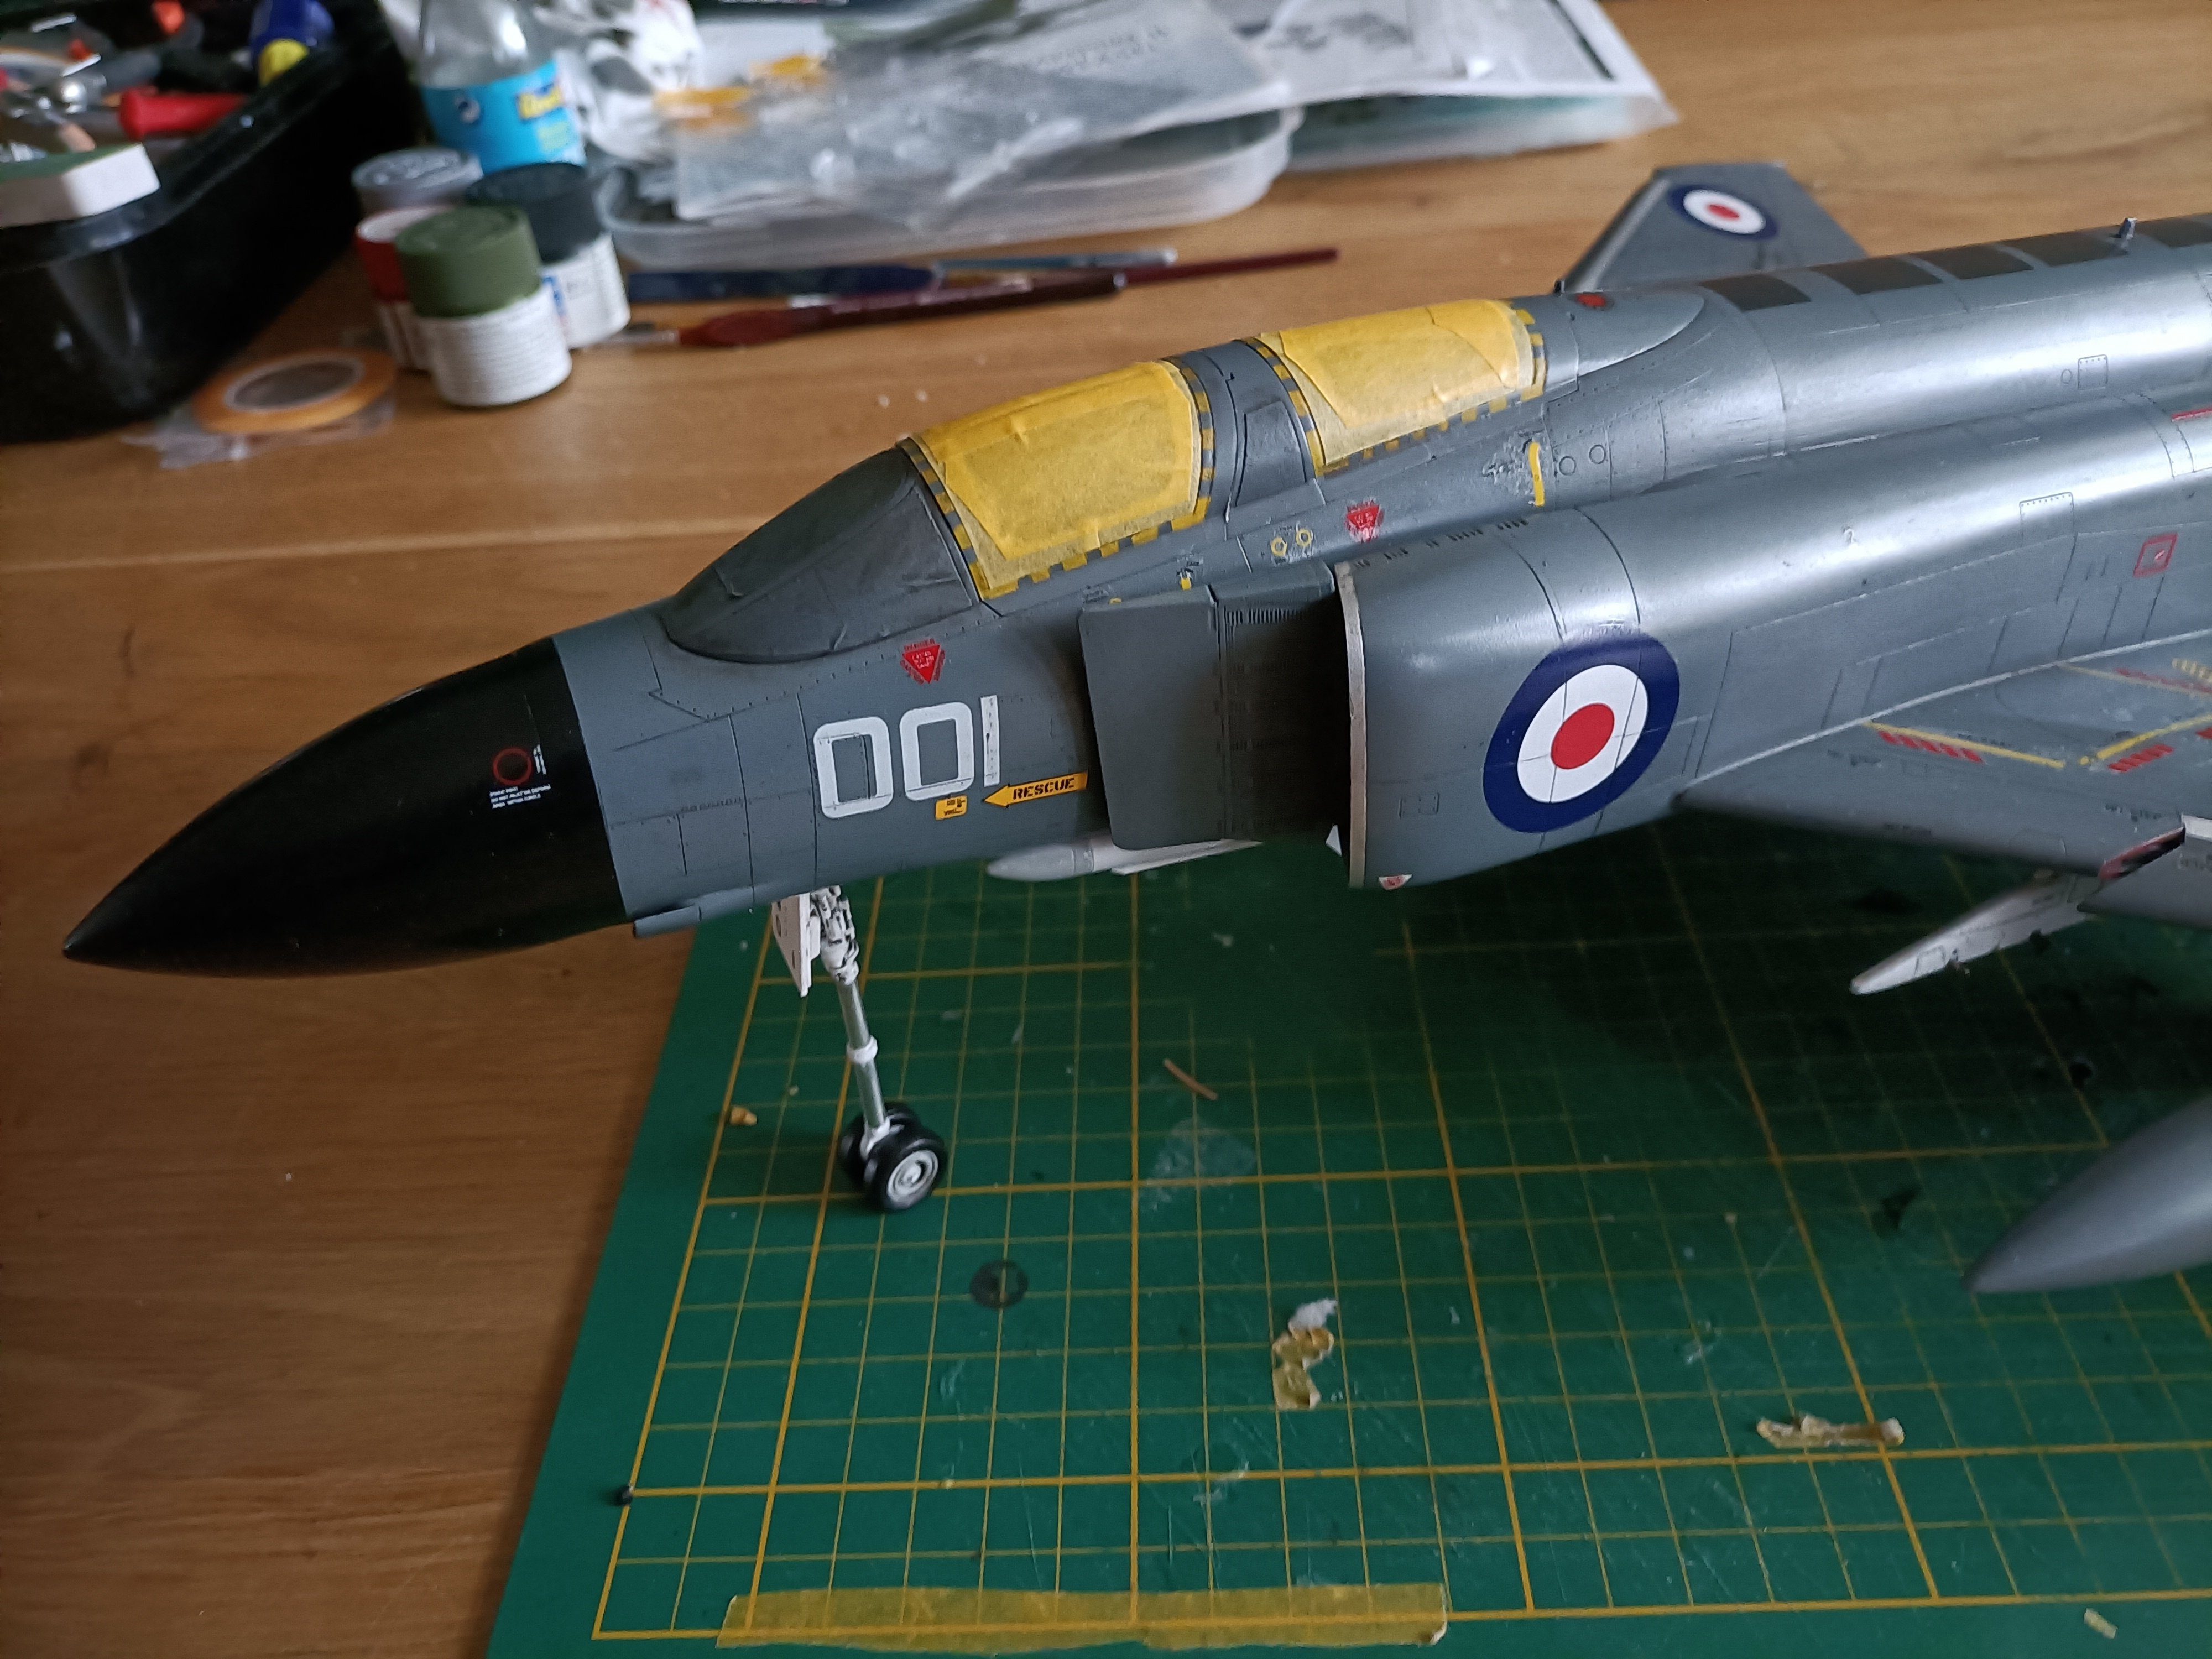
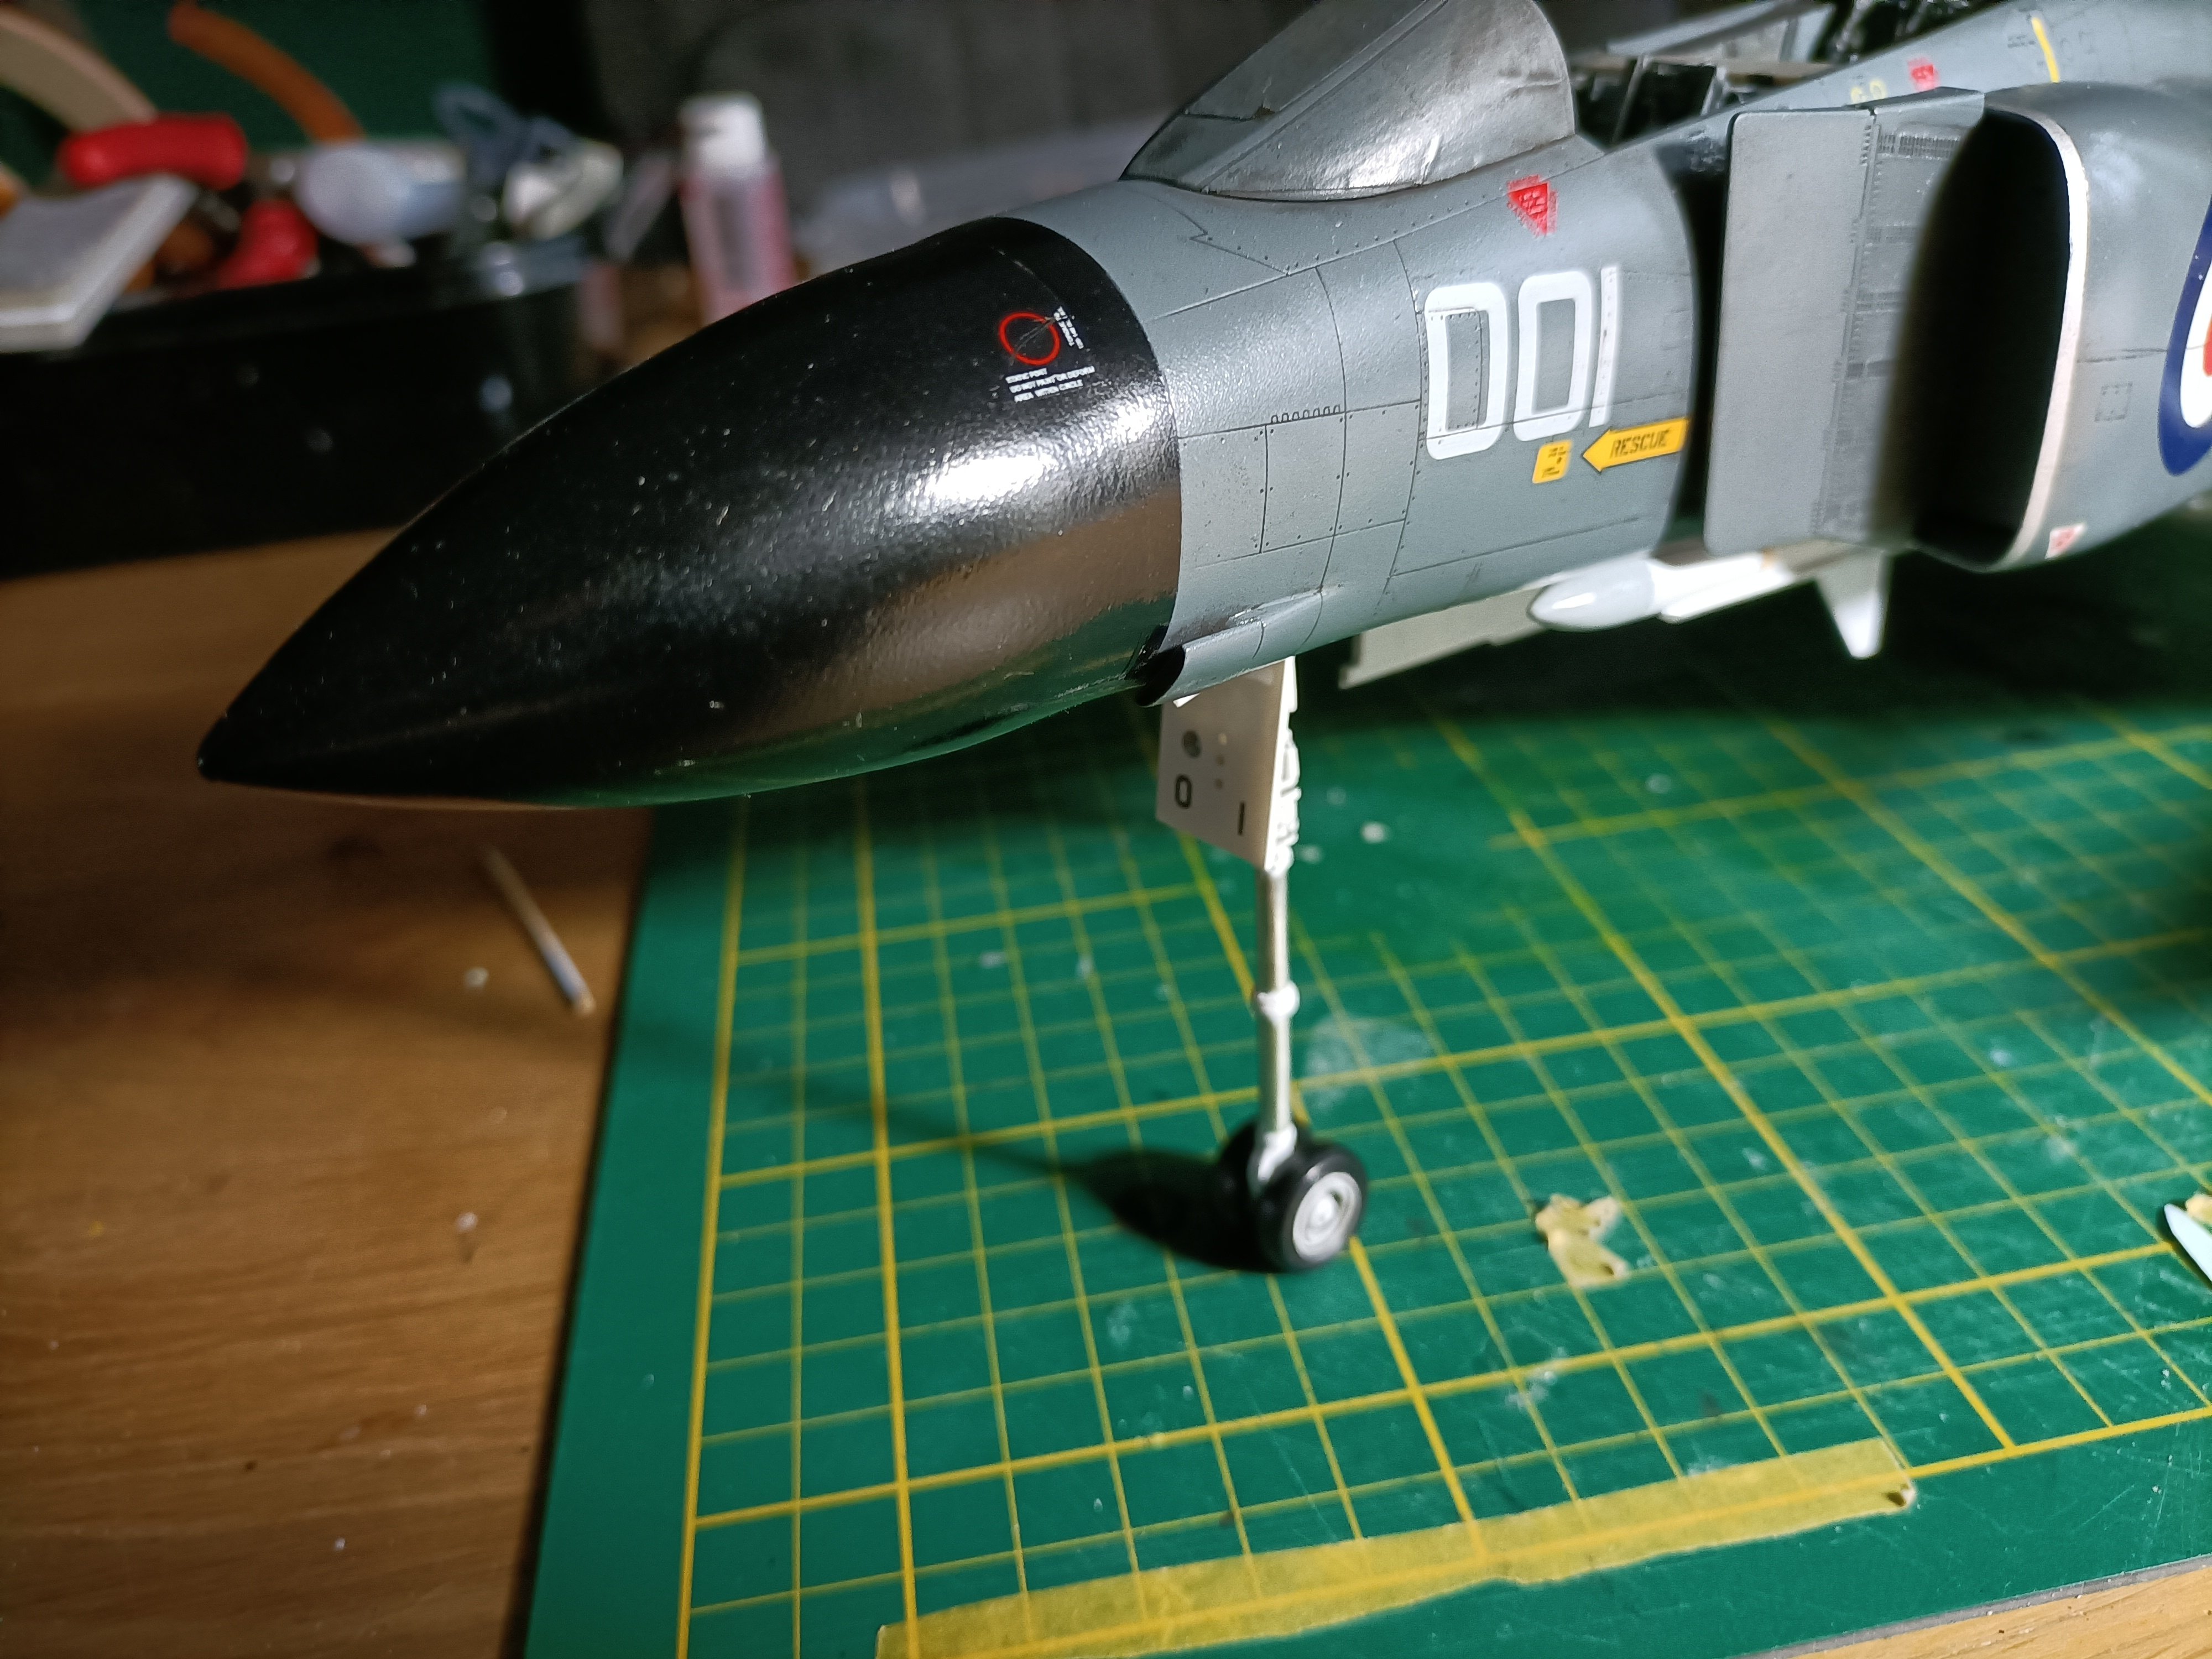
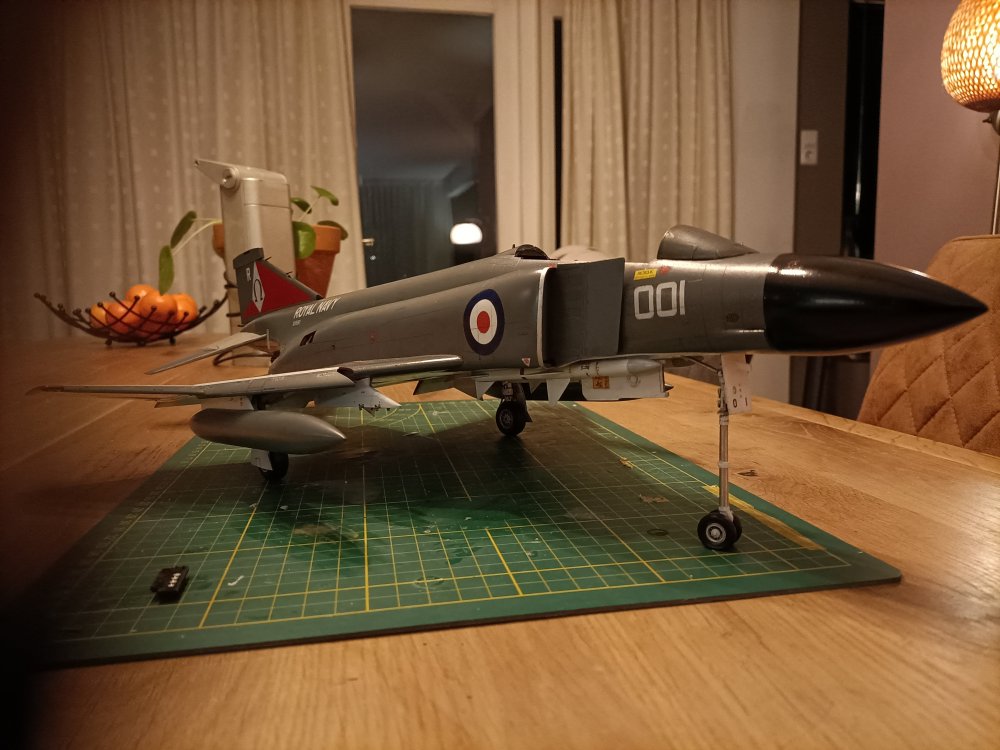
Scratched scissorlinks on the nosewheelleg.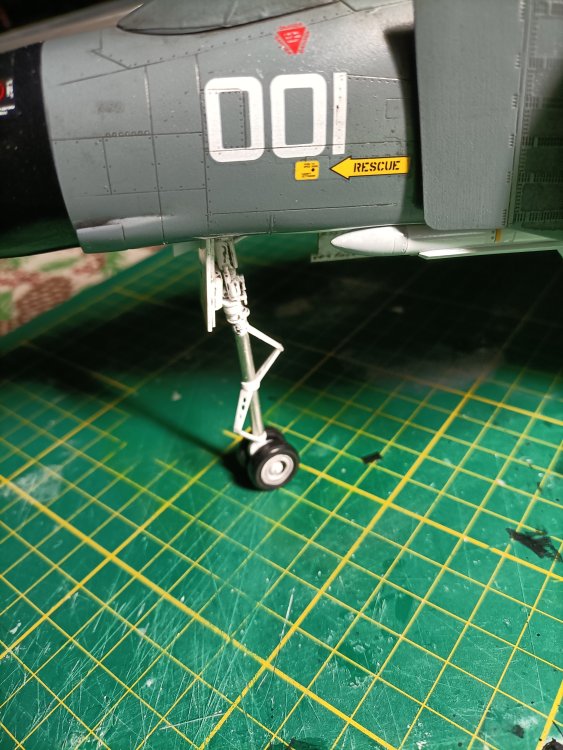

- 76 replies
-
- 2
-
-
- revell
- 1/32 phantom
- (and 1 more)
-
RN FG-1 Phantom 1/32 scratch conversion
Wingco57 replied to Wingco57's topic in LSM 1/35 and Larger Work In Progress
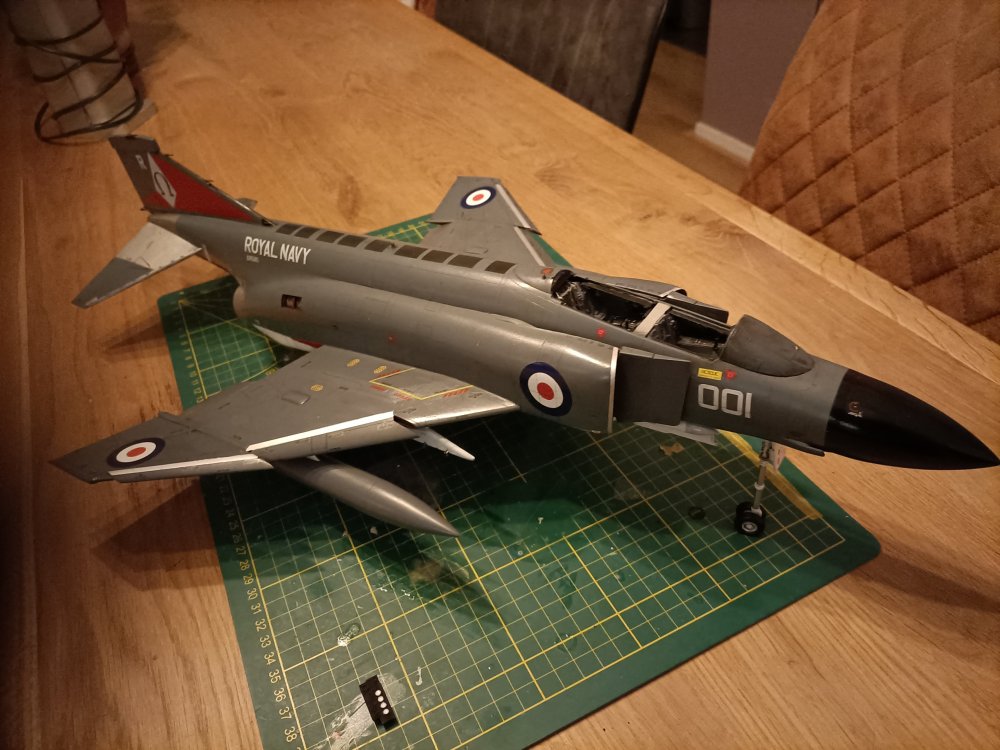
Got some of the Kits World parts on the ejection seats (not worth showing) and the canopies fitted. Nearly there apart from scratchbuilding some auxiliary doors and the nosewheel scissor links. Hope to finish this before the year is out. Already thinking of the next project.😌
- 76 replies
-
- 3
-
-
- revell
- 1/32 phantom
- (and 1 more)
-
RN FG-1 Phantom 1/32 scratch conversion
Wingco57 replied to Wingco57's topic in LSM 1/35 and Larger Work In Progress
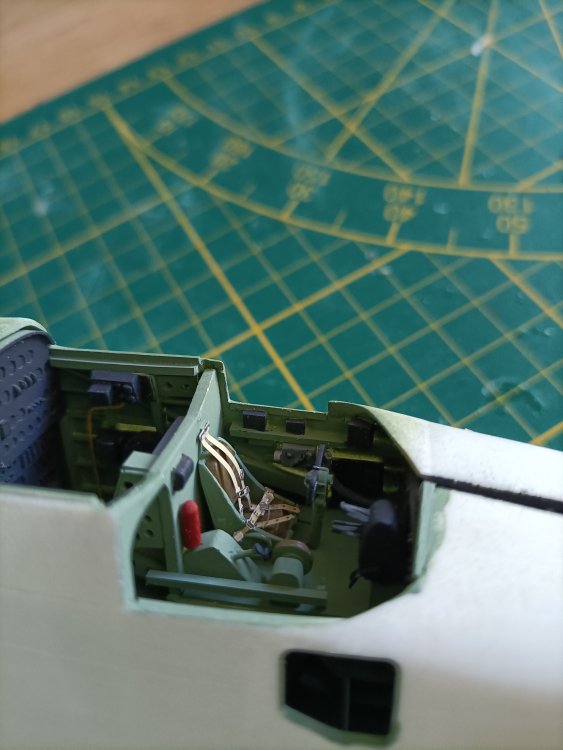
Help! I got the Kits World 1/32 ejection seat detailset, this is 3d based. But there are no instructions where to place the parts. Cannot find instructions on the web, not on their site. First time (not even that) user and not amused so far. Thanks Cees -
RN FG-1 Phantom 1/32 scratch conversion
Wingco57 replied to Wingco57's topic in LSM 1/35 and Larger Work In Progress
- 76 replies
-
- 4
-
-
- revell
- 1/32 phantom
- (and 1 more)
-
RN FG-1 Phantom 1/32 scratch conversion
Wingco57 replied to Wingco57's topic in LSM 1/35 and Larger Work In Progress
So am I Tom. It was not easy. -
Any middle aged modeller suffering from wrist cramps ?
Wingco57 replied to PanzerWomble's topic in Hints and Tips
Lazy gits😌, I use a large nail and stir until it hurts and then some. Cleans very well. -
RN FG-1 Phantom 1/32 scratch conversion
Wingco57 replied to Wingco57's topic in LSM 1/35 and Larger Work In Progress
Slowly but surely....

- 76 replies
-
- 6
-
-
- revell
- 1/32 phantom
- (and 1 more)
-
RN FG-1 Phantom 1/32 scratch conversion
Wingco57 replied to Wingco57's topic in LSM 1/35 and Larger Work In Progress
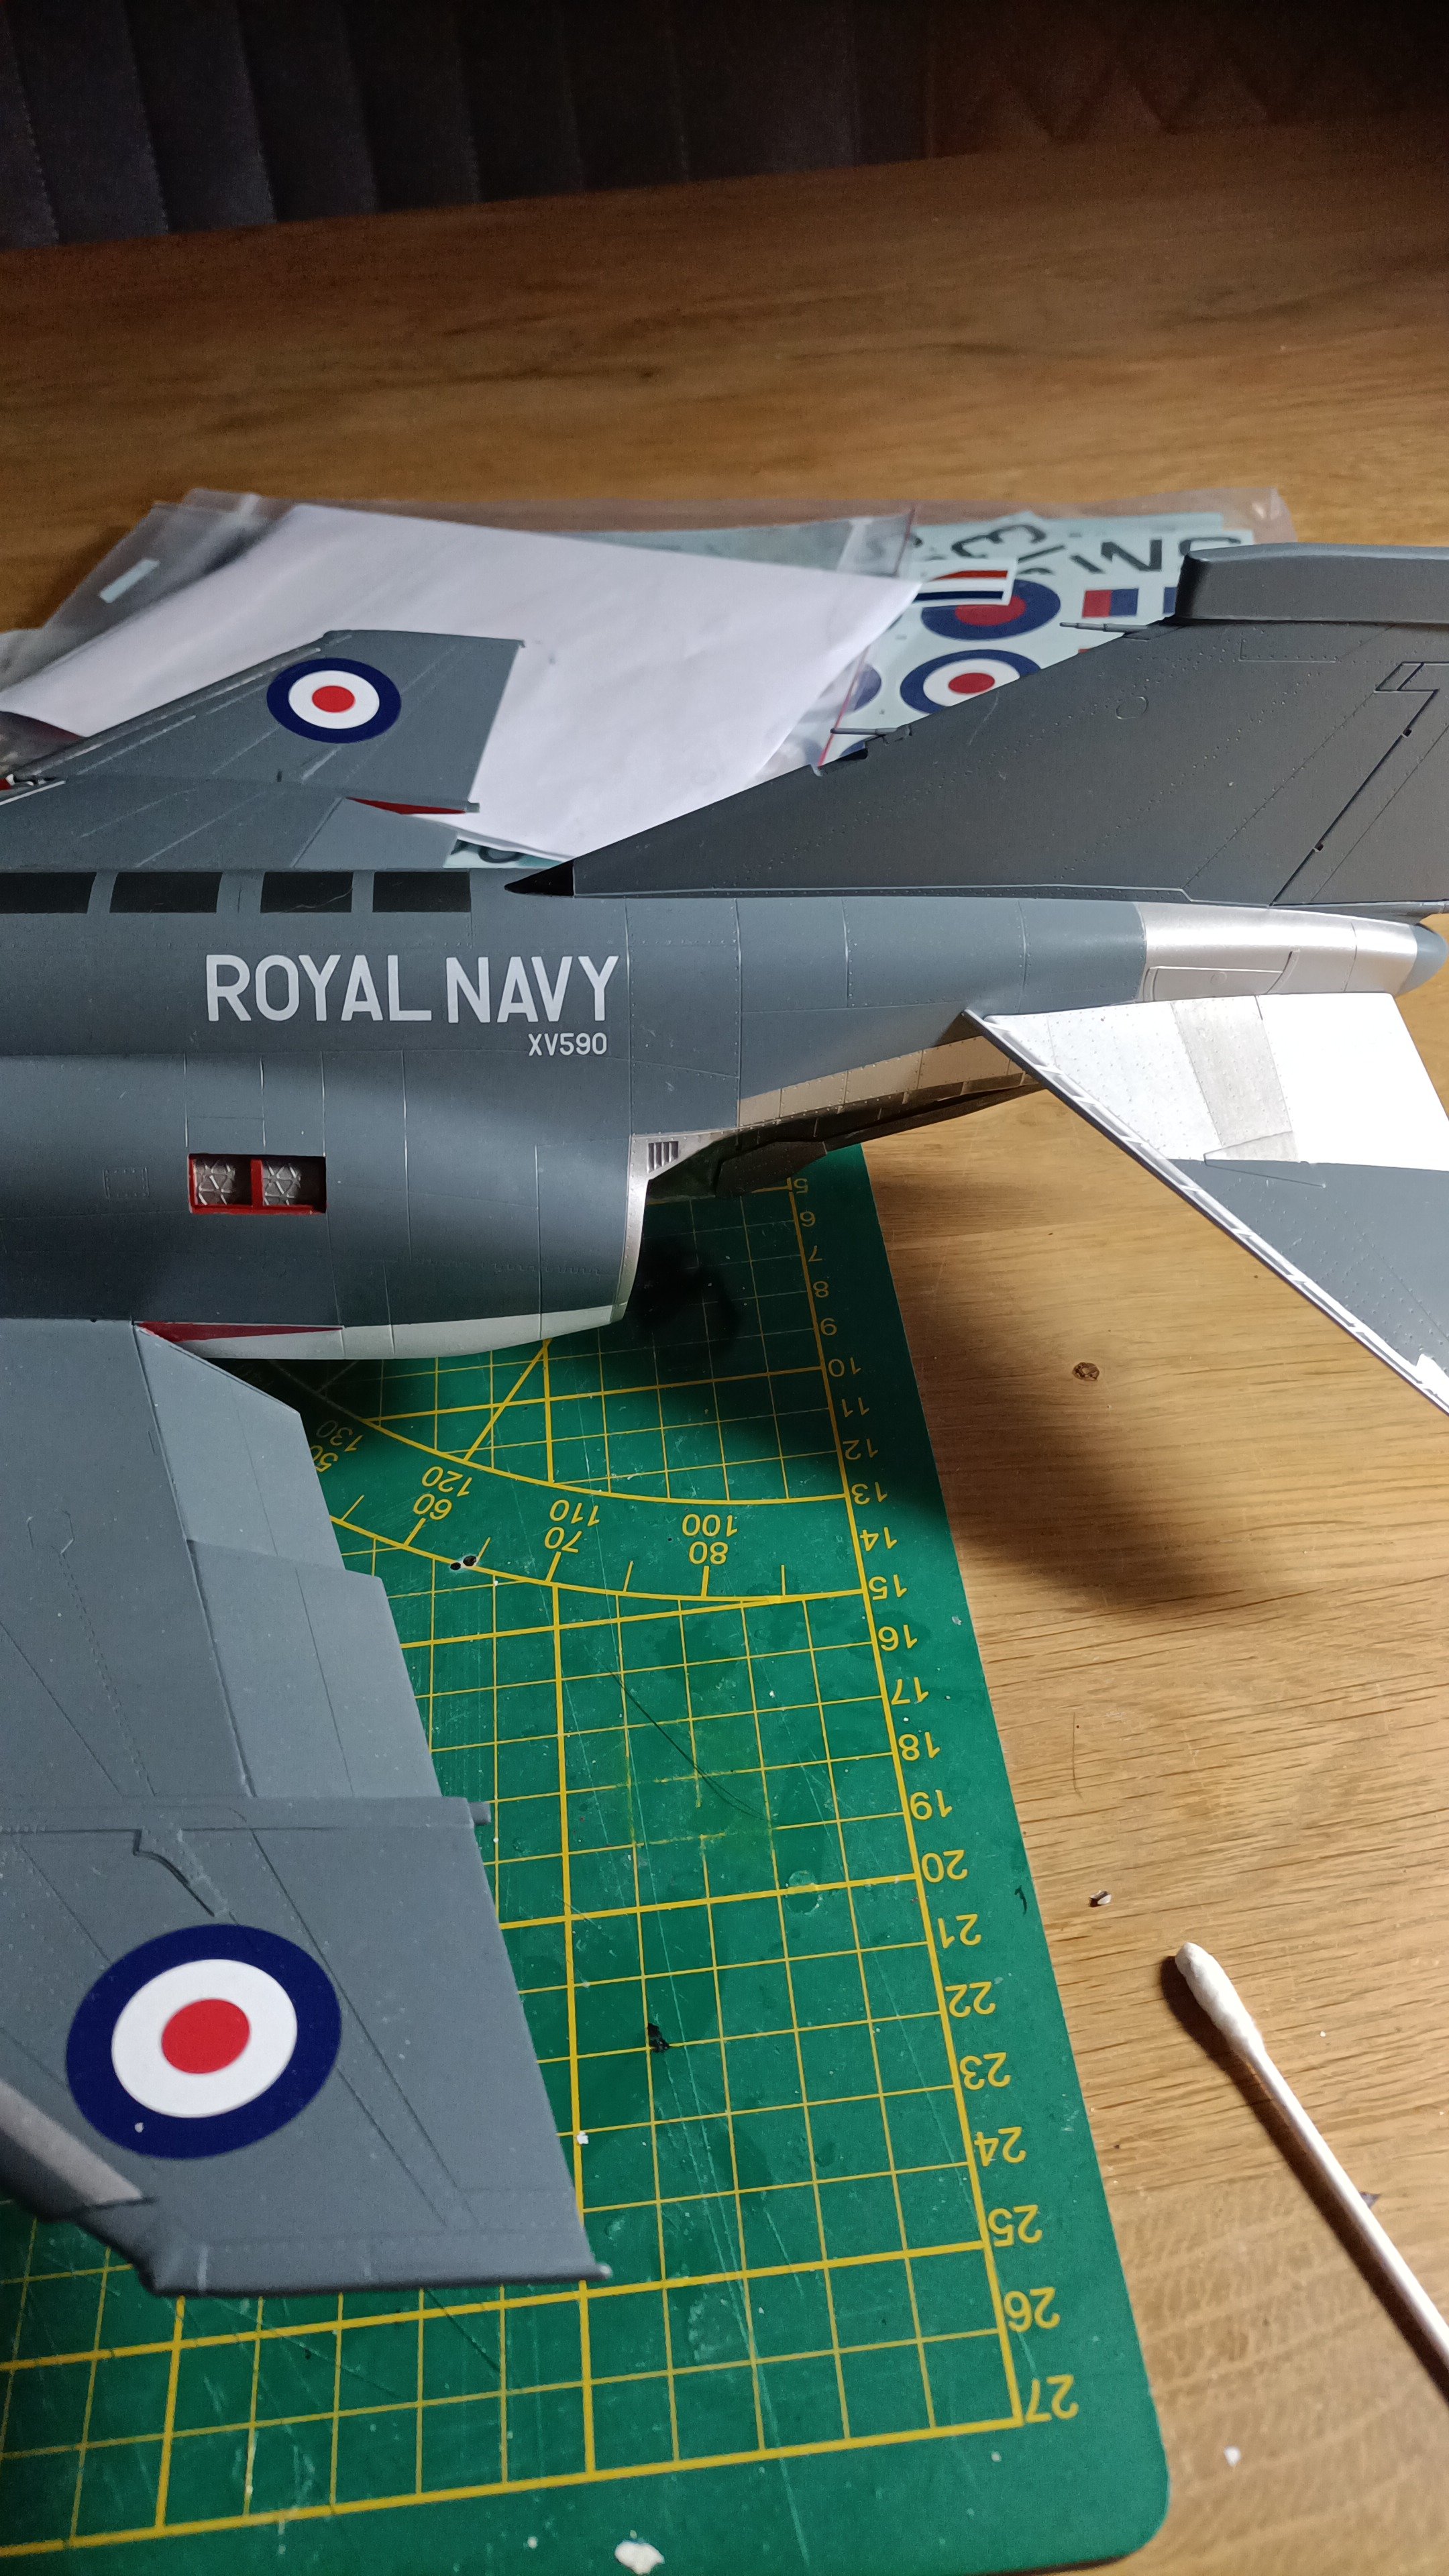
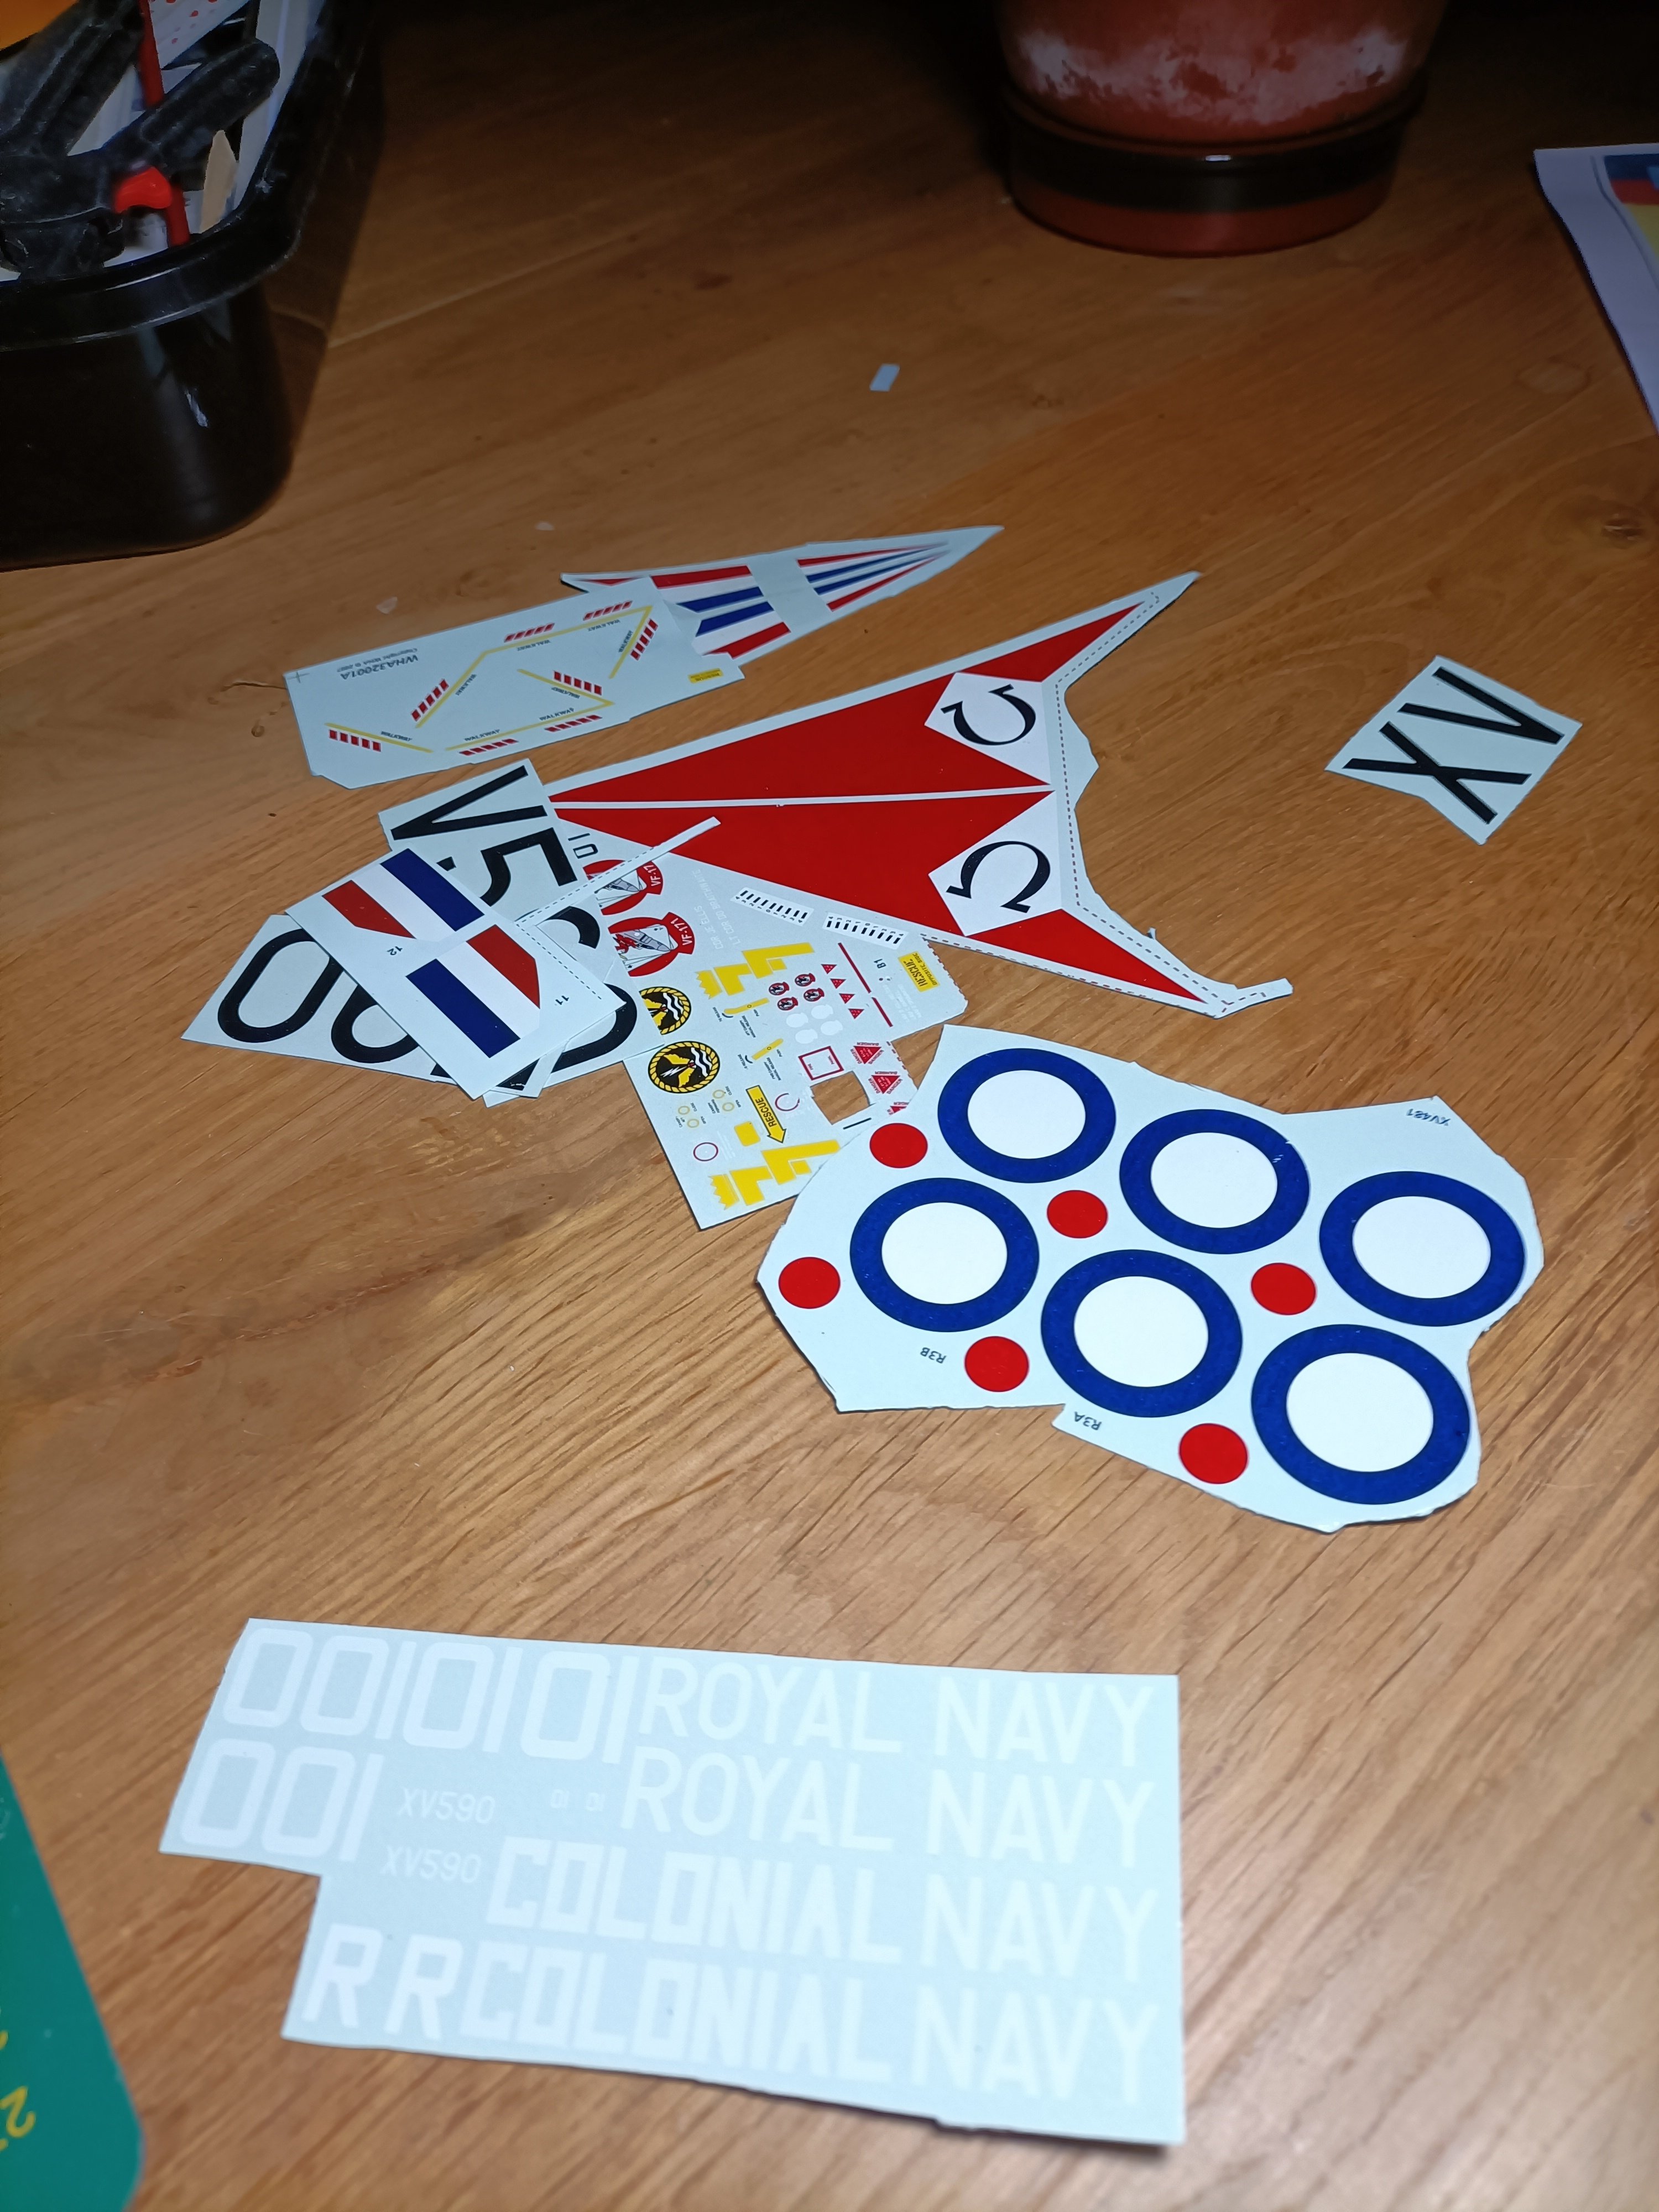
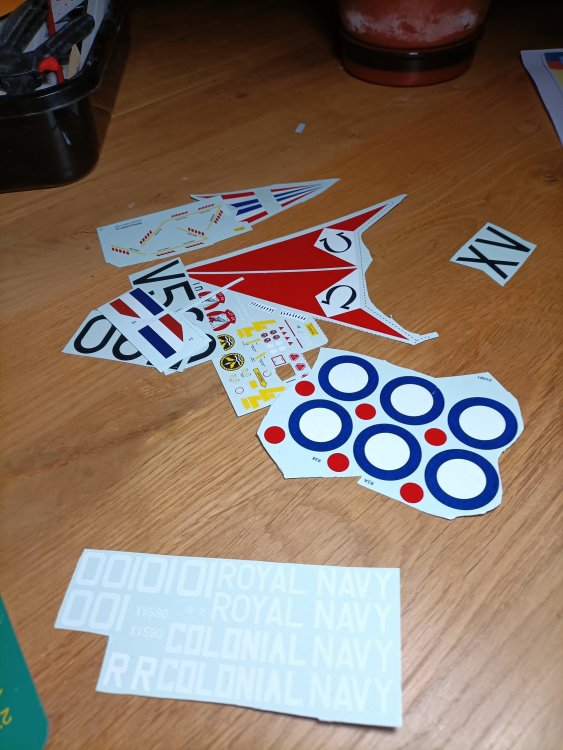
The decals worked fine with little breakage. Forgot to post the pics. Sooorrry.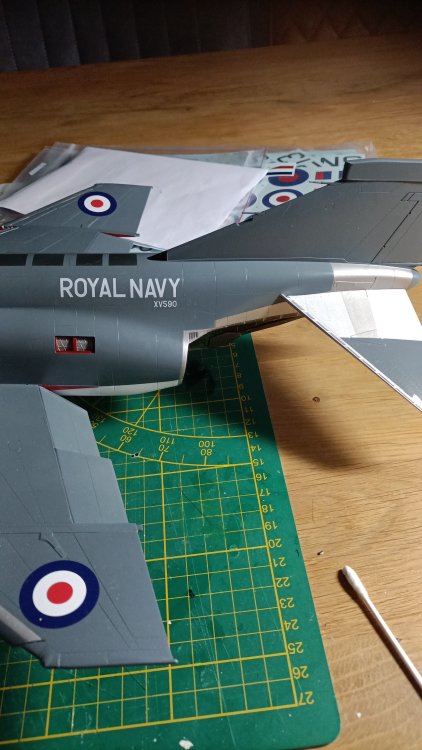


- 76 replies
-
- 8
-
-
- revell
- 1/32 phantom
- (and 1 more)
-
RN FG-1 Phantom 1/32 scratch conversion
Wingco57 replied to Wingco57's topic in LSM 1/35 and Larger Work In Progress


- 76 replies
-
- 5
-
-
- revell
- 1/32 phantom
- (and 1 more)
-
RN FG-1 Phantom 1/32 scratch conversion
Wingco57 replied to Wingco57's topic in LSM 1/35 and Larger Work In Progress
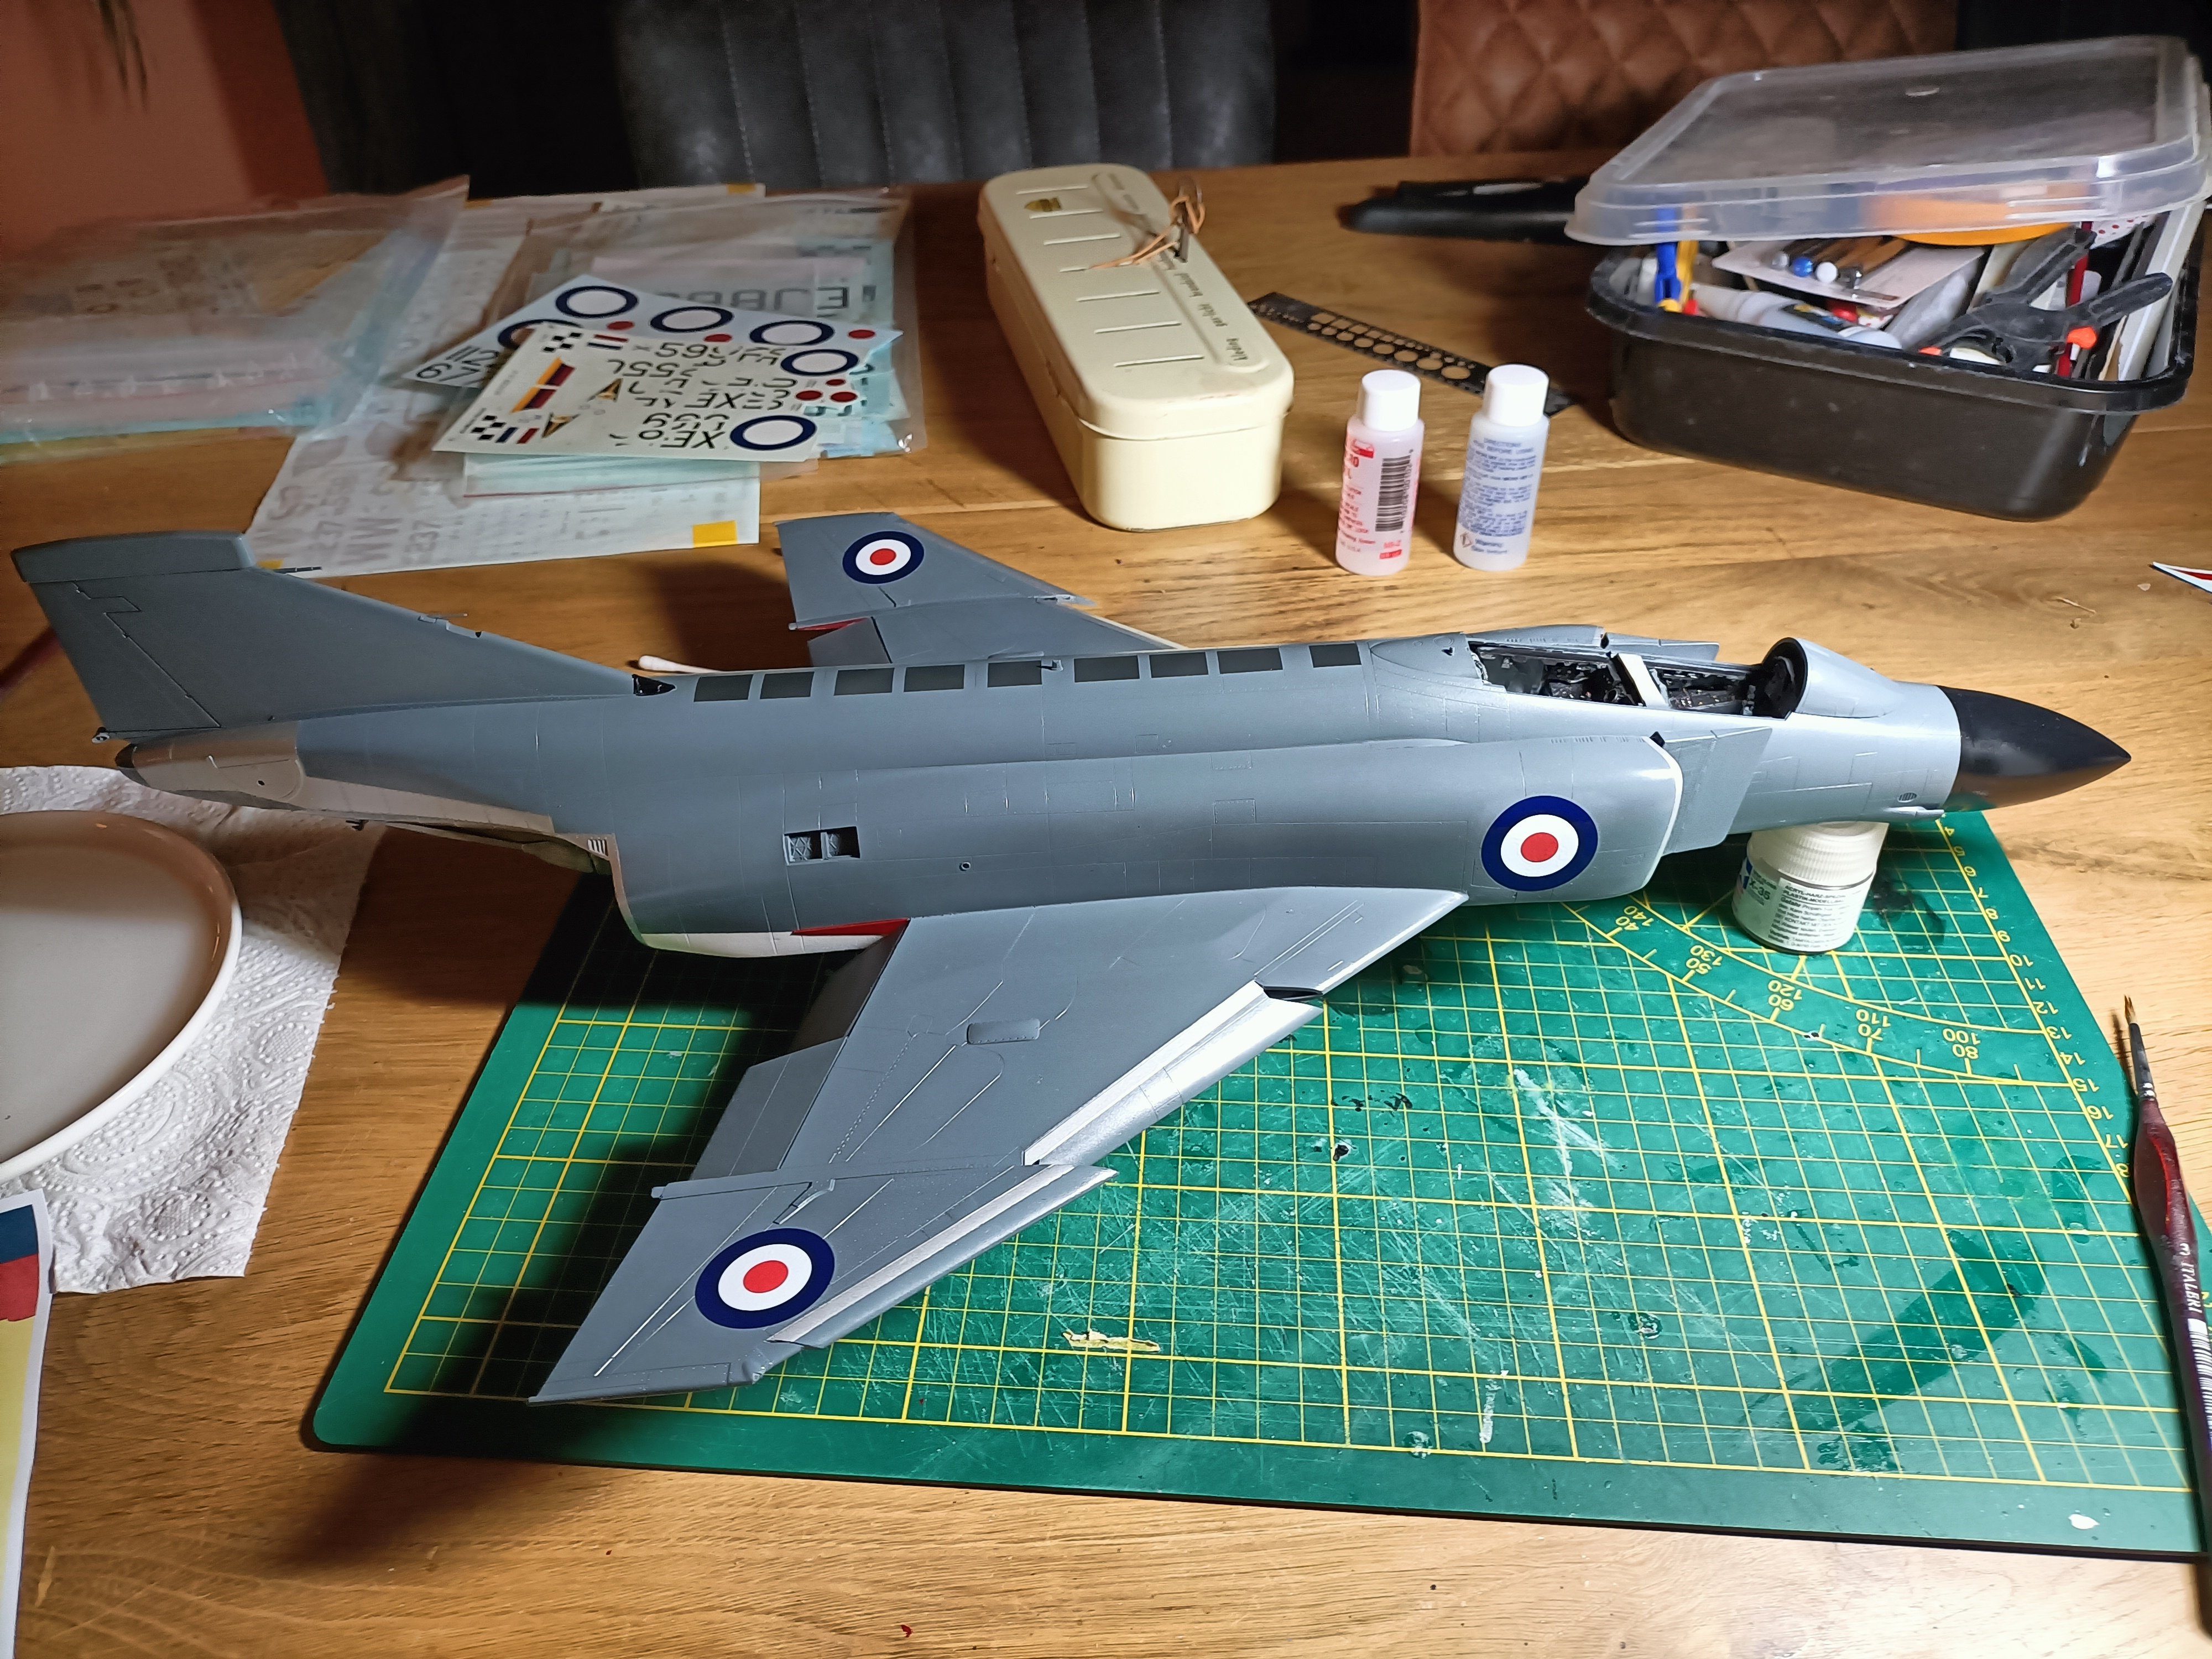
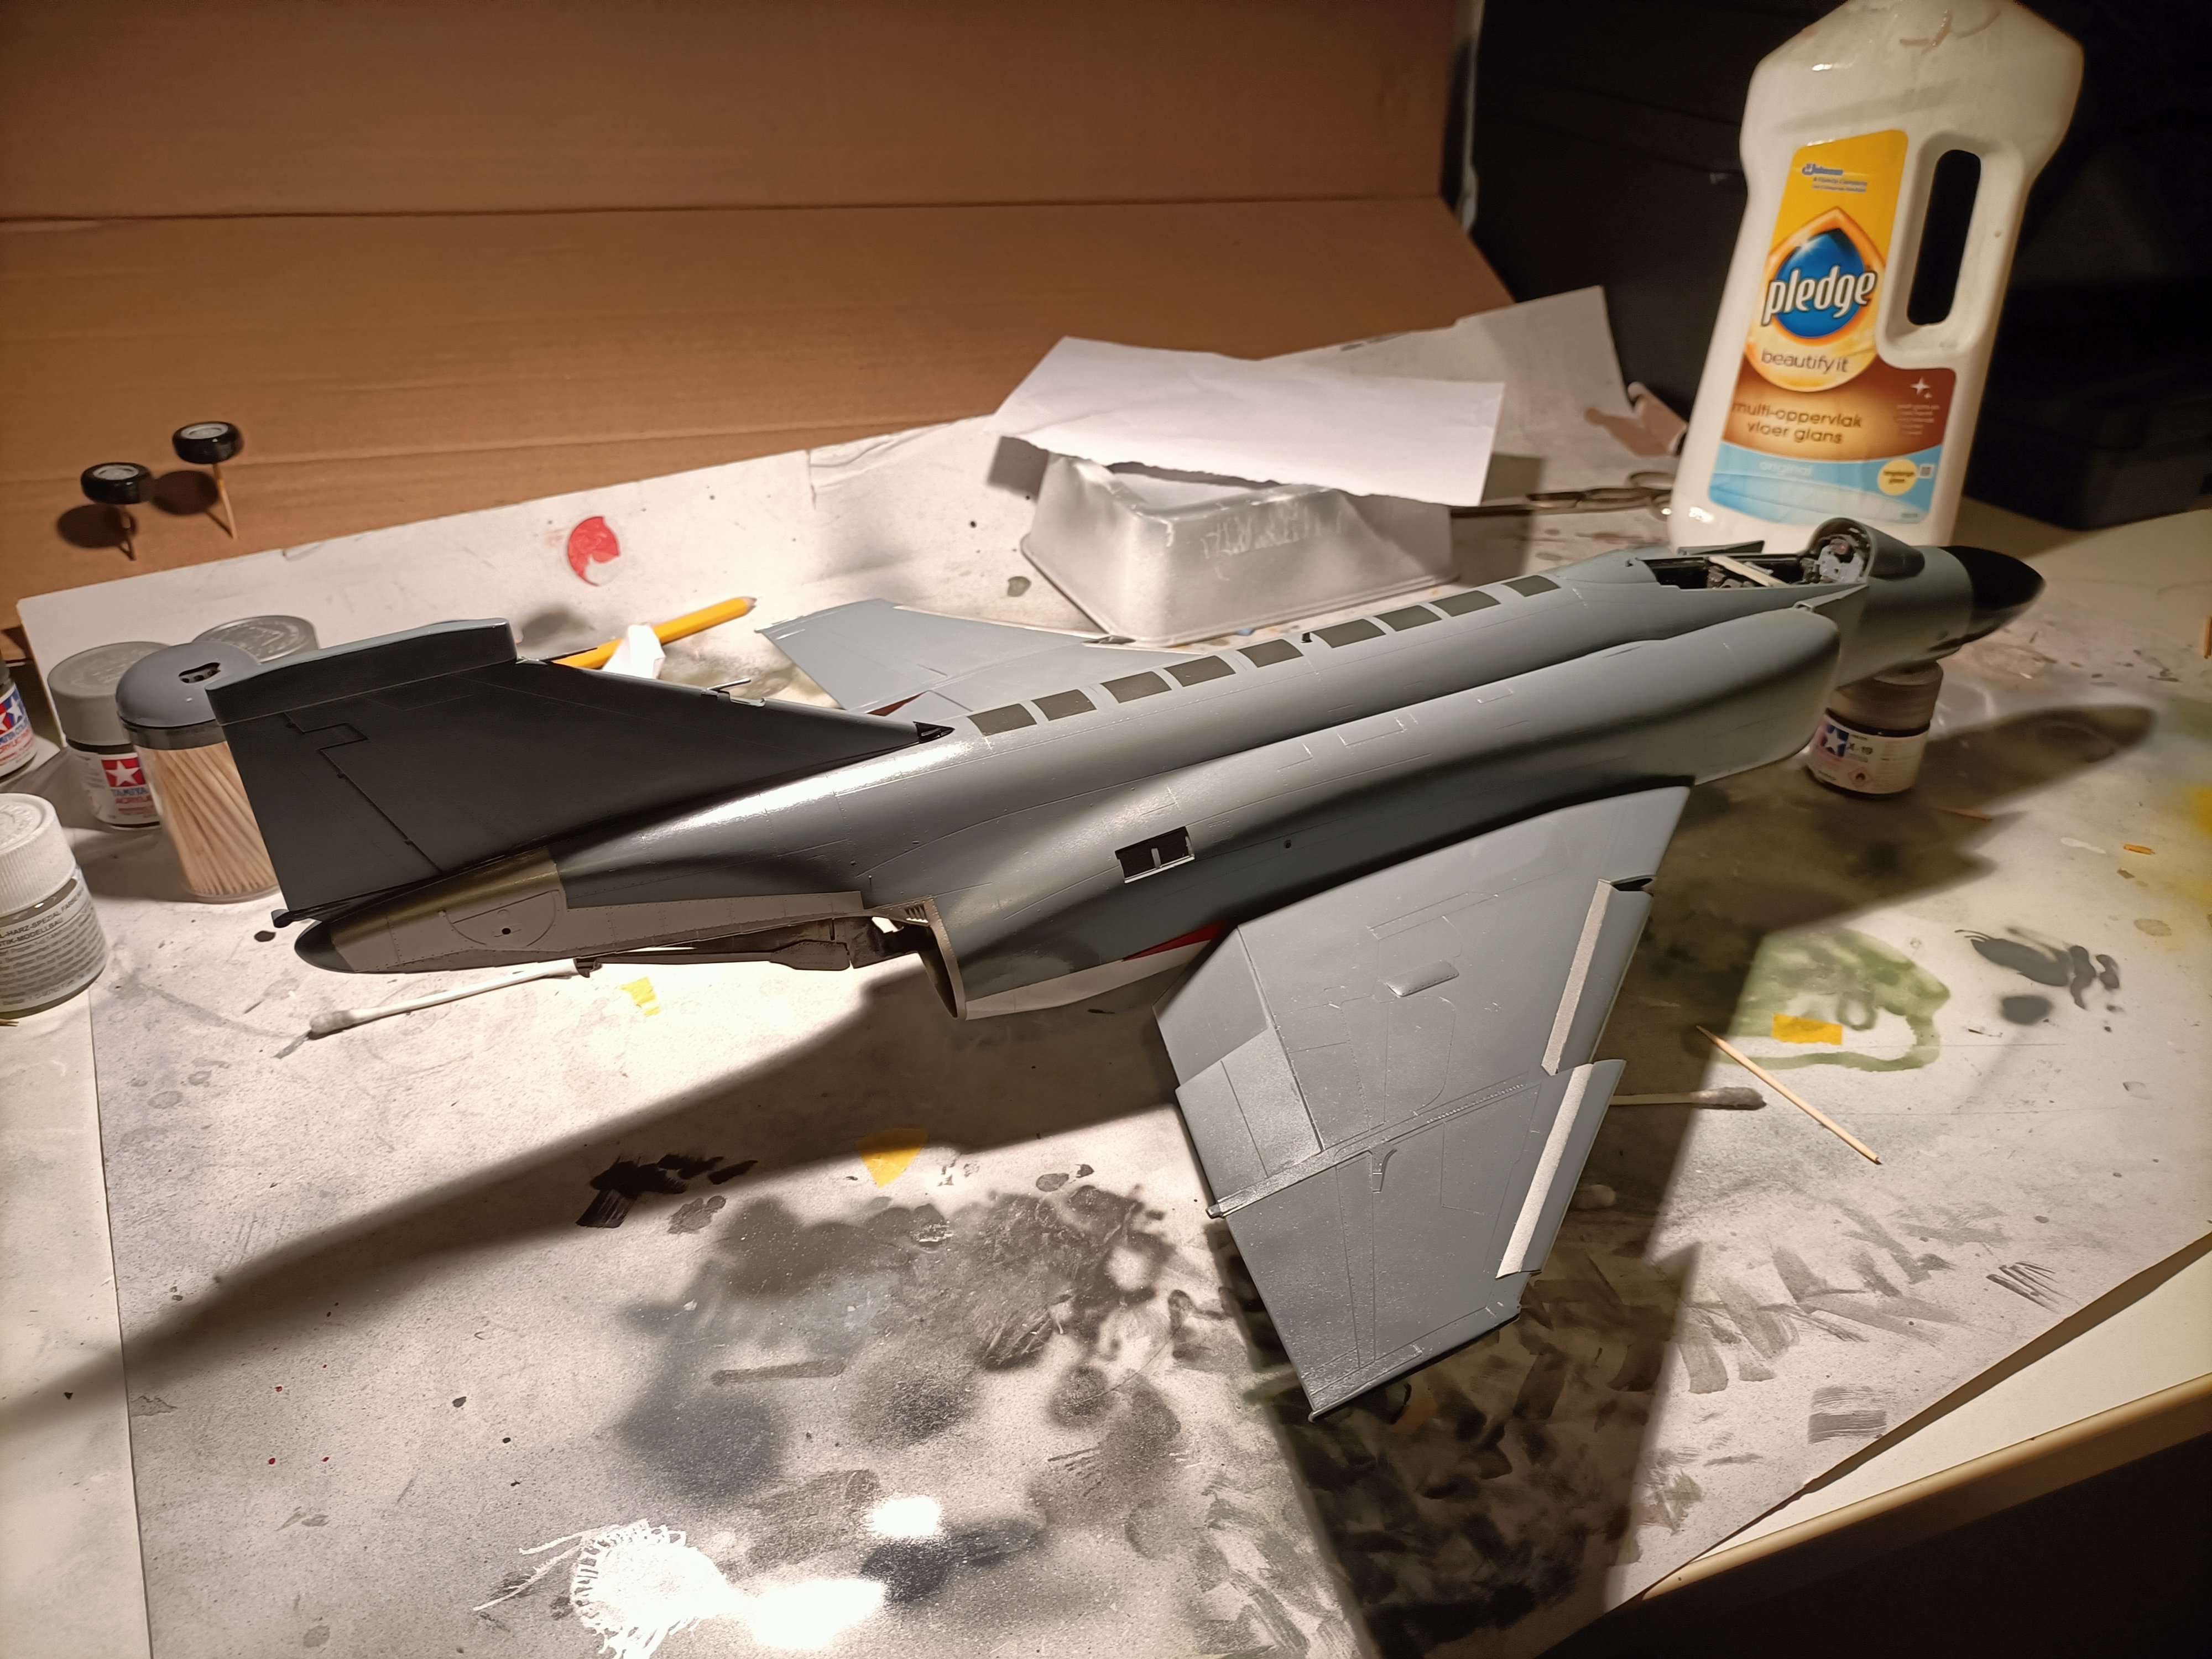
Painting has been finished for now. A few coats of clear floorwax have been applied. Next the decals. Can't wait.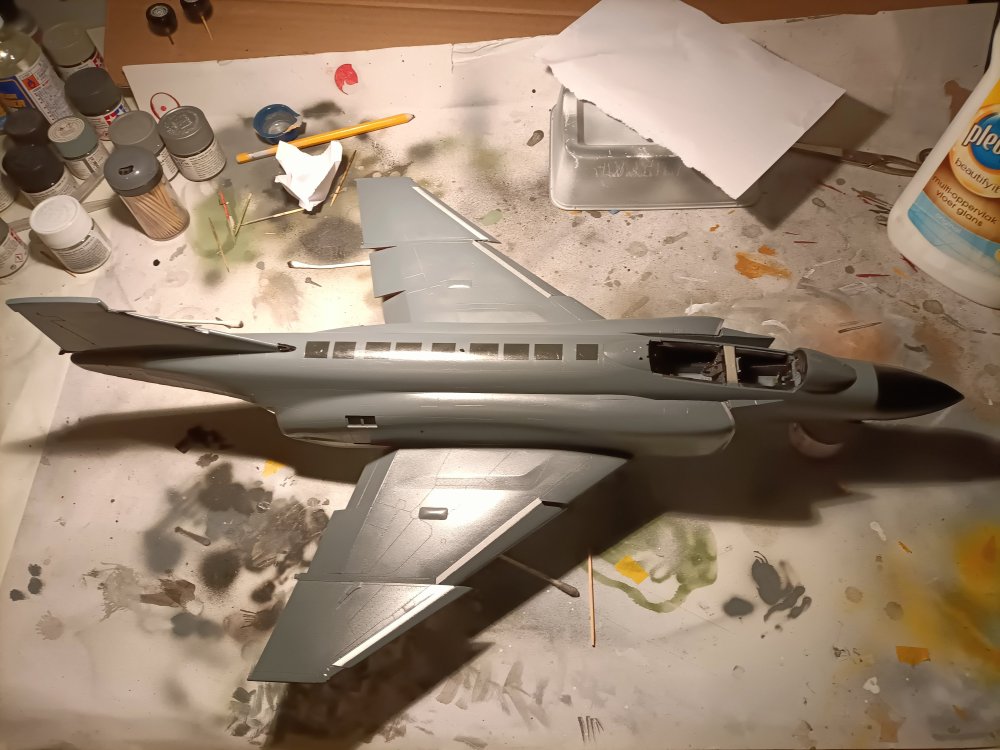


- 76 replies
-
- 3
-
-
- revell
- 1/32 phantom
- (and 1 more)
-
RN FG-1 Phantom 1/32 scratch conversion
Wingco57 replied to Wingco57's topic in LSM 1/35 and Larger Work In Progress
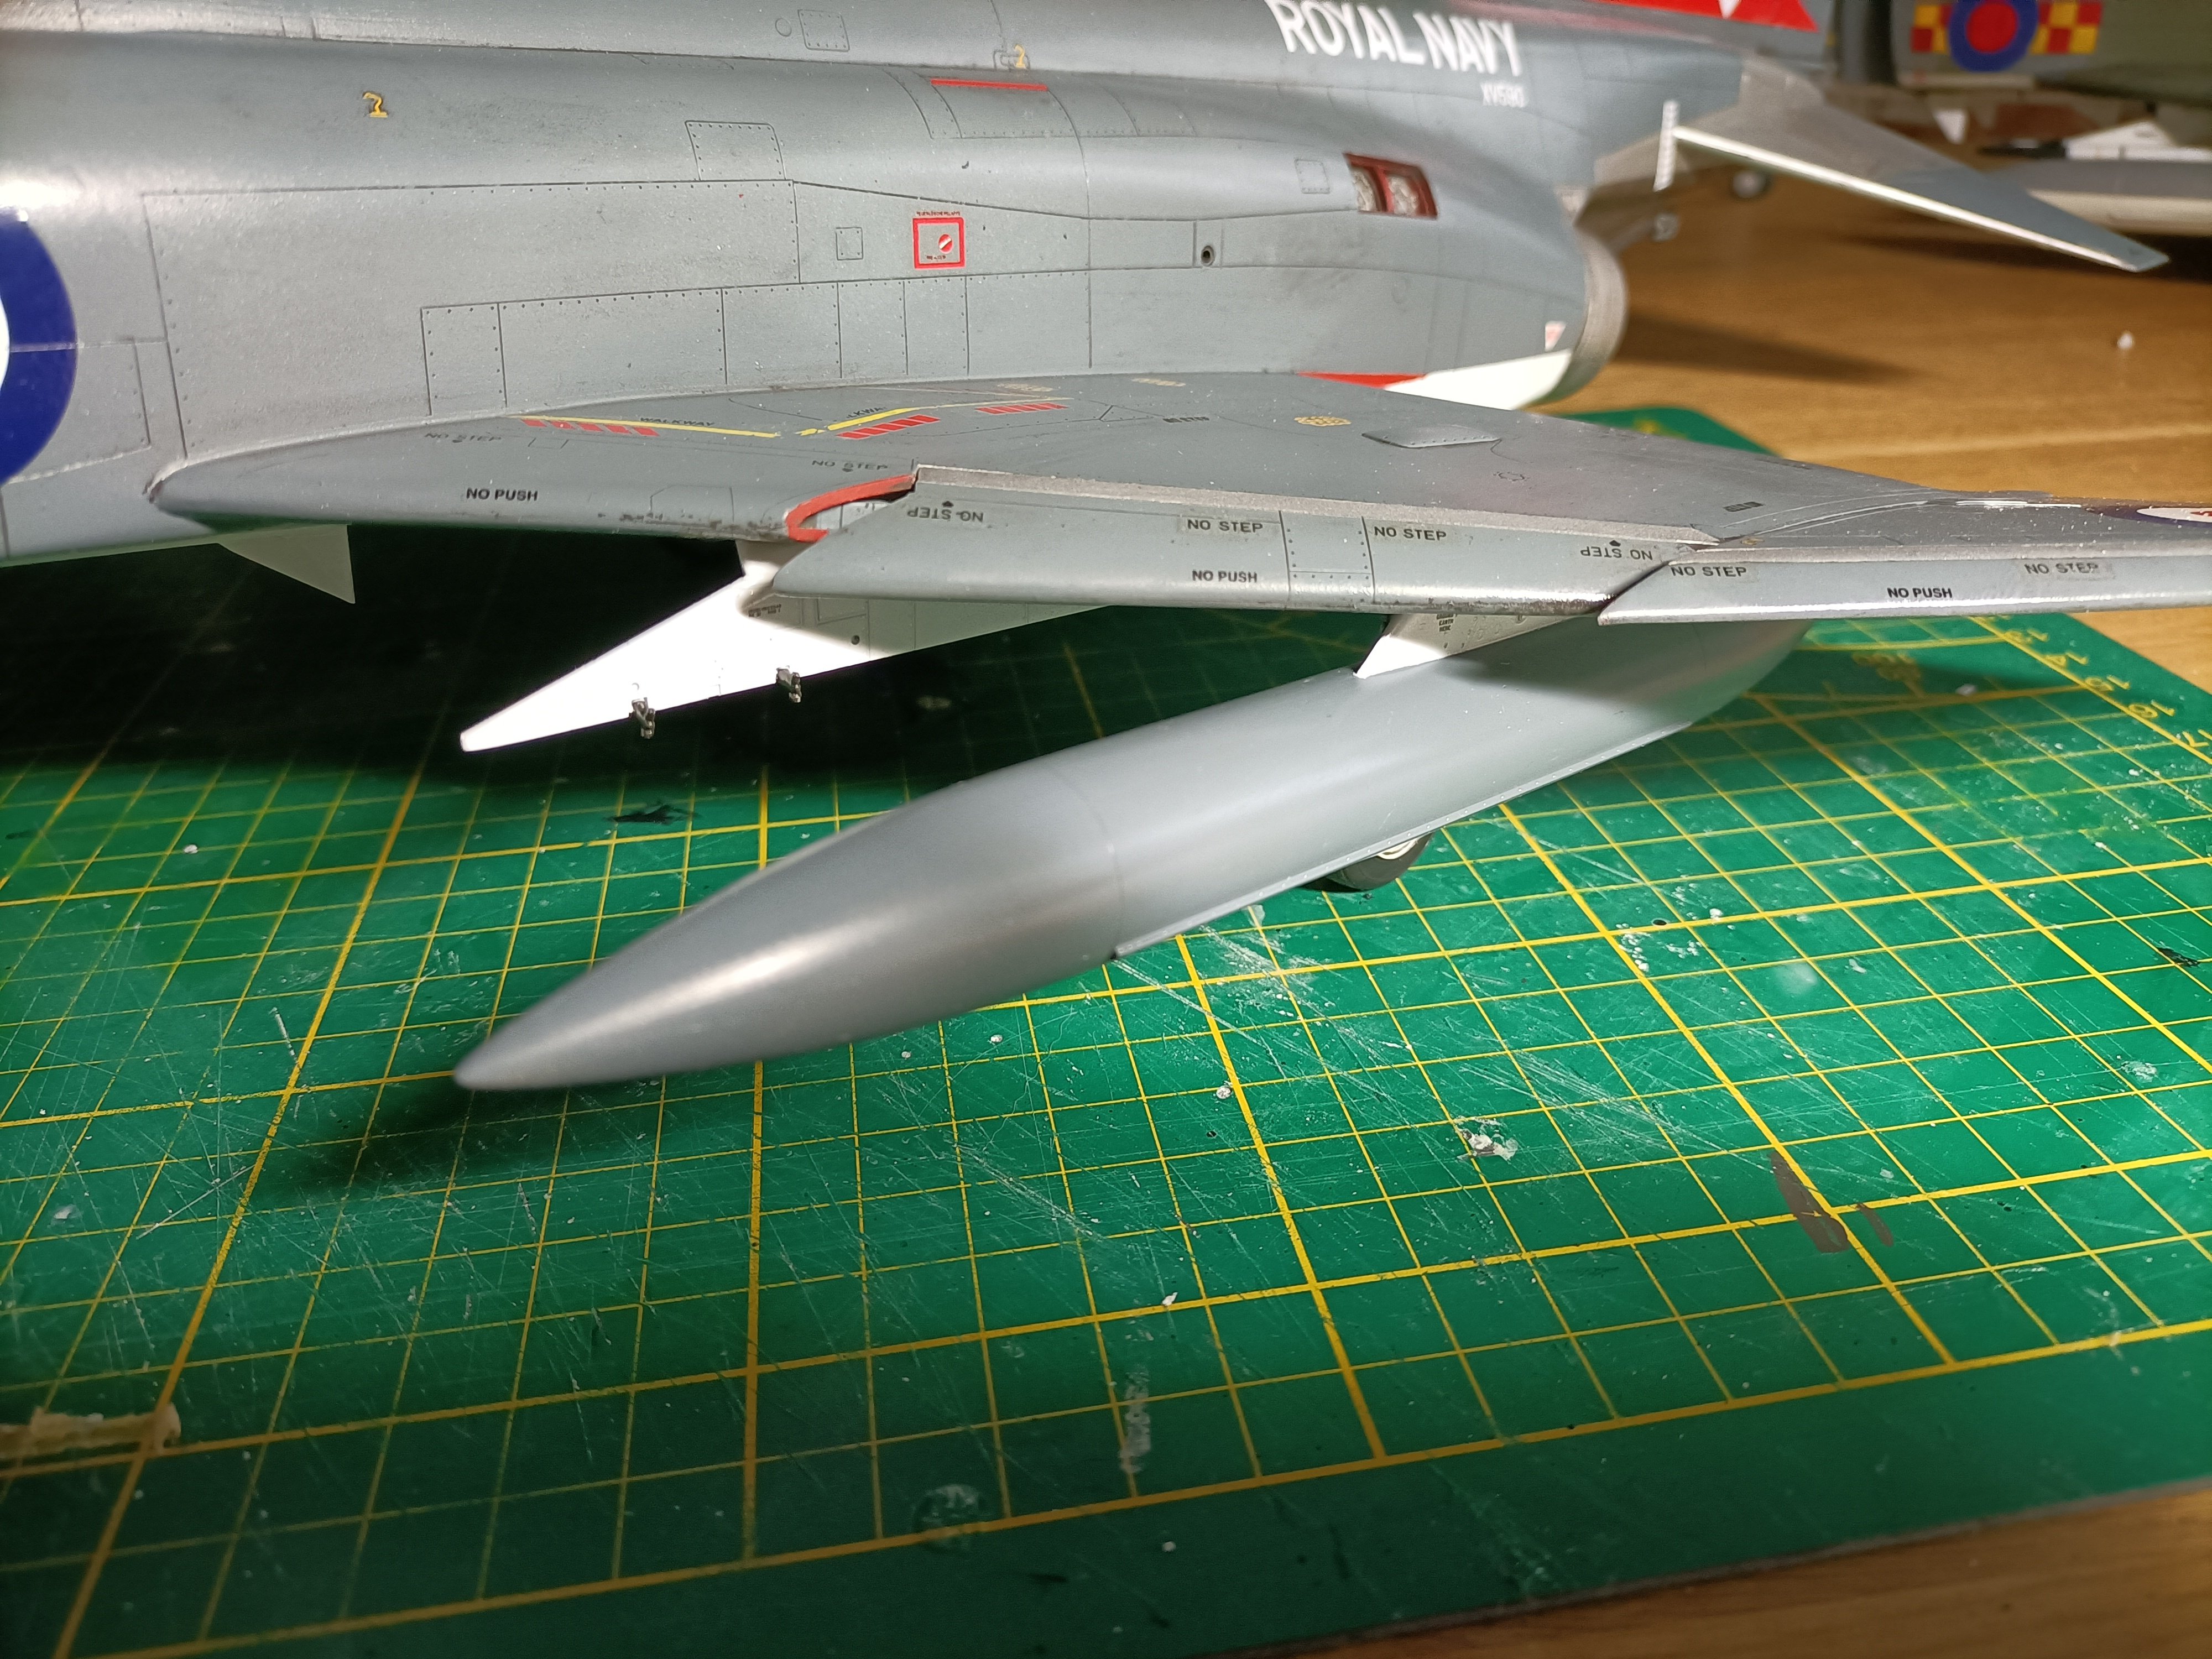
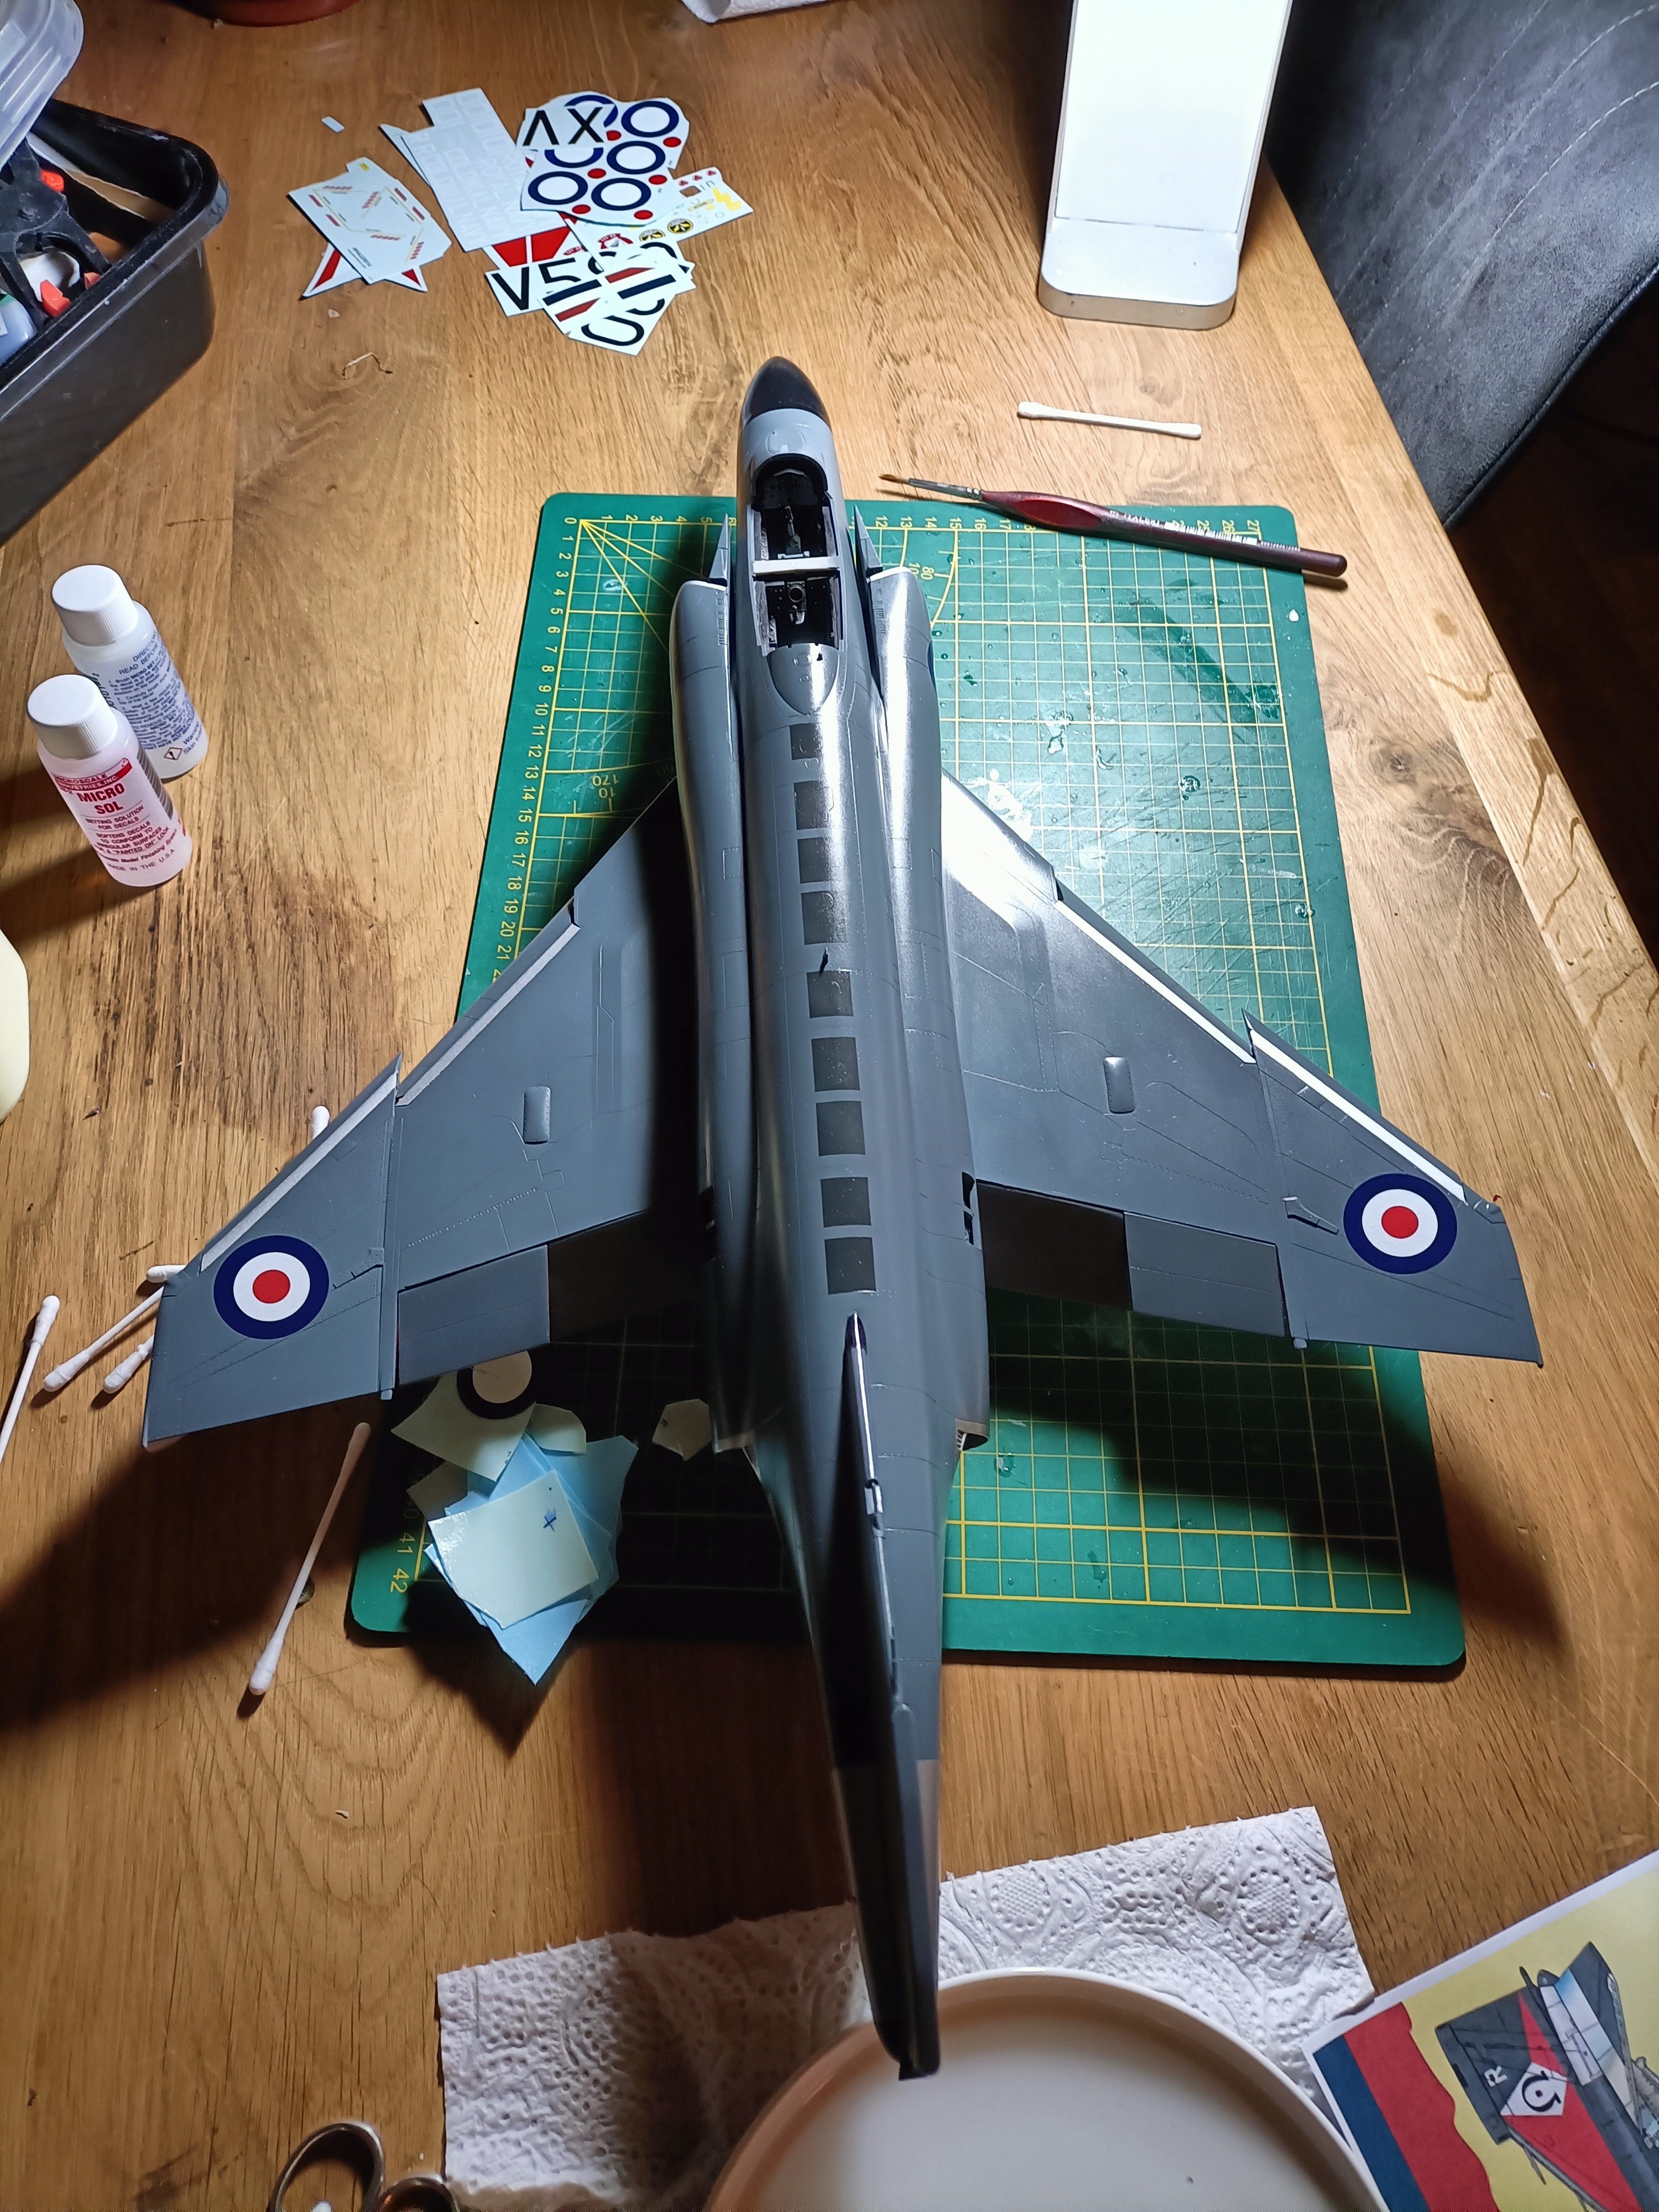
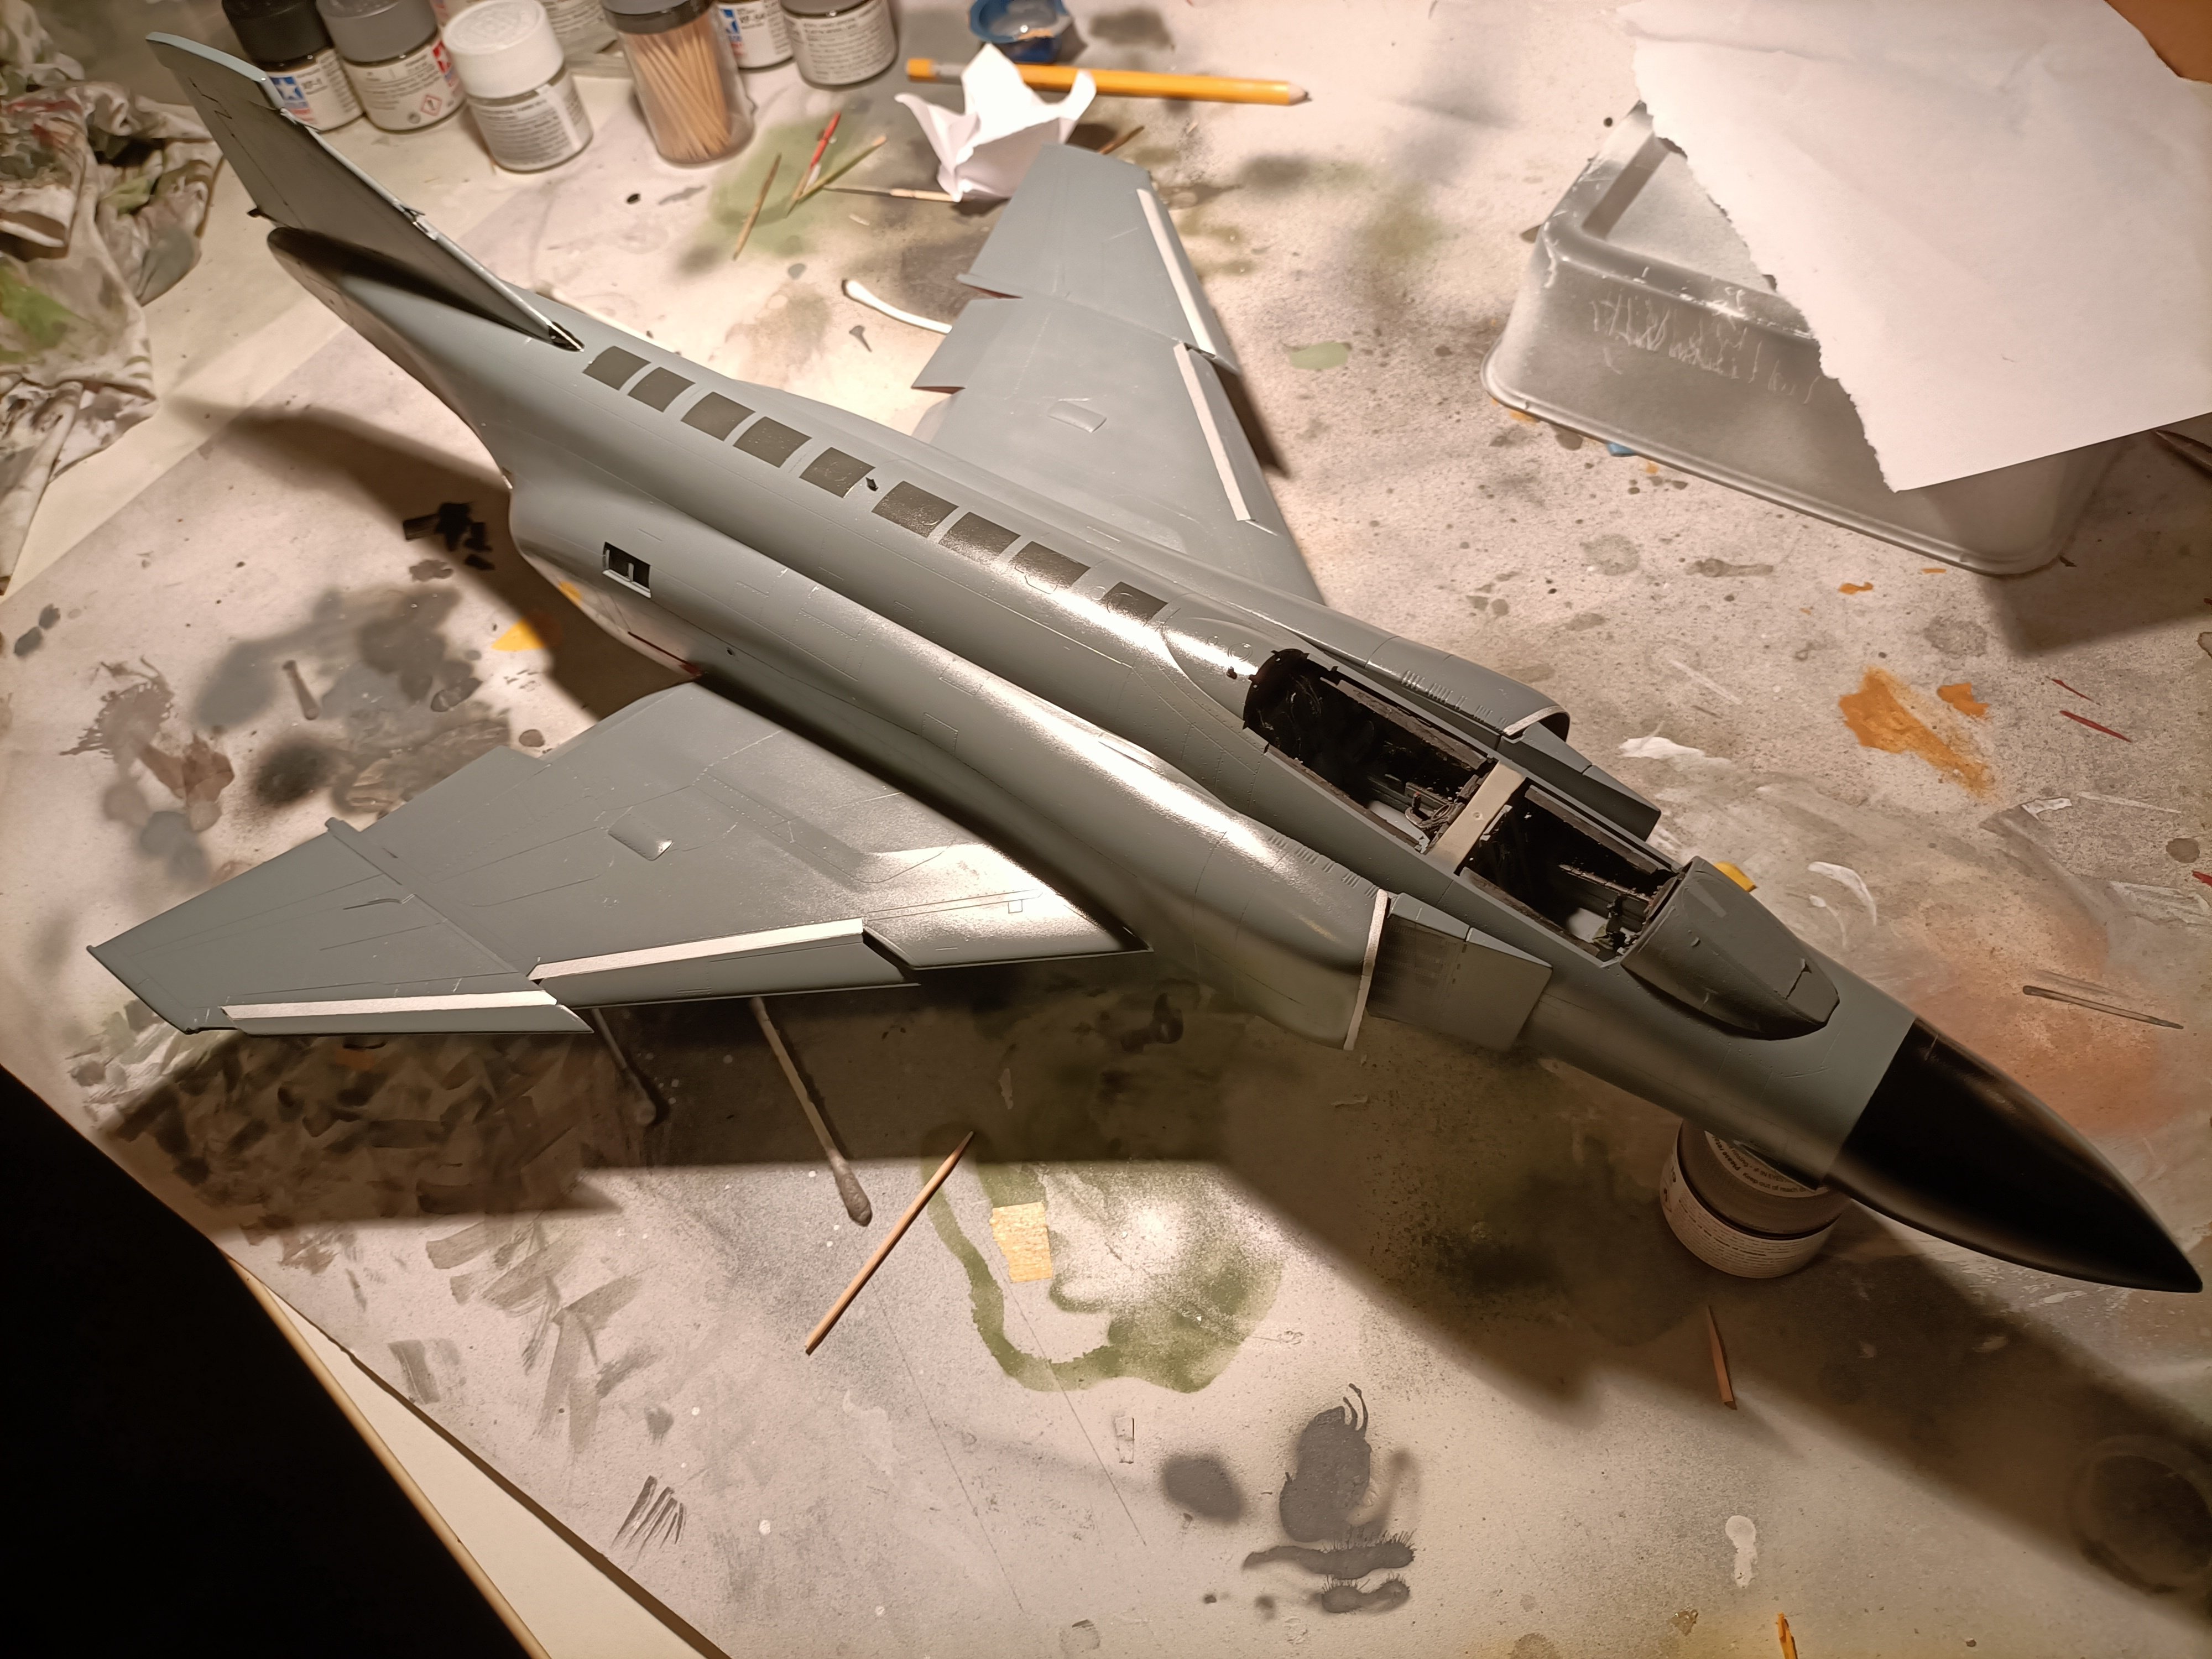
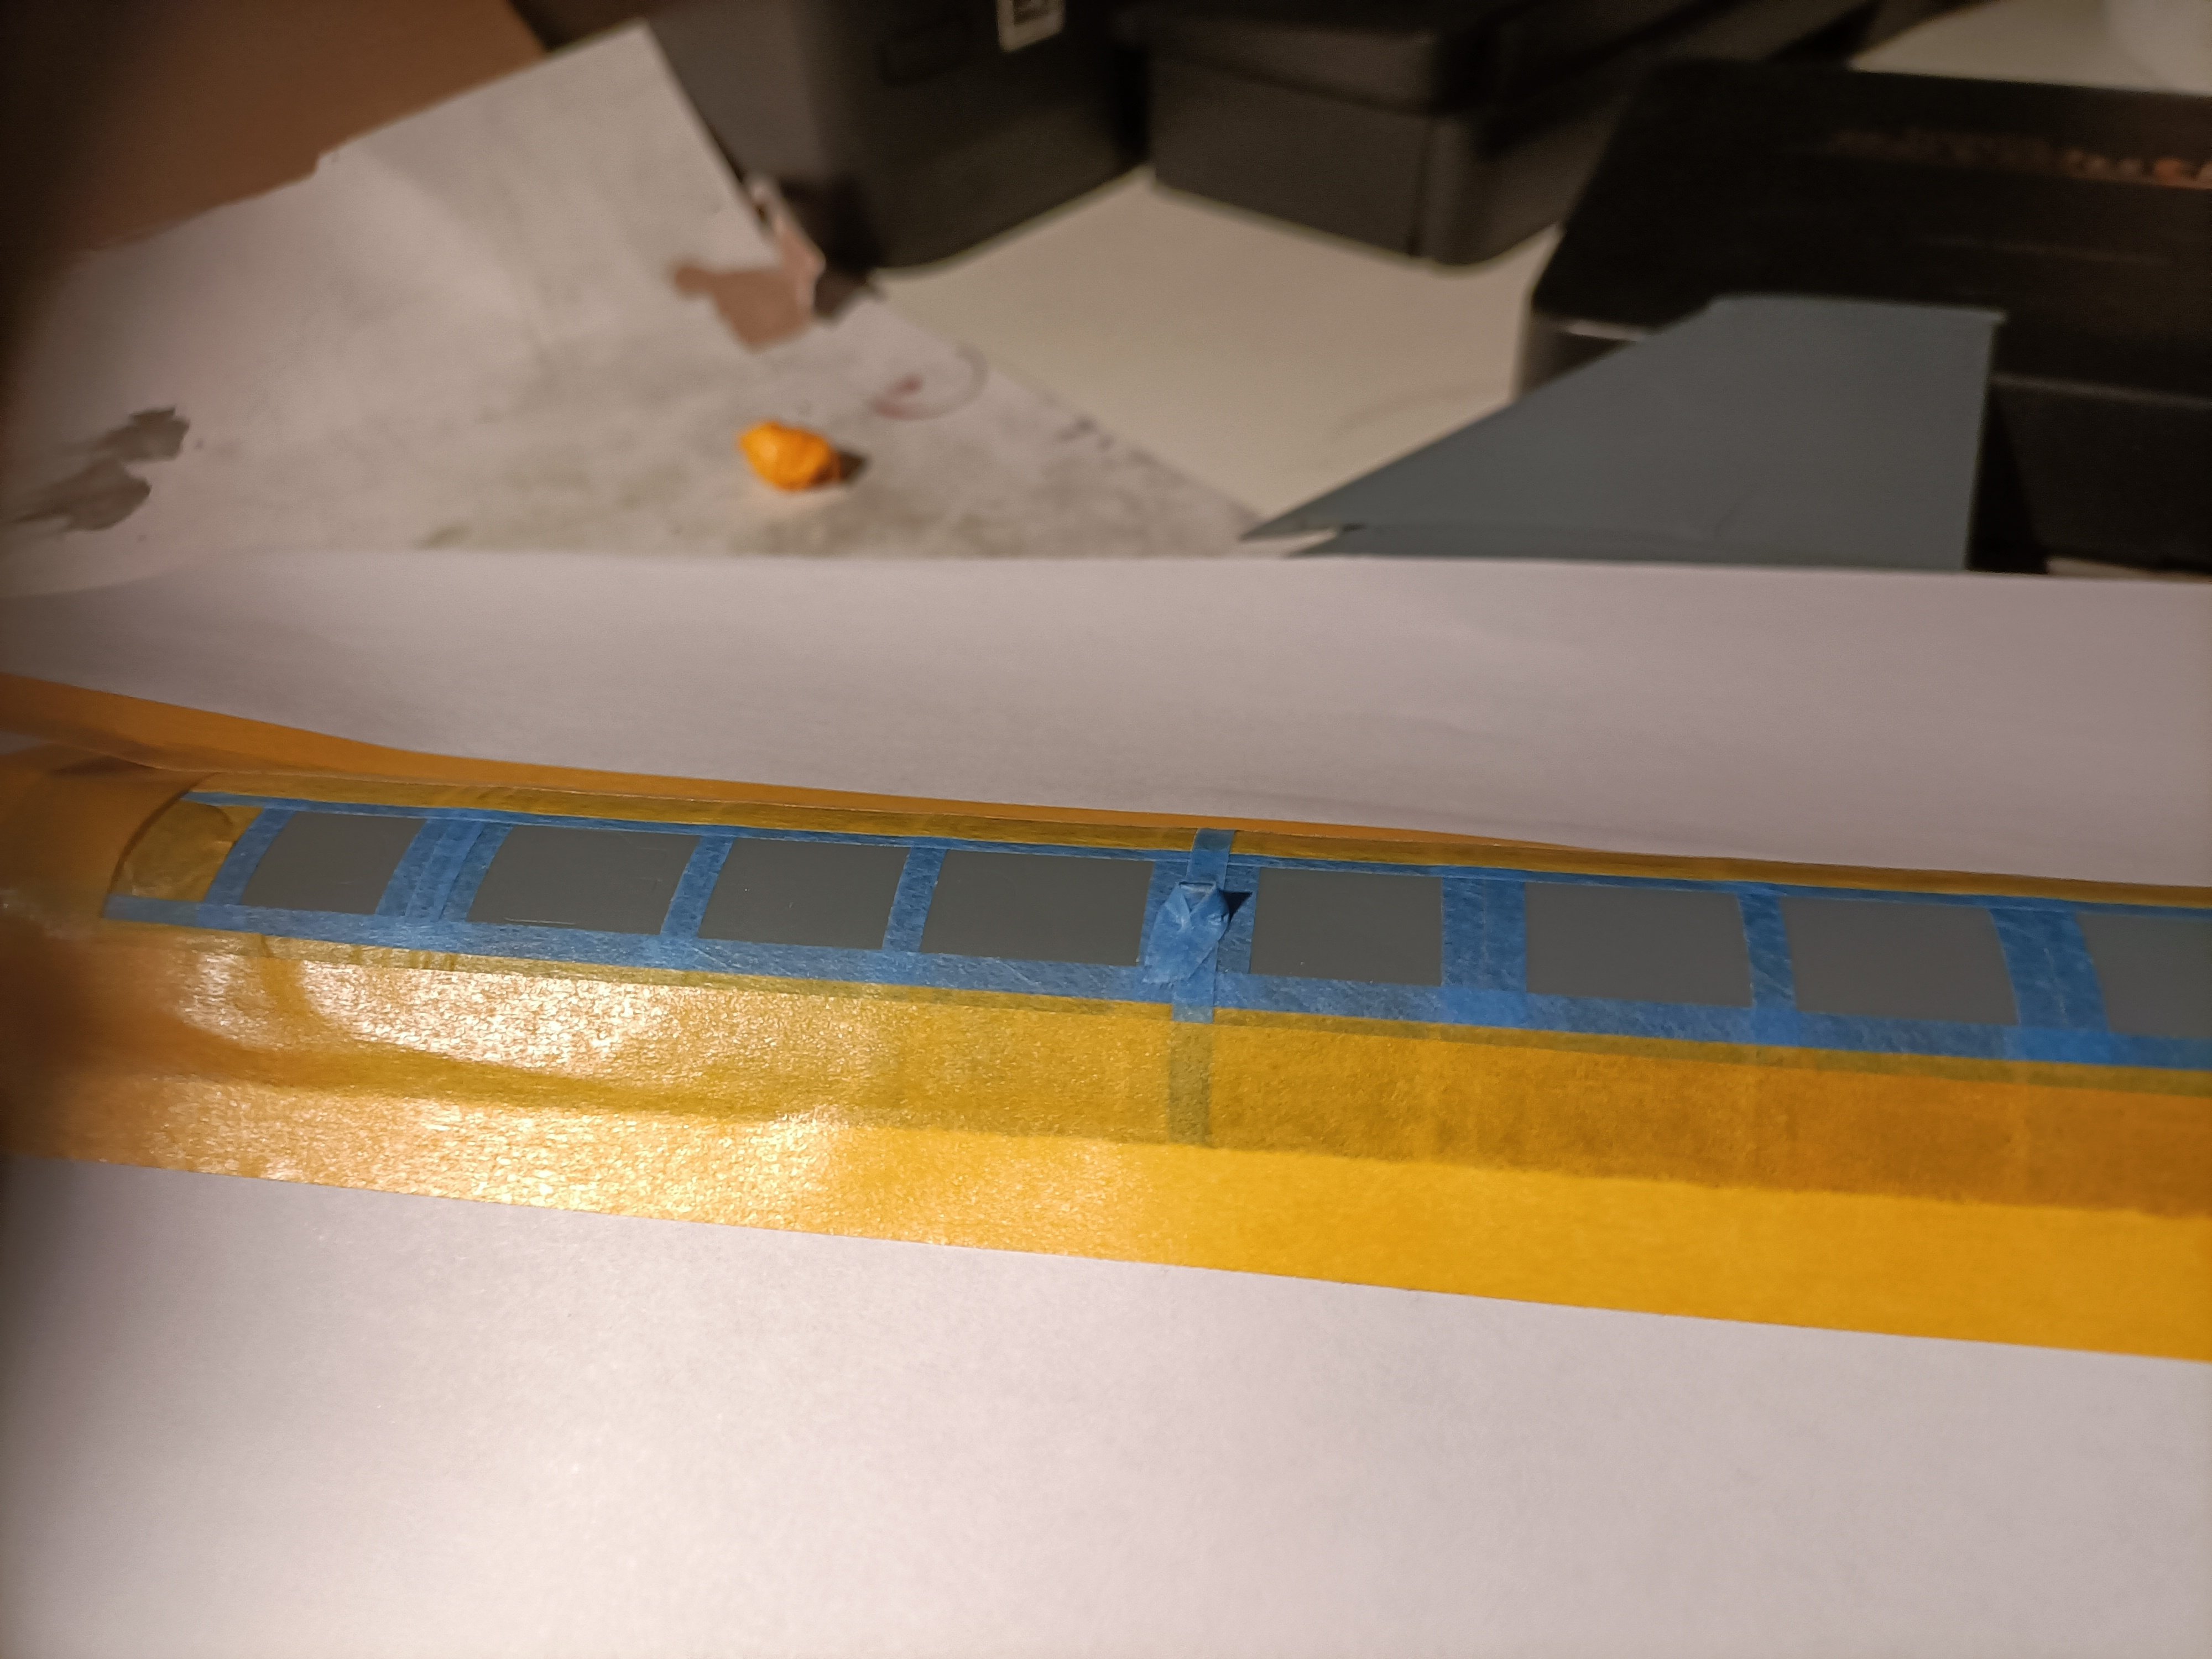
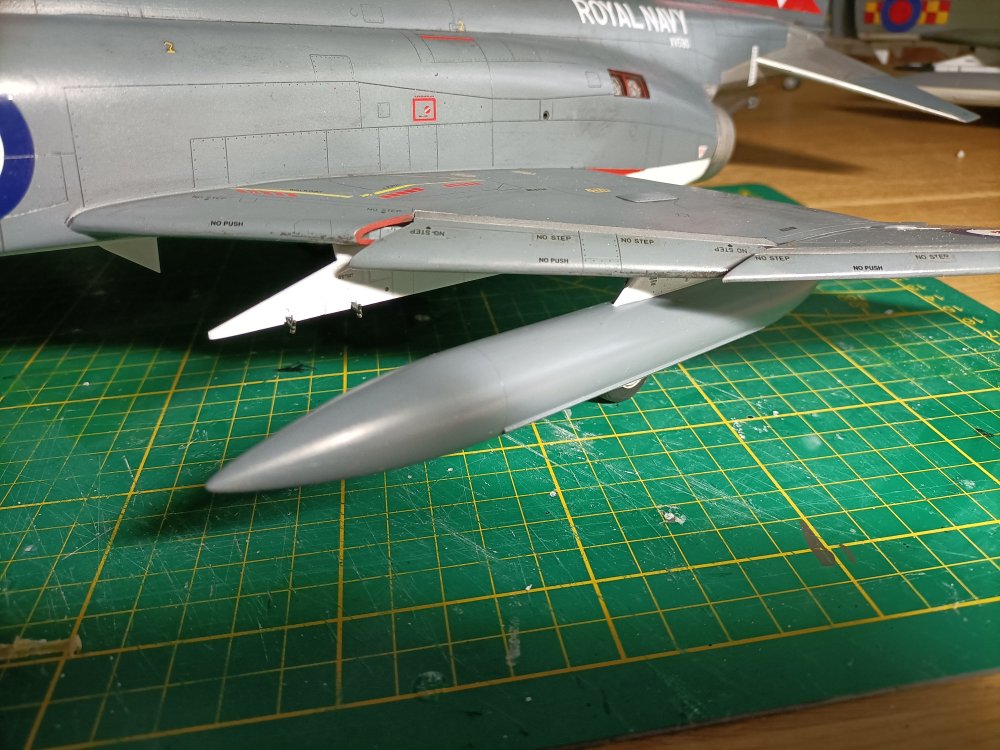
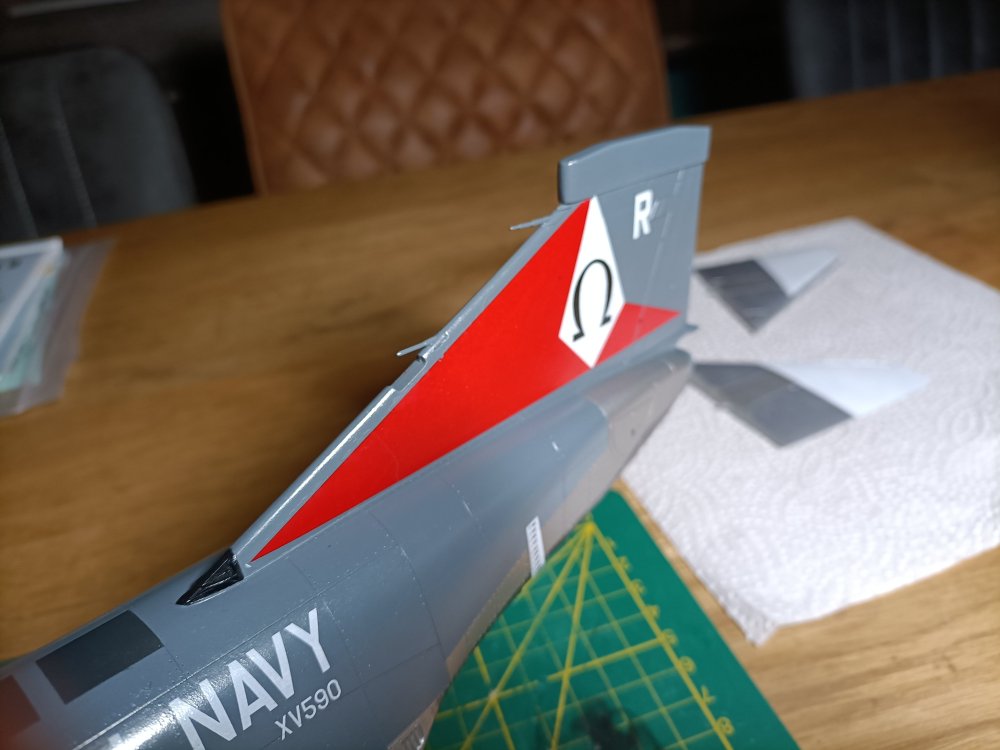
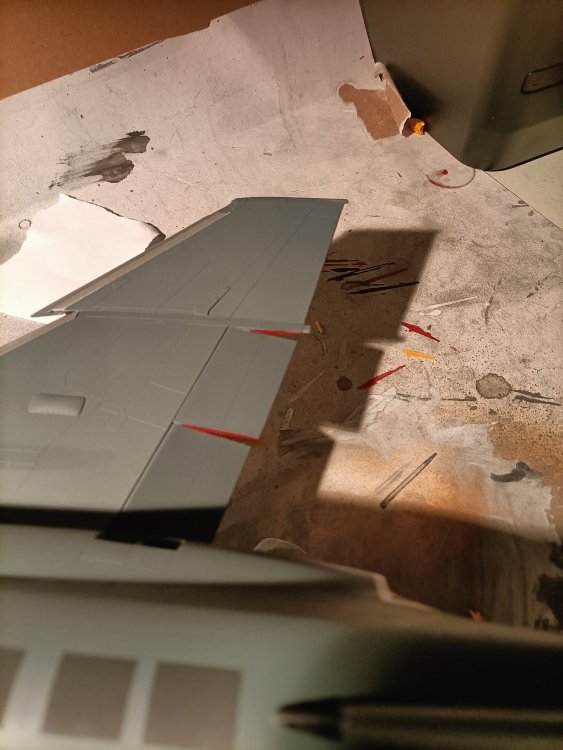
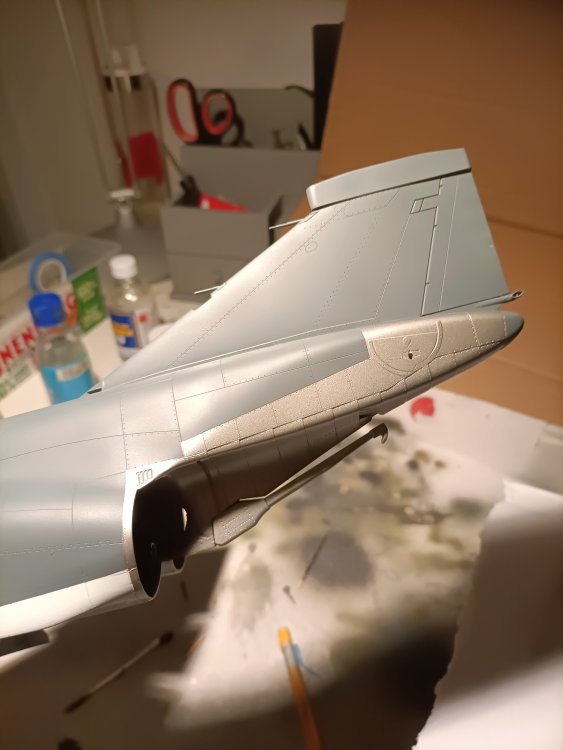
Not just yet Tom.😄. First the details such as the shiny bits of the slats mechanism (steel?). I sprayed them aluminium to kill off the shine. Also painted the red edges of the control surfaces. Really hate red, no matter how well you mask, it always seeps under the tape. Oh well. But soon a coat of varnish and then Tom's decals.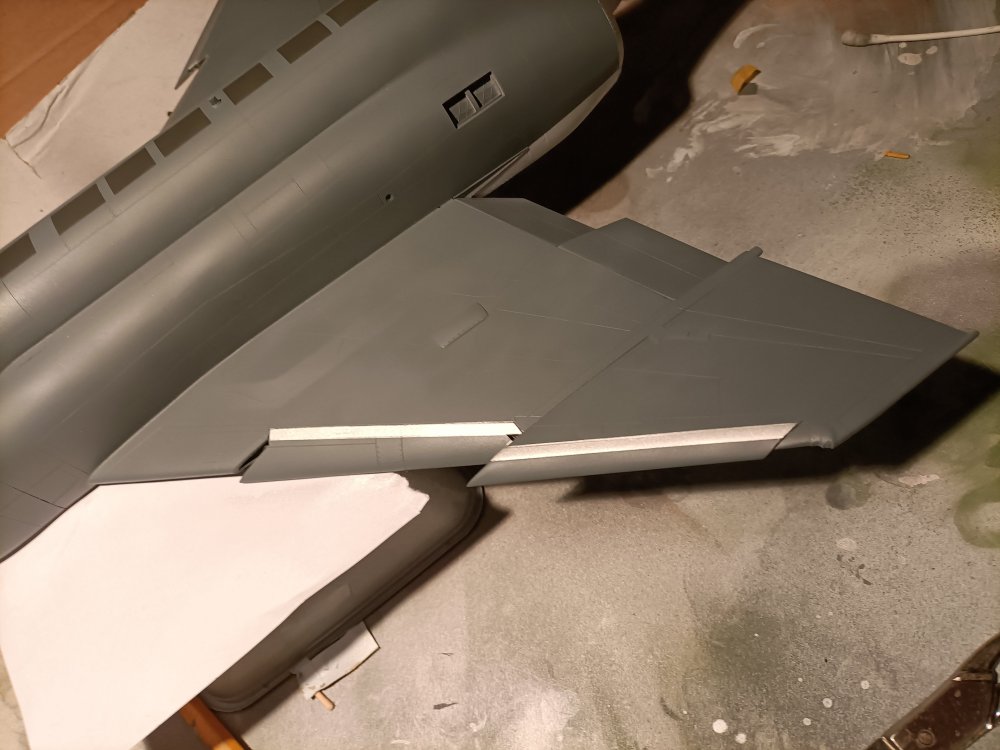

- 76 replies
-
- 5
-
-
- revell
- 1/32 phantom
- (and 1 more)
-
RN FG-1 Phantom 1/32 scratch conversion
Wingco57 replied to Wingco57's topic in LSM 1/35 and Larger Work In Progress
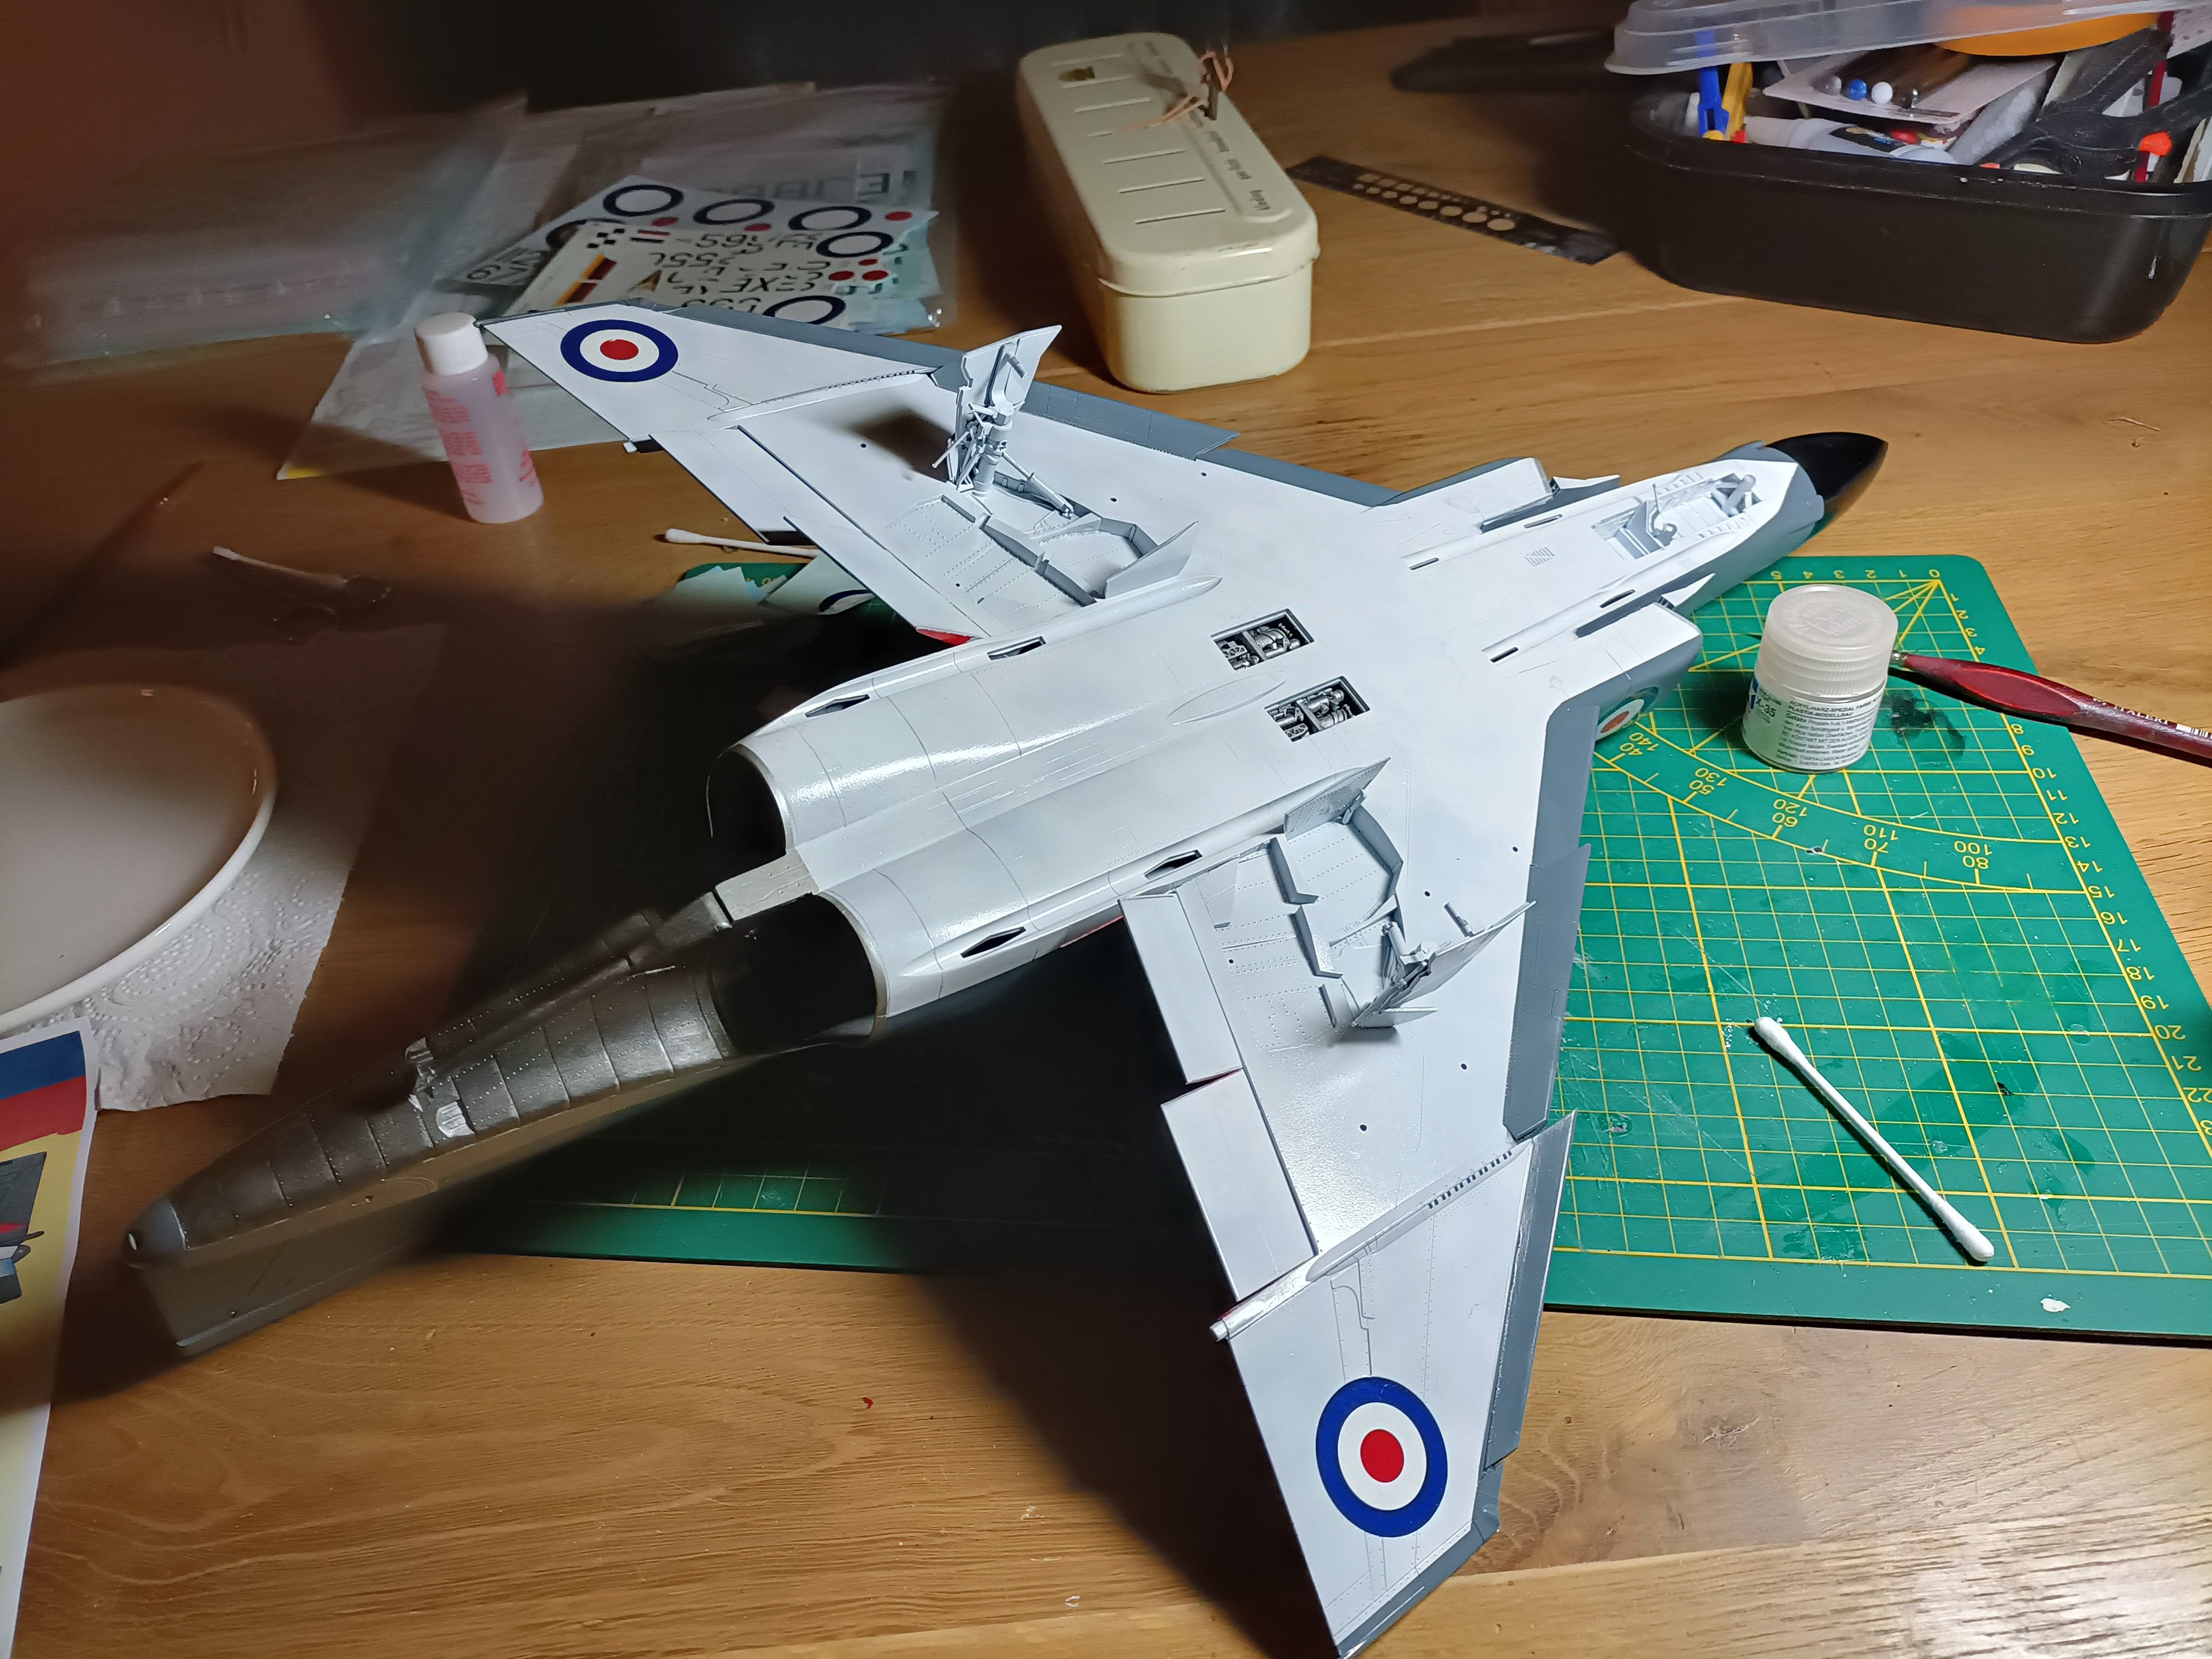
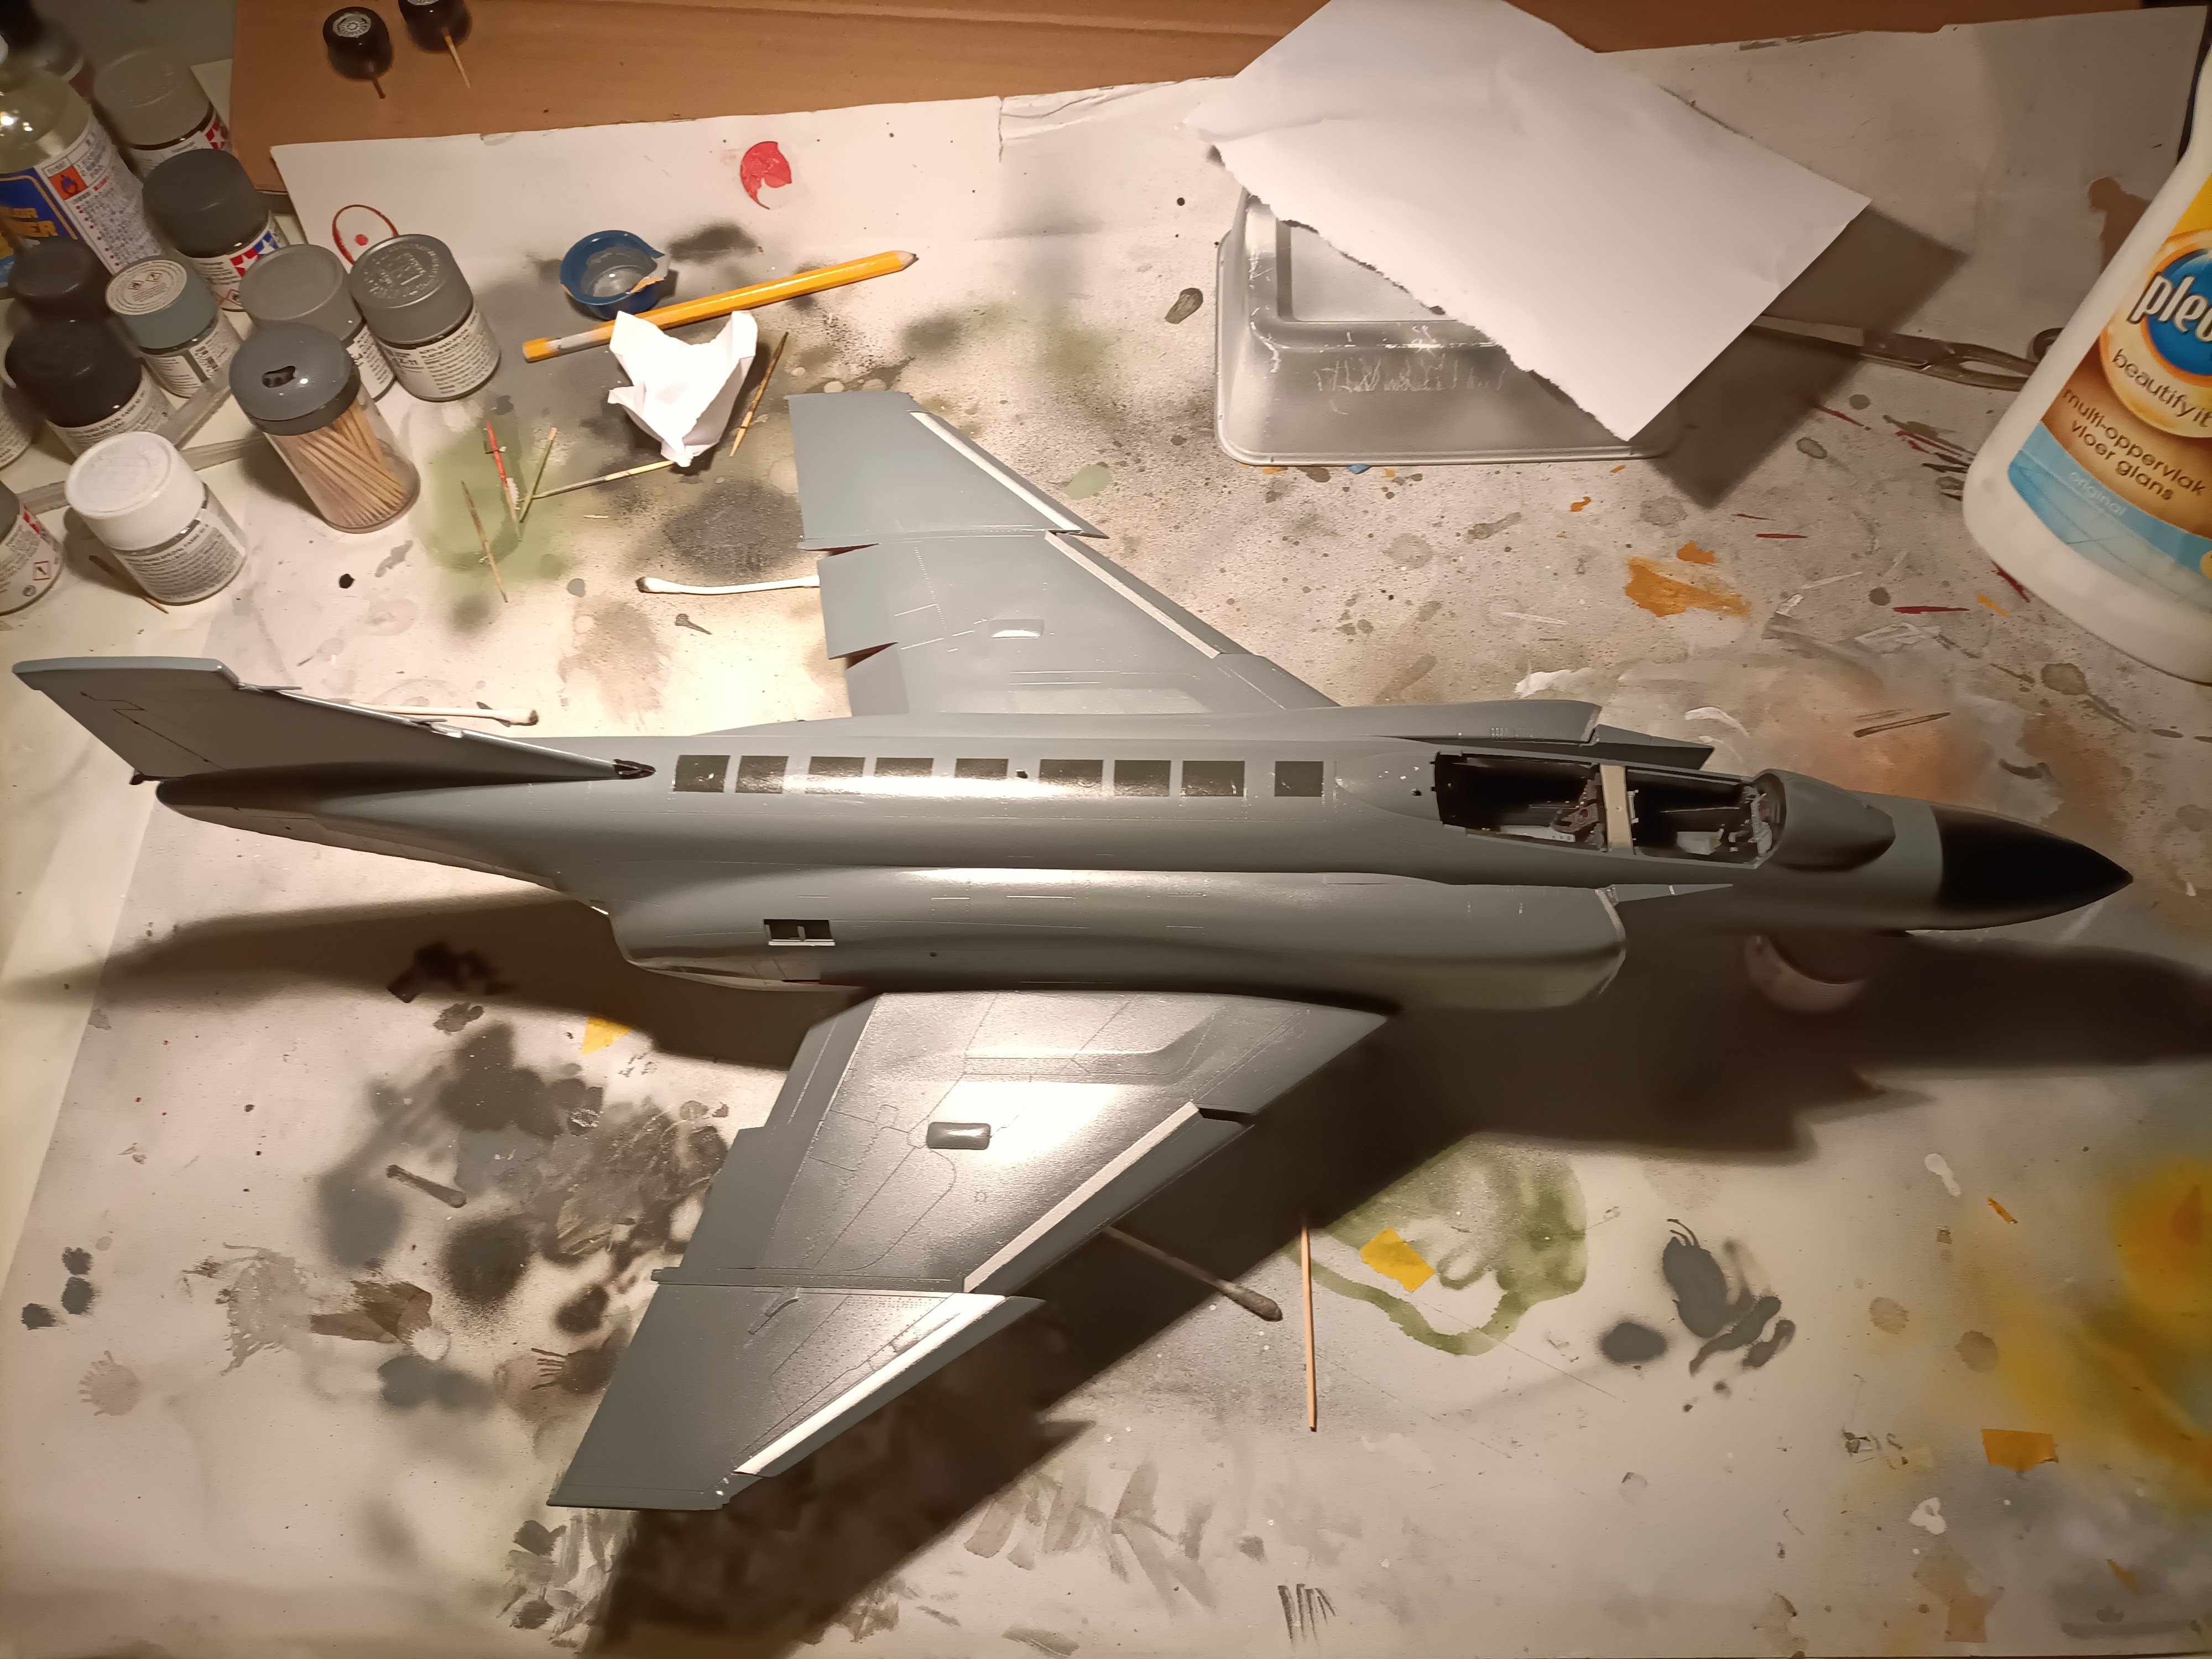
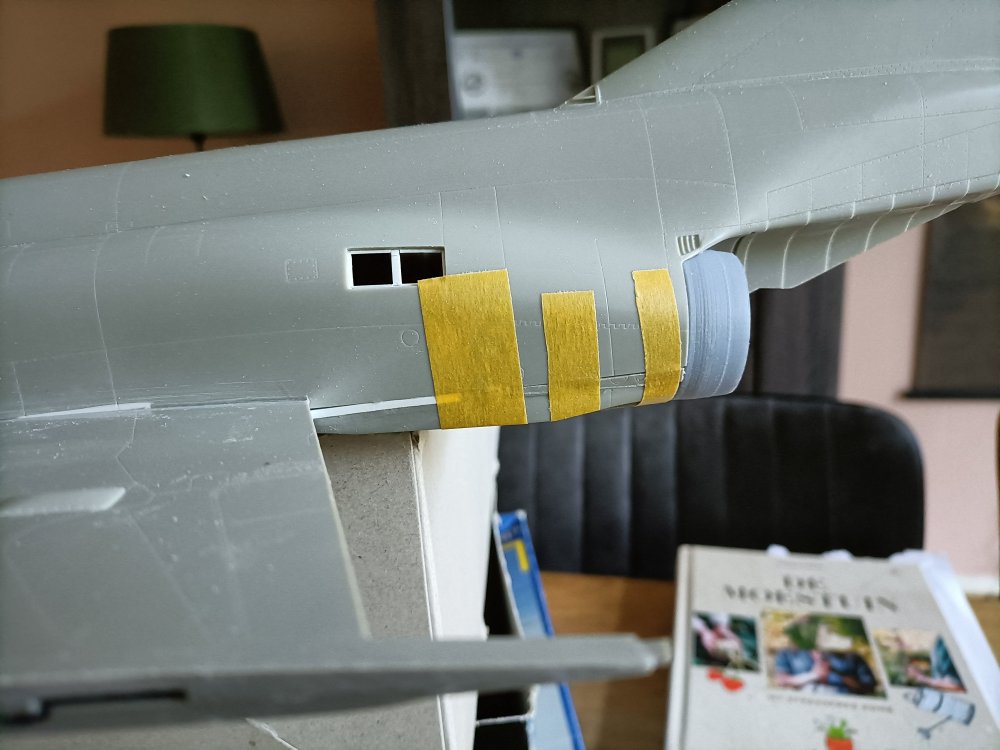
Yes I have. Thanks to a very generous friend.😃 The dark grey/black panels have been sprayed. Difficult to determine the correct dimensions due to conflicting references.
- 76 replies
-
- 4
-
-
- revell
- 1/32 phantom
- (and 1 more)
-
RN FG-1 Phantom 1/32 scratch conversion
Wingco57 replied to Wingco57's topic in LSM 1/35 and Larger Work In Progress
Time does fly. Been working again on the FG1.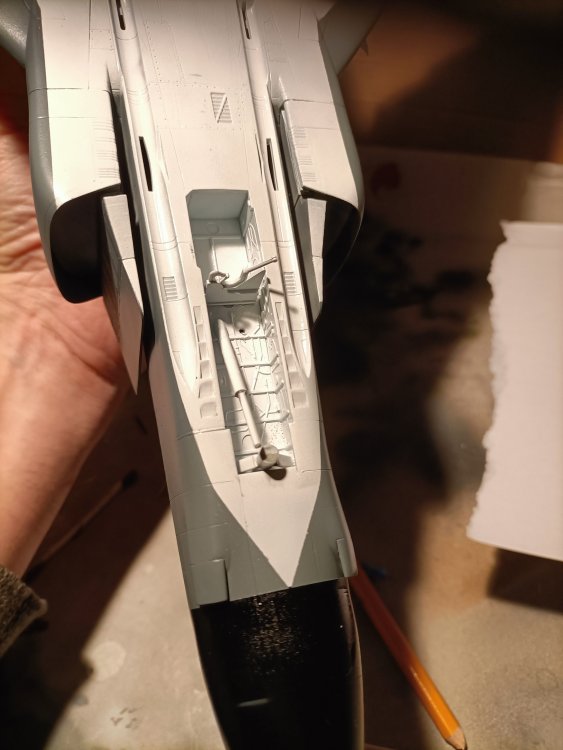

- 76 replies
-
- 7
-
-
- revell
- 1/32 phantom
- (and 1 more)
-
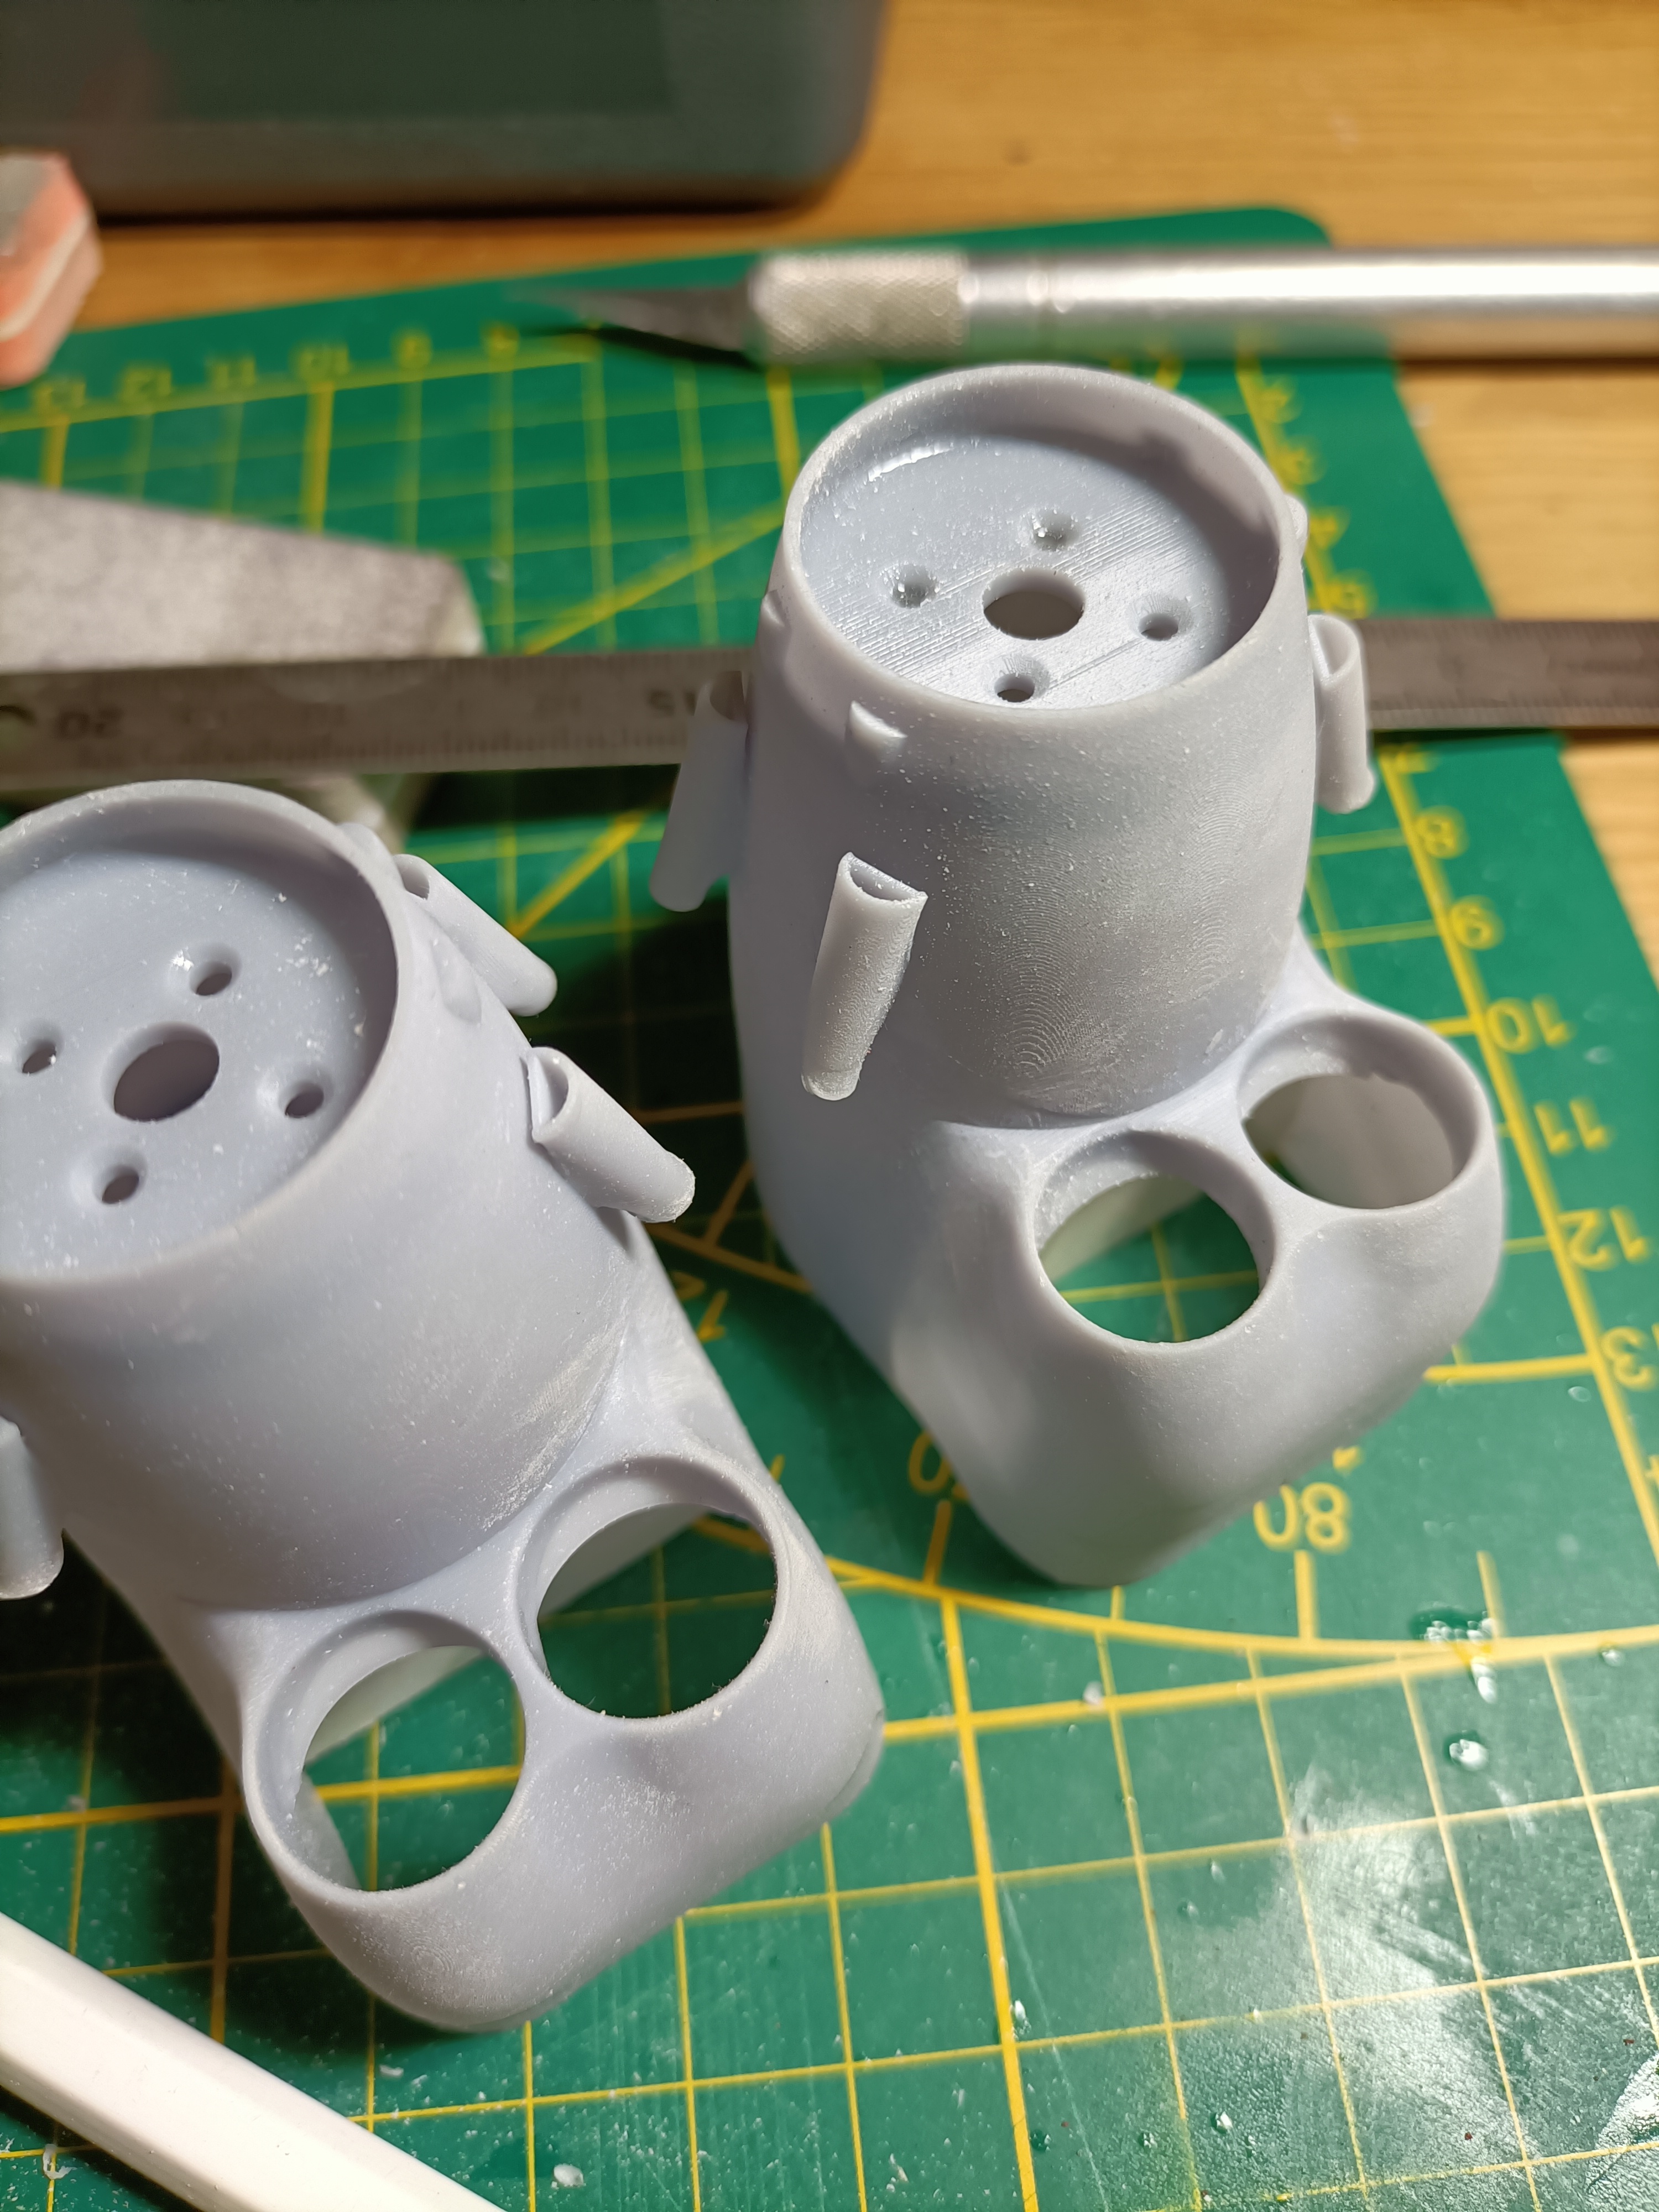
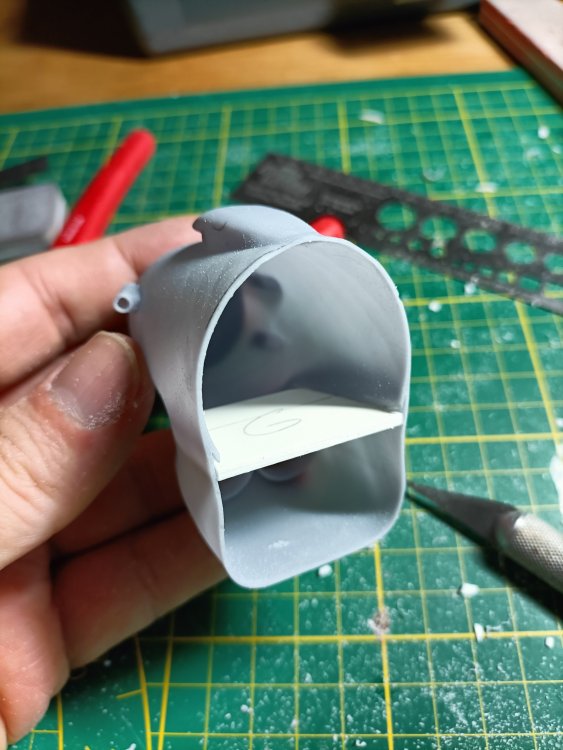
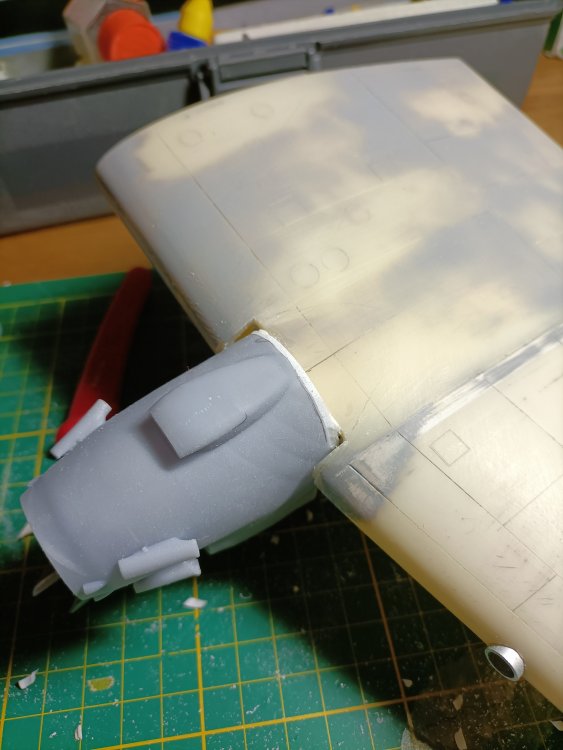
Testfit.

-
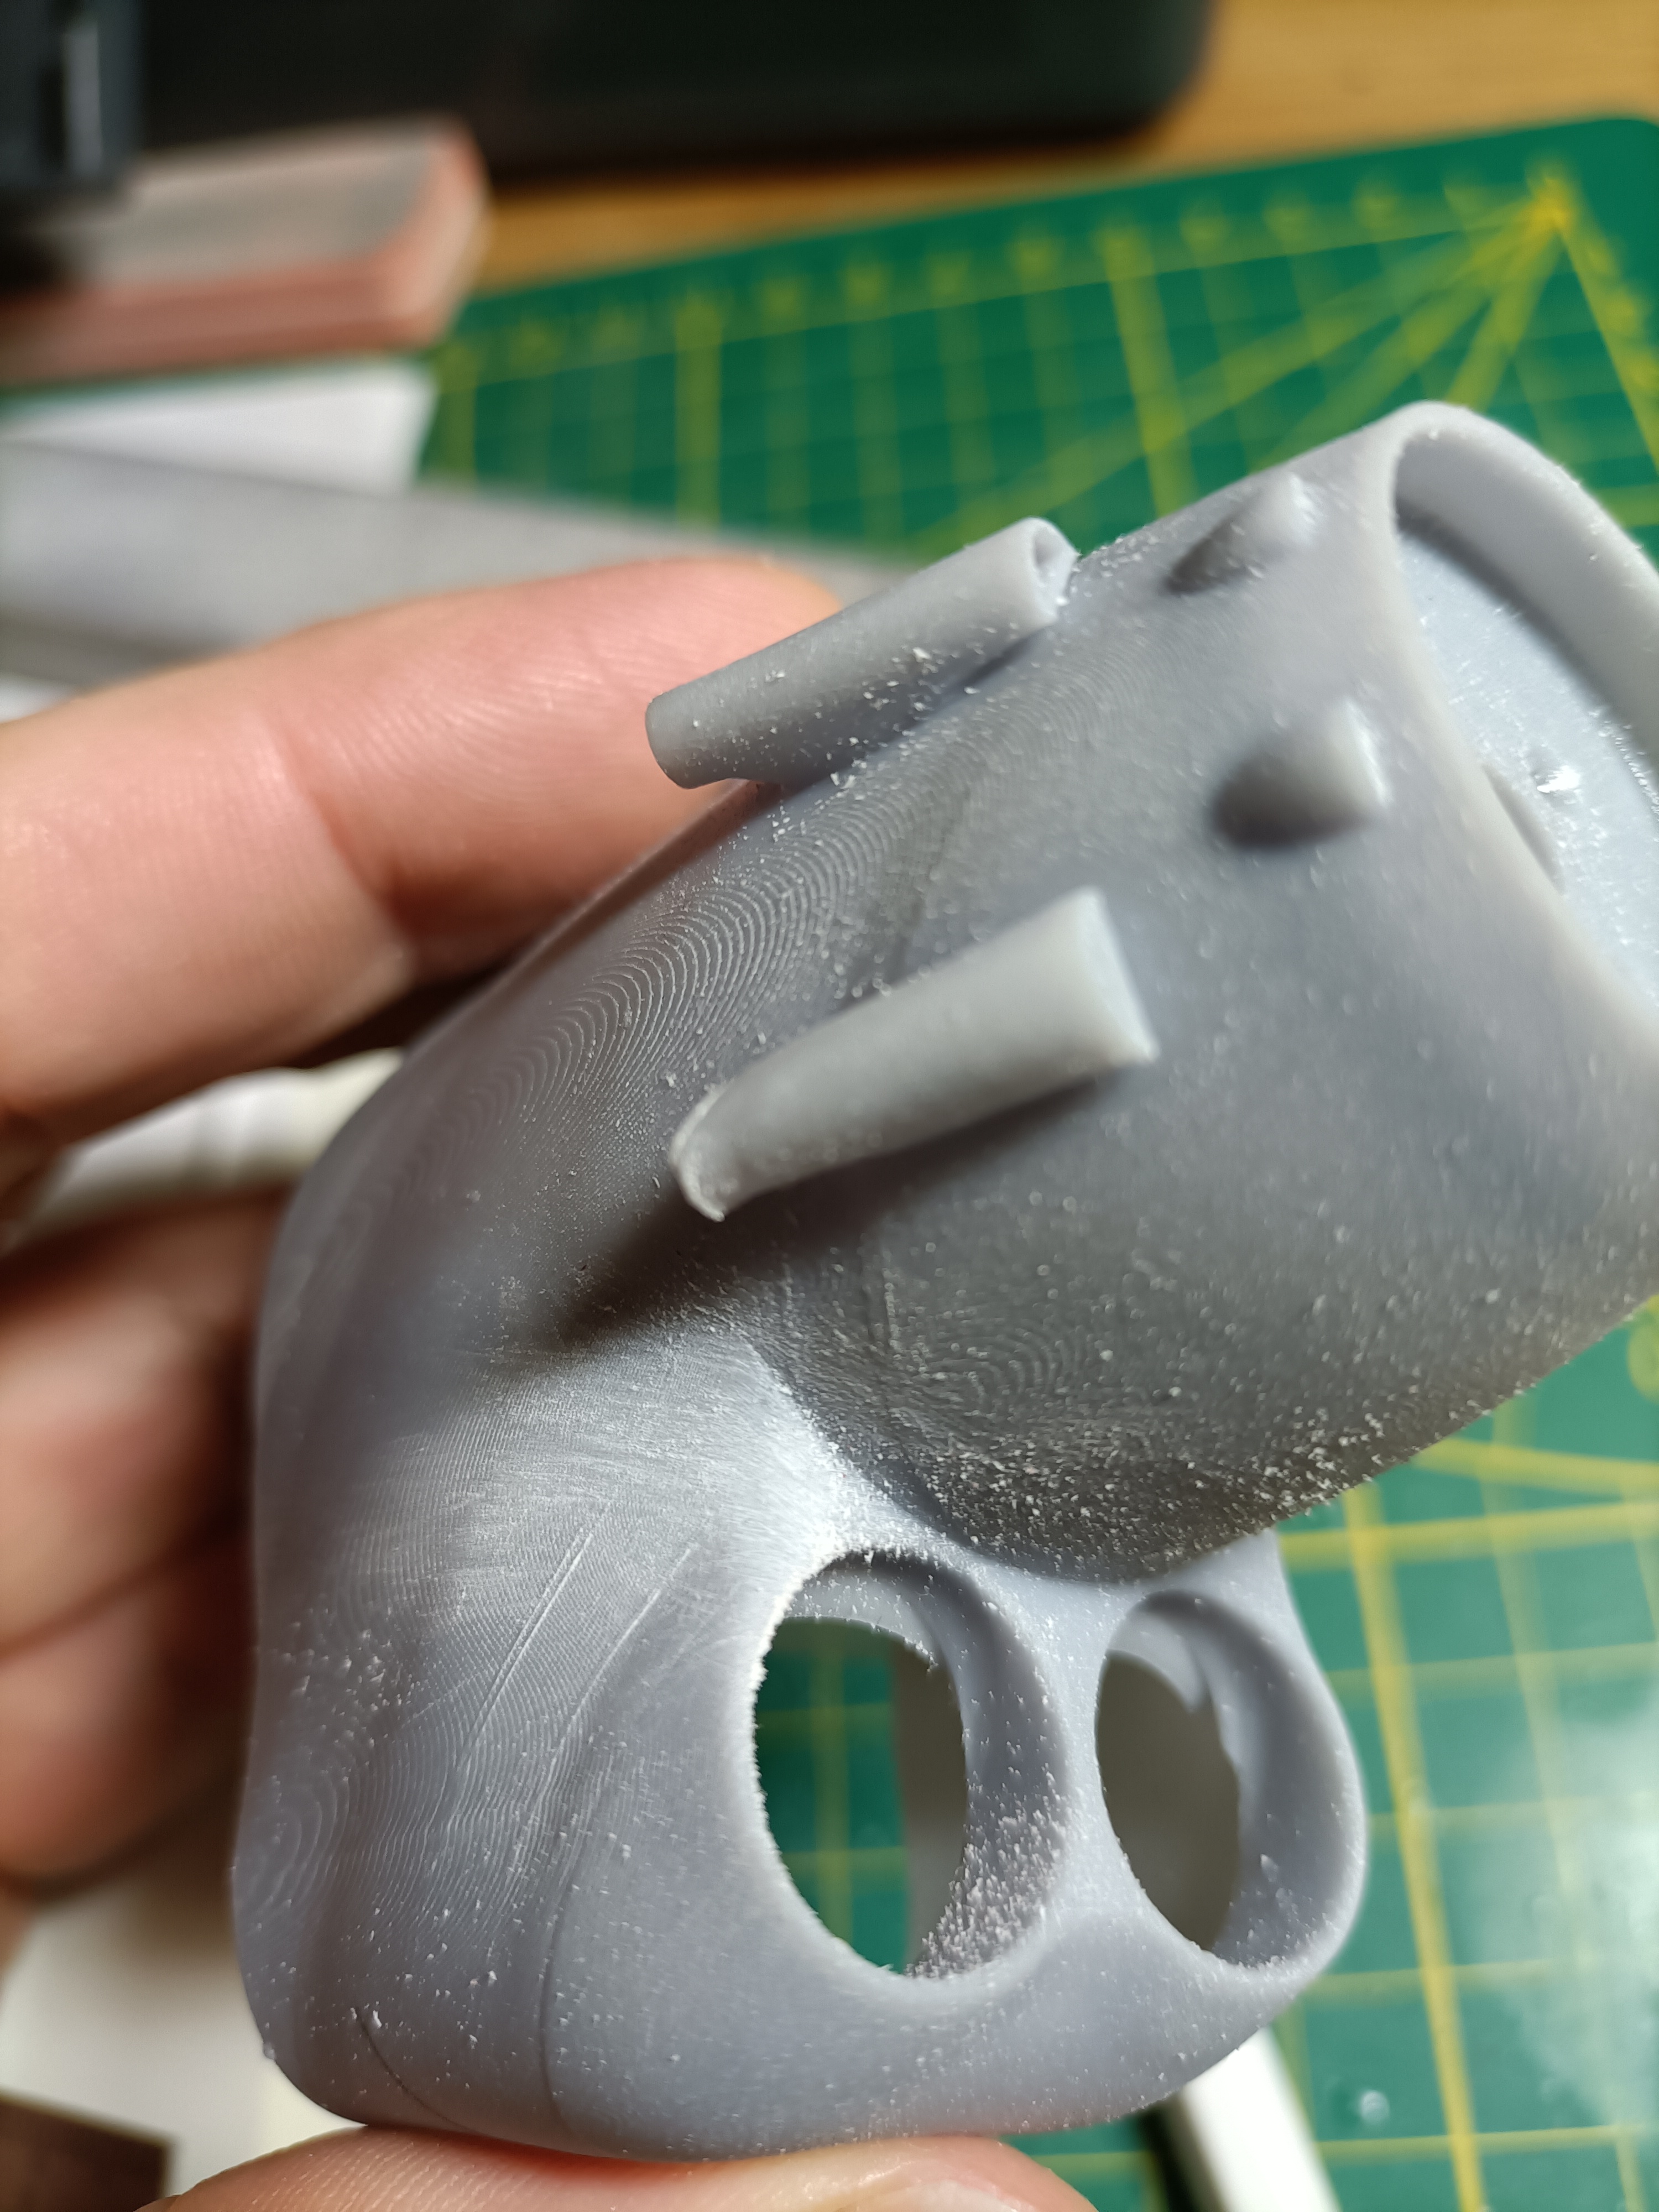
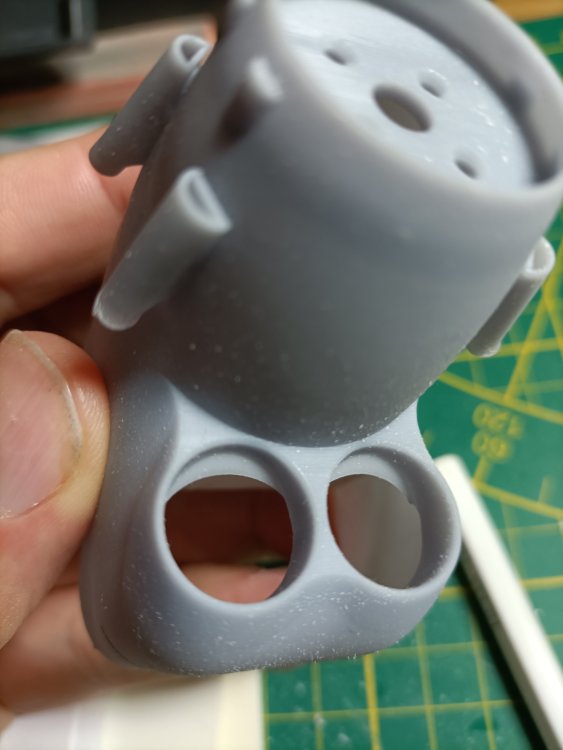
Some reshaping of the corners. They are a bit flat, but after some gentle scraping much better.


-
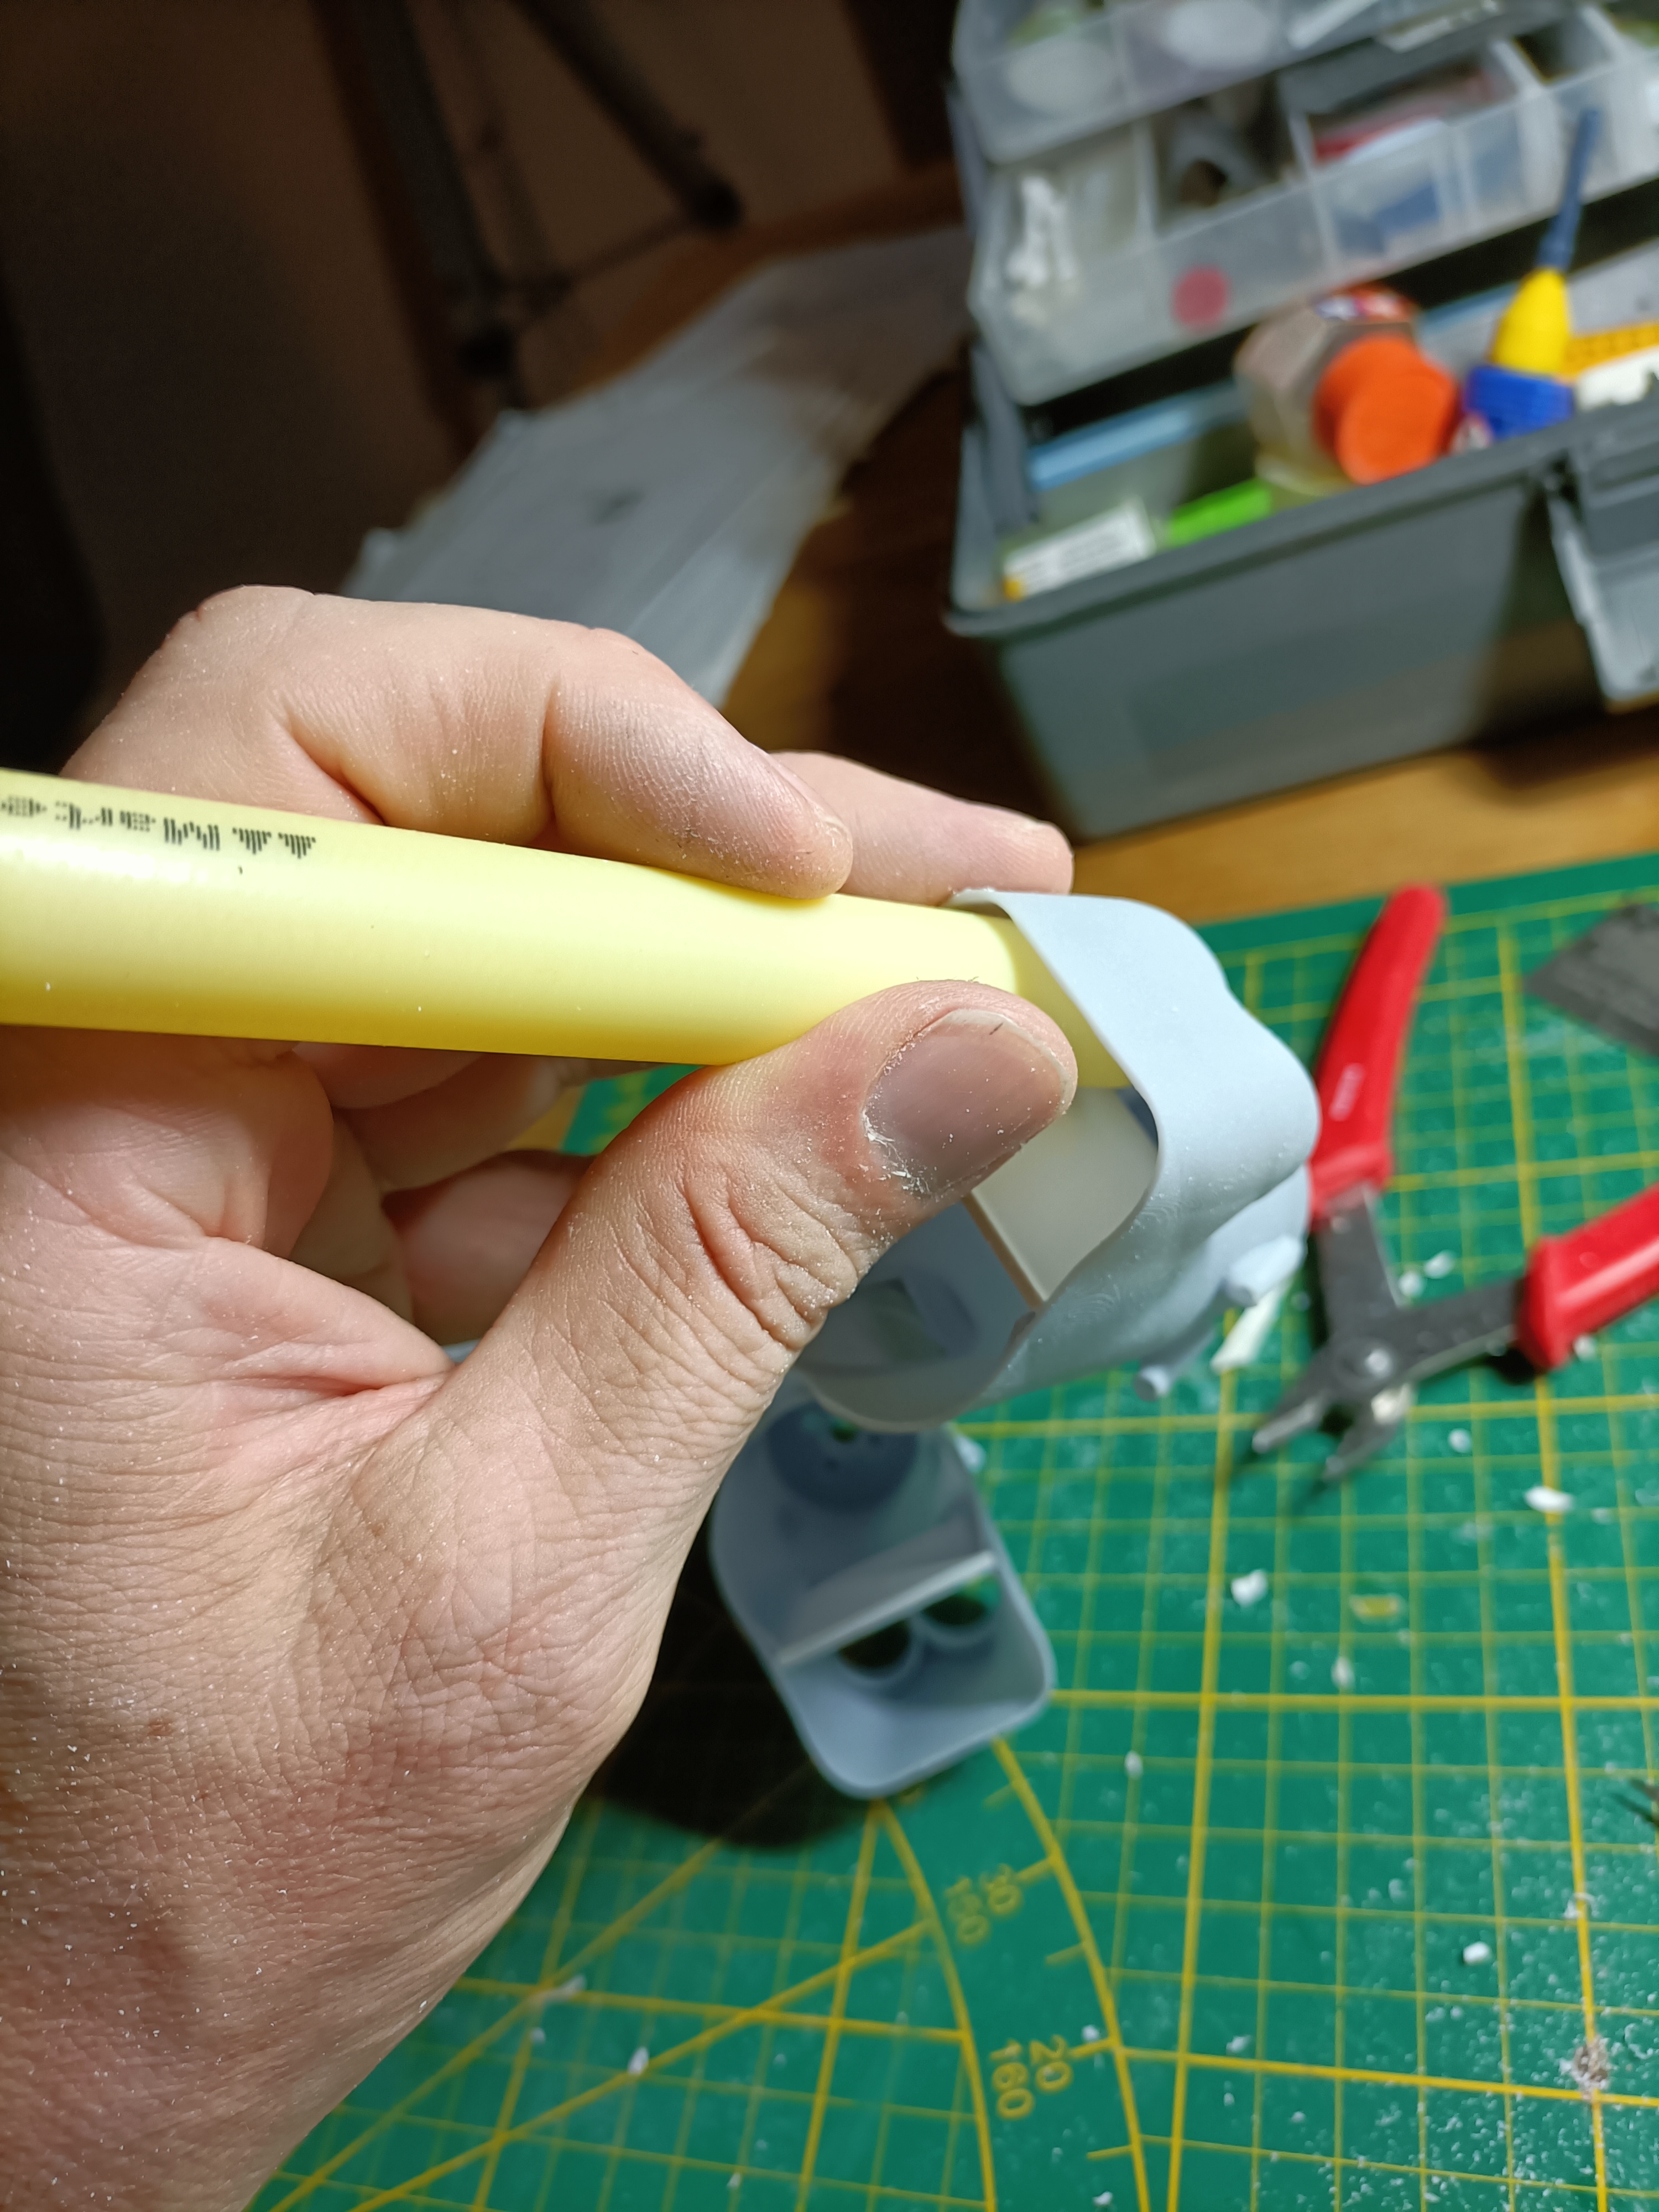
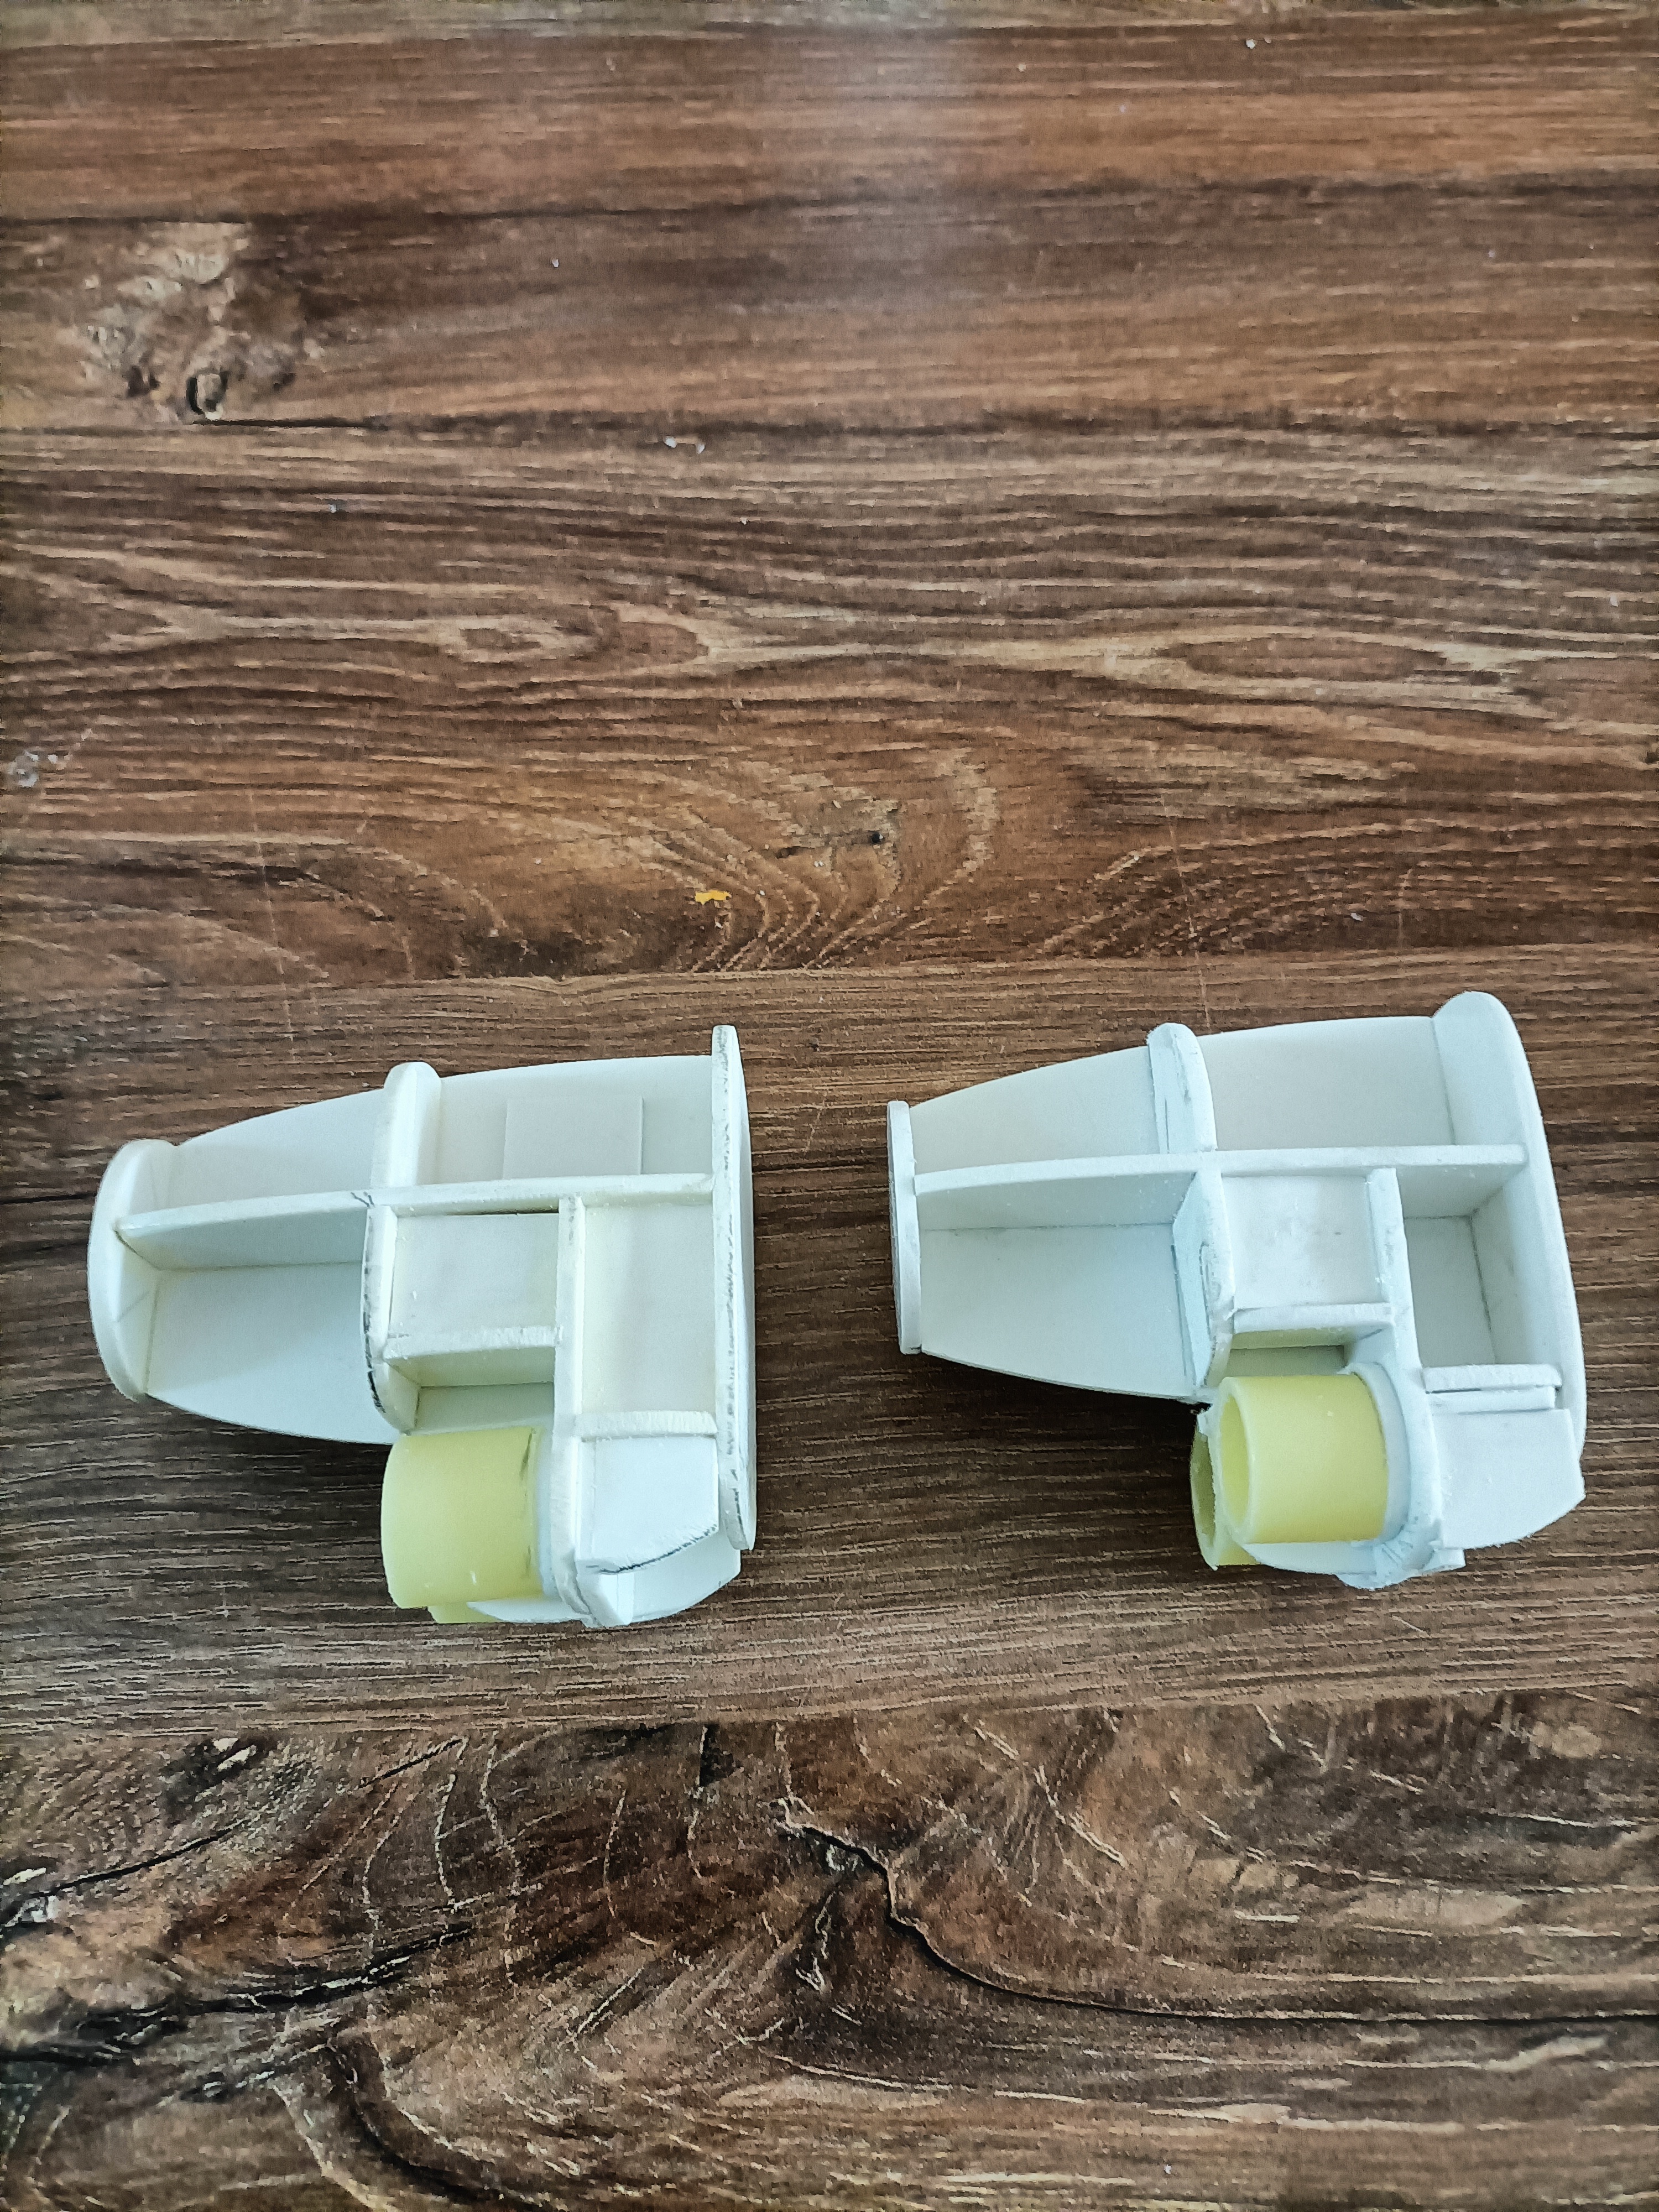
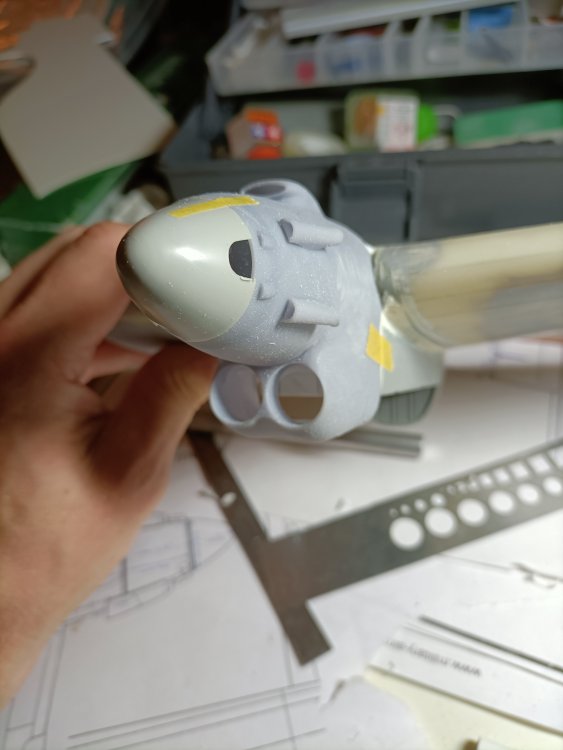
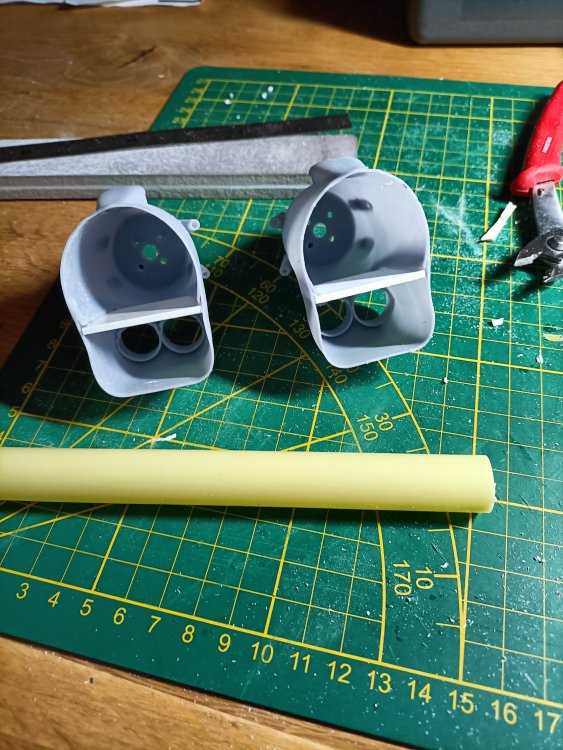
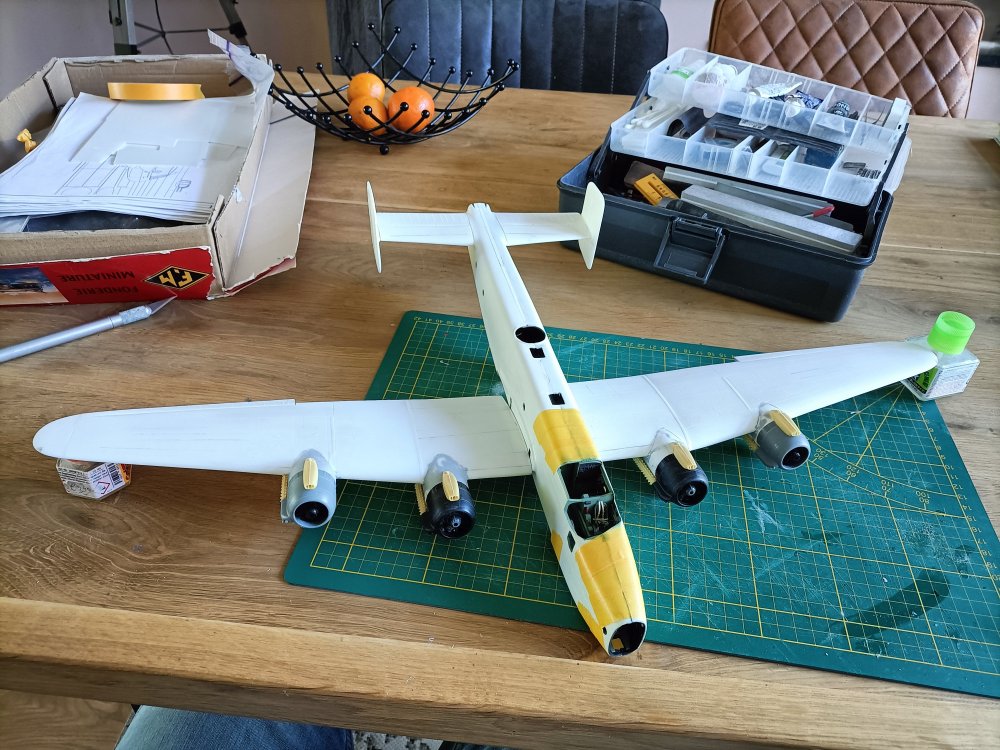
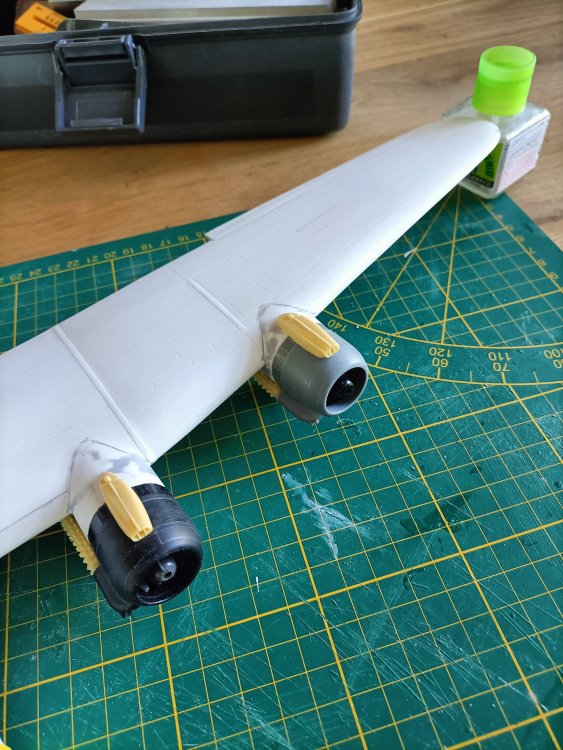
Spent a glorious week in beautiful Lincolnshire, also known as bomber county. After so much inspiration my vingers itched to get some modelling done. I decided it is time to finish the Manchester, a project I have been working on since the end of 2015. Recently I got these beautifully rendered nacelles. So the first option made from plasticard was obsolete. The wall thickness is very thin and need some strenghtening. Plastic insulation pipe will be used to represent the radiator cores.


-
1/32 Short Stirling
Wingco57 replied to ThomasProbert's topic in LSM 1/35 and Larger Work In Progress
Great update Tom. A lof of detail can be seen in those wingbays. Will you use Tsonos Megas' build as an example? -
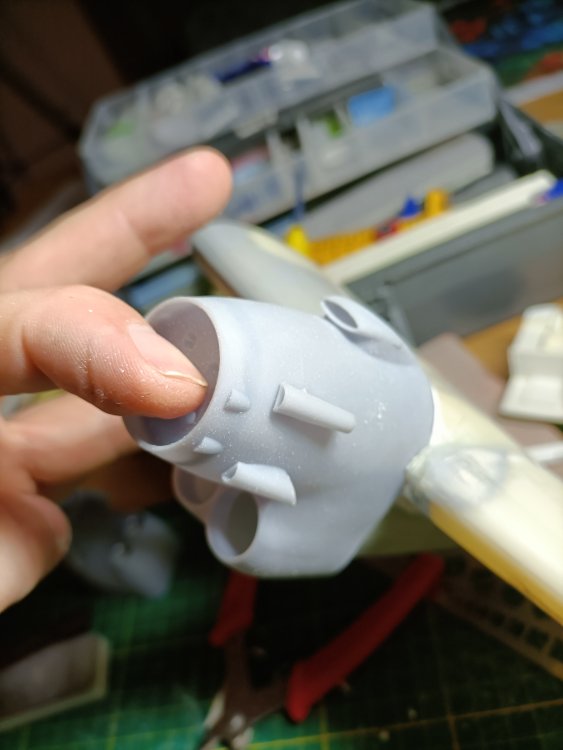
Ahh, it’s all in the composition. Getting there.
-
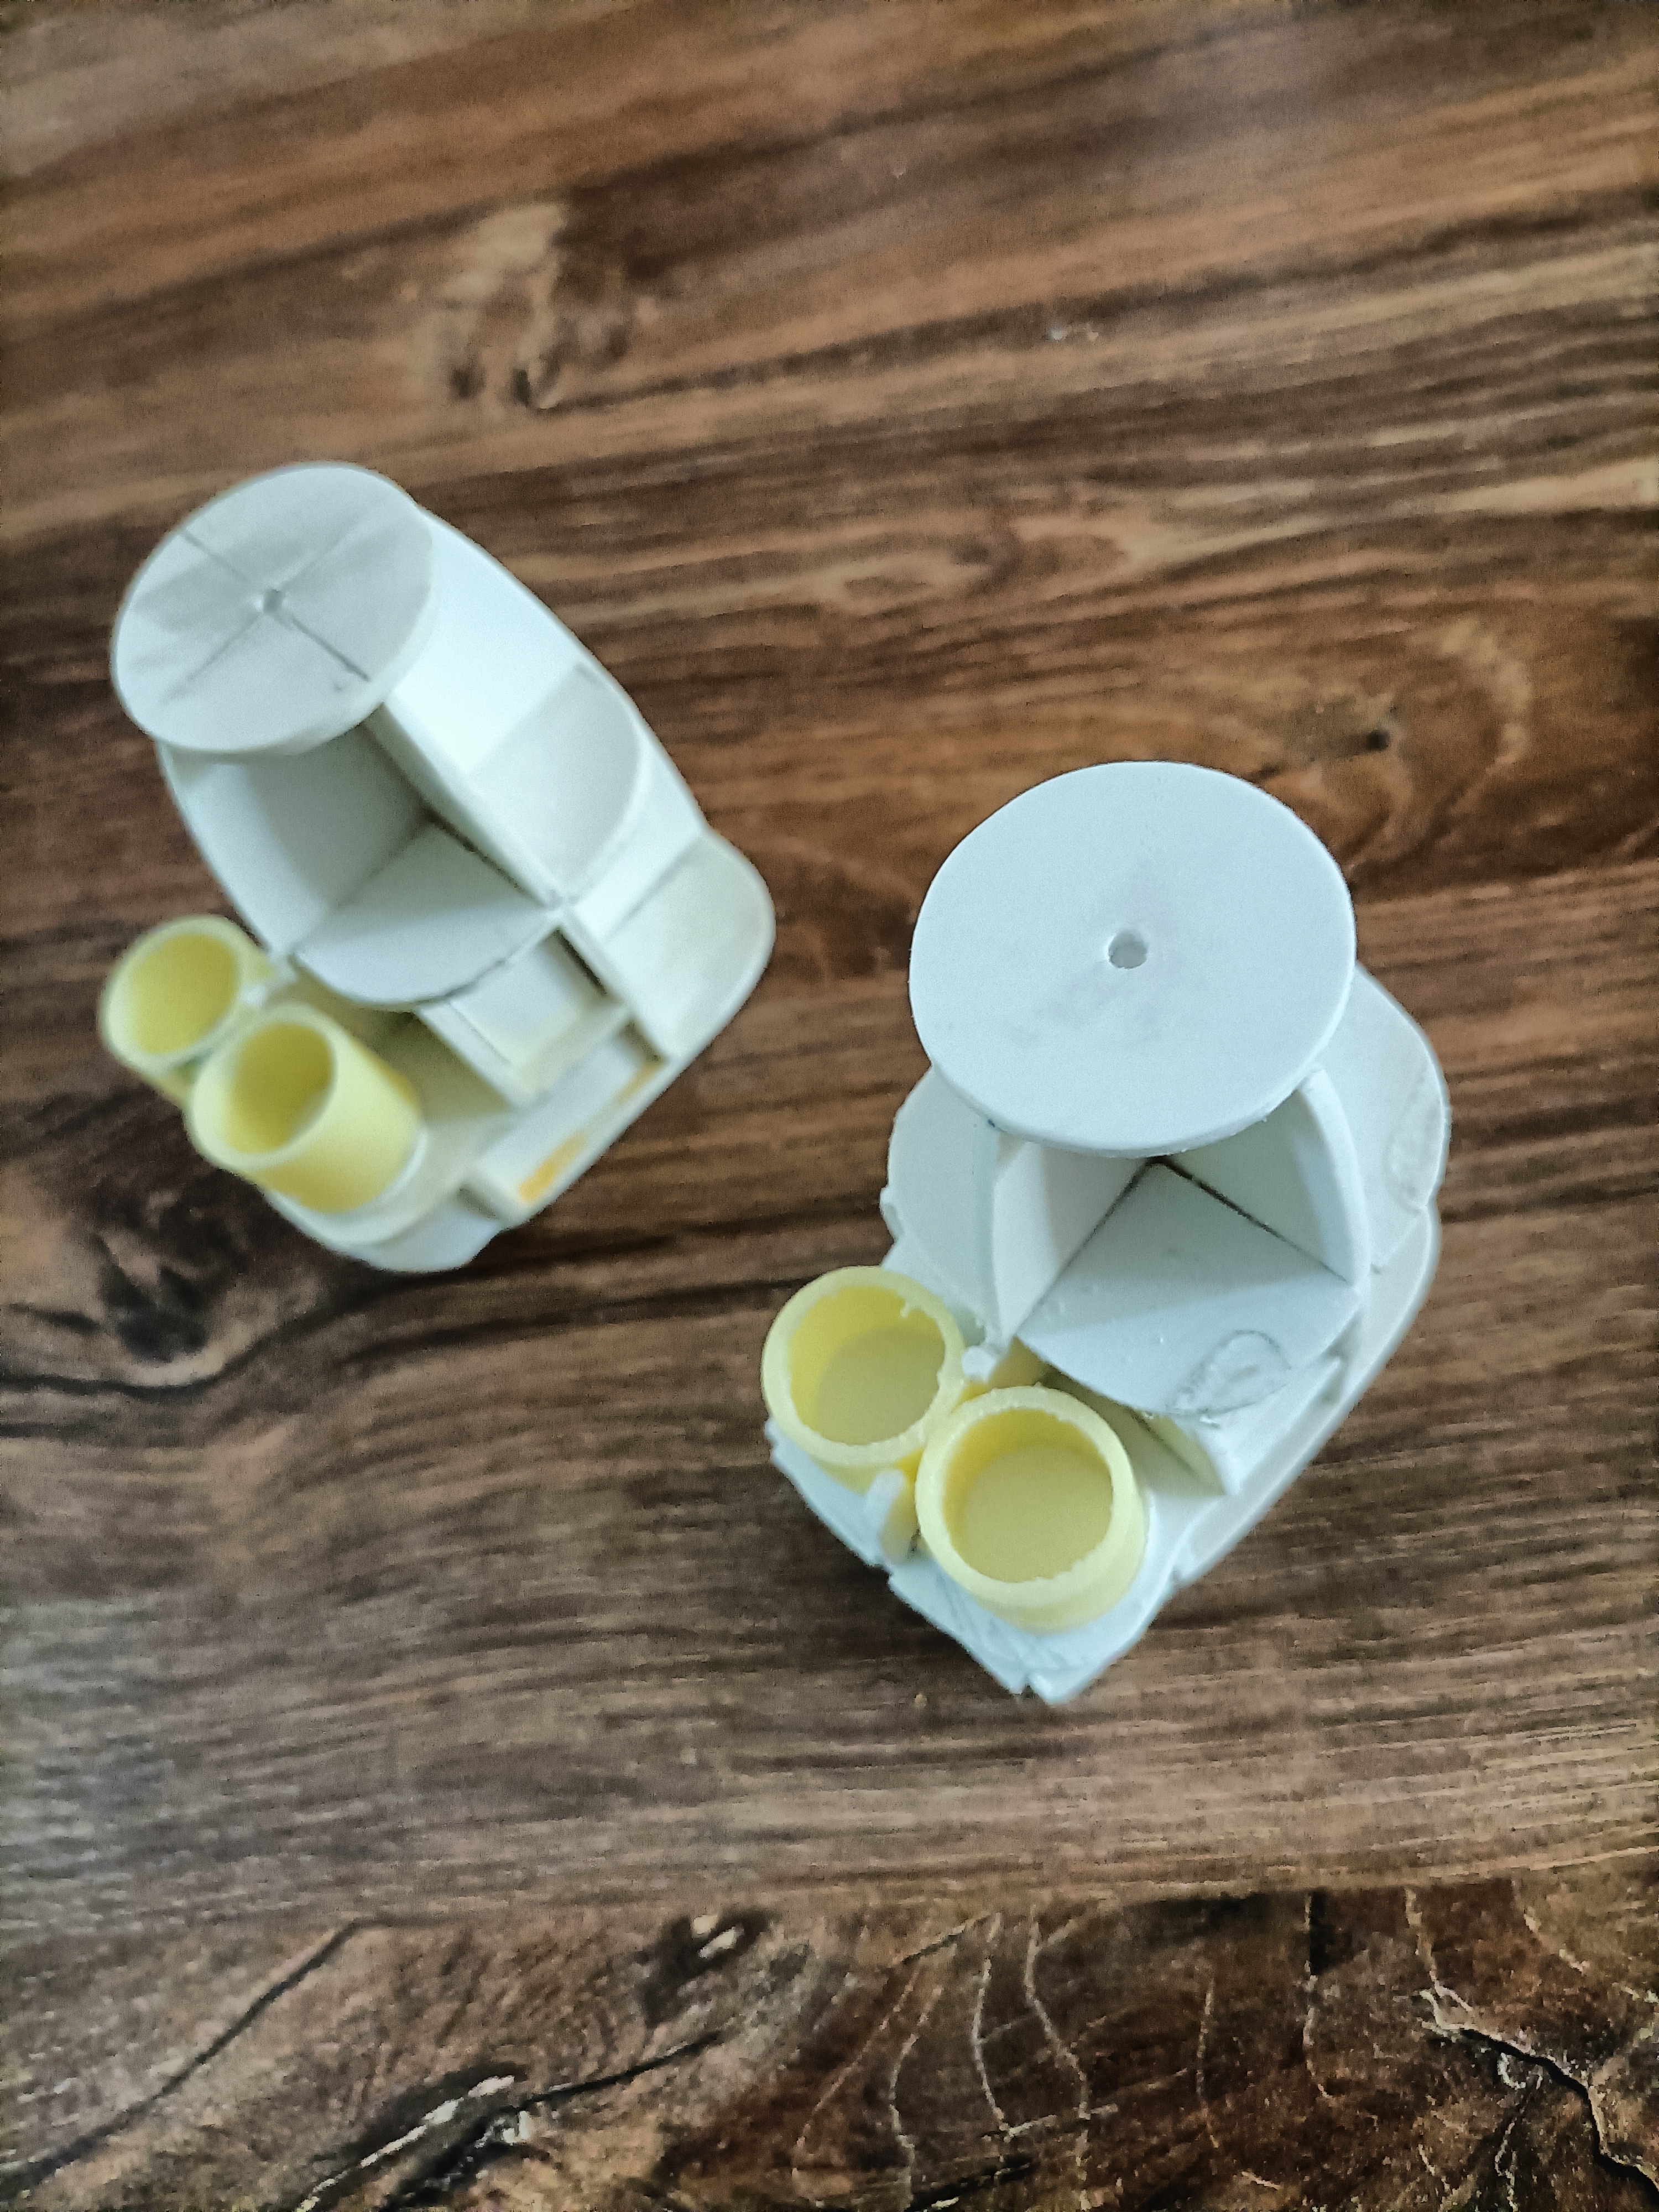
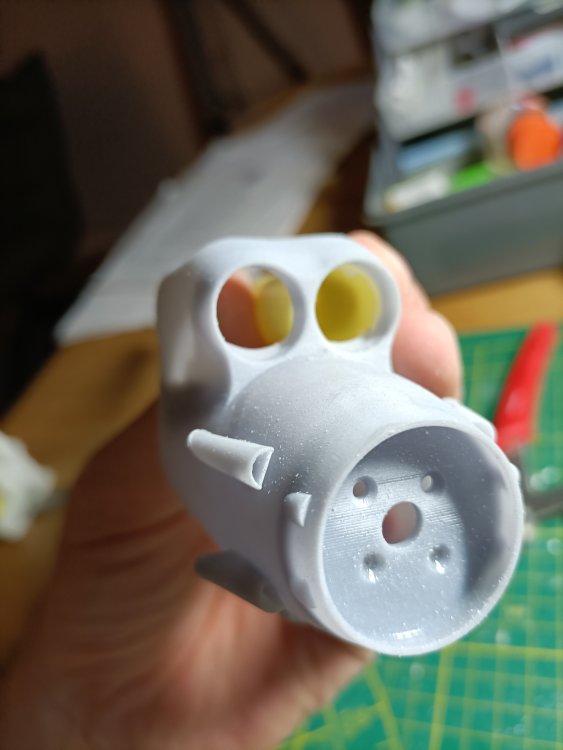
Some progress, another nacelle structure was created.


-
1/32 Short Stirling
Wingco57 replied to ThomasProbert's topic in LSM 1/35 and Larger Work In Progress
Looking forward to see this progressingTom. Good luck.😄 Cheers Cees -
Hi John, This will most likely turn out to be yet another marvellous model by you. Somehow I get the feeling you are not enjoying the experience if the subject kit is not Tamiya. But that is what modelling is all about. Personally I find it tiring to read and mostly I look at the pics of a beautiful model progressing at terrifying speed and skip the text. Pity really. Cheers Cees
-
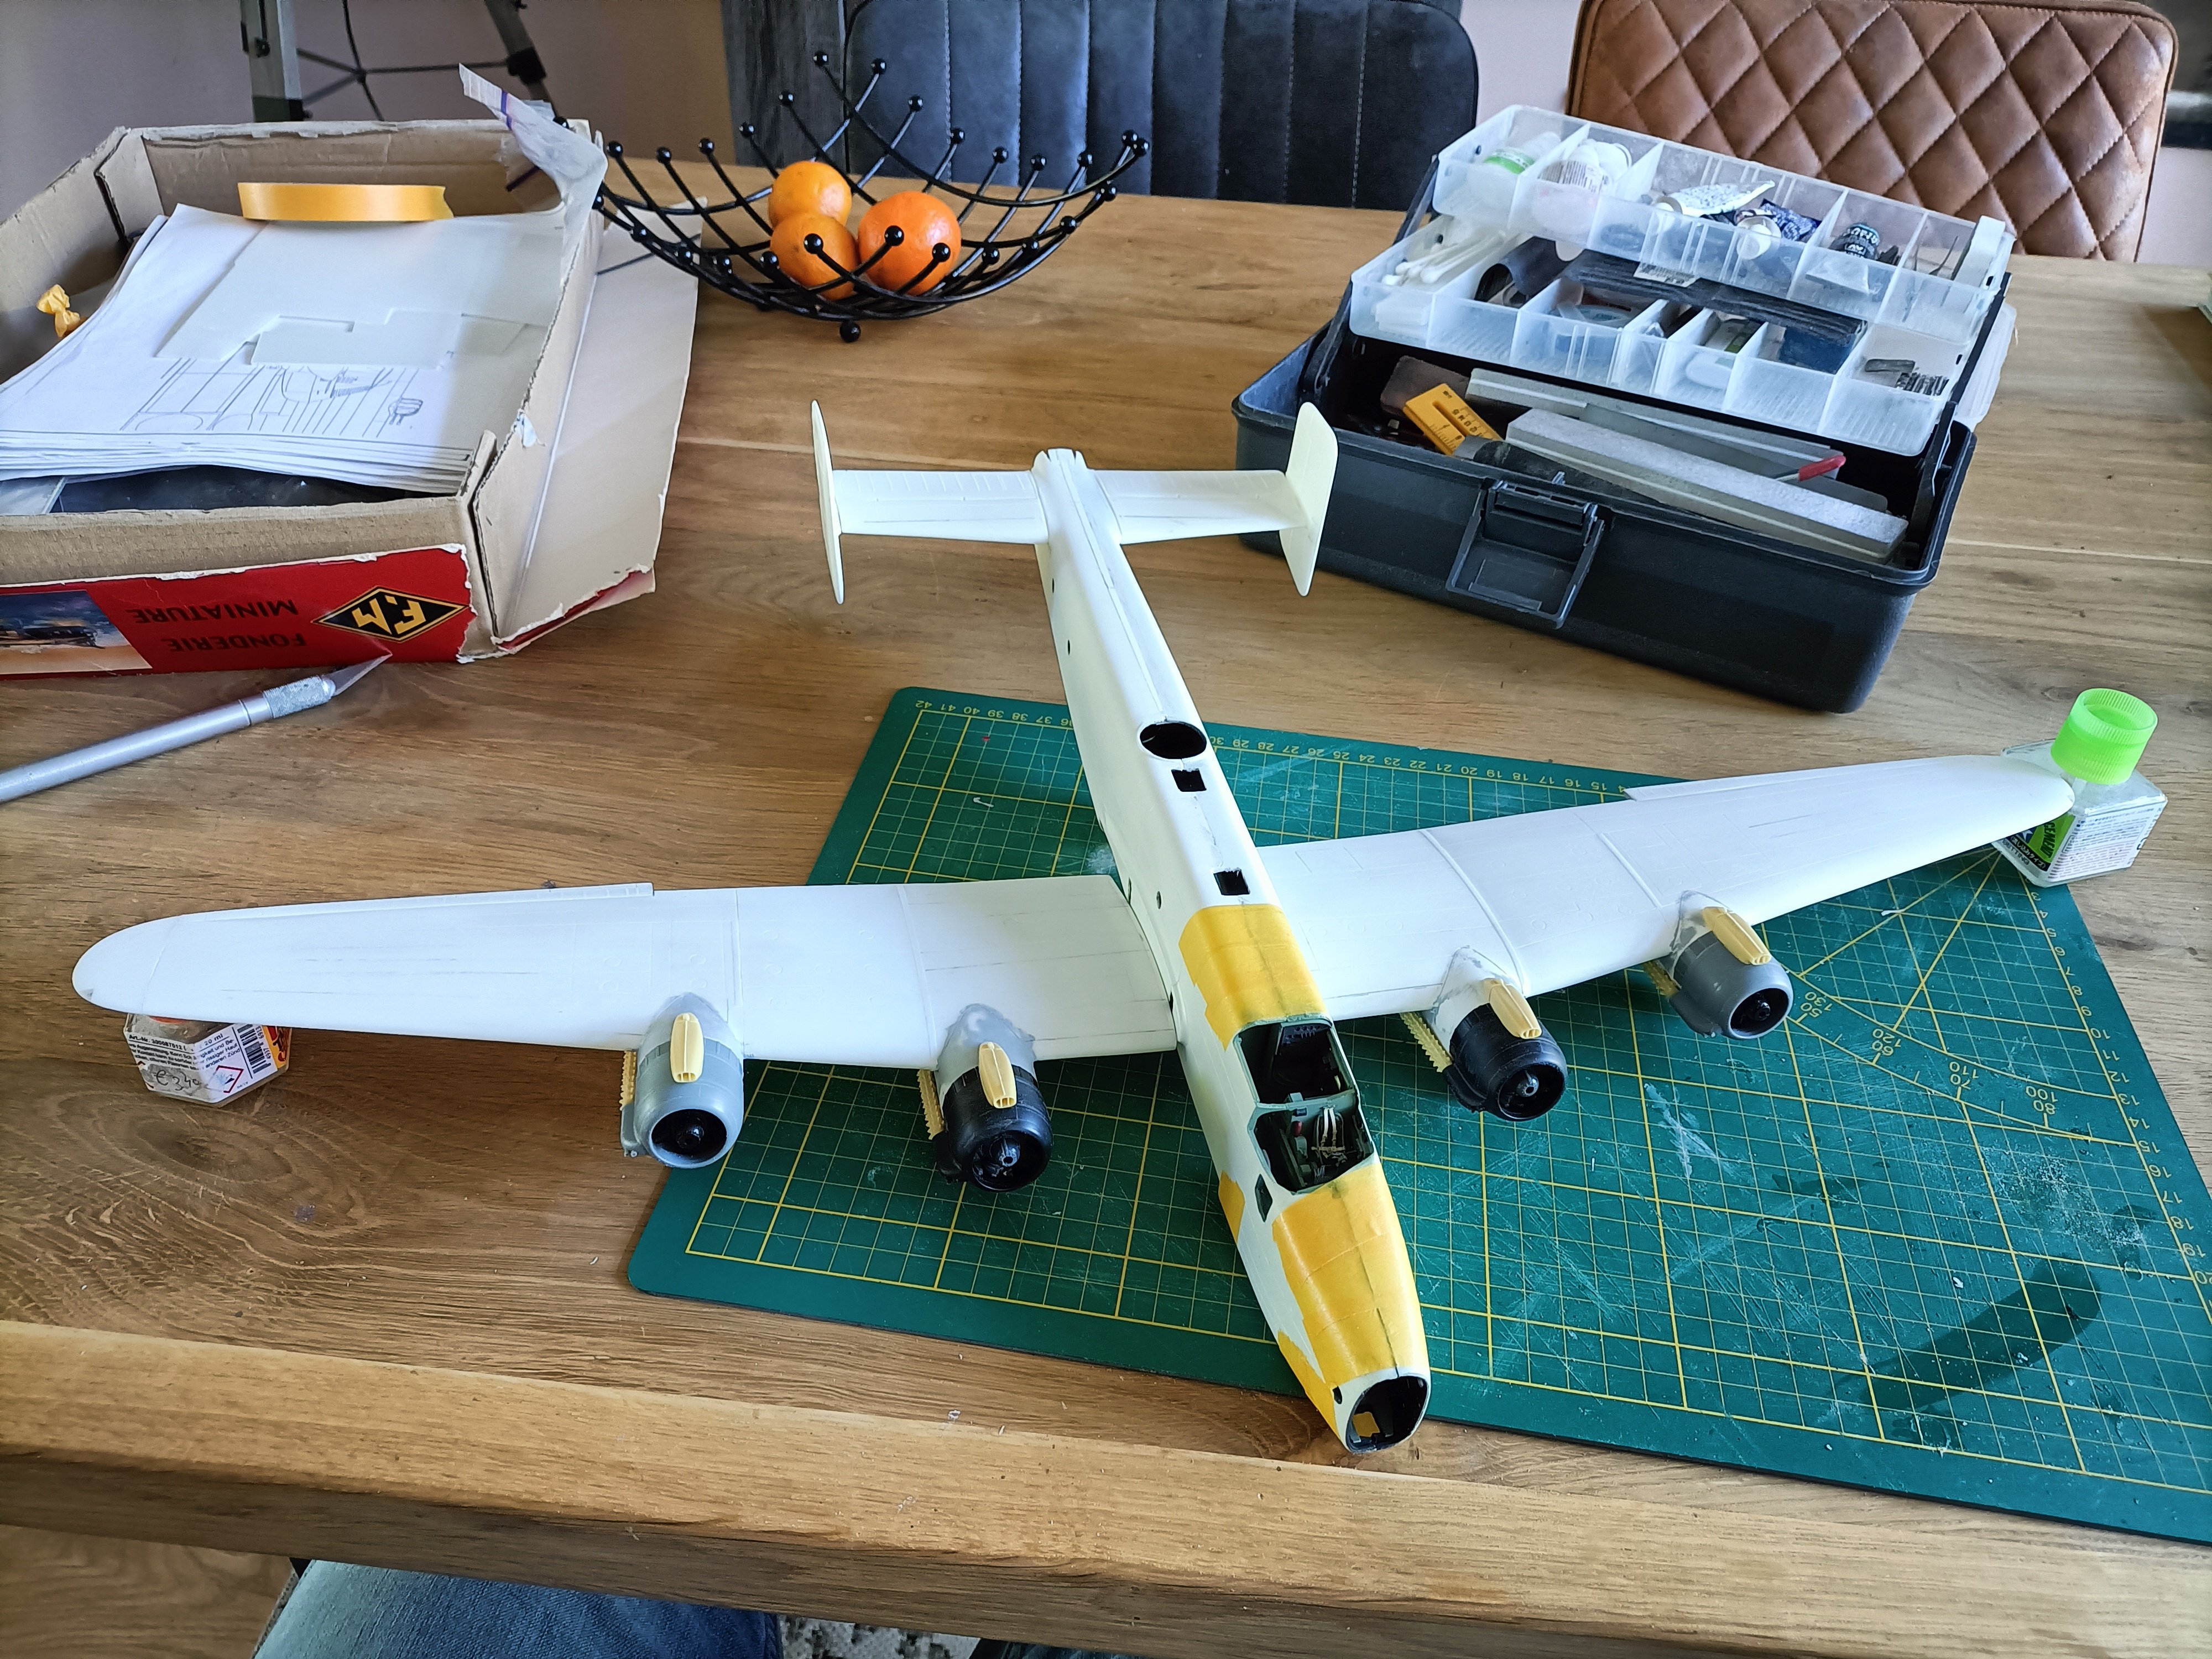
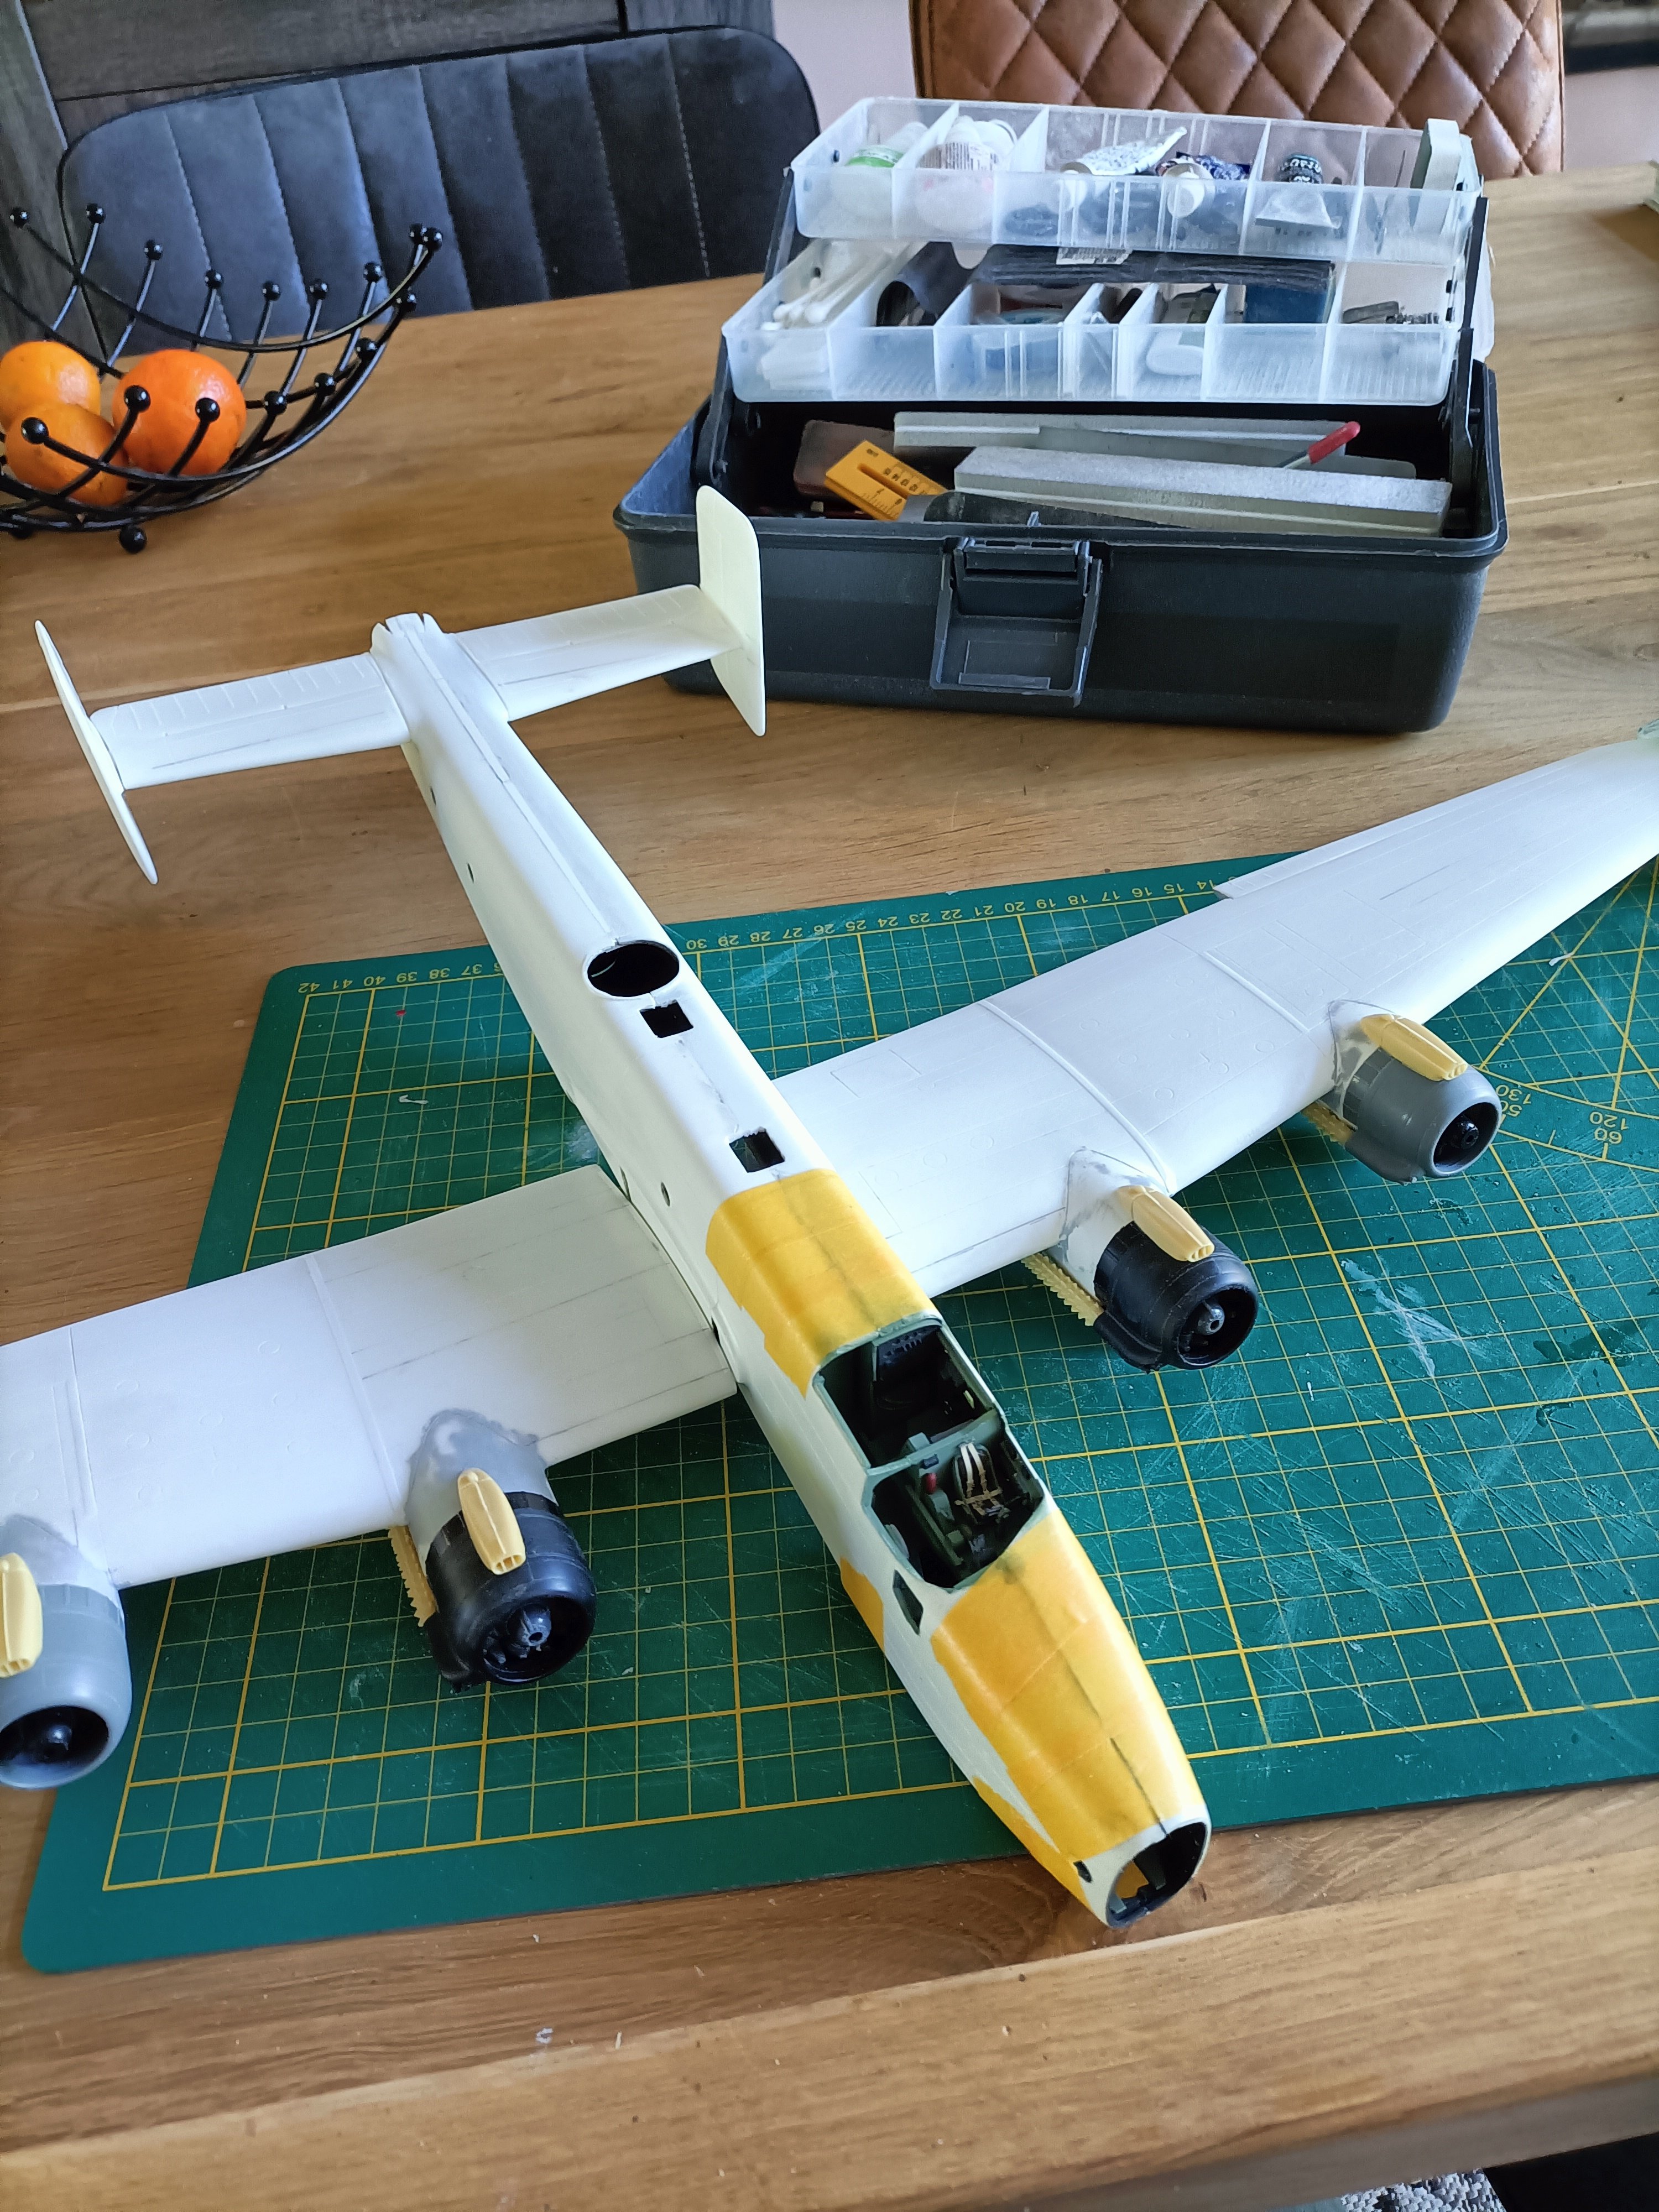
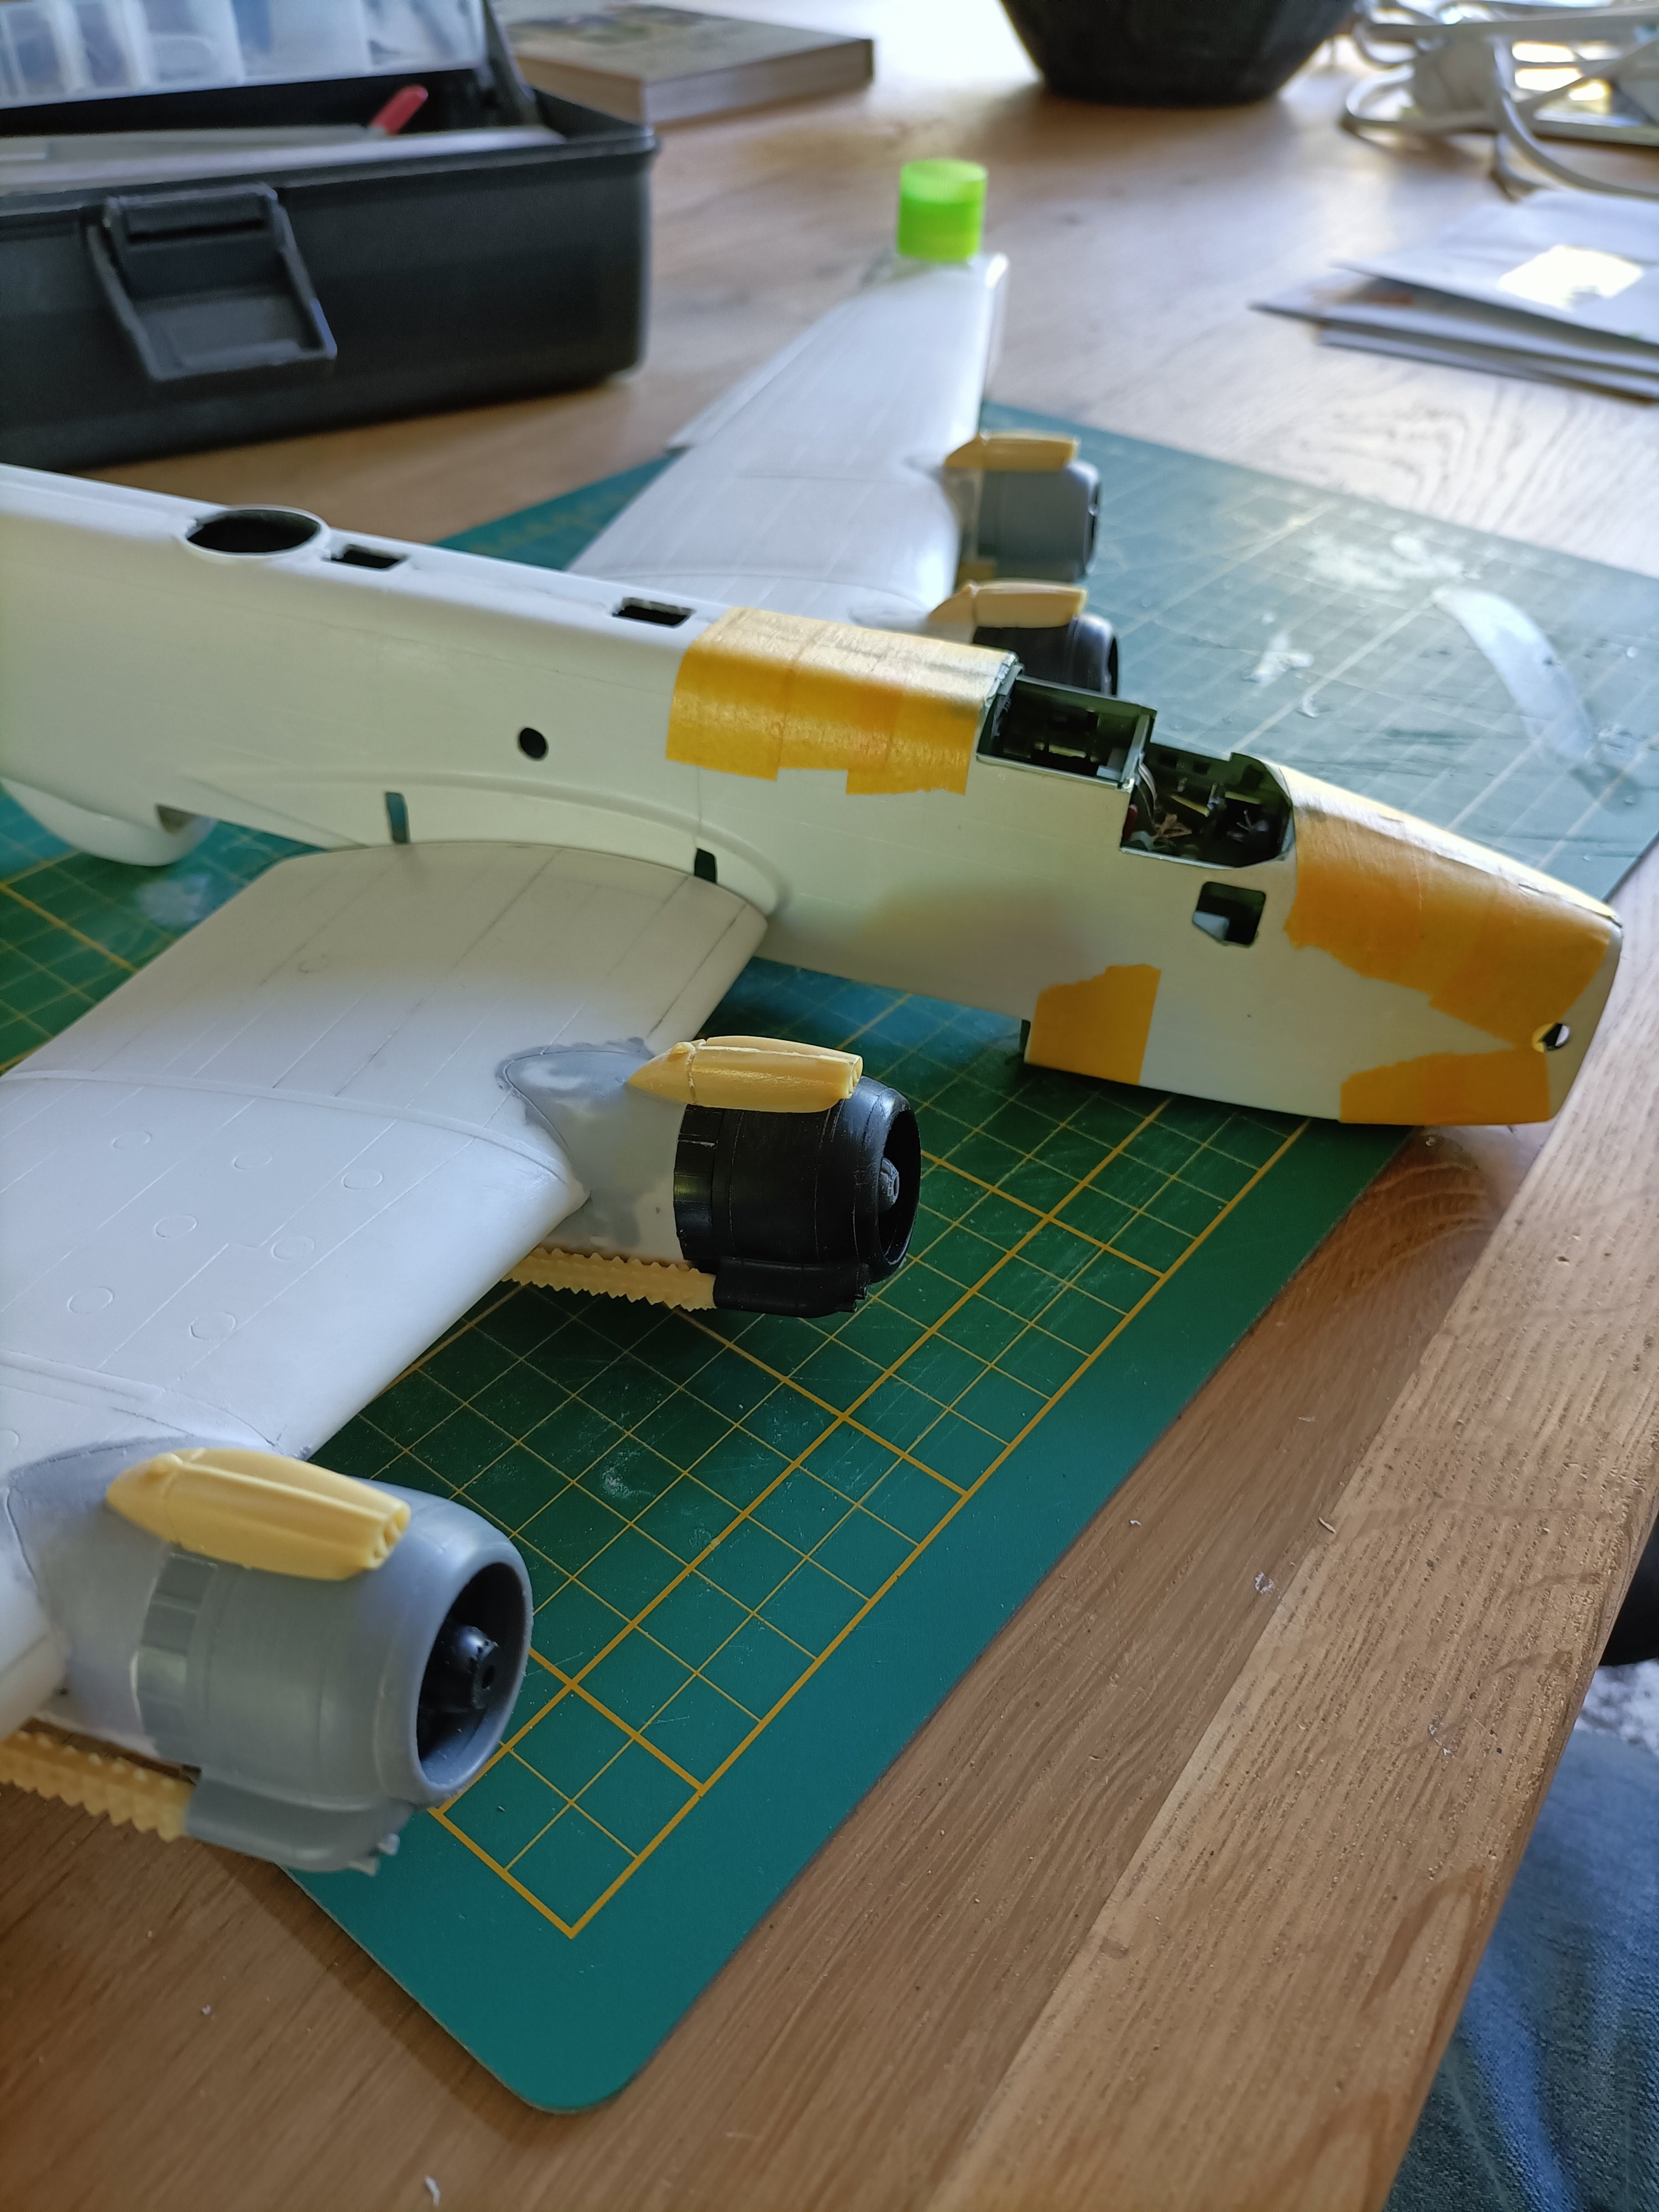
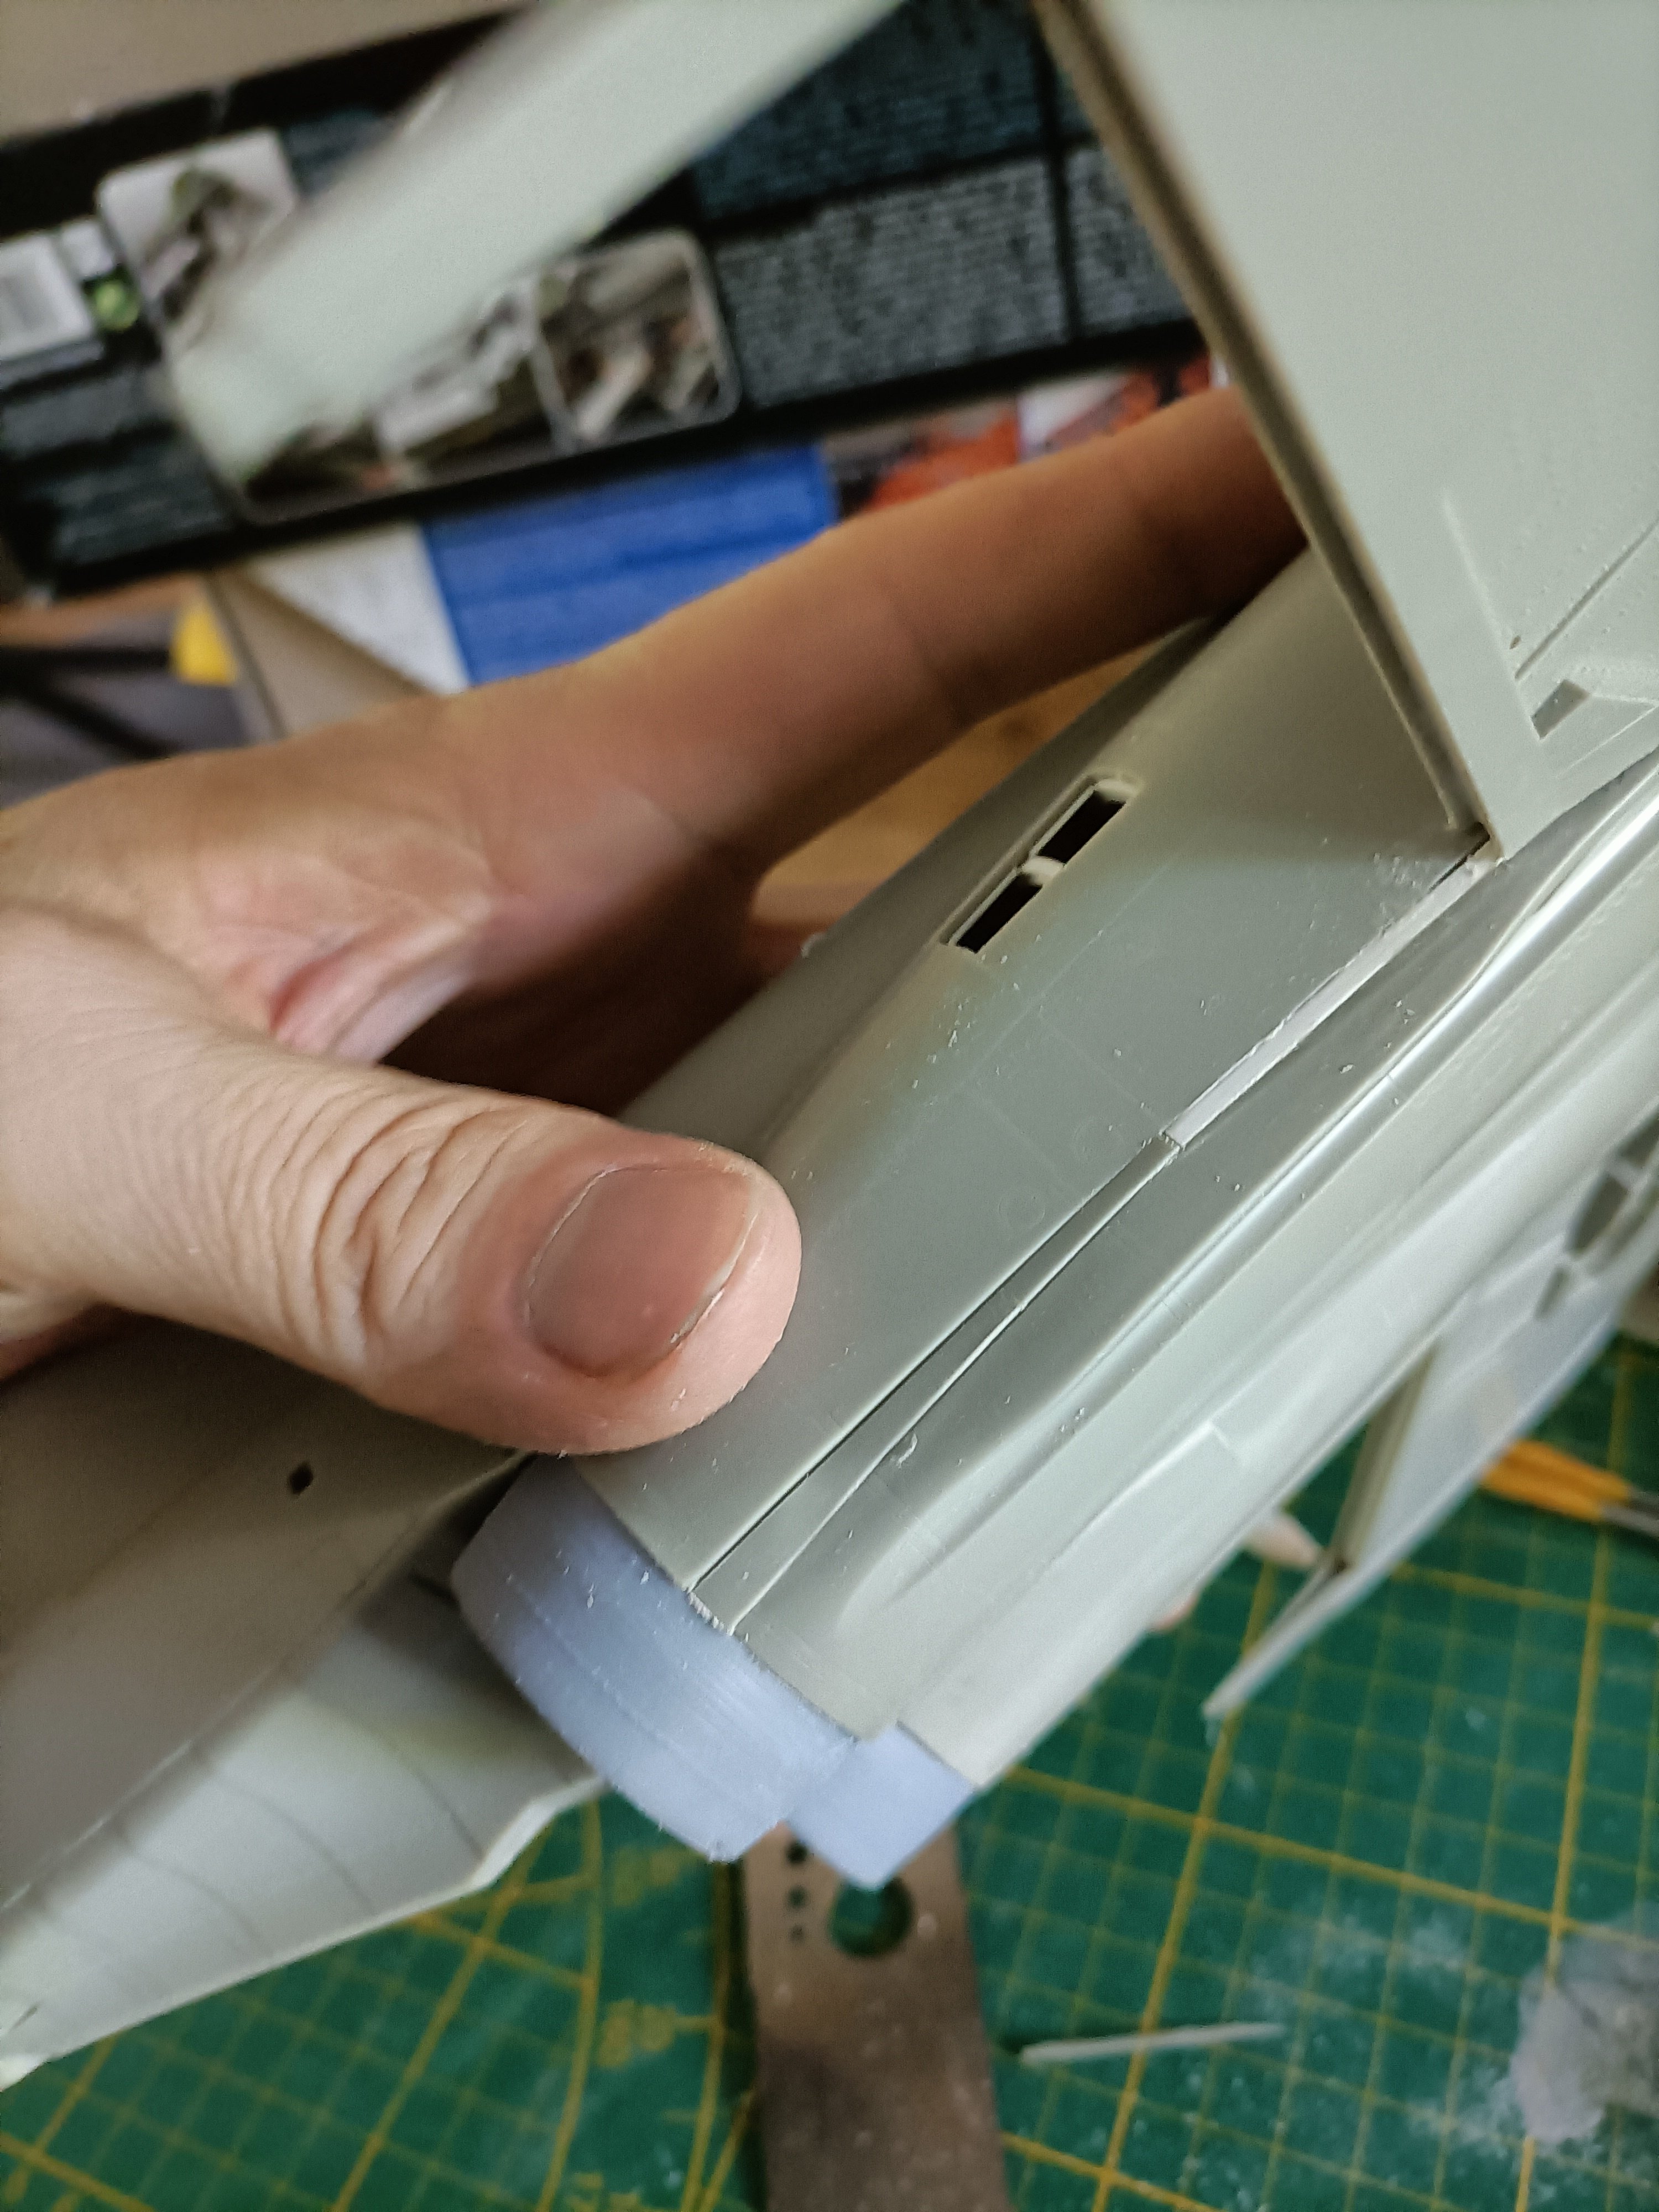
Masochistic build, the 1/48 Fonderie Miniatures Halifax III
Wingco57 replied to Wingco57's topic in LSM 1/48 Work in Progress
Been quite some time. Fuselage has been made complete again now the nose halves have been refitted. A major step towards completion. Cleaning up the joins will take some work. Them it's time to fit the transparencies. Wings are almost complete. I am very happy with the Tamiya Beaufighter cowlings, they look so much better than the FM chimney pots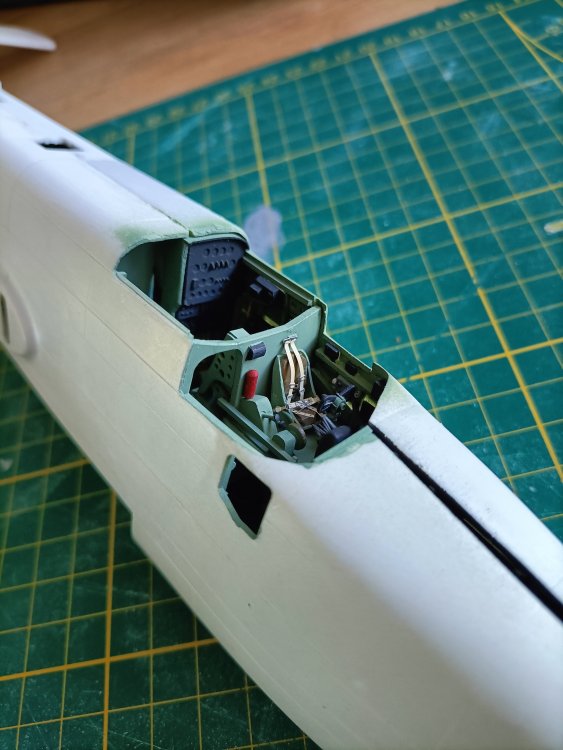


-
RN FG-1 Phantom 1/32 scratch conversion
Wingco57 replied to Wingco57's topic in LSM 1/35 and Larger Work In Progress
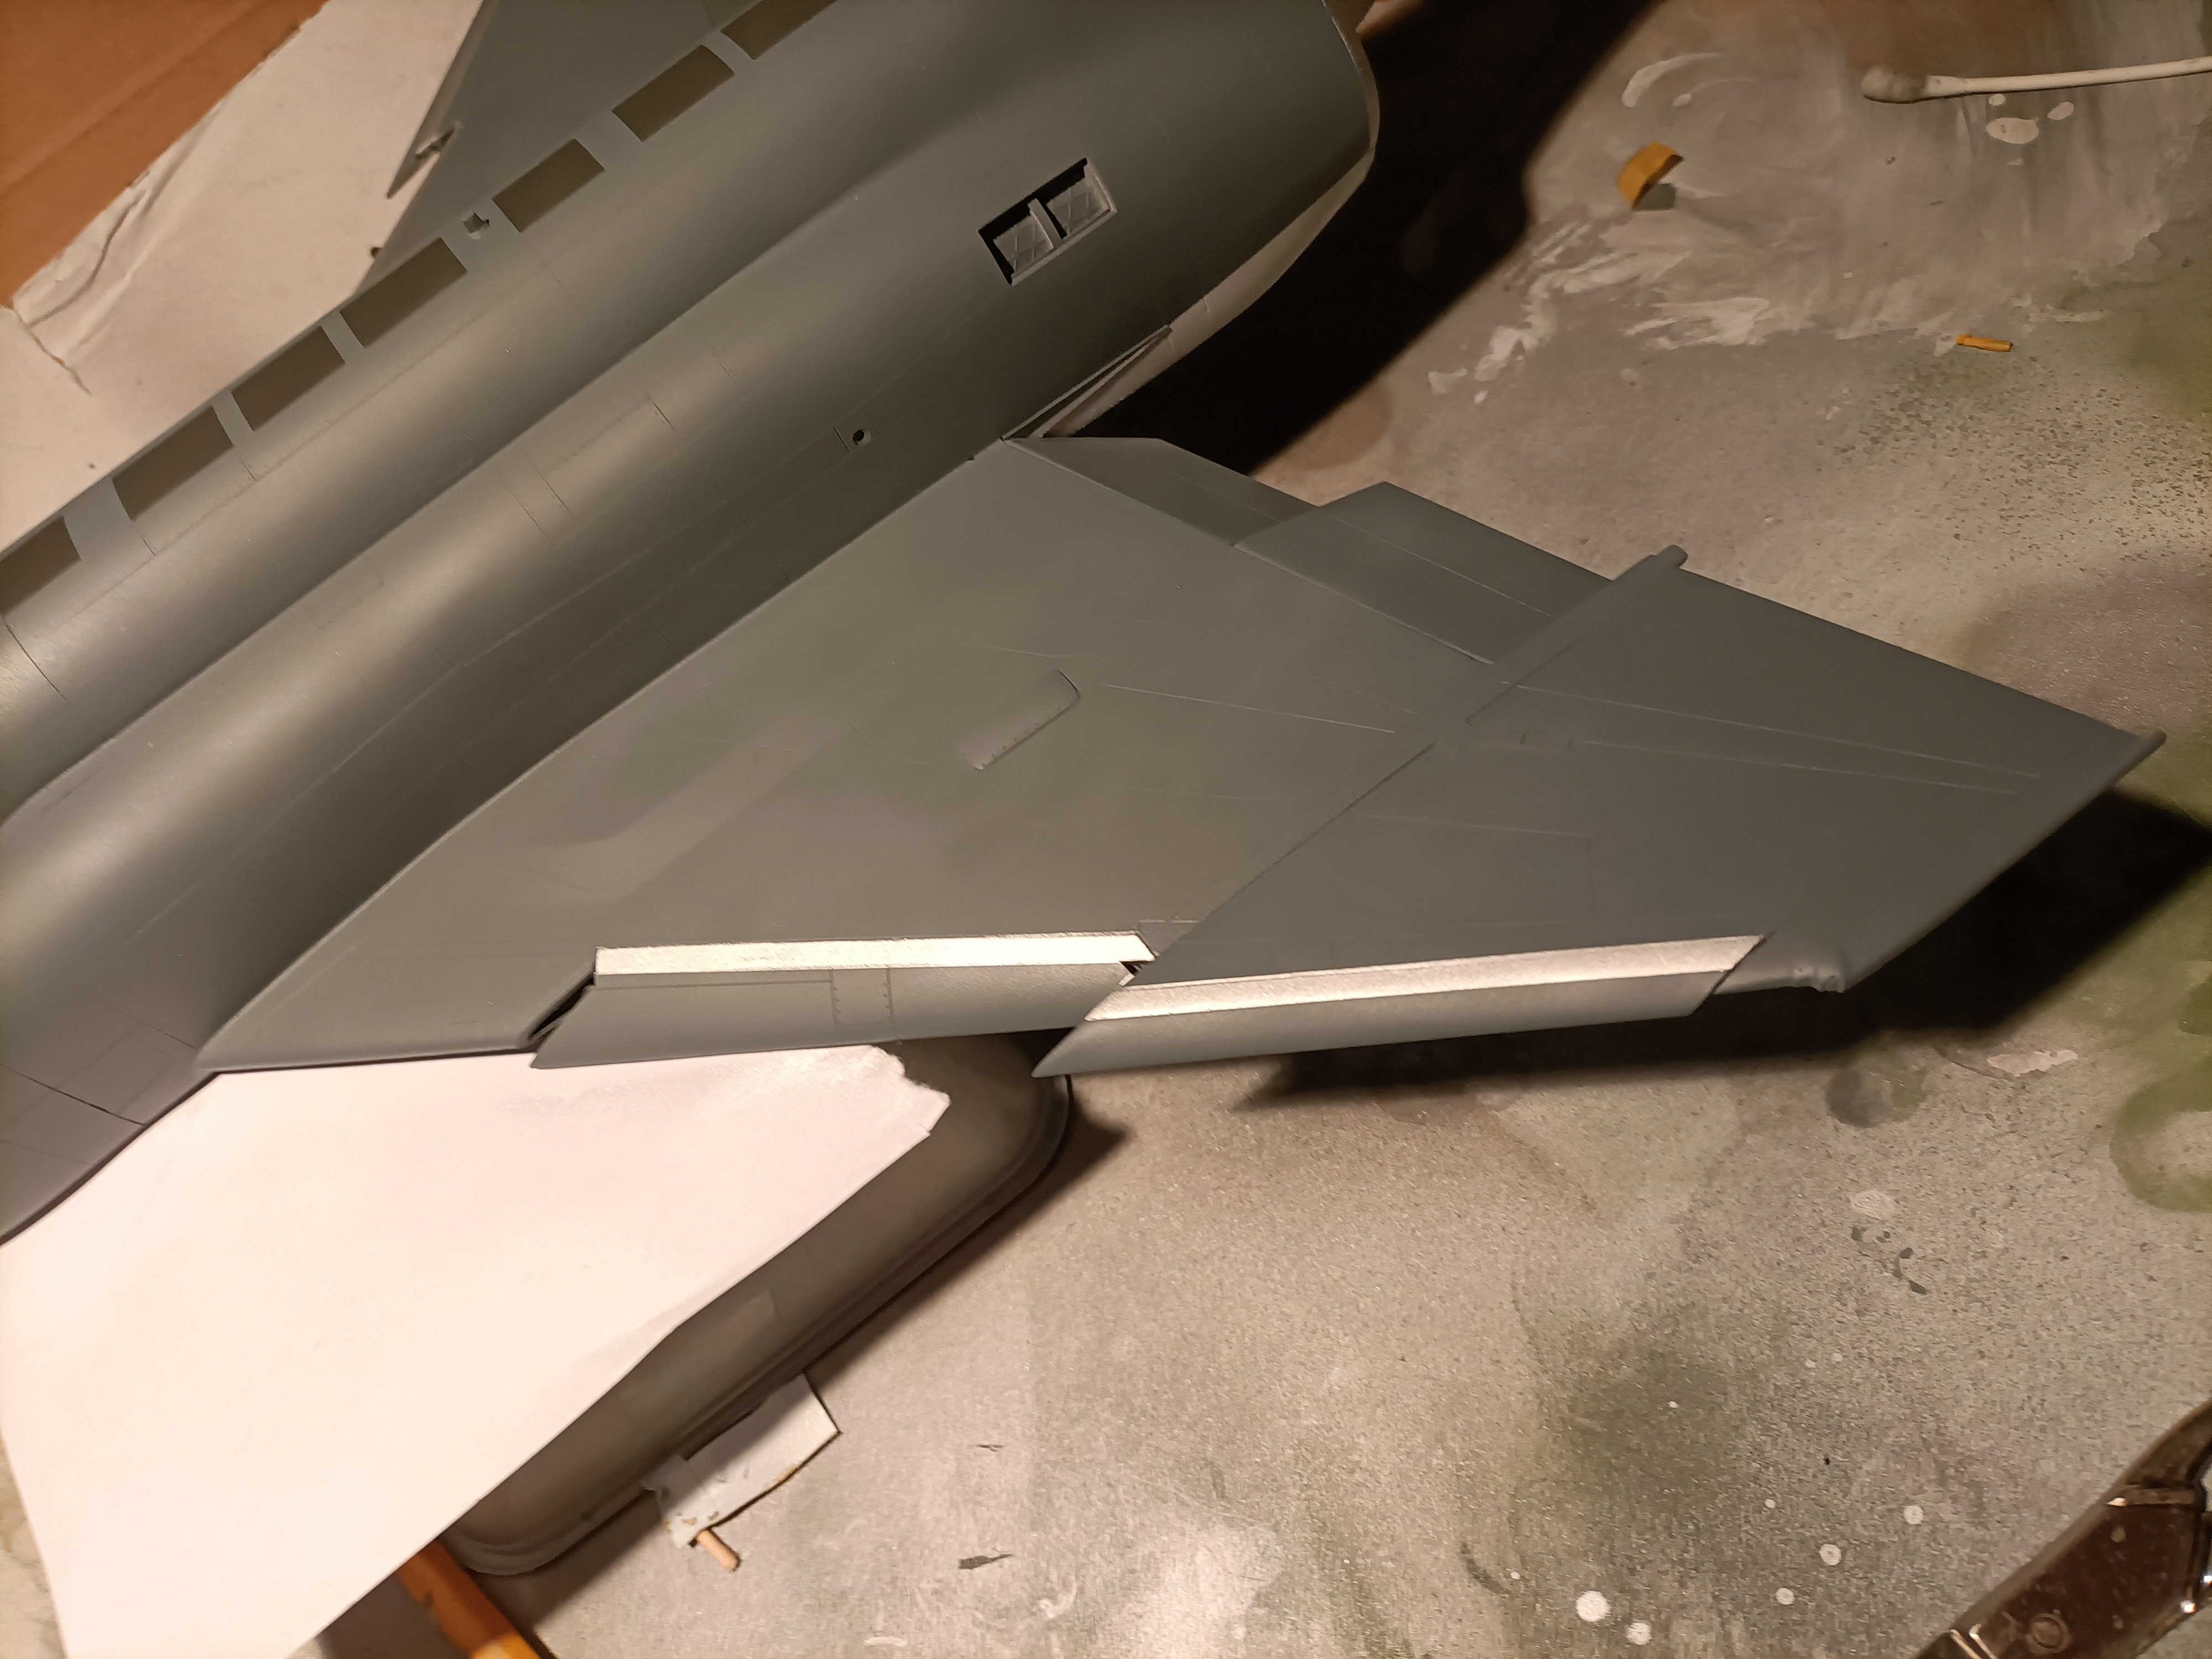
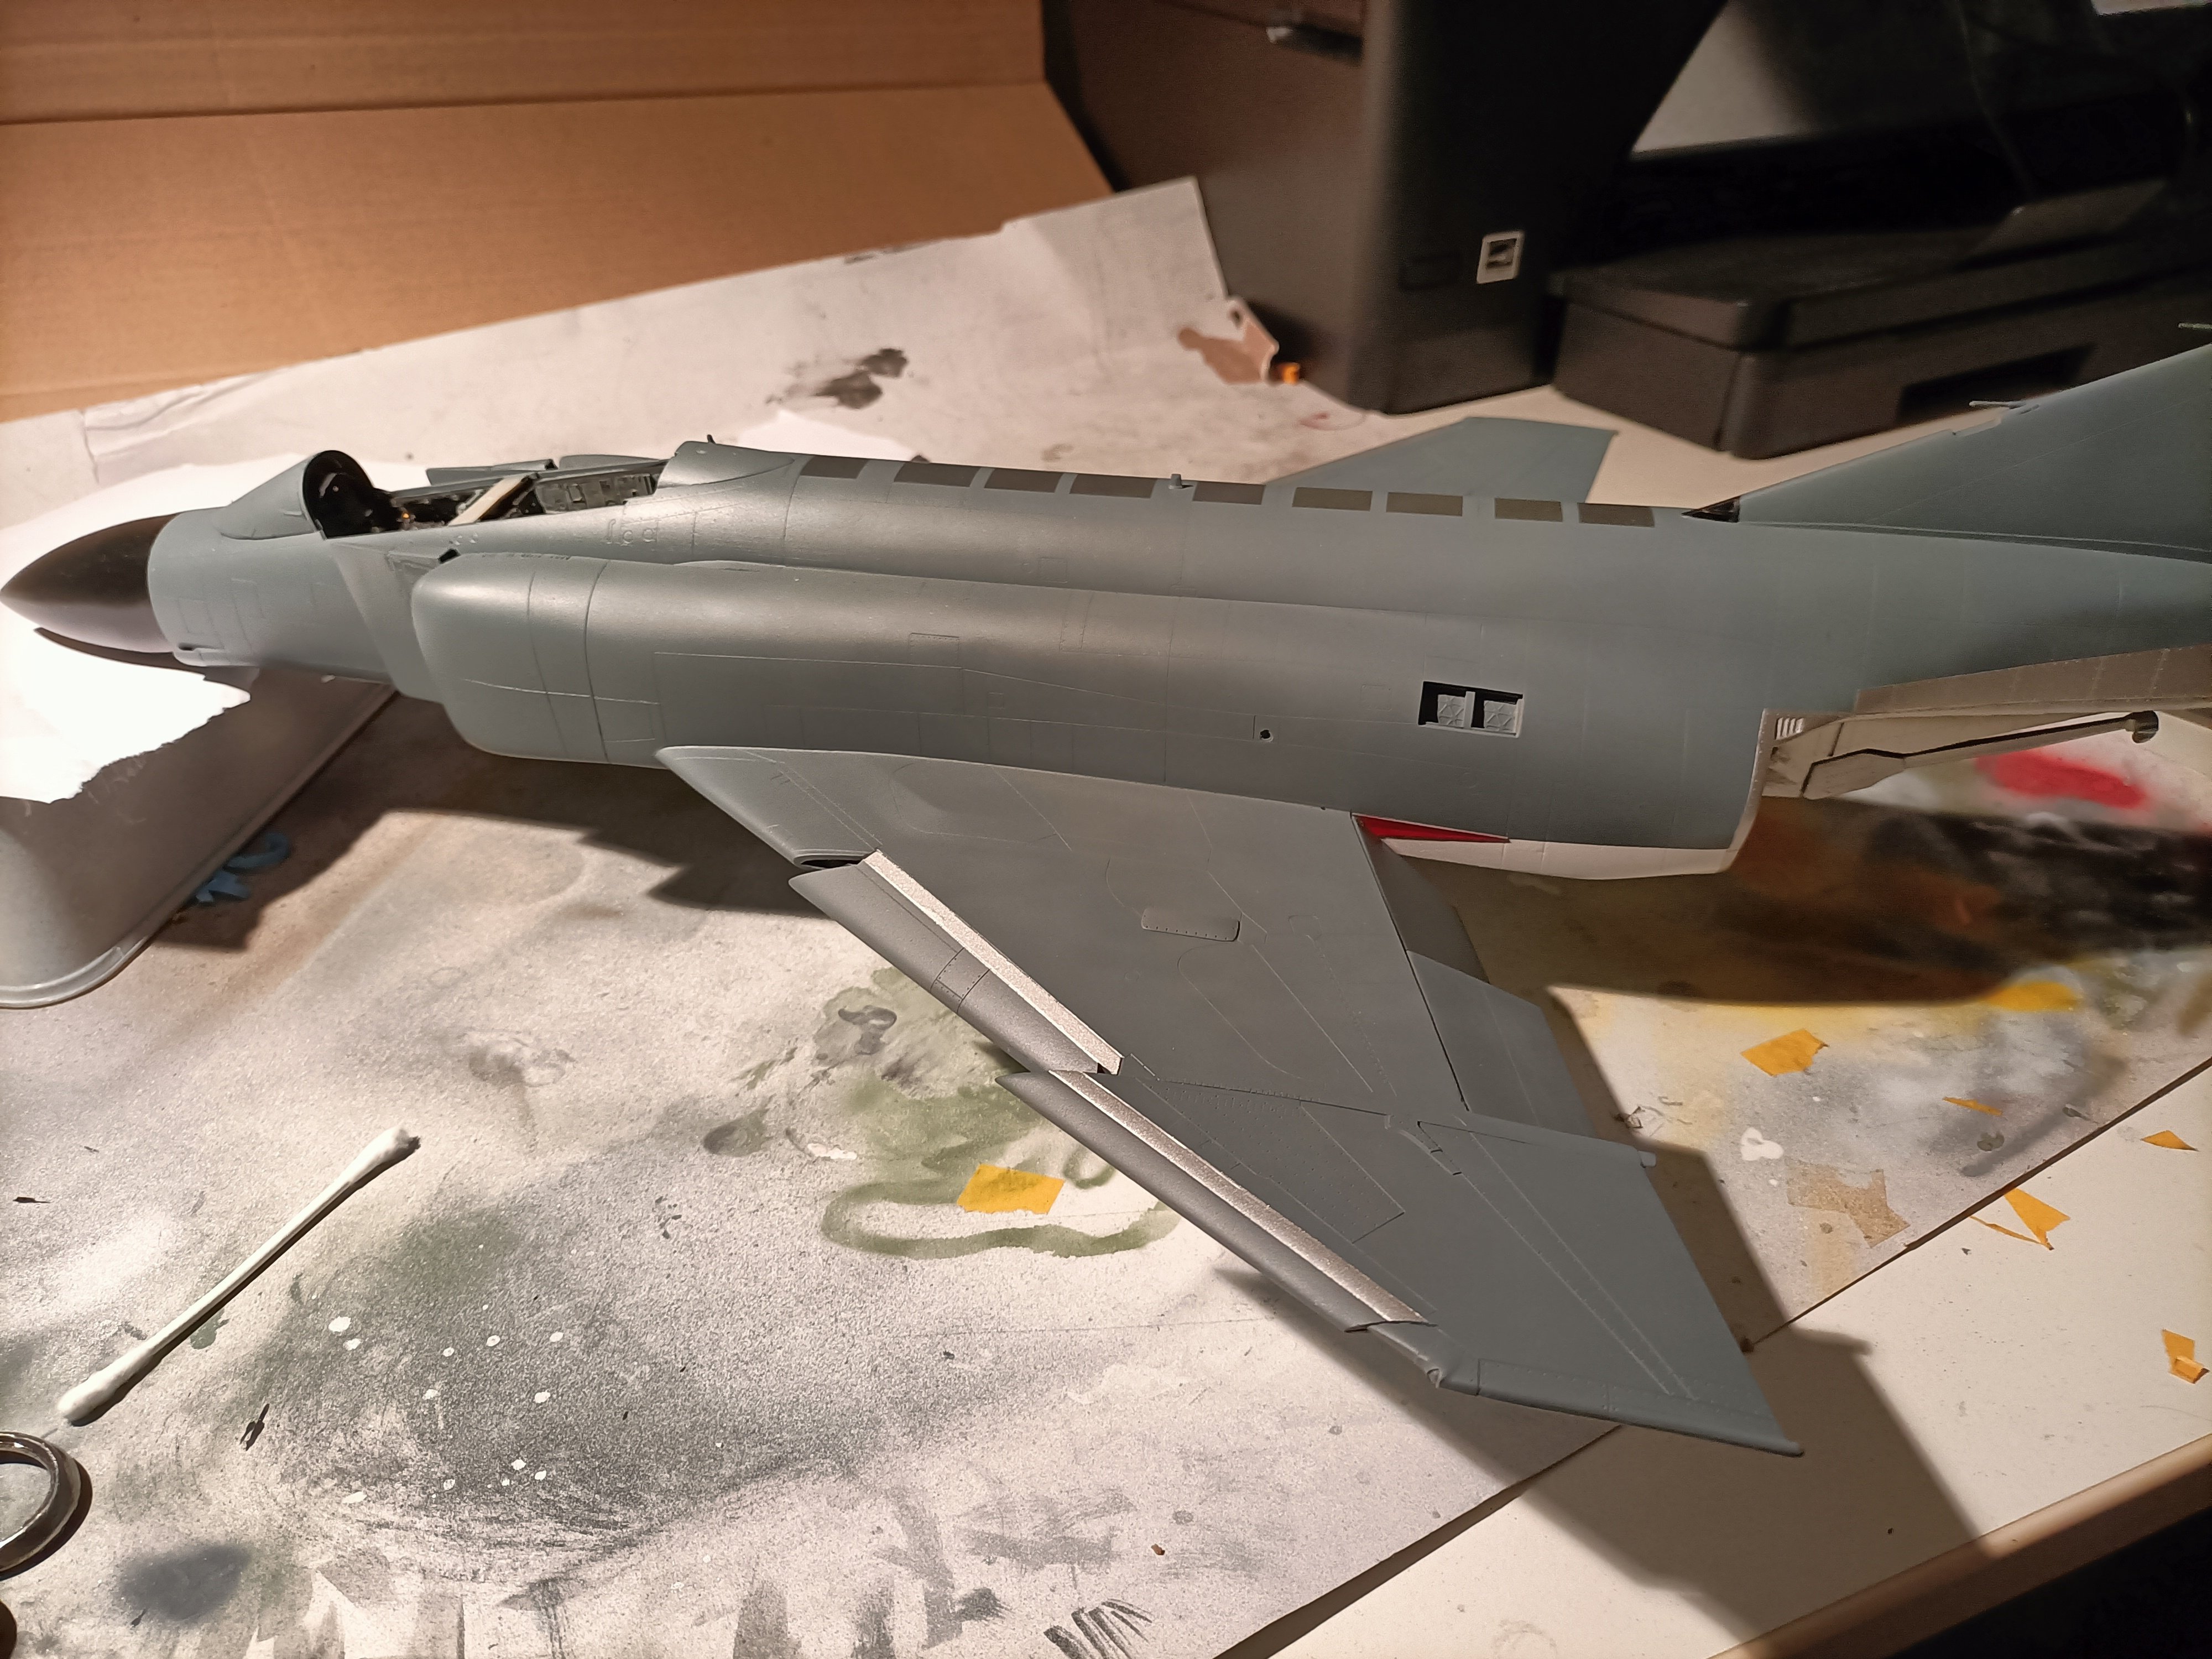
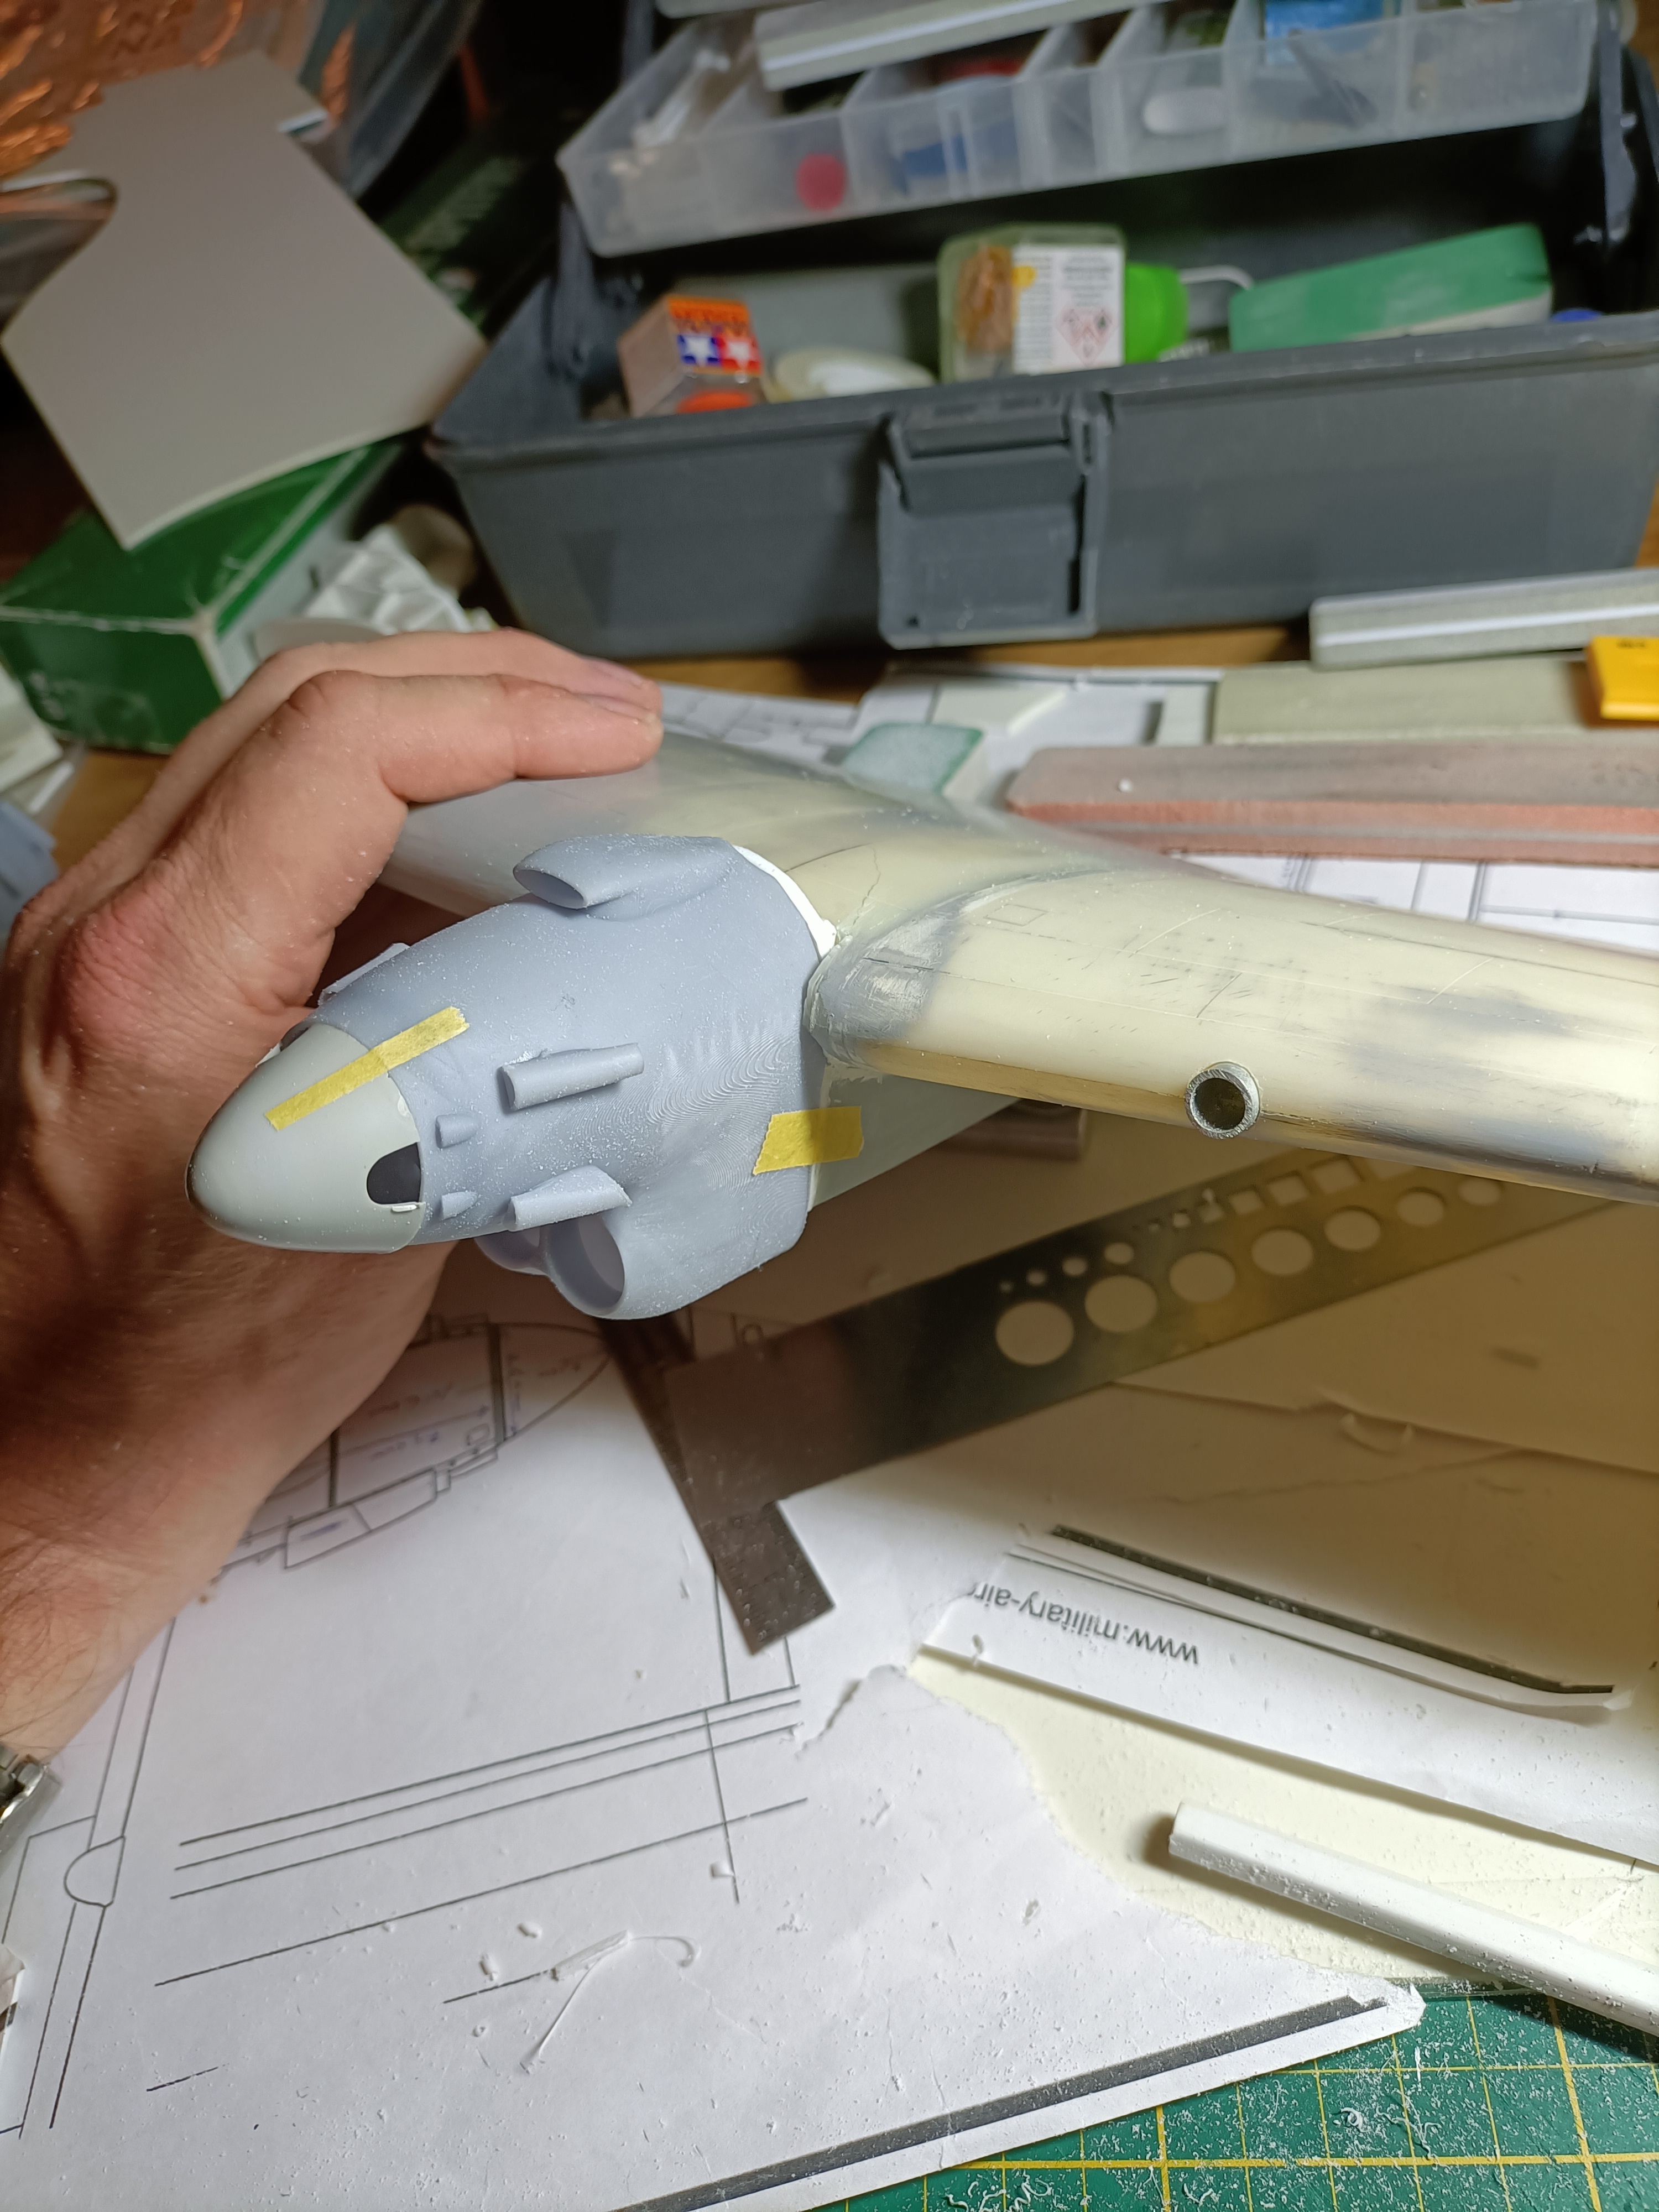
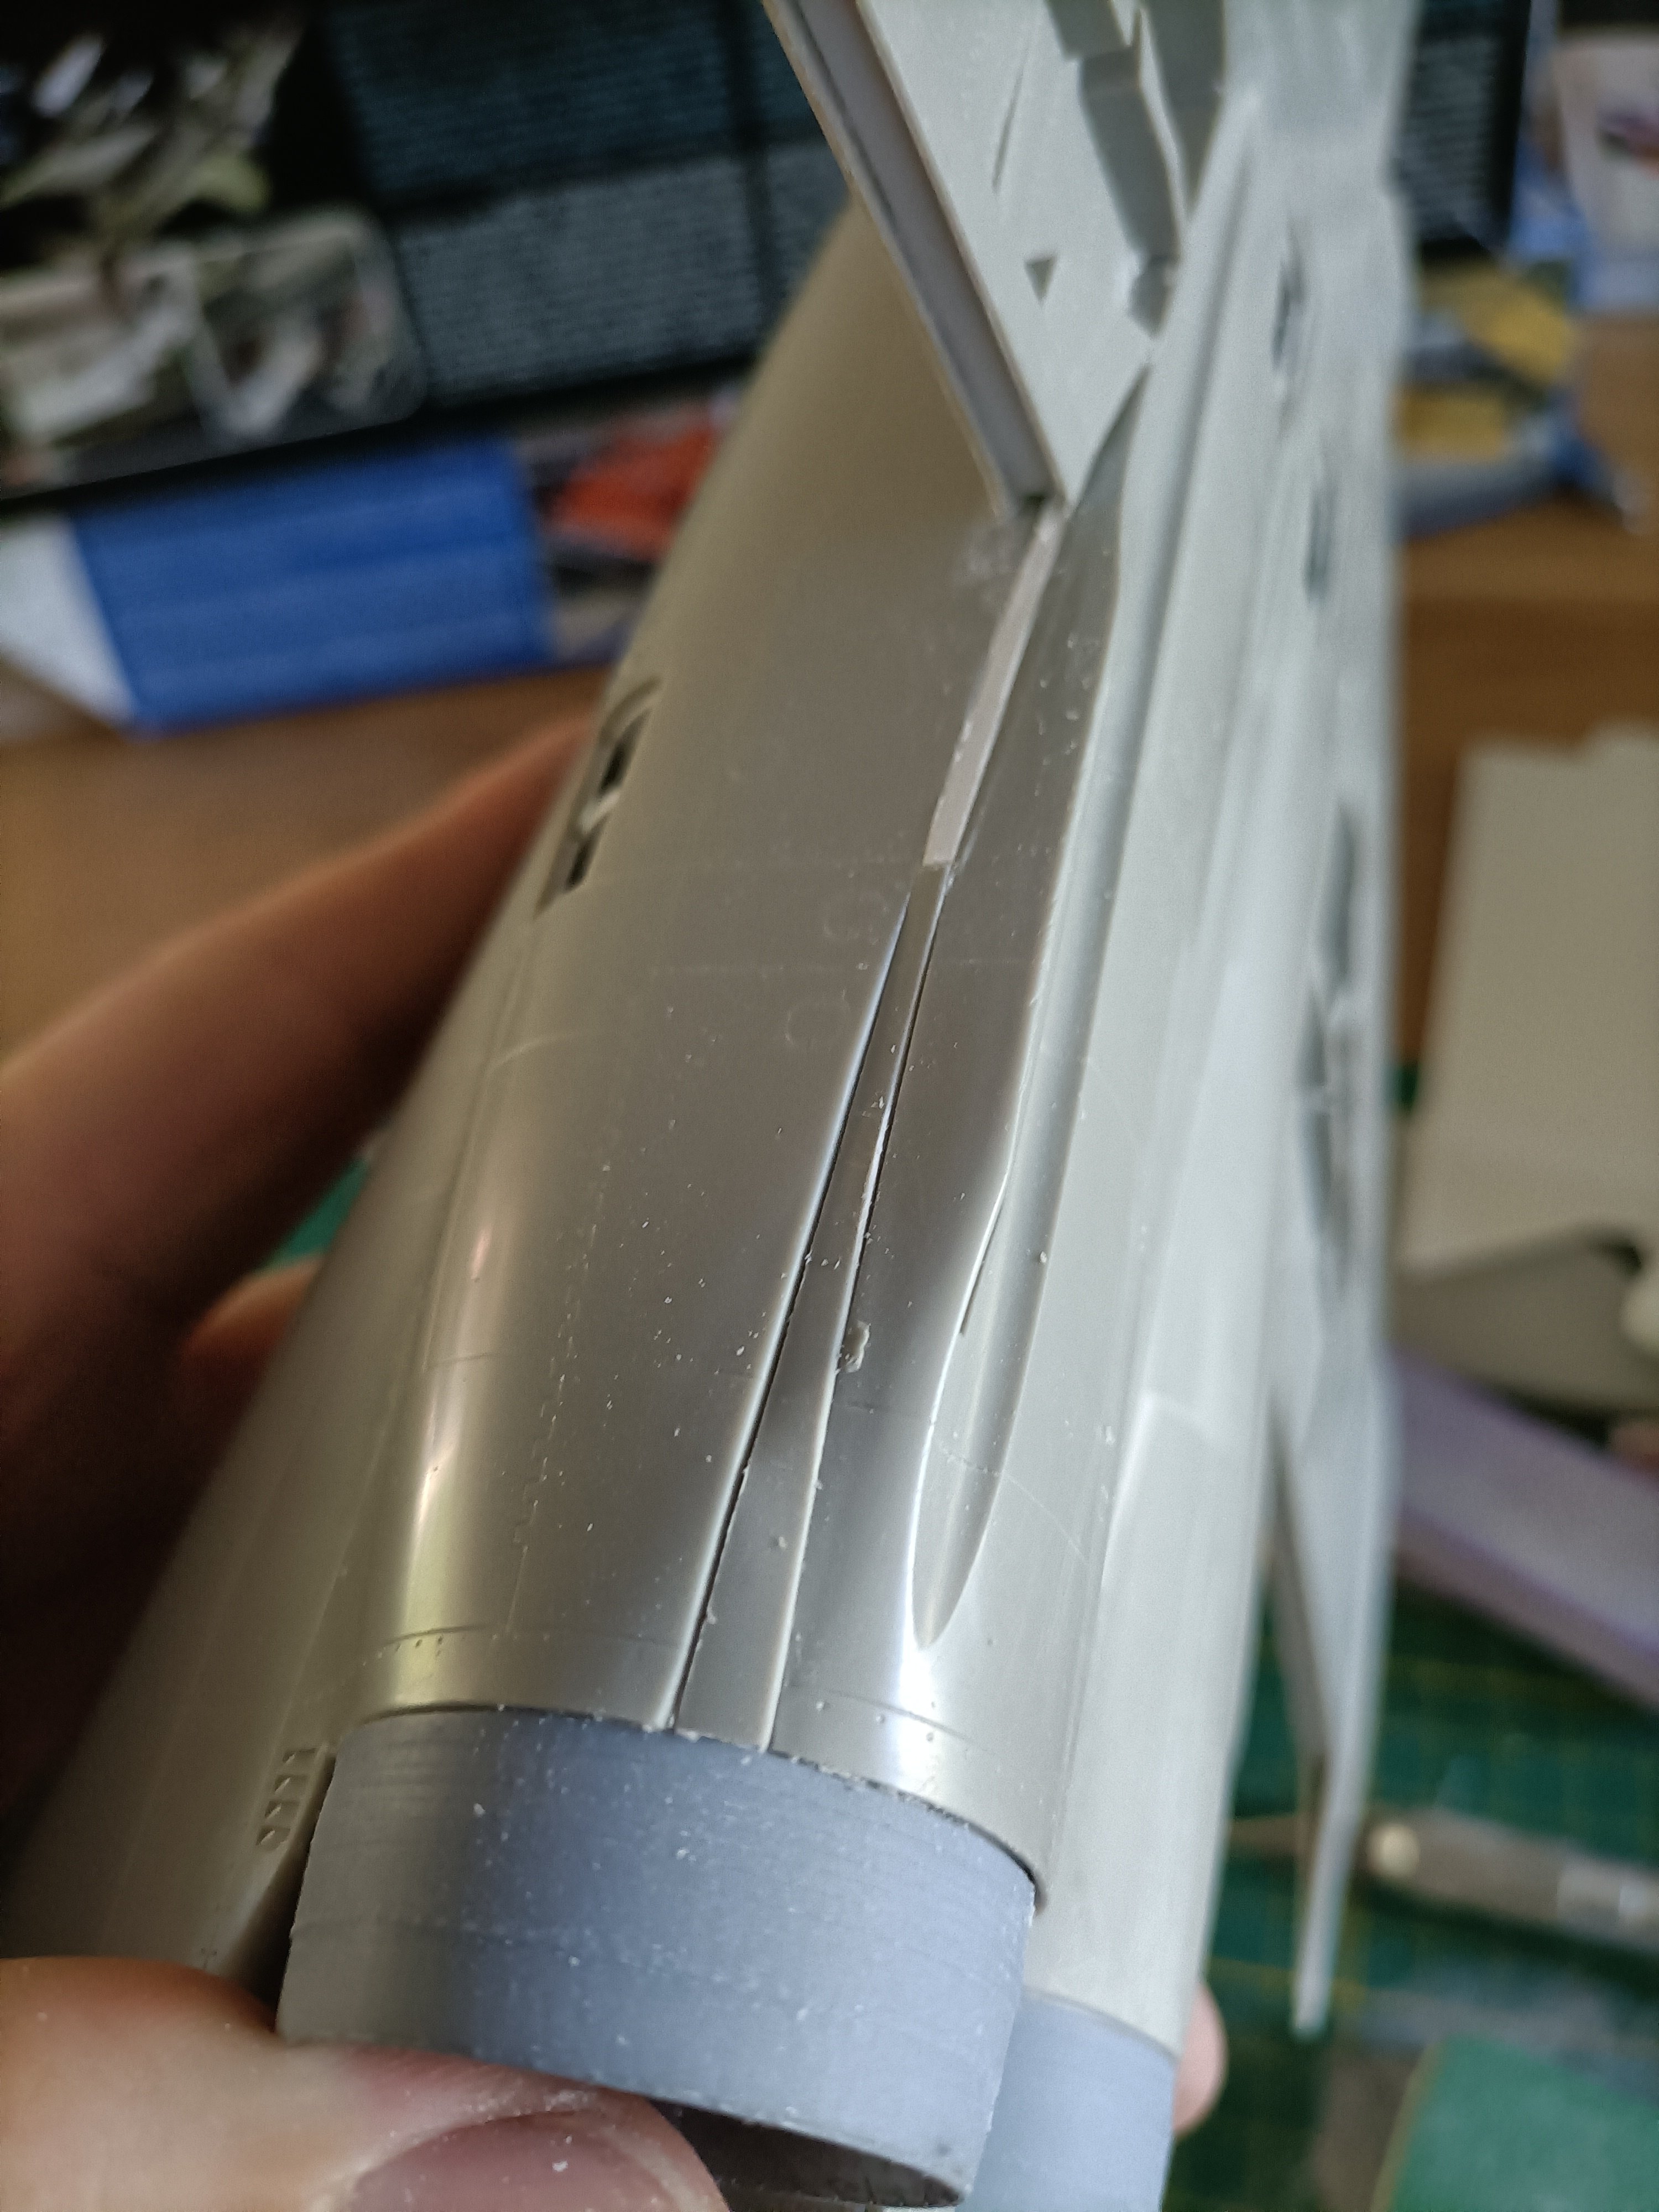
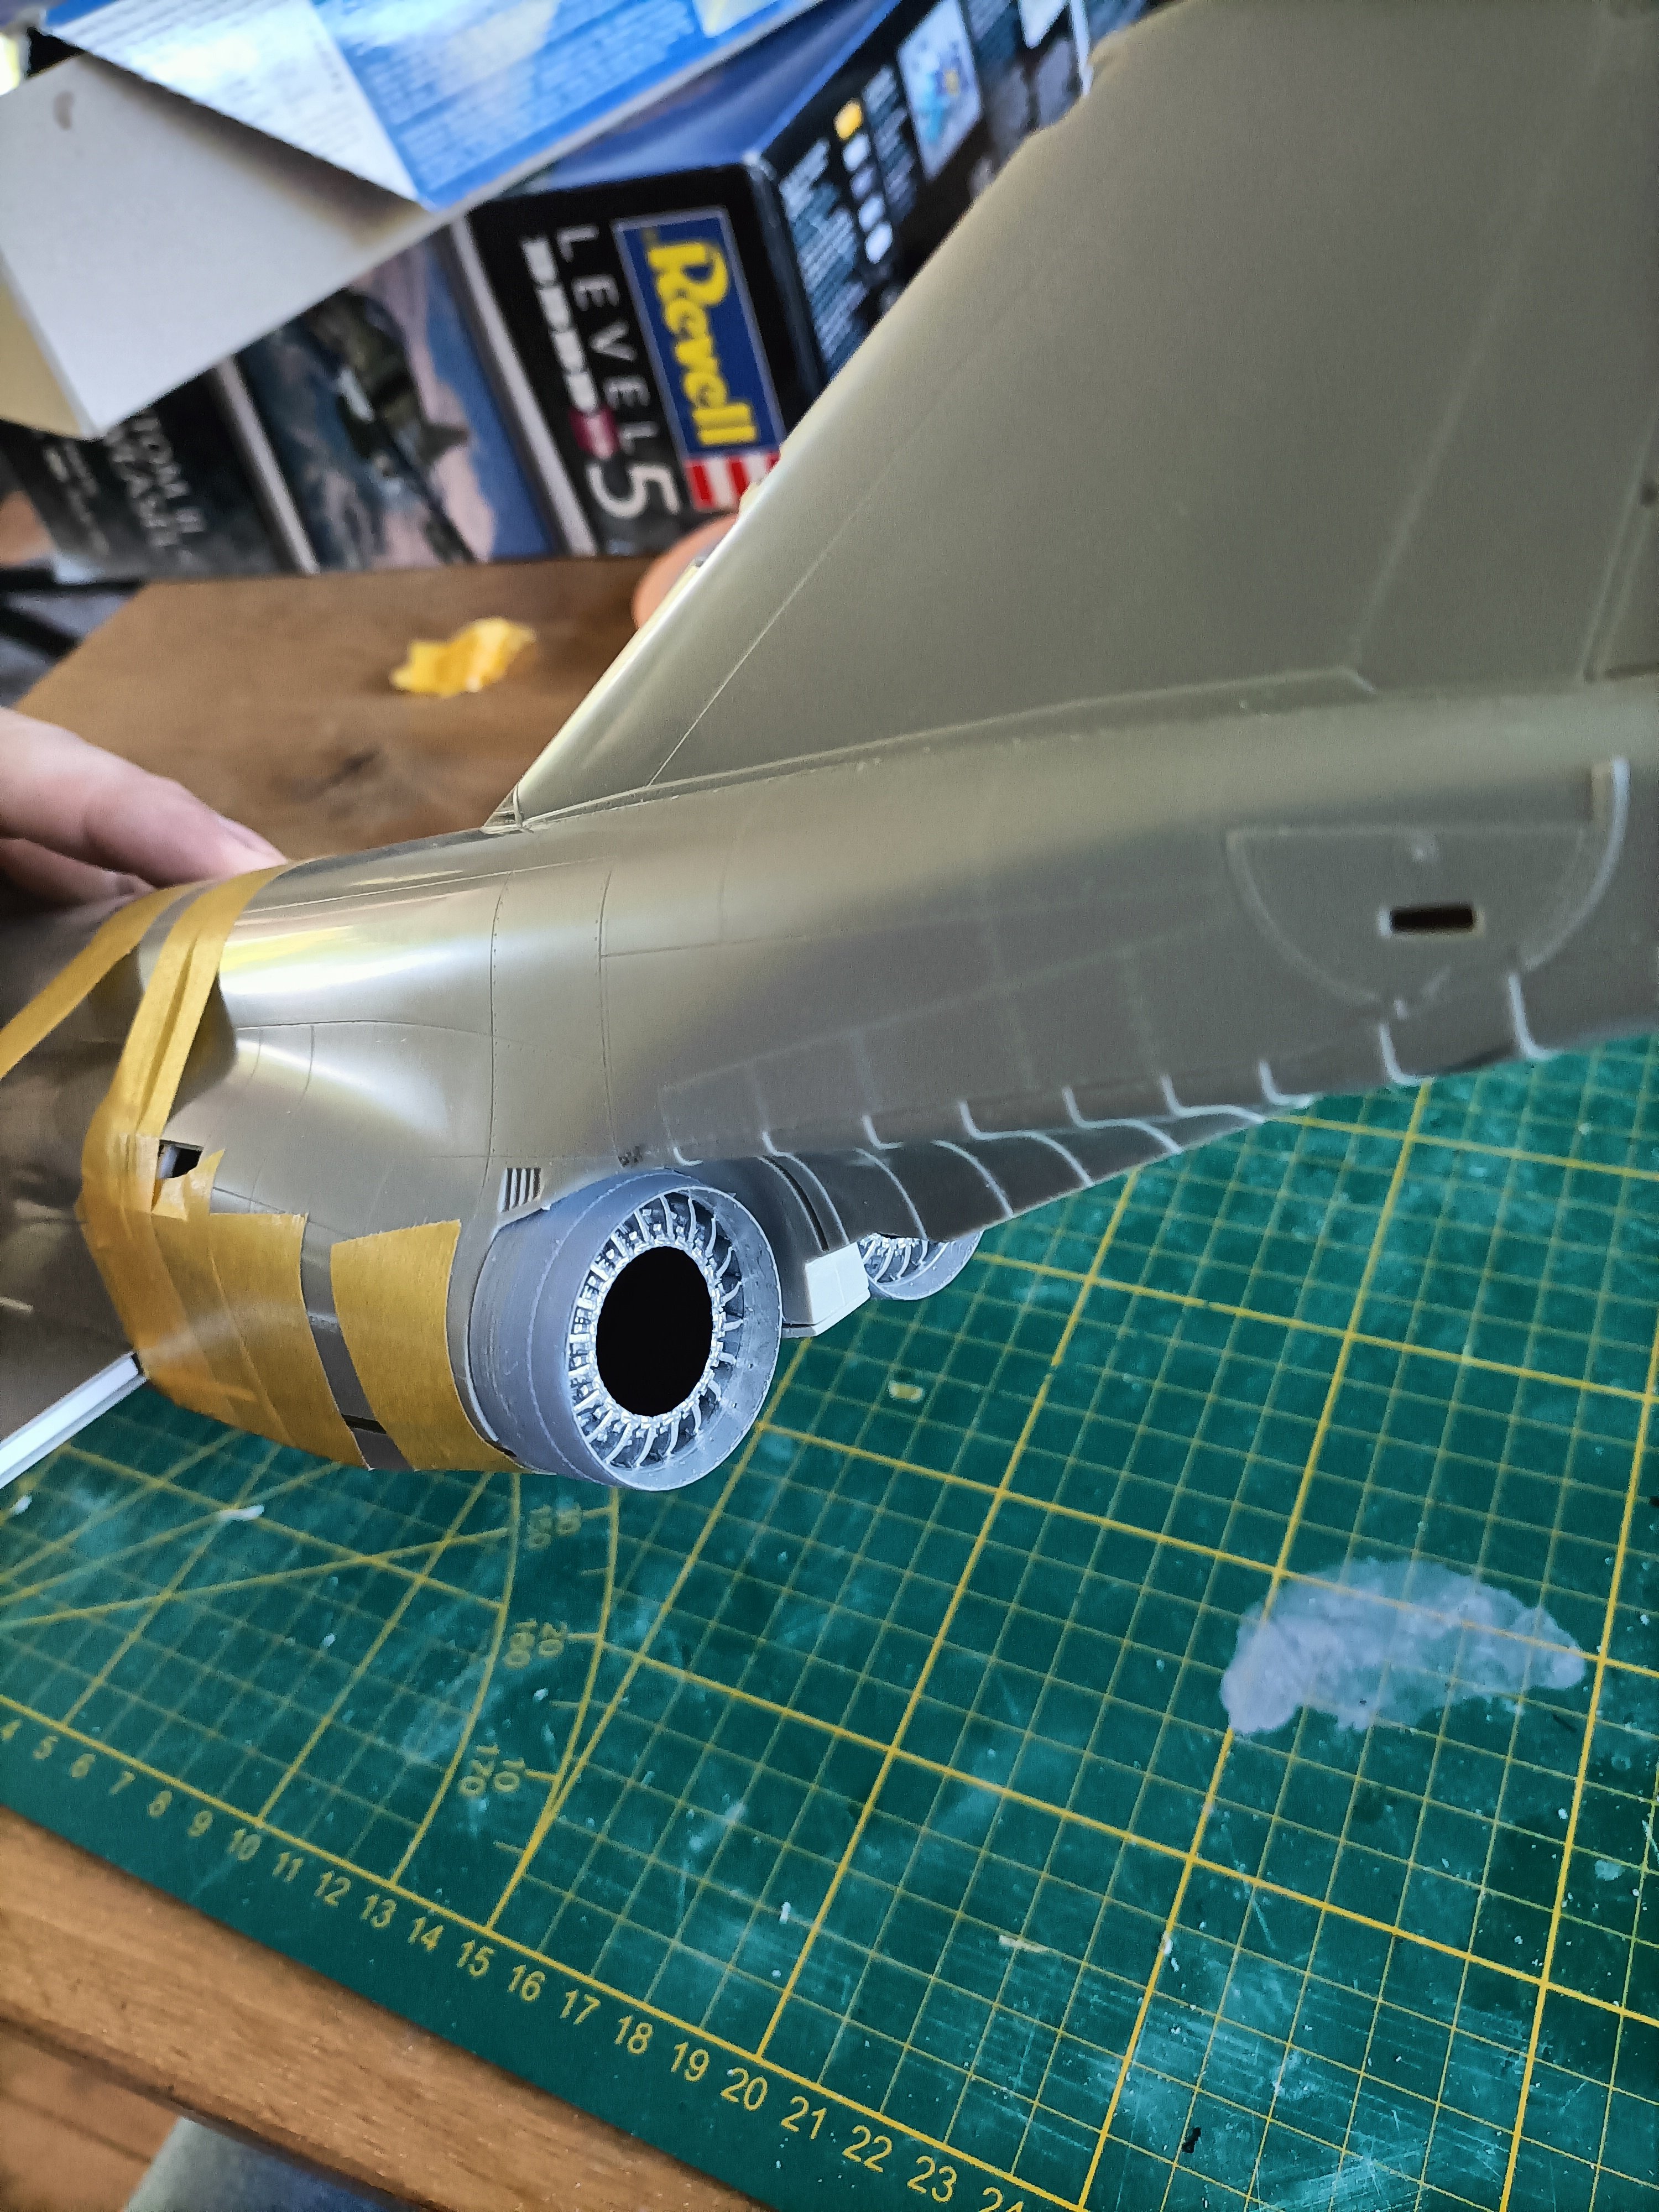
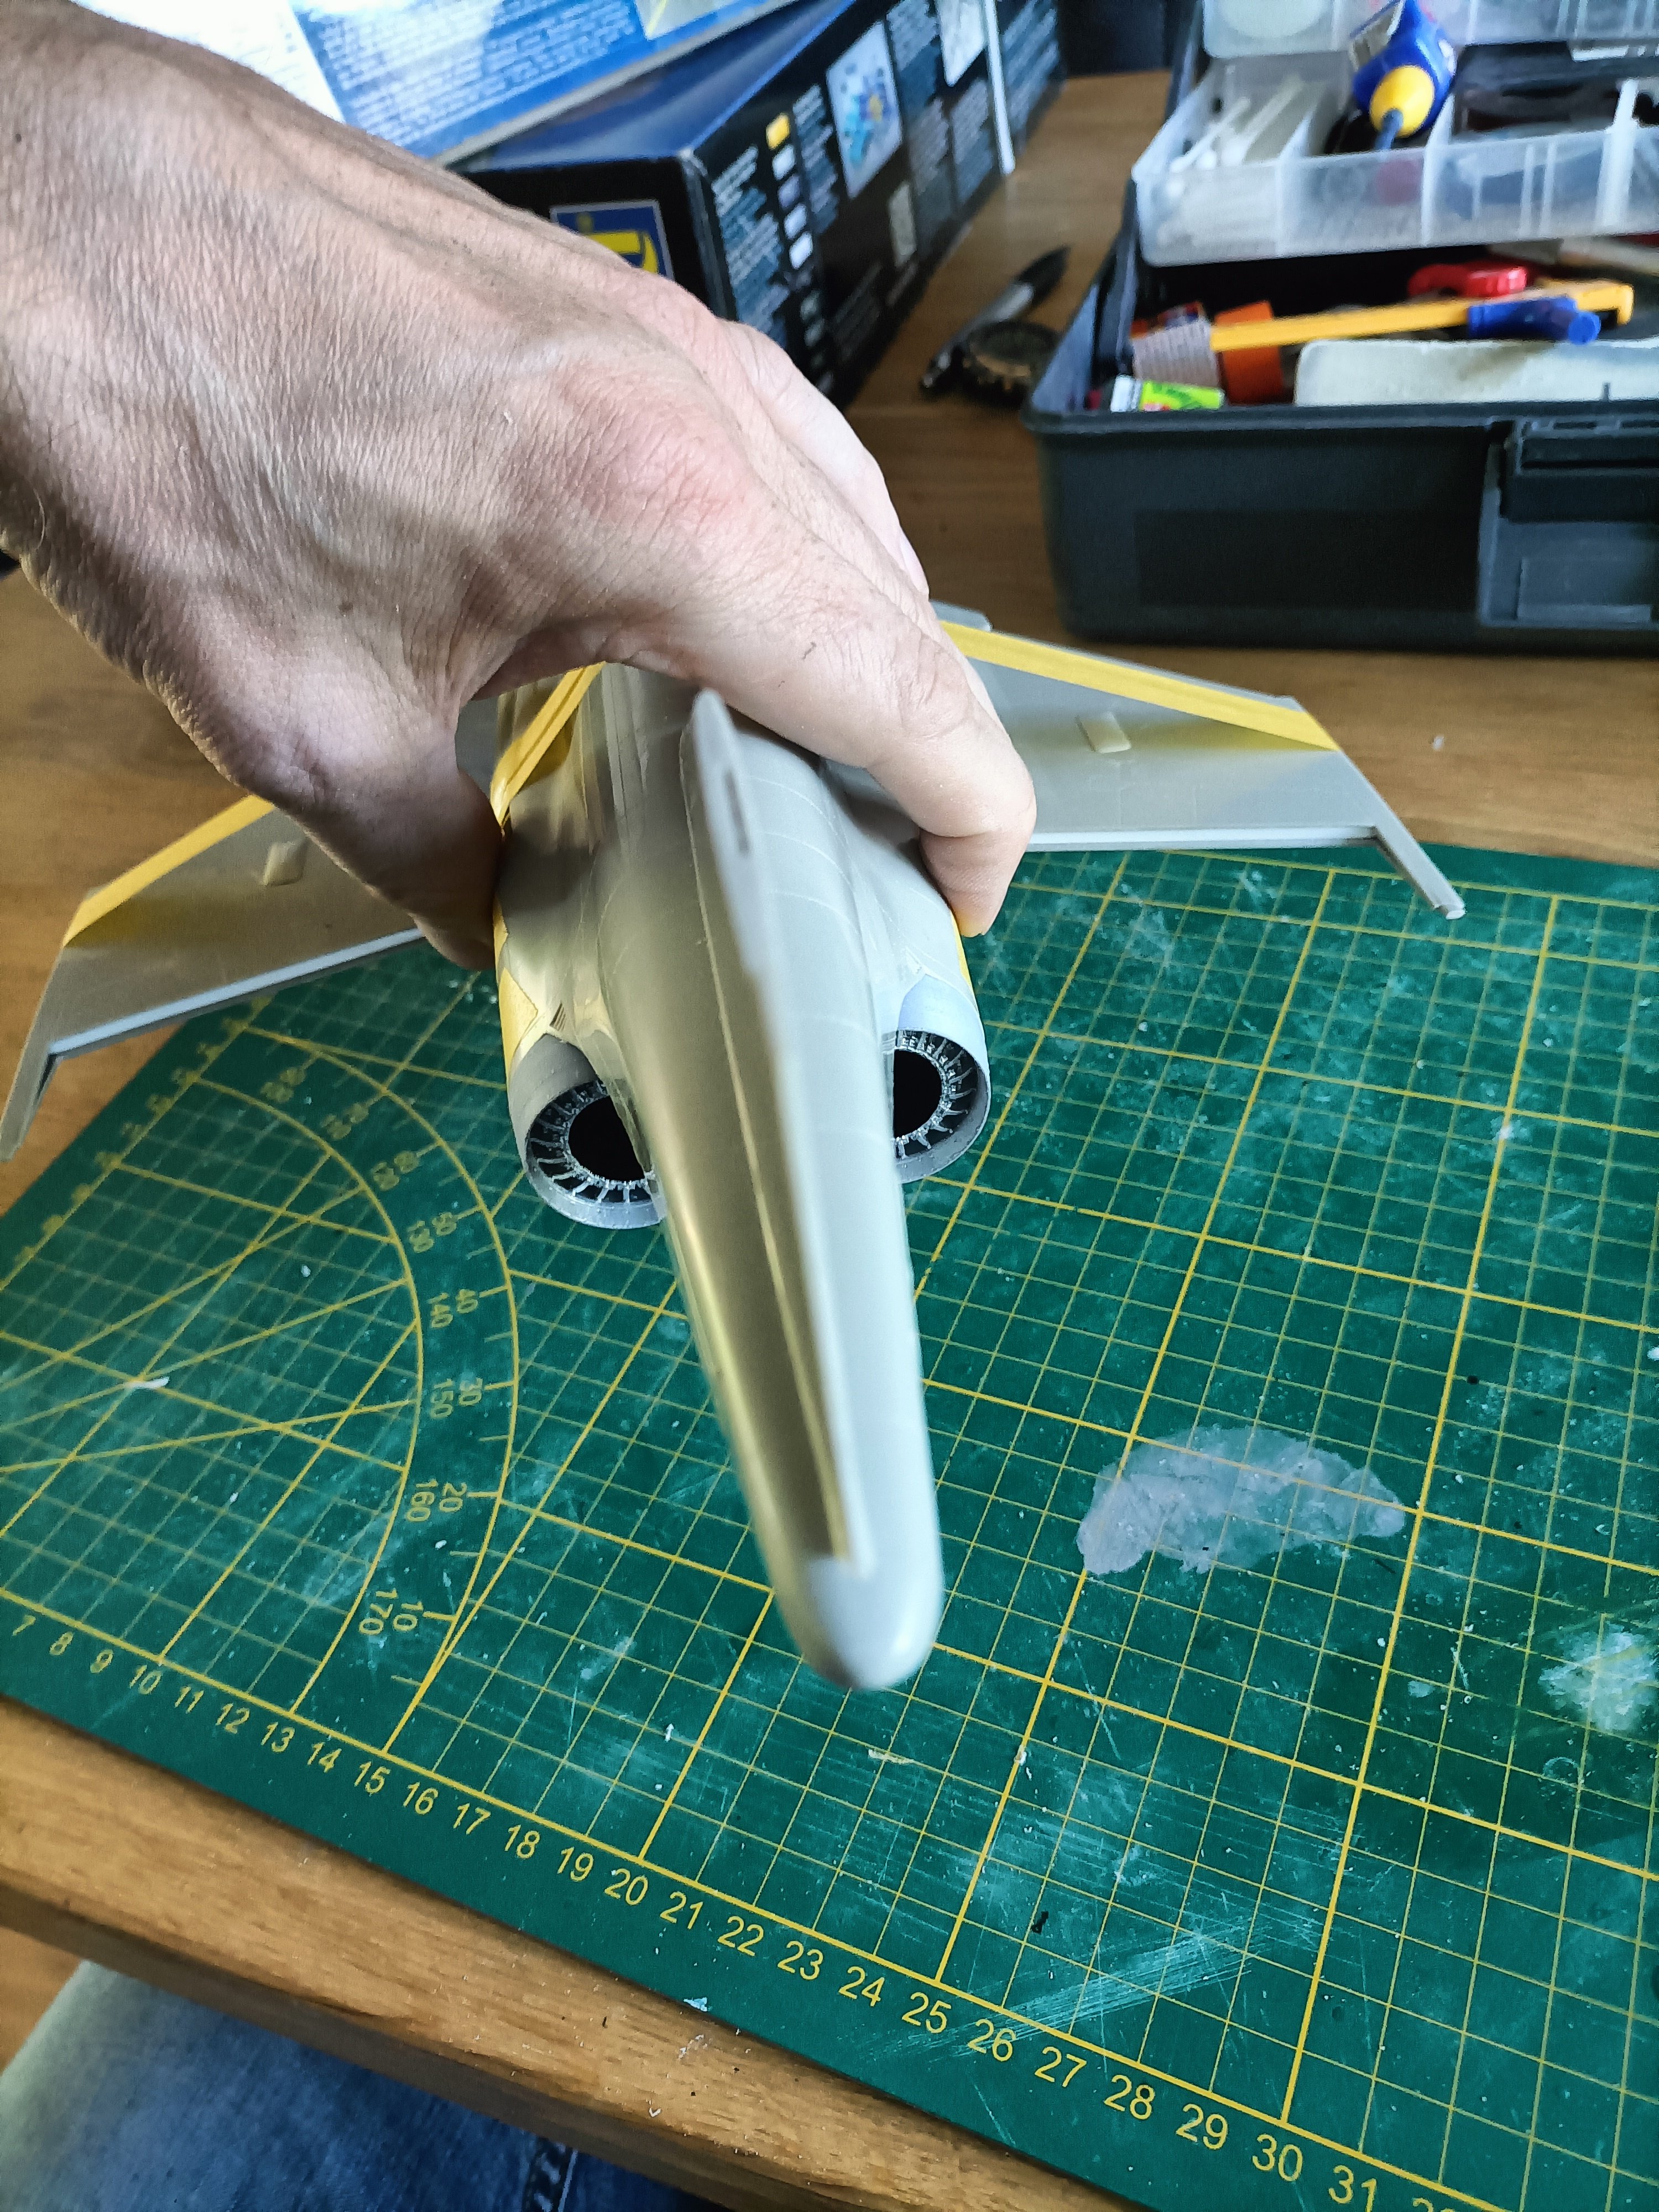
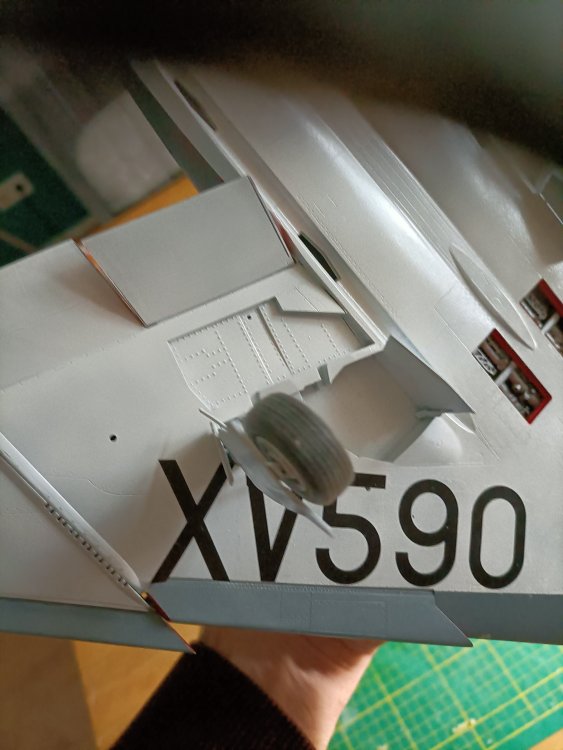
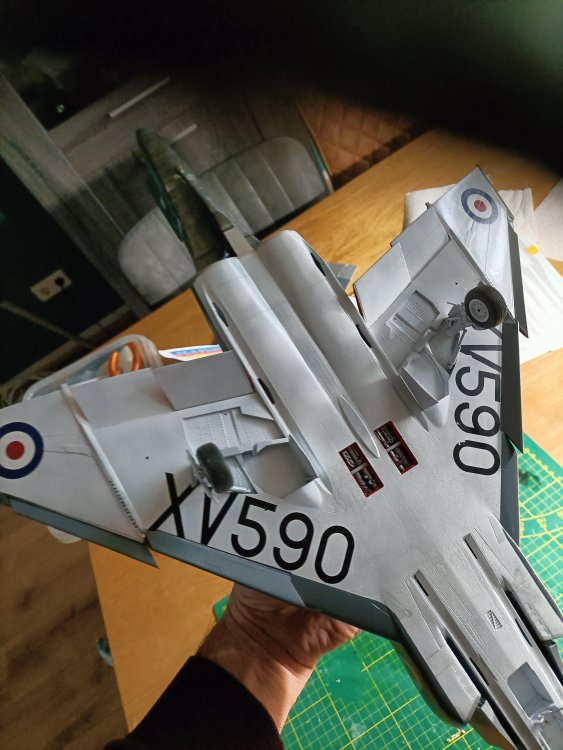
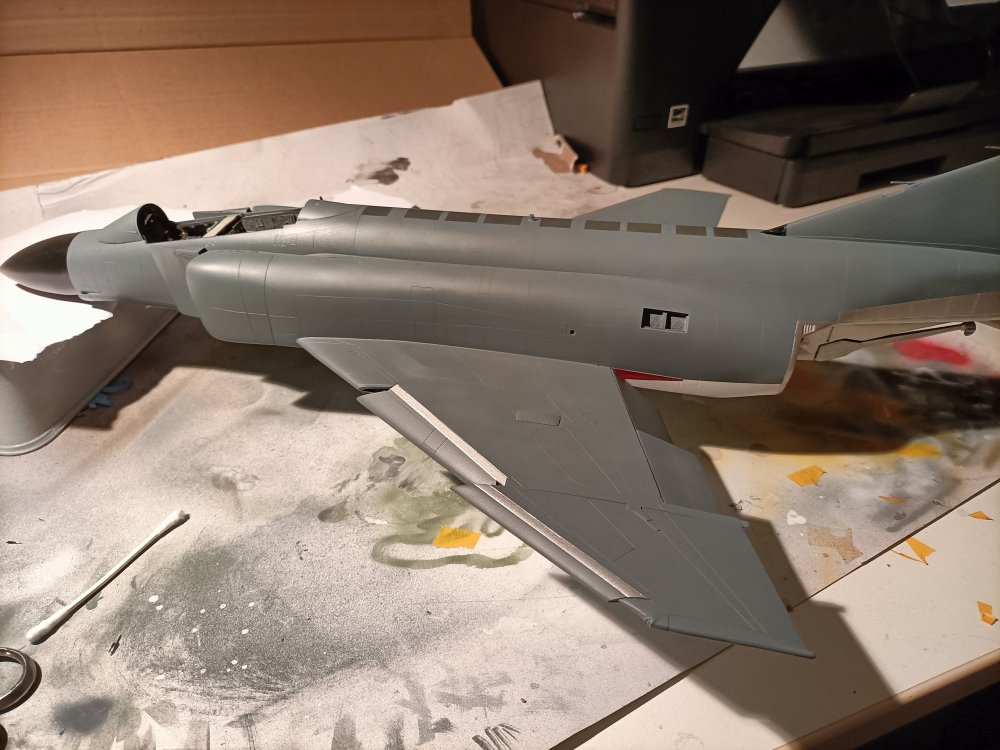
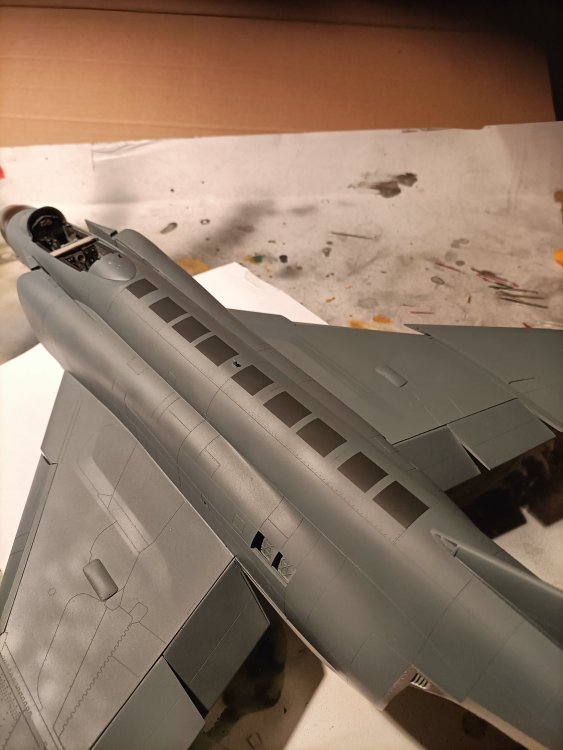
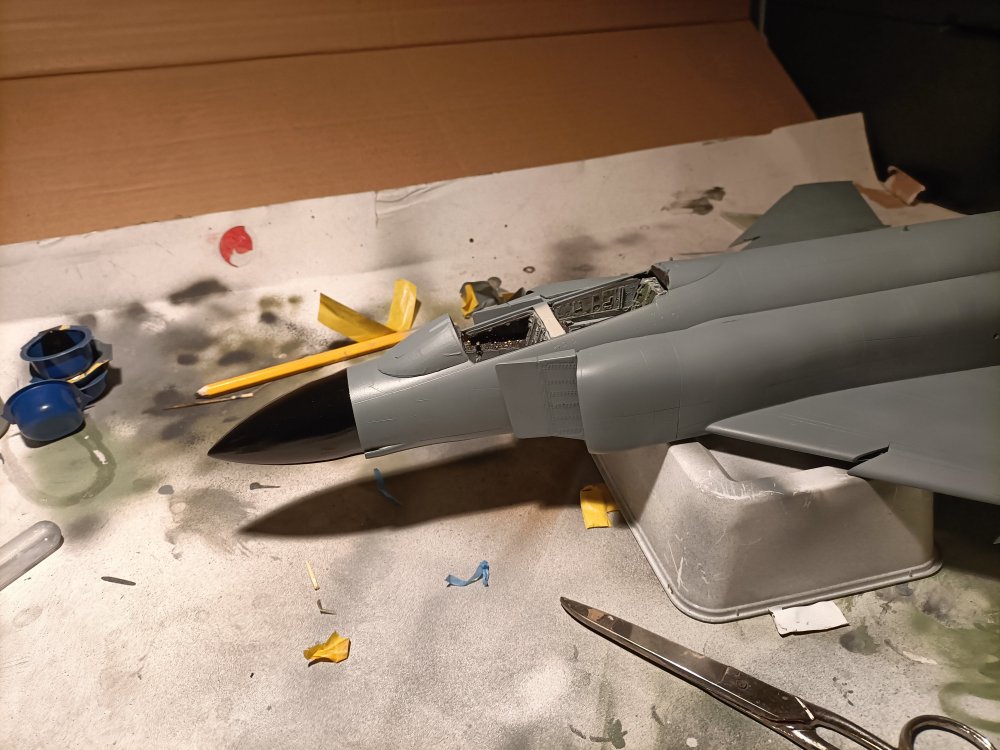
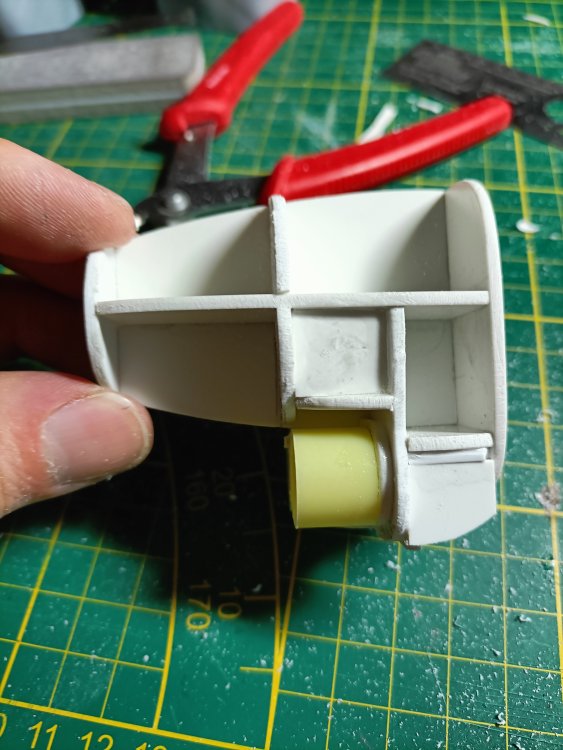
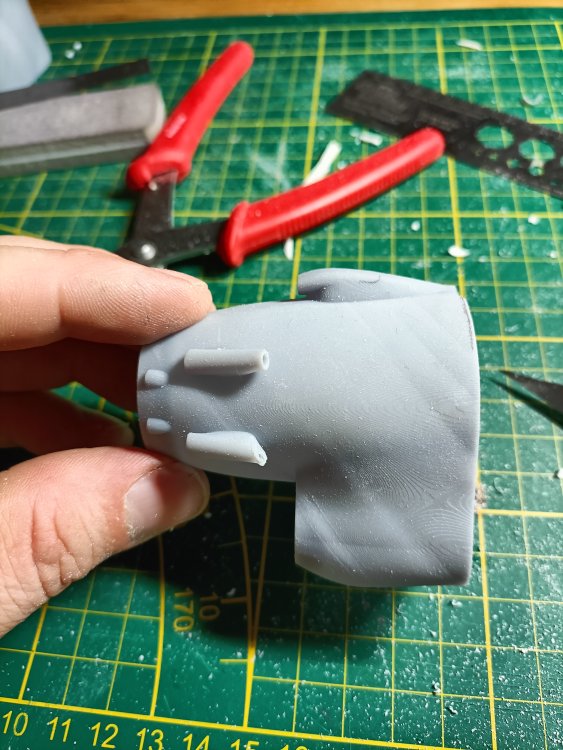
To plug holes I prefer to use the same type of plastic rather than filler. Makes scribing easier. The gaps gave been plugged with shaped wedges and I am happy with the dry fit. As you can see the bum is greater than the Standard F-4. I call it the Kardashian.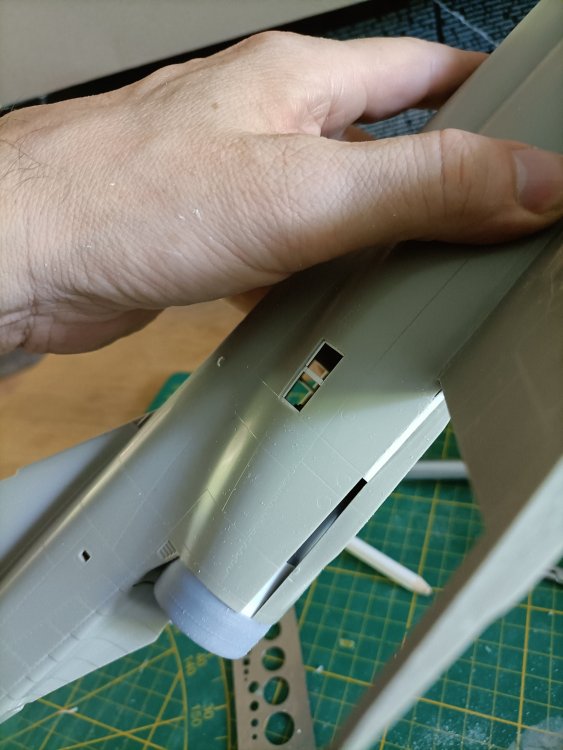


- 76 replies
-
- 8
-
-
- revell
- 1/32 phantom
- (and 1 more)
-
RN FG-1 Phantom 1/32 scratch conversion
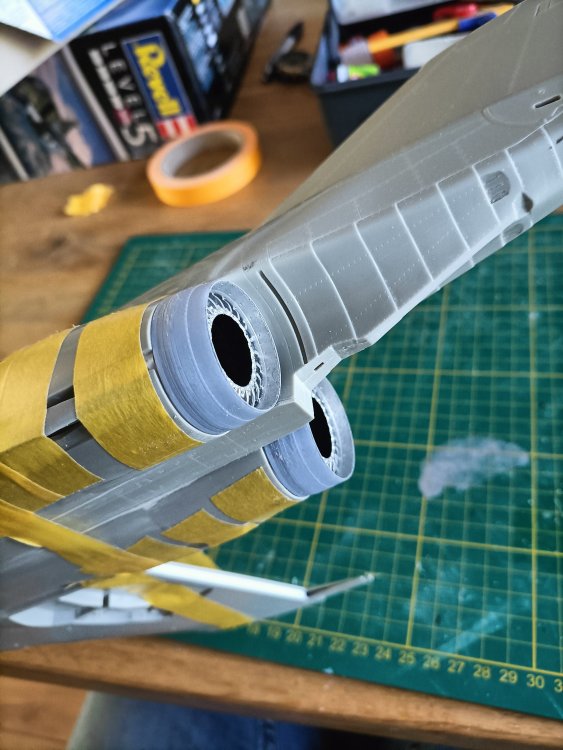
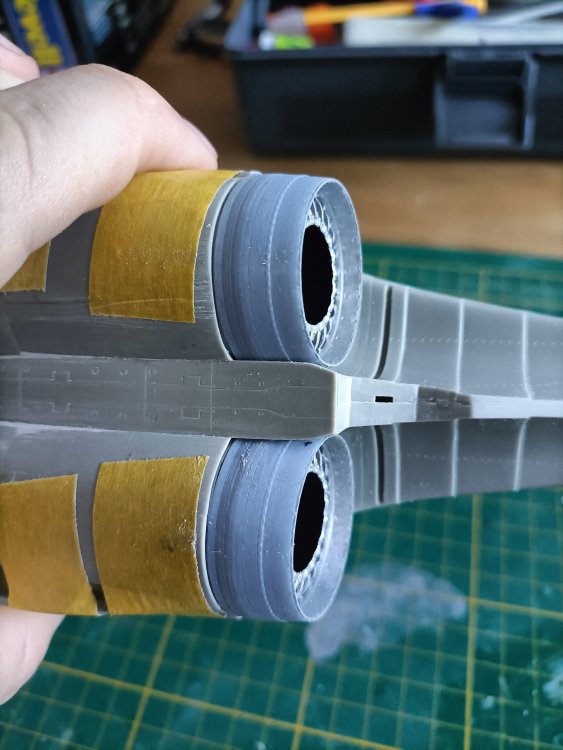
Wingco57 replied to Wingco57's topic in LSM 1/35 and Larger Work In Progress
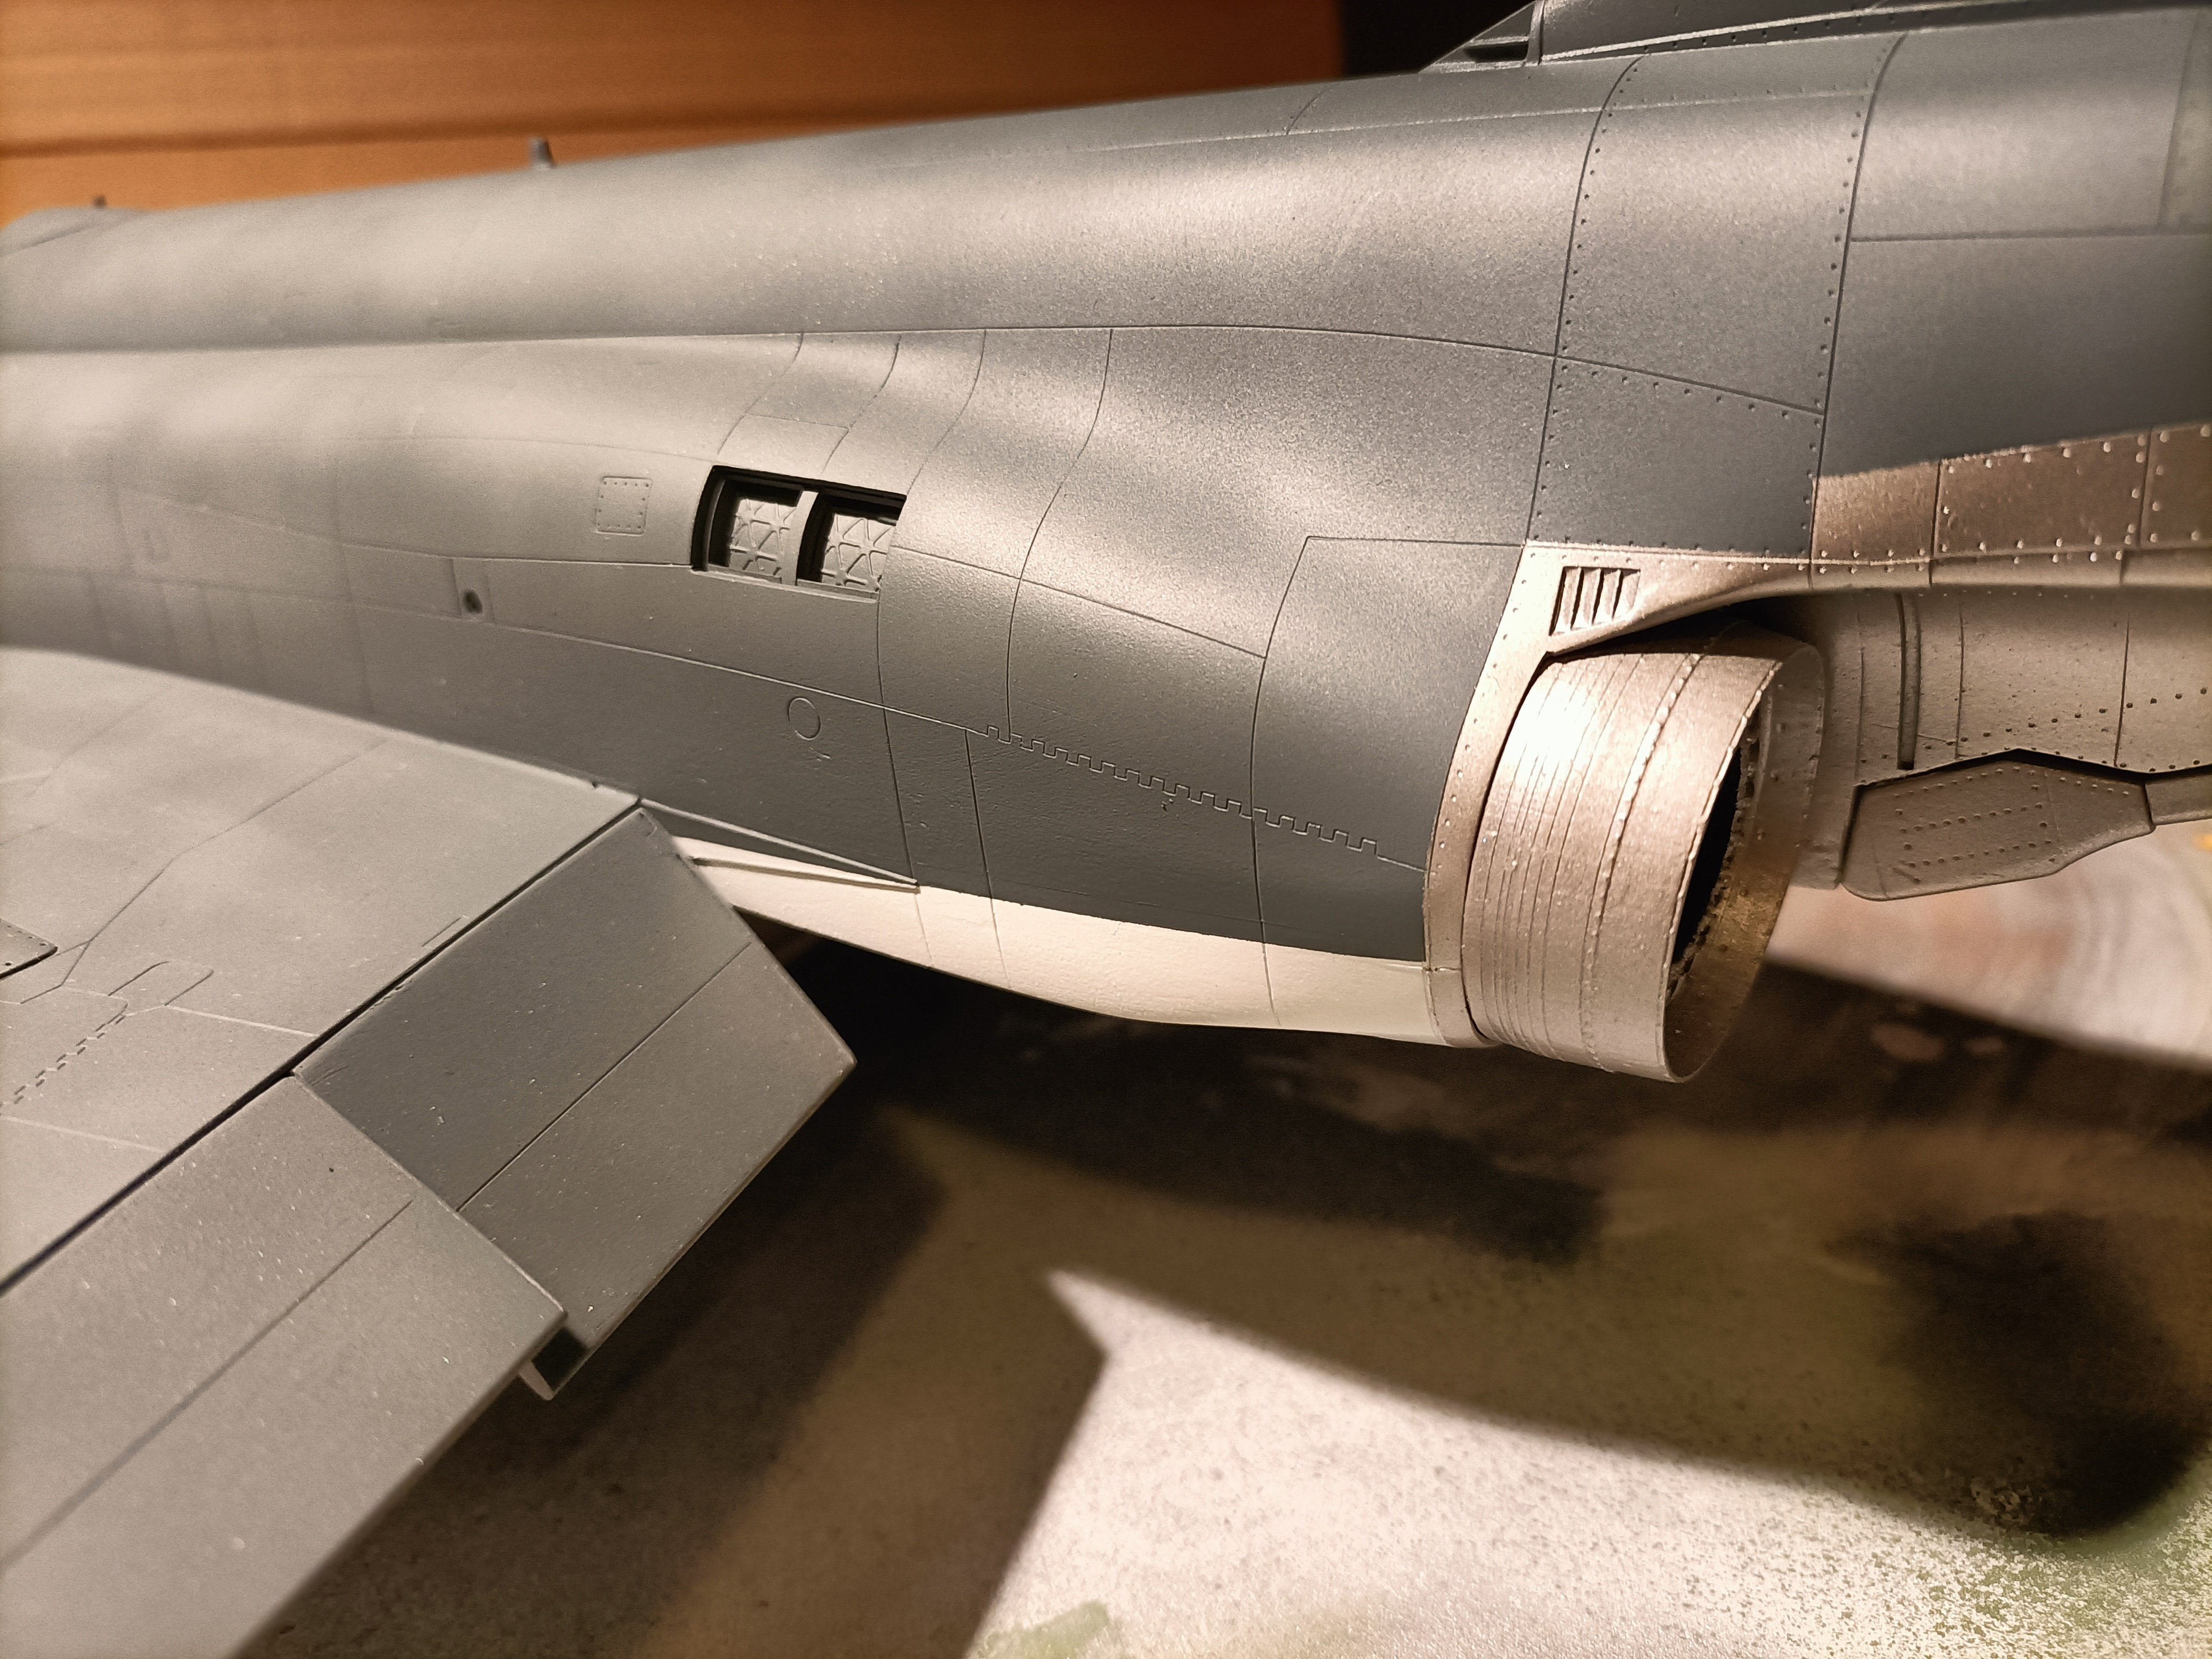
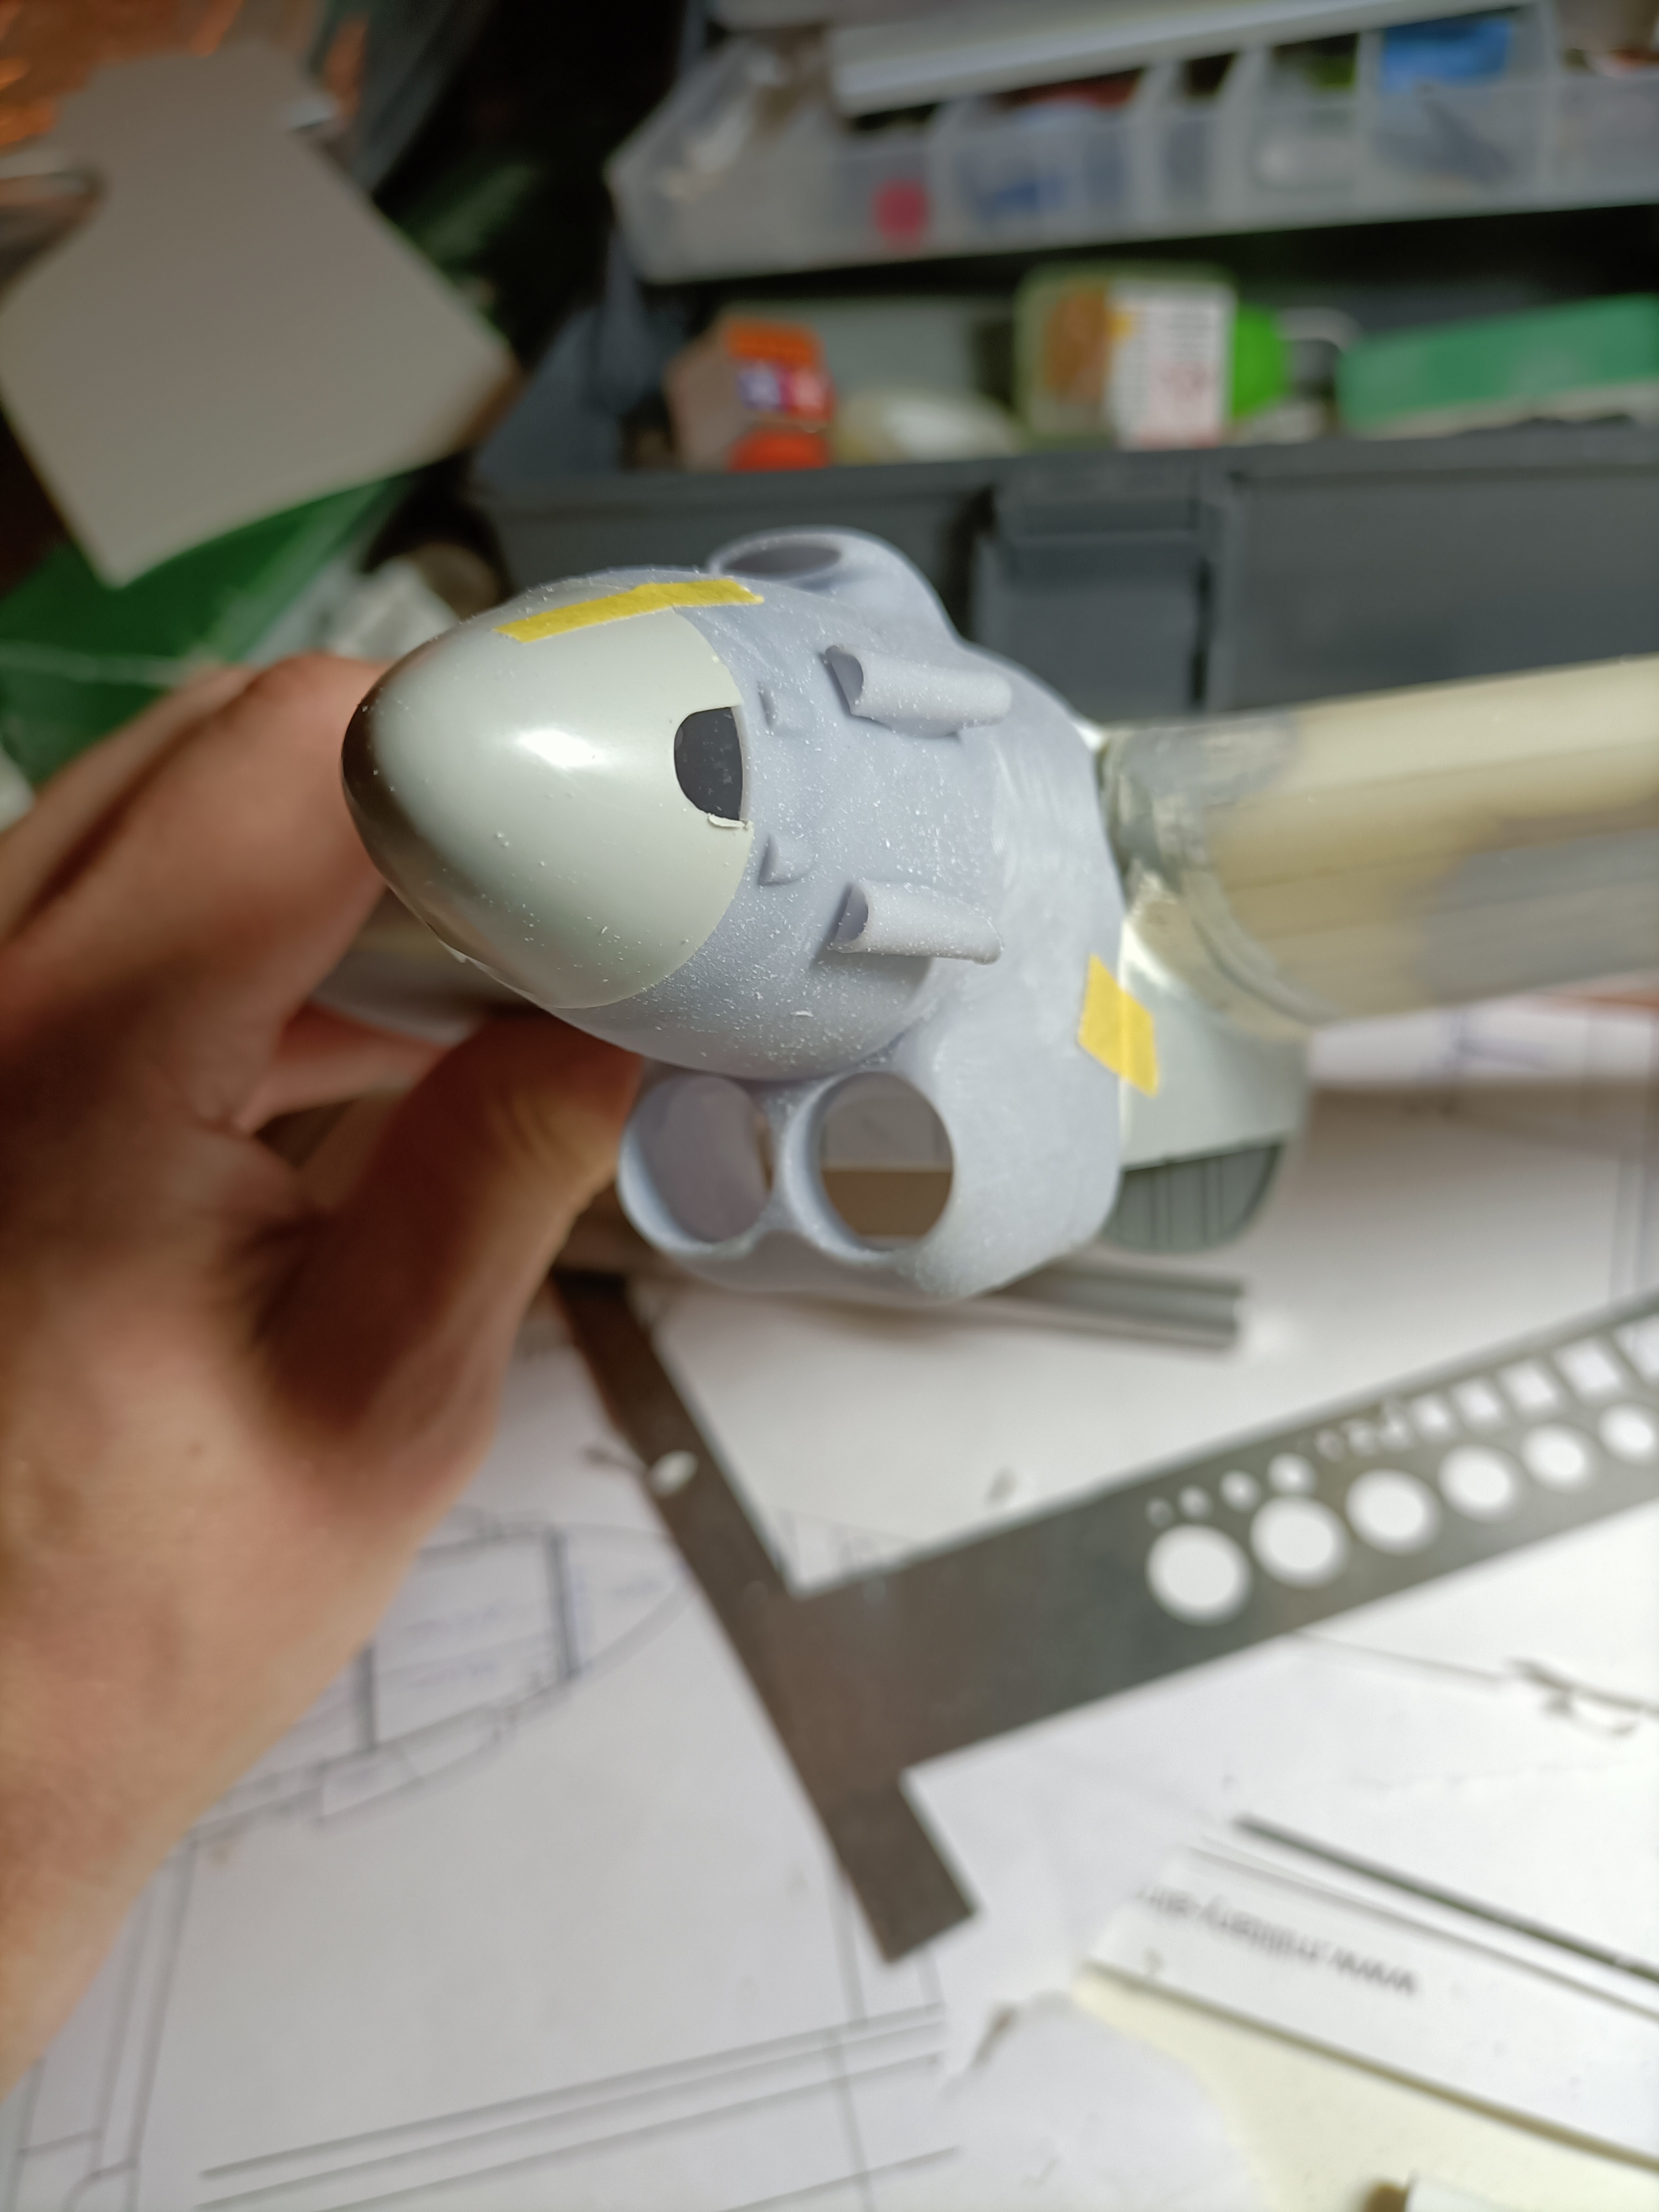
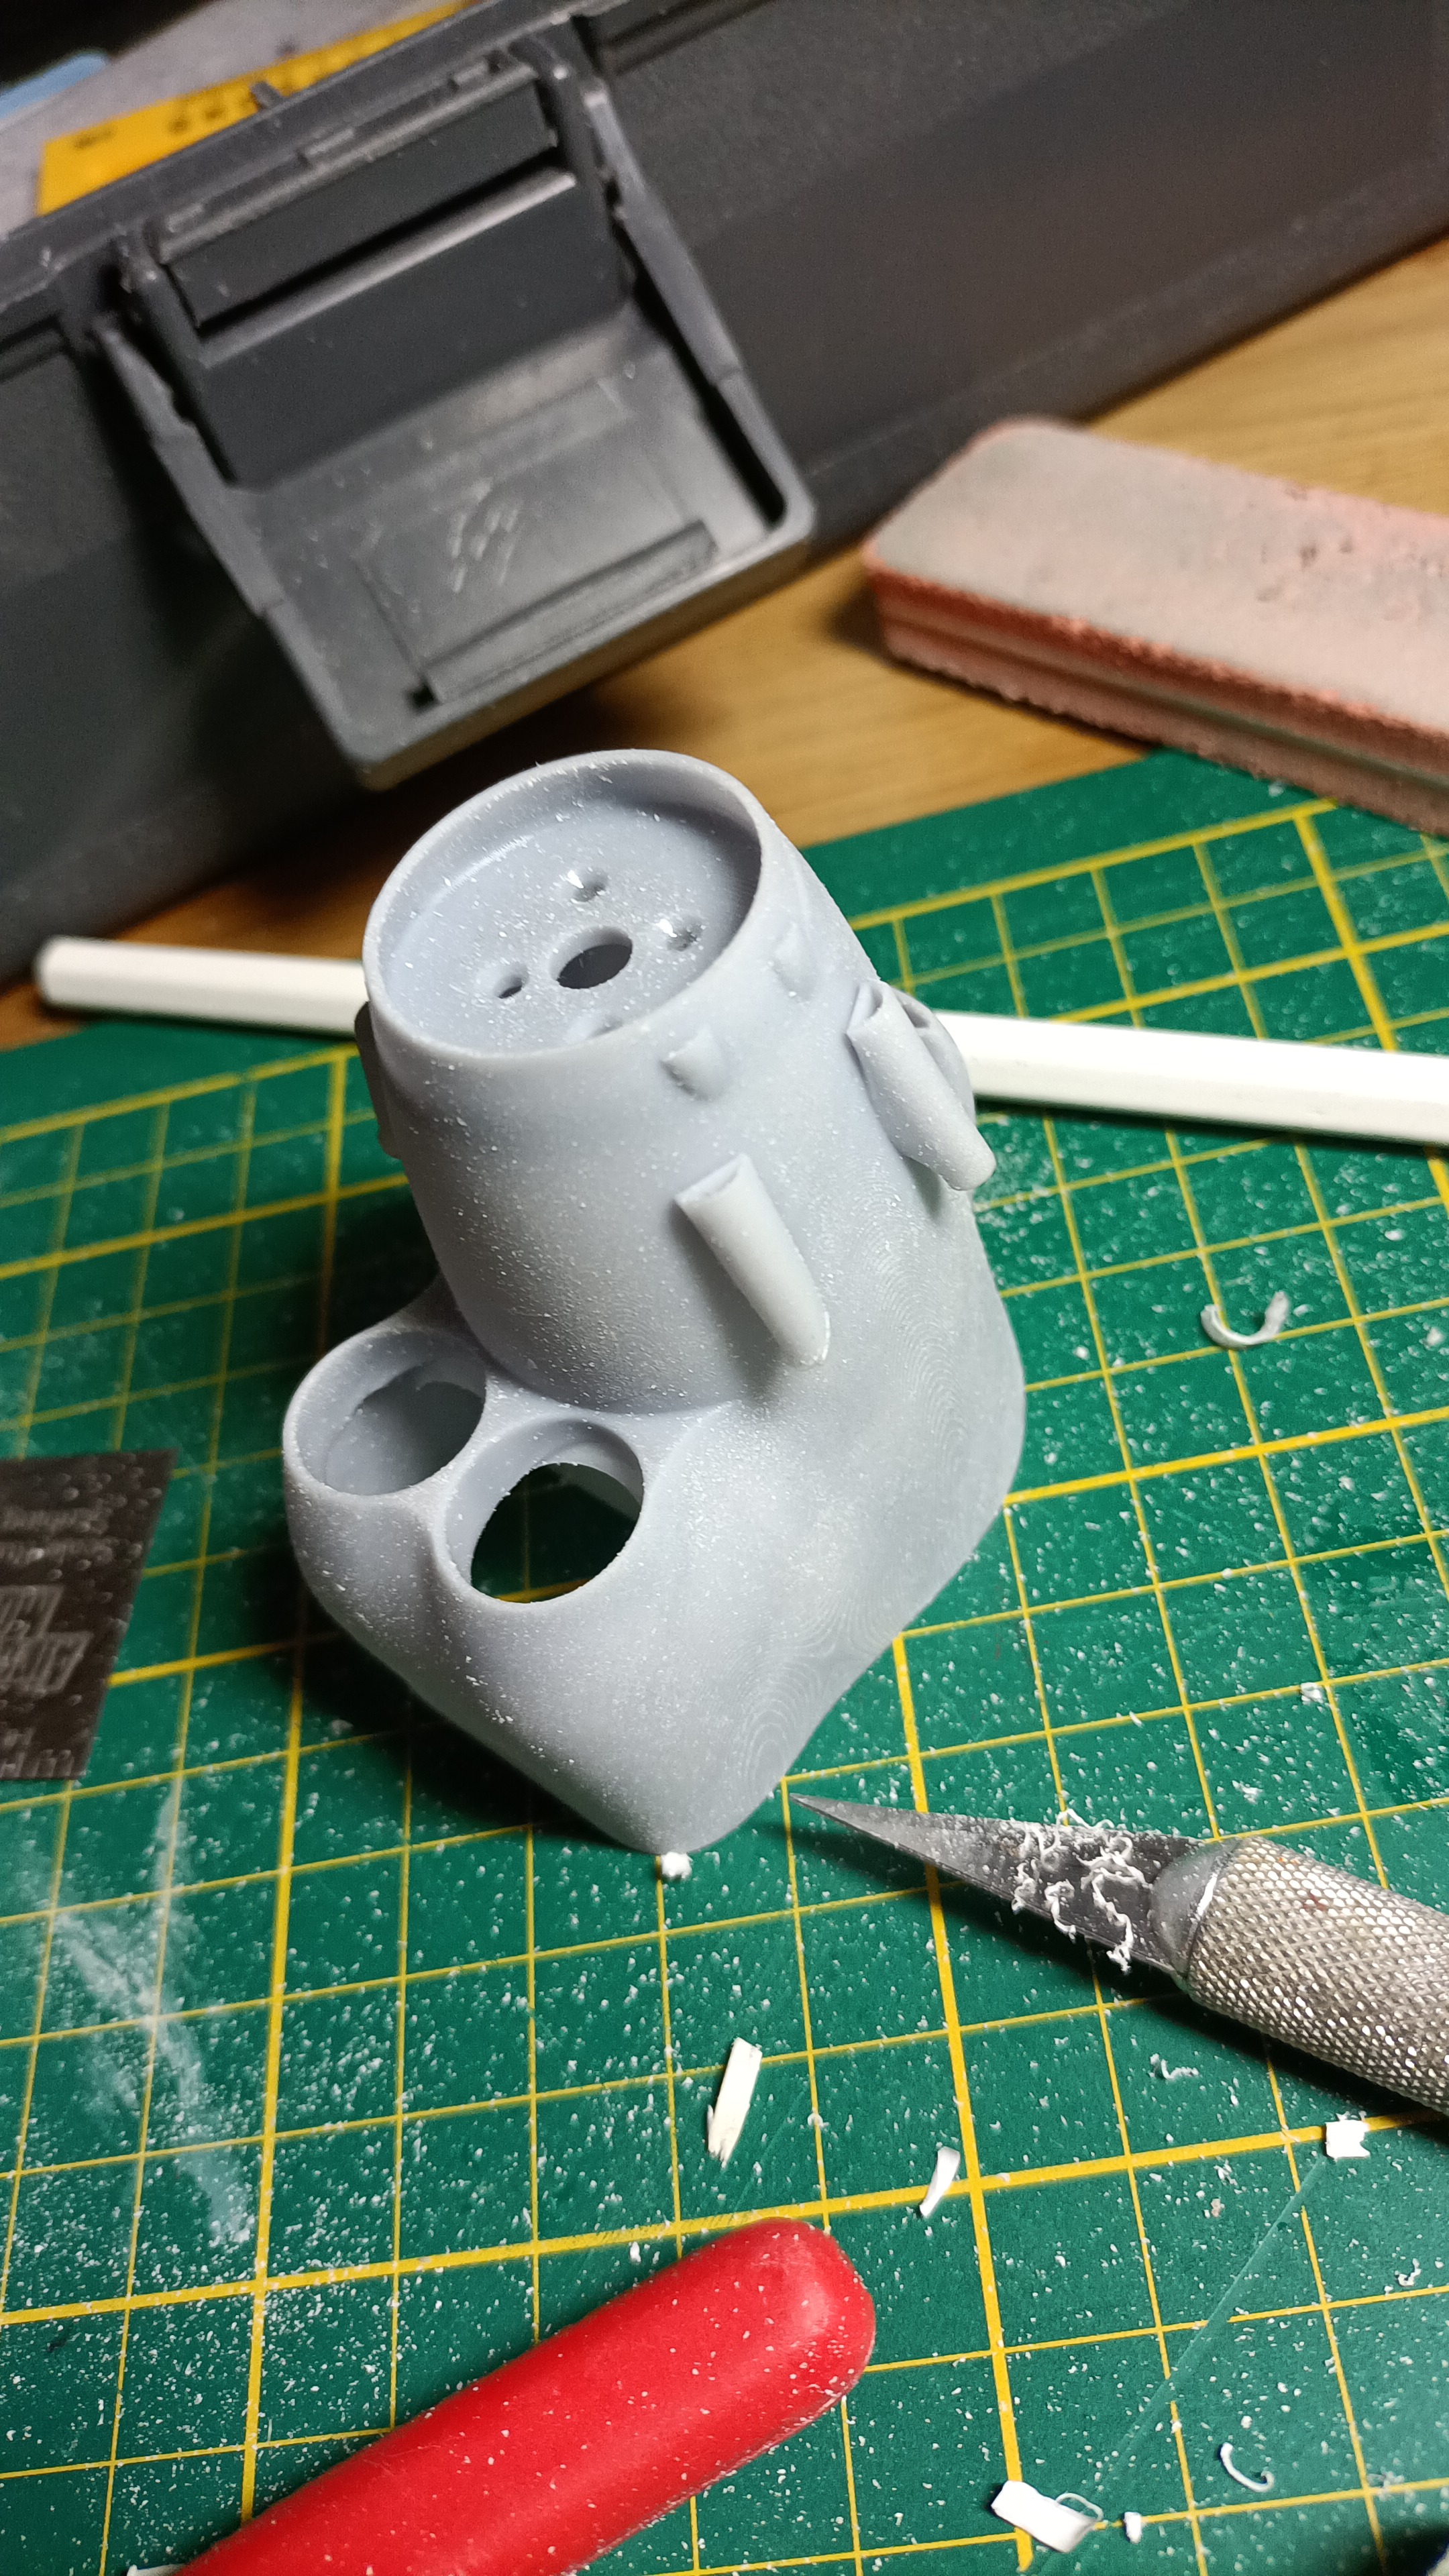
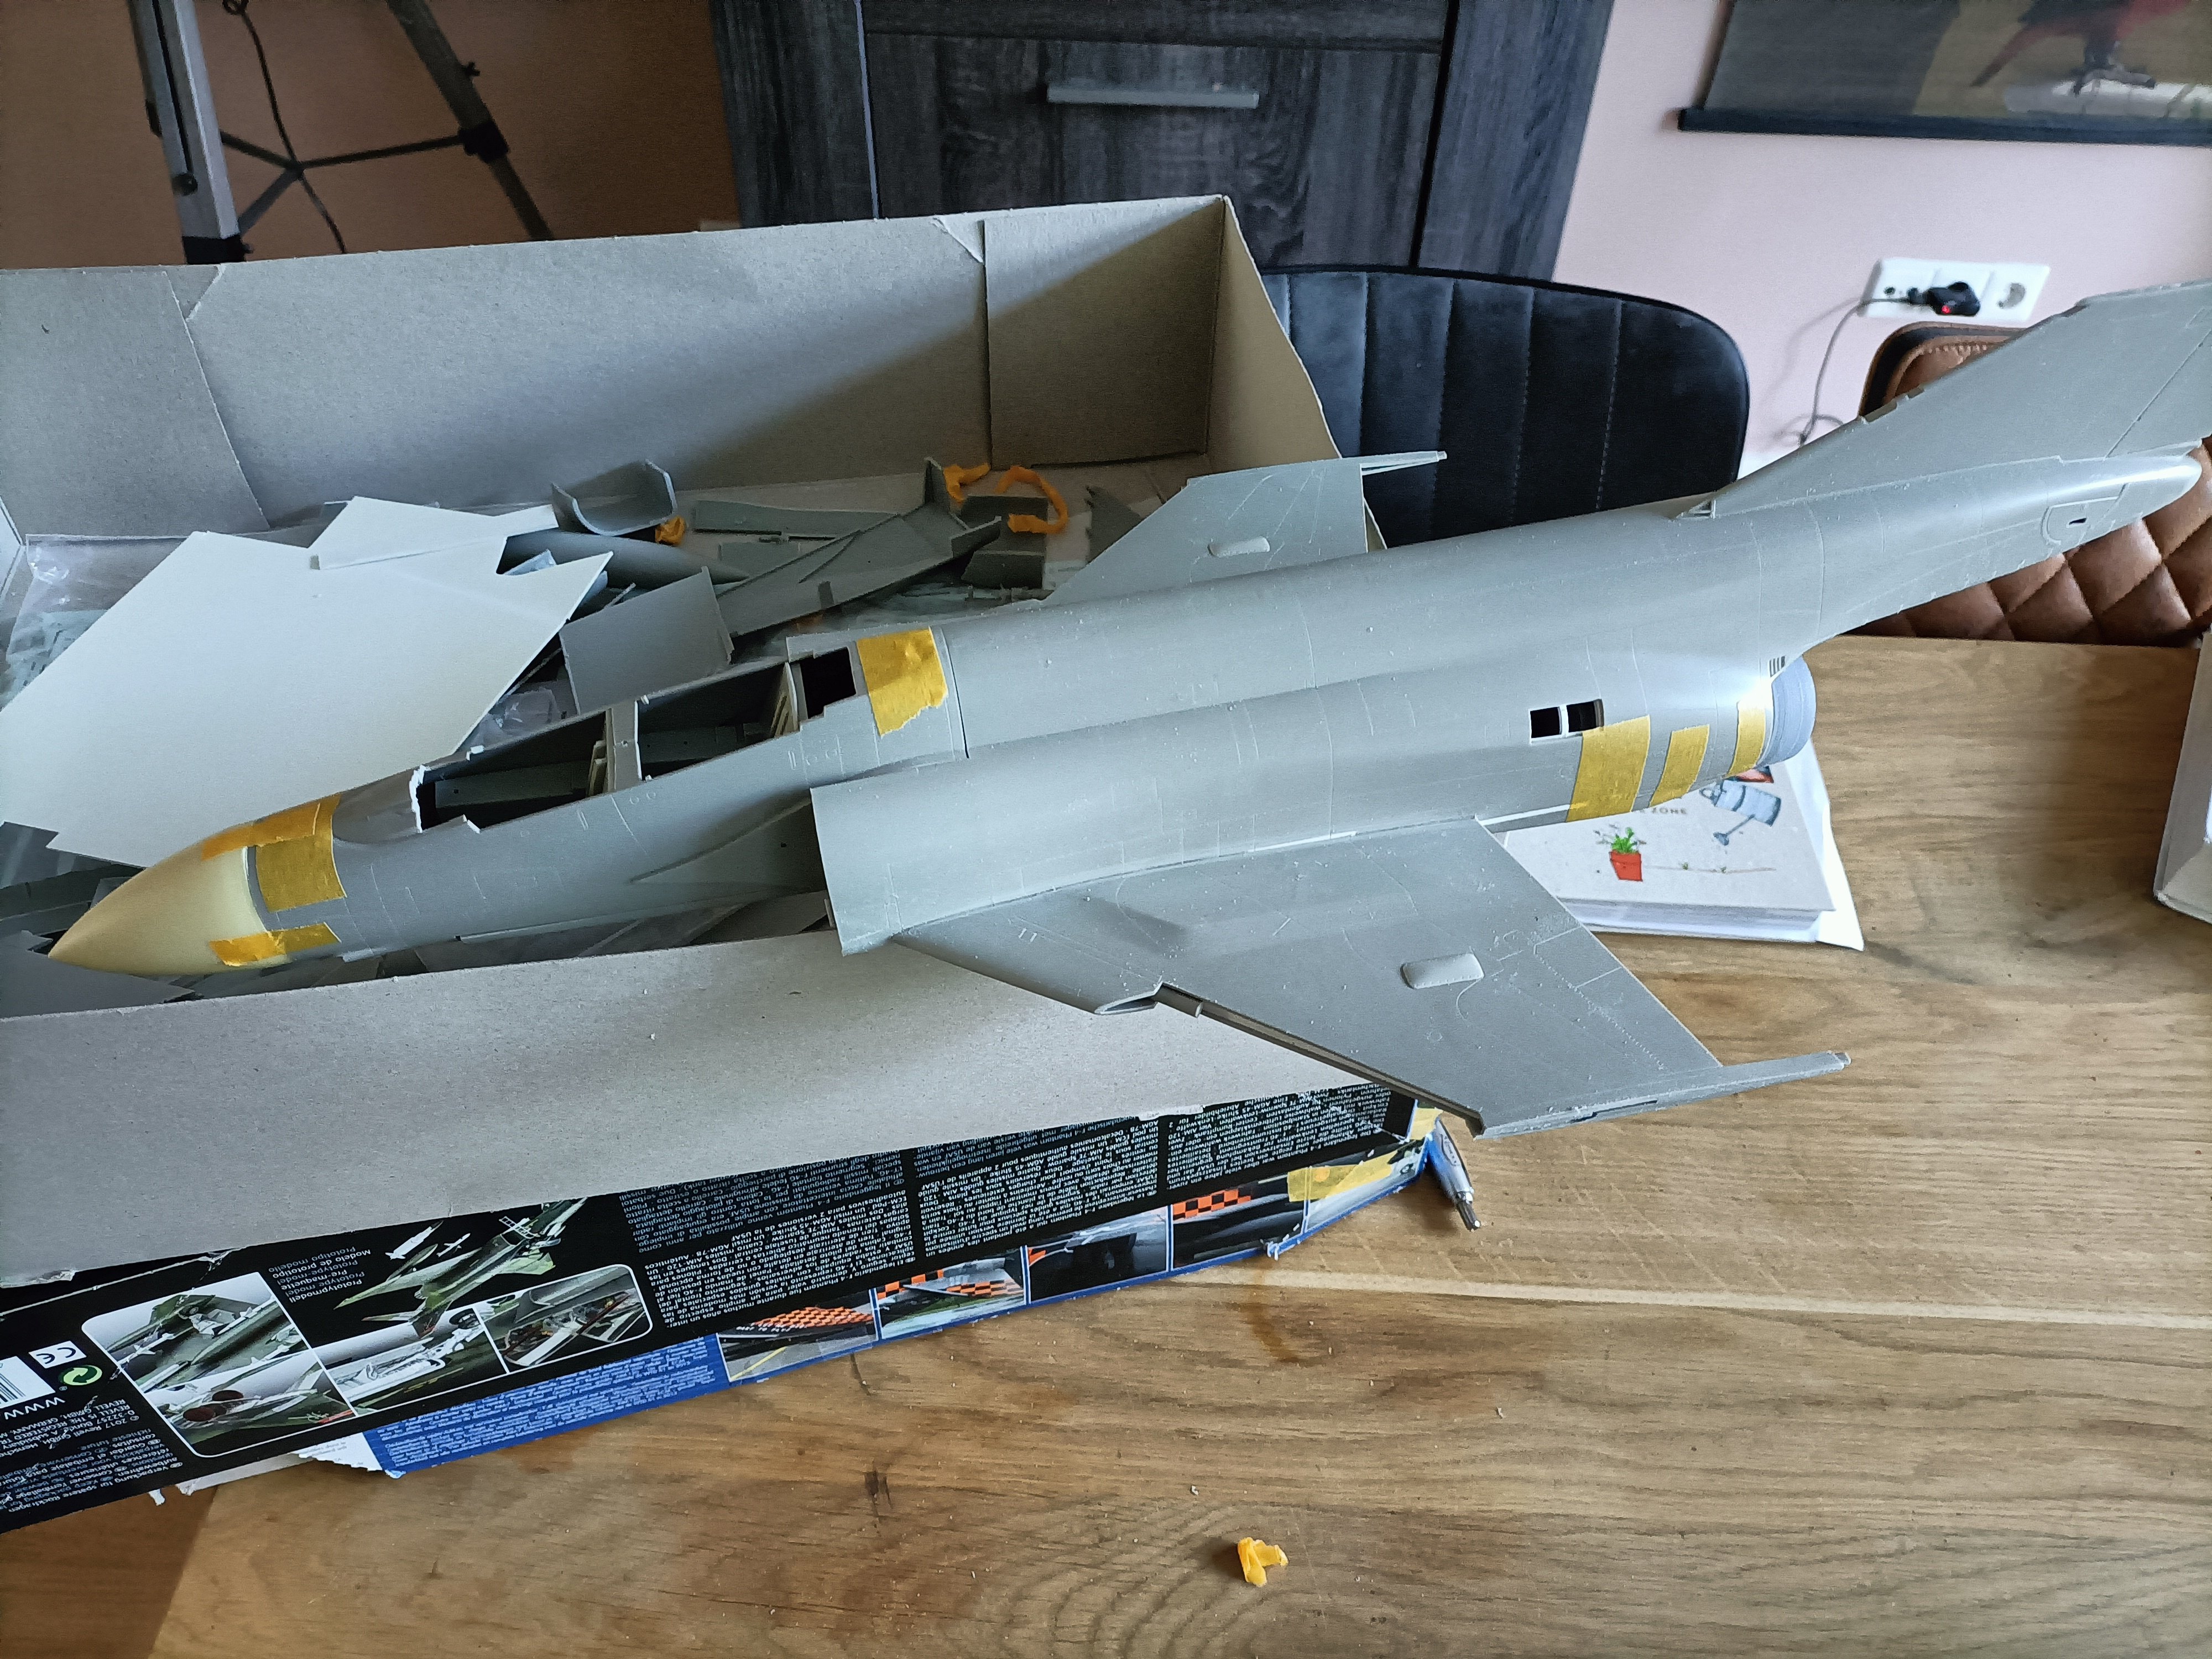
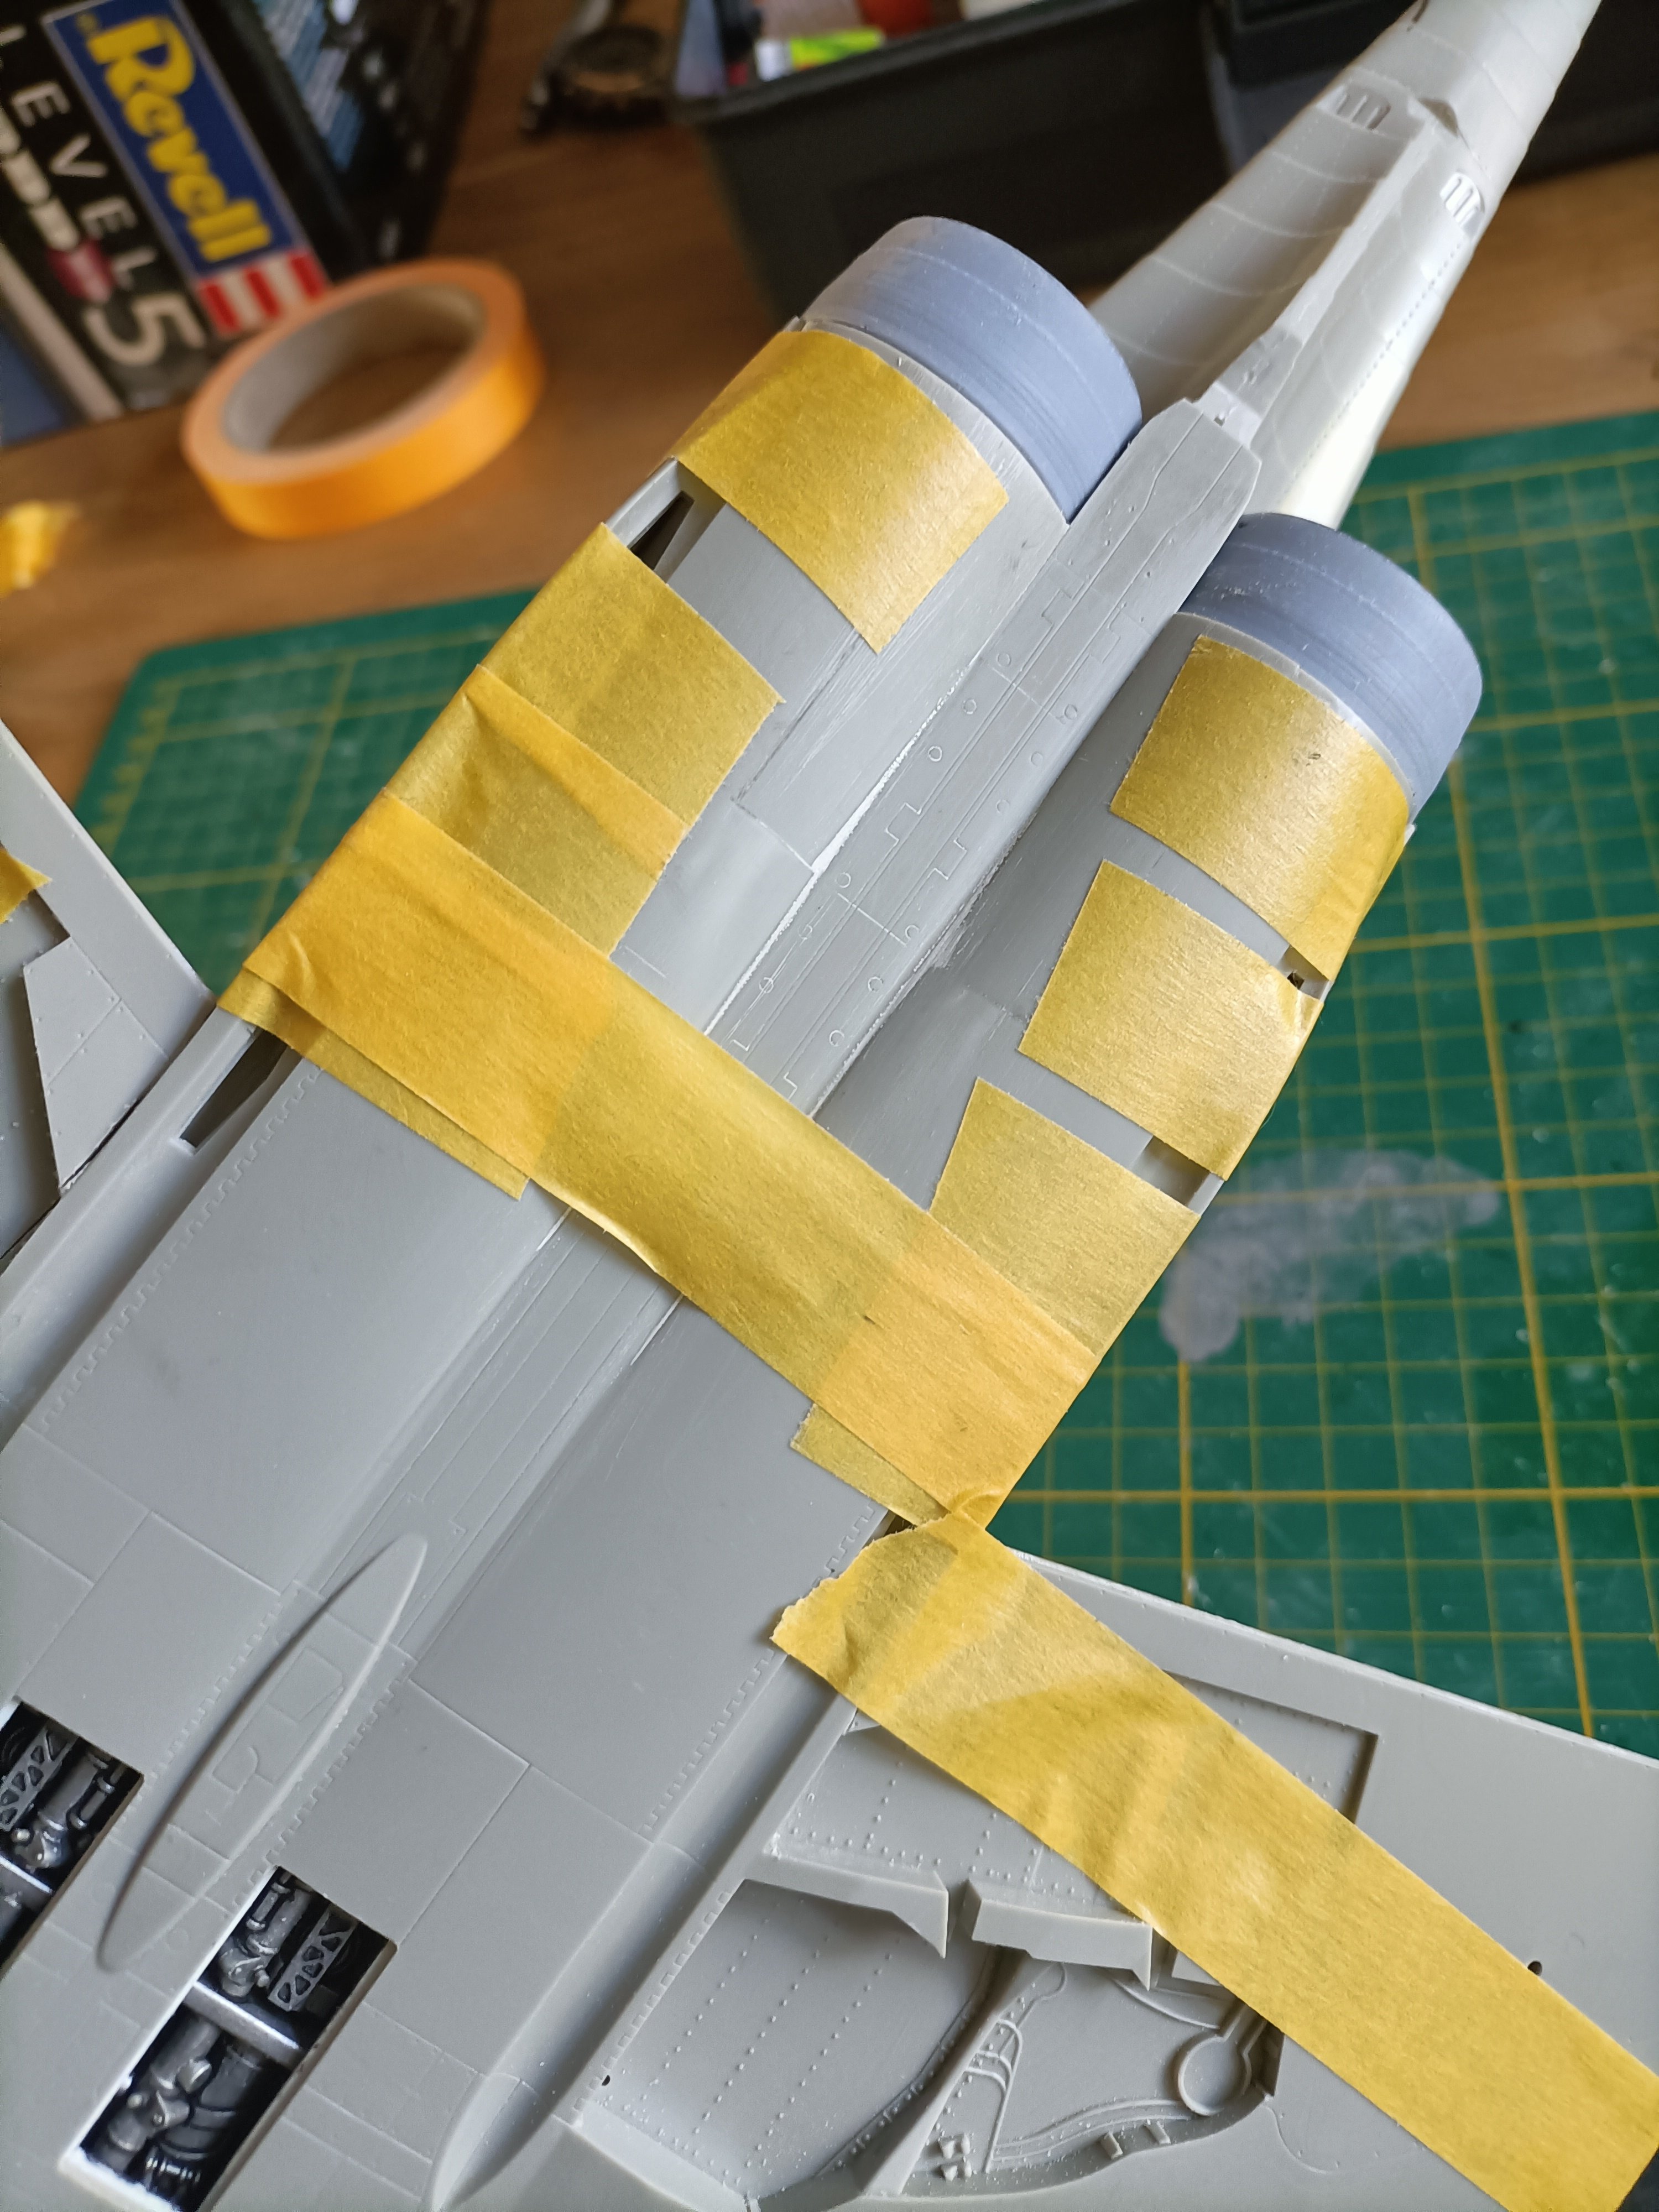
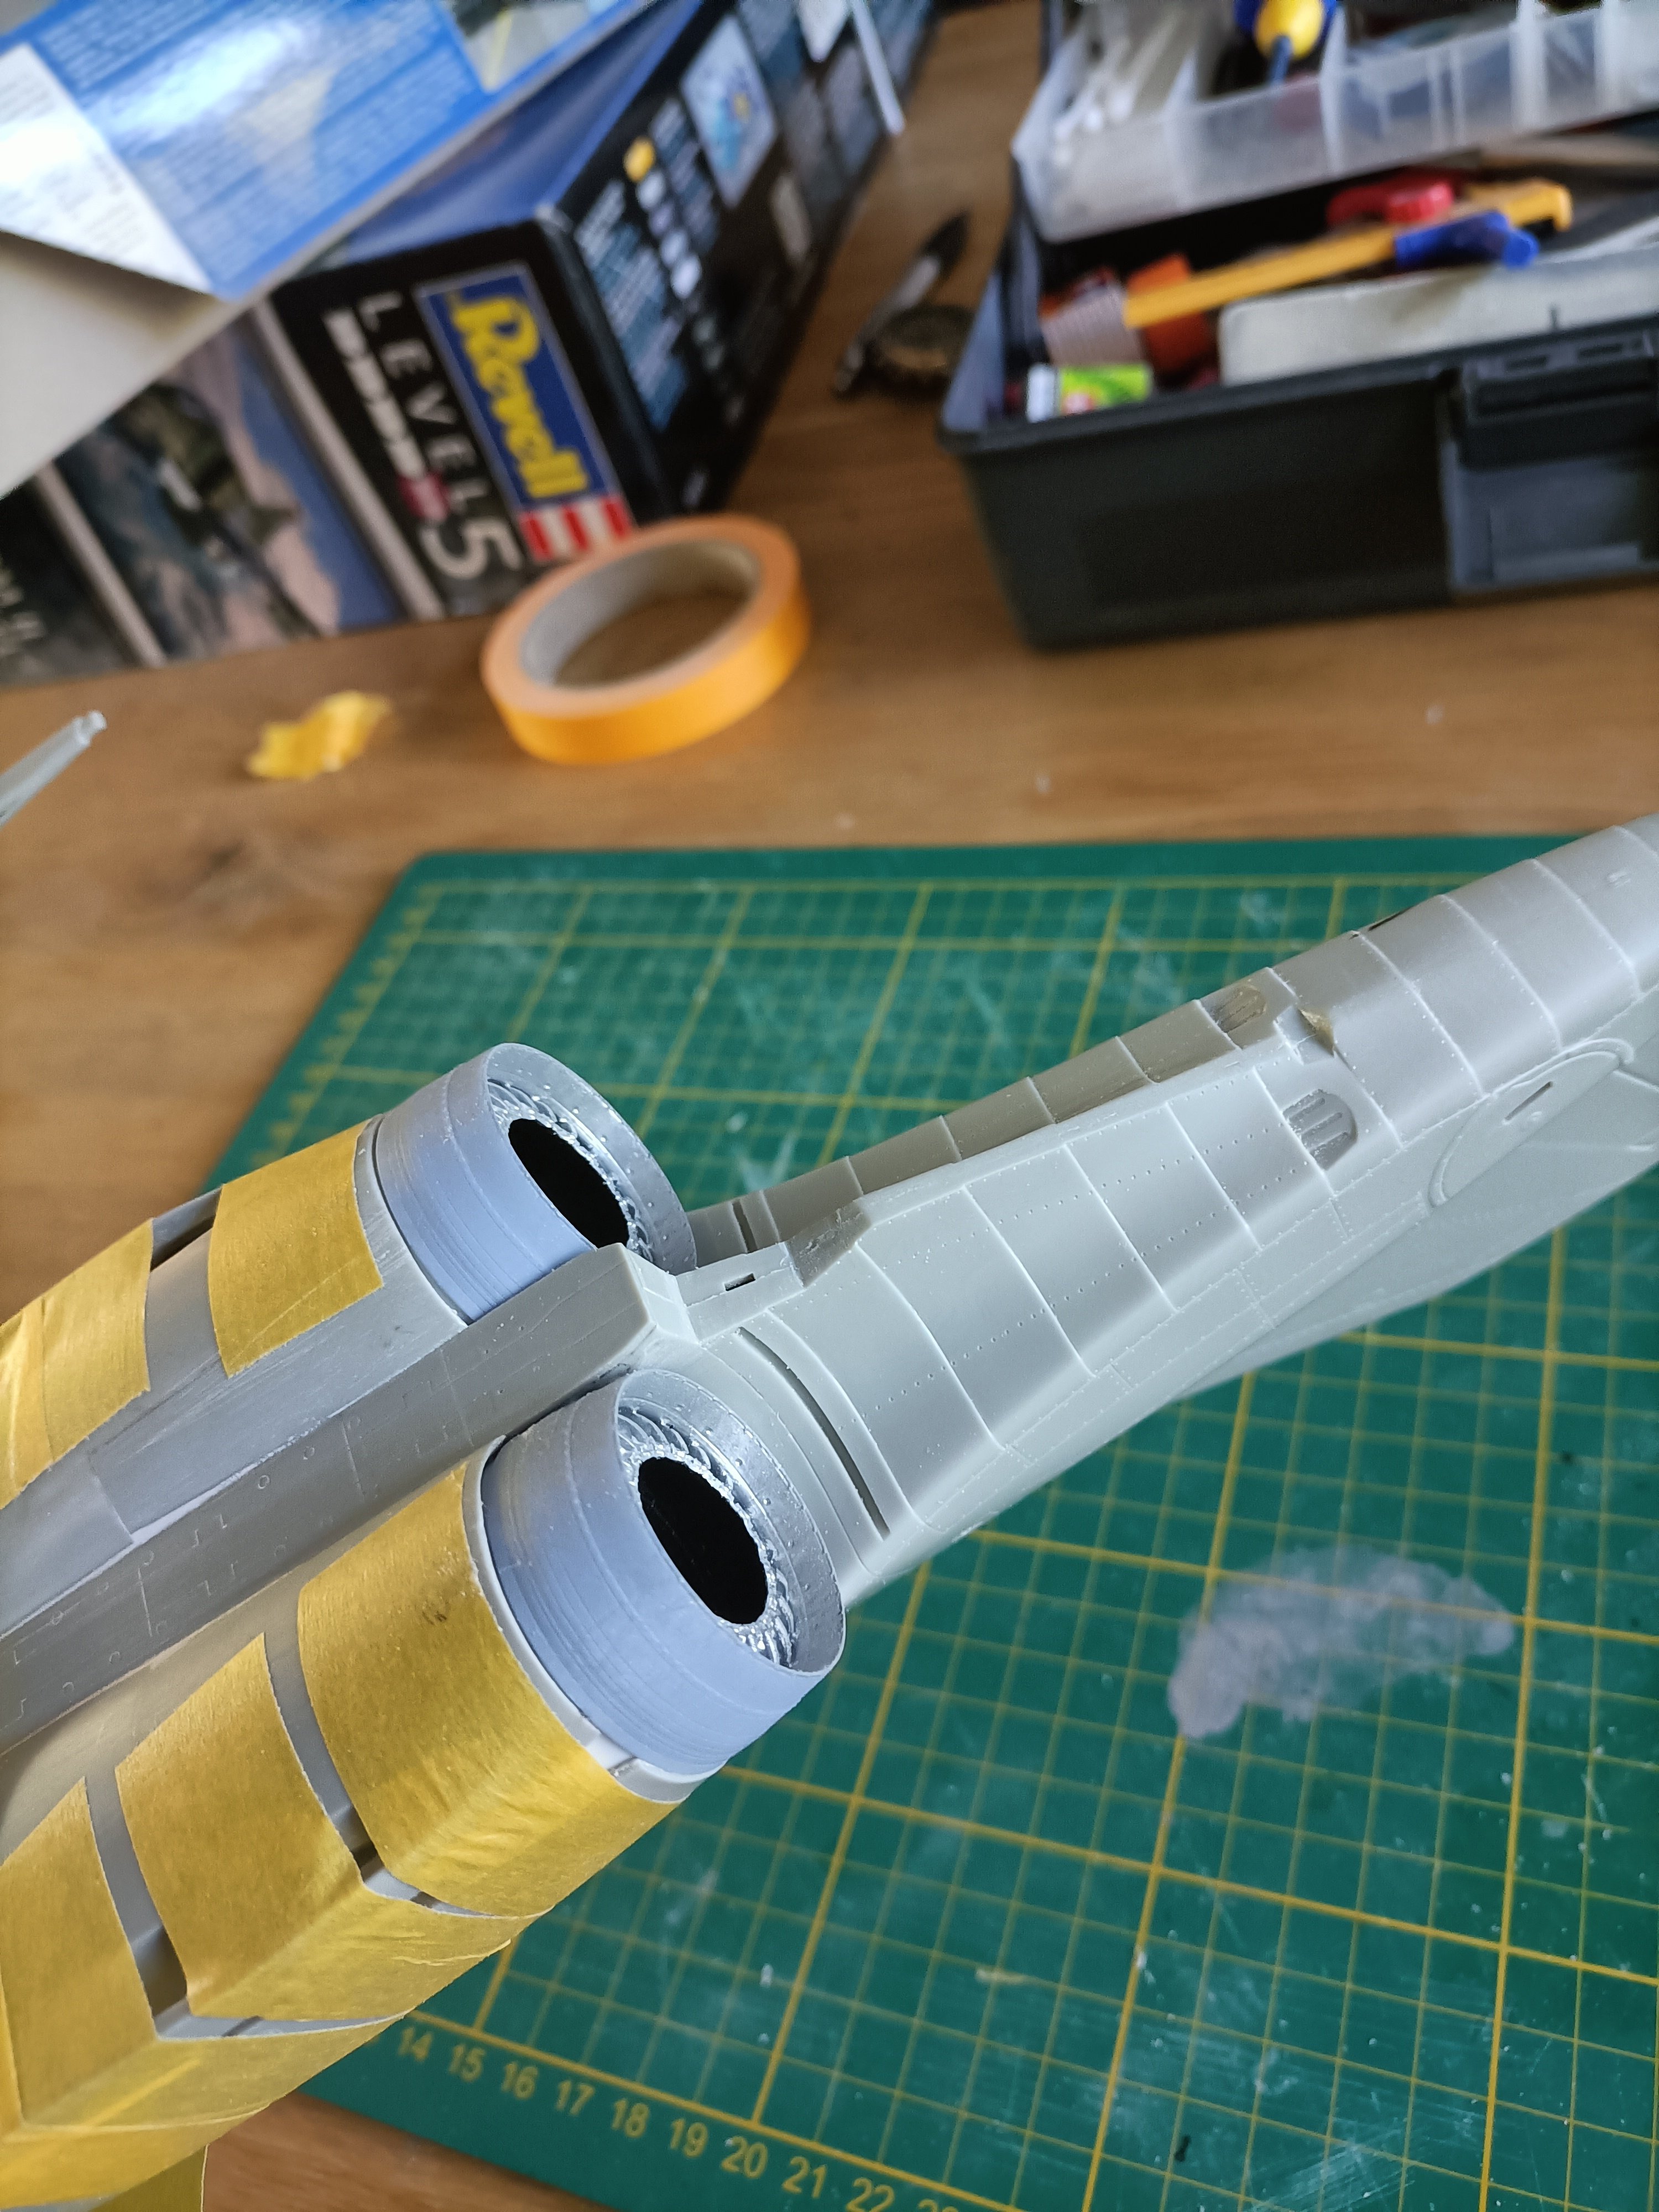
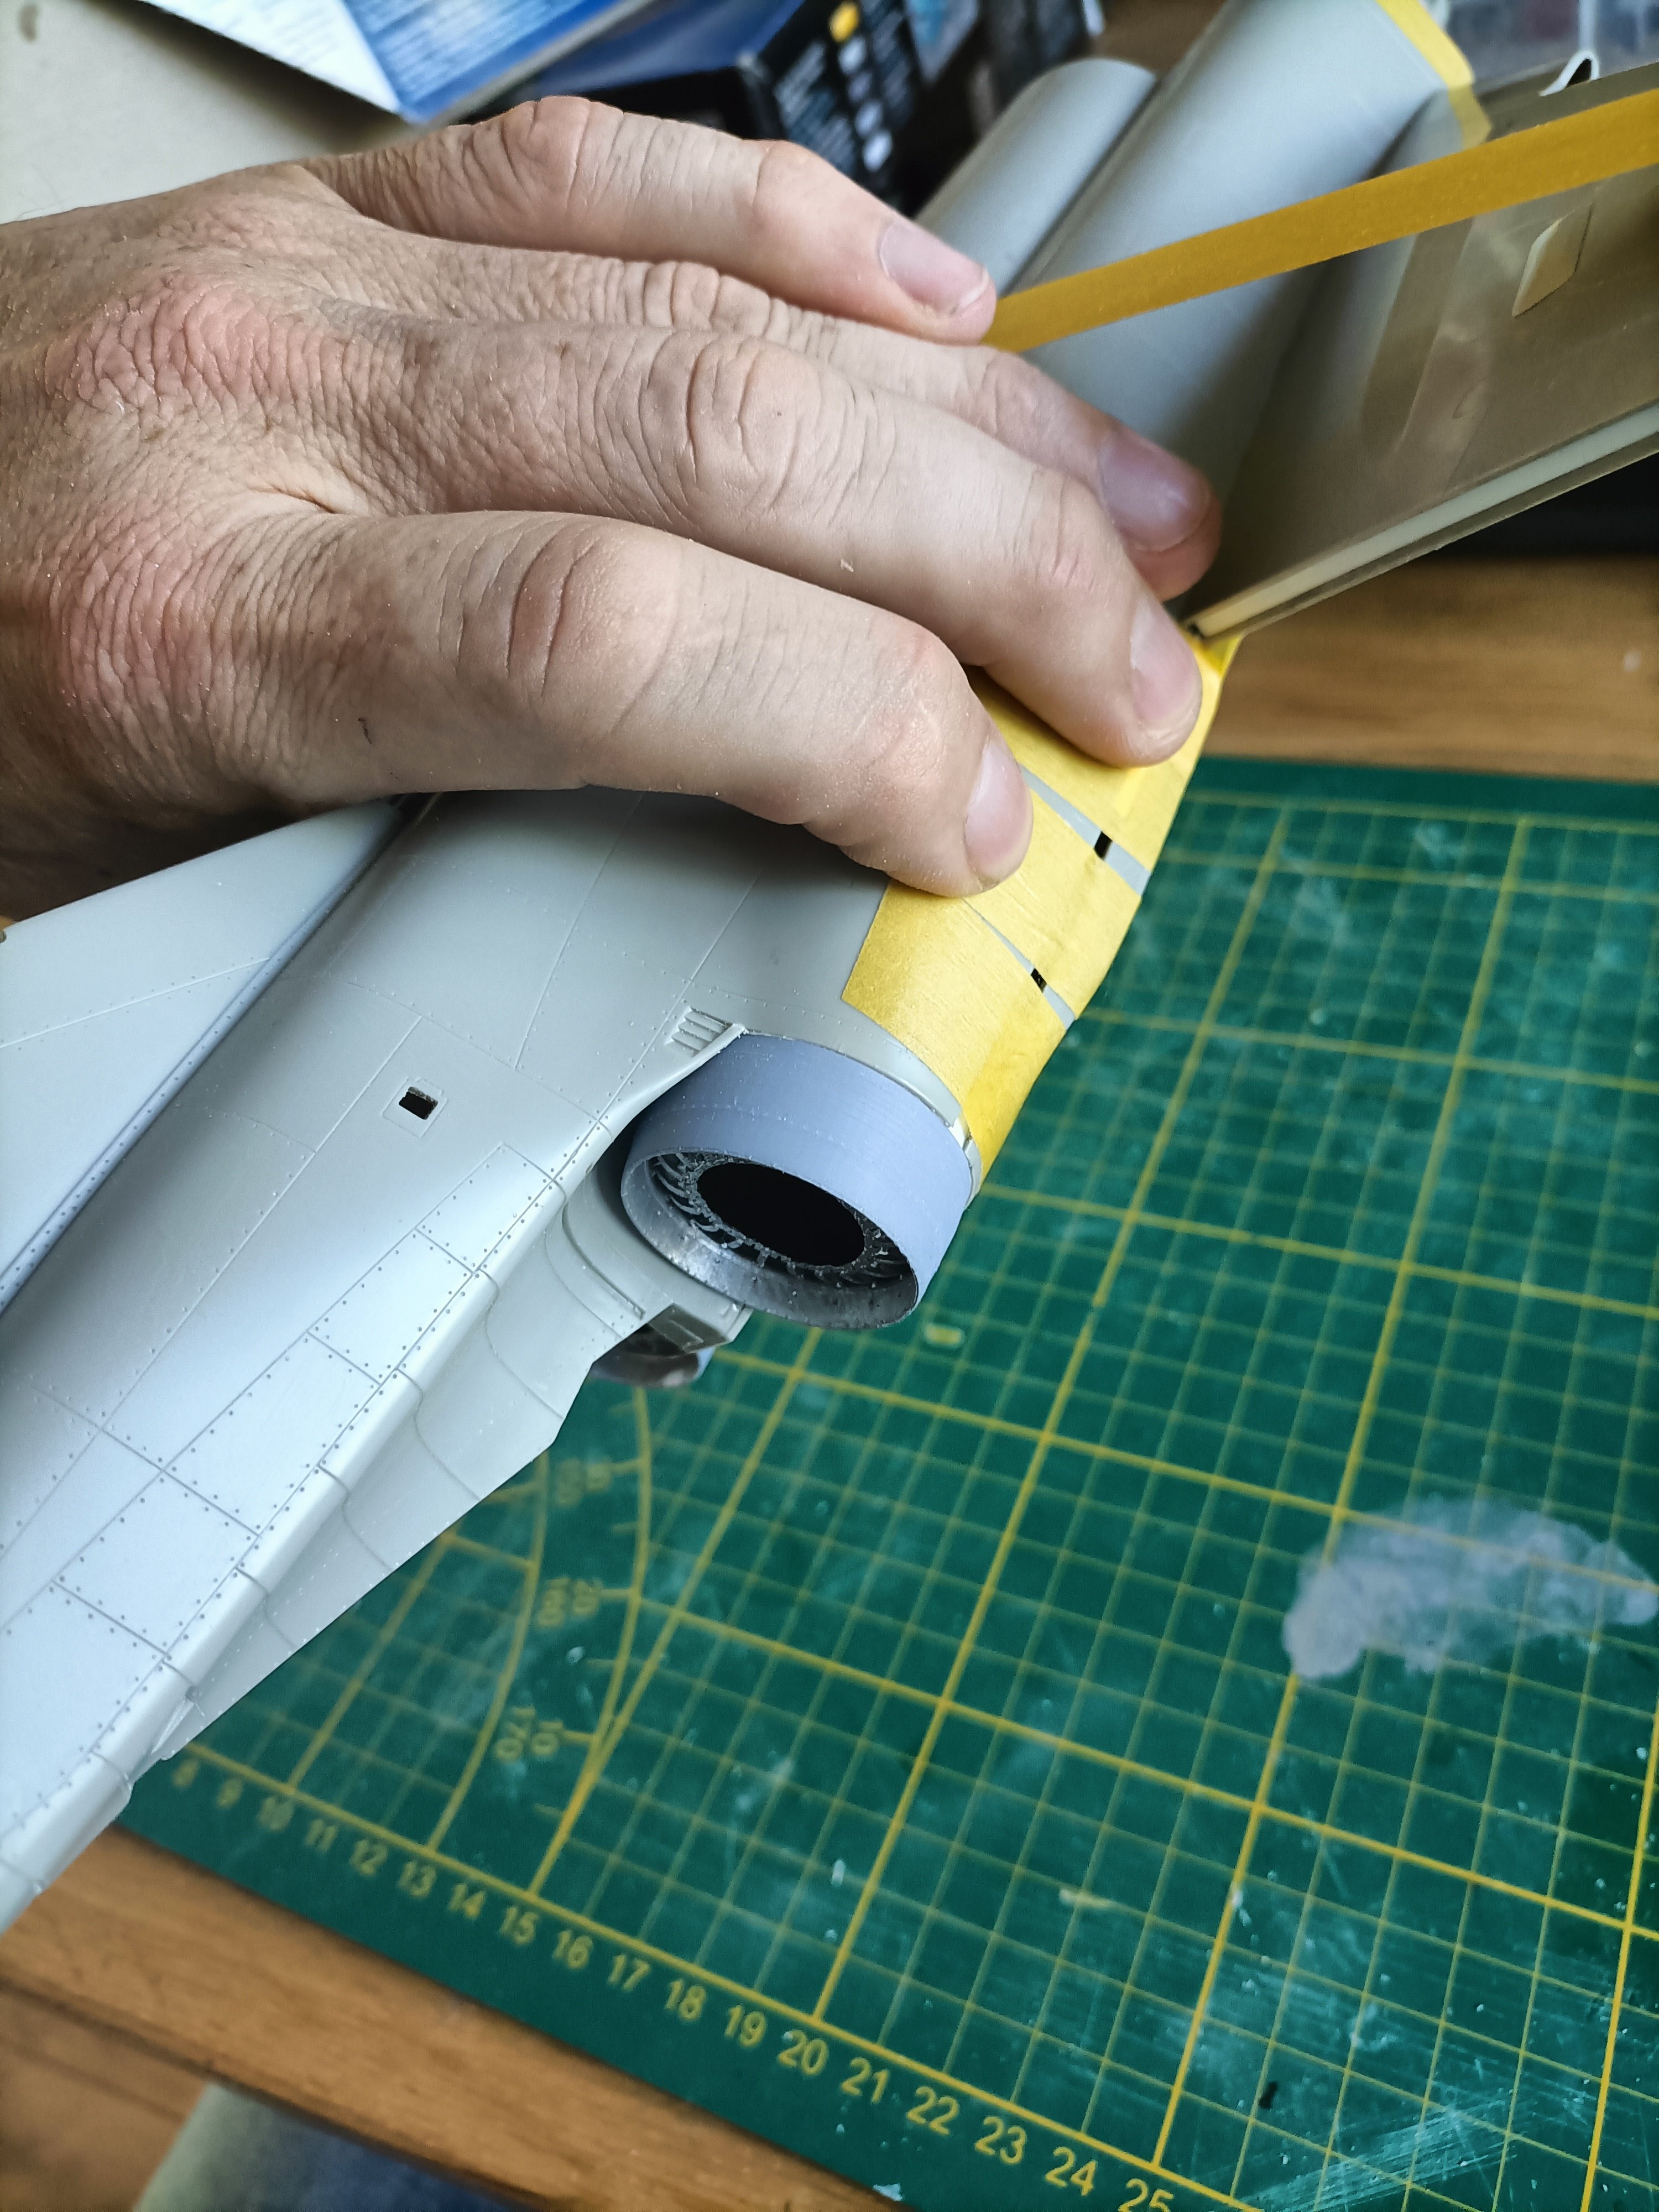
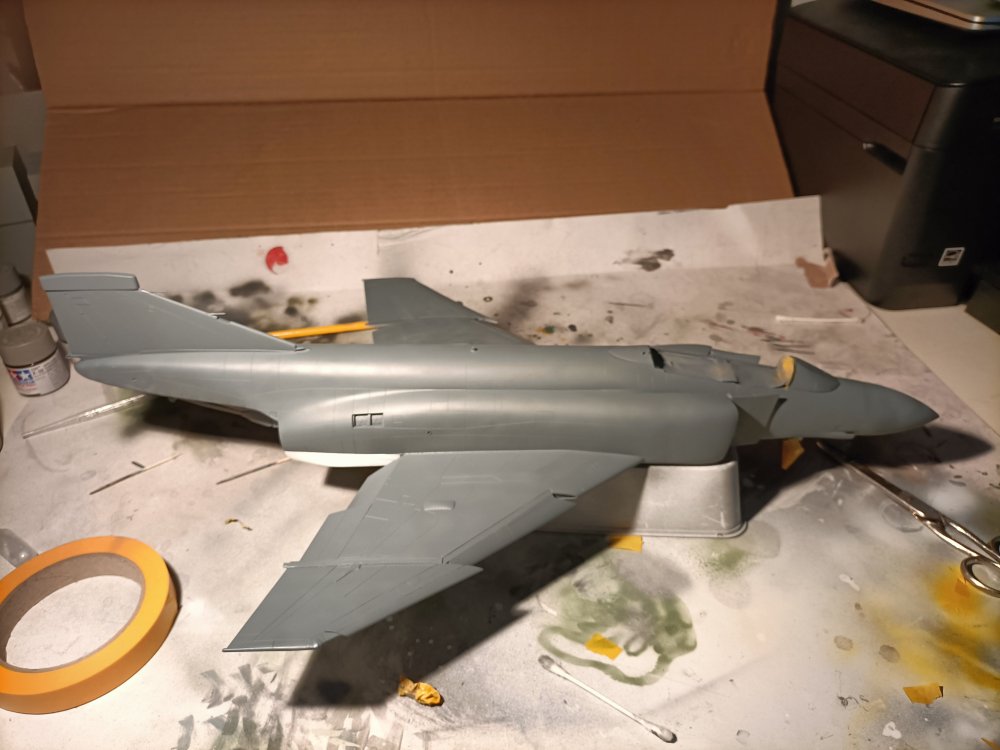
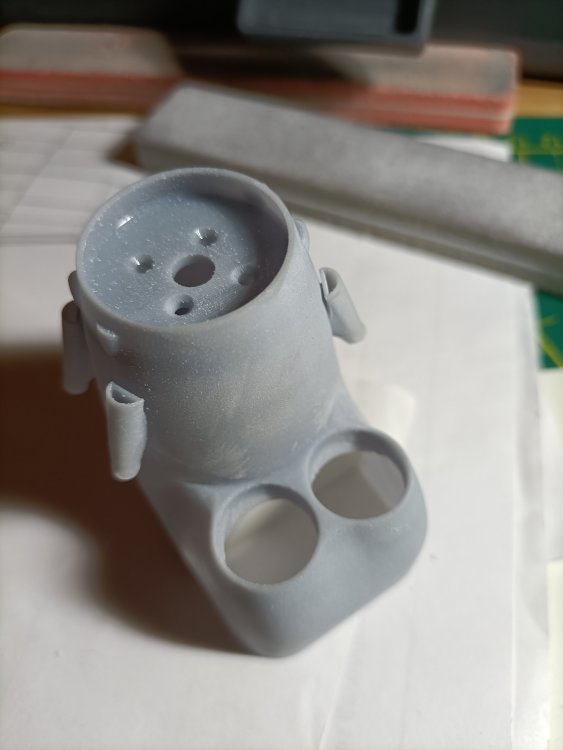
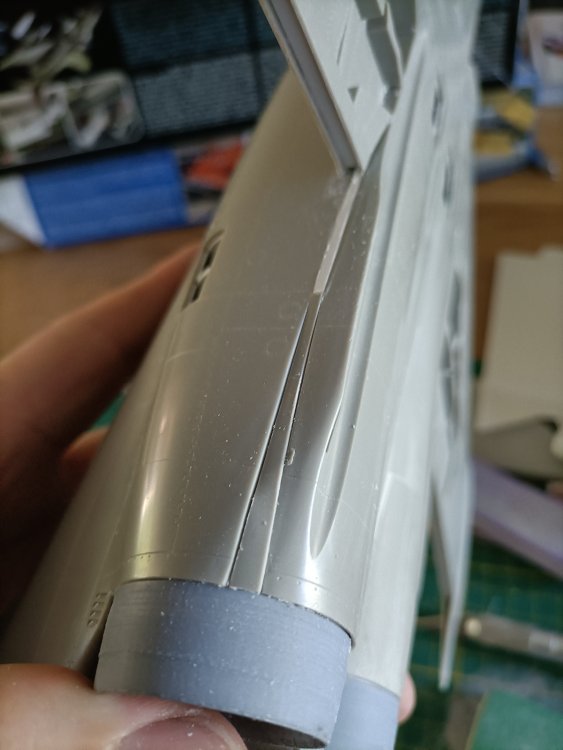
Been awhile, sorry for the delay. haven't had any motivation since April. Although I have been working on a fullsize HP Halifax instrument panel. But today Jeroen Peters and I visited the SME at Veldhoven and the juices came flooding back. The burner cans have been fitted followed by the bellysection. This will get the project up to speed.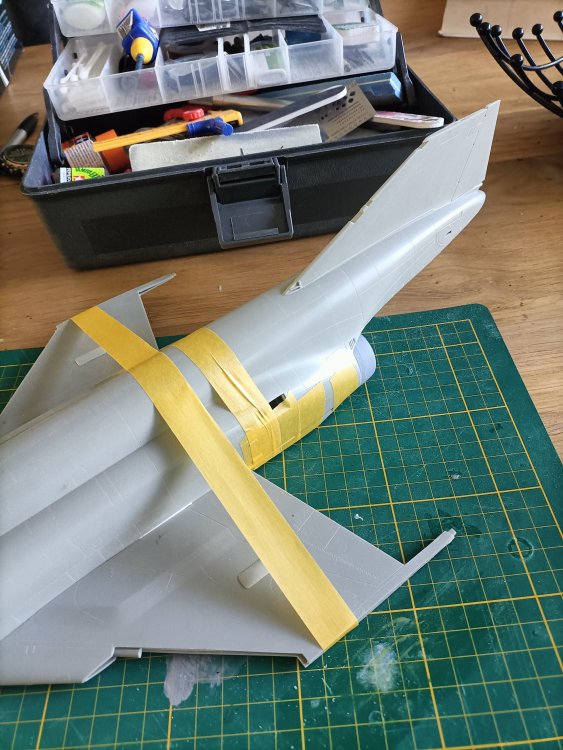


- 76 replies
-
- 9
-
-
- revell
- 1/32 phantom
- (and 1 more)