Wingco57
-
Posts
3,925 -
Joined
-
Last visited
Content Type
Profiles
Forums
Events
Gallery
Everything posted by Wingco57
-

Masochistic build, the 1/48 Fonderie Miniatures Halifax III
Wingco57 replied to Wingco57's topic in LSM 1/48 Work in Progress
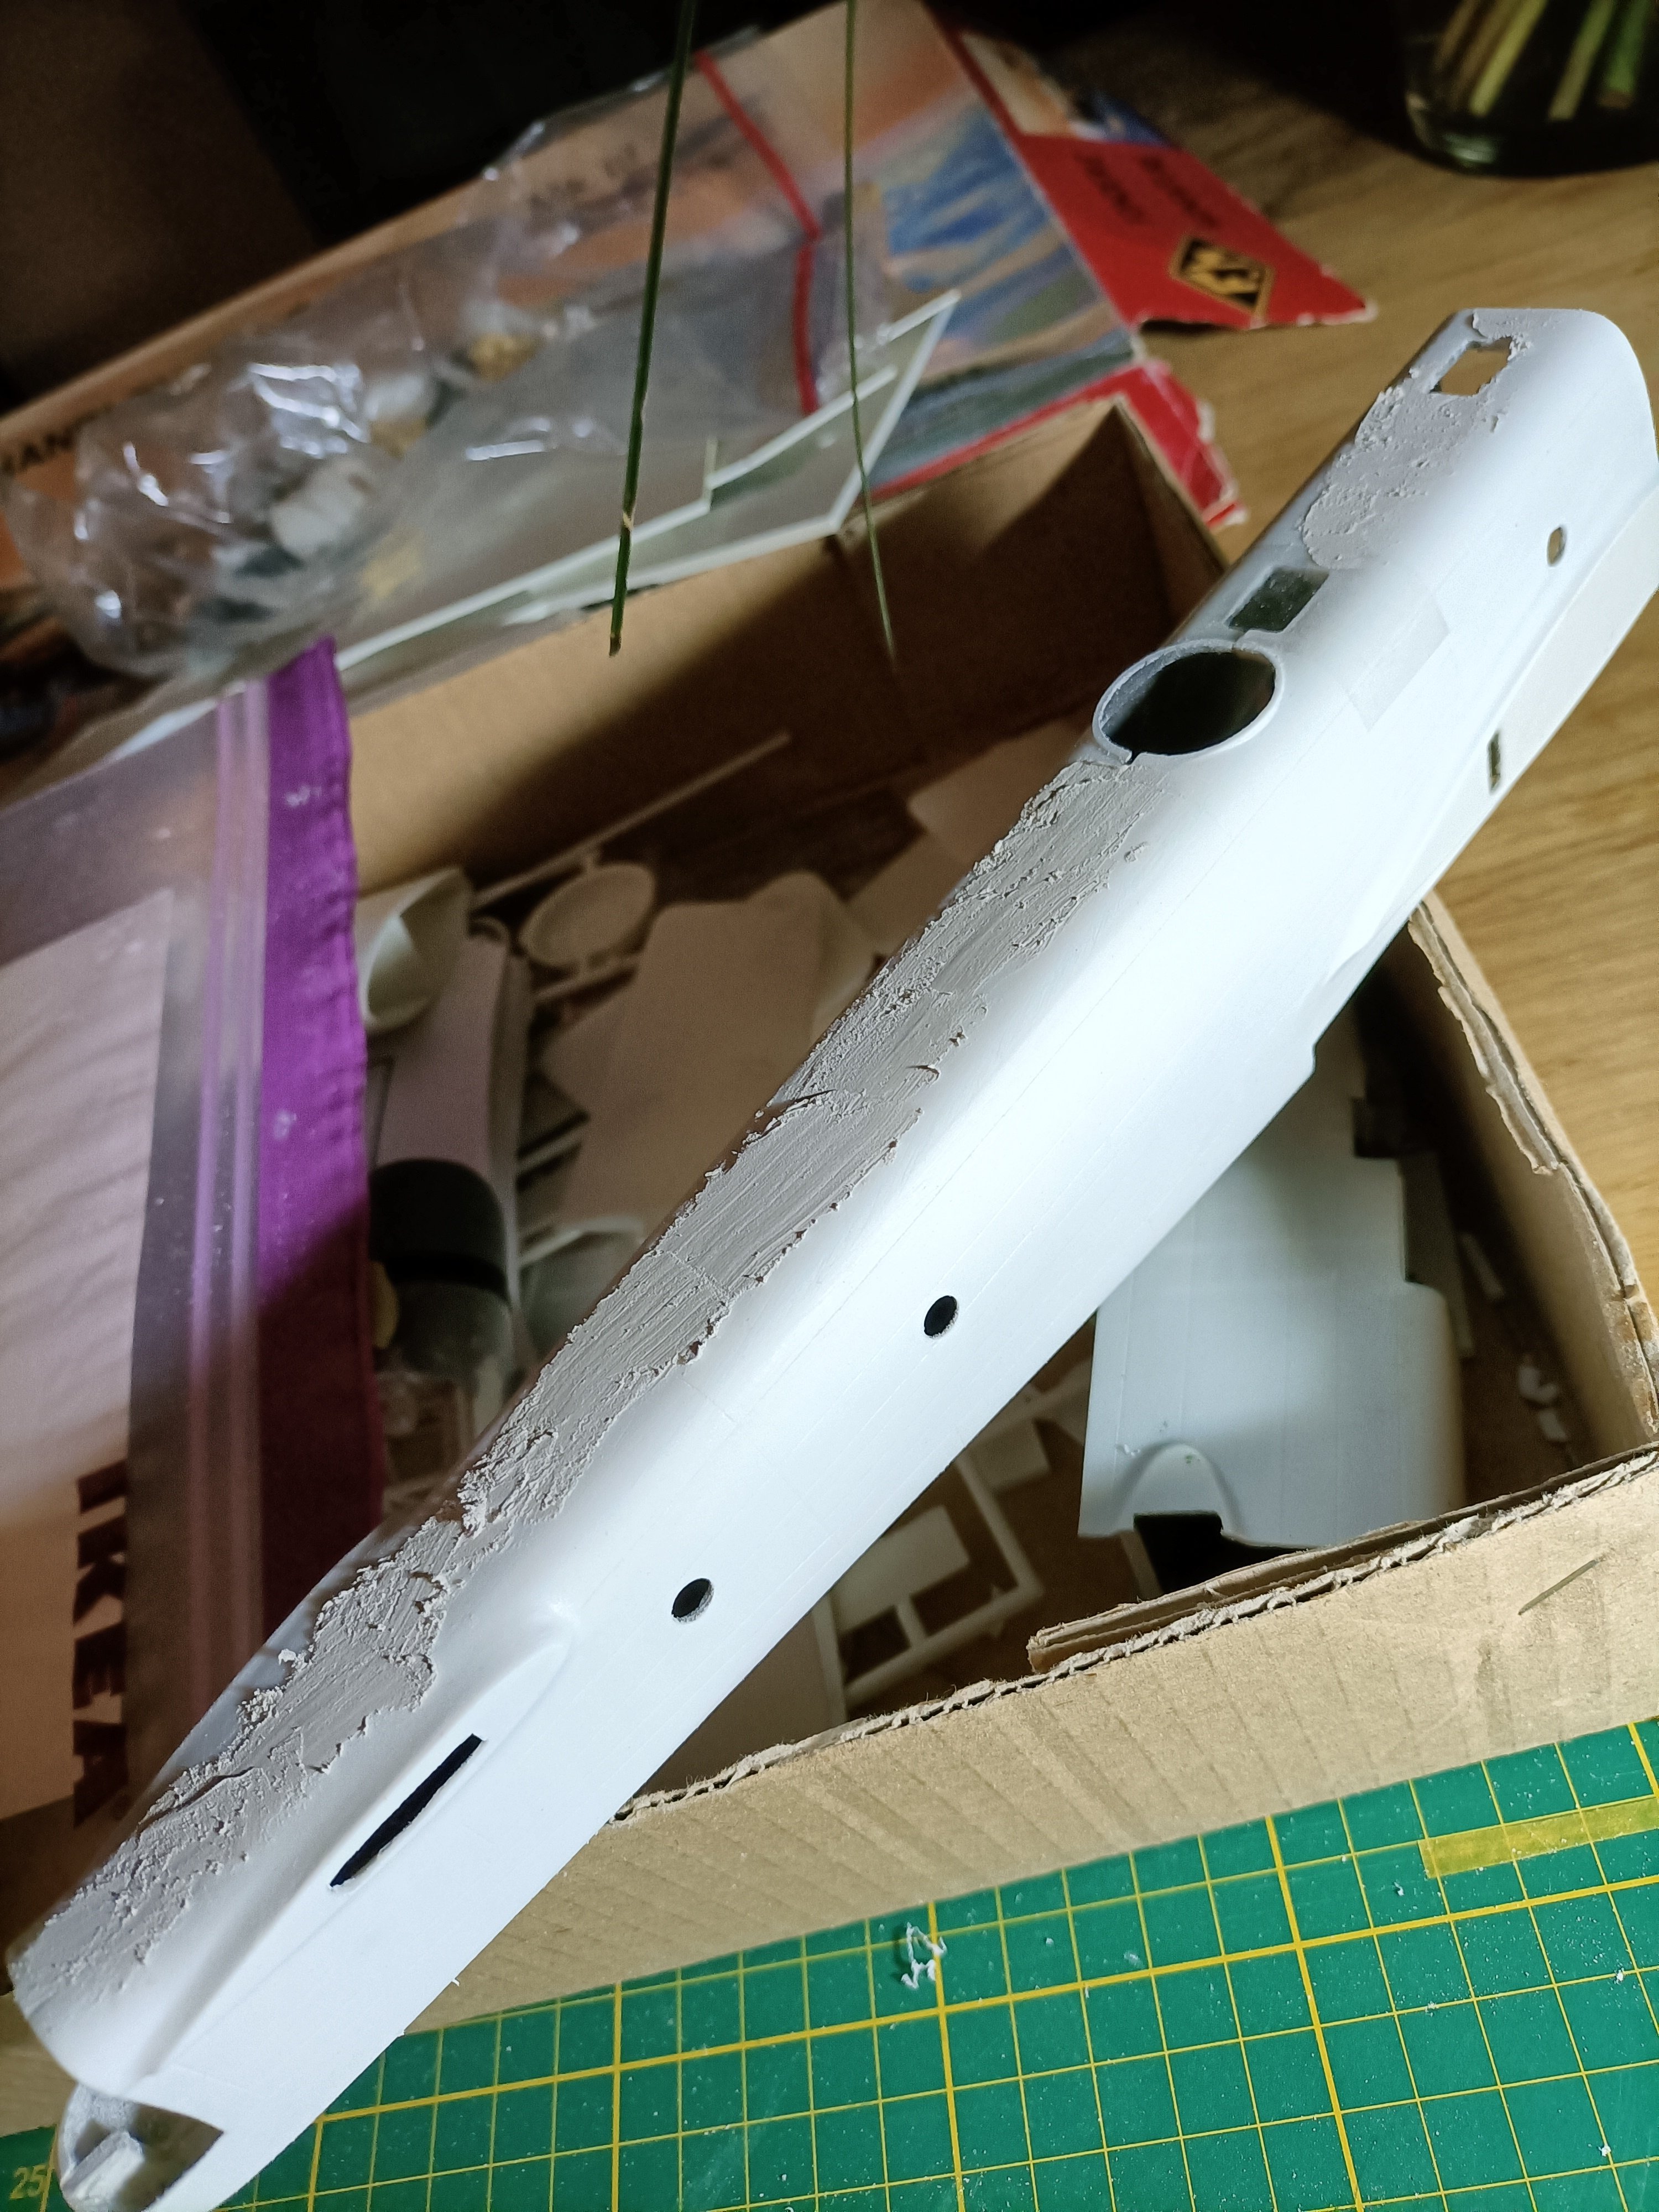
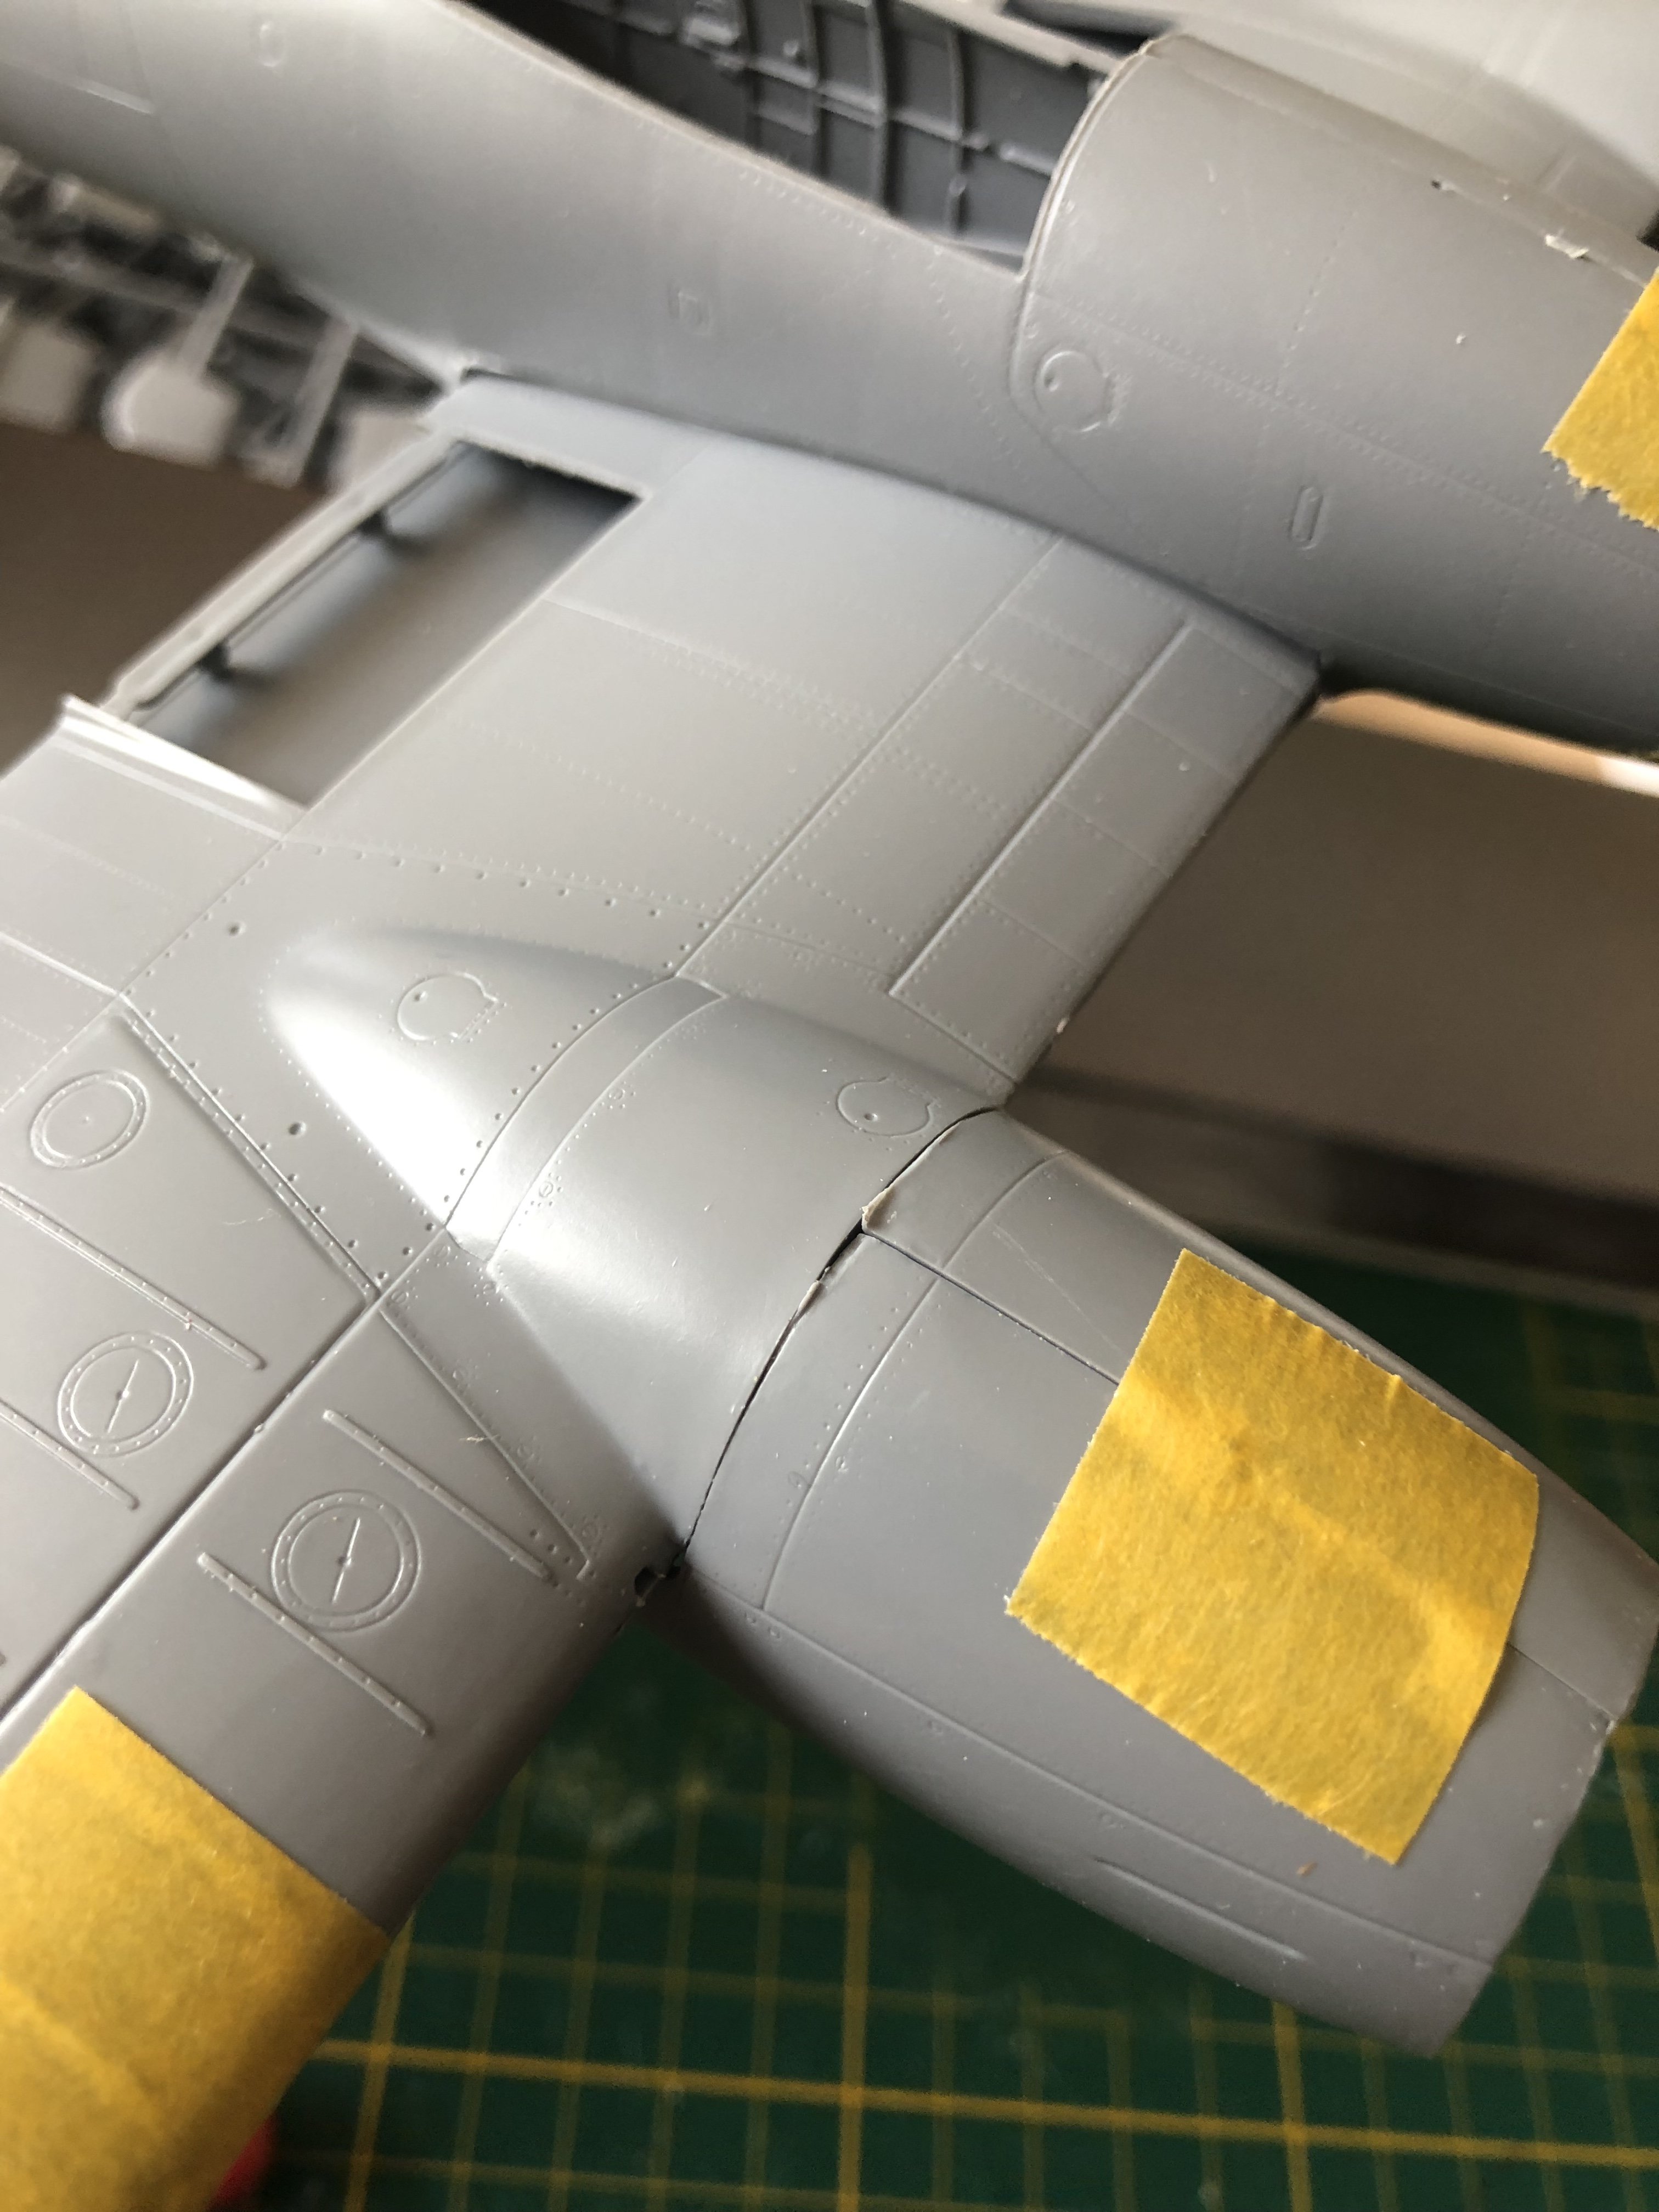
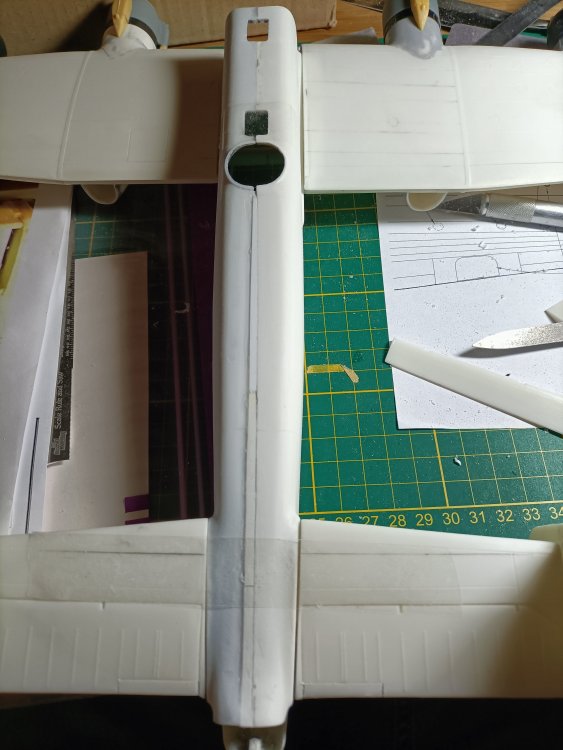
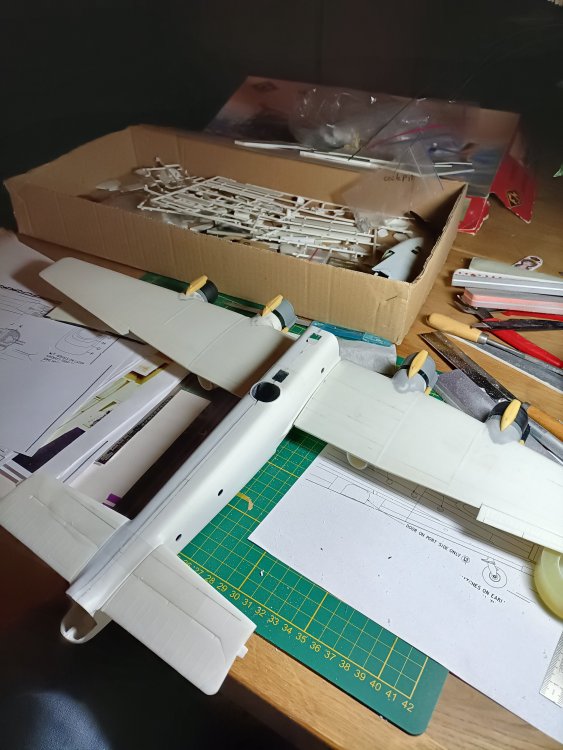
Been a while, but the Hally has got some much needed attention. I decided to cut off the forward fuselage to be able to work on the rear. It needed widening by 4 mm. After that it looks much better. Where is Tamiya when you need them. Some dryfitting to see if the main components fit together.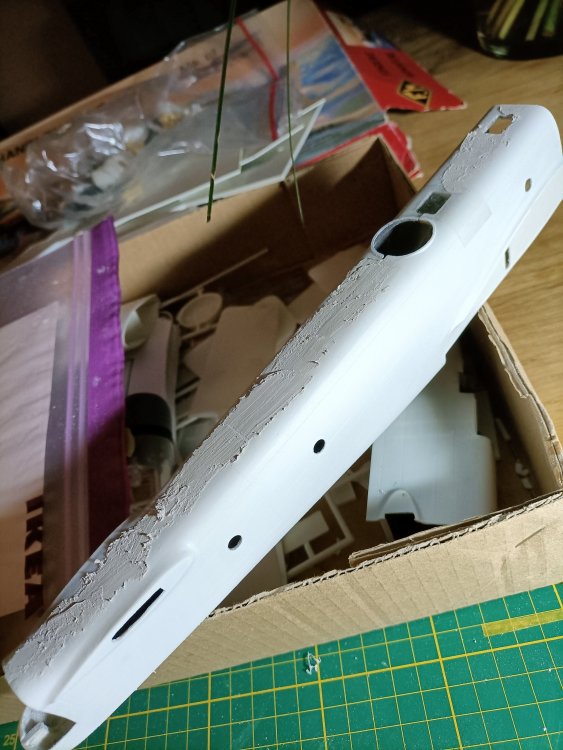
-
Daft project or is it? 1/32 Short Stirling III
Wingco57 replied to Wingco57's topic in LSM 1/35 and Larger Work In Progress
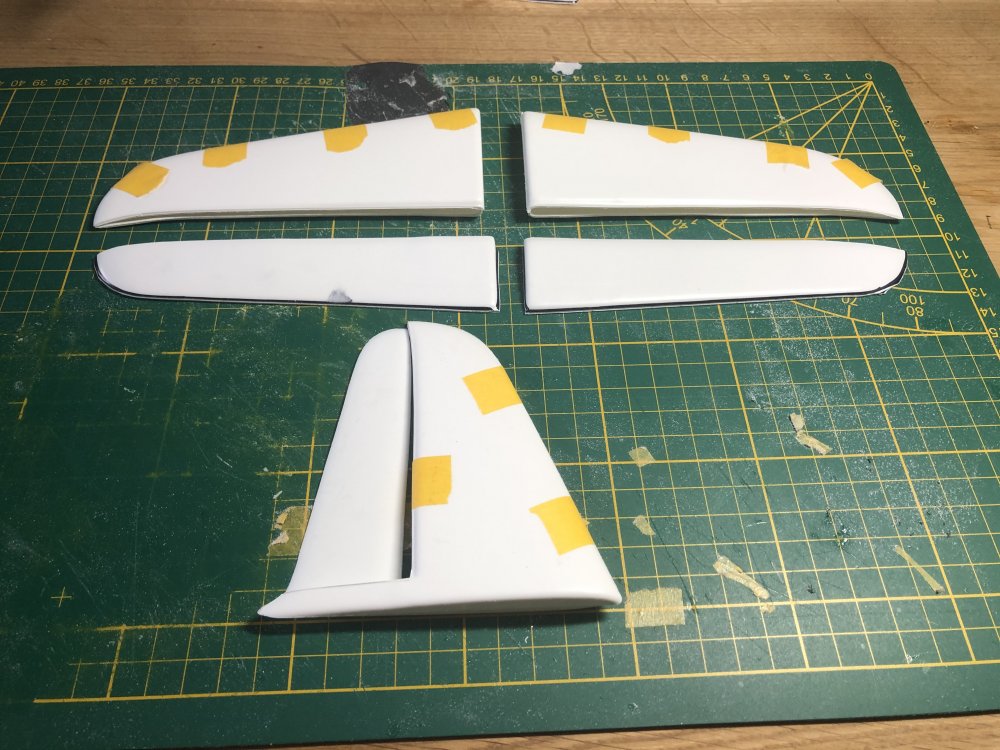
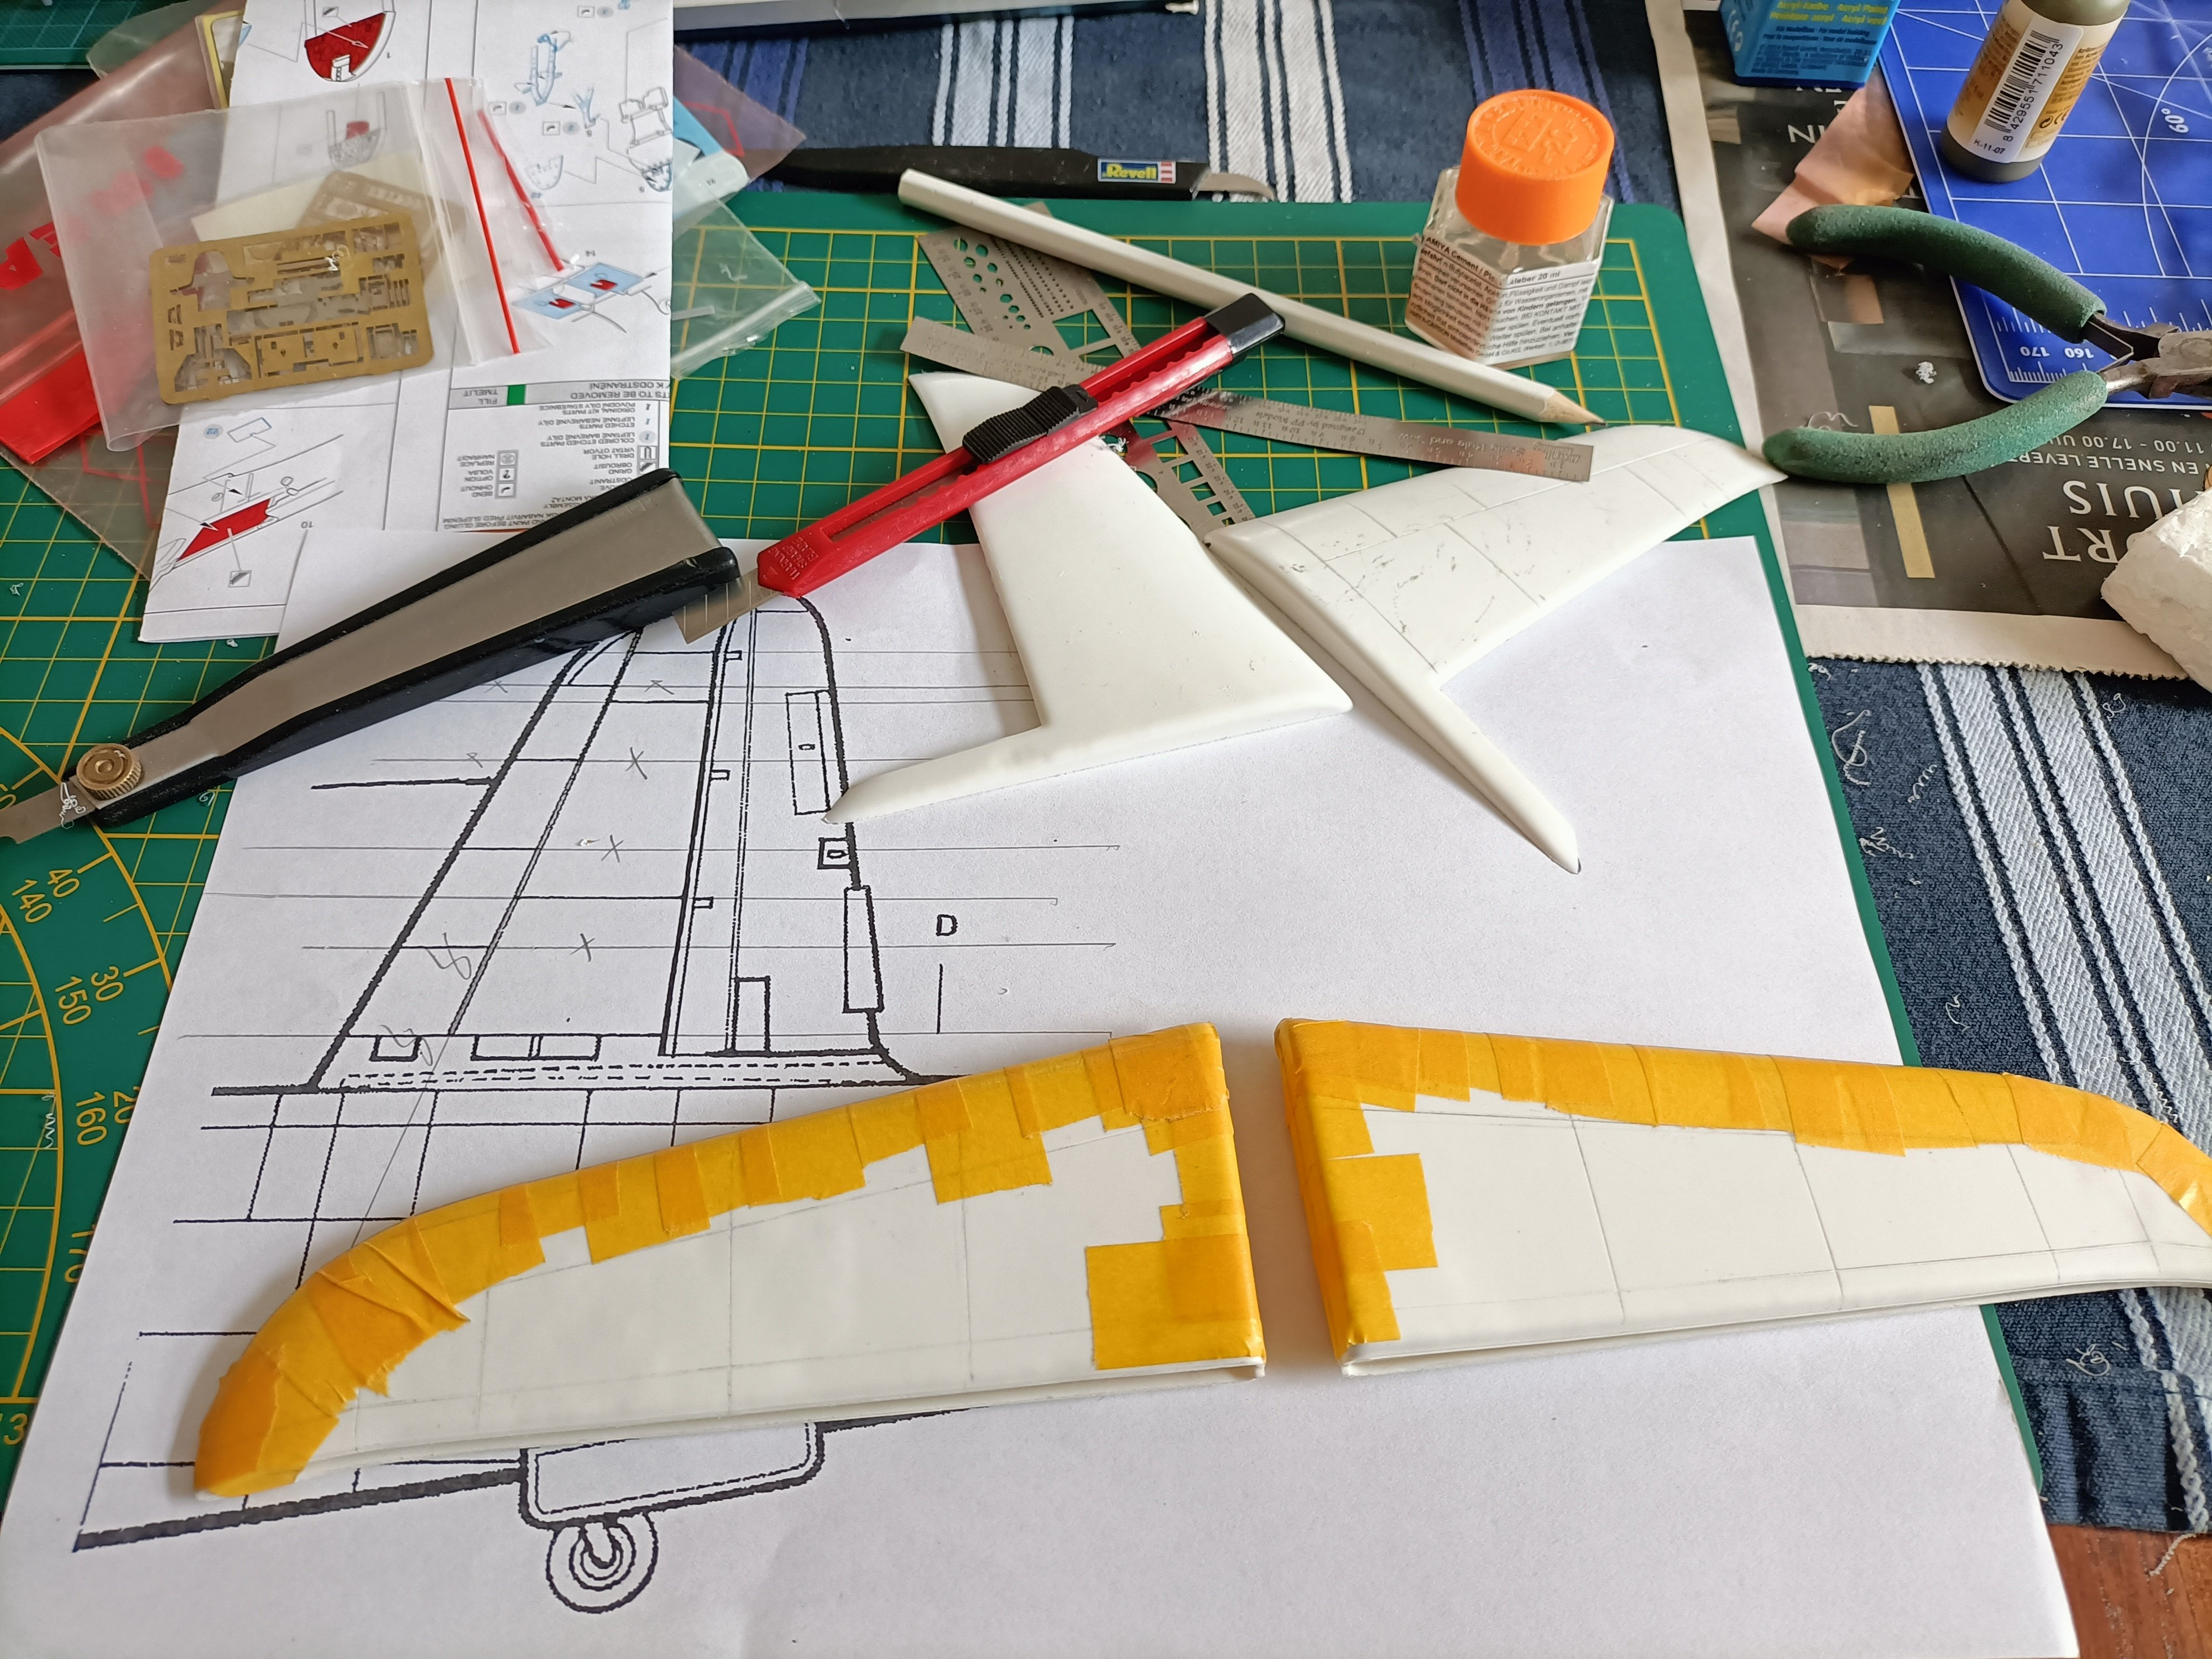
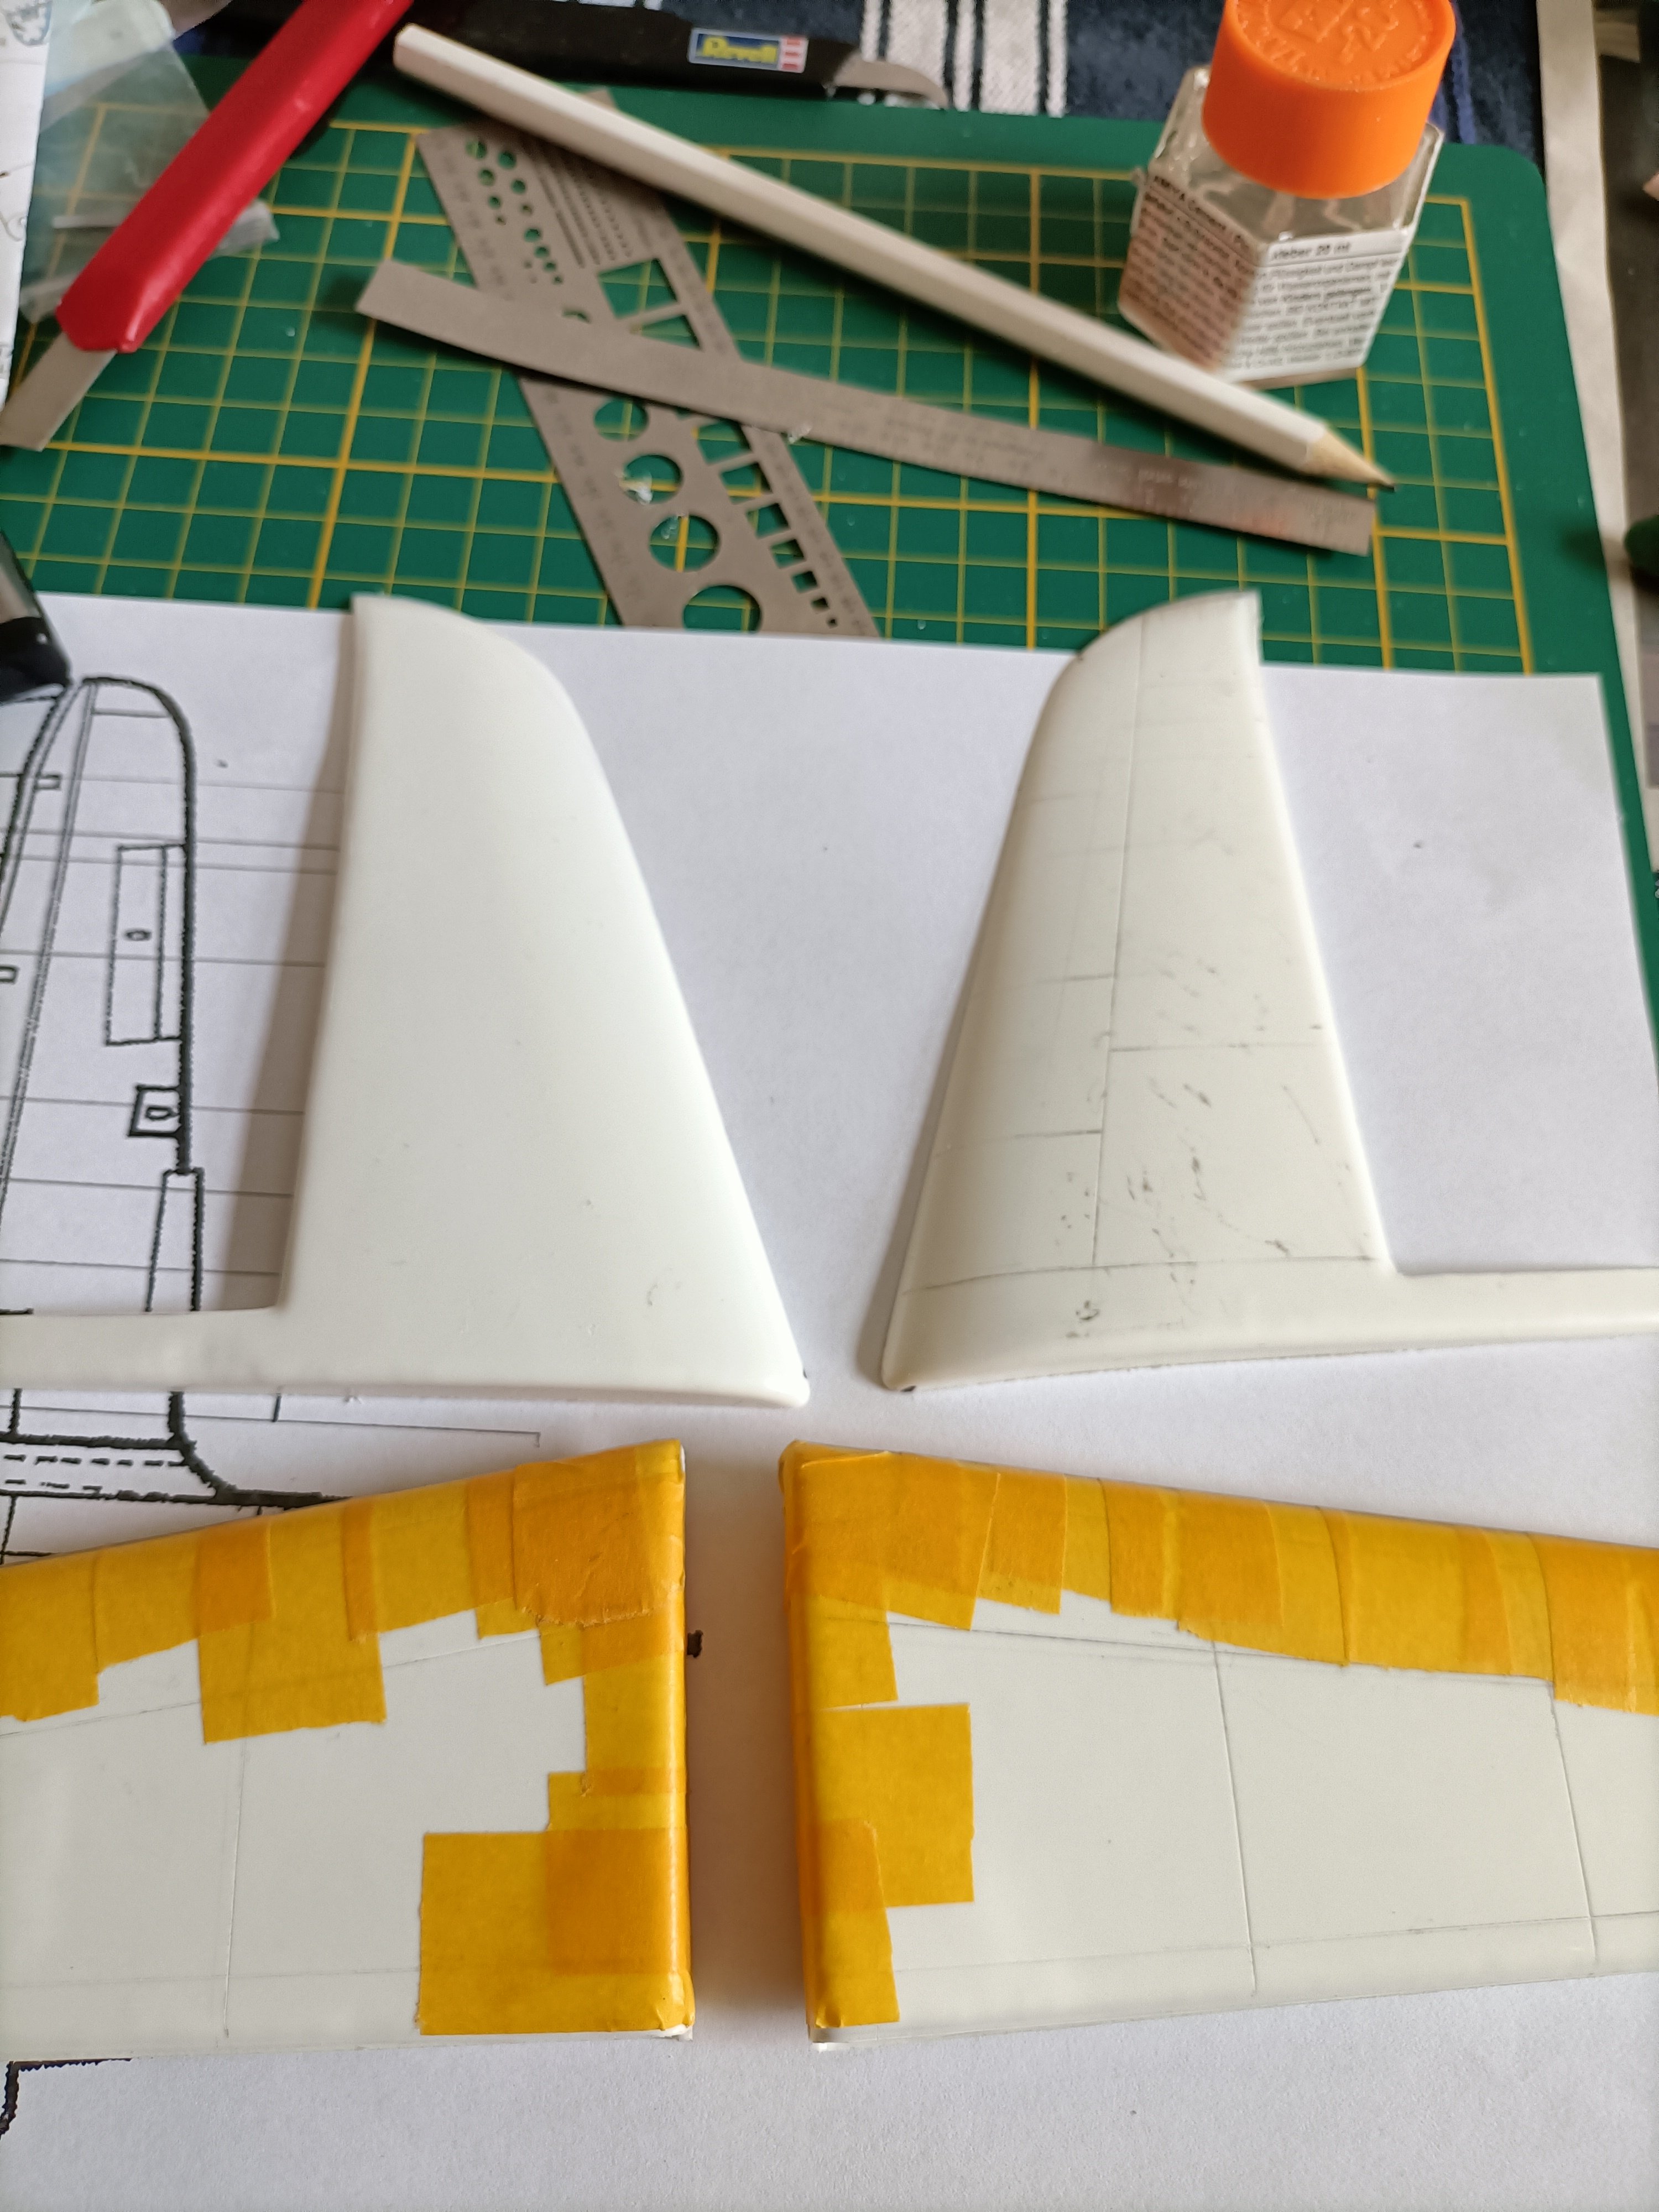
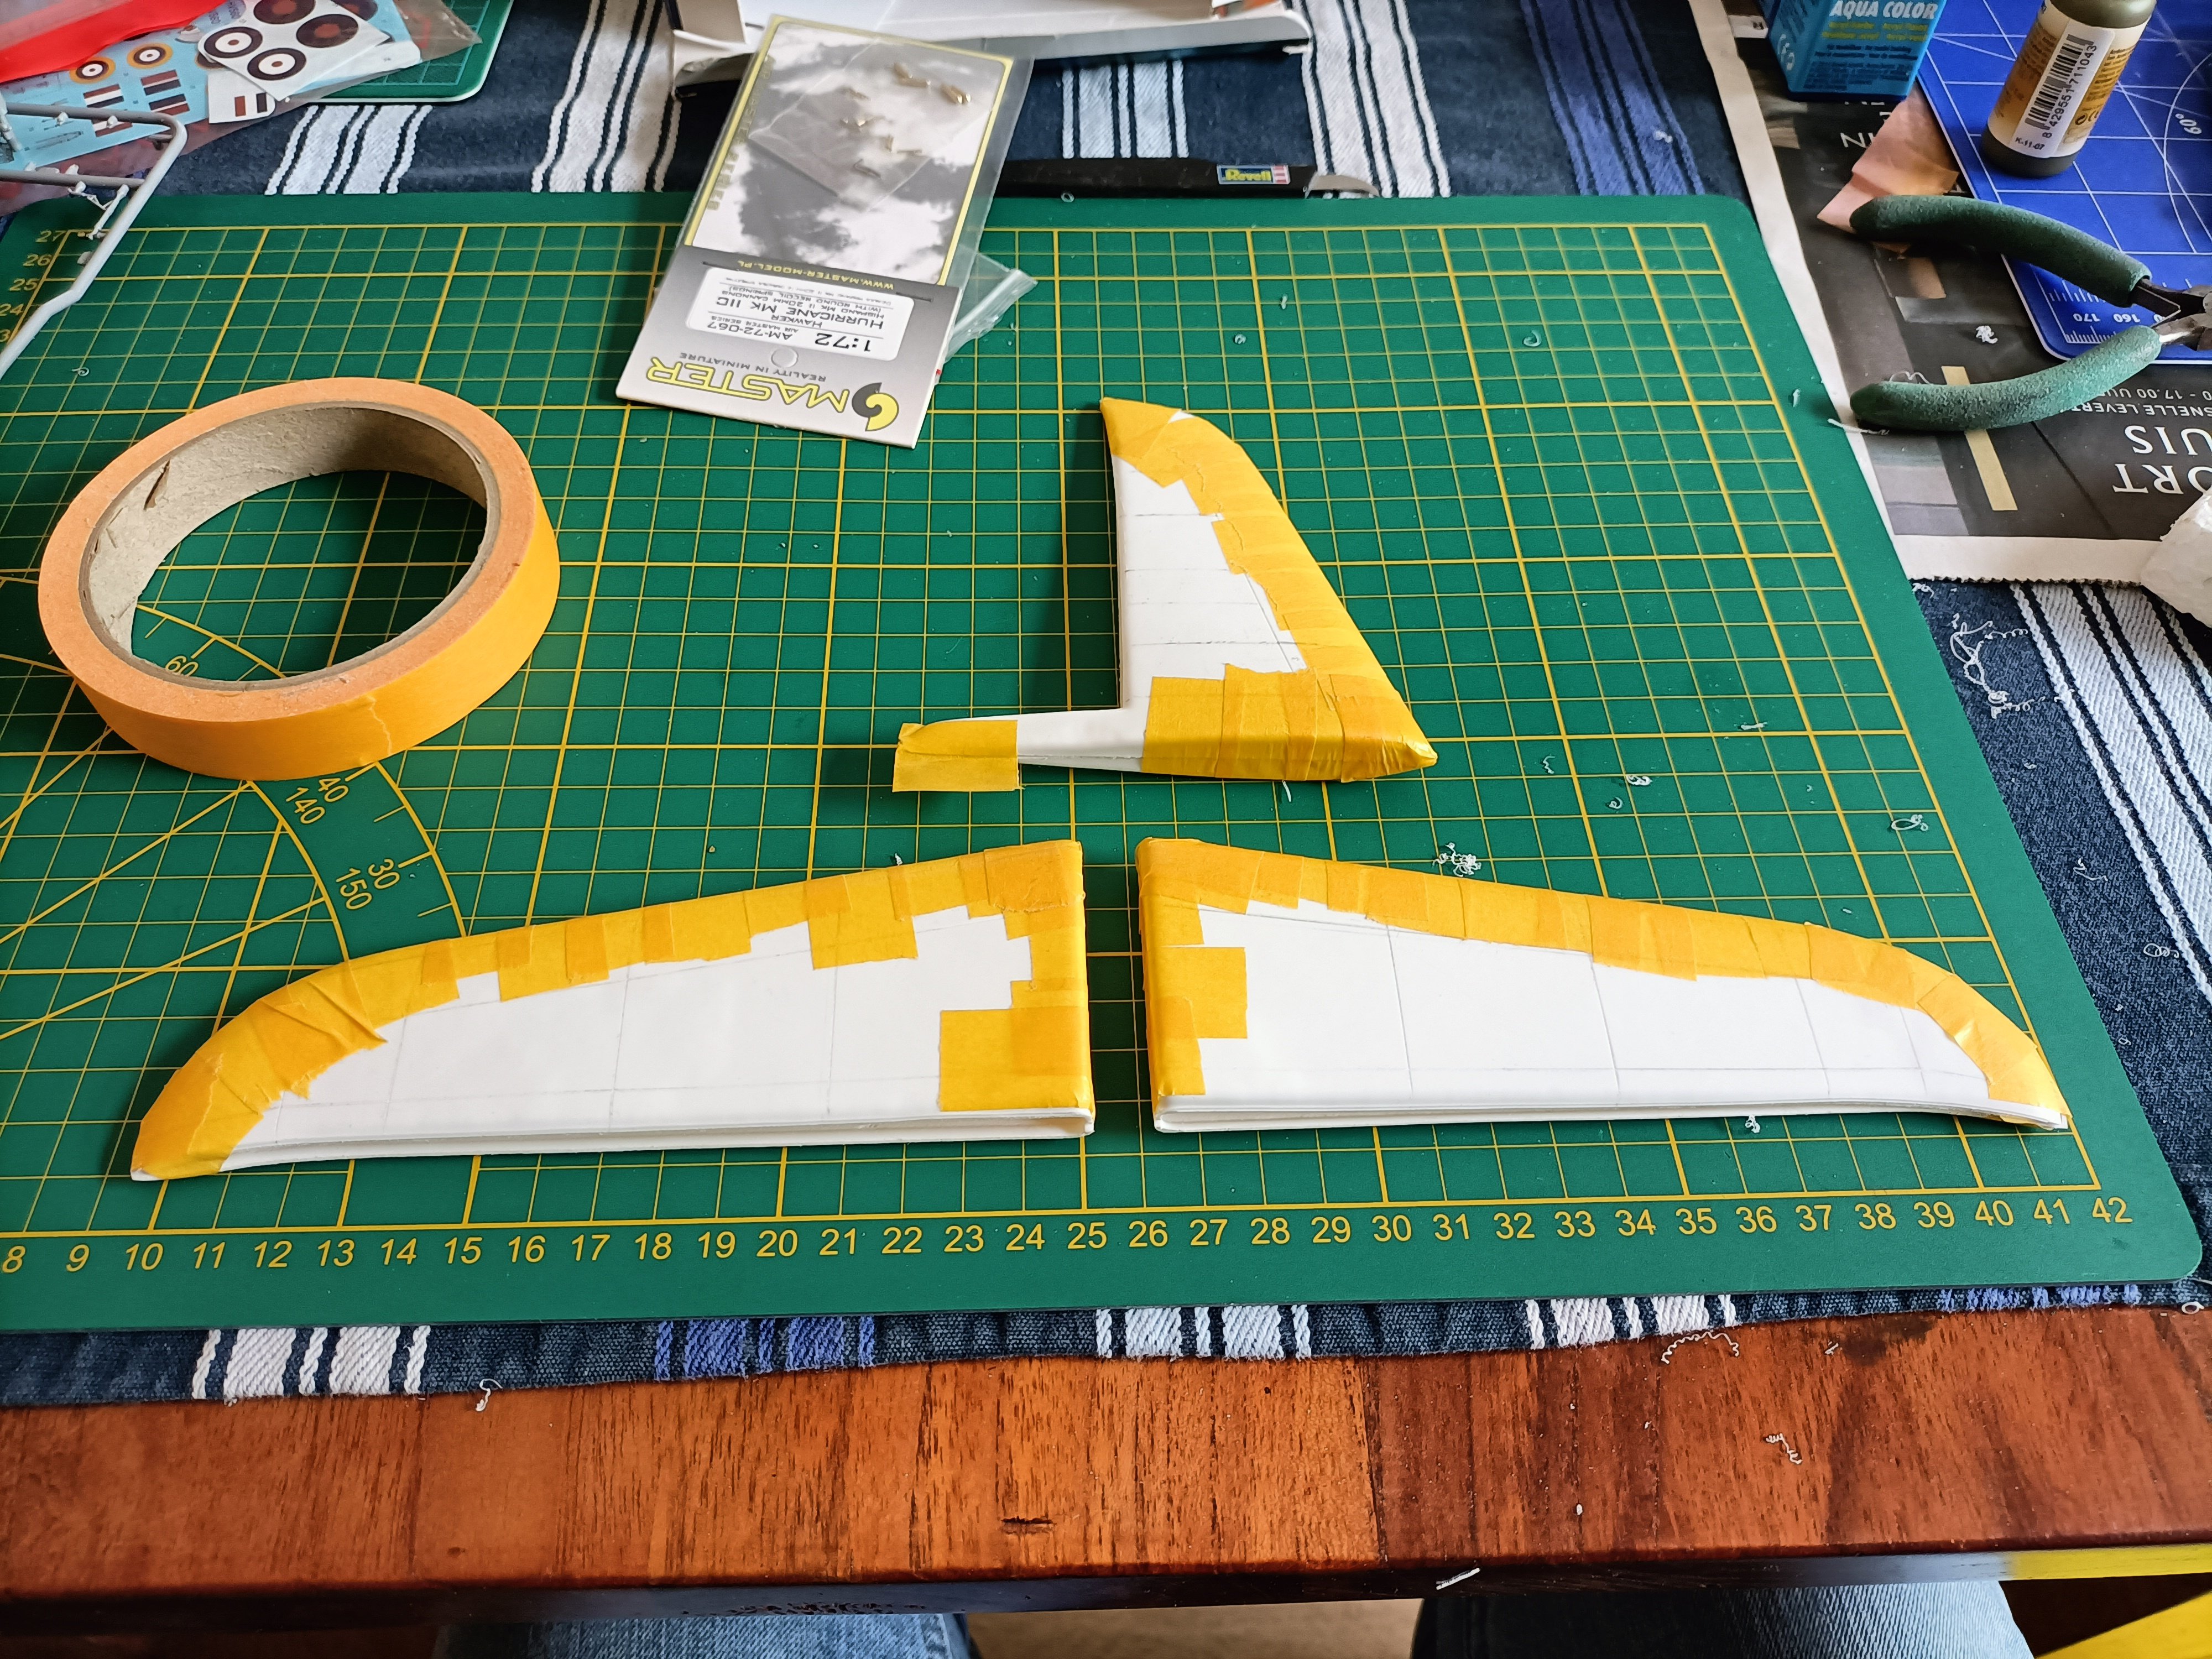
I do. Glued the control surfaces together. They are not well formed on the sheet and a bit wobbly. Haven t decided yet if I keep them or make new parts. We will see about that later after I have cleaned them up.
-
Daft project or is it? 1/32 Short Stirling III
Wingco57 replied to Wingco57's topic in LSM 1/35 and Larger Work In Progress
Cleaned up, the parts look good. Next the elevators and rudder.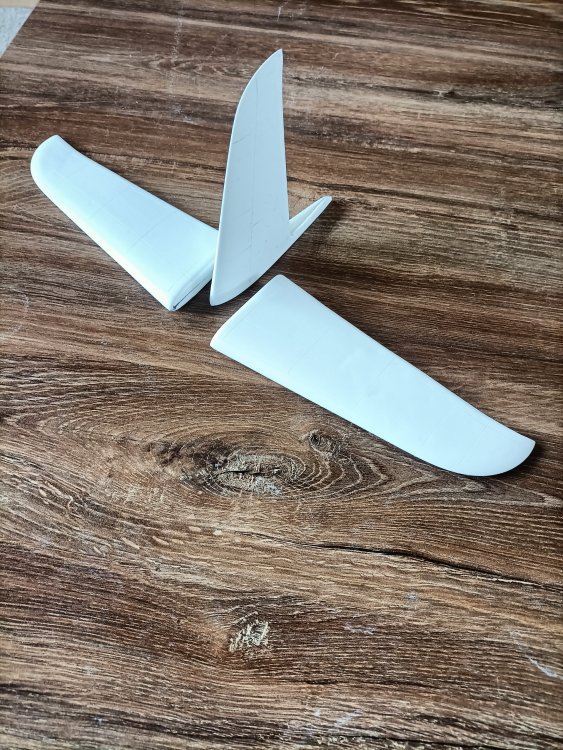
-
Daft project or is it? 1/32 Short Stirling III
Wingco57 replied to Wingco57's topic in LSM 1/35 and Larger Work In Progress
Some long awaited progress.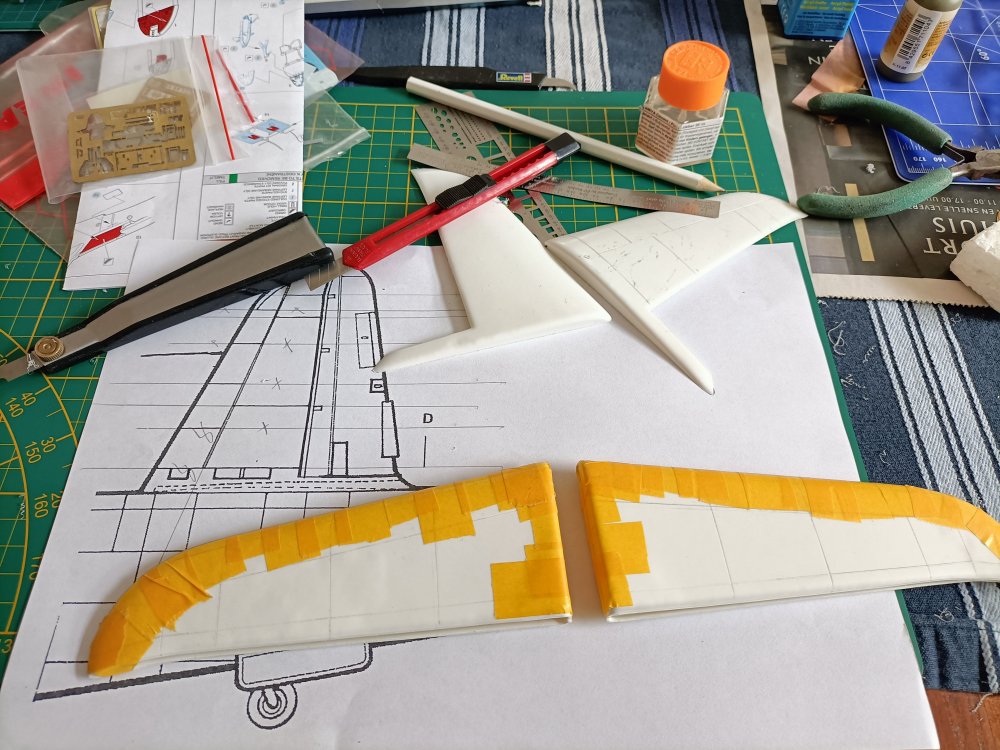

-
Daft project or is it? 1/32 Short Stirling III
Wingco57 replied to Wingco57's topic in LSM 1/35 and Larger Work In Progress
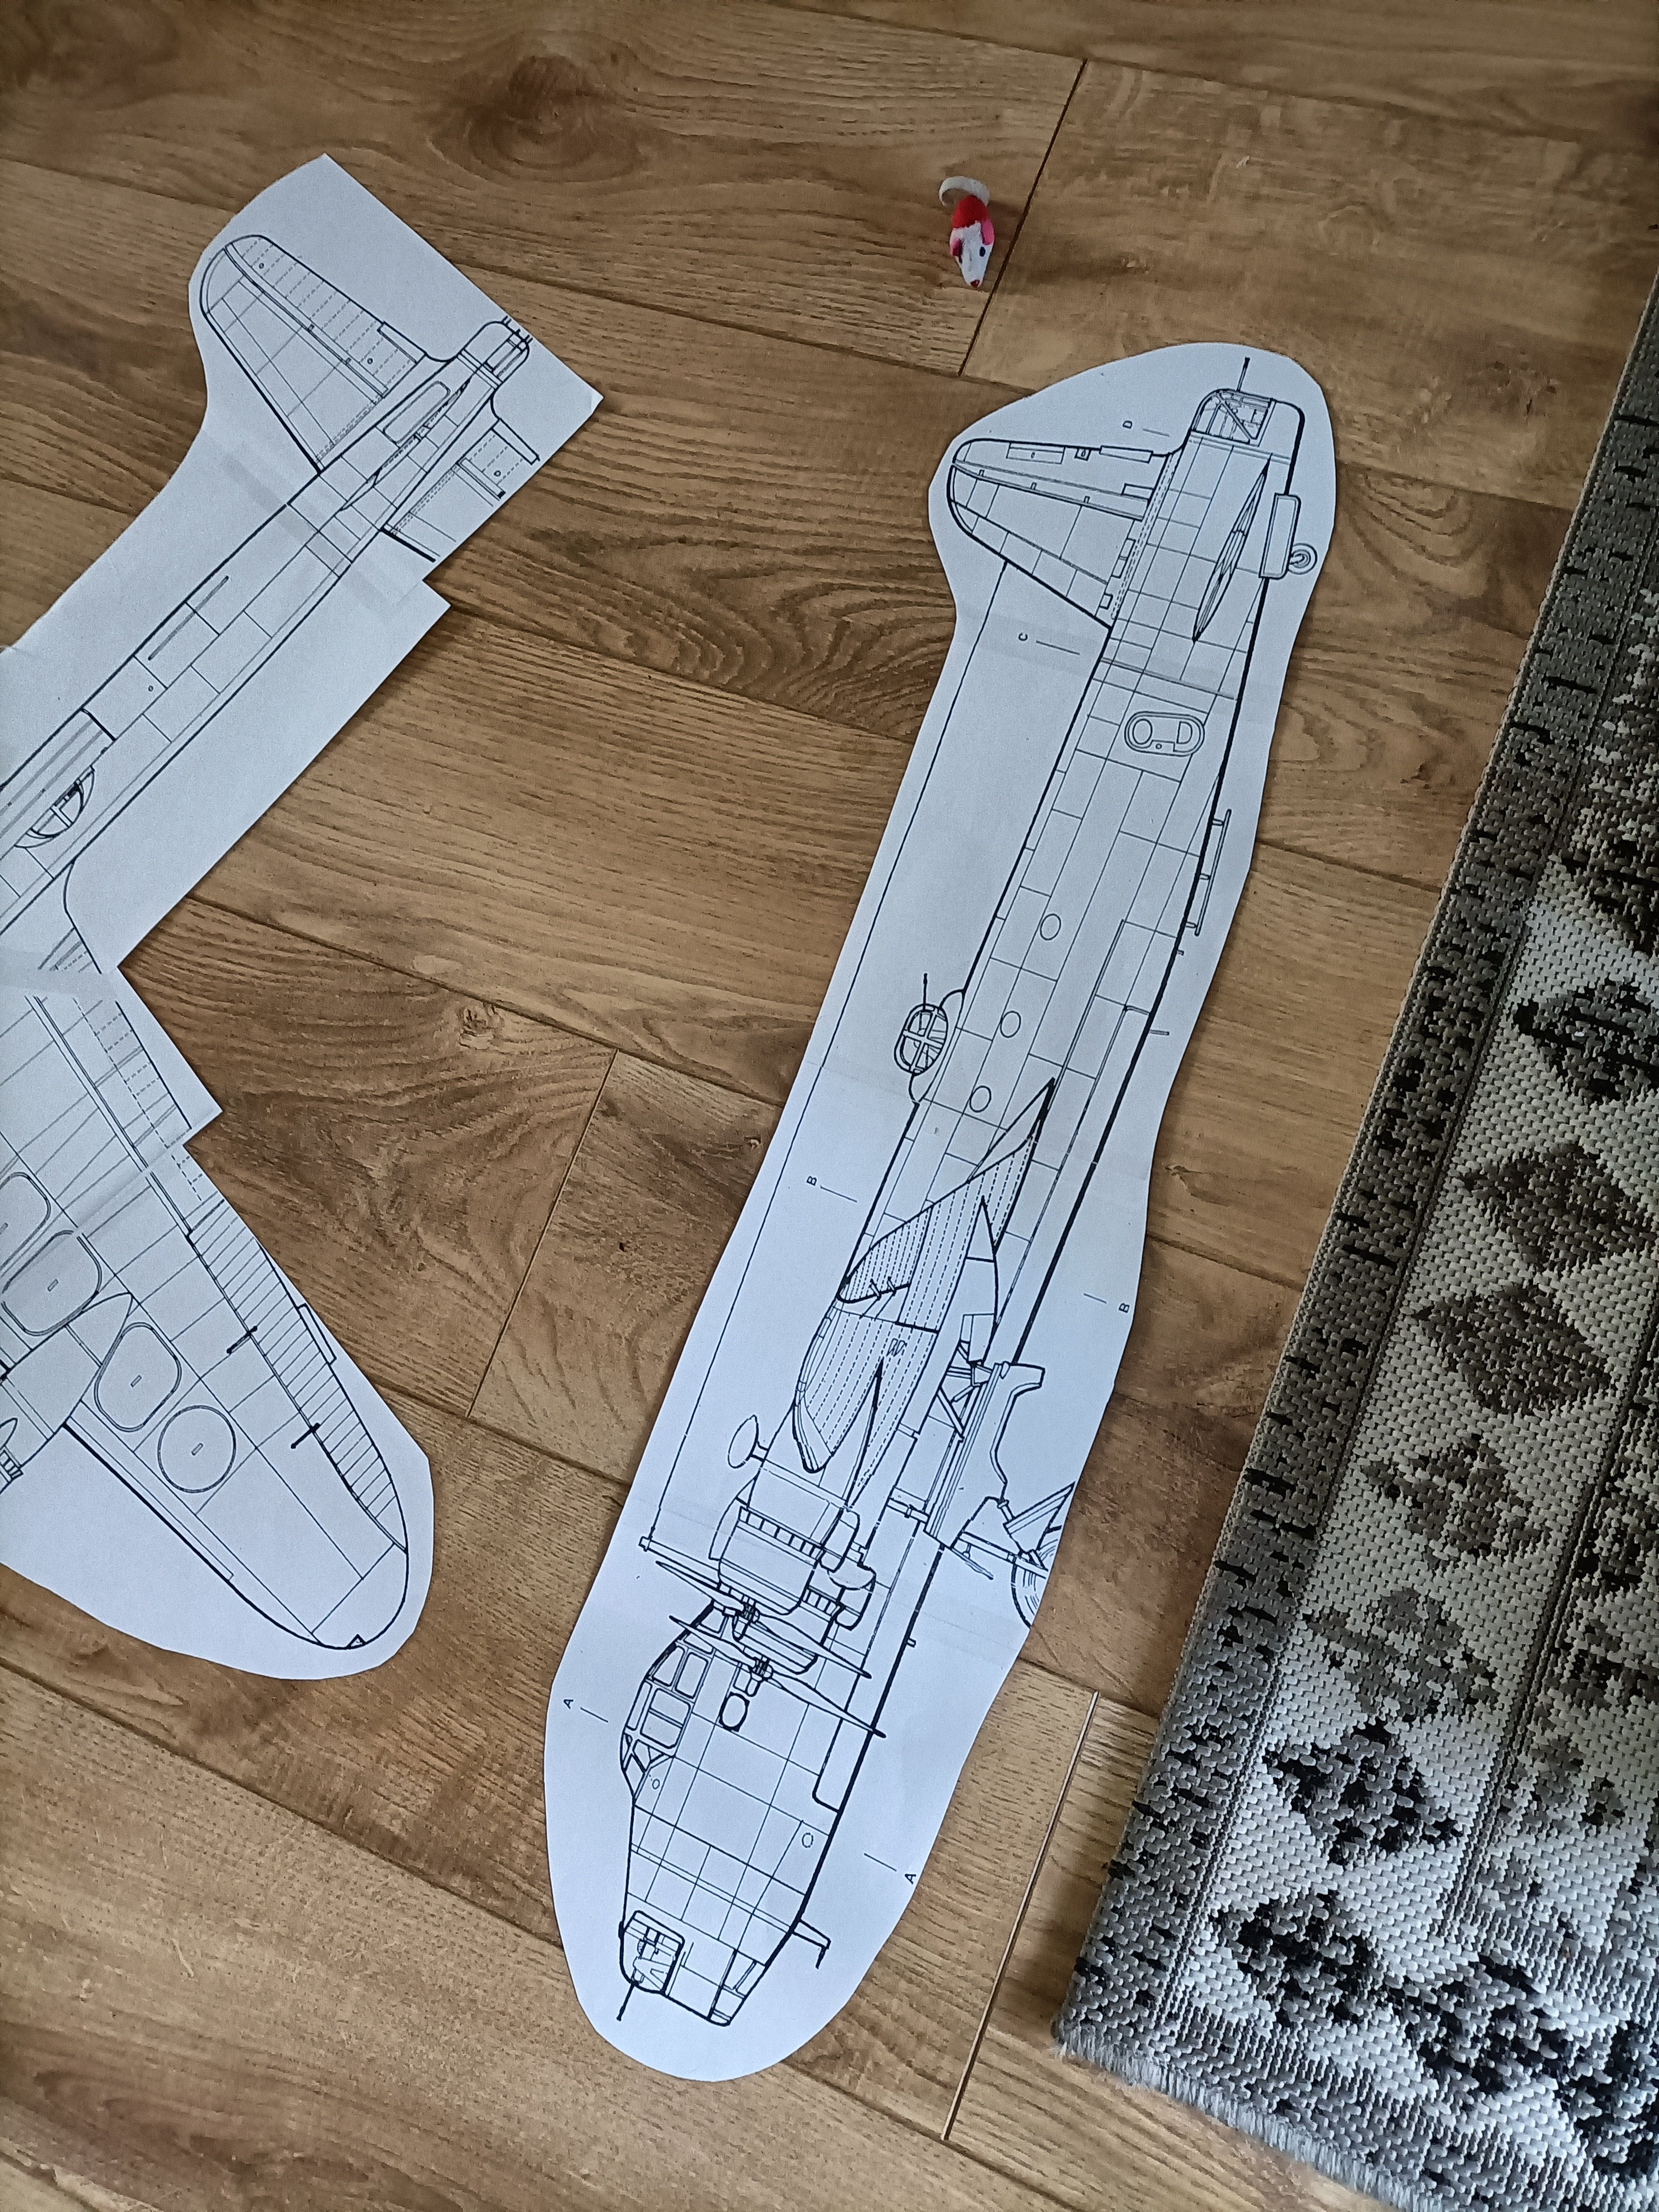
Wow, didn't have any motivation to do some modelling. But I taped the enlarged drawings together just now. And with some modelling events on the cards things may improve.
-
Short Sunderland MkII
Wingco57 replied to ThomasProbert's topic in LSM 1/35 and Larger Work In Progress
Tom, the progress on the Sunderland is simply fantastic. The sheer bulk if the type is evident. Regarding engines wouldn’t it be easier to use aftermarket US singlerow radials? Engines ‘n Things perhaps? Then you can use the Hercules on your Stirling (hint). Cheers Cees -
Daft project or is it? 1/32 Short Stirling III
Wingco57 replied to Wingco57's topic in LSM 1/35 and Larger Work In Progress
Morning all, Time flies I see. I haven’t been doing much modelling the past weeks. Enjoying my holiday before I start my new job on monday. Didn’t have much motivation but that is about to change. I do have good drawings now for the Stirling so that will make things easier. Recently visited the museum at Deelen where you can see a complete Stirling pilot seat and a big section of fuselage, that certainly will make the creative juices flowing. Cheers Cees -
Short Sunderland MkII
Wingco57 replied to ThomasProbert's topic in LSM 1/35 and Larger Work In Progress
Great progress you have made Tom. I have the same transparency to use on the Manchester. Will you keep the framing as moulded or will you alter these? -
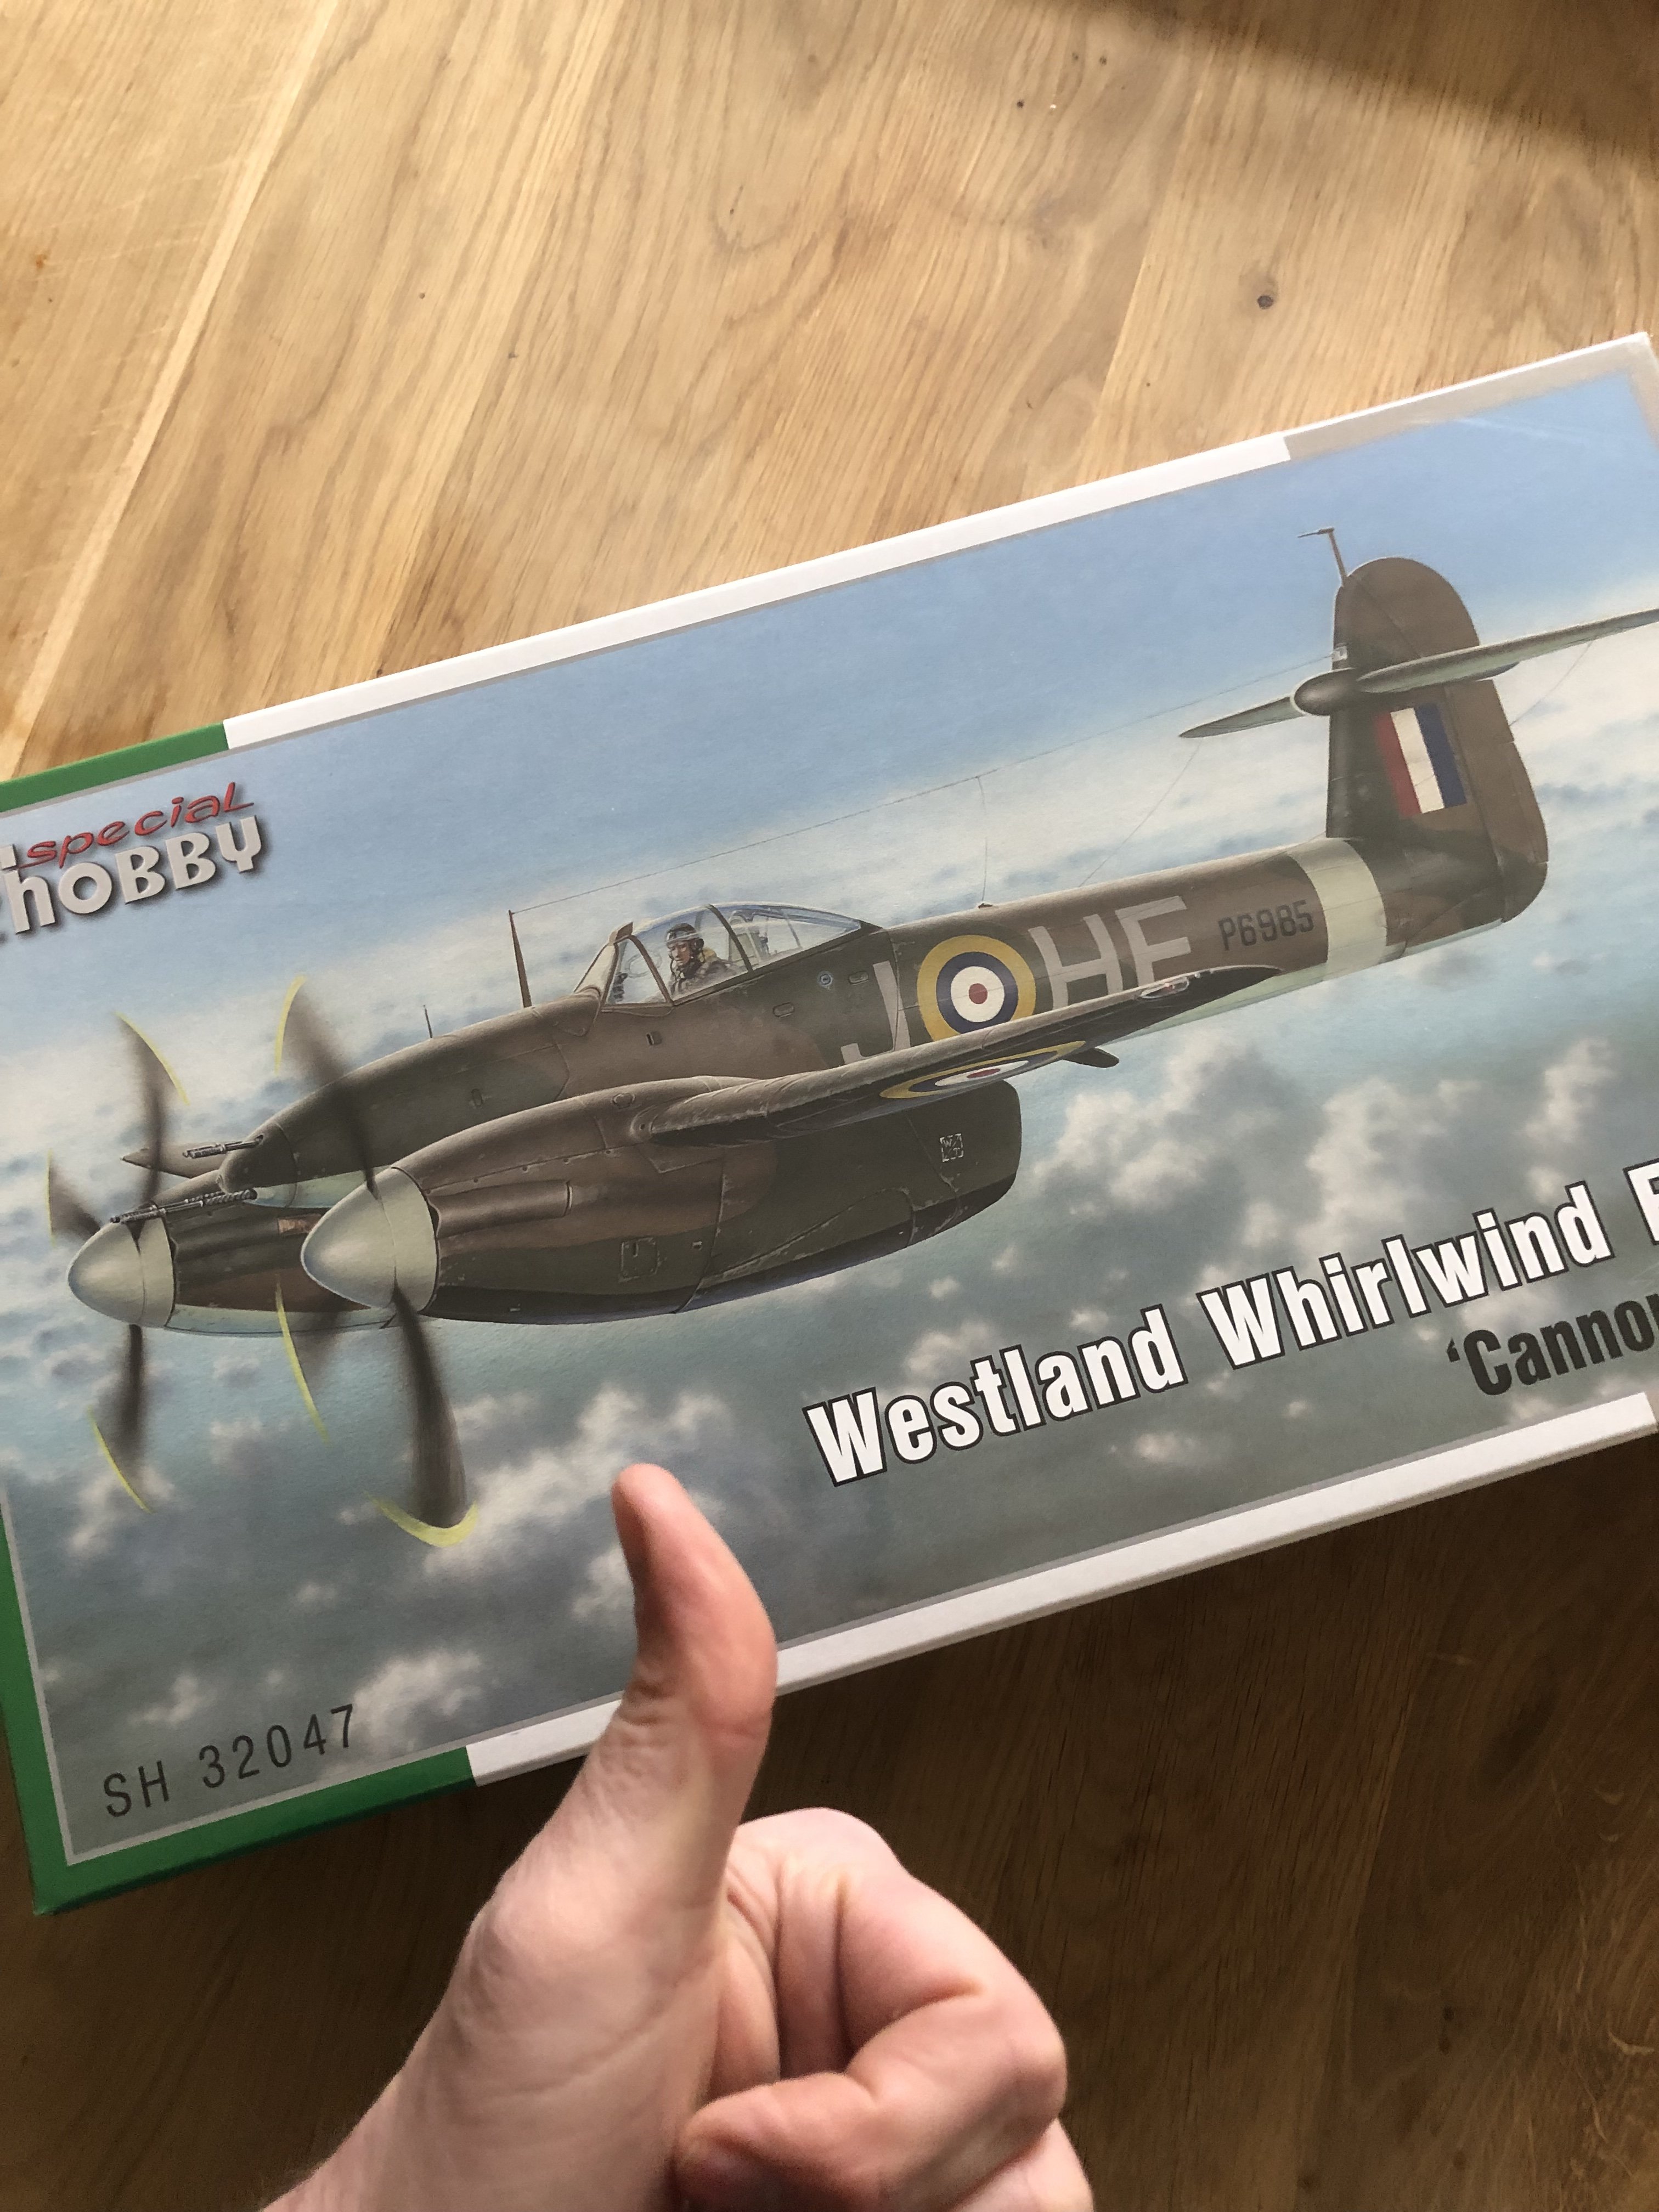
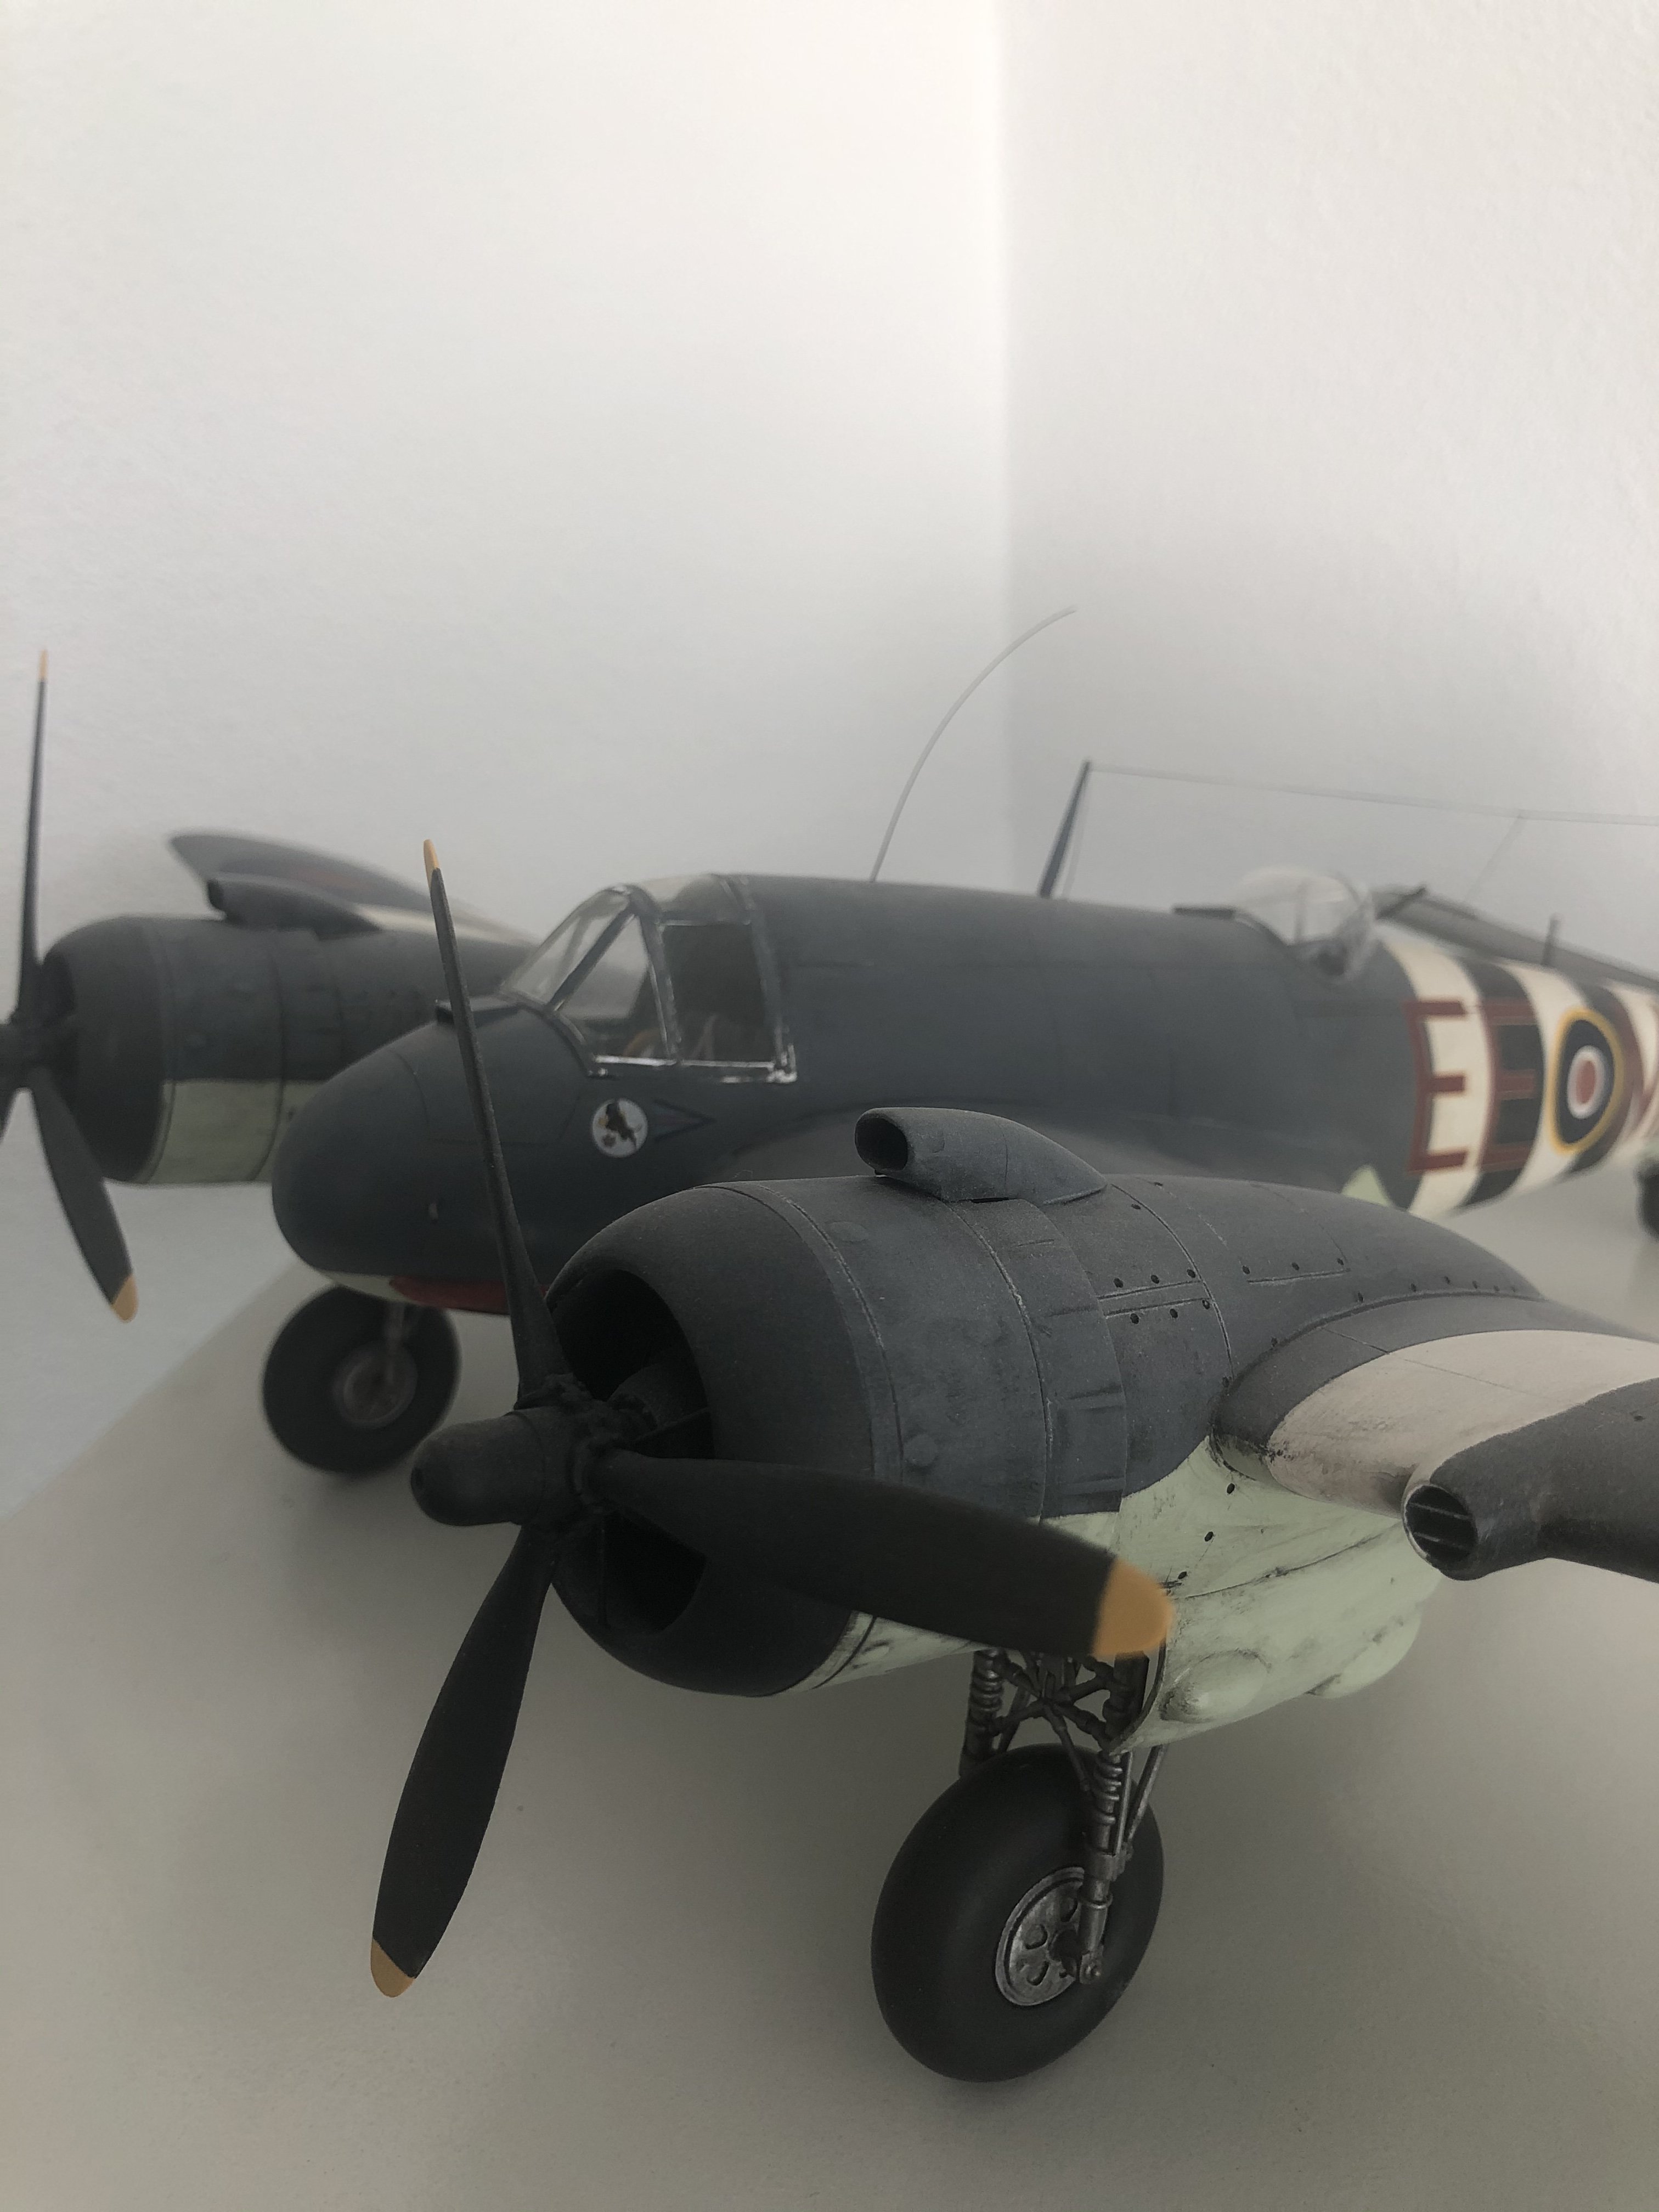
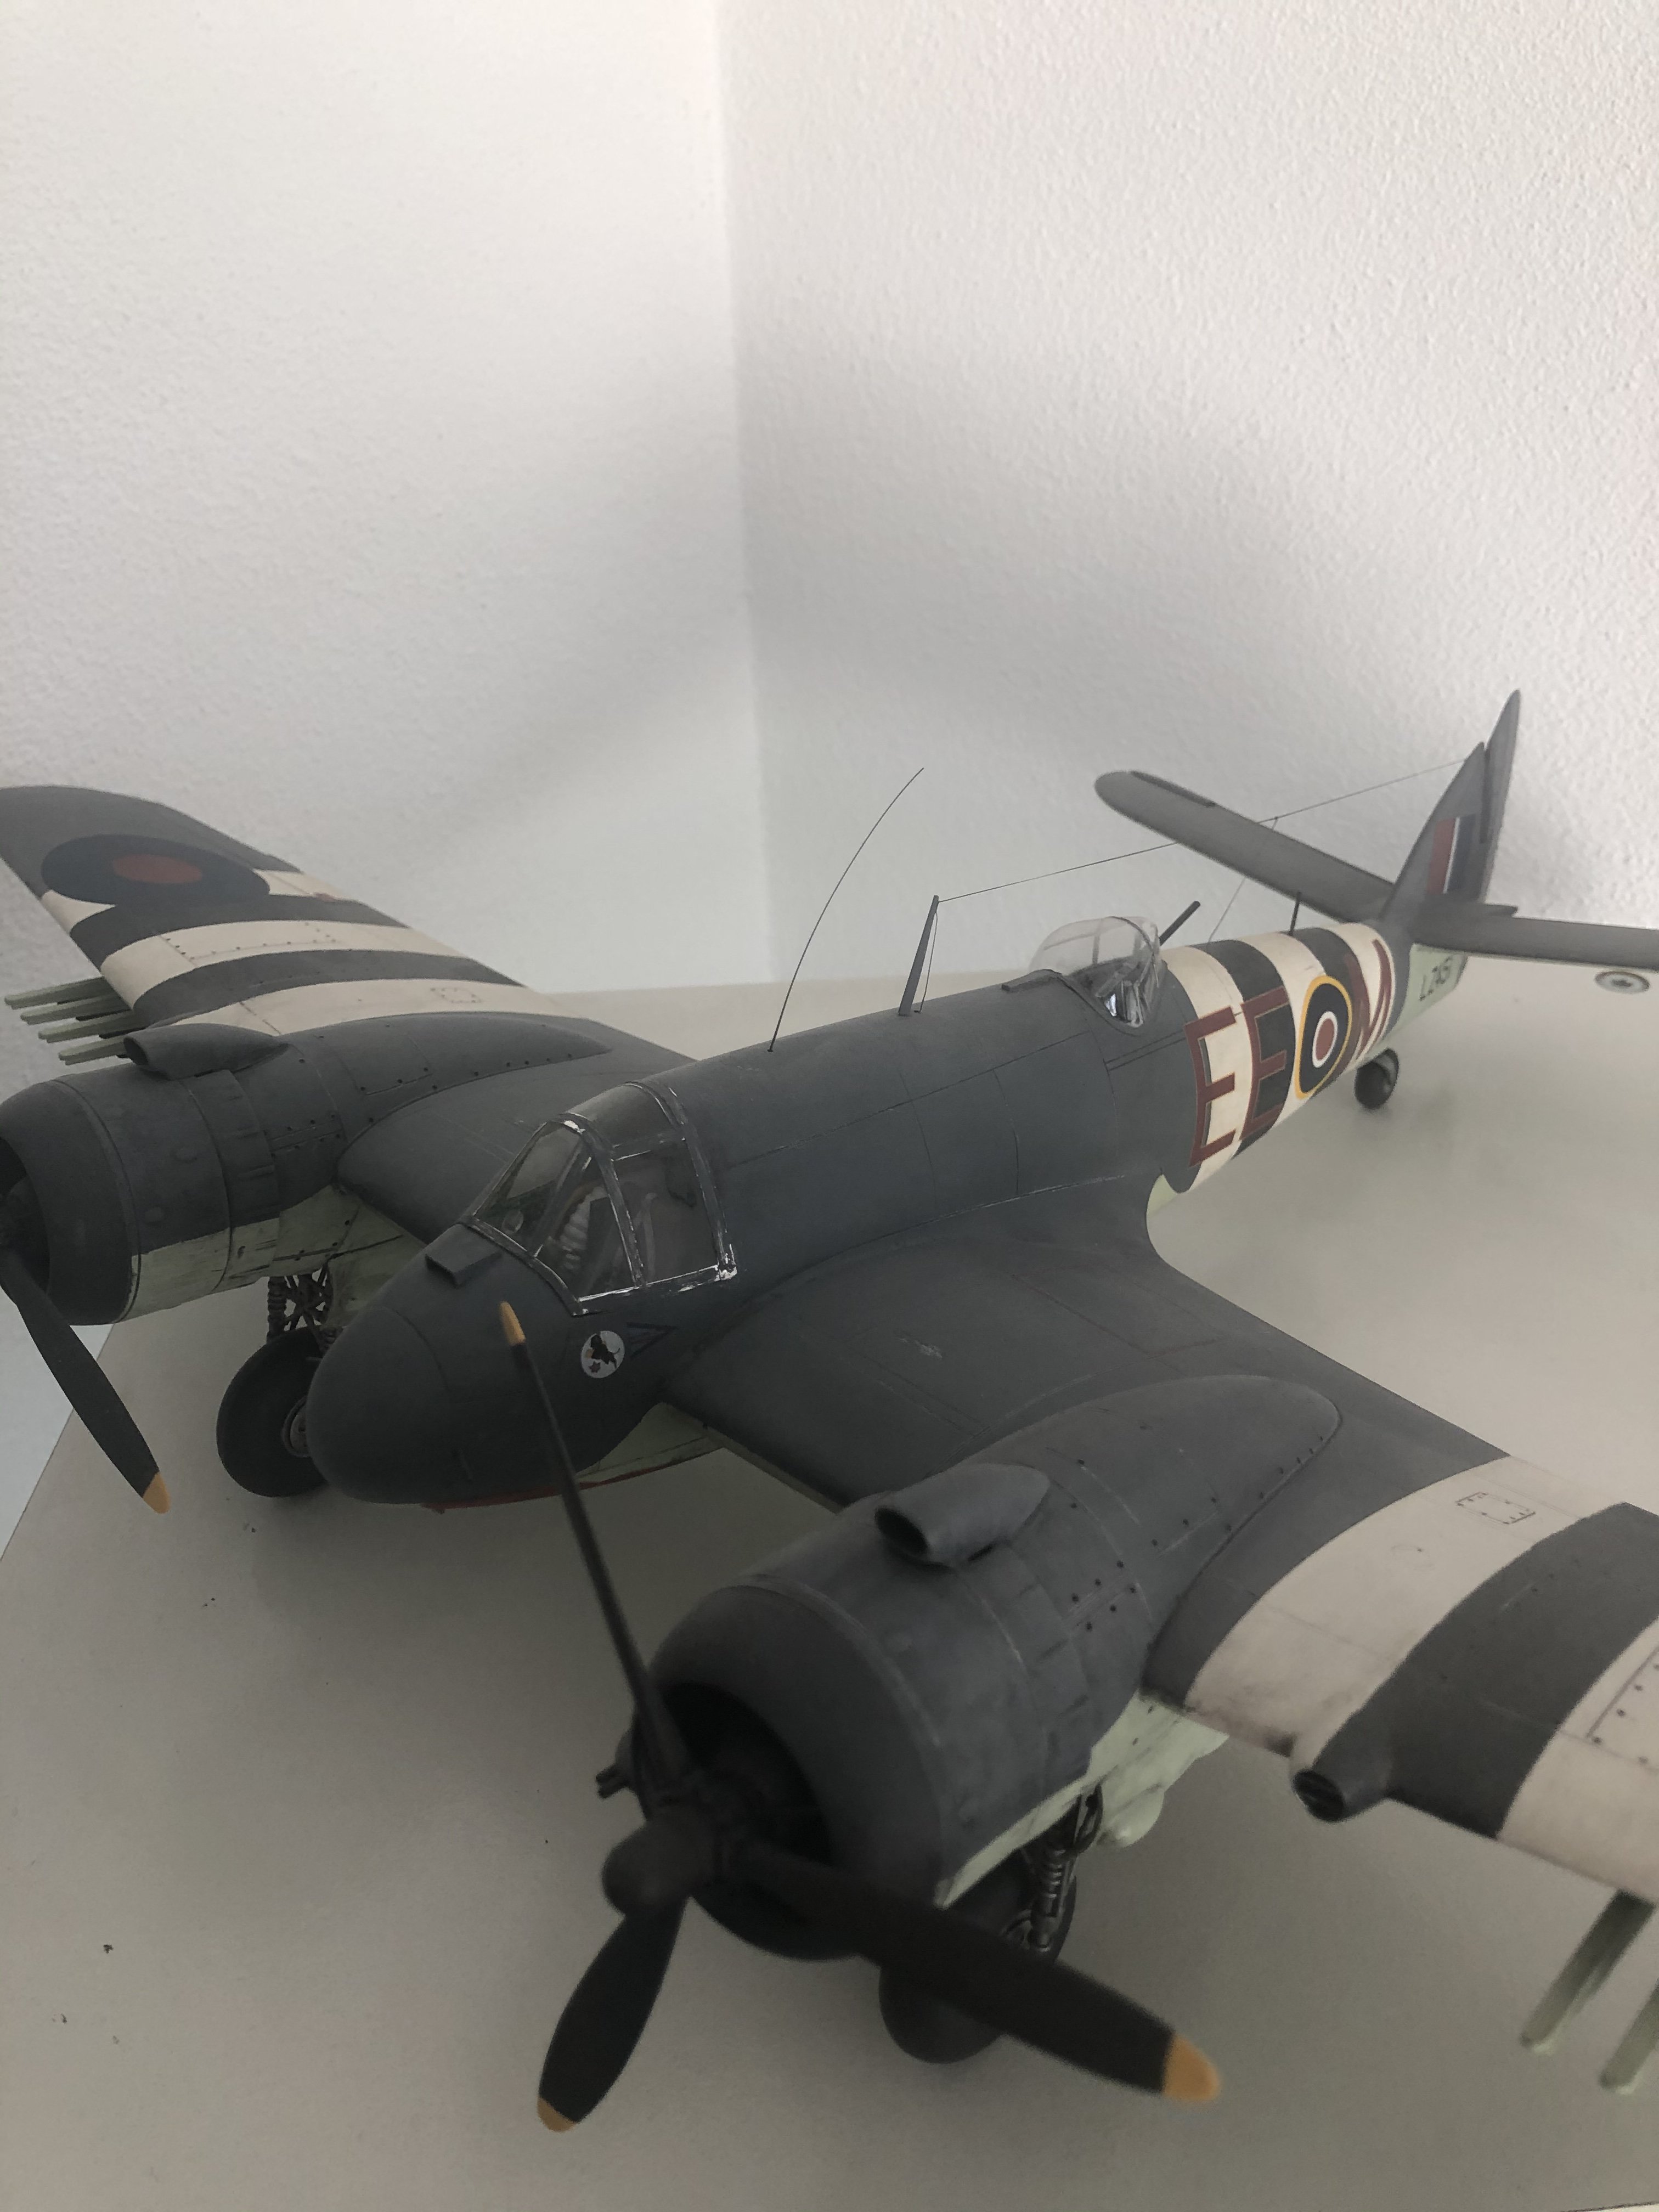
Crikey! Special Hobby Westland Whirlwind Fighter
Wingco57 replied to Wingco57's topic in LSM 1/35 and Larger Work In Progress
Did a bit, despite the nice weather.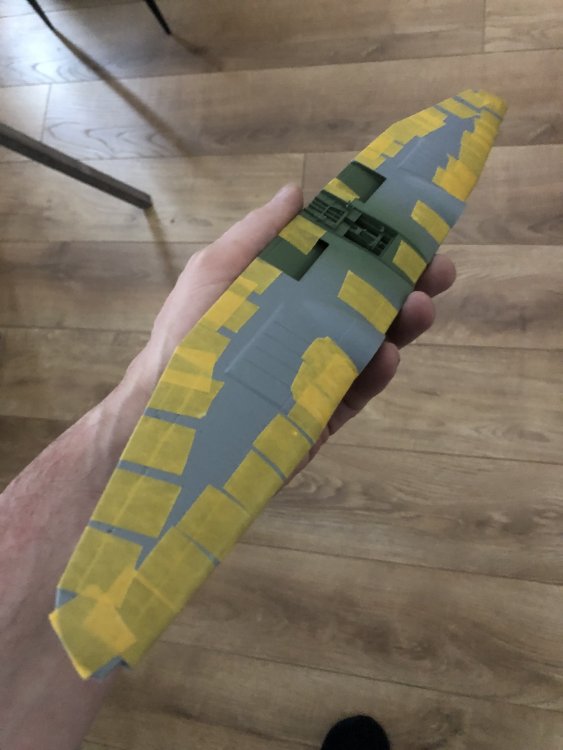
-
Great progress Nick. The P-40 used the Curtiss Electric prop, but don’t tell
-
Fw190A-8 3/JG1 crash Vreeland
Wingco57 replied to JeroenPeters's topic in LSM 1/35 and Larger Work In Progress
The base looks great Jeroen. Especially when sprayed RLM66. -
Crikey! Special Hobby Westland Whirlwind Fighter
Wingco57 replied to Wingco57's topic in LSM 1/35 and Larger Work In Progress
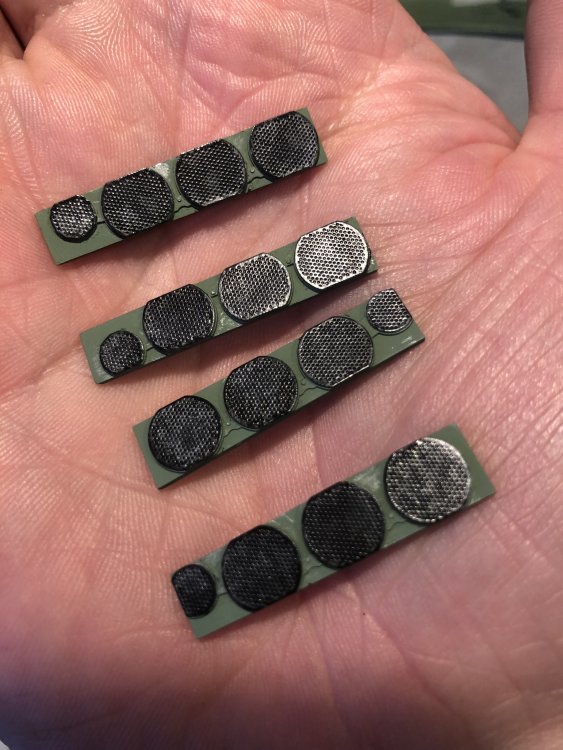
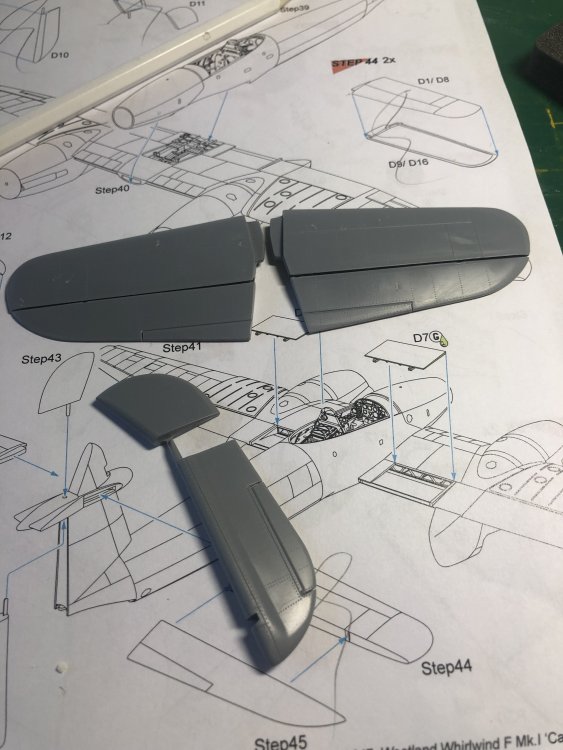
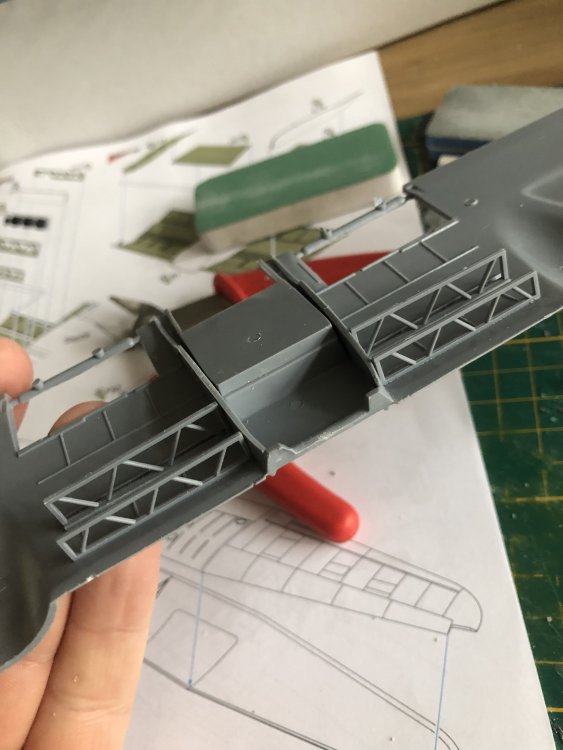
Progress is slow but sure. the radiator faces gave been completed ready for the wing to be assembled.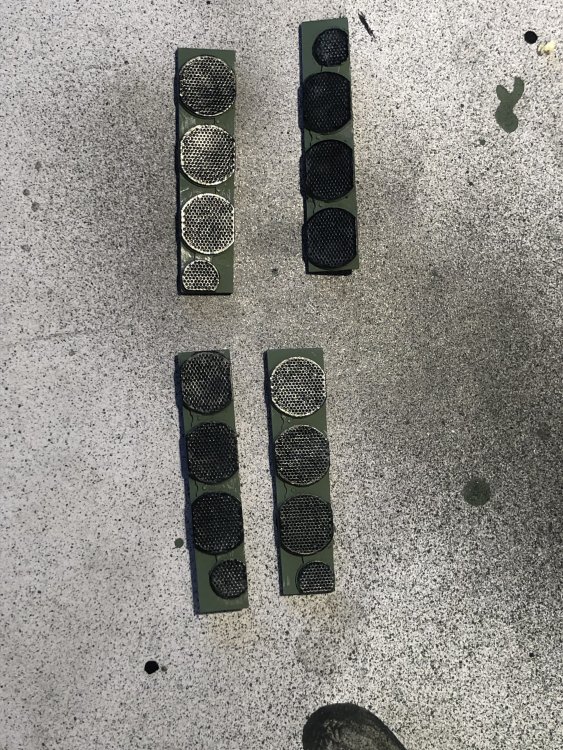
-
Crikey! Special Hobby Westland Whirlwind Fighter
Wingco57 replied to Wingco57's topic in LSM 1/35 and Larger Work In Progress
A bit later than planned but the basic interior green and black coats have been sprayed. The scene being looked on by a piece of self canvas torture.


-
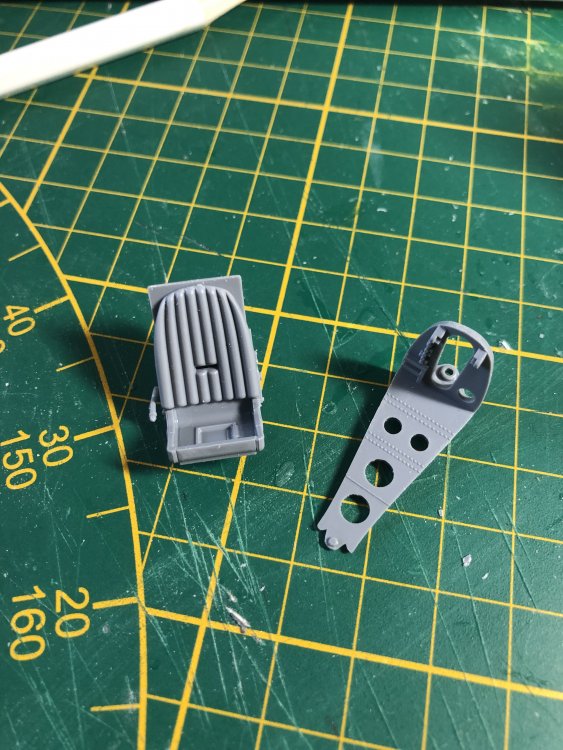
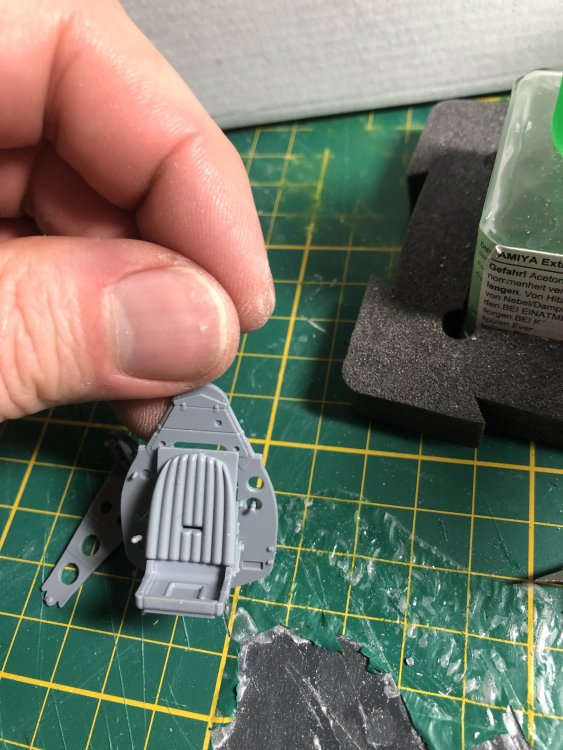
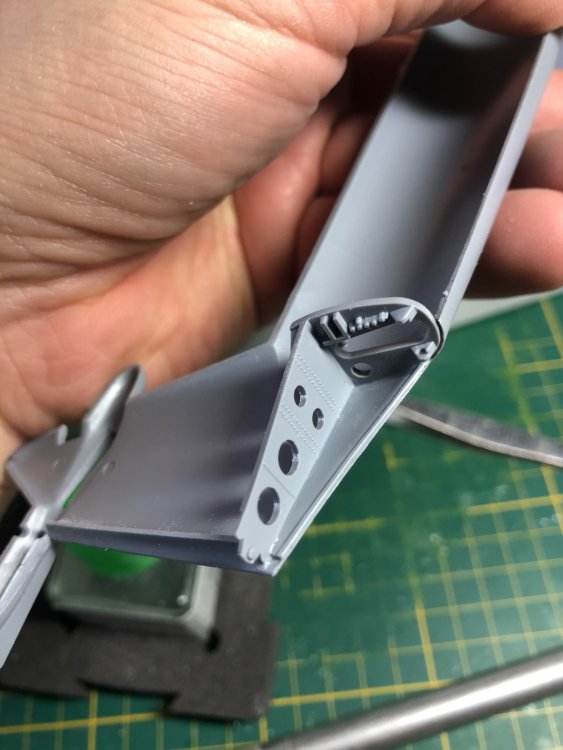
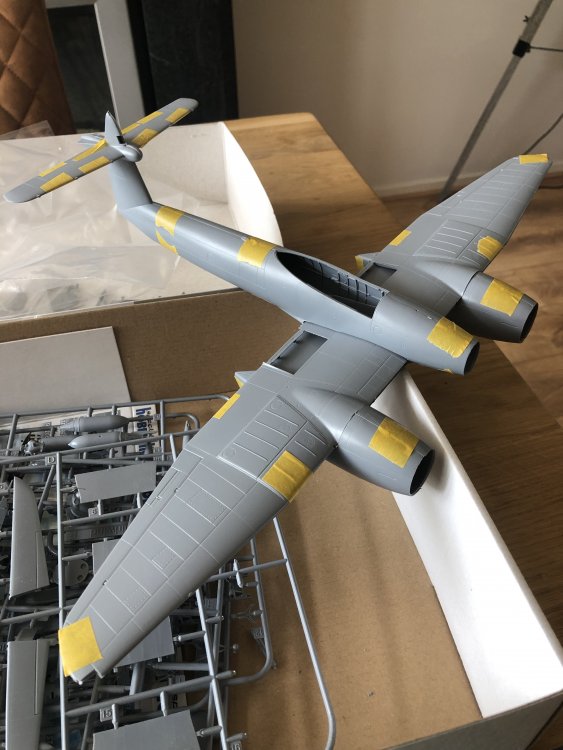
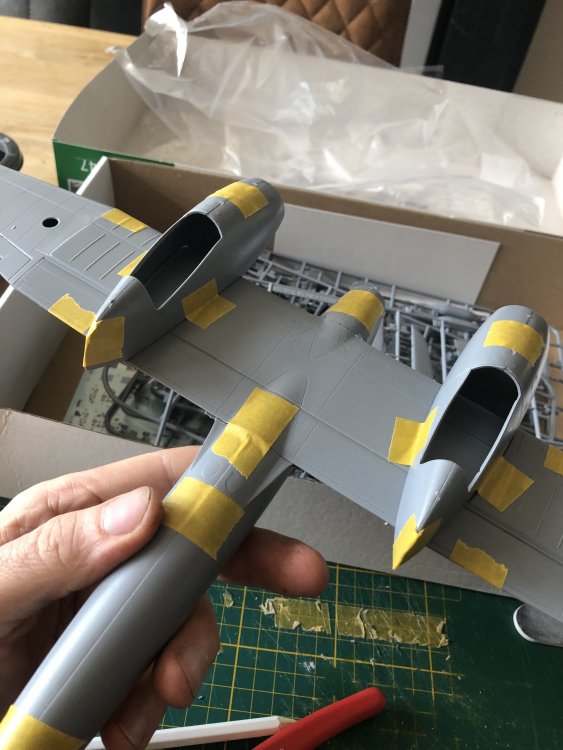
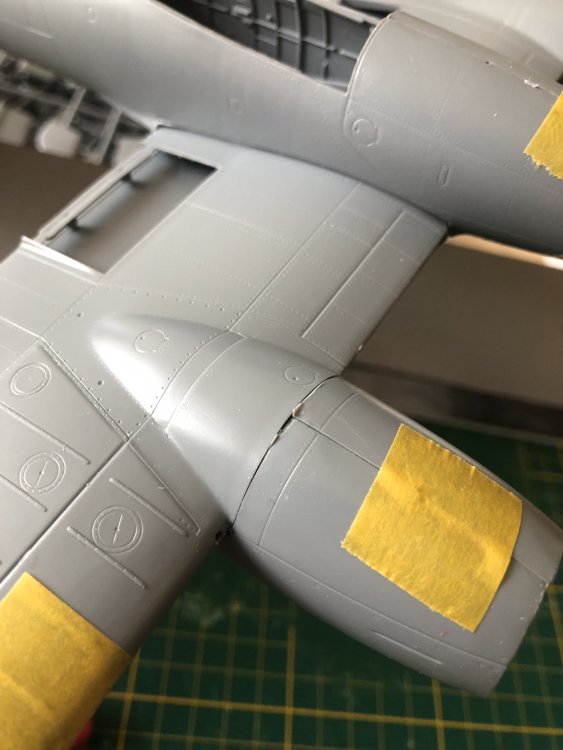
Crikey! Special Hobby Westland Whirlwind Fighter
Wingco57 replied to Wingco57's topic in LSM 1/35 and Larger Work In Progress
Ok then, some more sticky work. The plan is to get the airbrush fired up this coming weekend.

-
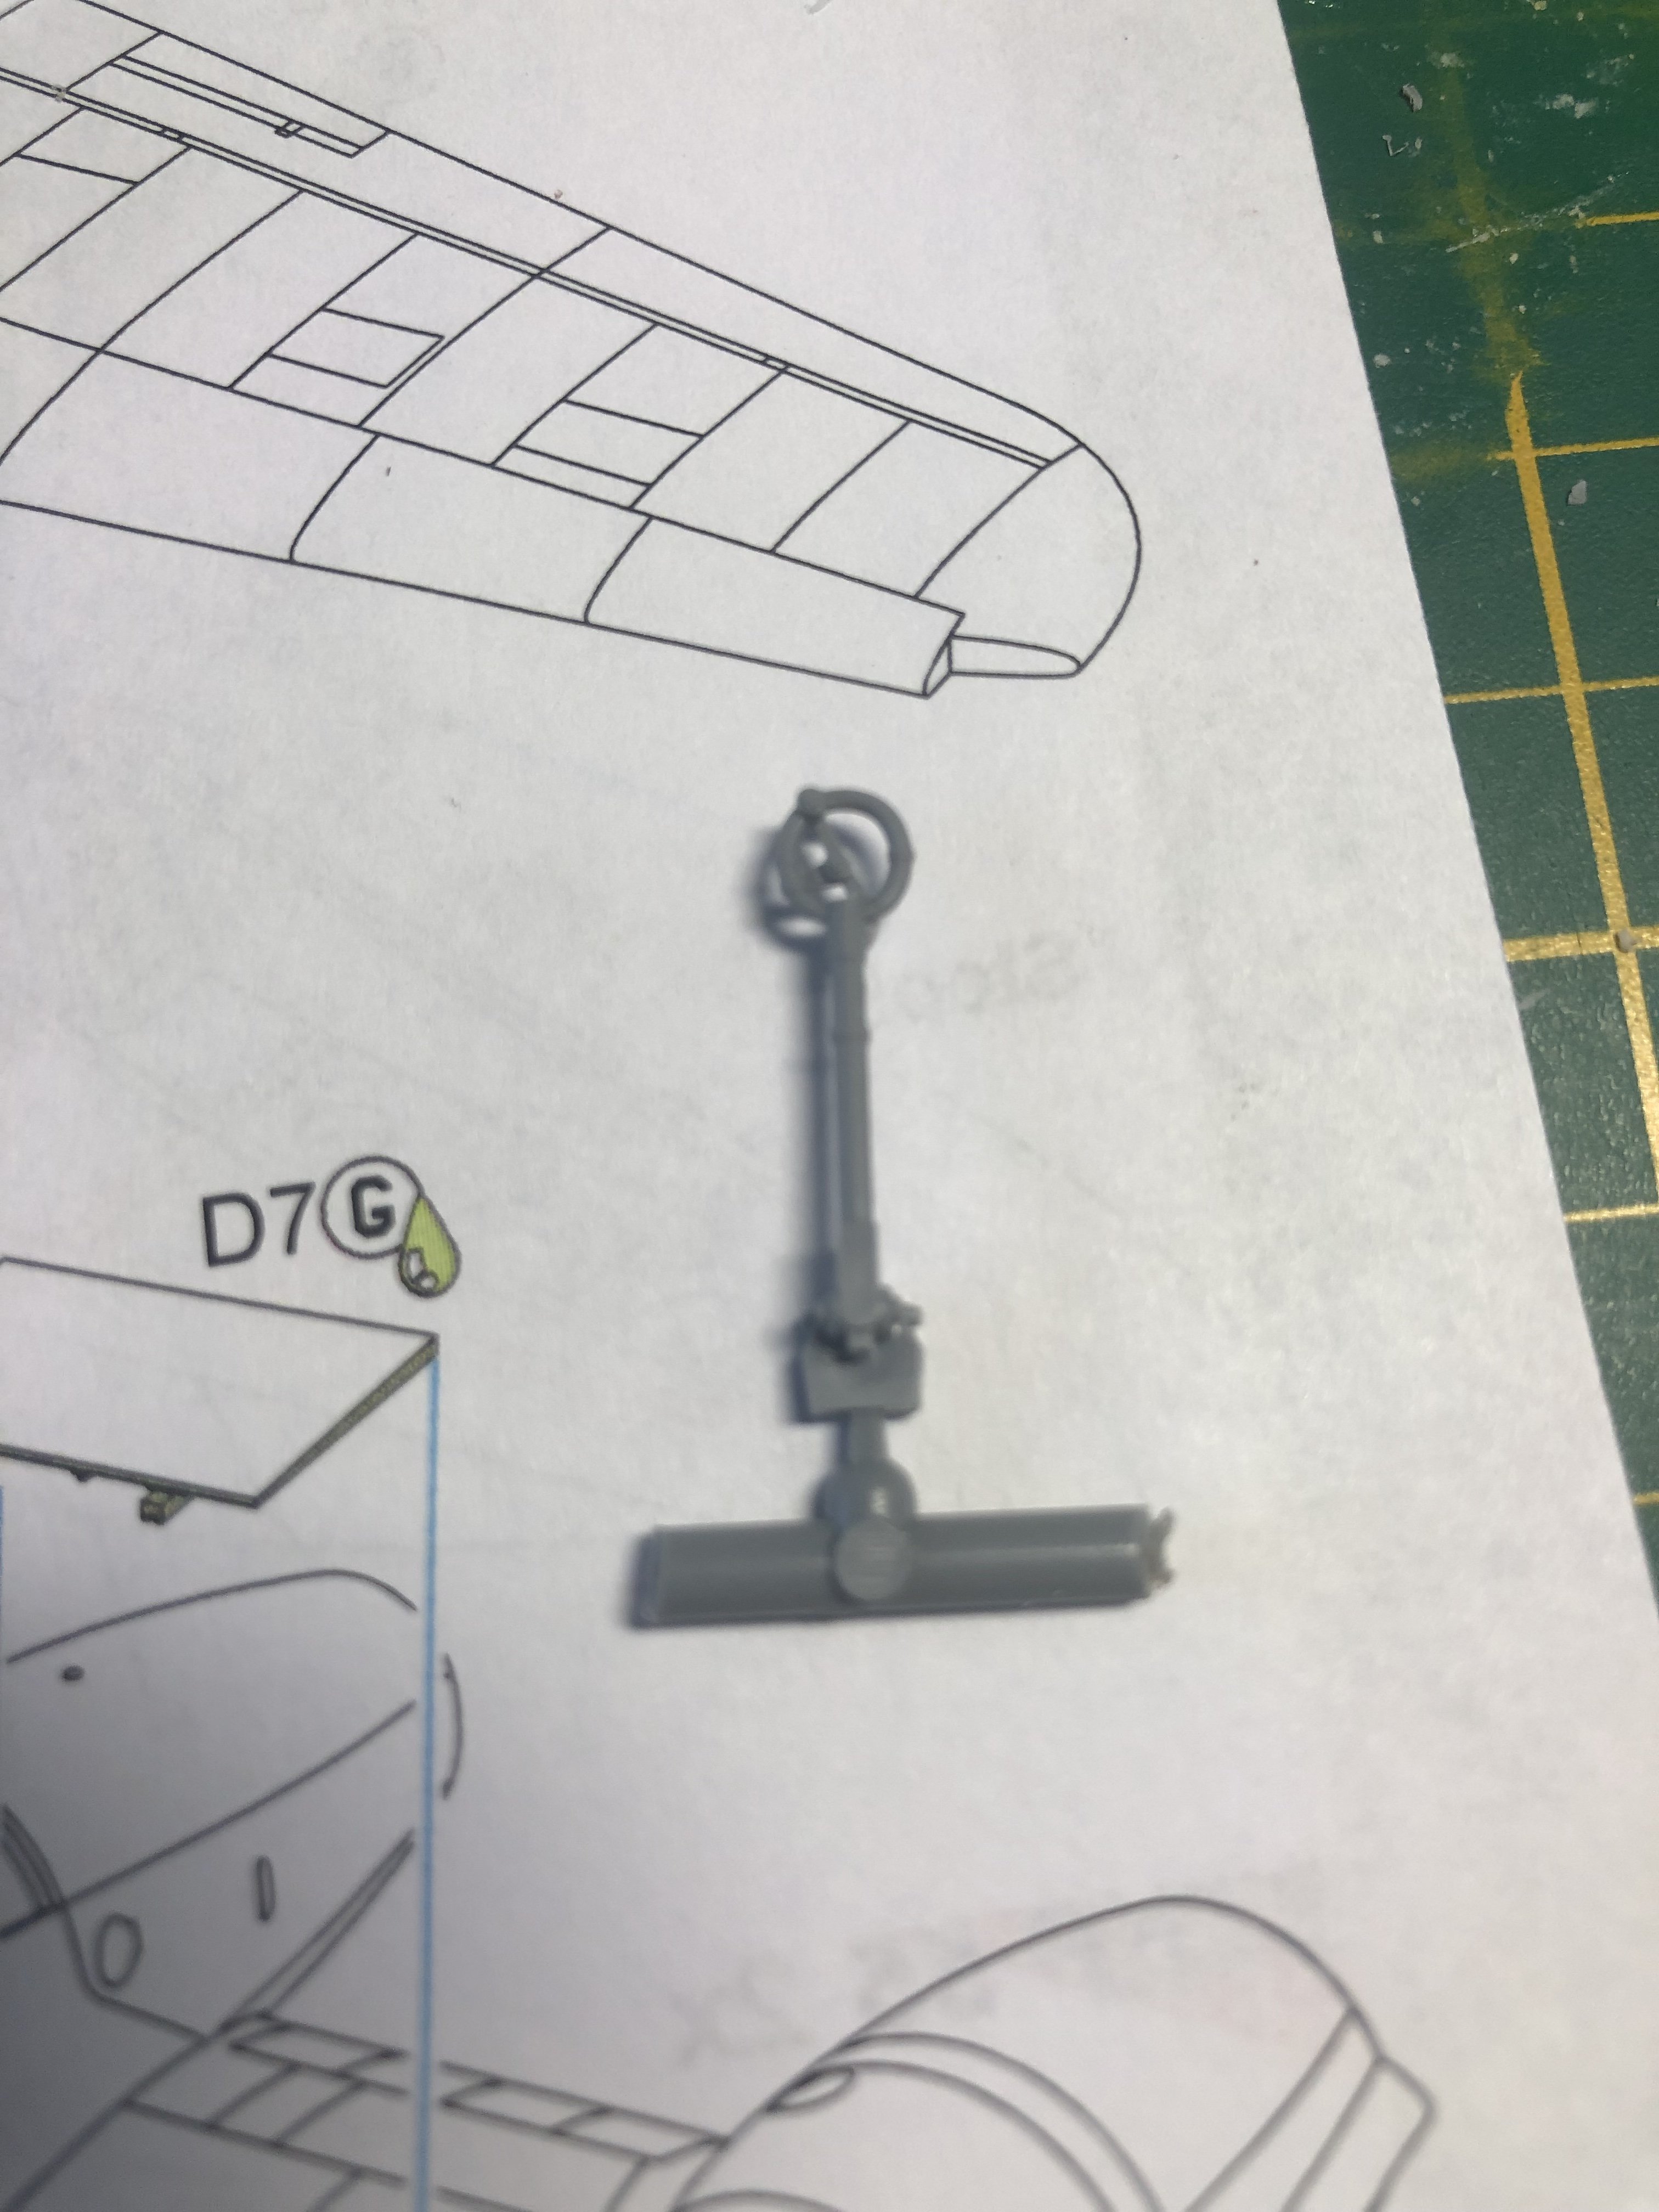
Crikey! Special Hobby Westland Whirlwind Fighter
Wingco57 replied to Wingco57's topic in LSM 1/35 and Larger Work In Progress
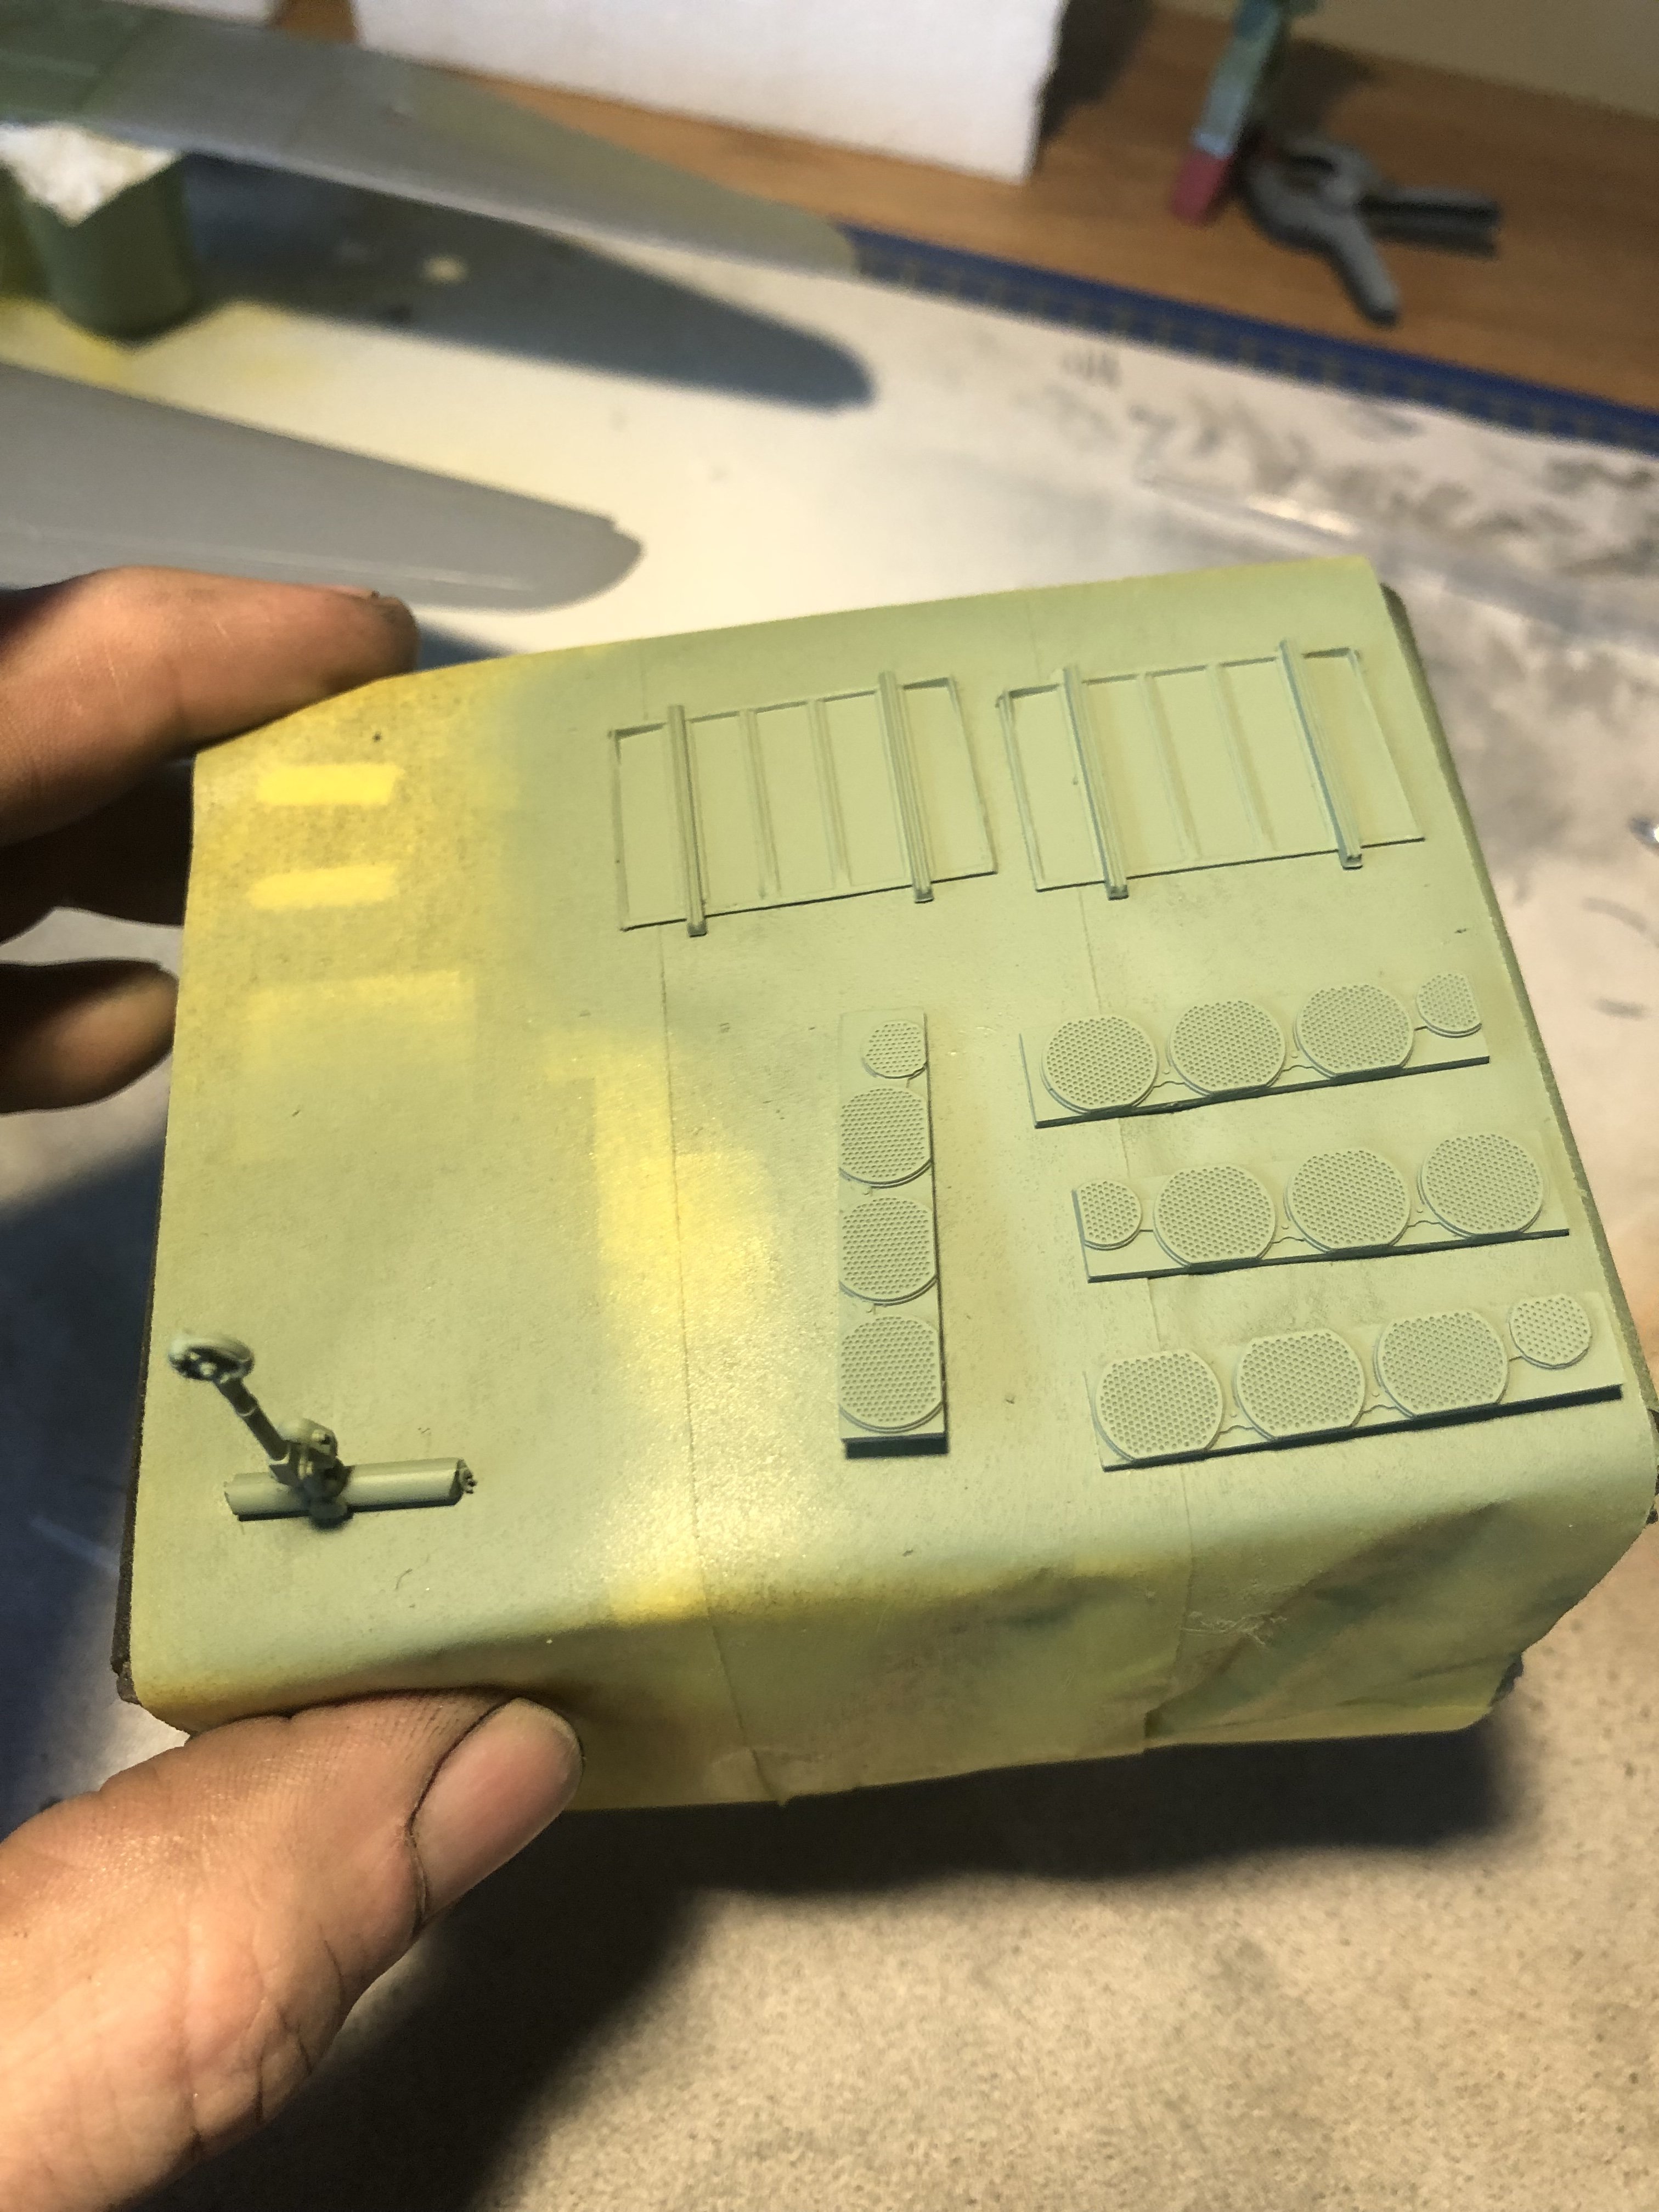
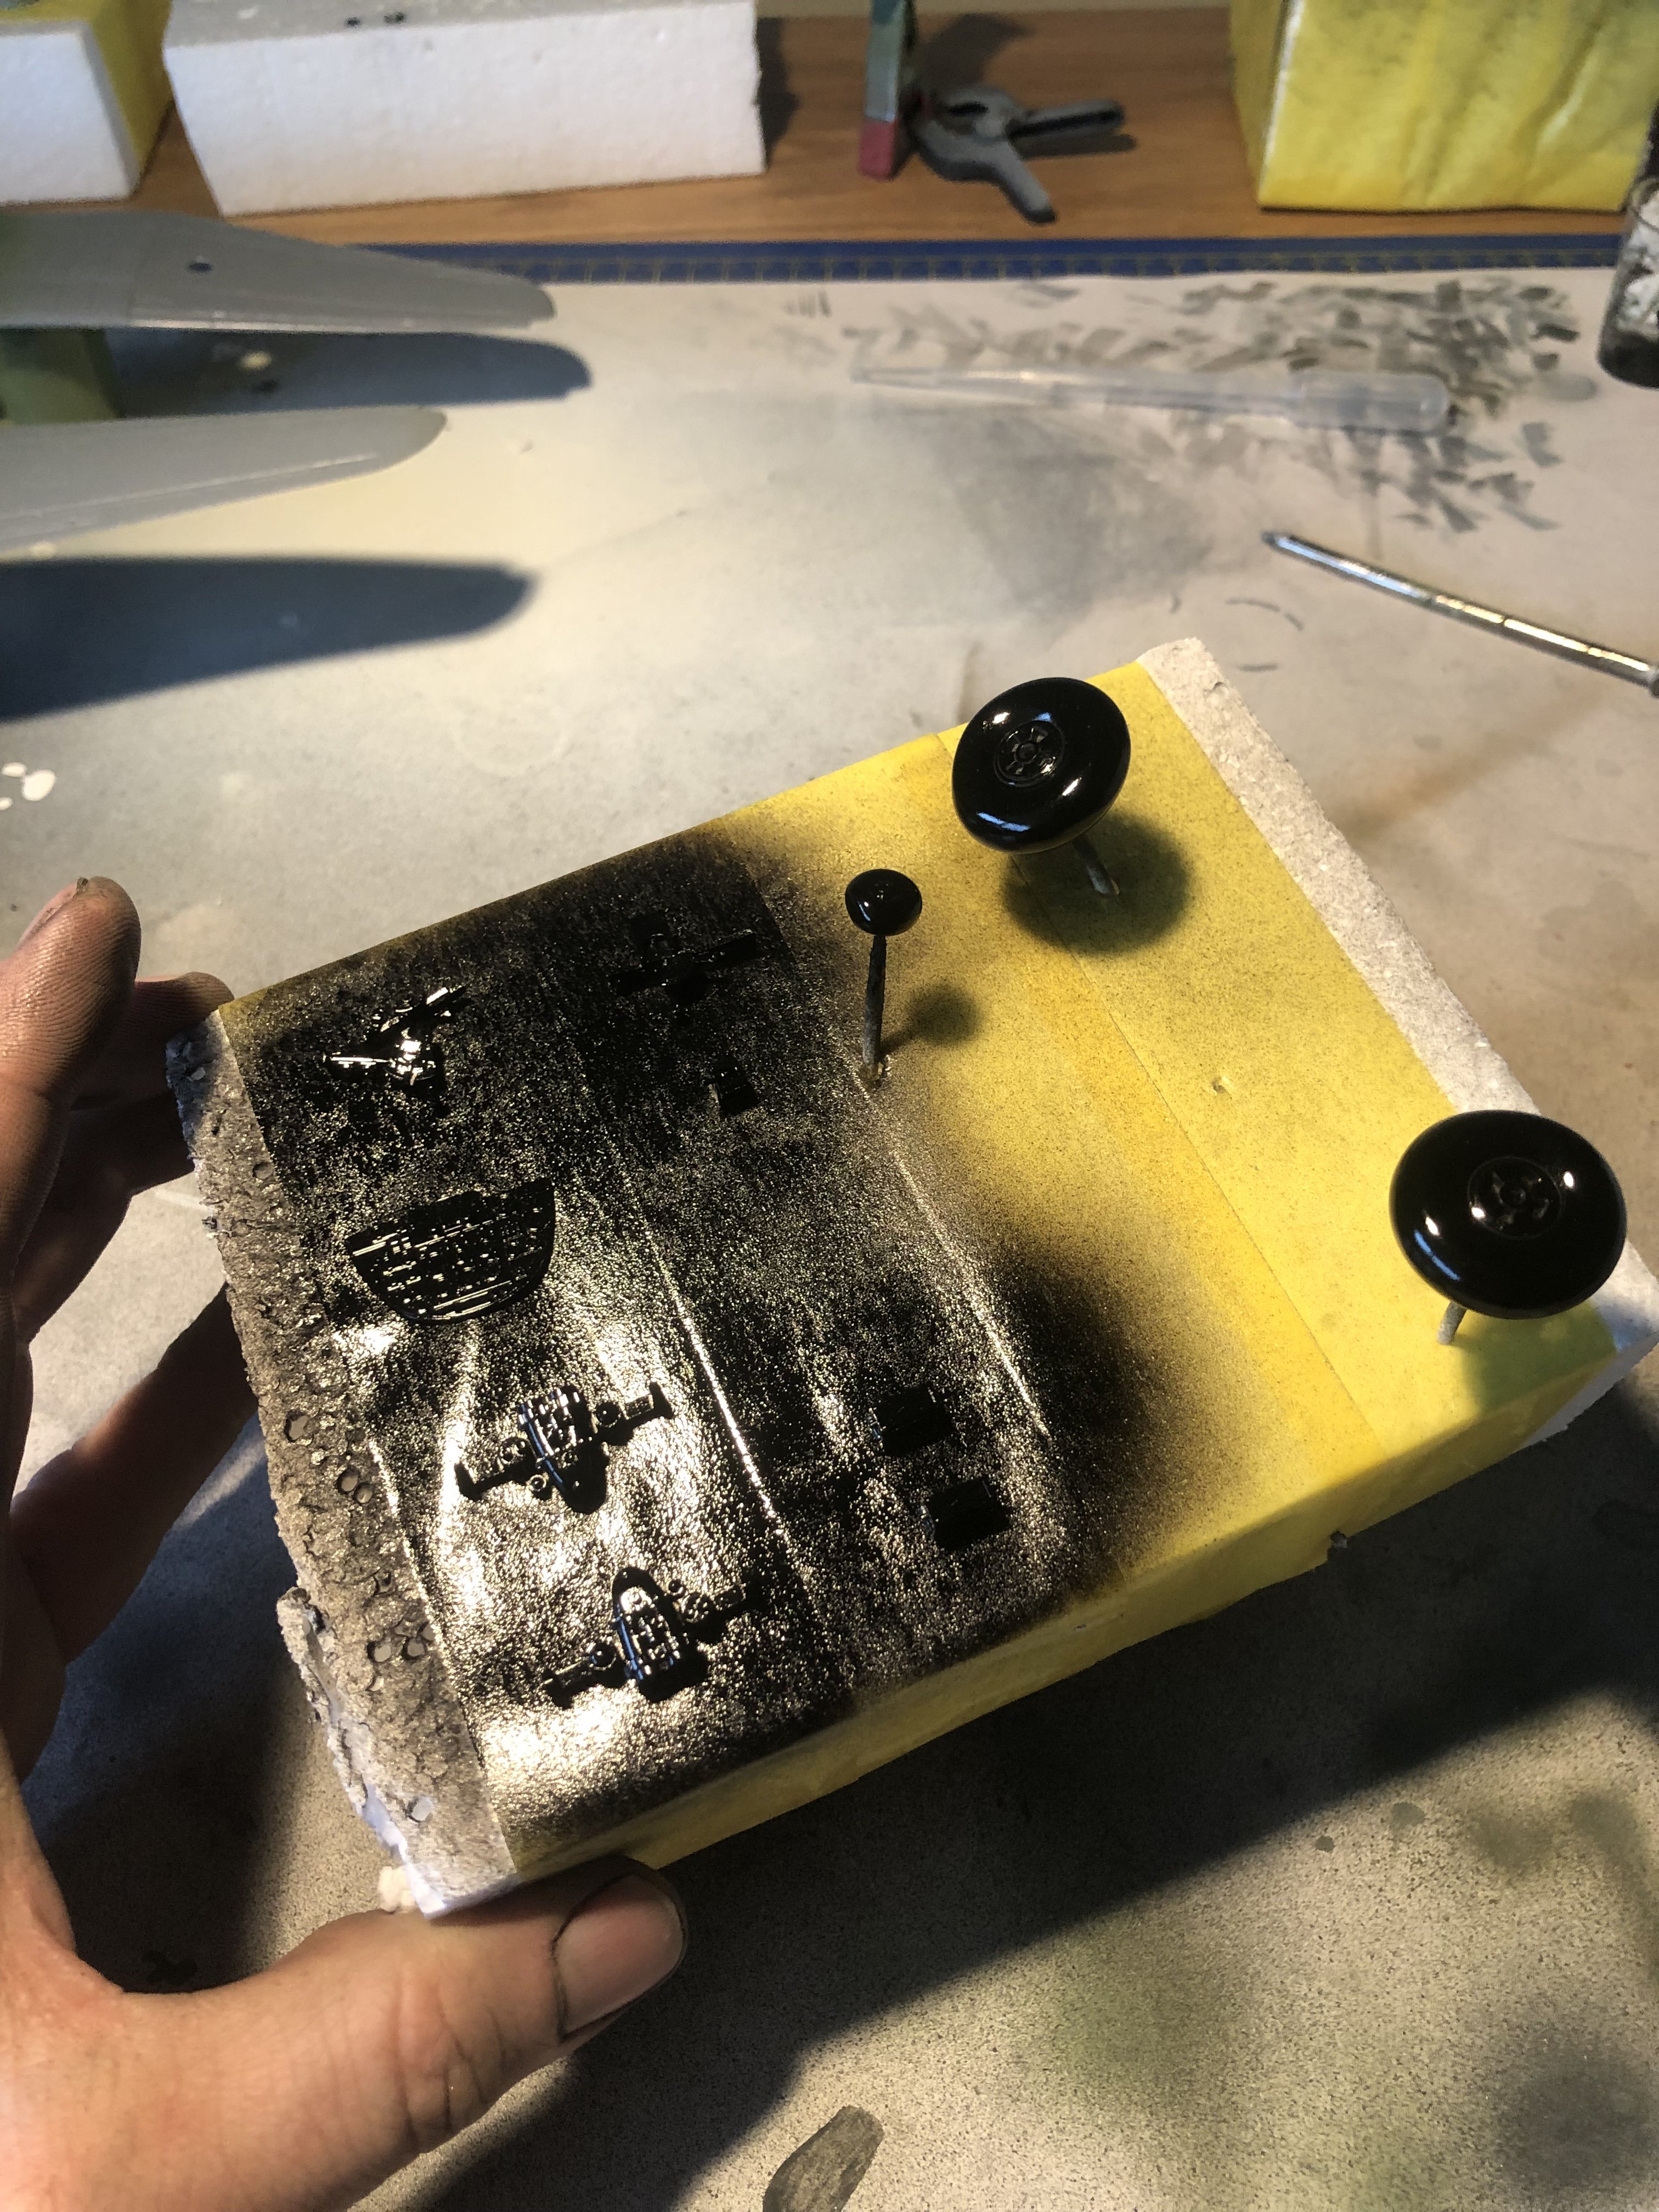
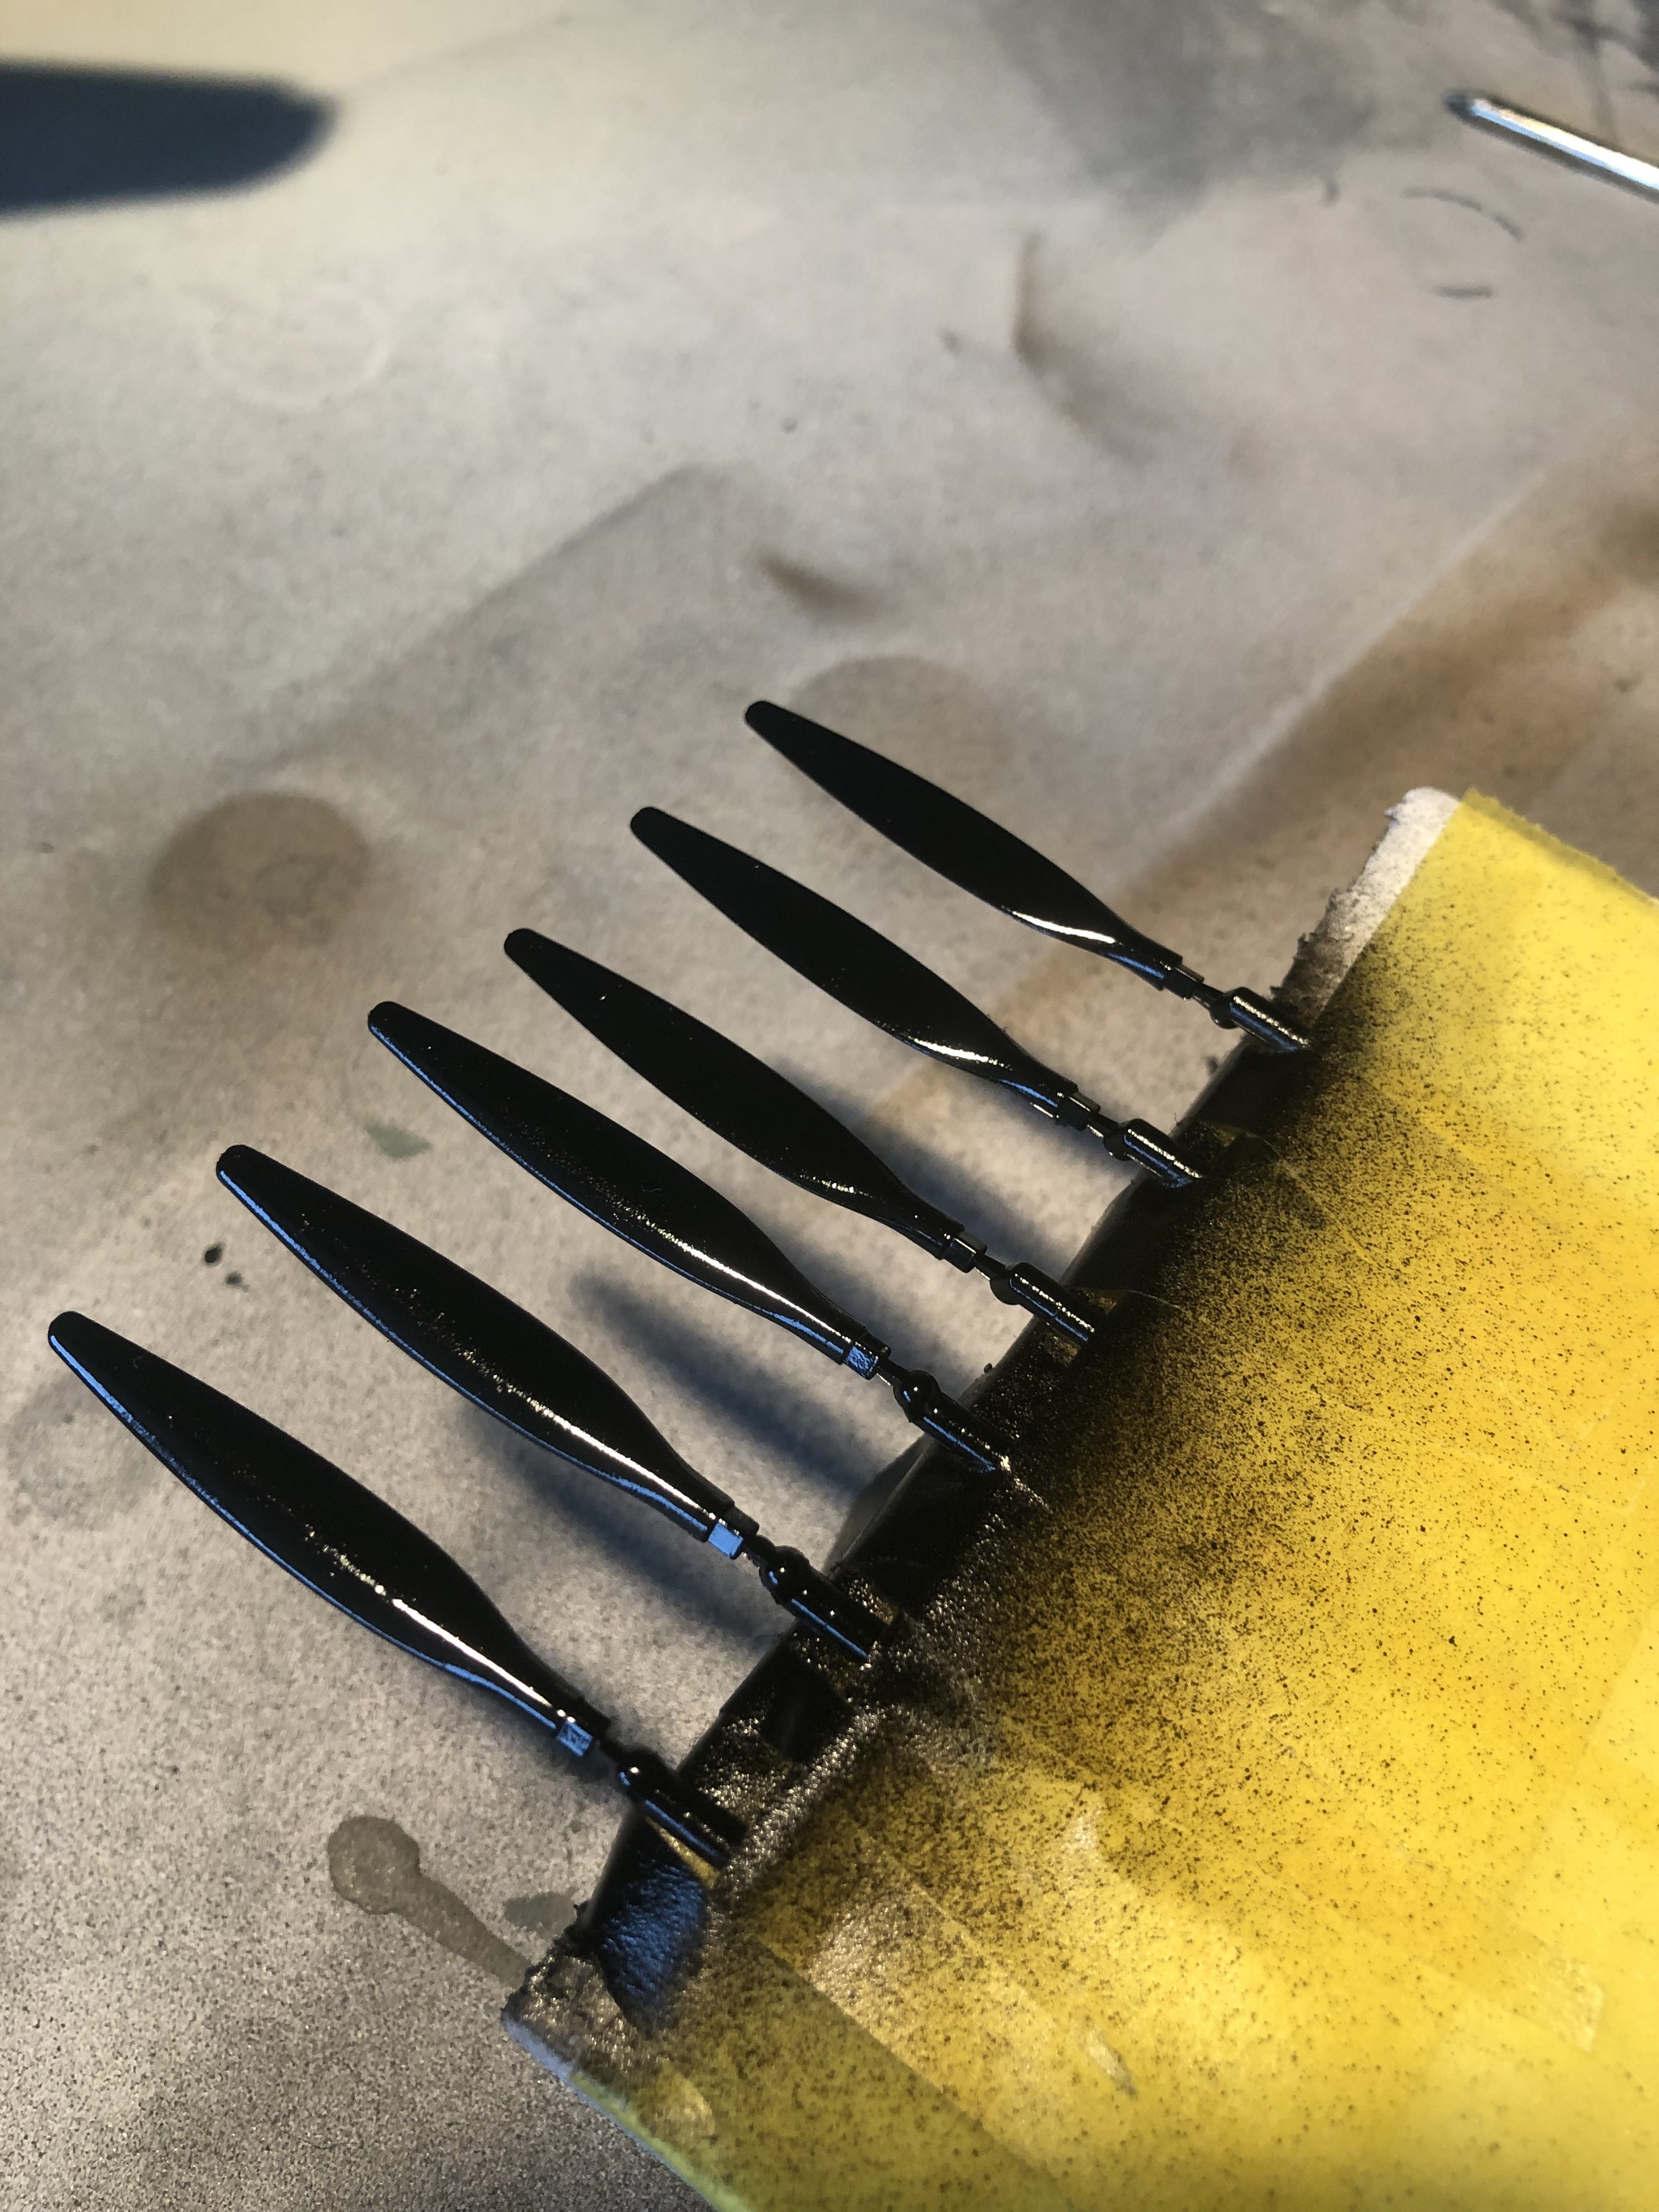
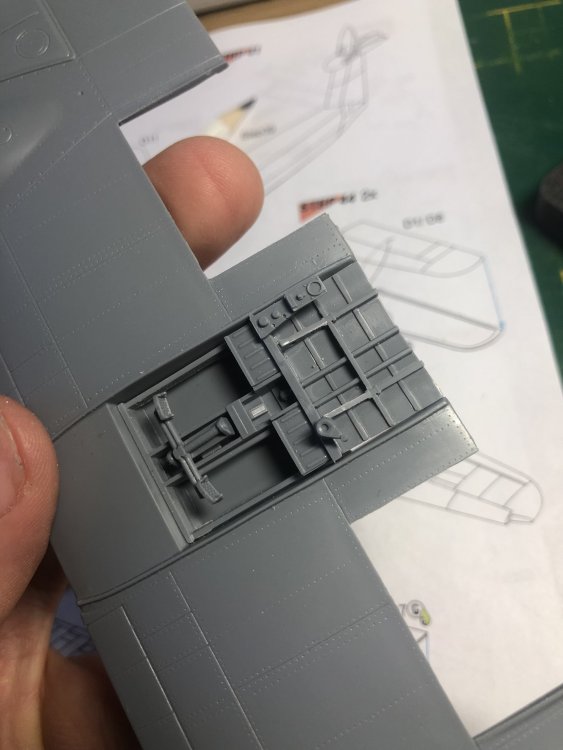
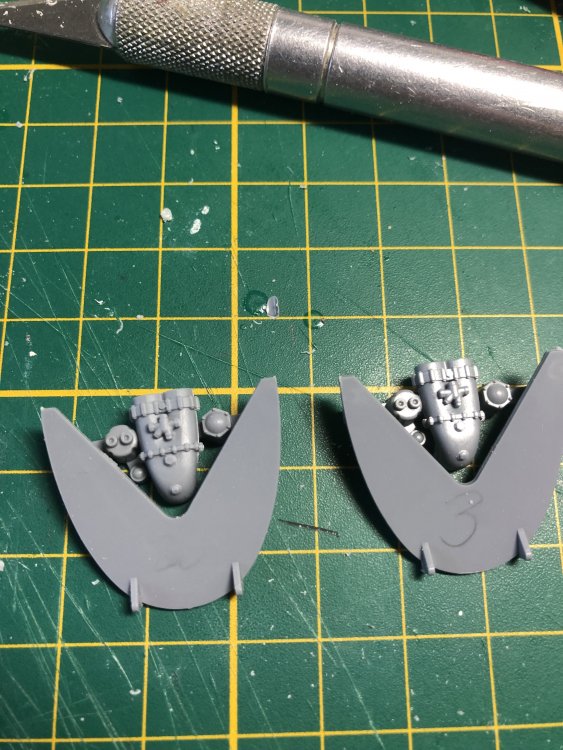
The pile of items soon to be airbrushed interior green keeps growing. The seat is nicely detailed and in the nacelles even some of the Peregrine engines can be seen. The spent cartridge container and guncamera housing are testfitted. The tailwheel mounting fits nicely too.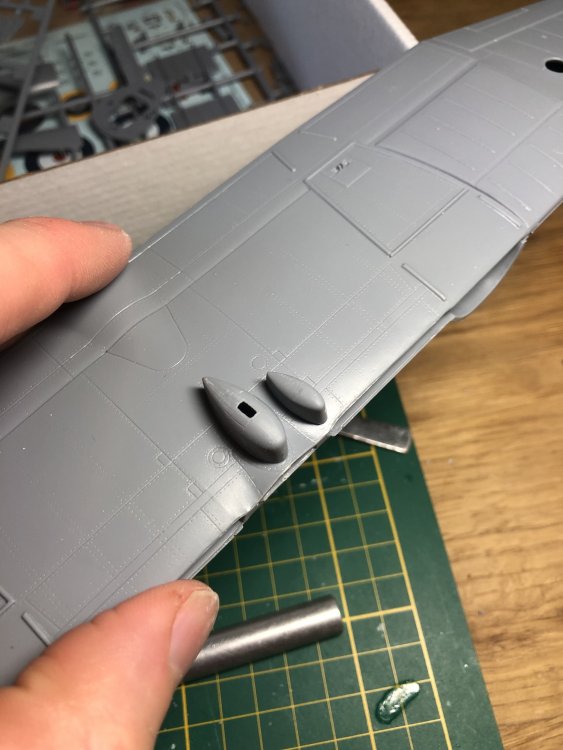
-
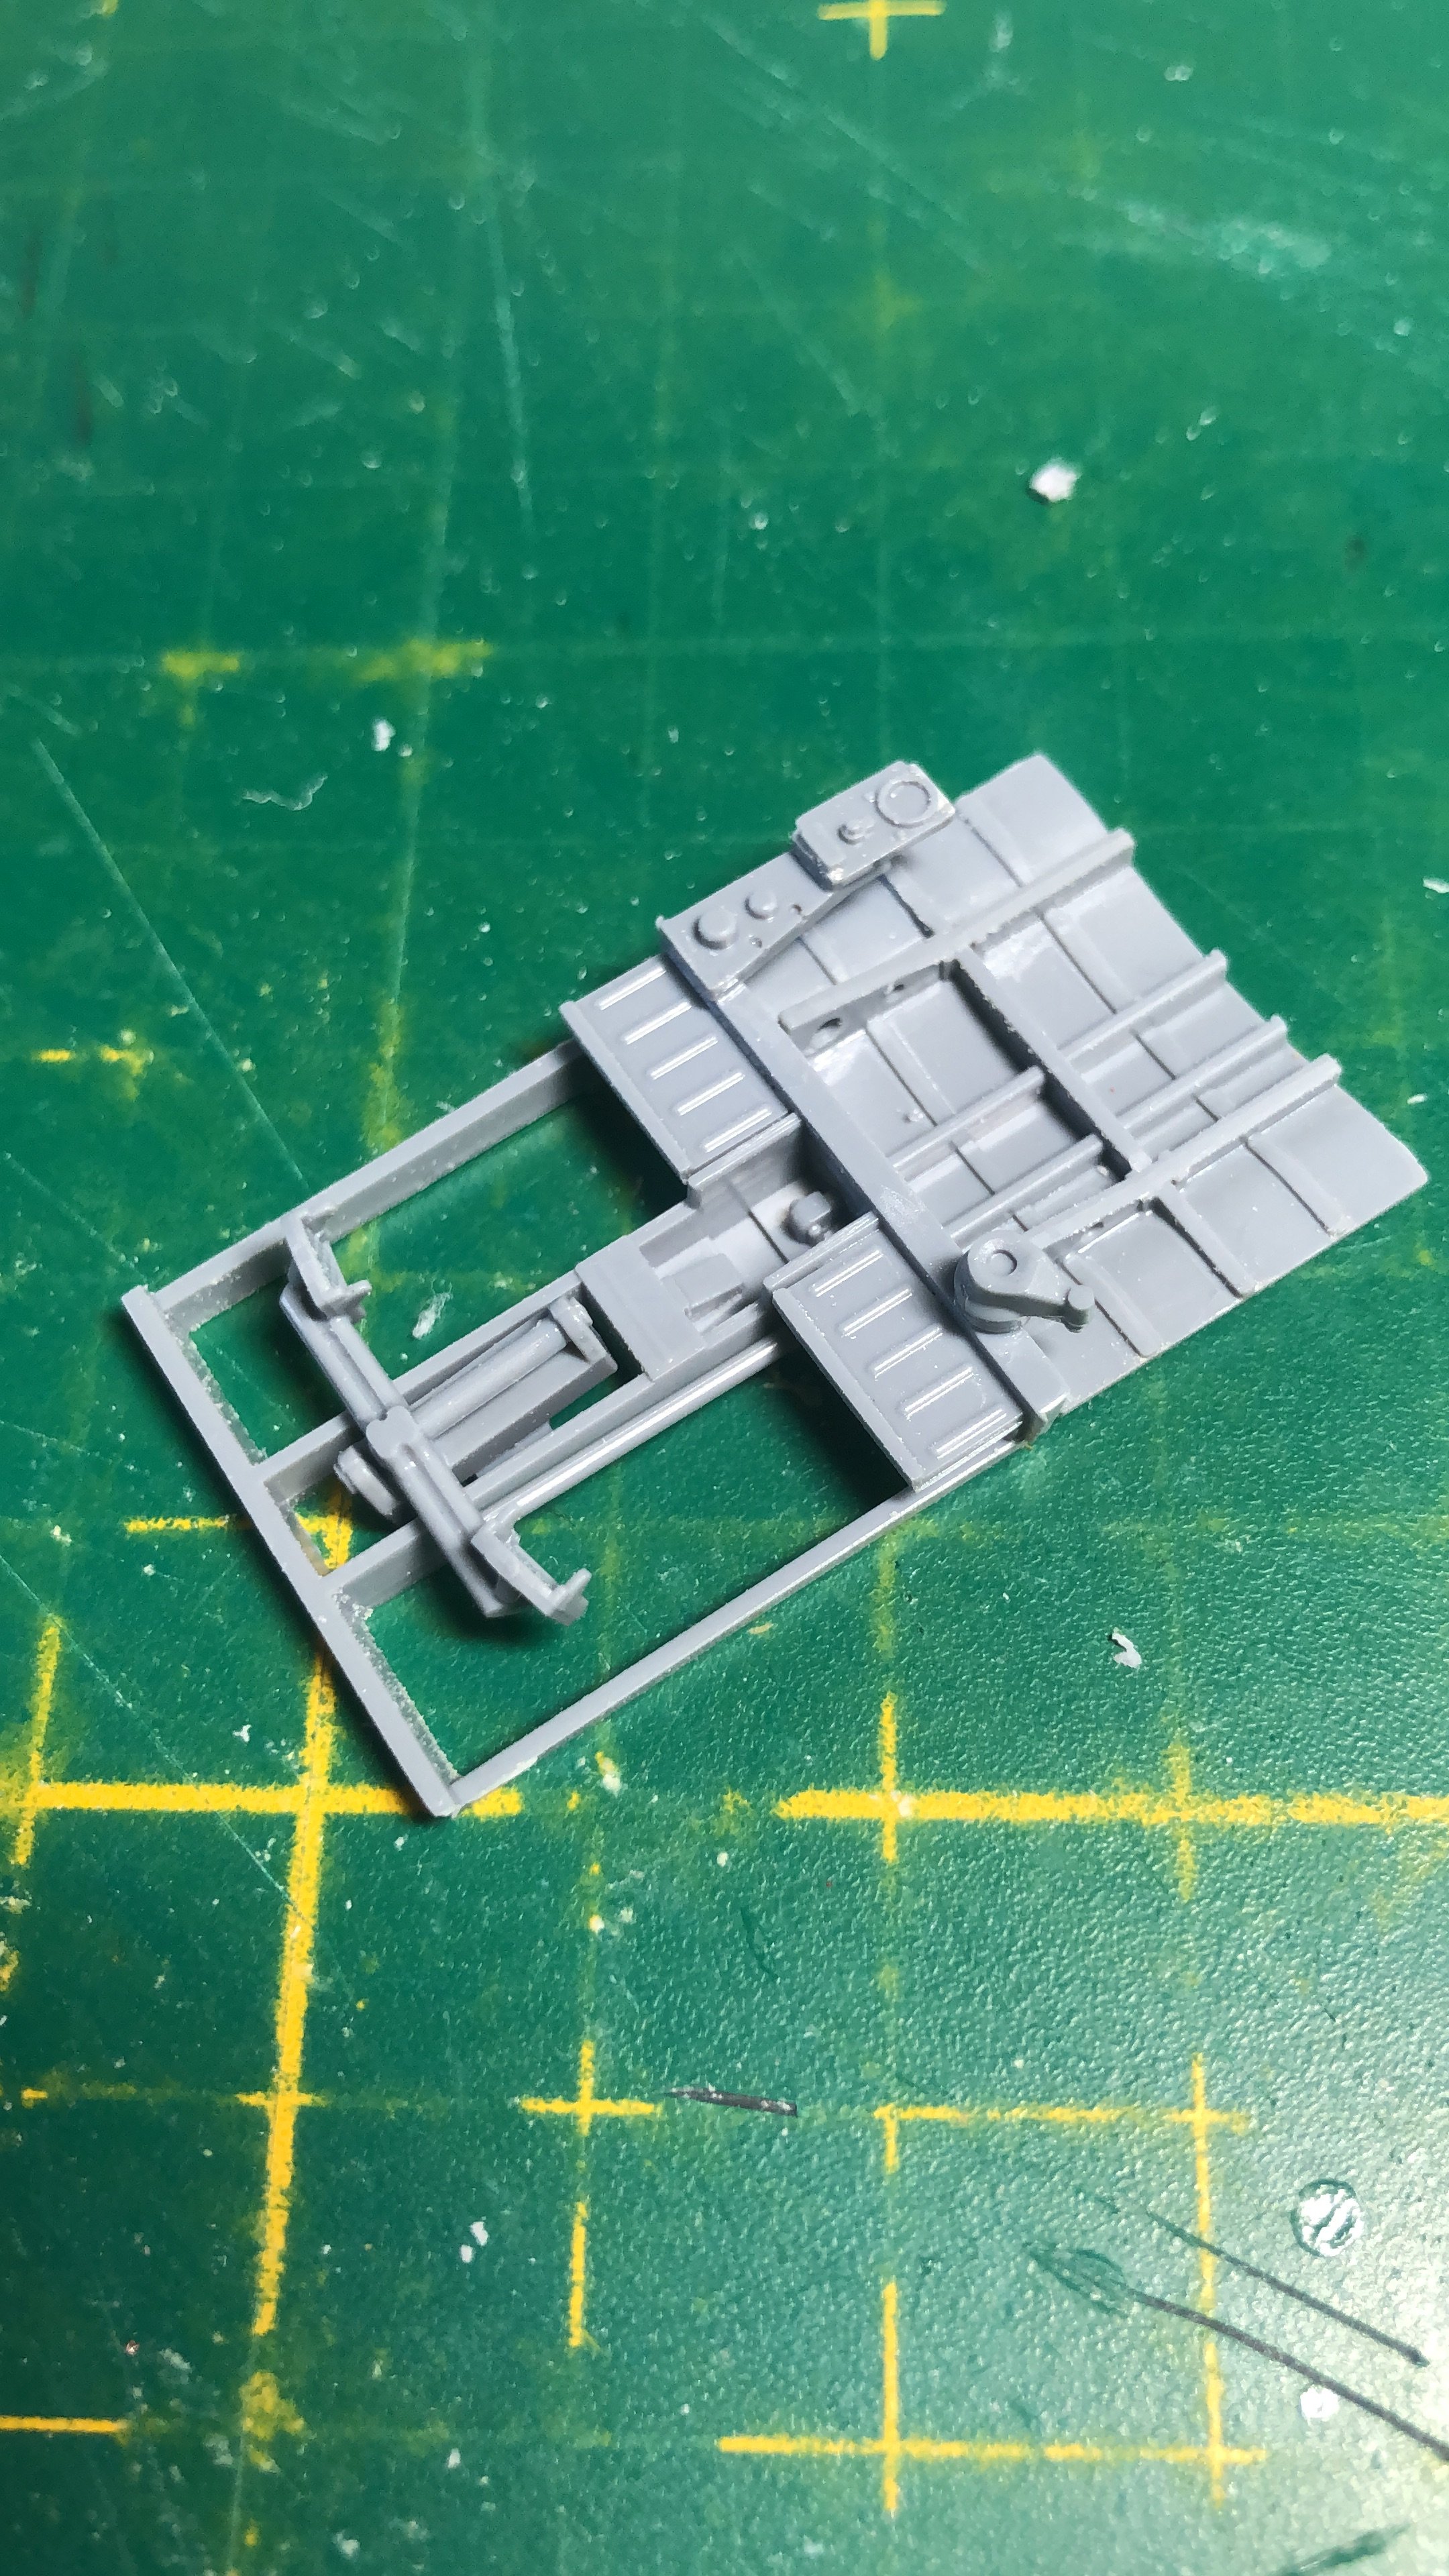
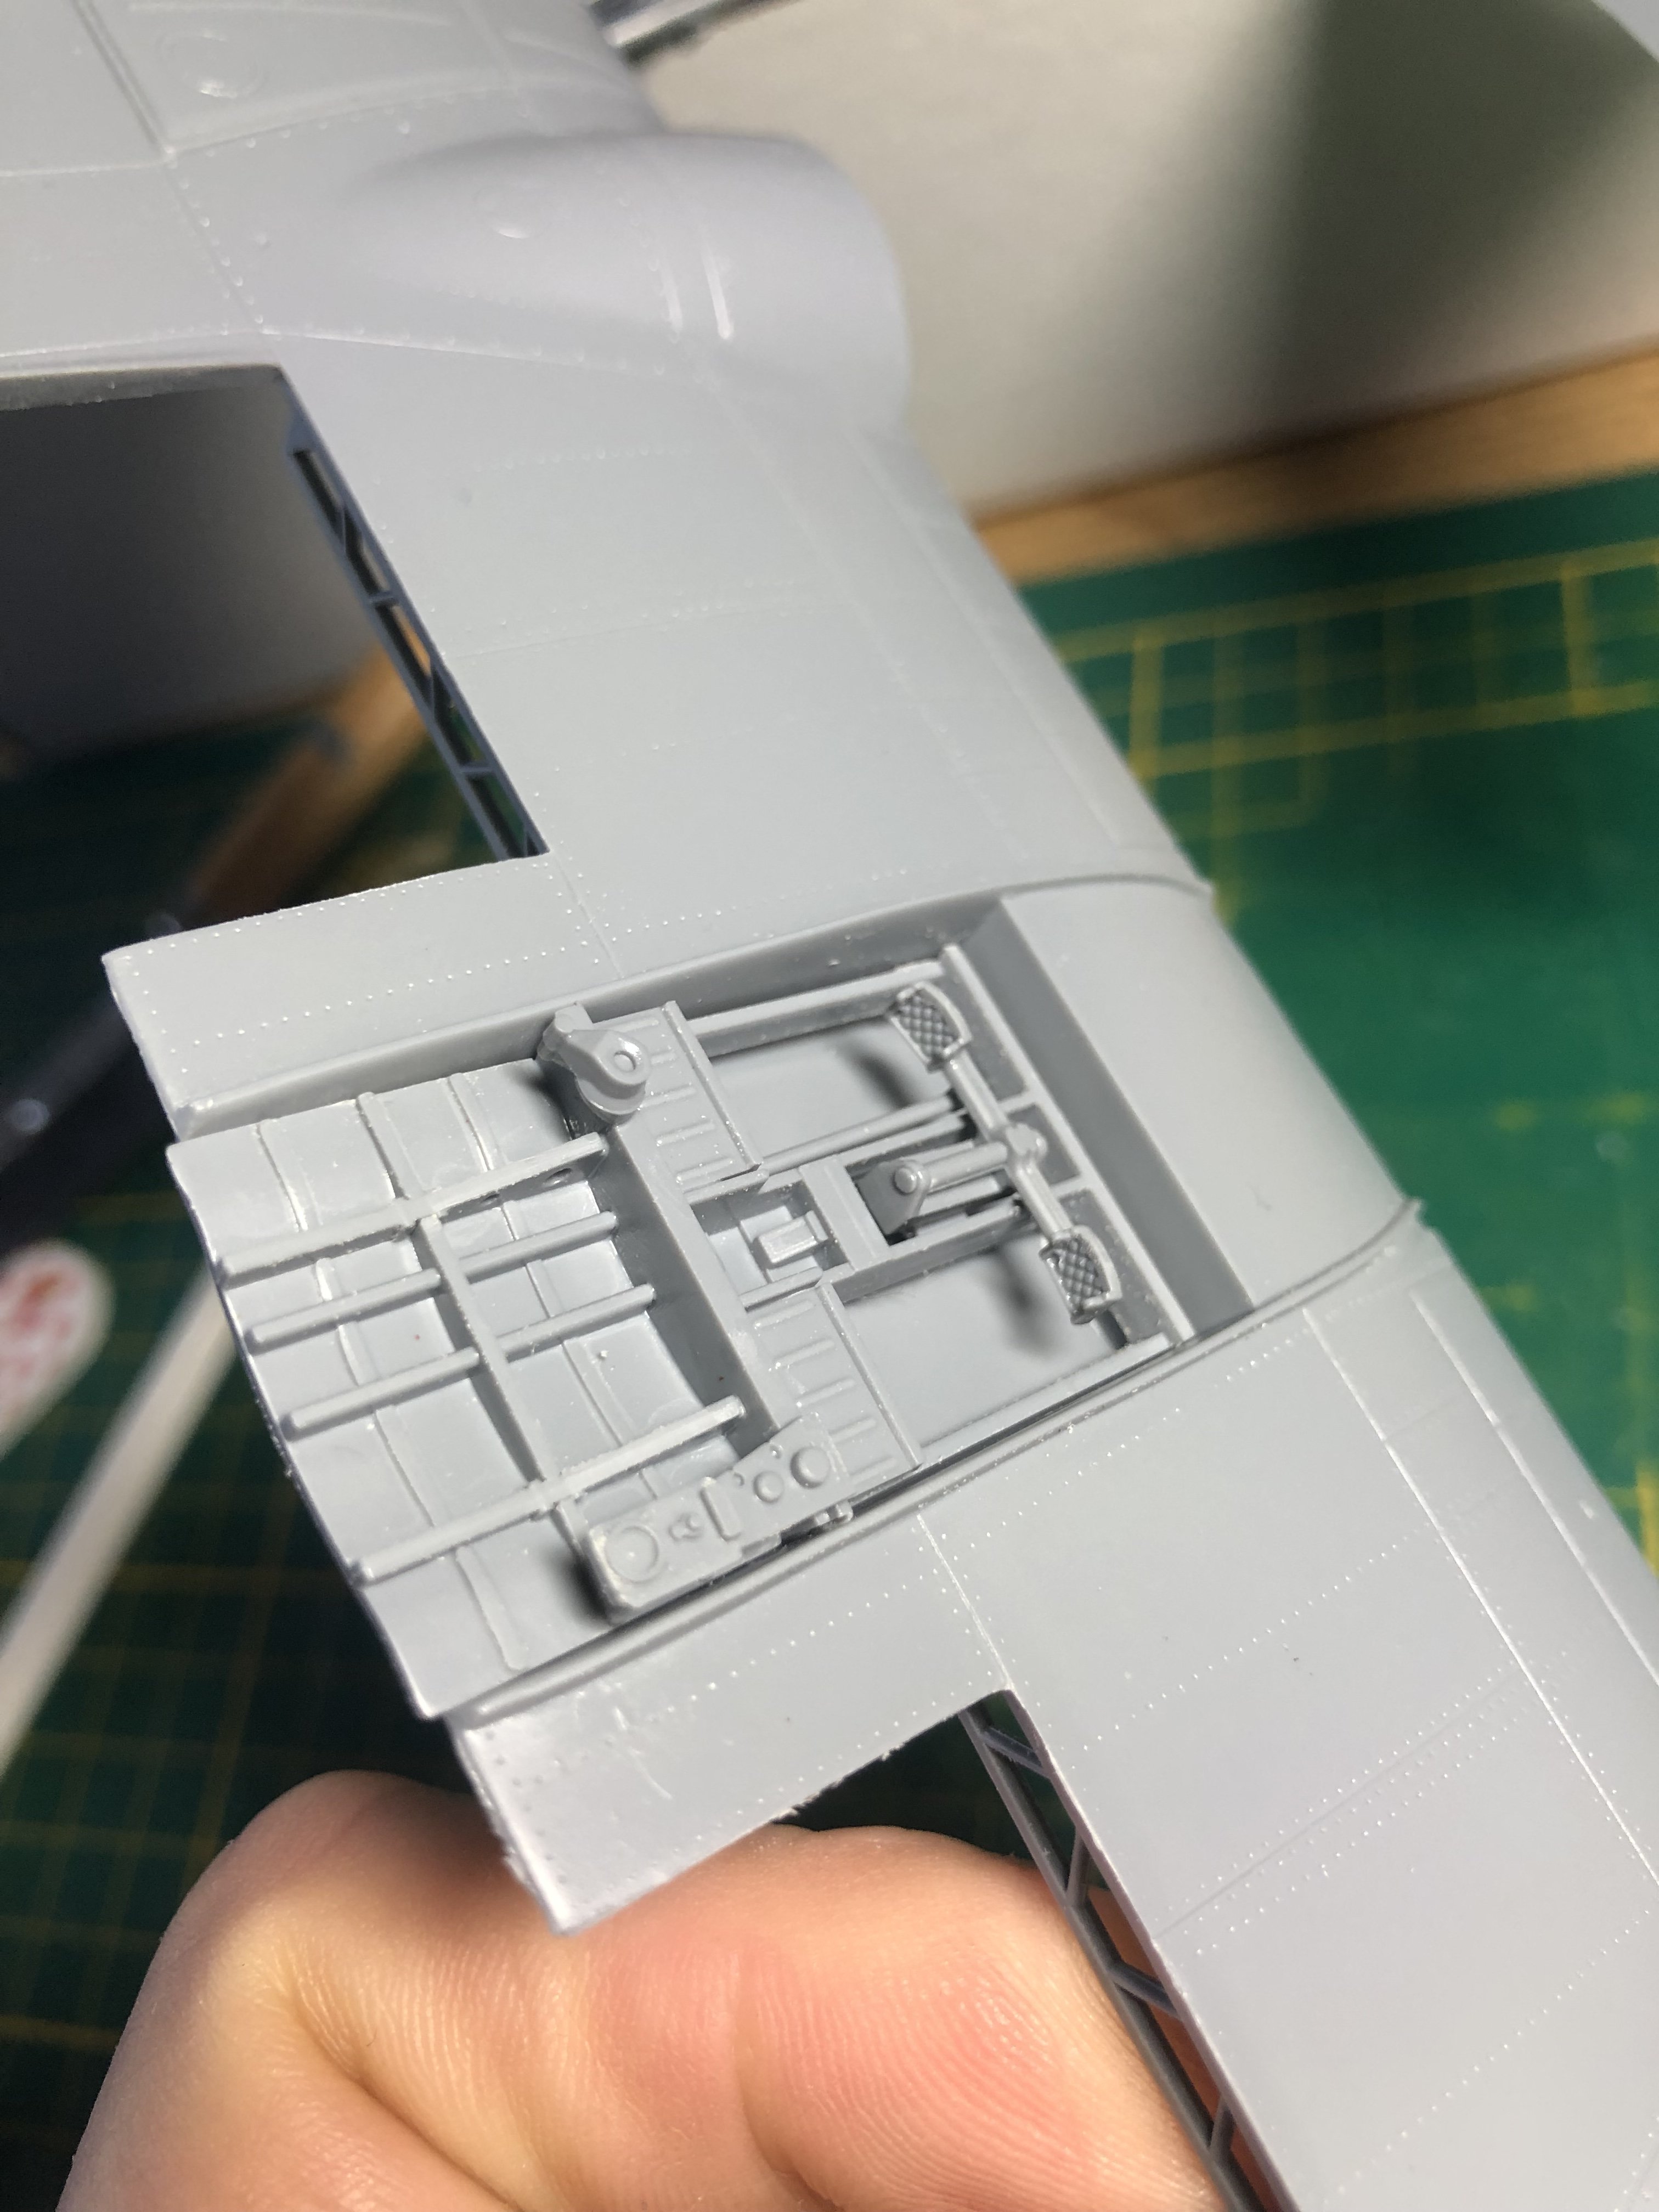
Crikey! Special Hobby Westland Whirlwind Fighter
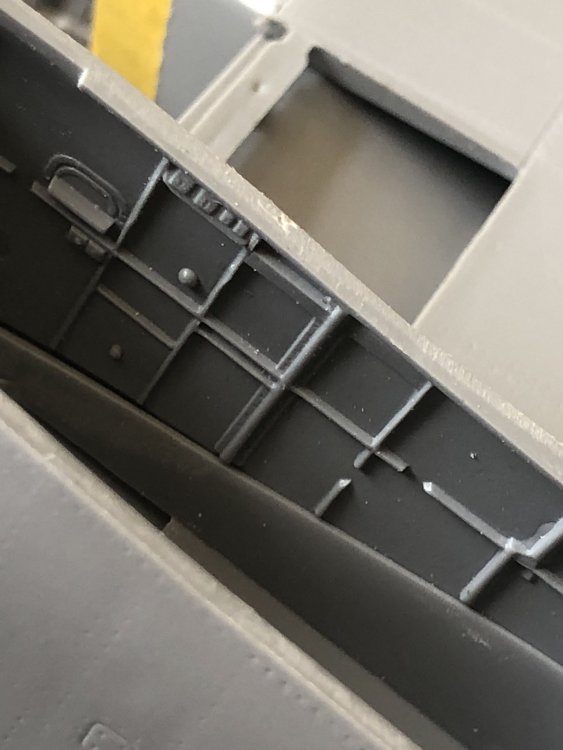
Wingco57 replied to Wingco57's topic in LSM 1/35 and Larger Work In Progress
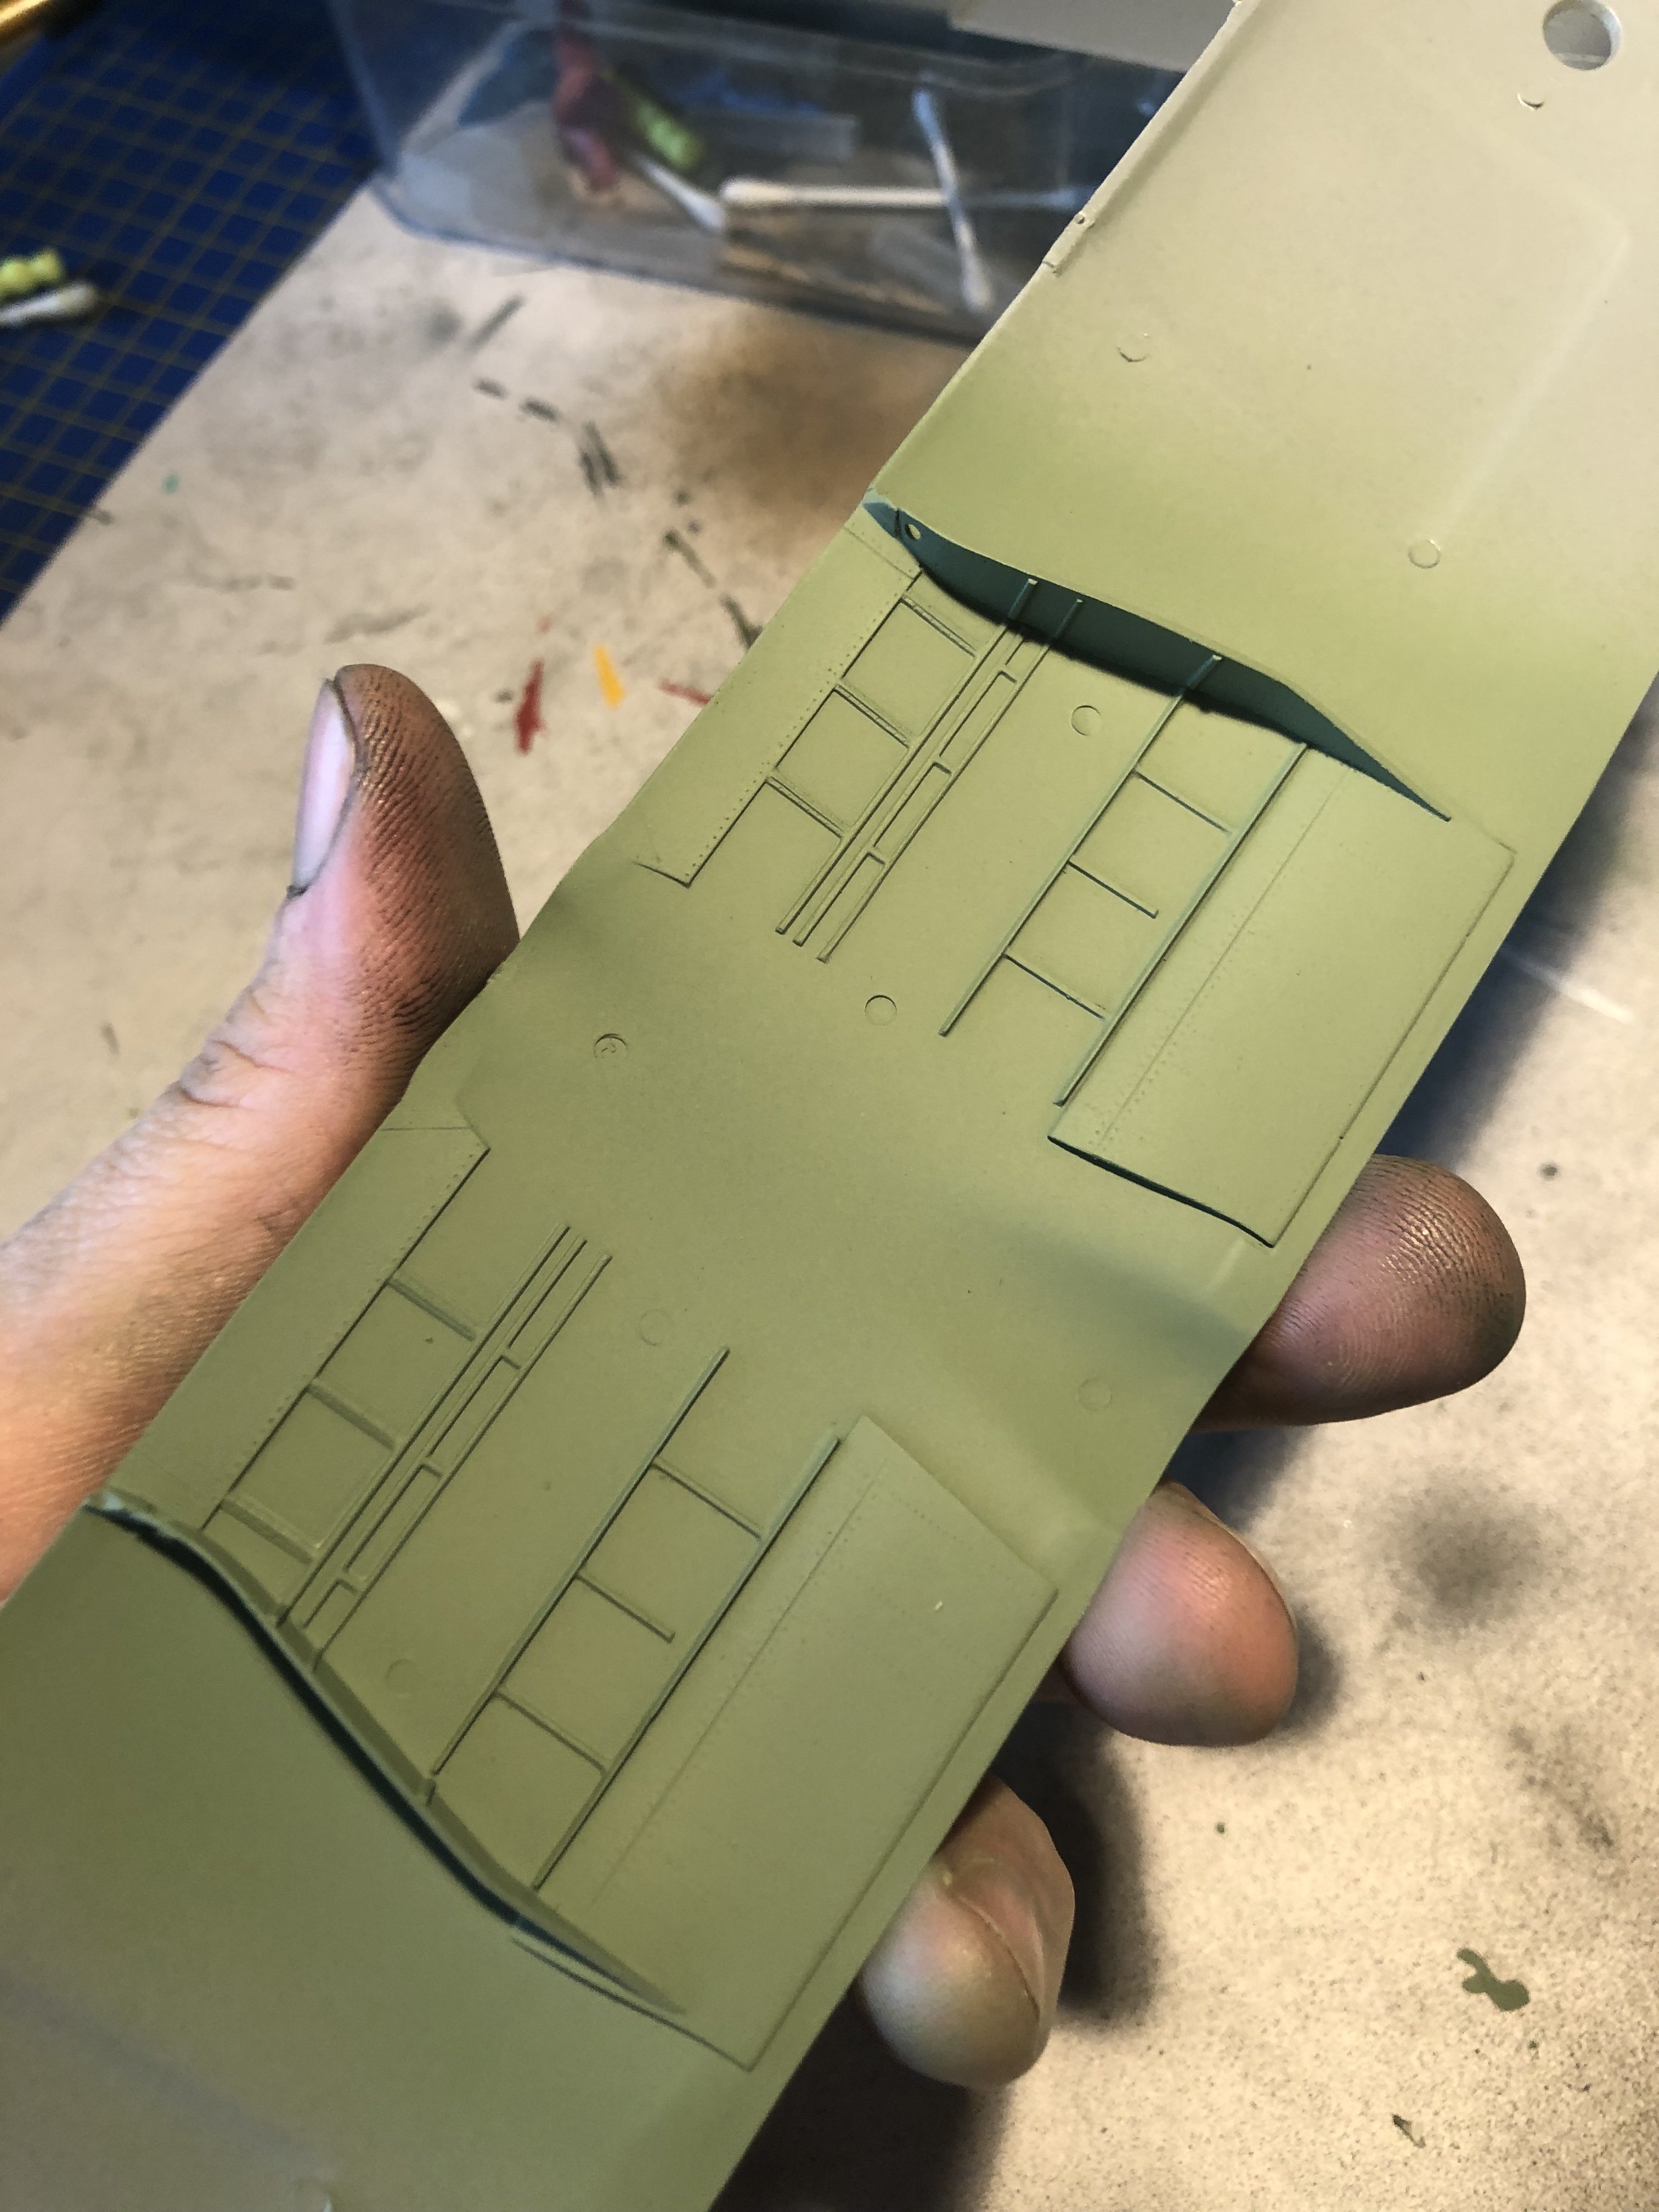
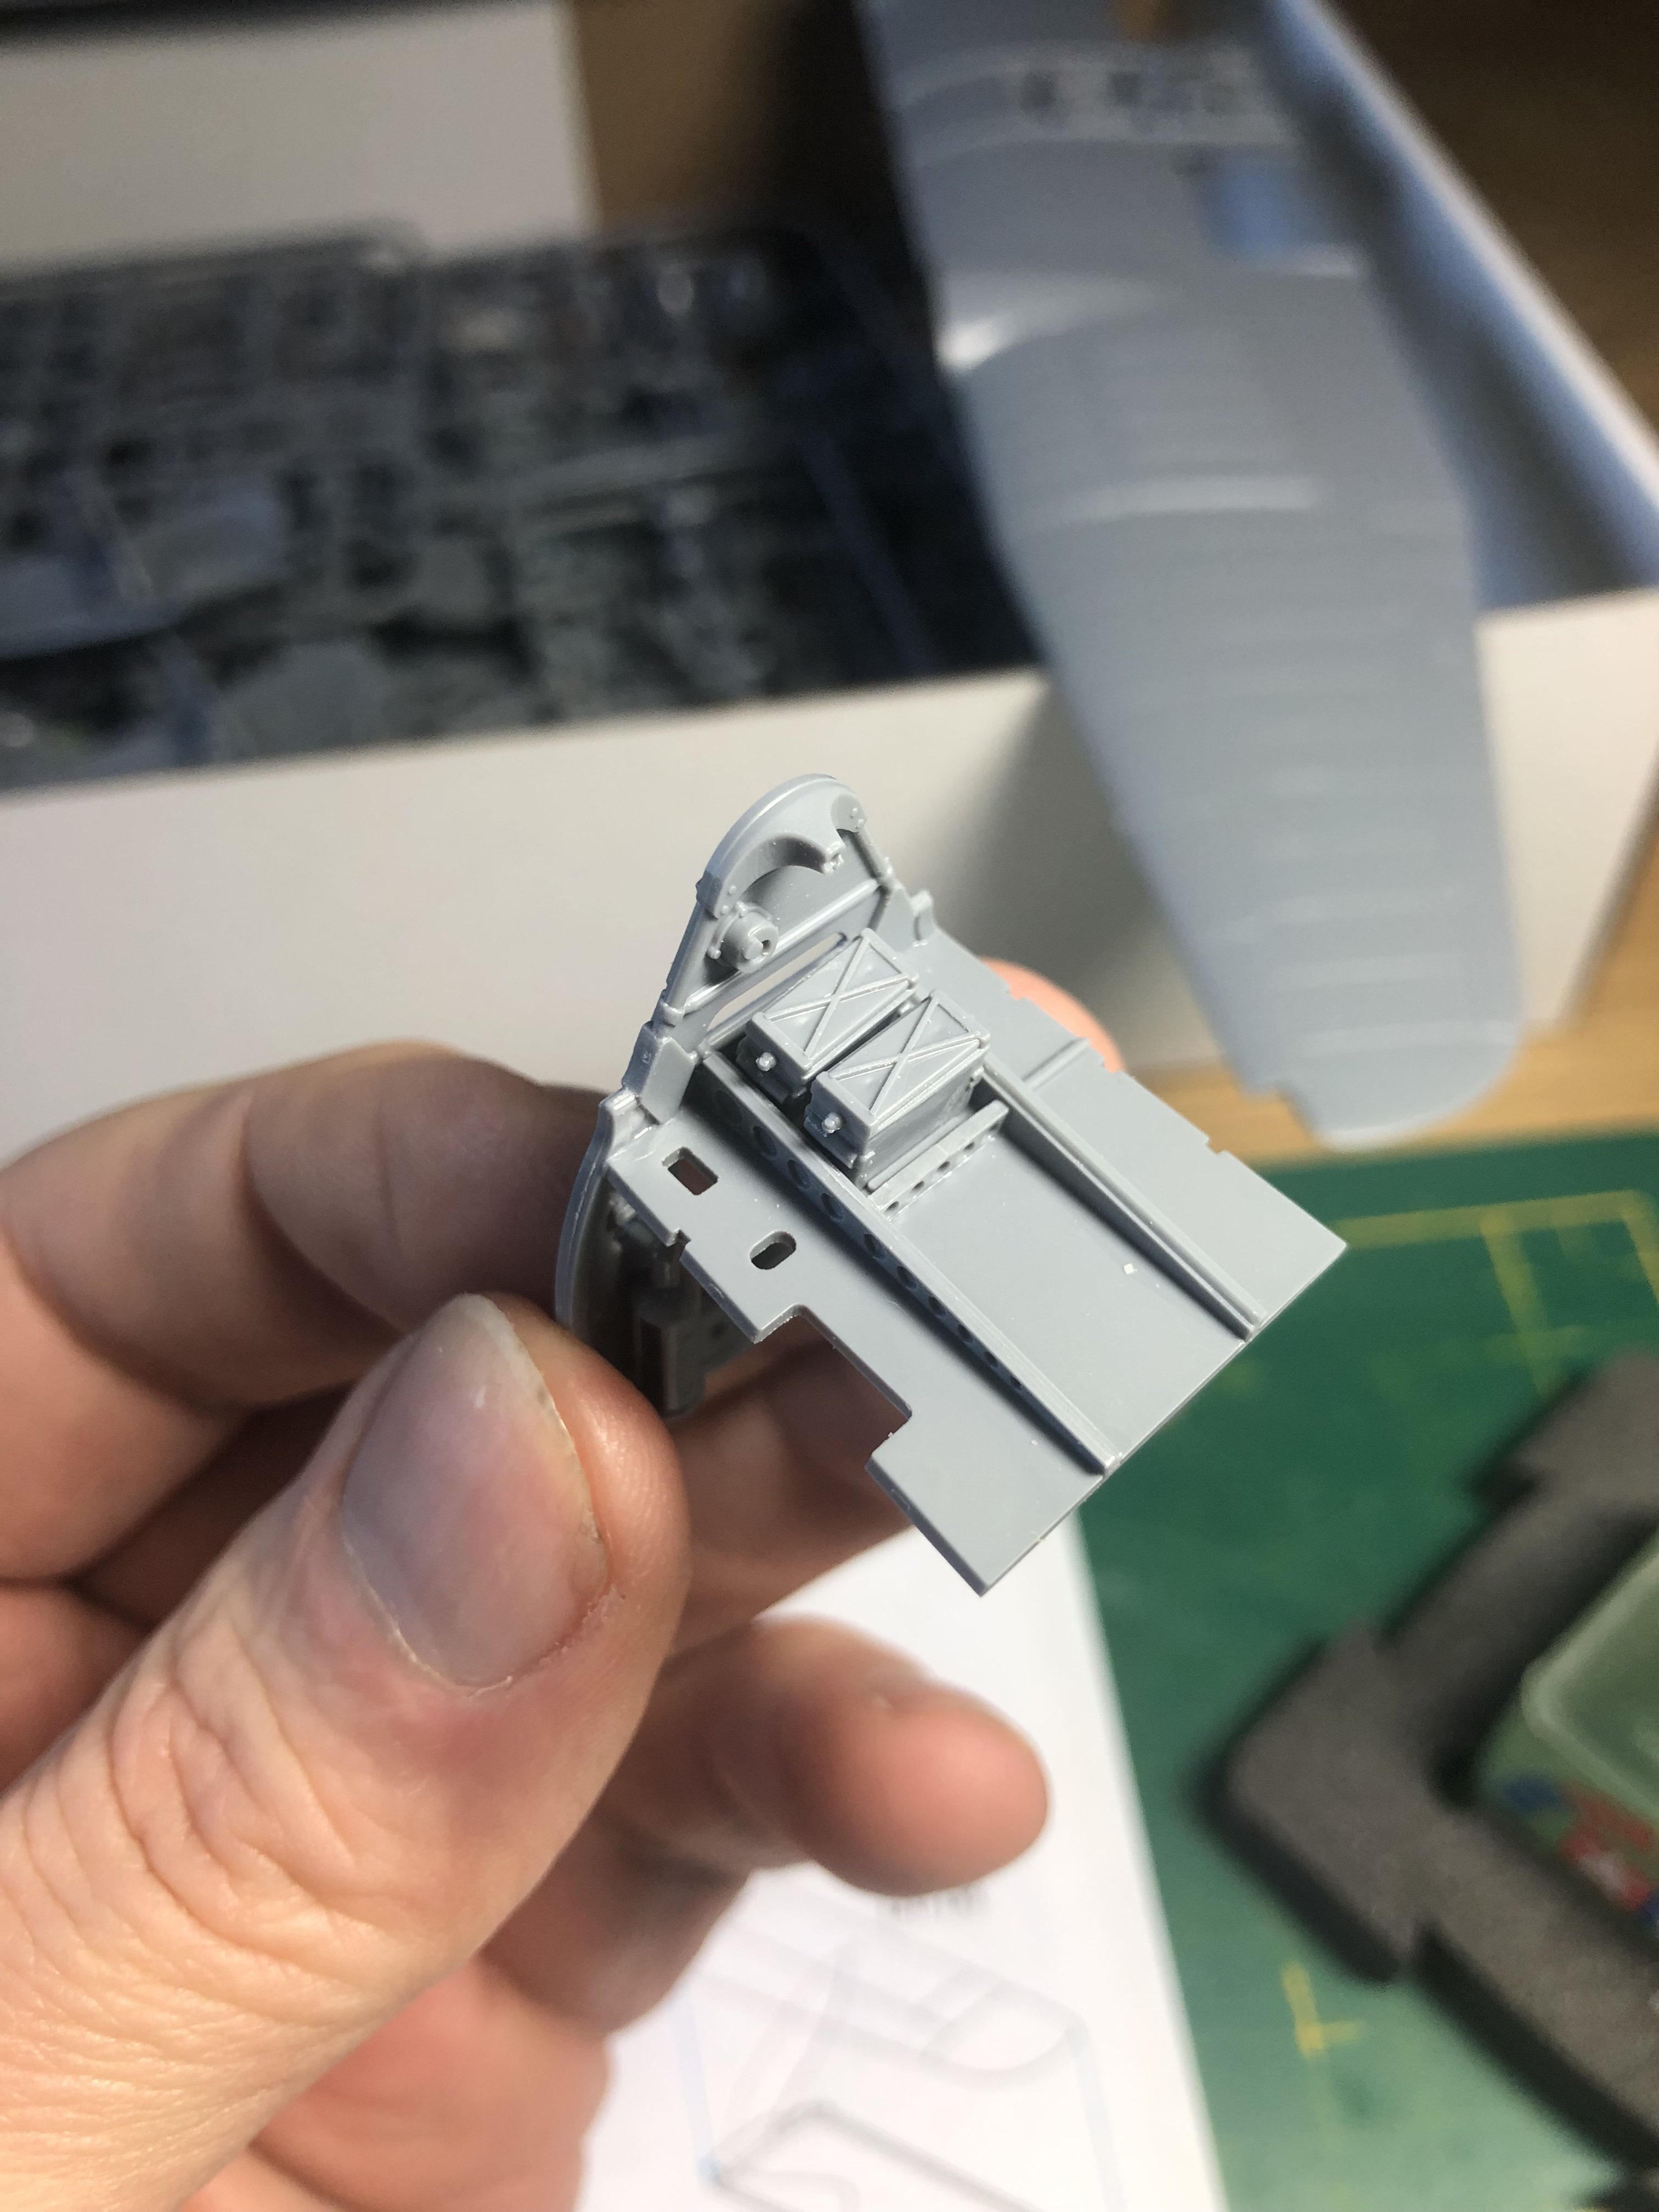
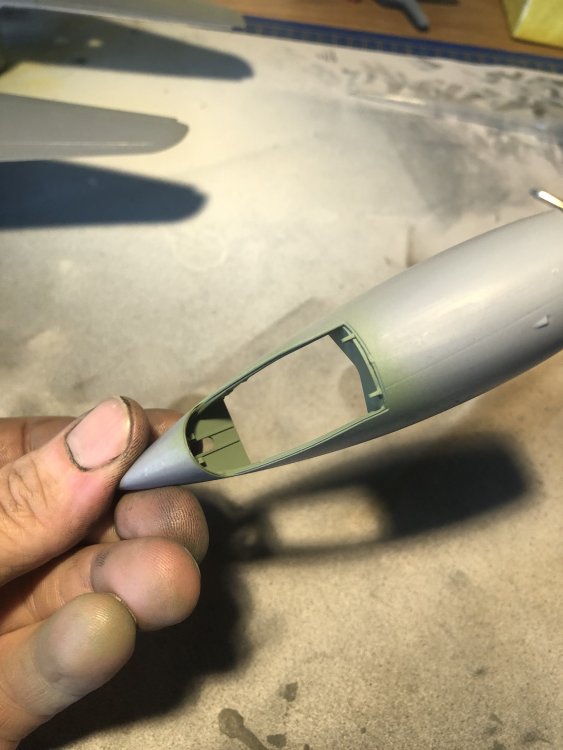
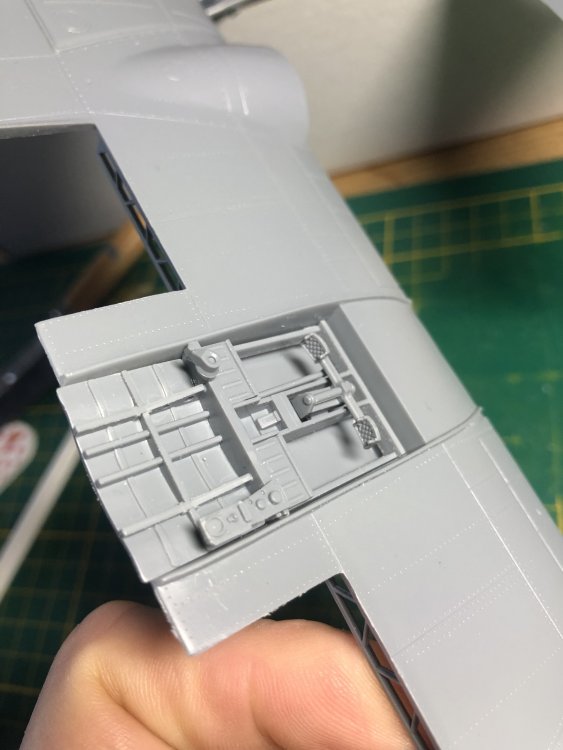
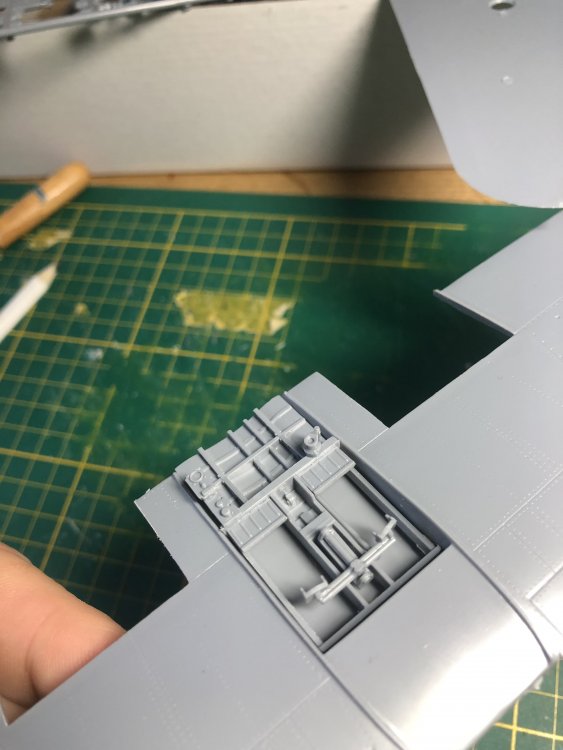
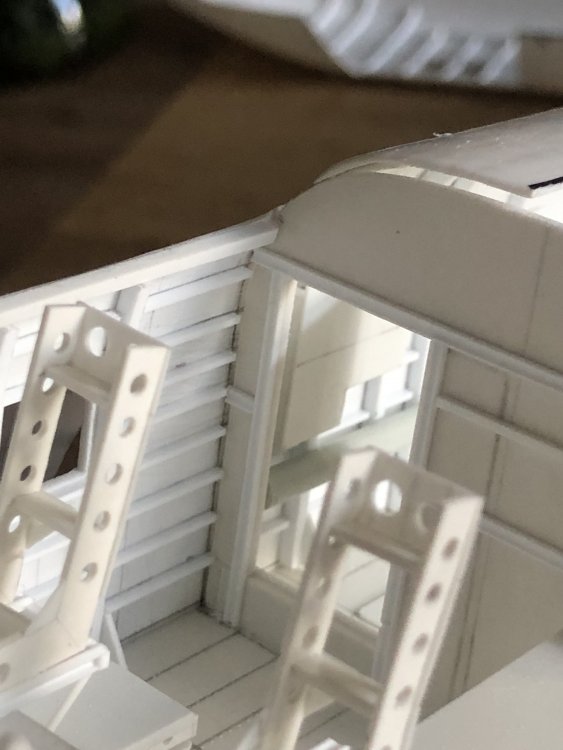
It is good so far but the instructions are rather vague as how certain parts need to be fitted with respect to each other. But hey, that’s modelling isn’t it? Some work being done in the cockpit. Detail is quite nice.
-
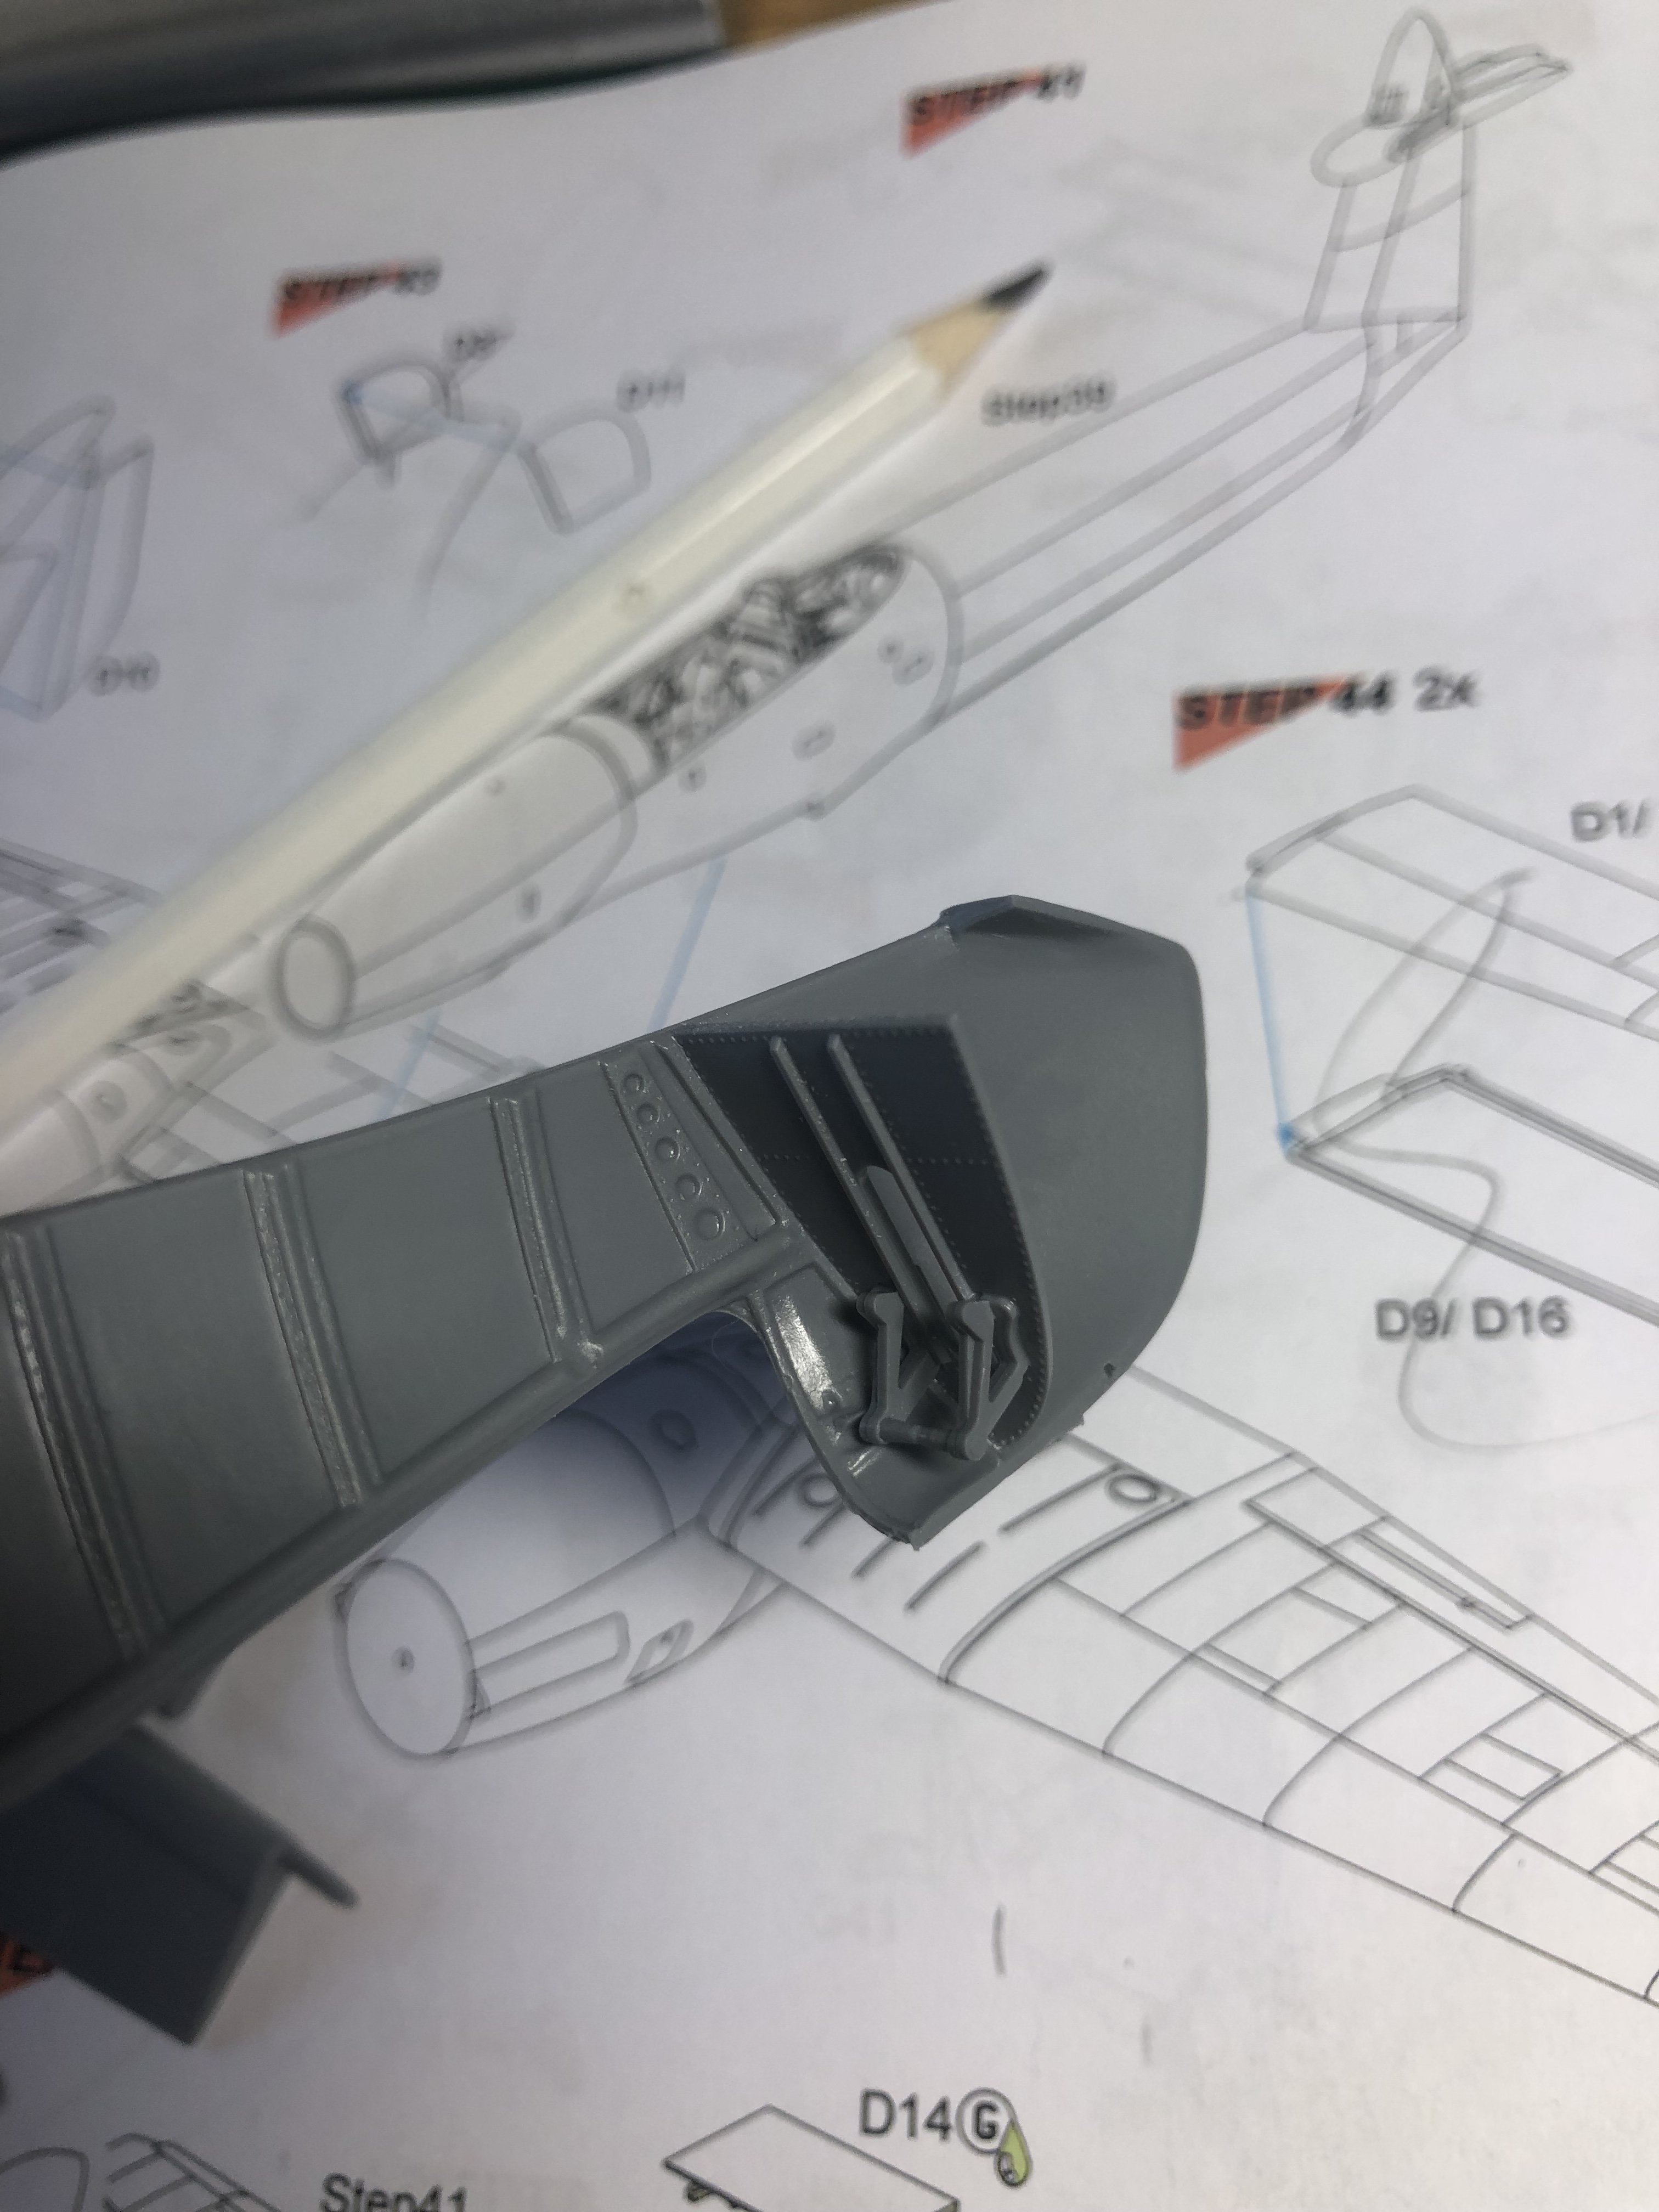
Crikey! Special Hobby Westland Whirlwind Fighter
Wingco57 replied to Wingco57's topic in LSM 1/35 and Larger Work In Progress
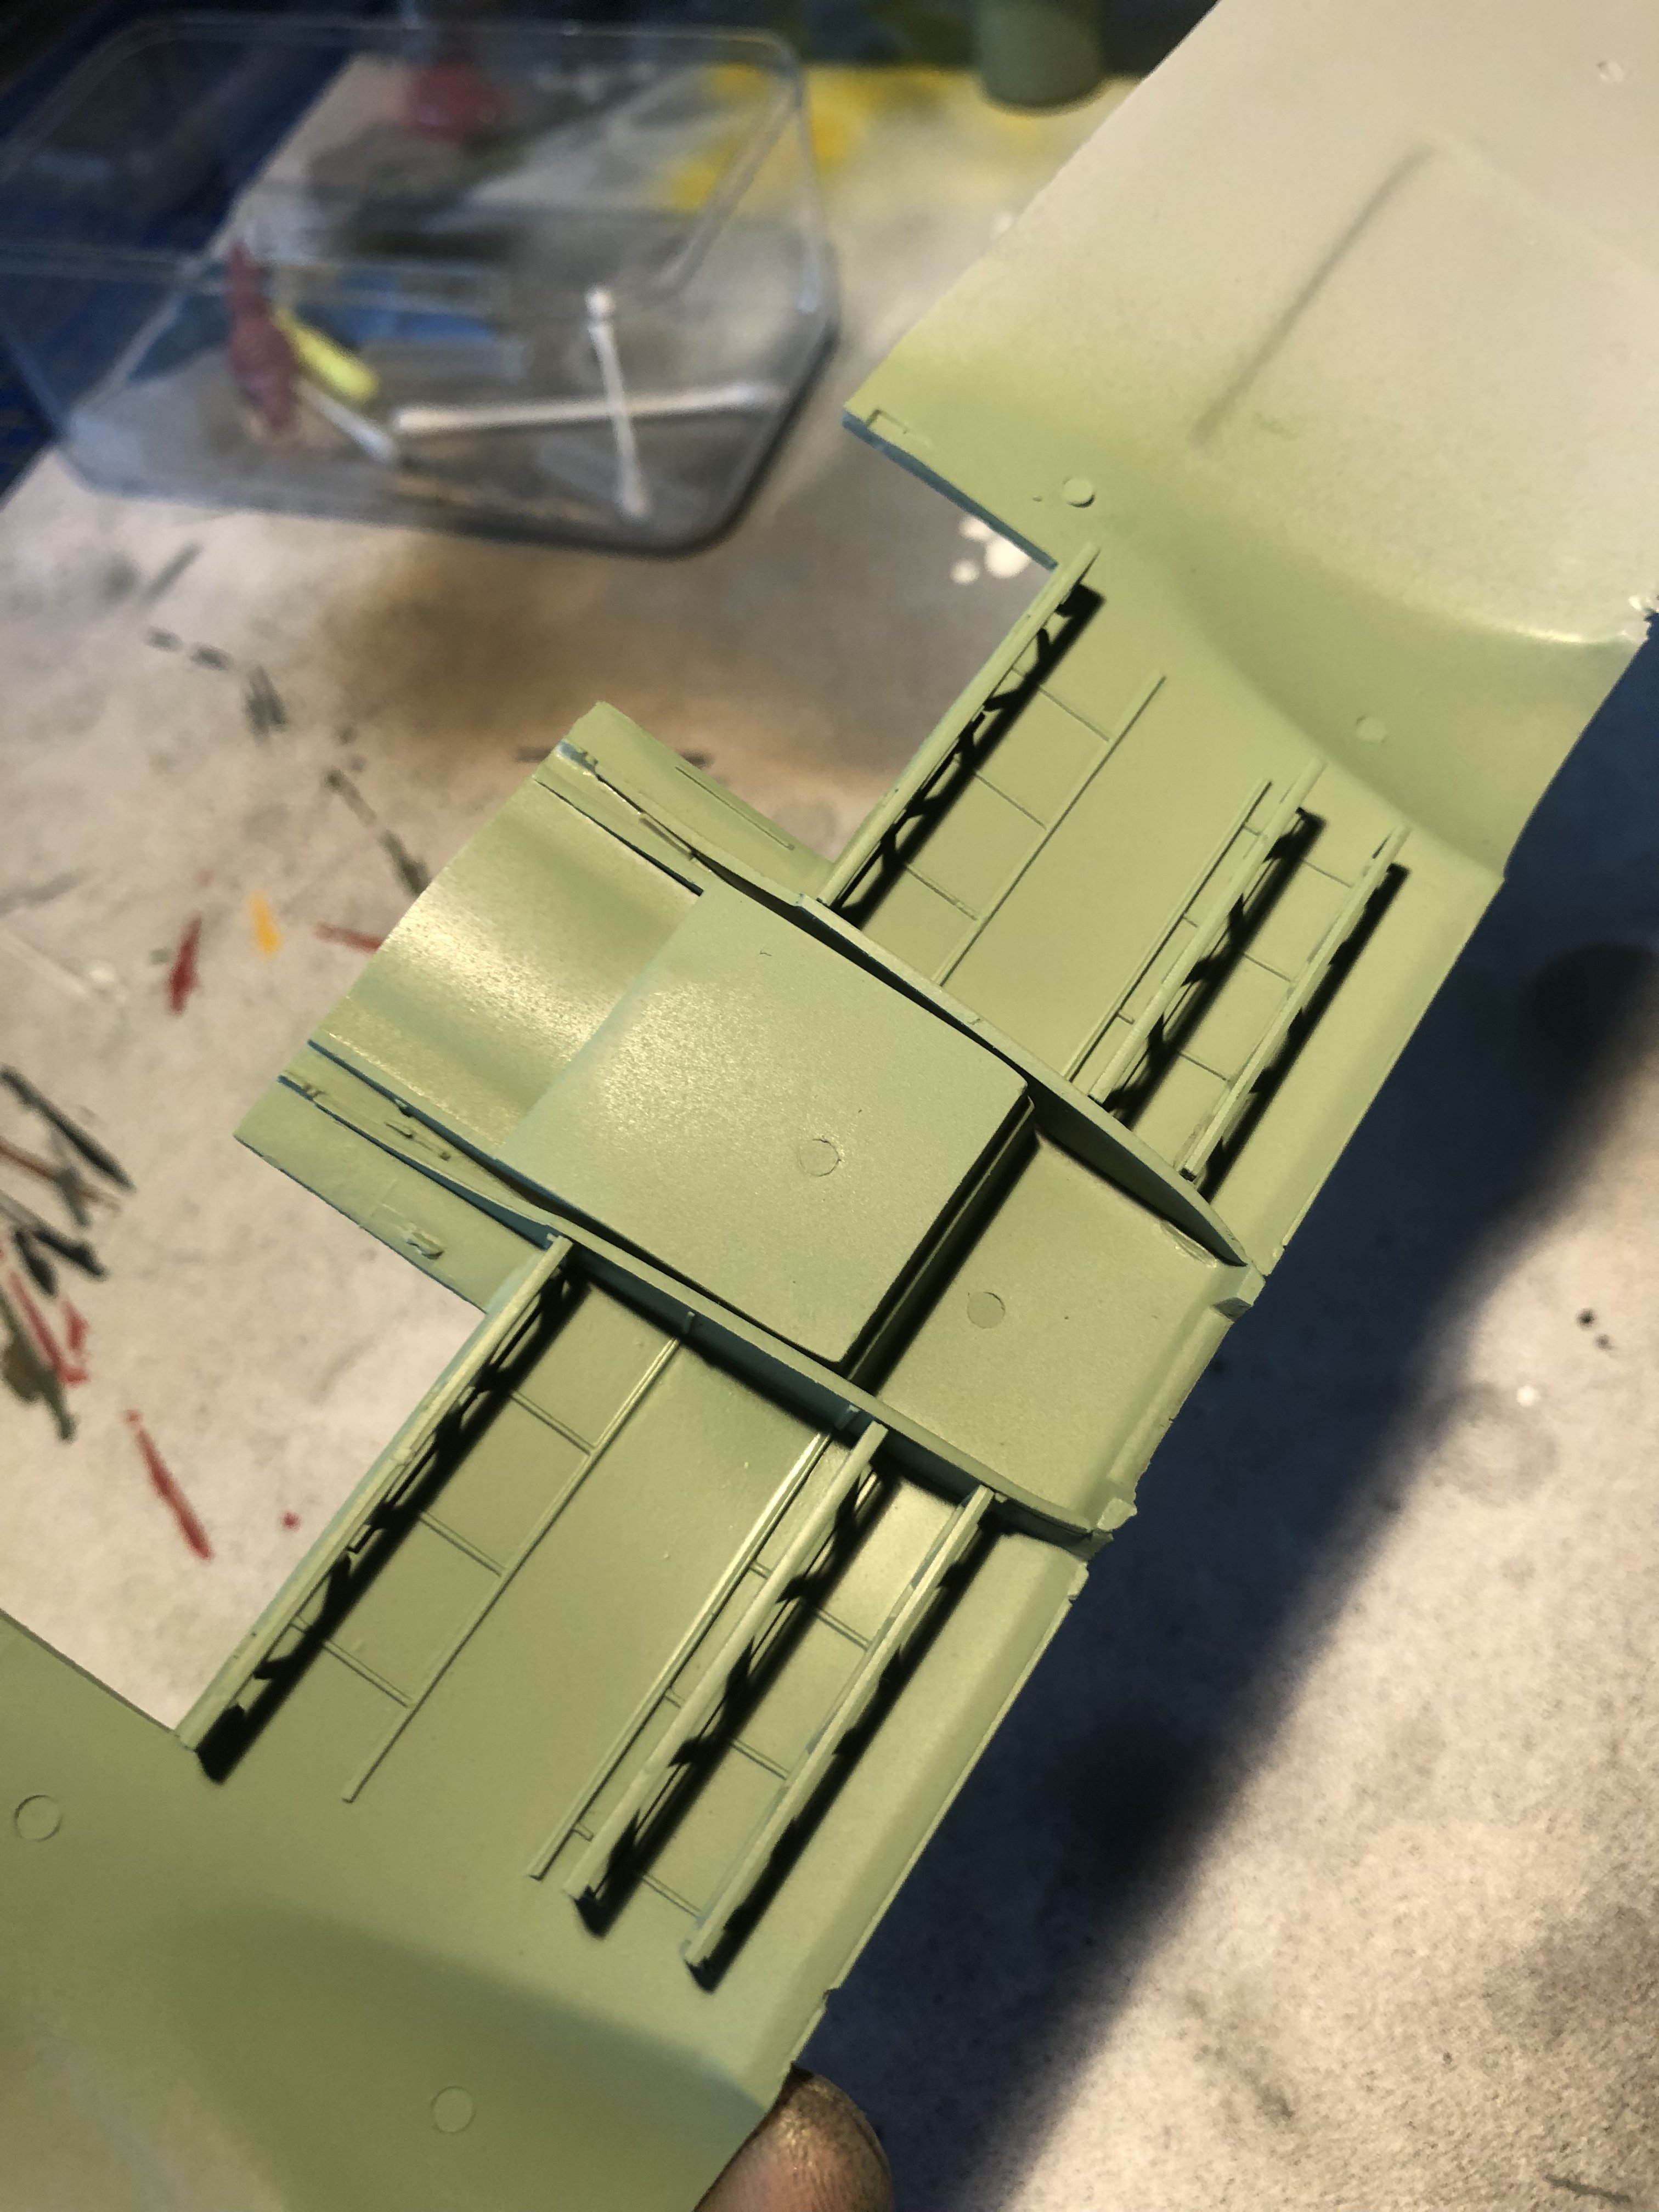
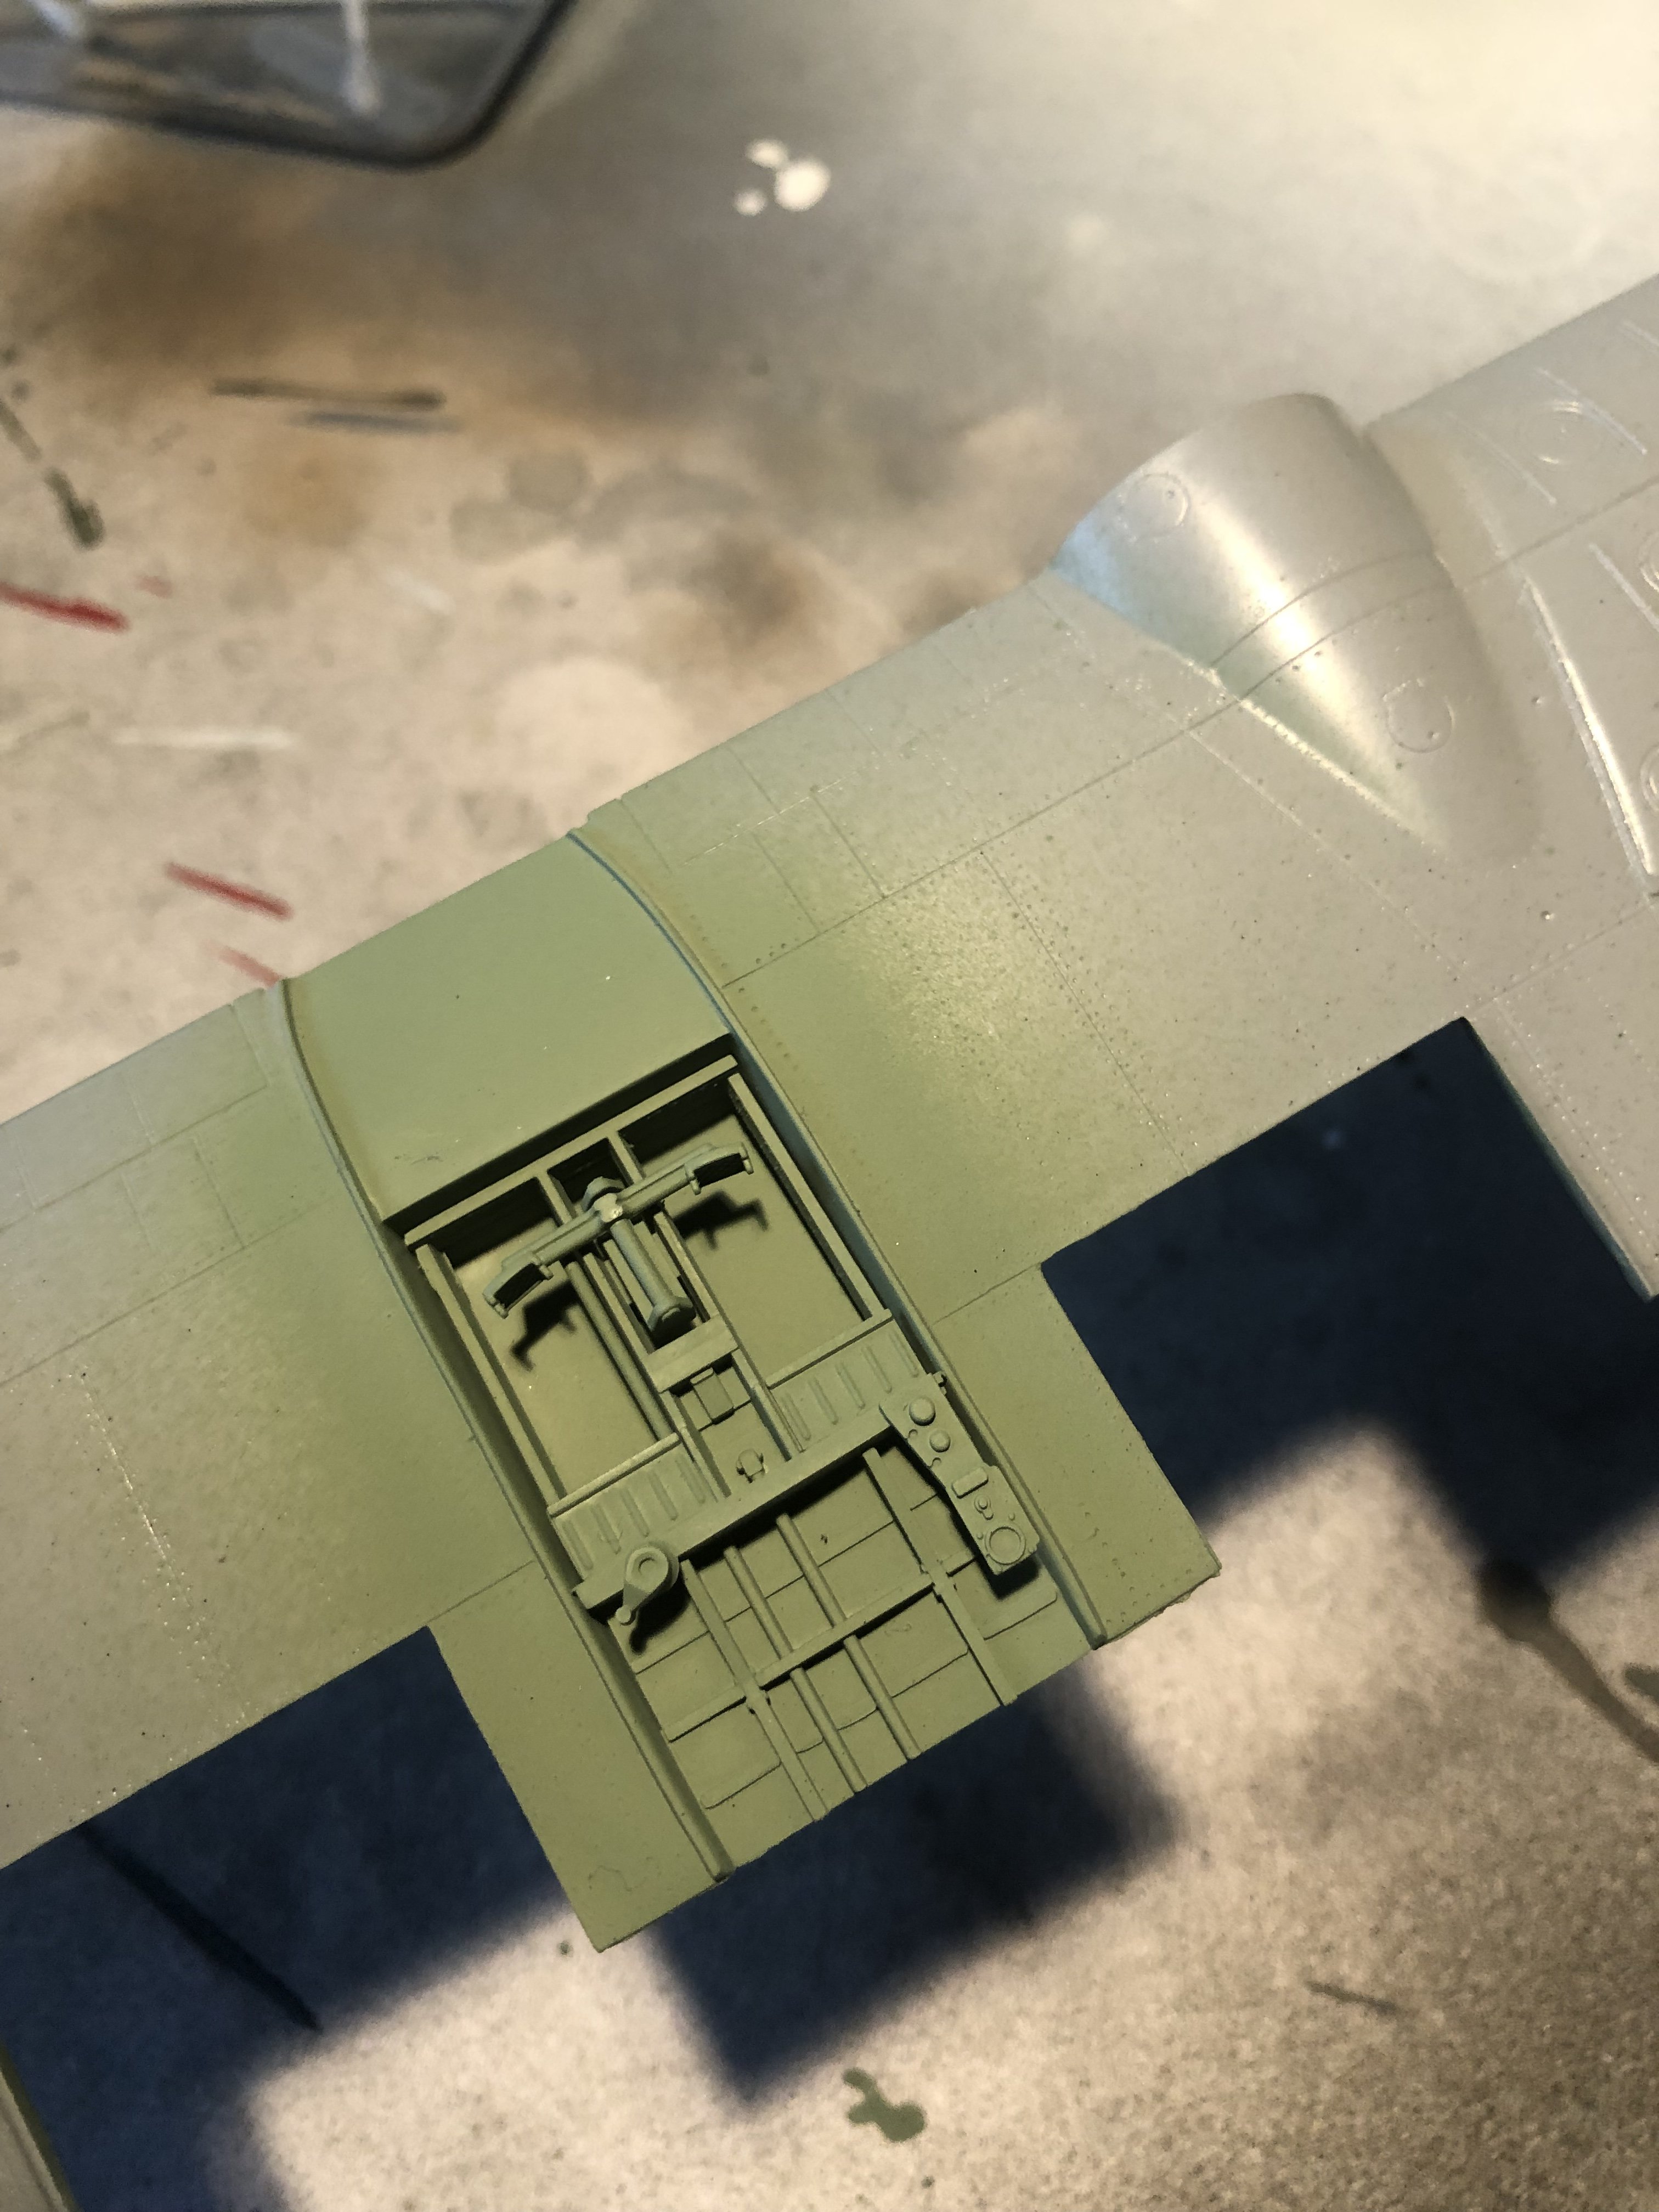
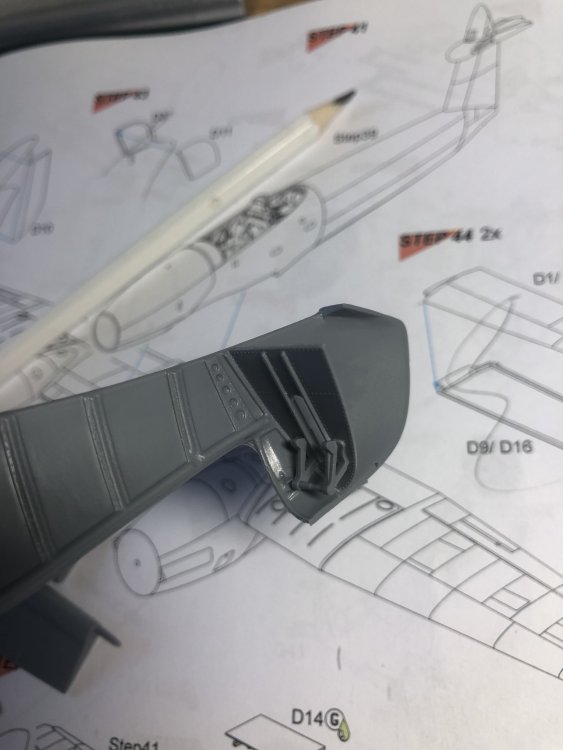
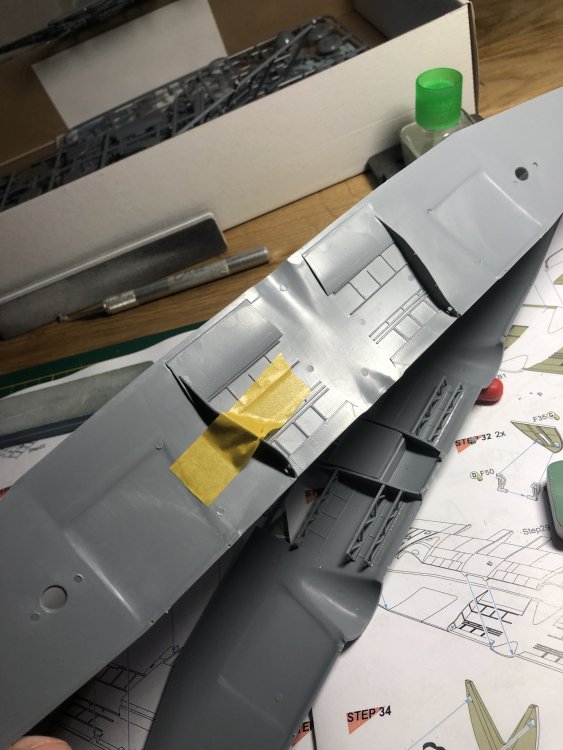
Some more work on the radiator area.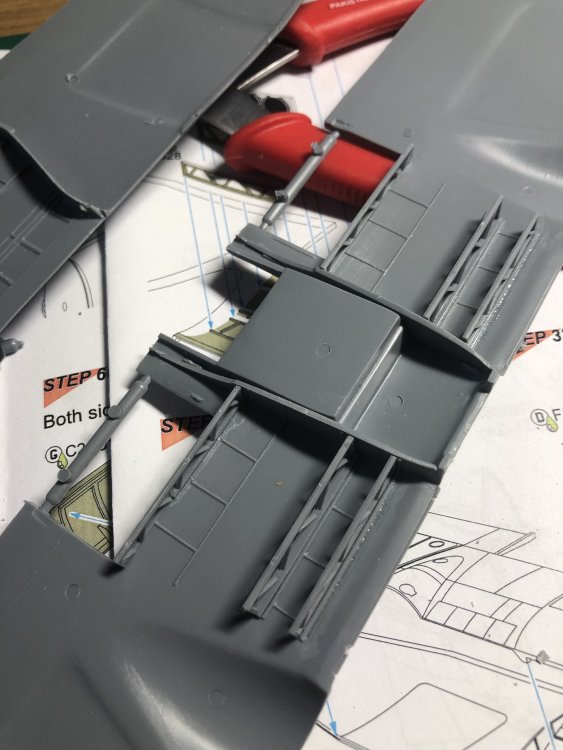


-
Crikey! Special Hobby Westland Whirlwind Fighter
Wingco57 replied to Wingco57's topic in LSM 1/35 and Larger Work In Progress
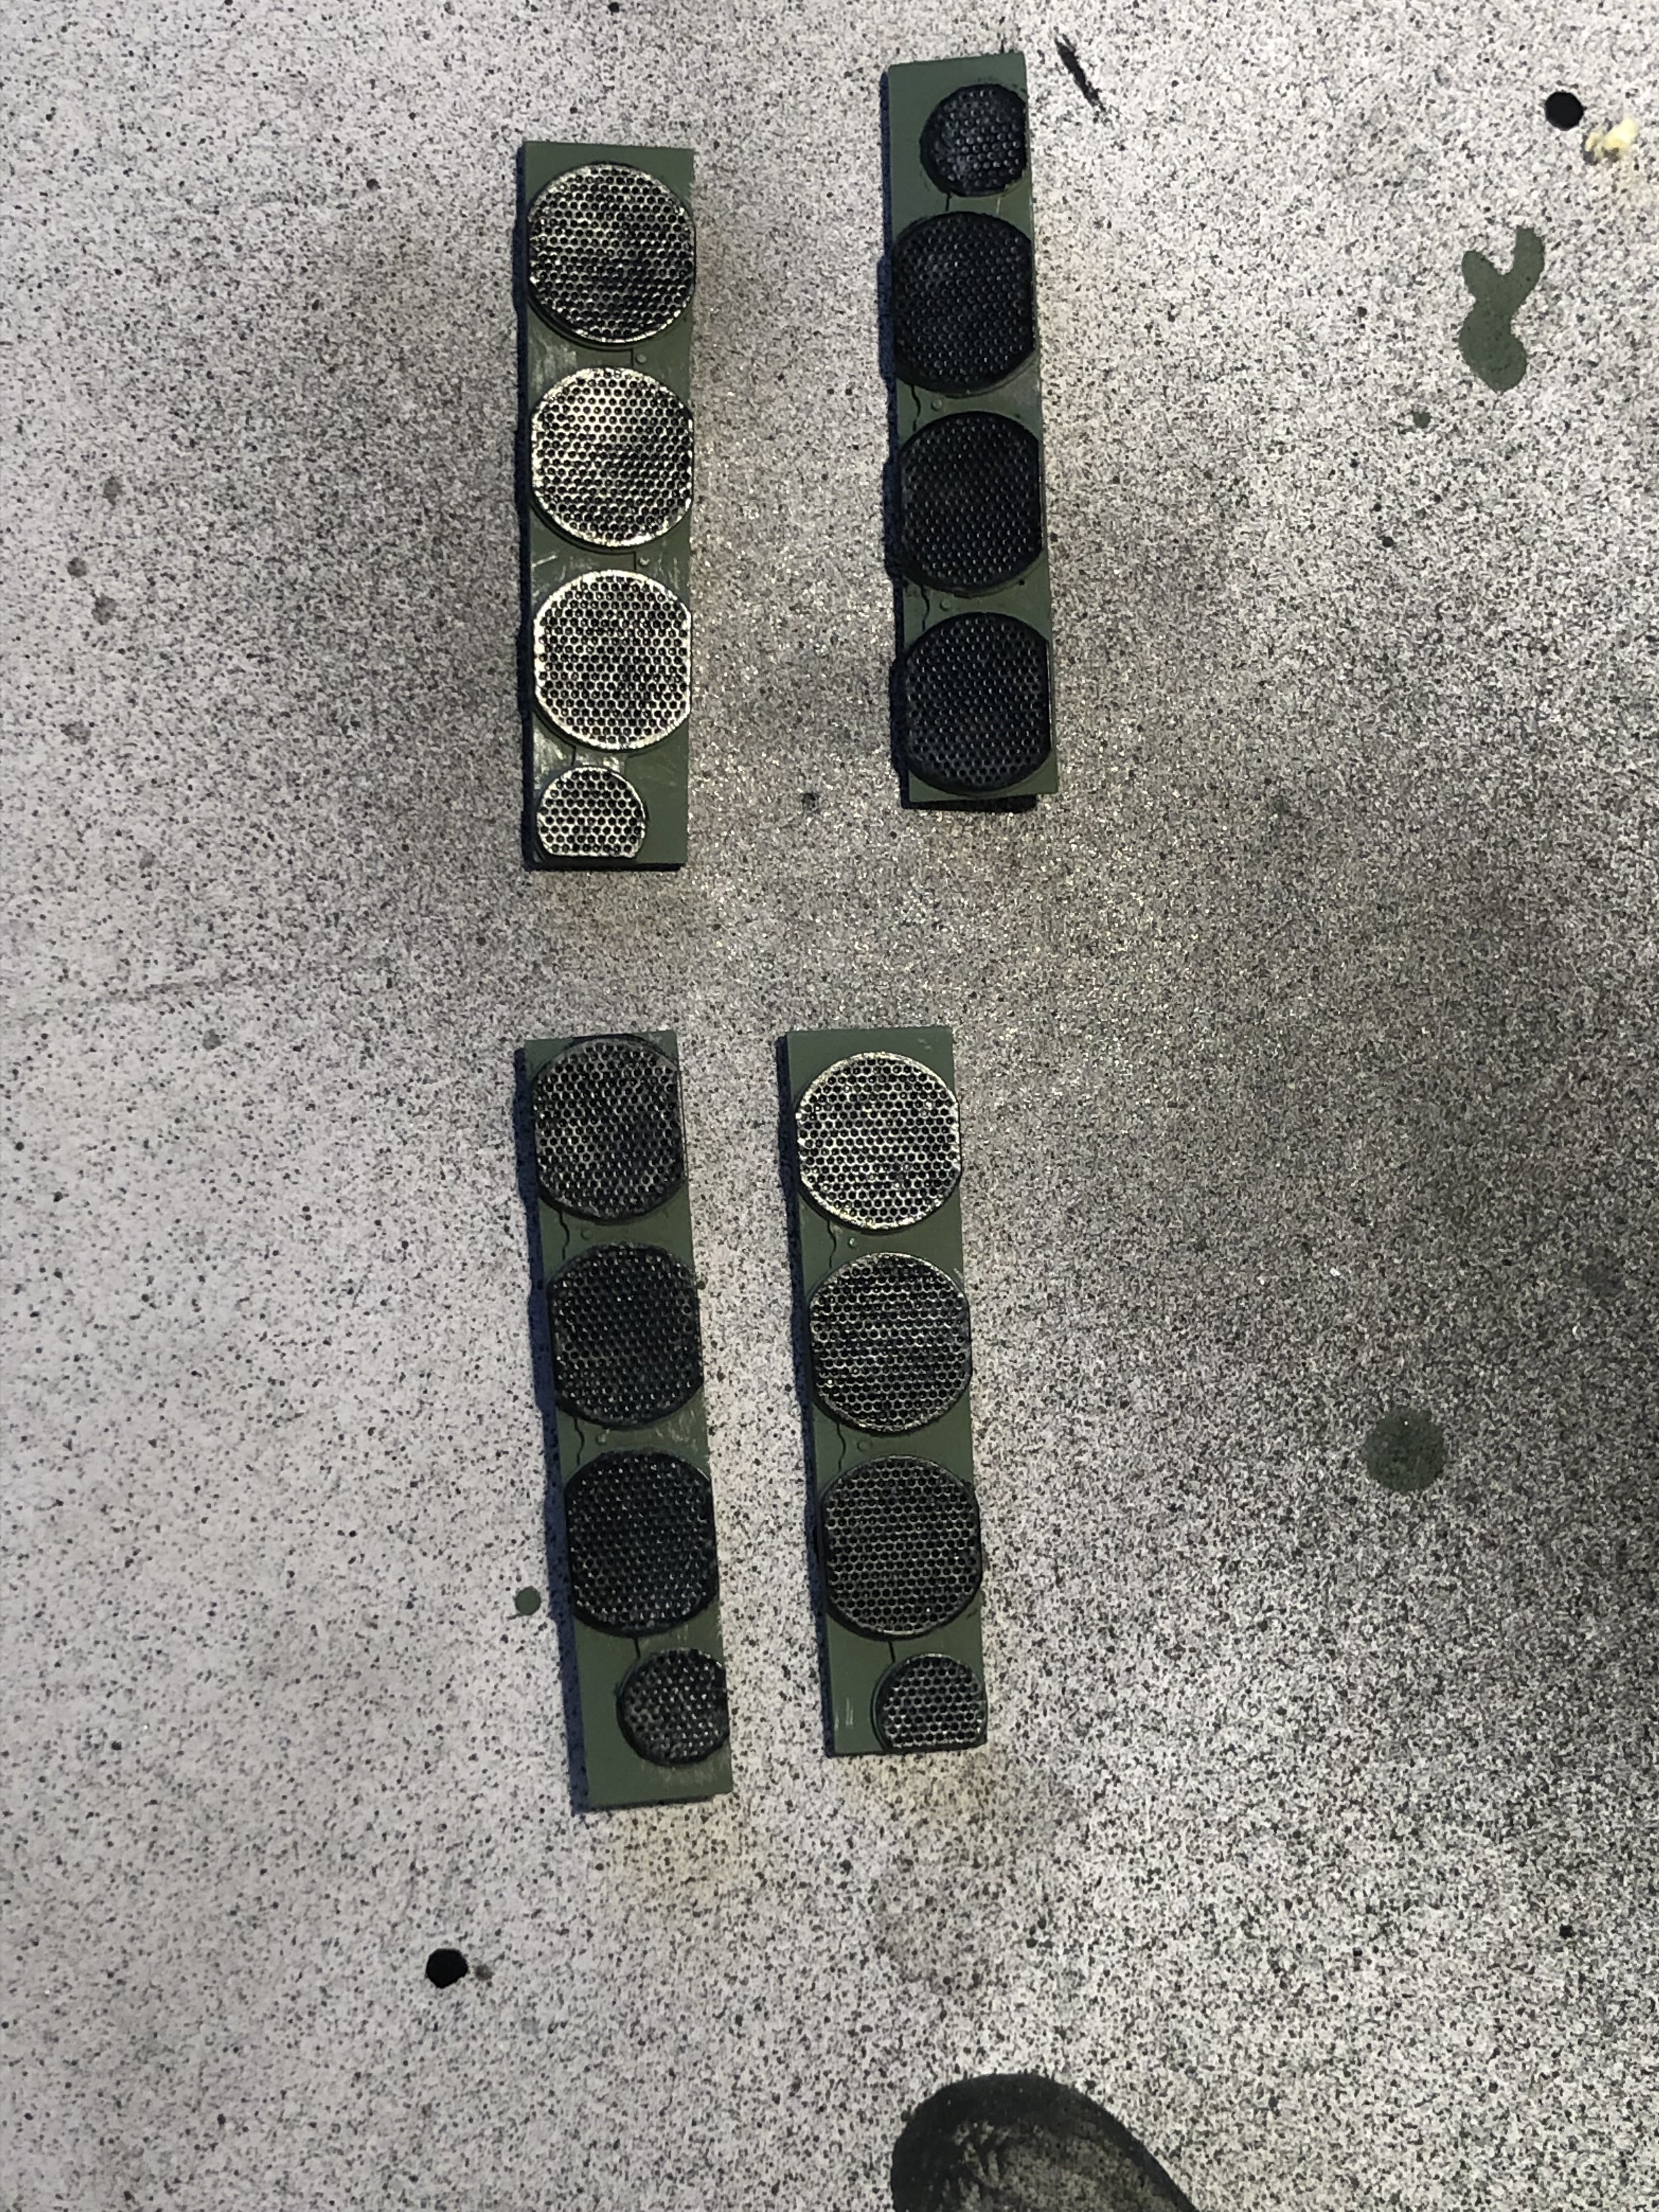
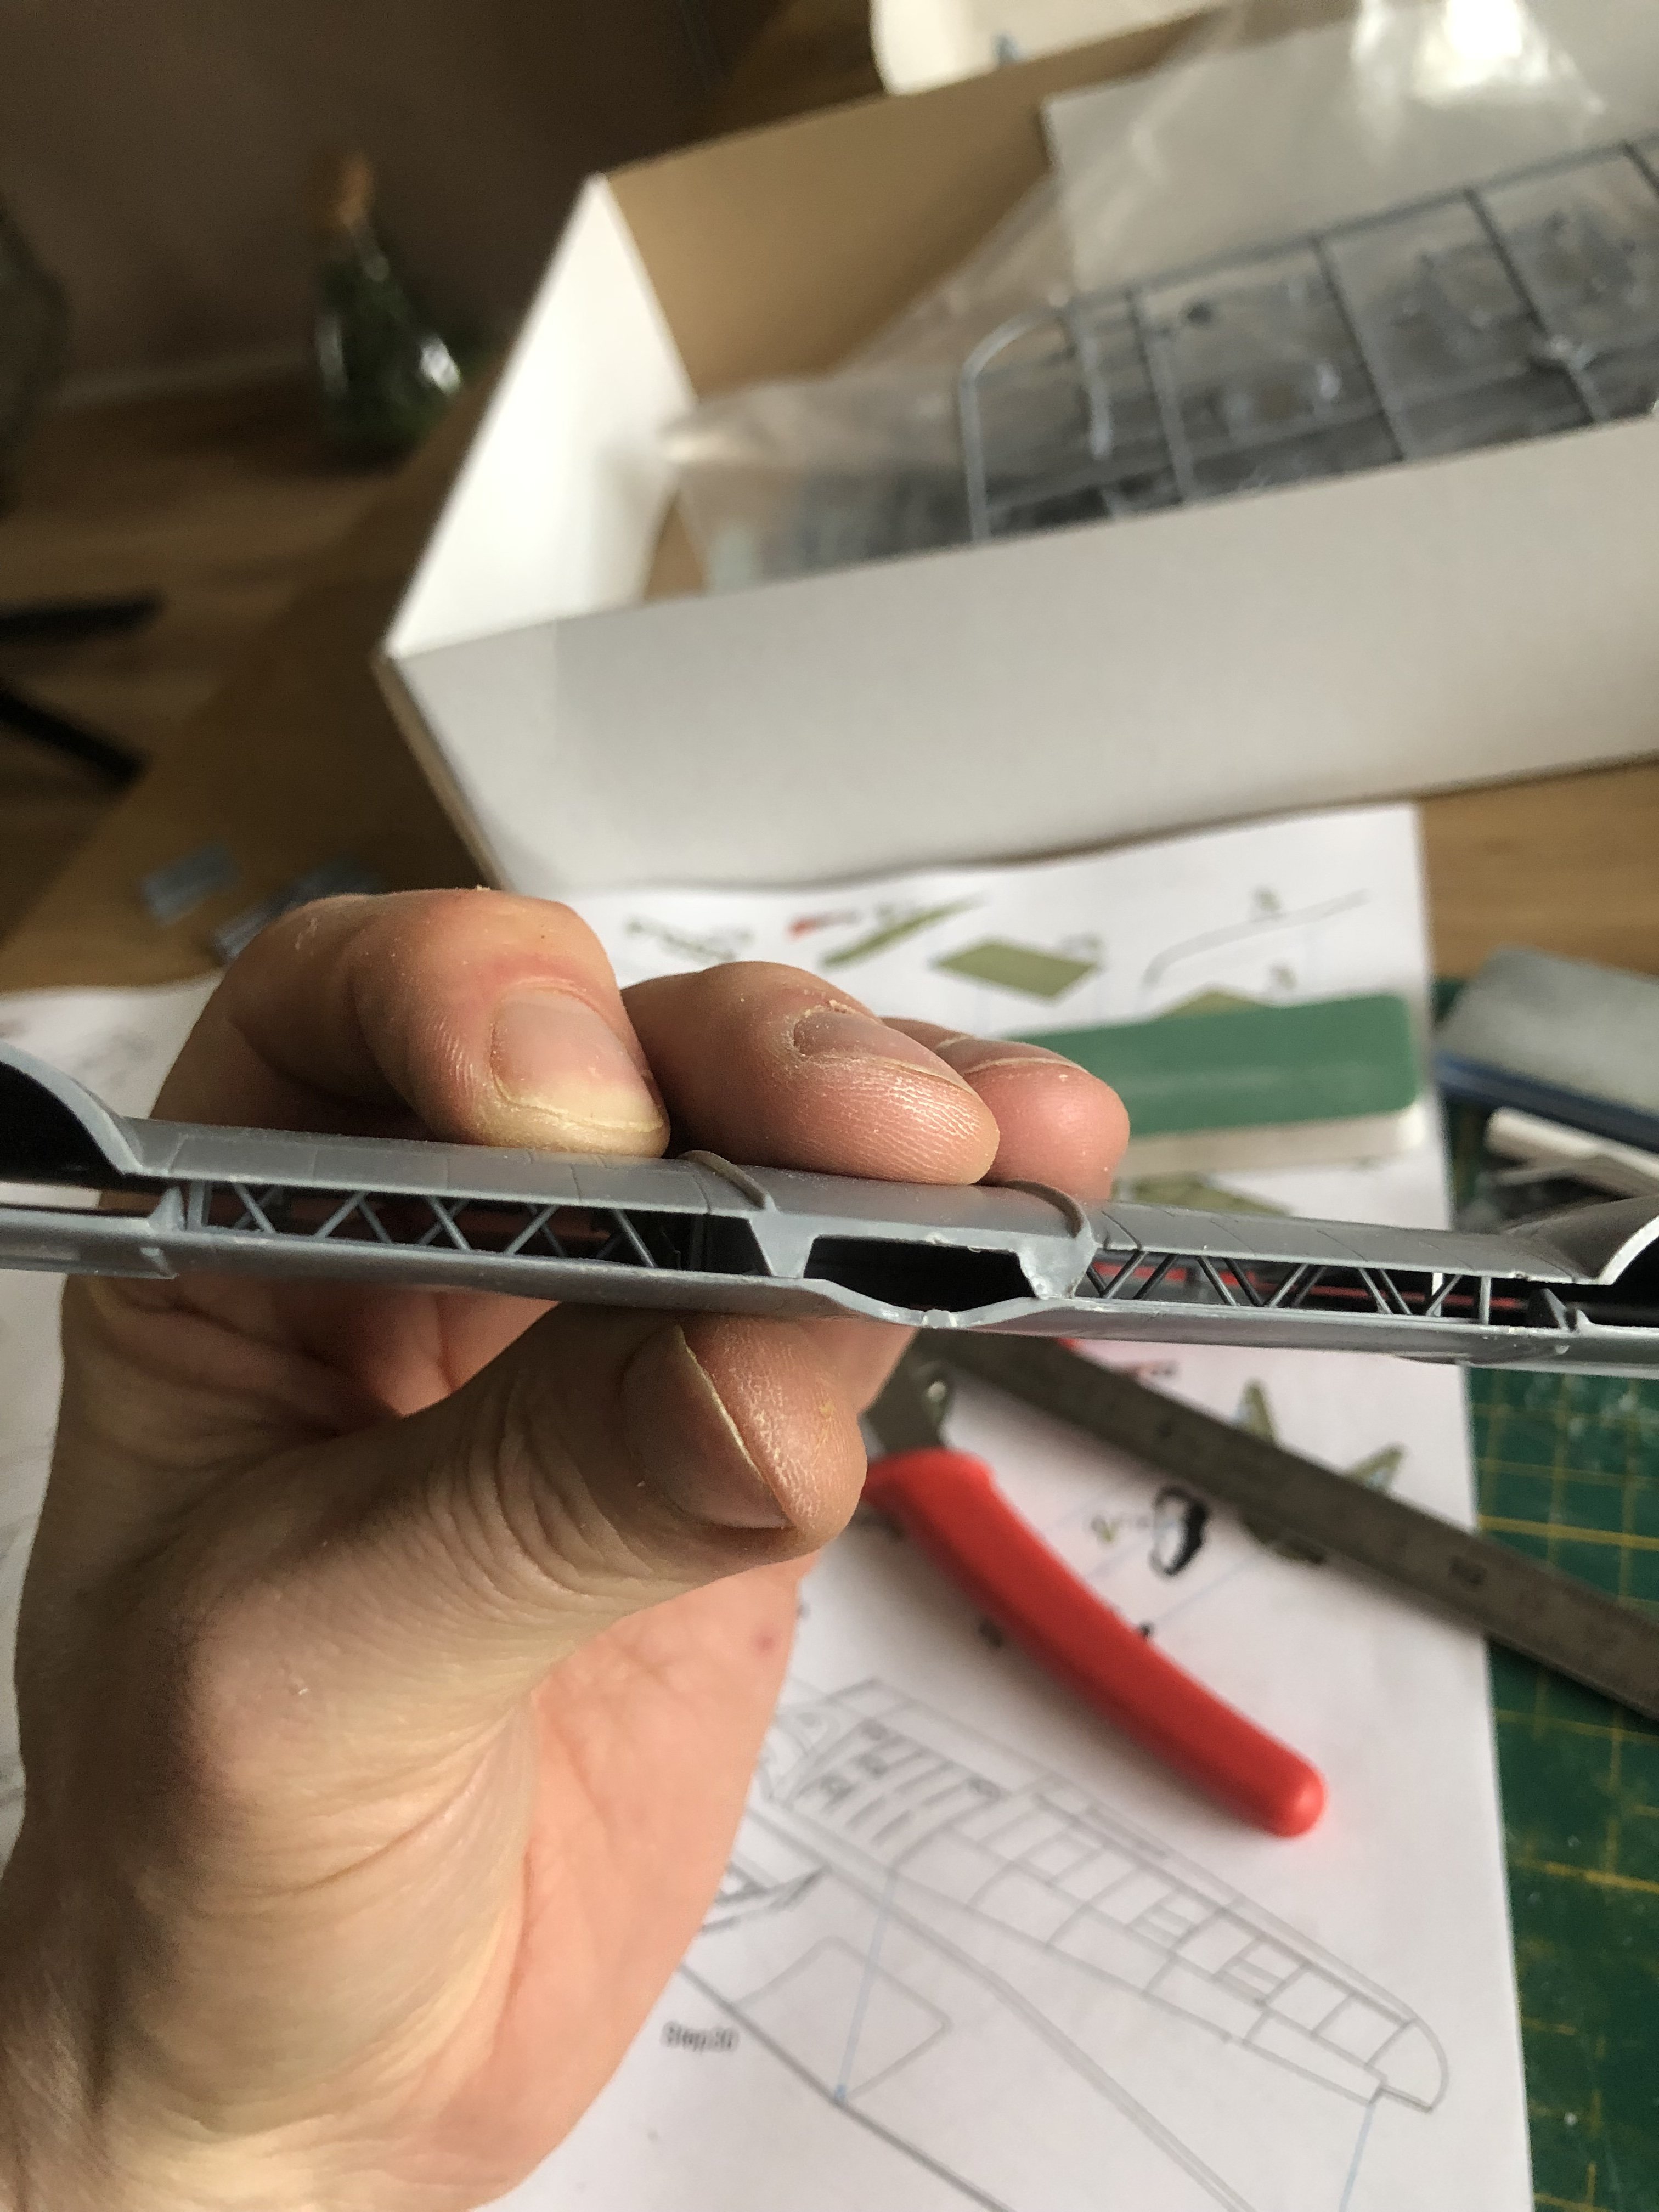
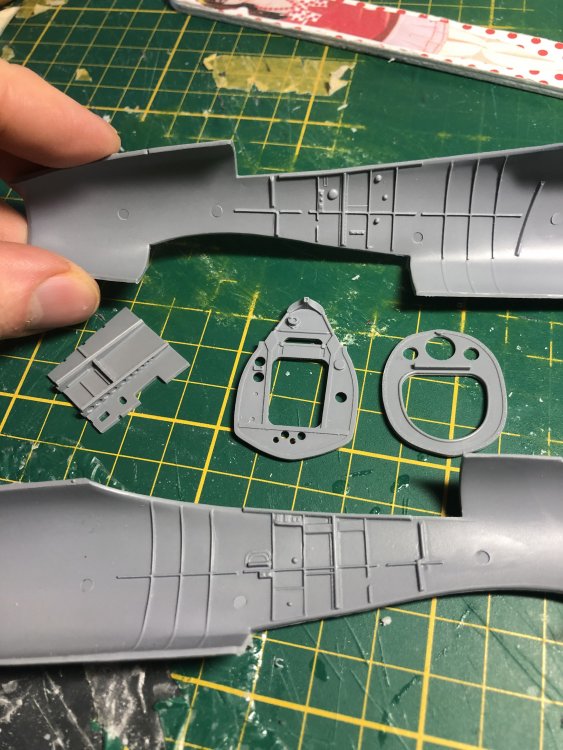
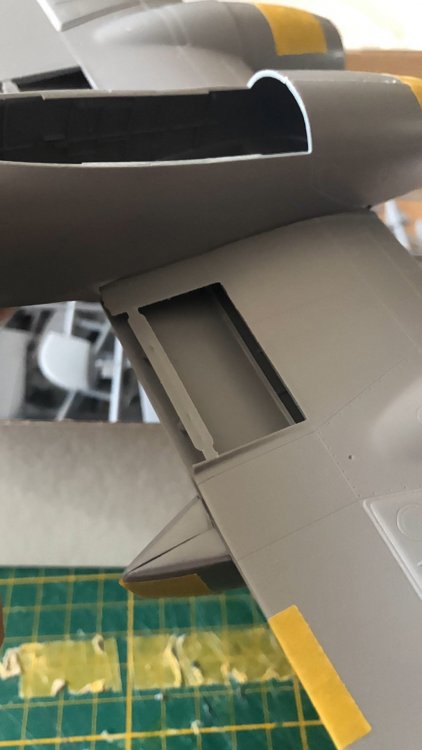
Thanks Hubert. So far I like this kit and will build it out of the box. When I build another the flaps and slats will be lowered which means some scratchbuilding. But not this time. The lower insides of the radiator intakes have some rivet detail. I like the way SH rendered the complex wingspar/rib detail between which the radiators will be inserted. Take care though as the instructions are sometimes not very clear.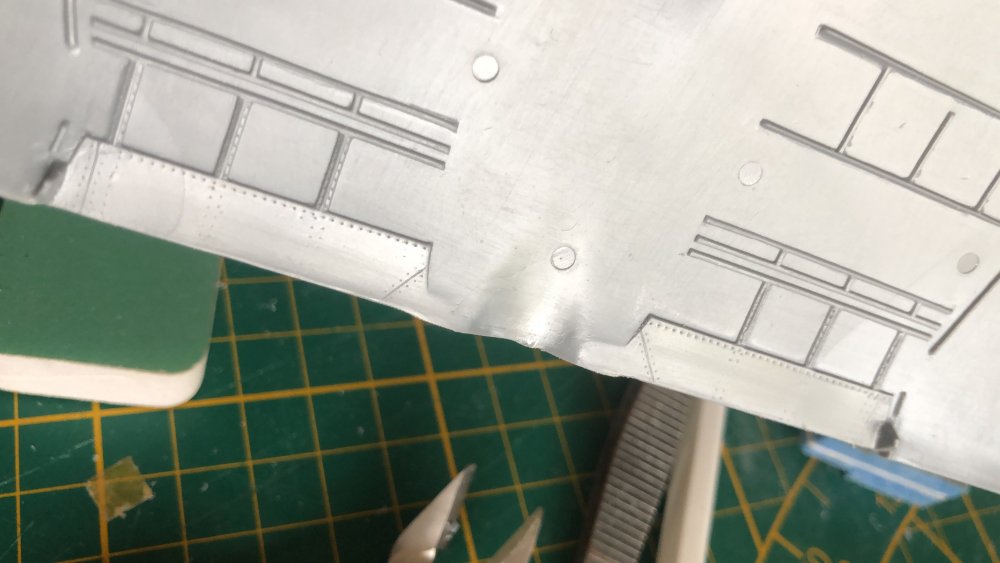

-
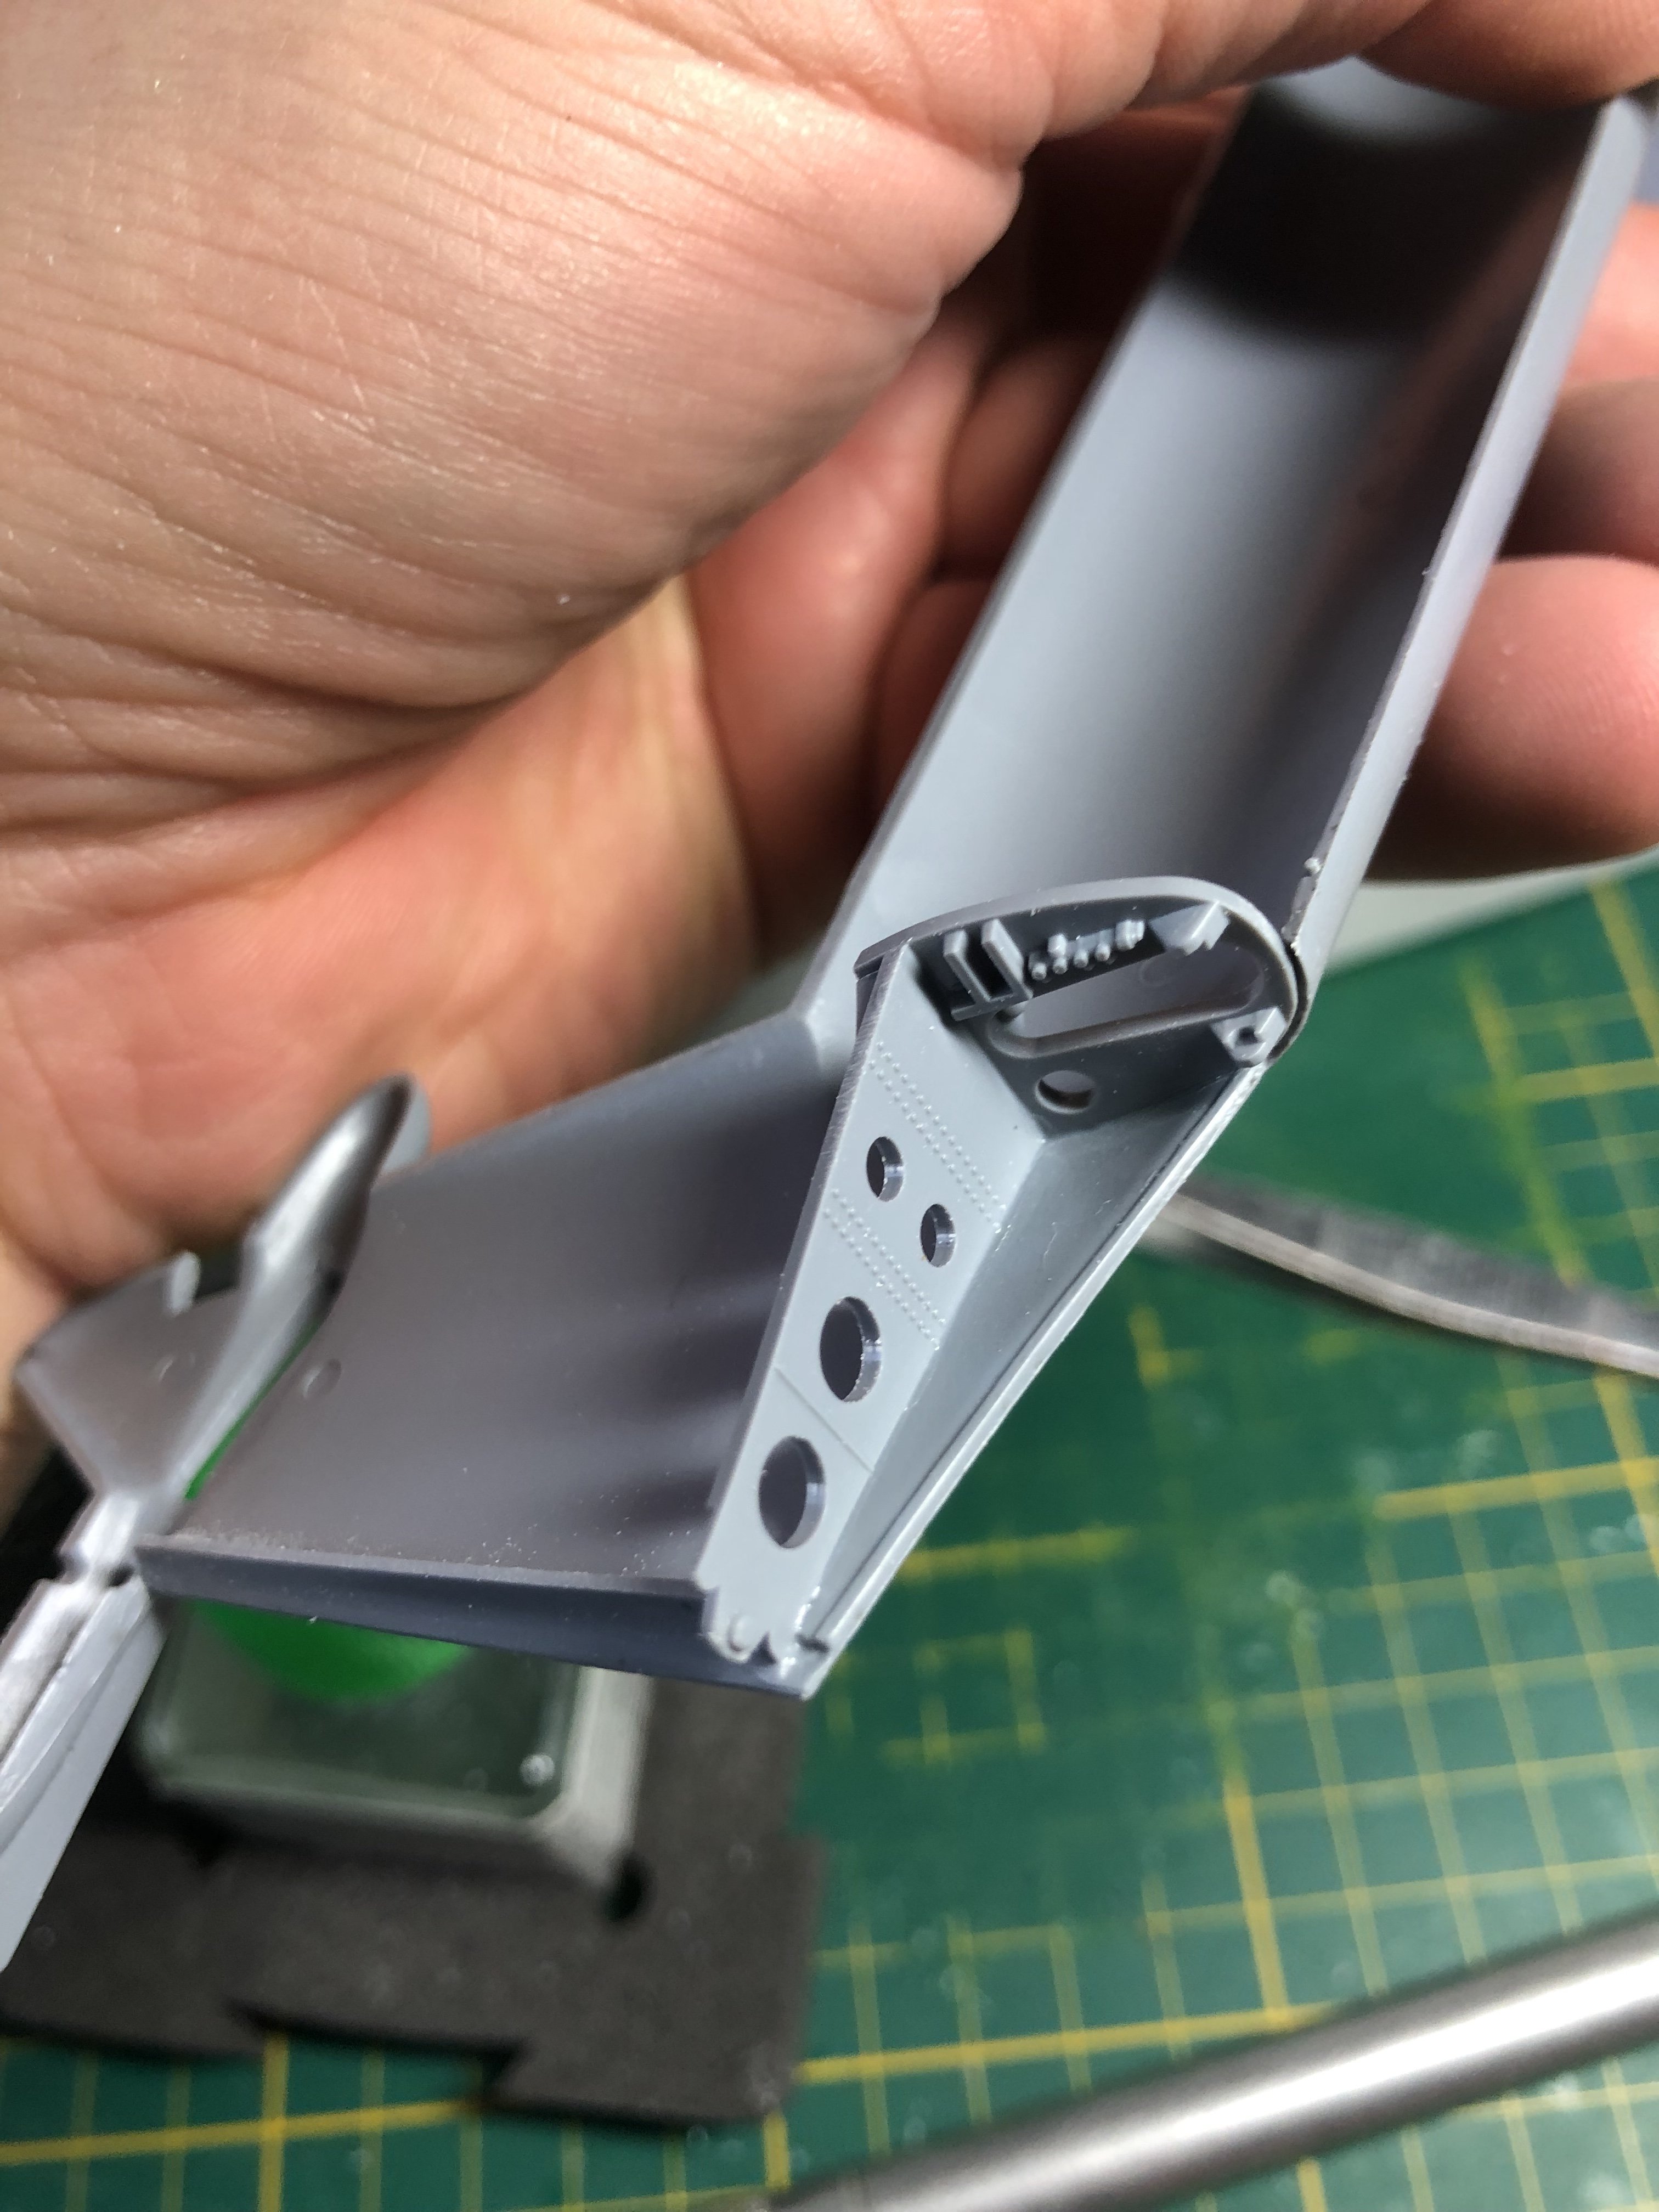
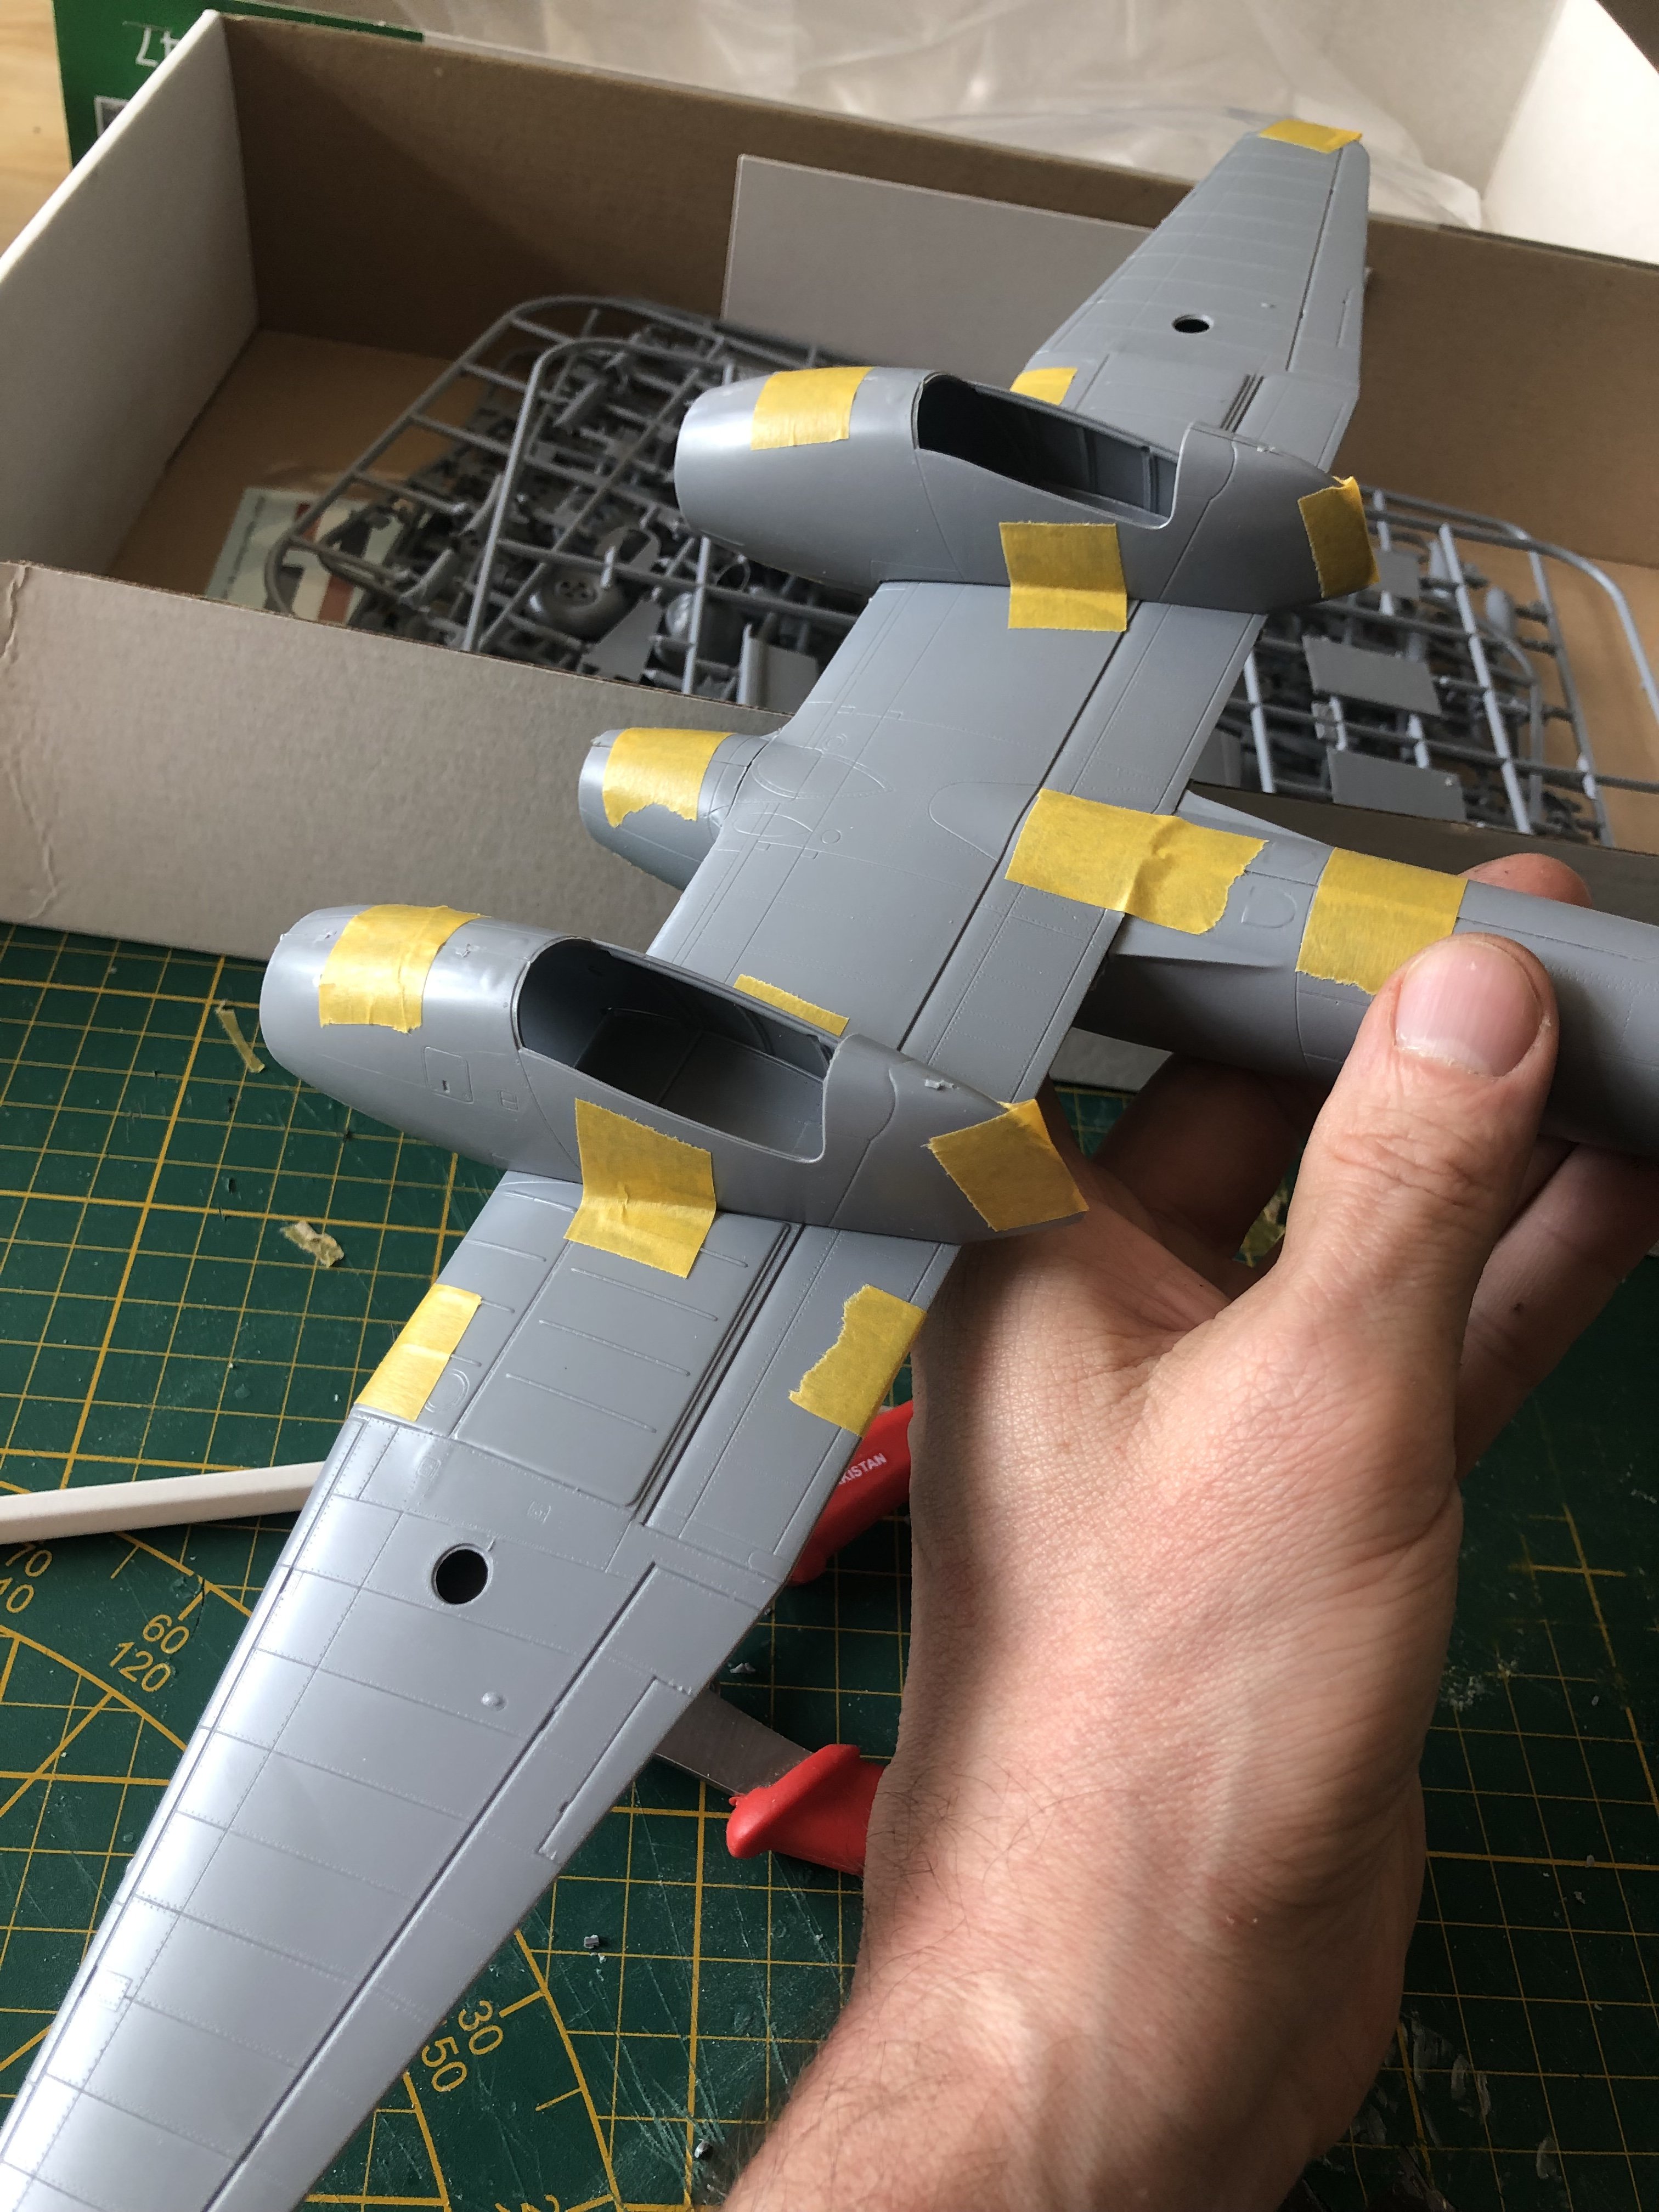
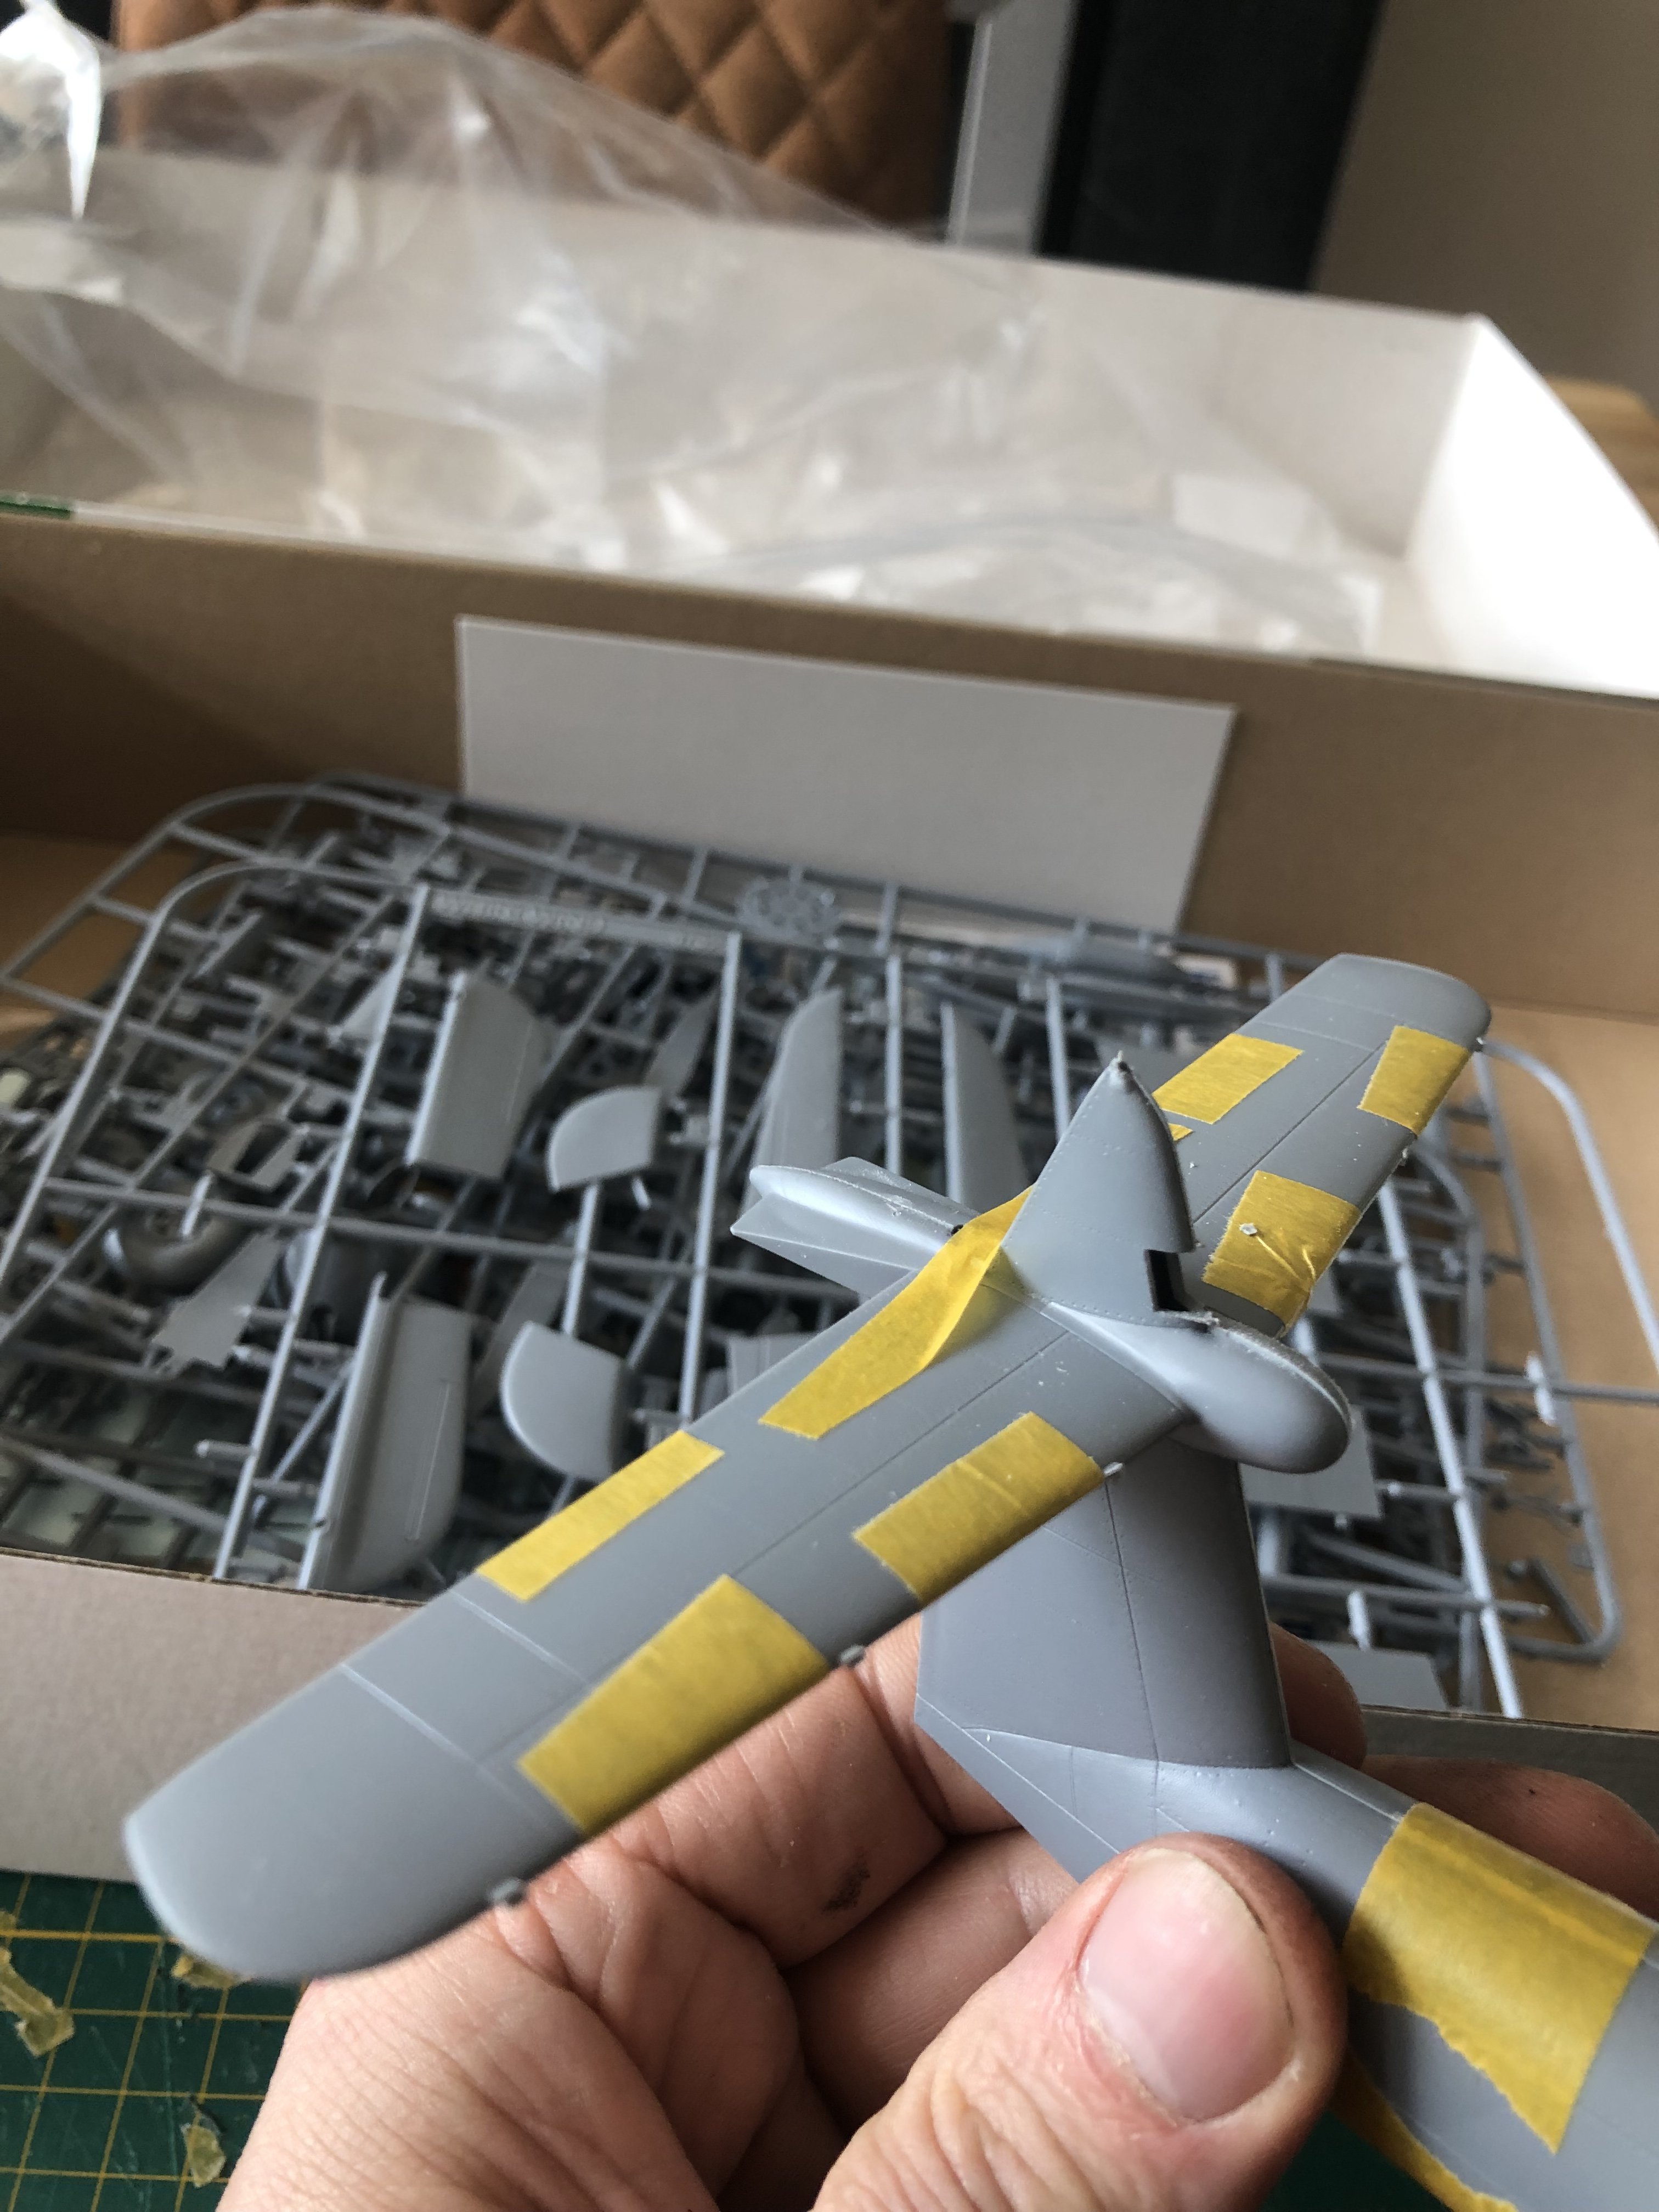
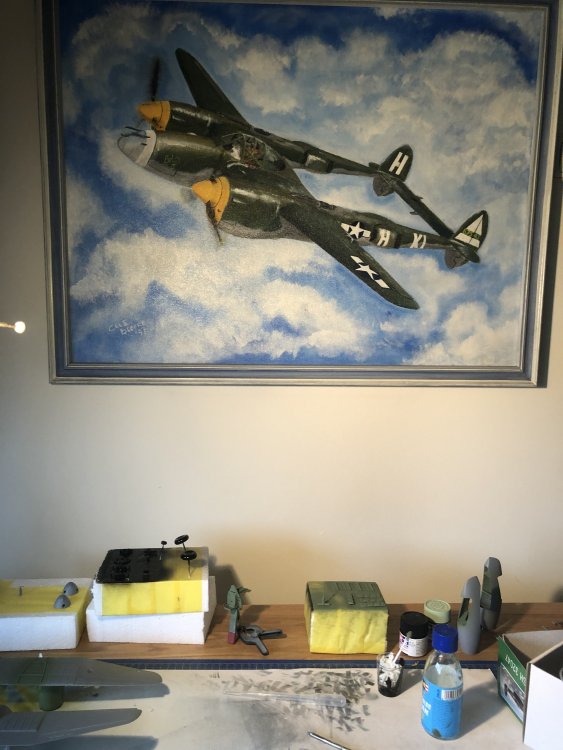
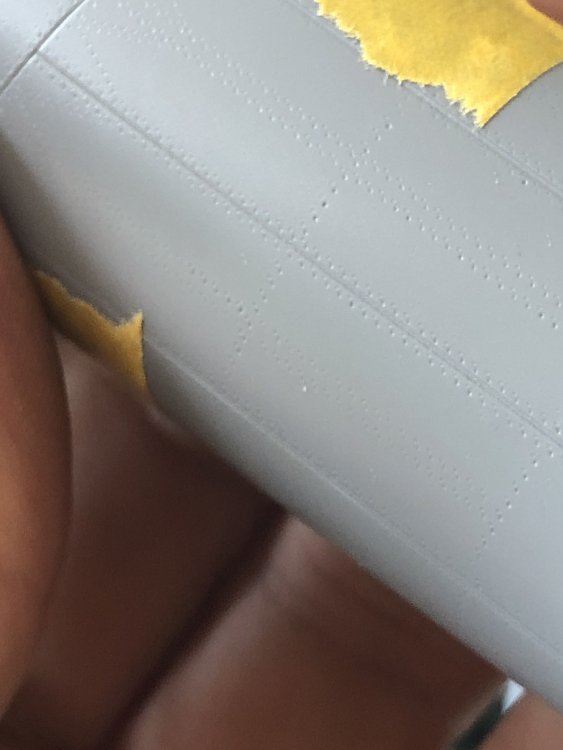
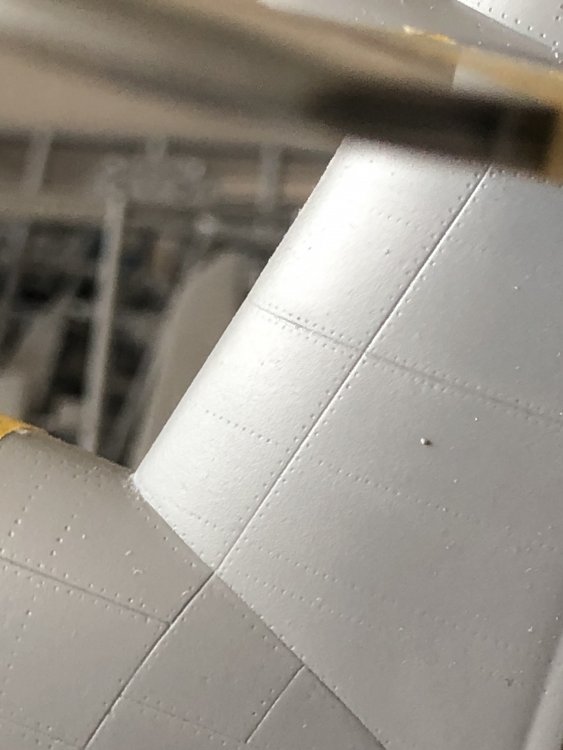
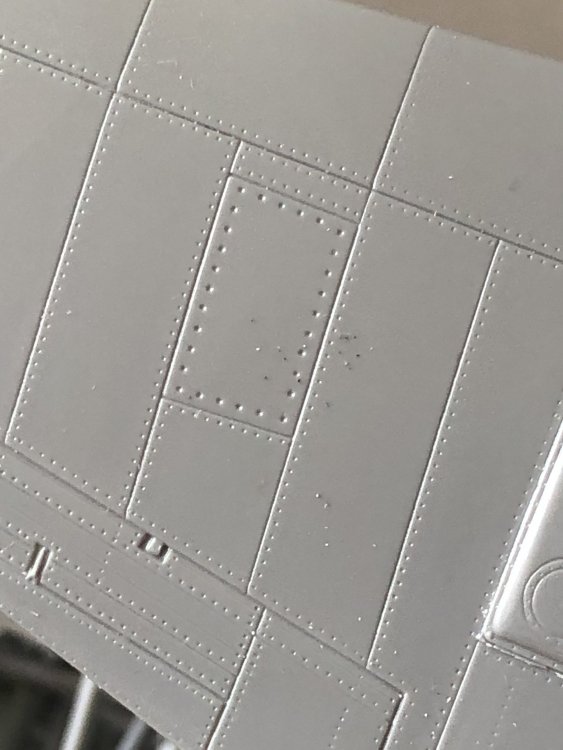
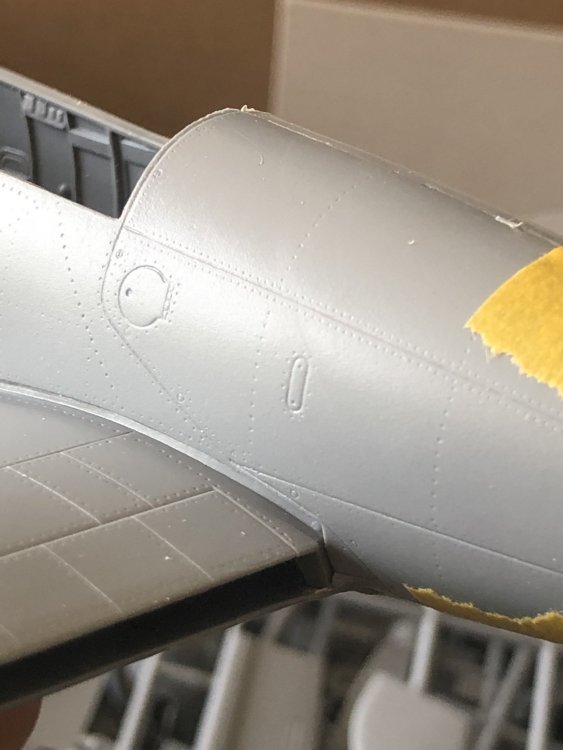
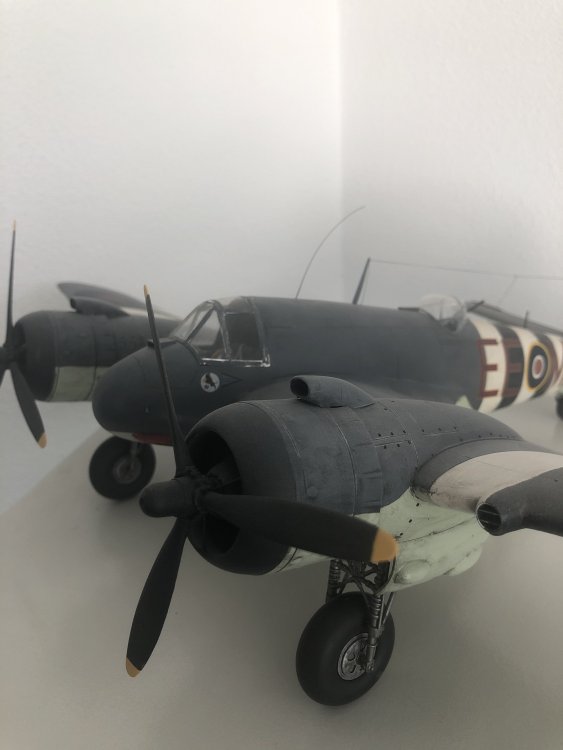
I mentioned earlier that when this kit becomes available I would drop everything I am working on. Yesterday was that day. Having started with sticking the major parts together with tape, I must say this is a typical SH kit. It looks short run in places but detail is very good. Cleaning up some of the parts is needed but nothing major so far. I let the pics do the talking.


-
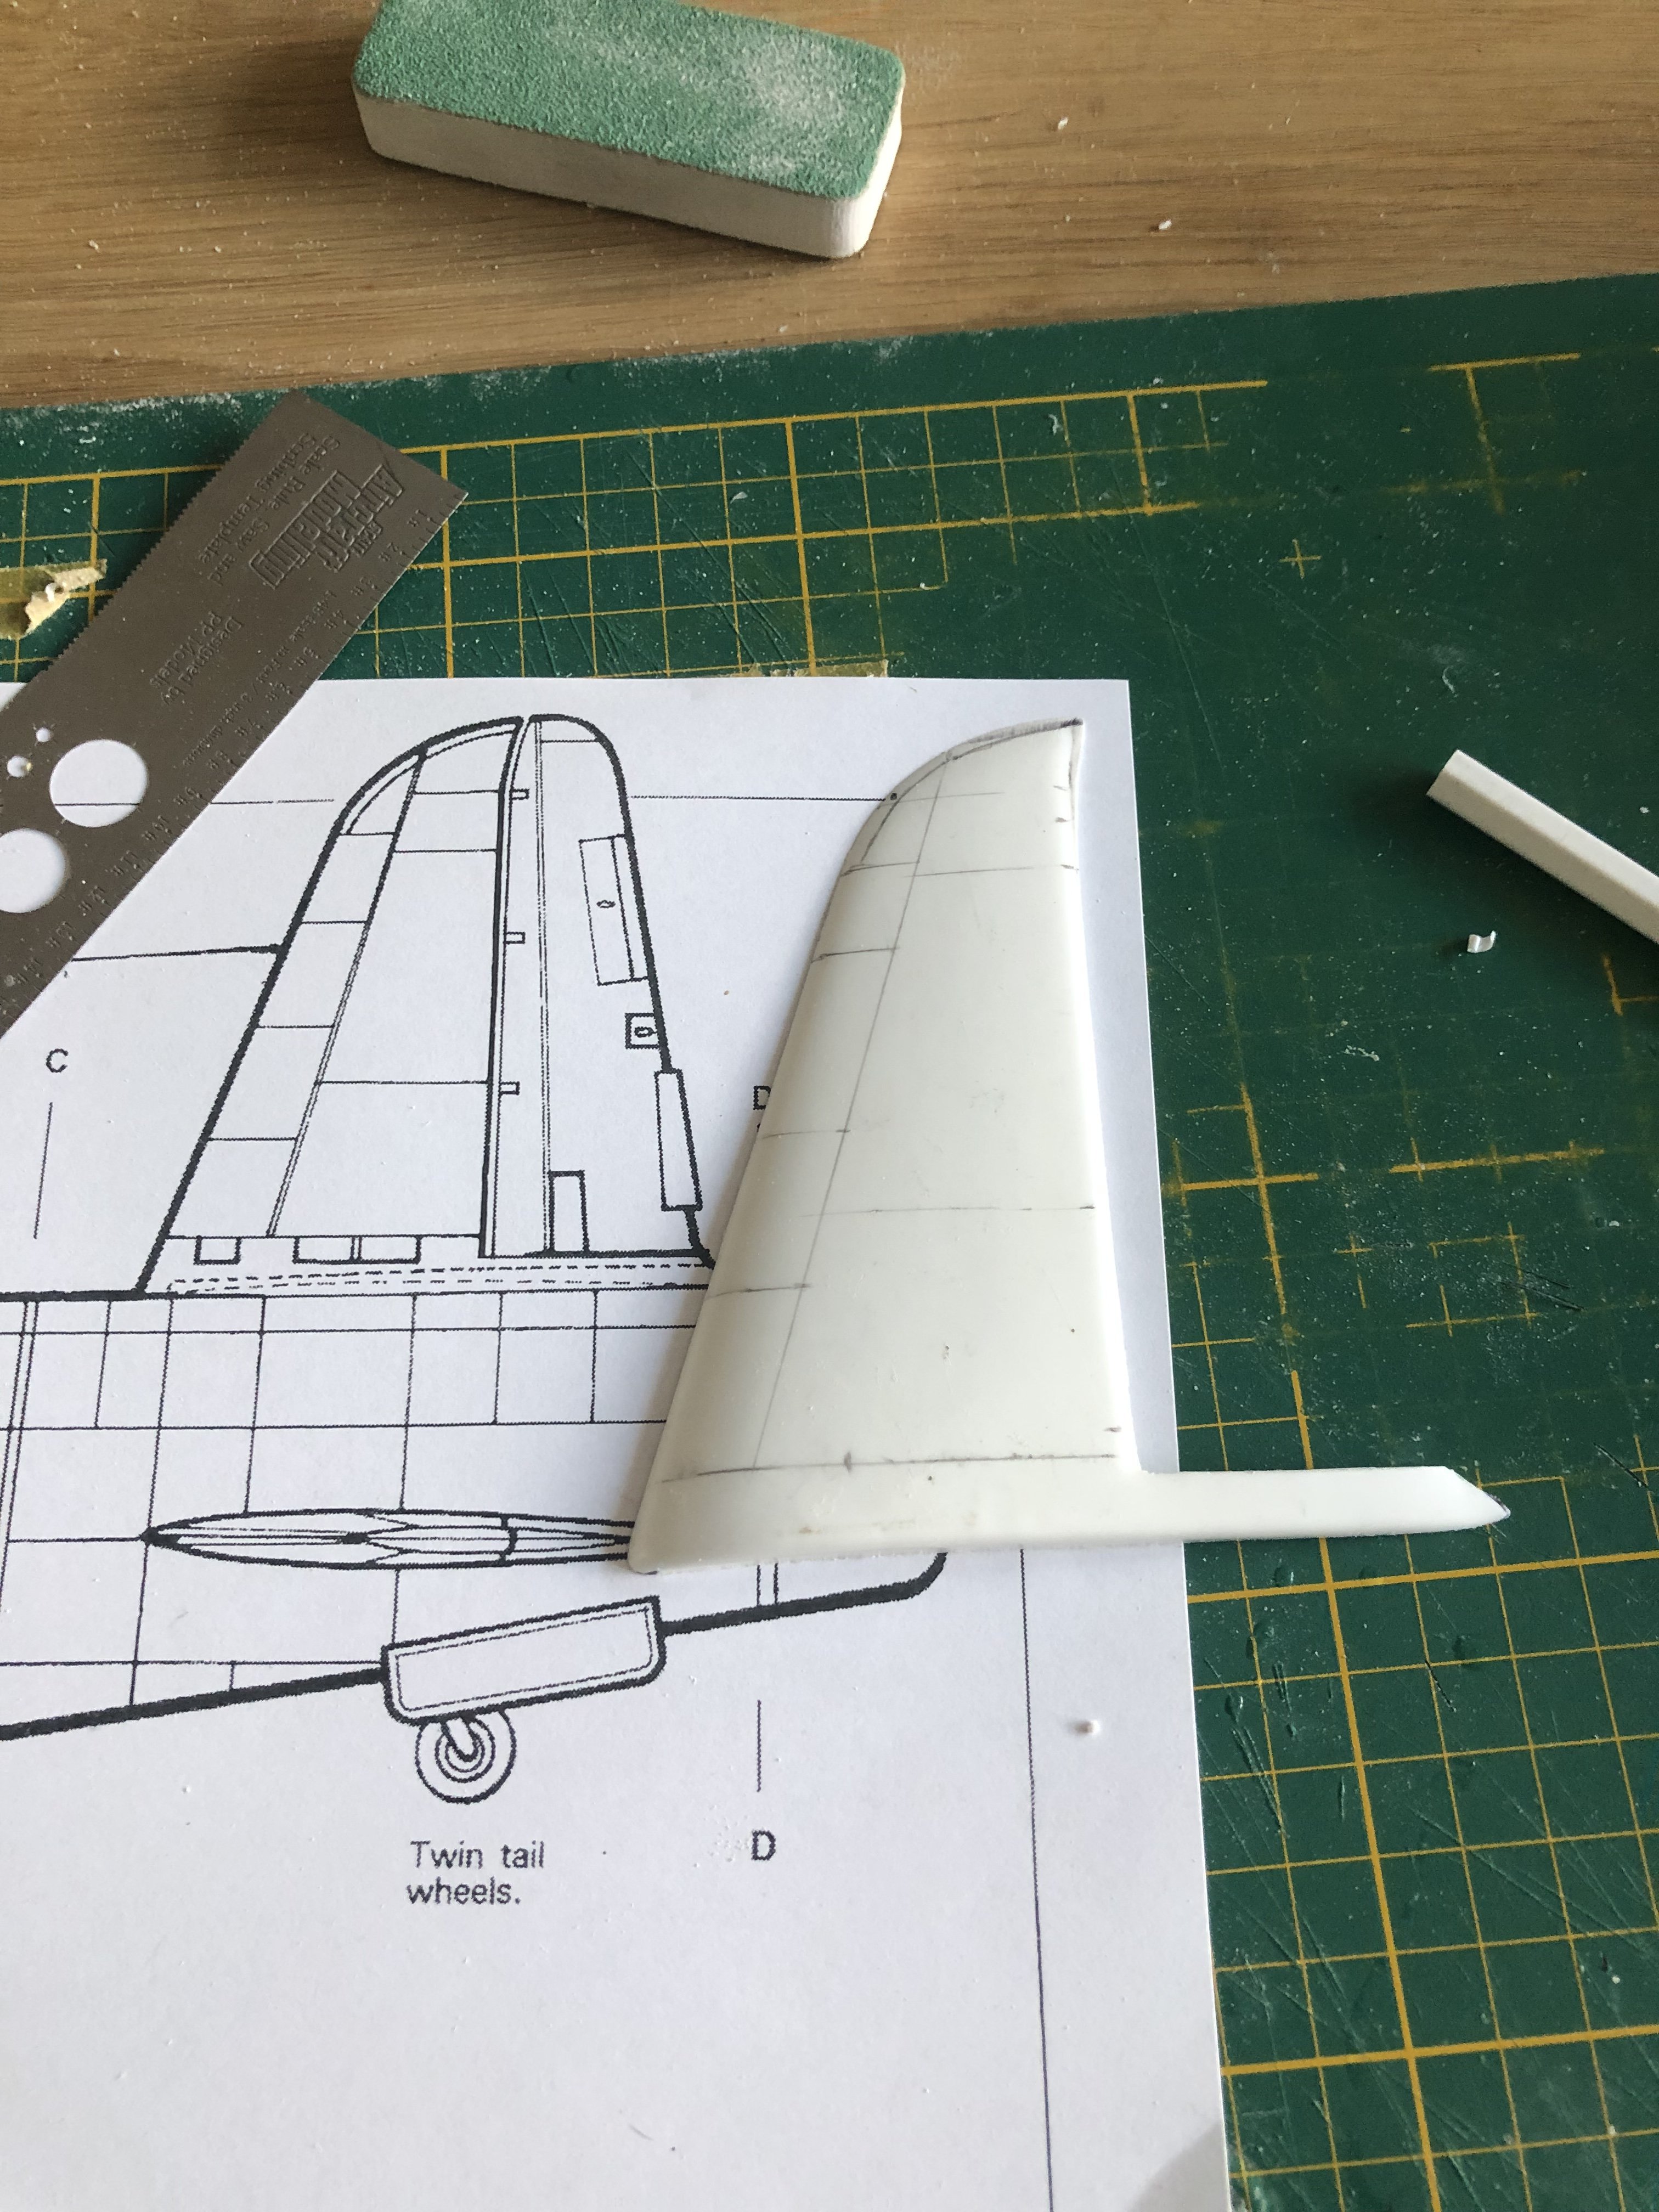
Daft project or is it? 1/32 Short Stirling III
Wingco57 replied to Wingco57's topic in LSM 1/35 and Larger Work In Progress
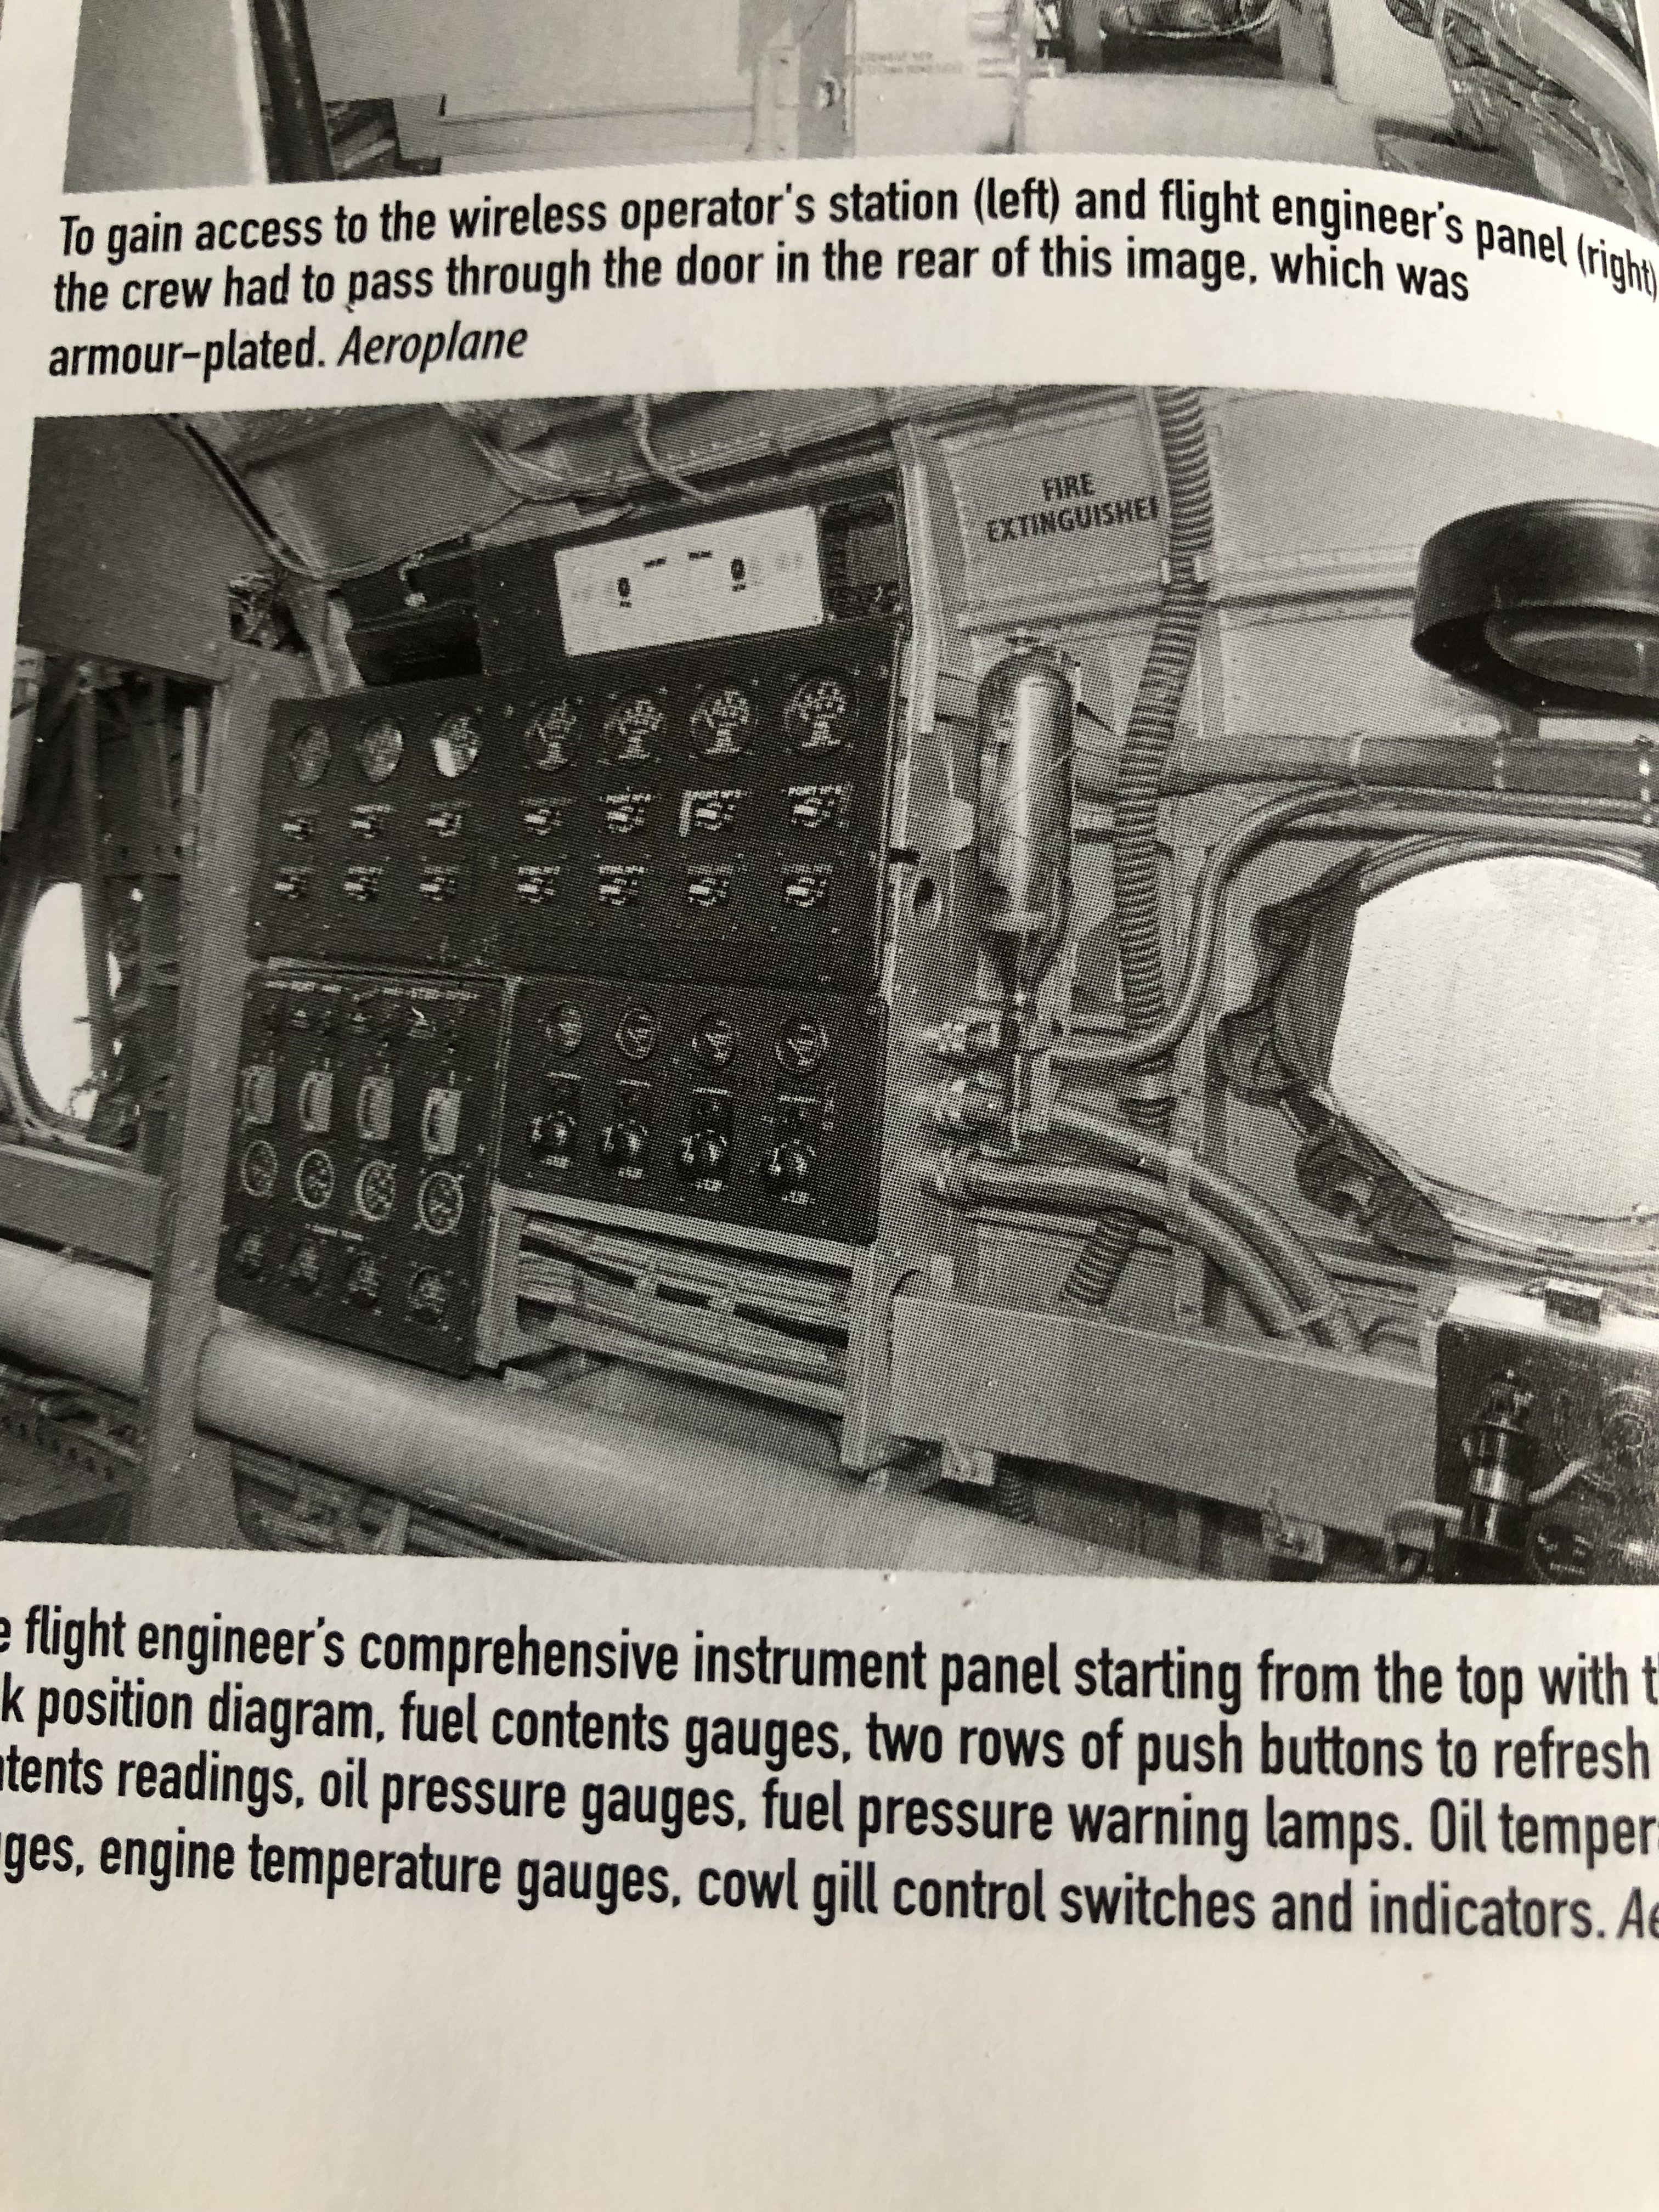
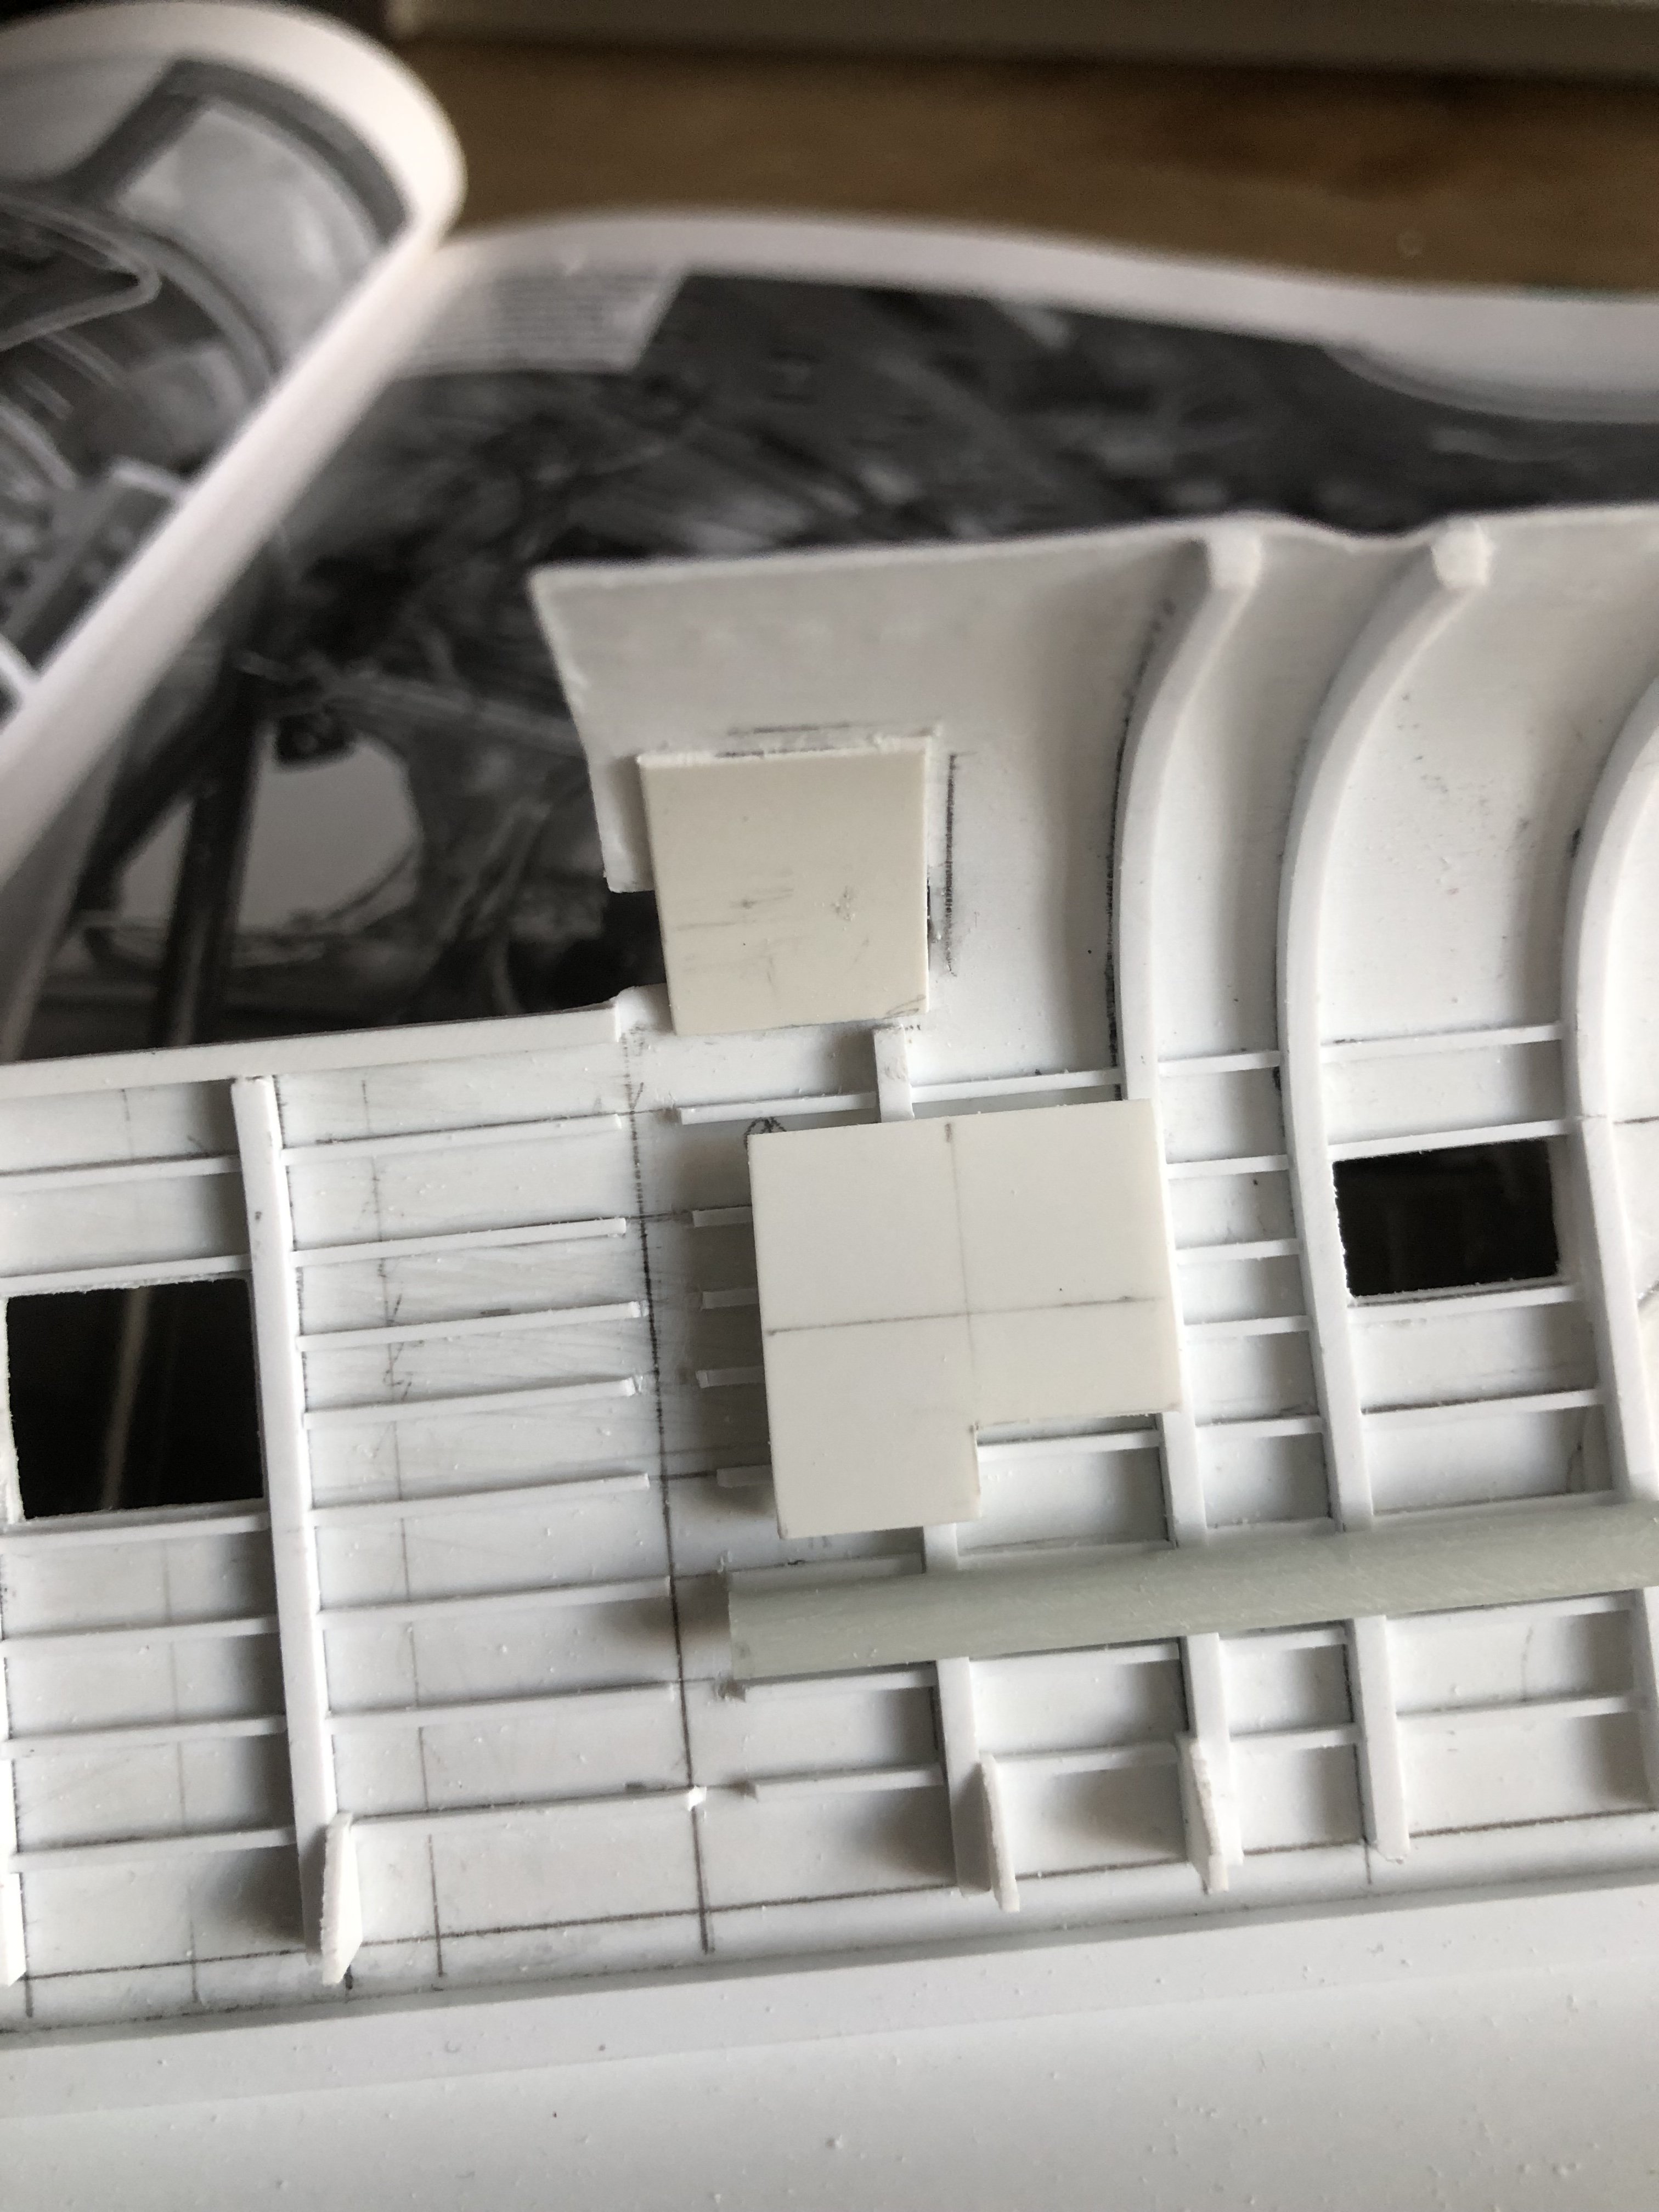
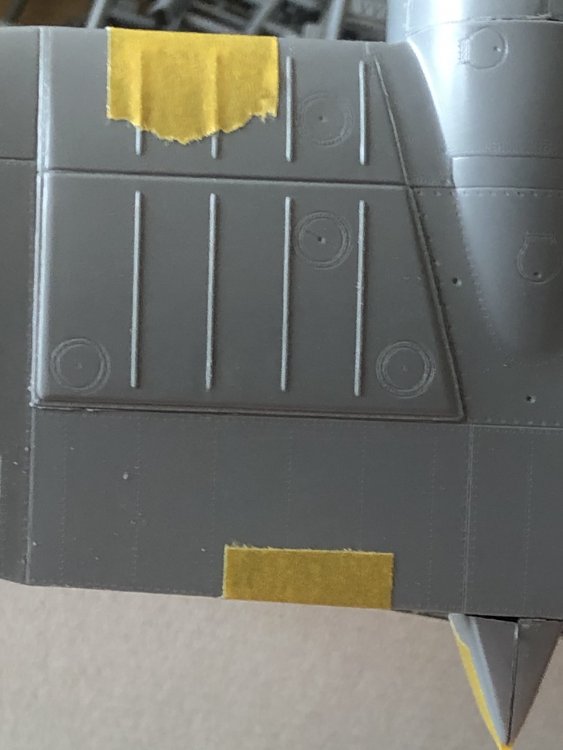
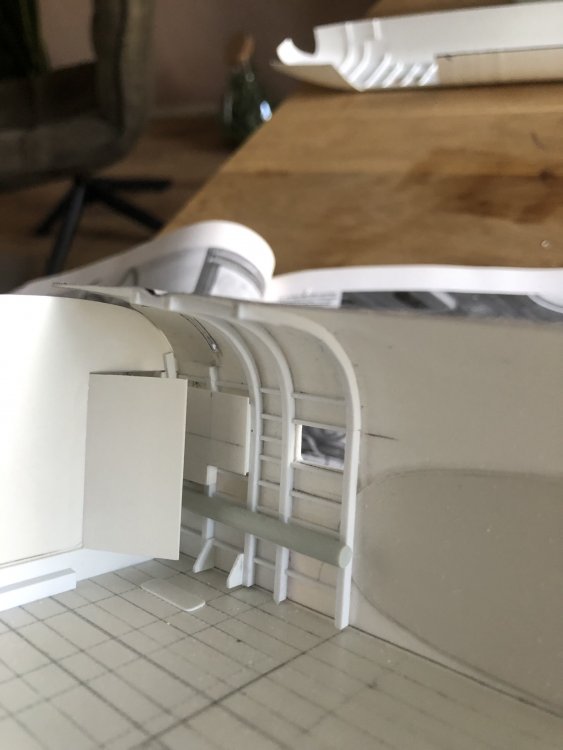
It was Peter, but hey that is modelling. Until drawings are available I continue work on the interior. Didn’t have much time but made the heater duct (thick sprue) and the basic flight engineer panels. On top if this base the panels will be fitted. Will add cable bundles etc. So that a hint of “busyness”can be seen through the armoured door.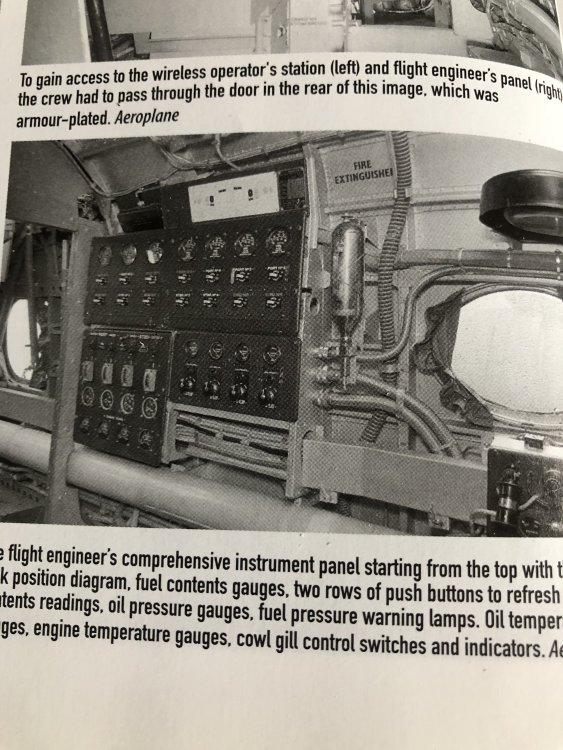

-
Hope you do as this kit, although ancient, can still be made into a nice model. With some work excluding the dog. Here is mine.

-
Daft project or is it? 1/32 Short Stirling III
Wingco57 replied to Wingco57's topic in LSM 1/35 and Larger Work In Progress
I thought I was smart, well,…. I’m not During a rare visit to the office I tried to enlarge my 1/72 drawings by 225%. As I didn’t have any parts with me I checked by eye if the scale was right. When I got home it wasn’t. I tried to use the drawIngs for measurements but they are inconsistent. Oh well, back to the drawing board.
-
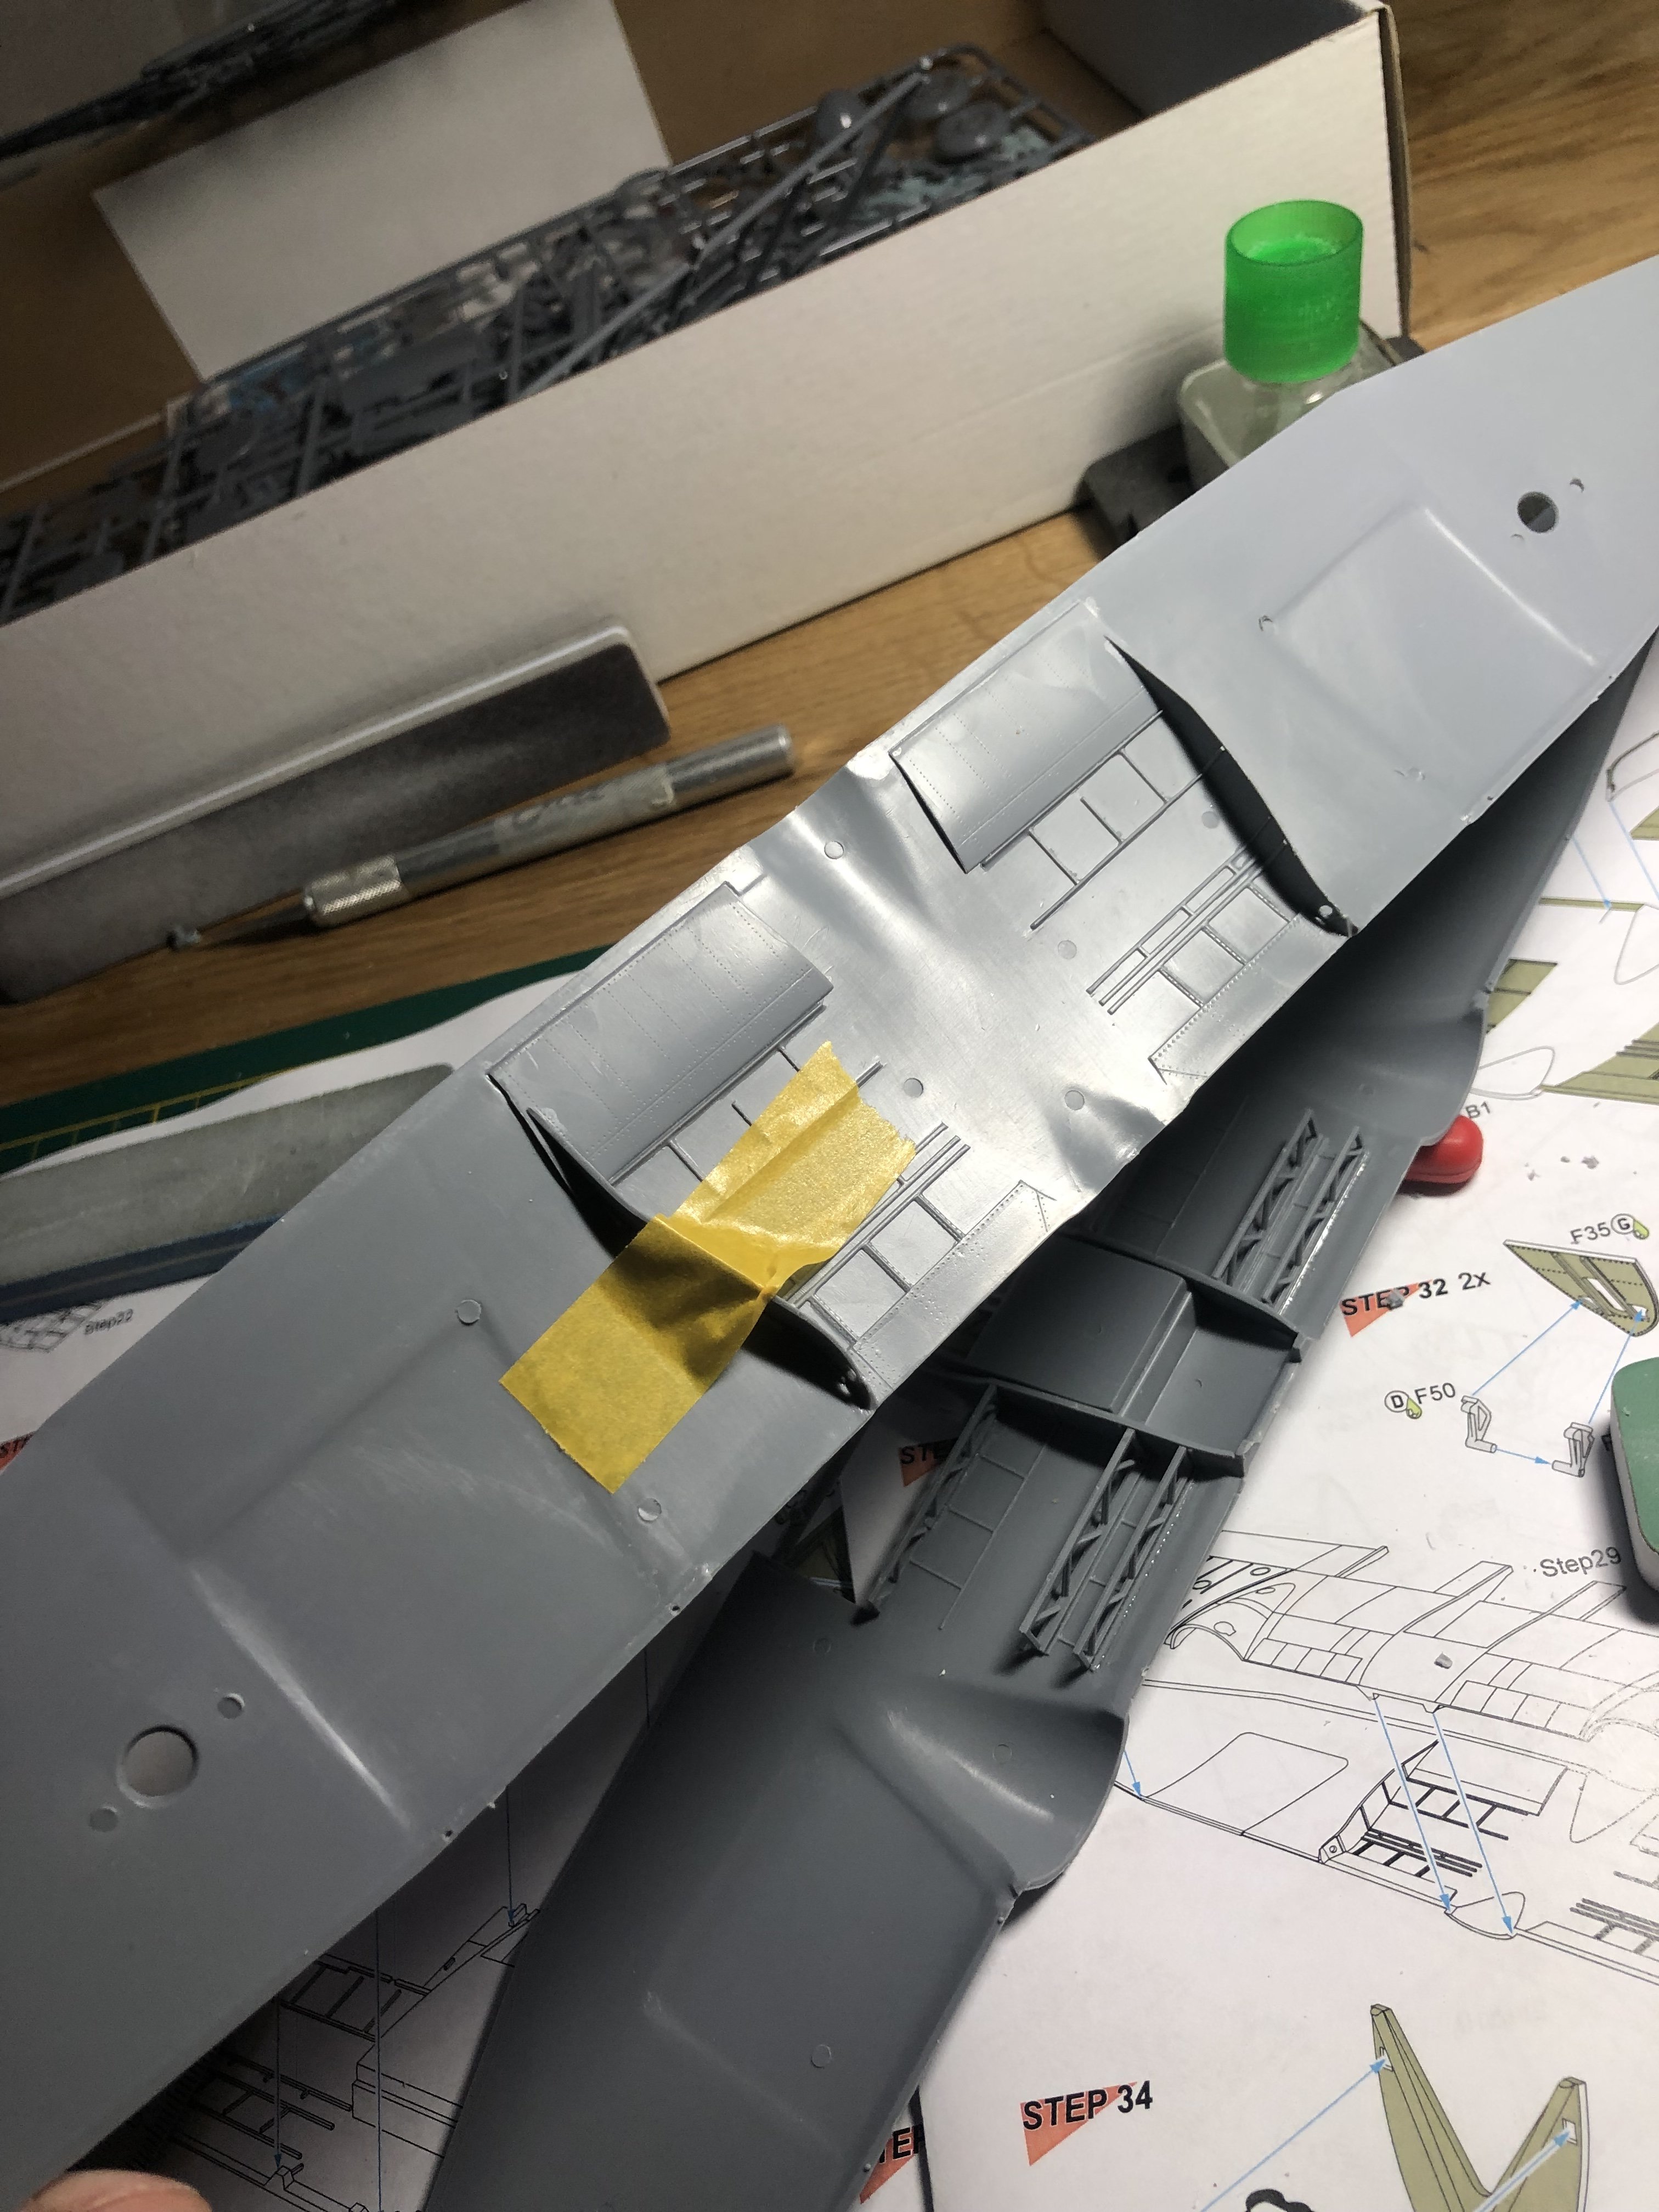
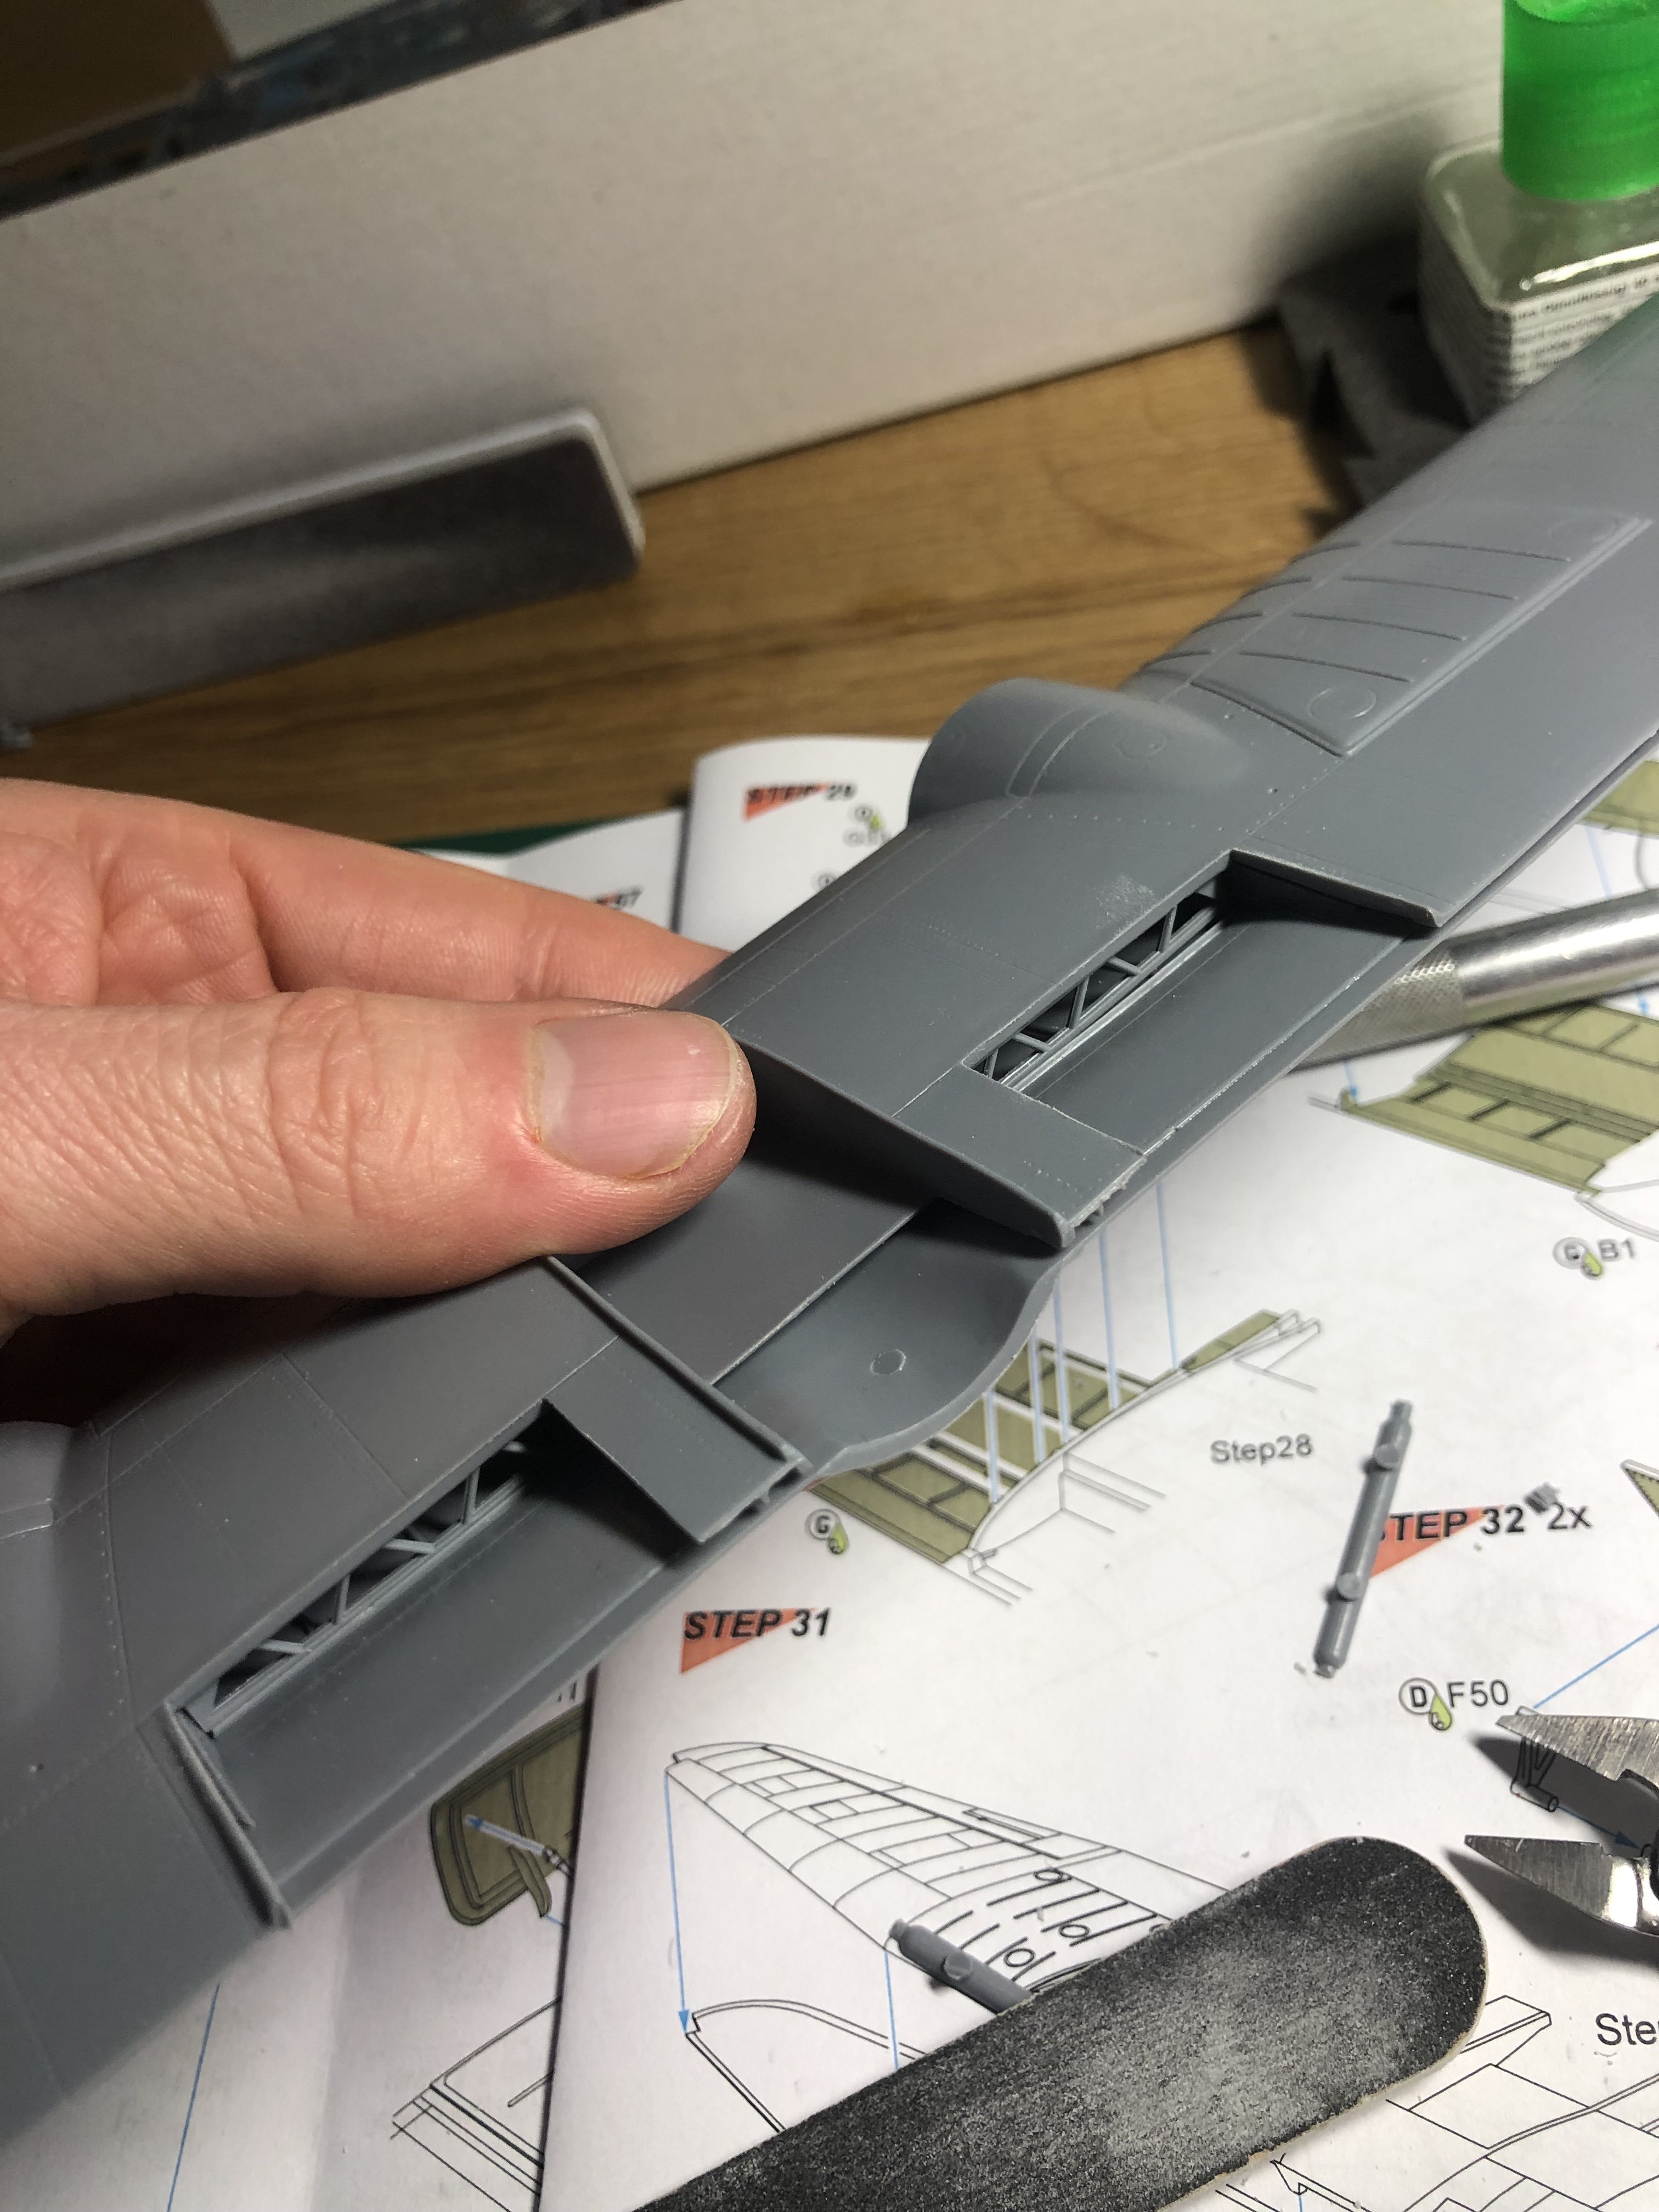
Daft project or is it? 1/32 Short Stirling III
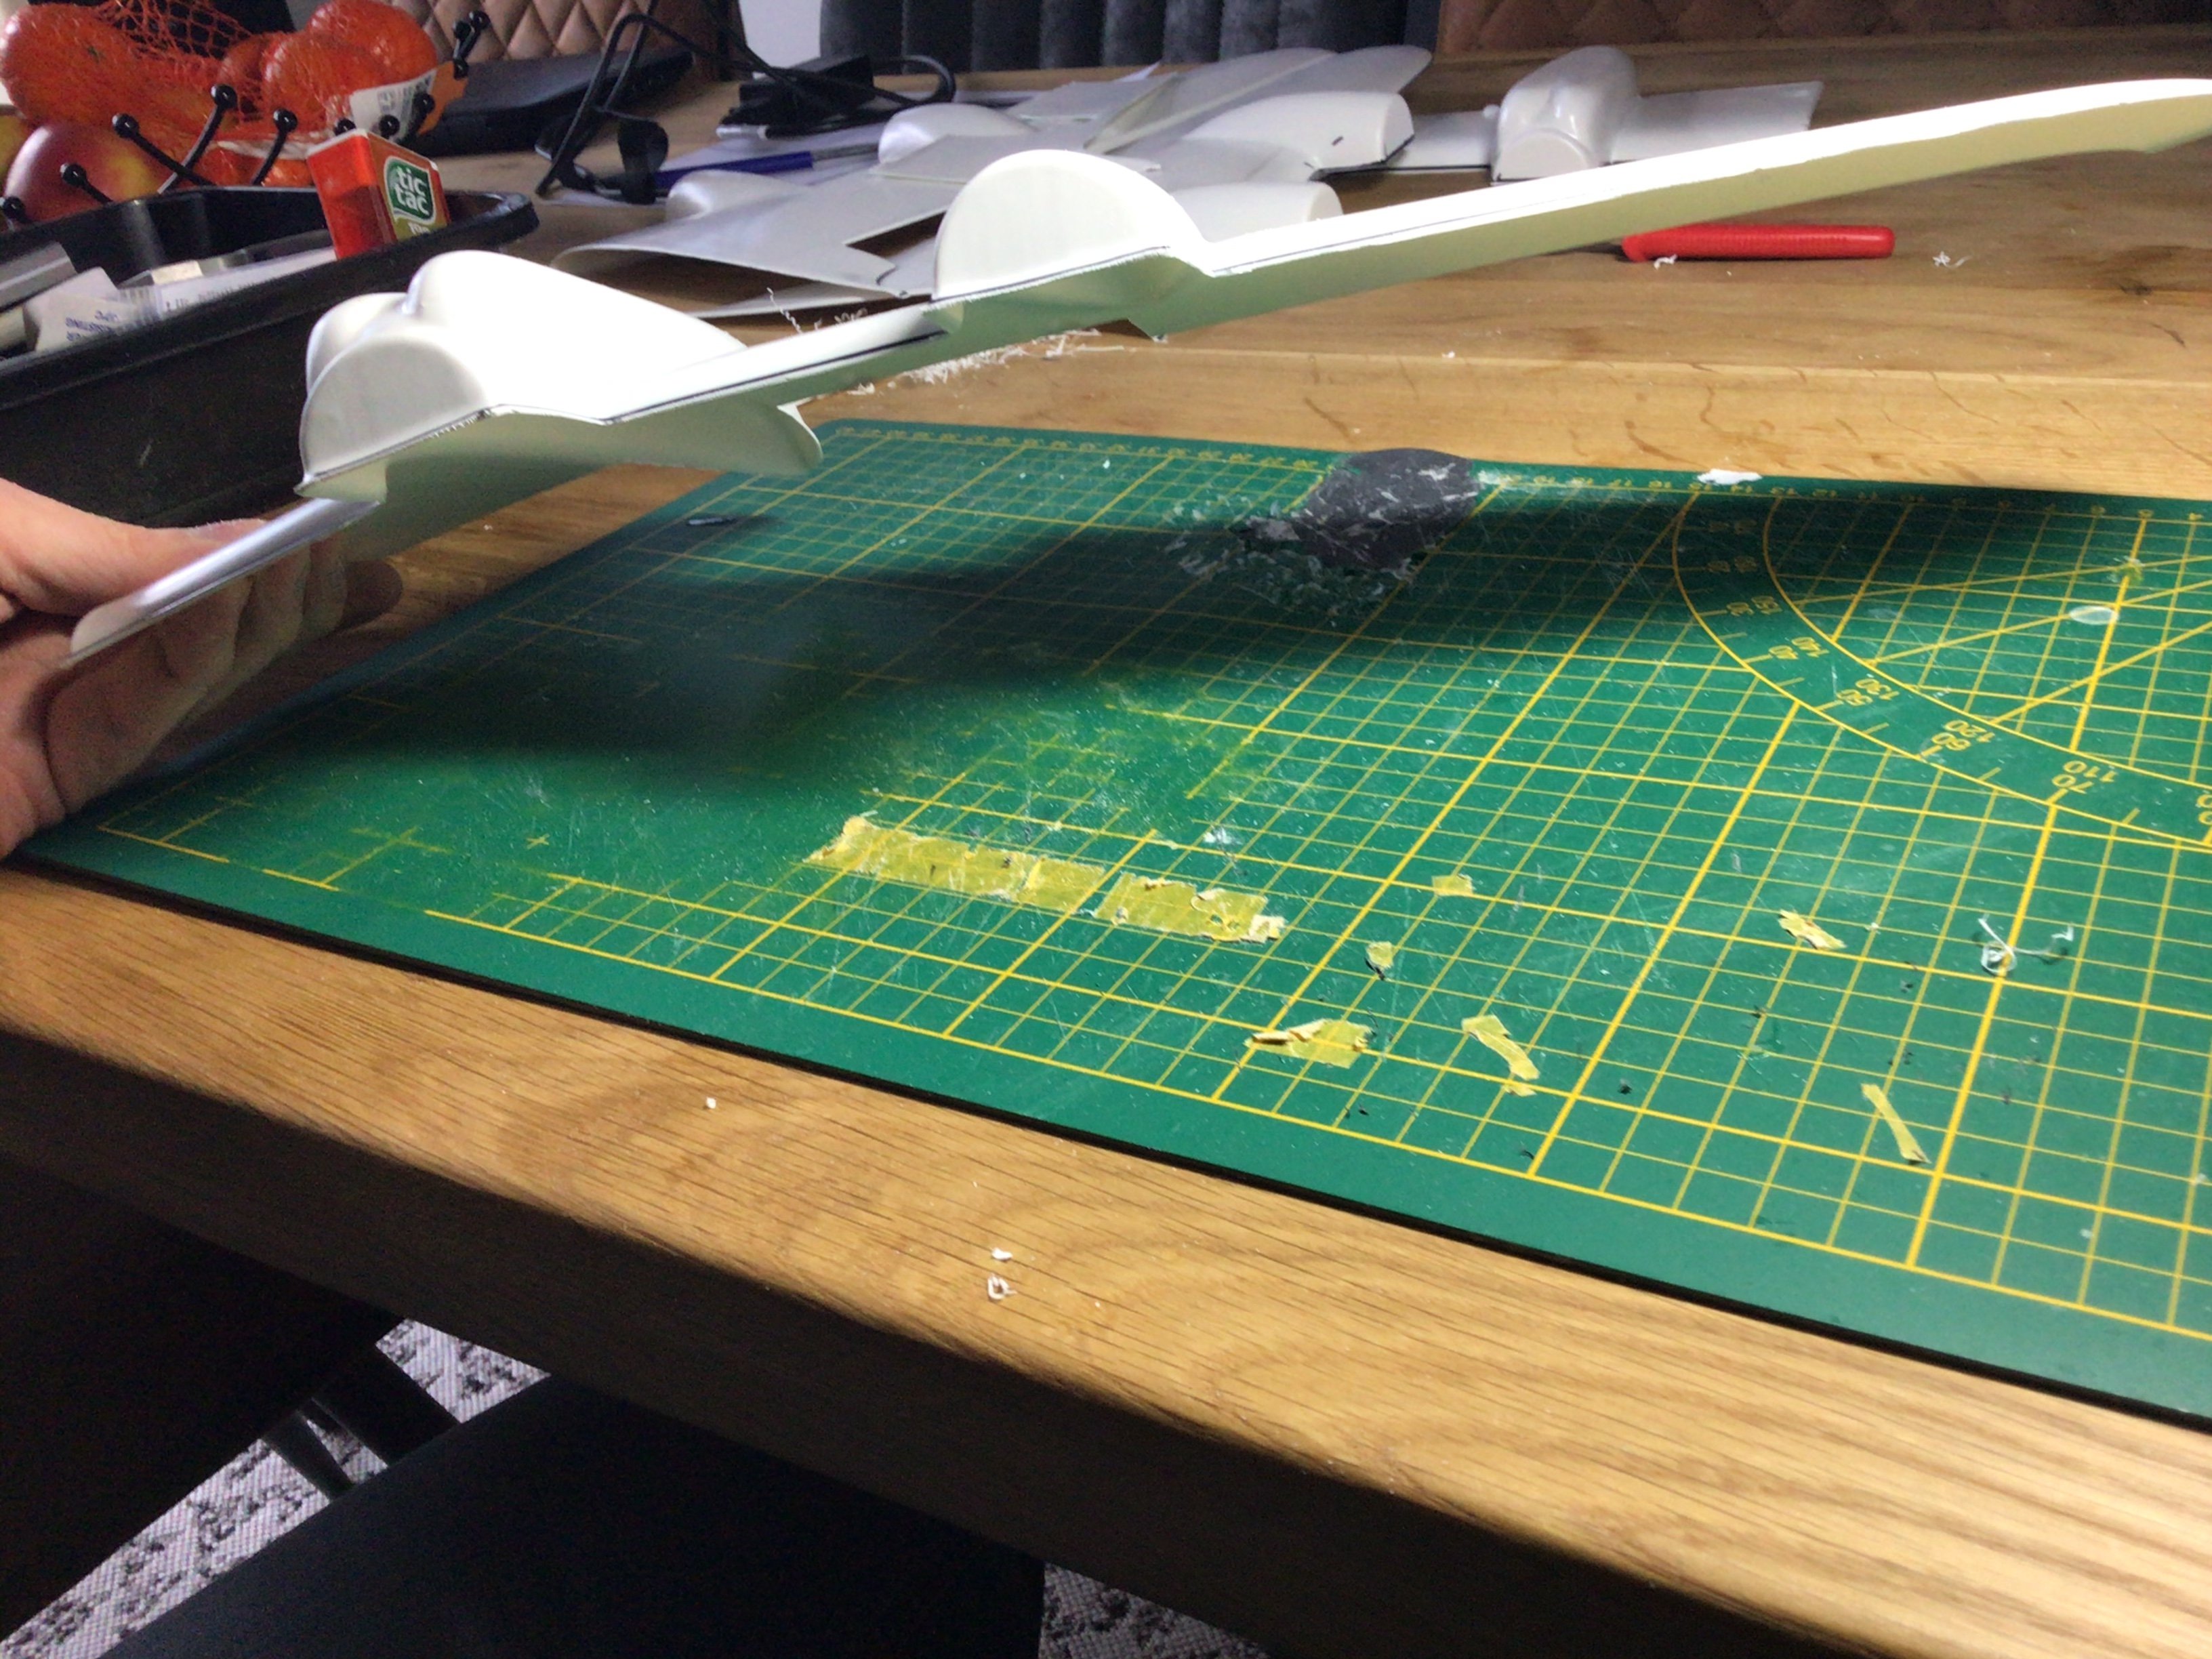
Wingco57 replied to Wingco57's topic in LSM 1/35 and Larger Work In Progress
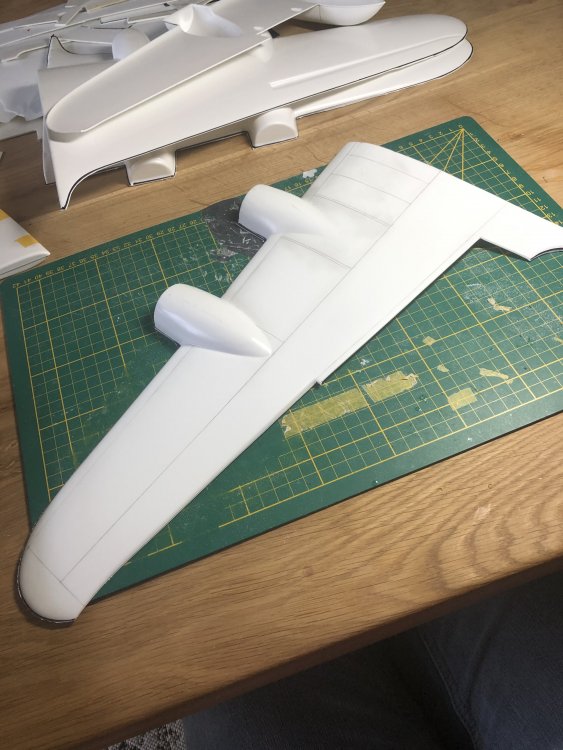
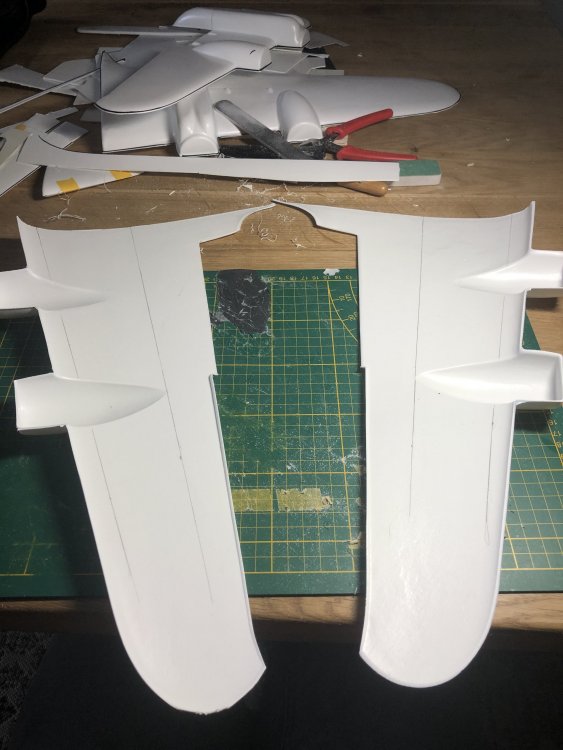
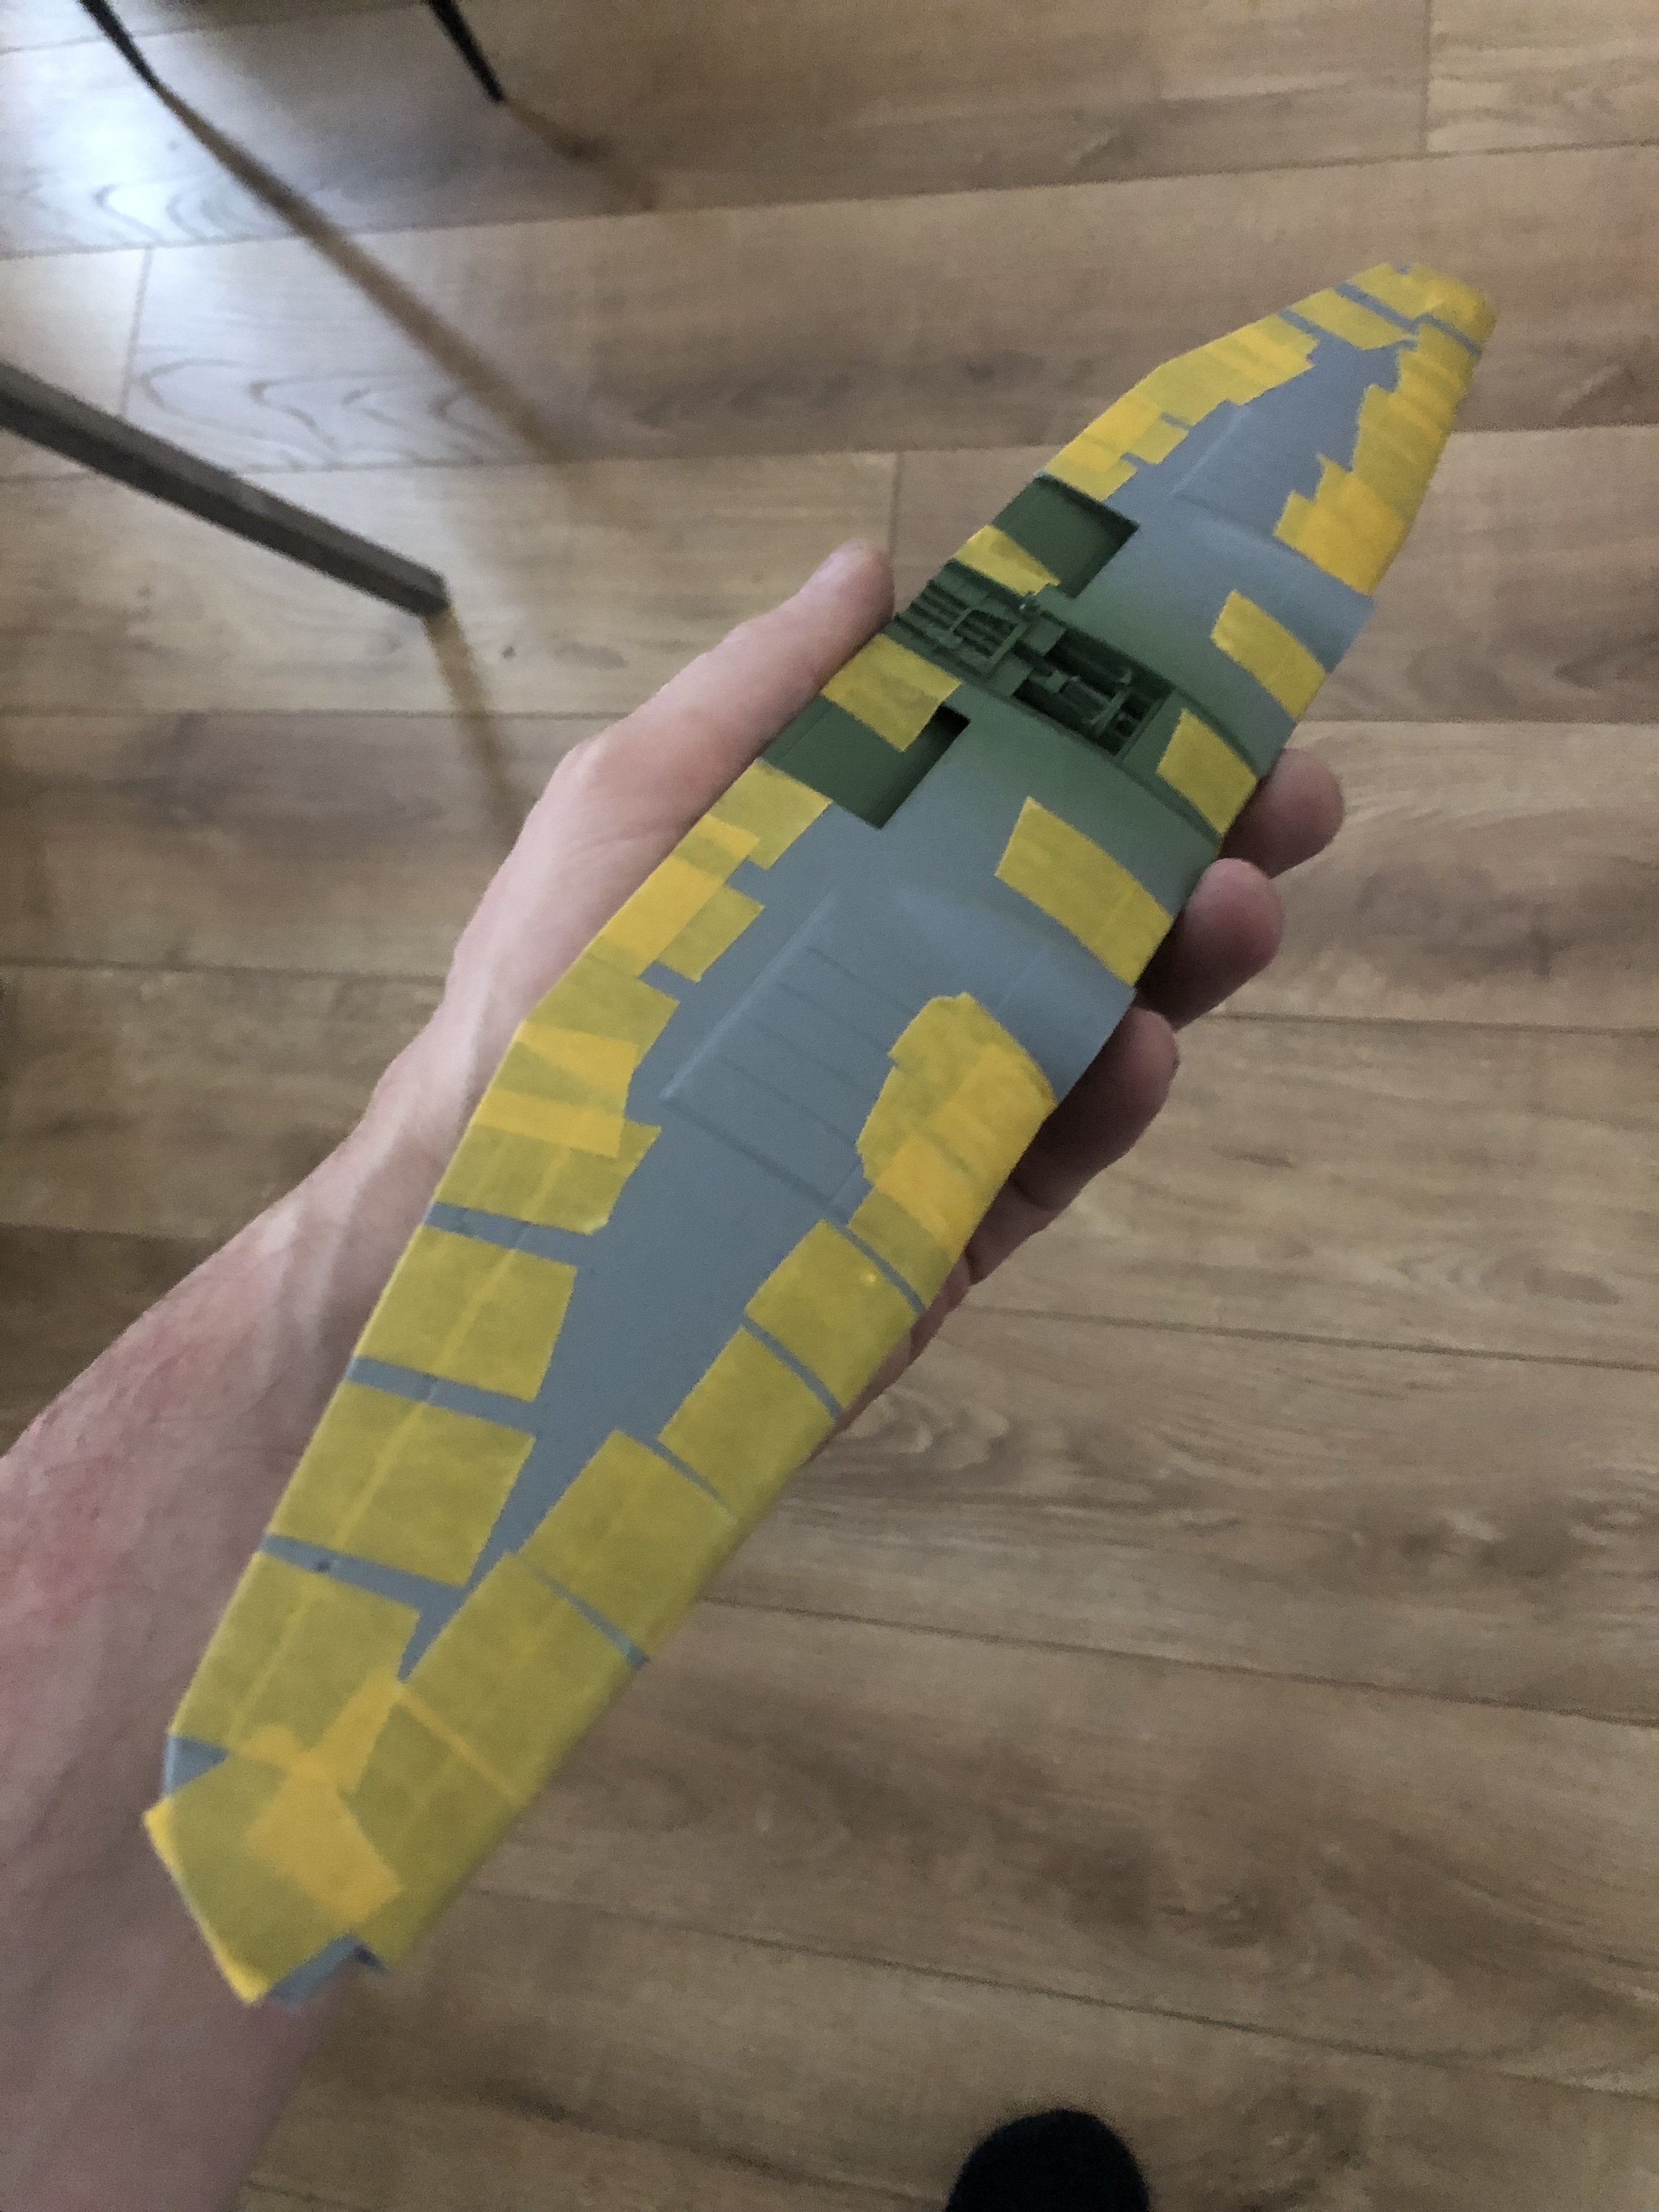
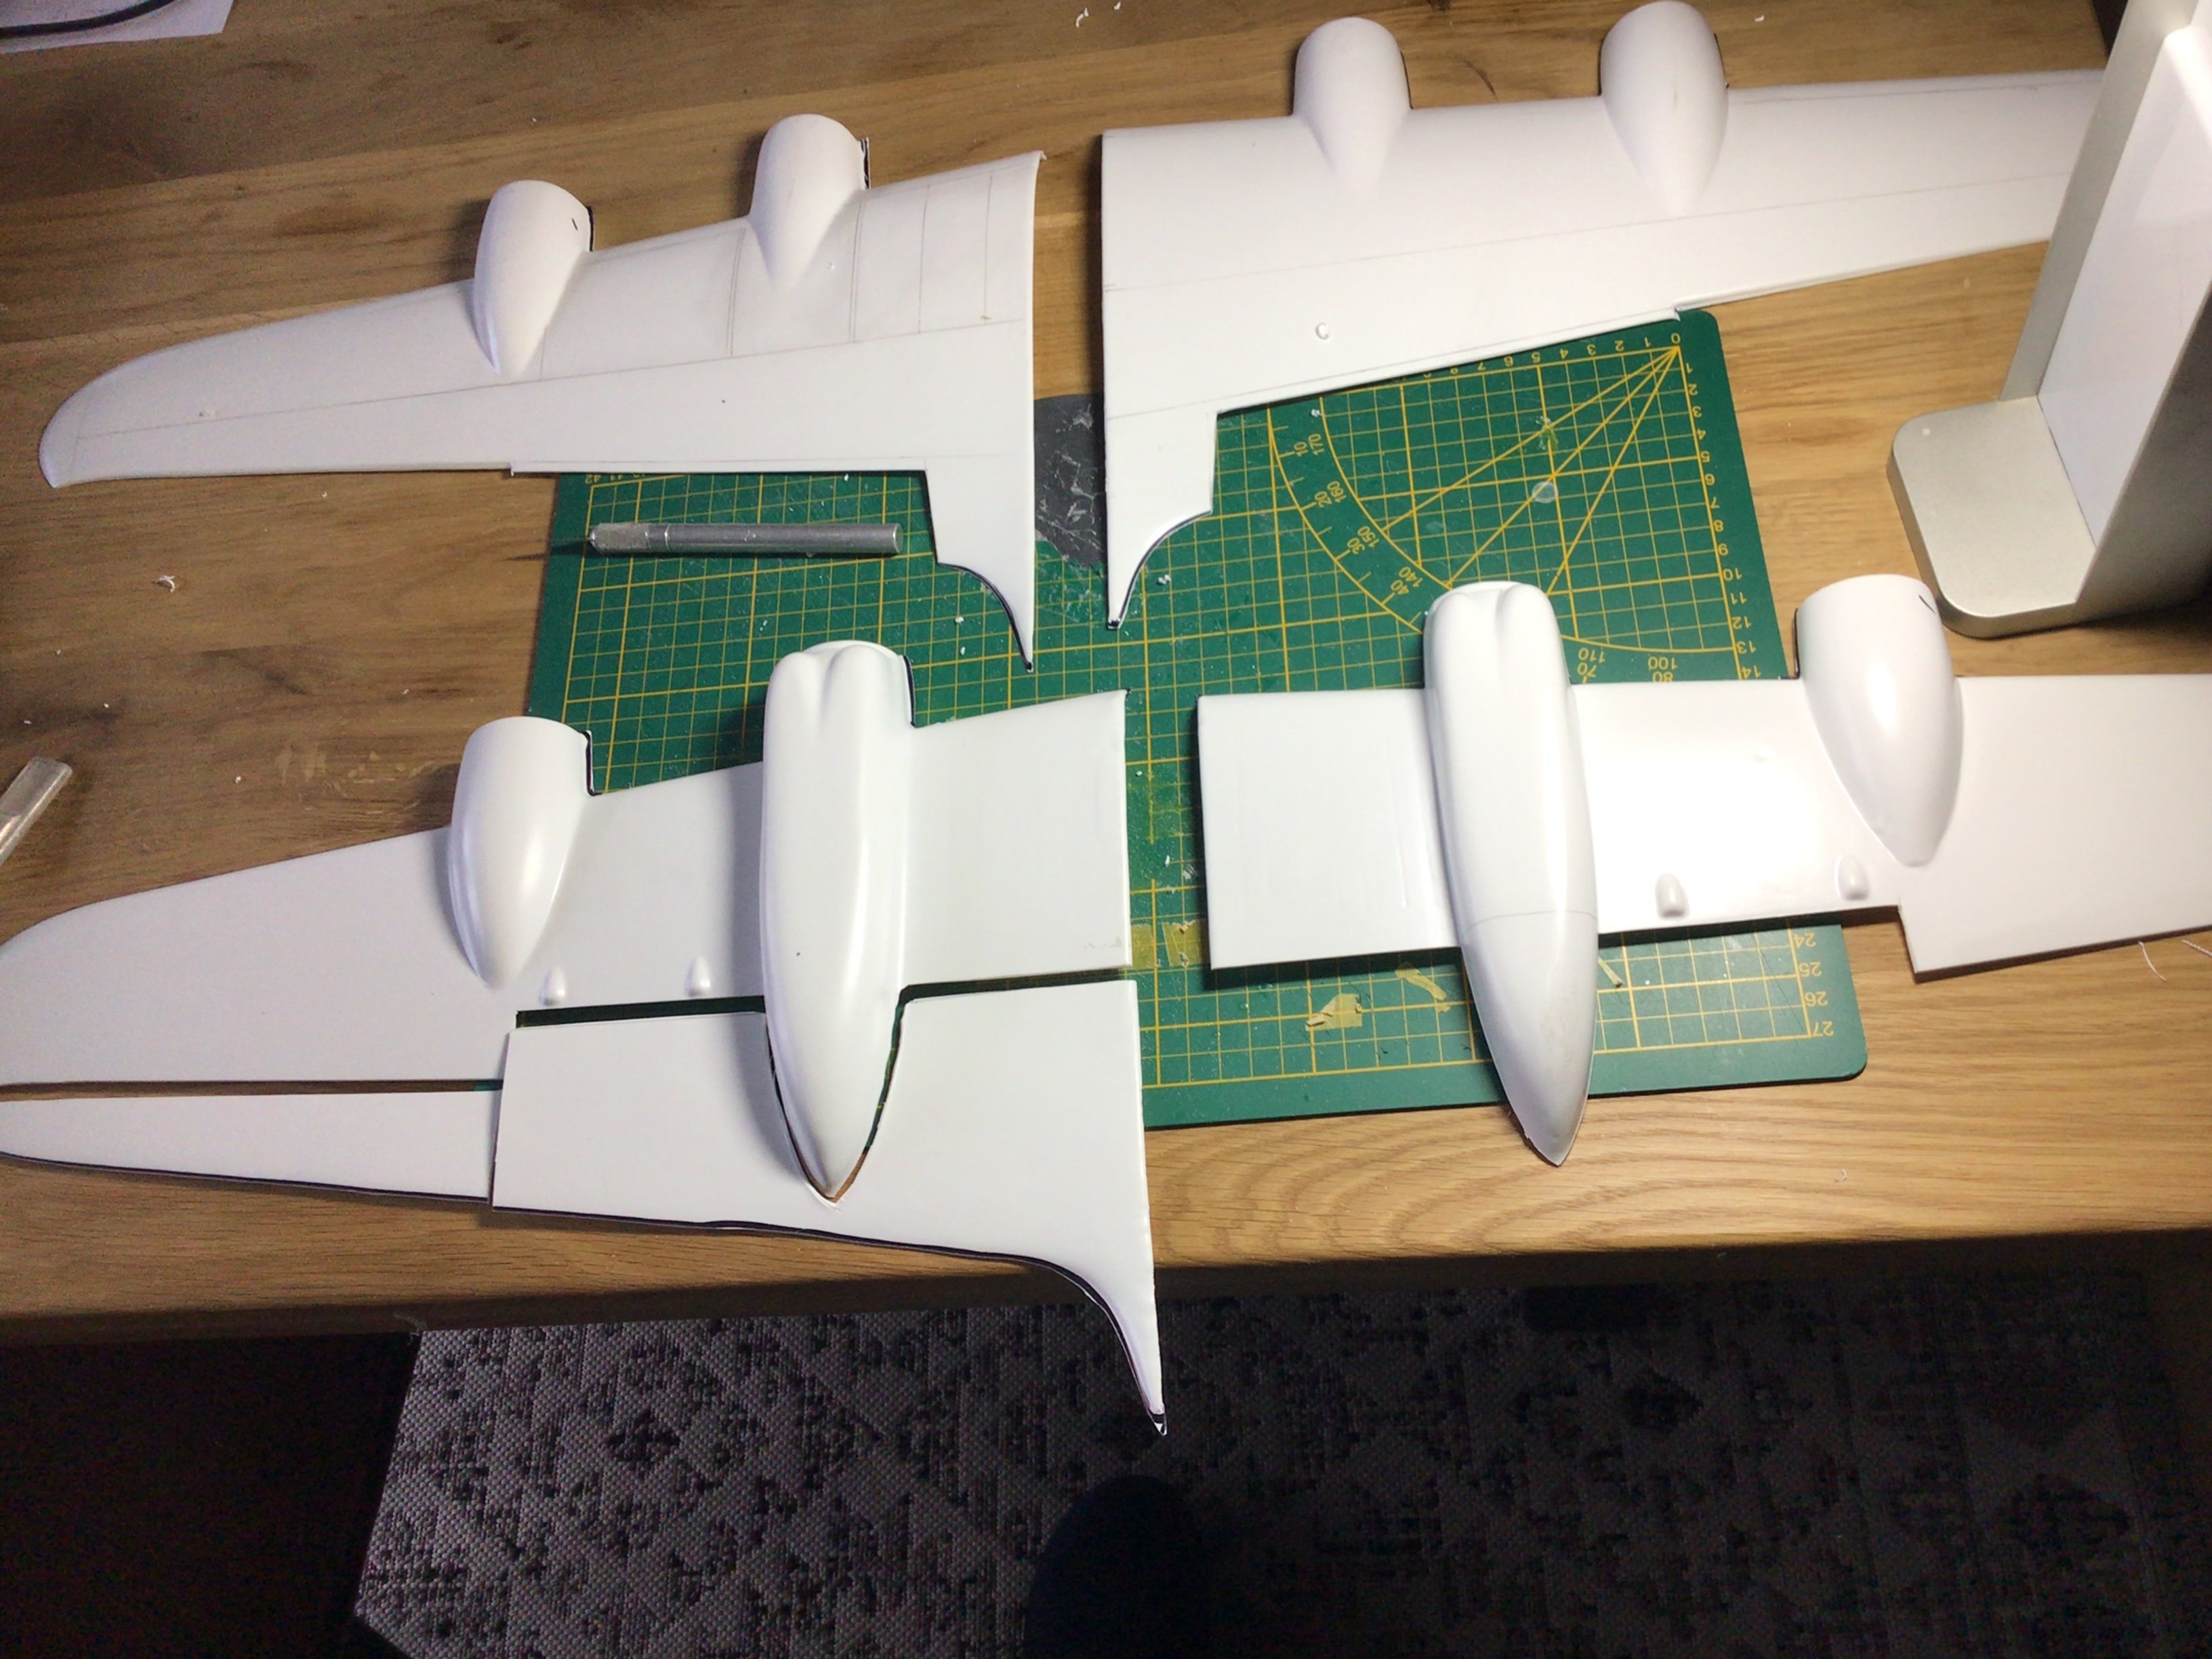
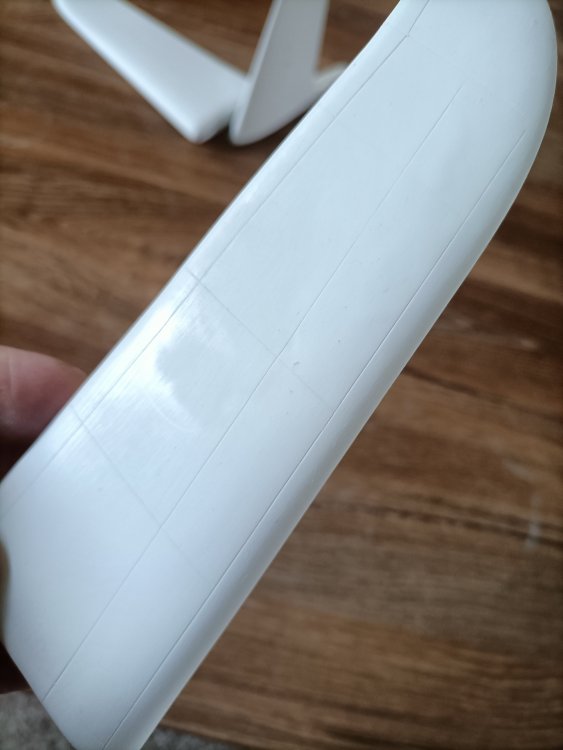
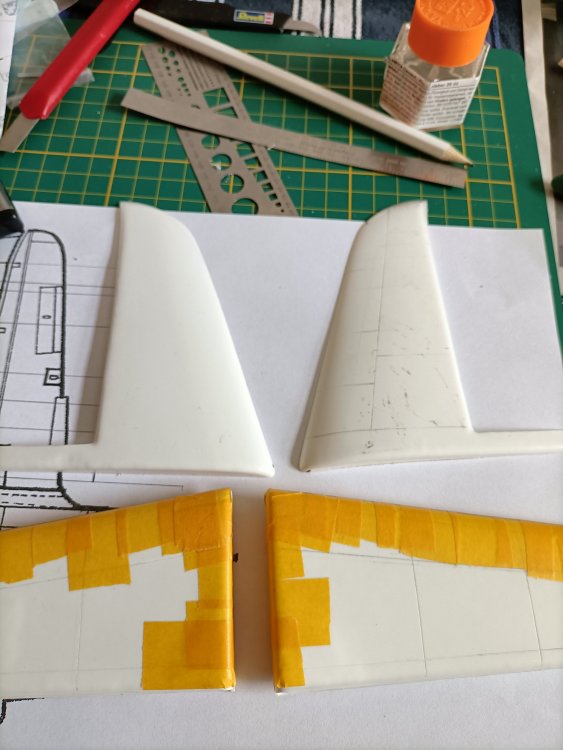
Hi Tom, Hope not, the plan is to keep everything forward of the frontspar intact and bend the surface aft of it. The kit wing crosssection is wrong as the undersurface of the Stirling was nearly flat. That was the reason for cutting away the wingroots as originally moulded. The nacelles need to keep their correct position relative to the fuselage. Been a while due to the lack of upscaled drawings, guesstimating is not an option so I continued by cutting out the starboard undersurface flap and aileron. These parts sure are flimsy and sturdy wingspars will be a necessary luxury. Took these pics with the iPad due to the size of the wingparts.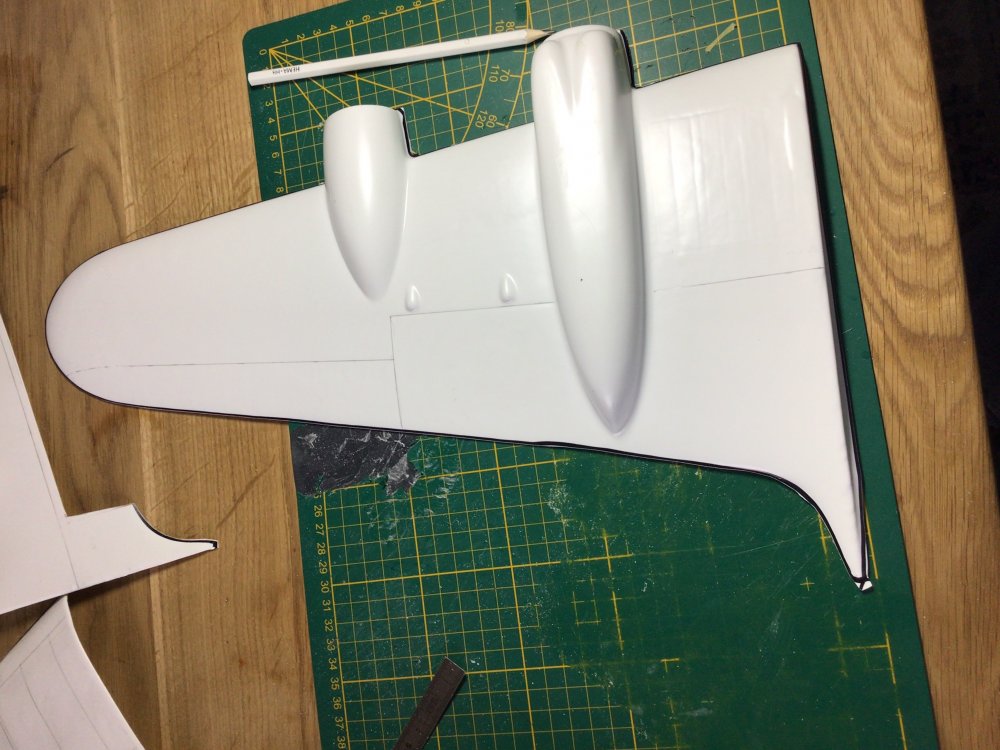


-
Fw190A-8 3/JG1 crash Vreeland
Wingco57 replied to JeroenPeters's topic in LSM 1/35 and Larger Work In Progress
Autsch, seems like a serious case of faulty quality control. Or storage in a warm environment. -
Daft project or is it? 1/32 Short Stirling III
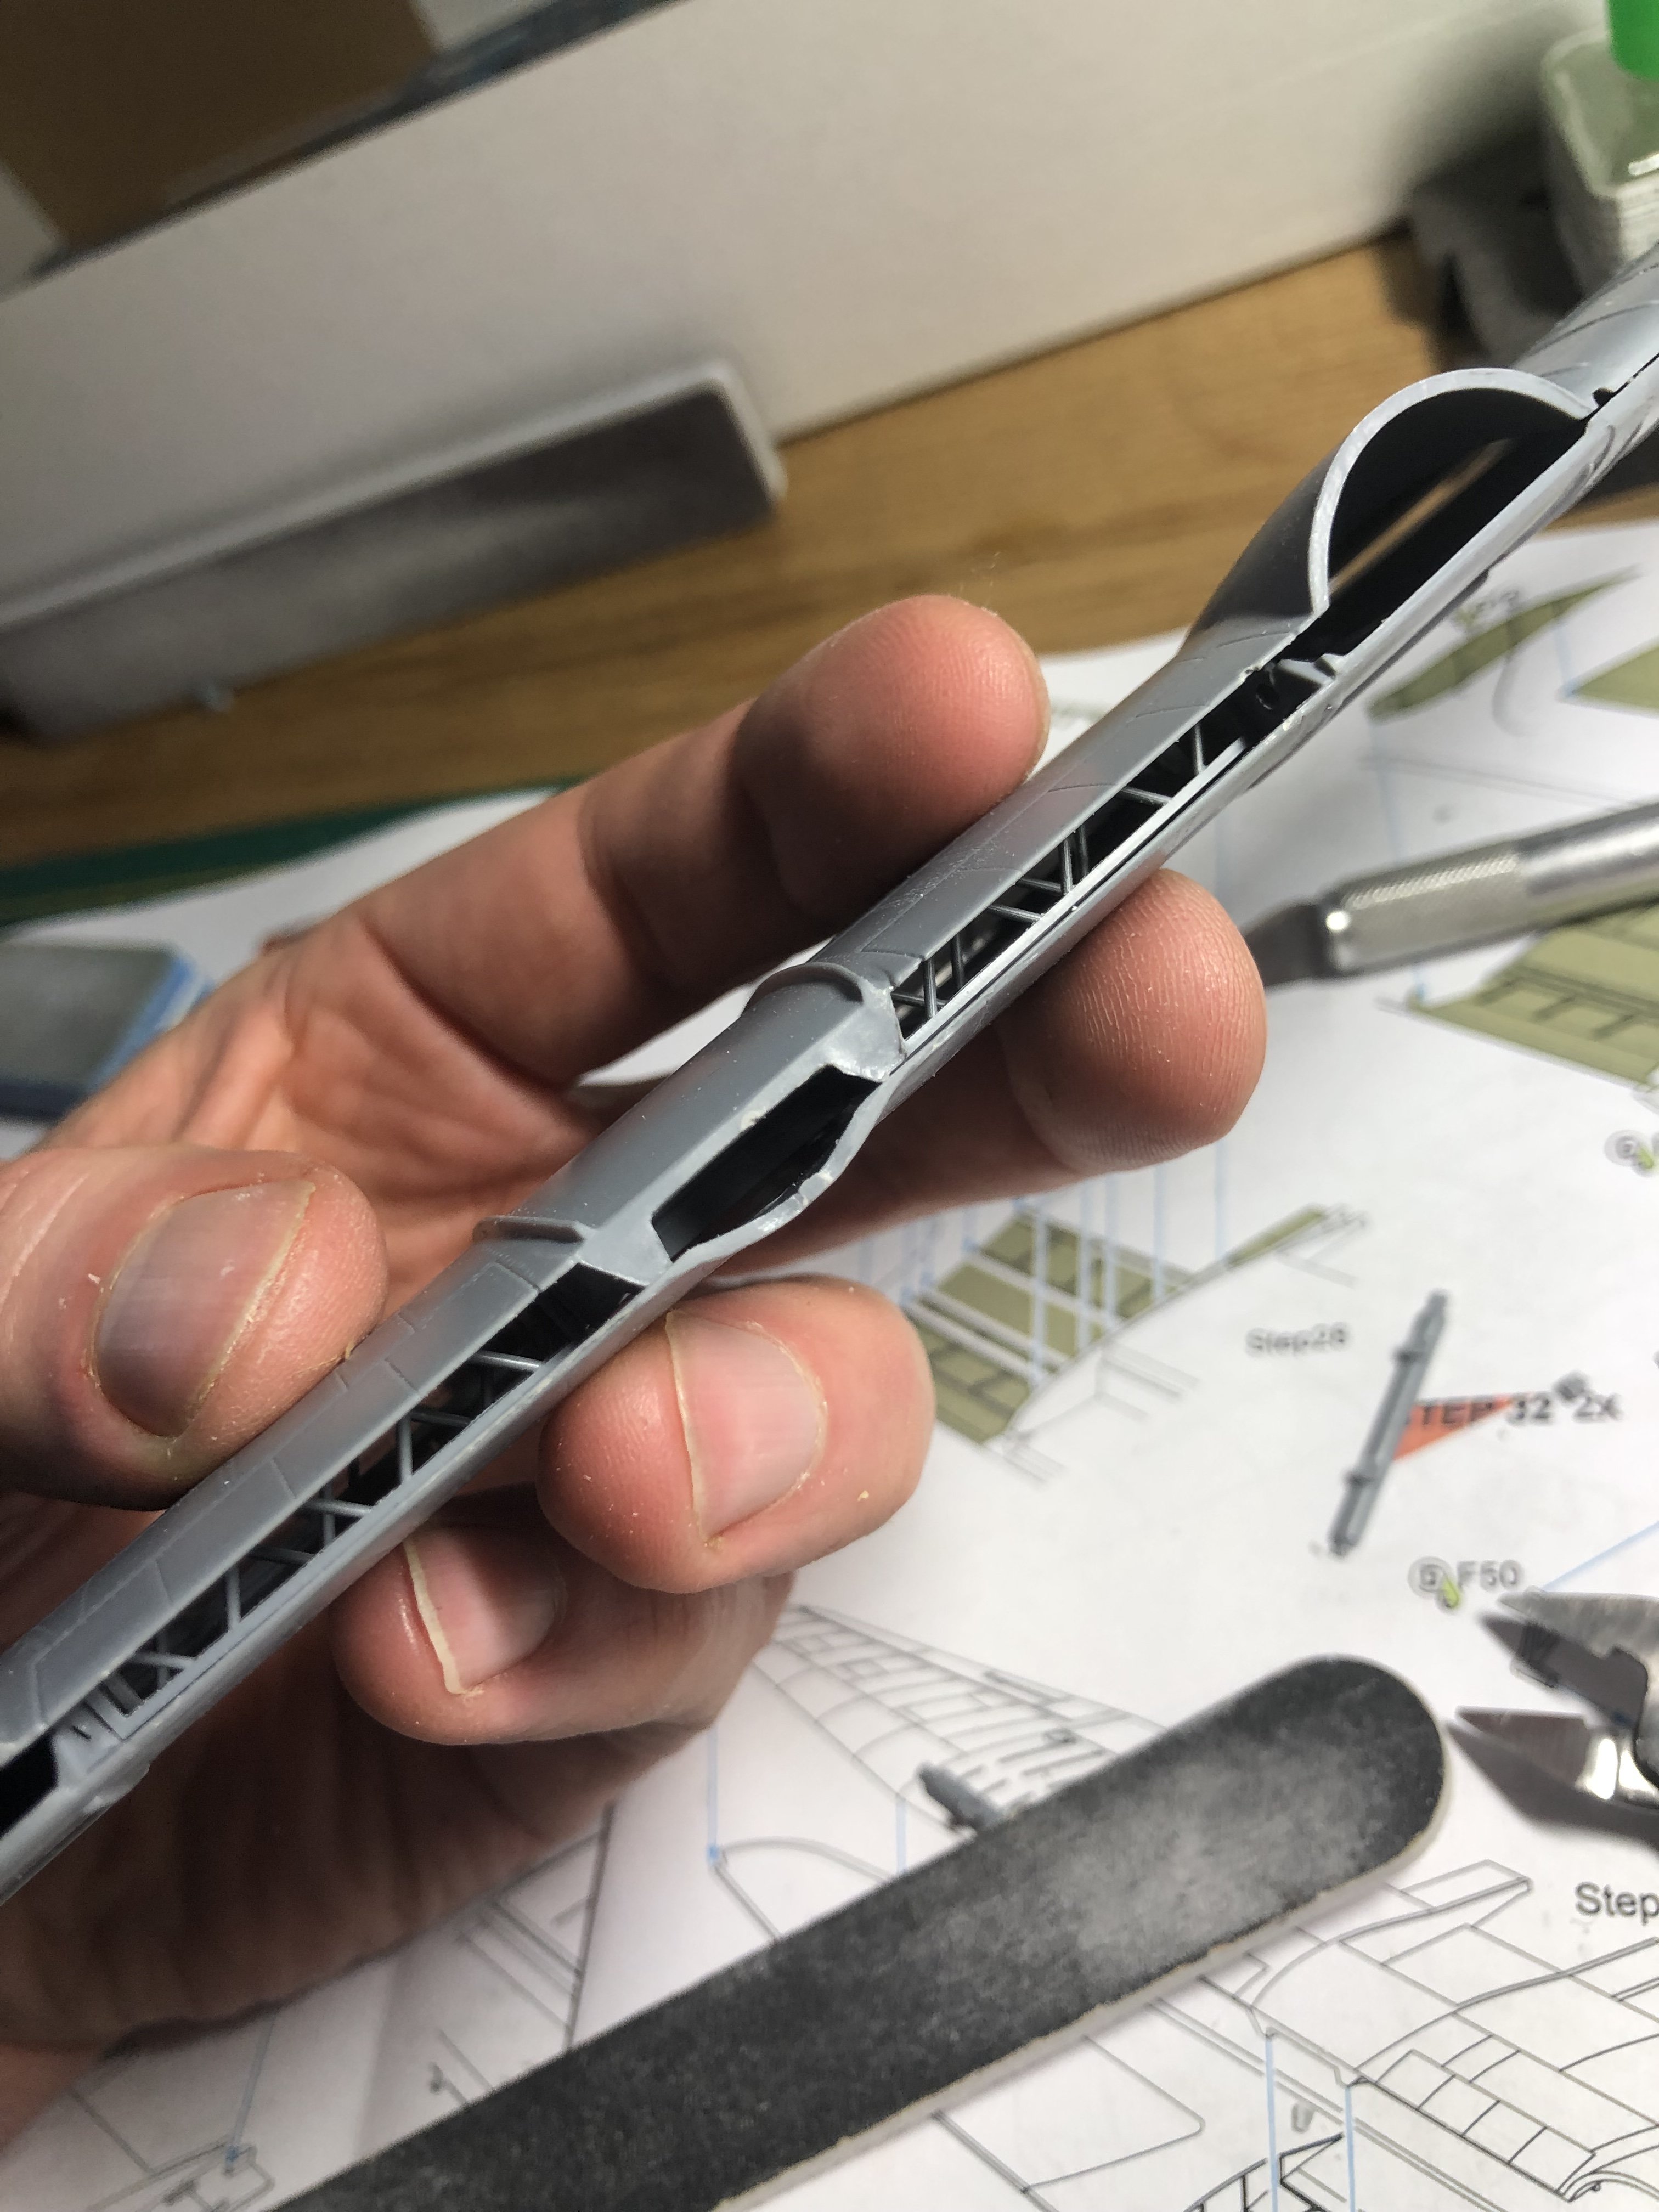
Wingco57 replied to Wingco57's topic in LSM 1/35 and Larger Work In Progress
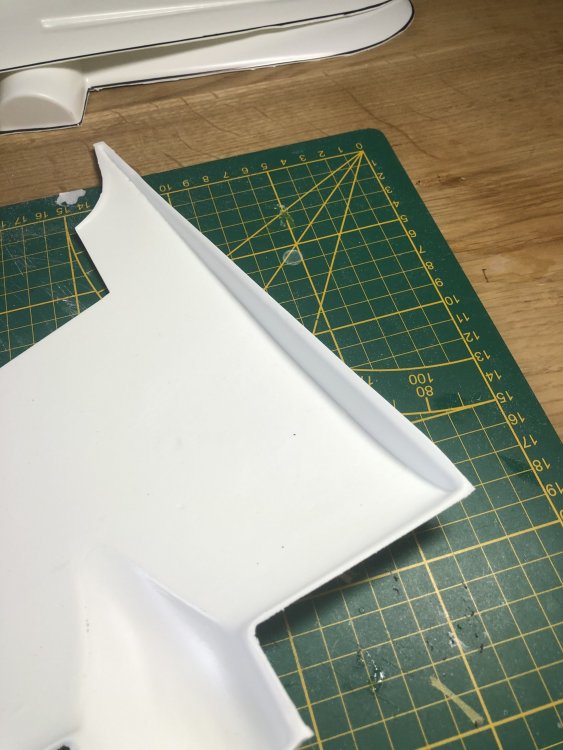
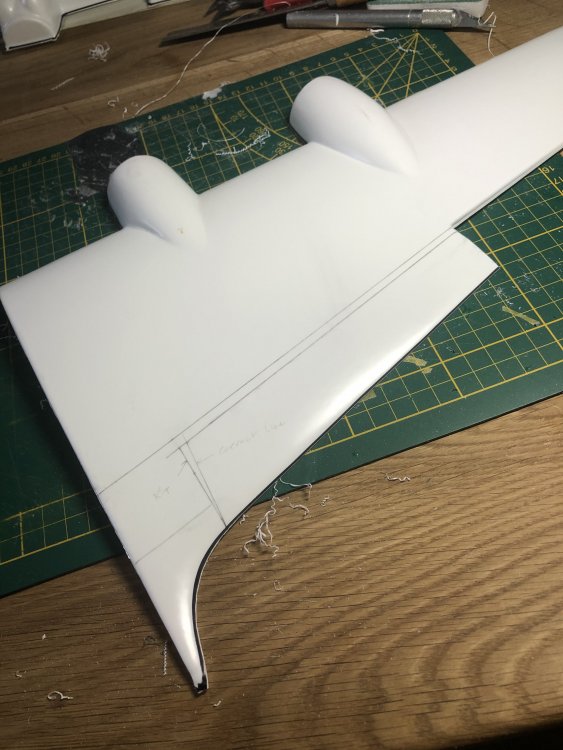
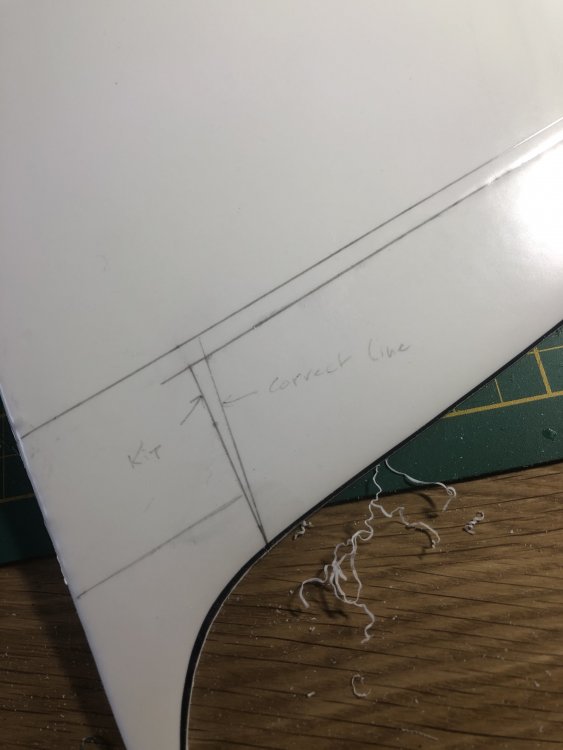
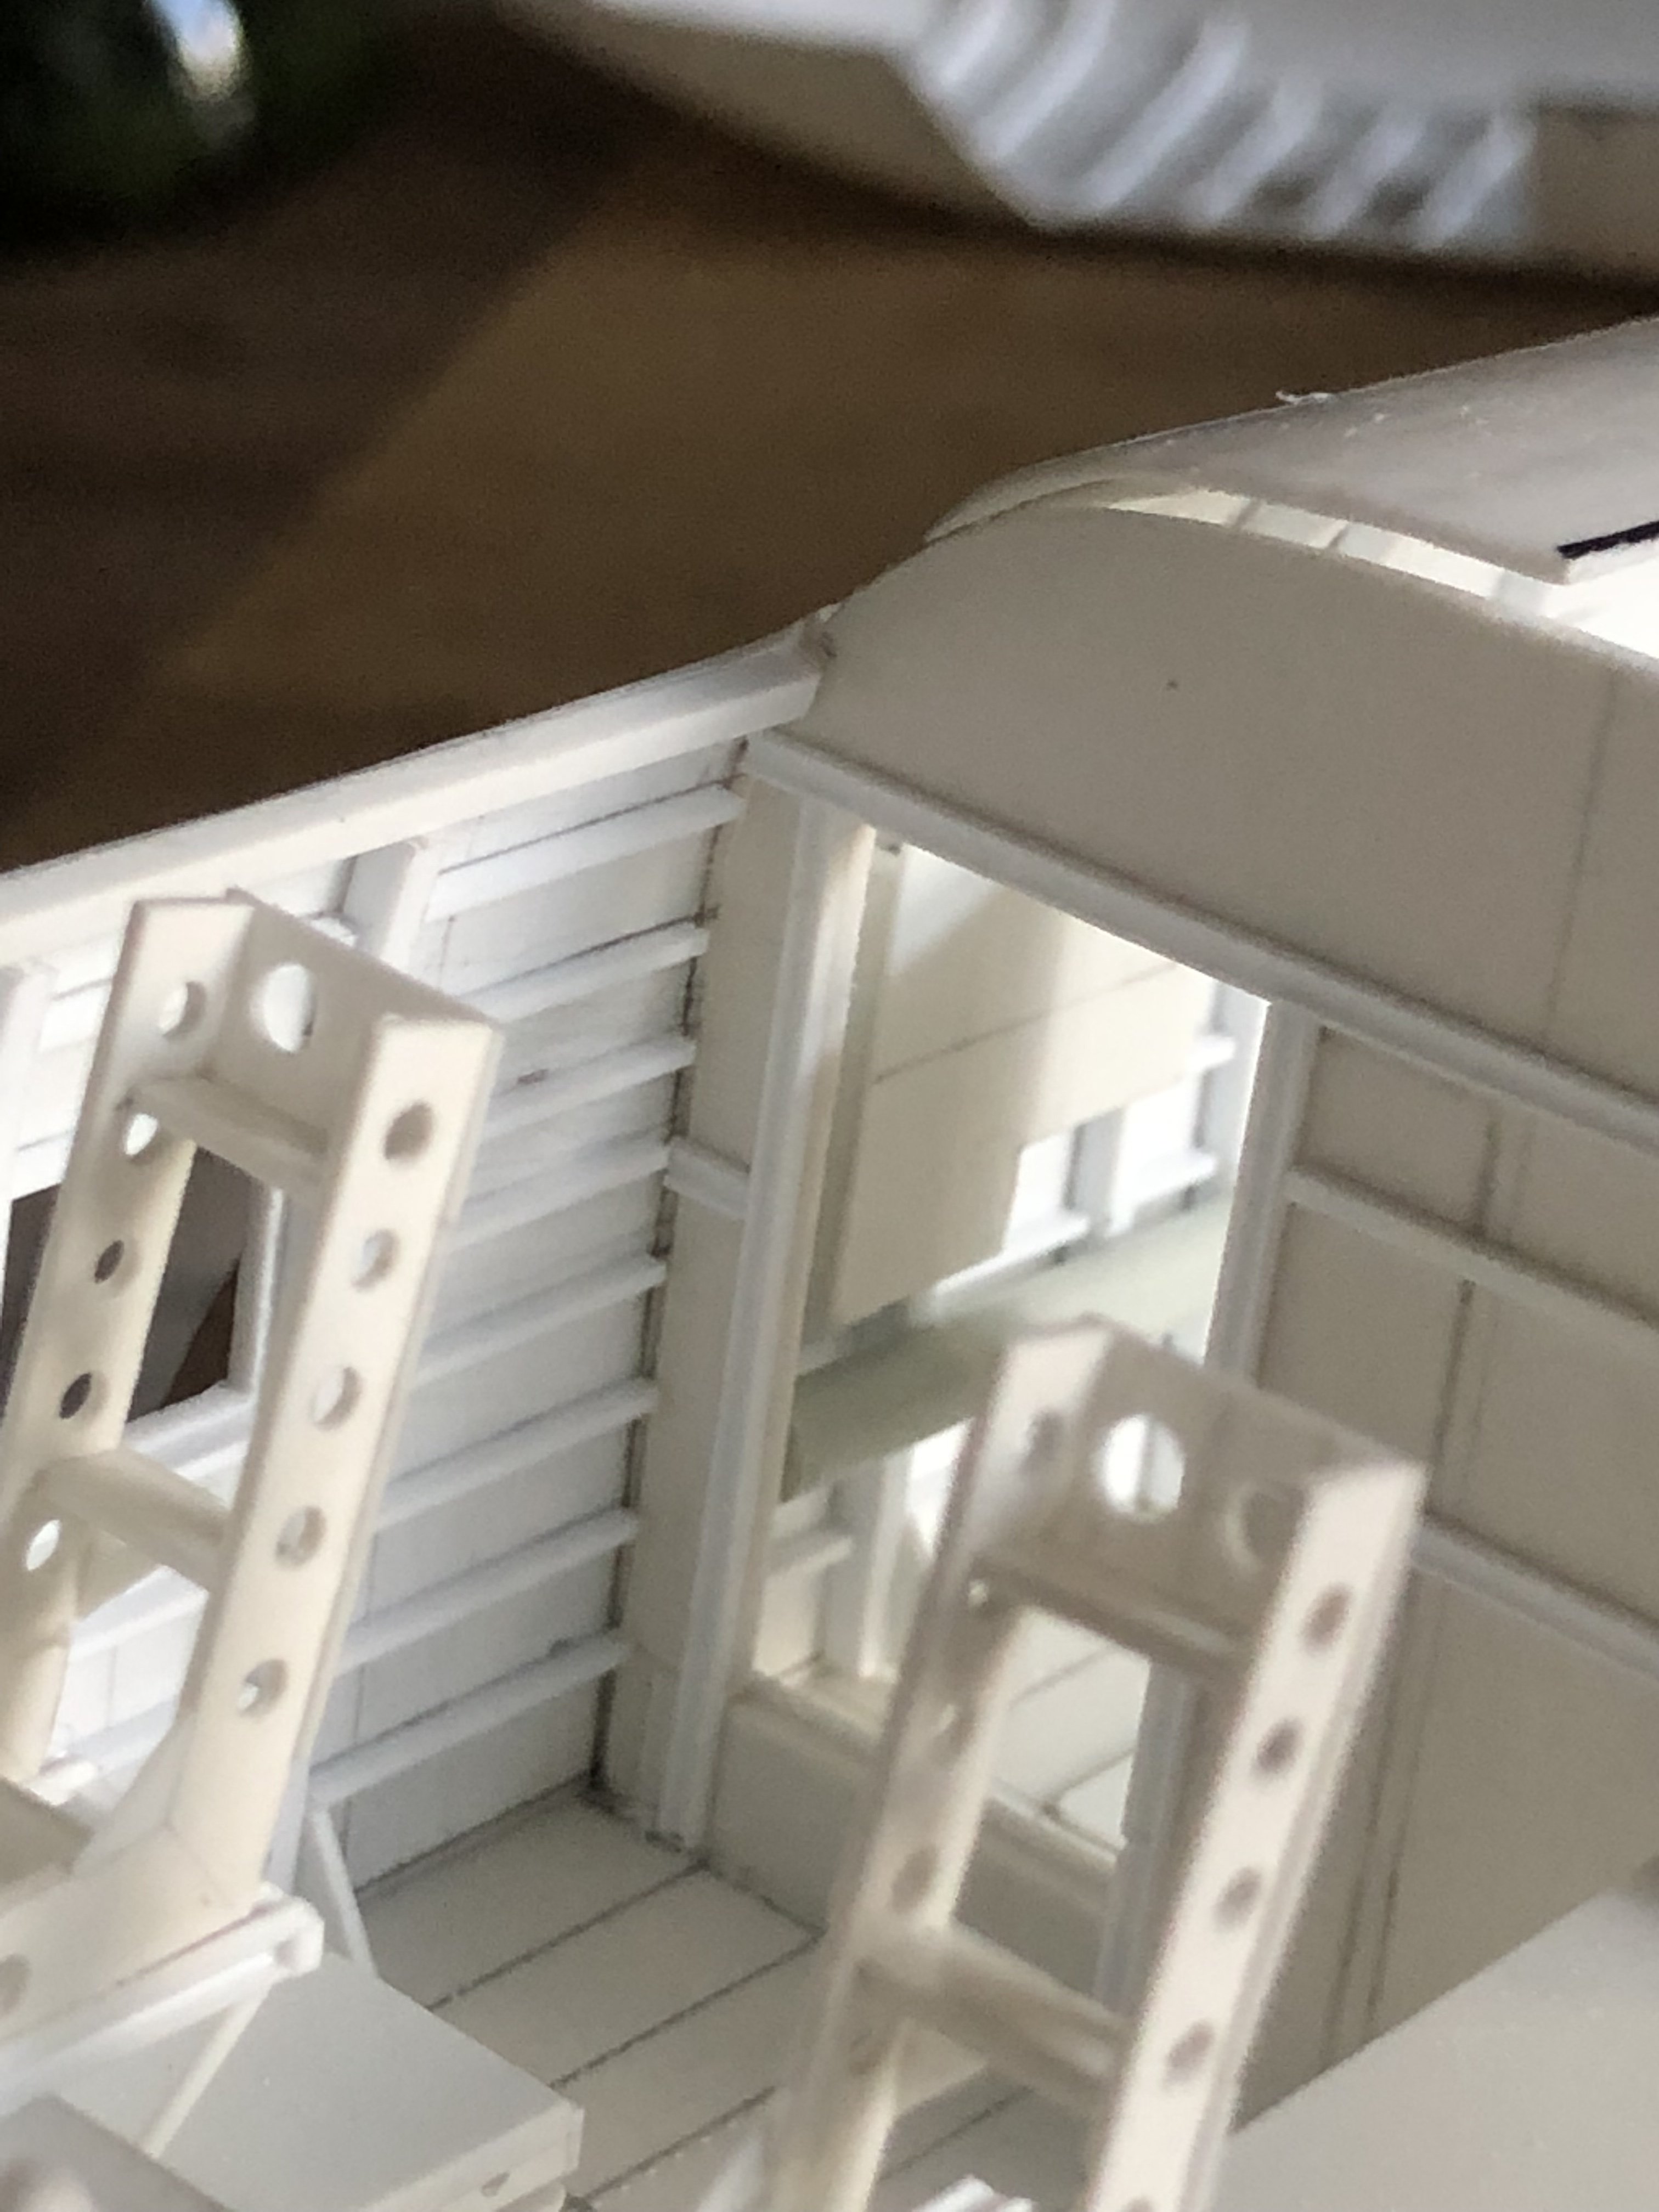
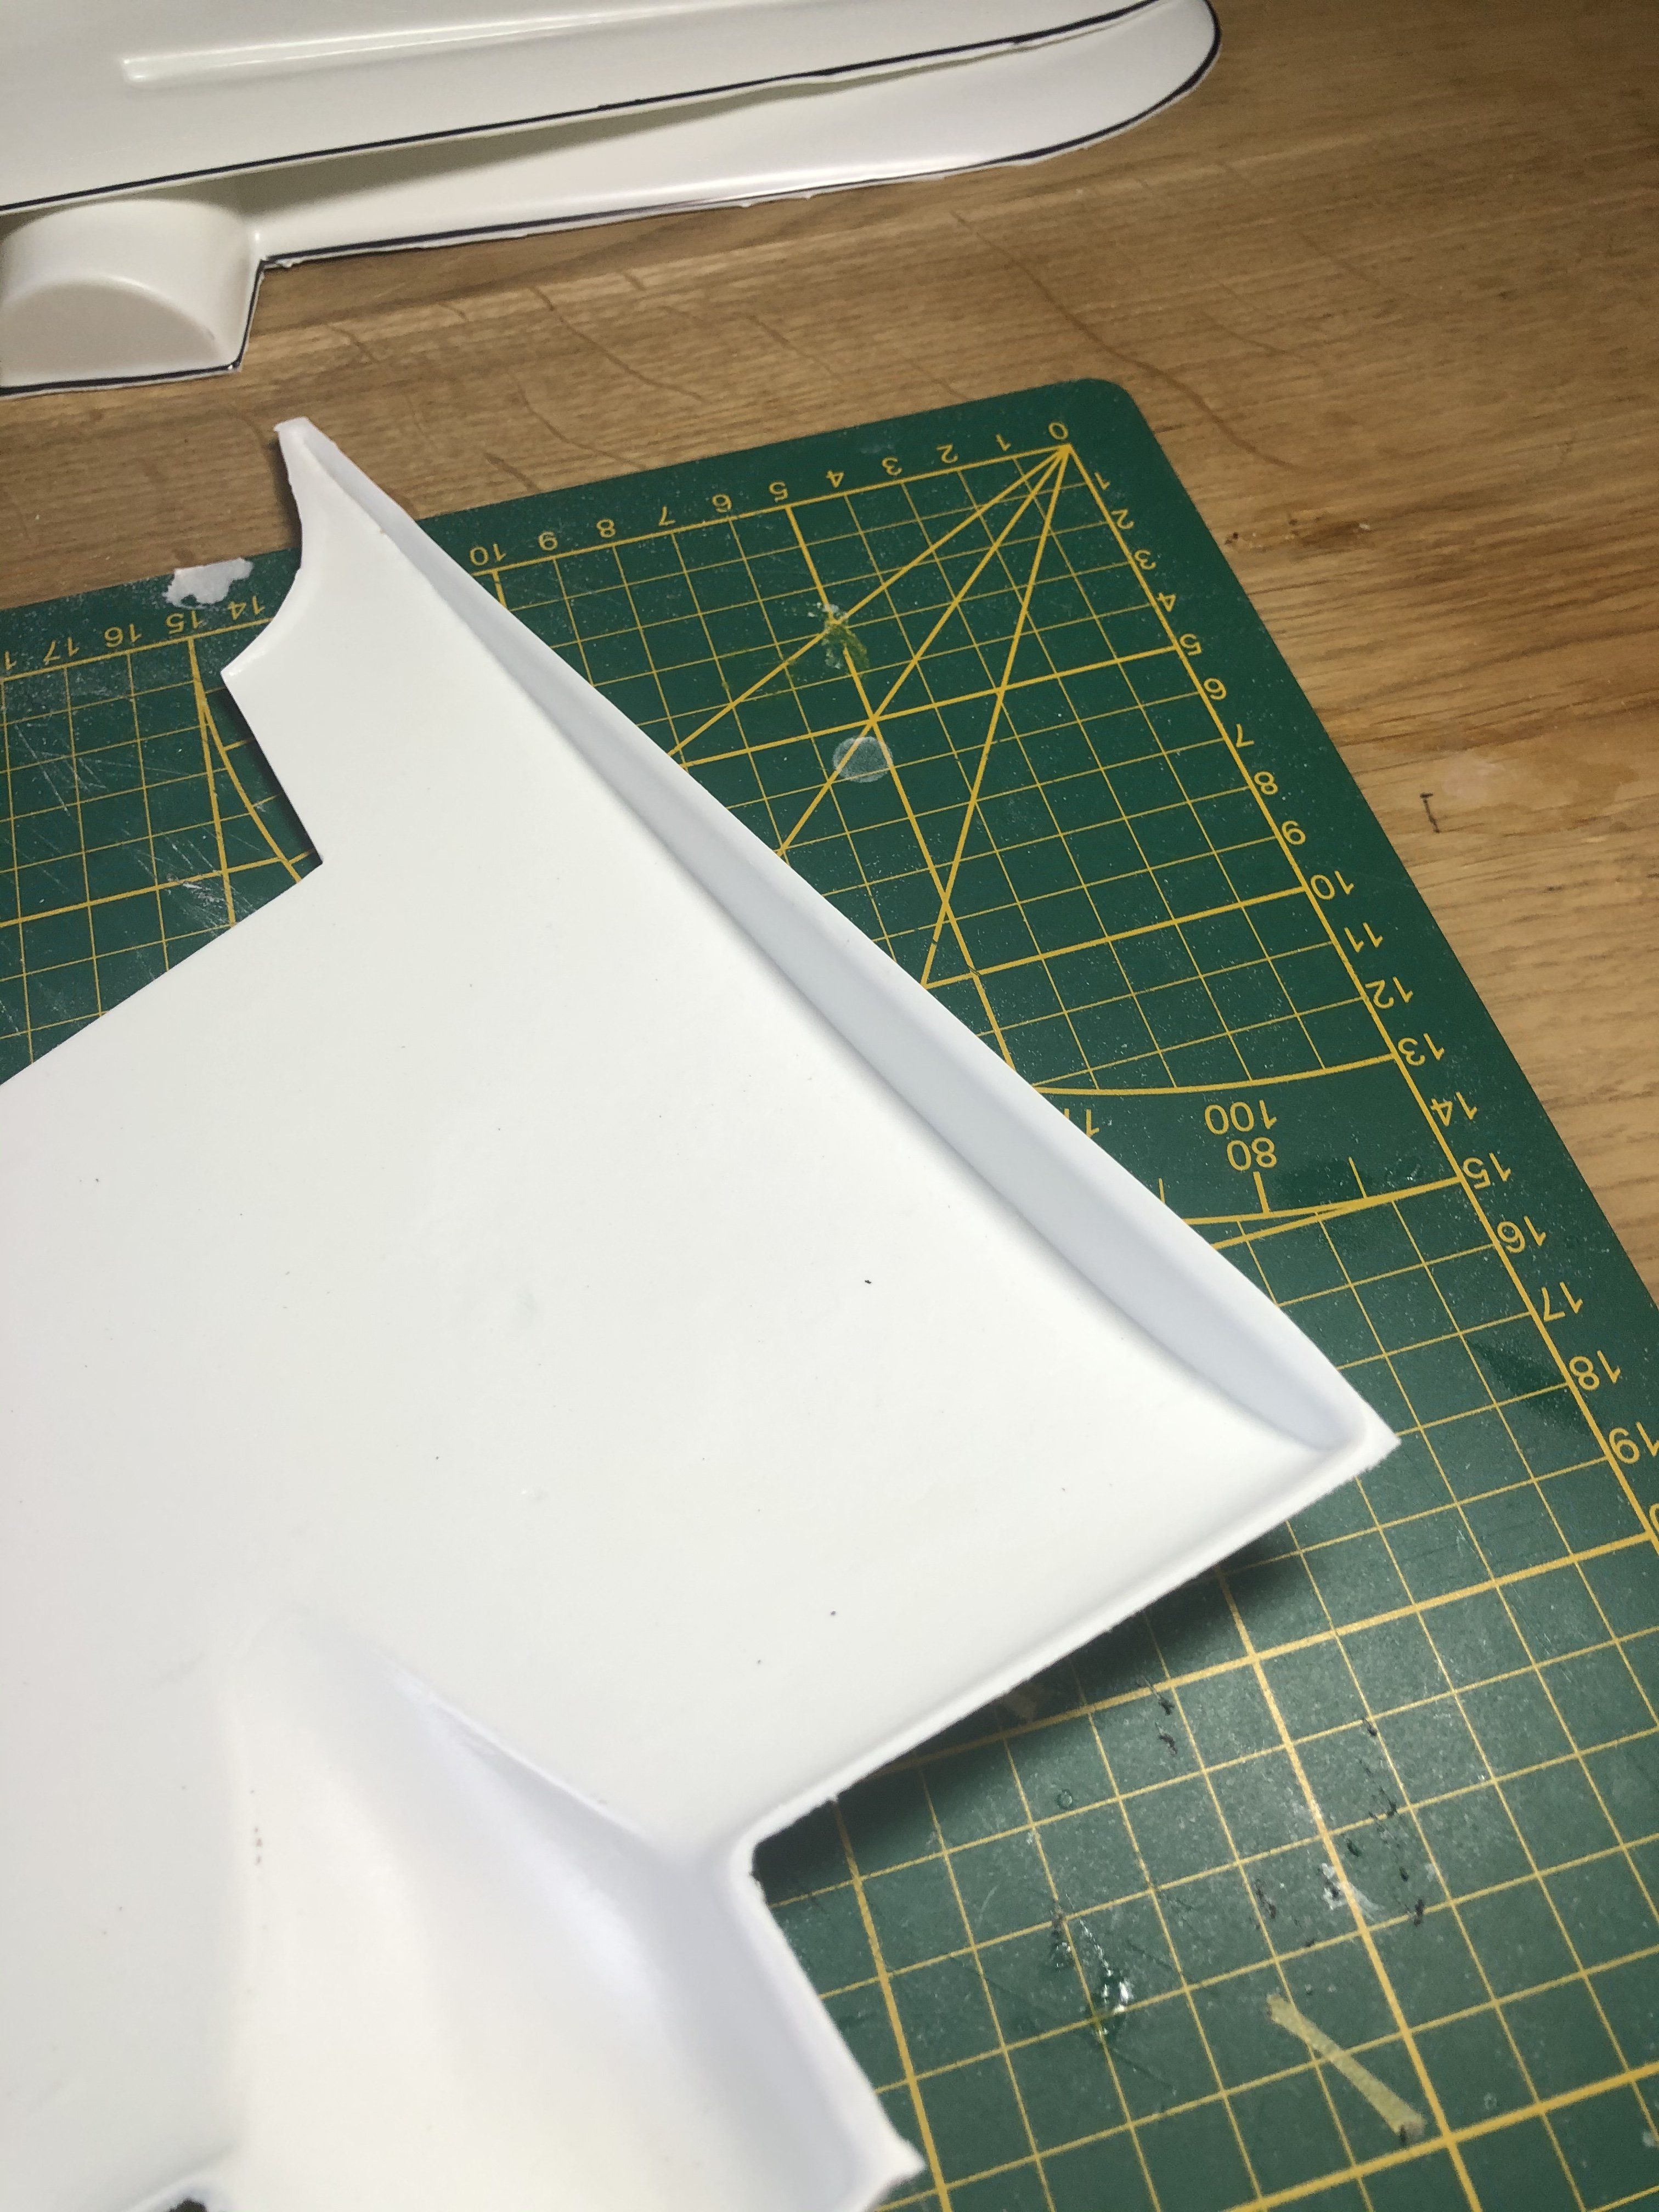
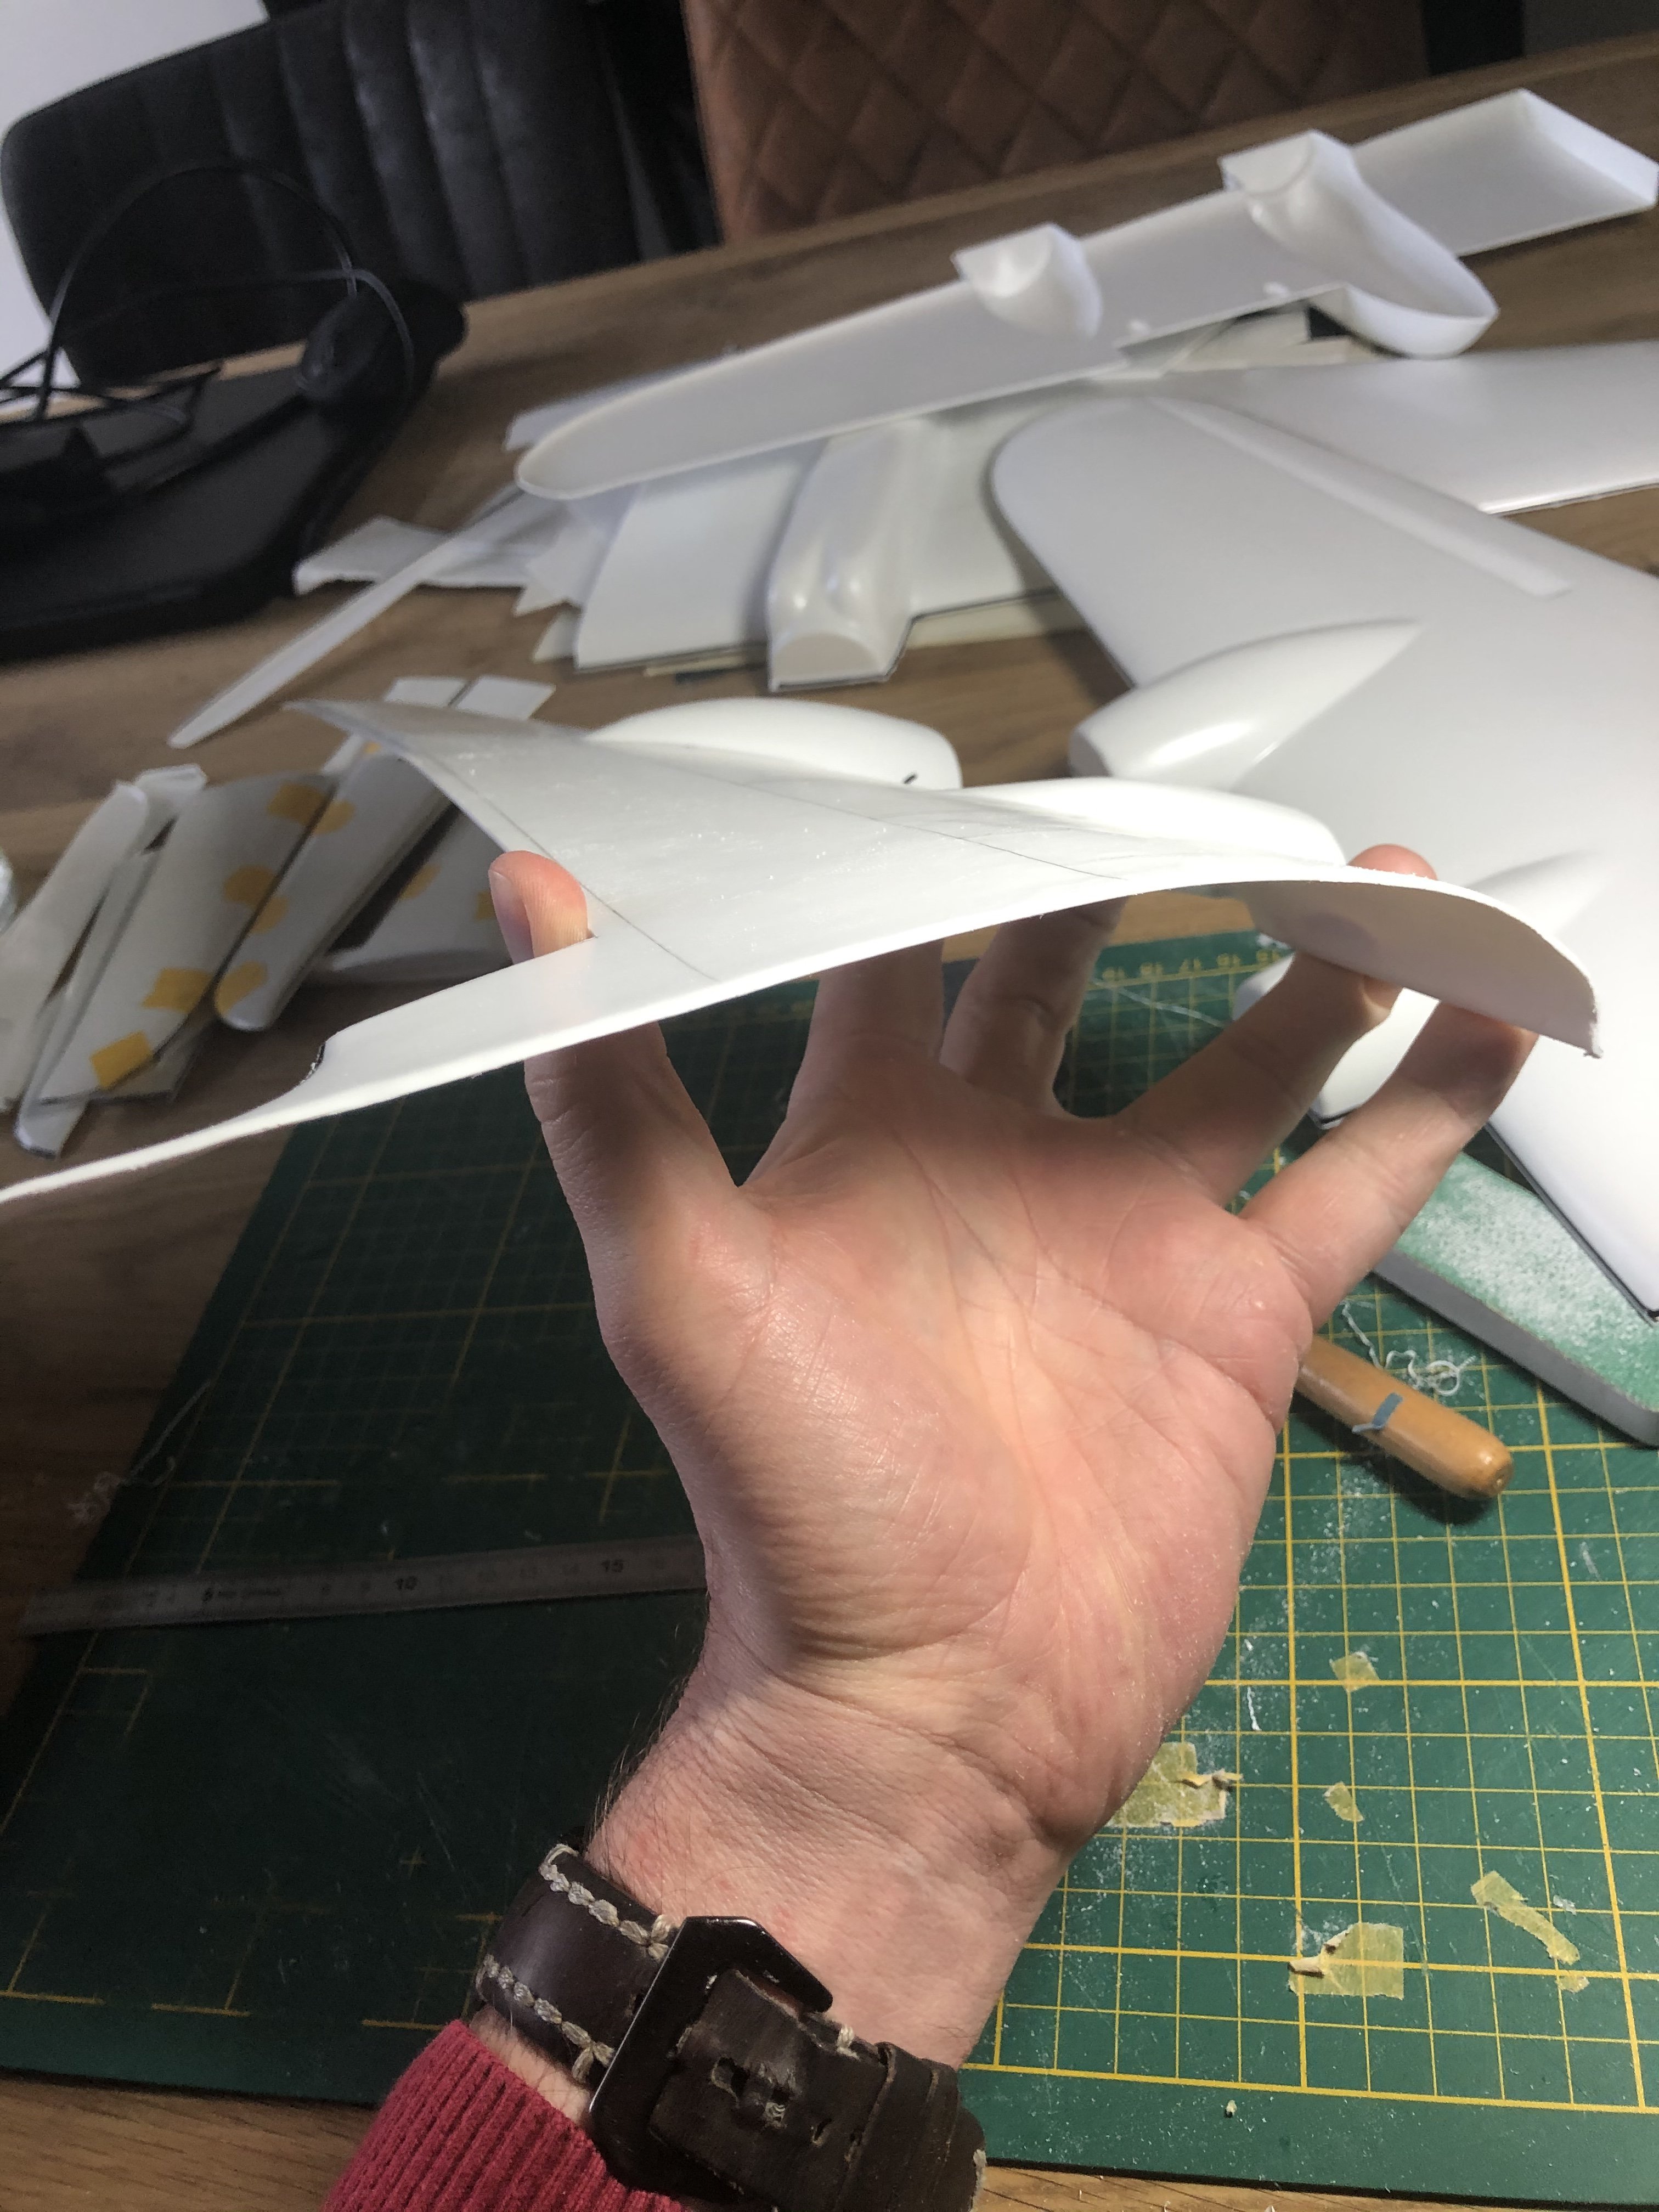
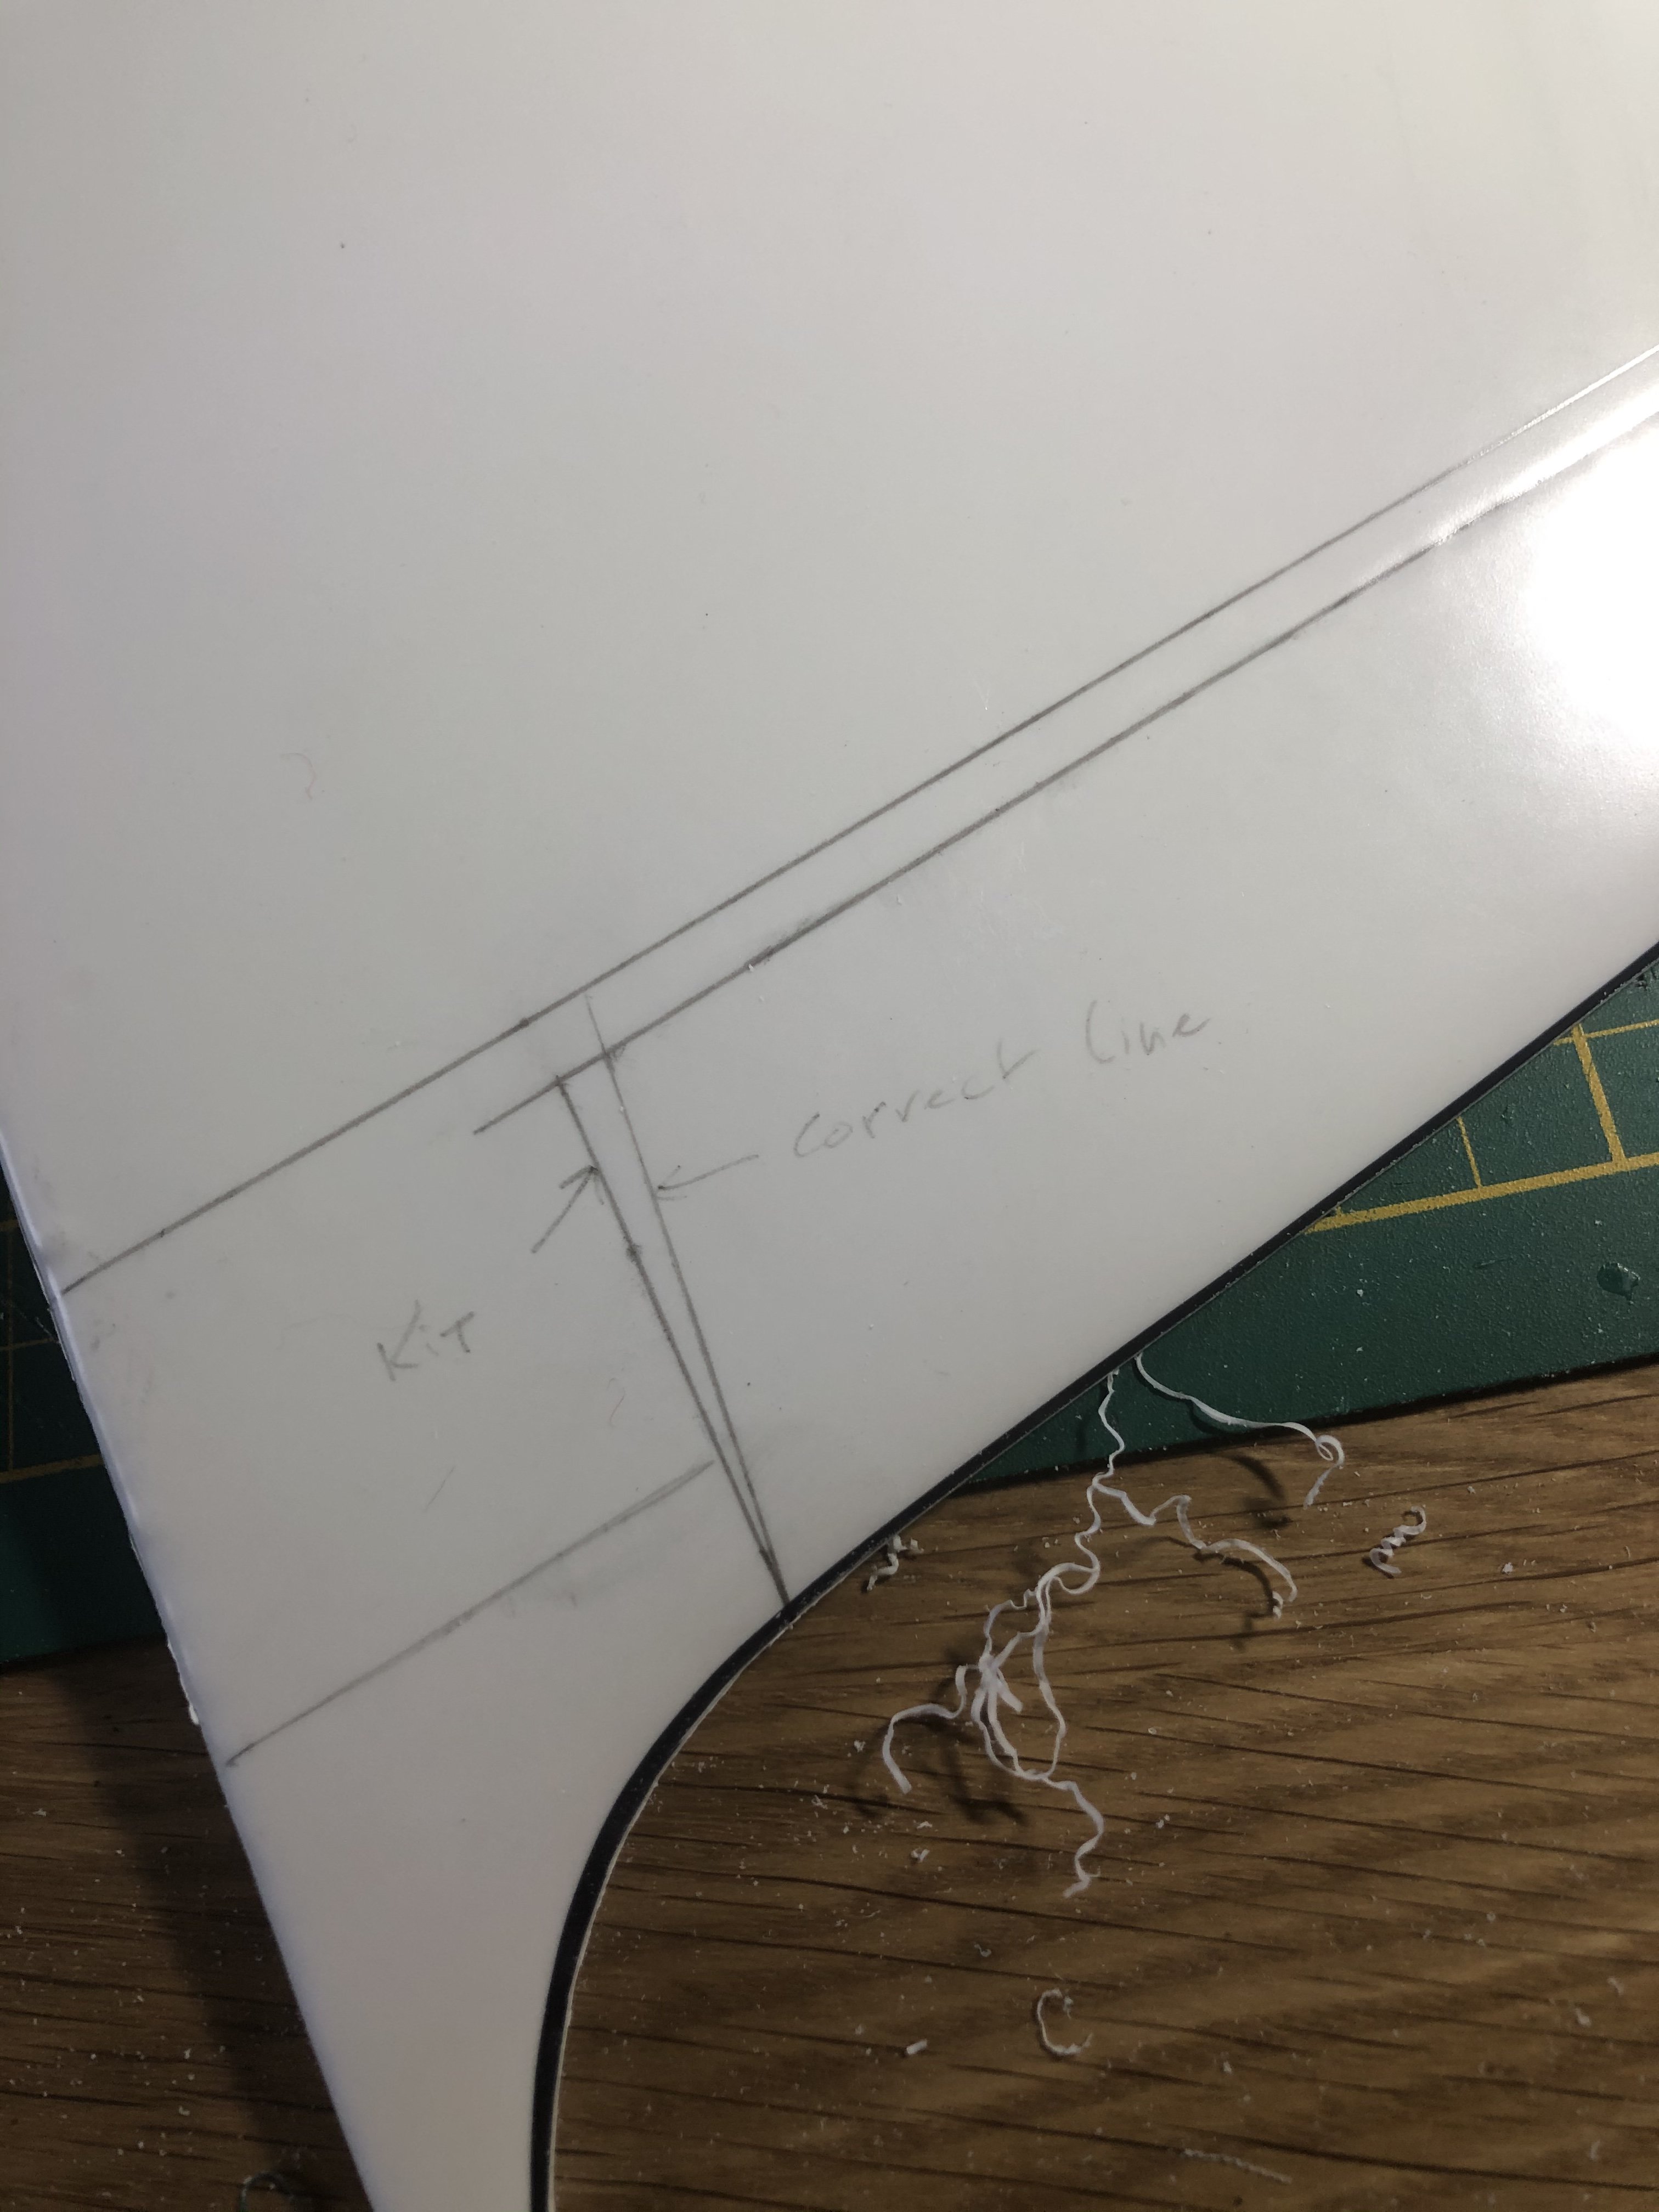
Thanks, work continues with cutting out the tailparts. Then I concentrated on the wings. I temporarily stopped working on the cockpit due to the lack of proper sized drawings. I think a trip to the office is needed although working from home since March 2020. in the meantime I have cut away the wingroots as the profile is incorrect. Being too flat, it should curve at the top and flat at the bottom. Also adjusted the flap separating line as they are not symmetrical (tip, never trust anything but check). Also the wings are very flexible now and really need some strong spars. Next time marking out the panellines and hopefully followed by some scribing.