Wingco57
-
Posts
3,925 -
Joined
-
Last visited
Content Type
Profiles
Forums
Events
Gallery
Everything posted by Wingco57
-

Daft project or is it? 1/32 Short Stirling III
Wingco57 replied to Wingco57's topic in LSM 1/35 and Larger Work In Progress
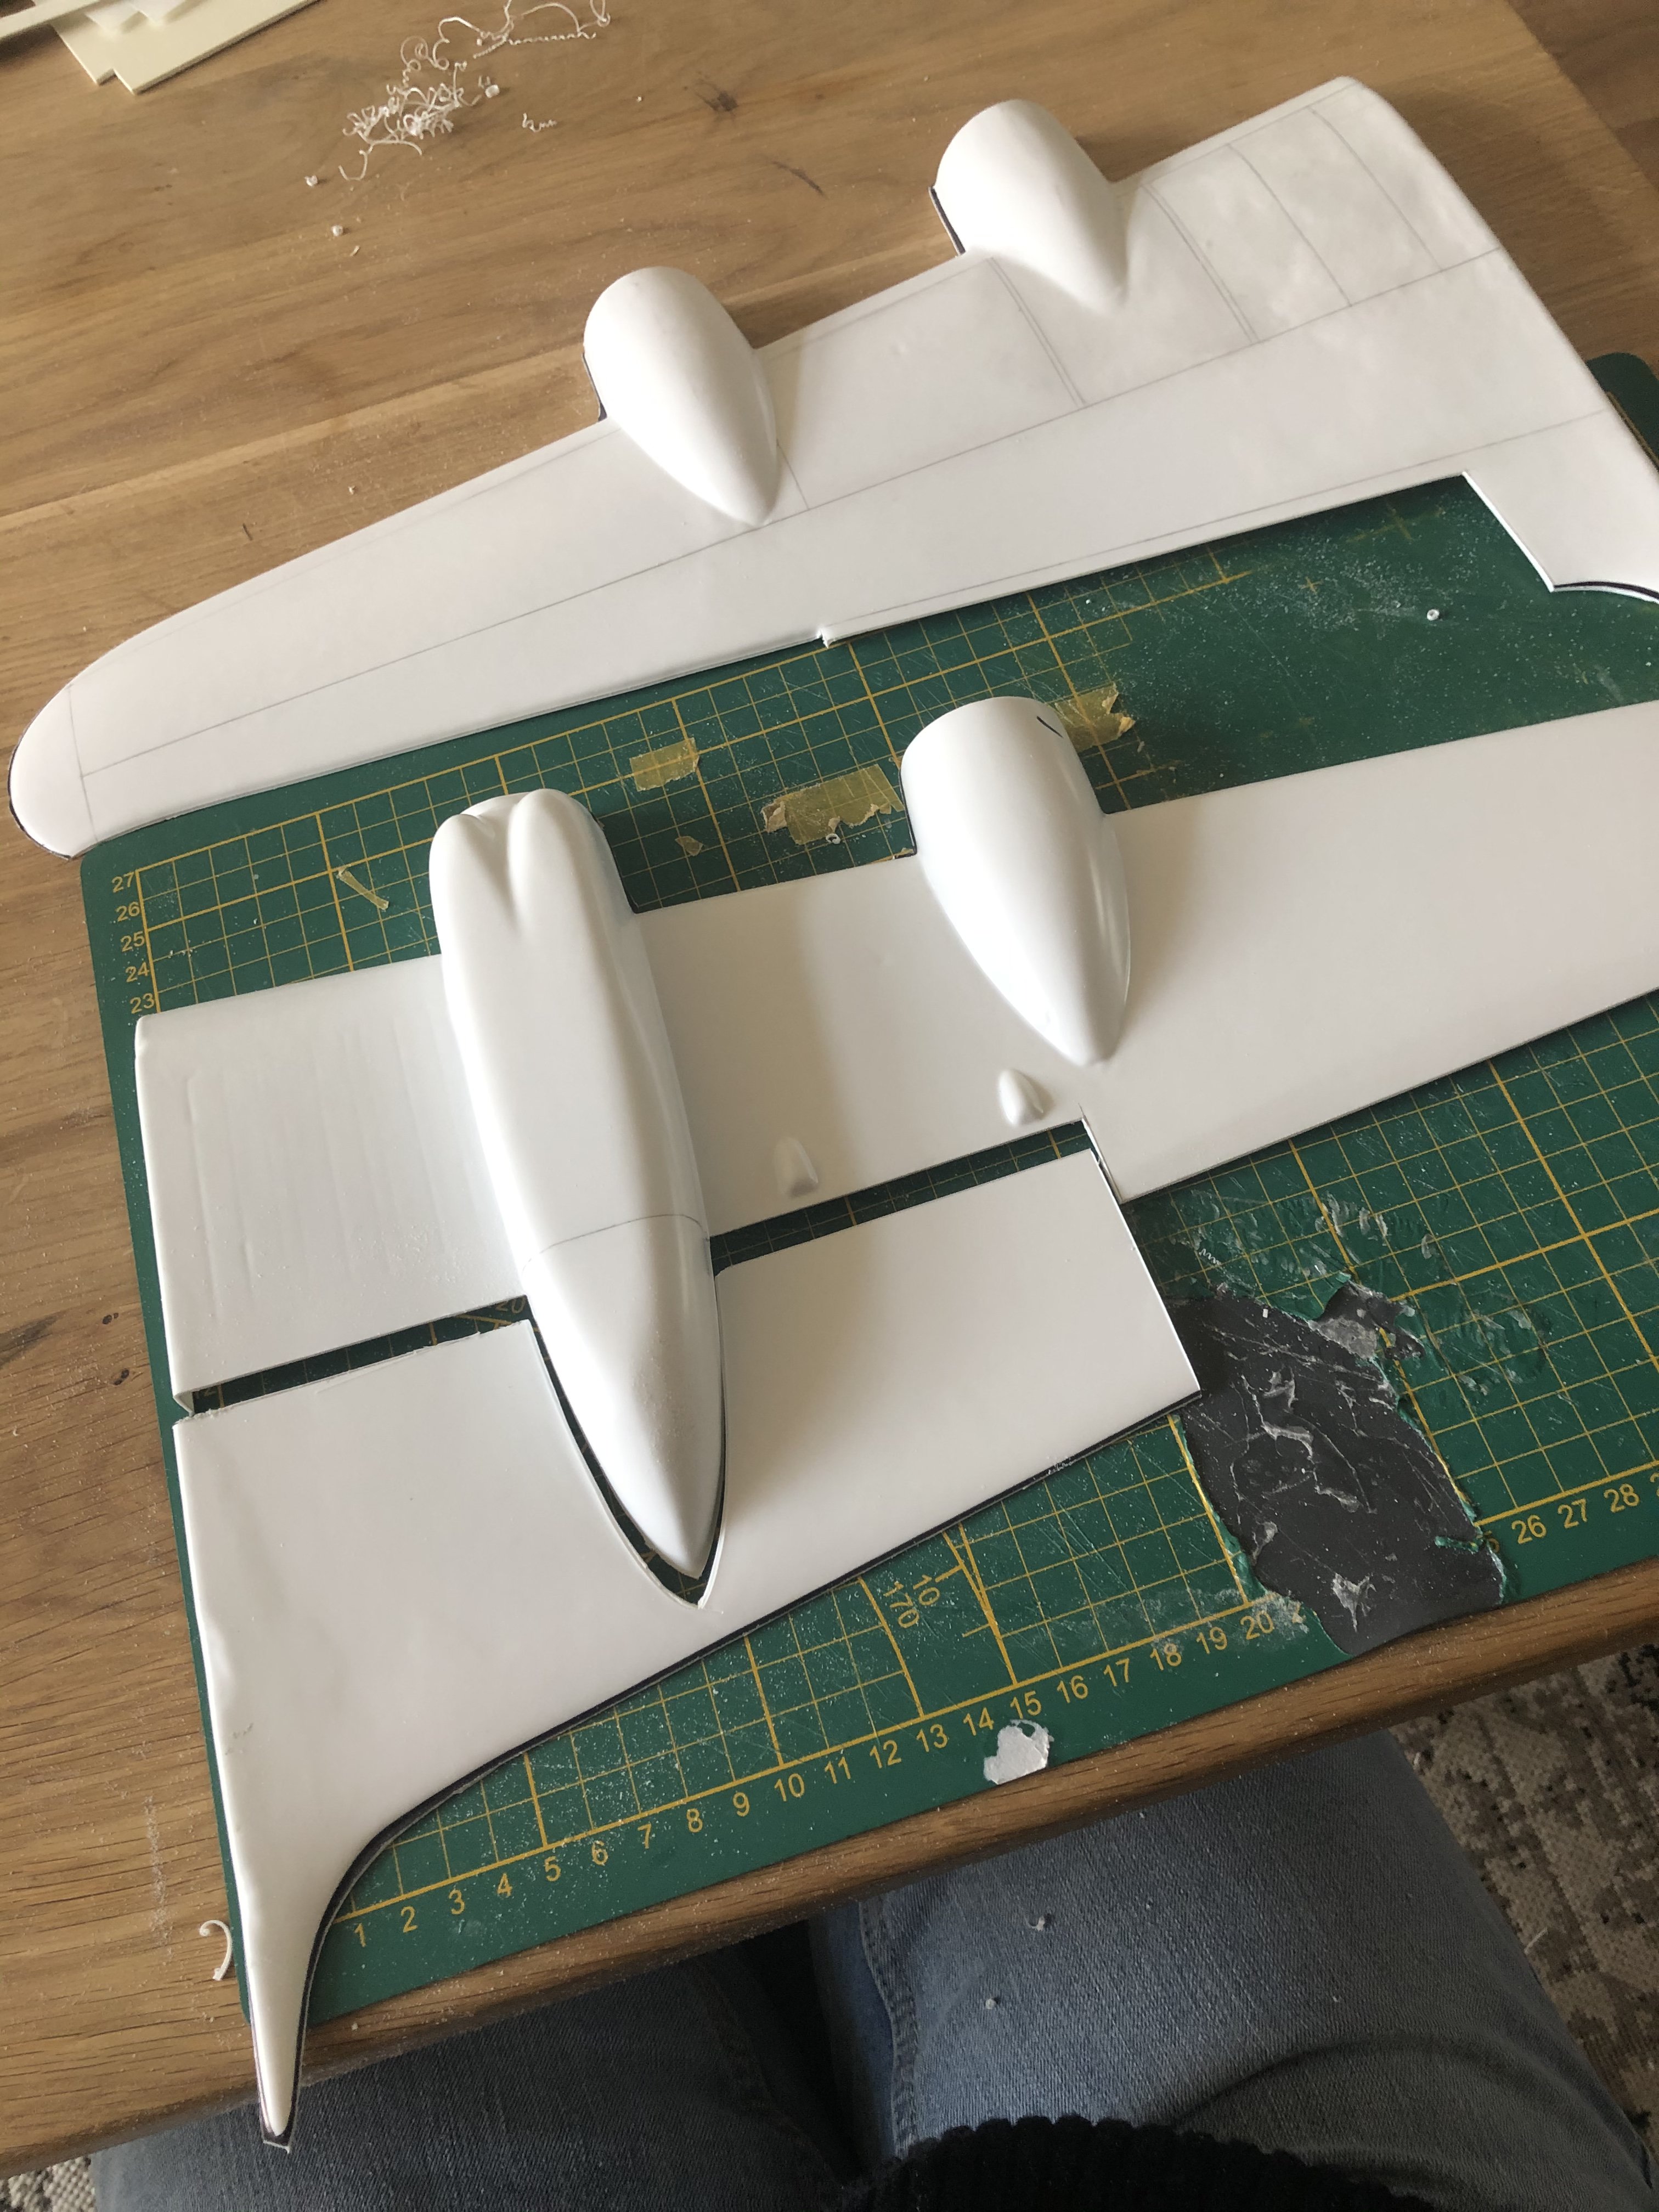
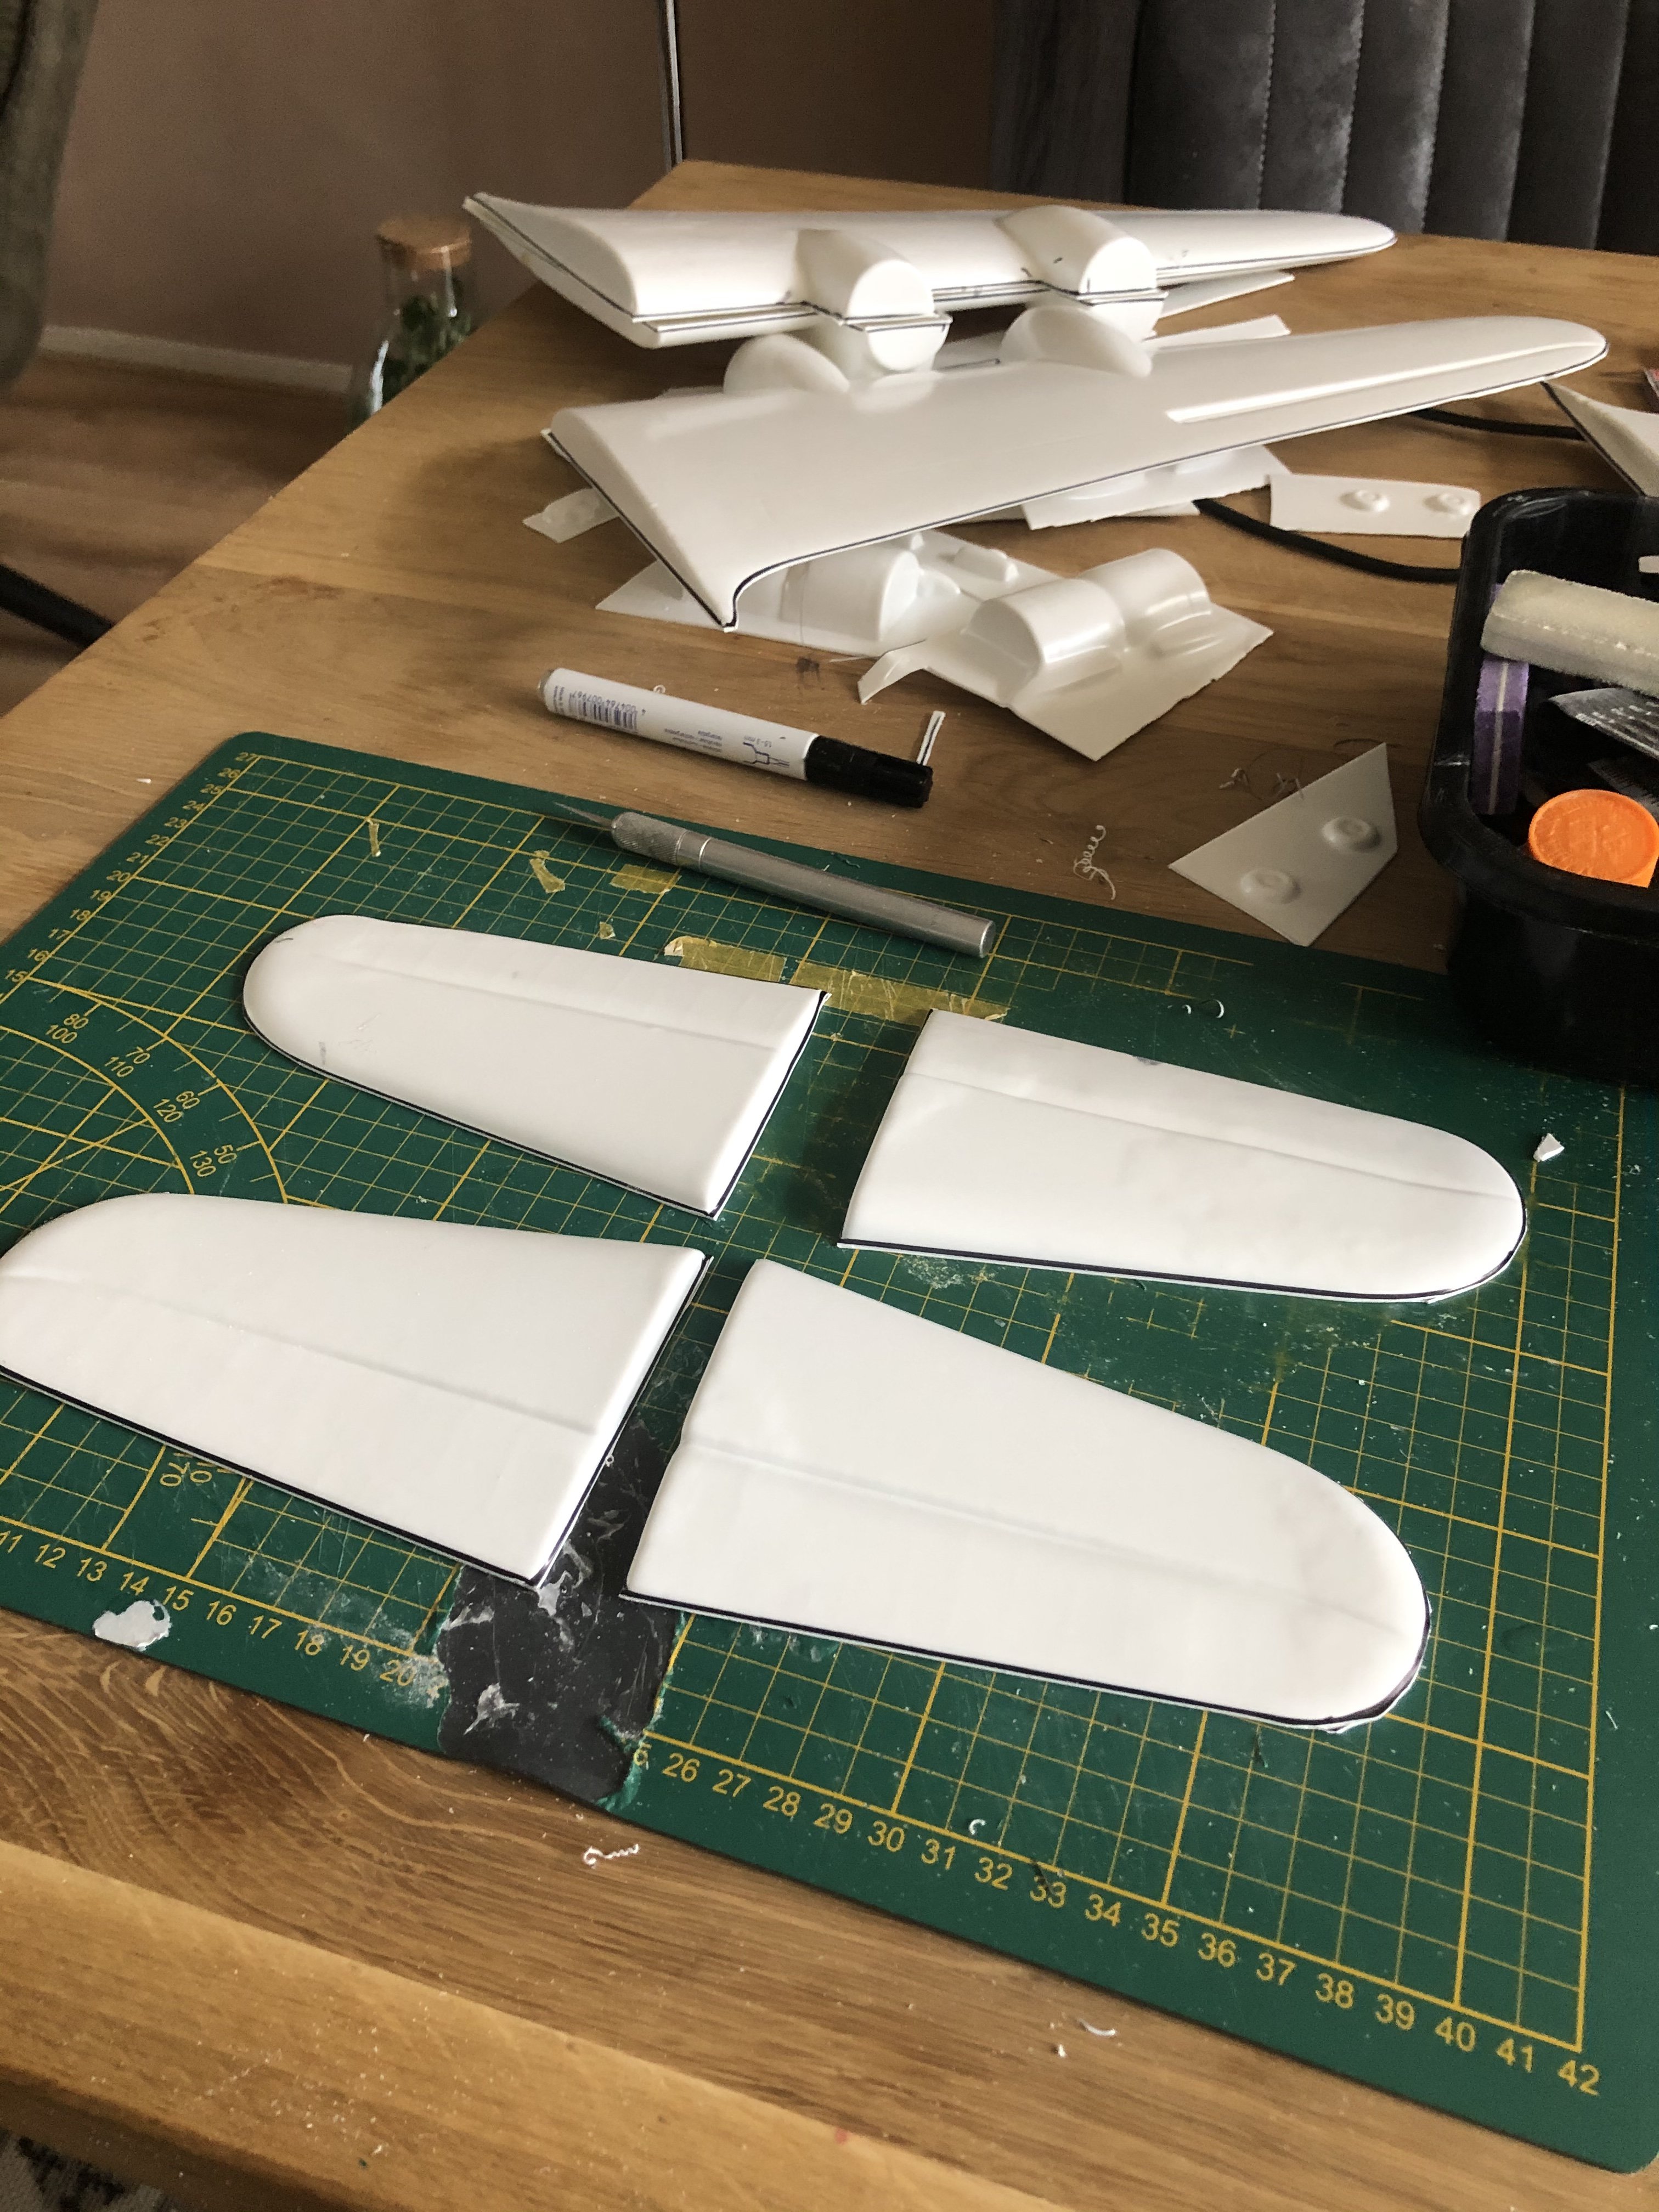
True, The Hampden is one of my pet projects but after failing twice using the vacforms I gave up. The only other option would be to make the moulds myself . I did scratchbuild a complete Hampden tail from solid plasticard once. Did the same for a Whitley I said before ( apart from inaccuracies) the fuselage on the original ID Models do not taper at the nose and tail giving a plank-like view which is not accurate. The builder needs to do a lot of work to obtain anything resembling the real aircraft. I have a lot of fun hacking away at these kits to get a better understanding of the aircraft. Today I have removed the aileron halves and the massive flap to get an idea of the basic wingstructure.
-
Lancaster ND644 in 32nd scale
Wingco57 replied to FME erk's topic in LSM 1/35 and Larger Work In Progress
Seems like the seat is at it’s highest position too, not really realistic in real life ( or a very short pilot). -
Daft project or is it? 1/32 Short Stirling III
Wingco57 replied to Wingco57's topic in LSM 1/35 and Larger Work In Progress
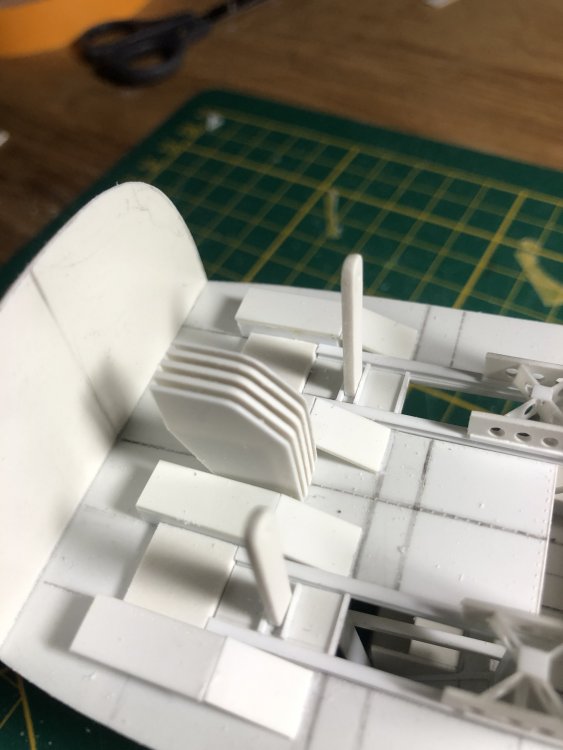
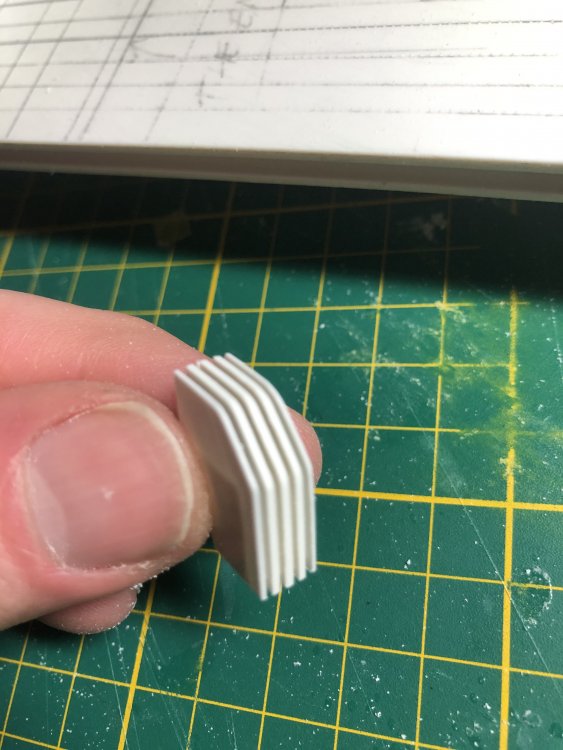
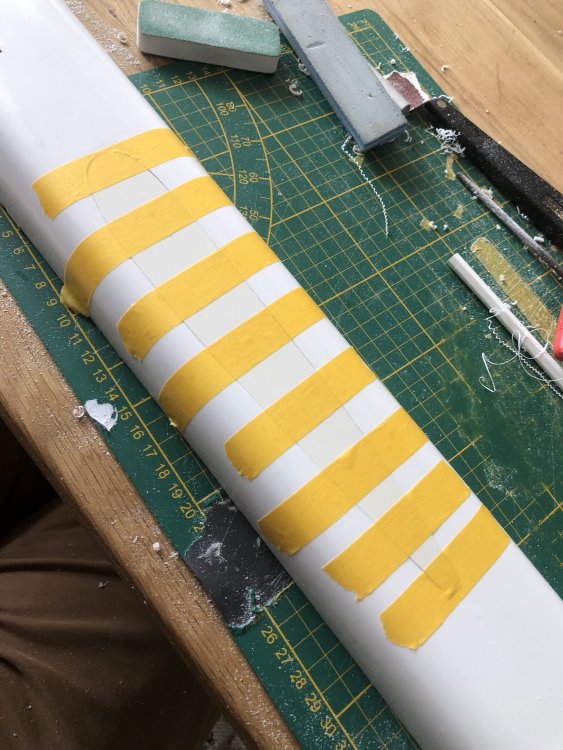
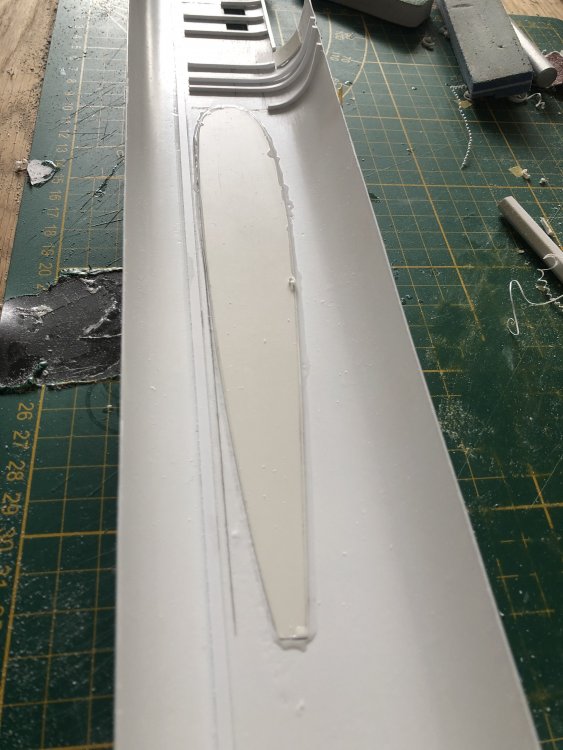
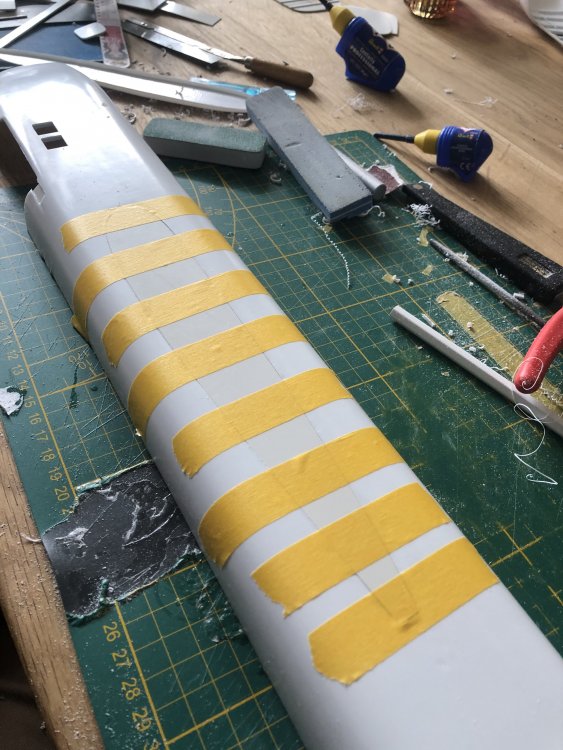
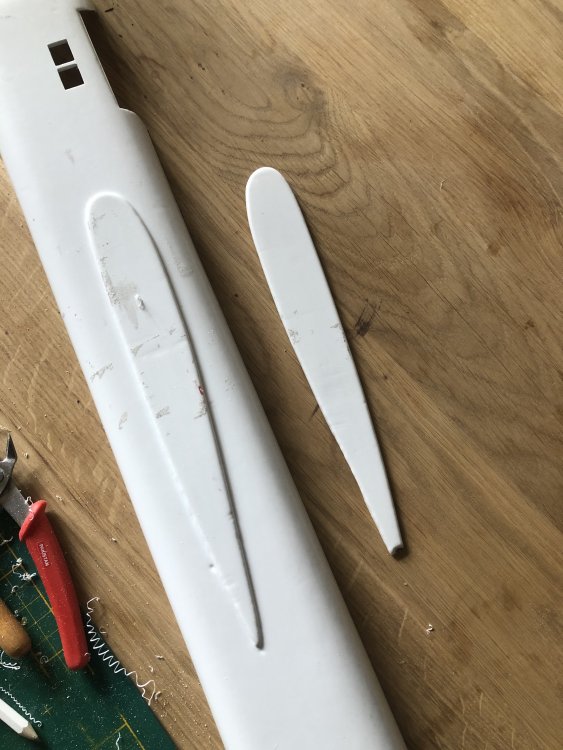
Thanks, I hope the puffiness will disappear after sanding. I have practiced a lot on the Manchester (HK Models 3d printed prototype devoid of any detail) so this blank canvas will be similar. Problem is that the Warpaint drawings do not match the kit which makes marking out the panellines in pencil a hit and miss affair. I do have another set from a different source which may help. Only after I am satisfied I will engrave the panellines. But I have cut out the flap area. Looking at the superb scratchbuild model by Megas Tsonos the Stirling will look great with those massive Gouge flaps lowered.

-
Daft project or is it? 1/32 Short Stirling III
Wingco57 replied to Wingco57's topic in LSM 1/35 and Larger Work In Progress
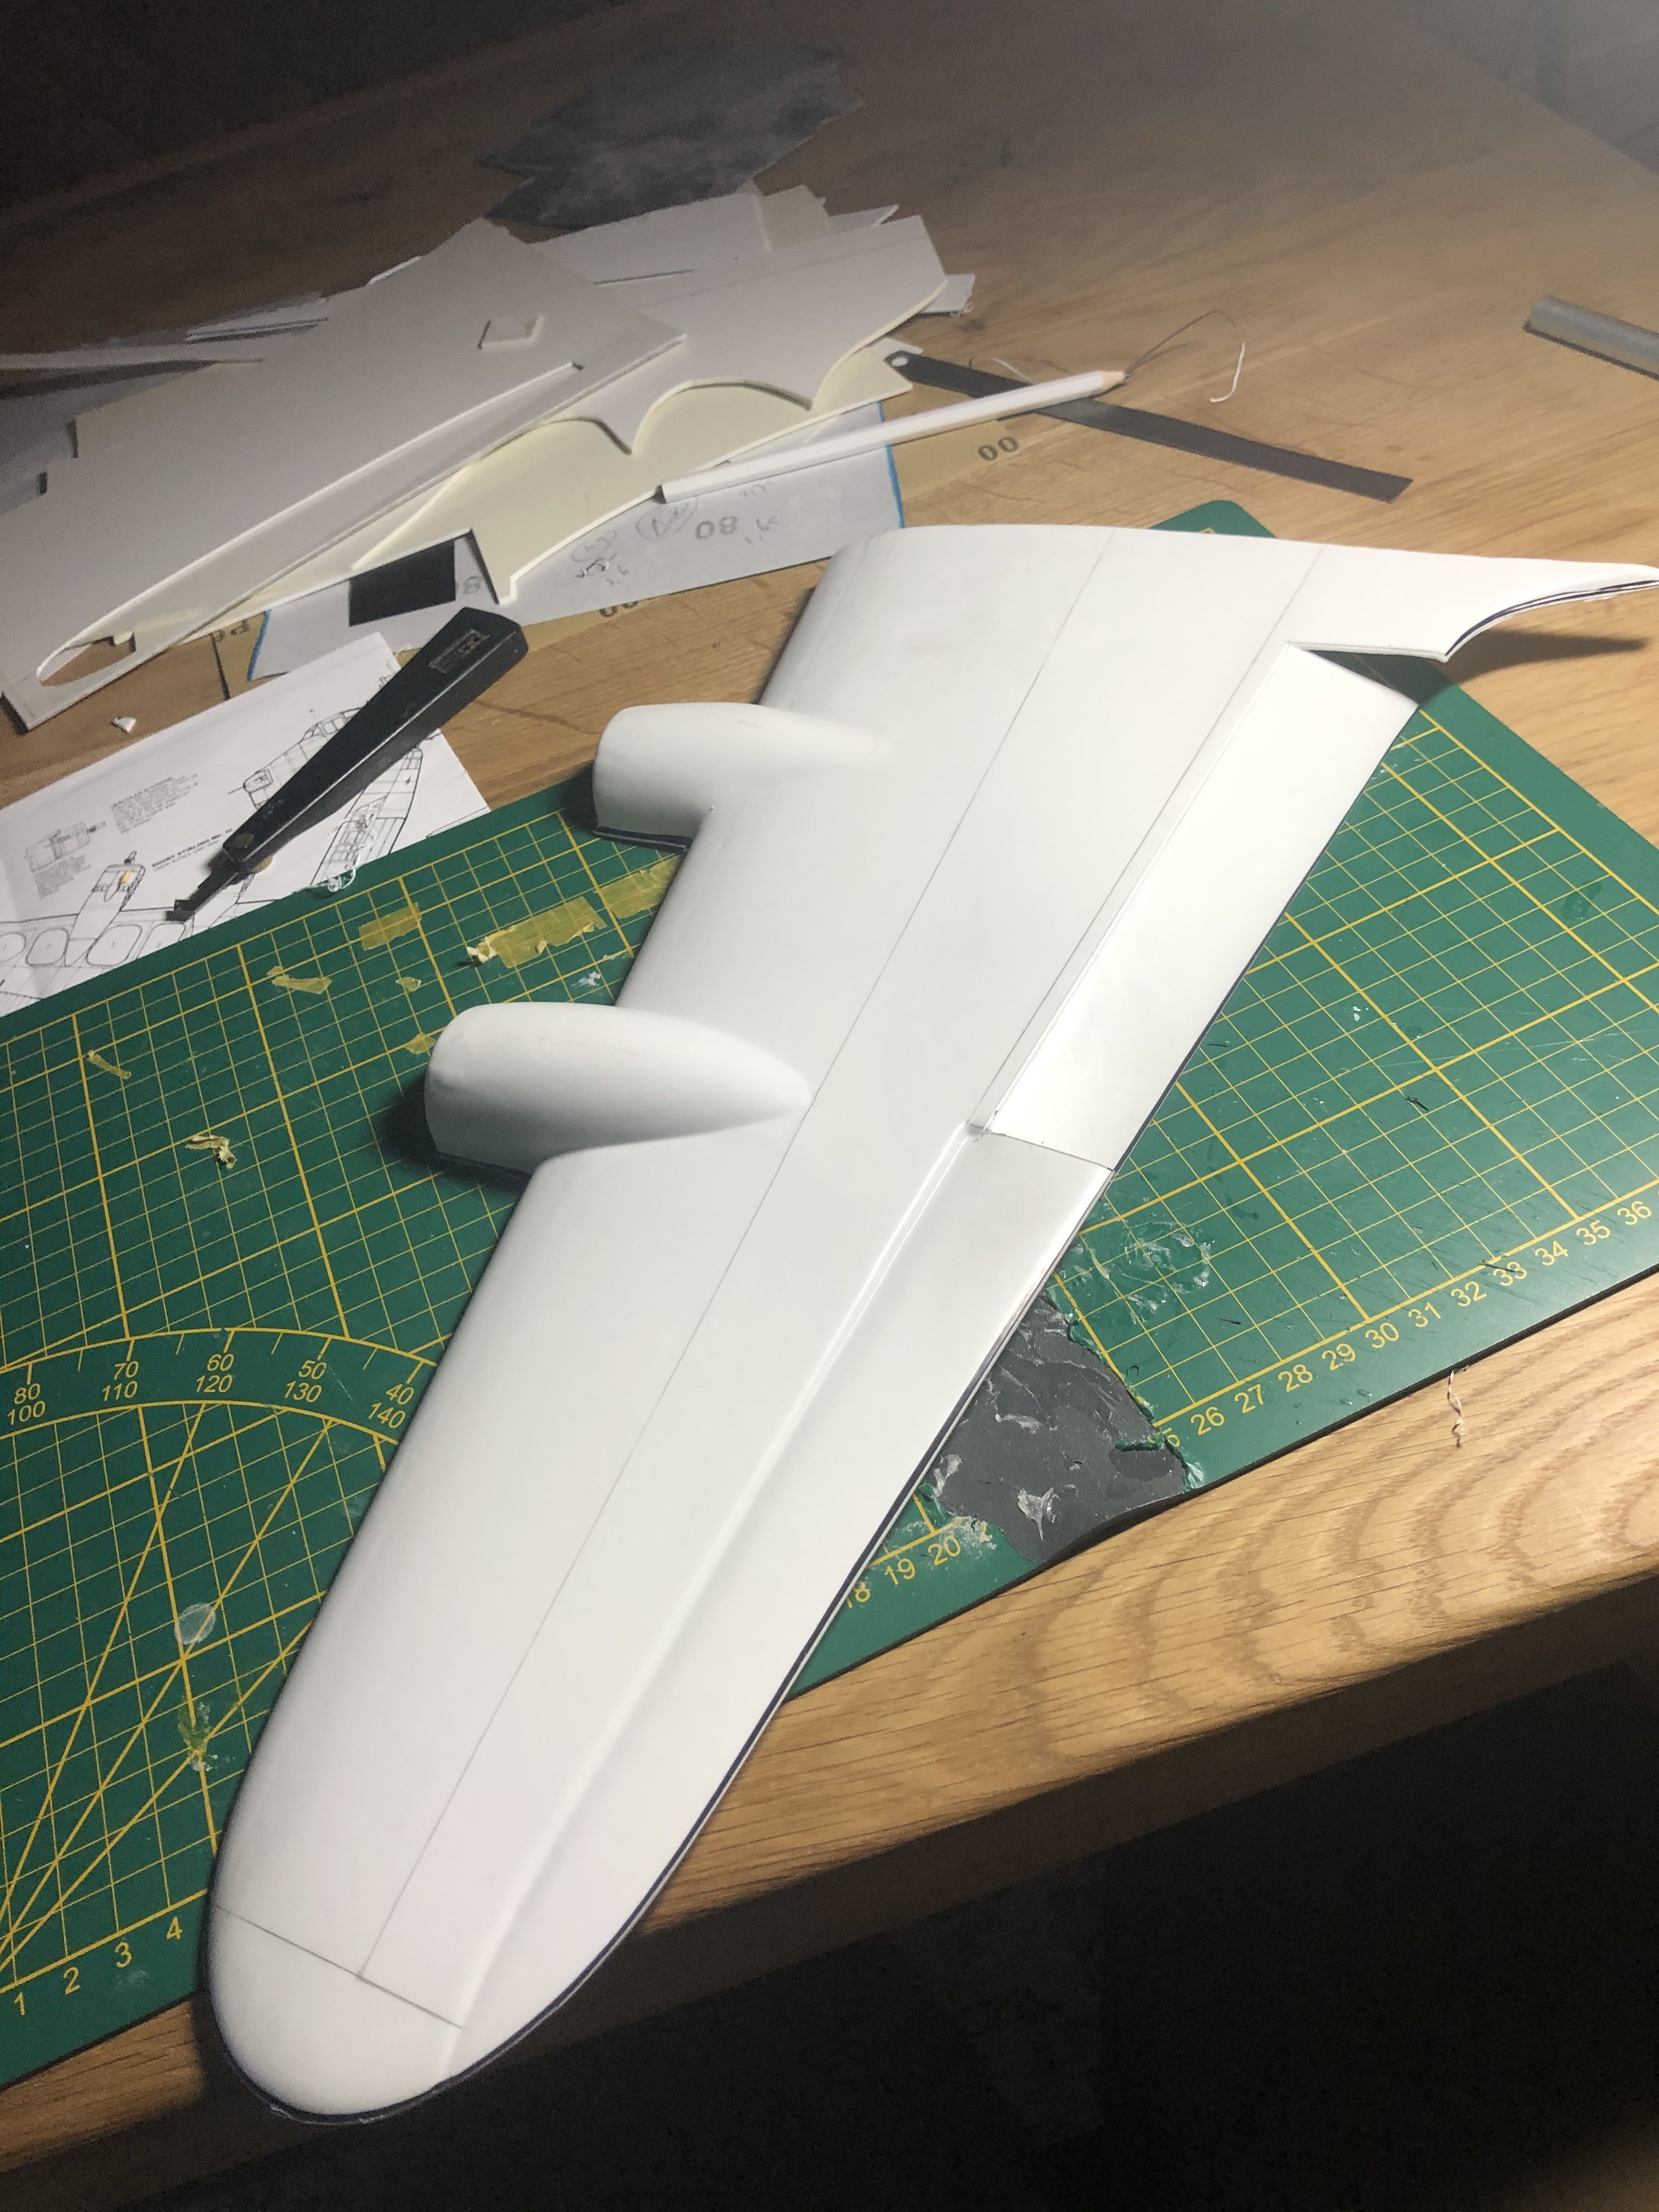
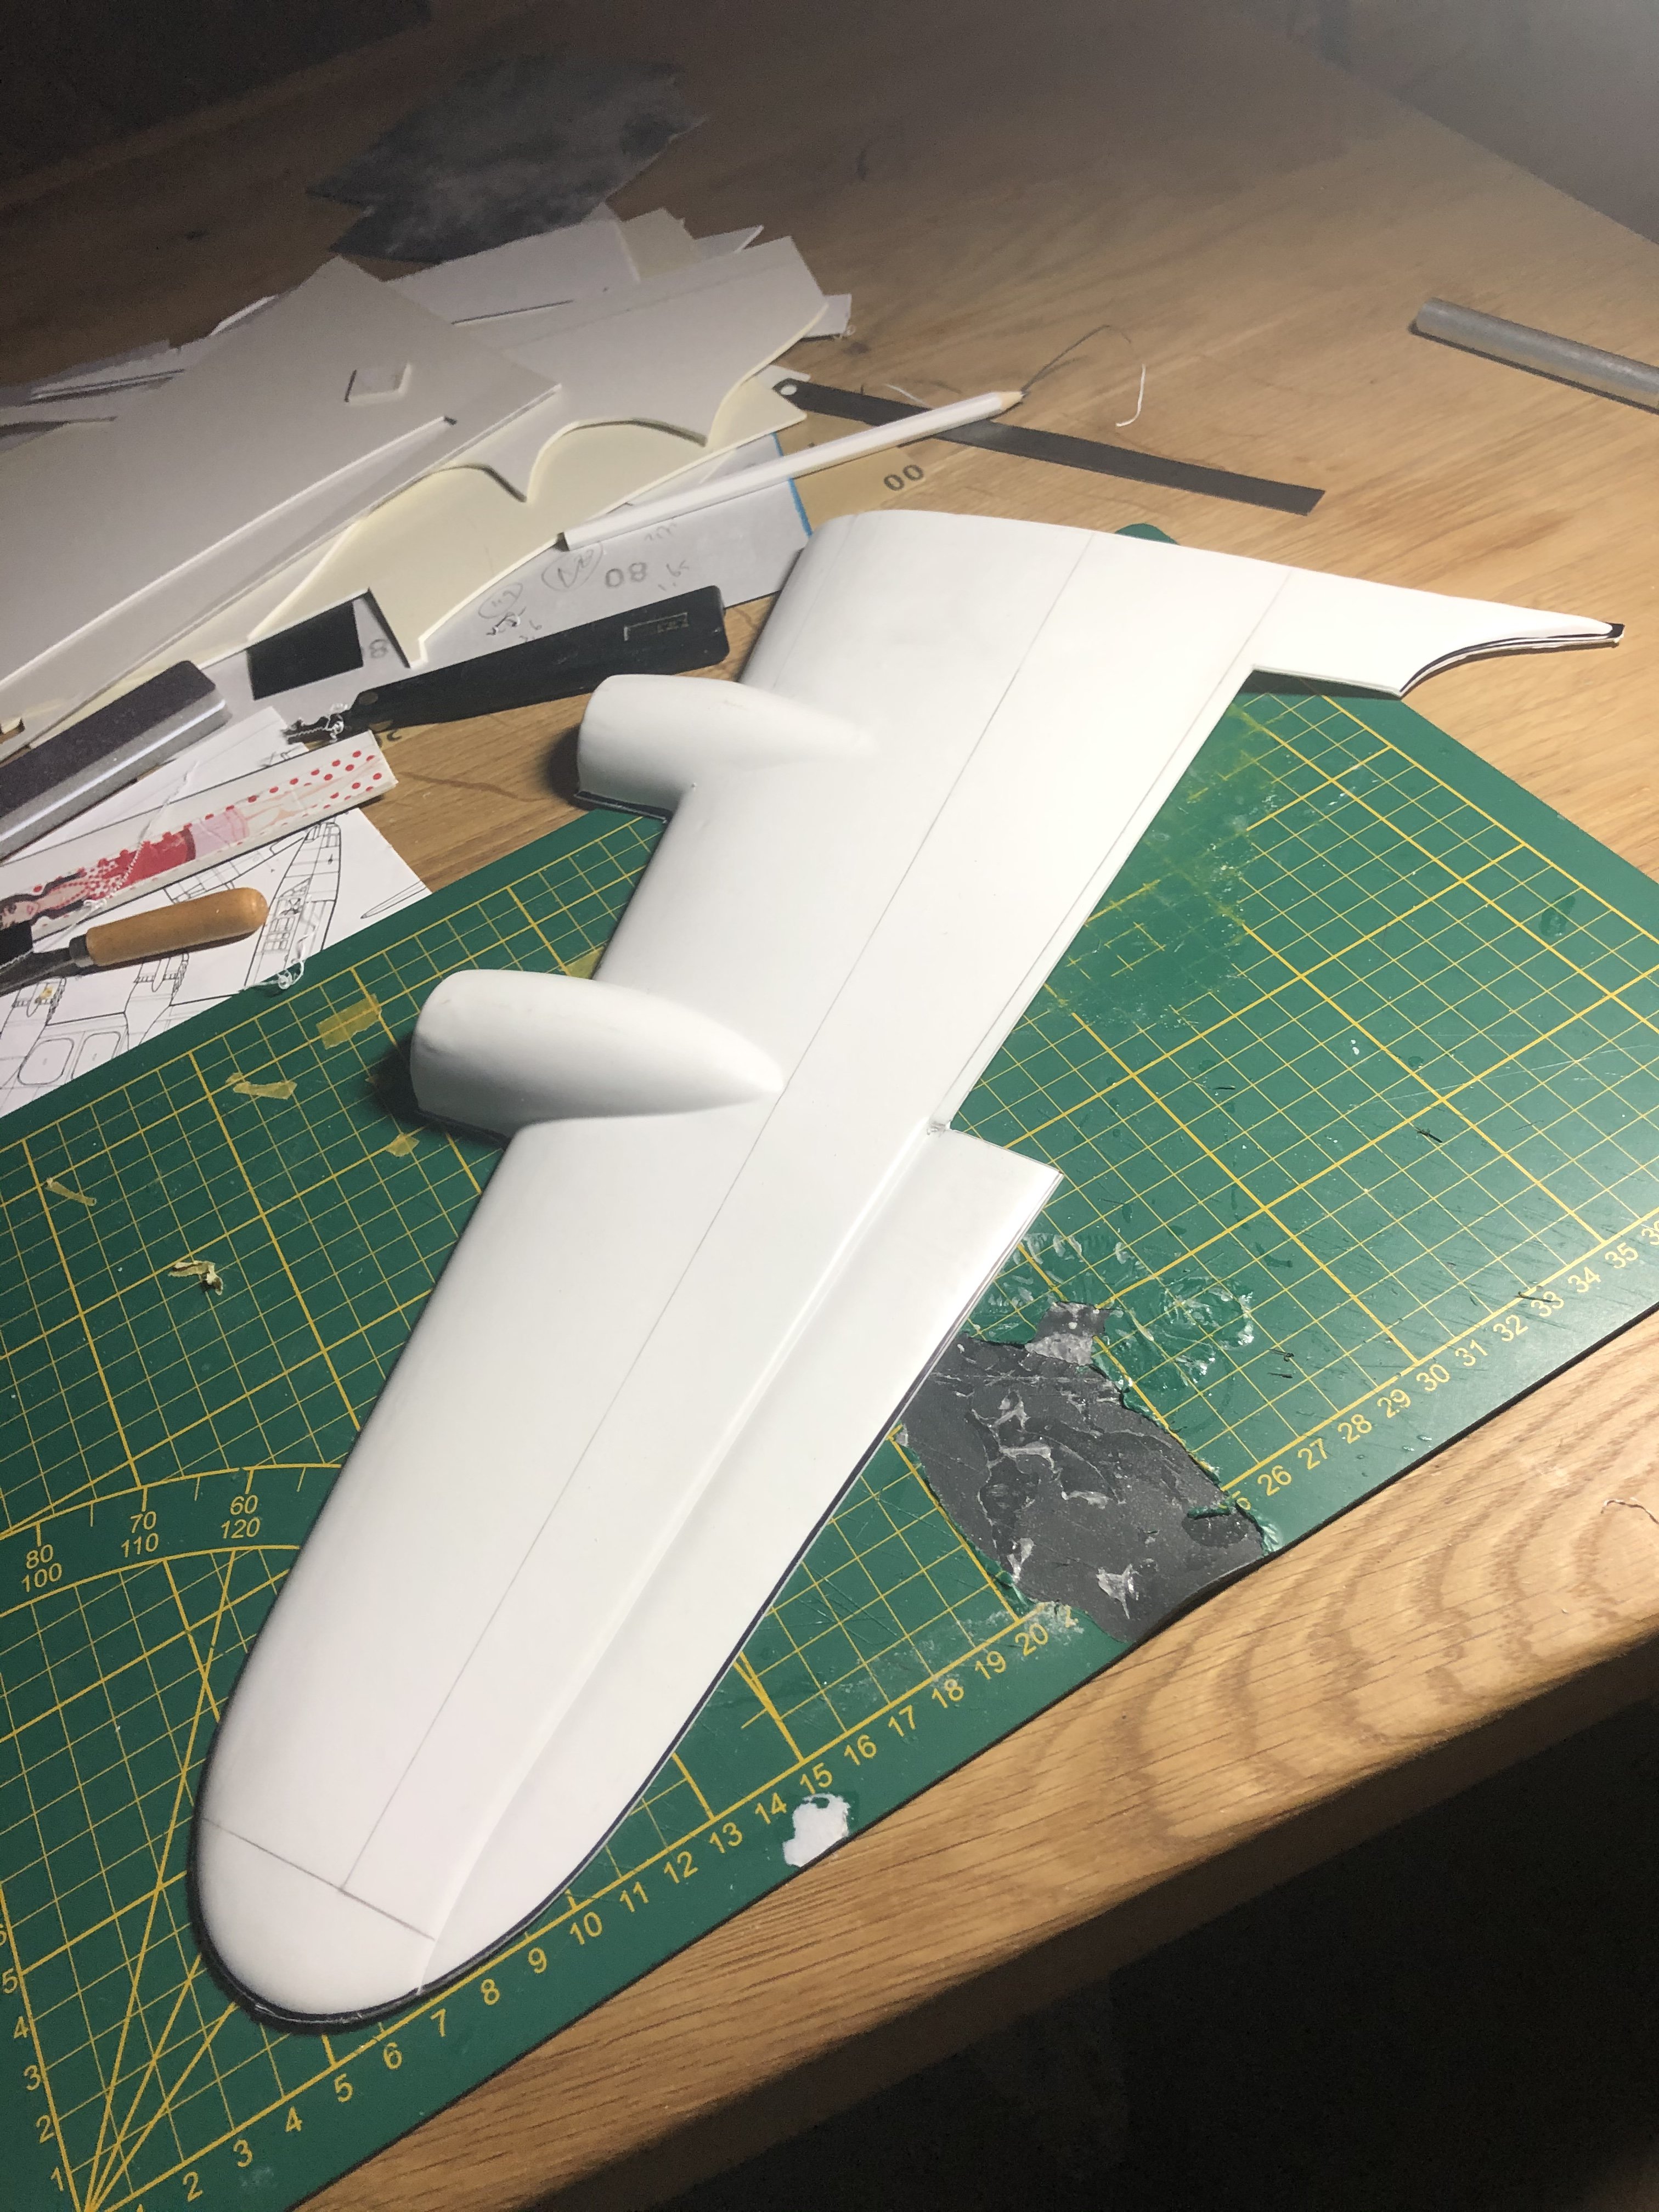
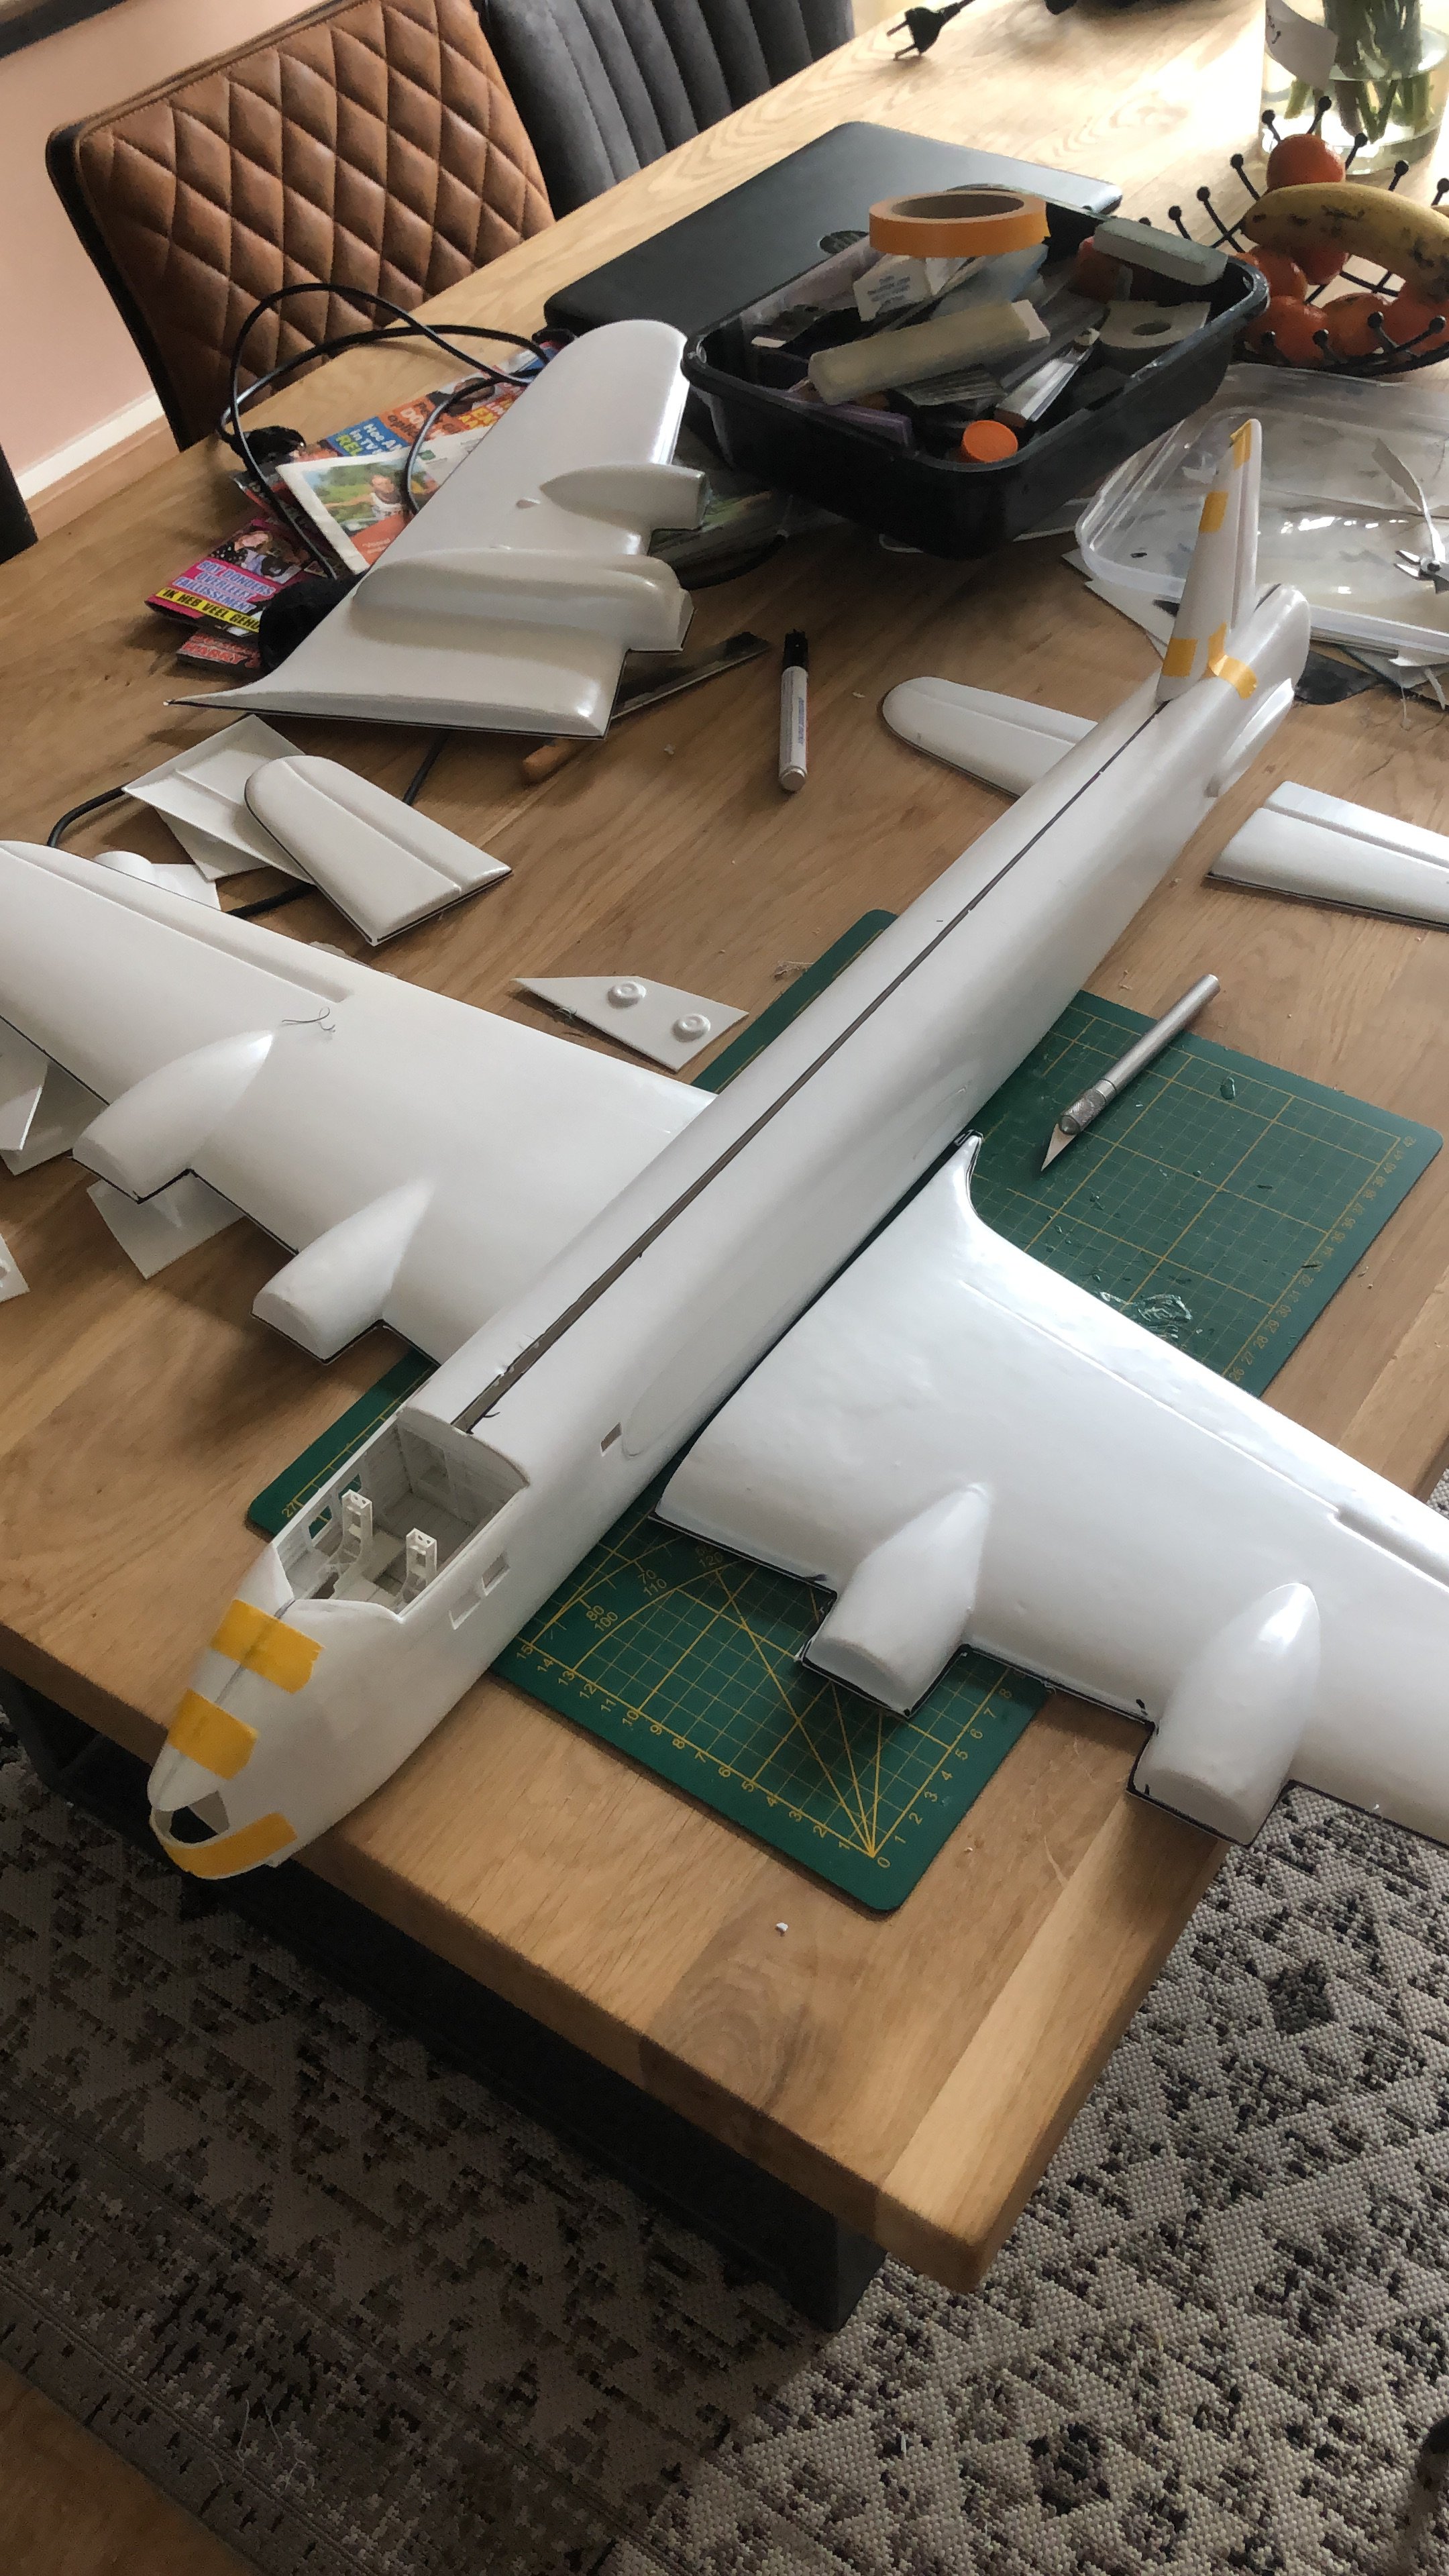
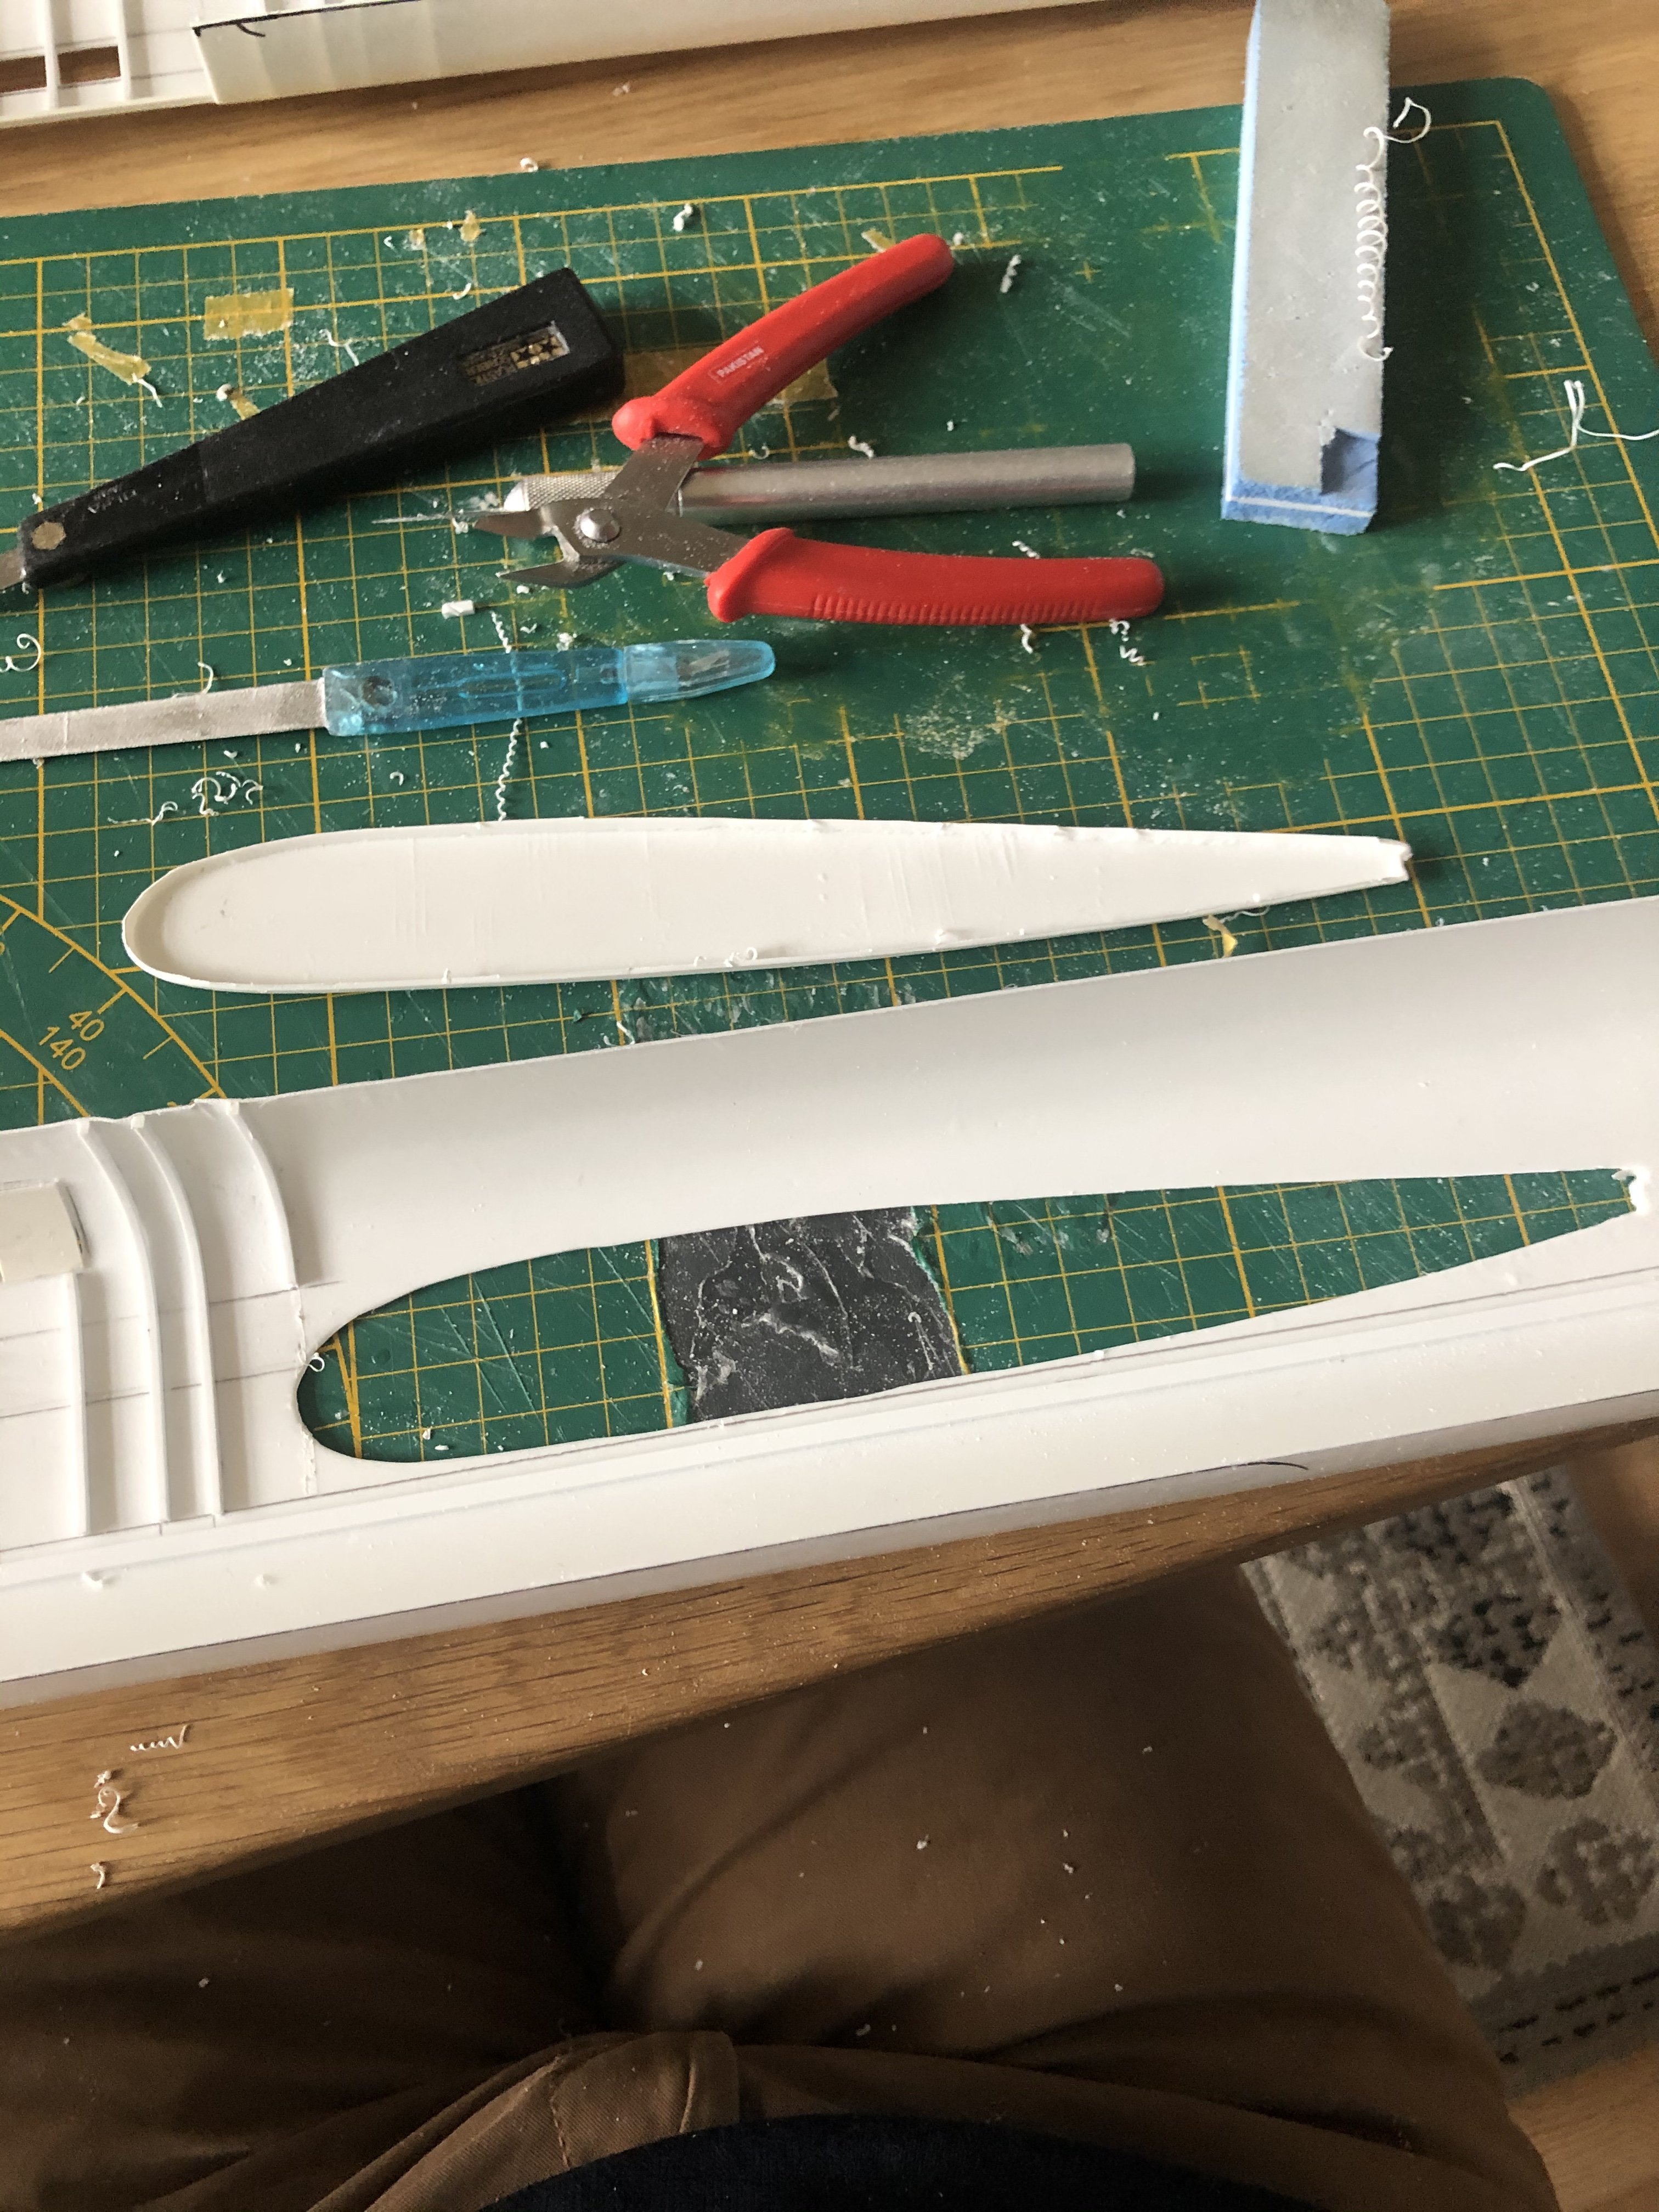
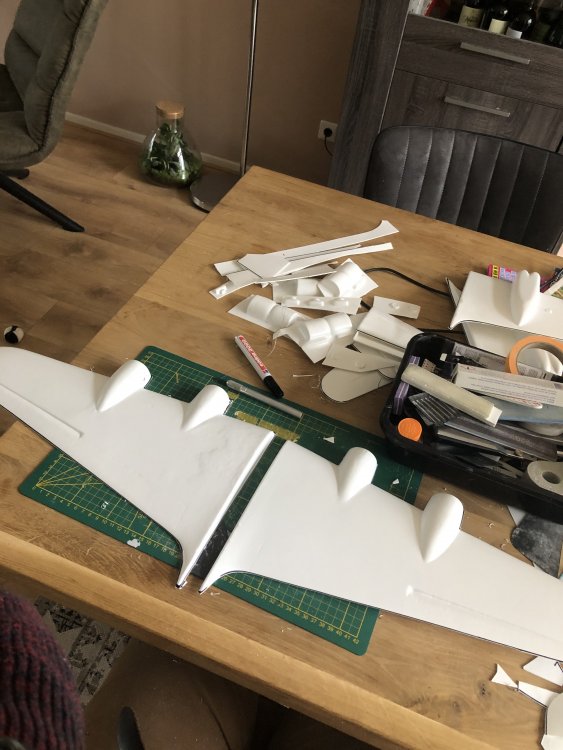
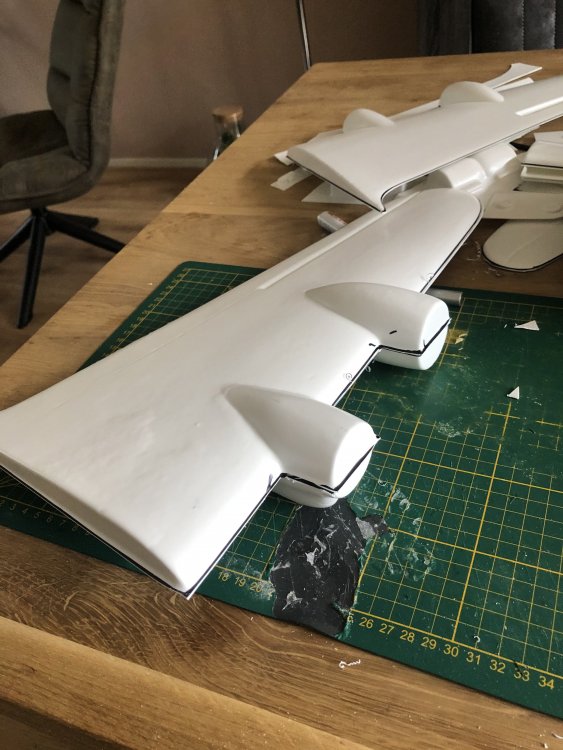
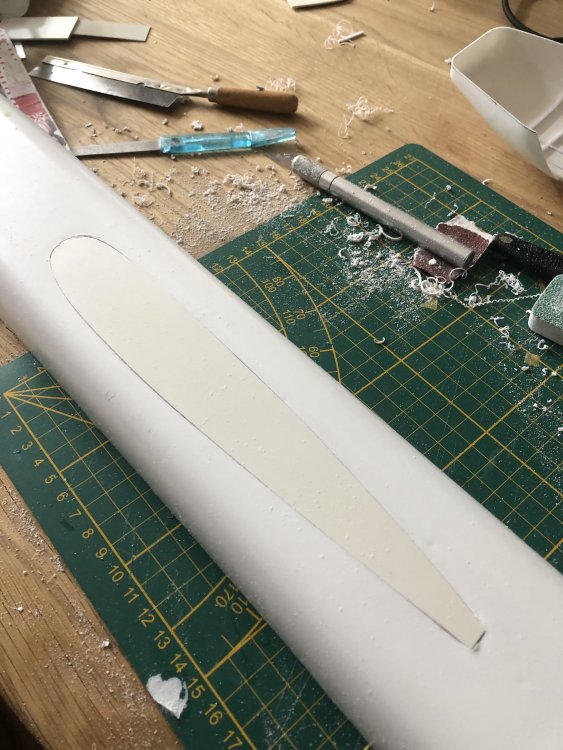
Due to lack of suitably enlarged drawings I cannot continue the nose butchery at the moment. So I thought why not free the major parts from the backing plastic. As you can see the surface is quite rough here and there. Cutting out the parts is a very straightforward job and after 20 minutes I had a general idea of the size of the beast. This sure is a big b........bugger. I let the pics do the talking.


-
Daft project or is it? 1/32 Short Stirling III
Wingco57 replied to Wingco57's topic in LSM 1/35 and Larger Work In Progress
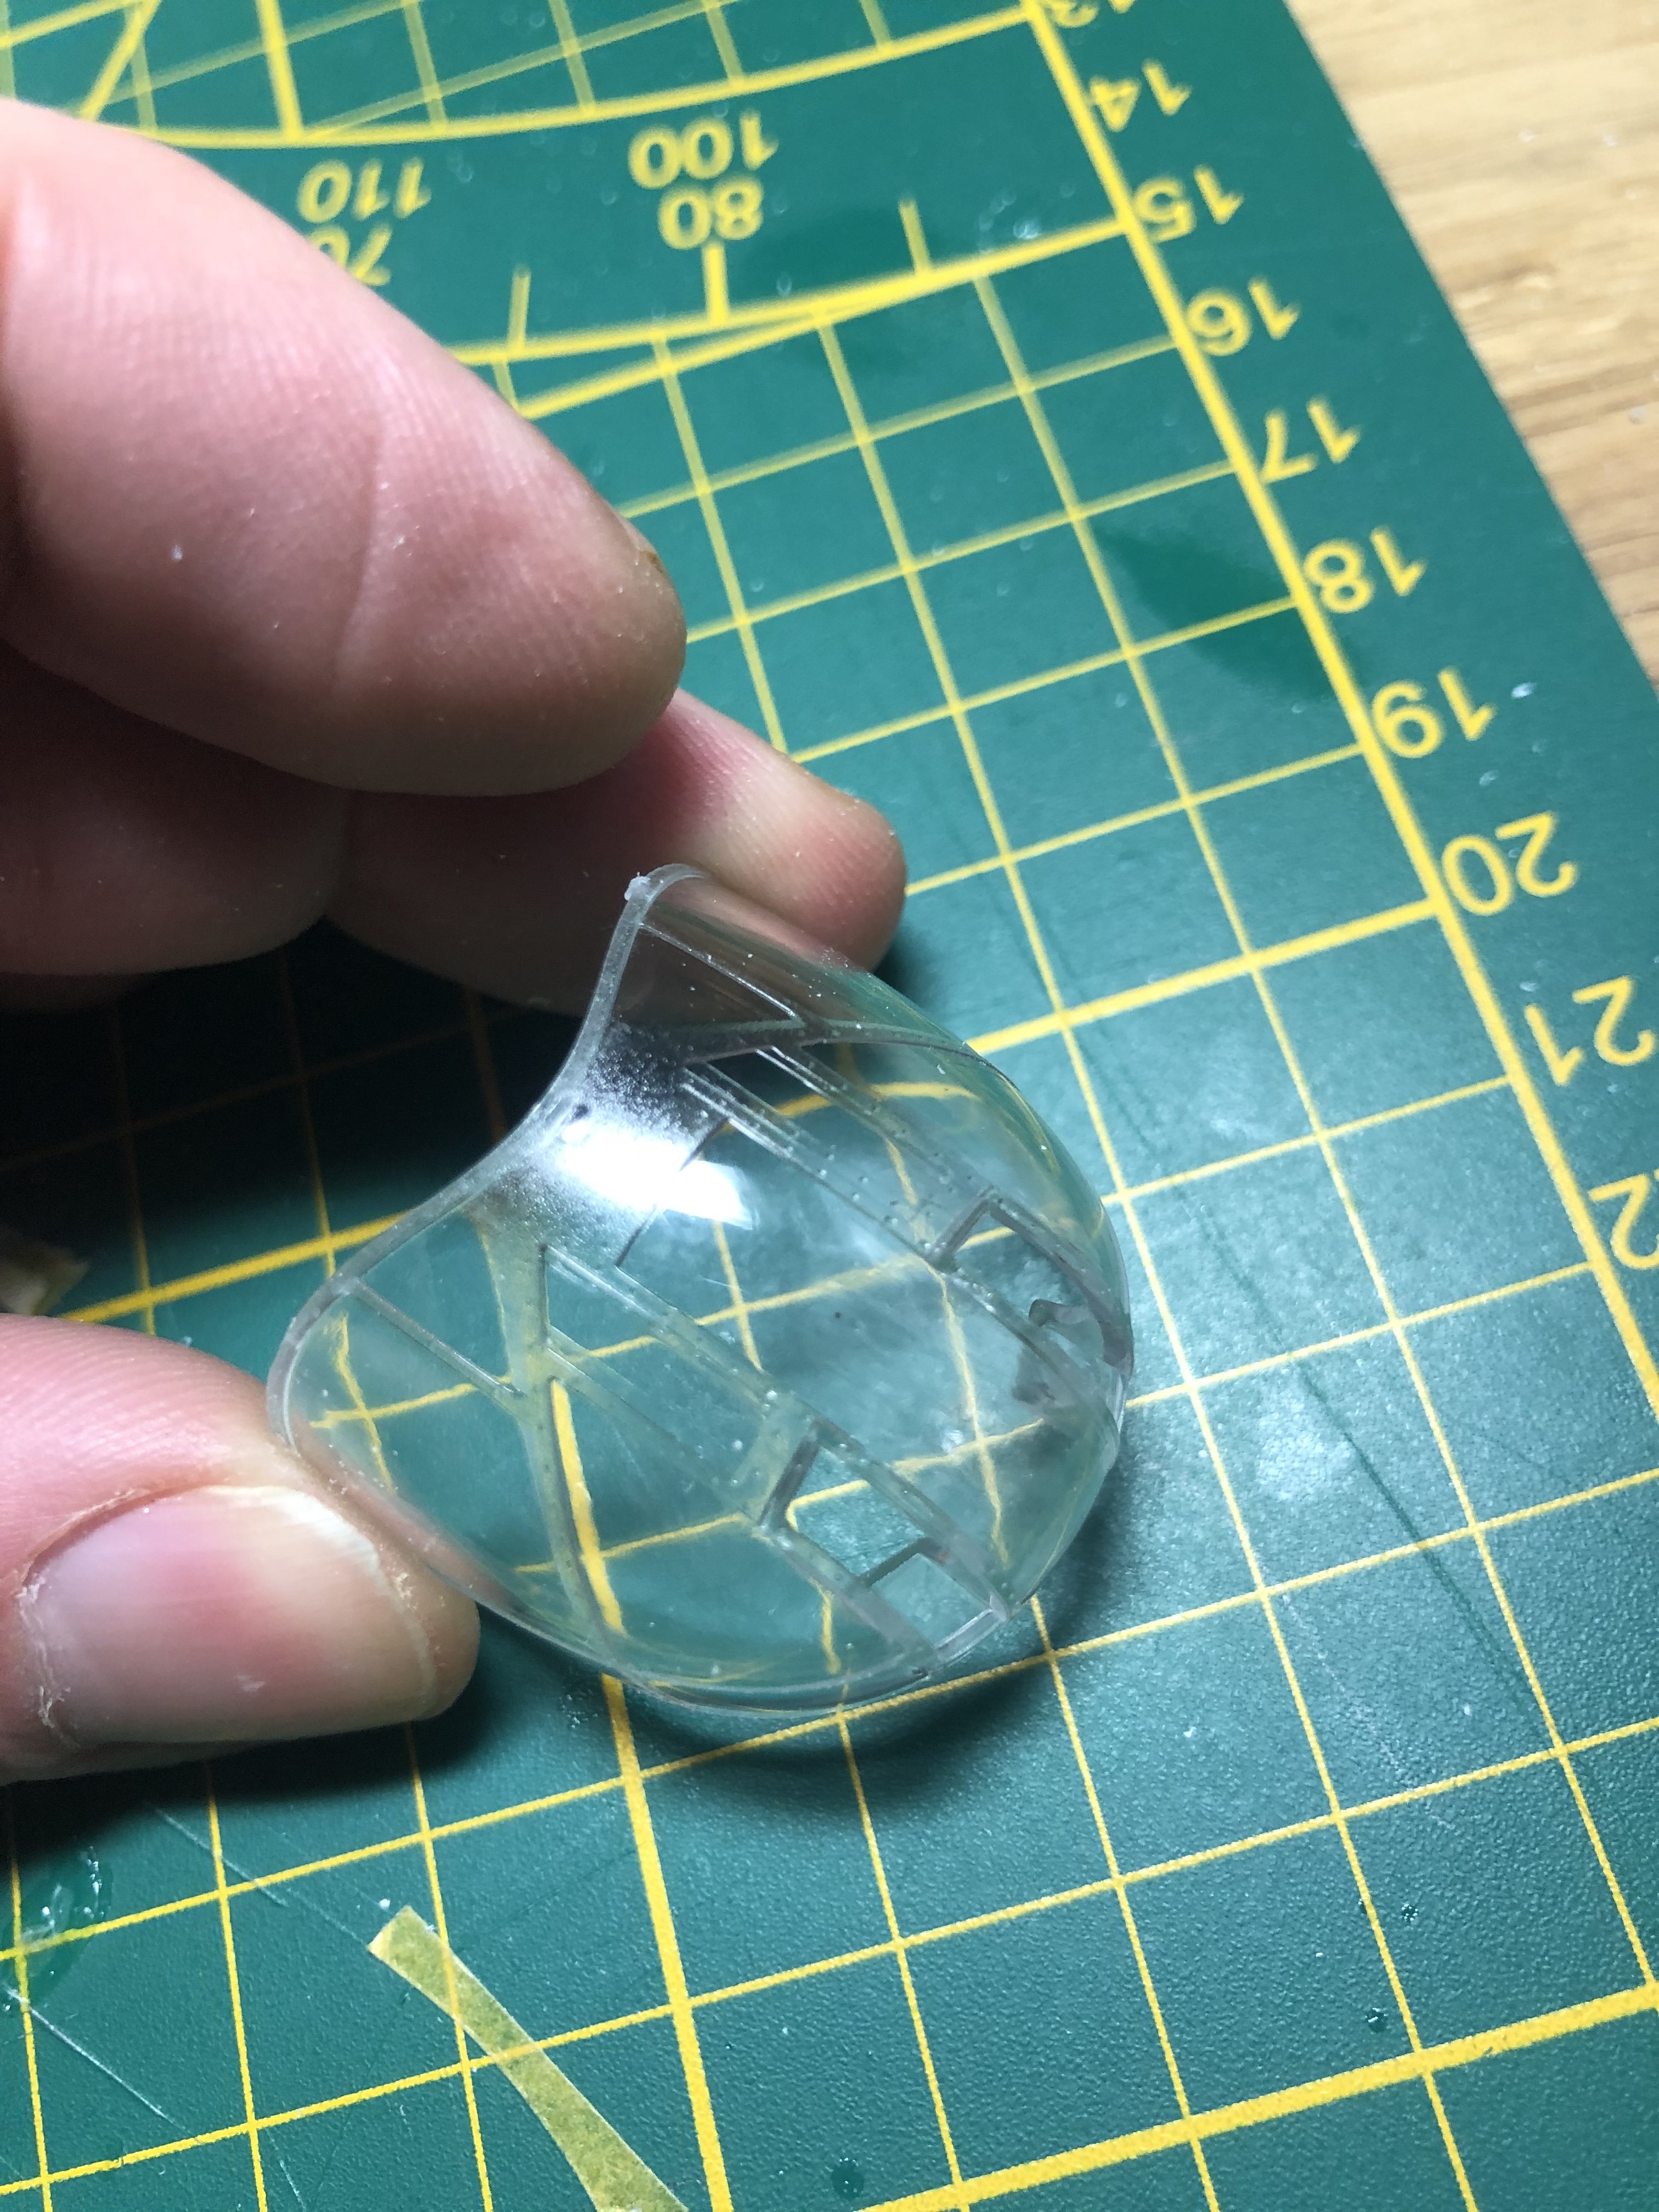
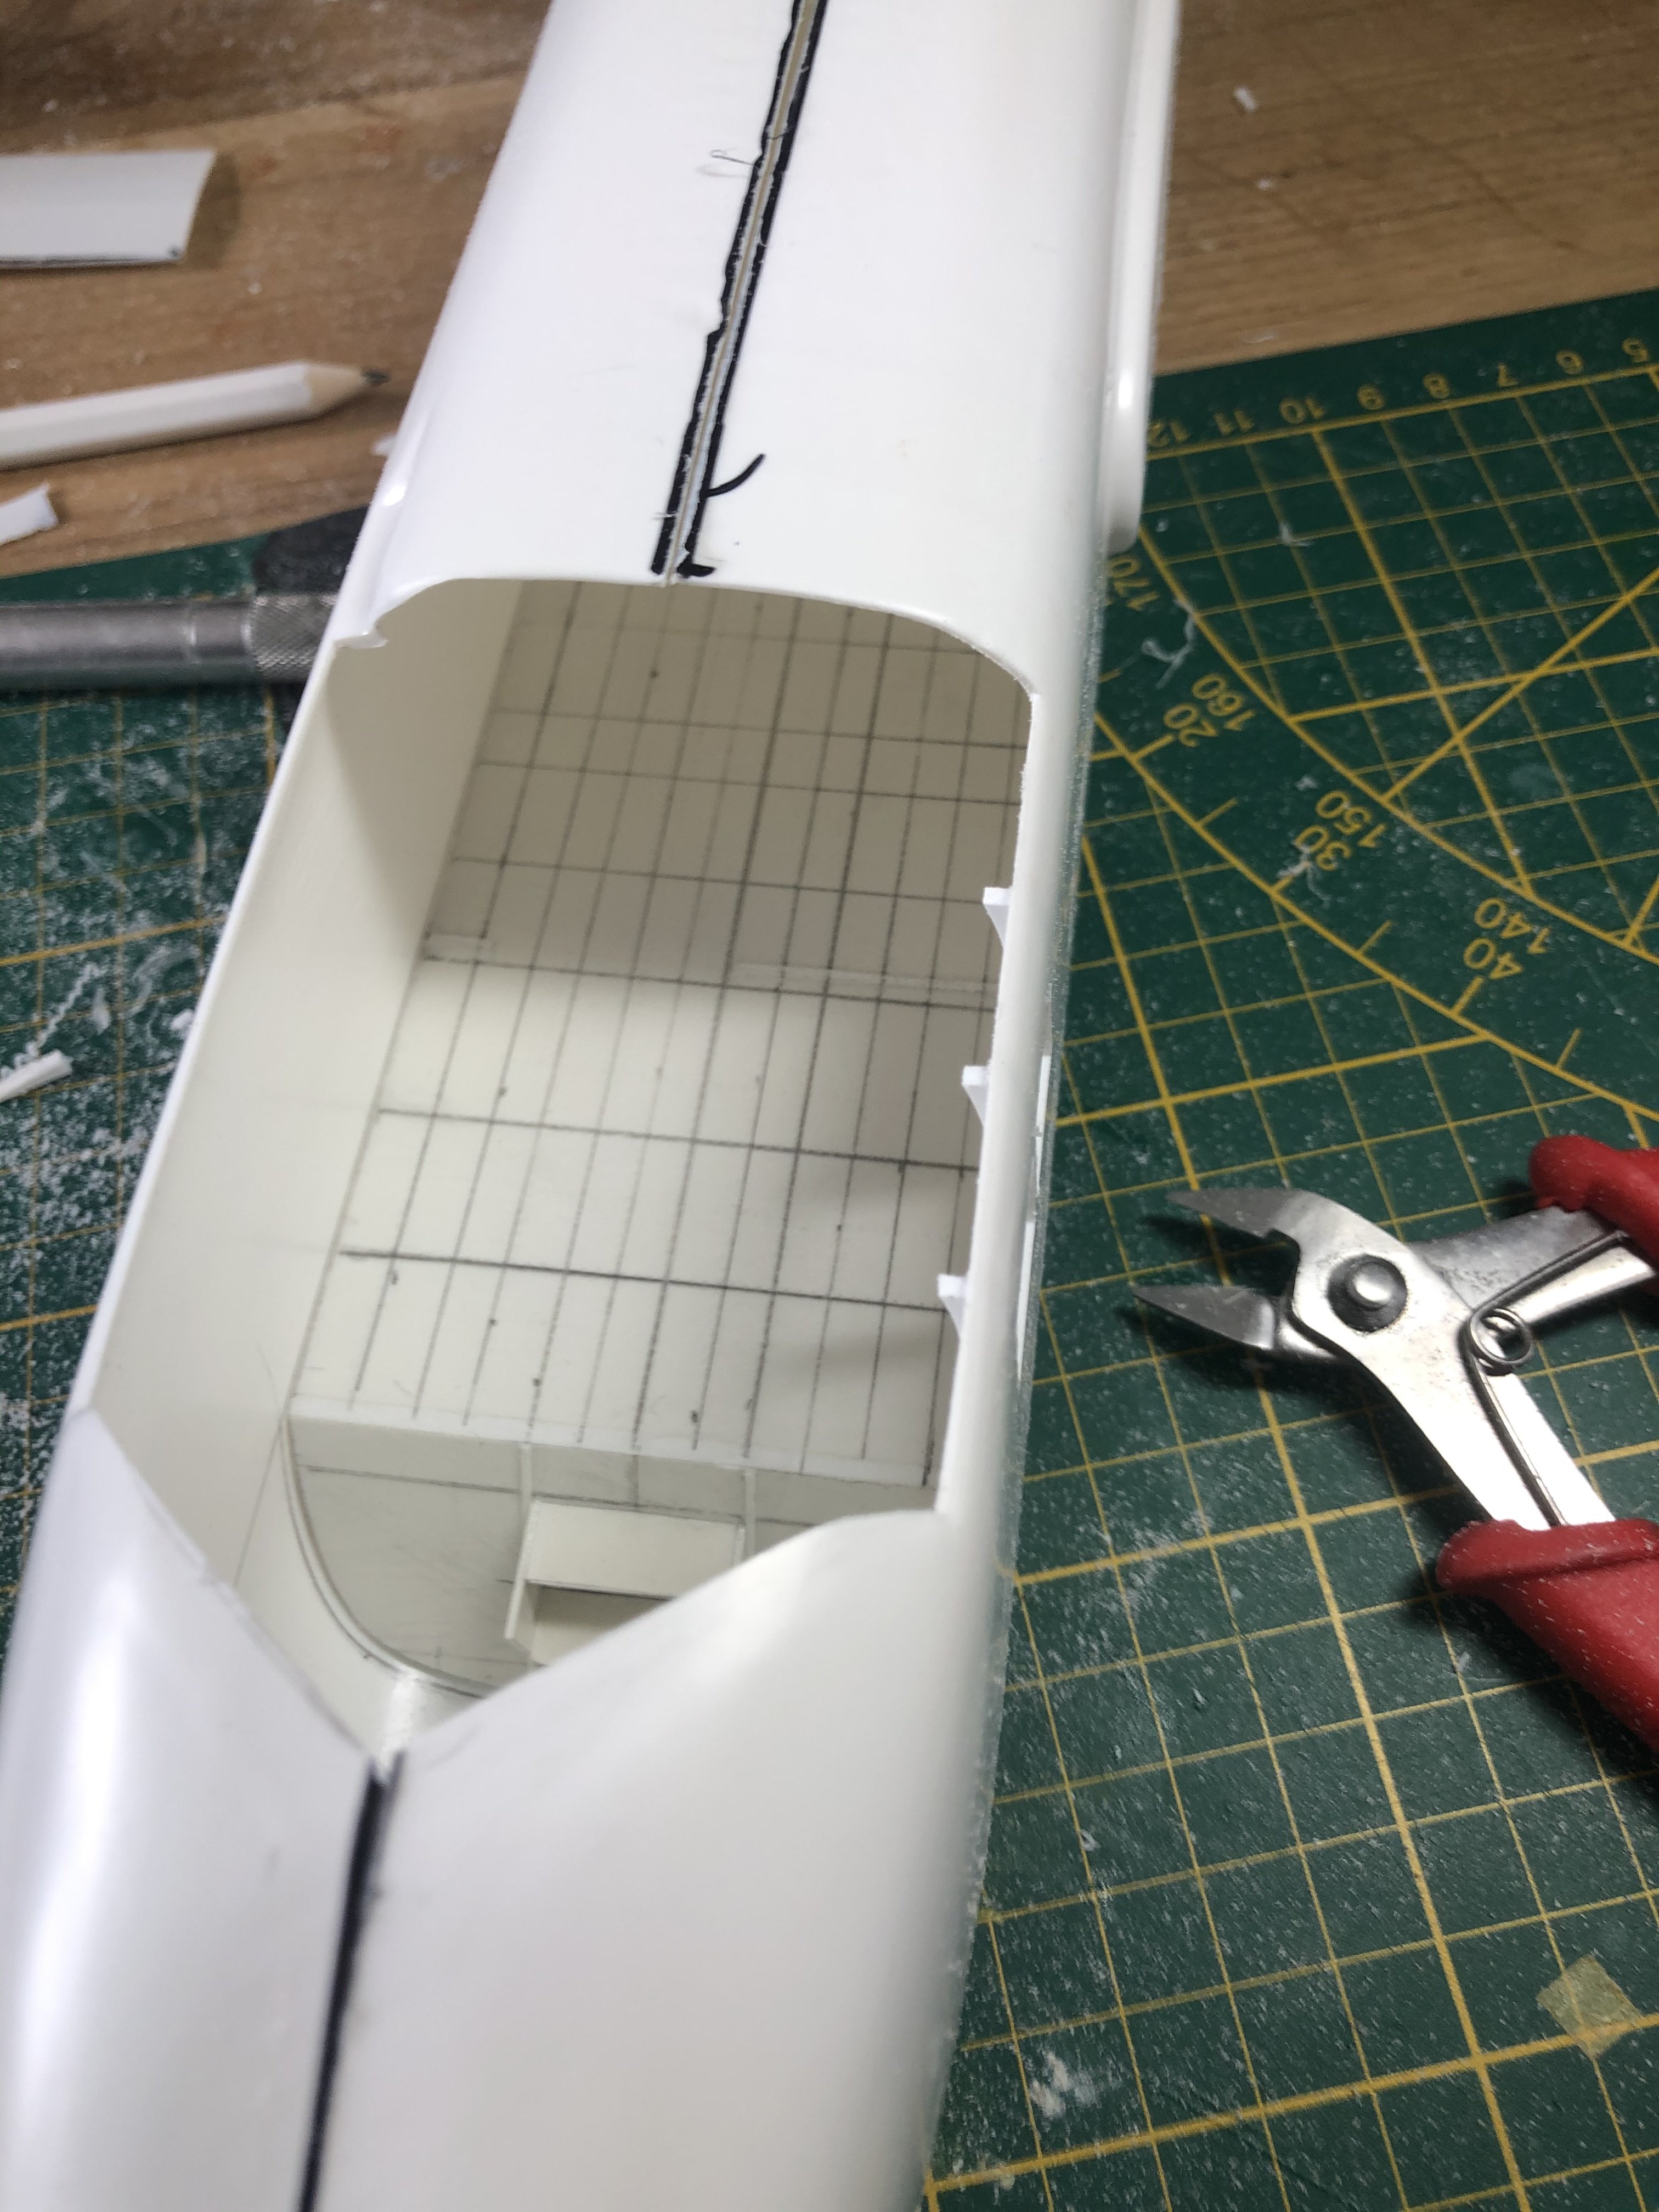
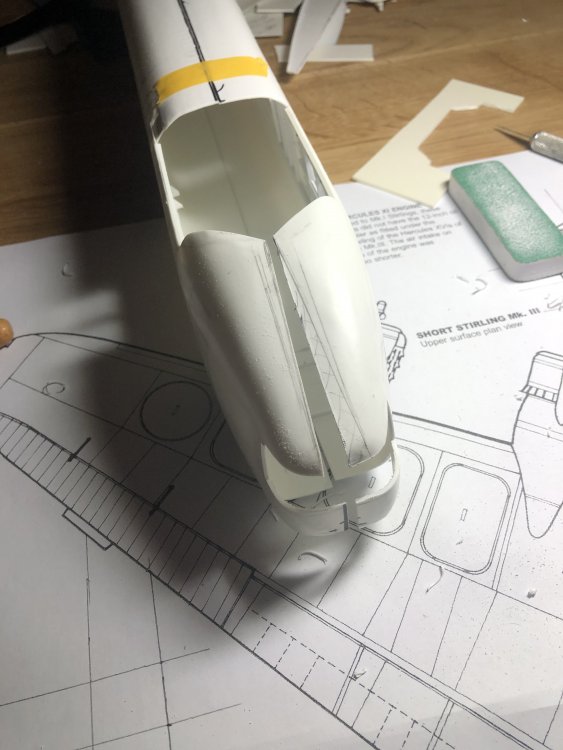
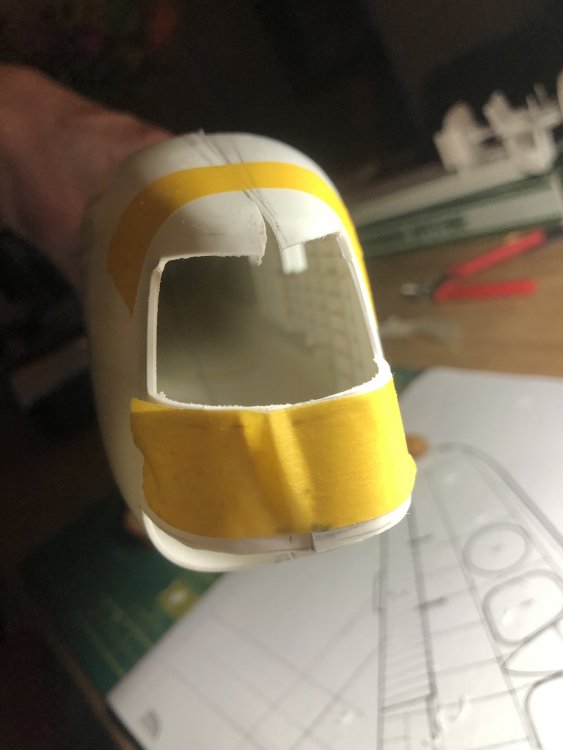
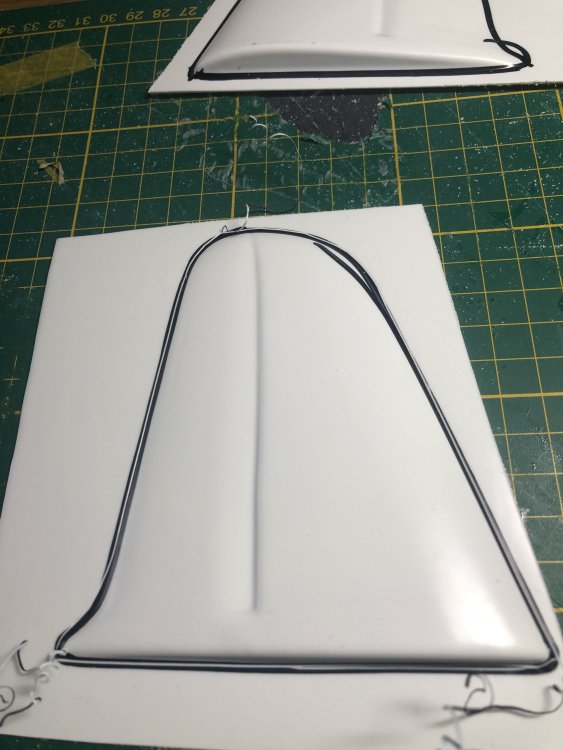
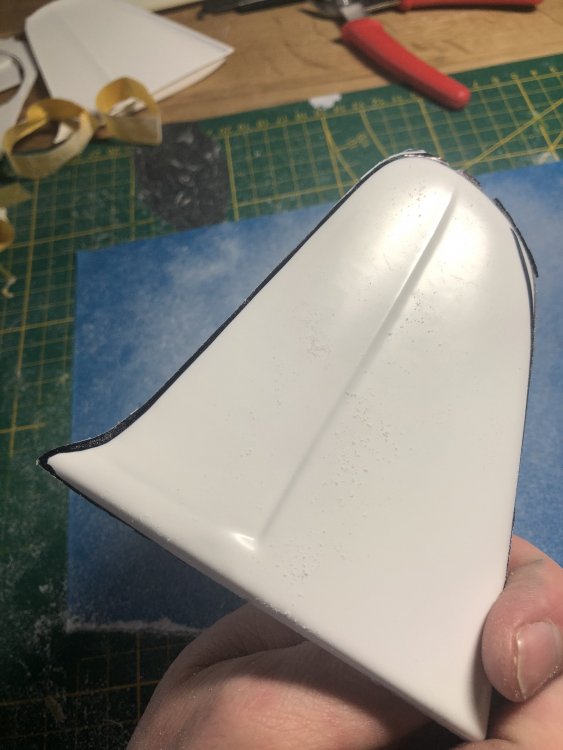
Thanks, surgery has been done and I am happy about the top section. The area between the bombardier and the noseturret will be difficult however as the plastic doesn’t follow the intended lines. These need to be a combination of a triangle and circle. Perhaps I will have to follow Megas Tsonos’ build in this. Been looking at the noseturret itself too. I have a HK Models FN5 of which the interior is similar to the Stirling setup. The sides however are much flatter and have no framing. Squeezing the transparency may work as you can see the difference in the pics. I will have to modify the baseplate too by cutting off the triangular sides. dryfitting the turret in the nosesection shows that a lot of work is still needed. But thinking how to solve problems is part of the fun too.


-
Daft project or is it? 1/32 Short Stirling III
Wingco57 replied to Wingco57's topic in LSM 1/35 and Larger Work In Progress
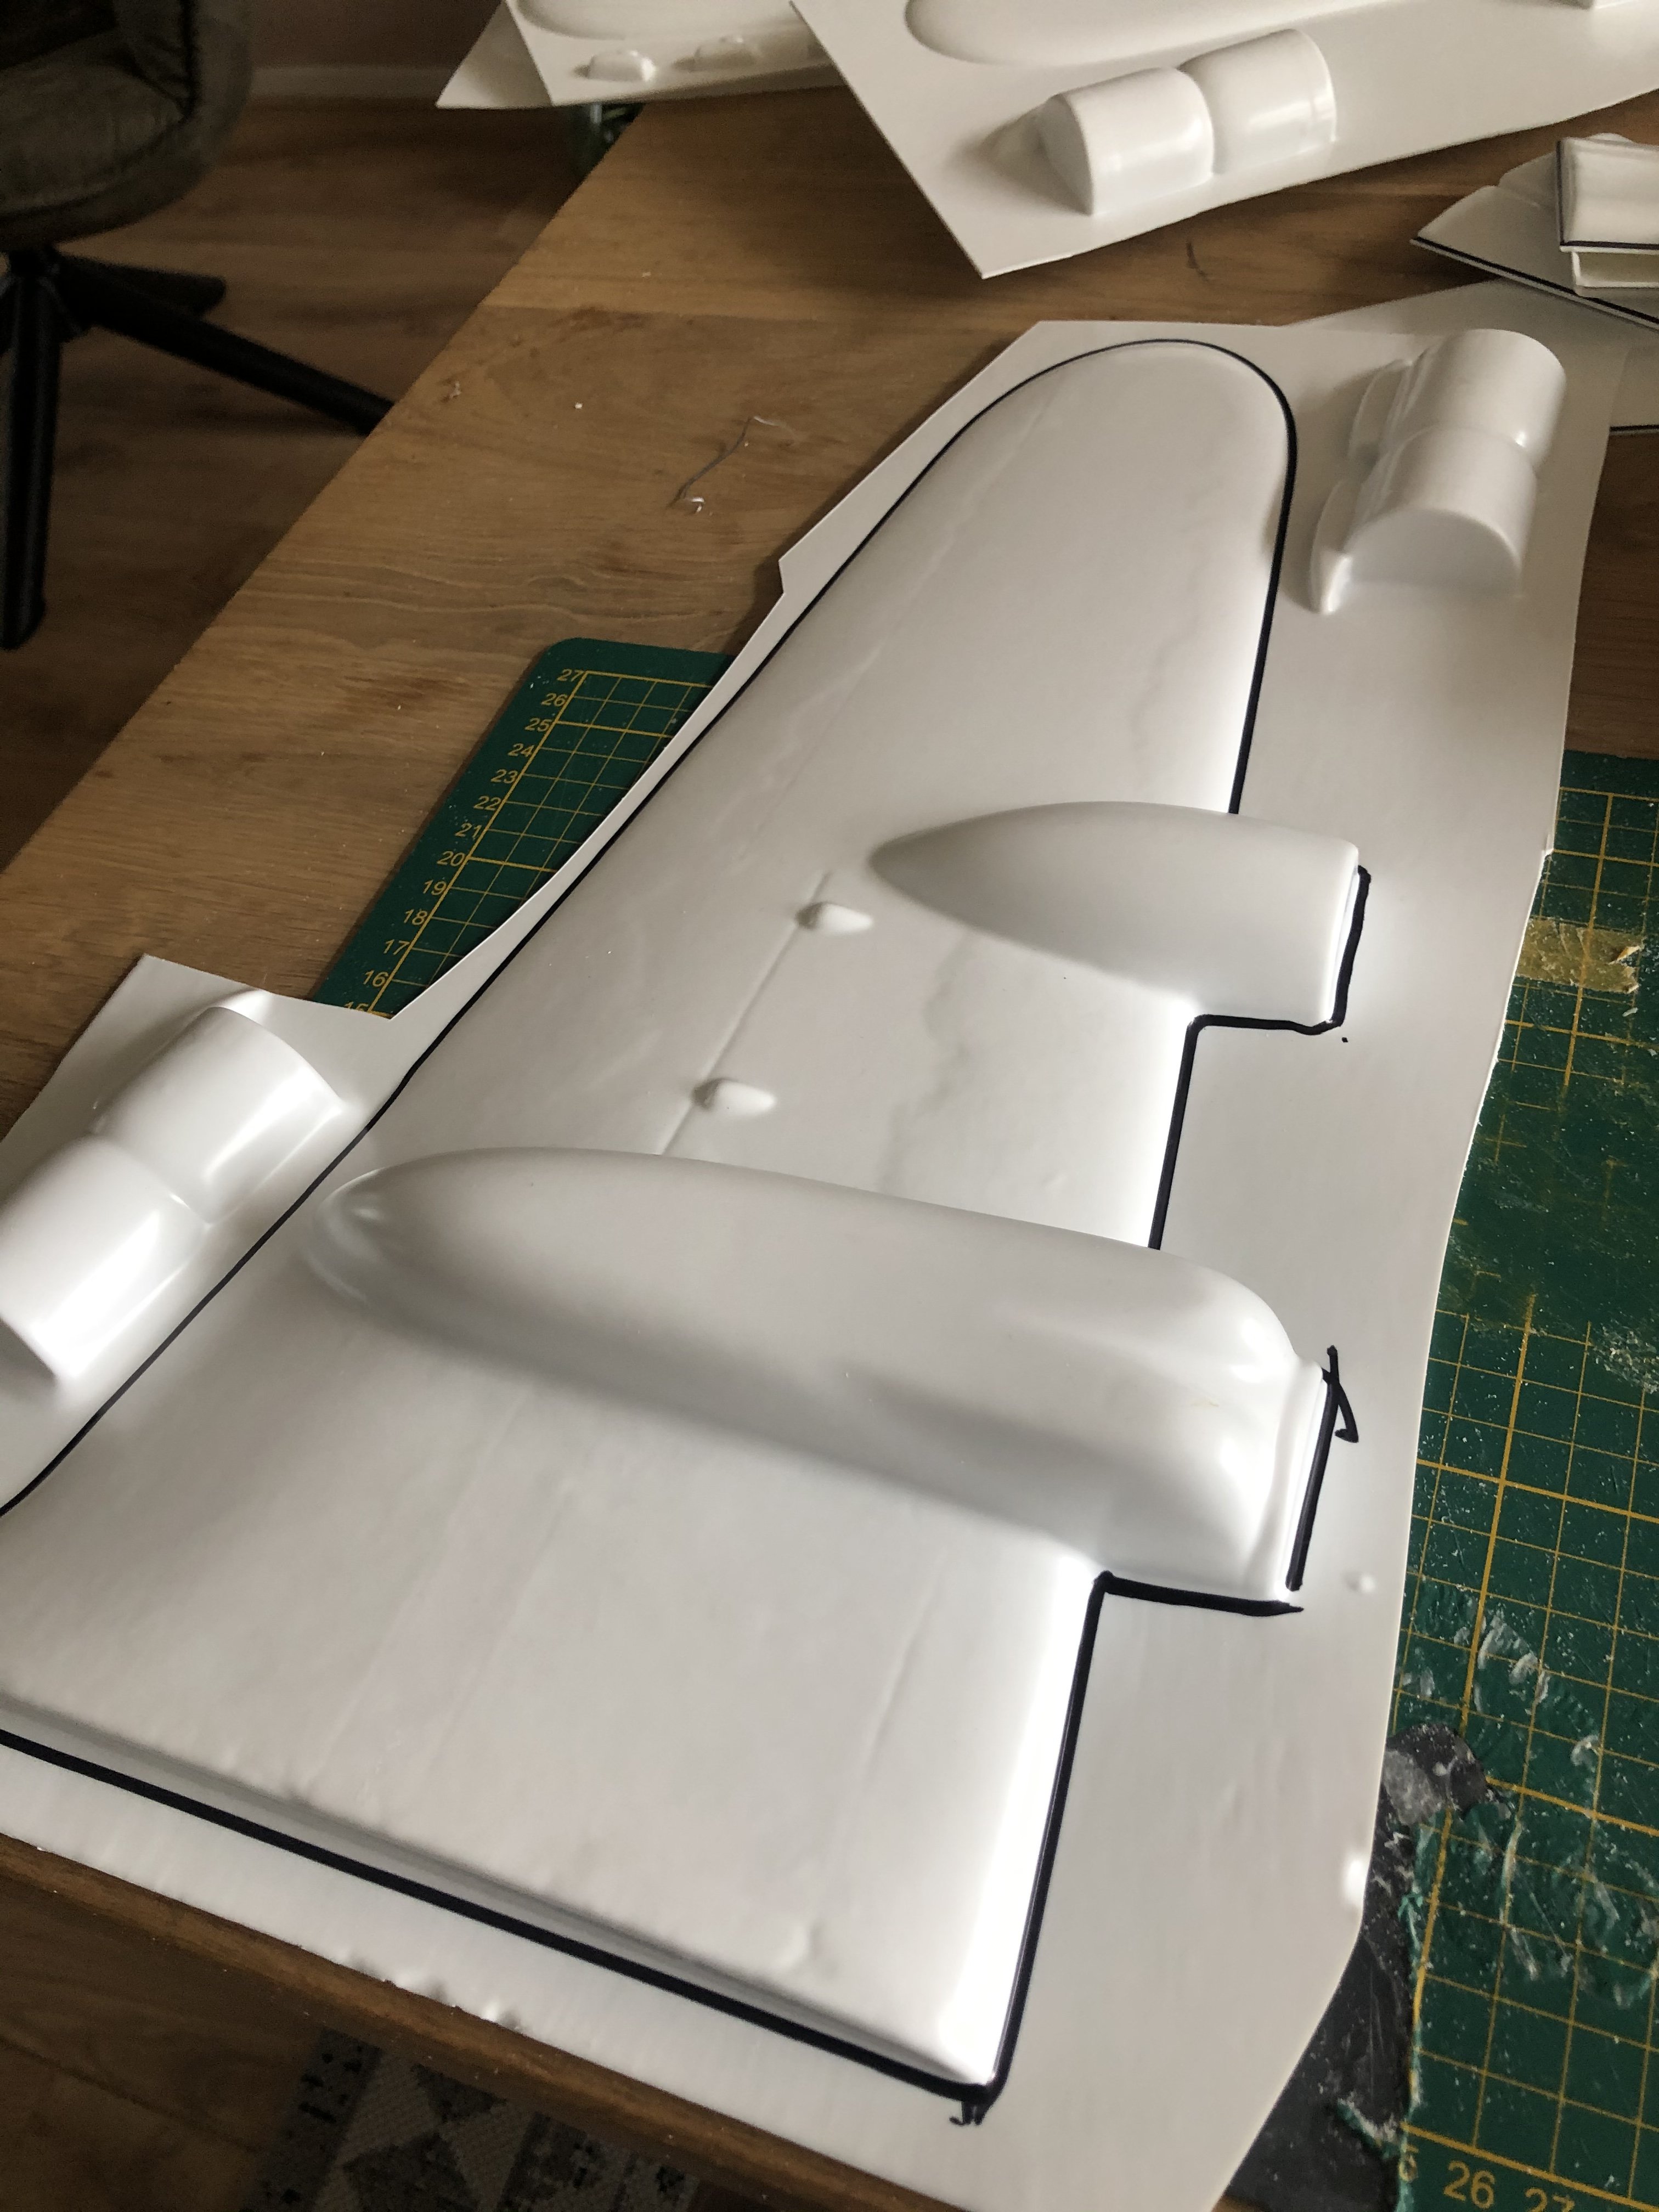
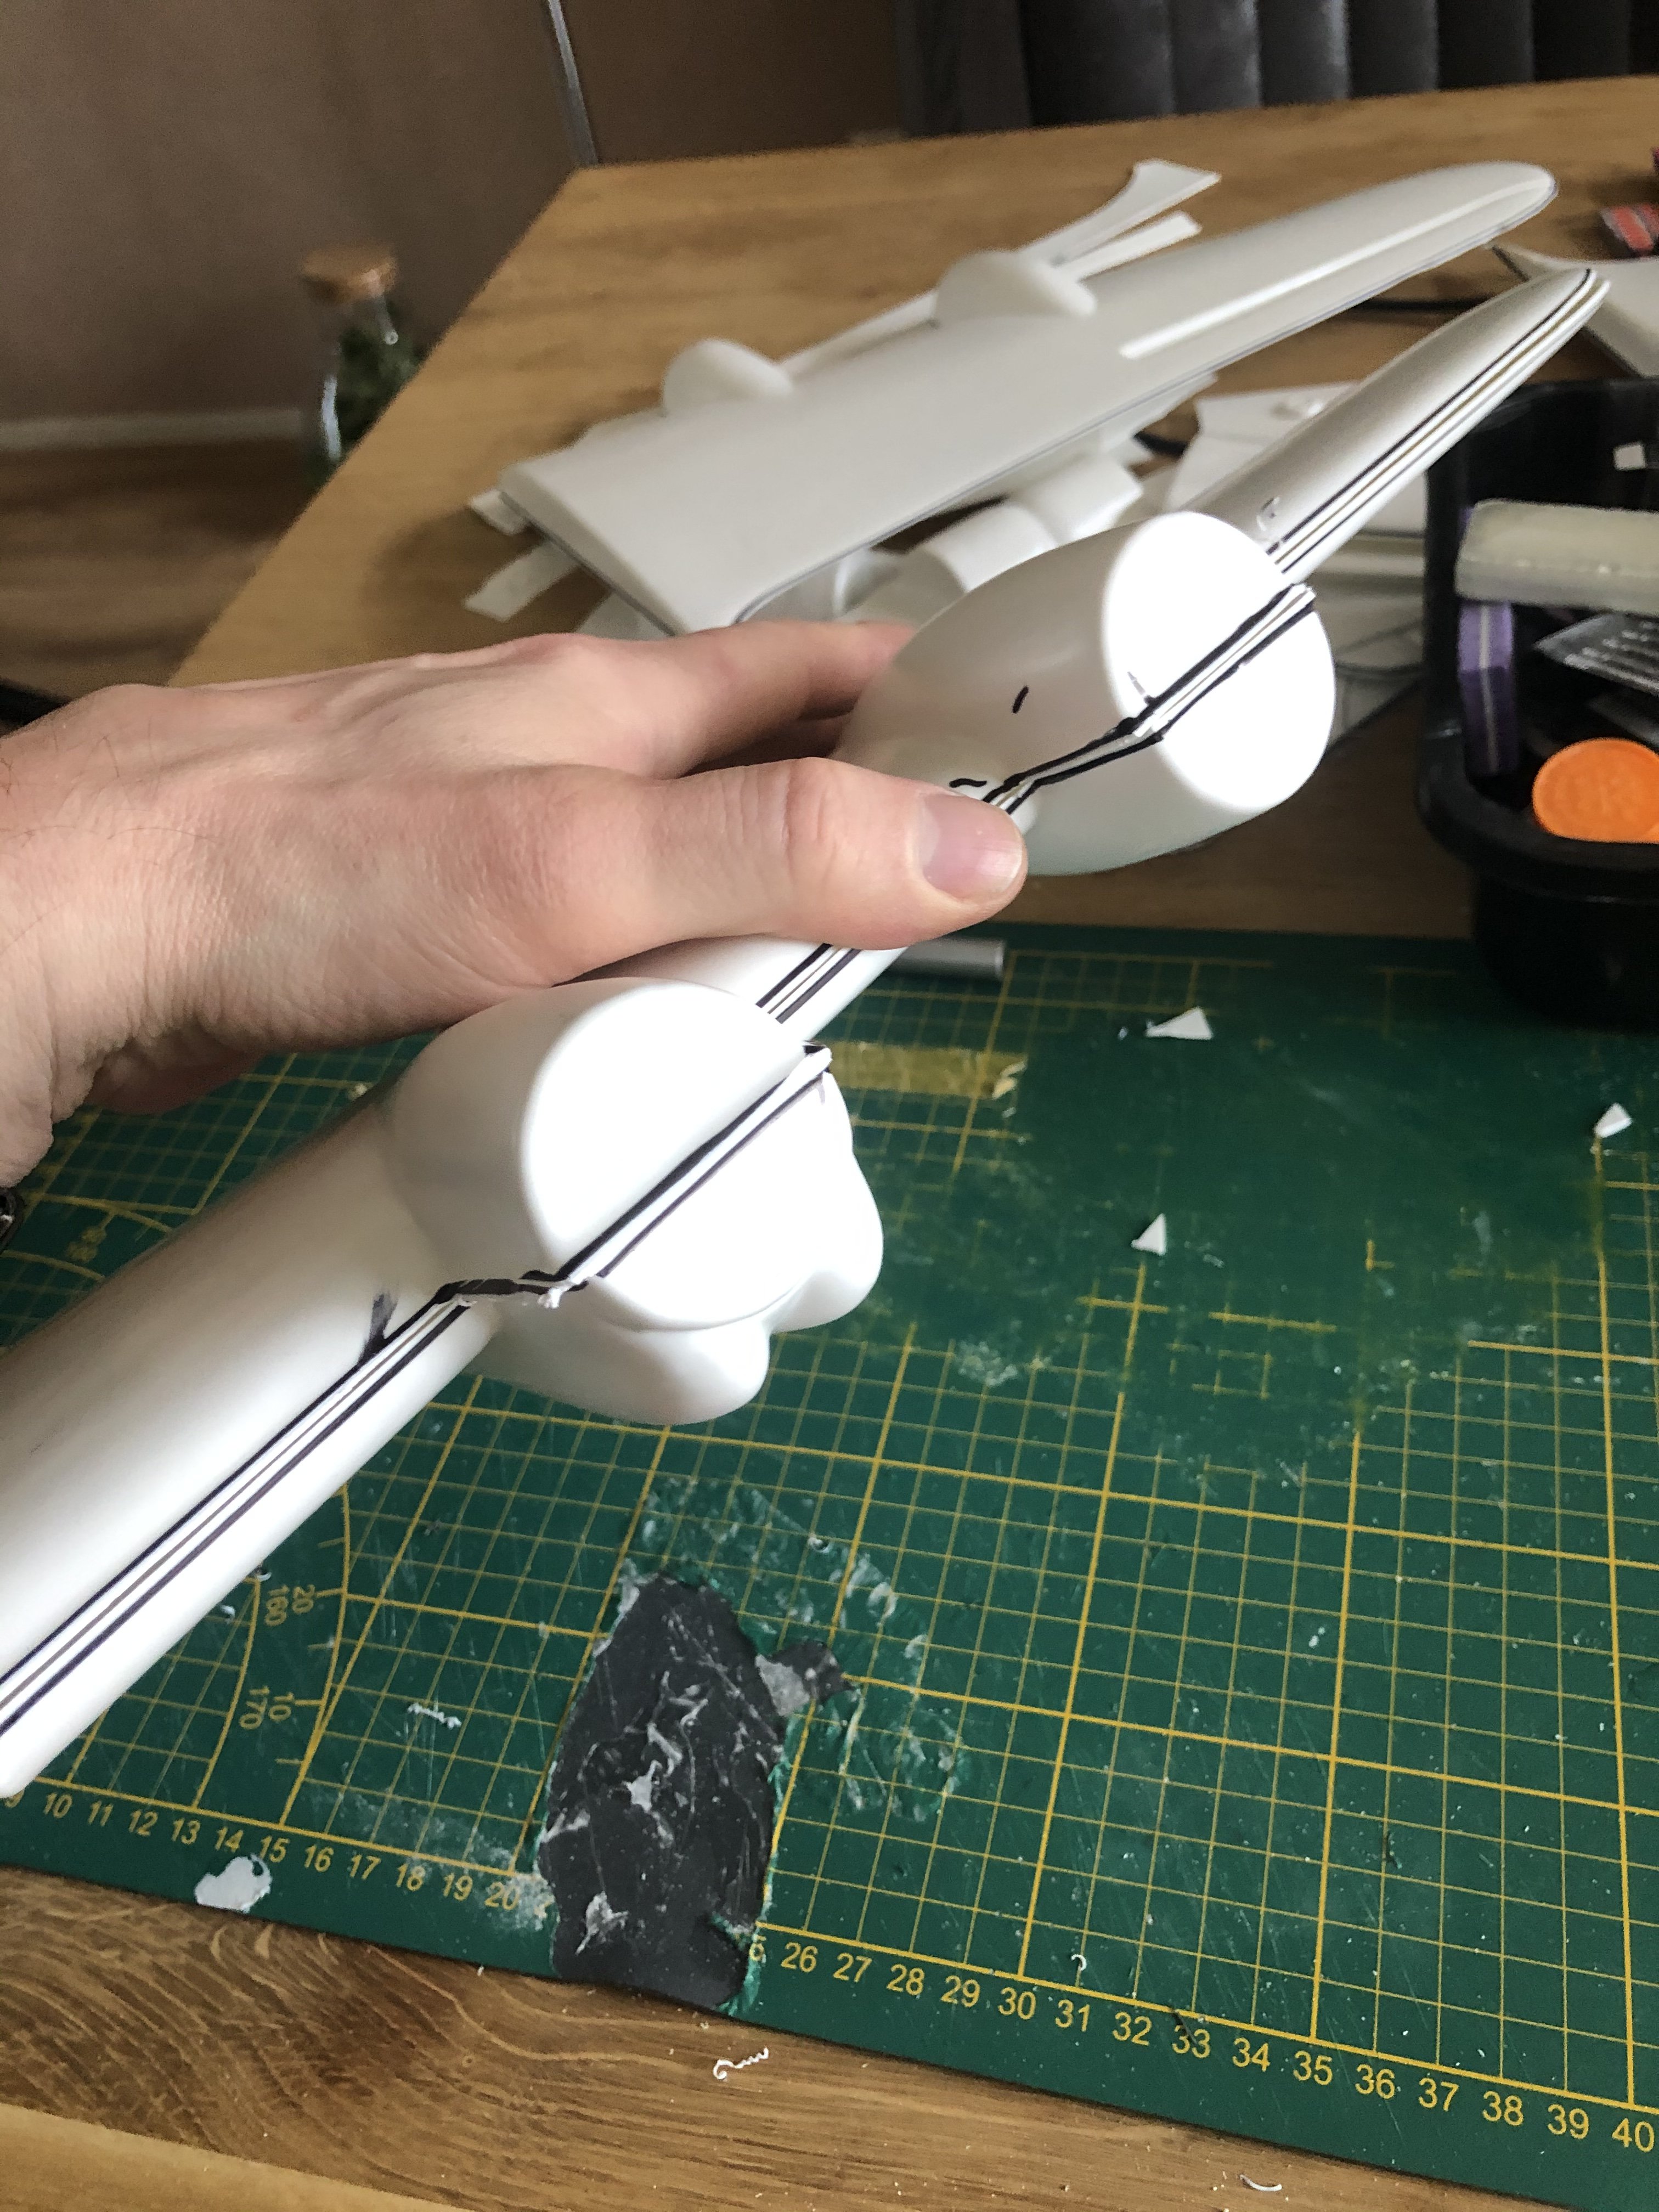
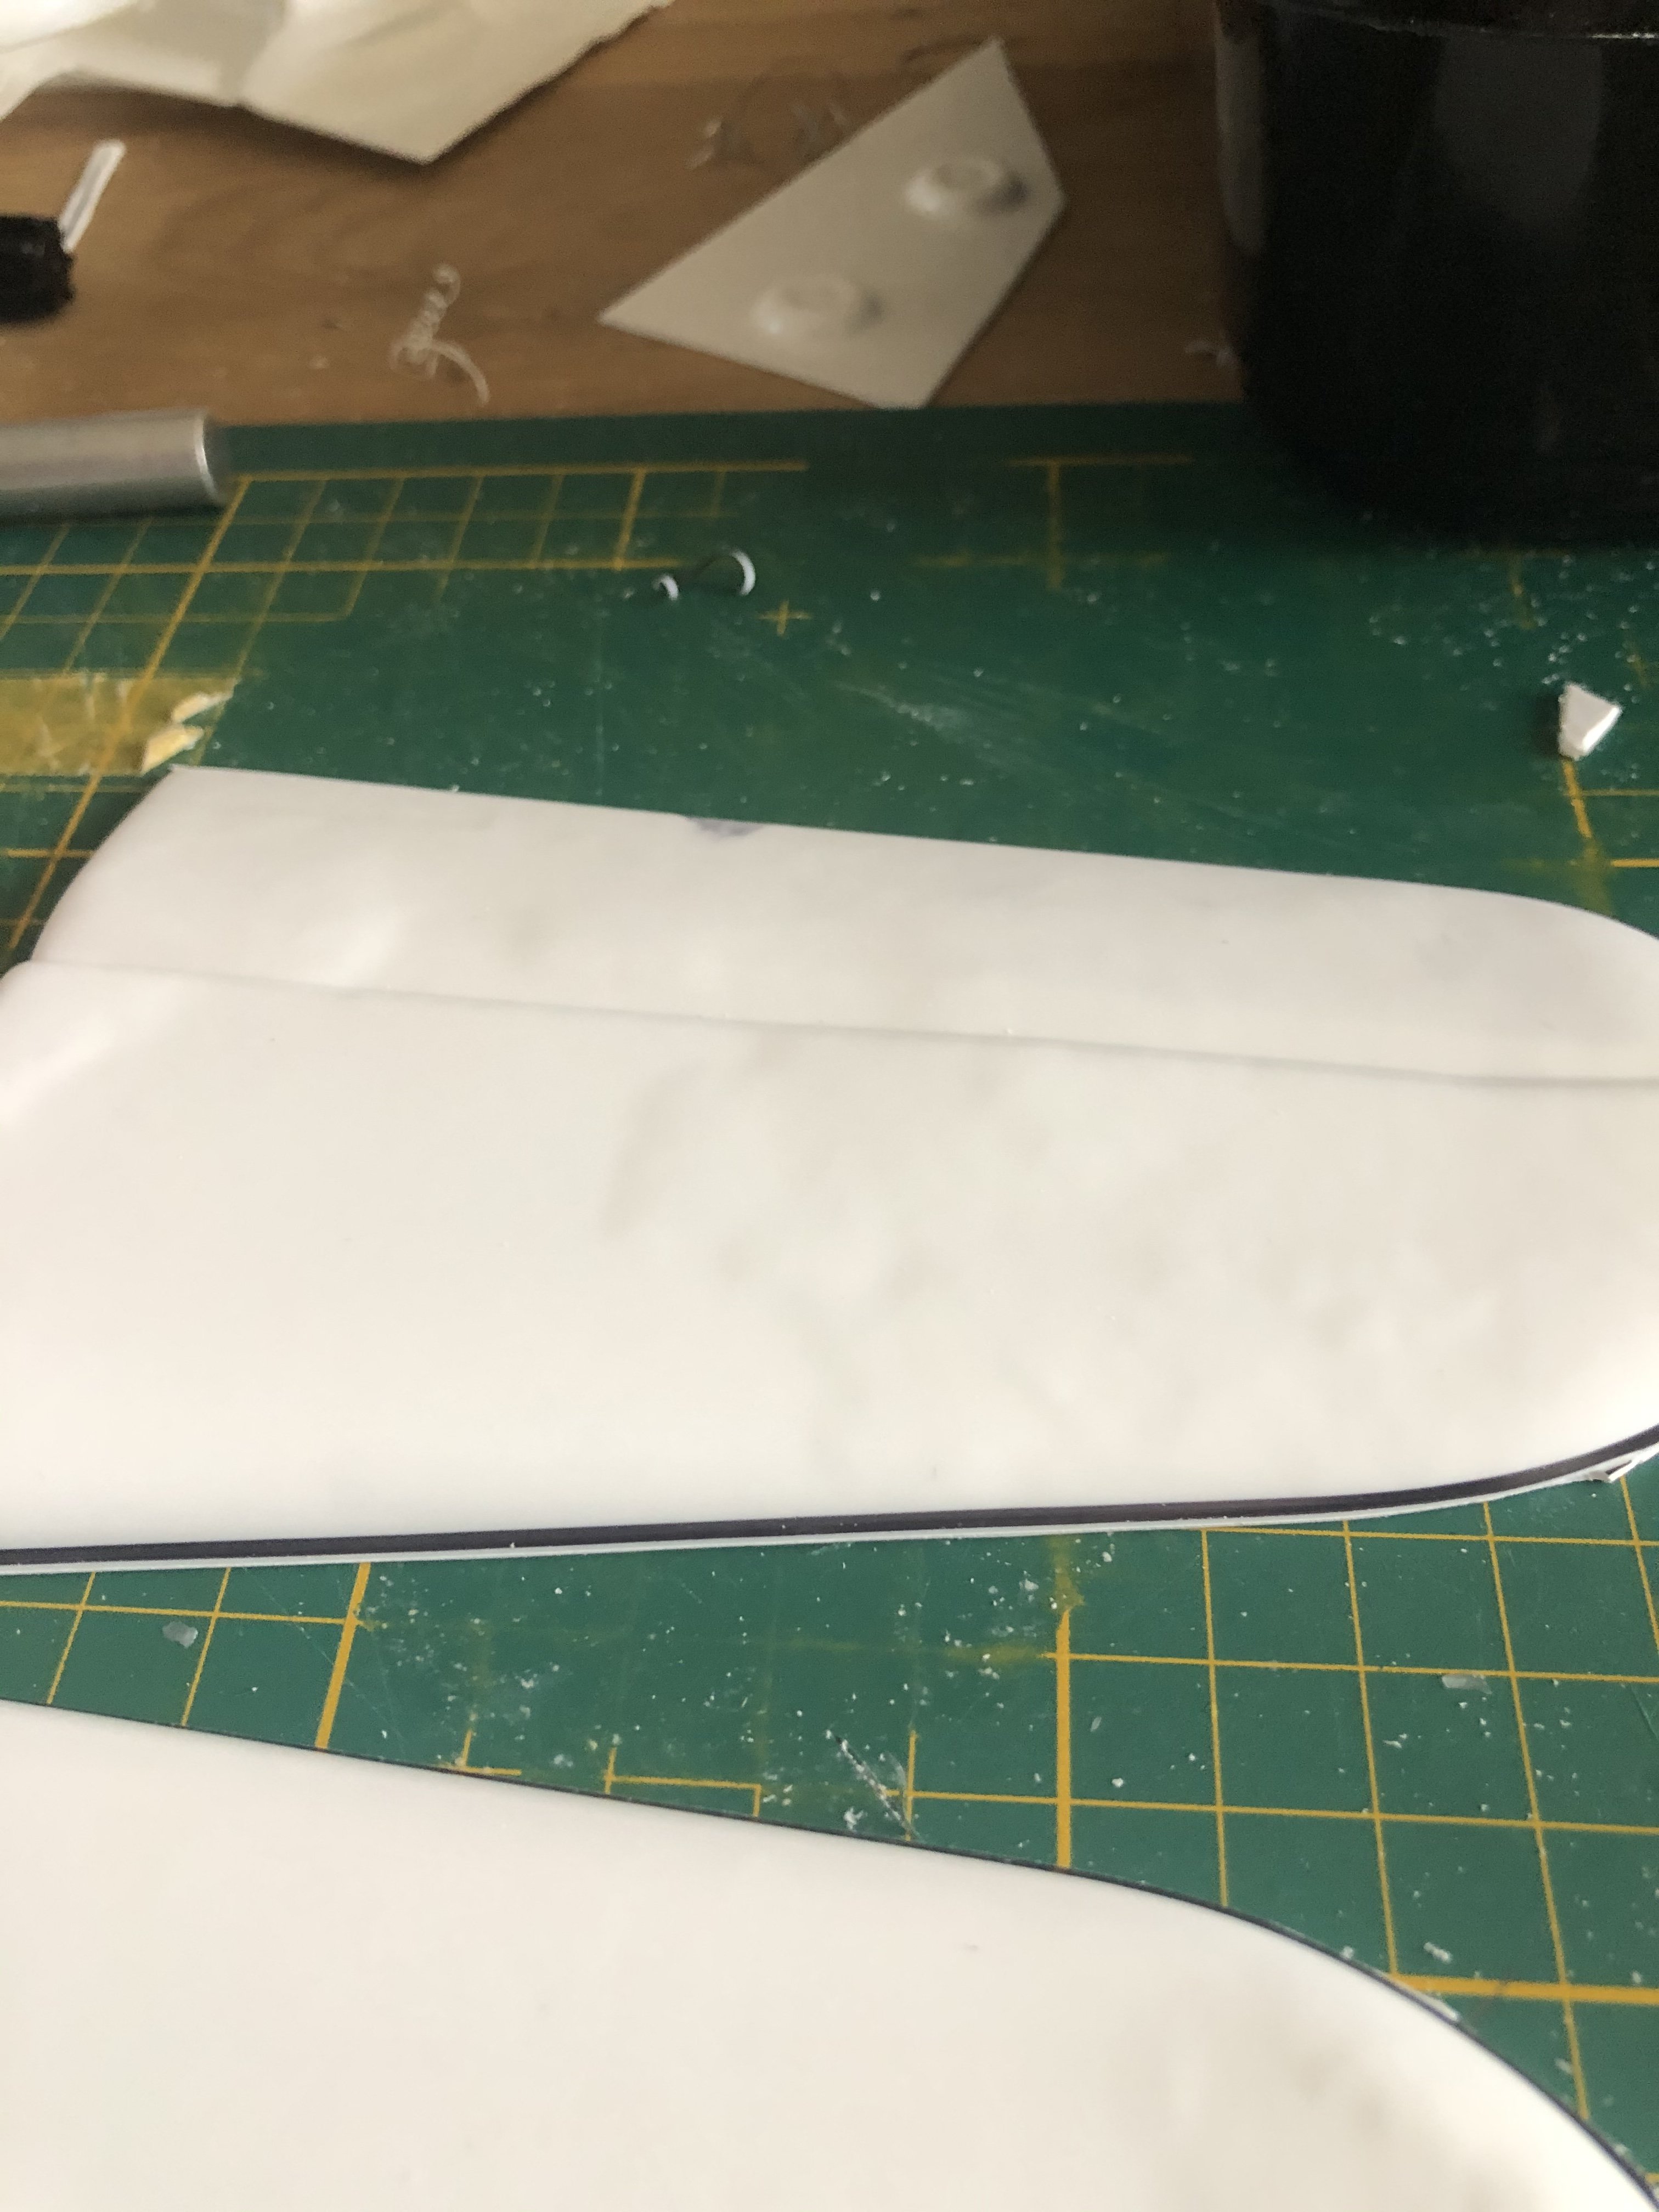
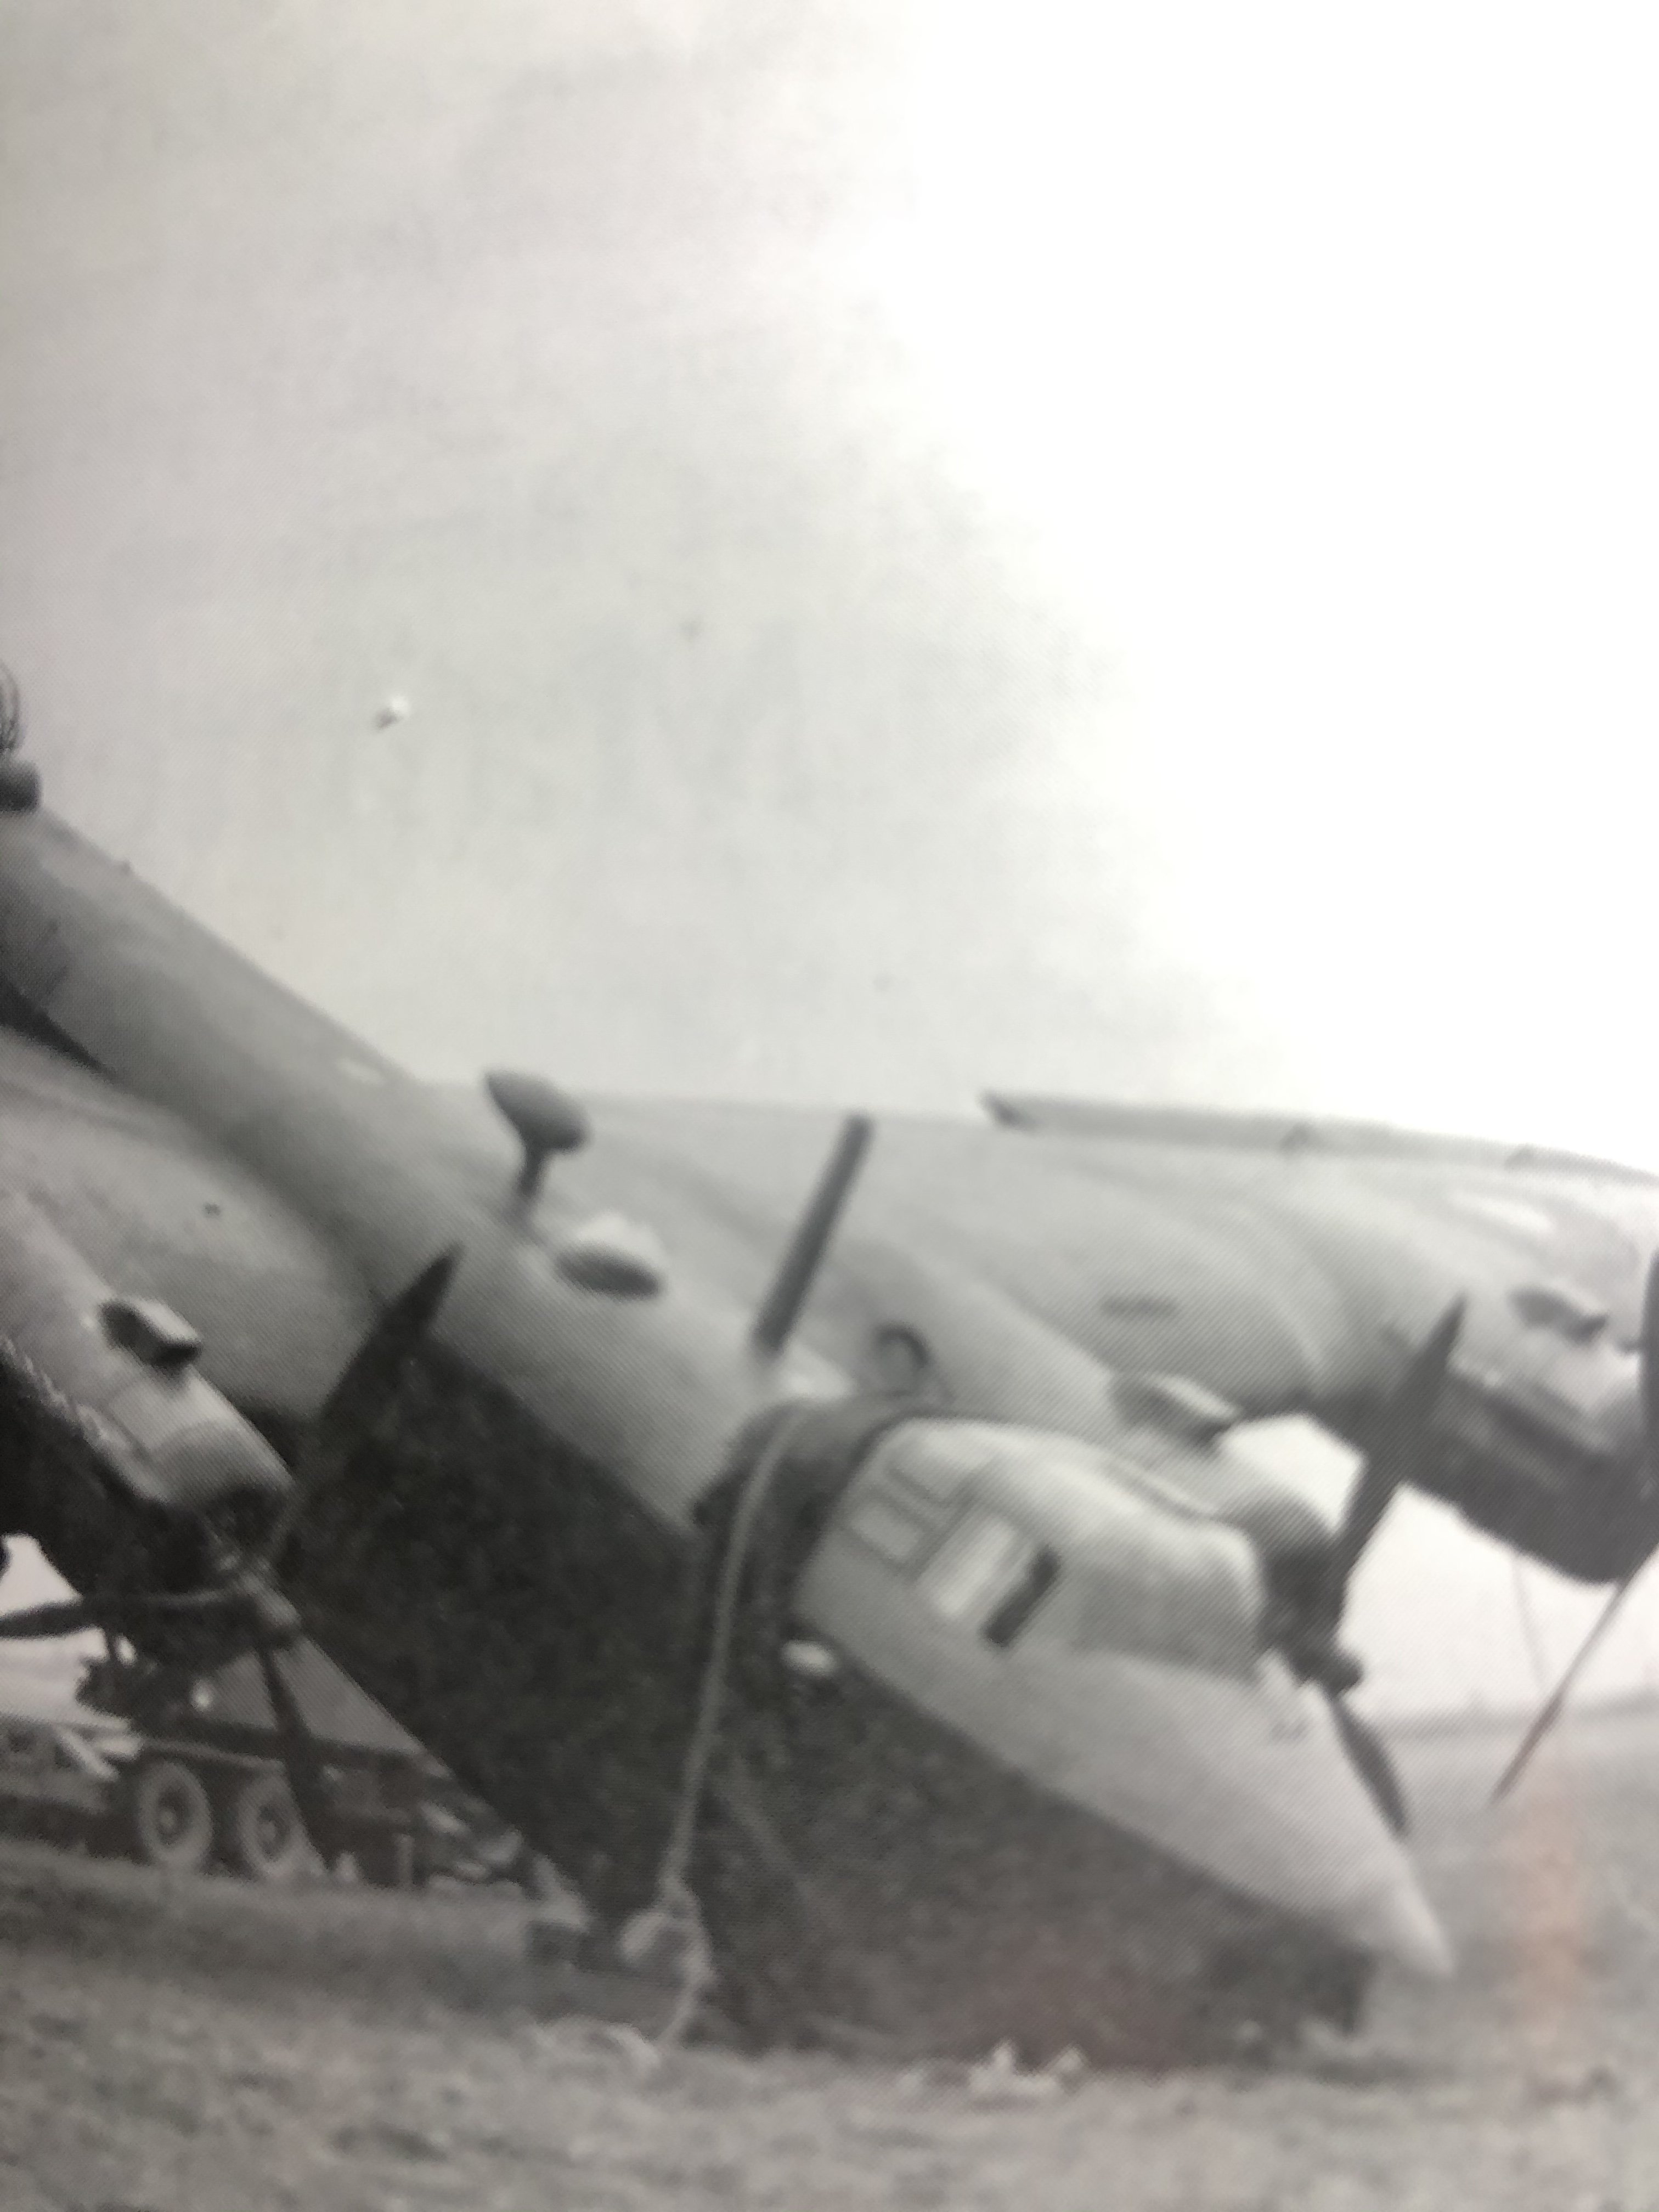
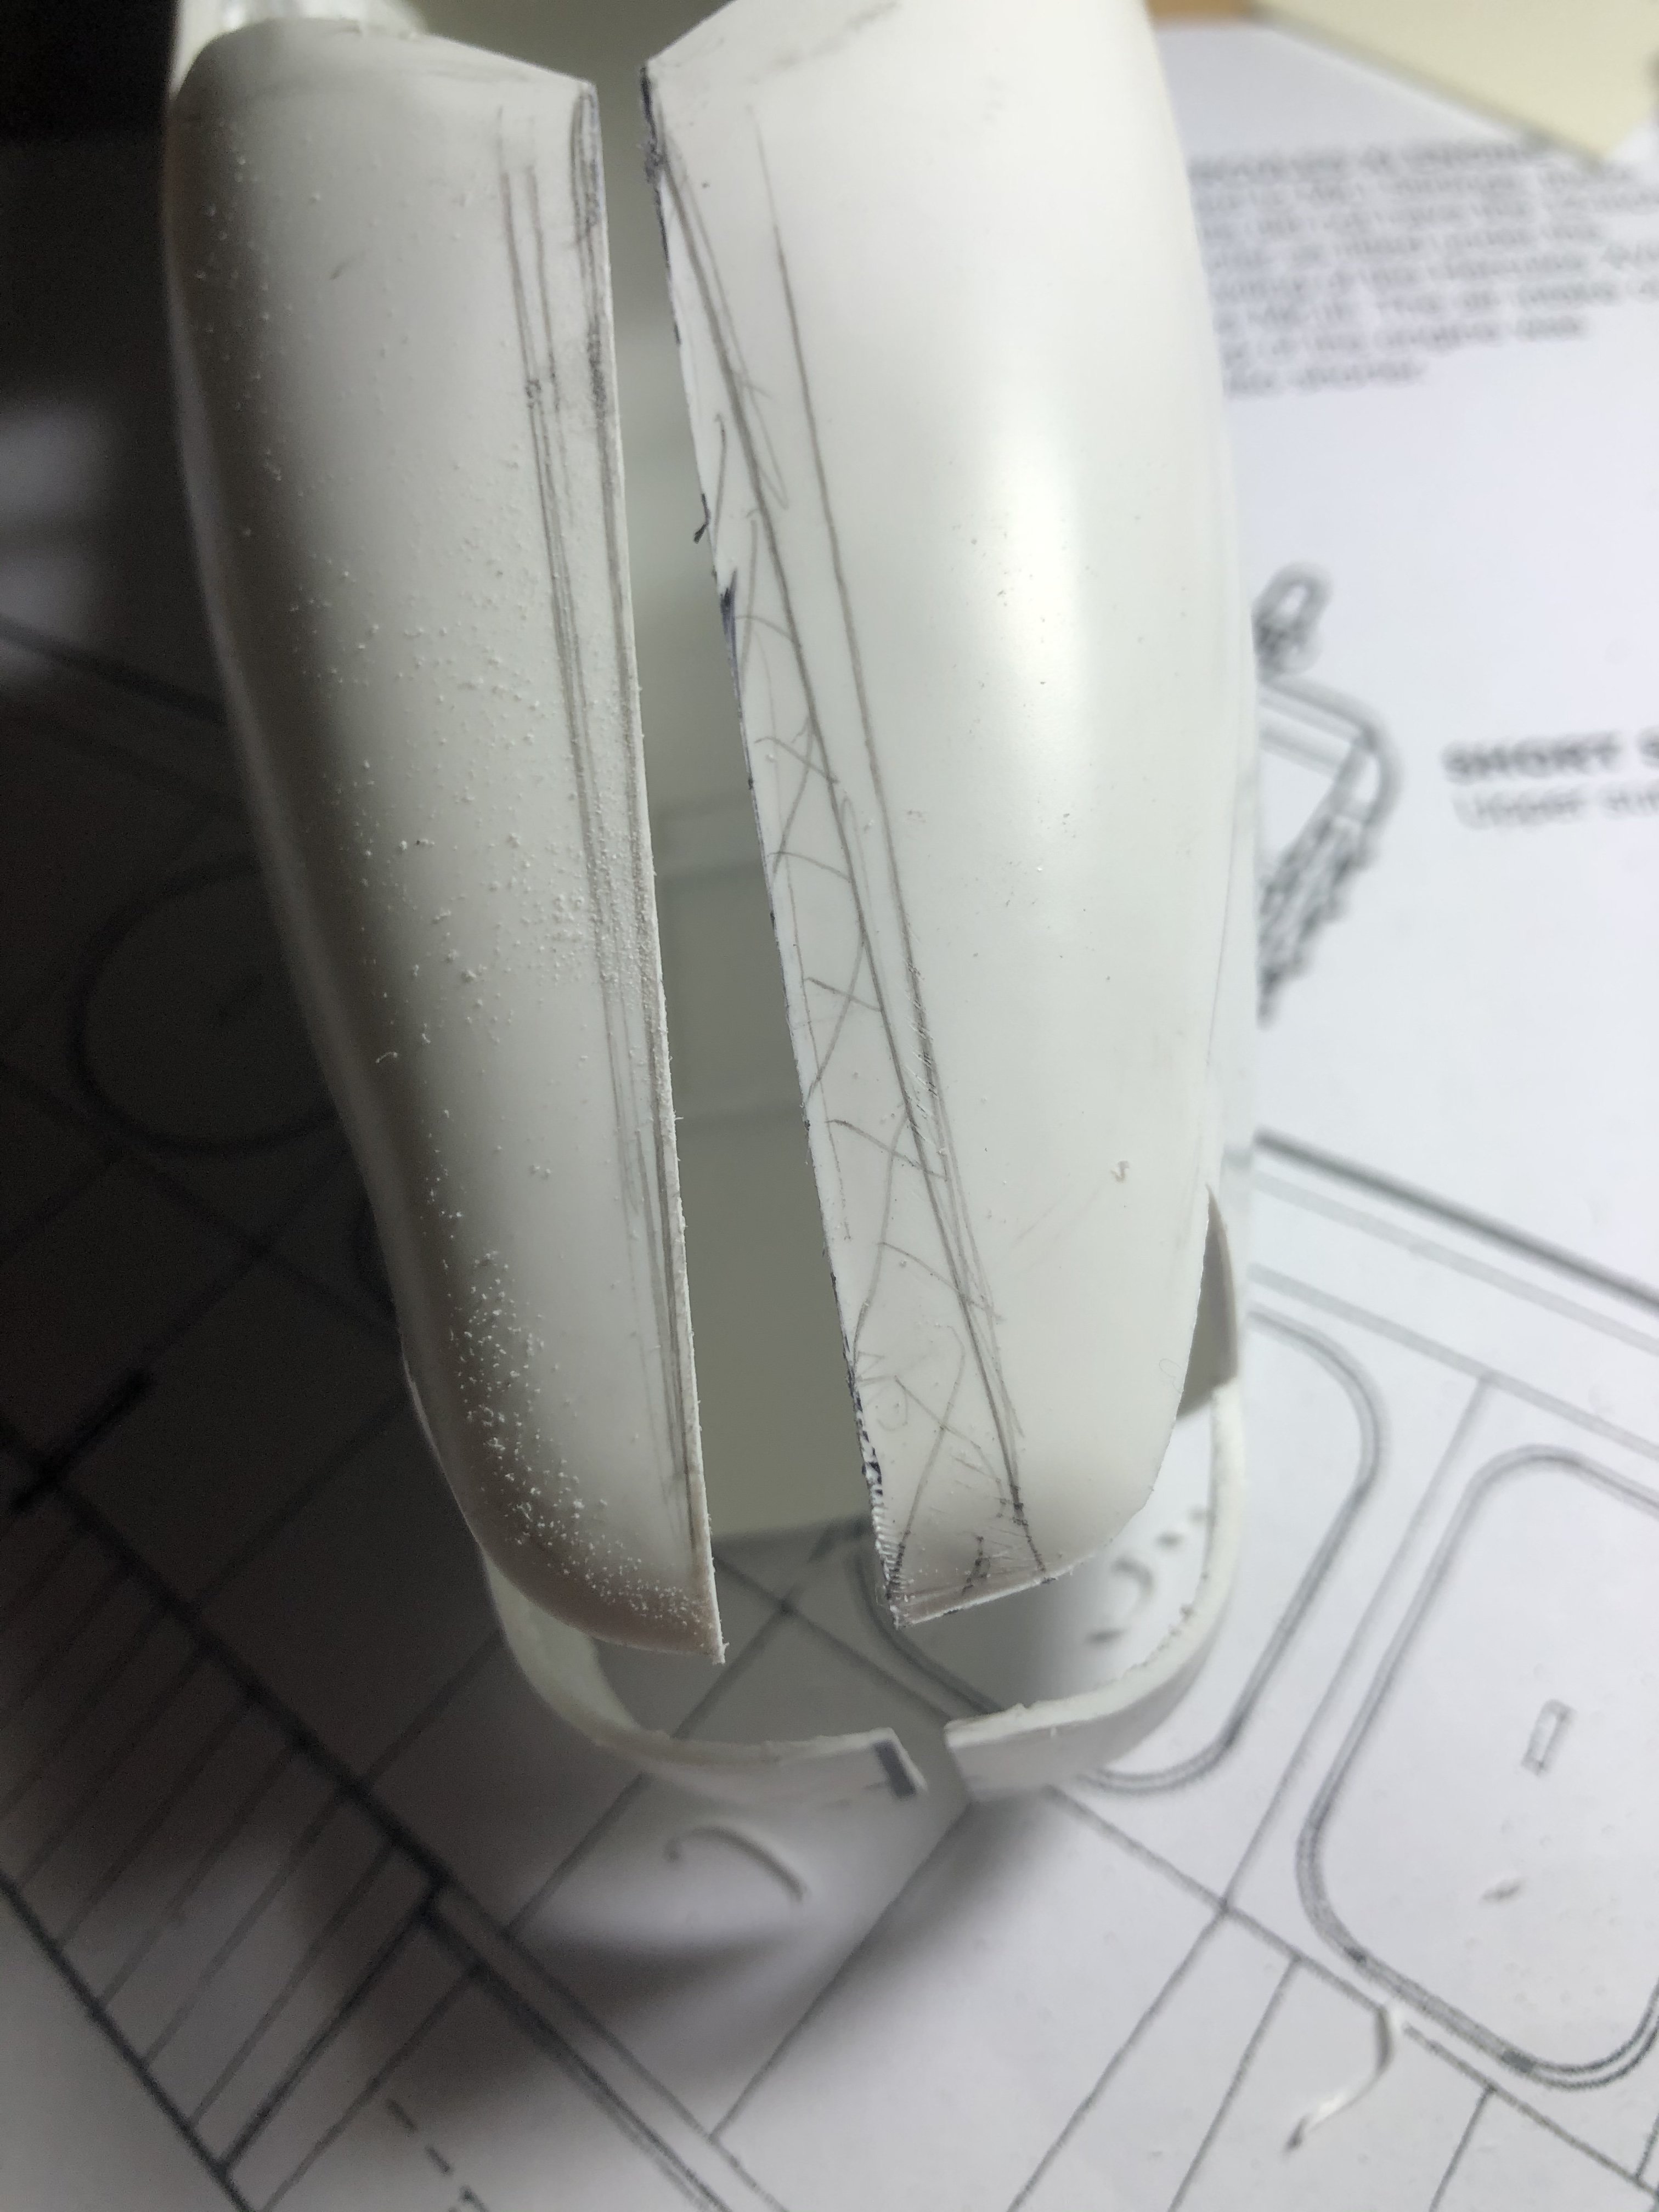
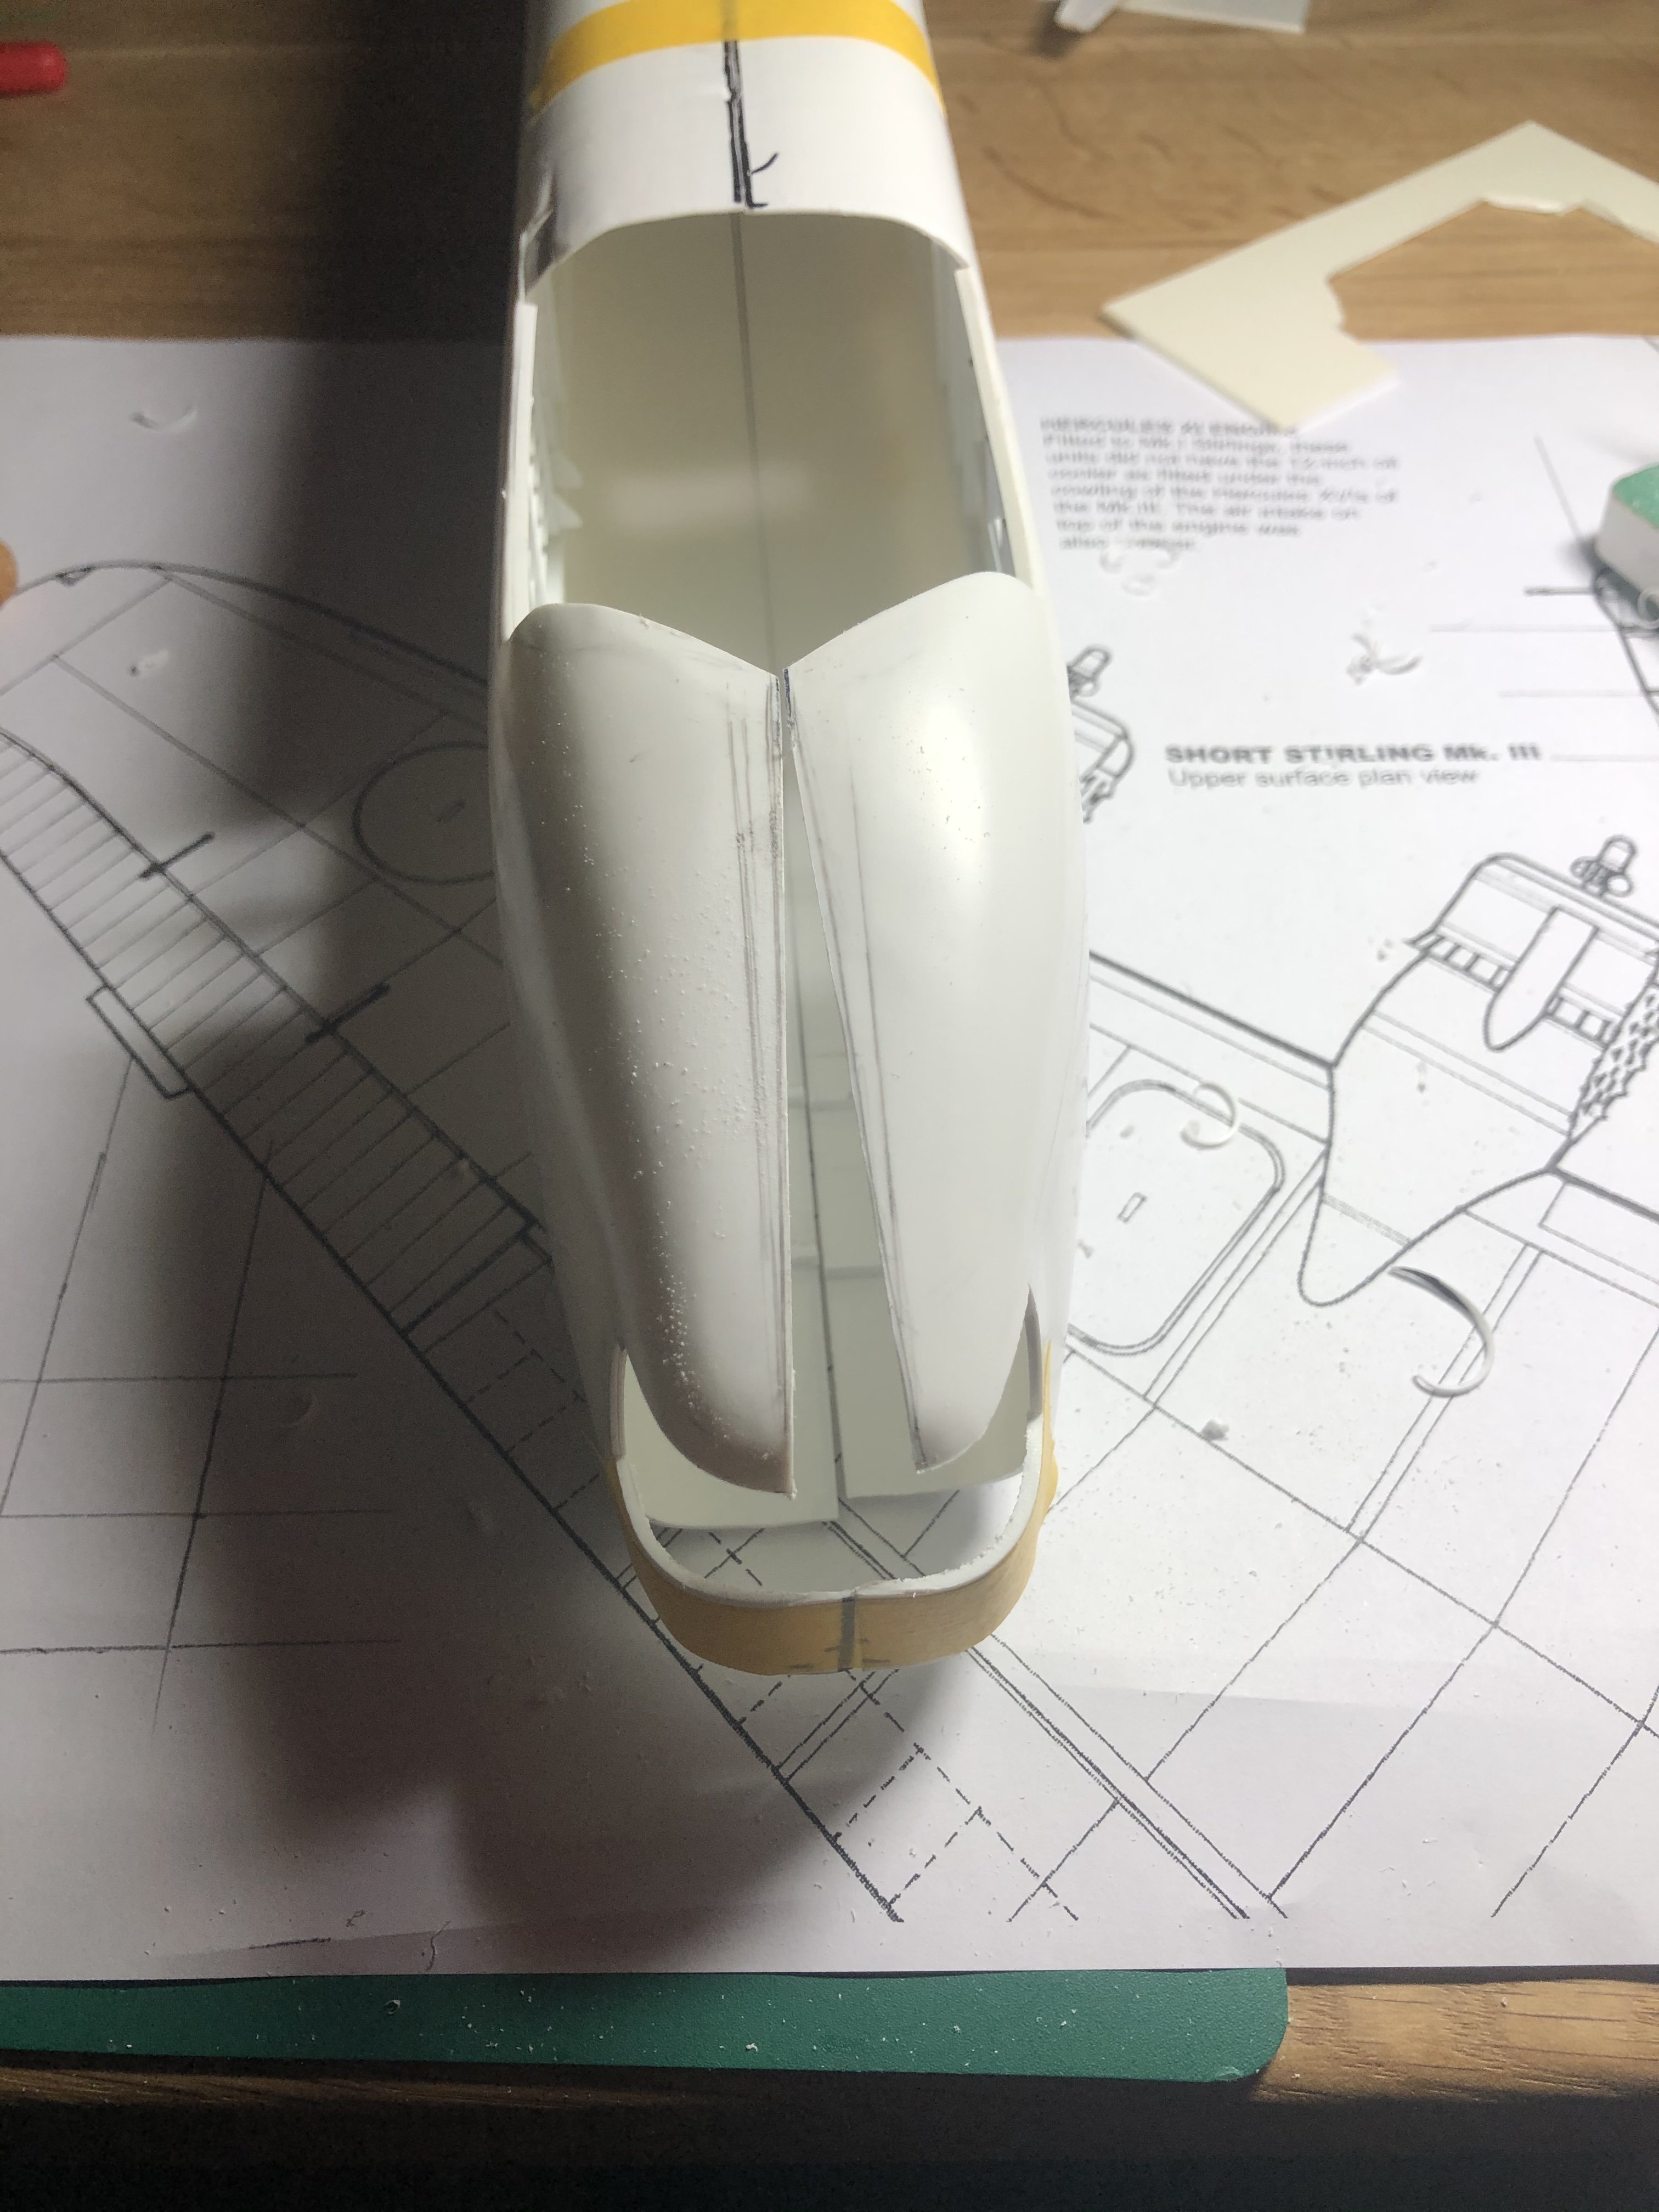
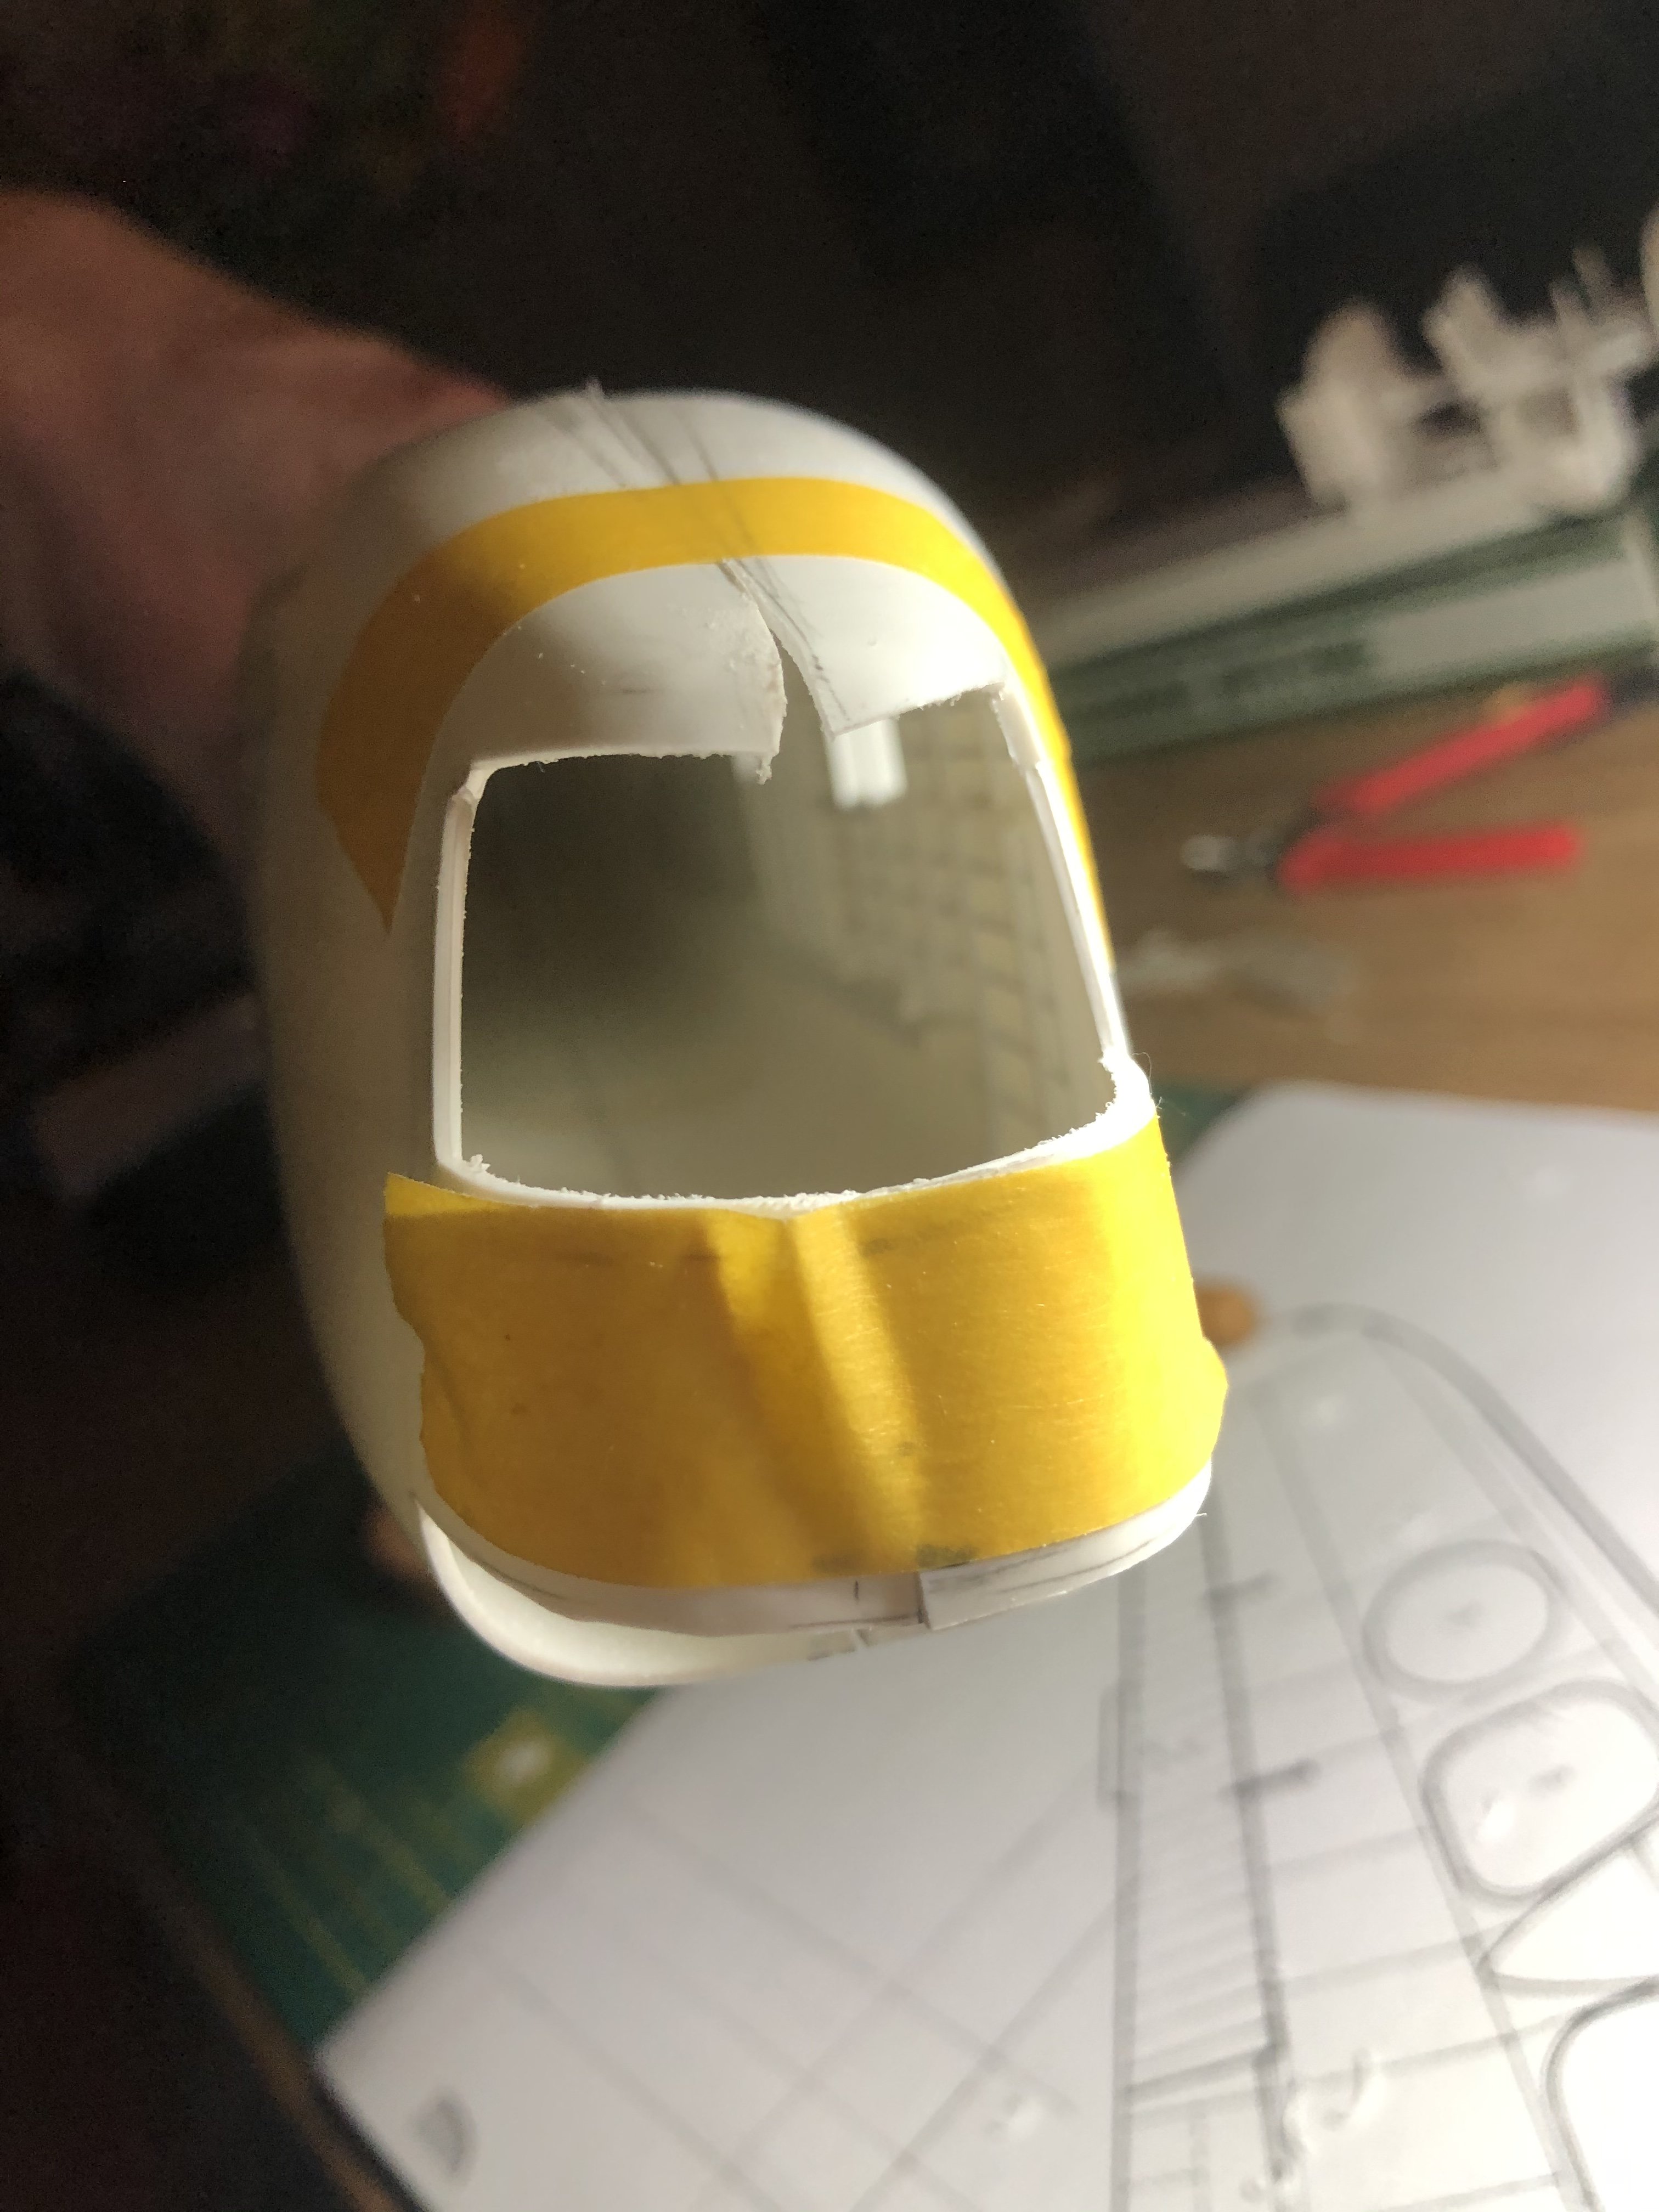
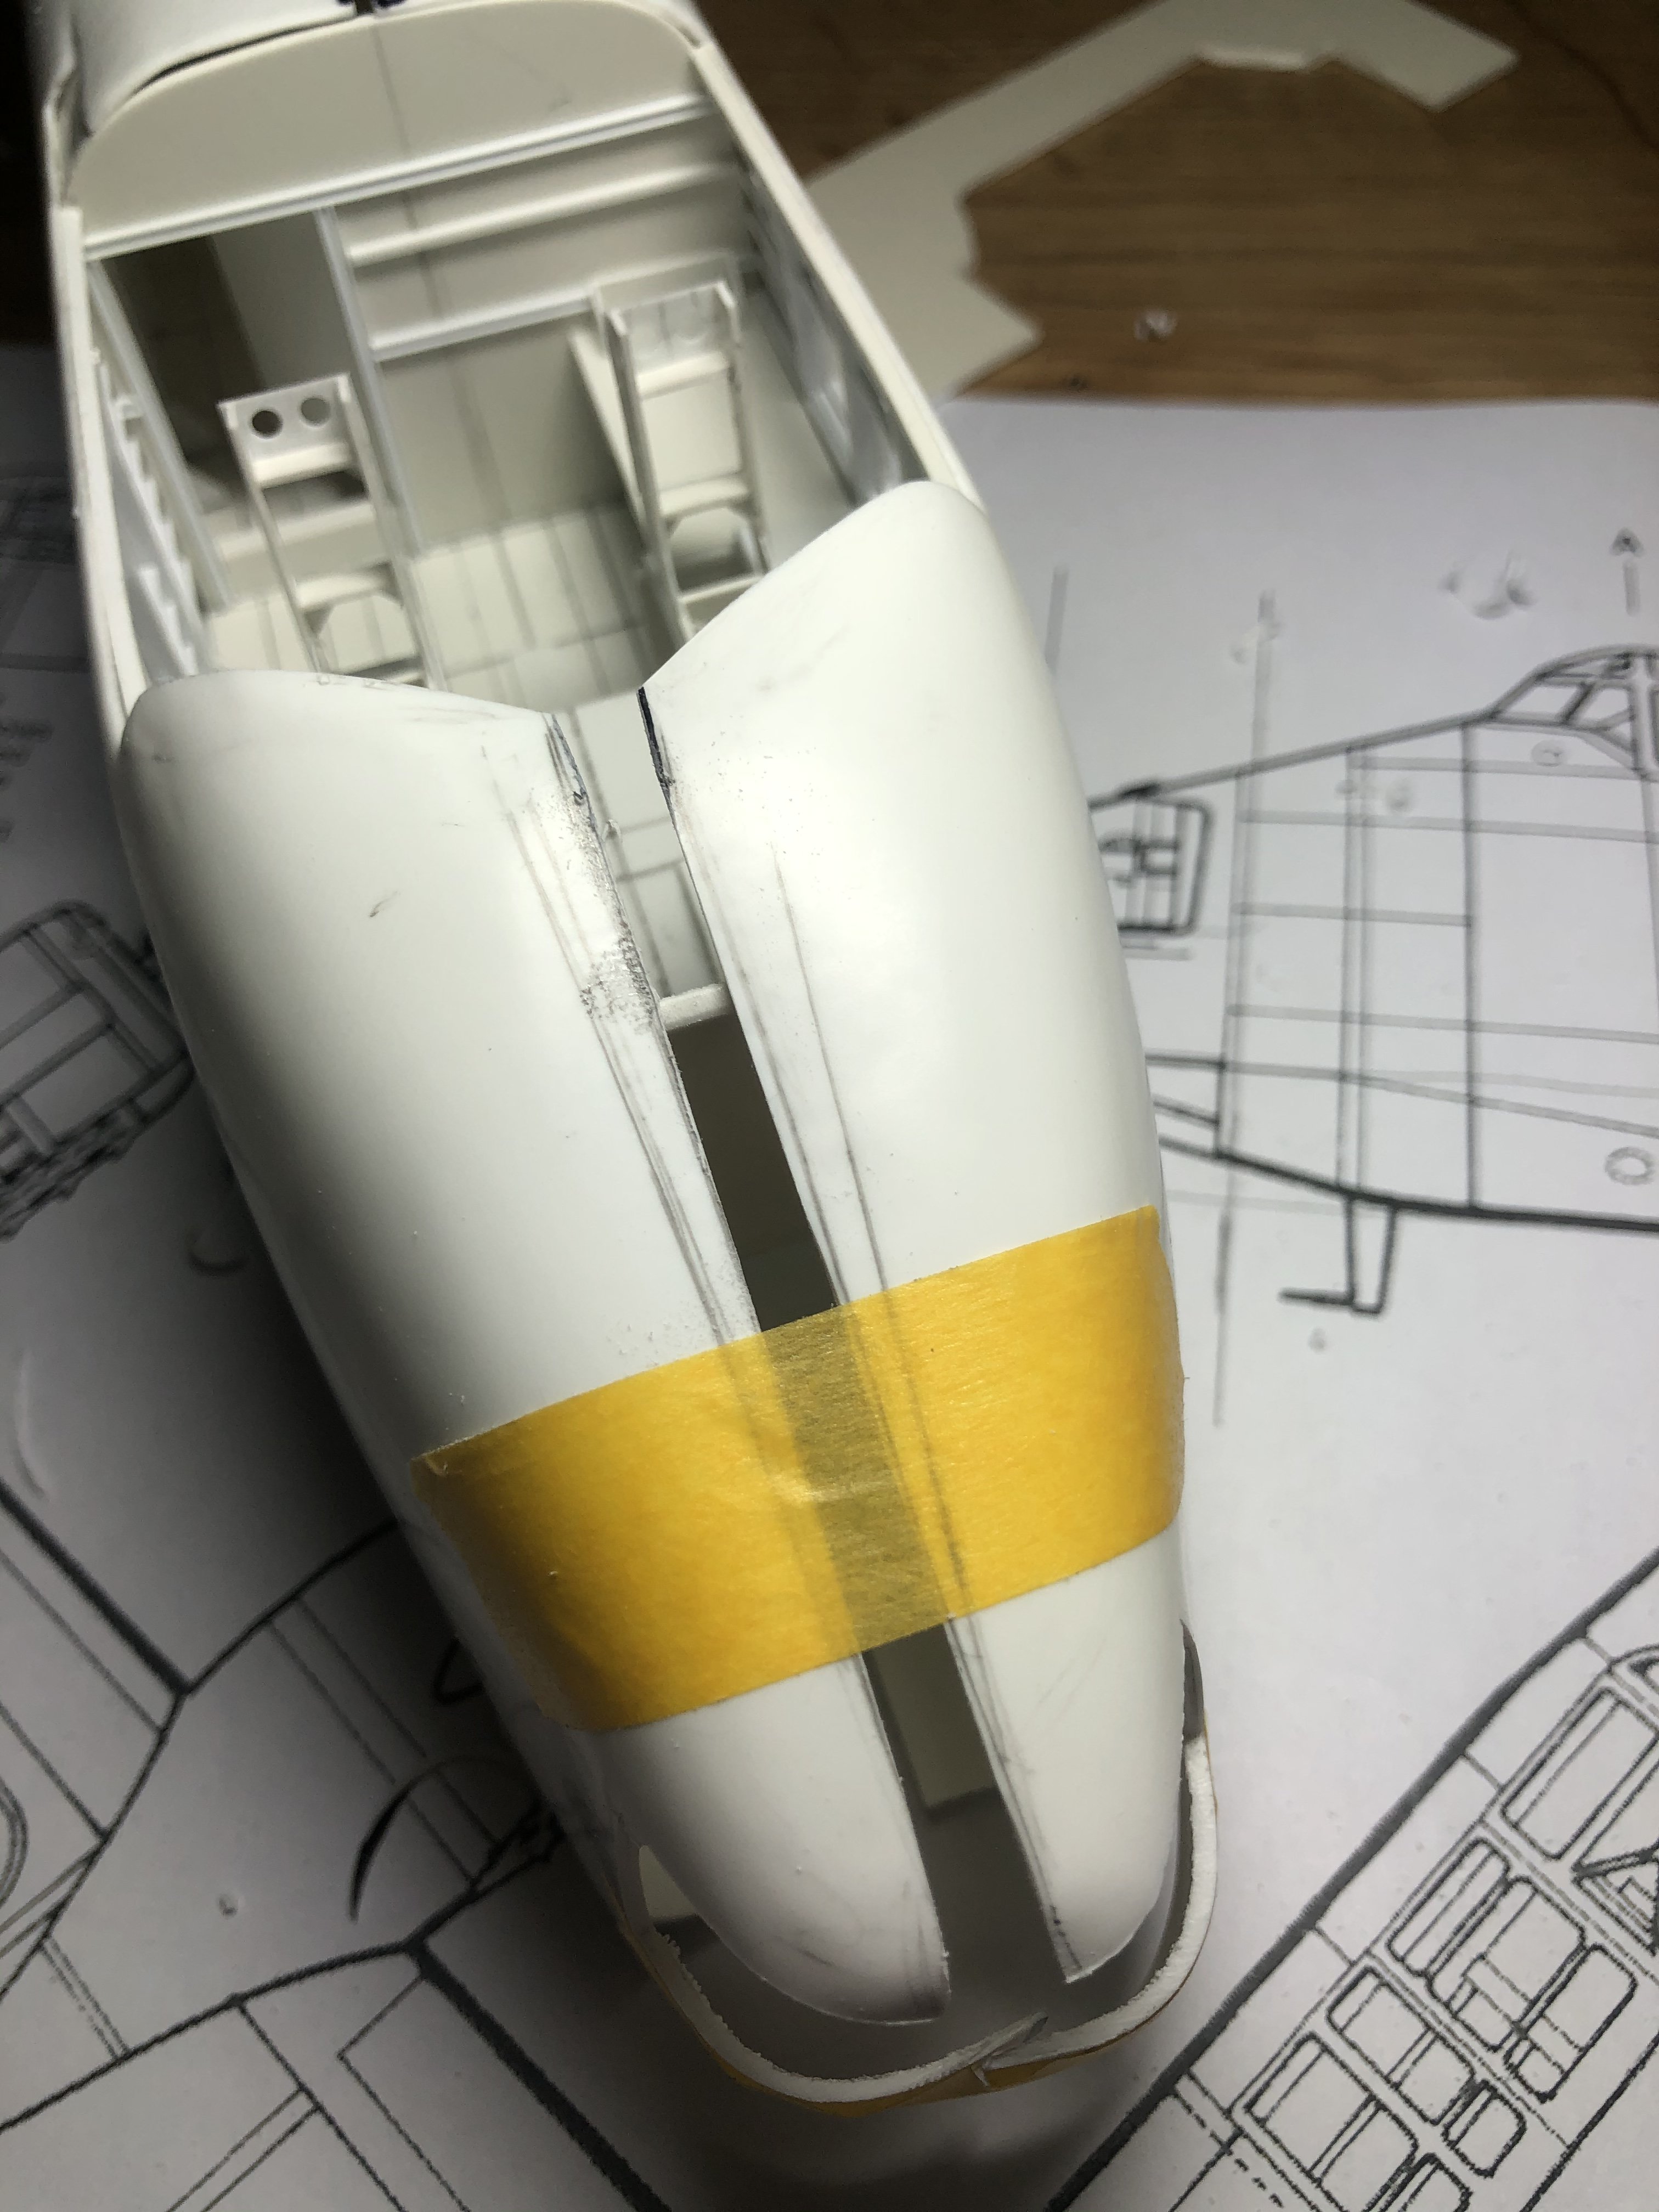
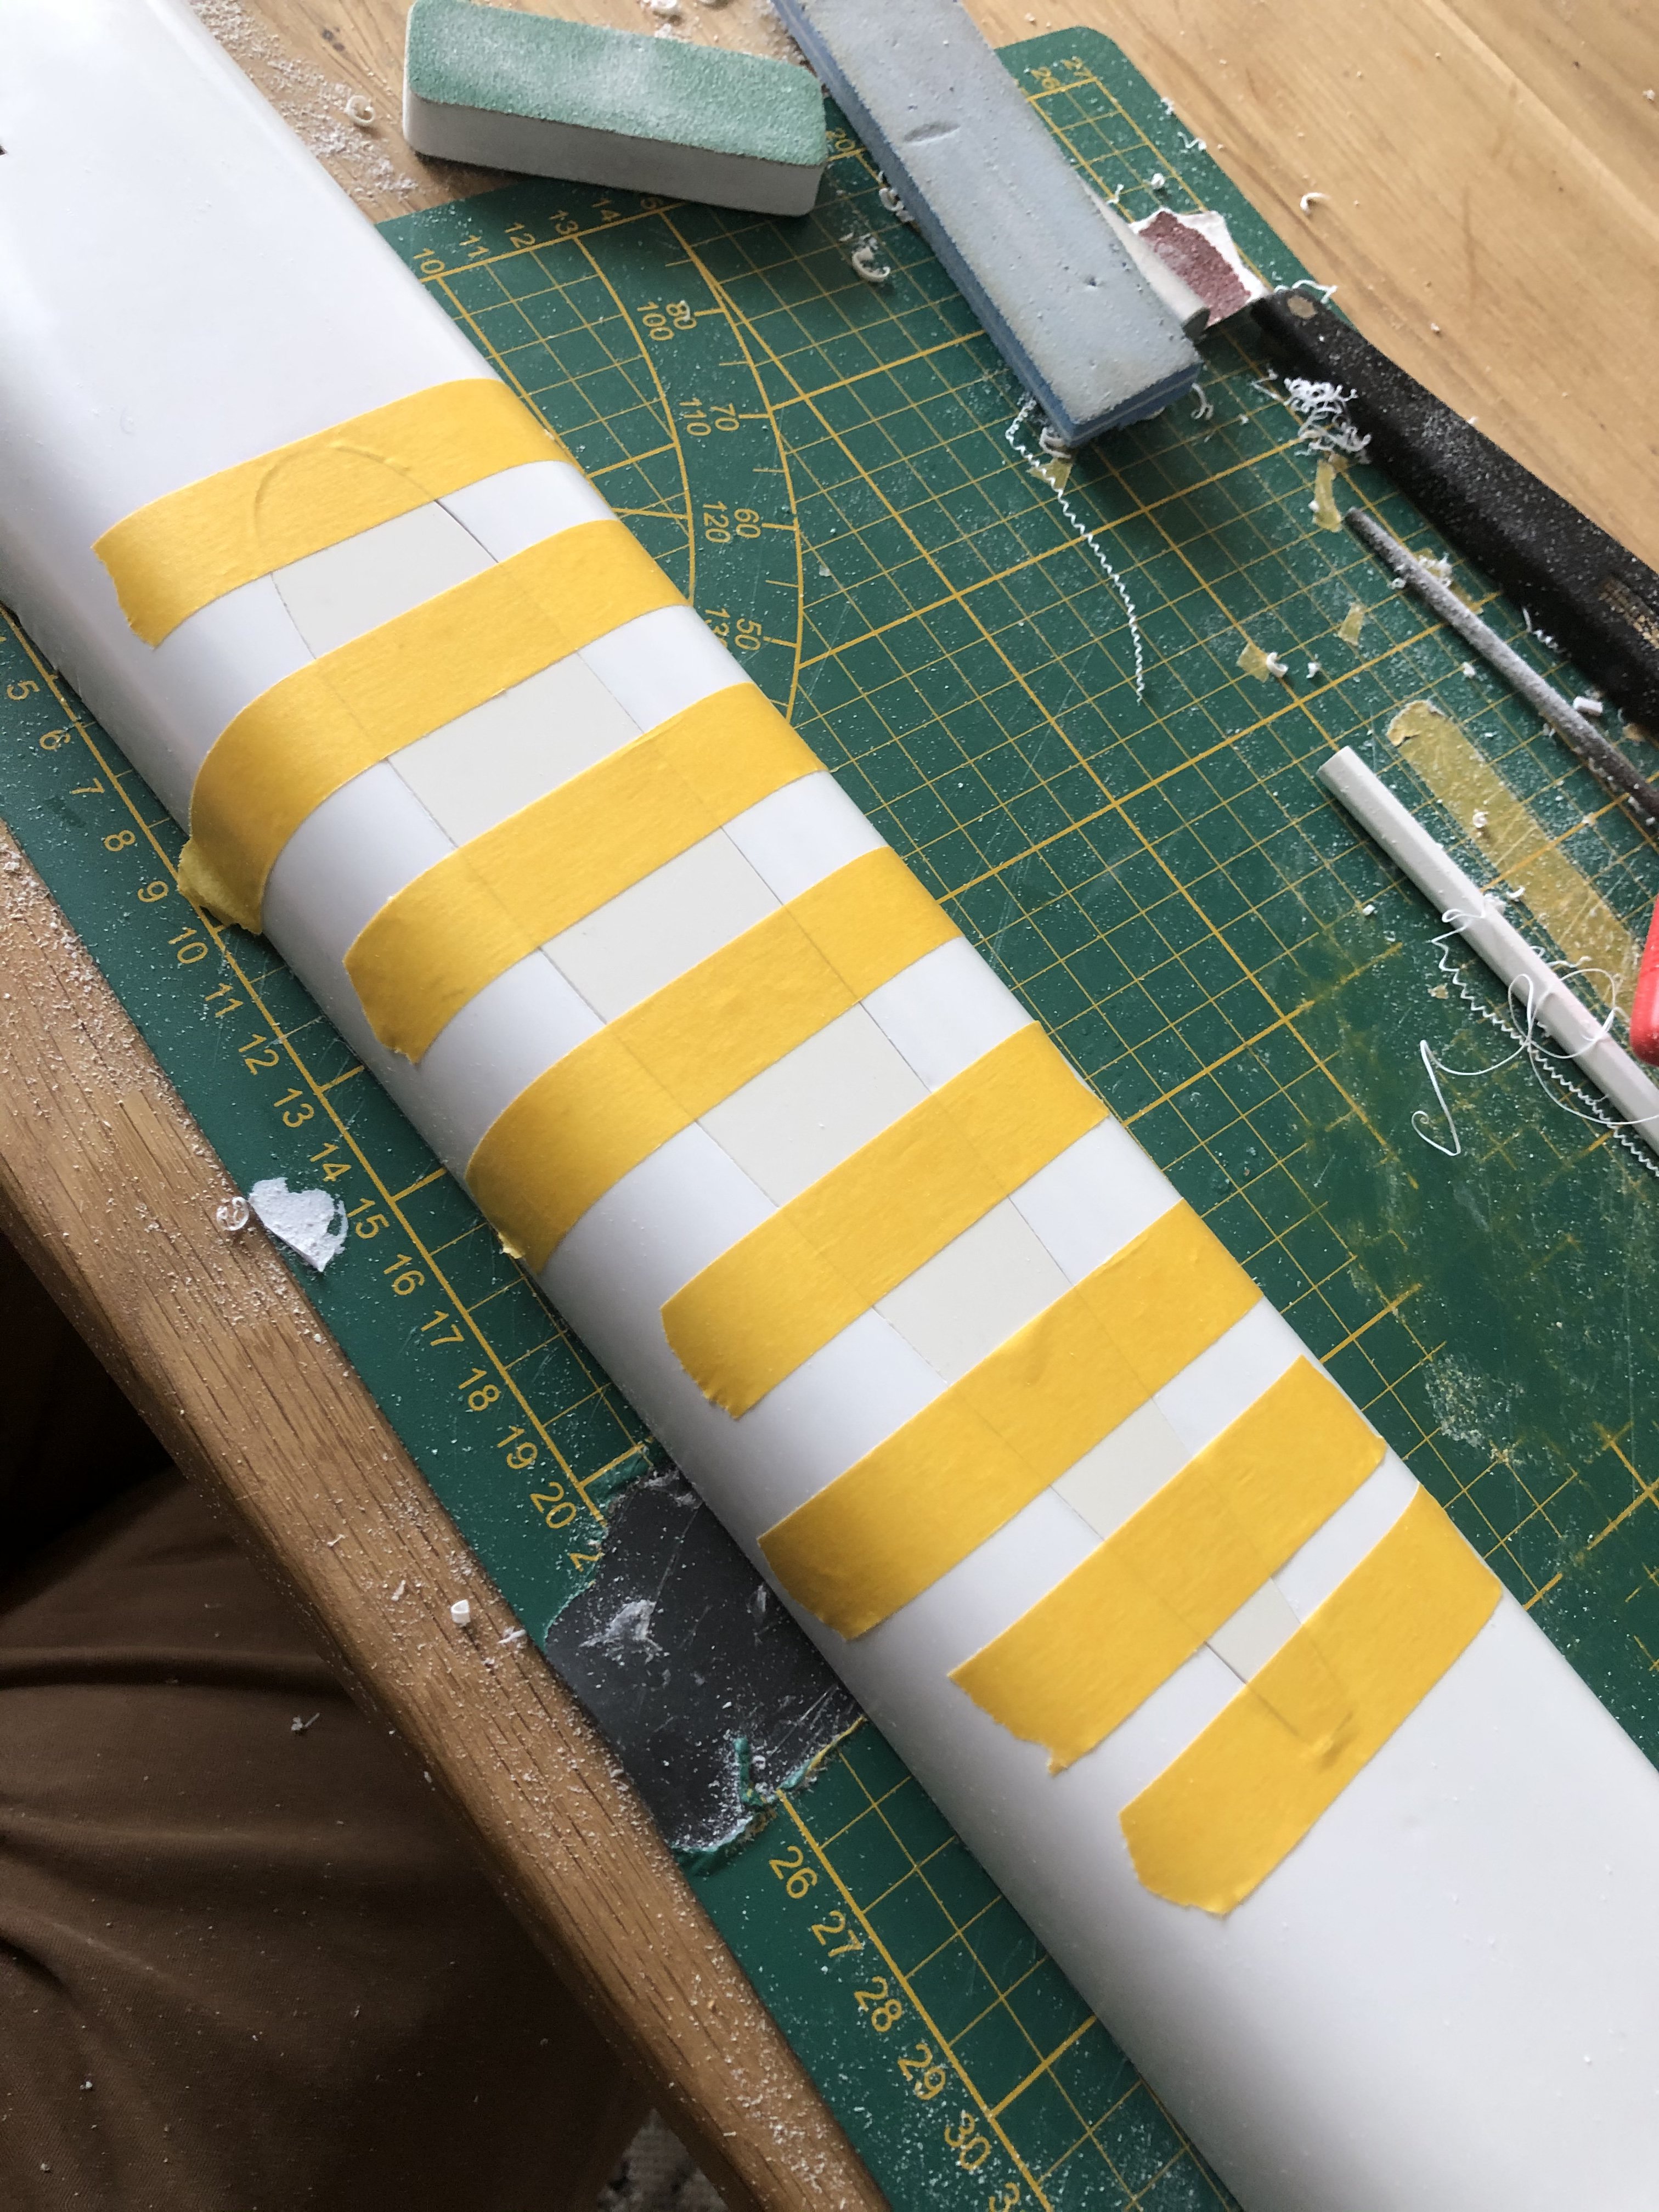
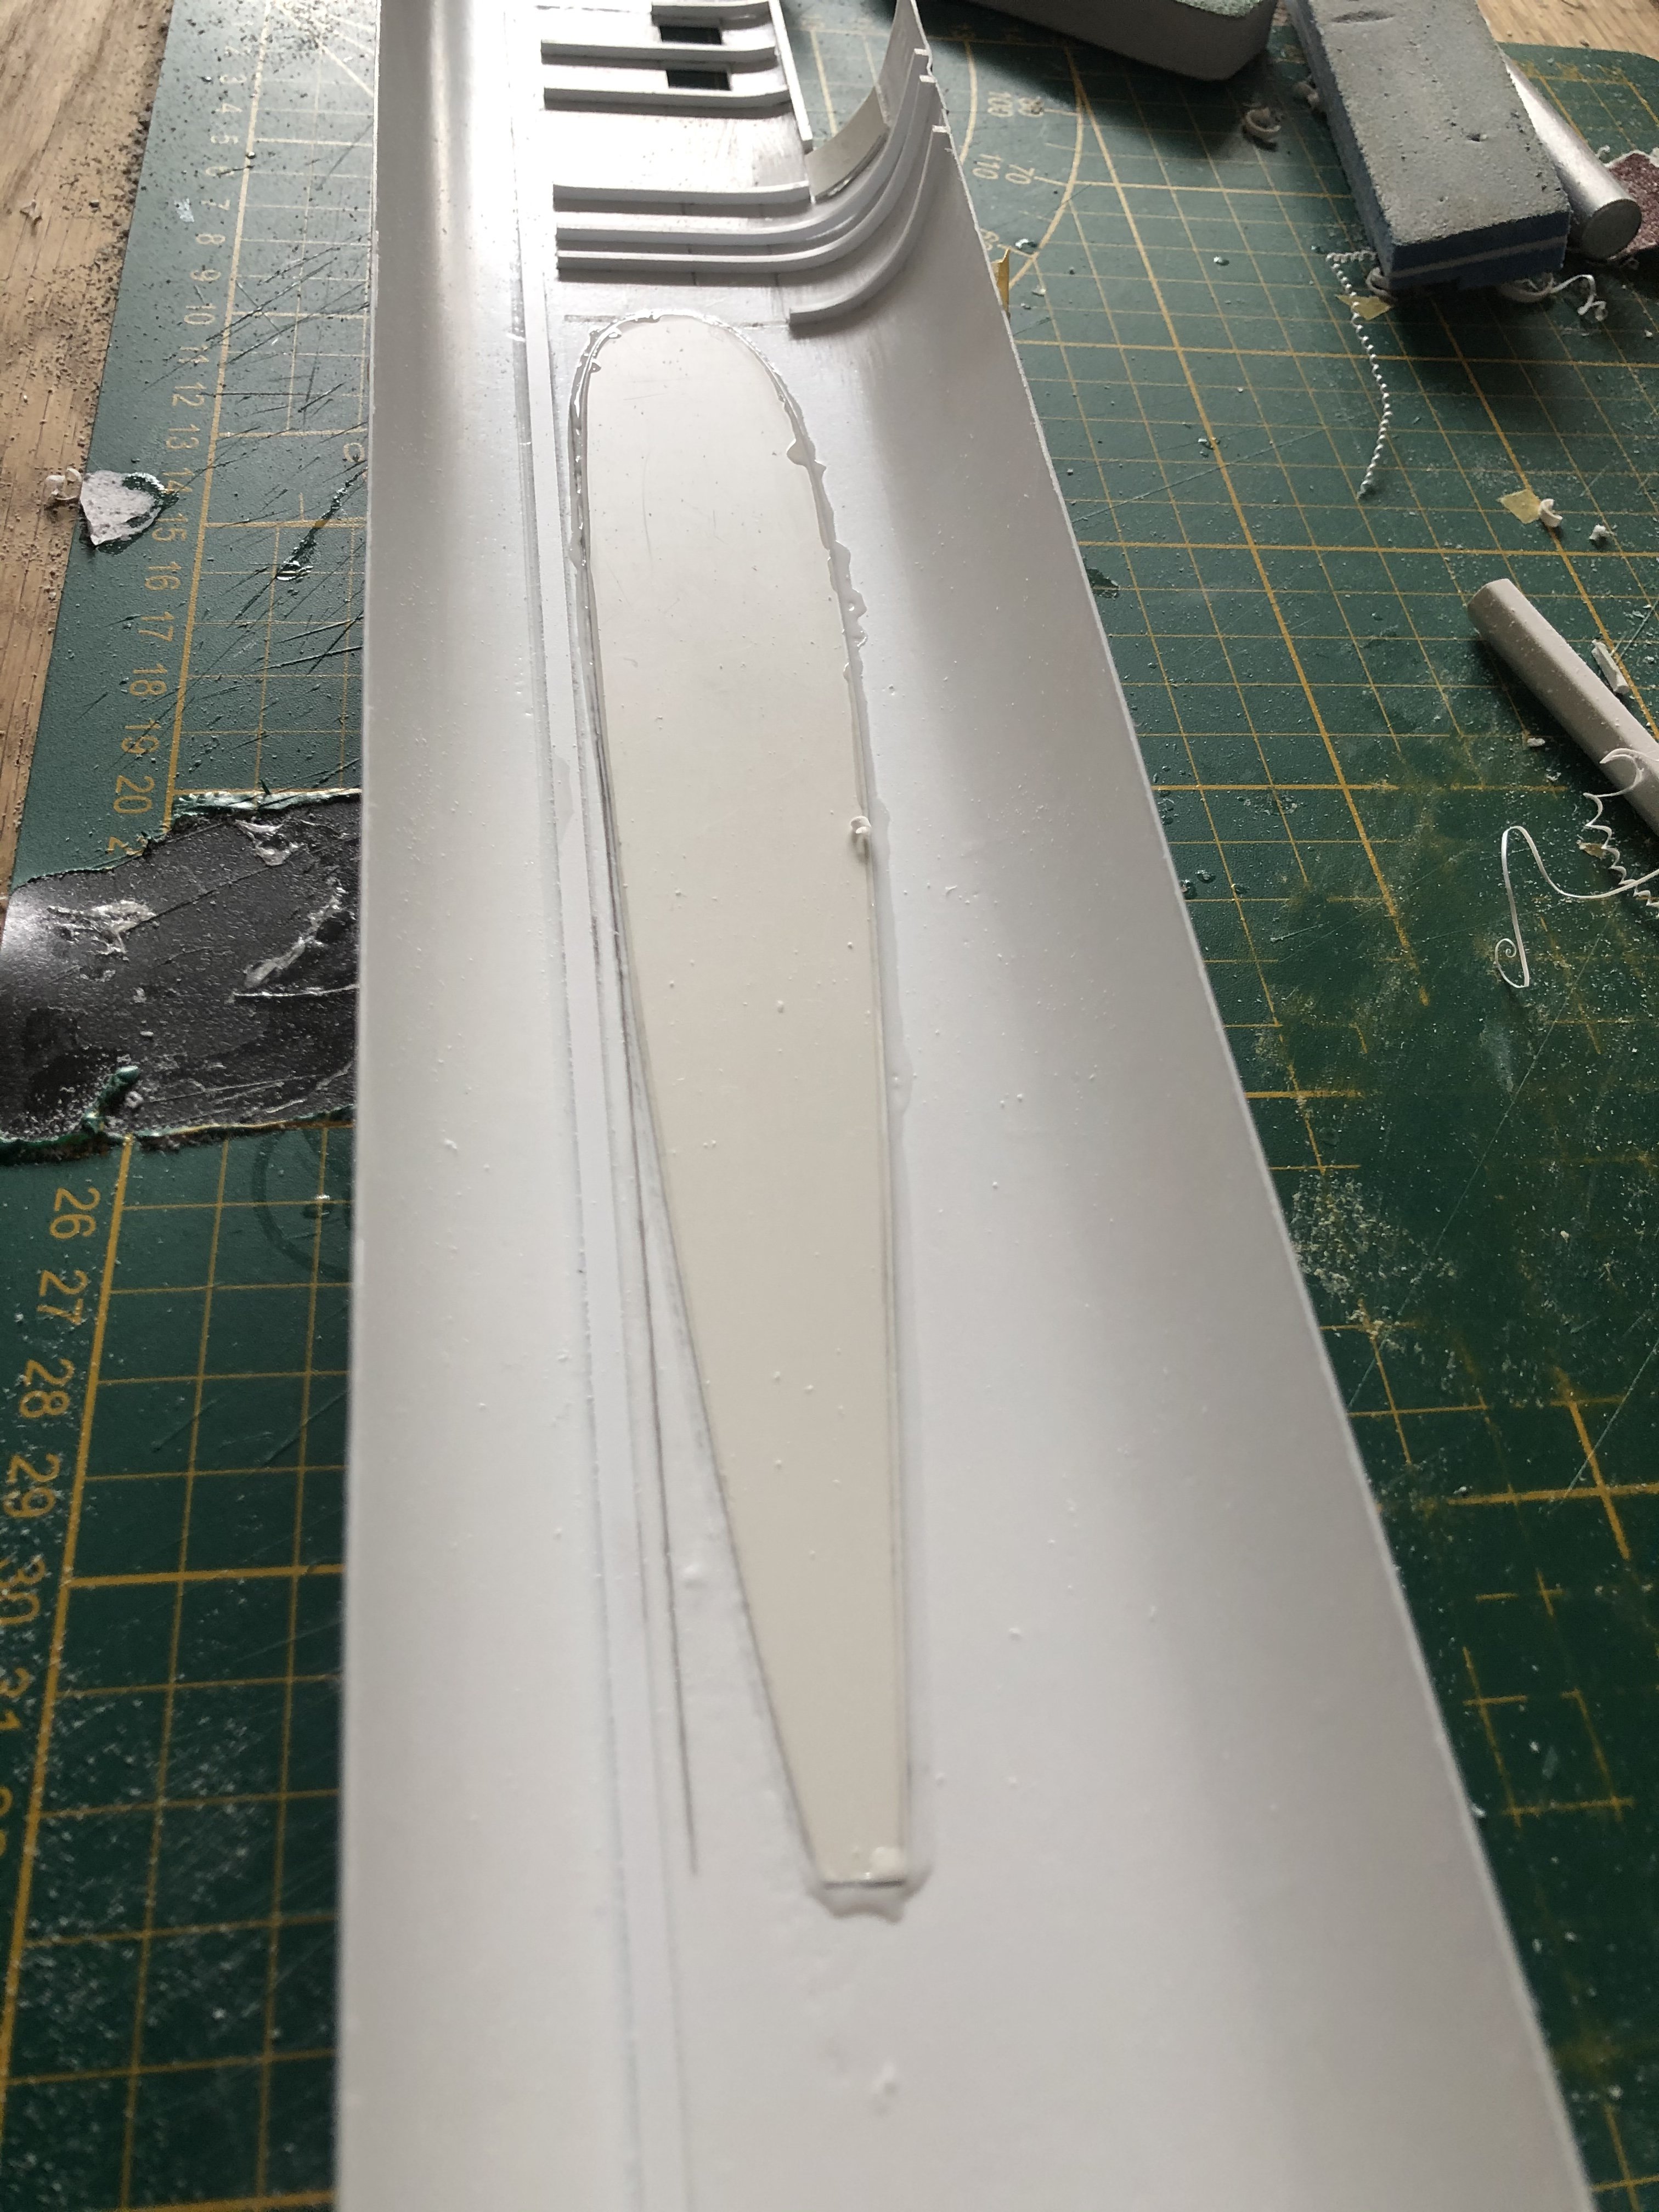
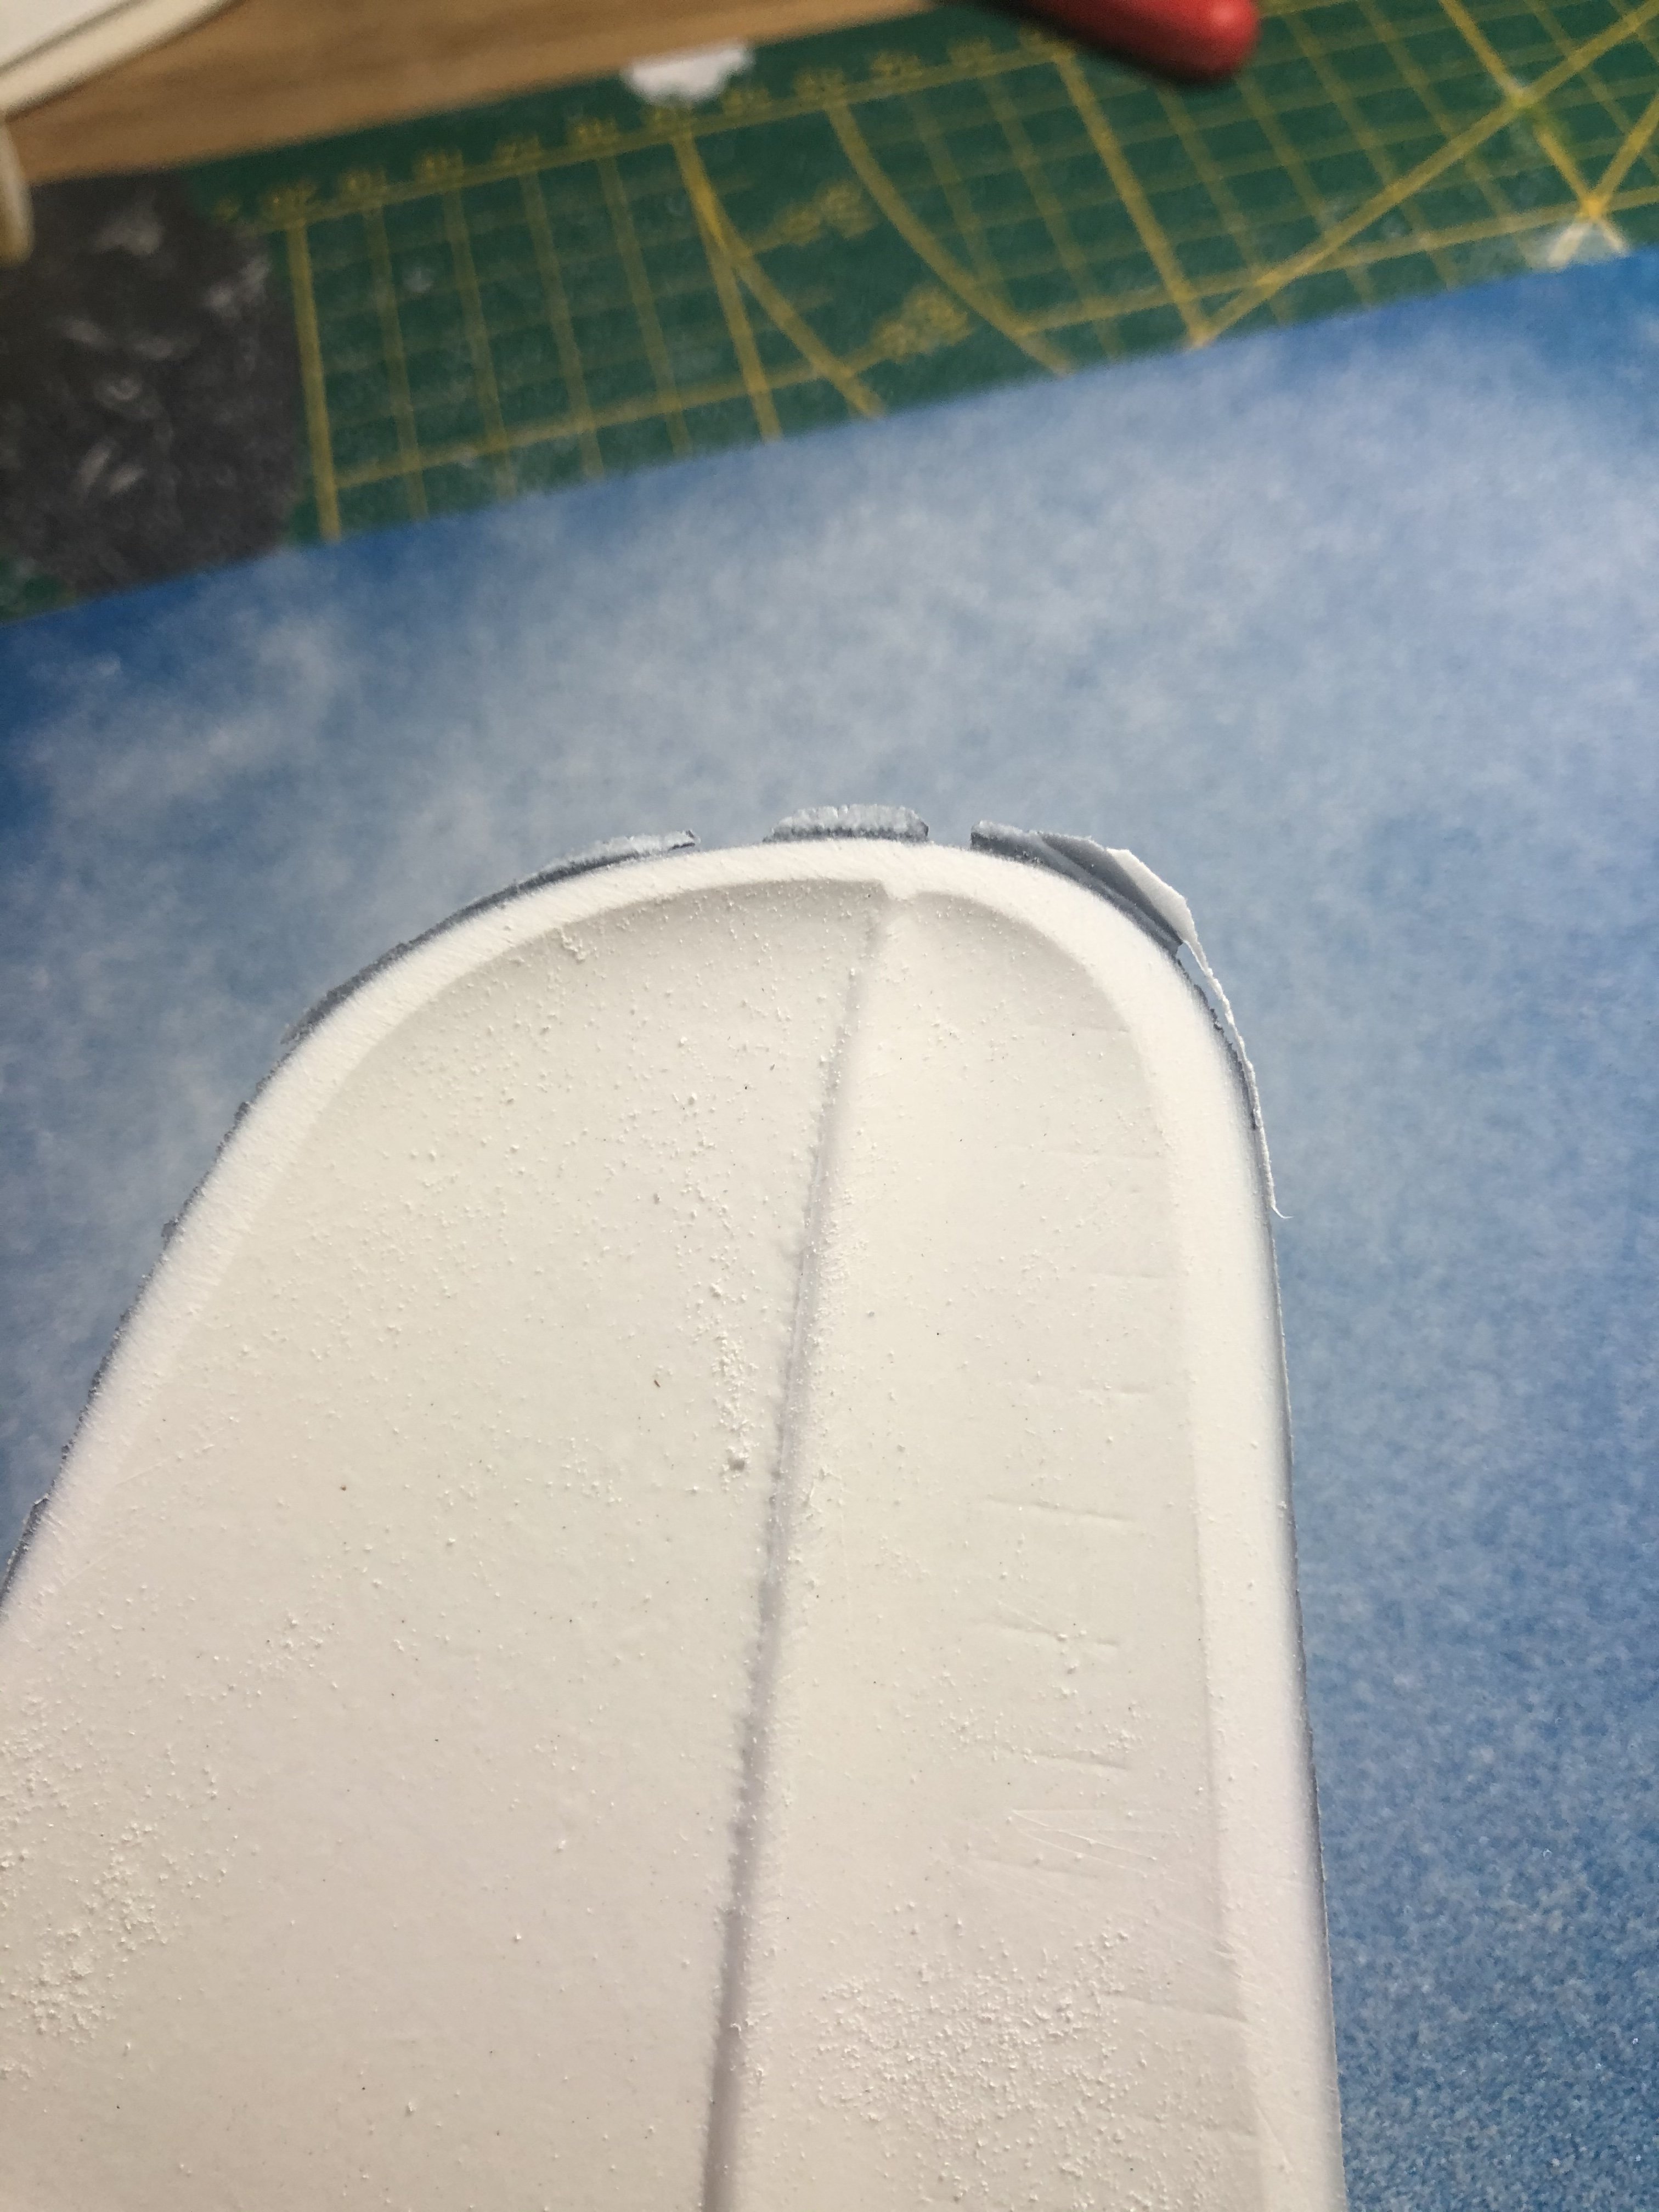
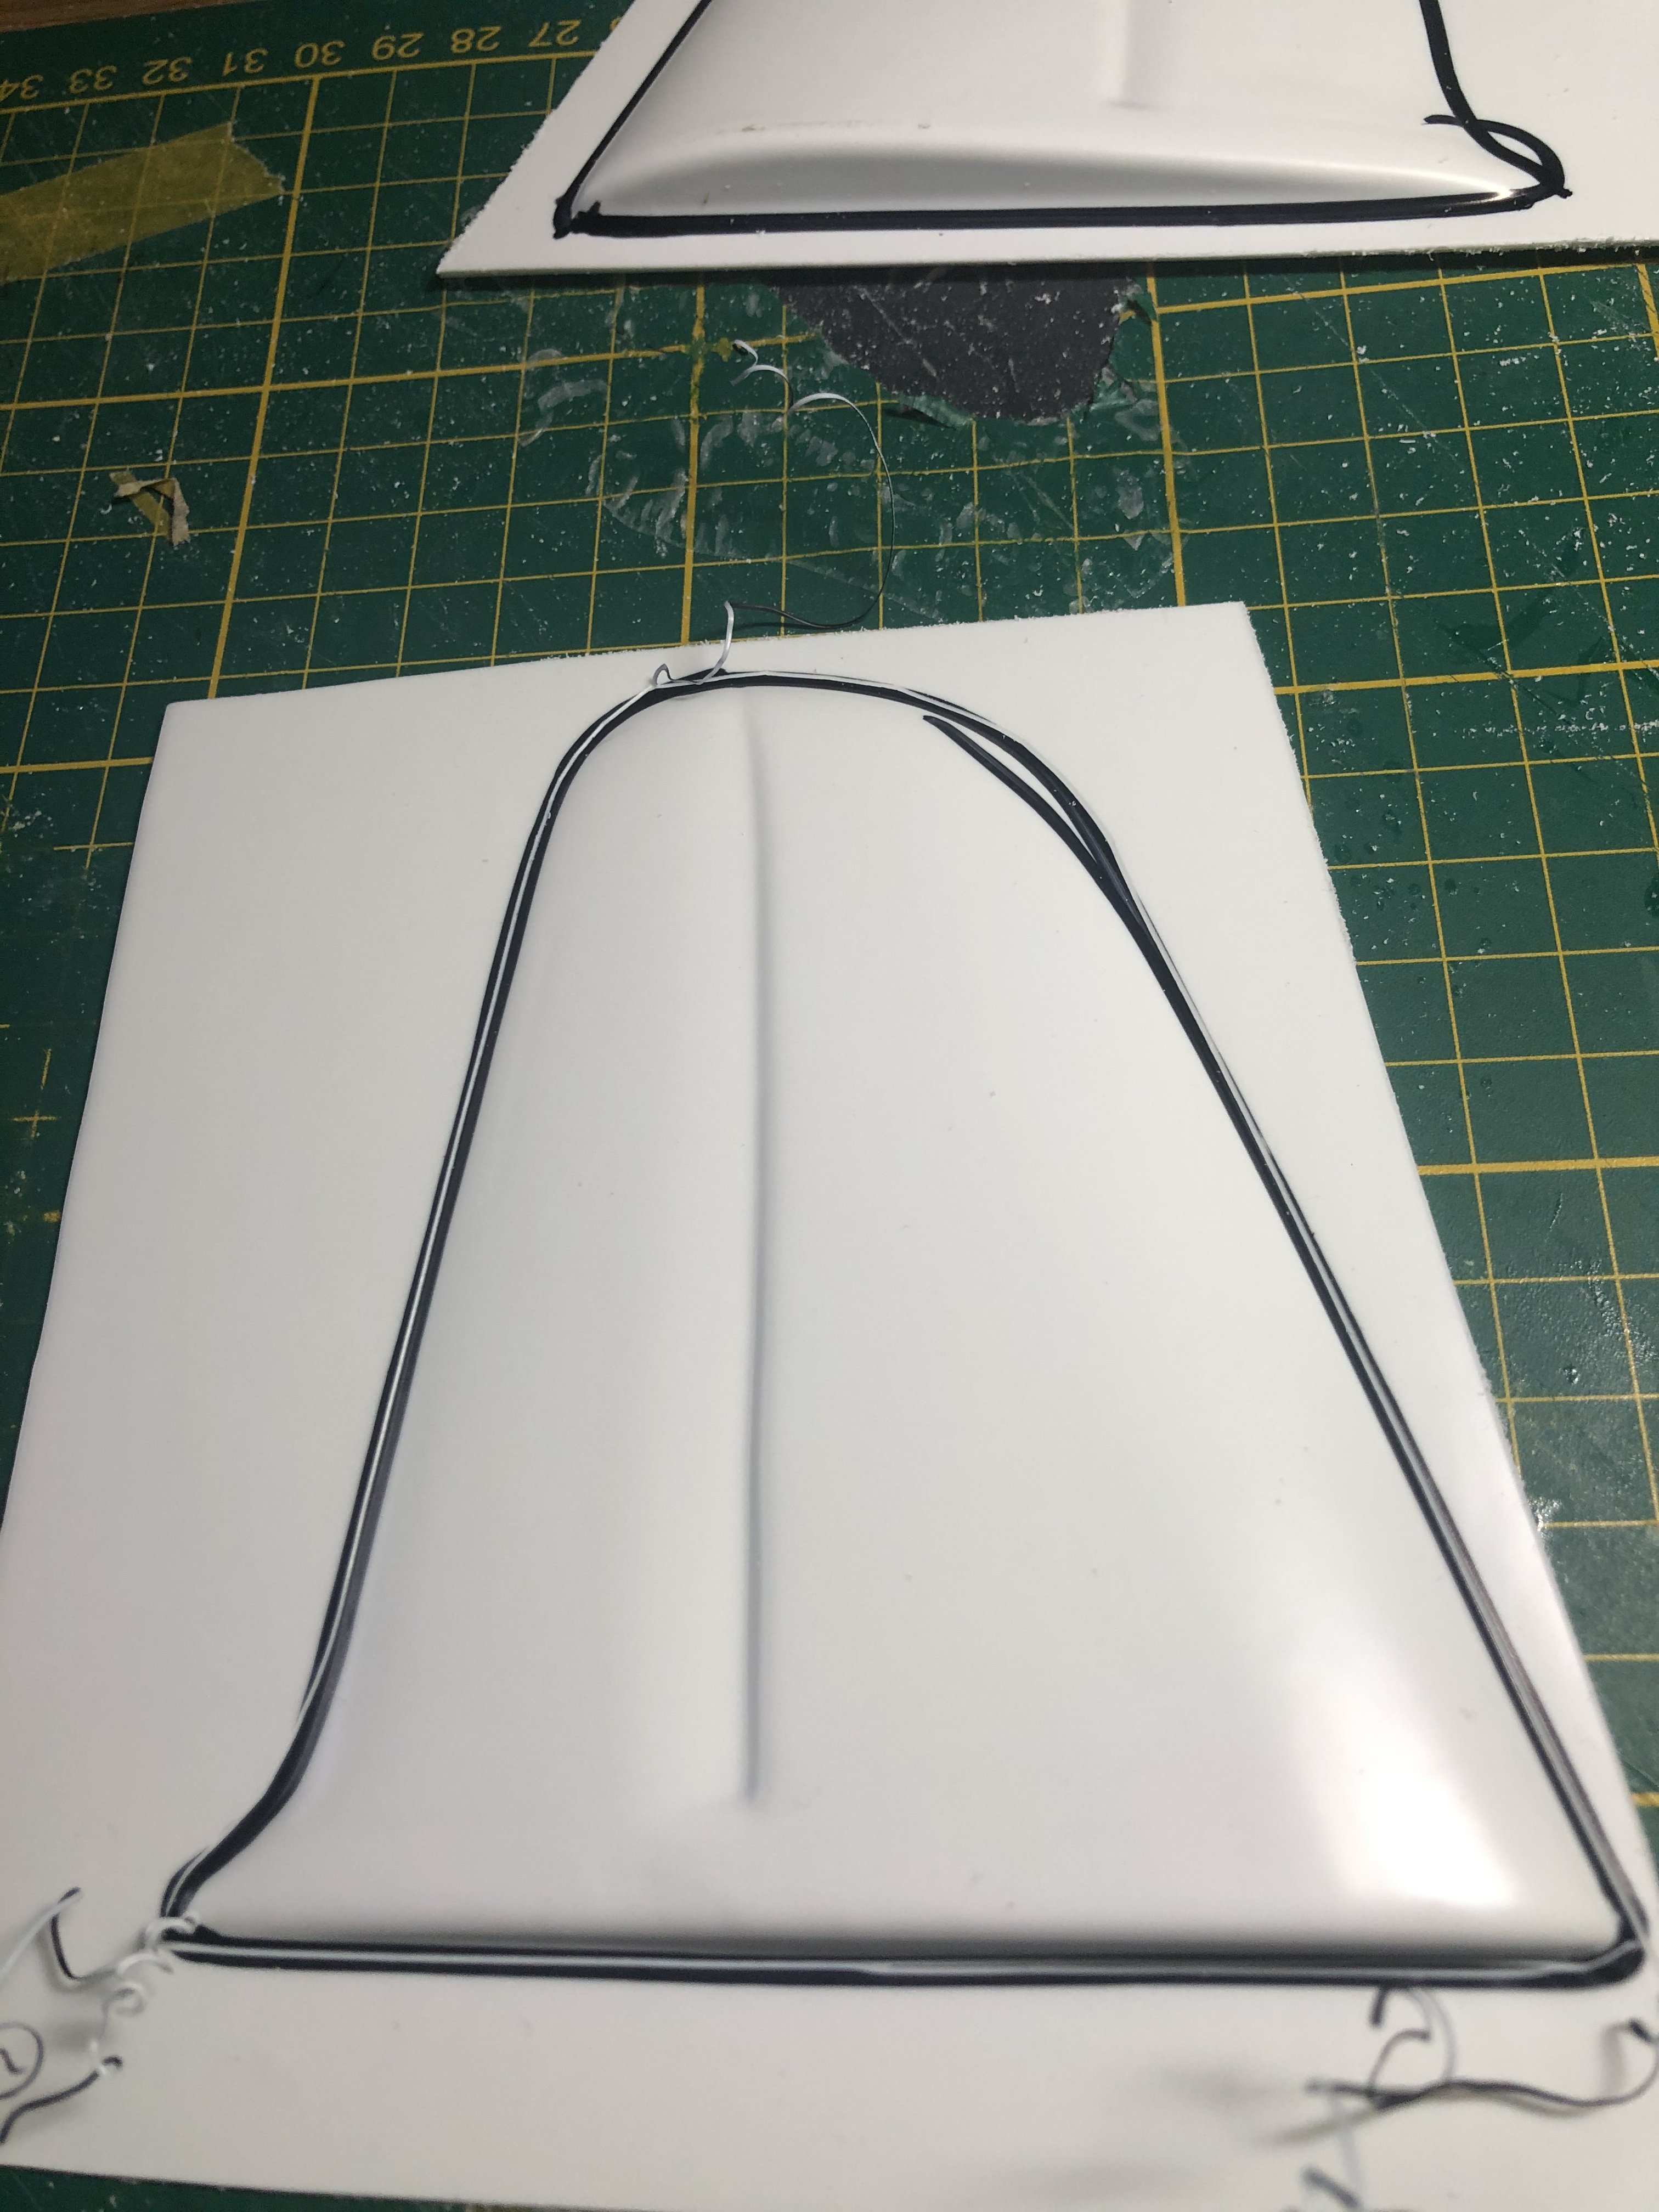
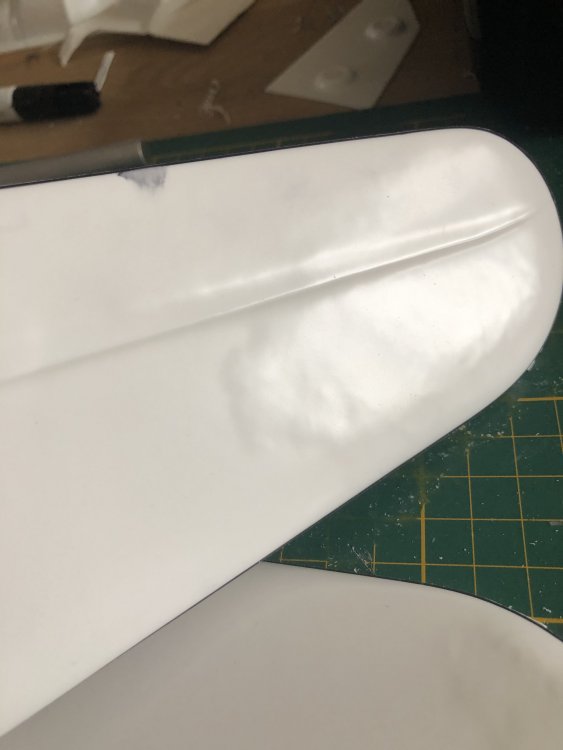
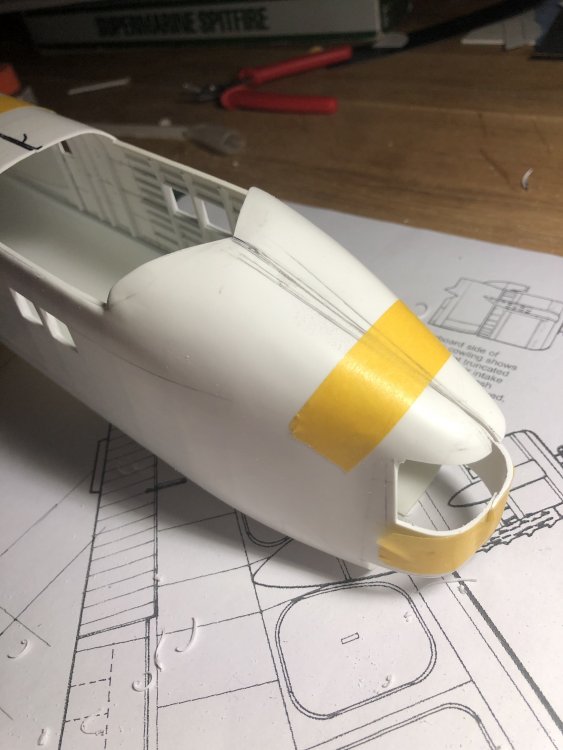
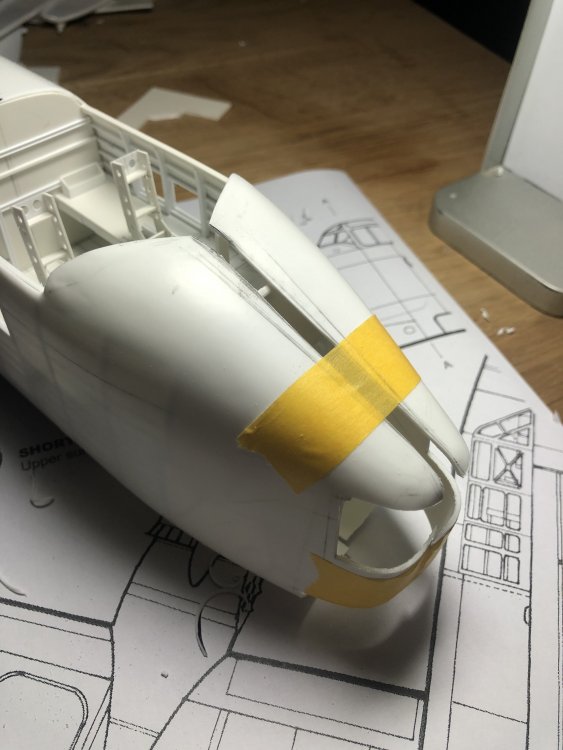
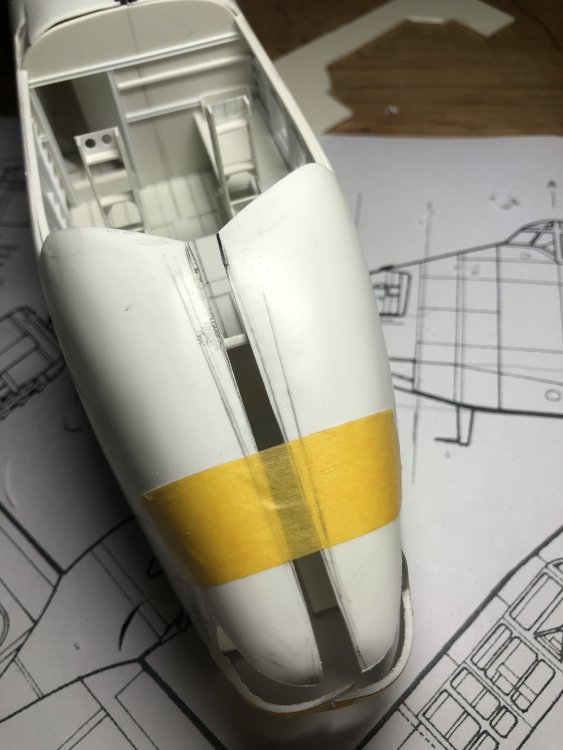
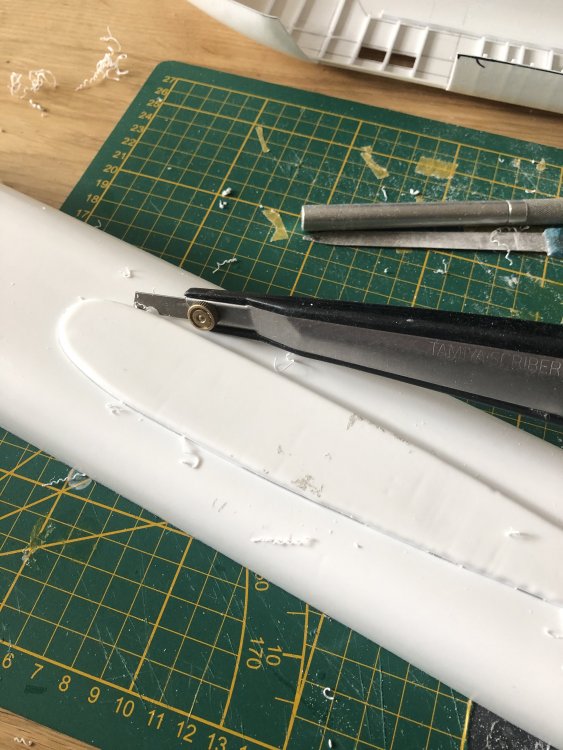
Yes, google Stirling Project and all will be revealed. Not much time for modelling the past few days, but did get some today. And a destructive session it was. Although fun these kits have one major flaw and that is that the fuselage nosesection in planview is not tapered. So the Modeller has two options. Leave it like it is and have a plank instead of a good representation, or (you guessed it) modify the fuselage halves. Which I did. The pic of the crashed Stirling shows that the top of the nose is tapered and the bottom is much wider, a bit eggshaped. So the top needed quite some material removed (outlined in pencil). After some hacking the shape begins to emerge. The front edge needs to be a half circle so not there yet. Problem is the the bulkhead is now too wide at the top do the halves cannot be closed. That is for the next hacking session.

-
Daft project or is it? 1/32 Short Stirling III
Wingco57 replied to Wingco57's topic in LSM 1/35 and Larger Work In Progress
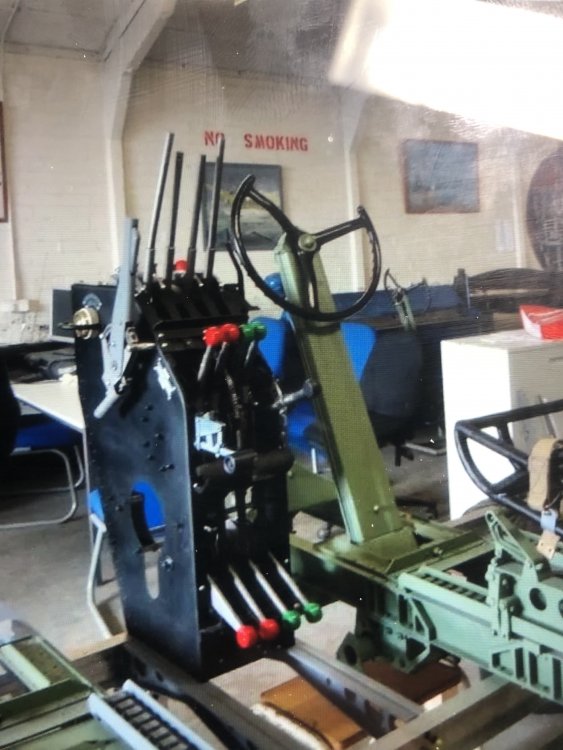
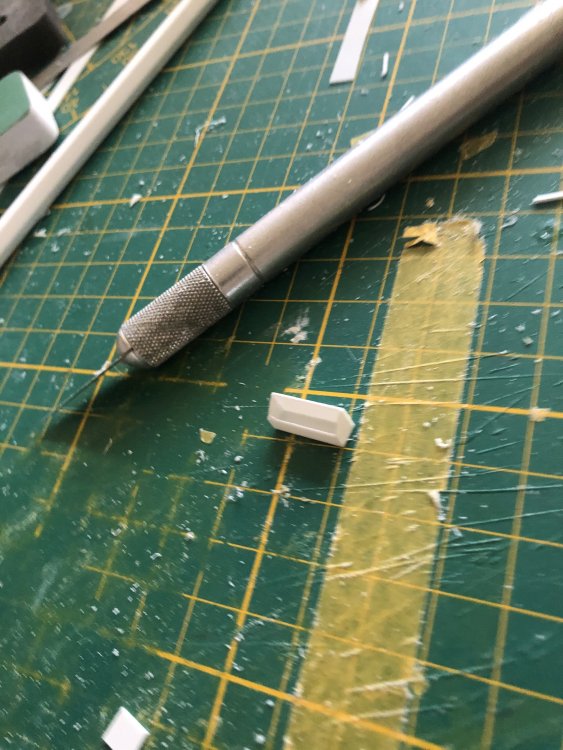
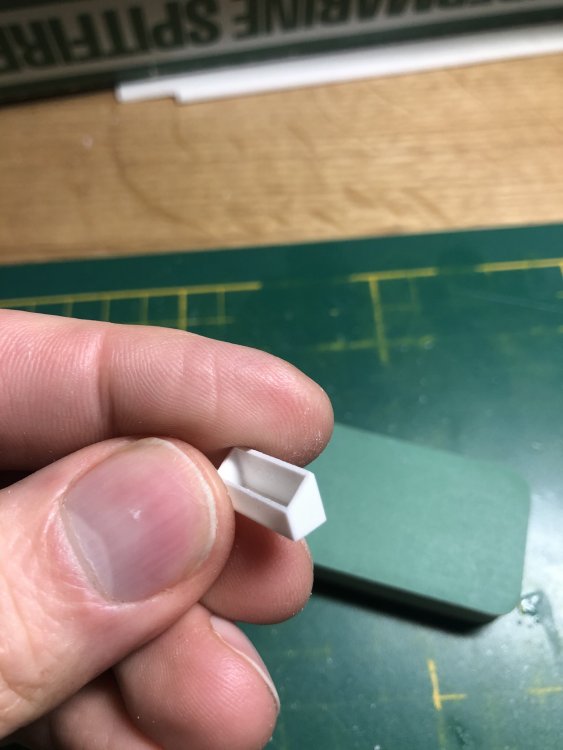
There are not many forums where a Sunderland and Stirling are underway in 1/32. In the meantime I have started on the throttle box. The basic shape you can see here. And some pics showing an actual one restored by the Stirling Project. This throttle box was restored using the recovered one from B Mk III BK716 for reference. BK716 will be the aircraft I am modelling and the wreck of which has been succesfully recovered last September from the ijsselmeer. I have been involved with this project from the start since it was located during 2009.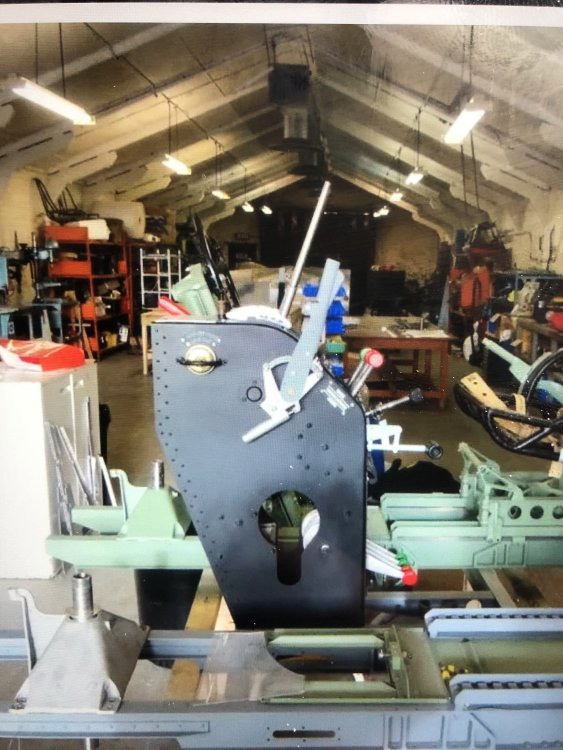
-
Short Sunderland MkII
Wingco57 replied to ThomasProbert's topic in LSM 1/35 and Larger Work In Progress
I know what you mean Tom good to see you back on this wonderful project. How is the garden pond progressing? You need something to display this behemoth in -
Daft project or is it? 1/32 Short Stirling III
Wingco57 replied to Wingco57's topic in LSM 1/35 and Larger Work In Progress
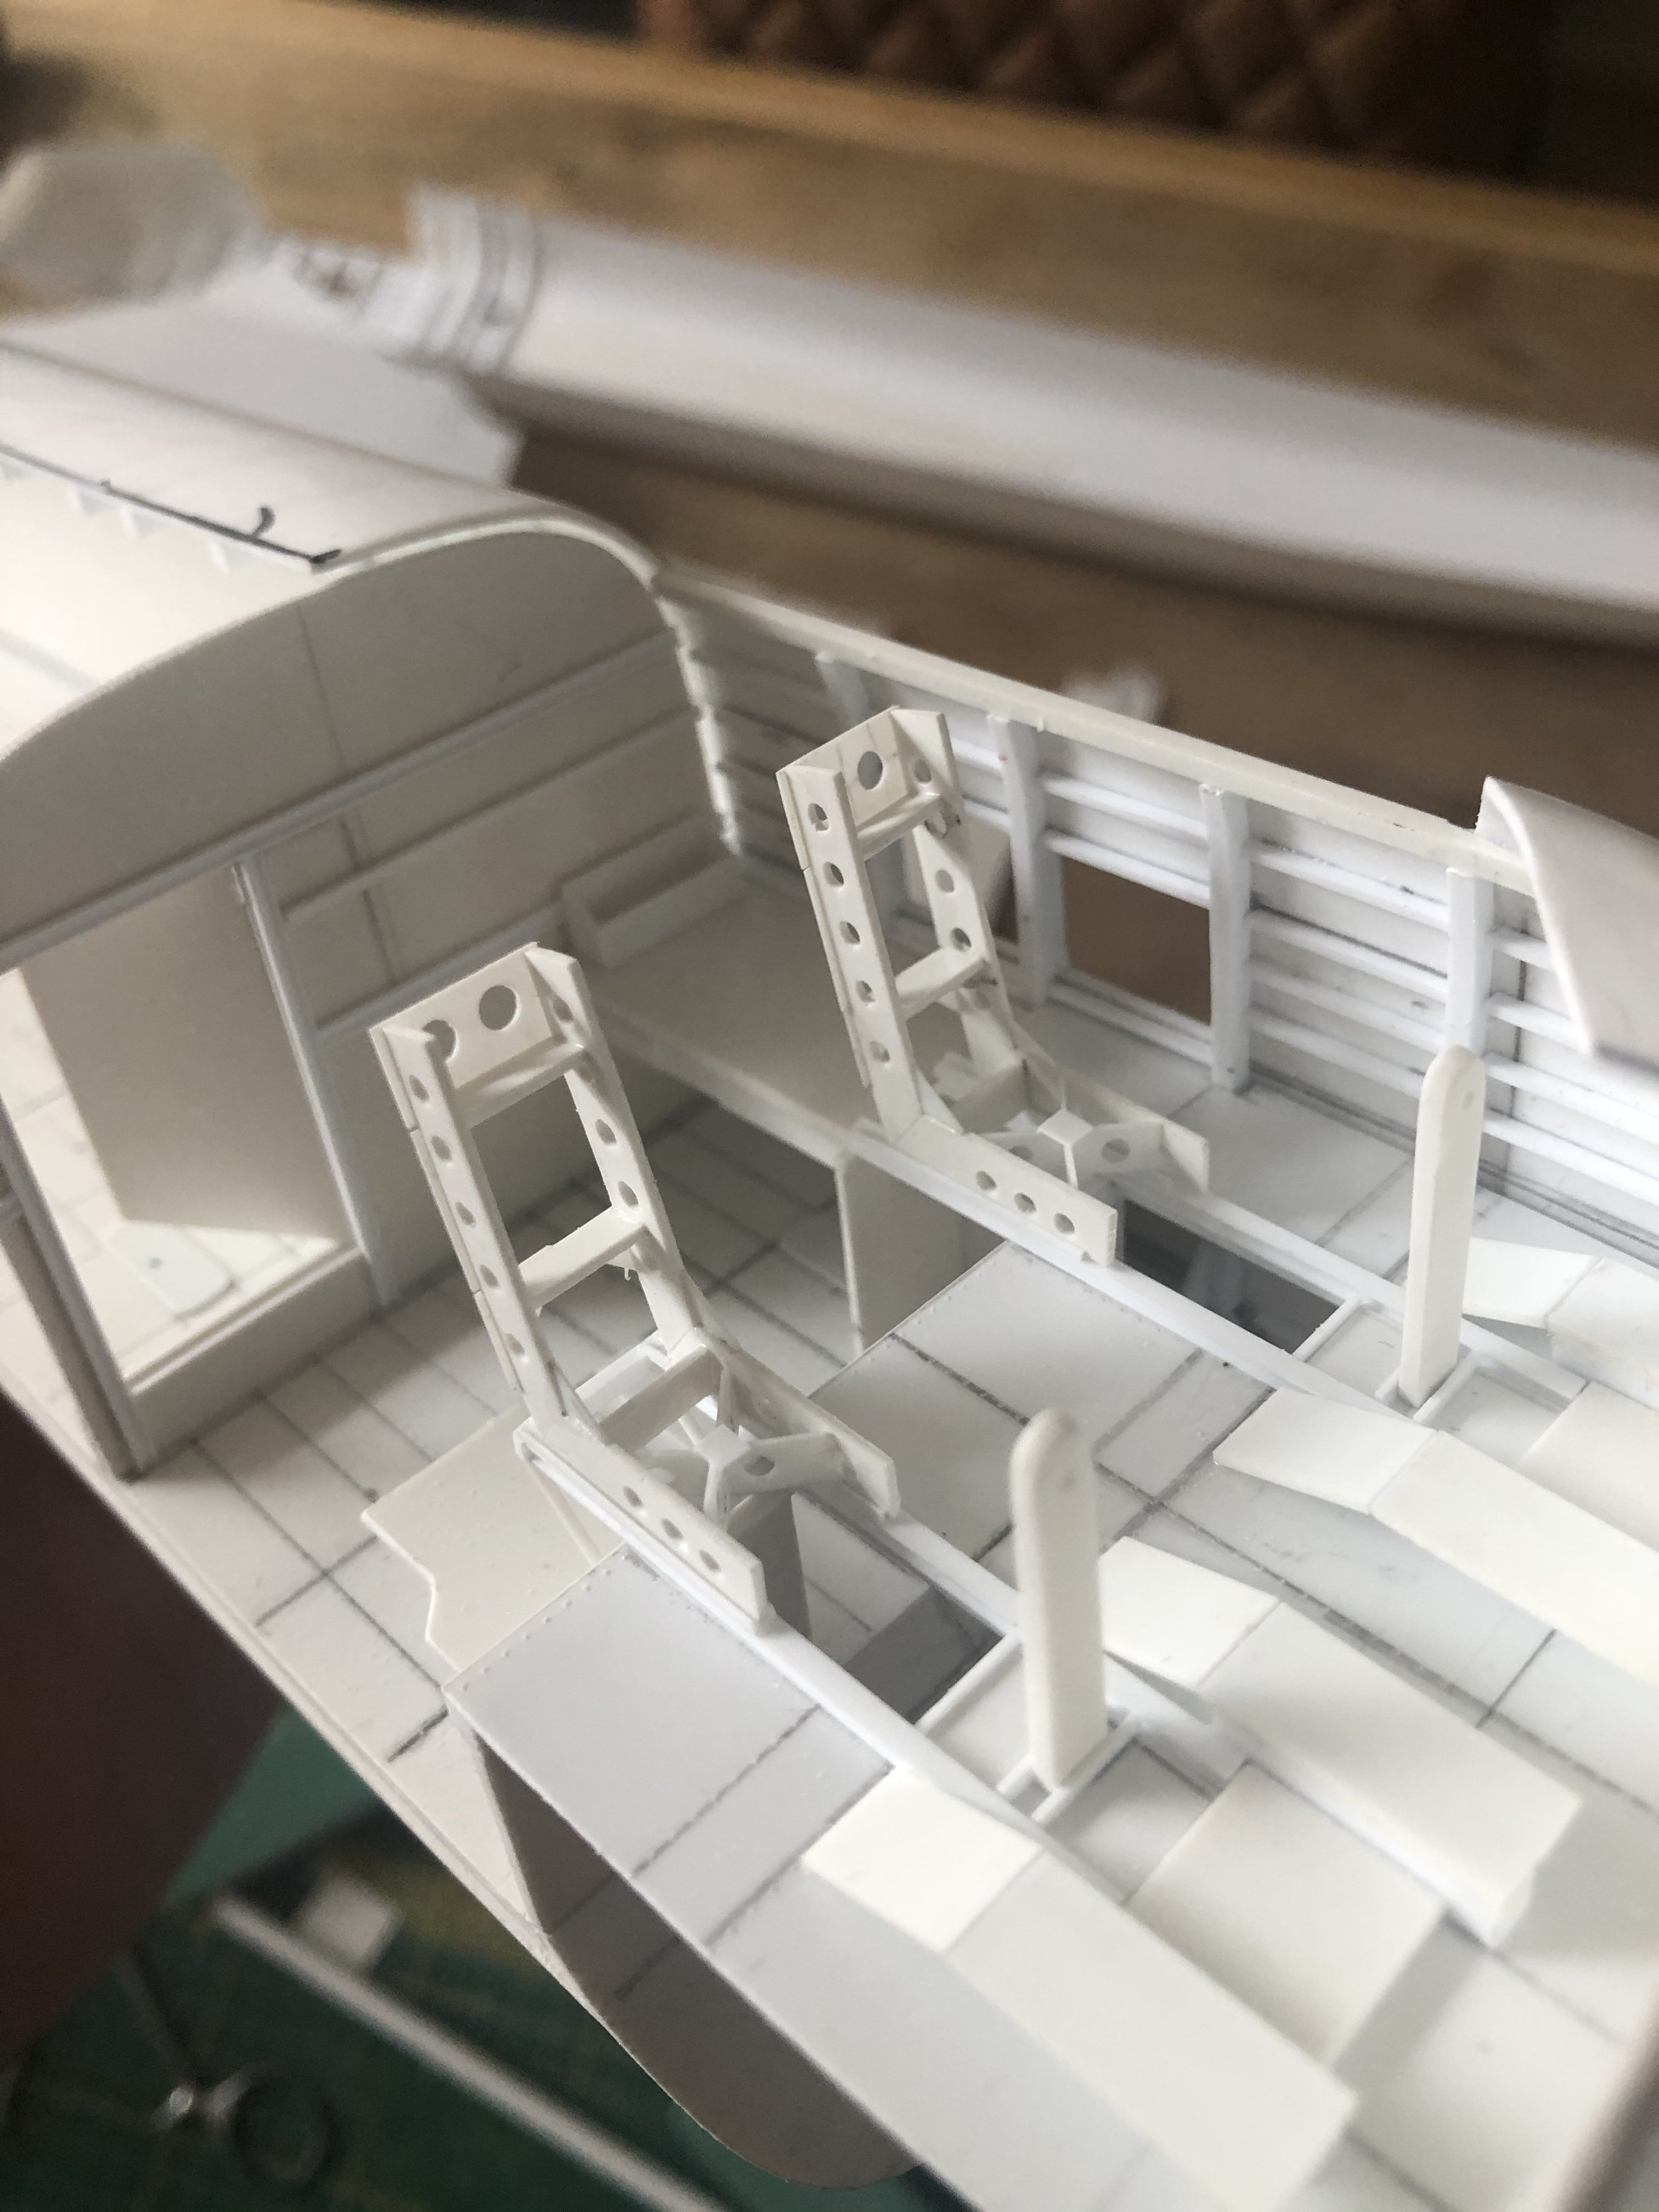
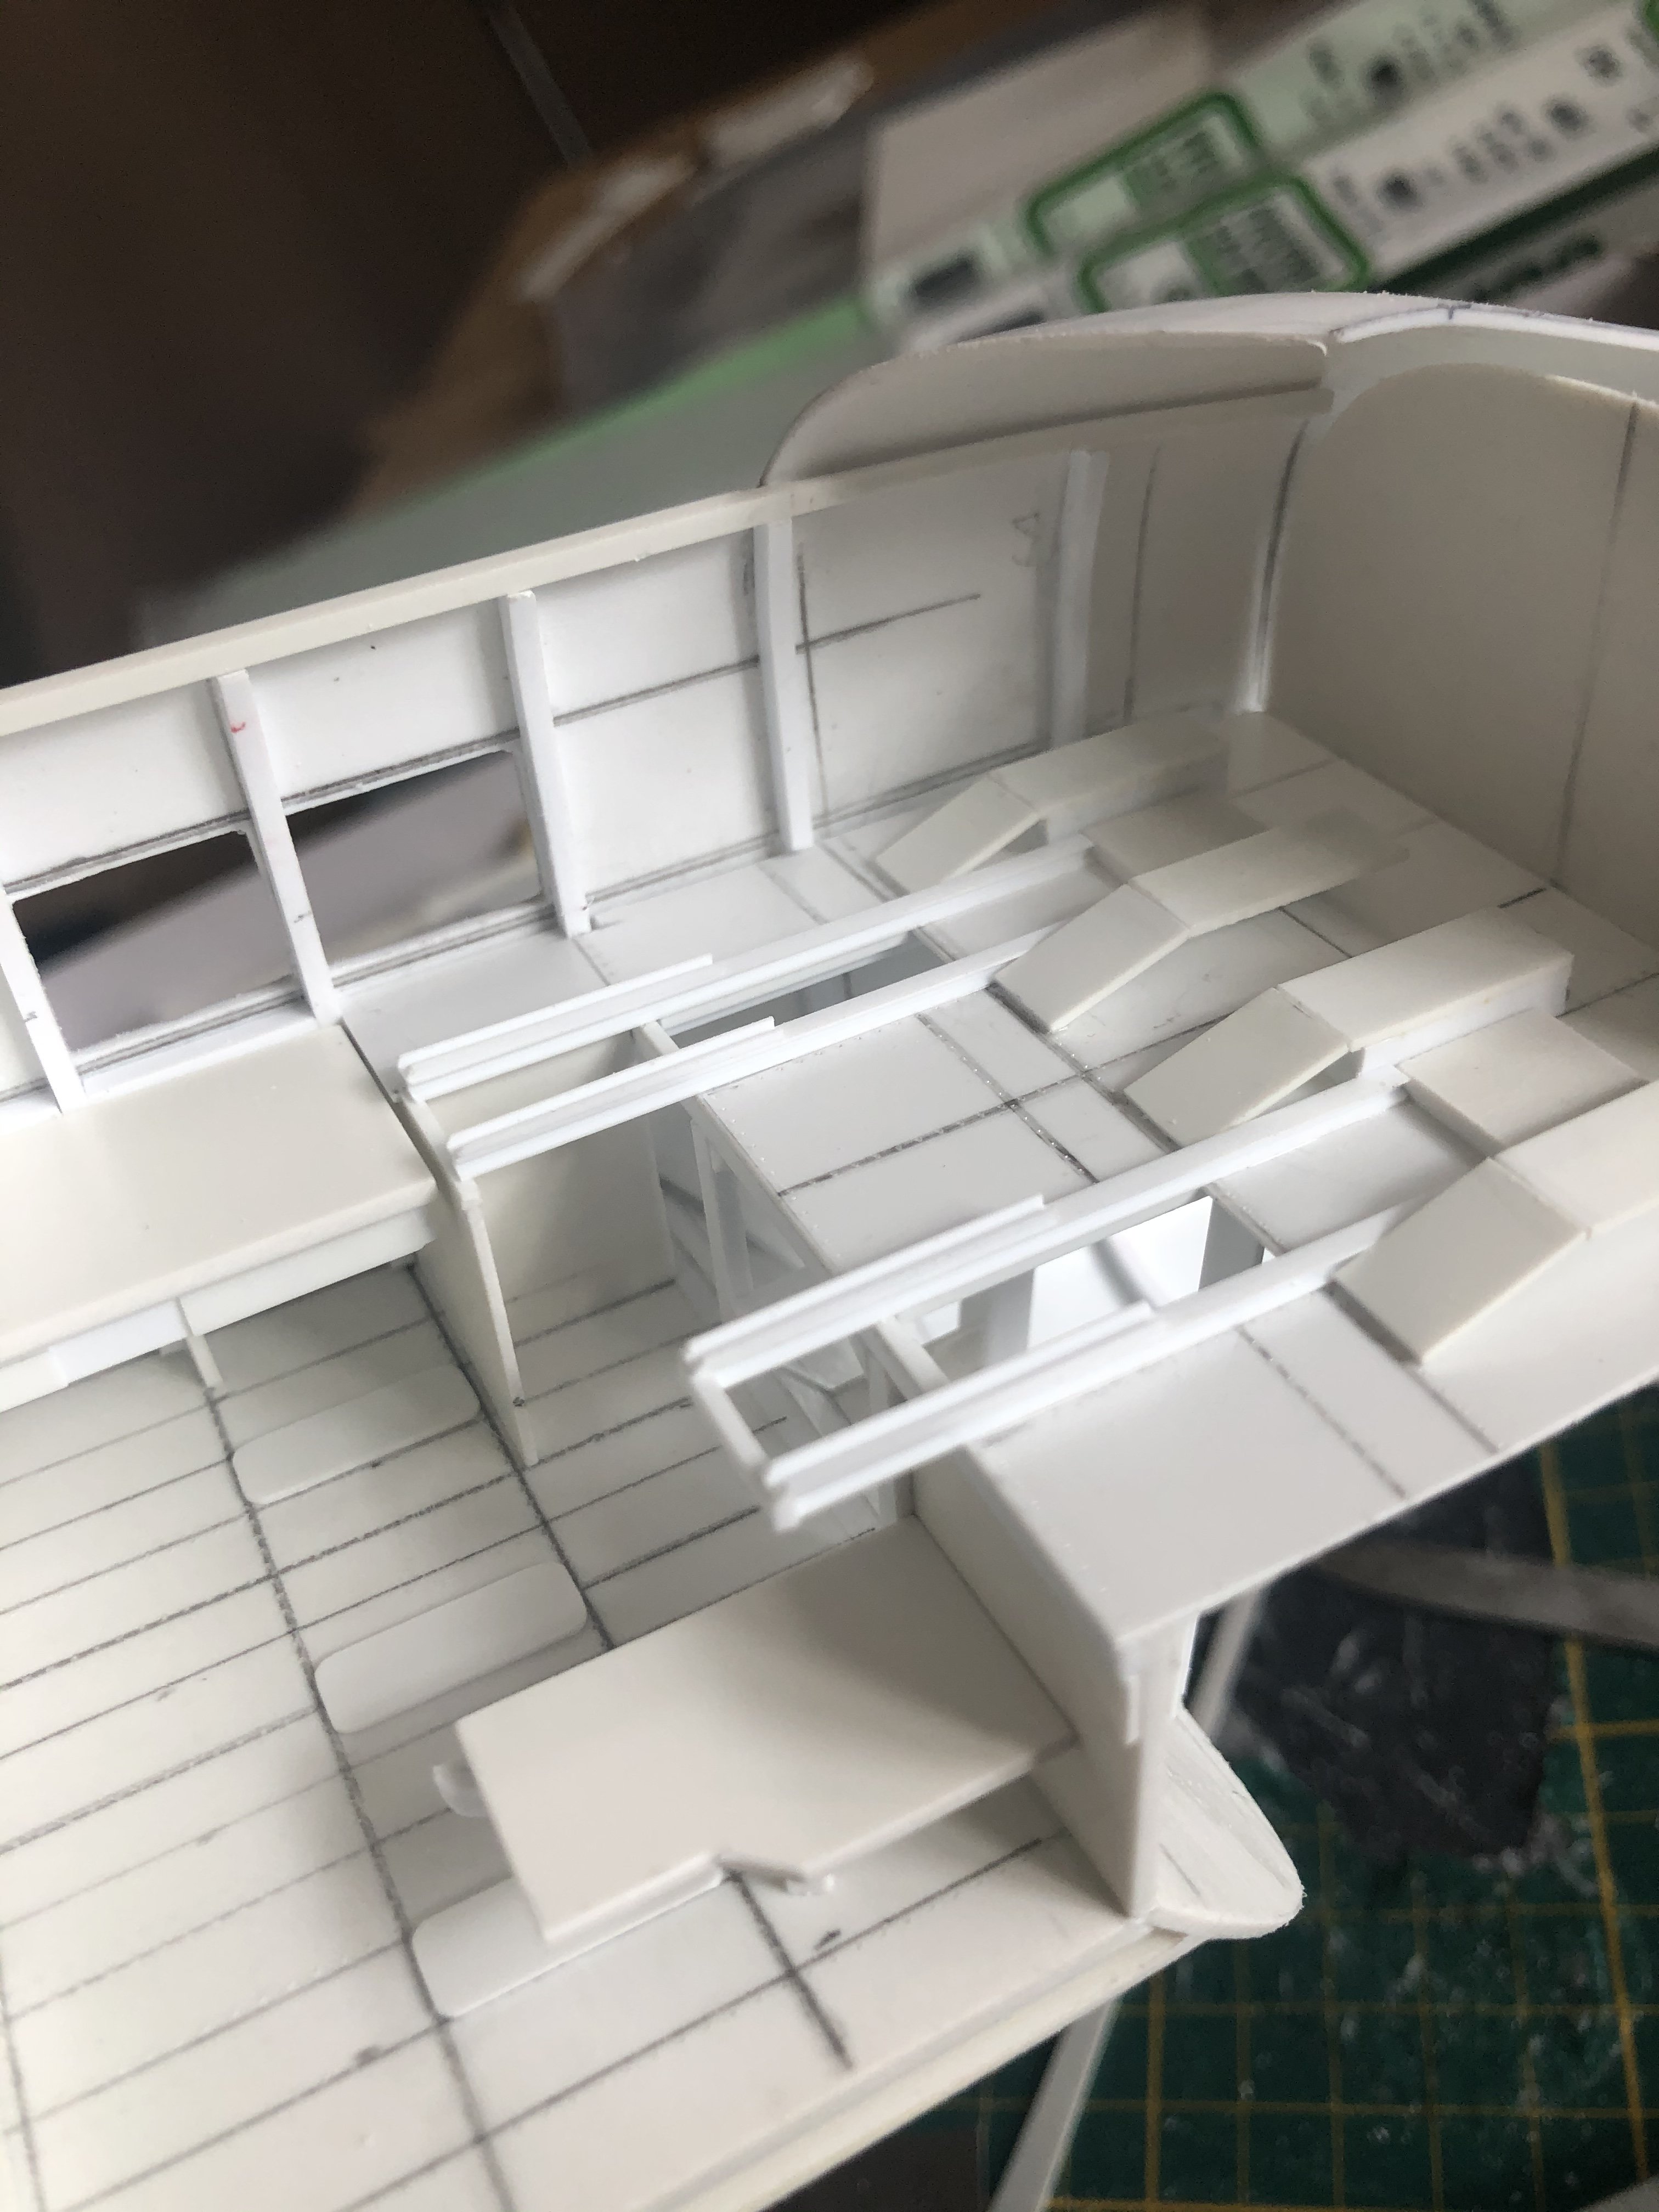
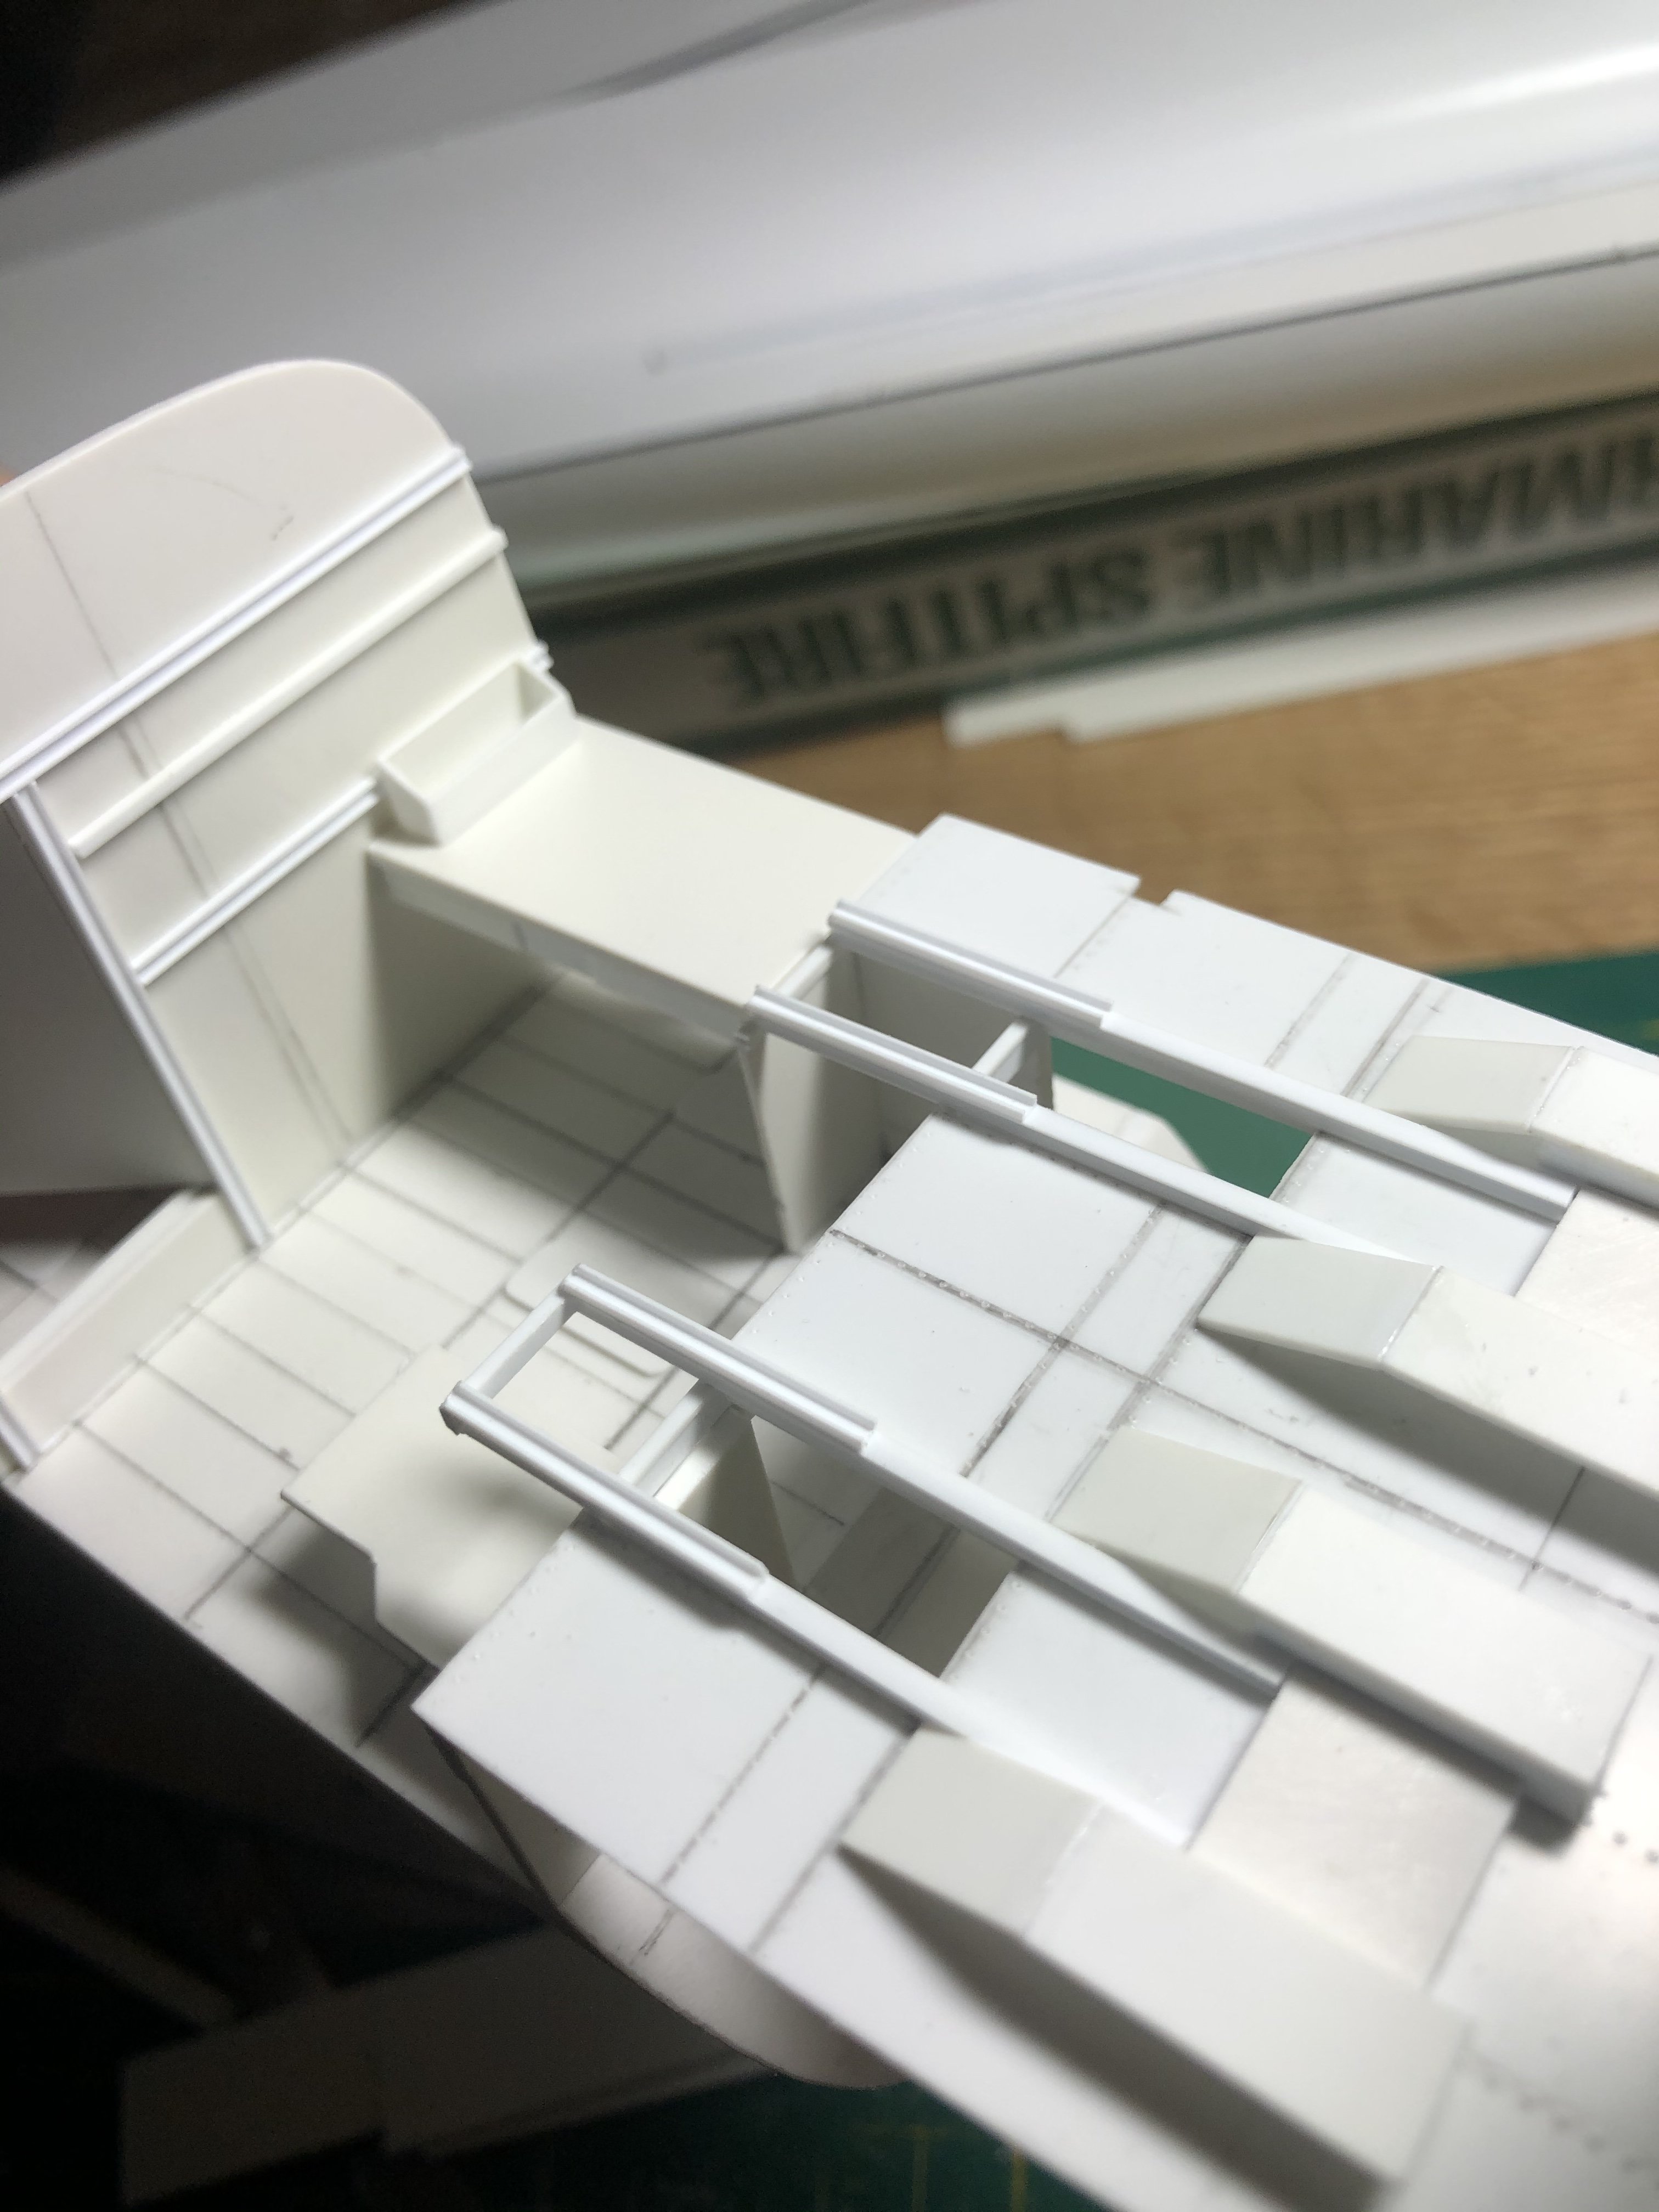
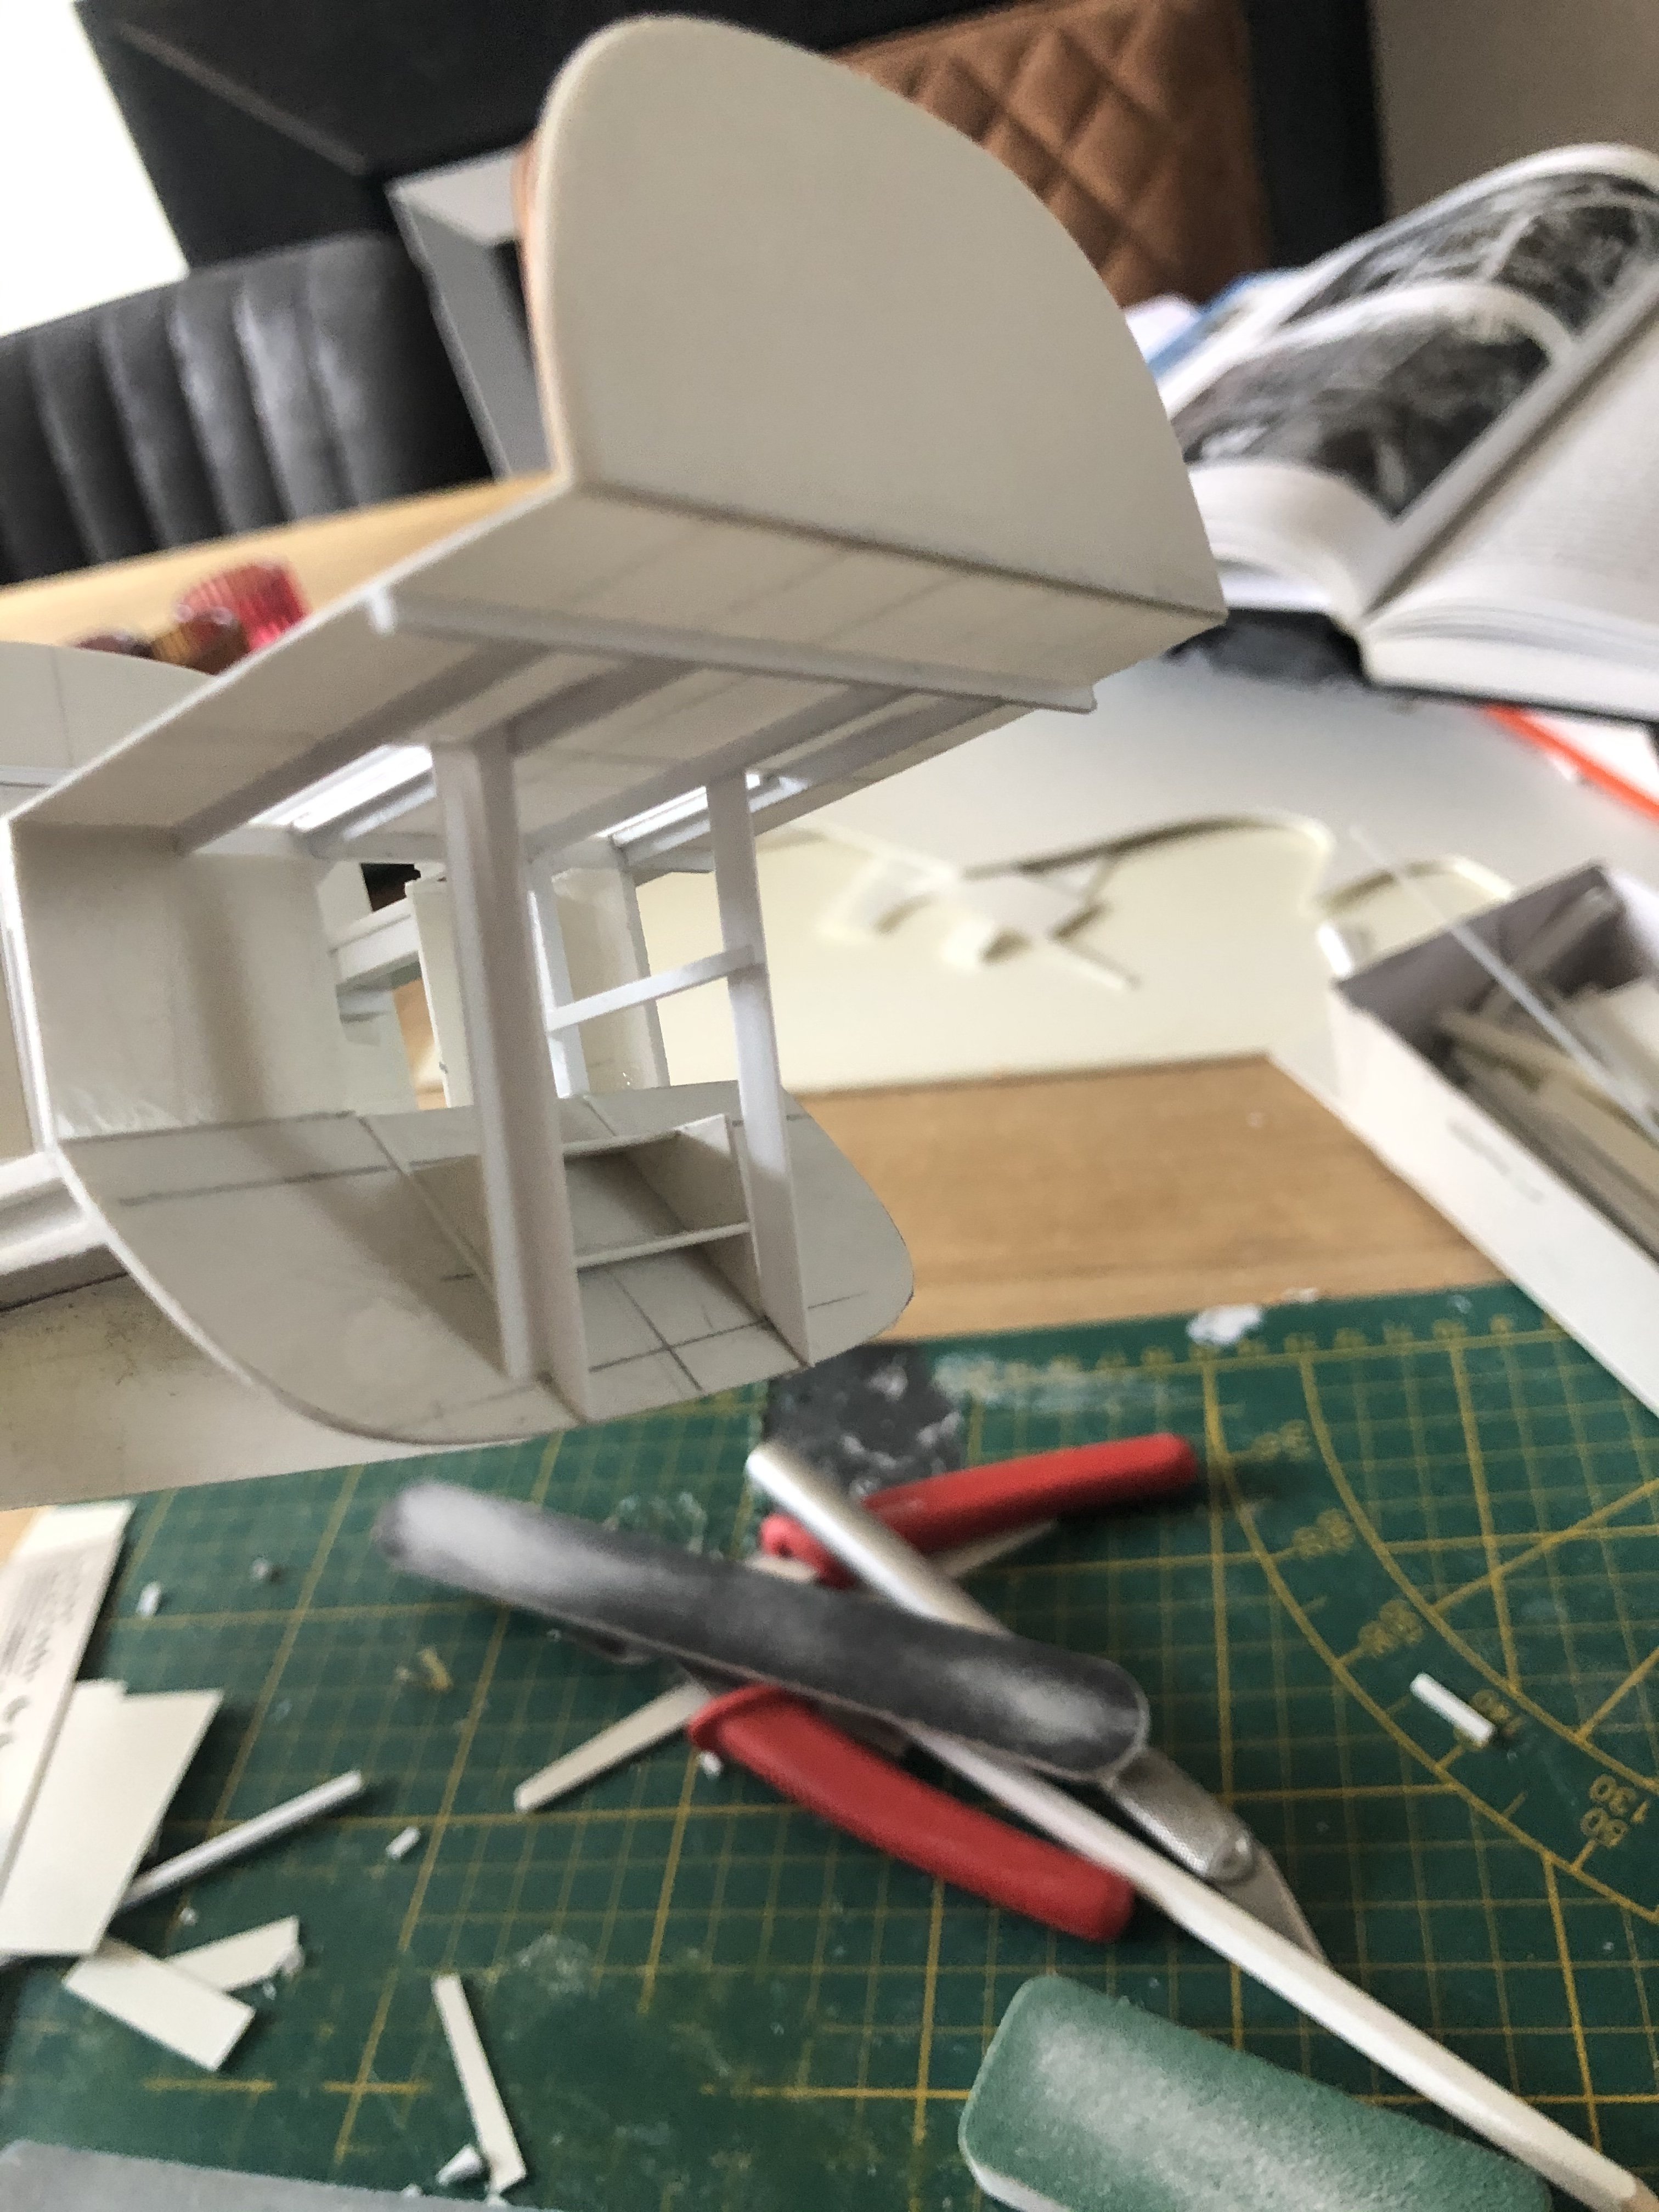
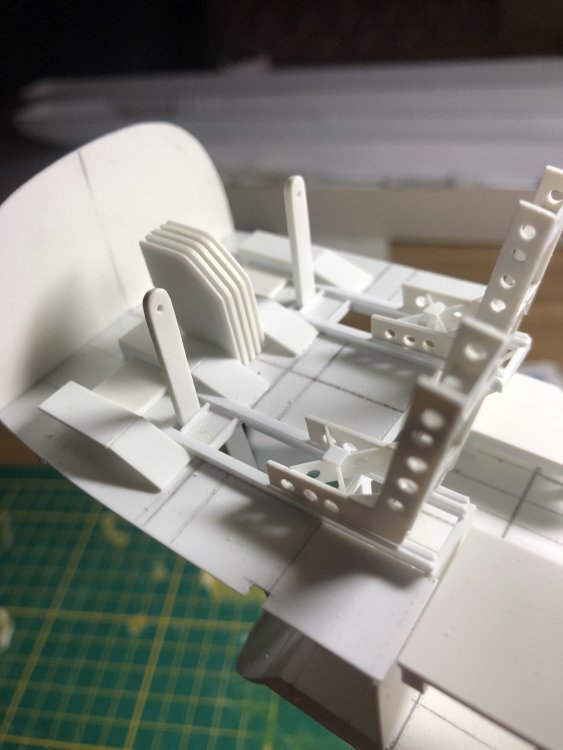
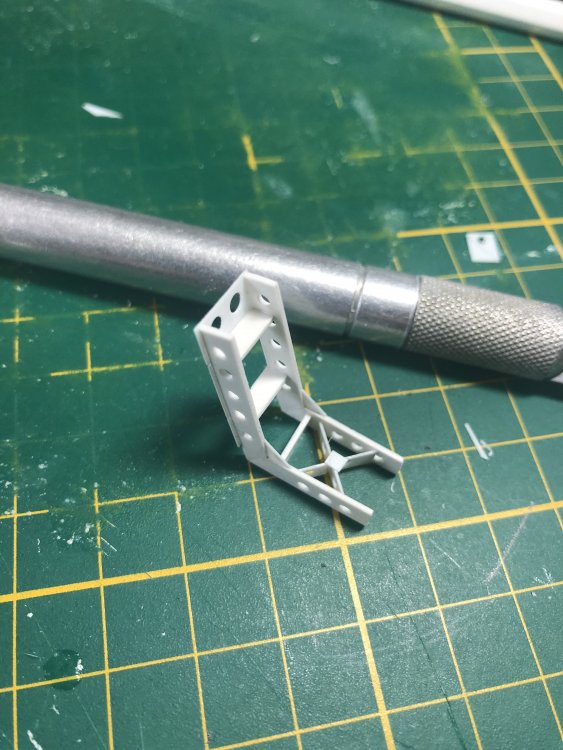
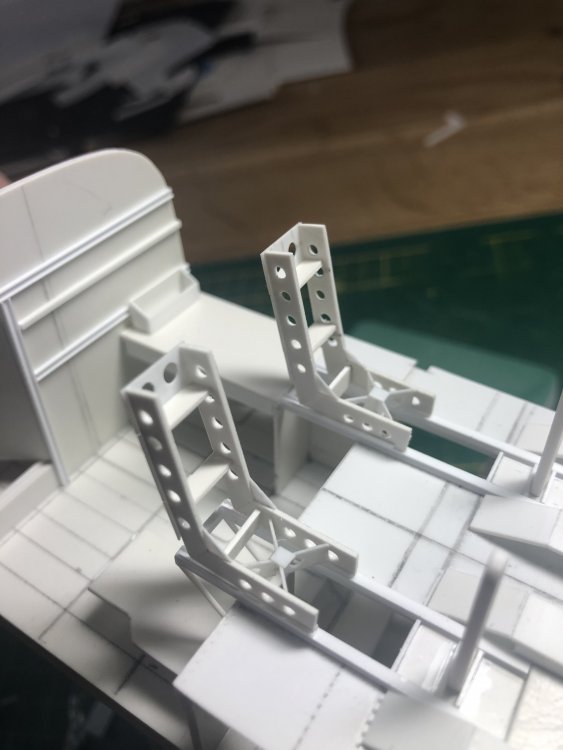
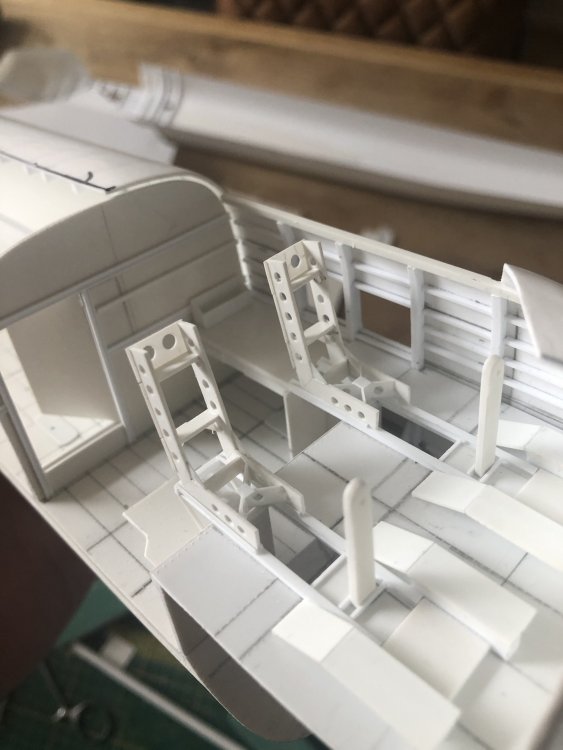
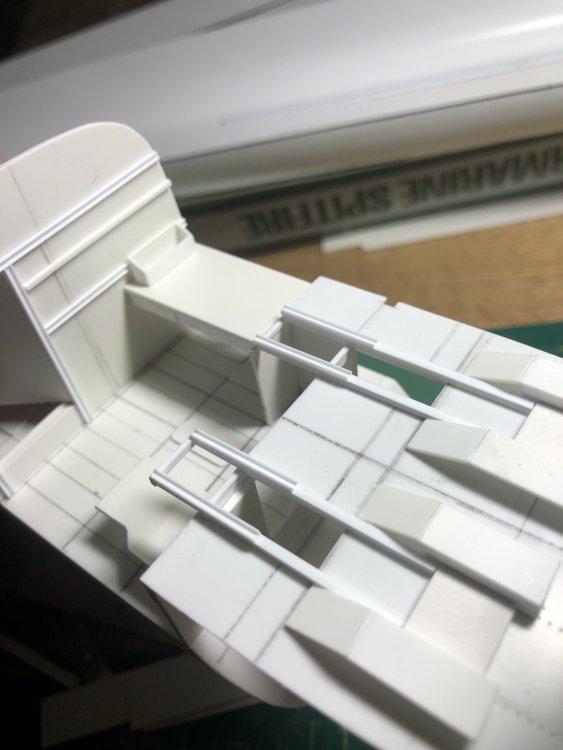
Thanks chaps, well the seatframes do not actually run on rails but they fit very nicely. Very pleased how this difficult stage has turned out. The X-members were a bit of a problem at first but then I thought of Ikea and in fact it was quite easy with interlocking sections.
-
Daft project or is it? 1/32 Short Stirling III
Wingco57 replied to Wingco57's topic in LSM 1/35 and Larger Work In Progress
Just a plastic bag for packaging the seatframes halfway under construction.
-
Daft project or is it? 1/32 Short Stirling III
Wingco57 replied to Wingco57's topic in LSM 1/35 and Larger Work In Progress
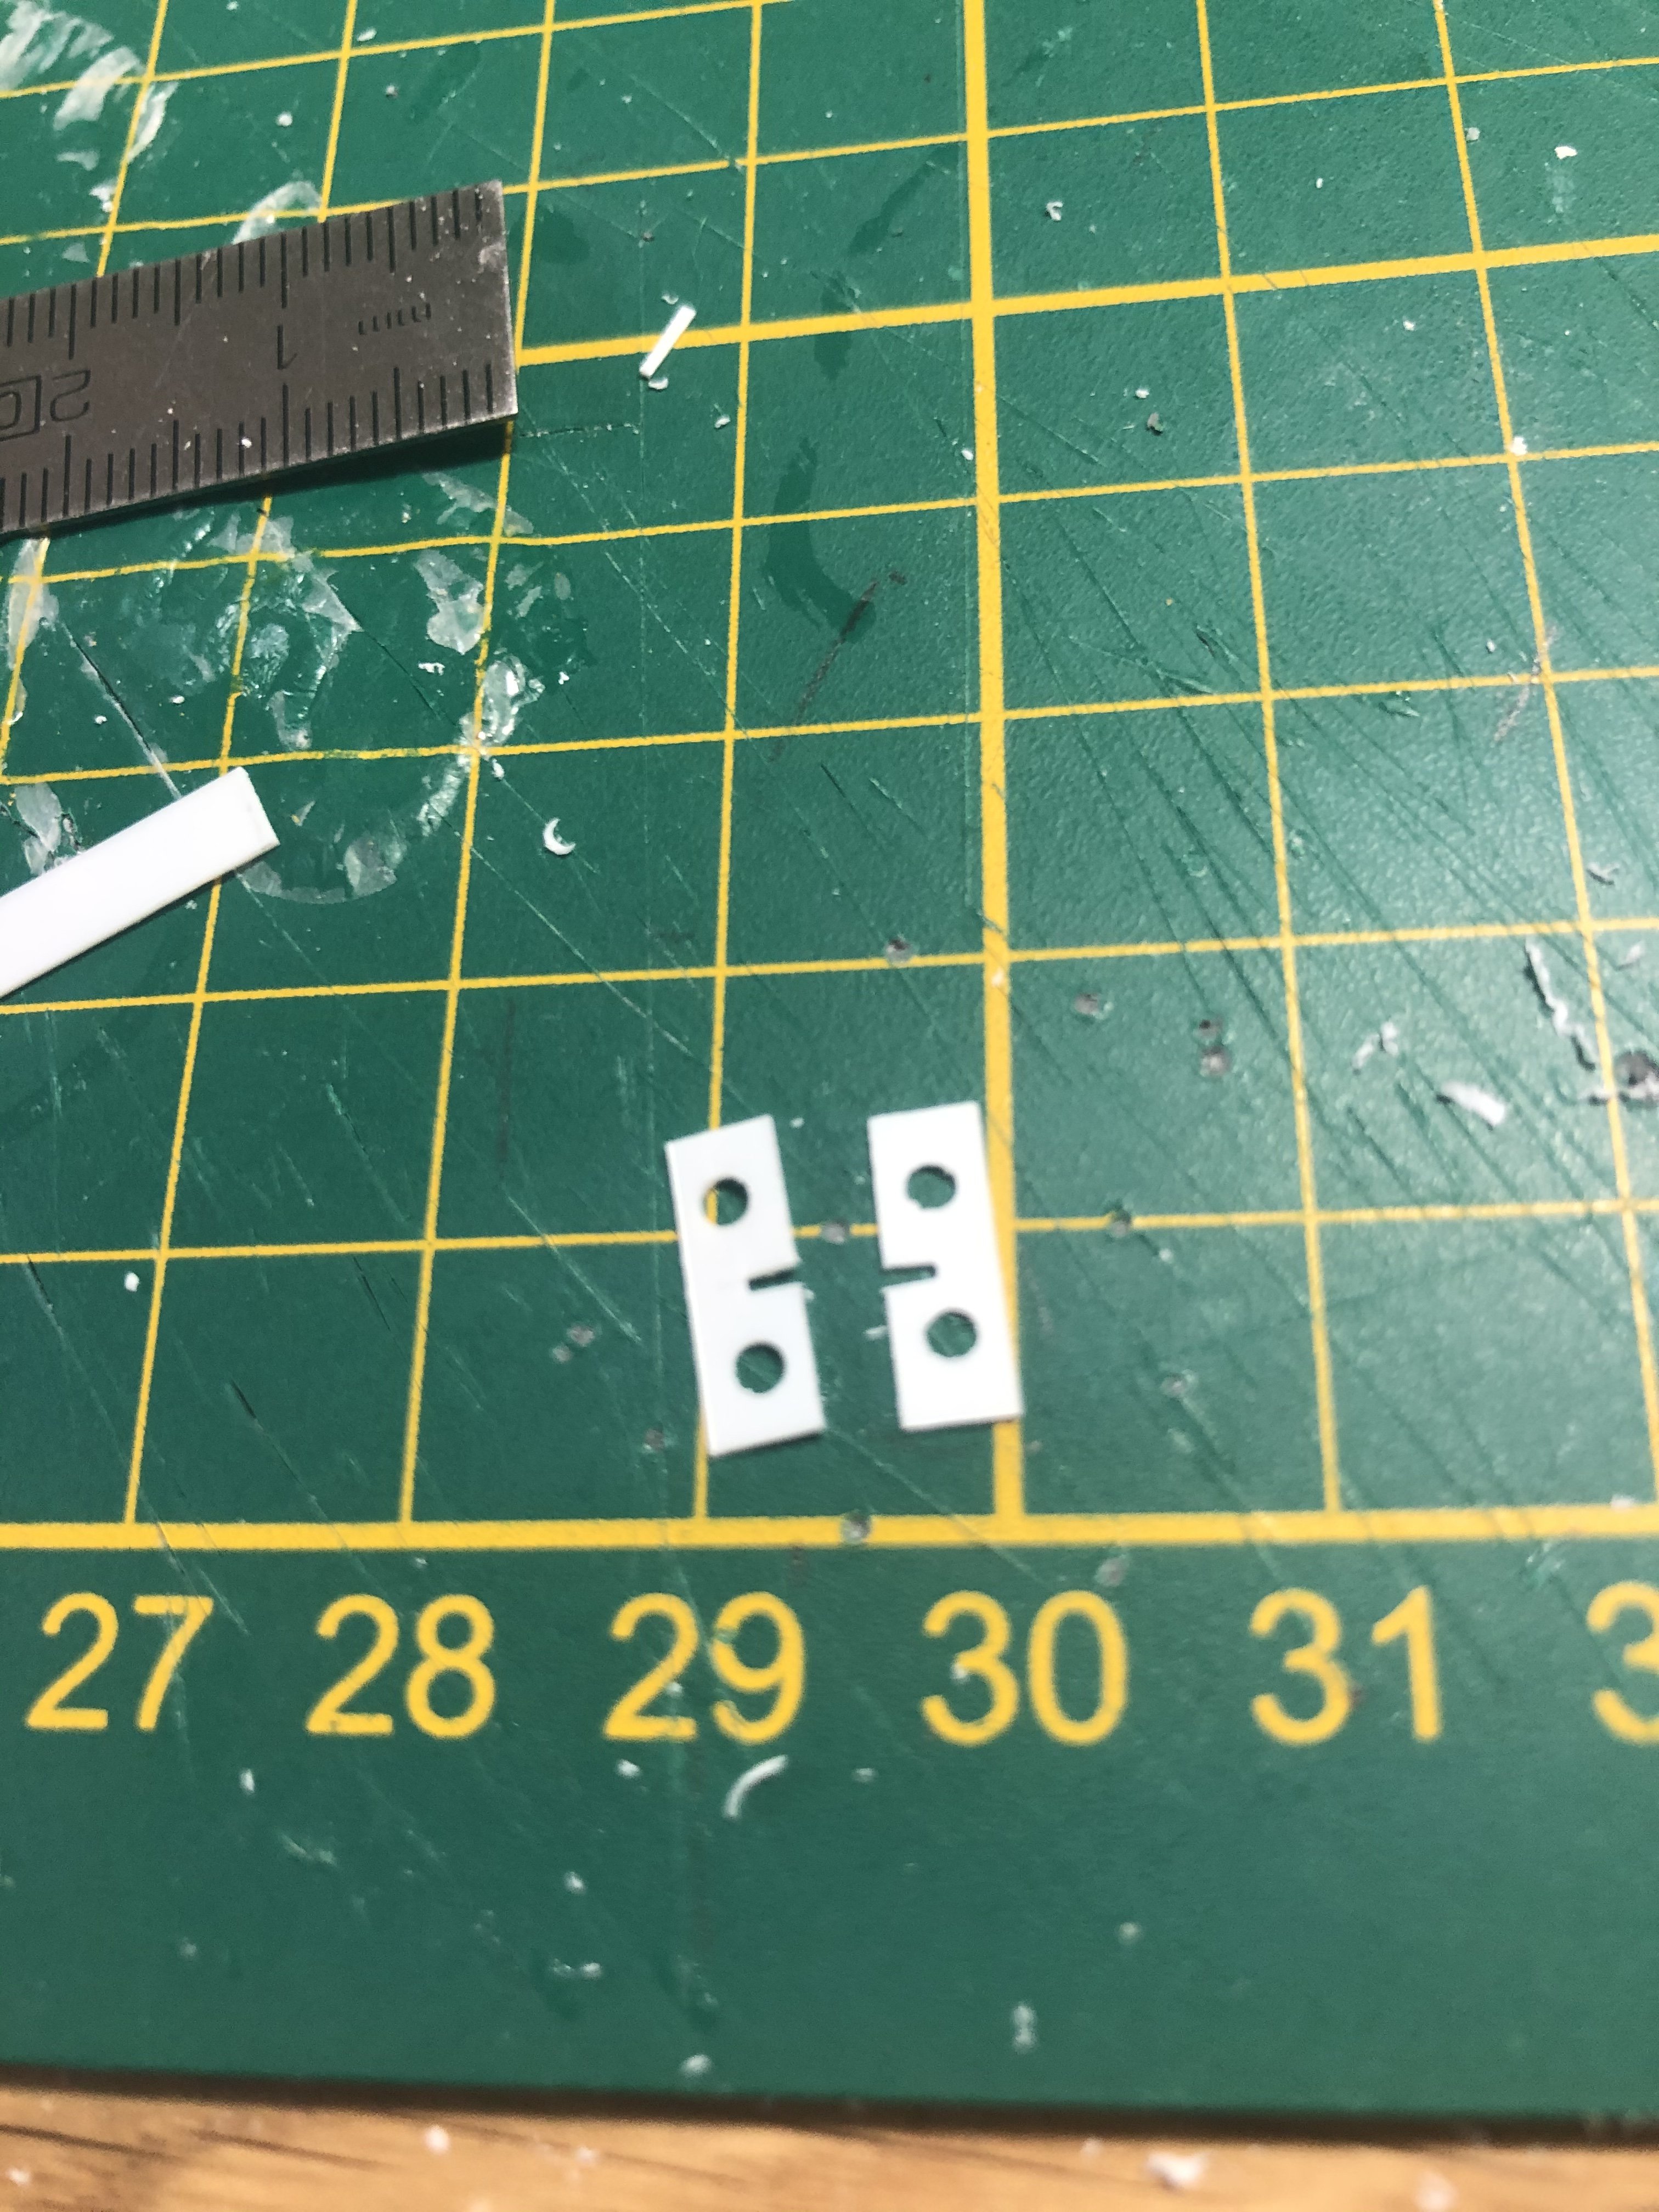
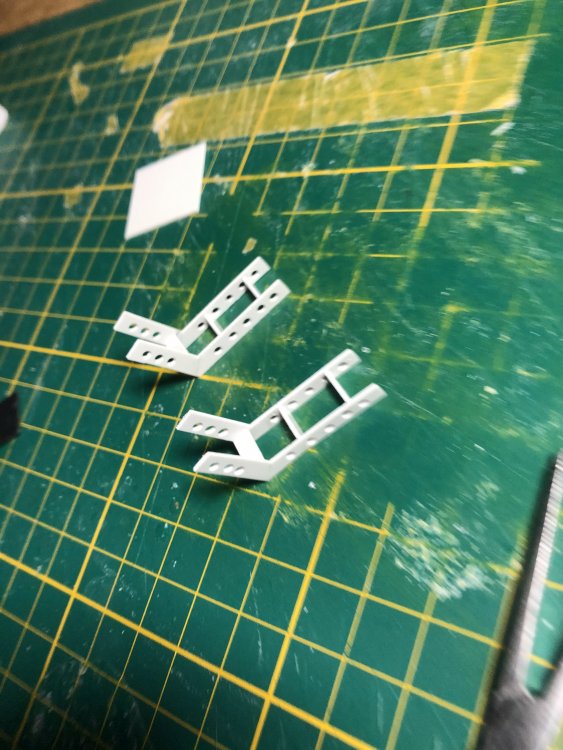
Never satisfied ey Peter? some more work being done. The seats are mounted on seatframes which are quite tricky to make. Using a jig from scrap plastic ensures all frames are identical, these will have to be built up to “H” section and two frames will be joined to form one seat frame. . Also the control columns have been fitted. The wheels will be done much later after painting and finishing of the cockpit as they will be very fragile.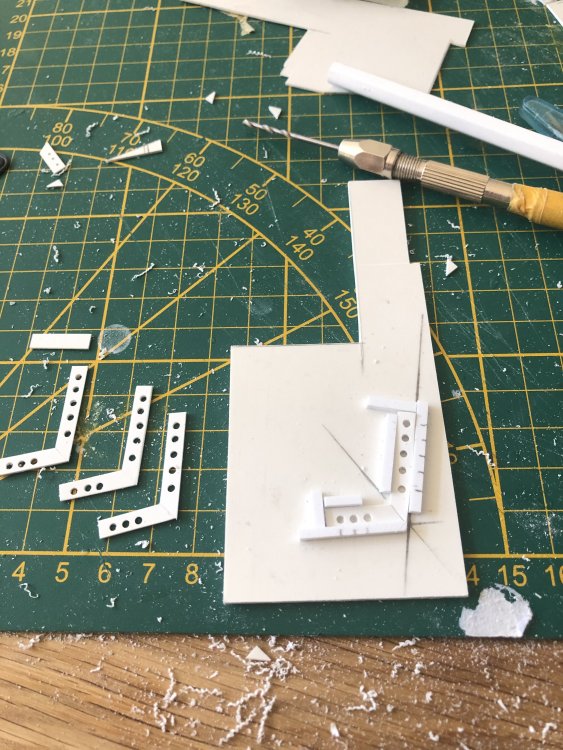

-
Daft project or is it? 1/32 Short Stirling III
Wingco57 replied to Wingco57's topic in LSM 1/35 and Larger Work In Progress
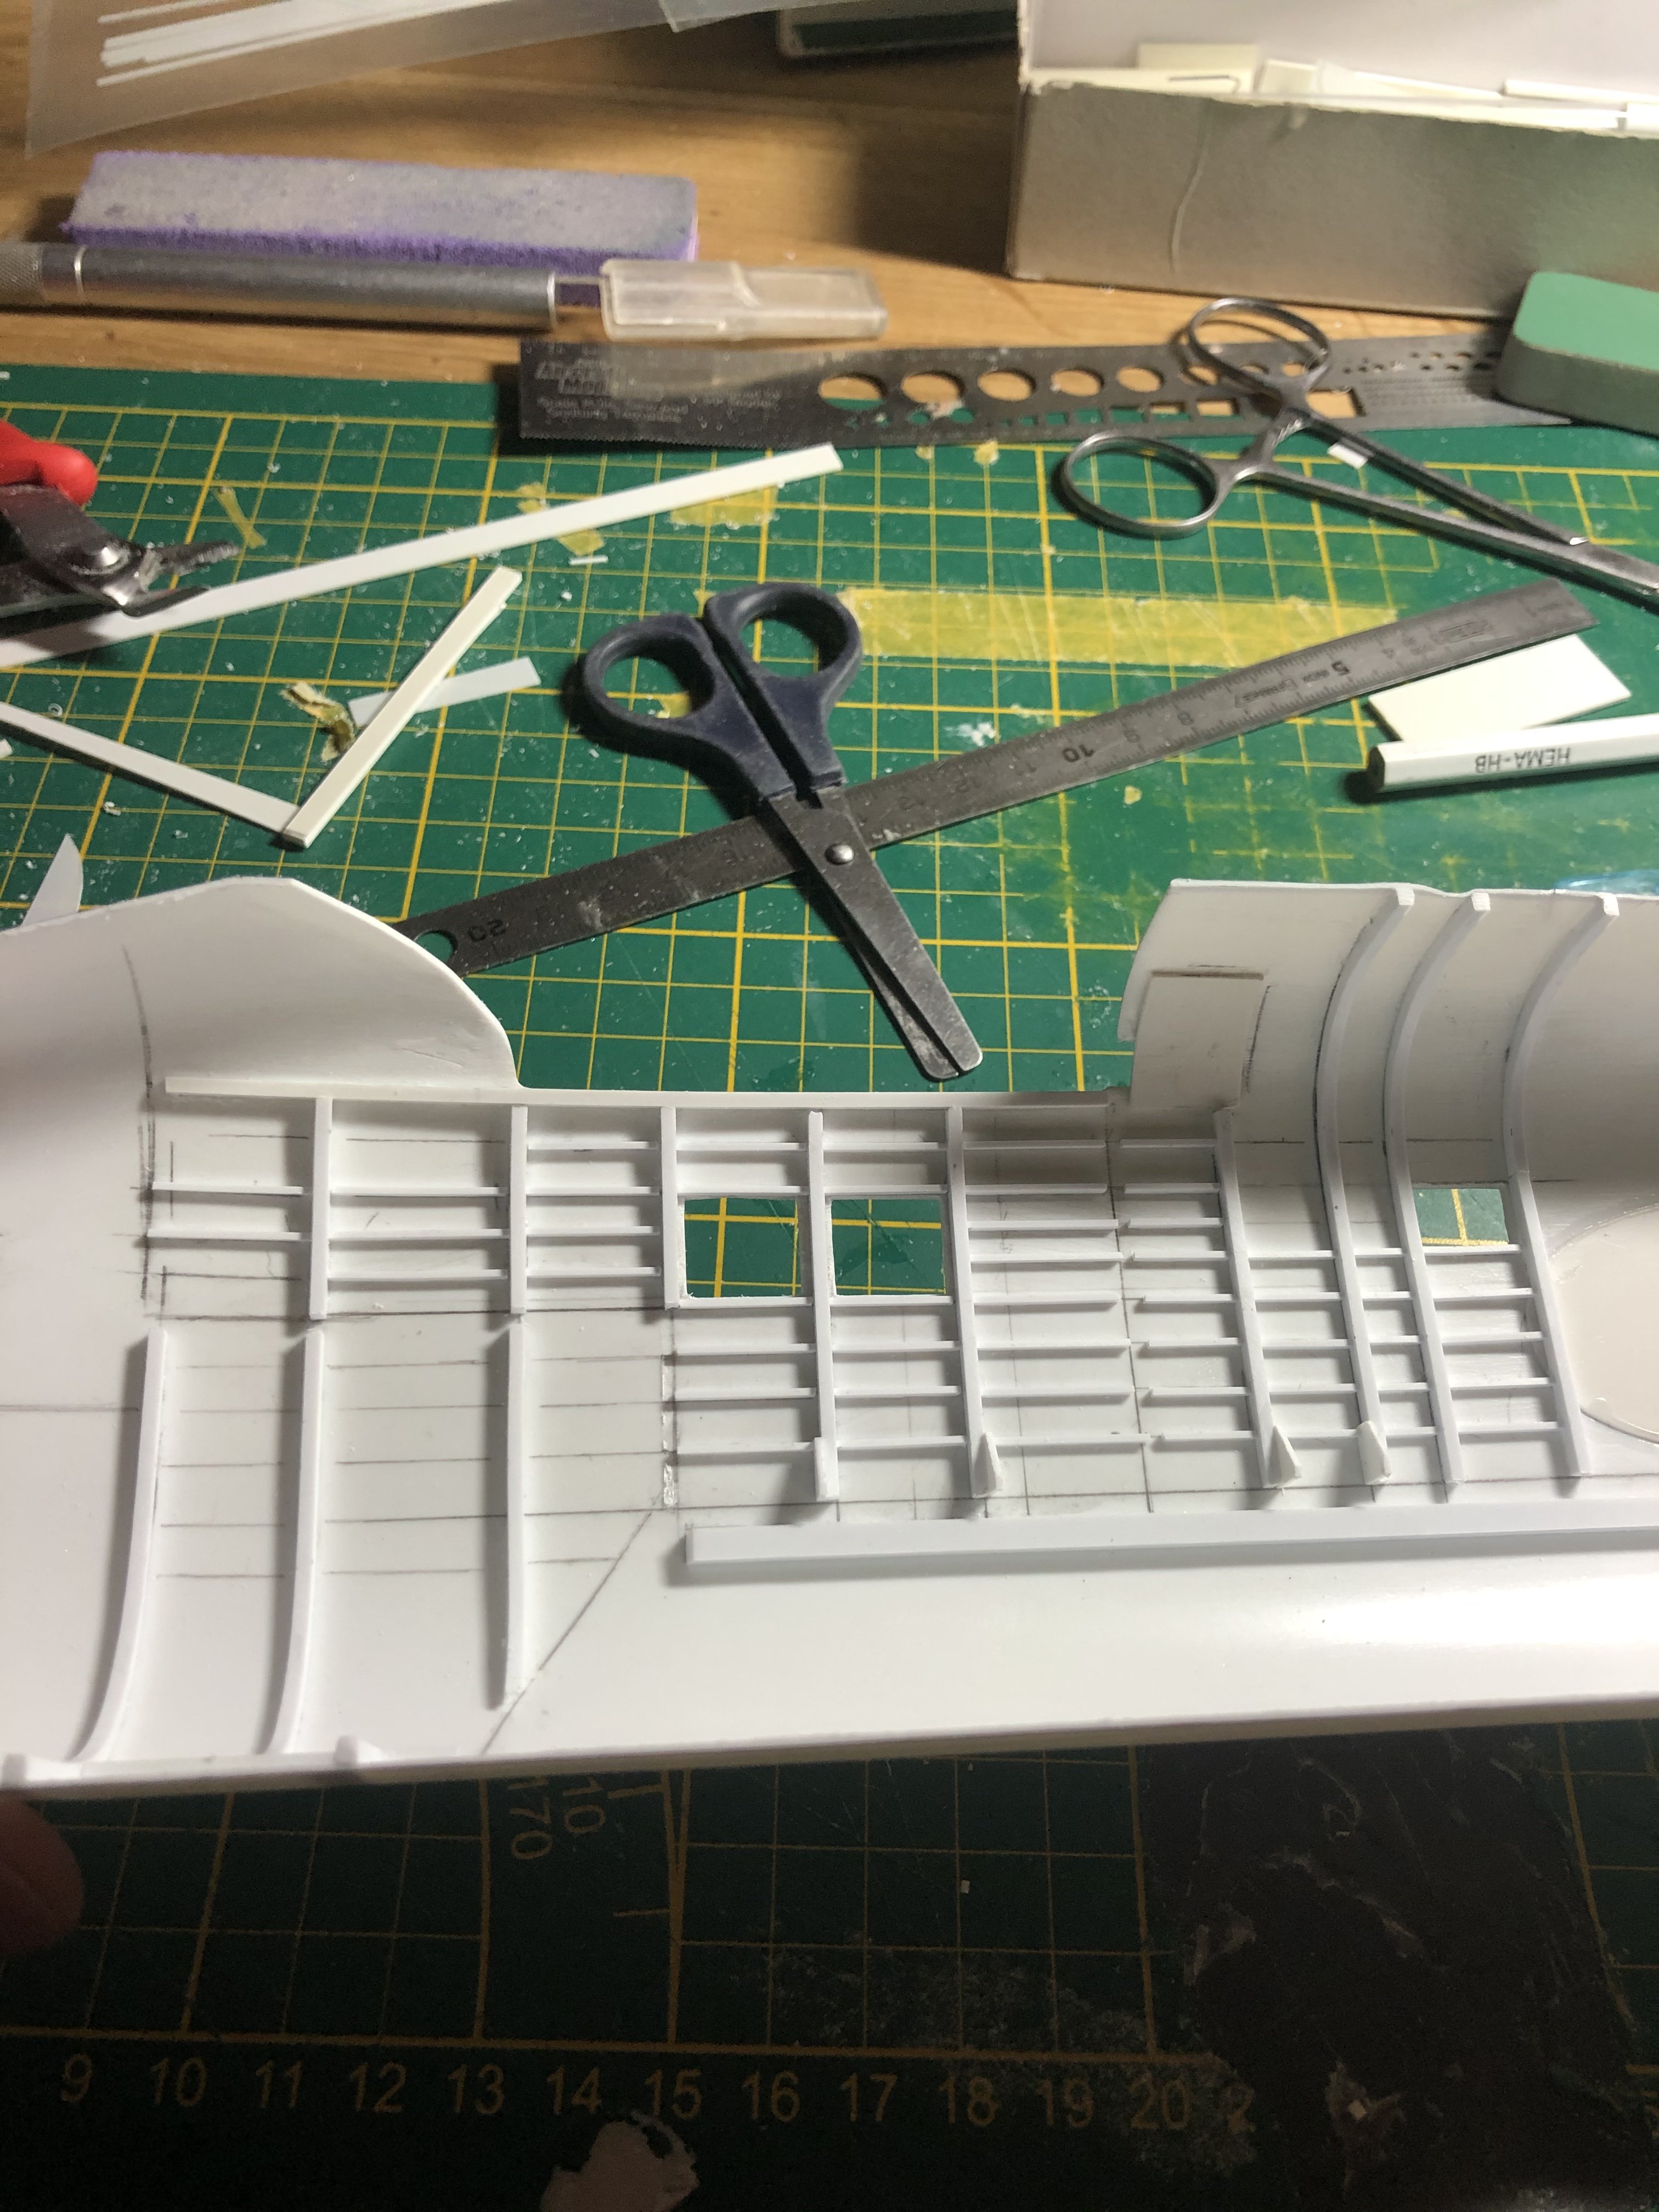
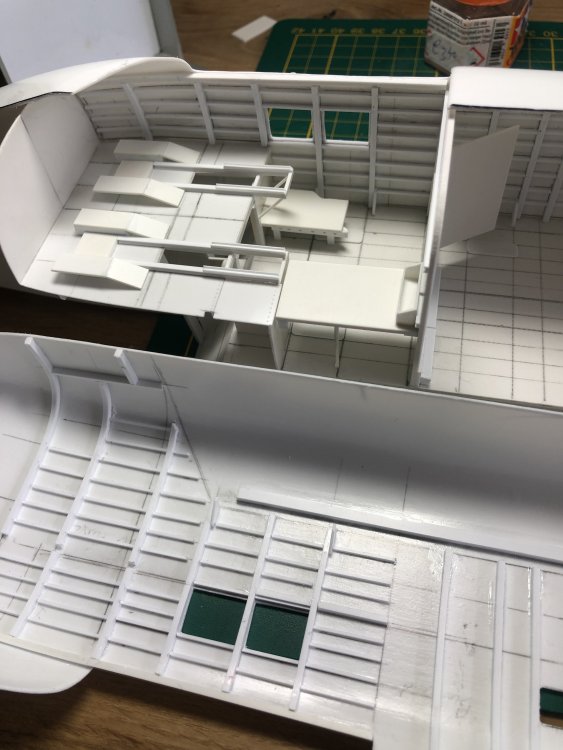
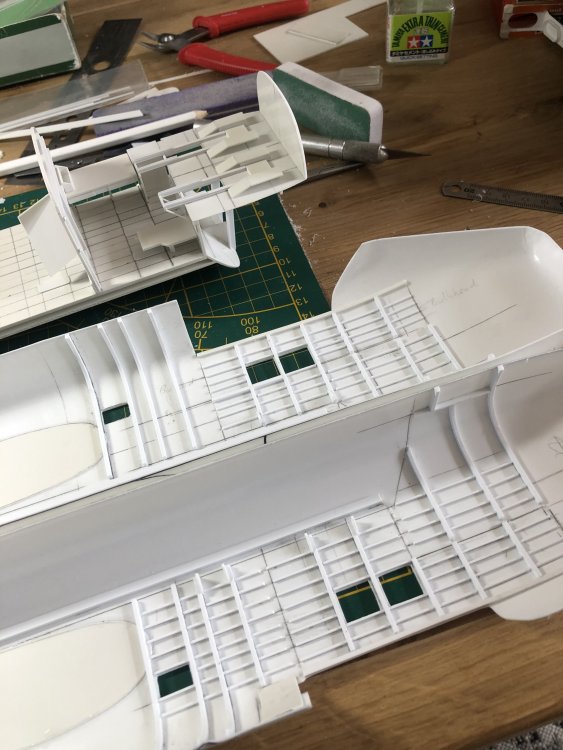
I may just to that. Today I have done most of the stringers. The nose still needs to be done but I have to get the drawings to determine the apertures for the noseturret and bombardier transparency first. After the stringers the halves needed to be checked for fit. But that has been completed now. Work is about to start on the details.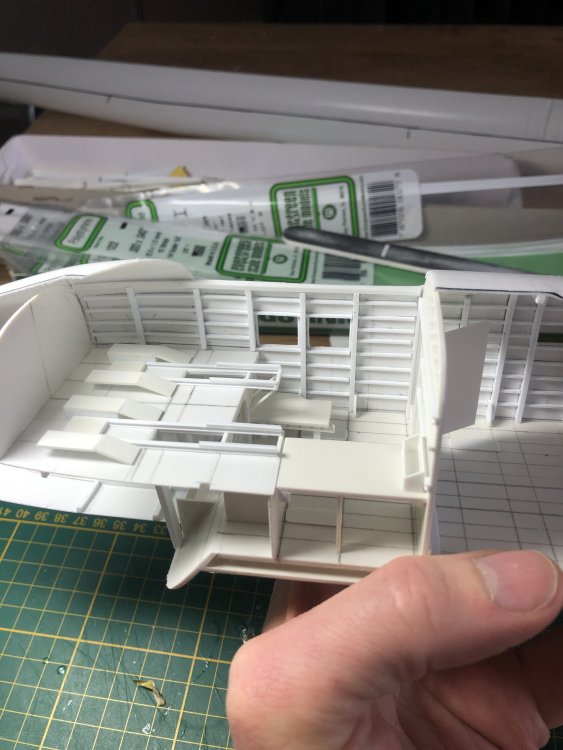

-
Daft project or is it? 1/32 Short Stirling III
Wingco57 replied to Wingco57's topic in LSM 1/35 and Larger Work In Progress
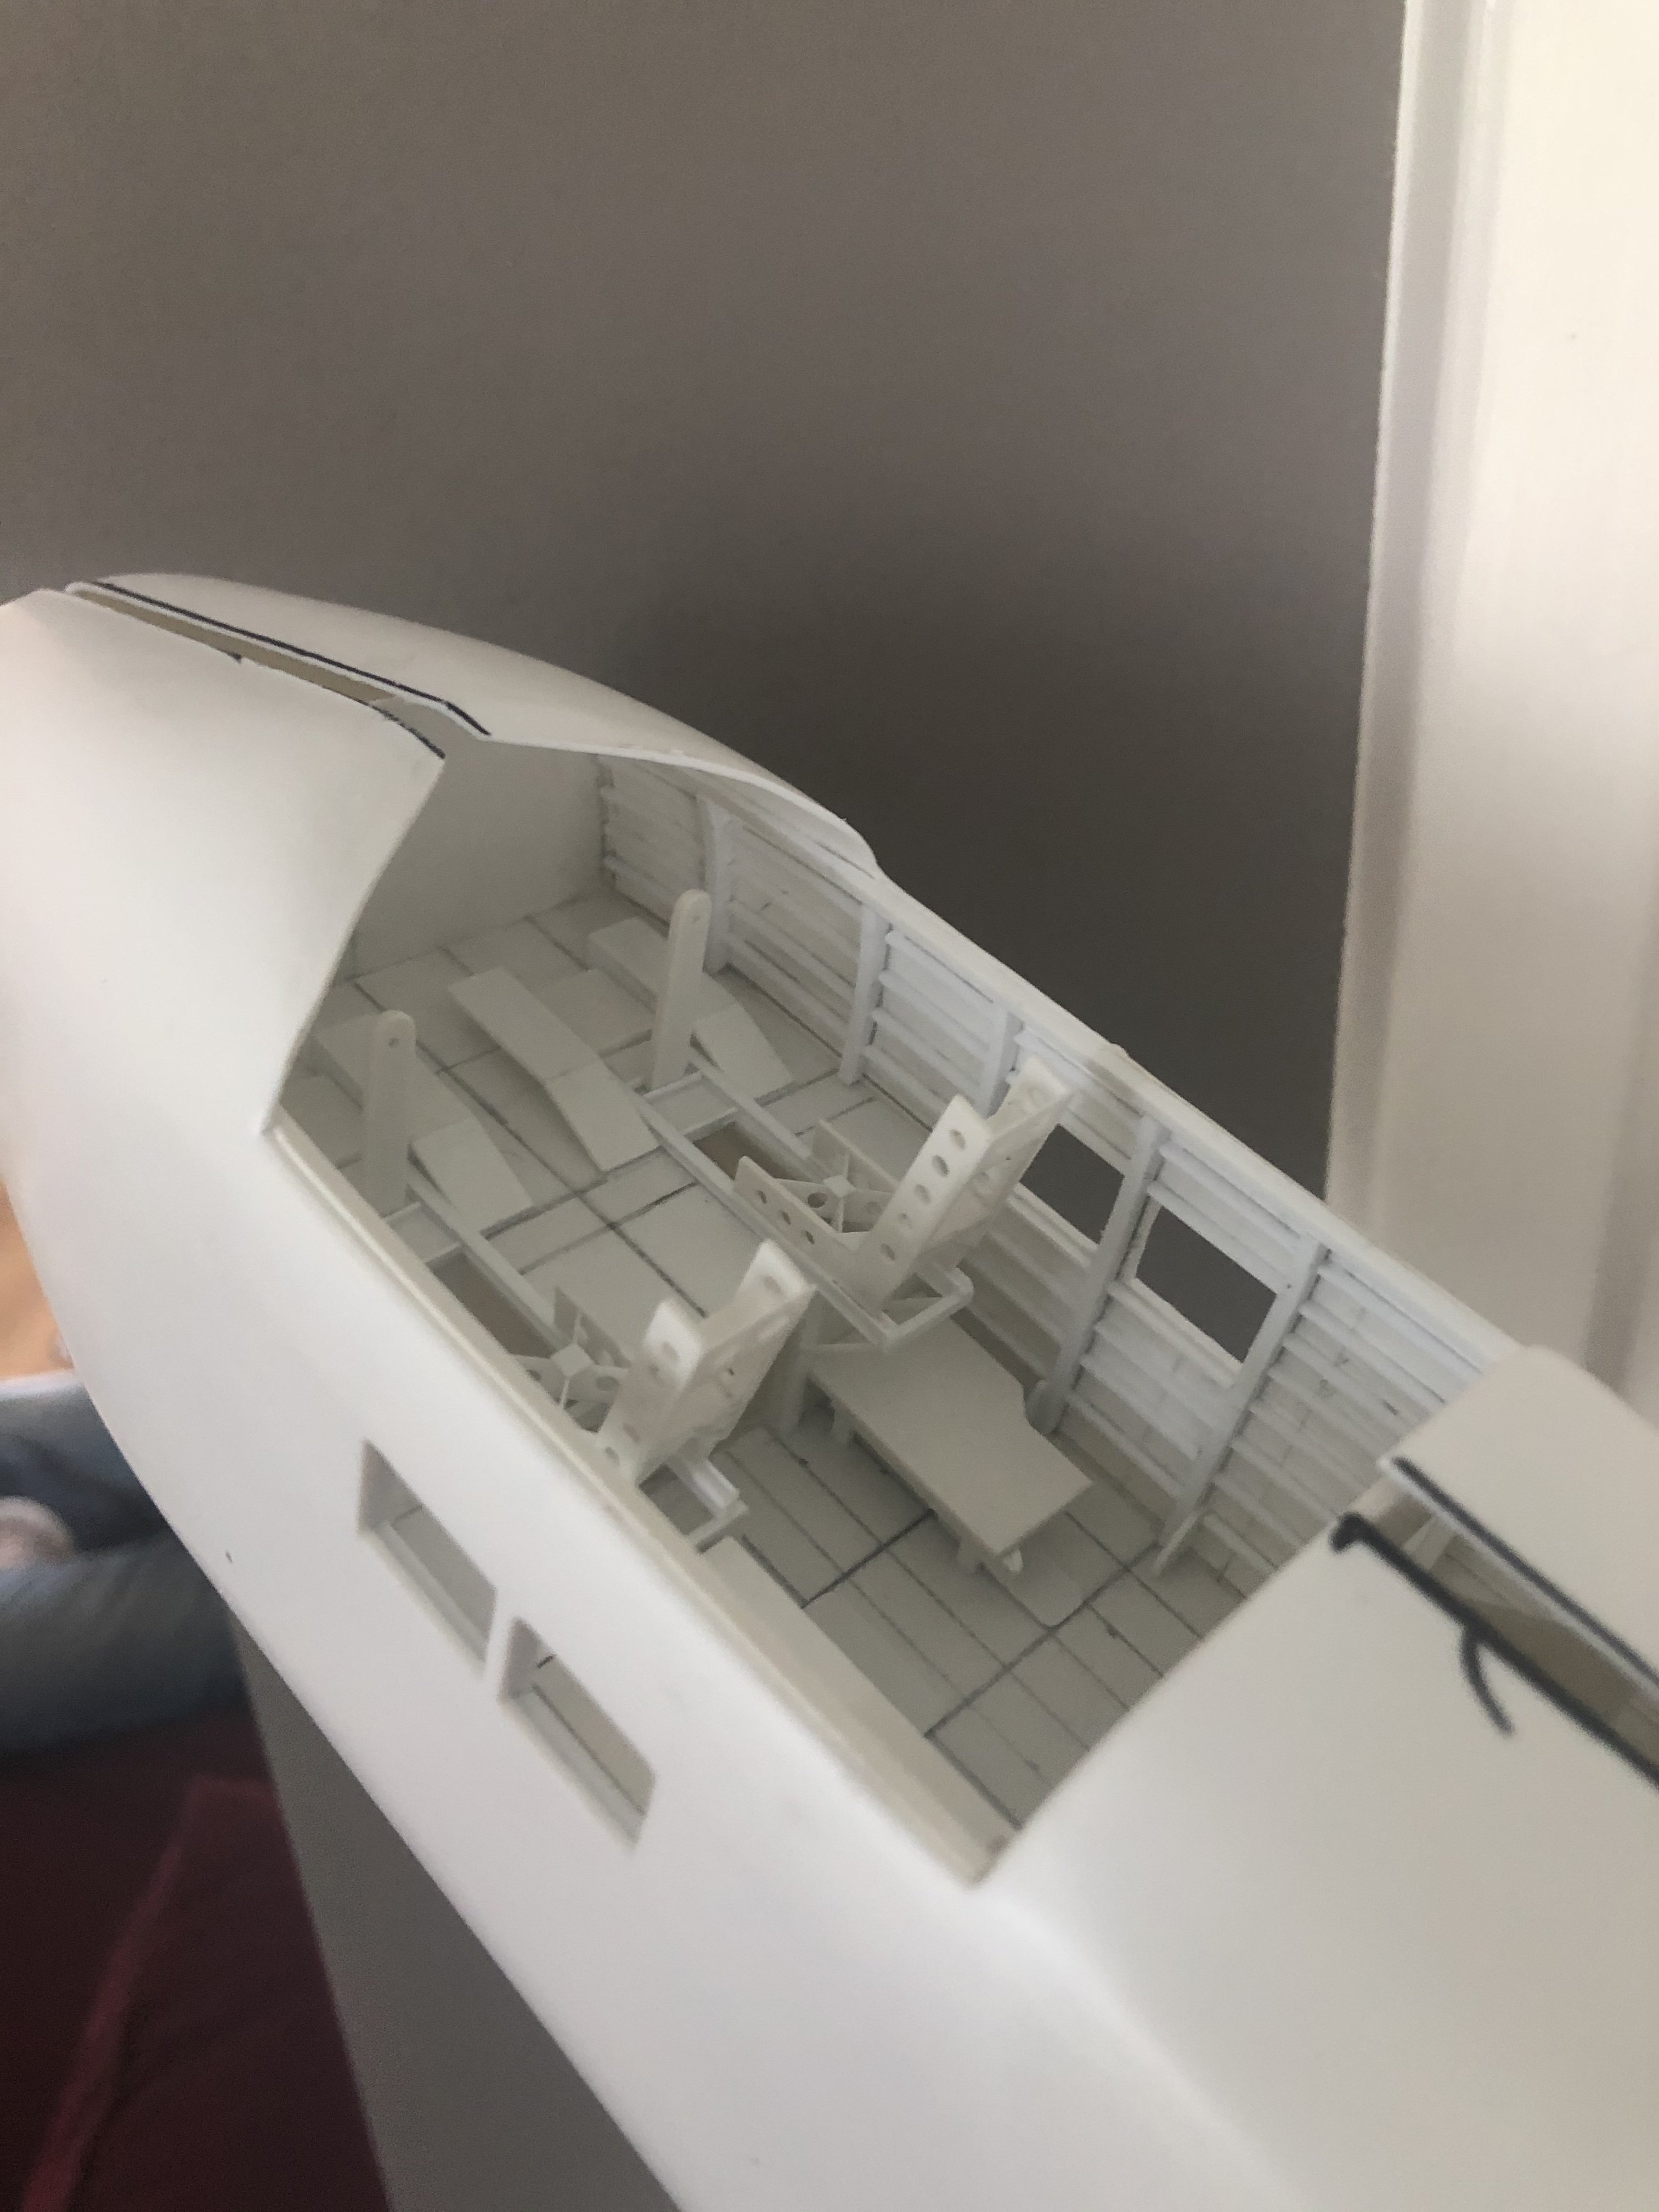
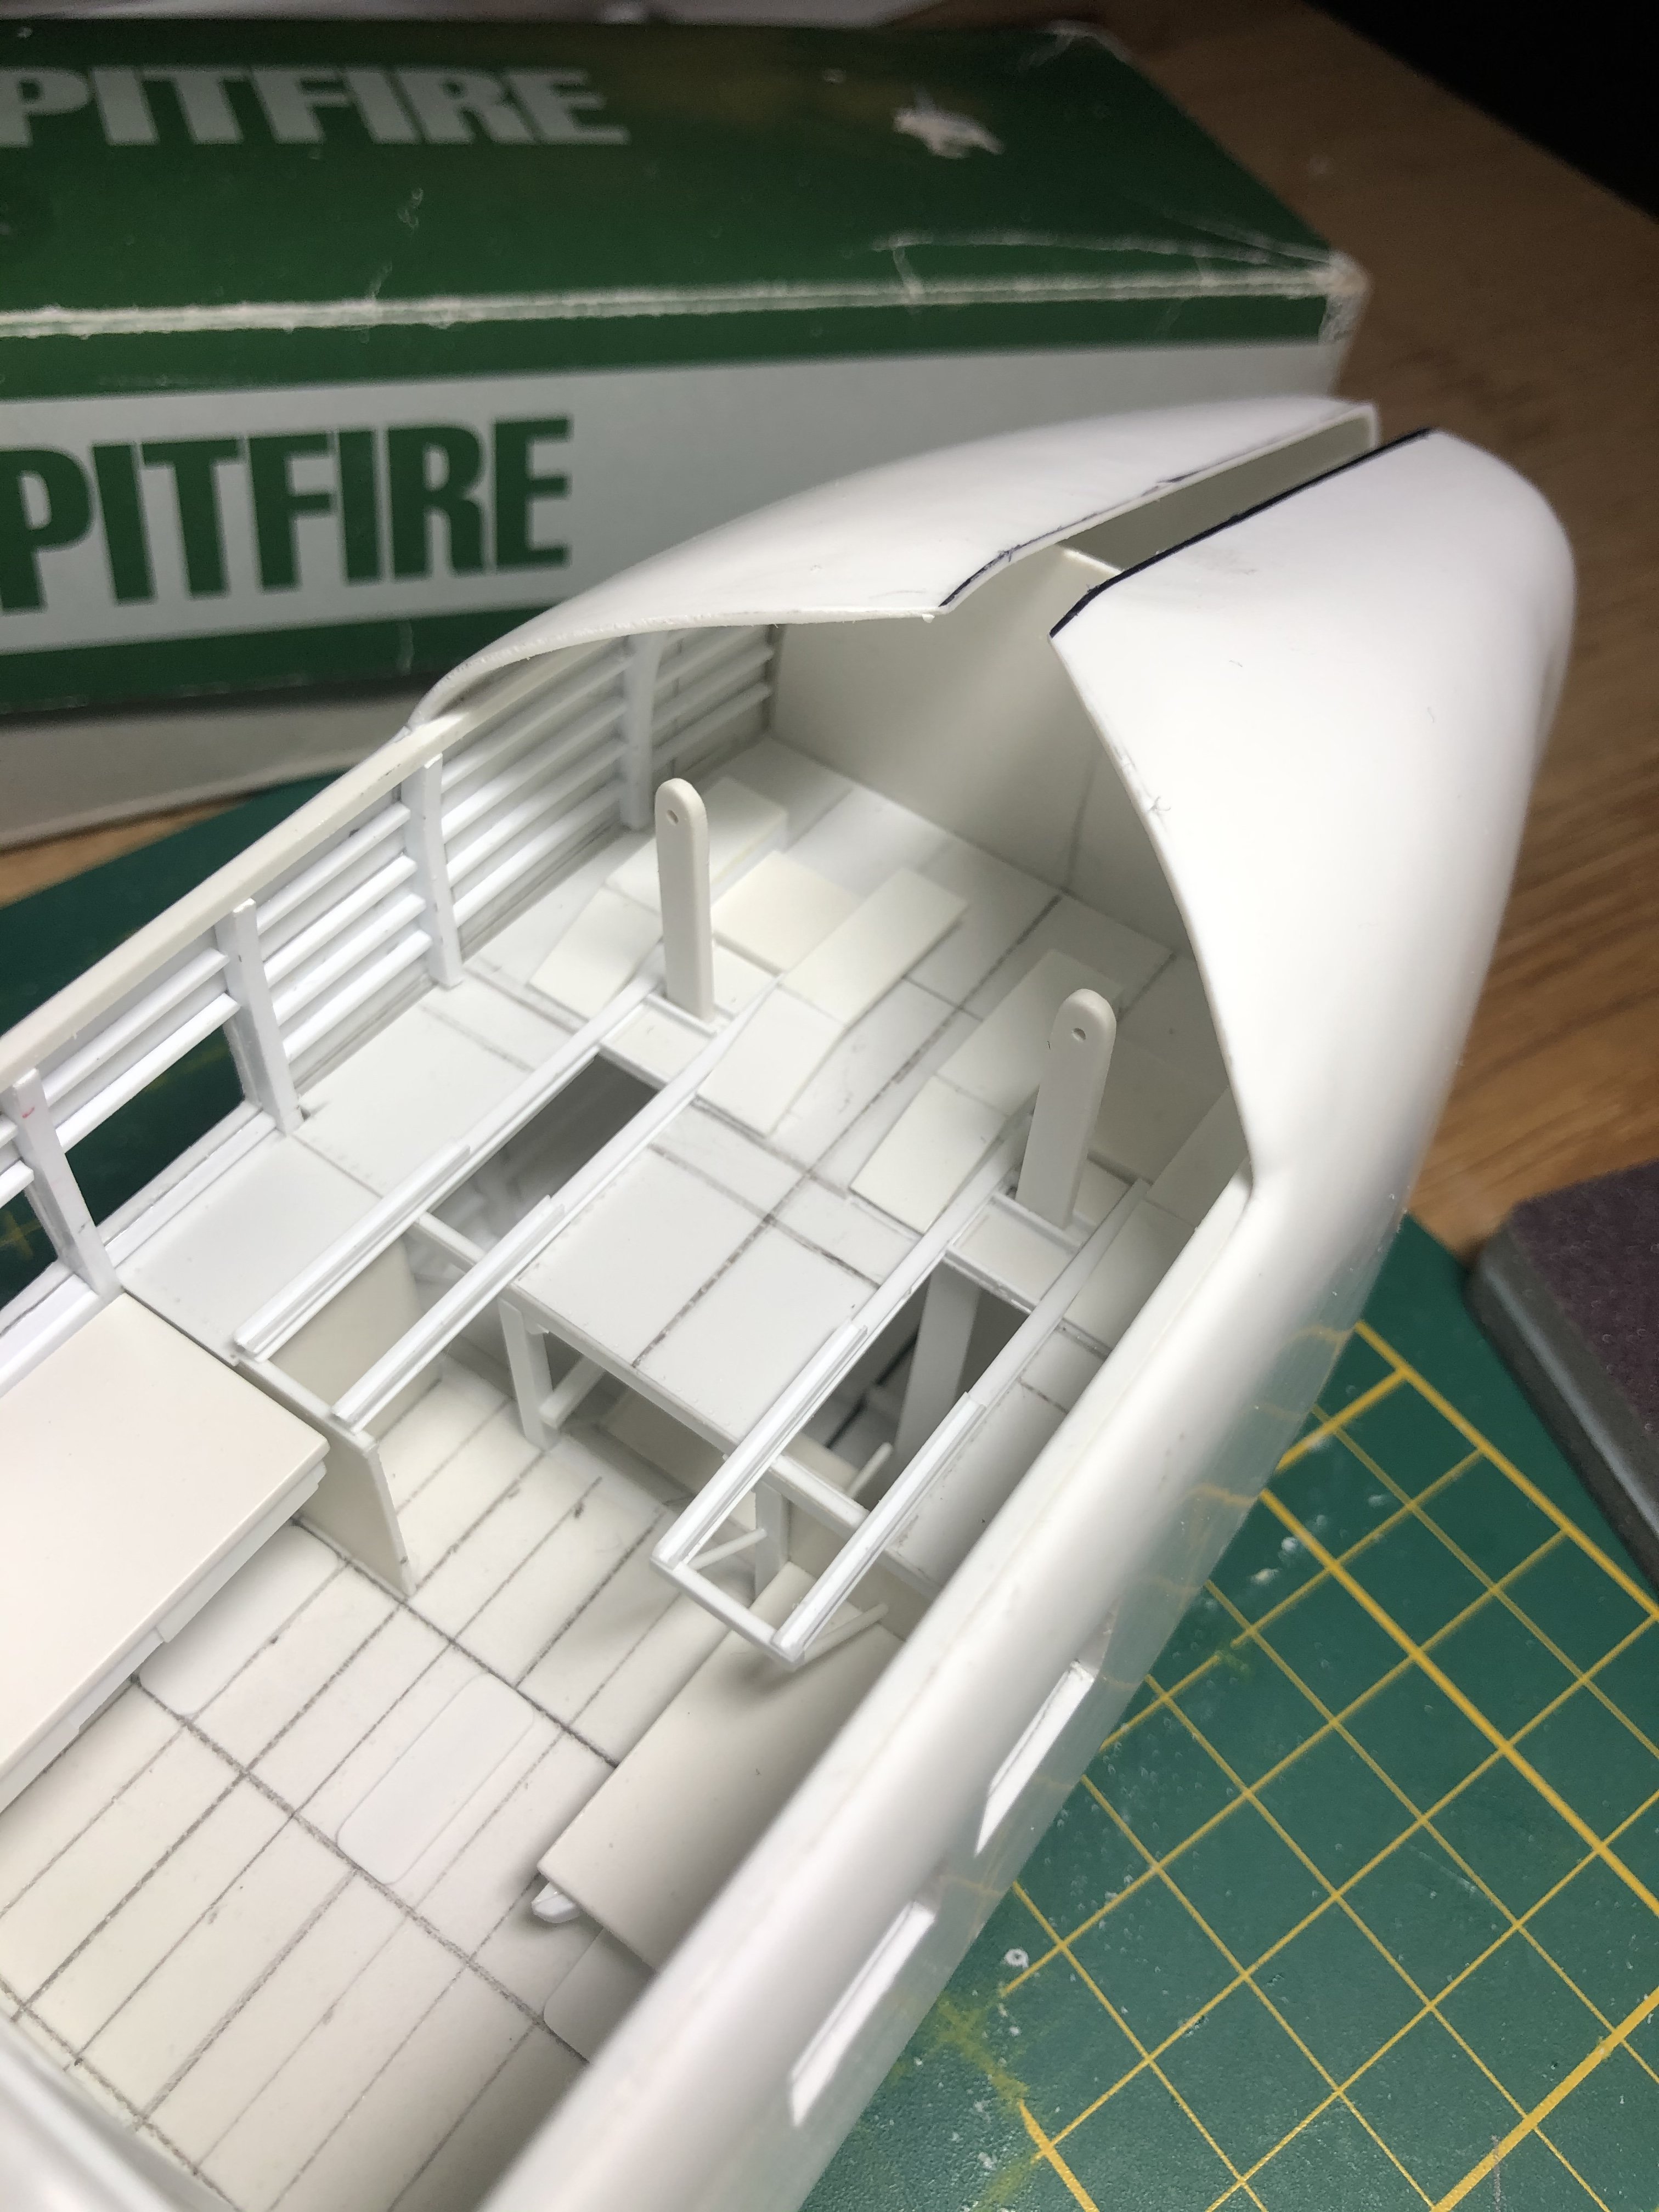
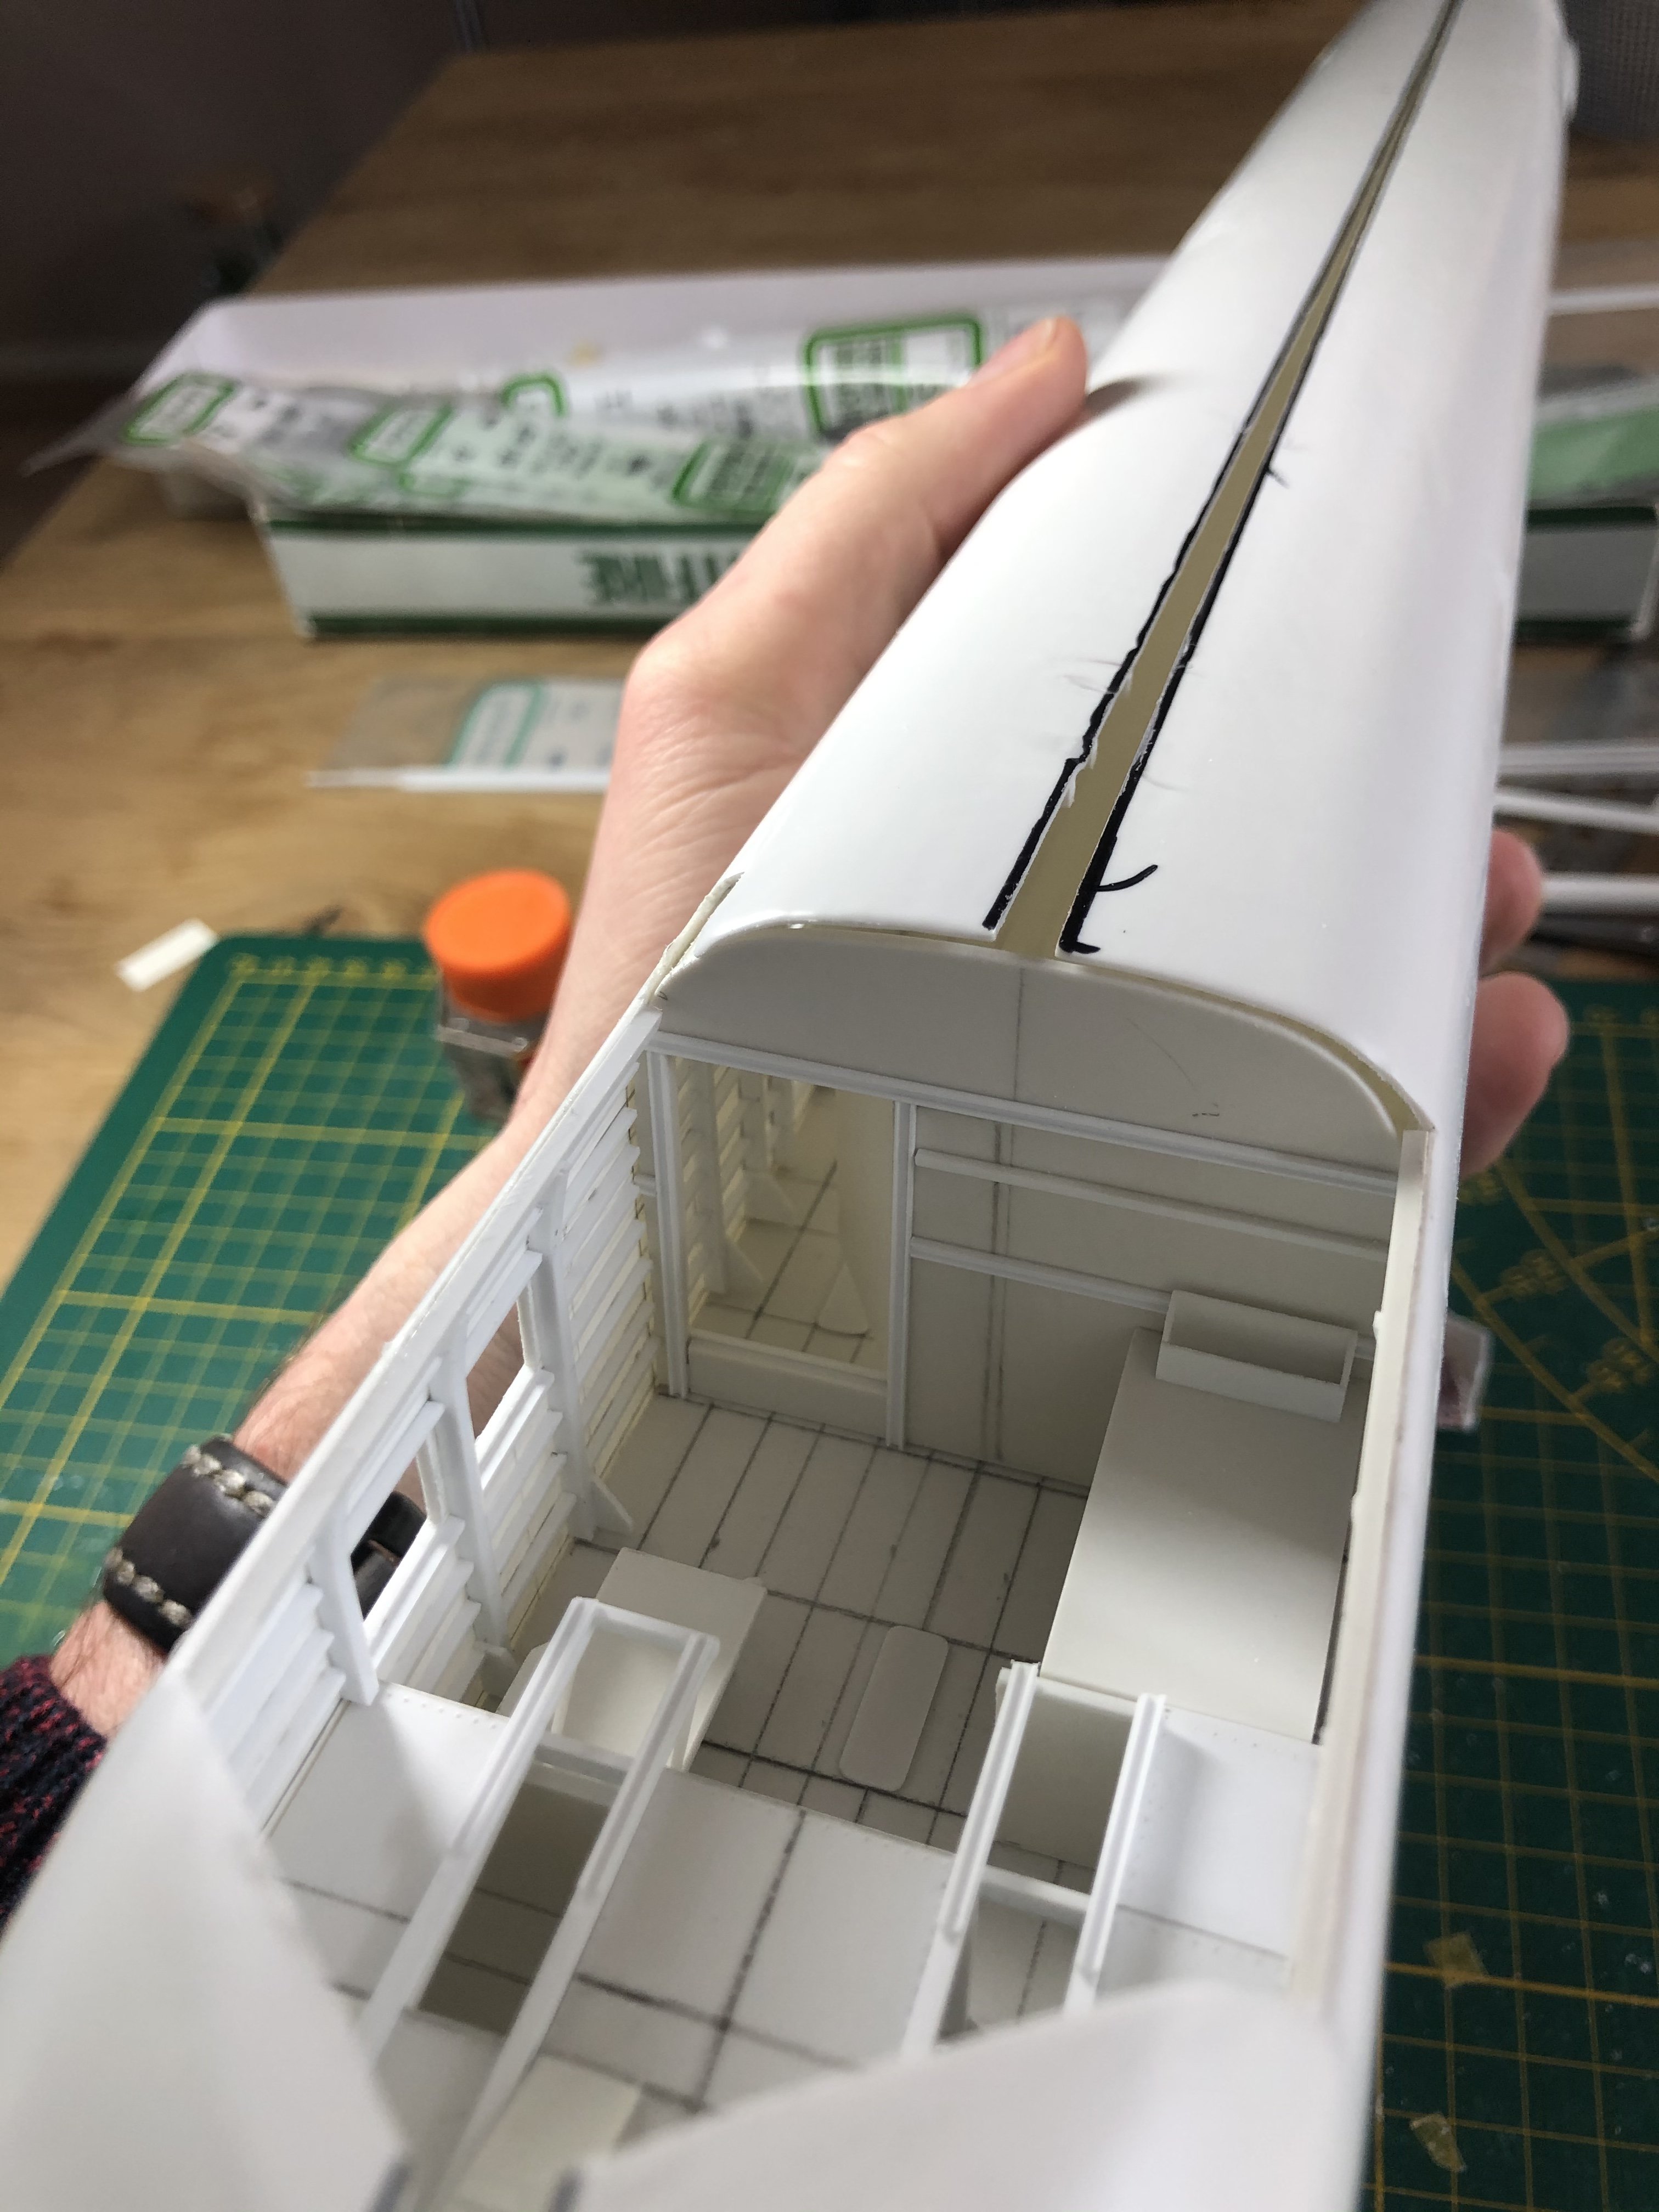
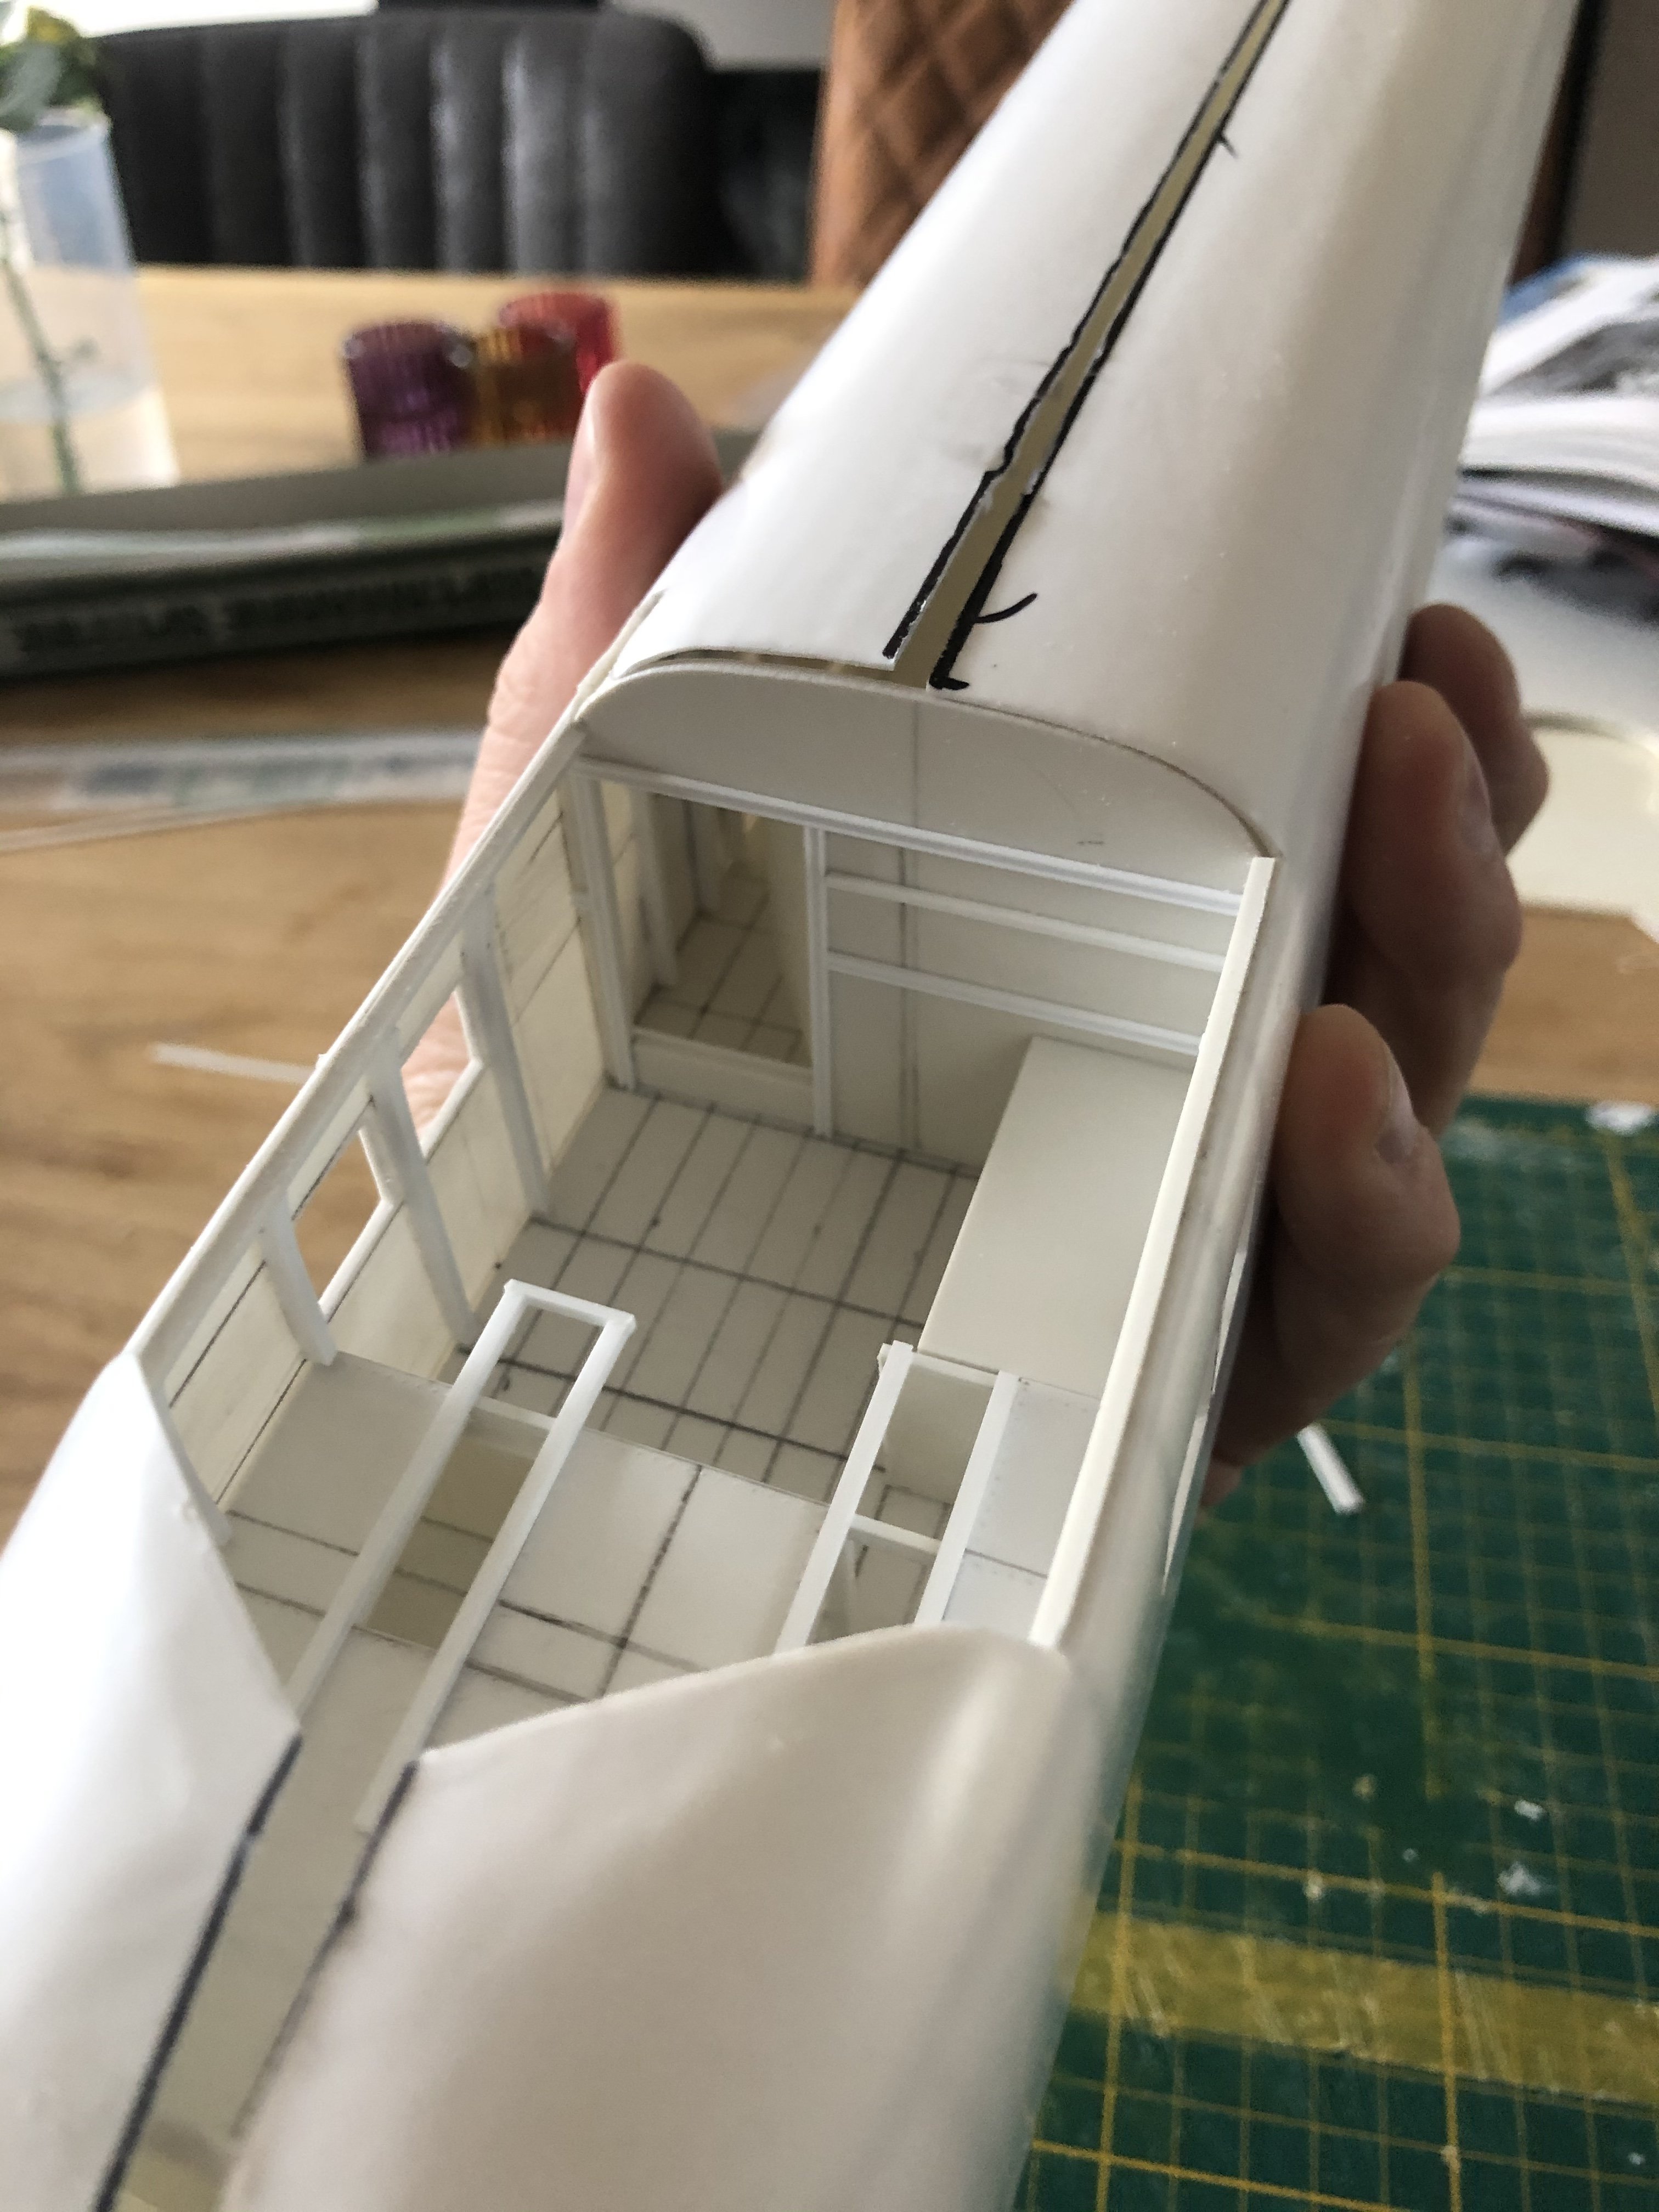
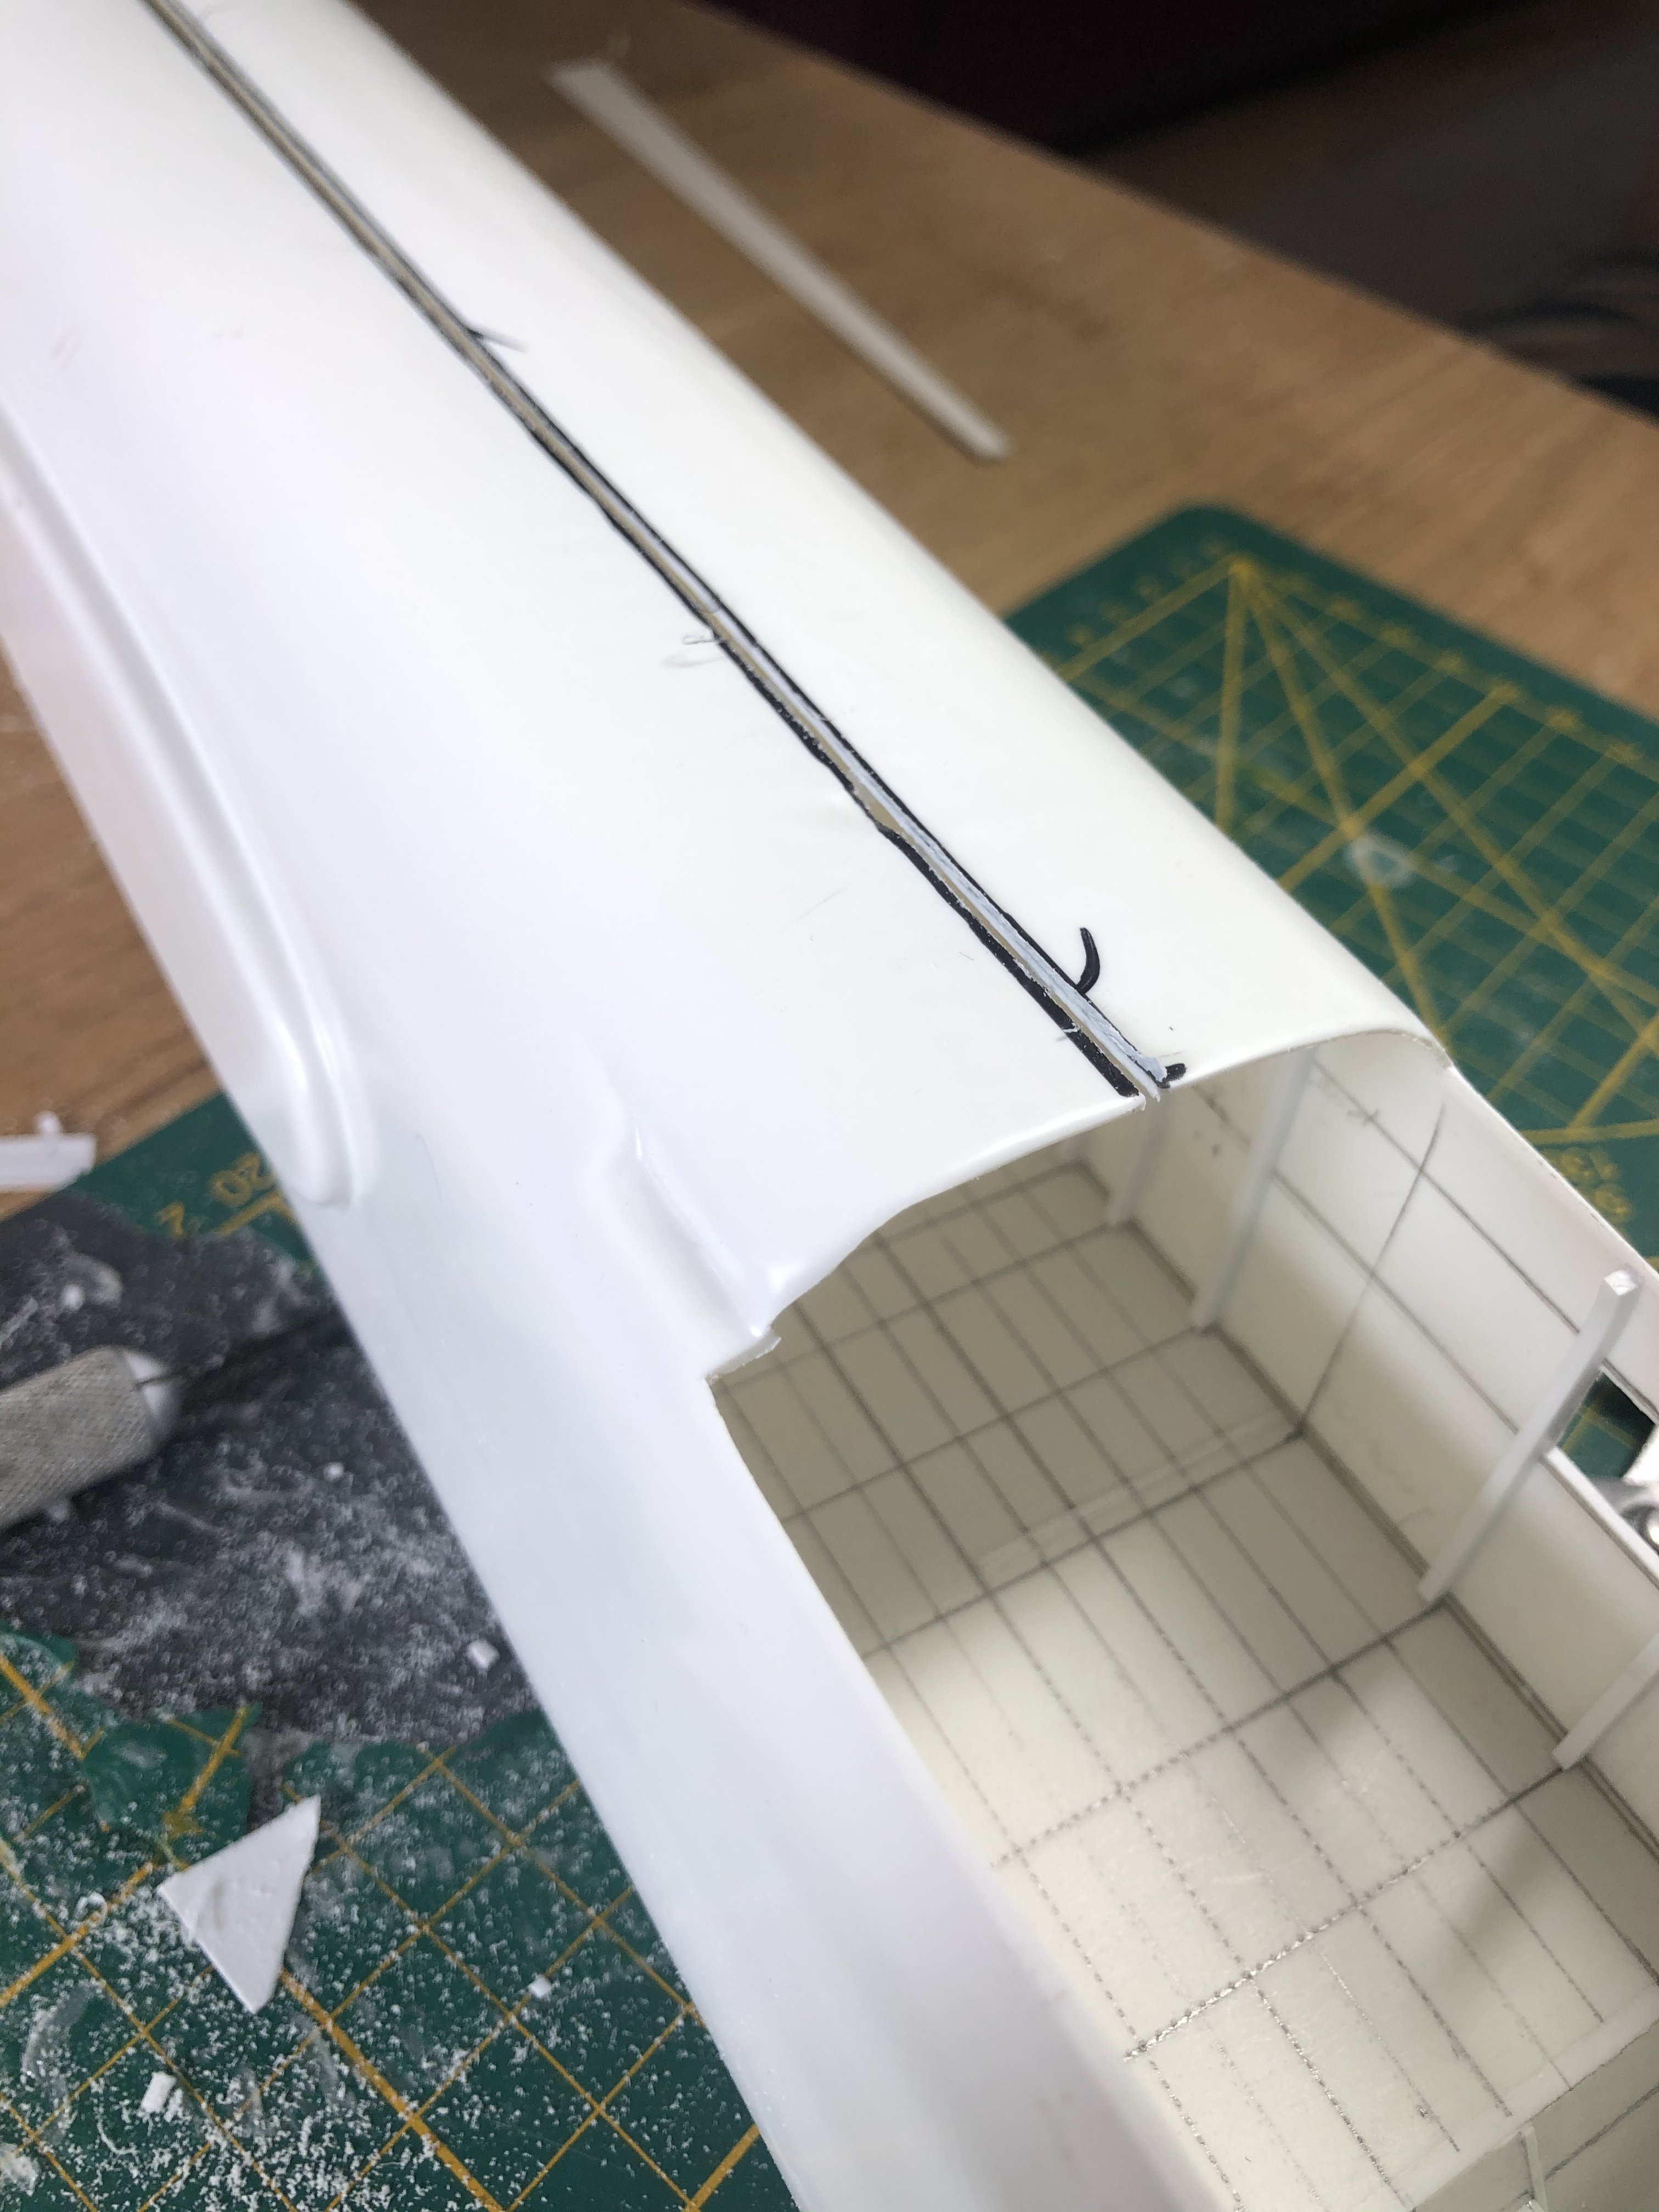
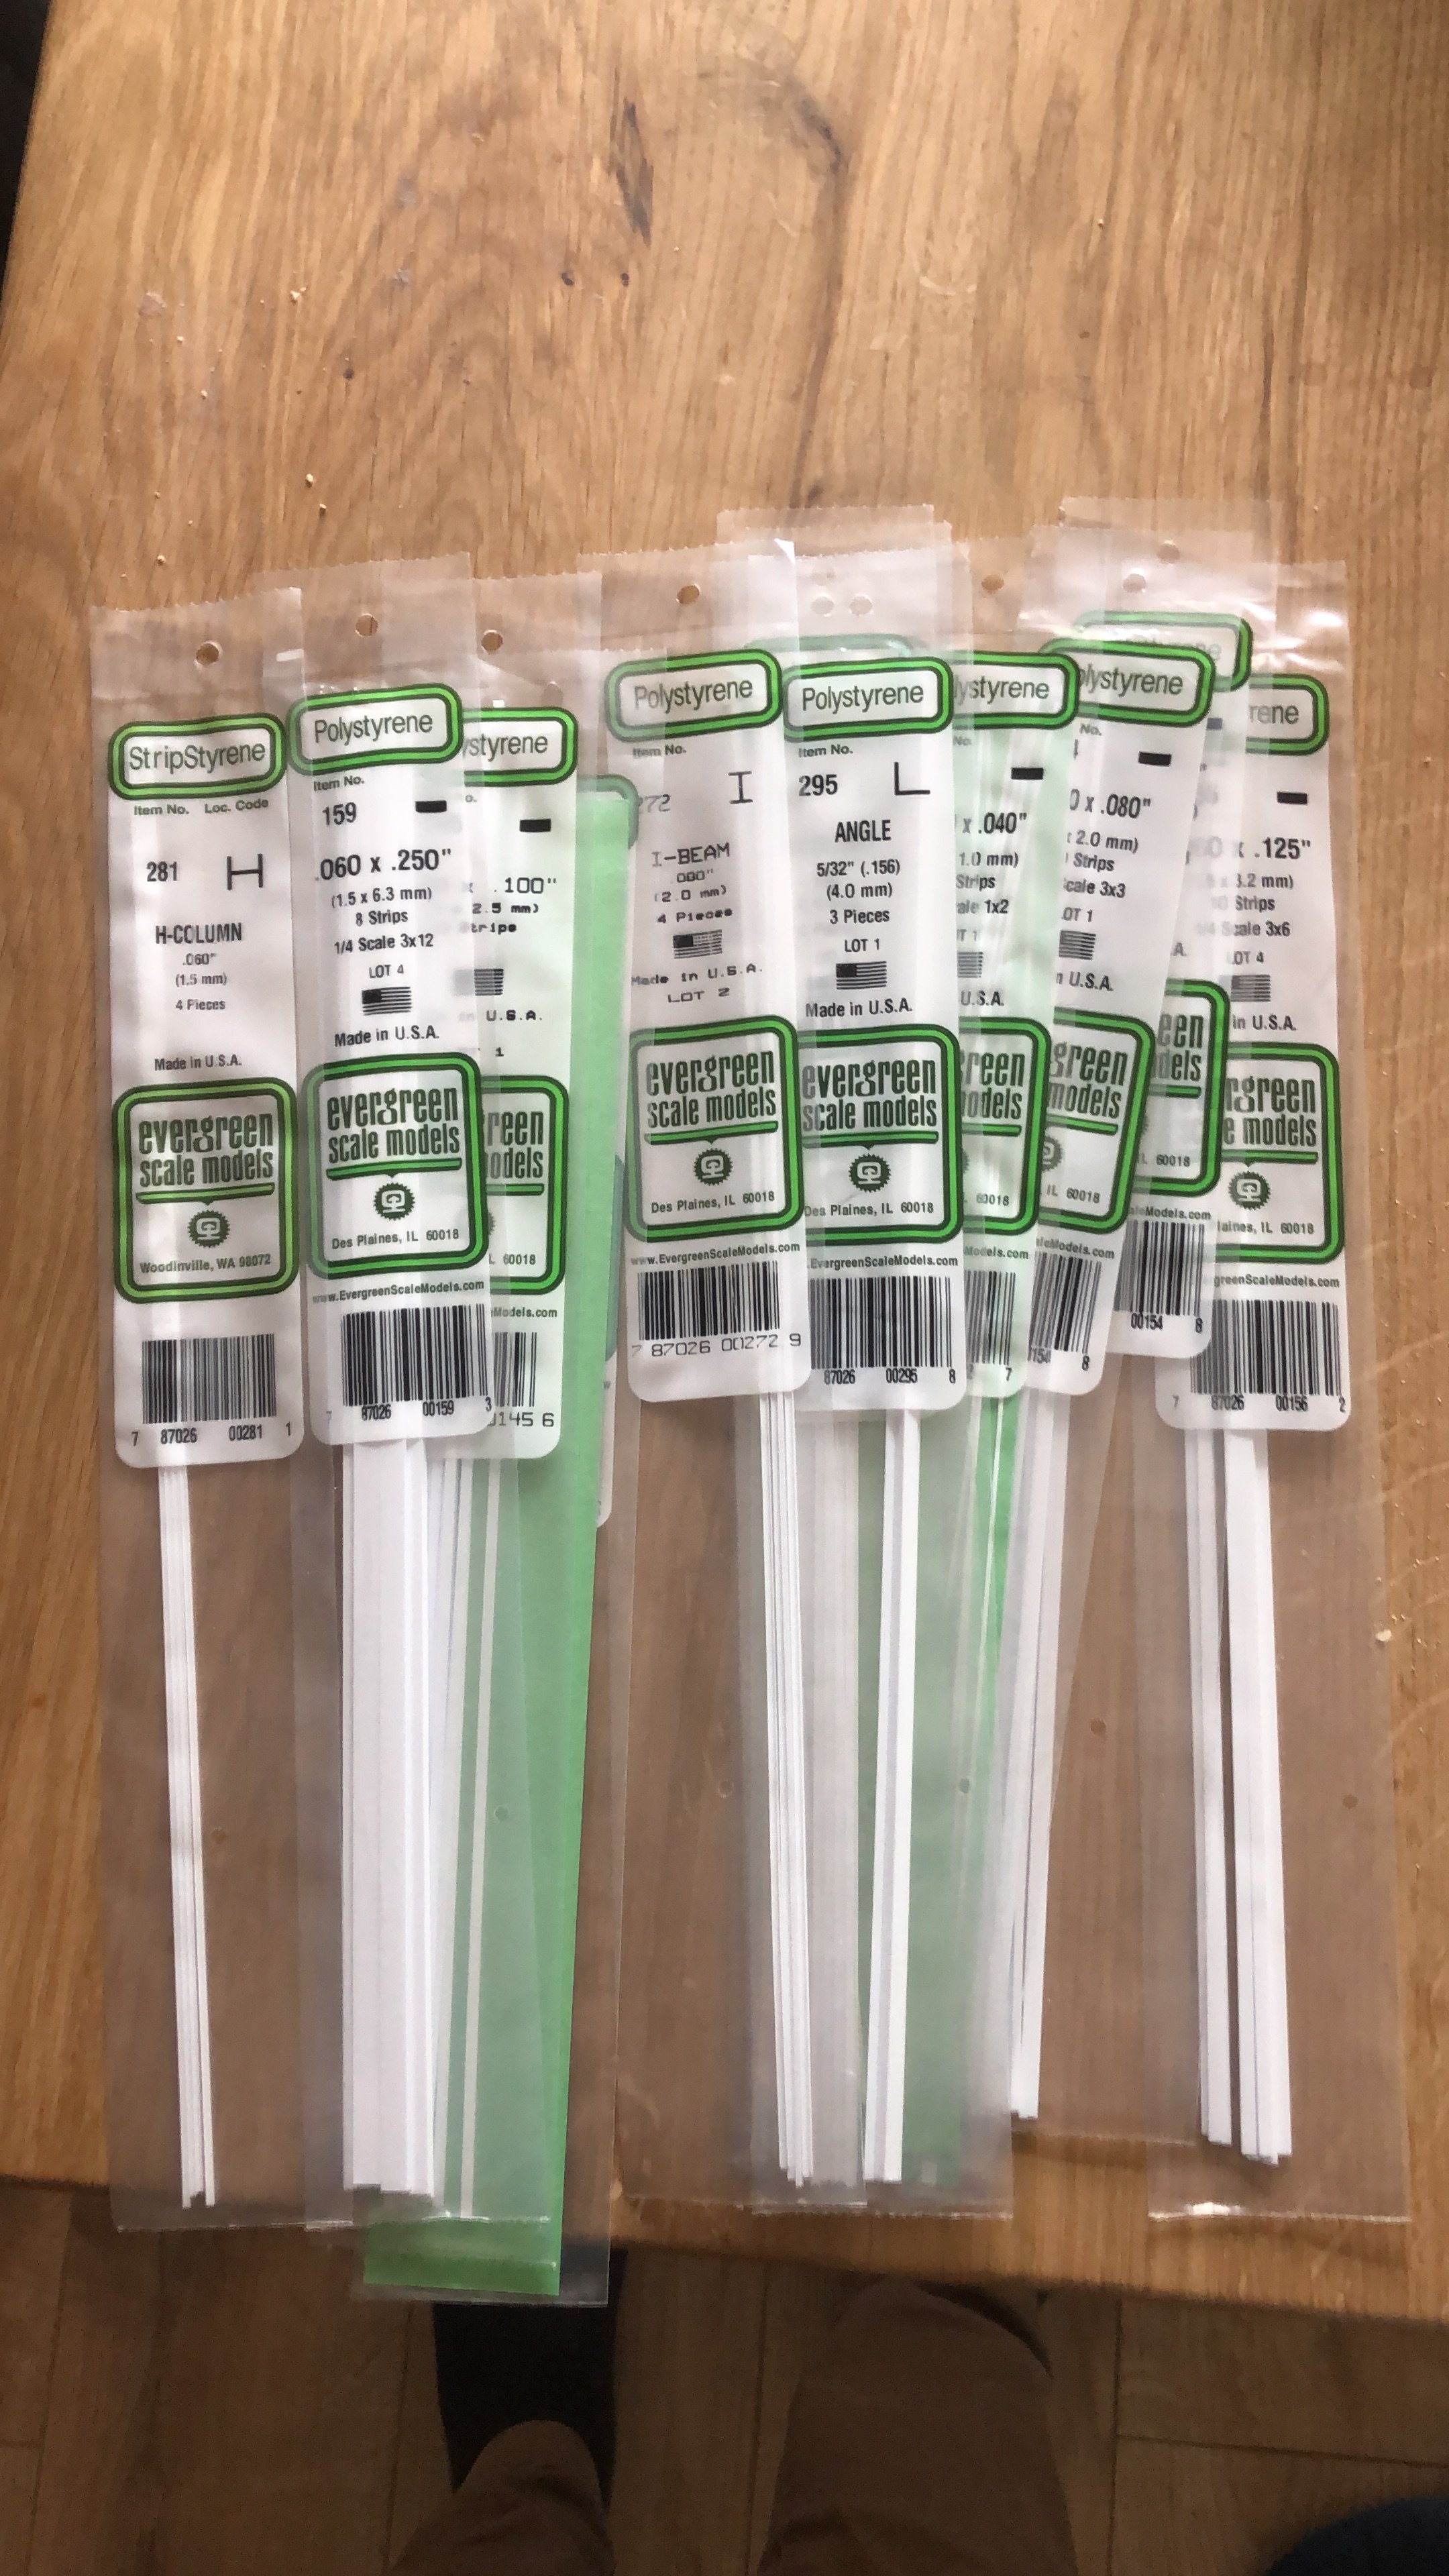
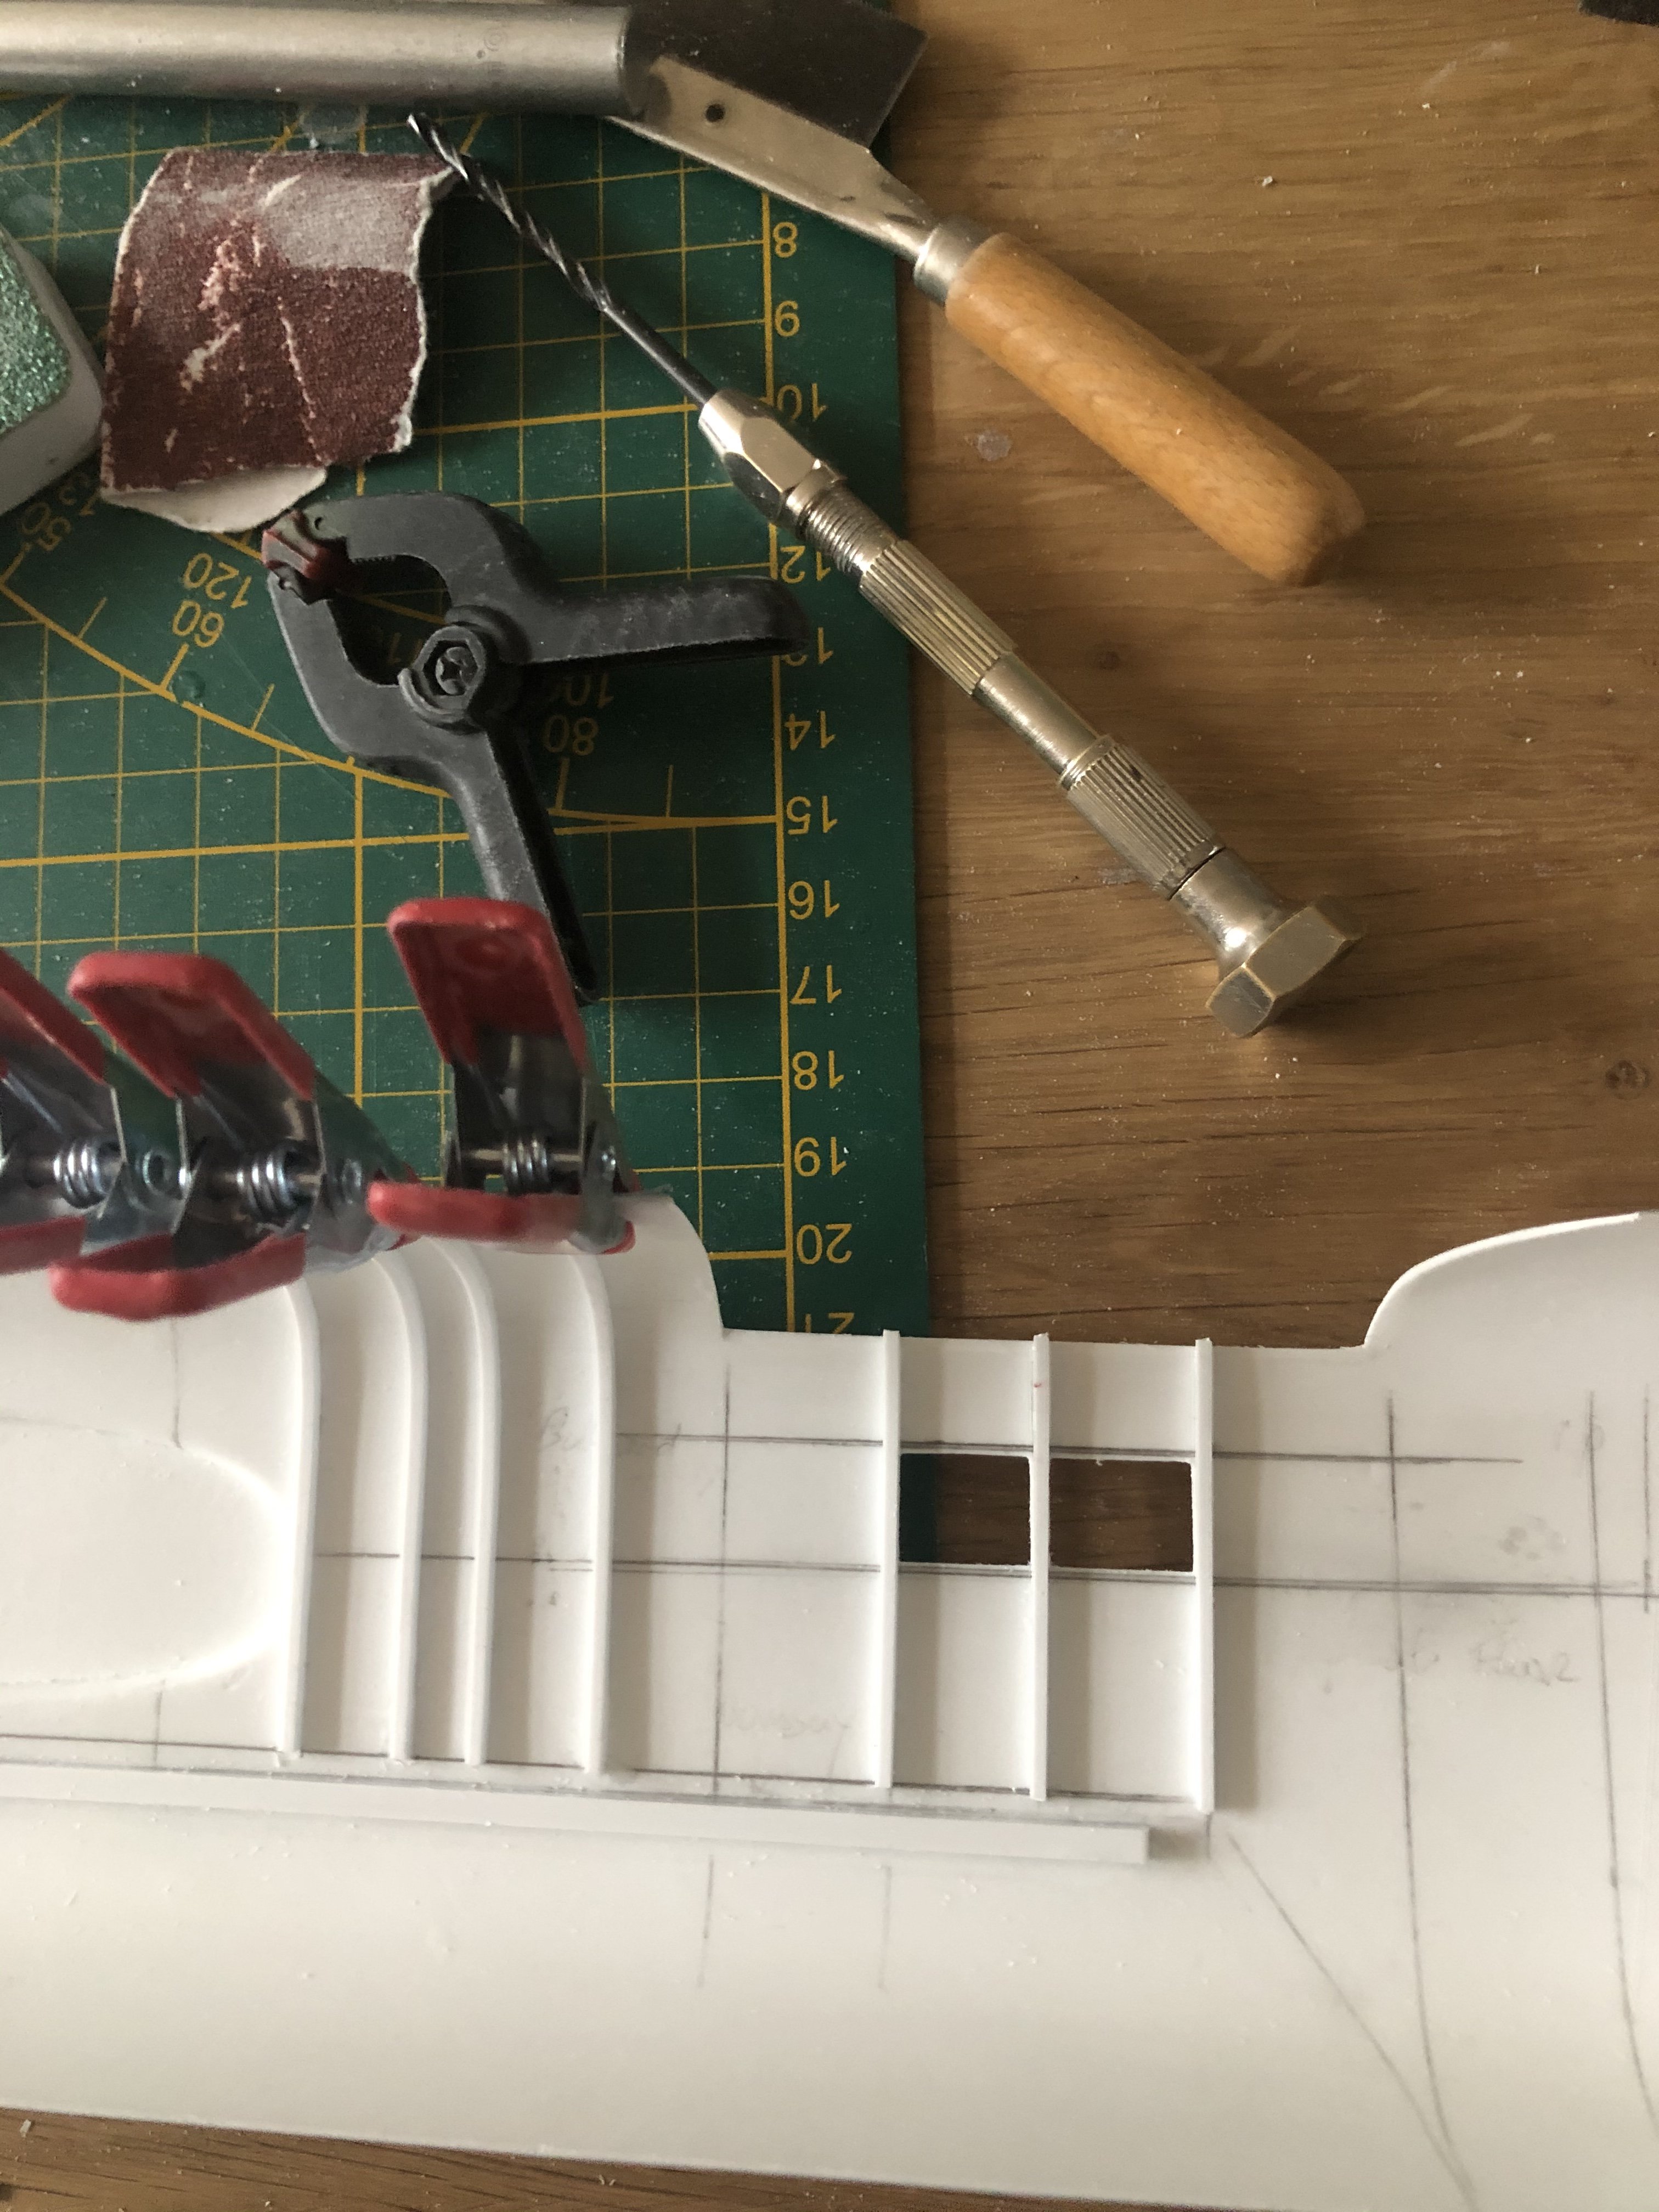
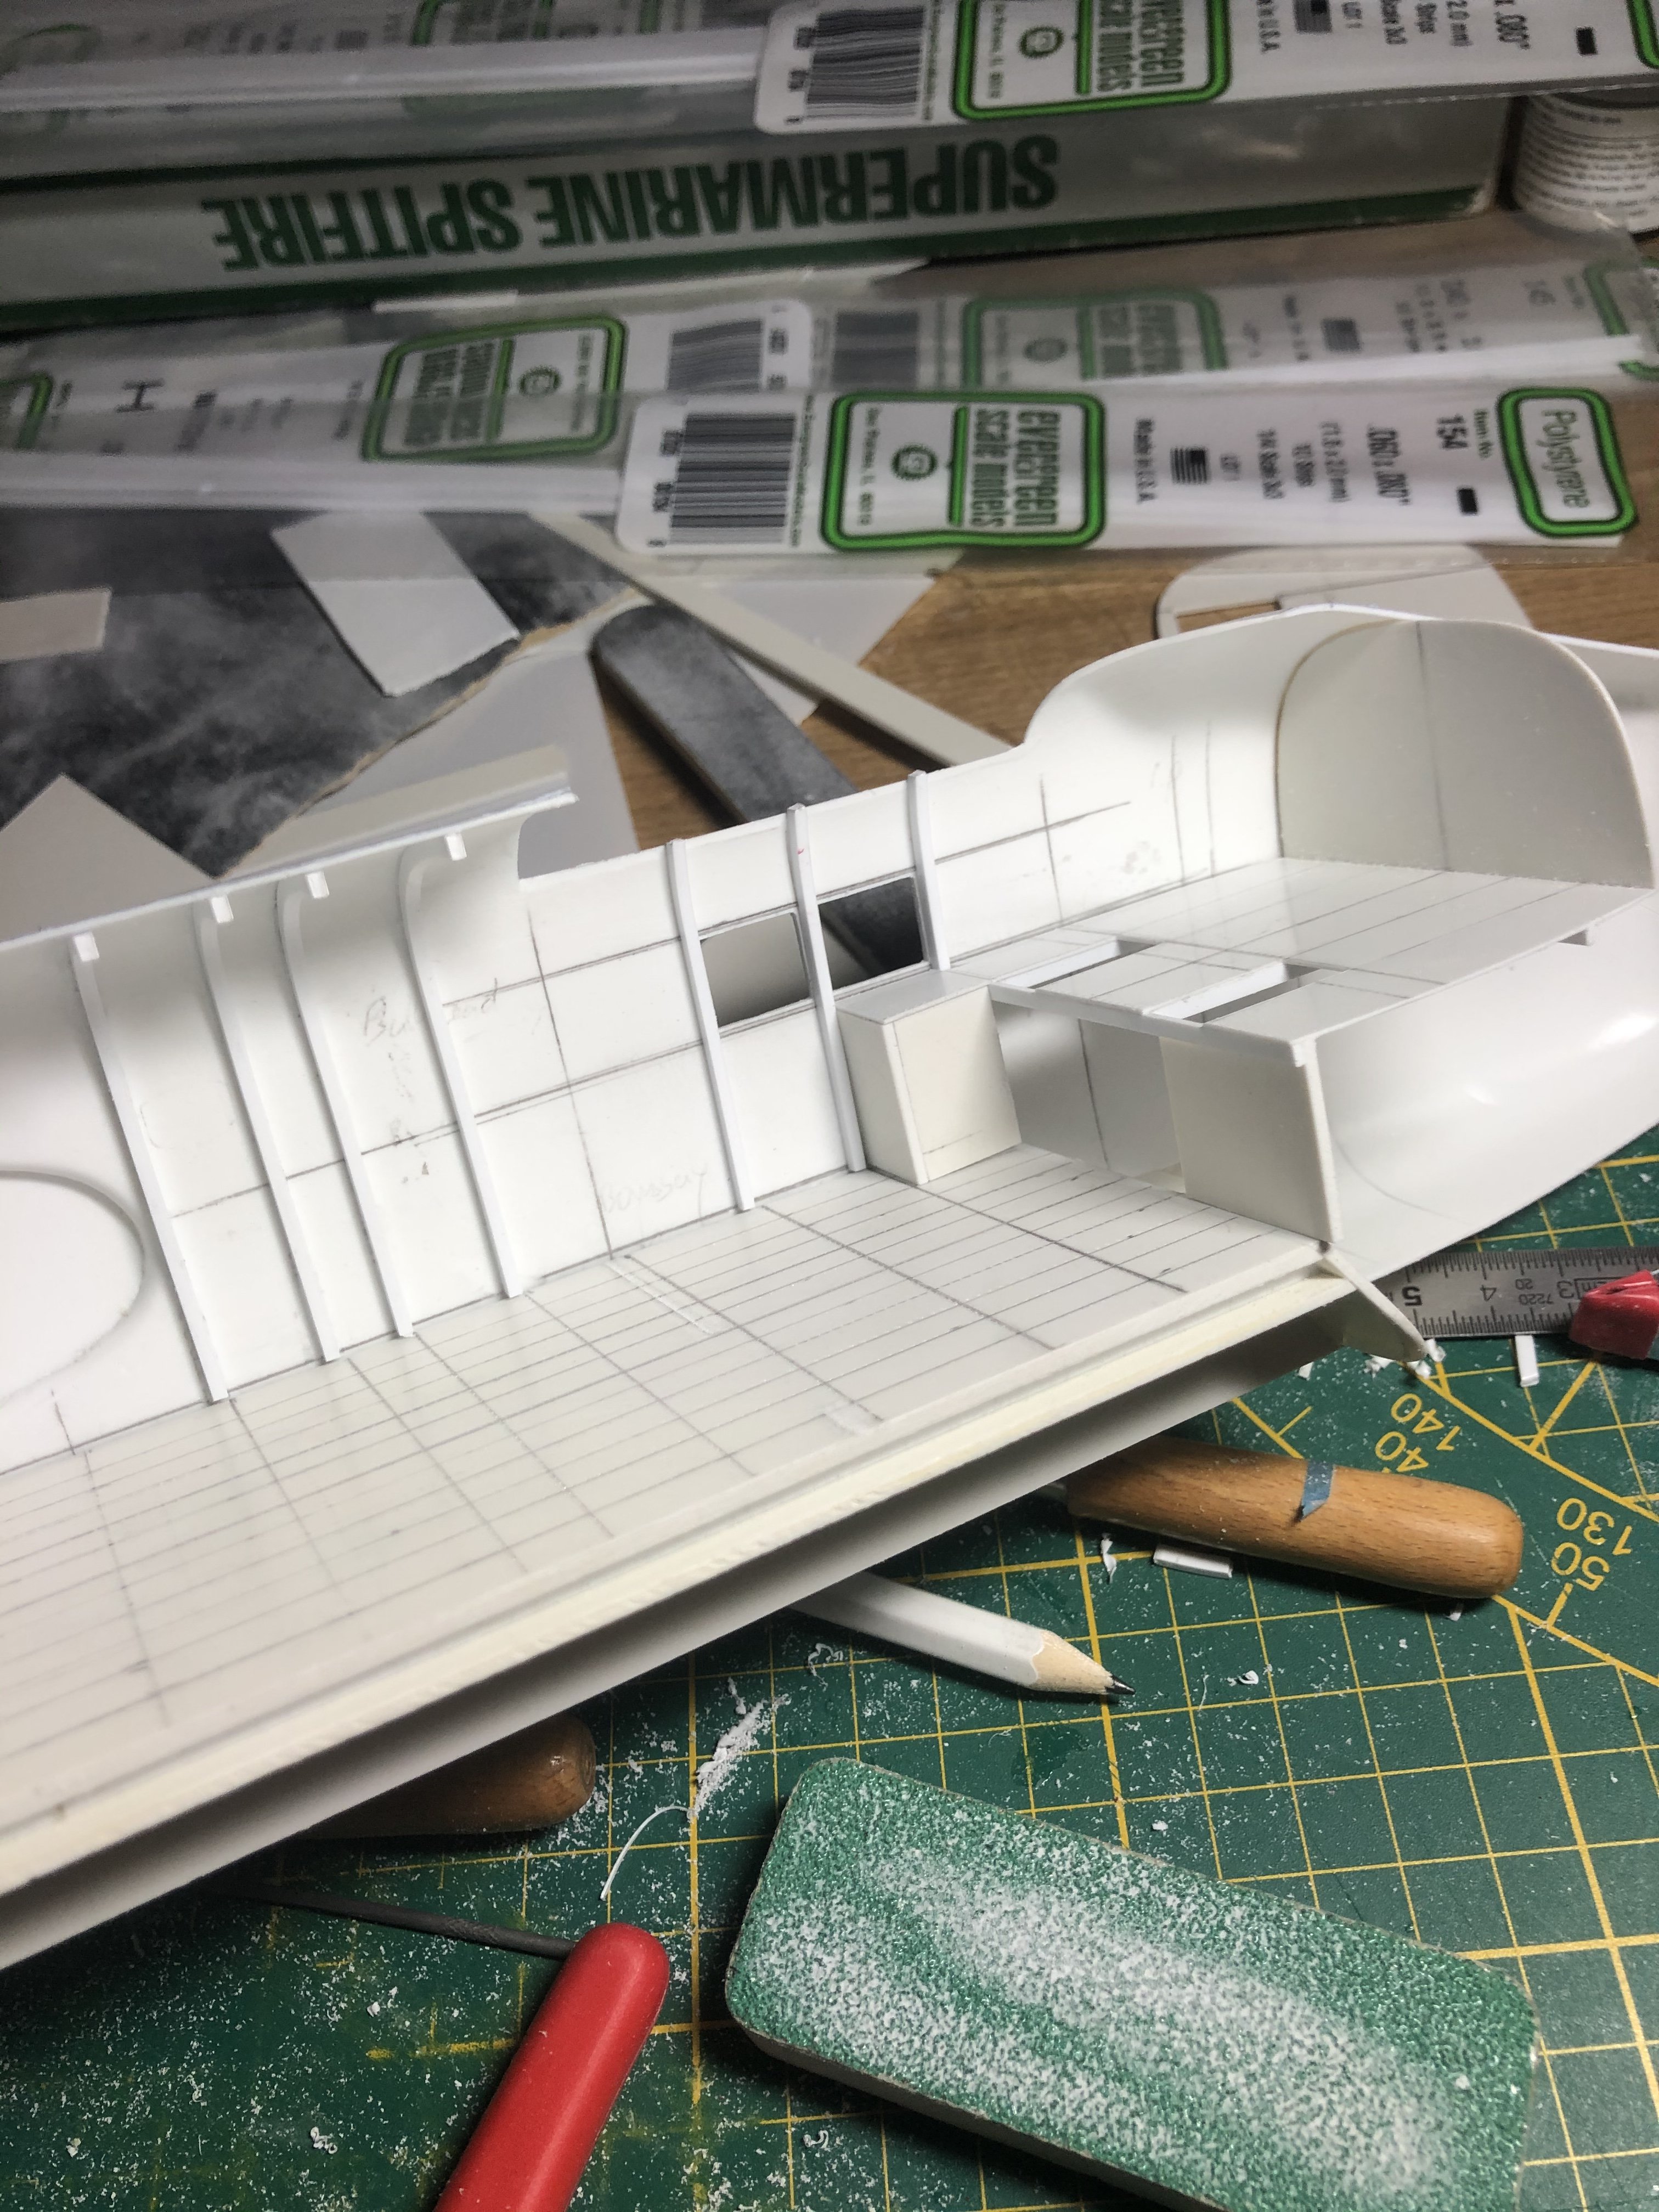
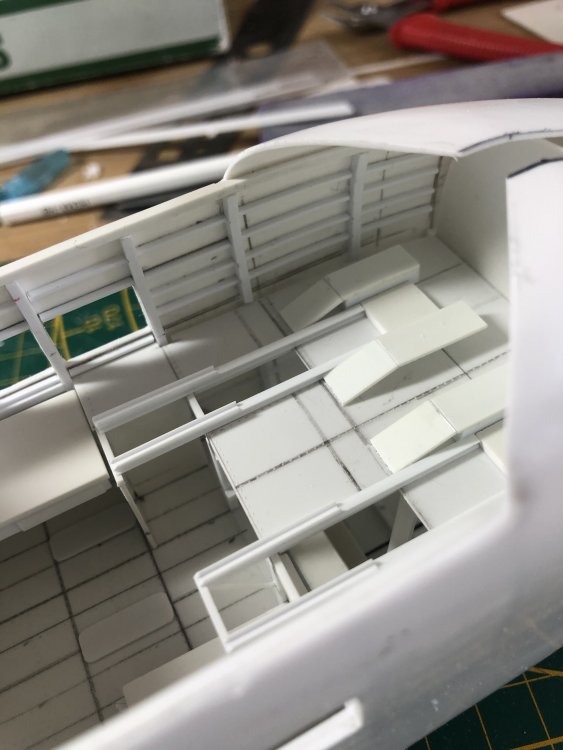
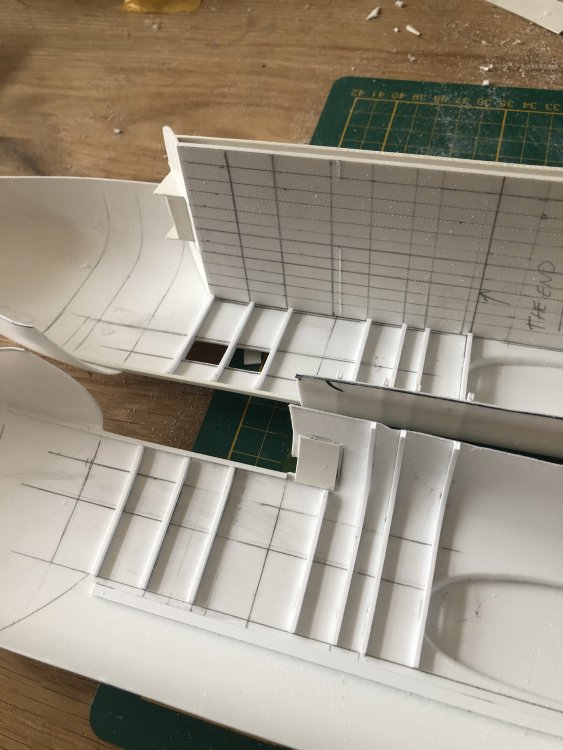
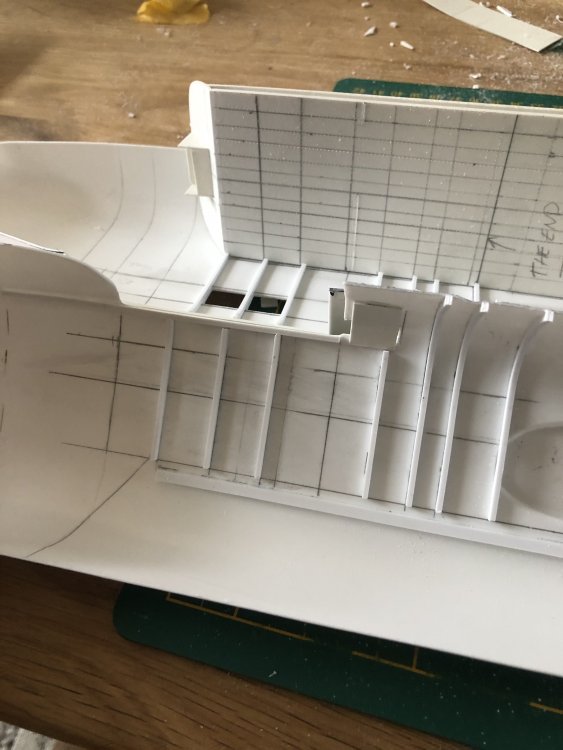
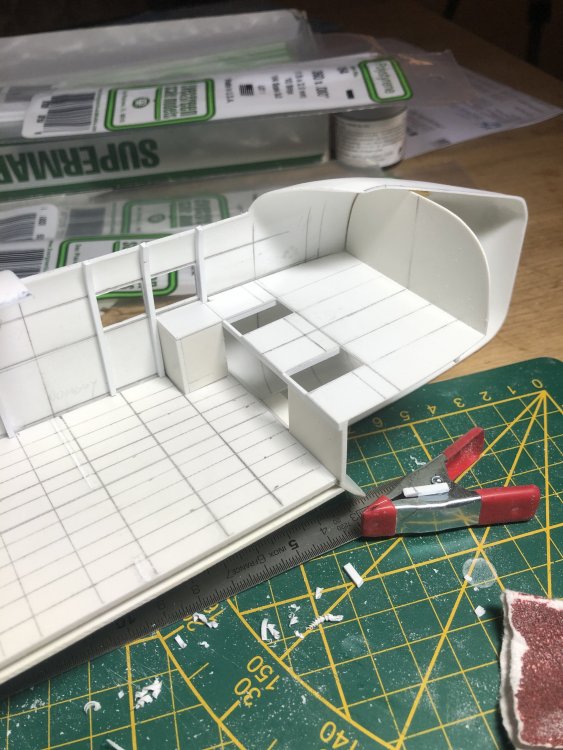
I am thankful to Evergreen actually Sone more progress by adding detail to the flightdeck, heelboards, seat mountingrails, the raised floor for the watertank, pencilbox. And I started adding the stringers to the starboard fuselage half. This is fun.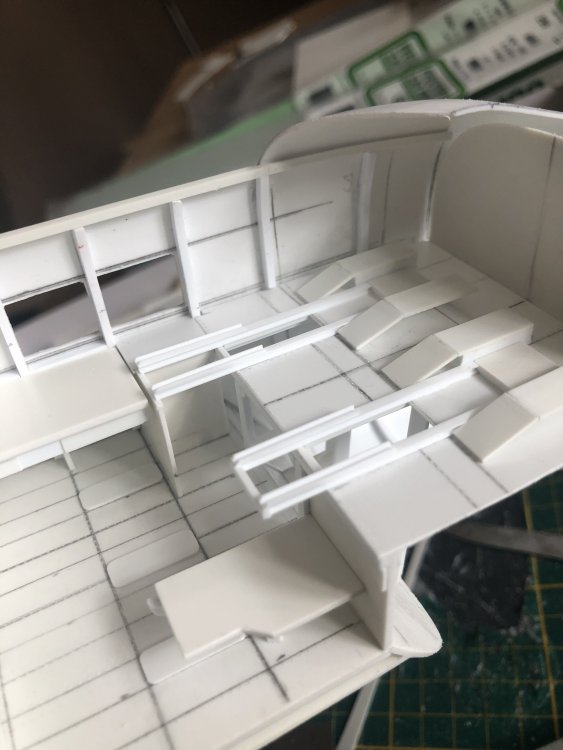

-
Daft project or is it? 1/32 Short Stirling III
Wingco57 replied to Wingco57's topic in LSM 1/35 and Larger Work In Progress
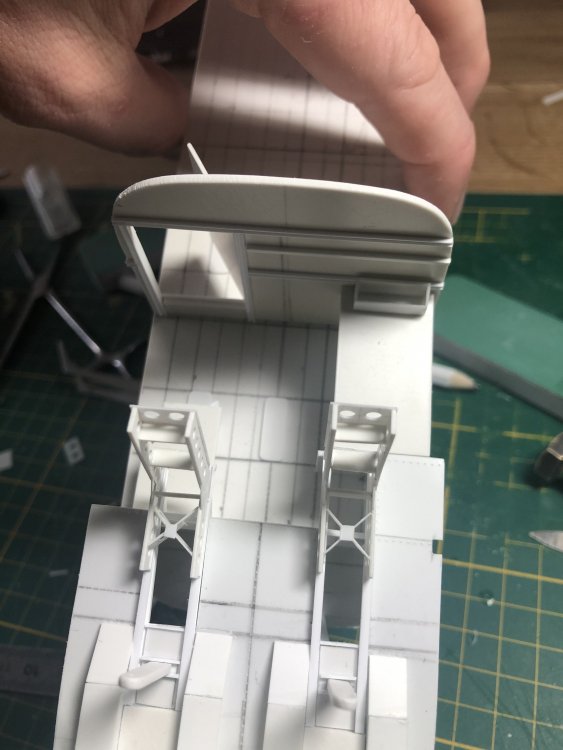
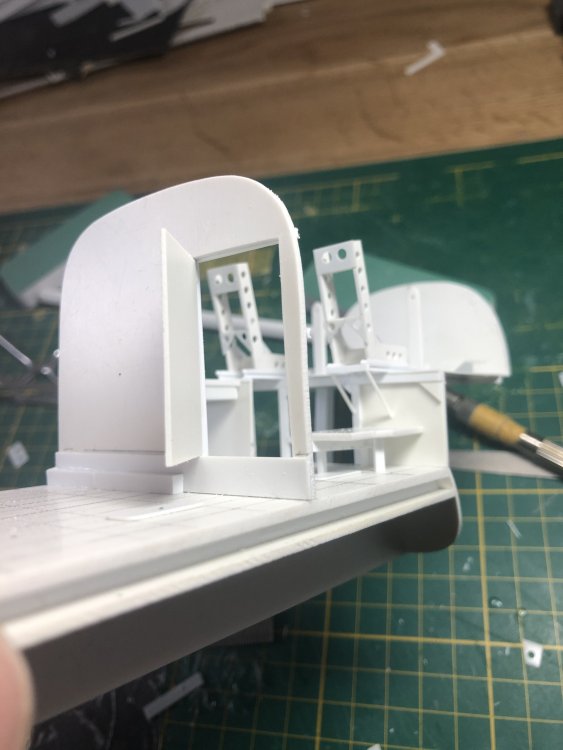
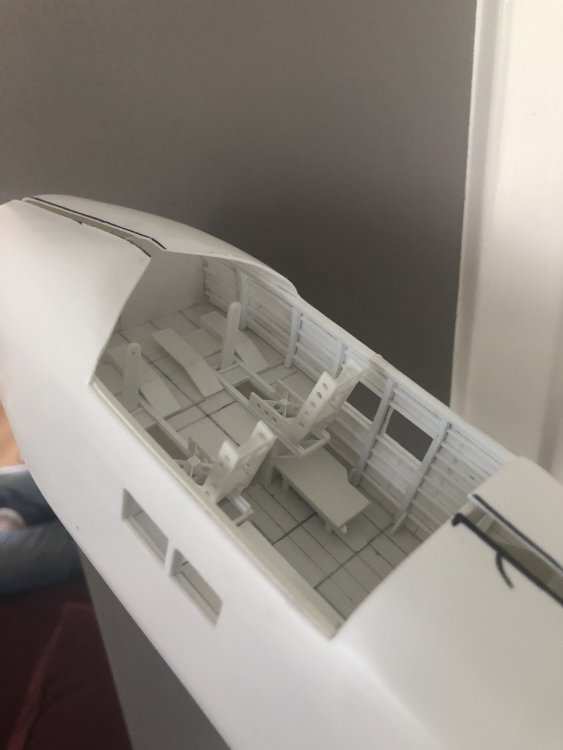
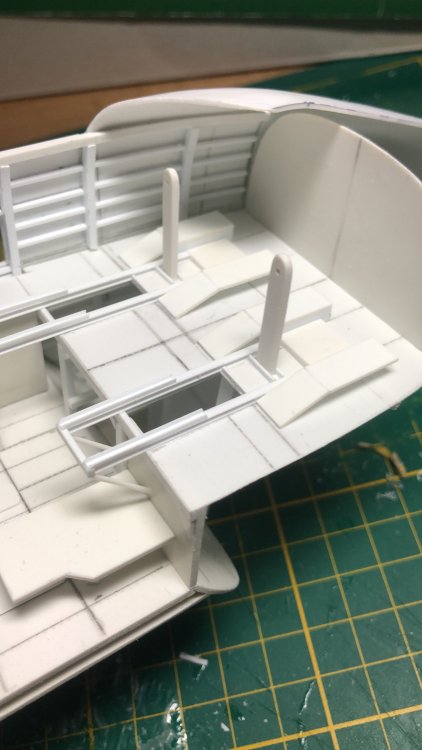
Well, this for instance I have been working on the flightdeck with the seatrails. Some structure underneath the pilots floor and the navigators table. also fitted the armoured door which will provide some view of the flightengineers panel without having to fully detail this area. The detail is a mix of Mk I and Mk III and not intended to be dead accurate. As the cockpit “coupe” is very large, a lot of the flight deck is visible and a lot of detail is needed in this area.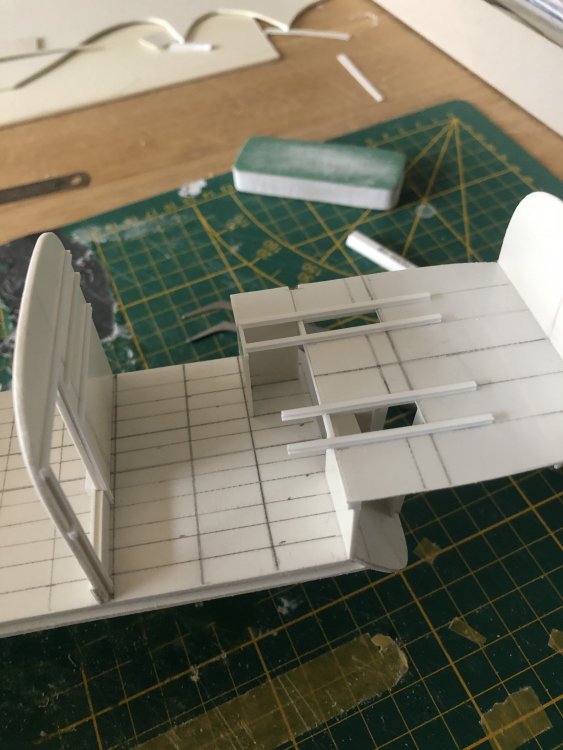


-
Daft project or is it? 1/32 Short Stirling III
Wingco57 replied to Wingco57's topic in LSM 1/35 and Larger Work In Progress
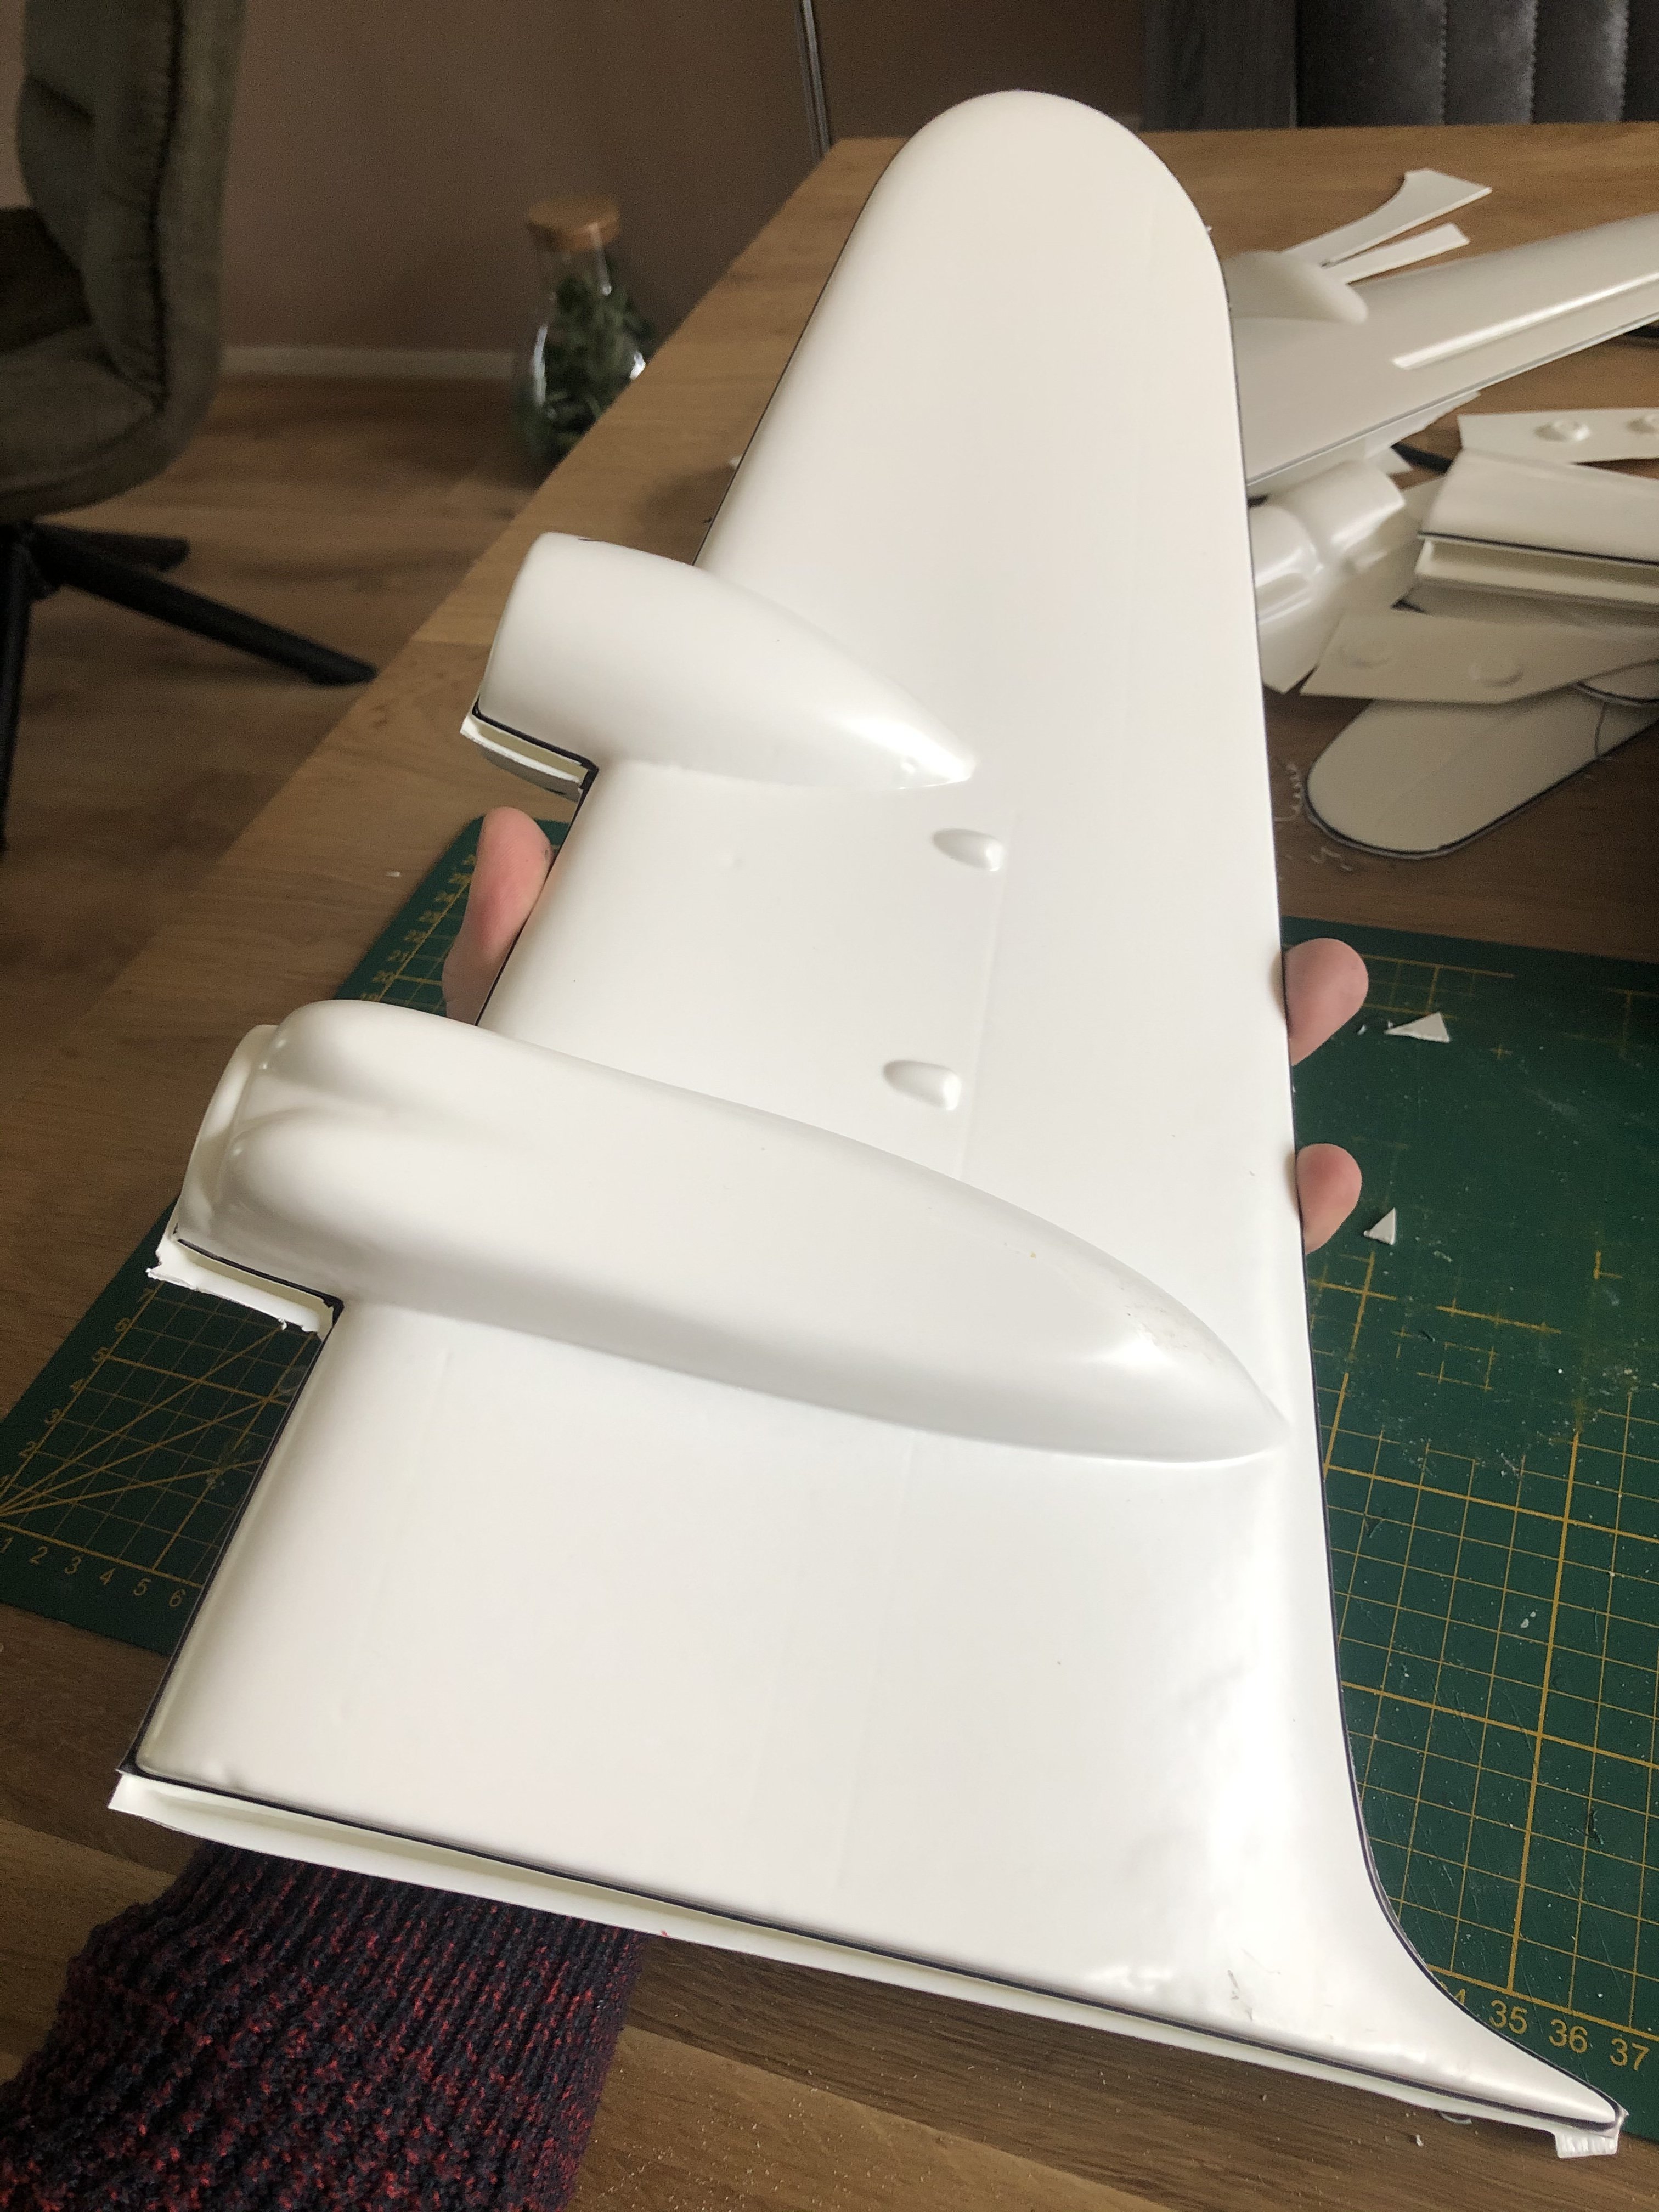
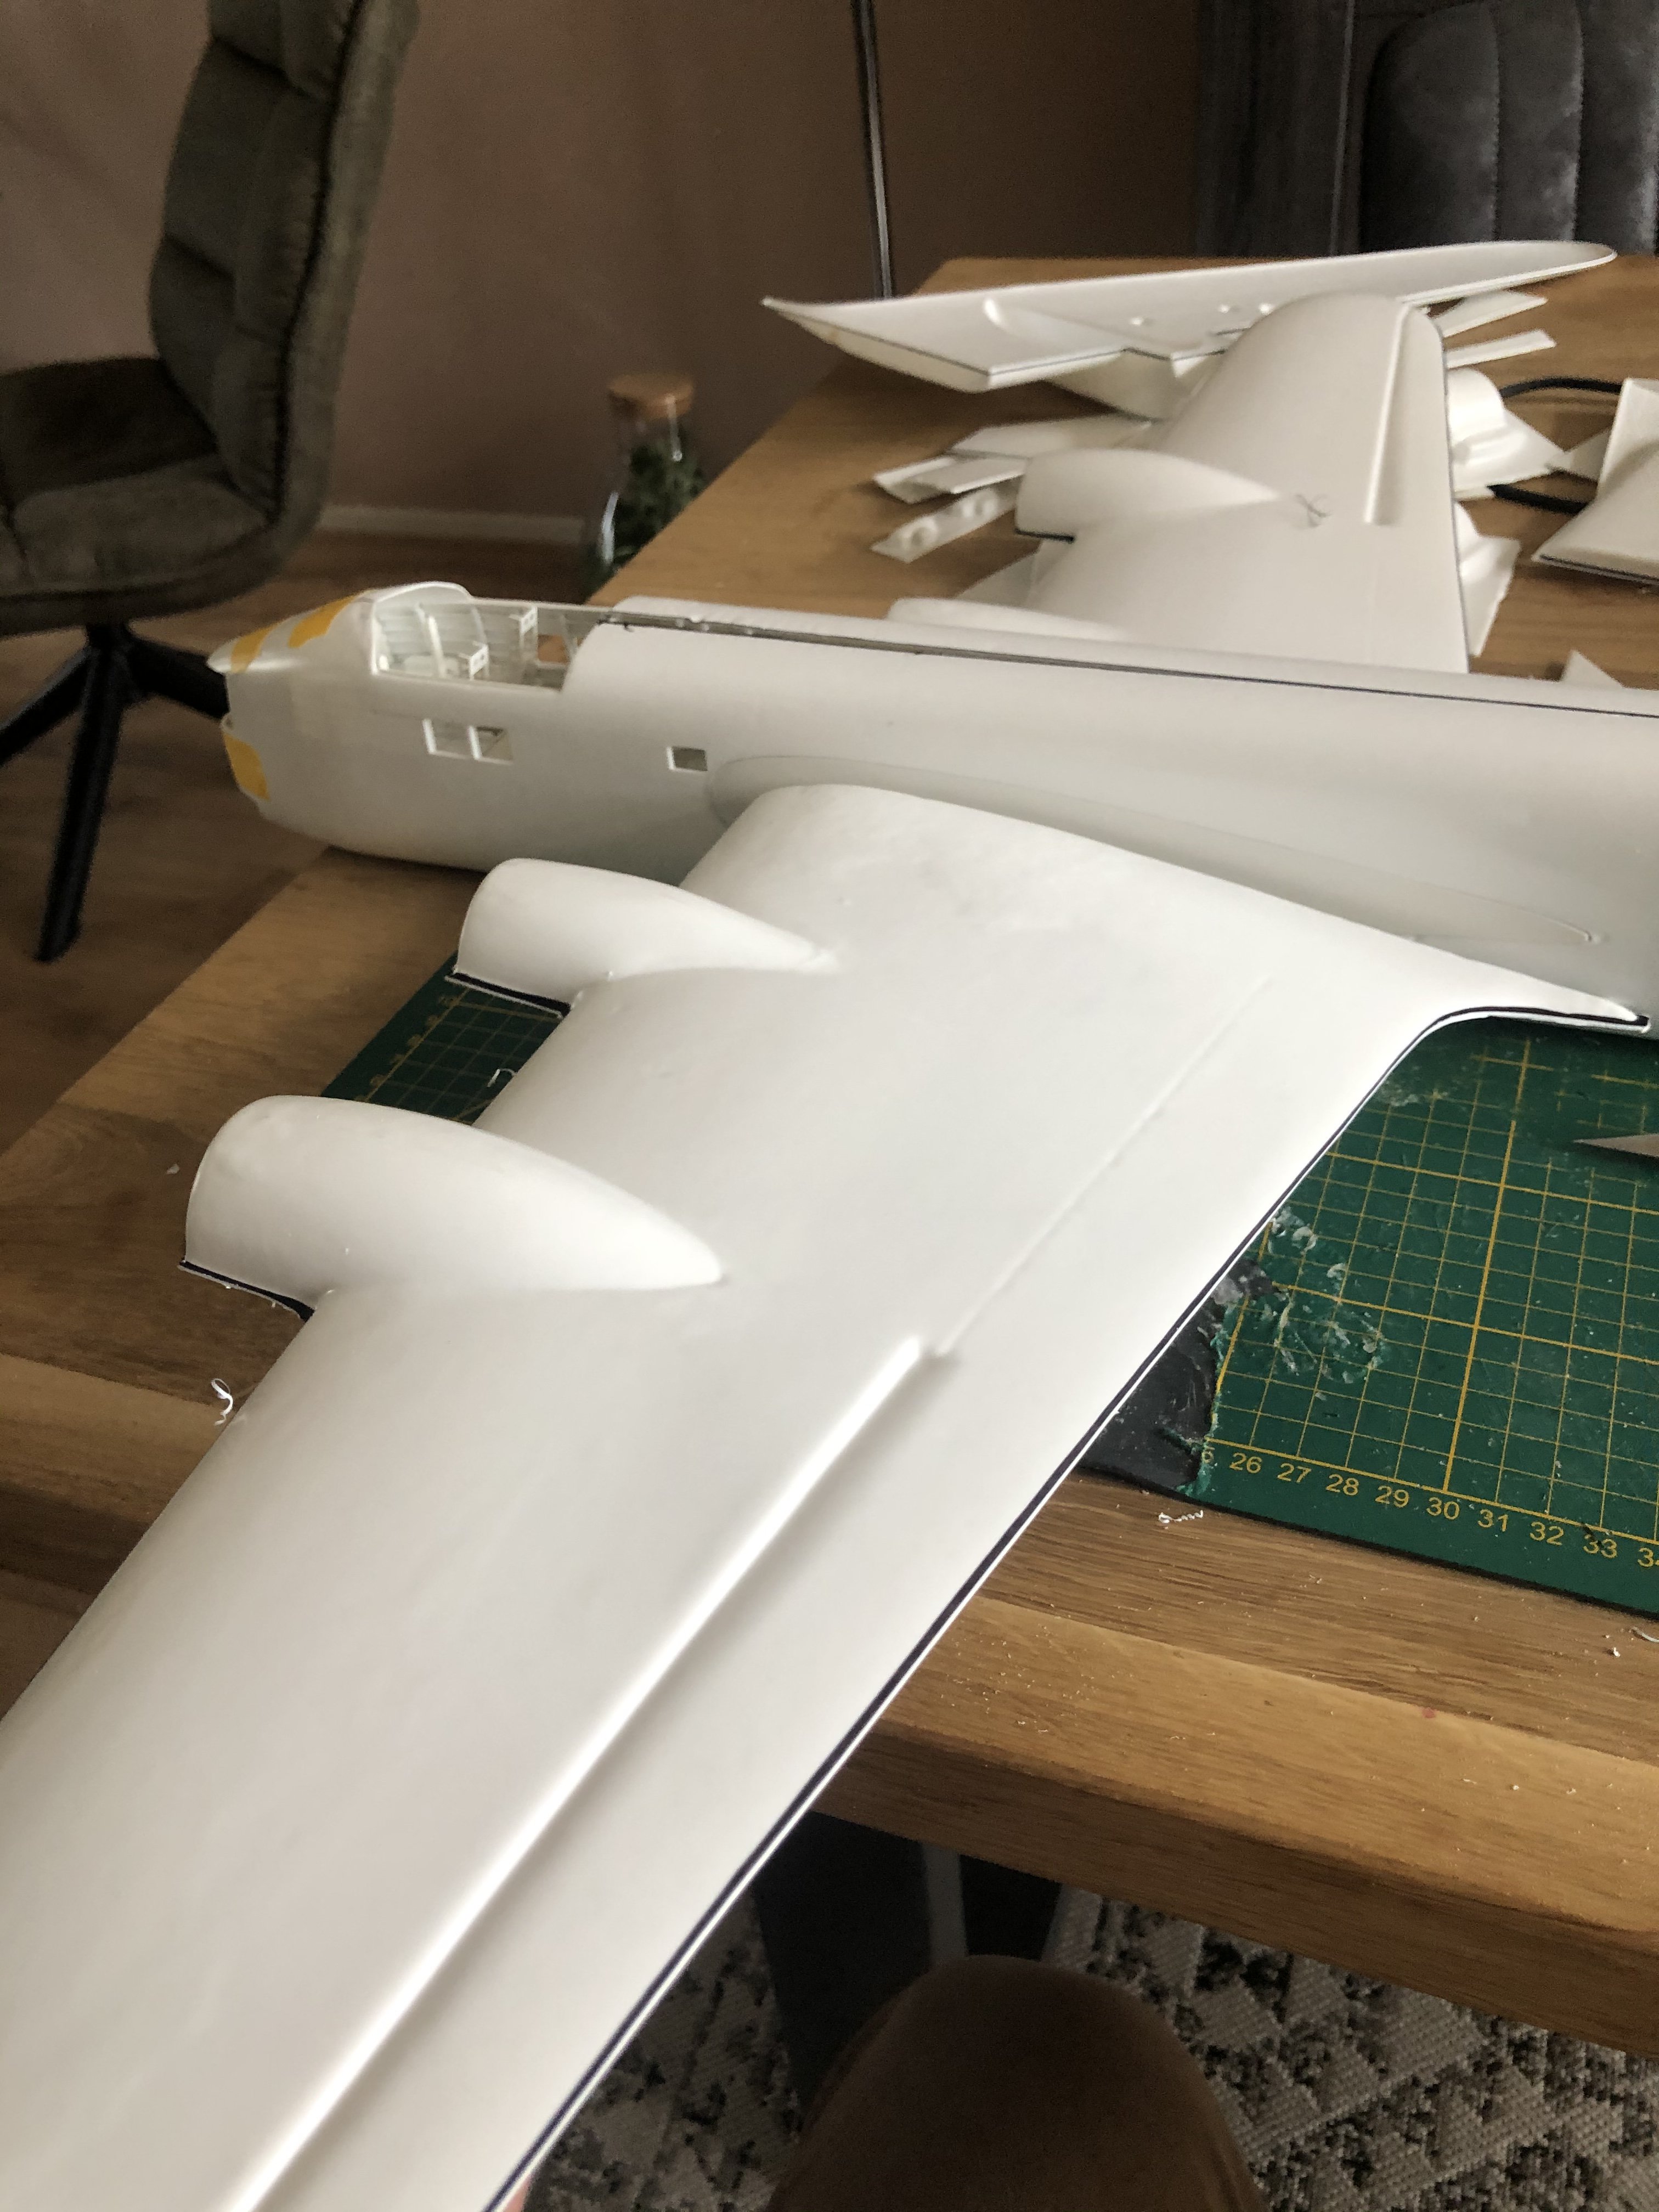
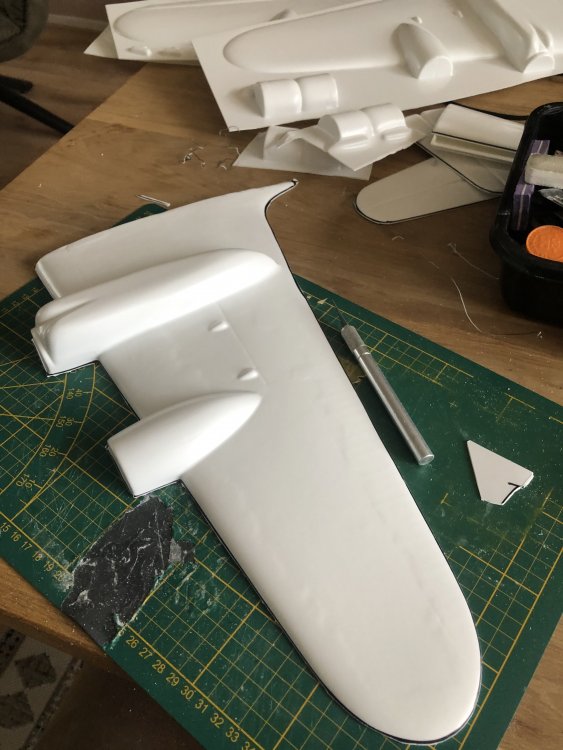
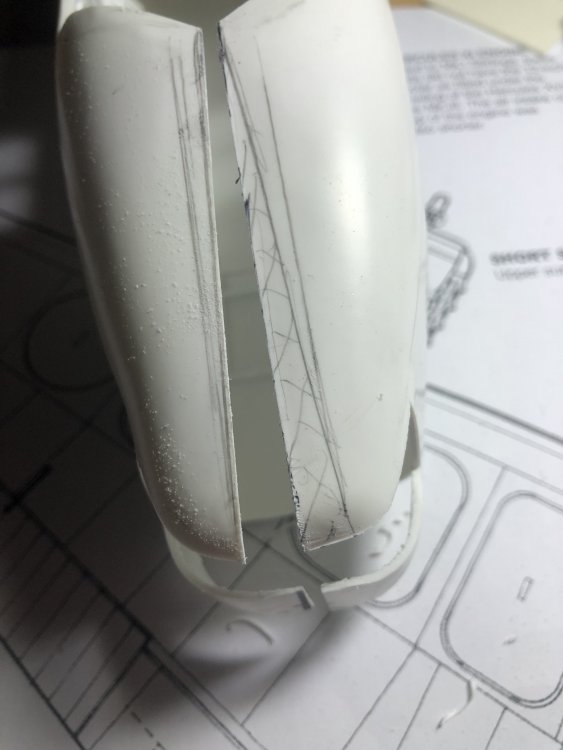
Thanks but I am not an engineer I just do what I think is right to get a certain result. And usually that also include wielding my trusty saw. In this case daft is truly appropriate here as both wingroots are represented by incorrect “plinths” here. And I certainly couldn’t accept this as no way the wings would make an acceptable join. So a transplant was needed by cutting out the root and inserting a plastic piece to create a smooth exterior. I let the pics do the talking.

-
RR Spey powered RAF Phantom conversion
Wingco57 replied to Wingco57's topic in LSM 1/35 and Larger Work In Progress
Thanks chaps, I am waiting for the new canopy set. When it arrives I will perform the last push to finish this satisfying (and sometimes demanding) project. Hopefully before Anthony finished his- 414 replies
-
- 6
-

-

-
- conversion
- phantom
- (and 1 more)
-
Fw190A-8 3/JG1 crash Vreeland
Wingco57 replied to JeroenPeters's topic in LSM 1/35 and Larger Work In Progress
We have such an armoured seat backrest at Ford Veldhuis too, it is very thick and heavy. -
Frazer Nash FN5 gun-turrets
Wingco57 replied to Fidd88's topic in LSM 1/35 and Larger Work In Progress
IIRC Brooklands used shaped blocks that fitted inside the channel sections and bent them manually slowly into the correct curves -
Fw190A-8 3/JG1 crash Vreeland
Wingco57 replied to JeroenPeters's topic in LSM 1/35 and Larger Work In Progress
Strak man -
Daft project or is it? 1/32 Short Stirling III
Wingco57 replied to Wingco57's topic in LSM 1/35 and Larger Work In Progress
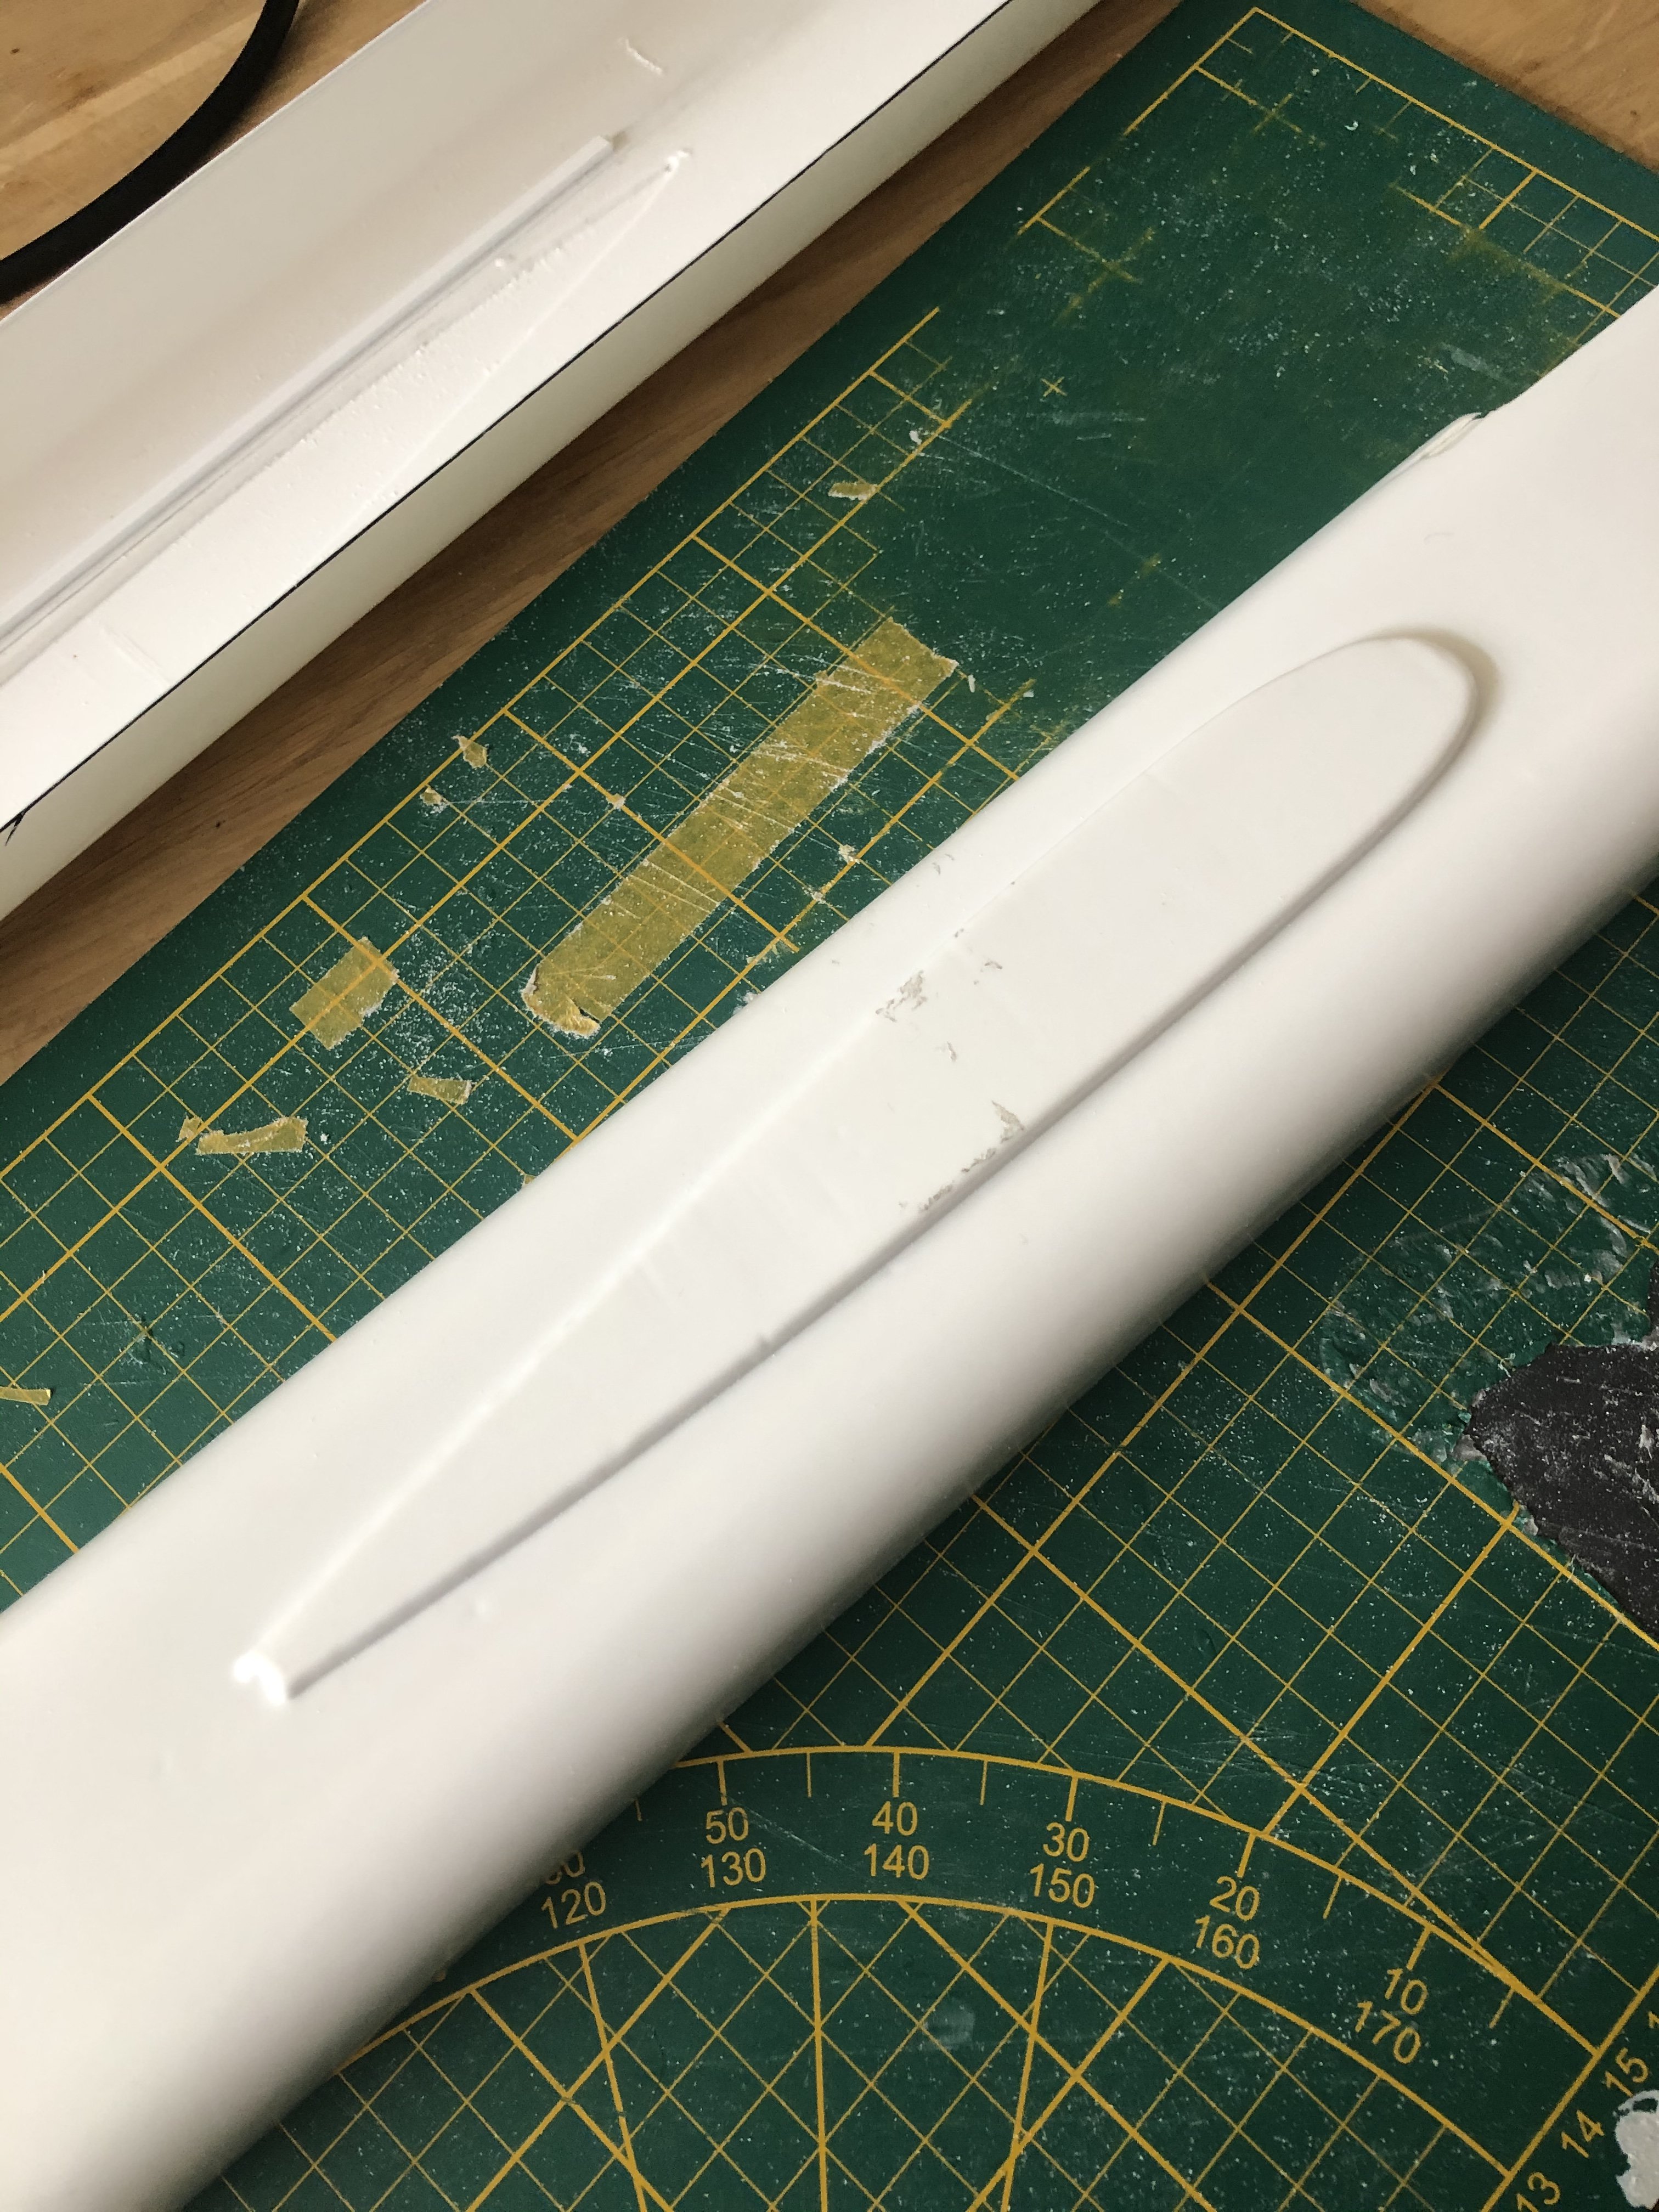
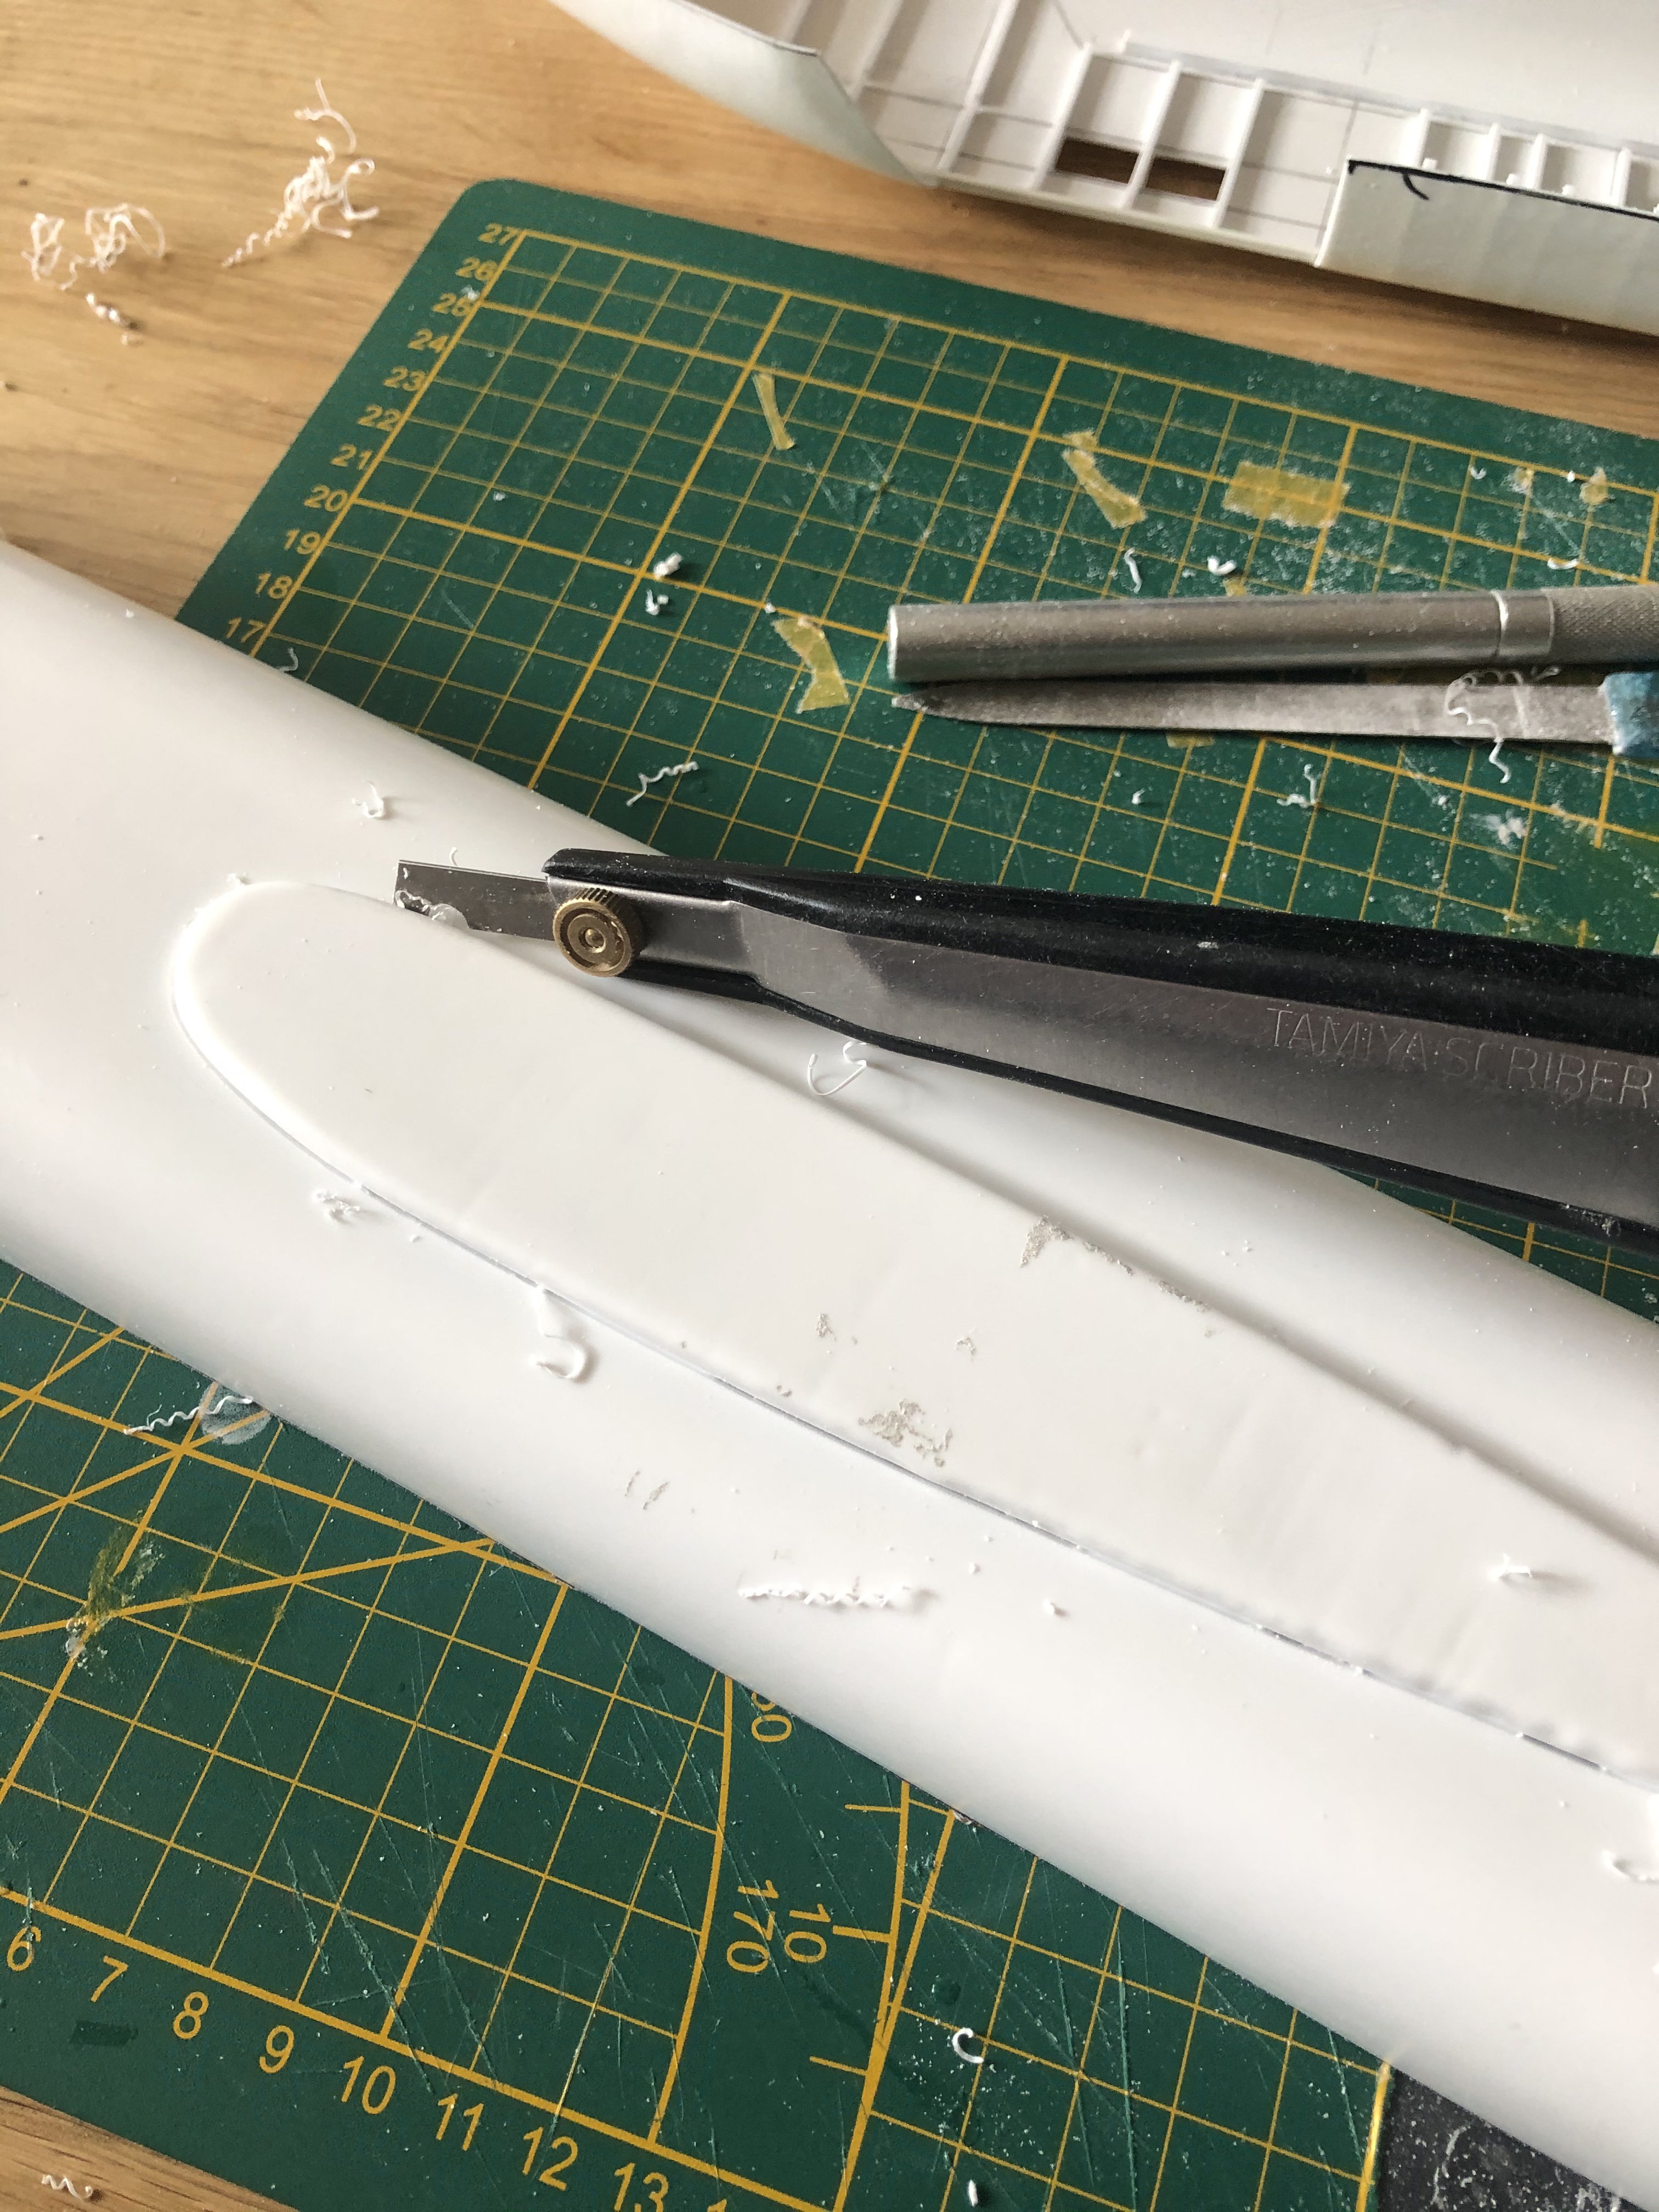
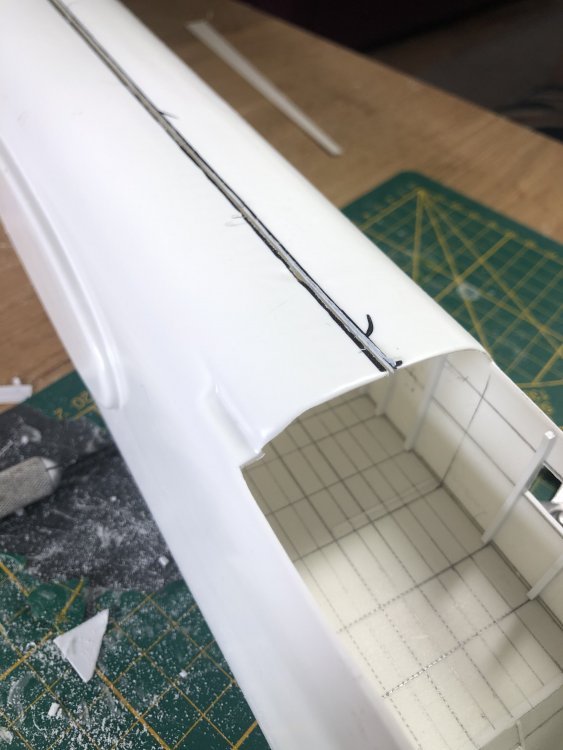
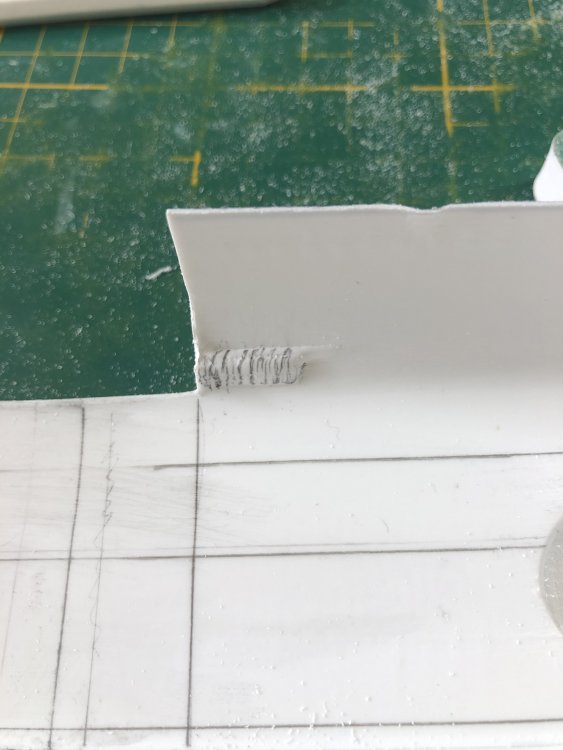
Been working on the starboard side which unfortunately has a moulding flaw which need to be repaired. I cut out the depression and glued a piece of plasticard for strength. The gap will be filled with an offcut of the same plastic(ABS?). Also made a started with the frames. Next job will be to locate the many stringers. The structure of the Stirling slowly emerges.
-
Daft project or is it? 1/32 Short Stirling III
Wingco57 replied to Wingco57's topic in LSM 1/35 and Larger Work In Progress
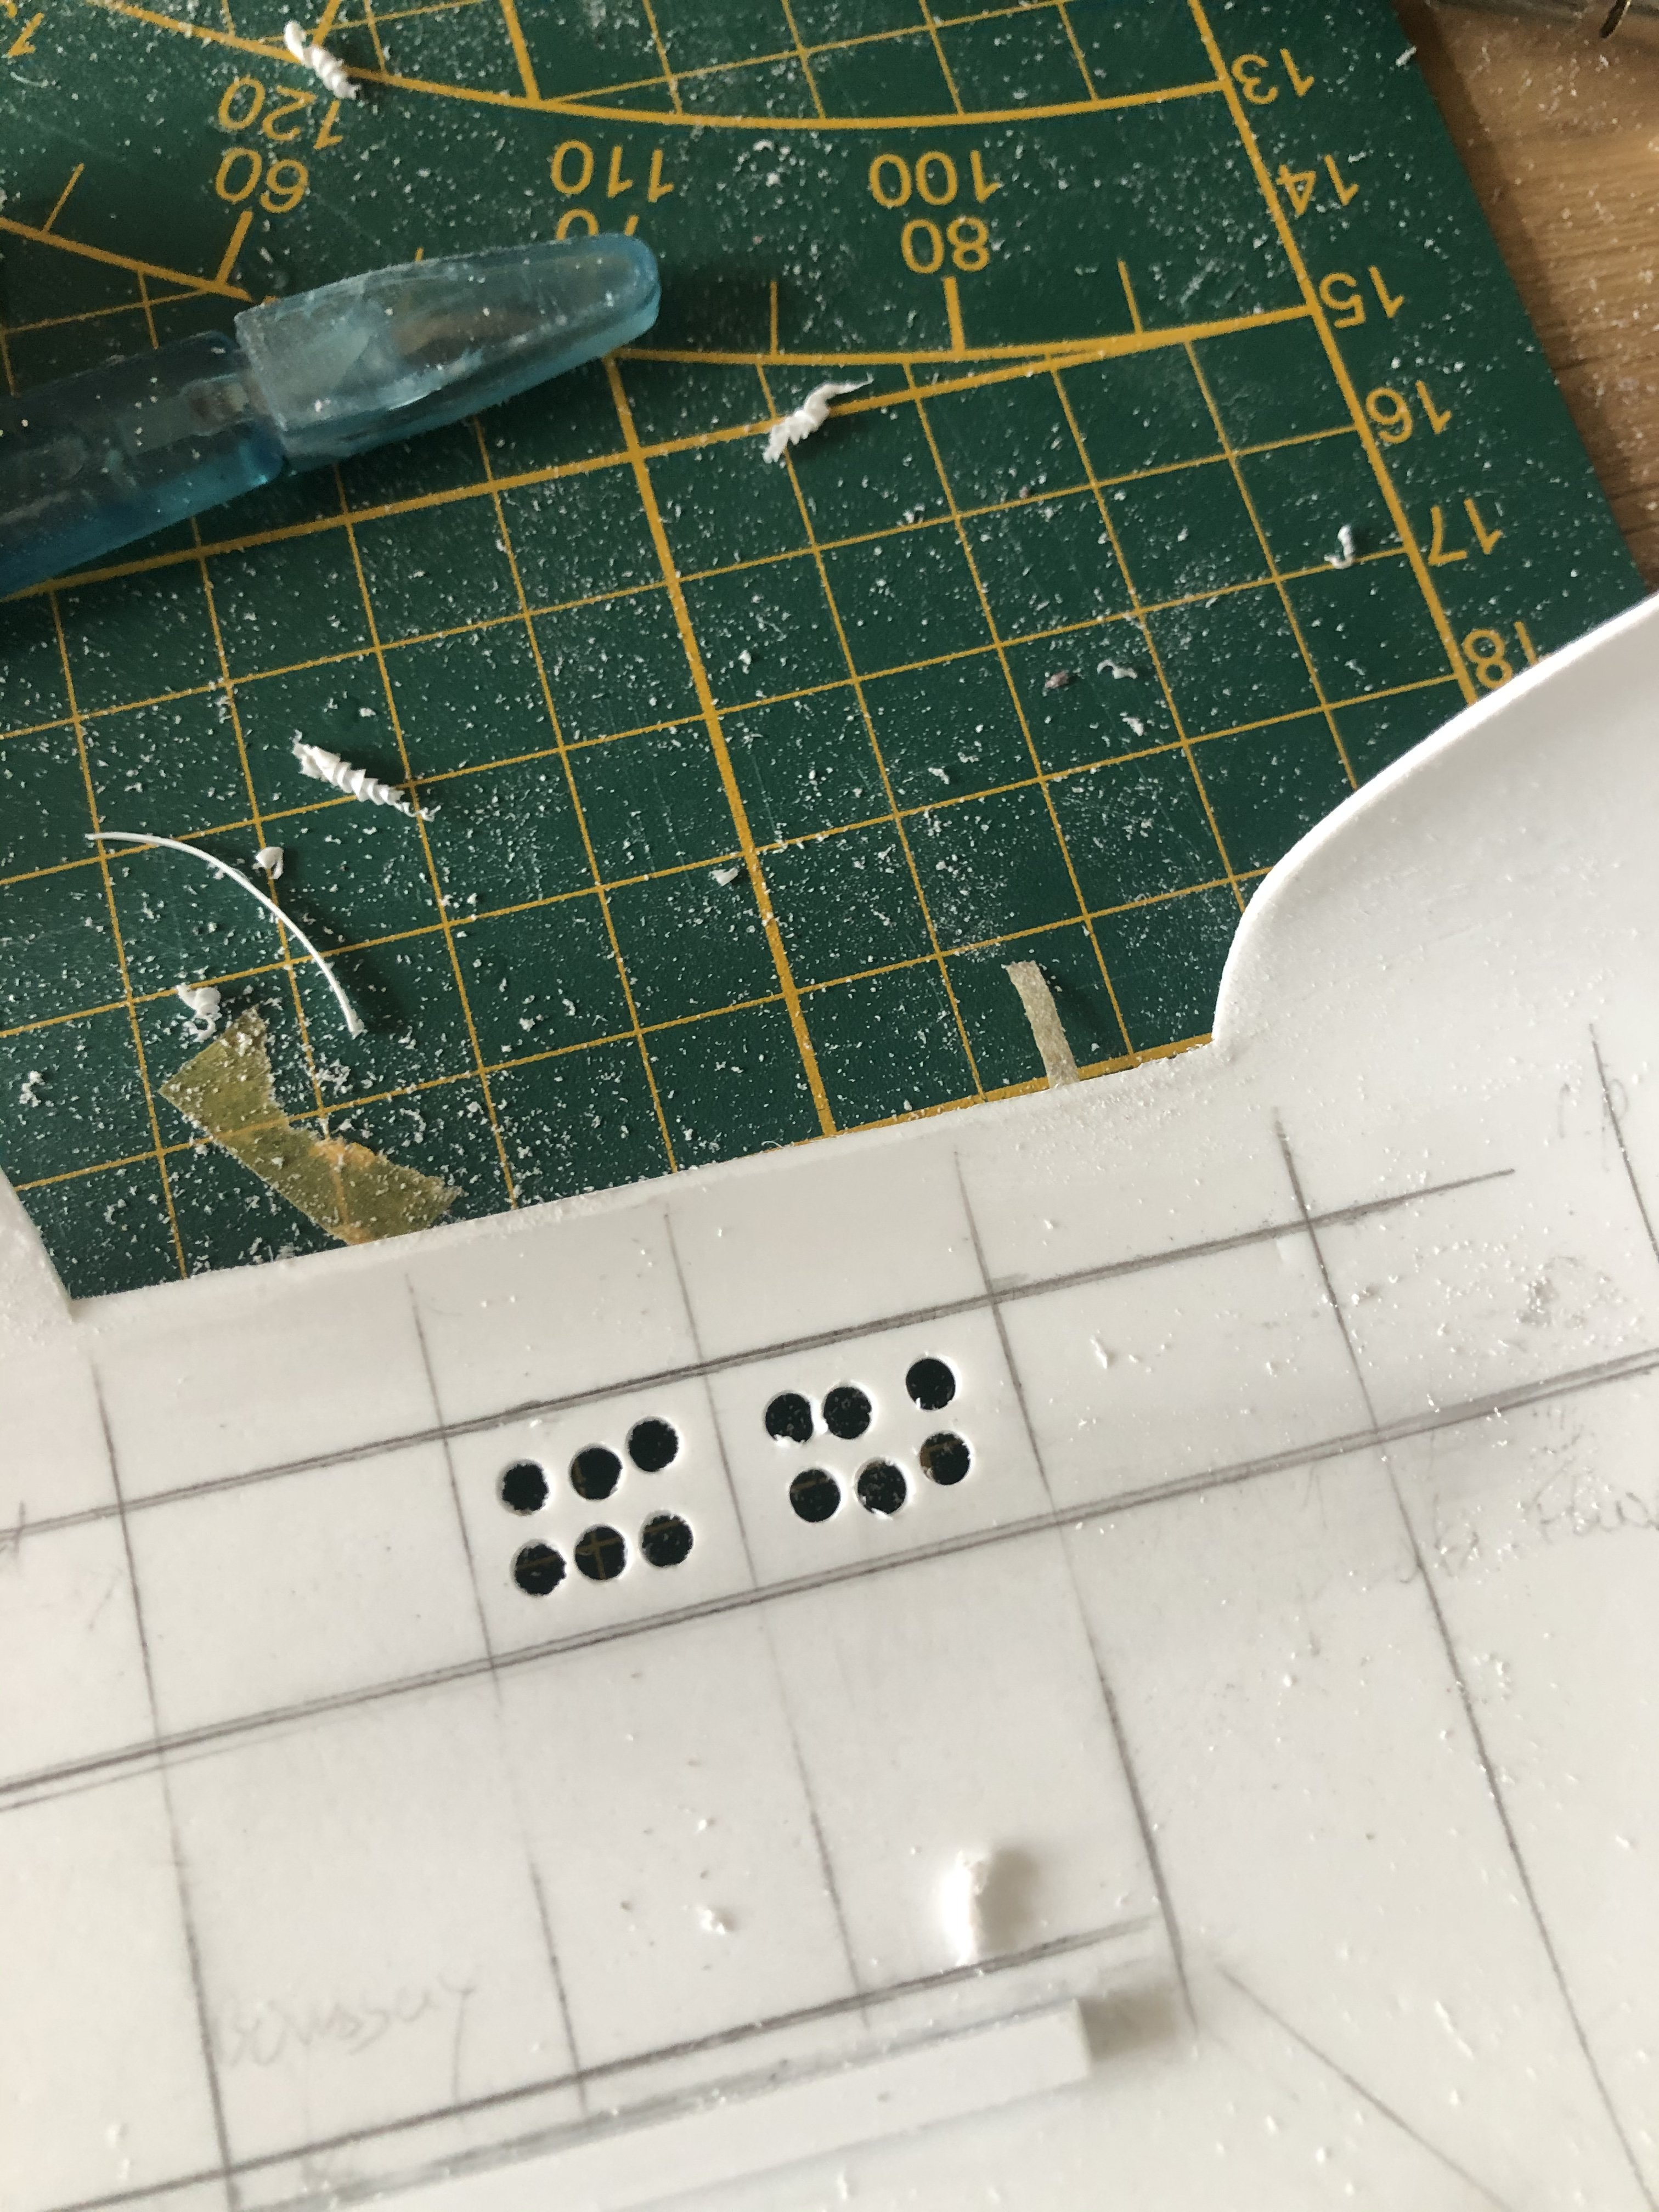
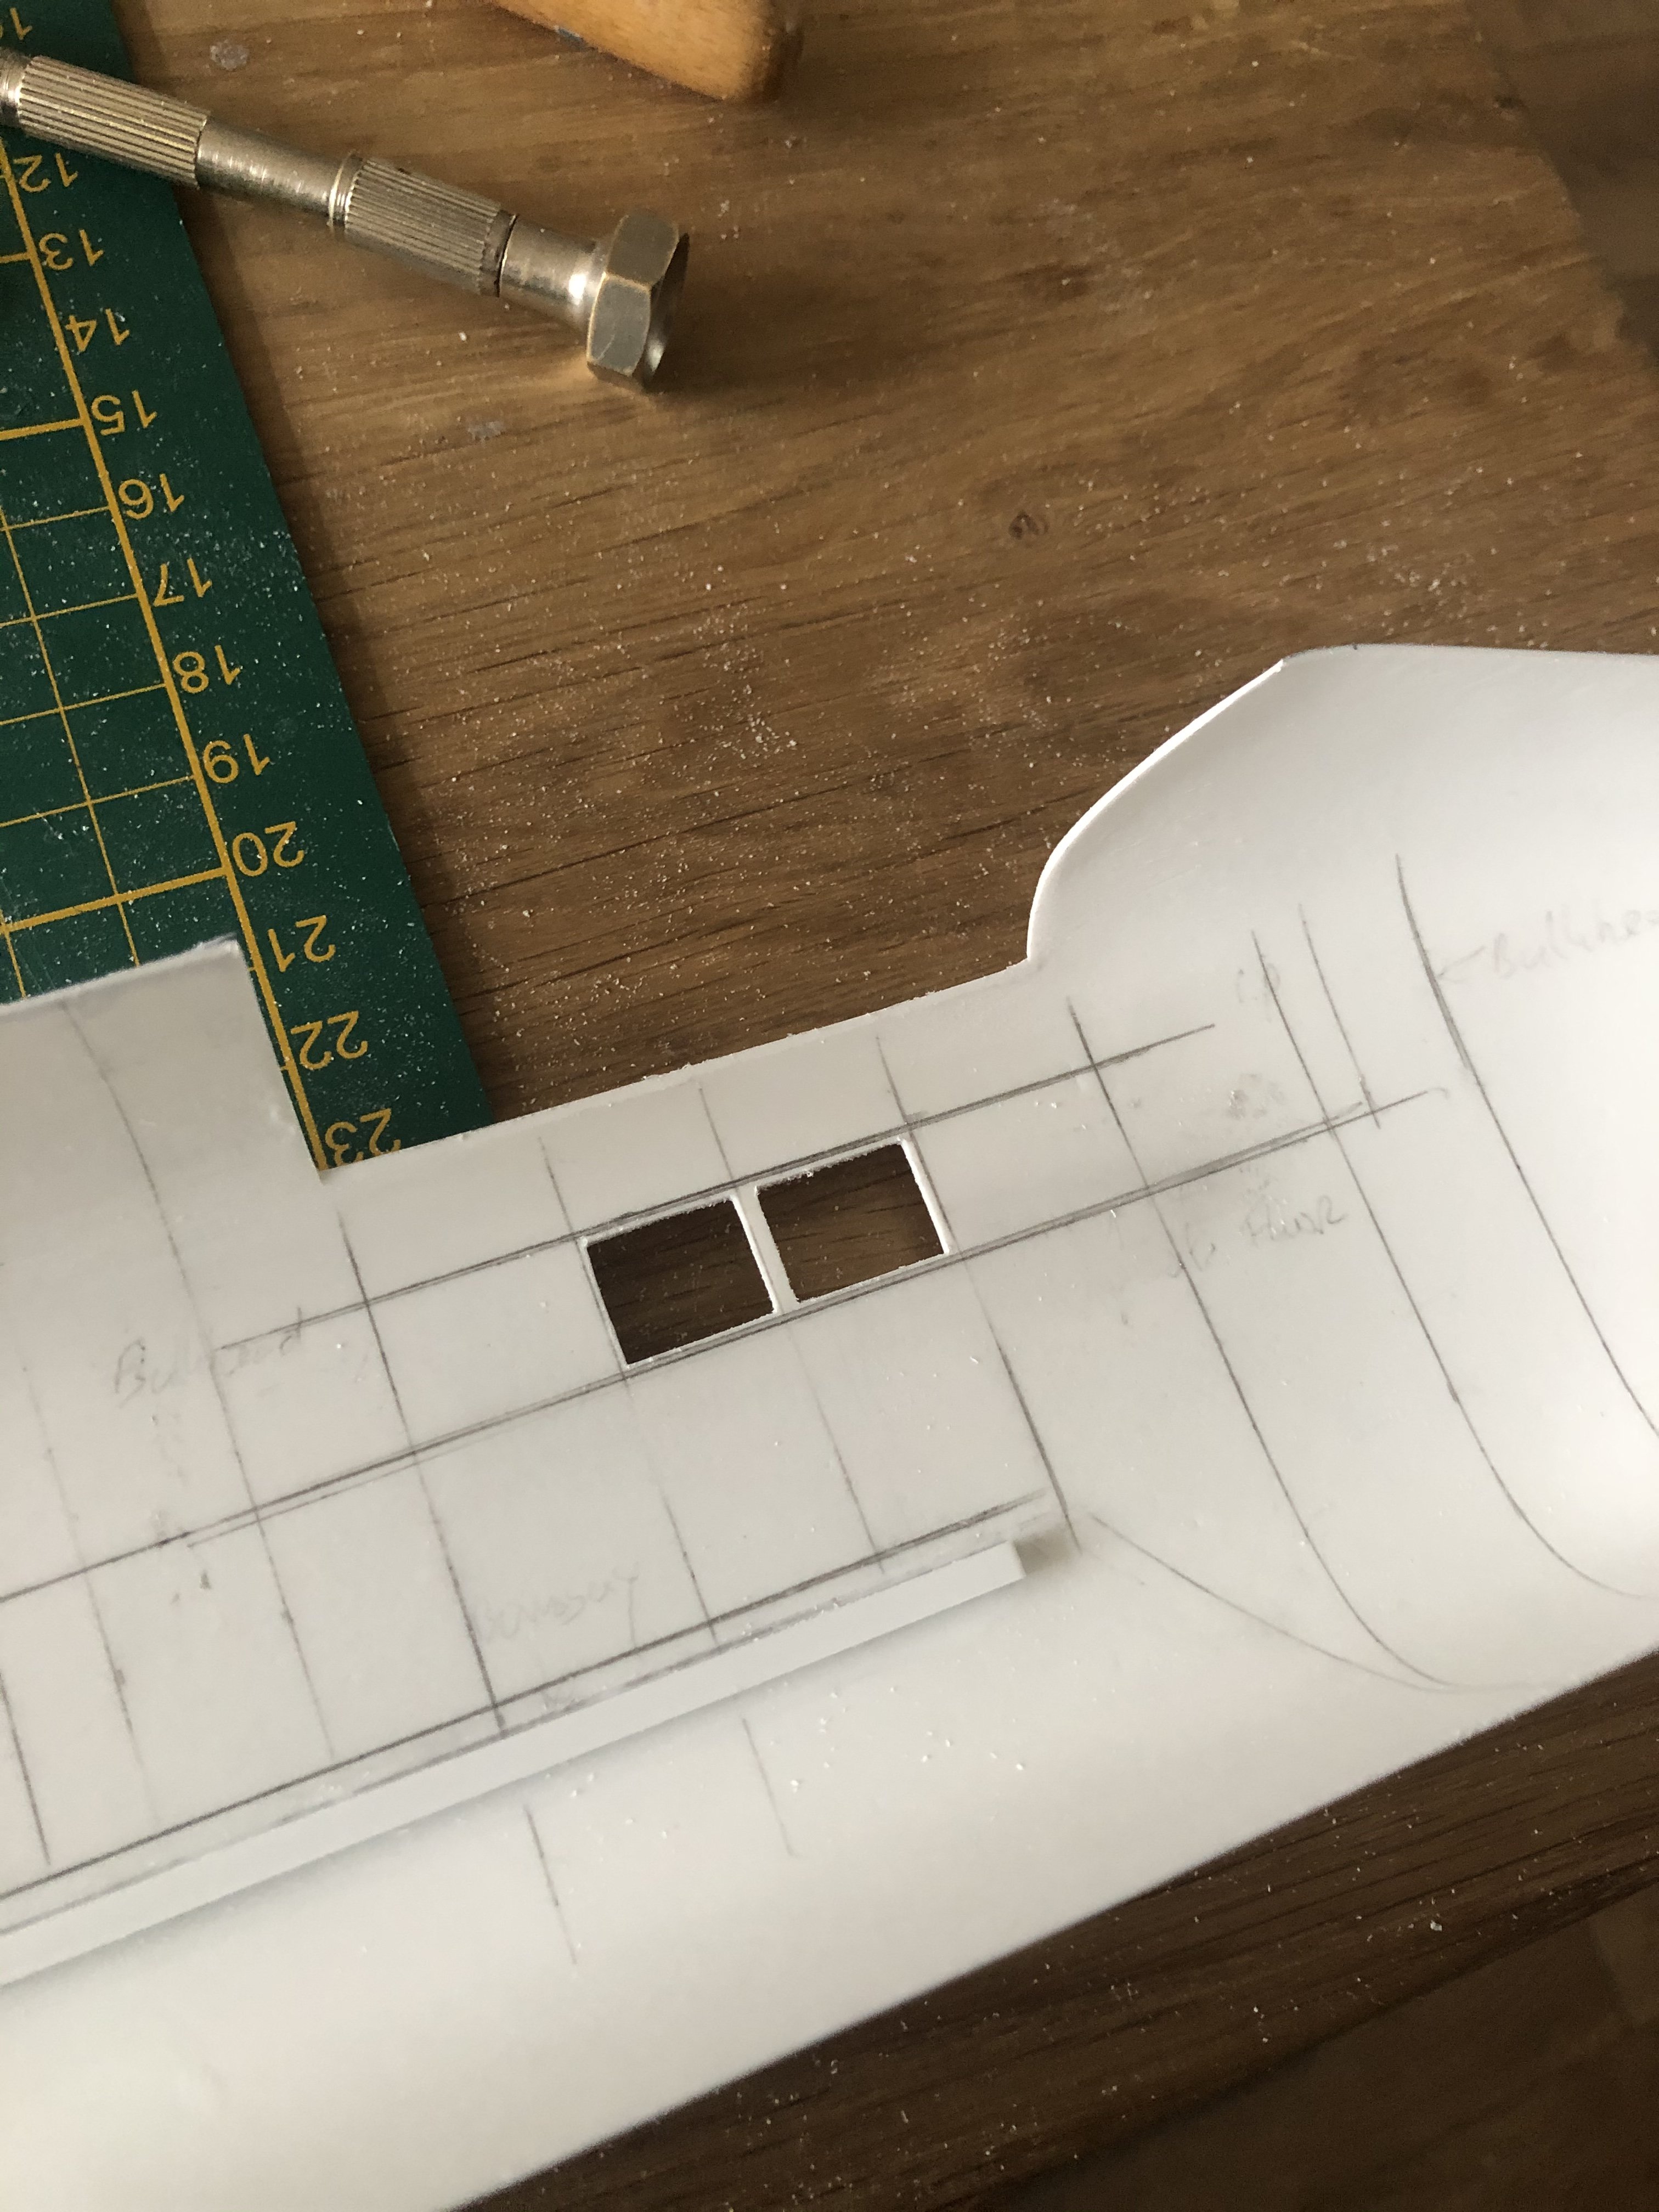
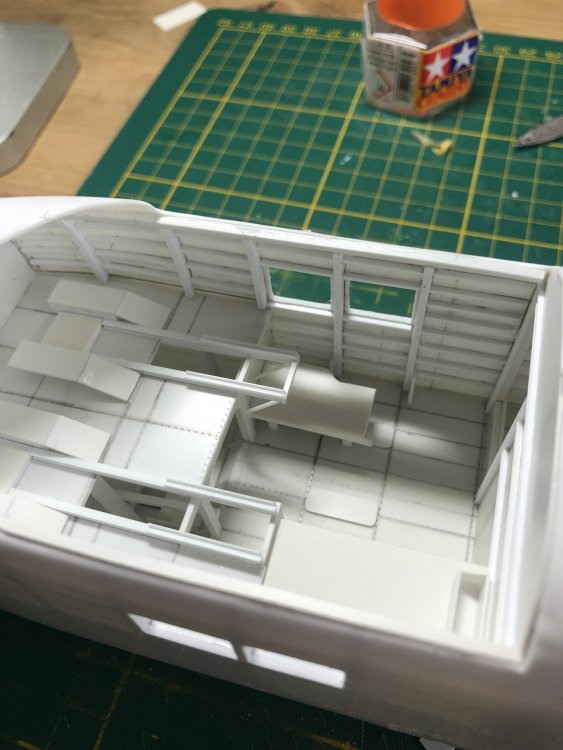
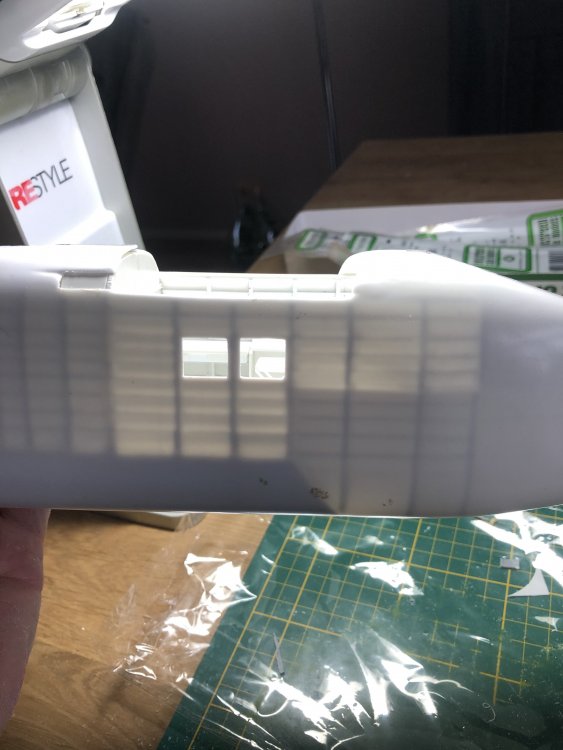
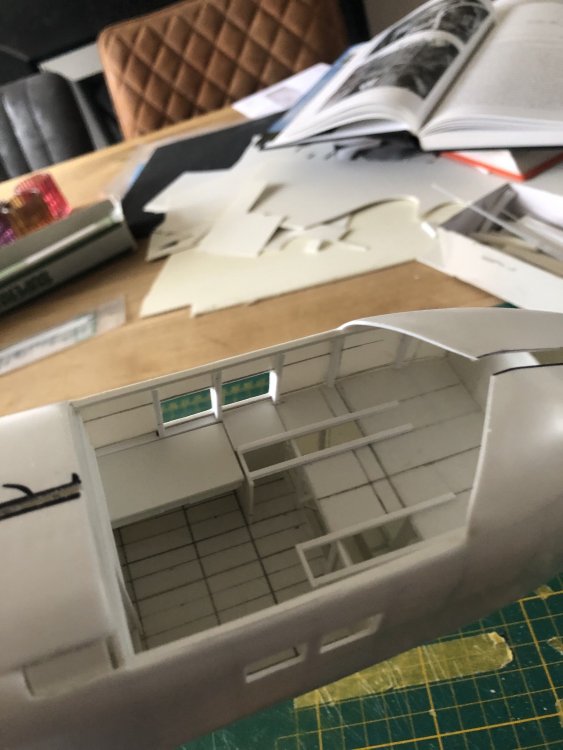
It is indeed huge. I have the week off so got more quality time. I cut out the window openings. The windows have rounded off corners which are difficult to get uniform. So square holes it is which will later be filled with transparent squares that will be masked off. Stocked up on Evergreen strips so made a start with the frames and trial gitting the pilots floor. This is the part I enjoy very much.


-
RR Spey powered RAF Phantom conversion
Wingco57 replied to Wingco57's topic in LSM 1/35 and Larger Work In Progress
Me too- 414 replies
-
- 2
-
-
- conversion
- phantom
- (and 1 more)
-
Daft project or is it? 1/32 Short Stirling III
Wingco57 replied to Wingco57's topic in LSM 1/35 and Larger Work In Progress
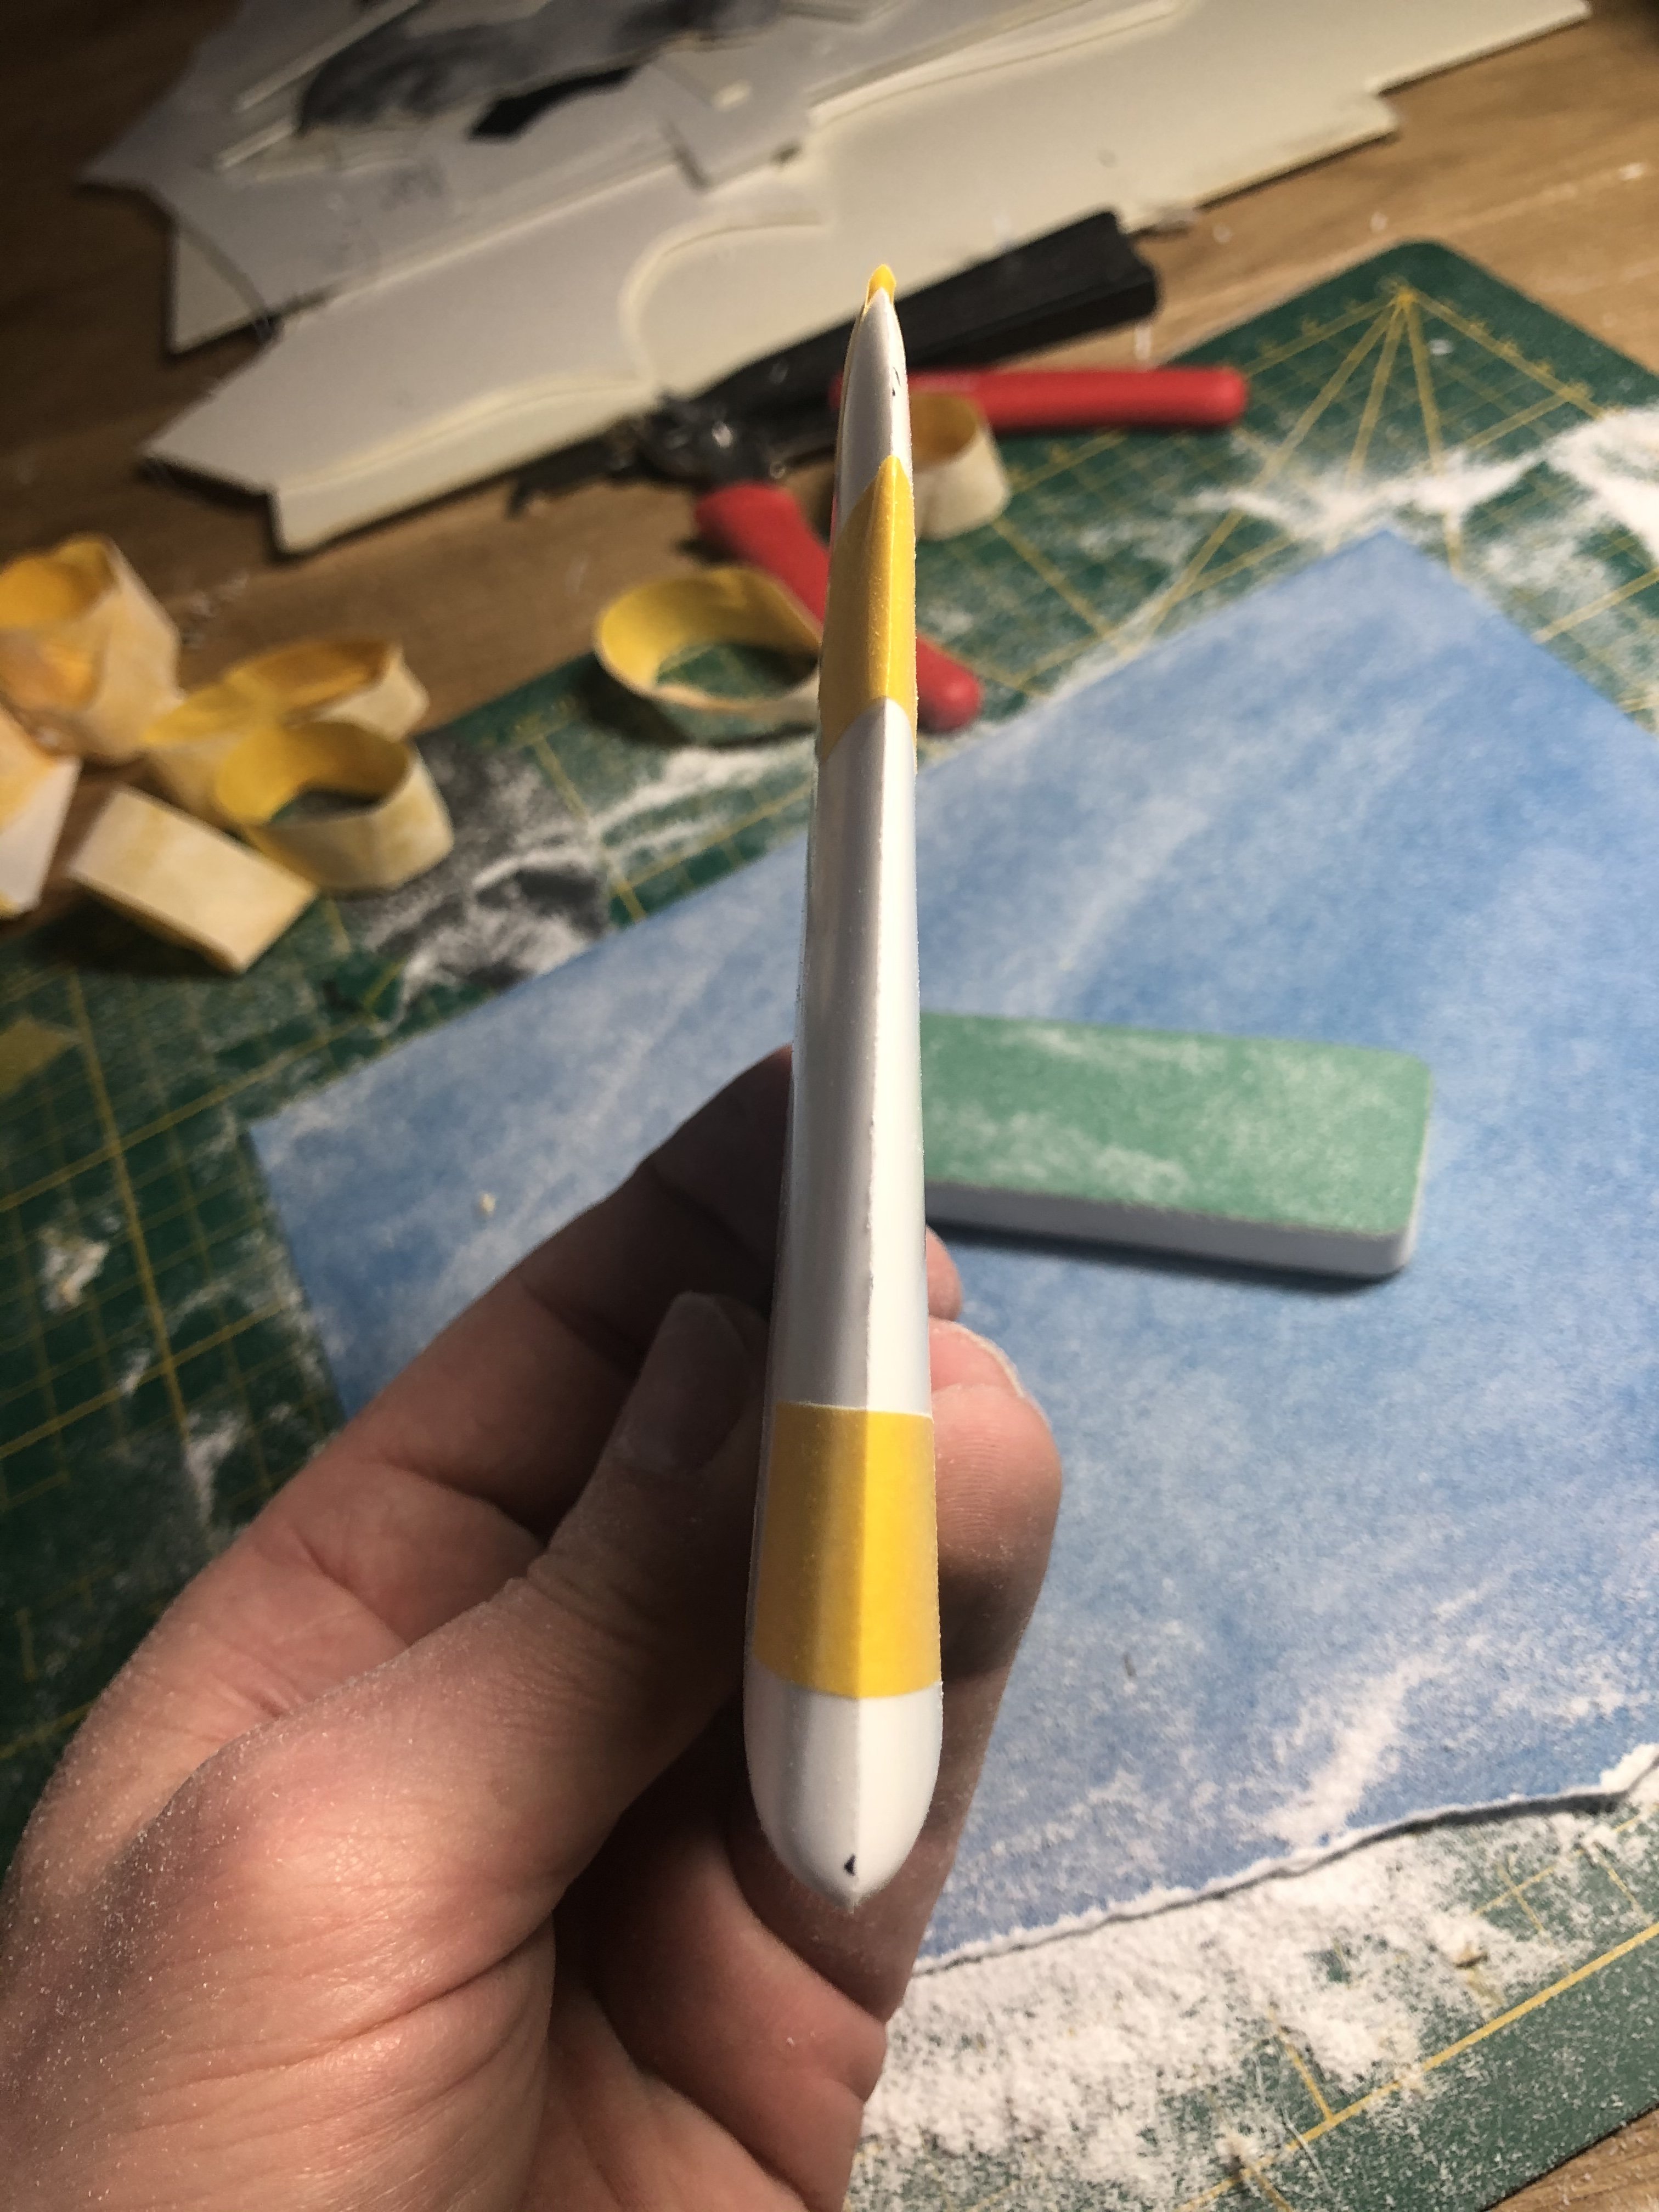
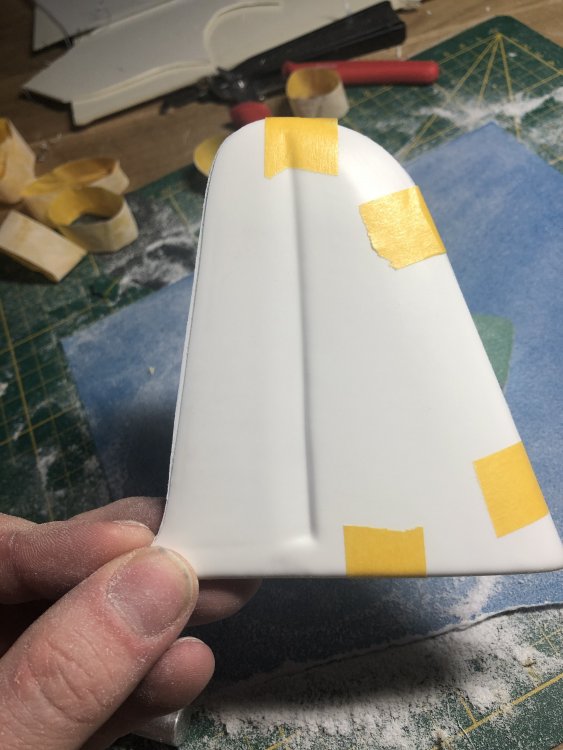
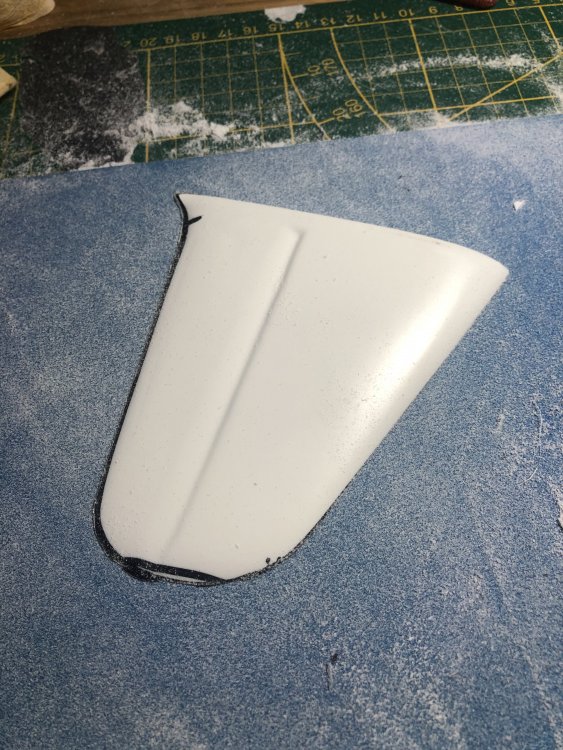
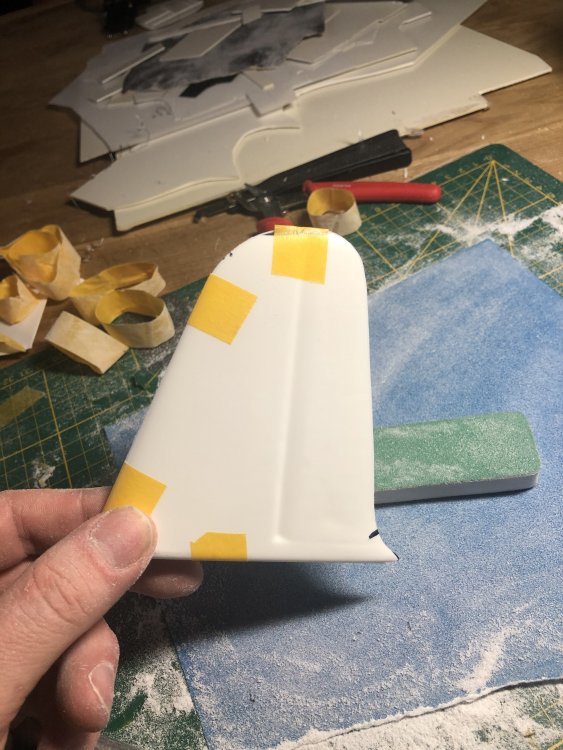
As I want to get the idea I am working on a Stirling and not a huge banana, I cut out the tailfin and rudder as well. Just sand away what is not Stirling. The trailing edge doesn’t quite match but some sanding will solve that later.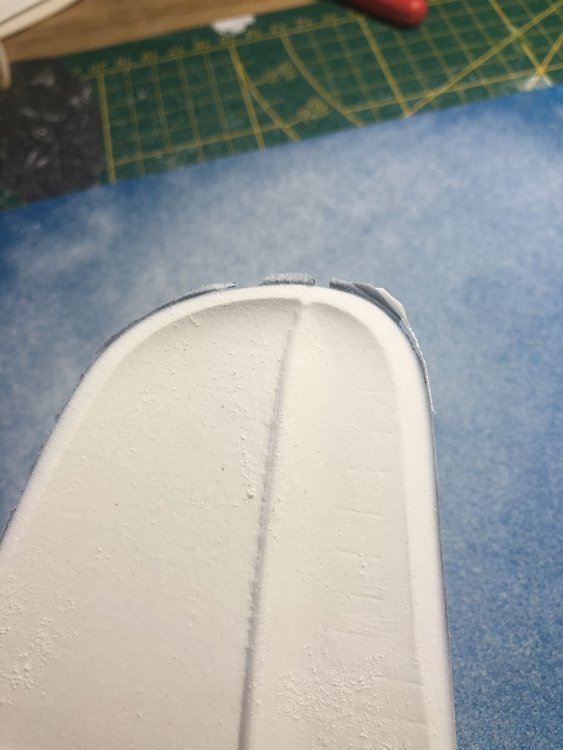

-
Daft project or is it? 1/32 Short Stirling III
Wingco57 replied to Wingco57's topic in LSM 1/35 and Larger Work In Progress
Thanks, but this is not rocketscience, it just takes some more effort than snapping parts from the sprue @Tom, why don’t you? -
RR Spey powered RAF Phantom conversion
Wingco57 replied to Wingco57's topic in LSM 1/35 and Larger Work In Progress
Thanks Carl, was waiting for this. Just what the doctor ordered. I have just ordered a set. cheers Cees- 414 replies
-
- 5
-
-
- conversion
- phantom
- (and 1 more)