Wingco57
-
Posts
3,925 -
Joined
-
Last visited
Content Type
Profiles
Forums
Events
Gallery
Everything posted by Wingco57
-

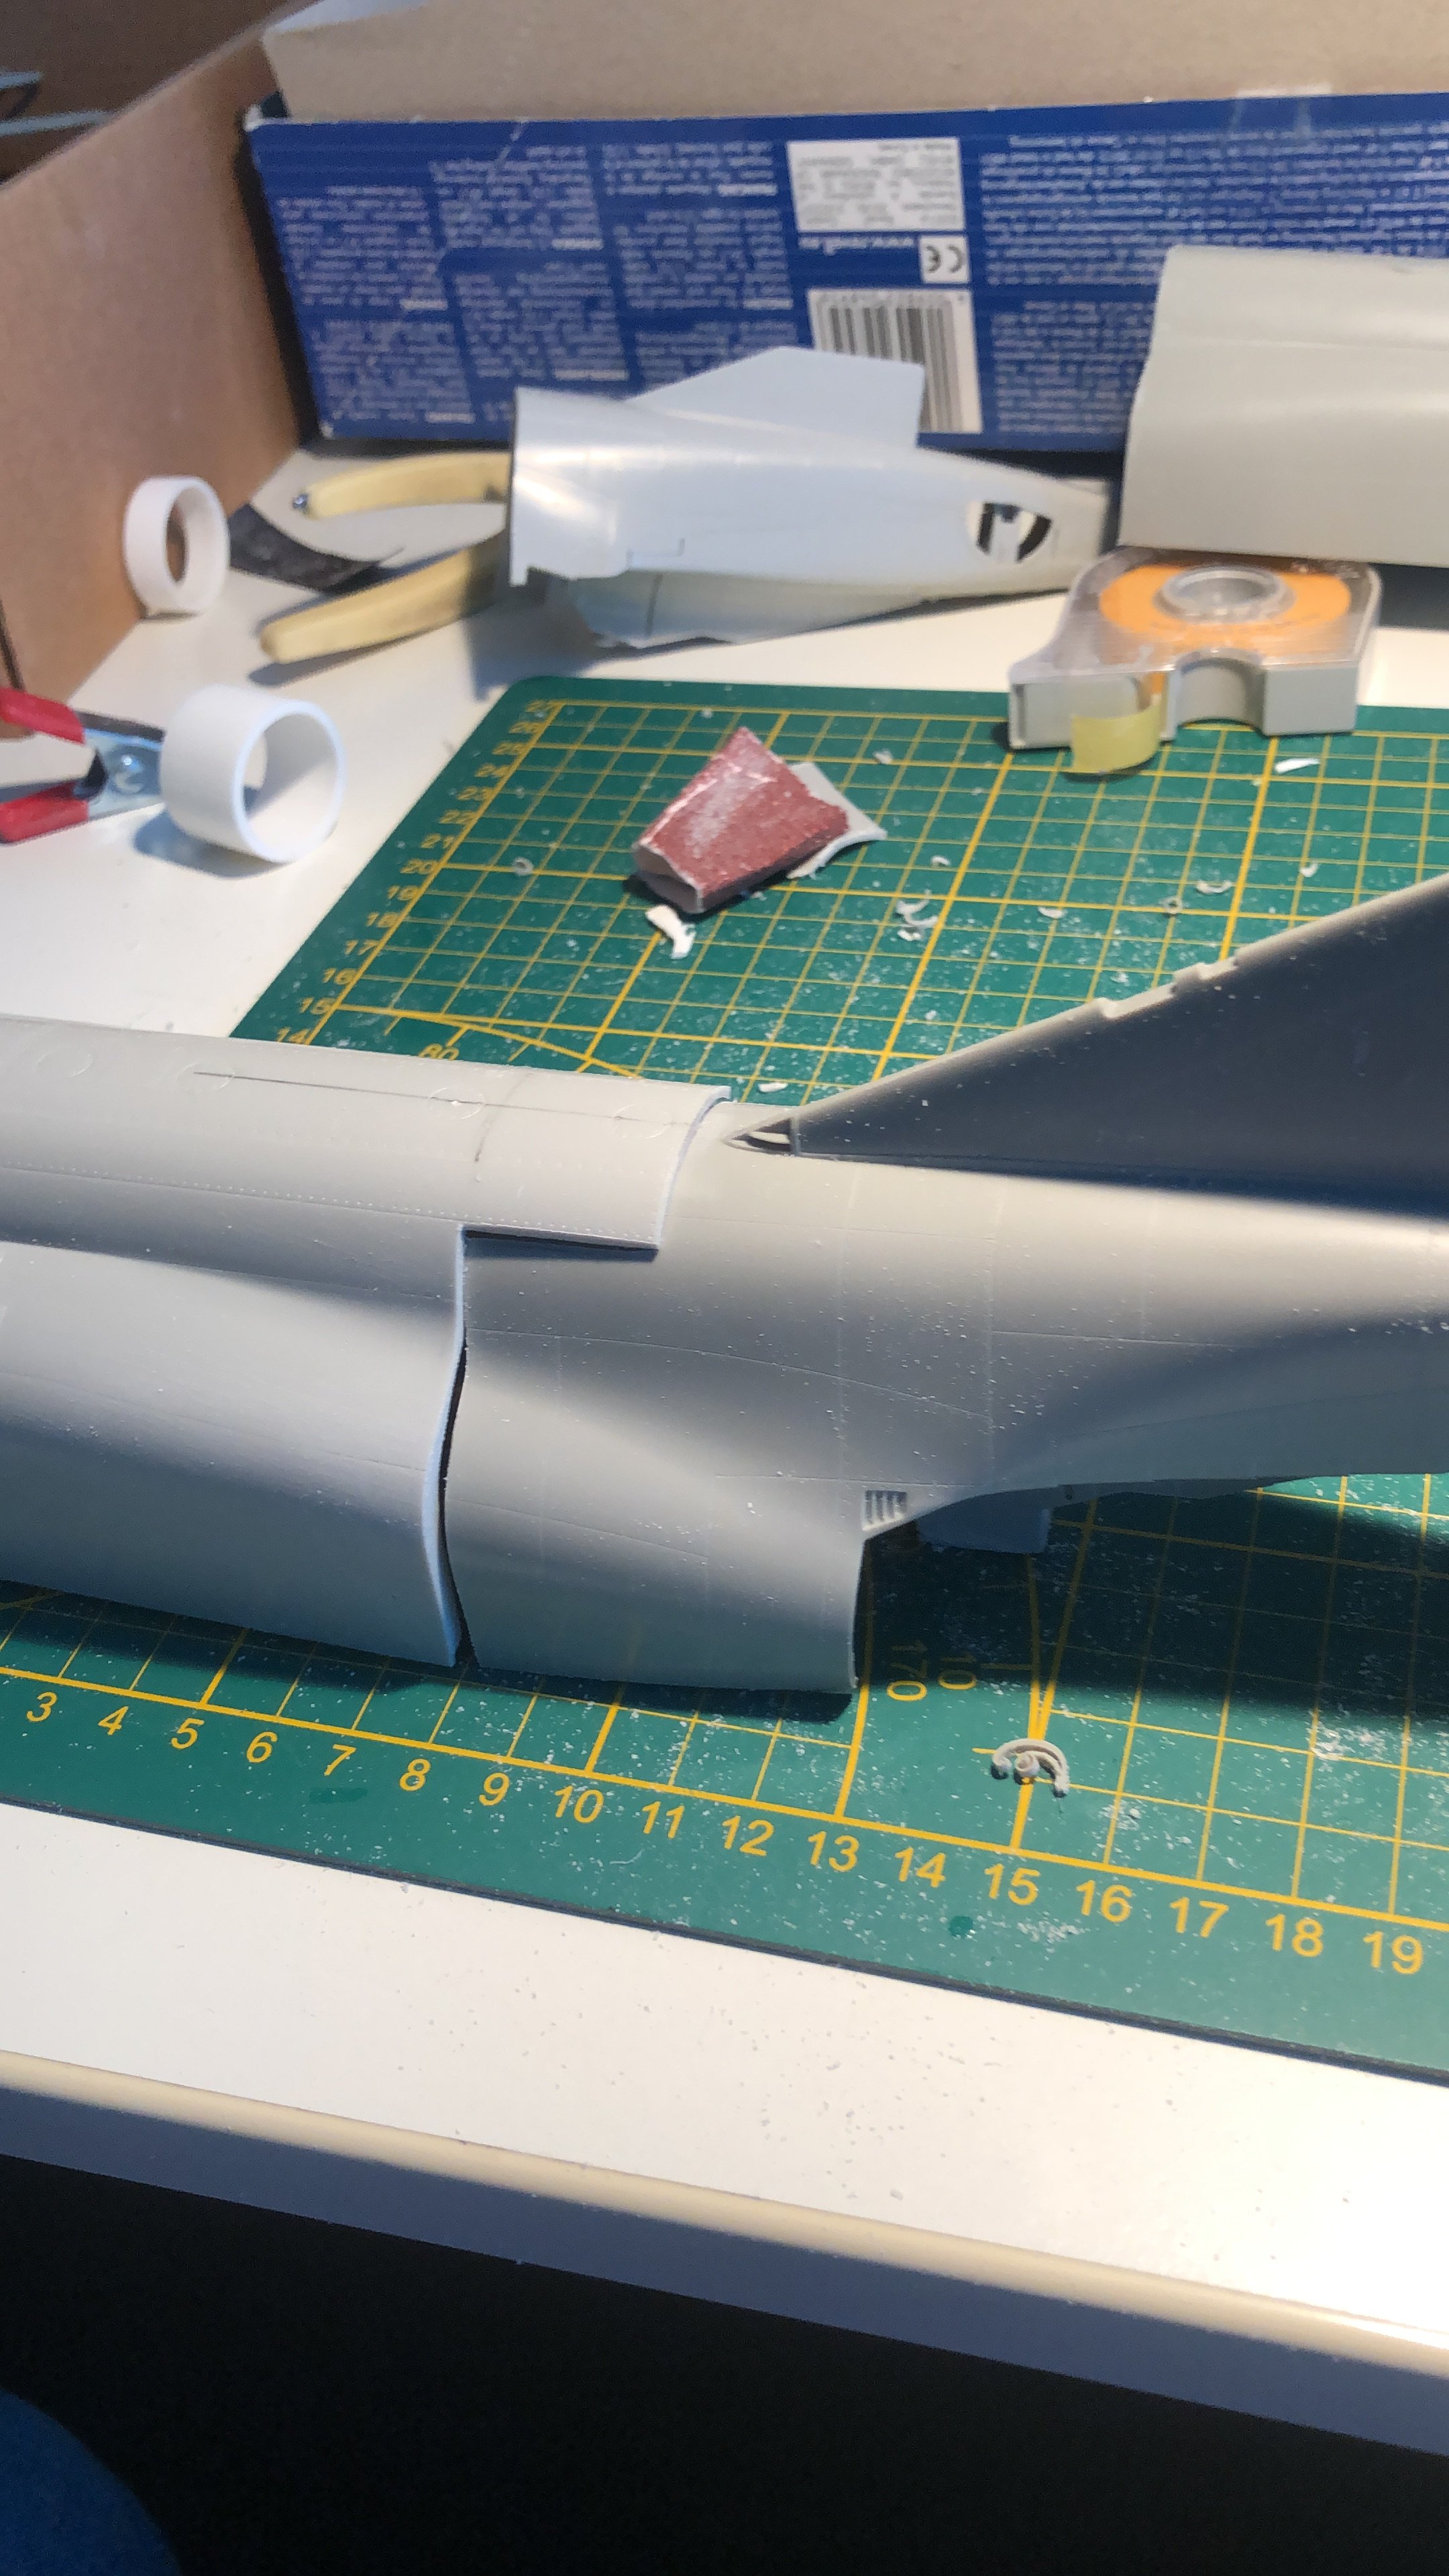
RR Spey powered RAF Phantom conversion
Wingco57 replied to Wingco57's topic in LSM 1/35 and Larger Work In Progress
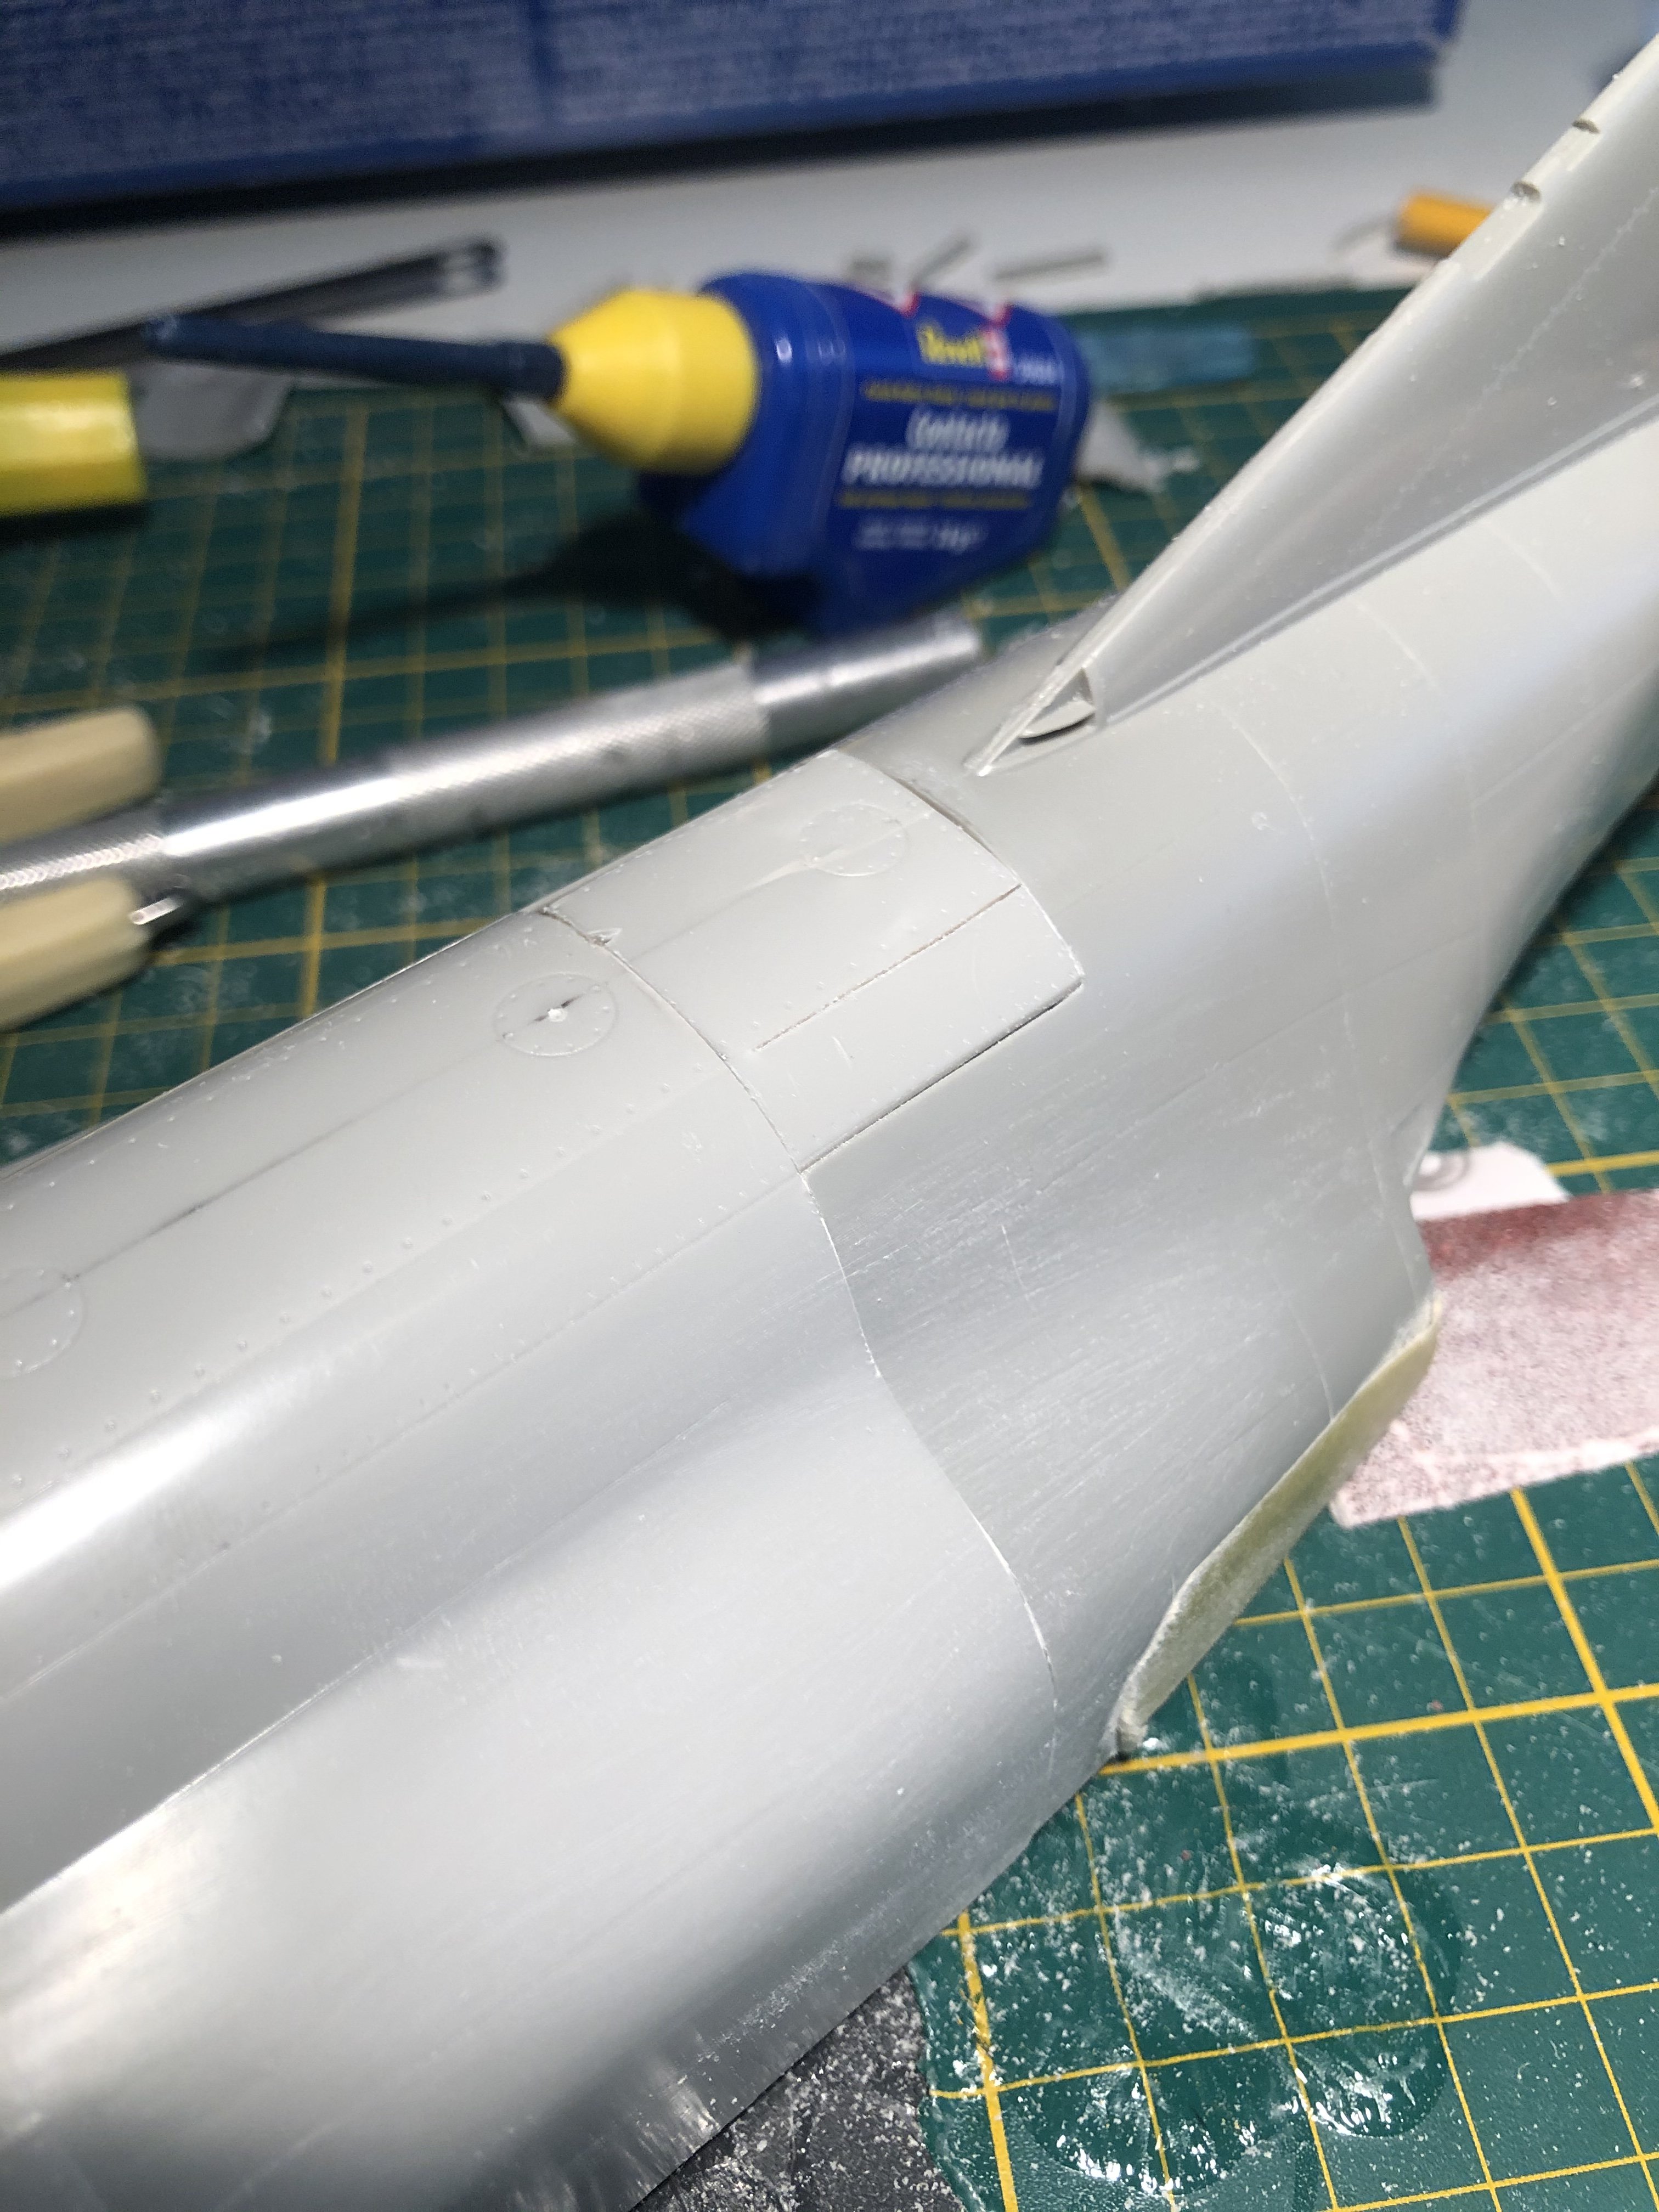
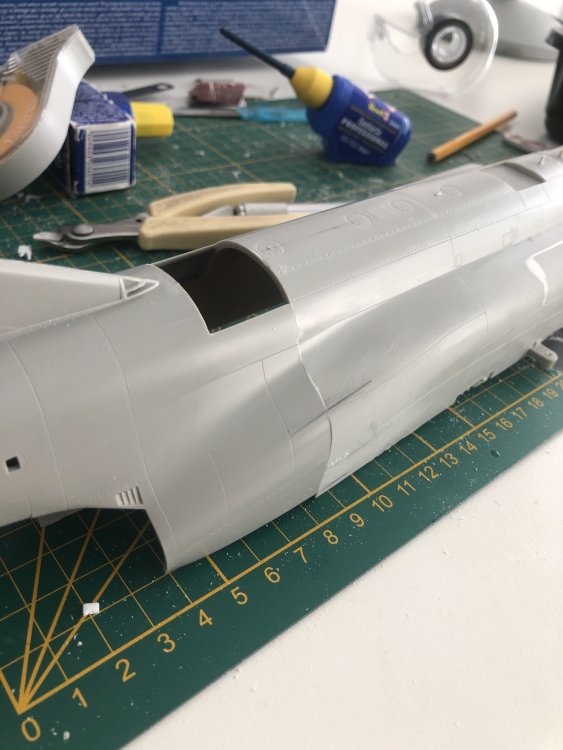
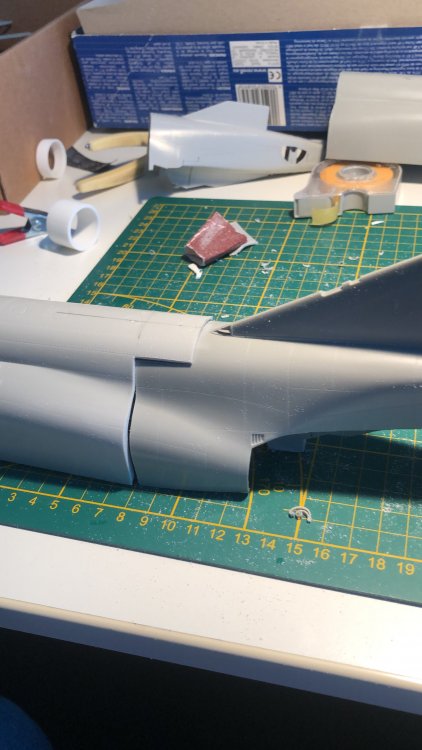
The gap in the spine has been closed. some careful fitting to address the slight mismatch in the spine.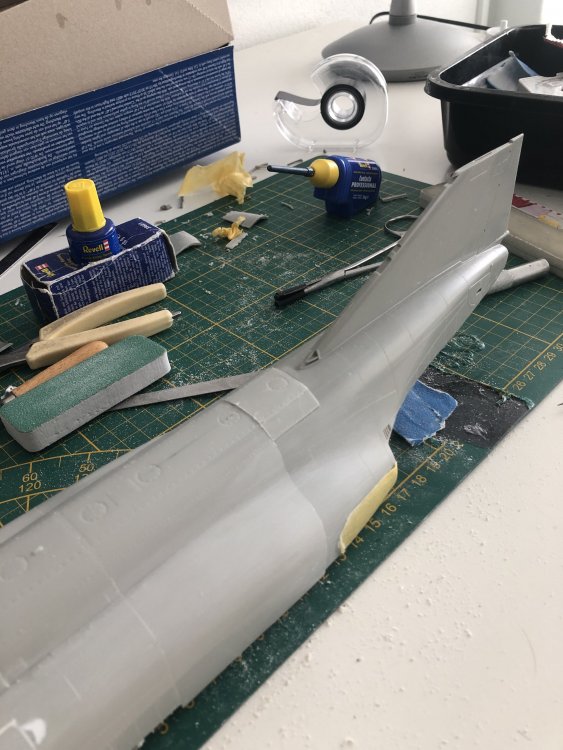
- 414 replies
-
- 5
-

-
- conversion
- phantom
- (and 1 more)
-
RR Spey powered RAF Phantom conversion
Wingco57 replied to Wingco57's topic in LSM 1/35 and Larger Work In Progress
Thanks chaps. @Anthony, if you ask me the Revell is a better option than the Tamiya kit. But it would have to be a C/D or a J obviously. The E I am using has the hose-nose. That is why I use the Tamiya fuselage. Strangely enough it seems the Revell lower wing fits the converted Tamiya intakes better than the original wing.- 414 replies
-
- 3
-
-

-
- conversion
- phantom
- (and 1 more)
-
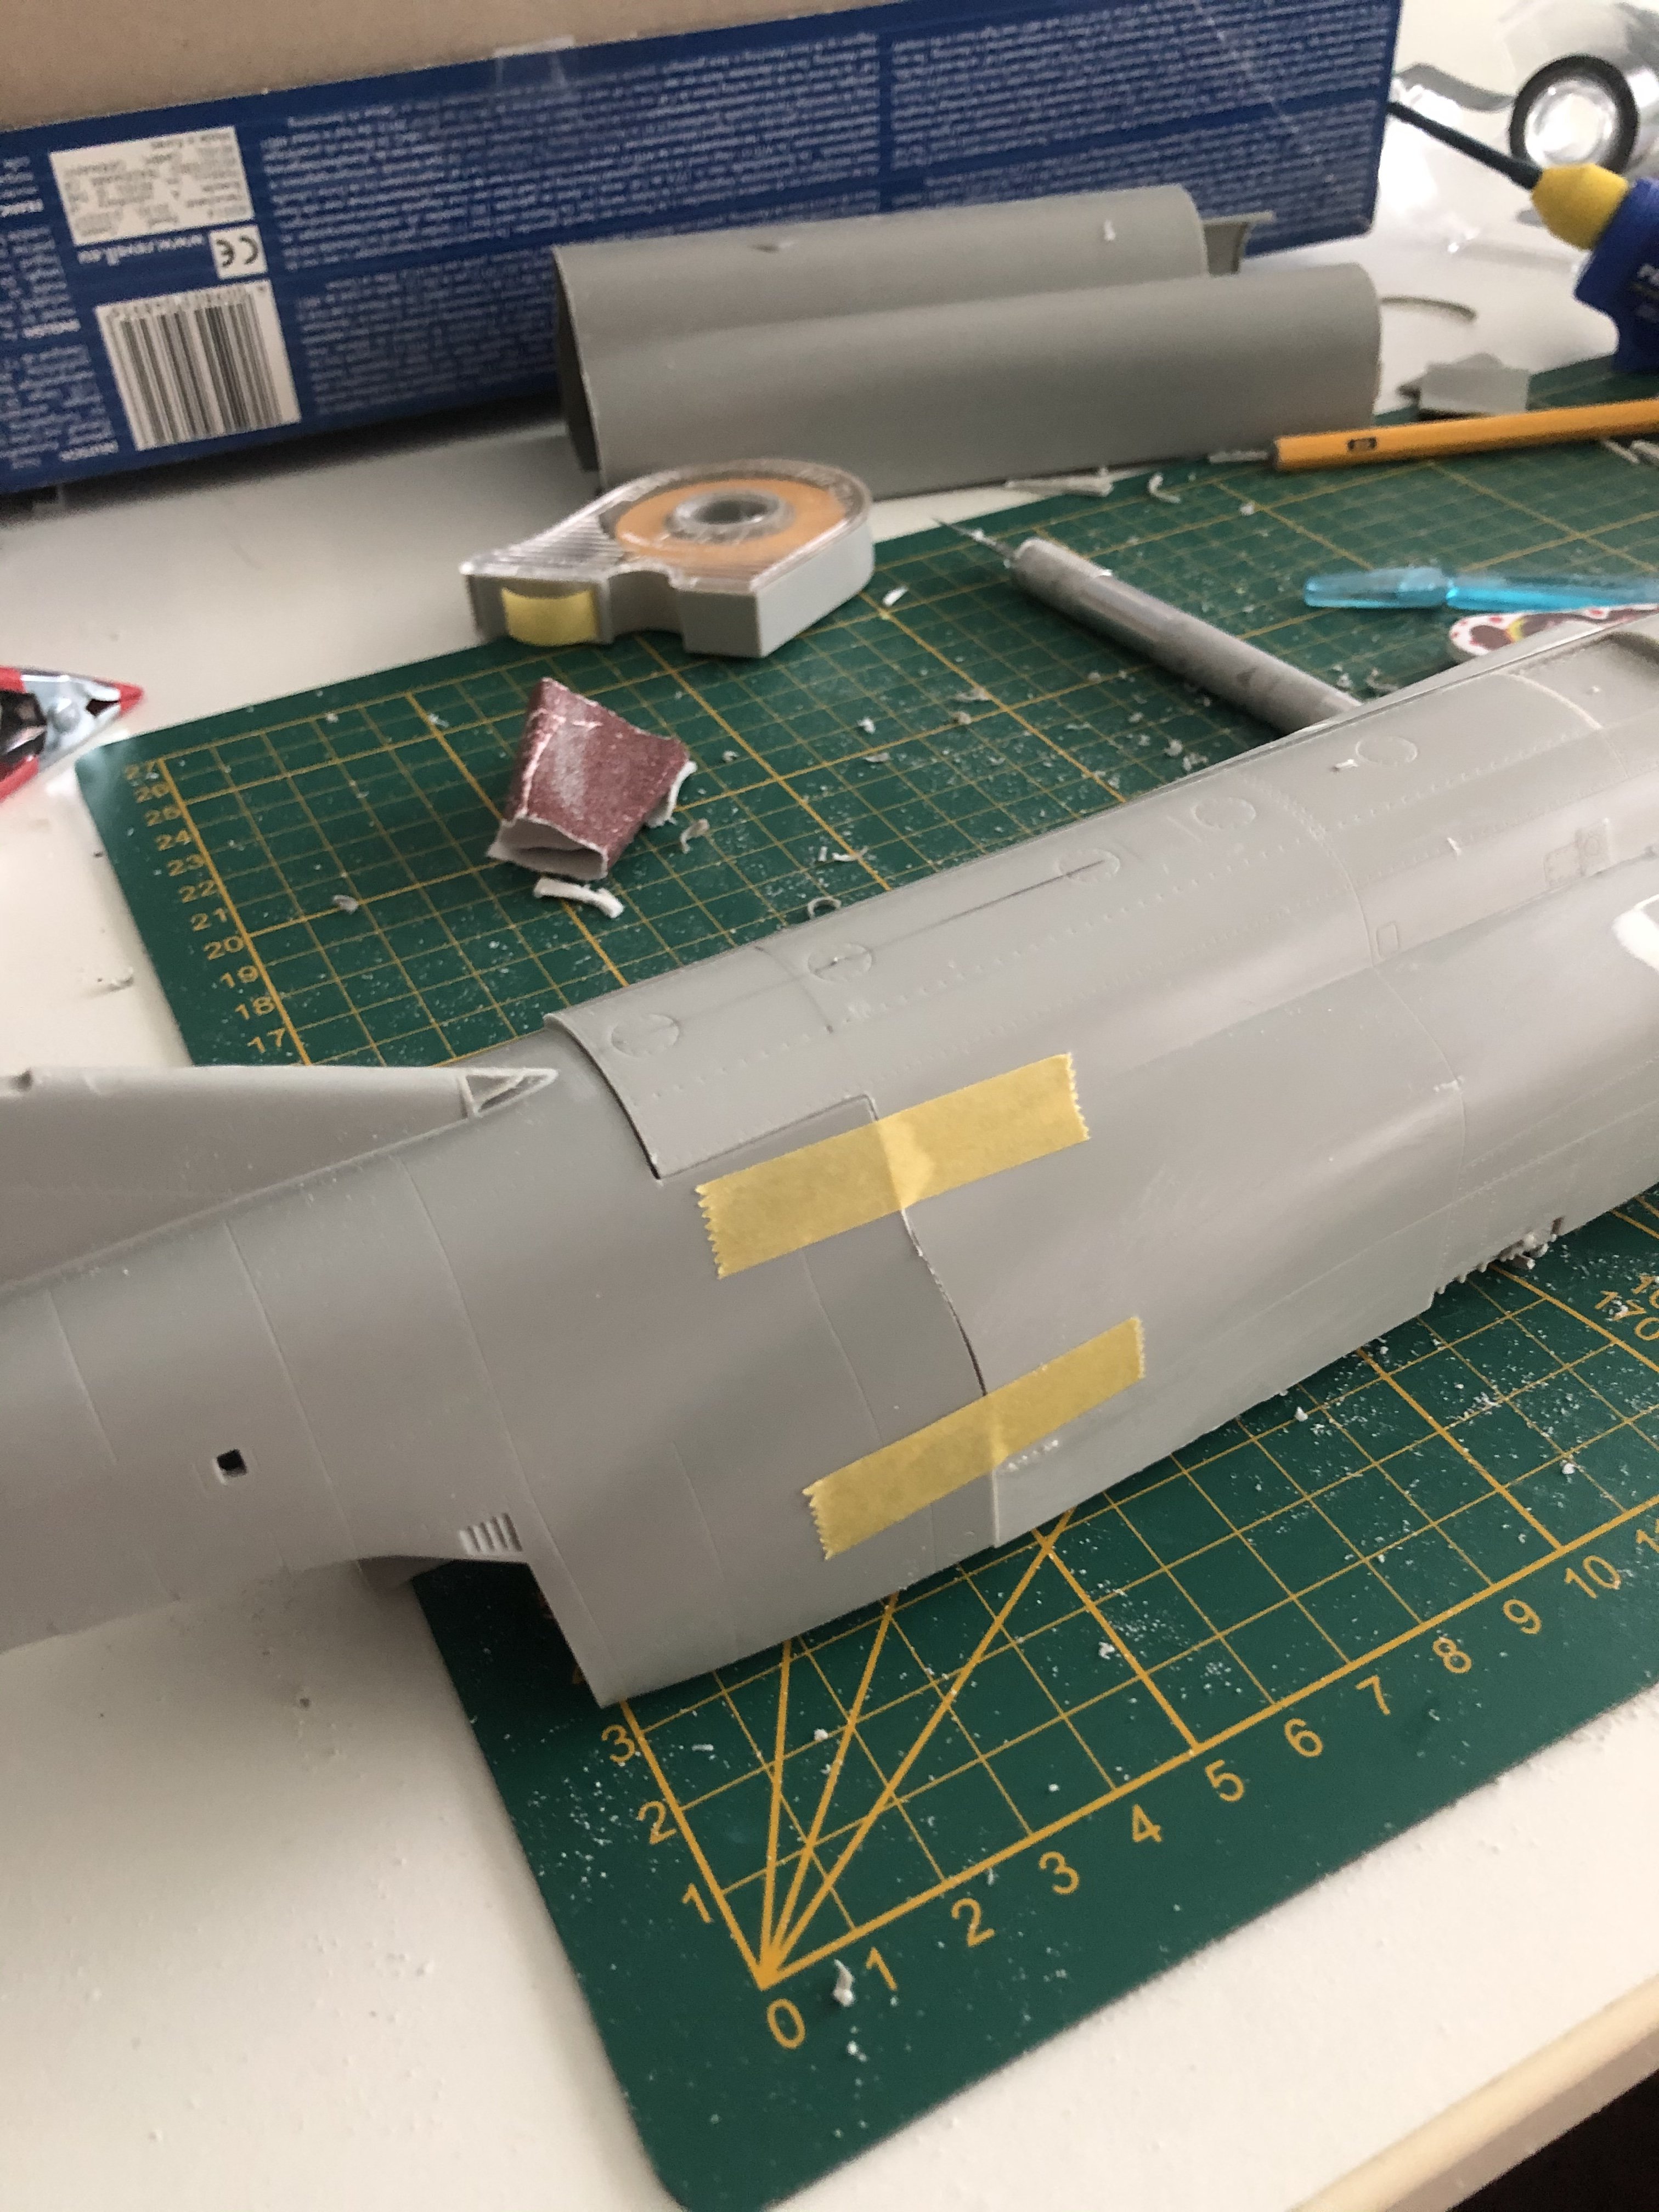
RR Spey powered RAF Phantom conversion
Wingco57 replied to Wingco57's topic in LSM 1/35 and Larger Work In Progress
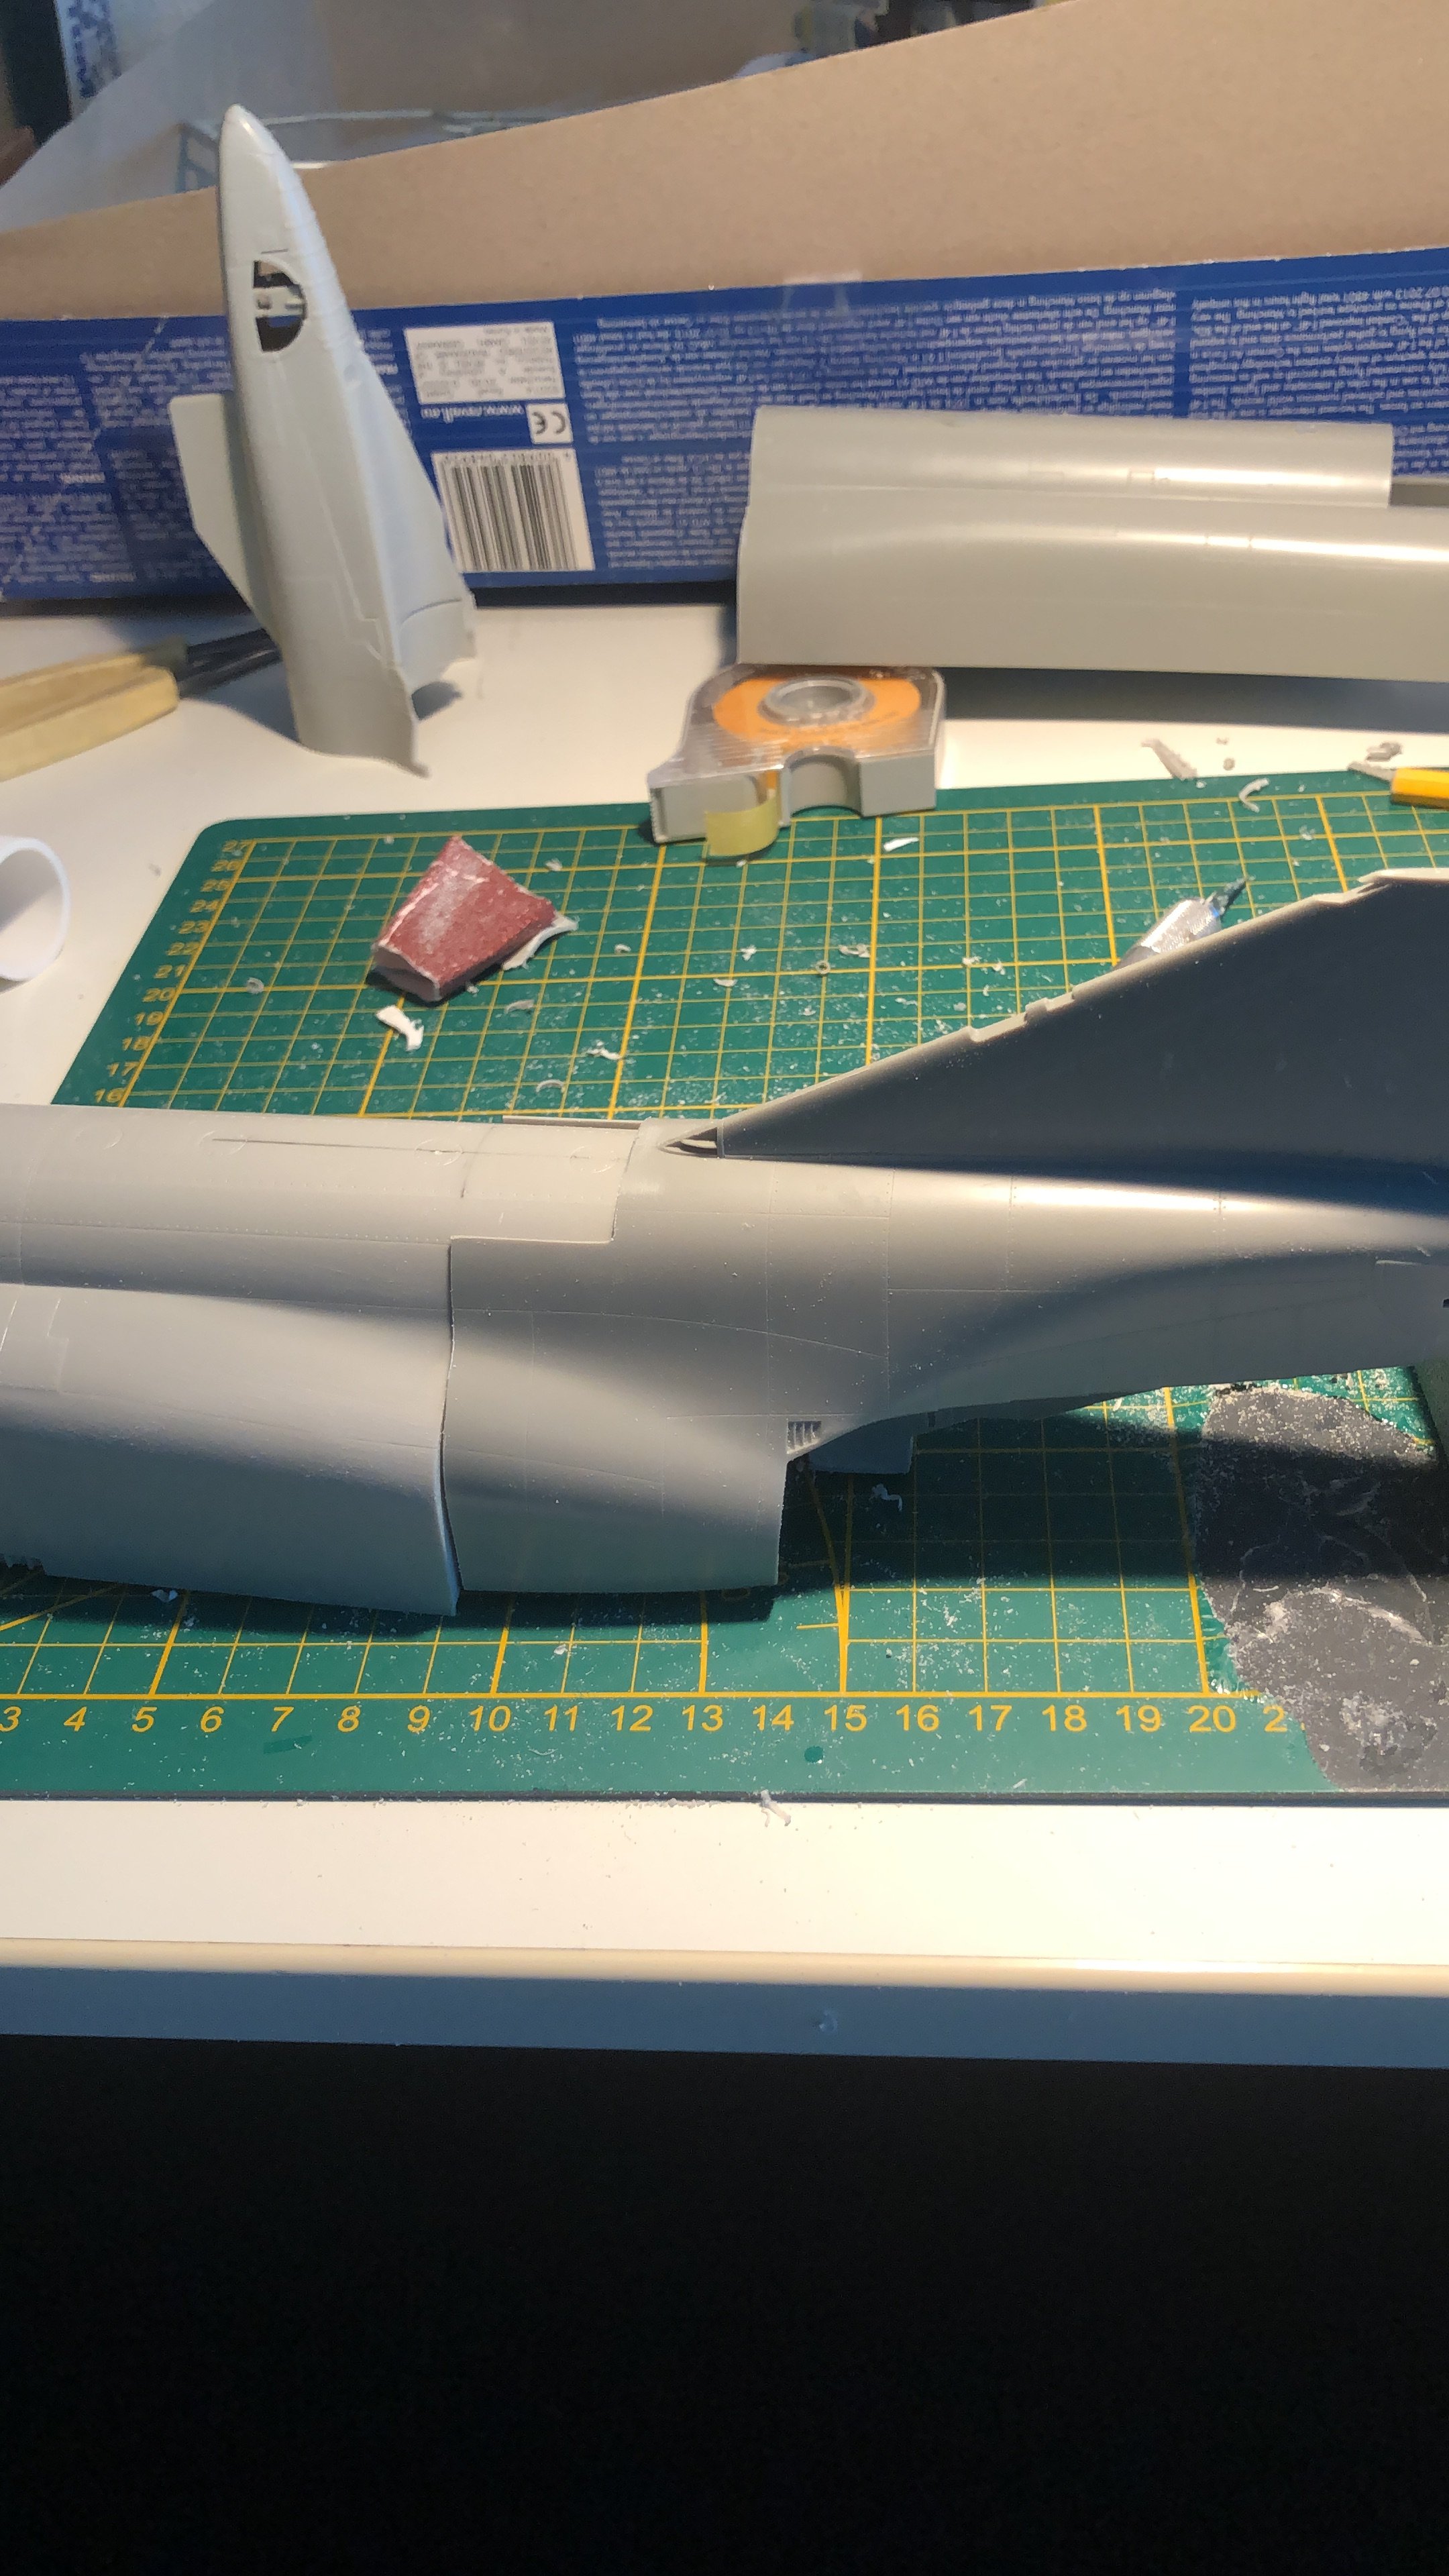
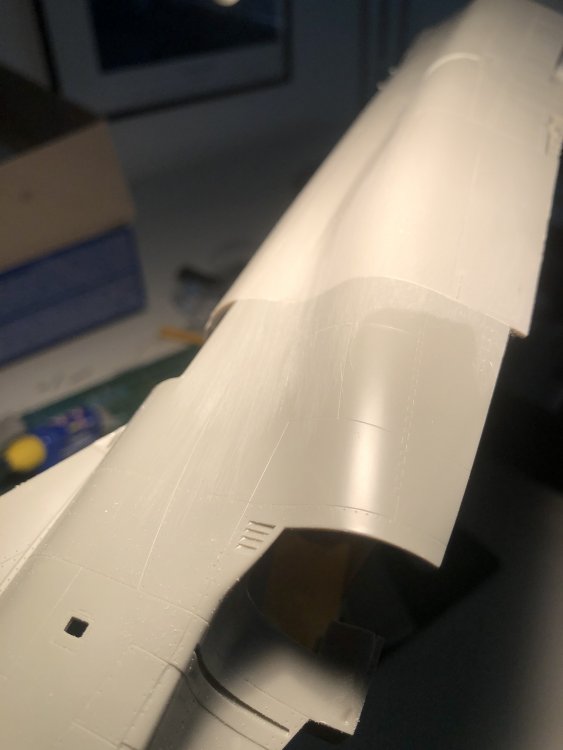
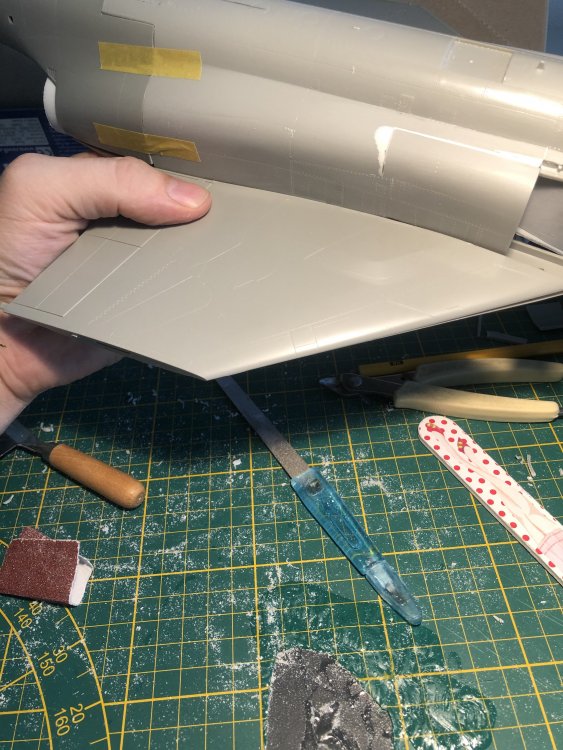
Sanding mostly done, some putty required but not much. The two kits match very well. The top panel from the Tamiya kit is flatter than the Revell spine. Perhaps replace it or tweak it a bit. Choices, choices. Cees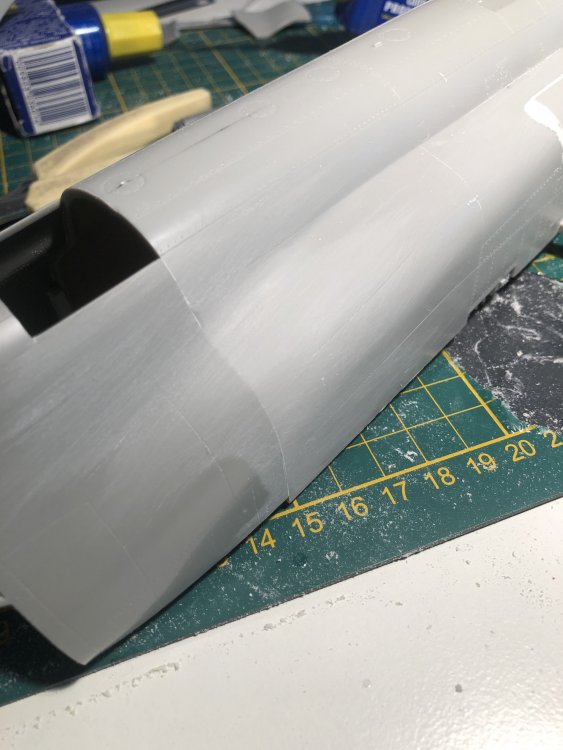
- 414 replies
-
- 1
-
-
- conversion
- phantom
- (and 1 more)
-
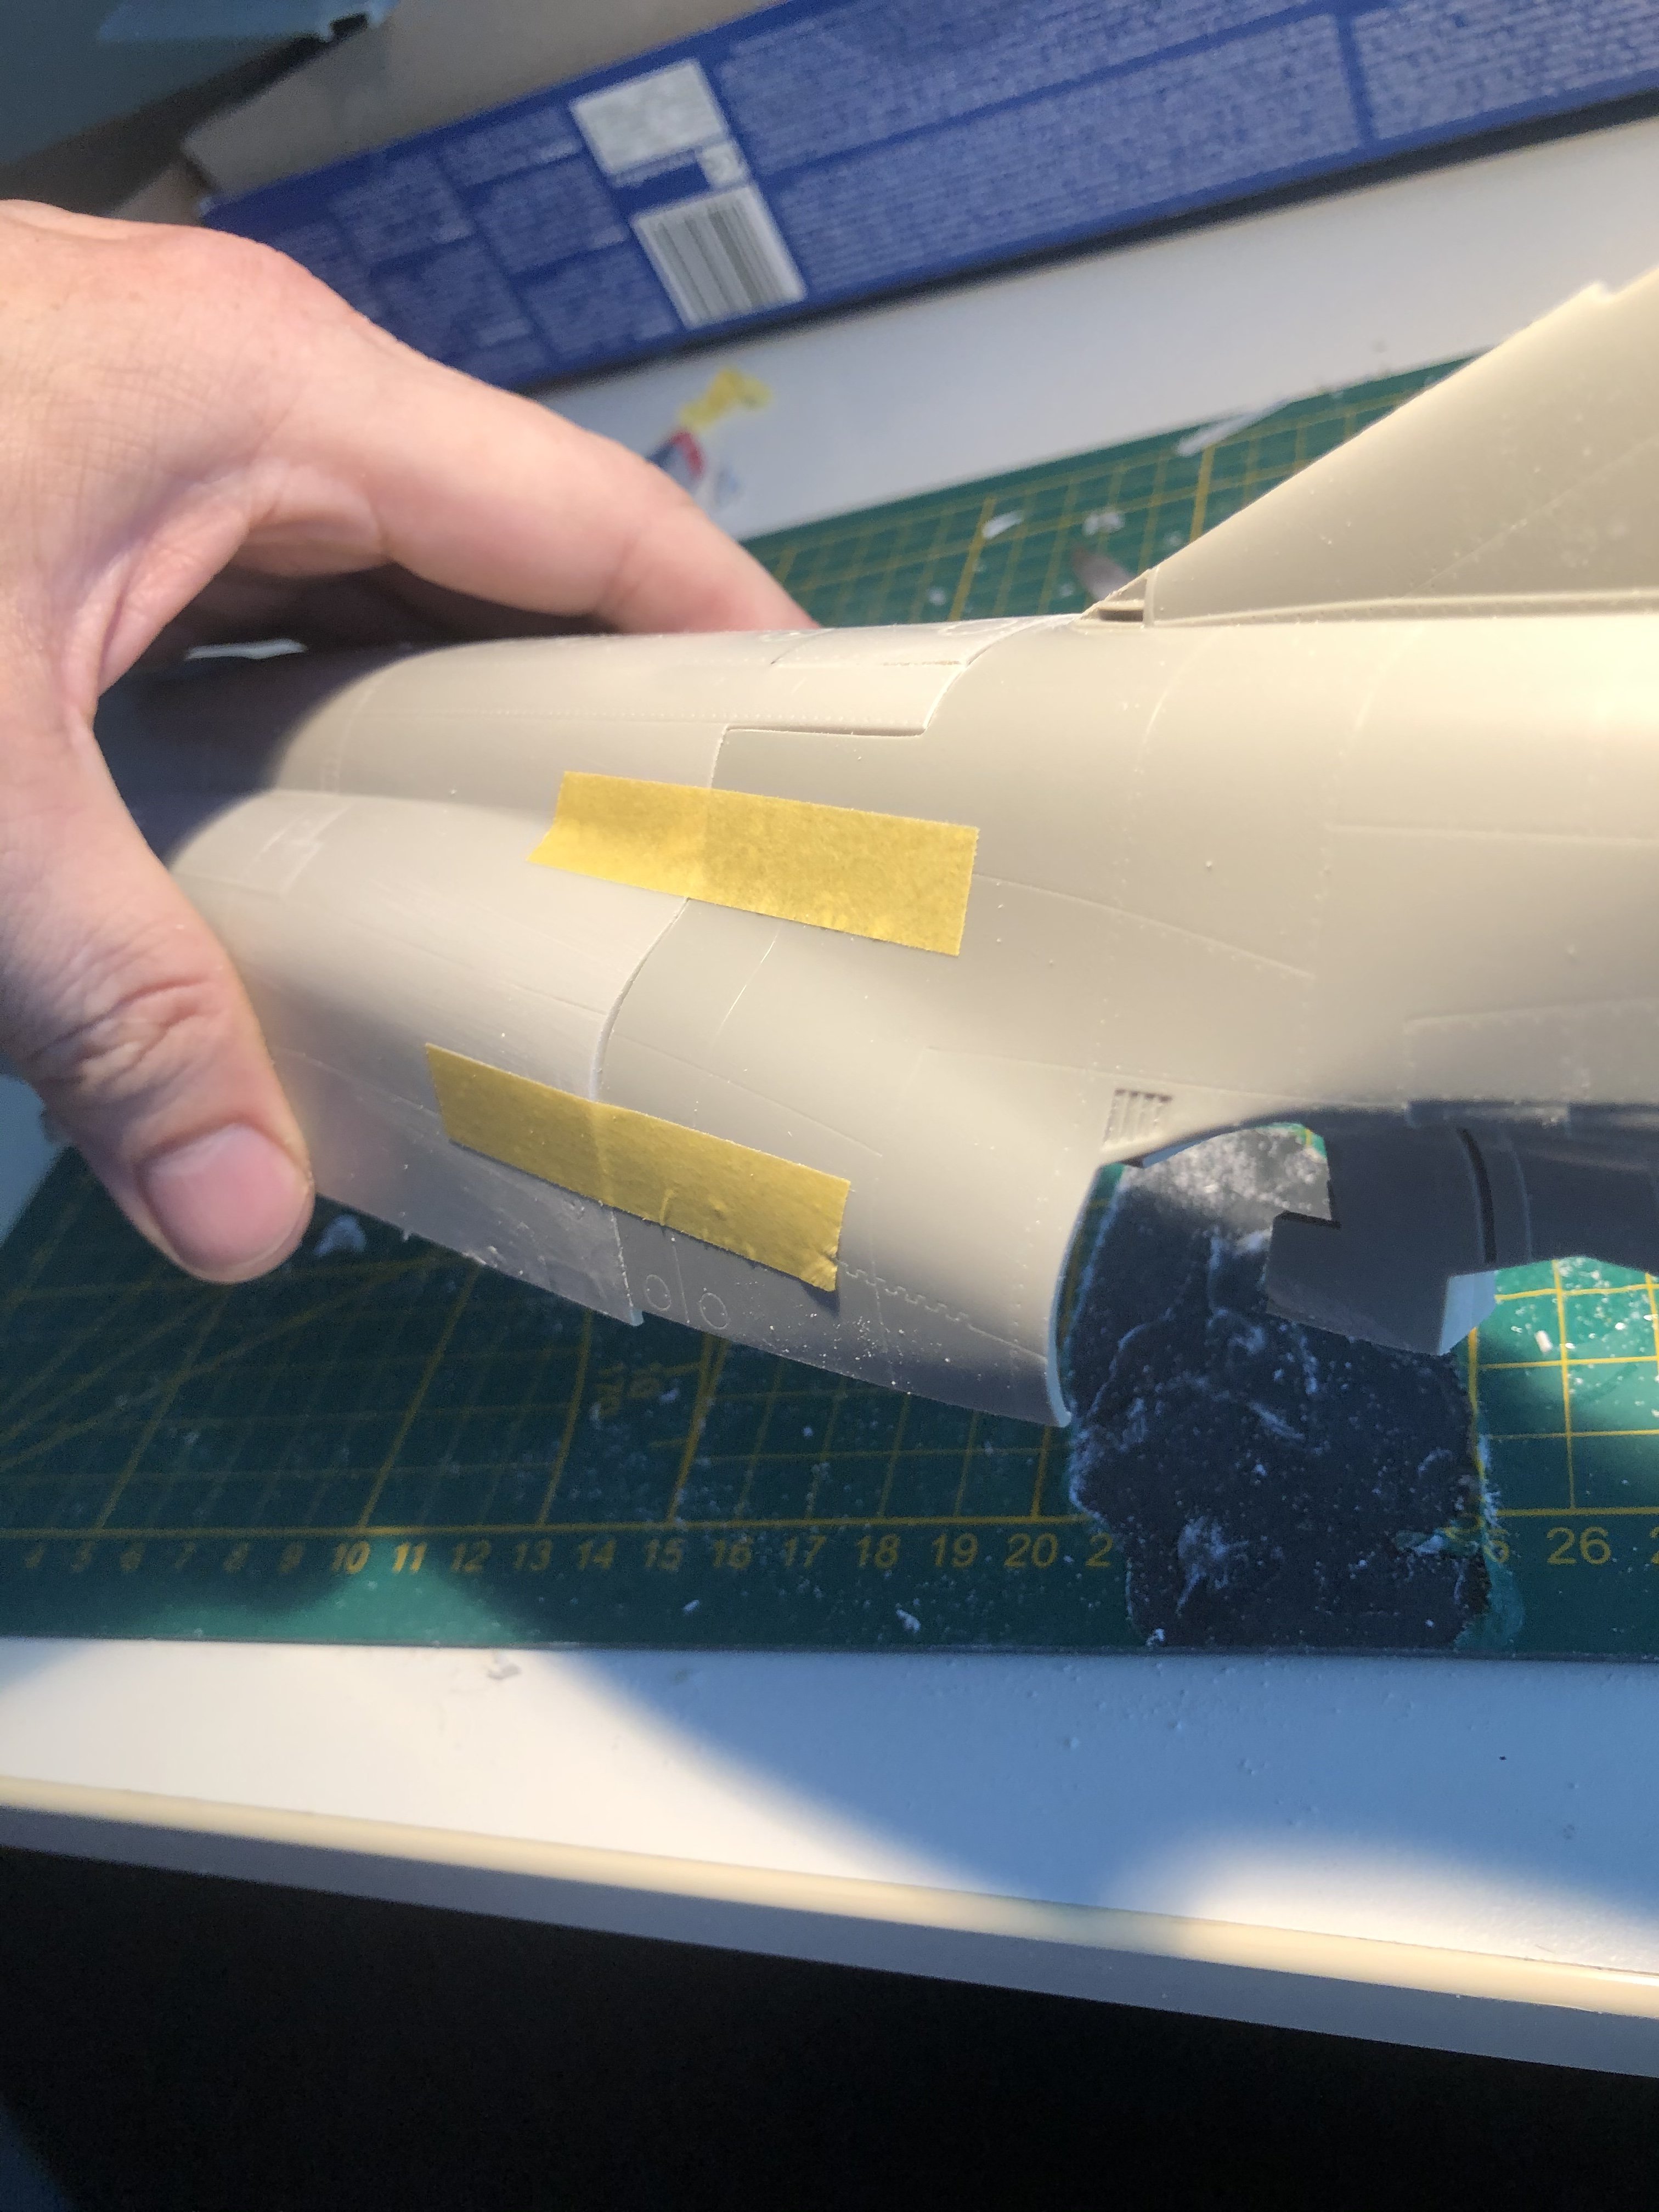
RR Spey powered RAF Phantom conversion
Wingco57 replied to Wingco57's topic in LSM 1/35 and Larger Work In Progress
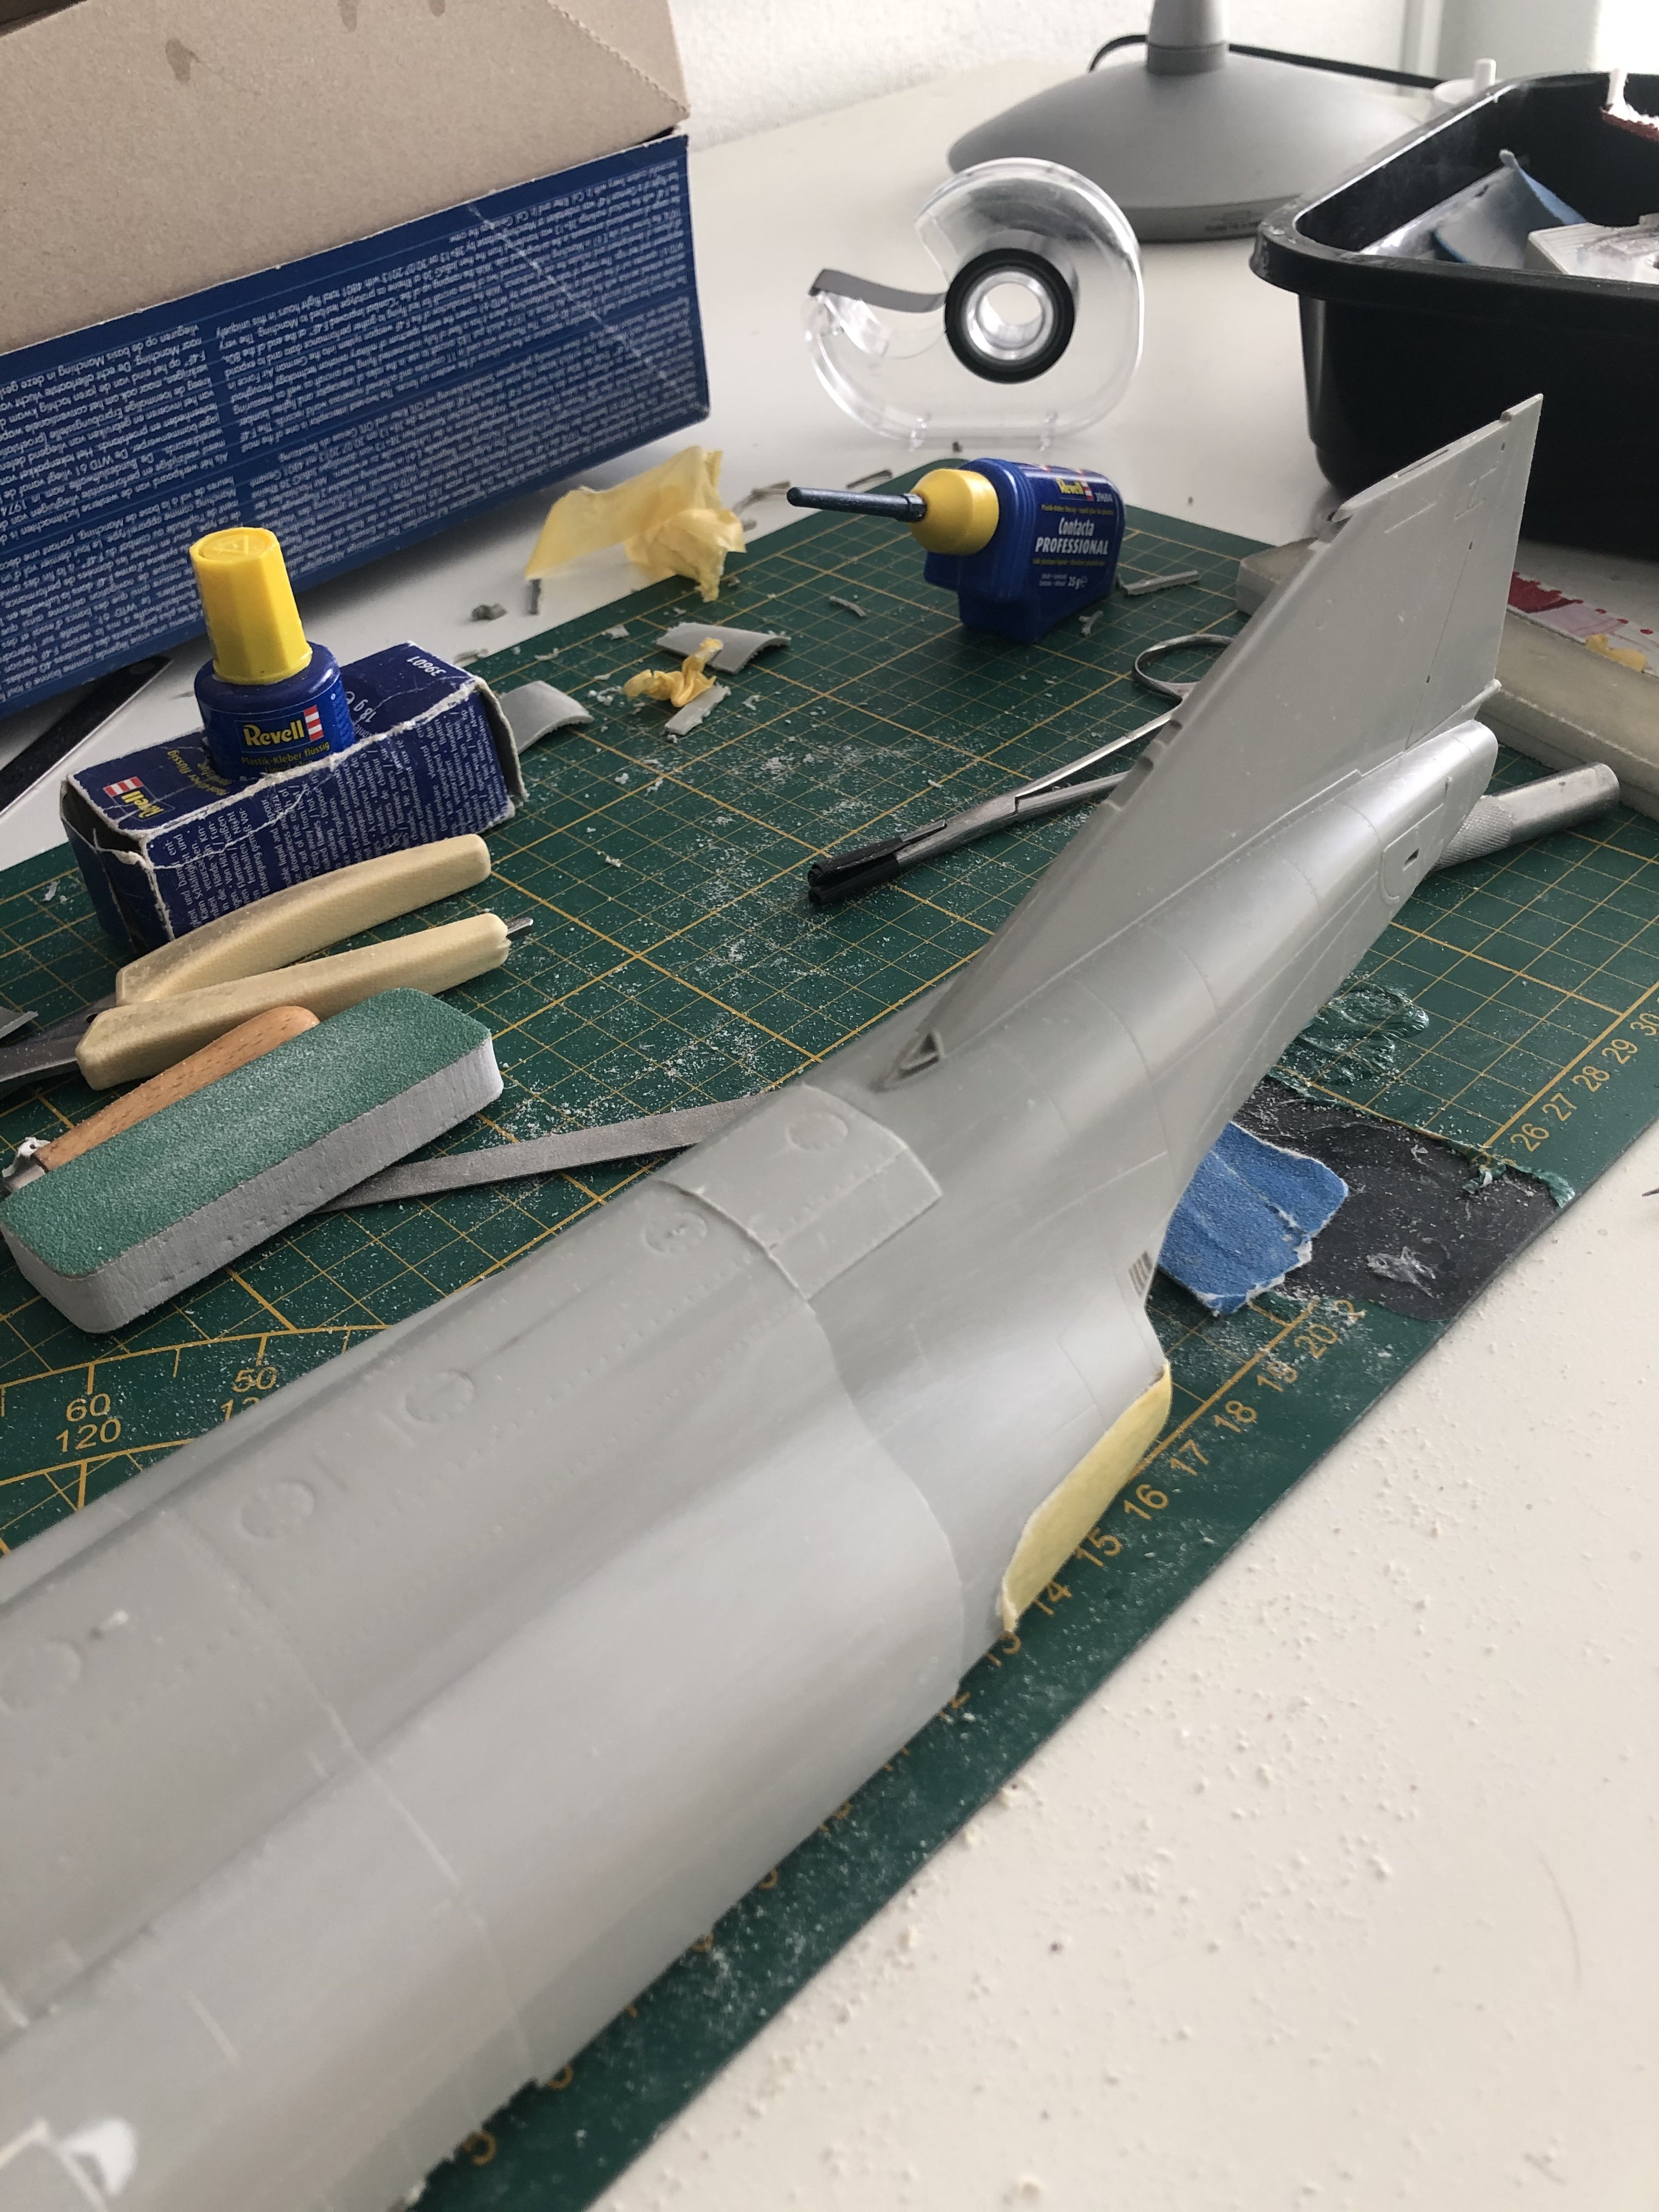
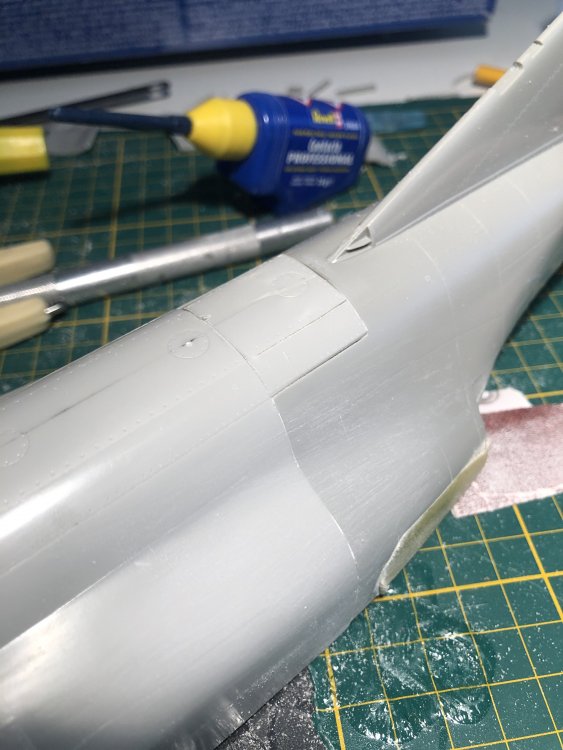
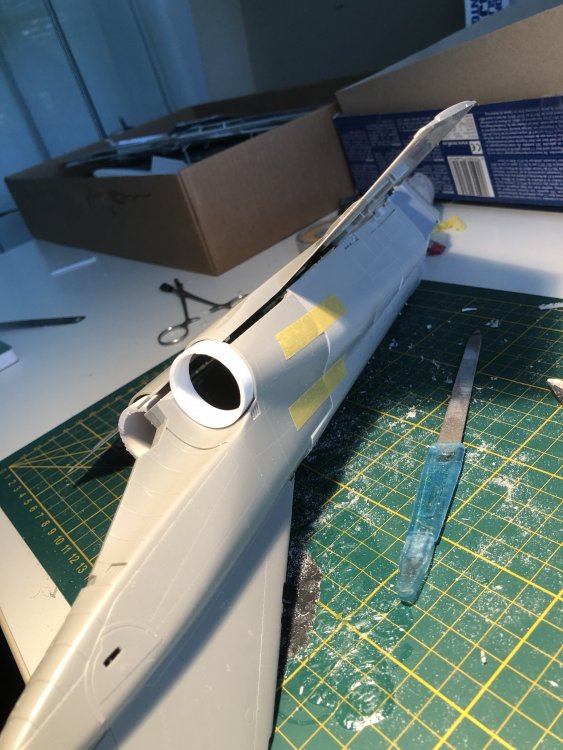
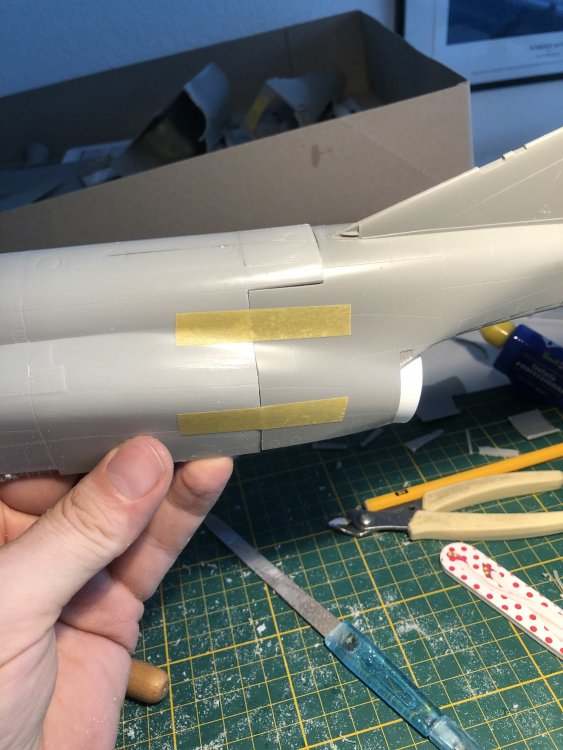
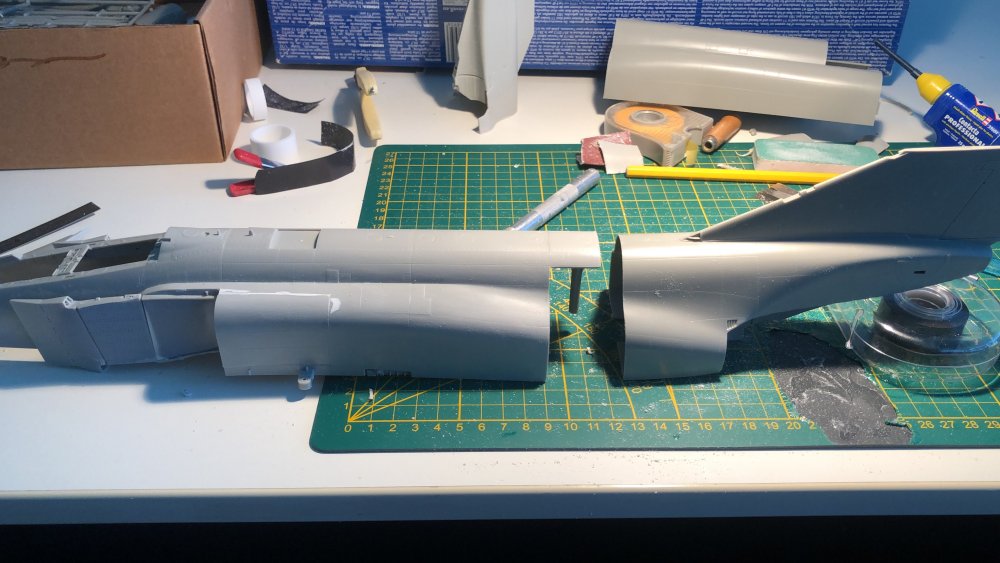
Here are some pics. Nothing done to the join yet. Cees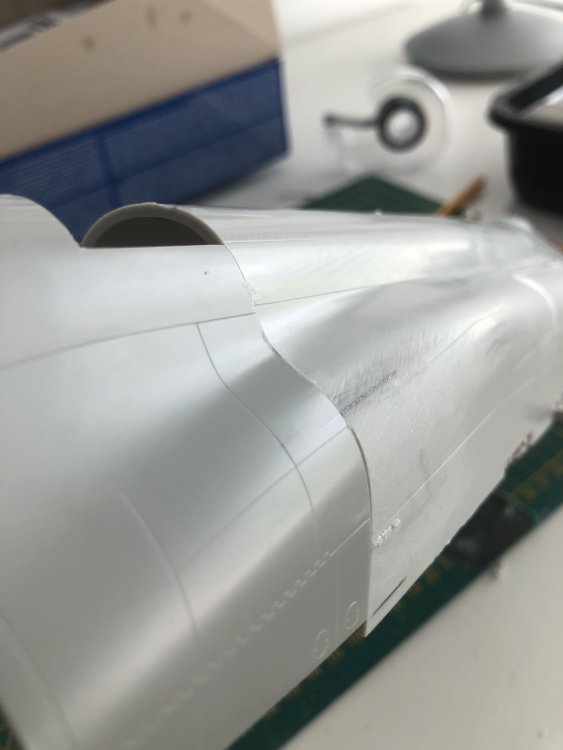
- 414 replies
-
- 2
-
-
- conversion
- phantom
- (and 1 more)
-
RR Spey powered RAF Phantom conversion
Wingco57 replied to Wingco57's topic in LSM 1/35 and Larger Work In Progress
Well, it fits pretty good and in fact better than the Tamiya lower wing especially at the front near the intakes. The two halves have been firmly glued together and I am very happy how it has turned out. Minimal sanding requited by the looks of it and most of the Revell panellines can be retained. Will post pics later today. Cheers Cees -
RR Spey powered RAF Phantom conversion
Wingco57 replied to Wingco57's topic in LSM 1/35 and Larger Work In Progress
Hope you get to it again, an unique project. well, the two halves have been joined in holy matrimony. Very pleased about the fit. Cheers Cees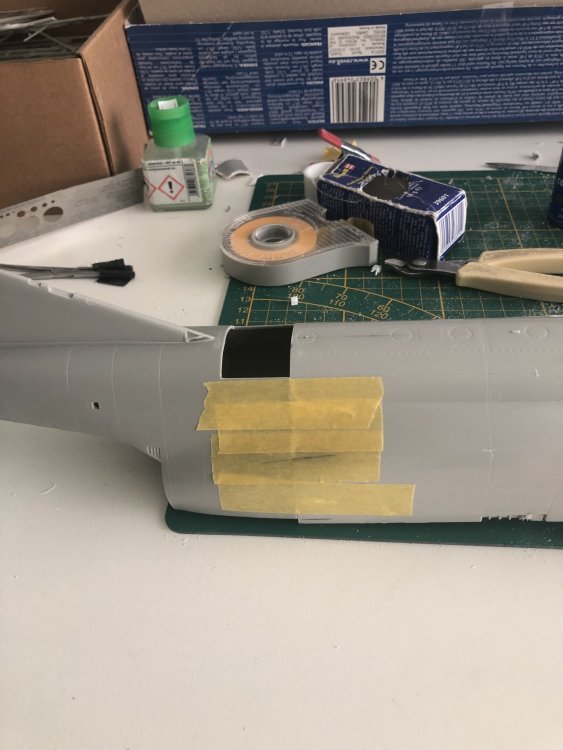

- 414 replies
-
- 6
-
-
-
- conversion
- phantom
- (and 1 more)
-
RR Spey powered RAF Phantom conversion
Wingco57 replied to Wingco57's topic in LSM 1/35 and Larger Work In Progress
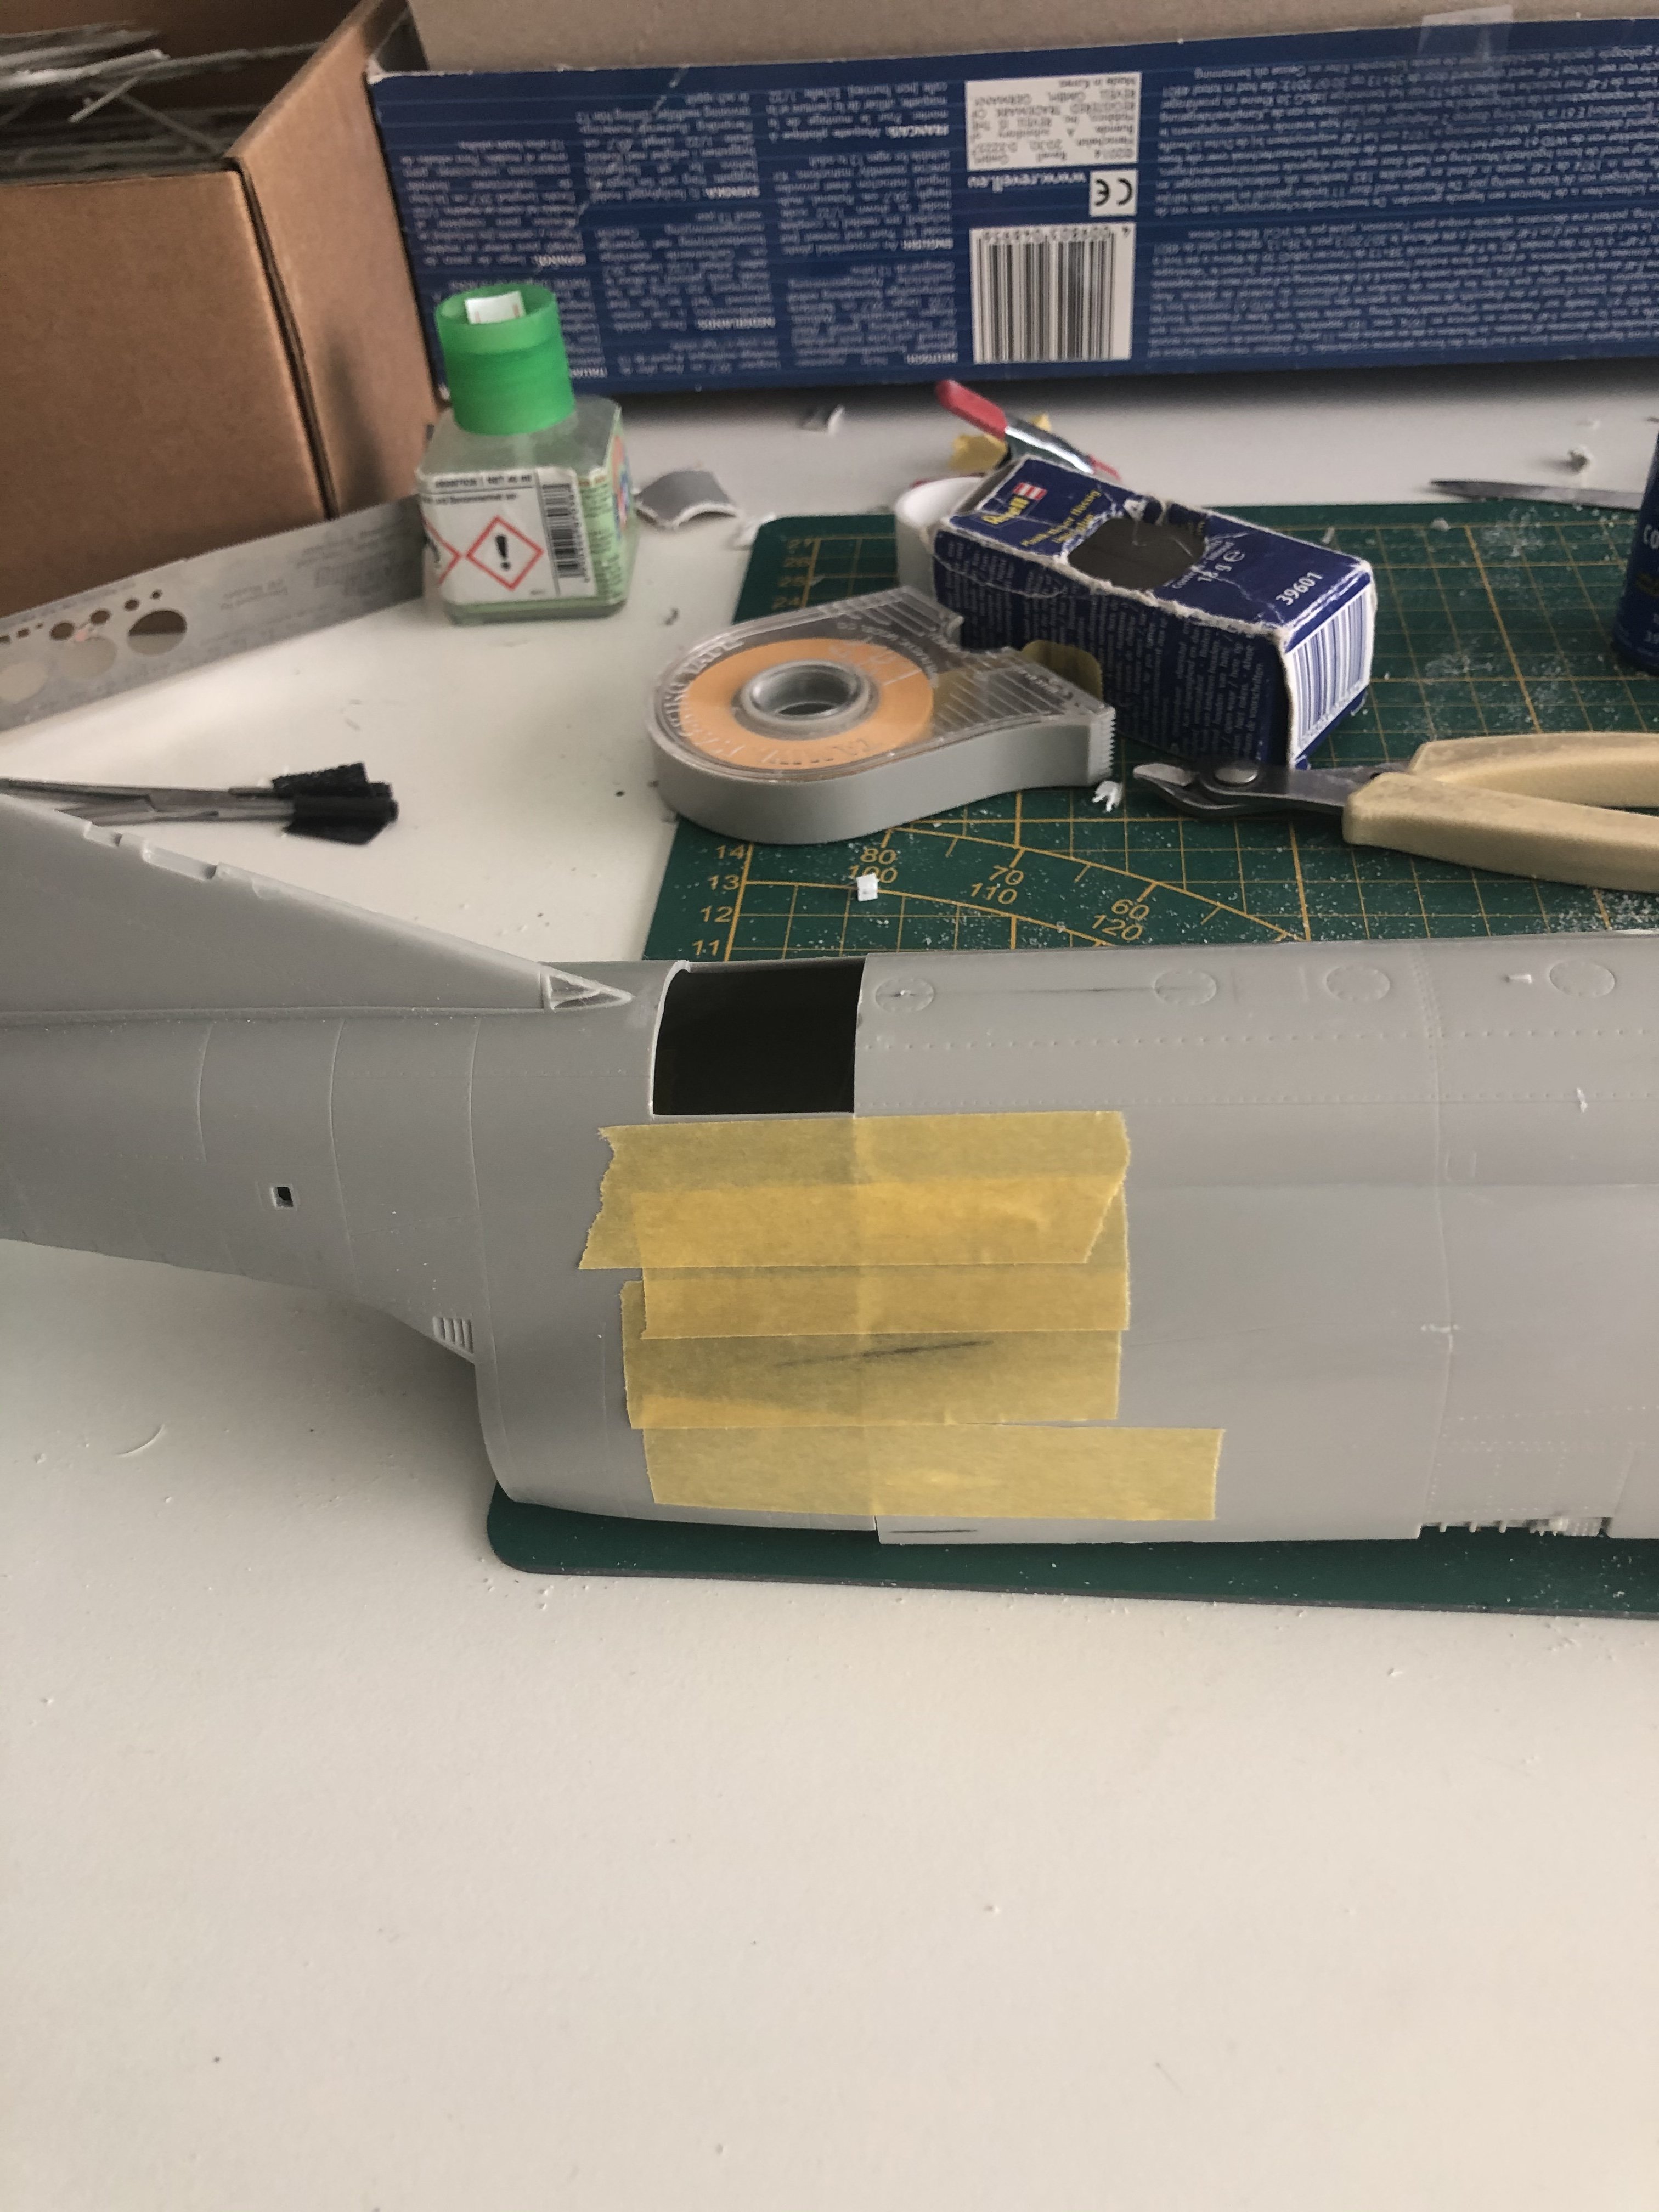
Thanks Tom, but I swapped the Tamiya kit for something I had laying around for quite some time and the Revell kit was on discount. What happend to your 1/24 Combat vac build by the way? In the meantime one side has been glued with the other to follow. I have cut away the top part as that was impairing the fit. Easier to fit the loose panel later. I want to make sure the join is as clean as possible. Both kits are quite close in that area.- 414 replies
-
- 2
-
-
- conversion
- phantom
- (and 1 more)
-
P-39 Airacobra 1/32 Kitty Hawk
Wingco57 replied to artro219's topic in LSM 1/32 and Larger Aircraft Ready for Inspection
What a lovely model Artro. I especially like the weathering. How did you do the exhaust staining? -
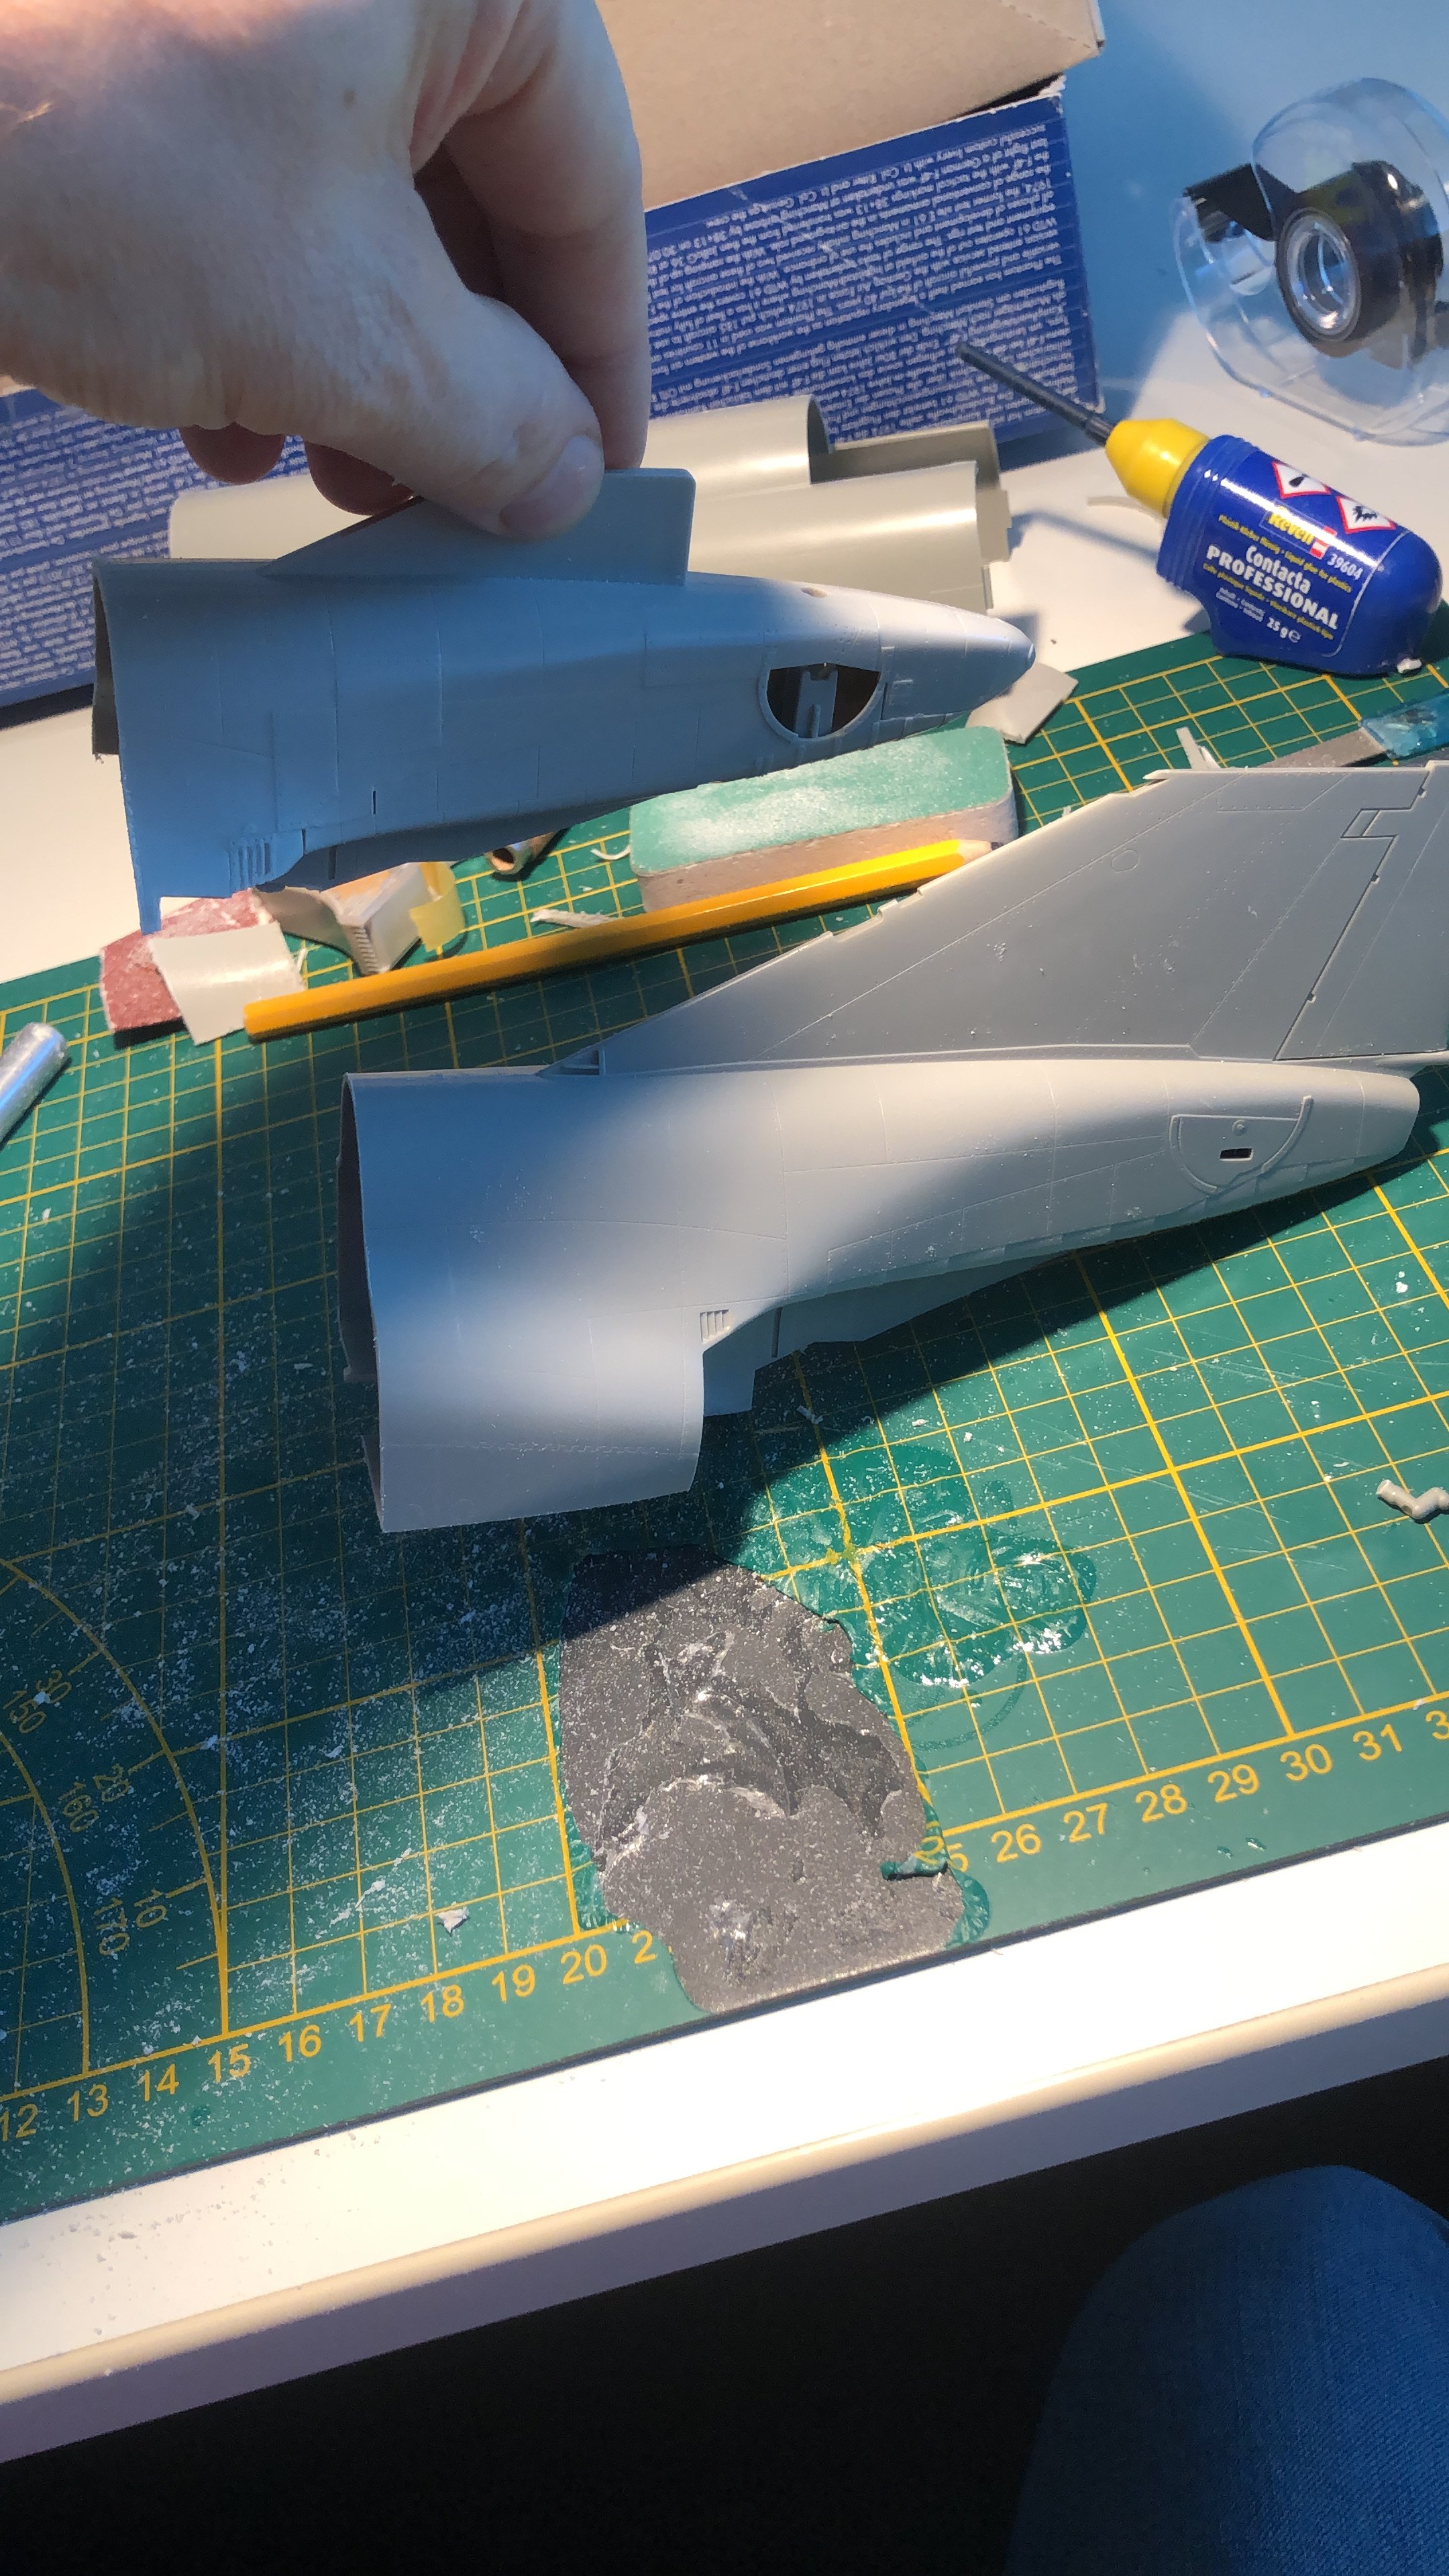
RR Spey powered RAF Phantom conversion
Wingco57 replied to Wingco57's topic in LSM 1/35 and Larger Work In Progress
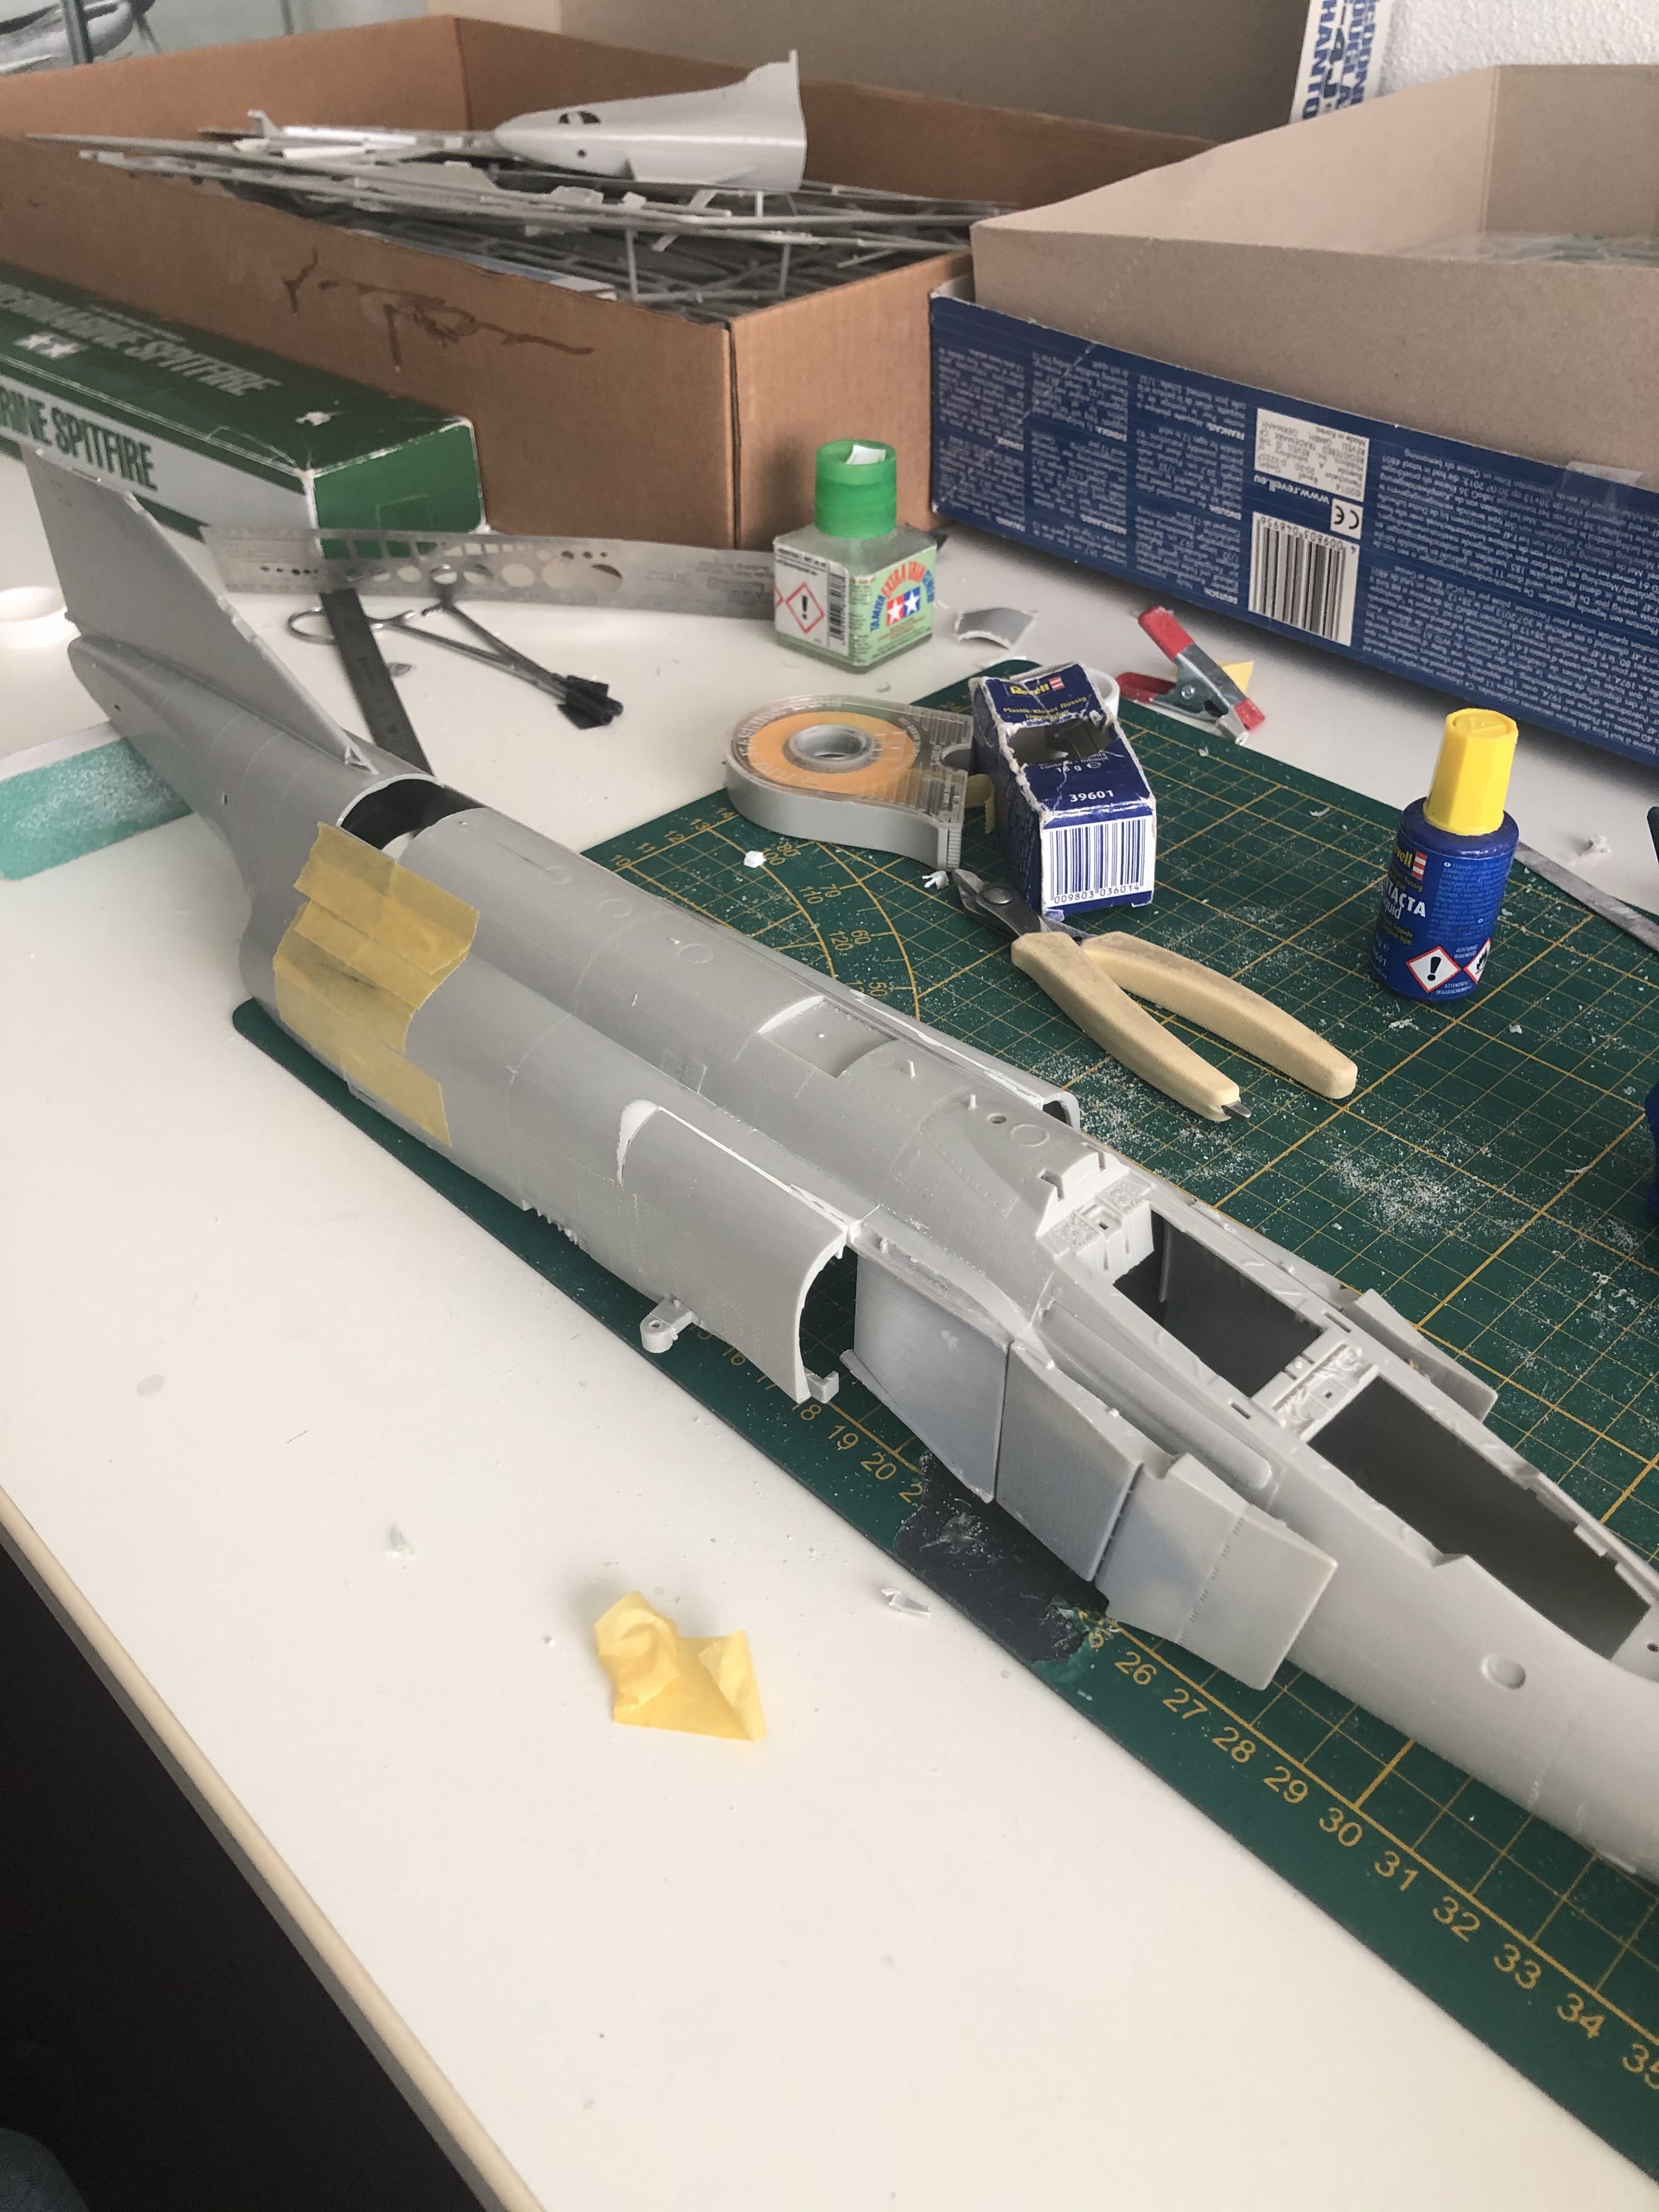
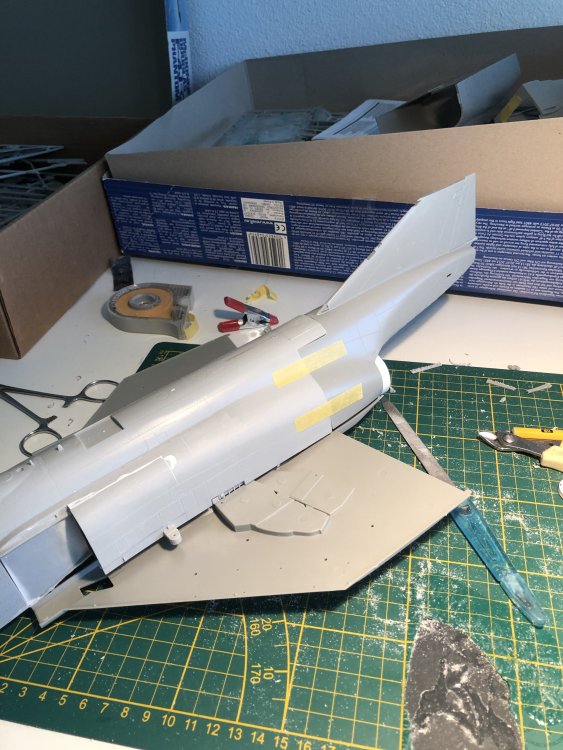
More tweaking, getting there slowly. Trialfit between the Tamiya fuselage and the Revell wing. It fits beautifully. The Tamiya plastic is very brittle whereas the Revell parts are nice and flexible. Cees

- 414 replies
-
- 5
-
-
-
- conversion
- phantom
- (and 1 more)
-
RR Spey powered RAF Phantom conversion
Wingco57 replied to Wingco57's topic in LSM 1/35 and Larger Work In Progress
Really liking this progress. Still tweaking the cutout at the spine (still too much tension) the starboard side is already fine and the port to follow.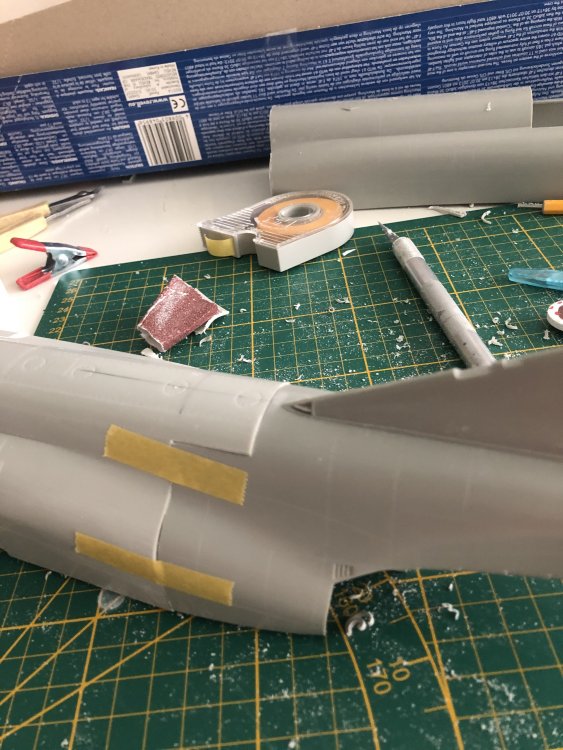

- 414 replies
-
- 3
-
-
- conversion
- phantom
- (and 1 more)
-
RR Spey powered RAF Phantom conversion
Wingco57 replied to Wingco57's topic in LSM 1/35 and Larger Work In Progress
Thanks chaps, I am not after the most accurate result but something that is close and resembles the intended model. And thinking about a problem, how to tackle it and solve it is part of the fun. And the sharing of experiences and information greatly adds to that. And I plan to use the Revell wings. In fact crosskitting will be the best option using the strongpoints from both kits. @Barry, will you continue on your magnificent work? Looks strange with one modified bum. Cheers Cees- 414 replies
-
- 2
-
-
- conversion
- phantom
- (and 1 more)
-
RR Spey powered RAF Phantom conversion
Wingco57 replied to Wingco57's topic in LSM 1/35 and Larger Work In Progress
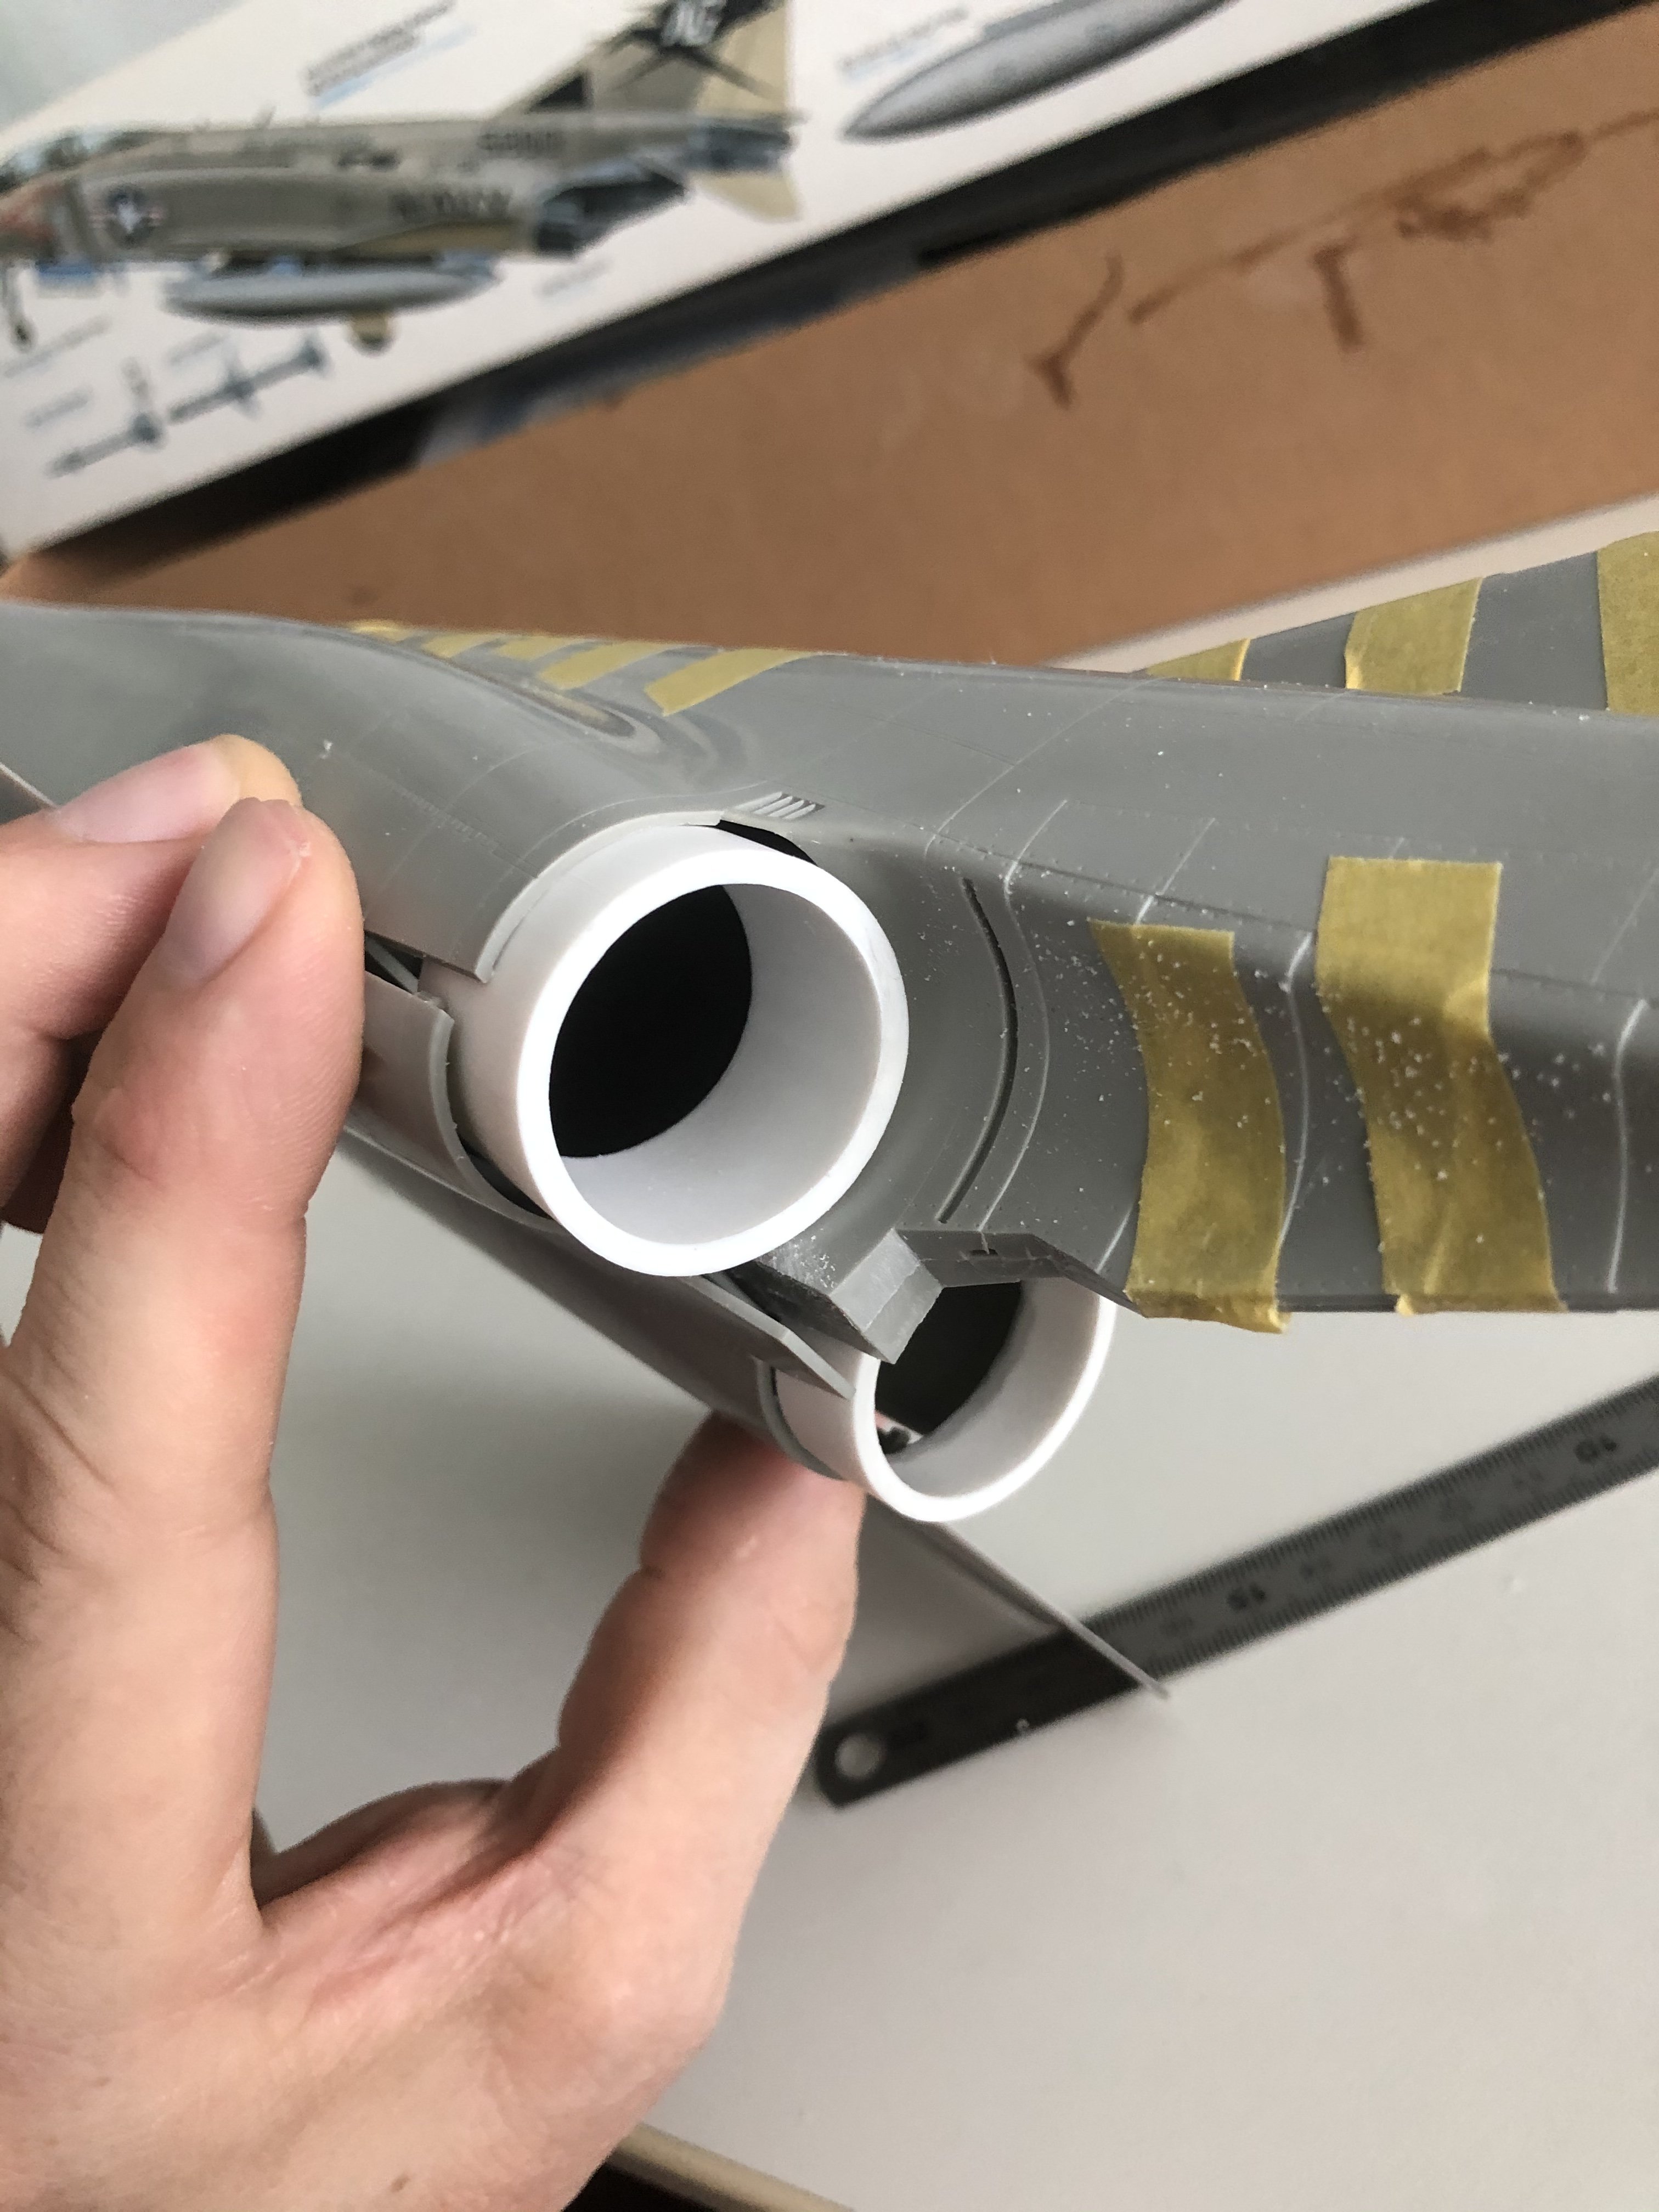
Pics say more than words. With some tweaking here and there this can work.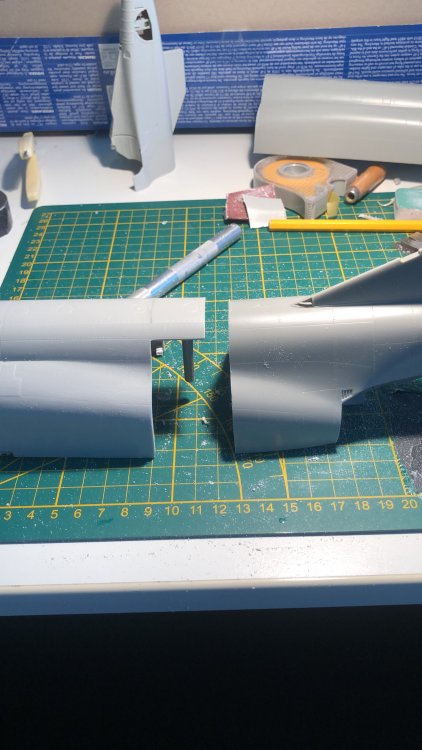


- 414 replies
-
- 3
-
-
-
- conversion
- phantom
- (and 1 more)
-
RR Spey powered RAF Phantom conversion
Wingco57 replied to Wingco57's topic in LSM 1/35 and Larger Work In Progress
I think I have found a way to splice the Revell rear onto the Tamiya kit. We'll see how this works out. Now, where did I put that saw.............- 414 replies
-
- 2
-
-
- conversion
- phantom
- (and 1 more)
-
1/32 Ha-1112 Tripala
Wingco57 replied to JeroenPeters's topic in LSM 1/32 and Larger Aircraft Ready for Inspection
Done and dusted. Great result despite your woes with the fit. But that's modelling. Neeeext! -
RR Spey powered RAF Phantom conversion
Wingco57 replied to Wingco57's topic in LSM 1/35 and Larger Work In Progress
Indeed, I did that too on the Tamiya but it didn't quite work out....yet. It got a bit messy. There are various possibilities. It's just a matter of which one to use.- 414 replies
-
- 2
-
-
- conversion
- phantom
- (and 1 more)
-
RR Spey powered RAF Phantom conversion
Wingco57 replied to Wingco57's topic in LSM 1/35 and Larger Work In Progress
Getting the Tamiya rear rounded isn’t going very well...... the sides are too slabsided.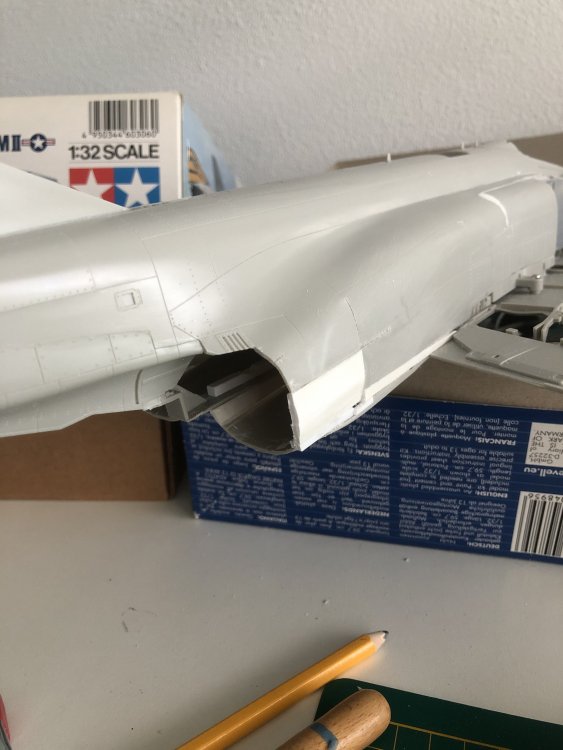
- 414 replies
-
- 3
-
-
- conversion
- phantom
- (and 1 more)
-
RR Spey powered RAF Phantom conversion
Wingco57 replied to Wingco57's topic in LSM 1/35 and Larger Work In Progress
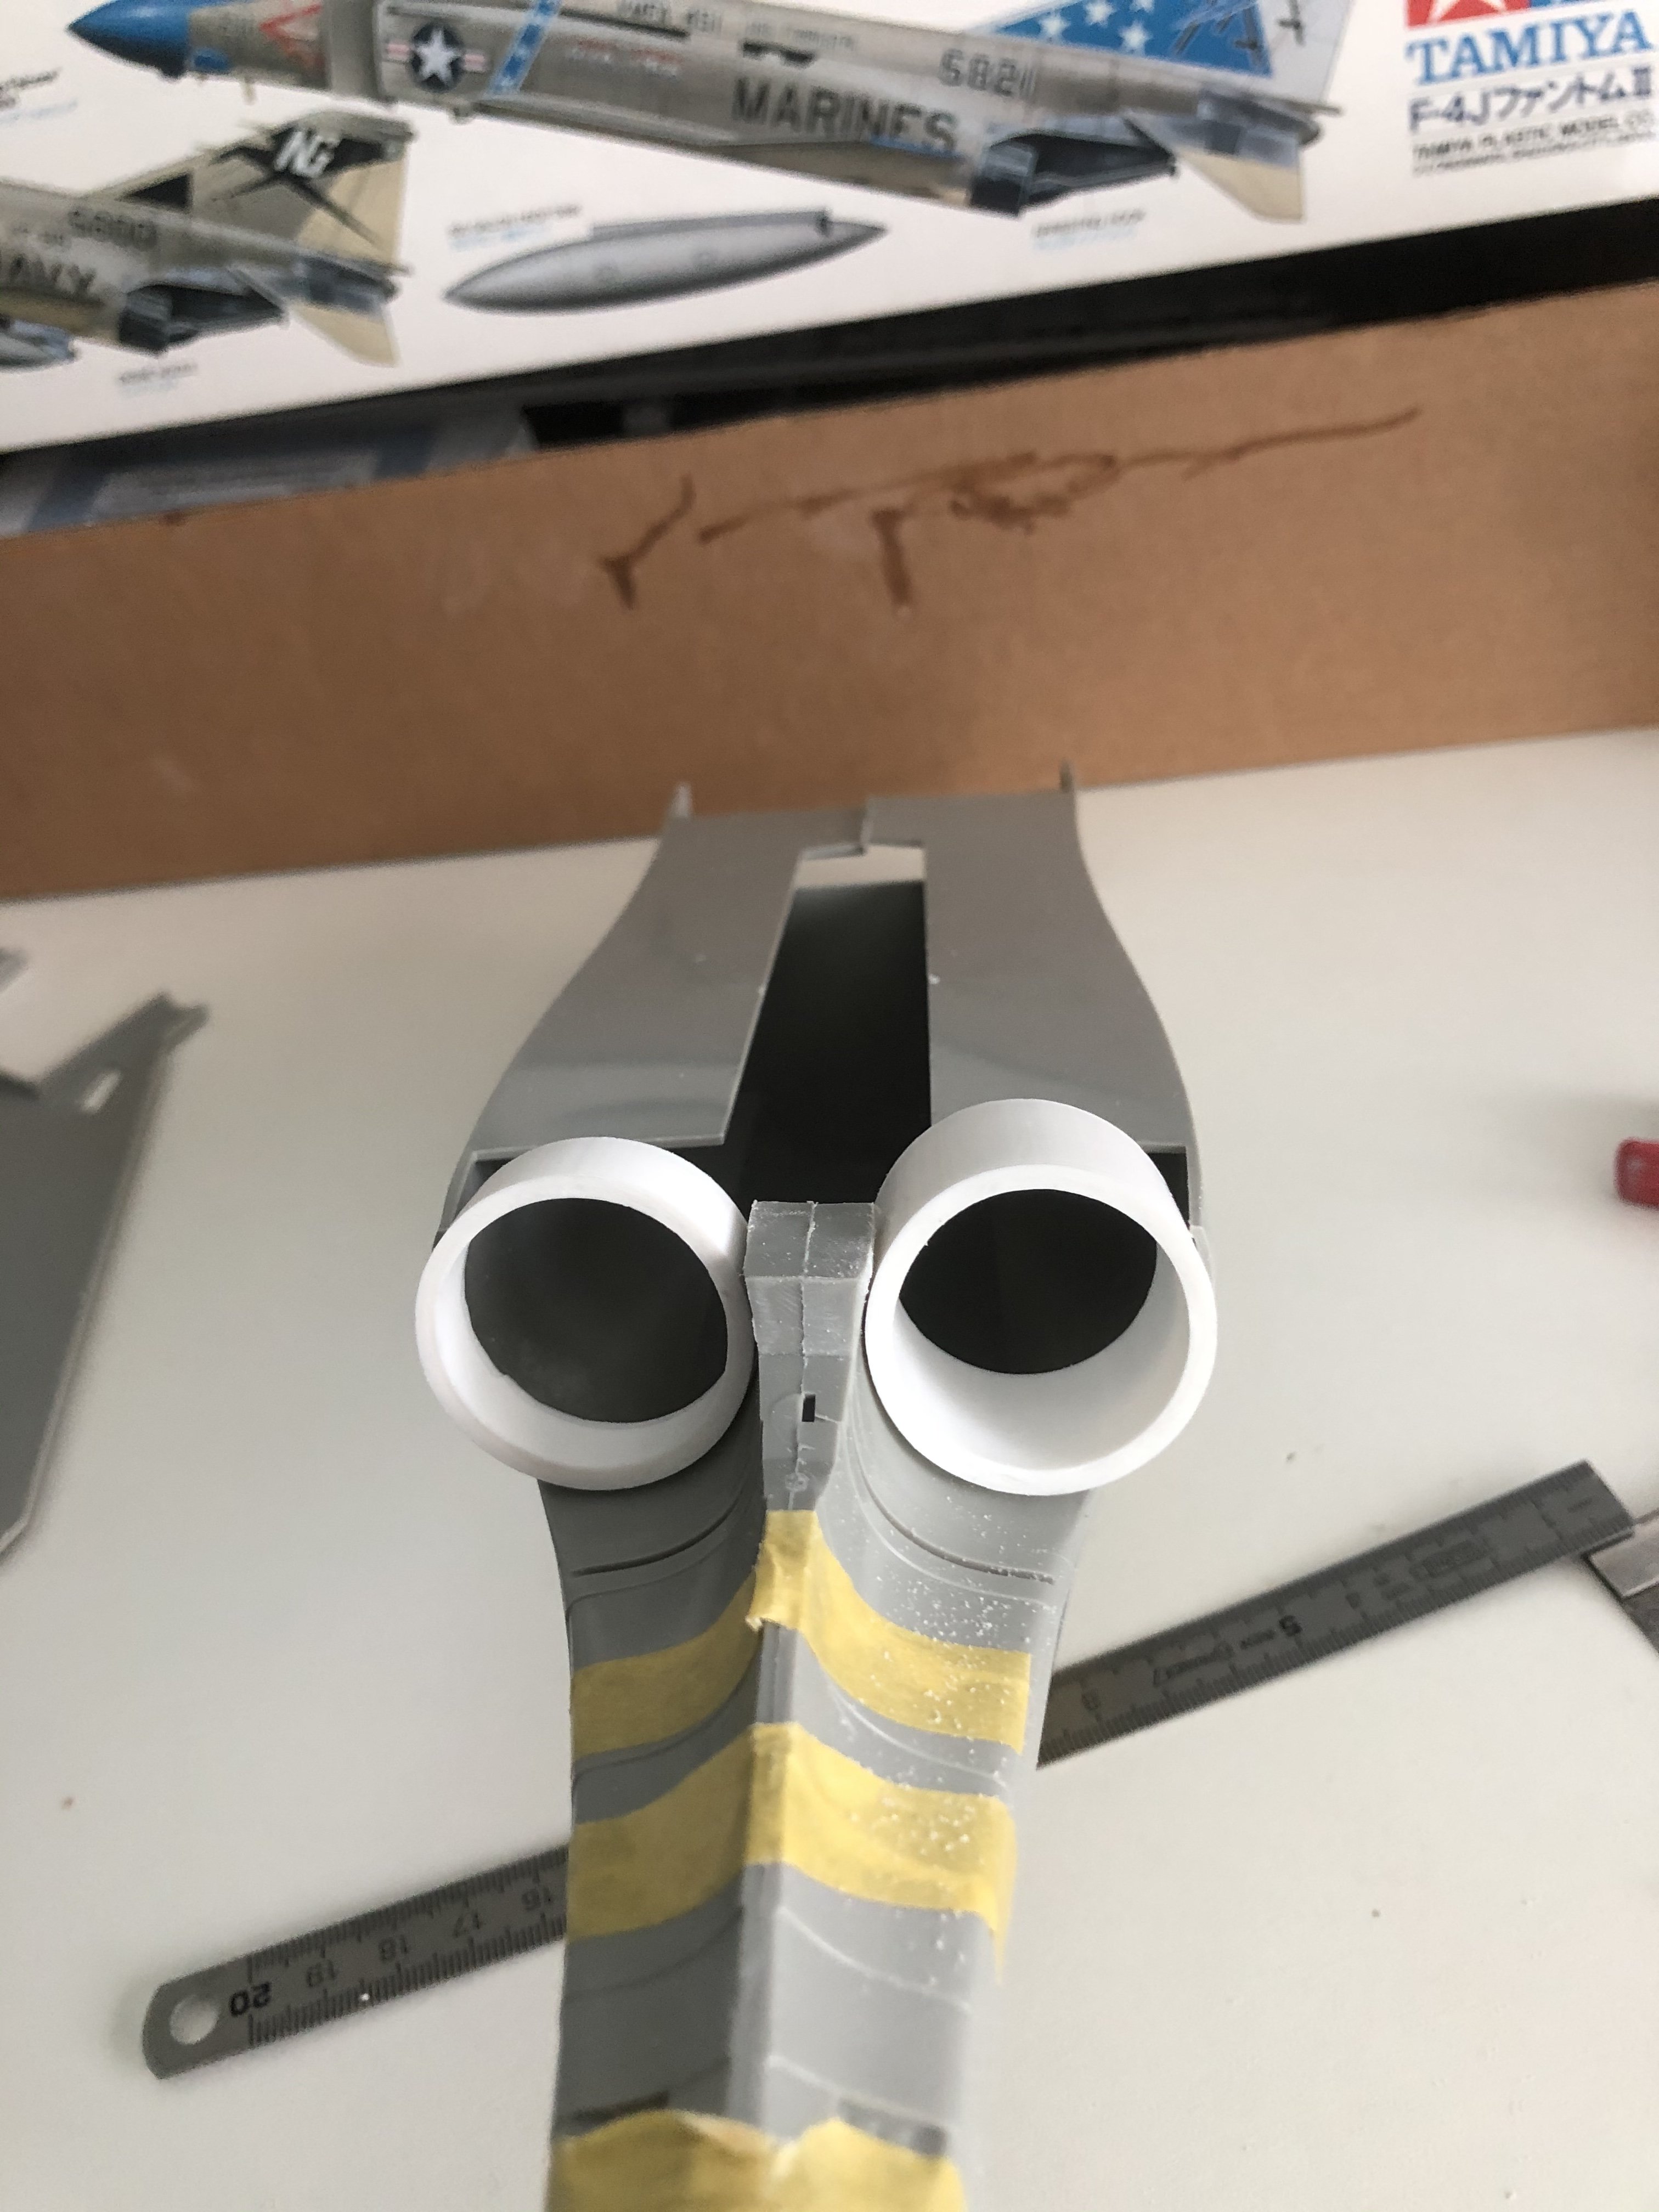
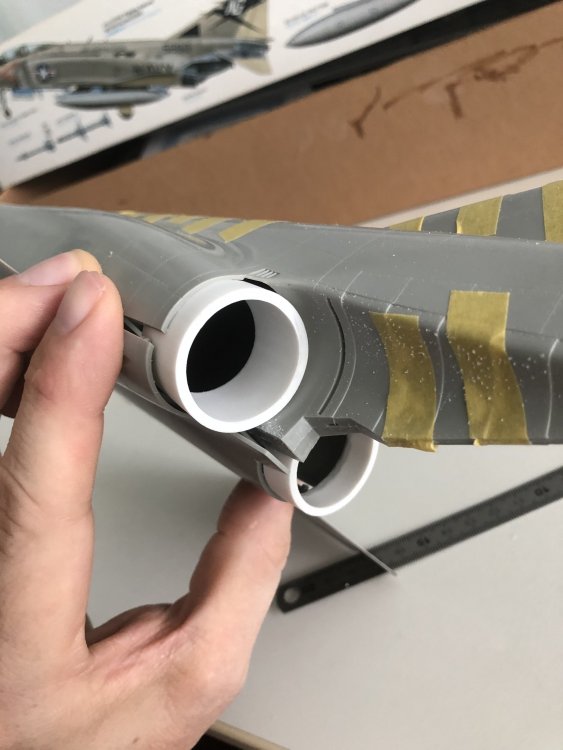
Plan C I got me a Revell F-4F for a nice price and it seems that the bum of this kit (nineties vintage, not the current tool) lends itself very well for a conversion into a FGR2. this is of course the long nose version And not compatible to the Tamiya kit. Perhaps I can mate the two.......somewhere. The rings are 3 mm so a bit too small but you get the idea.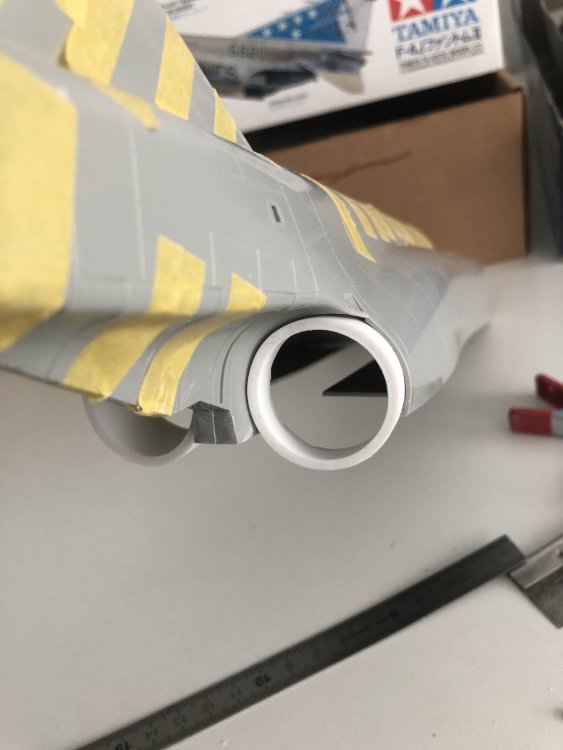

- 414 replies
-
- 2
-
-
-
- conversion
- phantom
- (and 1 more)
-
Ha-1112 K1L Tripala ‘Der Stern von Afrika’
Wingco57 replied to JeroenPeters's topic in LSM 1/35 and Larger Work In Progress
Fantastic result. I think these pics are already good. -
Scribing while that beast is in one piece? Mind the overhead lamp (and practically everything that is in a range of 1,5 metres).
-
Masochistic build, the 1/48 Fonderie Miniatures Halifax III
Wingco57 replied to Wingco57's topic in LSM 1/48 Work in Progress
No pics at the moment but this build has also received some recent attention. I have been working on replacing the terrible engines/cowling combination with those of the Tamiya Beaufighter which improves the look enormously. -
Don't worry Tom, I have crossed the border between failure and success a long time ago as the fuselage, tail and wings have almost been finished and there is a plan how to tackle the nacelles (done that before in 1/48). Now, if you get some more work done on the Shack, or Stirling, or Sunderland.....
-
RR Spey powered RAF Phantom conversion
Wingco57 replied to Wingco57's topic in LSM 1/35 and Larger Work In Progress
If Jeroen uses his 3D drawing skills then I don't have to scratchbuild, but I do have a plan B just in case.- 414 replies
-
- 3
-
-
- conversion
- phantom
- (and 1 more)
-
RR Spey powered RAF Phantom conversion
Wingco57 replied to Wingco57's topic in LSM 1/35 and Larger Work In Progress
Yes, spot on.- 414 replies
-
- 4
-
-
- conversion
- phantom
- (and 1 more)
-
RR Spey powered RAF Phantom conversion
Wingco57 replied to Wingco57's topic in LSM 1/35 and Larger Work In Progress
That makes it about 3,1 cm.- 414 replies
-
- 3
-
-
- conversion
- phantom
- (and 1 more)
-
RR Spey powered RAF Phantom conversion
Wingco57 replied to Wingco57's topic in LSM 1/35 and Larger Work In Progress
Thanks chaps, @Anthony, I am aware that the Spey Toom has more bulk in the rear (hmm) but I have read that the diameter of the can is between 3 and 3,3 mm. I do not want have my cans to look too large. I am in doubt as to whether I should pack out the sides or collapse the "shoulder" near the grille. On pics I have seen that the sides slope down more than the J-version. What do you think? Cheers Cees- 414 replies
-
- 4
-
-
- conversion
- phantom
- (and 1 more)