Wingco57
-
Posts
3,925 -
Joined
-
Last visited
Content Type
Profiles
Forums
Events
Gallery
Everything posted by Wingco57
-
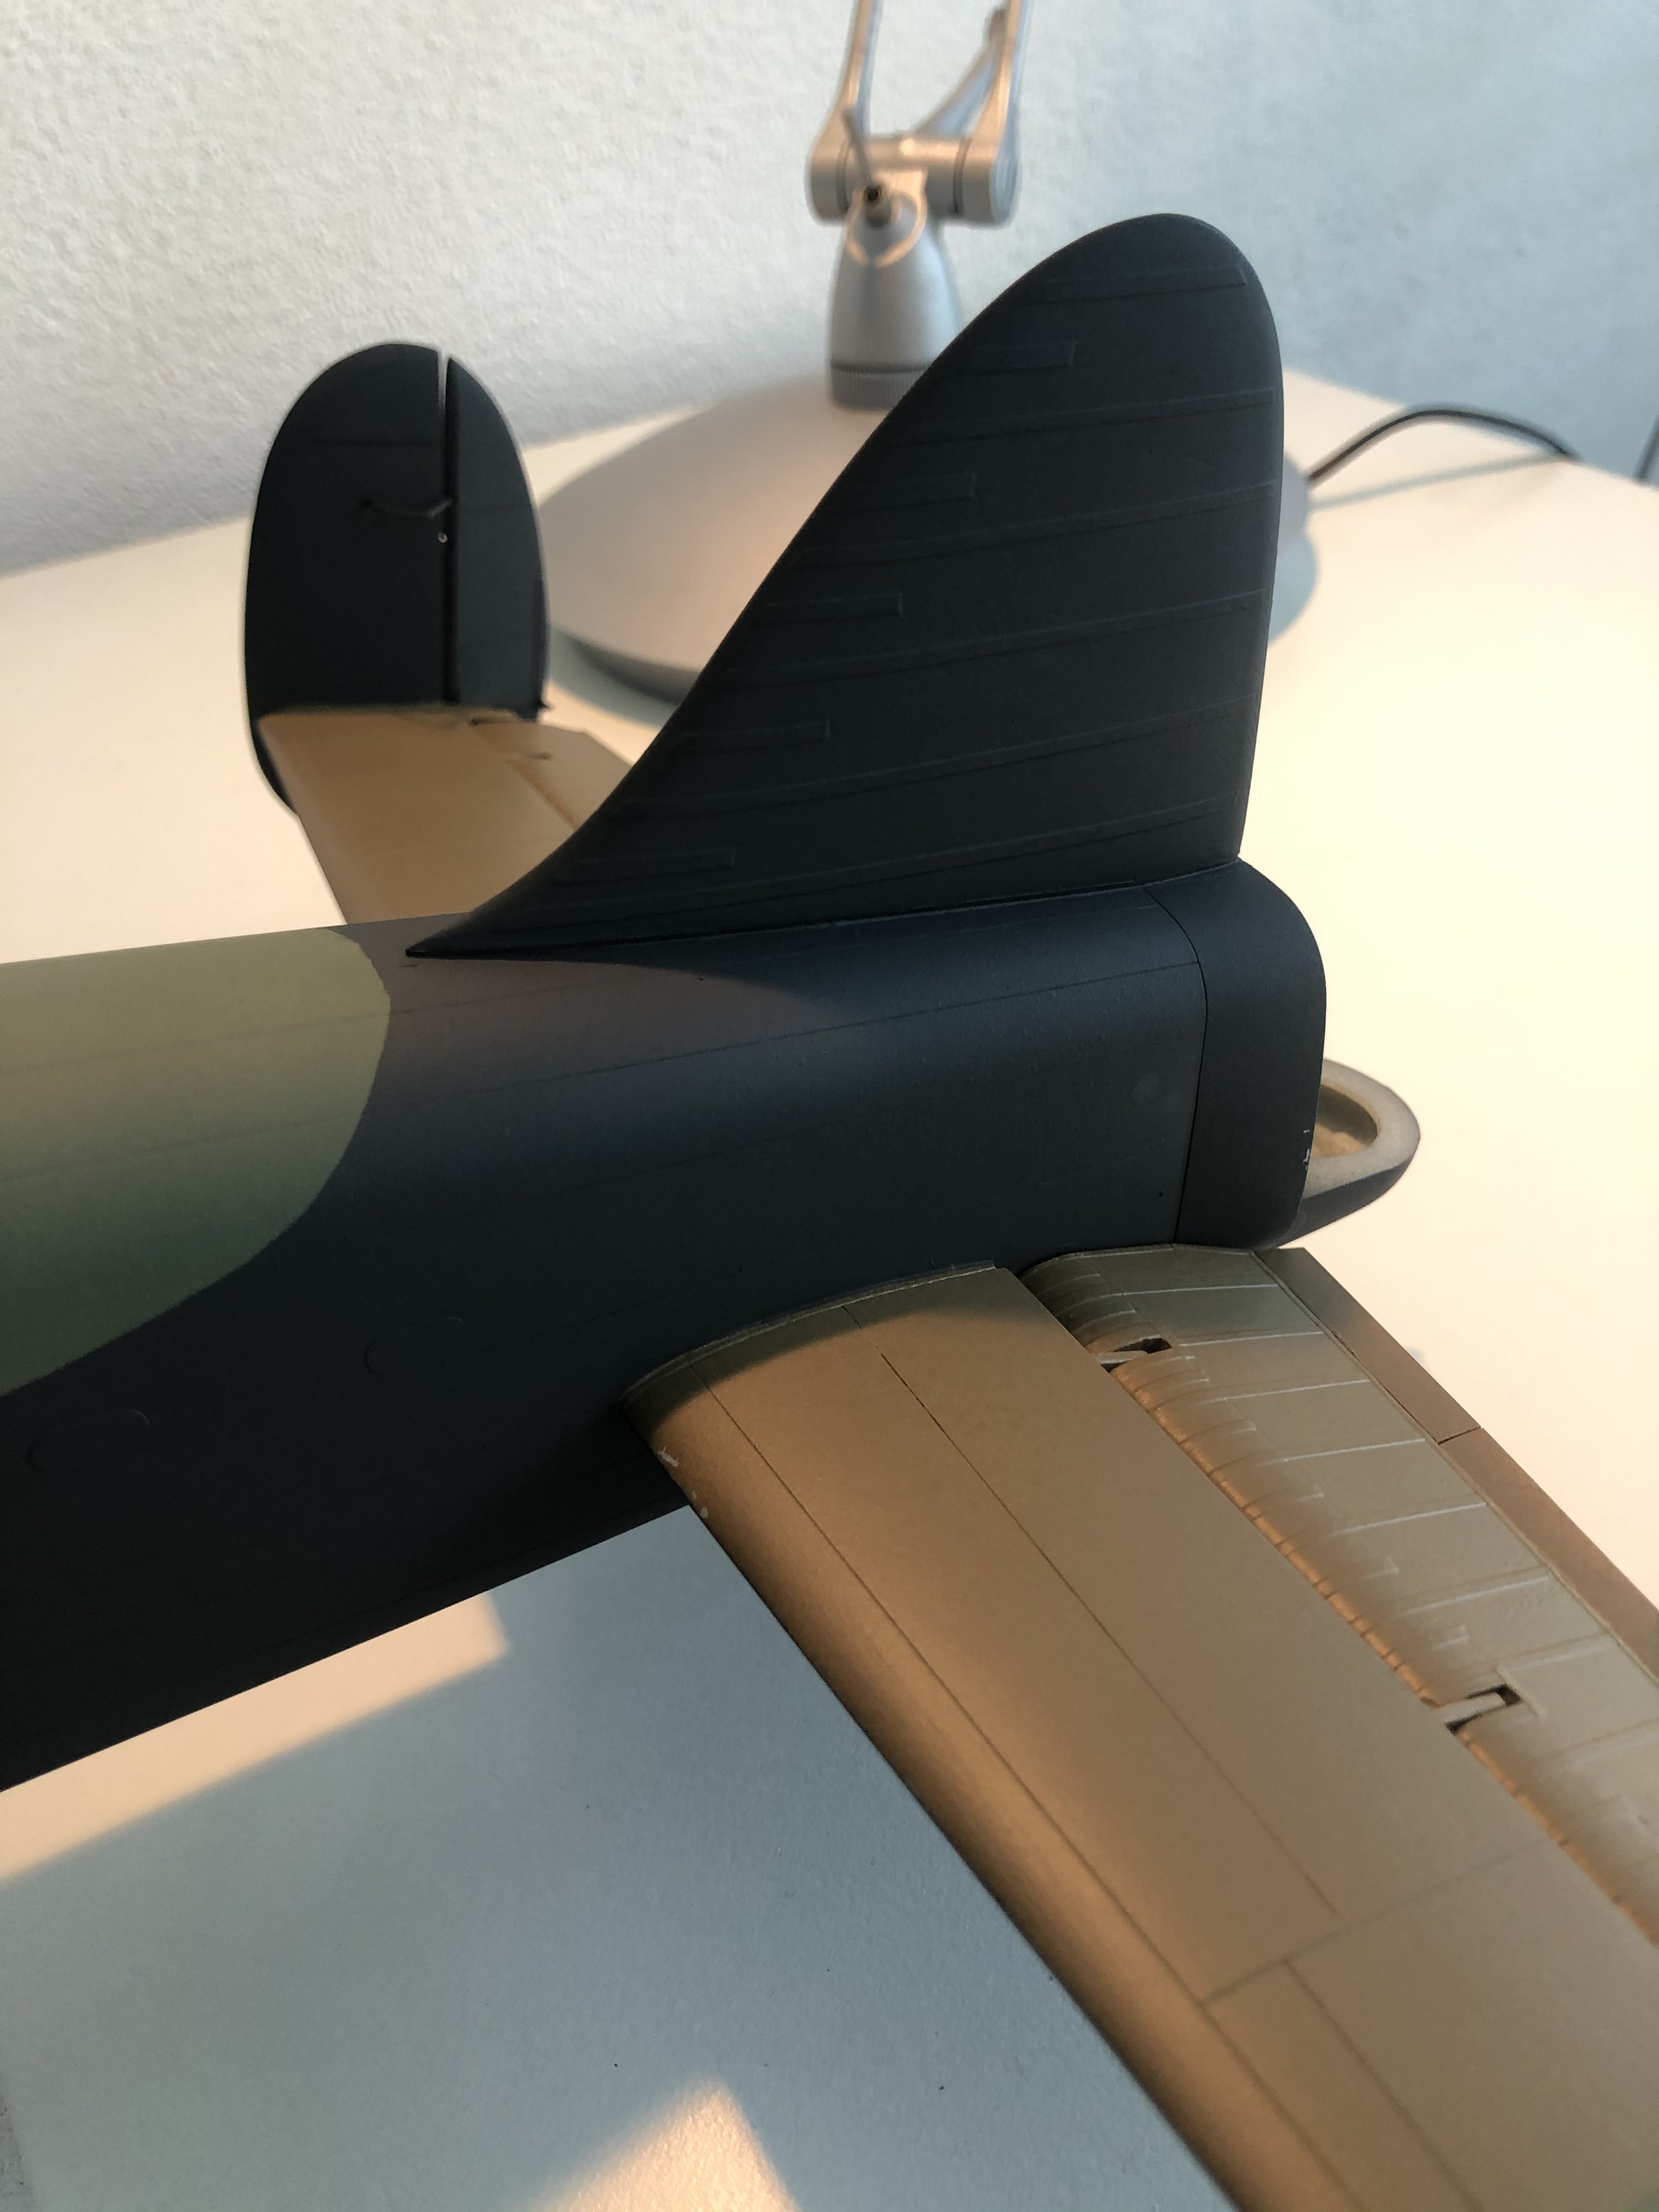
 Scribing? With that enormous beast in one hand and your scribing tool in the other? Brave man and beware of the overhead lamp (if you have one) as it will certainly will get some bashing. I loved seeing your tailsection, very similar to the later Manchester/Lanc but on steroids.
- 185 replies
-
- 2
-

-
- Scratchbuild
- 1/32nd scale
- (and 1 more)
-
After this, yes weathering time.
-
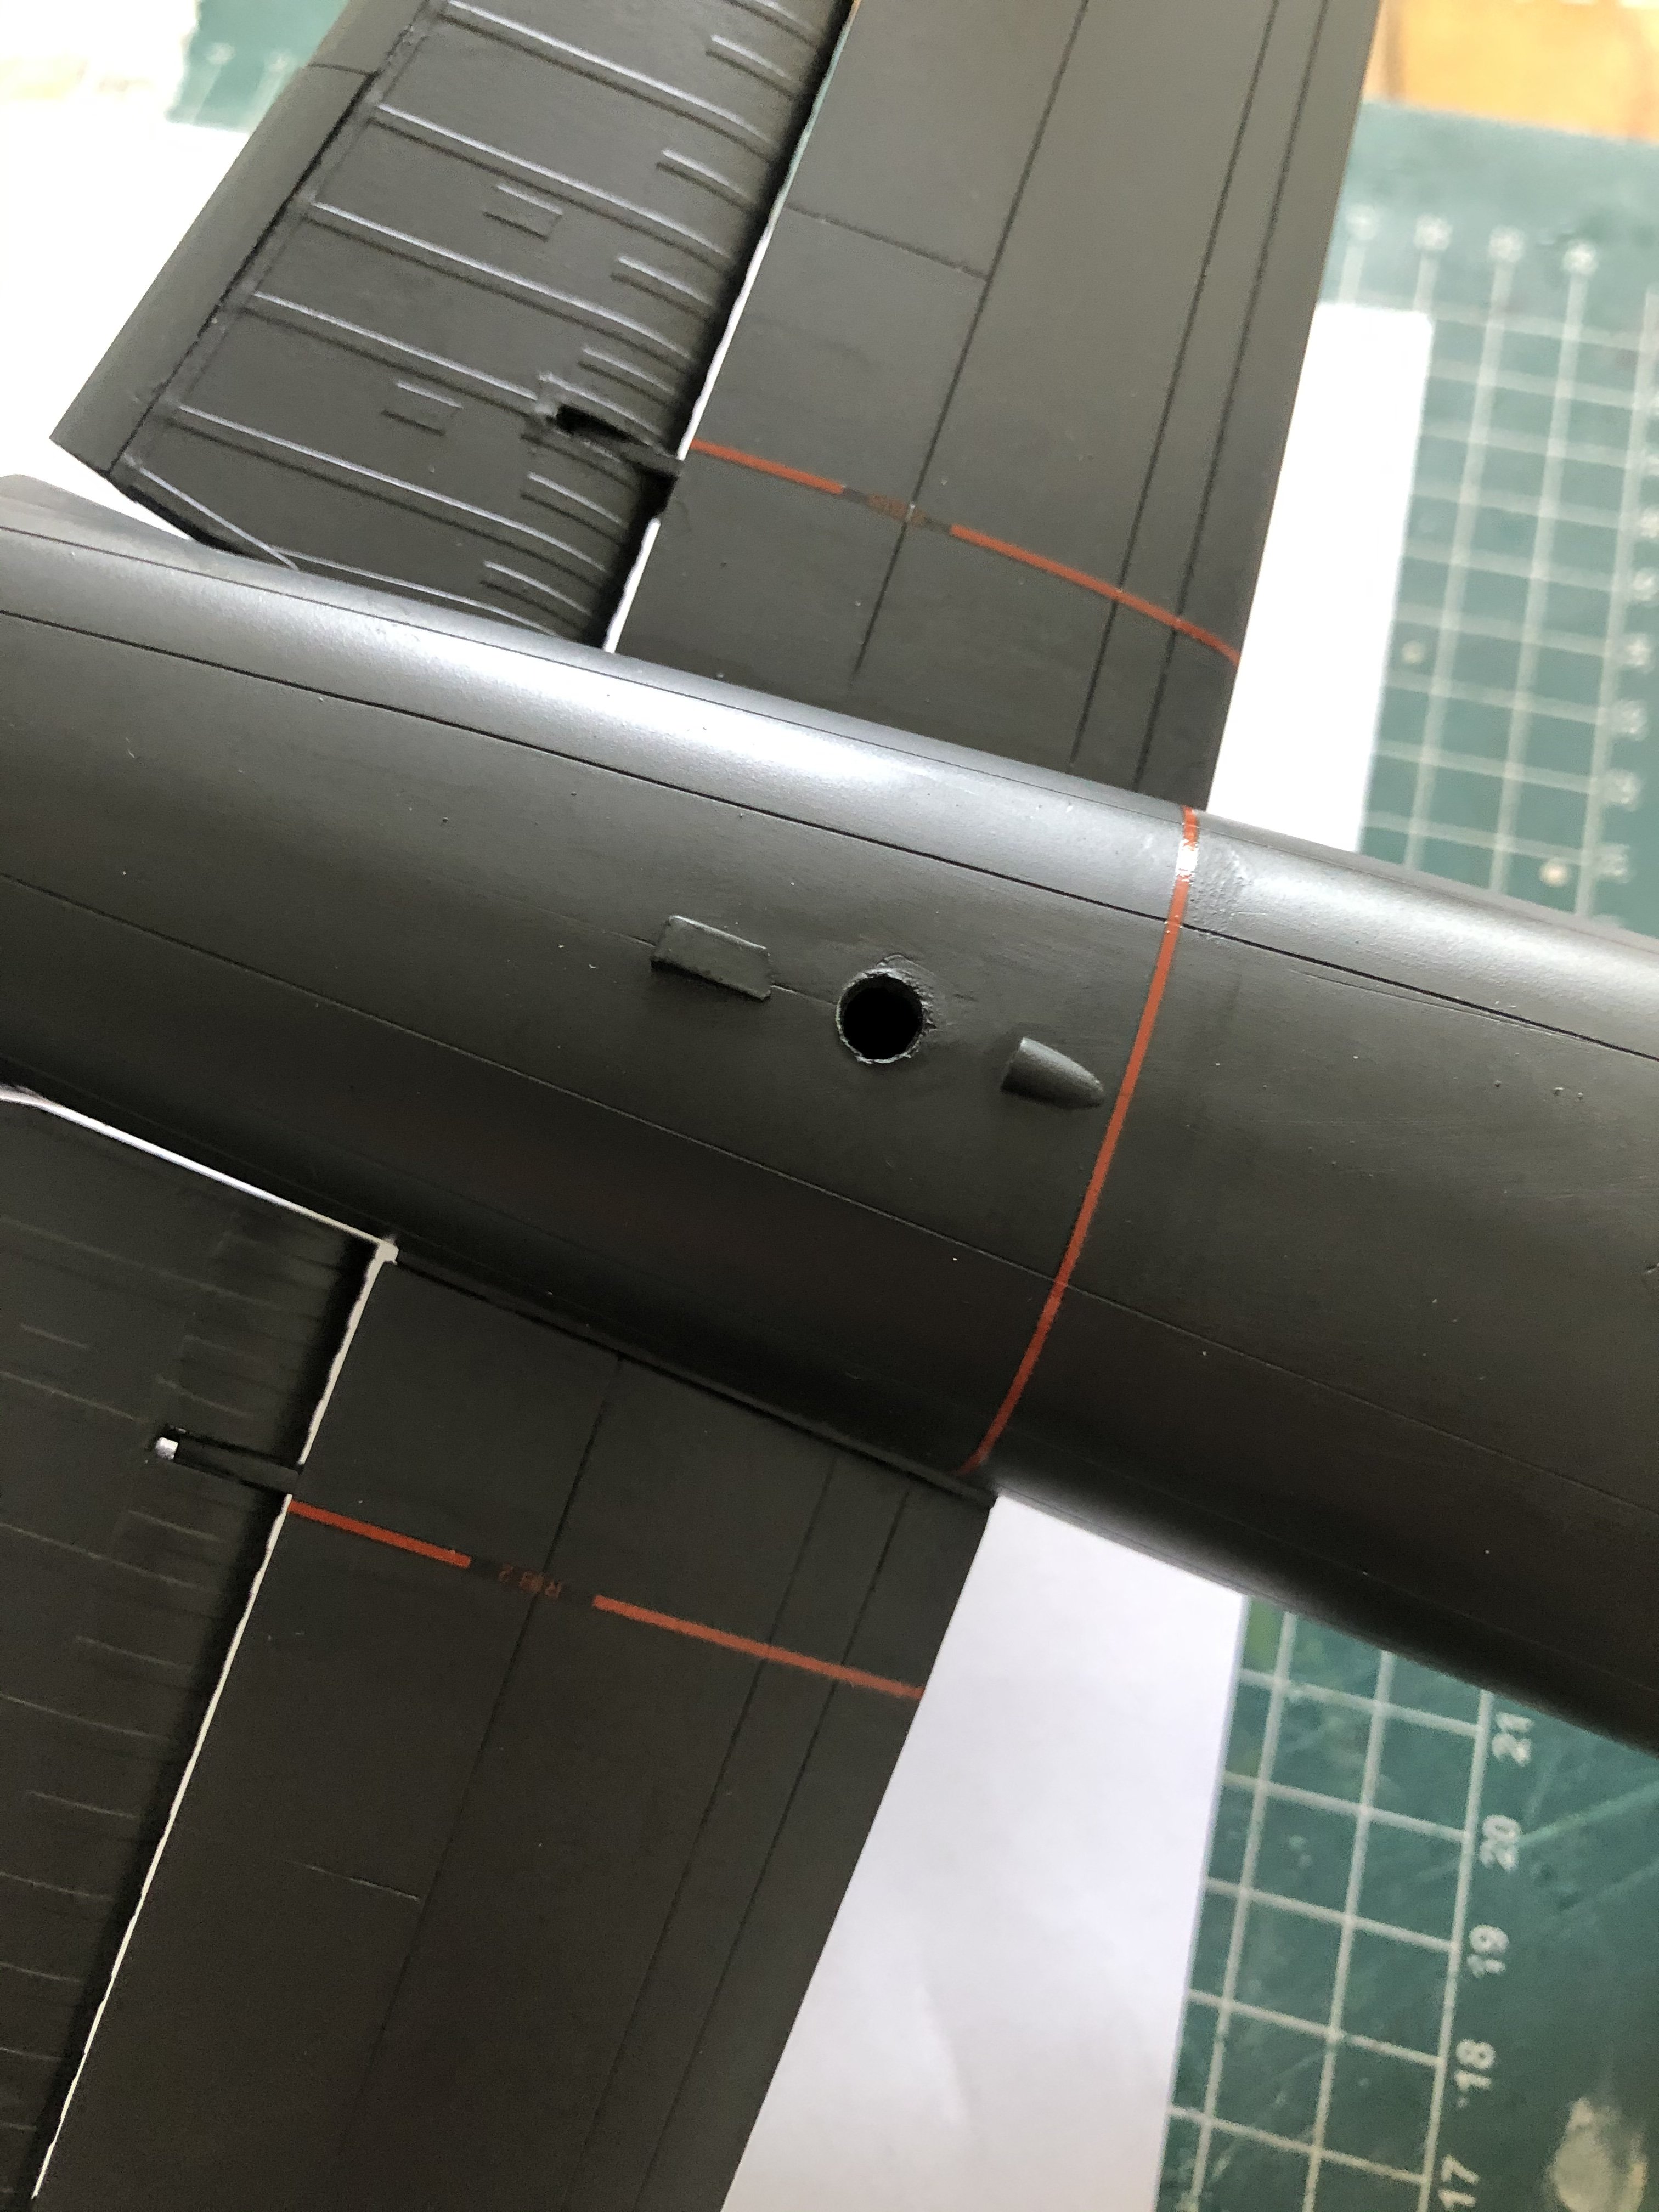
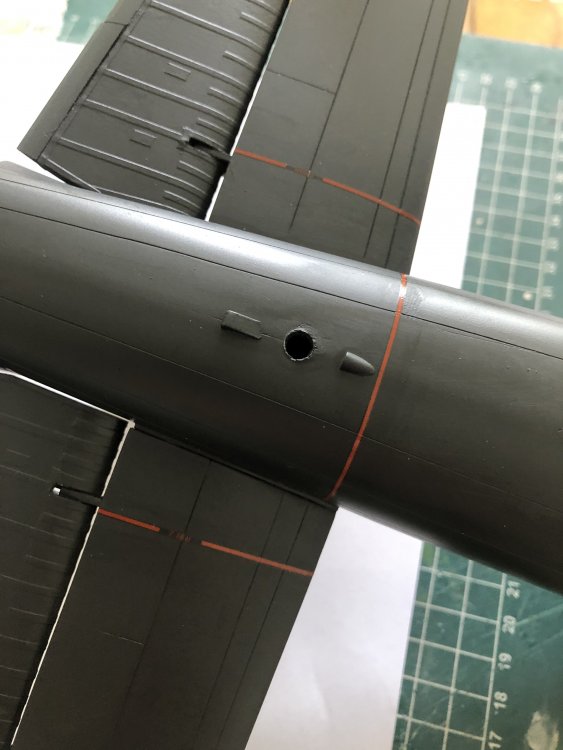
Not medium sea grey but white was also used. Next the decals for the tail jacking points.
-
Ha-1112 K1L Tripala ‘Der Stern von Afrika’
Wingco57 replied to JeroenPeters's topic in LSM 1/35 and Larger Work In Progress
Yess, a very nice project. Strange to see Spanish labels in an obviously 109-style cockpit -
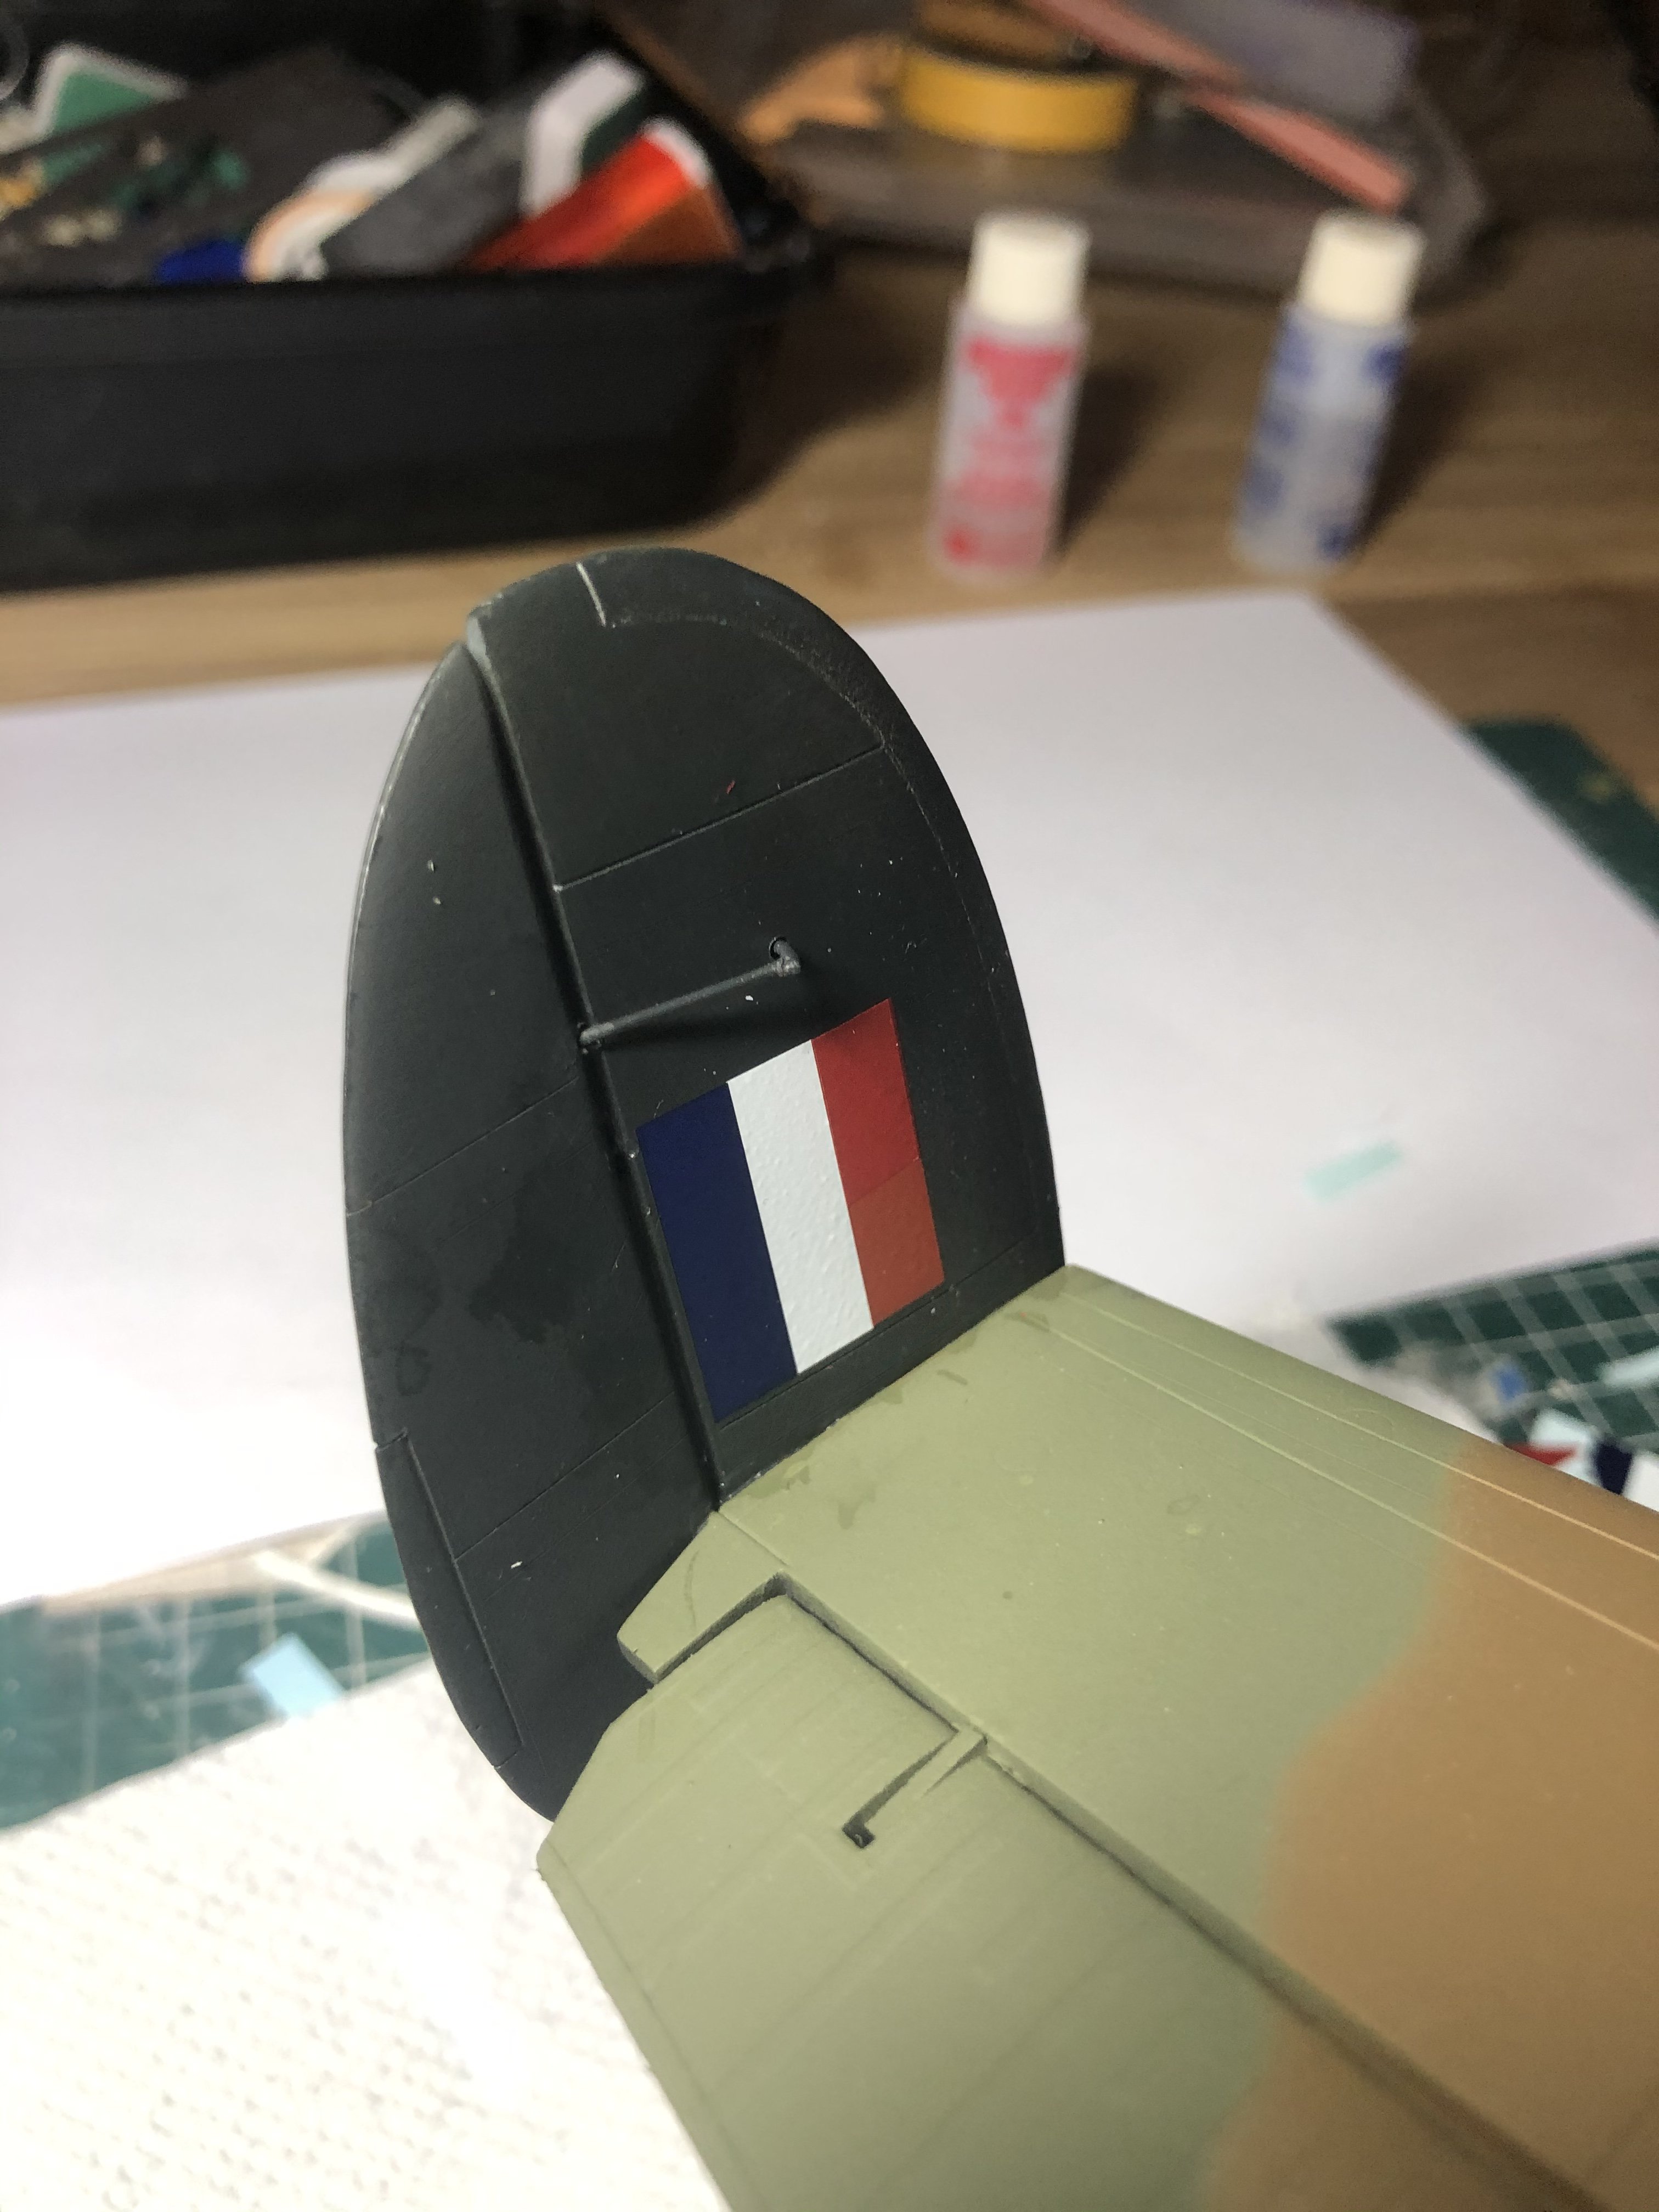
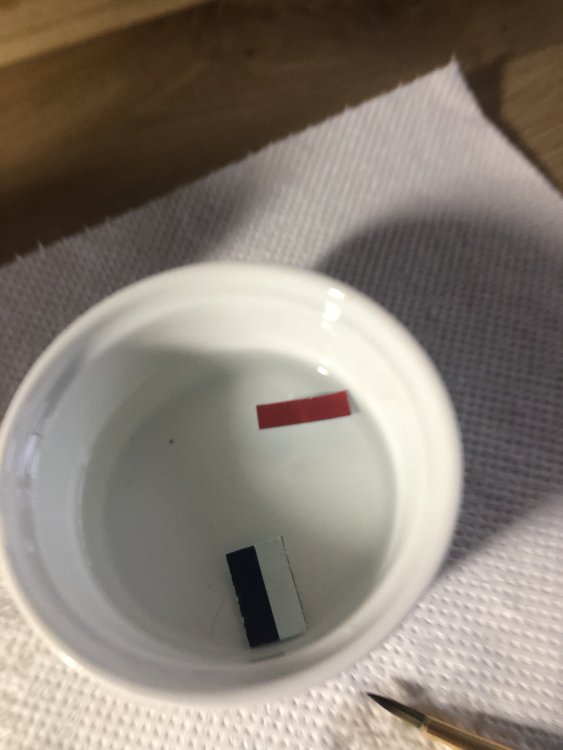
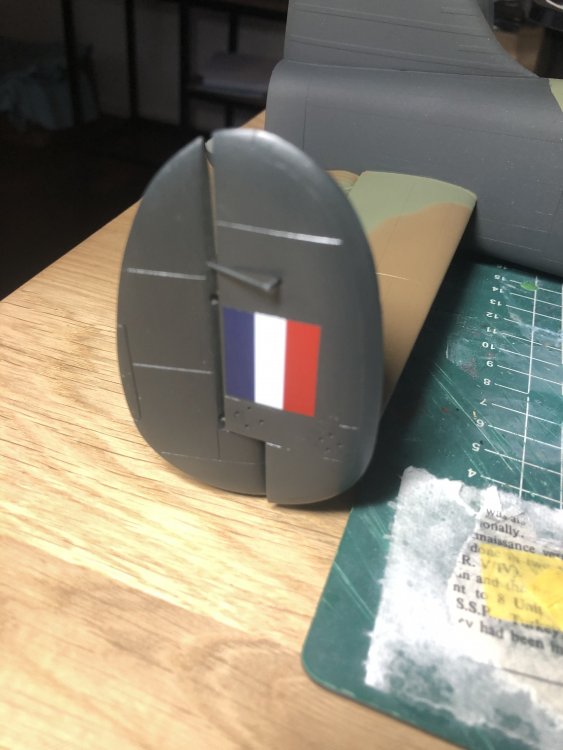
That is probably why they decreased the white area and deleted the inner finflashes.
-
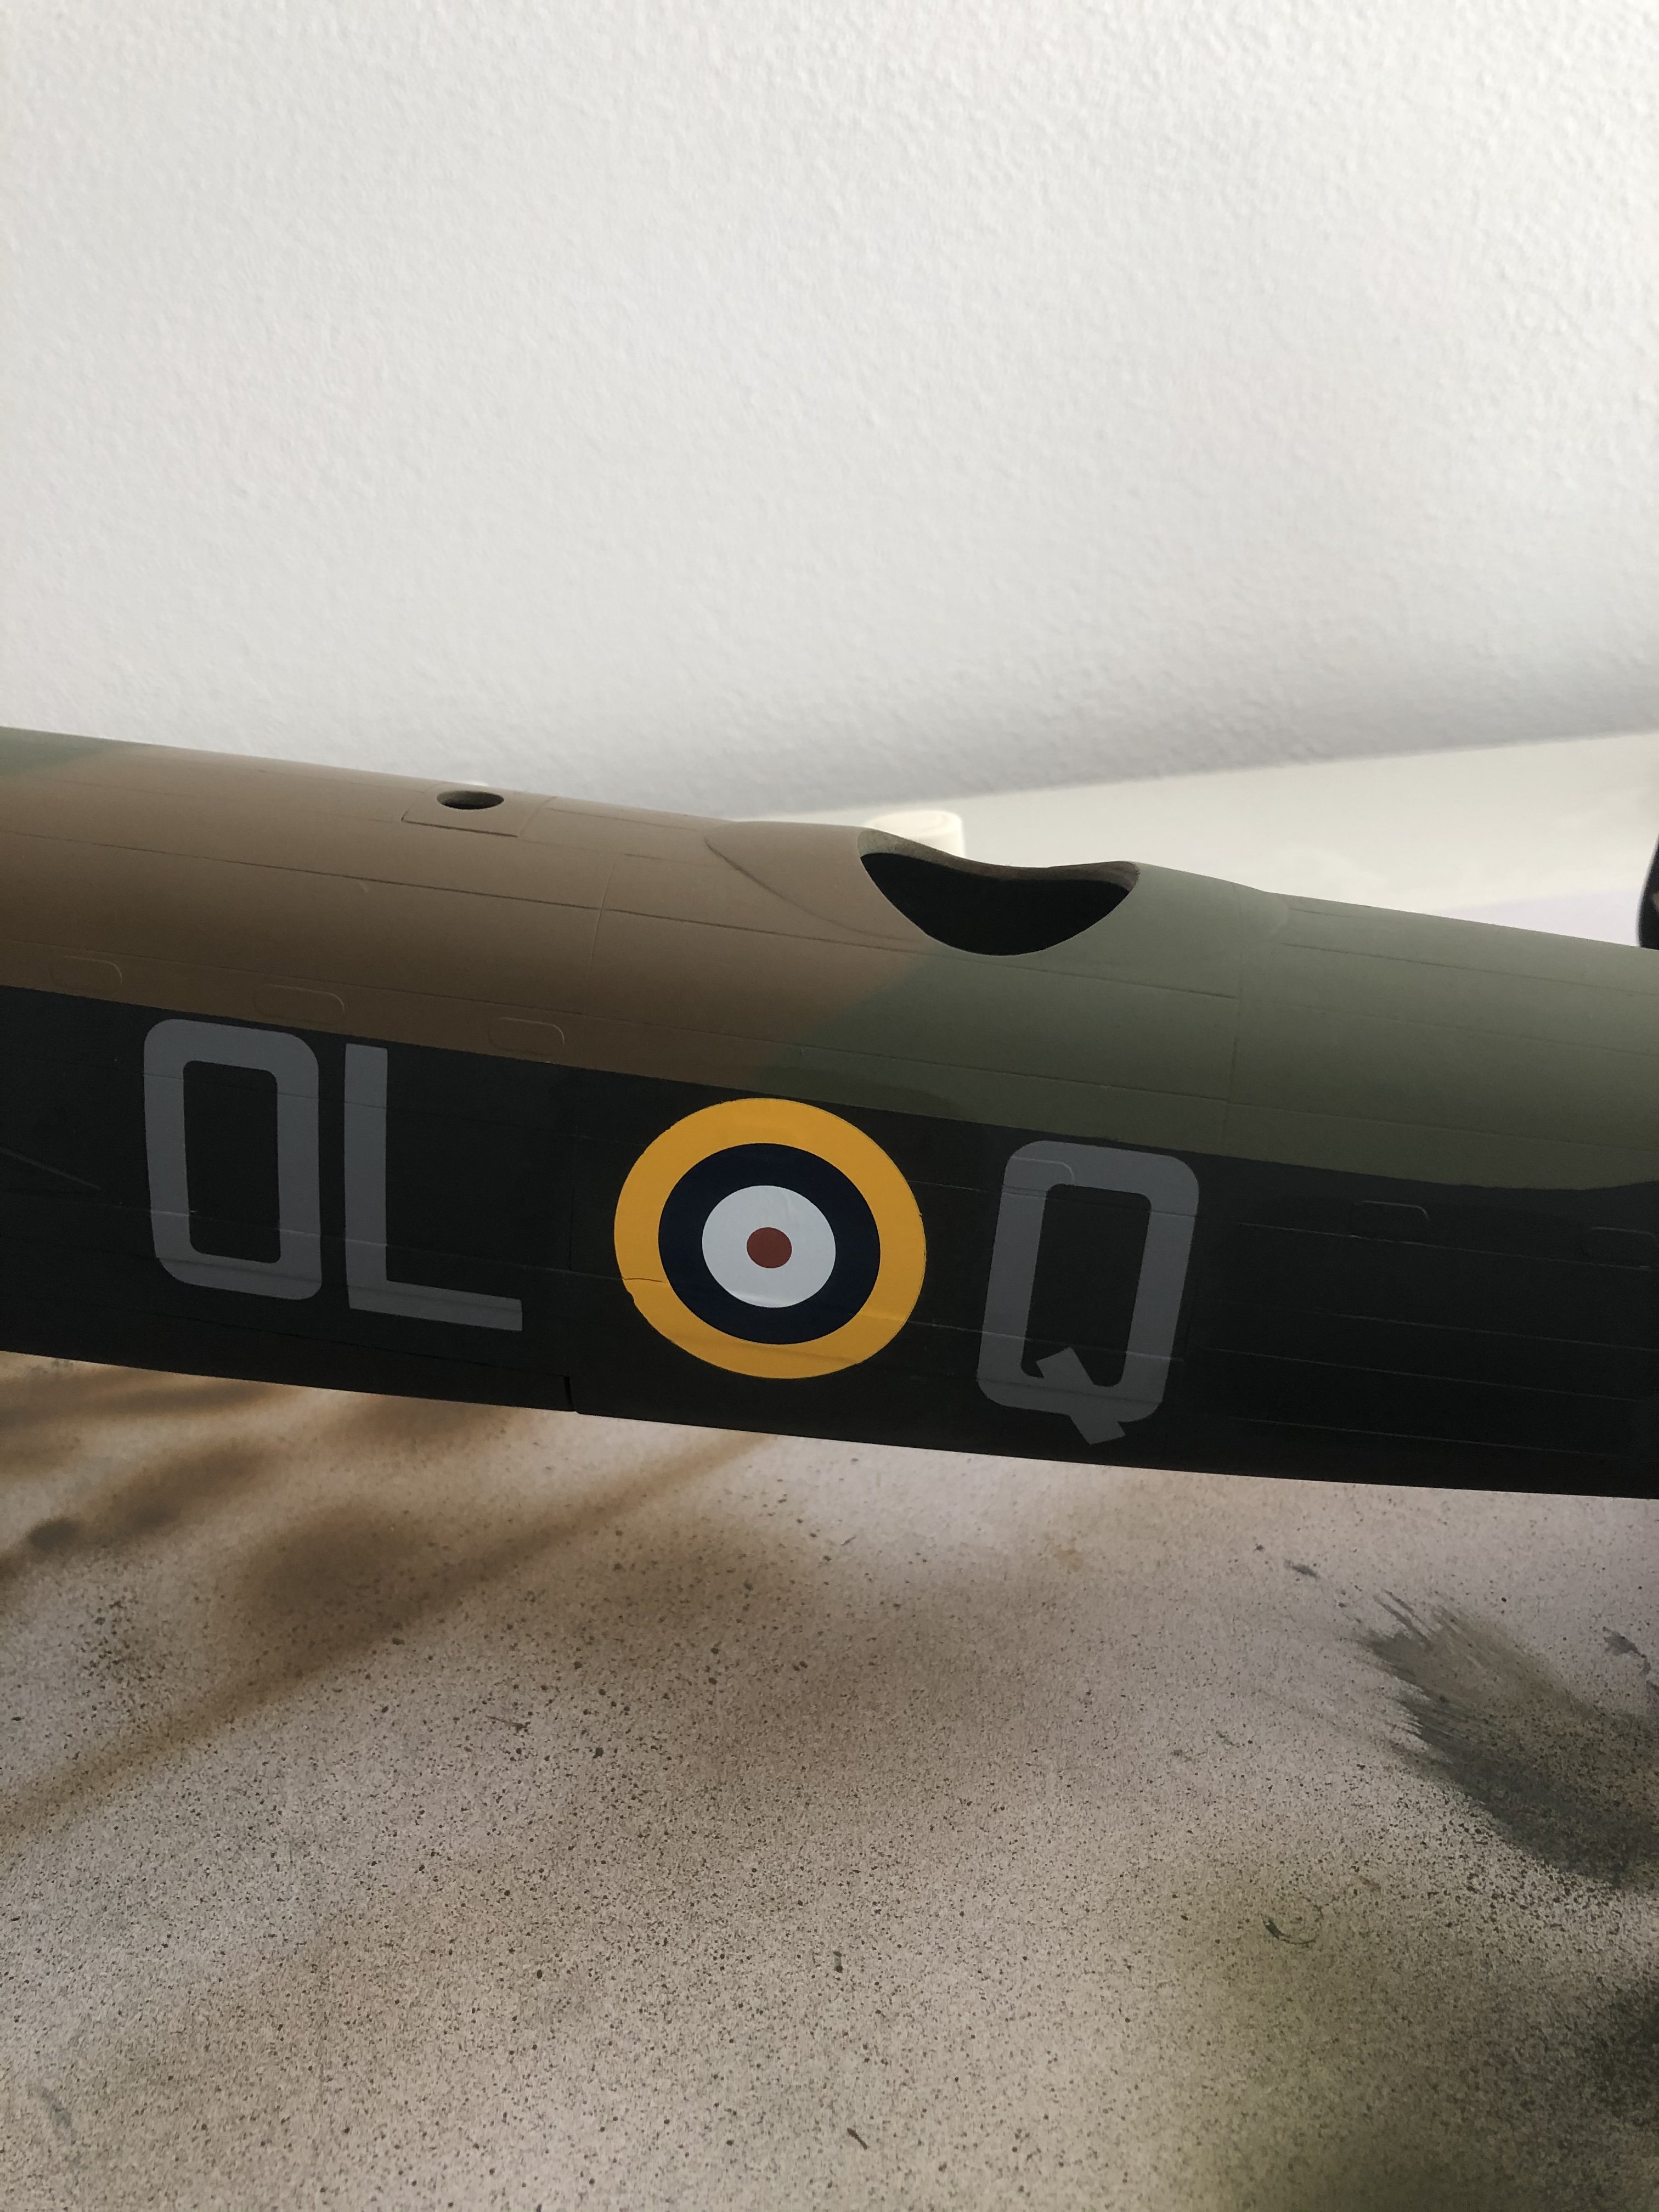
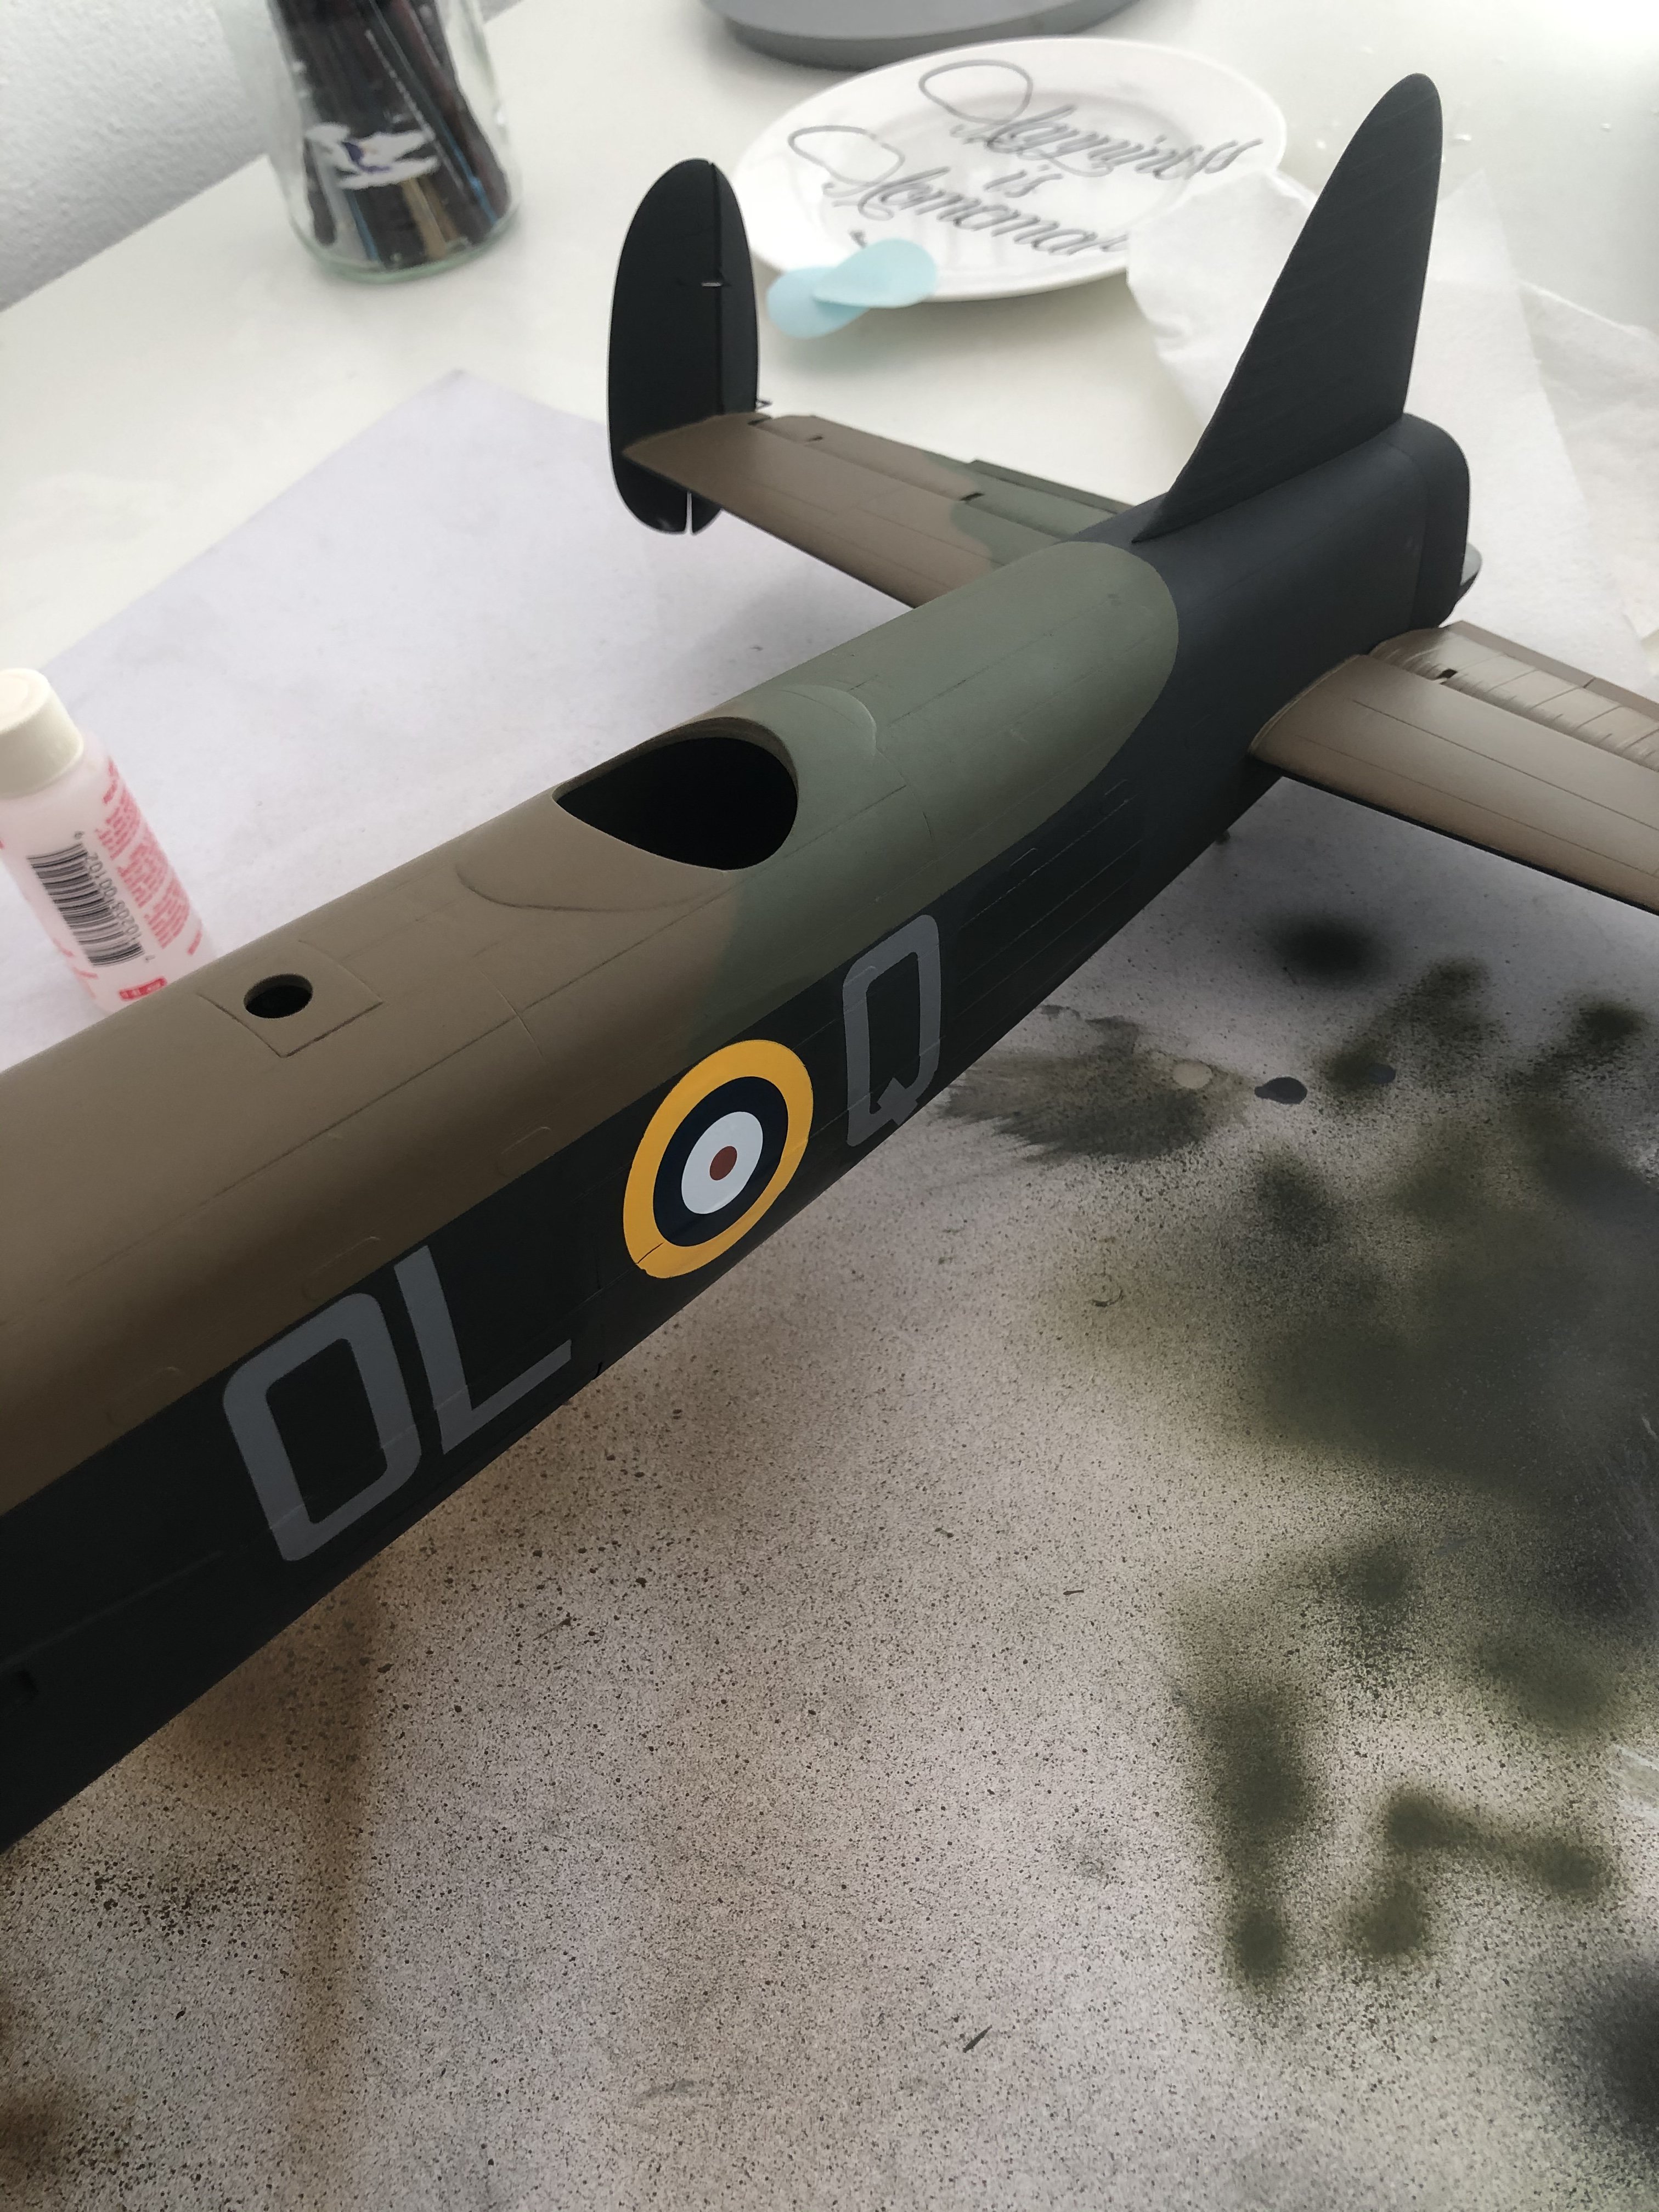
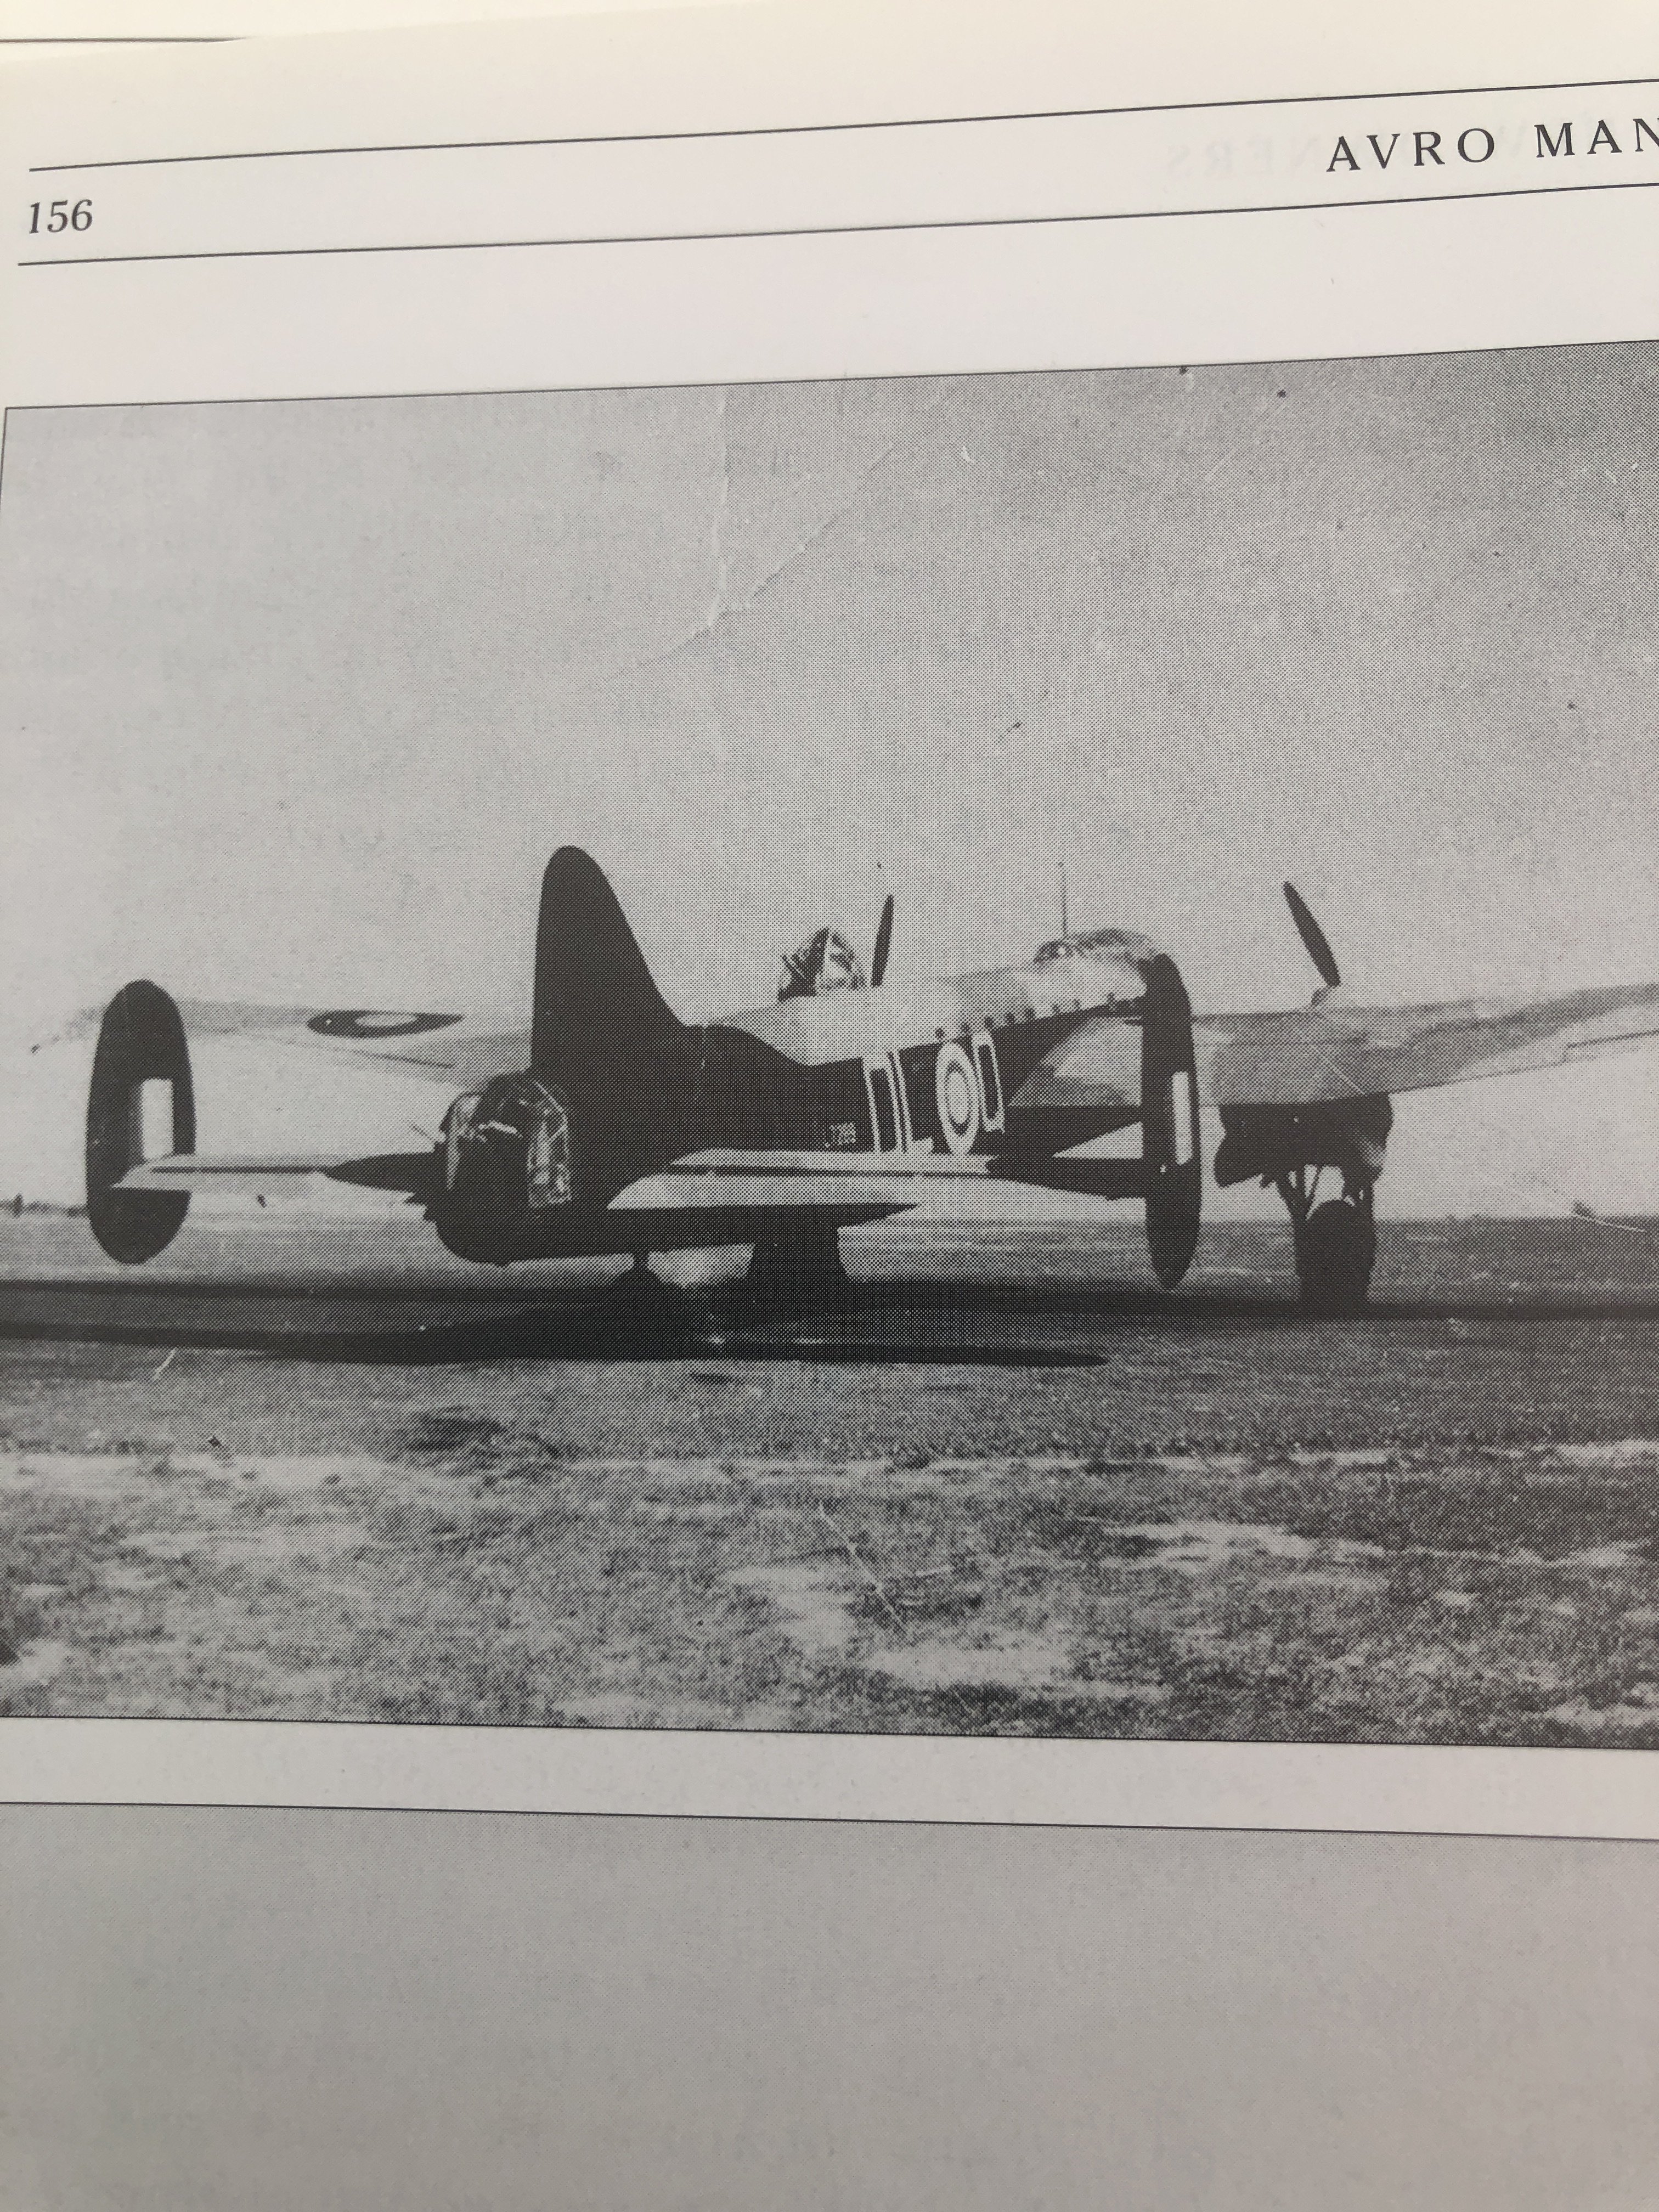
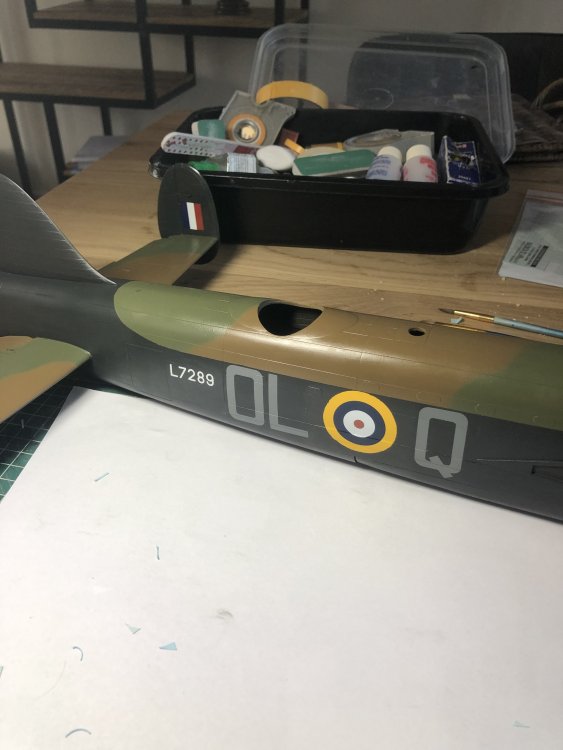
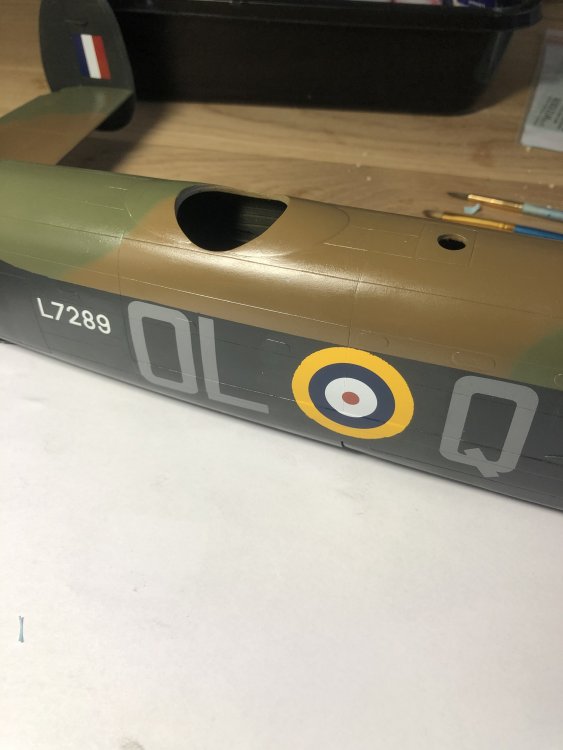
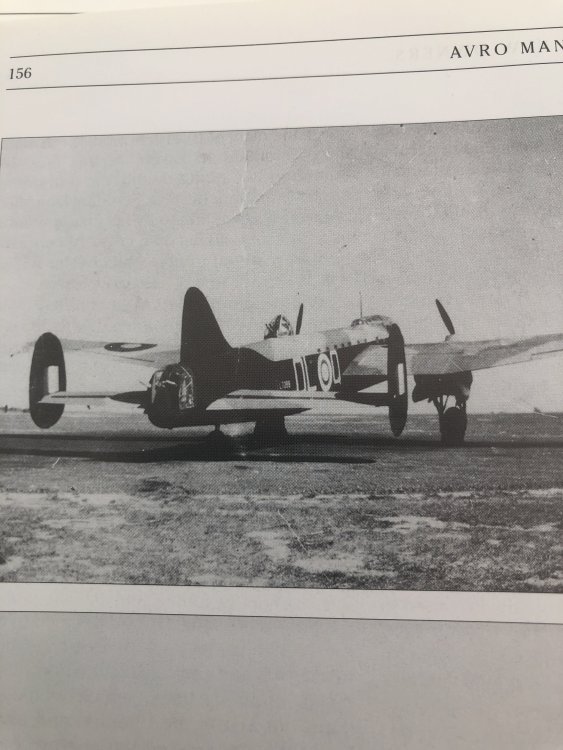
I know, but they sure did, look at the pic of L7289 I posted earlier. Now I only need to find some suitable medium sea grey serial decals to complete the fuselage markings. But the work is far from over as both the dorsal and tail turrets need to be scratchbuild.
-
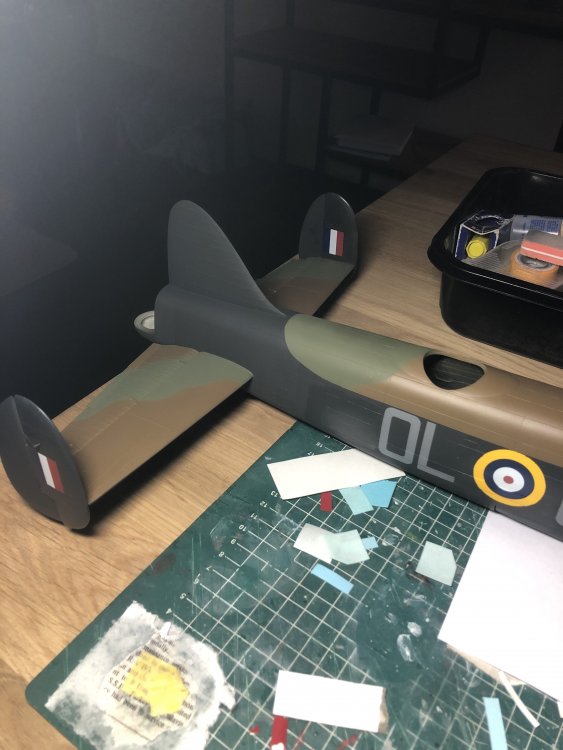
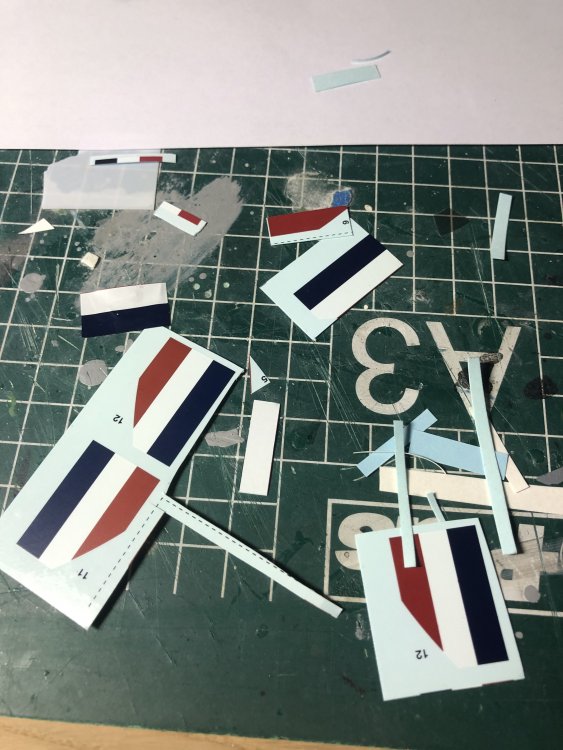
Some more work done on the markings by adding the early finflashes. I only have masks for the later type but these cannot be used on L7289. So I had to cobble some decals together from the spares decalbank. Improvised but effective I think. Left to do are the mid sea grey serials but I only have white ones which are a bit too large as well. Another problem to solve.....

-
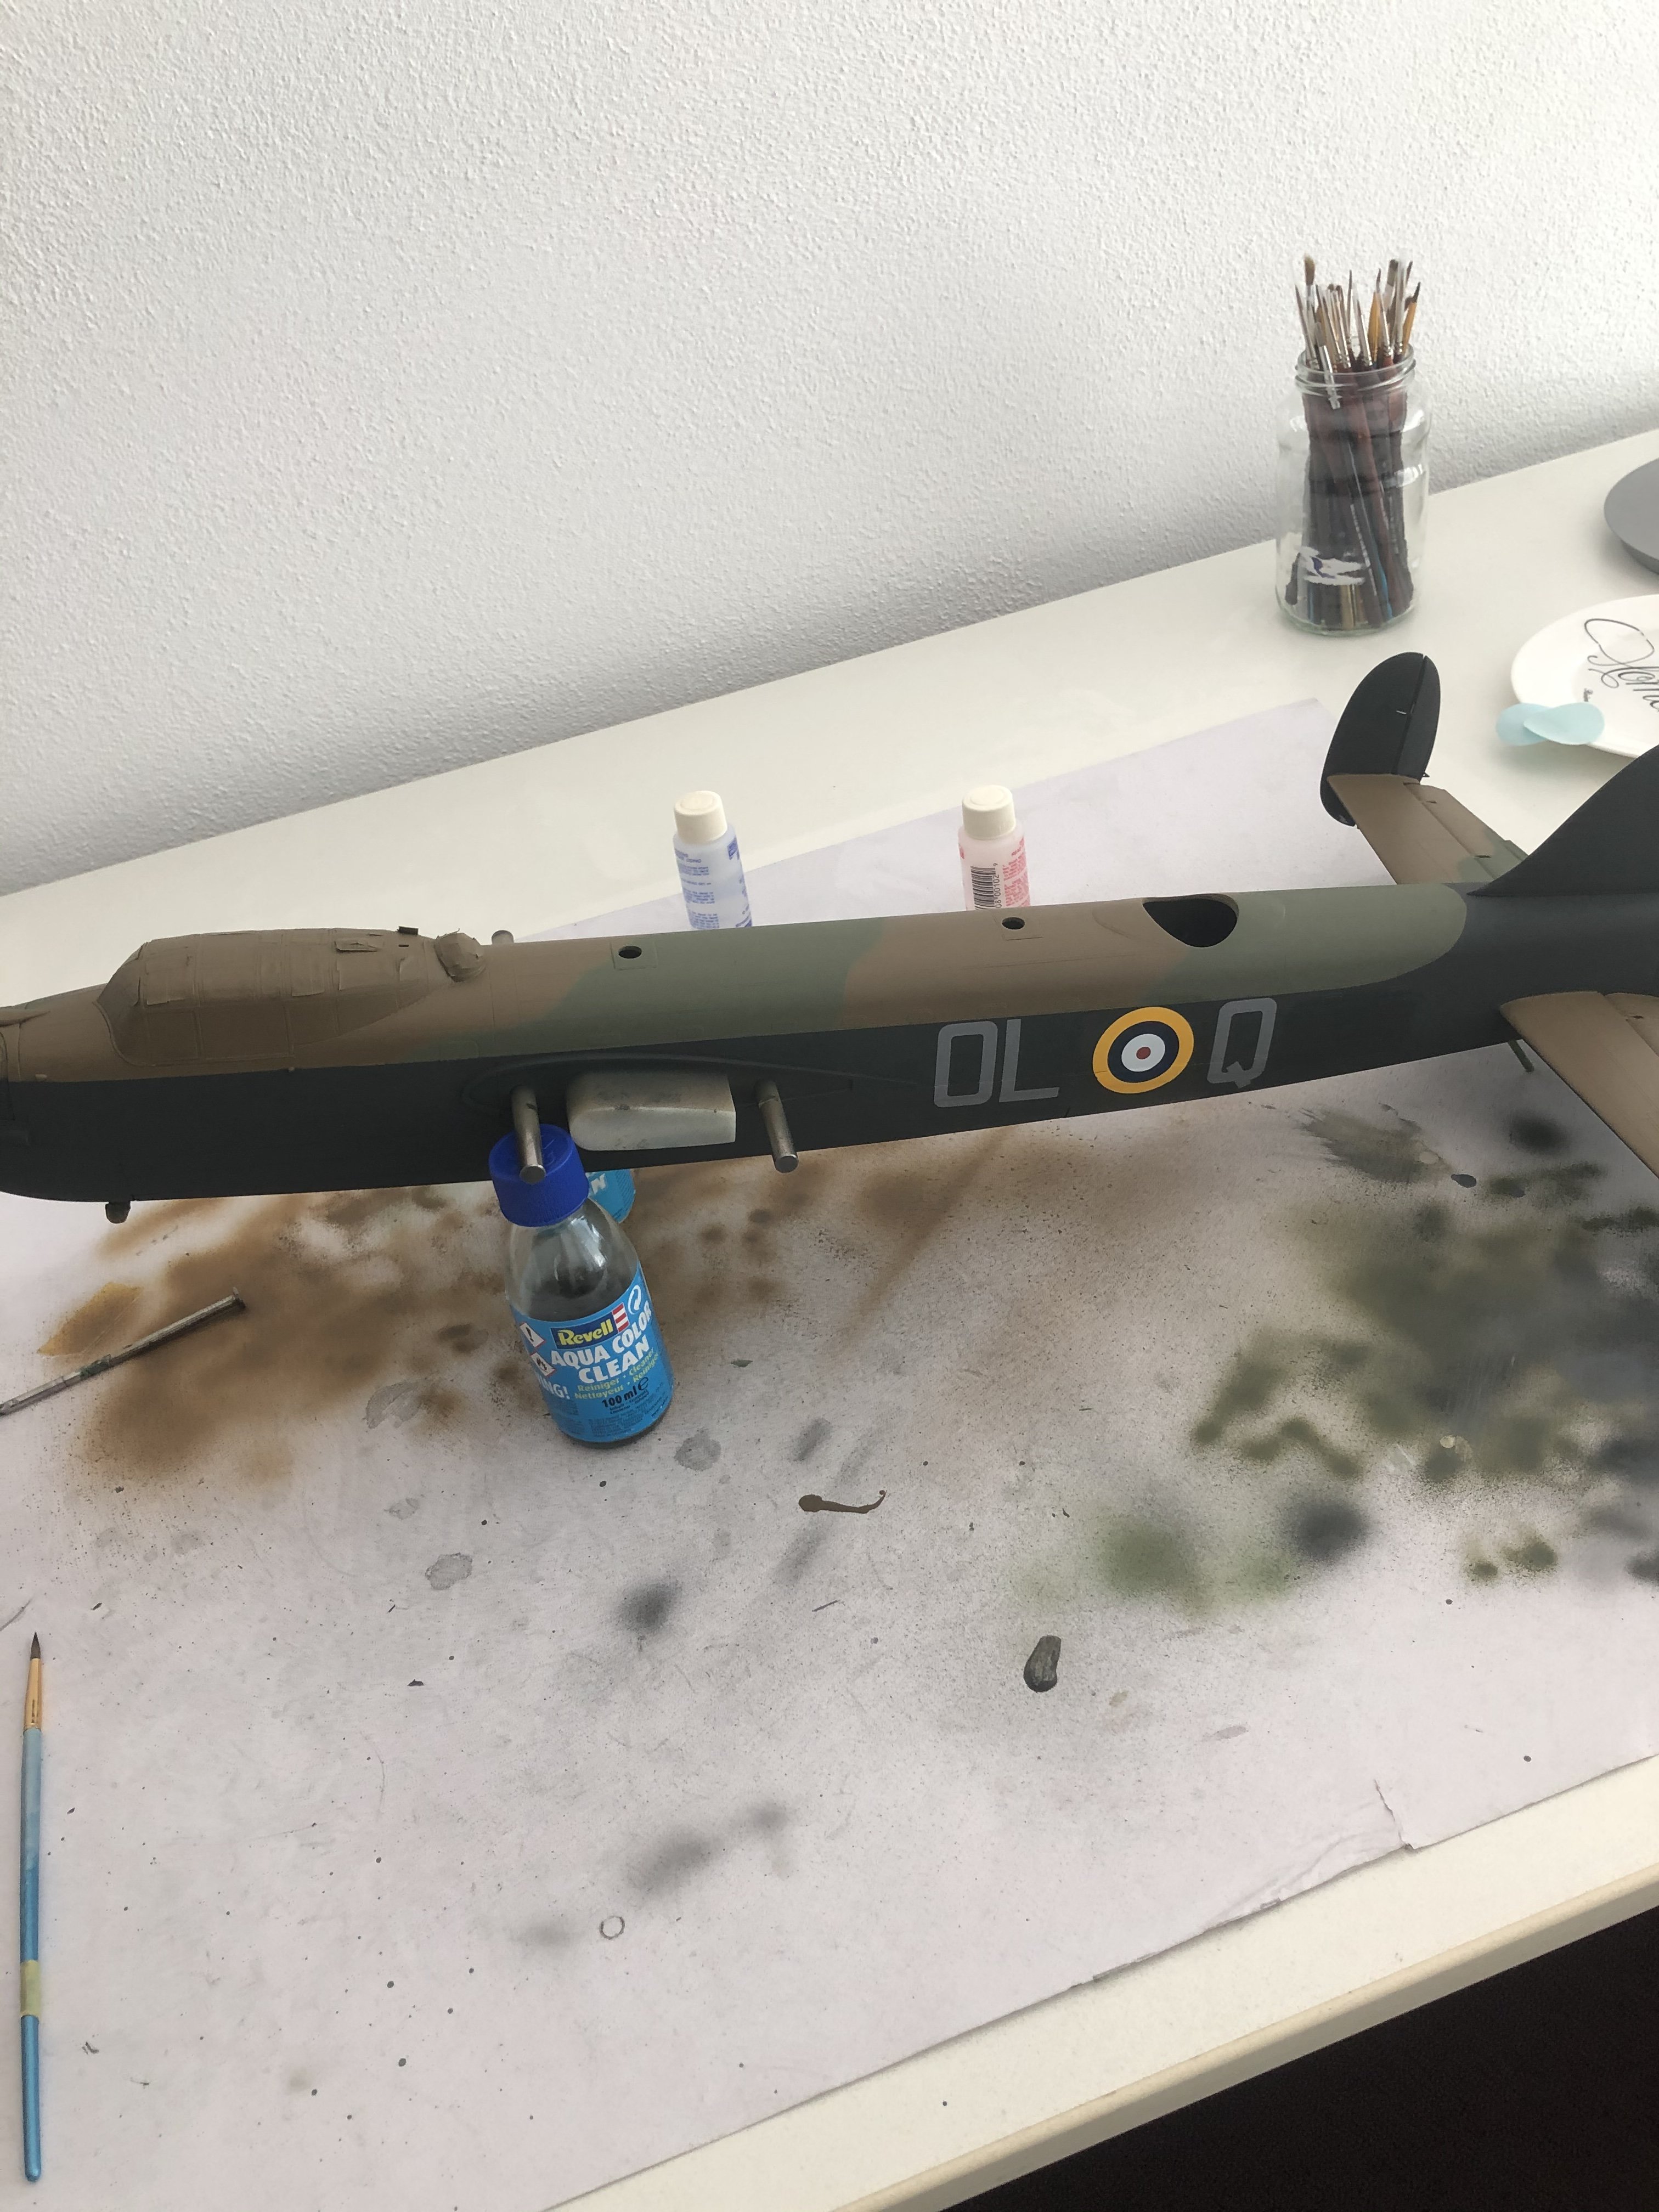
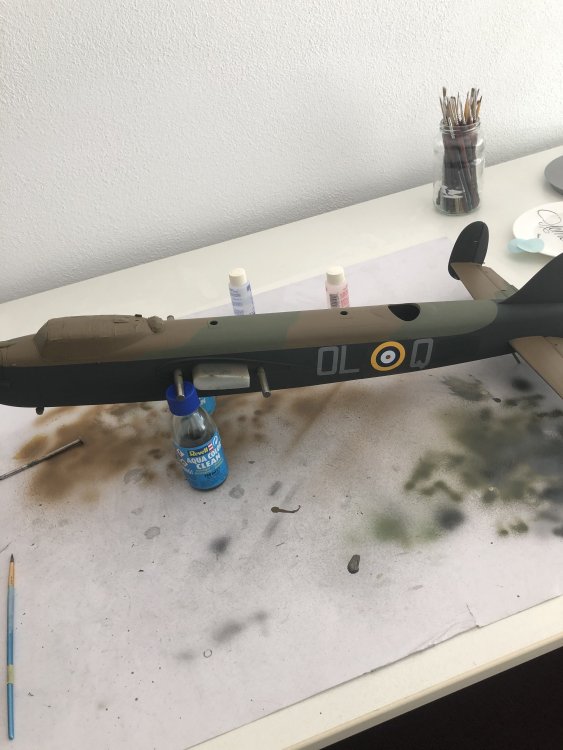
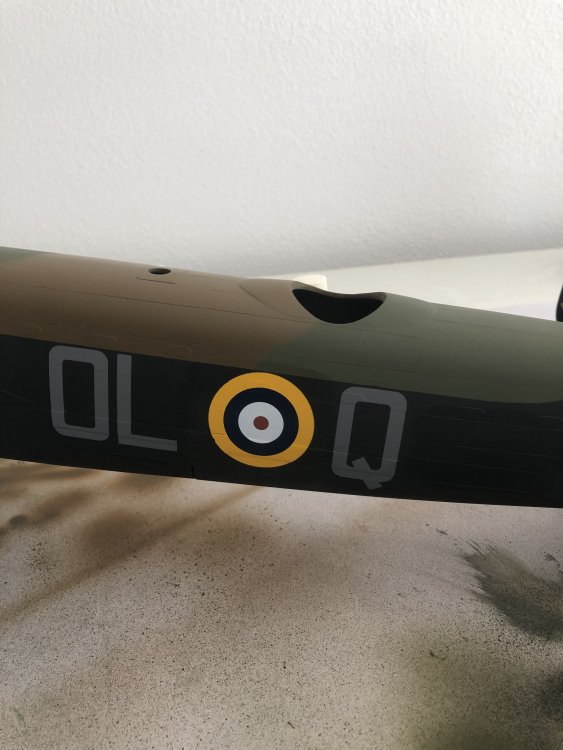
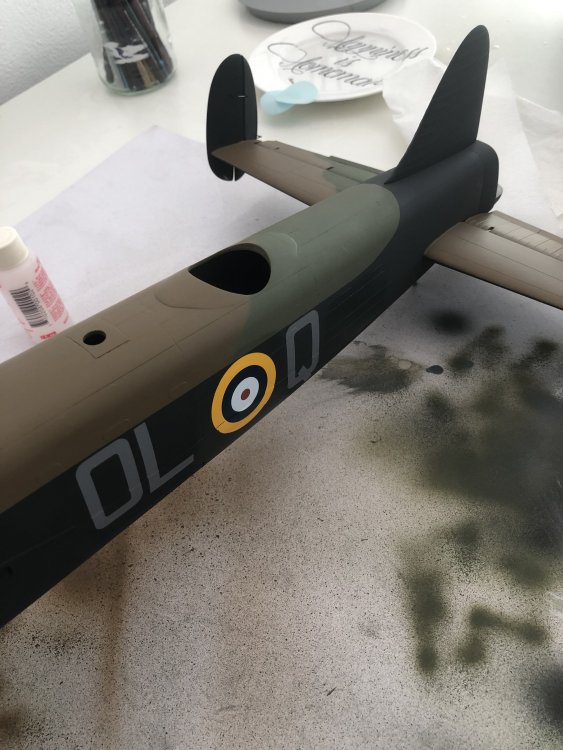
Today is a national holiday and I did some more work. Used masks for the codes and decals for the roundels as U had the correct ones and no masks. Also a pic of the airplane modelled.

-
I let the pics do the talking


-
Not done yet, getting there.
-
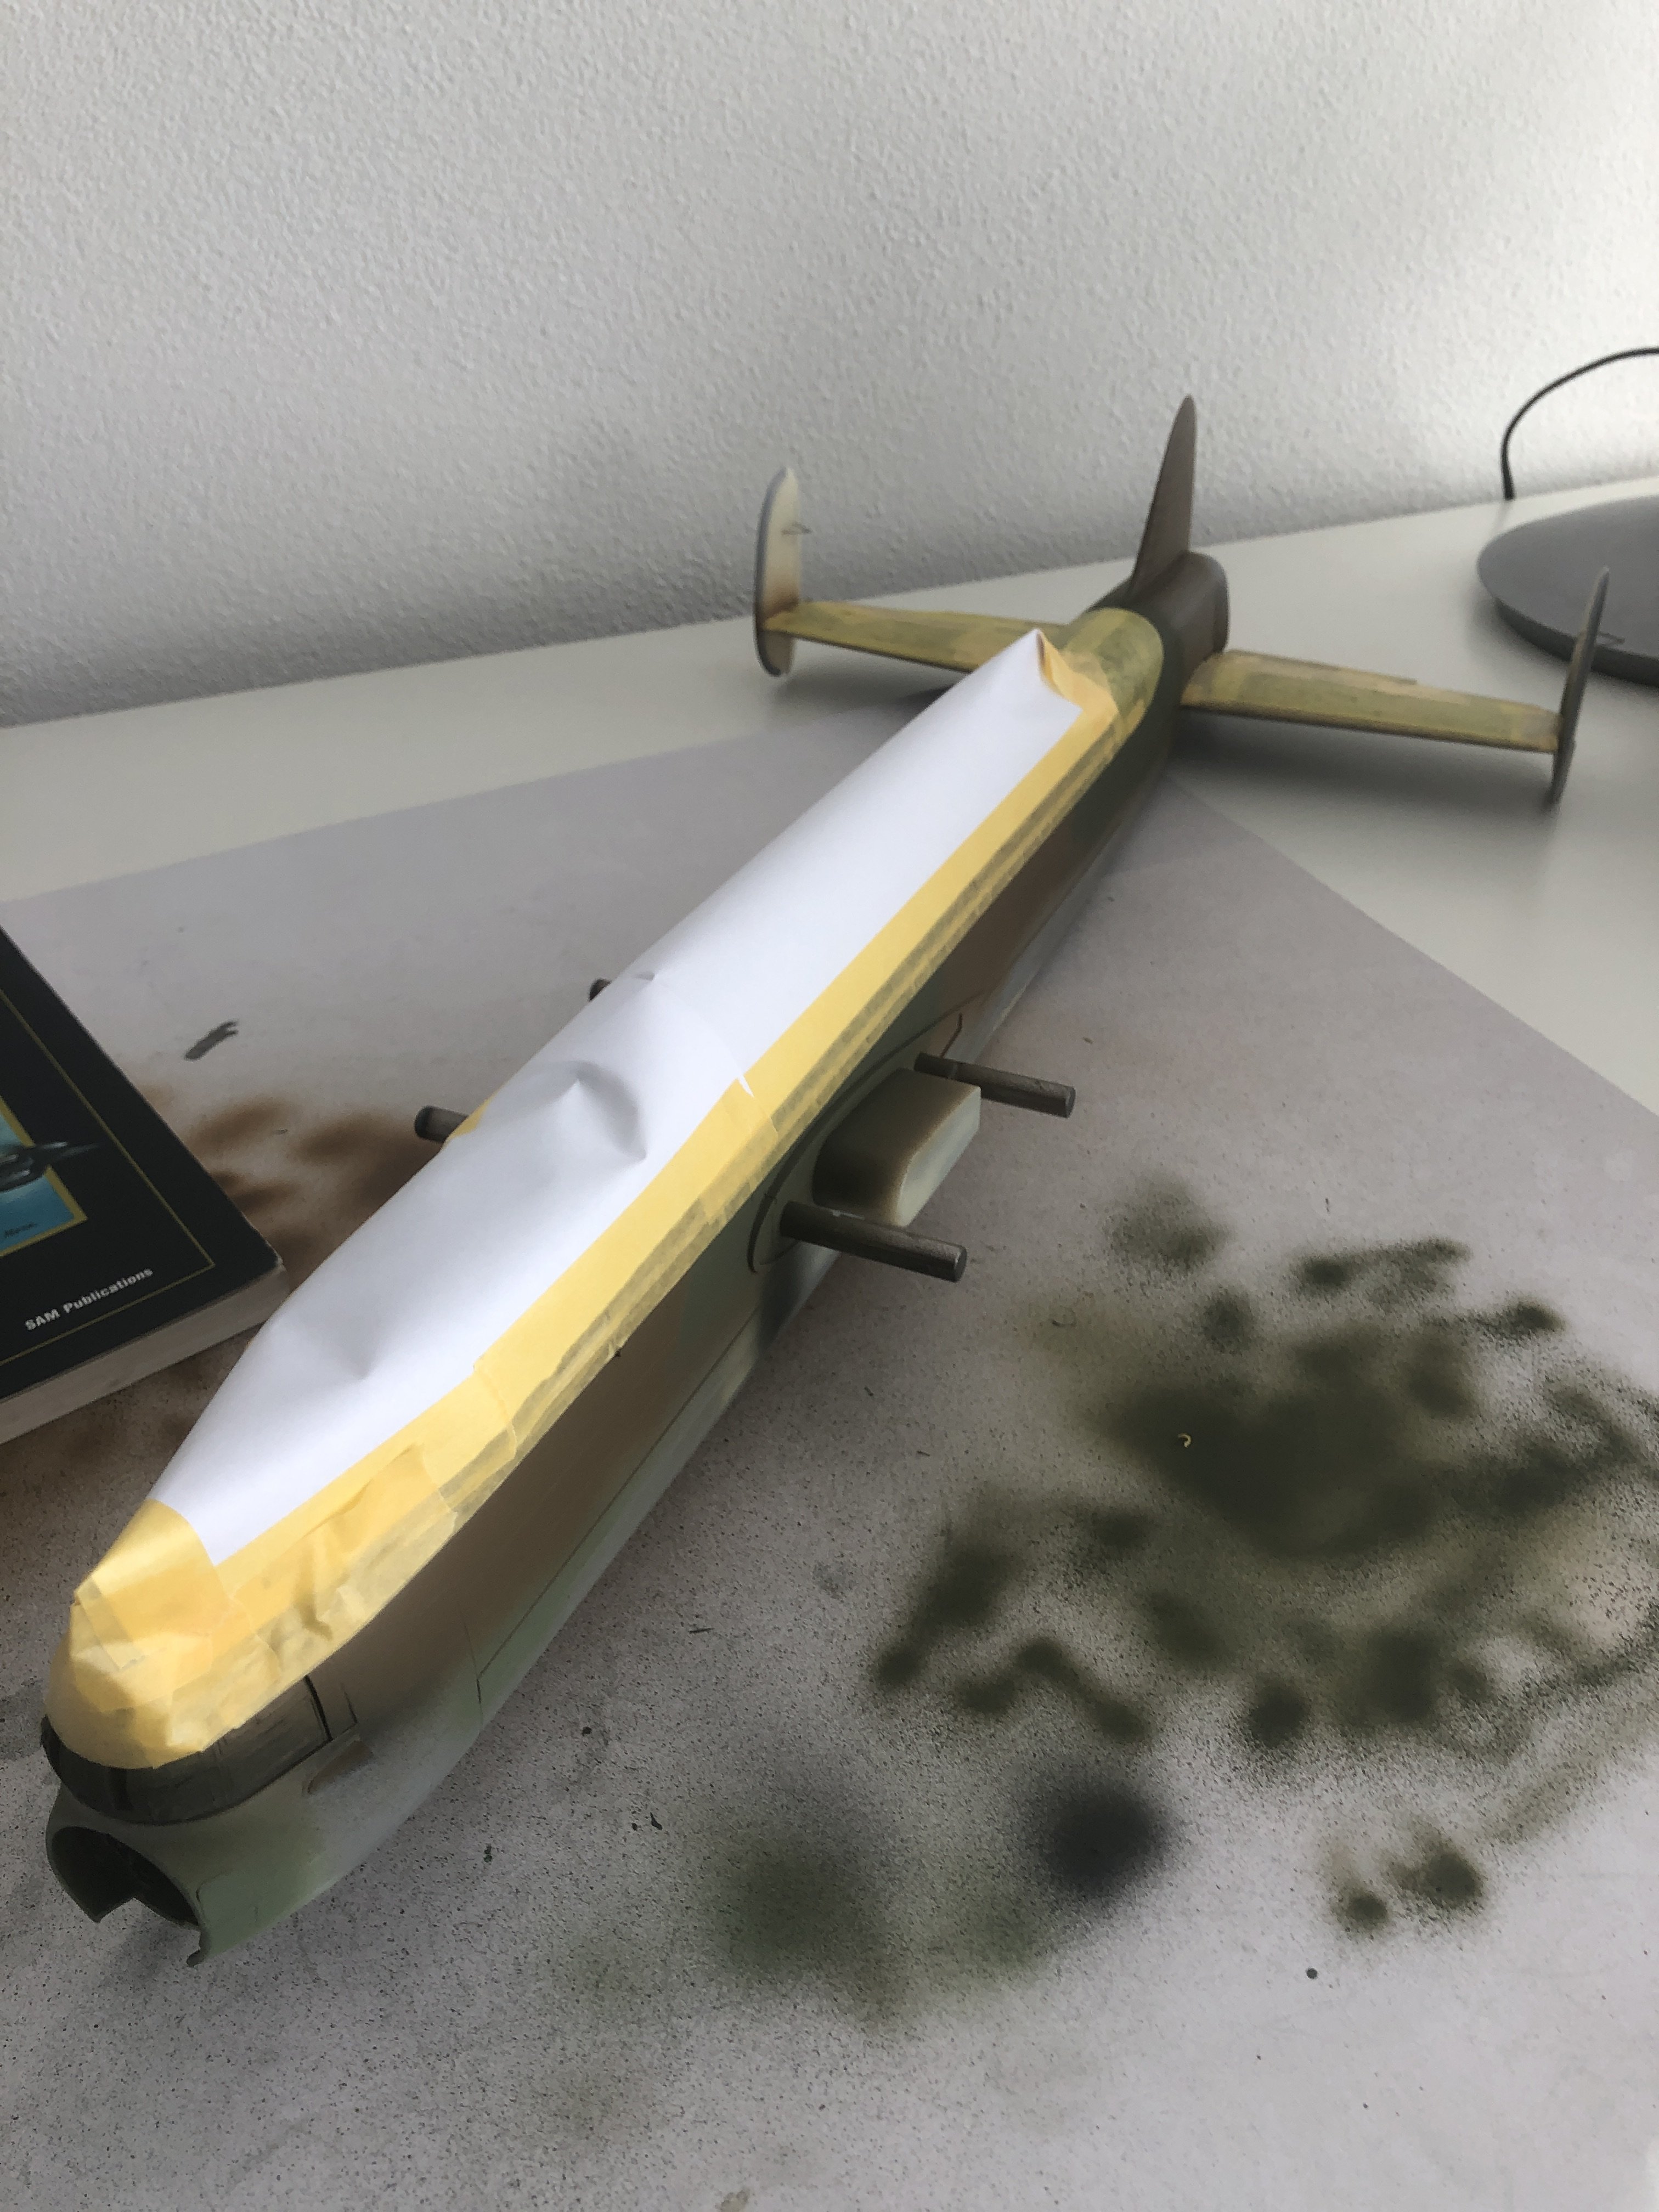
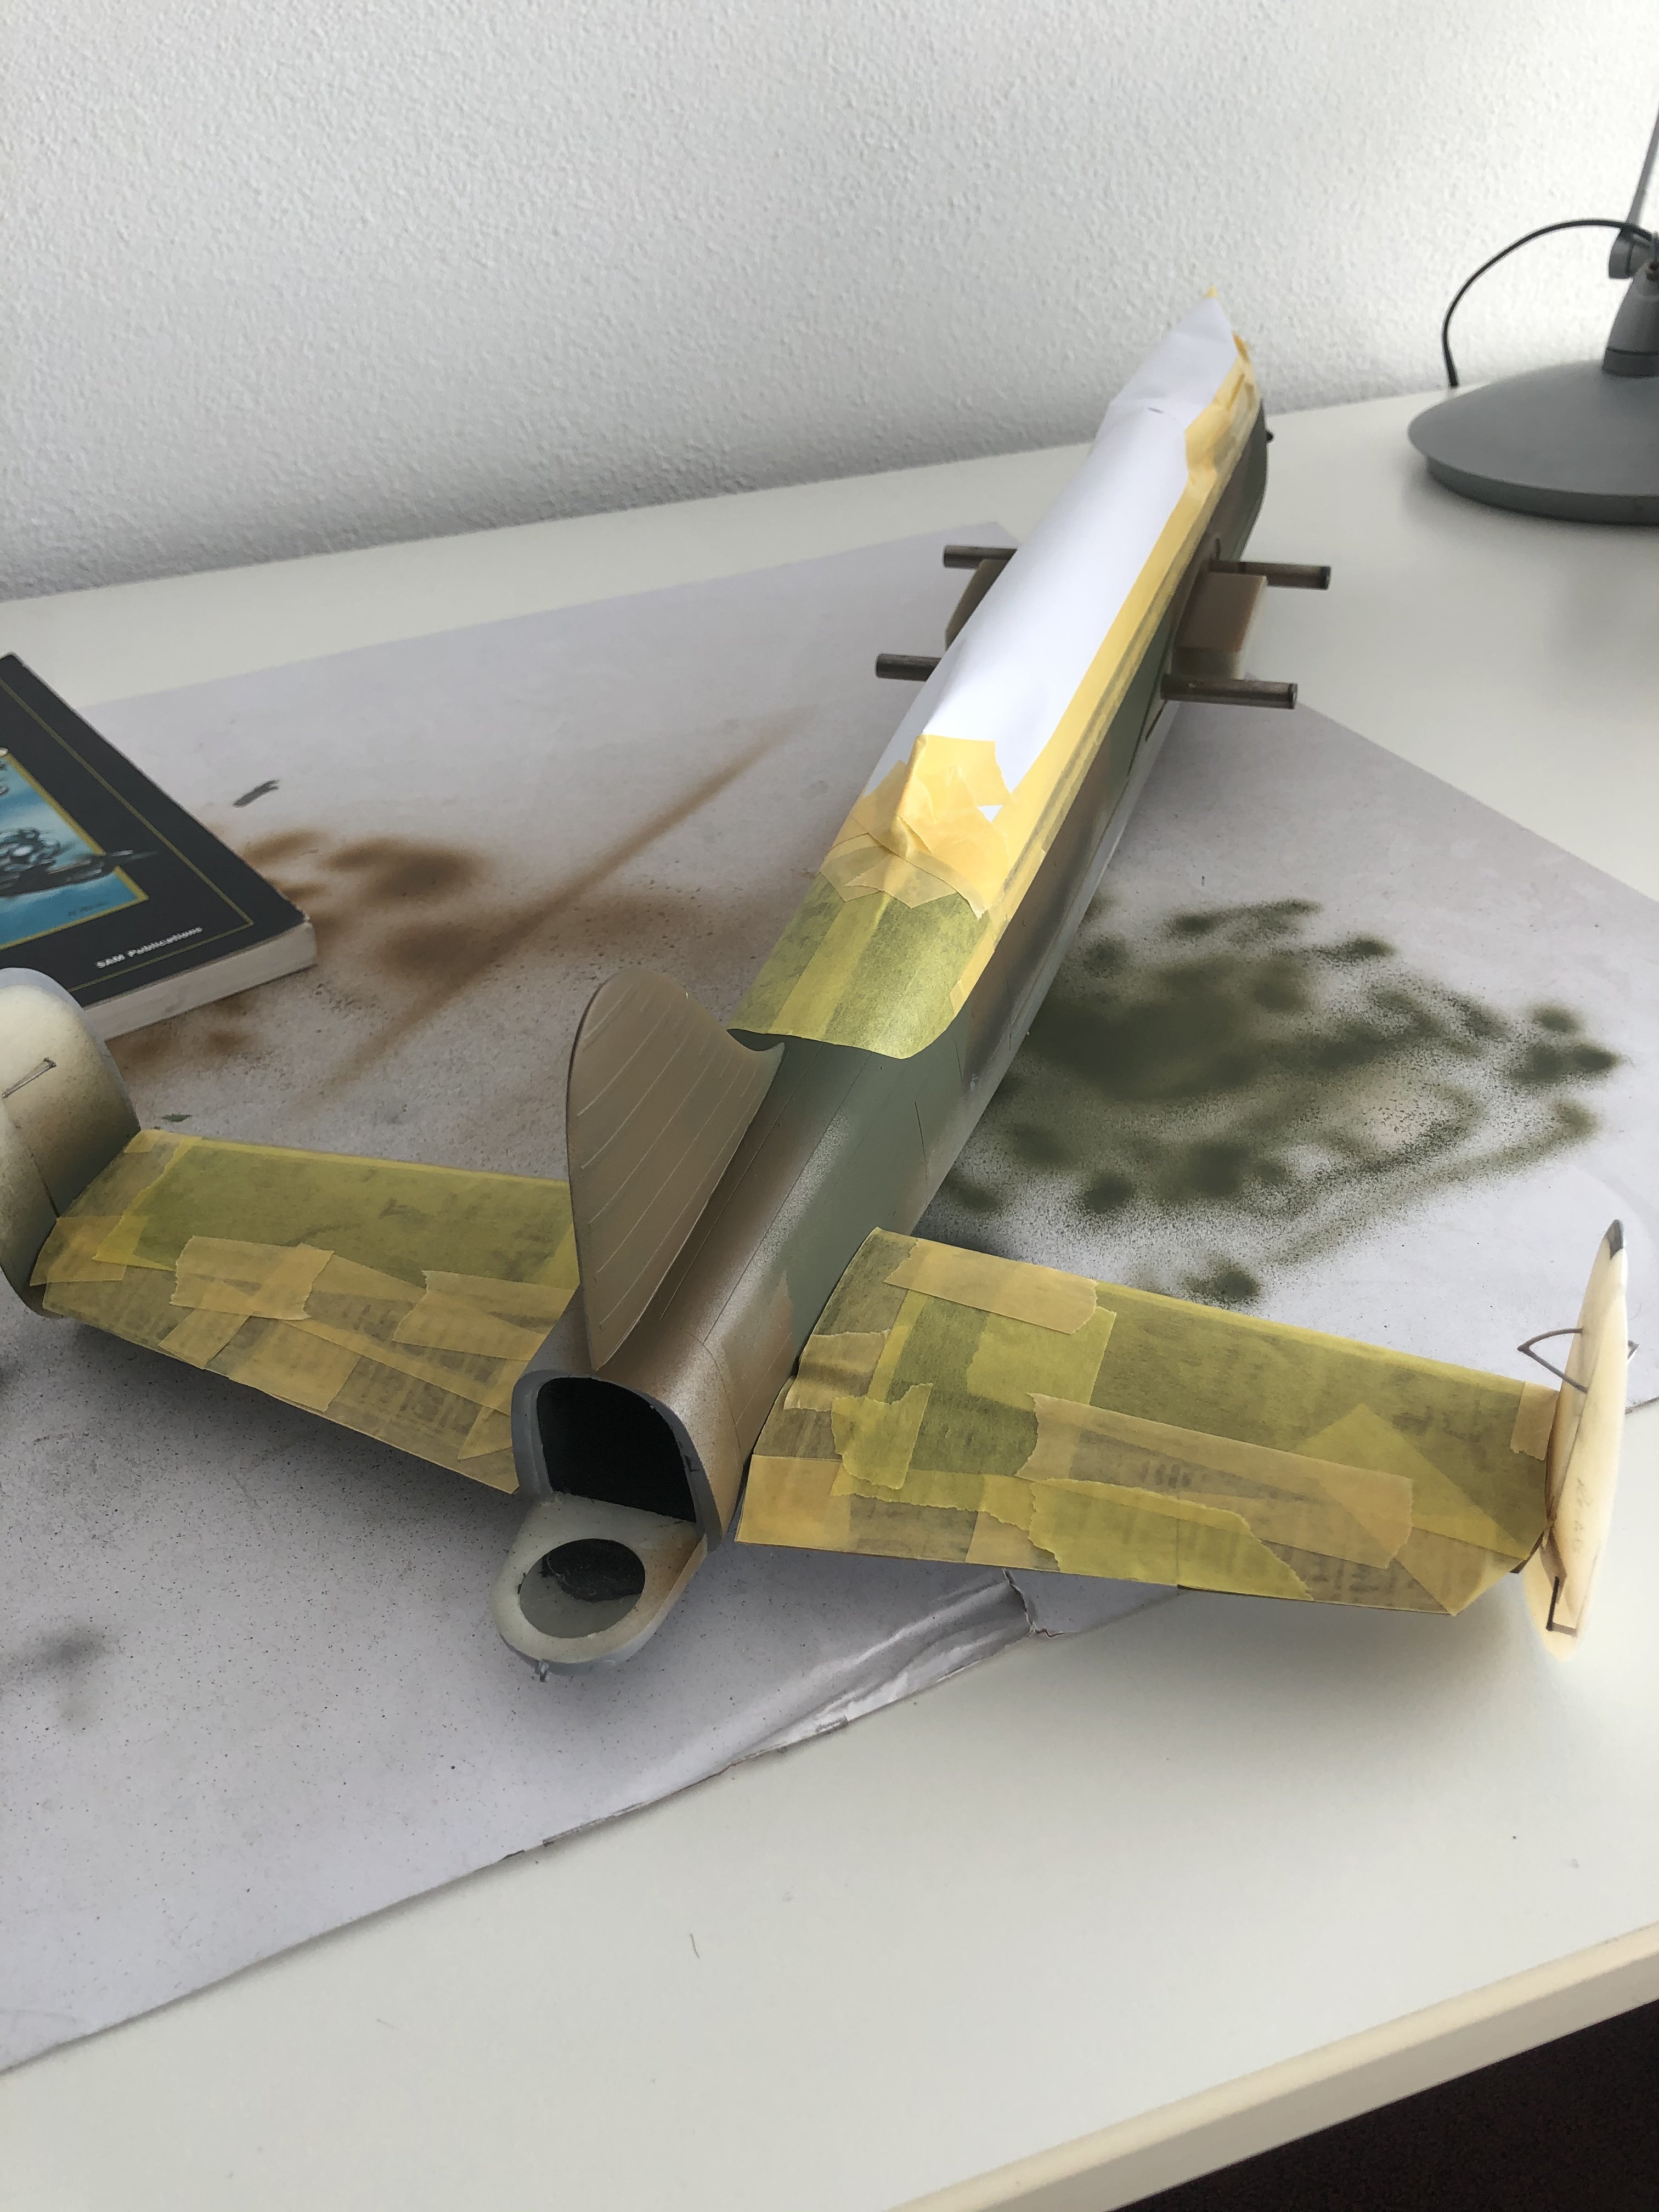
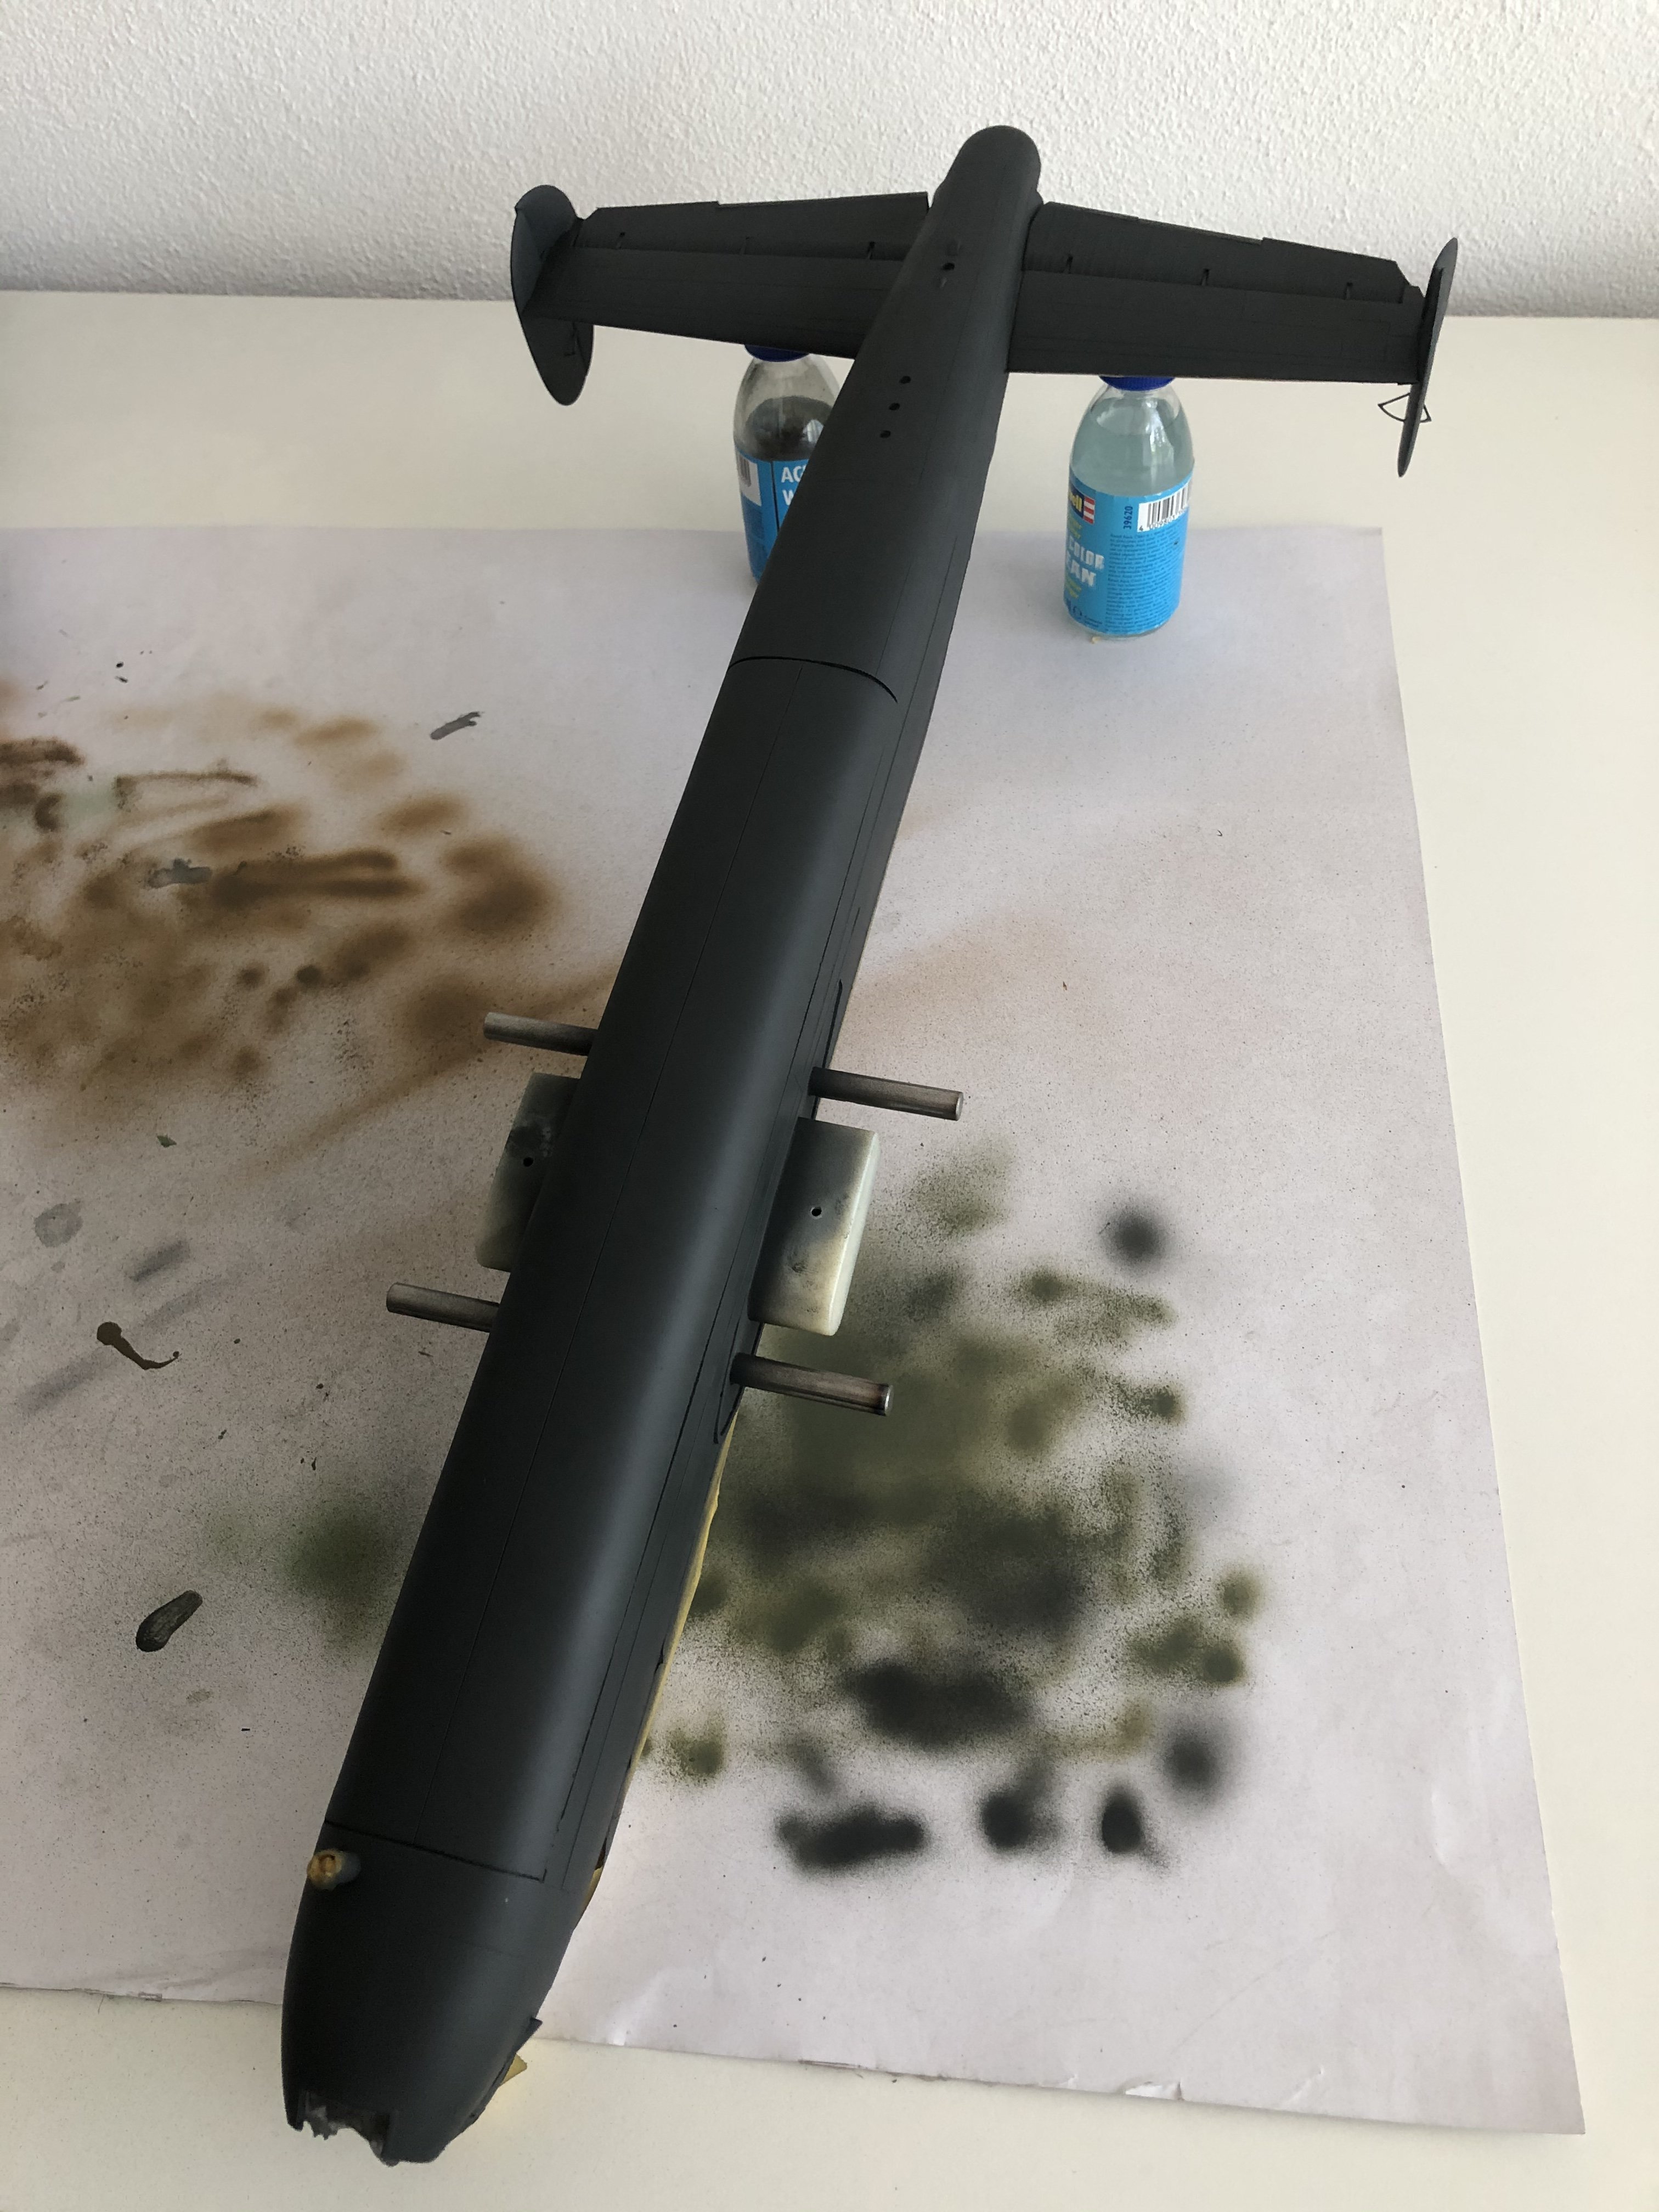
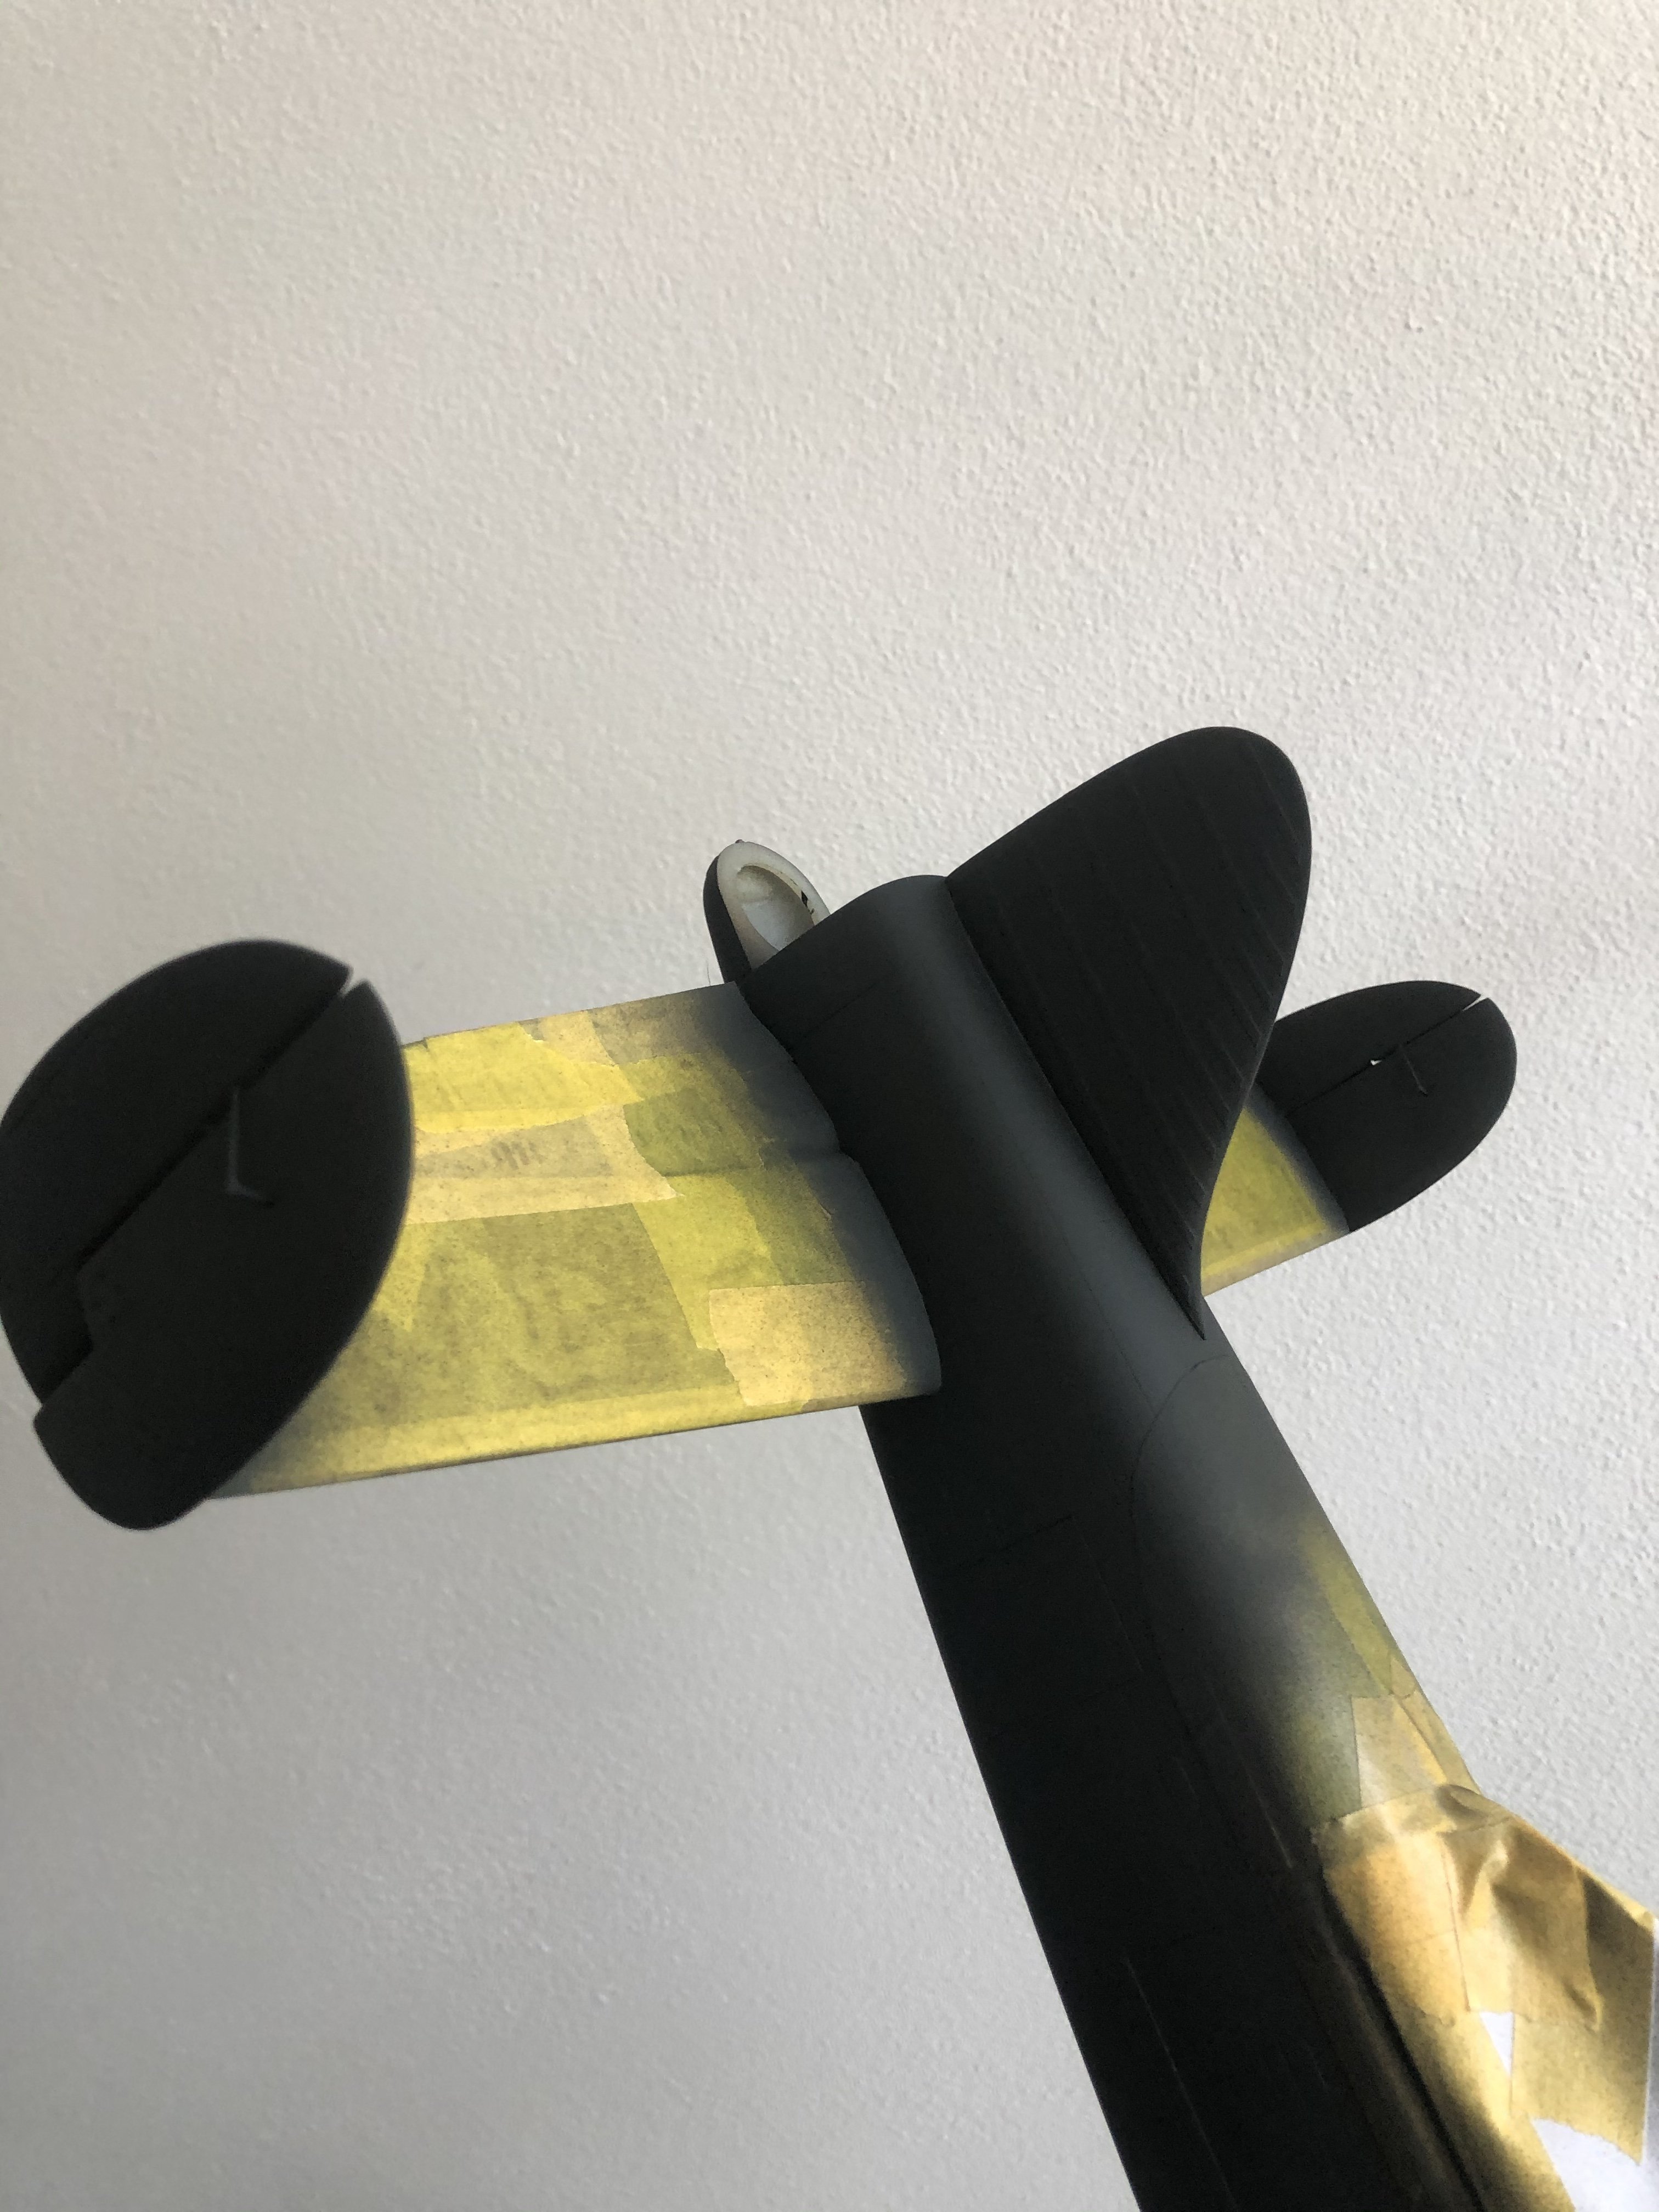
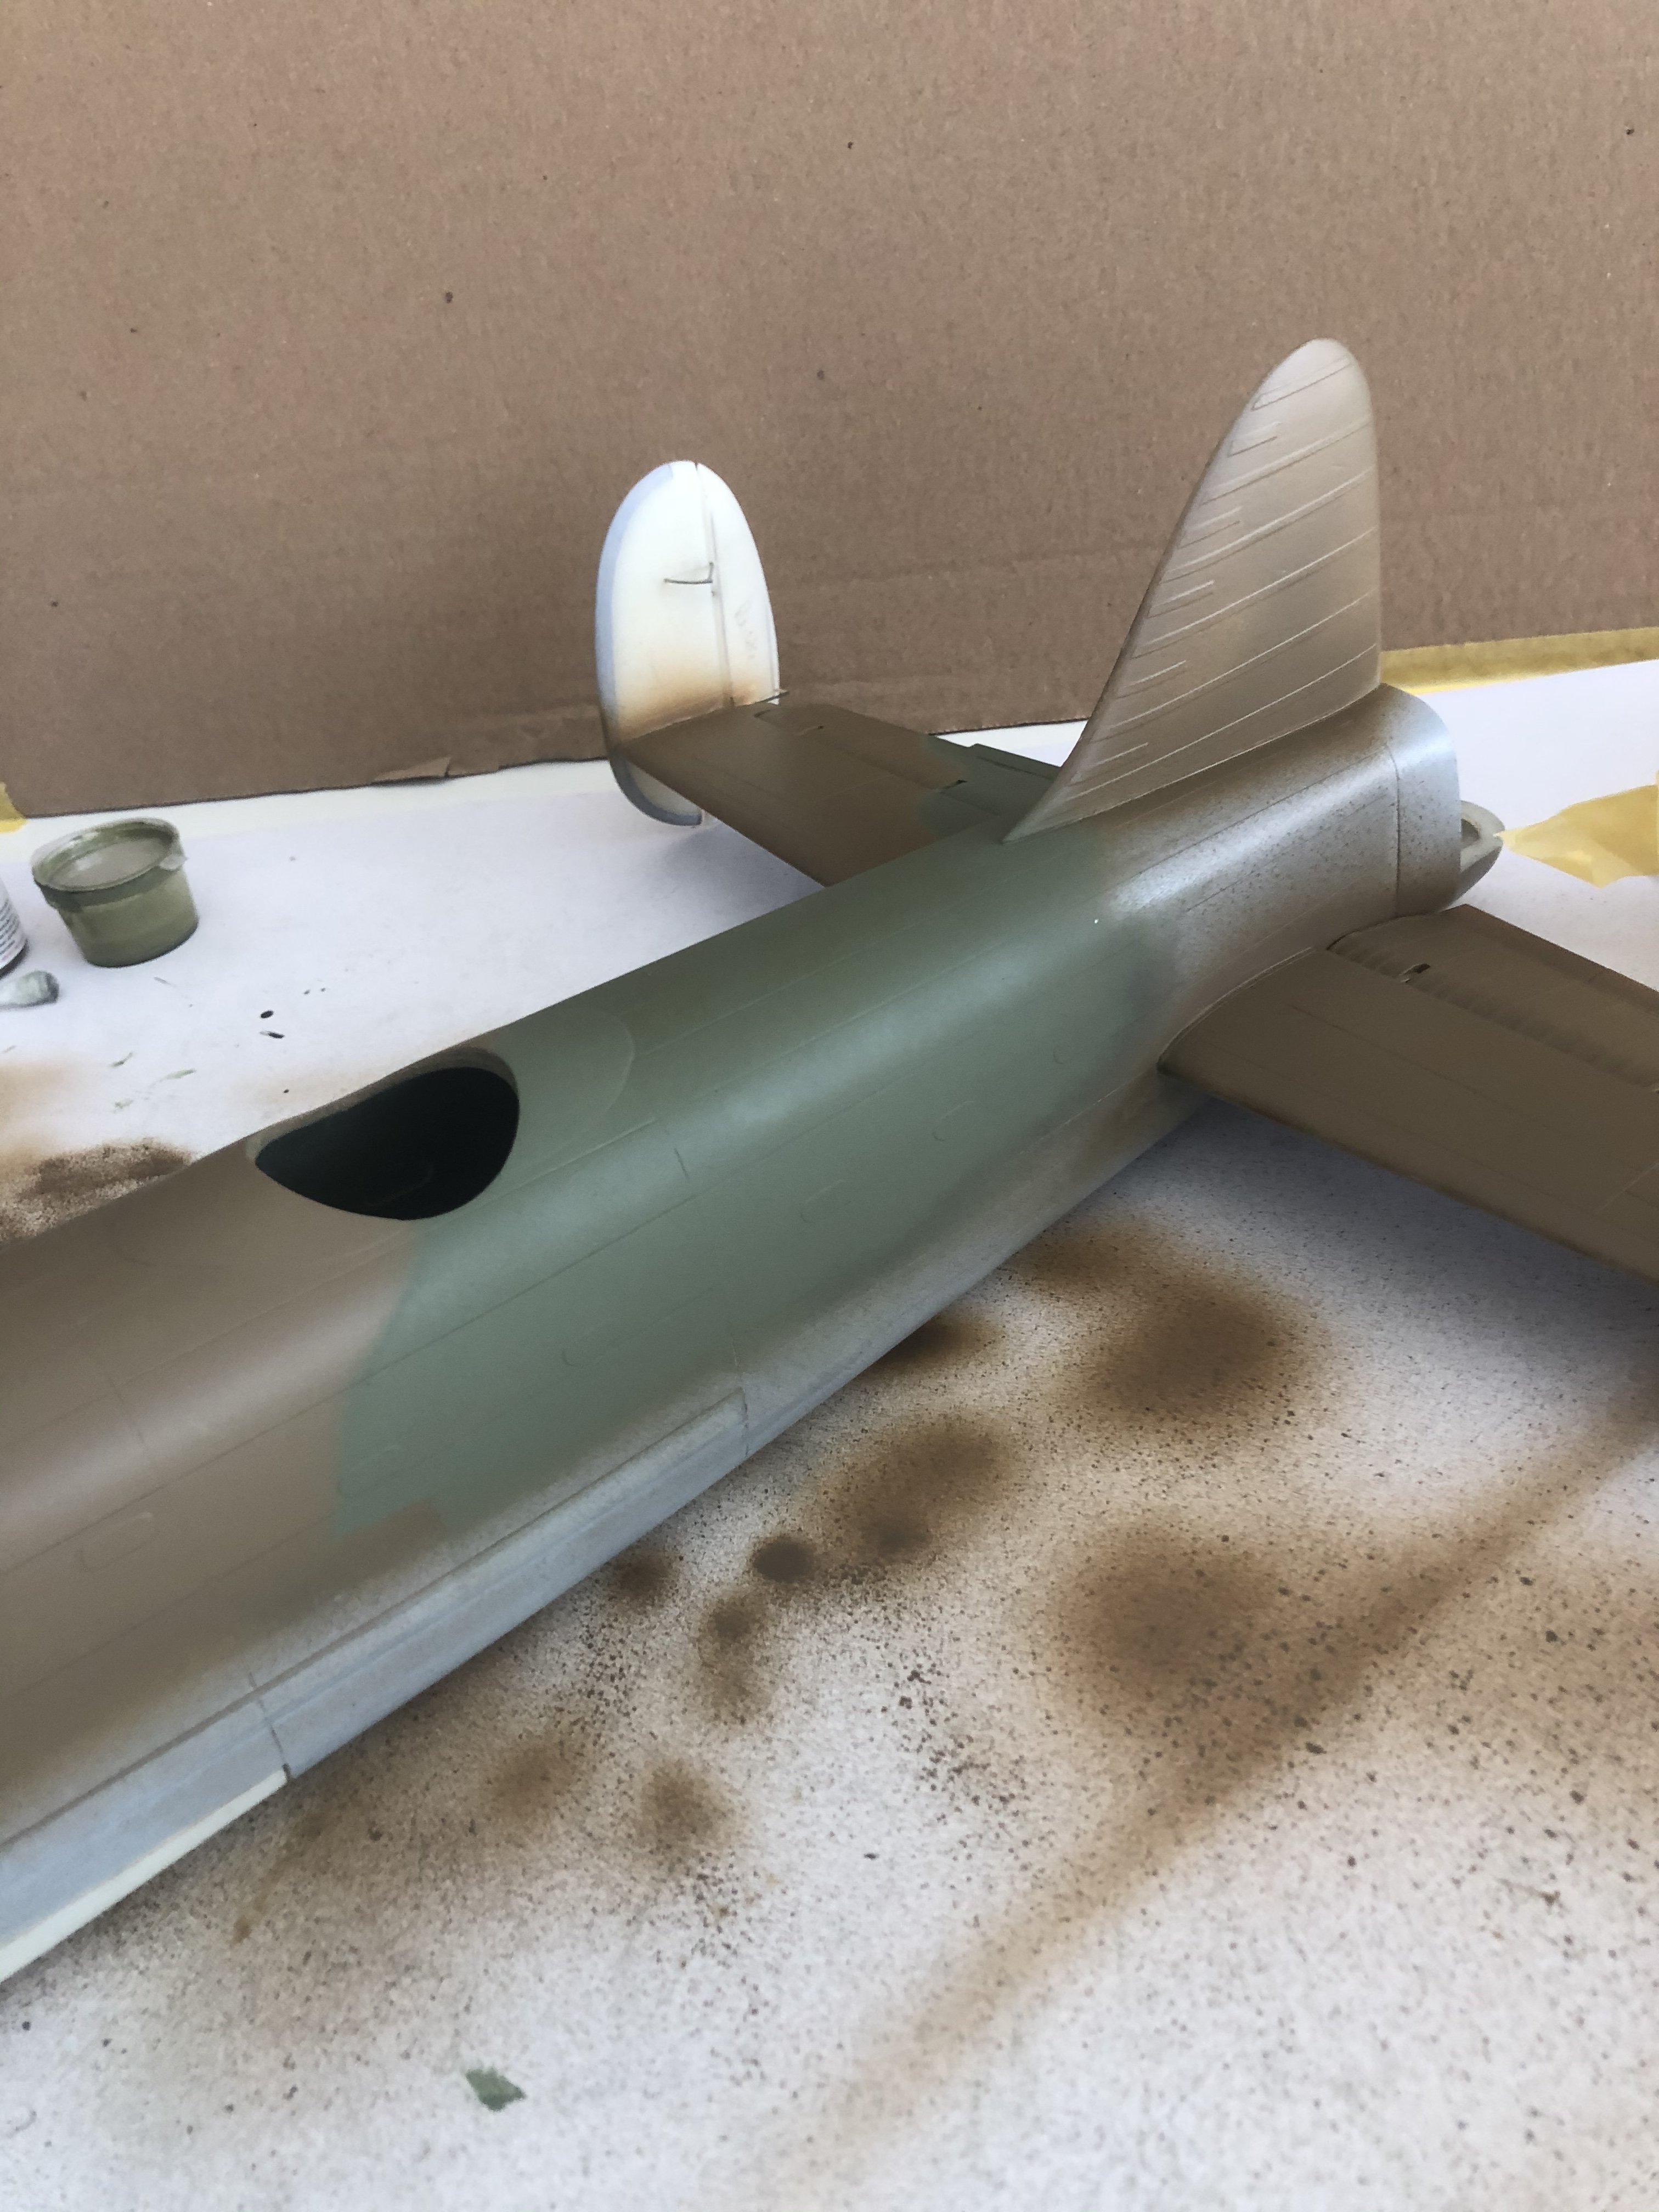
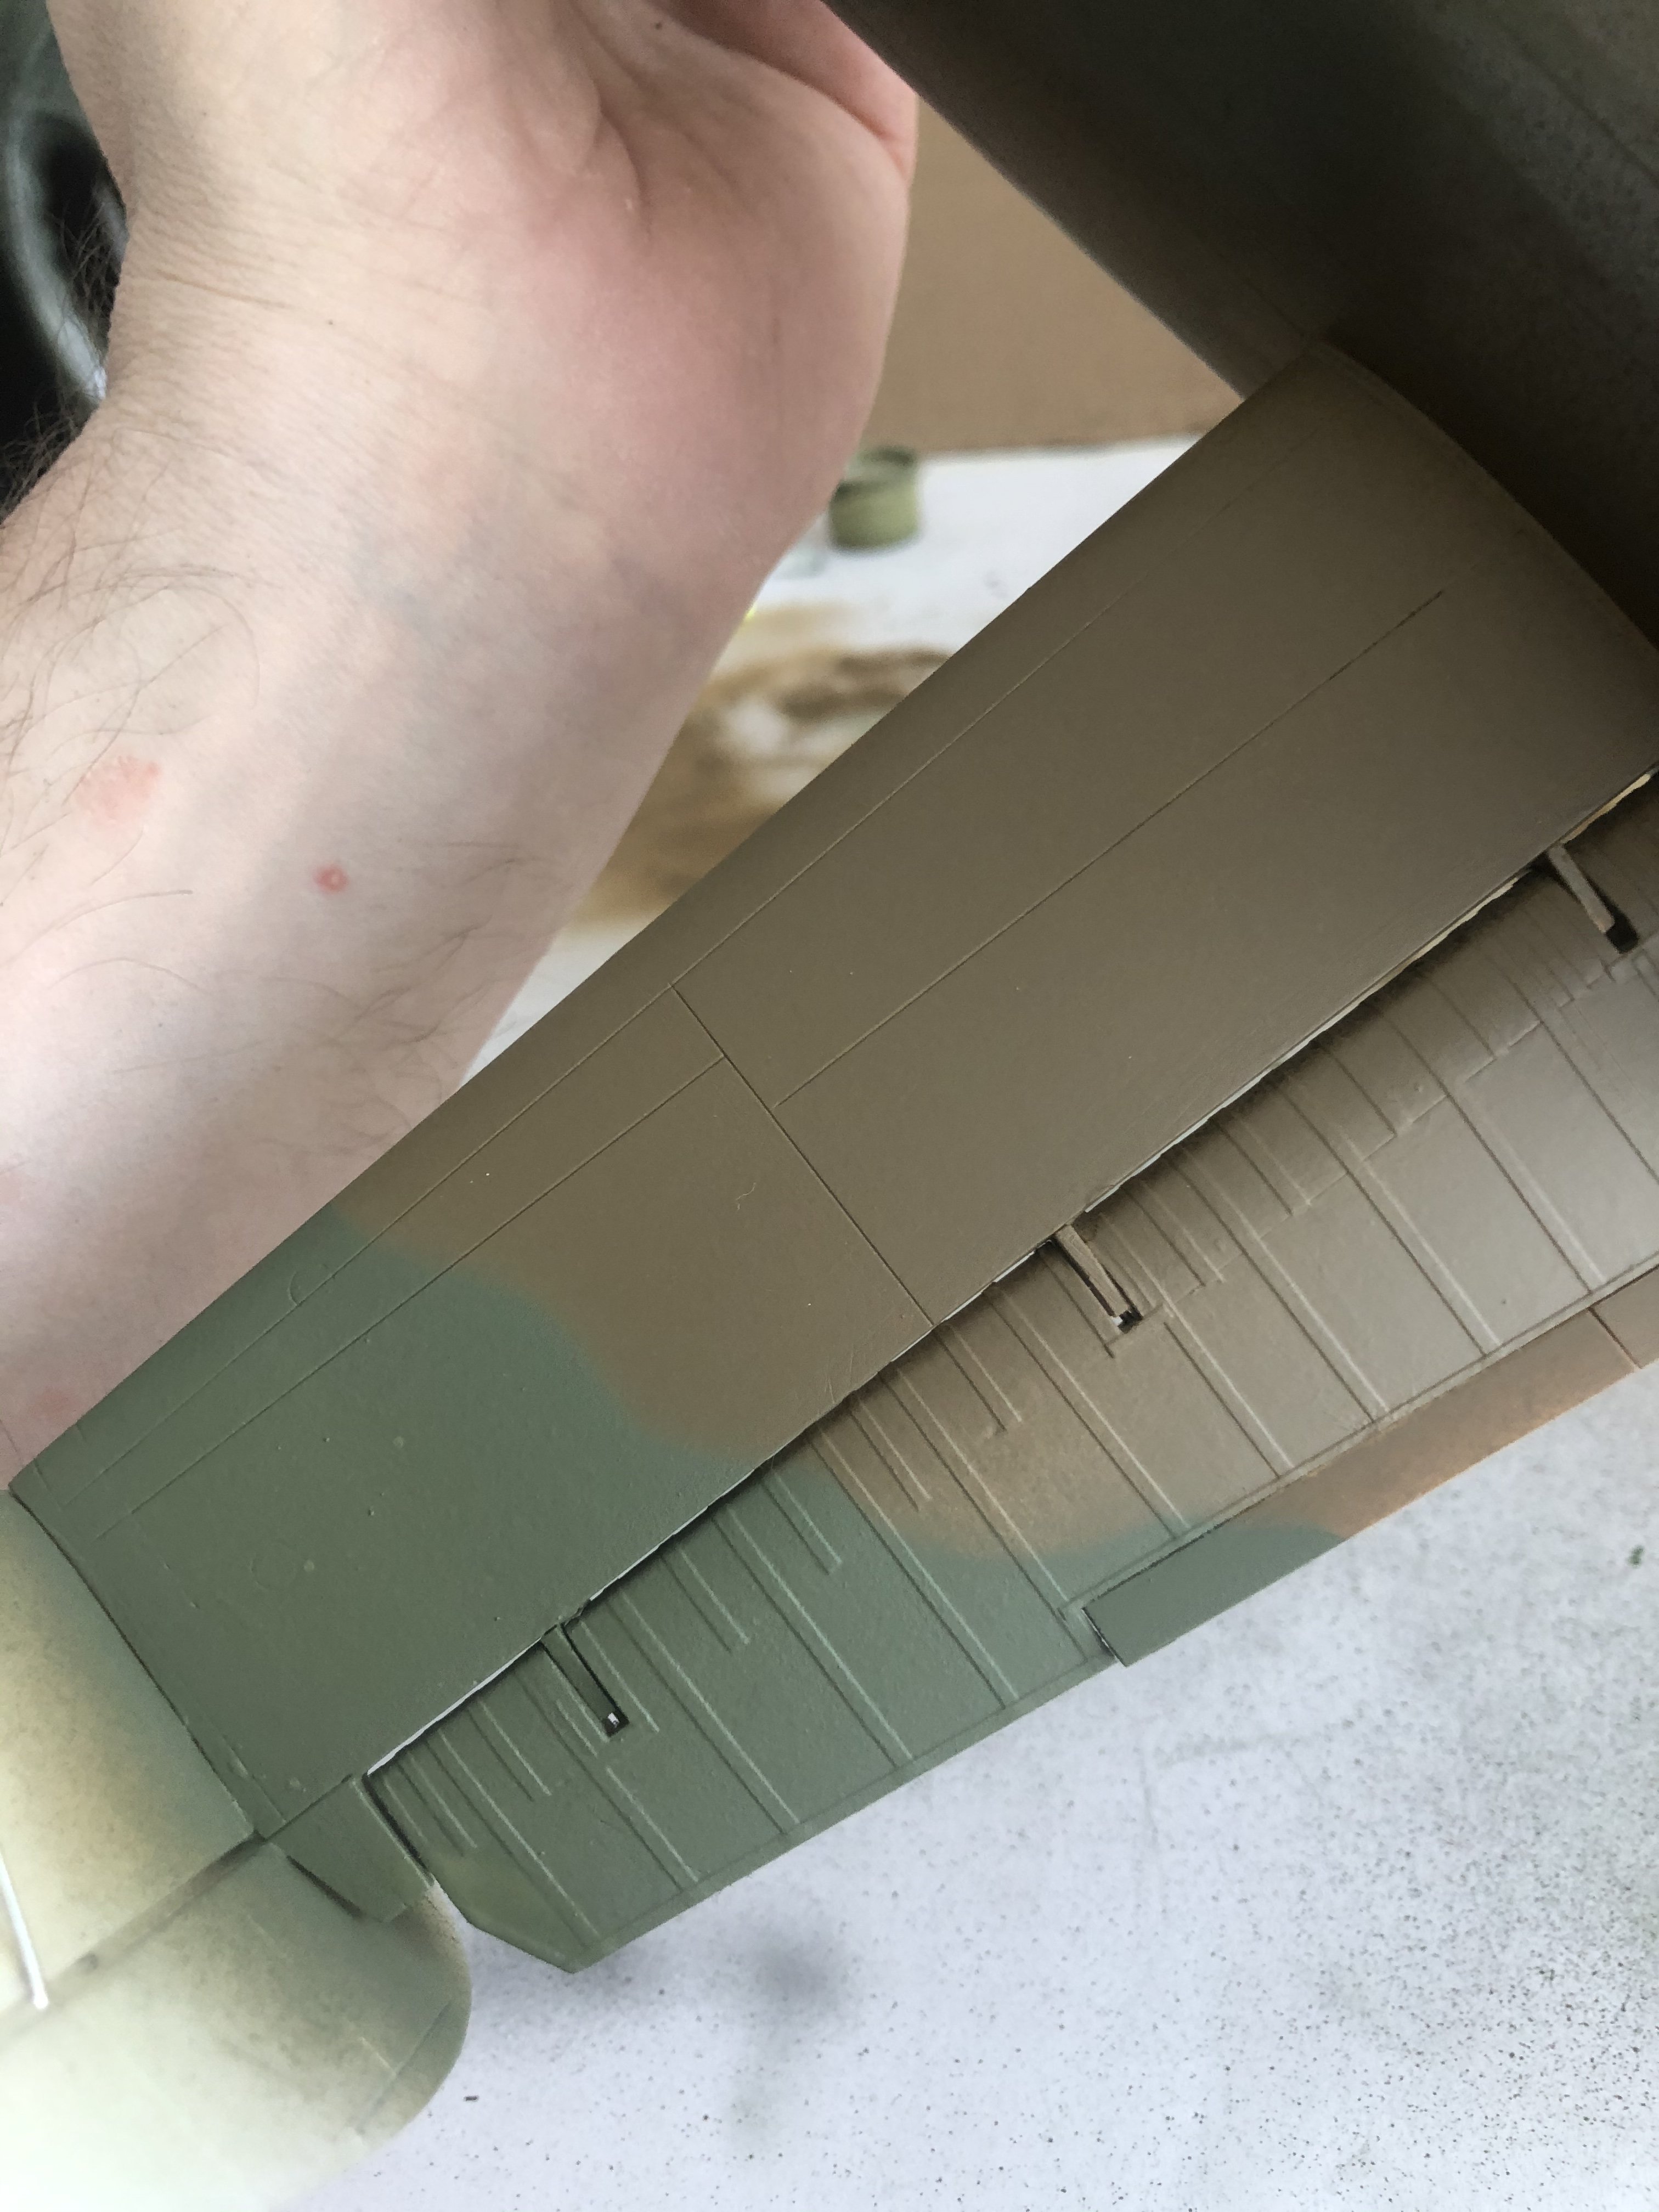
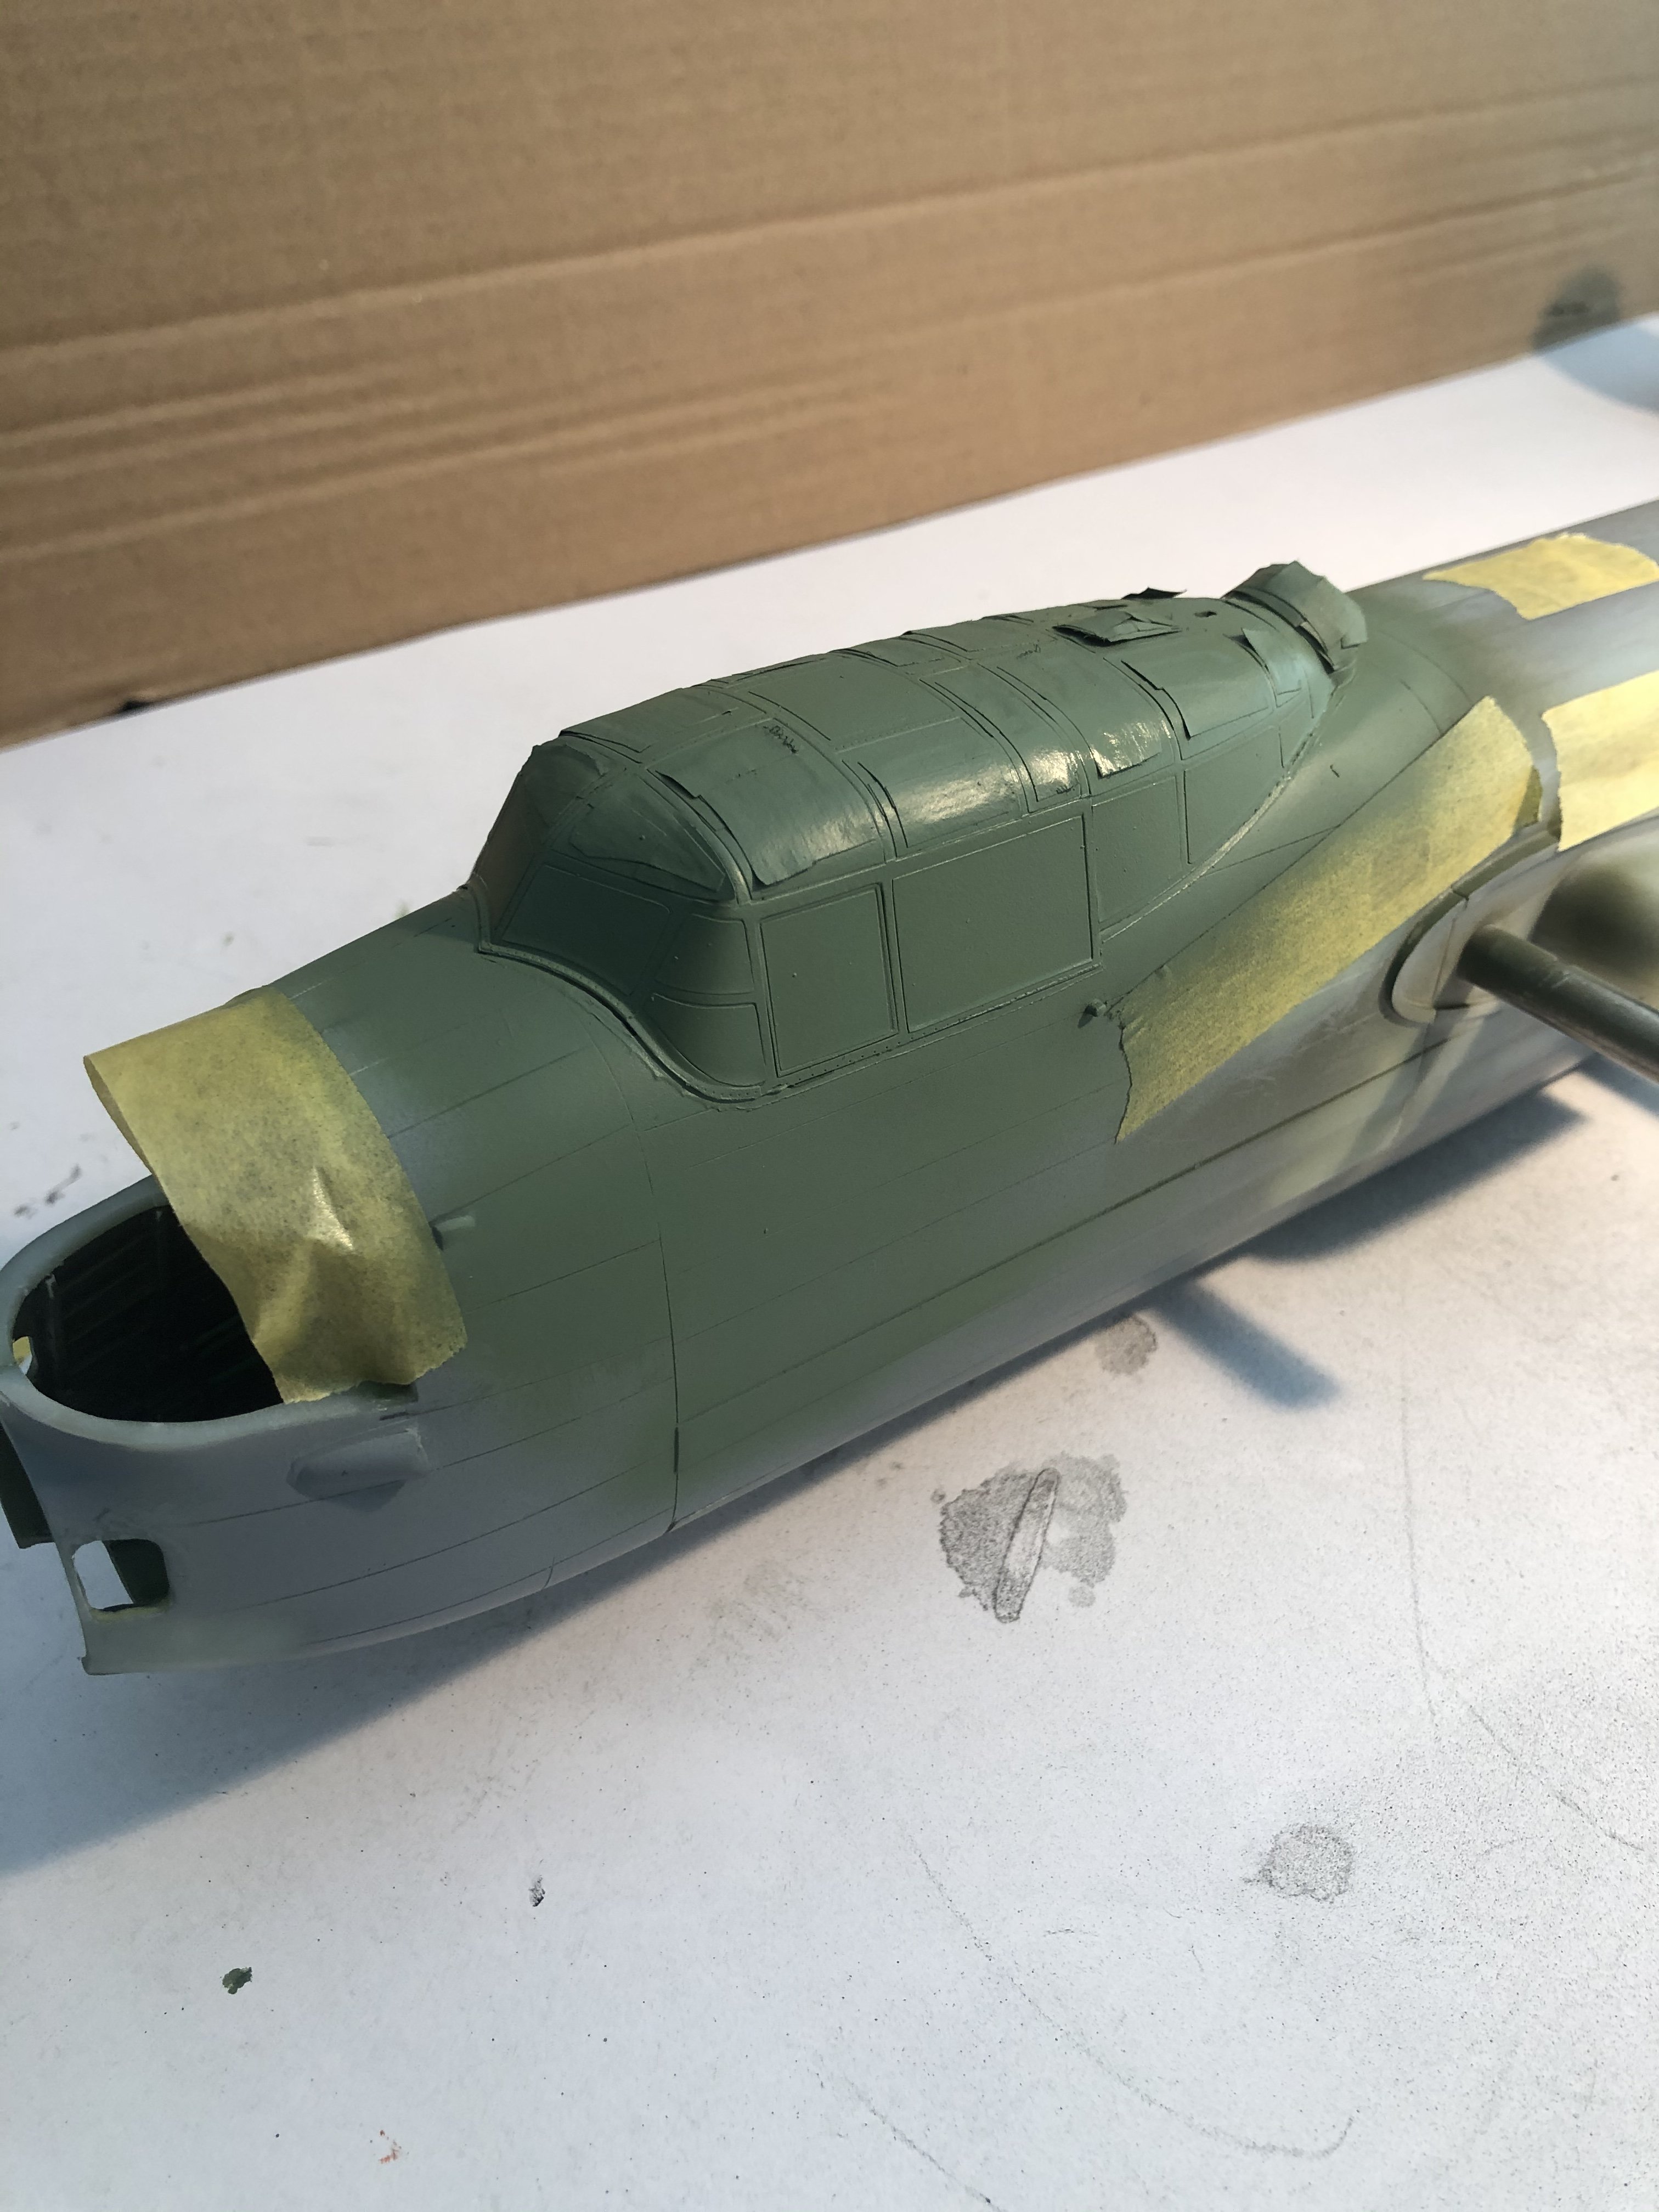
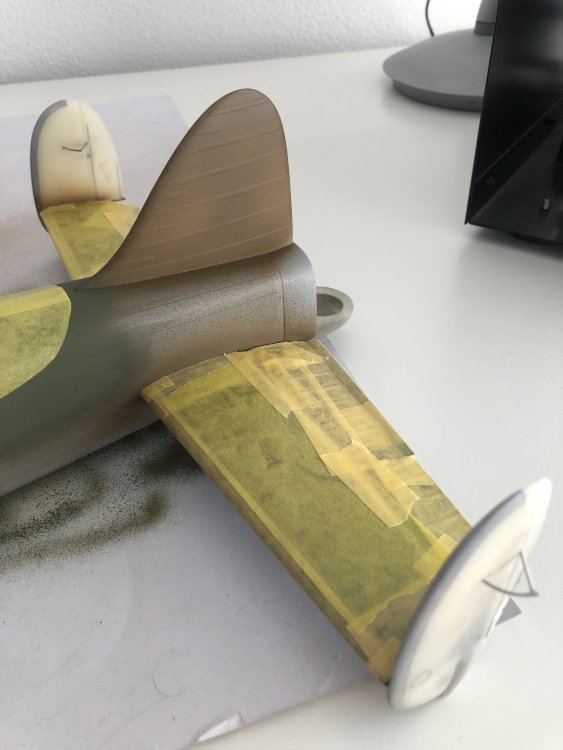
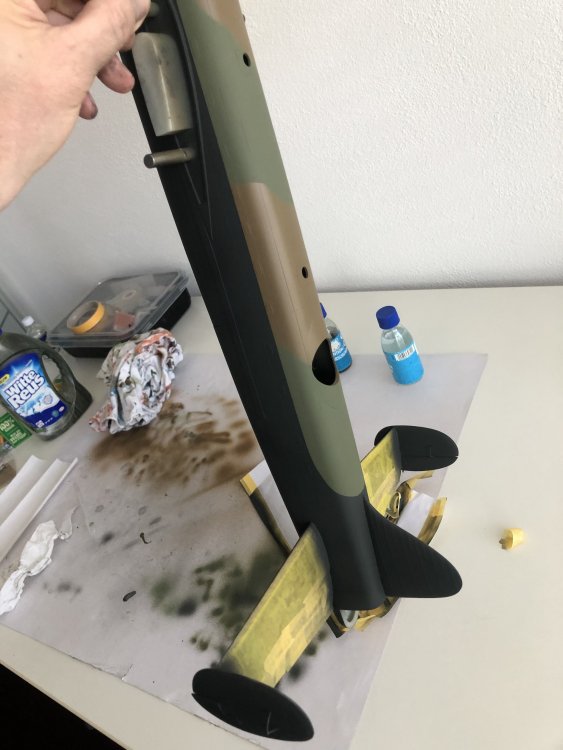
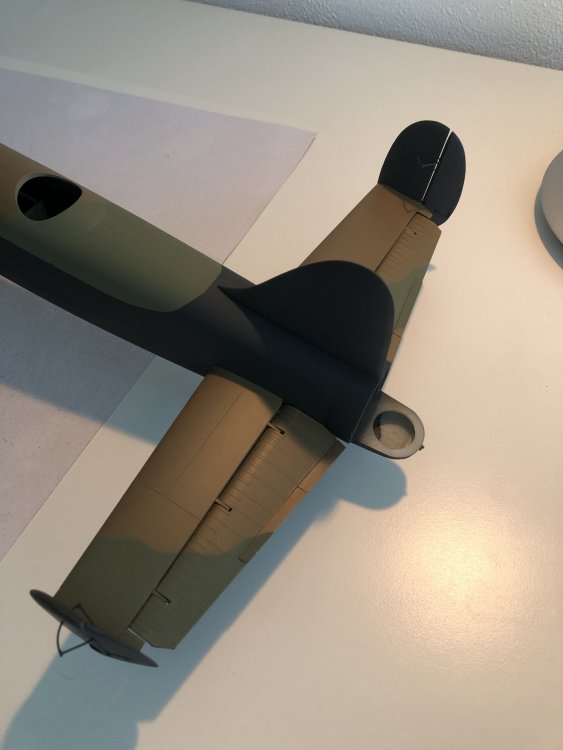
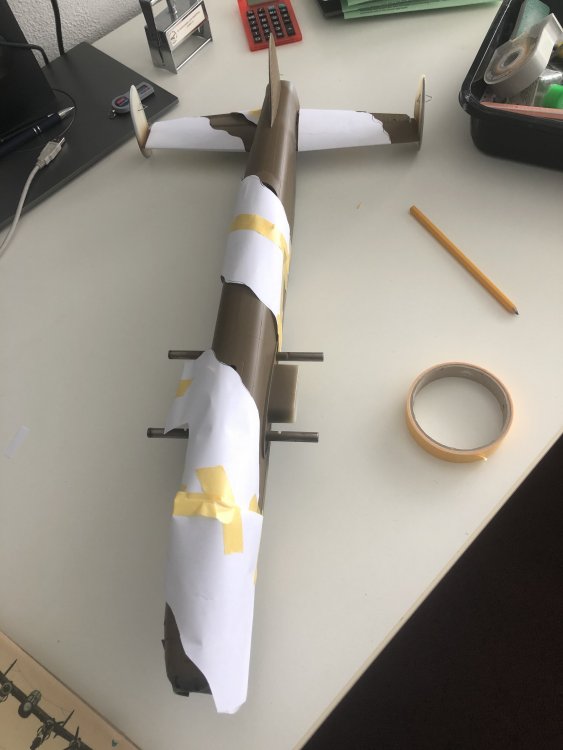
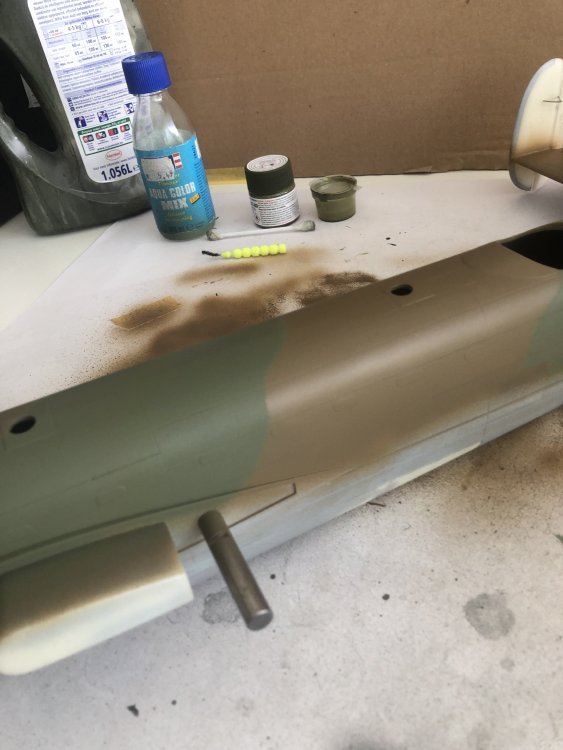
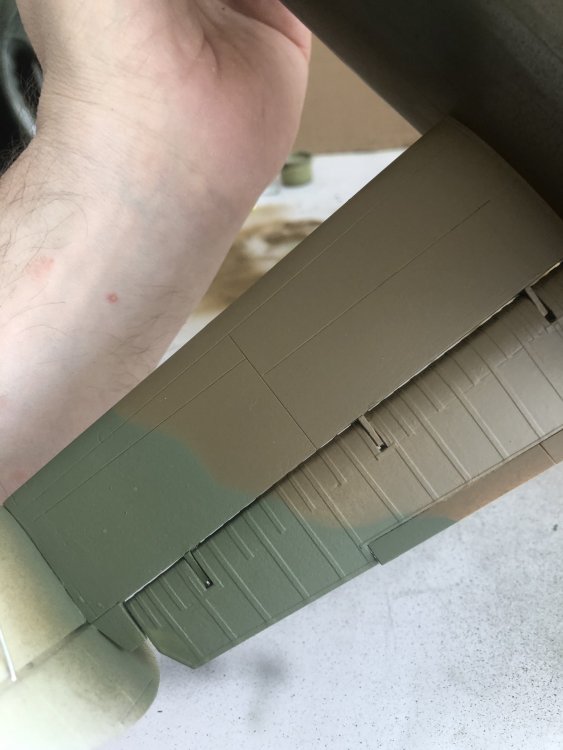
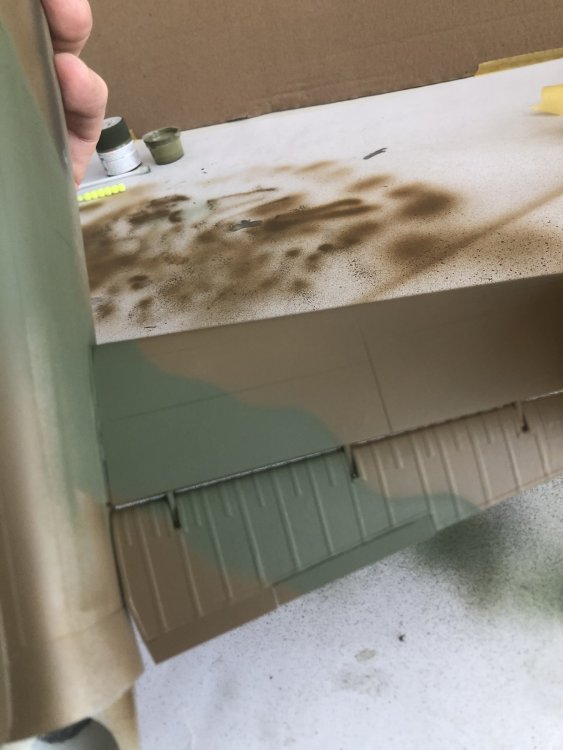
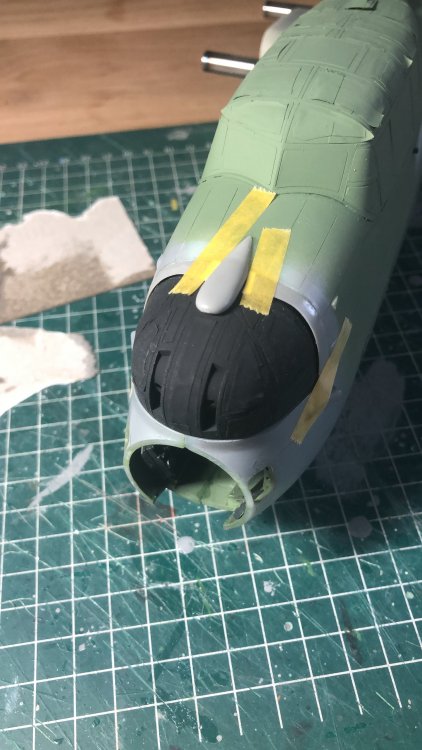
Thanks, today the dark green was sprayed using paper masks. I wanted a feathered edge and it liiks like I succeeded. If all goes to plan the black coat will follow tomorrow. Here’s to hoping.

-
1/32 Revell Bristol Beaufighter build
Wingco57 replied to CrankyCrafstman's topic in LSM 1/35 and Larger Work In Progress
Very nice, but you need to be sure which version you will be making. When rockets were fitted the landing light section of the leading edge was skinned over in metal to prevent damage from the rockets motor exhaust. I did on mine accordingly. -
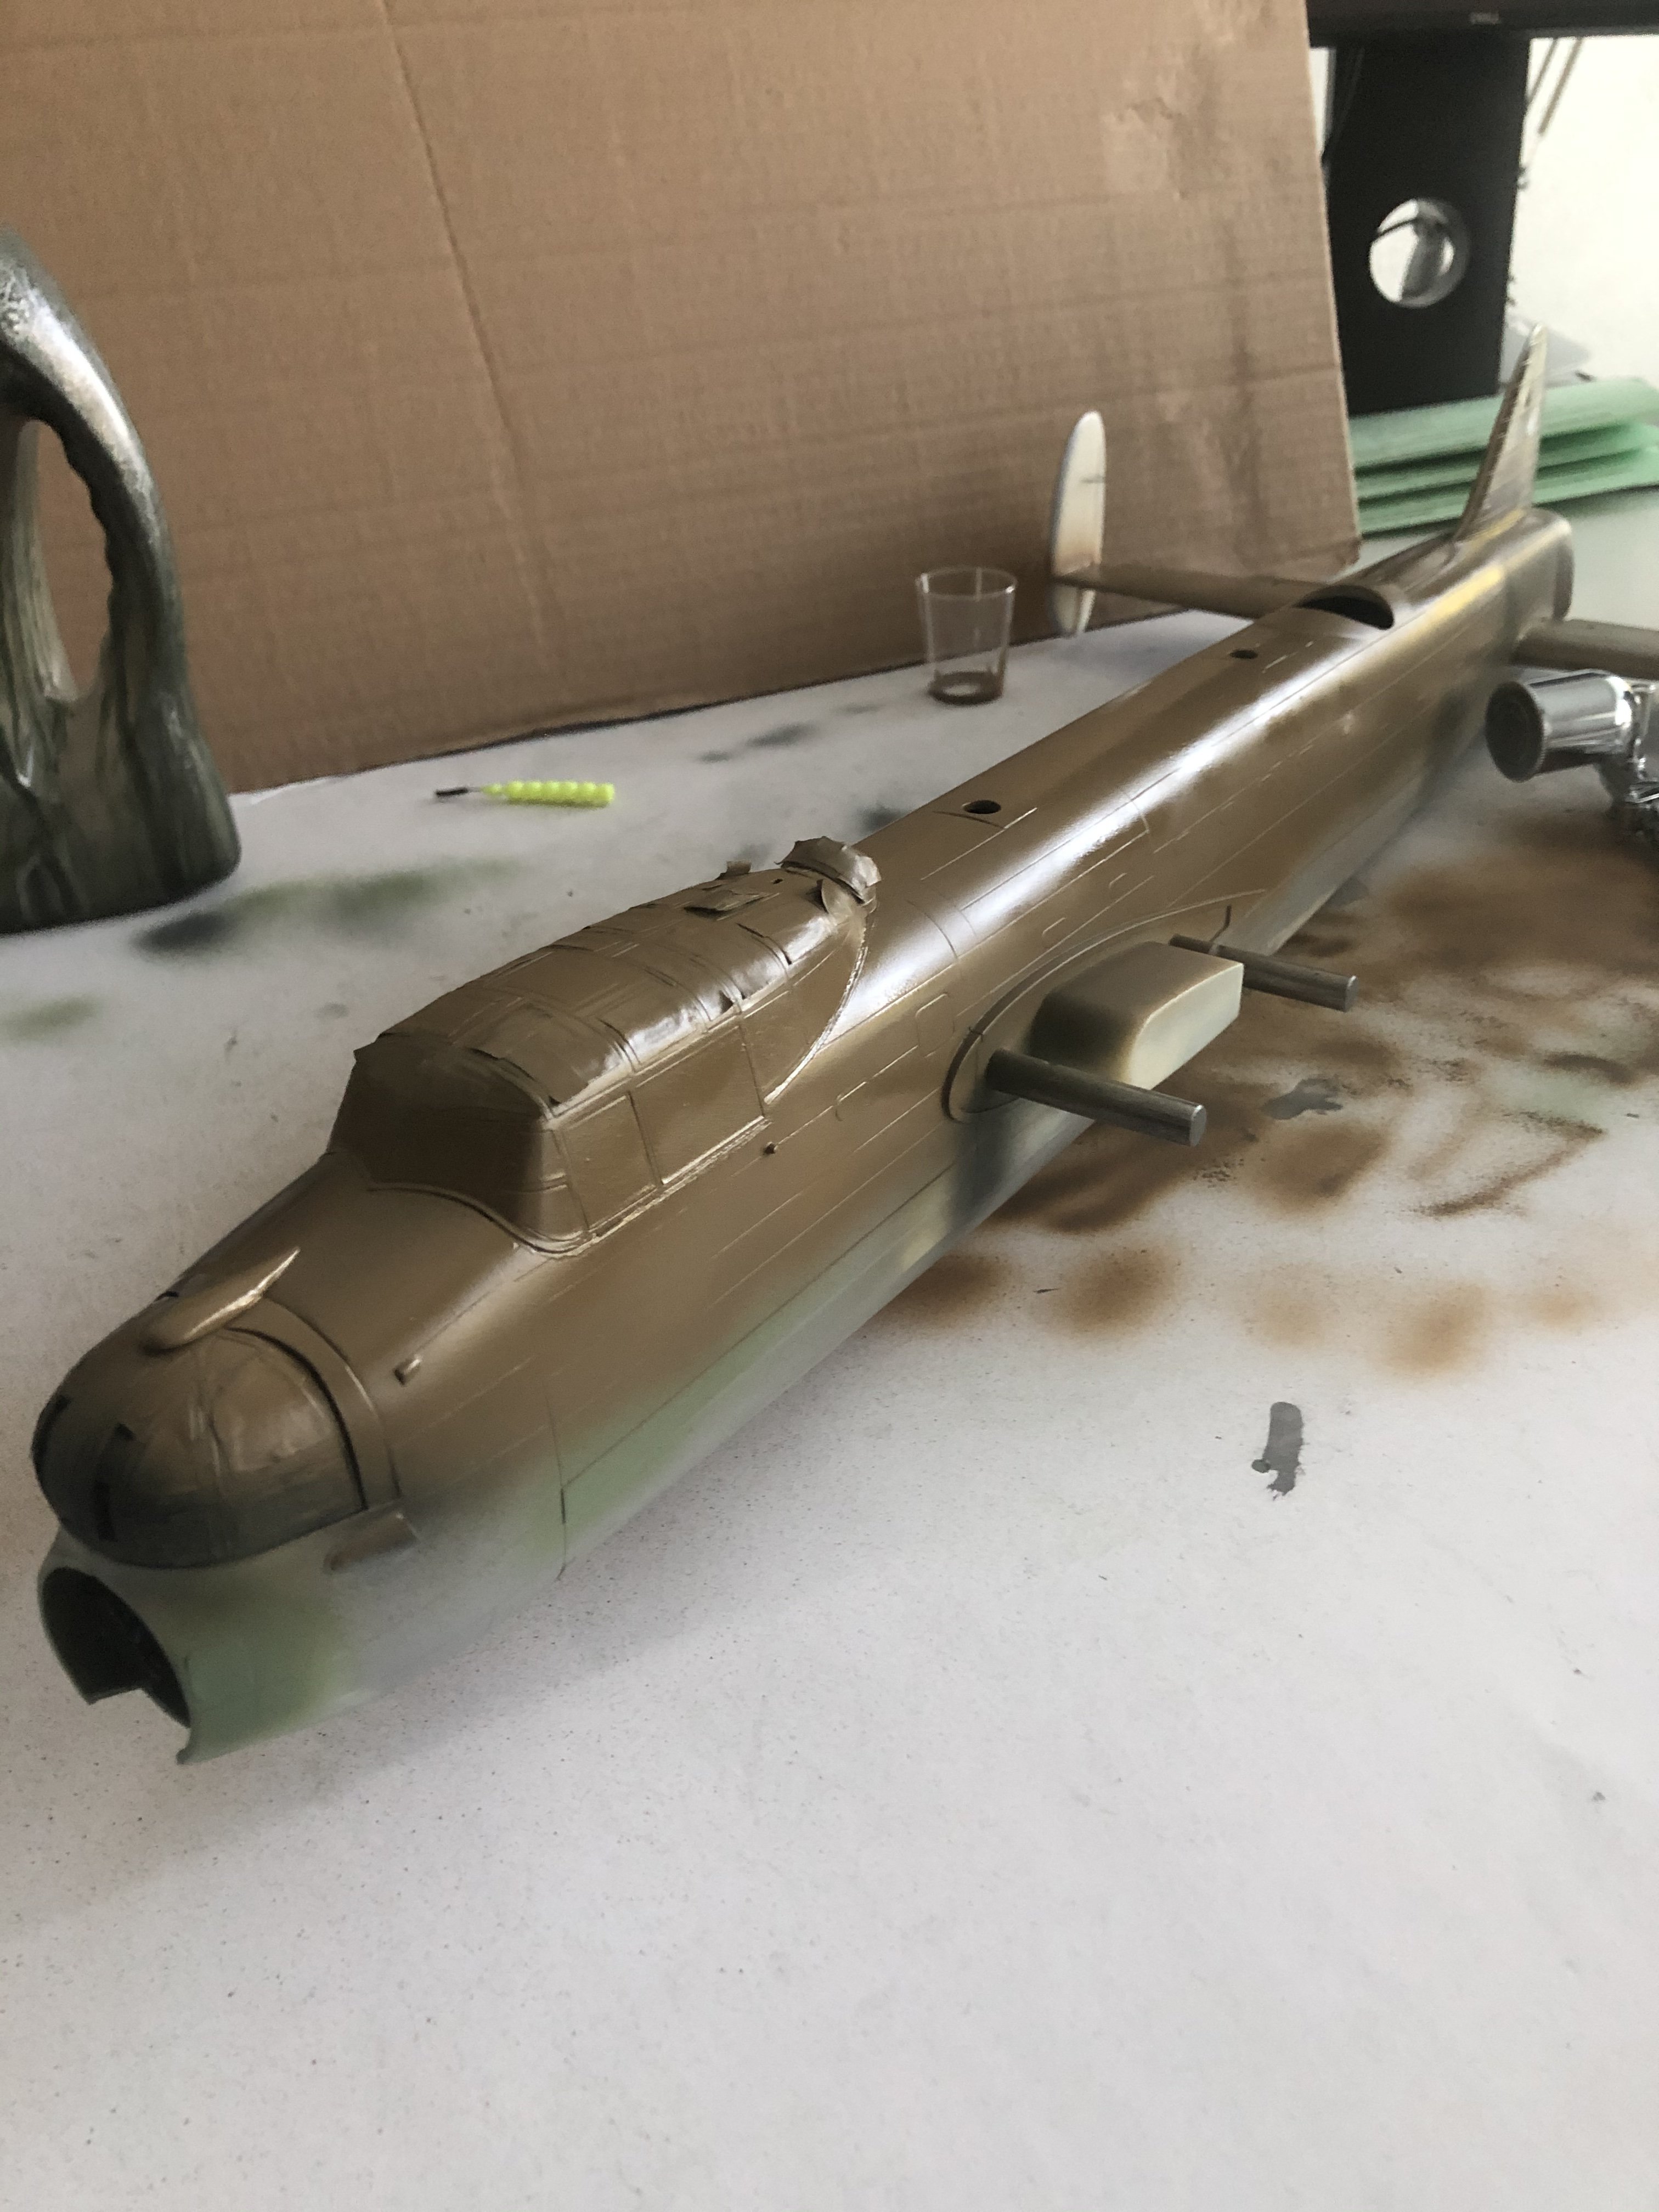
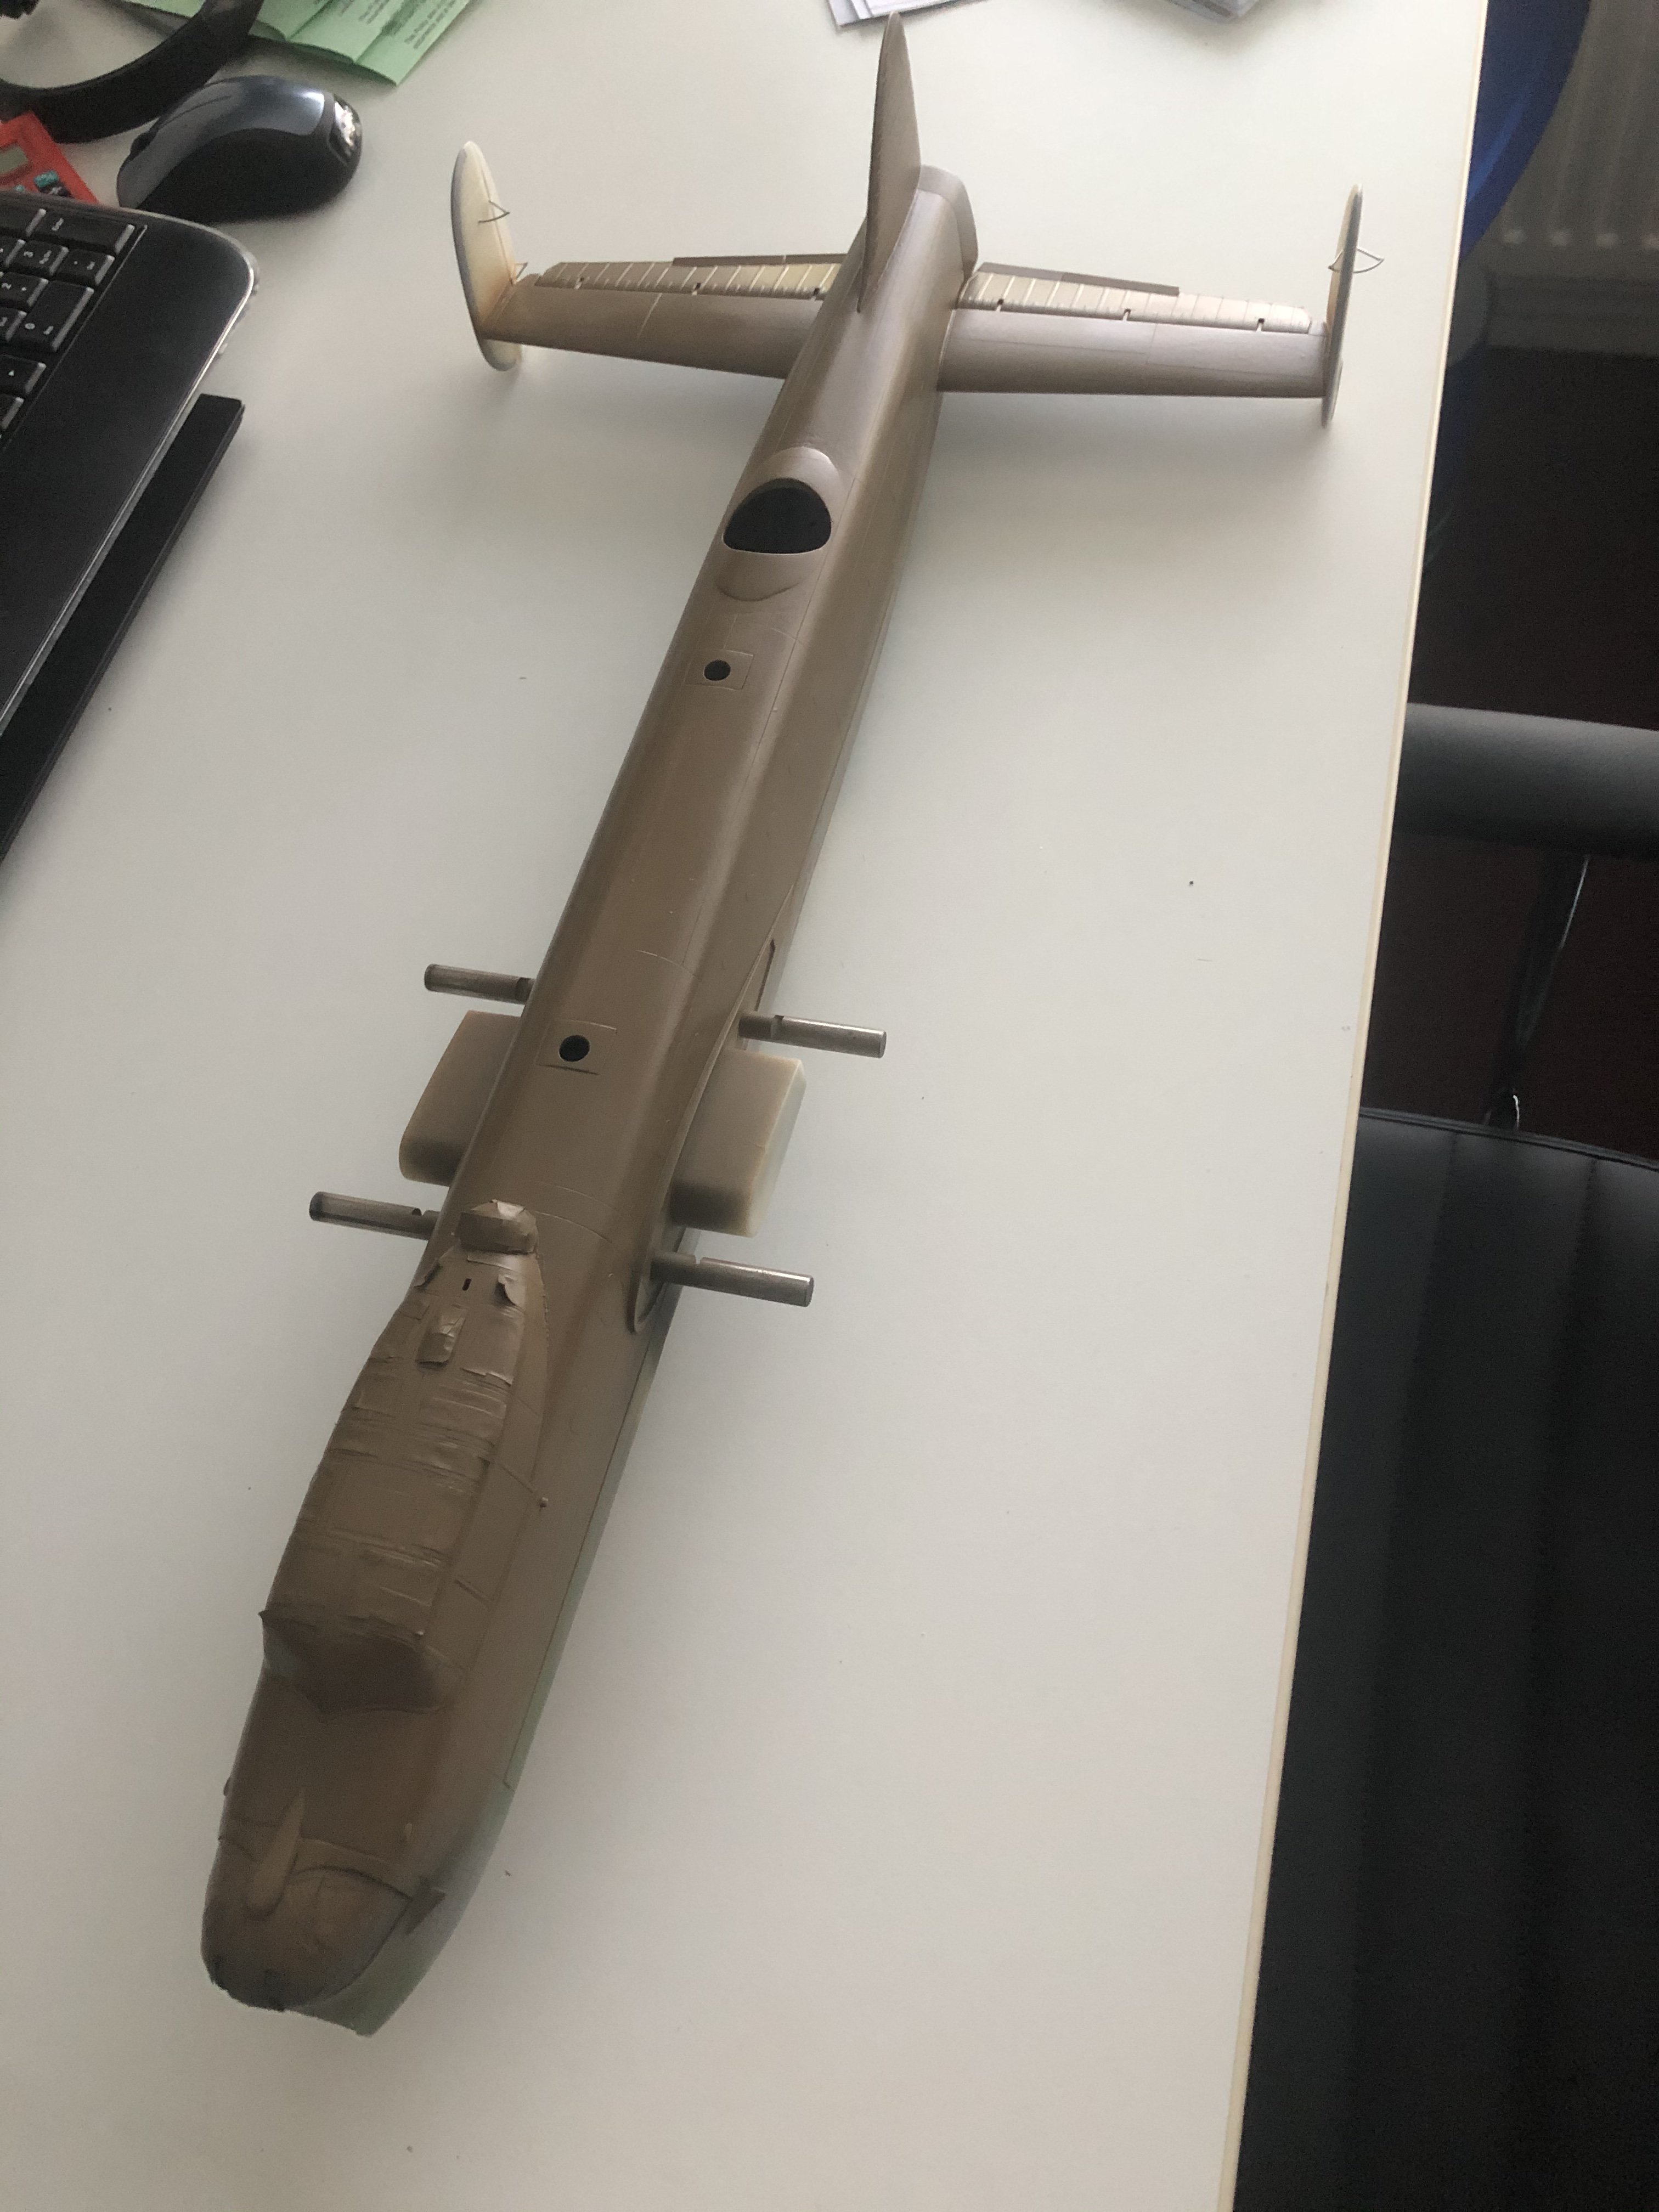
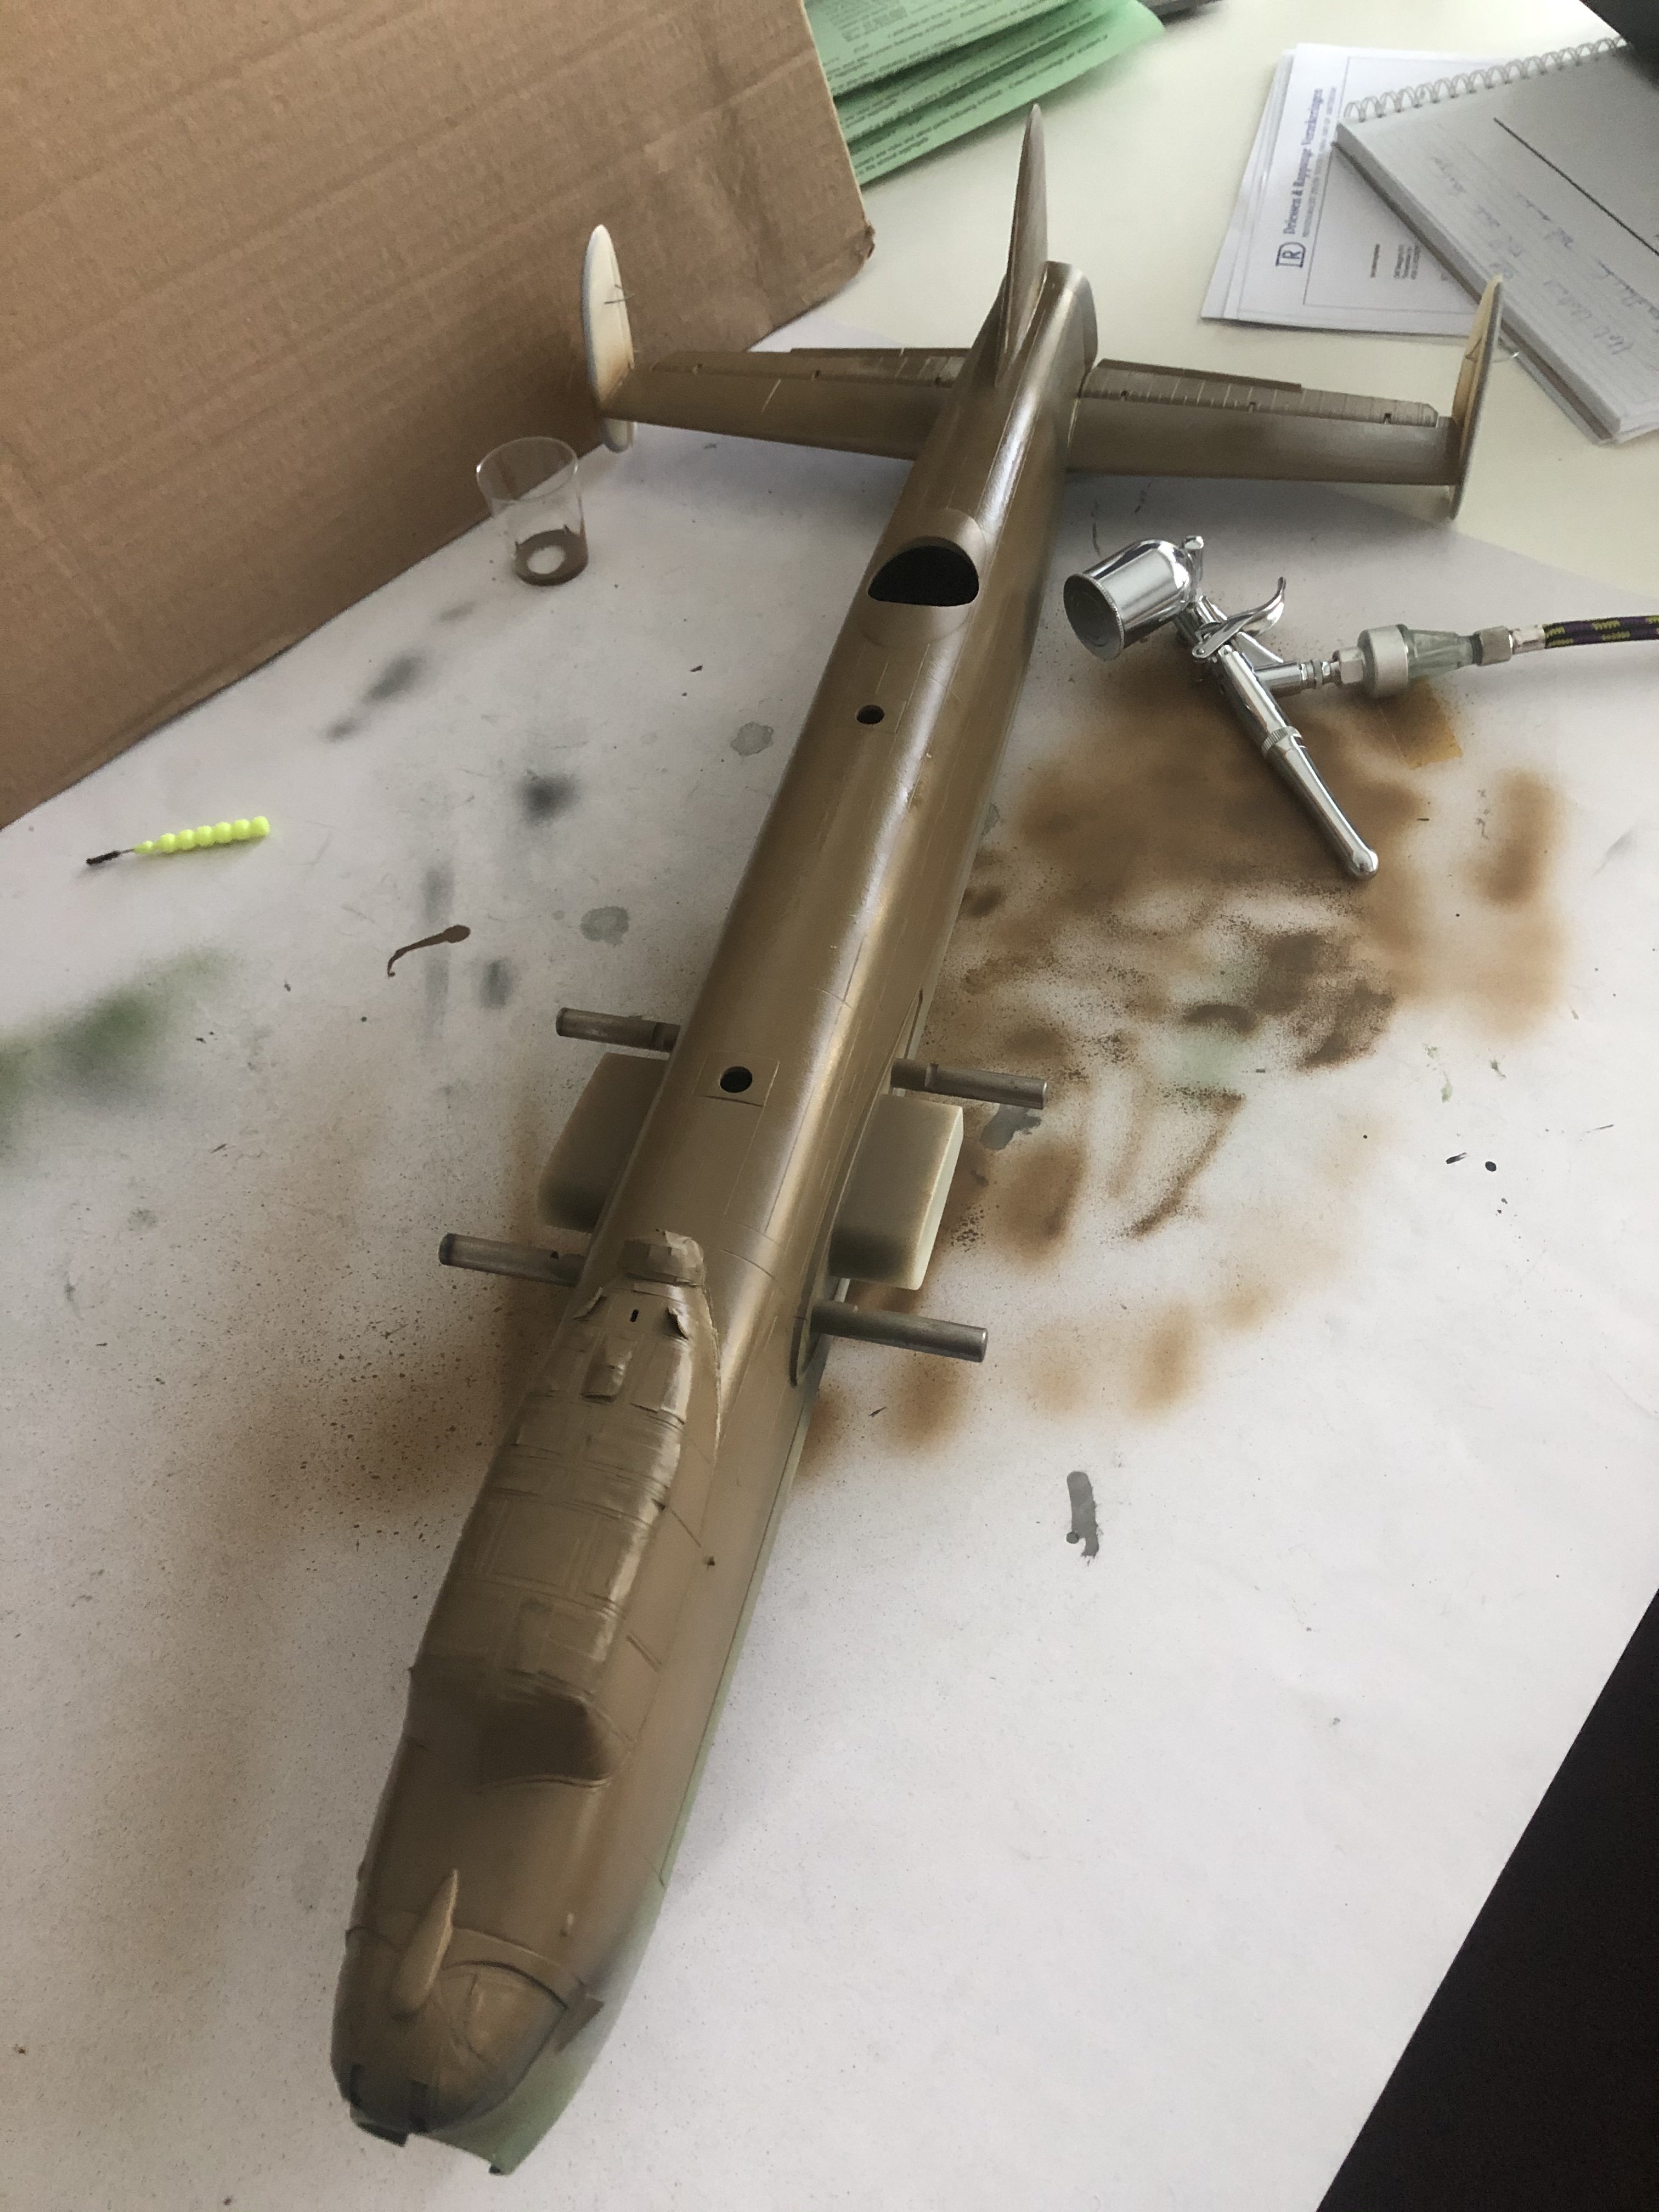
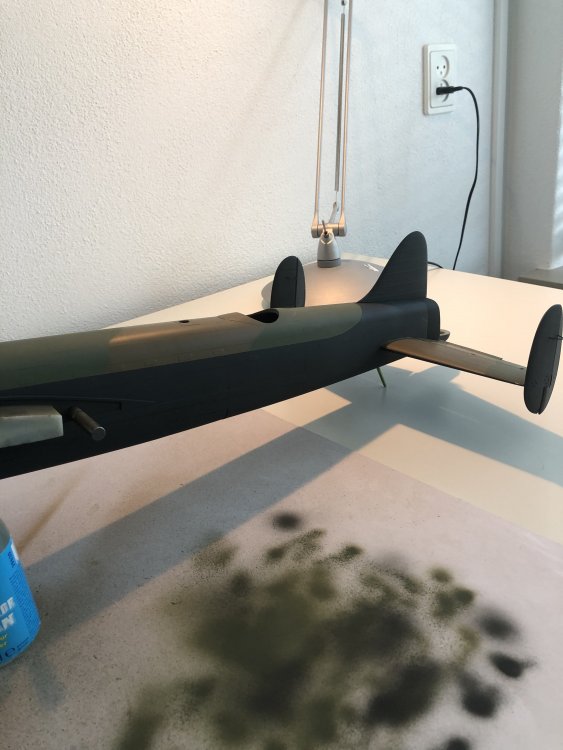
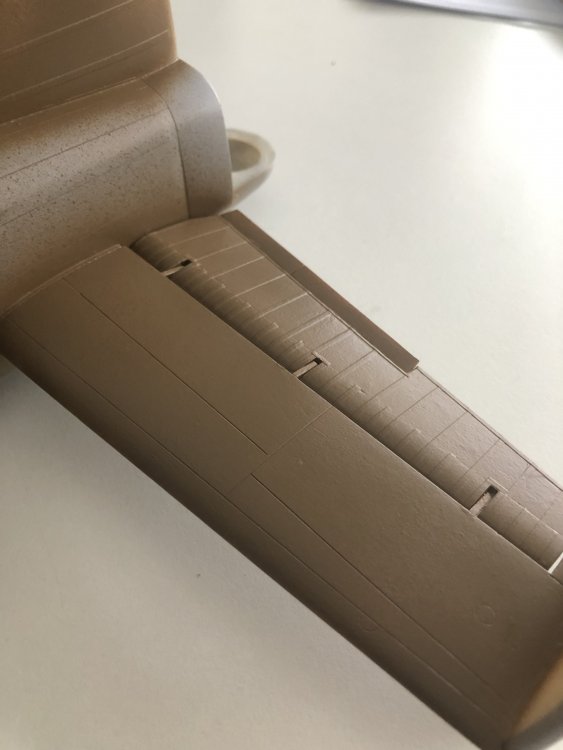
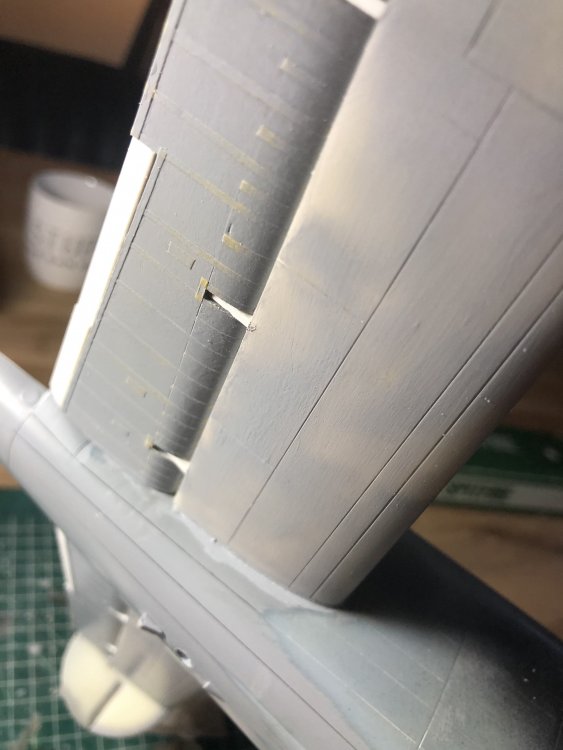
Thanks Tom, but the fuselage and tail first as a project . Speaking of which, this evening, after rescribing some lost panellines I suddenly realized that nothing more could be done but putting on some colour. It just hit me after all those years of work. So I sprayed the top of the fuselage and stabilizers Vallejo Dark Earth. A milestone had been reached, now the fun begins to give the Manchester it’s identity.


-
HK Models Do-335 A-12
Wingco57 replied to JeroenPeters's topic in LSM 1/35 and Larger Work In Progress
Something tells me you are really enjoying this. -
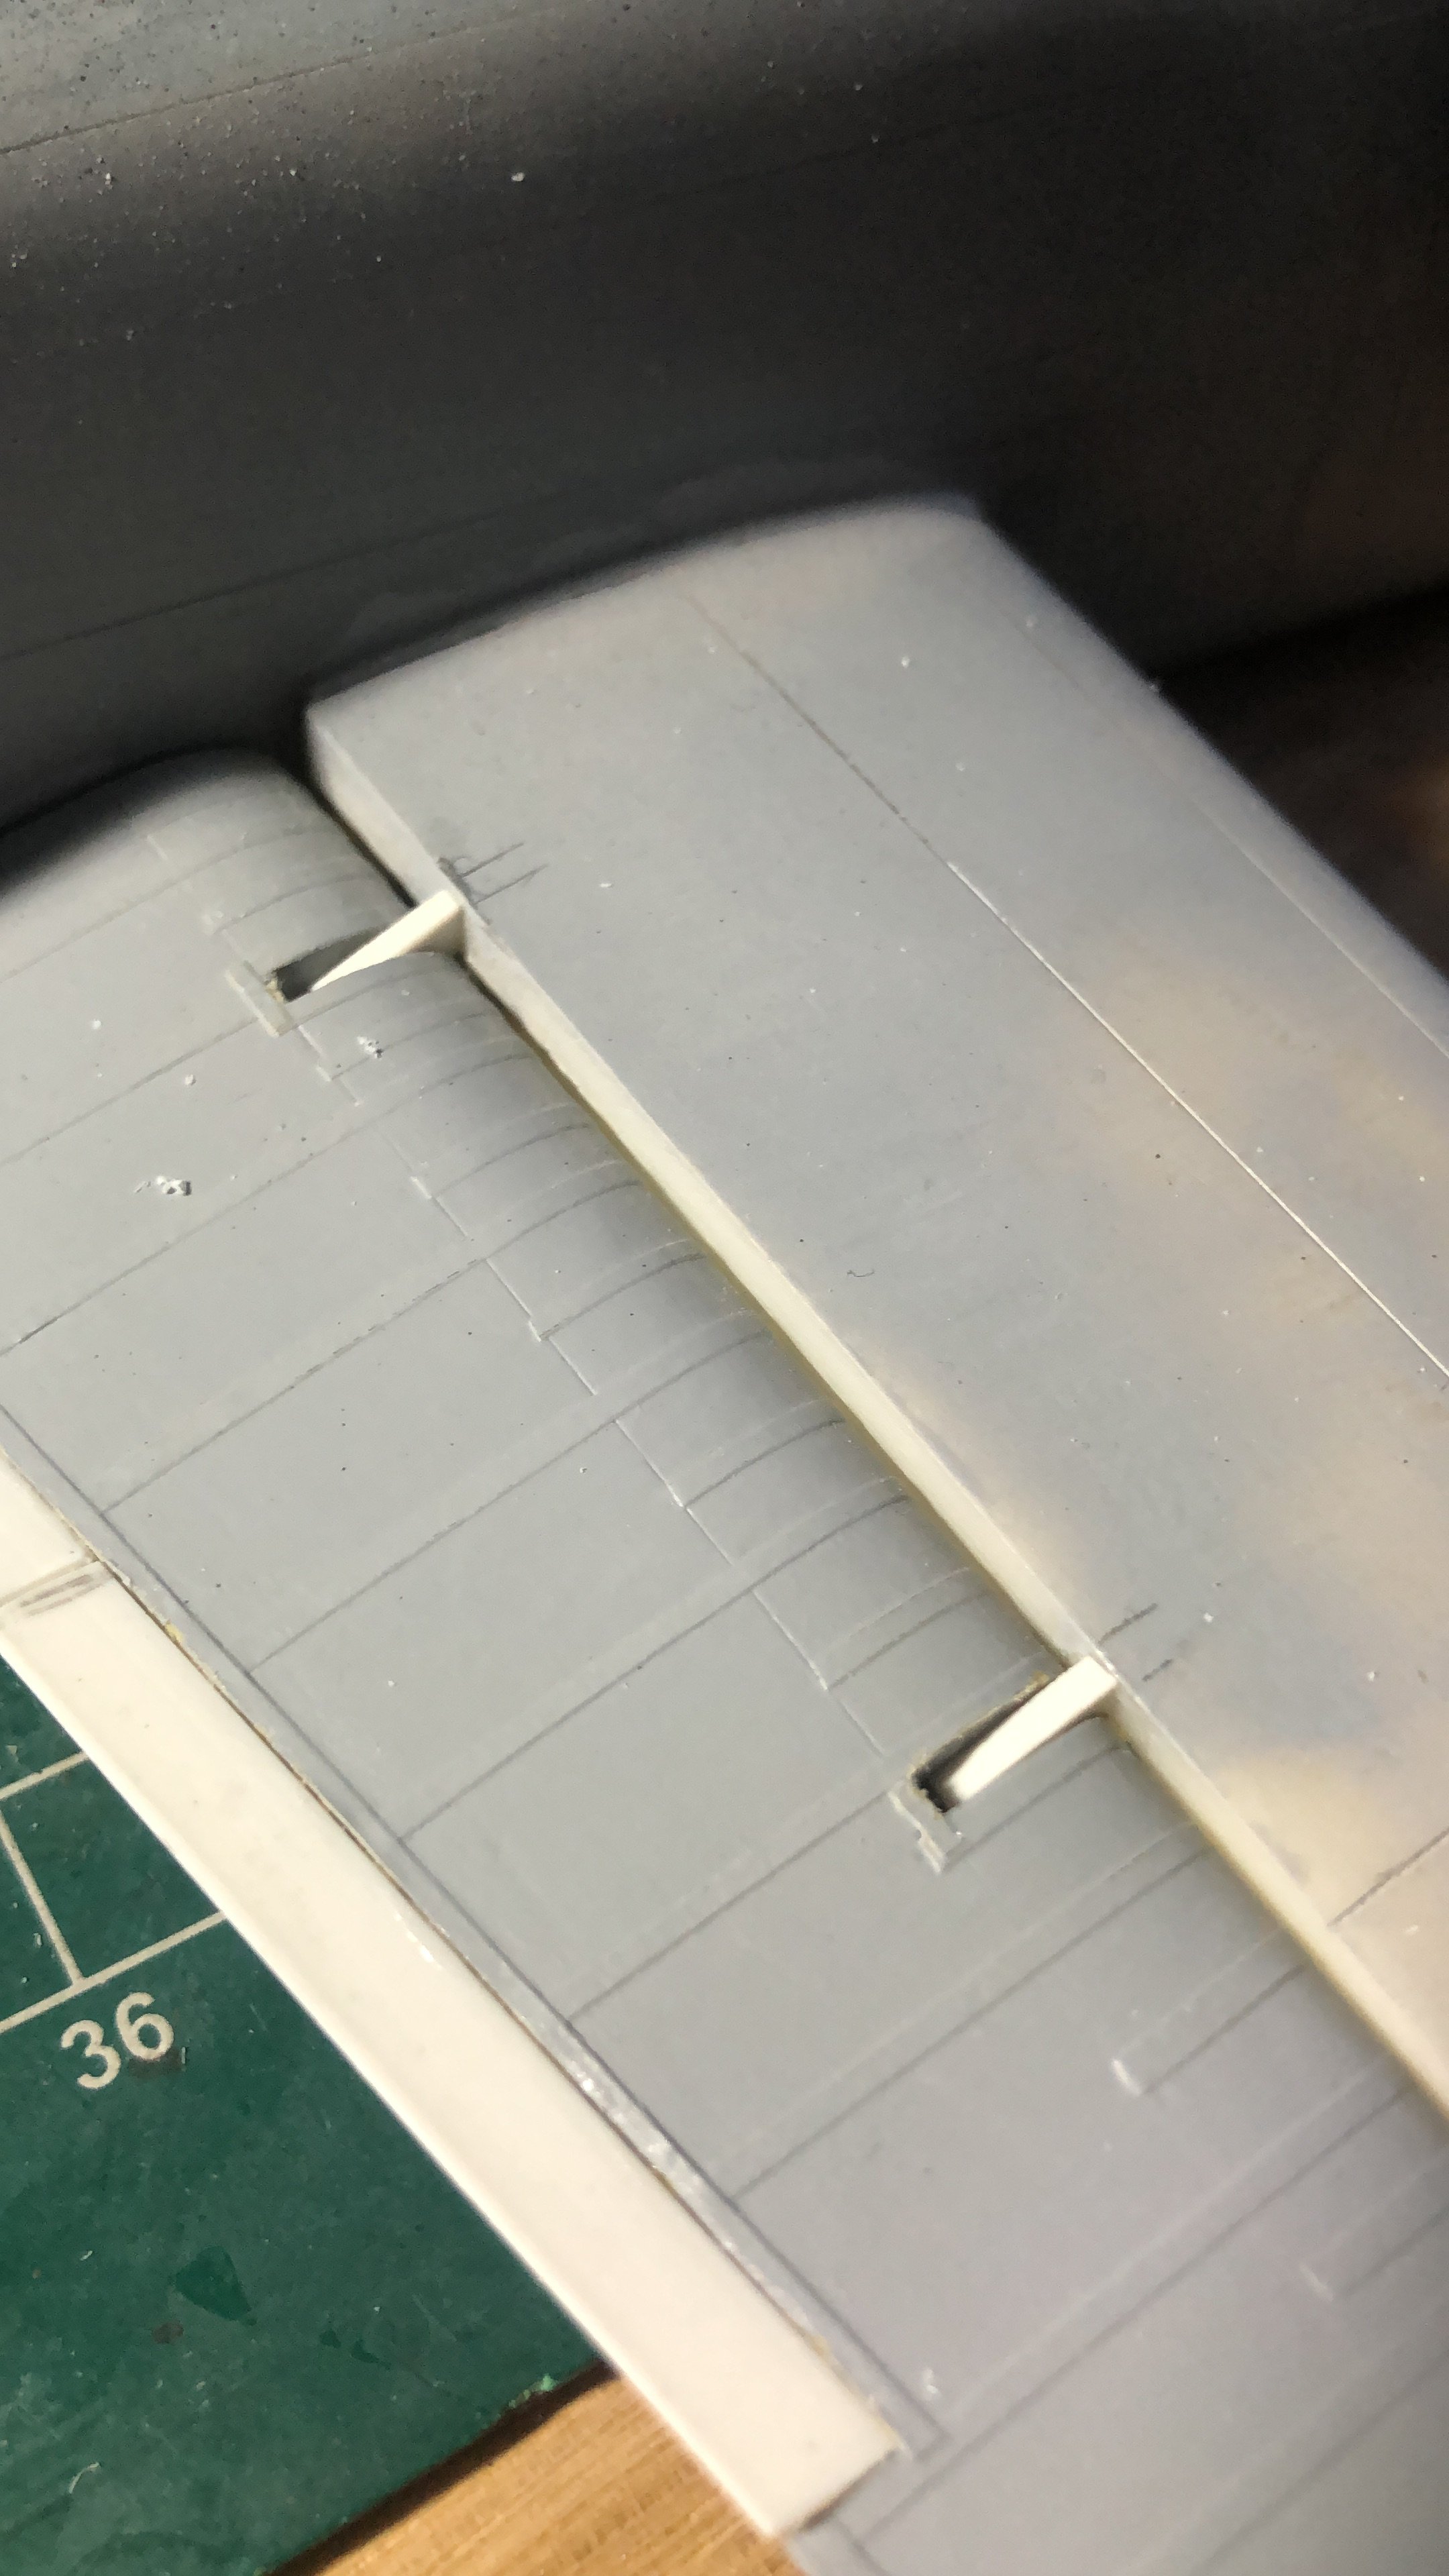
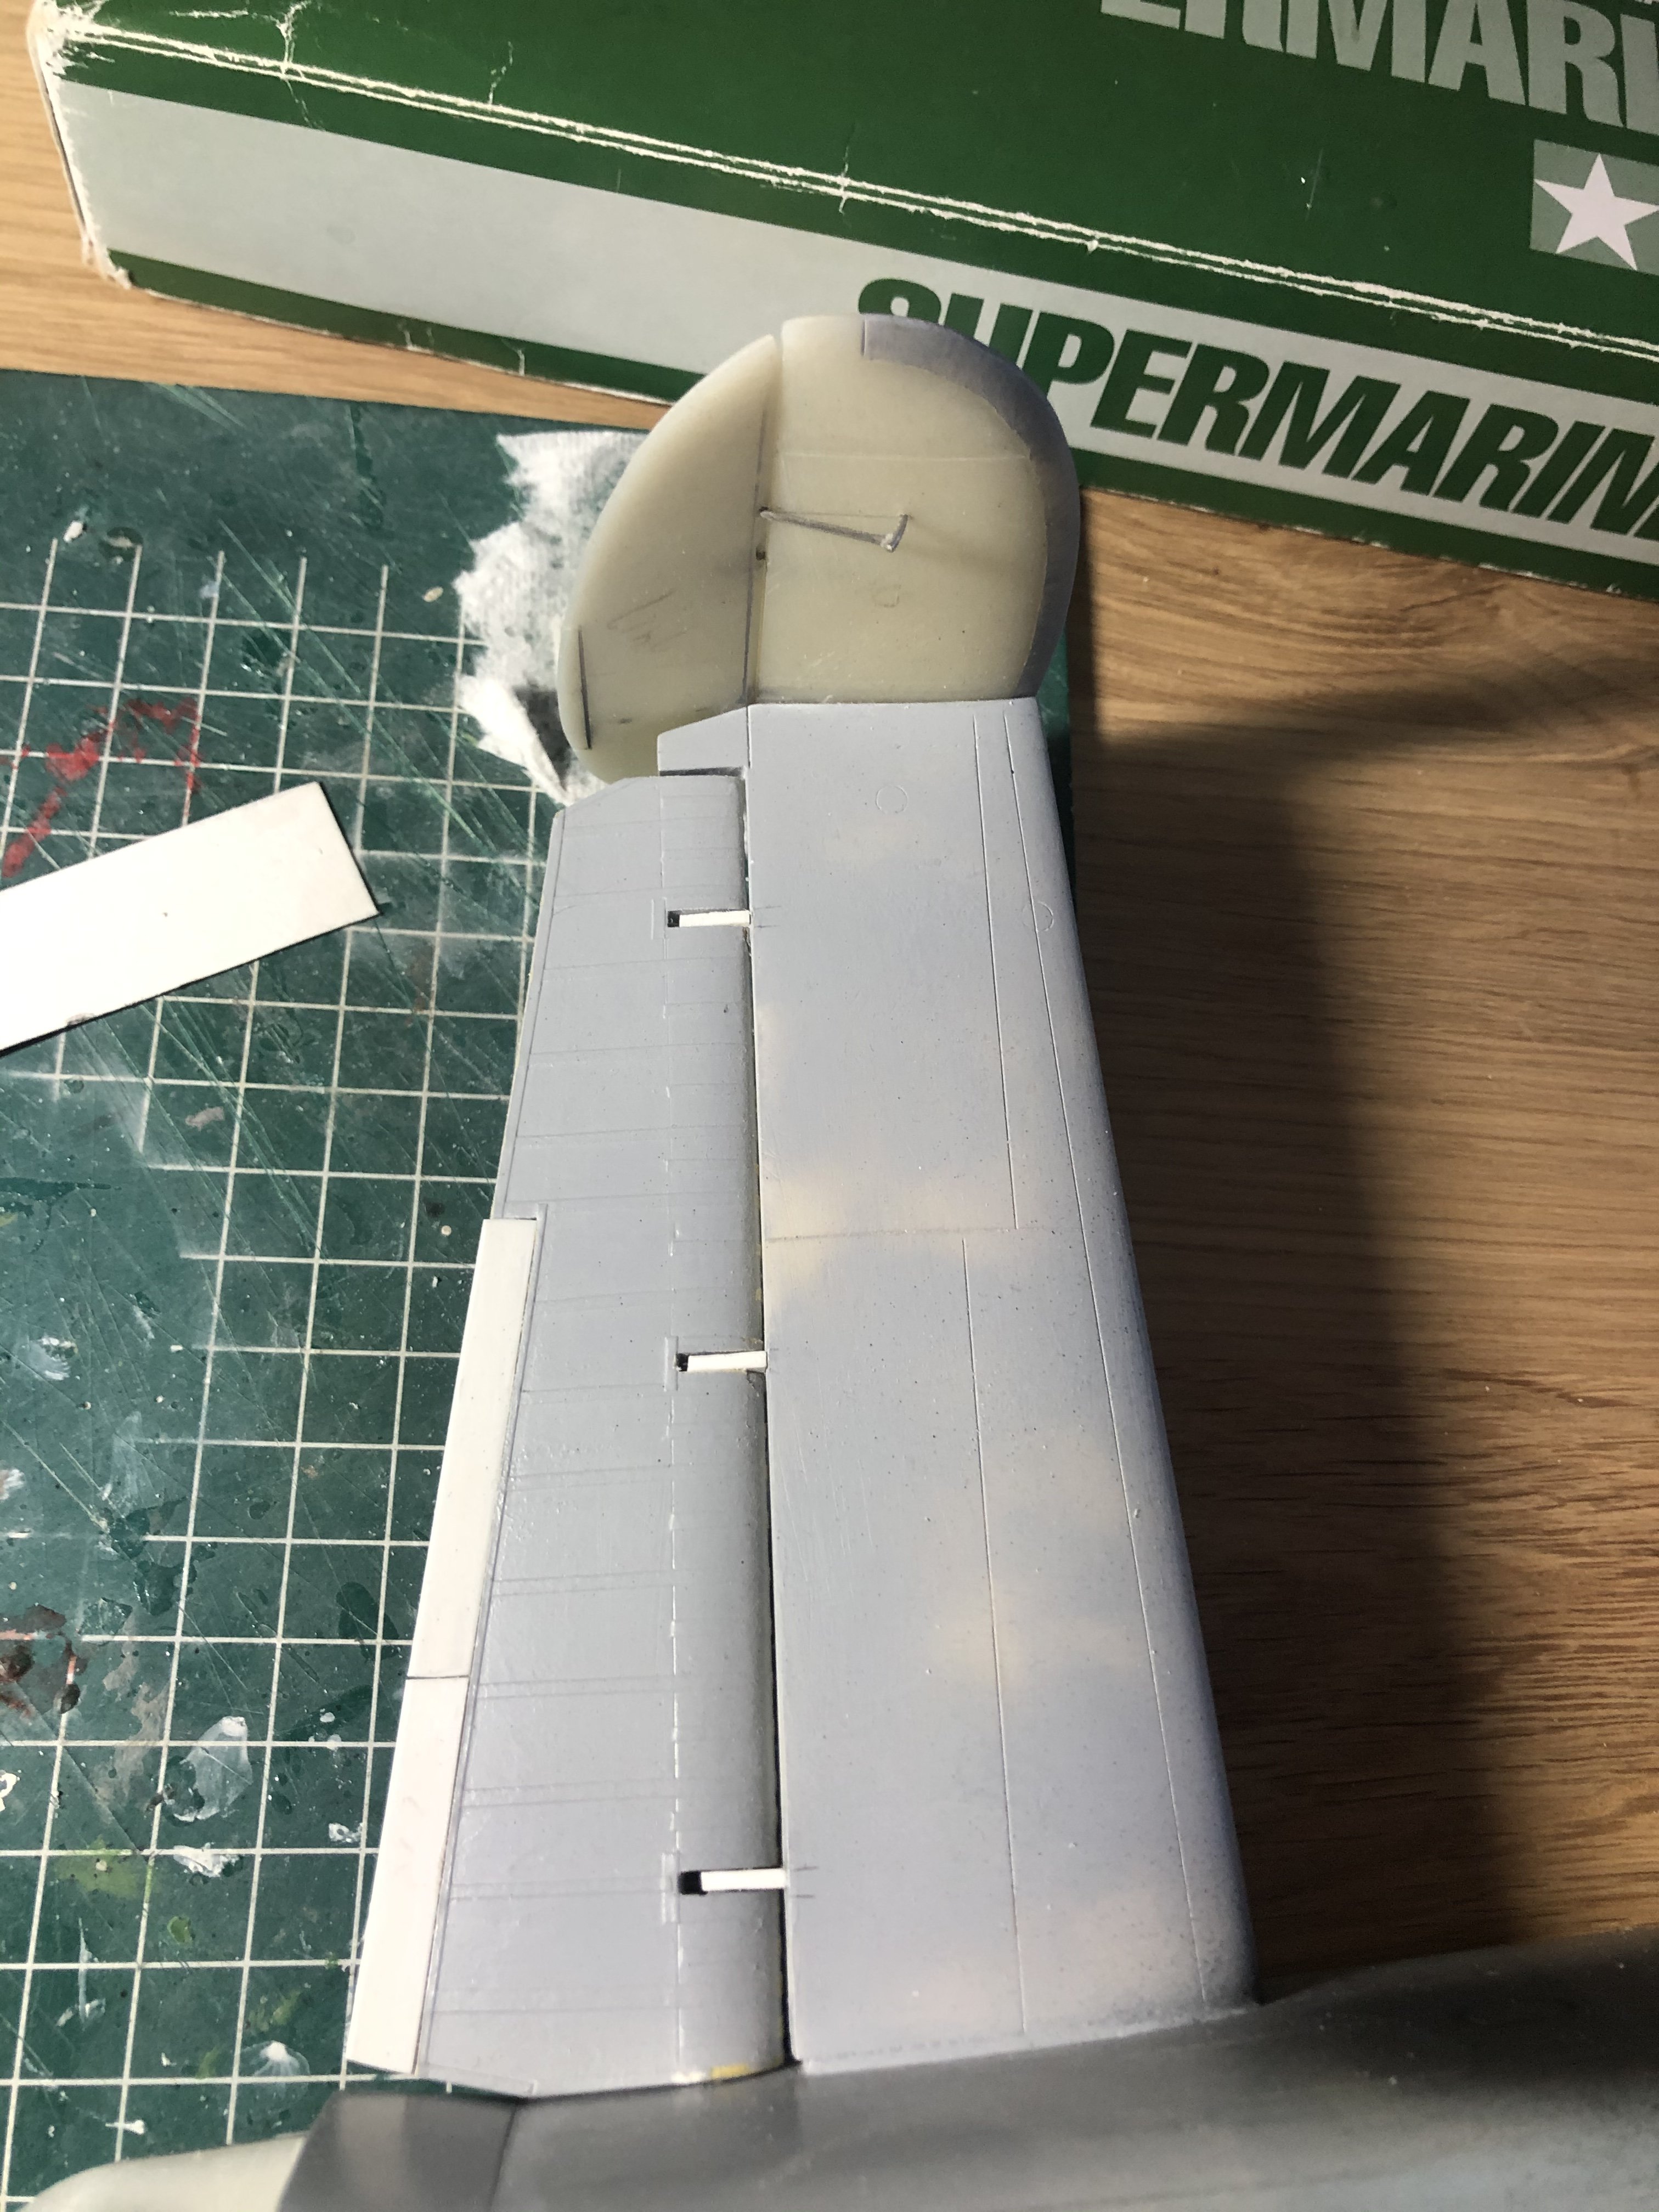
Some small steps towards the painting stage. I made the top and bottom elevator hinges. Why in two halves you say? Well I had to hide the steel rods I used to make a strong attachment for the elevators as the plastic ones had a habit of breaking off.


-
Hi Tom, not yet but I am already thinking how to tackle those. If 3d-printing doesn't work , making a wooden master is the next best option and crash mould new nacelles. That way panel lines can be scribed. The 1/48 model I did used Miliput nacelles of which I had to make two identical ones but scribing was out of the question. Live and learn I think But for now I concentrate on the fuselage with tail only as a project. The basic inside colours of the windows have been sprayed yesterday to get a consistent interior colour and I still need to rescribe some panellines on the nose, and the elevator hinges need to be made. When that is finalized I can start masking for the big paintjob. It would be great if the fuselage and tail are finished. Only then the wings will be next. Another massive project but the devil is in the details.
-
Steady progress again Tom, this is really getting towards the painting stage.
- 185 replies
-
- 2
-
-
- Scratchbuild
- 1/32nd scale
- (and 1 more)
-
Shape of things to come, what a beast.

-
1/32 Revell Bristol Beaufighter build
Wingco57 replied to CrankyCrafstman's topic in LSM 1/35 and Larger Work In Progress
Indeed, I really like your detail work. -
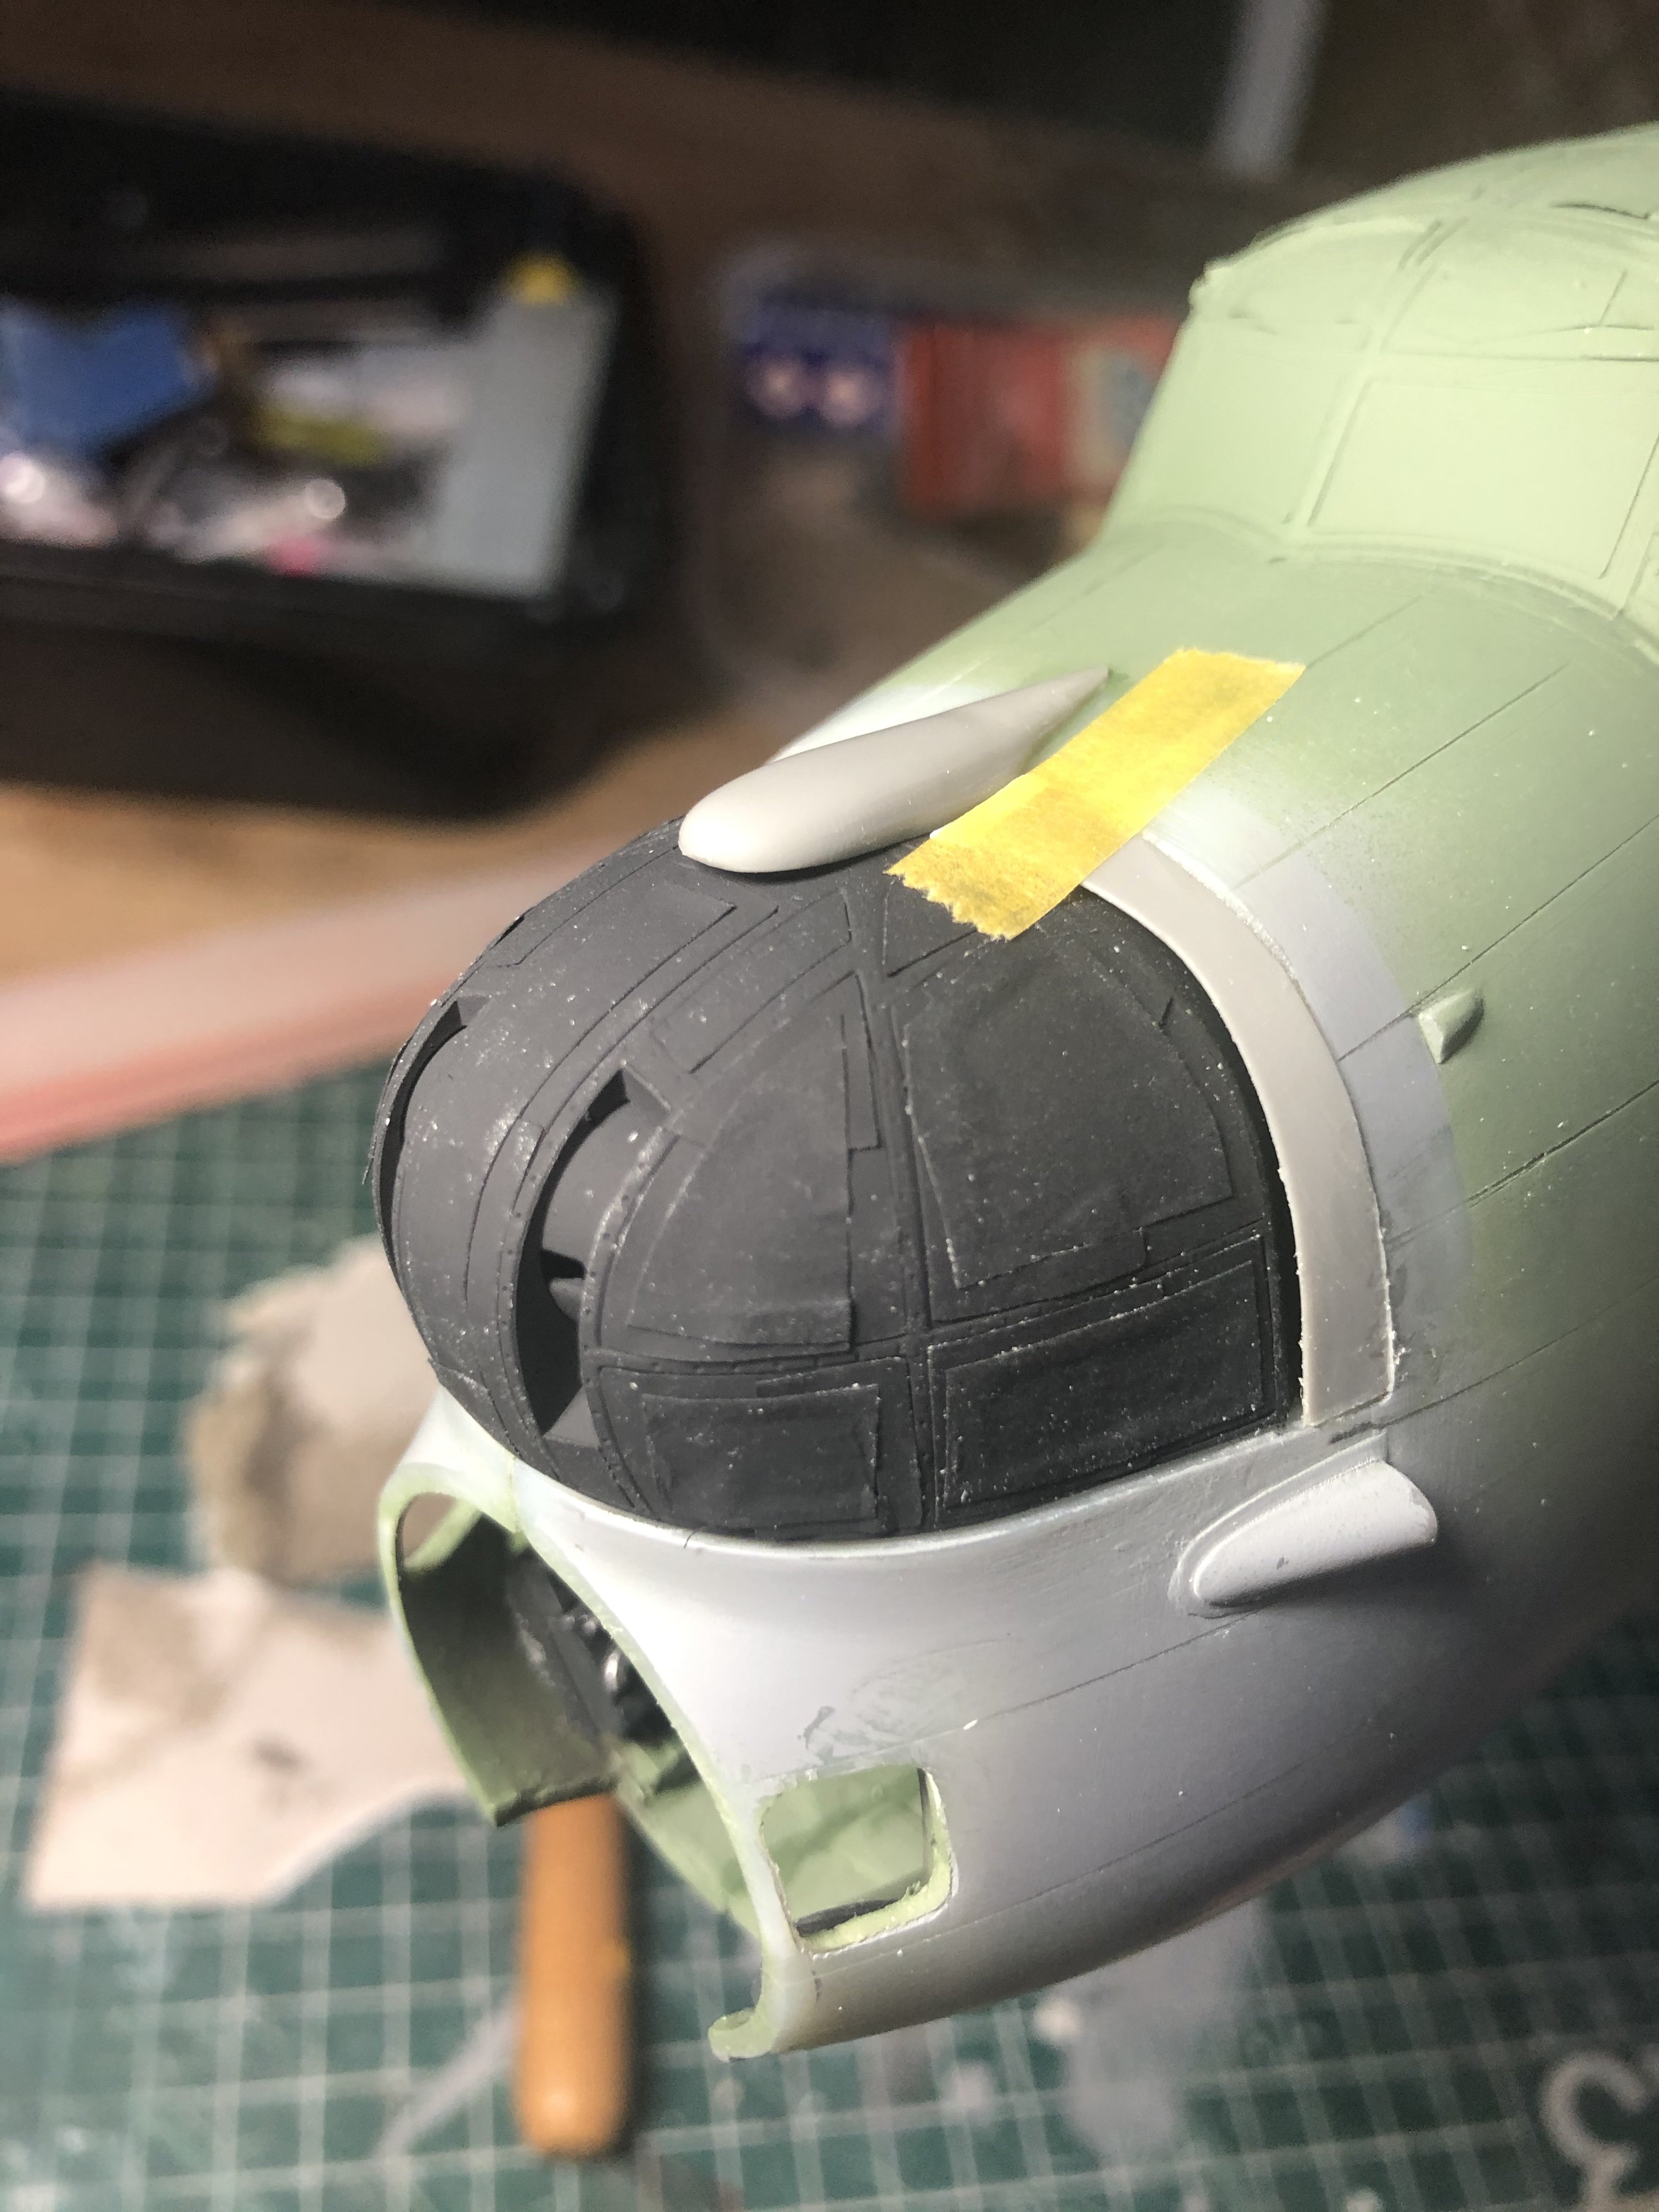
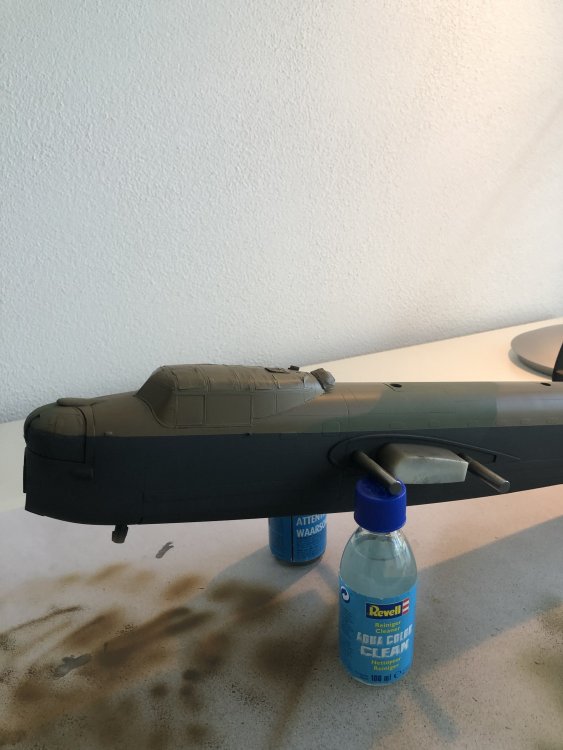
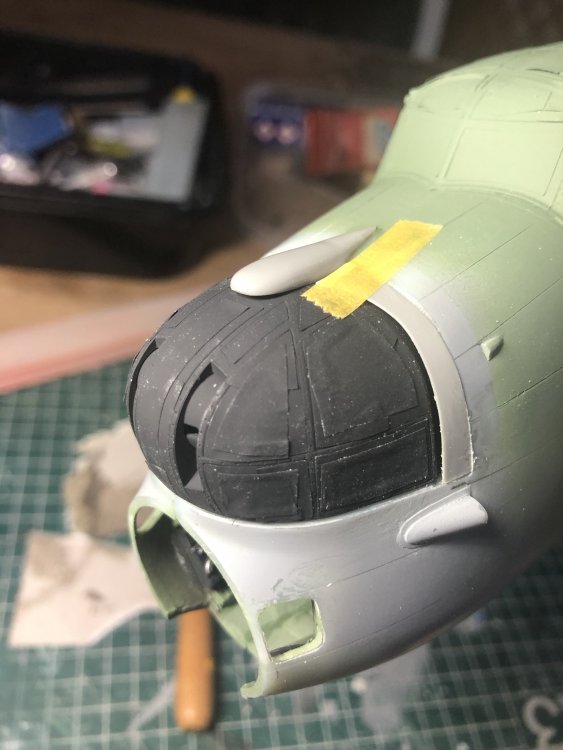
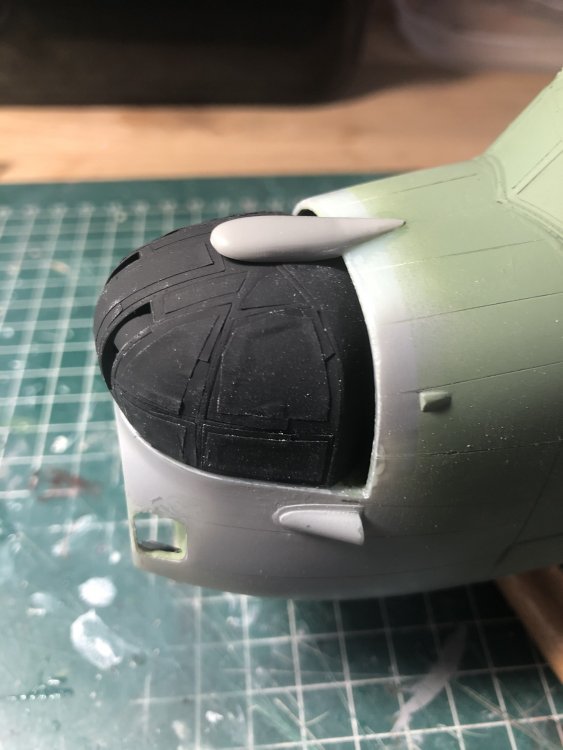
After the completed nose turret was glued in place, it was time to reconstruct the fairing pieces. The teardropshaped fairing on top was placed first so the length of the sides could be determined and a piece of plastic strip was glued on the top to lengthen them. After trimming and shaping they were glued in place. In service these fitted not always that well, so I had to make them not too nice. The nose turret looks much better faired in now imho.

-
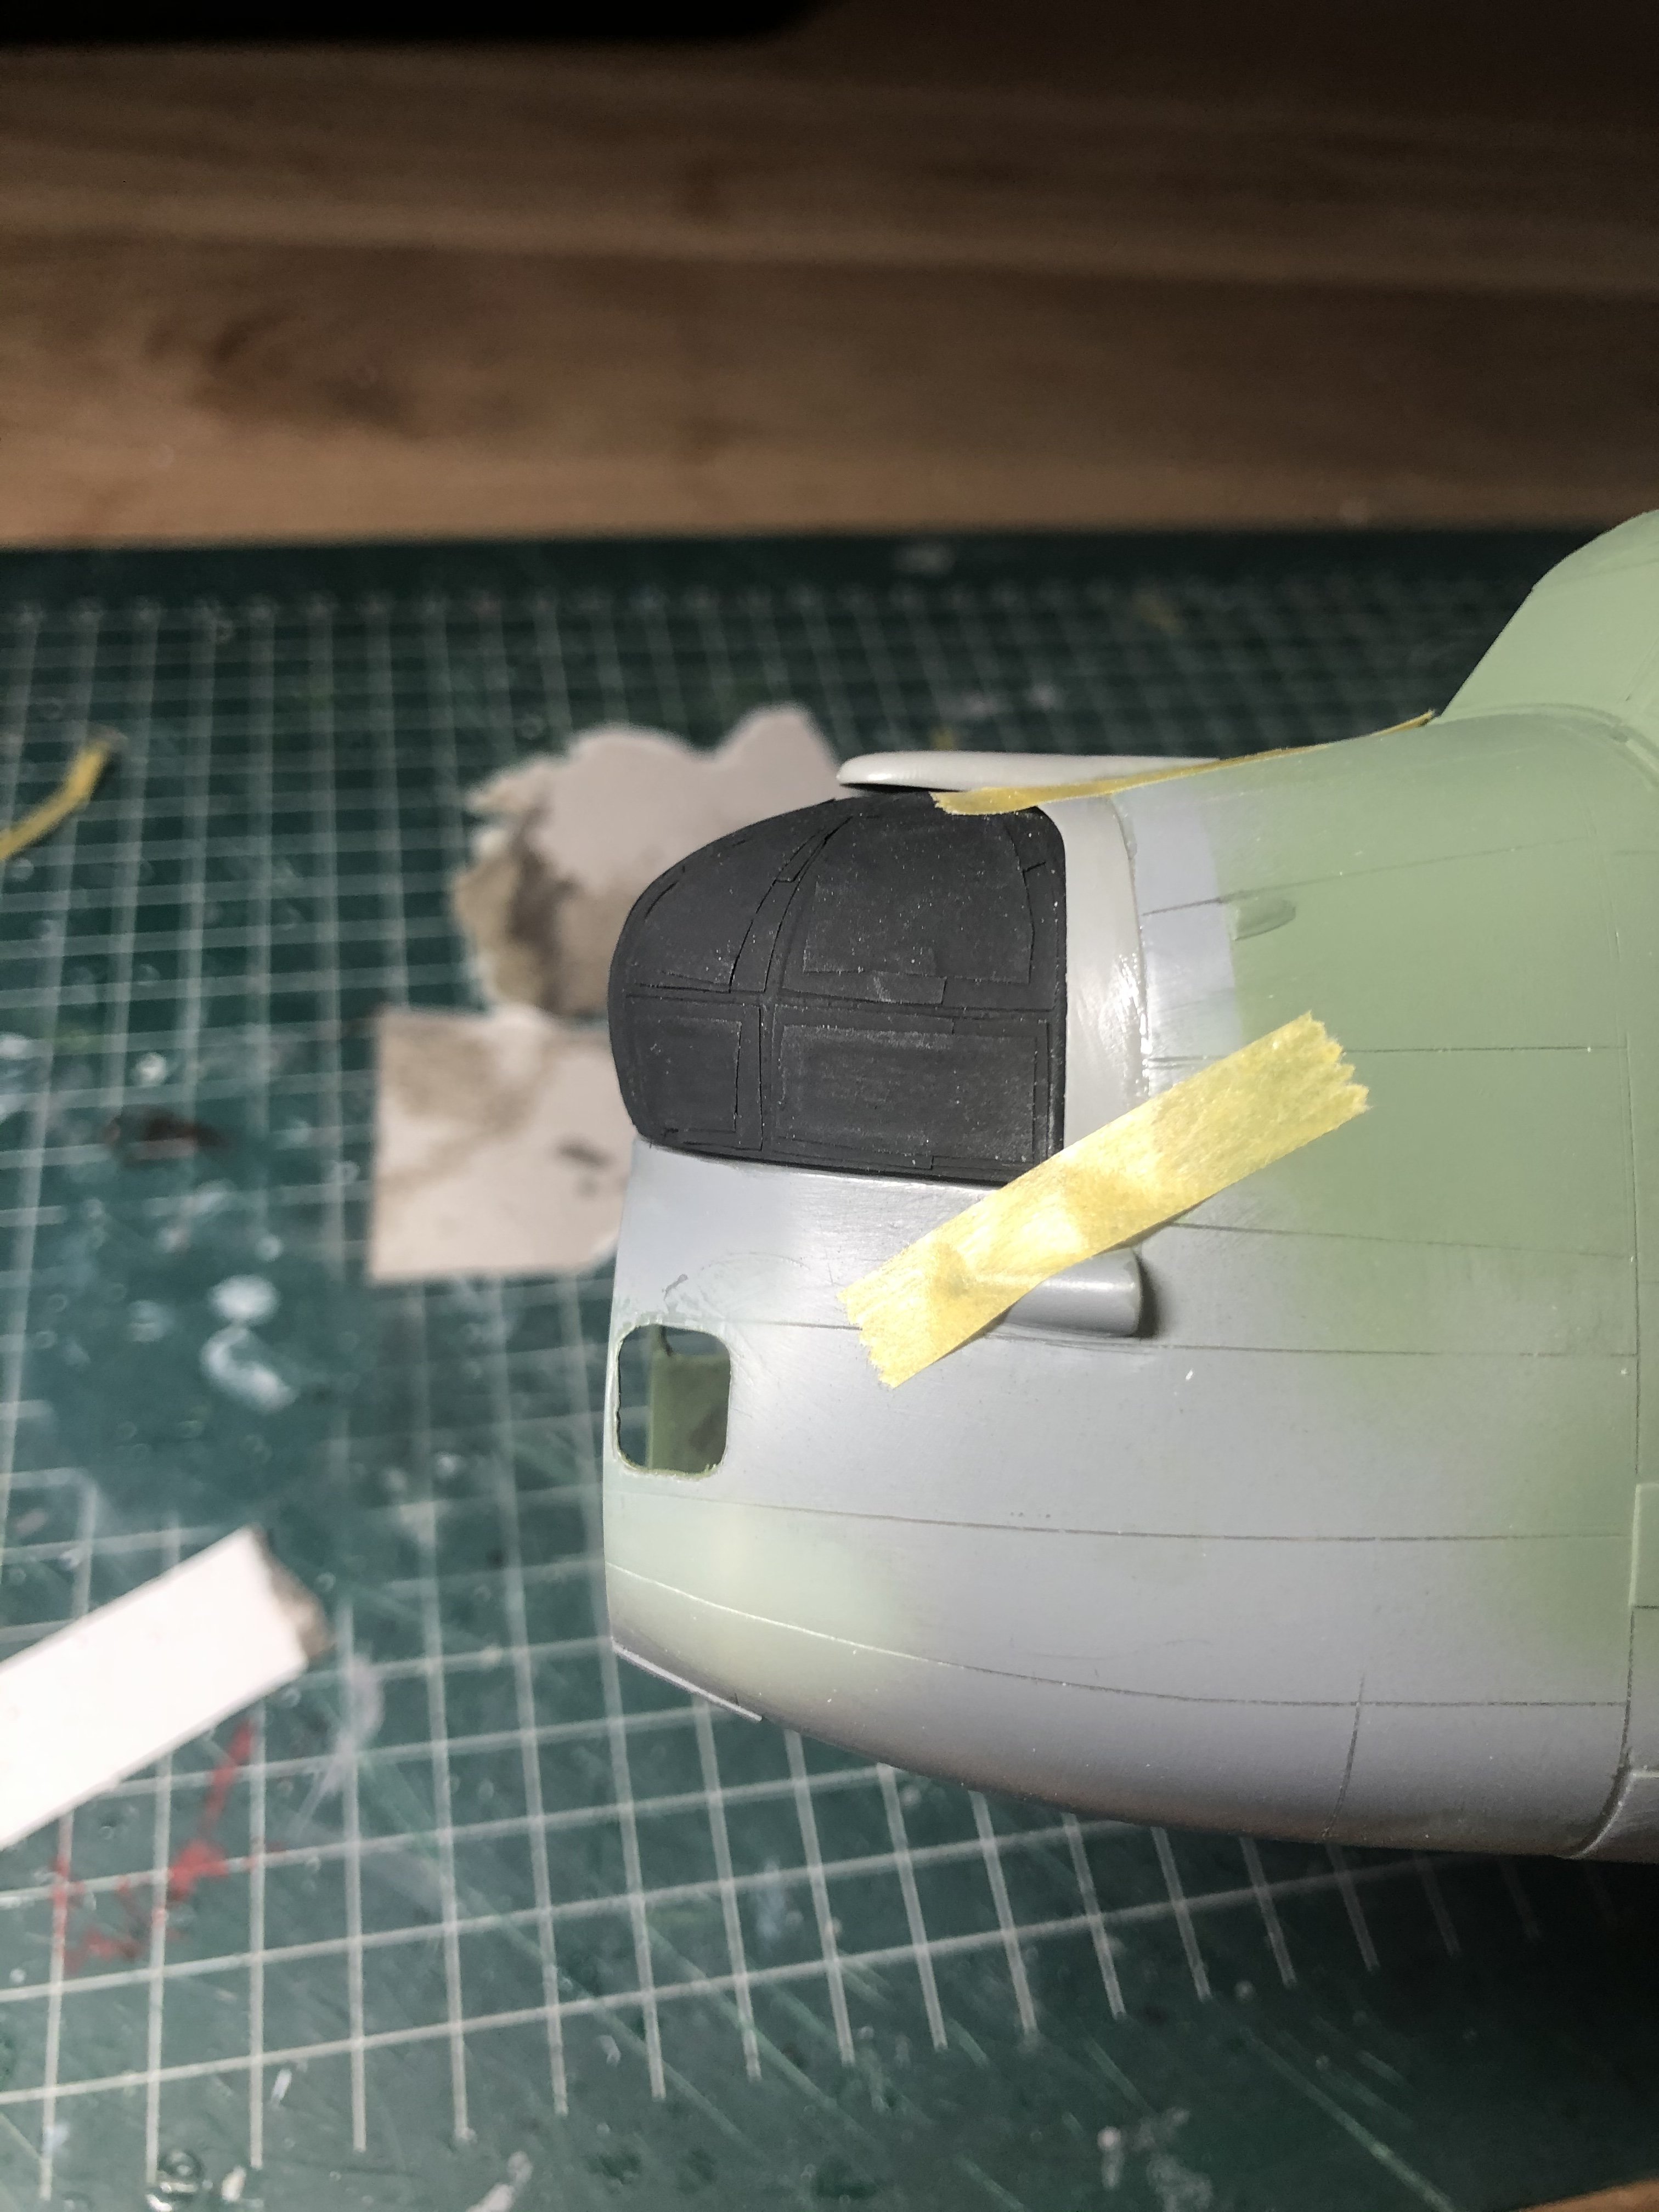
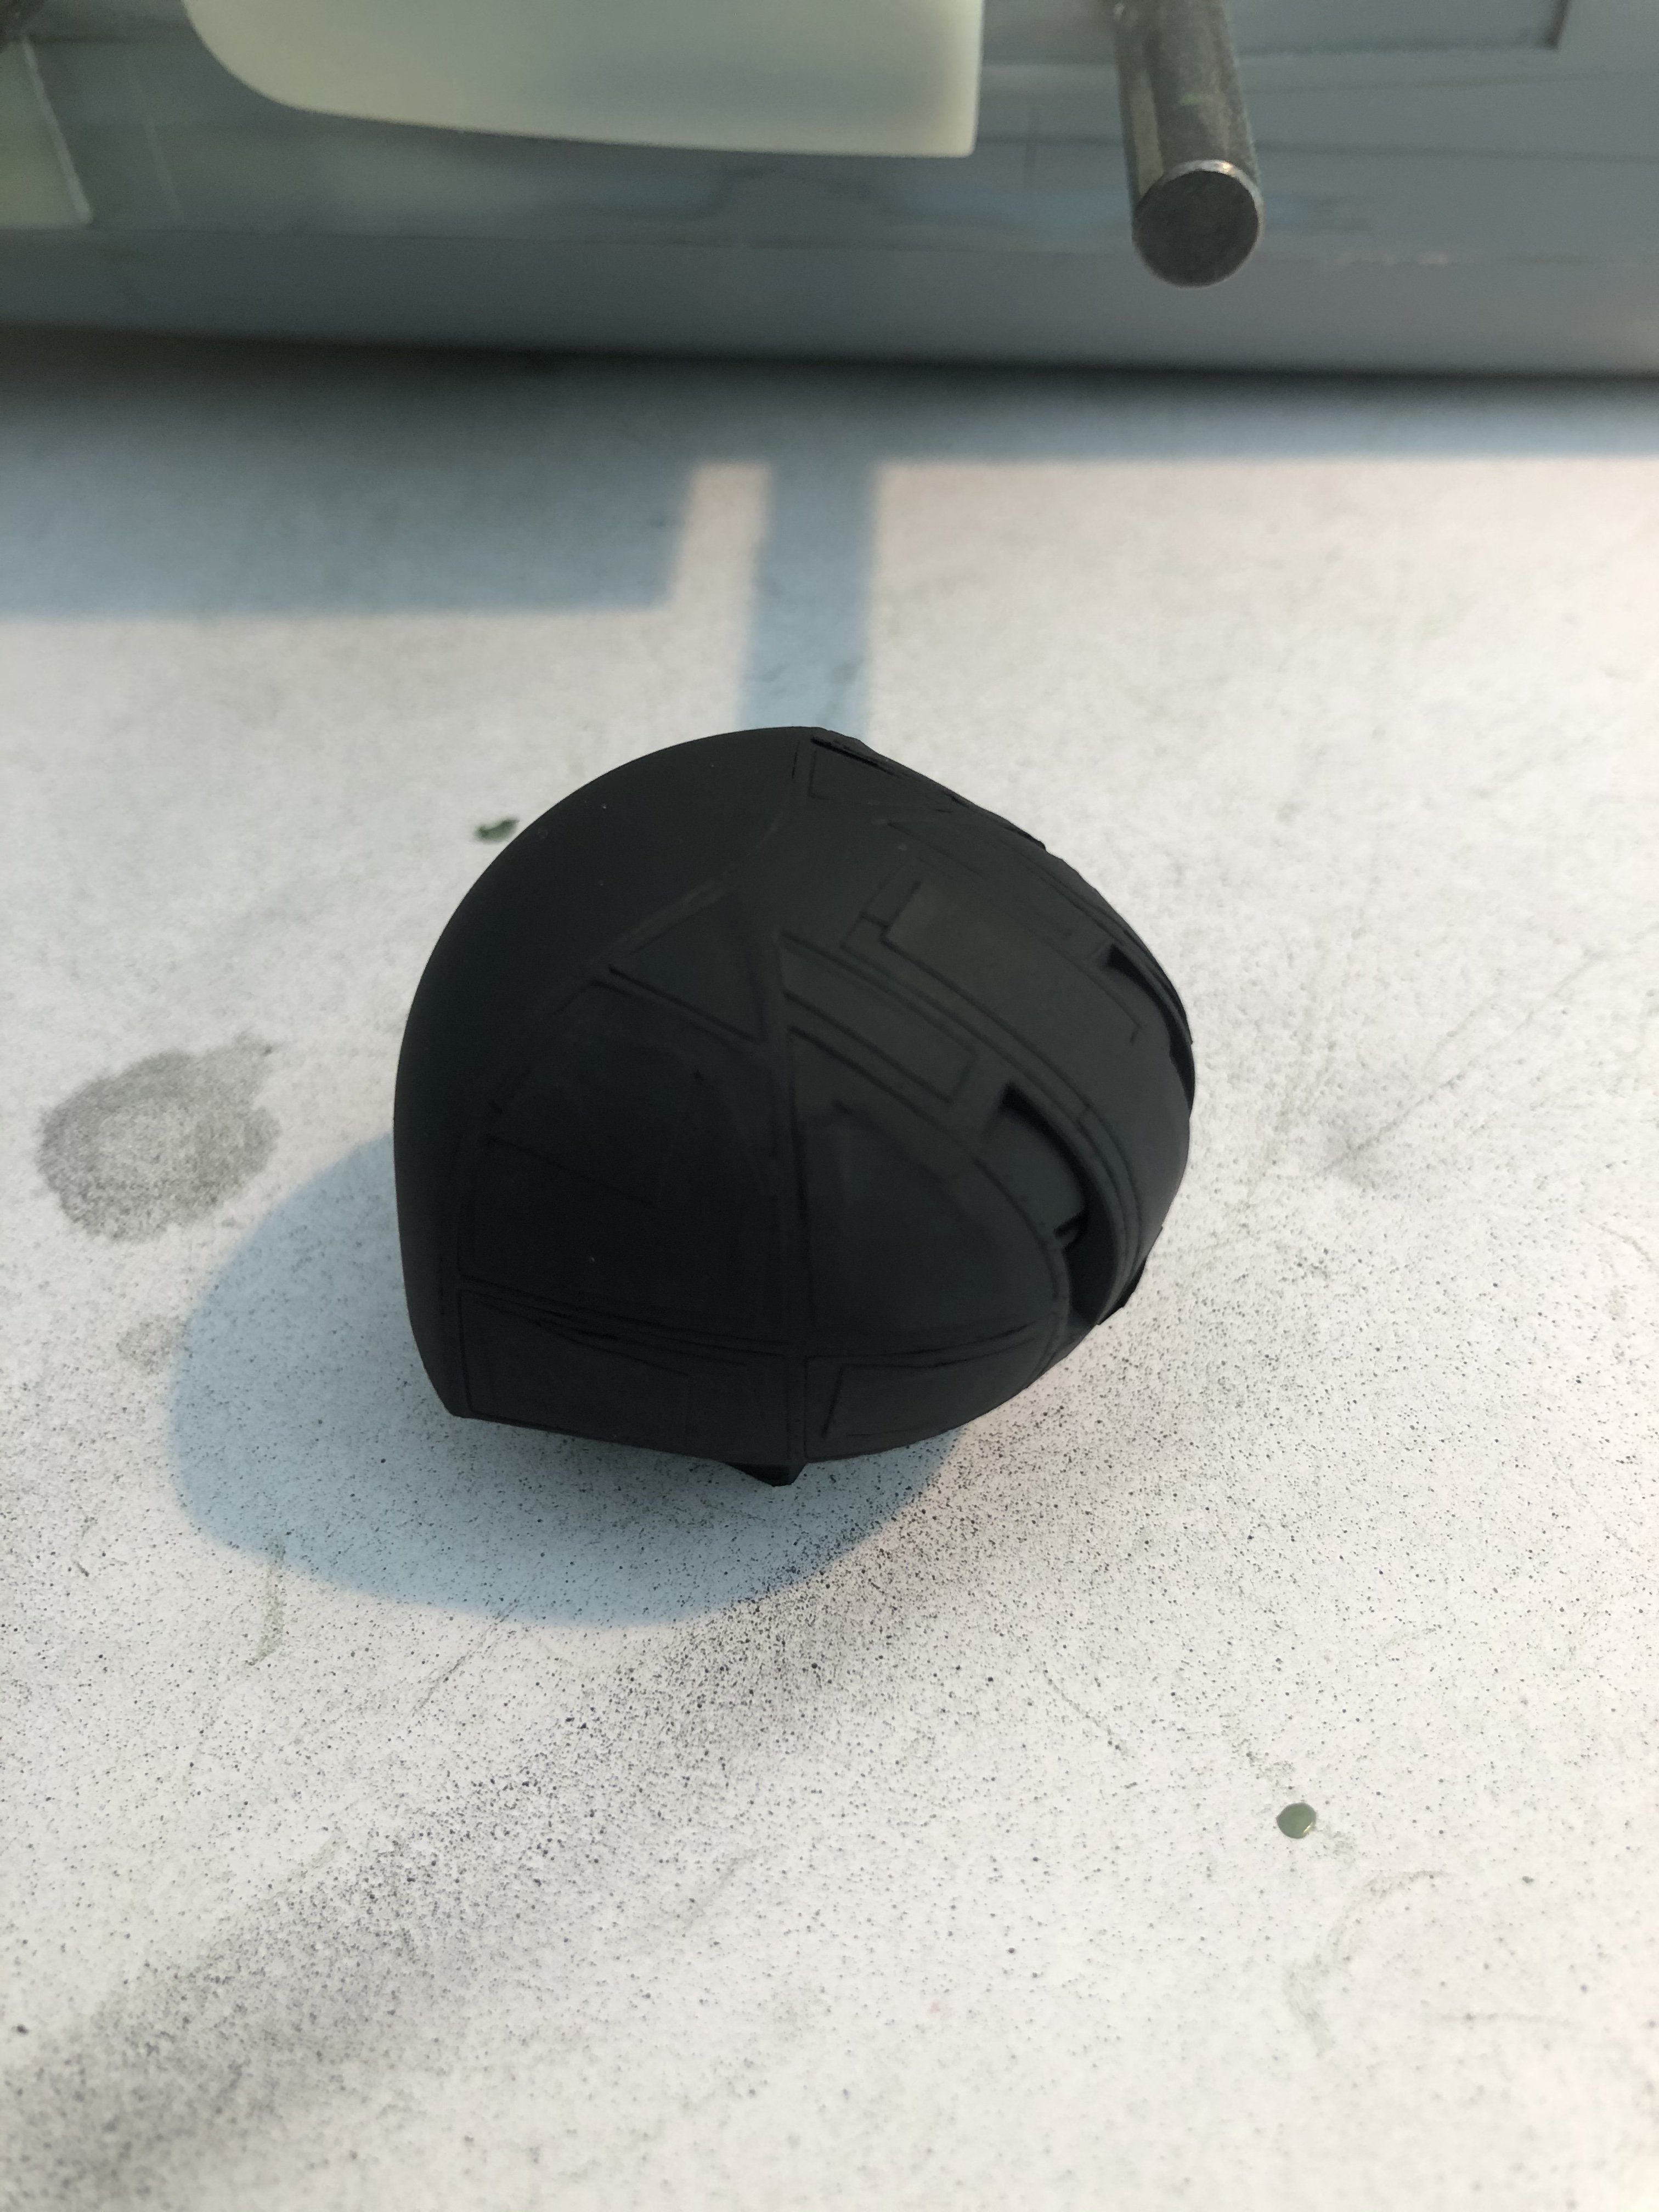
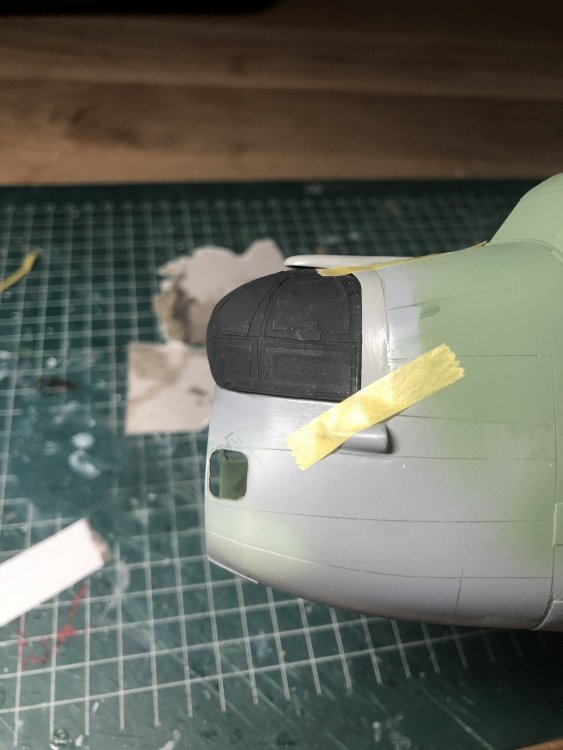
The canopy and turret have received their interior green and black base coat ( what you see from the inside). the fuselage needs some cleaning up and neatening of the bombbay doors joins then the other windows can be masked in preparation of spraying the camouflage colours.


-
1/18 Focke-Wulf Fw190C V18 'Känguruh'
Wingco57 replied to airscale's topic in LSM 1/35 and Larger Work In Progress
Peter, you really haven't been sitting on your hands I see. Wonderful destruction before reconstruction. -
@Woody37, I use very little glue on the inside of the fuselage and carefully push the windows in from the outside. Mostly luck
-
I am a prophead but some jets are really sexy, the good old Phantom really fits into my alley. Following this.