Wingco57
-
Posts
3,925 -
Joined
-
Last visited
Content Type
Profiles
Forums
Events
Gallery
Everything posted by Wingco57
-

RR Spey powered RAF Phantom conversion
Wingco57 replied to Wingco57's topic in LSM 1/35 and Larger Work In Progress
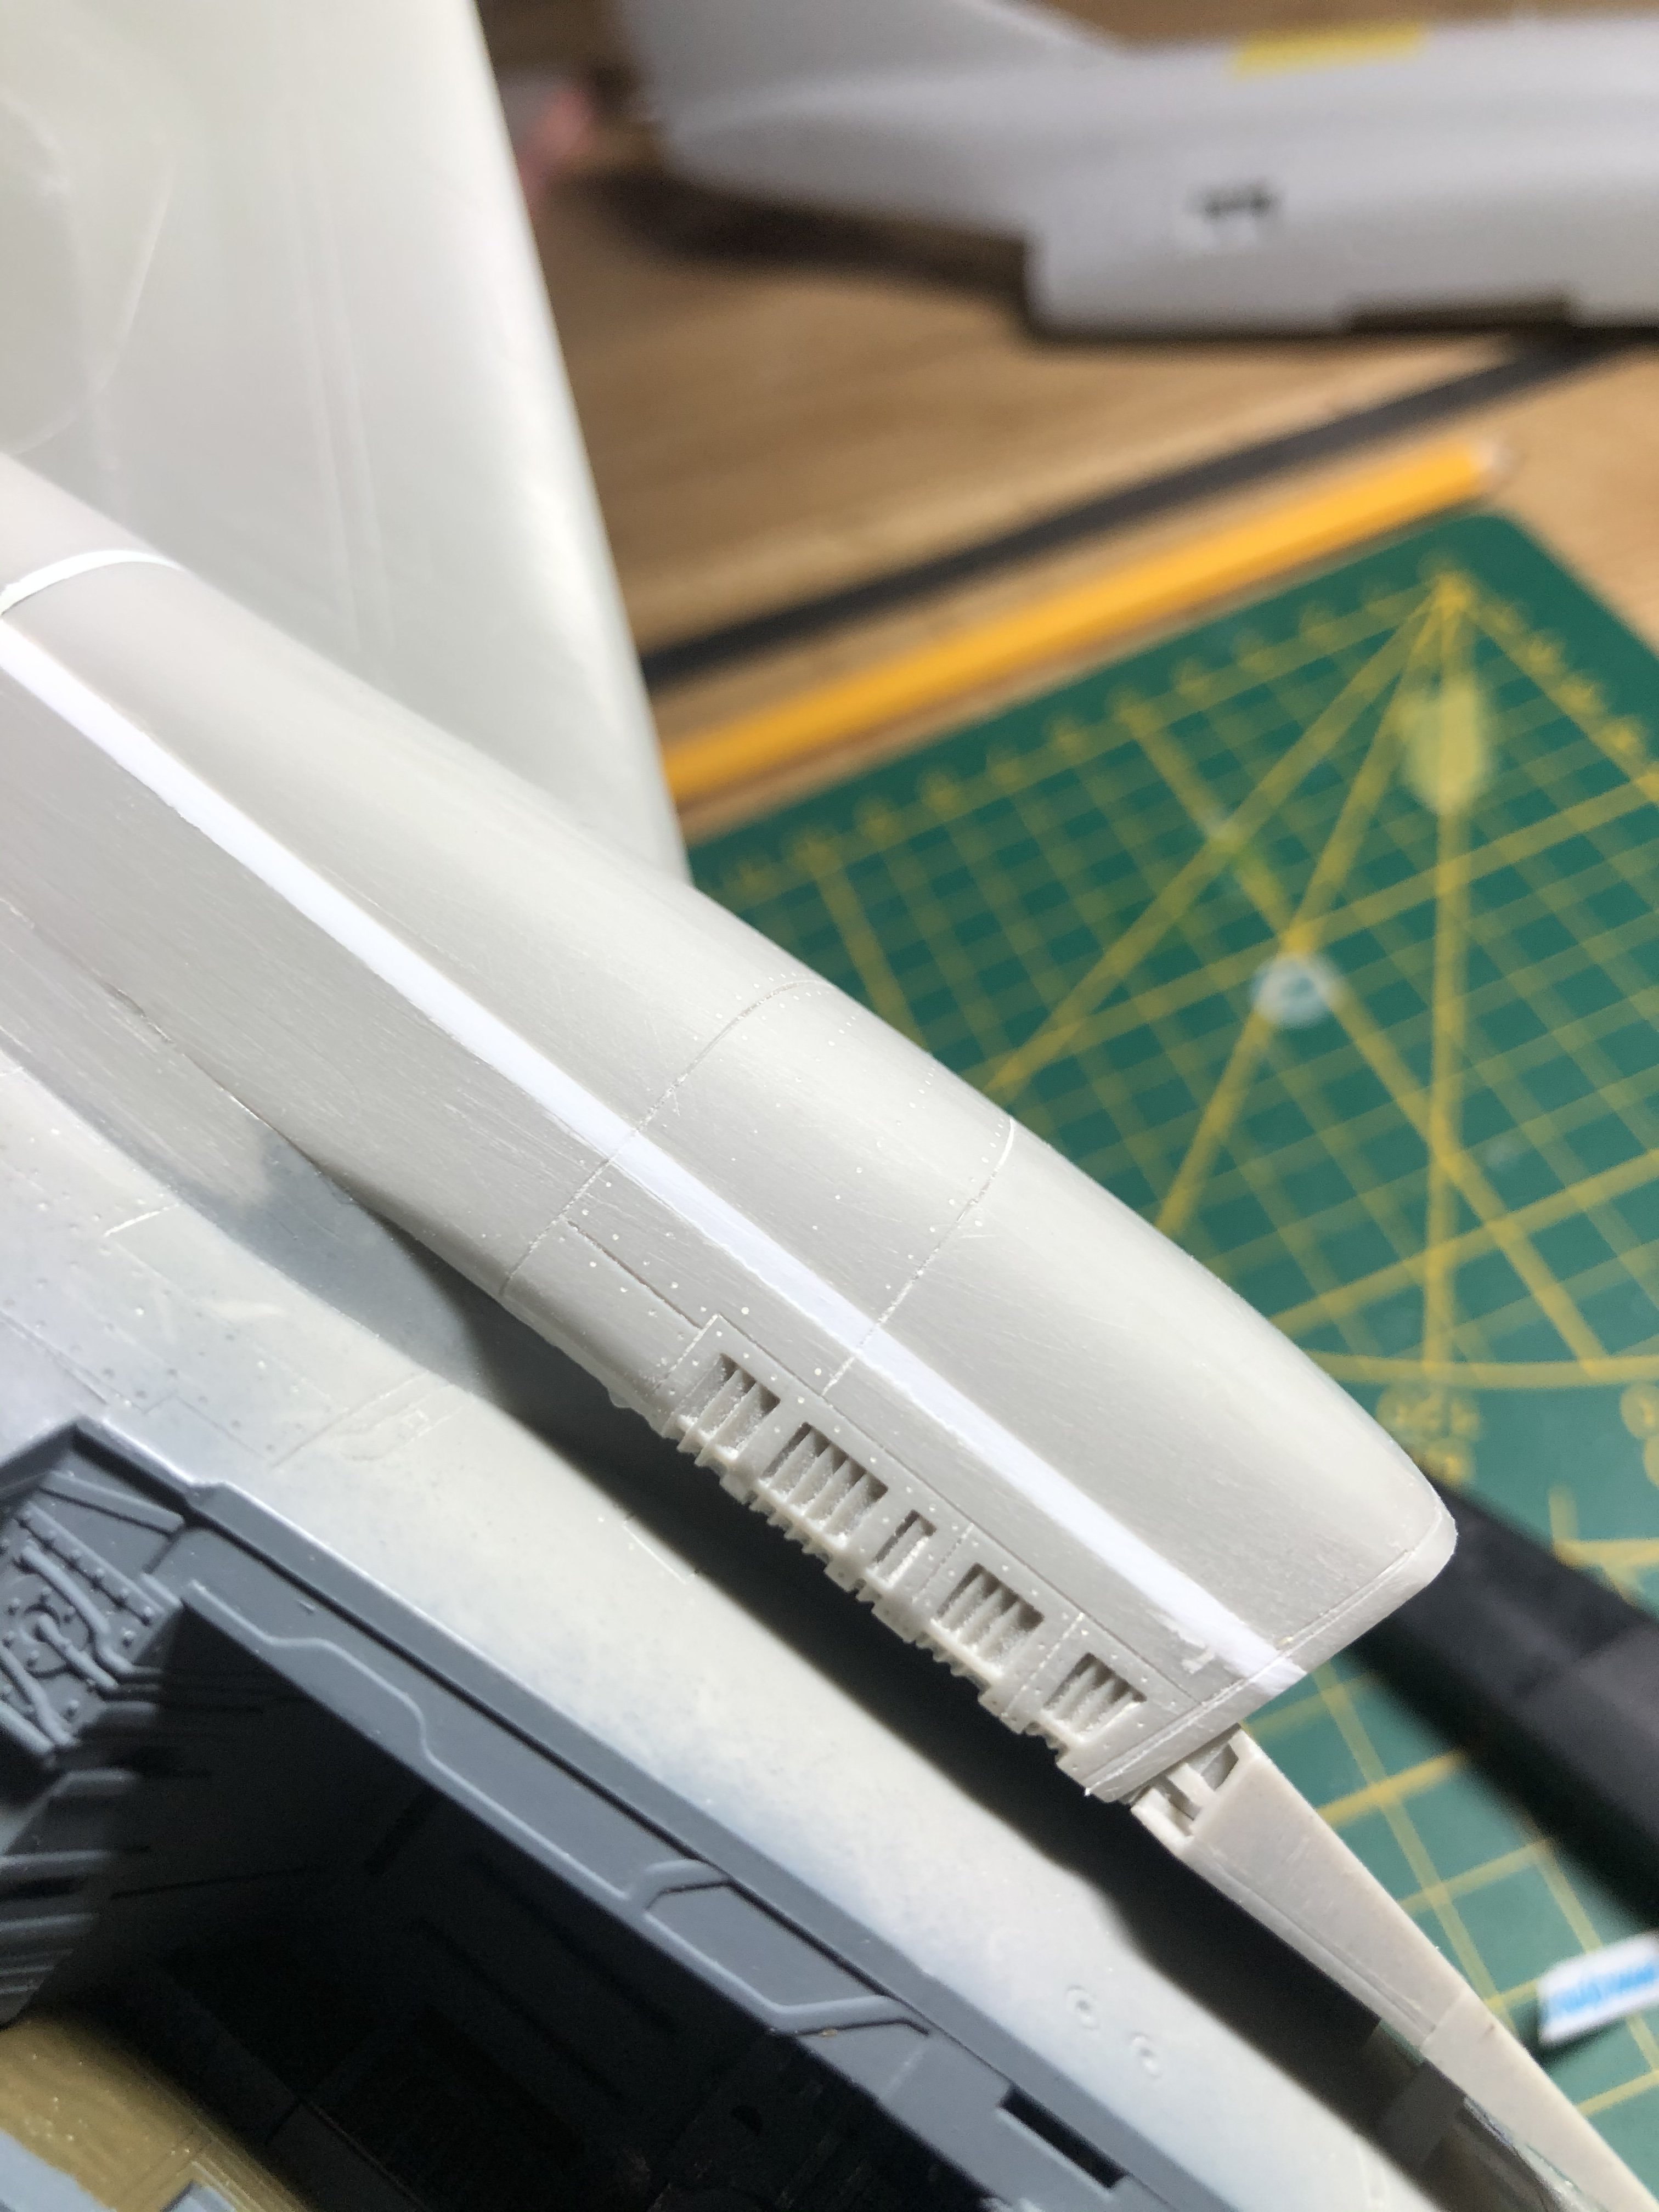
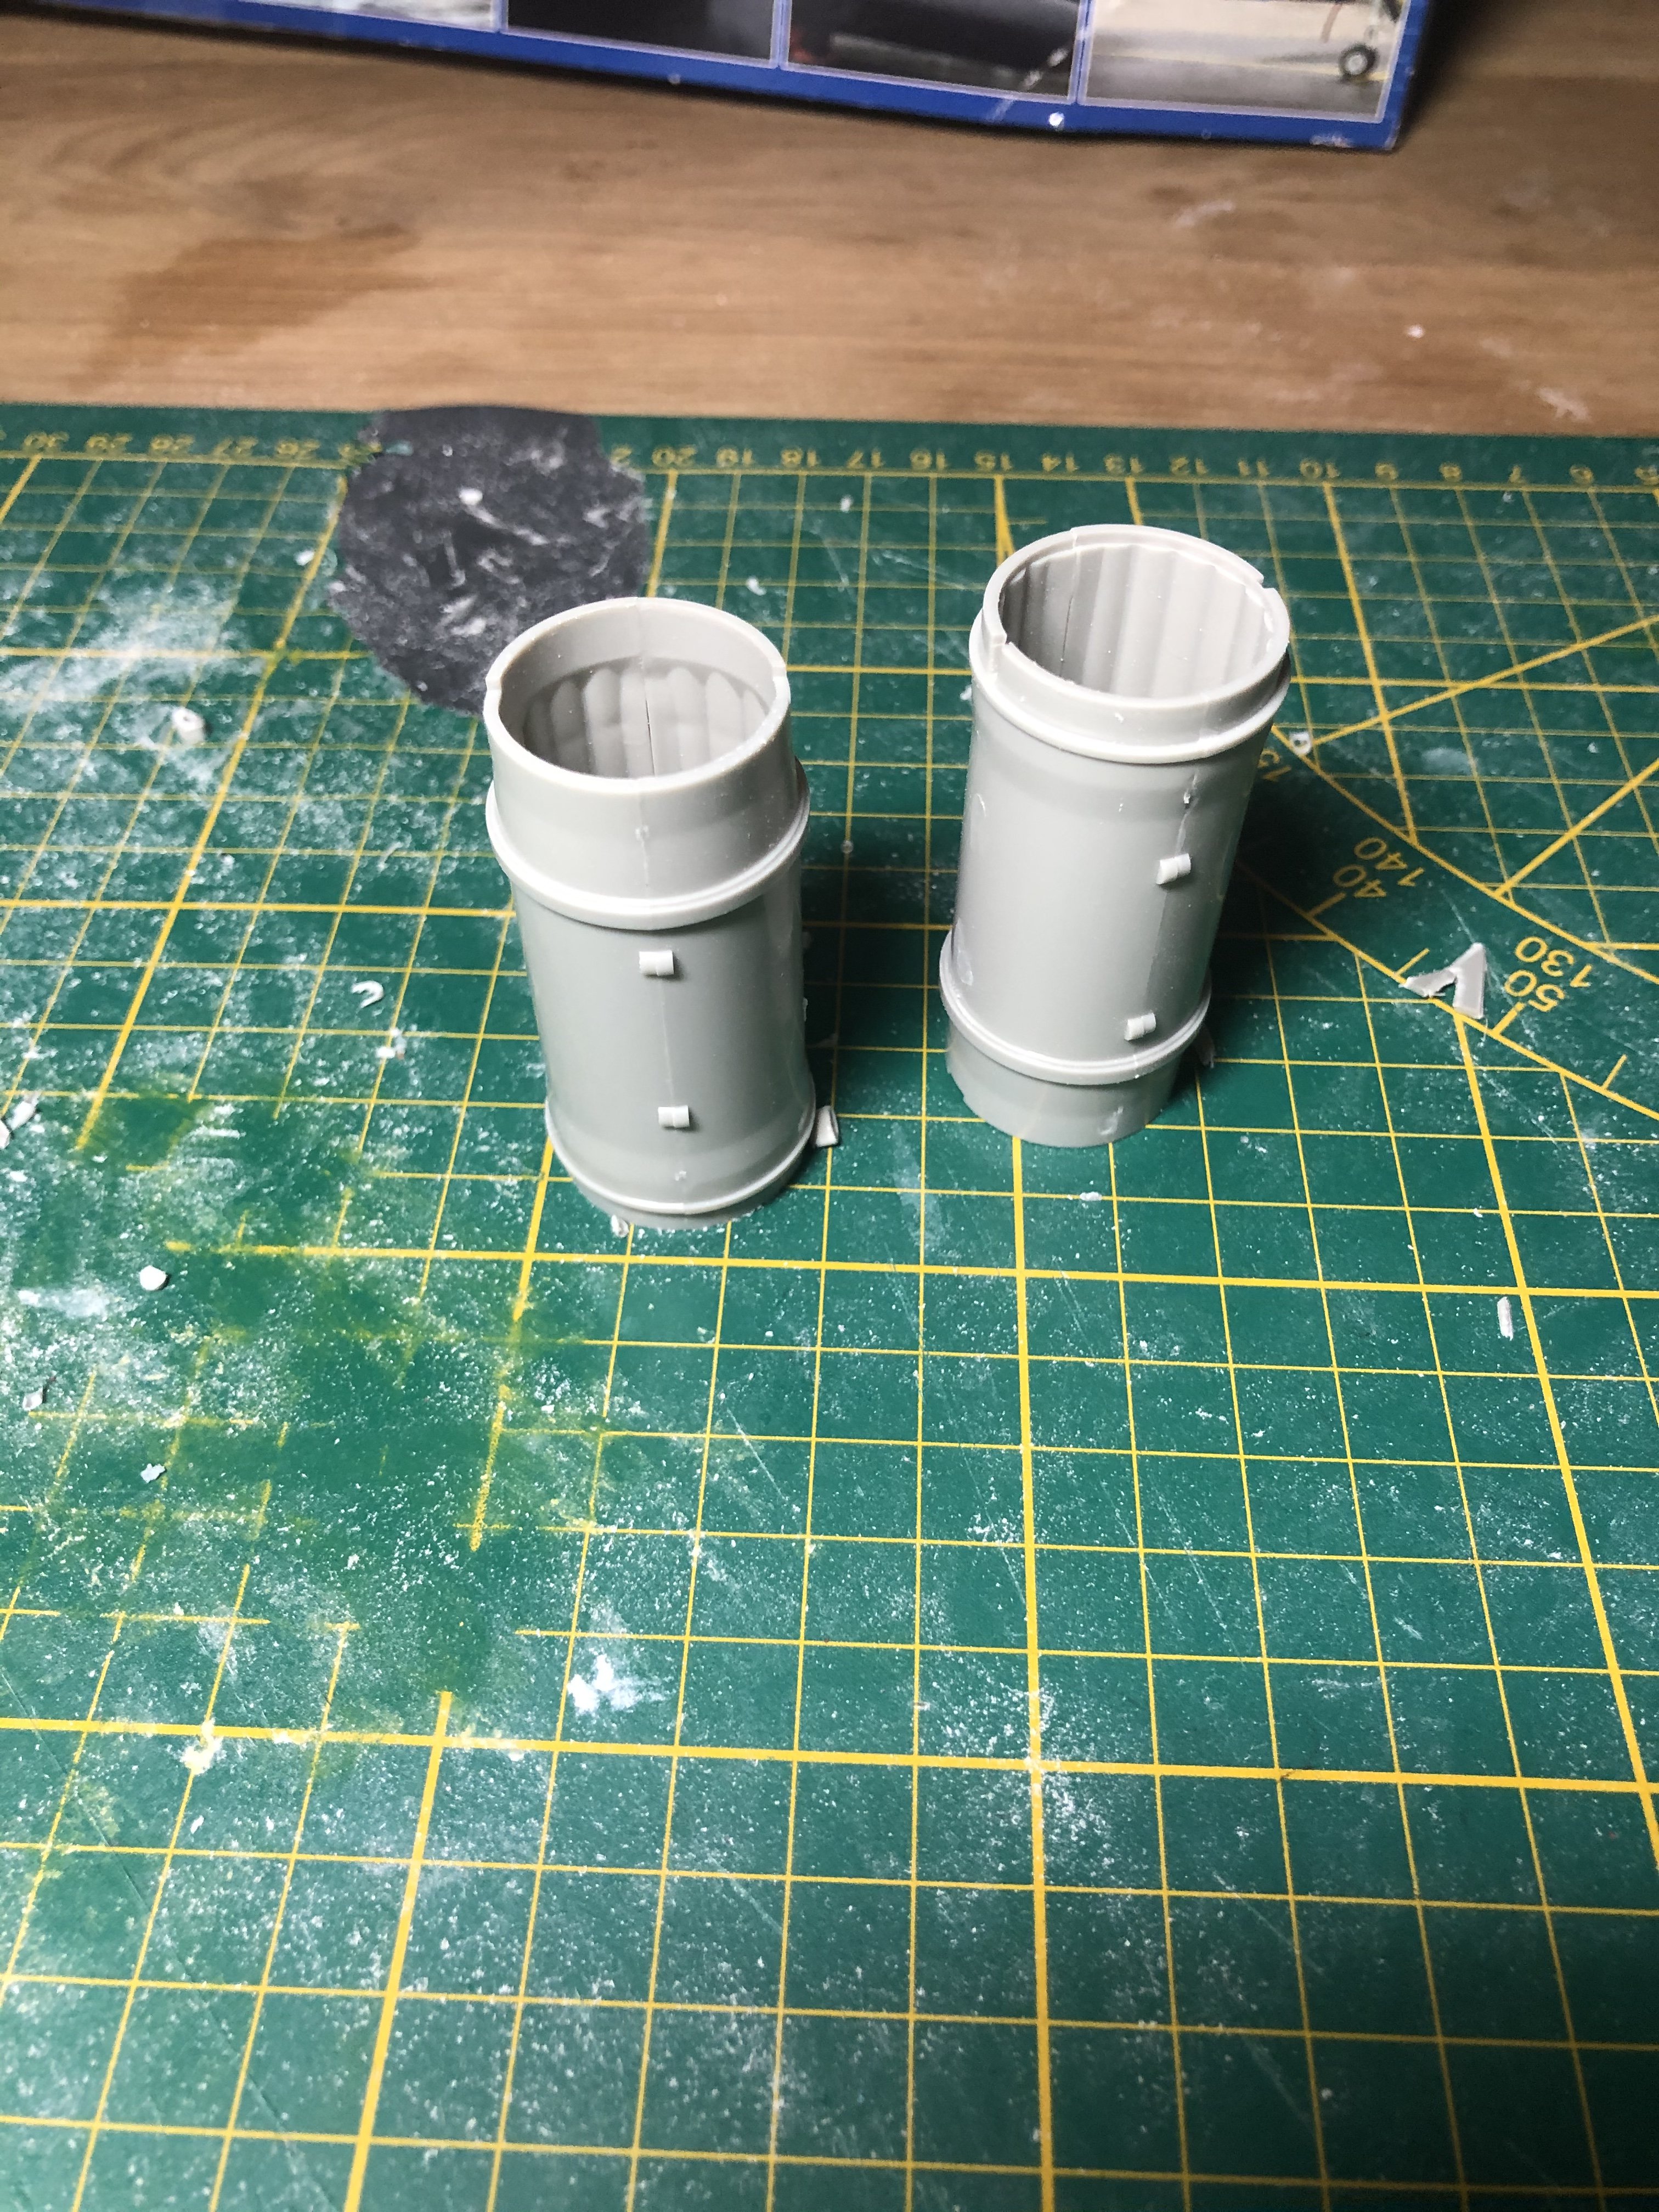
The cans have been sprayed in a black basecolour. Some faint traces of the printing process but some light sanding should eradicate that. Testfitting the tailplanes, it’s certainly begins to look like a Toom. Some more work is needed on the area between the cans.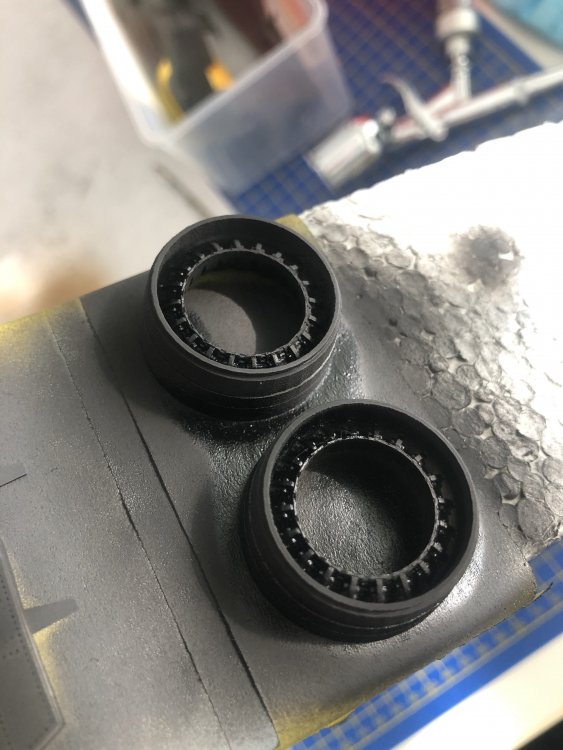
- 414 replies
-
- 6
-

-
- conversion
- phantom
- (and 1 more)
-
RR Spey powered RAF Phantom conversion
Wingco57 replied to Wingco57's topic in LSM 1/35 and Larger Work In Progress
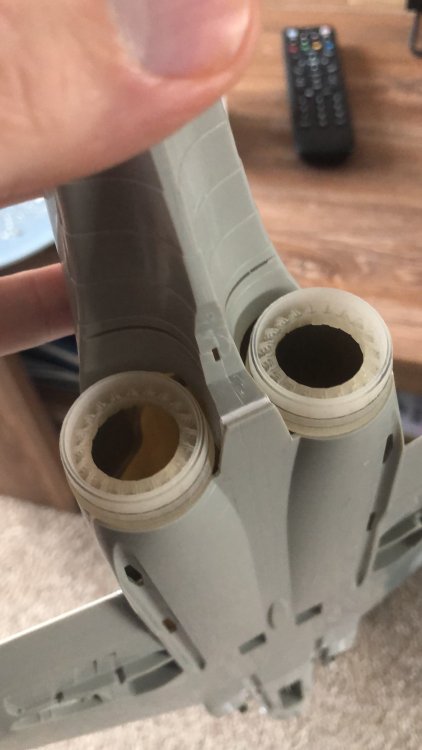
Been preparing various parts for paint. I will use most of the Tamiya tailpipe parts on top of which the Spey cans will be glued so as to get a good view of depth when you look into the tailpipes.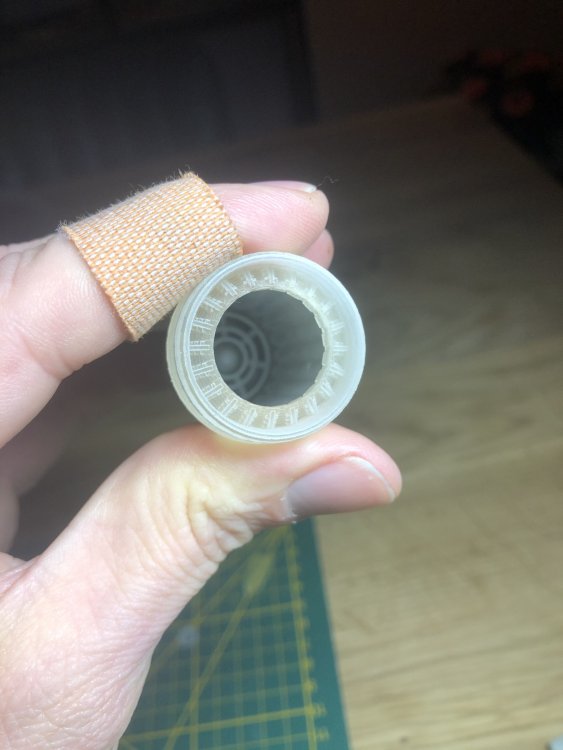
- 414 replies
-
- 3
-
-

-
- conversion
- phantom
- (and 1 more)
-
HK Models Do-335 A-12
Wingco57 replied to JeroenPeters's topic in LSM 1/35 and Larger Work In Progress
What did you use for the oleos Jeroen? Alclad? -
RR Spey powered RAF Phantom conversion
Wingco57 replied to Wingco57's topic in LSM 1/35 and Larger Work In Progress
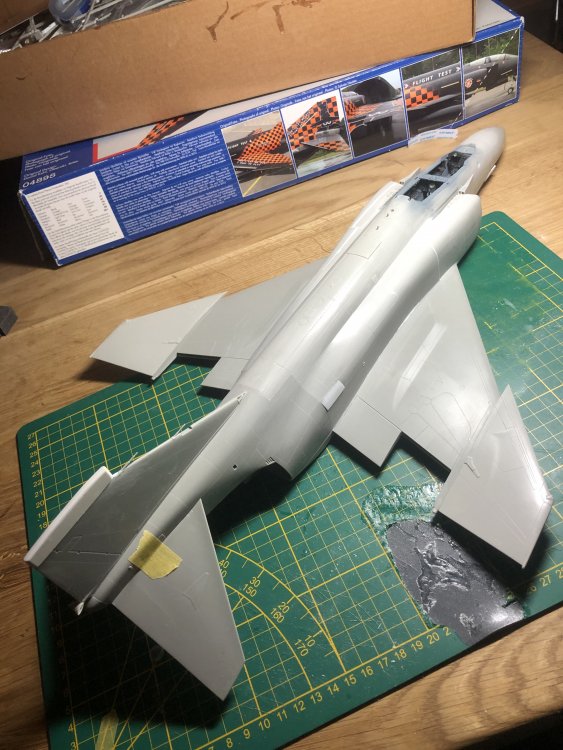
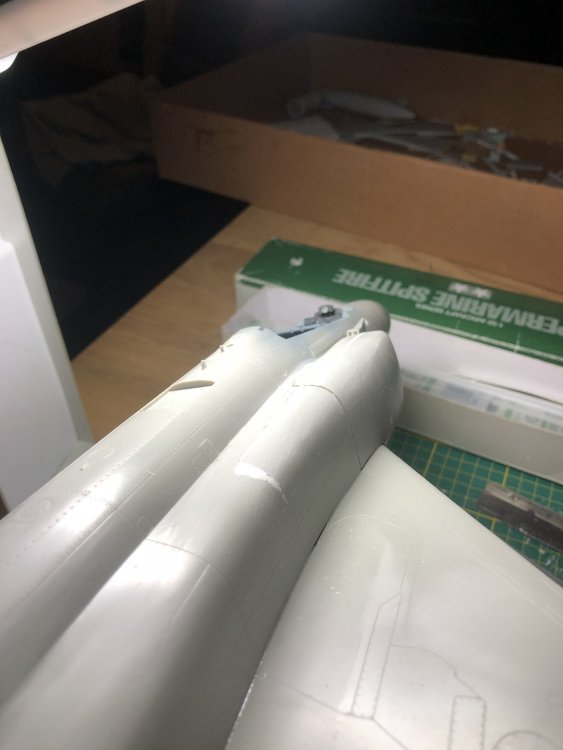
It’s beginning to look a lot like....... a British Toom. Still need to adress the gap between the cans and tail.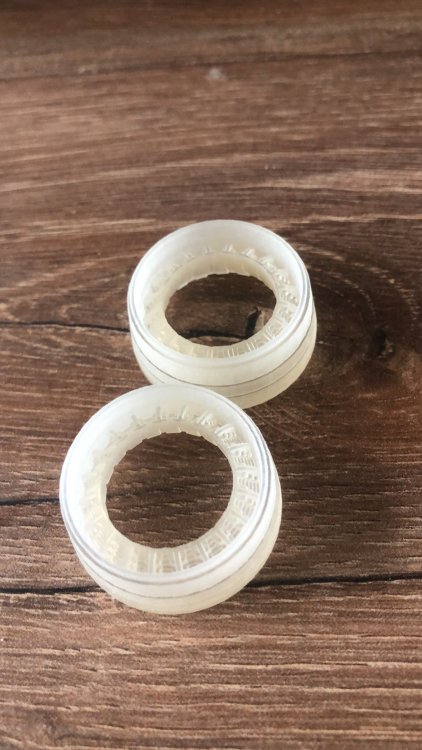
- 414 replies
-
- 4
-
-
-
- conversion
- phantom
- (and 1 more)
-
RR Spey powered RAF Phantom conversion
Wingco57 replied to Wingco57's topic in LSM 1/35 and Larger Work In Progress
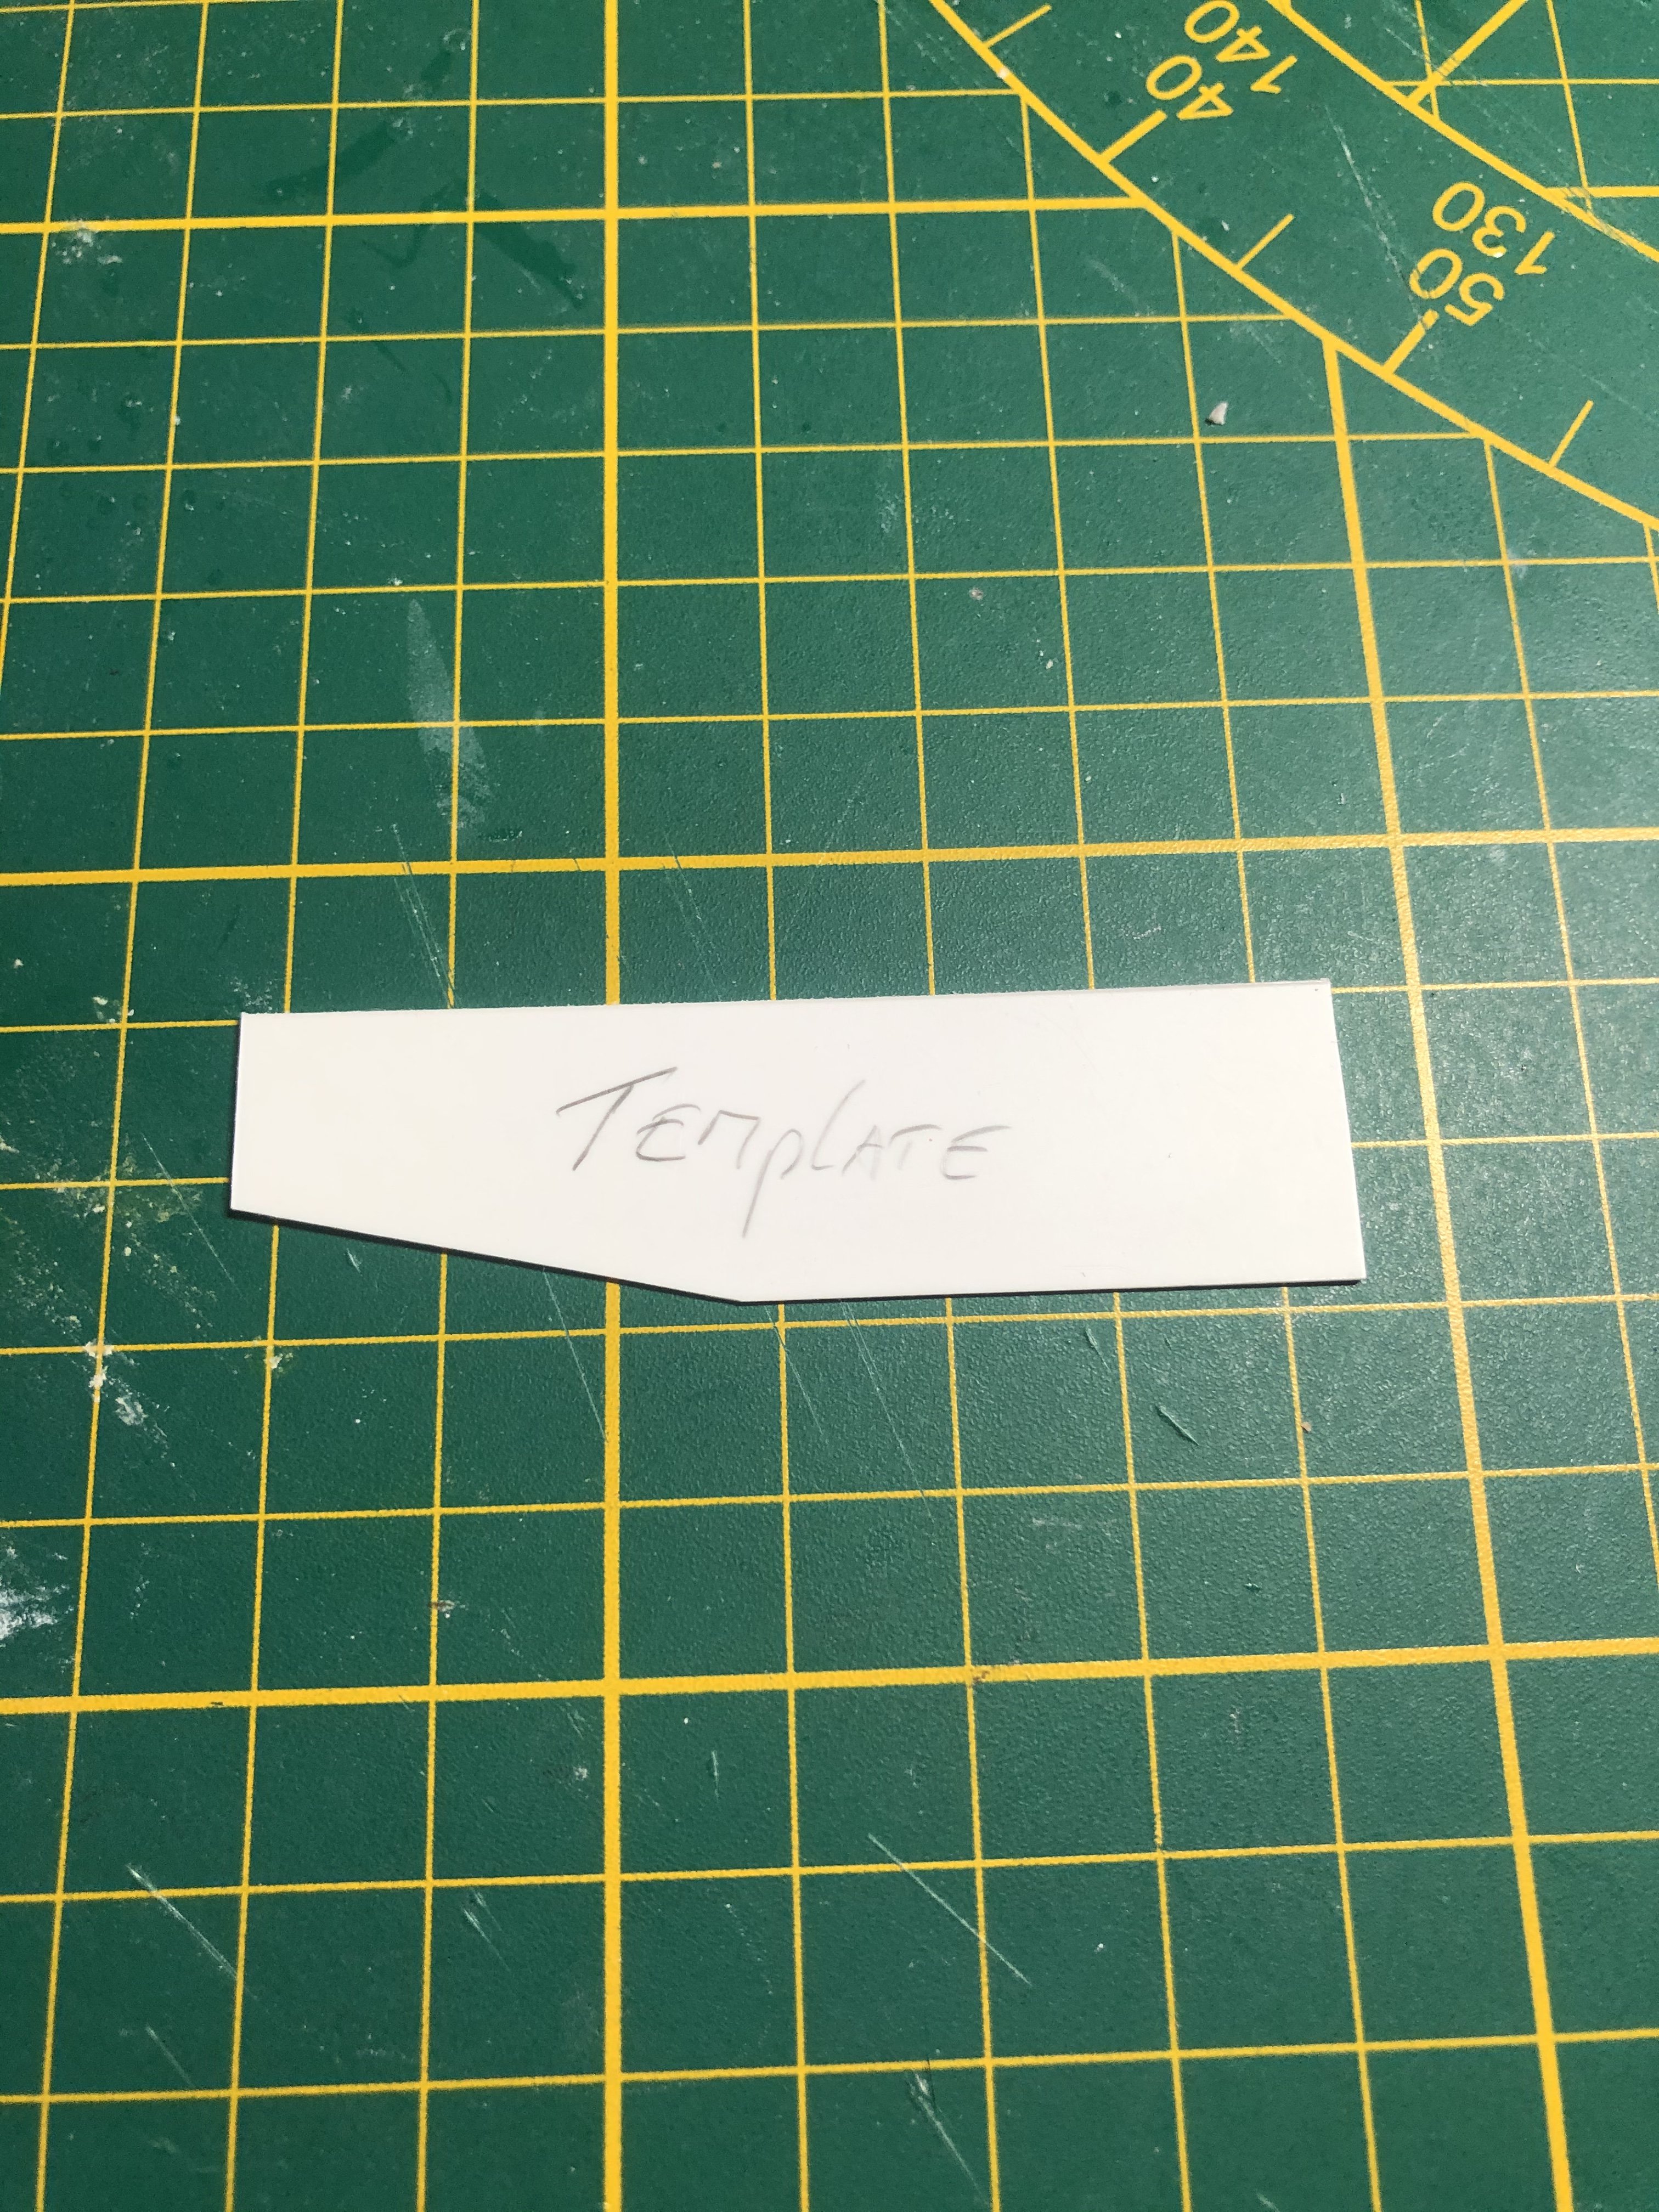
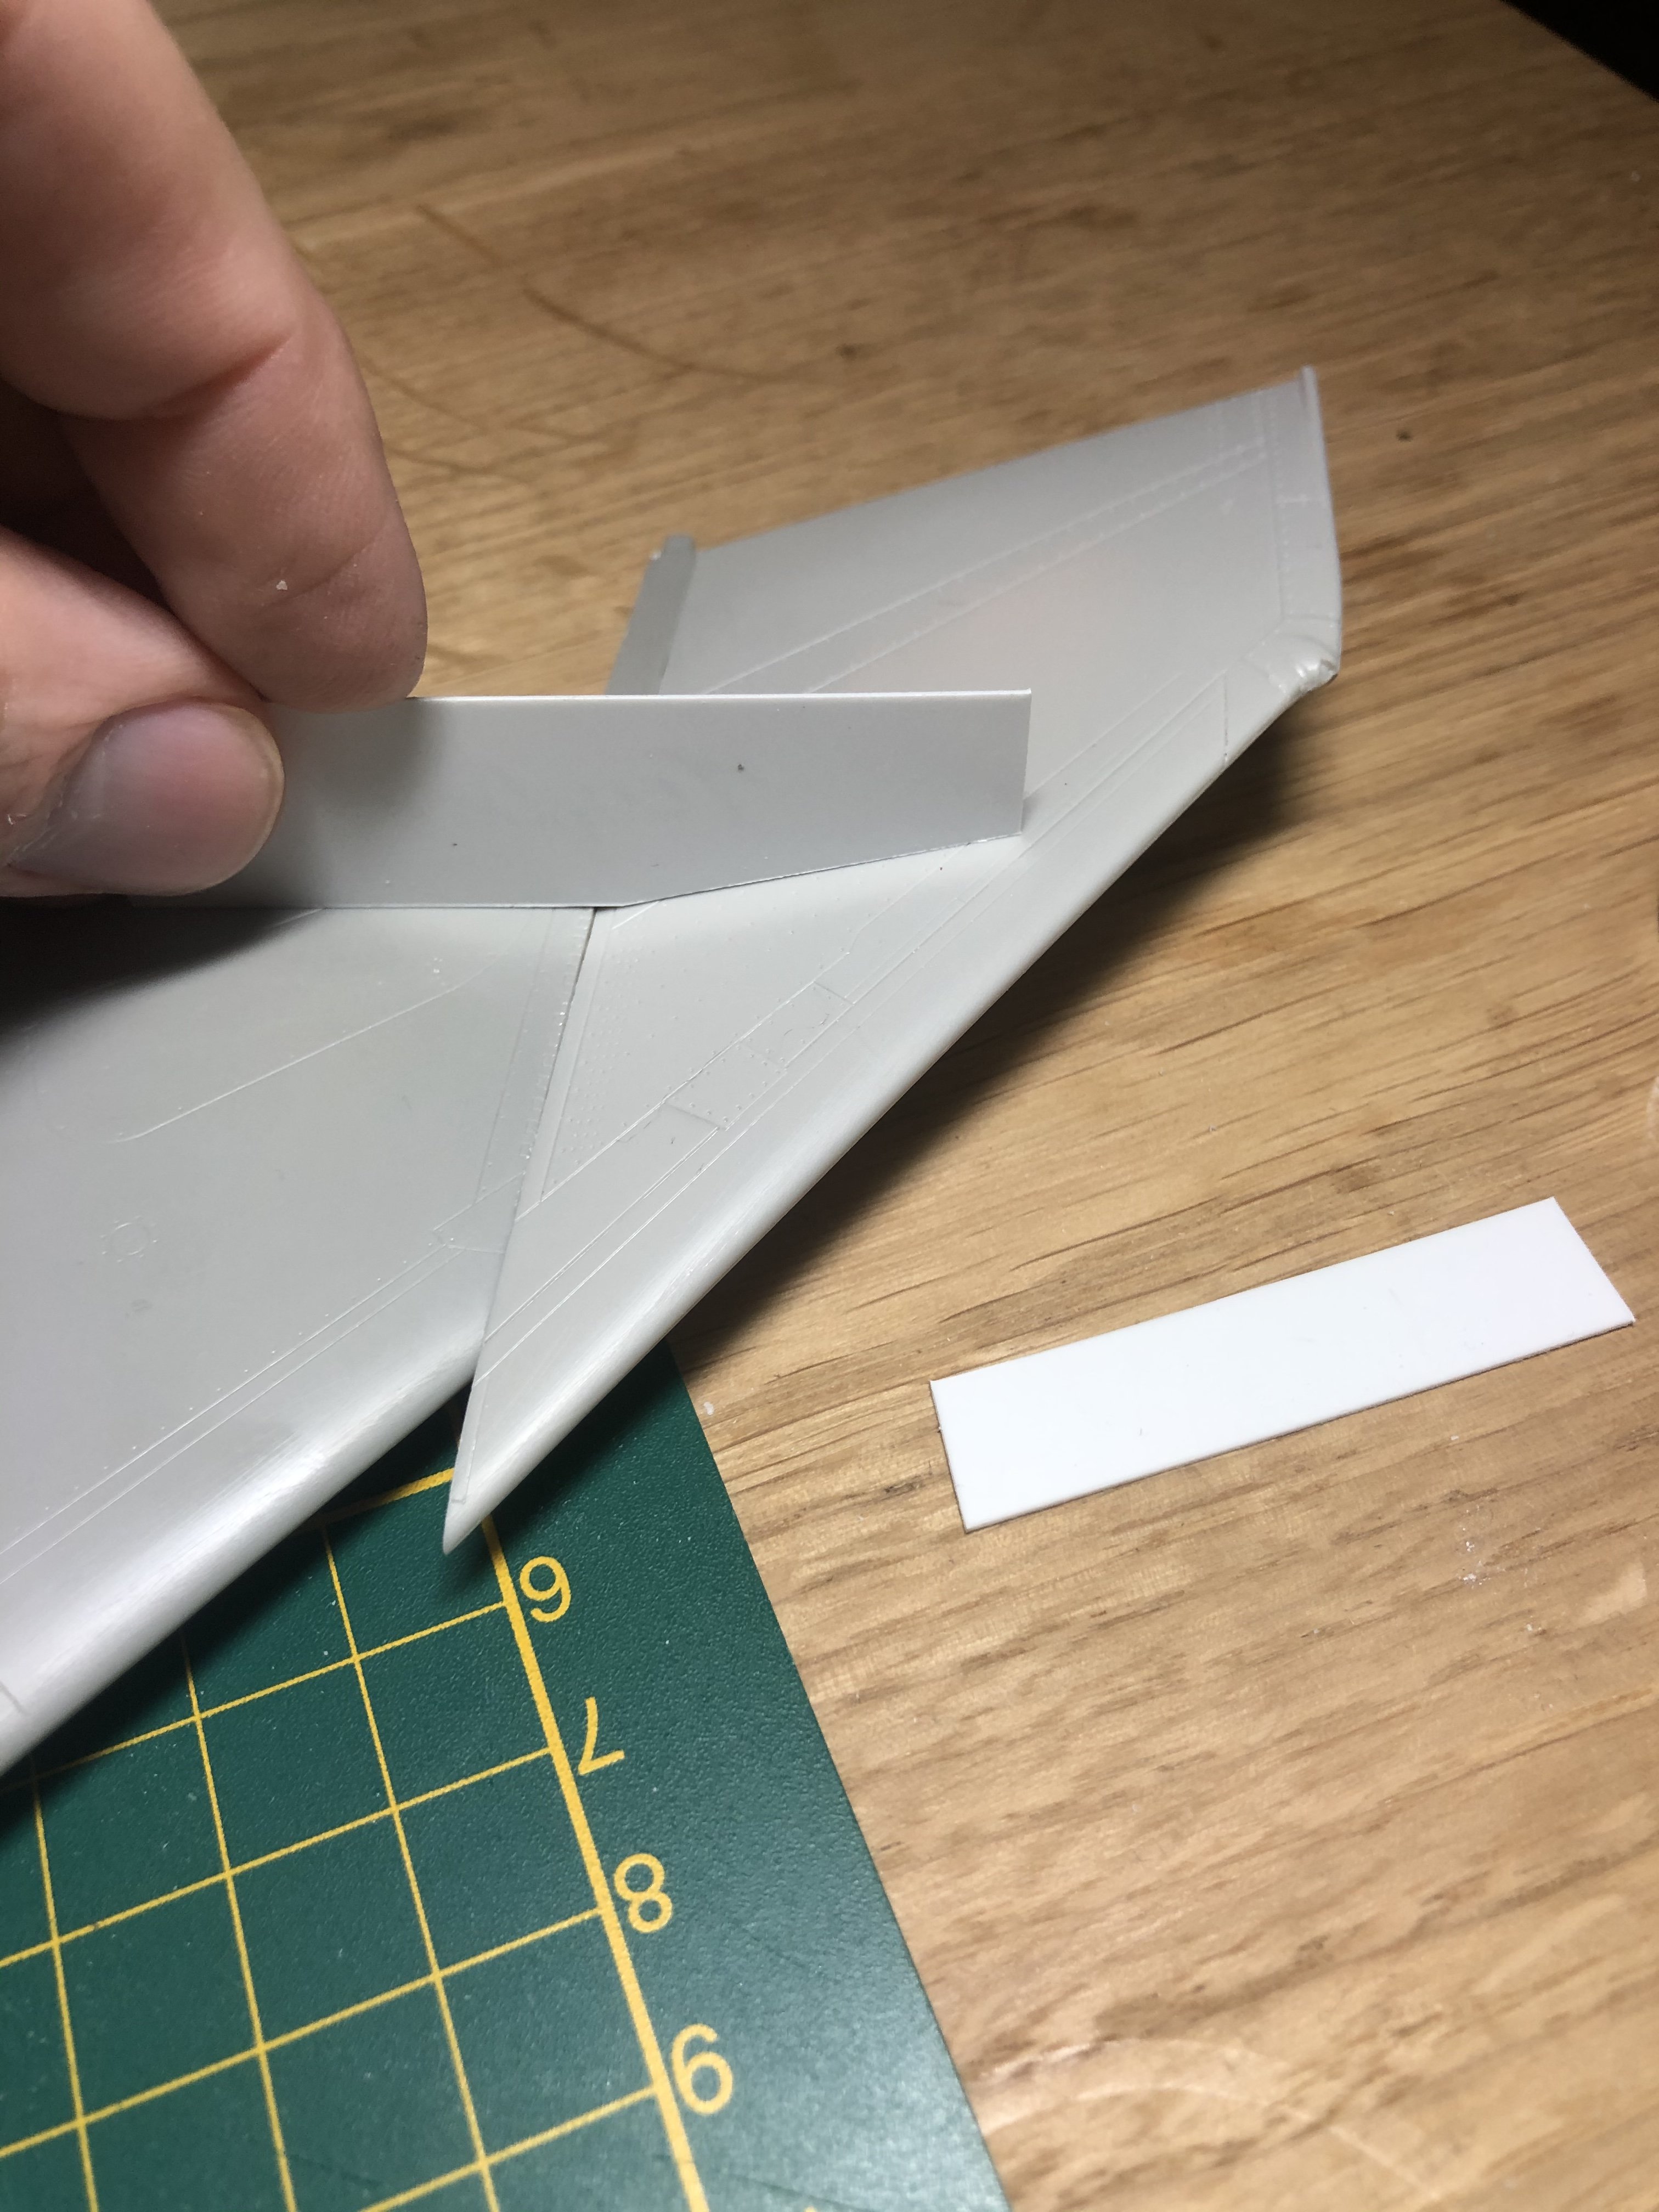
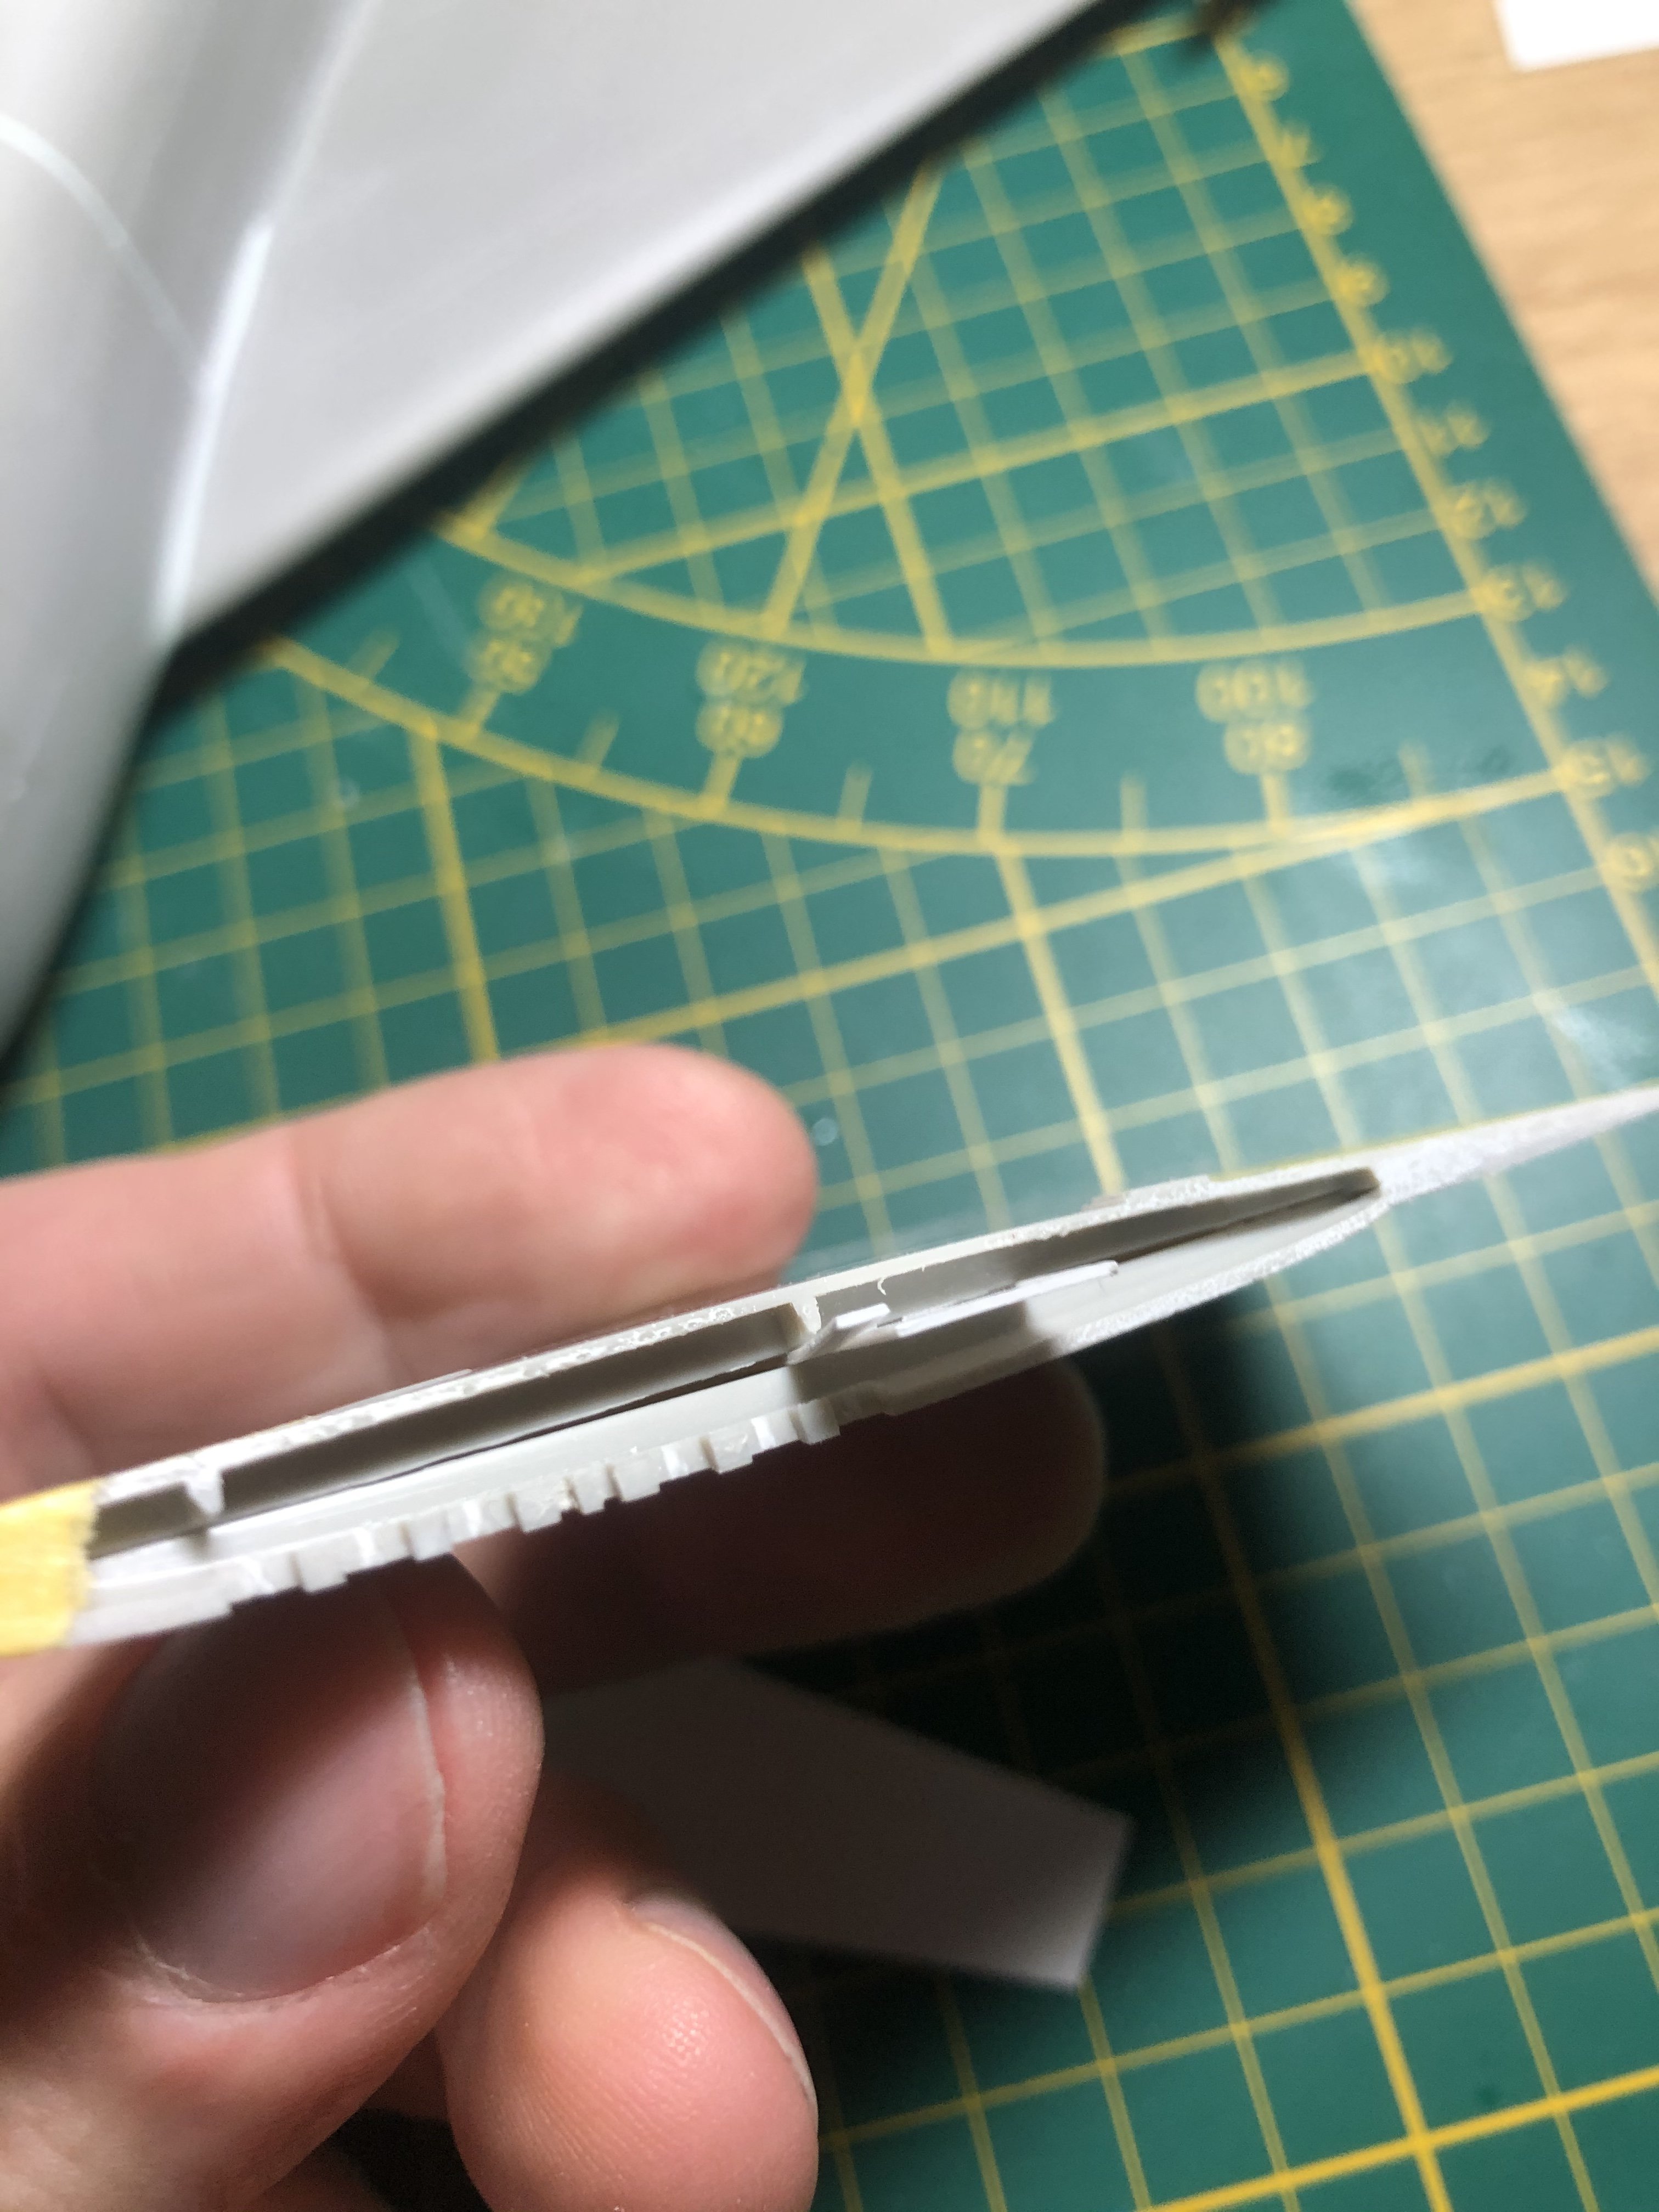
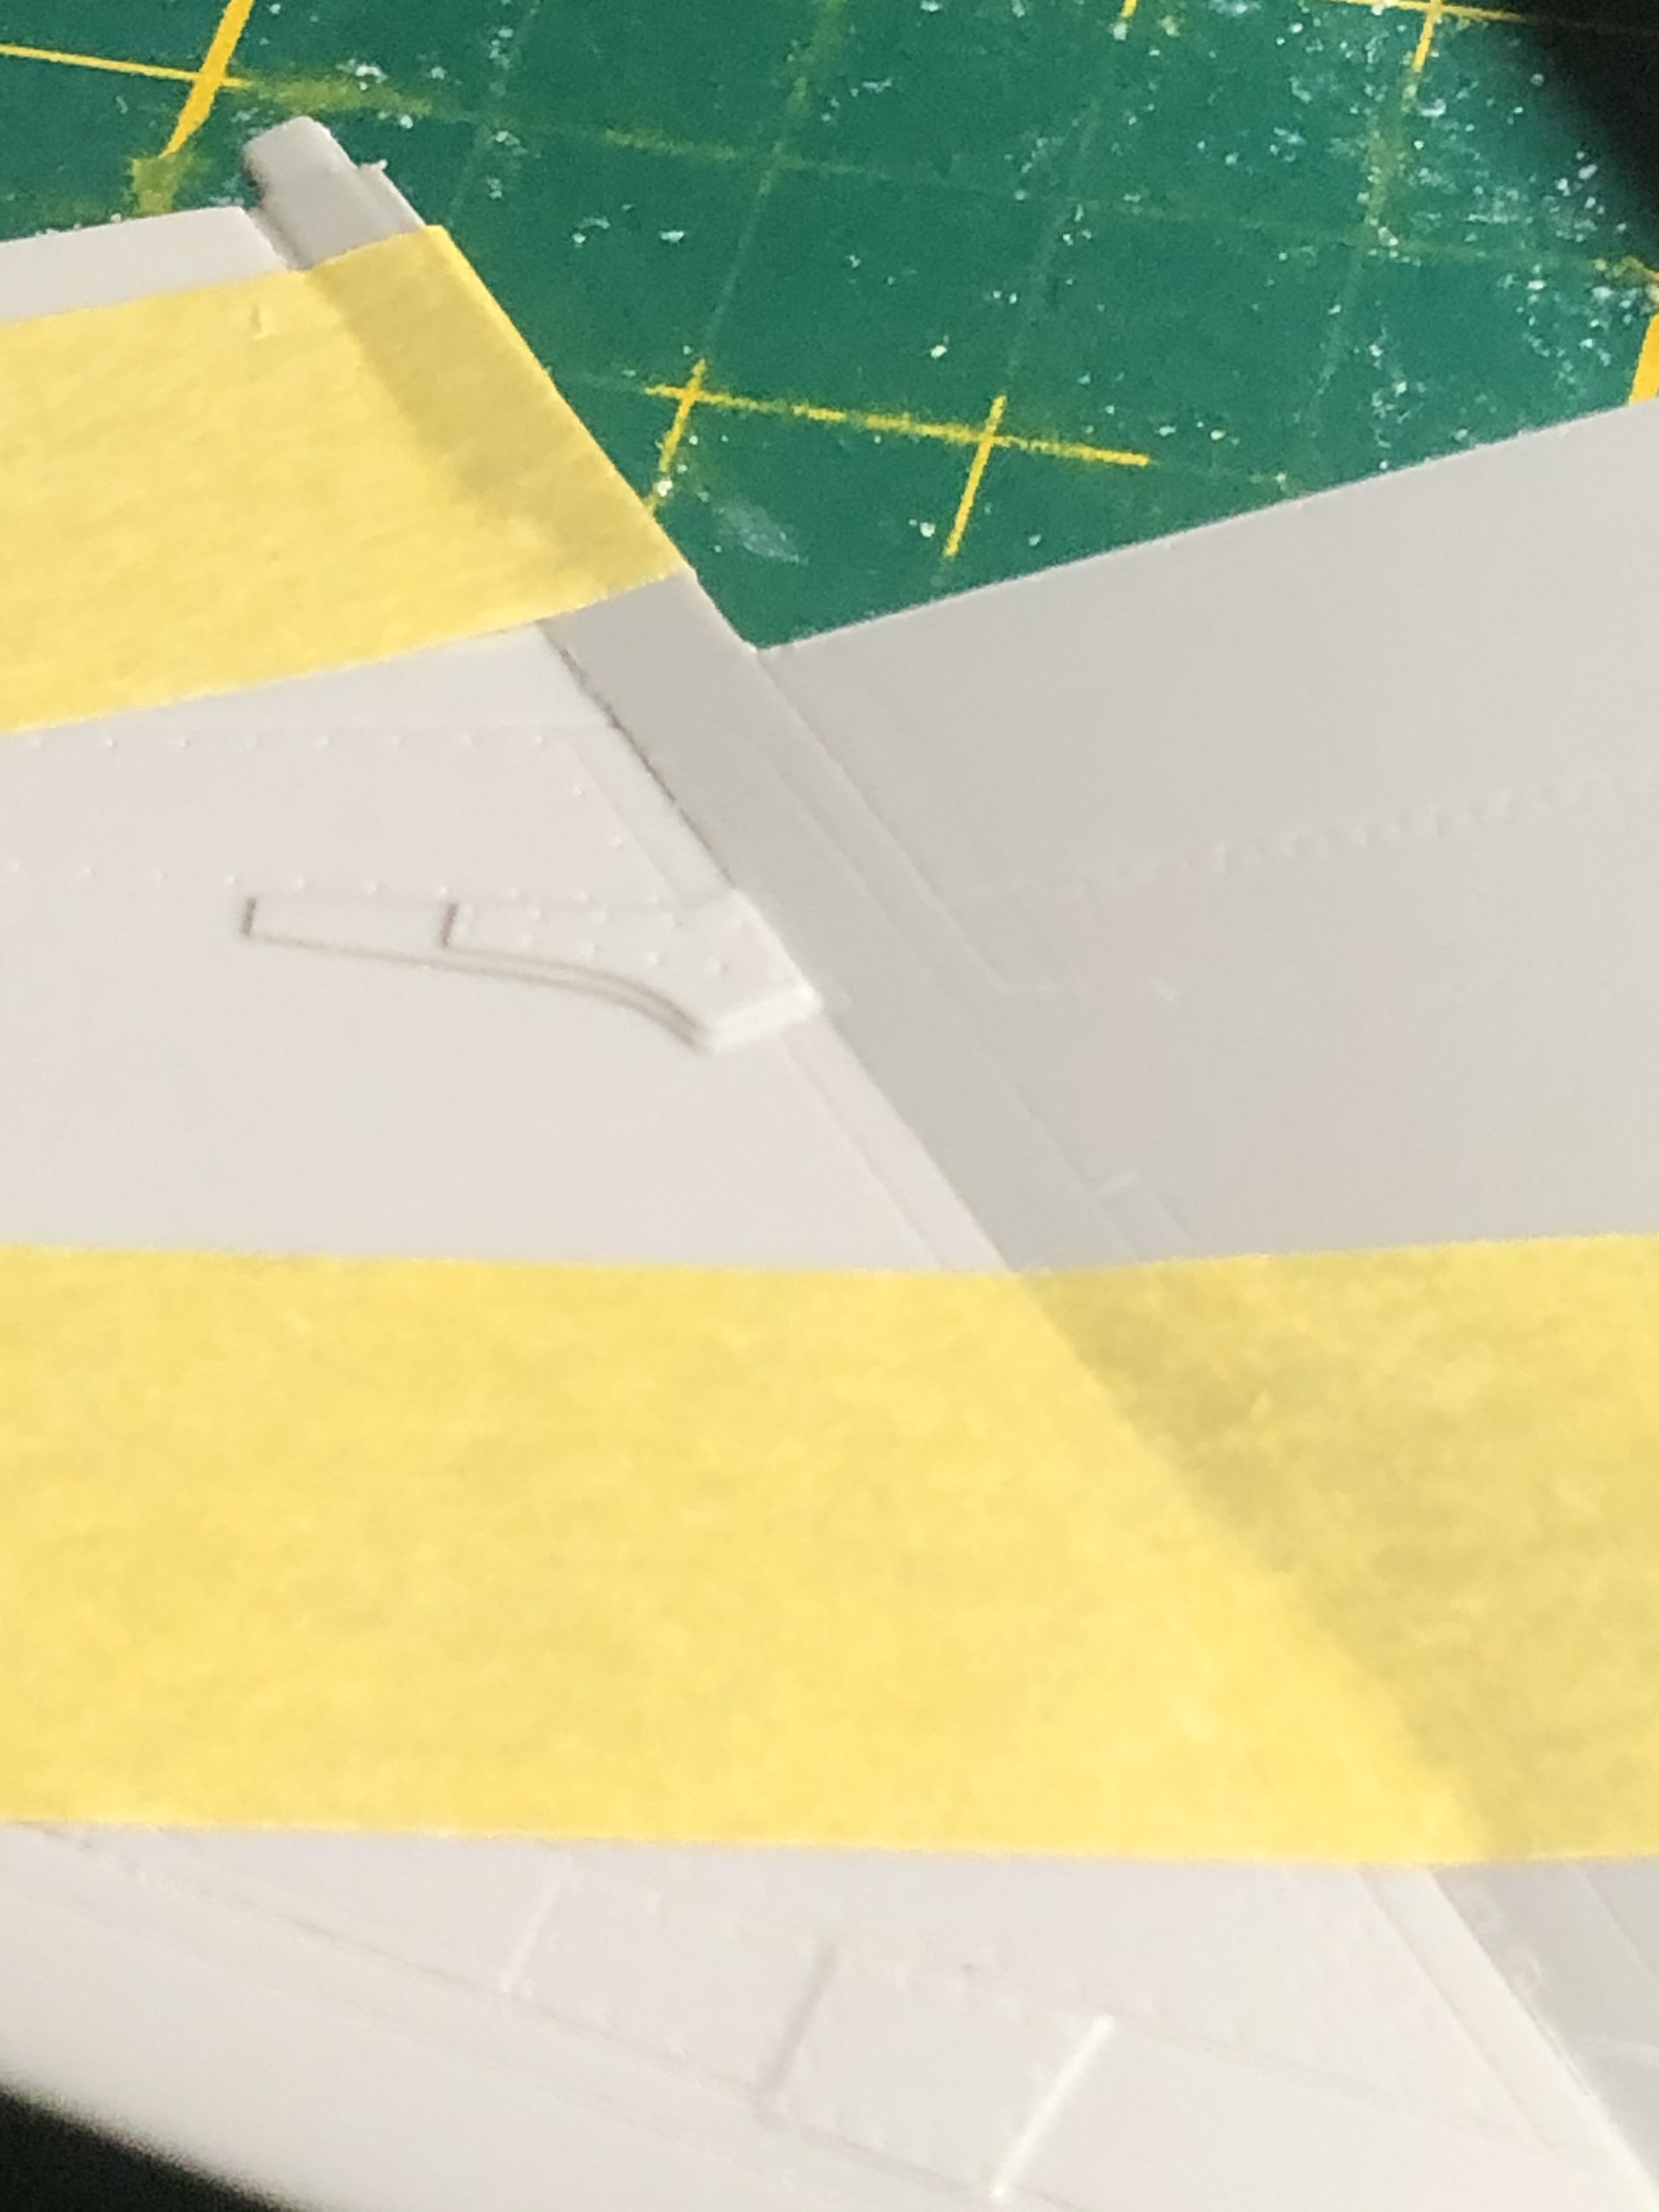
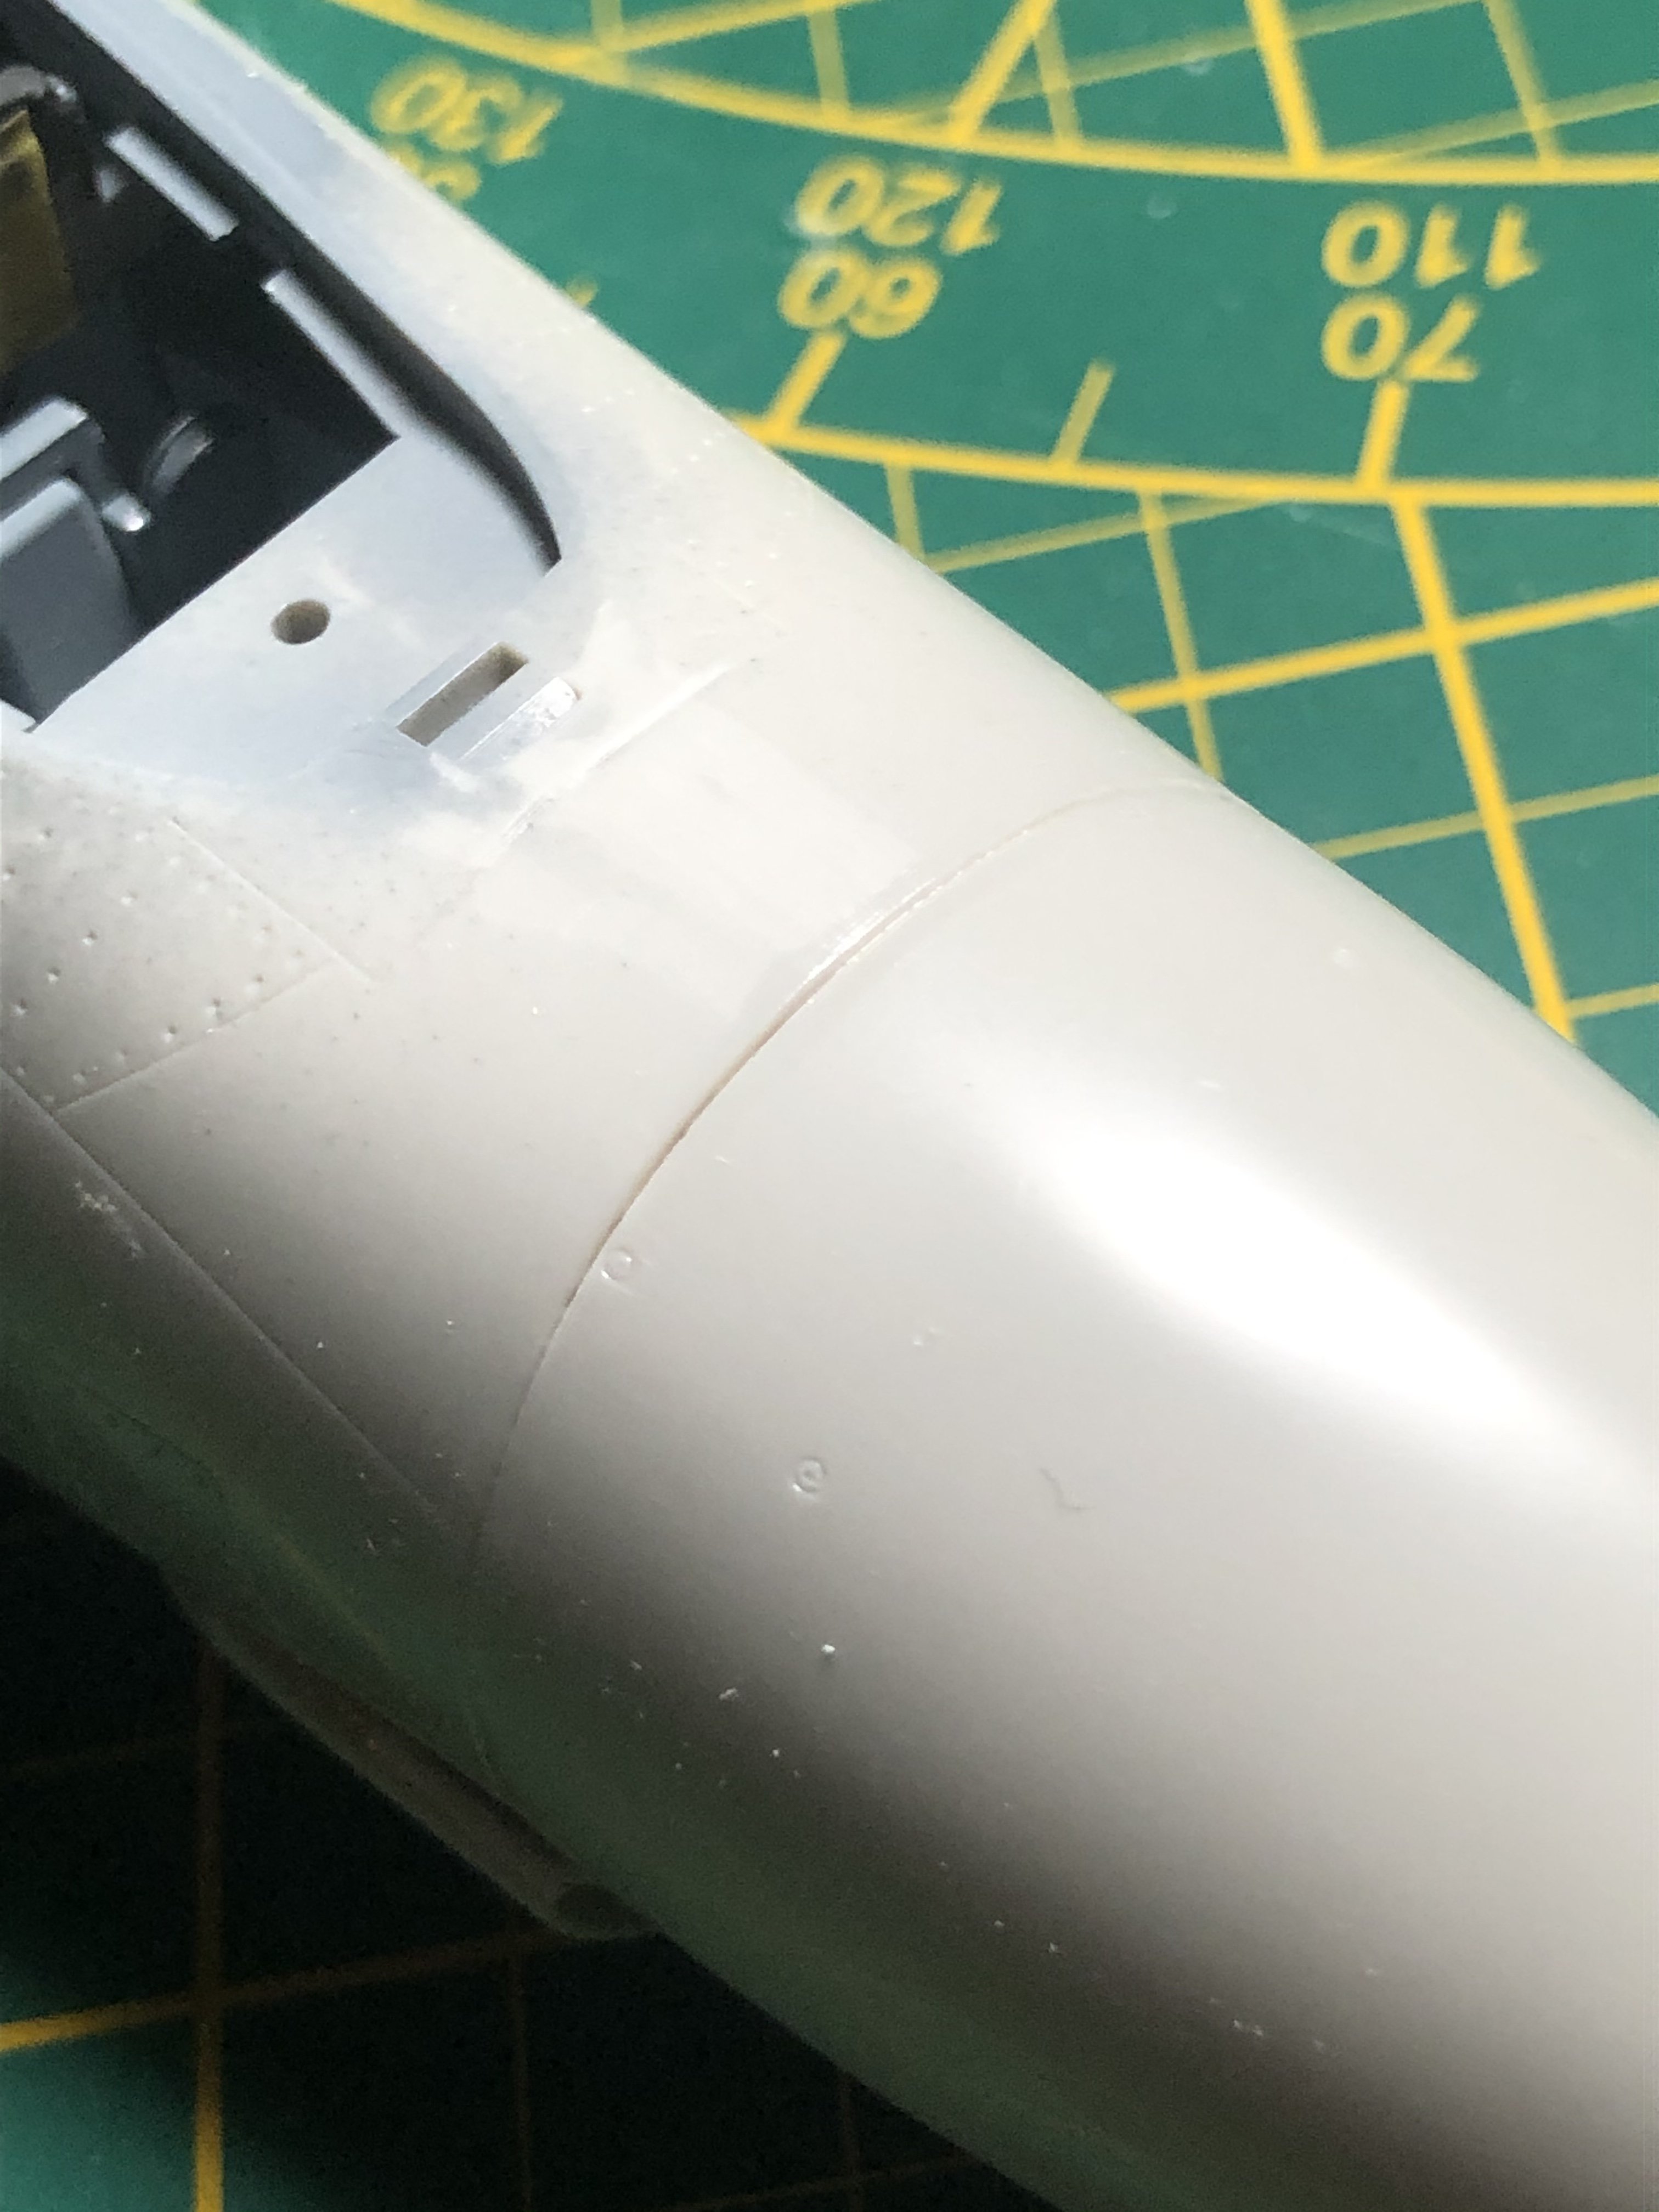
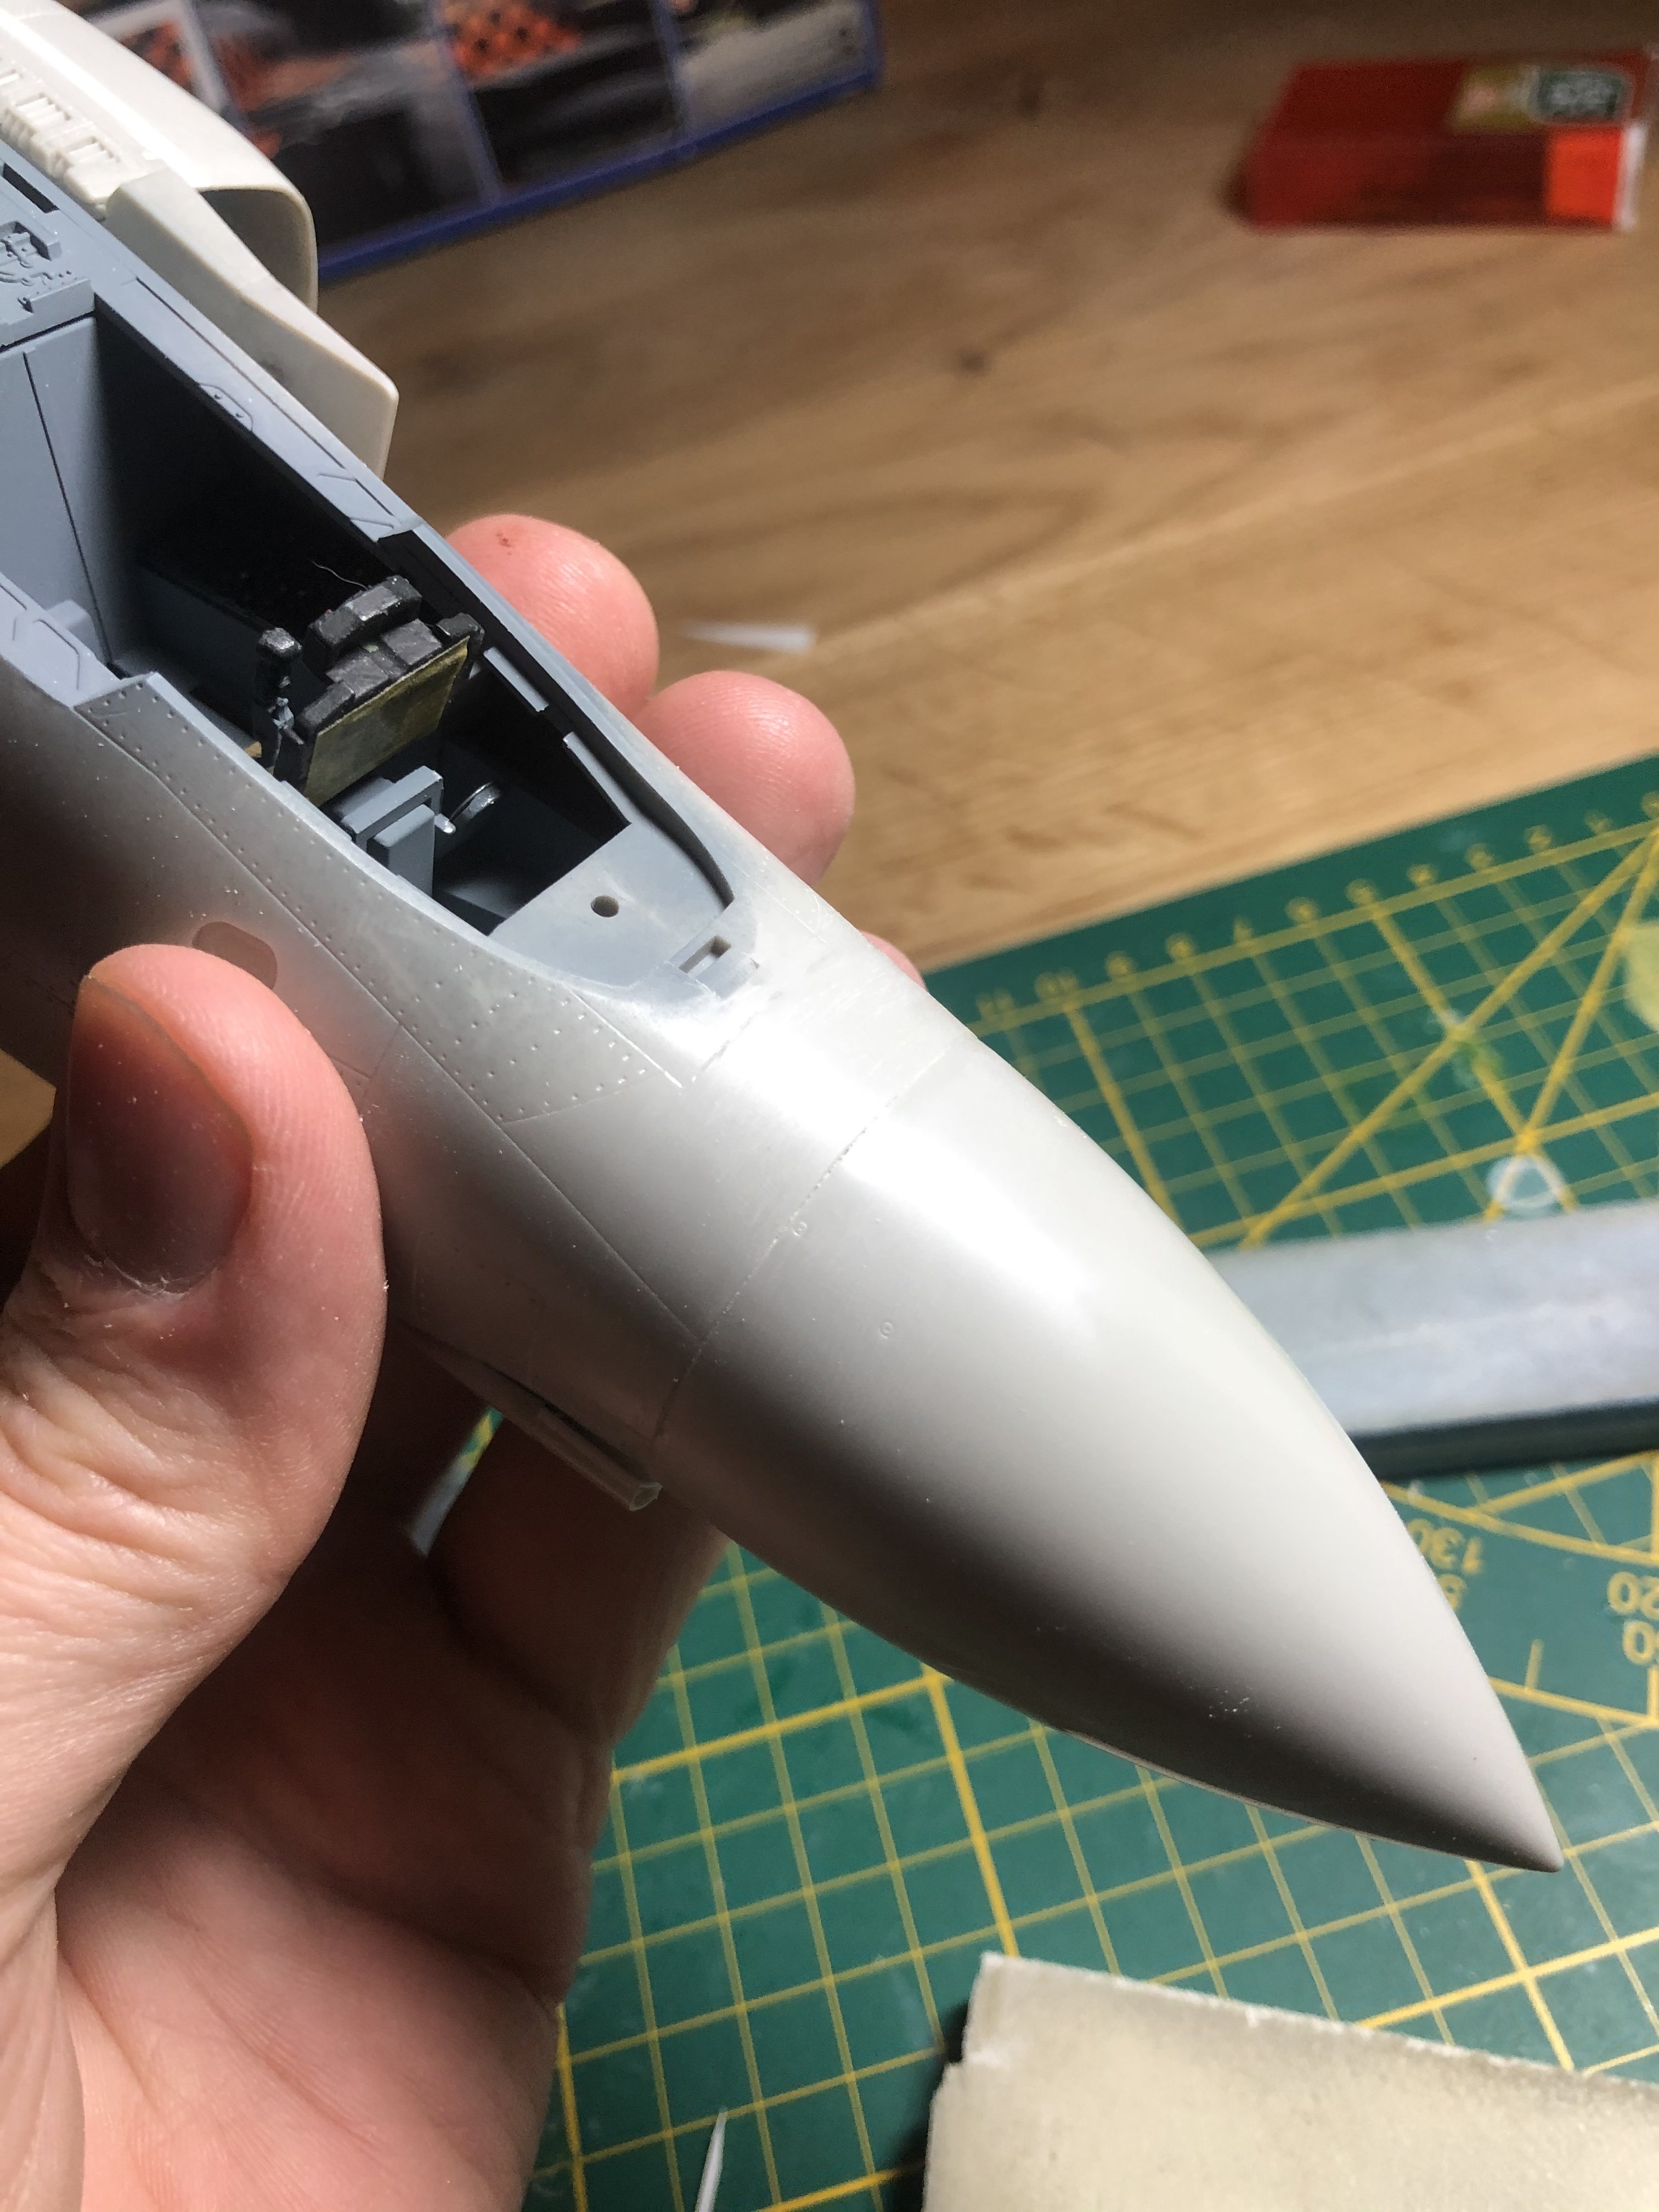
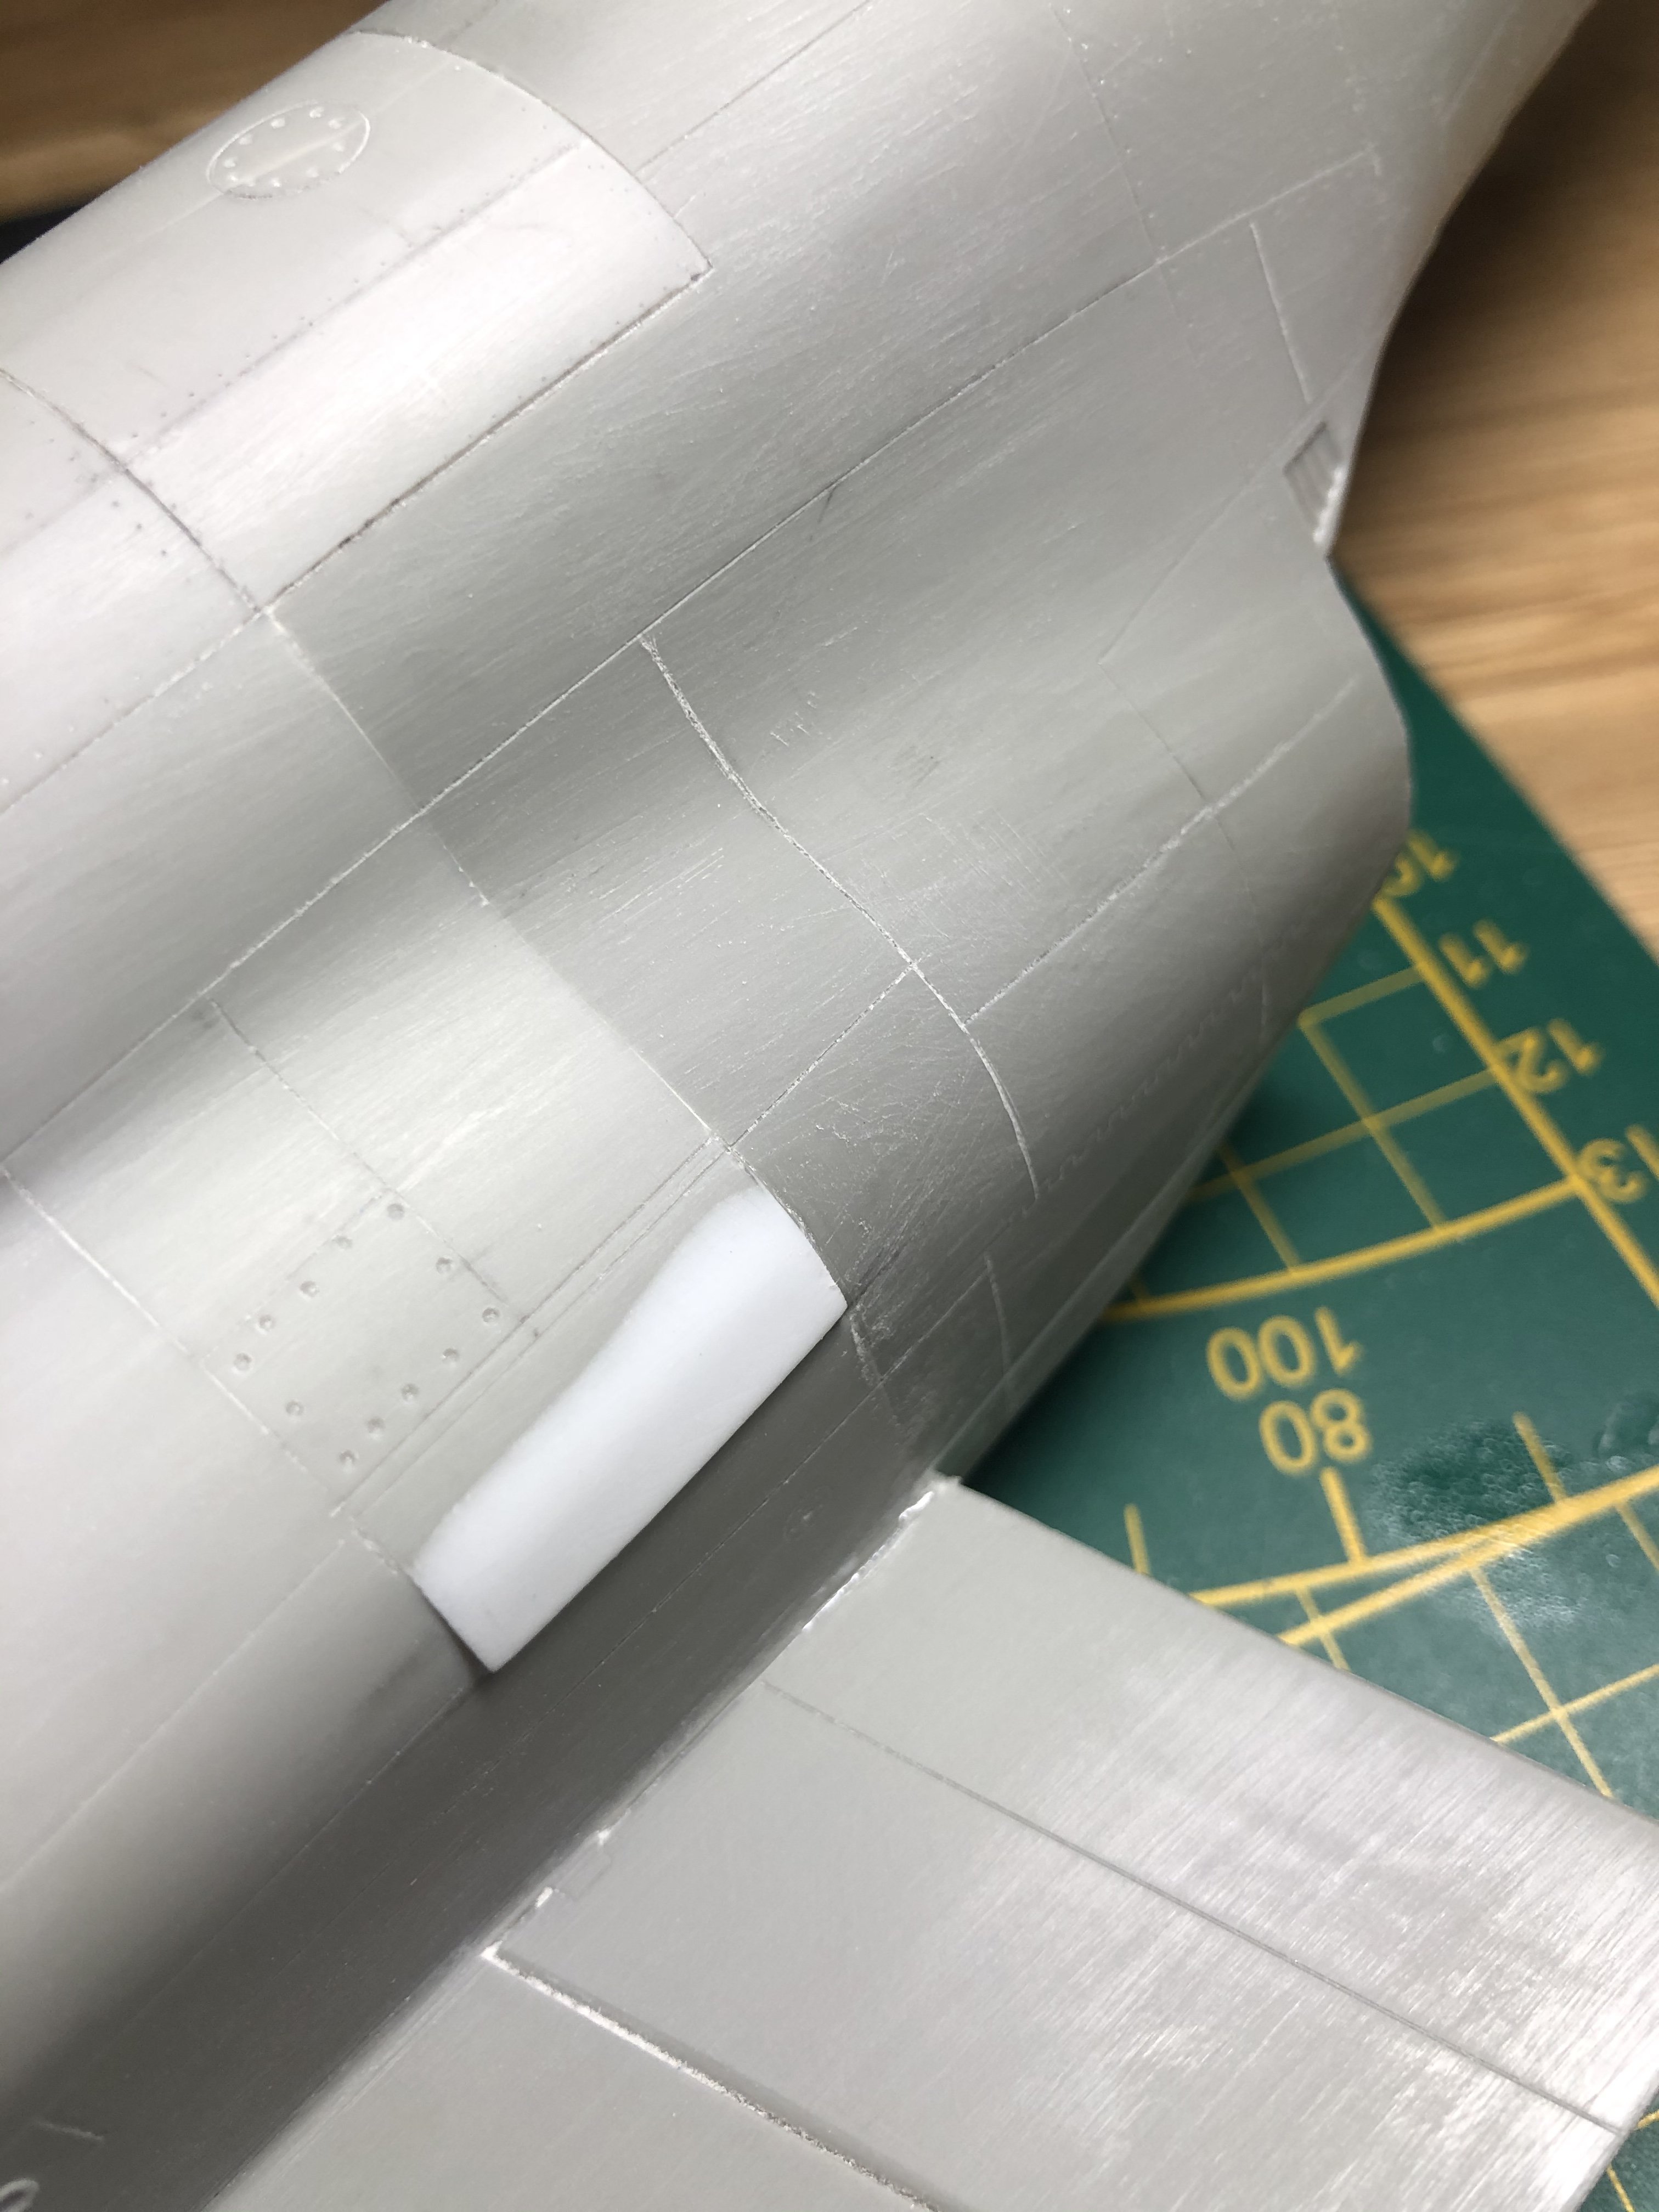
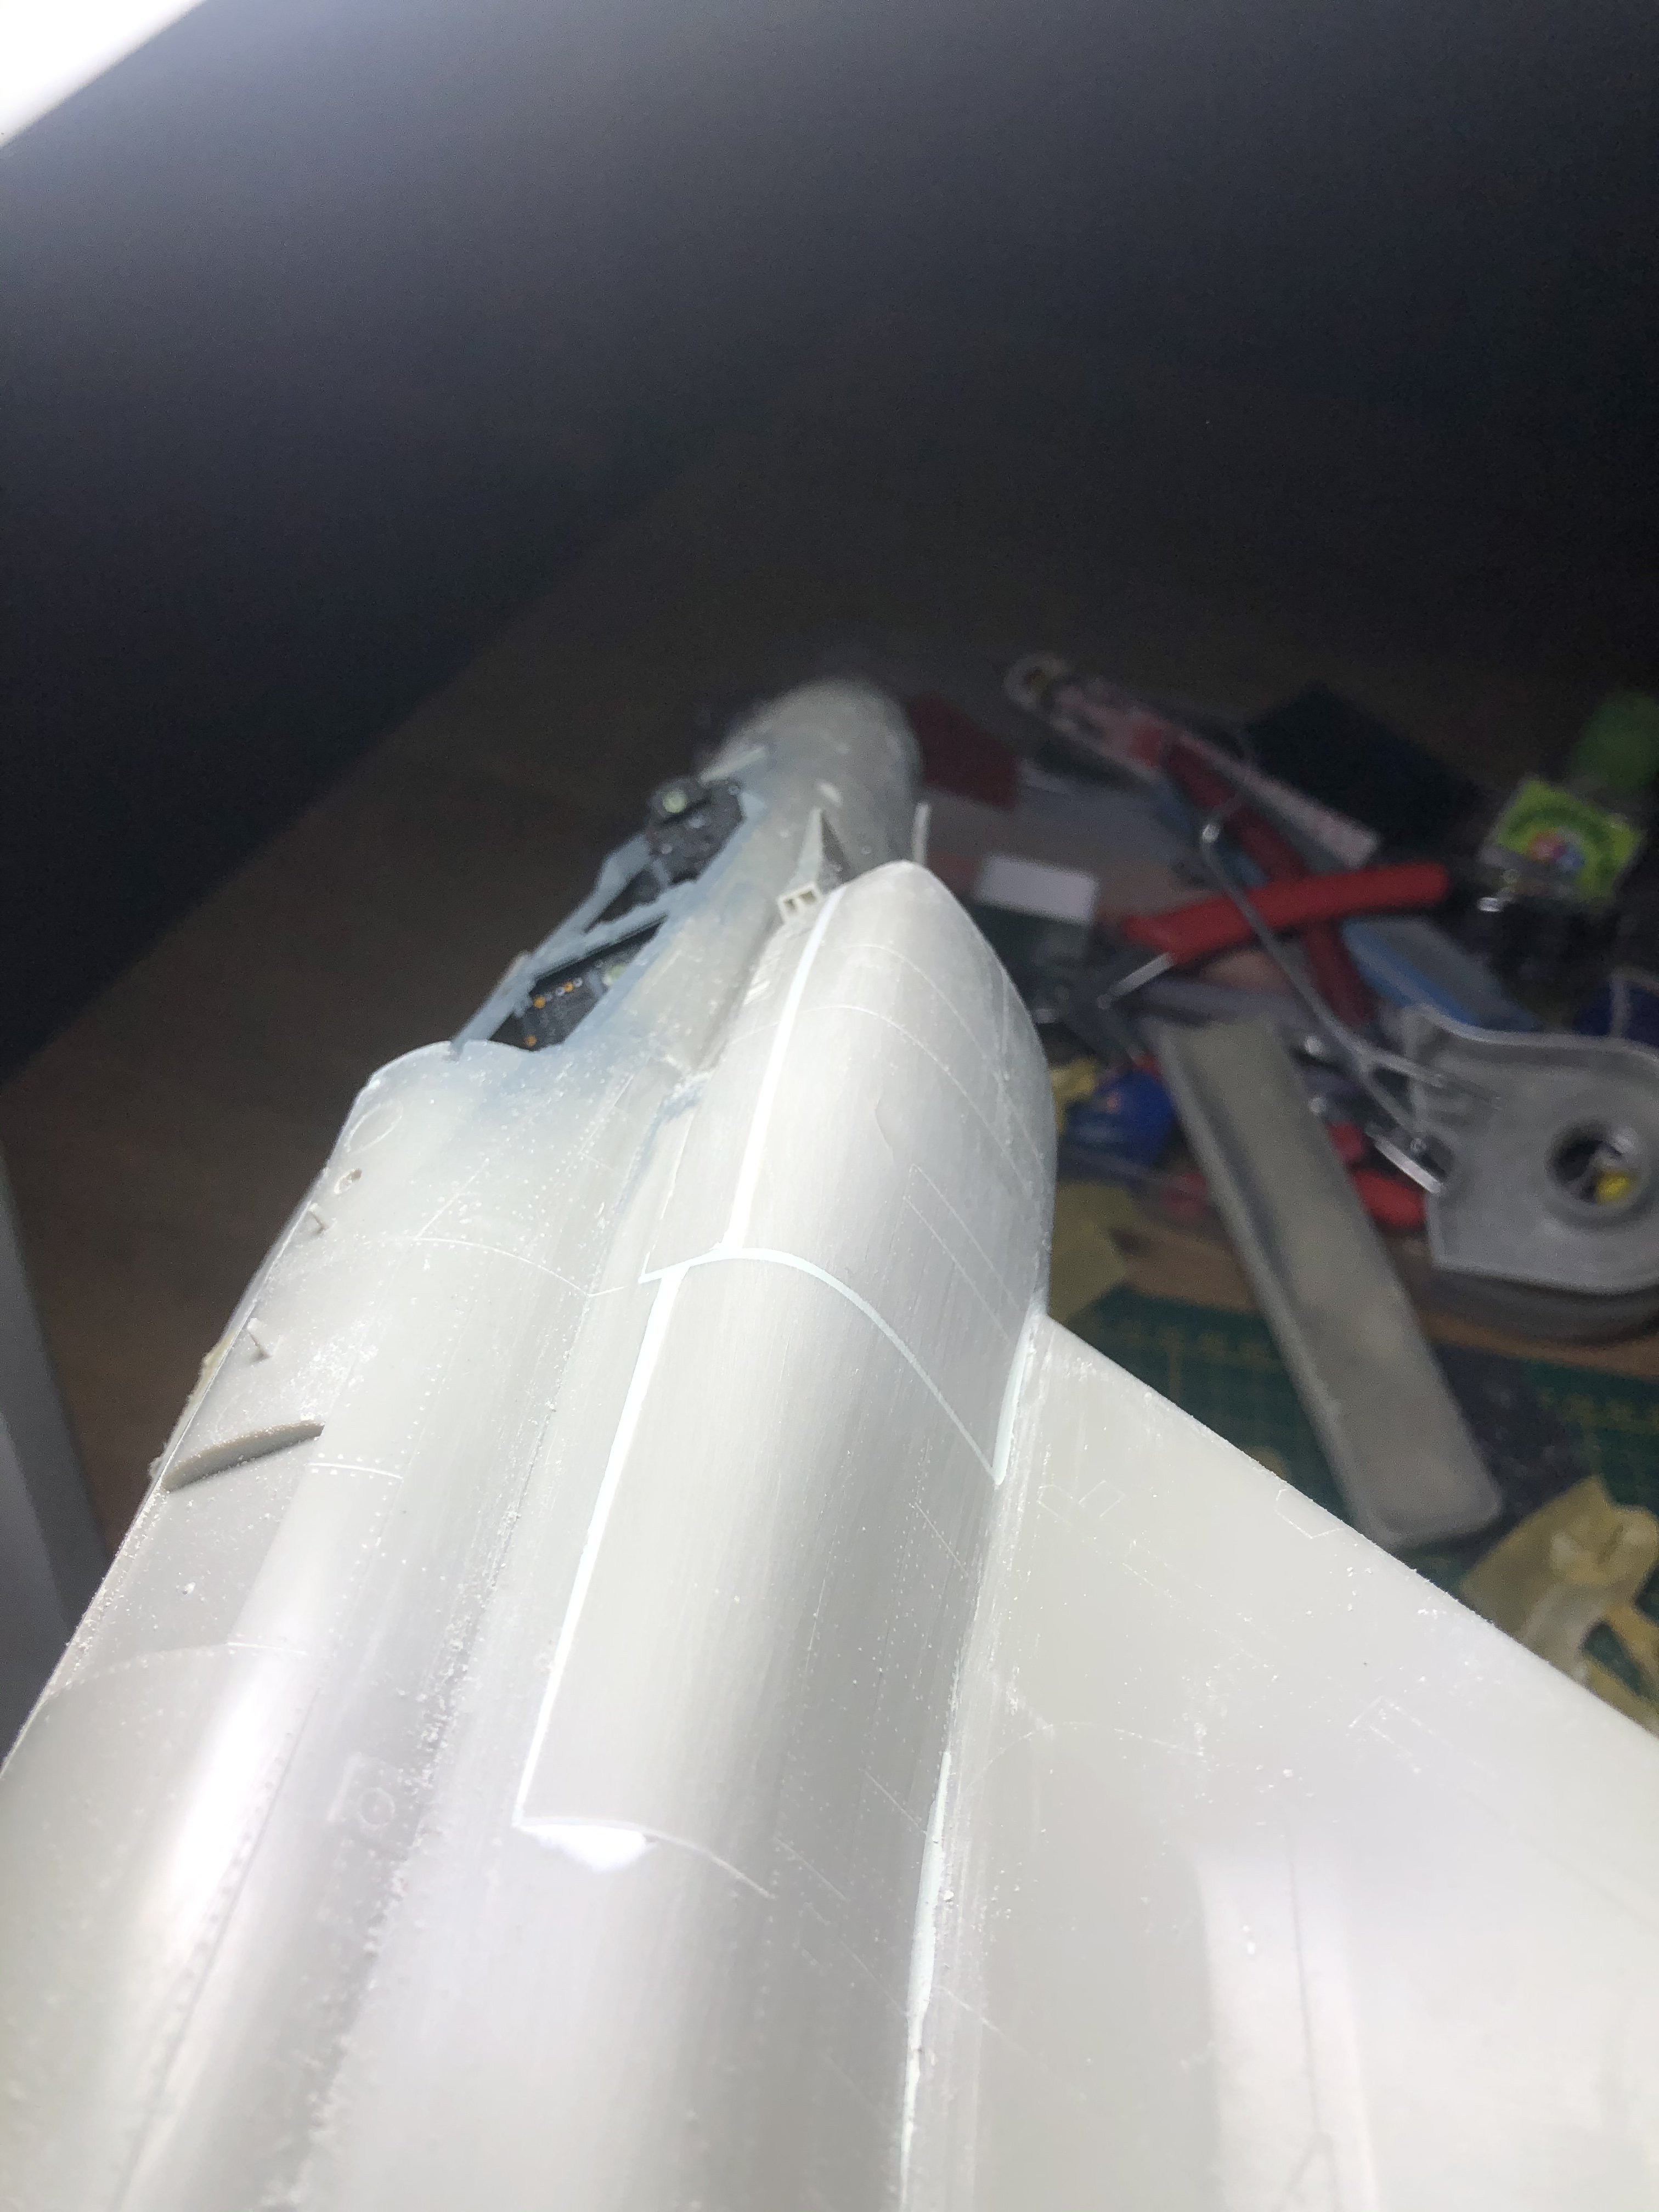
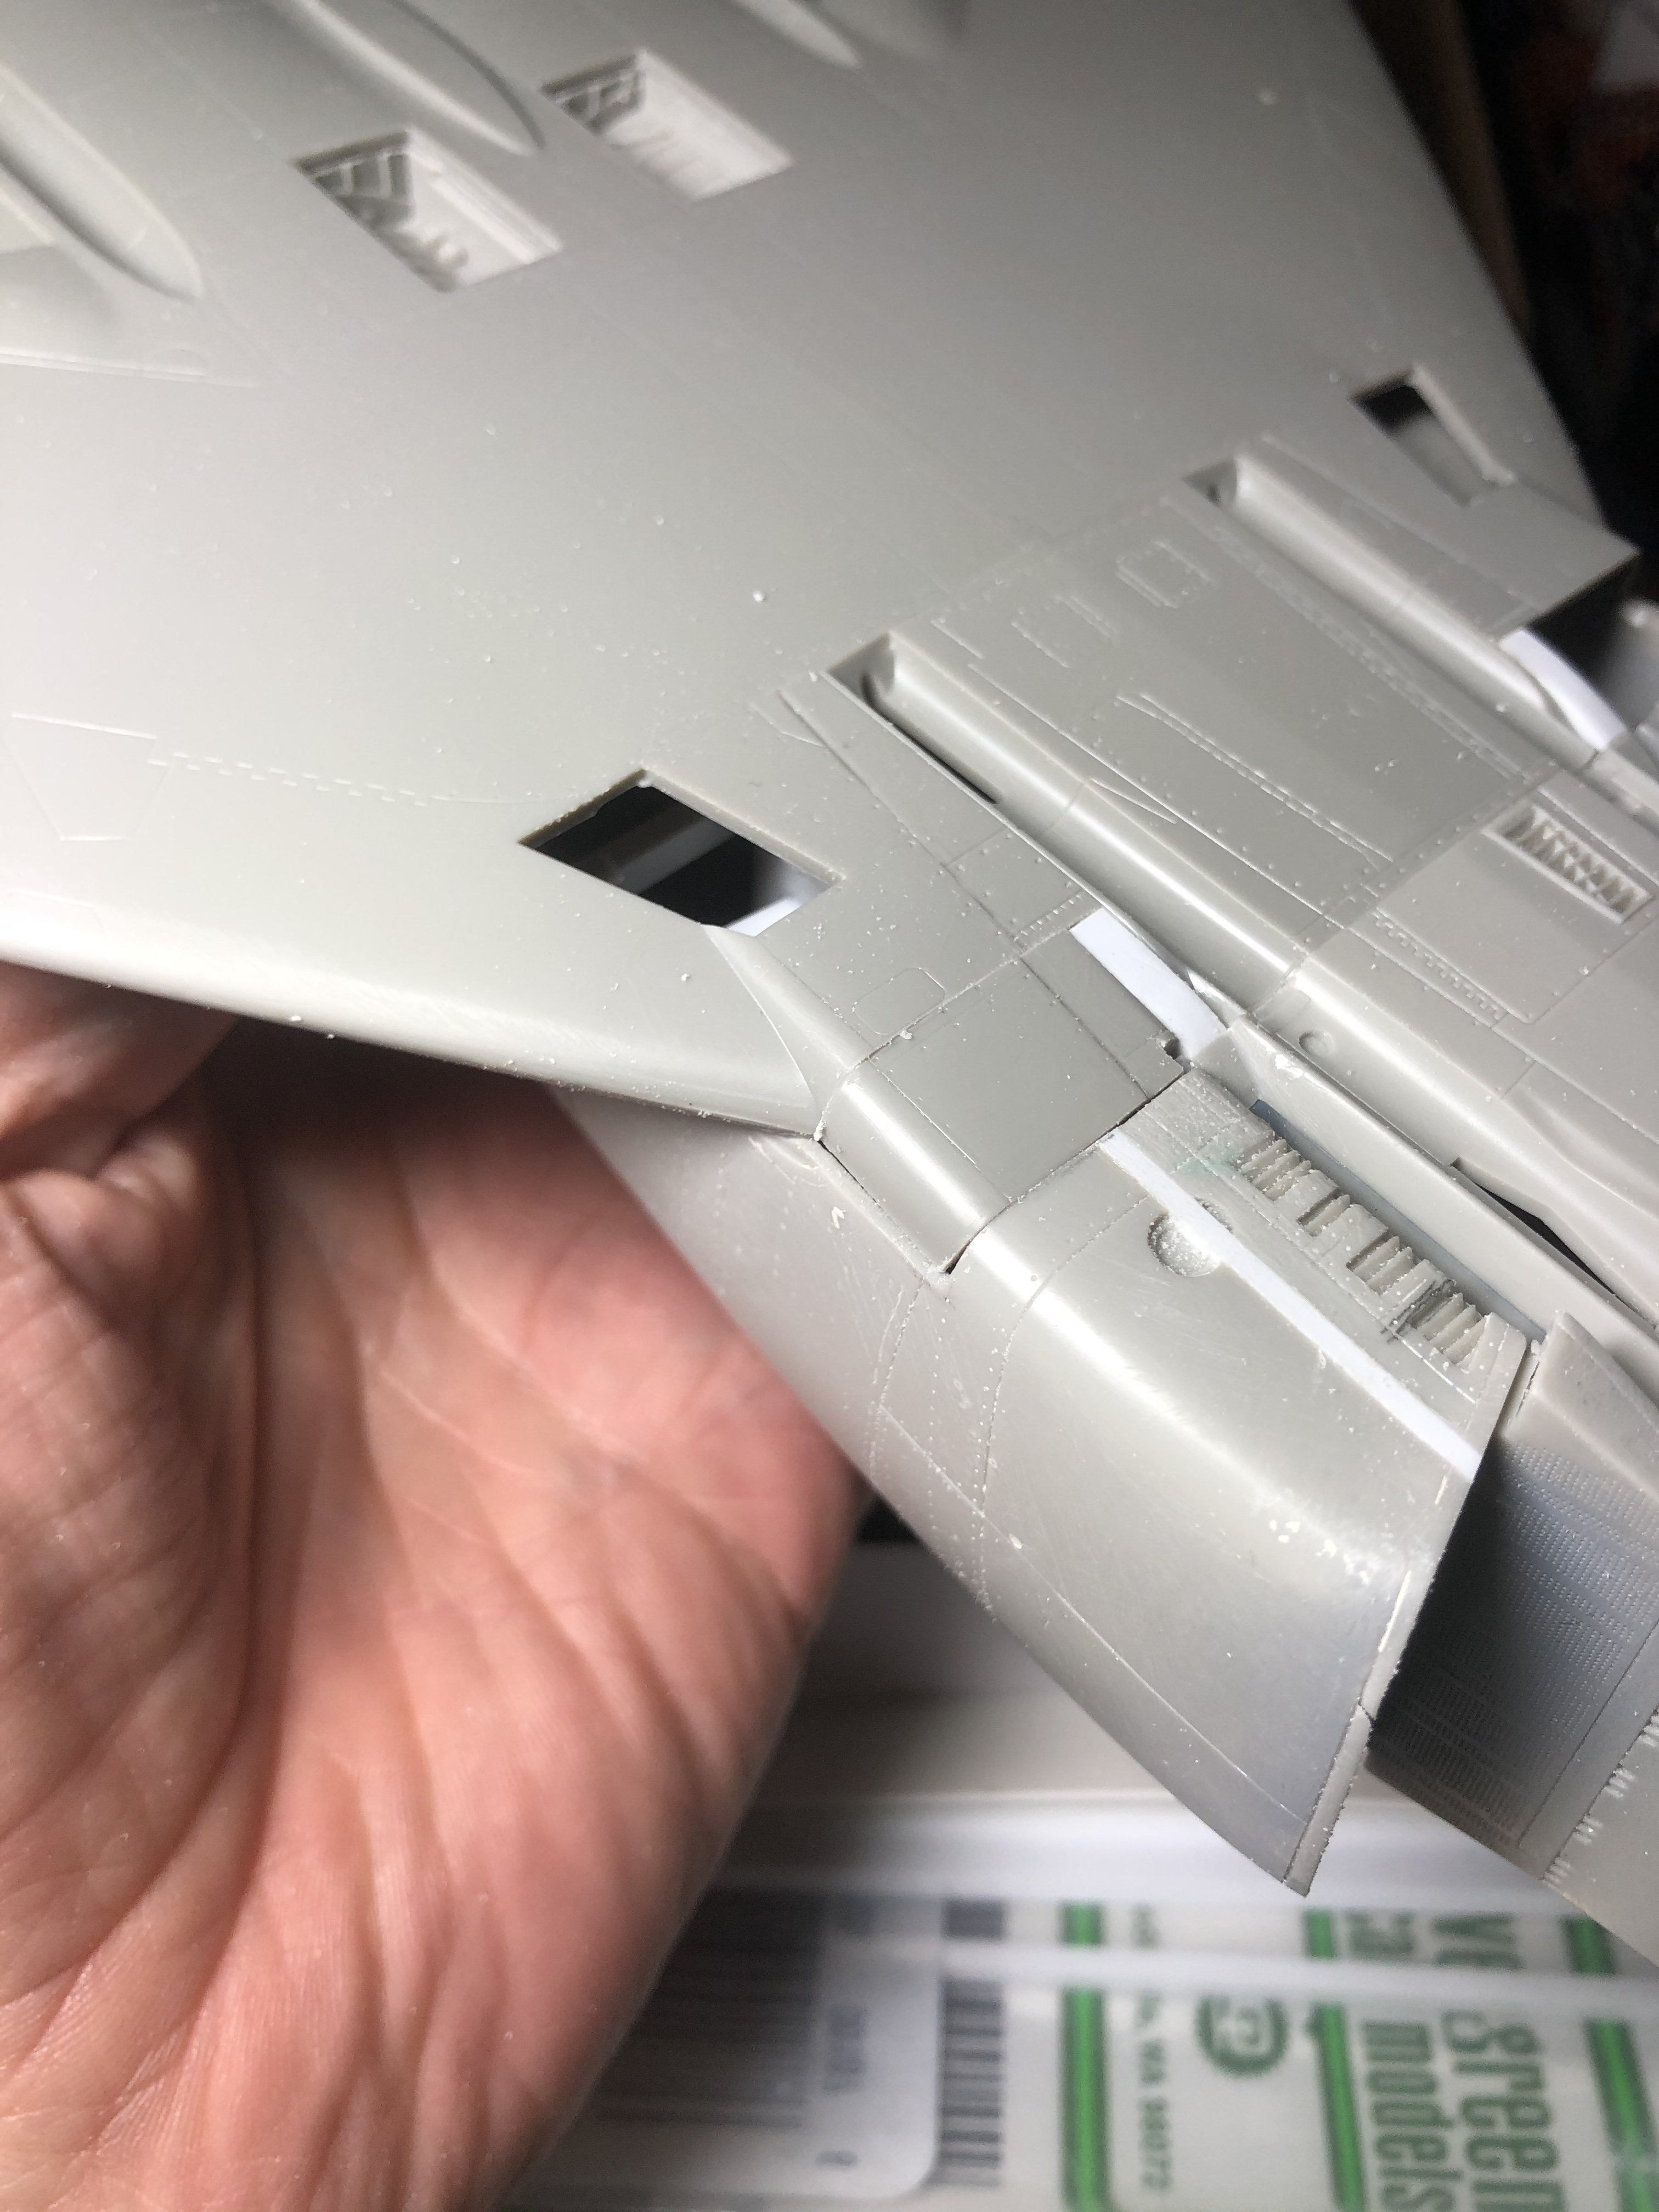
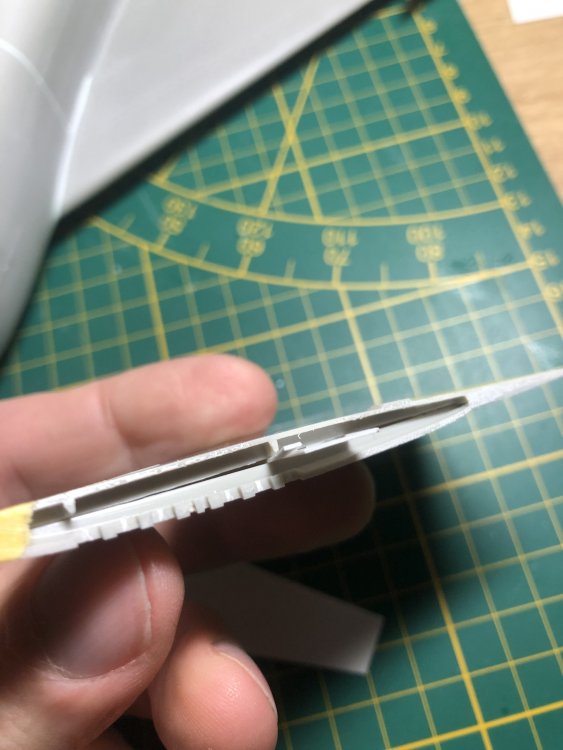
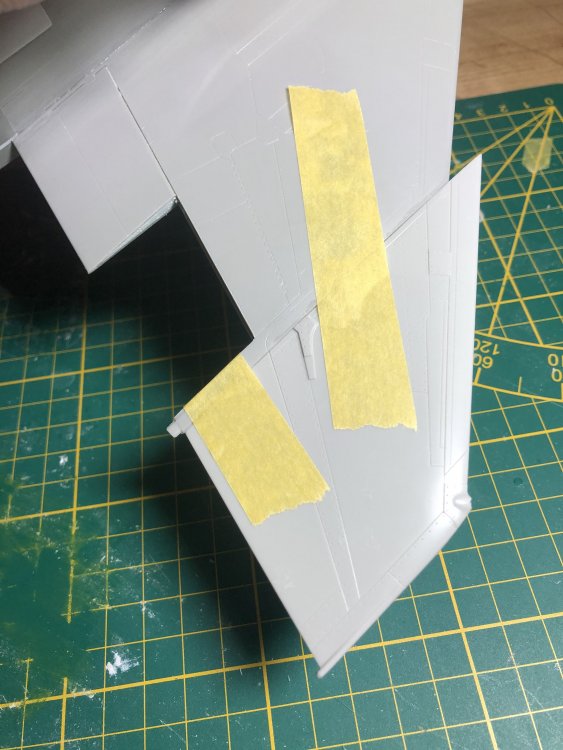
Well, I wasn’t very happy with the gaps between the wings and wingtips. It kept nagging so something had to be done, and the wingtips were ripped off. Shimming was the solution and I cut open the inboard join and inserted some pieces of plasticard. Now the wings matched and using a template the dihedral was set. I also sanded off the slight mismatch between the fuselage and the radome.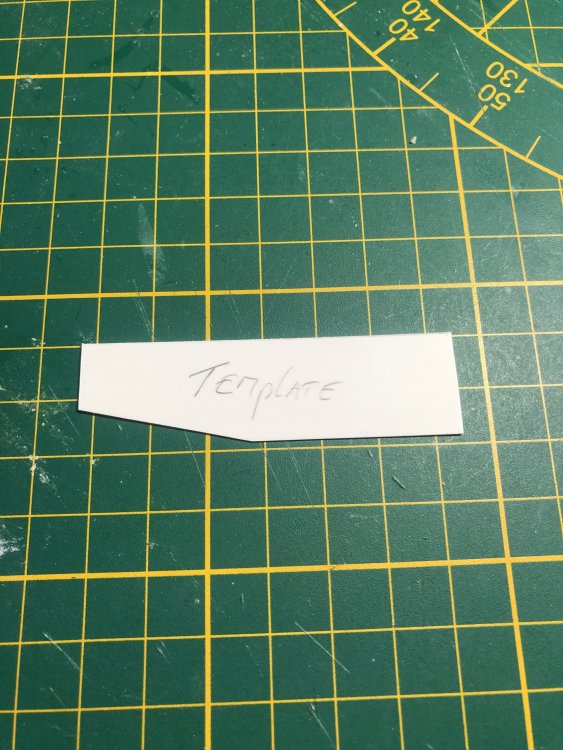


- 414 replies
-
- 5
-
-
-
- conversion
- phantom
- (and 1 more)
-
RR Spey powered RAF Phantom conversion
Wingco57 replied to Wingco57's topic in LSM 1/35 and Larger Work In Progress
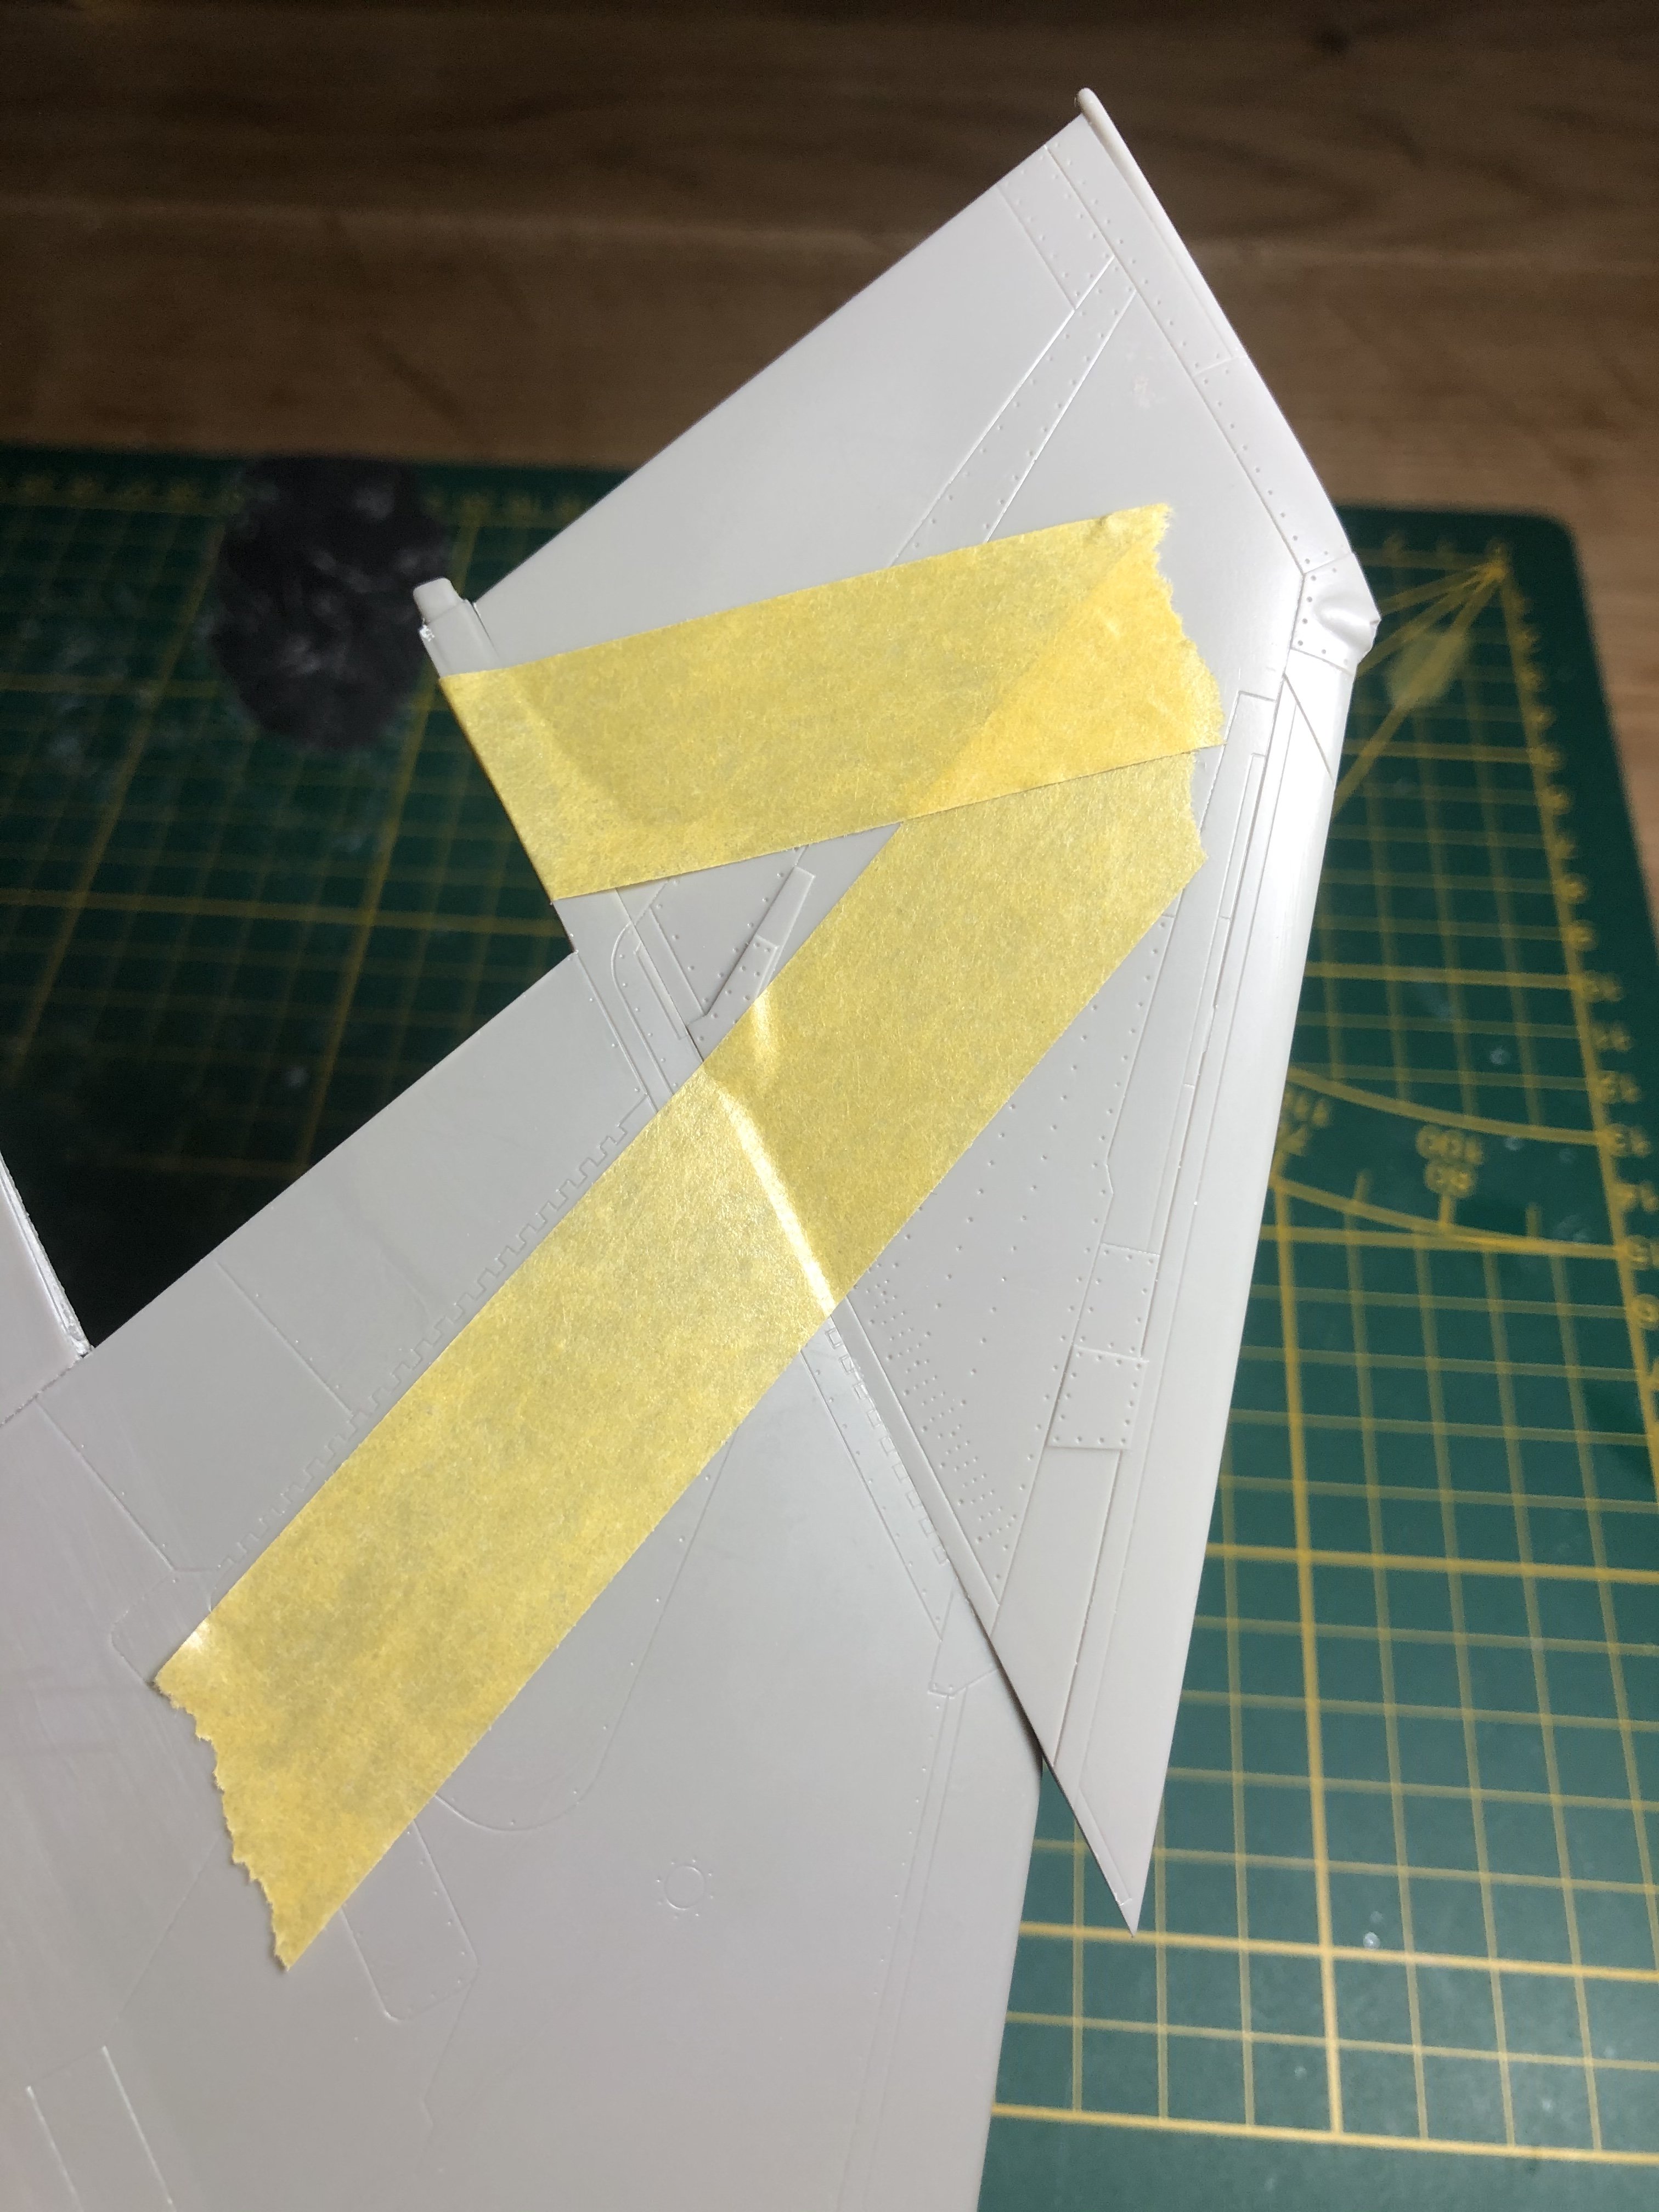
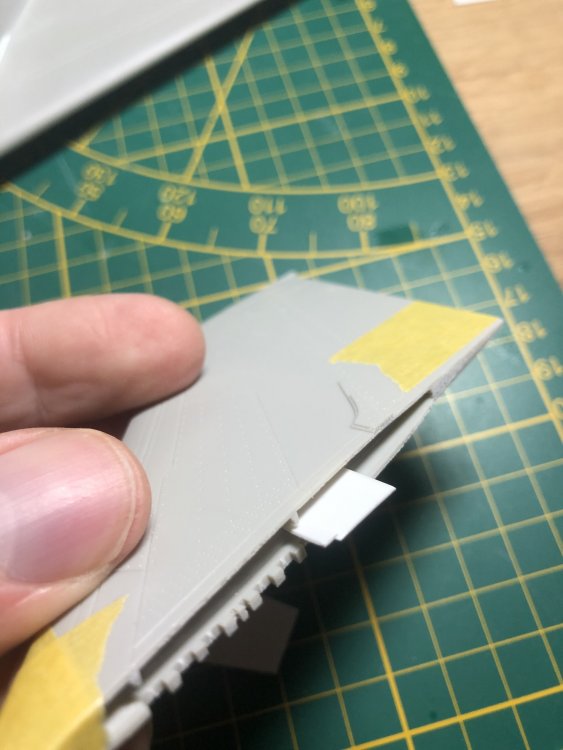
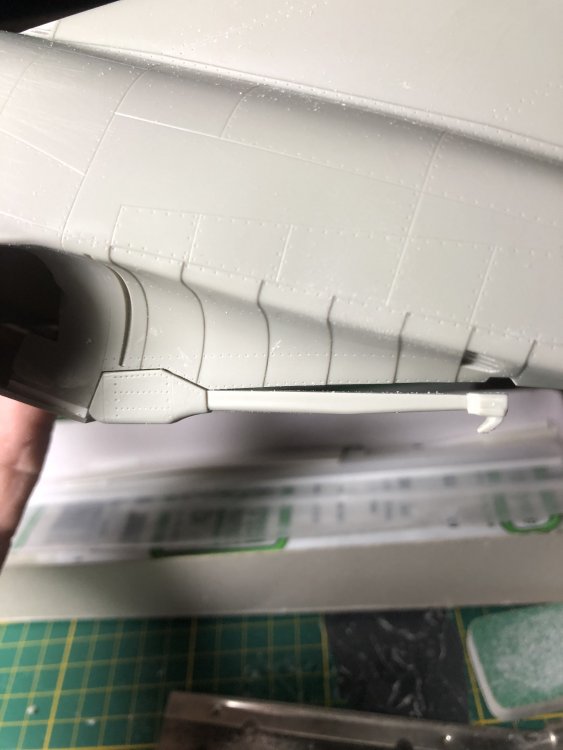
....and not to mention as mad as a doormat. It is beginning to look a lot like a Brit Toom though. The fueldump pipes etc. have been fitted. Also fitted the Tamiya wingtips to the Revell mainwings. Unfortunately there is a mismatch as the Revell wings are a bit thicker and a ridge remains although the panellines match up well. Oh well I have to live with it I suppose. The Revell wingtips have a slat that can only be fitted extended and looks crude and the wingtiplights are much more different. So would need a lit of work to use them which I didn’t want to.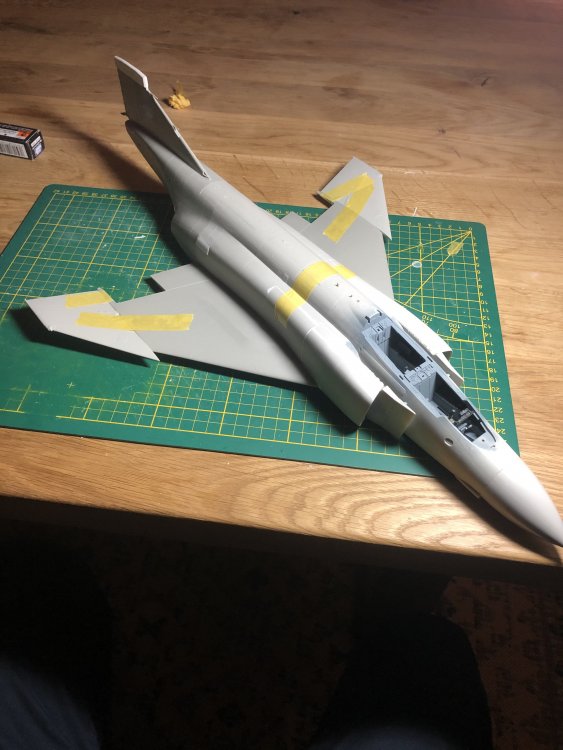

- 414 replies
-
- 3
-
-
- conversion
- phantom
- (and 1 more)
-
RR Spey powered RAF Phantom conversion
Wingco57 replied to Wingco57's topic in LSM 1/35 and Larger Work In Progress
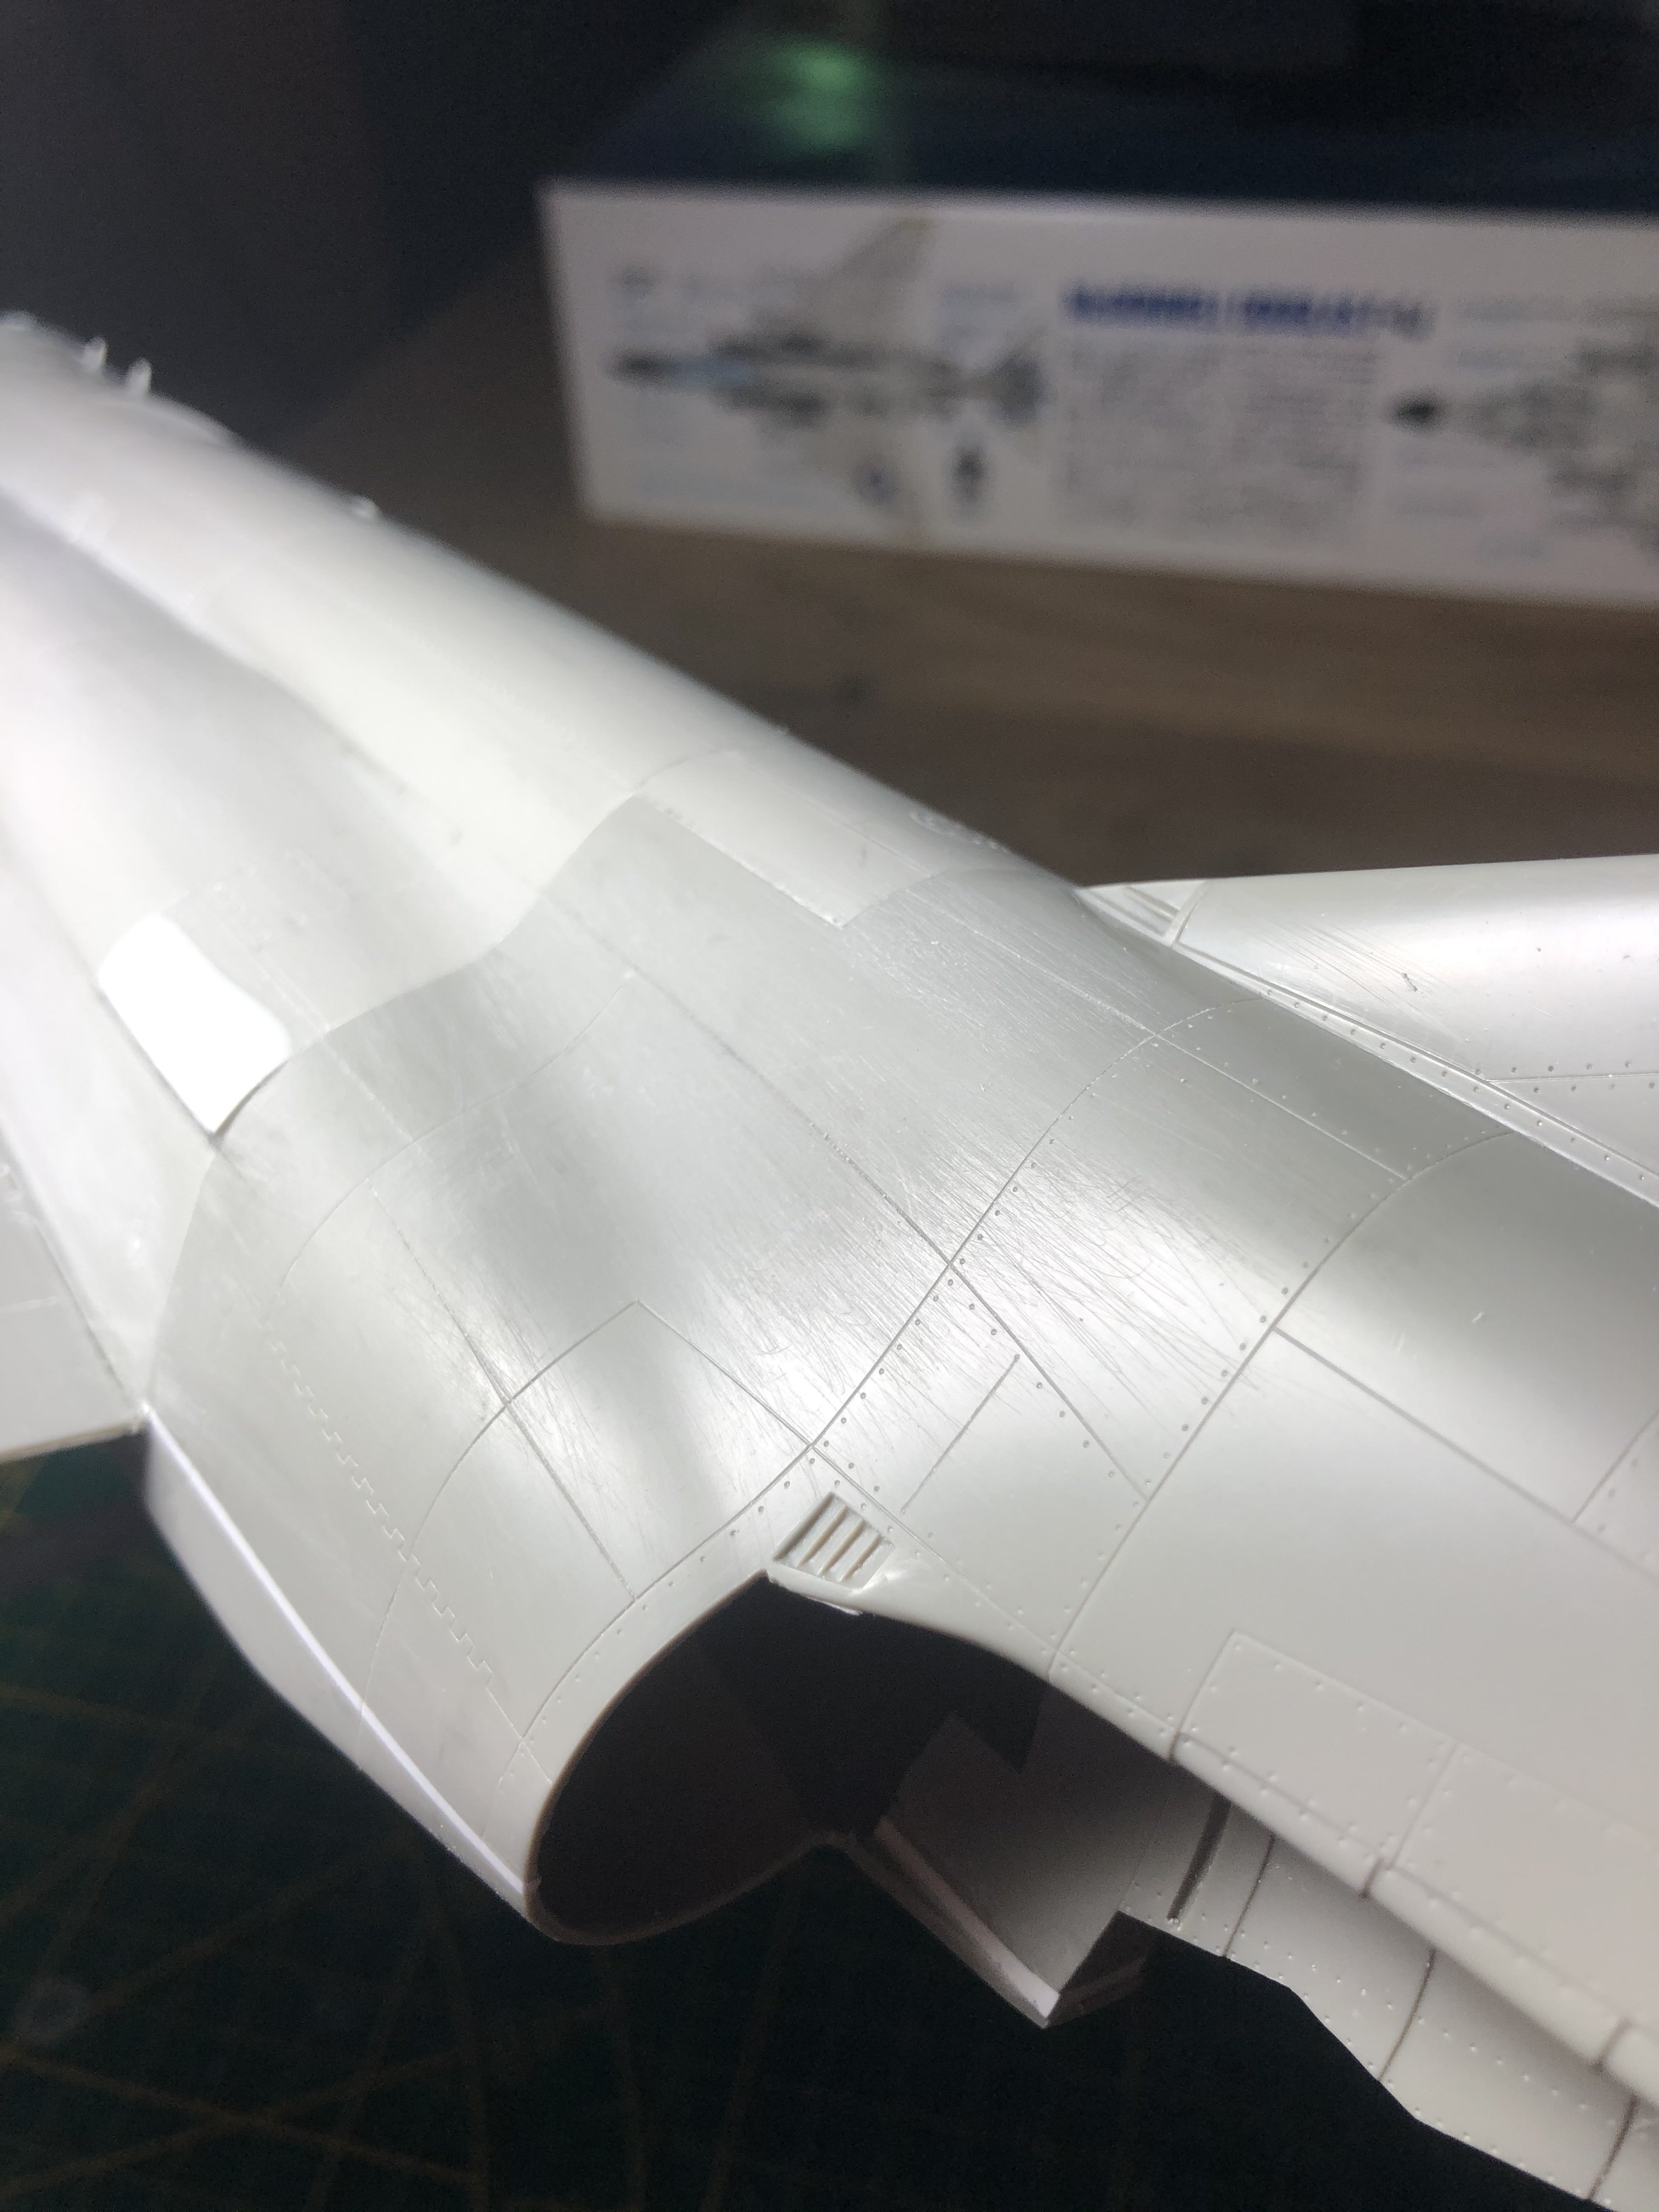
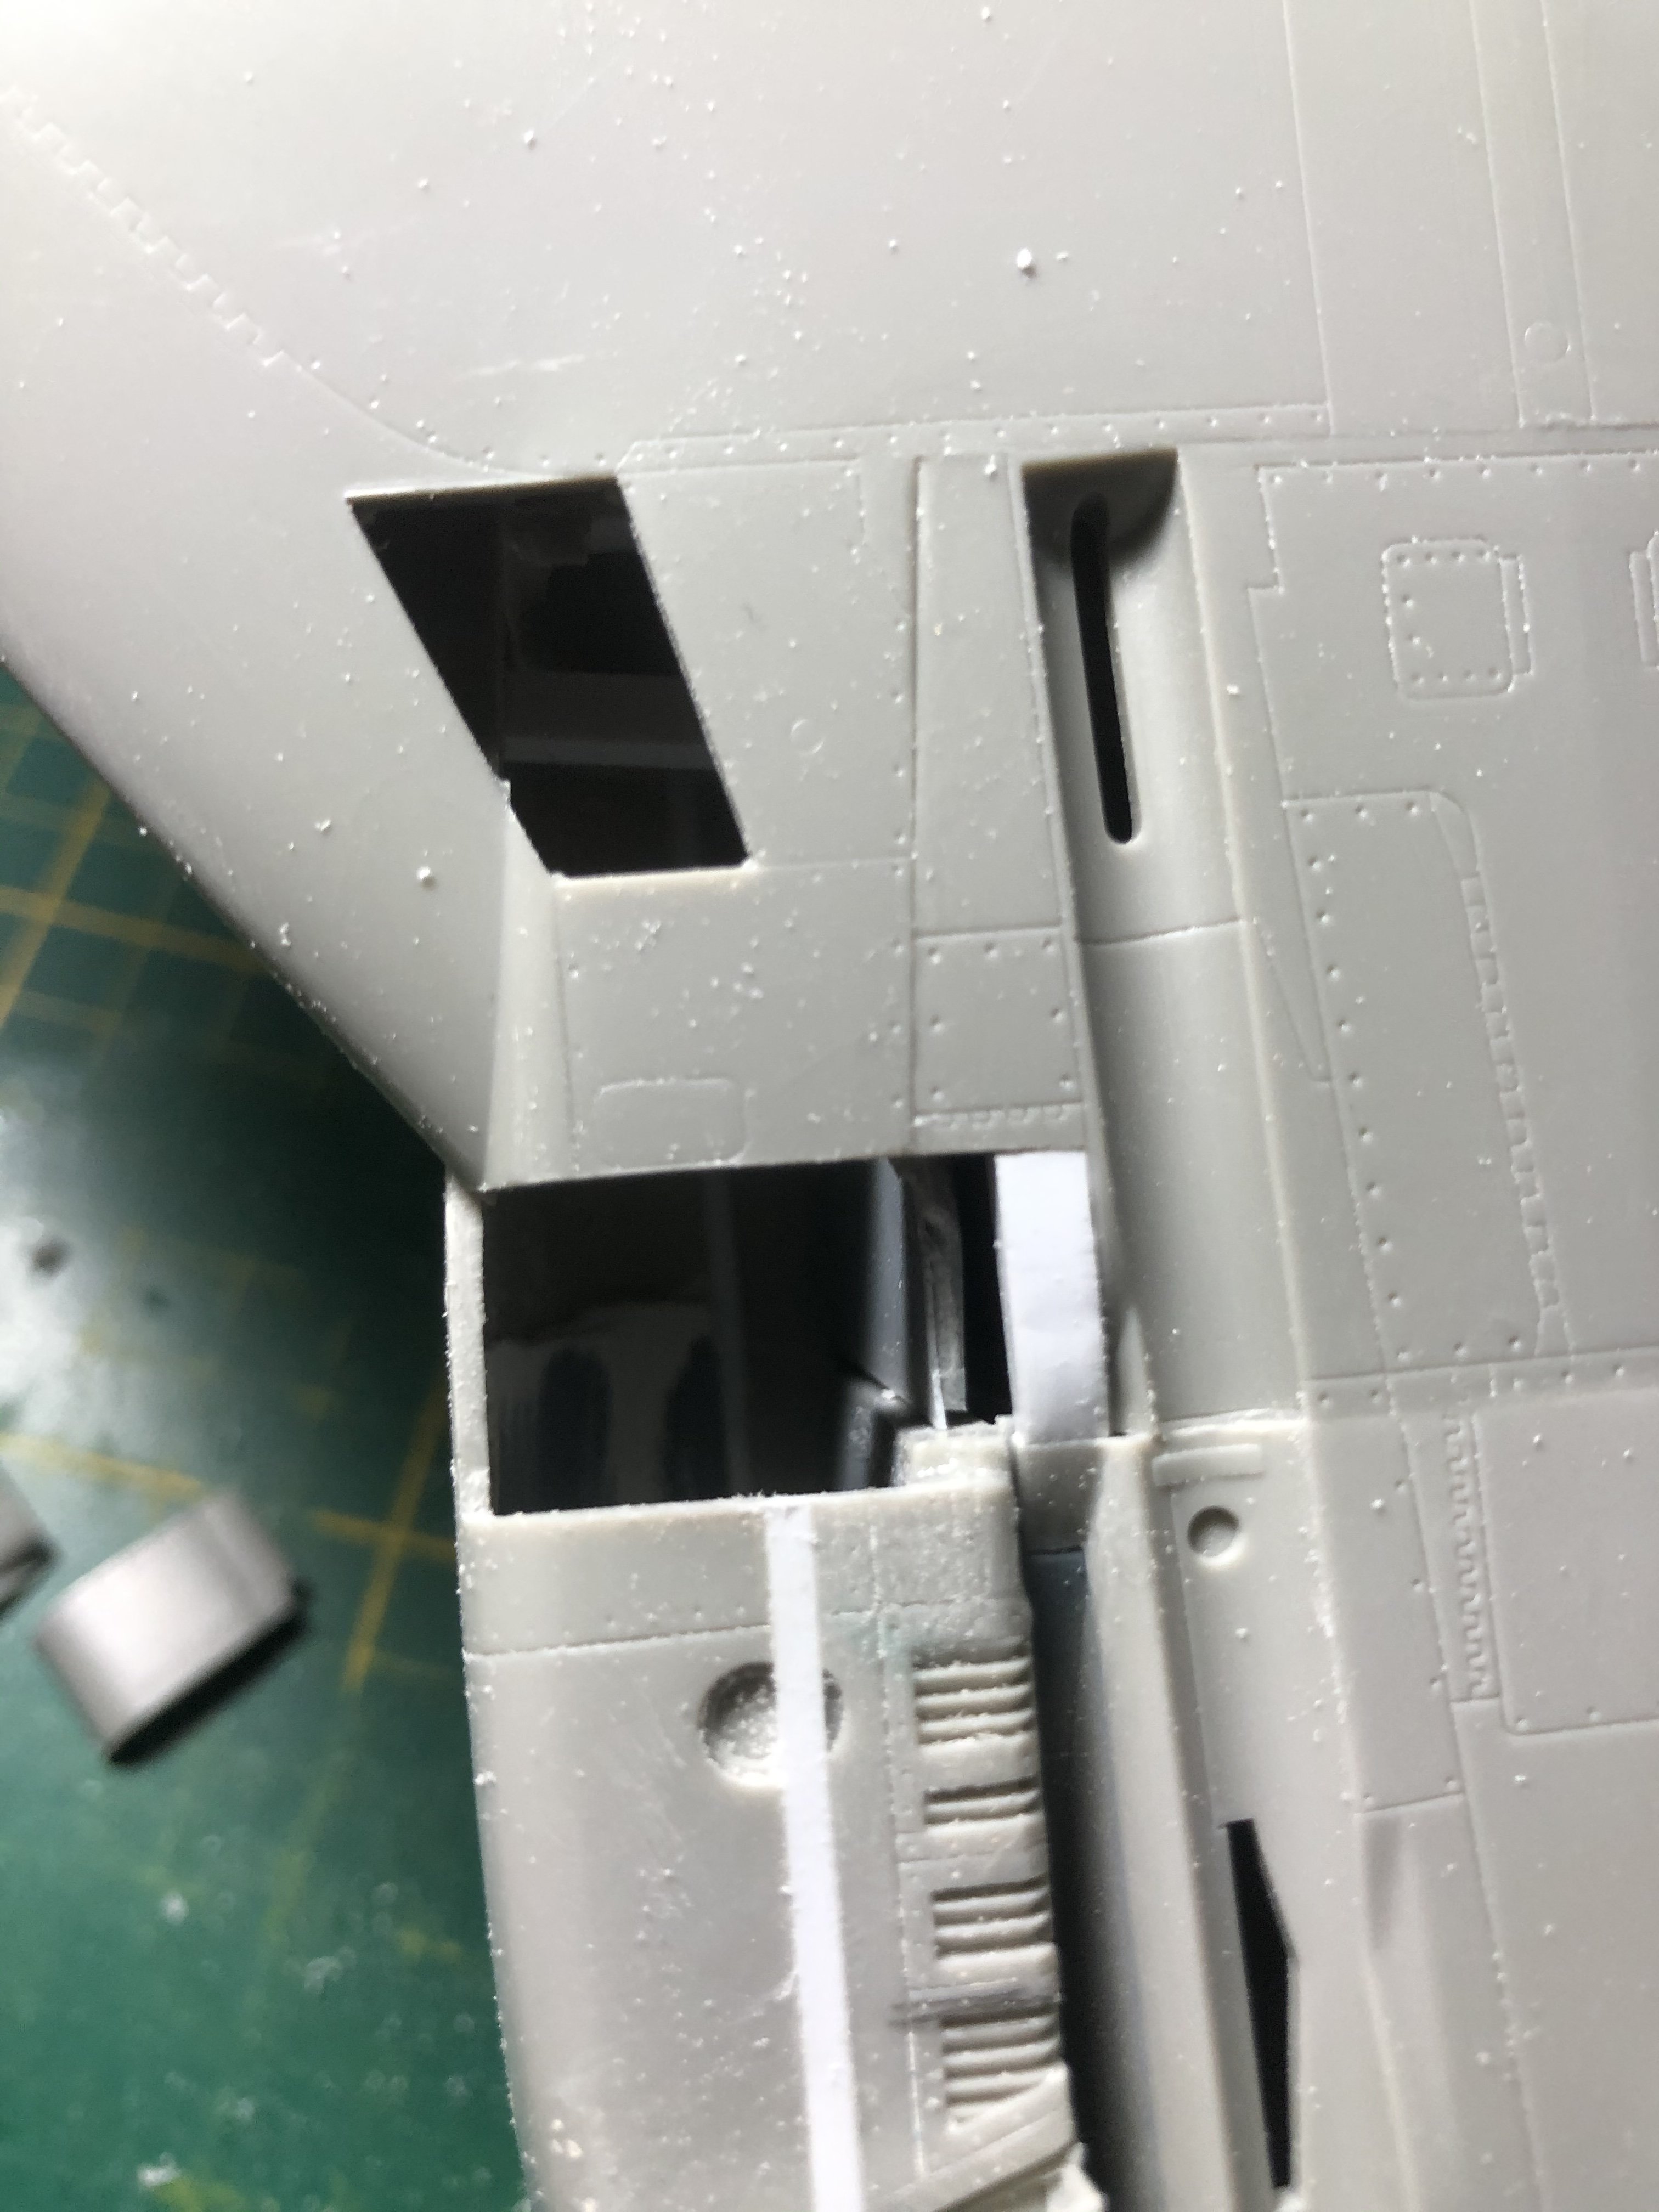
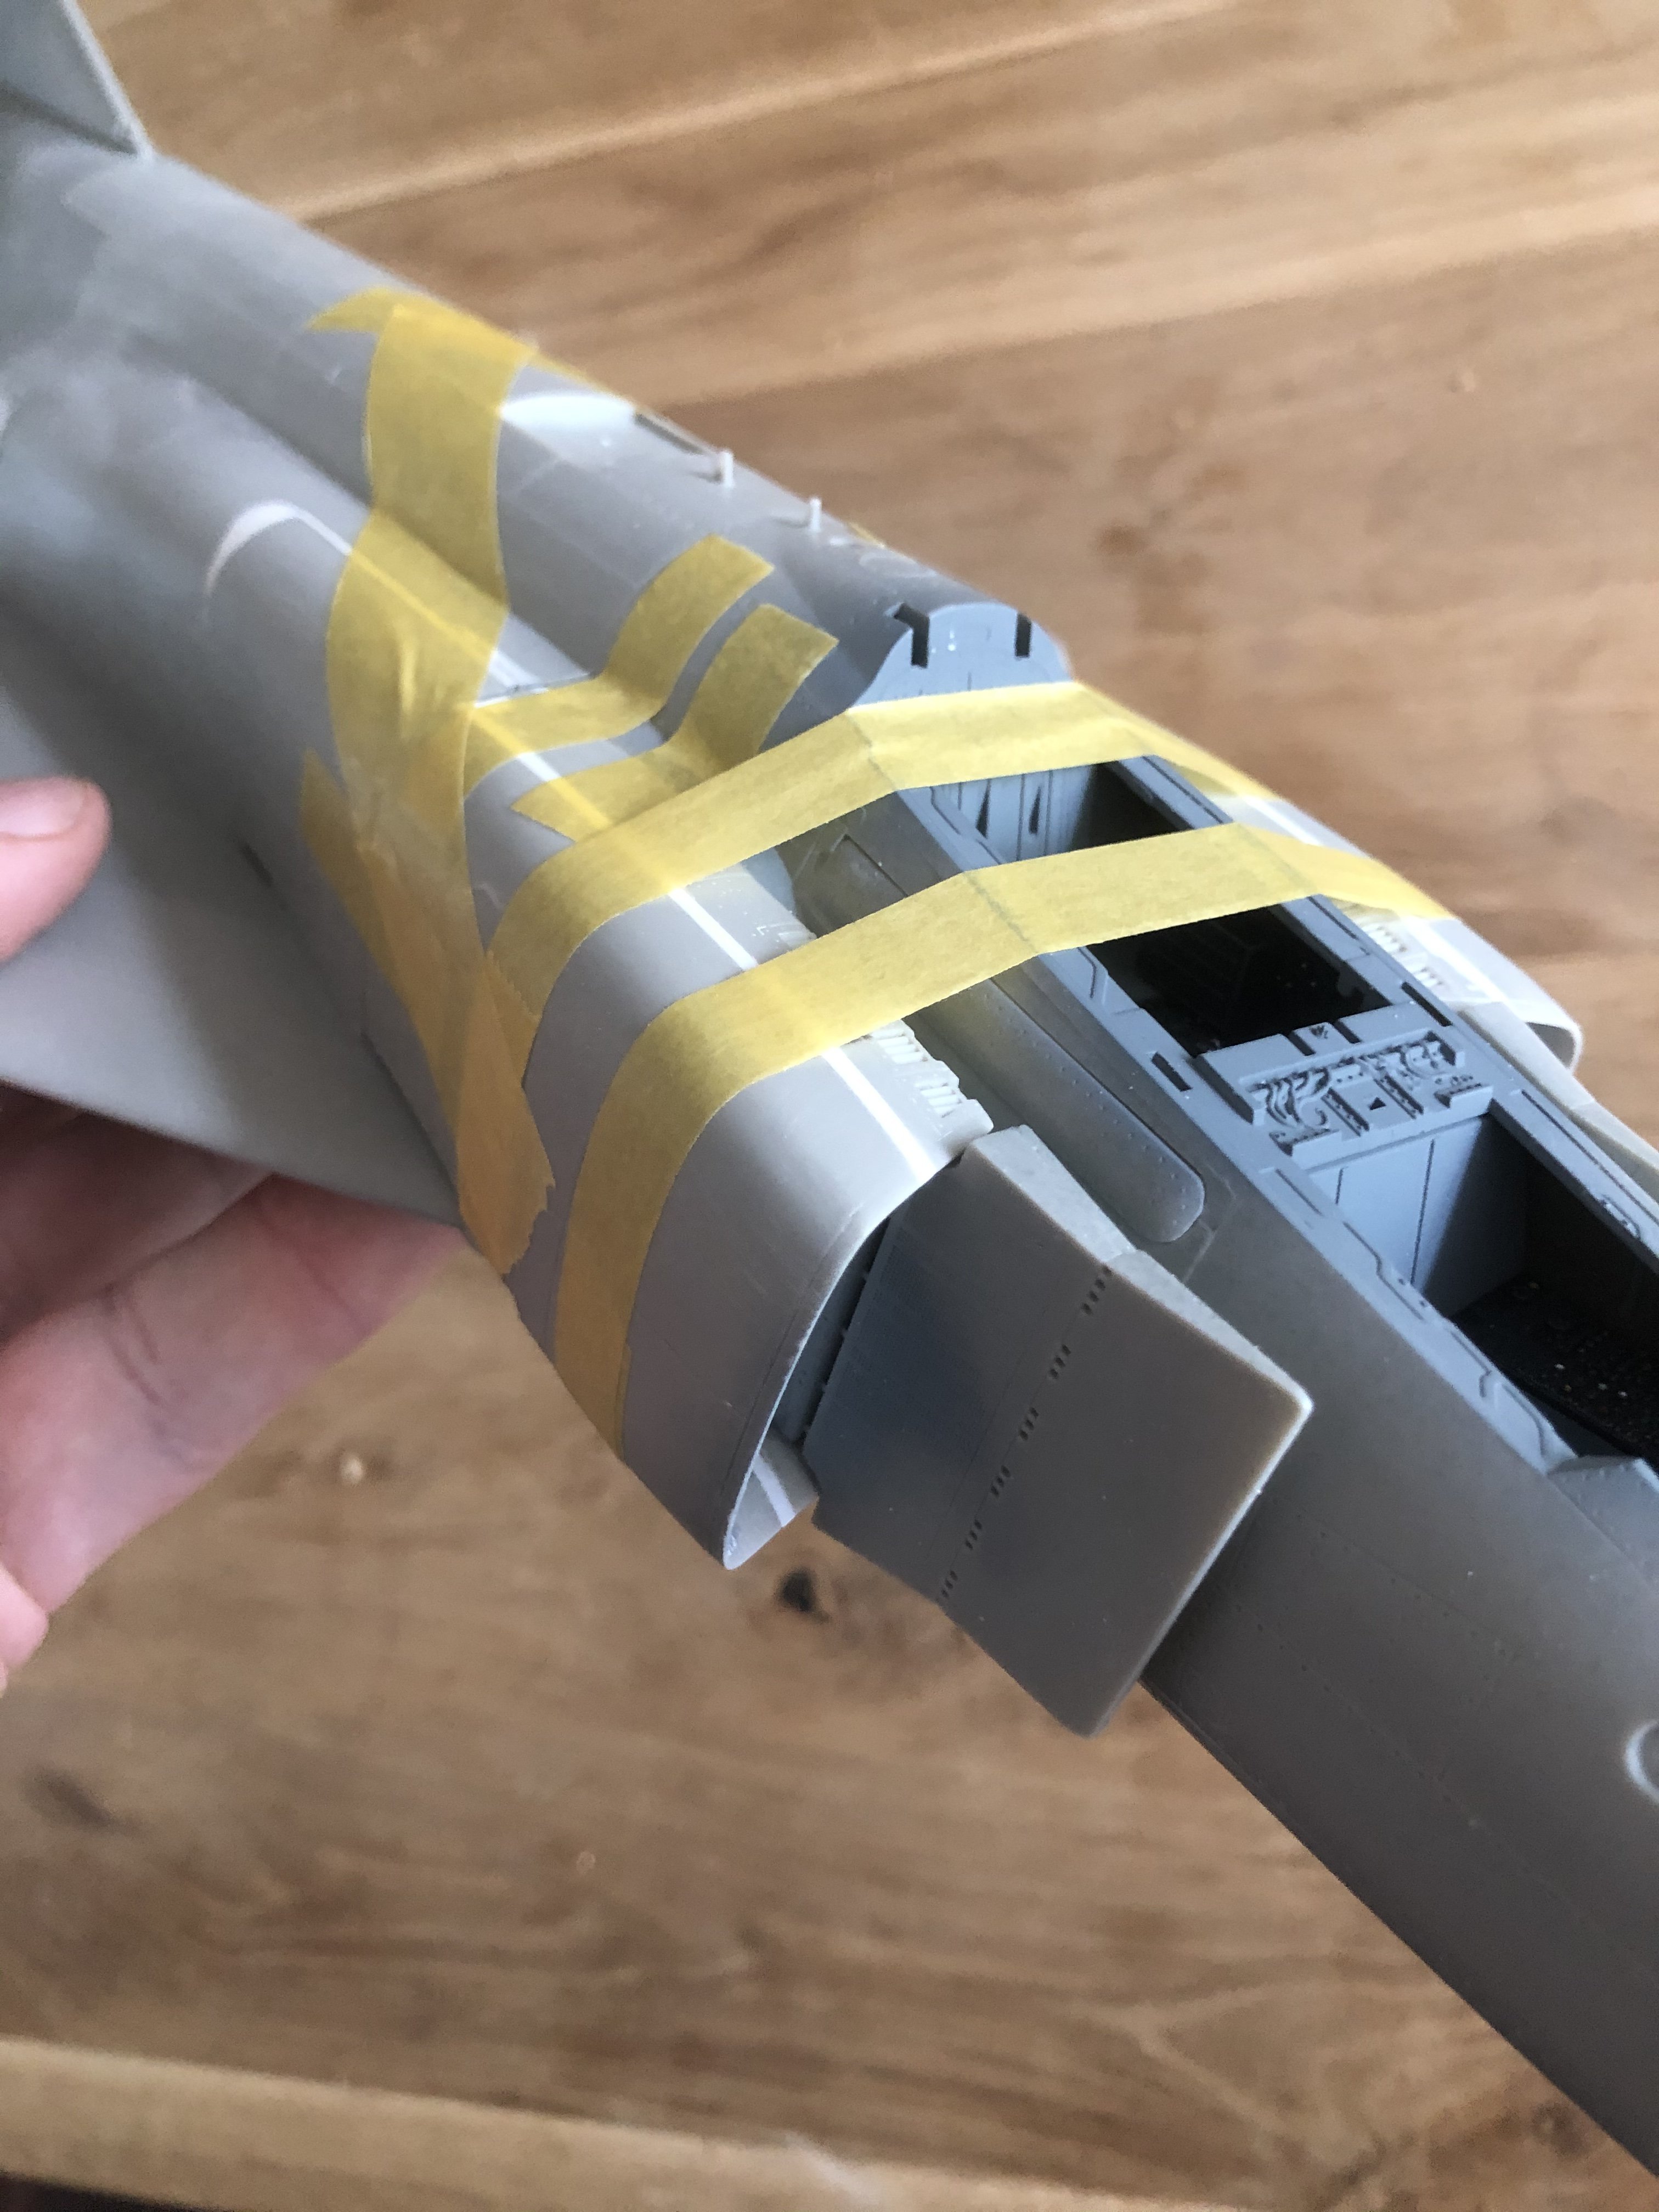
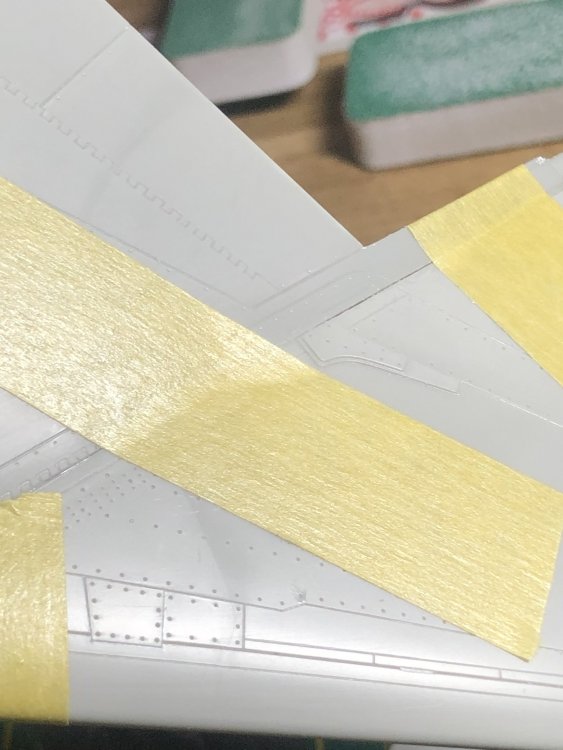
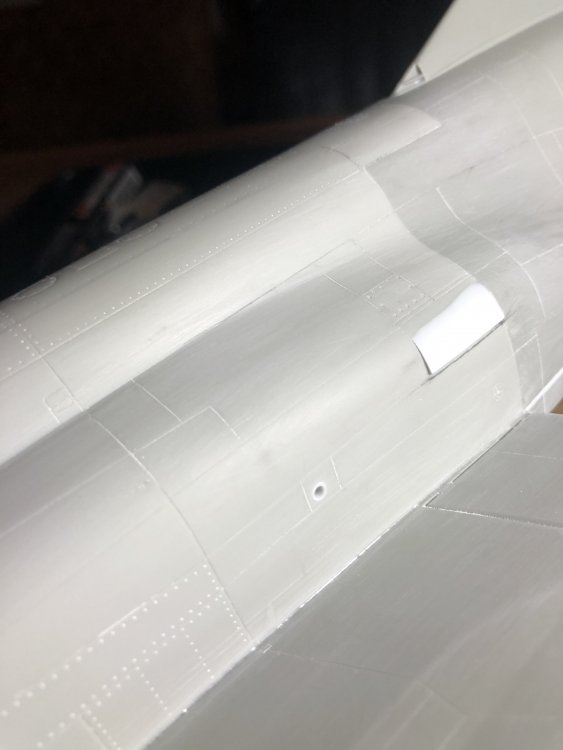
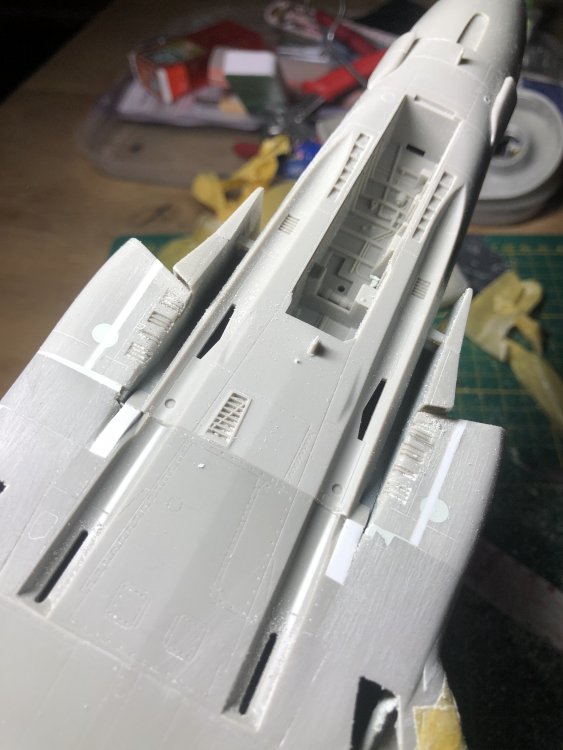
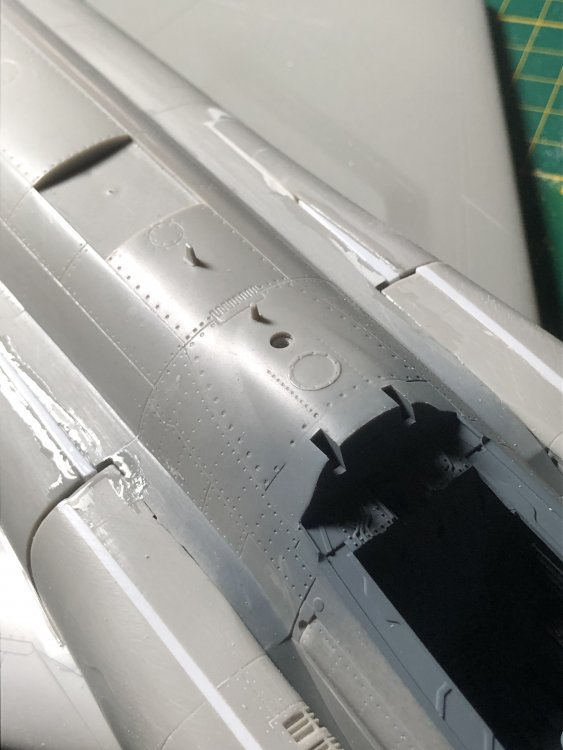
Spent some time rescribing. Didn’t want to redo the whole airframe so some were adapted from the Tamiya kit. Mostly done now. Need to fill some irregularities here and there, but considering the butchery that has taken place nothing shocking. Also made the “whatsit” outlets by drilling a hole and inserting part of a cottonbud. The thickness serving as the collar and giving depth too. Next adding the outerwings and the various odds and ends. The most difficult part has been done and the painting stage is looming.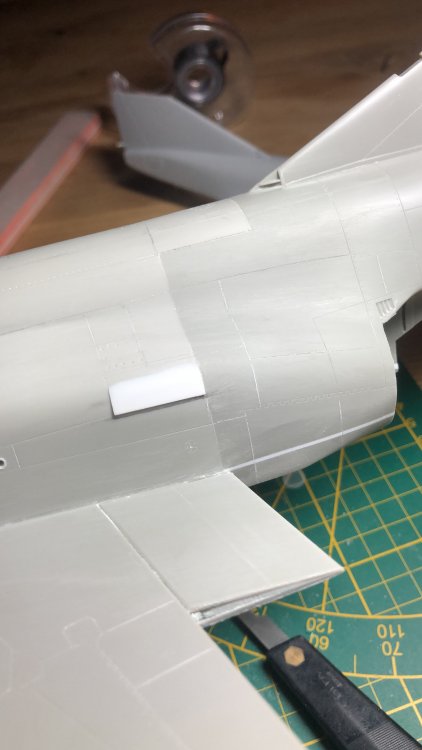


- 414 replies
-
- 8
-
-
-
- conversion
- phantom
- (and 1 more)
-
RR Spey powered RAF Phantom conversion
Wingco57 replied to Wingco57's topic in LSM 1/35 and Larger Work In Progress
Engraving panellines is not one of my hobbies, but very rewarding in the end.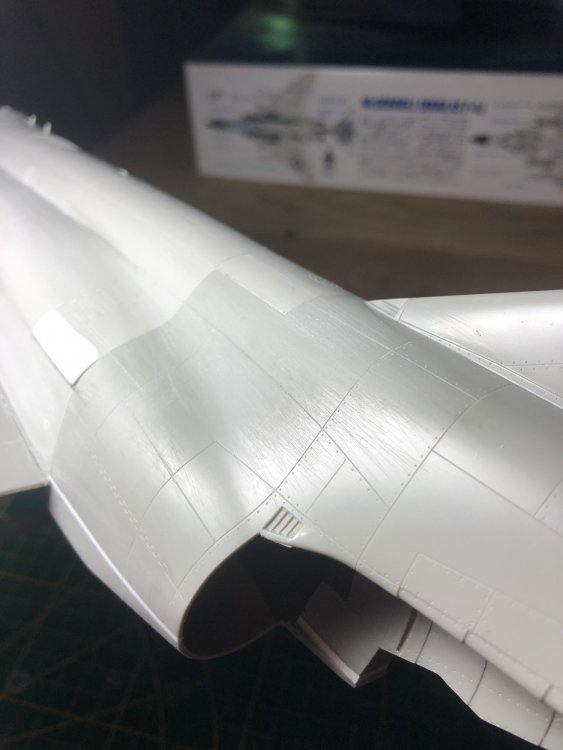
- 414 replies
-
- 7
-
-
-
- conversion
- phantom
- (and 1 more)
-
RR Spey powered RAF Phantom conversion
Wingco57 replied to Wingco57's topic in LSM 1/35 and Larger Work In Progress
Thanks Anthony, I made a start with engraving the lost panellines and new ones. Cees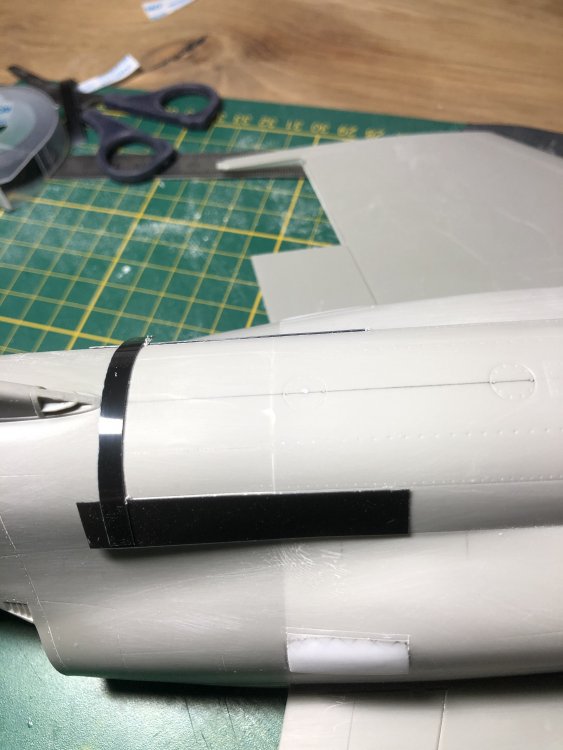
- 414 replies
-
- 4
-
-
- conversion
- phantom
- (and 1 more)
-
RR Spey powered RAF Phantom conversion
Wingco57 replied to Wingco57's topic in LSM 1/35 and Larger Work In Progress
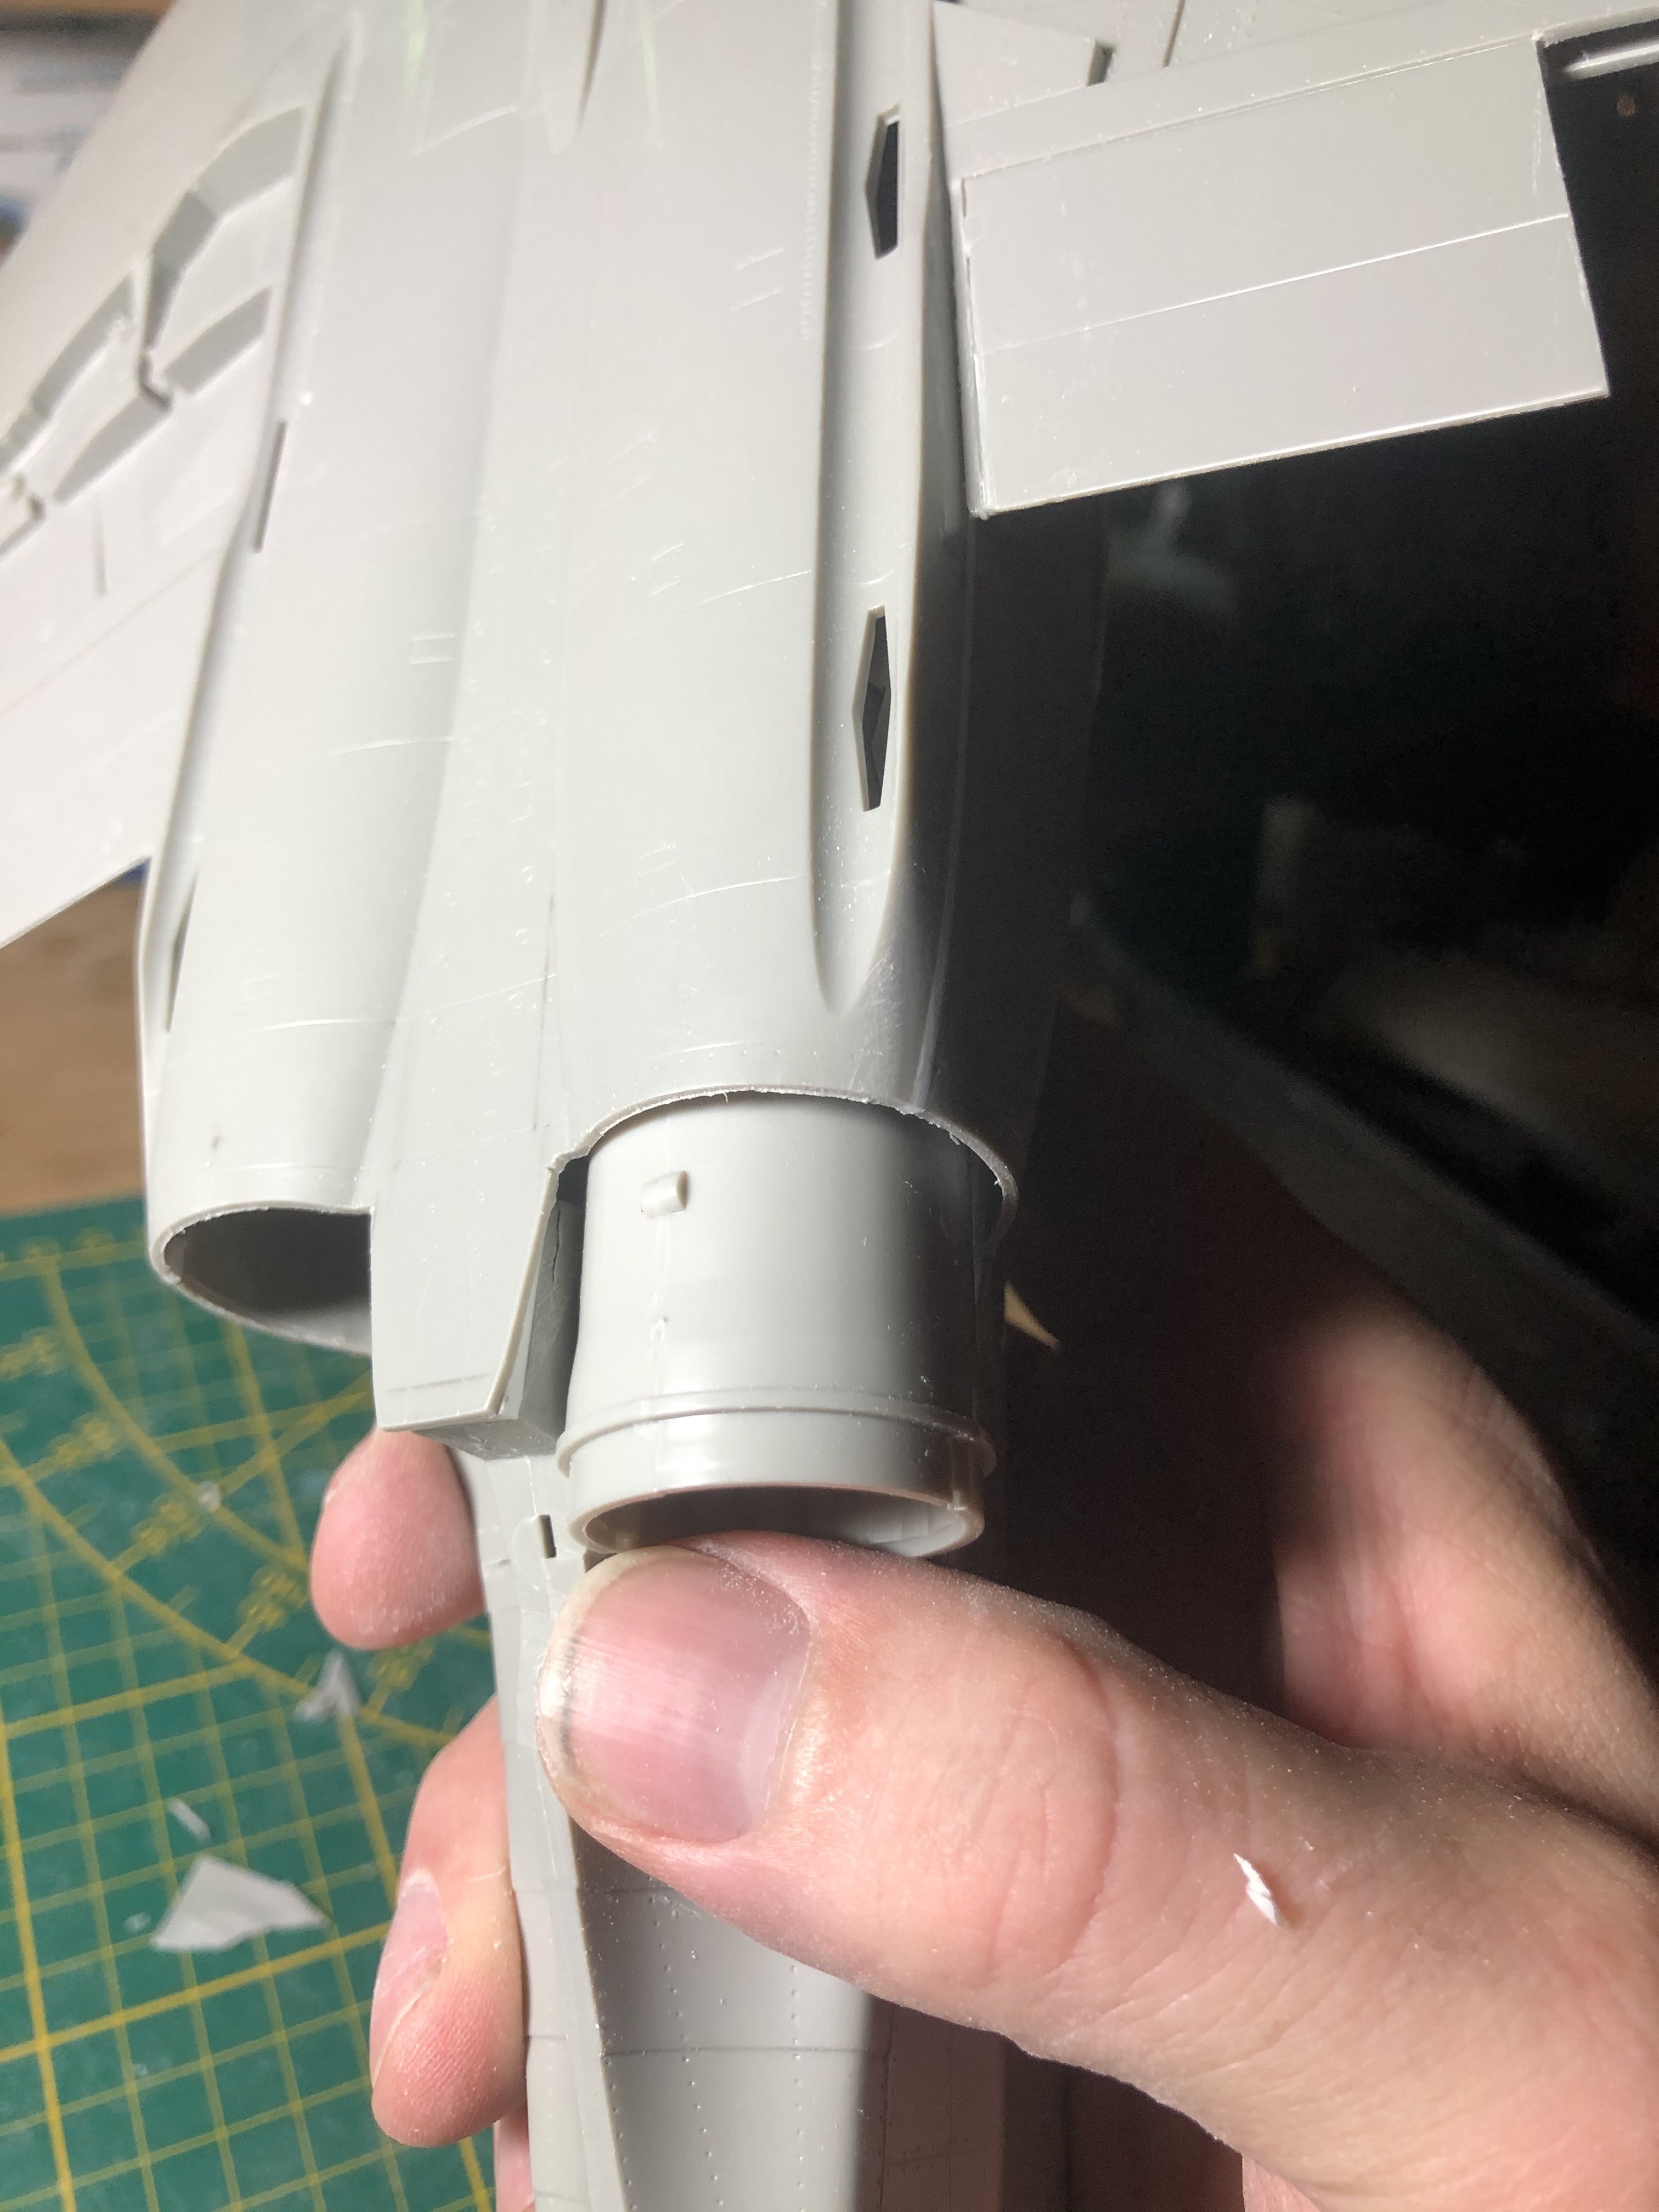
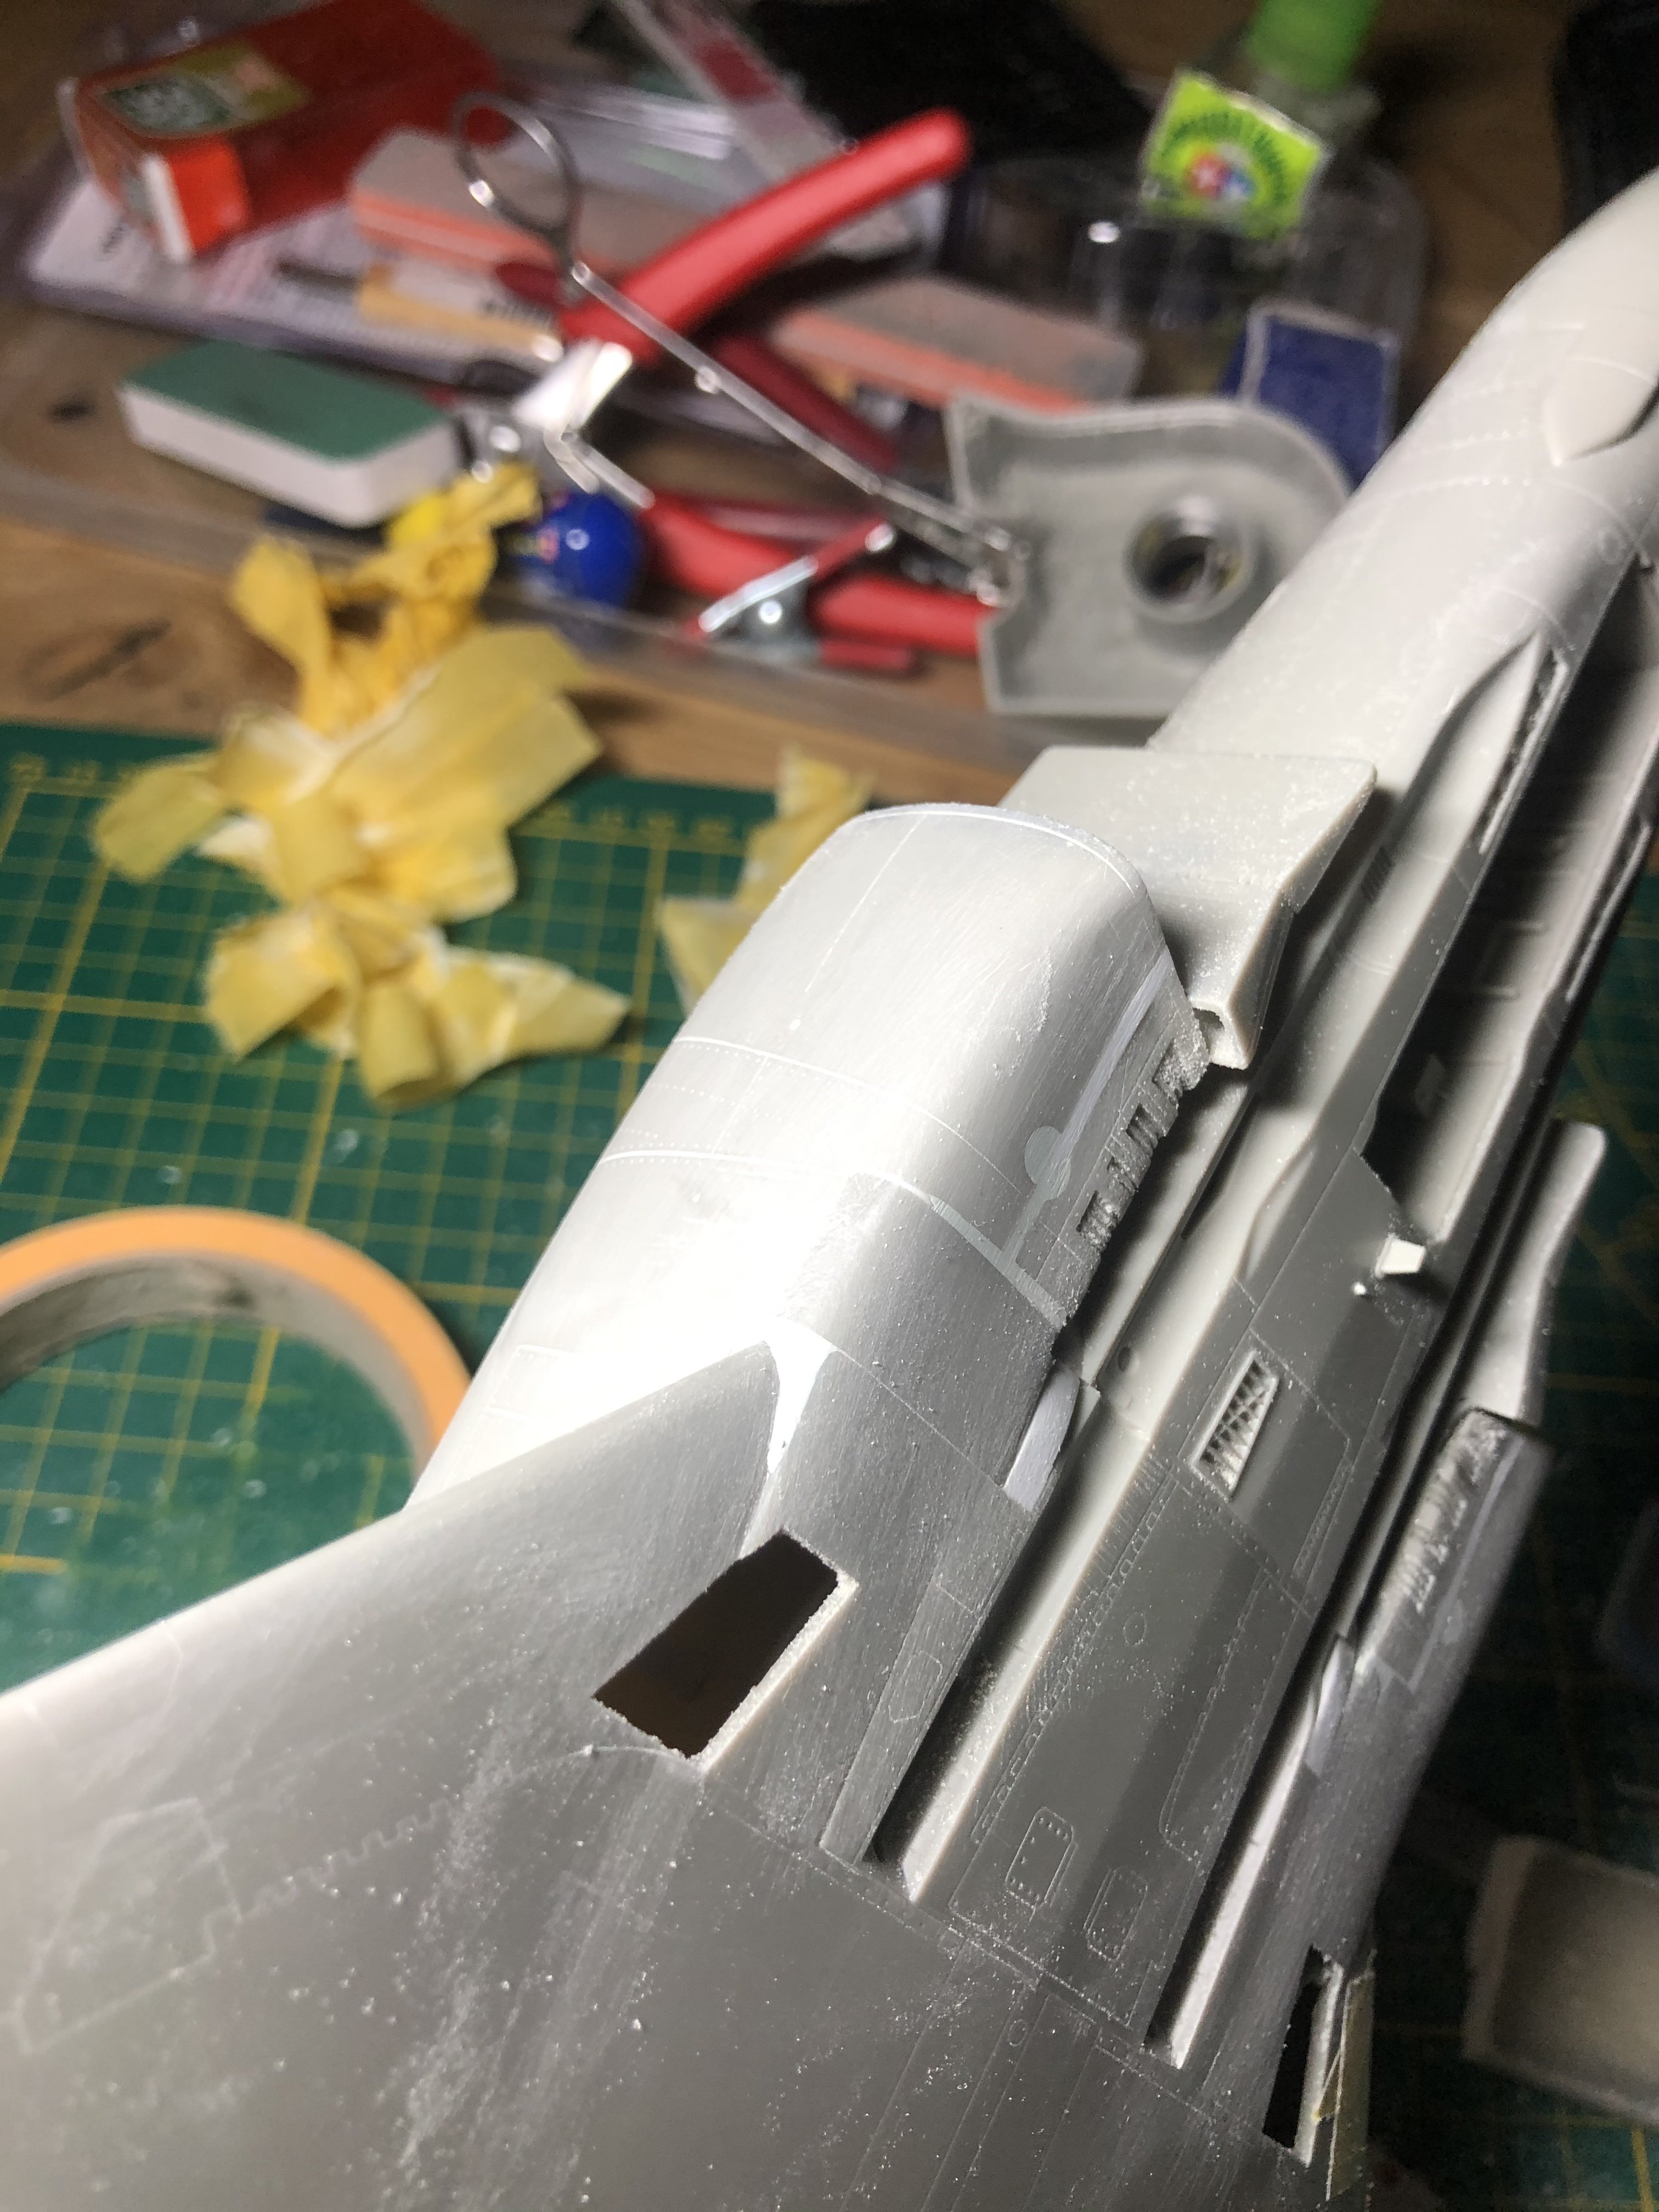
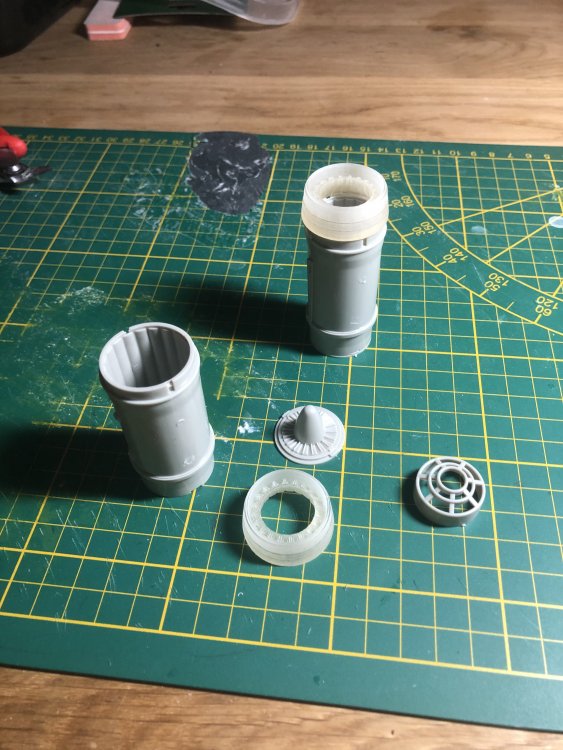
Thanks, I had seen this thread but I am to model an early FGR-2 and hope these didn't have them. Saving me more work. I did some work today, mostly cleaning up after the sanding session and making sure the wing/fuselage join is as smooth as possibe. Although I have grafted on a Revell tail, I intend to keep the Tamiya rear engine trunking to give depth. The 3D printed exhaust cans will hopefully fit onto these. The Revell parts had a lower horizontal ledge which interferes and I had to cut these out with great difficulty through the exhaust openings ( another operation). Luckily the joins didn’t crack. For someone contemplating a similar transplant I noticed that tailpart sprues are available seperately on ebay, so you do not have to purchase a whole kit. Getting ready for some serious engraving though not as extensive as you Anthony.

- 414 replies
-
- 1
-
-
- conversion
- phantom
- (and 1 more)
-
RR Spey powered RAF Phantom conversion
Wingco57 replied to Wingco57's topic in LSM 1/35 and Larger Work In Progress
I have very little info on this Anthony. Did the FGR-2 have these?- 414 replies
-
- 1
-
-
- conversion
- phantom
- (and 1 more)
-
Frazer Nash FN5 gun-turrets
Wingco57 replied to Fidd88's topic in LSM 1/35 and Larger Work In Progress
Nope, sounds like you cracked the code. -
RR Spey powered RAF Phantom conversion
Wingco57 replied to Wingco57's topic in LSM 1/35 and Larger Work In Progress
After a marathon sanding session the shapes are nice and smooth. During daylight I will have to check if there are ( and there must be) any irregularities. But I am happy how the join between the fuselage and wing has turned out so far.

- 414 replies
-
- 6
-
-
- conversion
- phantom
- (and 1 more)
-
RR Spey powered RAF Phantom conversion
Wingco57 replied to Wingco57's topic in LSM 1/35 and Larger Work In Progress
Miliput and if that doesn't work I have Plastic White Putty ready for plan B.- 414 replies
-
- 3
-
-
- conversion
- phantom
- (and 1 more)
-
RR Spey powered RAF Phantom conversion
Wingco57 replied to Wingco57's topic in LSM 1/35 and Larger Work In Progress
Thanks chaps, In the meantime I have adapted the Tamiya flaps to fit the Revell wing. This makes for a less static model. Also preparing for a major filling session and marking out the areas.

- 414 replies
-
- 2
-
-
- conversion
- phantom
- (and 1 more)
-
Frazer Nash FN5 gun-turrets
Wingco57 replied to Fidd88's topic in LSM 1/35 and Larger Work In Progress
Fantastic engineering, how do you keep the correct radius of the fuselage contour during bending? As they must be compound curves. -
1/32nd Heinkel 219 // Werner Streib crash At Venlo
Wingco57 replied to Rowdy's topic in LSM 1/35 and Larger Work In Progress
Oh man, this is truly supercalifragilisticespicalidocious. Very nice scratchbuilding. -
RR Spey powered RAF Phantom conversion
Wingco57 replied to Wingco57's topic in LSM 1/35 and Larger Work In Progress
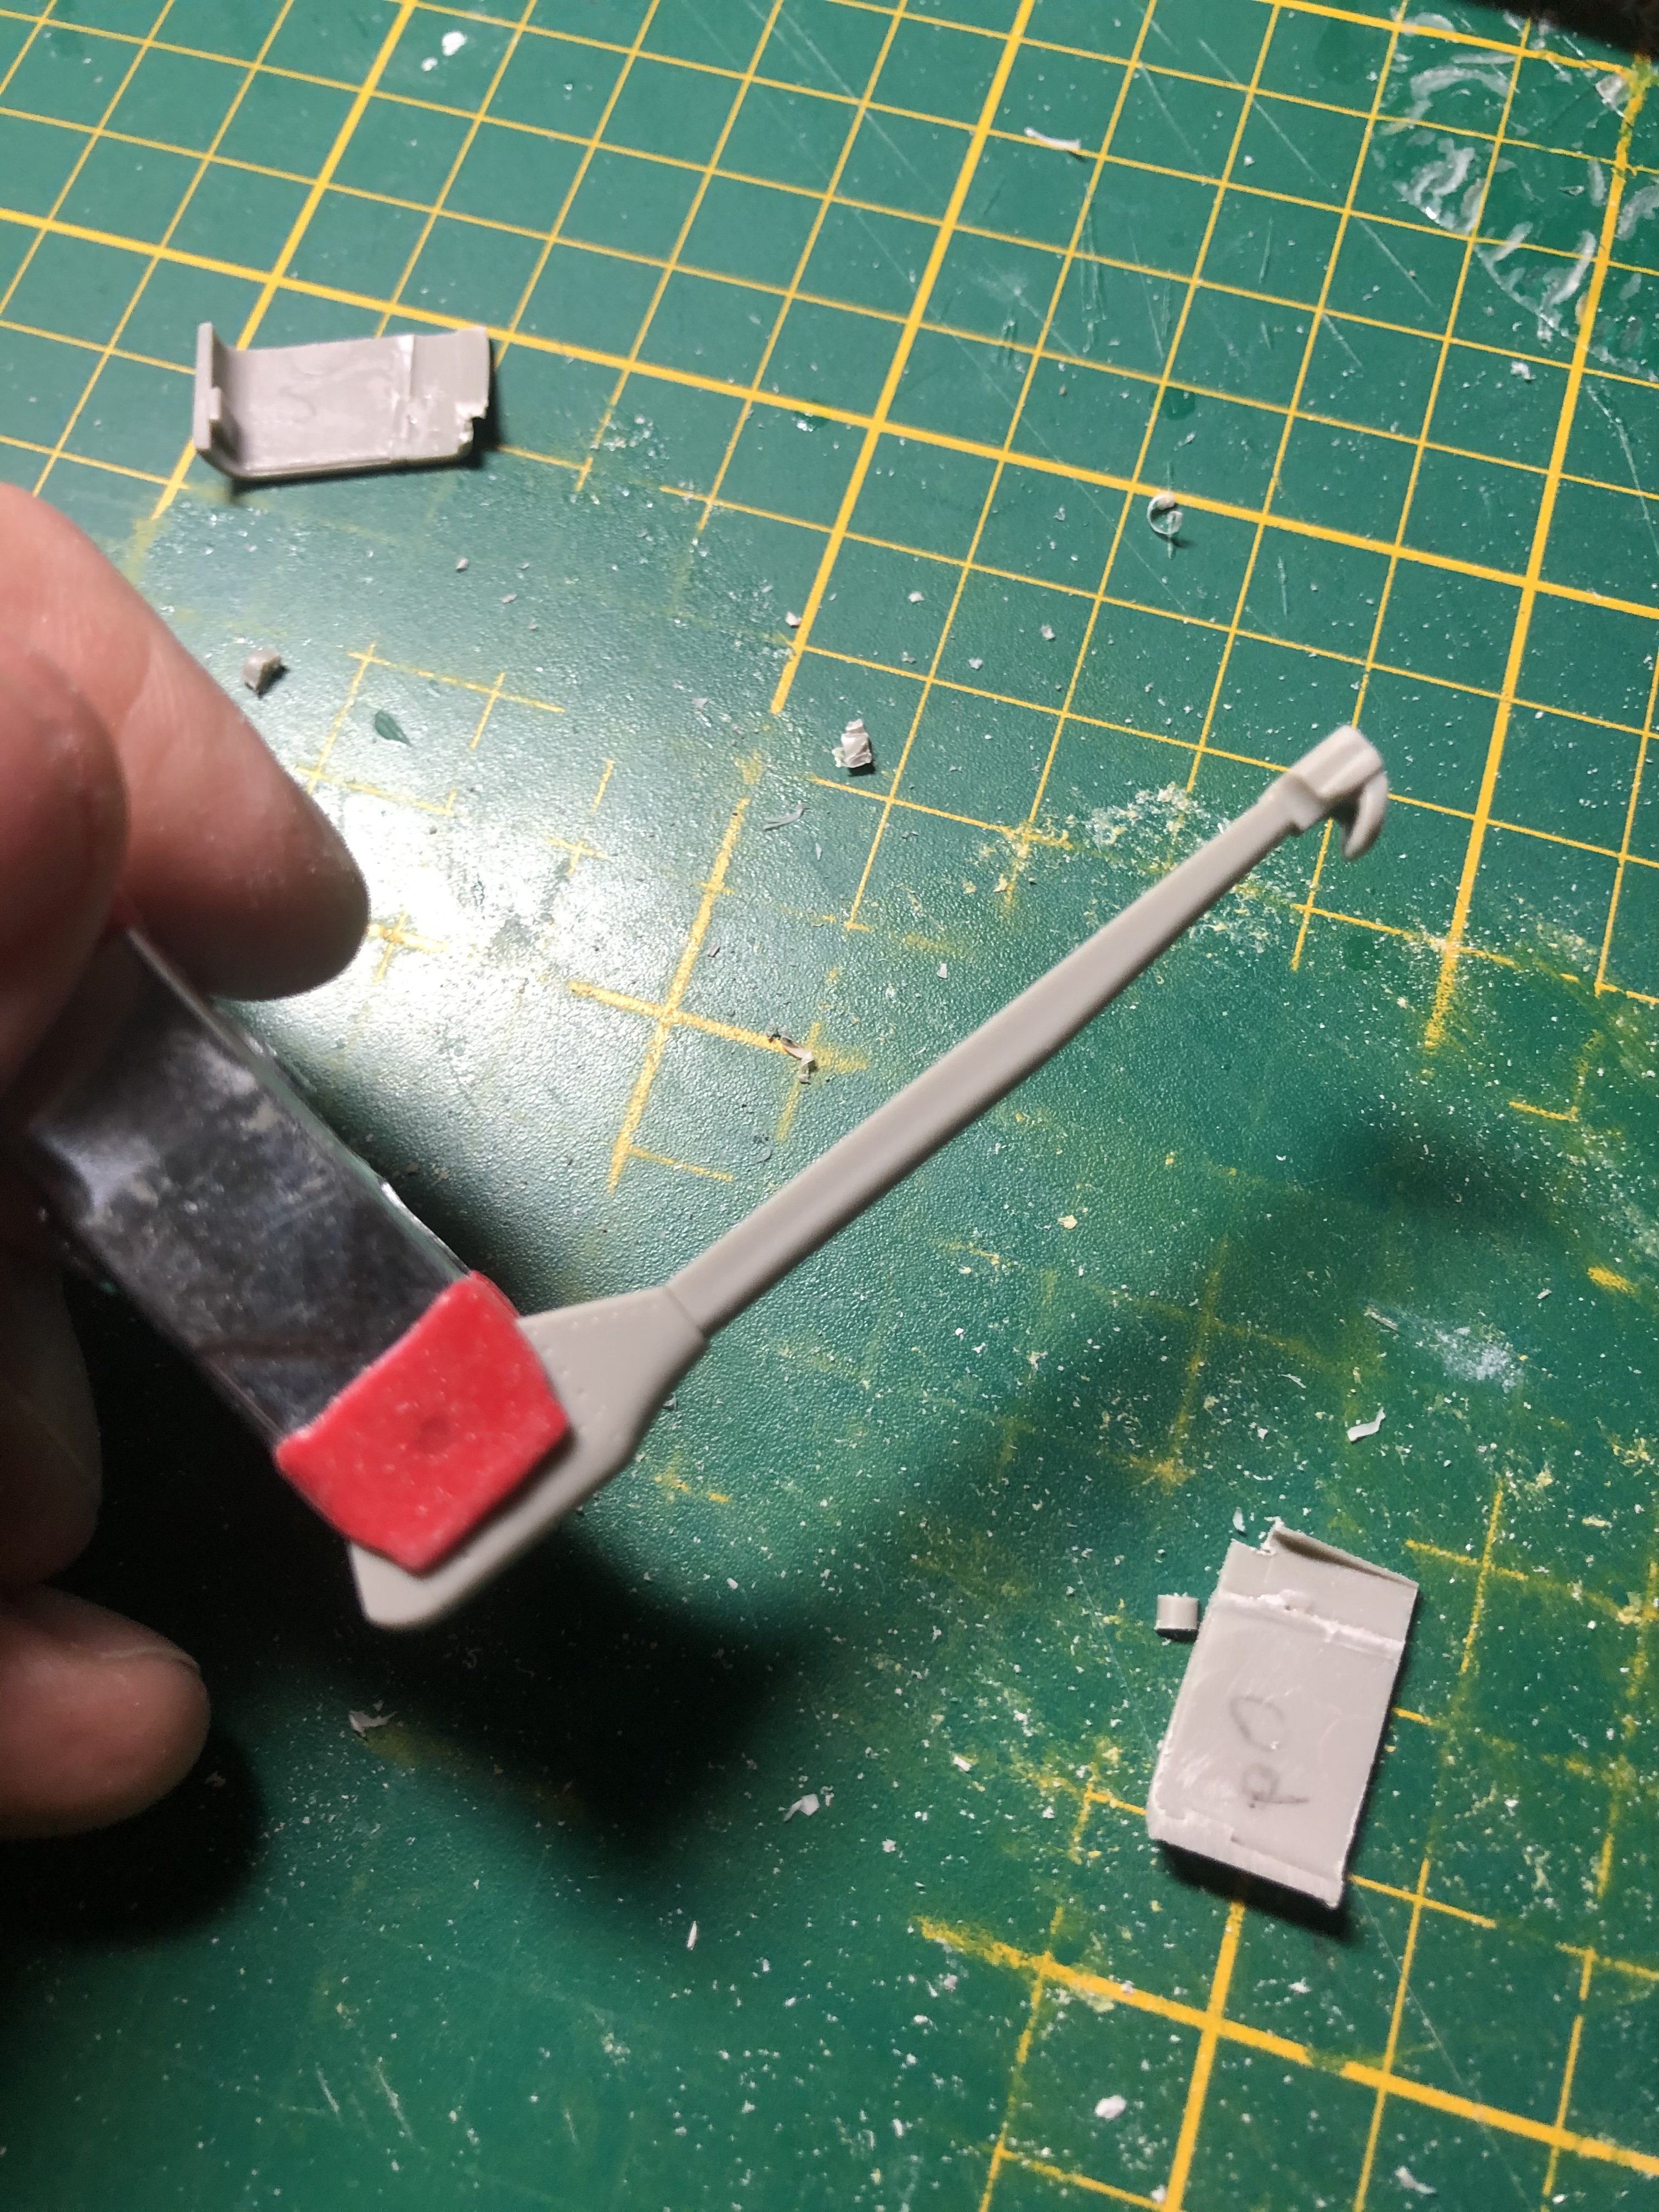
The Revell tailhook is longer than the Tamiya one.- 414 replies
-
- 2
-
-
-
- conversion
- phantom
- (and 1 more)
-
RR Spey powered RAF Phantom conversion
Wingco57 replied to Wingco57's topic in LSM 1/35 and Larger Work In Progress
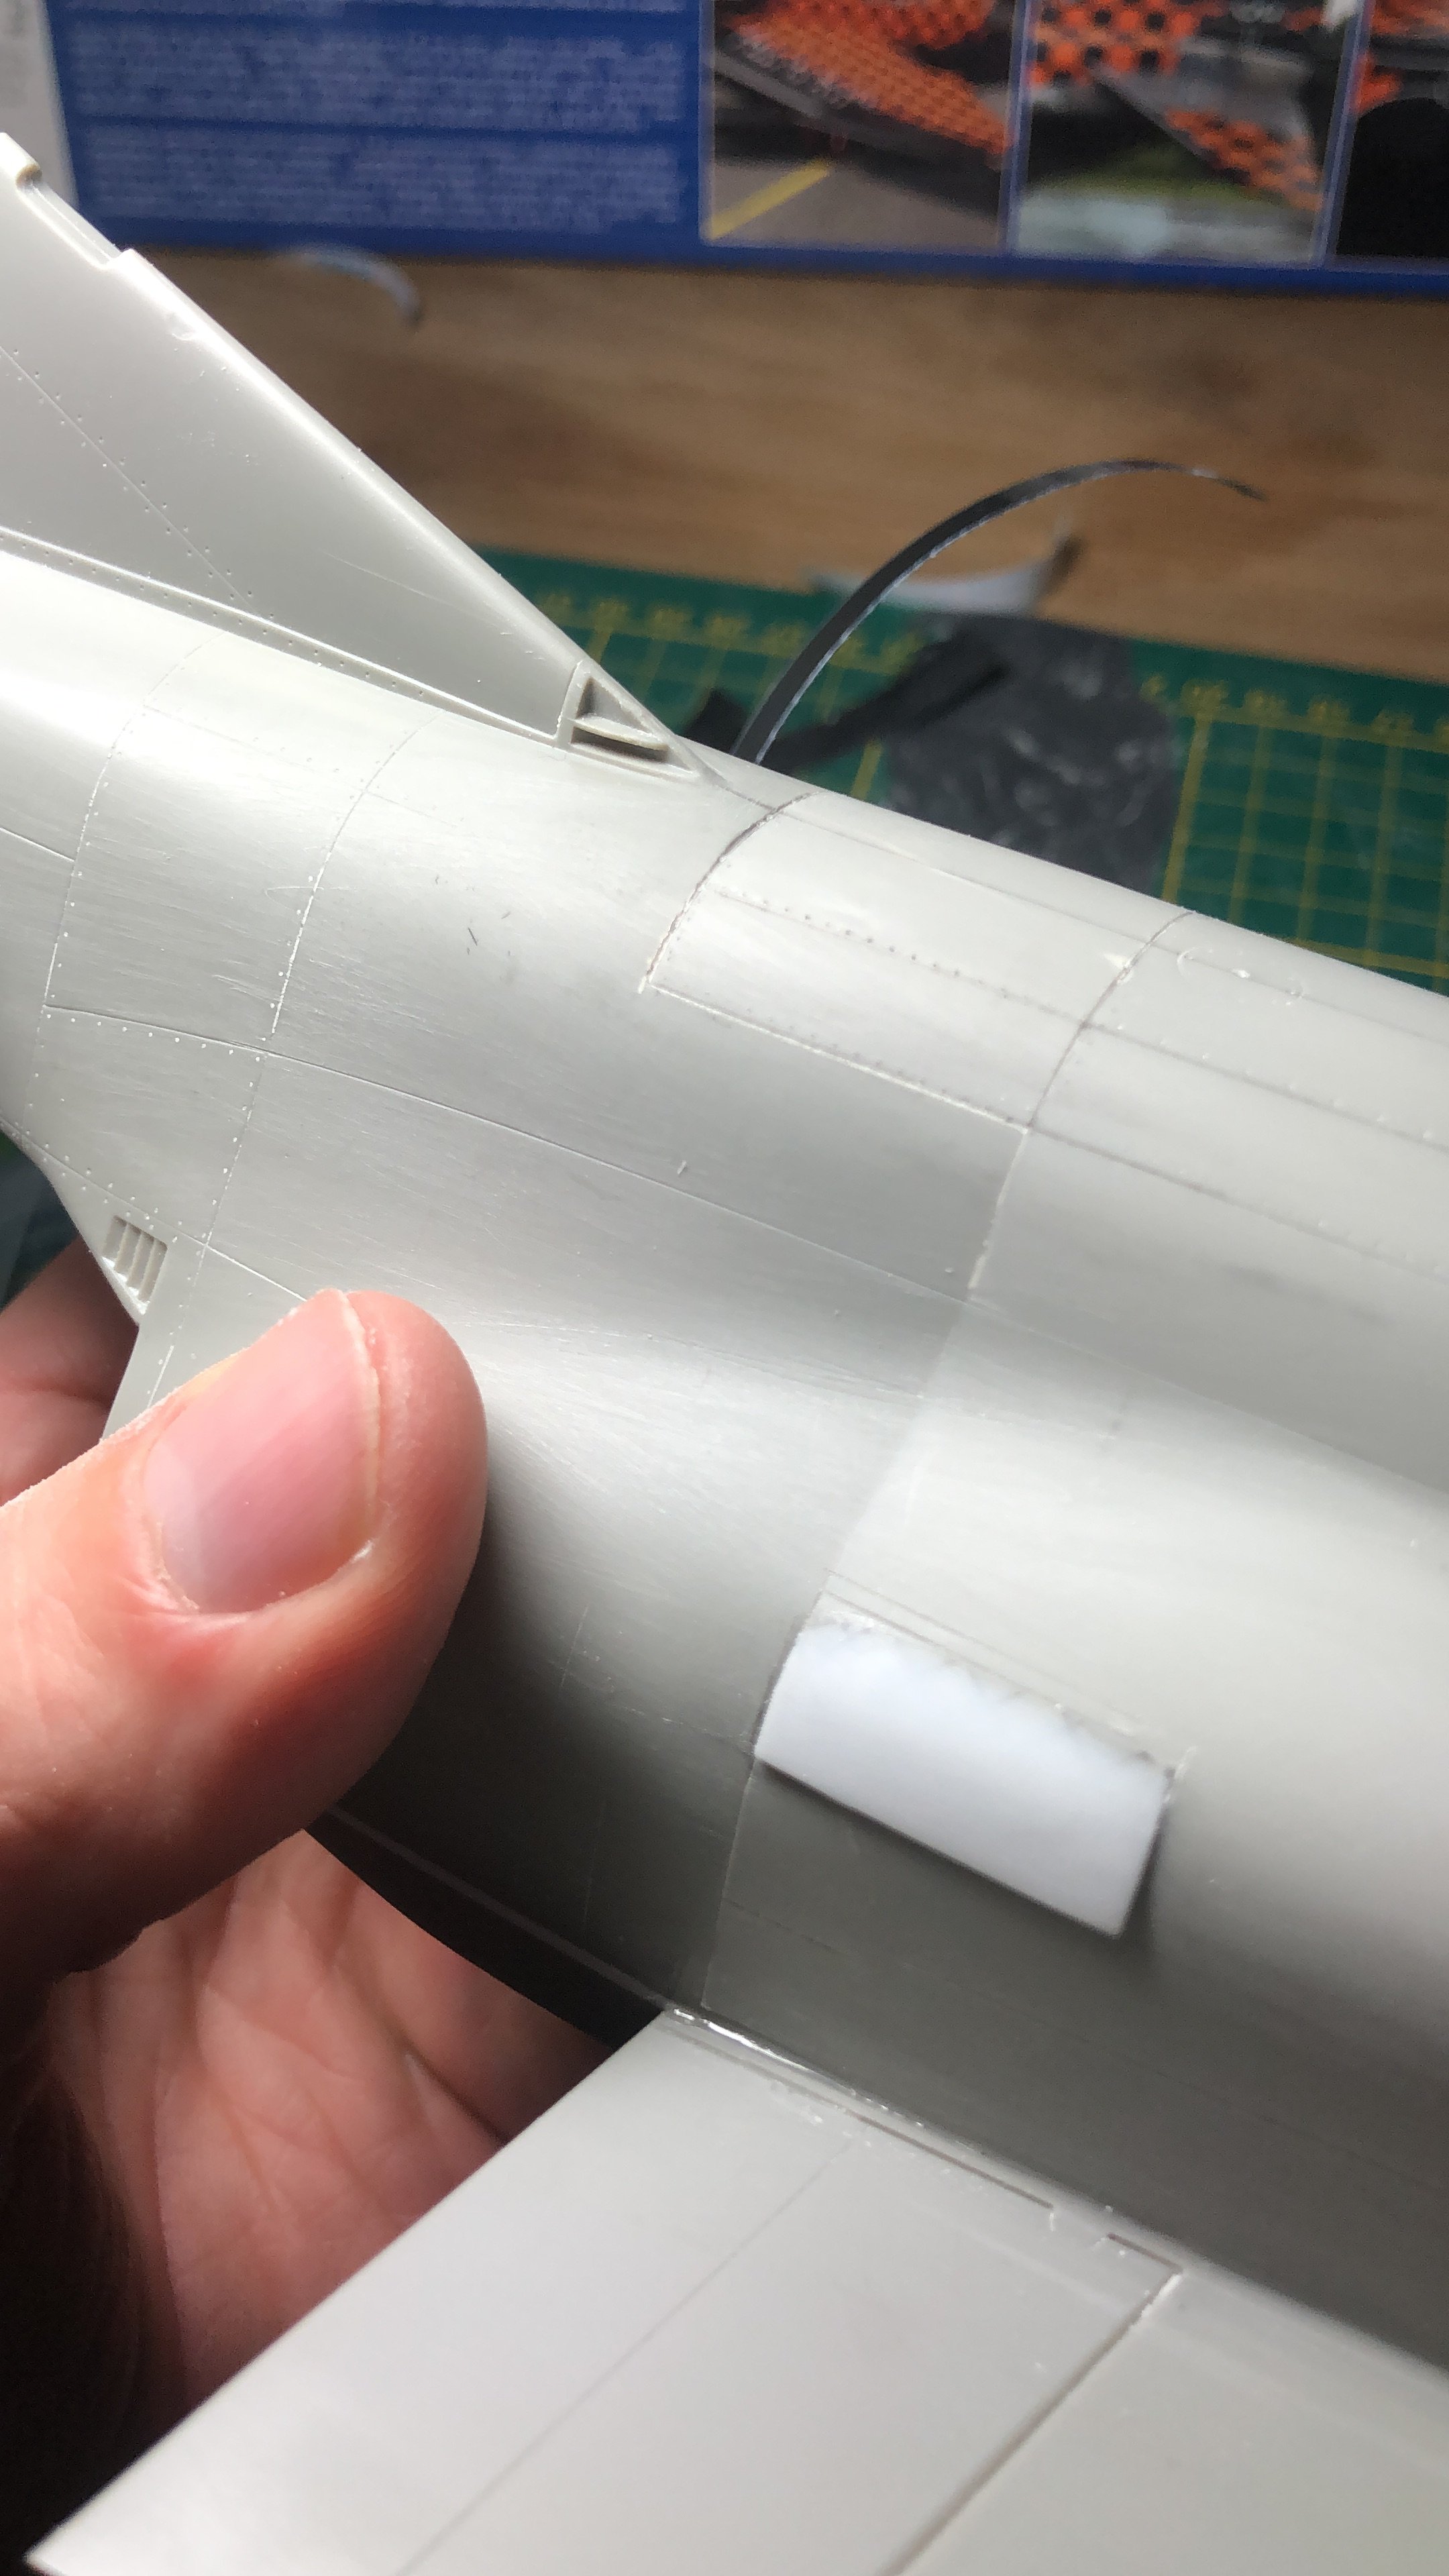
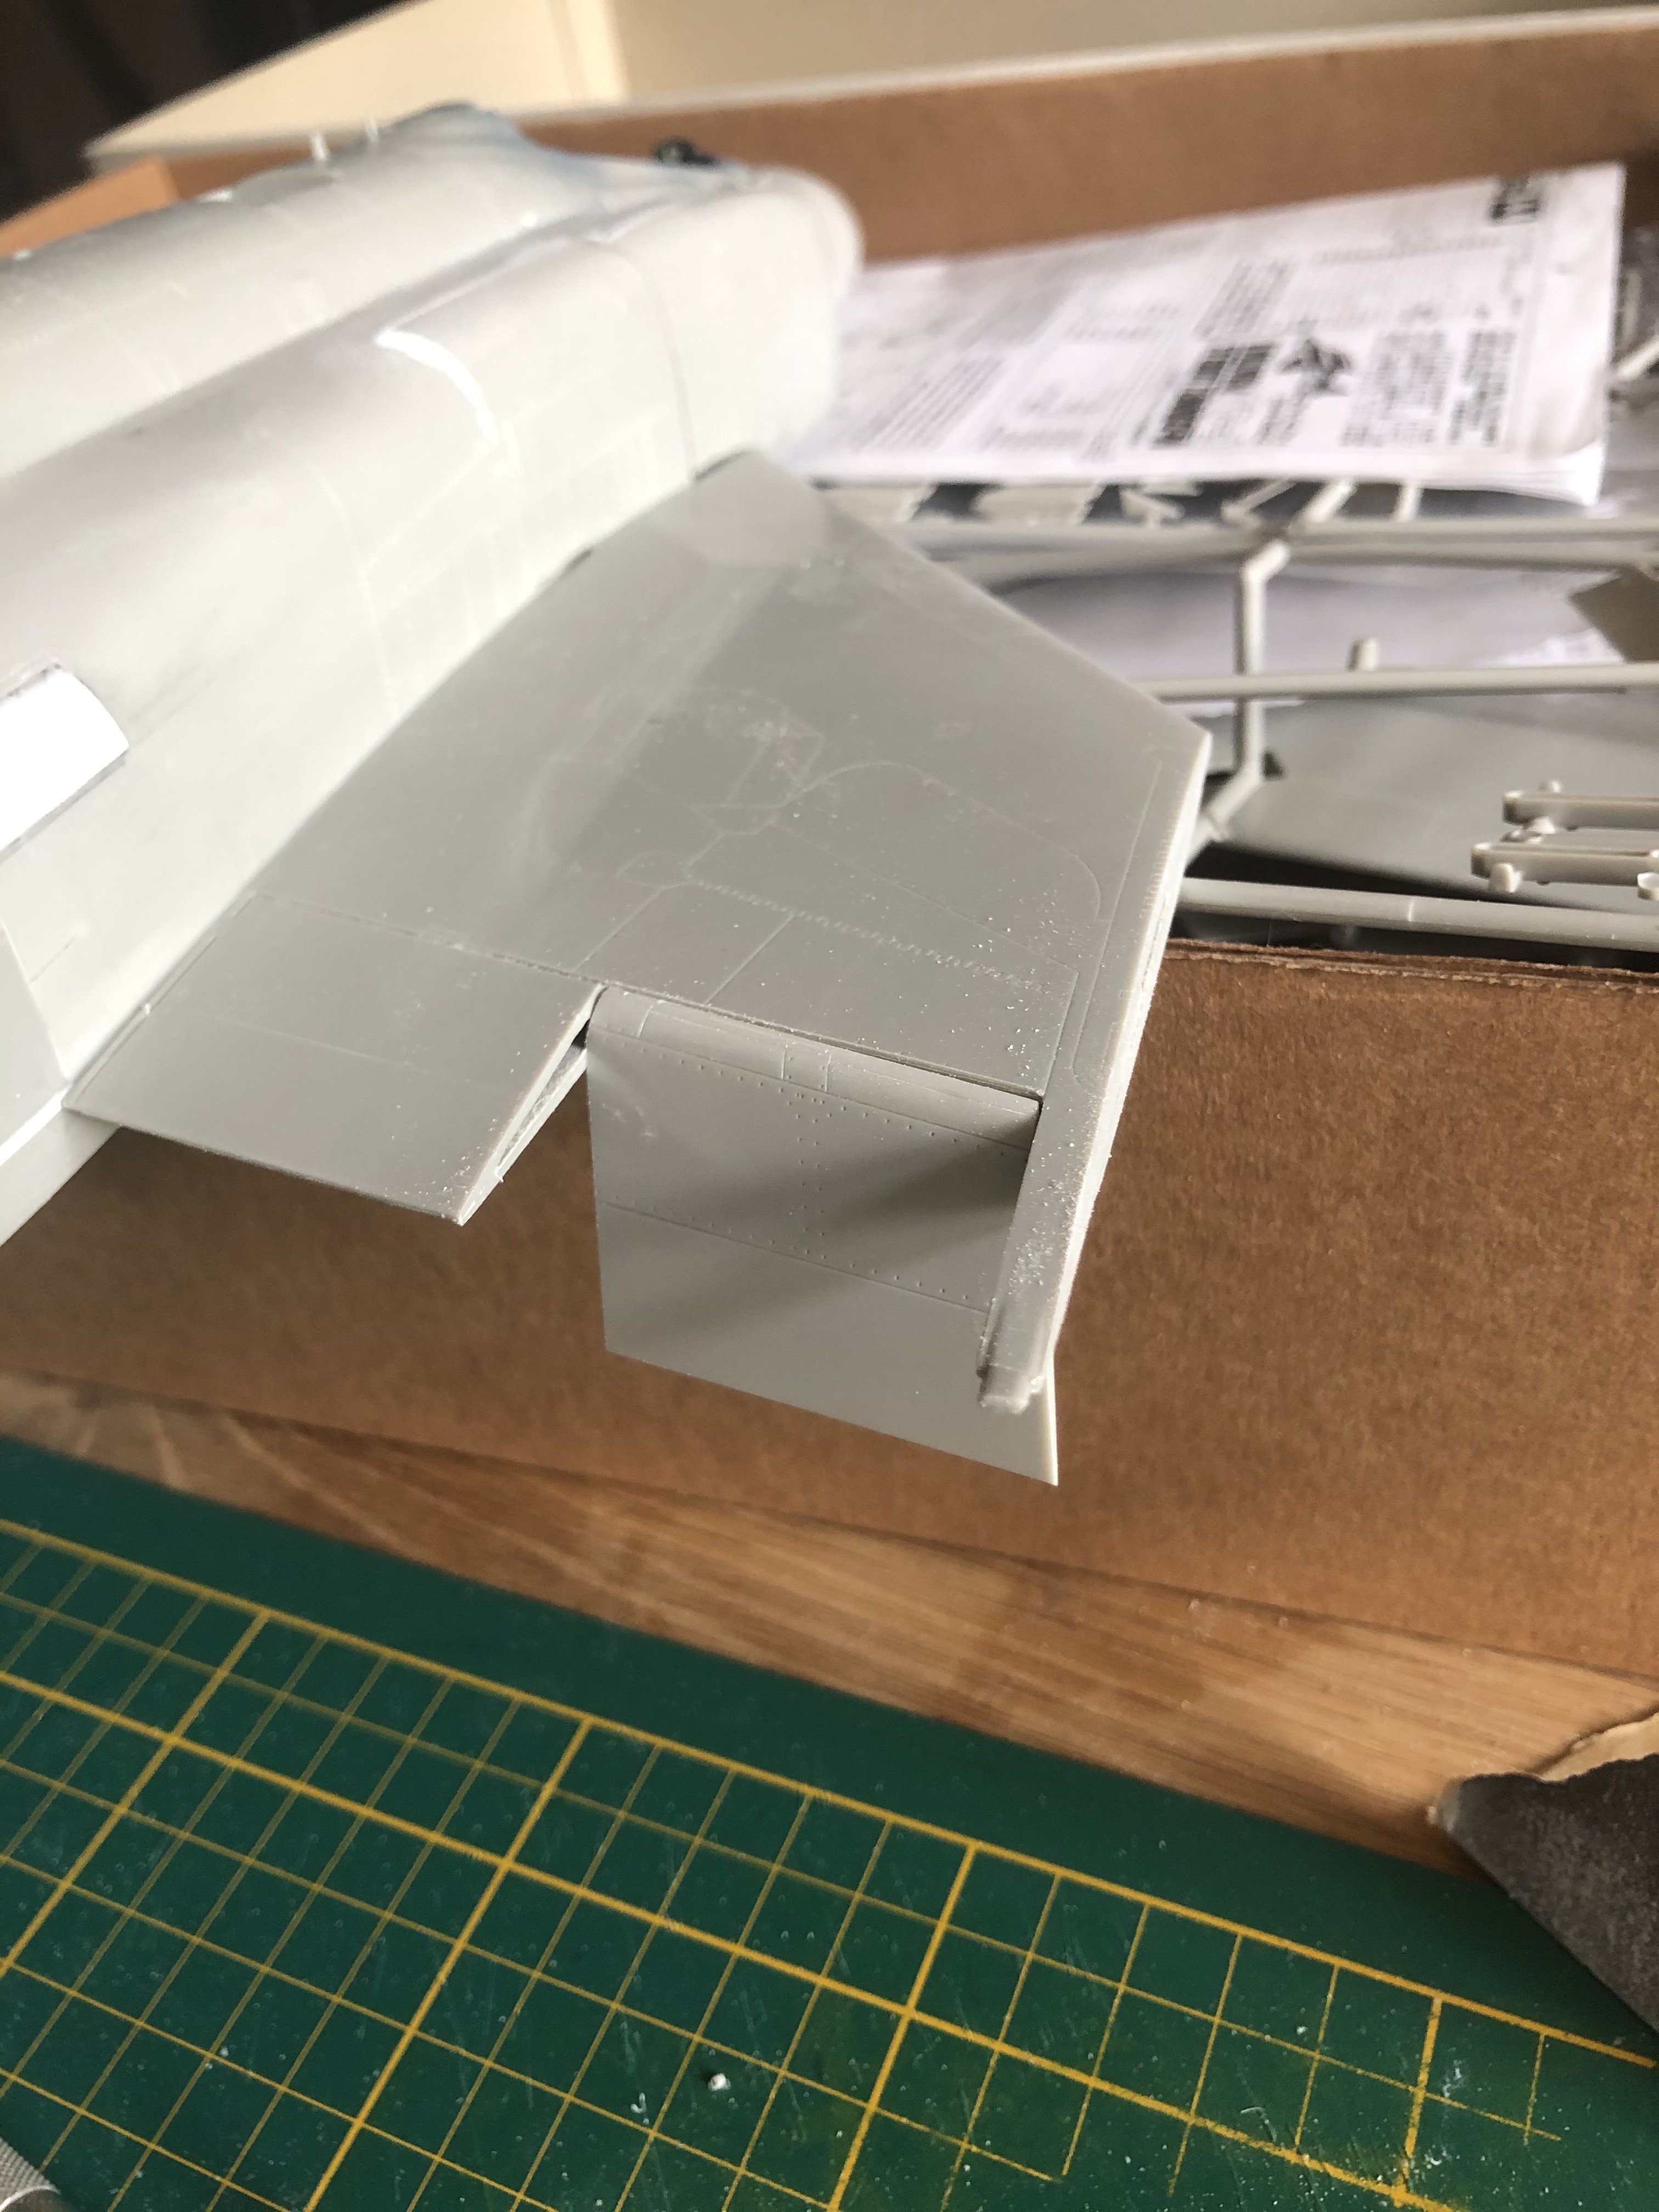
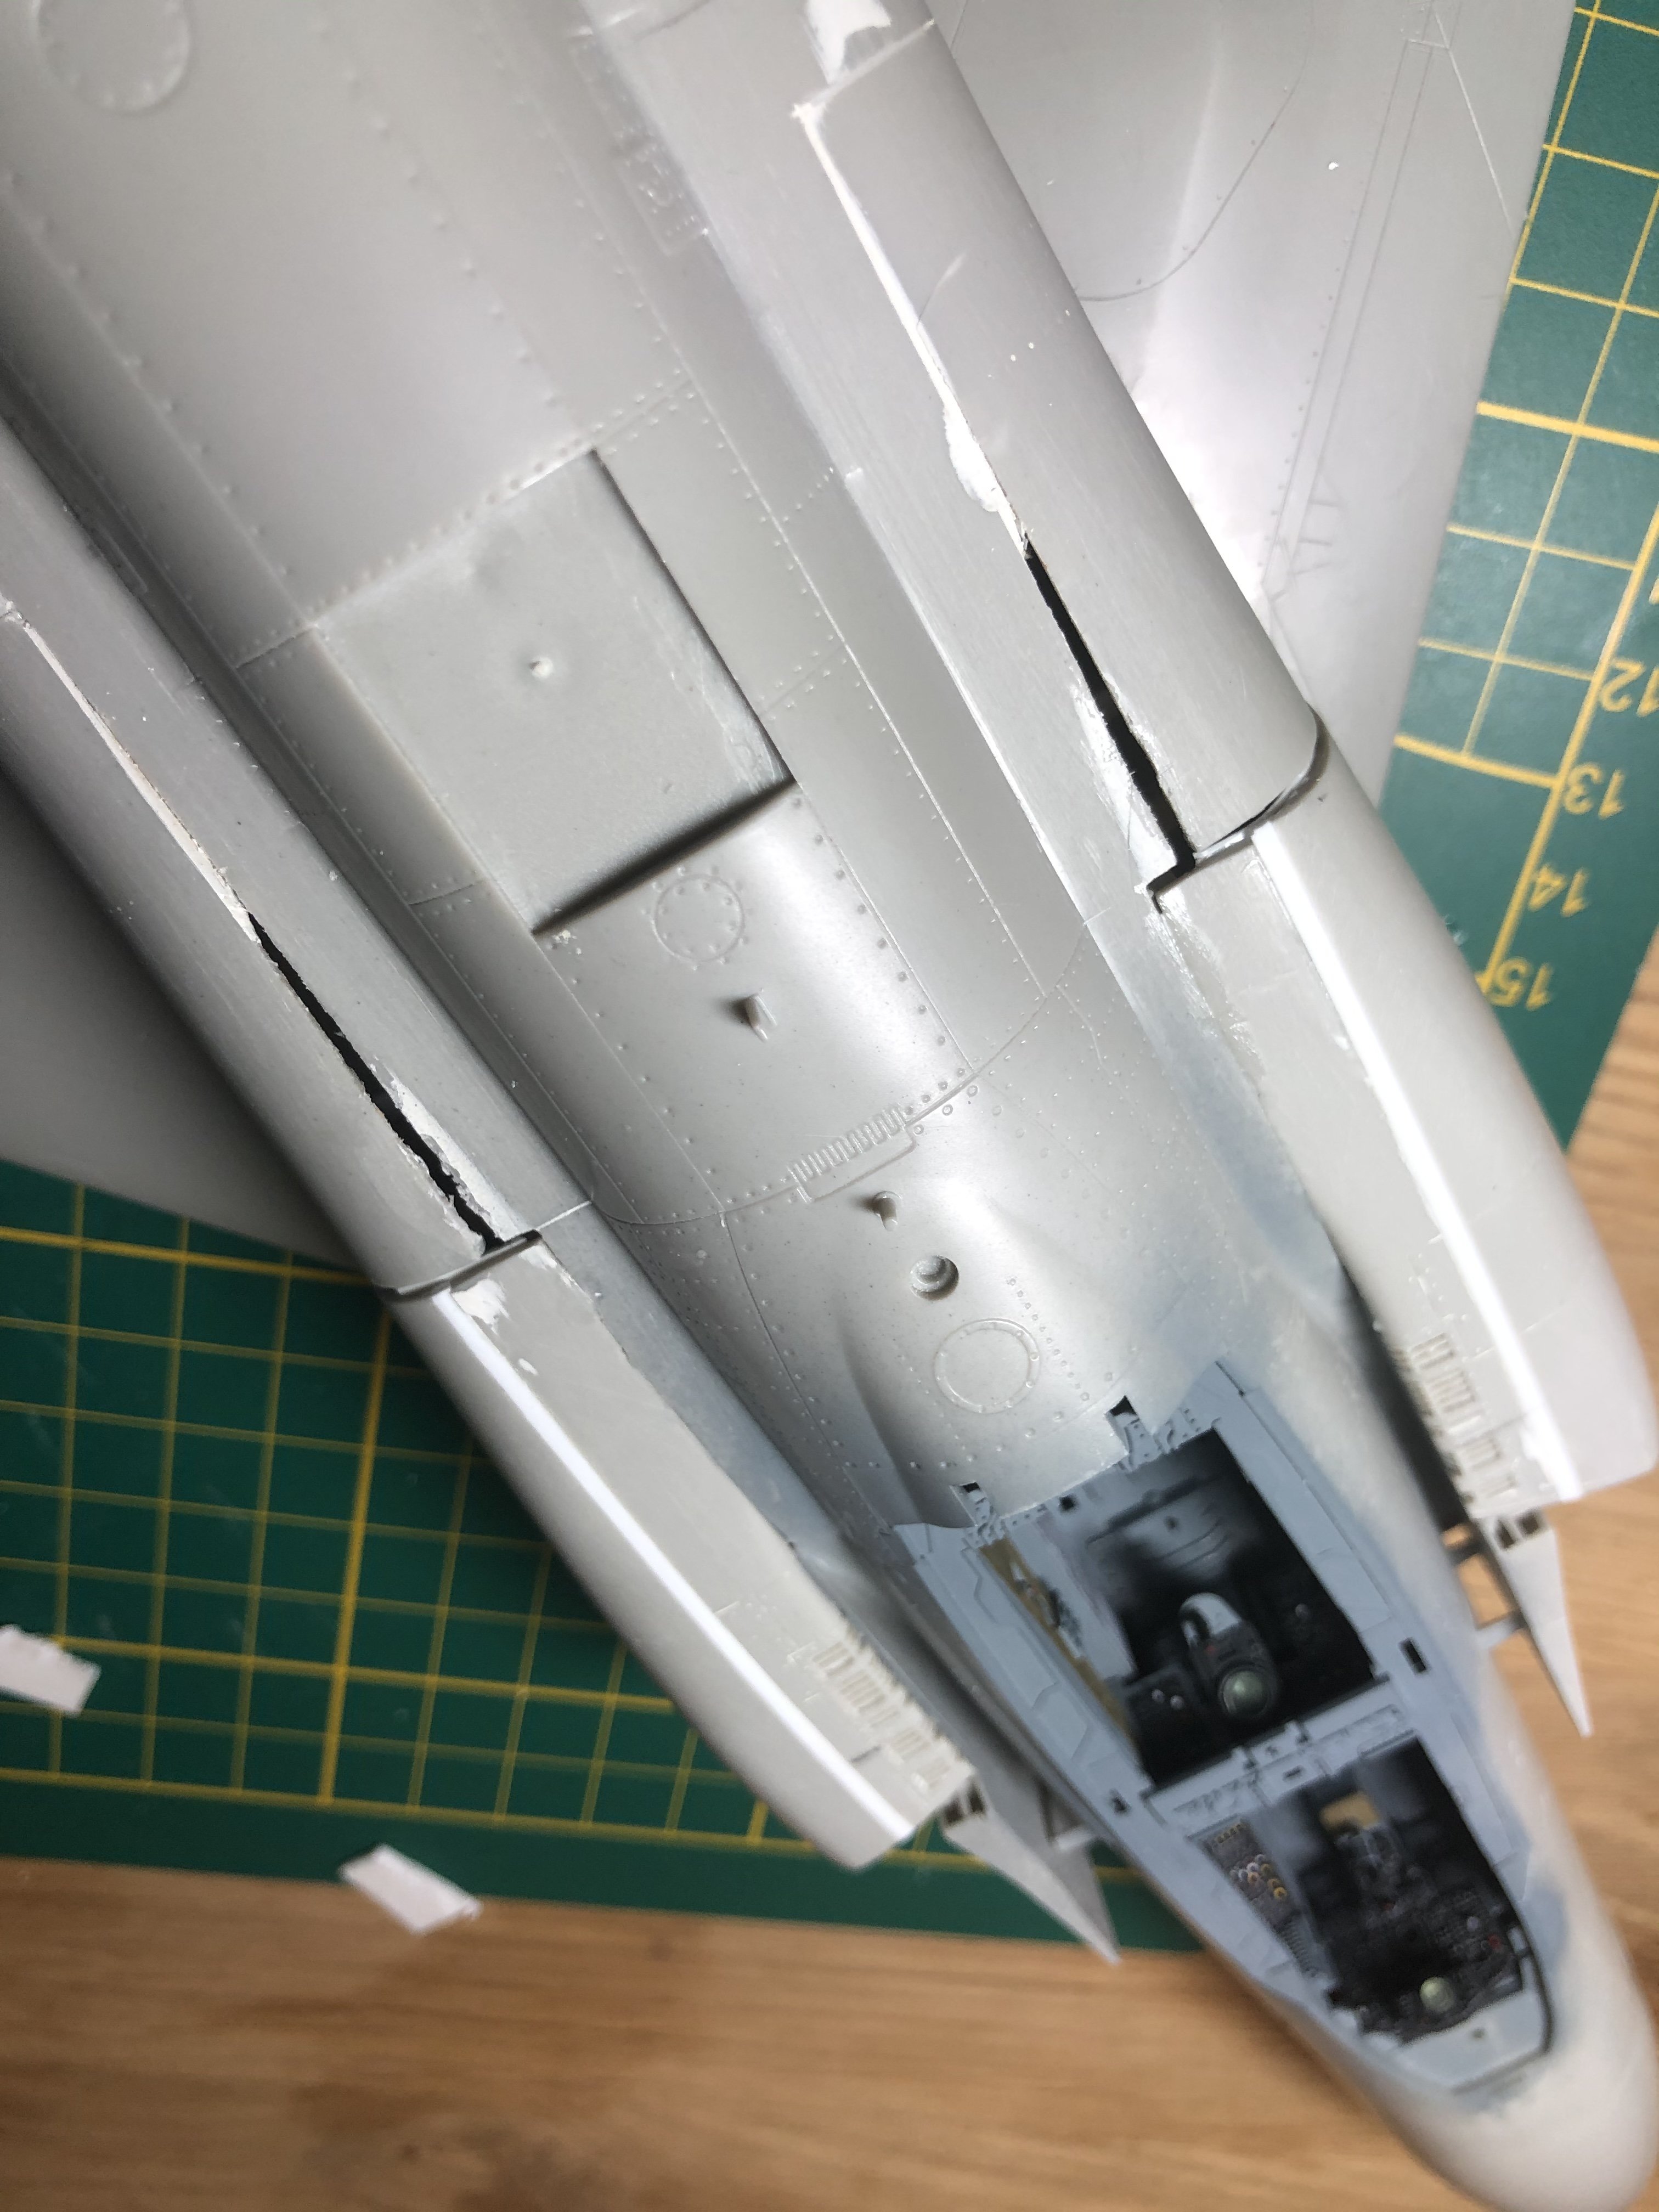
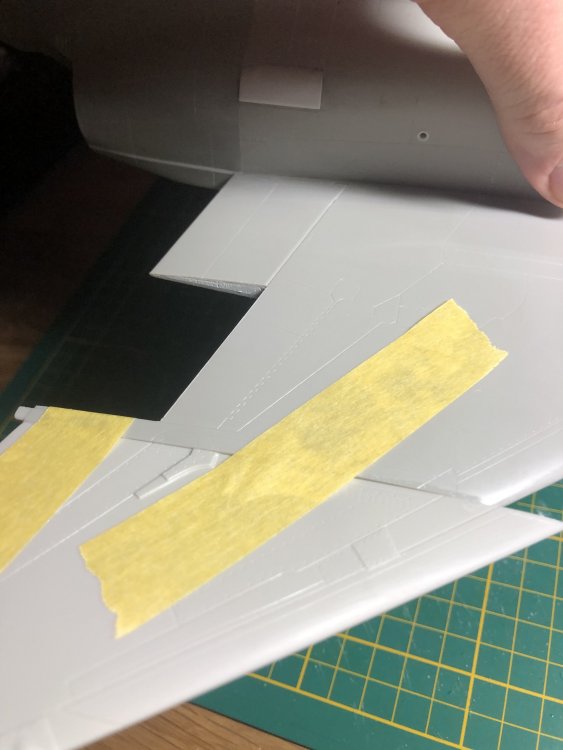
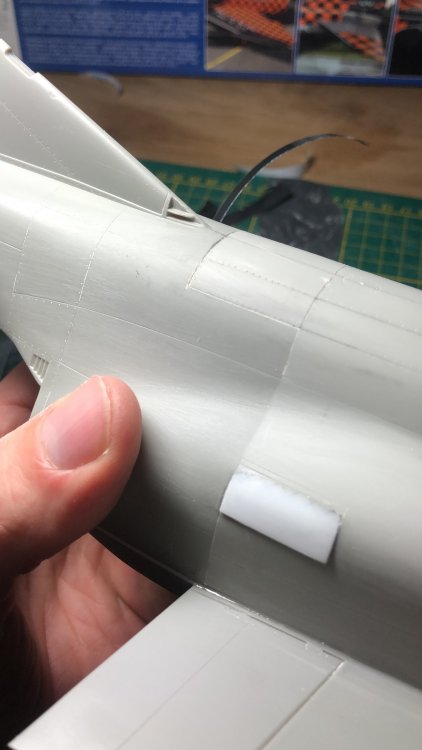
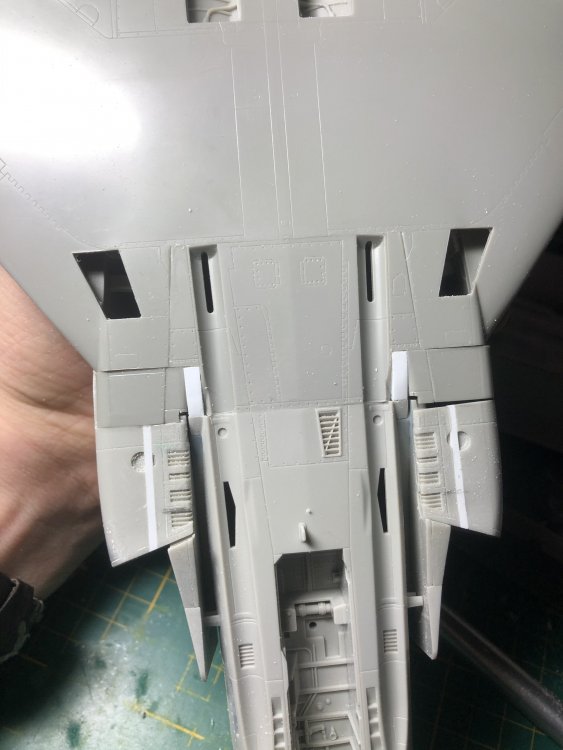
Some more work being done. I saved the sawn off bits from the Revell wing as at the time I thought they might be useful later They are, as the gaping hole between fuselage and wing can be plugged. The remaining gaps will be filled with Miliput. I am pleased how this turned out. Also finished the Revell tailhook as the Tamiya one is too short.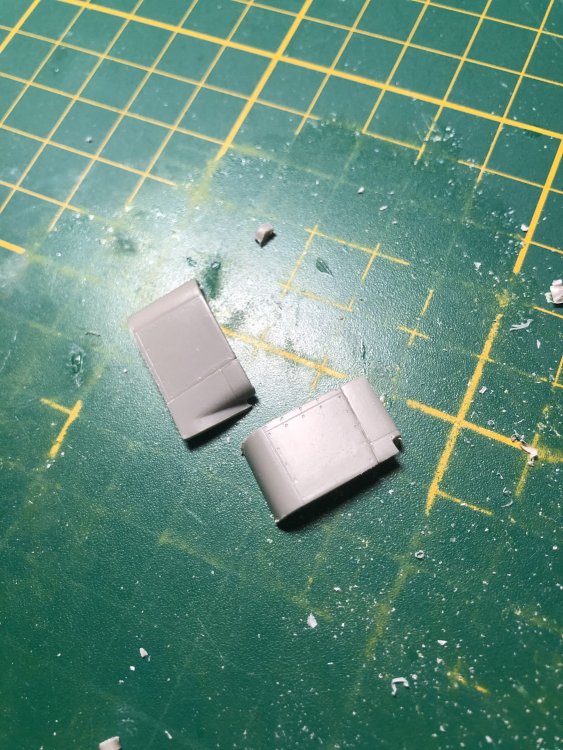


- 414 replies
-
- 5
-
-
-
- conversion
- phantom
- (and 1 more)
-
1929 Fokker Super Universal
Wingco57 replied to Clunkmeister's topic in LSM 1/35 and Larger Work In Progress
The Stranraer was recovered the same museum IIRC which displays the "Hampden".- 67 replies
-
- 3
-
-
- fokker
- super universal
- (and 5 more)
-
RR Spey powered RAF Phantom conversion
Wingco57 replied to Wingco57's topic in LSM 1/35 and Larger Work In Progress
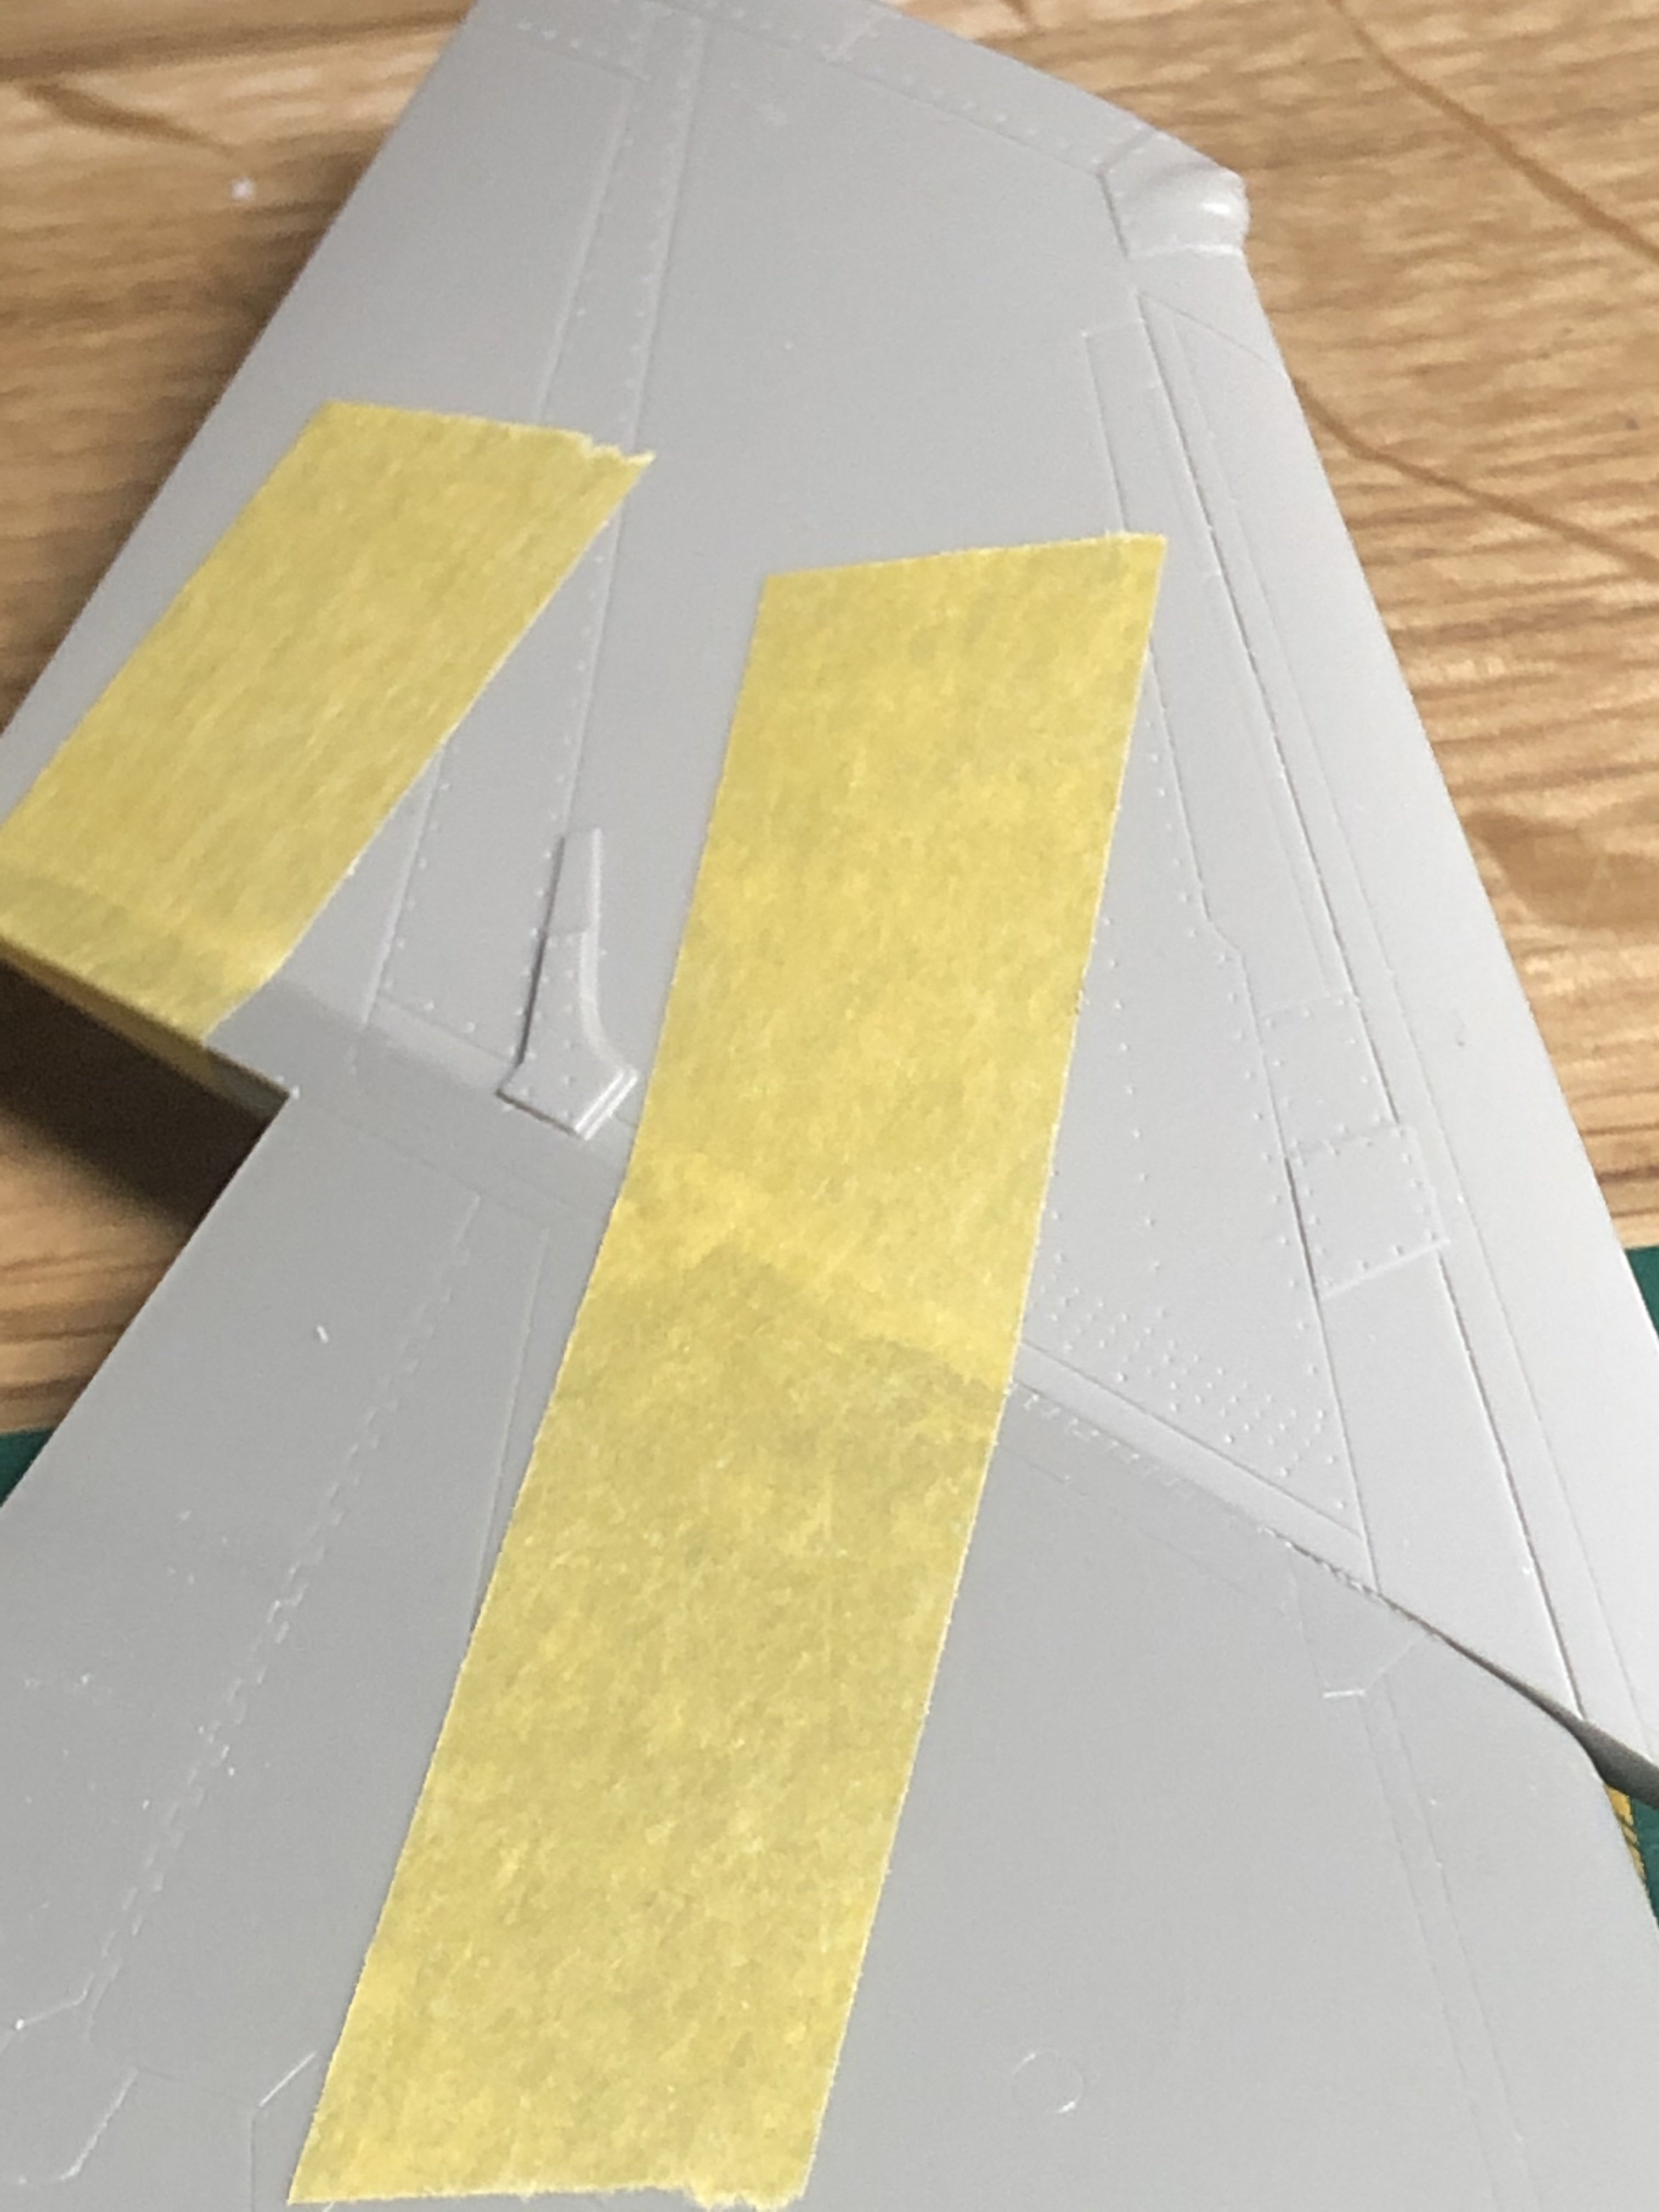
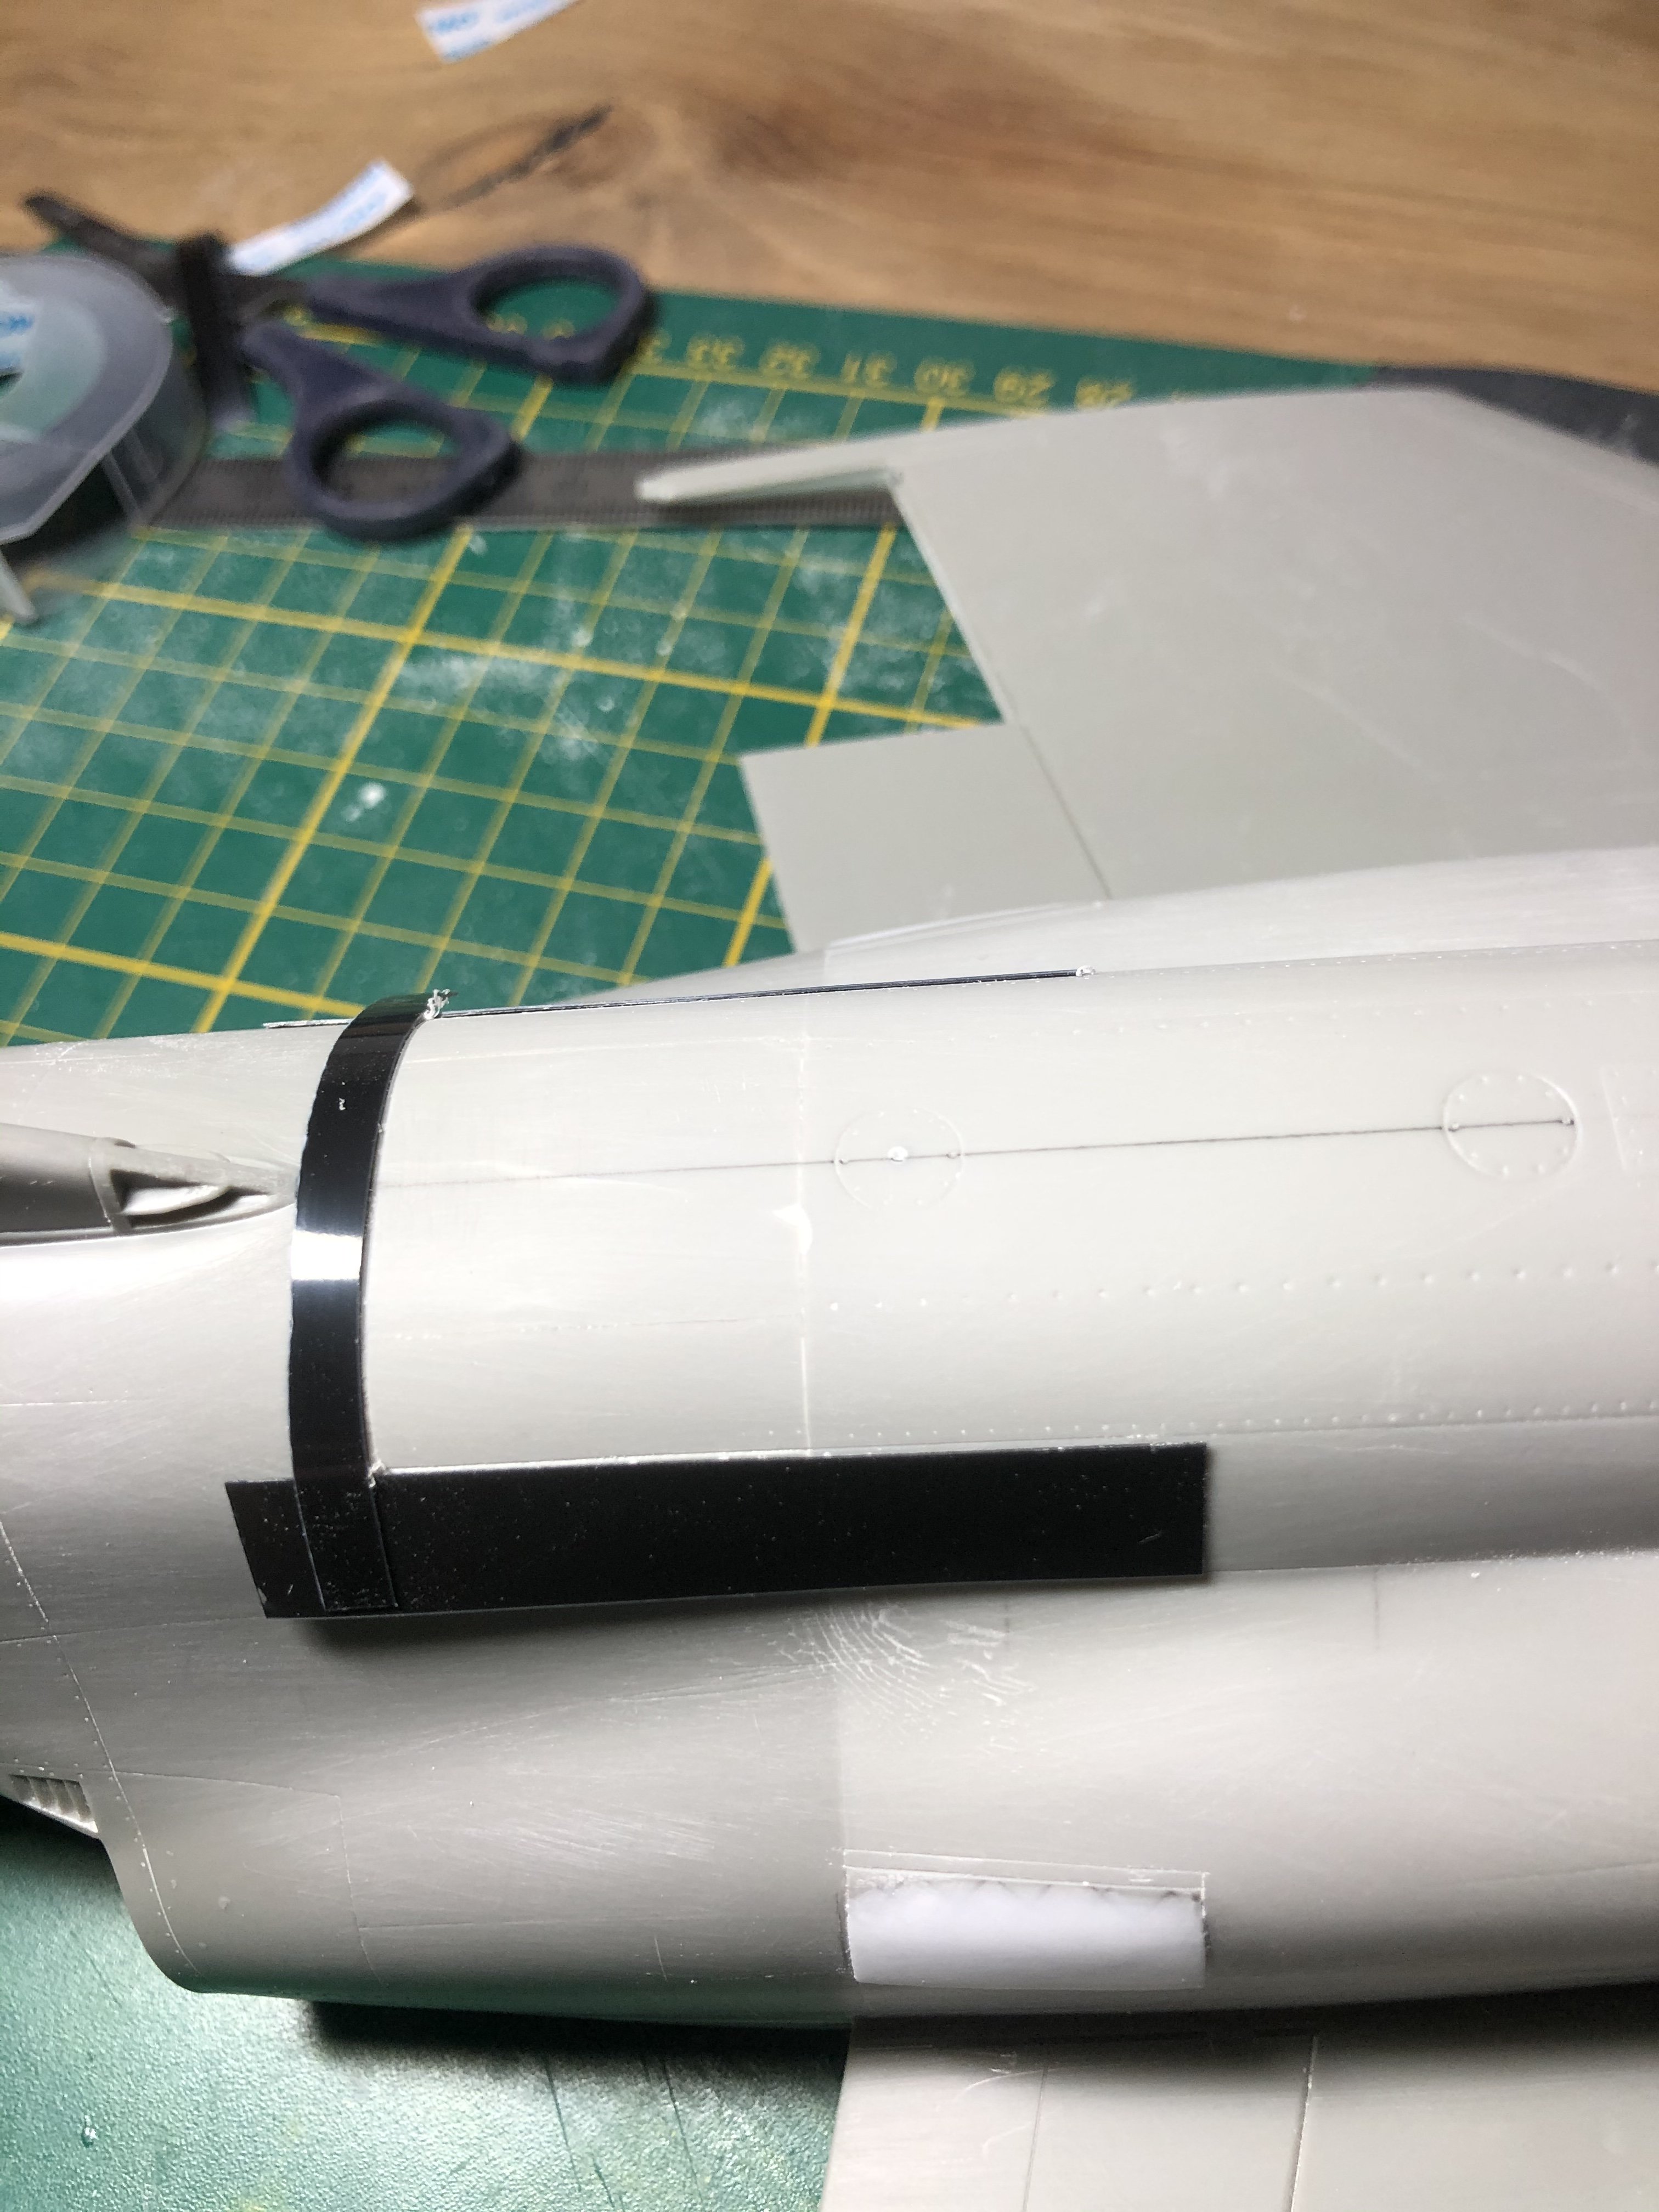
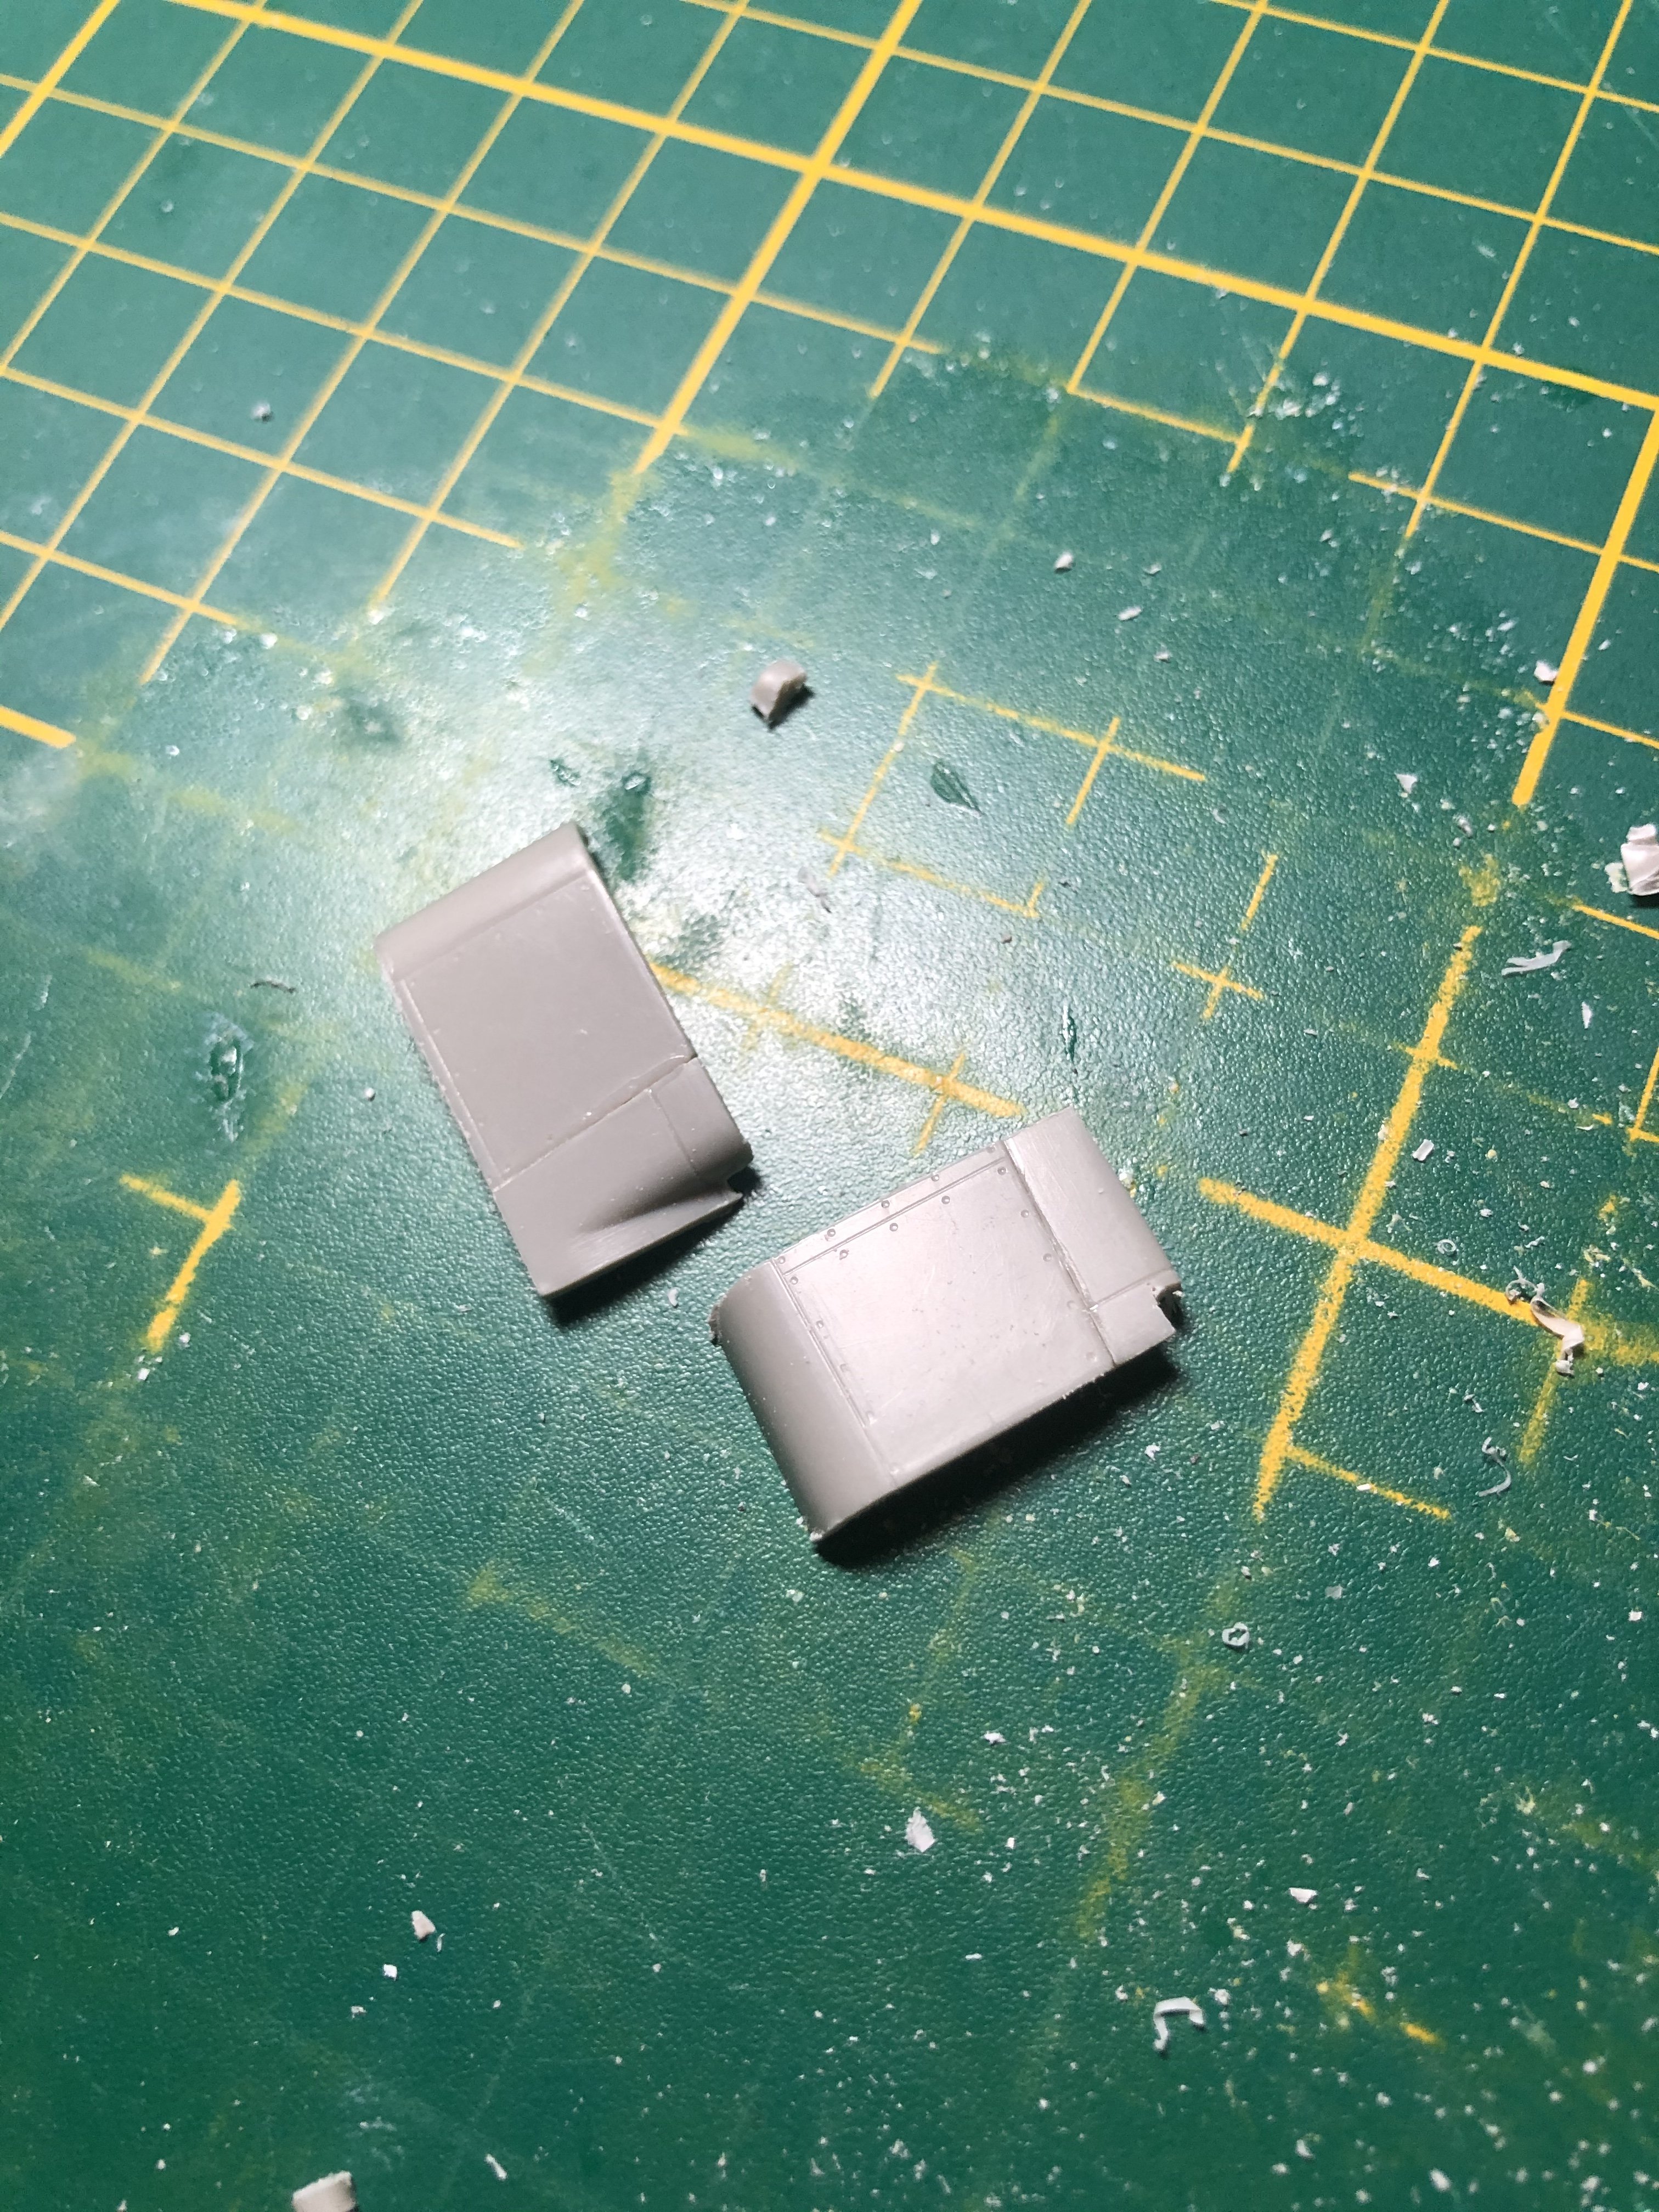
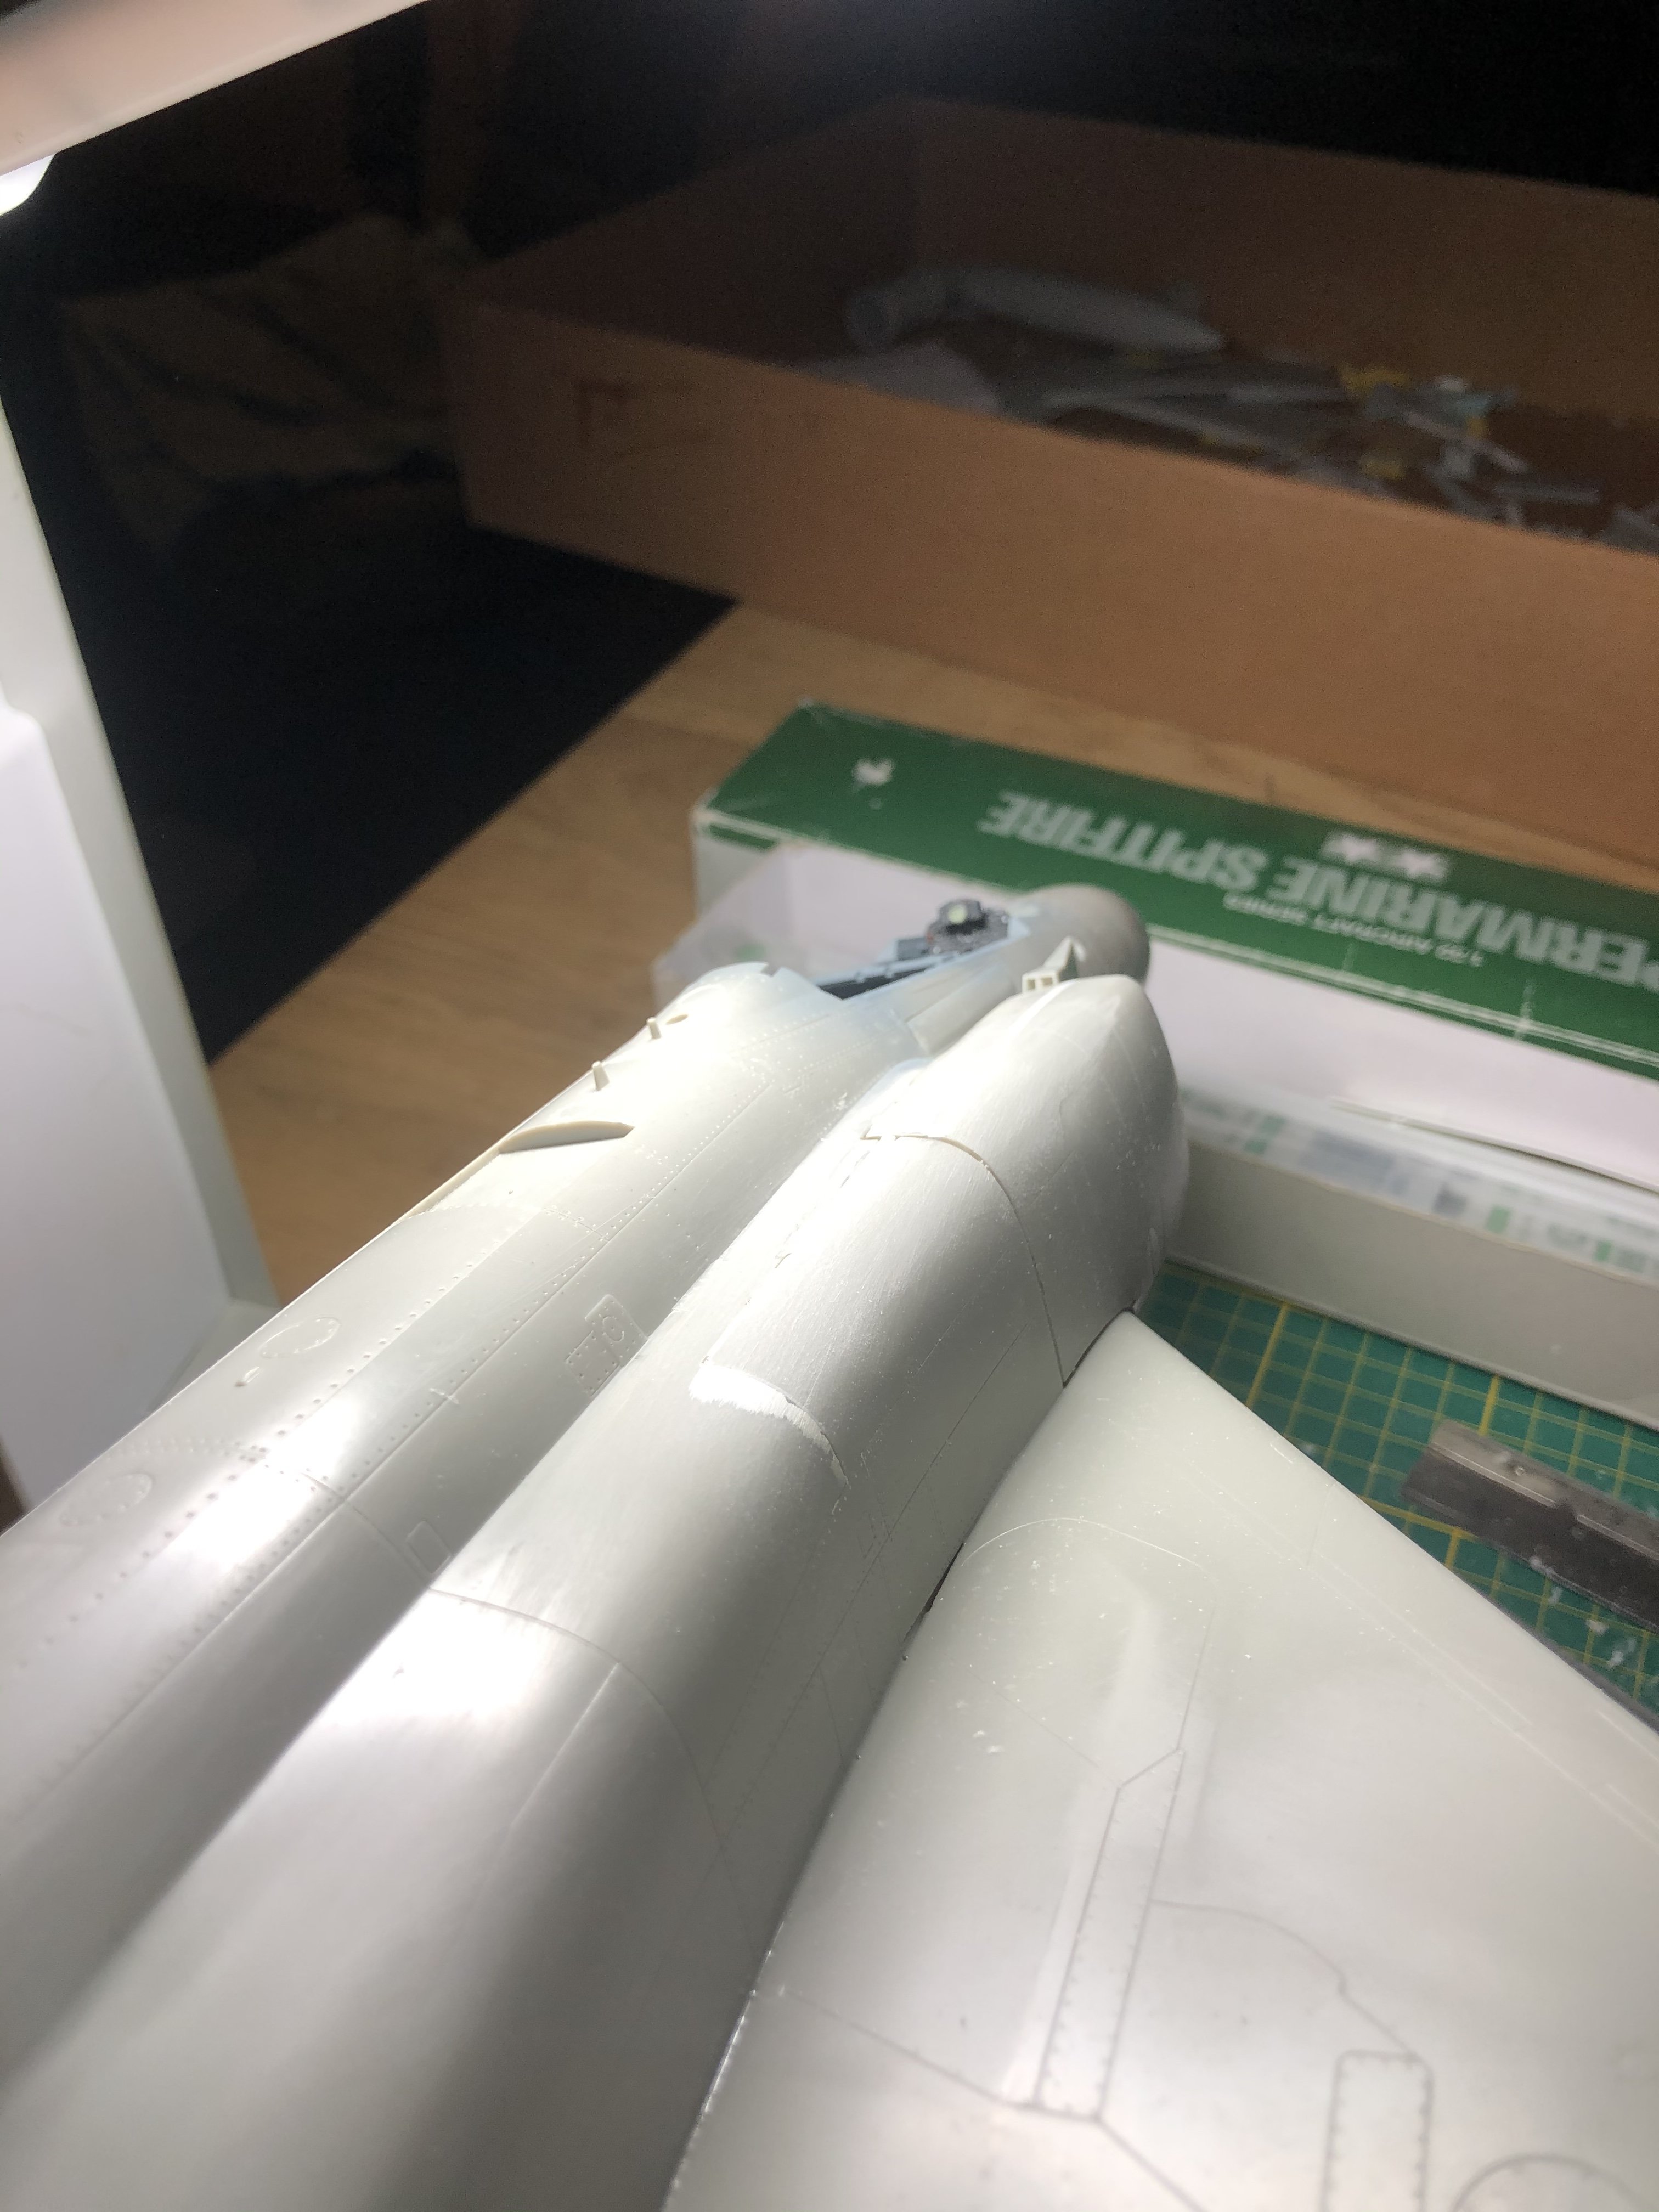
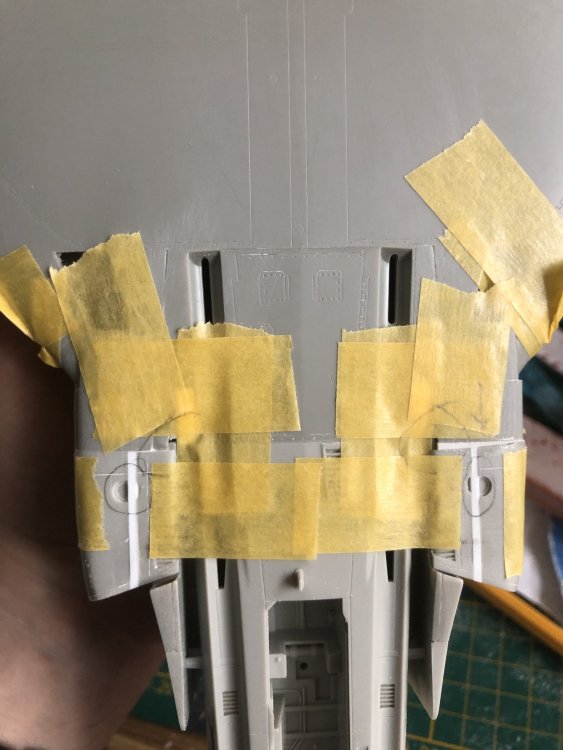
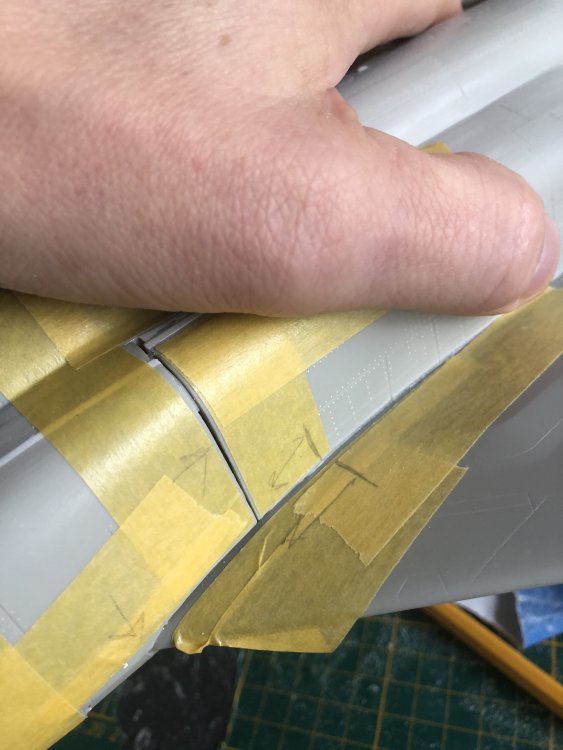
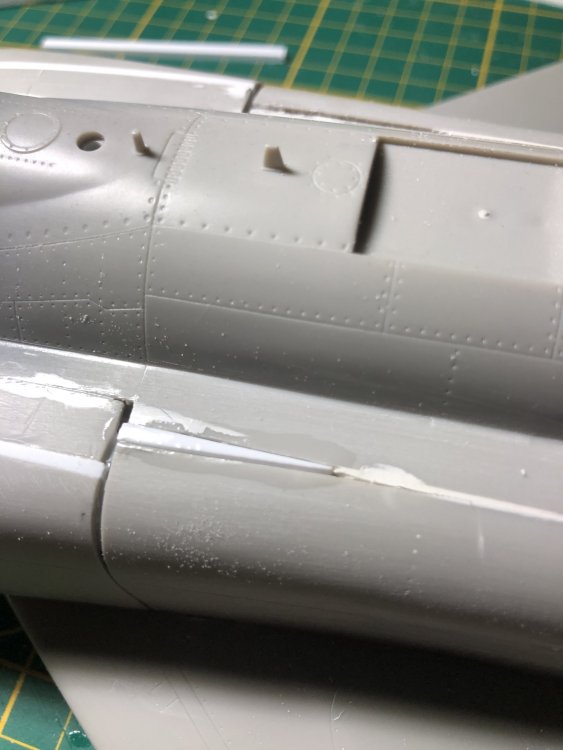
Wedgy time. Destruction before reconstruction. In order to get the mismatch as minimal as possible I had to cut out again the earlier filled joins on top of the fuselage. A wedge forced the side out just enough for a good transition. The wedges were then glued. This is a better option than heavy sanding at the front which would also destroy the panellines. Miliput will fill the irregularities.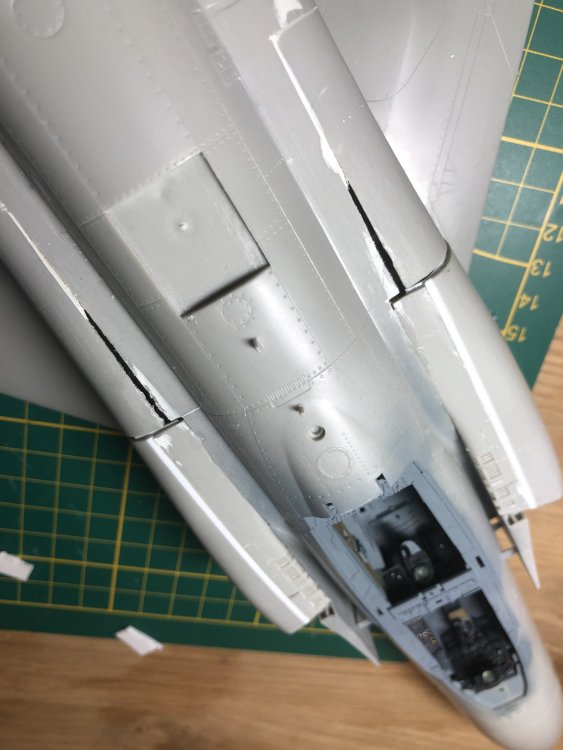
- 414 replies
-
- 3
-
-
- conversion
- phantom
- (and 1 more)
-
1929 Fokker Super Universal
Wingco57 replied to Clunkmeister's topic in LSM 1/35 and Larger Work In Progress
Supermarine Stranraer was a gem they found in Saanich Inlet.- 67 replies
-
- 3
-
-
- fokker
- super universal
- (and 5 more)
-
Short Sunderland MkII
Wingco57 replied to ThomasProbert's topic in LSM 1/35 and Larger Work In Progress
Exactly the type of scratchbuilding I like, way to go Tom. -
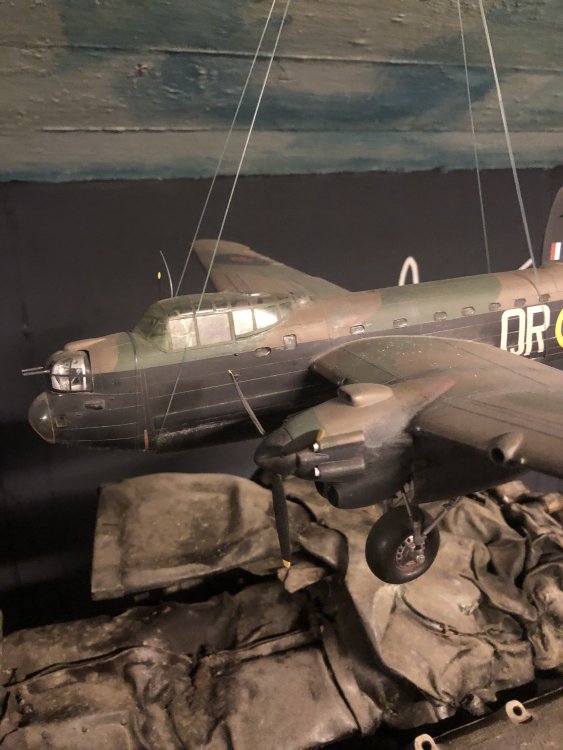
No news on the Manchester but when I was working in the museum the other day I walked past the earlier 1/48 conversion I did, see pic.
-
RR Spey powered RAF Phantom conversion
Wingco57 replied to Wingco57's topic in LSM 1/35 and Larger Work In Progress
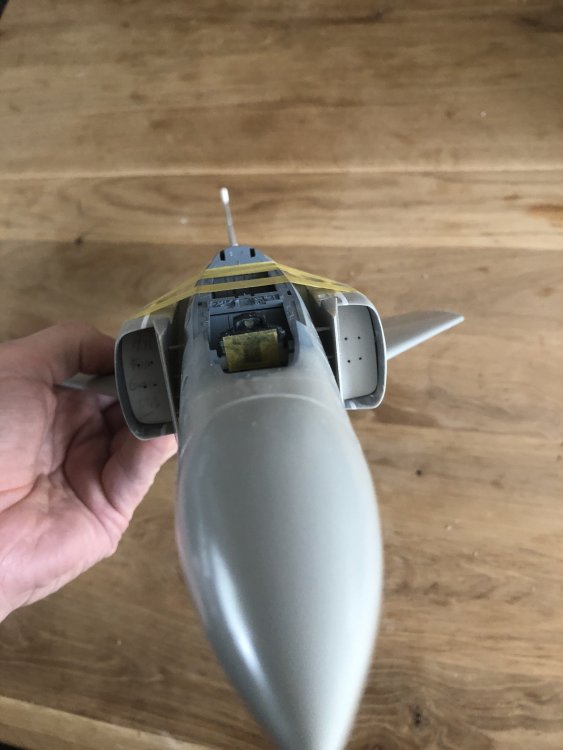
Anthony, are there by any chance 43 Sqn decals for a camo Toom in the Wild Hare set? in the meantime the intakes have been fitted.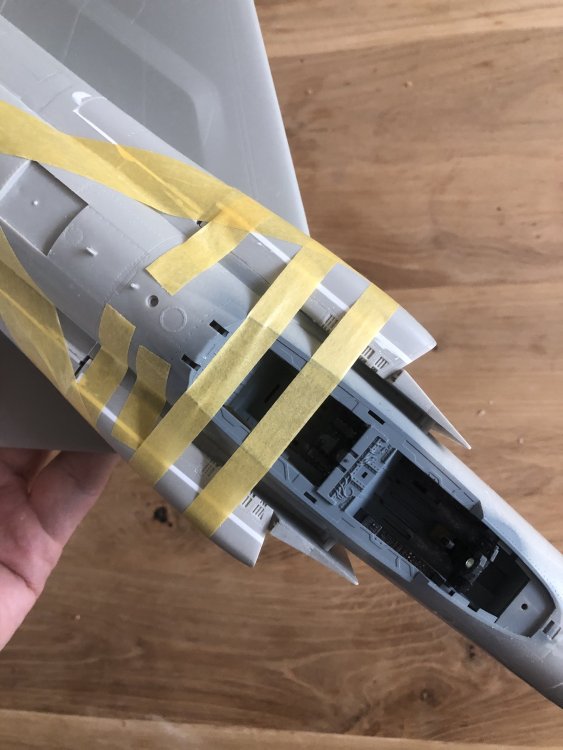

- 414 replies
-
- 5
-
-
- conversion
- phantom
- (and 1 more)