
Clunkmeister
-
Posts
7,200 -
Joined
-
Last visited
Content Type
Profiles
Forums
Events
Gallery
Everything posted by Clunkmeister
-
1/48 is cool as well y’all.
-
ROG, Trump, or Hase are all FINE!!
-
Yep. I just CAN’T do it guys. Thanks though. Although in some years, some of the raffle prizes have literally blown my mind. I
-
You won’t build them, either. It’s taking me 6 months to build a Helldiver that took John, what? 6 DAYS?
-
It would literally take me 400 years to build everything I have already. I’d rather some of y’all get some of it.
-
Umm, how do I say this nicely, Ummm, uhhhh, ok, uhhh..…….Bite me
-
Last year, Winnie won a big prize. I’m going to offer that exact same prize again this year, but as a personal gift from me. It’s a bit over the limit I arbitrarily set, but I’m the organizer, so screw you! 😂😂😂😂😂 This is payback for daring to think I’d join in! Ha! Someone will get a Border Models Lancaster plus VAT allowance for a European or ANZAC winner. From me. Not as a Grand Prize. So you gotta donate to be eligible to win it. You’ll get the kit, plus money to pay the tax man.
- 74 replies
-
- 10
-

-

-

-
Guys, Years back when we started this Christmas Raffle, I put myself up as the sole organizer for a reason: to allow everyone the opportunity to participate. There have been other modeling sites that either do, or have done this, and the organizers participate as well. The organizers seem to more often than not, win a fancy prize. I DAMNED WELL REFUSE to ever allow myself to be in a position of even perceived to be in a position to compromise like that. Ever. I truly love and respect your thoughts here, guys, and it absolutely humbles me, but honestly, along with my personal reasons, I quite seriously don’t need another kit. My stash IS going down as I slowly build and get rid of stuff. The one thing I always hope is that all y’all invite your friends, modeling family, and buddies from around the world to join us here on this site. LSM is a great place to be, y’all!
- 74 replies
-
- 10
-
-
-
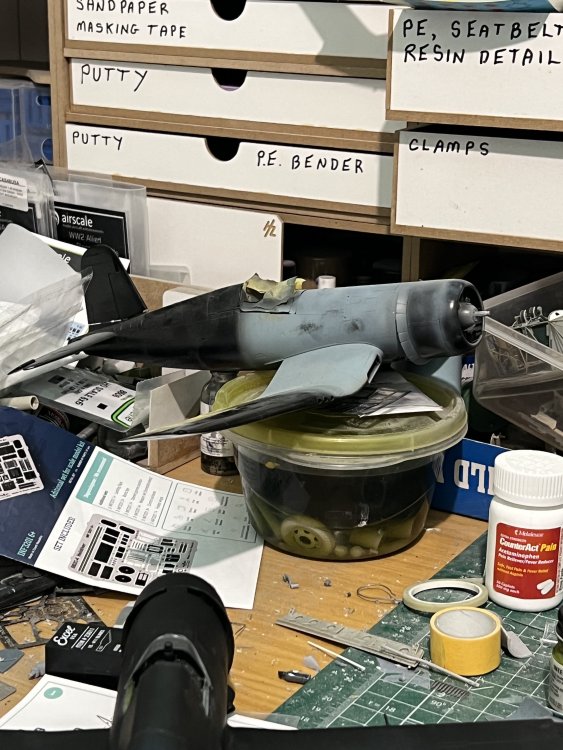
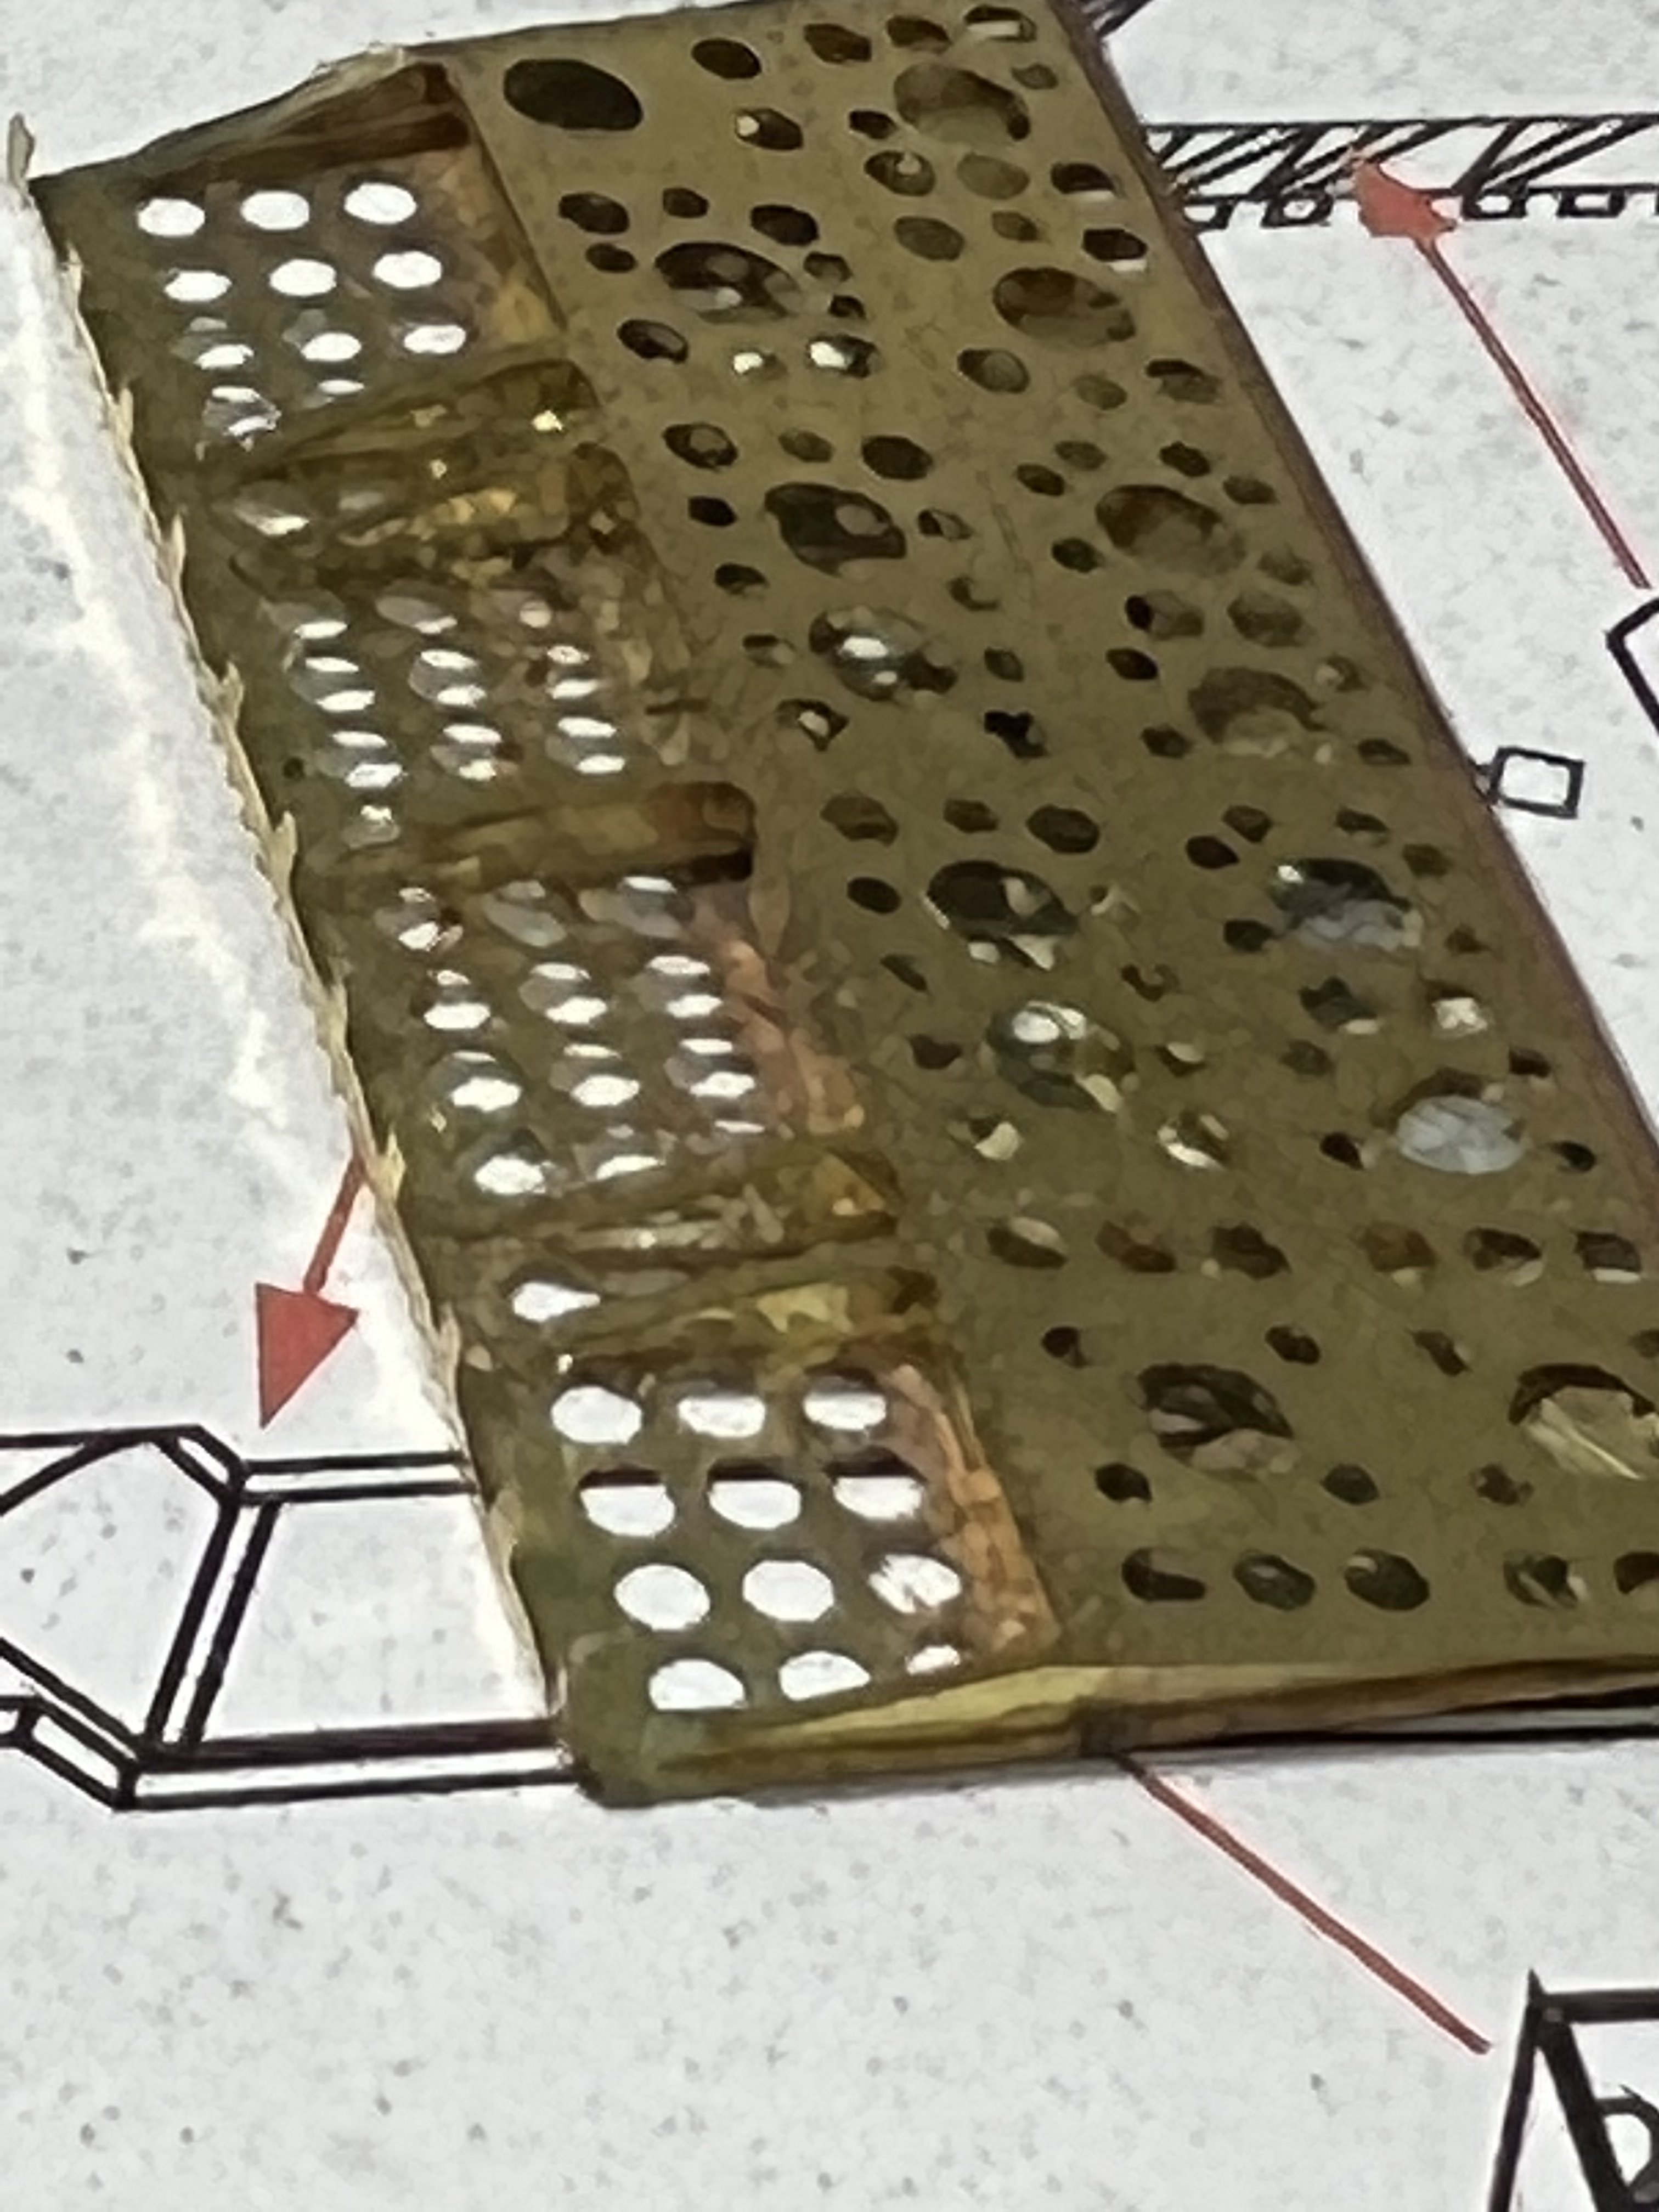
 Guys, I’m in the middle of building up the PE flaps for this model, and it’s a tedious thing. Not difficult, but tedious. Once done and Ihave a better idea how they are supposed to look, I’m going to go one step further here, and attempt to modify the plastic flaps, documenting as I go, which, the more I look at them, the more potential they seem to have. OOB, they’re OK from regular viewing distance, but if left as they come, they fall really short when viewed up close. They’re thick and clunky from a foot away. Already I can see a couple things that can be done to help them out. Stay Tuned!
 -
I’m not a switch hitter, bud. Guaranteed. Mine is exit only, trust me. However, I have been known to make tasteless jokes at the expense of those that do… 😄
-
Well dang. I was told the GB name is Lame. 🤣
Clunkmeister replied to Clunkmeister's topic in General Discussion
^^^^^. This ^^^^^. Is why I love you guys. And is exactly why I can’t leave y’all alone for more than an hour or two. I just laughed and choked on a piece of steak, and it’s now lodged in my left nostril. -
Peter, if that fails, I will reach out to Sprue Brothers in the morning as well. I bought three of these from them already and will cajole them into hopefully supplying a replacement set. If they charge me, I’ll let you know, but I might have a bit of pull with them. We’ll see. Failing that, I can send you the part until sprues start showing up on eBay.
-
Exactly! Its a flippin’ JETMADS SAAB VIGGEN IN 1/32!! I bought THREE of them for exactly this reason. They will NEVER be offered in 1/32 again, they build up into perfect examples of the amazing Viggen, and not only that, it’s one of the most unique, and coolest looking jets ever built, anywhere, EVER!
-
Grand Prize: (open to everyone on LSM except Ernie): 1/32 JetMads Viggen (second run of 500), new, unopened in box. Will also include shipping along with PayPal funds to cover VAT, Parcel Farce and National Customs Fees Gifts: (open for swap drawing to those who contribute) 1. 1/35 Ryefield Panther G or $75 USD gift card to the shop of their choice. from BlrwestSiR 2. $50.00 USD gift card from GazzaS. 3. $50 dollar or €50 gift card depending where the winner is. from Mark31 4. 1/32 ZM P-51 unopened or a $50 gift certificate to the persons hobby retailer of their choice. From ScottsGT 5. Hasegawa Kawanishi George or the option of a gift card. From GusMac 6. 1/32 Italeri Mirage IIIc or a $90 Gift card. From PeterPools 7. Dragon Hobbies 1/35 10.5cm “Dicker Max”. From Fran 8. Special Hobby US Marines boxing of the ICM 1/32 AH-1G Cobra. From Smitty44 9. Hasegawa Stuka Kanonenvogle with a couple of bonuses in it or for overseas, a gift card $75. From Harv. 10. MRC/Academy Ki-58 "Black Death From Bill_S 11. $100 AUD Gift card. From Artful69 12. $75 dollar (US) gift card to whichever shop you'd like. From Winnie. 13. 1/48 ZM F-4C Phantom II, with the G-Factor Brass landing gear or a $75.00 gift card From CANicoll 14. 1/32 Border Models Lancaster B.l/lll. 15. 1/32 Trumpeter Bf 109E-7. From KevinM 16. 1/32 Roden/Encore Albatros D.ll “Boelcke”. From Seiran01 17. 1/32 Fly Saab J-29 F, with Resin-2-details correction nose and intake (the kit's one is too short and the wrong diameter) and engine correct exhaust, plus, to complete, the boarding ladder from the same AM manufacturer. From HubertB 18. ICM 1:32 I-16. Alternatively, to avoid huge postages, 50USD gift certificate to recipient's hobby store of choice. From Telepatu
-
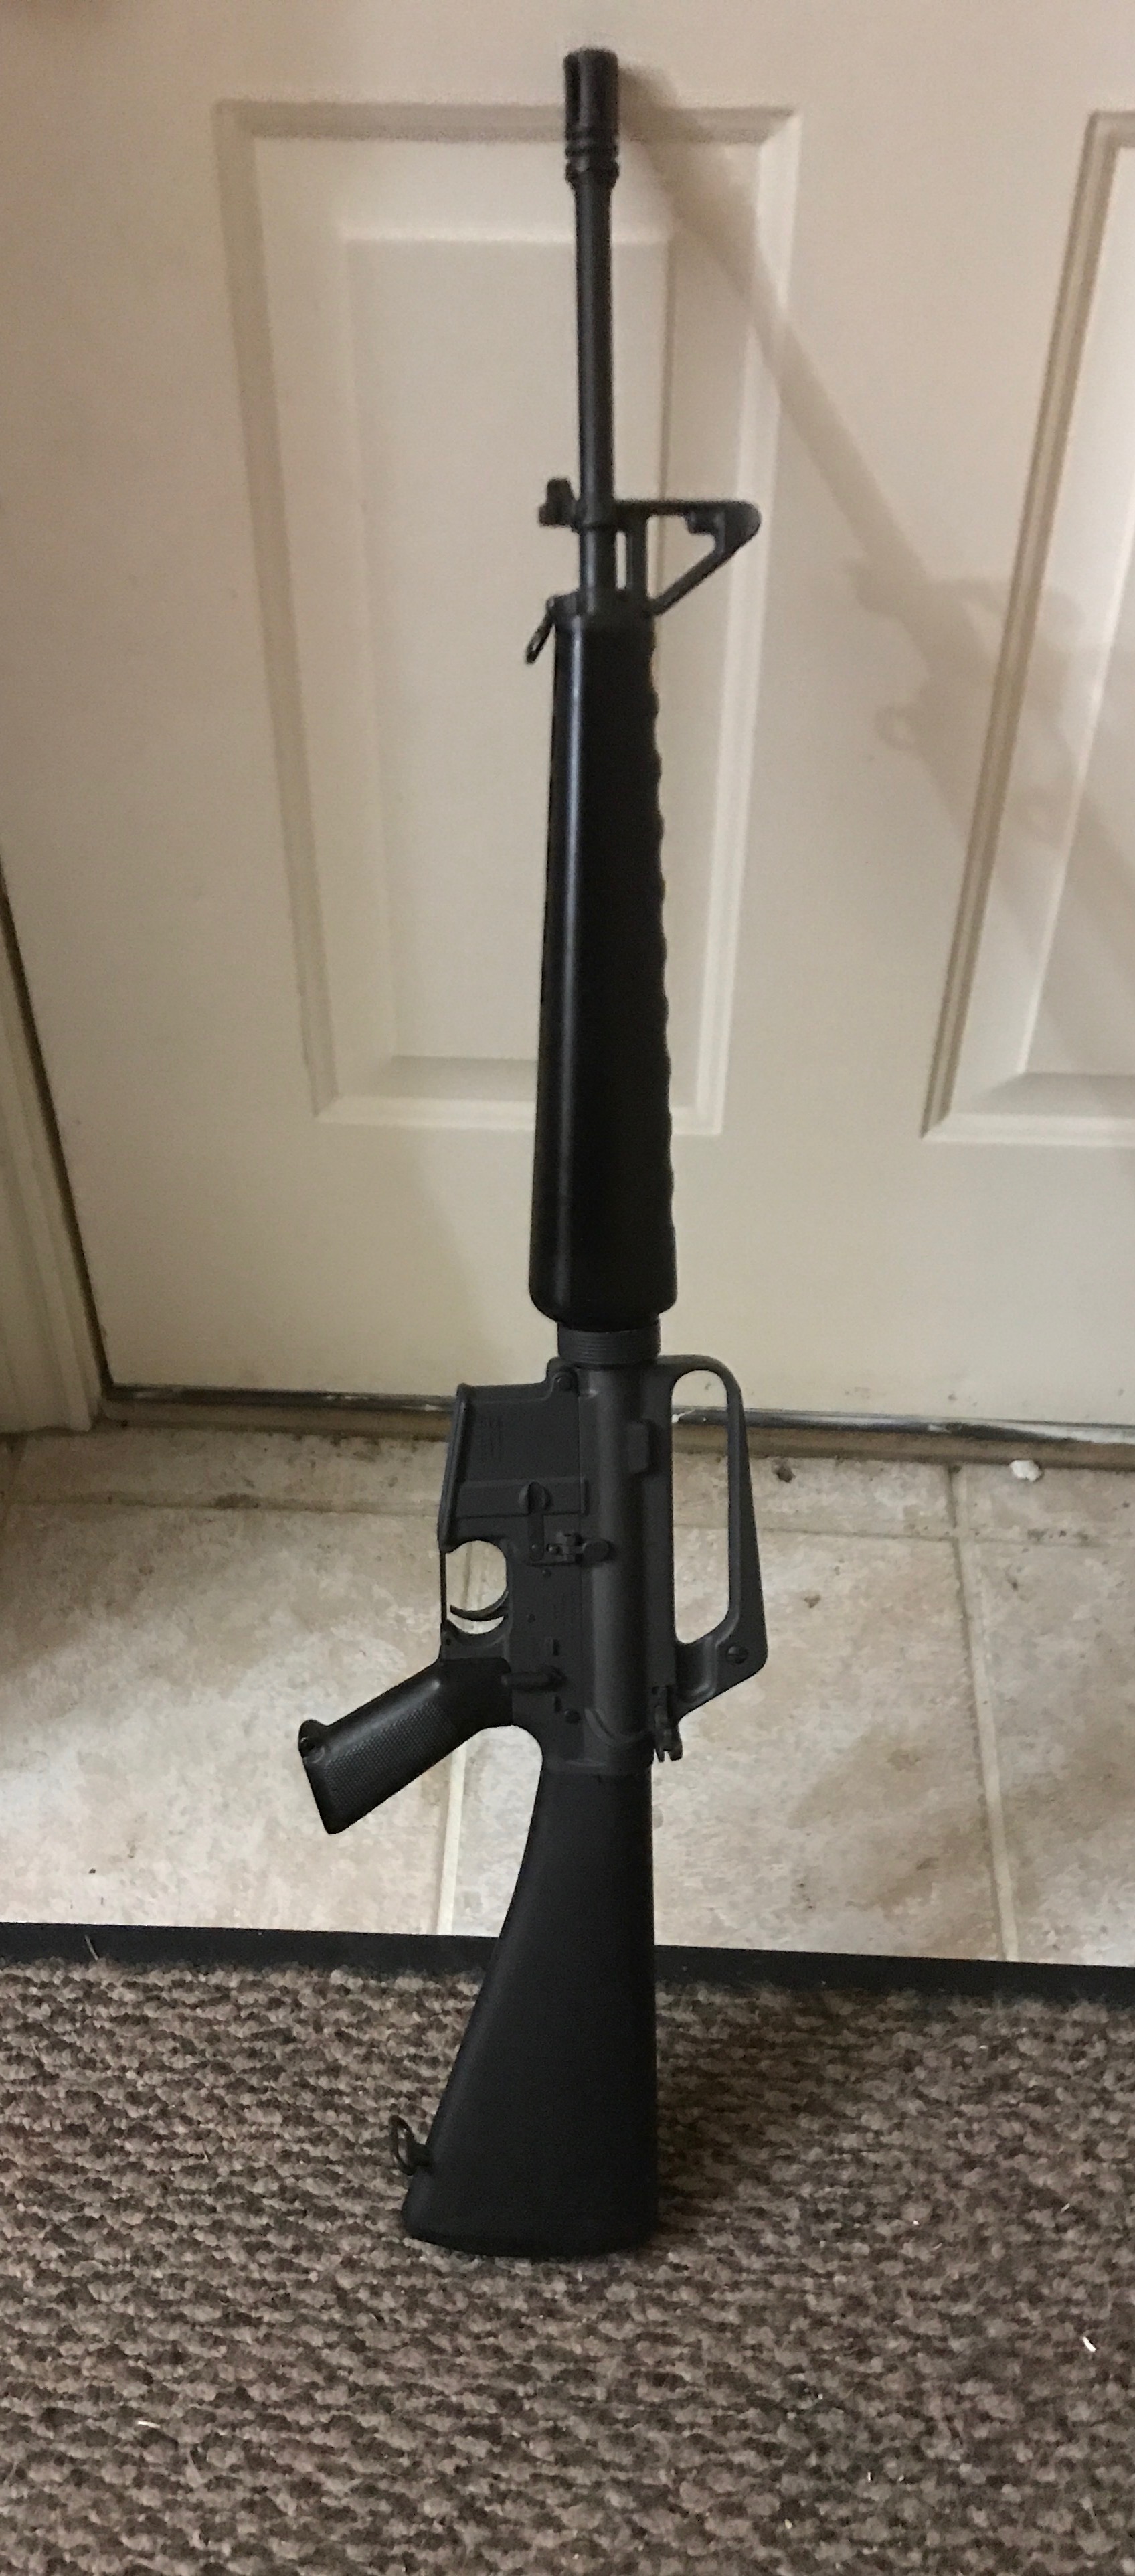
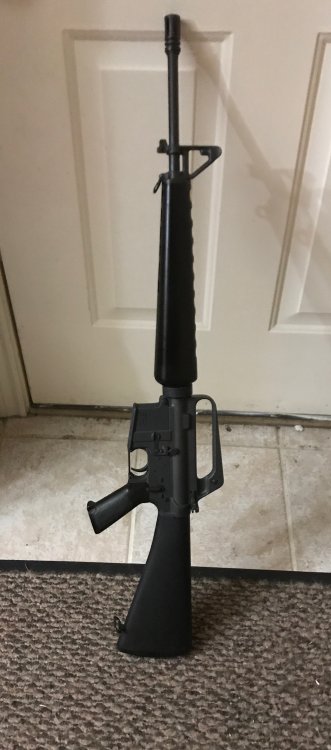
We love to play down here. That’s my nephew on my C1A1 SLR, then with an early PAS-4 active IR, my daughter in law on one of my P-08s, and I’m running an 1858 Remington Army percussion cap pistol. The Cake Decorator is an early GM produced Guide Lamp with a very early mechanical cocking mechanism. The early M16A1 is Vietnam era. The MP40 is a sweet little machine but it really doesn’t like handloads at all.


-
308 Win works, although the pressures are slightly different, the dimensions are the same. Come on down, we have a few. If you get to Hurst on a Bell Course, I can pick you up and we can rock and roll. Trudeau just declared them prohibited in Canada. I guess they’re too scary looking.
-
Fisher F9F Twogar done
Clunkmeister replied to JohnB's topic in LSM 1/32 and Larger Aircraft Ready for Inspection
Chris, I’ve seen your work in person. If you have as many problems as you let on, you sure recover well. Same as me, I suppose. 🤣 John, on the other hand, is a machine. -
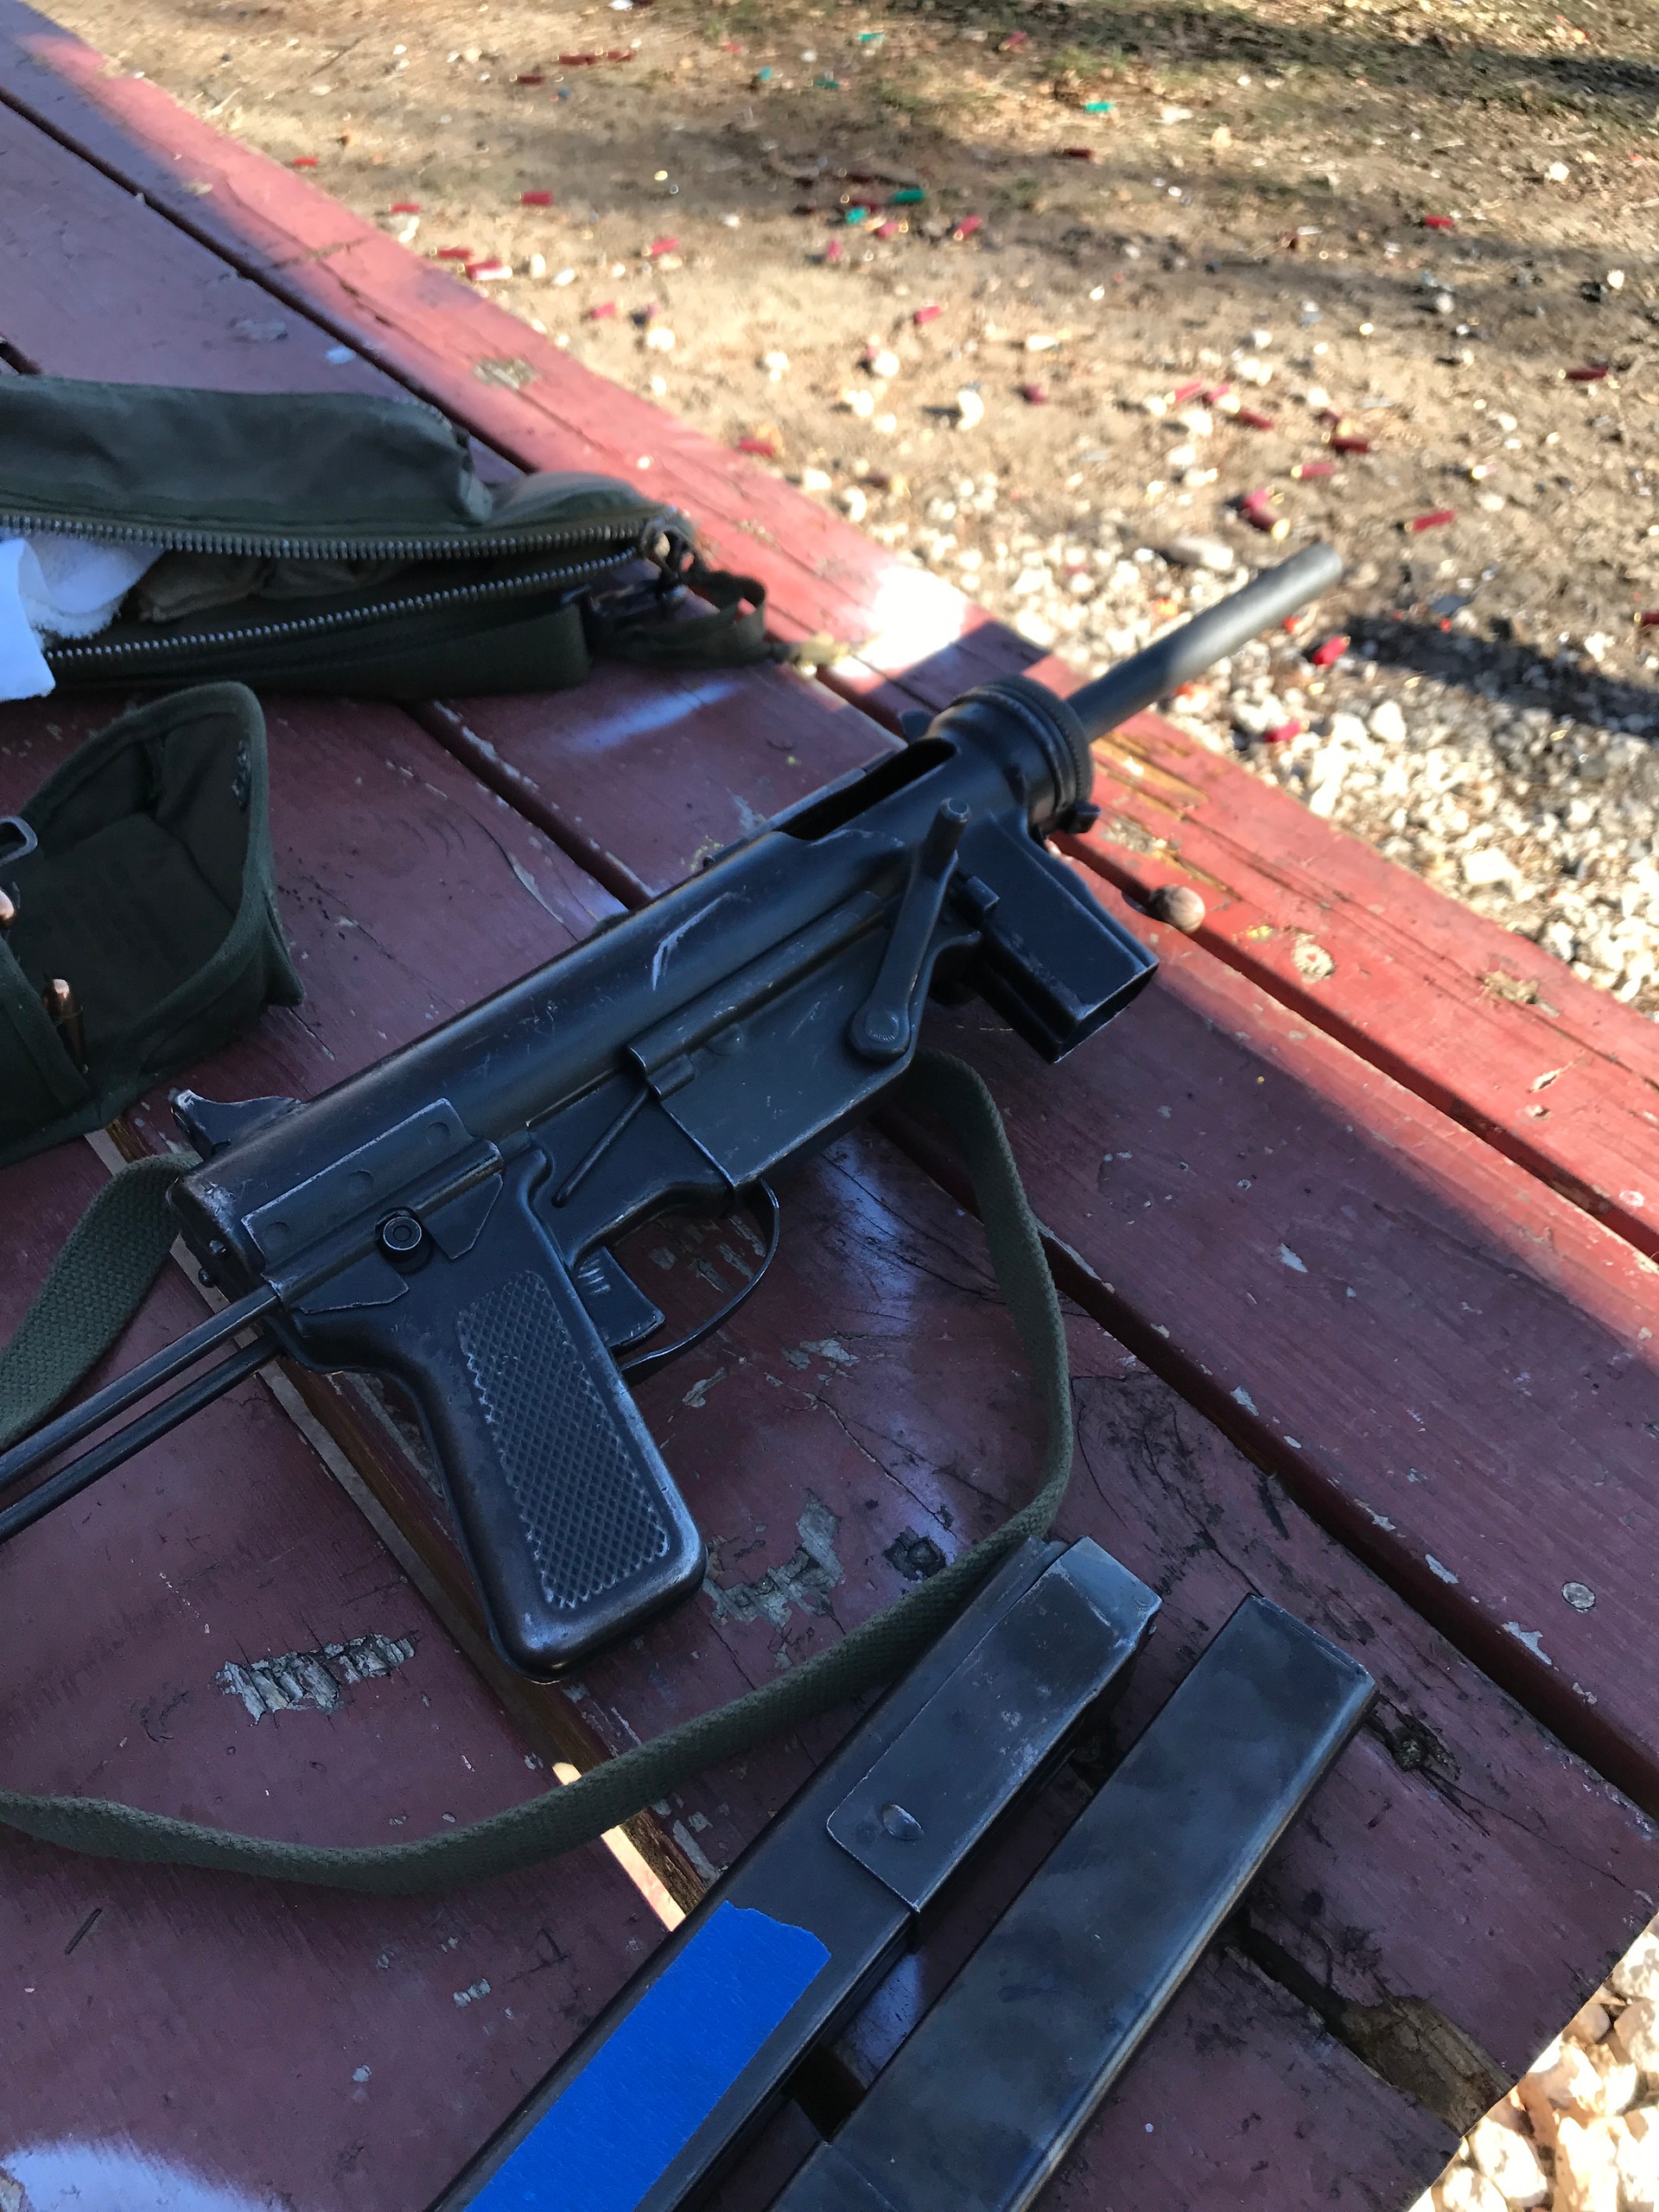
My kinda guy. 🤣 gotta keep the stash defended. Sterling and MP40 are much cheaper to run. The Sterling munches everything. The MP40 hates handloads.
-
Rest In Peace, Mr, Johnson! Your aircraft commander’s story is an interesting read as well.
-
I do not have an FN49 and sold my G43. Silly decisions that will hopefully soon be rectified
-
I’m going to need to remove the top skin it appears. It’s slightly misaligned. So a bit of desoldering will be involved
-
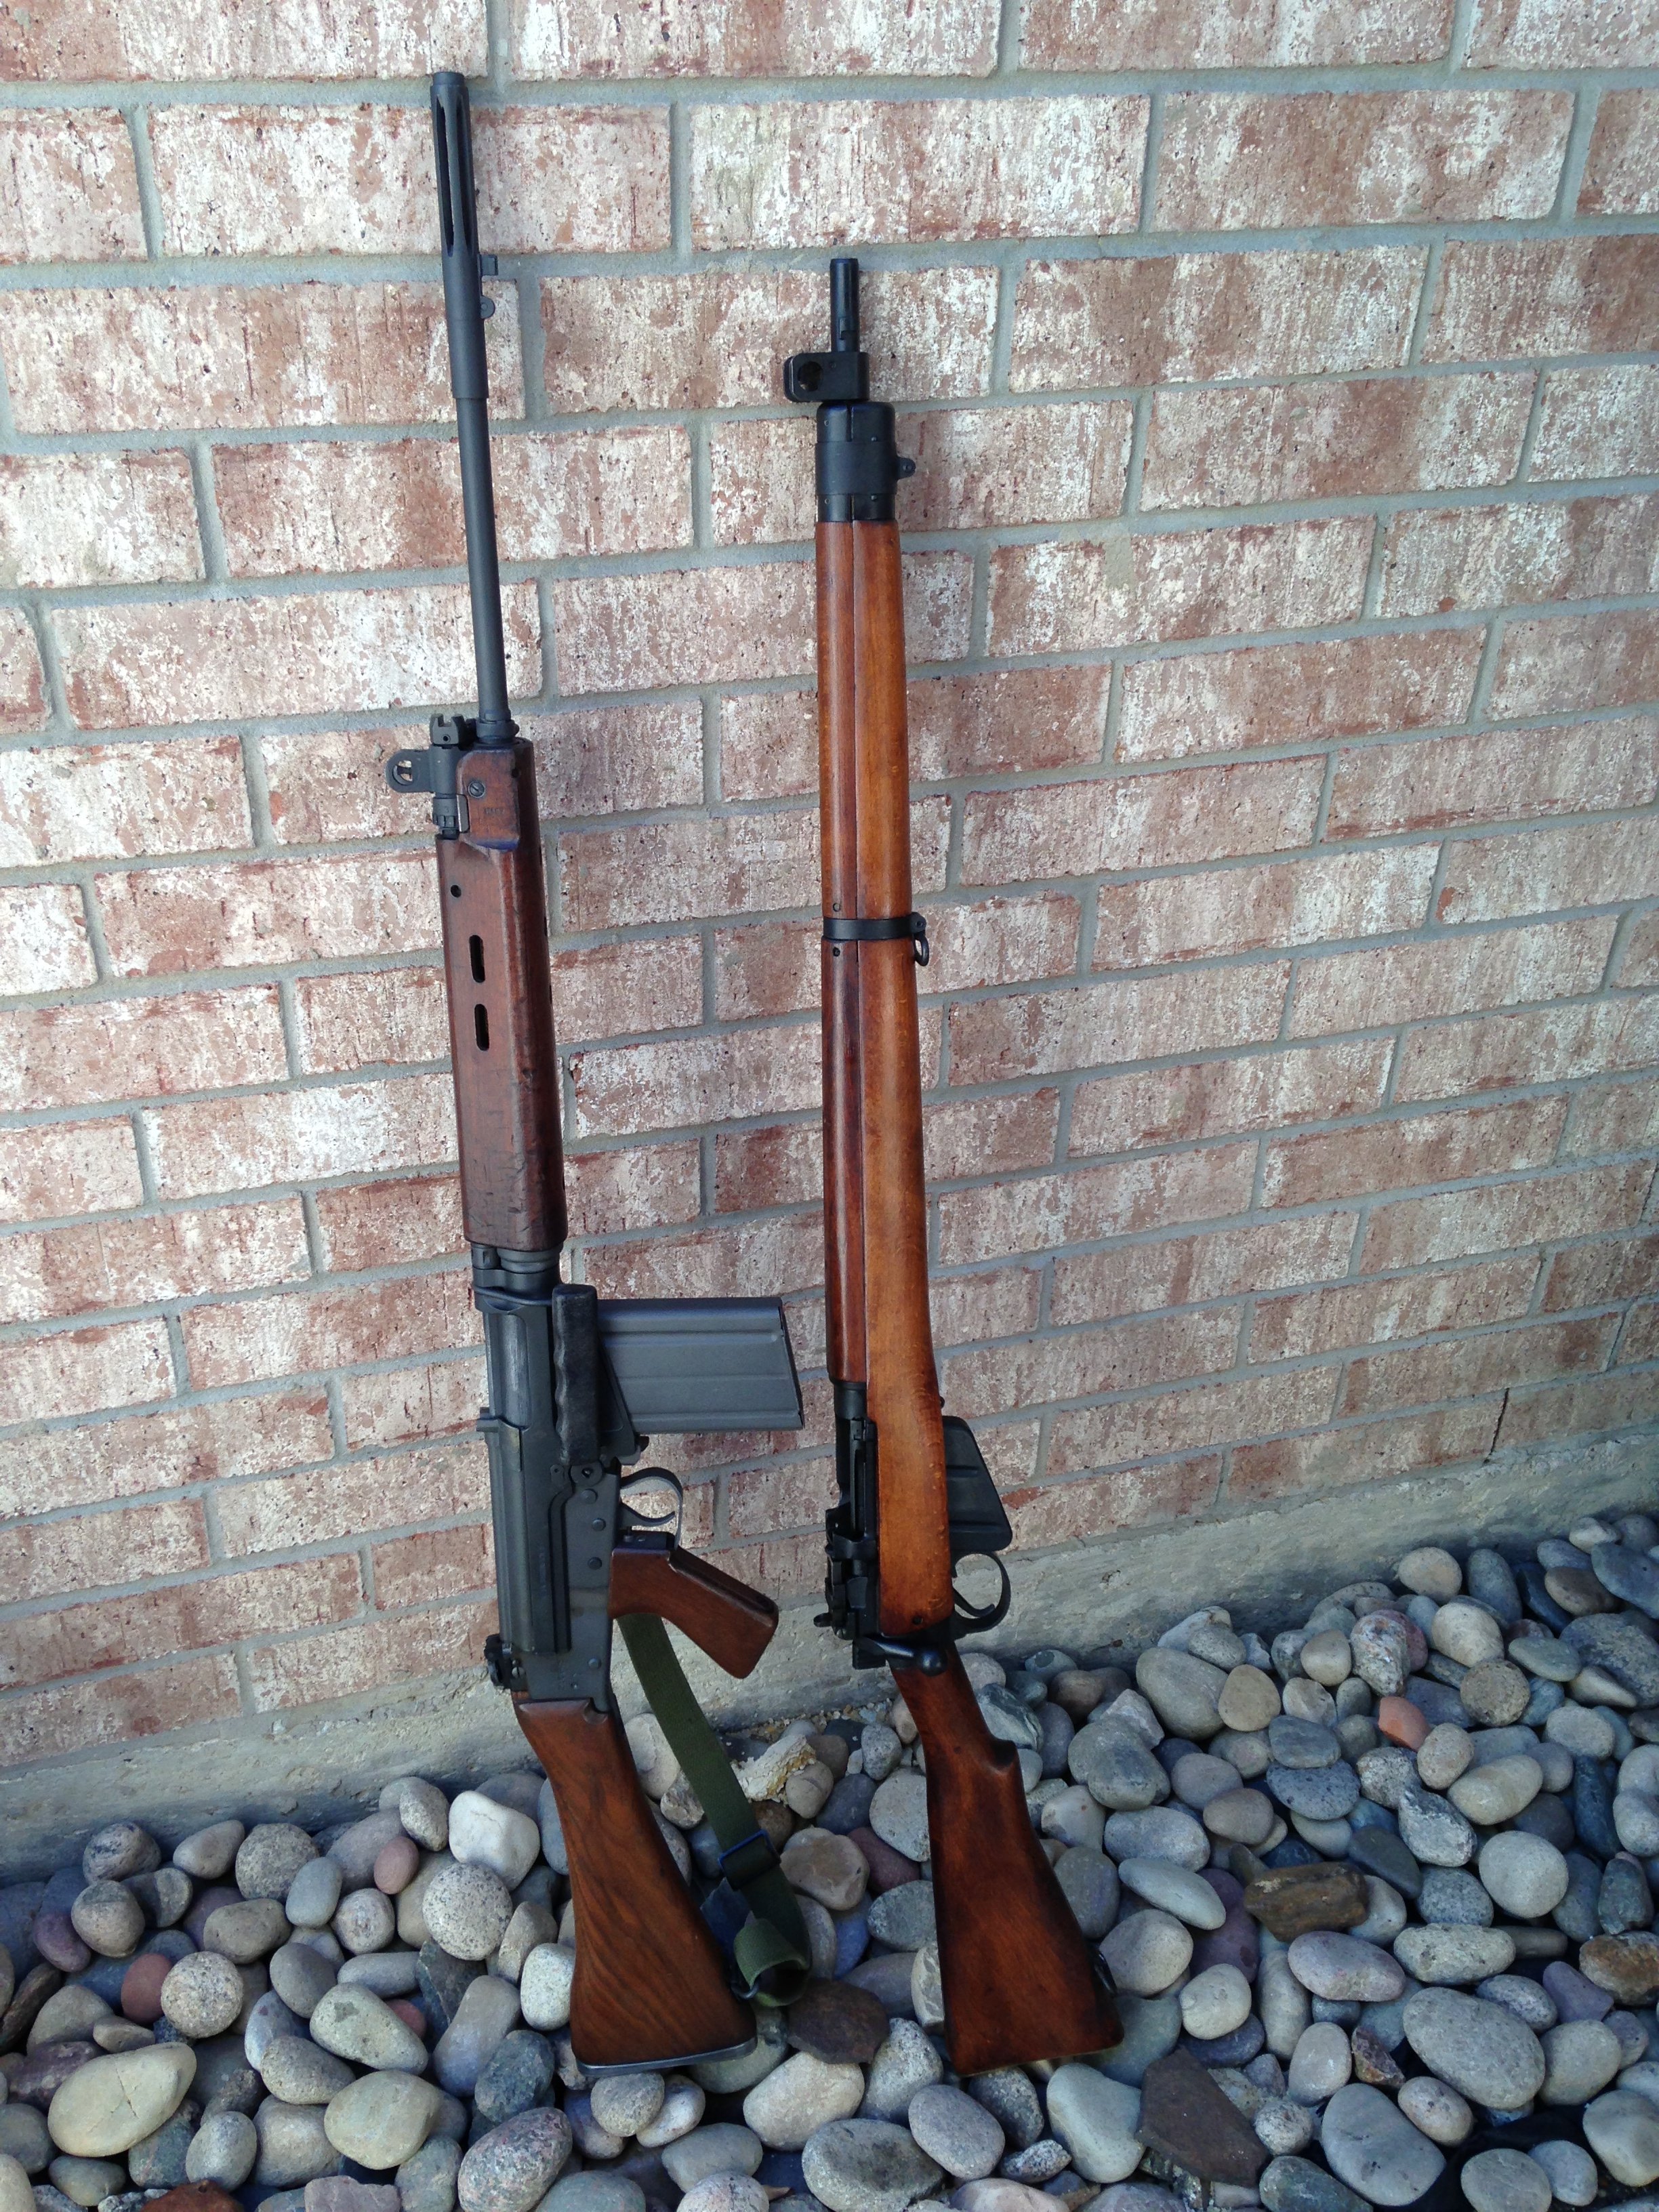
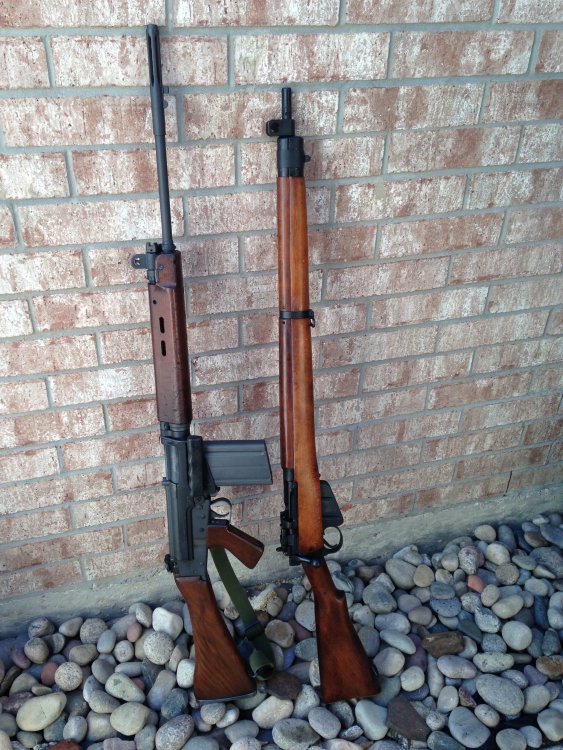
I’m an FN FAL and variant fanatic. That right there is a 1963 Canadian Army issue FN C1A1 with a Canadian Army Leitz sniper scope. The scope is insanely hard to find, it comes with its own carrying tube as well. It slips off the receiver on a special top cover, and the factory iron sights are left untouched. I have three other C1 variants, plus a C2 heavy barrel squad automatic rifle with the forward hand grip extendable as a bipod. Plus an actual EX1 Canadian Army trials rifle, and a genuine T48 US Army trials rifle. It’s a lifetime worth of sweet talking and collecting. Plus a Sterling Mk. lV 🤣 We like to play silly games in Texas. The only AR variant I own is an M16A1, and it’s forever being loaned out to museums. I’ve thought about a CETME, but they just didn’t much light my fire. I ran a few mags through a G.3 a few years back at a local MG shoot we attend, and it was “OK”, but 7.62 NATO on fast forward is all but uncontrollable. Just a noisemaker to me. The C2 is great, as it has the bipod and even with that and the heavy barrel, you’ve got to keep it down the short 3-4 round bursts to keep from cooking the barrel. An MG42 it’s not… A buddy has an old Guide Lamp built early grease gun. Between that, my Sterling, and another buddy’s MP40, we chew through a ton of cheap pistol reloads. Joy gets SO uptight when I go out and build 1500 of 9mm rounds for the Sterling, and it’s all gone in an afternoon. At least it’s cheaper than the 45 for the grease gun. But the grandkids absolutely love range days when we take the chatterboxes out to play.
-
One almost down, 11 more to go. Need to do some aligning and final adjusting yet, but these are mighty tedious

-
And not one single comment on the SLR in the corner. 🤣
-
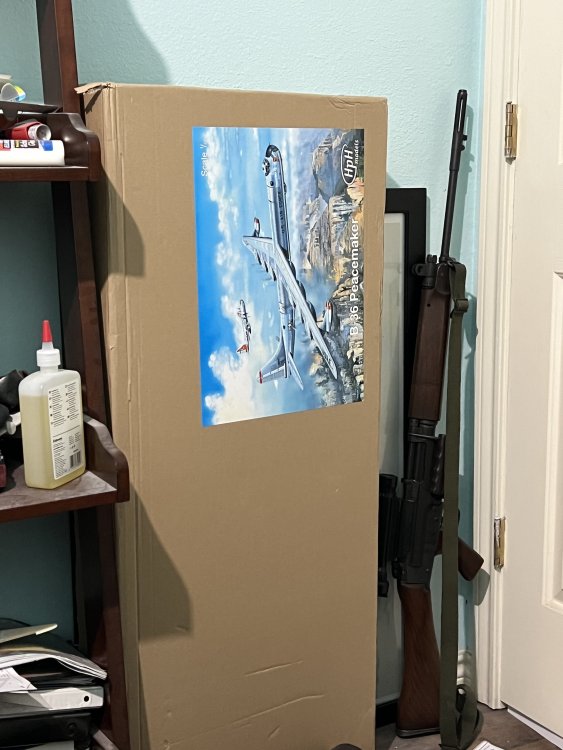
And we seem to have an Unfinished Air Force here in this room…. All very worthy models in their own right.