JohnB
-
Posts
7,220 -
Joined
-
Last visited
Content Type
Profiles
Forums
Events
Gallery
Everything posted by JohnB
-
I'm considering that Peter. I really don't want to go to all that trouble so, at least for now, I'll keep both as is.
-

My 3 F-80 builds.
JohnB replied to JohnB's topic in LSM 1/32 and Larger Aircraft Ready for Inspection
I'm glad you like 'em Peter, thanks.🙂 -
I'll probably re-do the other one. I know where I got the color scheme for the most recent one (Kagero monograph special edition #2 on the Bf-109E which has a lot of good art on the "E") but I'm not certain on the other one but I THINK it was from Eduard). I'll peruse the schemes in the Kagero book and pick another one for that a/c.
-
Way too many for sure. 😄
-
My feelings also Kevin. 🙂
-
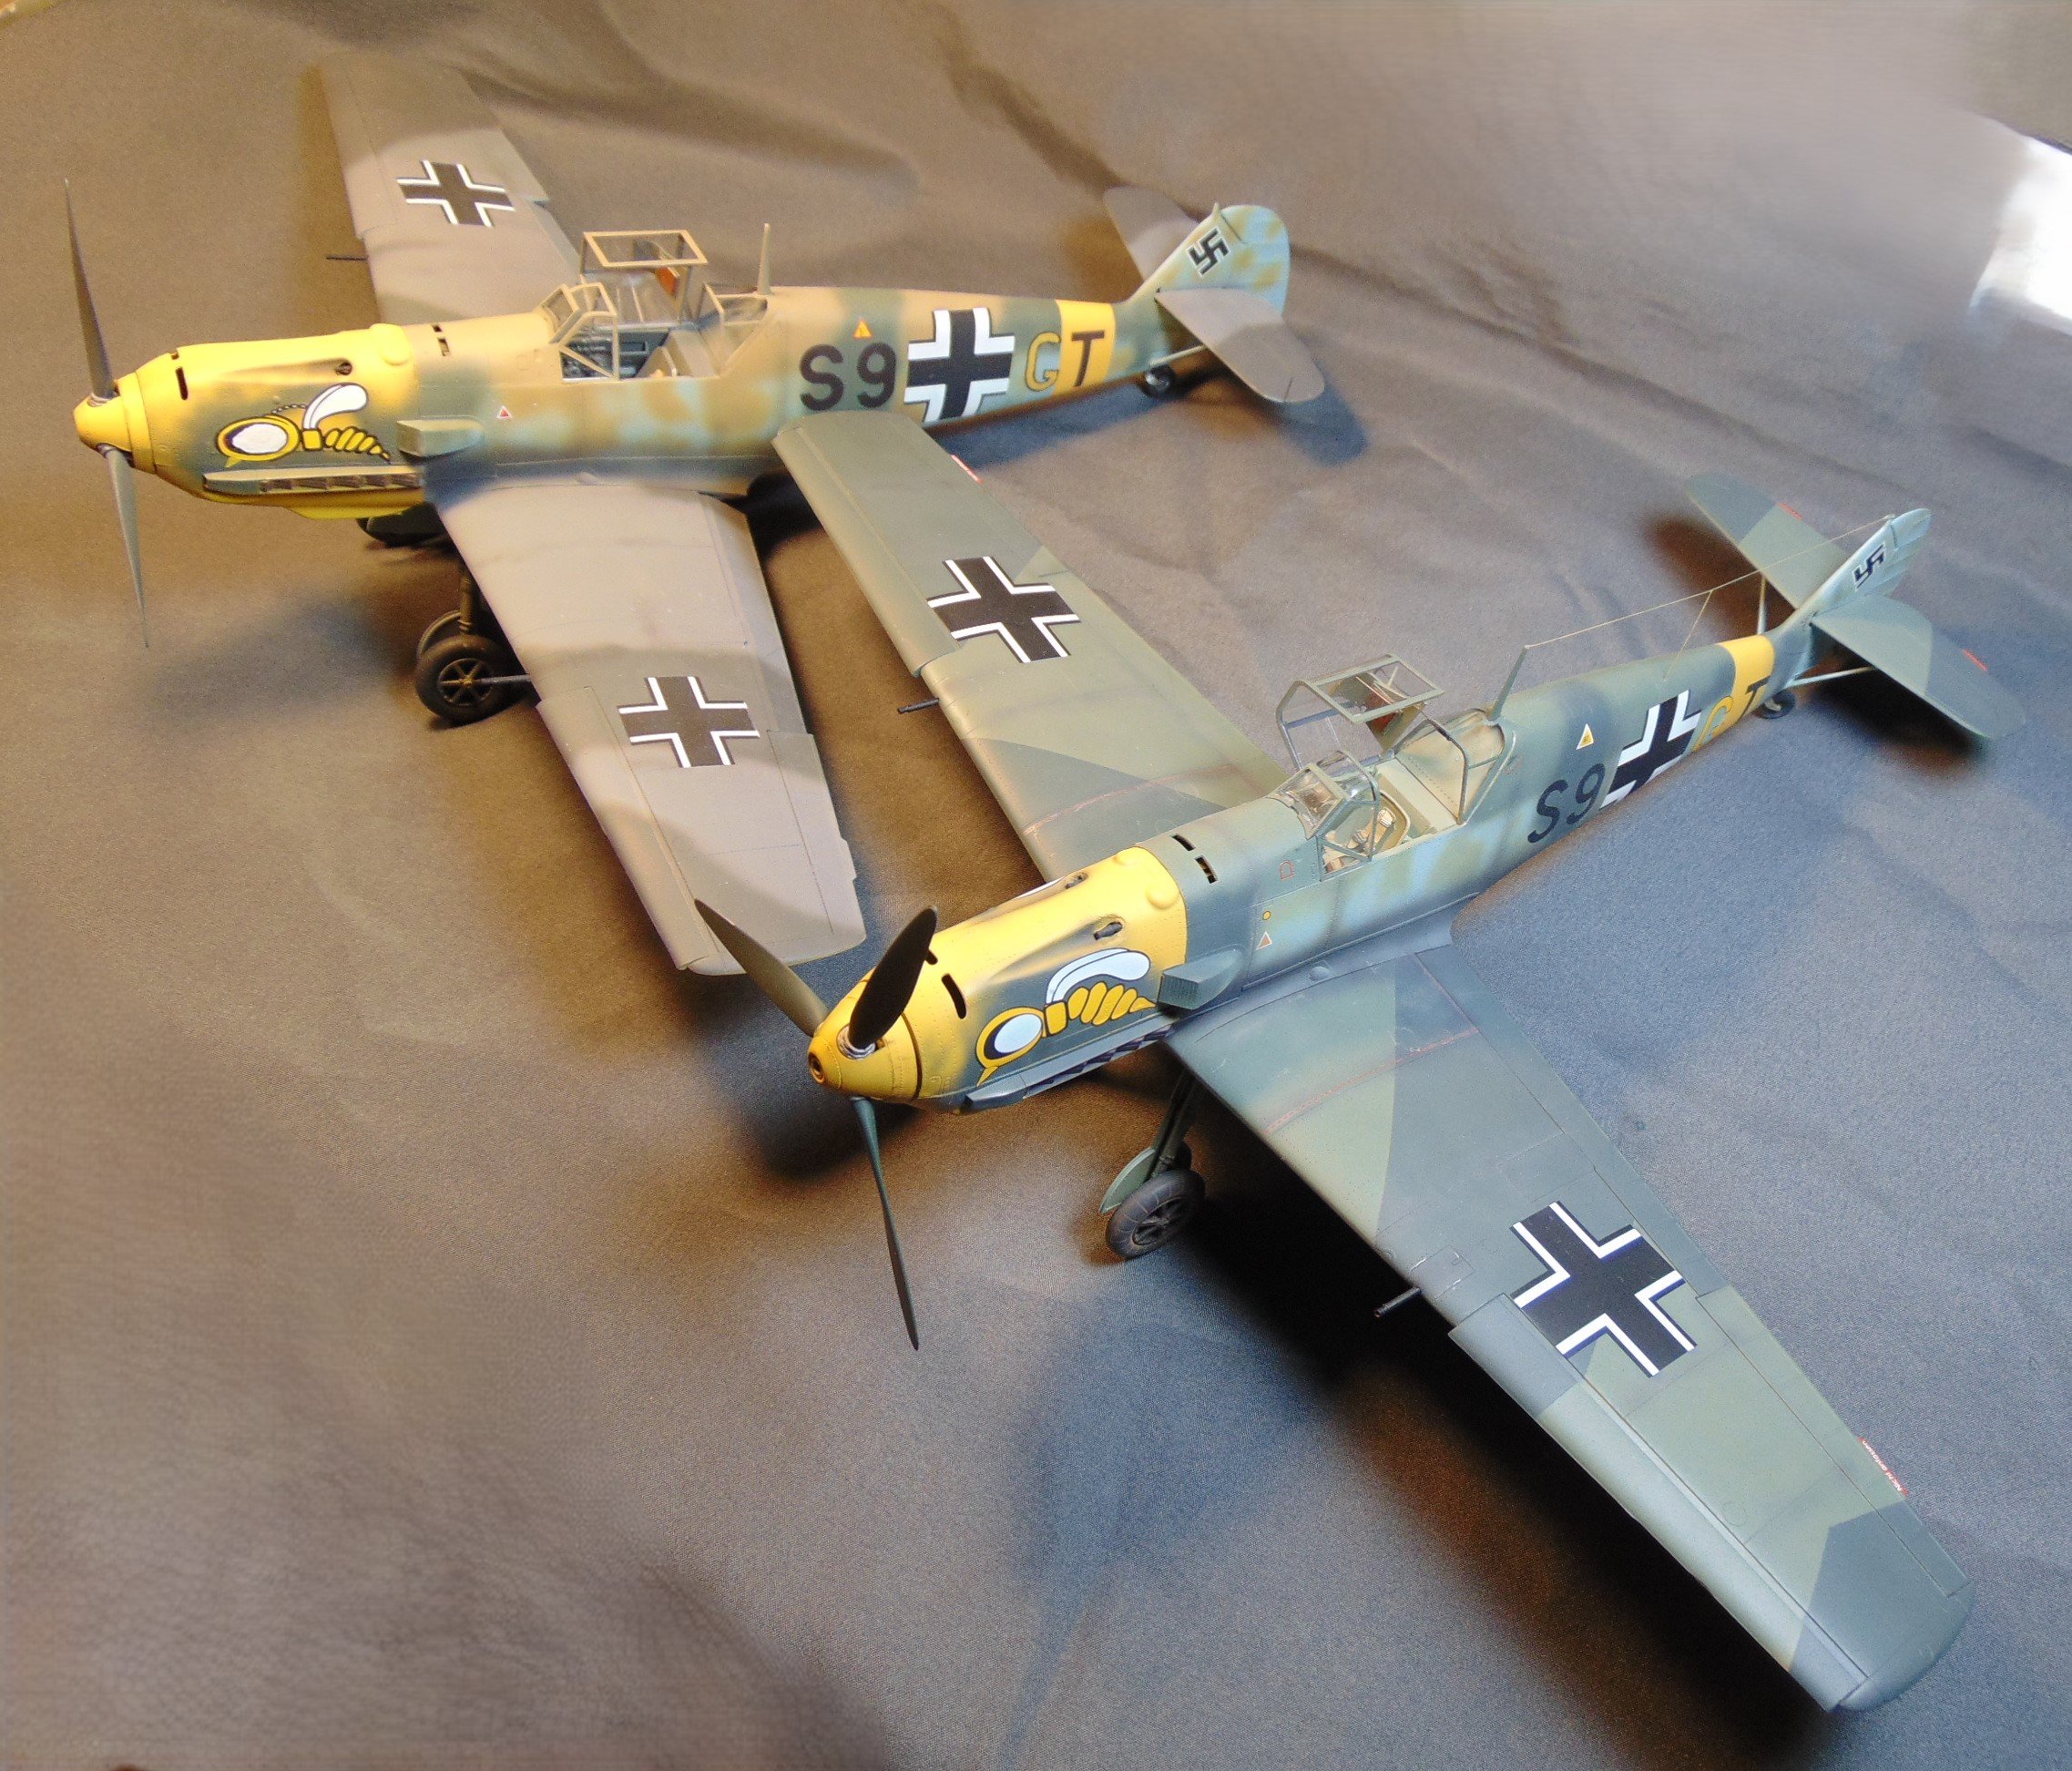
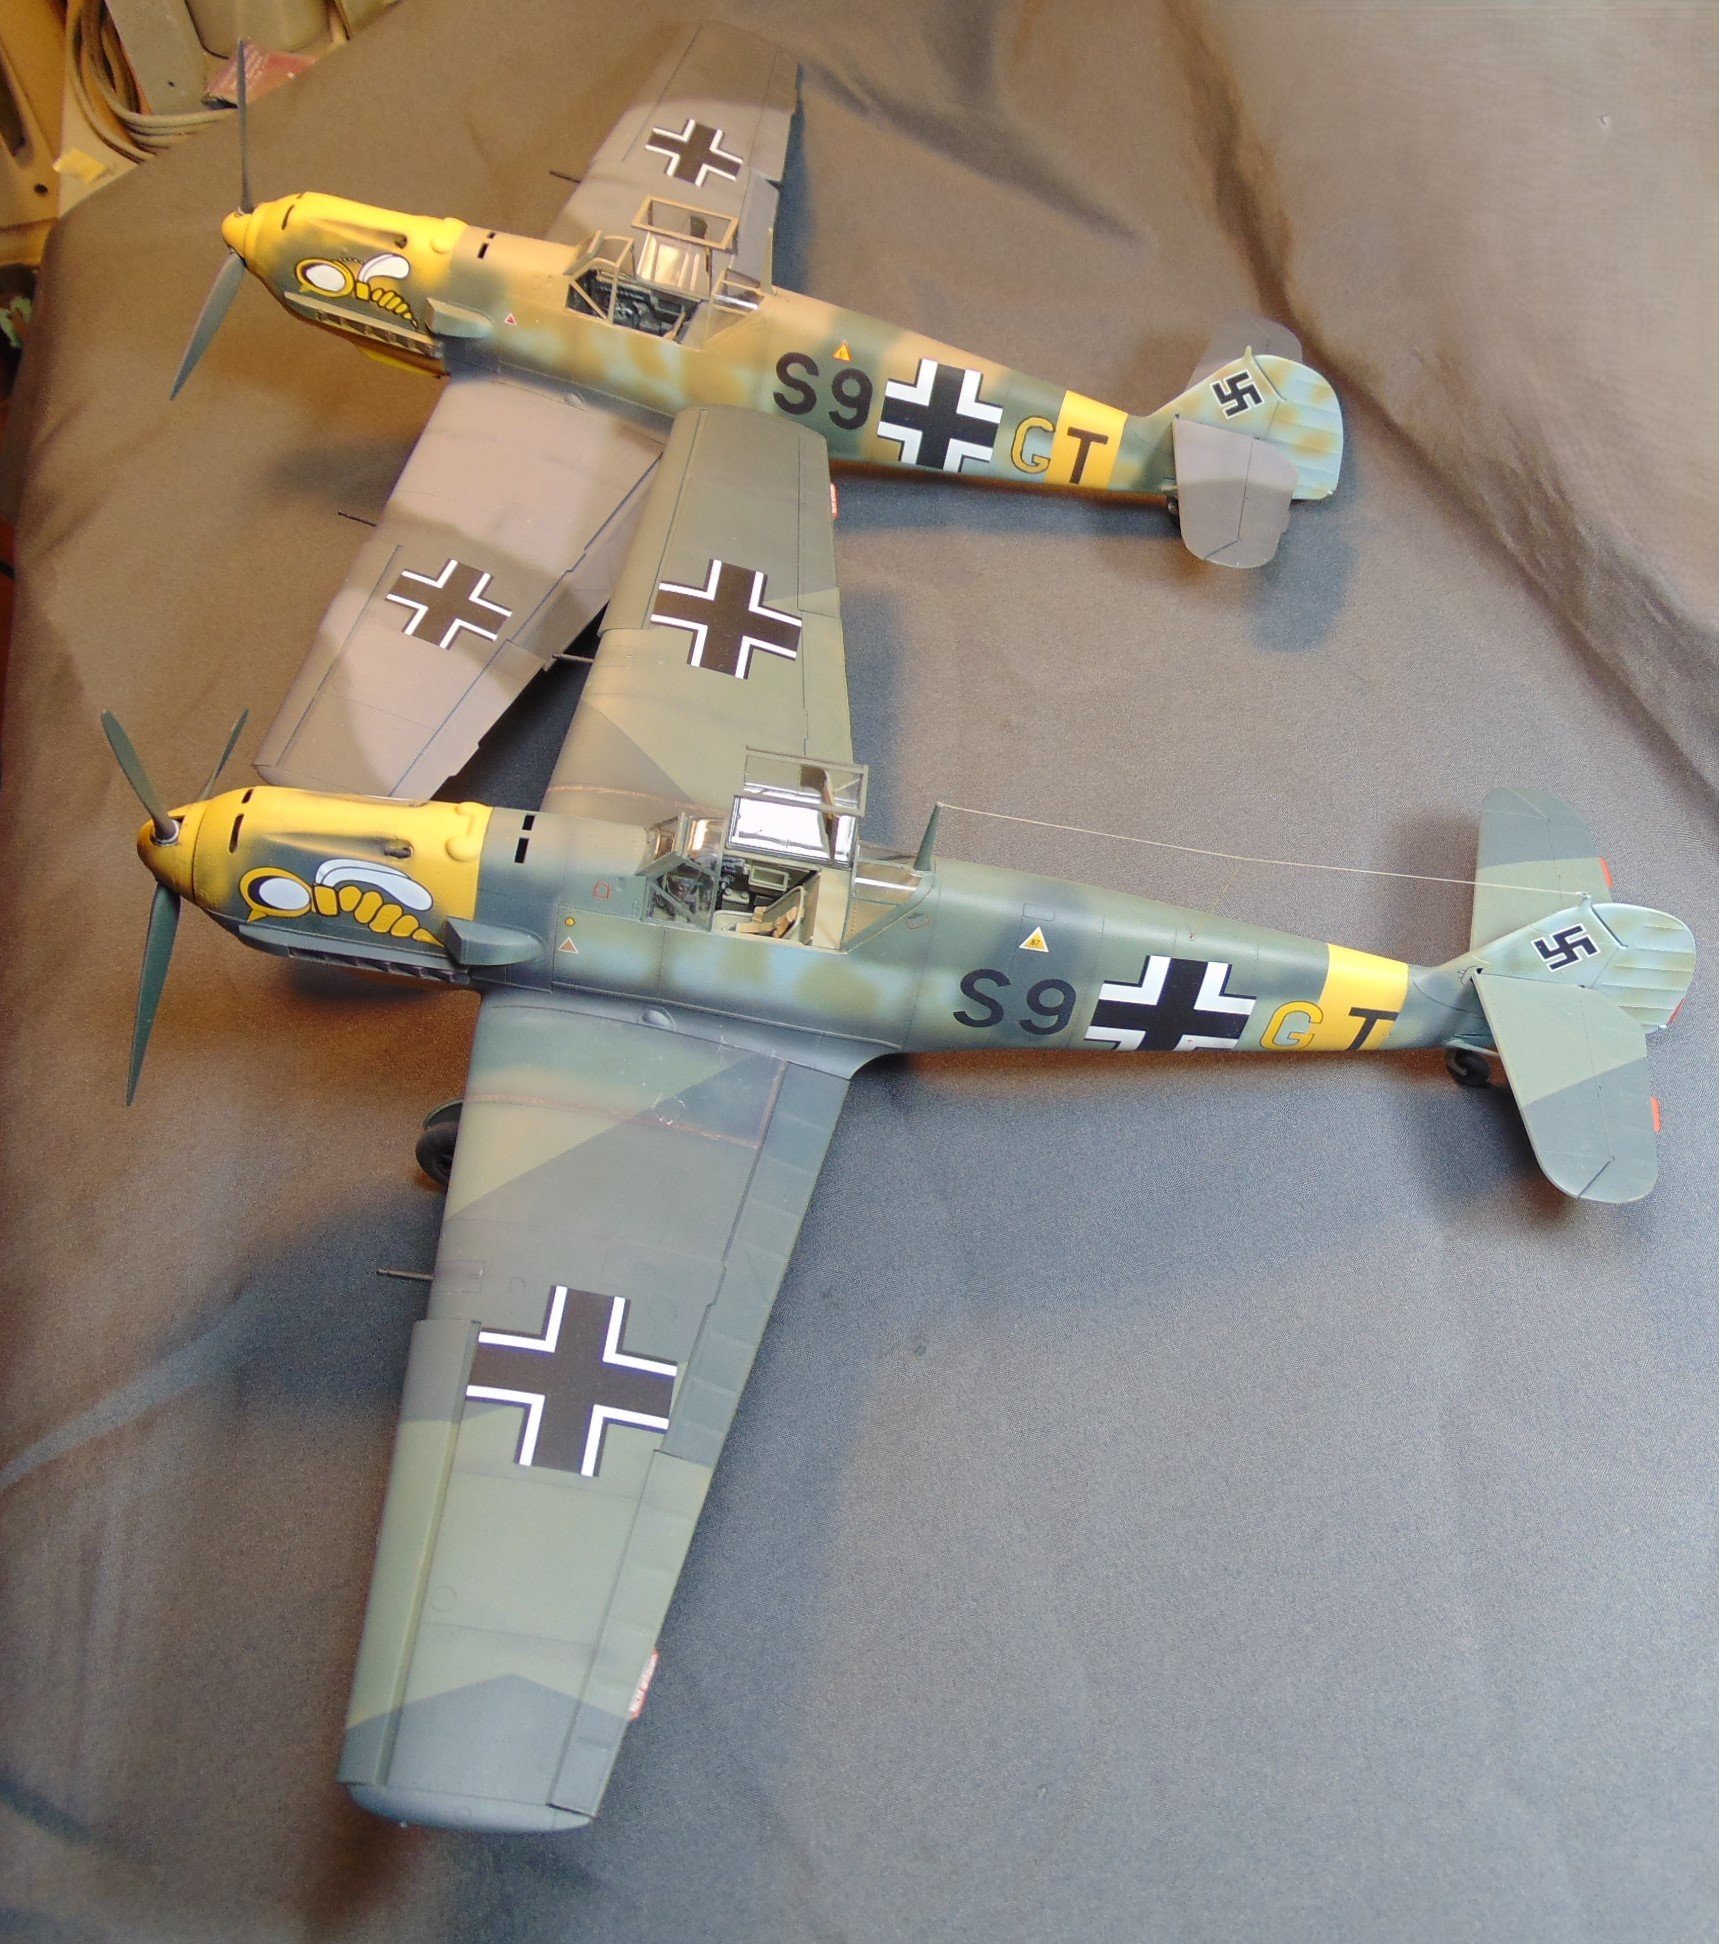
Imagine my surprise when I was checking out the models in one of my display cases and I saw a familiar looking Bf-109E. Now I find I have 2 models of the same a/c. The older build (in foreground) is a bit different from the other that I had just finished recently. I wonder which one is correct???? LOL Personally I like the one in the background better. I'm undecided if I want to do a repaint on the older model. We will see.


-
My 3 F-80 builds.
JohnB replied to JohnB's topic in LSM 1/32 and Larger Aircraft Ready for Inspection
Thanks Chris. I'm glad you approve! 🙂 -
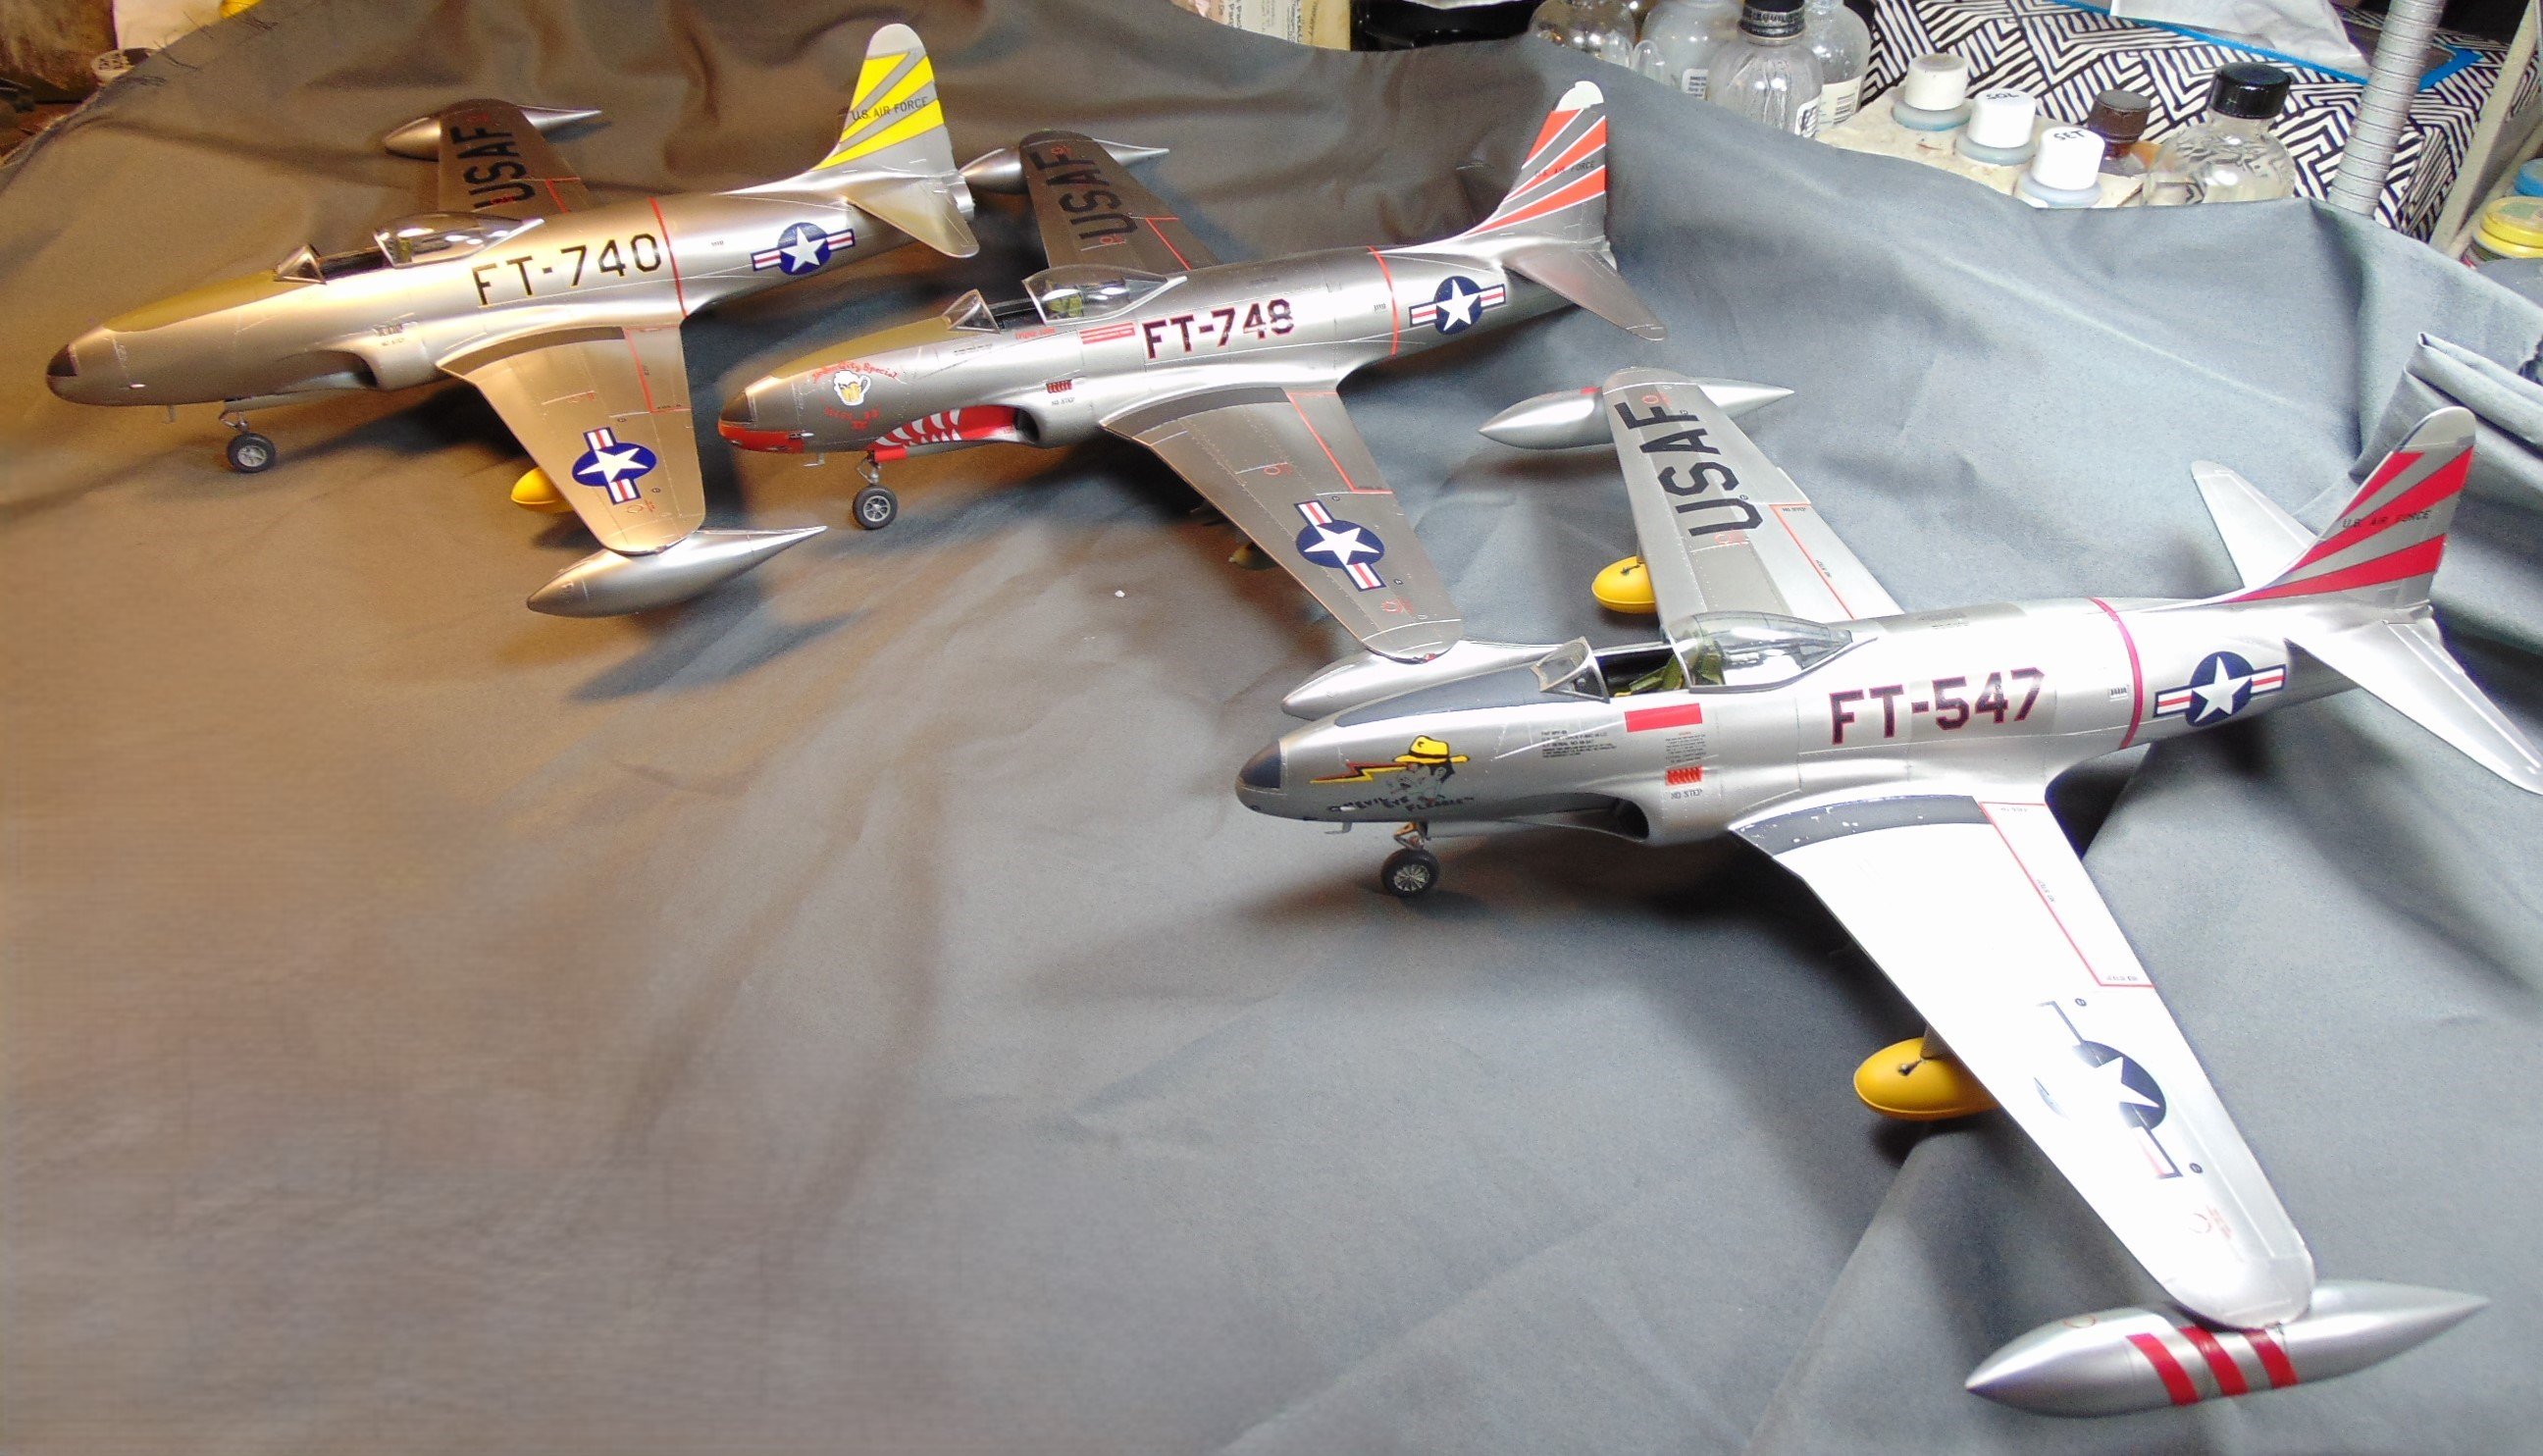
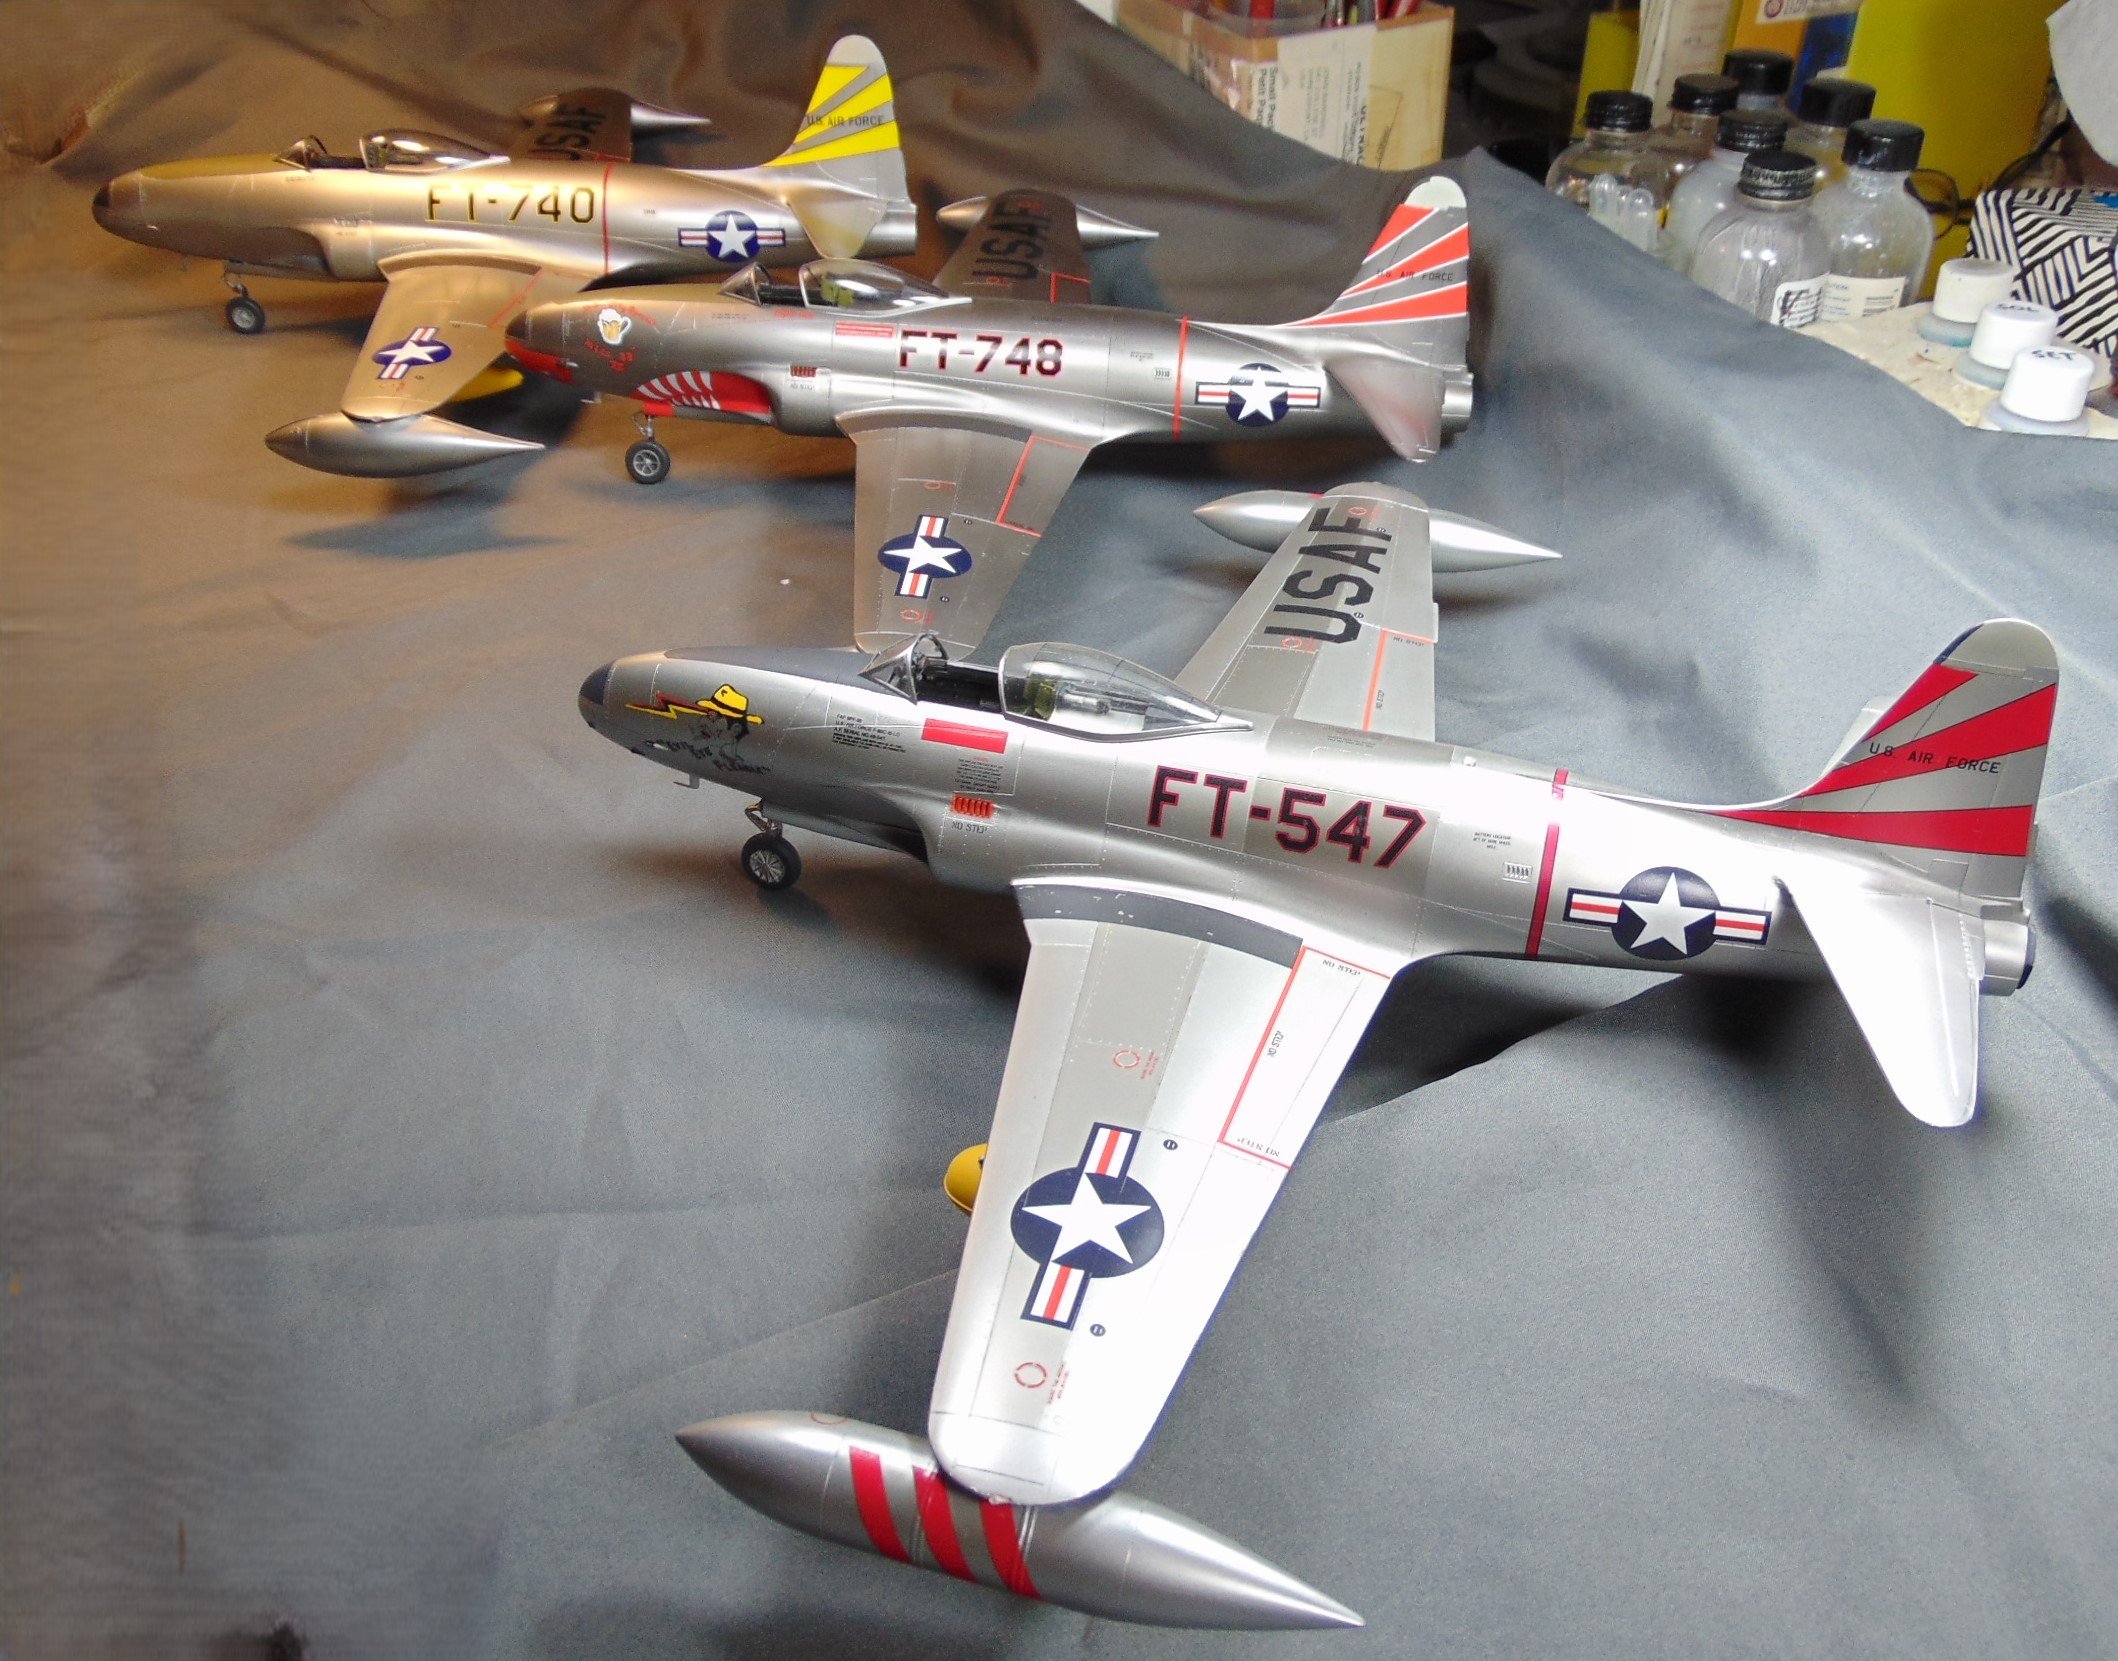
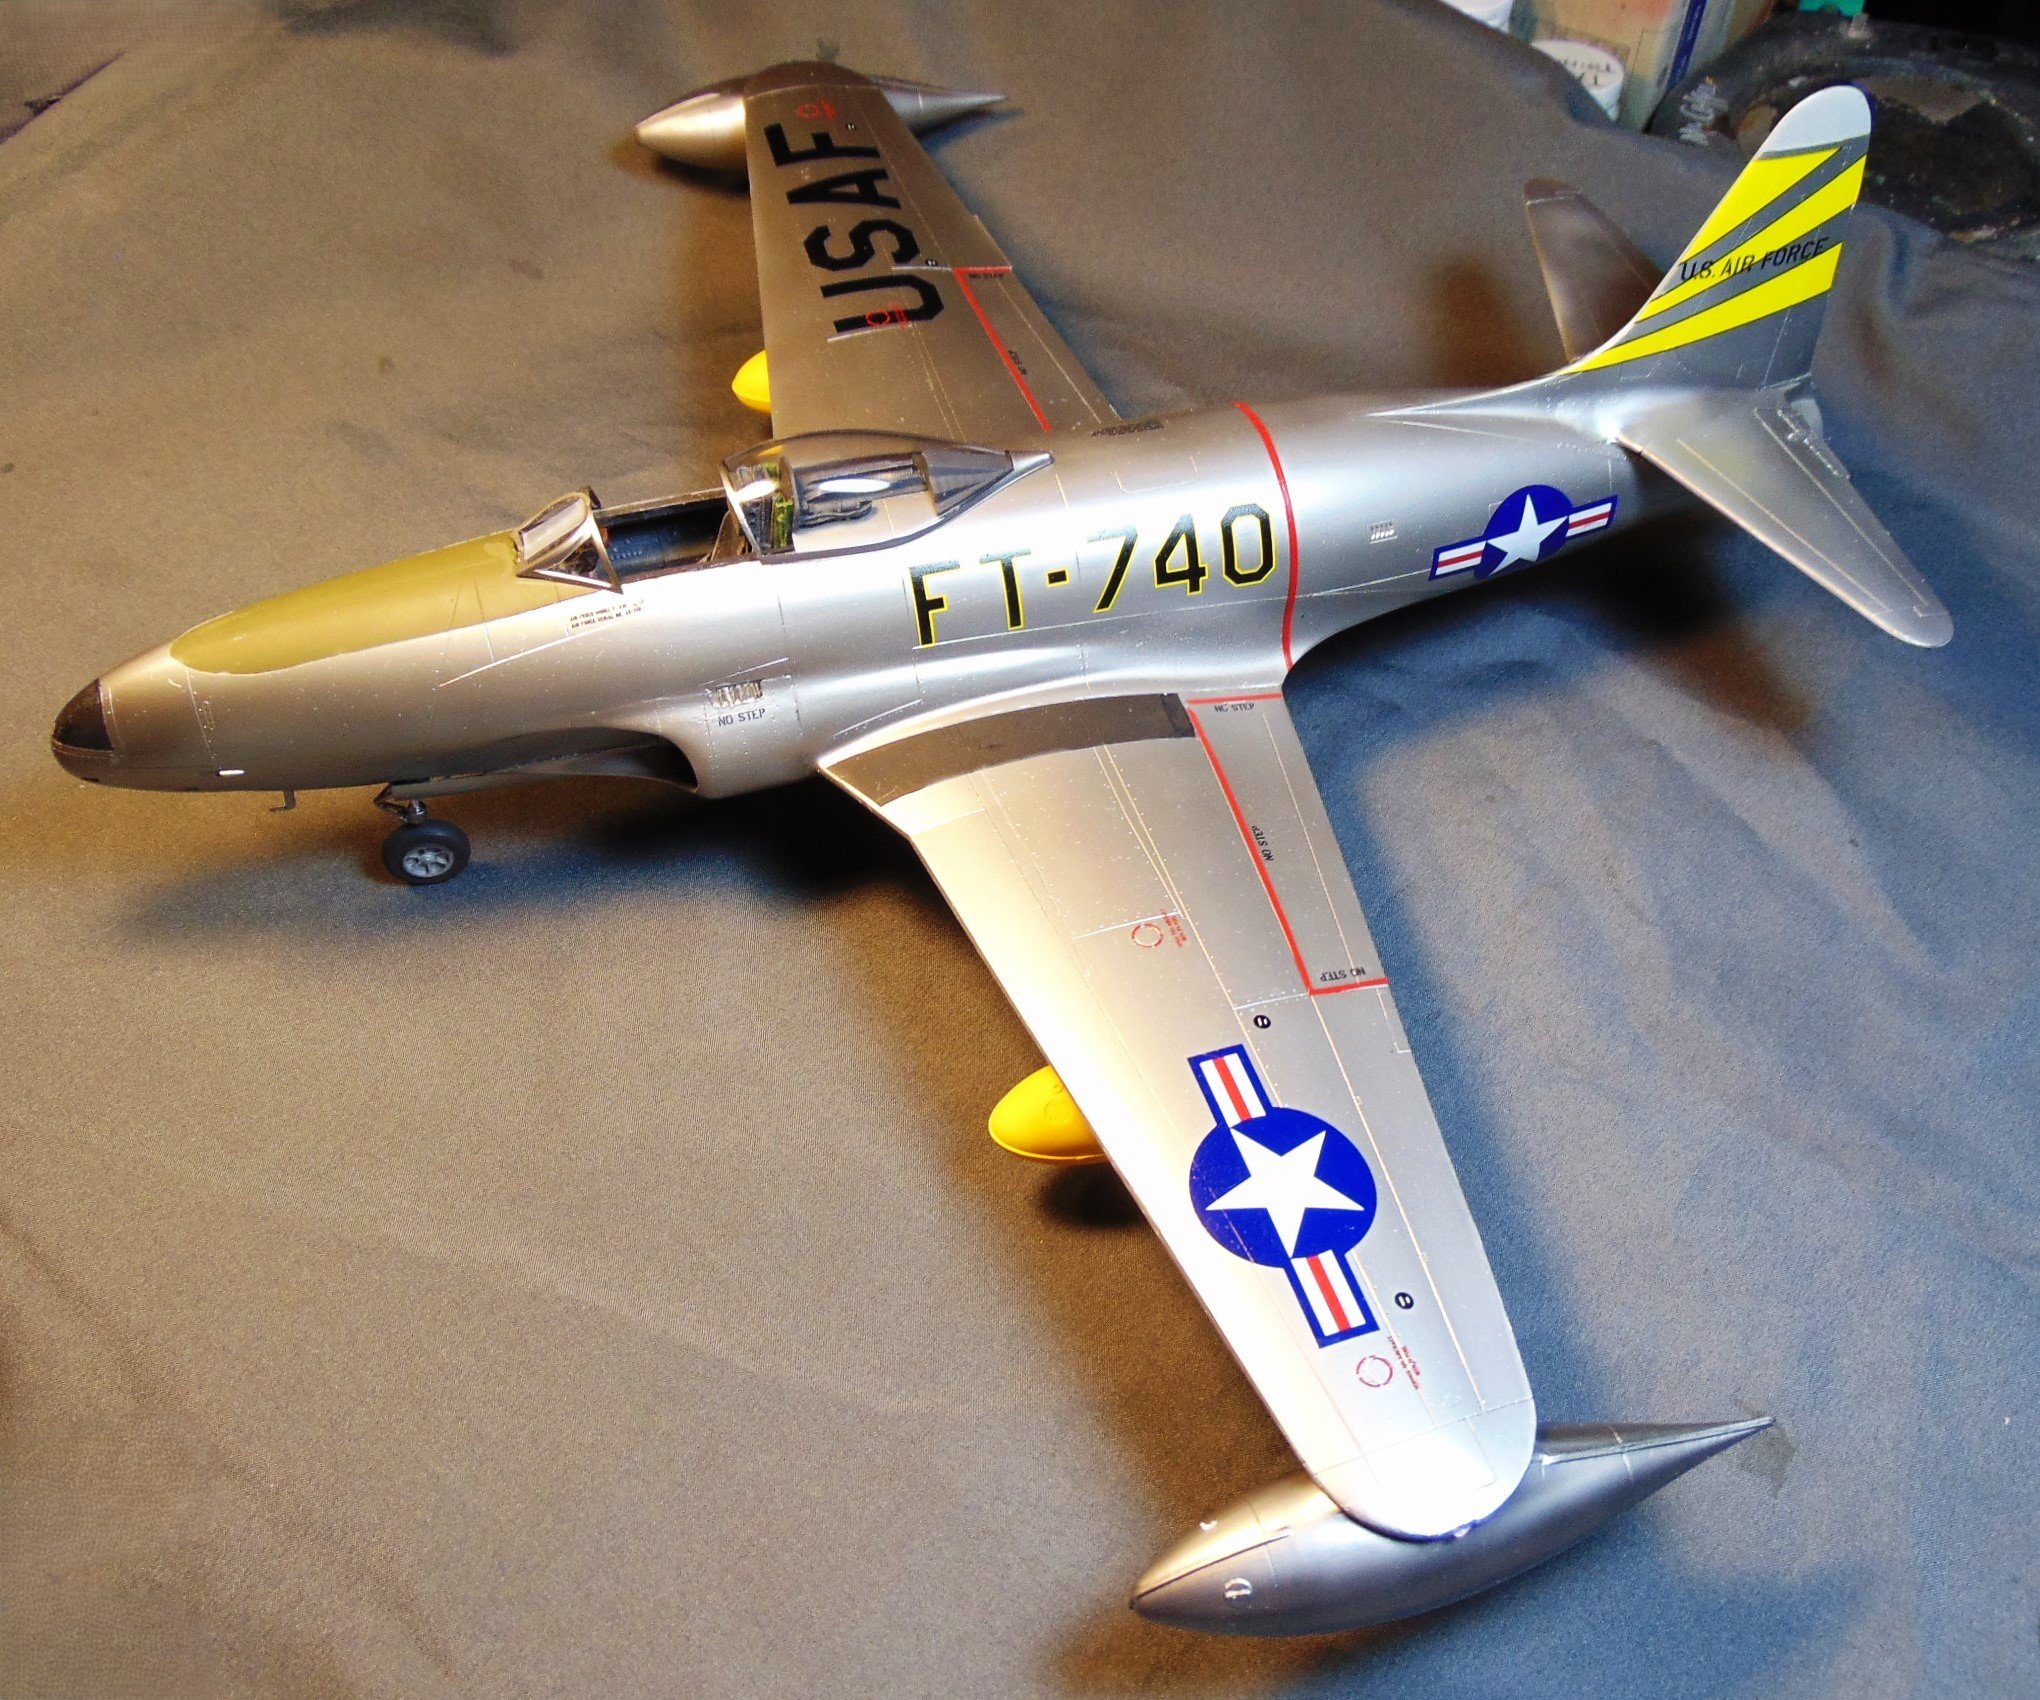
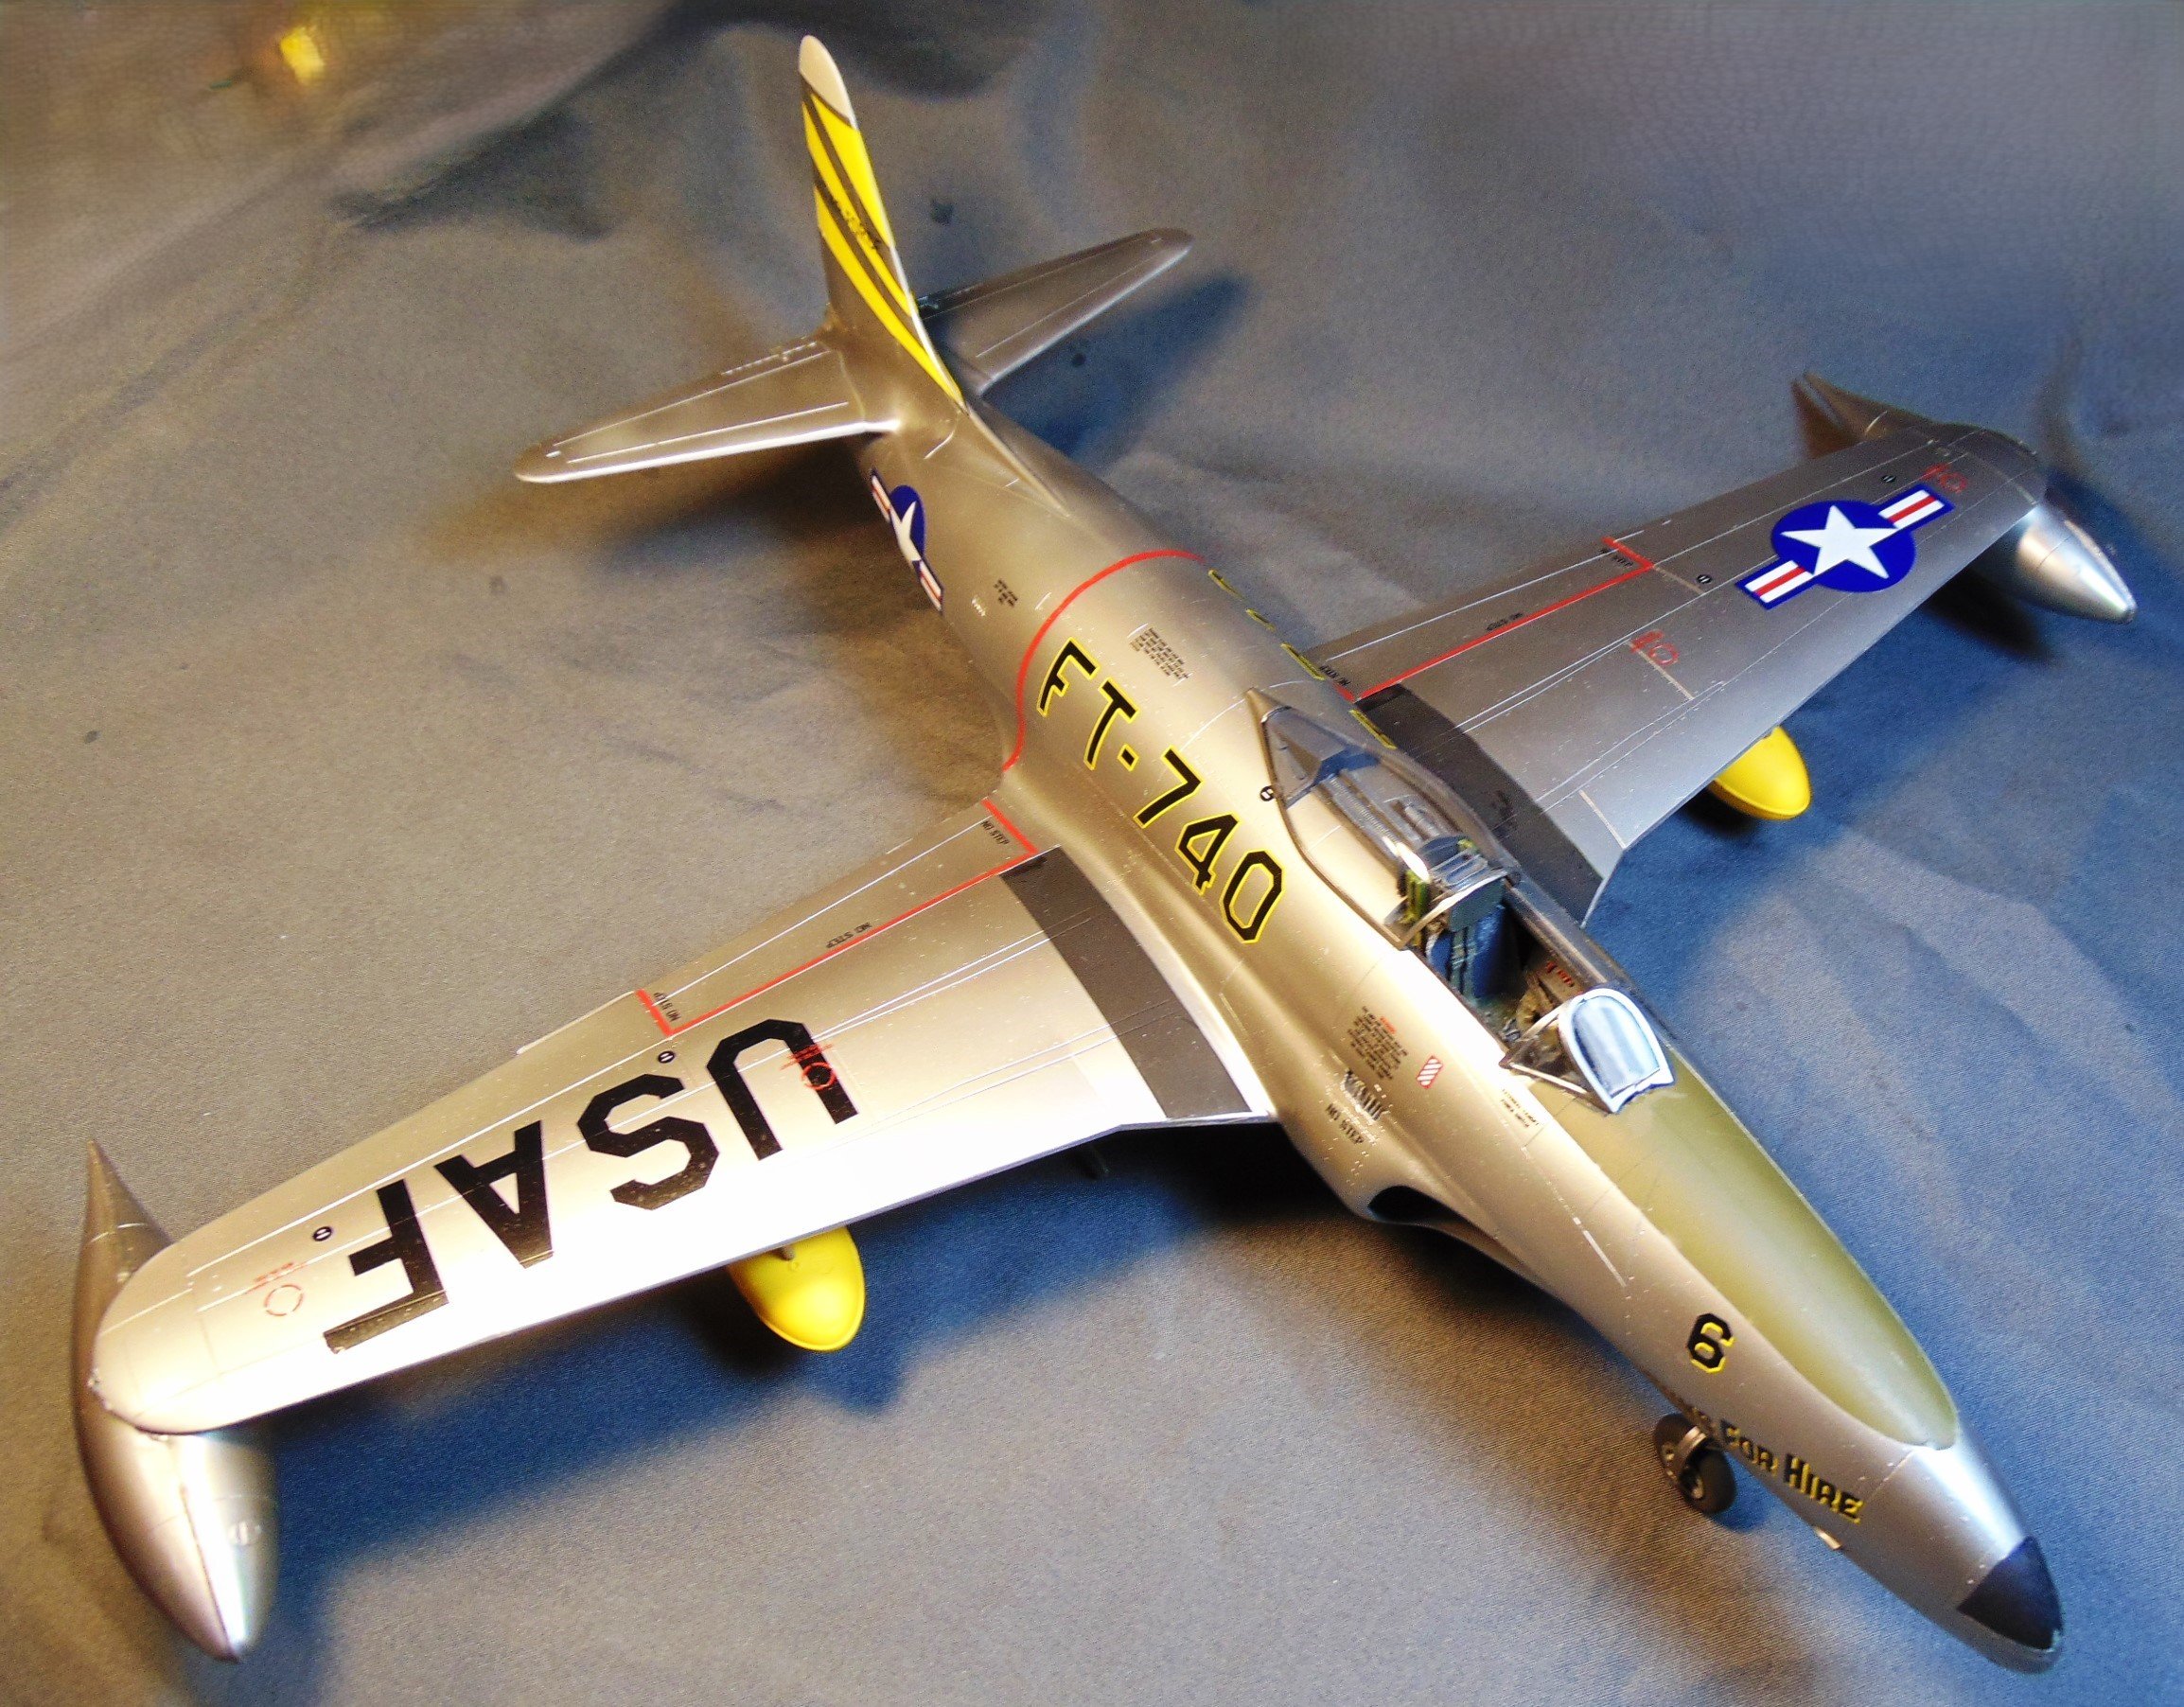
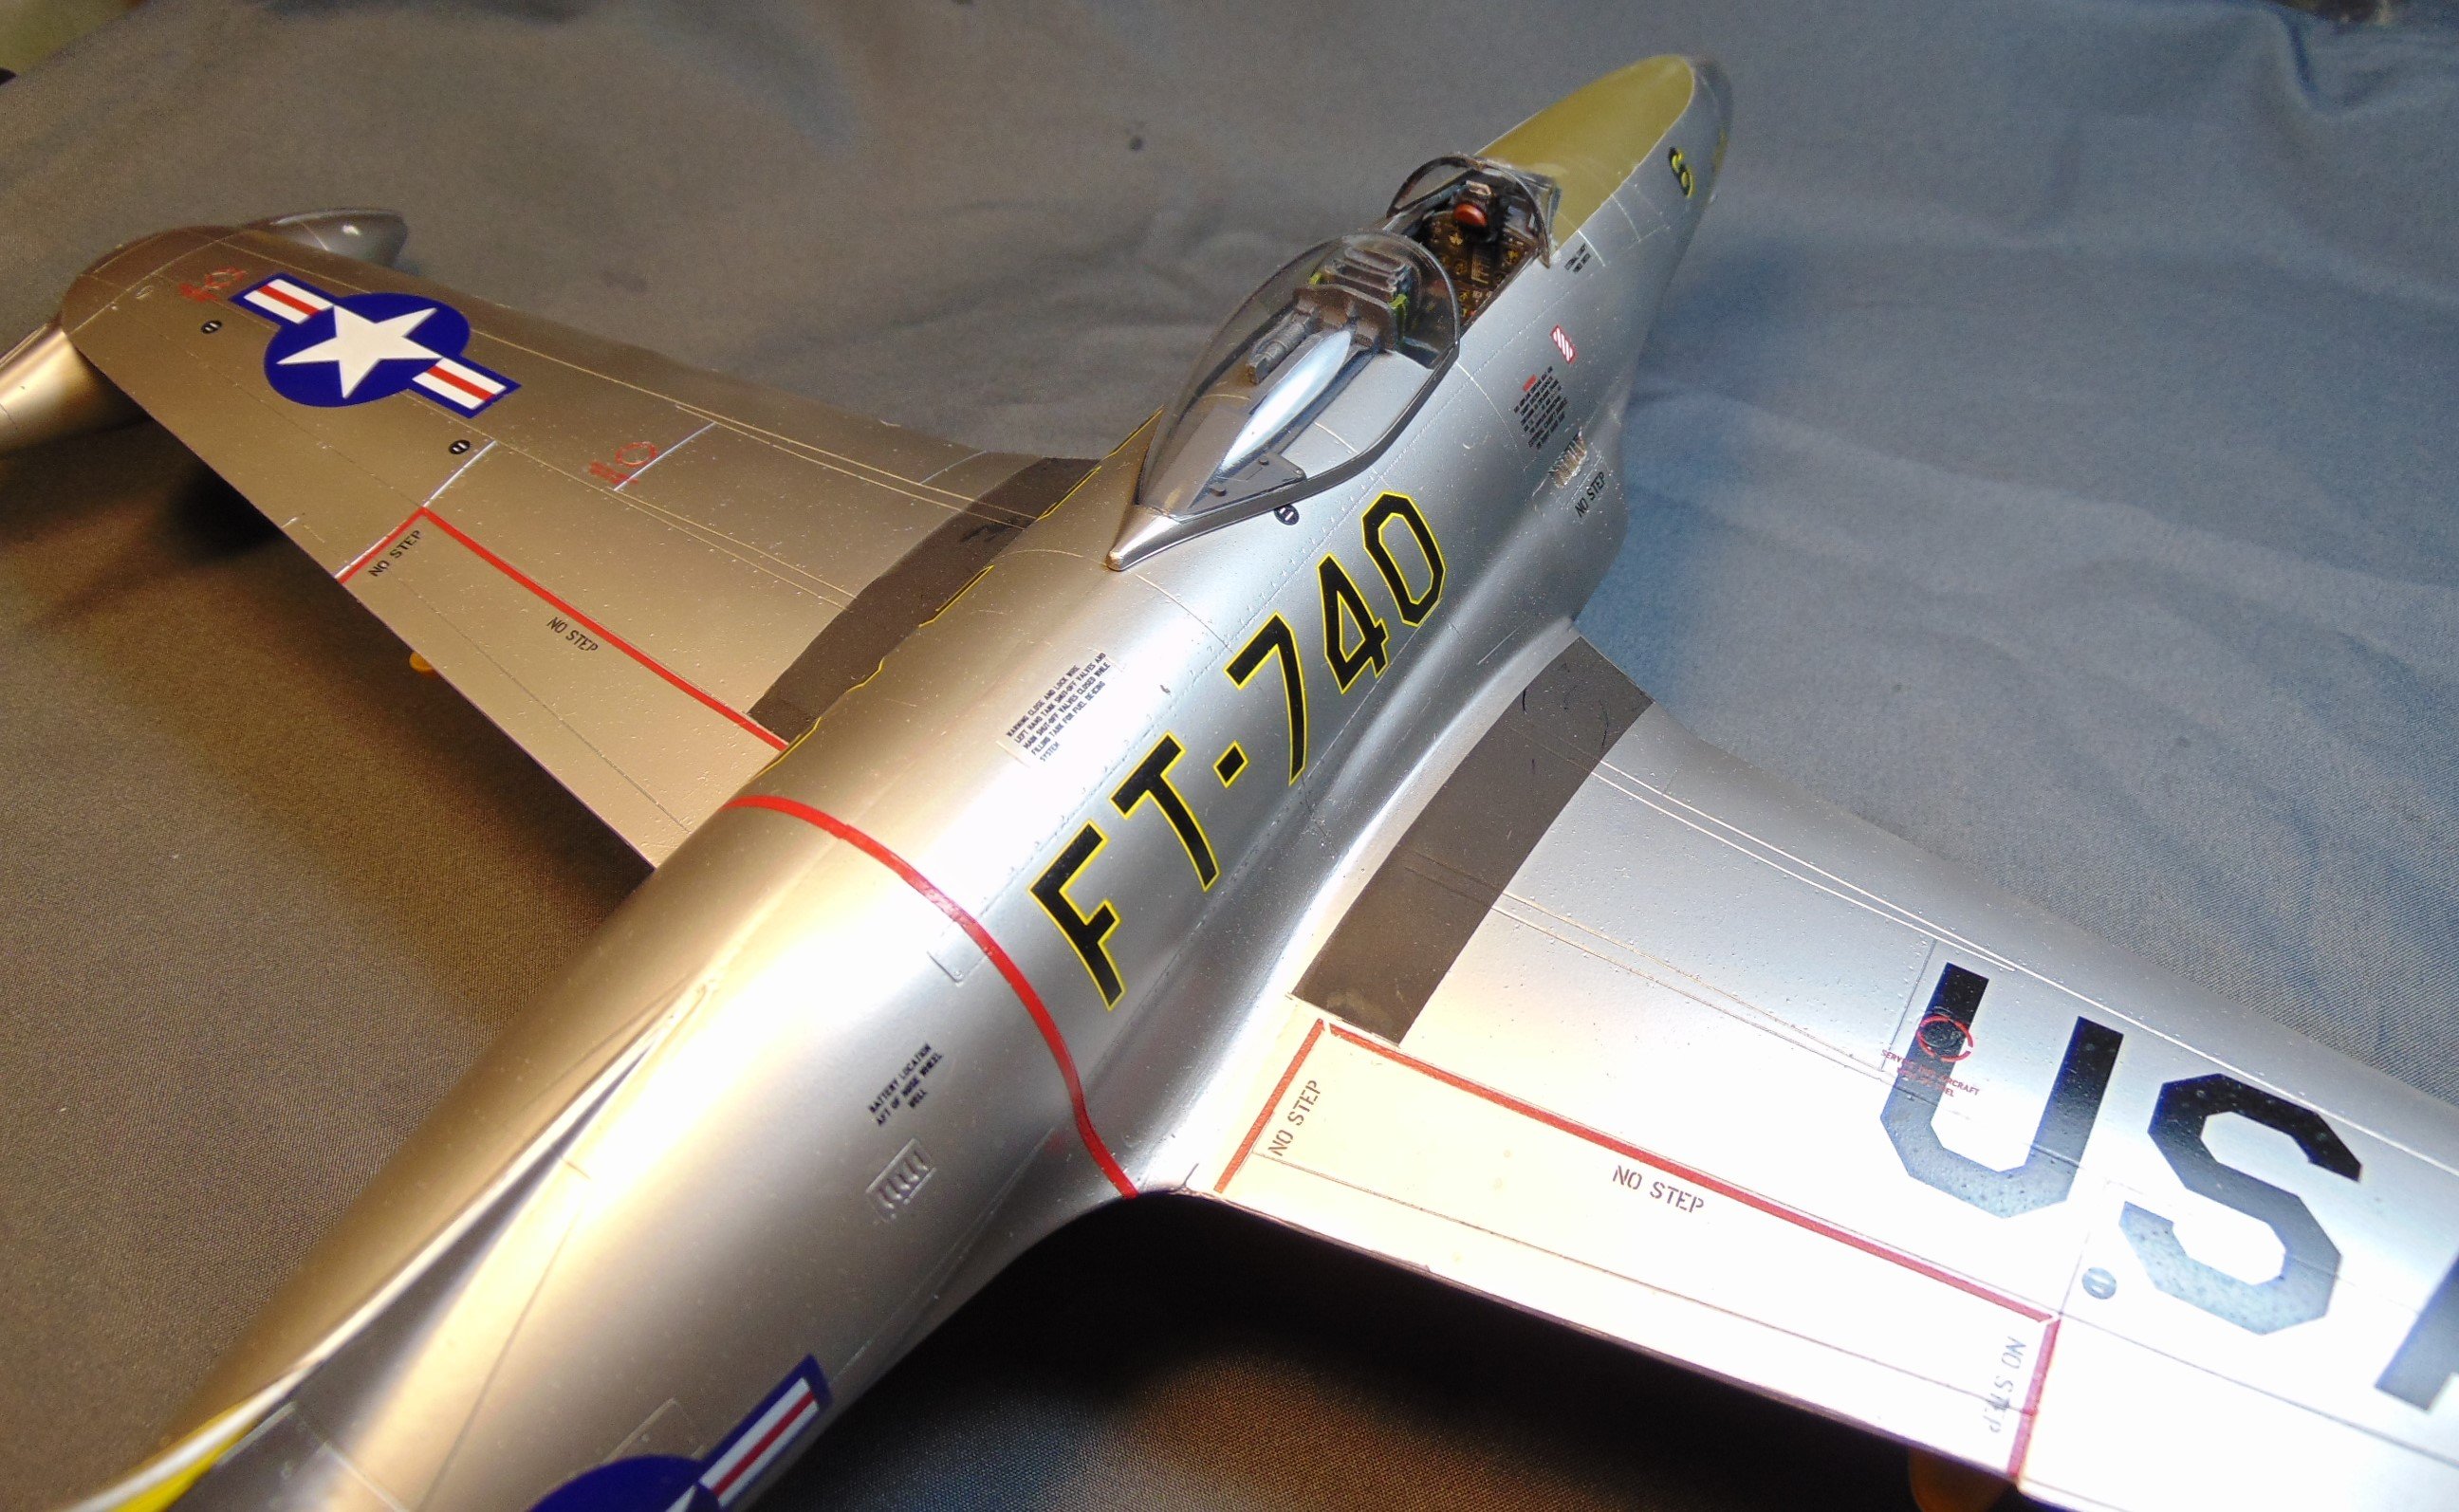
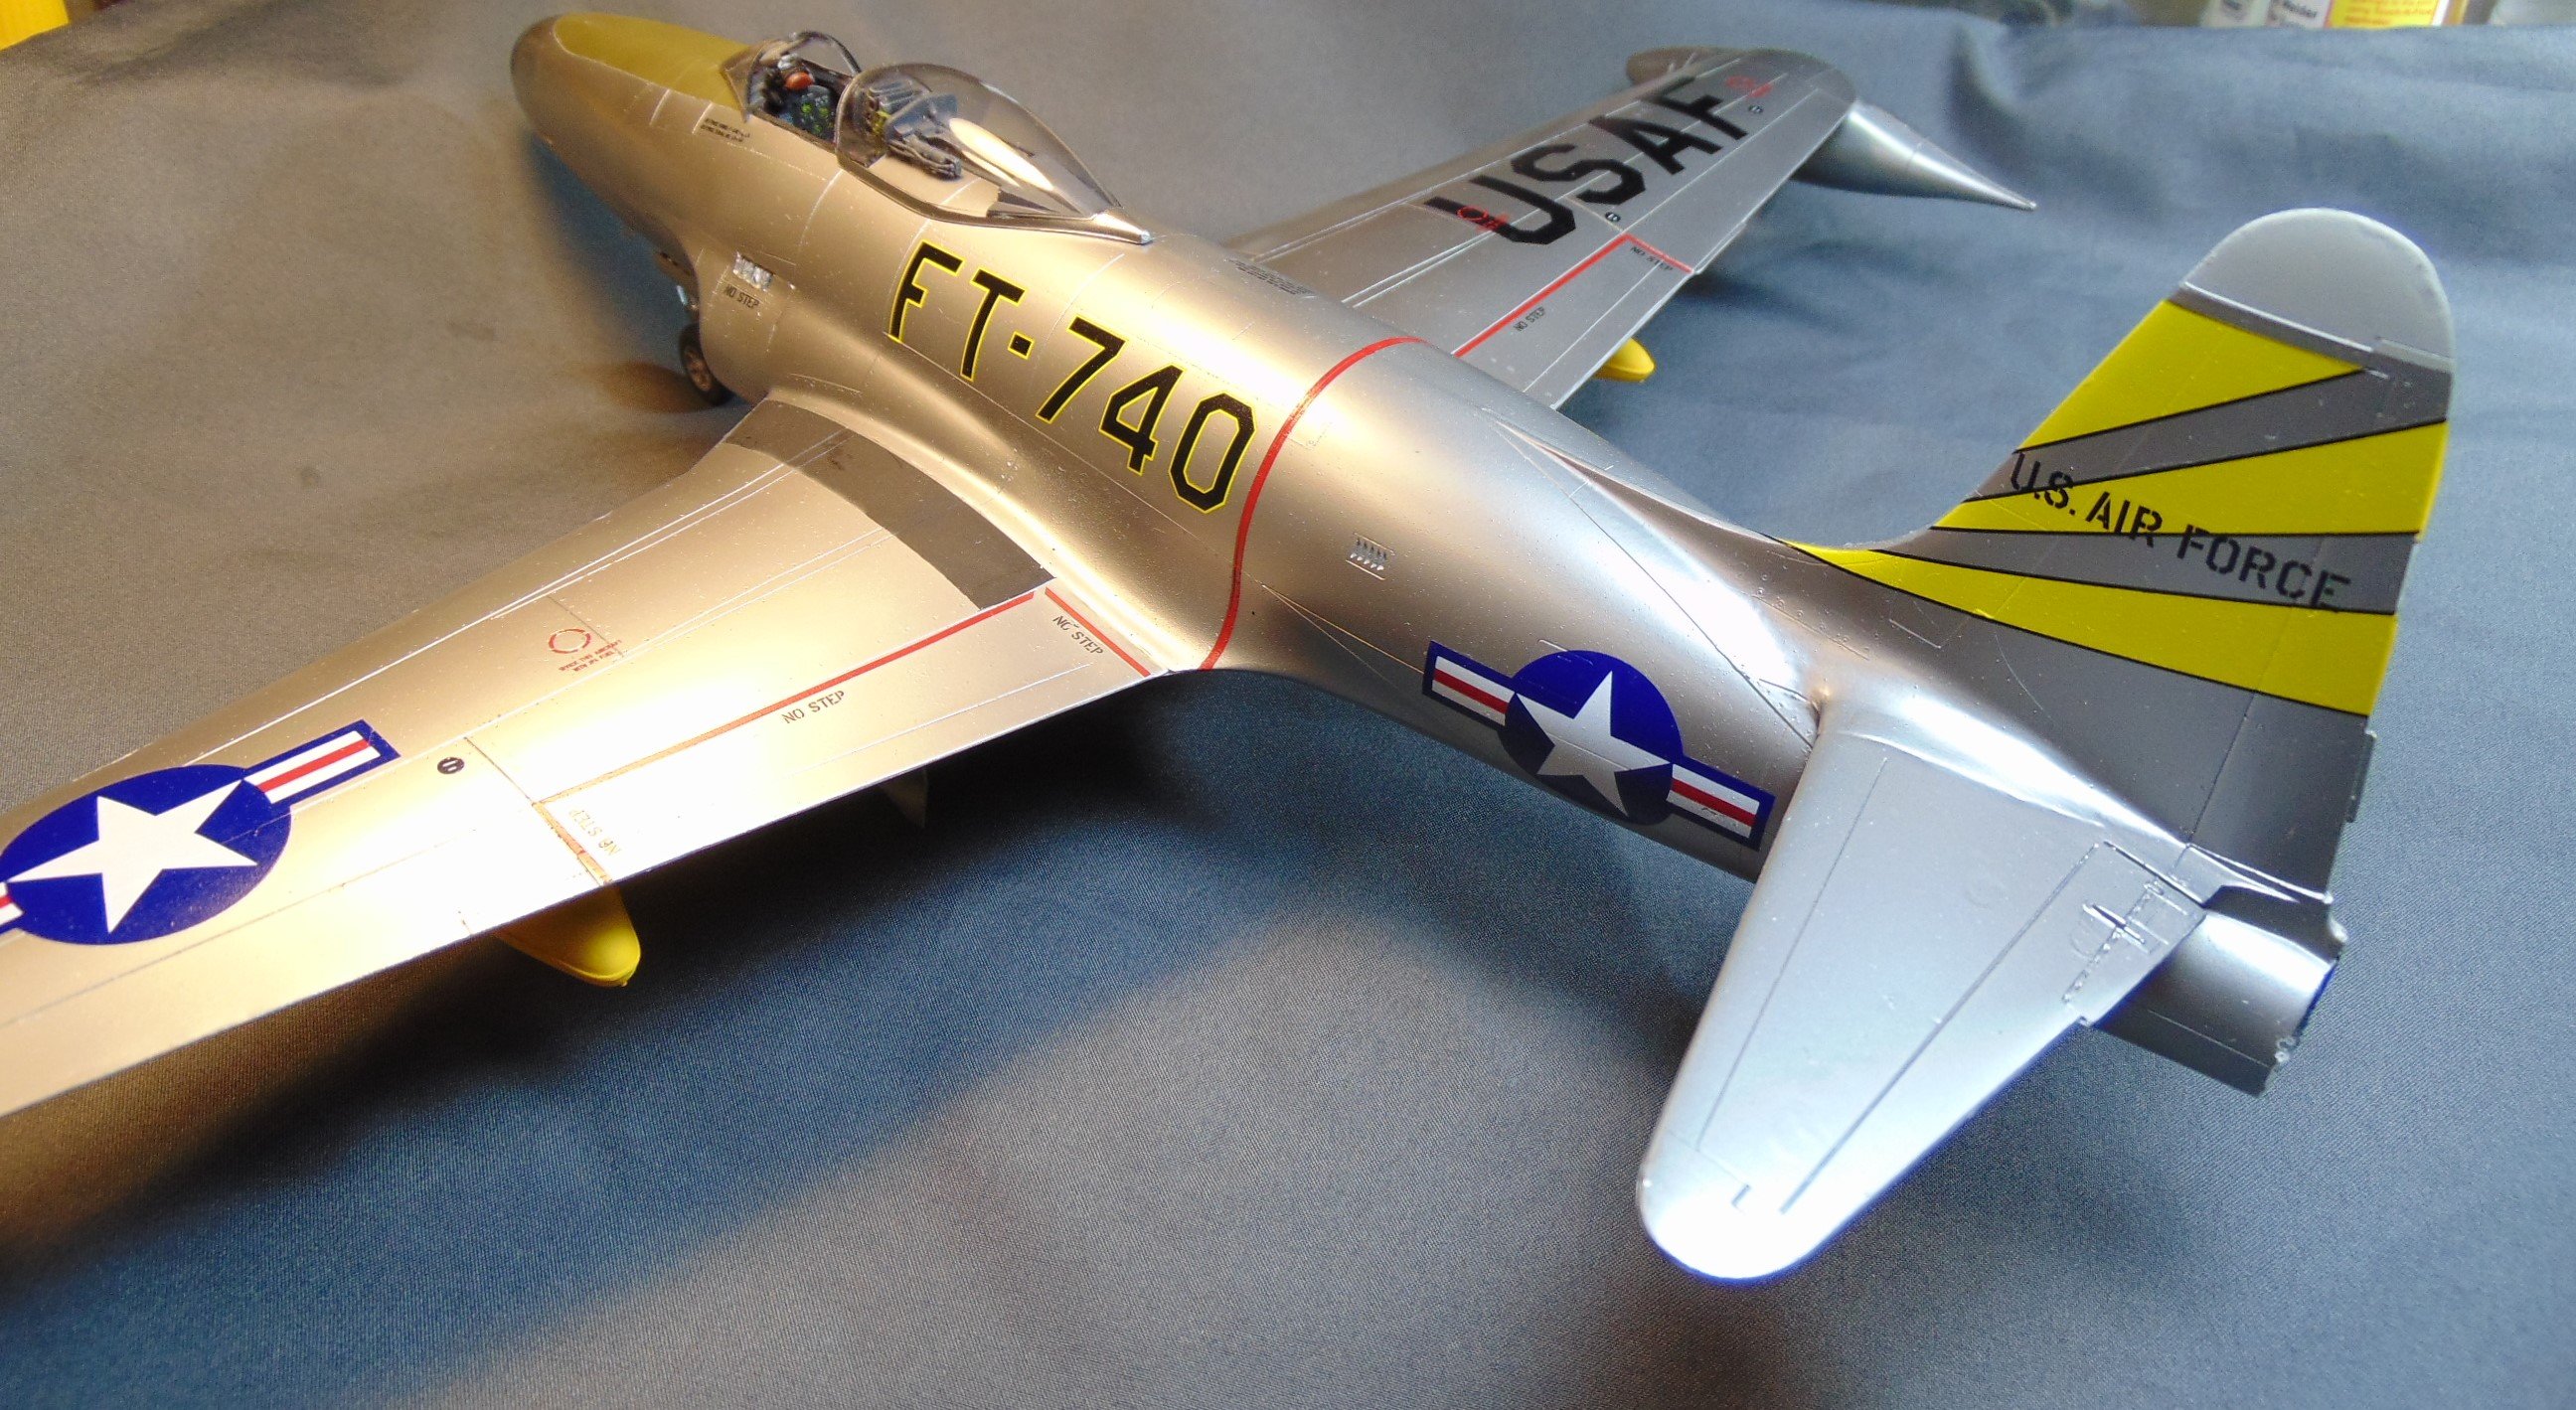
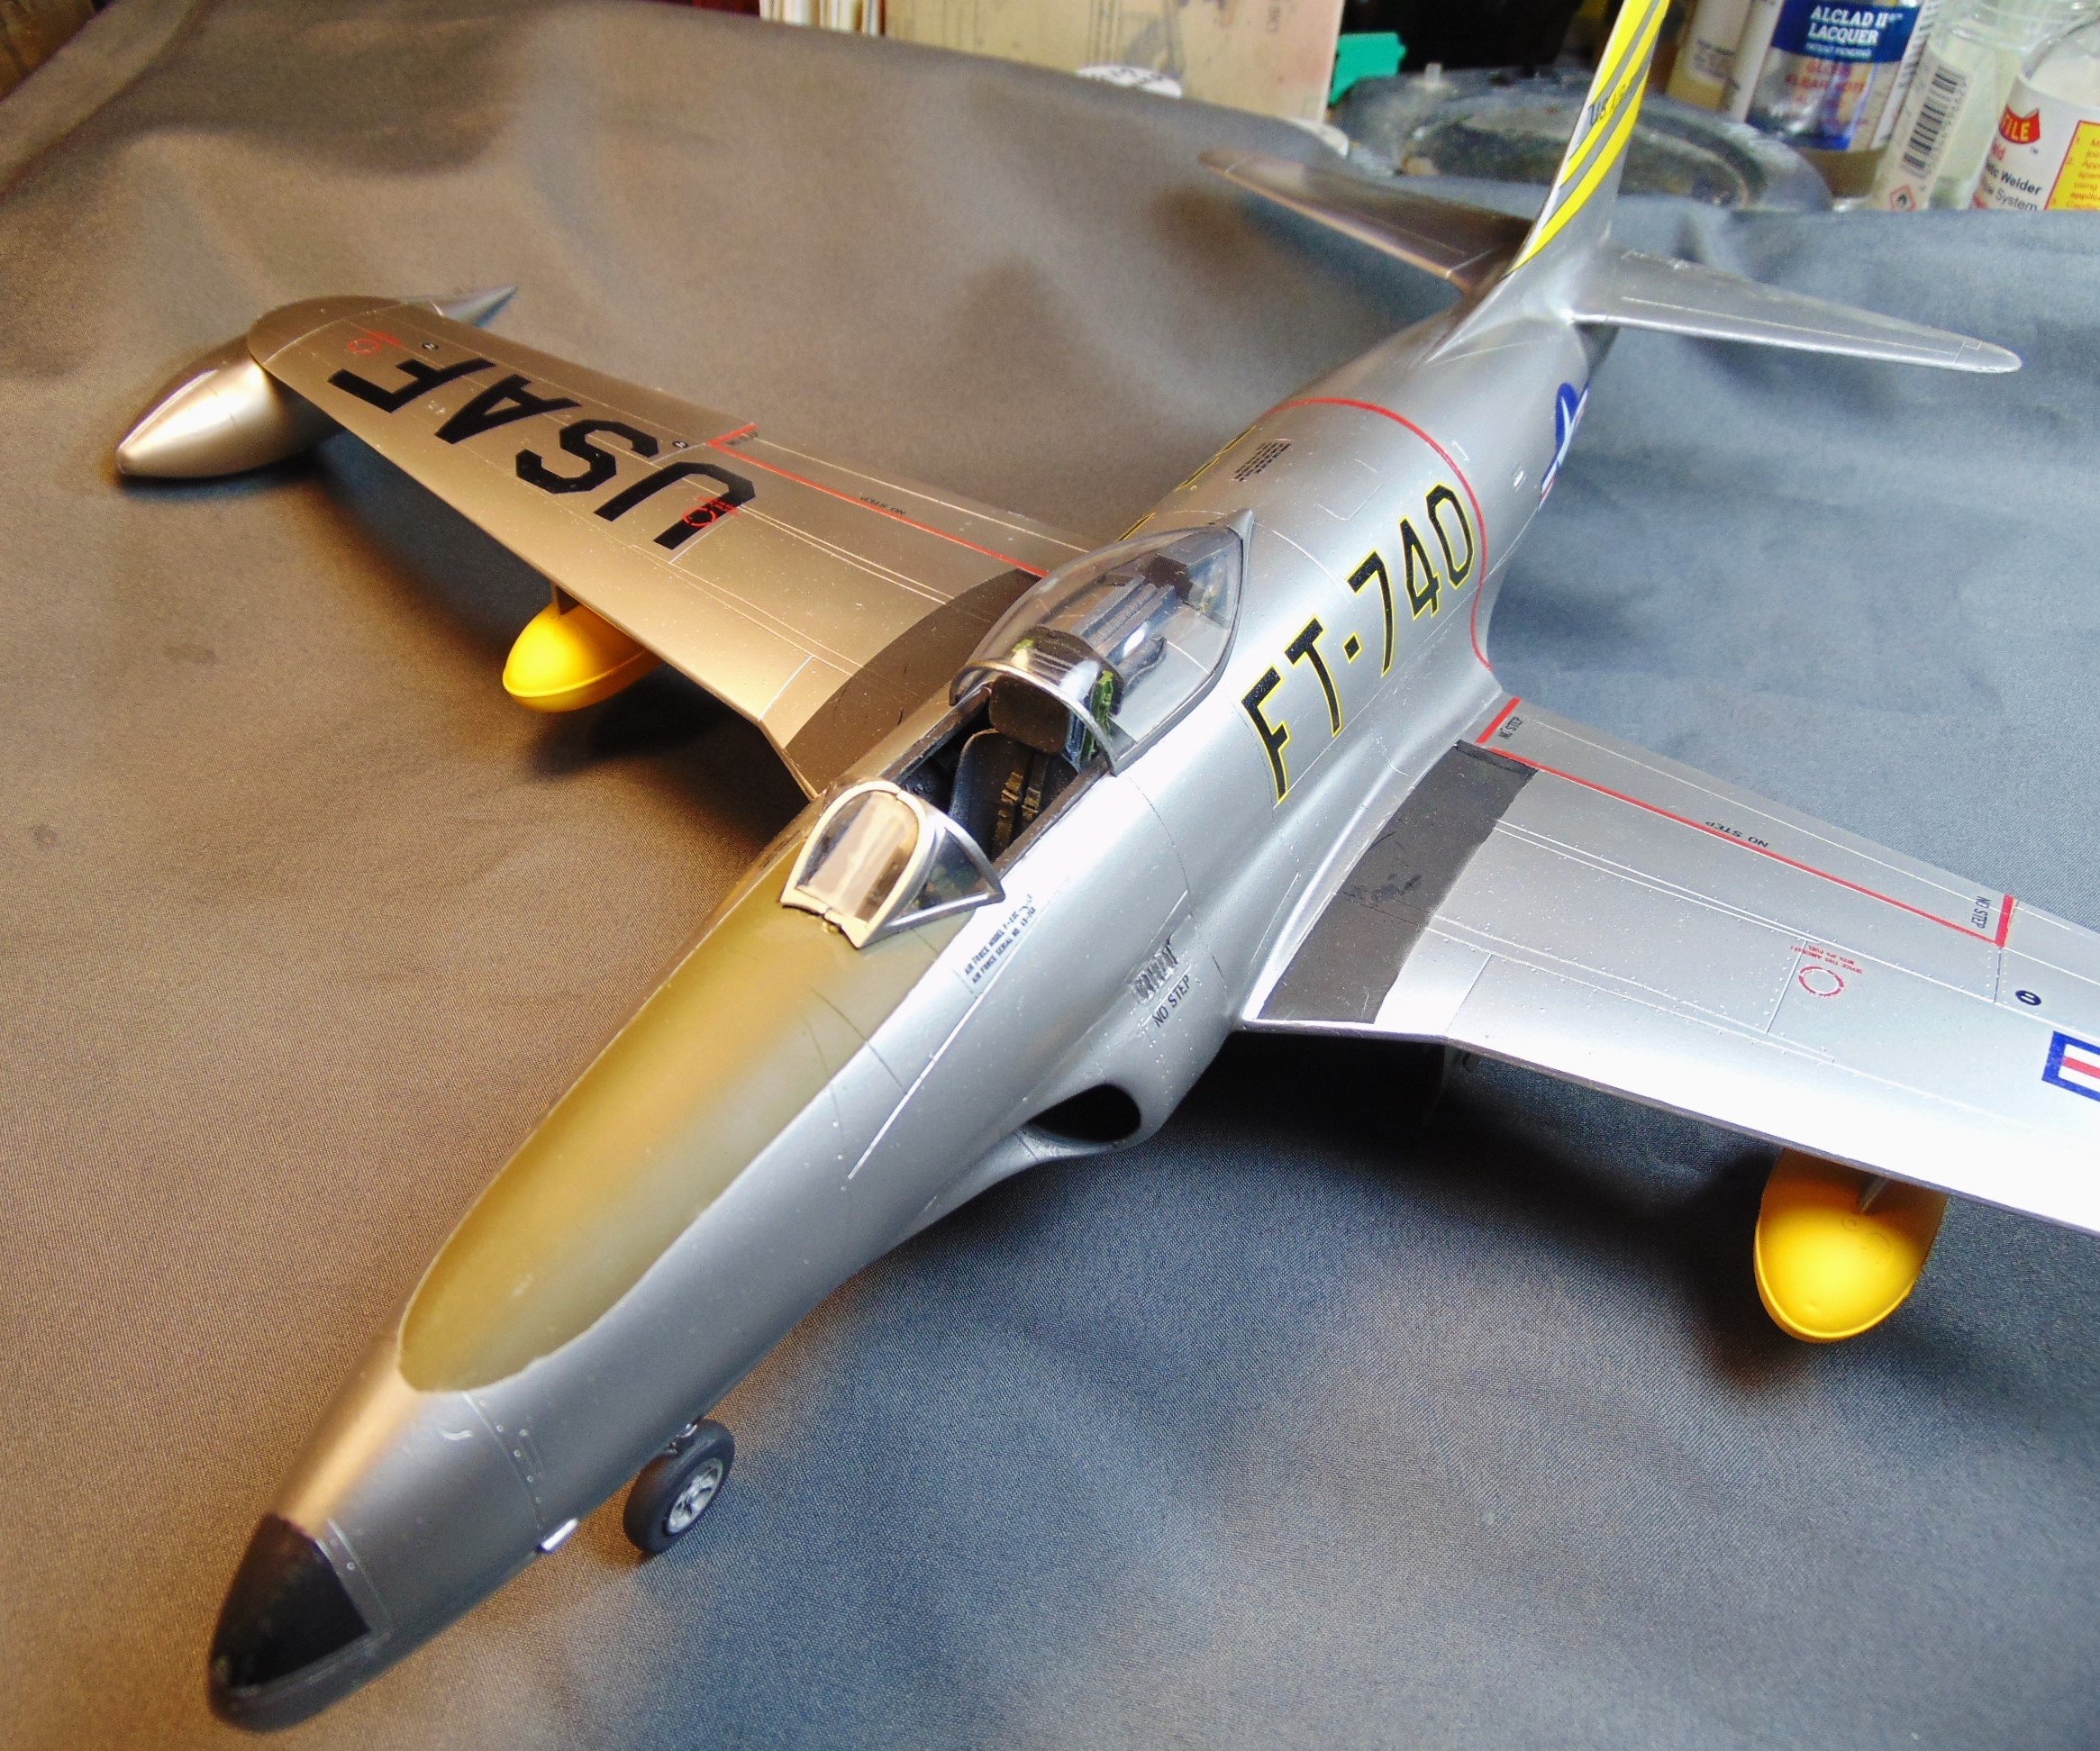
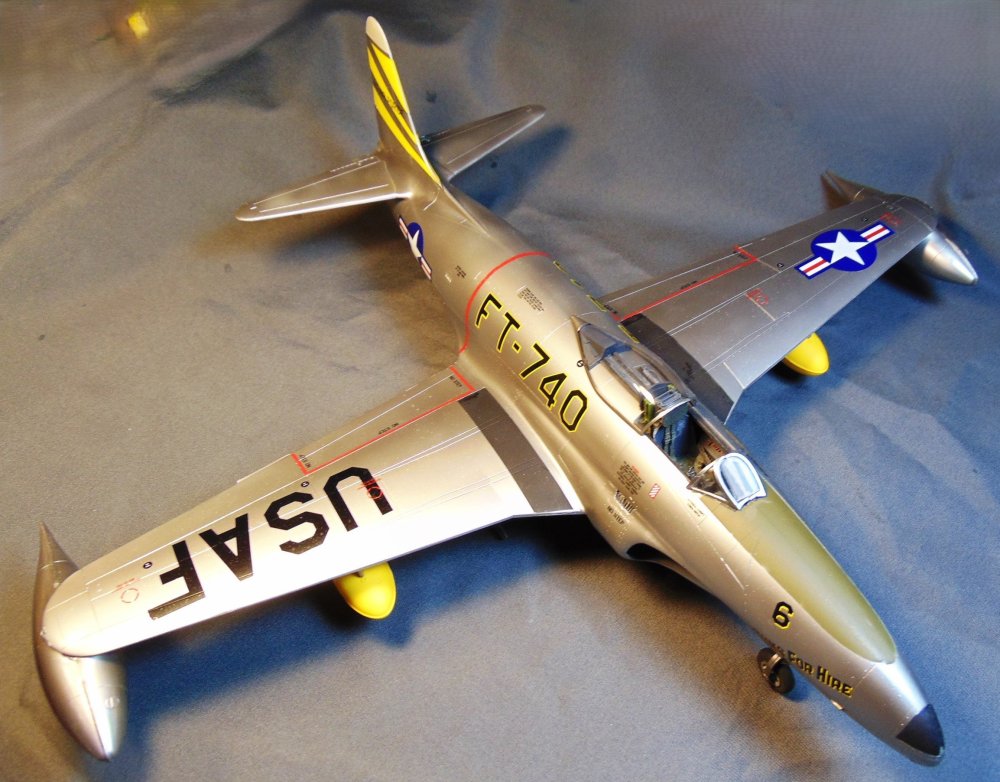
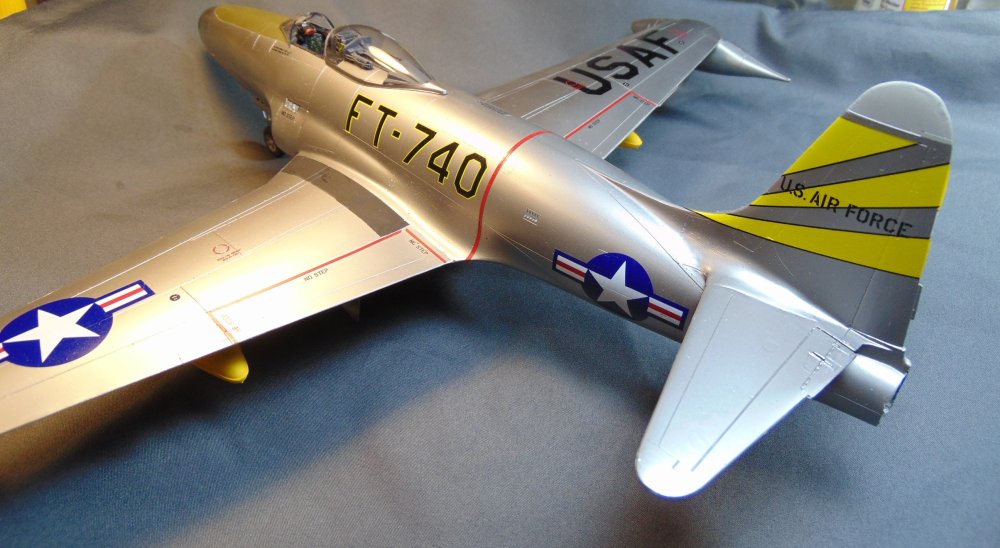
Just for grins I thought I'd post a couple of photos of my SH F-80C builds. All Korean war a/c. I hope y'all like 'em! 🙂


-
Special Hobby F-80C RFI
JohnB replied to JohnB's topic in LSM 1/32 and Larger Aircraft Ready for Inspection
Thank you Peter. I glad to have saved it from the SOD and went on and built it. I think it turned out fine. 🙂 -
Special Hobby F-80C RFI
JohnB replied to JohnB's topic in LSM 1/32 and Larger Aircraft Ready for Inspection
Thanks Kevin. 😃 -
Special Hobby F-80C saved from SOD
JohnB replied to JohnB's topic in LSM 1/35 and Larger Work In Progress
All done. https://forum.largescalemodeller.com/topic/20260-special-hobby-f-80c-rfi/ -
Finished with this build. Painted with Alclad for the exterior, Testor's for other areas. Decals are from the kit. I think the blue on the national insignias is a bit "off" but I used 'em any way. As most of you already know this one spent some time on the SOD before I decided go on and finish it. I hope you like it.


-
Special Hobby F-80C saved from SOD
JohnB replied to JohnB's topic in LSM 1/35 and Larger Work In Progress
Finished decaling. Now adding the landing gear, gear doors, tip tanks, napalm tanks etc.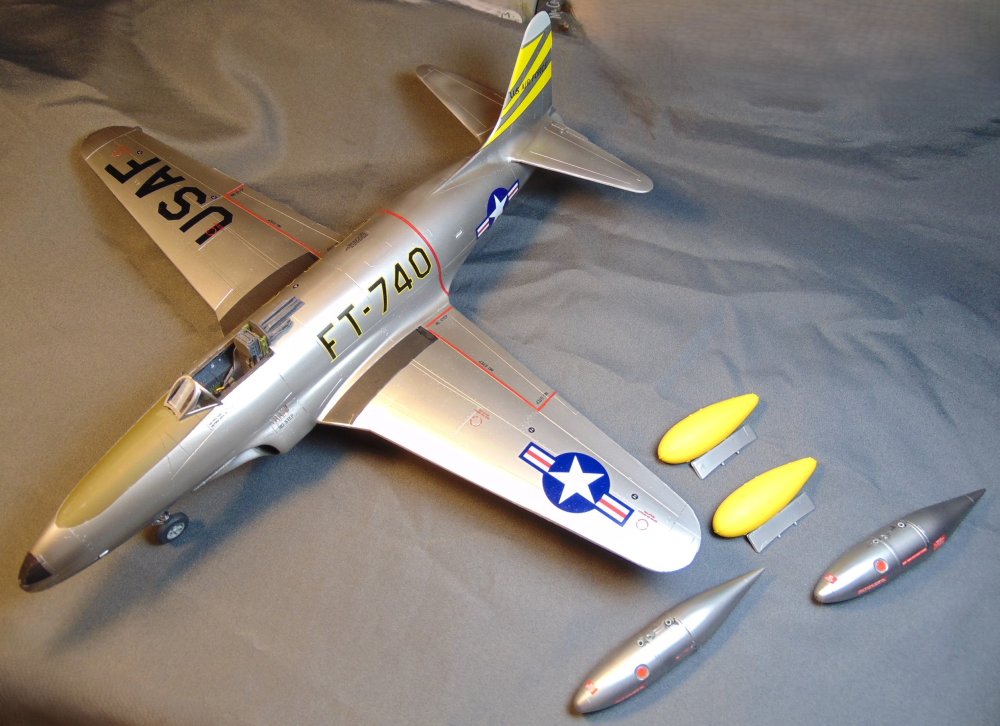
-
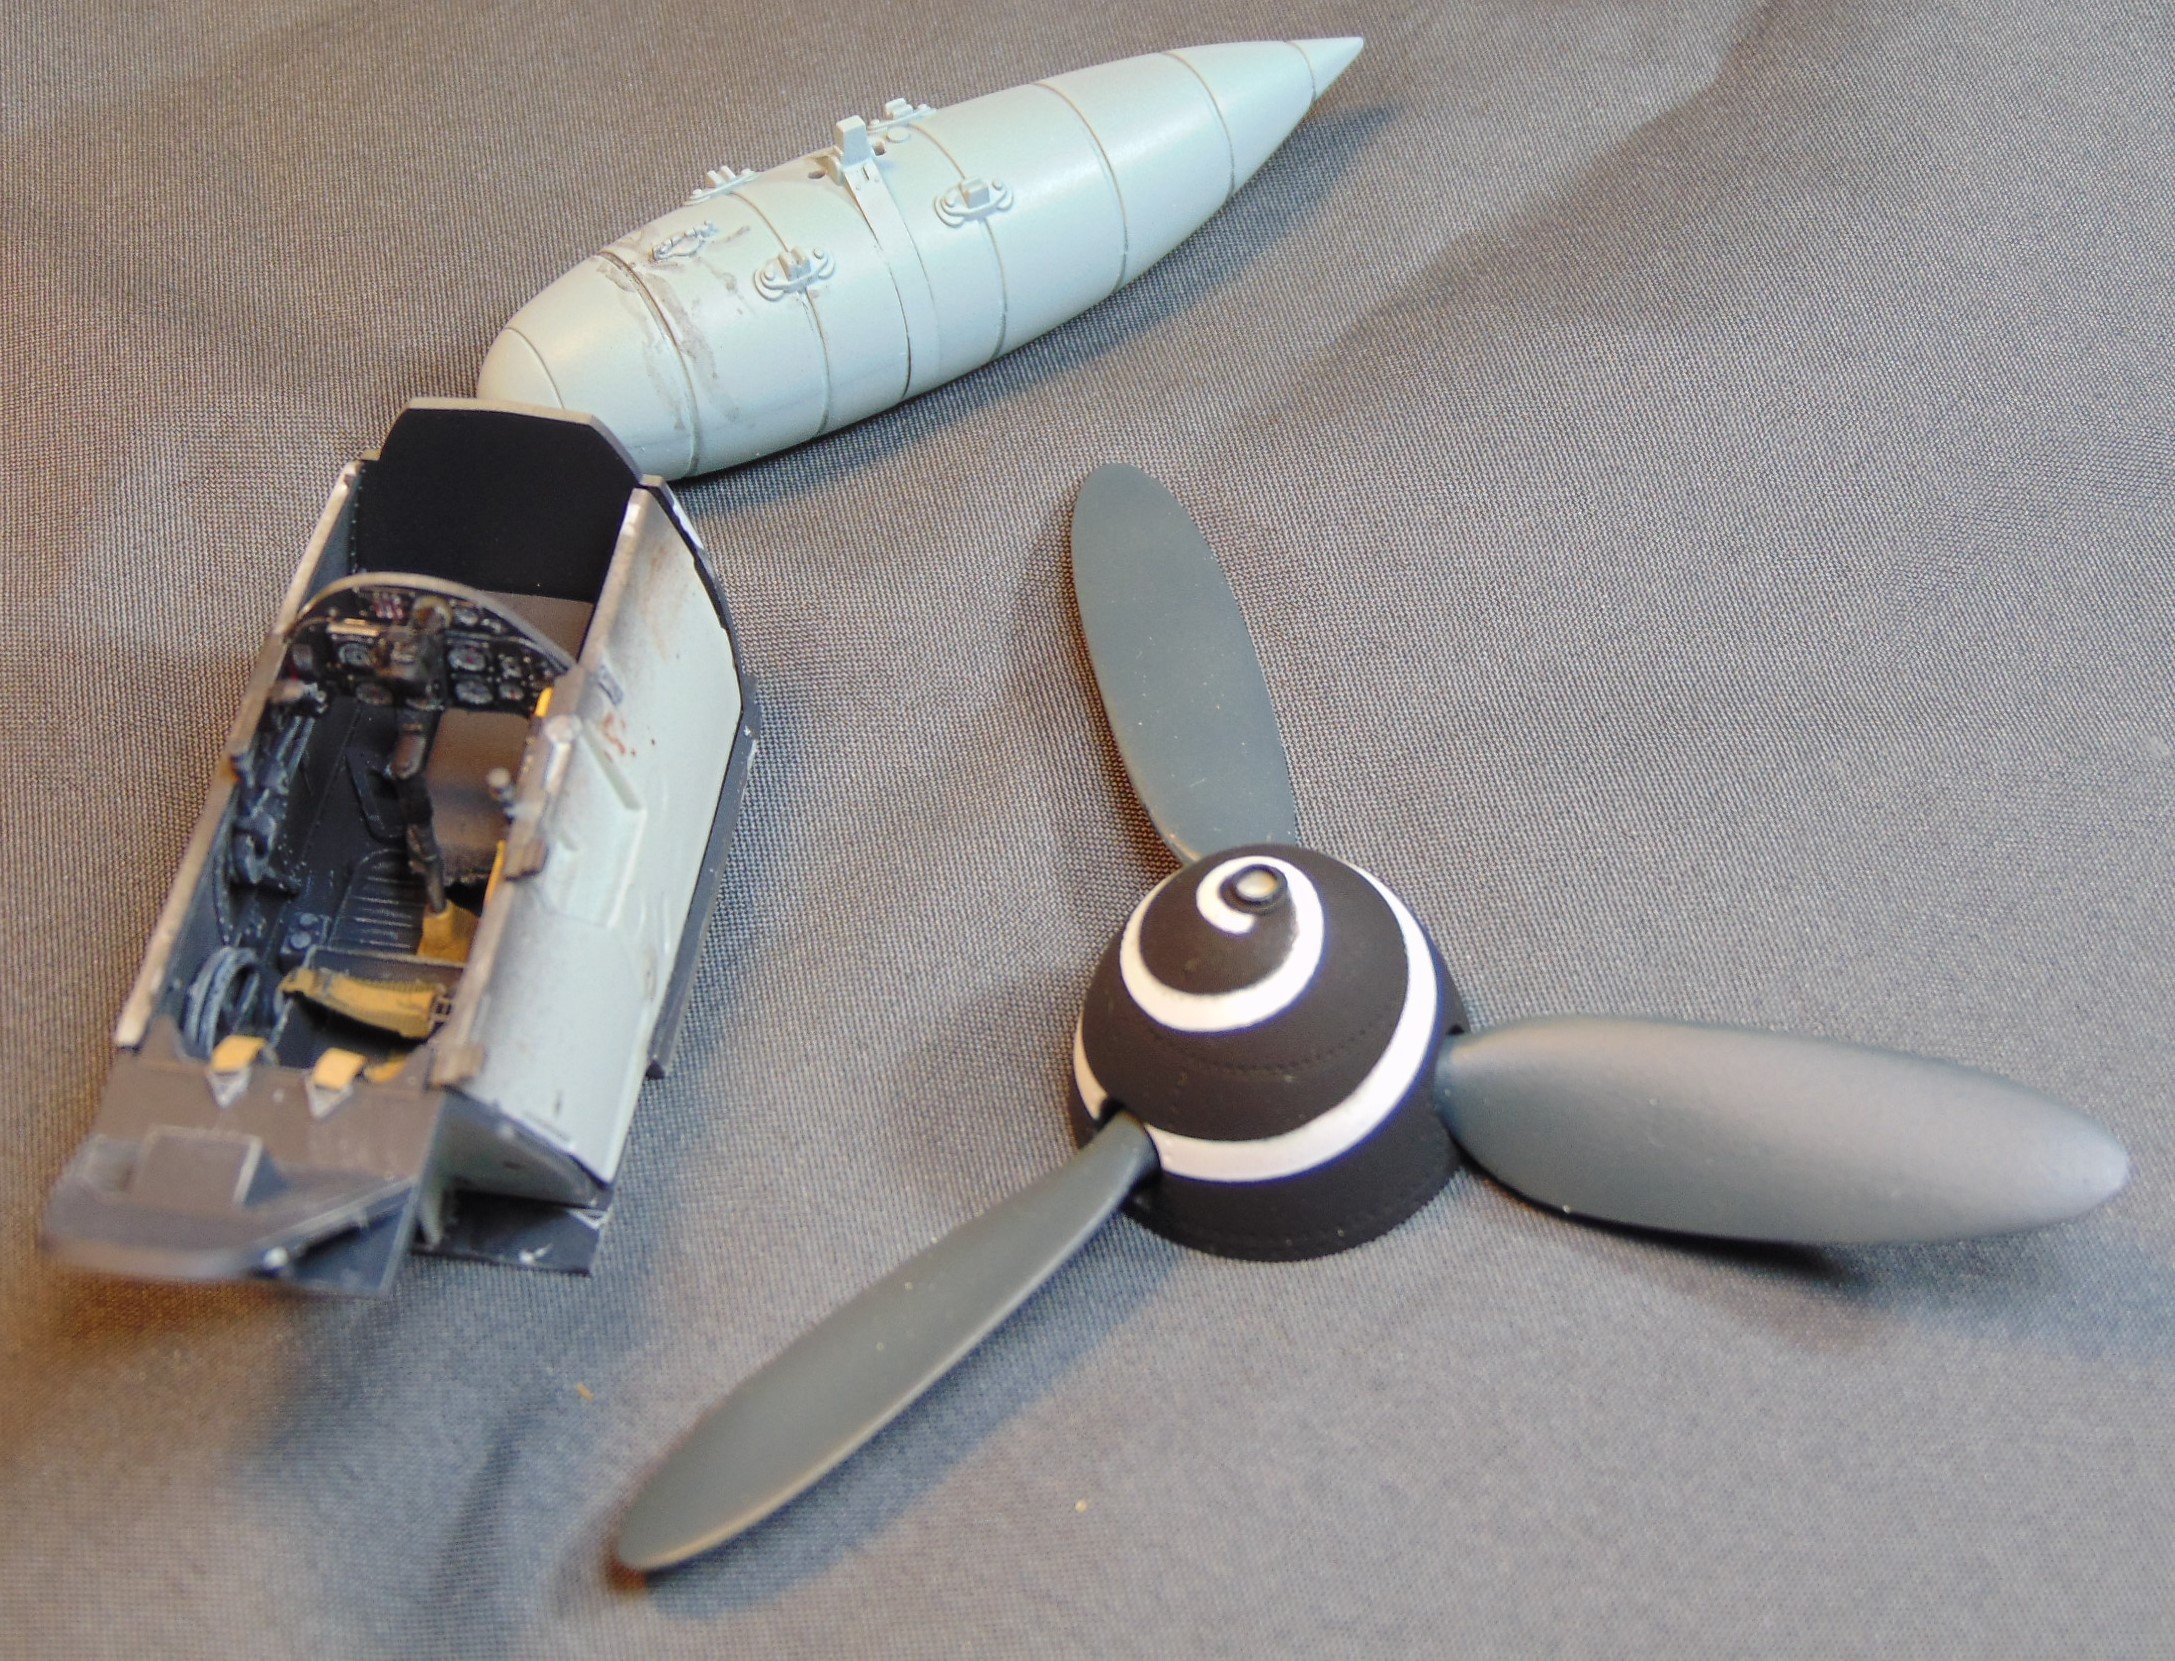
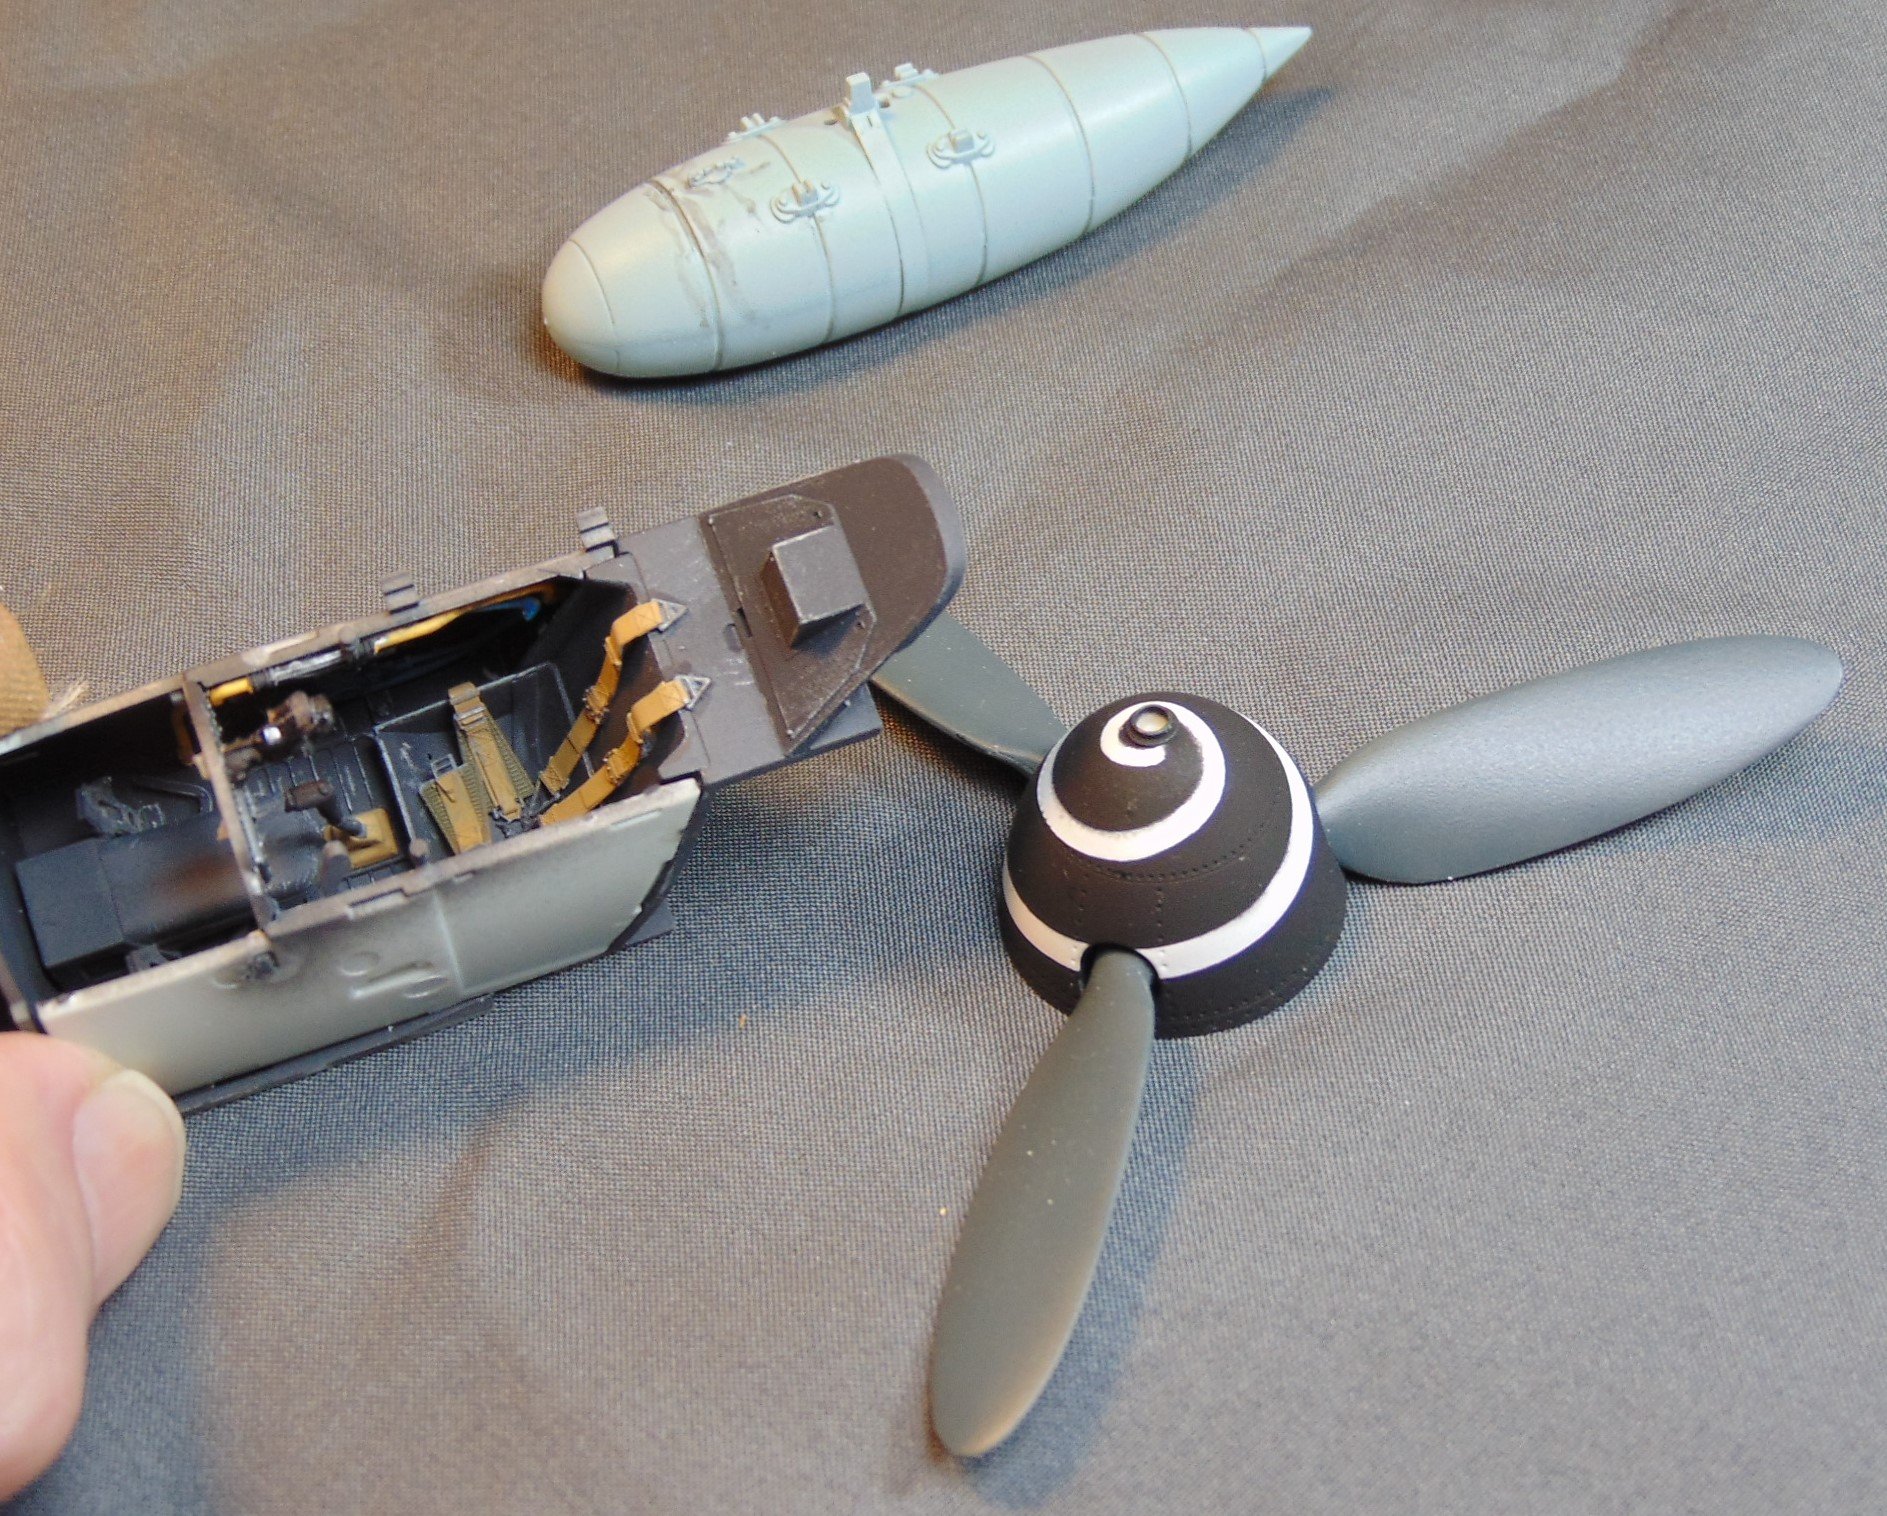
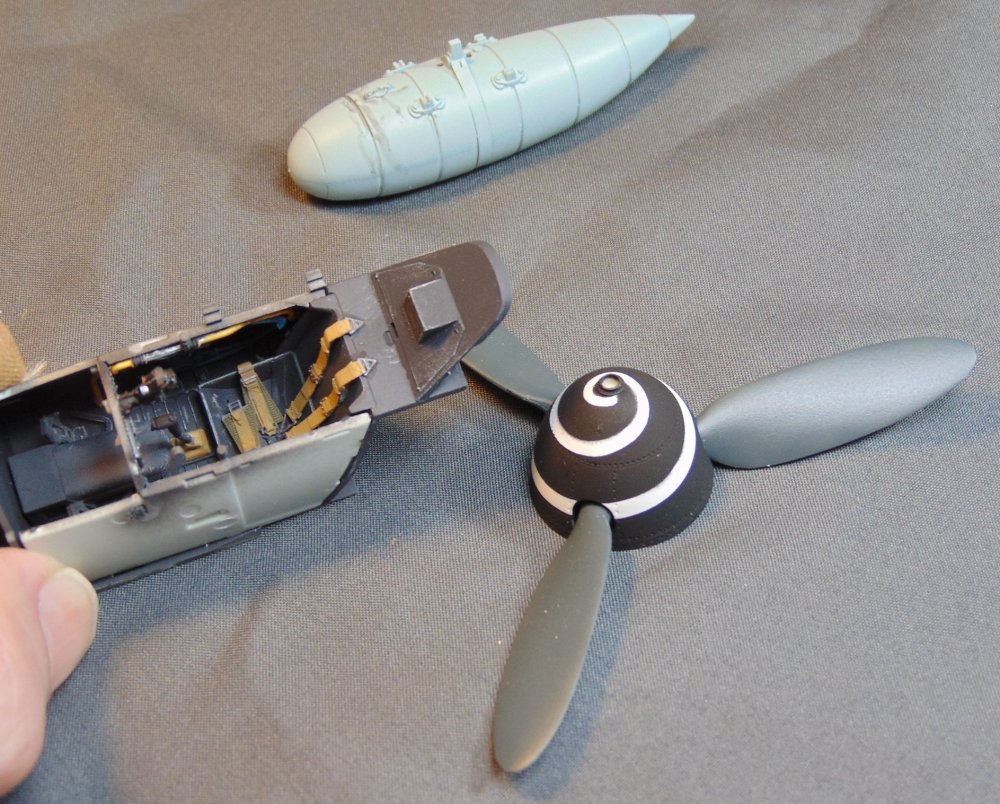
Masking the spinner spirals is much easier than using decals. I always had problems trying to get decals on right. Using masks works much better! 🙂
-
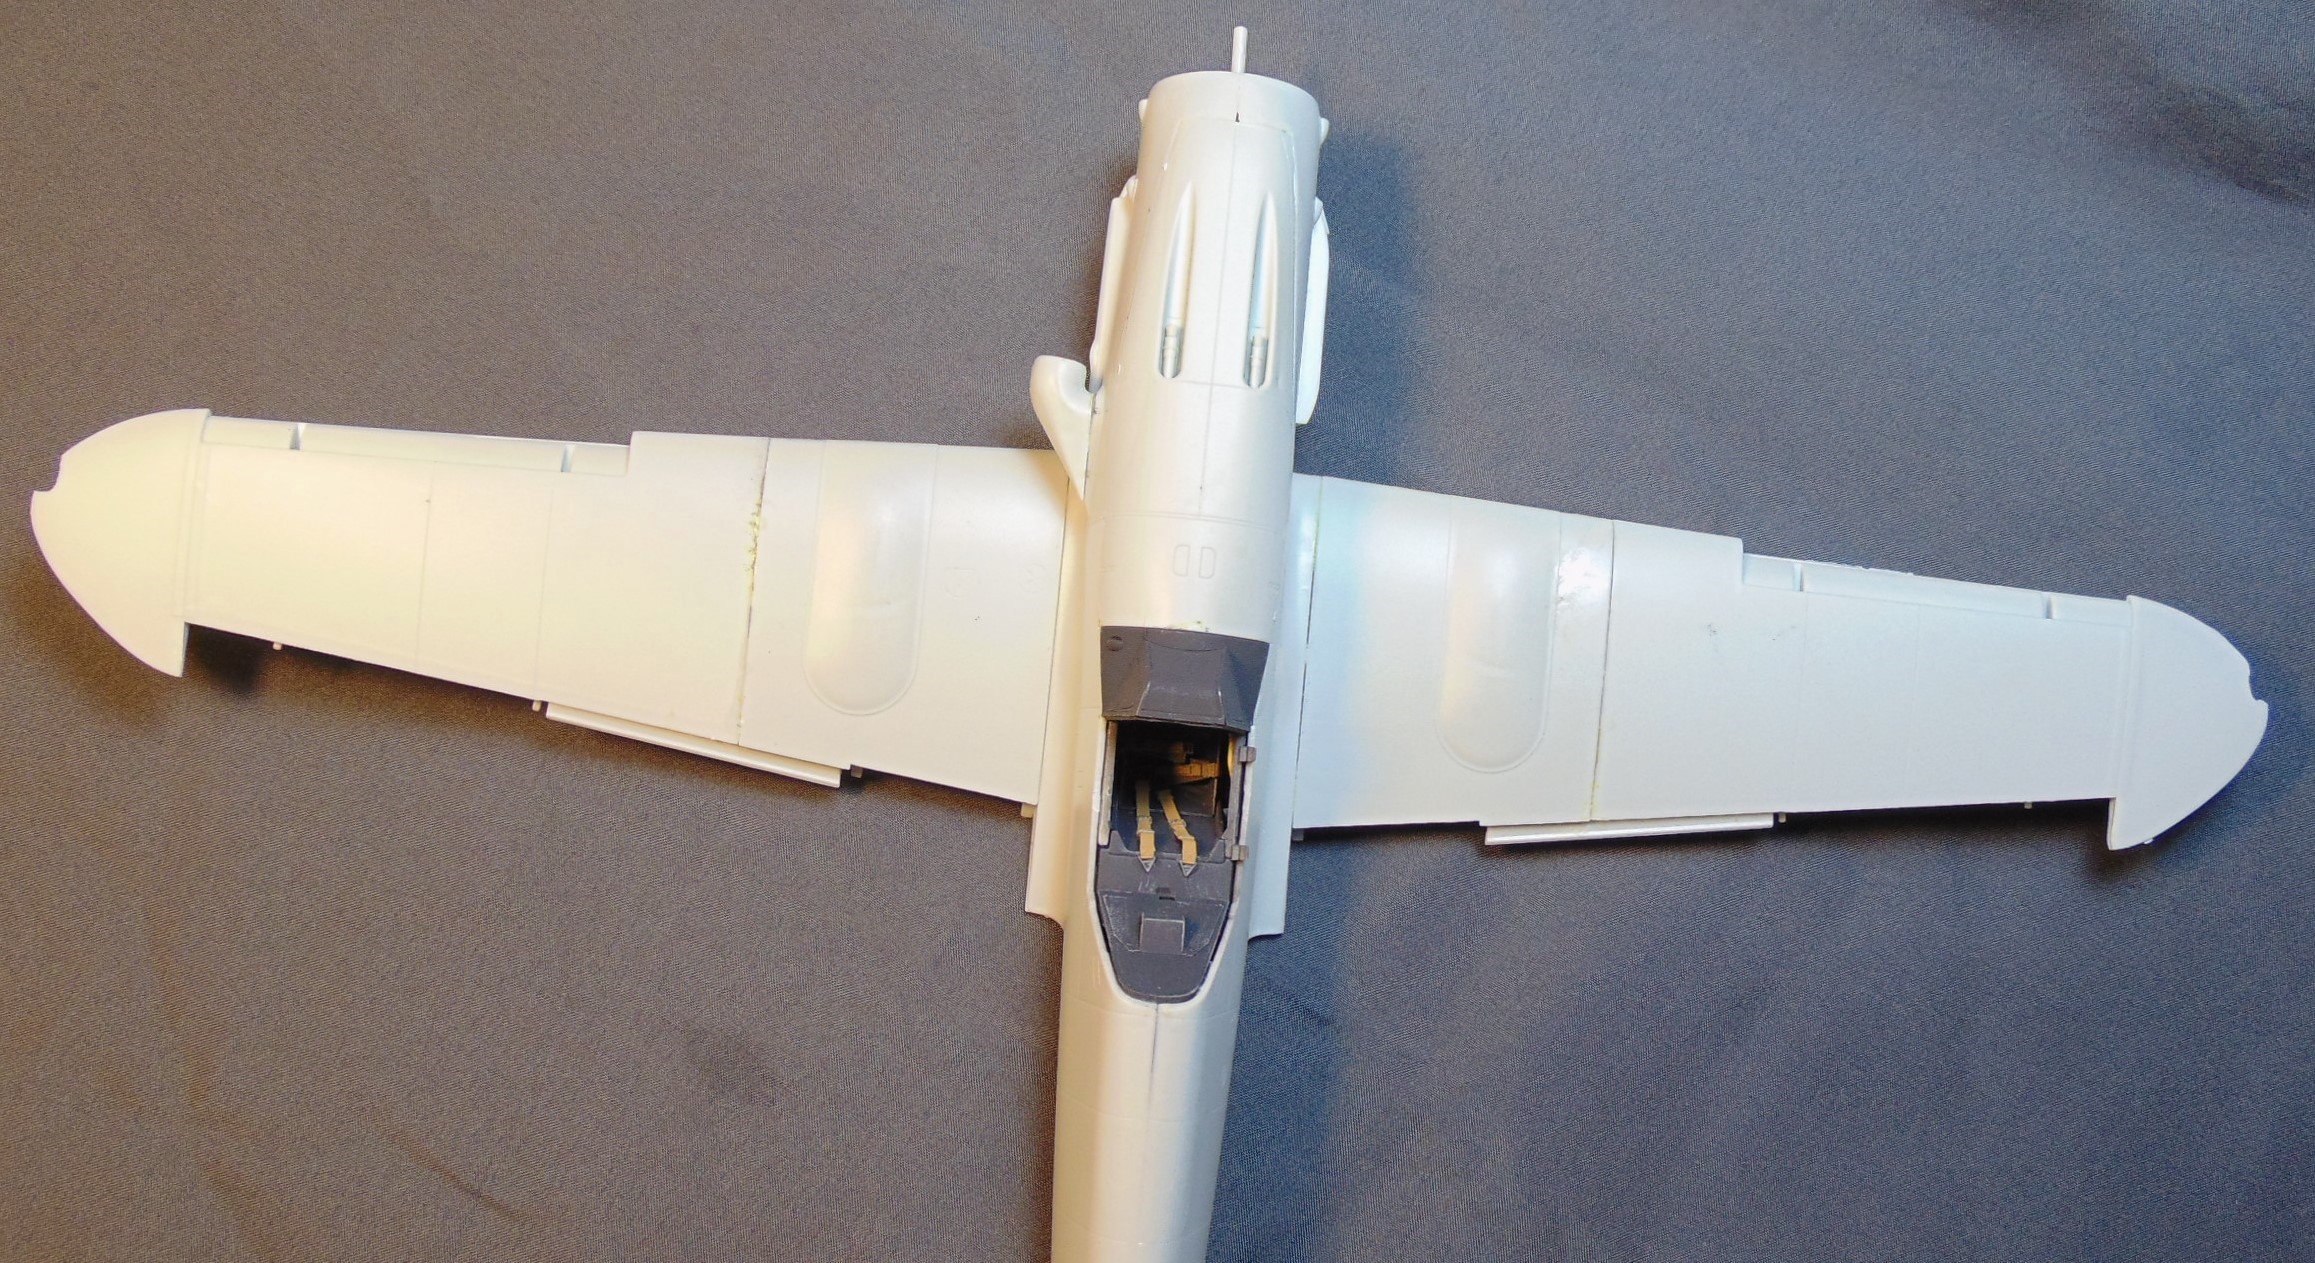
It's coming along okay, thanks. Smoothing out those wings is the next order of business. 🙂
-
I wish Revell wouldn't make the upper wings in sections. It's a pita to smooth out that seam. I never seem to be able to "erase" it completely.
-
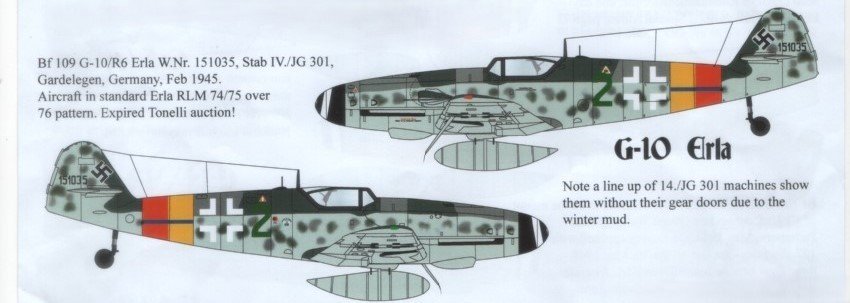
First I paint the spinner white (gloss or flat). I have a couple of masks that I use which are vynal (? spelling?) by Montex. They are from their Super Mask Bf-109G-10 #K 32023. Apply the one you want to use then paint the spinner black. The masks are reusable too if you don't bugger it up. You should be able to find them on ebay or maybe SB. 🙂
-
That would make a interesting looking model!😃
-
Thanks Peter. Staying busy with my builds! Work on the '109 for a bit then work on the F-80 for a bit. LOL Keeps me out of trouble! 😄
-
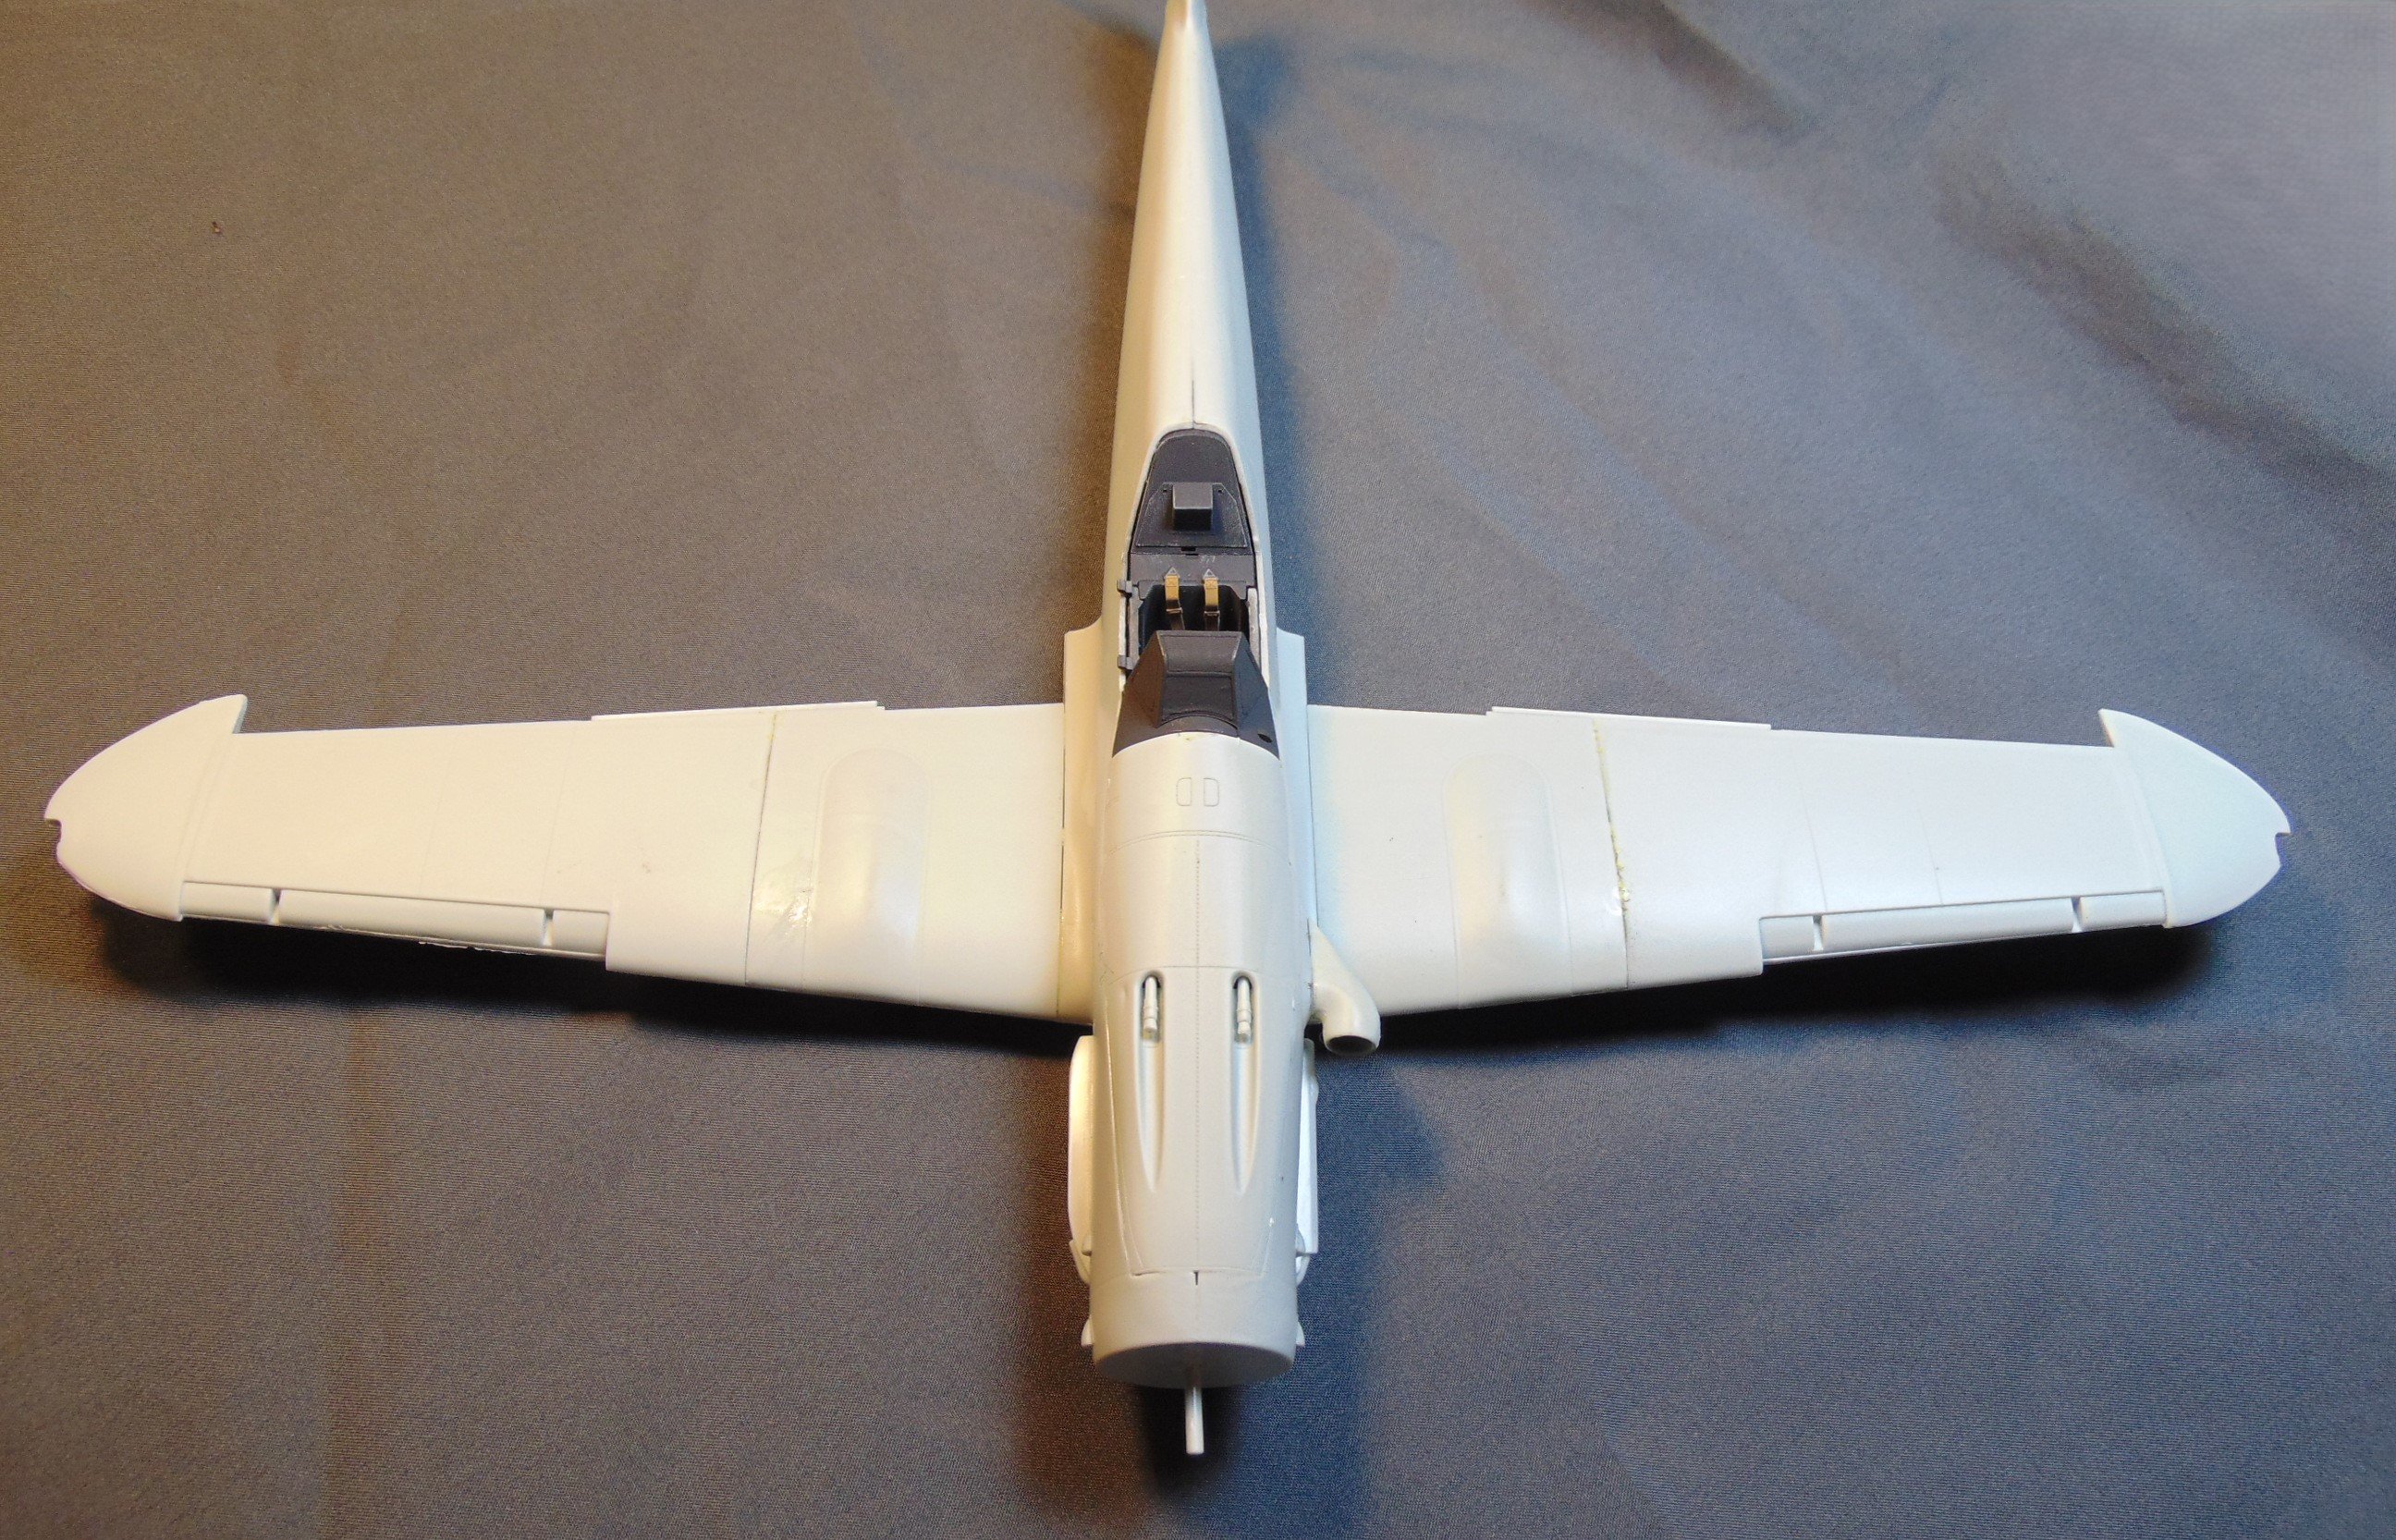
Getting this one well under way. 🙂

-
Special Hobby F-80C saved from SOD
JohnB replied to JohnB's topic in LSM 1/35 and Larger Work In Progress
They are very thin and fragile so I think giving it a break is a good idea. Nice decals though. 🙂 -
Special Hobby F-80C saved from SOD
JohnB replied to JohnB's topic in LSM 1/35 and Larger Work In Progress
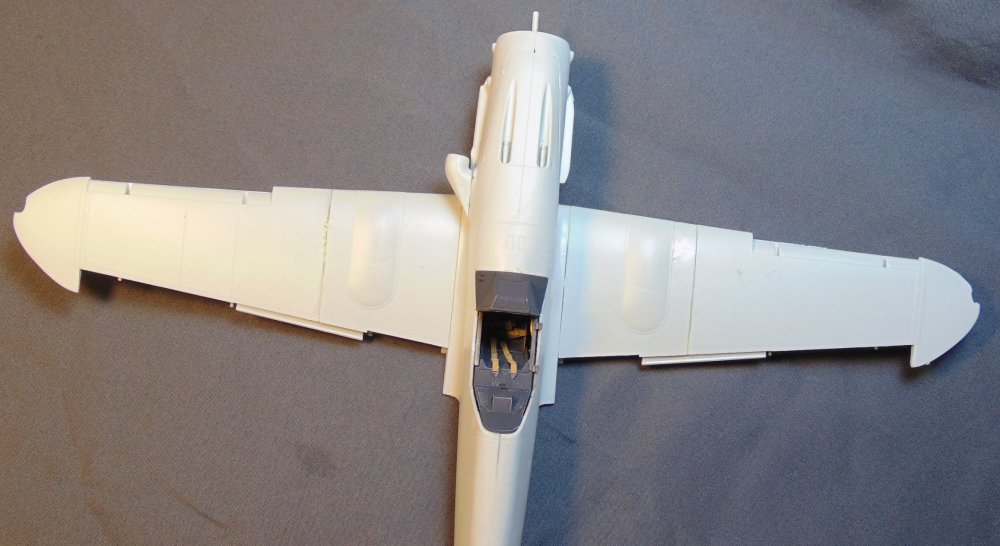
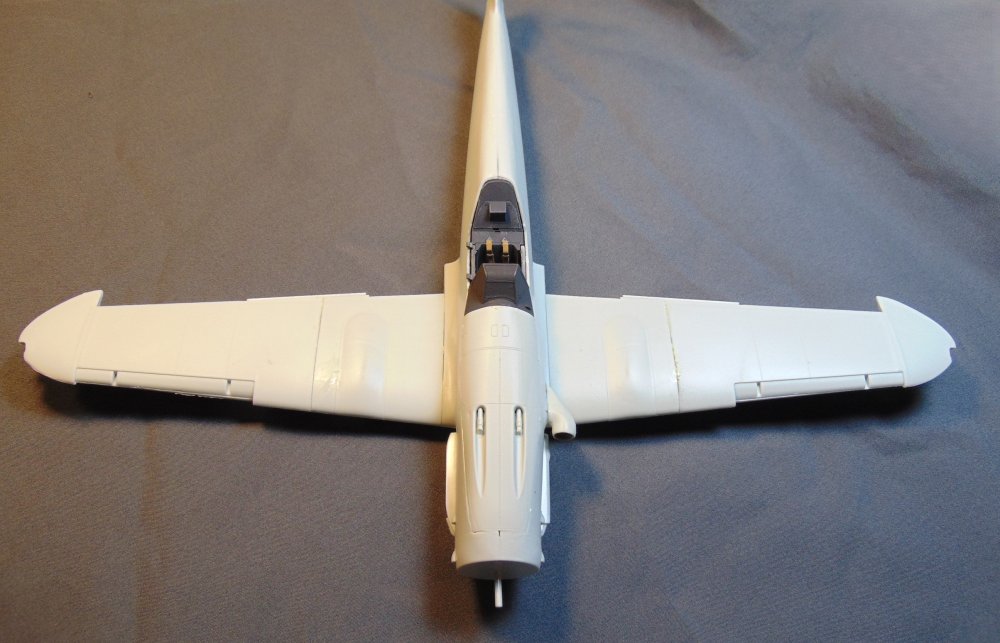
Decaling under way. I'm going to leave it over night so I don't bugger up anything! Those decals are thin and easily marred. In the mean time I'm working on a Revell 1/32 Bf-109G-10 Erla. I'll start a WIP thread shortly.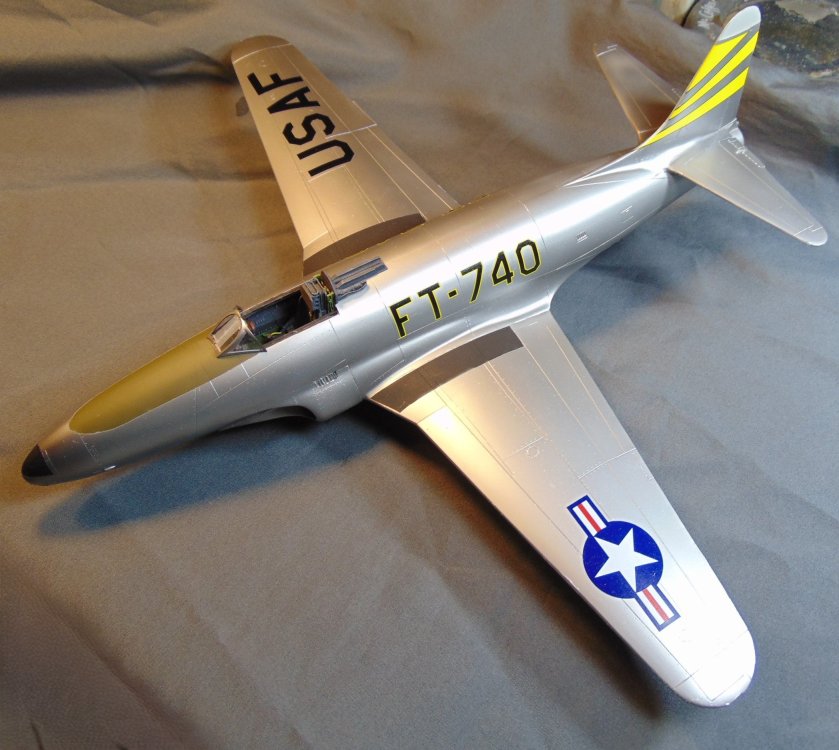
-
Revell FW-190F-8 completed
JohnB replied to JohnB's topic in LSM 1/32 and Larger Aircraft Ready for Inspection
Yes indeed Chris. 🙂 -
Revell FW-190F-8 completed
JohnB replied to JohnB's topic in LSM 1/32 and Larger Aircraft Ready for Inspection
Thanks! 😃 -
Revell FW-190F-8 completed
JohnB replied to JohnB's topic in LSM 1/32 and Larger Aircraft Ready for Inspection
Thank you Peter. I am glad you approve of my work! 😃