


HubertB
-
Posts
2,437 -
Joined
-
Last visited
Content Type
Profiles
Forums
Events
Gallery
Posts posted by HubertB
-
-
14 minutes ago, BlrwestSiR said:
In Phil's defence:
… of an african swallow ?
Hubert
-
 1
1
-
 2
2
-
-
Great looking Arado ! An original and well executed subject 👍 !
Hubert
-
1
-
-
I really dig the looks of this one. Sleek and fast. This said, I understand the key reason for it loosing out to the Canberra was that it had only 30 % of the B-57’s loiter time on target, which is a useful benefit for a tactical bomber …
Keep it coming

Hubert
-
3
-
-
On 7/6/2023 at 1:45 PM, Bomber_County said:
Scott, call me heretic but I built the SH Tempest without the nose update and it looks good to me………funny story, the SH Tempest was my first ever 1/32 kit. I bought at Telford show and was very happy. On the way back to the car a guy says , “ oh you bought the Tempest, the nose is completely wrong”. I told him where to go and reside, preferably where the sun doesn’t shine………..he scuttled off………
WOT ? Vade retro Satanas ! Fear the wrath of the Almighty Rivets-Counter Brigade ! A nose can change the world. Think about Cleopatra’s nose and the famous saying …
I’ll rest my case here, and will go looking for that spot of eternal lack of sunshine 🫣
Hubert the Pure and Untouchable 🤪
-
1
-
4
-
-
What I know is that the push for even more detailing and improvement can be a mojo killer sometimes.
I am with the others: building a good-fitting, OOB kit can restore the pleasure of modelling.
I will add however that, personally, I find myself unable to build OOB for subjects I am keen on, like aircrafts. So, if looking for a mojo restorer, I’d probably go for something completely out of my modelling ares of interest. That would probably mean a car, or a motorcycle, or maybe an exotic subject like a tractor or bulldozer …But I know you are modelling trucks, cars, armour and aircrafts …
Maybe a Bandai Star Wars subject is a good idea ?
Hubert
-
2
-
-
3 hours ago, ScottsGT said:
Anyone want a good laugh at my expense?
You ain’t gonna believe this shit….And I cannot believe no one pointed it out during my build.
My wings are upside down and on the wrong side.
🤪Don’t have any idea how to fix this mess now.
I had not noticed it either. Now that you mention it, it’s obvious. And it’s going to be a bear to correct, agreed

Hubert
-
48 minutes ago, Clunkmeister said:
I just talked to a guy who has studied the aircraft, and like I had said, he stated the cockpit is sparse, really sparse. So, hopefully soon we’ll get some upgrades.
This kit will be OOB, though.Well, I spent ages on the Devastator, and bought about all the documentation you can find (spare the Erection and Maintenance manual, which is rarer than finding a hen's teeth on 4-Thursdays' week)
From your pics, I'd agree that the cockpit looks barren compared to what it could be. But the basics seem to be here. I'm pondering whether I should sit in front the computer and design a "proper" cockpit, to be printed ...
Hubert
-
3
-
-
Great project, but I confess I could not unsee the warped fuselage. When I saw the pic, It jumped at me, but I thought it mus be a parallax issue with the picture … alas no
Hubert
PS: I remember getting involved in a p..#ng contest with Dandiego on eBay to get my hands on a vacformed 1/32 B-51. Common sense prevailed and I let it go before any of us two engaged silly money on what was a just a vac kit in the end …
-
1
-
-
C’mon, Peter, just a small peek … It could do no harm, could it 🤥 ?
Hubert
-
1
-
5
-
-
I can see a slight difference in the transition from the engine cowling to the radiator fairing, but that is all that jumps to me ...(Which one is the release #1 and the the corrected one on the profile shots ?)
Hubert
-
She's looking good, Kevin. Well done 👍 !
Hubert
-
1
-
 1
1
-
-
9 minutes ago, ScottsGT said:
Hubert, that a little extreme don’t you think? LOL!
Come on guys! Let’s get going and make this group build a huge success!!Ok. 15 ?
Hubert
(Realistically, I’ll try to finish it, outside the GB, before I move to a new home mid-October)
-
1
-
-
20 hours ago, Clunkmeister said:
Due to the website being down and all the National Holidays at this time, we will push the end date back to Sunday July 10.
And about that « pot-de-vin » to extend the deadline by 18 months, so that I can finish my Cutlass in time 😂 ?
Hubert
-
1
-
5
-
-
Well done ! And congrats for the dash to the finish line 👍 !
Hubert
-
3
-
-
2 hours ago, BlrwestSiR said:
Wow! So, how big would that be? Asking for a friend.
Ben (Starfighter on LSP) said it was 62 hours printing time for the wings only. And printing the fuselage takes 120 hours … And, before you ask, AFAIK, he has no intention of selling it to anyone …
Still, it’s a fantastic piece of design 👍 !
Hubert
-
4
-
2
-
-
2 hours ago, Clunkmeister said:
Hubert, nope, they’re divots as regularly done by Trumpeter. Personally, I’m one of those people who believes that external detail on aircraft is grossly overdone by many companies, with some Trumpeter models being the star studded showcases in that realm.
Rivets are absolutely invisible from 20 ft away, as are a lot of panel lines, however things like skin ripples and oil canning are visible from much farther away and should be represented where indicated.
Too bad. Somehow, seeing the raised rivets on the headrest, I thought that Trumpeter got the raised rivets on the rest of the airframe …
These were a characteristic feature of the TBD, but, I agree with you, are often too prominent on many kits. It’s one of my gripes with the IBG PZL P-11C : the raised rivets are accurate for this airframe, but a bit too high for my liking …
Anyway, we’ ve got Archer or Quinta for sets of raised rivets. Just need a few dozen sheets costing the GNP of Zimbabwe 😂 !
Hubert
-
3
-
-
I can offer you a number of « pots-de-vin », but my Cutlass will need more than a week to be finished …
")
Hubert
-
7
-
-
40 minutes ago, Clunkmeister said:
Trumpeter rivets abound, although they will tone down quite a lot with the application of primer and paint.
This kit just cries out to be carefully built with a silver cockpit and as a pre war yellow wings aircraft.
Are the rivers divots or dimples ?
The TBD was festooned with raised rivets ( as was his stablemate the Dauntless, but Trumpeter showed them as divots, and it took Archer to issue a full set of raised rivets for the SBD)Hubert
-
2
-
-
Got more pics for us
?
Hubert
-
1
-
-
Now that’s embodying the fabled saying « Turning a sow’s ear in a silk purse »

Hubert
-
4
-
-
1 hour ago, Clunkmeister said:
The price seems to be around $110.00 USD, so about average. It’s nice to see that Trumpeter has stopped their astronomical MSRP practices. This kit almost looks like a simple blow up of the GWH 1/48 kit.
Which is overall good news …
Hubert
-
Now, where is mine 😩 ? I NEED my TBD fix 😥 !
Hubert
-
2
-
-
Sincere condolences, Ron.
Hubert
-
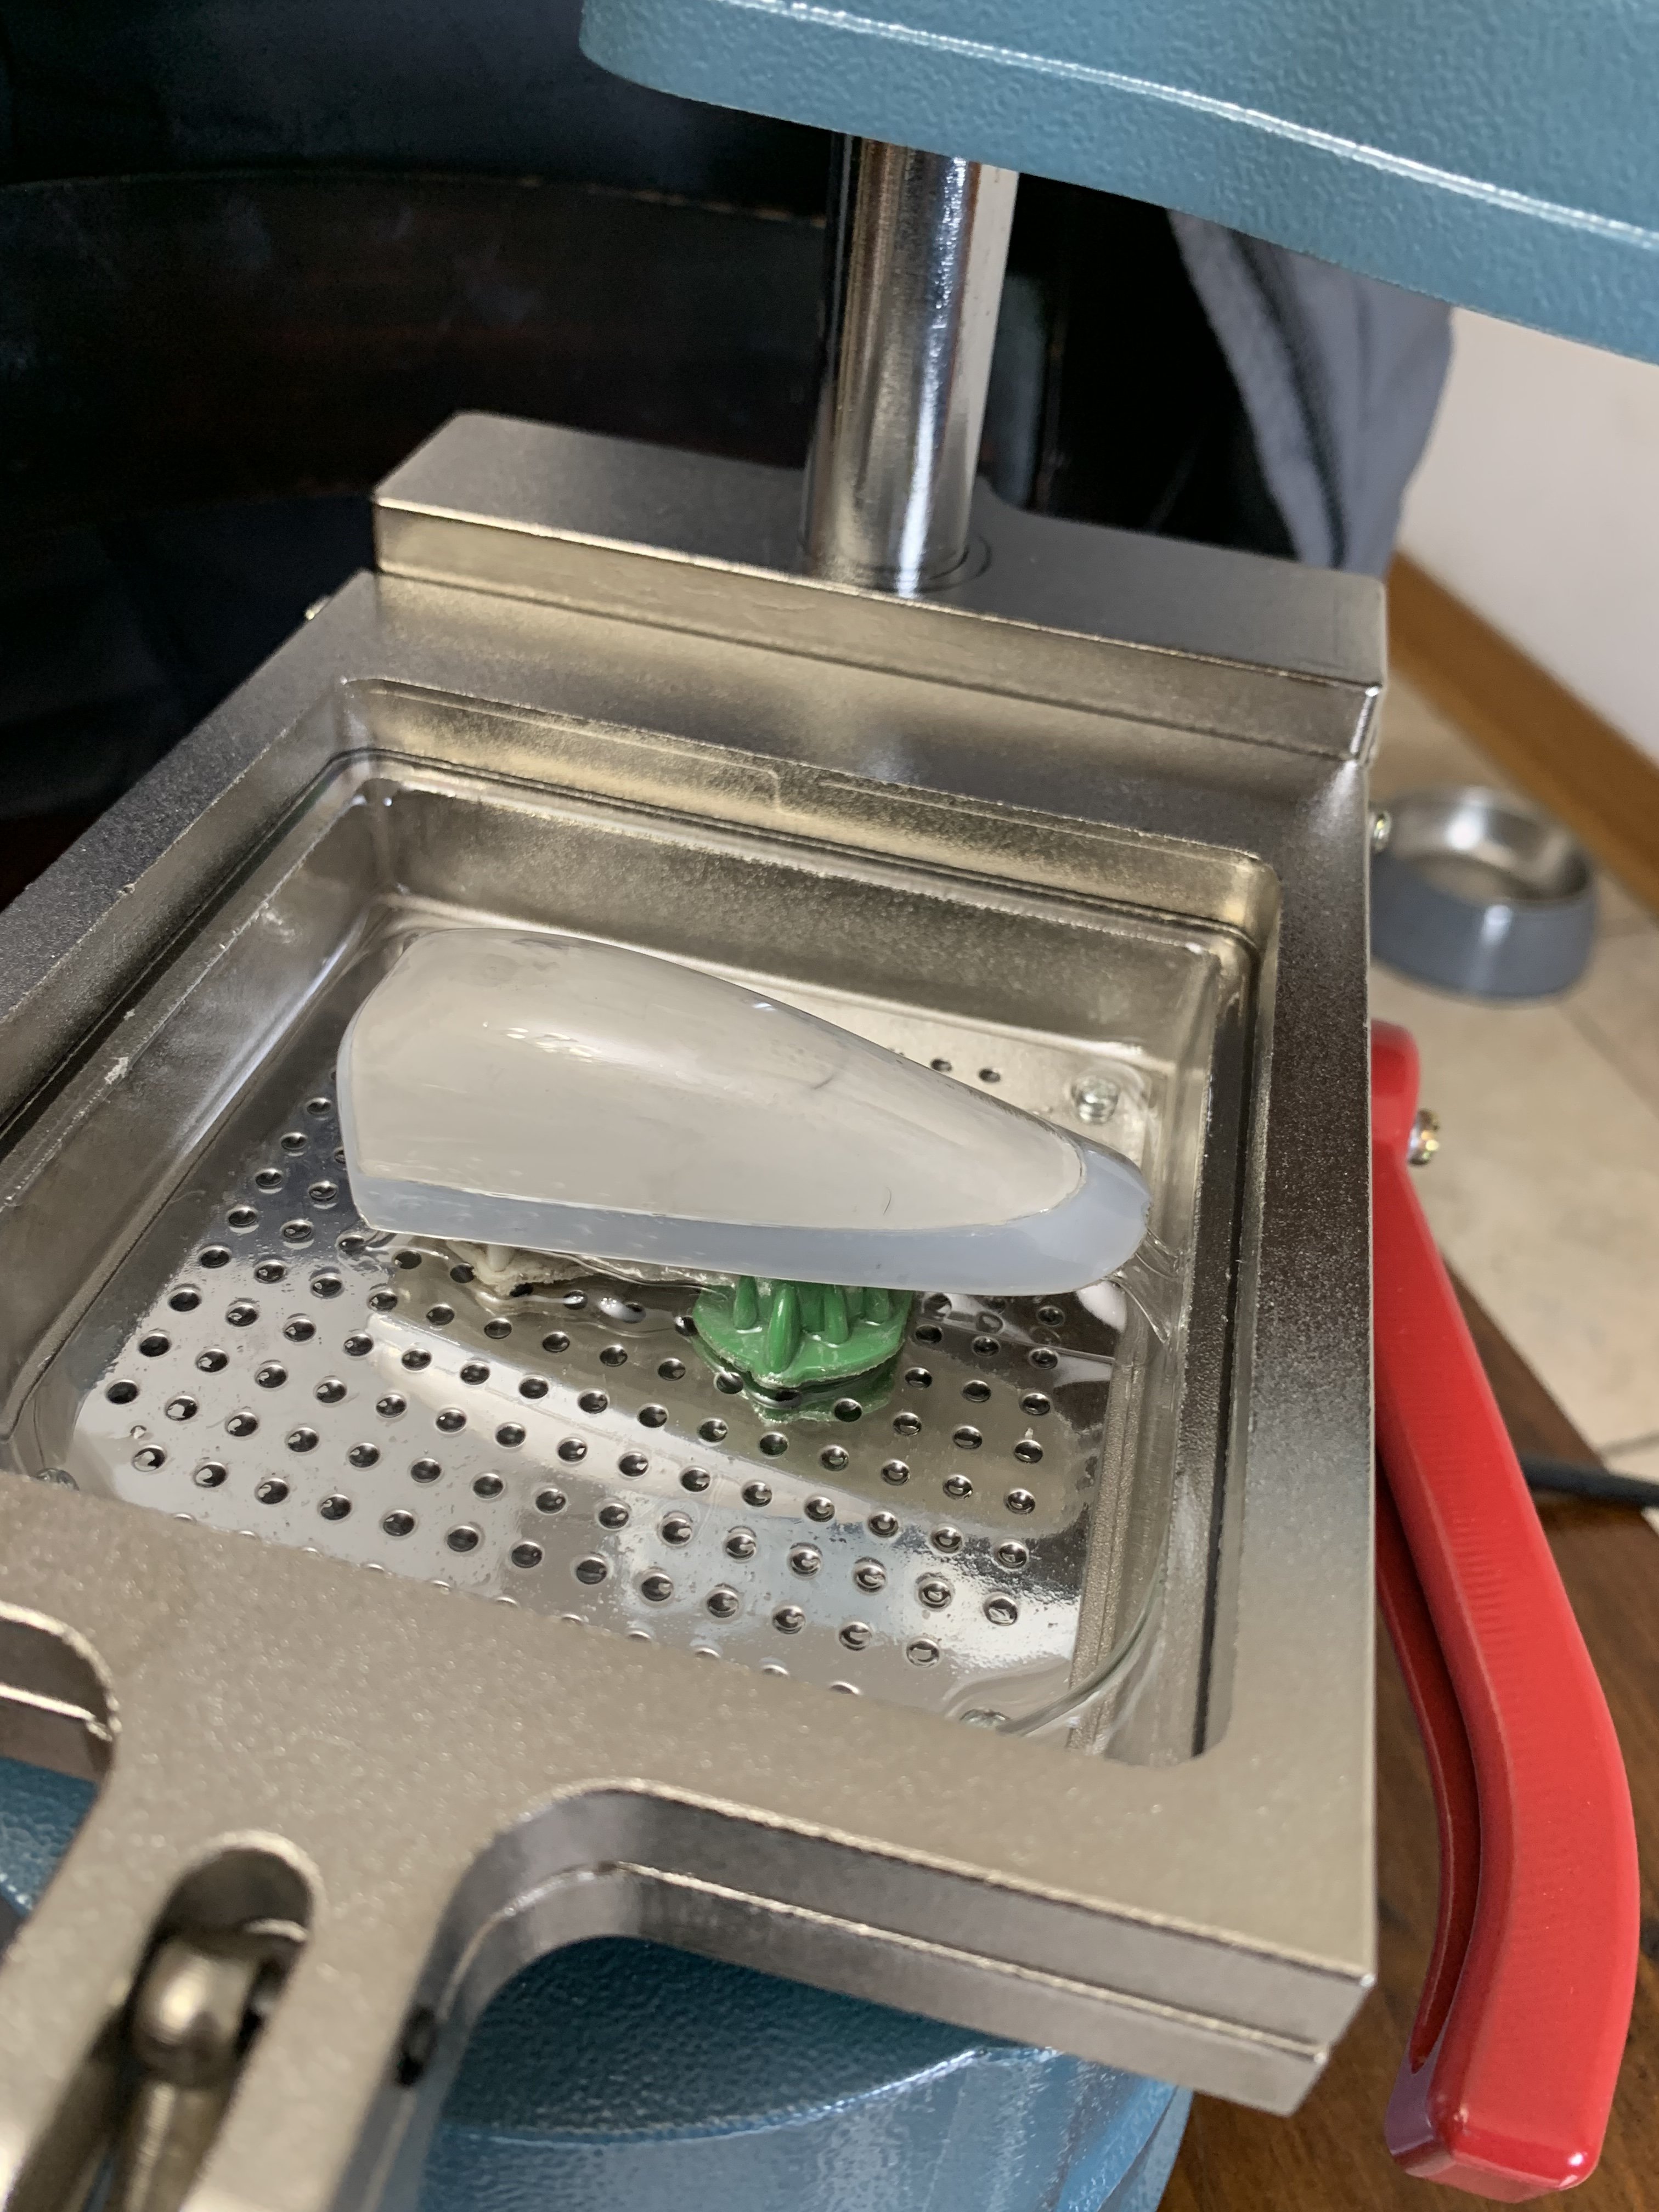
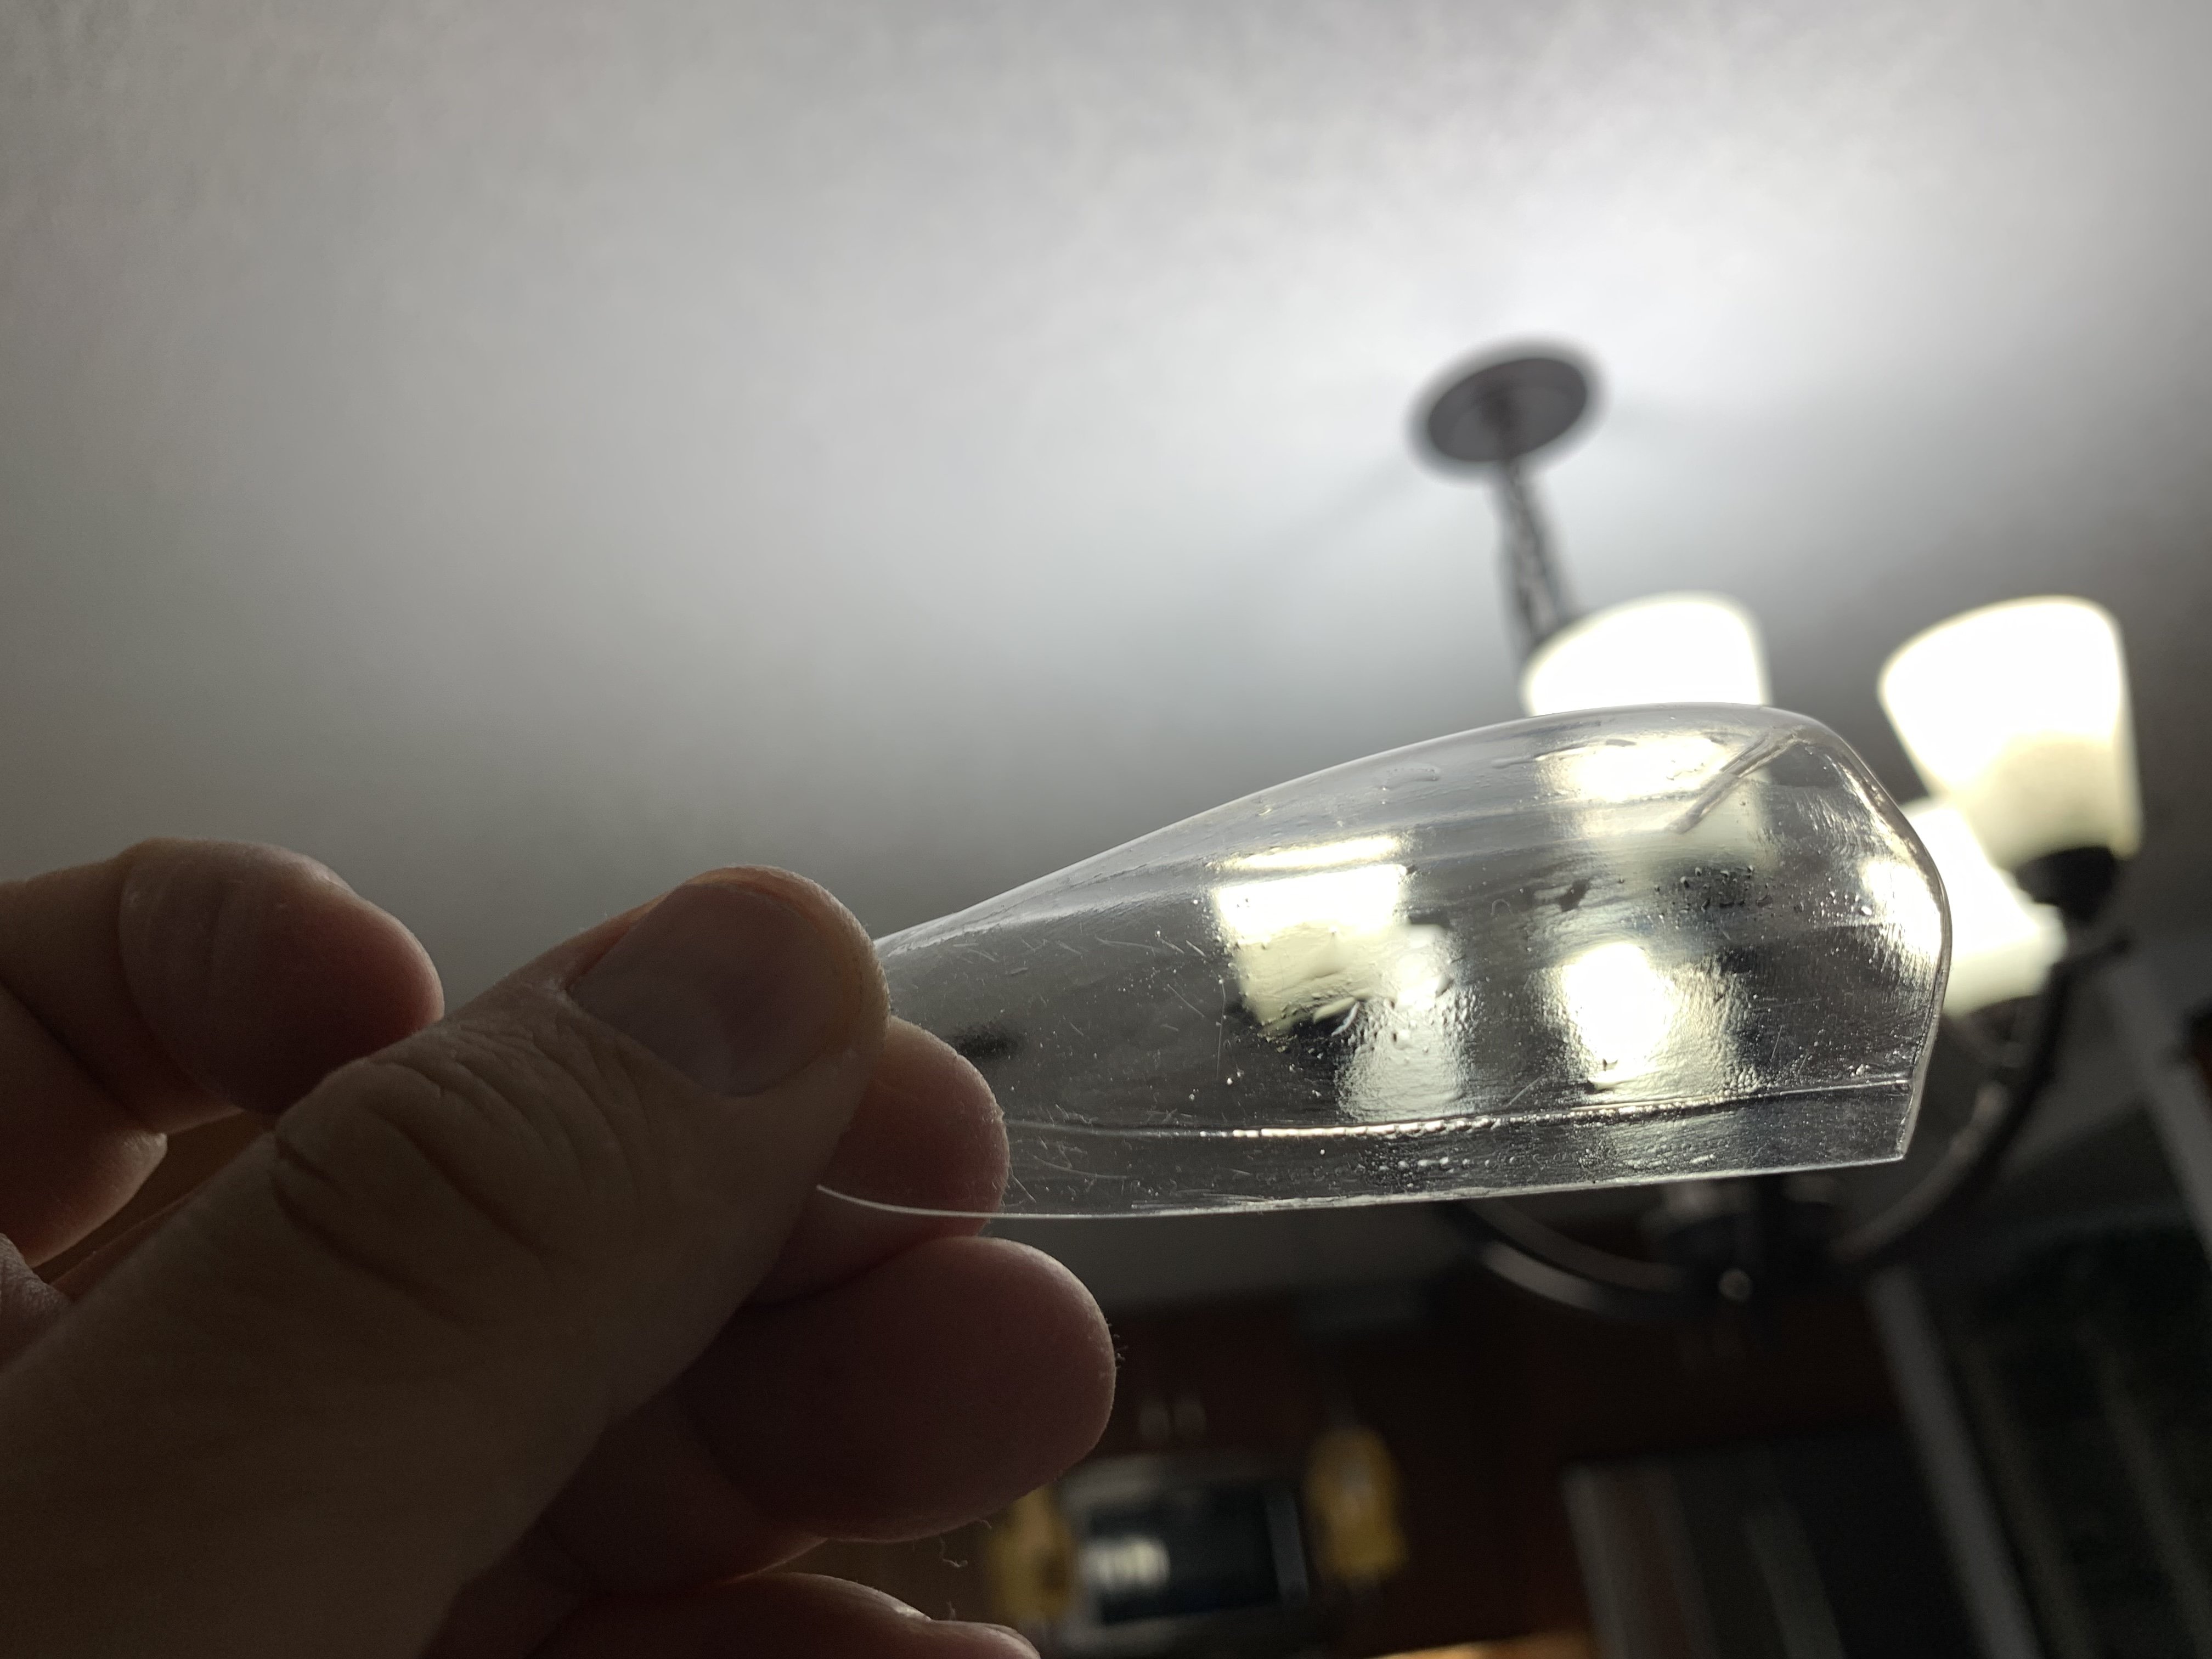
13 hours ago, Martinnfb said:
First waffle attempt. I used silicon oil as a release agent and created sea of bubbles.

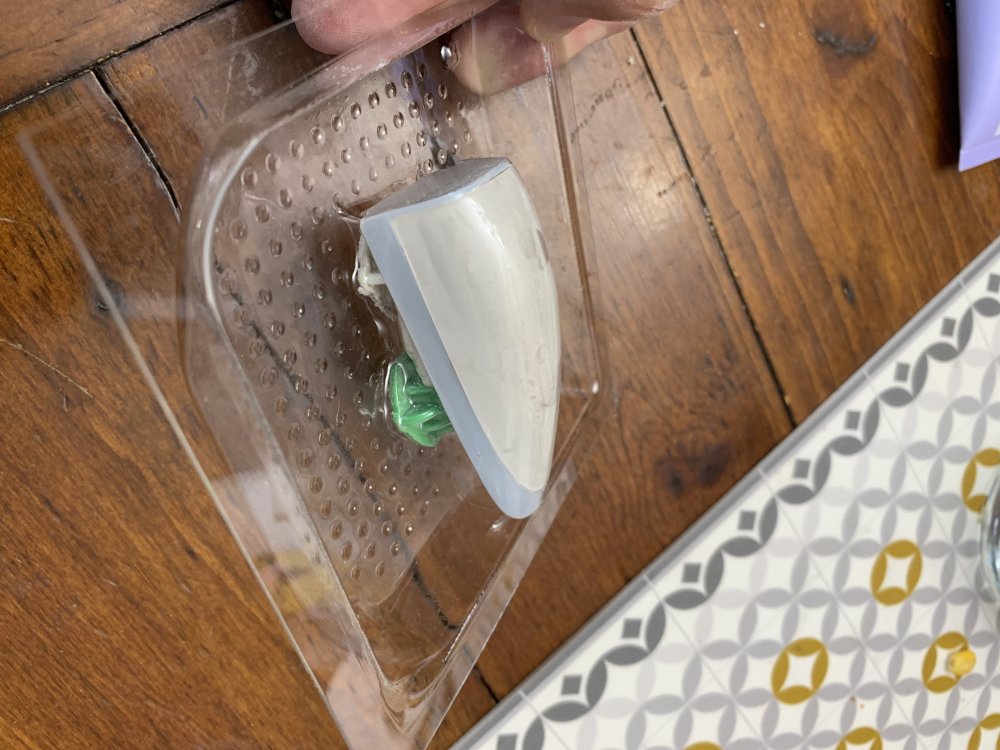
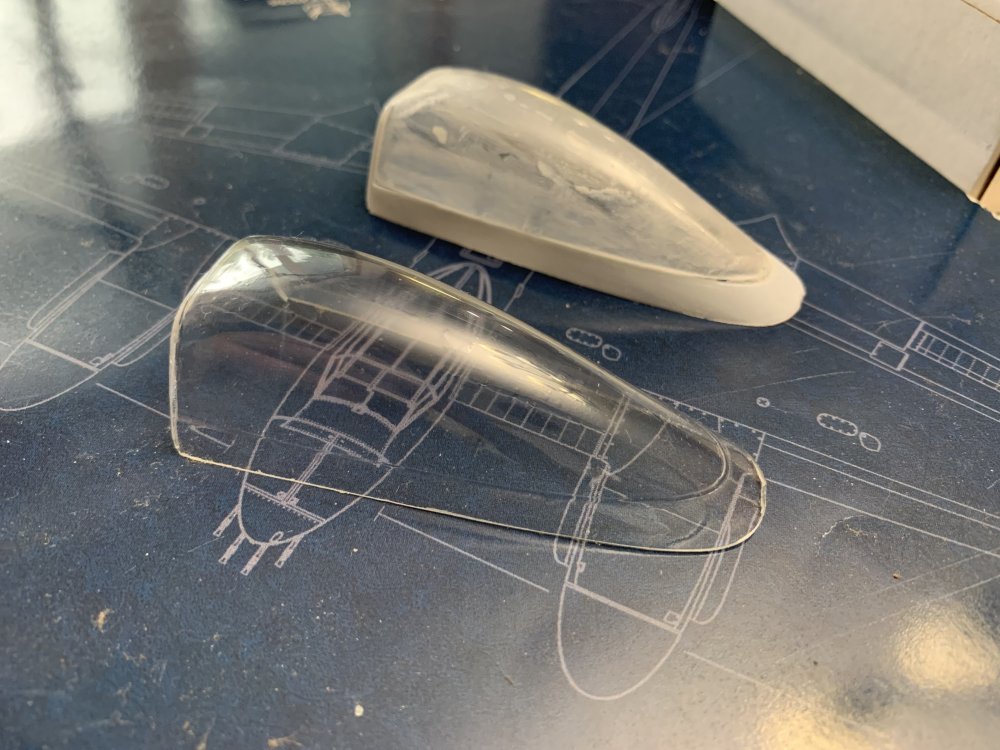

I guess you are using PETG, Martin.
it’s extremely sensitive to temperatures, and the bubbles you are seeing is water trapped in the PETG sheet, that turns into vapour with the temperature rise. PETG loves water, like plaster or a paper towel, btw.
There are two solutions to that, that work best together :
1) pre-dry the PETG sheets in an oven, like 2 hours in the oven set at about 60° C
2) decrease the sheet temperature when molding it. It’ s a two-step process. 1) As you cannot modulate the heat coming from the overhead resistance, on these machines, increase the distance between the sheet and the resistance. 2) Spend just the right amount of time heating the sheet, and it’s literally a one-sor-two-seconds window : too little time, and the sheet won’t mold well, and two much time and the dreaded bubbles will grow like mushrooms. And both these steps are a function of trial-and-error, depending on the machine. A chronometer is useful to time the « right » time, but thank God, all smartphones have one function for that …As for the height, once you have determined it, a makeshift stop on one axis rod will help obtain consistent results.
HTH
Hubert
-
4
-
1
-


Trumpeter TBD-1 Devastator
in LSM 1/35 and Larger Work In Progress
Posted
It was with the venerable Monogram kit, IIRC …
Hubert