

EmperorKai
-
Posts
82 -
Joined
-
Last visited
Content Type
Profiles
Forums
Events
Gallery
Everything posted by EmperorKai
-
Spitfire Mk Ia: 610 Squadron, May 1940
EmperorKai replied to EmperorKai's topic in LSM 1/35 and Larger Work In Progress
Thanks for looking in Nick. I've never run into this issue either. I'm wondering if using the Tamiya Markfit under the decals and Solvaset over the top was just too much. It's also possible I missed a spot when wiping the decal down to tack it into place, leaving a bubble of the Markfit underneath... Kai -
Spitfire Mk Ia: 610 Squadron, May 1940
EmperorKai replied to EmperorKai's topic in LSM 1/35 and Larger Work In Progress
Thank you Grunhertz! -
Spitfire Mk Ia: 610 Squadron, May 1940
EmperorKai replied to EmperorKai's topic in LSM 1/35 and Larger Work In Progress
Thanks Cees! There were moments I didn't think they would fit! Kai -
Spitfire Mk Ia: 610 Squadron, May 1940
EmperorKai replied to EmperorKai's topic in LSM 1/35 and Larger Work In Progress
Thanks Gaz! Funny thing is I'm kind of the opposite- I think I favor the small ones as they are so different from the typical Spitfire markings. Kai -
Spitfire Mk Ia: 610 Squadron, May 1940
EmperorKai replied to EmperorKai's topic in LSM 1/35 and Larger Work In Progress
Thanks Martin- Actually, ended up doing the cowl fasteners the hard way. I punched round discs from .05 sheet styrene and then glued each in place (thank heavens for Optivisors). Once the glue was dry, I then went to each one and drilled out the centers with a pin vise. That said, I've needed a beading tool enough times now I think I'll get a set. Kai -
My First Heartbreak 27/Jan/19
EmperorKai replied to GazzaS's topic in LSM 1/35 and Larger Work In Progress
Still have some of those old Pactra paints. 30 cents a bottle- Blasphemy! Kai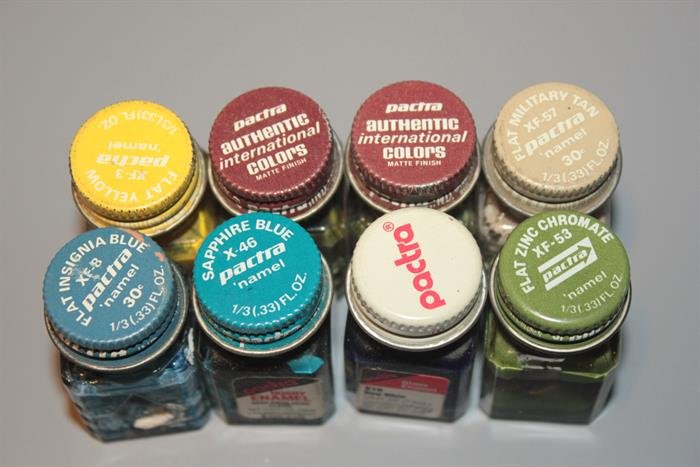

-
Kitty Hawk F-5F done.
EmperorKai replied to Clunkmeister's topic in LSM 1/35 and Larger Work In Progress
Damn, beat me to it! Kai -
My First Heartbreak 27/Jan/19
EmperorKai replied to GazzaS's topic in LSM 1/35 and Larger Work In Progress
Gaz- considering Revell pilots are born ugly to begin with, you did an awesome job. Keep going buddy. Kai -
Helluva round John! Looking forward to your next builds in 2019 Kai
-
Thanks Peter. You didn't miss much... I've decided to only celebrate the fibonacci birthdays Kai
-
Spitfire Mk Ia: 610 Squadron, May 1940
EmperorKai replied to EmperorKai's topic in LSM 1/35 and Larger Work In Progress
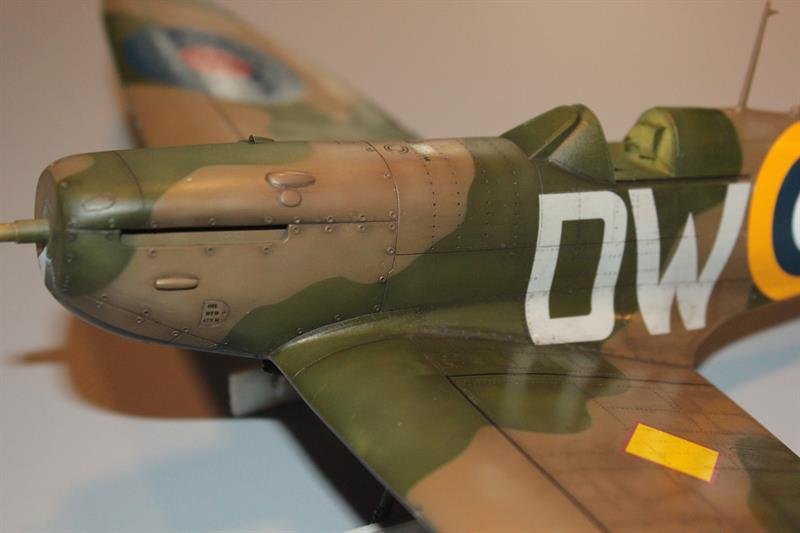
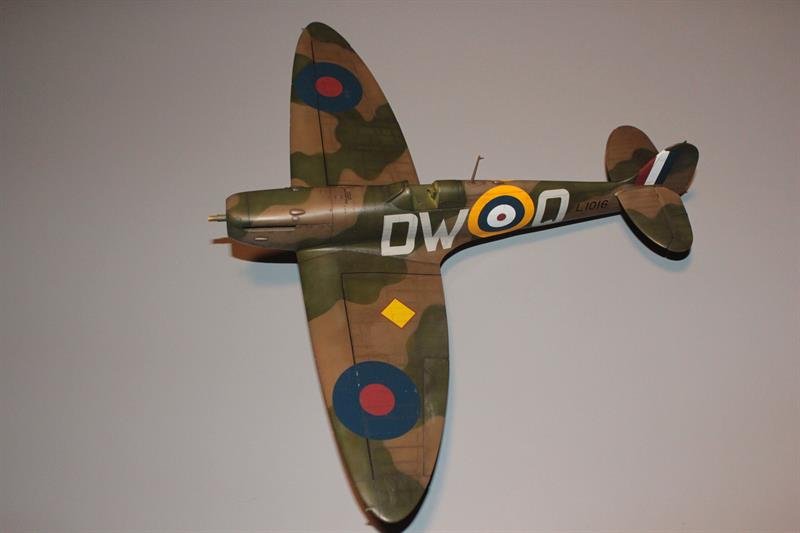
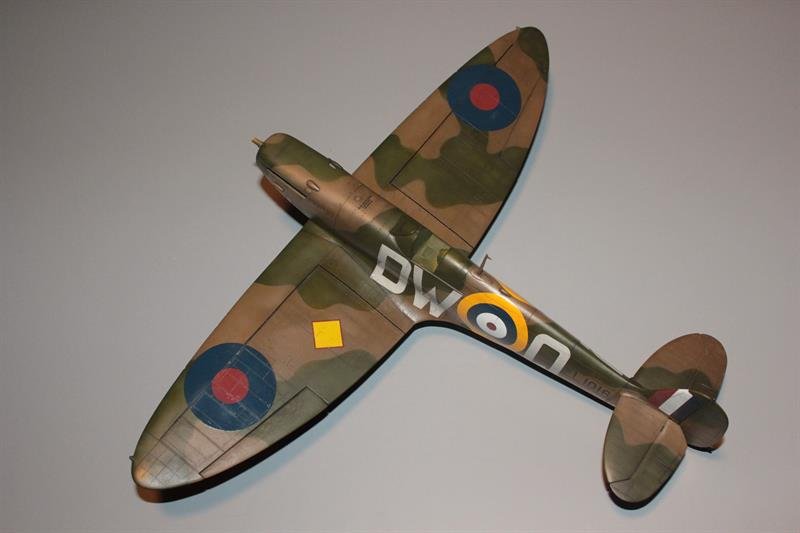
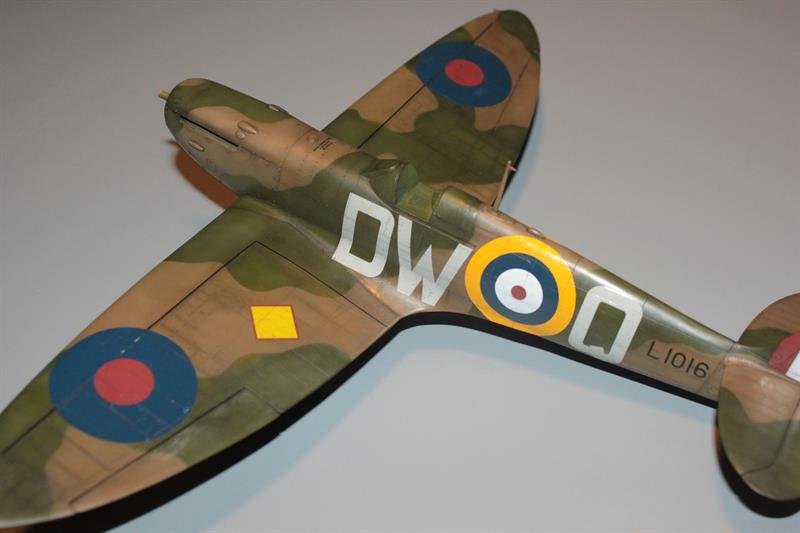
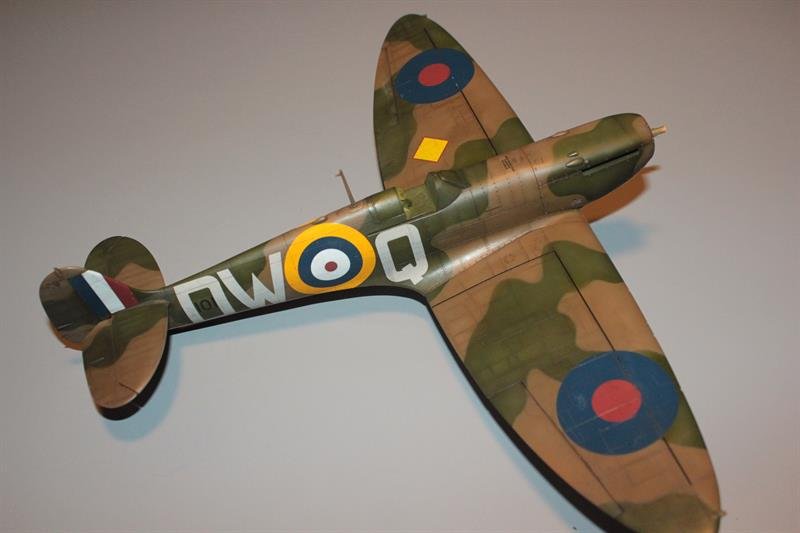
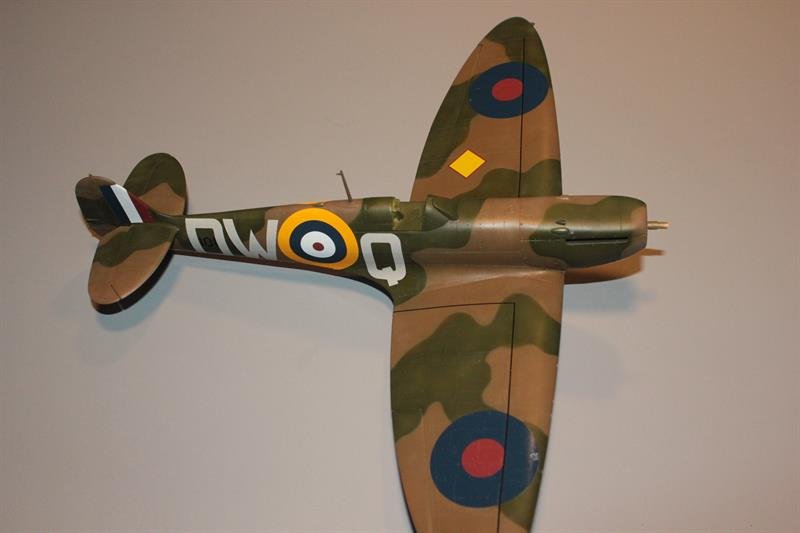
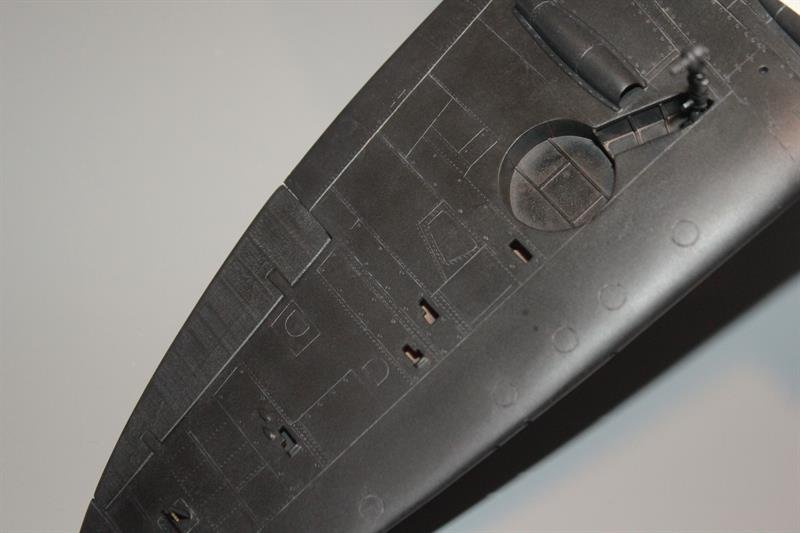
PANEL WASH For the second part of my update, I wanted to share some pics of the finishing process. I used Mig Dark Wash for the most part, though I did stray with some grays where needed. Aside from that it was mainly and exercise in applying the wash and trying my damndest to NOT break the antenna and pitot tube off. I'll let the pics speak for the rest. Hope you enjoy and thanks much for looking in on my build. Kai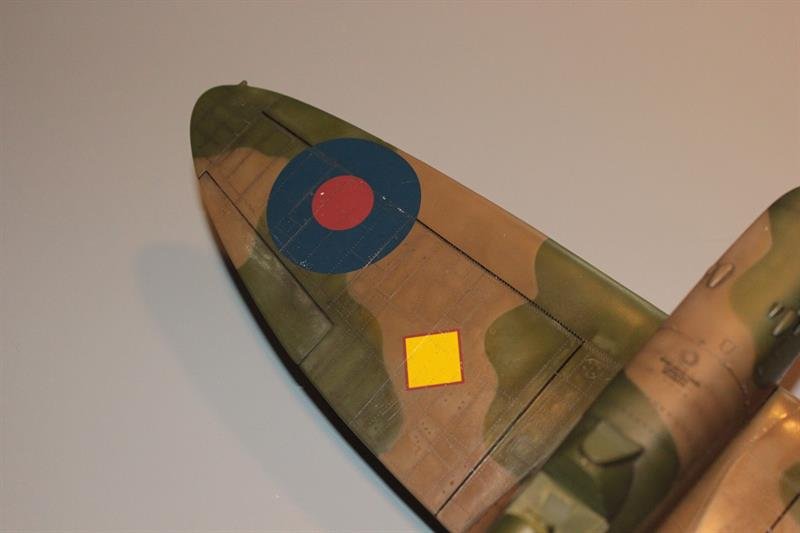
-
Spitfire Mk Ia: 610 Squadron, May 1940
EmperorKai replied to EmperorKai's topic in LSM 1/35 and Larger Work In Progress
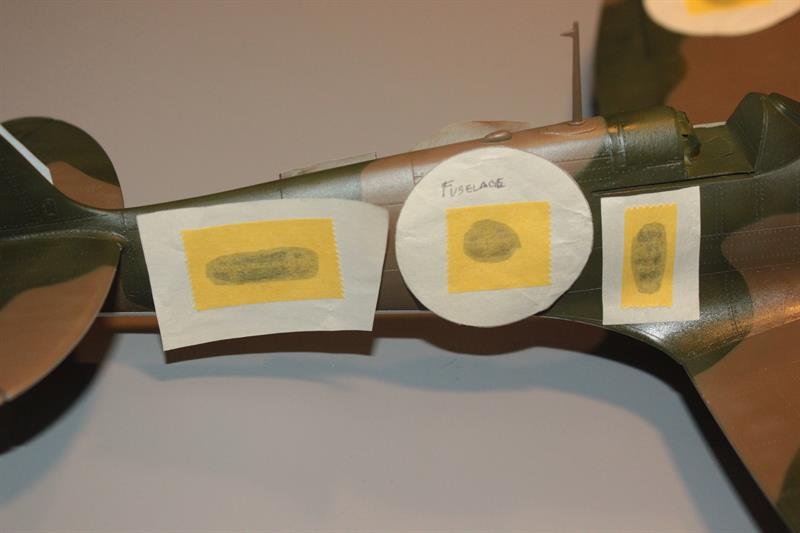
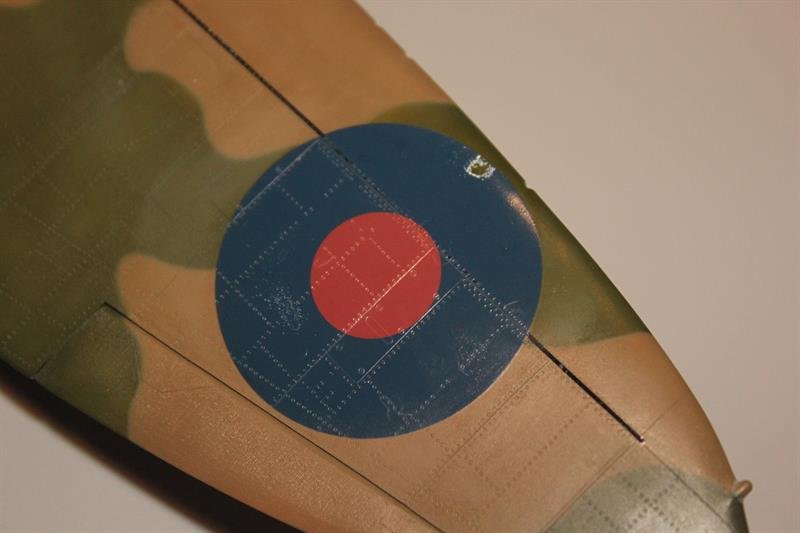
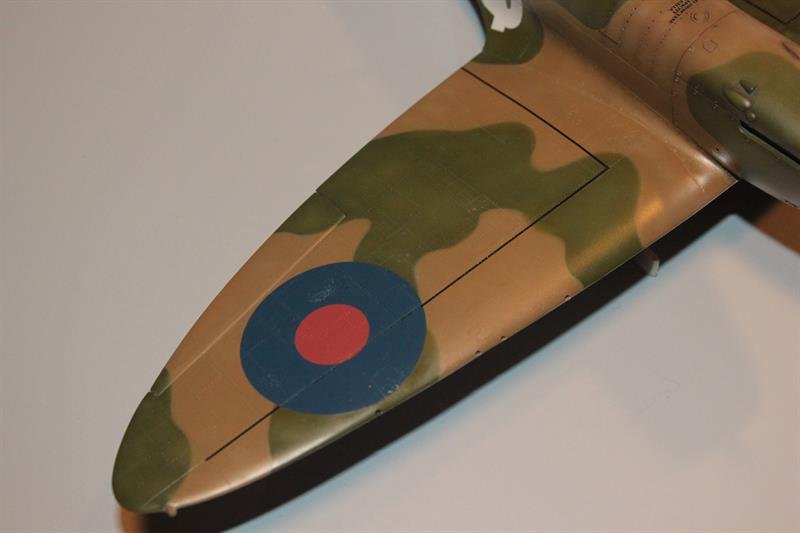
Couple of updates- the build is starting to move faster, but also running into a challenge or two... DECALS Initially, I was a little intimidated at getting the very large decals to all fit in the relatively small space that the fuselage sides provide. So, to start, I cut out pieces of paper and fixed them to the sides using Tamiya tape. This turned out to be a very fortunate as the roundels ended up needing to be shifted forward to accommodate the "DW" right side. The Eagle Edition decals went on very nicely and laid down nice and snug with Tamiya Mark Fit (under) and Solvaset (on top). I did run into one issue where it appears I had applied too much Solvaset which burned through the upper wing roundel decal. Ugh... I considered removing the roundel and replacing with another roundel, but I didn't have another suitable replacement set of decals and really didn't want to stall out or run the risk of screwing up the paint work I had already done. Ultimately, I cut a patch of blue from the unused underwing roundels and applied it over the top of the blemish. Not a perfect solution, but it's not very noticeable at this point. The decal instructions didn't provide much guidance regarding the order in which the decals should be placed. At one point, I applied the walkway stripes on the upper wings over the top of the roundel before realizing they should have gone on first. In the end, I let them dry and then scraped them off using a fresh blade, which worked out well enough. After pouring over internet pics, it also appears that early Spitfires had fairly minimal stenciling or were covered over by other markings. I ended up skipping most the the stencils and just applied the ones that reconciled with Mk.I images I was able to find. Applying the decals is my favorite step of the build, and usually have little or no trouble. In this case, considering how smoothly this project has gone so far, guess I was about due for something to go sideways. With the decals squared away, I started on the panel wash which I will cover as a separate post. Kai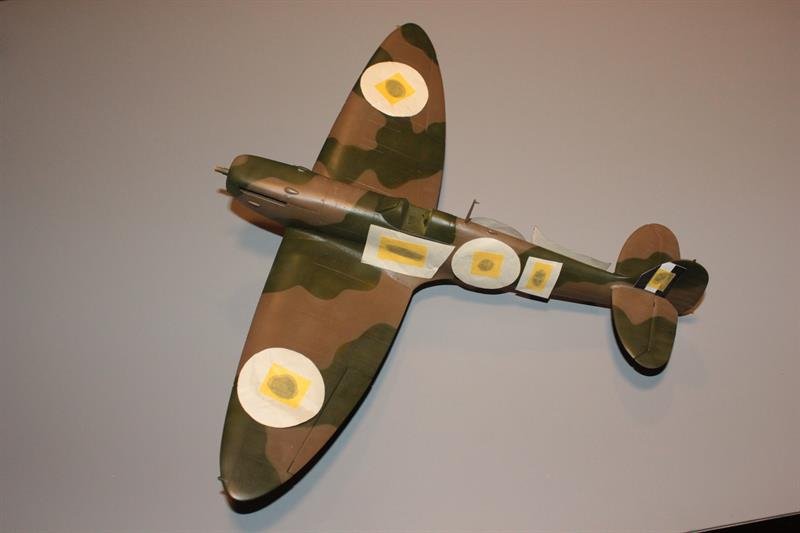

-
Spitfire Mk Ia: 610 Squadron, May 1940
EmperorKai replied to EmperorKai's topic in LSM 1/35 and Larger Work In Progress
Thanks my friends- will have some more pics in the next day or so... almost done now! Kai -
Thanks Harv and Jeff! Been a little crazy here with holidays
-
Spitfire Mk Ia: 610 Squadron, May 1940
EmperorKai replied to EmperorKai's topic in LSM 1/35 and Larger Work In Progress
Thanks Martin! -
Kitty Hawk F-5F done.
EmperorKai replied to Clunkmeister's topic in LSM 1/35 and Larger Work In Progress
Sweet- Glad to see your back in the saddle on this. It's one thing to build a kit where every thing goes according to plan, but it takes real kung-fu to recover from disasters. Nicely done Jean Claude Von Ernie! Kai -
Spitfire Mk Ia: 610 Squadron, May 1940
EmperorKai replied to EmperorKai's topic in LSM 1/35 and Larger Work In Progress
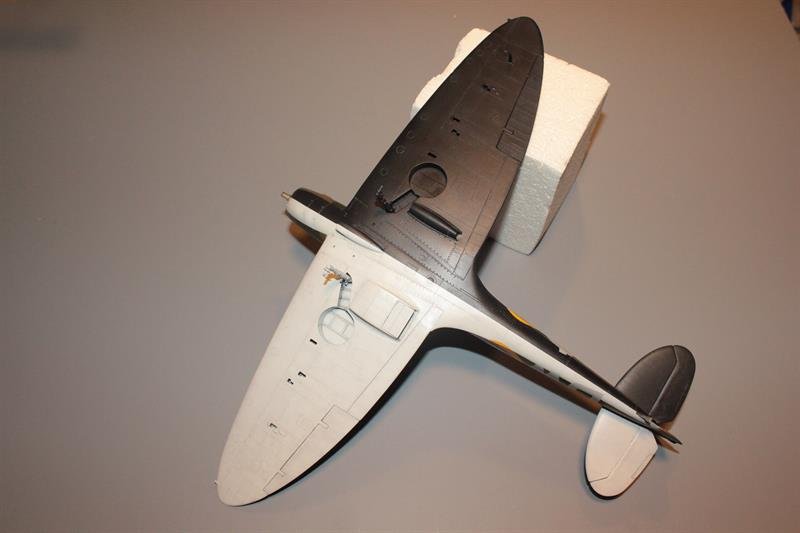
With all the merriment and festivities, I managed to get squeeze in some time at the workbench. For the undersides, I used Vallejo Model Air Insignia White and Black, though I toned down the black with 6:1 mix with insignia white to leave some room for tonal variations. White was laid down first followed by panel lines and dabbing with grey and light tan oils. A thinned white mix was then airbrushed over this to tone down and blend the overall effect. The night black side was done in similar fashion. I've also started decals, but I'll post more on that shortly once I take a few more pics. Thanks for looking! Kai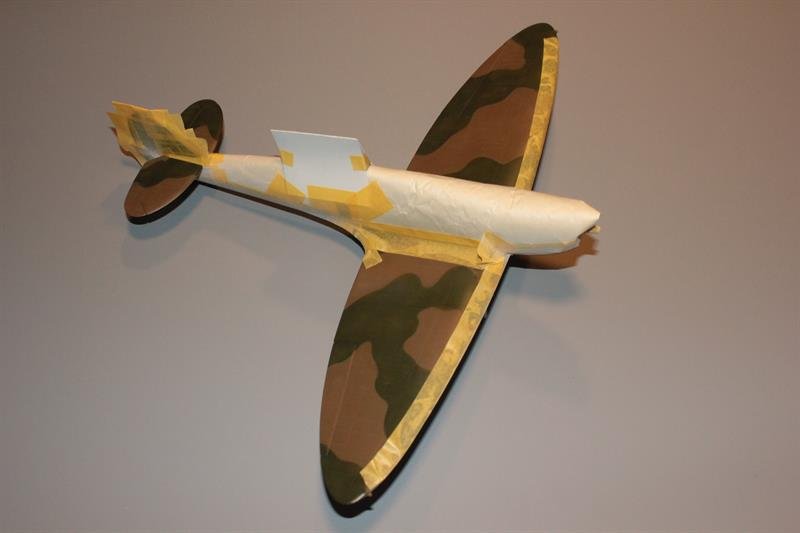

-
Spitfire Mk Ia: 610 Squadron, May 1940
EmperorKai replied to EmperorKai's topic in LSM 1/35 and Larger Work In Progress
Have been distracted with the holidays- I hope very much that everyone had (or better yet, is still having) a wonderful and safe Christmas. Thanks very much my friends for the encouragement! Kai -
Kitty Hawk F-5F done.
EmperorKai replied to Clunkmeister's topic in LSM 1/35 and Larger Work In Progress
Did I hear Kingfisher party? Count me in! Kai -
Coming along nicely Harv! Kai
-
Spitfire Mk Ia: 610 Squadron, May 1940
EmperorKai replied to EmperorKai's topic in LSM 1/35 and Larger Work In Progress
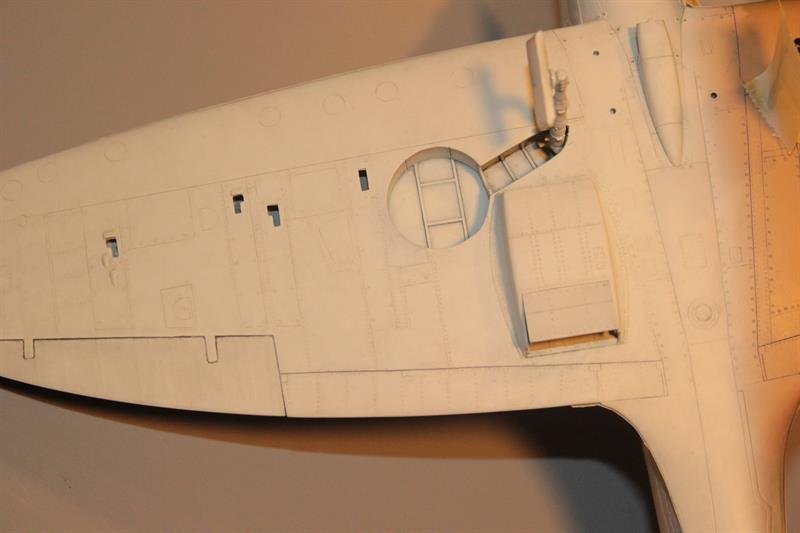
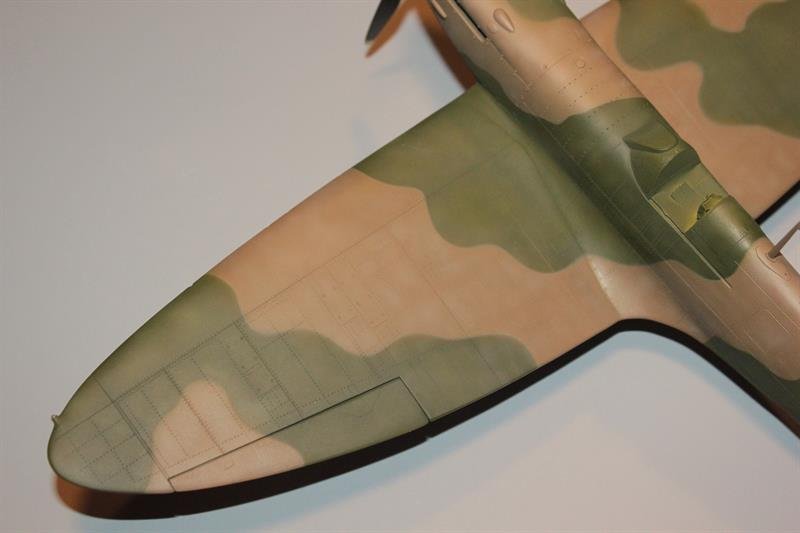
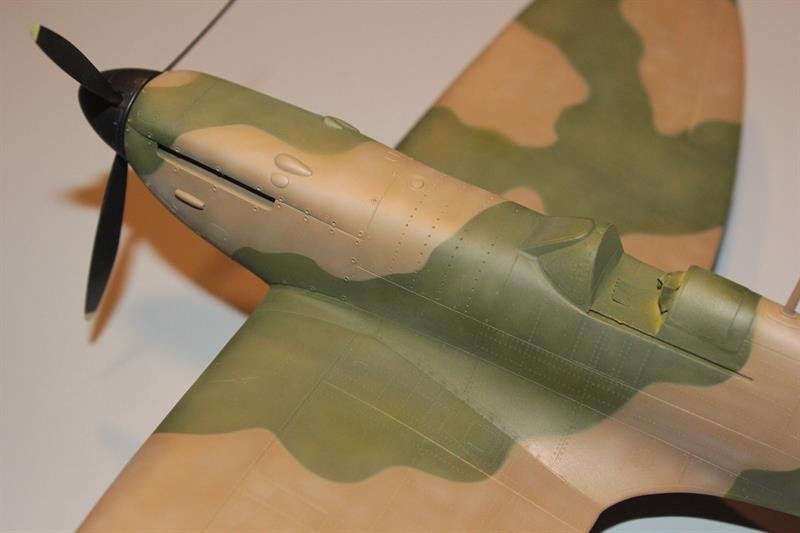
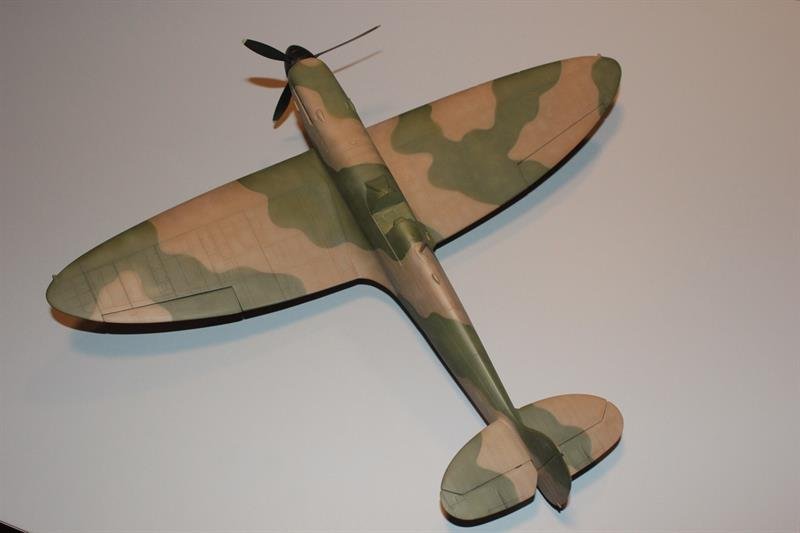
PAINTING UPPER SURFACES I originally started on the undersides, but the paint peeled up when I went to start masking, so I had to strip all the paint off and start over. I don't remember ever running into that problem with Tamiya gloss black before, but I think I'll stick with Gunze for the black base coats. After lots of back and forth over the last 3 days, I've got the upper surface colors airbrushed in. Using Vallejo colors here and finding it to be a very pleasant experience, though I did find that the Model Color doesn't mix will with the Model air- the airbrush spit clumps when I tried to lighten the base colors. Looking forward to working on the undersides next. Kai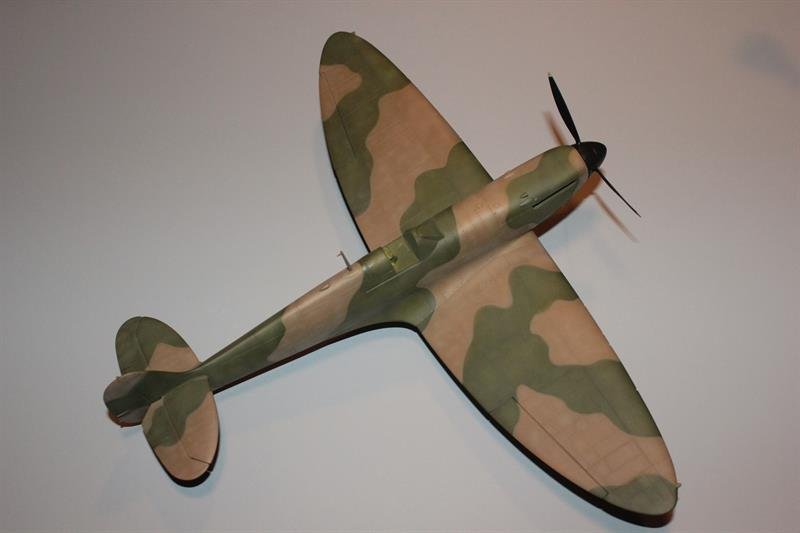
-
Spitfire Mk Ia: 610 Squadron, May 1940
EmperorKai replied to EmperorKai's topic in LSM 1/35 and Larger Work In Progress
Nick- I know how you feel, but hey, no kit and no build is perfect. Heaven knows my shelf of doom is standing room only at this point... Of course, after starting the paint, I noticed that I missed the gun camera port on the left wing root. And like you and the landing gear, that will probably be the first thing I notice now I'm debating whether to do the new Revell Spitfire kit or stay with my France 1940 theme and do an early Hurricane next. I usually get bored doing the same thing back to back (Spitfires in this base), but it would be interesting to compare the two kits. Thanks for looking in on my build! Kai -
Spitfire Mk Ia: 610 Squadron, May 1940
EmperorKai replied to EmperorKai's topic in LSM 1/35 and Larger Work In Progress
Peter, You are most kind and a gifted modeller- I am continually inspired by your builds! Kai -
'appy burfday! Kai
-
Nice! Looks like a pretty good year! Kai