CrankyCrafstman
-
Posts
1,358 -
Joined
-
Last visited
Content Type
Profiles
Forums
Events
Gallery
Everything posted by CrankyCrafstman
-

1/32 Italeri F-104 C
CrankyCrafstman replied to CrankyCrafstman's topic in LSM 1/35 and Larger Work In Progress
Hey all Well the kit showed up Wednesday along with some of the aftermarket items. It seams to be a very nice kit with lots of fine detail parts. I now have the Reskit W/T's and exhaust nozzle kit. For the "C". I also have Squadrons F-104 in action and F-104 in detail and scale books and Quickboosts FOD covers. I'm still waiting on the Eduard "remove before flight" flags, master models metal pitot tube, Quintas 3D cockpit decals, Plus Models standing pilot figure with helmet, Vicking Vietnam decals and 4 cans of Tamiya VS spray paint for SEA paint scheme. Once everything is here I'll post some pictures. That's it for now be back with more updates soon. Ron G -
Hey Carl I checked Zoukei Mura is out of stock. I hope you have one.🤞🤞🤞 Ron G
-
Thanks Carl
-
I saw those, but they want $50.00 bucks for shipping!!!!!
-
Hey all Anyone know where I can get a pair of 1/32 LAU-3 Rocket launchers. I know Videoaviation in Italy makes them, but he doesn't ship to the US. Any help would be greatly appreciated. Thanks Ron G
-
1/32 Italeri F-104 C
CrankyCrafstman replied to CrankyCrafstman's topic in LSM 1/35 and Larger Work In Progress
Thanks Carl -
1/32 Italeri F-104 C
CrankyCrafstman replied to CrankyCrafstman's topic in LSM 1/35 and Larger Work In Progress
Thanks guys -
Hey all I'm back, I guess. I'm planning and accumulating stuff for a 1/32 Italeri F-104 C. in 479 Squadron colors for "Iron Hand". Thinking about doing "PussyCat". F-104C 56-0910 "Pussycat", 479 TFW - Udorn AB, 1966 I'll post more when everything gets here. Wish me luck. Ron G
-
Nope Check with HerbertB
-
Shelved
-
Pete 378 Highway tractor
CrankyCrafstman replied to Jeff's topic in LSM 1/35 and Larger Work In Progress
SWEET!- 57 replies
-
- 4
-

-
- peterbilt
- highway tractor
- (and 1 more)
-
Pete 378 Highway tractor
CrankyCrafstman replied to Jeff's topic in LSM 1/35 and Larger Work In Progress
Dash looks spot on pal. She's looking good. Ron G- 57 replies
-
- 4
-
-
- peterbilt
- highway tractor
- (and 1 more)
-
Hey pal You know all you have to do is ask. I'm there for you pal. Ron G
-
So, your going to try acrylic lacquers. I told you Tamiya acrylics are great to spray paint. If you use there lacquer thinner on there standard acrylics they spray fantastic. Tamiya doesn't brush paint the greatest, but it can be done. I usually use Vallejo for brush painting details. Model color is best for brush painting, it's thicker. Ron G
-
Hey all Got more work done on the skidder. I made the front blade from peices of black and white styrene. 100% scratch built. Ron G

-
Pete 378 Highway tractor
CrankyCrafstman replied to Jeff's topic in LSM 1/35 and Larger Work In Progress
👍- 57 replies
-
- 1
-
-
- peterbilt
- highway tractor
- (and 1 more)
-
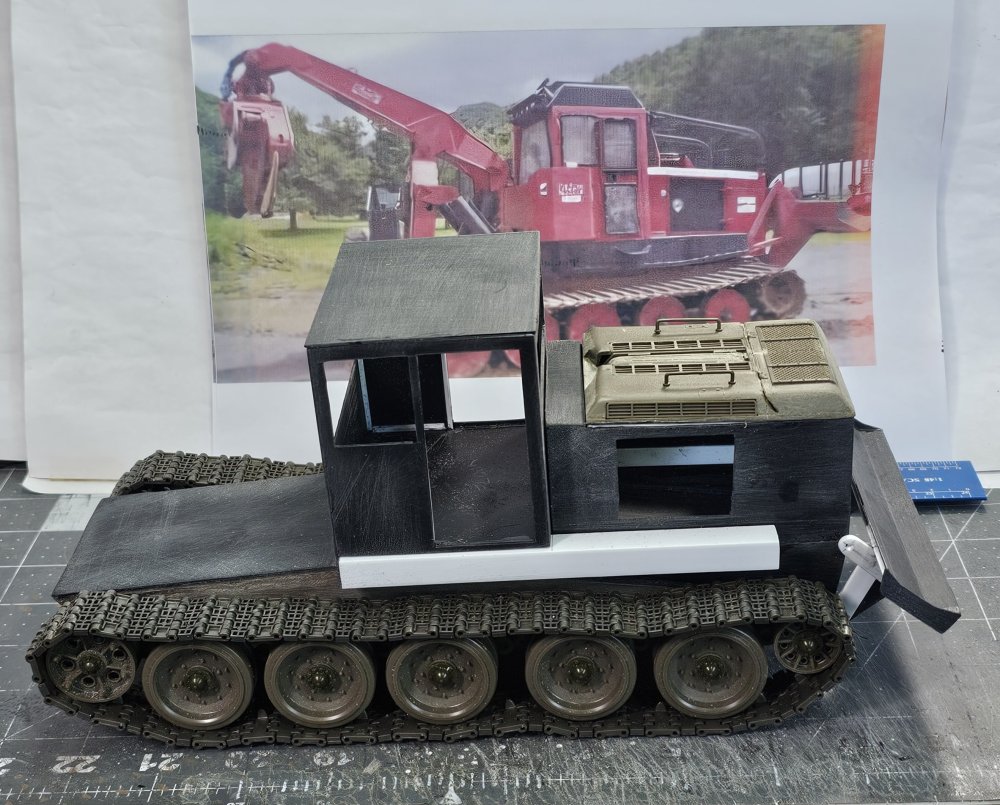
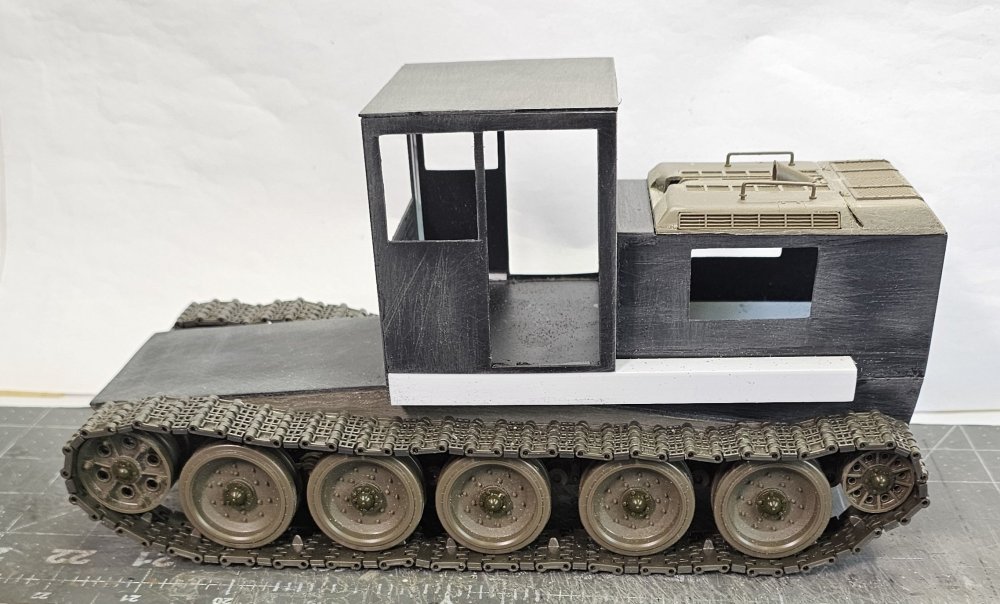
Hey all More work done on the skidder. I have the cab pretty much done, build wise that is. The white square tubing are the covers for the front blade cylinders. The front is to the right. White tubes are the covers for the blade cylinders. The open area at the left is were the log grapple and cylinders for it will go. Ron G

-
Pete 378 Highway tractor
CrankyCrafstman replied to Jeff's topic in LSM 1/35 and Larger Work In Progress
She's looking good Jeff. Keep going. Ron G- 57 replies
-
- 2
-
-
- peterbilt
- highway tractor
- (and 1 more)
-
Pete 378 Highway tractor
CrankyCrafstman replied to Jeff's topic in LSM 1/35 and Larger Work In Progress
Okay, so now your trying to out detail me! Ha ha ha, just messing with you pal. This will be another proper truck from the Master trucker. And you need to post more of your stuff.😎😂🤣 Ron G- 57 replies
-
- 2
-
-
- peterbilt
- highway tractor
- (and 1 more)
-
More than likely my friend. Ron G
-
It's in the box along with the turret. And that's were It's going to stay. Ron G
-
I'm not sure Jeff. I think I would like to make them the same, but that means custom decals and I don't have that ability right now. Ron G
-
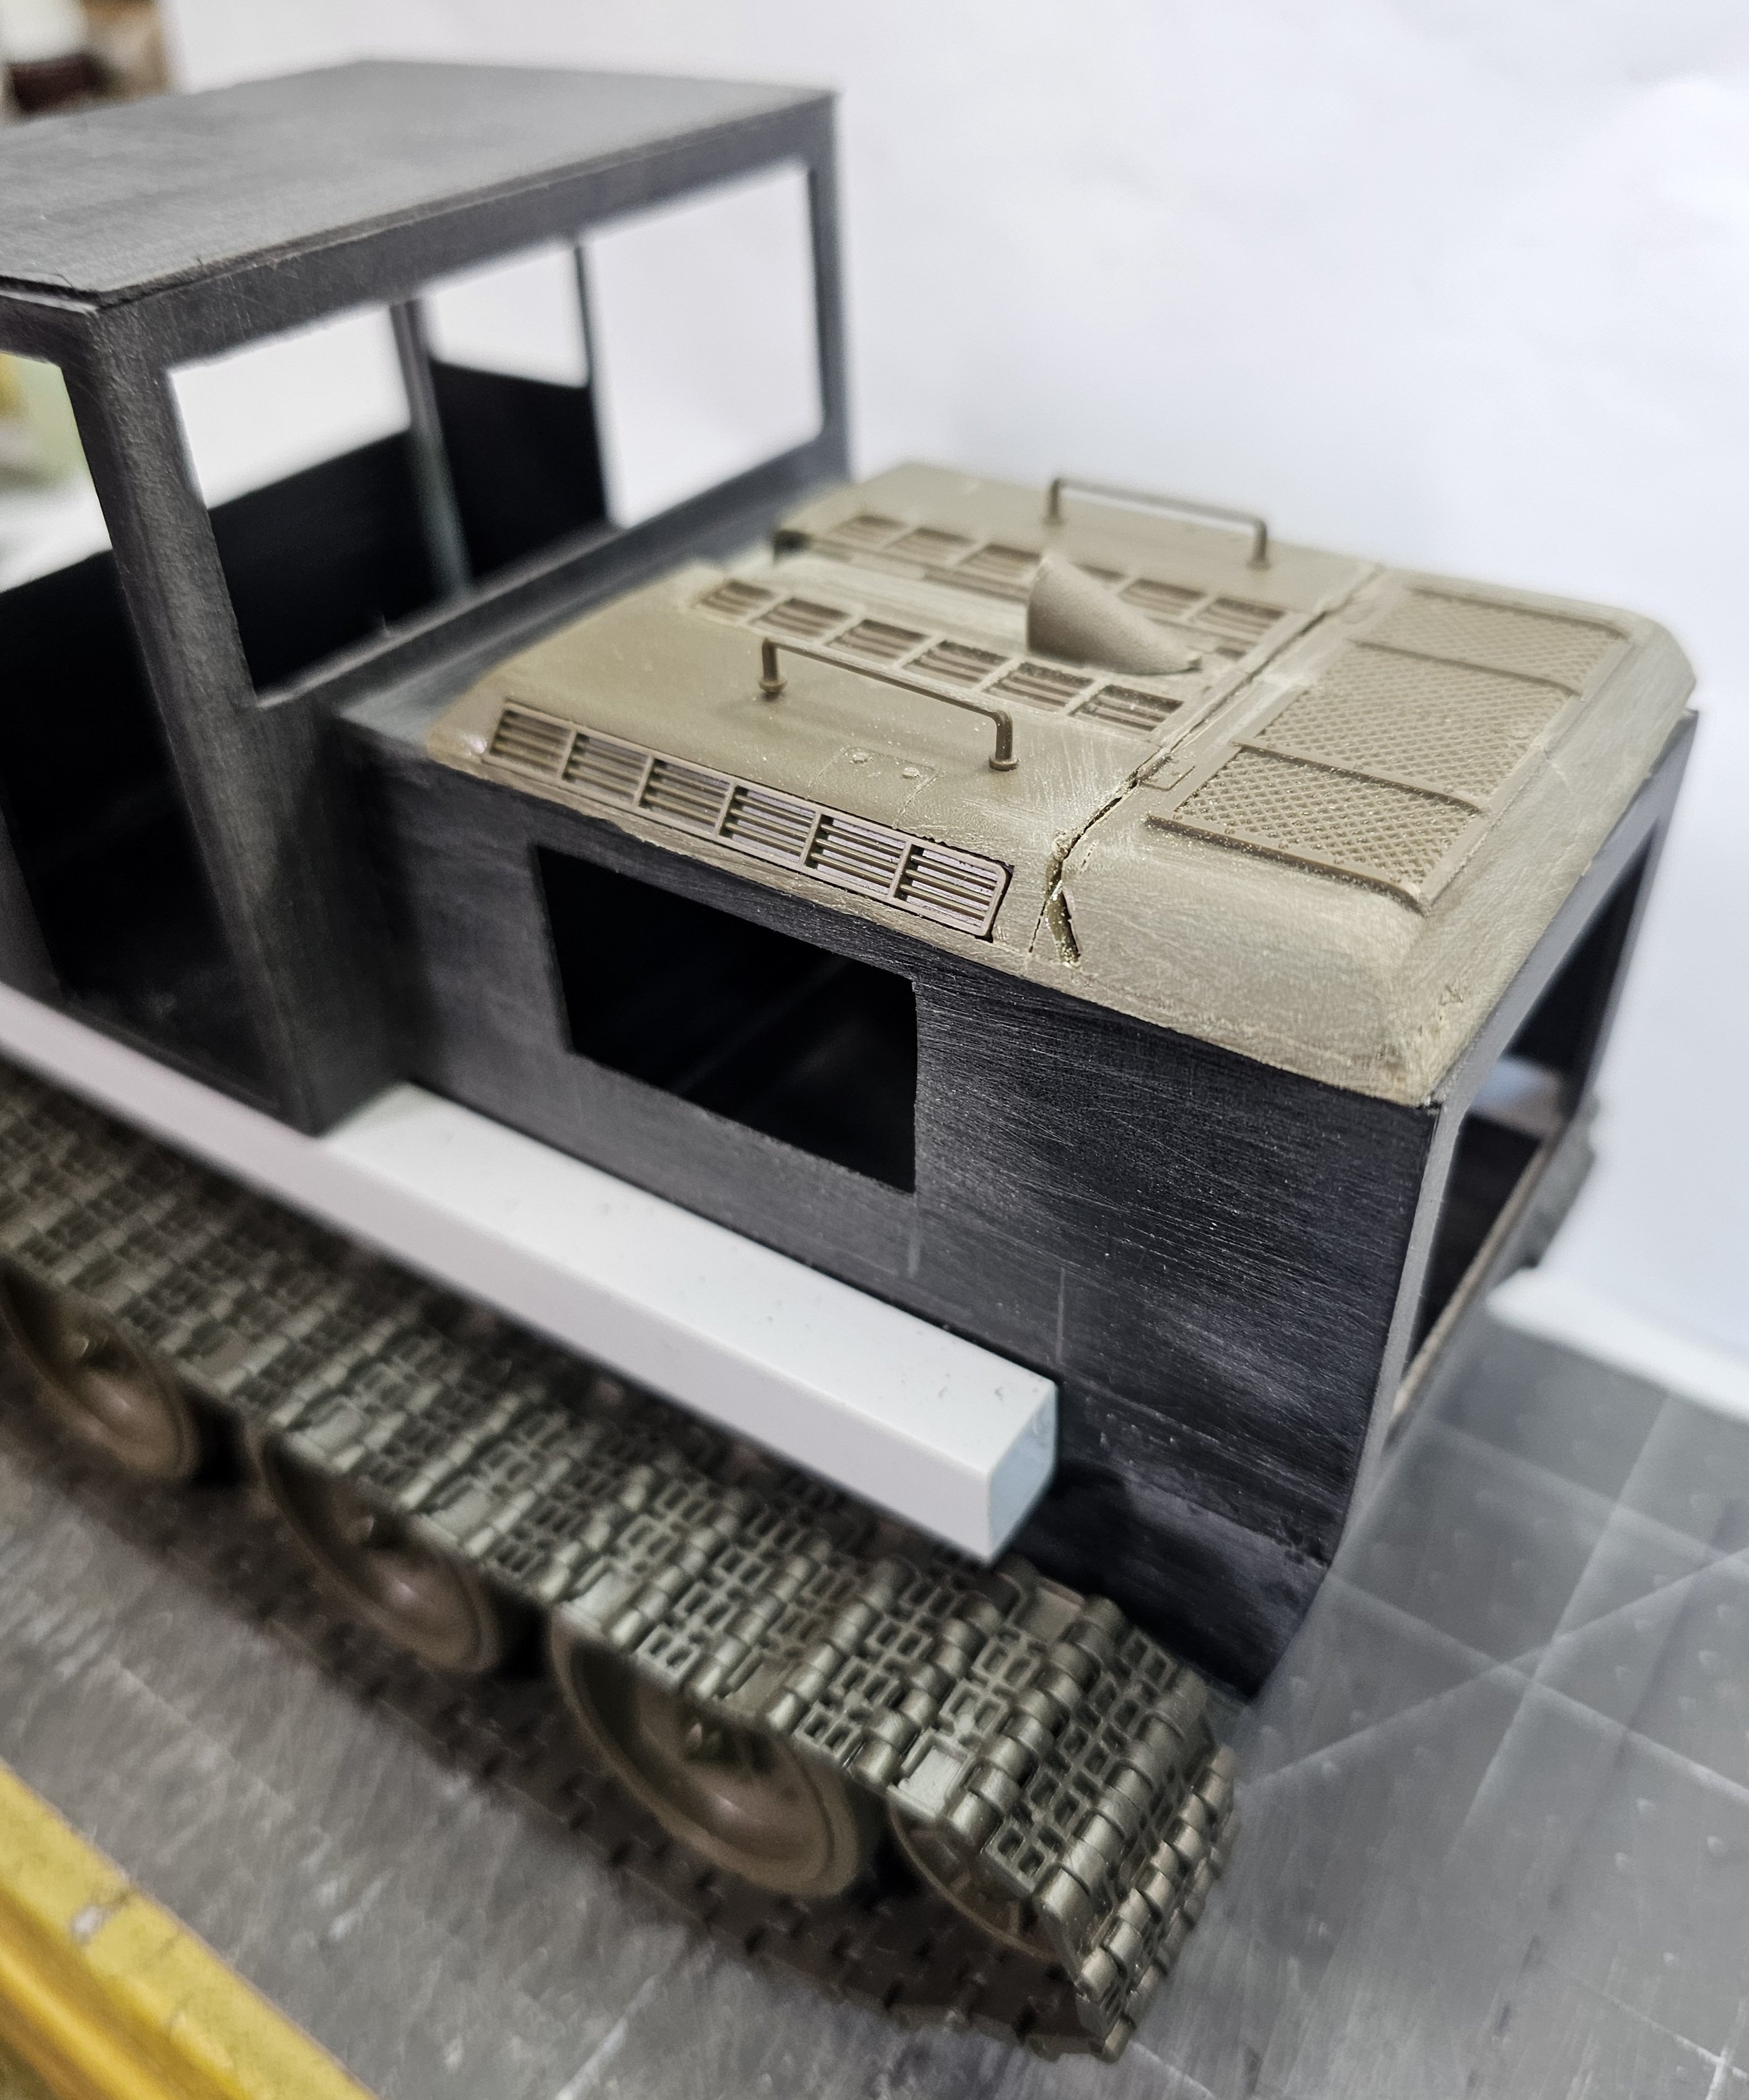
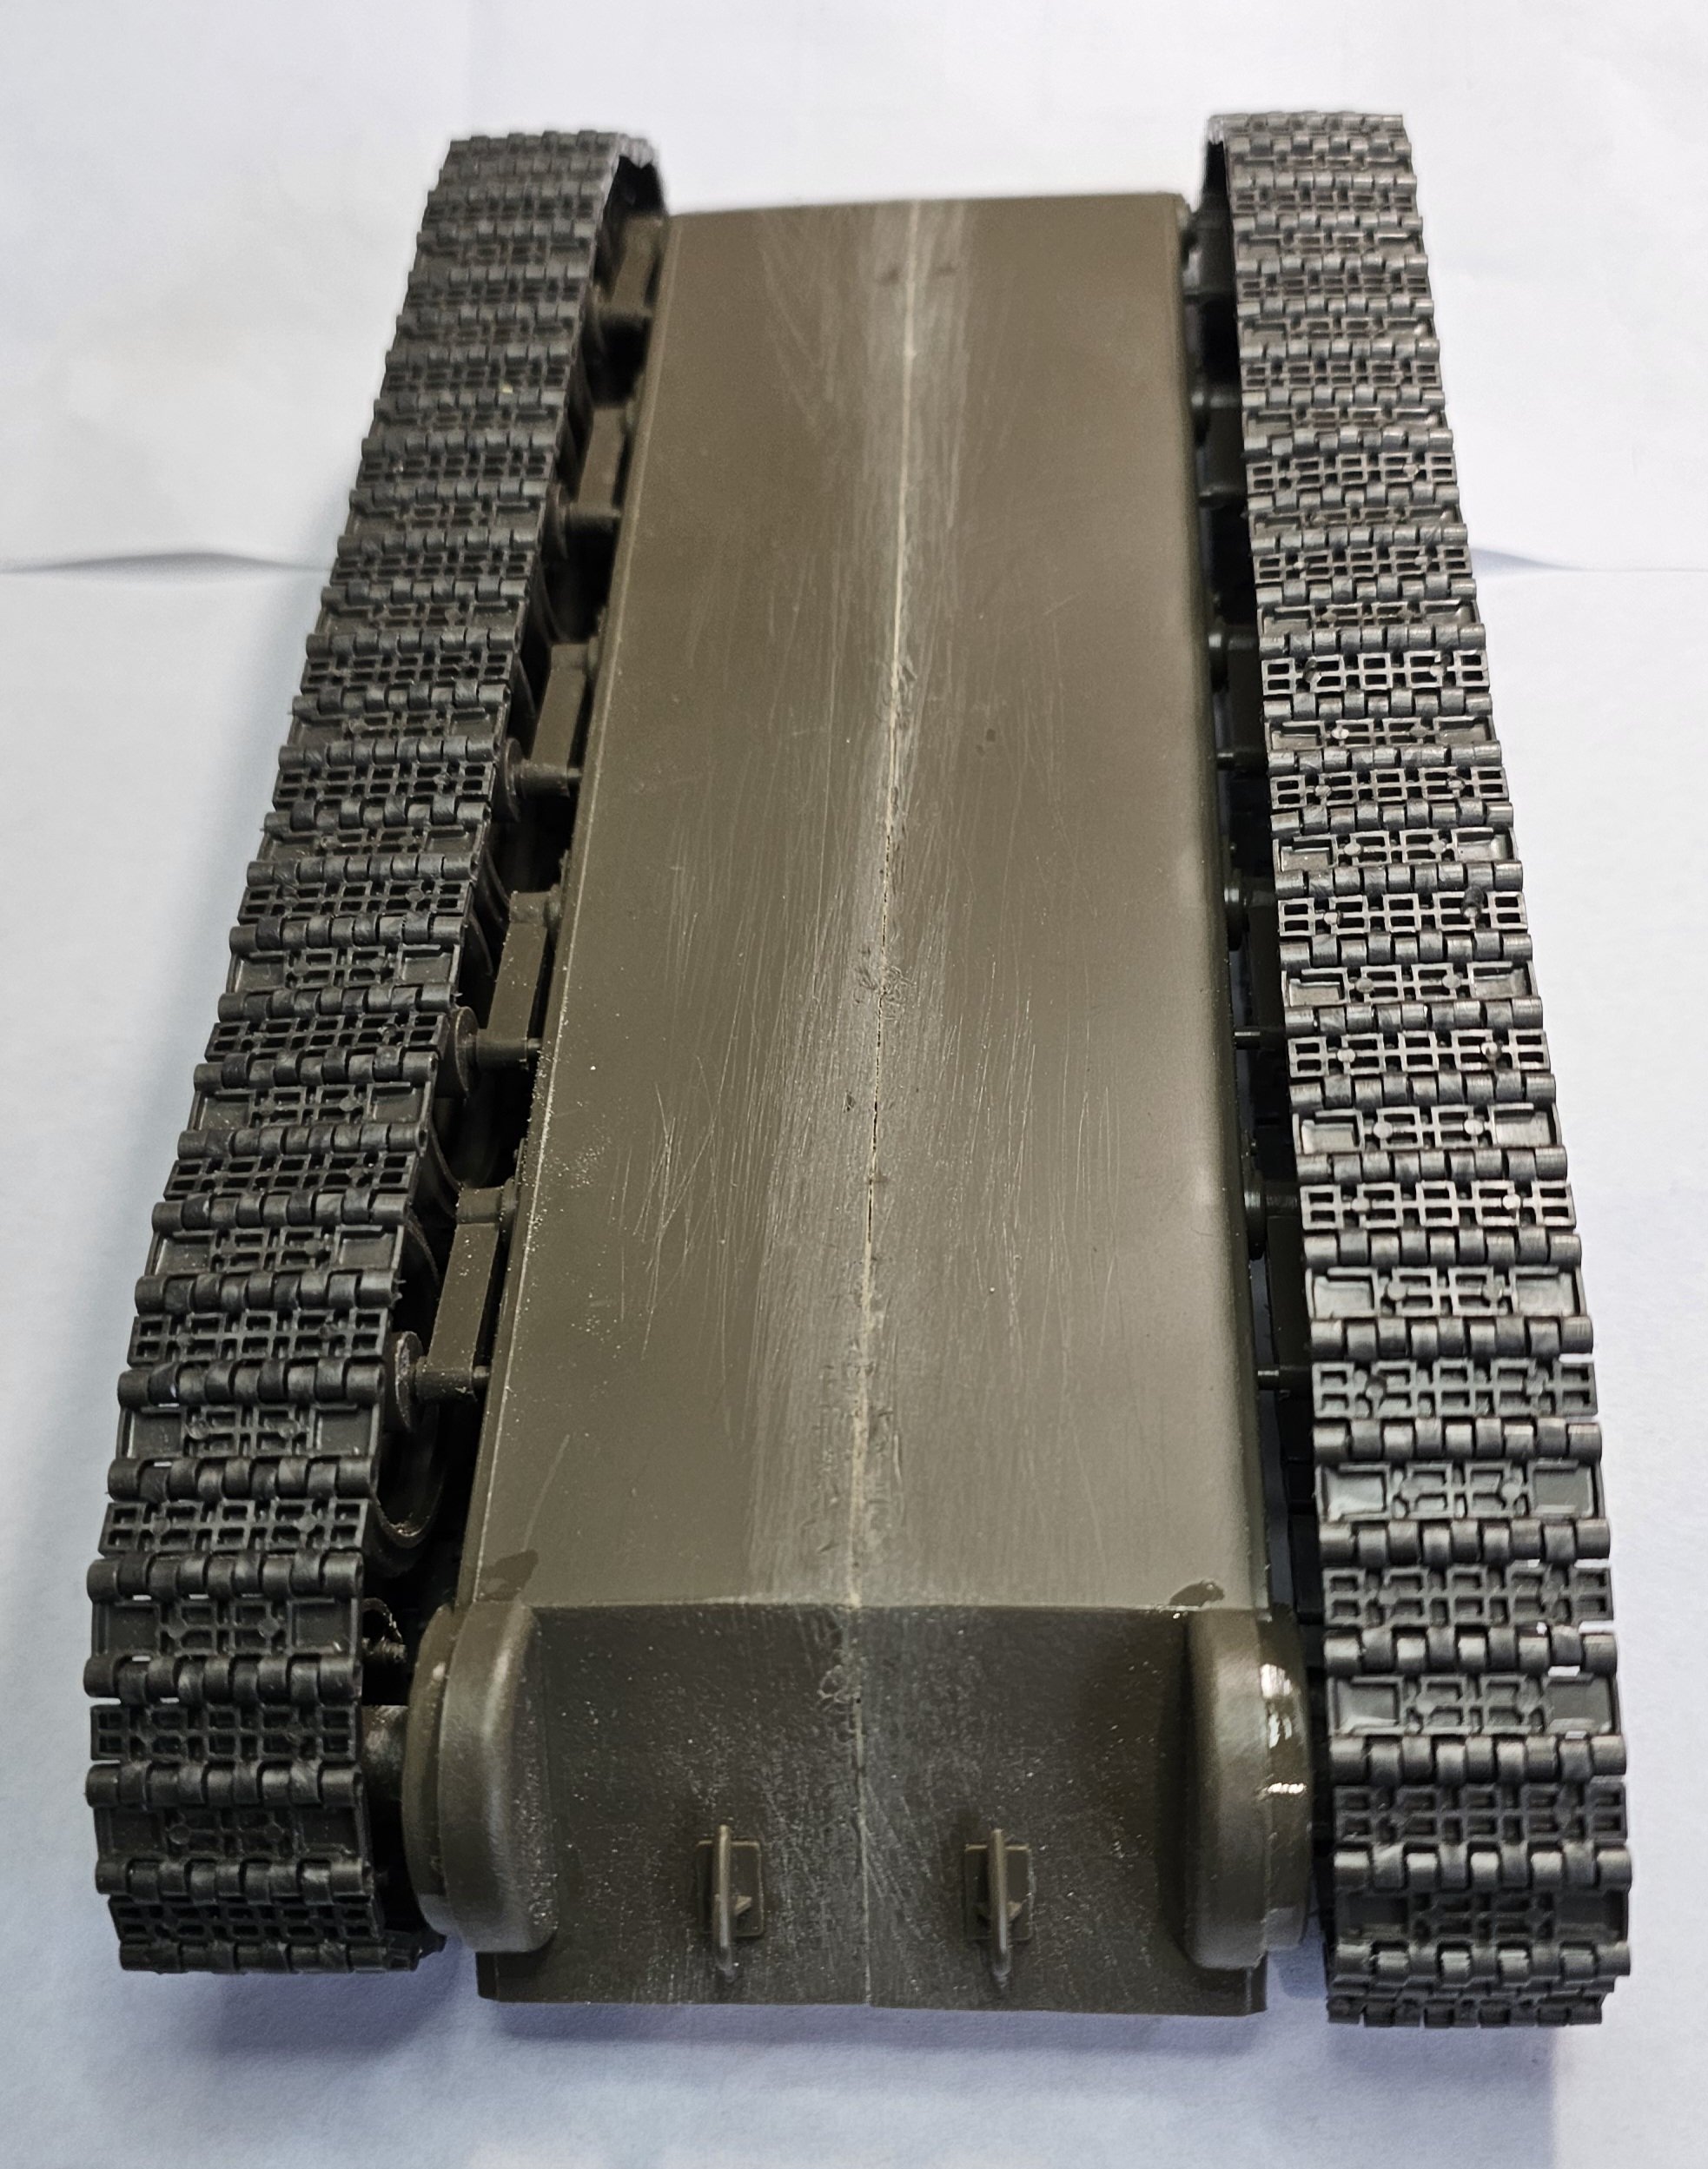
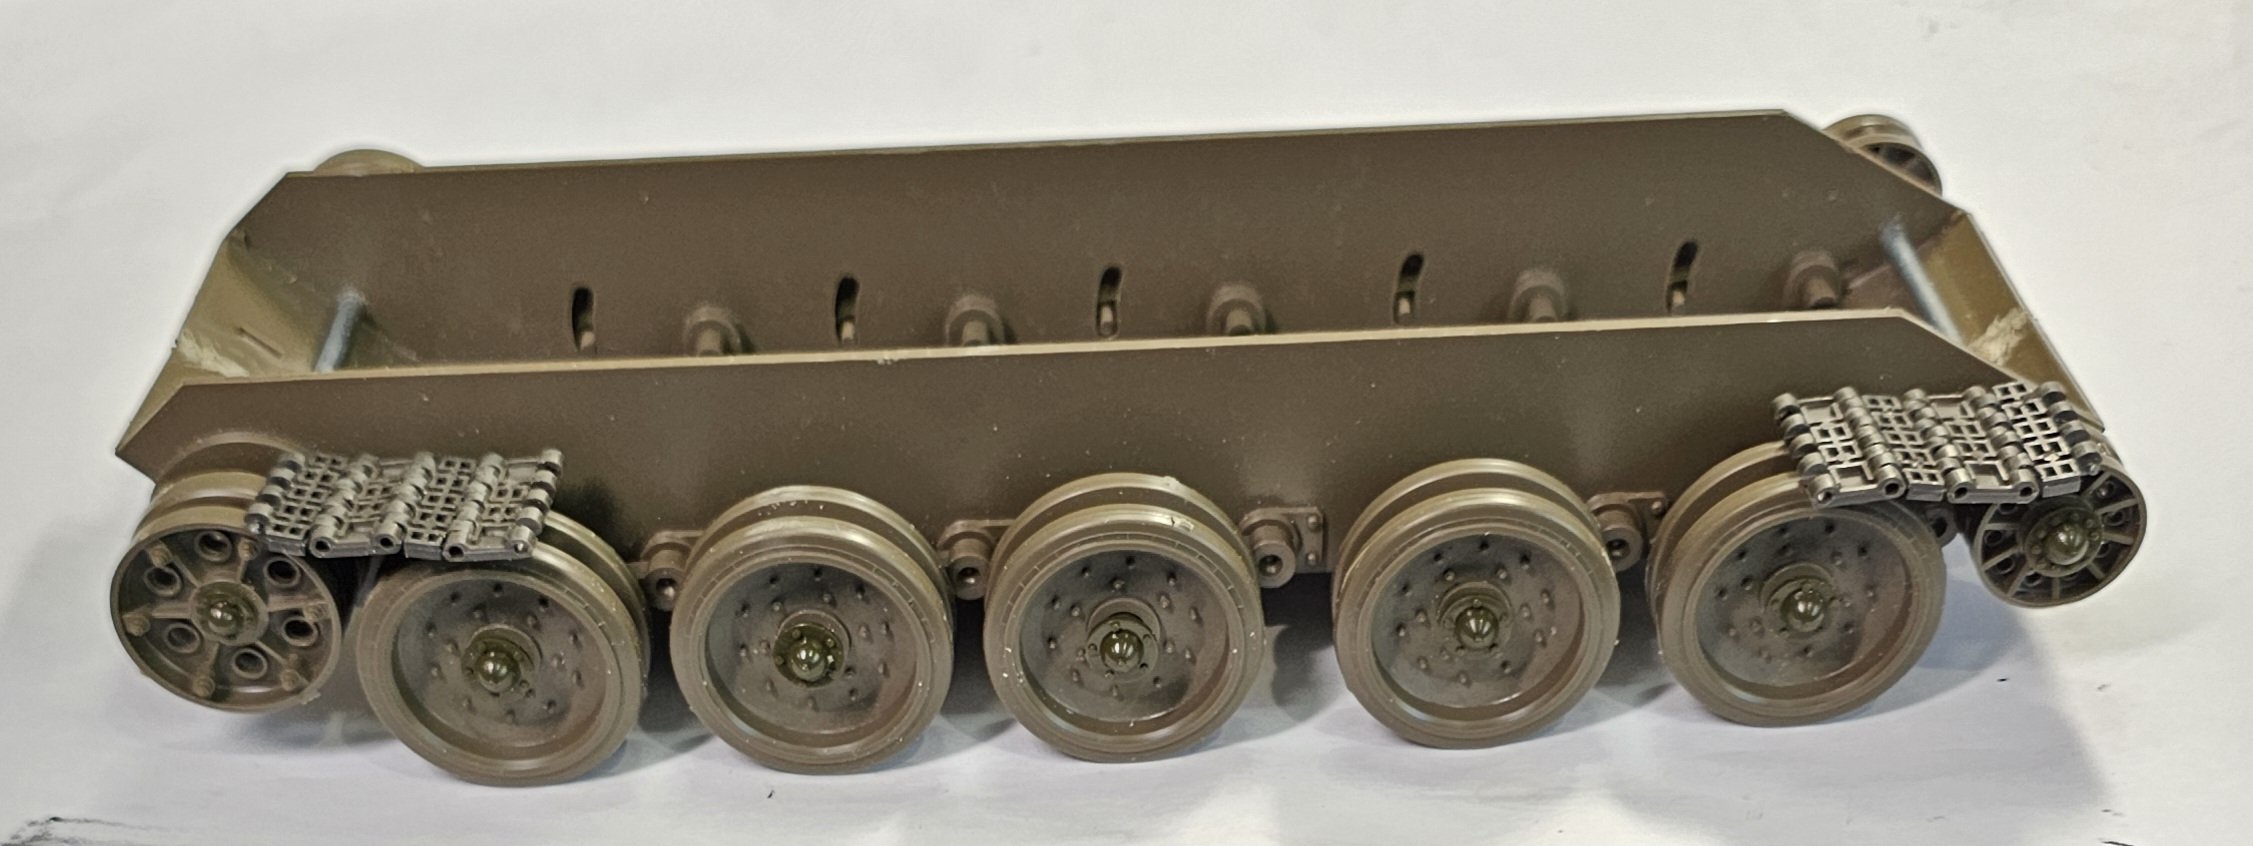
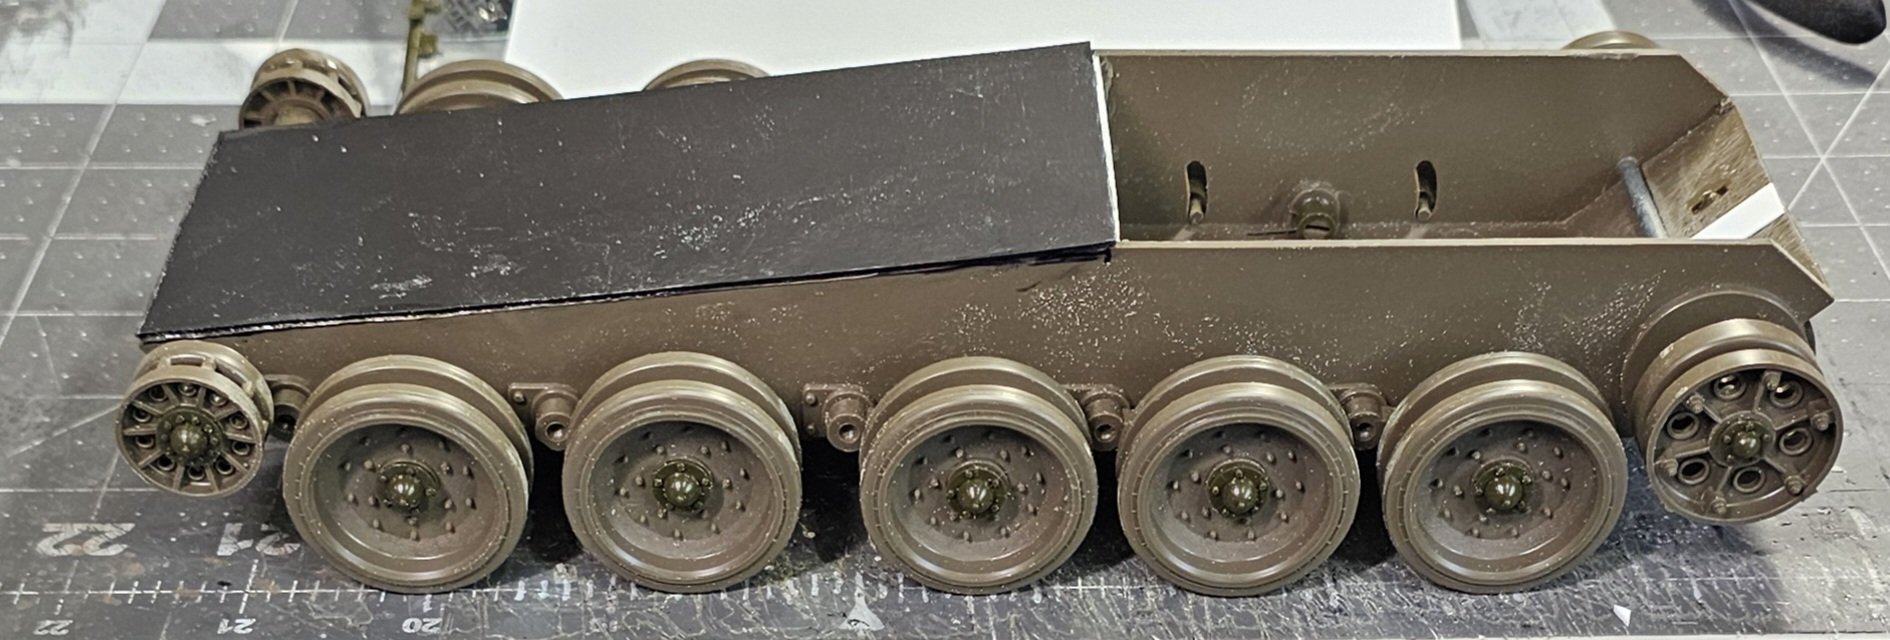
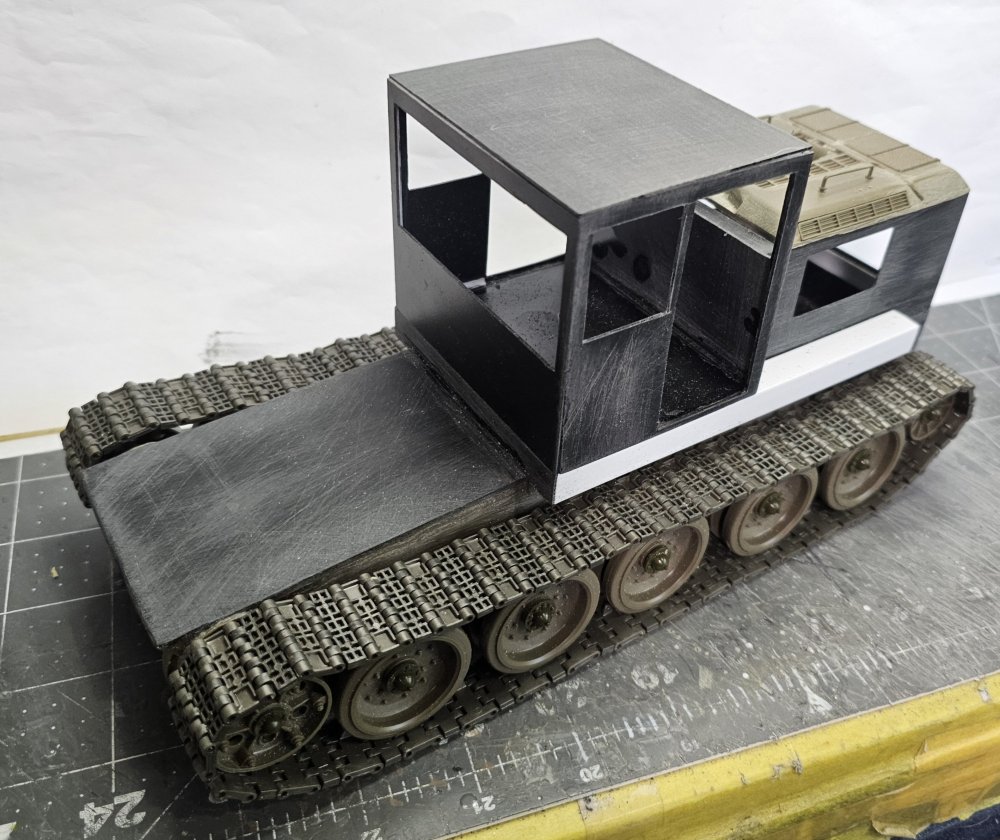
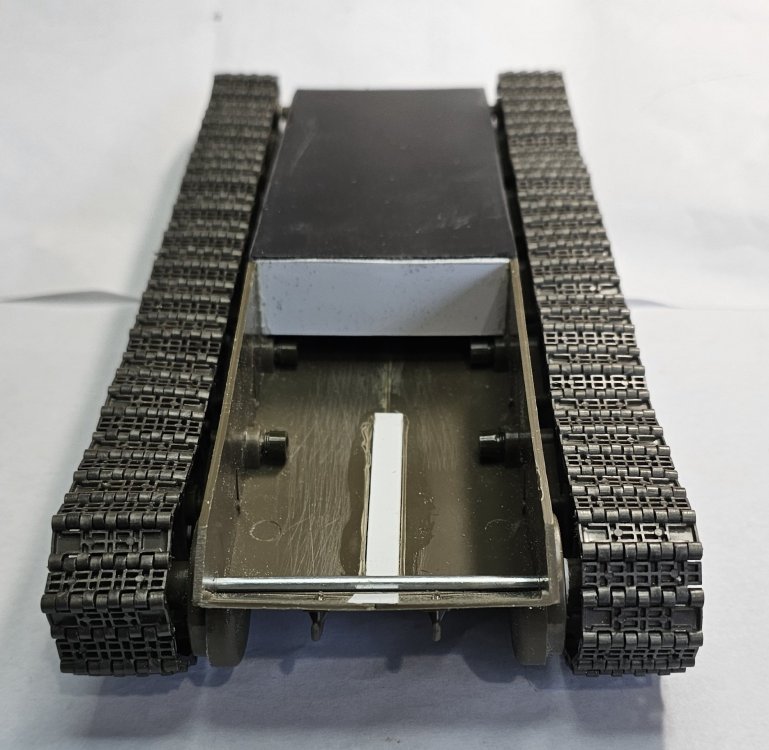
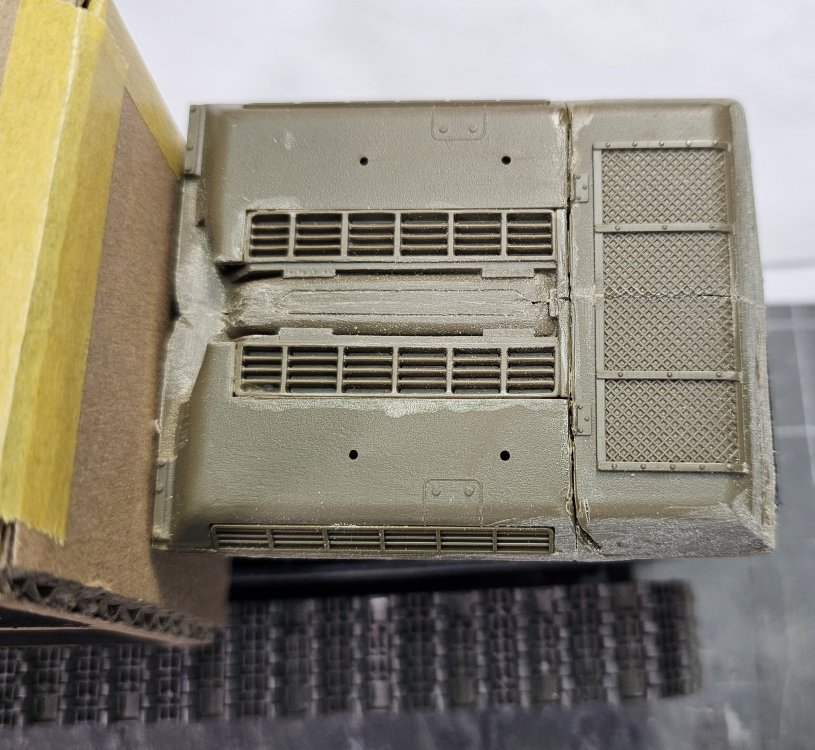
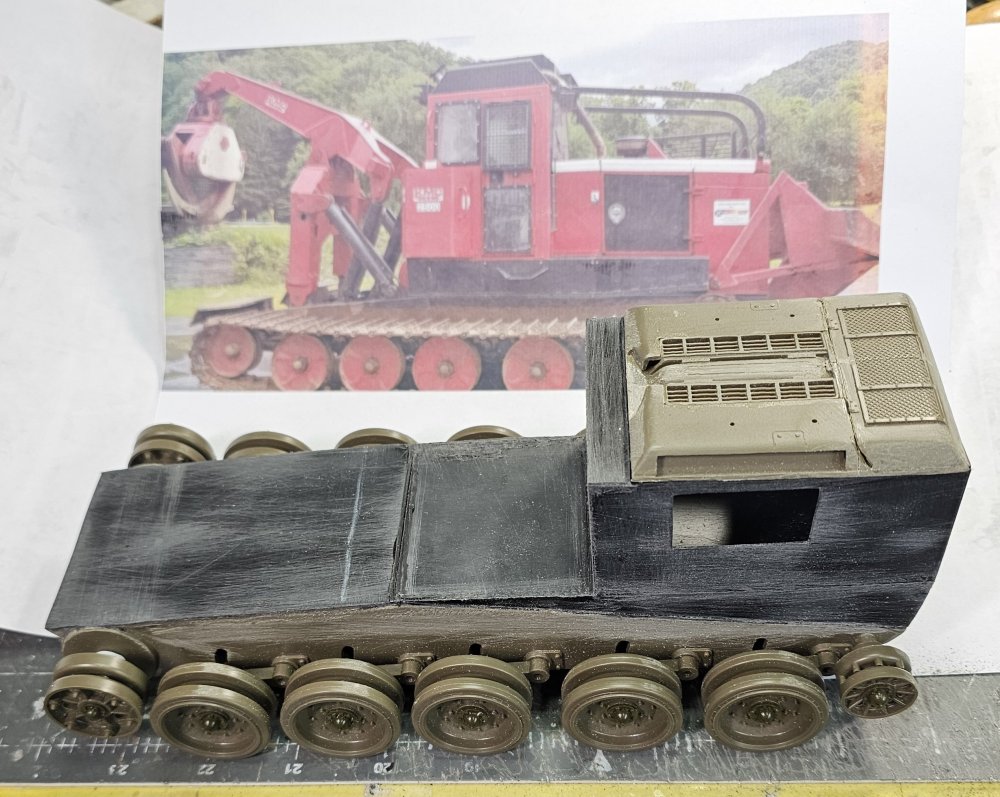
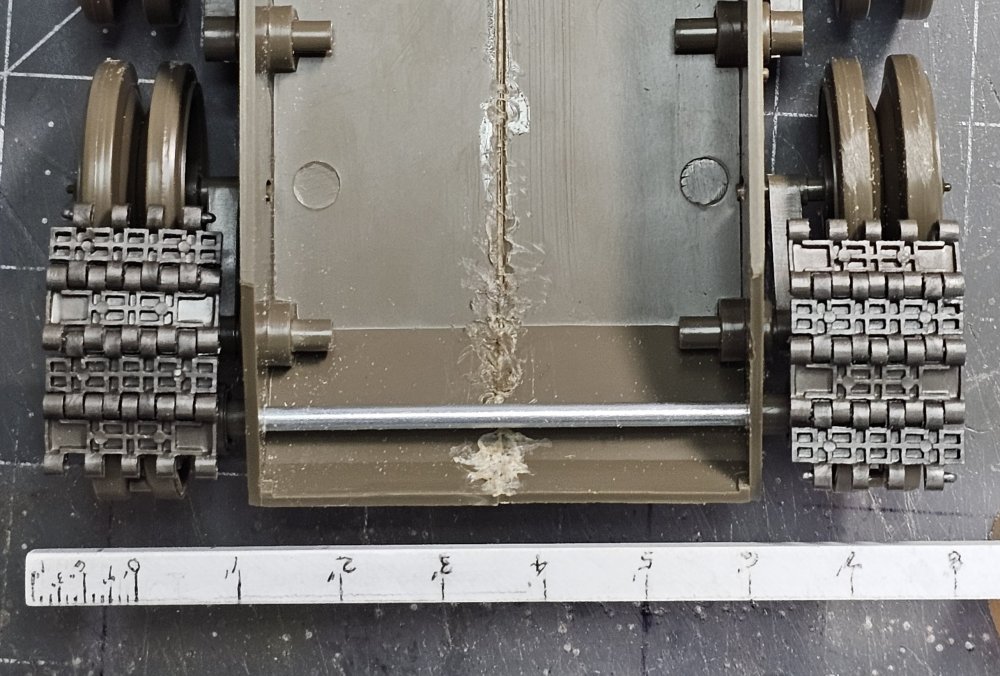
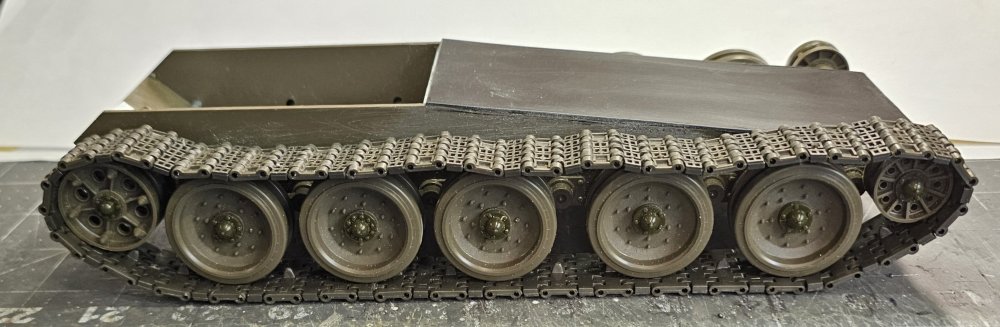
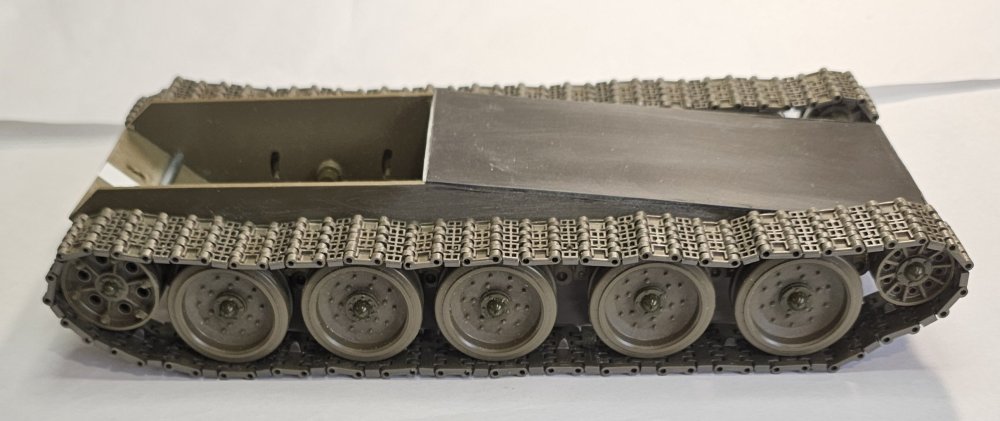
Hey all More work done on the skidder. View looking rearward of hull and tracks View of the bottom of the skidder. This is a partial mock up of the skidder. I cut the top of the tanks rear upper hull into peices and reassembled it into this. The engine cover for the skidder. Here's were I'm at with this build. There will be screened engine hatches on the sides and for the front radiator opening. I still have a lot of scratch building to do before this is finished. These are the engine access openings. Well that's it for now be back with more updates soon. Ron G


-
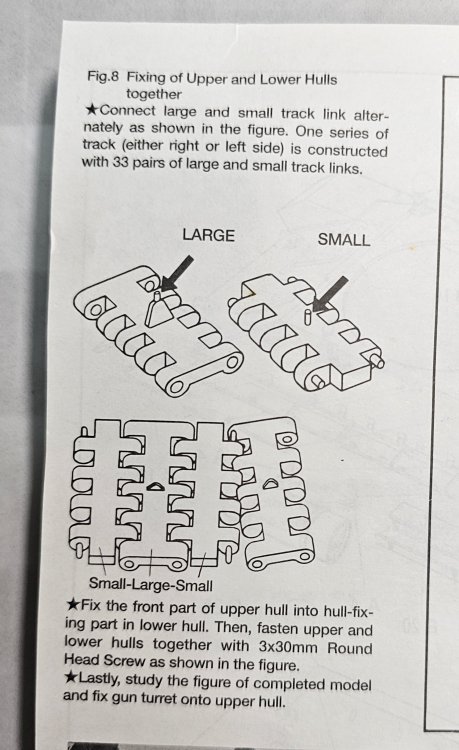
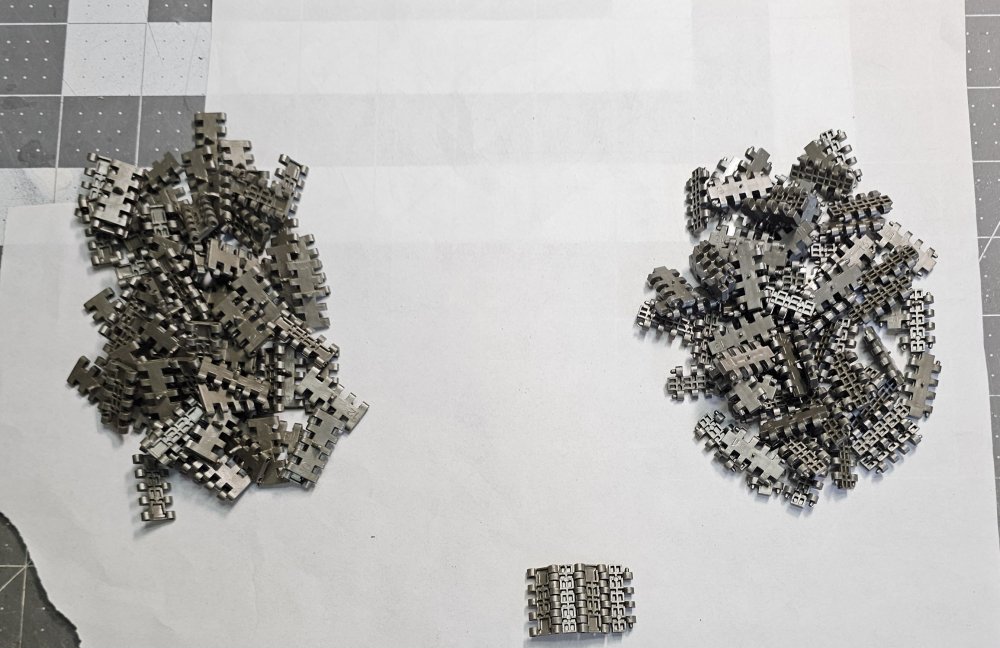
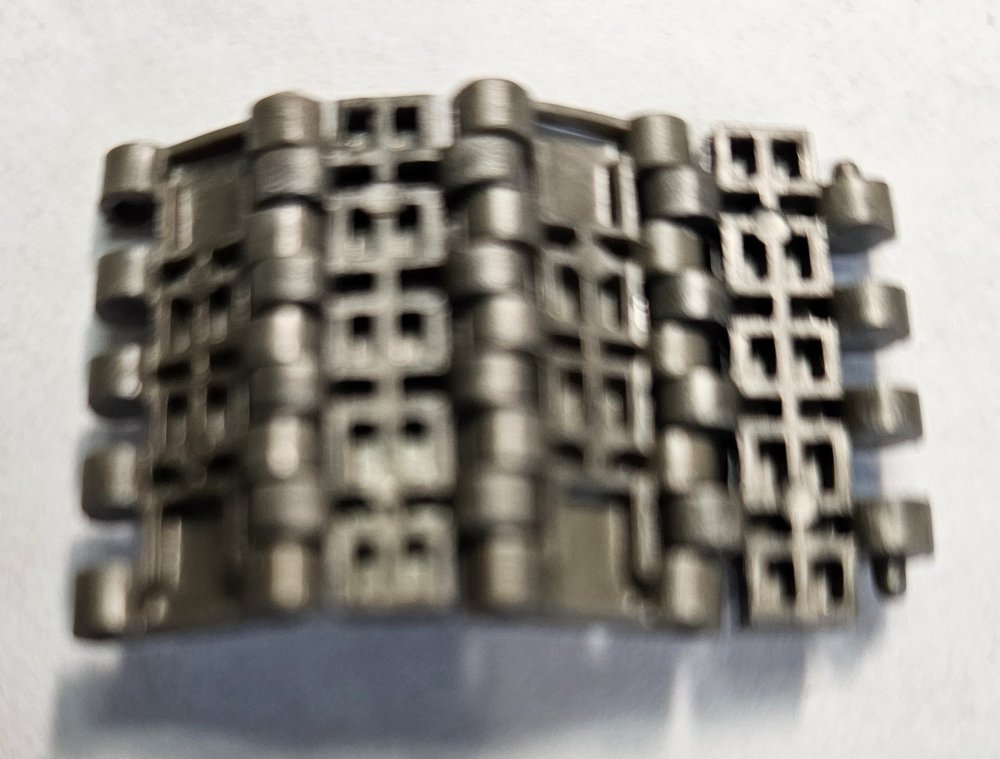
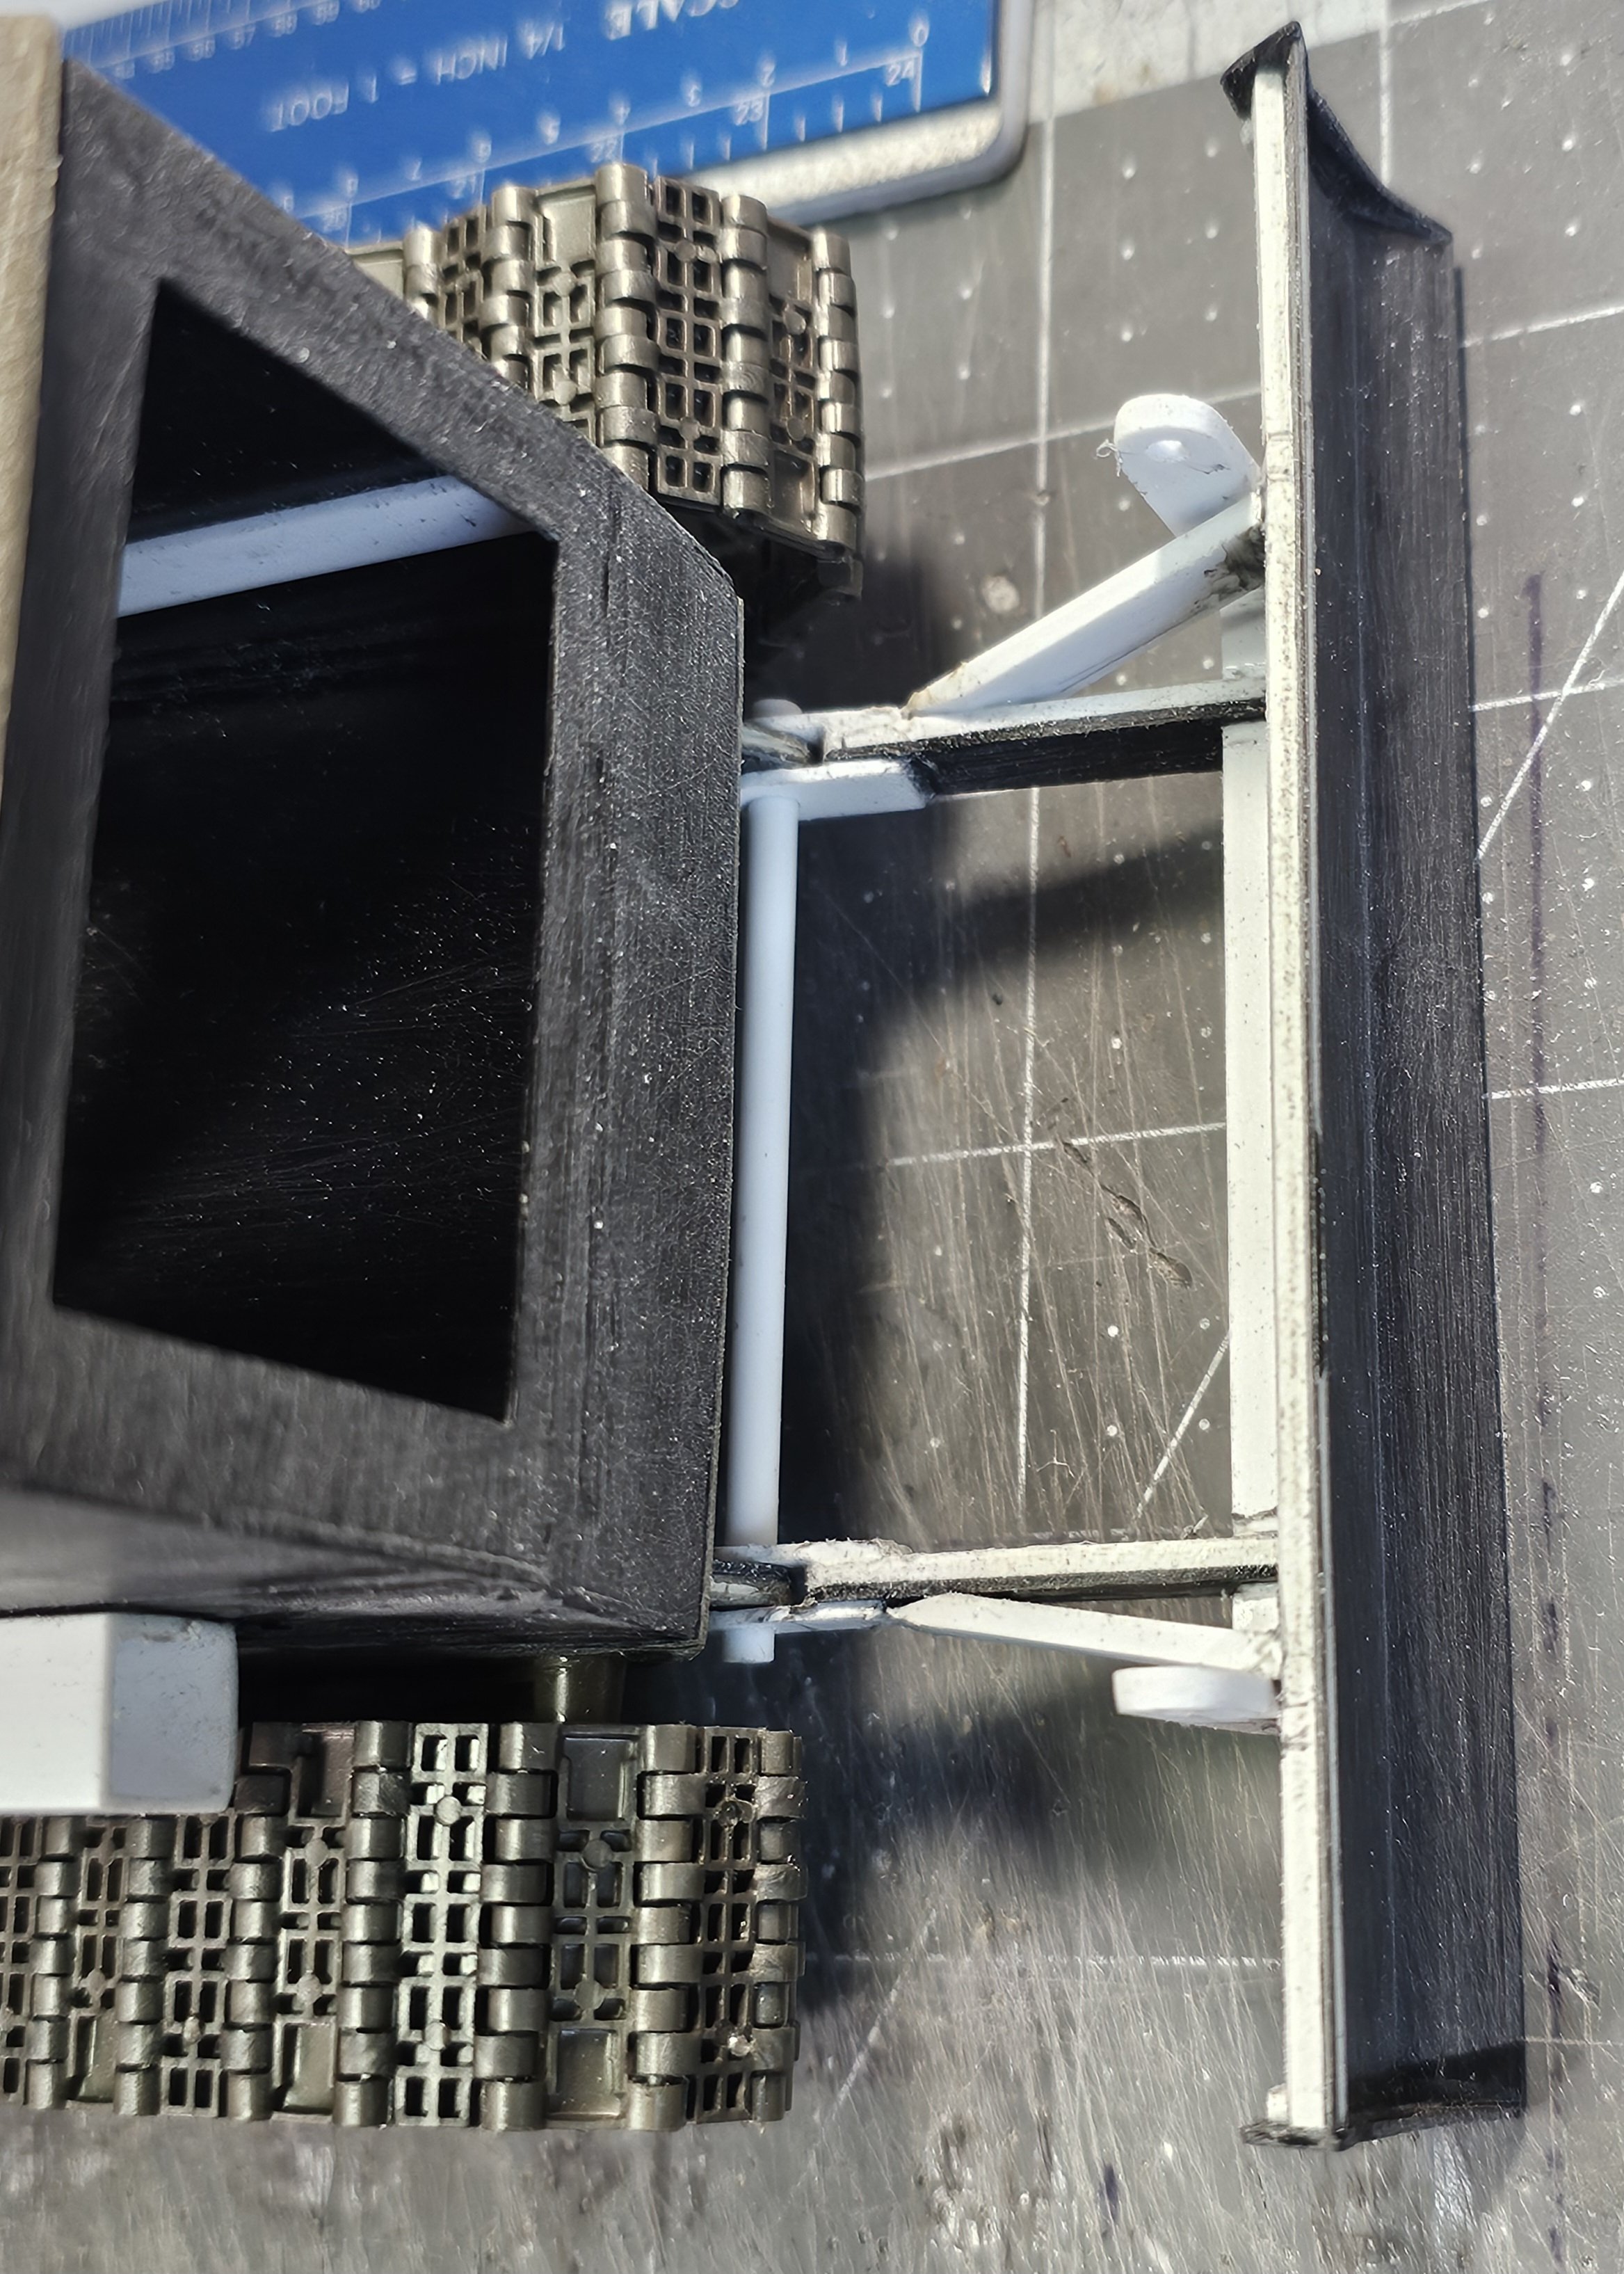
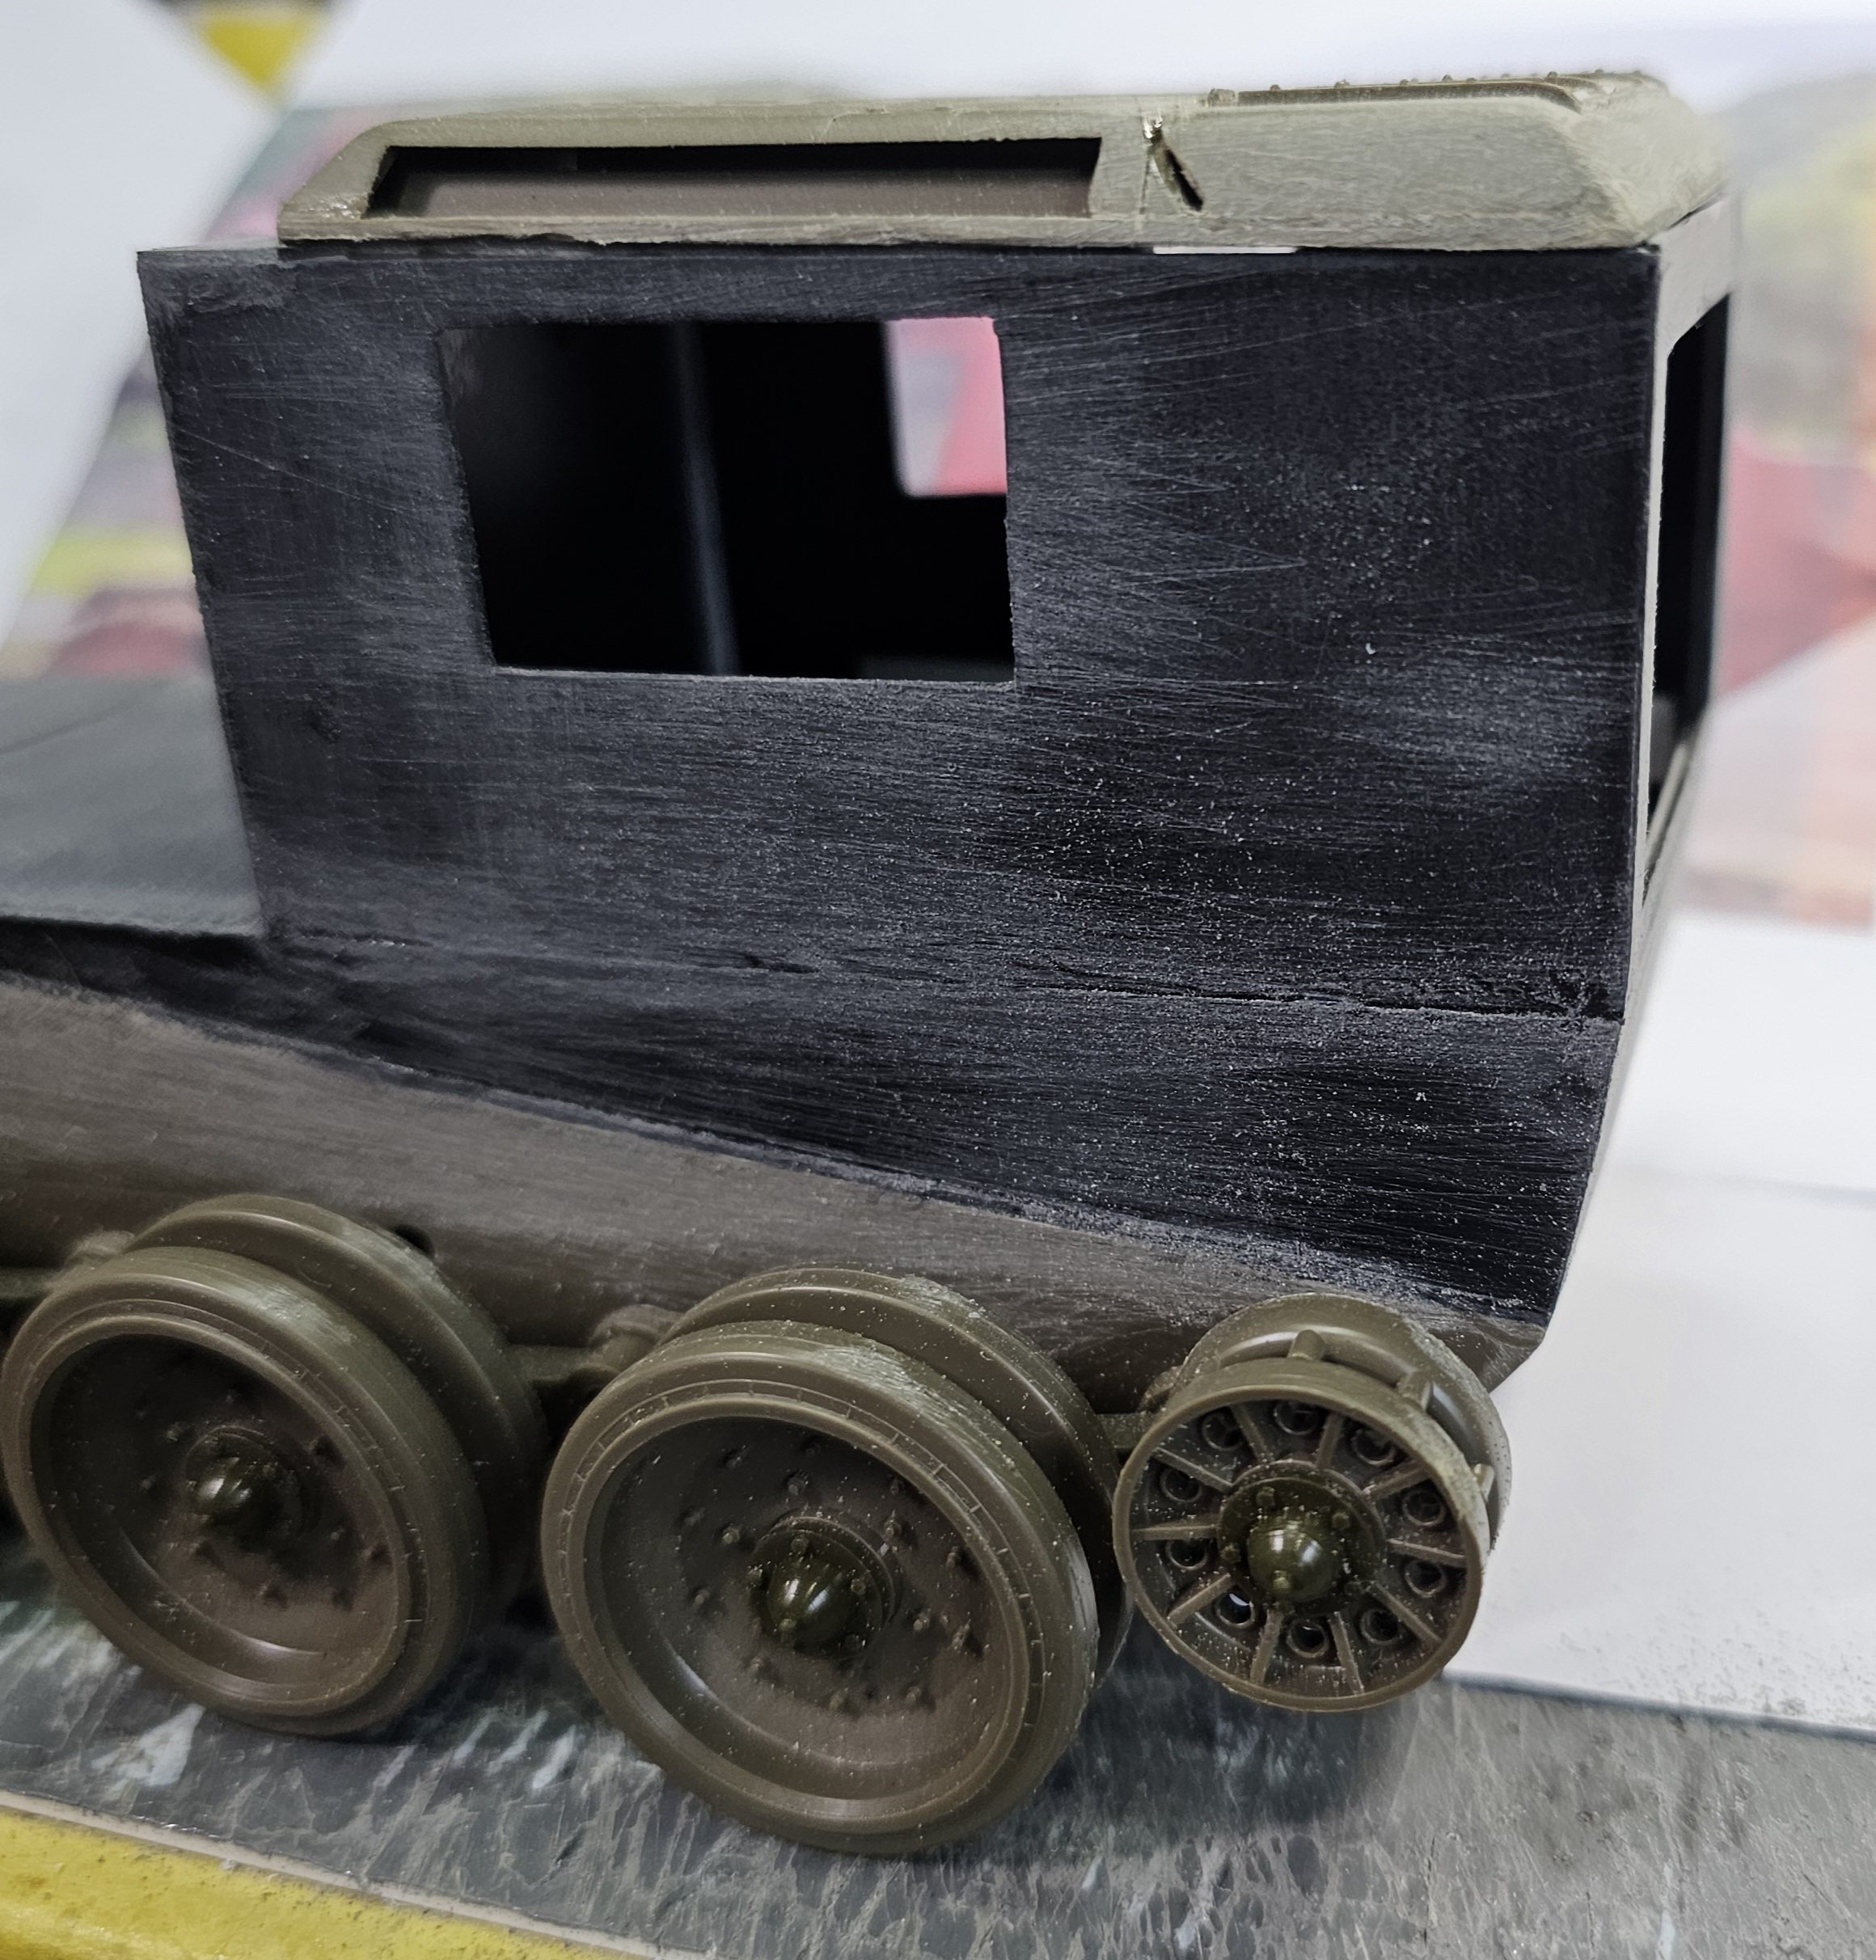
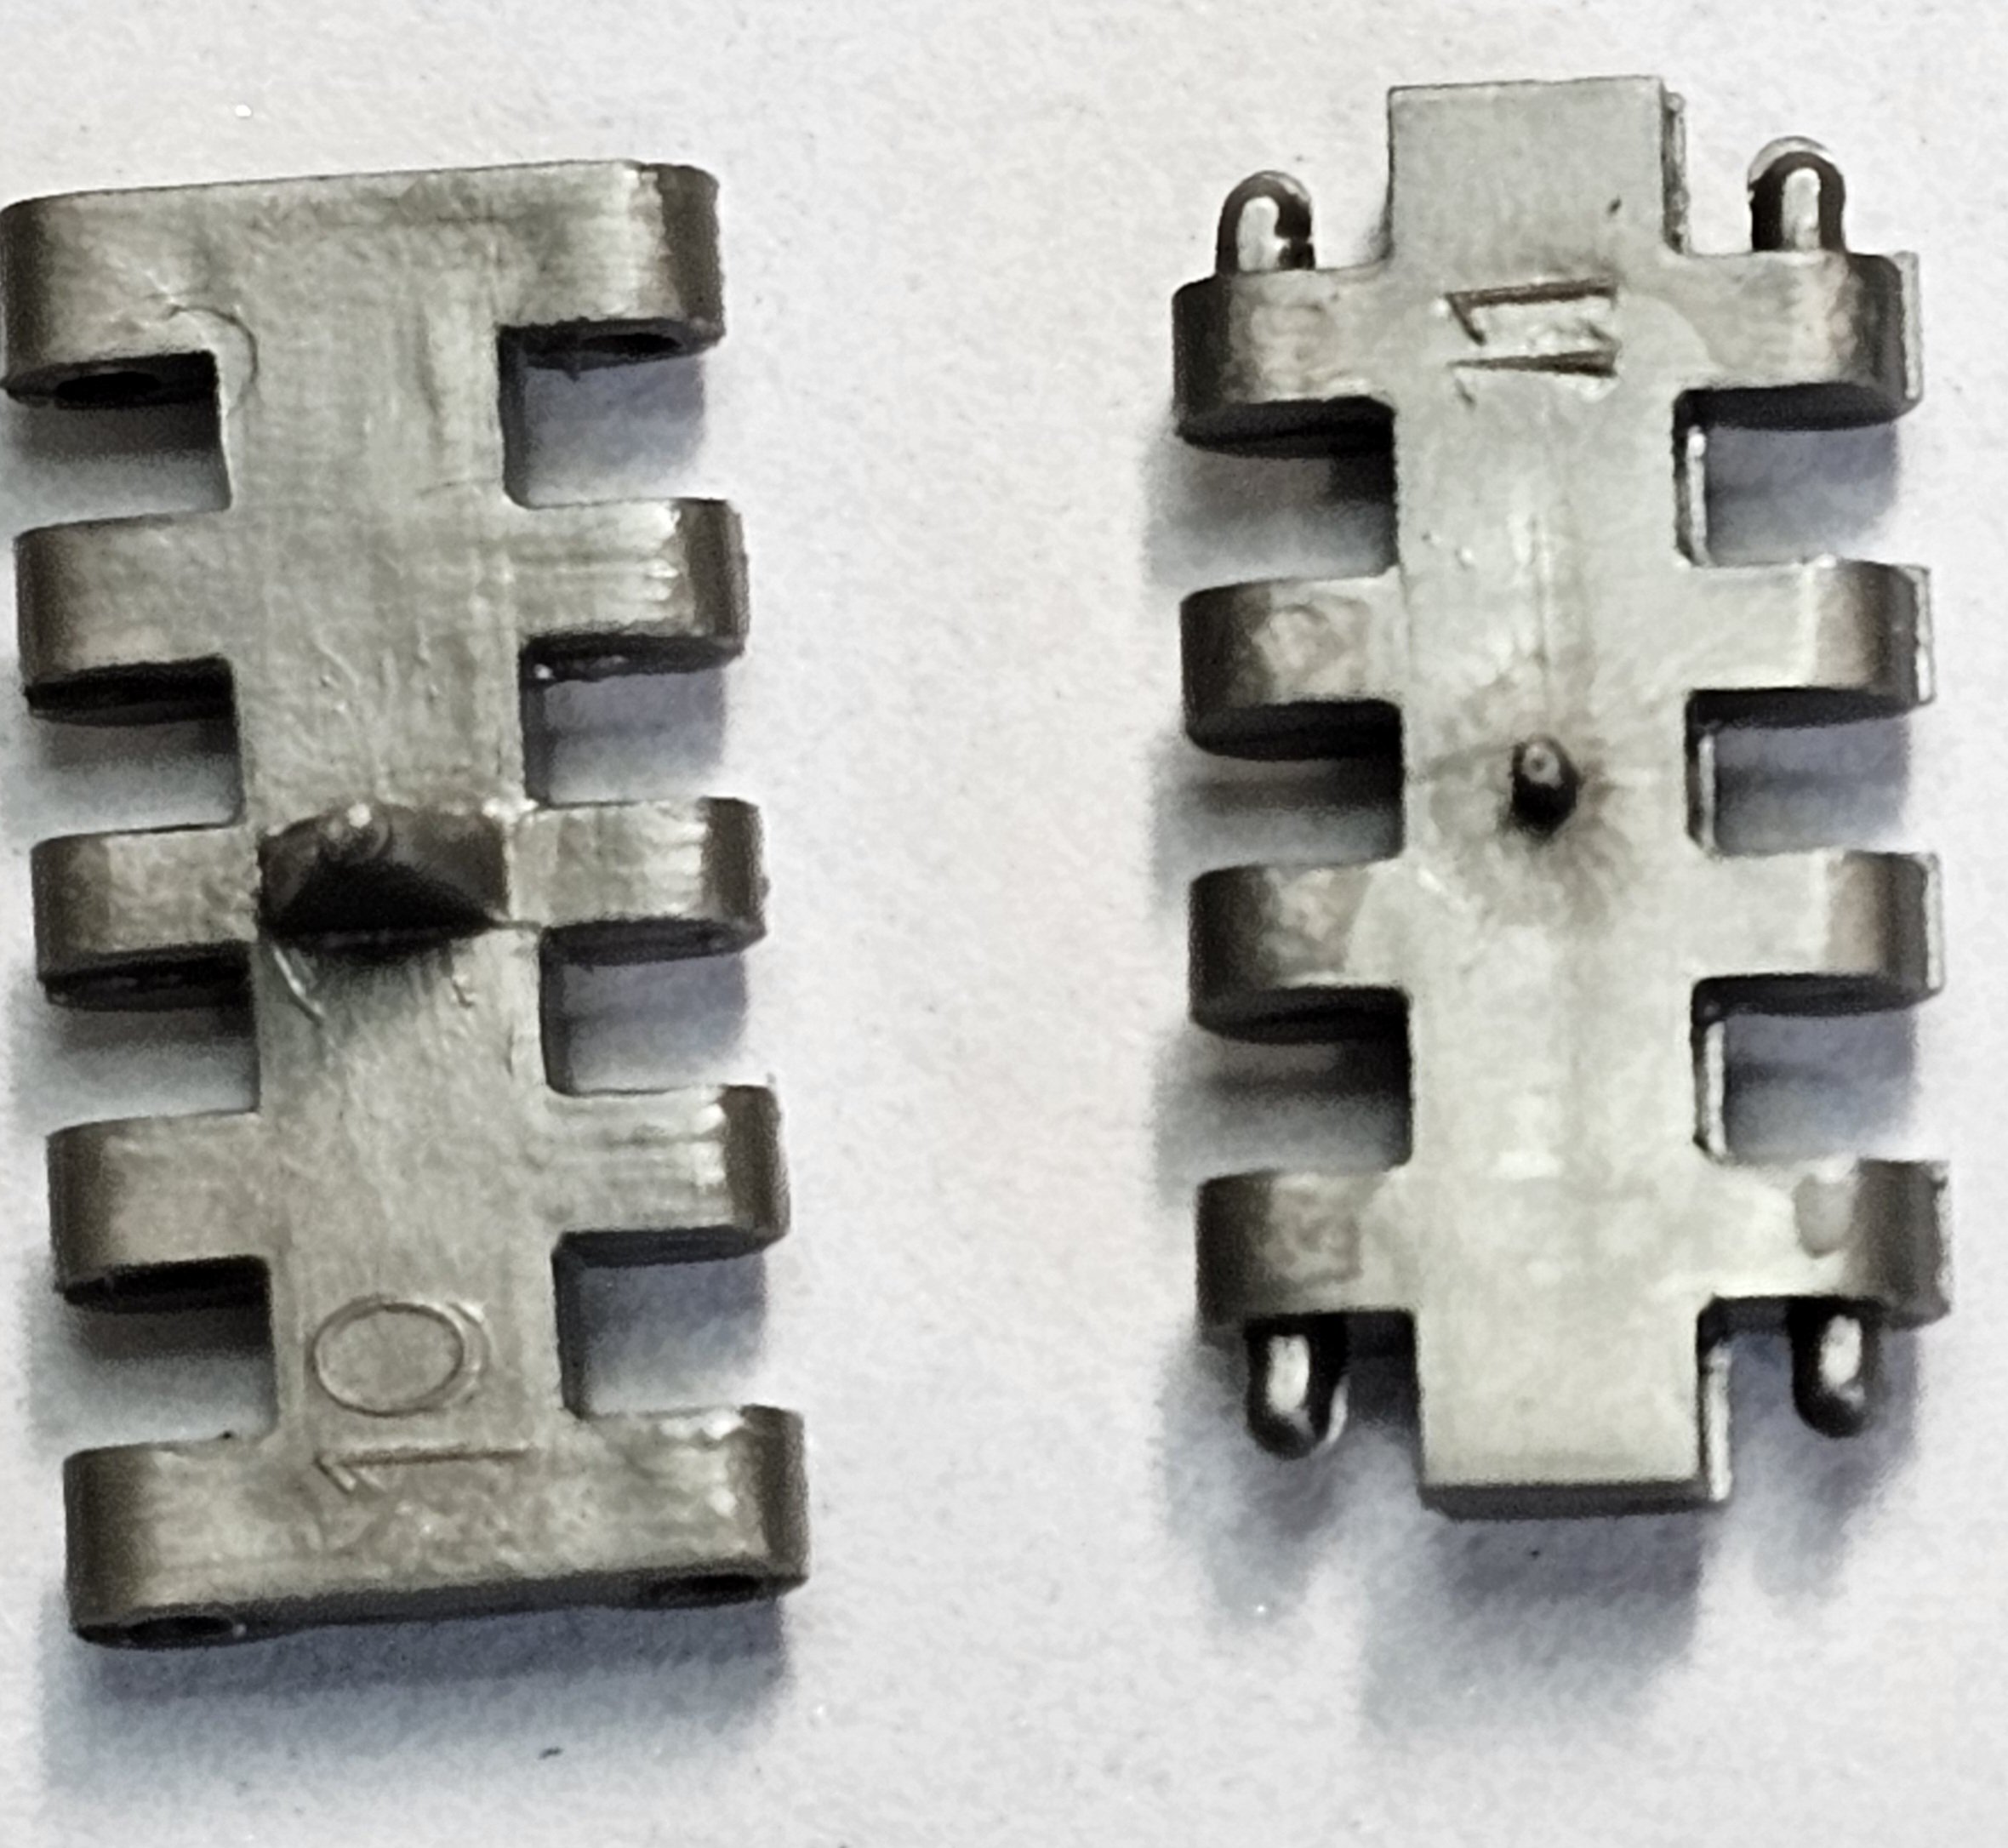
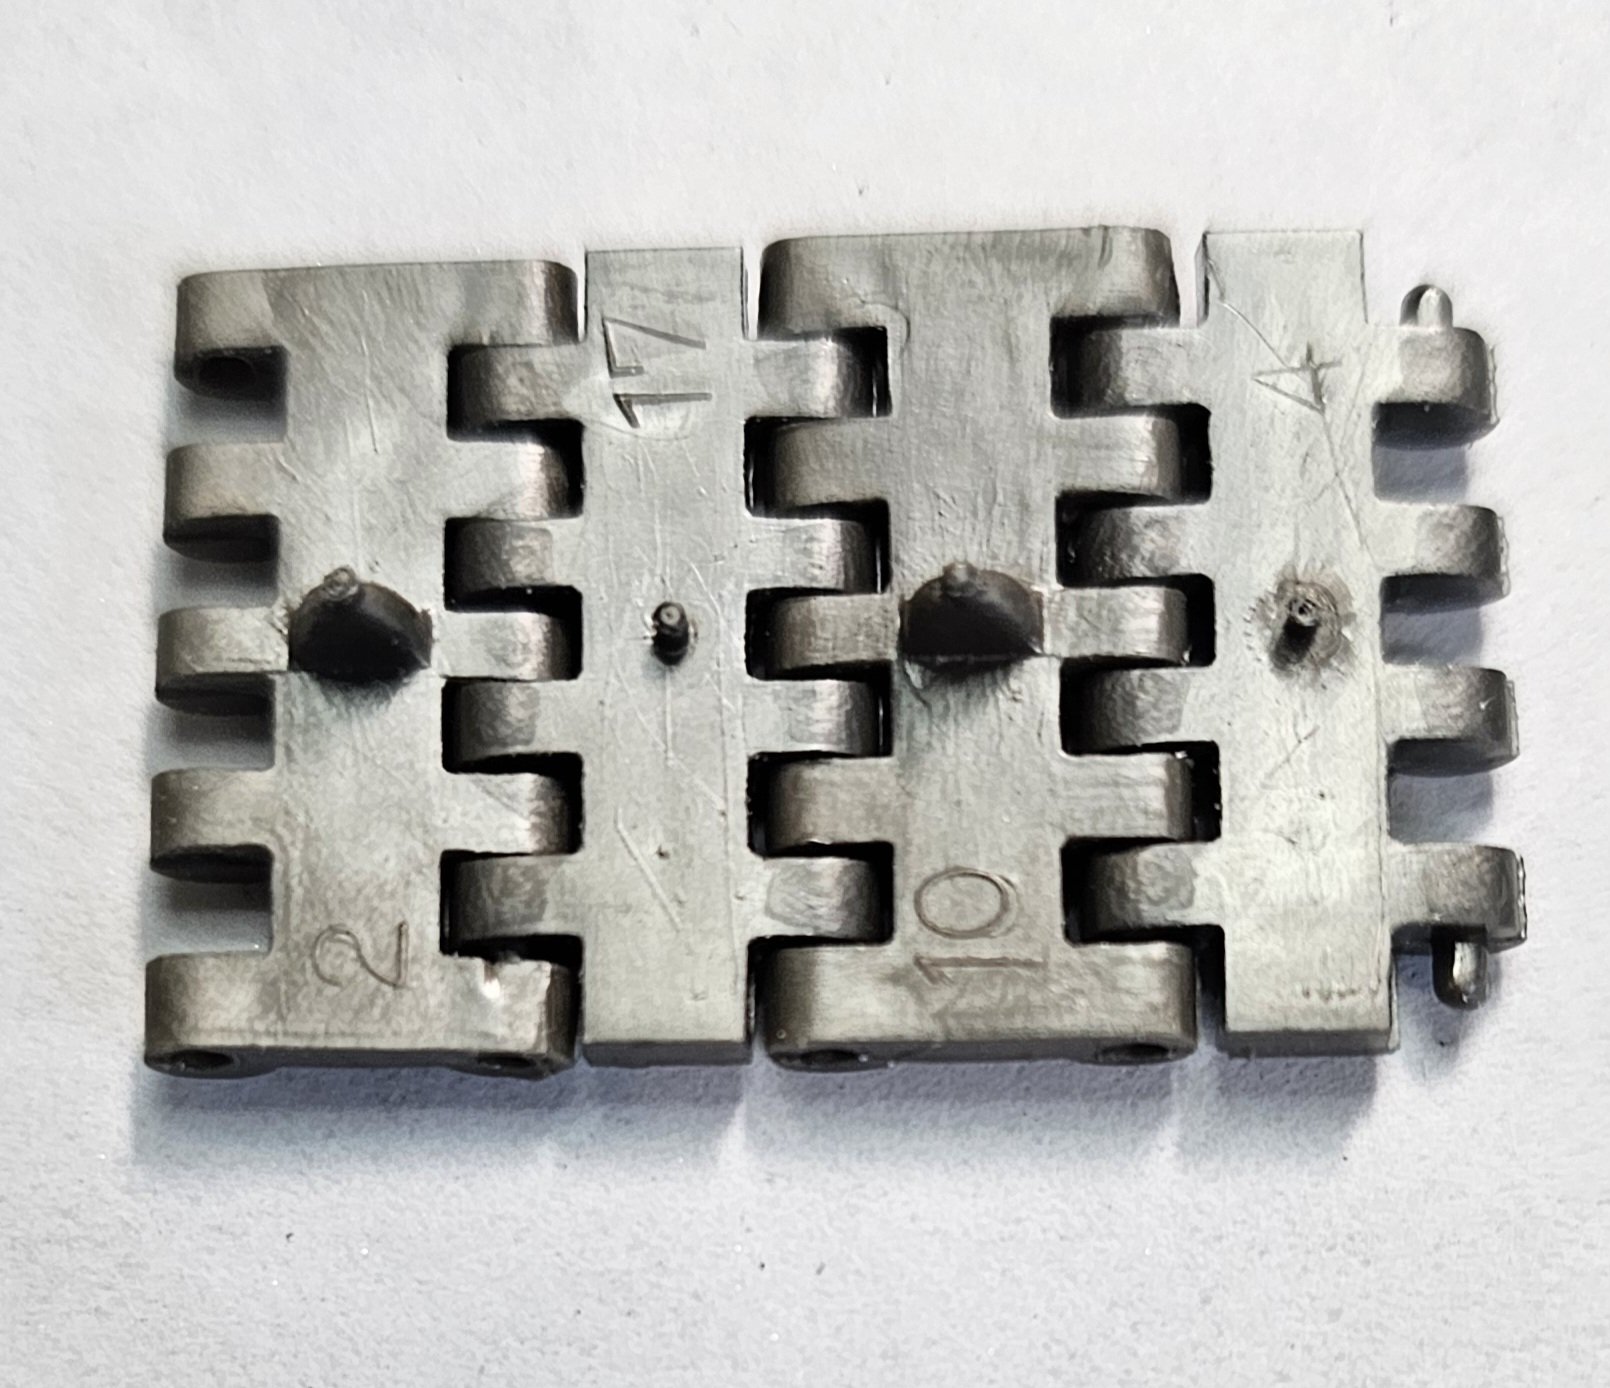
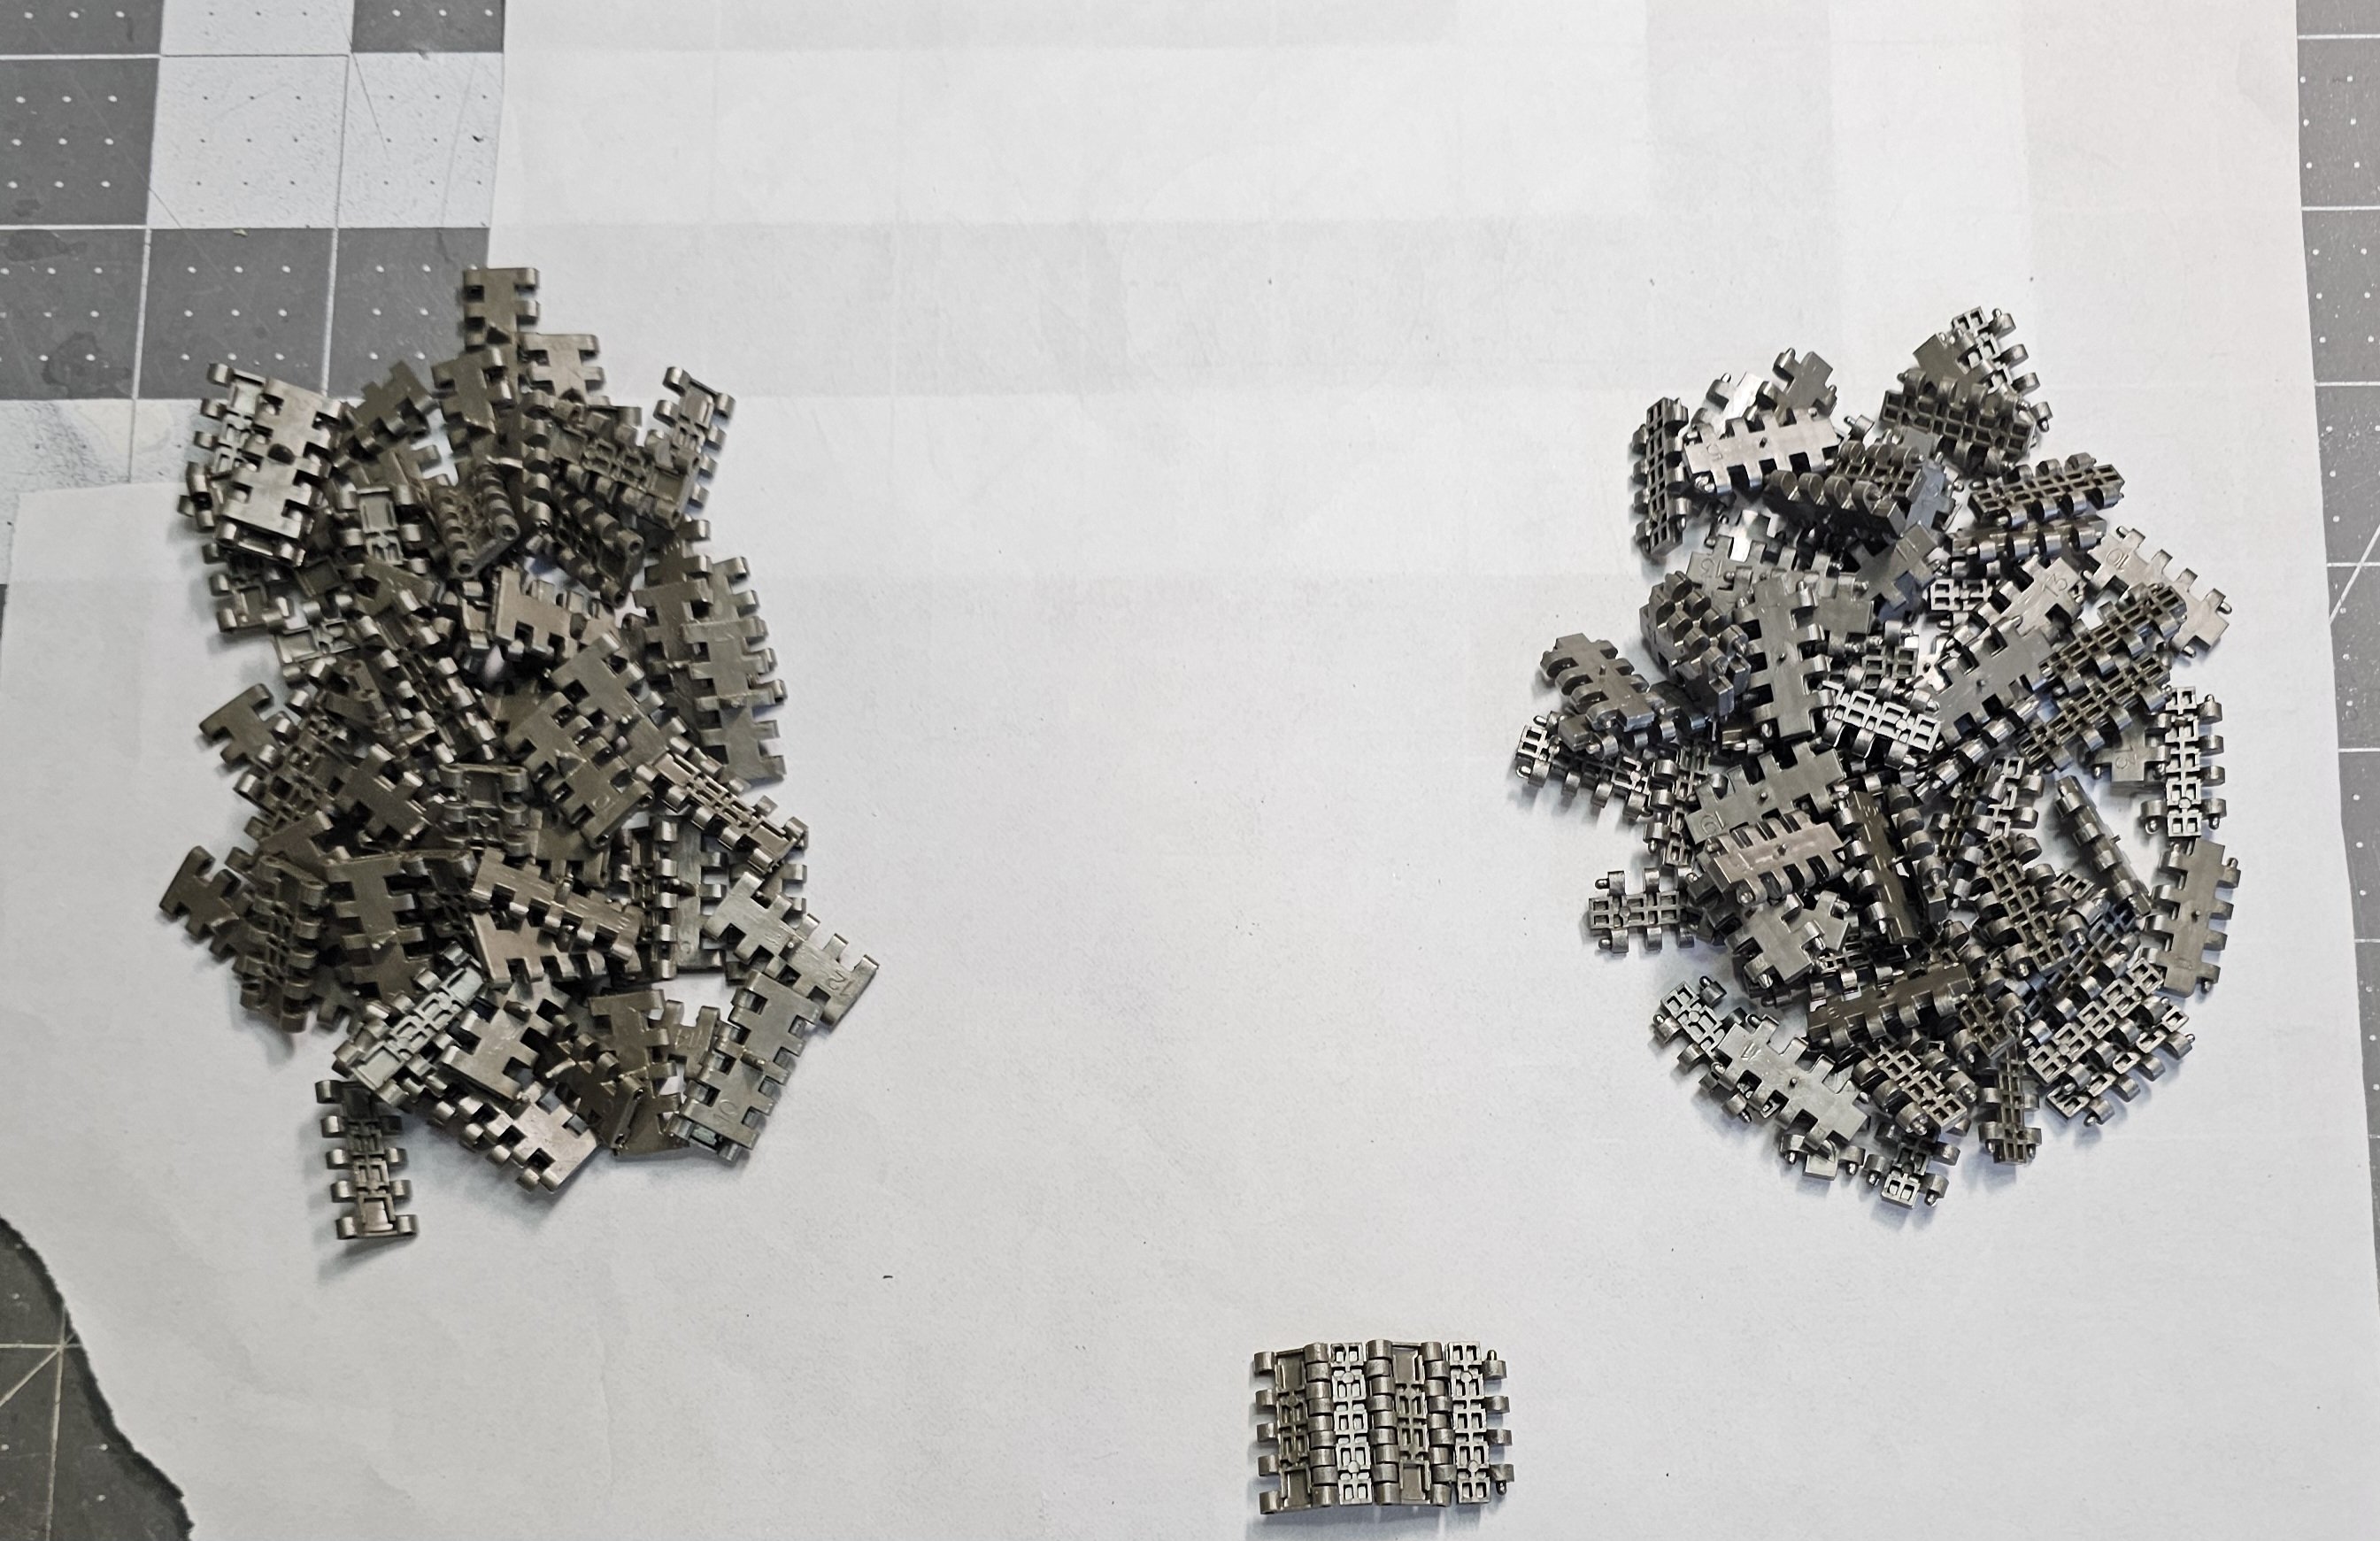
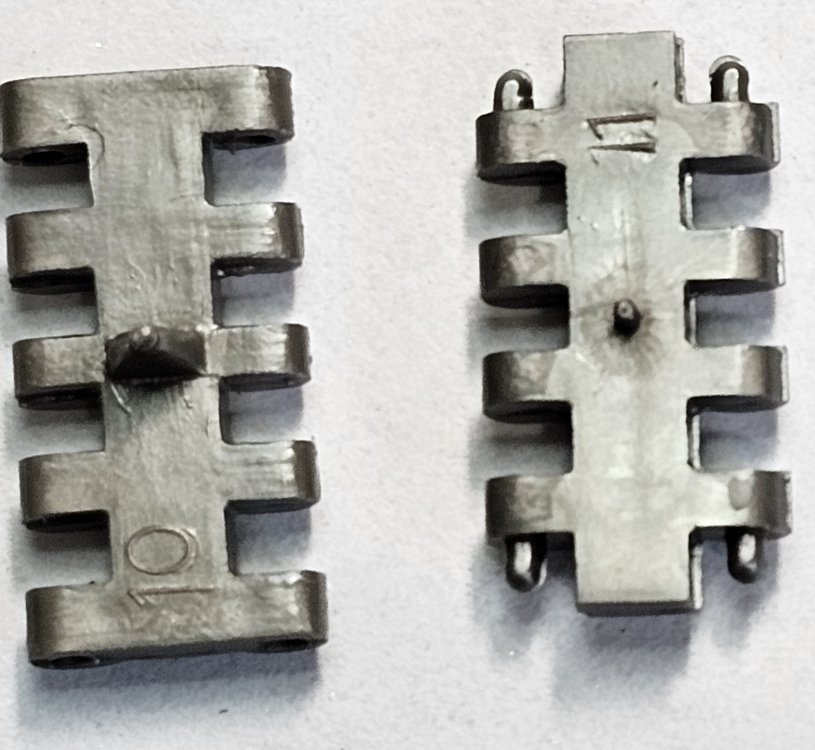
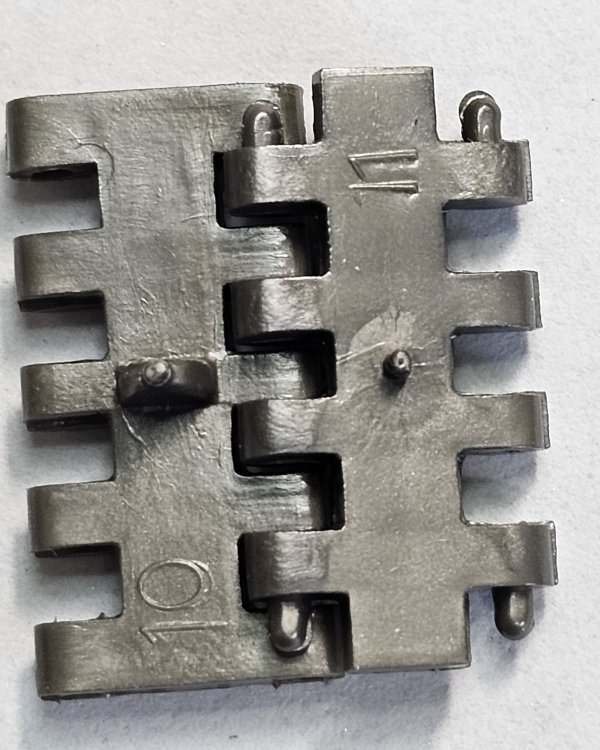
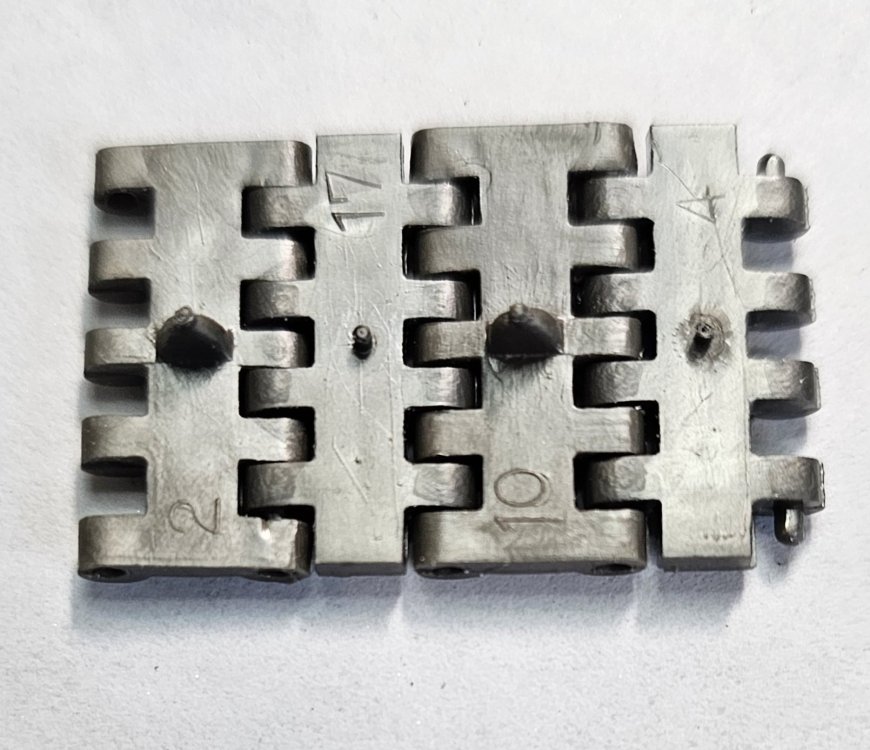
Hey all The tracks were a real pain in the ~☆# you know what! They are made out of a rubbery plastic kinda like nylon, but not. You have to force them together link by link. It reminded me why I'm not fond of tank kits. These are the two different links that come in the kit As you can see they are going to be hard to assemble And this is how they go together. 33 of each type per side. I had to narrow the kit hull by a scale 17" (0.68") or 17.3mm. Inorder to make it 8' 10" wide across the tracks. Hull sides glued together and wheels attached. Some more work on the hull. One set of tracks installed. Both sets of tracks installed. They are just tight enough to work, but loose enough to remove for painting. Ron G


-
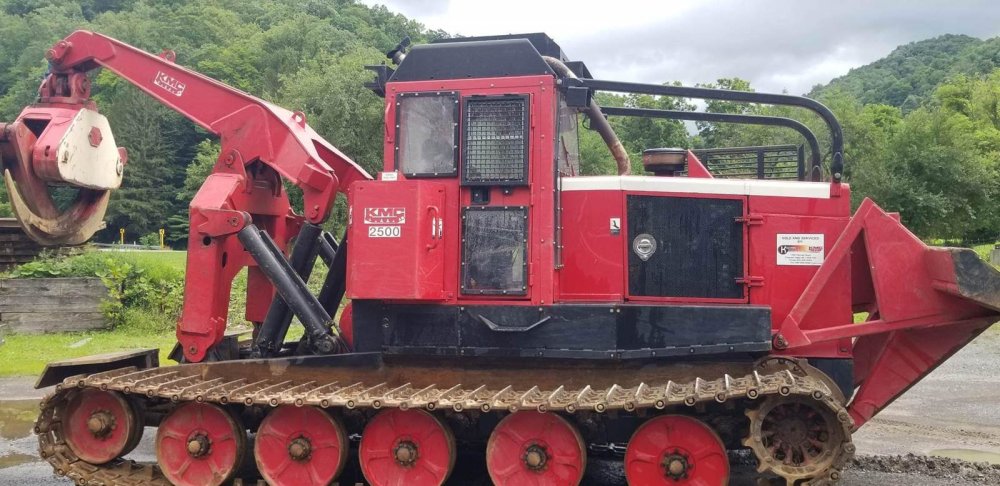
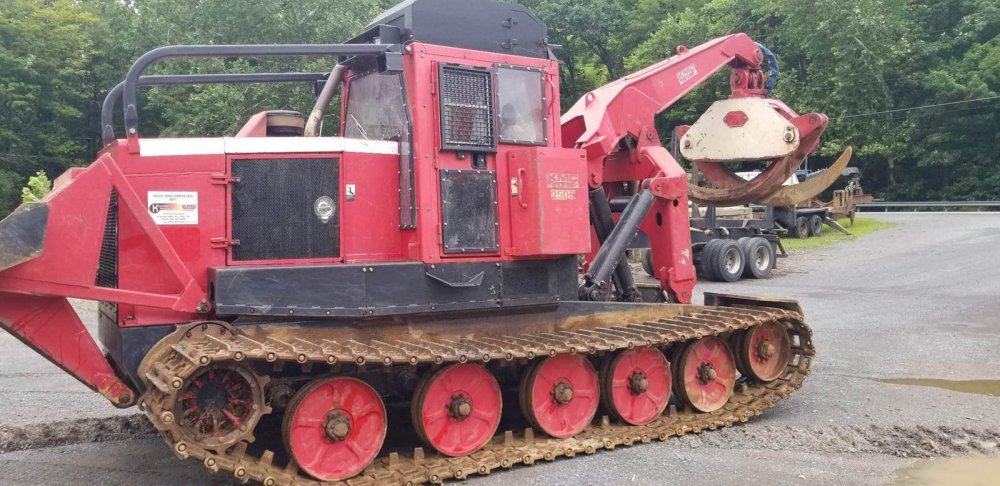
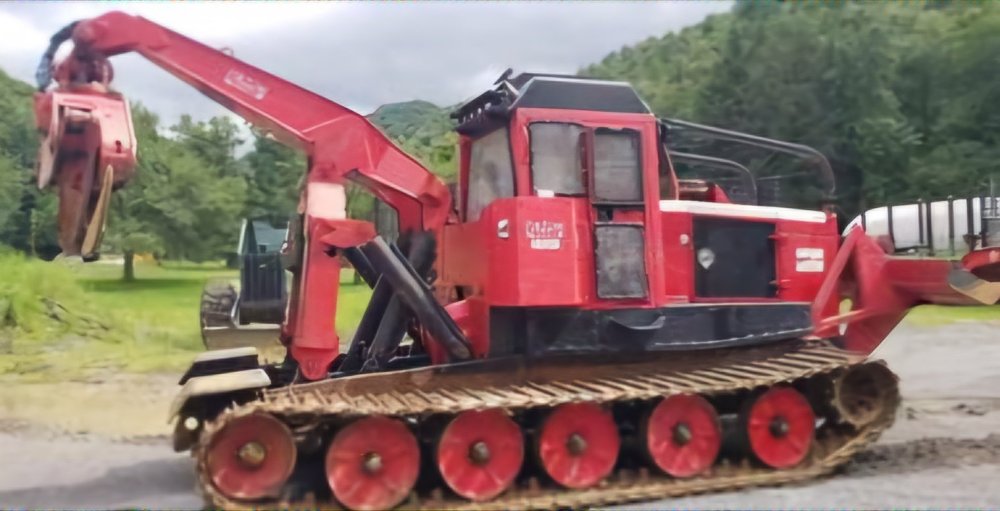
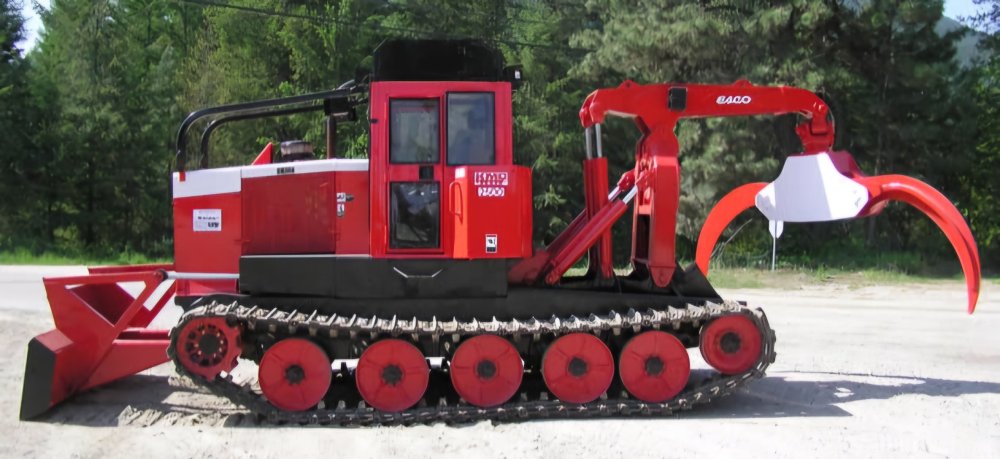
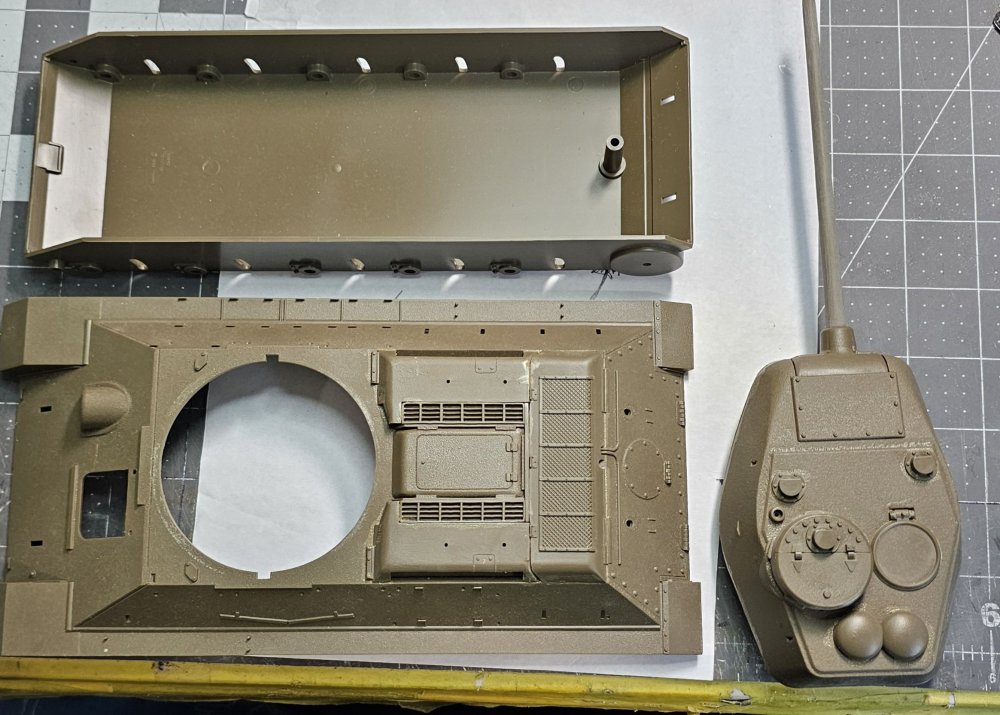
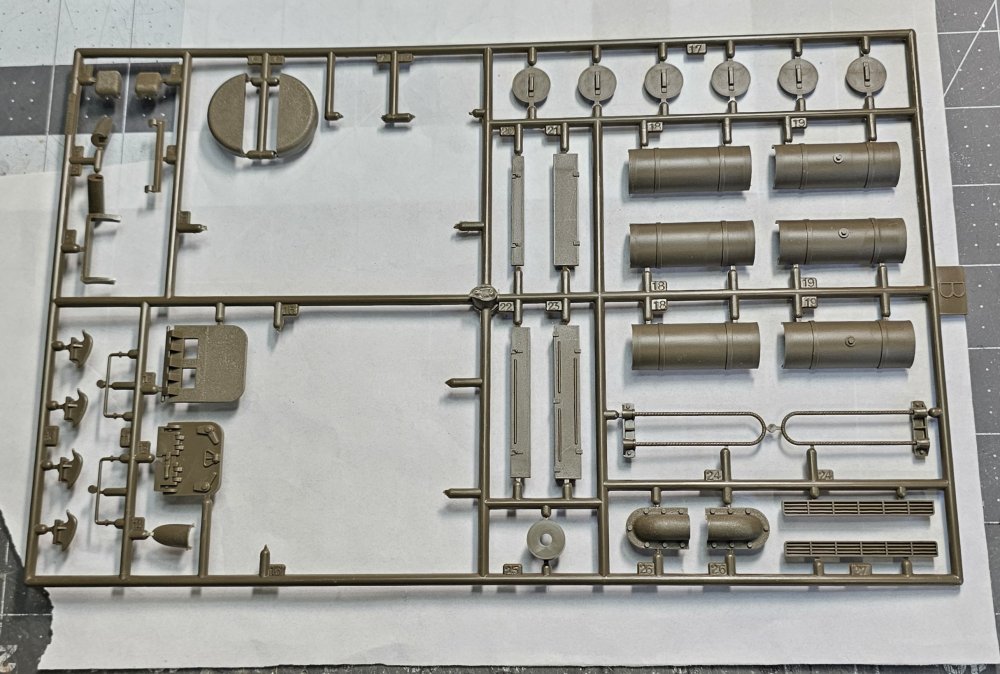
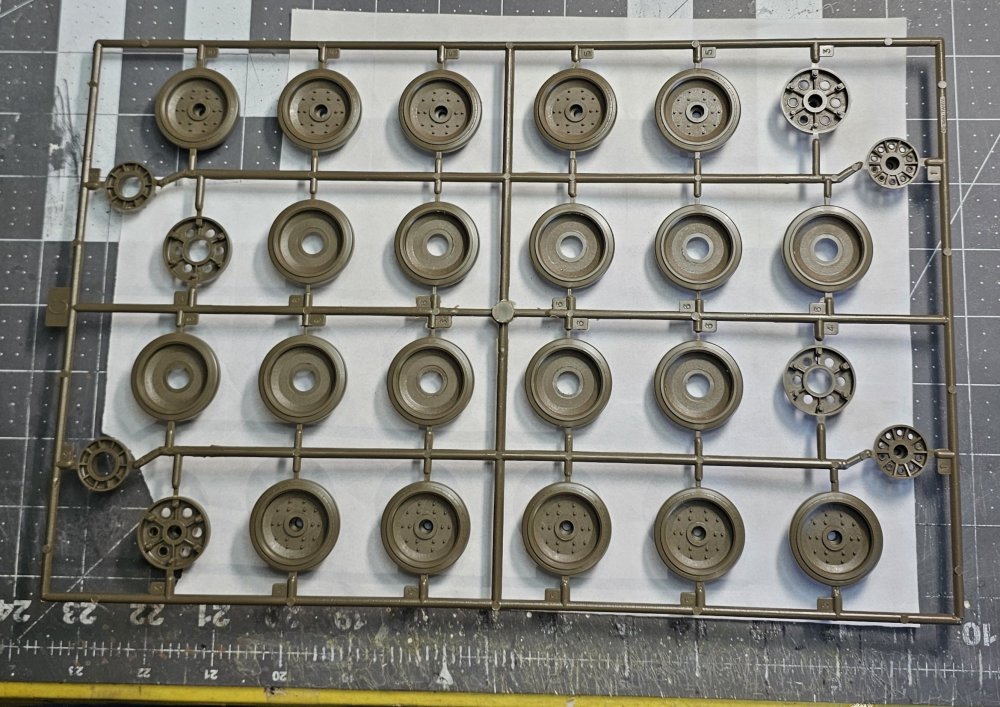
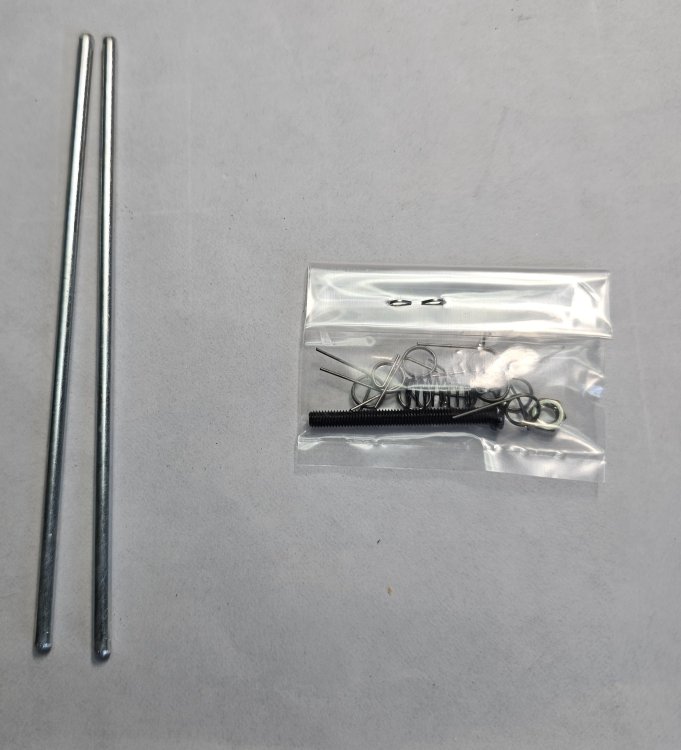
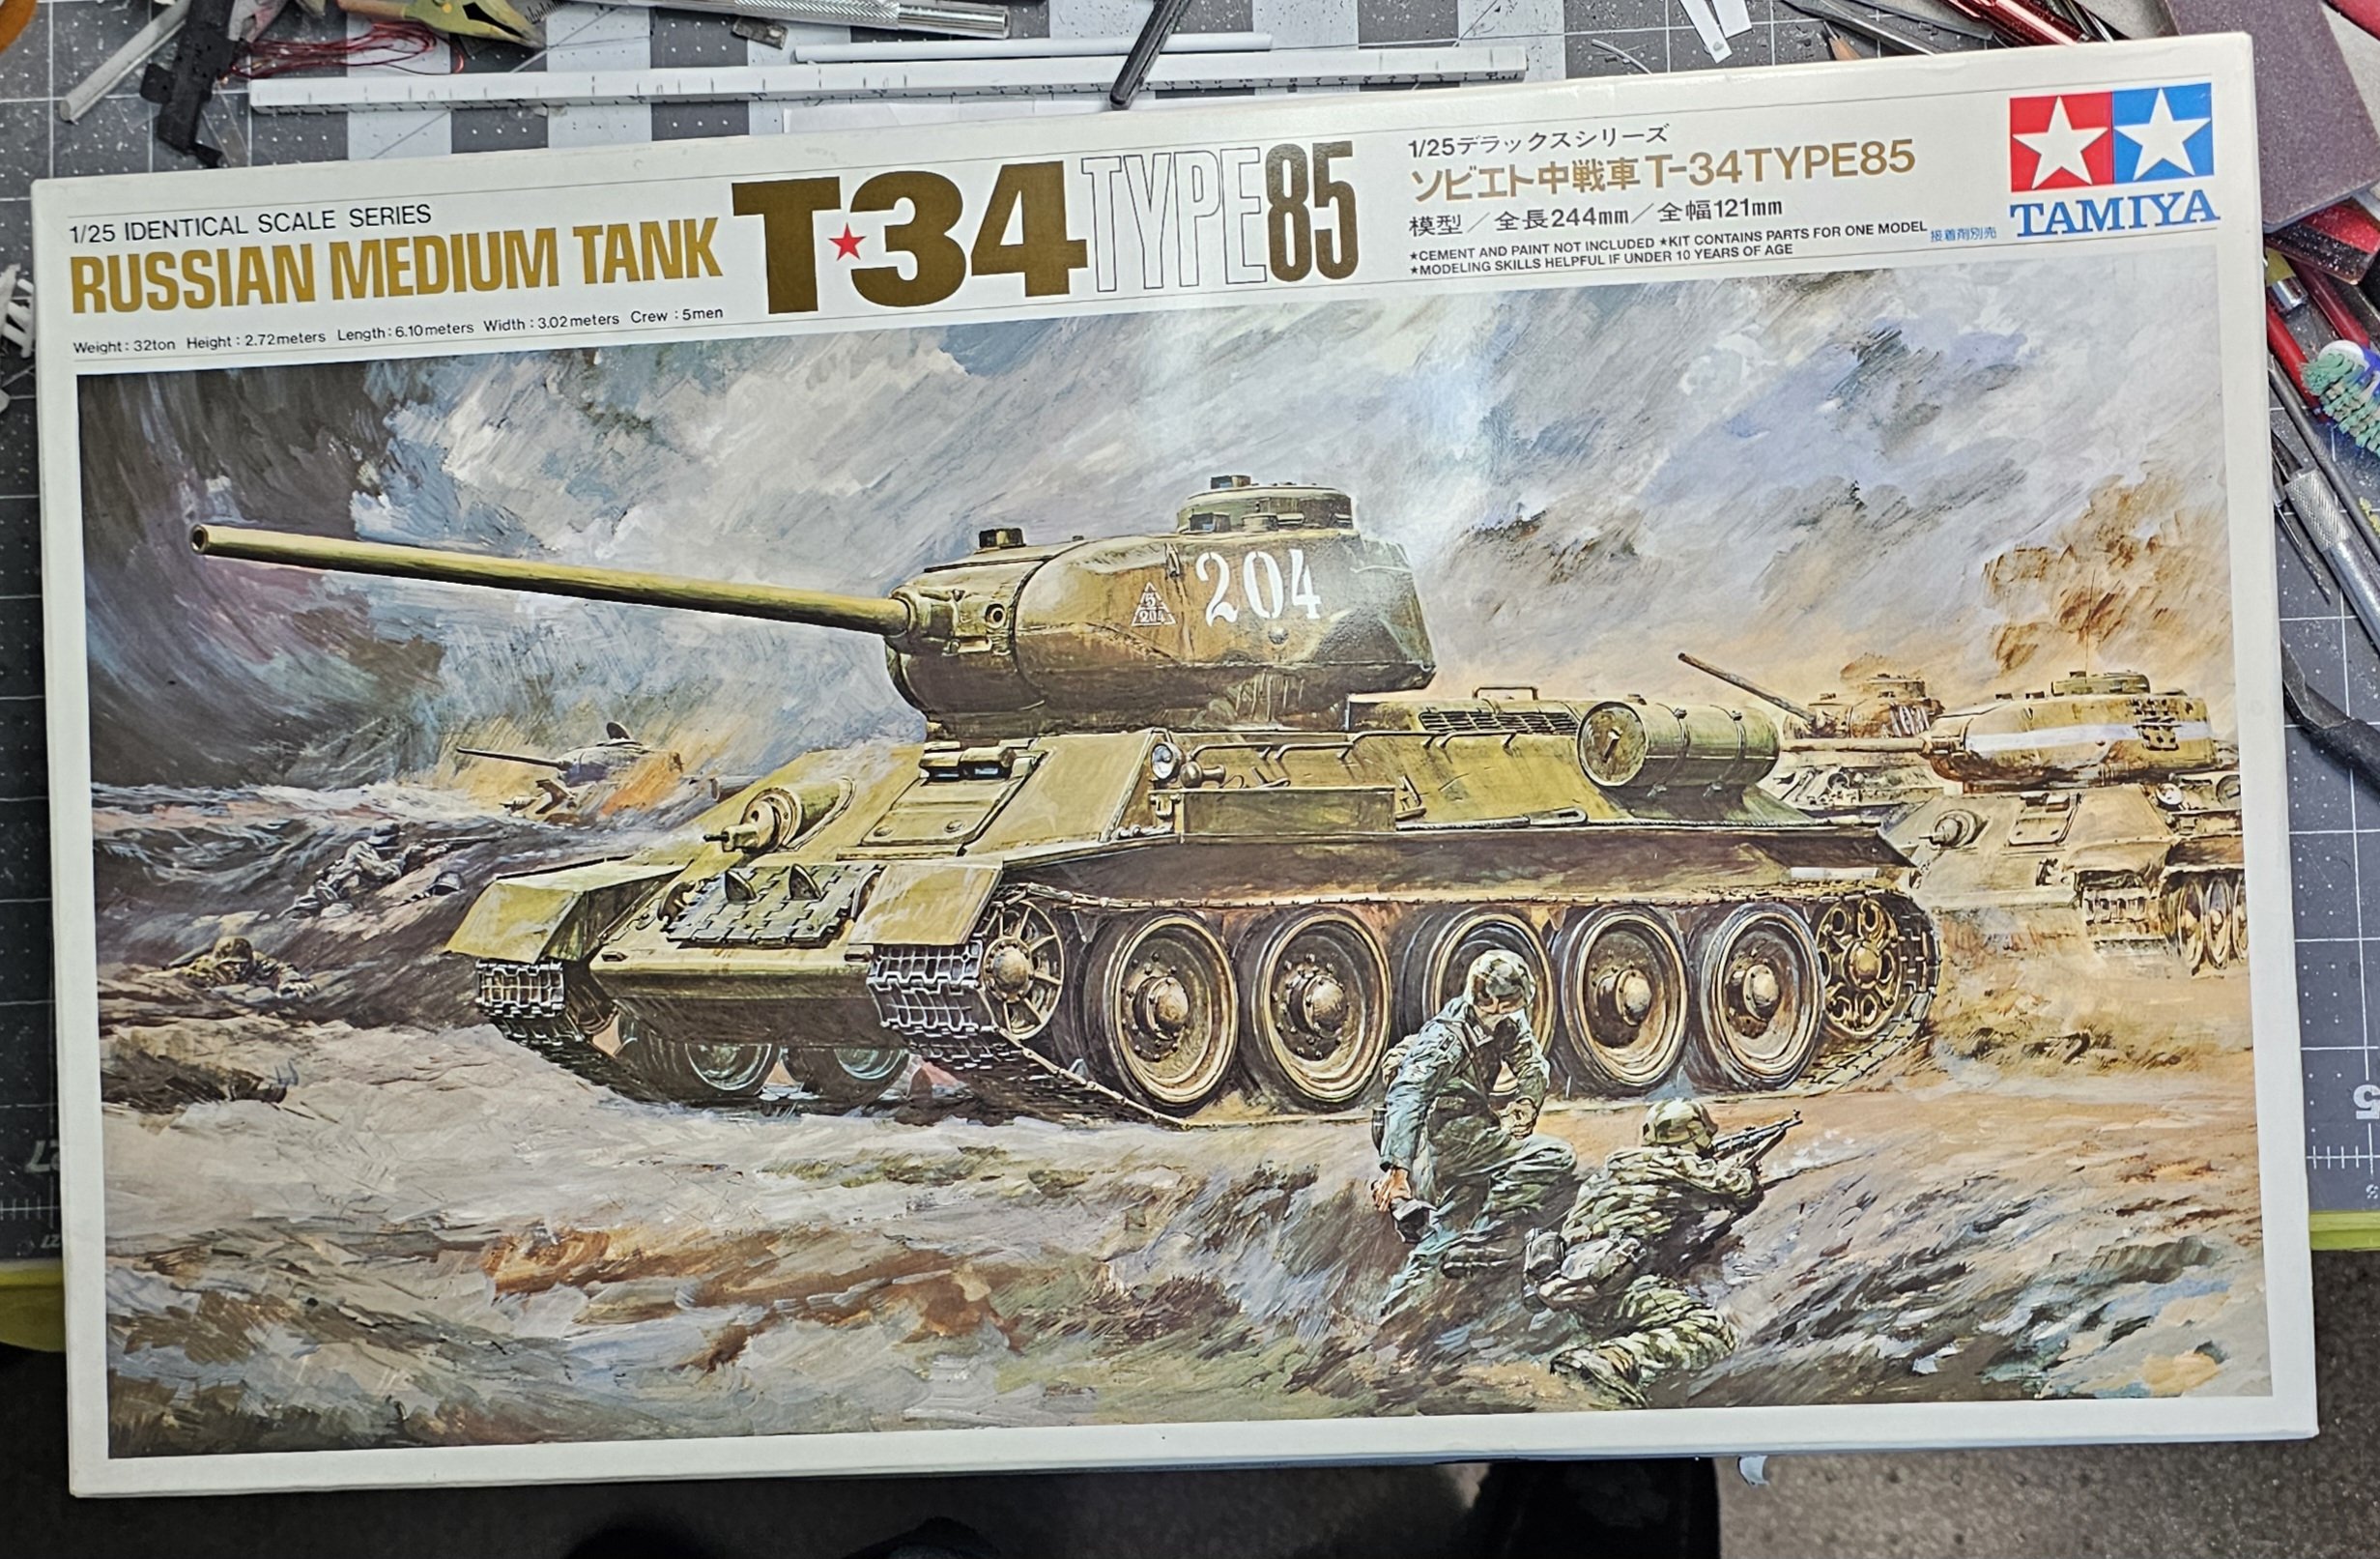
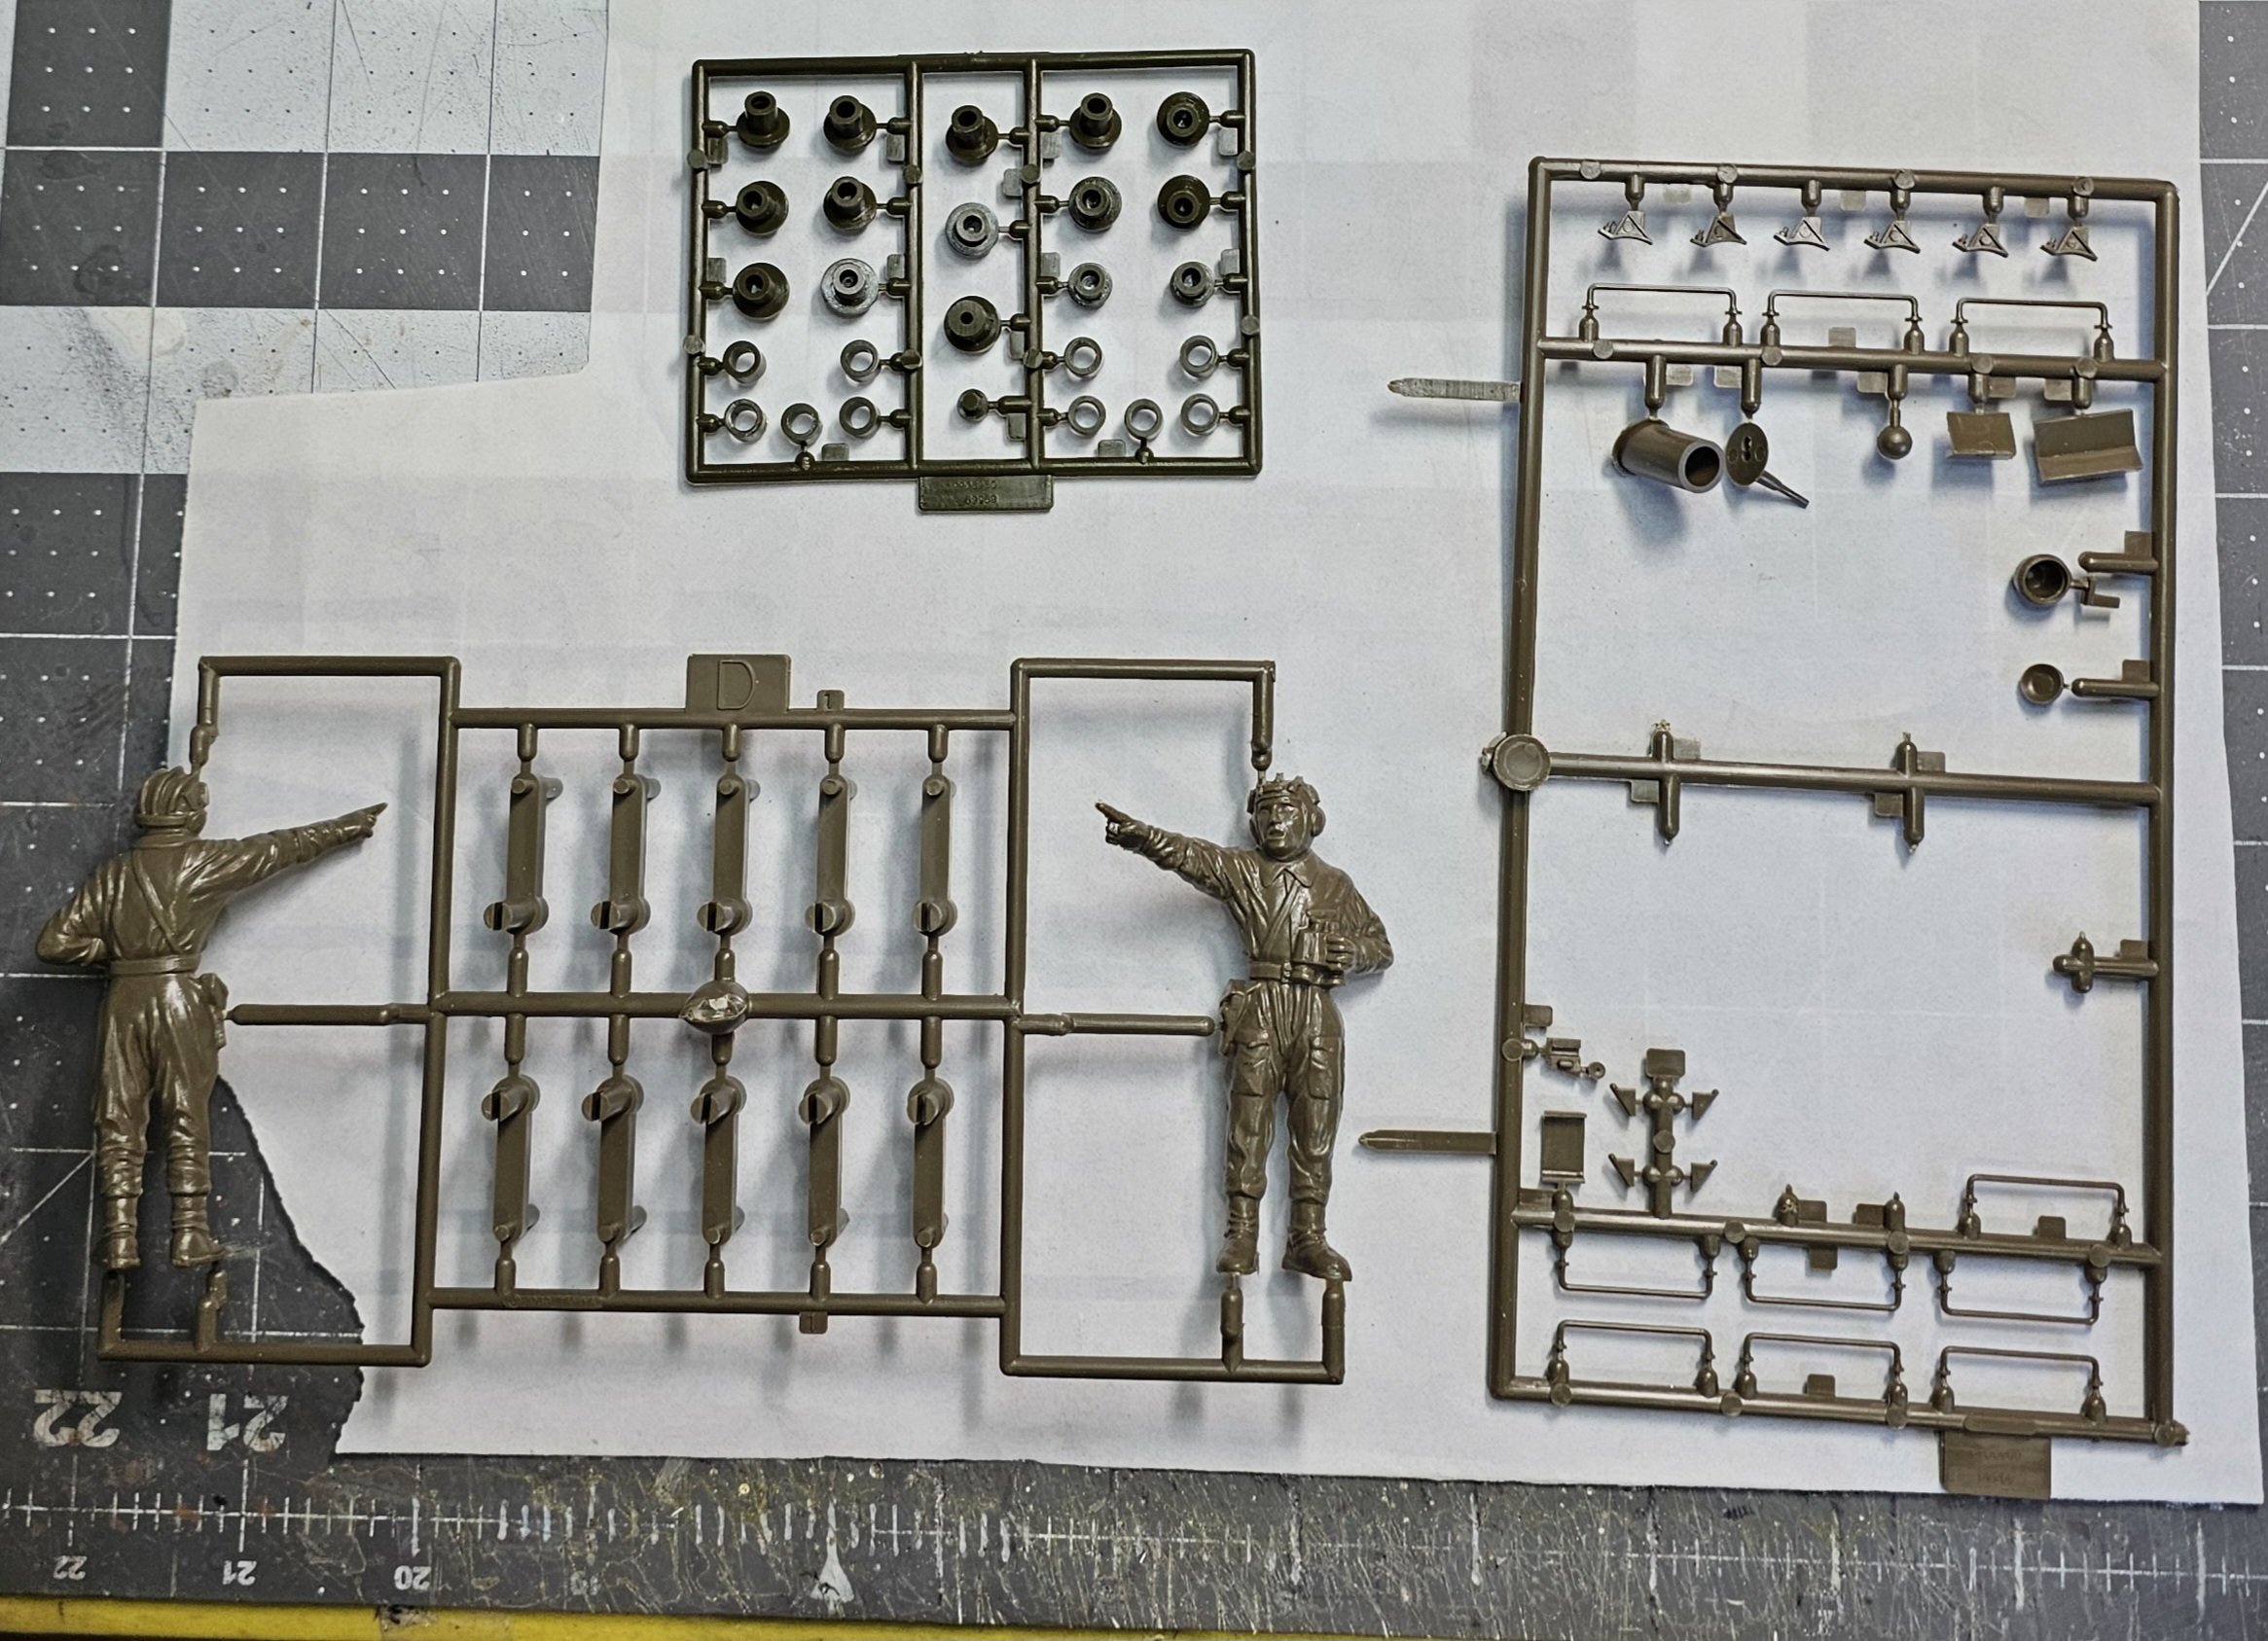
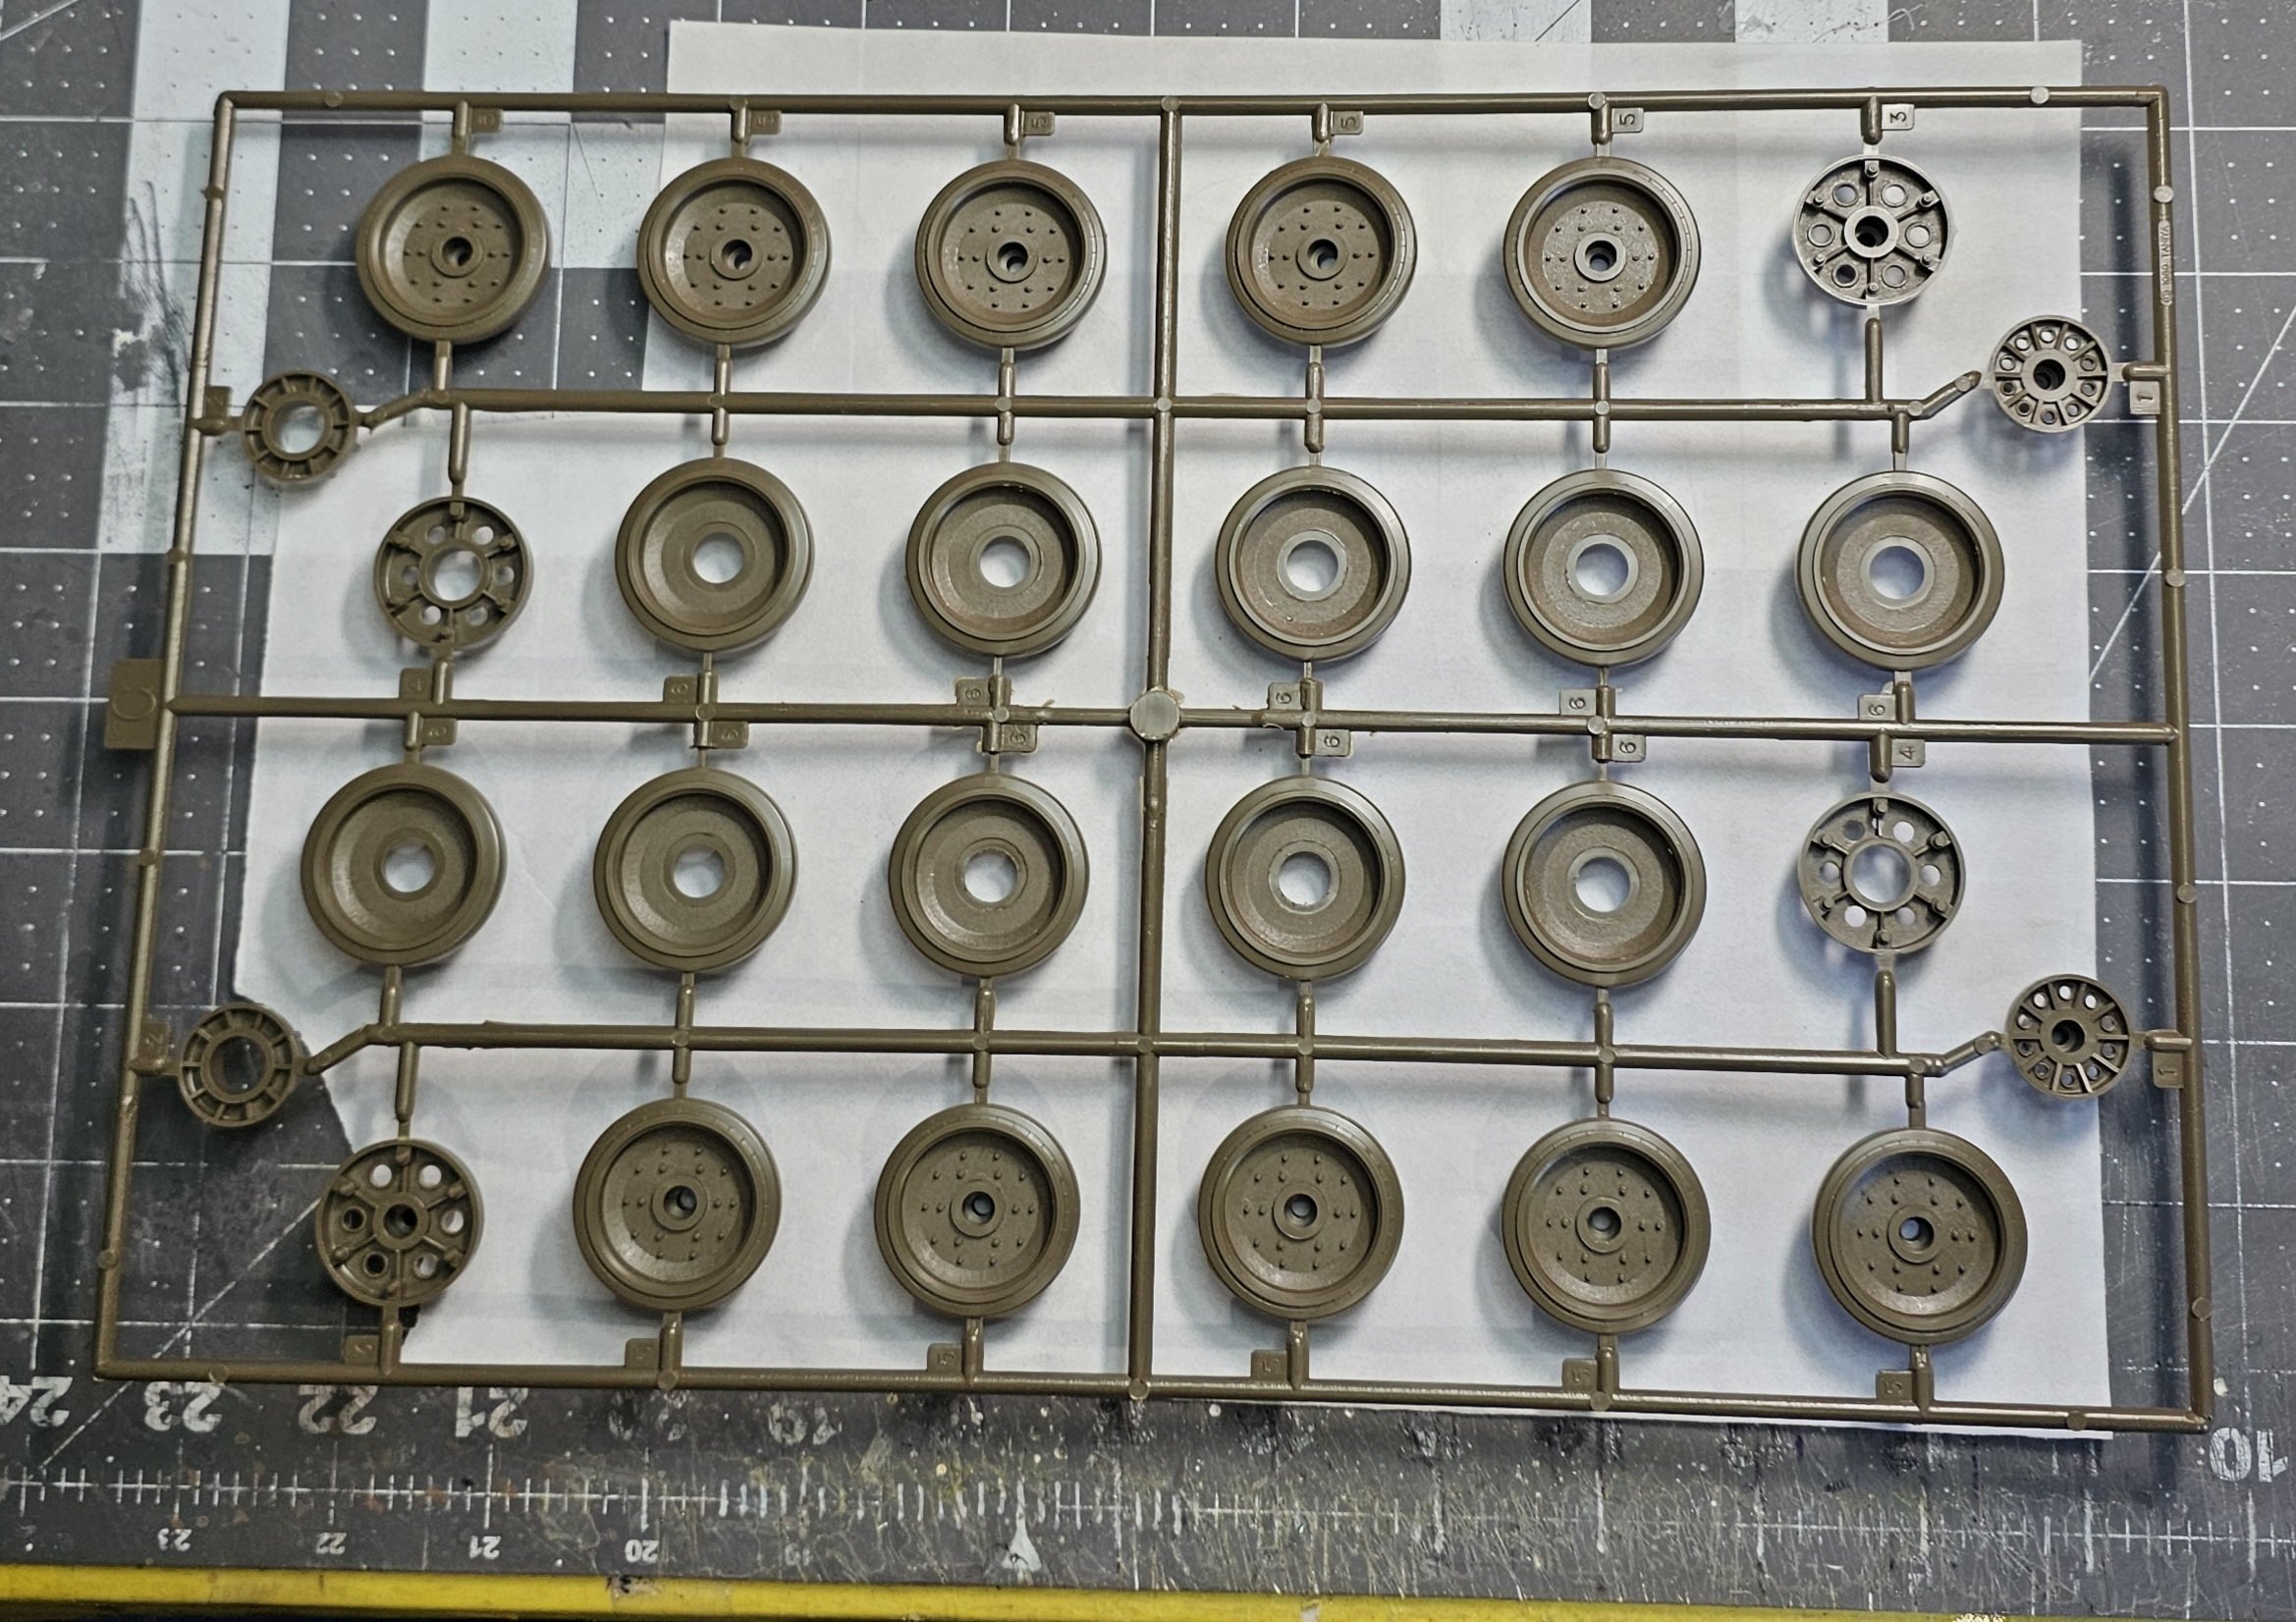
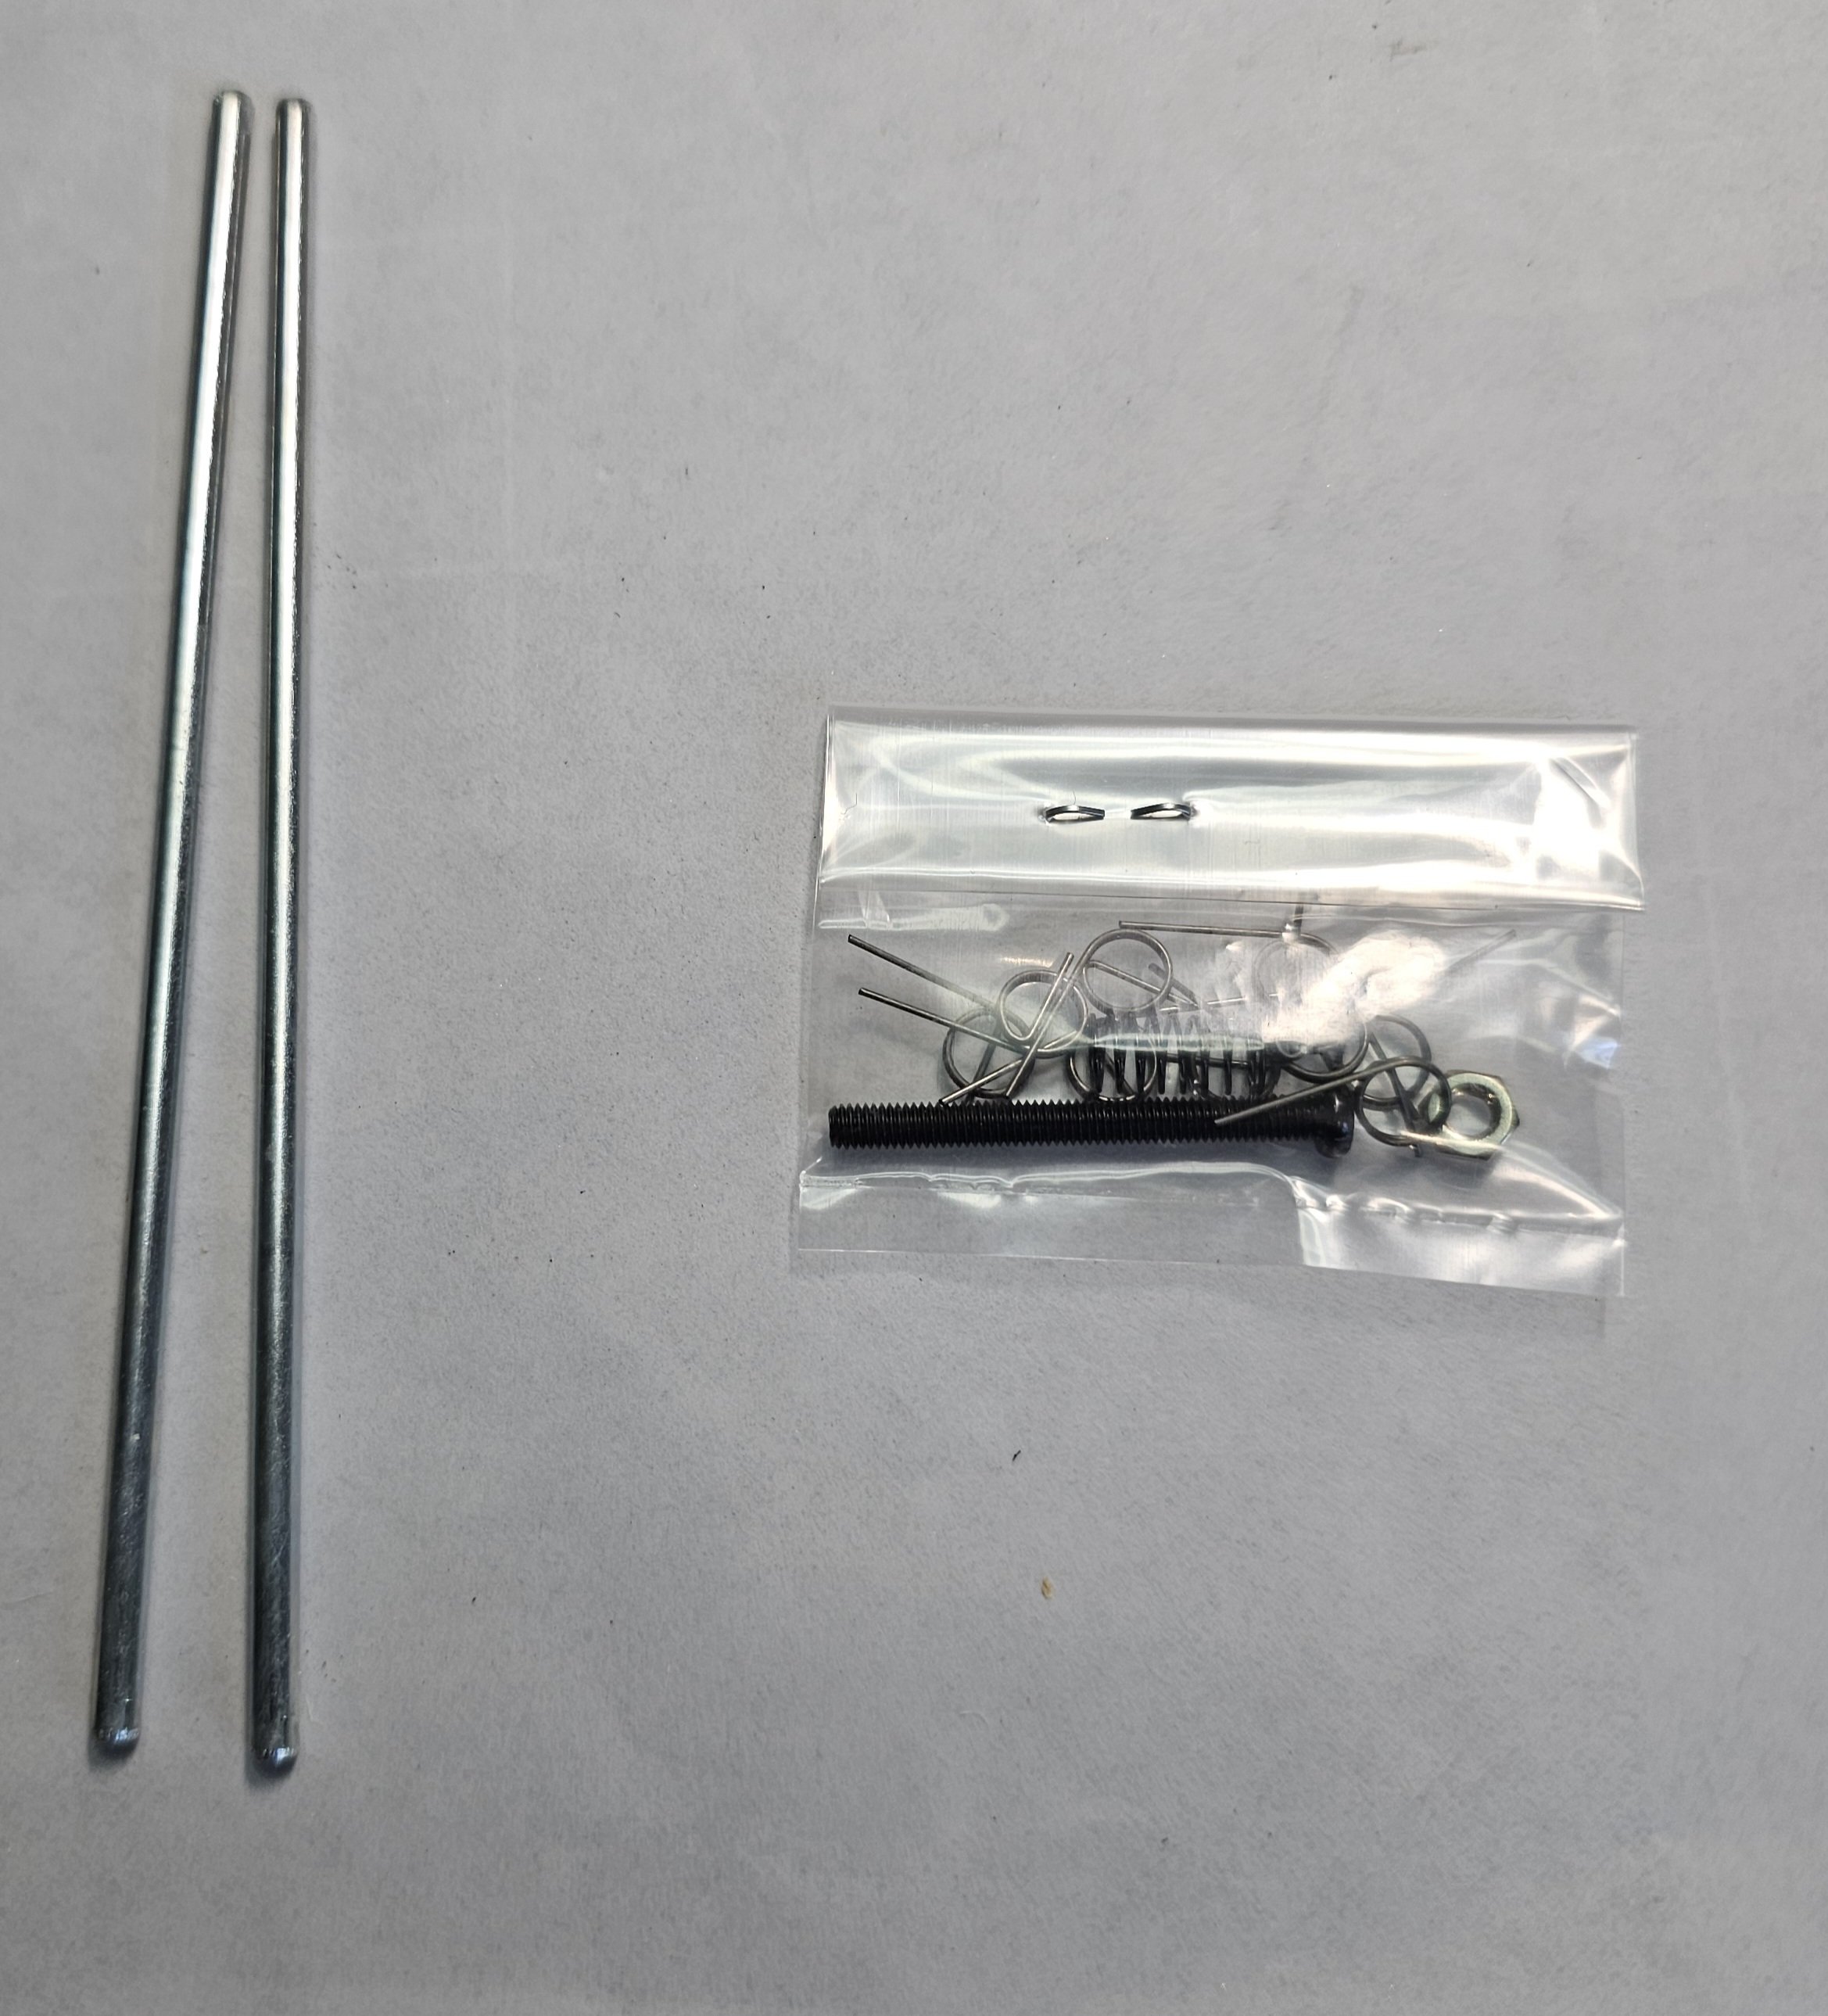
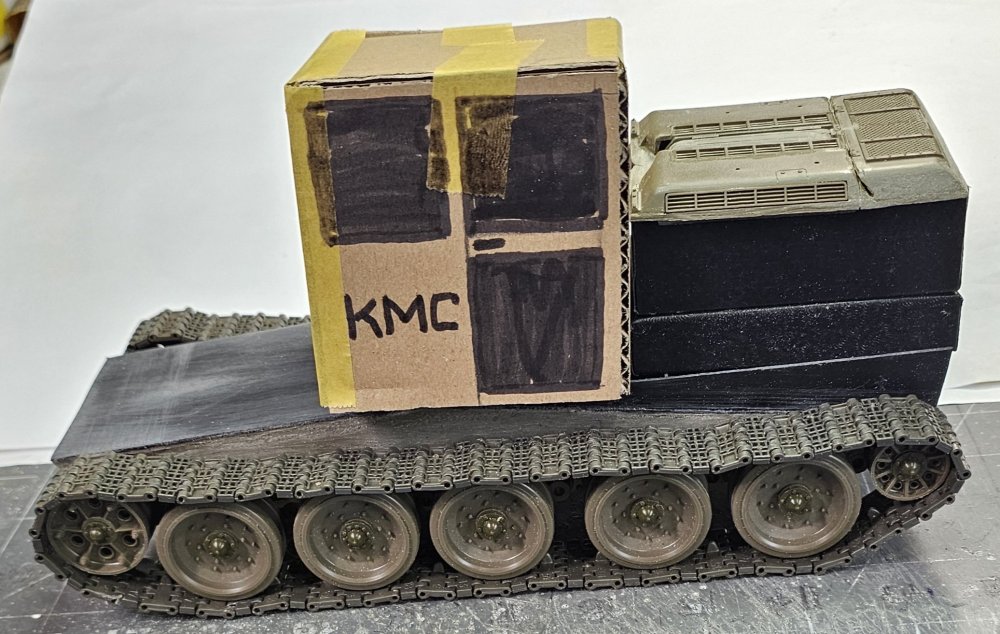
Hey all And now on to this build. It is my representation of a KMC 2600 log skidder. It's made right up there by were Jeff lives in British Columbia, Canada. I've never seen one of these other then pictures. So all I have to go on is pictures and Jeff. It started out as a OLD Tamiya 1/25 scale T-85 tank kit. It's not a bad kit for It's age. It has individual link tracks and working suspension. These are the pictures I'm using to build this. This is the kit I'm using. And this is what's in the kit. This is all you get to figure out how the tracks go together. Springs and axles. Track peices. Some of the track assembled. Ron G