CANicoll
-
Posts
1,928 -
Joined
-
Last visited
Content Type
Profiles
Forums
Events
Gallery
Everything posted by CANicoll
-
Looking good Kevin! Nice color to the cockpit and the belts look terrific.
-

Westland Wyvern S.4 late- 1/48 Trumpeter
CANicoll replied to BlrwestSiR's topic in The Sandbox Group Build.
Interesting subject, Carl. Nice to get one of those old kits out of the stash! -
Nice work!
-
Counter balancers are still there!
-
Took Kevin's suggestion and used RAF Dark Earth instead of Middlestone on the bottom: Took several light coats and then a few overall heavier coats for the effect. Patience is key, as well as just letting the paint dry for a while to looking away to let the eyes adjust. All told, this took about 20 - 25 minutes to spray the blue. And closer up: My seam work still leaves a lot to be desired, but I like the effect overall. Will also see about a brown/tan wash on the rest of the rivets on the bottom. Relly like these MRP paints - they cover well but at the same time, are translucent on light coats. Really nice to spray if you have the proper paint booth set up with efficient exhaust, and of course, a good respirator.
-
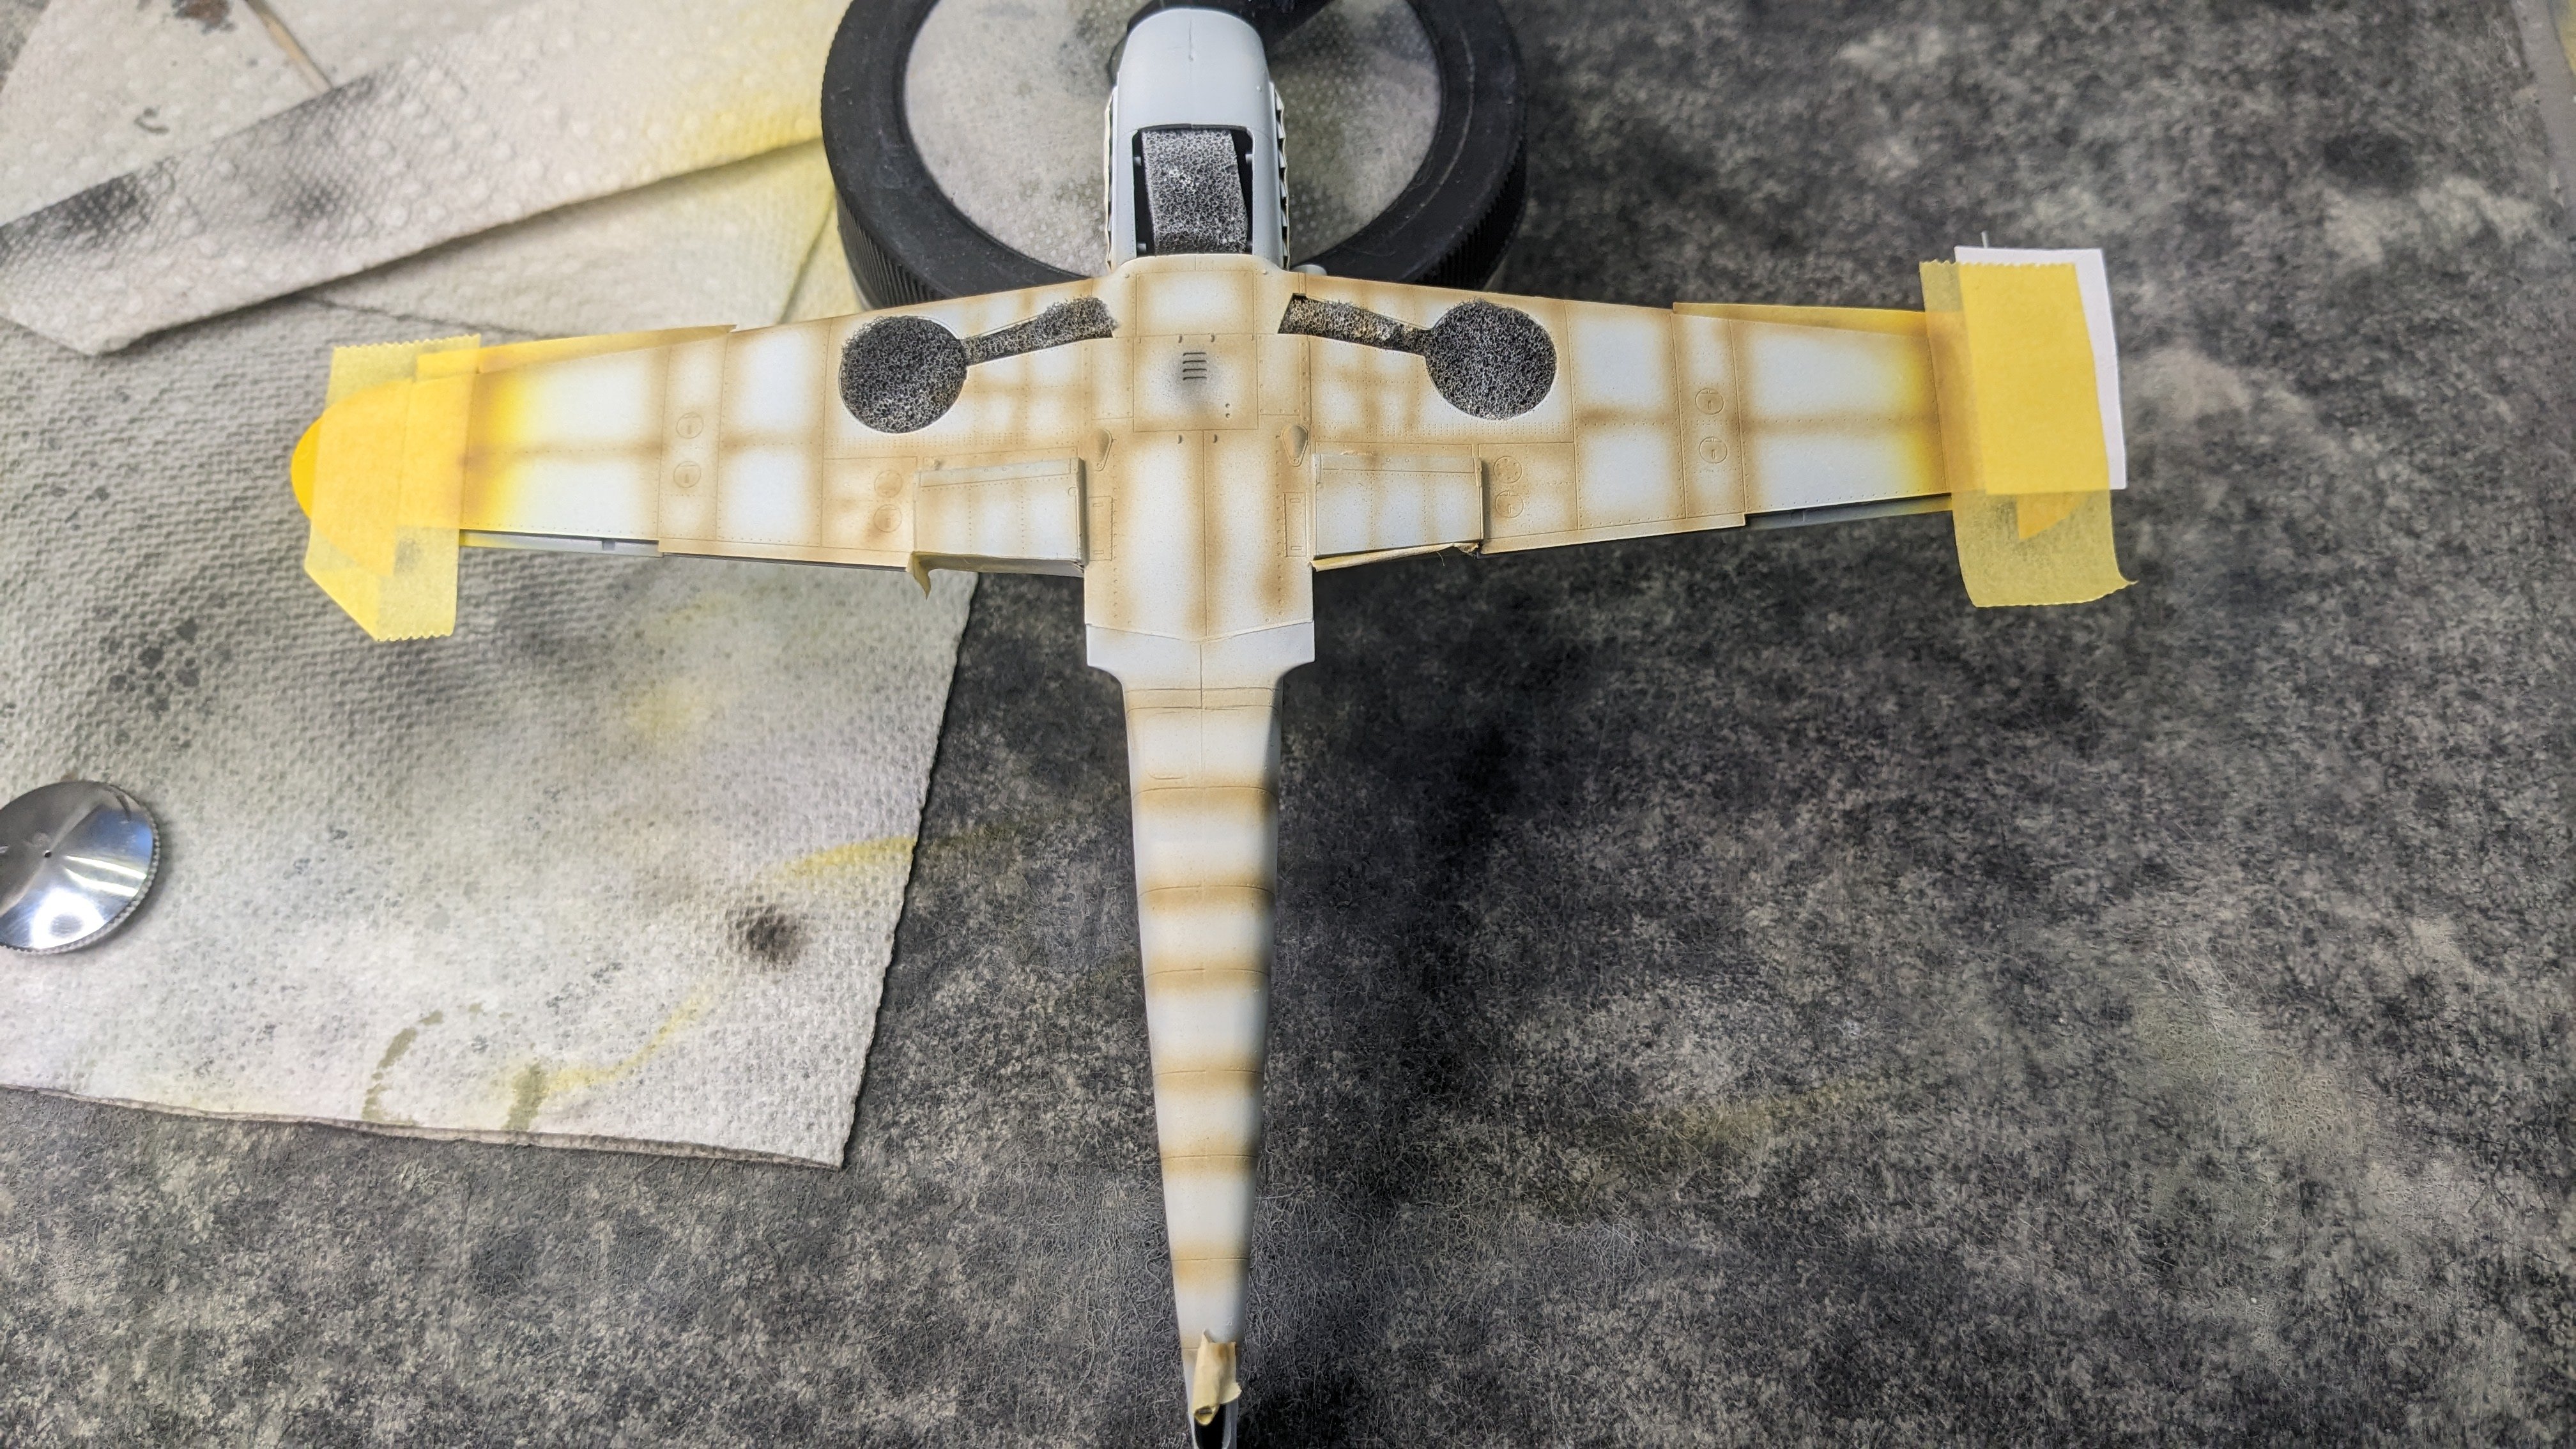
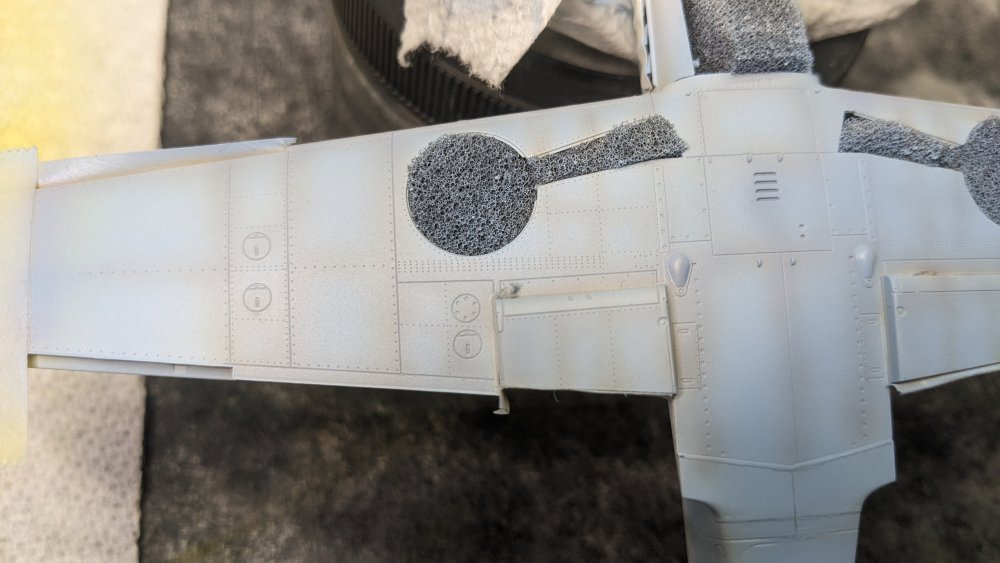
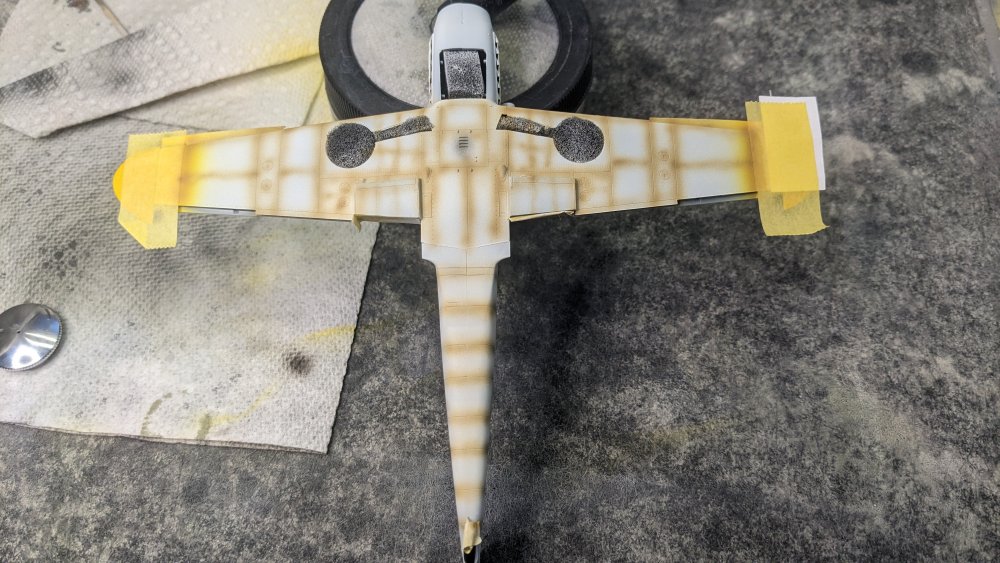
Keeping with the SandBox theme, I wanted to see what shading would look like if the 'ground/dirt' was more sand than European soil... These lines are black and RAF Middlestone (MRP-121) on my paint mule. Not exactly a white primer background but close enough. And after spraying with RLM 78. I think I like the underside with the Middlestone better than the usual black pre-shading. Thoughts?
-
Thanks Carl! Going to work on the rear canopy glass and the pre-shading this afternoon. Knowing me, I'll at least get the wing painted blue to see how the shading is going...
-
Thanks Mike and Kevin, Making the builds certainly makes one have to think creatively! I'm going to keep the blue and work on some pre-shading tomorrow. Don't think I'll make #1 though - I spend the evening with a friend in the ER. Fortunately they are ok, but having to spend the night. Then I'm taking off for a short vacation, Tuesday-Saturday. But I won't be last!!!
-
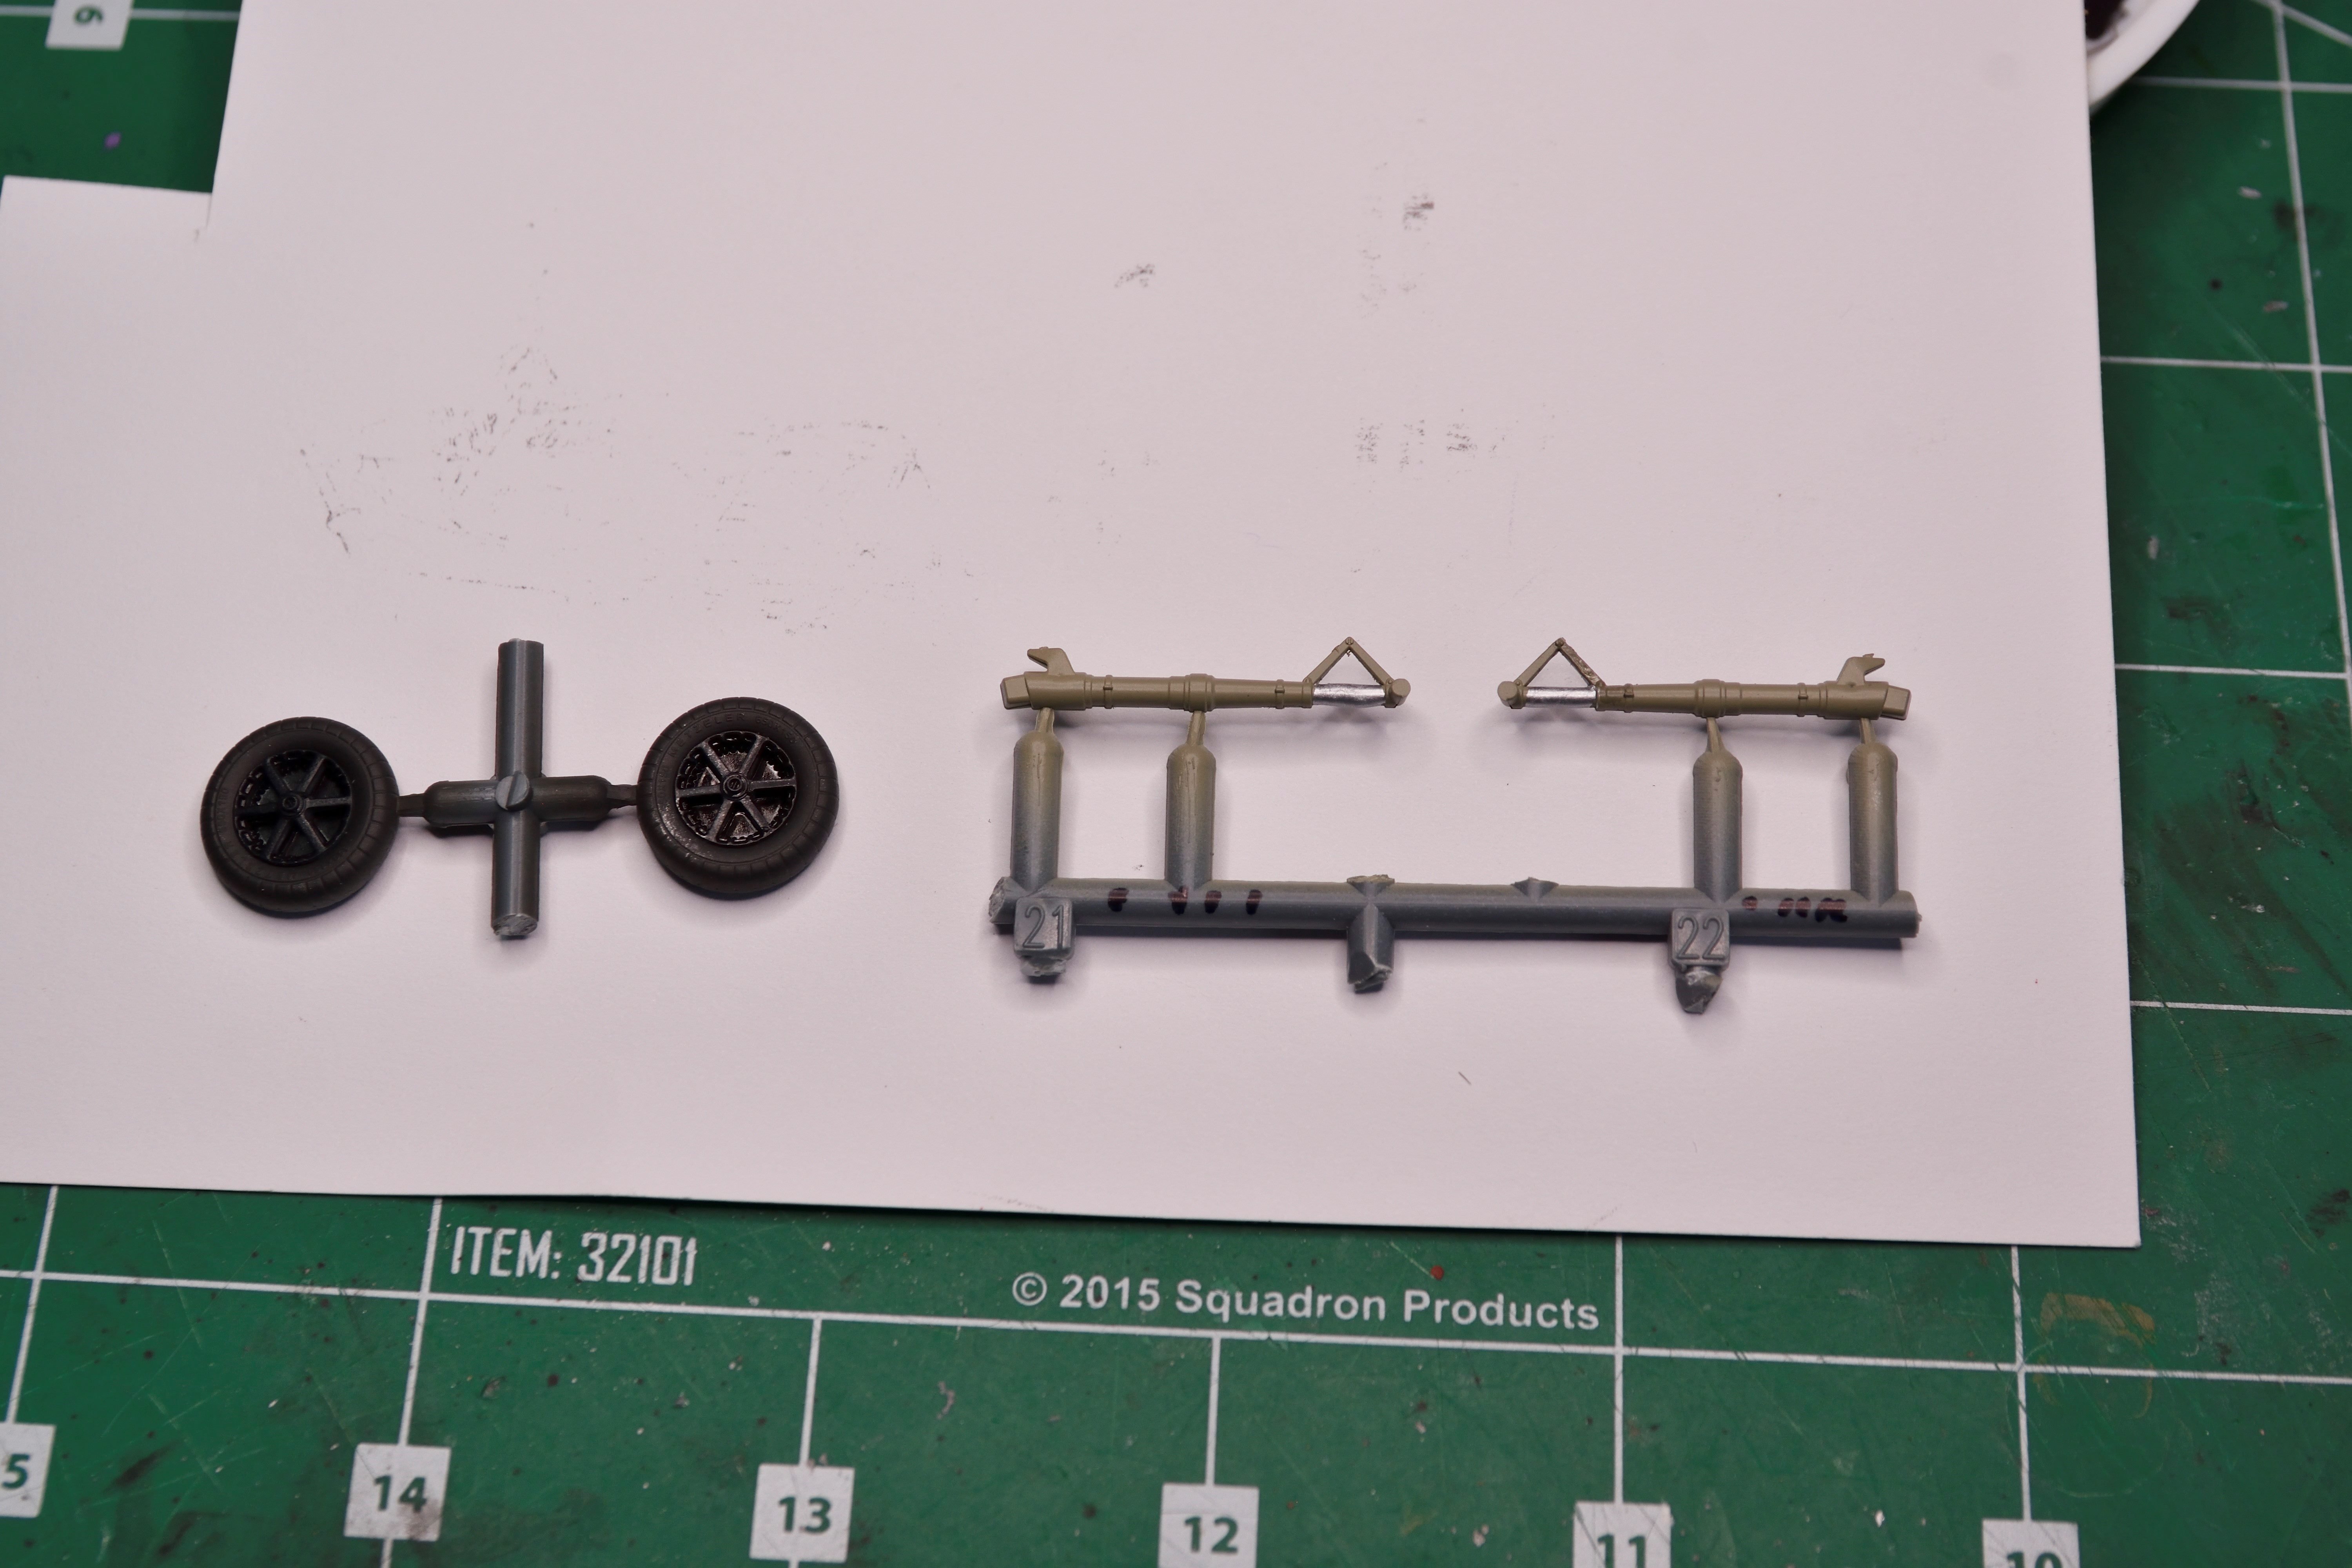
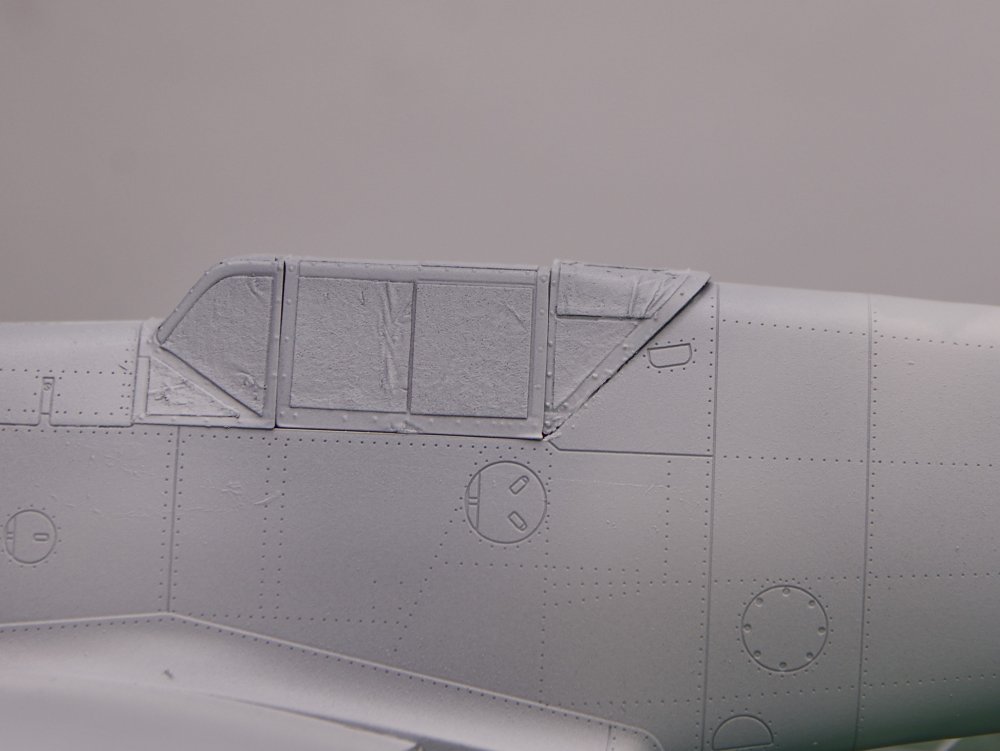
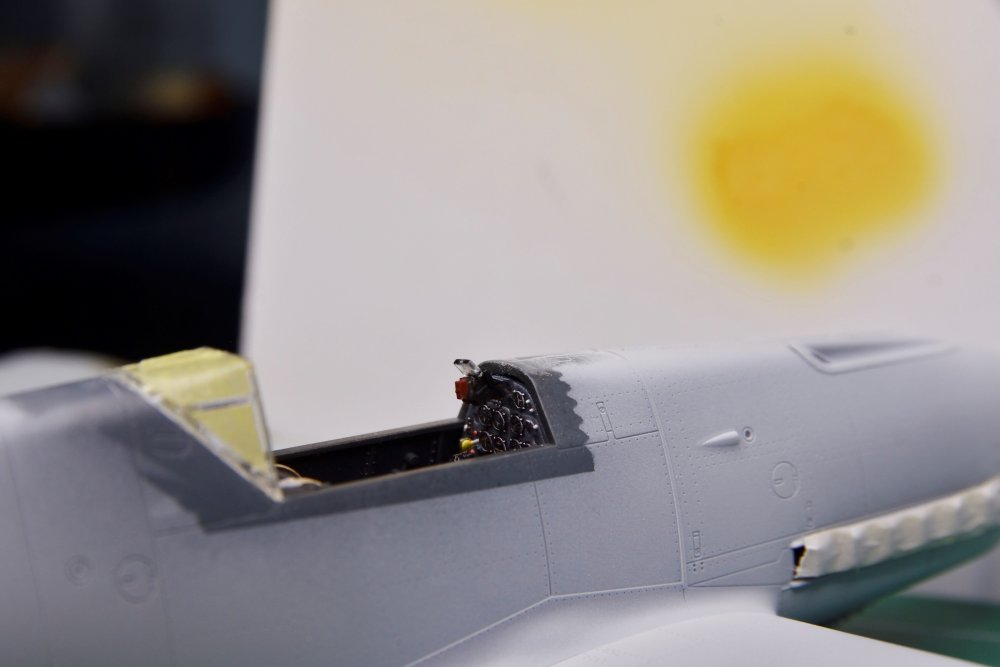
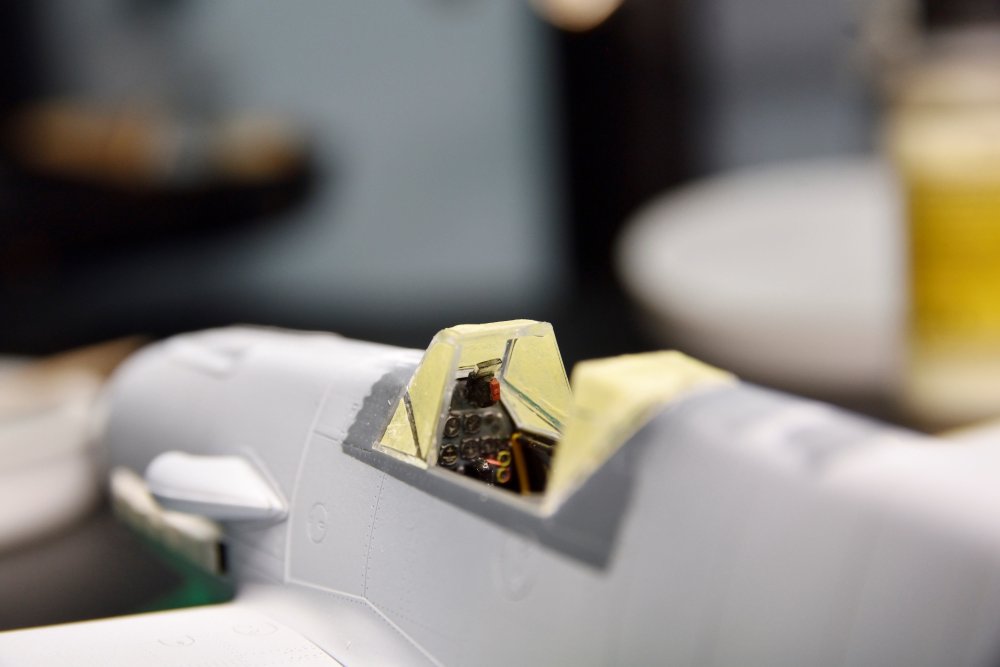
Not a lot to show for the work so far. Concentrating on getting ready for the camo paint. Lots of fuselage seams to take care of - the bane of my existence. Ugh. Still working on those. Slight problem with the cockpit glass - which I didn't notice until priming (of course): to fit all of the pieces closed up (for painting), the rear piece gets pushed up too high. Will have to gently try and pry that loose, then sand it down some. The framing has some really nice rivet detail so don't want to lose that. I'm planning on displaying the cockpit open so may instead just thing down the corners of the framing enough to get the center section to open to the side. Installed the gunsight before the windscreen. The reflector glass is THICK! Spent a bit of time on some detail pieces, Bit of wear in the center of the armor plate pad: Best as I can tell from period photographs, the wheel hubs look to be gloss black so went with that. Chrome paint on the oleos - soon to get some weathering.

-
1/32 Hawker Tempest
CANicoll replied to JeroenPeters's topic in LSM 1/35 and Larger Work In Progress
Your Gun Bays look amazing. I never could get my ammo belts to look as good as yours. Nice work! -
1/72 Italeri Tornado GR.1 Gulf War - Get the party started!
CANicoll replied to CANicoll's topic in Non LSM 'WIP
PW, that is exactly it - not worrying about fixing the fit, just putting it together. Decals are thick but servicable. The nose sharksmouth were too big to fit as intended, but servicable anyway. Finishing this up so I can focus a bit more on the Bf 109 for the Sandbox GB. -
Cobra Coupe - Le Mans - Model Factory Hiro 1/12
CANicoll replied to DocRob's topic in LSM 1/35 and Larger Work In Progress
X4. -
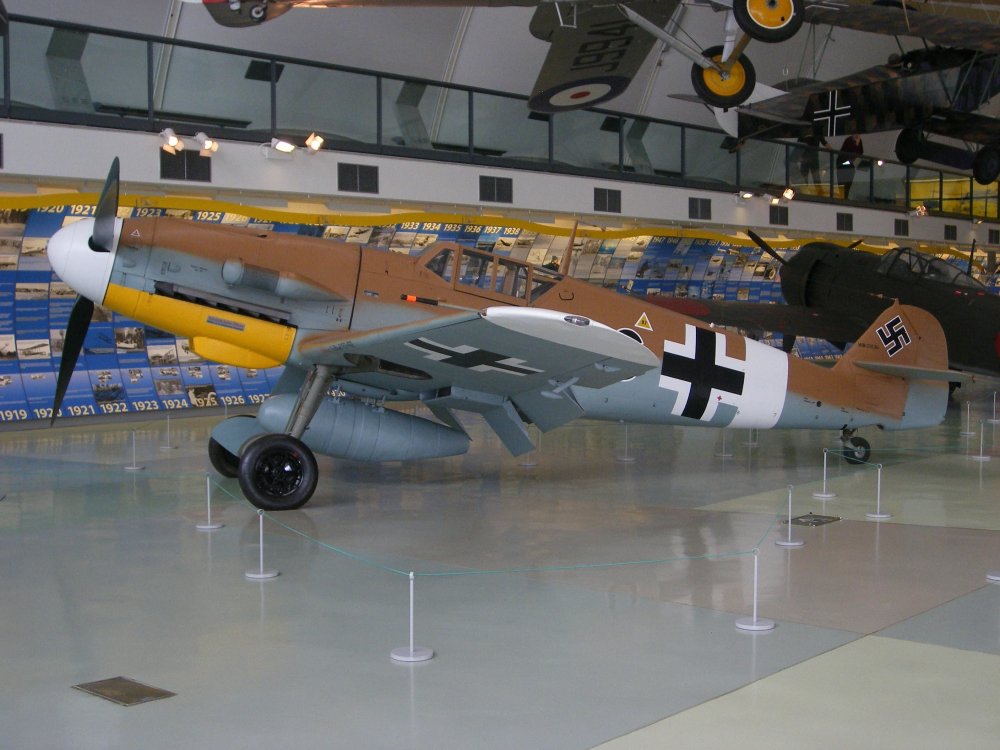
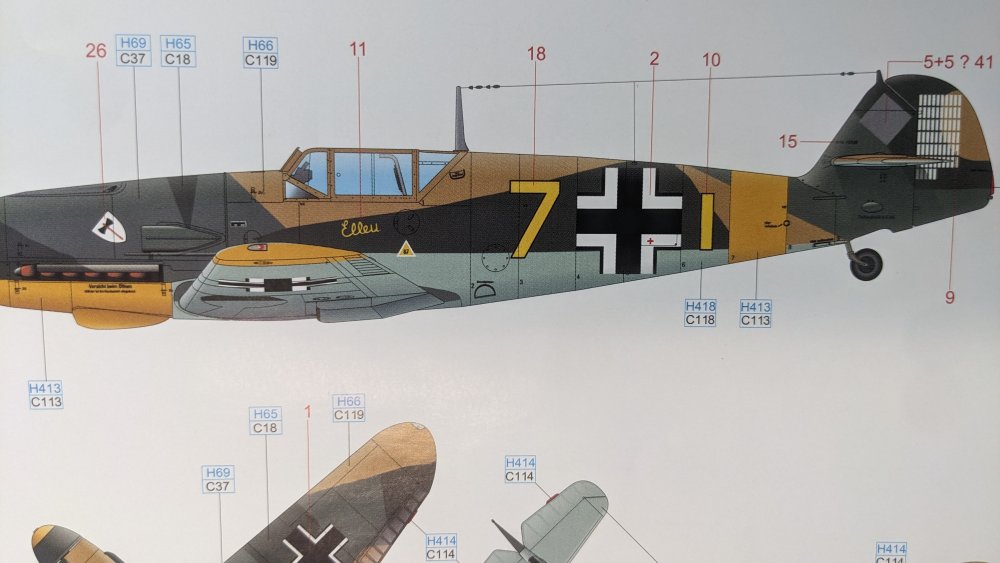
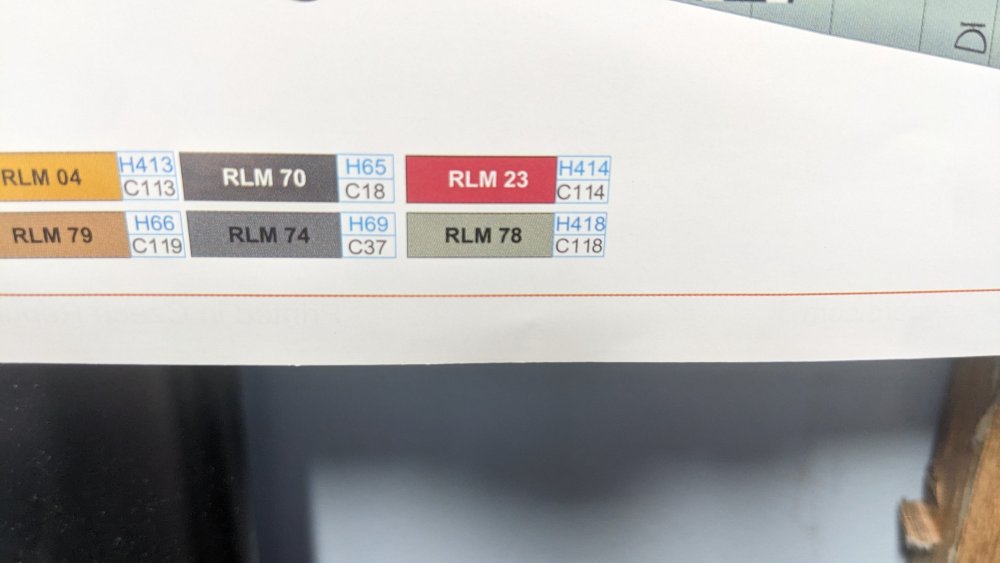
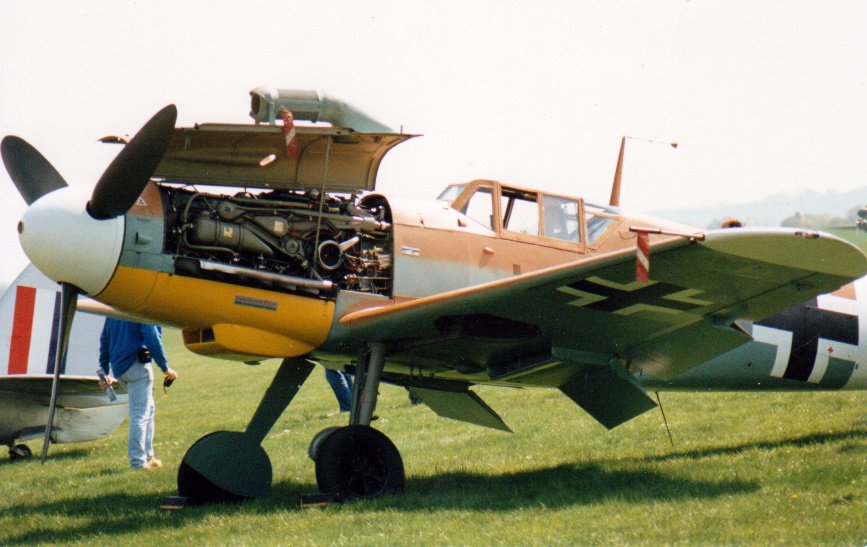
Martin, Excellent! Thank you. You are an amazing source of great information. I really do appreciate it. So there really are two RLM 78 colors, 1941 and 1942: Somewhere after November 1941, RLM 78 was changed to a slightly lighter shade, while RLM 79 was changed to a darker, browner shade both for the tropical regions. Apparently, this 'desert pallet' was also used on the Eastern Front. Eduard may be looking at the 1941 color, while I'm looking at the MRP version which is much closer to the 1942 RLM 78. MRP may be a BIT too bright so I may look at toning it down just a bit with some white, or maybe some light gray...Time to break out the paint mule... Looking at the article, I am impressed at the huge range of AK Interactive colors - they tick every box! Further down the article are these two color pictures which are immensely helpful: RLM 78 Early: And this one, RLM 78 Late:
-
Definitely helps maintain sanity (and the budget...).
-
Cobra Coupe - Le Mans - Model Factory Hiro 1/12
CANicoll replied to DocRob's topic in LSM 1/35 and Larger Work In Progress
I love the creativity of this hobby. I also have used various adhesive tapes and paper for various purposes to benefit from the textures. But not to the extent or the successful result that you have, Rob. Brilliant! -
Peter, thanks for this. I like the color on the Eduard sheet, but am pretty happy with the blue so I'm going with that. If for no other reason than I have it.
-
Nice start!!
-
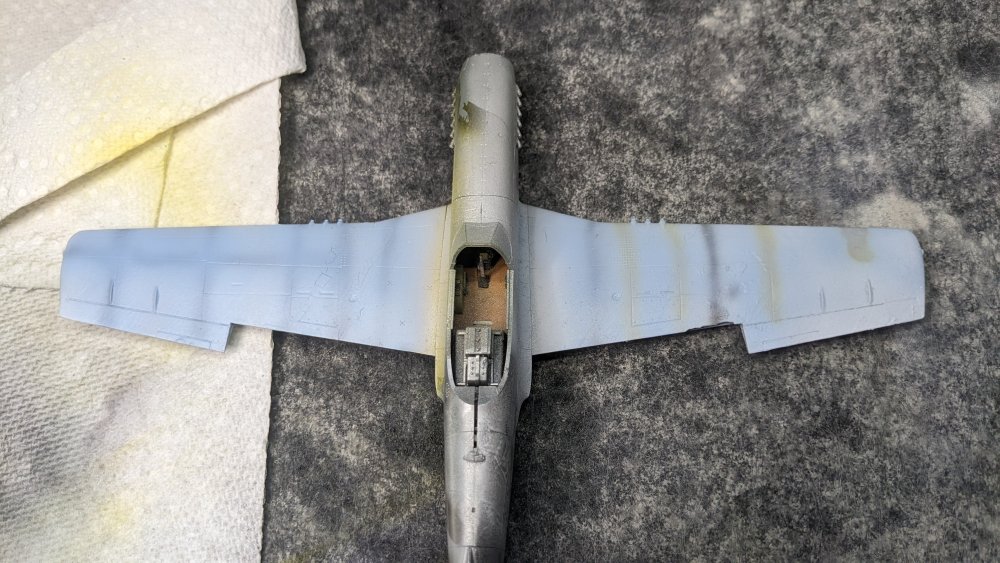
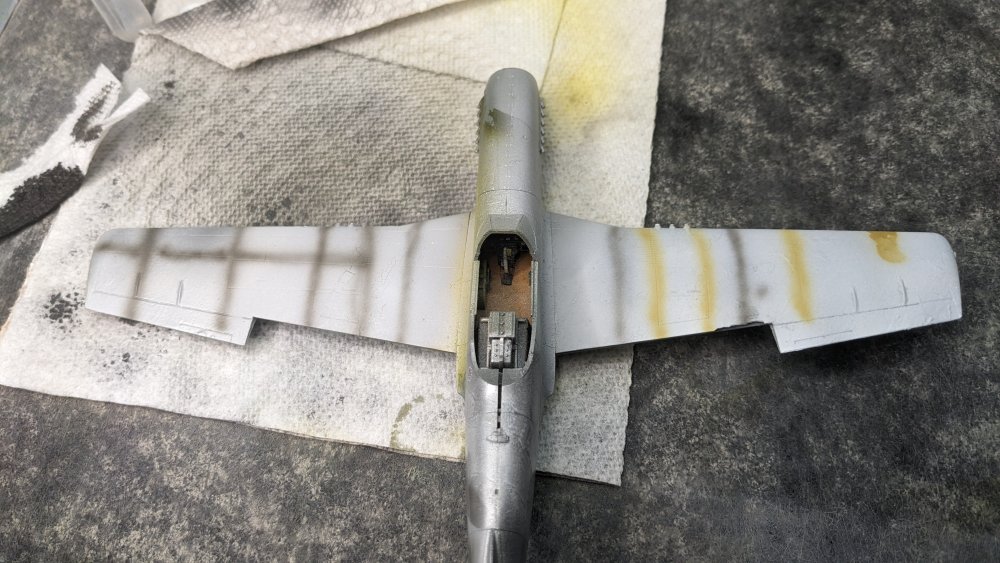
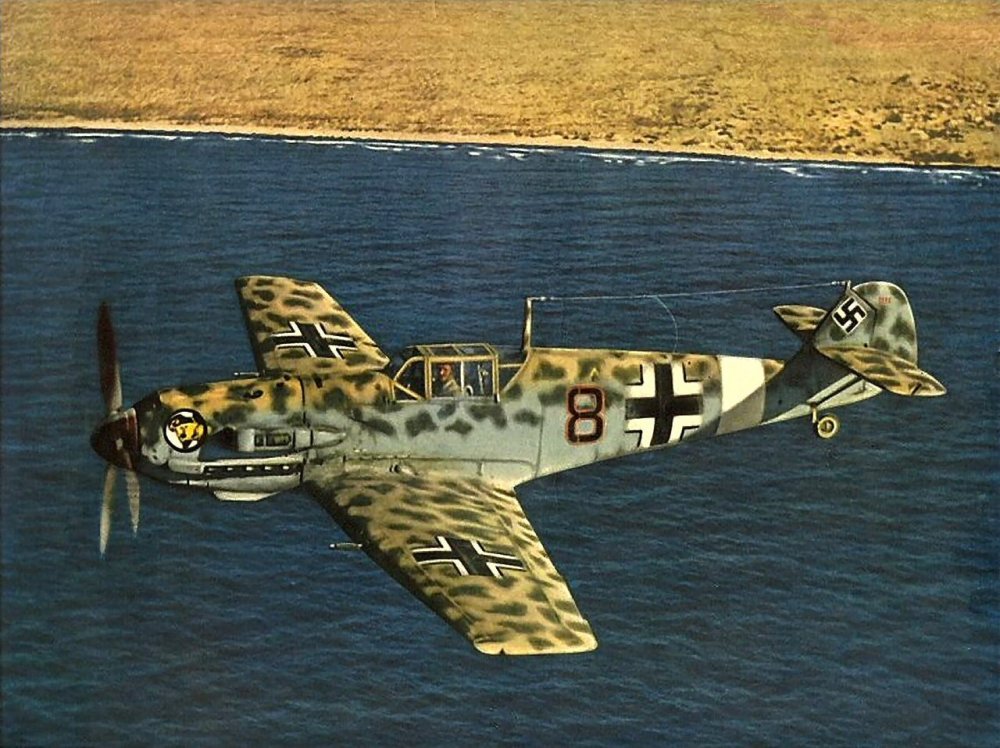
The next question regards color: MRP's version of RLM 78 for the underside color is a LOT bluer than the Eduard call-out. However, current pictures of the Bf 109s show a much bluer underside from what Eduard calls out. Not that all museums are the most accurate for reproductions. Thoughts? Printing issue? Here are some of the underside bits I just painted.

.jpg.f6f3307a16914126779b2488152717bb.jpg)

-
Beats me. I have not seen that before either... The rest of the fit of the kit seems to be good. At least it was a simple fix.
-
Hubert - I did both, mostly thinning from the top. Very strange tho.
-
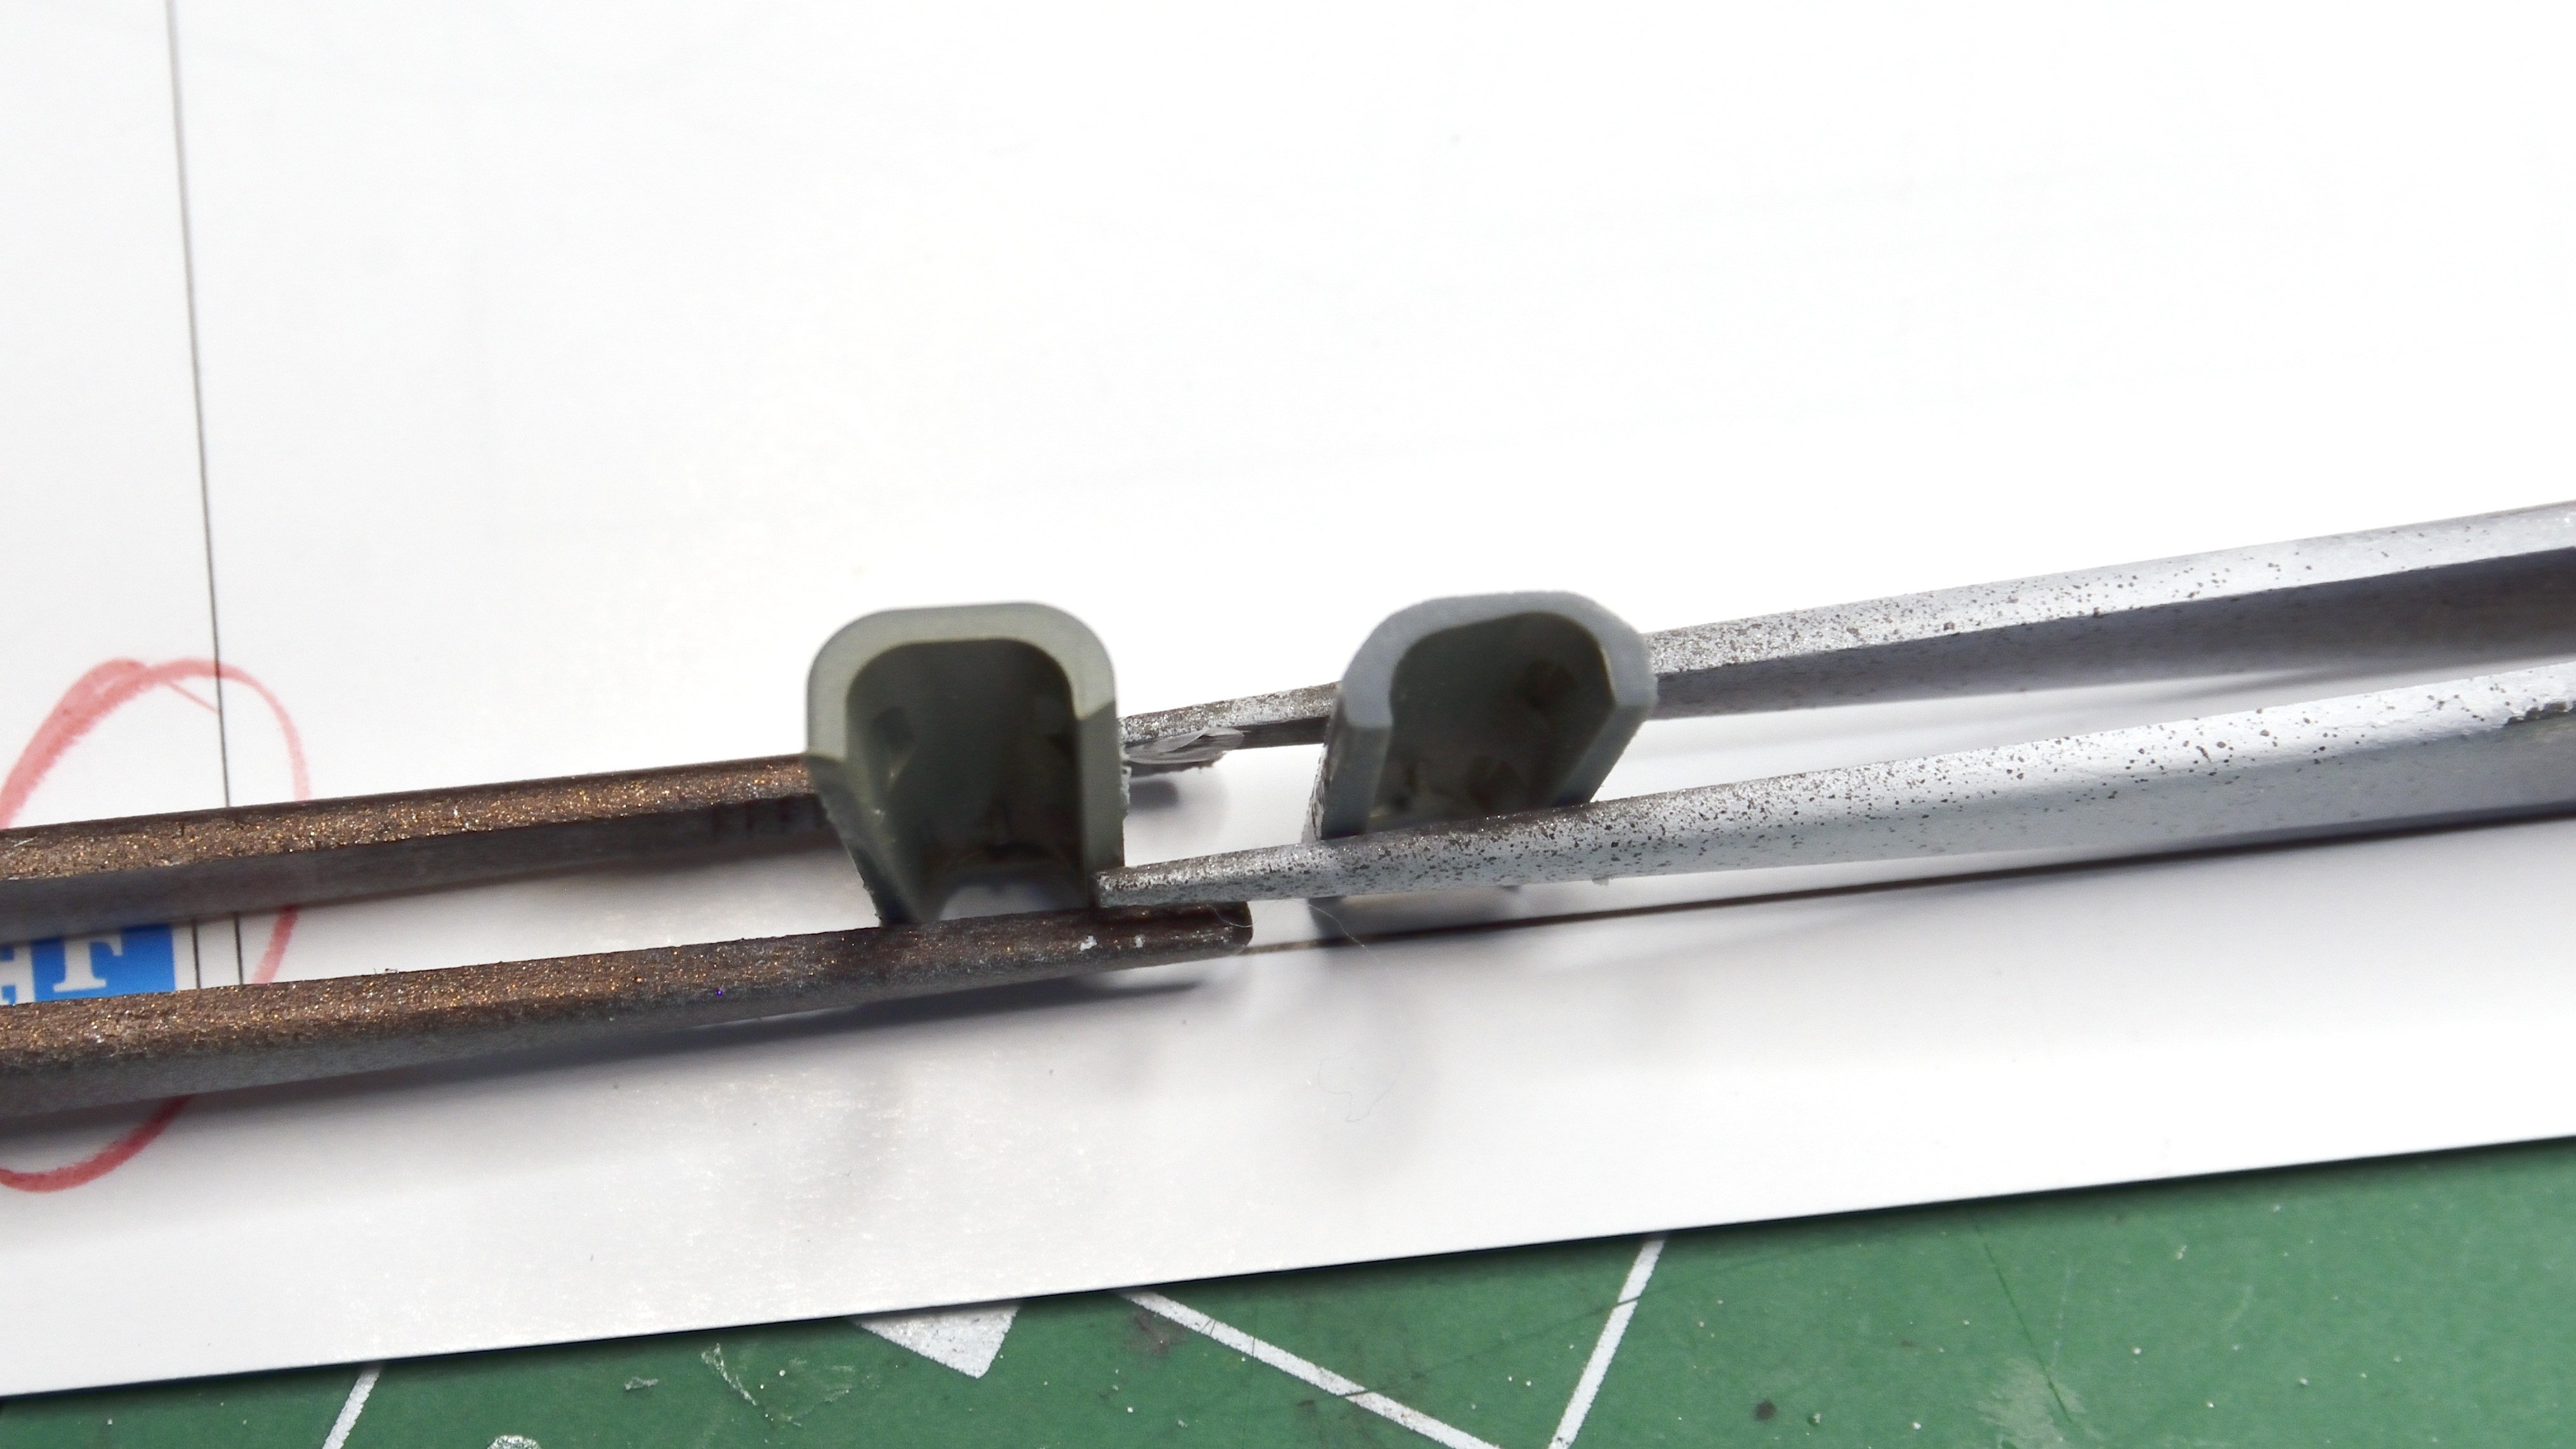
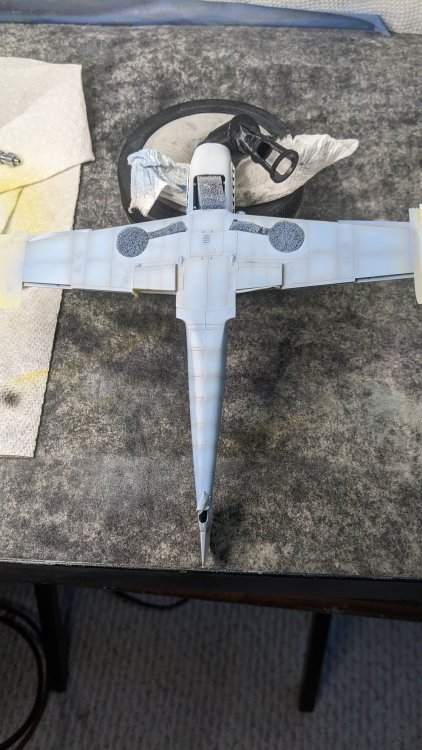
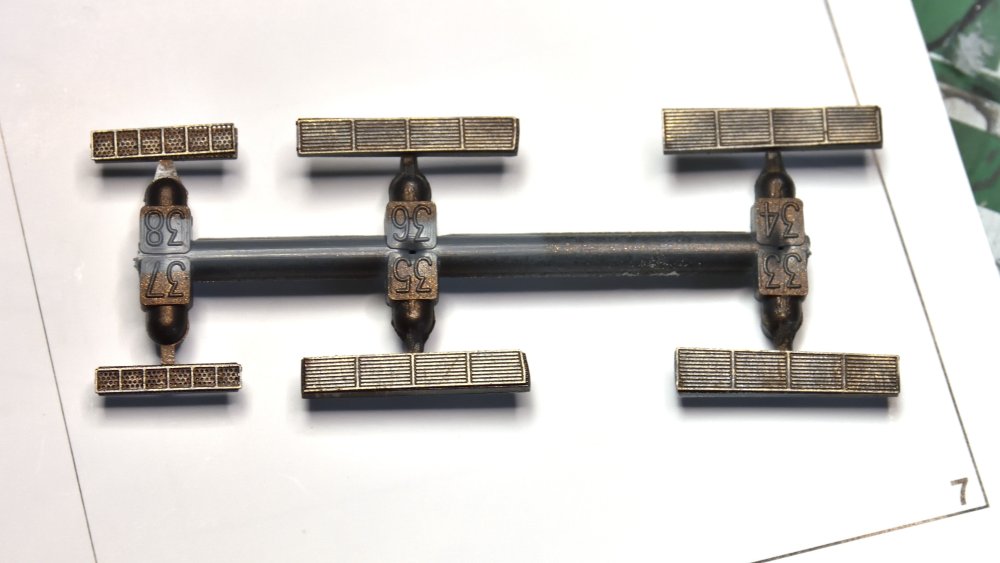
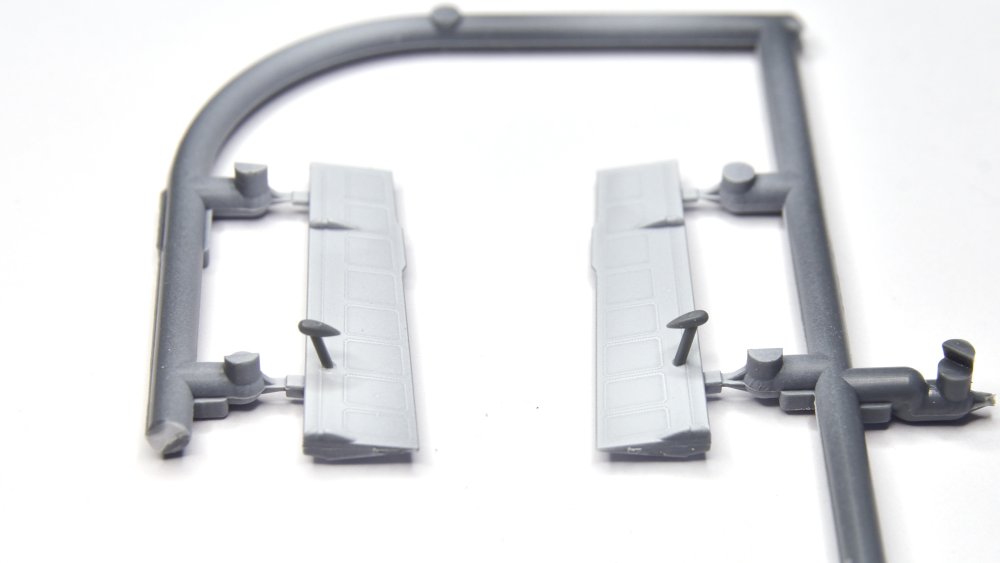
I'm with you on the knock-offs. I have two counterweights on flaps, as well as a long thin probe molded into the wing. I'm figurein 10:1 odds that any of them last to the weekend... Looking good, though. Nice progress!
-
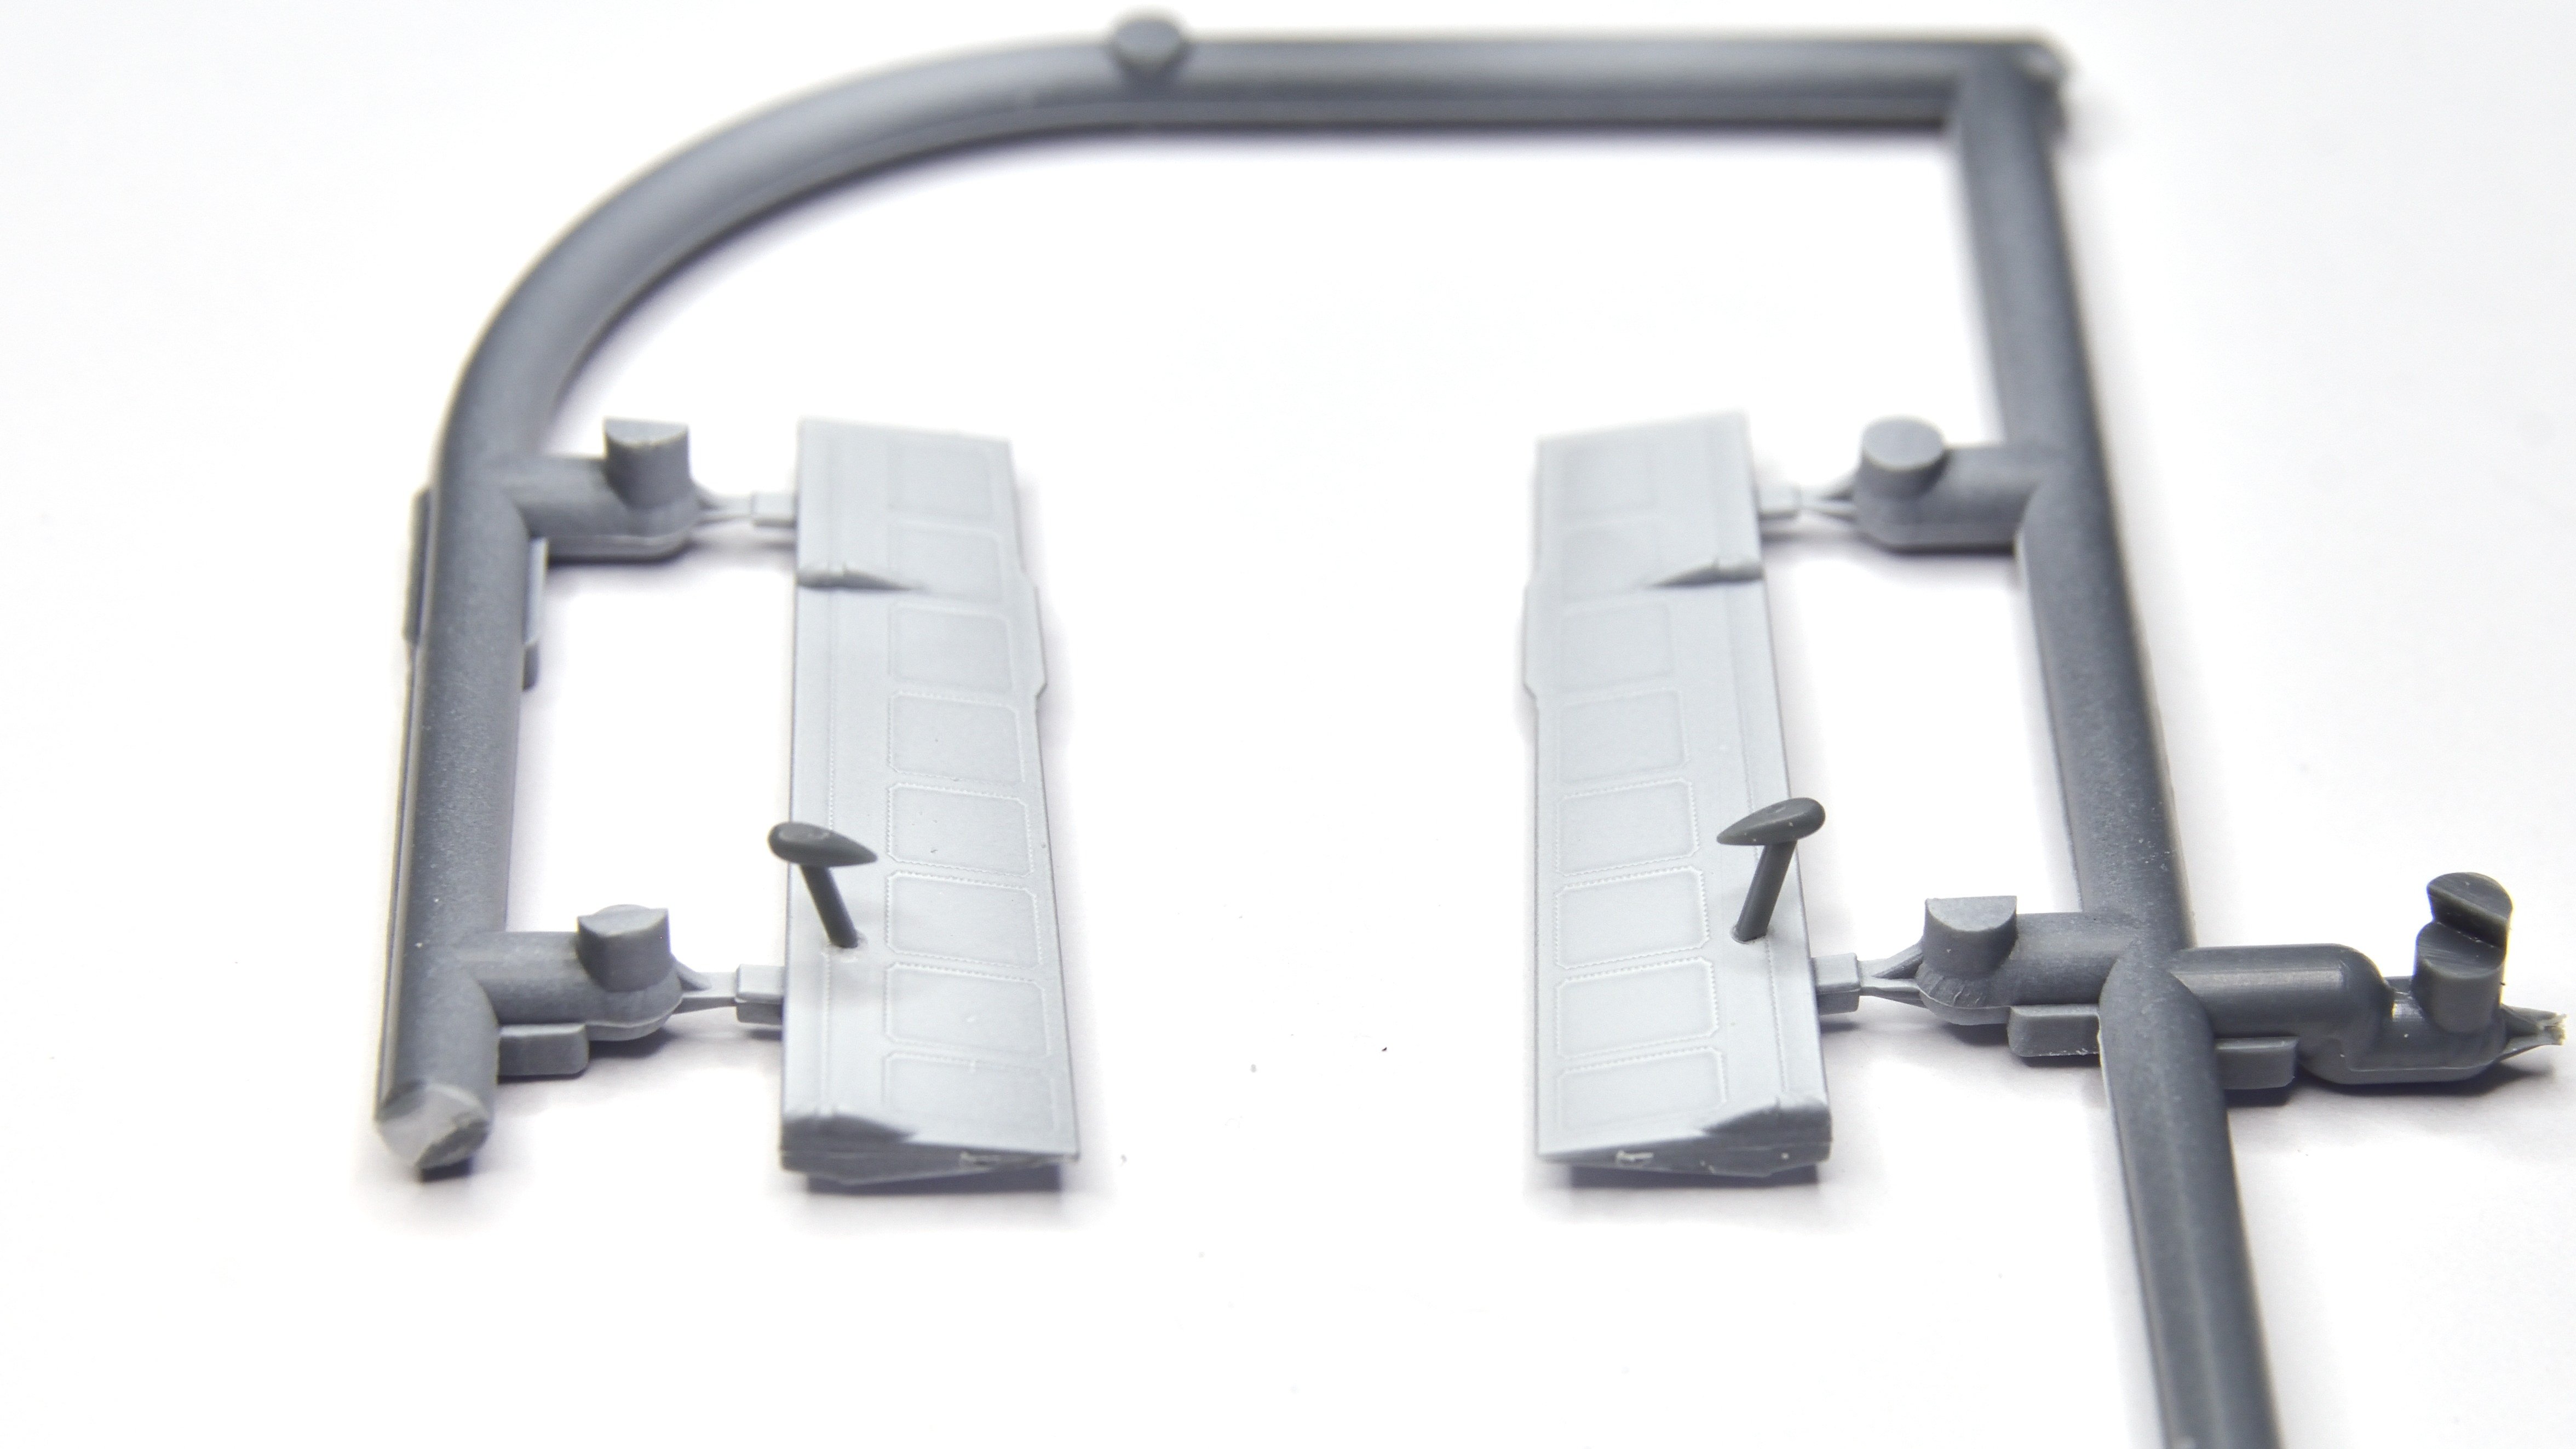
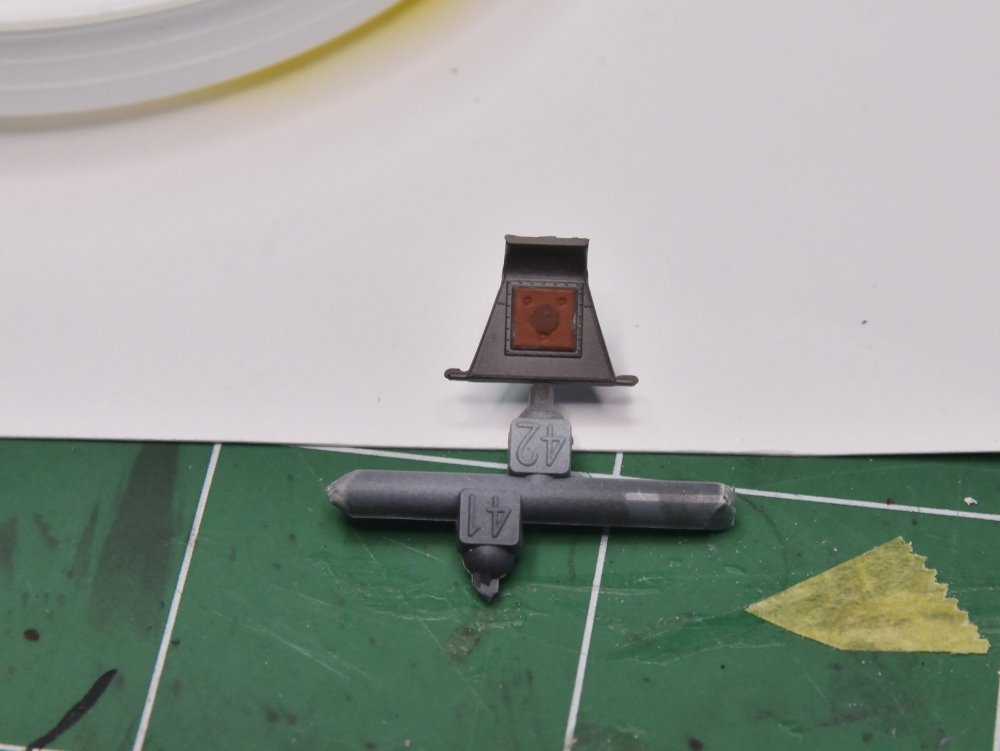
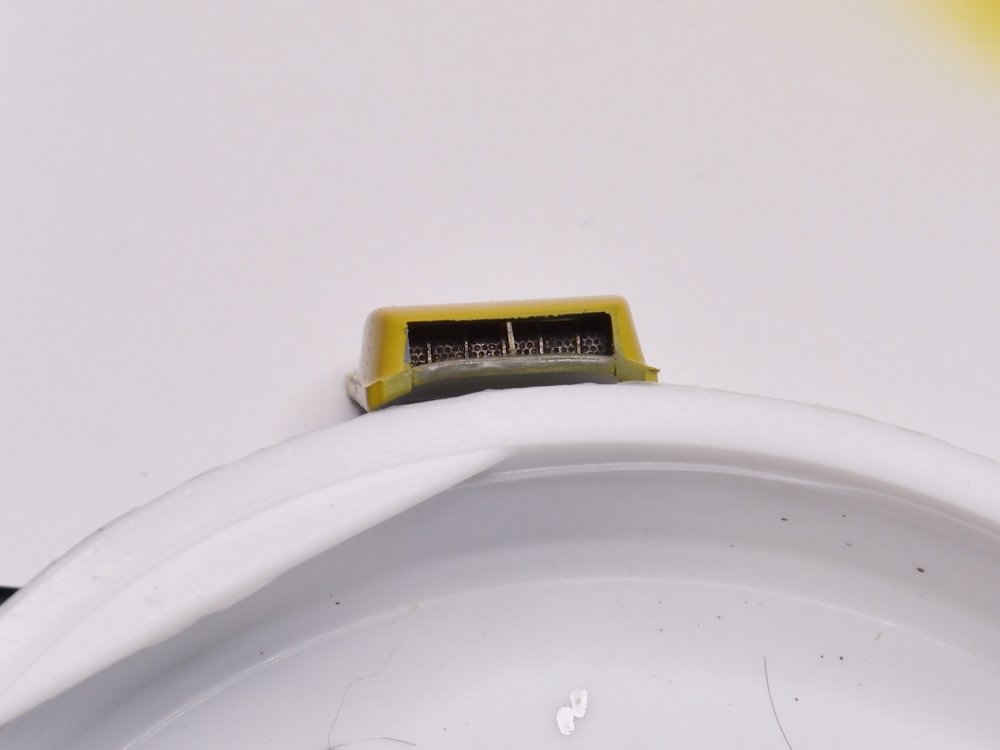
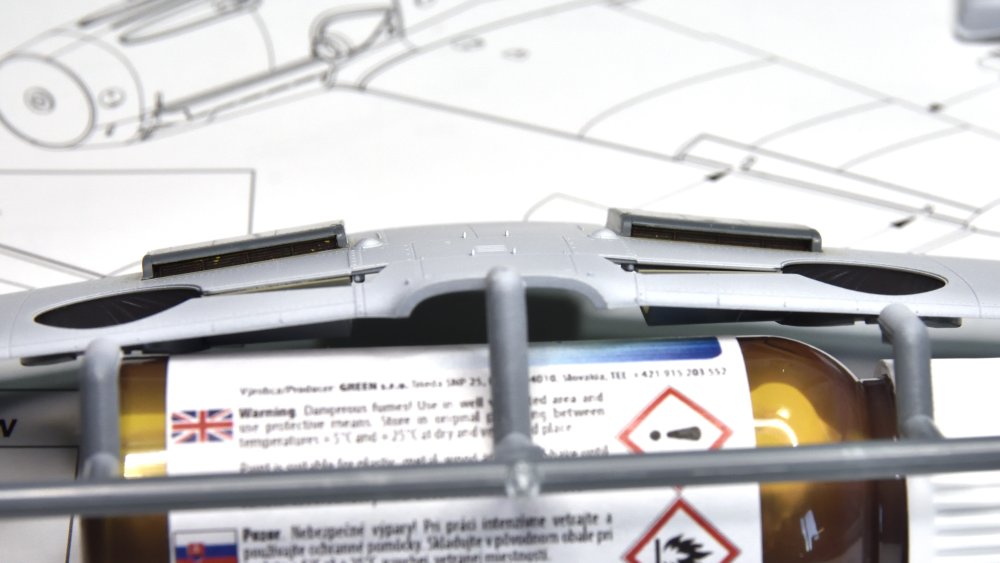
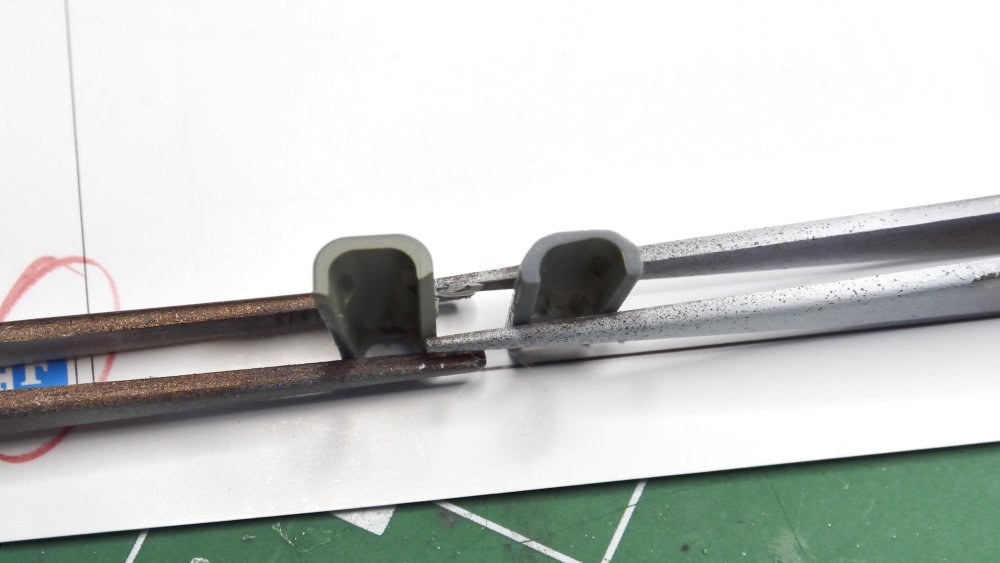
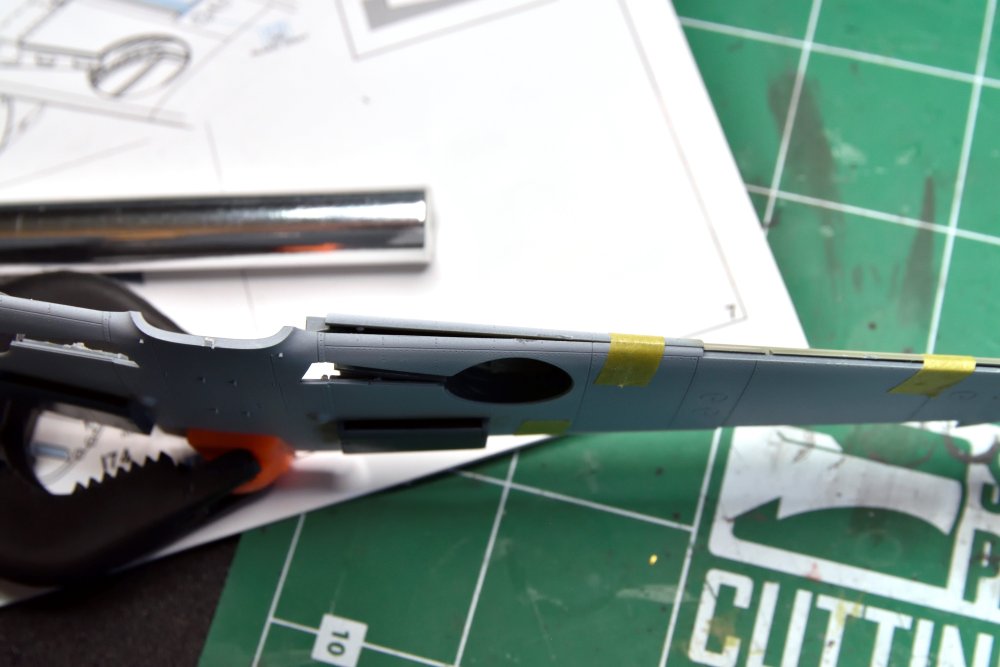
Really like the look of the PE radiators and grills, especially after the Metalizer Burn Iron, followed up with a dry brush of Vallejo Metal Color GunMetal and topped that off with a drybrush of some Vallejo Metal Color Rust to give it a bit more color. The gunmetal highlighted the framing and grills, and the Rust added some nice depth. And I am SO DELIGHTED I went through all of that, for this: That is one small opening. Oh well, WE know it is there, right? Ran into another very unusual problem. adding the tunnel for the landing gear, I found that I could not close up the wing: I adjusted and moved and fitted and sanded. No matter how I adjusted the piece, the wing would not close up on that side. After a fair amount of sanding, was able to close the wing, but this should NOT have happened. The other side fit much better, but trimmed it down just a bit anyway. Really not sure why this didn't fit better. There is not a lot of variability as to where it fits onto the wing... On the "how long do you think these will stay in place", added the two counterweights to the ailerons. For now, going to keep the pieces on the sprue while I paint the bottom color. Since the topside has a camo pattern, will add these to the wing when I'm the top of the wing.
-
Awesome build and you'll still have plenty of time for the GB.
-
Peter, that seat looks amazing, excellent work there! I also followed Kevin's lead on purchased the nail art-brushes. I've used the 7mm one quite a bit and it seems to work very well. And is very inexpensive. Here is the link on Amazon, and you can't go wrong at $6.99! If you like pink you can get the set for $5.99.
-
Looking good John!