CANicoll
-
Posts
1,928 -
Joined
-
Last visited
Content Type
Profiles
Forums
Events
Gallery
Everything posted by CANicoll
-
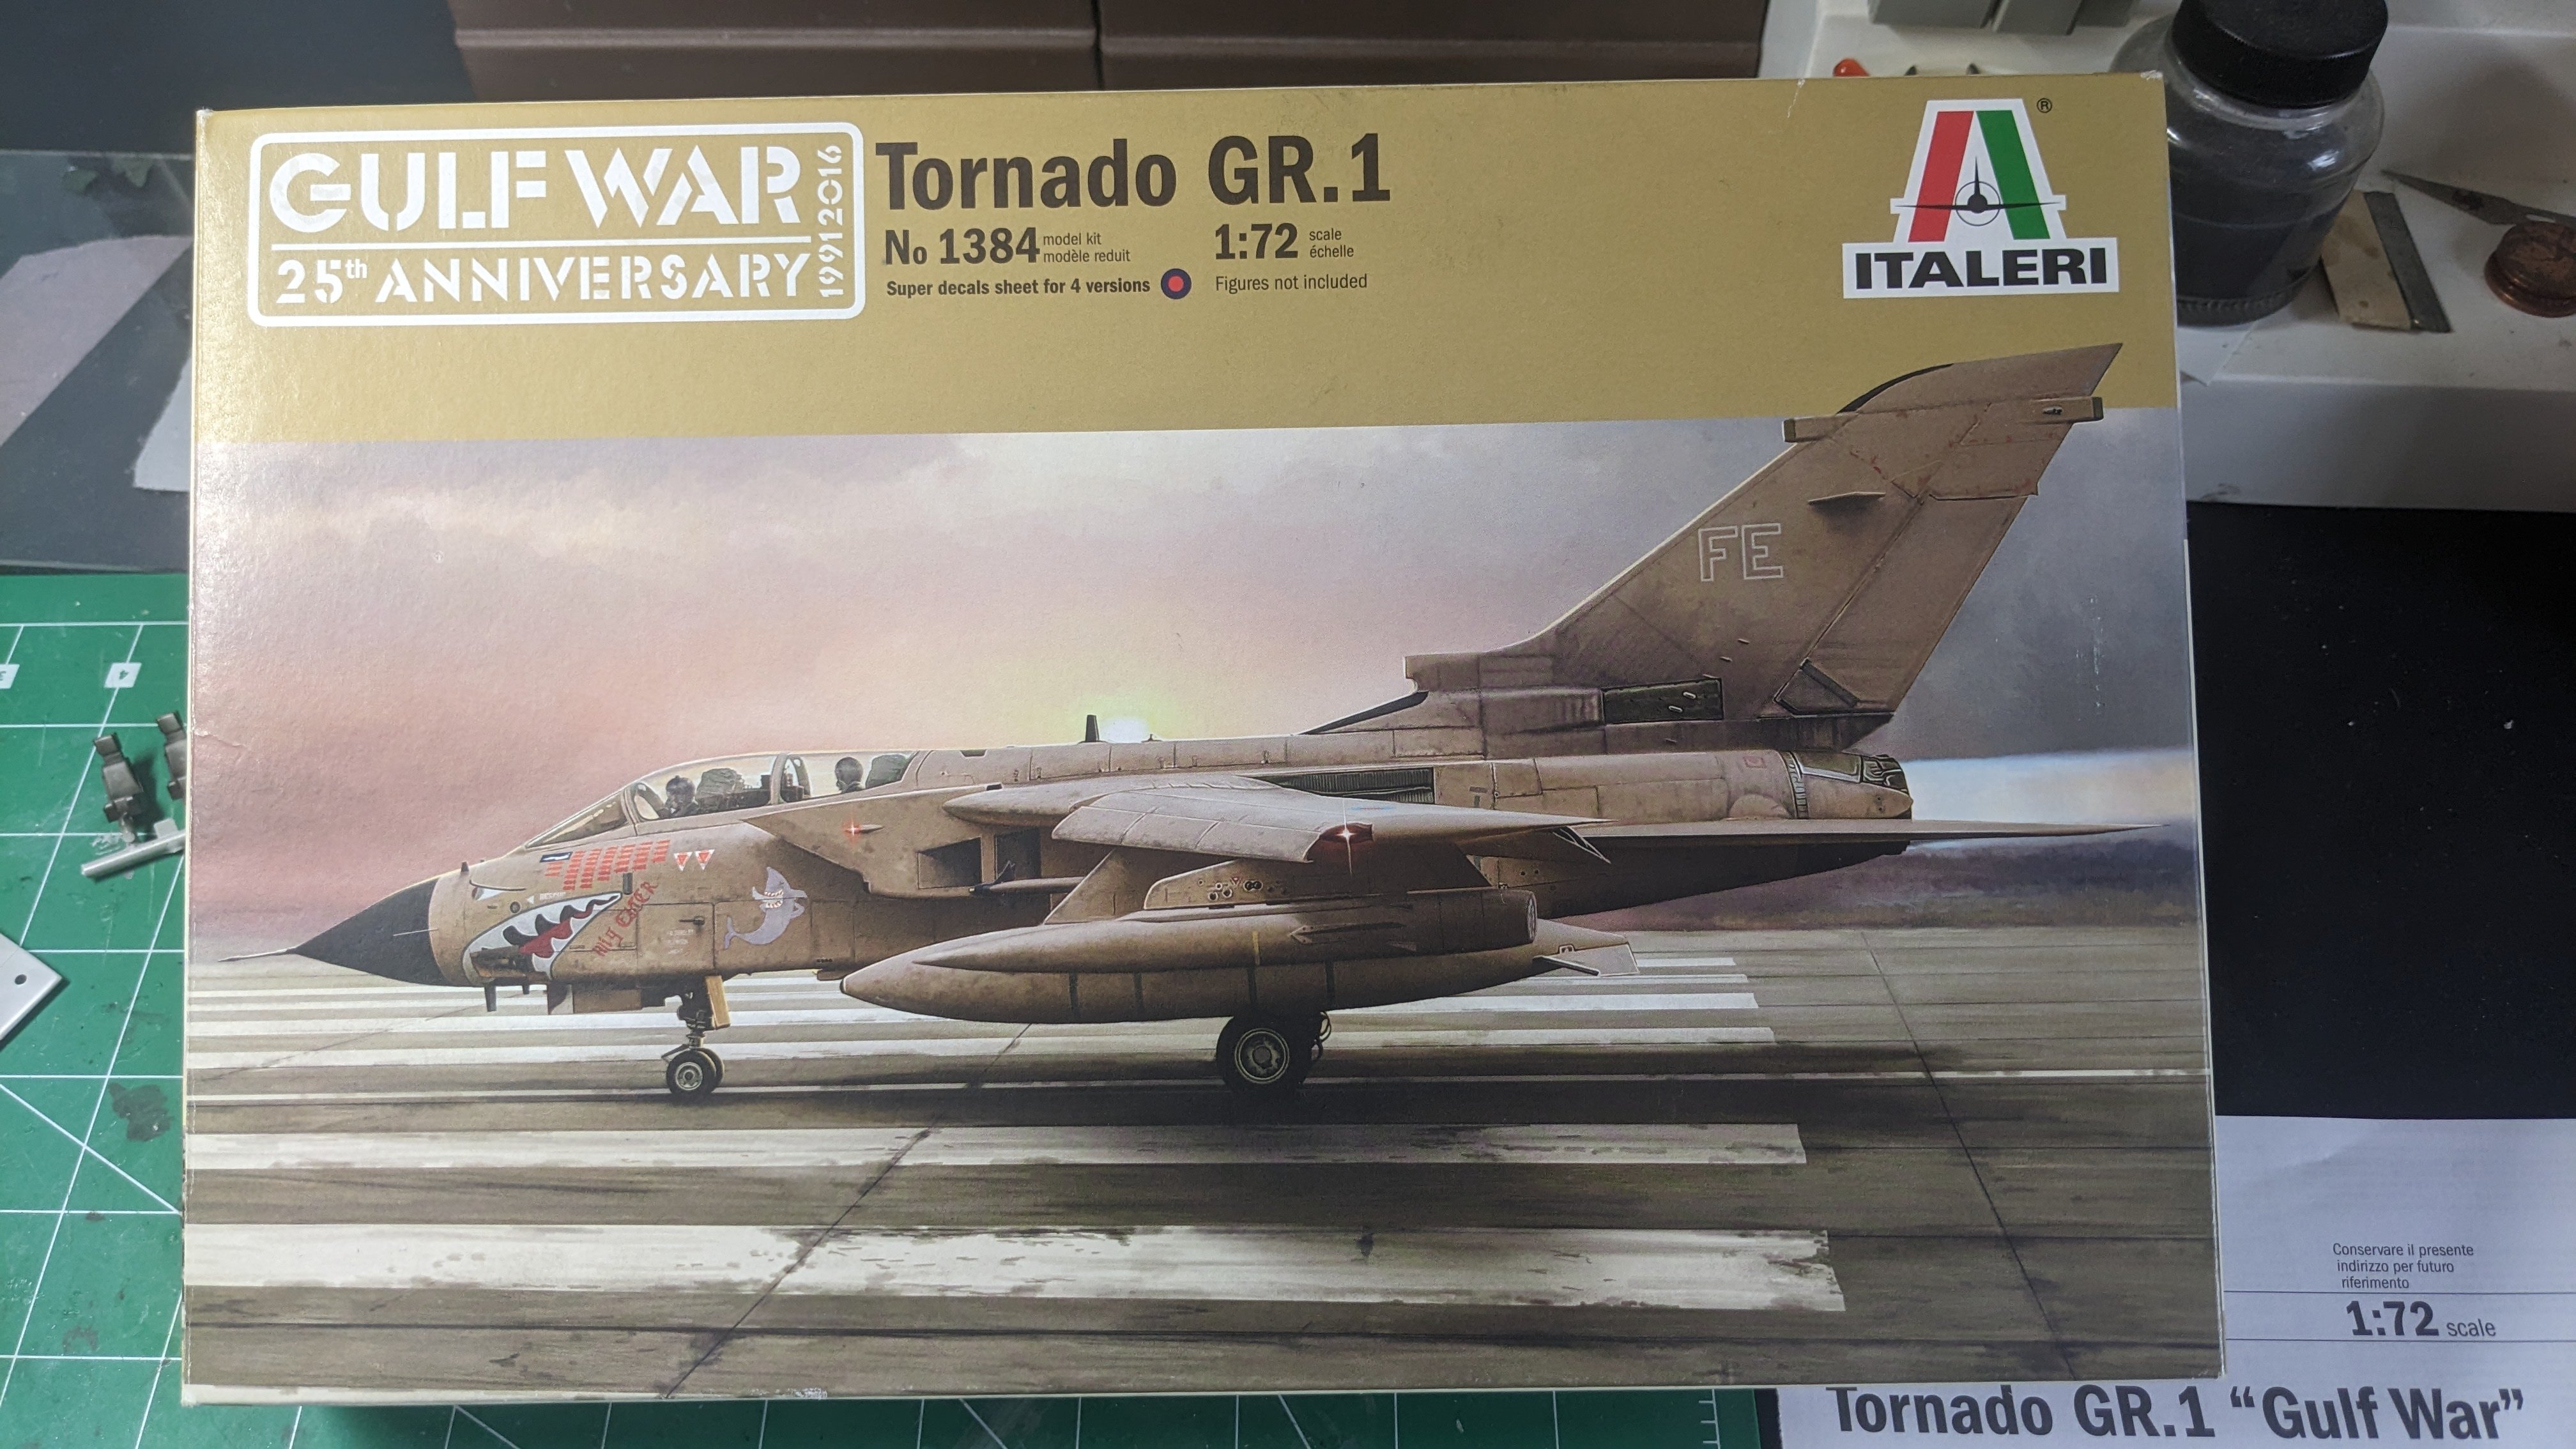
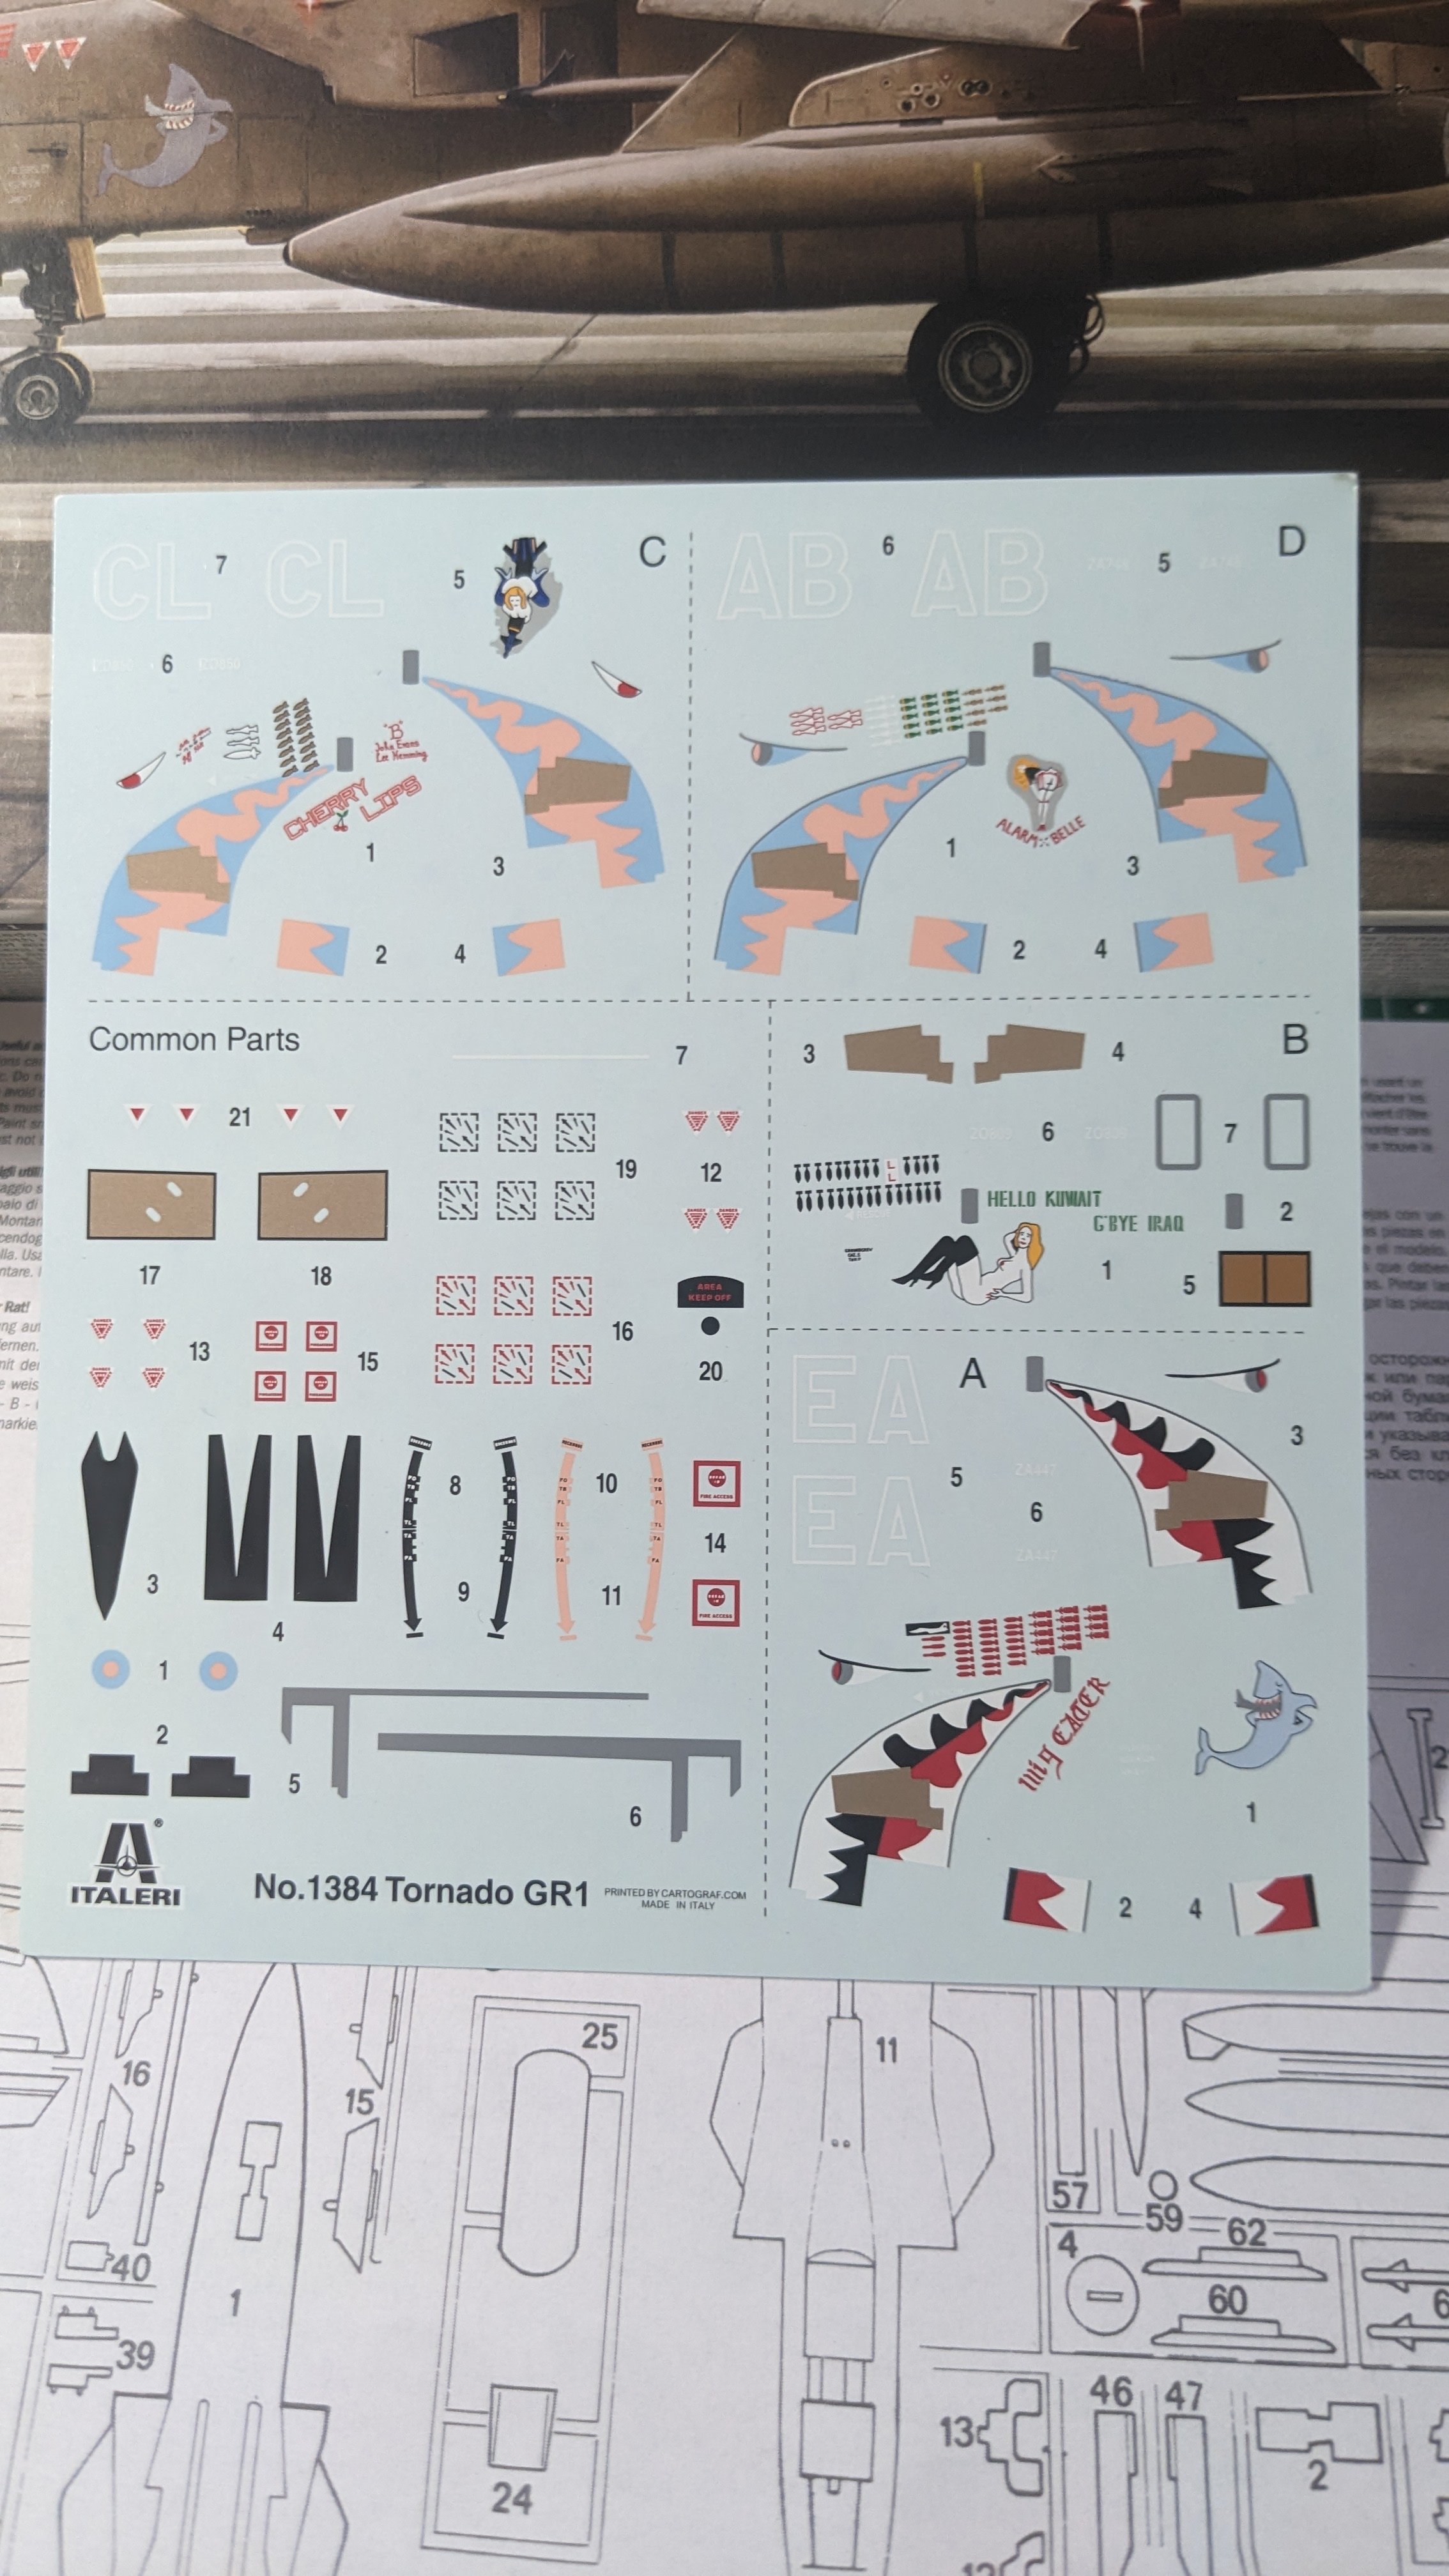
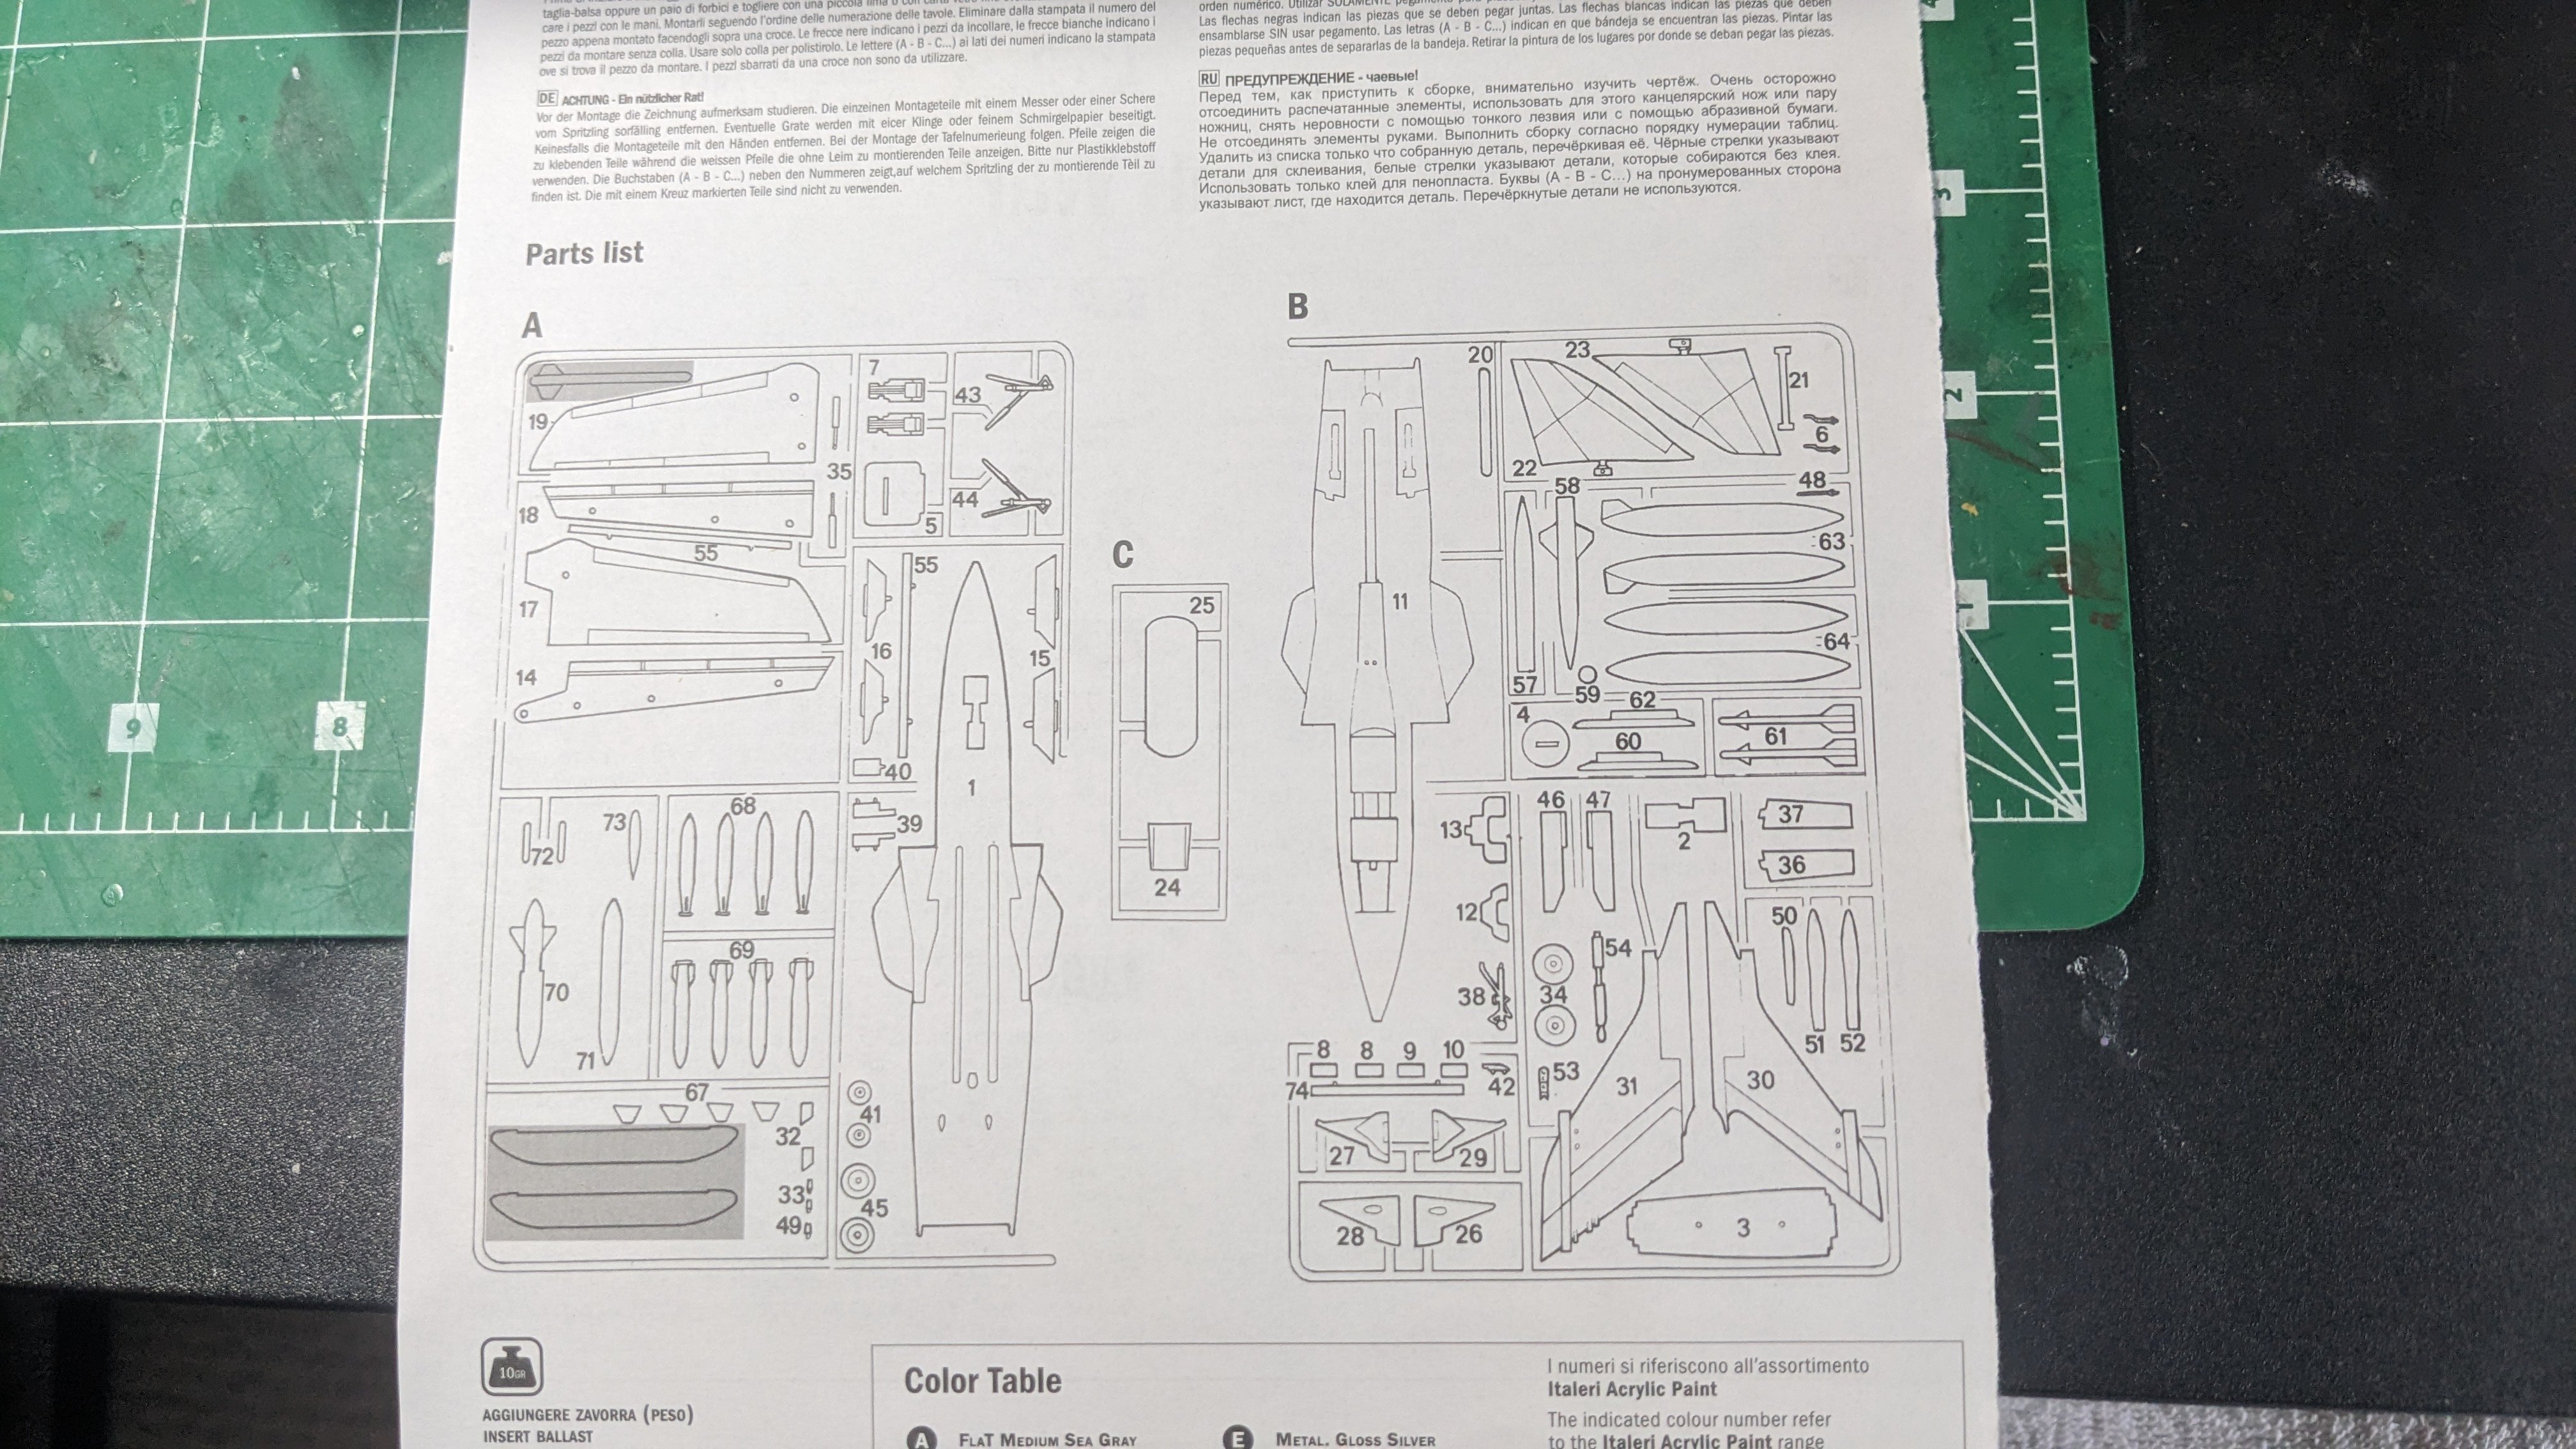
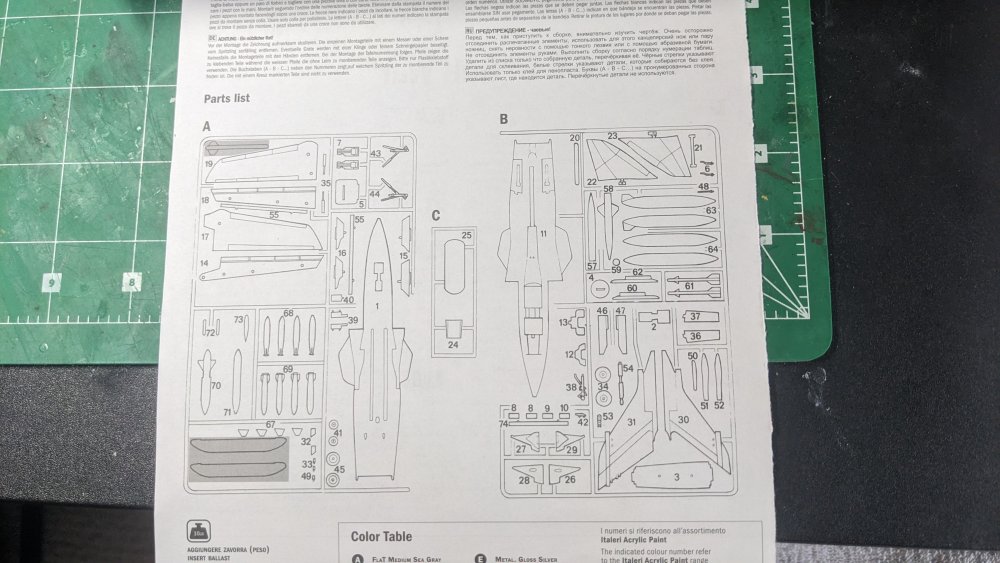
Doesn't qualify for the Sandbox GB, not only in size and also starting a day early but pulled it out of the stash to get in the mood for the group build. Not a lot of parts and not even decals for the IPs, but I like the sand pink color and the markings. Planning on building the box-art aircraft - Mig Eater. The wings are movable but will keep them fixed in the retracted position. The fuselage is split top and bottom which eliminates that top seam - bonus!! The instructions are highly simplified and for some reason, they have been cut apart. Paint call-outs are also fairly general but workable. Wrong in some areas even with my very limited knowledge and research. I think I picked up this kit (years ago) at a meet or something but everything is there. Have dipped the canopies in Future and have the Eduard masks. But might use this build to try out the nail-brushes bought earlier from Amazon. Decals are colorful, but might be a bit thick - we will see. I expect this will be a quick build...


-

Cobra Coupe - Le Mans - Model Factory Hiro 1/12
CANicoll replied to DocRob's topic in LSM 1/35 and Larger Work In Progress
Fully understand your views Rob - and completely agree with you. Thanks for the thoughtful response. I know the book you are talking about for WNW. It's a good one and that is what I had in mind. Looking forward to watching your build. Cheers! Chris -
I'm itching to get started, too! Now I have five kits to choose: 2 old Monogram 1/48 P-39's, the Airfix 1/24 Spitfire, Italeri 1/72 Tornado and an 1/48 Eduard Bf 109 F-4. Tempted to get a modern P-39.... Any suggestions? I like the Eduard P-39/P-400 kits, but don't know much about Arma. The reviews are excellent on the Arma kits.
-
Sikorsky JRS-1 with AM (Eduard) 1/72
CANicoll replied to Landlubber Mike's topic in The Great Twins Broup Bluild
Mike, Beautiful build!! You'd never know the travails you've had to endure to get to this point. The colors look terrific. I don't mix paints as much as I should, so I need to follow your example. Nice on the Green in particular, but that yellow wing really stands out. Your masking is terrific. I'm sure Mr. Tamiya loves you for using all of that tape. -
Ha ha!! I have some of those kits!! The Eduard Royal Class 190's, the Tam Me262 and the 1/48 version of the 109F-4, Red 14. Nice haul!!
-
Nice set, Peter!
-
Beautiful job incorporating the cockpit 3D decals. They look exactly like they were molded in - perfect.
-
Cobra Coupe - Le Mans - Model Factory Hiro 1/12
CANicoll replied to DocRob's topic in LSM 1/35 and Larger Work In Progress
Rob, At the end of this, I still think you should work on putting this together as an ebook on assembling the Cobra. Your work is meticulous and exact, dealing with the intricacies of a multi-media kit. You are full of excellent skill and advice. If you are interested in this direction, I know someone who publishes these eBooks for modelers. I'll help! your work is too good not to share. Chris -
PW - Nice work getting it into shape and really looking the part. Amazed how time has damaged the kit. Wow. Love the paint work.
-
Hair? I left that behind long ago!! Saves me a lot on shampoo and haircuts... Thanks Carl, I'll be better soon! Taking advantage of the time to get ready for the next GB..
-
What is on your bench right now ? Share a picture :)
CANicoll replied to Martinnfb's topic in Modelling Discussion
Carl, Oh damn that looks GOOD. -
Cobra Coupe - Le Mans - Model Factory Hiro 1/12
CANicoll replied to DocRob's topic in LSM 1/35 and Larger Work In Progress
Rob, you know, once the wheels are on you won't hardly see any of the discs so it is not an issue. I should have thought about that before commenting. Your close-up photos are fantastic. You need to submit those for an e-book on building this kit. -
Great to hear John! Thanks and appreciate the wishes.
-
Scott, We are definitely on the same page. Last night I was up every 45min to 2 hours, but the bladder/prostate are working better than the previous night (15-45 minutes up. Ugh). If I can get 2 hours sleep in a row I feel like I won the lottery. But it will get better. The procedure is pretty simple, so looking forward to the fix taking hold - 30-60 days apparently. But already better than before with the meds so that helps. Good to hear you are being proactive. Having endured kidney stones that area down there sometimes feel like its 'open for inspection'. LOL. Why do the urology nurses all have to be in their 20's??? of course, at that point the pain is usually so bad it doesn't matter. I feel for your co-worker. Wow.
-
Cobra Coupe - Le Mans - Model Factory Hiro 1/12
CANicoll replied to DocRob's topic in LSM 1/35 and Larger Work In Progress
Rob, +1 ABSOLUTELY. I grew up working with my dad at his service stations (petrol stations) and garage back in the 70's. Following along and seeing your work brings back amazing memories. Your work is top-notch and a joy to follow. Thanks for sharing!! Plus, I love the Cobra! It might be too late, but might I suggest polishing the rotor faces on the disk brakes? Rotors do oxidize quickly (and rust when they sit for a while) but in use are usually very shiny. Not a criticism by any means. -
Dave, the parts look terrific! Nice work. I also use MKK as well as Gator Glue and even Formula 560 for applying the Quinta decals so interested to see how yours turns out. BTW, what color gray did you spray your cockpit pieces?
-
Peter, Thank you but I know you and Diane have suffered much worse and are coming through it with grace. I appreciate the support my friend!! Taking my meds and going back to bed for a while.
-
Thanks Martin! Last night was better, so hopefully on the upswing!
-
Thanks Mike, definitely a bit of a scare, but the staff were amazing. Calm, communicative and quick to act. I'll pass on cleaning the bench, but thanks for the offer!..I pulled out the Bf 109 so I need to finish cleaning so I can get the pieces laid out. good luck on the water build! Looking forward to seeing that. Hubert - Old man plumbing!! Thank you. I am pretty good with that on my tools, like you putting things back and forth several times, but that way I know where things are. I'm sloppier when it comes to cleaning up all of the extra sprues and bits that are increasingly left over from my builds. I've looked at the HobbyZone stuff and like it, but it is out of my price range. Thanks - that is the hope. May take a month or two for the results to start filtering in, but after that things should get much better. Just getting over the initial hump is a pain.
-
Mark, Just found this as well, and WOW - your weathering, as others have said, is spectacular! Outside your comfort zone? I think you are square in the middle of it! Great looking build.
- 25 replies
-
- 3
-

-

-
- 1/24
- ballaton models
- (and 1 more)
-
Getting old sucks, but the alternative is not exactly appealing, either. Warning - medical stuff below. About two years ago I was diagnosed with an enlarging prostate. Meaning, it was about 2x larger than it should have been. I thought having to get up and go all the time was just what older guys did (I'm 64). Got on some medication which definitely reduced the frequency, which was nice, but was told the meds are not a terrific long-term solution and I was not consistent taking the medication. Got really good at catheterizing myself to avoid a trip to the ER to empty the bladder. Not a great long-term solution, of course. The recommended procedure is something called a Prostatic Artery Embolization. In short, they go in through an artery, usually in the groin, to snake up into the prostate where they inject modules to block the blood flow to parts of the Prostate. Over the span of a month or two, the procedure shrinks the prostate and you get back to normal (or something like that). At least they knock you out for the procedure. I had the procedure on Tuesday morning, but we ran into complications not with the PAE, but with the artery they cut into. It formed a pseudo-embolism. Not something you really want on your femoral artery. Mine was slowly leaking, but obviously, they needed to close it off completely. Fortunately, that was done fairly quickly (and somewhat painlessly) but under some understandable urgency. So a slightly longer rehabilitation of 2-3 weeks instead of 7-10 days. Had a follow up visit today specifically to check on the arterial incisions and all looks good. Will go back next week for another. In the meantime, I'm taking the next couple of weeks off to make sure things heal properly. Too early to start the GB, but too late to start something else so spending the time cleaning the bench and making sure I have the necessary paints.... Take care of yourselves, everyone!!
- 27 replies
-
- 12
-
-
Hang in there! At least you can see some possible progress on the horizon.
-
1/48 Monogram B-58 Hustler - SEA RFI
CANicoll replied to CANicoll's topic in LSM 1/48 Aircraft Ready for Inspection
Thanks Martin! -
1/48 Monogram B-58 Hustler - SEA RFI
CANicoll replied to CANicoll's topic in LSM 1/48 Aircraft Ready for Inspection
Peter, thank you!!! Very much appreciated. It is definitely fun to look at. But, man this is one large plane!! Heading out to the procedure shortly... -
Sukhoi Su-25 Ukrainian digital camo, OEZ 1:48
CANicoll replied to telepatu's topic in The Great Twins Broup Bluild
The Digital Camo really does look the part - nice job and I would not have noticed the color differences. Great look!