CANicoll
-
Posts
1,927 -
Joined
-
Last visited
Content Type
Profiles
Forums
Events
Gallery
Everything posted by CANicoll
-
 I just saw this! I can't go to Nats, but will order a shirt anyway.
 -
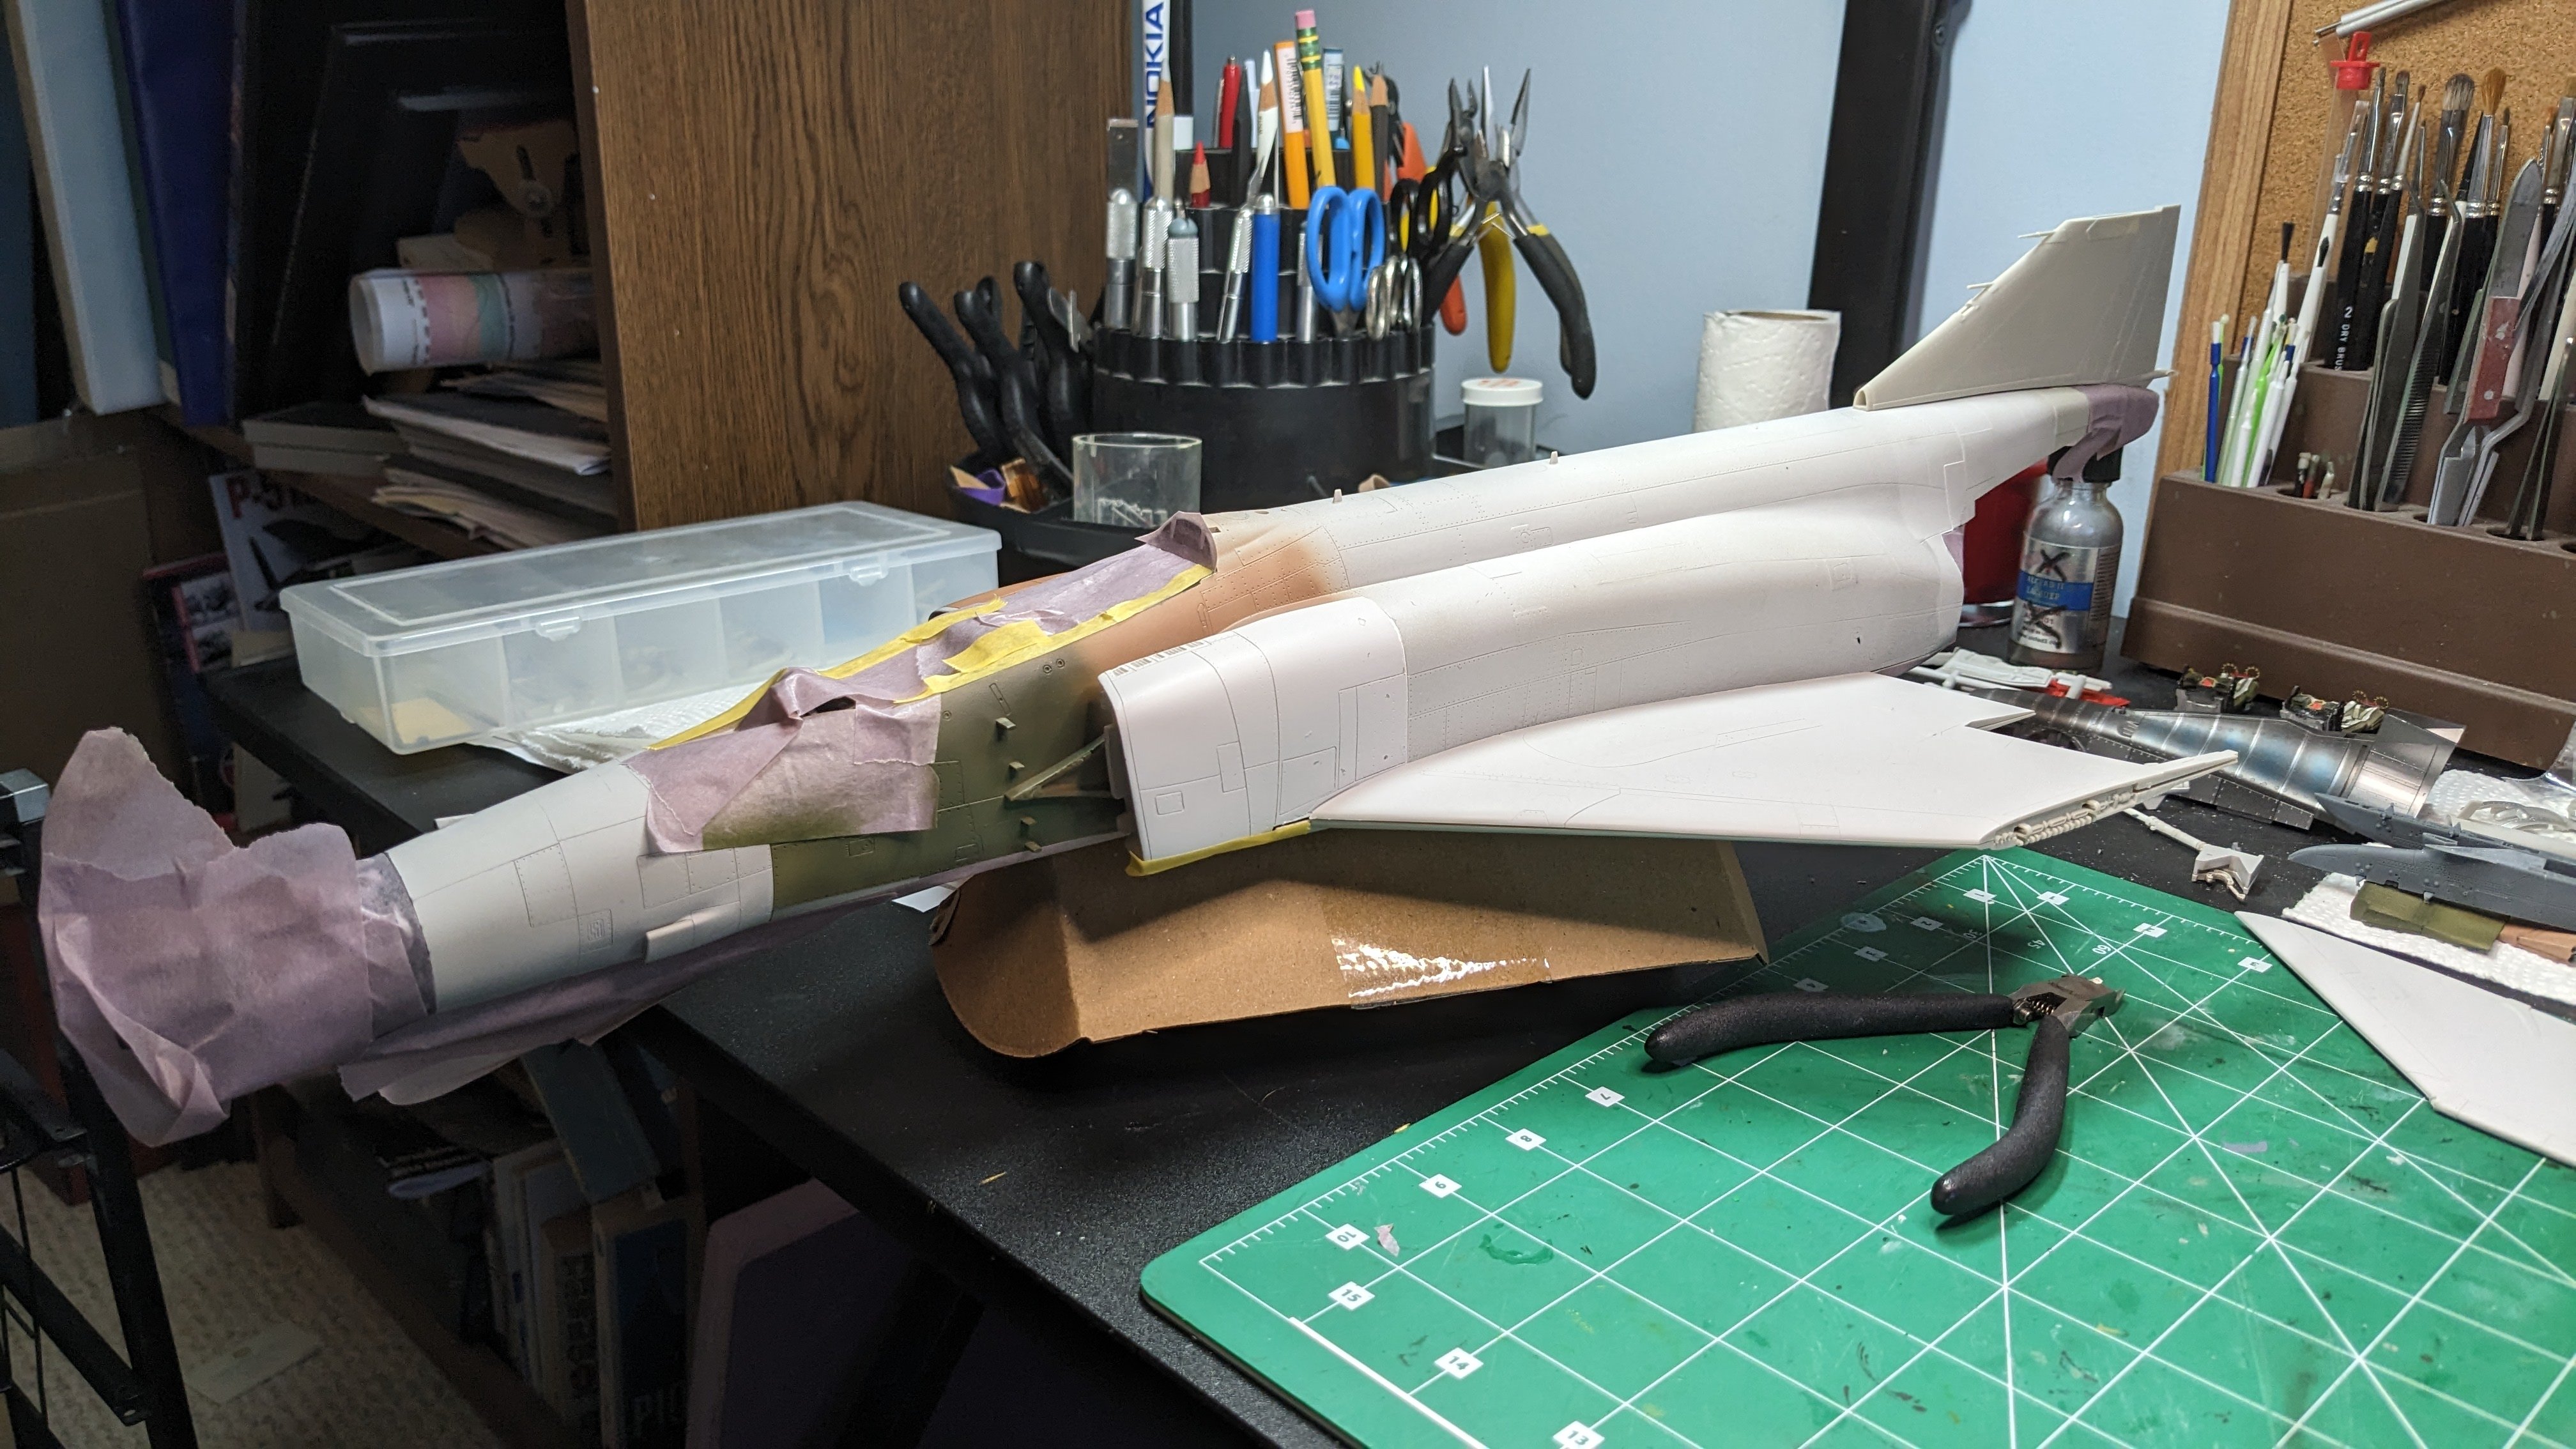
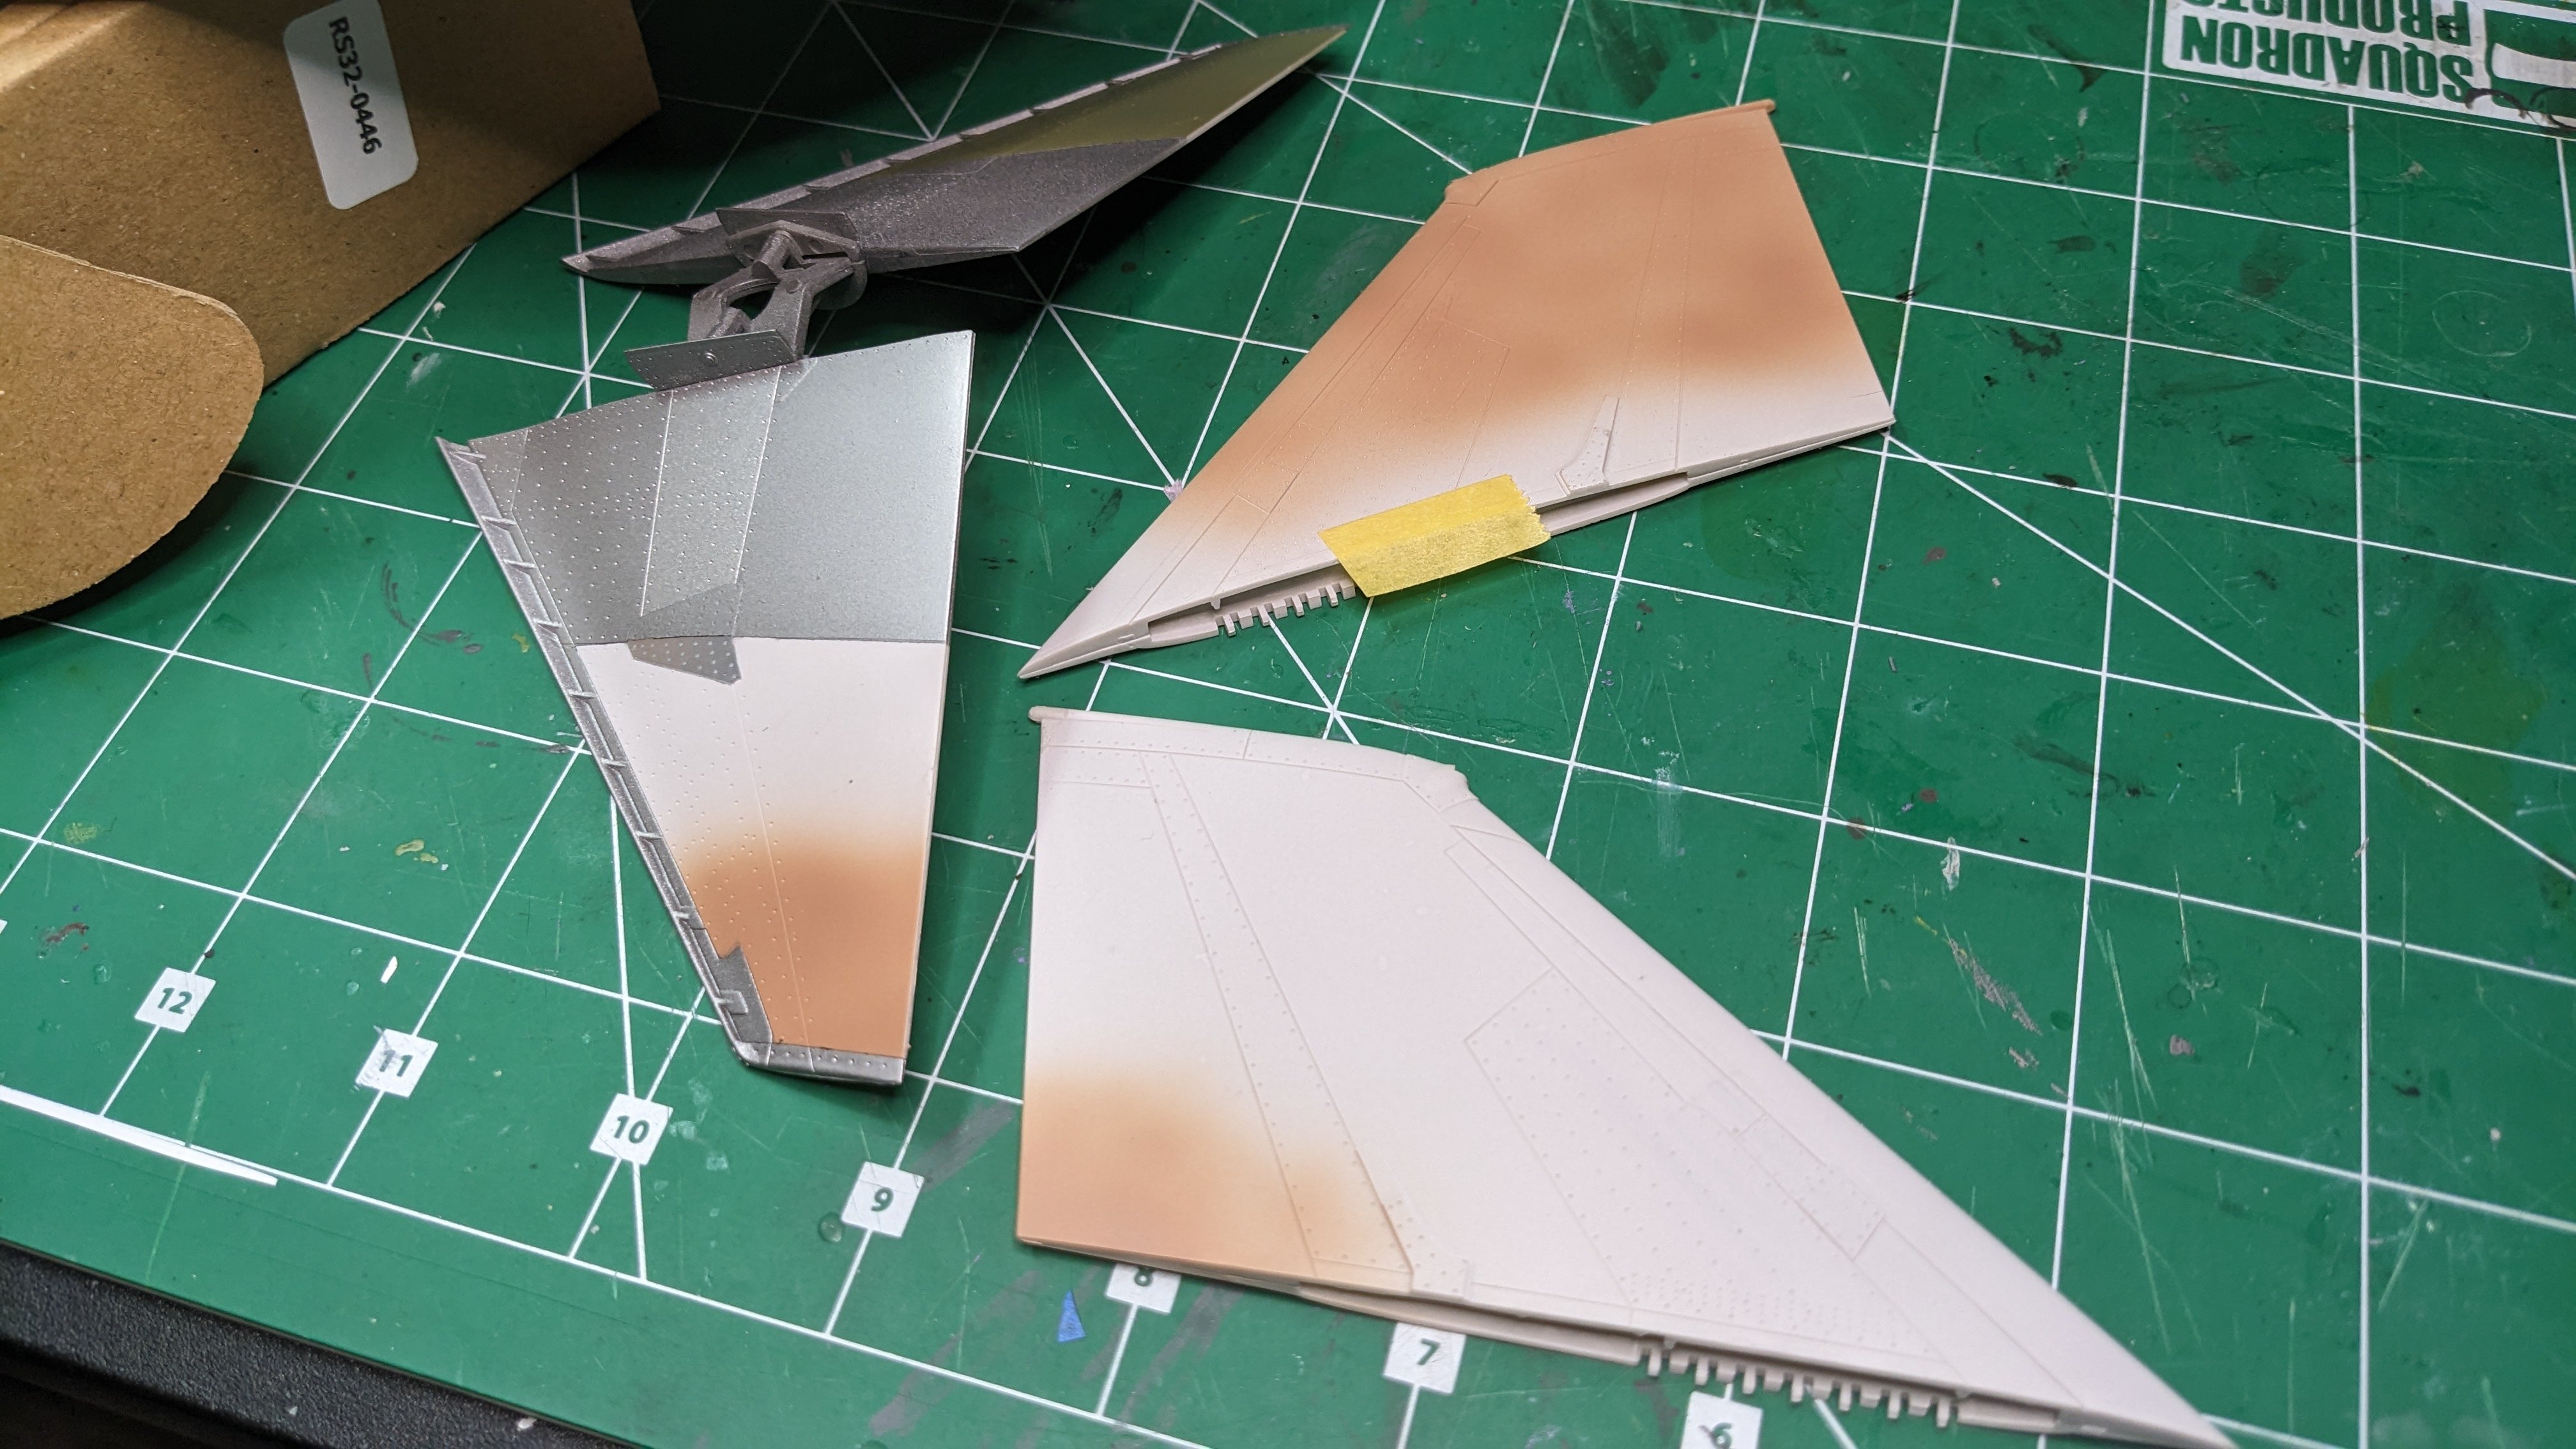
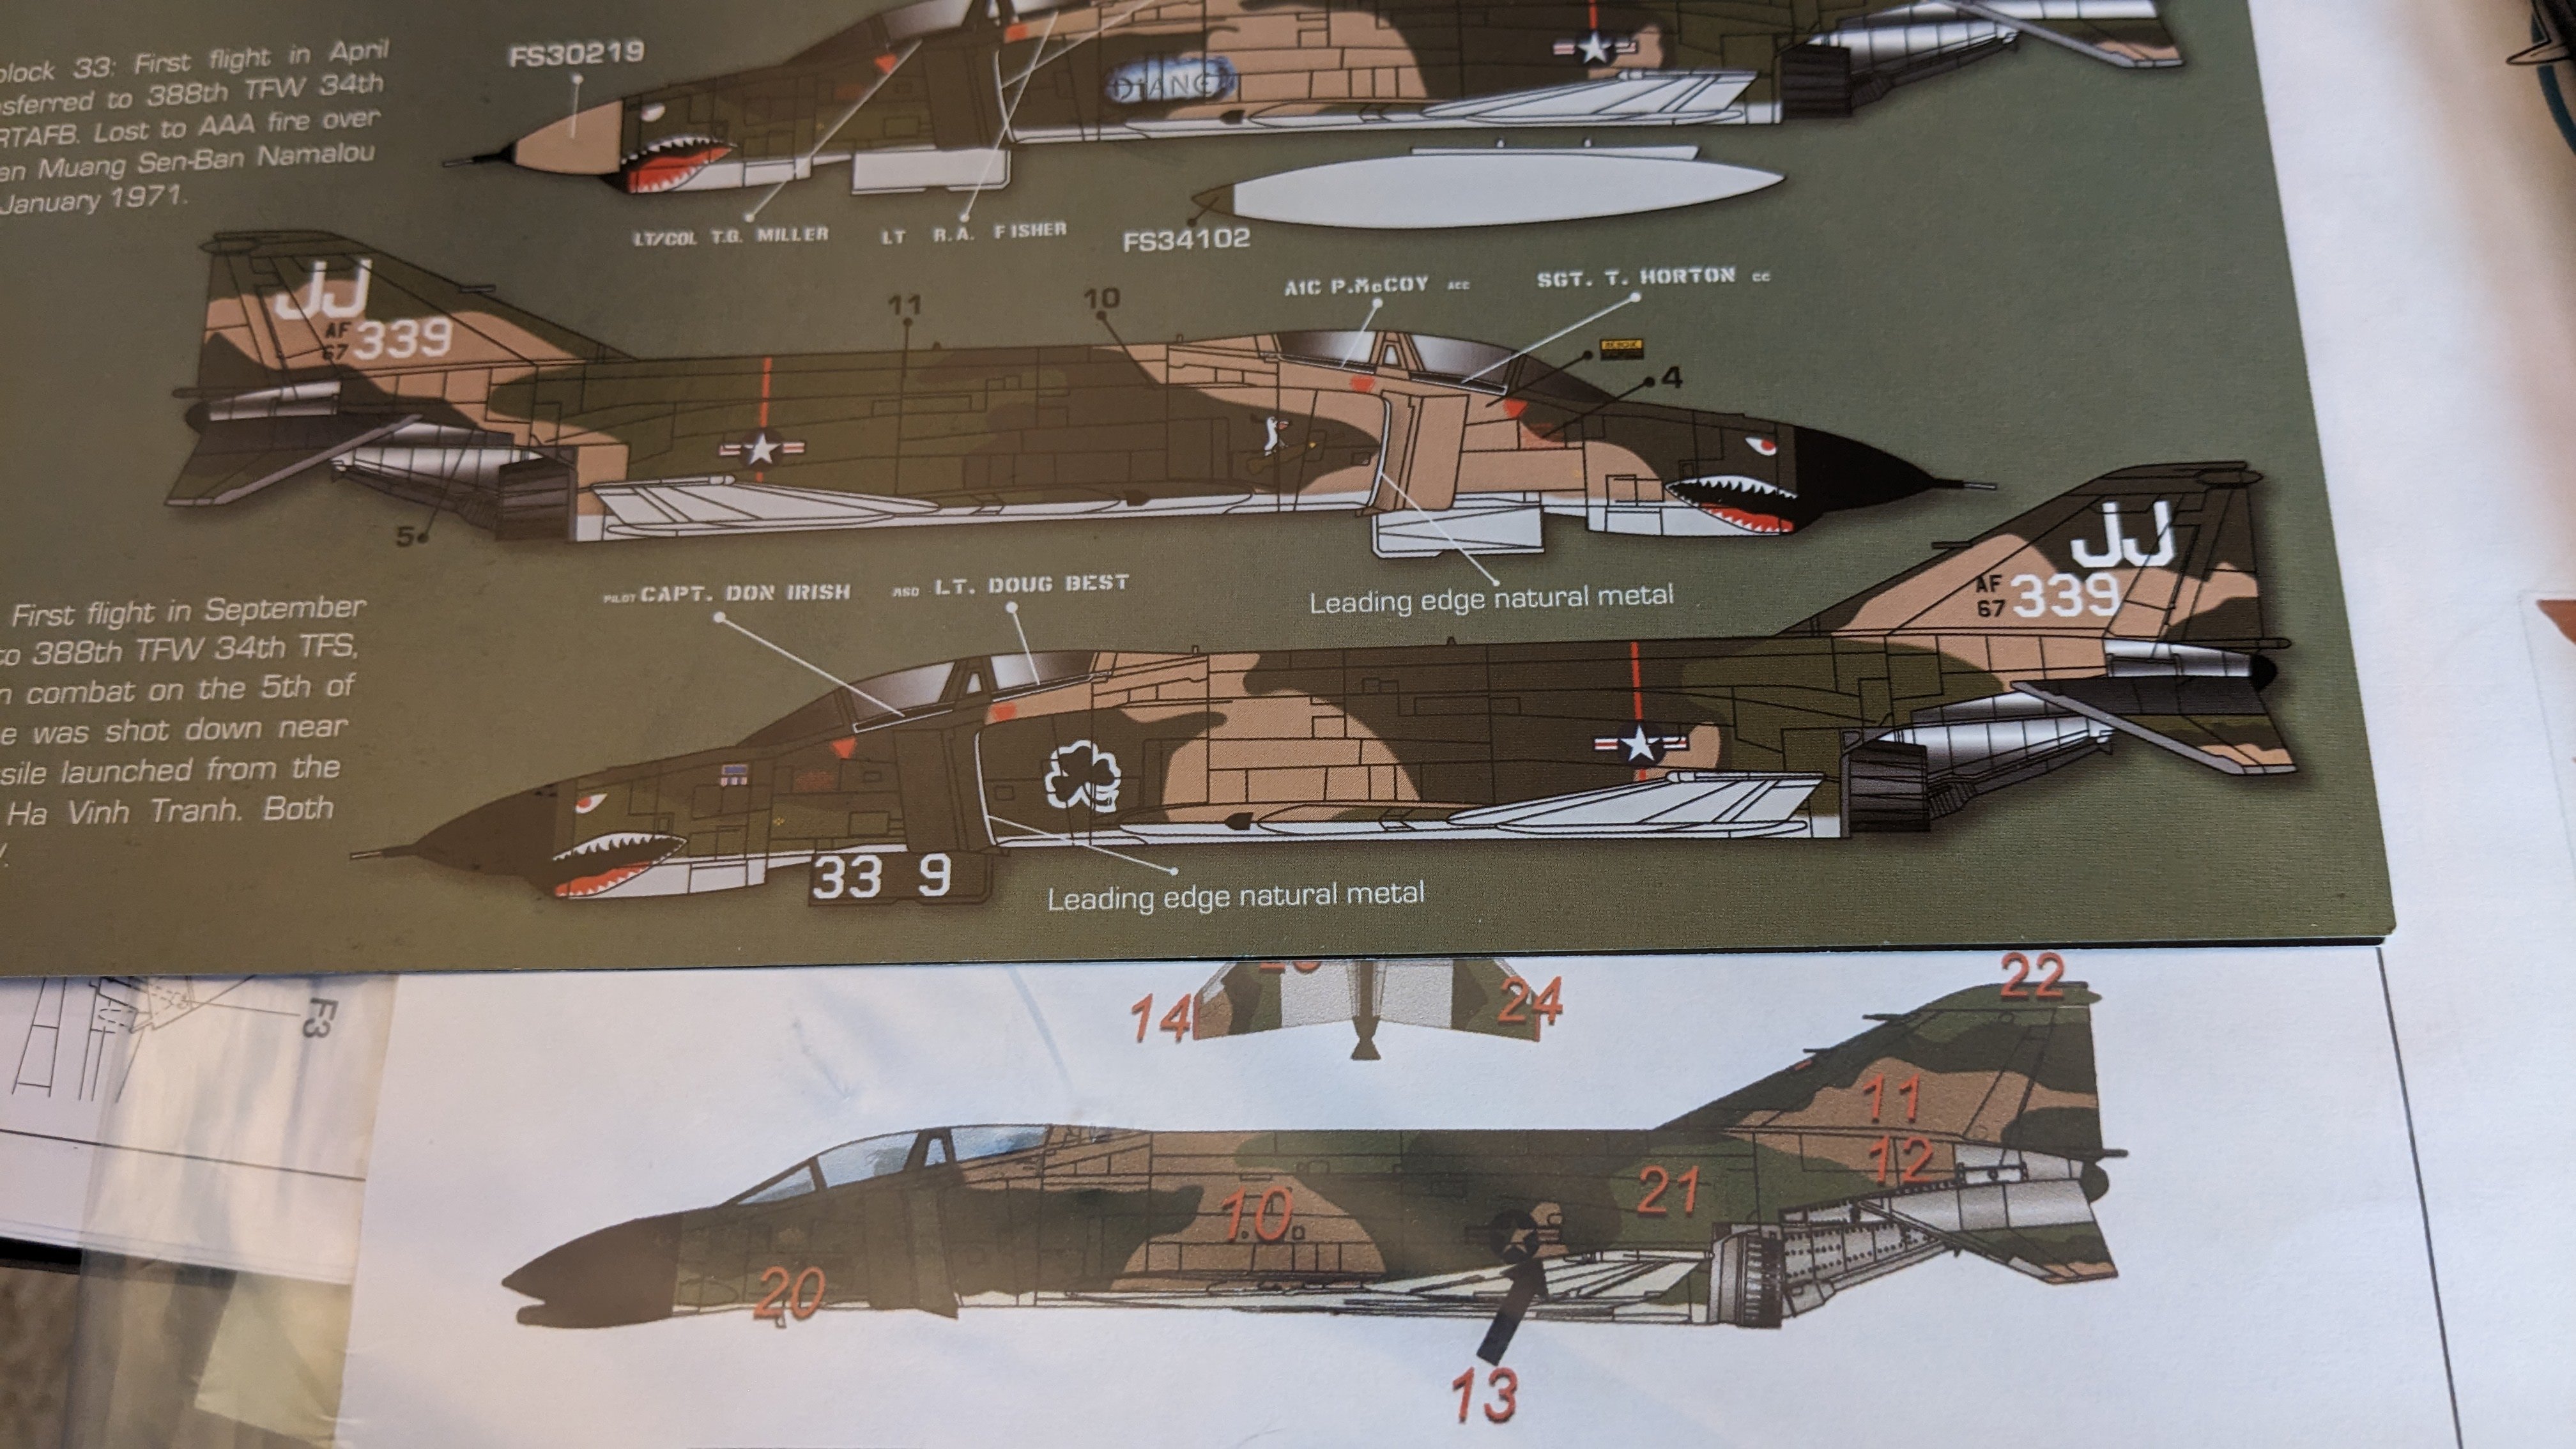
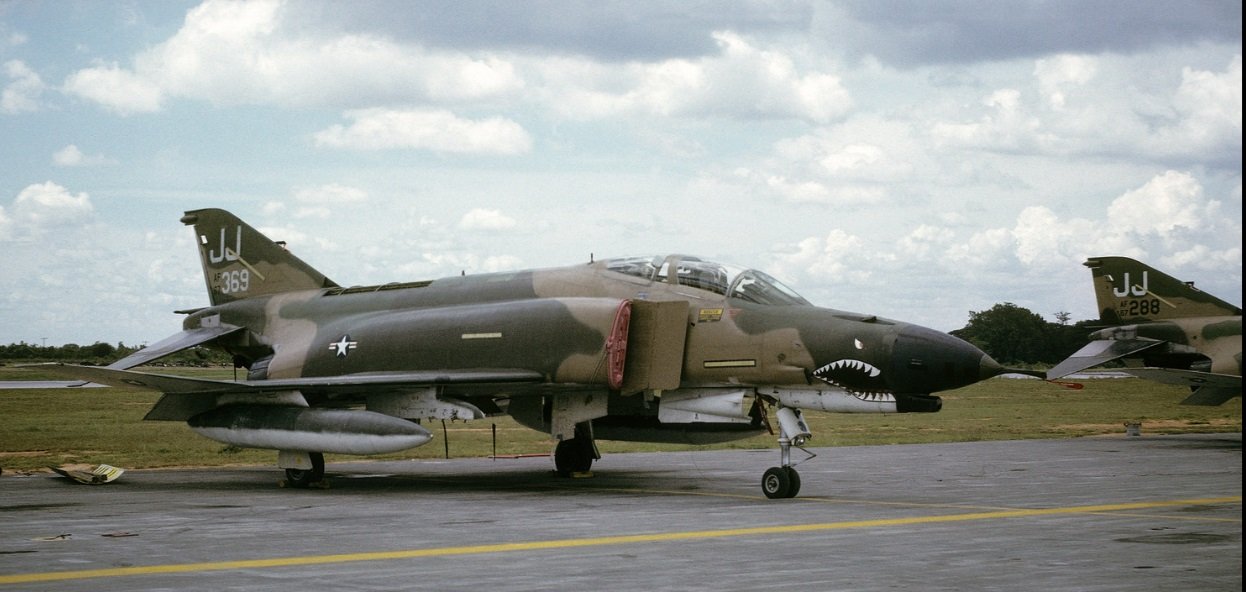
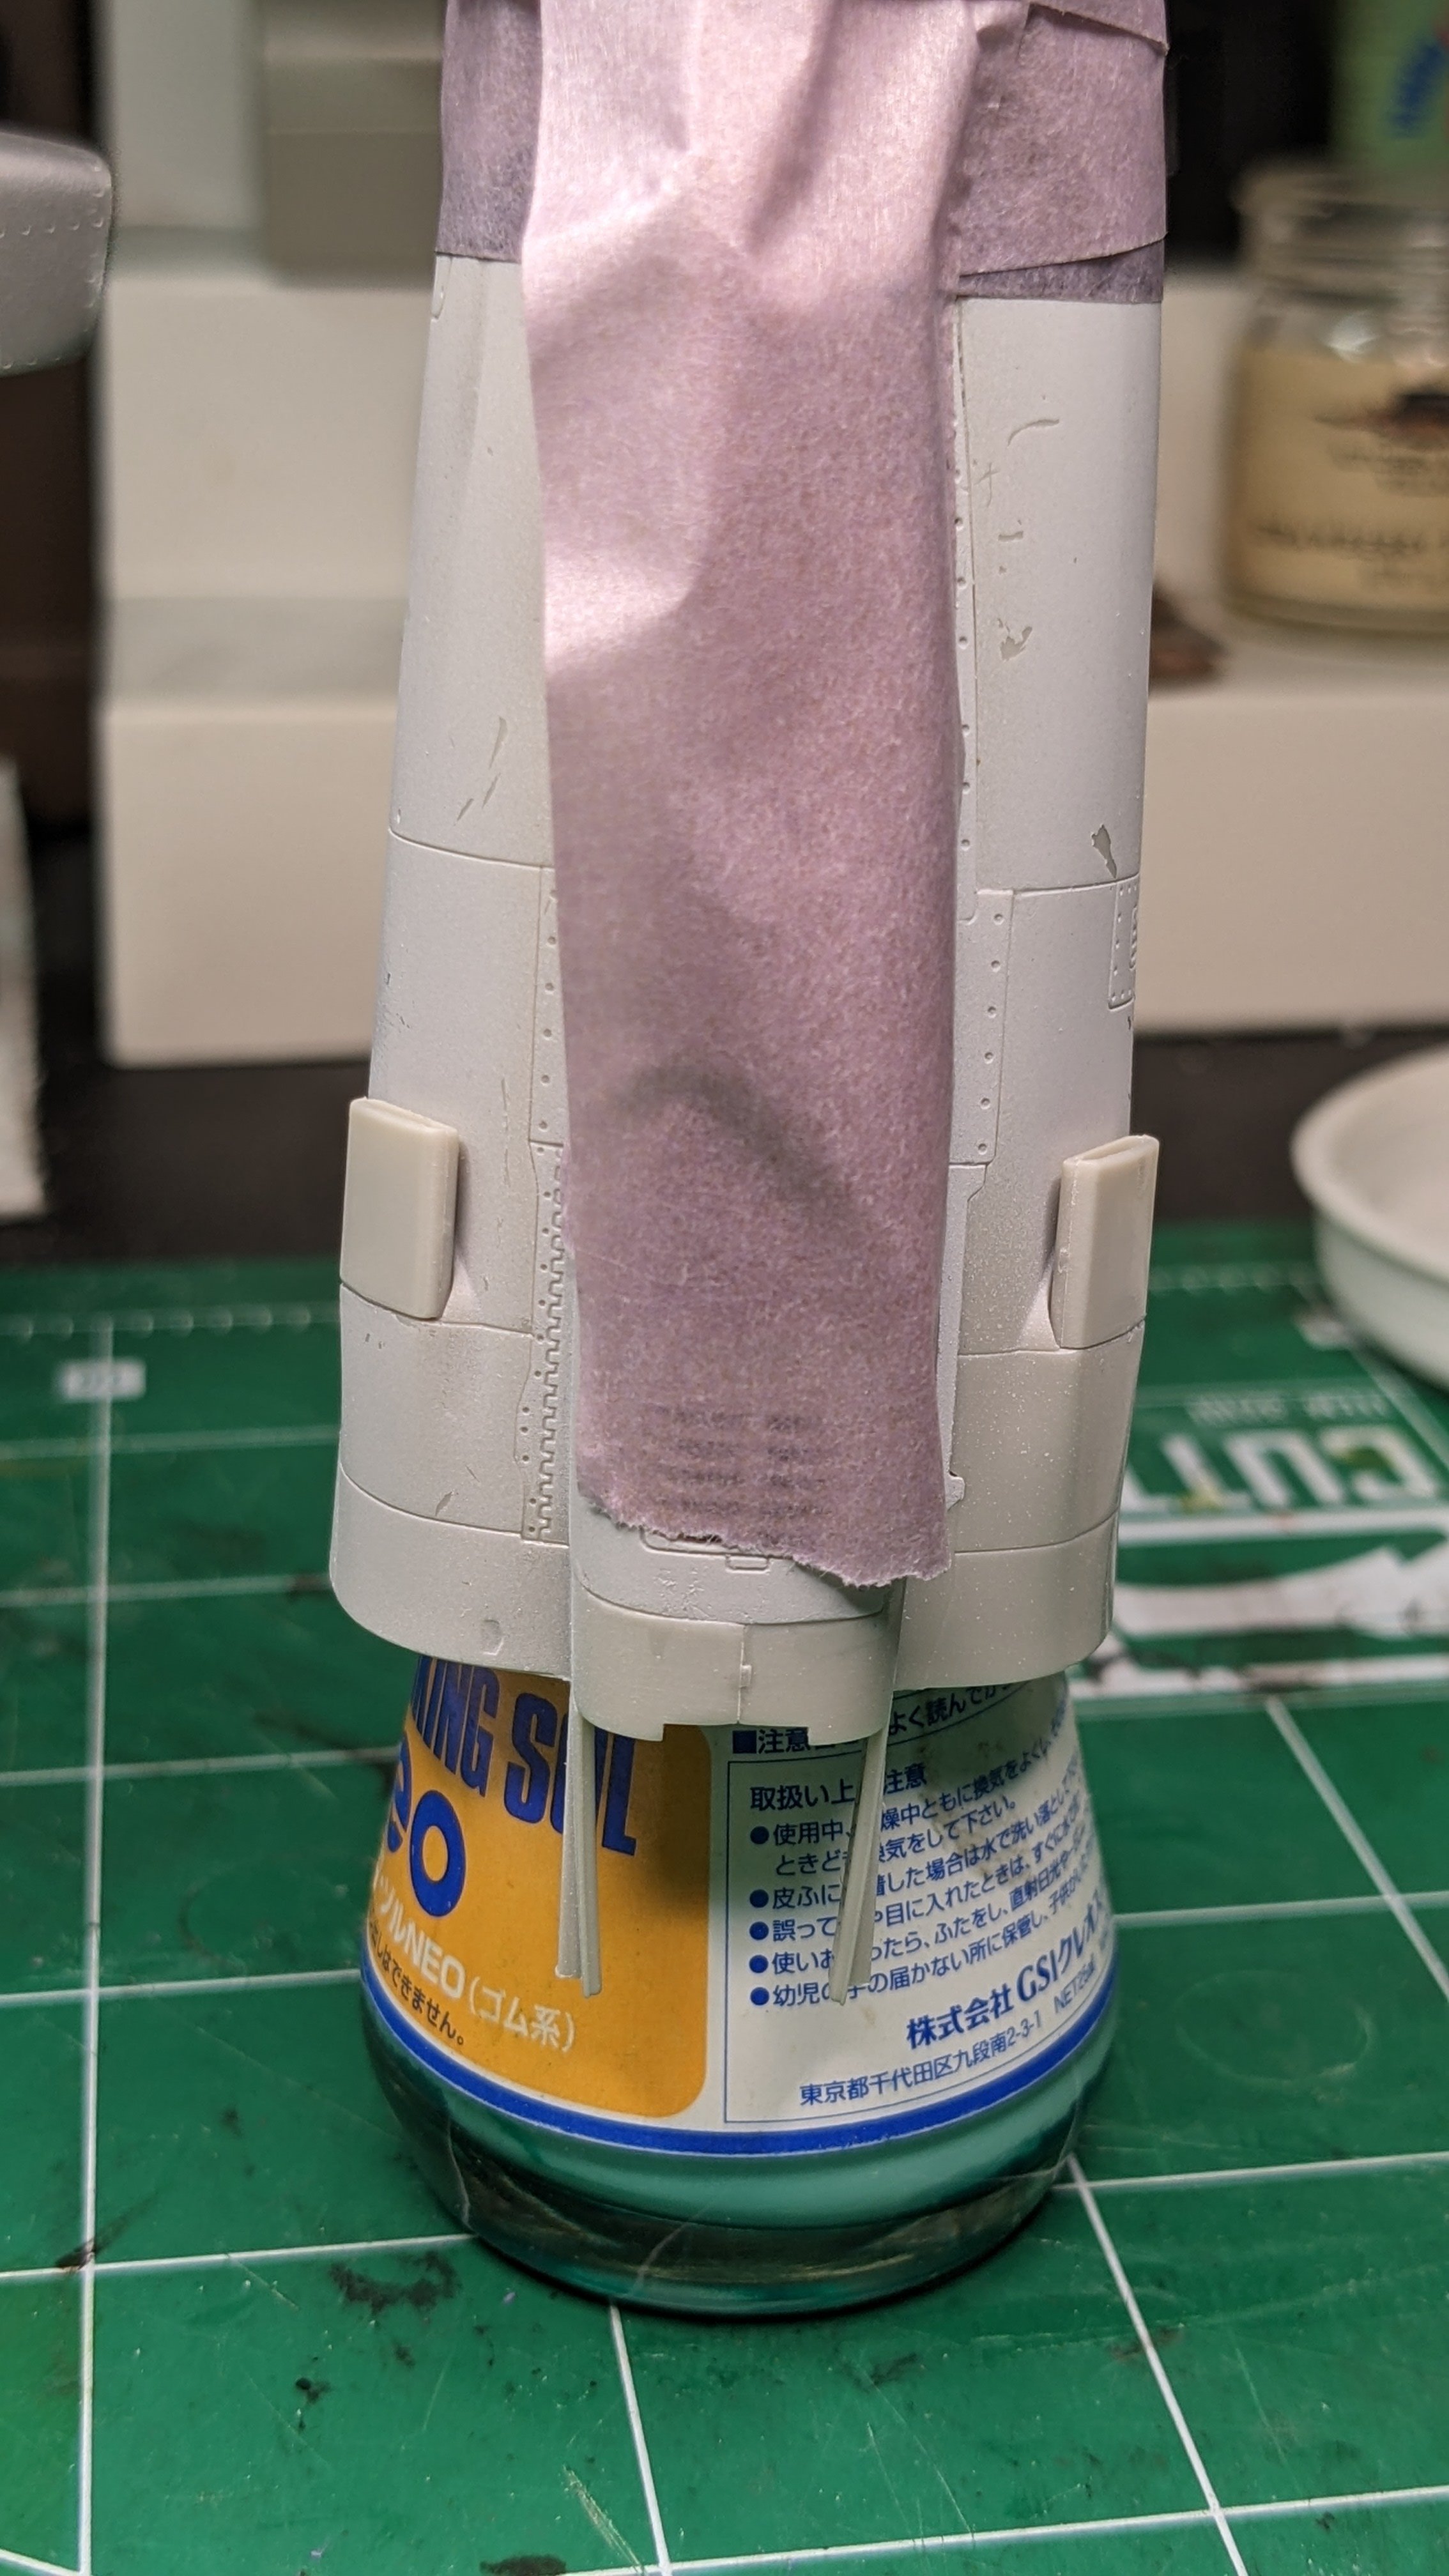
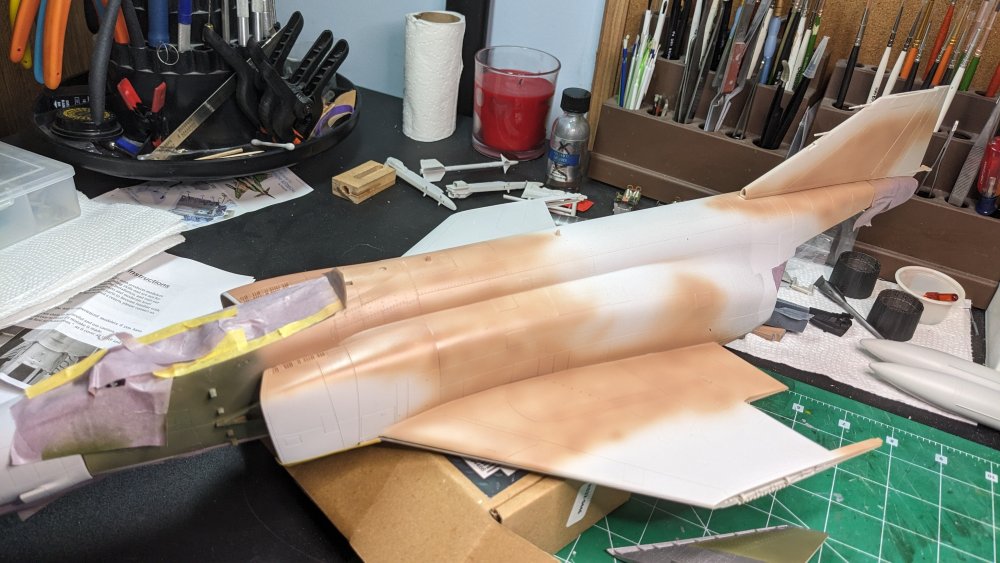
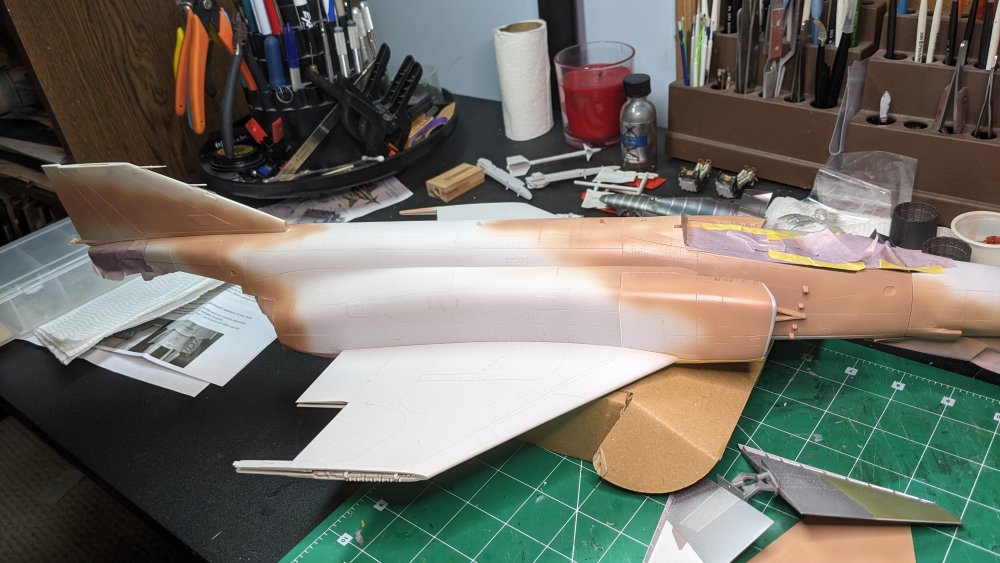
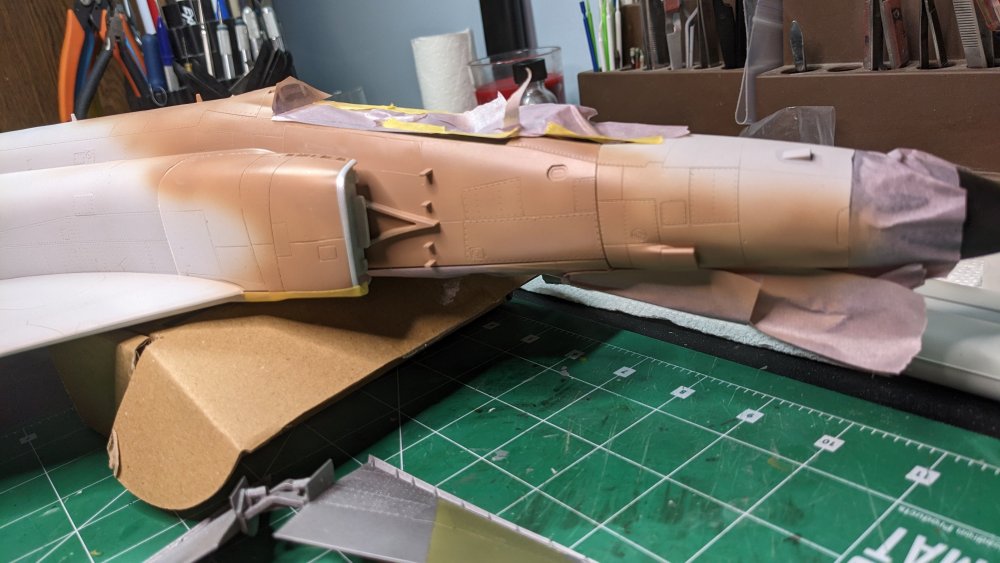
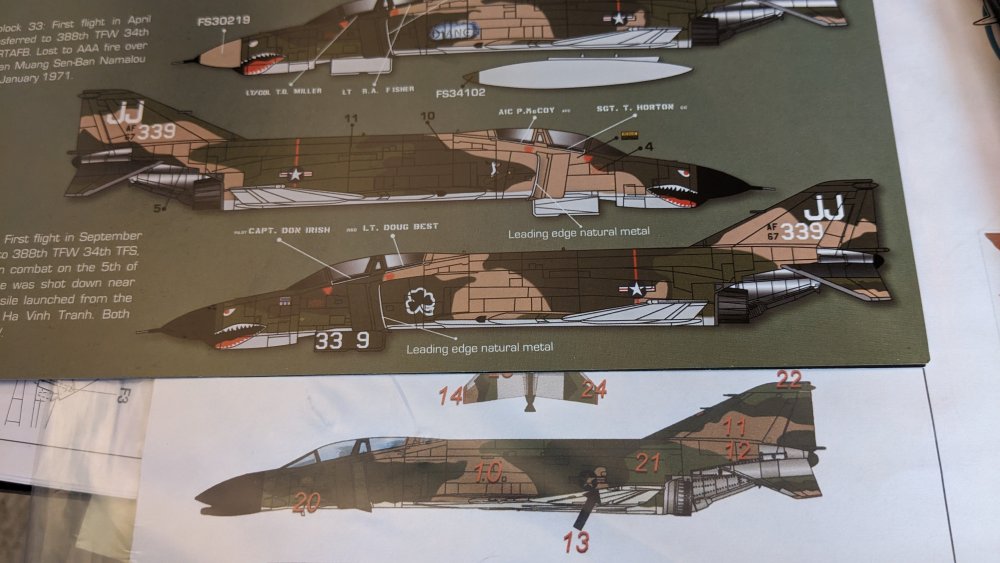
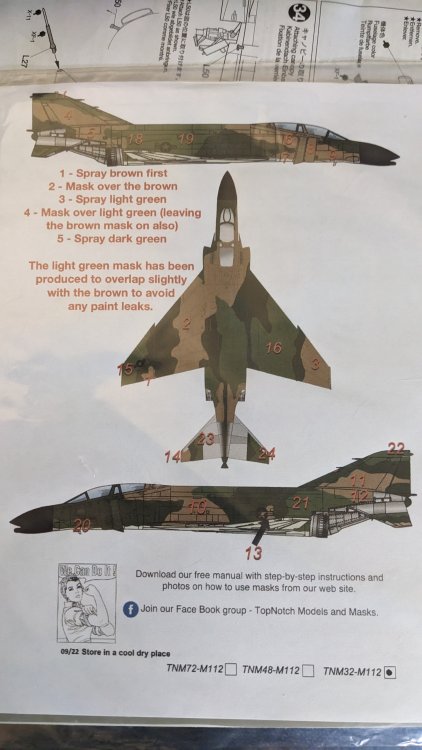
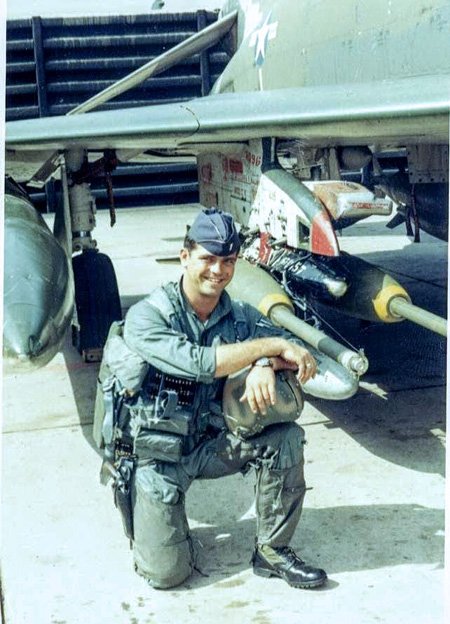
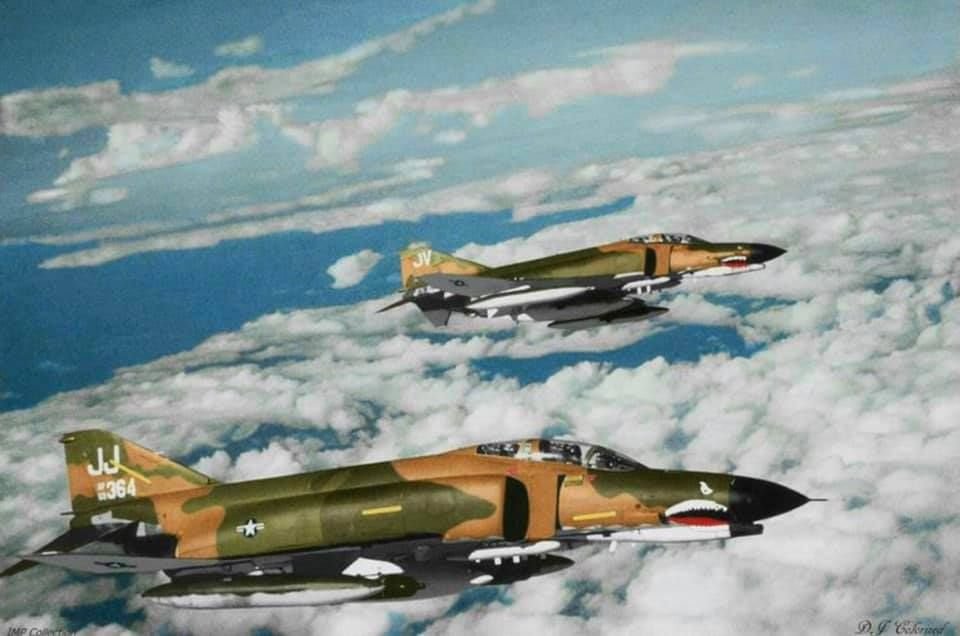
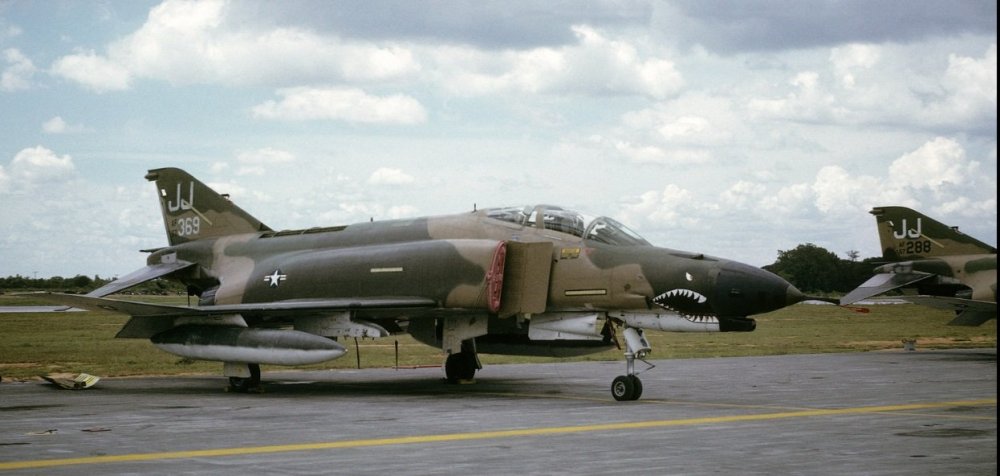
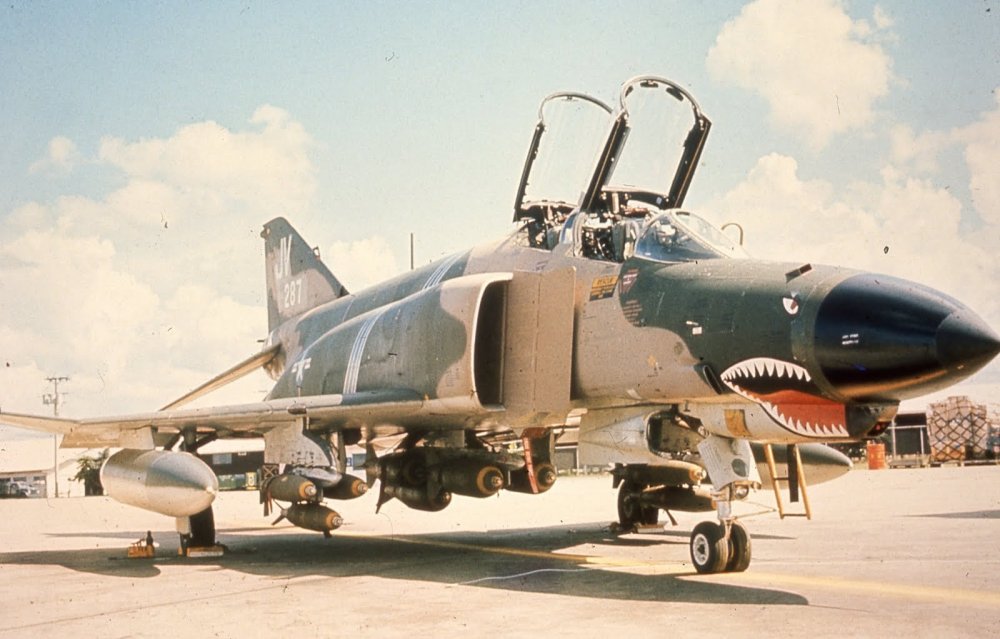
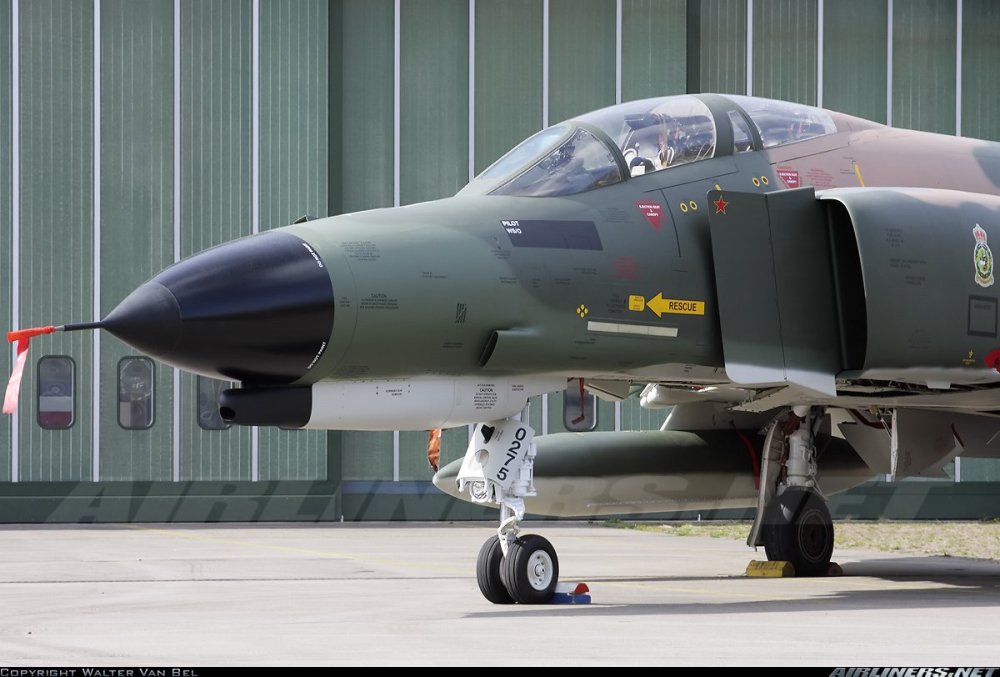
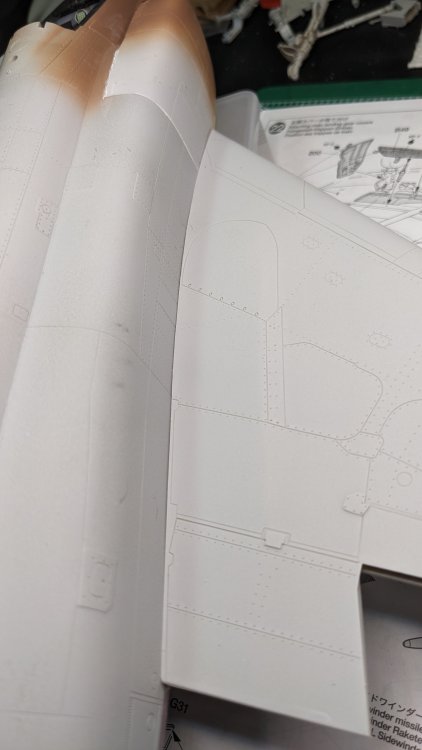
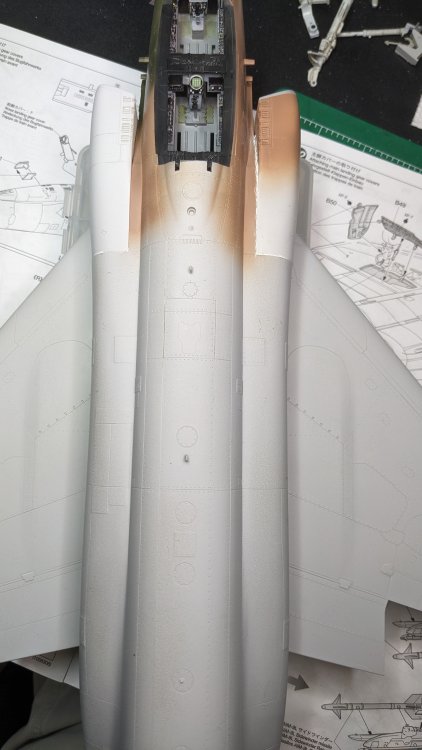
Finally getting to the painting stage at last. Taking a look at both the Top Notch Camo Mask instructions and the Zotz decal instructions I think I may have a minor problem to address: The Masks look to be for a short-nosed Phantom II, while the decals show a long-nose Phantom. Hmmm. I have not opened up the mask sheet to look at the pieces. Should not be a big problem to extend the nose masks if necessary. Here is the full sheet: Camo Painting has started! Sprayed the brown on the areas indicated. This paint work is pretty typical of the 'white-basing' I do when I'm attempting to replicate faded paint work. More on this later. On each side of the fuselage the splitter supports will need to be thinned down. Compared to pictures I've seen; these are way over scale. Time to grab a sanding stick... Close-up of the nose: To Fade or not to Fade, that is the question... HOWEVER, found a few more pictures on this amazing resource called the Internet. Neither plane looks to have very faded paint. I'm starting to re-think the fading. Between thinning the splitter supports and reworking the intake seam on the right side, I have some touch painting to do anyway. In the pictures below the two planes are wearing a slightly different camo pattern - most noticeable on the nose and right intake. The lower aircraft and the bottom picture are wearing what looks to be the scheme on the Zotz decal sheet. Chaff/Flare dispensers: Best as I can tell from just a few pictures, the 388TFW Phantoms did not have the chaff/flare dispensers (AN/ALE-40) on the pylons. If anyone has pictures to the contrary, please do share!! The pylons pictured below do not have the systems. Below is also a really nice view of the two-tone radome nose cone. Matte tip and glossy base. Notice the hard line on the camo and a general lack of fading. And just a quick look at some of the stenciling head on a general Phantom...


-
Your dioramas are like still-life's. Very cool looking like a moment-in-time snapshot. Kind of eerie without any people in the picture, but I think that is what I like about them - they capture a moment in time. Excellent work!
-
739 plastic parts, yep. 3 Springs, ok. 35 screws um, sure. Wait, what? 10 CHAINS???
-
F-15DJ Kai or Eagle Plus- Finished!
CANicoll replied to BlrwestSiR's topic in The Great Twins Broup Bluild
Brilliant!! Wish I had thought of that on many previous builds.... -
Jeff, Congratulations on your daughter's promotion! That is amazing. Thanks for sharing!!
-
1/32 Hobby Boss B-24D HALF PRICE at BNA
CANicoll replied to CANicoll's topic in Modelling Discussion
I'll second that!! -
1/32 Hobby Boss B-24D HALF PRICE at BNA
CANicoll replied to CANicoll's topic in Modelling Discussion
Wow, no kidding! I wonder how many they had in stock at the beginning of the sale. Out of stock now... -
Gents, thank you! I have been using the Medea cleaner for the acrylics like Vallejo, a bit of Model Master acryl thinner and cleaner that I use for the MM Acryl, but the Medea works fine for that, too. Like Peter, I try and stay within the manufacturers range. Simple lacquer thinner from the DIY store for all of the lacquers such as MRP, Alclad, and Model Master Metalizers. I usually do strip down my airbrush after every paint session - the Iwata HP-C is so easy, the GREX is a bit more of a challenge as the needle comes out, but I prefer not to pull it back through the body, I do the 'reverse flush' as recommended, but that does not remove all of the paint residue. The GREX nozzle is a bit harder to remove than the Iwata so I find myself not doing it as often as I should. I do have some of the Iwata Blue airbrush lube that I gingerly apply to the needles that I slip back into the airbrush body.
-
From the BNA Website: Take flight with our latest flash sale! For a limited time, enjoy a massive 50% off on the iconic 1/32 Consolidated B-24D Liberator by Hobby Boss. This is your chance to own a piece of aviation history at an exceptional value. Link here. $77.81 Please note: To allow as many enthusiasts as possible to enjoy this offer, purchases are limited to one kit per customer. Hurry, this offer is only available while stocks last!
-
Ernie, Just saw this... whoa. SO CLOSE, but glad to hear you and all are ok. Wow...
-
OMG! How many pieces are in this kit???? Looks fantastic!
-
Very cool to see the progress! Thanks for sharing.
-
RESKIT F-4 Sidewinders, Sparrows, Pylons unboxed 1/32
CANicoll replied to CANicoll's topic in Aircraft Reviews
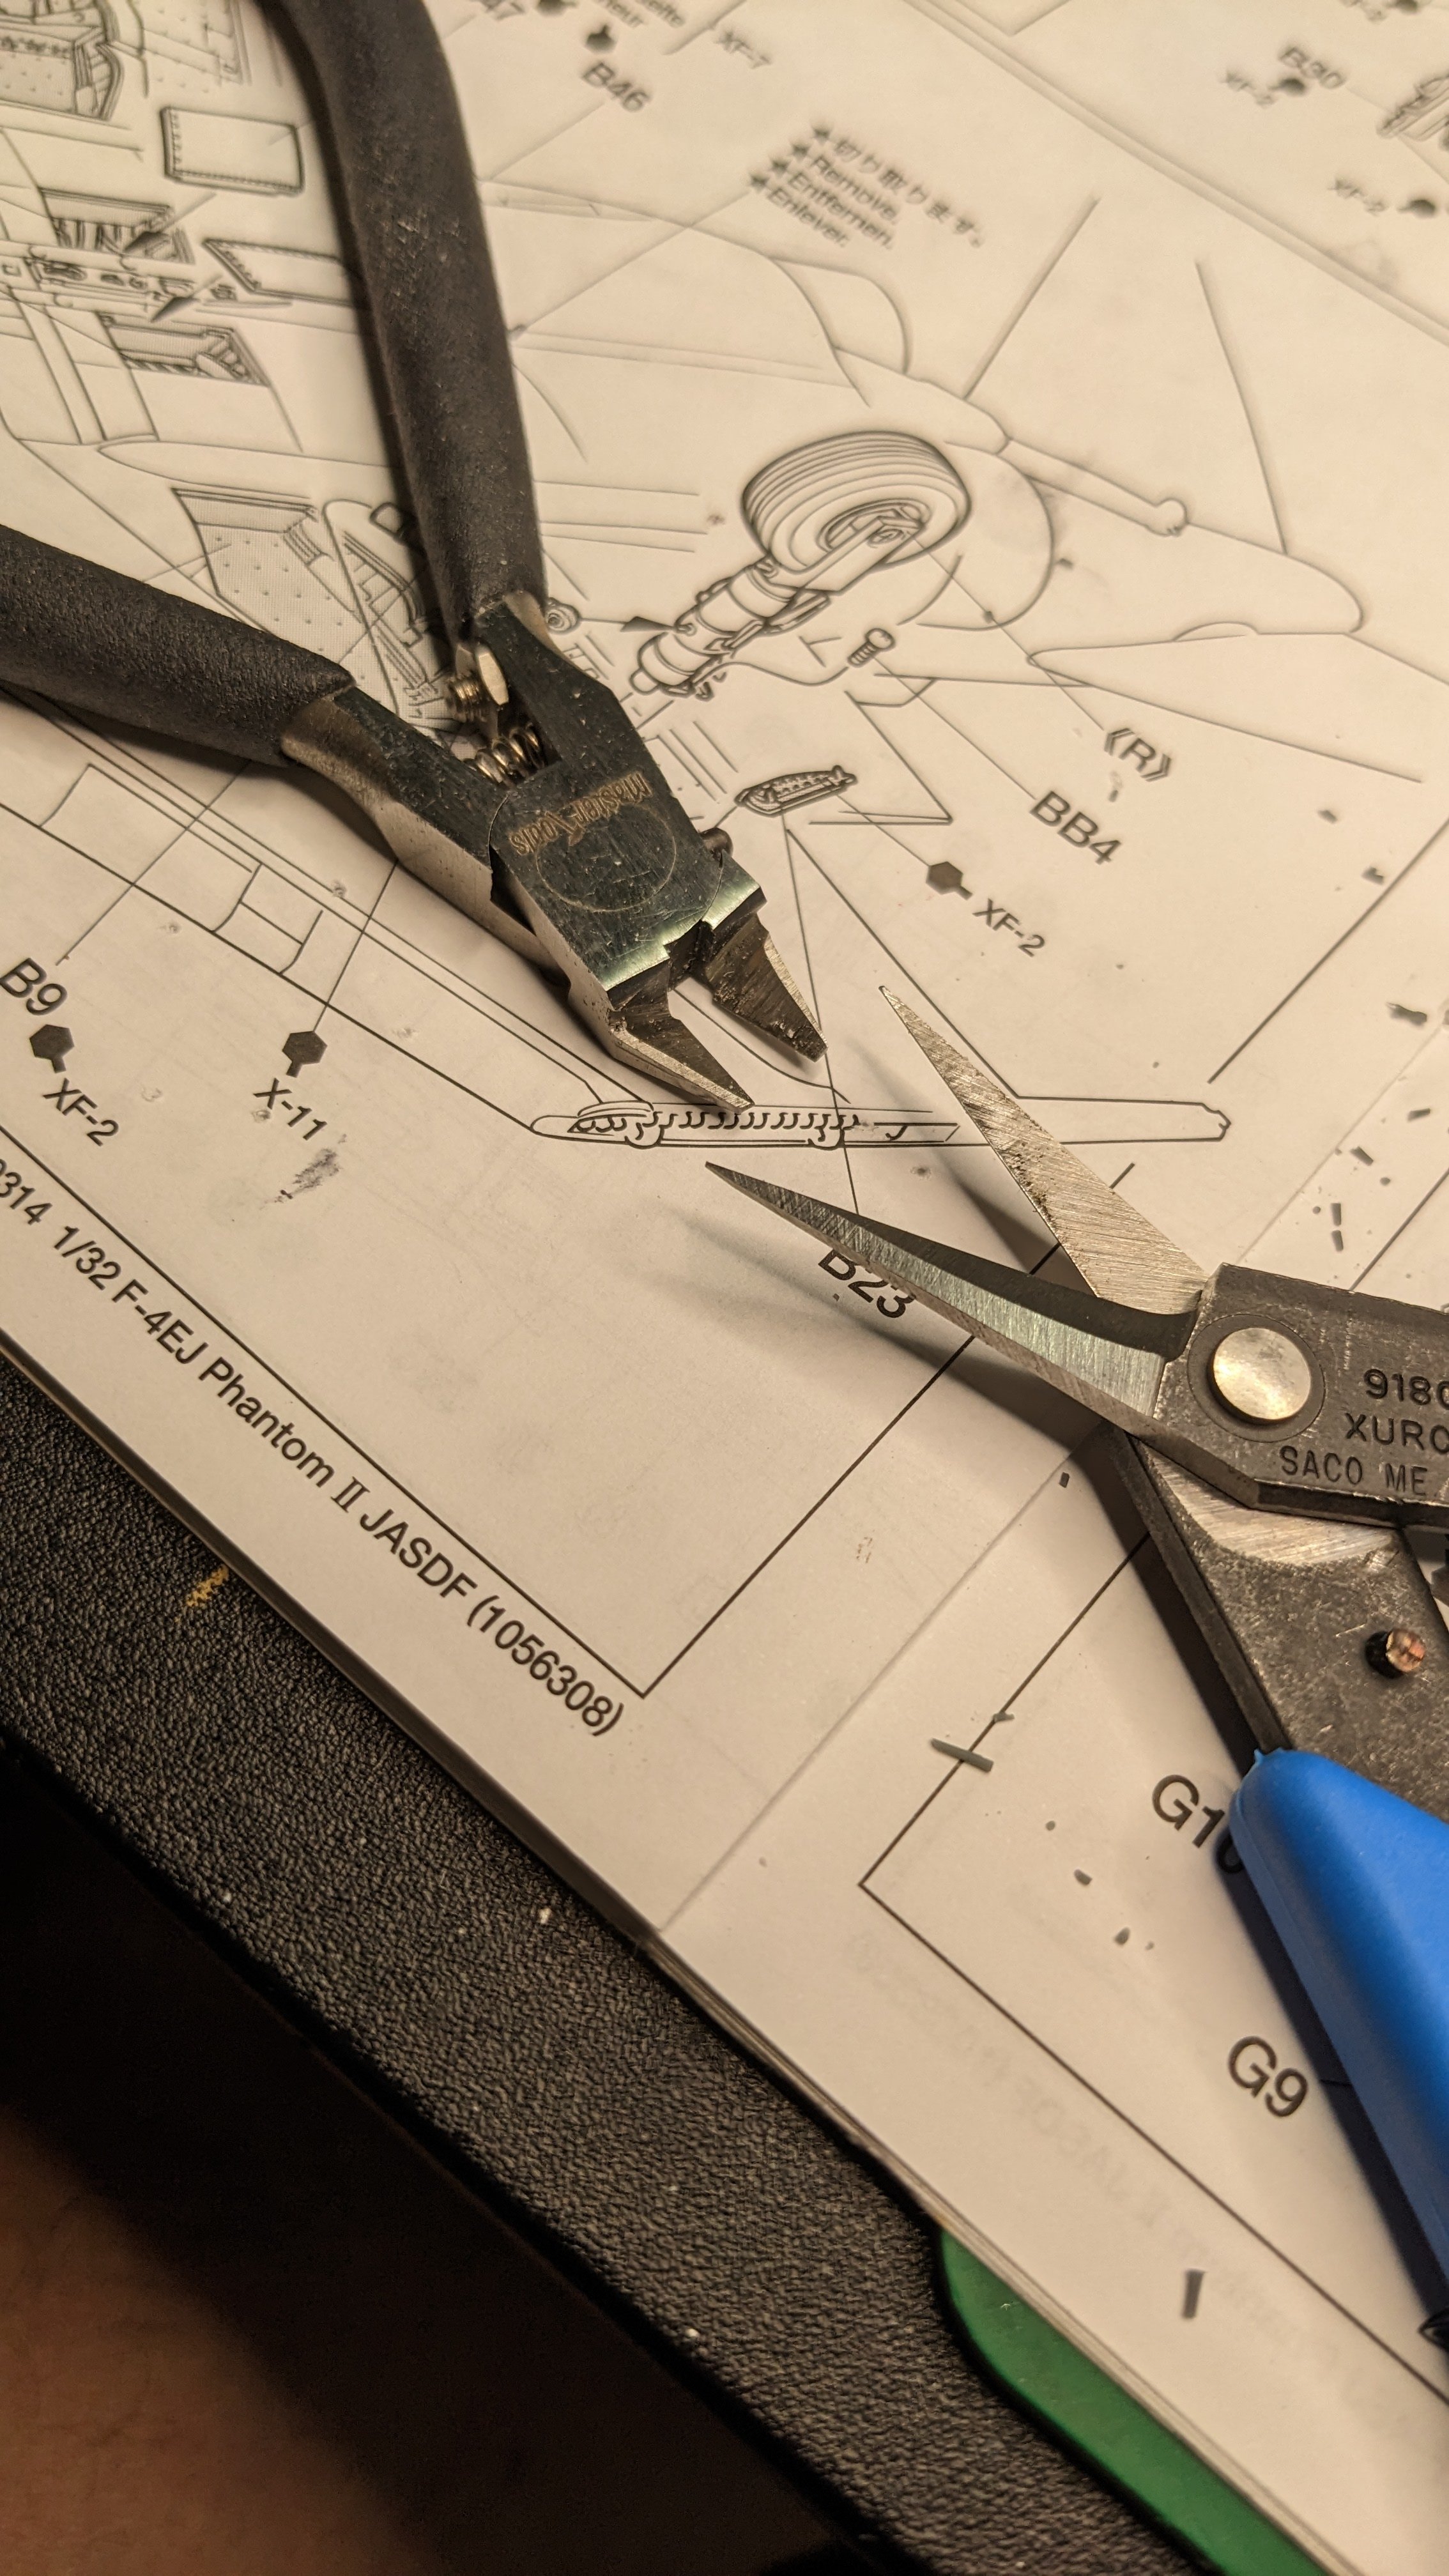
Freed the weapons pylons from their 3D printed frames. I found three tools very useful in separating the part from the 3D printer links: Xuron 9180 PE sheers (right side of photo), nippers, and a knife with an #11 blade. Where the Xuron scissors don't fit, the #11 blade does a nice job on the thin connections. The #11 blade does a good job of cutting off any nubs (shaving) and then a final smoothing with a medium/fine grit sanding board. So far so good!

-
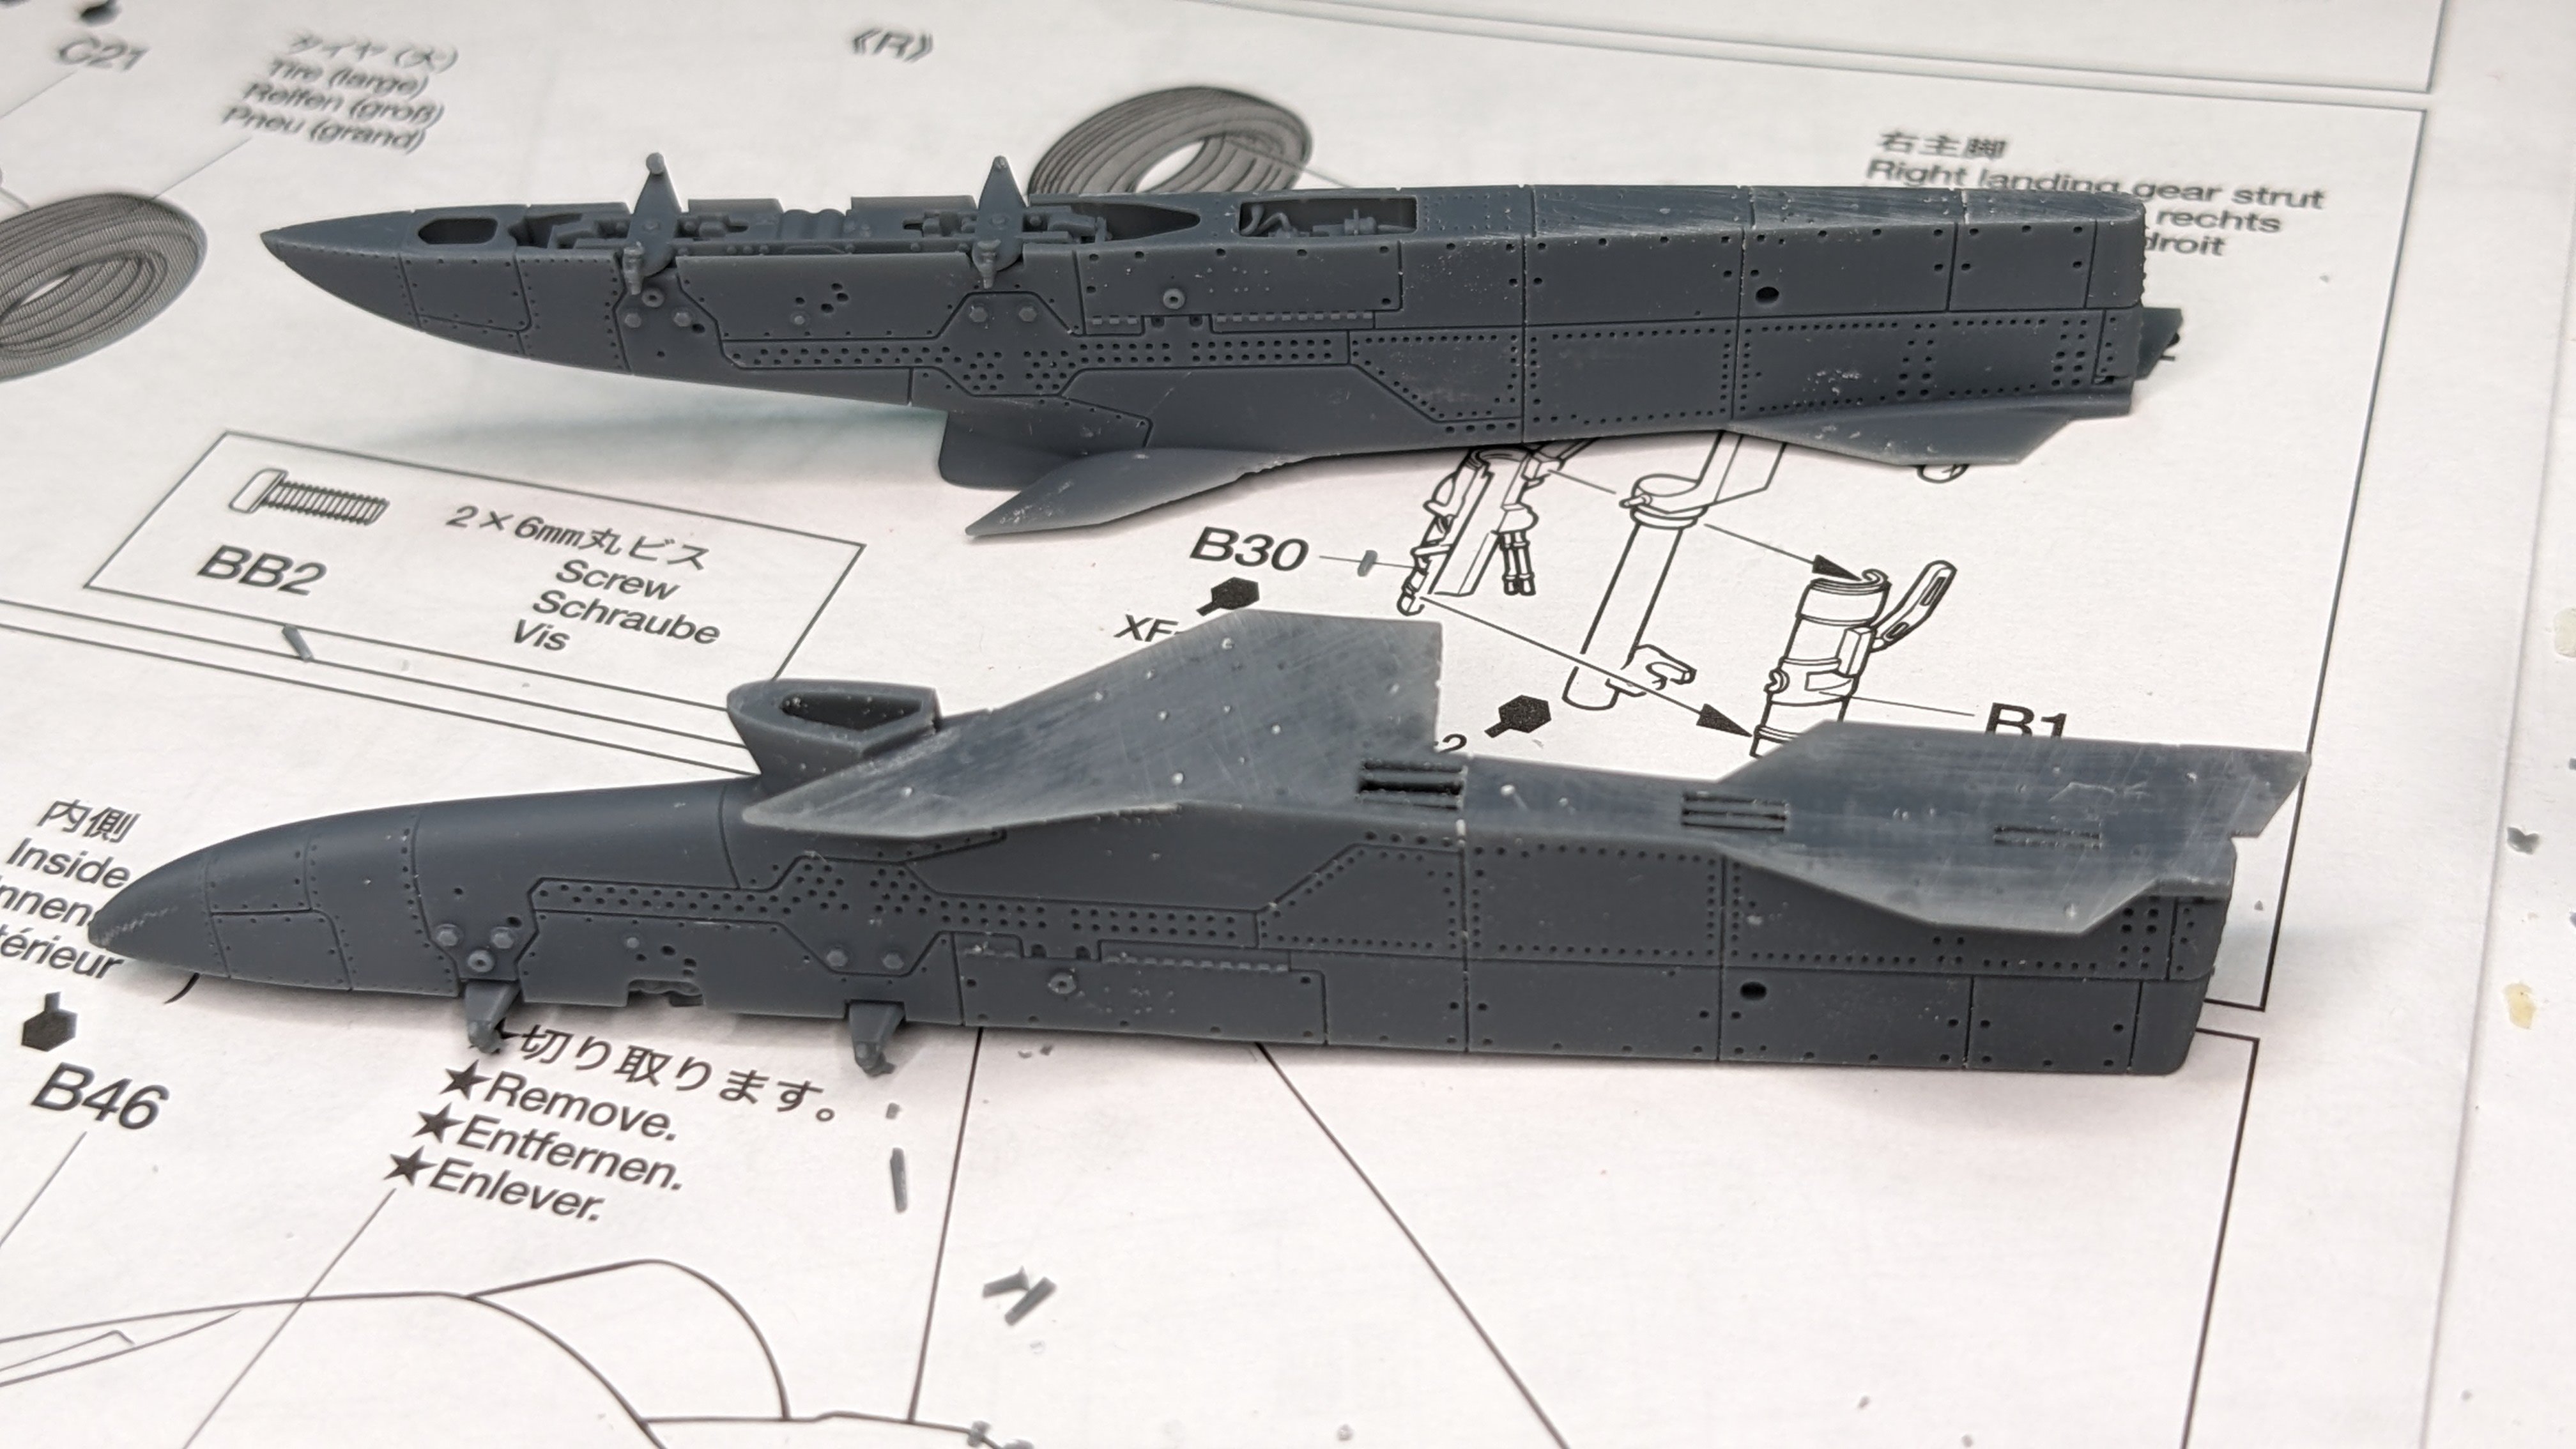
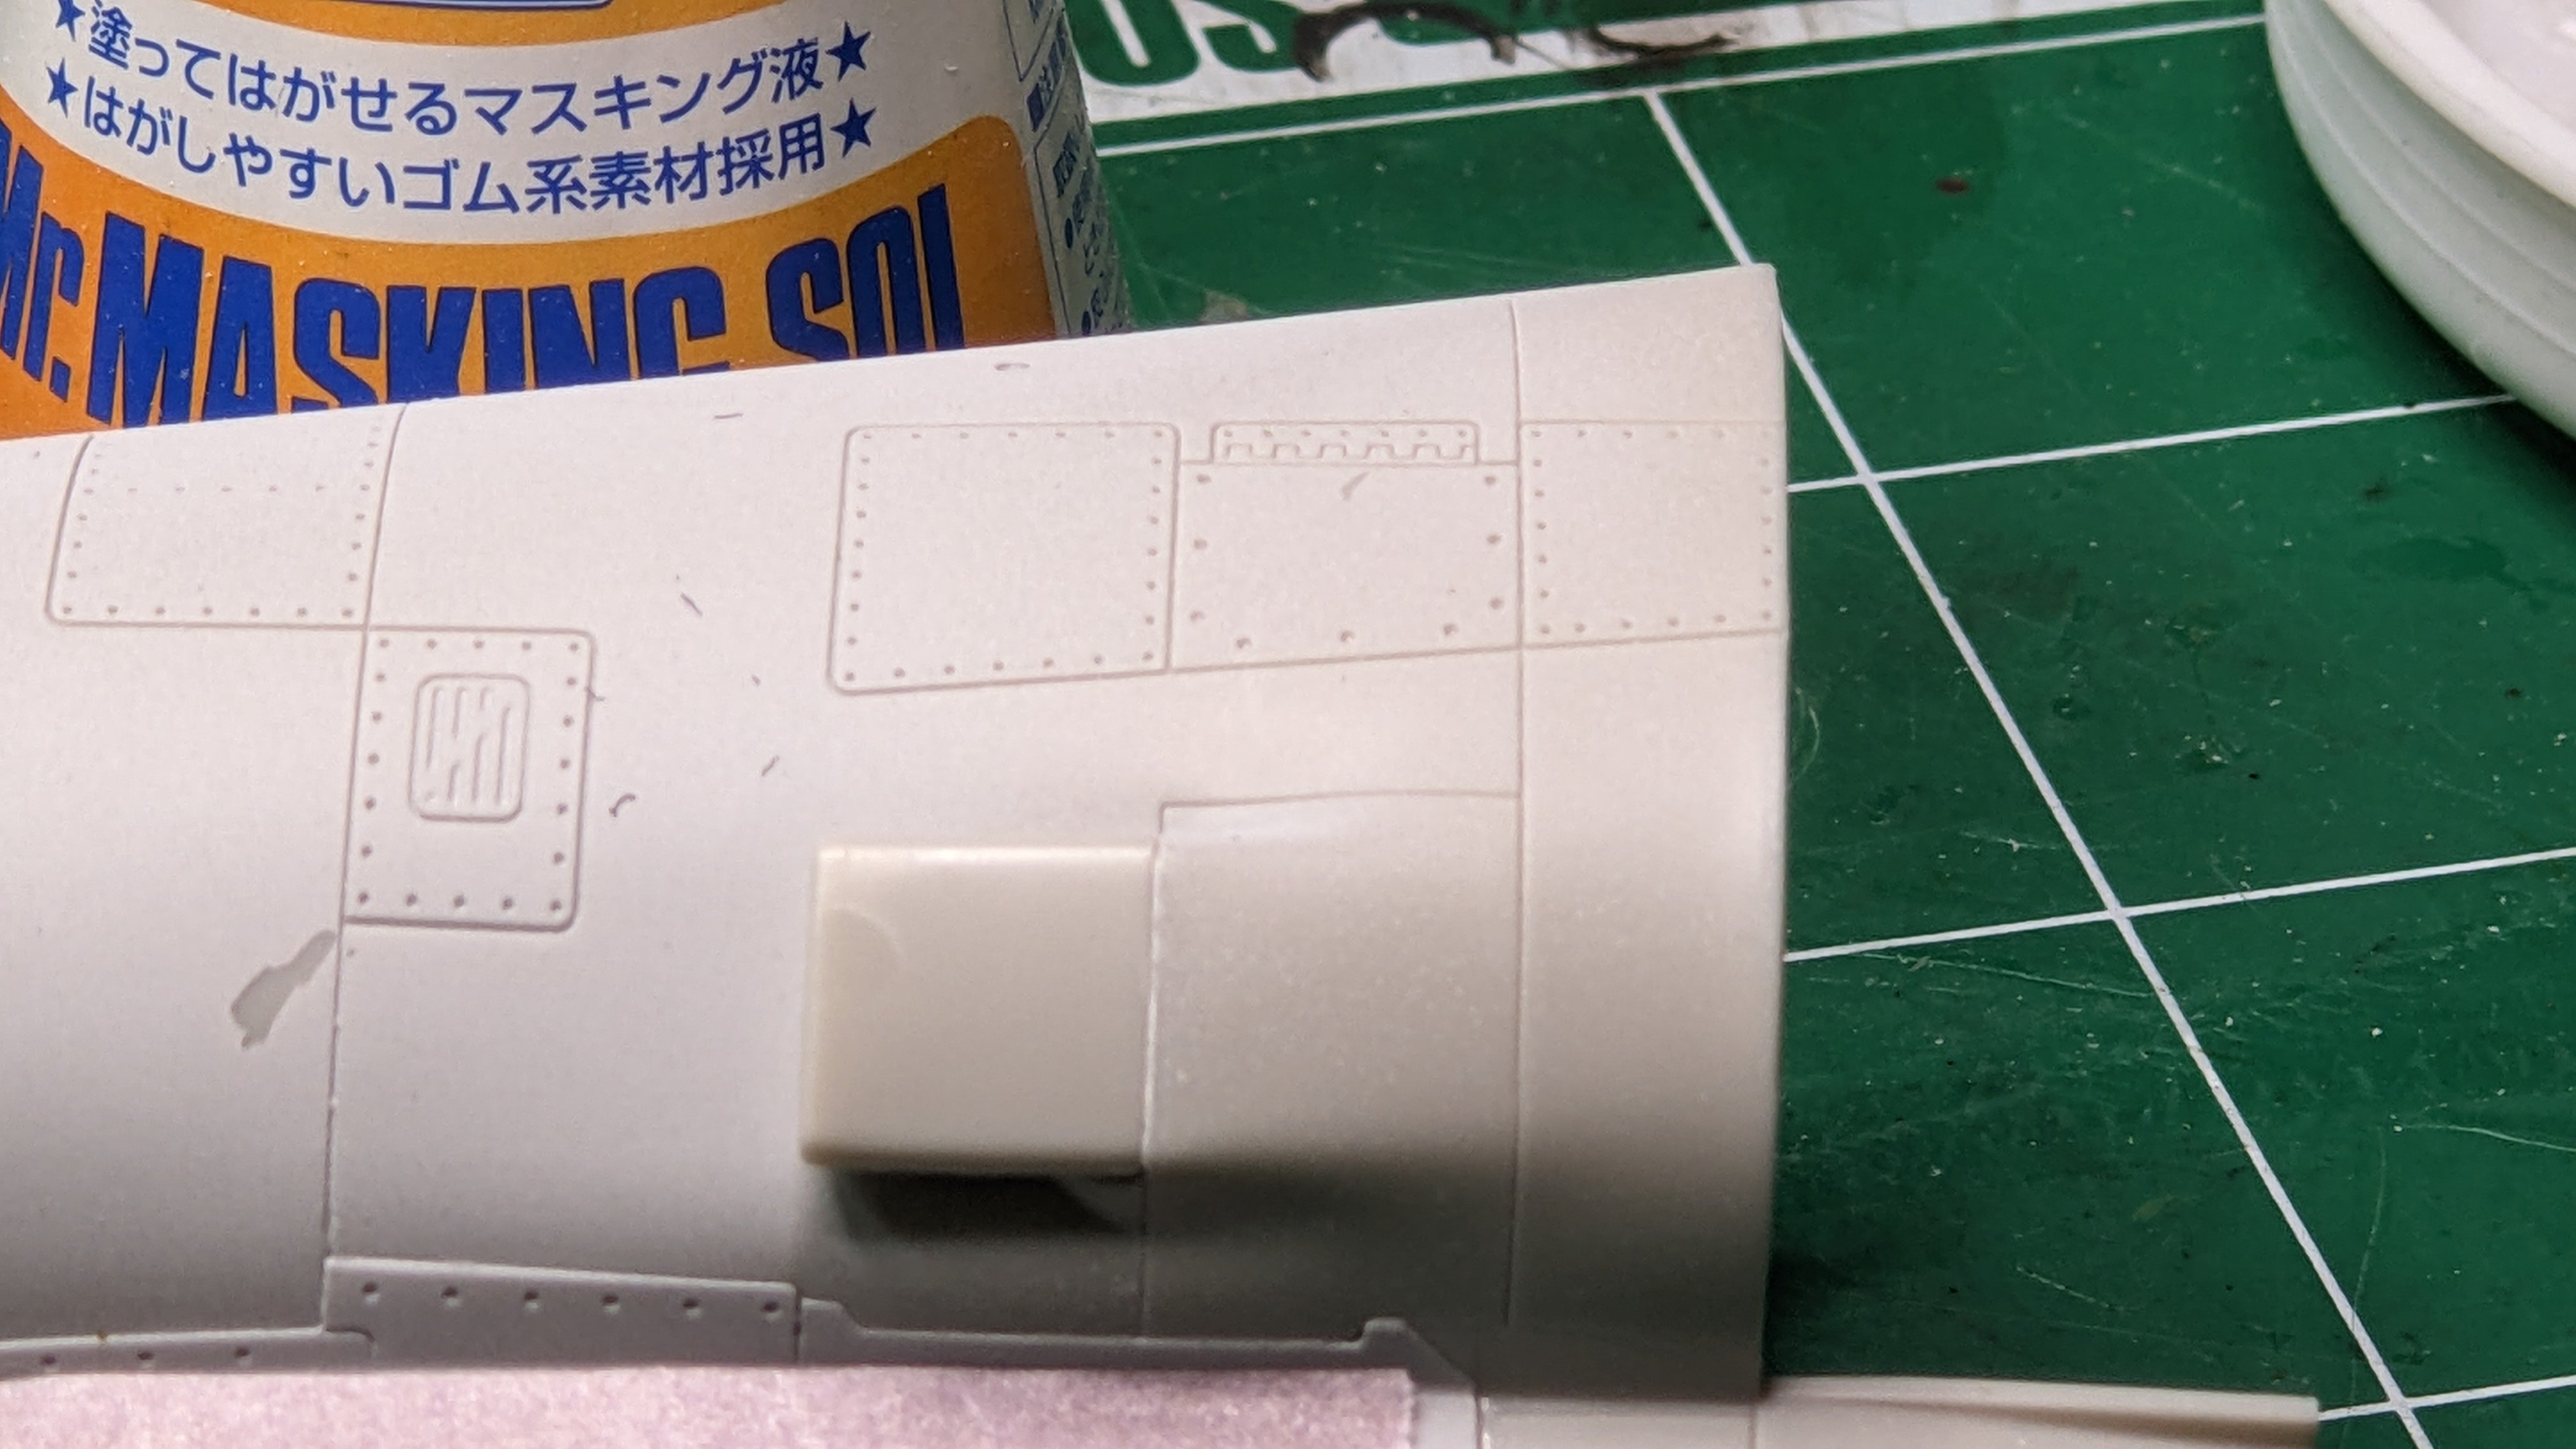
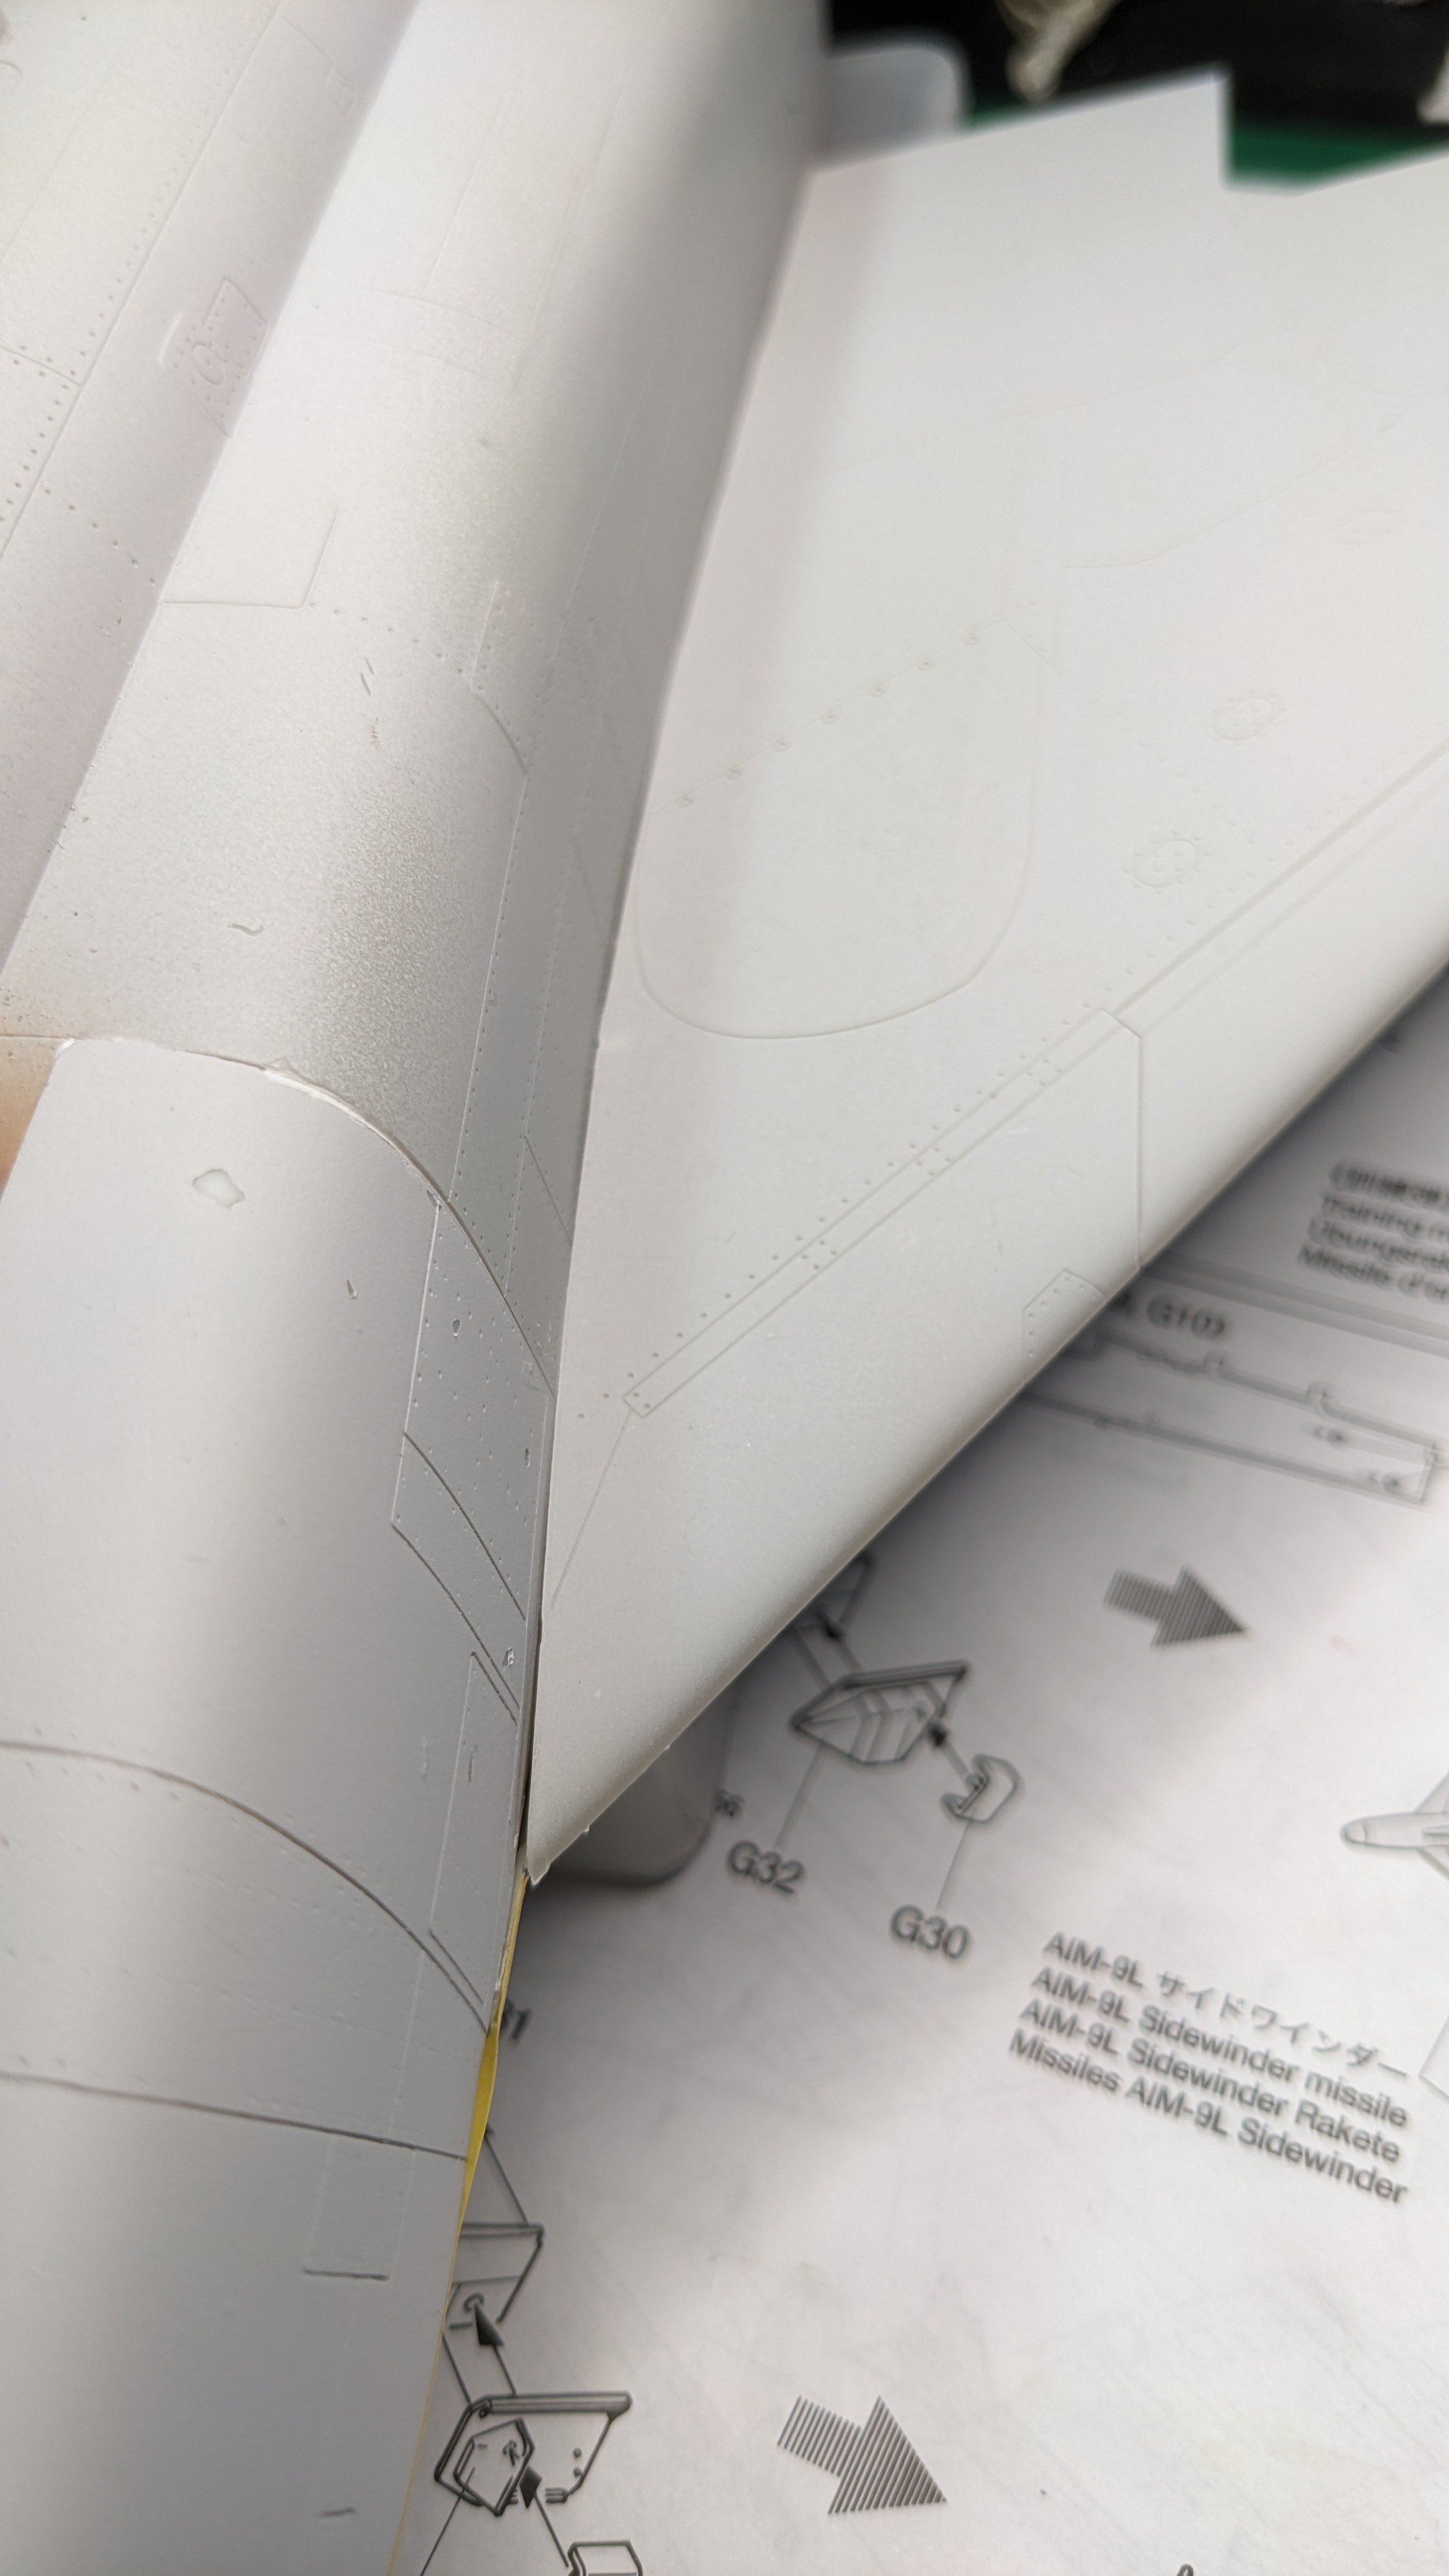
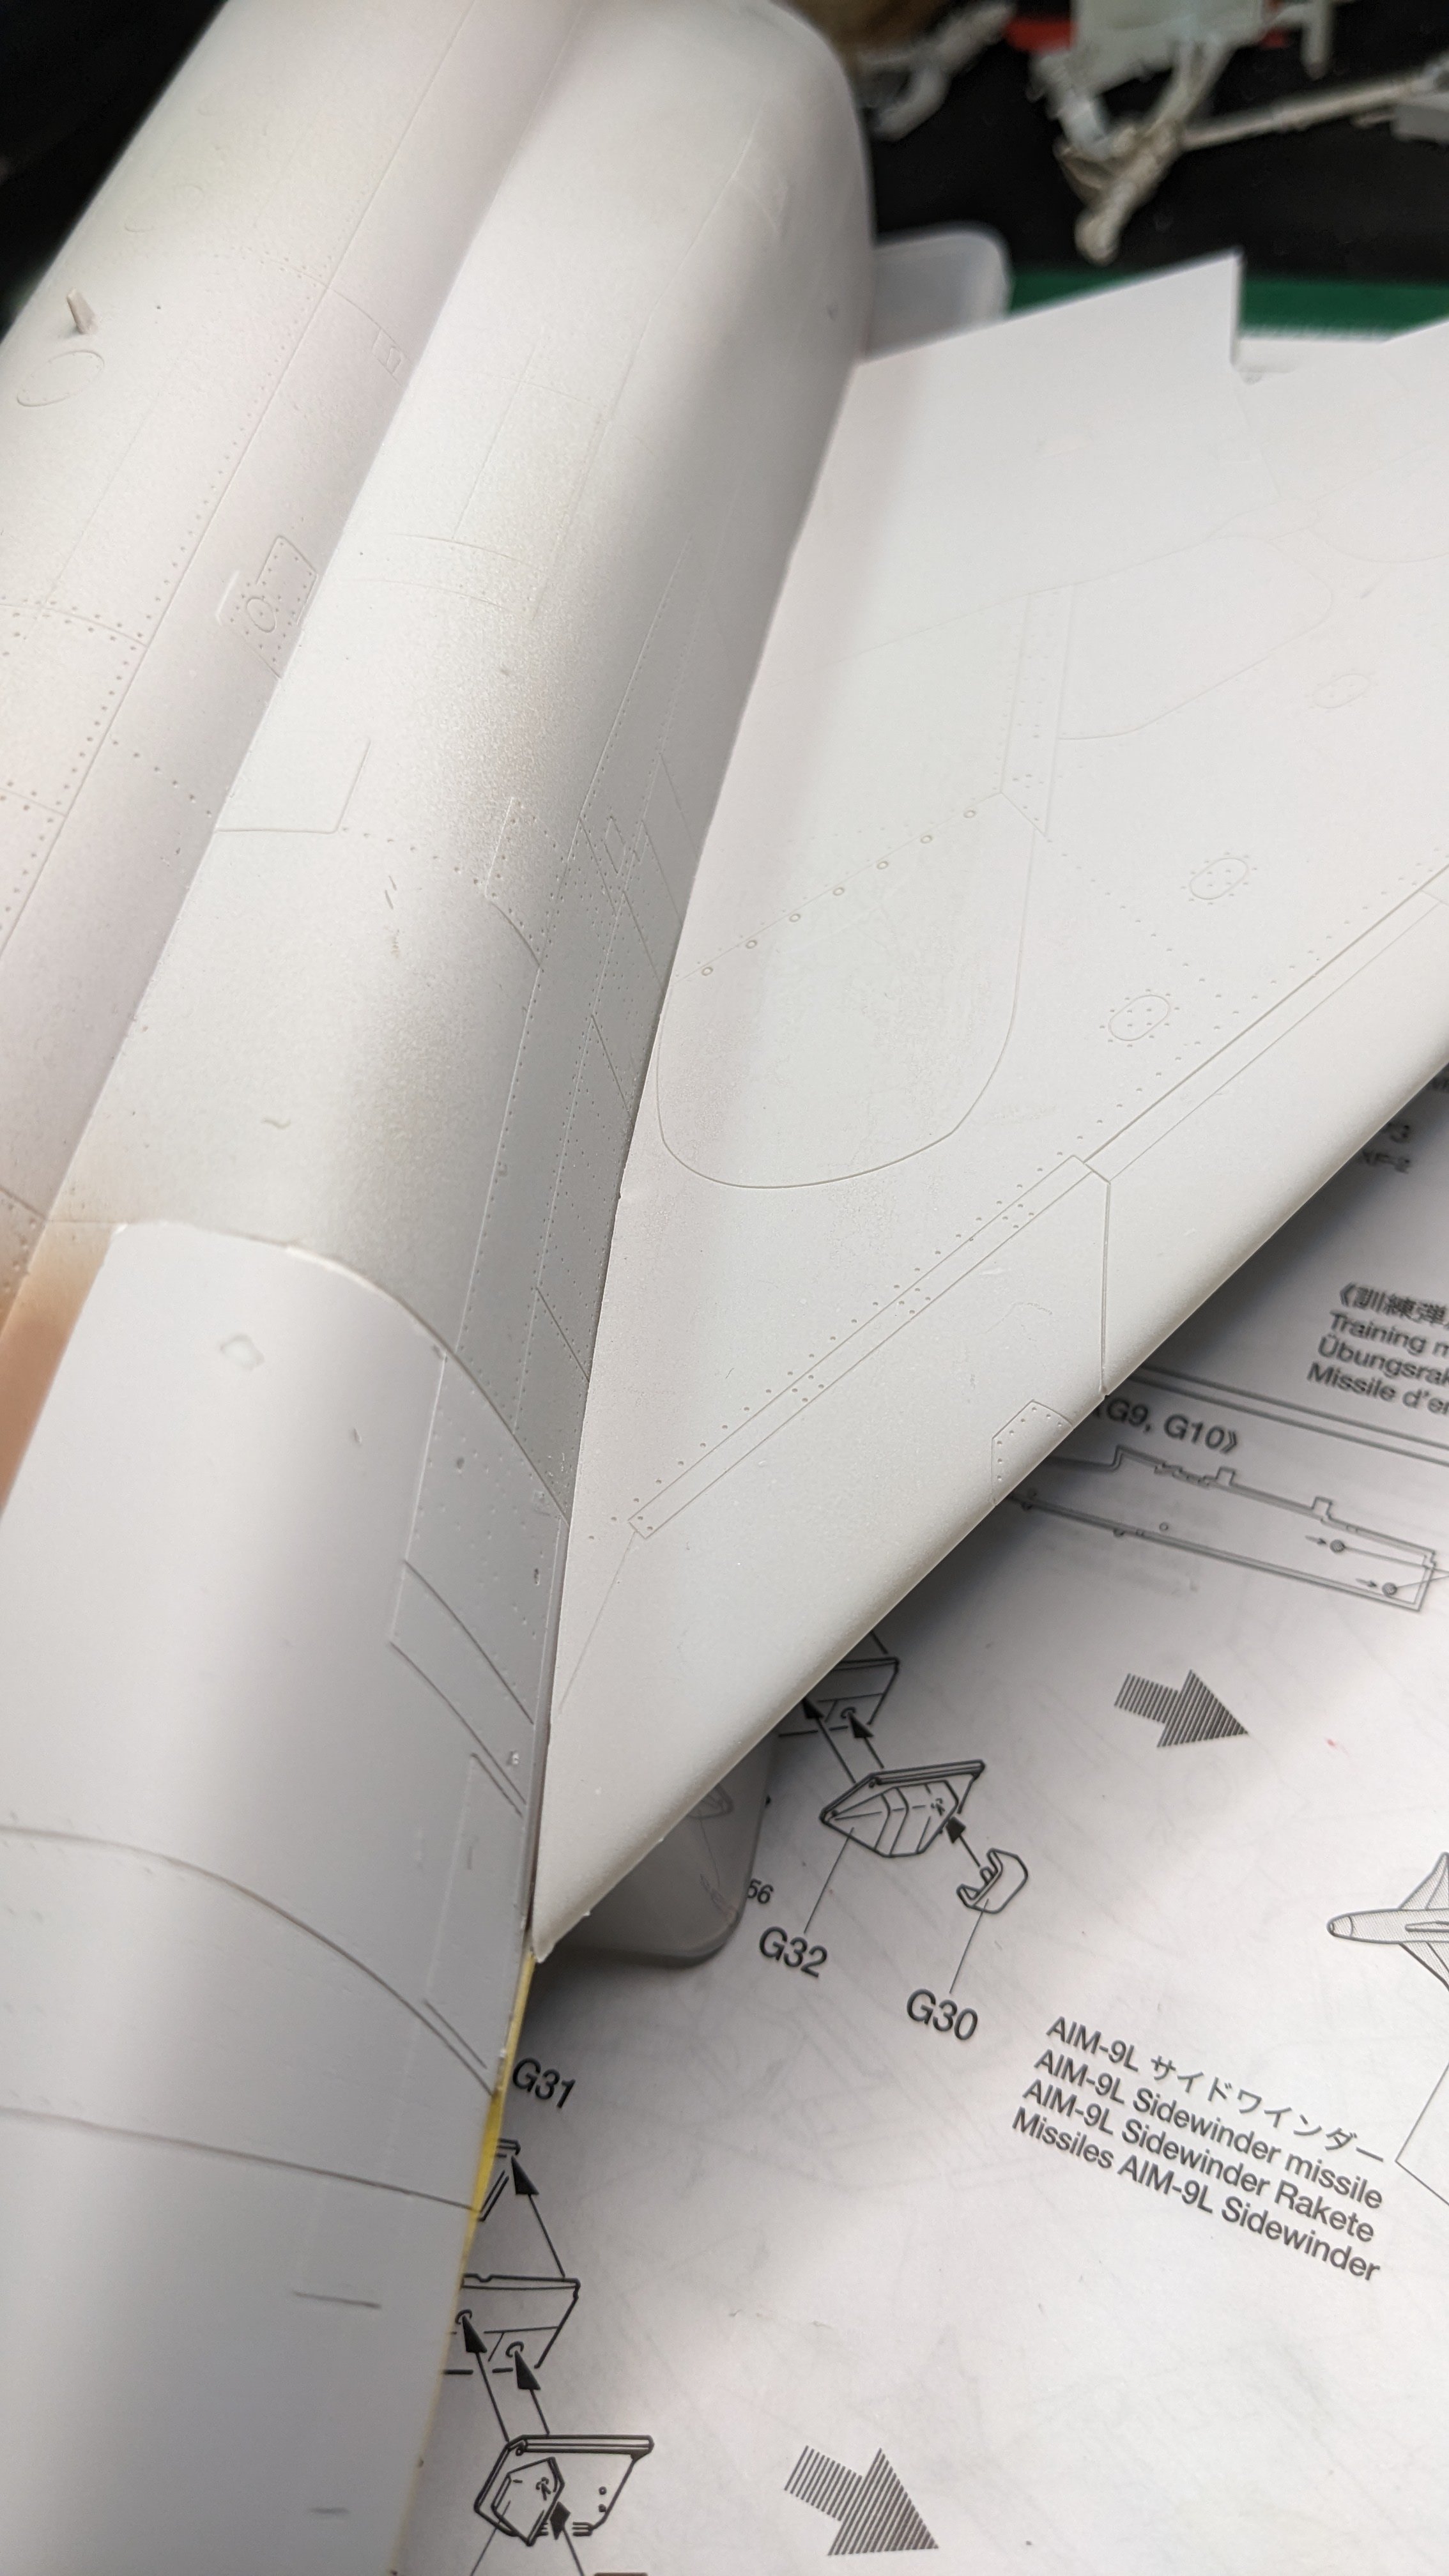
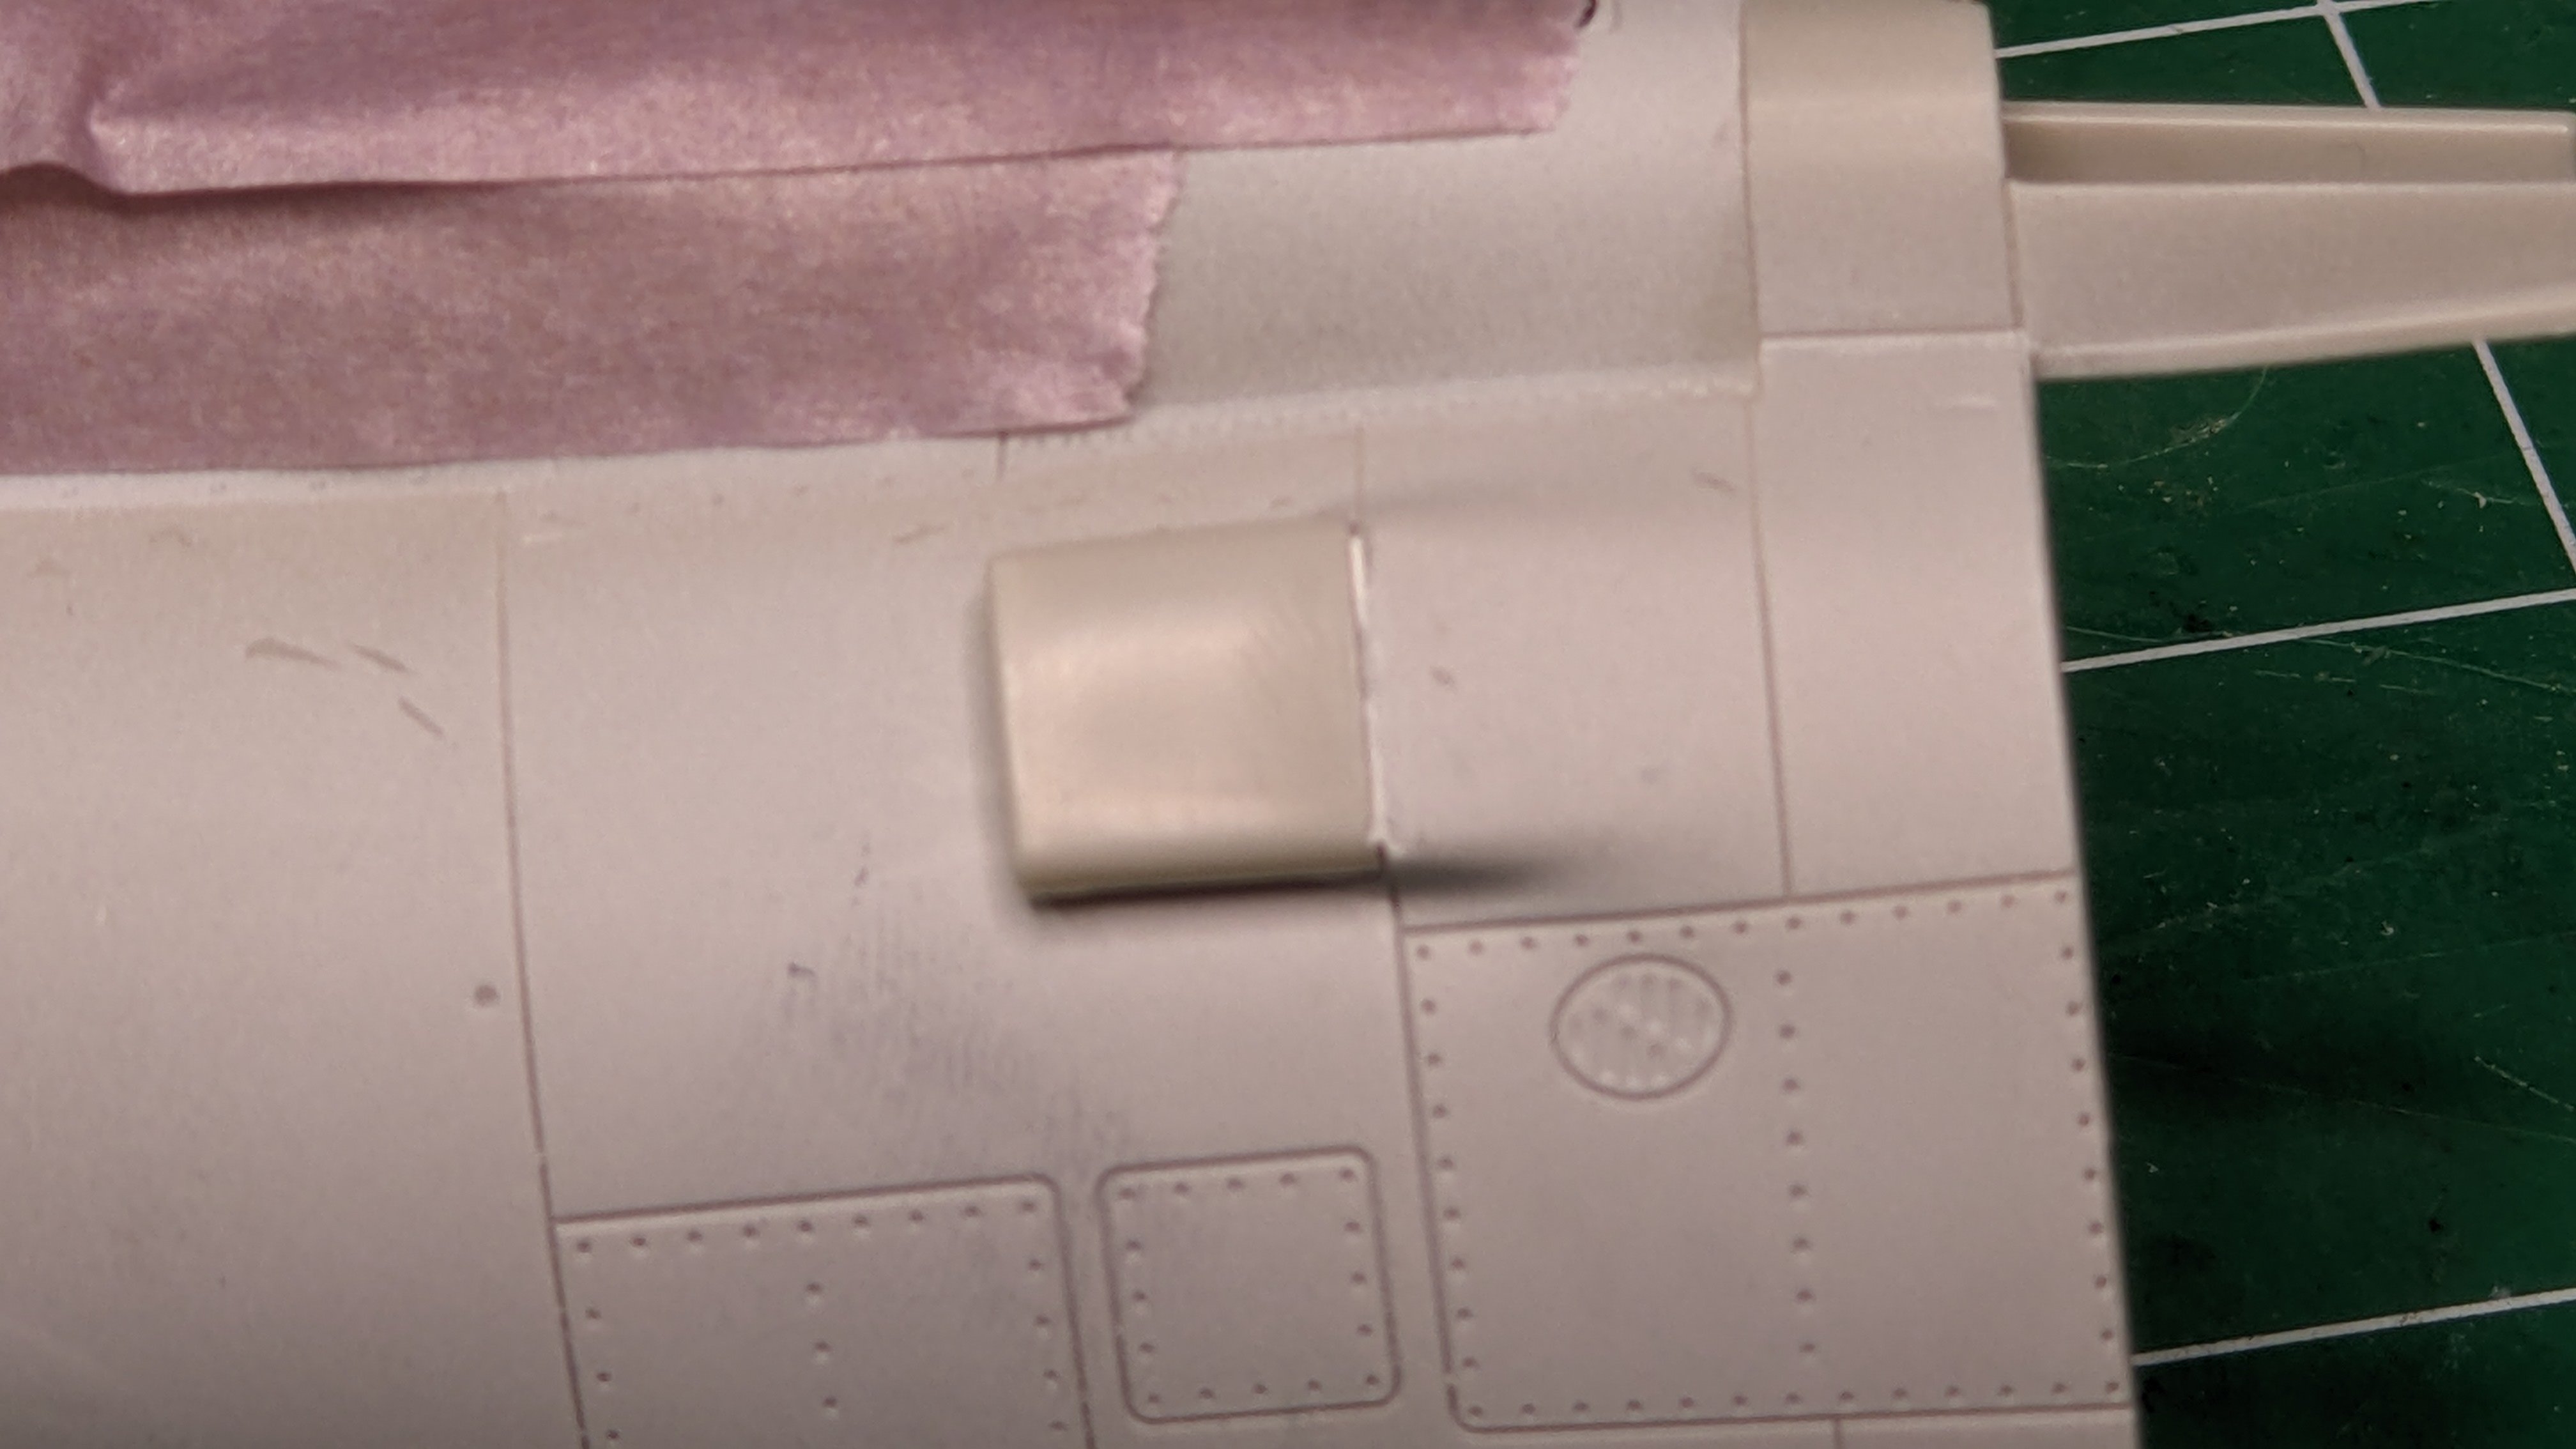
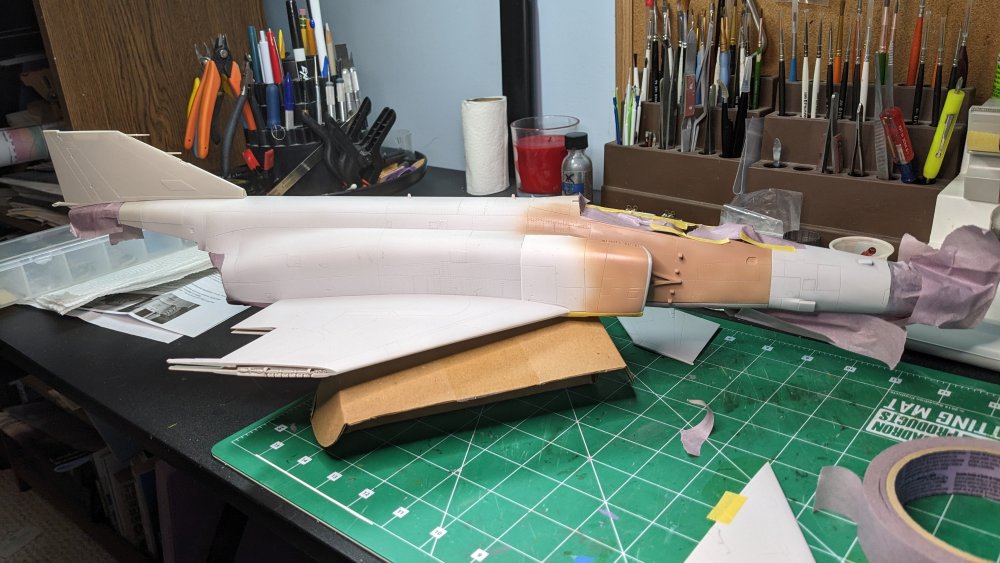
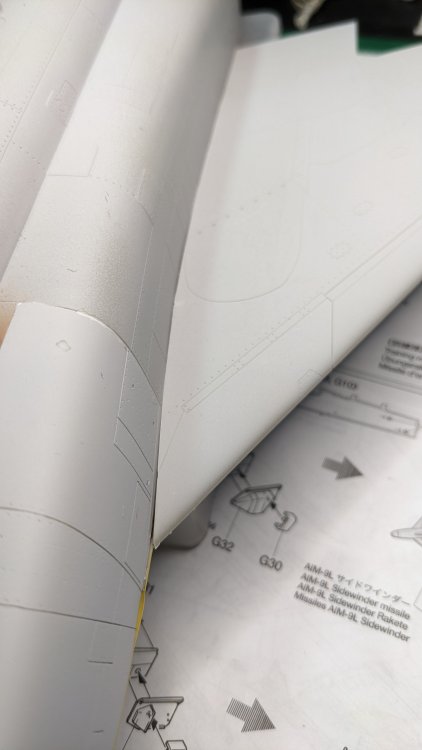
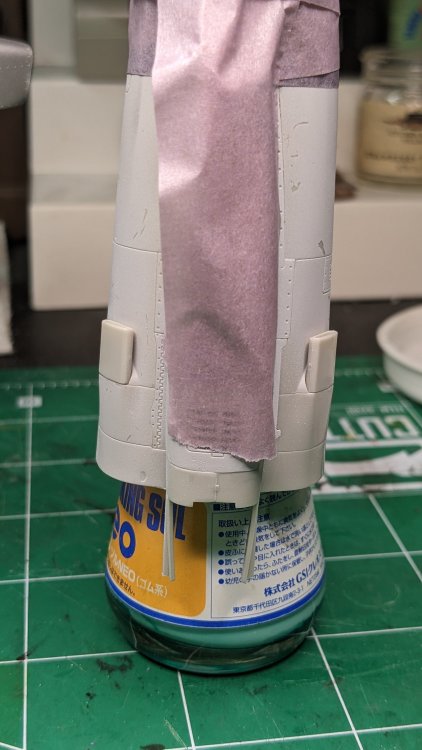
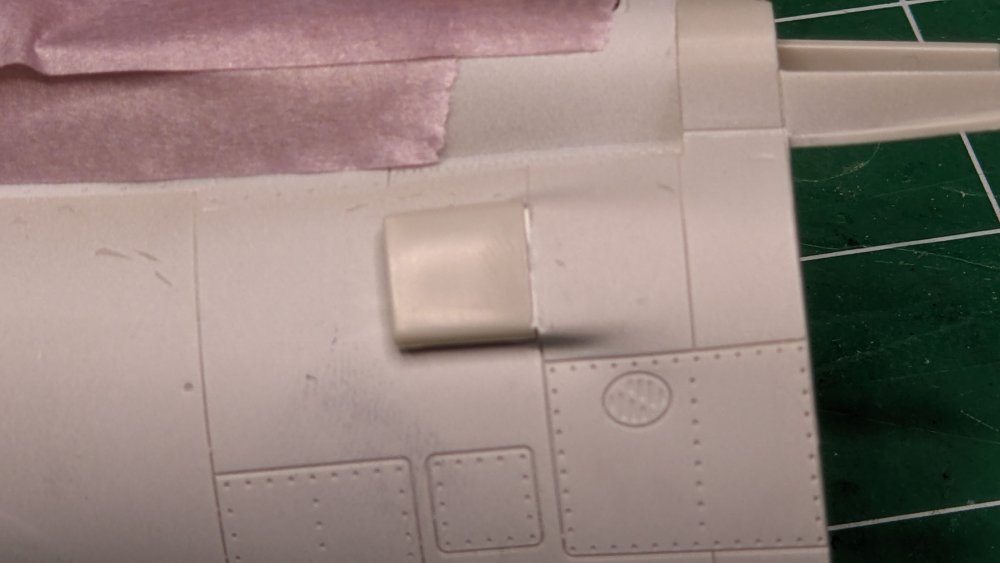
Made some progress test fitting the wings to the fuselage. The cool thing about the Tamiya set up is they use screws to hold the wing bottom to the fuselage and the wing top to the wing bottom. Looks like there will be a little bit of a seam to deal with on both sides of the fuselage, but nothing extreme. Also the two scoops on the side of the nose needed some filler but may still need a bit more blending. Right side: Left side: From the top: Added the two scoops on the sides of the nose. These will be painted the camo color in the final scheme. Taped up and ready for the primer coat and underside color.


- 330 replies
-
- 10
-

-
OMG. OK, I just figured out (from what you said) that if I attach the tubes to the burner cans the entire assembly can slip in afterwards. Doh!!!! THIS is exactly why I appreciate your comments and suggestions so much. And I am EXACTLY at this point so your advice is incredibly timely - thank you!
-
THANK YOU Martin!!!!!
-
The Scharnhorst 1/200 by Trumpter-Operation Paderborn
CANicoll replied to KevinM's topic in Non LSM 'WIP
Kevin, that is beautiful wood - I turn pens but have not used Padauk yet. You definitely have good taste in wood. I blew about $100 of Canarywood trying to get a cribbage board cut properly on a CNC machine. The 3D cuts were beyond the ability of the machine to consistently cut. FINALLY got it to work. Your model work is terrific, too! -
Revell Me-262B up. Now down! Now up!!! LOL
CANicoll replied to JohnB's topic in LSM 1/35 and Larger Work In Progress
John, that is interesting. I don't recall having this specific problem with my two Revell P-51D builds (but I also bookmarked your 'More Revell Fixes' Thread which is wonderfully helpful). I usually use the Aerocraft canopies to address the narrow windscreen and the wavy canopy problem, with the AMUR resin flaps to solve the 'valley' effect Revell flaps suffer from. Trying to find my build threads of those Revell Mustangs. -
F-15DJ Kai or Eagle Plus- Finished!
CANicoll replied to BlrwestSiR's topic in The Great Twins Broup Bluild
Carl, The work you are doing is awesome! What a cool subject and you are killing it. Wow! Nice work on the replacement flaps - definitely a better profile and fit. Excellent. -
Peter, still amazed at the amount of detail you are able to pull out of the Eduard kit. I agree that their 1/48 efforts are terrific but you continue to make the best of a terrific kit. Excellent shading on the fuselage fuel tank - nice work! I've gone through the same canopy challenge. Especially in 1/48 the differences are so small.
-
Revell Me-262B up. Now down! Now up!!! LOL
CANicoll replied to JohnB's topic in LSM 1/35 and Larger Work In Progress
The only 1/32 Revell kit I think is good is the new P-51D. That one is a pleasure to build with some AM bits. But it has a really nice cockpit. -
Carl, VERY helpful, as usual, thanks! Definitely appreciate the tips. I was thinking I needed to add the coaming to the fit and this is perfect timing. I do have some flat styrene to add. The challenge I have with the burner cans is that I'm not sure where to anchor the exhaust tubes the cans are attached to. The styrene pieces have a flat part which is attached with a screw, but the resin tubes do not have a ready attachment point. I just had the thought to cut off the resin tubes and attach the flat bit to the resin tubes. This will get the tube off the floor of the wing and should help with the can fitment. Lots to work on!
-
Martin, Love this work. What material did you make that bag out of? That is amazing. Very cool detail work, like dropping the armor plate. In the bottom photograph above, what is that liquid seeping out of the lefts side of the fuselage? Any ideas?
-
The Scharnhorst 1/200 by Trumpter-Operation Paderborn
CANicoll replied to KevinM's topic in Non LSM 'WIP
That Paudauk is nice wood but you finished it beautifully - a nice complement to your build!