CANicoll
-
Posts
1,927 -
Joined
-
Last visited
Content Type
Profiles
Forums
Events
Gallery
Everything posted by CANicoll
-
I don't even know what that is!!!
-
Kev, Really stunning! You'll need to post a series of detail photos so we can see all the goodies in their final splendor and glory. Nicely done!
-

GWH Hawk 81C AVG decals. 02/18/23
CANicoll replied to Clunkmeister's topic in LSM 1/35 and Larger Work In Progress
Ernie, The Decals and paint are looking really good. The hard-line camo also looks good. These birds saw a lot of wear and tear, and field maintenance. Whatever you do, it will look good! -
An interesting night here last night…
CANicoll replied to Clunkmeister's topic in General Discussion
Ernie, Definitely glad to hear you and everyone is fine. Scary how destructive the weather can be, with very little notice! That hail was amazing. -
I just looked it up on Amazon. Mine is just over 5 years old. Wow!!
-
This is the LED magnifying light I use: it has buttons to change the color profile of the light, but most of the time I just go for full illumination on both the red and blue buttons. It actually has two rows of LEDs, Red and Blue (ish, not really red or blue, more warm and cool) and five degrees of adjustment for each one. The light is good, the adjustment of the head is so so. But it is LED and it is very bright. But I would love to also have a wider LED light for the overall workbench.
-
ProModeler 1/48 PBY-5A Catalina + Goodies, RFI
CANicoll replied to CANicoll's topic in Let’s Get Wet Group Build.
Whoa, I dont think I've ever seen that aircraft, or that model for that matter. I didn't realize one of his son's was killed in the plane. ugh... Thanks for sharing. Chris -
ProModeler 1/48 PBY-5A Catalina + Goodies, RFI
CANicoll replied to CANicoll's topic in Let’s Get Wet Group Build.
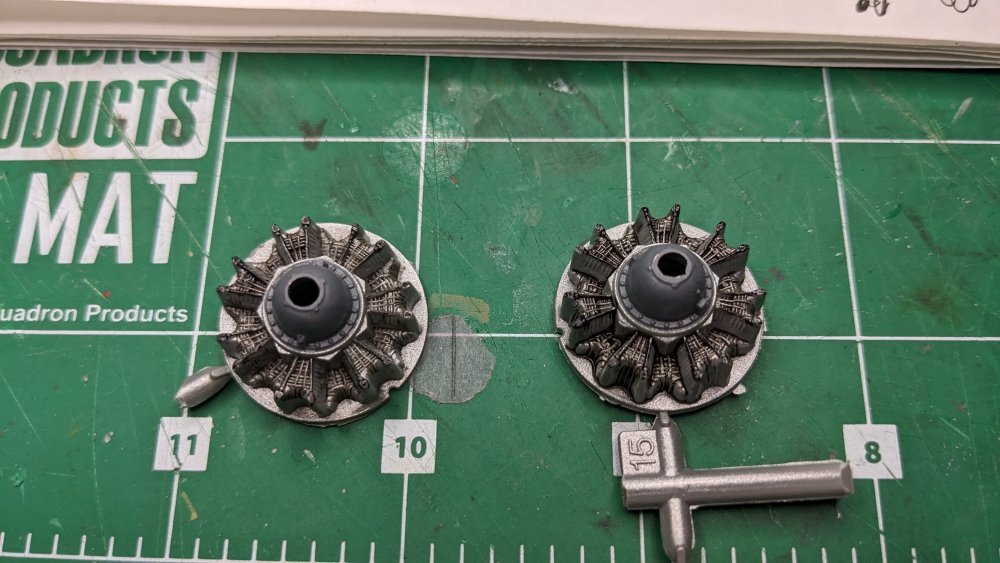
JC had a Catalina?!?!! I'll have to look that one up! I watched his shows all the time, and started diving back in 1972 after watching his dives. Very cool!! On to the build: So, the resin tail is the gift that keeps on, well, 'GIVING' is not exactly the right phrase. Finally test fitted the elevators (after clipping off the locating tabs, per the Belcher Bits instructions) and found the profiles of the tail and the elevators are VASTLY different. Yay. The original tail has grooves to fit the elevators. The resin tail's surfaces are flat. This is a pretty big difference and the fit of the elevators, after correcting their profile, is not terrific. The tail surfaces are curved, it is just that the resin tail's curve does not quite match that of the styrene pieces. Something that will take a bit of thought on how best to adapt. An additional challenge is that after having to cut the tabs that were on the elevators, the entire mating surface is this mis-matched curve. It will be necessary to carefully fit the elevators in order to make a strong join. And as with the rest of the build, the elevators are not small. Oh yeah, started work on the engines as well! The cowlings are pretty tight, so not a lot will be seen. Started with a base of aluminum, then did a black wash over the cylinder heads to pull out the detail. Painted the push rods with a gloss black and the covers with a medium/dark gray. Tried two things here I have not tried before: Tried the Molotow Blackliner pens on the pushrods but found the 'ink' or whatever it is, tends to bead-up on the existing silver paint. Really beads up on bare plastic. And the black is very flat. Then was going to use the Liquid Chrome Molotow pen to pick out the bolts on the cover, but the point is far too big for that task and I wasn't willing to take a razor knife to cut it down. So not great progress this evening. Sometimes that happens!

-
ProModeler 1/48 PBY-5A Catalina + Goodies, RFI
CANicoll replied to CANicoll's topic in Let’s Get Wet Group Build.
Thanks Gary and Rob. I appreciate it!. I'm happy the bird is coming together but wish I had more time on the workbench. Hopefully this weekend. Time to get back to the spray booth and get the clear parts painted and attached. Then there is that wing... -
Hobbycraft P-51 finished
CANicoll replied to JohnB's topic in LSM 1/32 and Larger Aircraft Ready for Inspection
John, Beautifully done! Very nice lines on the camo as well. Beautifully feathered. You must have a massive stash of parts!! Another work of art, well done. -
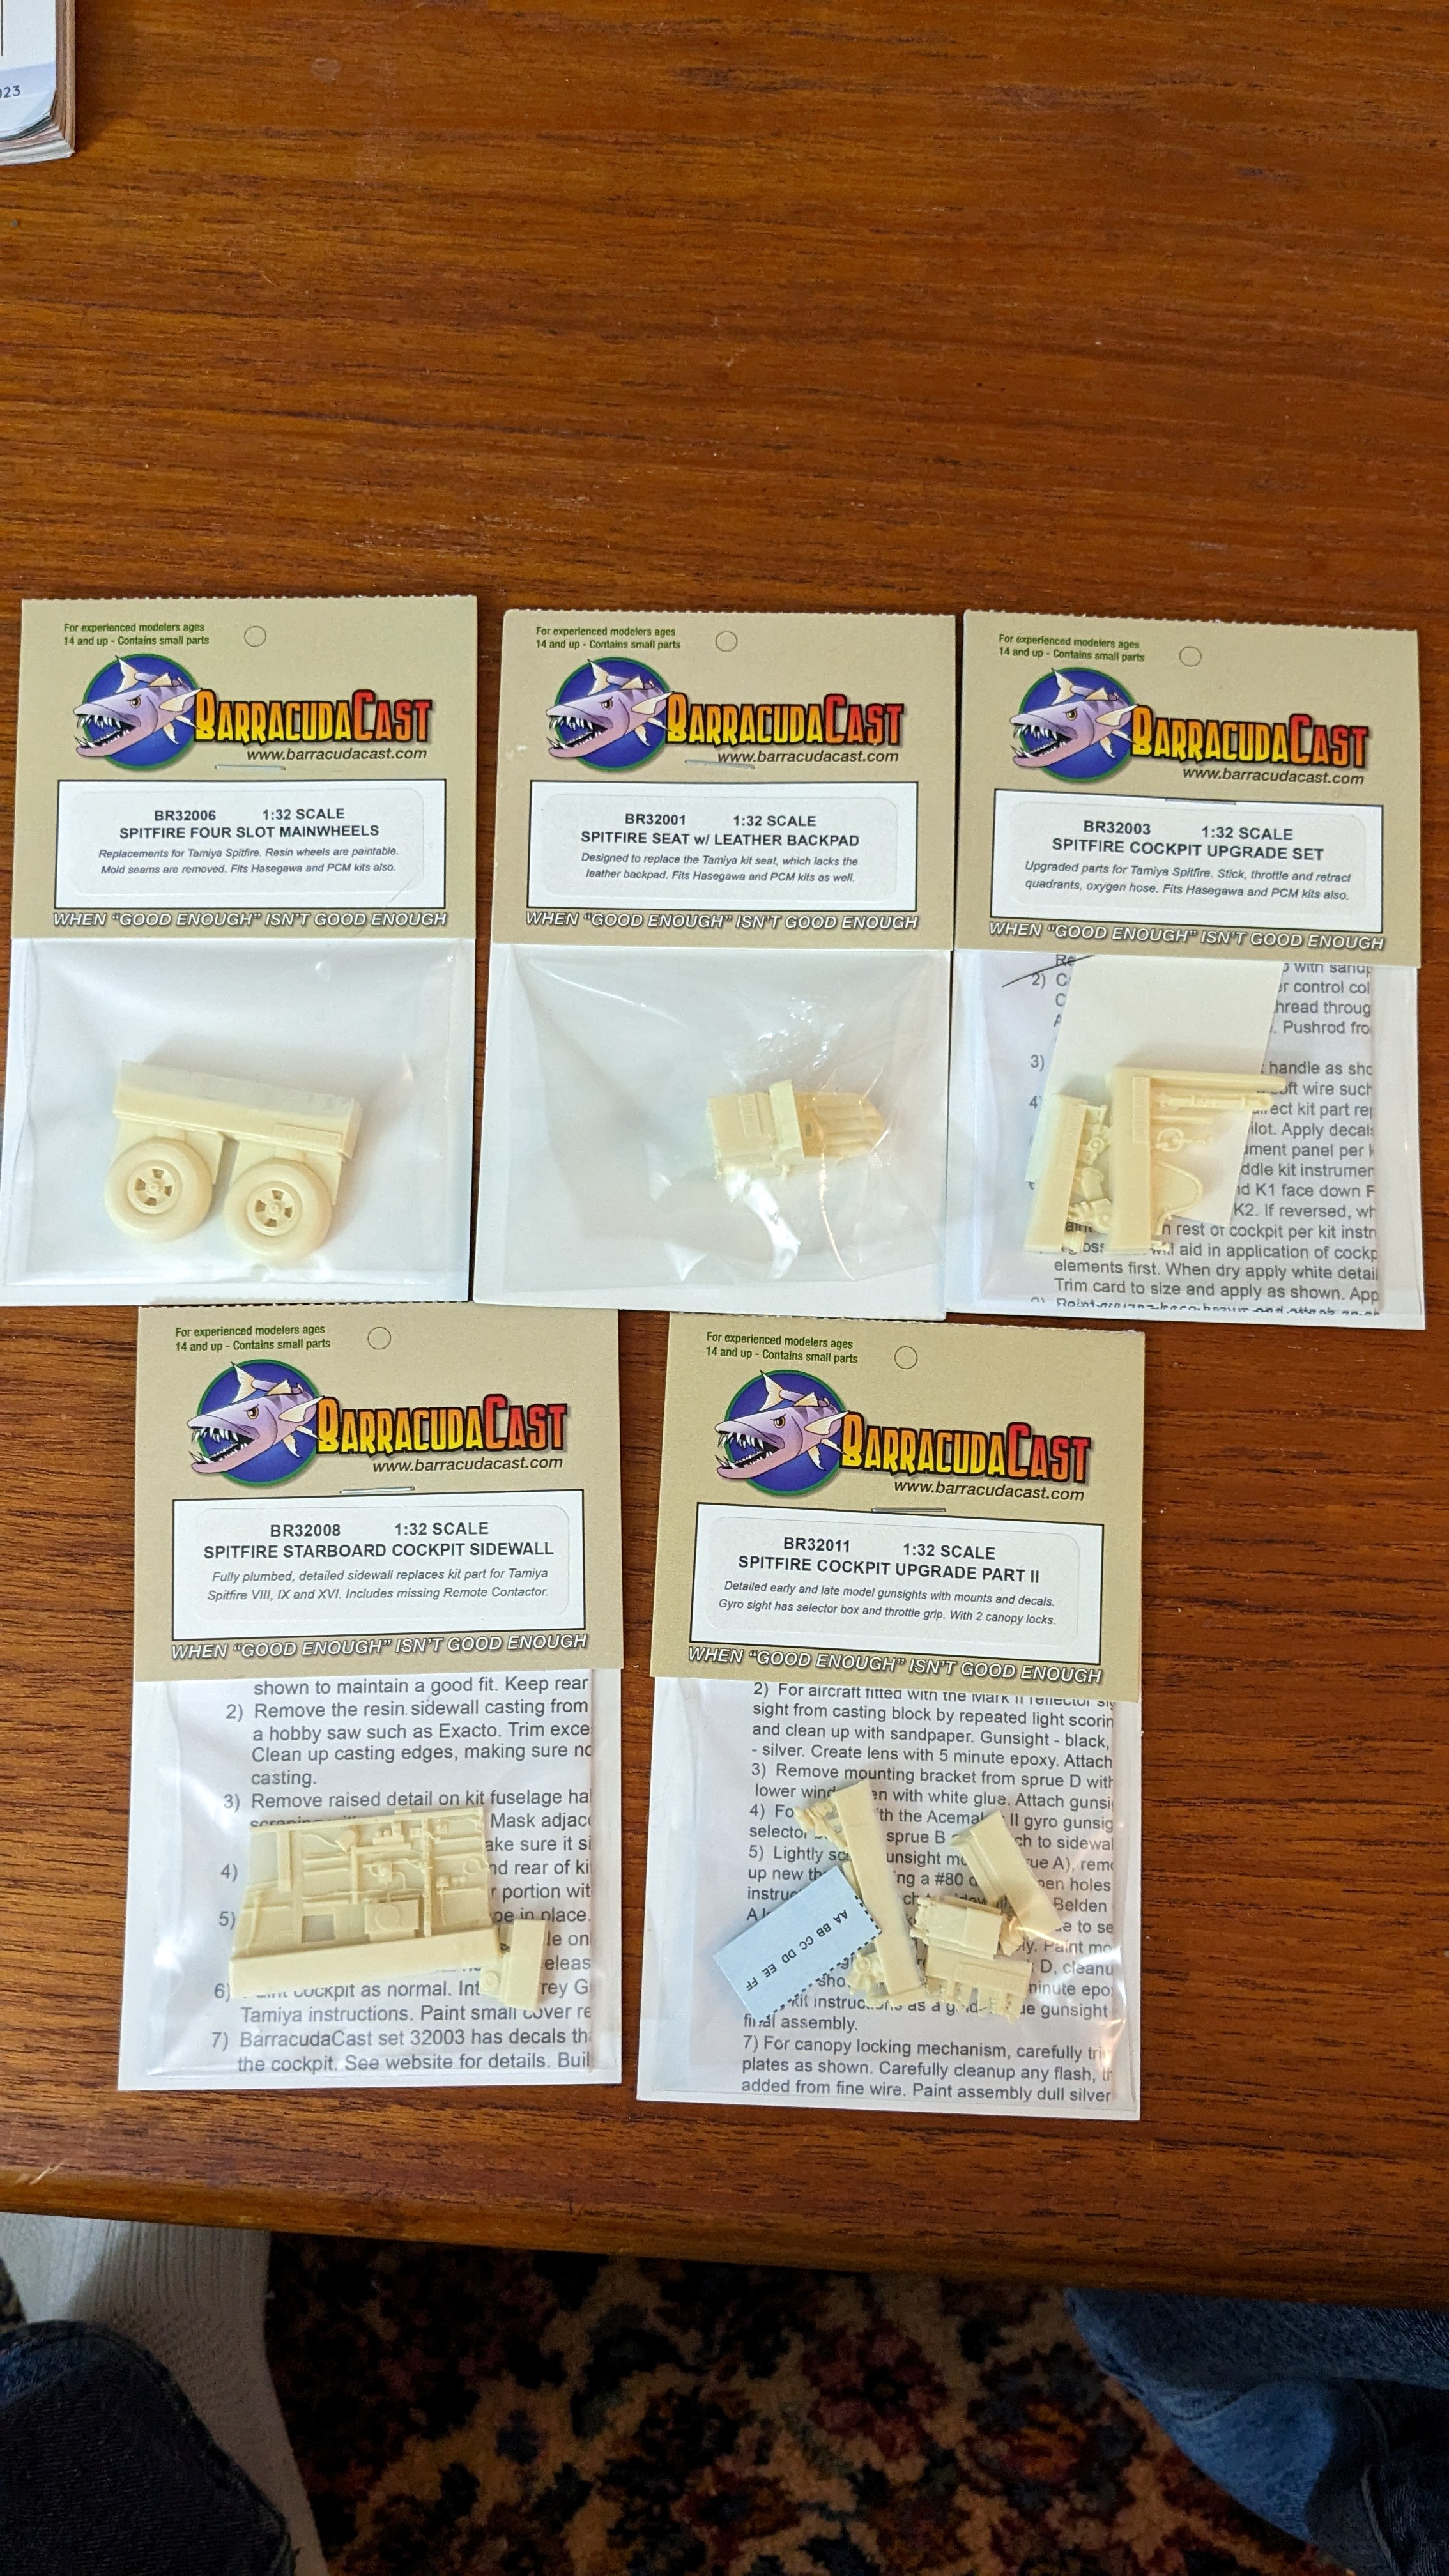
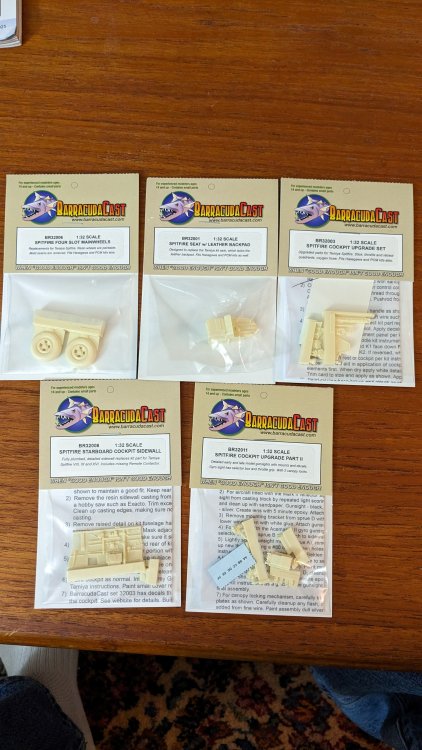
And this showed up in the post yesterday! Good old Spruebrothers. I guess I'm getting ready for the Spitfire Mk VIII. Wait till my Hannants order shows up!!
-
I have it as well but found that it was 'stringy'. It doesn't really put a drop down cleanly, at least in my experience. I moved on to Formula 560 and Gator Acrylic Glue. Formula 560 dries very clear, is easy to apply, washes up with water (and thins with water too!). Perfect for attaching clear parts. Let me know if you have a better experience with the G-S cement.
-
Ha! Lots of really good work there to look at! I find the same thing with the sprues. I cut them up and throw away the parts that are empty which makes finding things so much easier. Assuming I don't miss something and bin the part I was looking for!
- 329 replies
-
- 2
-

-
- uss arizona
- eduard
- (and 1 more)
-
The detail painting is working extremely well! The variance of the wood around the deck gun is a fantastic detail, well done!! I have to remember about Bob's buckles when doing rigging. I keep forgetting about them!
-
ProModeler 1/48 PBY-5A Catalina + Goodies, RFI
CANicoll replied to CANicoll's topic in Let’s Get Wet Group Build.
Thanks guys!! Test fitting will definitely be the order of the day. The Cat has moulded in pockets for the struts so worst case may need to add some material if needed. Or they may fit perfectly! Who knows? And I agree, once the canopies are in place and painted, definitely can see the finish line from there! Chris -
LSM Modelling News 2023 merged Fran and Artful69’s threads
CANicoll replied to Fran's topic in Modelling Discussion
Peter, Me too!!! I hope this is a well detailed and engineered kit. 🕺 -
LSM Modelling News 2023 merged Fran and Artful69’s threads
CANicoll replied to Fran's topic in Modelling Discussion
Ohhh. I may need to stock up on some 1/32 P-39 kits!! Love some of these liveries. Beautiful and different. -
LSM Modelling News 2023 merged Fran and Artful69’s threads
CANicoll replied to Fran's topic in Modelling Discussion
Gecko Models? That's a new one by me! -
The railings alone, all the PE, and forget trying to bend any sort of PE replacement for the superstructure itself. Wow. Ship modeling is a totally different beast! I'm in awe at the skill level you show between the aircraft, ships and figure painting. I'm definitely not that broadly skilled!
-
-
Beautiful!! I hope you display this with a magnifying glass nearby as the detail is amazing. CN
- 329 replies
-
- 2
-

-
-
- uss arizona
- eduard
- (and 1 more)
-
ProModeler 1/48 PBY-5A Catalina + Goodies, RFI
CANicoll replied to CANicoll's topic in Let’s Get Wet Group Build.
Thanks Peter. Can't wait to get the airbrush out again. Now that the canopy is 'fixed' the nose is close. Have assembled the Radar dome and will need to paint that before attaching it to the fuselage - trying to paint the undersides and rear will not be too easy once it is attached. Also need to get my butt working on the engines and get those cowlings painted so still some work to do. I'm still a little fearful of attaching the wing. On the 1/72 Cat the wing supports were too short by a few mm and it took a lot of work to keep the wing level. On this bird, I'm hoping the job will be easier because if not, the out of alignment will be glaring. Chris -
Ahh, 'don't glow the parts'. I think way in the past I tried that, probably had them glowing, and boom - they broke when I tried to bend them... Thanks Rob!!
- 329 replies
-
- 2
-
-
- uss arizona
- eduard
- (and 1 more)
-
Gary, Really looking good and appreciate the tip - adding some blue! Never would have thought of that so definitely, like Peter, will be giving that a try. I hear you on the 'companies known for a low standard of accuracy". Definitely makes the building more difficult and less enjoyable. She's looking really good, however! A very interesting subject and one I would love to try and build sometime. Chris
-
Nice work and can't wait to see how the painting and weathering comes. There is so much detail to view!