JeroenPeters
-
Posts
4,904 -
Joined
-
Last visited
Content Type
Profiles
Forums
Events
Gallery
Everything posted by JeroenPeters
-
 Working on the 2nd wing. All masked with fluid mask.
-
That was indeed a challenge. I used liquid mask to seal it all in
-
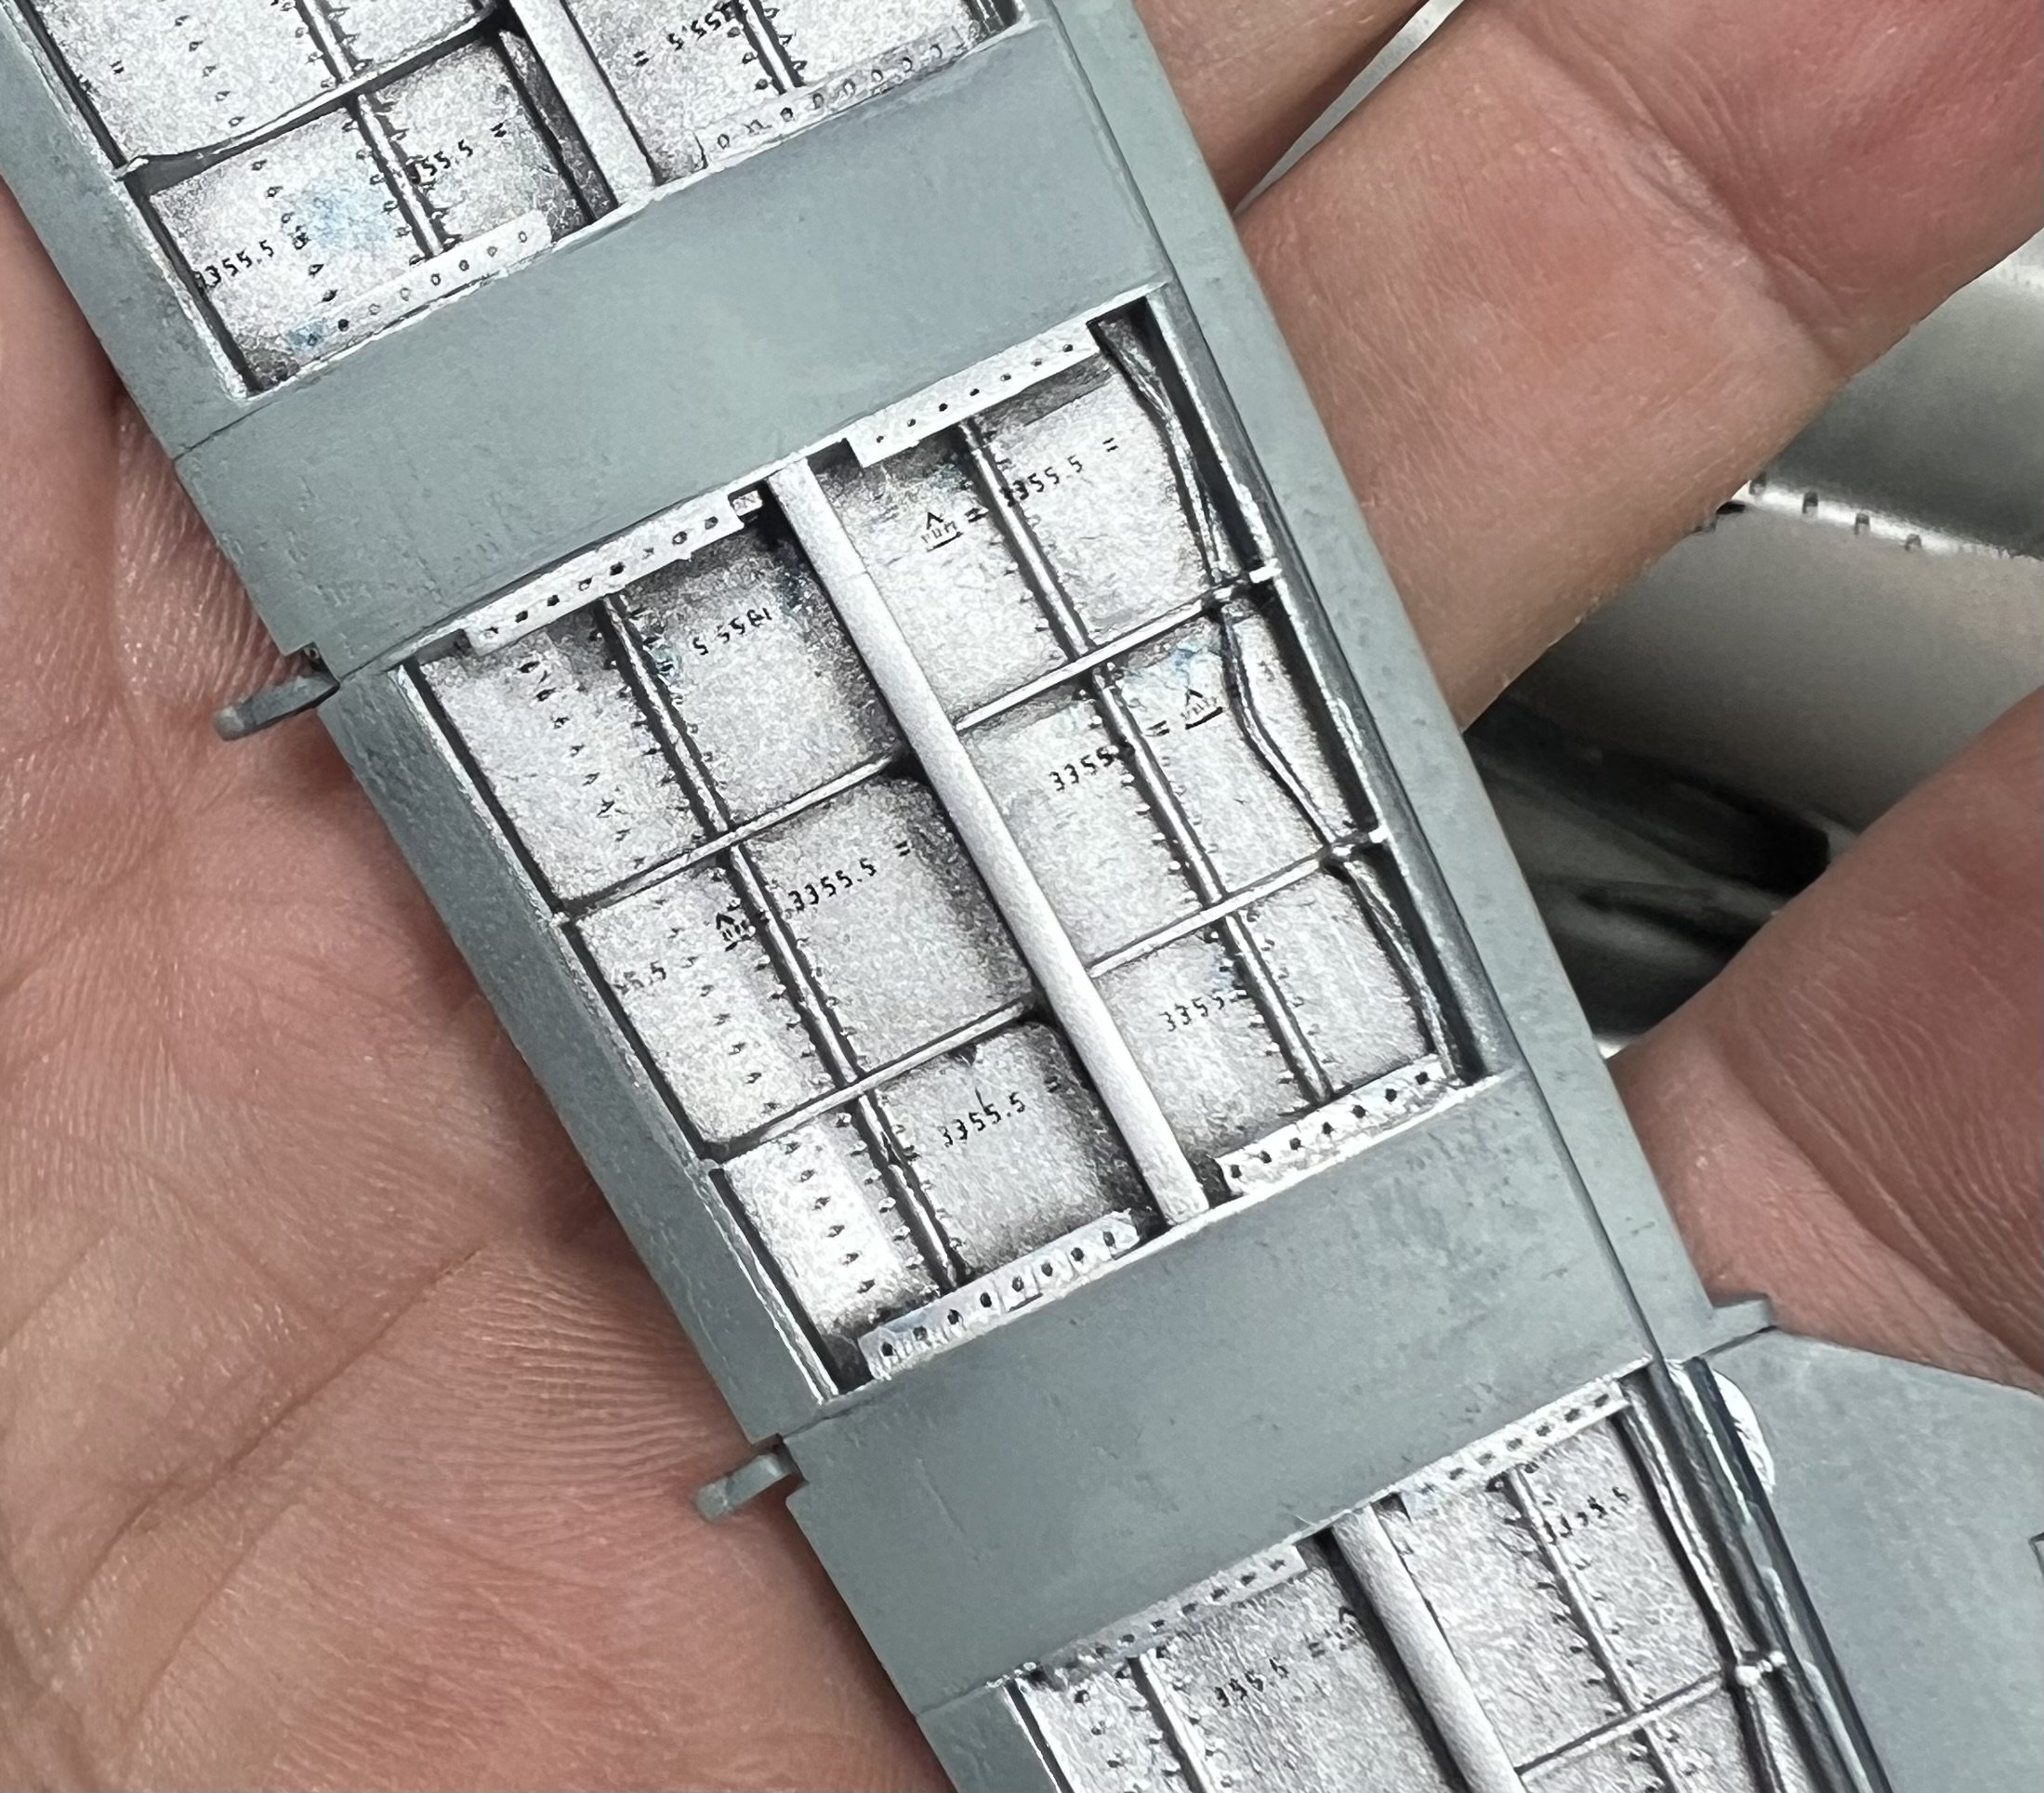
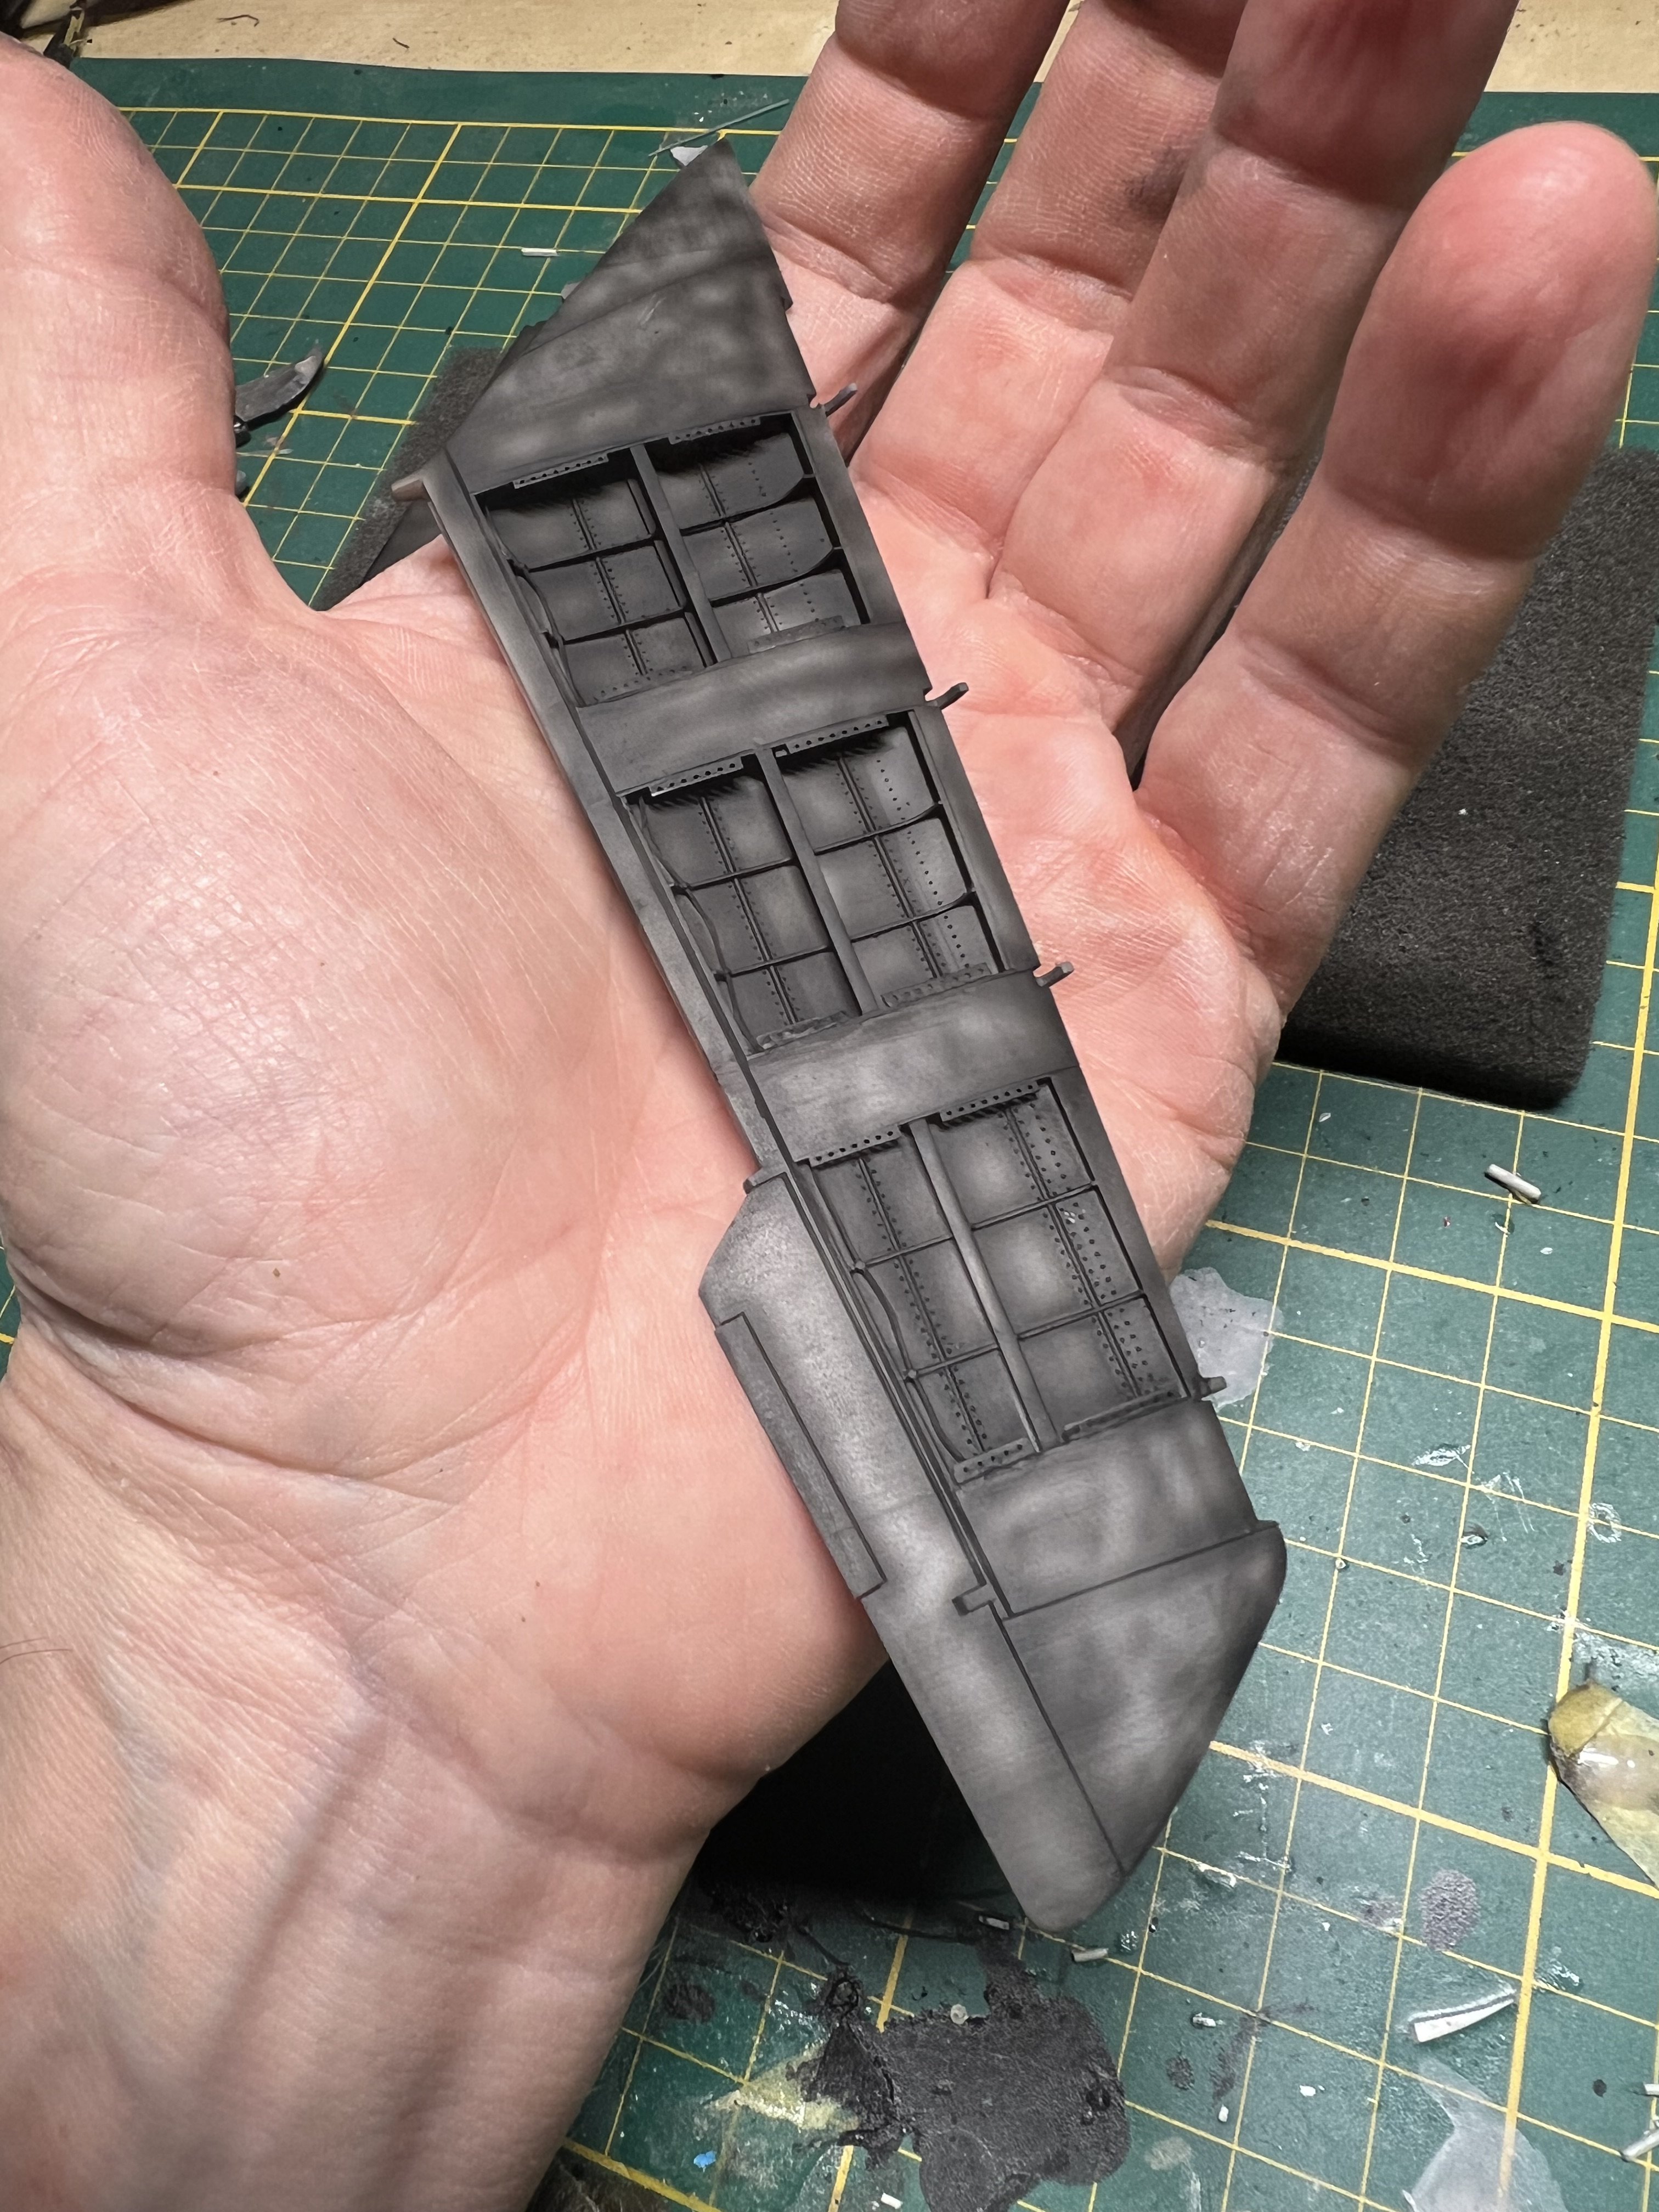
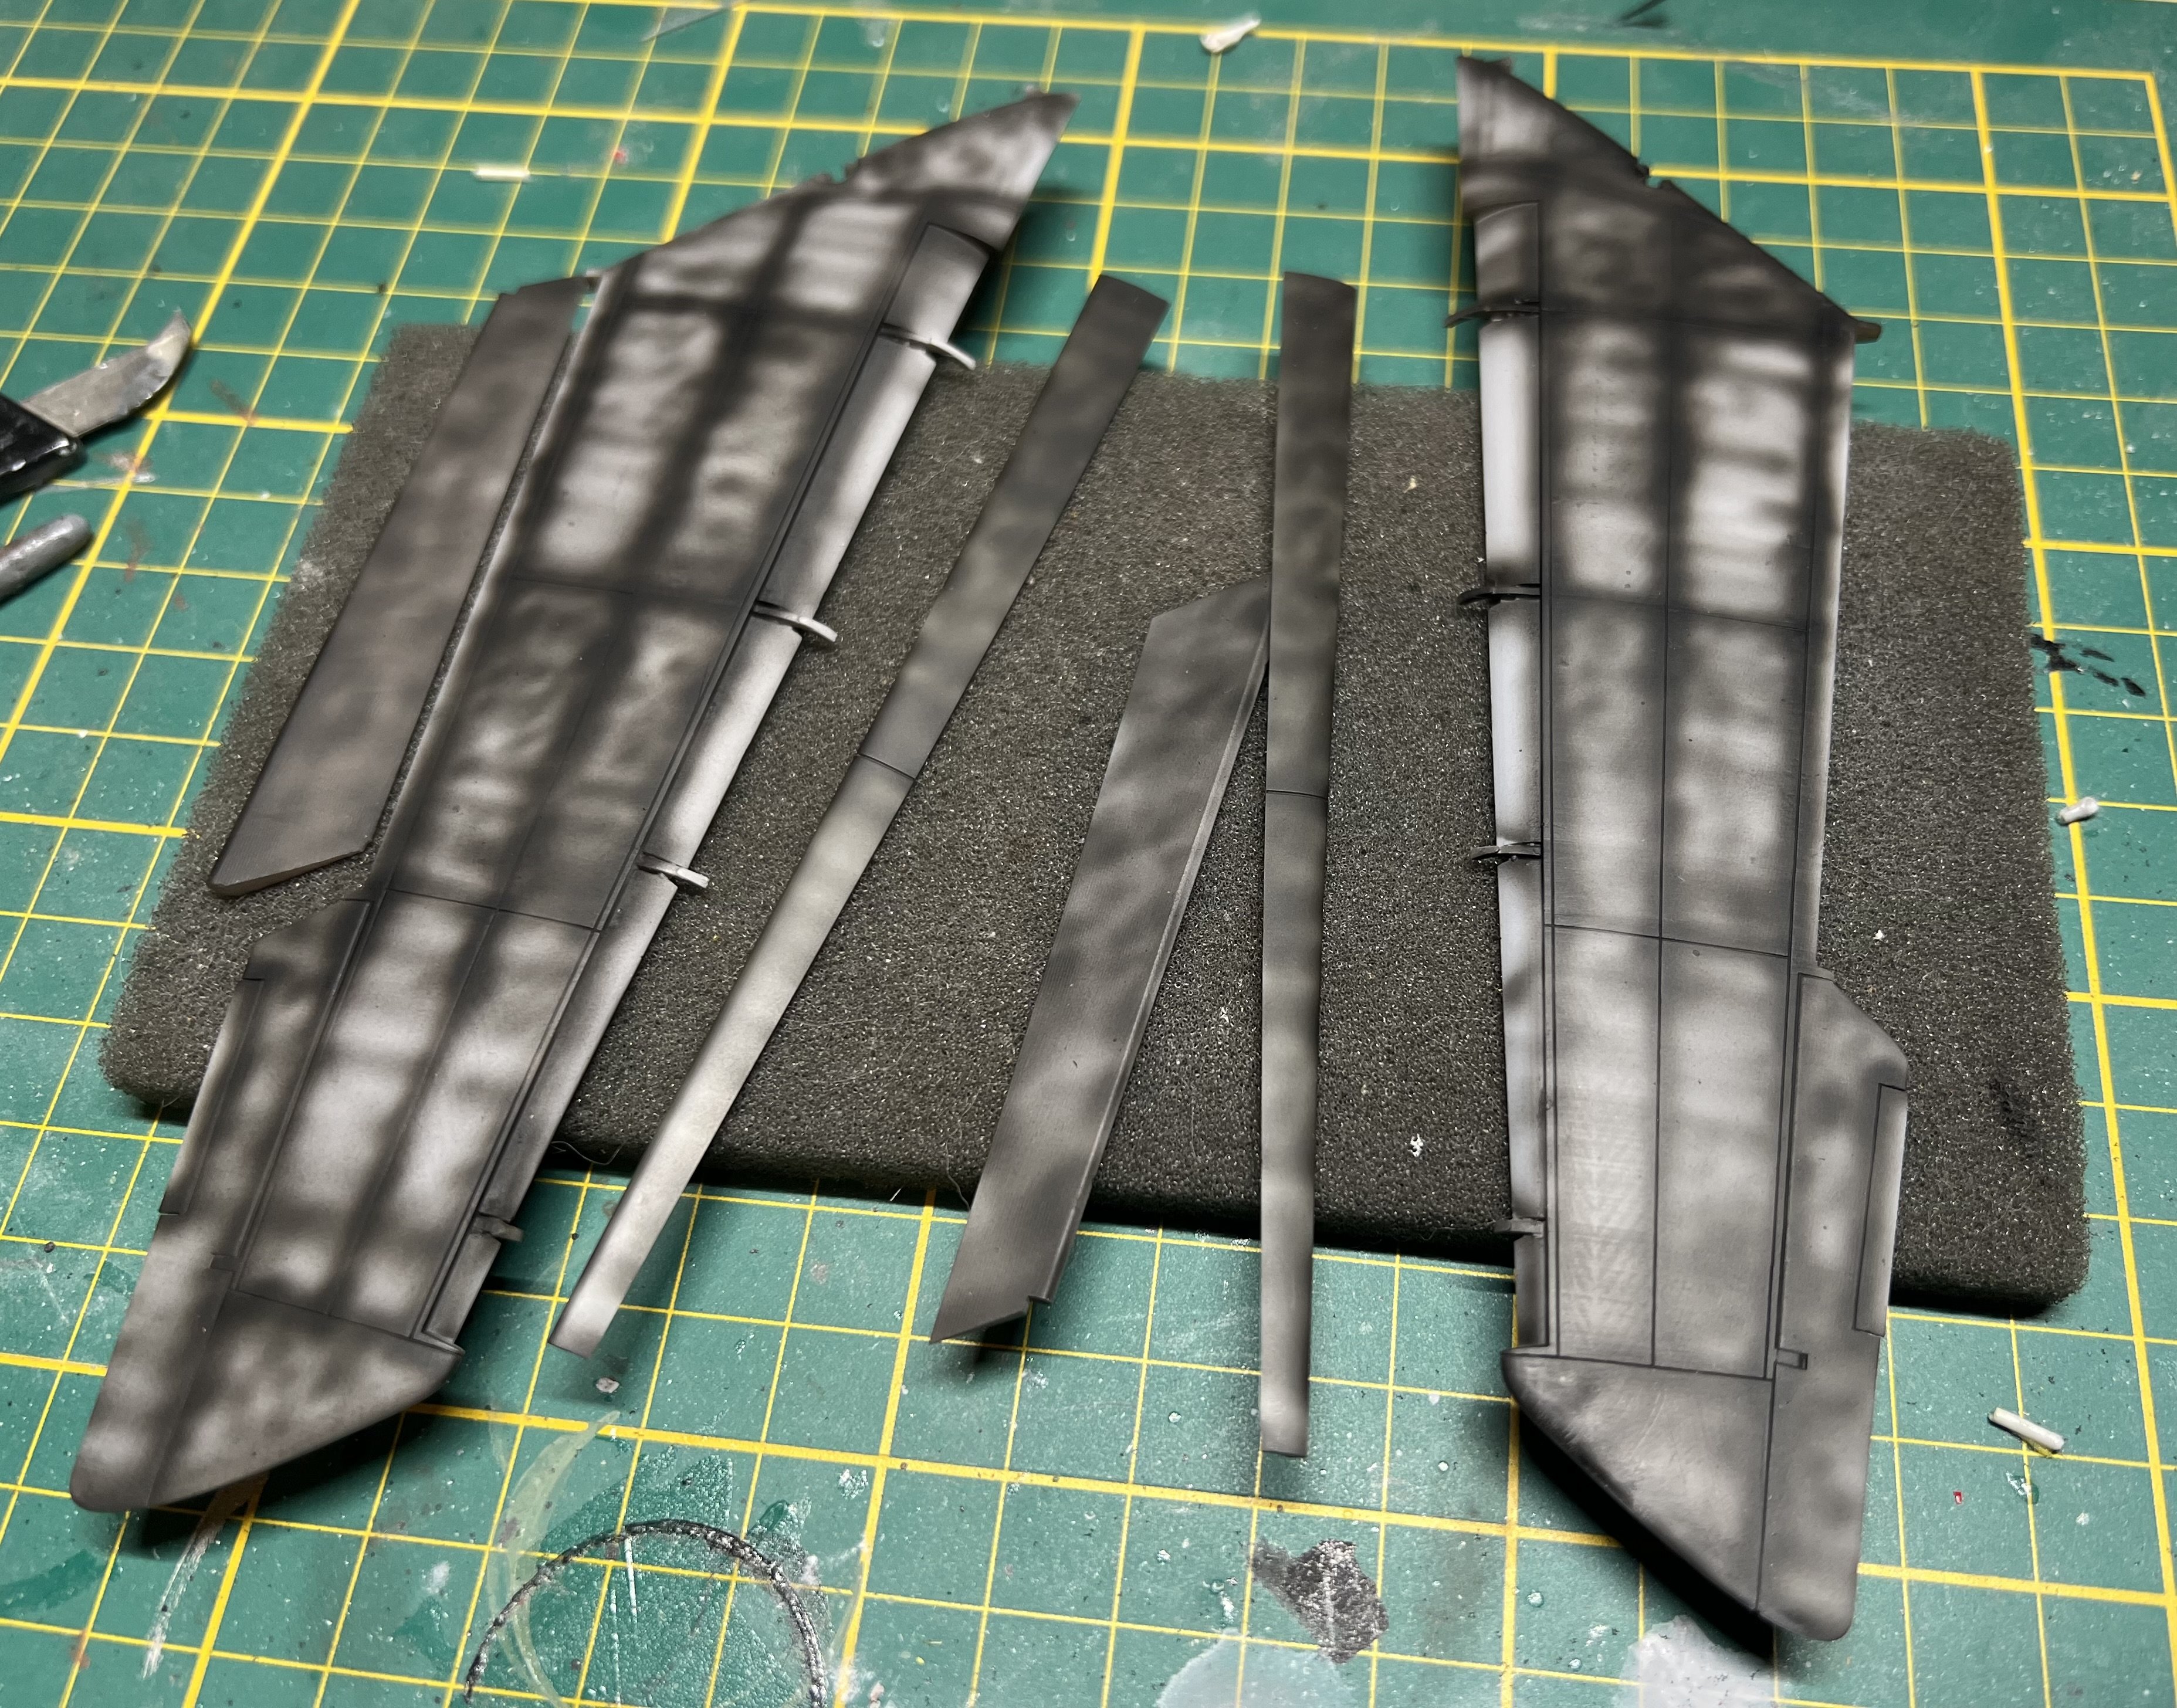
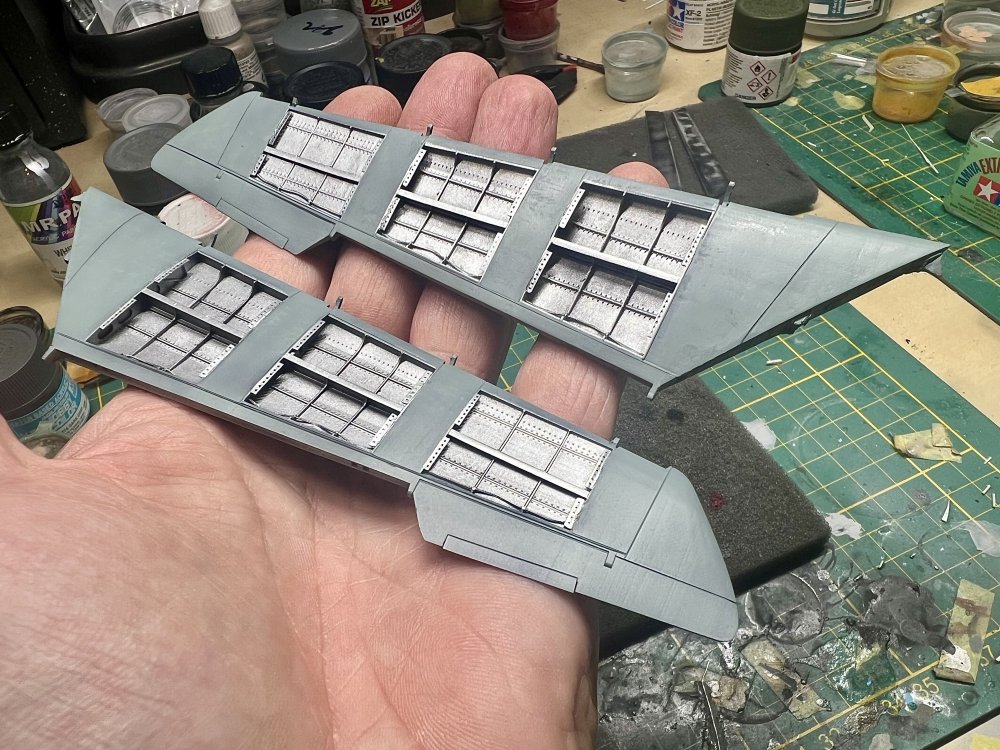
Using the excellent 1manarmy masks to spray the Duralumin stamps.

-
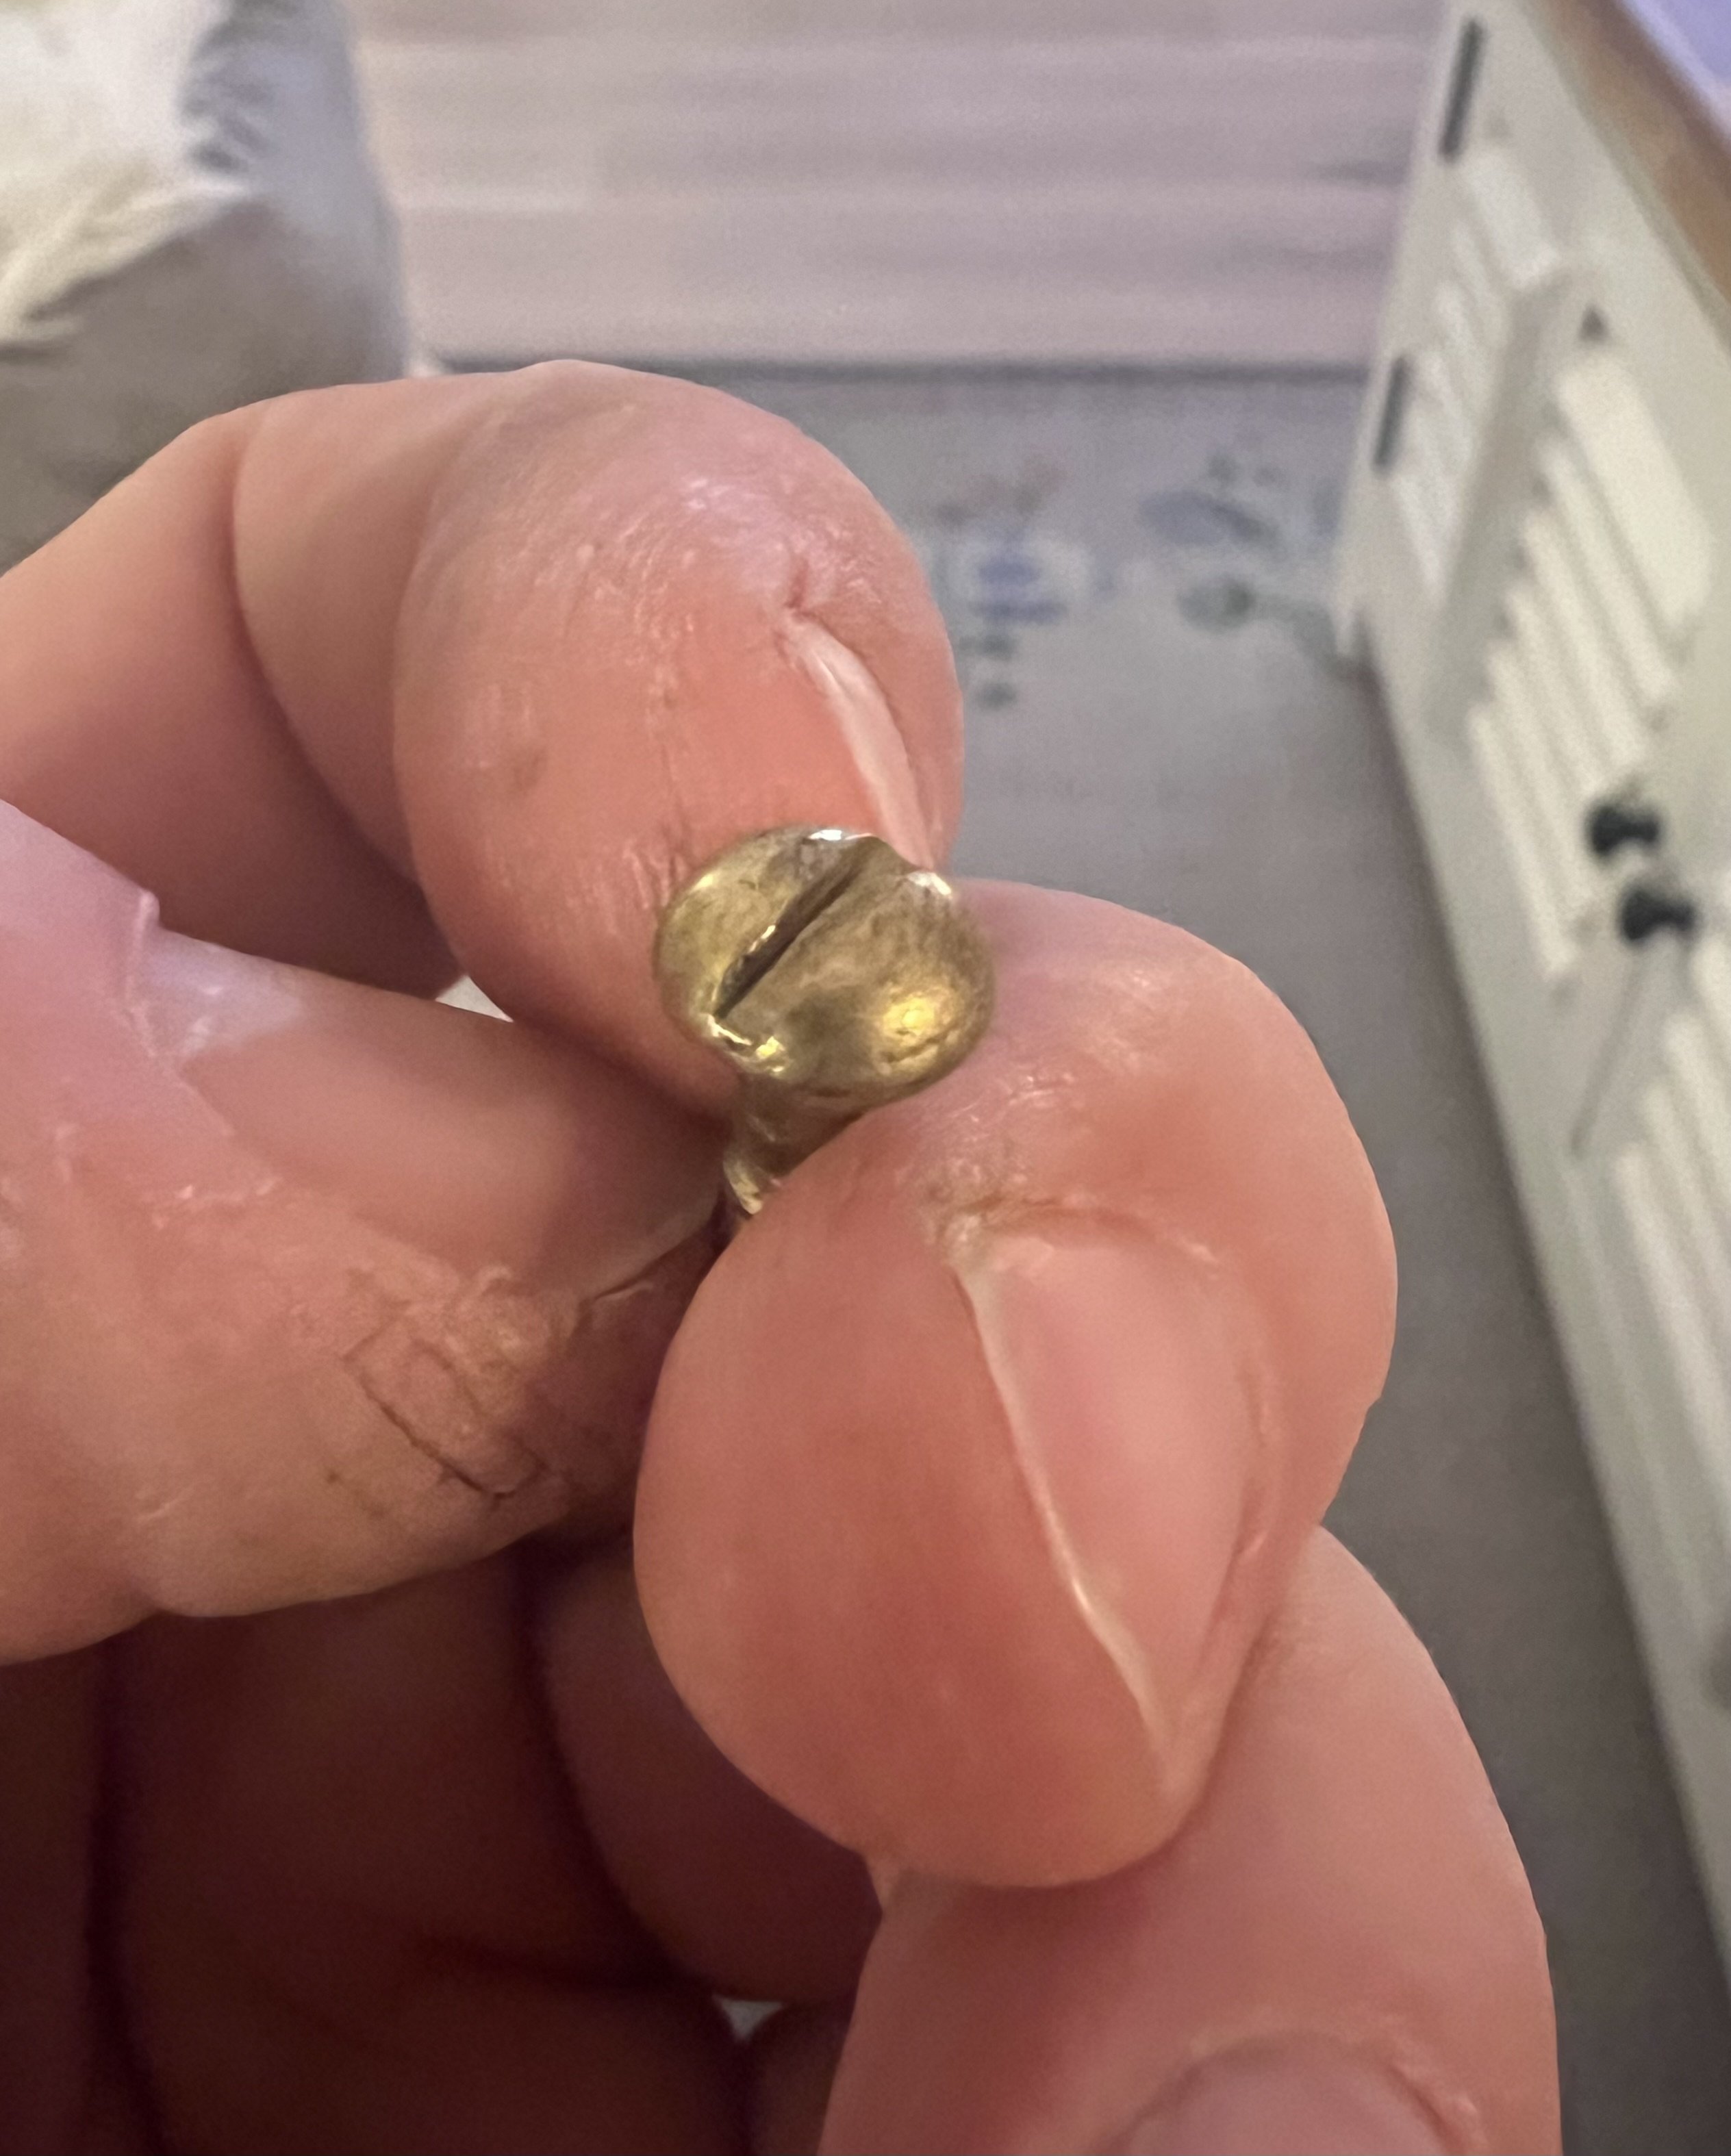
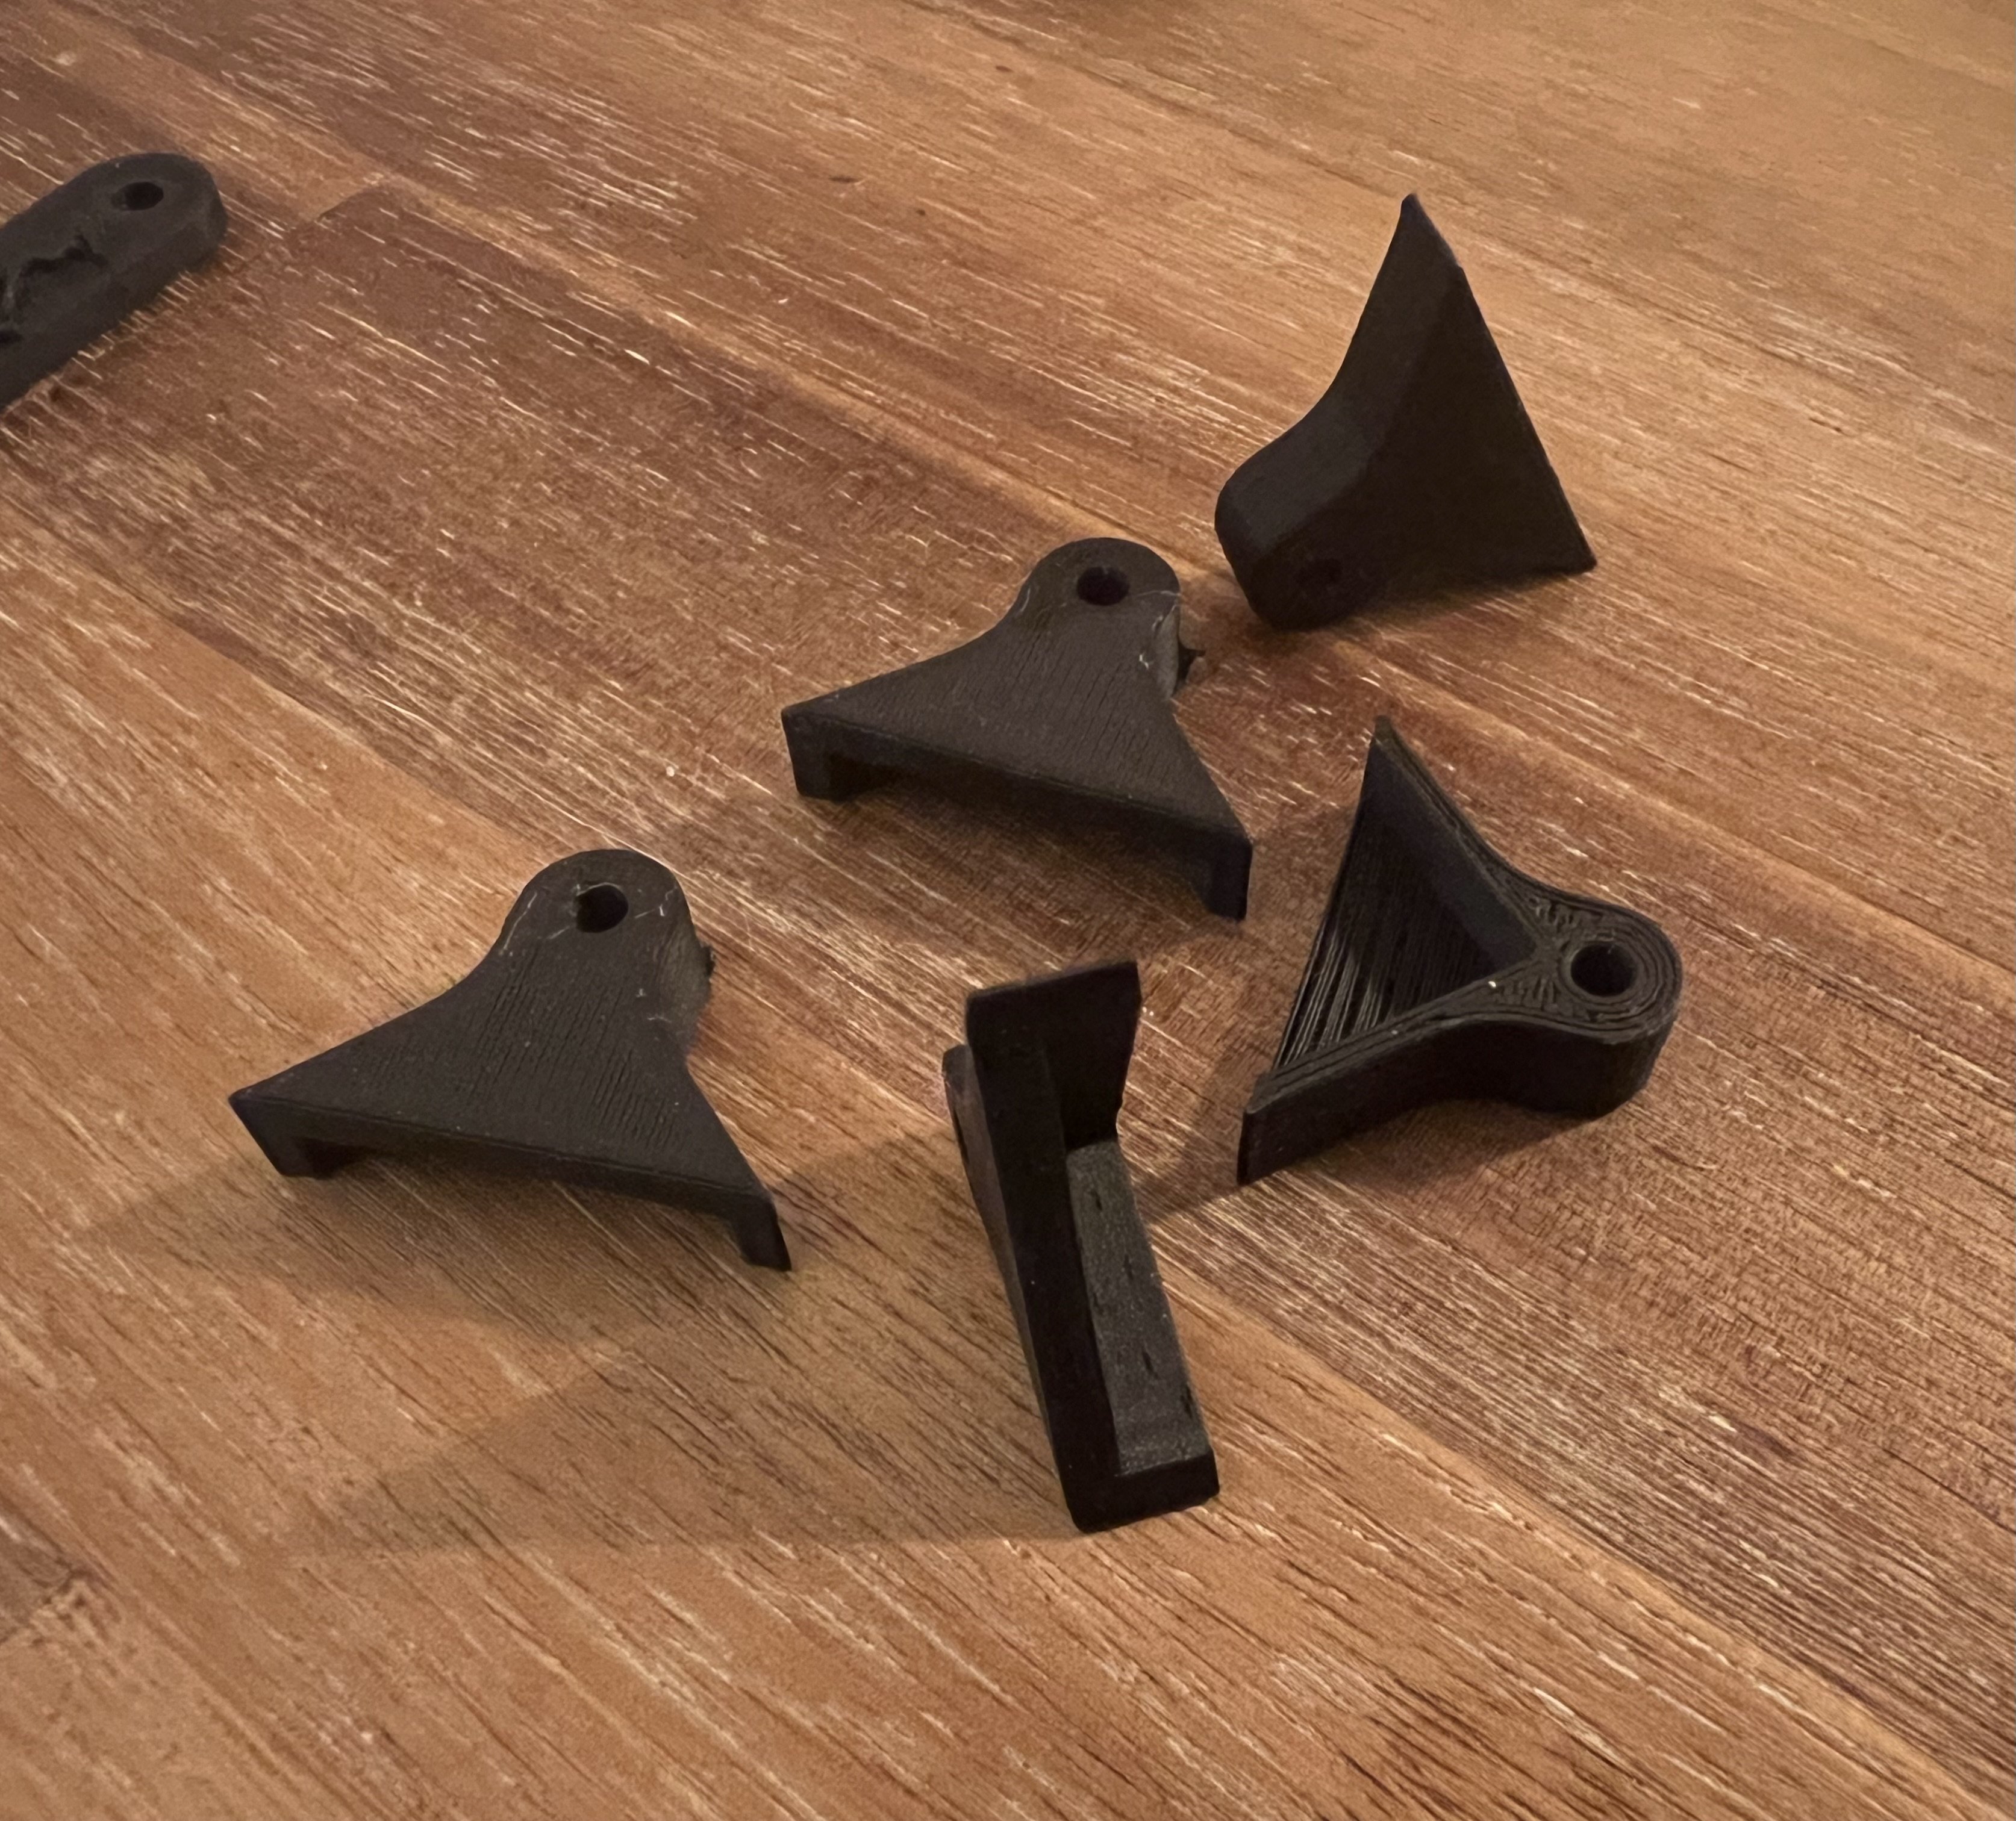
Recieved the mirror. Perfect fit with the 3d printed corners. Also went to a special hardware store to but round head screws to fit with the era and Luftwaffe theme.

-
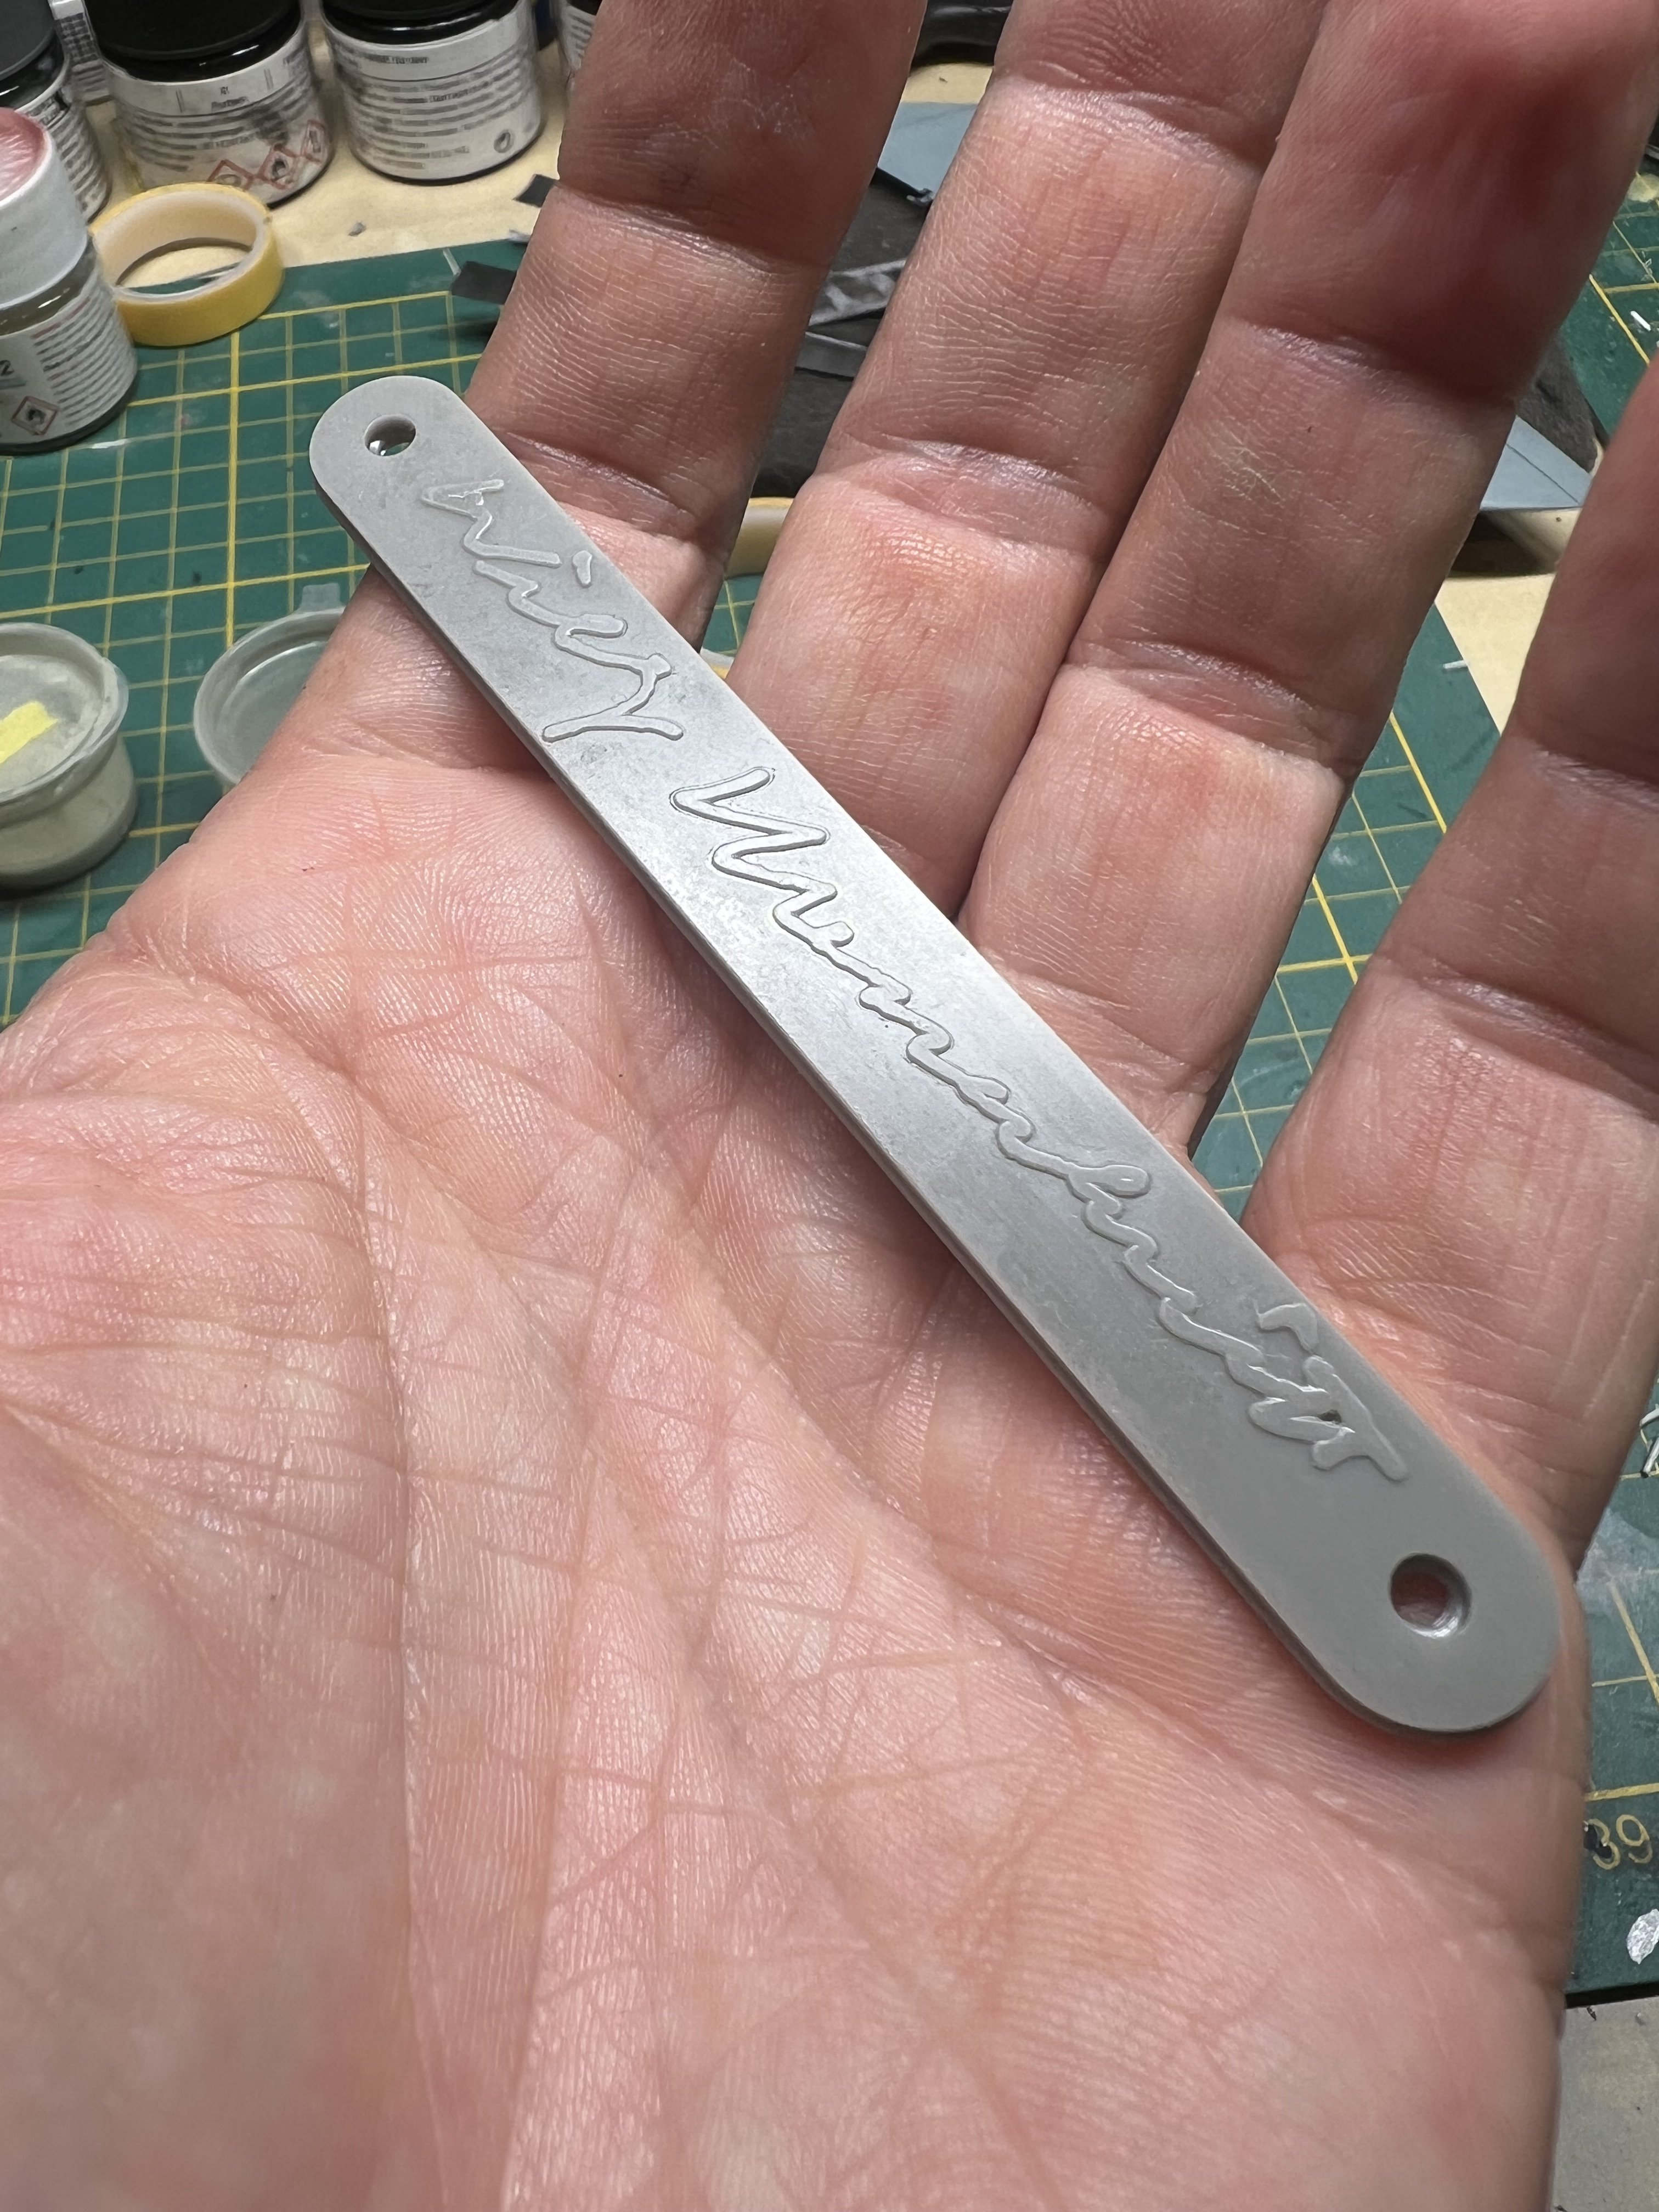
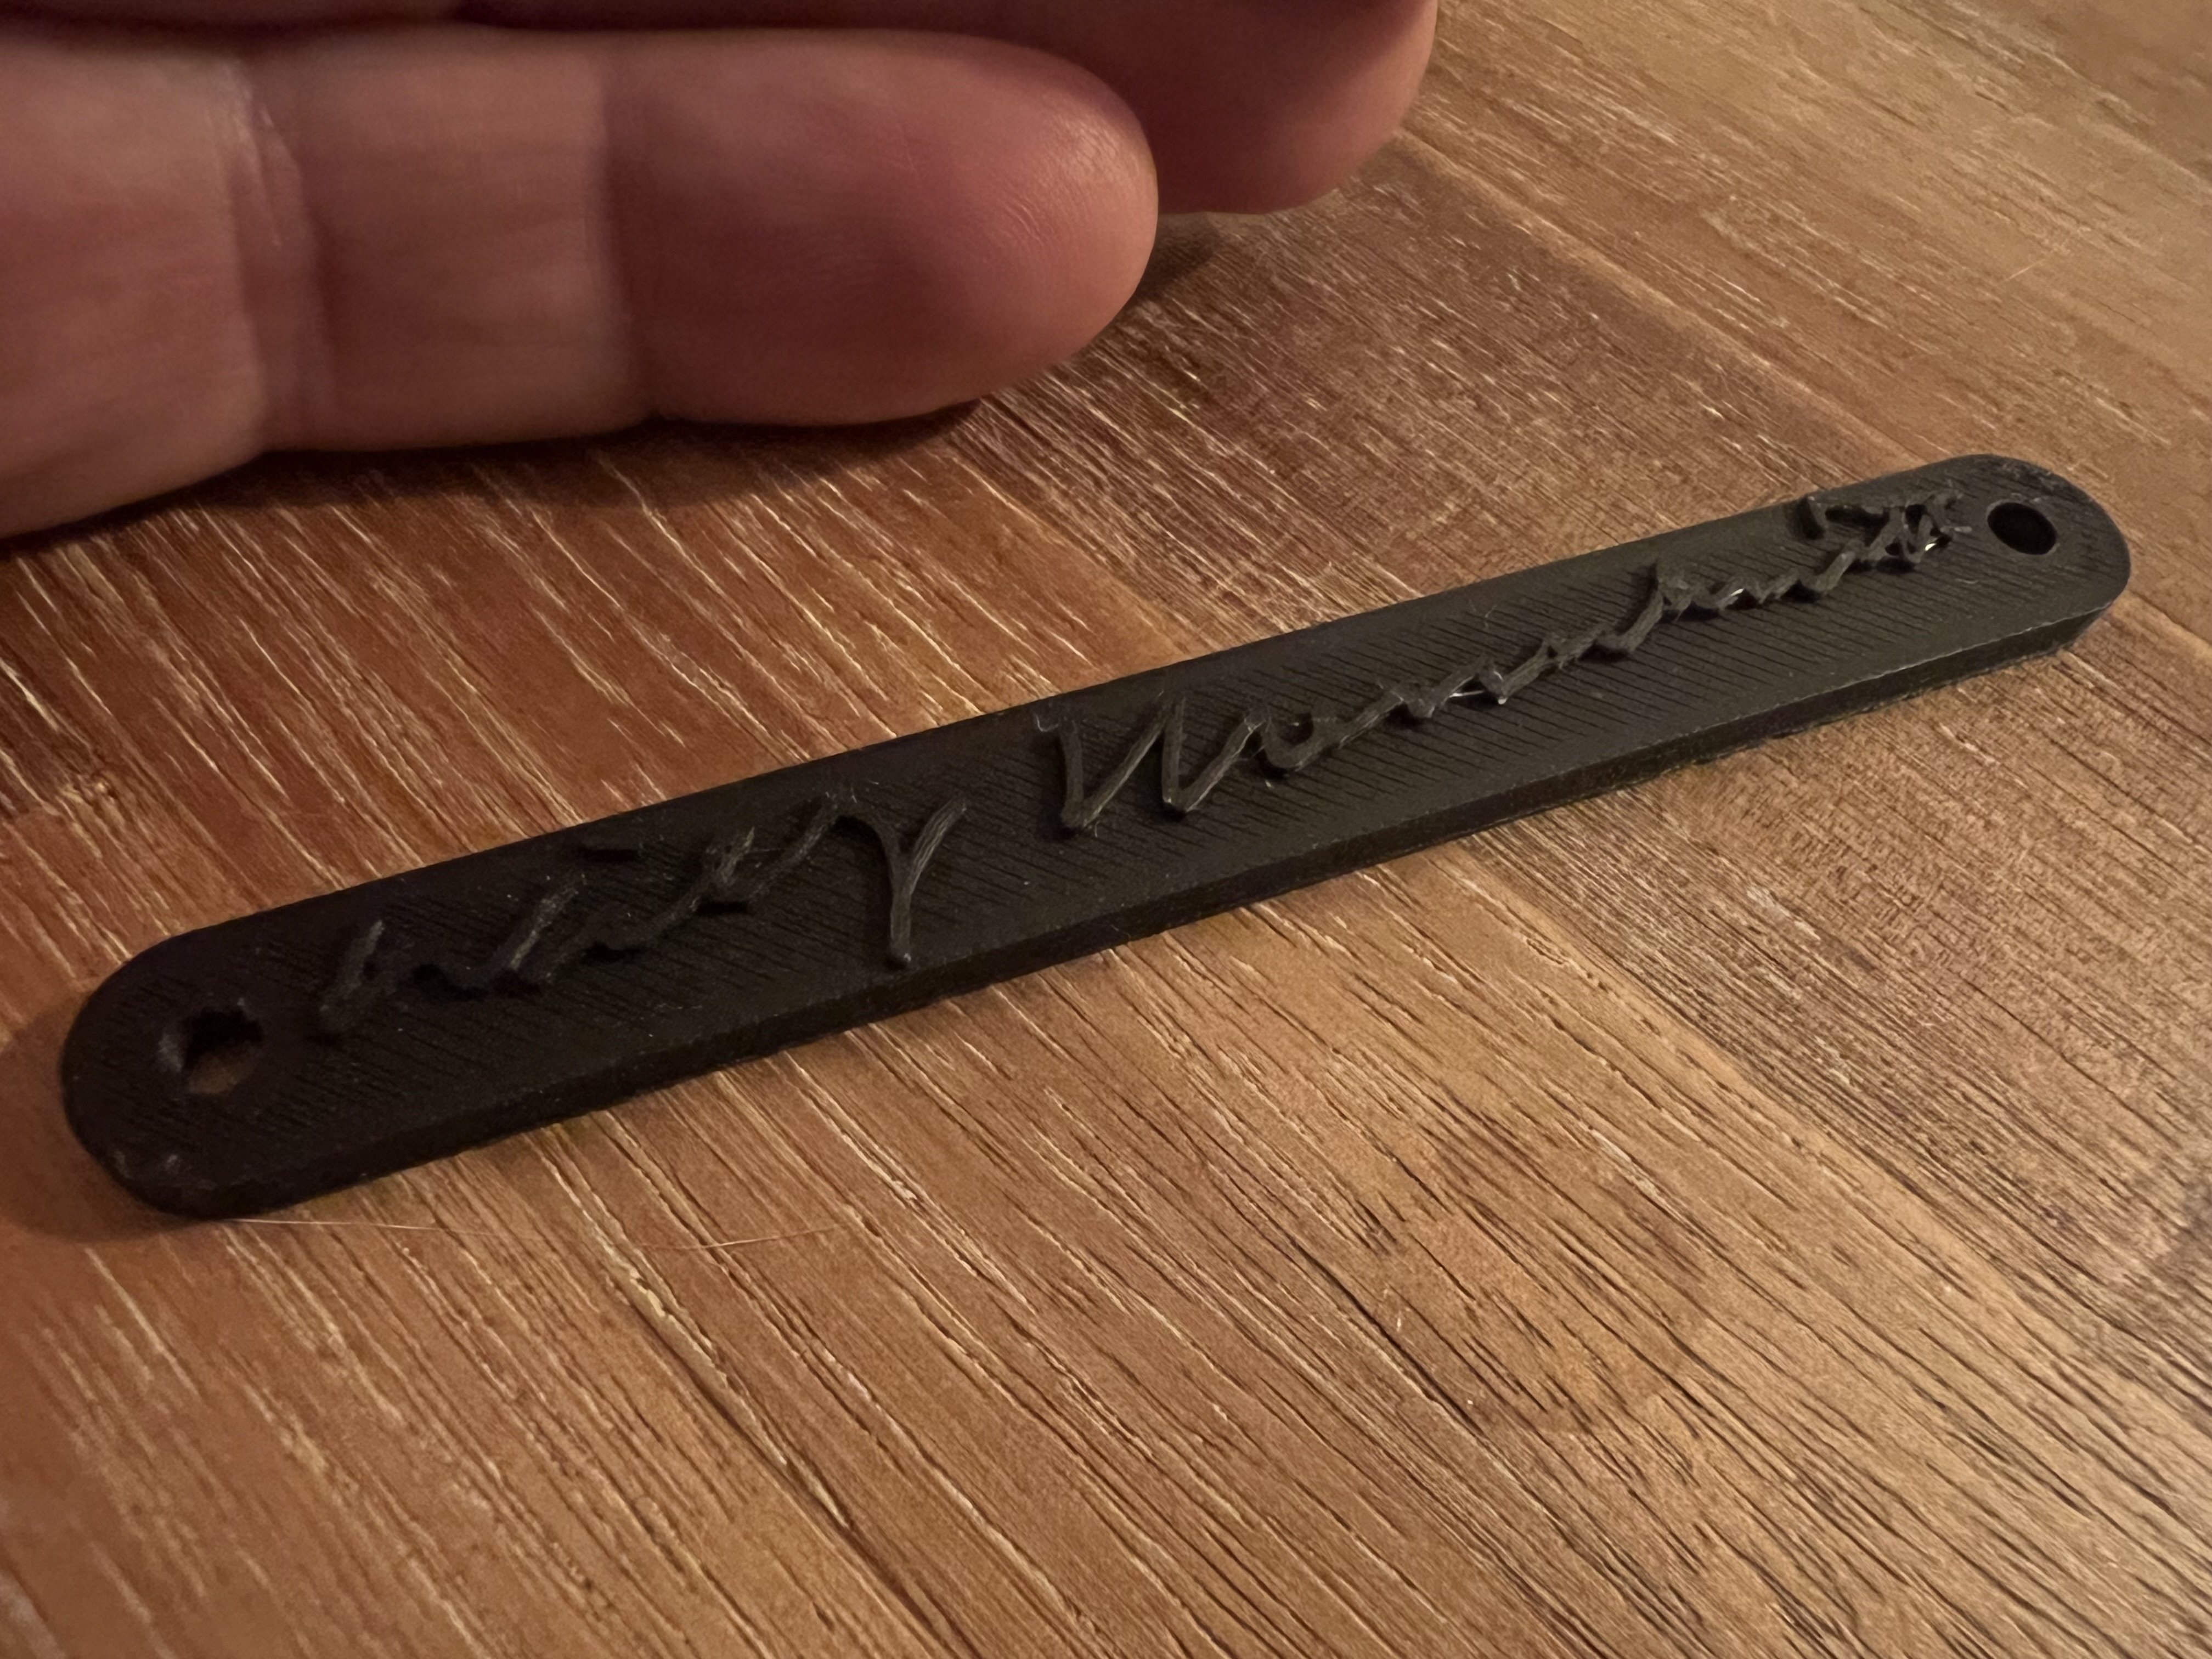
Wasnt happy with the PLA printed name badge, so i reprinted it with resin. Much better ofcourse.

-
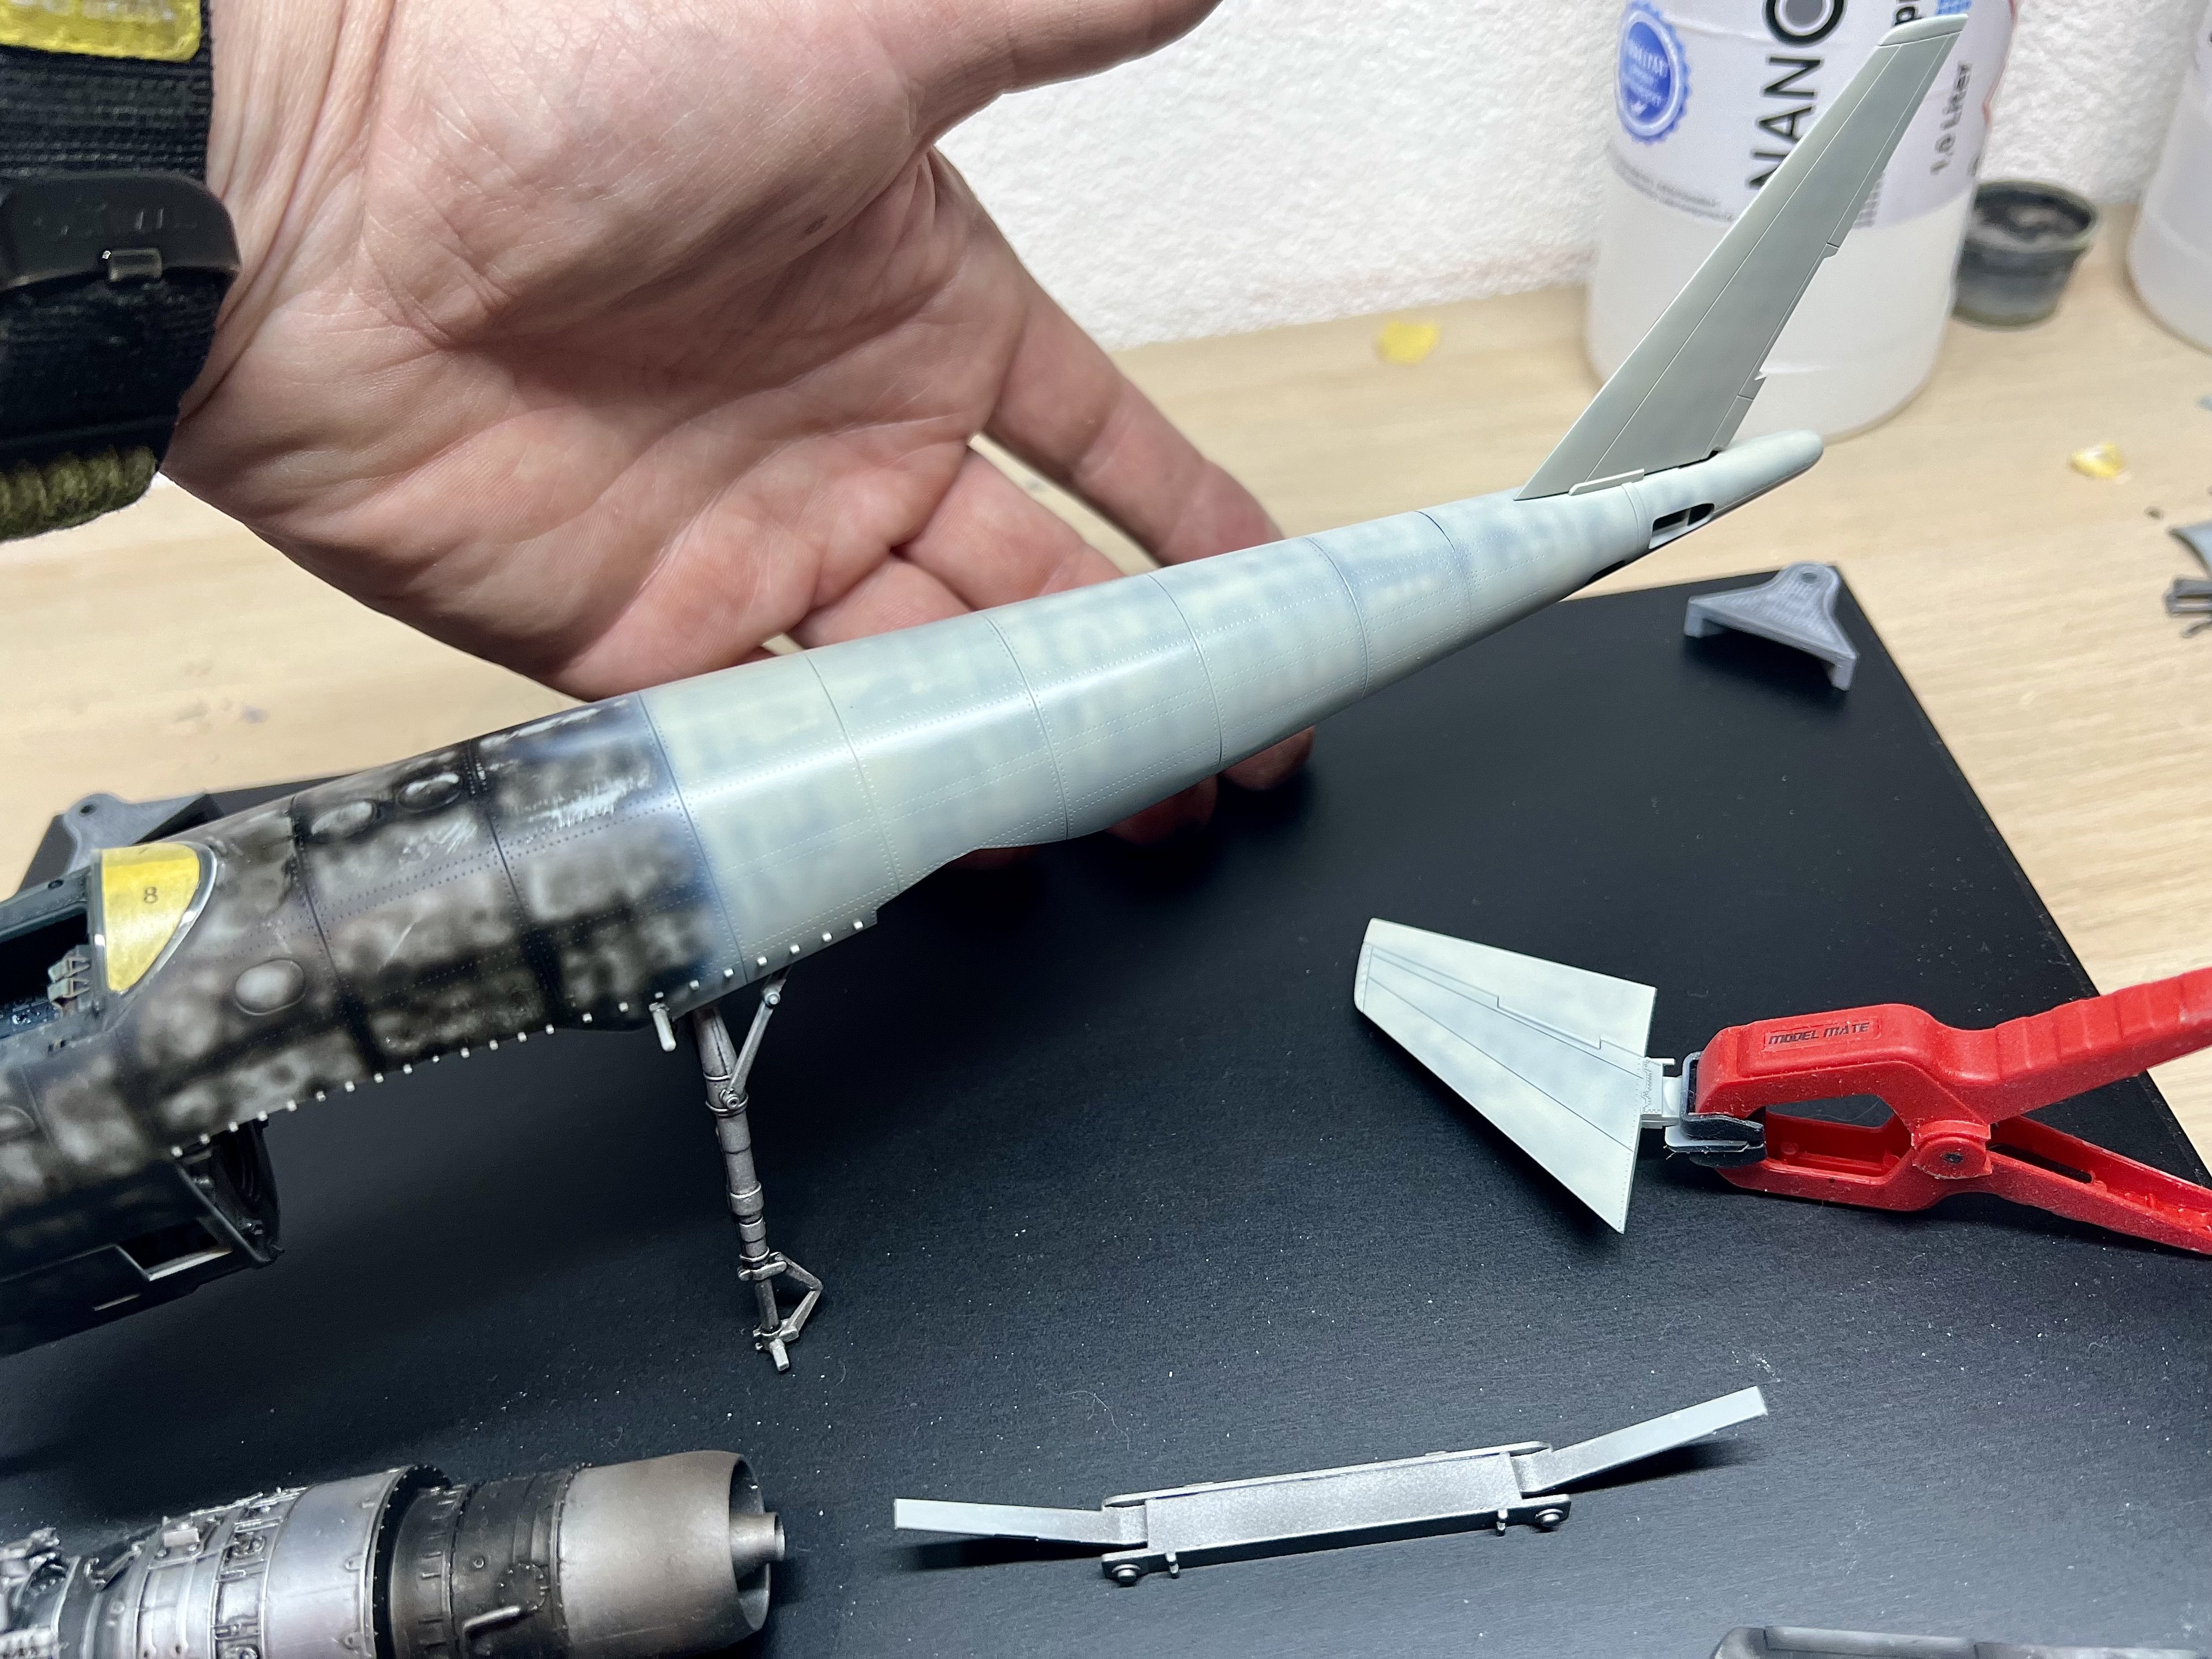
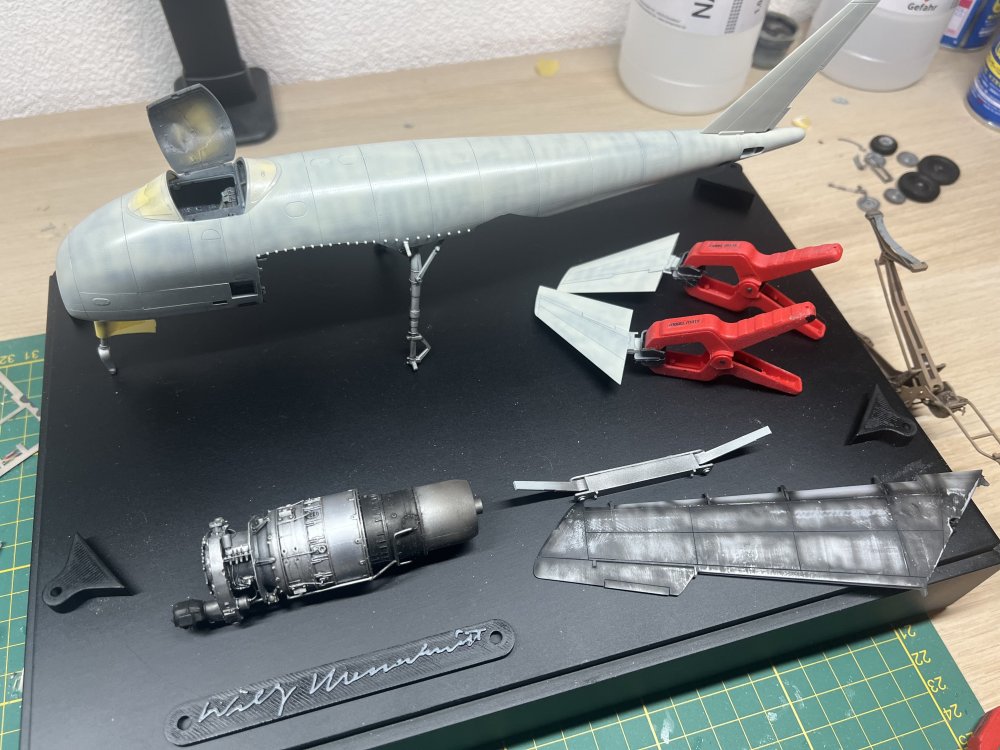
Fuse done.
-
Mixed the very lightened faded Rlm02. Pretty pleased.

-
All masked up. Inside and outside.

-
Using the Artscale excellent inside and outside canopy masks.


-
Quite liking this! I love the Re4. I made the resin HPH version years ago.
-
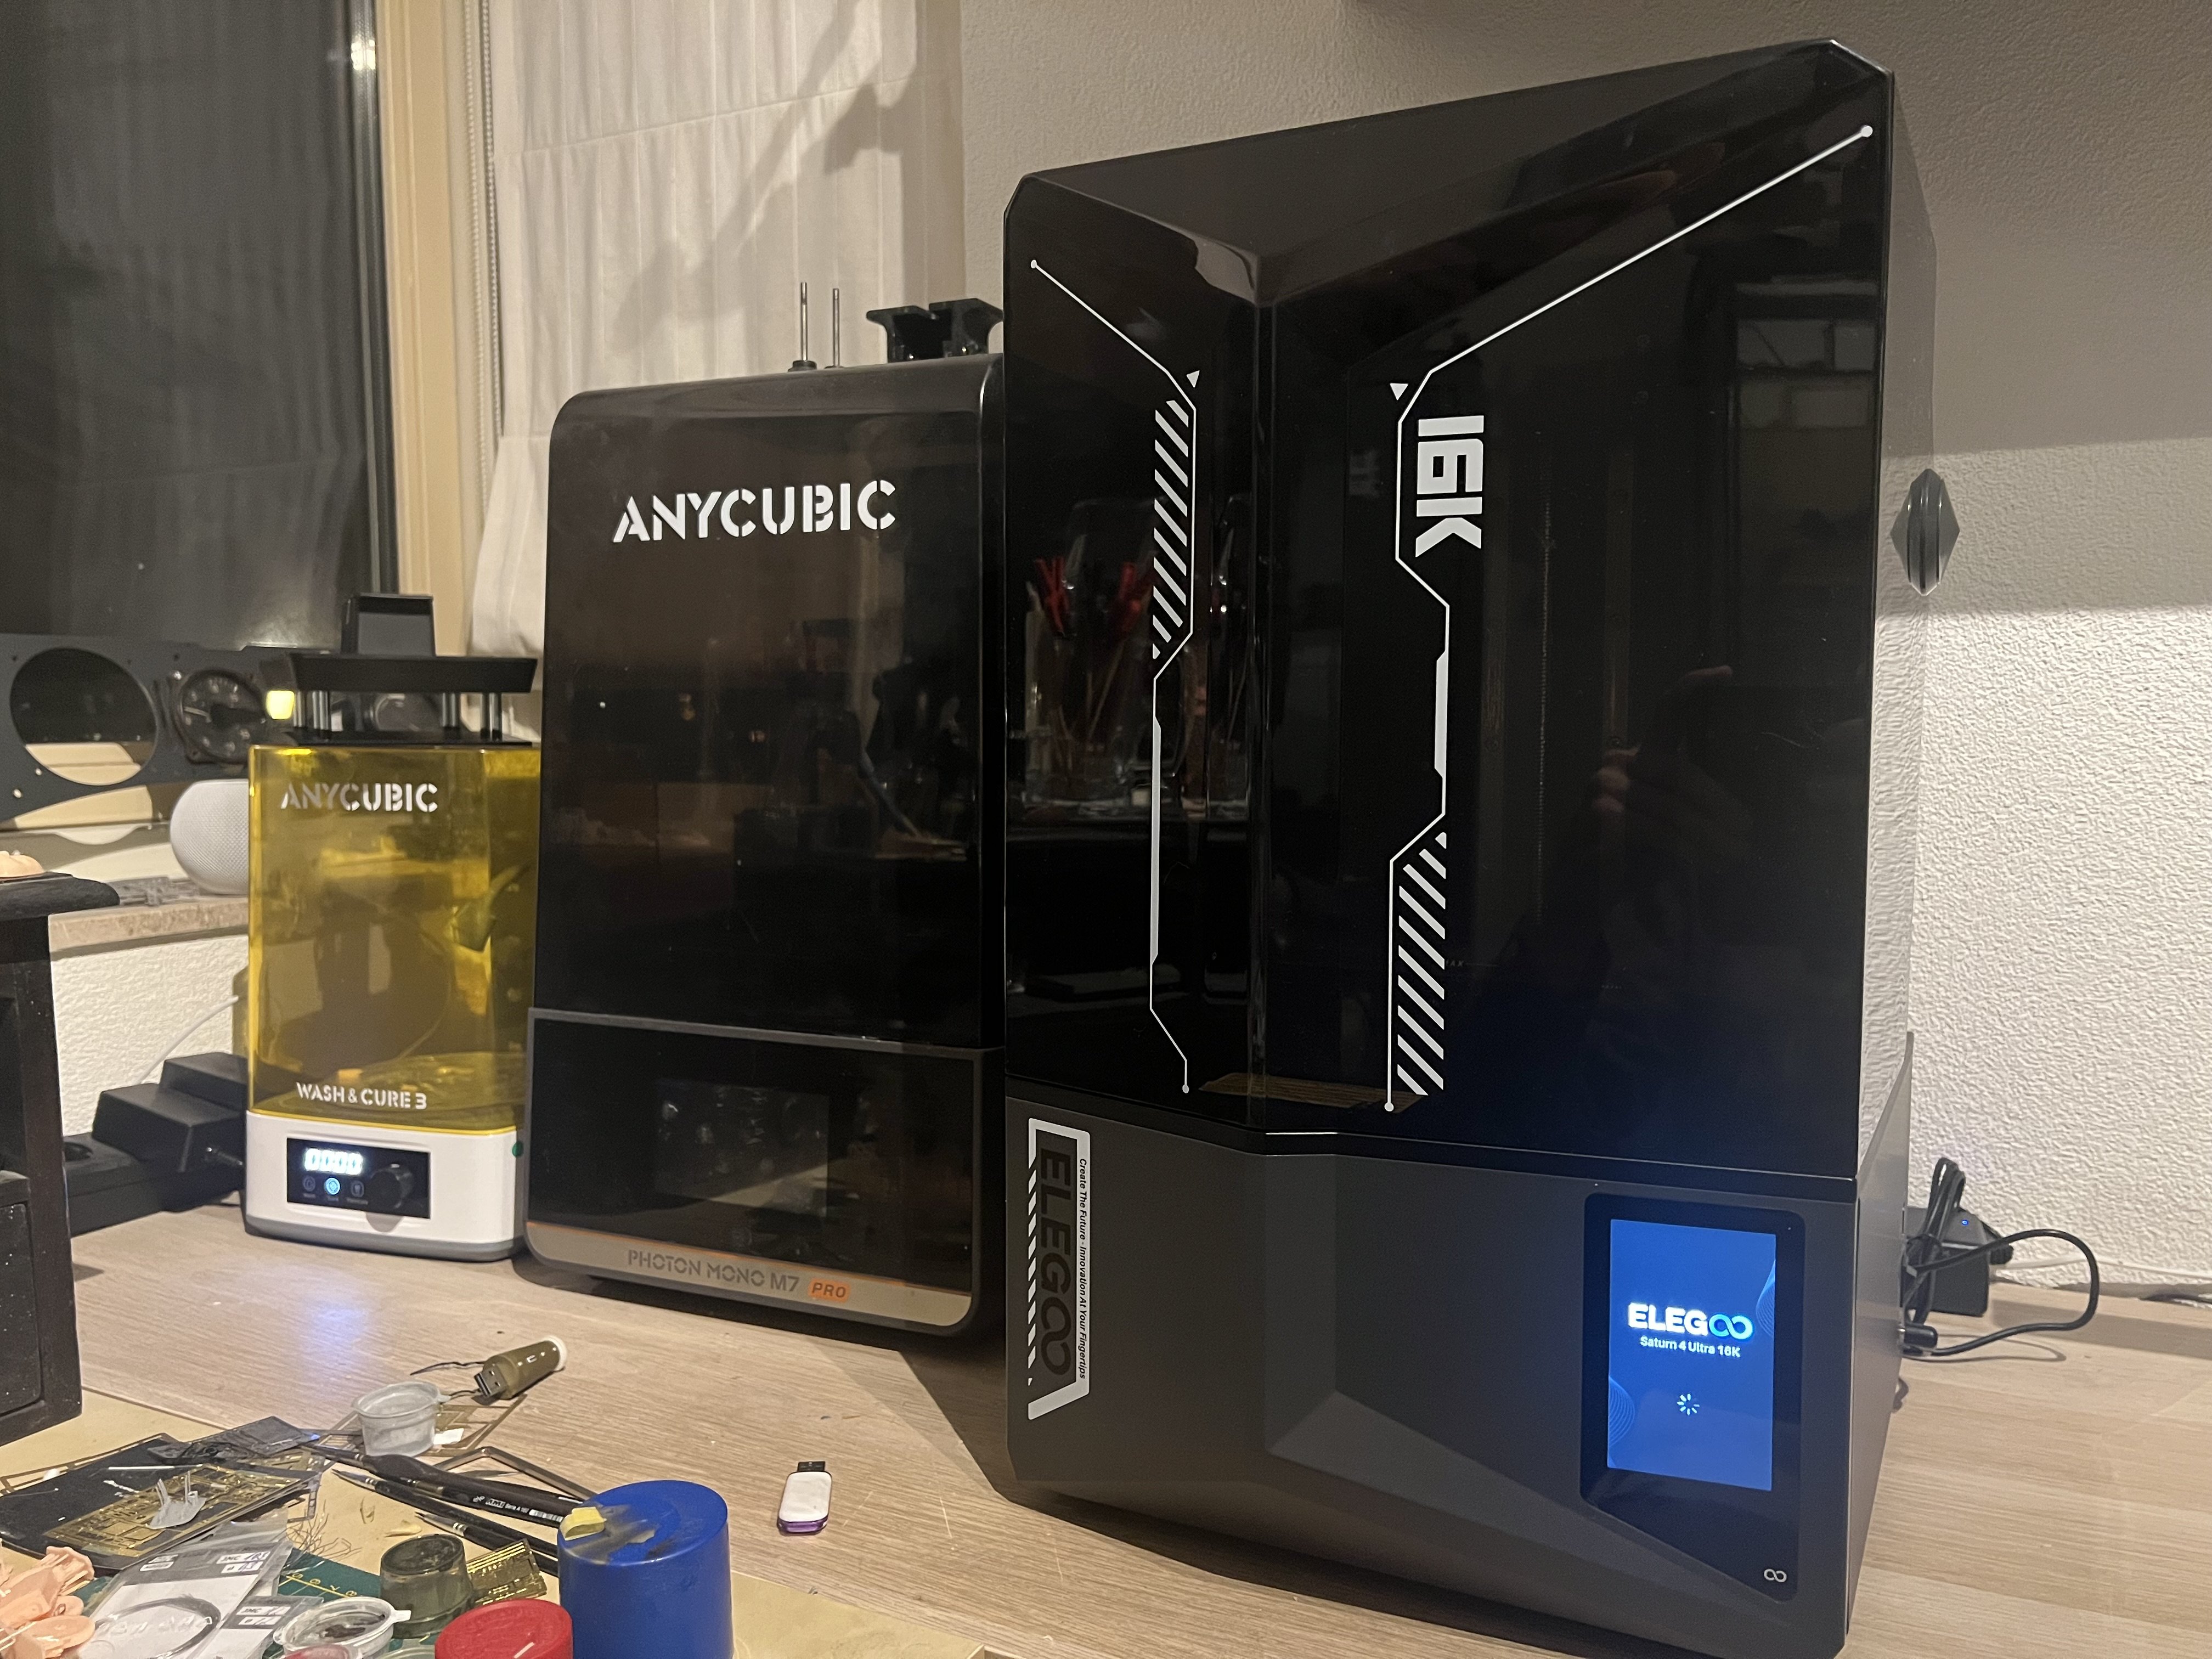
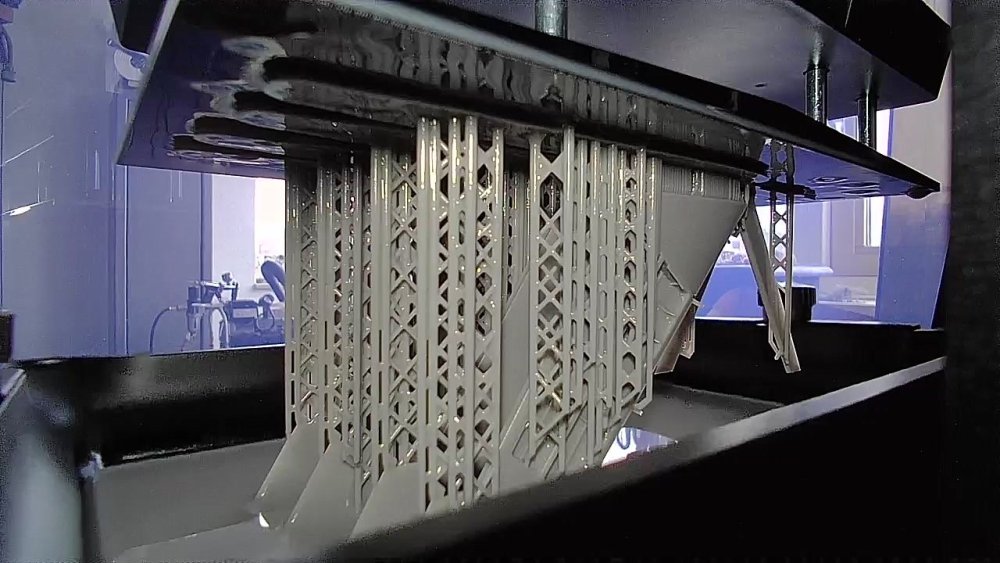
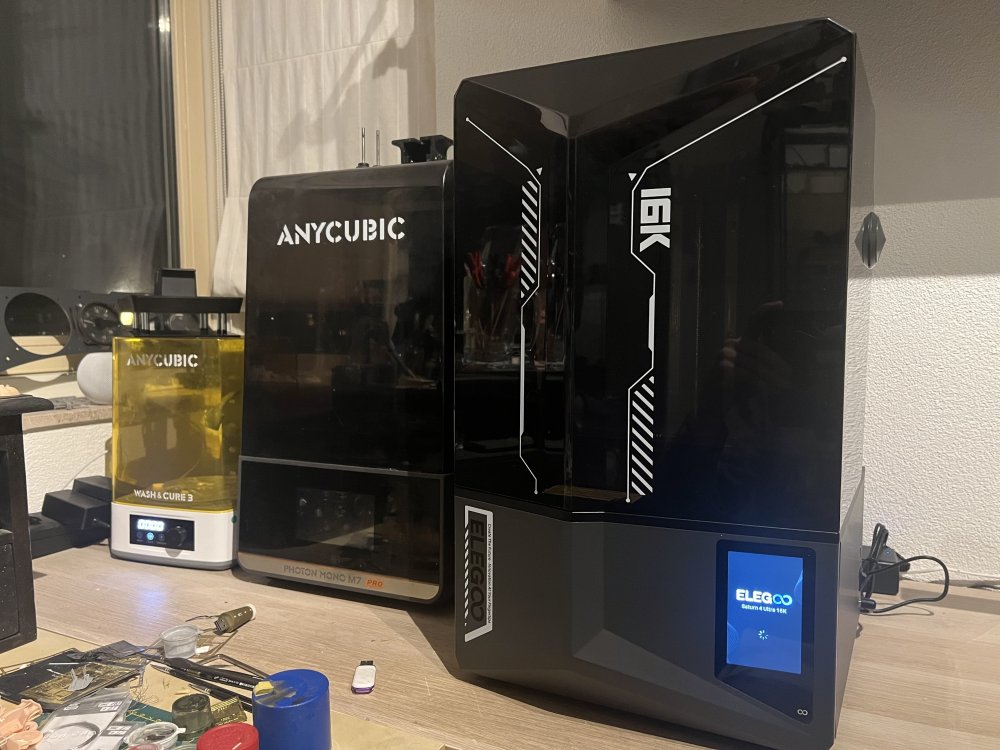
Where it took a dozen print tries with the Anycubic, the Elegoo is a first time right. Amazing printer. So far.. The resin i now use is Inslogic. Best resin so far. I might use the new wings i printed :))


-
I love the camera function in the new Elegoo printer. Away from home now but i can follow progress.
-
Mirror is ordered.

-
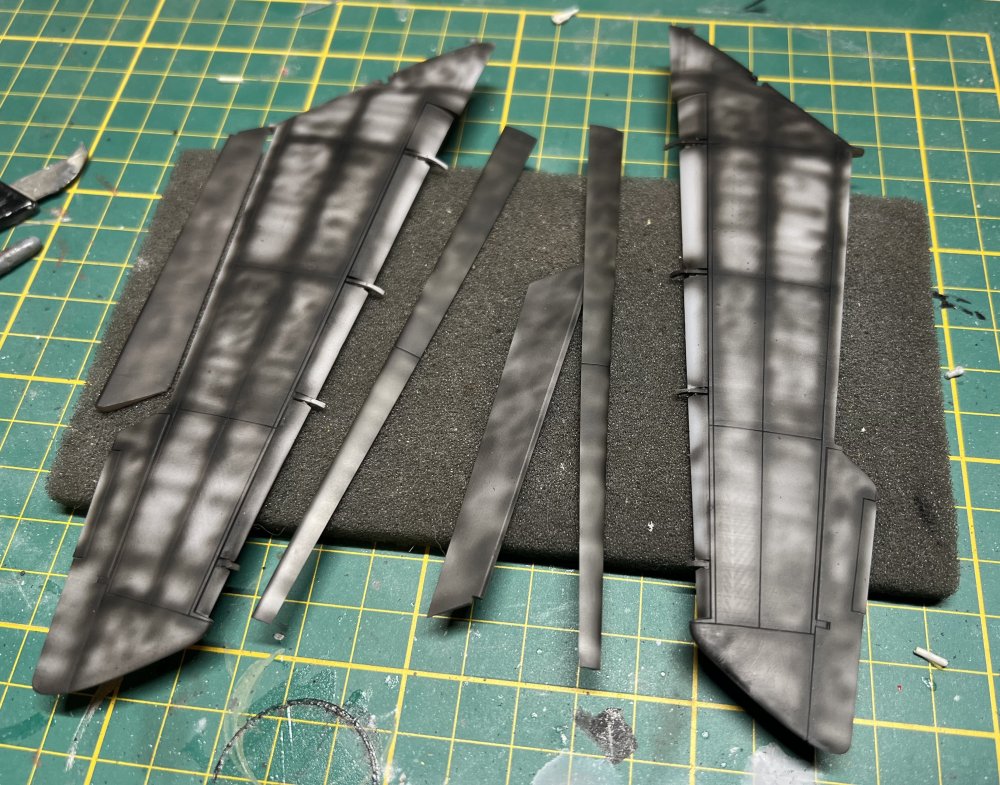
Here we go. RLM65 on the underside of the wings.
-
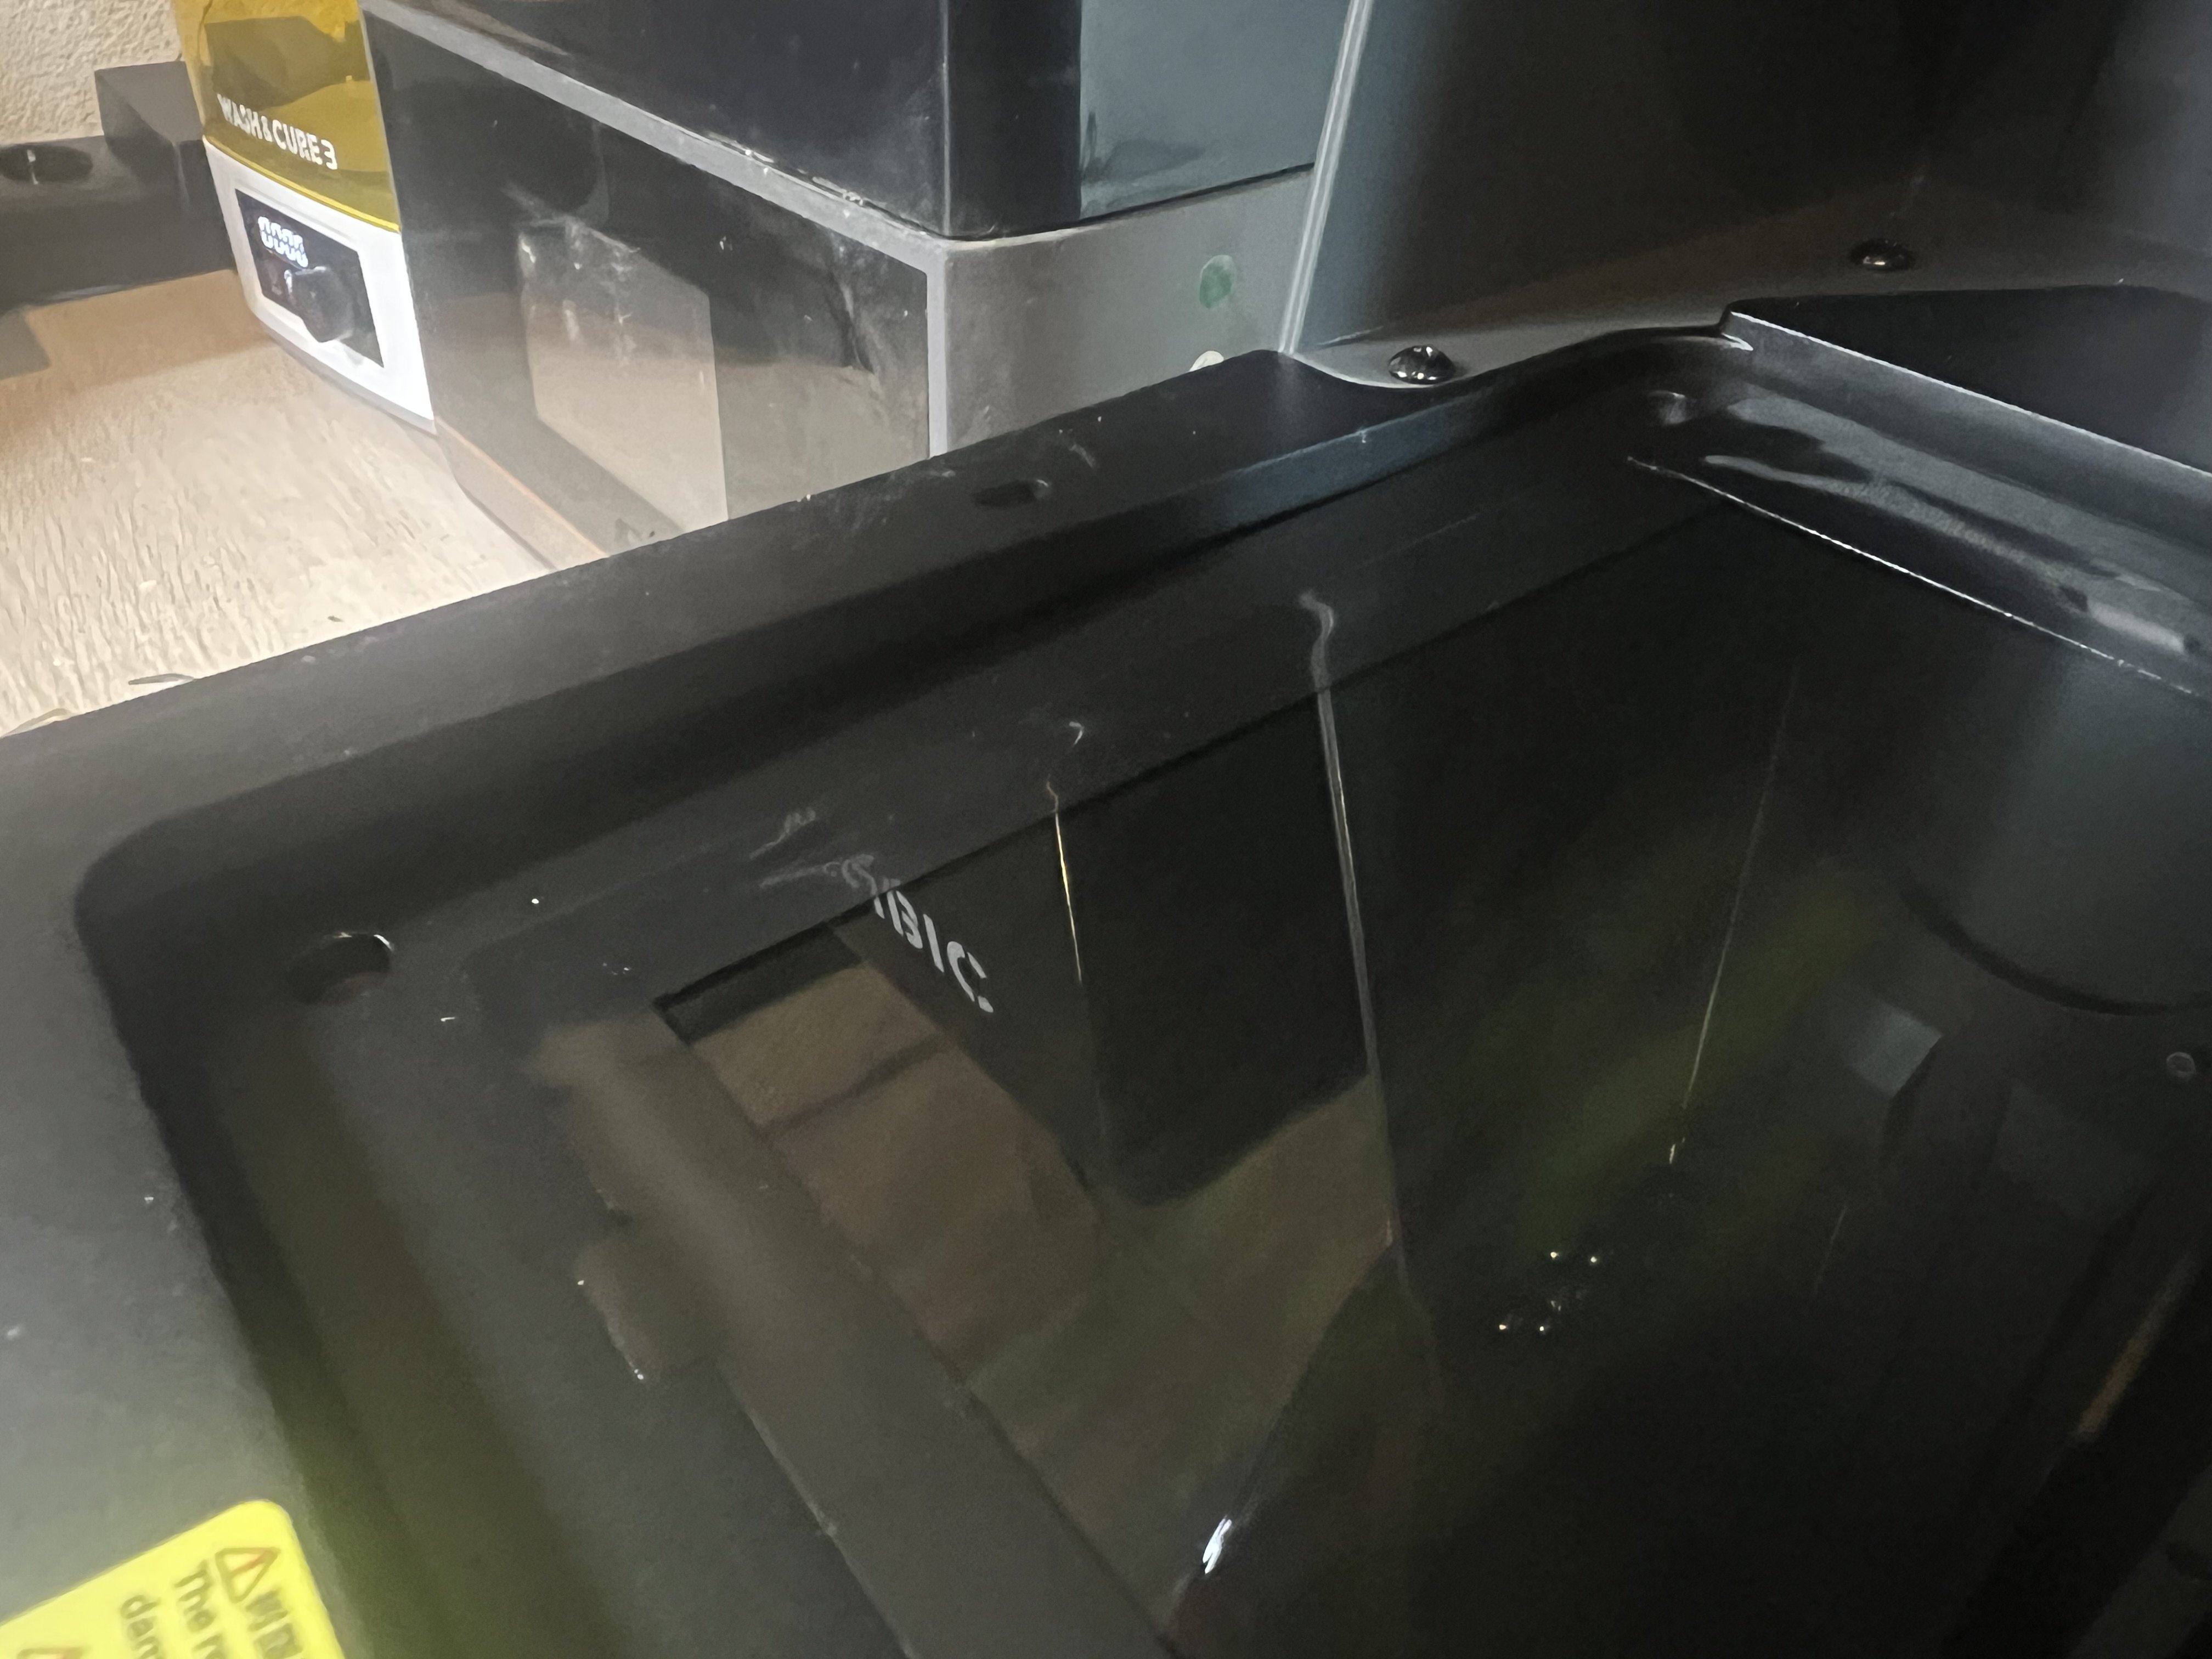
Good question actually. I didnt know about it either. Apparently it tilts the whole vat after every single layer/exposure. It should prevent the prints sticking to the bottom of the vat. We’ll see!
-
All set and ready to go with the Elegoo 4 Ultra 16k. When i unpacked it i noticed the exposure plate was tilted. Scared the hell out of me. Turns out this is a feature. We’ll see.

-
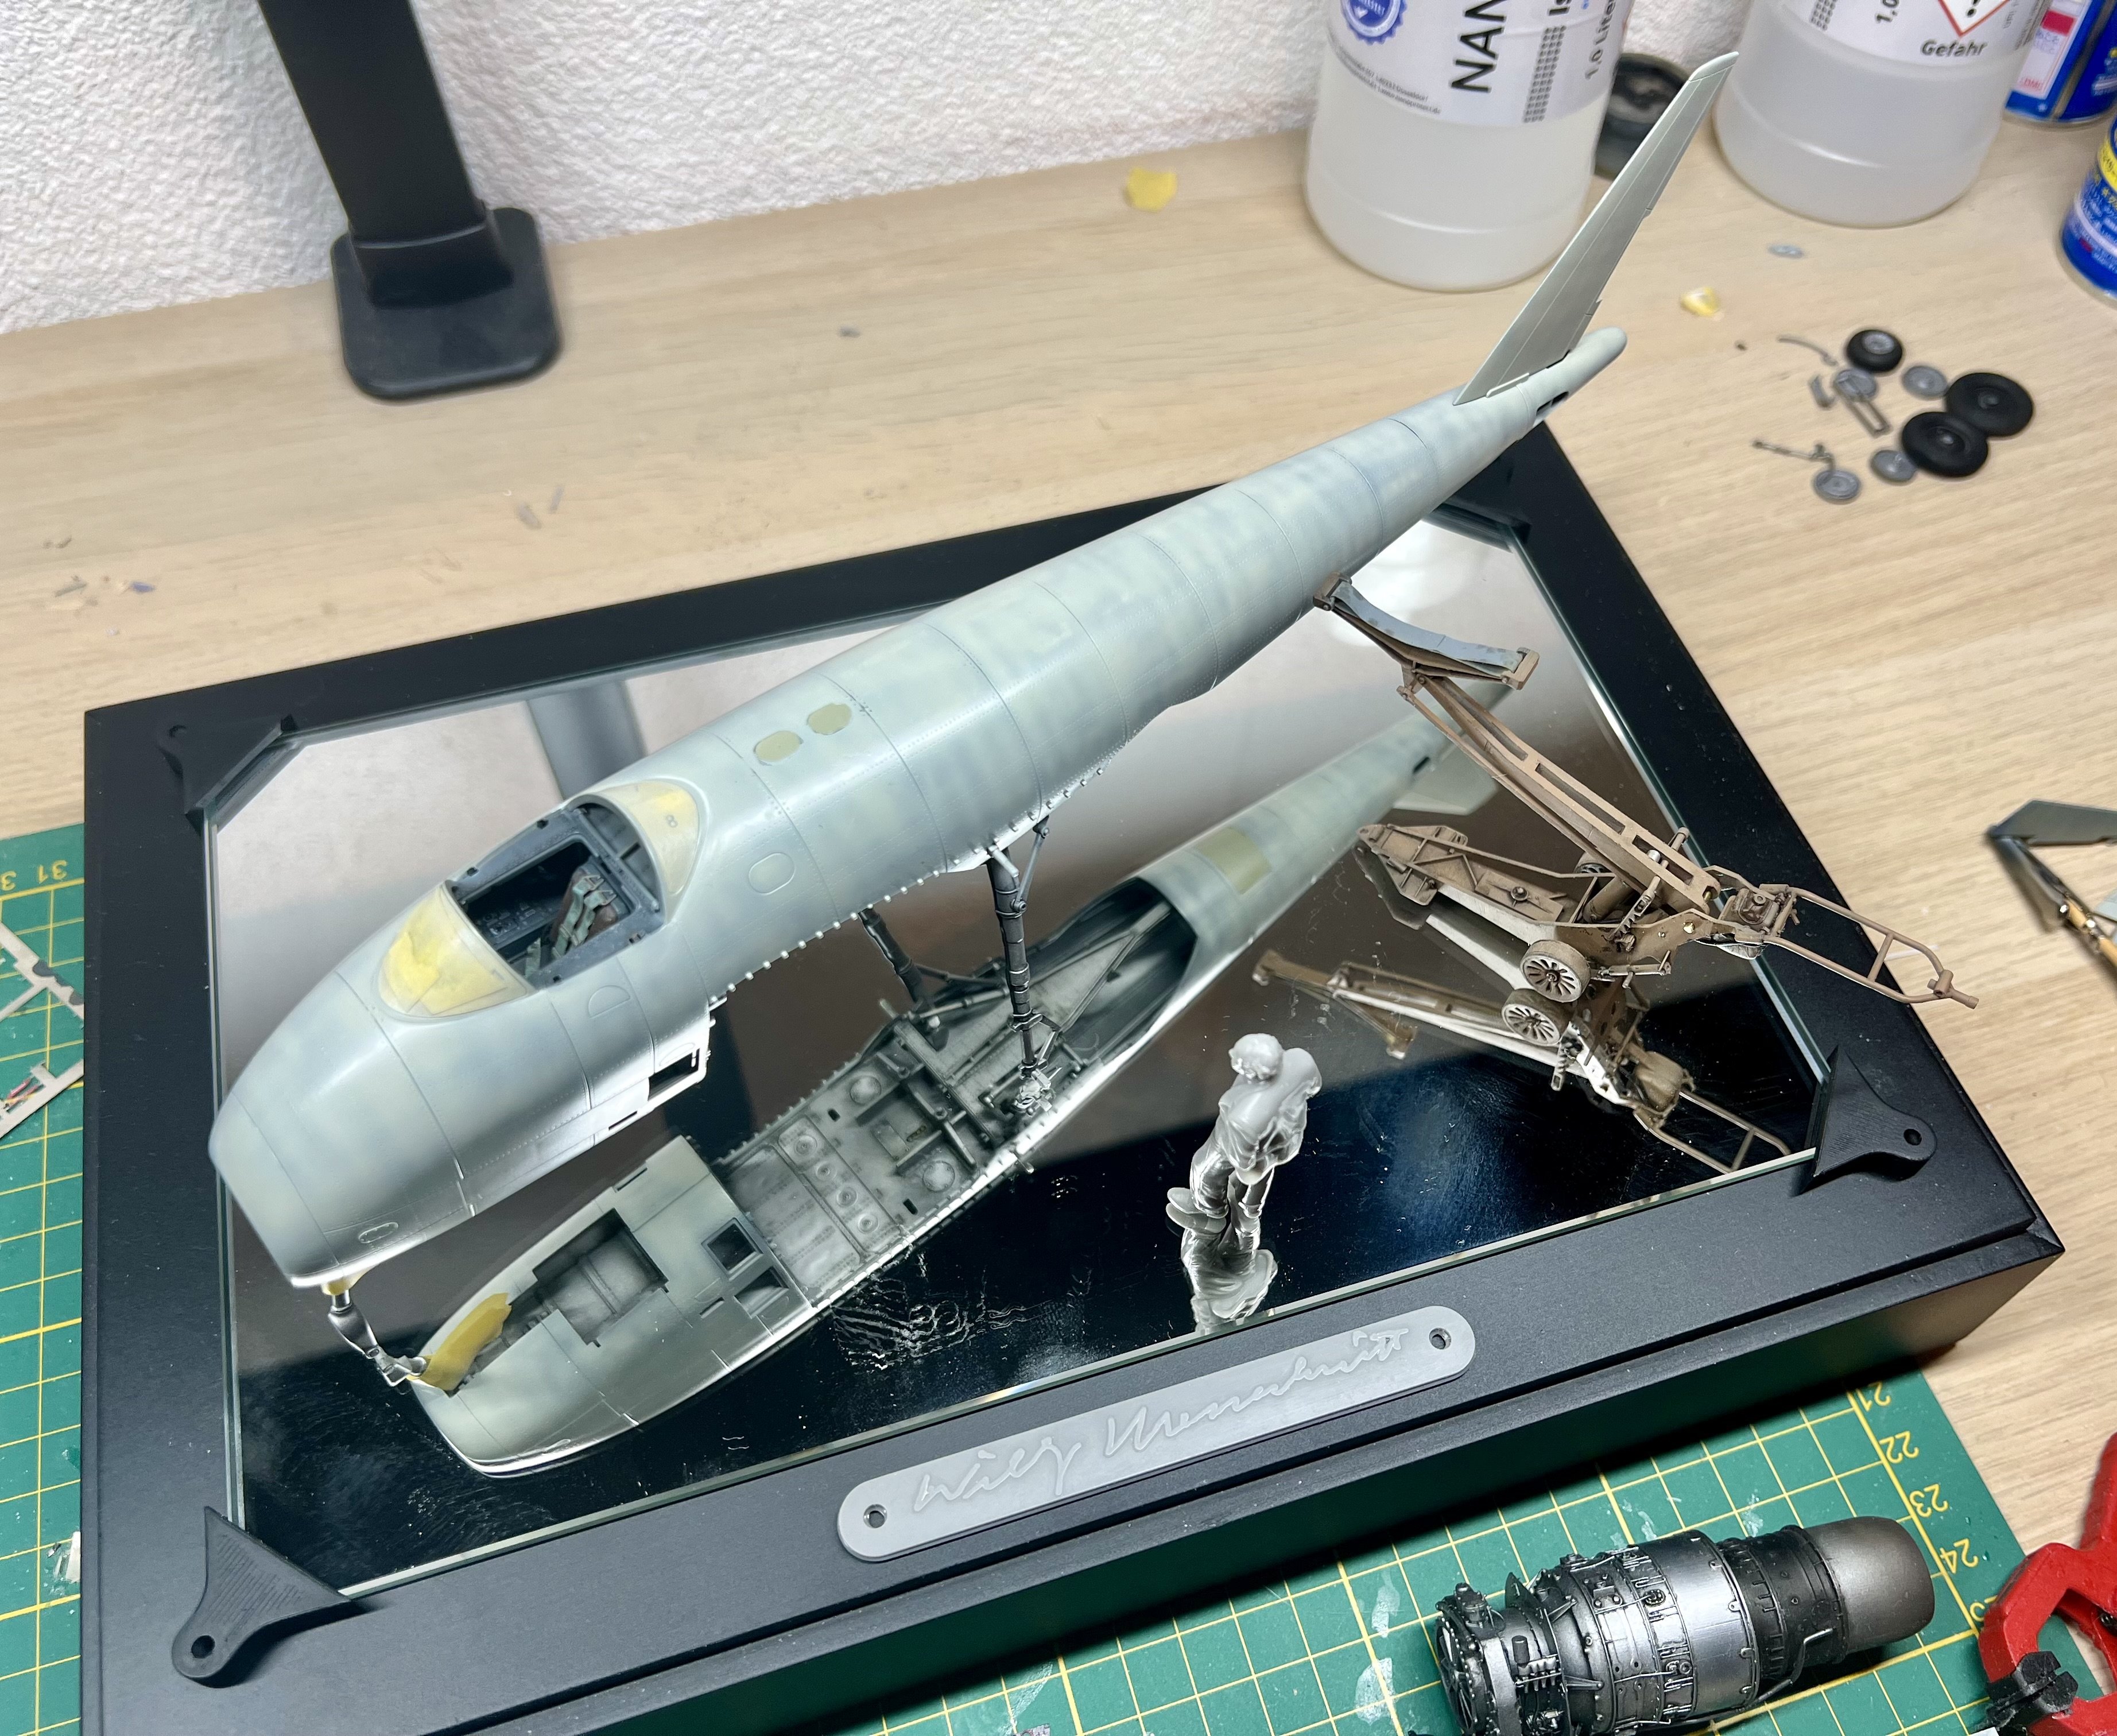
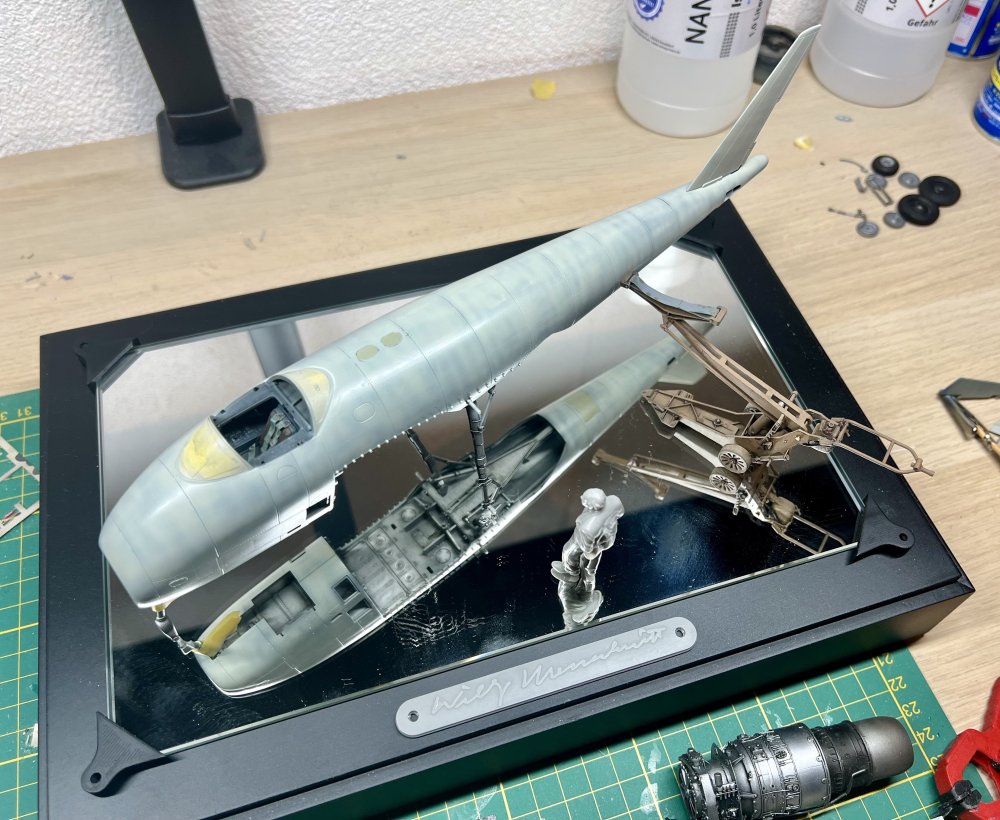
Ordered a mirror to size and printed these pieces on a PLA printer to go on the base. The corners will keep the mirror in place and the placard carries the signature of Willy Messerschmitt. Needs some mr Surfacer and love and a few nice screws.


-
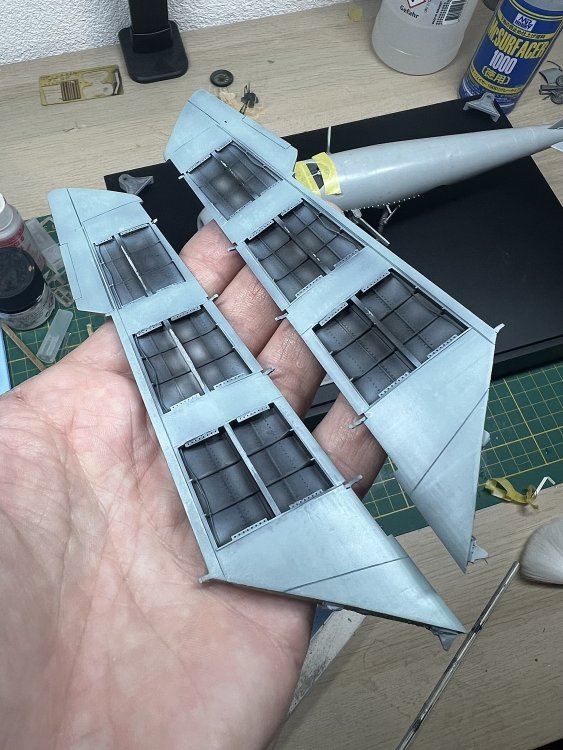
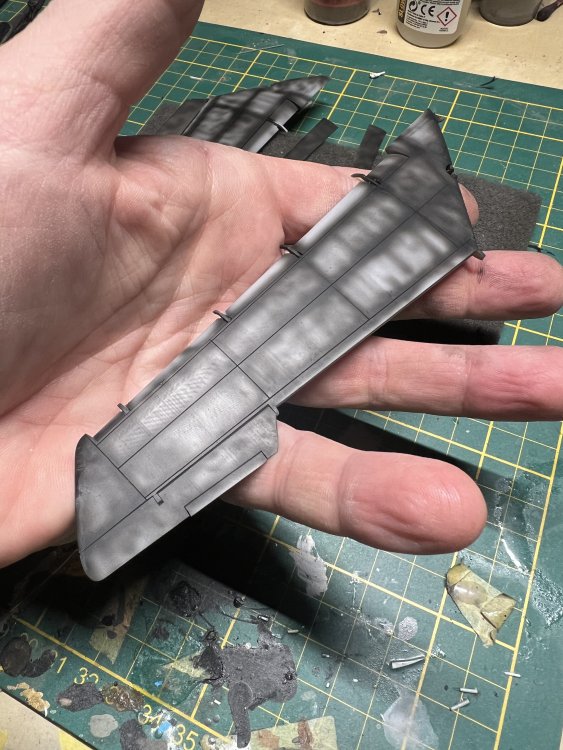
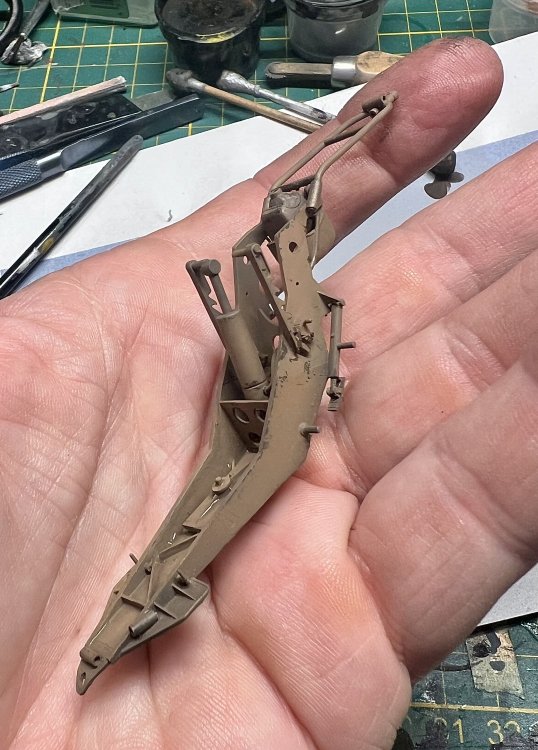
Enough with all the tinkering. Time for paint. The 3d printed wings behave well under some mr surfacer and rescribing of panel lines.

-
Wings are ready for paint. Should be smooth sailing from here on.

-
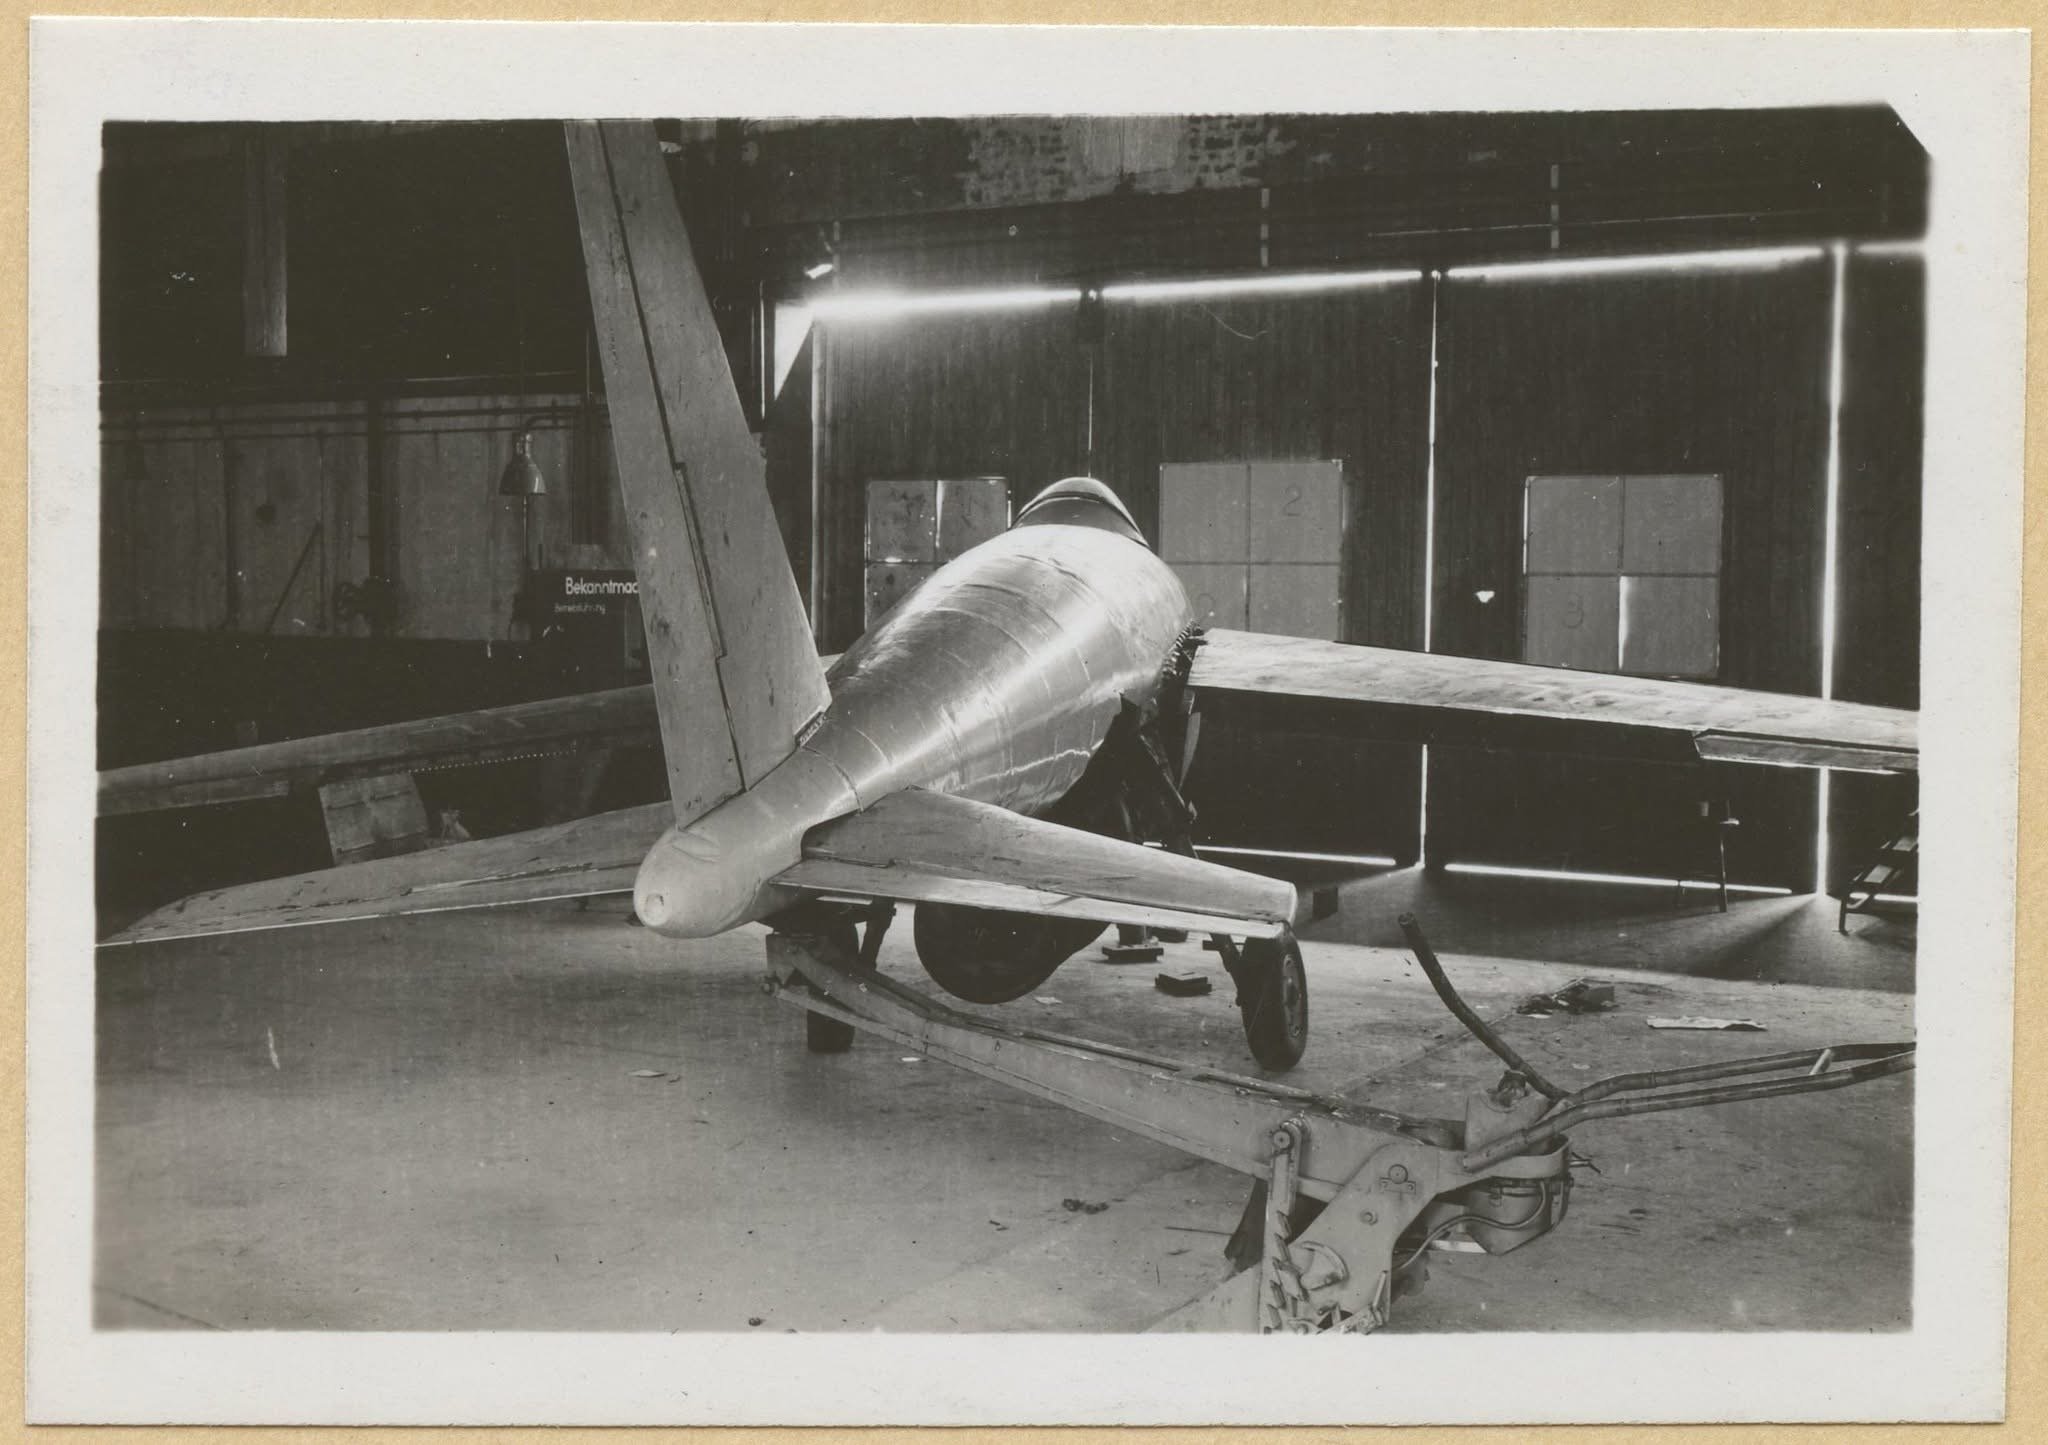
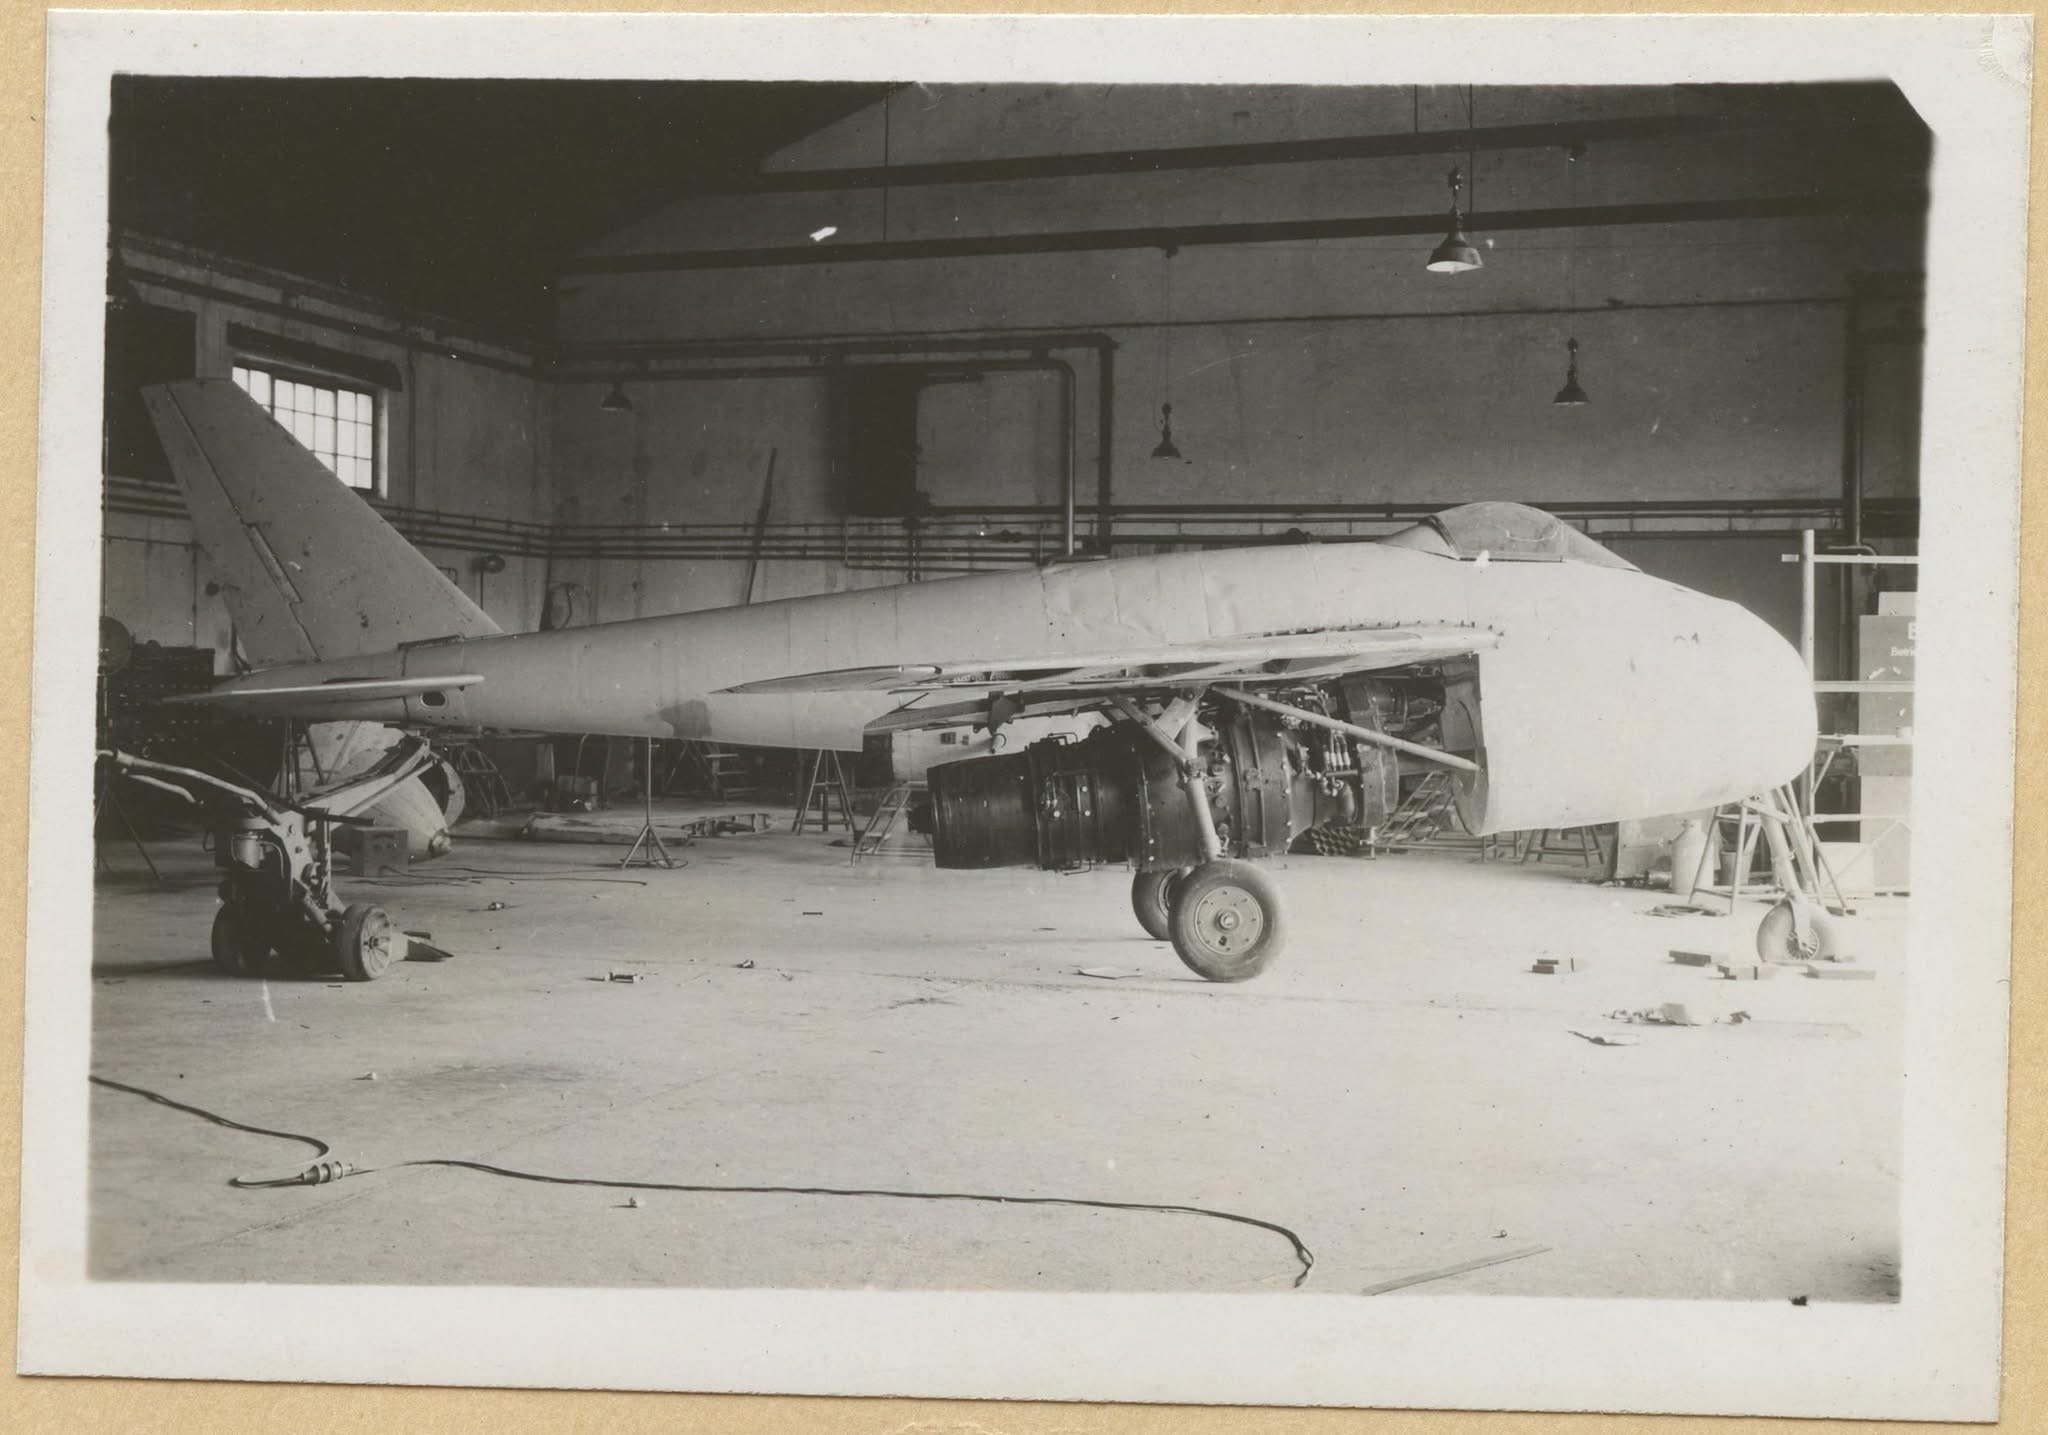
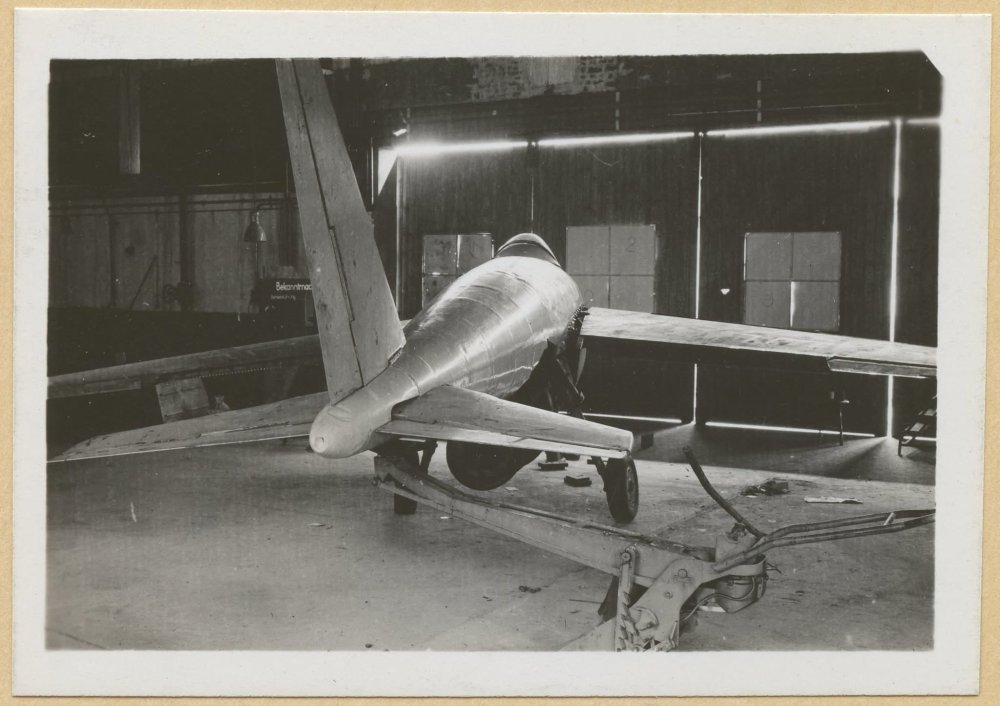
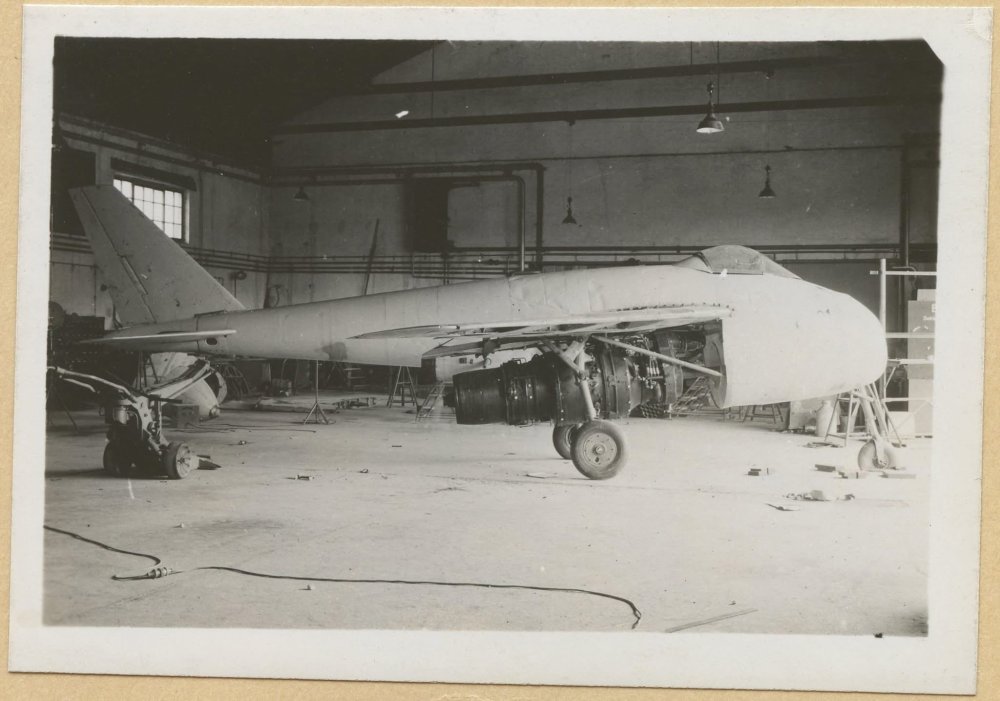
Look what popped up on my facebook timeline. High res scans of the real photo’s taken by the us army. we all know these photo’s but not in this resolution.
-
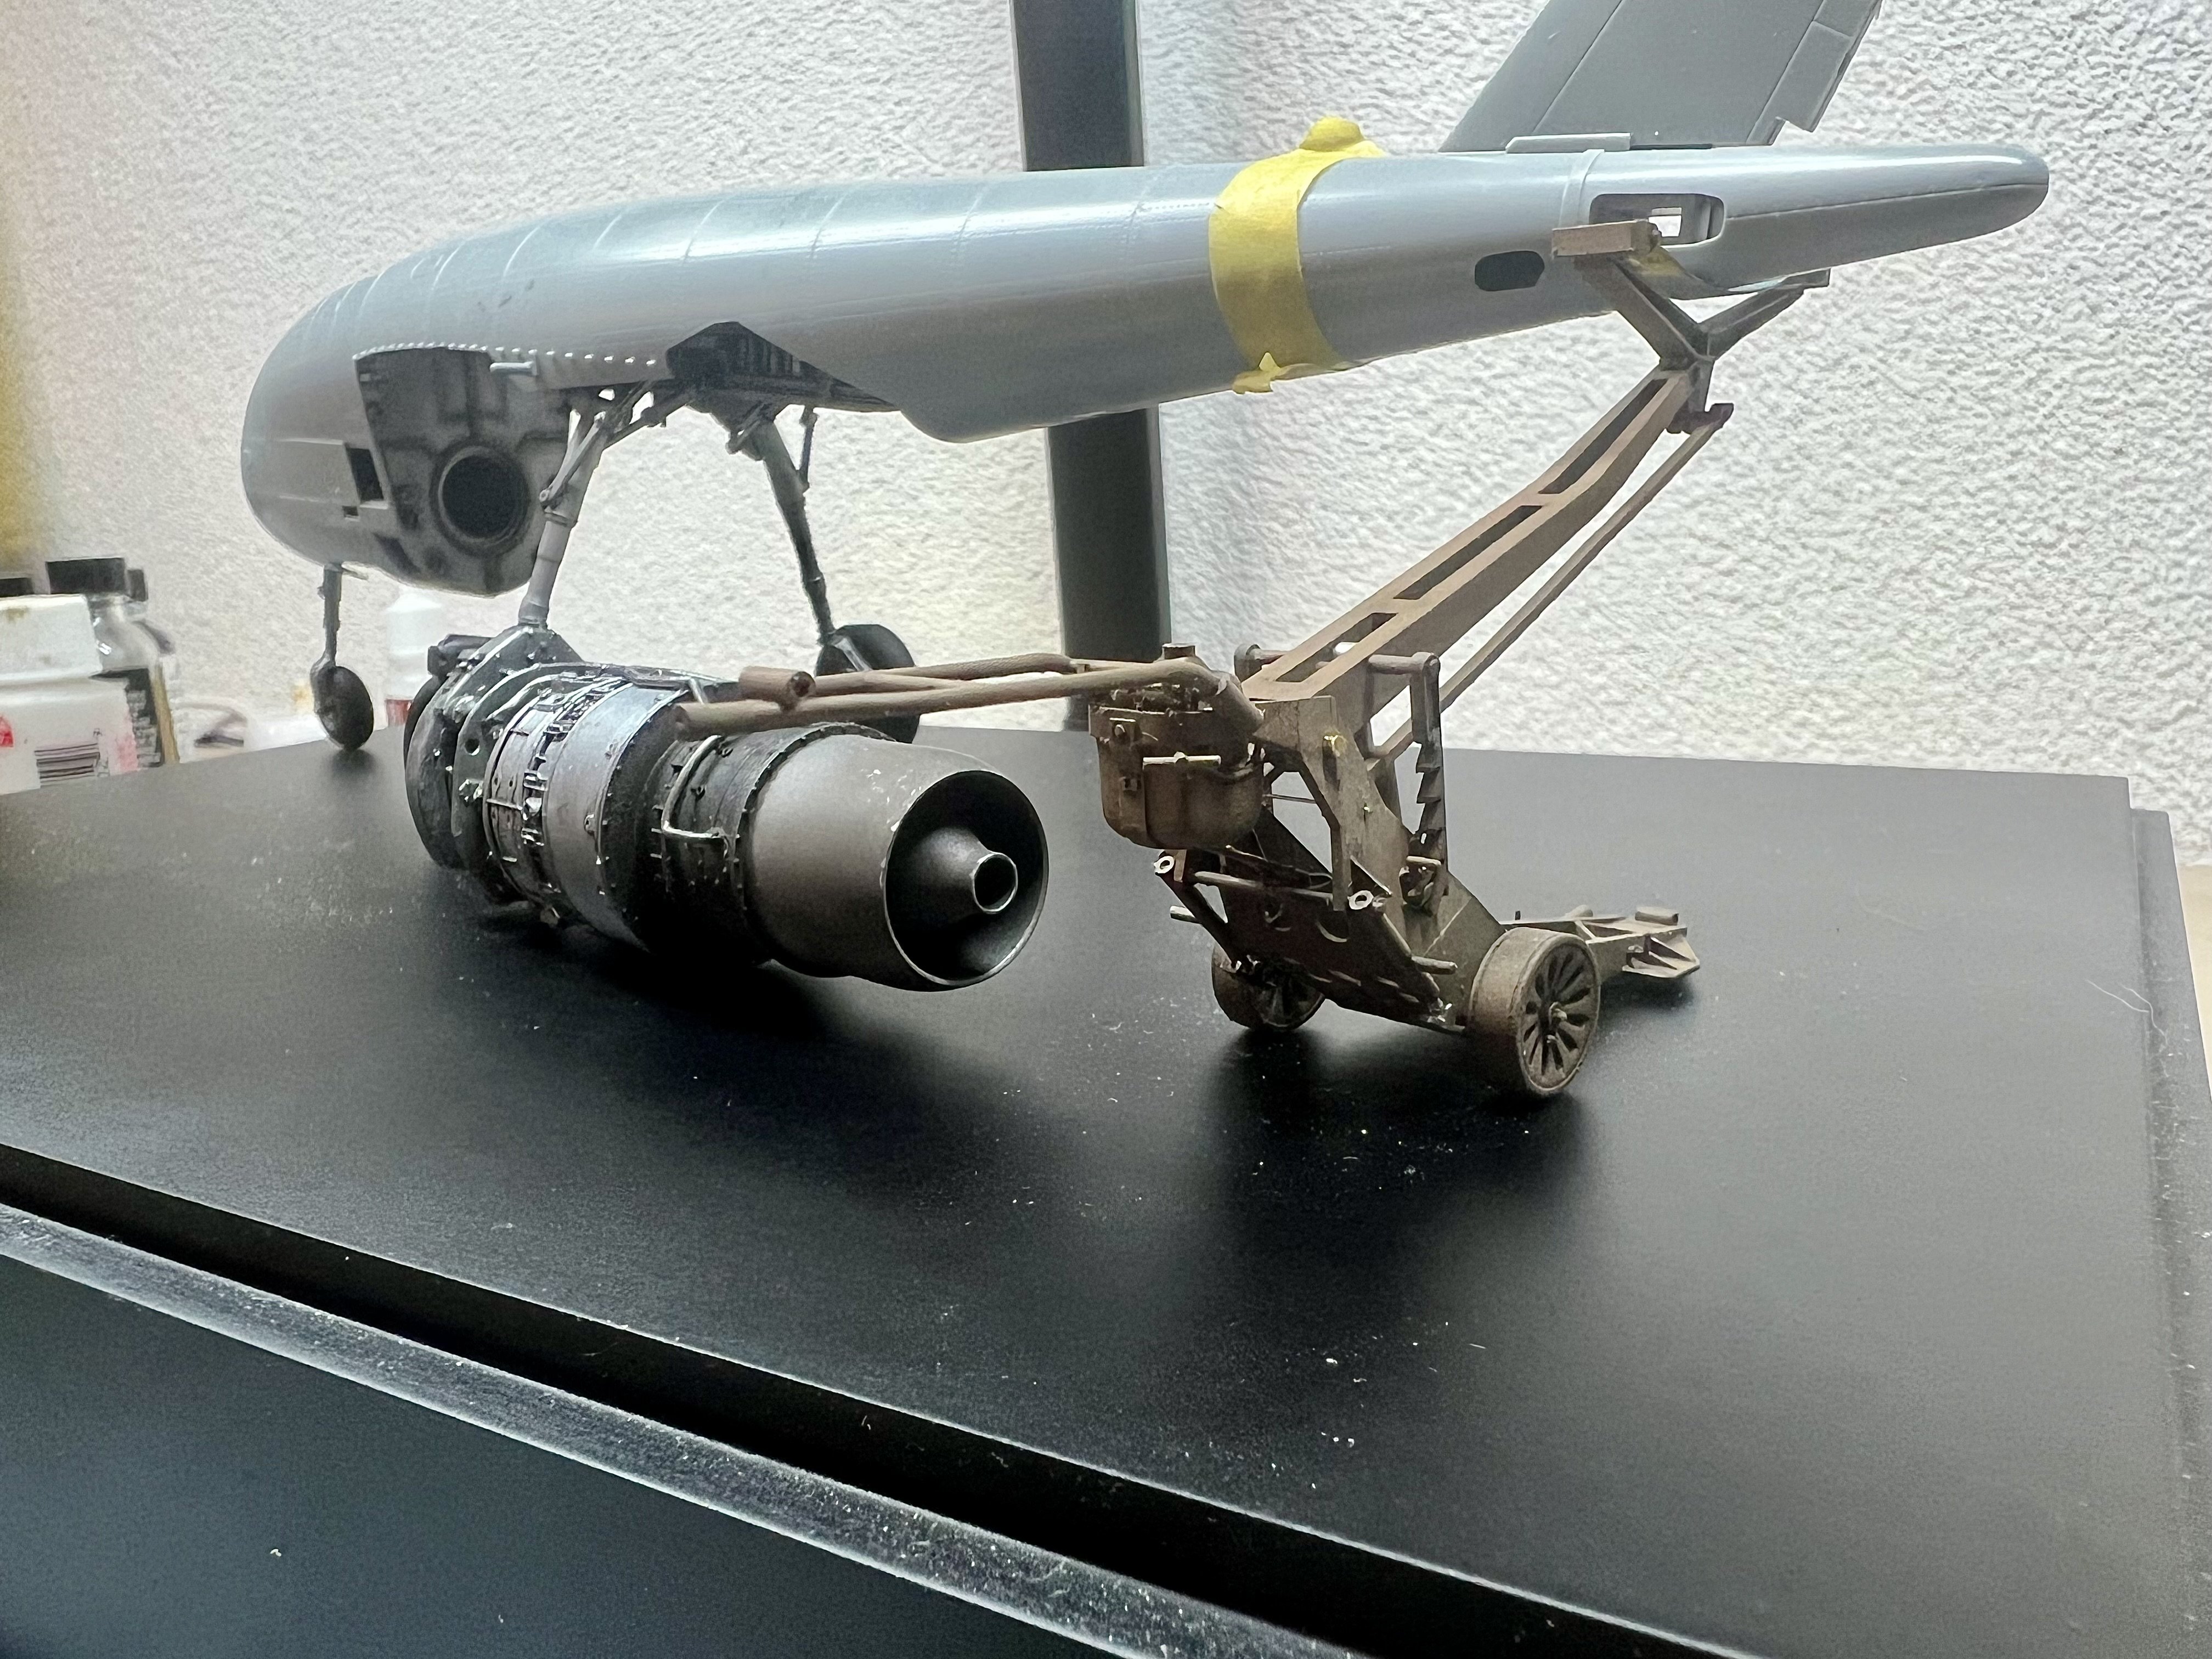
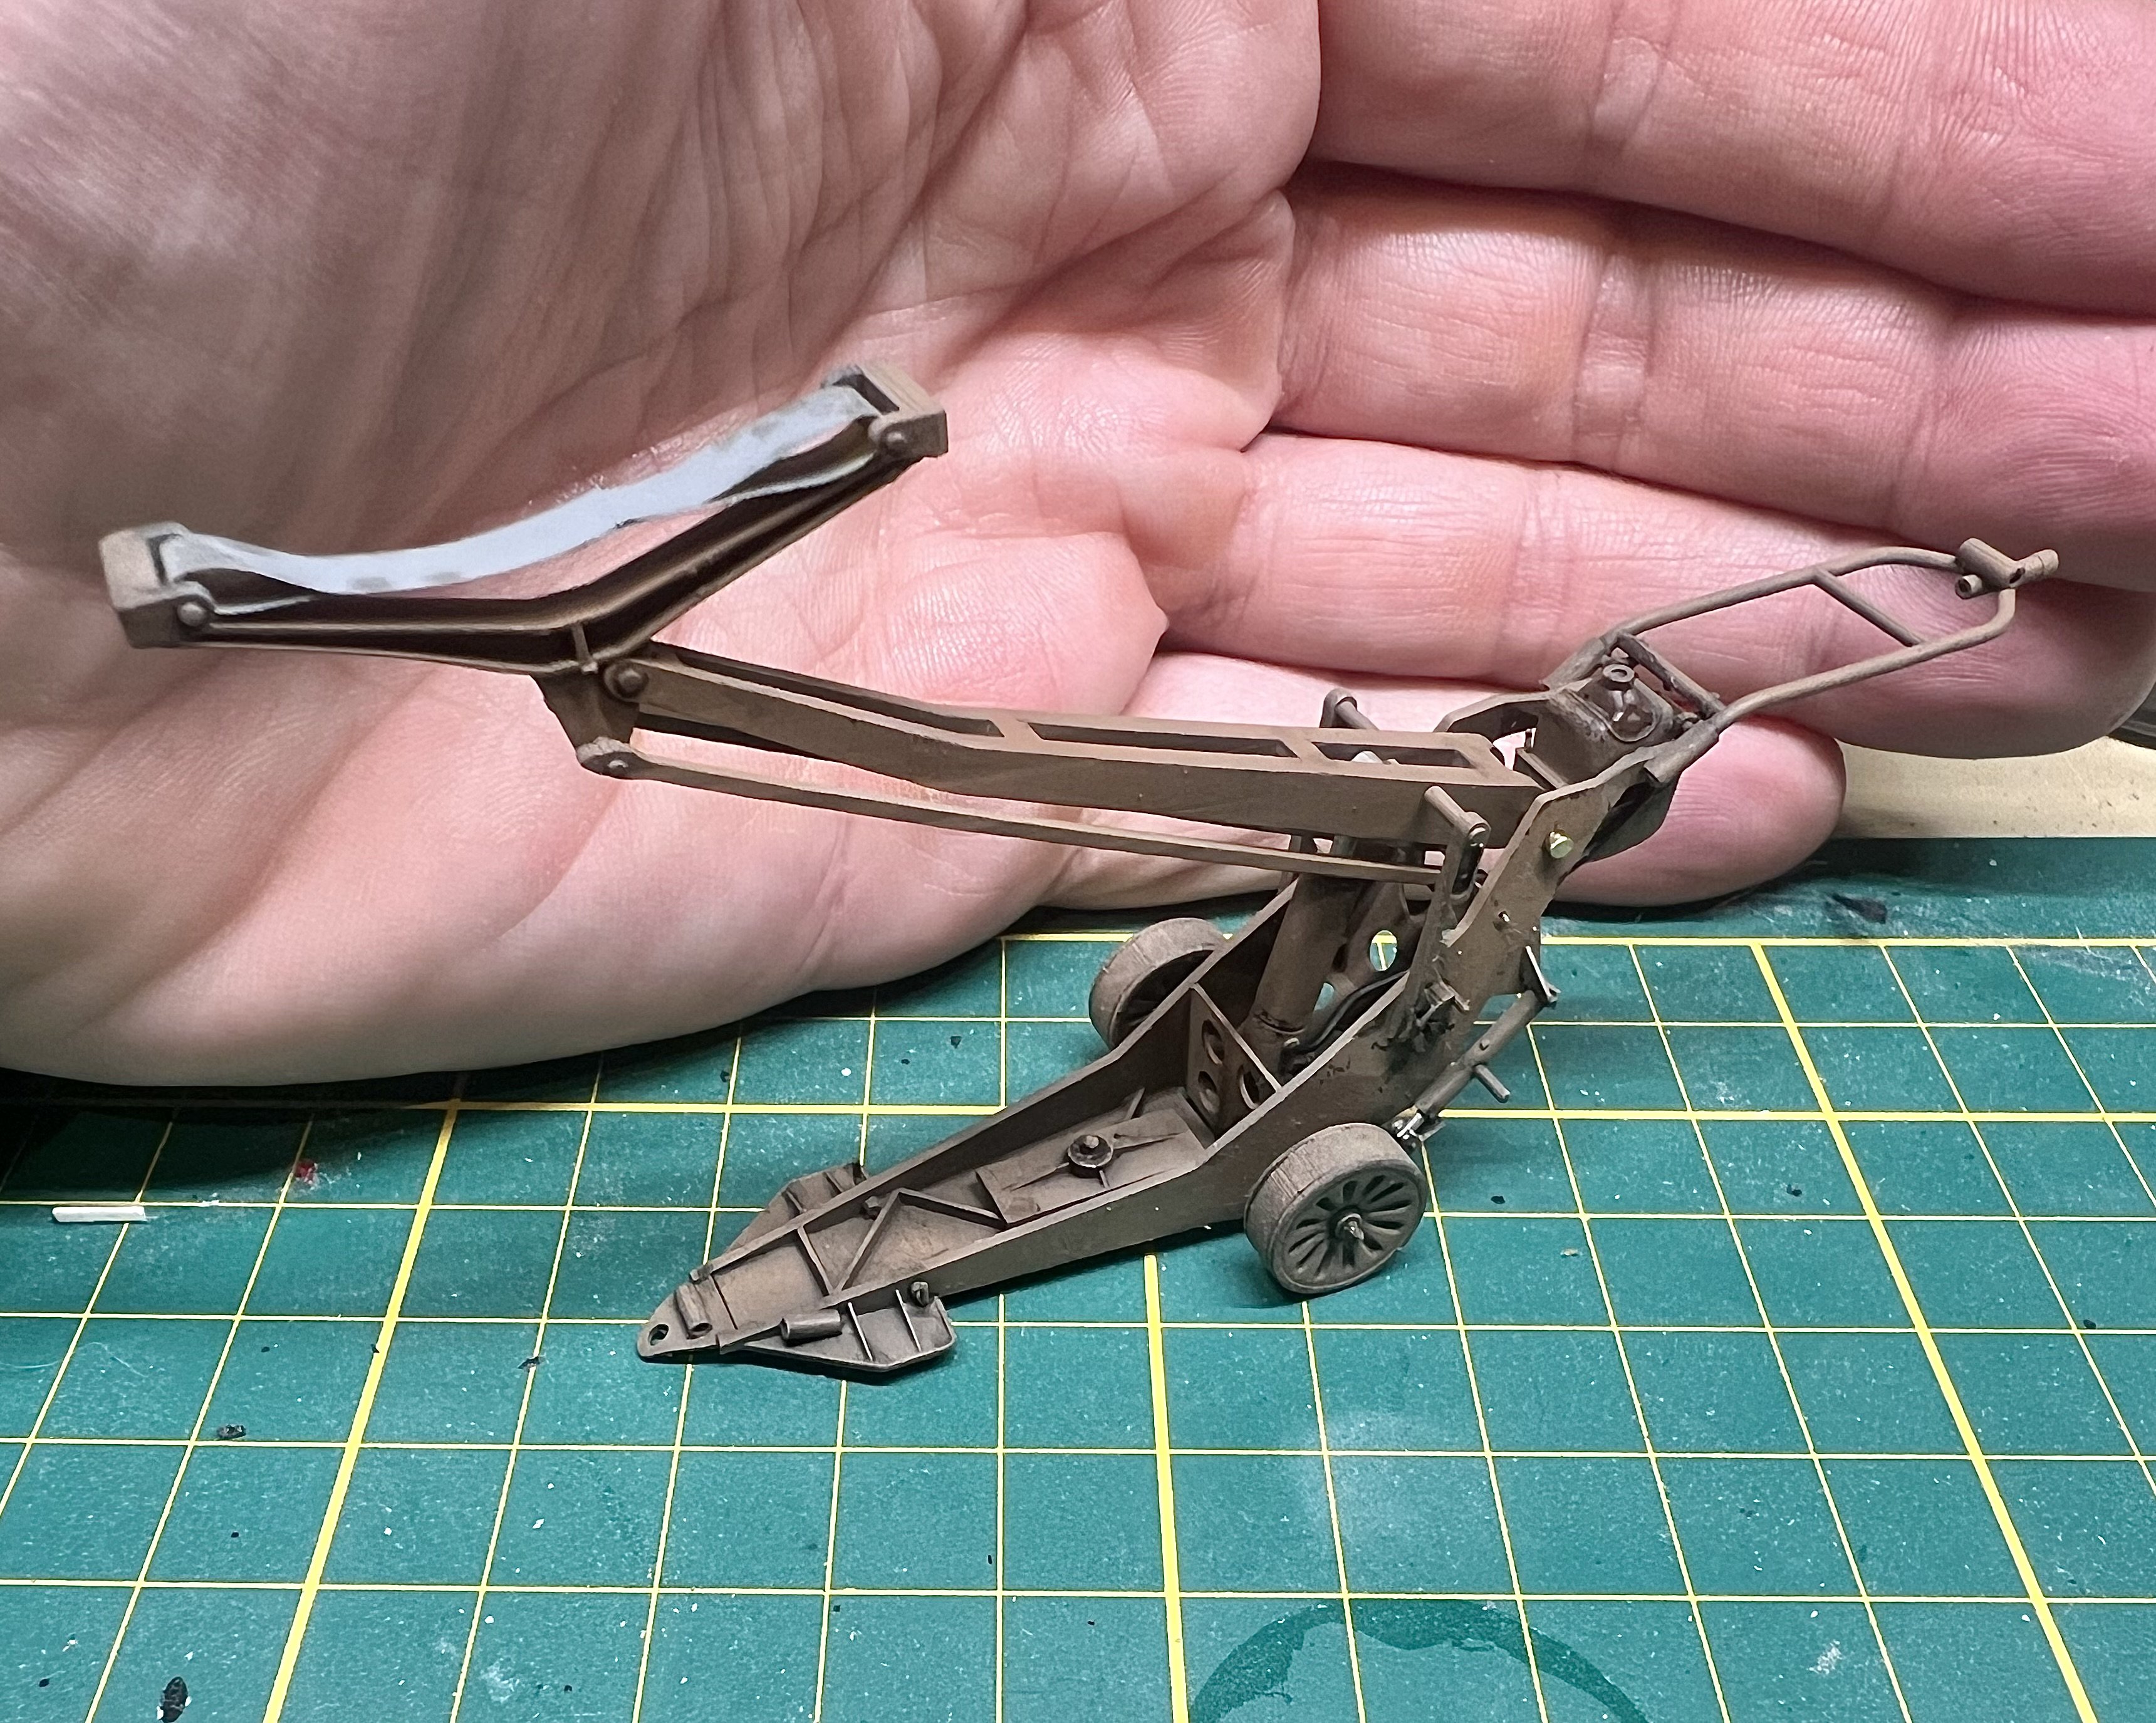
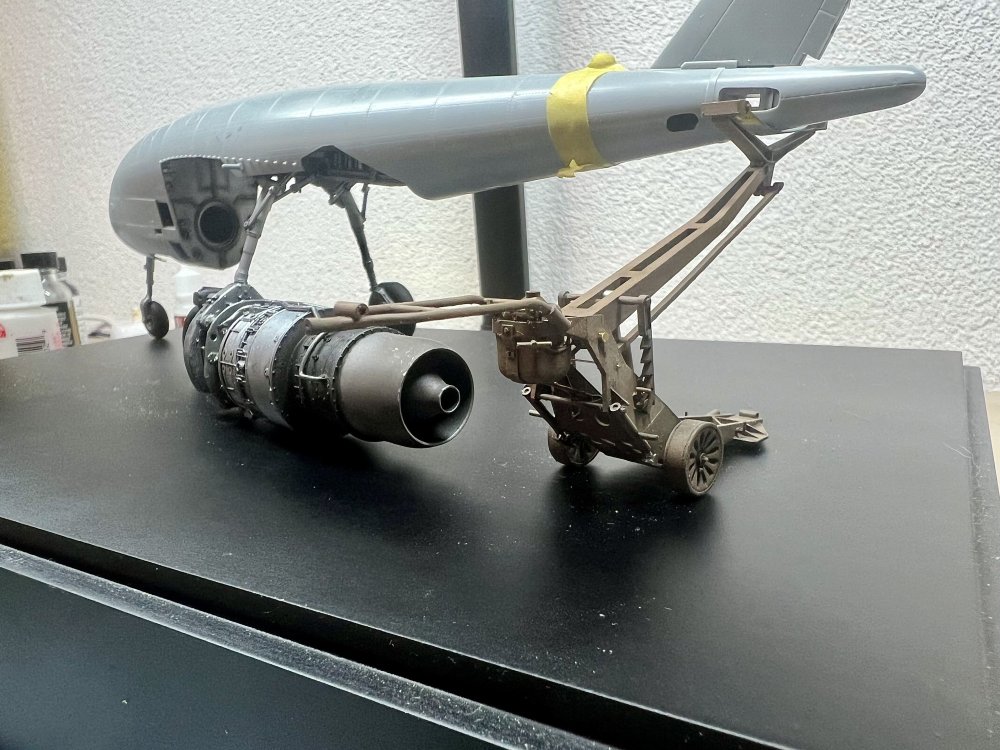
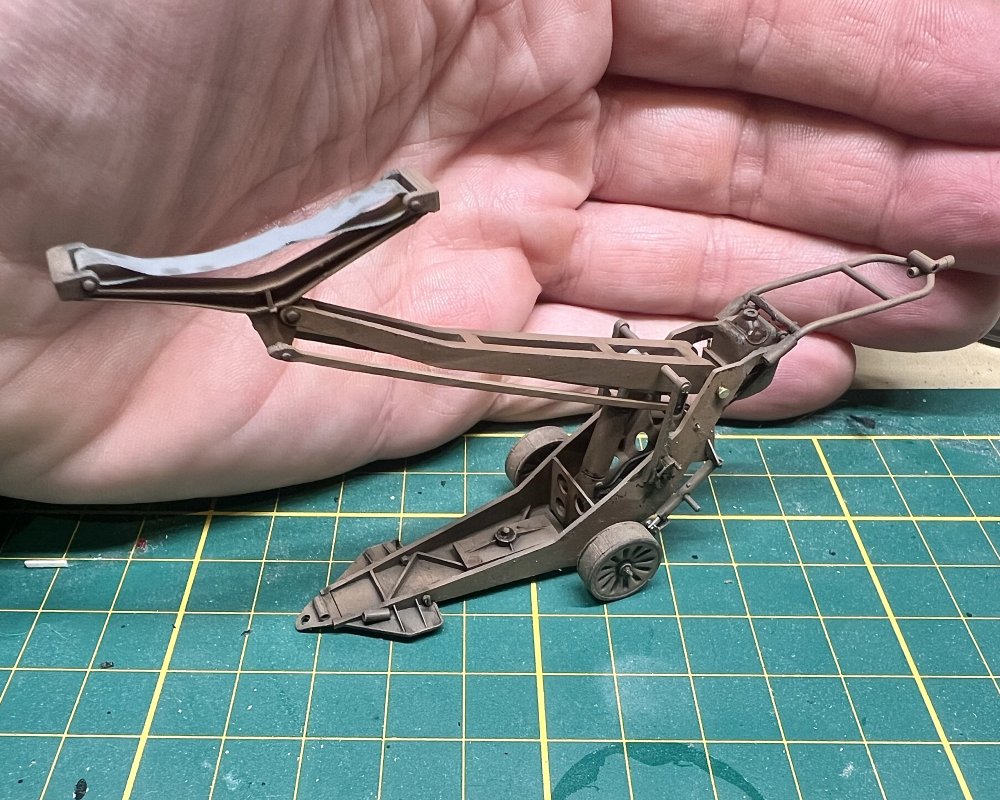
The Herkules is done!
-
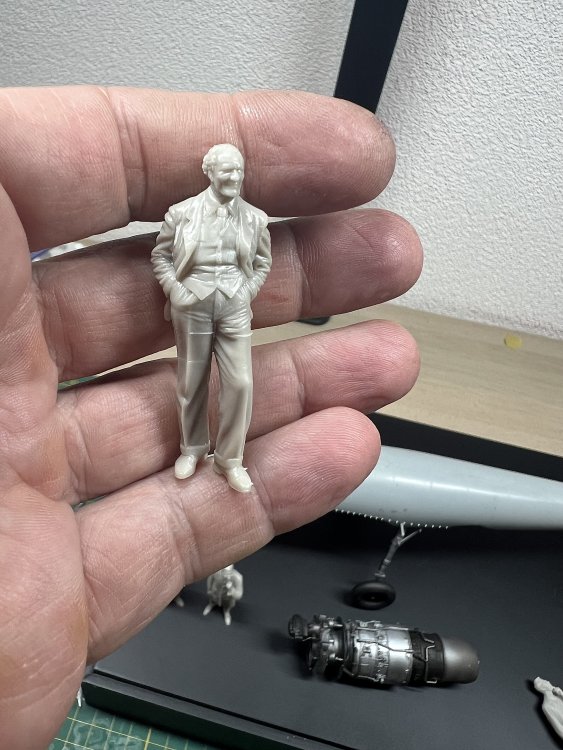
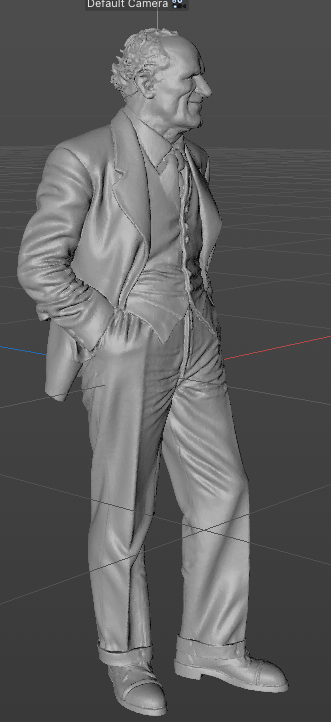
First test print of Willy

-
First paint on the Herkules.
-
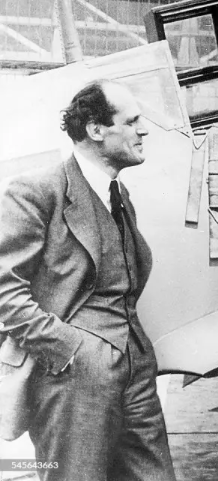
Geezzz... Just had ChatGPT complete this first image and isolated it on a white background. Then imported it into Meshy and brought Willy Messerschmitt to life. Wow.. Almost perfect. I'll have a few more go's. Especially the face needs more attention.
-
Yes. Note that i have a paid ChatGPT account and a paid Meshy account. First i prompt ChatGPT to create an image of a scientist. I clearly describe what he should look like and his pose. Then i save the created image and upkoad it on Meshy to create a highly detailed 3d model. then i download the STL