JeroenPeters
-
Posts
4,904 -
Joined
-
Last visited
Content Type
Profiles
Forums
Events
Gallery
Everything posted by JeroenPeters
-
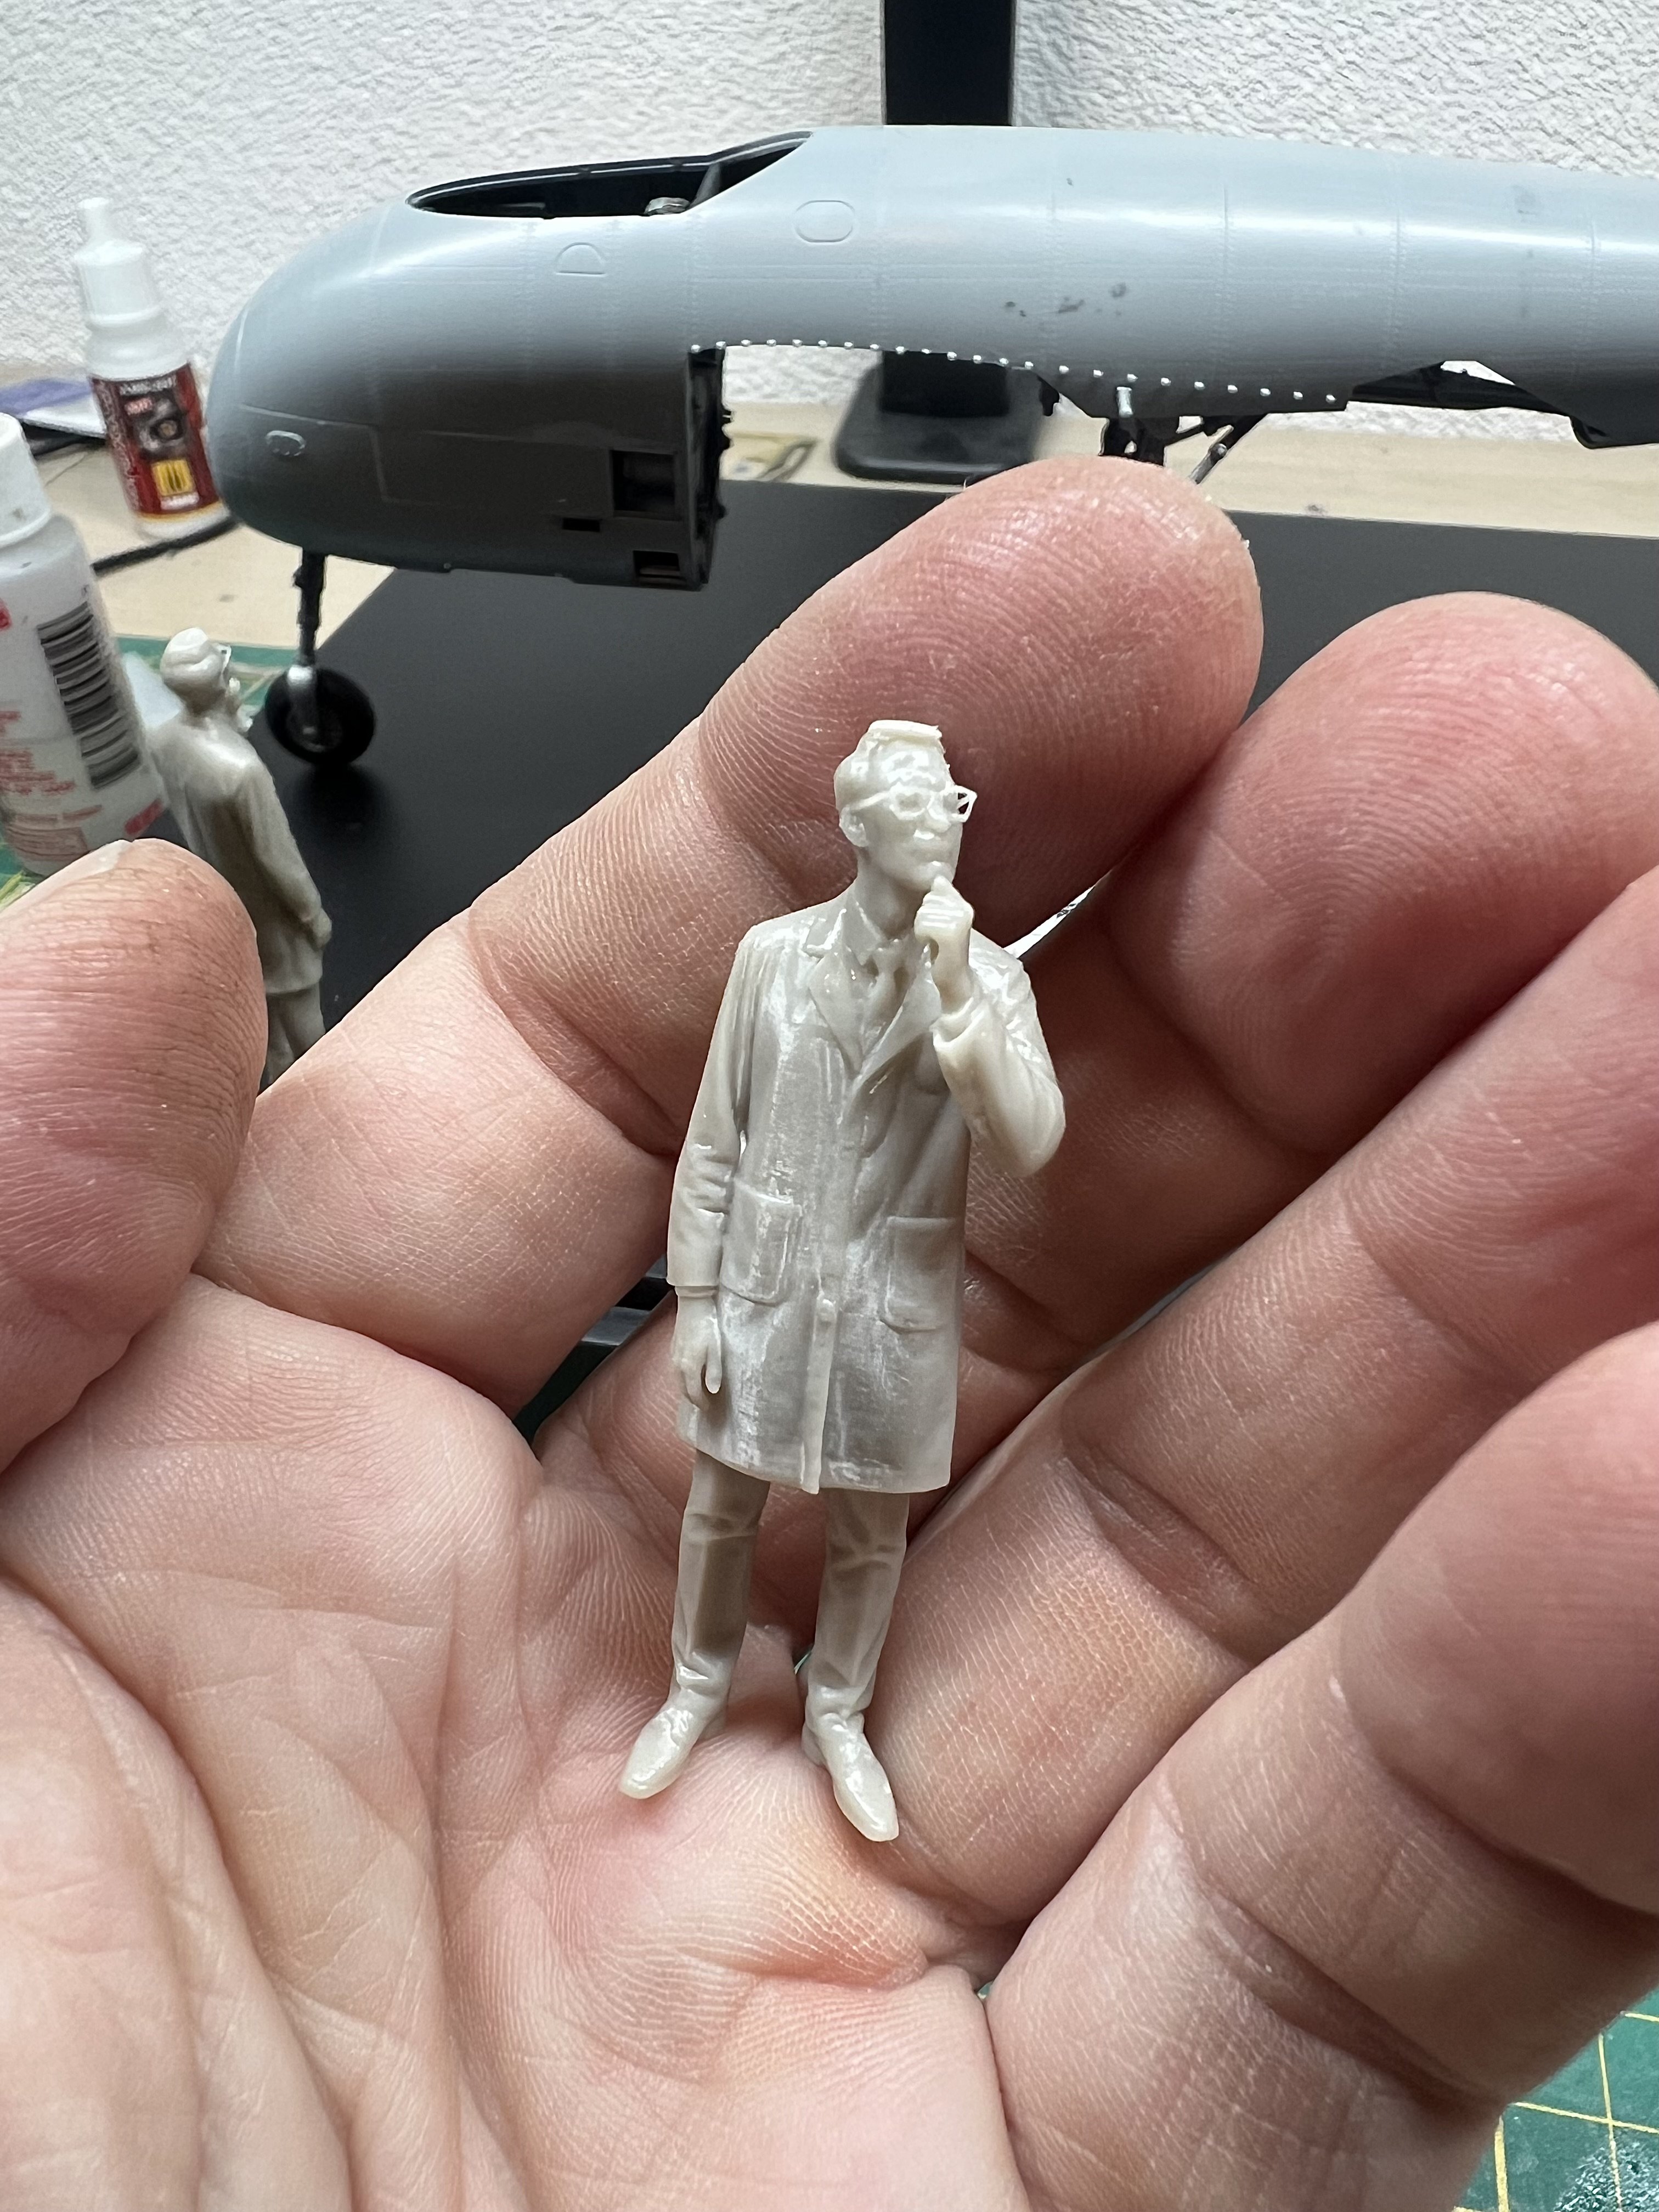
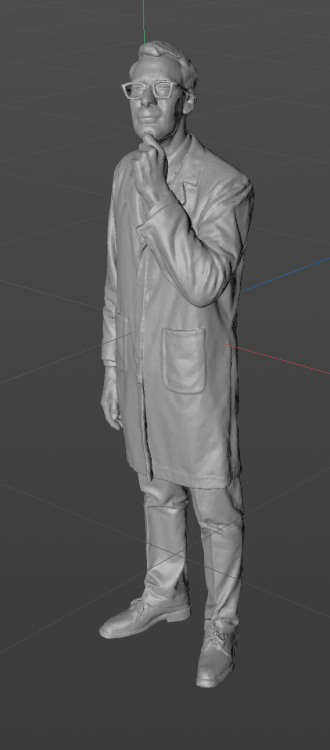
 First AI generated prints. This REALLY feels like cheating and i’m sure it is…
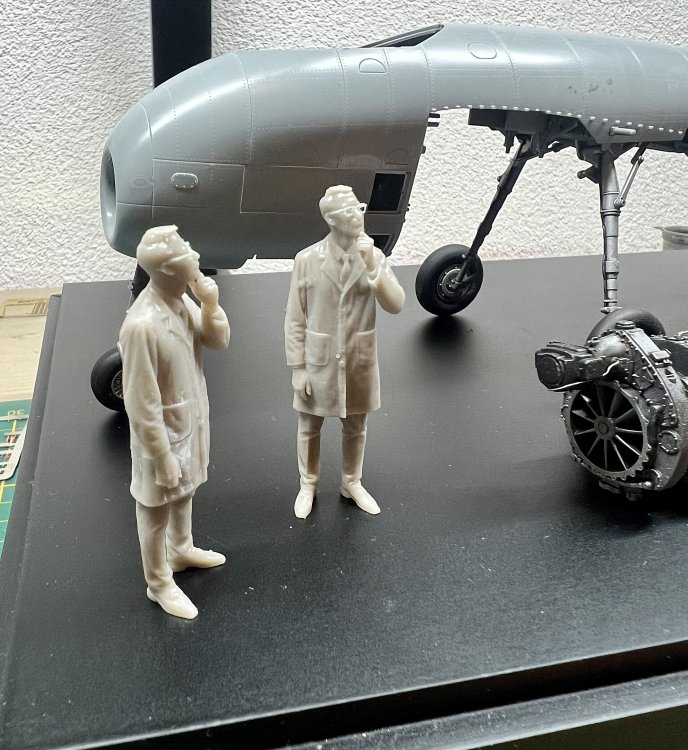

-
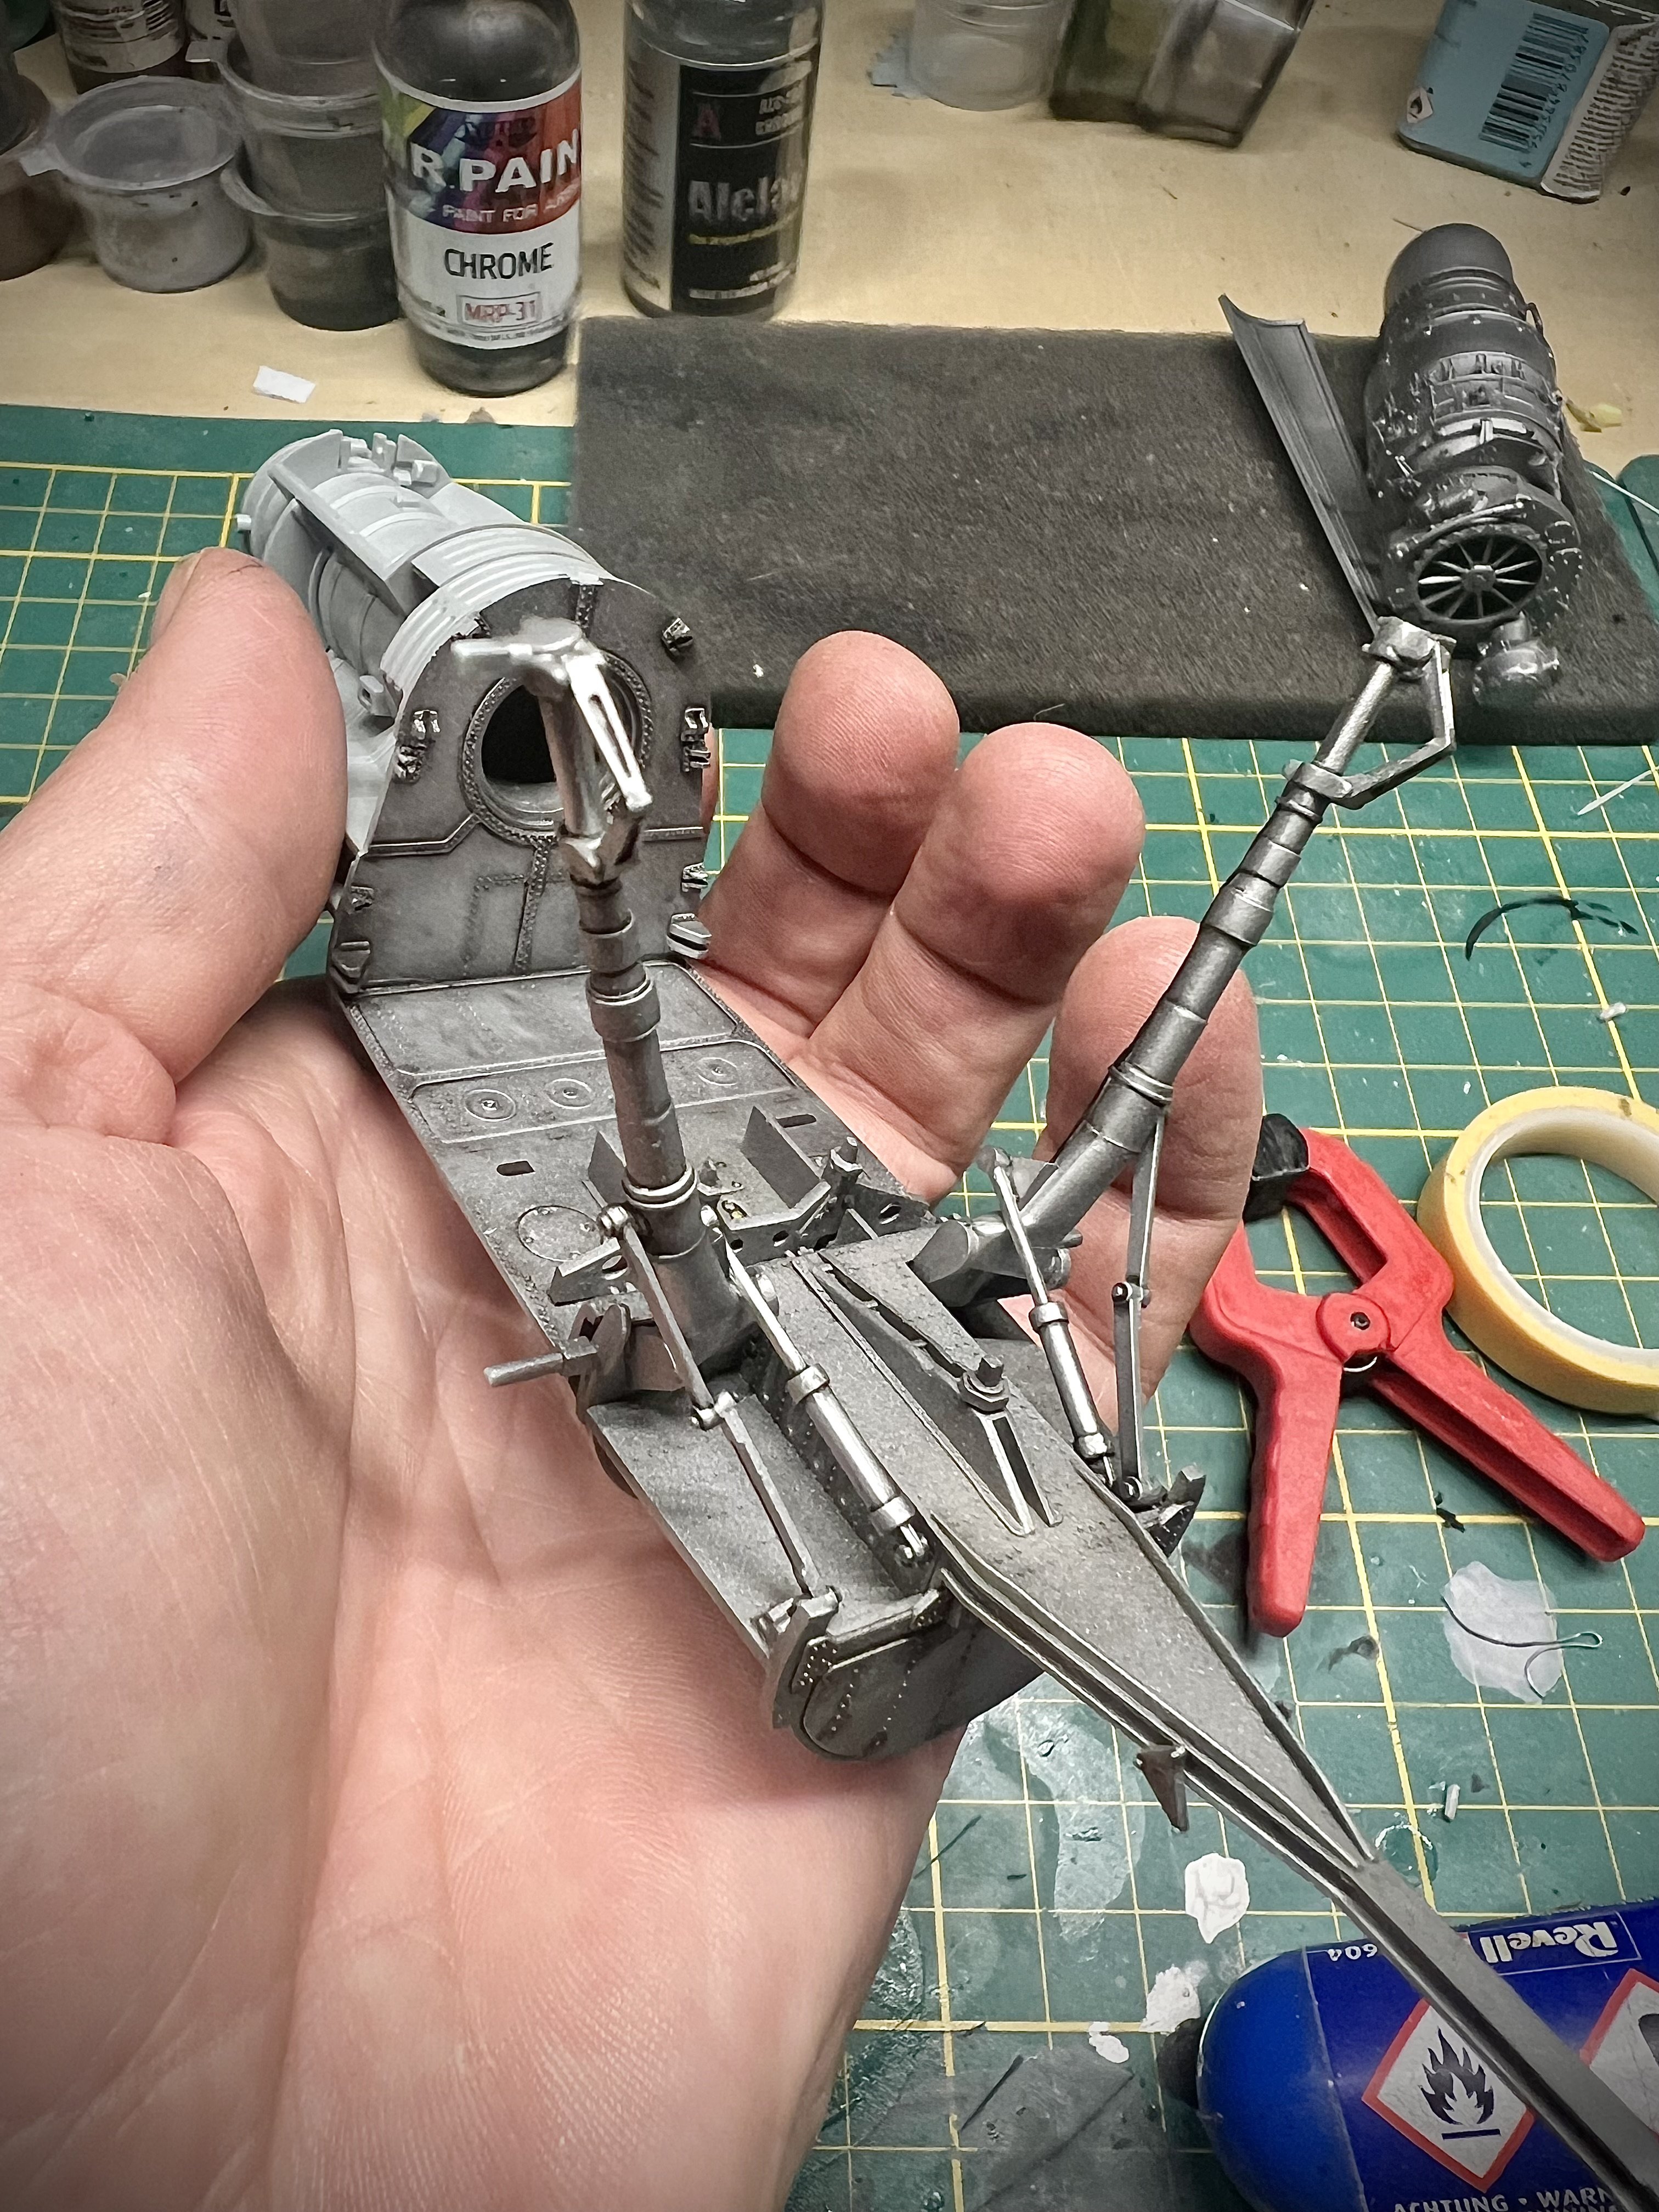
Primed, sanded the lift. Added brass and metal rods that act as hinges. Tested the height. All good to go! Spending a lot of time smoothing out the seams of the p1101. Almost done.

-
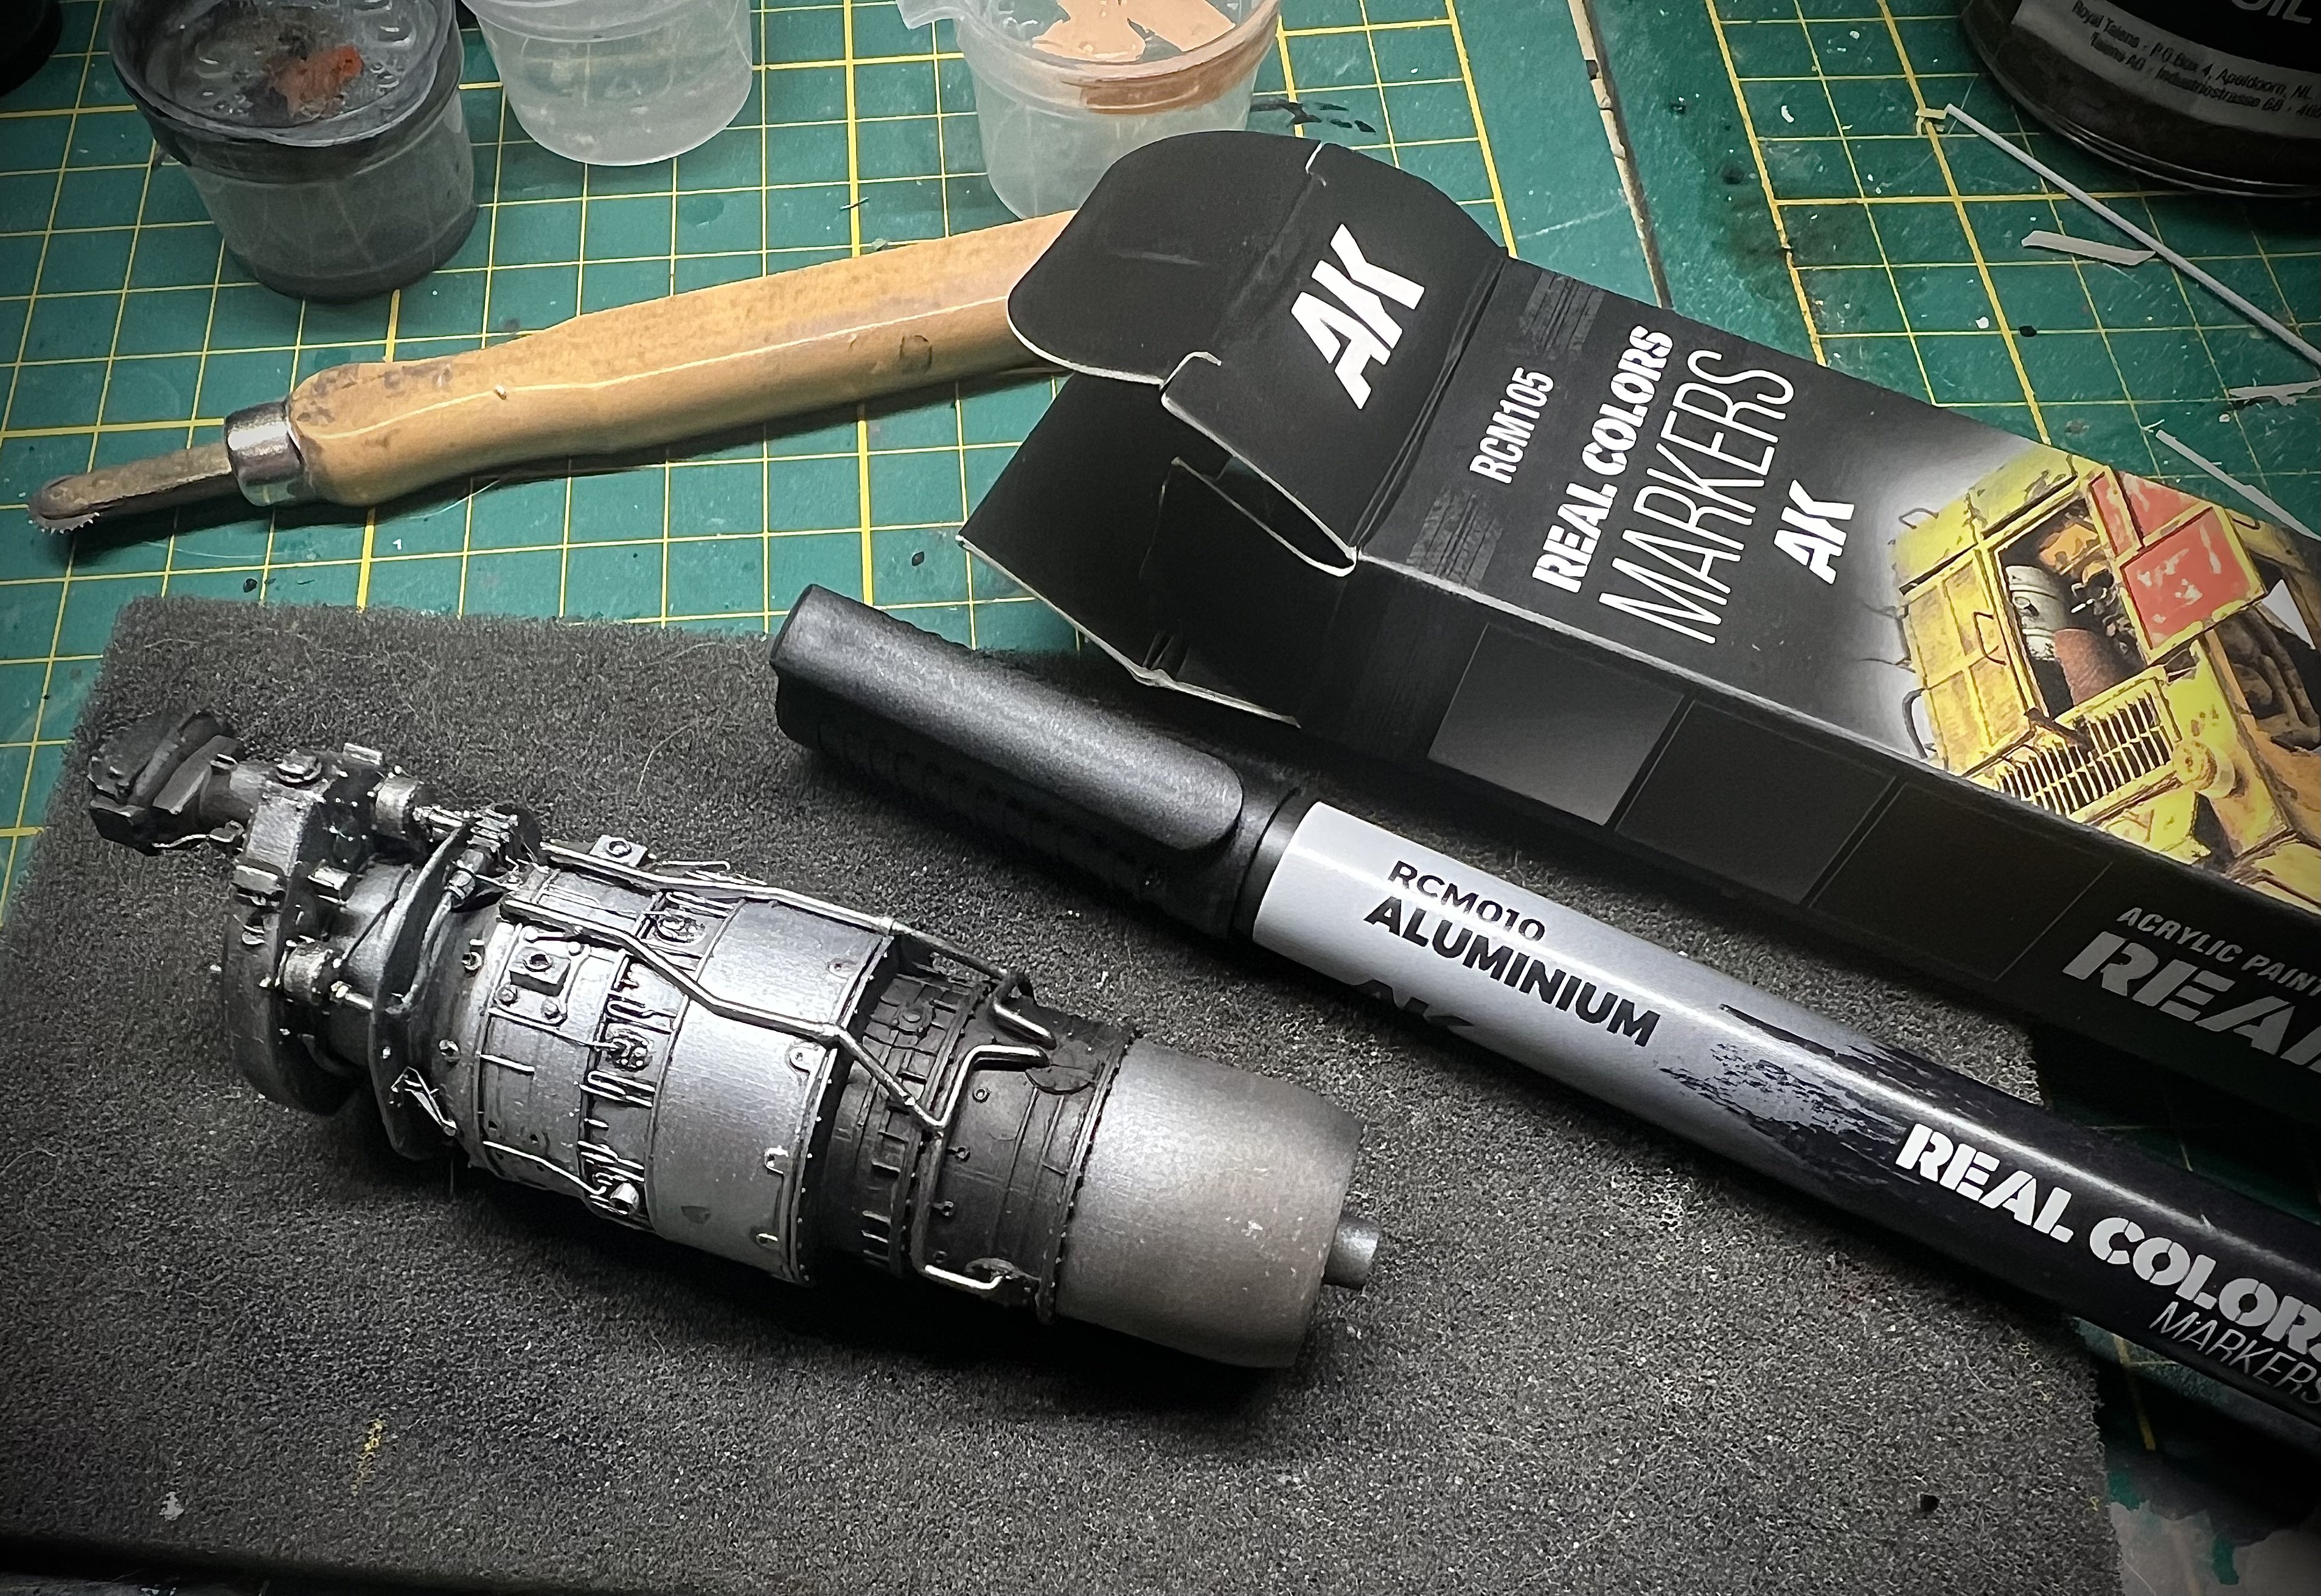
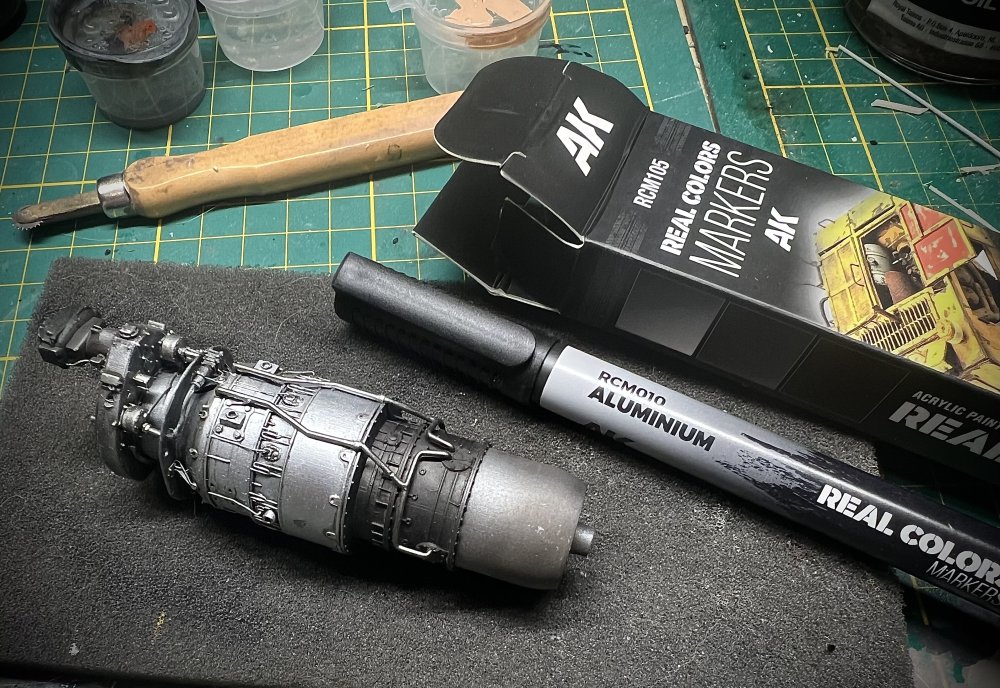
Loving these AK markers. They feel like ‘cheating’
-
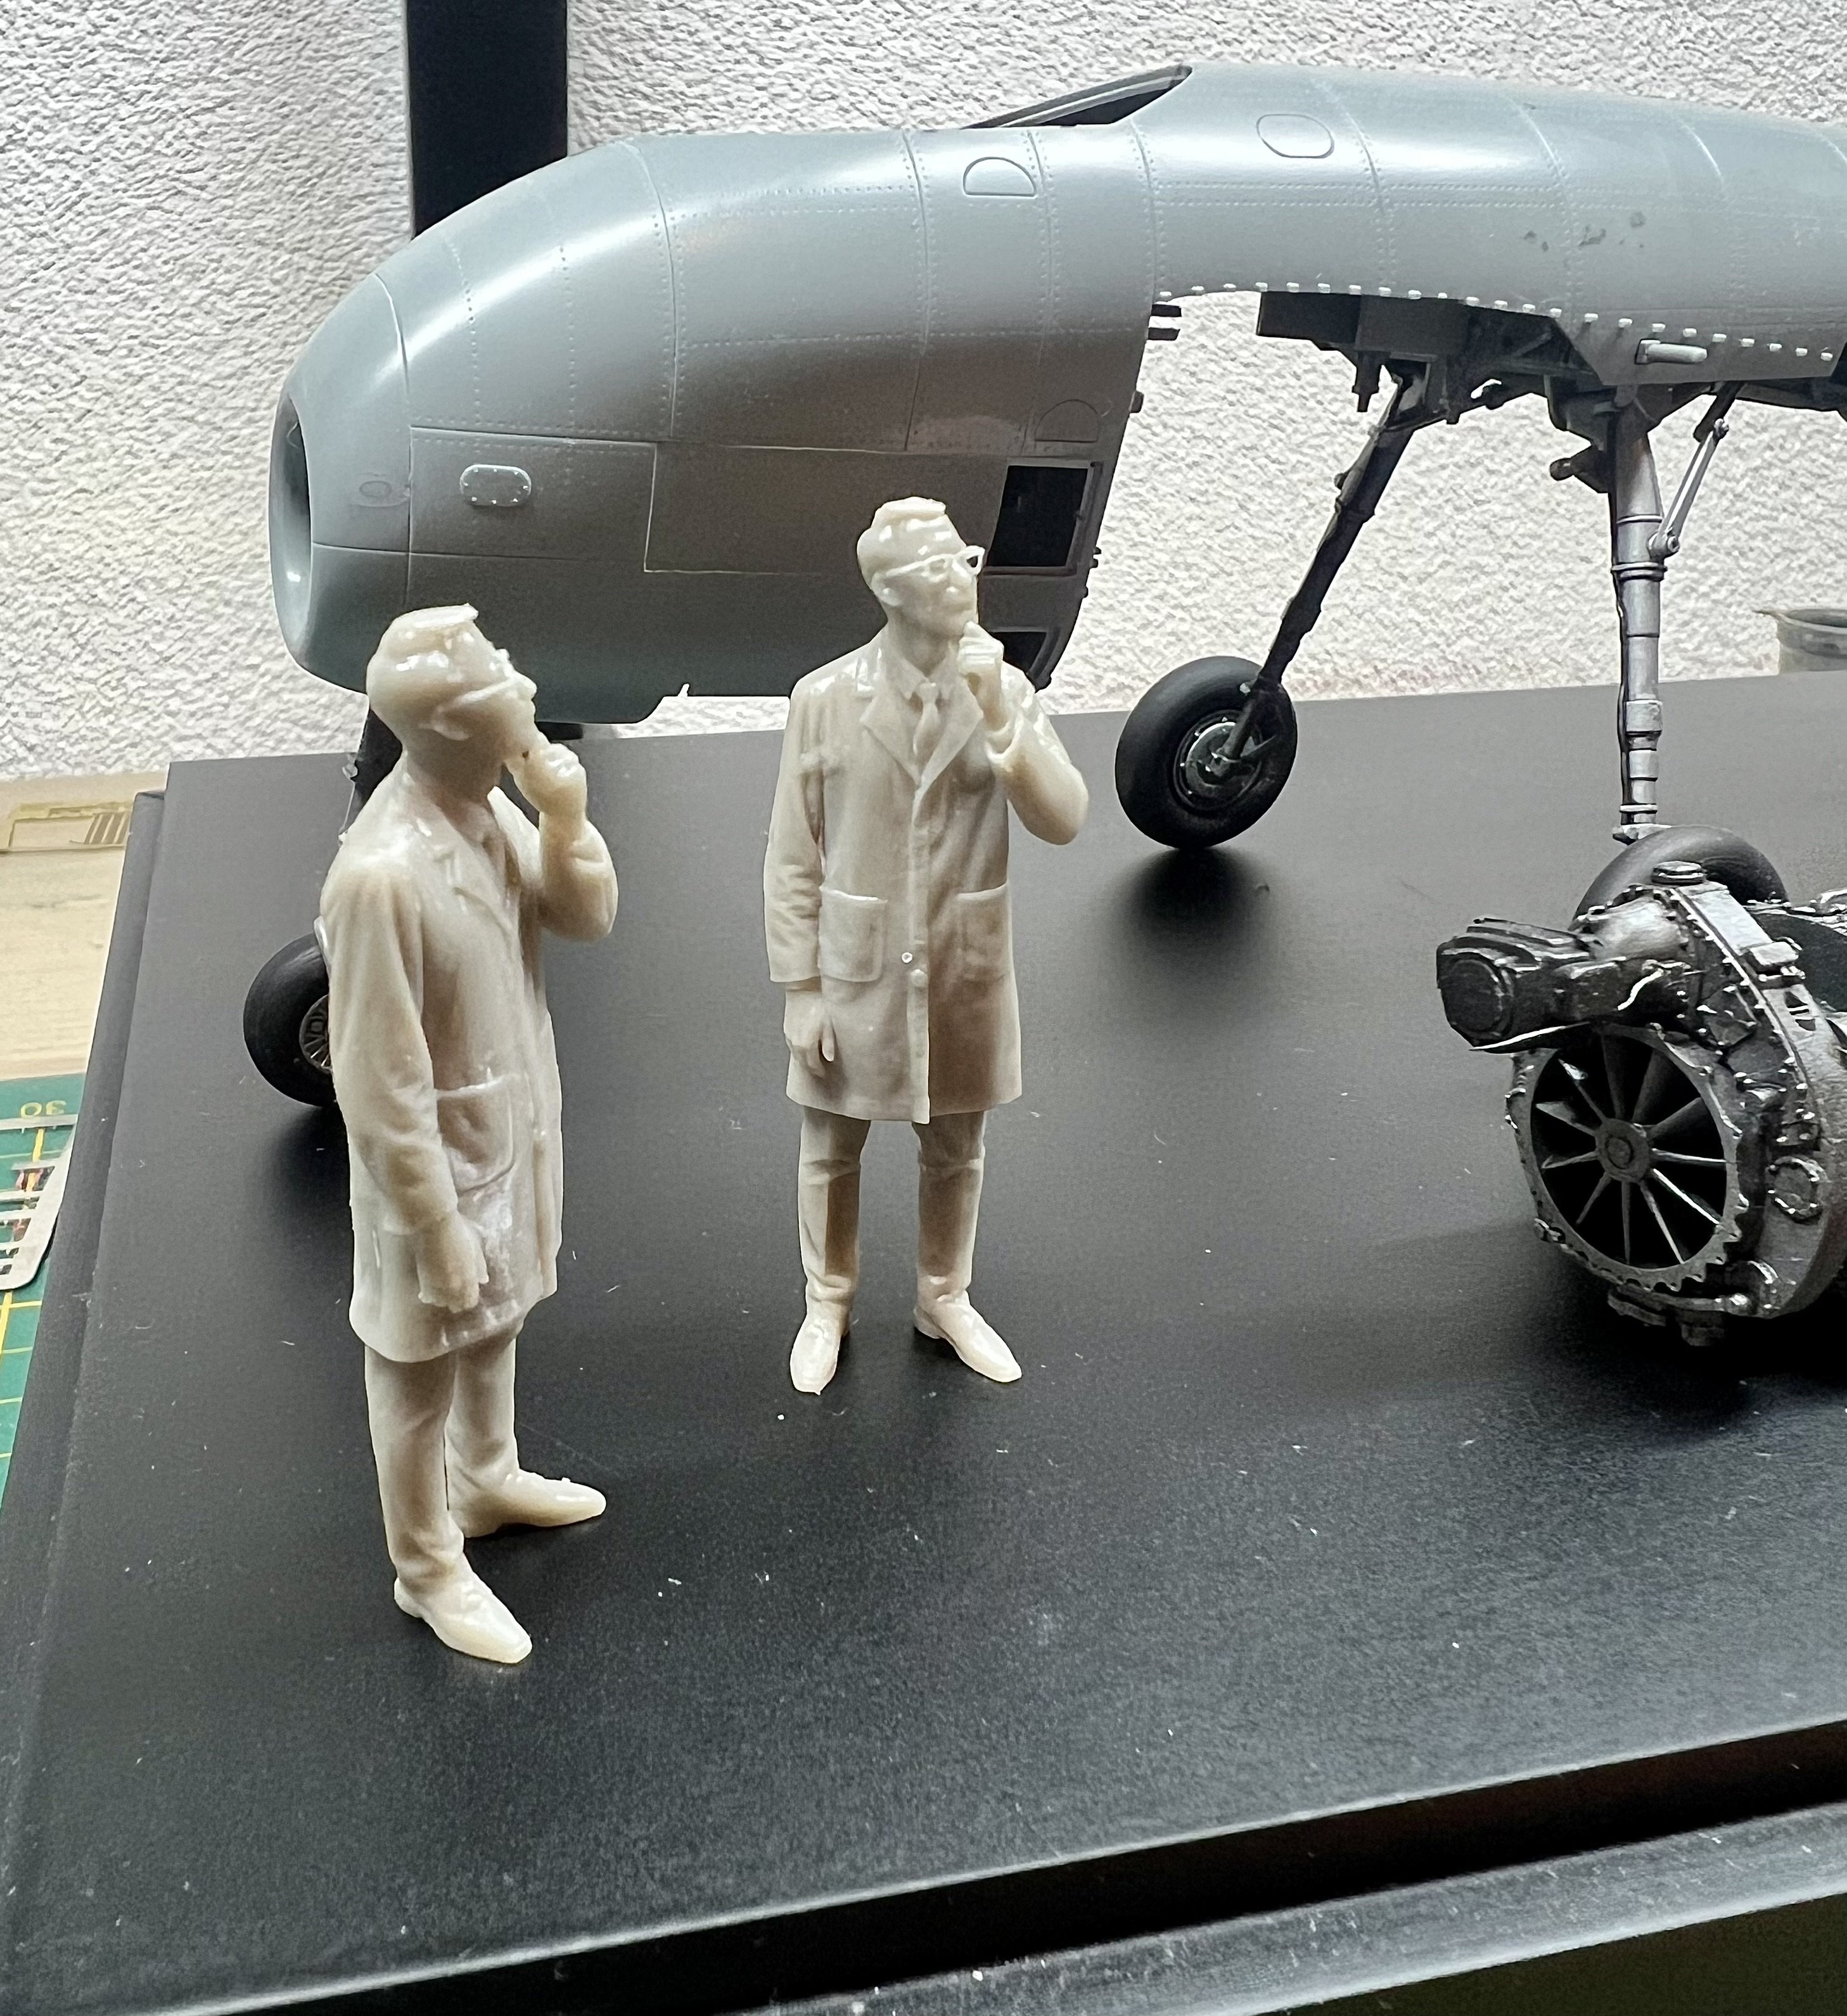
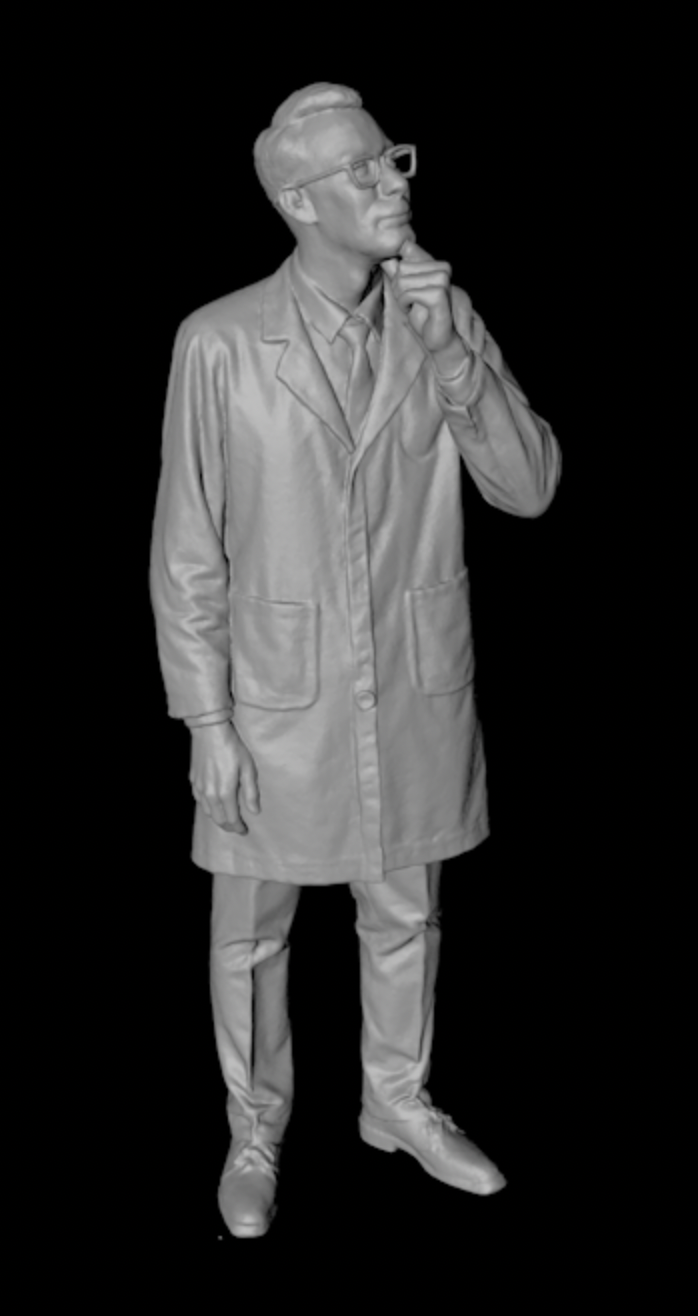
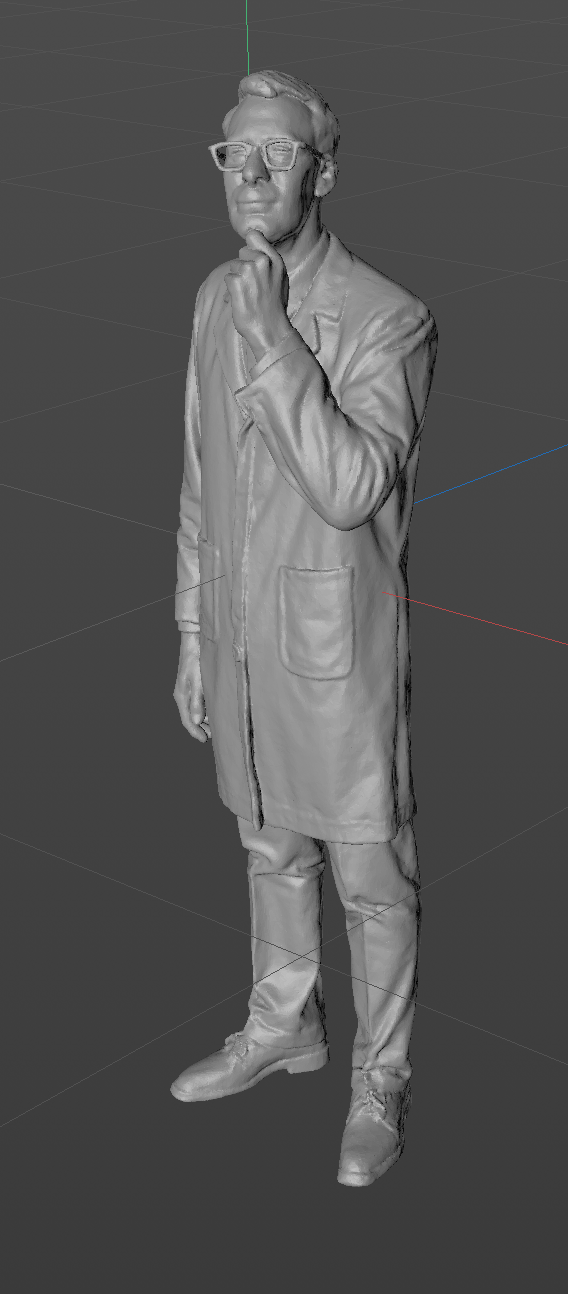
I could not help myself and prompted AI to draw me a 3D scientist to go along the P.1101. I have a 1/32 US soldier in the stash that looks like he just discovered the thing, but the idea of the scientist is tempting too.

-
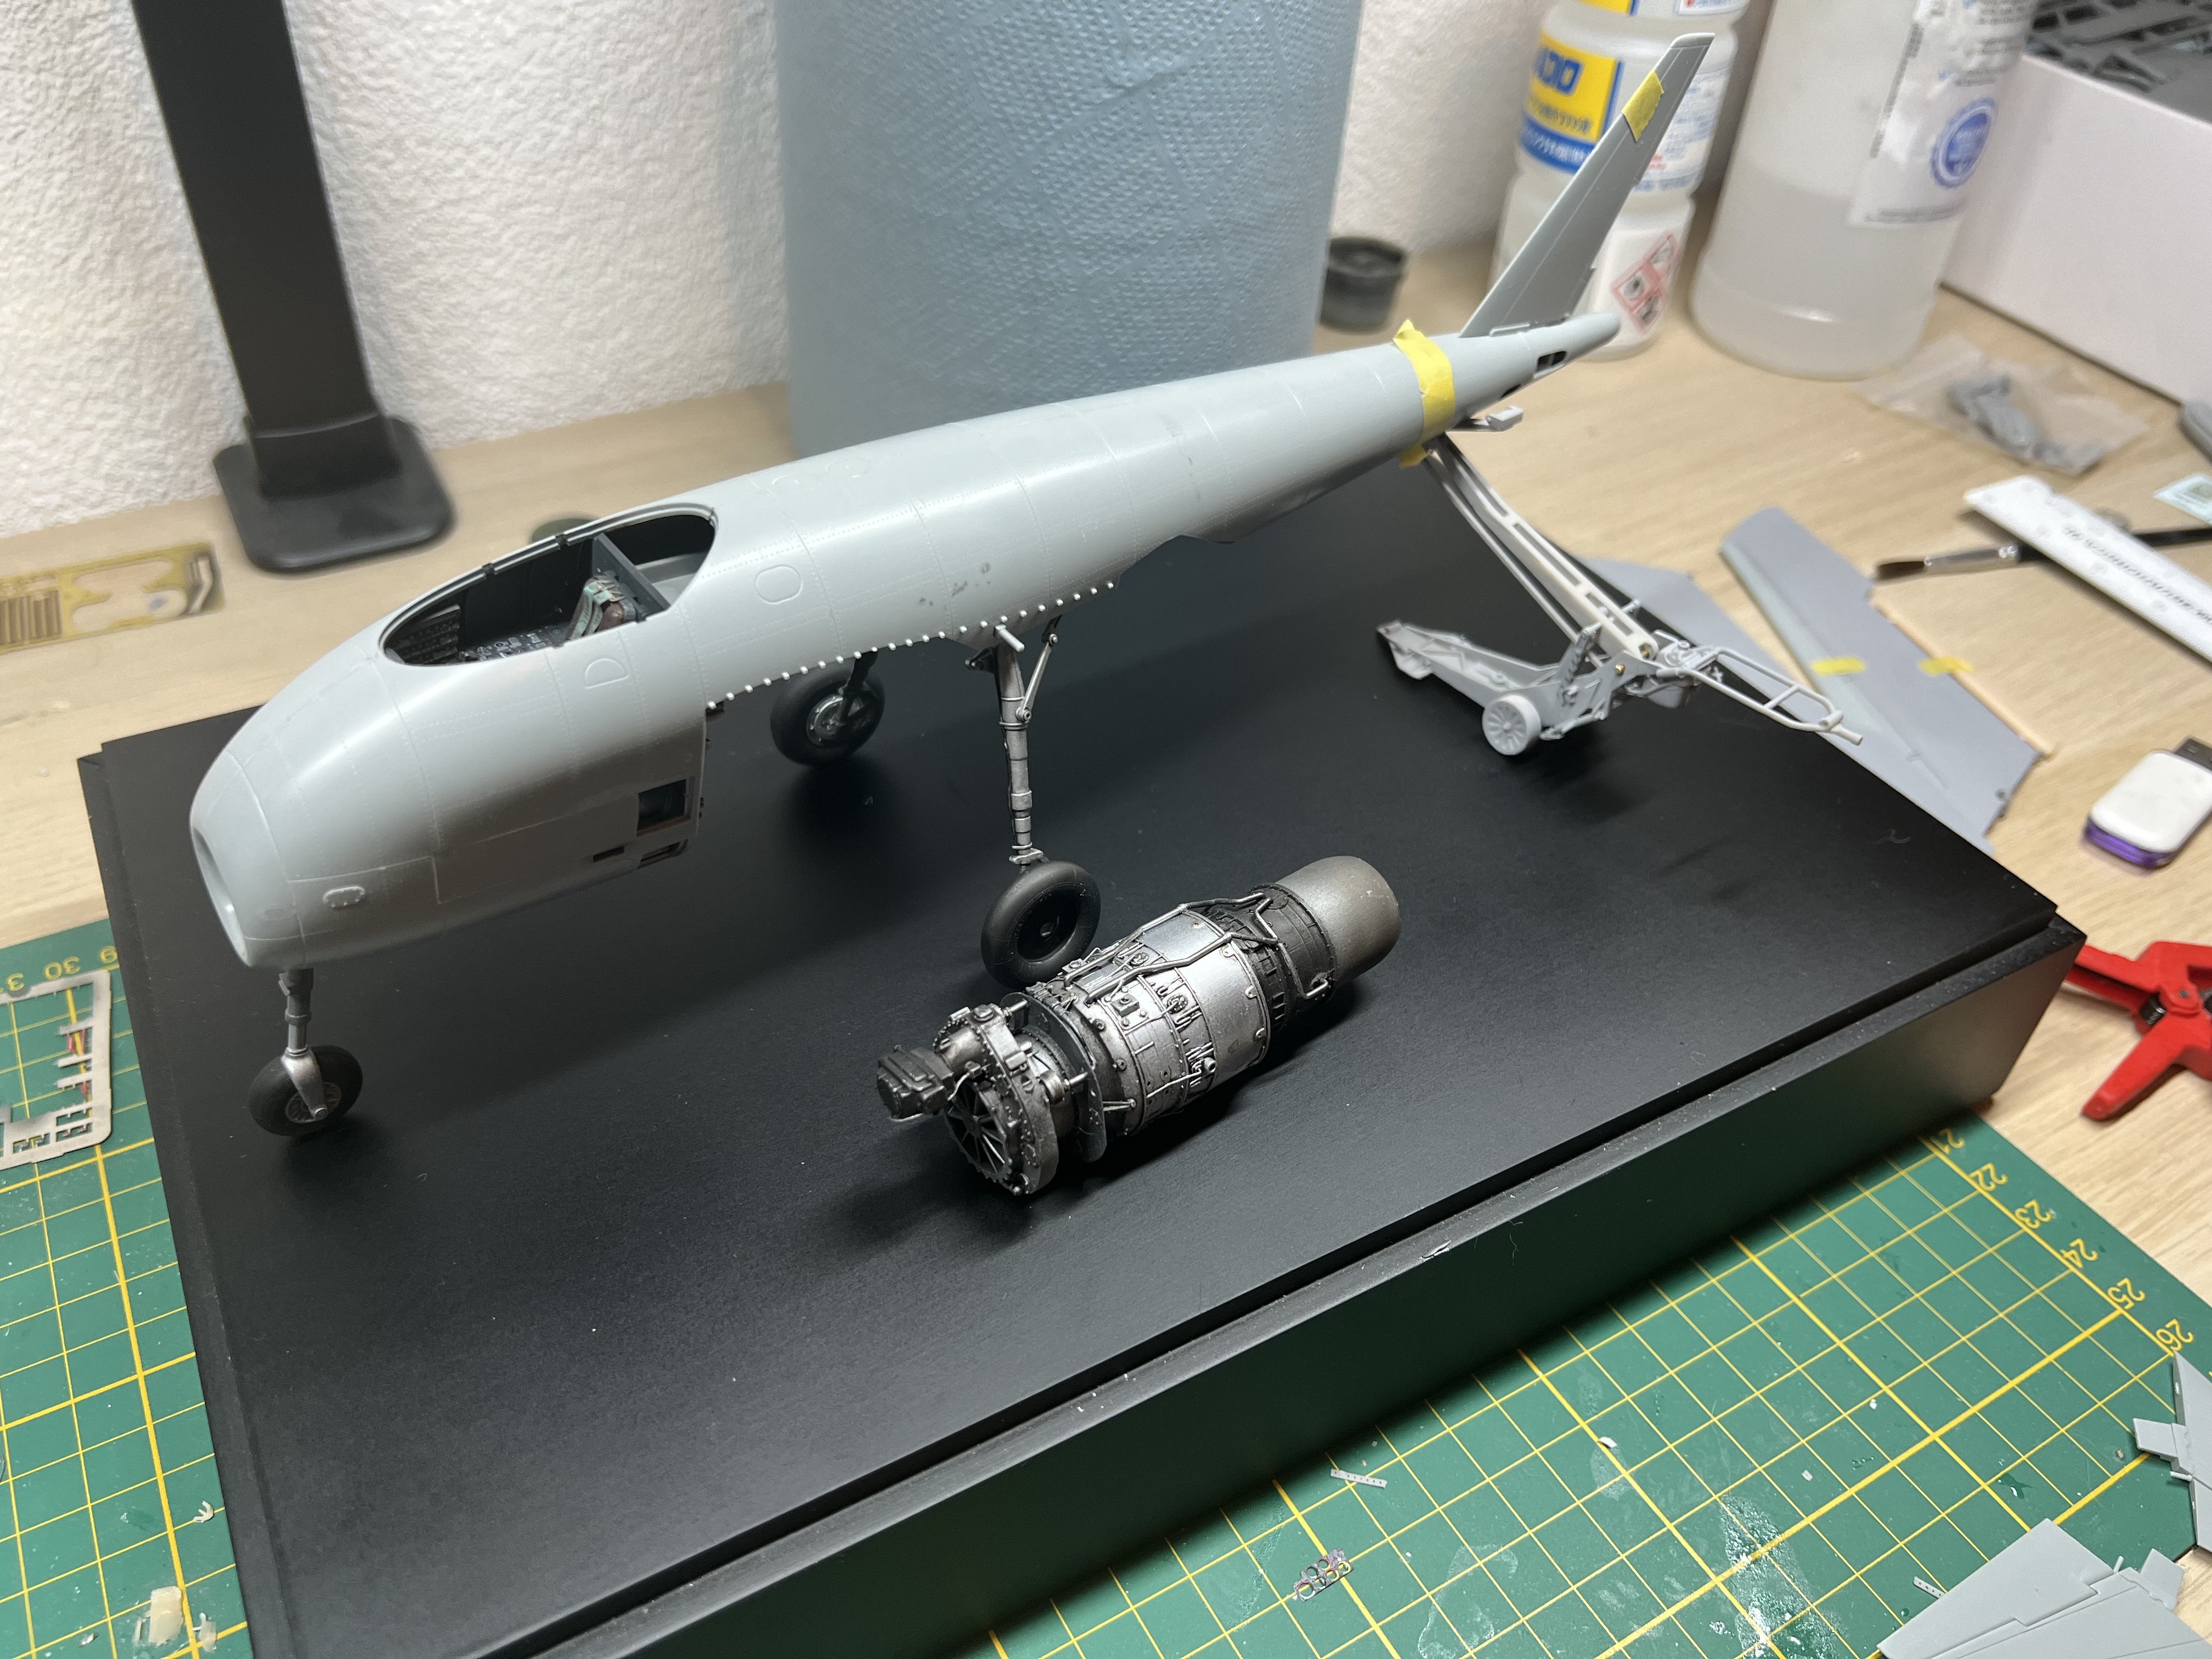
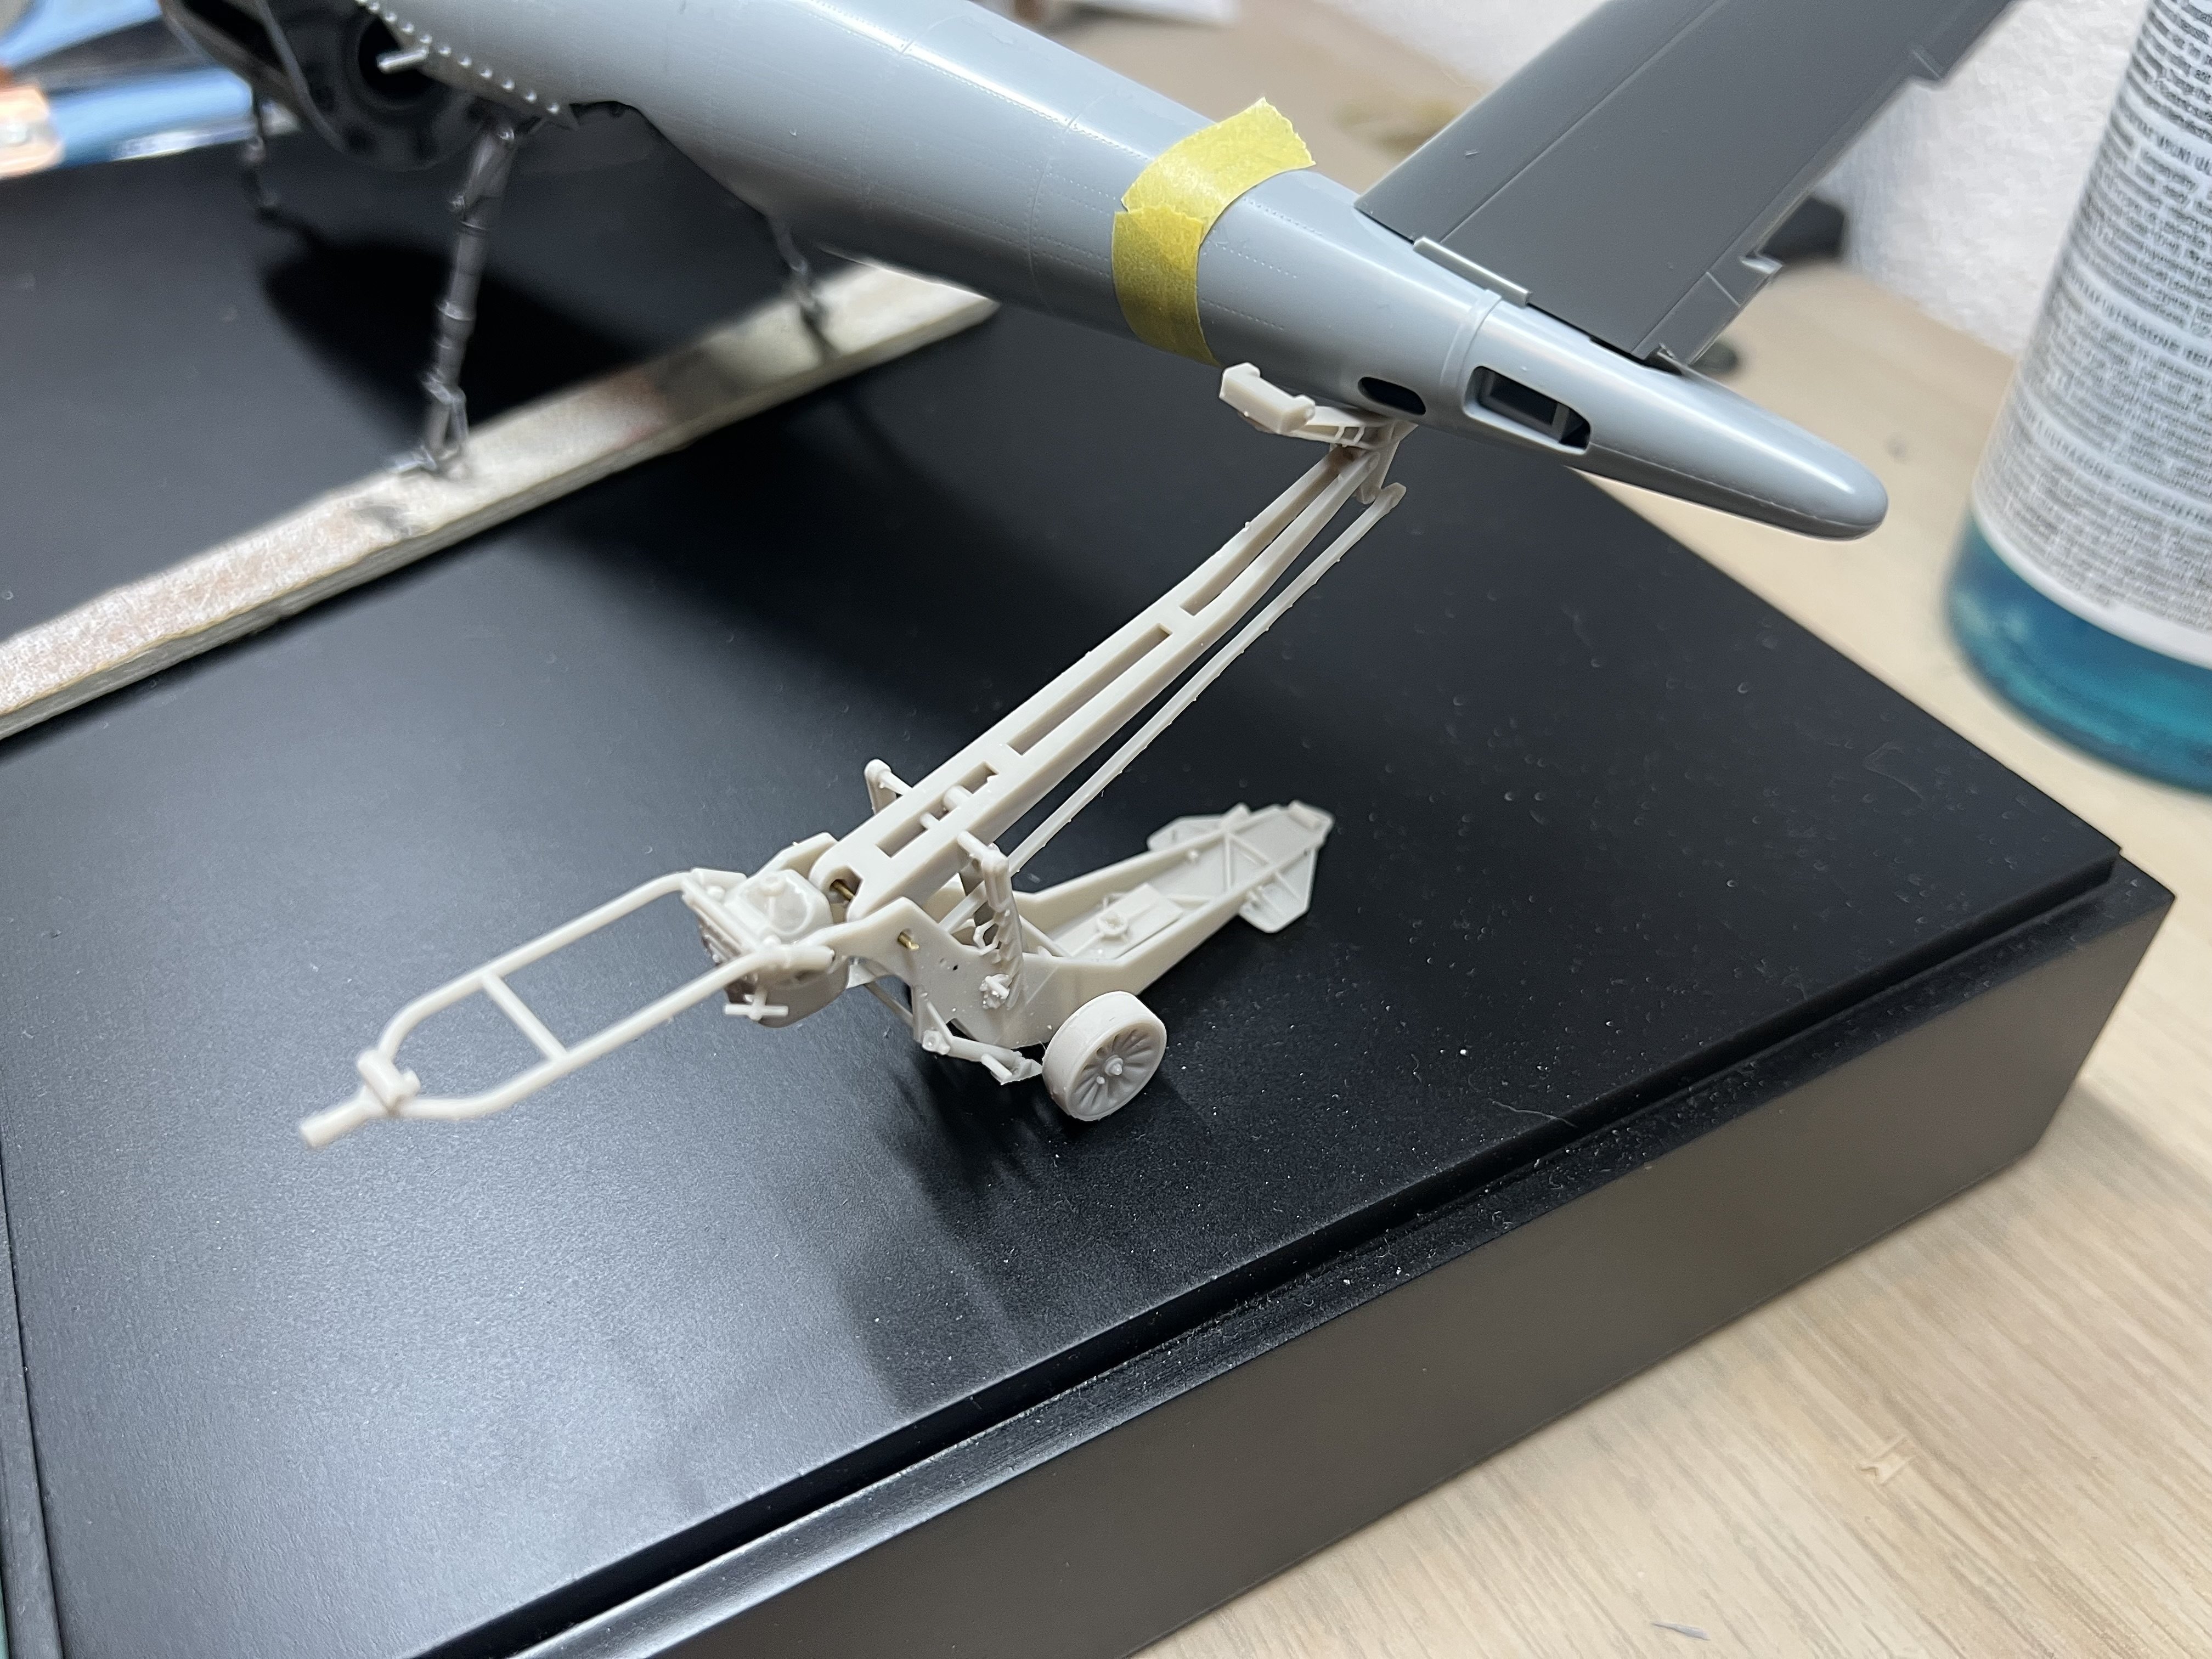
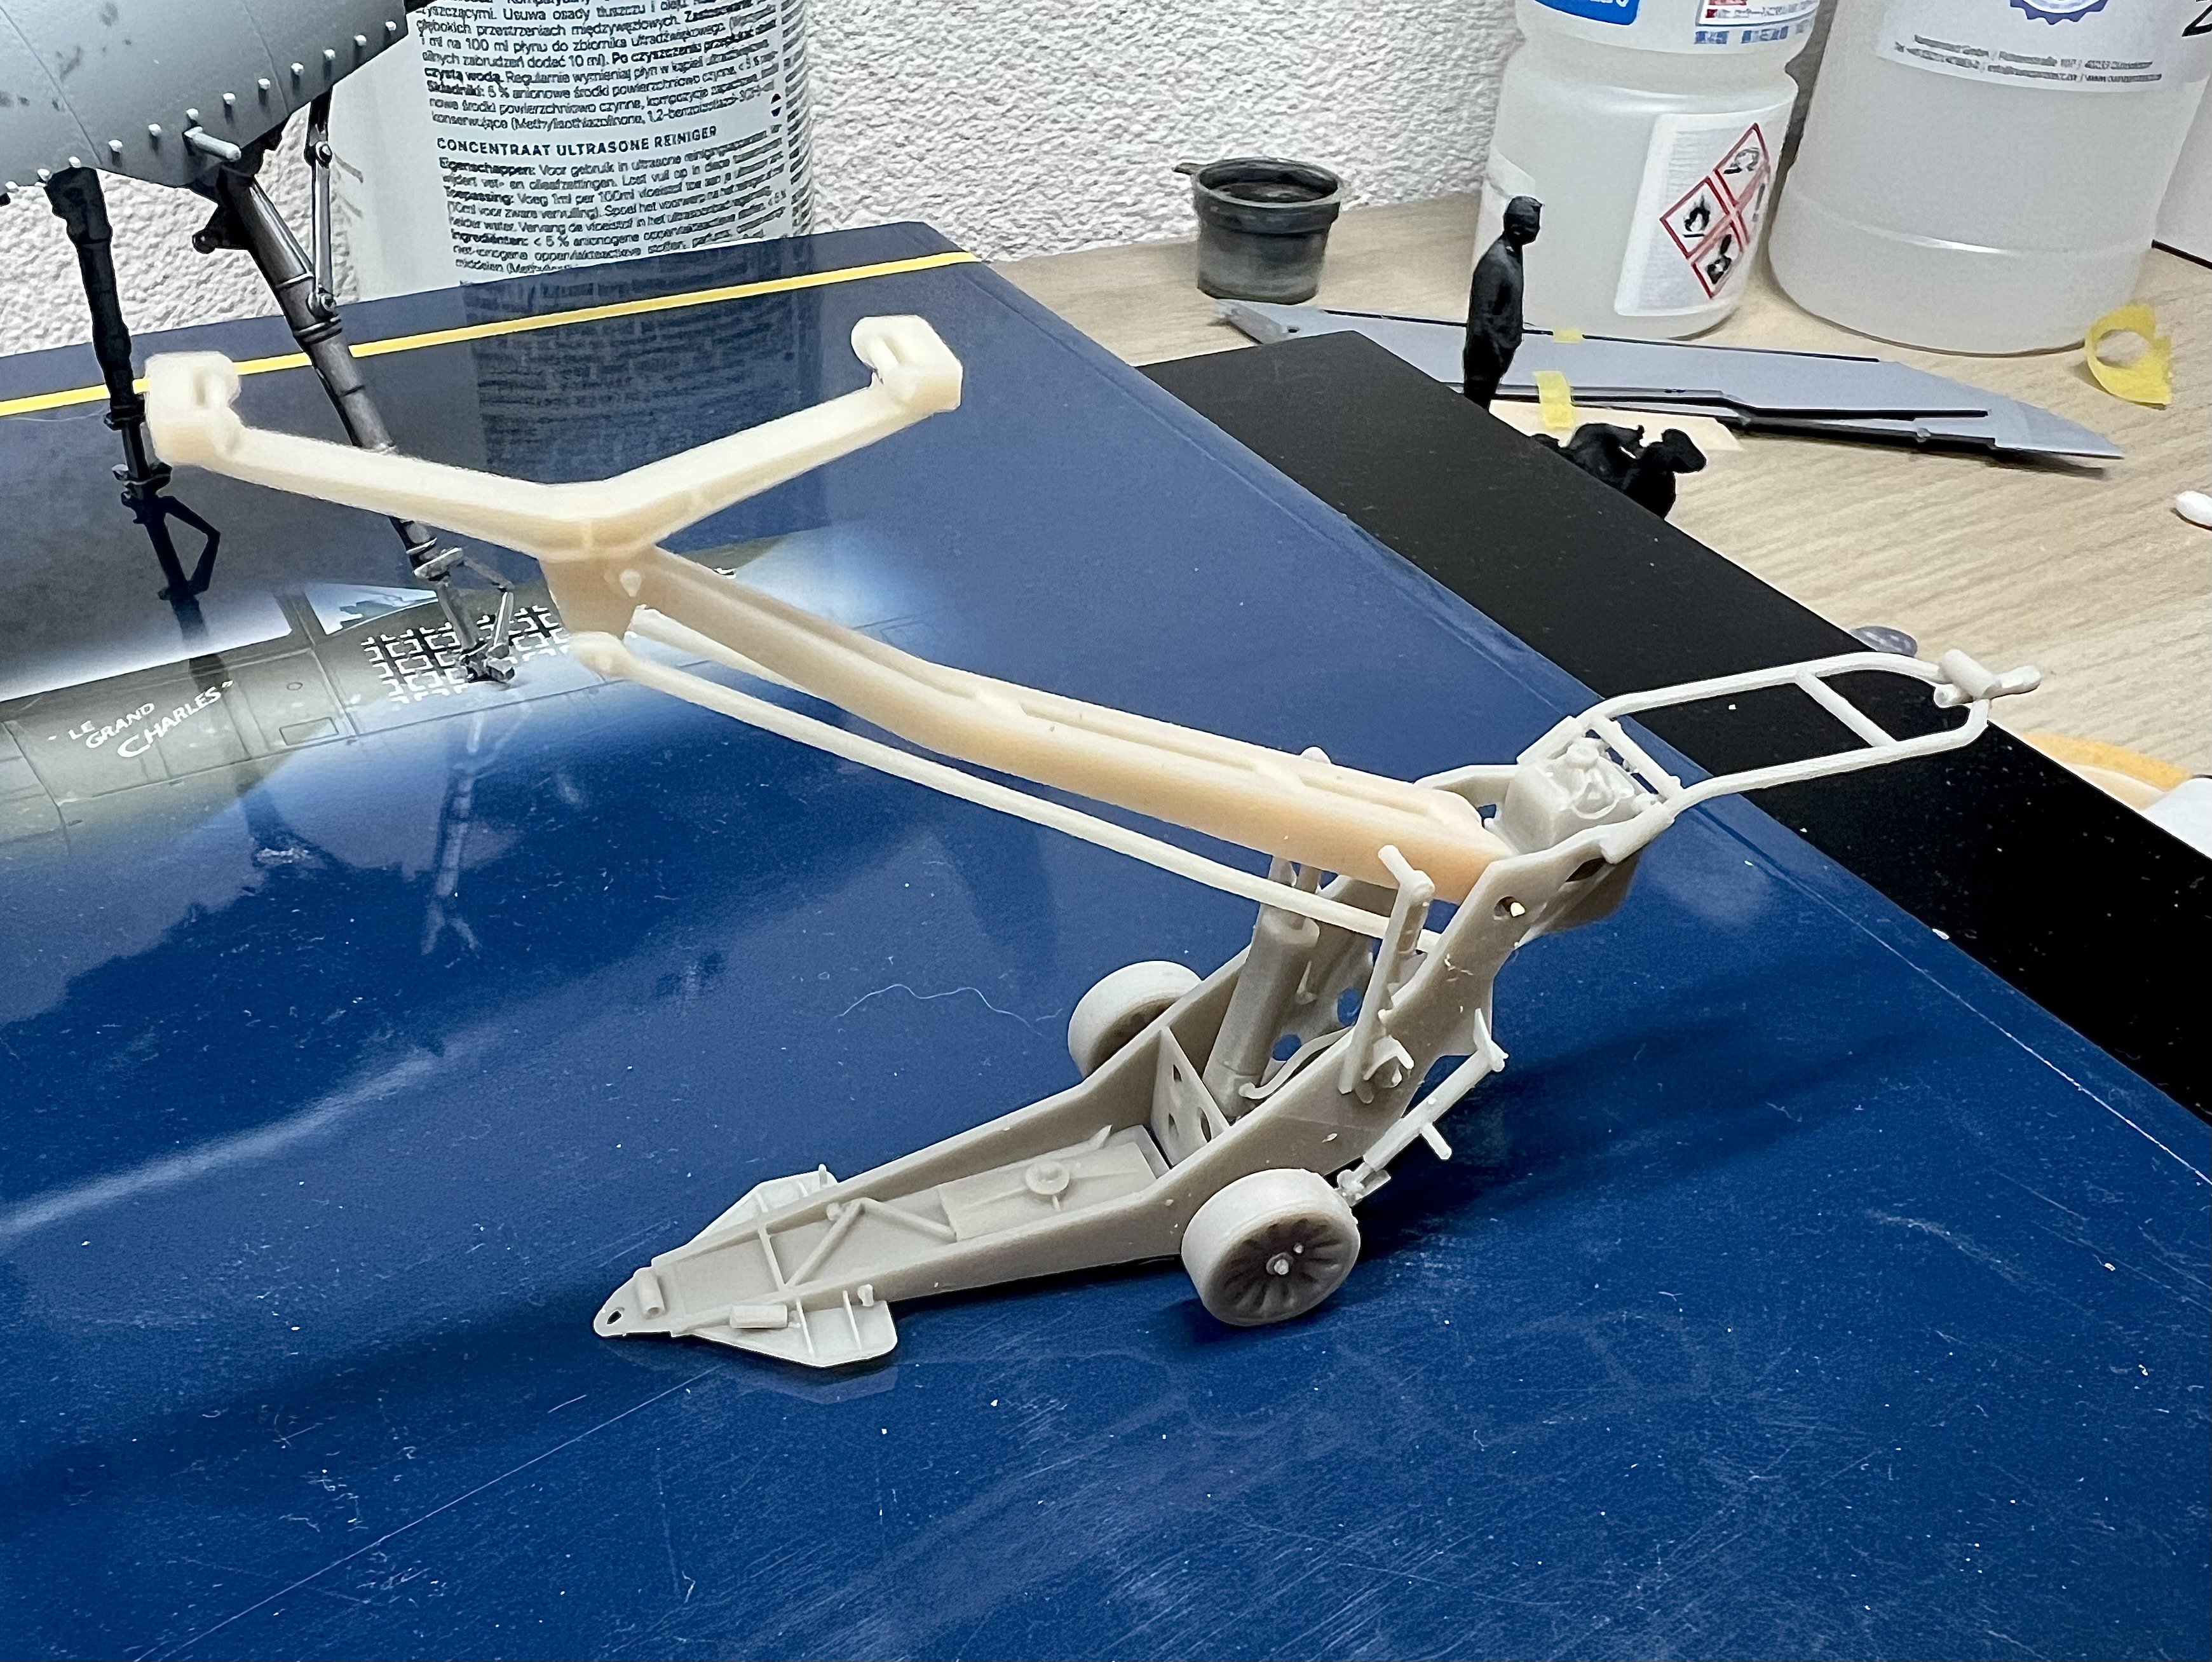
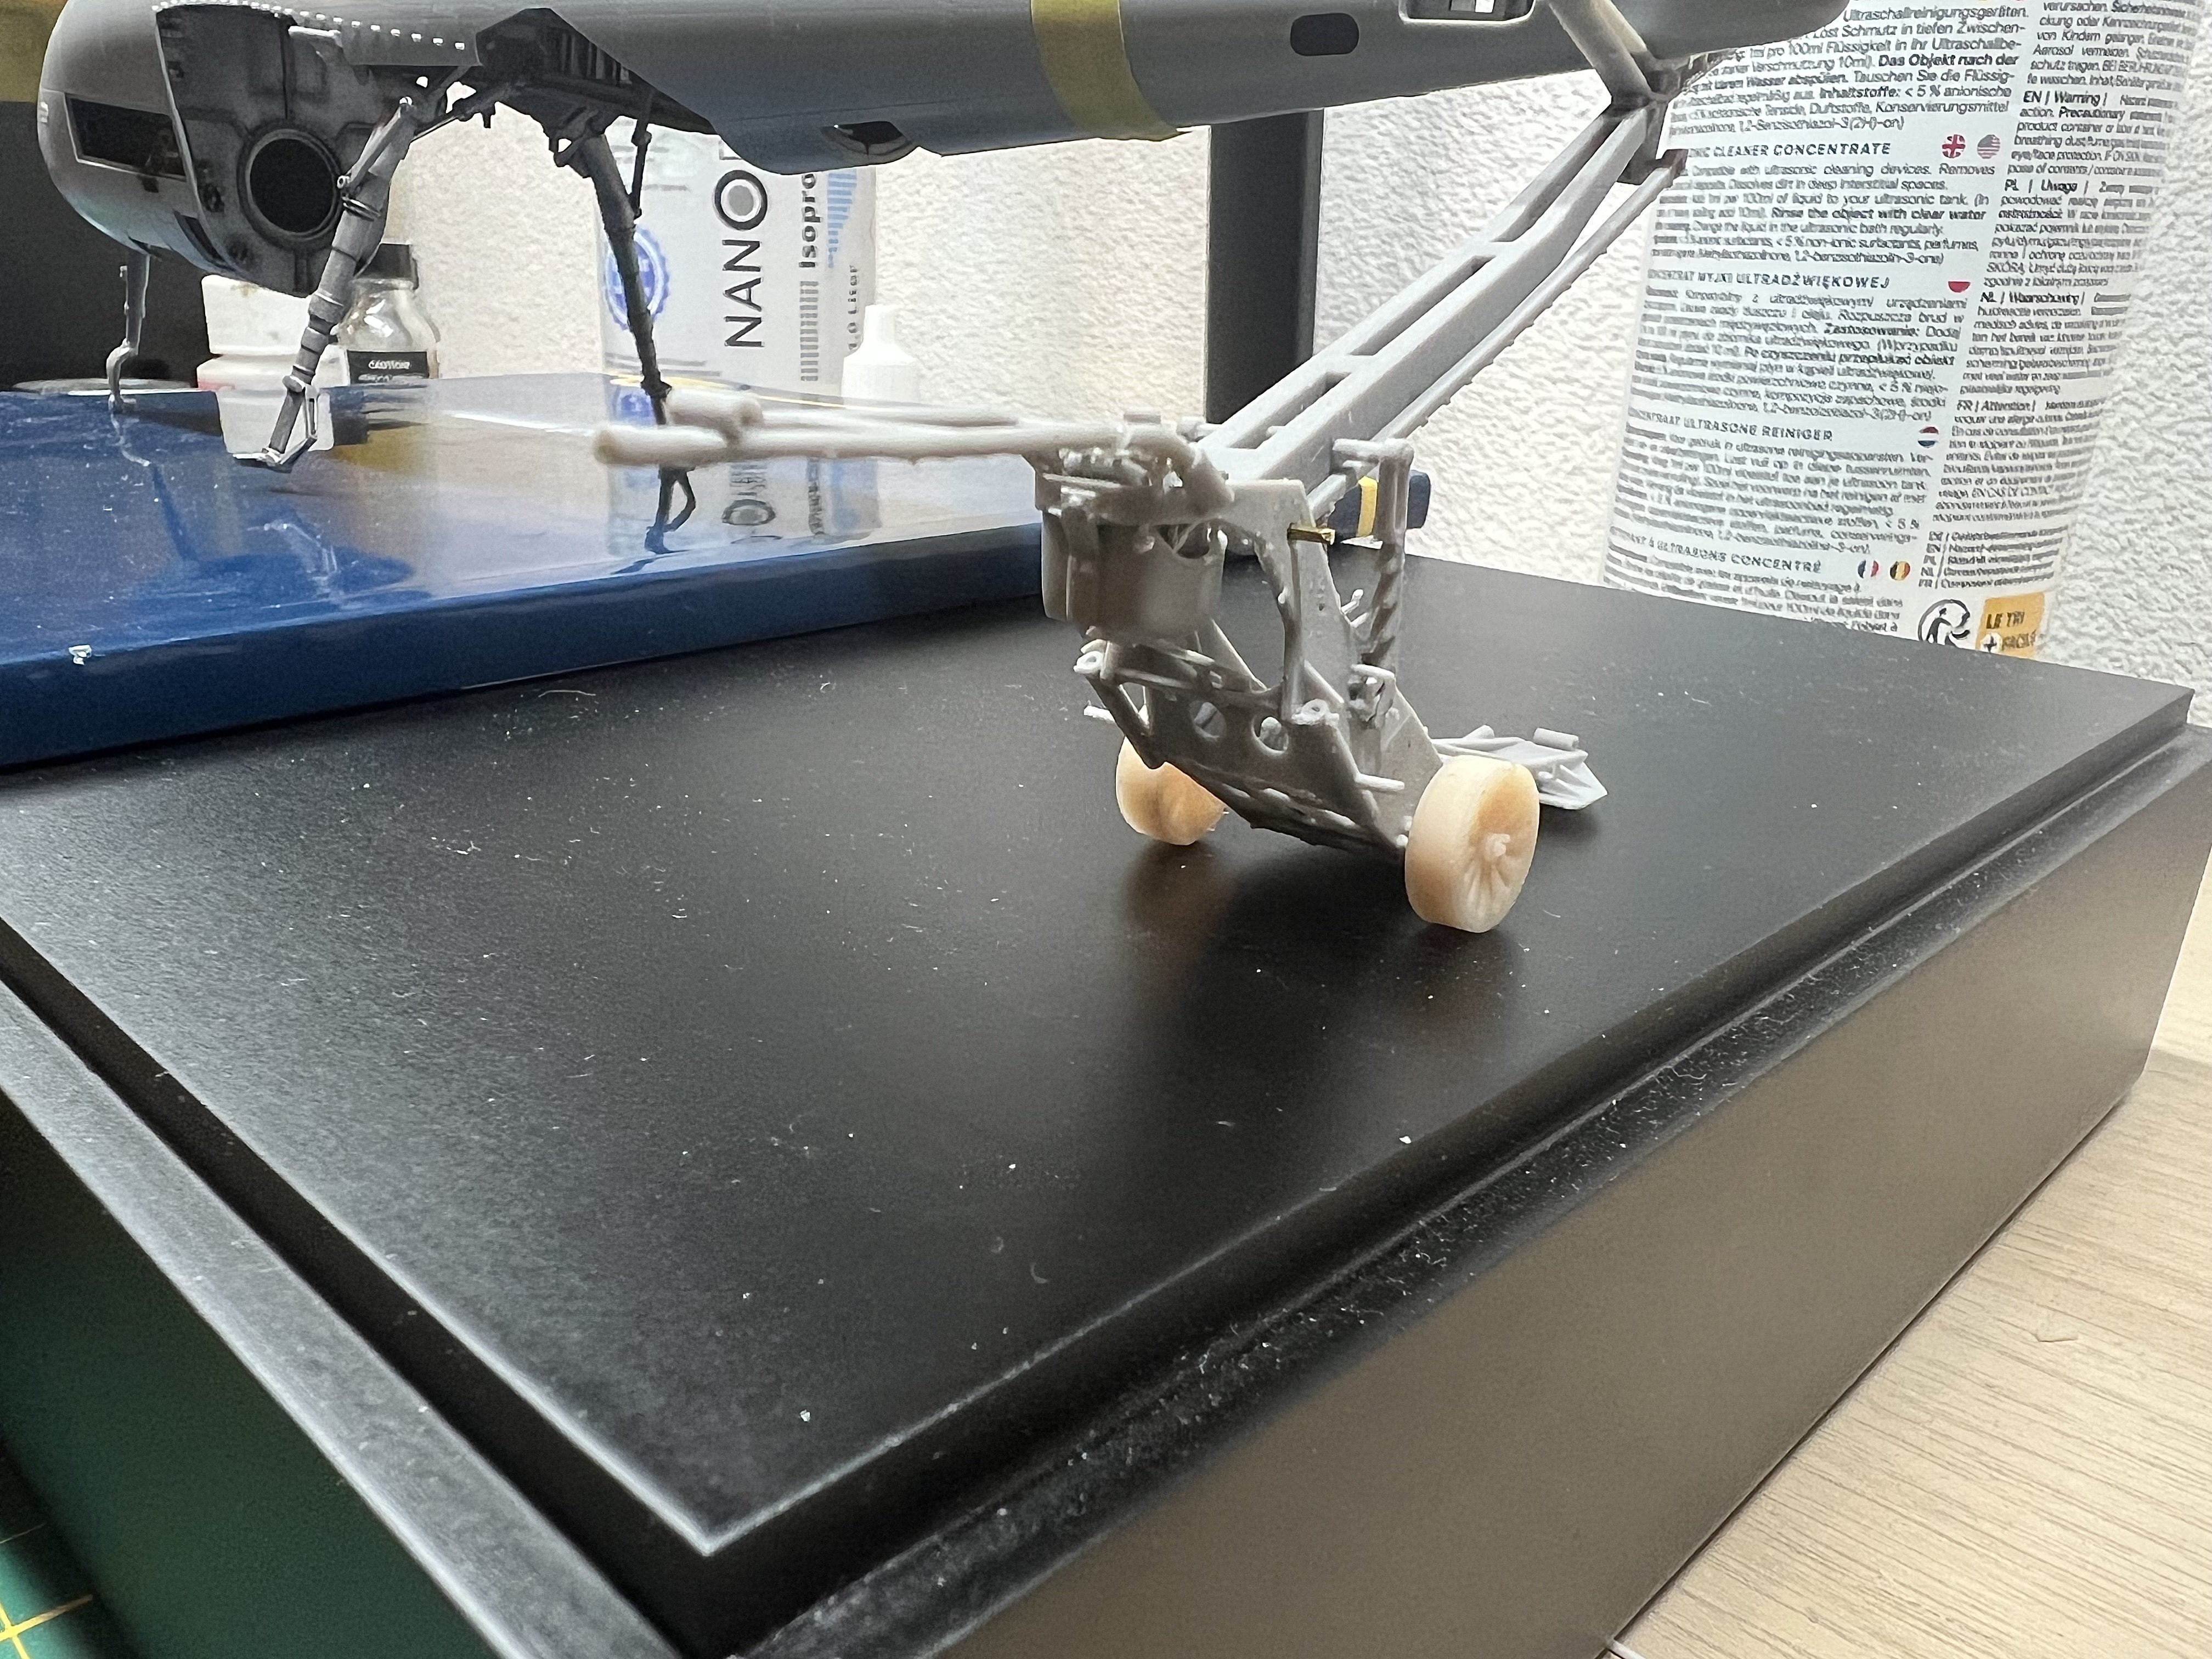
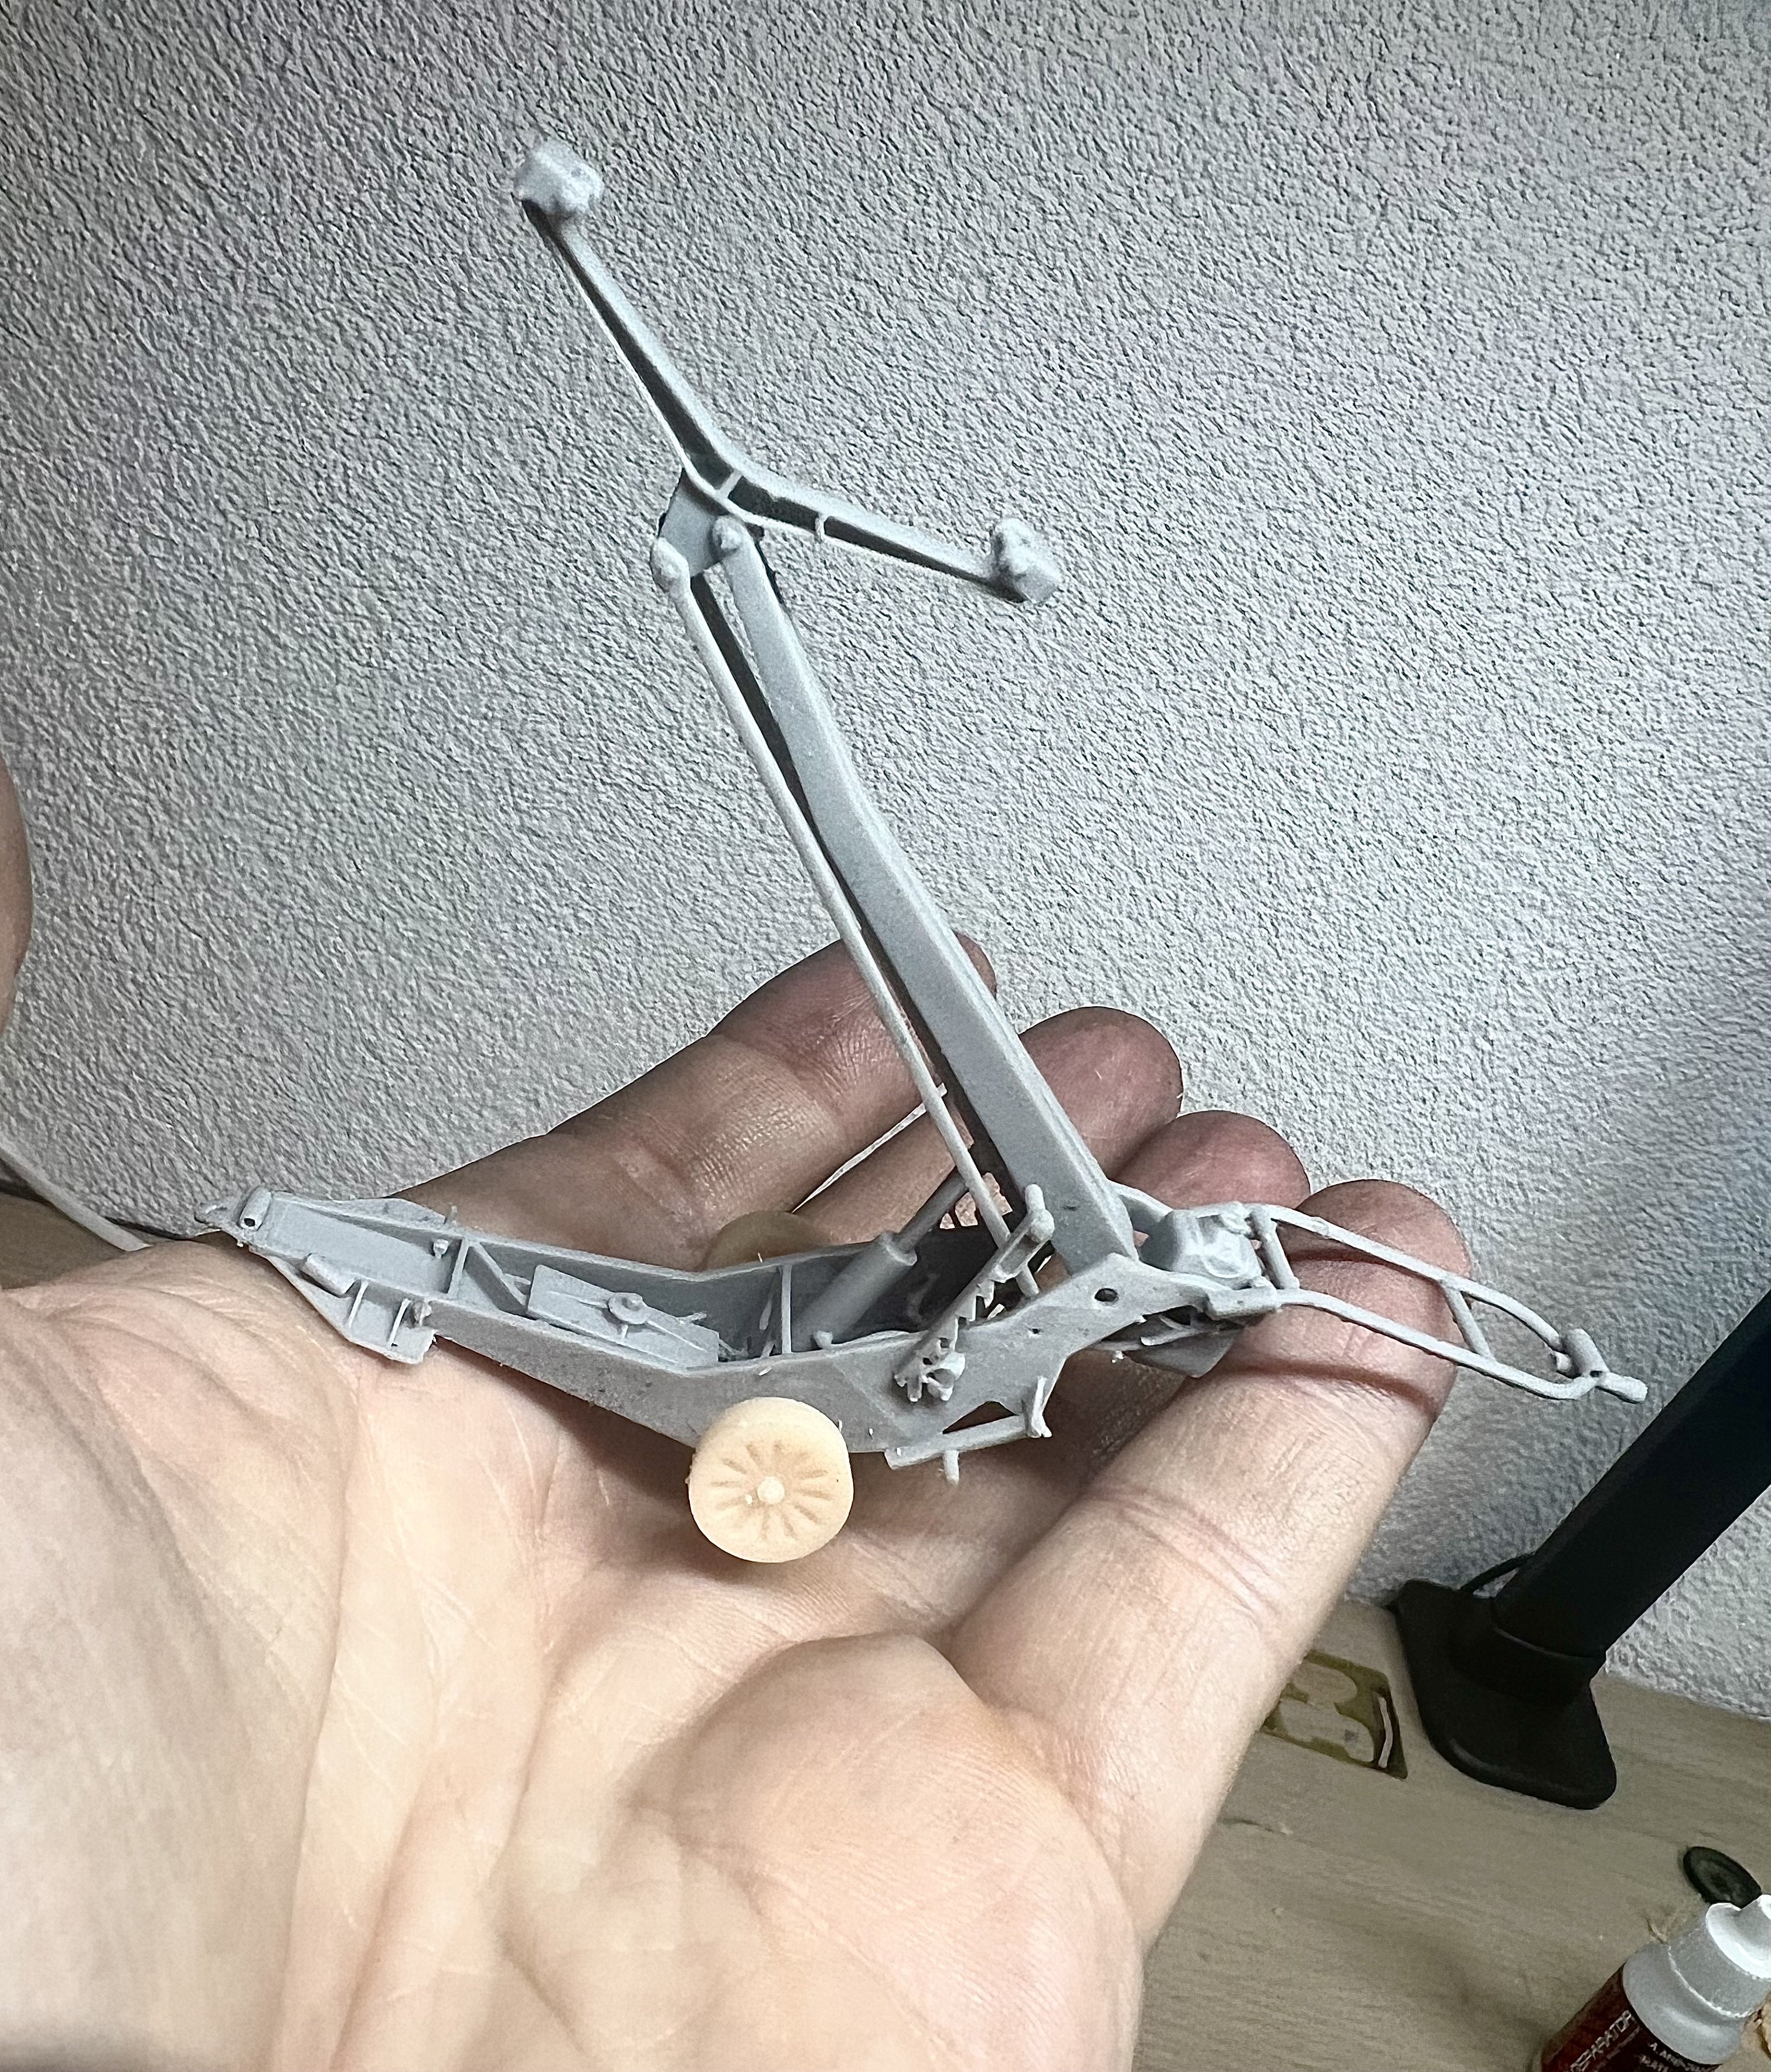
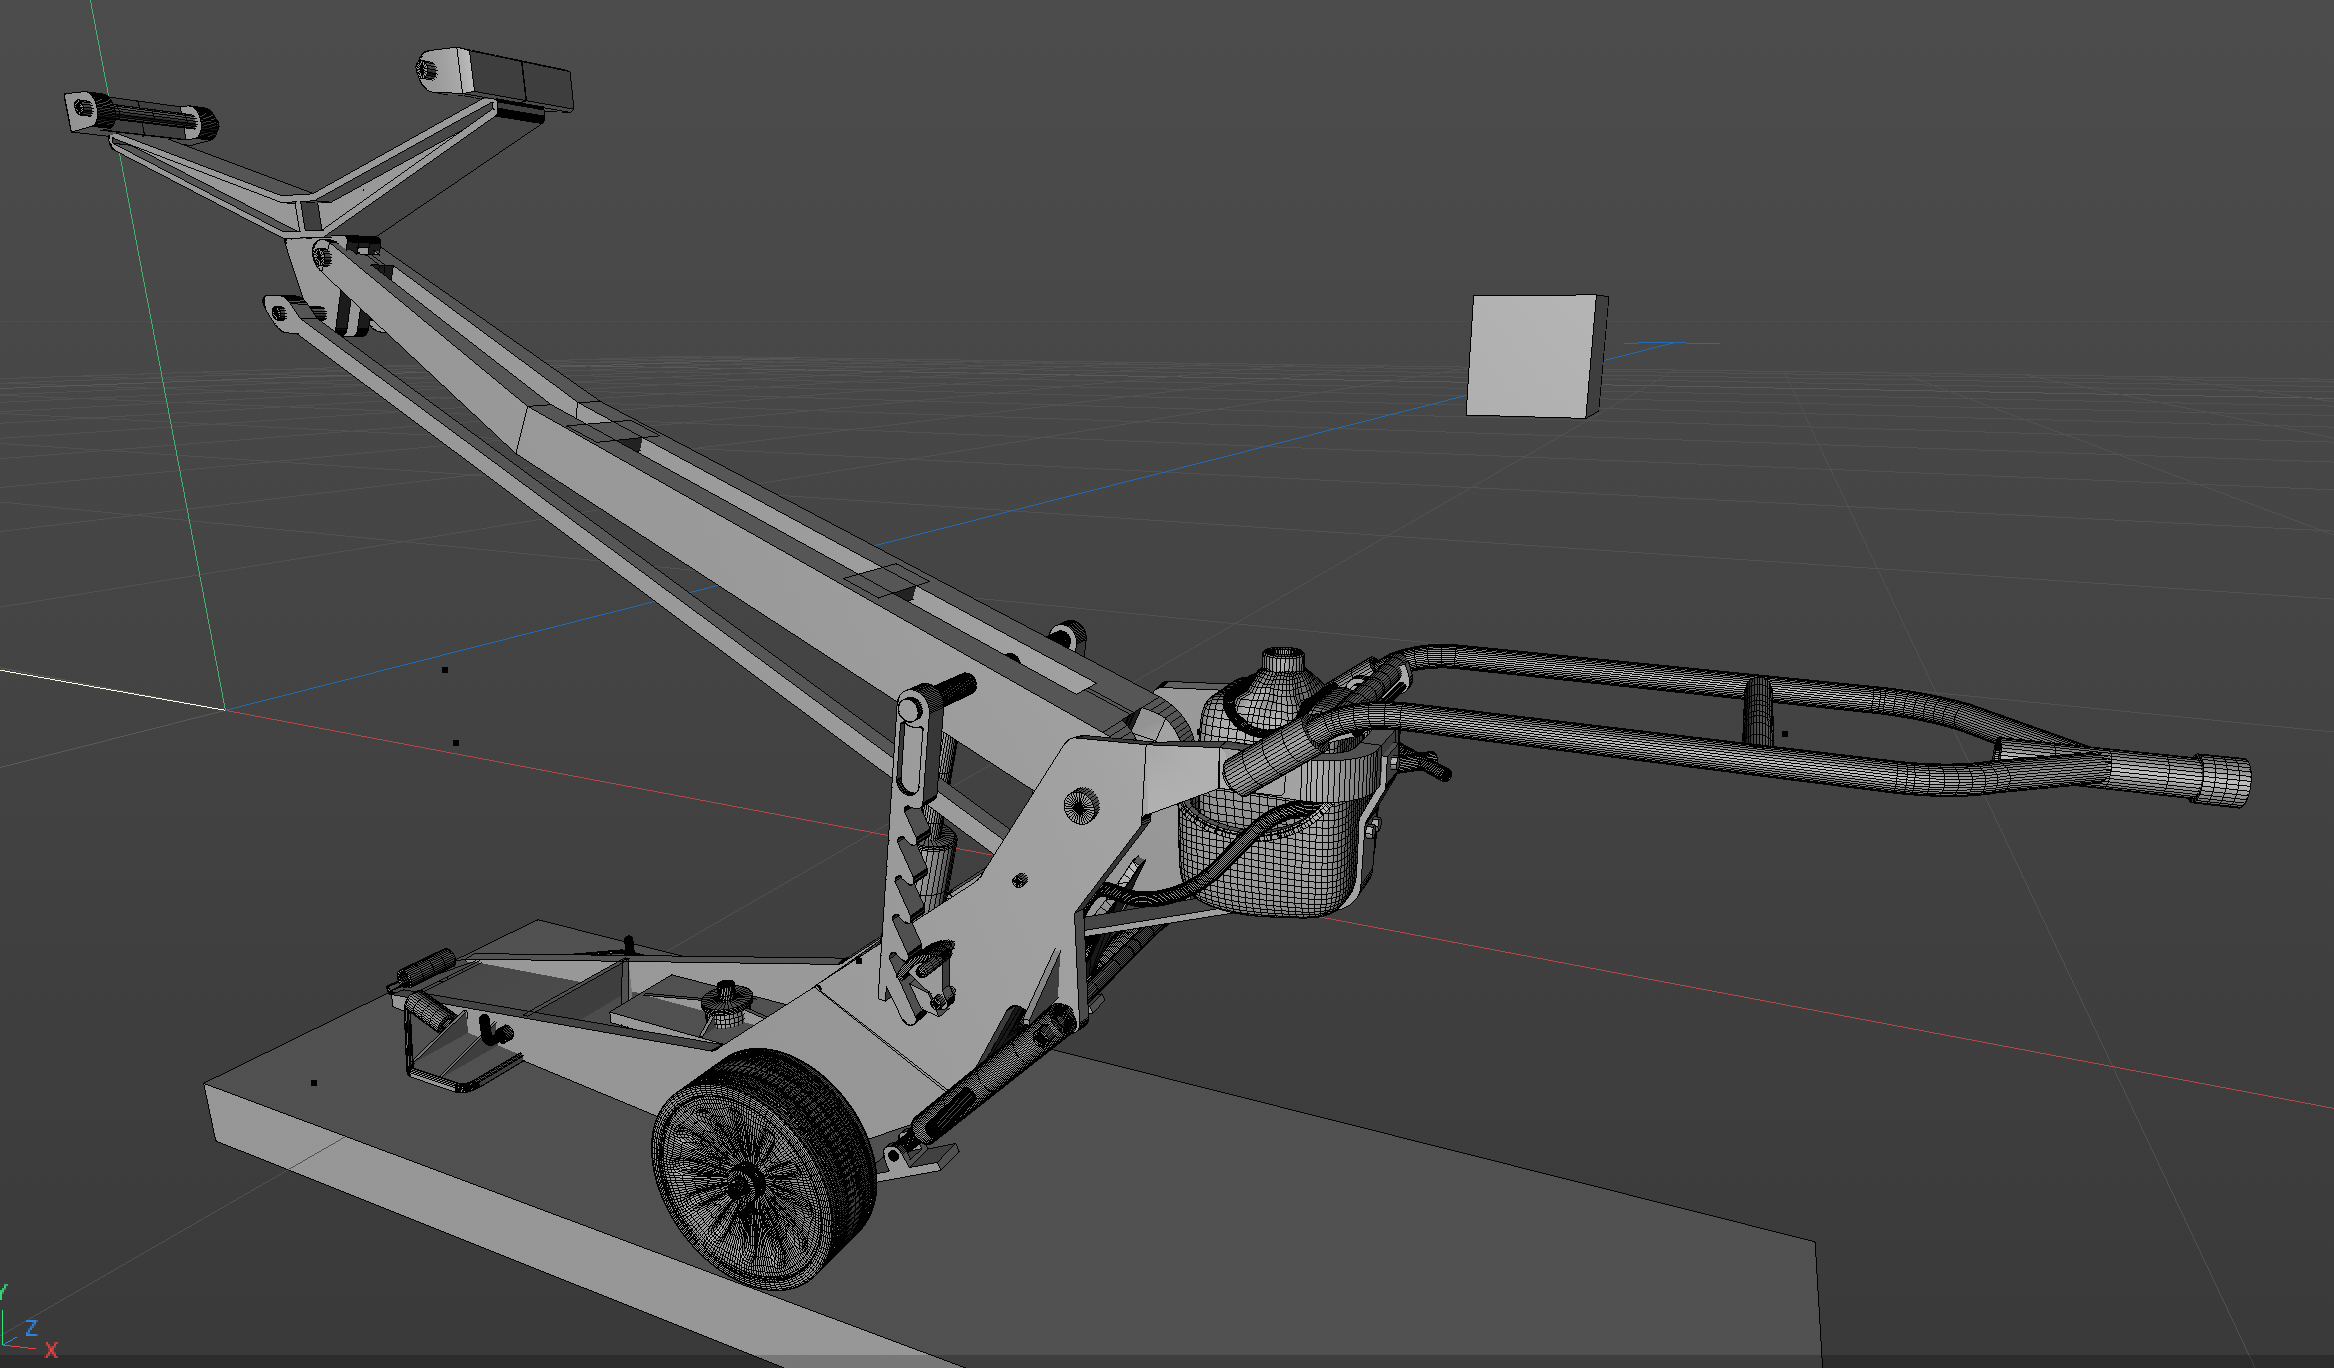
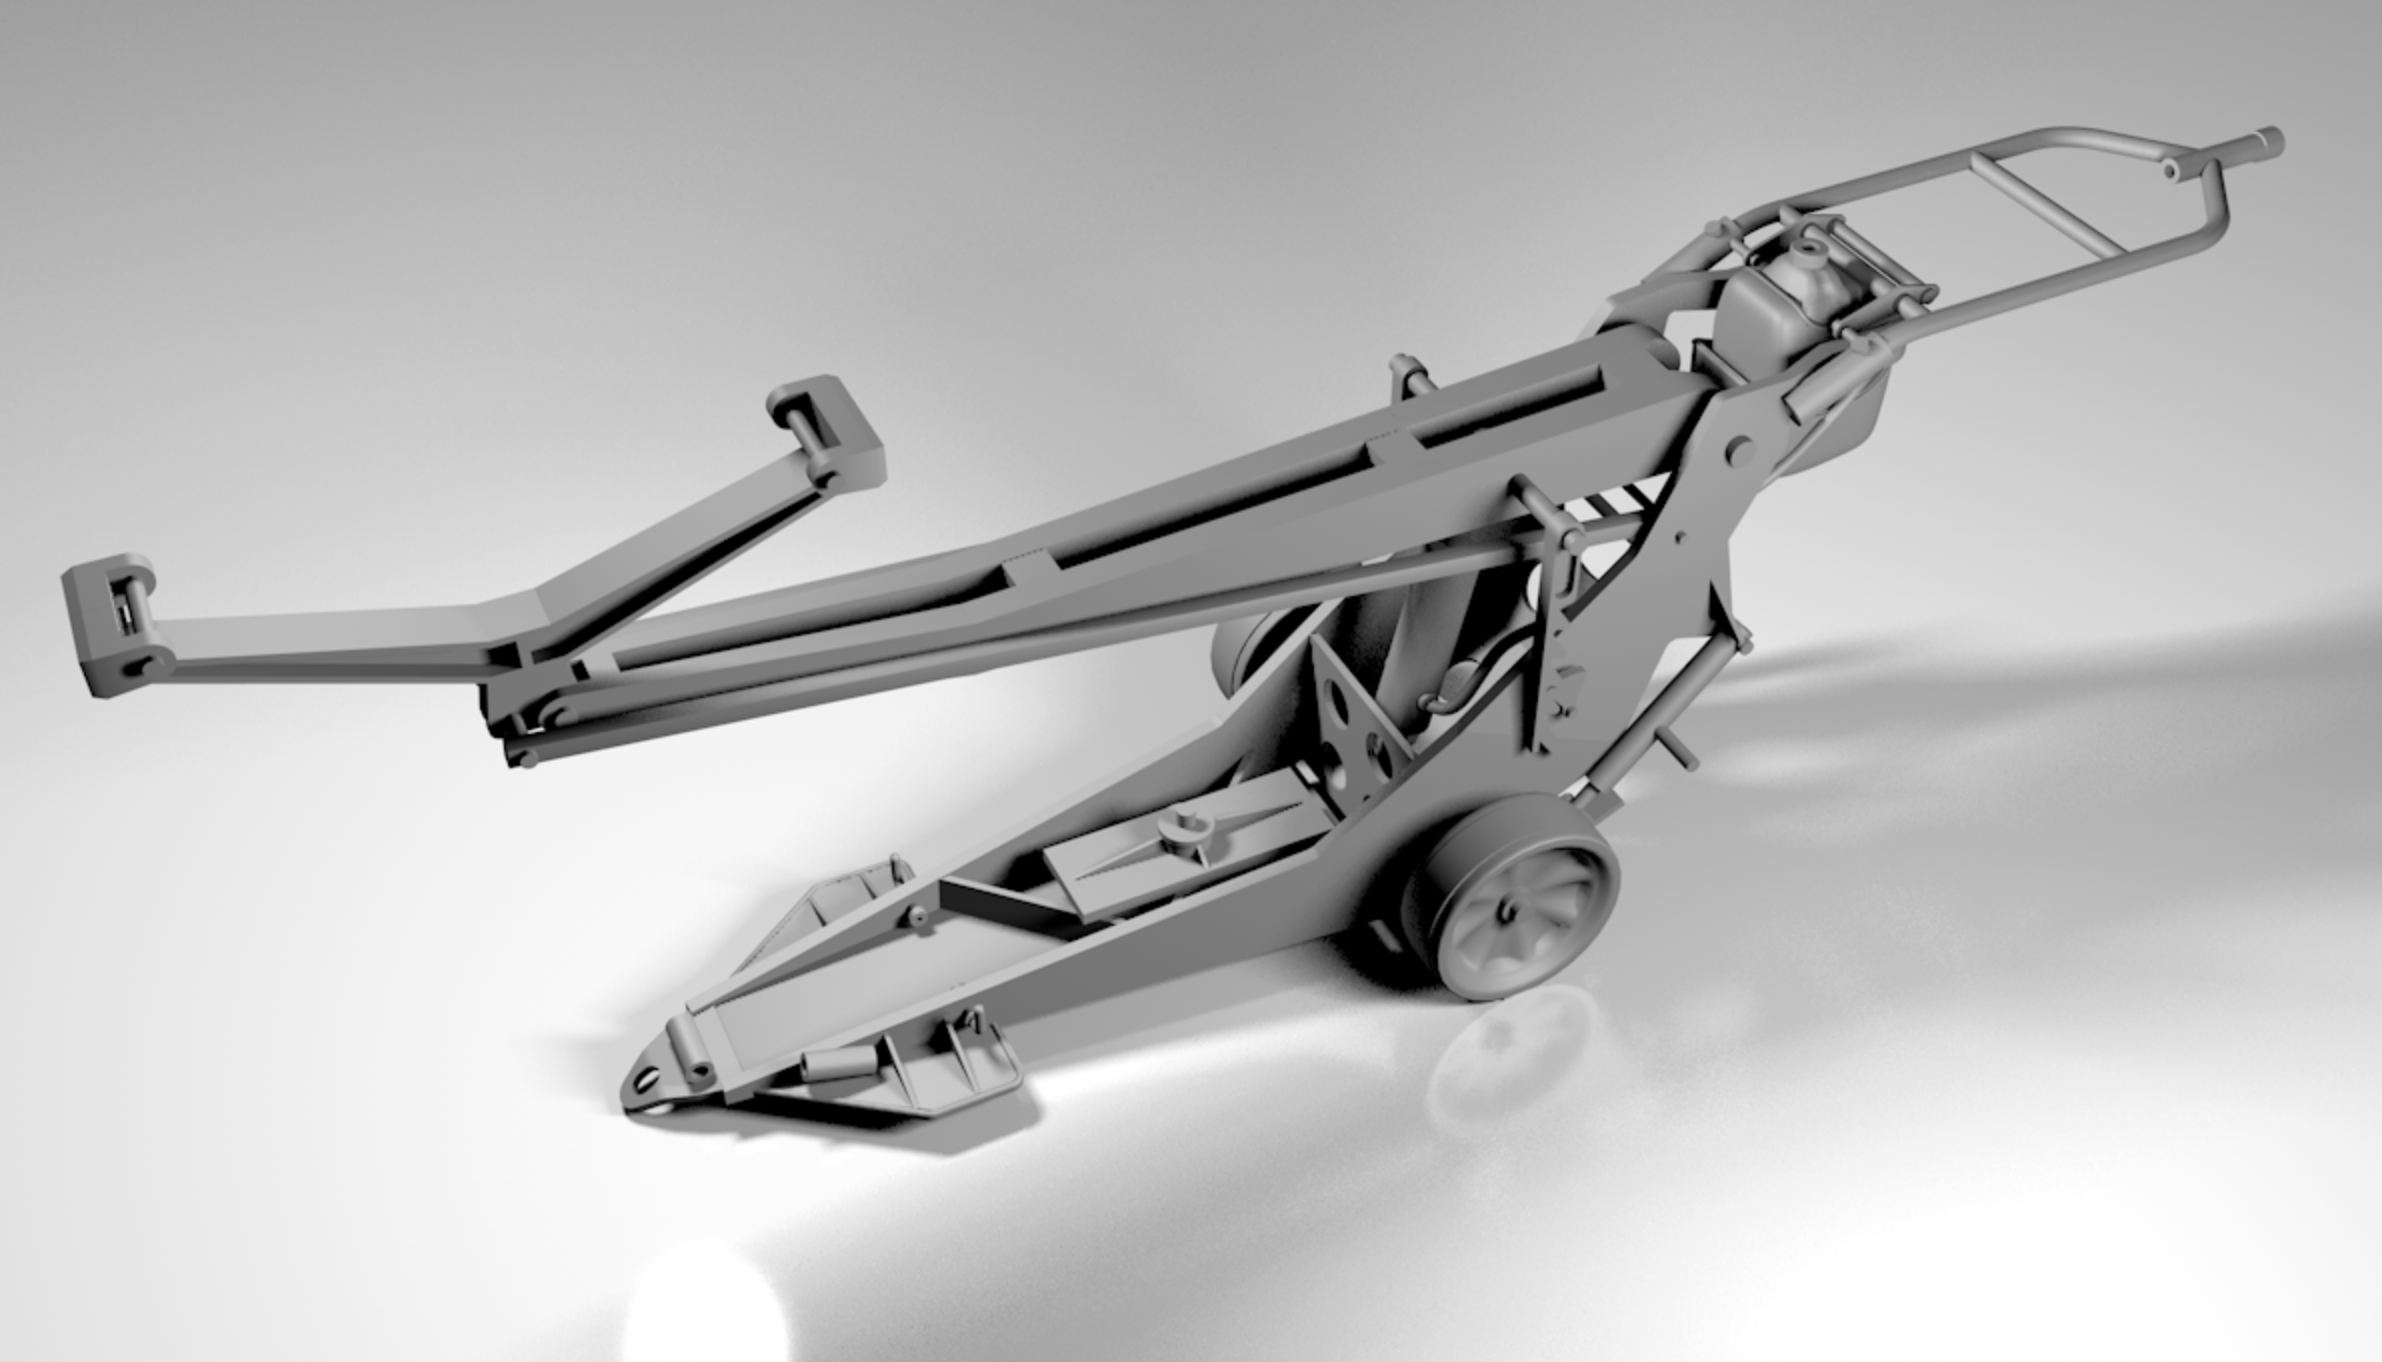
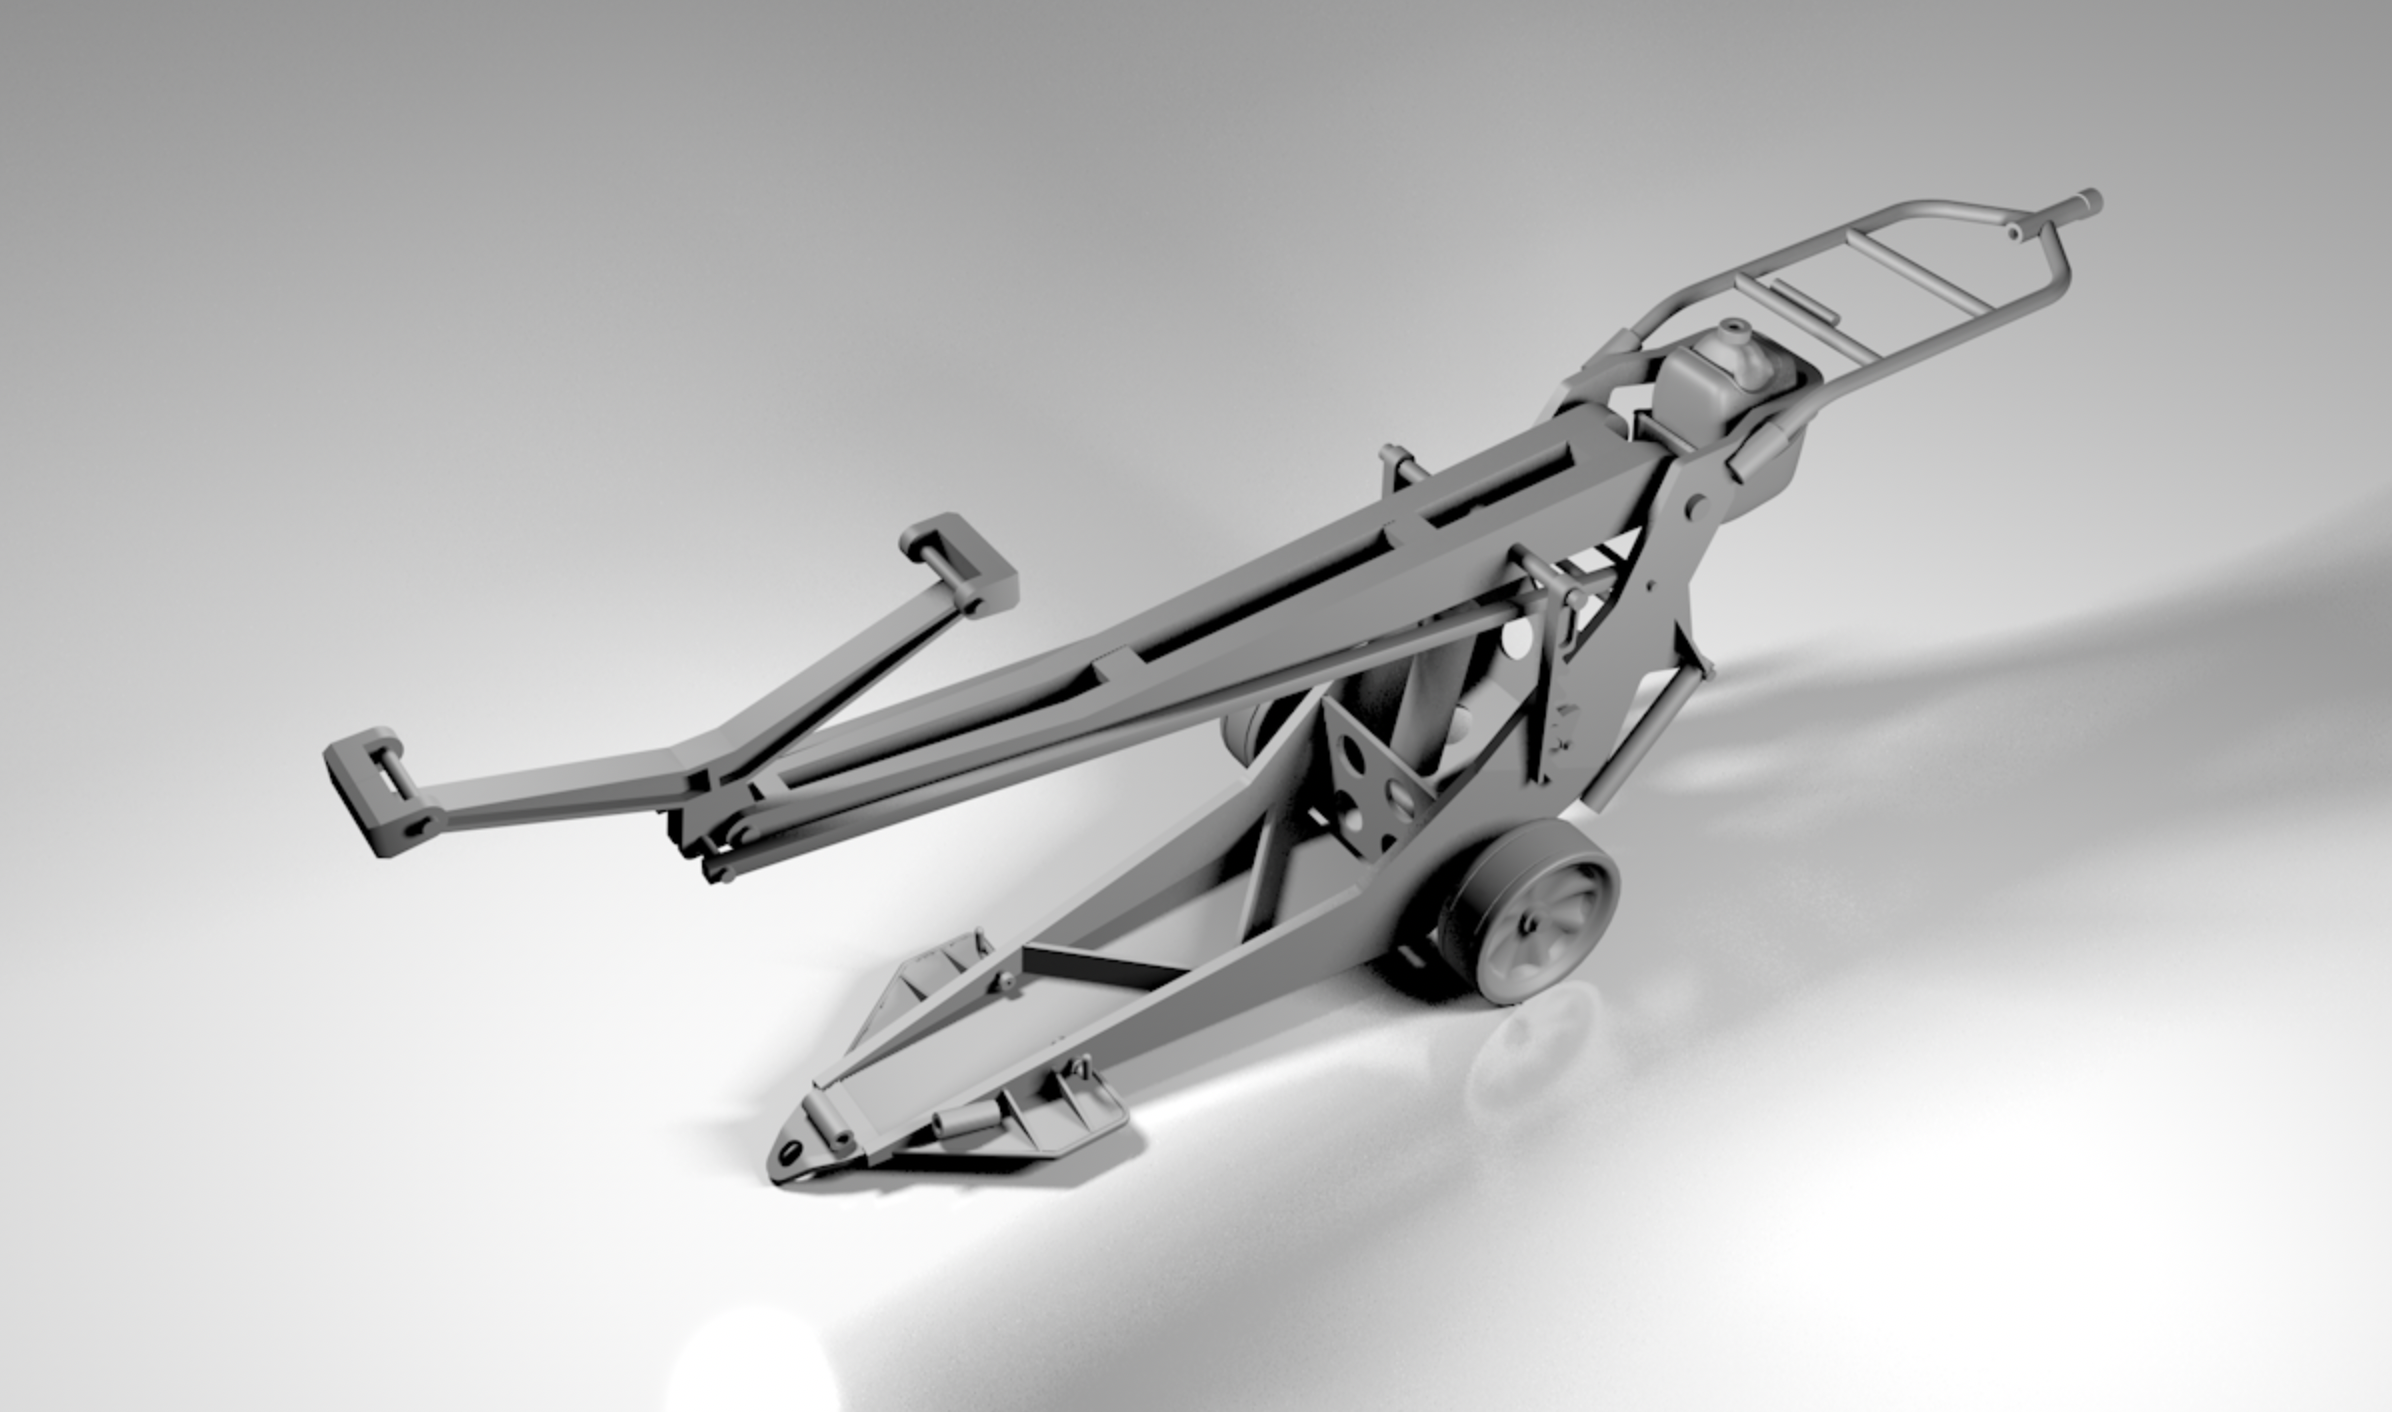
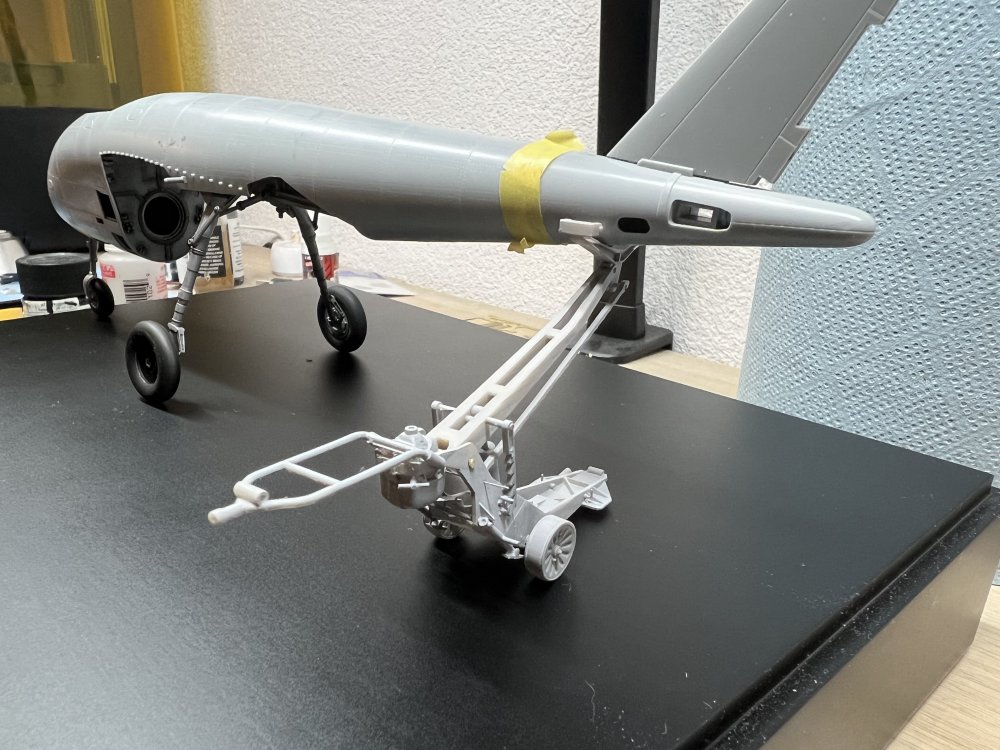
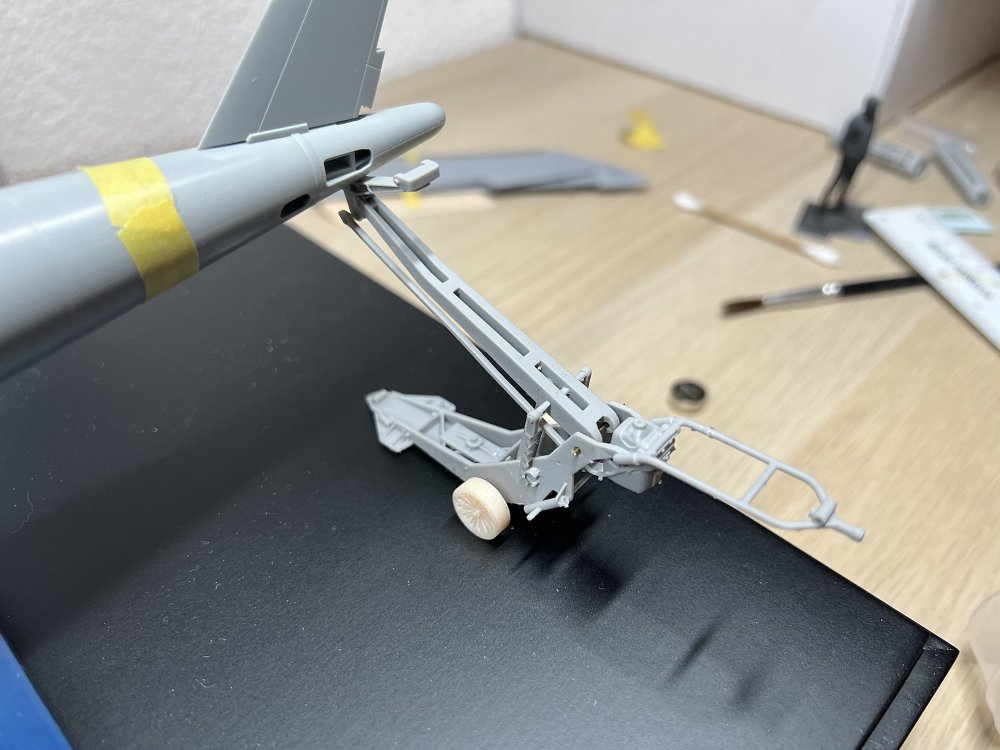
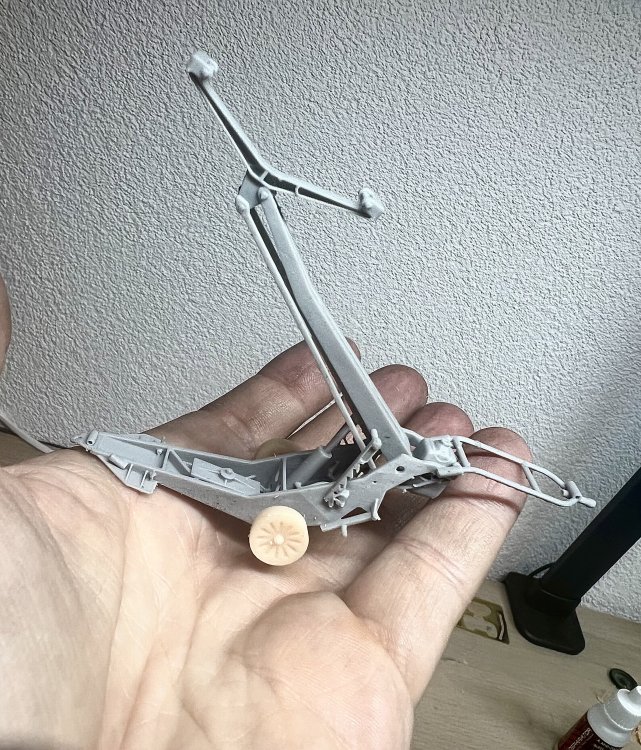
I’m not too keen on selling since it’s a hobby, but i might put it up on Shapeways. Just managed to get the attachment points perfect. Now you can just pull the supports and the whole thing falls clean of the model. The height of the Herkules is modelled at 6cm, which will match the height of the tail. If you study the photos you’ll see the compressed rear oleo’s of the main gear making the plane sit more in an angle and lower at the tail, but I’ll keep the stance as is.

-
Almost there.

-
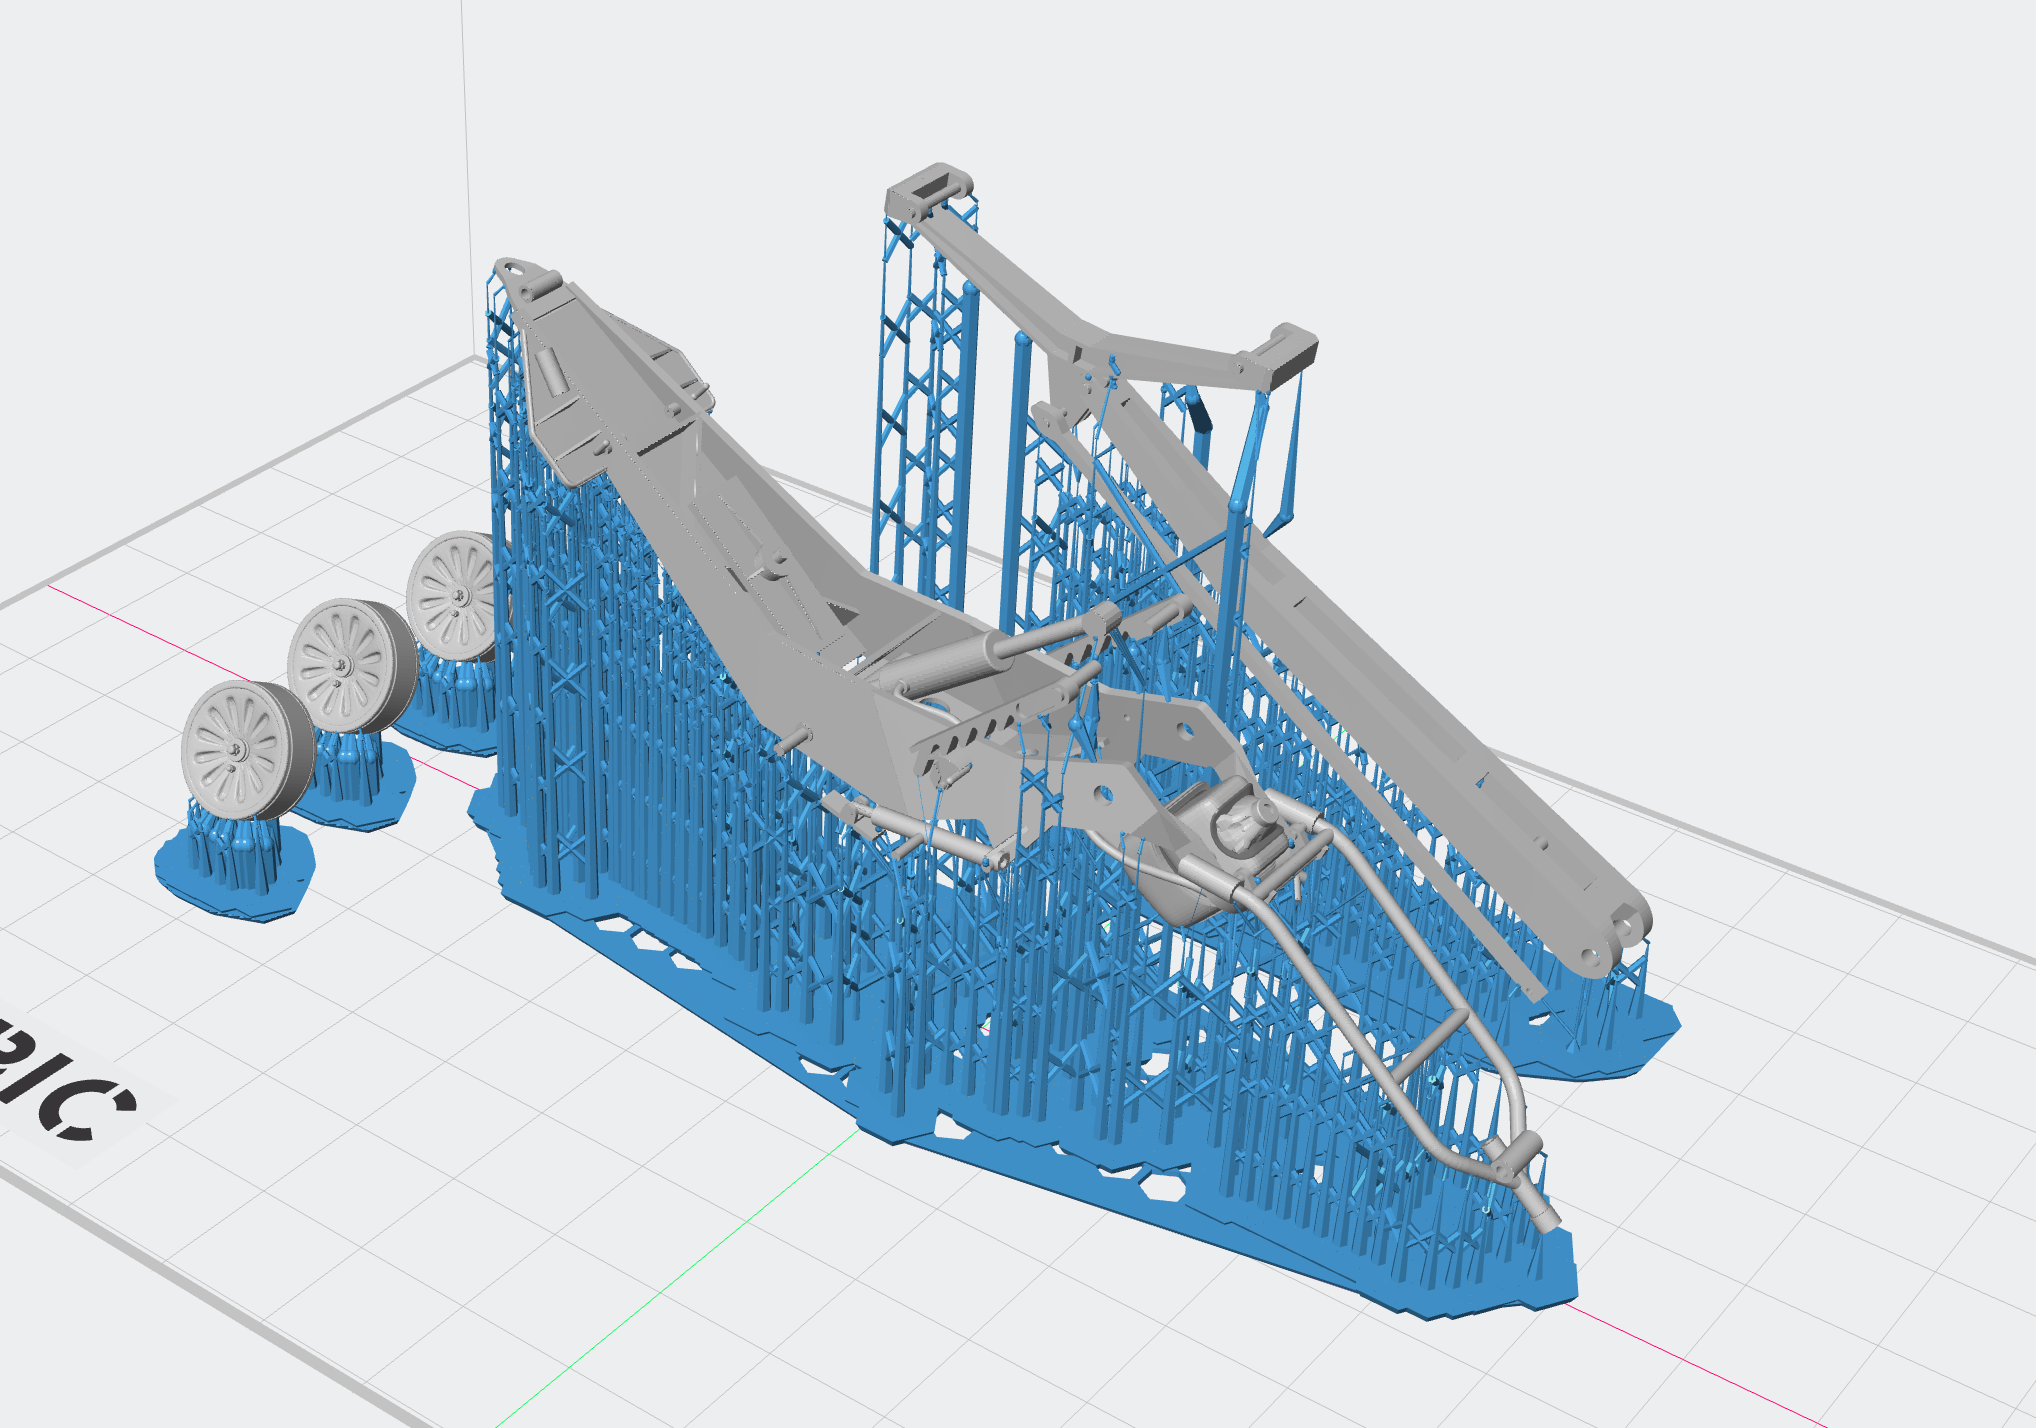
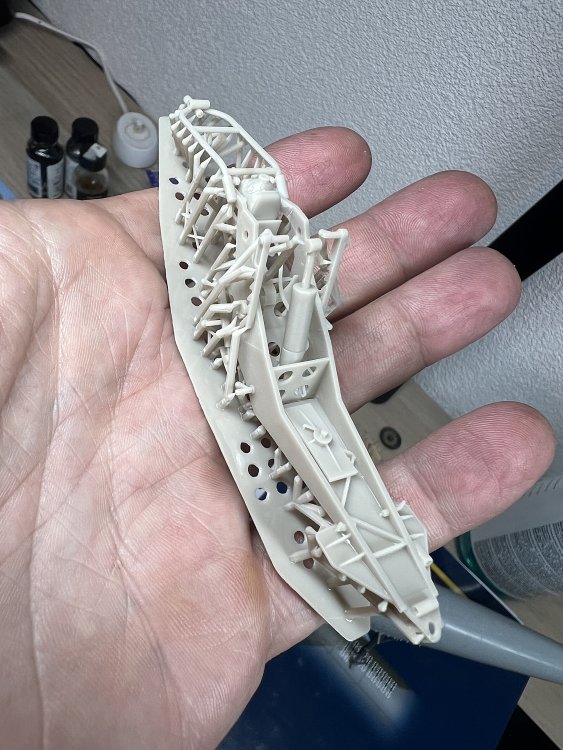
Final version and print of the main body of the Herkules. Thickened the piston. And altered some other parts. Thinned the attachment points of the supports. The model is now easier to seperate from the supports. This will do.
-
Fixed the structure. All good to go now!

-
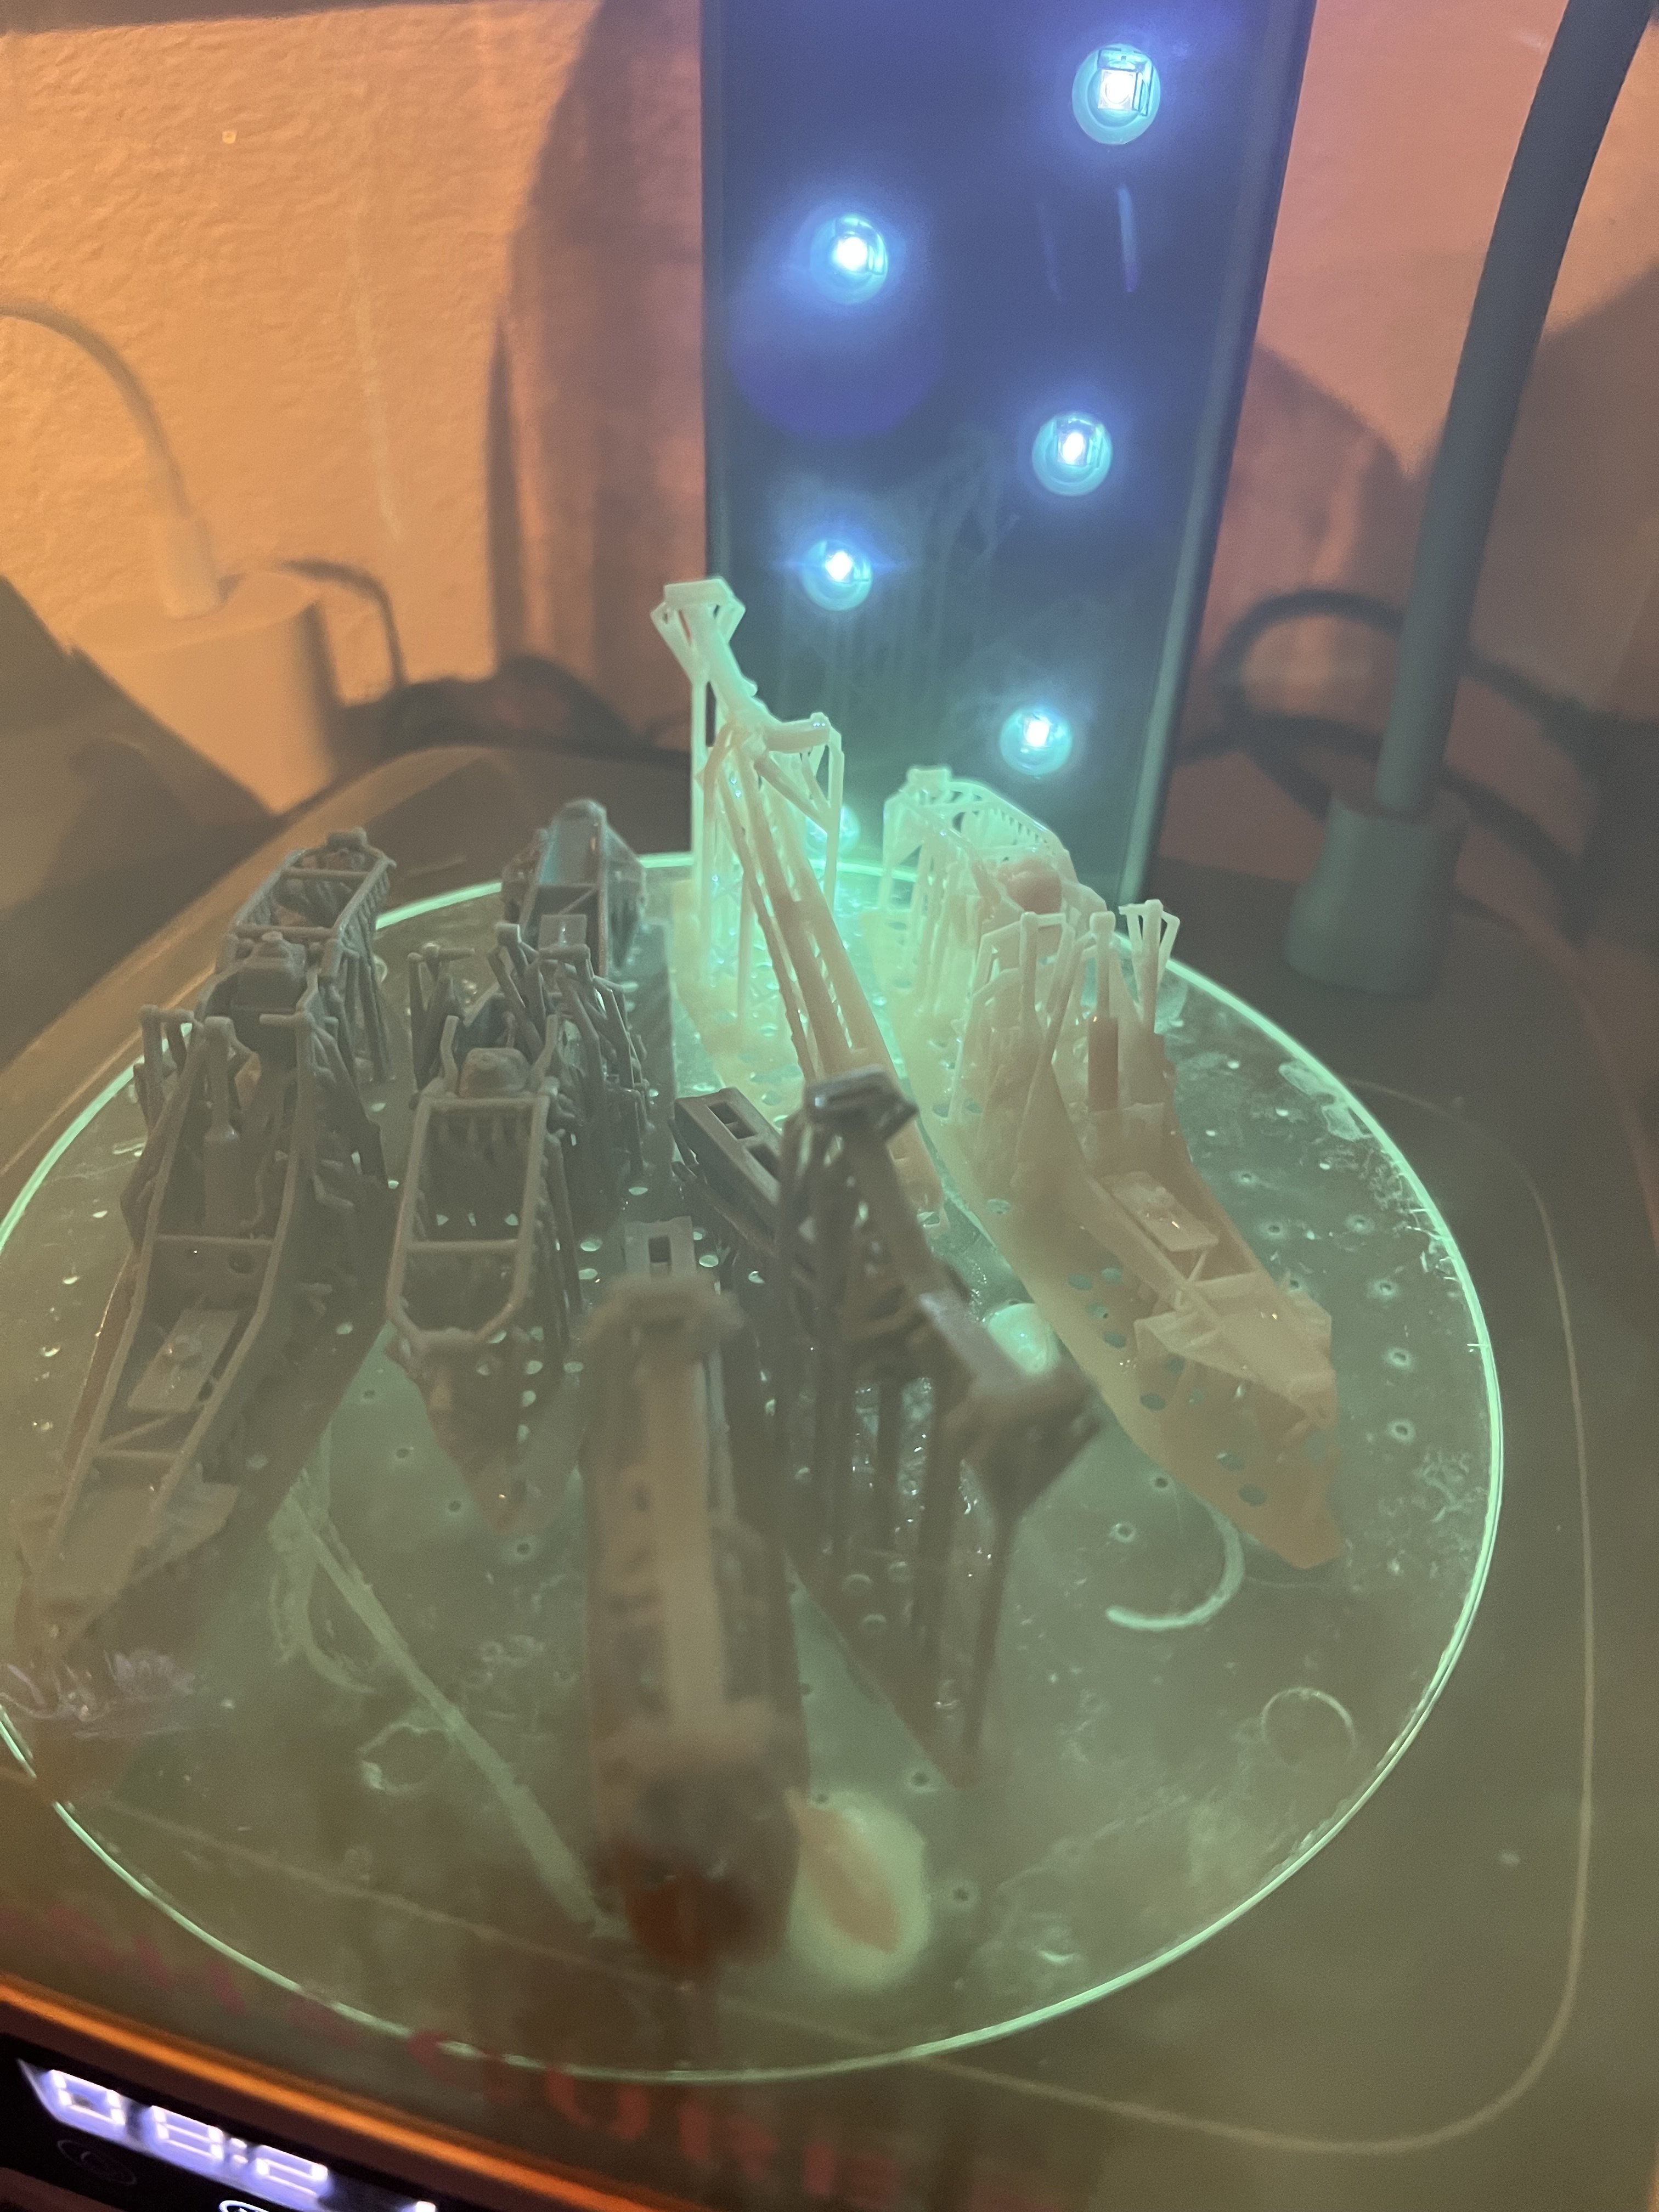
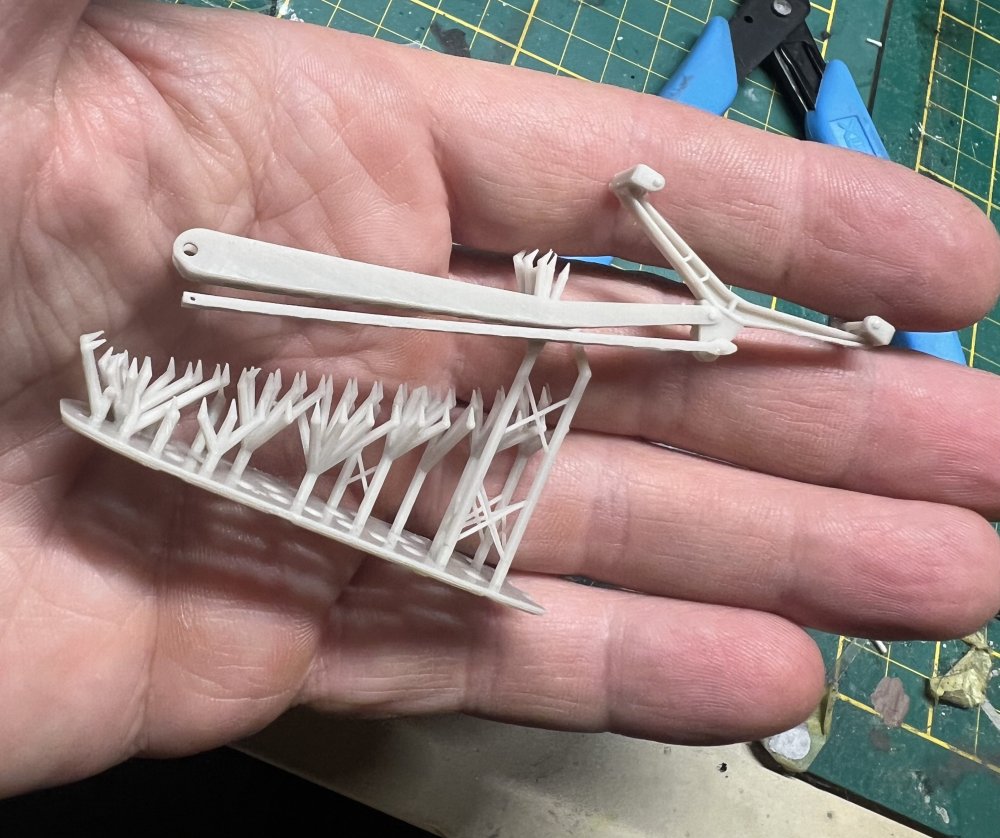
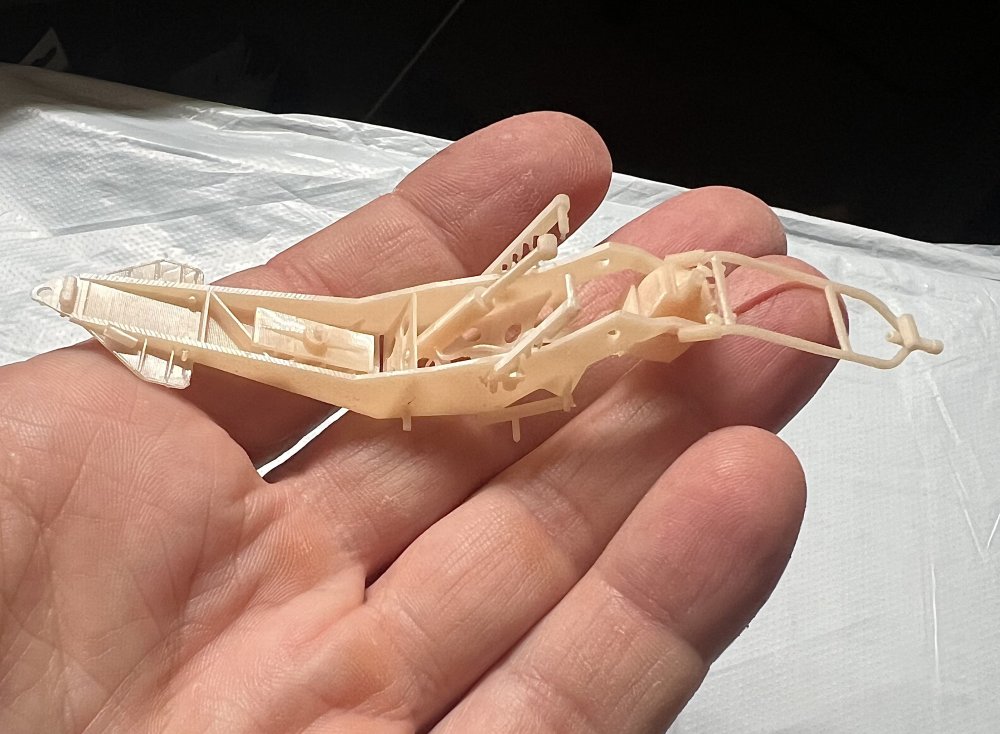
Printed another one in beige resin. This stuff is a bit more brittle but has finer details. Also just got word from Arsenal45 that i need a few extra supports in the base plate simce i’m modelling the Herkules IIB and not the IIA.


-
Test fitting the lift under the tail. Checking the height. Just did another print run with thinner supports, but sadly they could not carry the weight. Will try again with slightly thicker attachment points.

-
Quick assembly. Not happy yet, but it looks like a Herkules II.
-
First print with medium thick supports. Safe but i prefer thinner supports

-
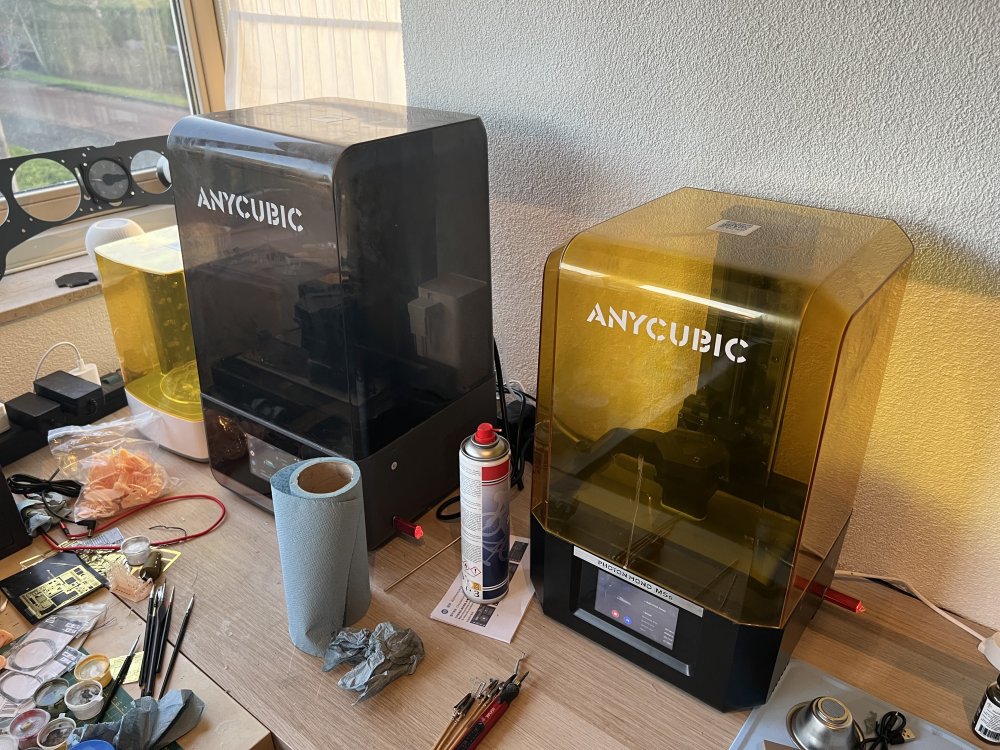
Here we go. Fired up all printers today with mixed results. Managed to pull off 3 complete sets. Might do some new prints with thinner supports.

-
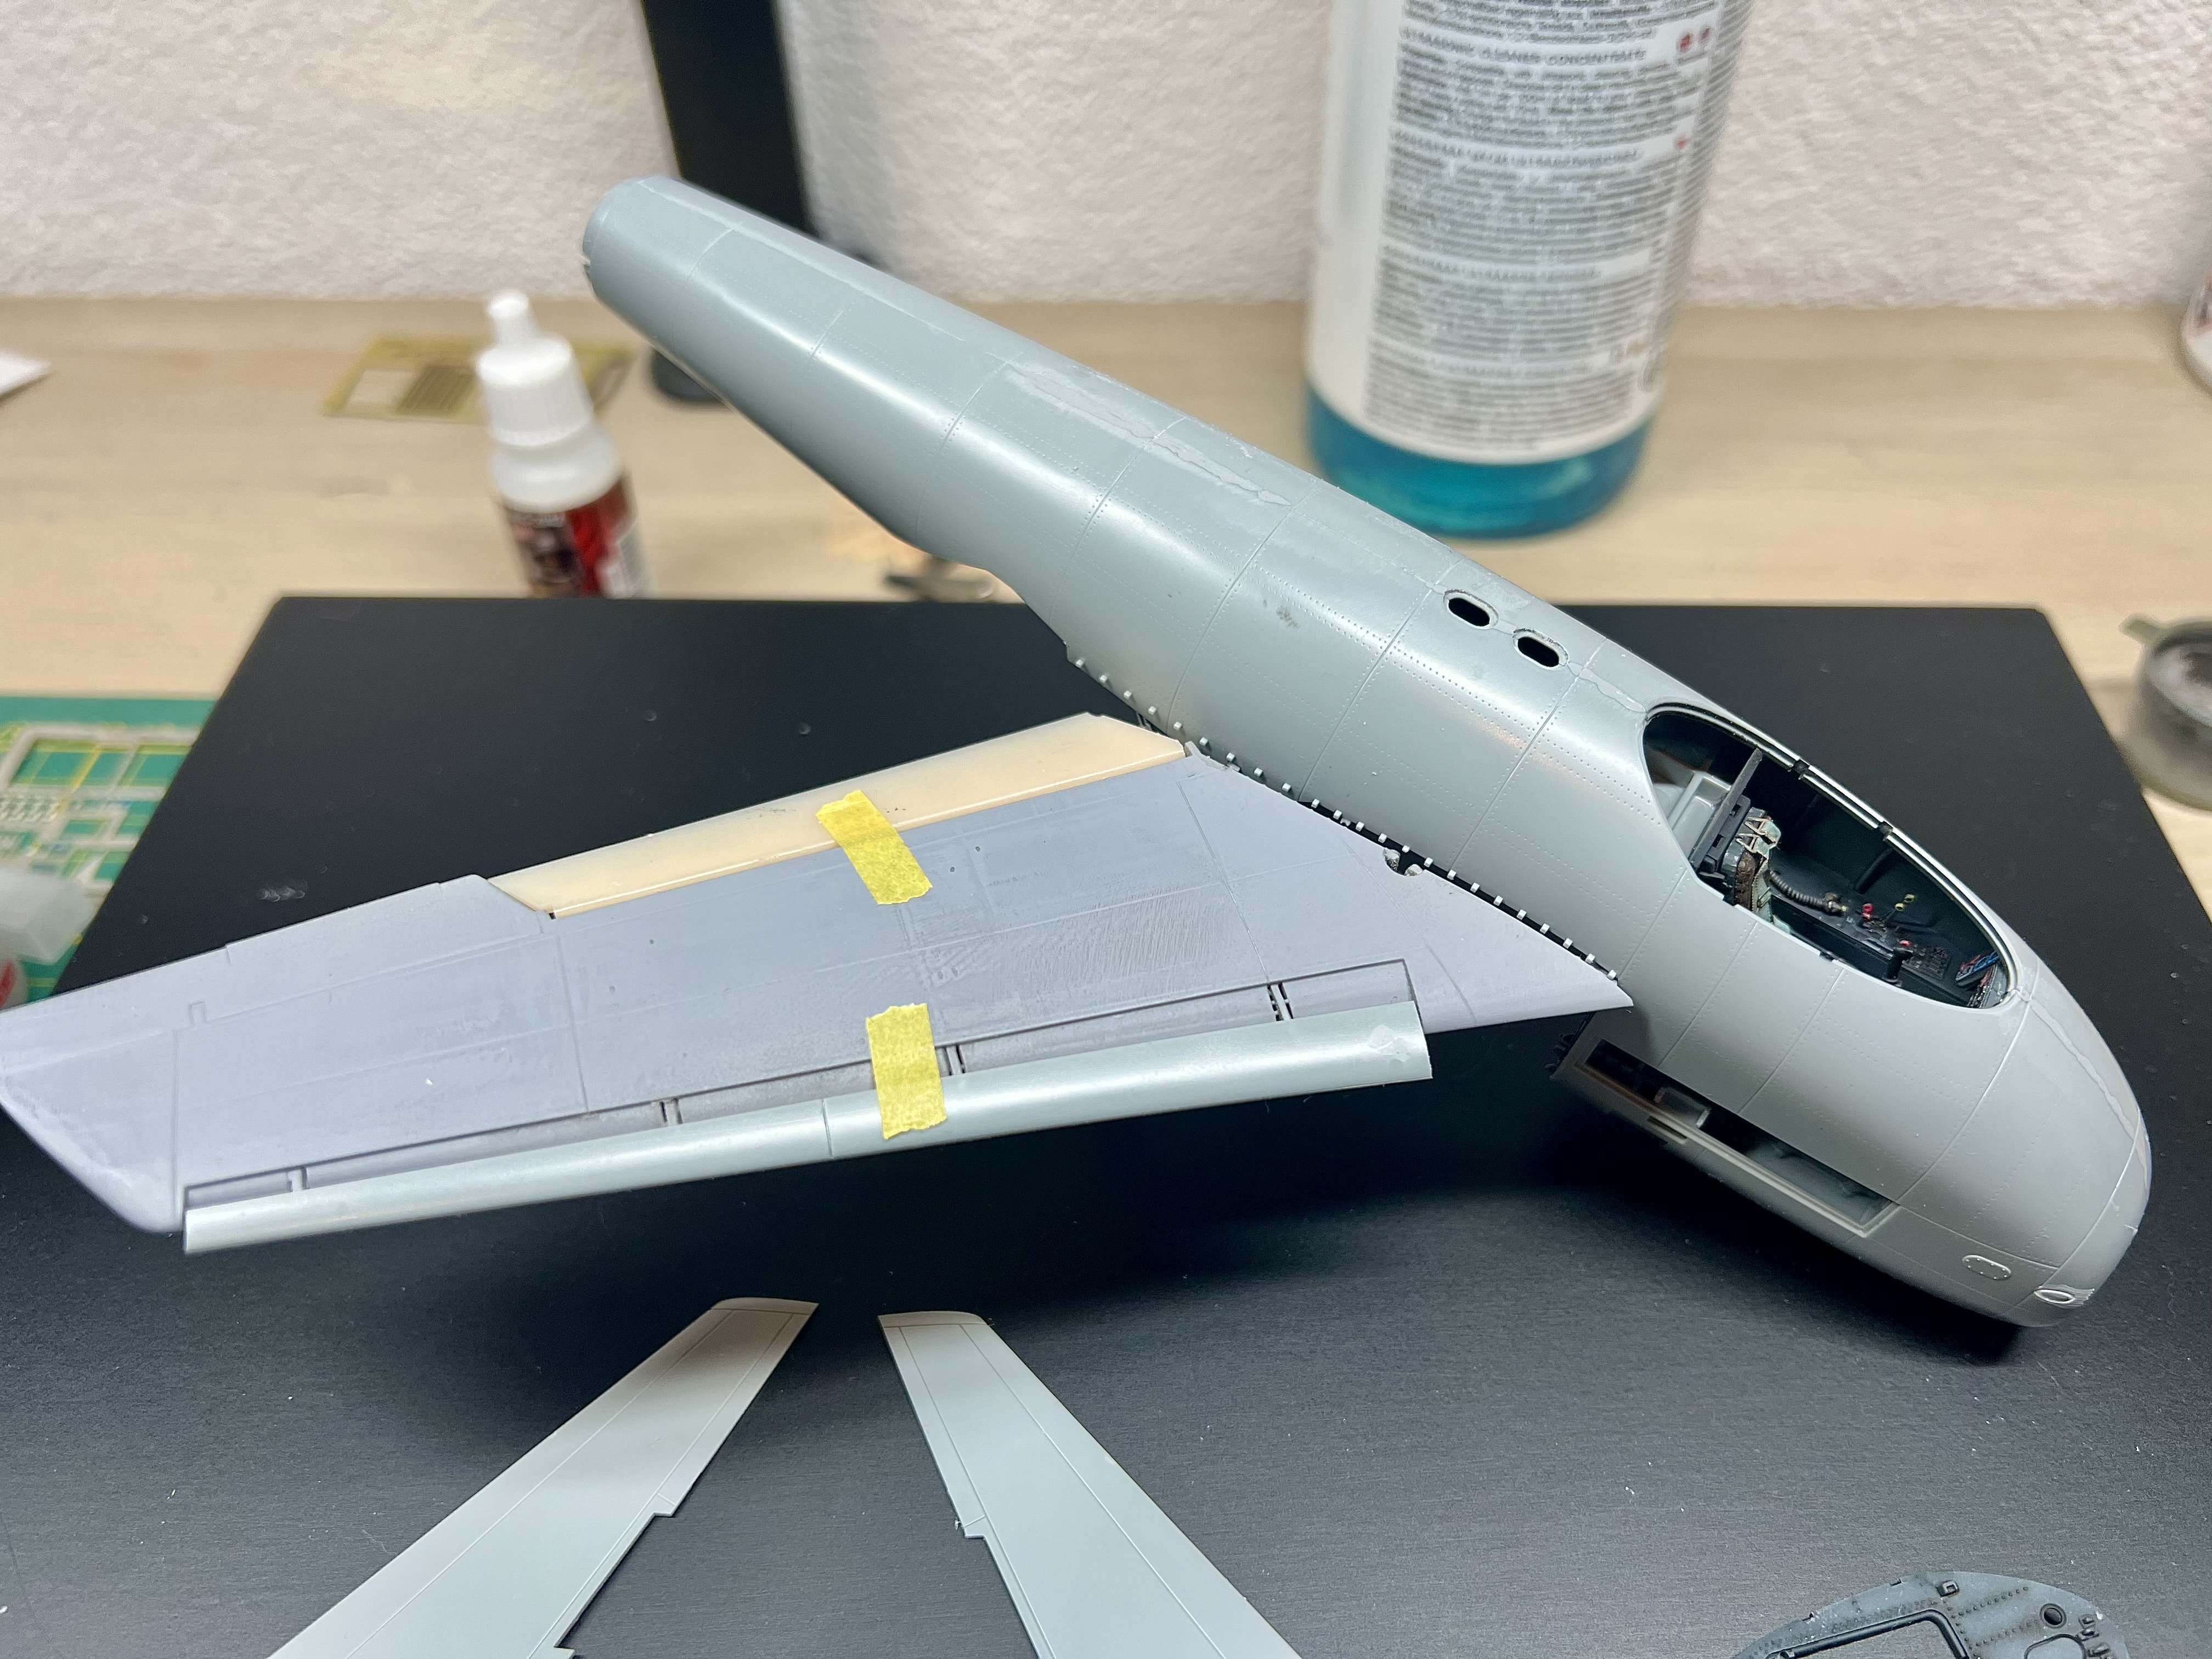
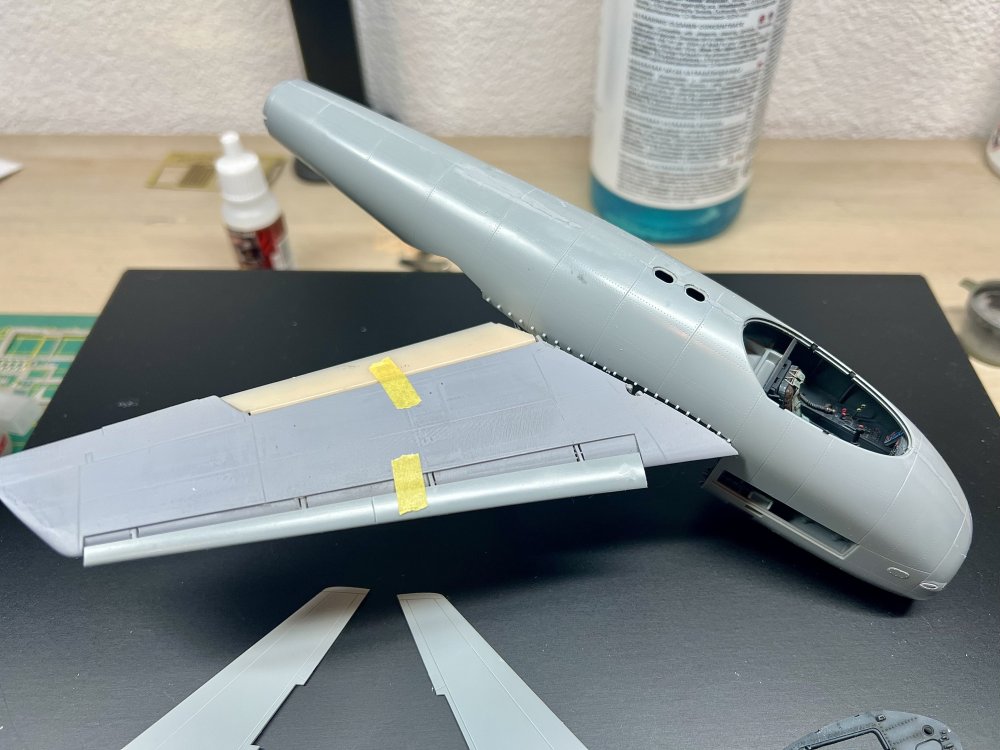
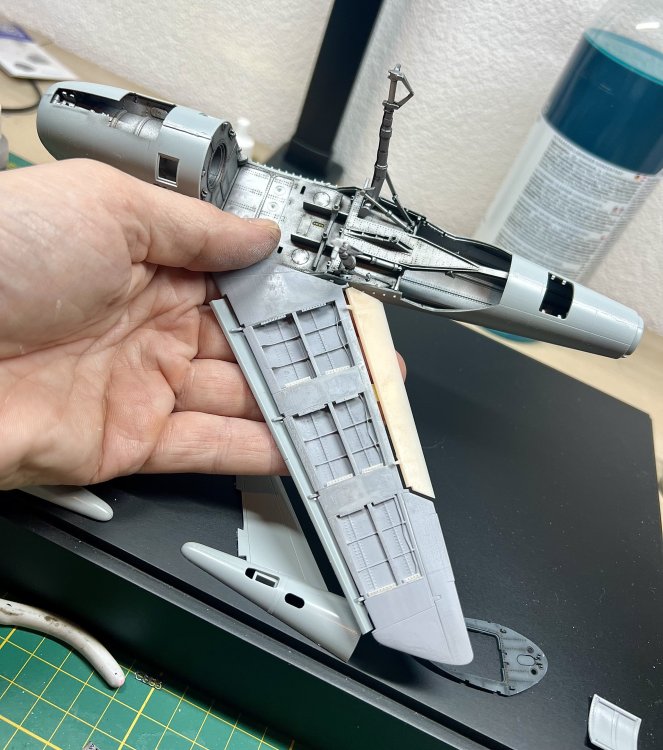
Test fitted the wings. Perfect fit. Added the fastener strips to the inside of the underwing panel openings. This build is going pretty fast due to great fit and engineering.
-
Well. Here goes nothing!

-
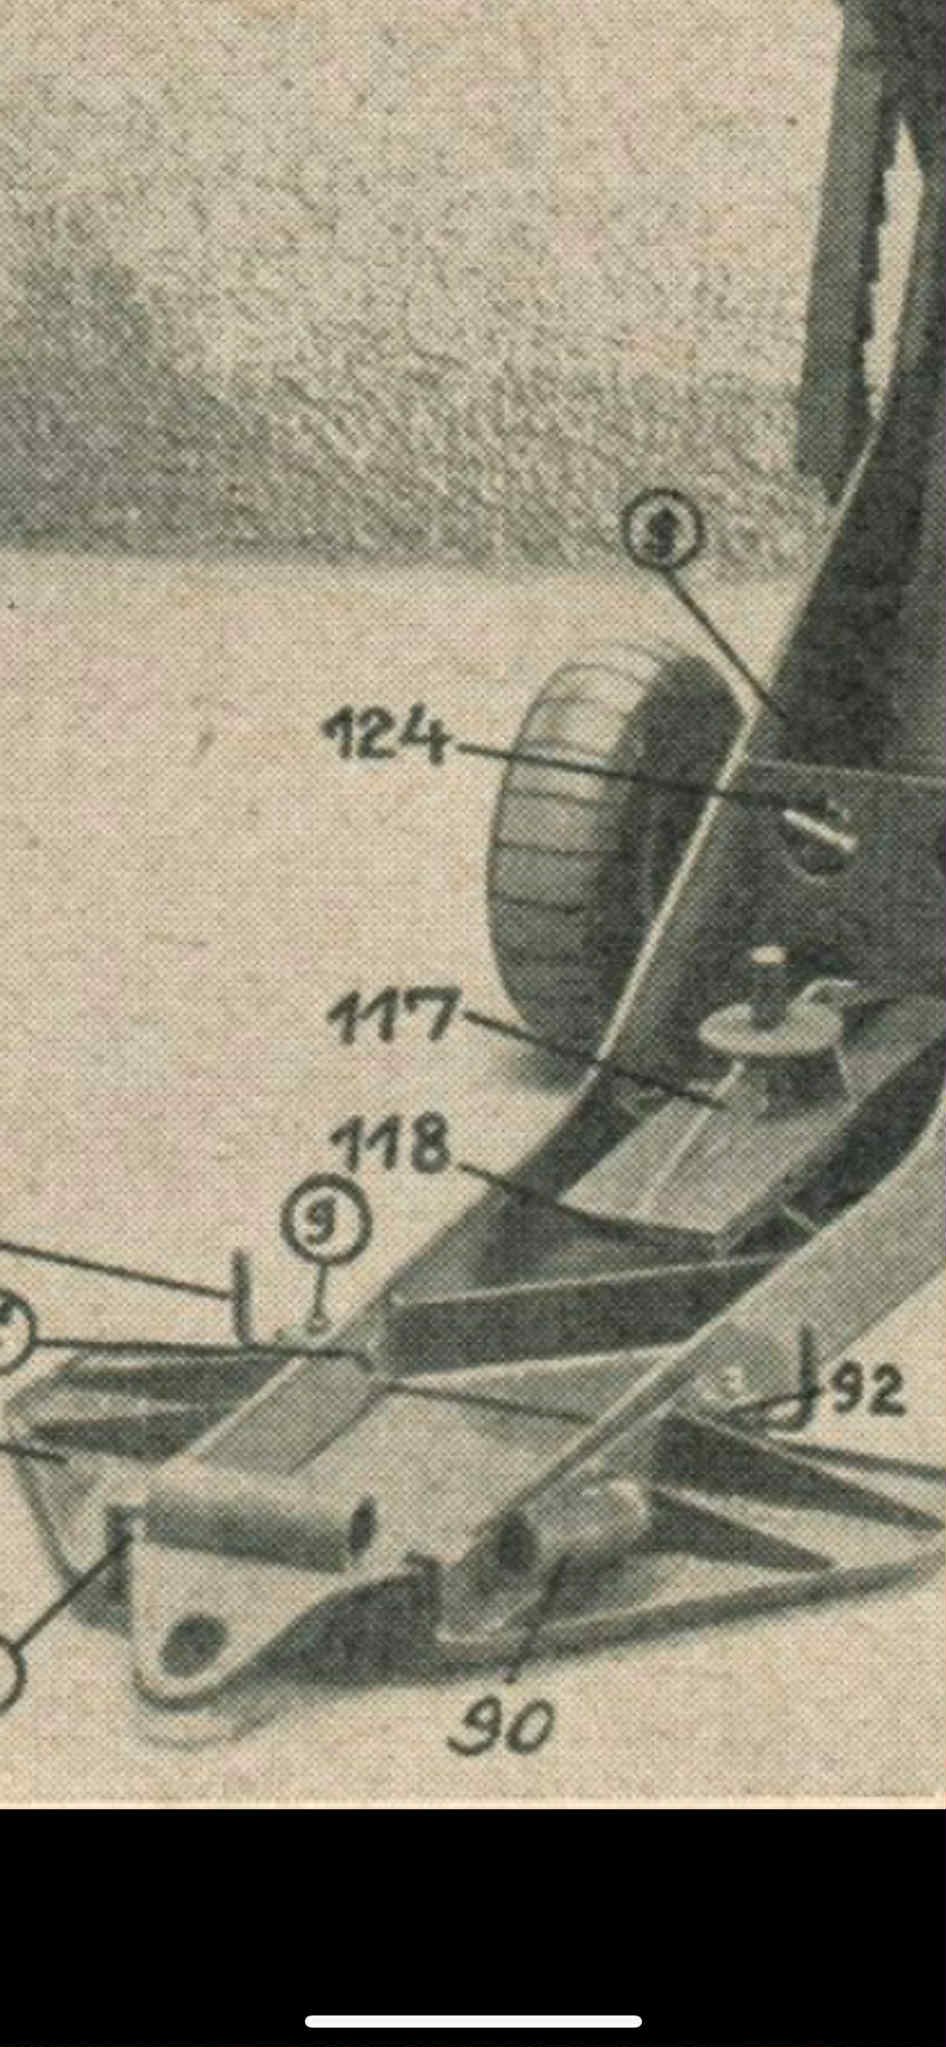
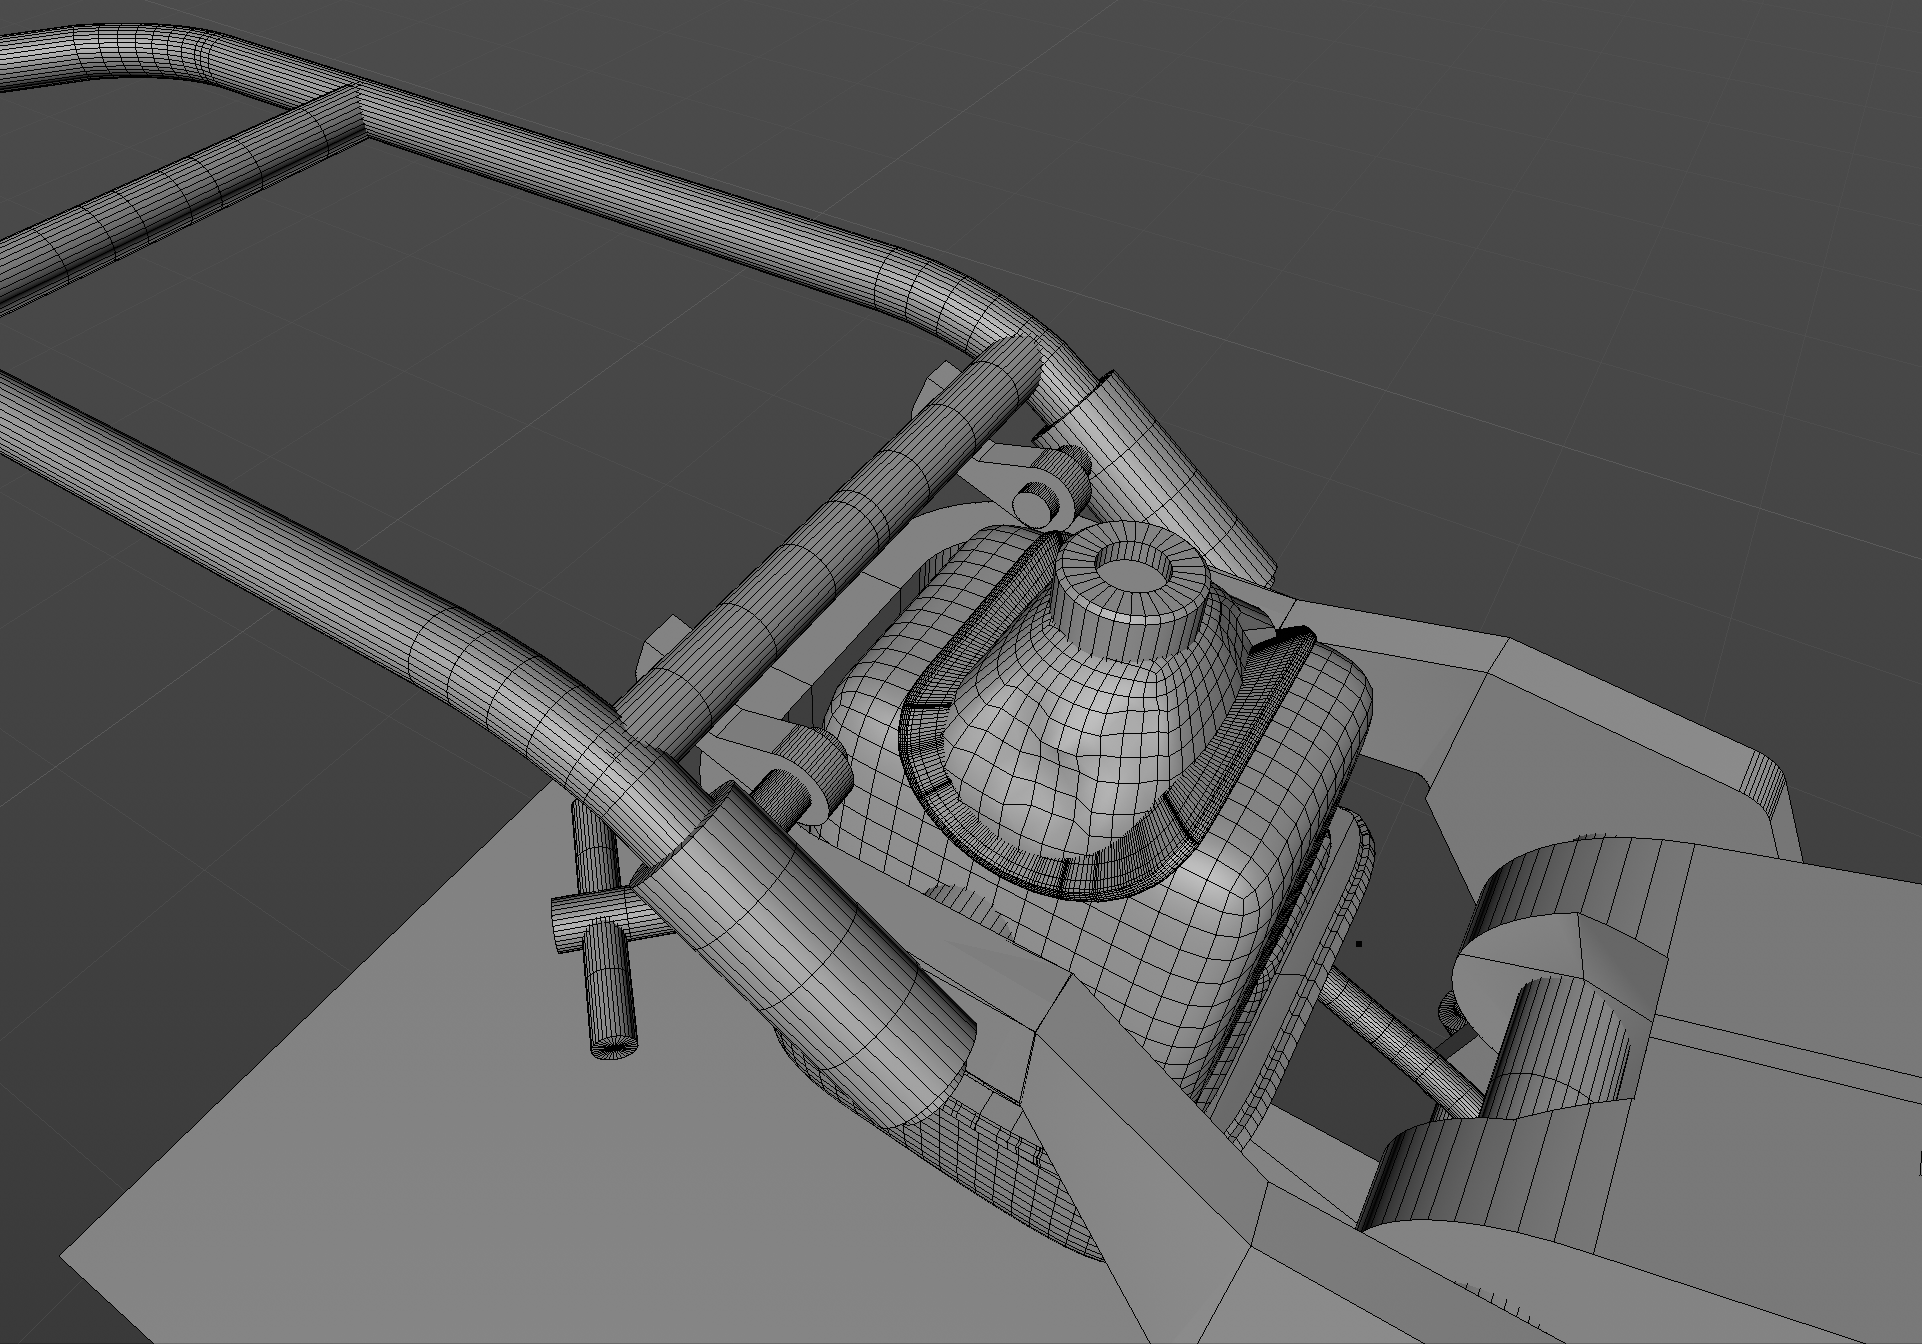
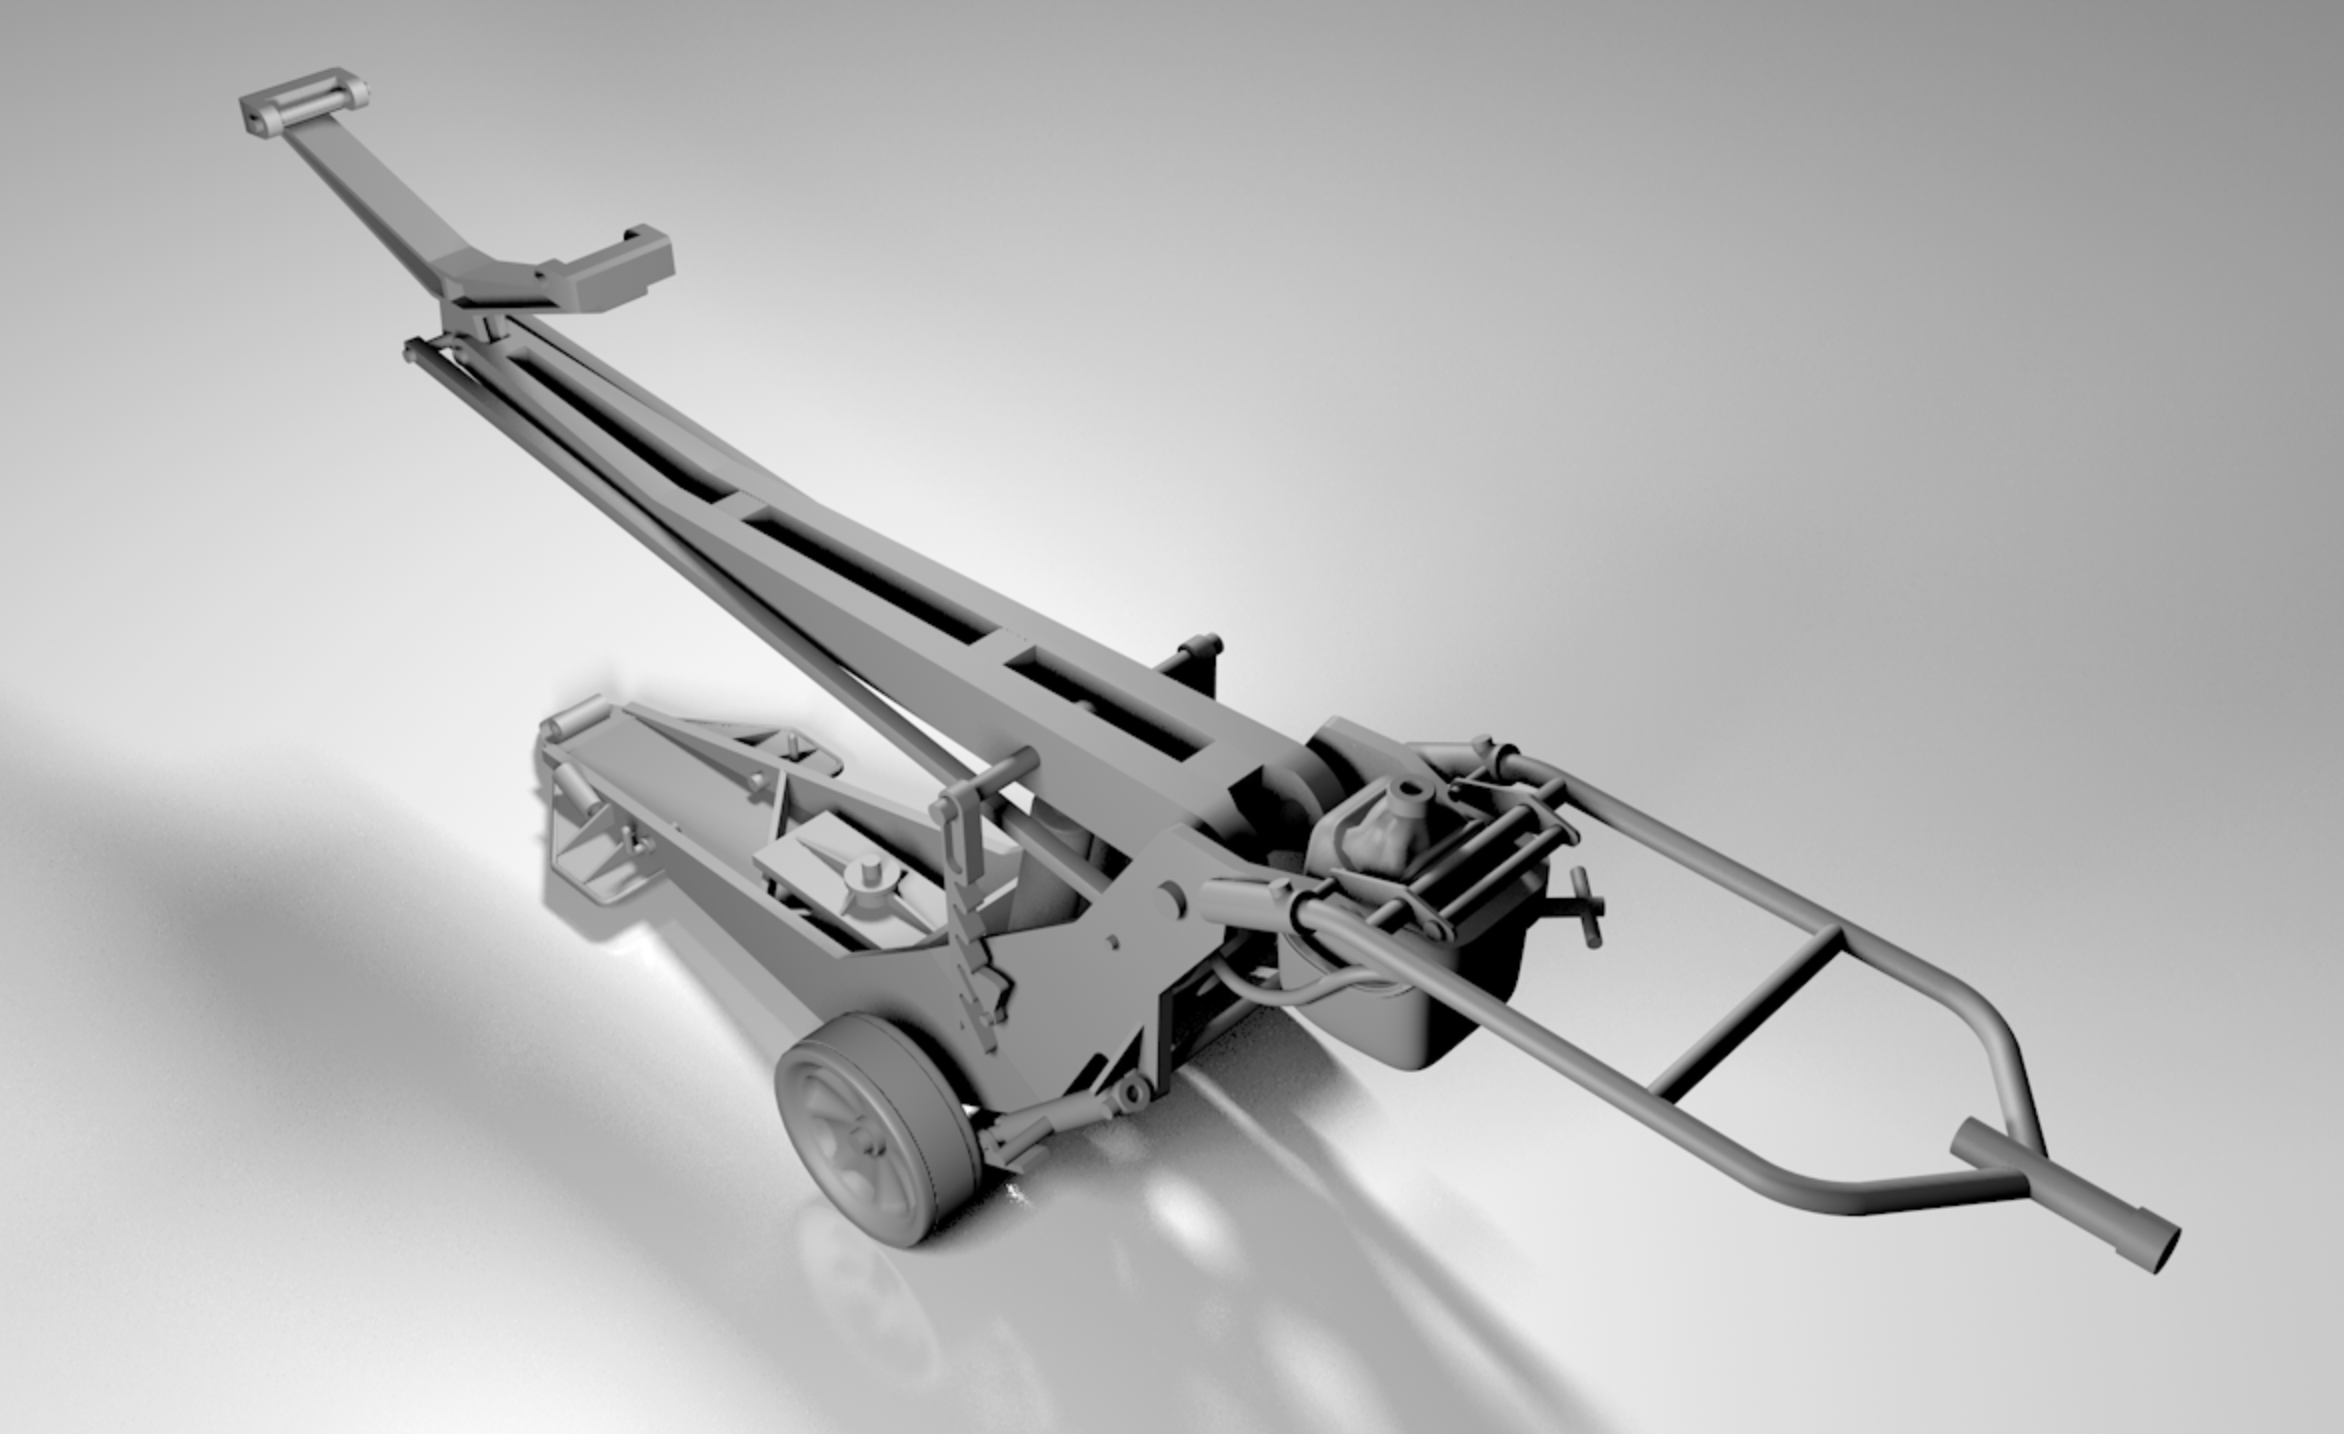
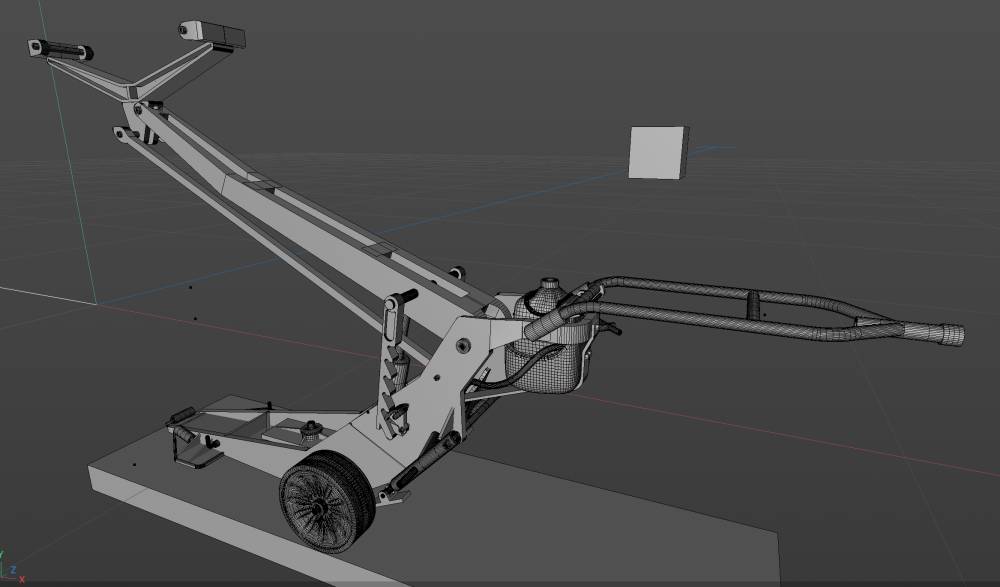
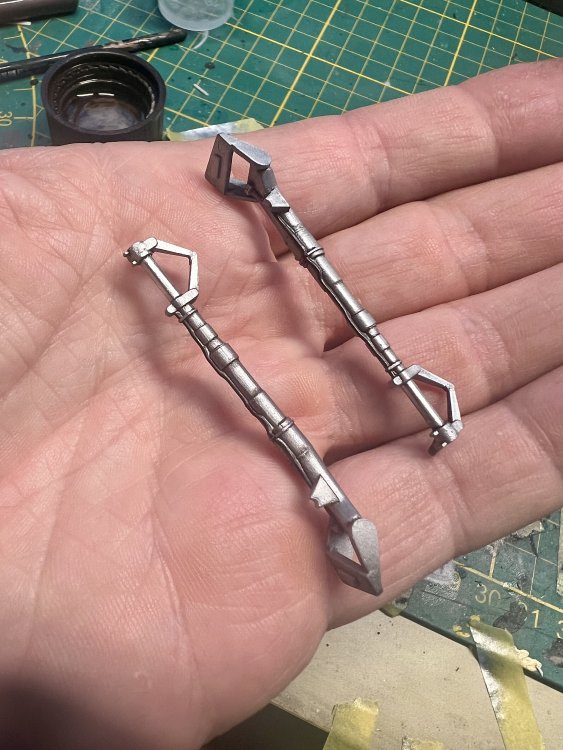
Doing numerous changes based on the photo's and measurements I received from Arsenal45. One detail is the double lock that secures the handlebar. Will look the whole thing over a few more times, but then it should be OK-ish enough.


-
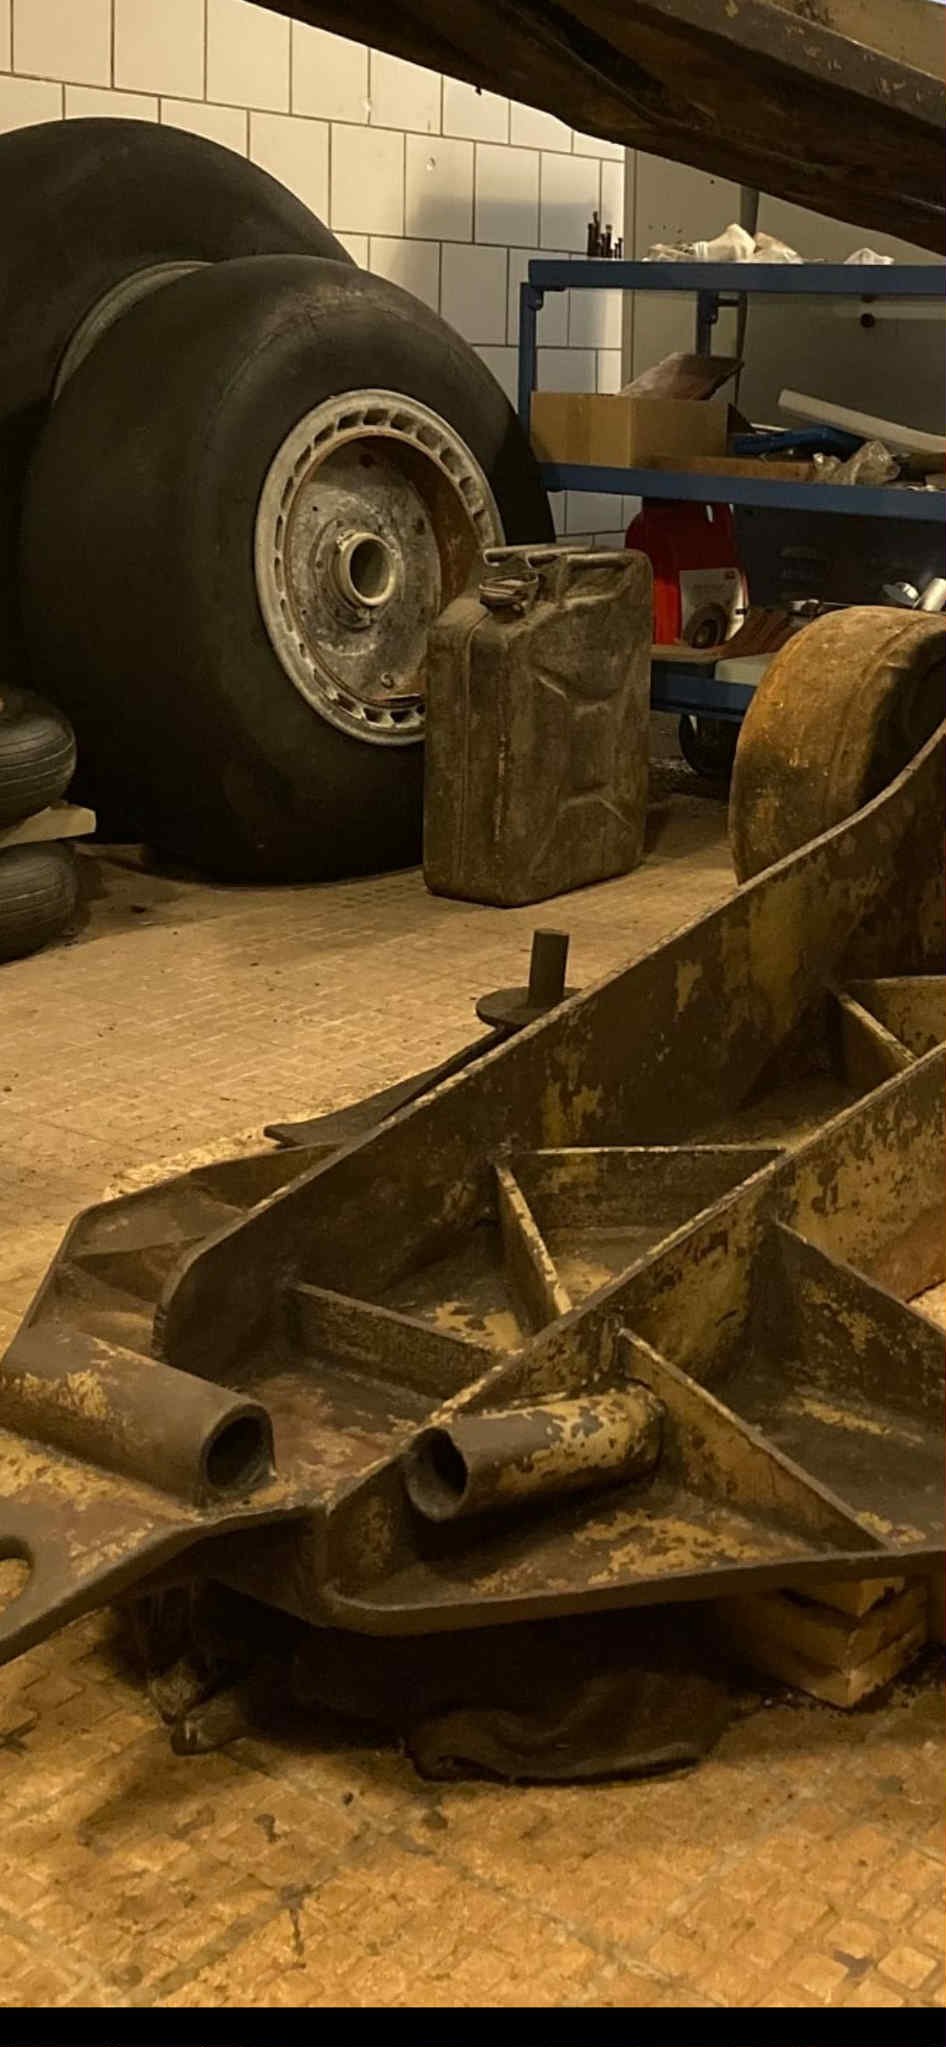
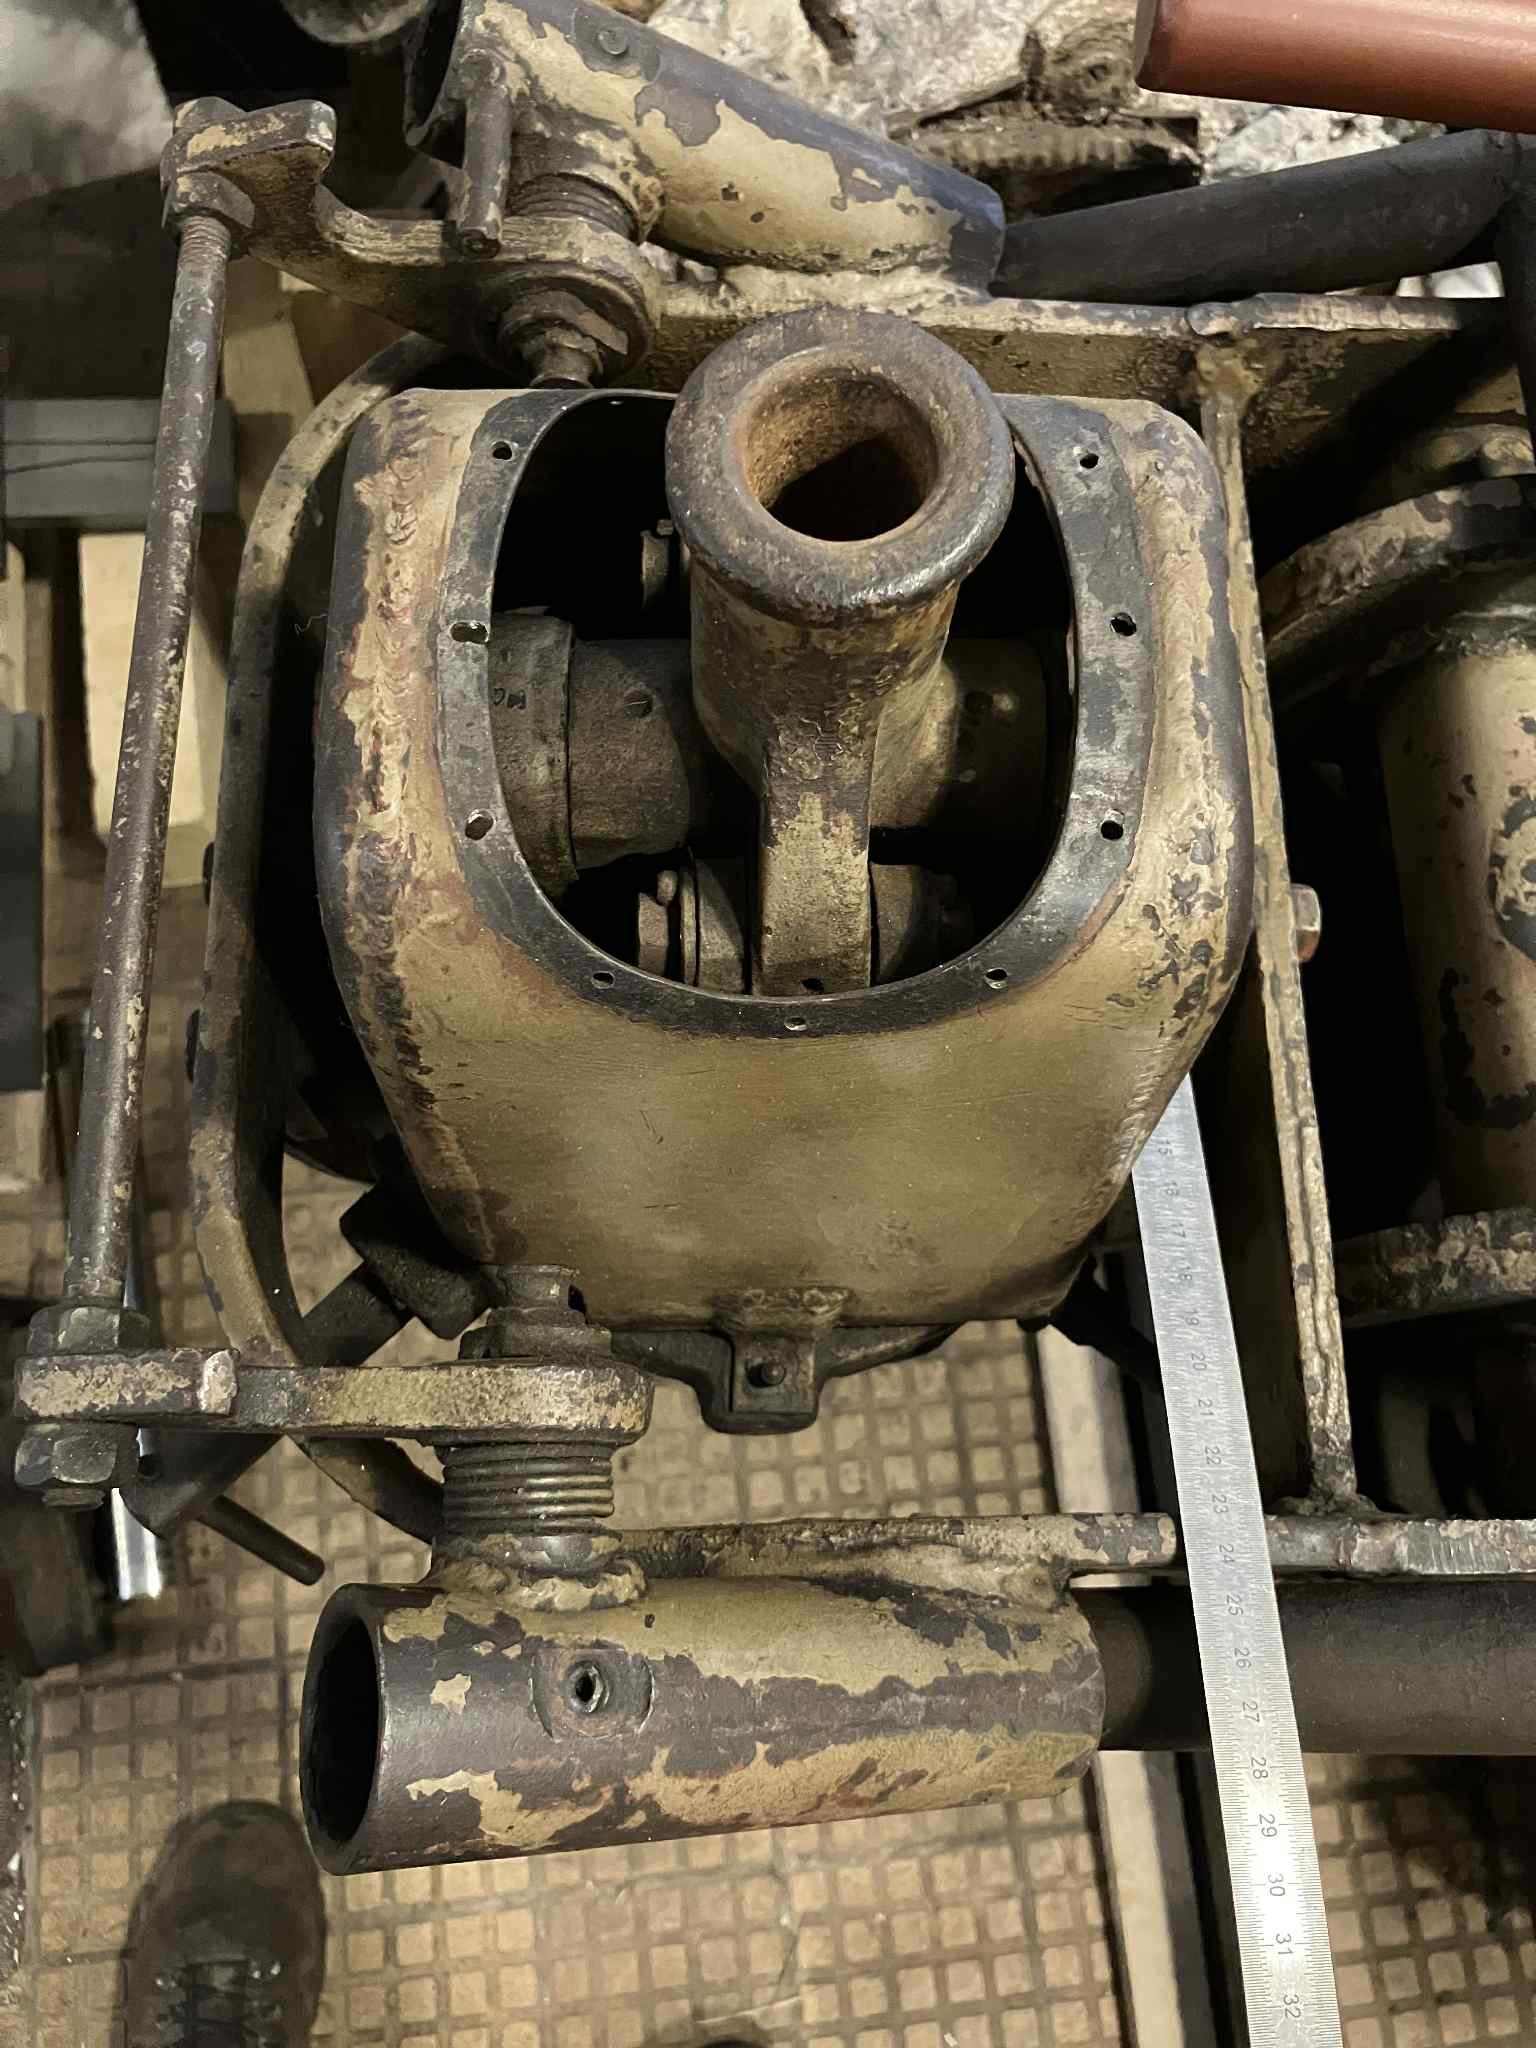
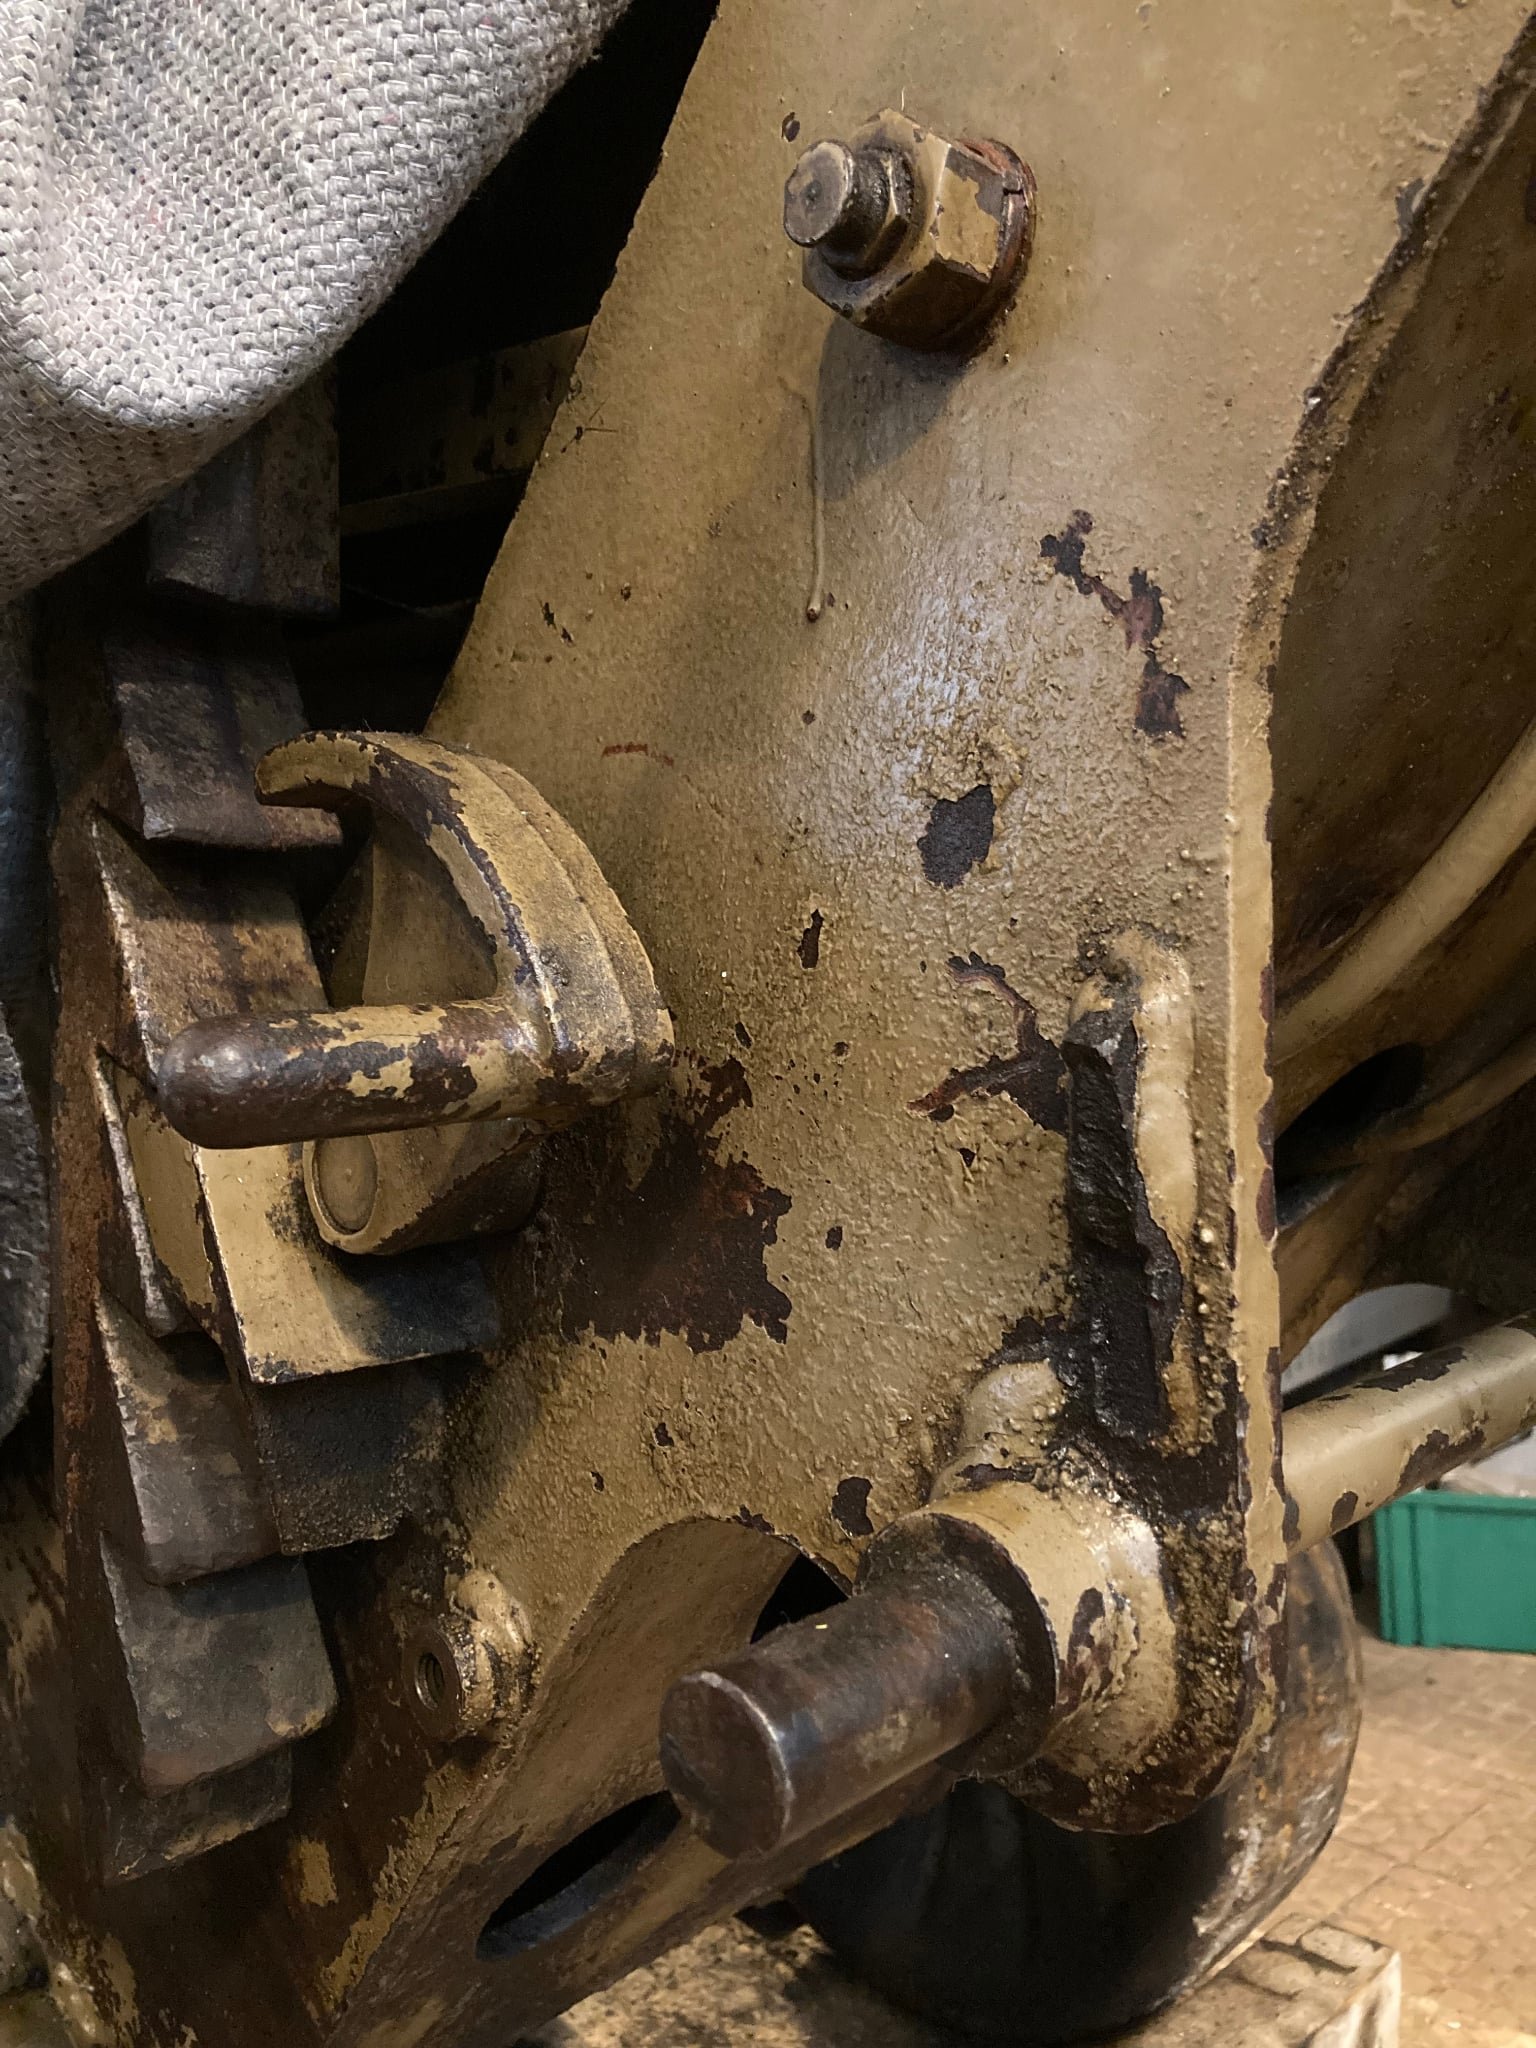
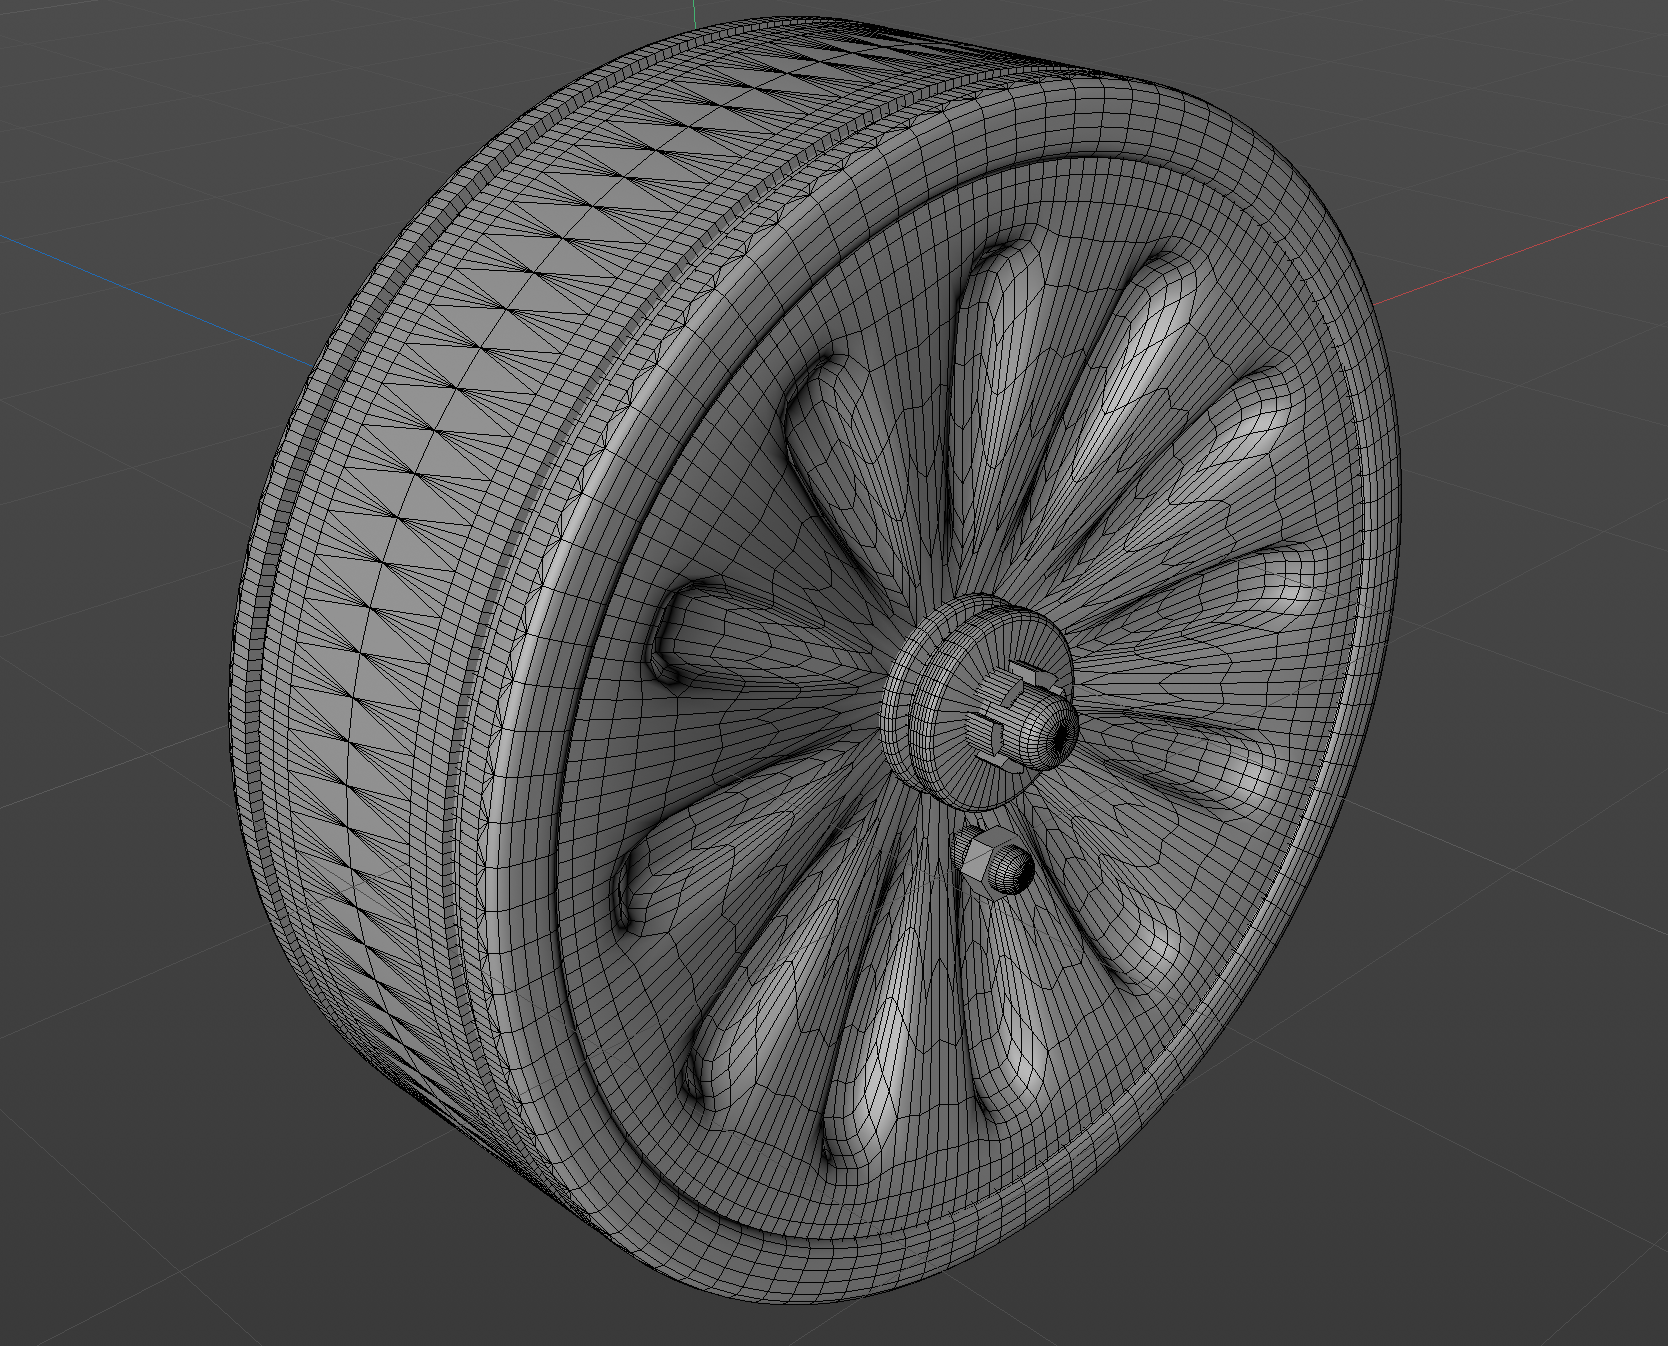
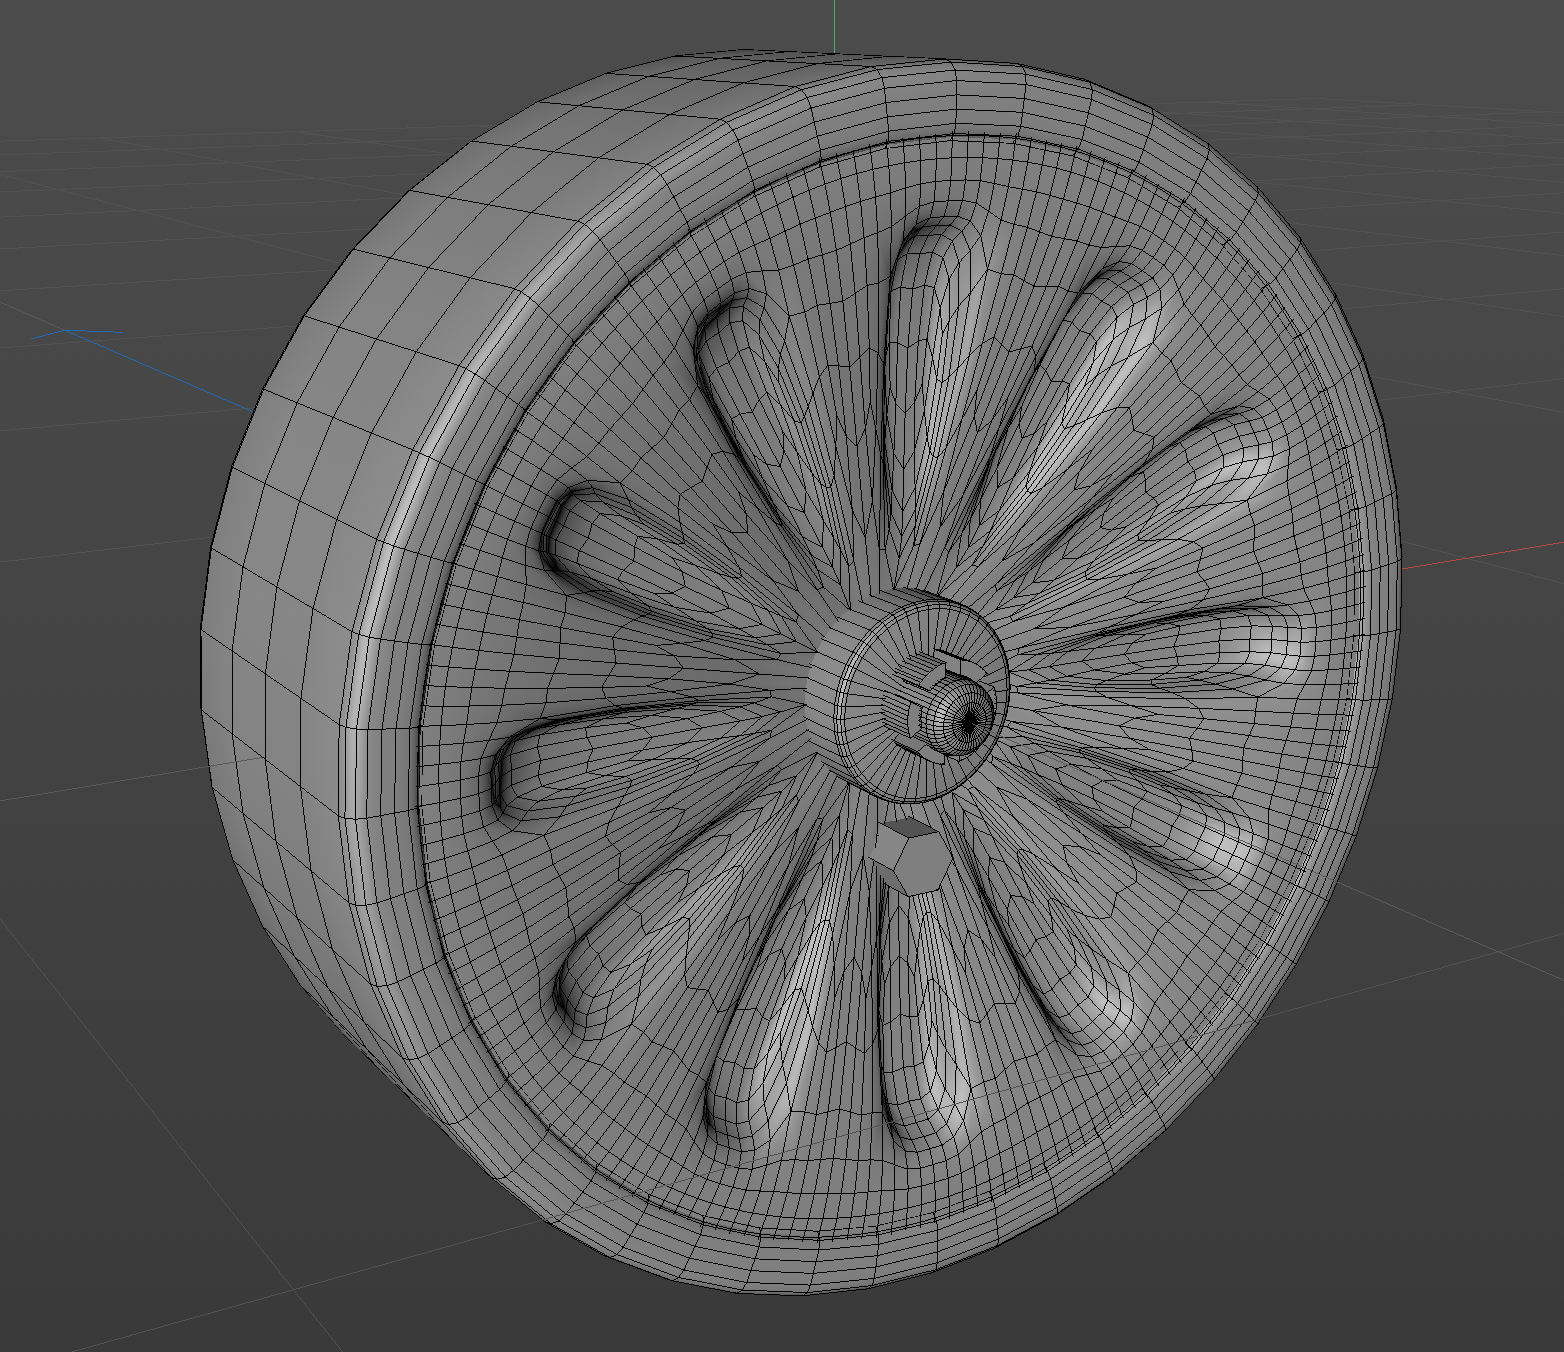
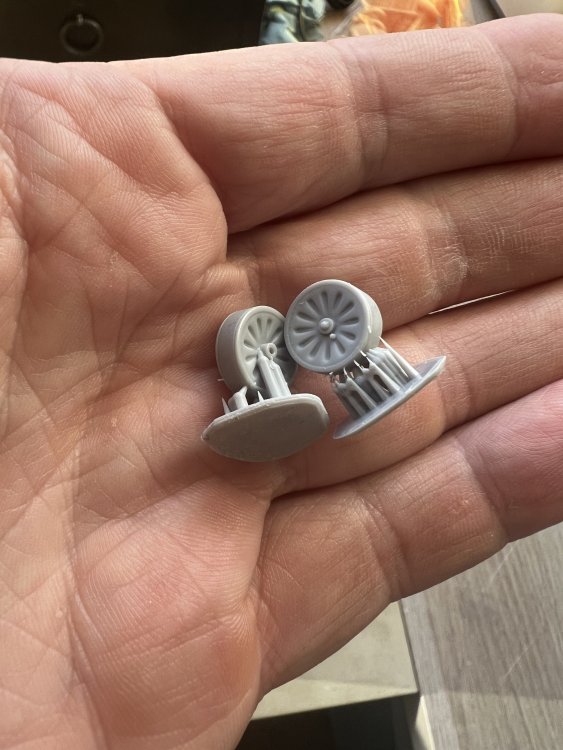
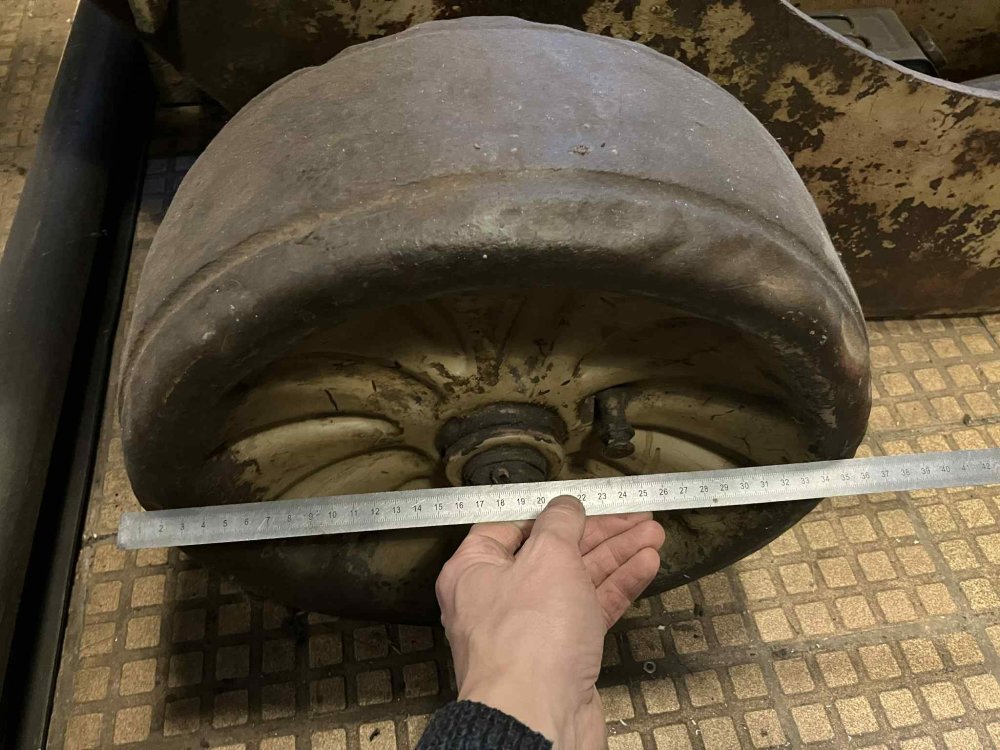
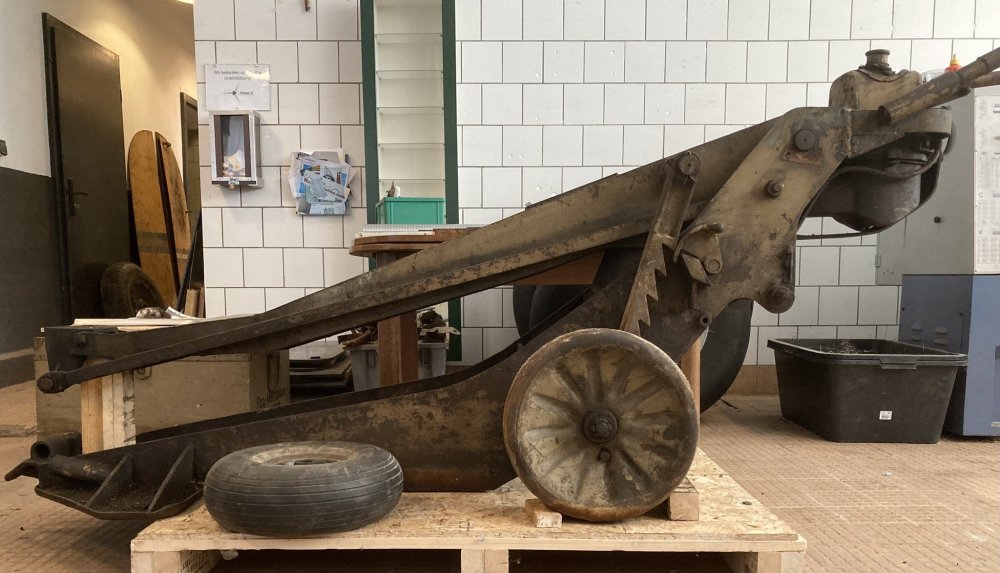
Just received a whole set of photographs and measurements from Arsenal-45. Amazing stuff. Where is was first short on reference, I now have it in abundance! Here's a newer pic of my wheel (37cm in diameter) and a new reference photo.
-
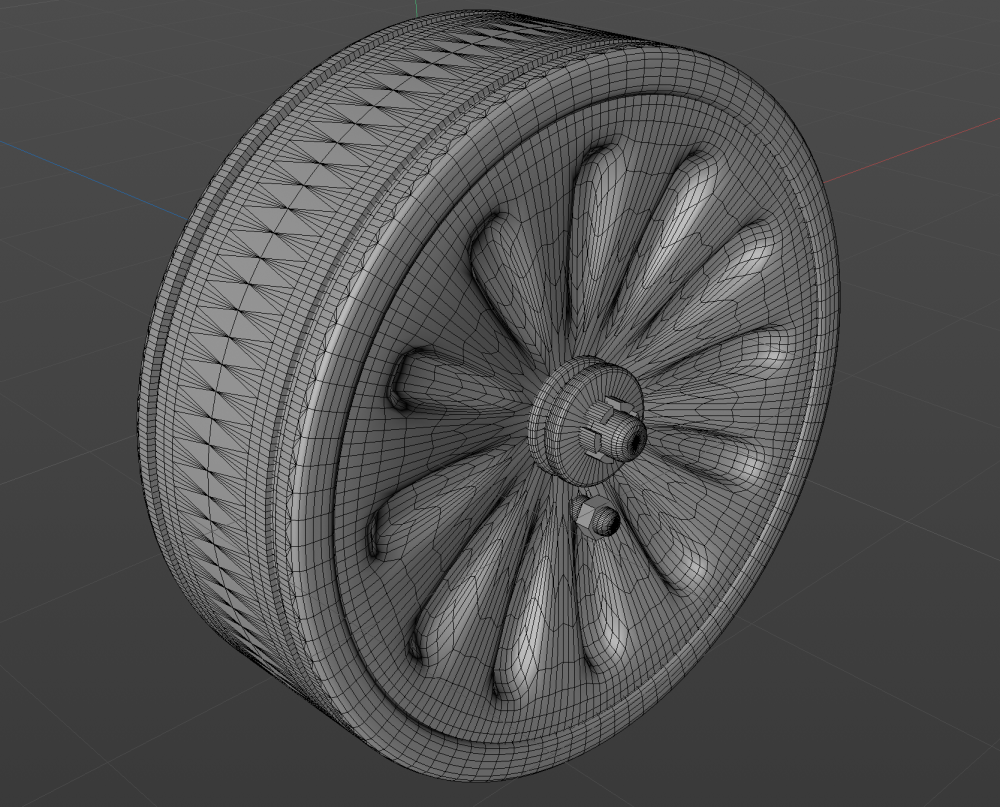
Posting stuff online can be very rewarding. Yesterday someone on Facebook shared photo's of his own Herkules II. He actually owns one in his collection and shared several photo's. Needless to say this results in a list of necessary changes I'll need to make. First: the wheels. My 3D skills are not good enough to replicate the wheels 100%, but I can make them way more accurate than my first try.

-
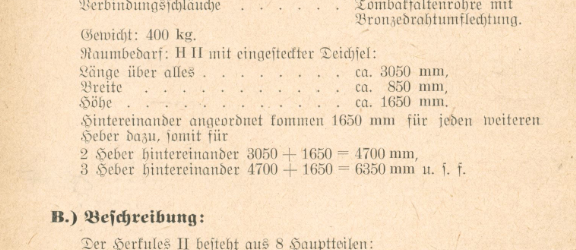
Great stuff. Read through the manual and found the dimensions. Length and width were almost spot on!
-
Ready for the first print. movie2.mp4
-
This actually is a pretty easy kit to build. Quite enjoyable after a few Special Hobby projects…

-
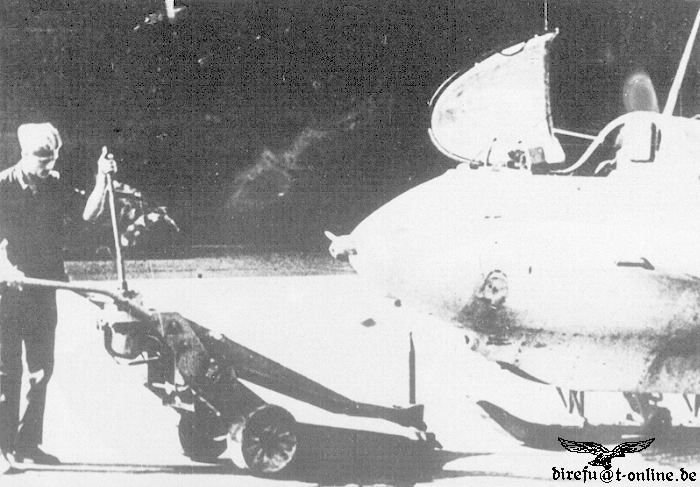
That's the Herkules II done. I put the P.1101 on its feet as a dry fit to measure the height of the tail. About 6cm is what the Herkules should reach. As far as size of the Herkules I can only go by this photo. A Luftwaffe ground crew standing beside it and the nose of a Me163. Alsmost ready for a first 3D print.


-
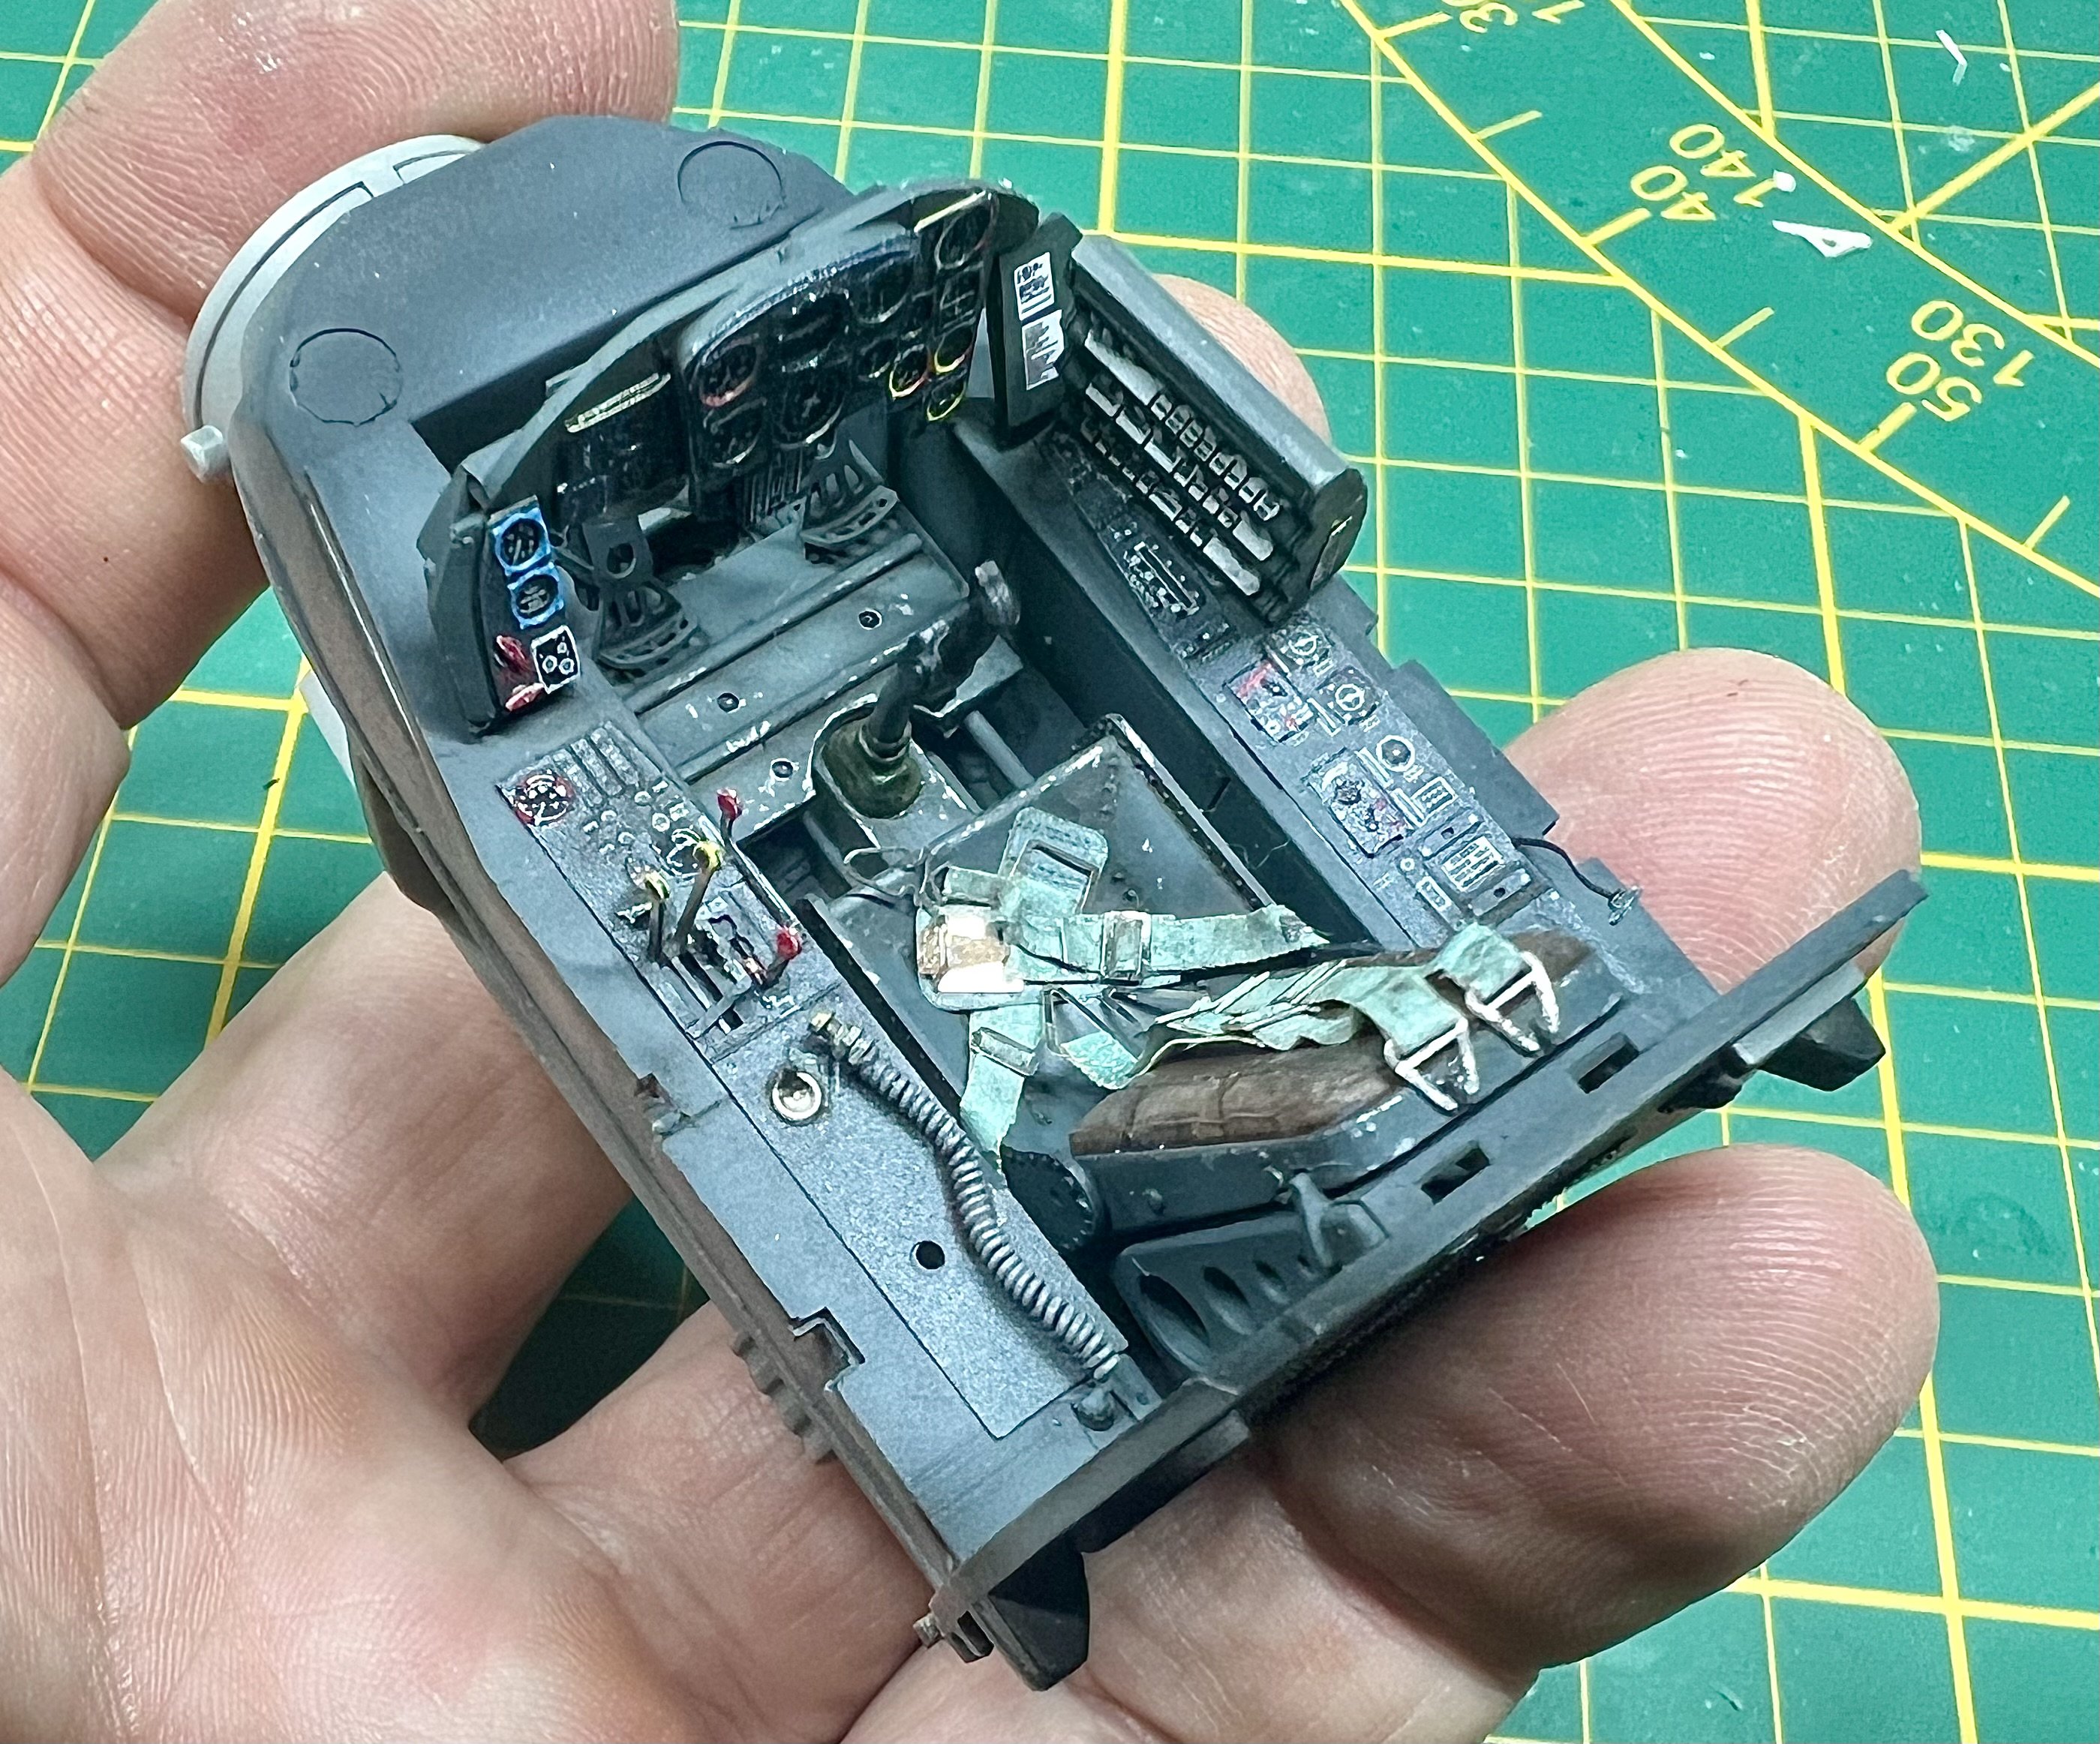
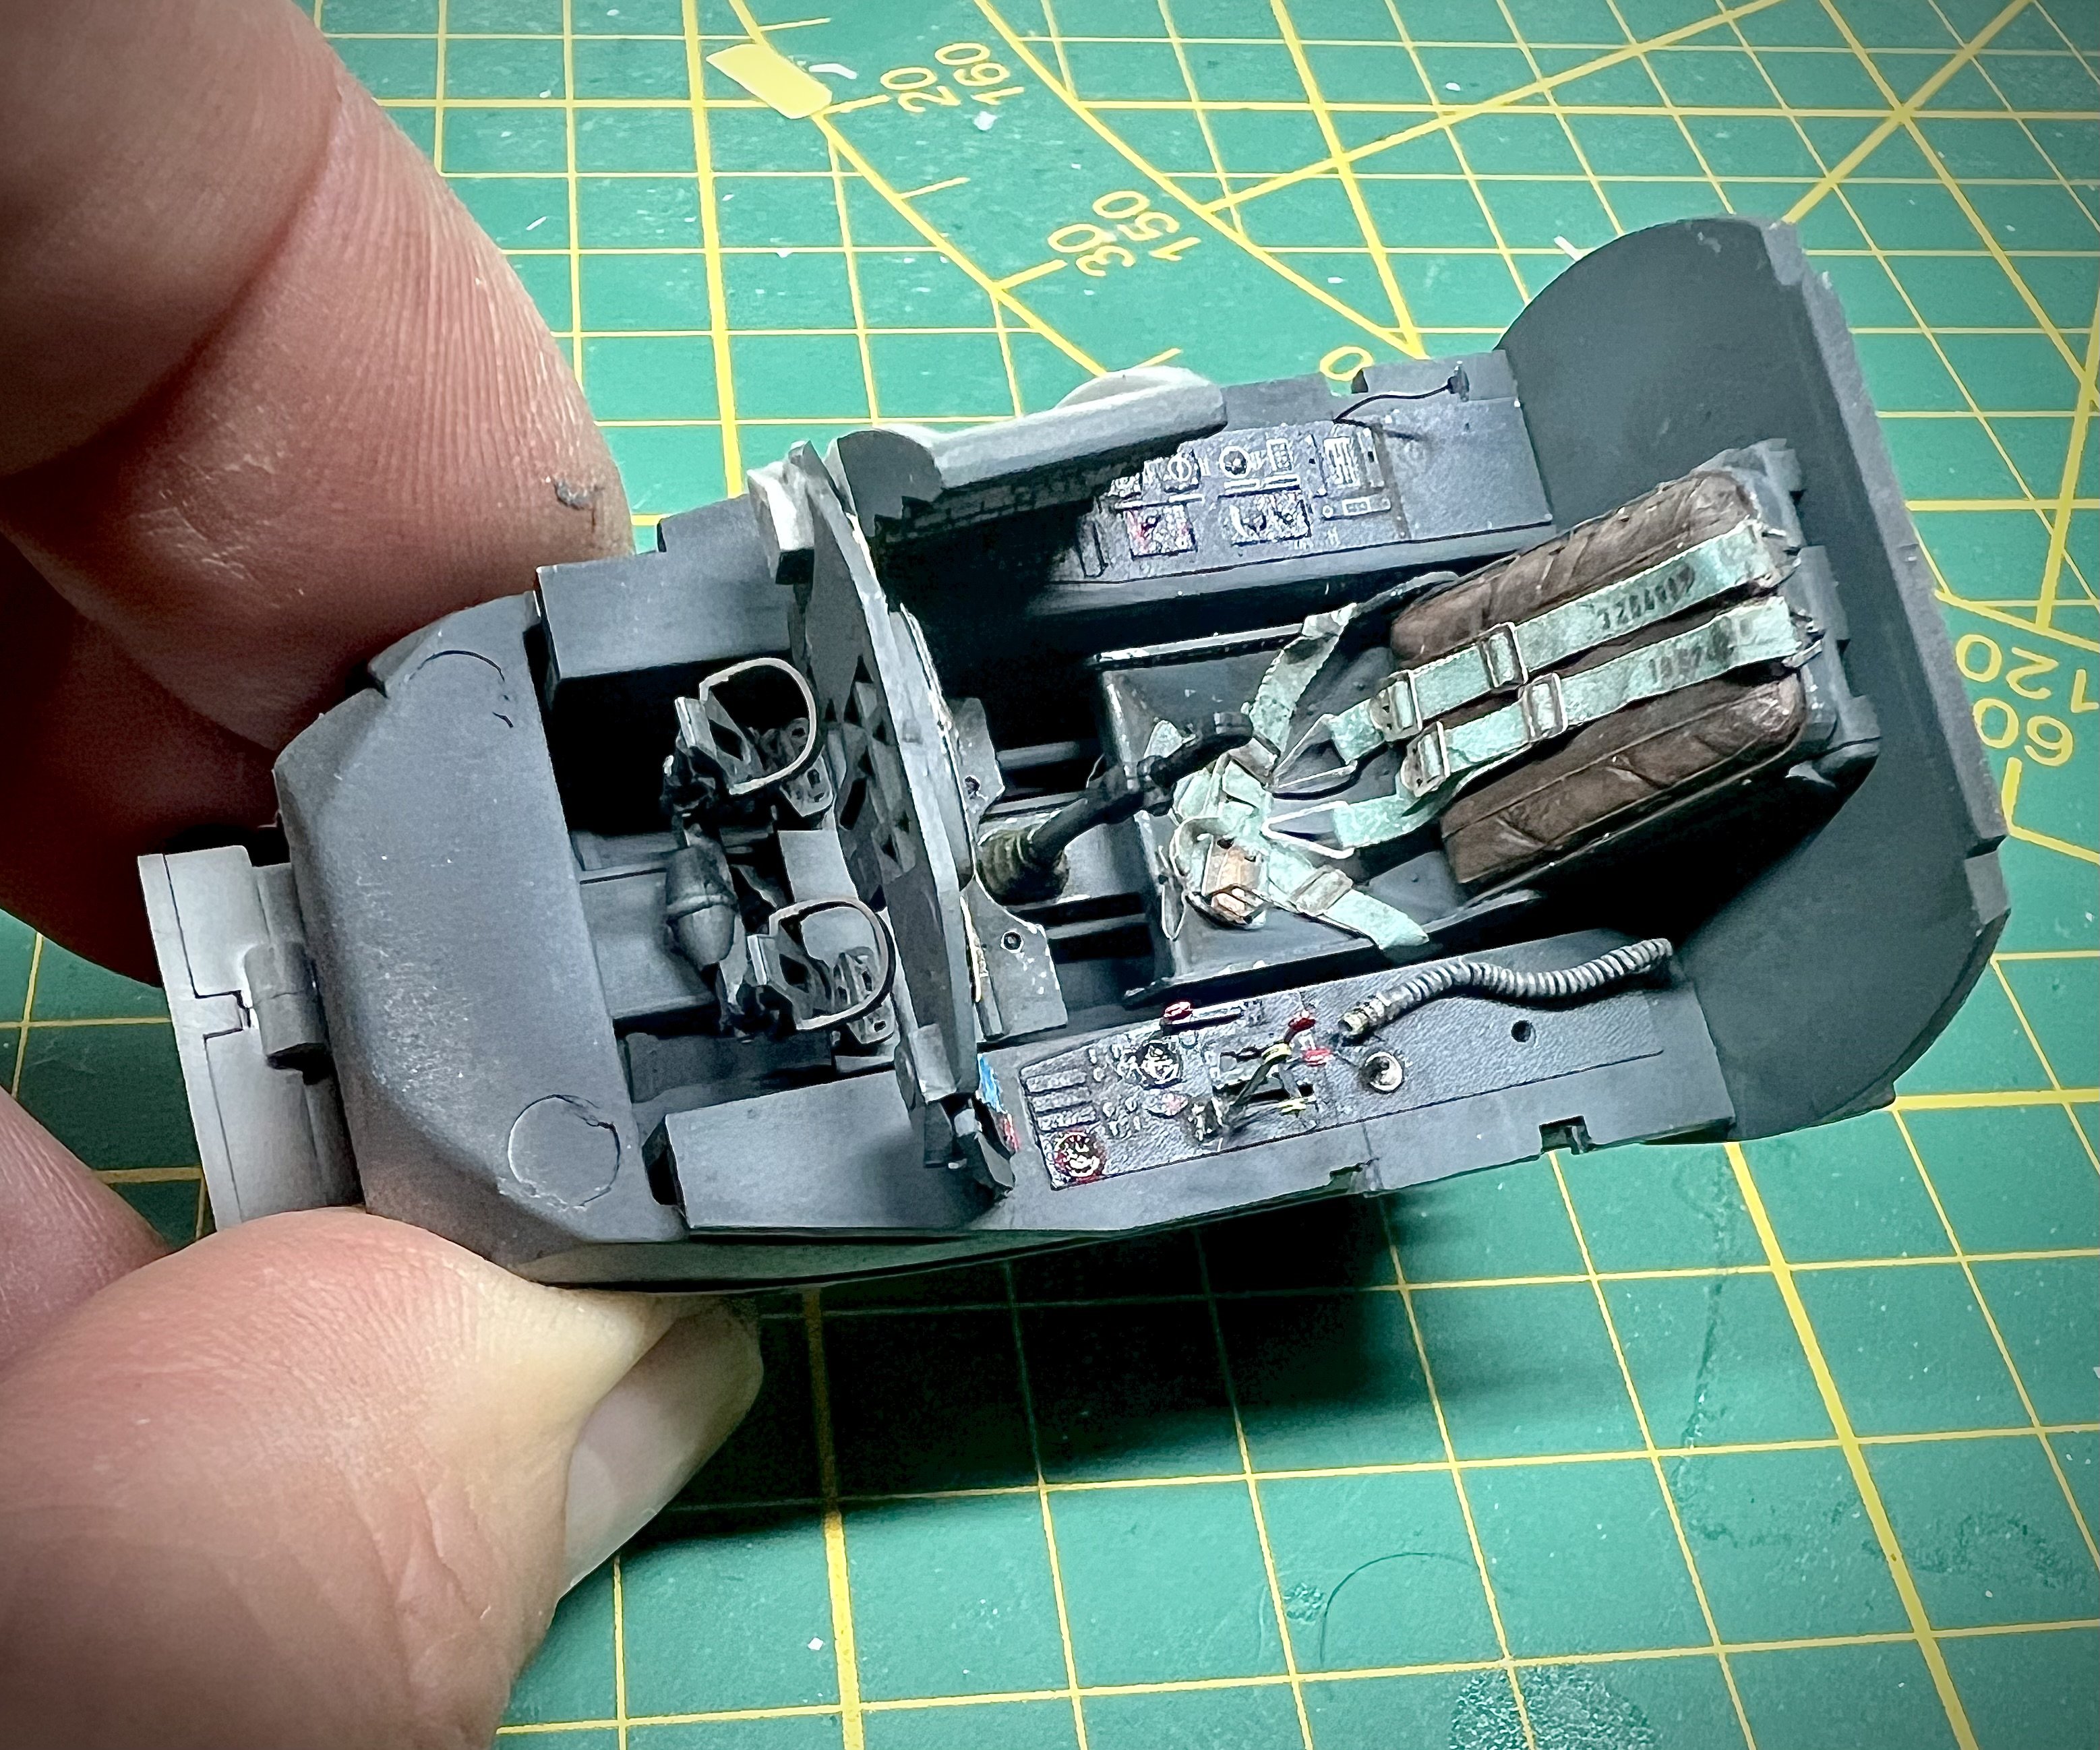
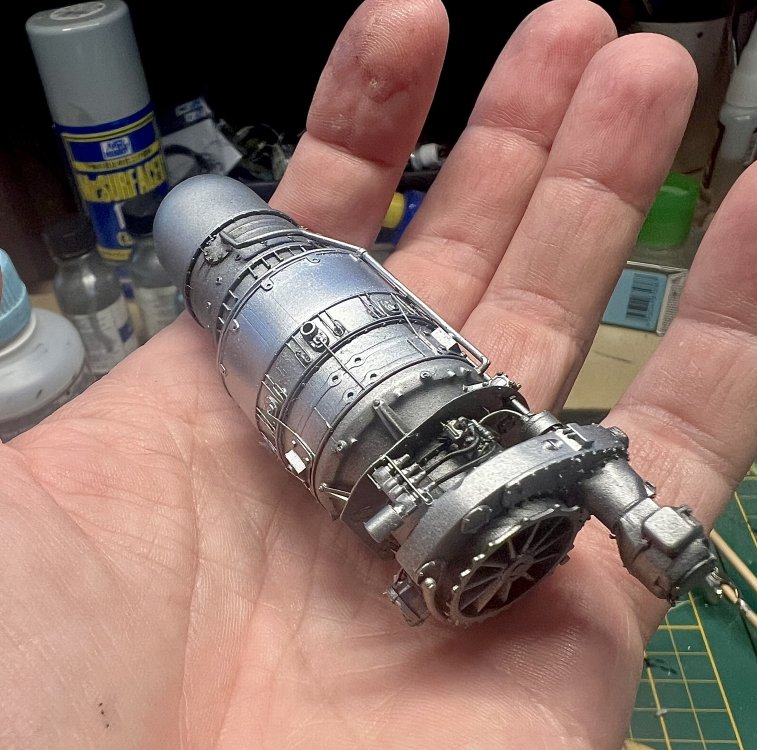
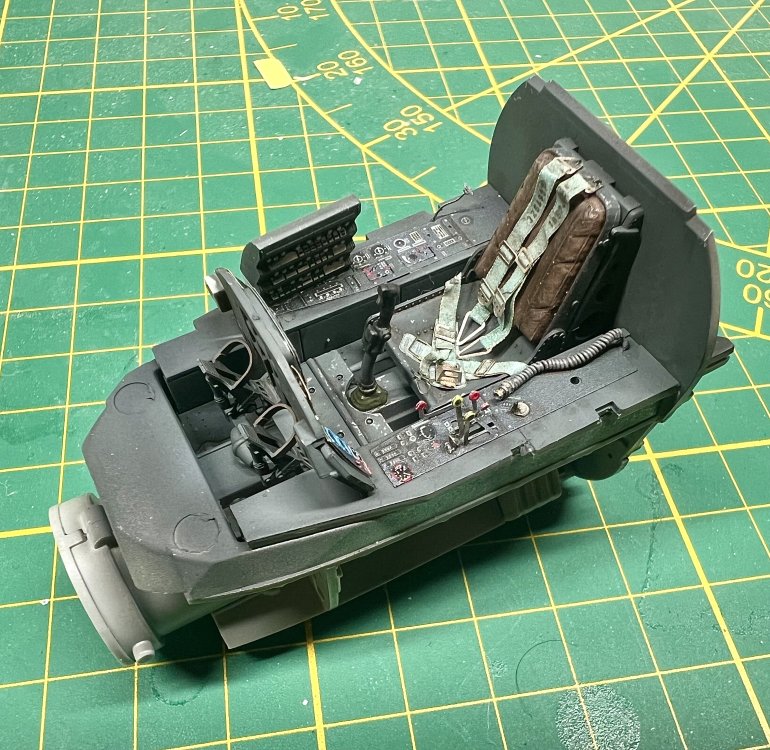
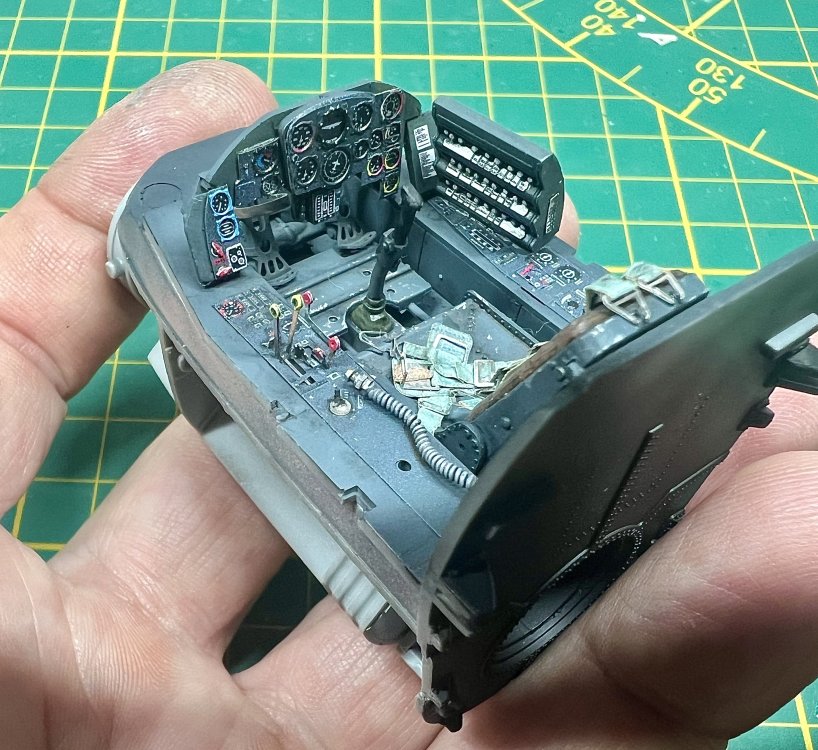
First alclad on the interior and engine

-
Here are some shots of the finished pit.


-
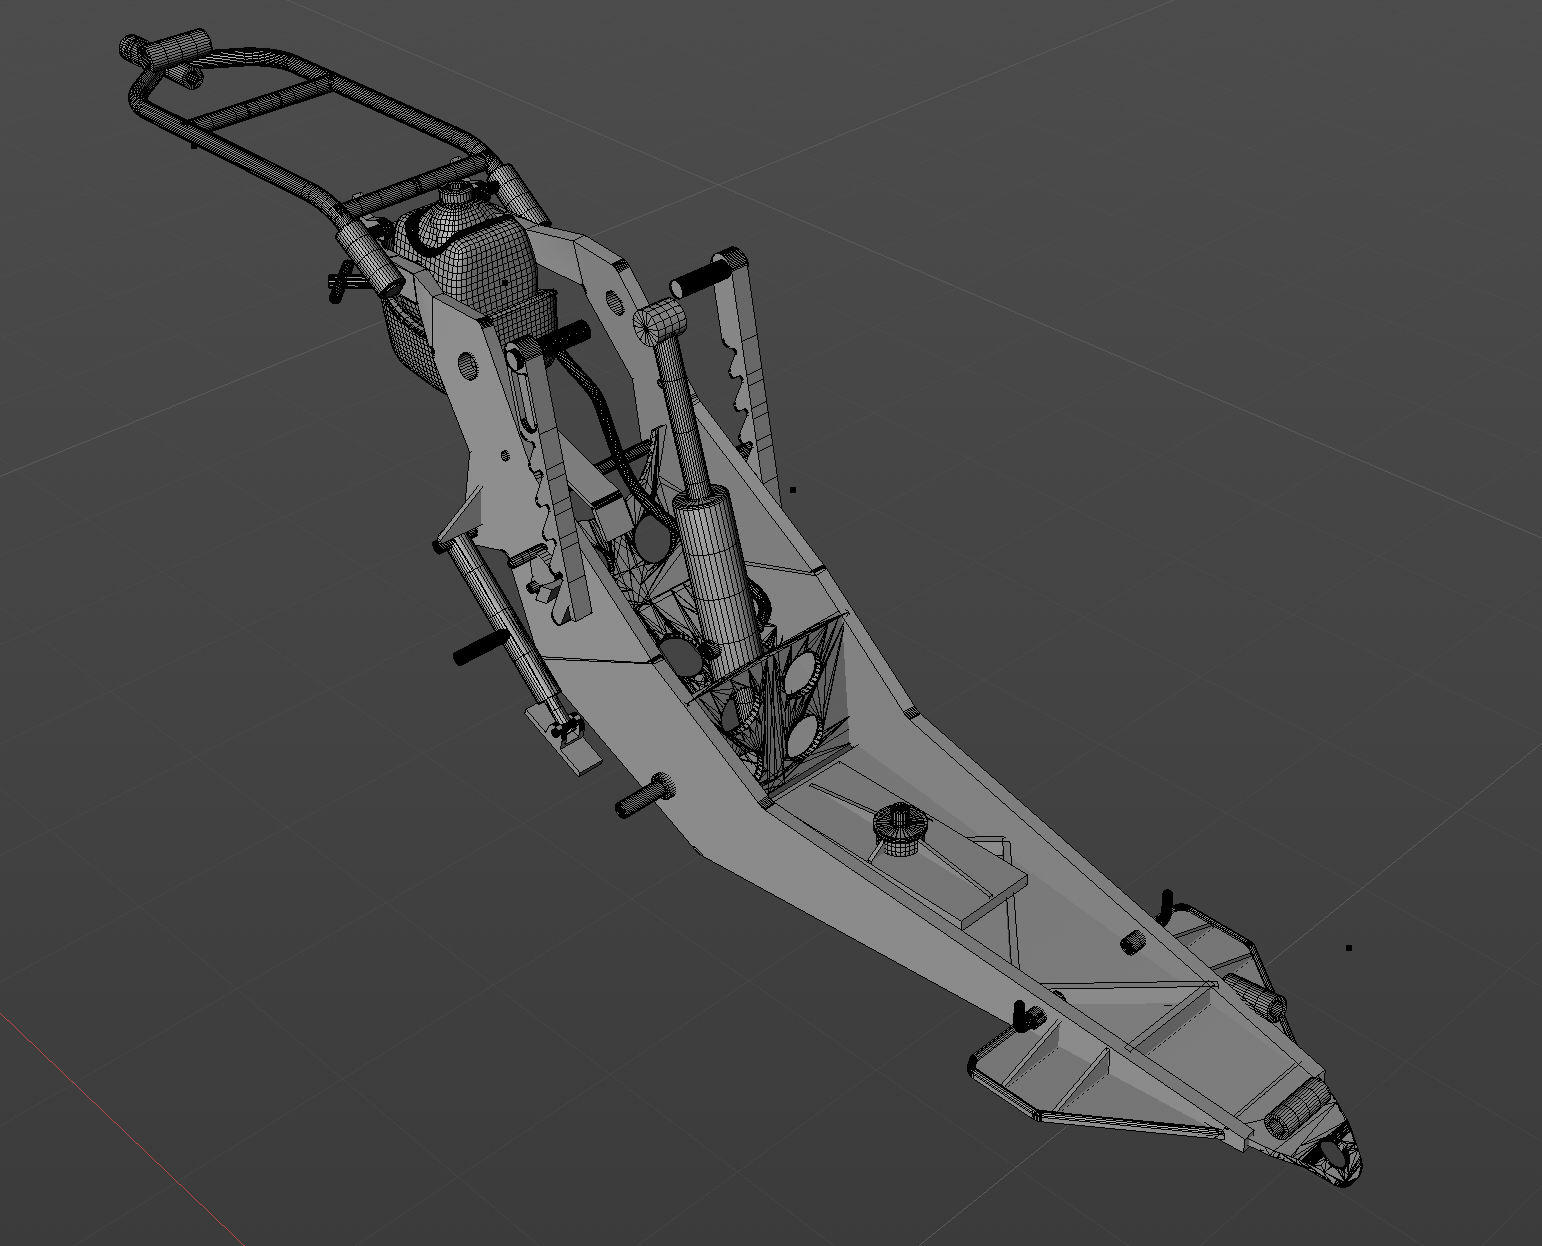
Almost ready for the details and thinking about how to divide the parts for optimal 3D printing.