JeroenPeters
-
Posts
4,867 -
Joined
-
Last visited
Content Type
Profiles
Forums
Events
Gallery
Everything posted by JeroenPeters
-

1/32 Hawker Tempest
JeroenPeters replied to JeroenPeters's topic in LSM 1/35 and Larger Work In Progress
Bit further.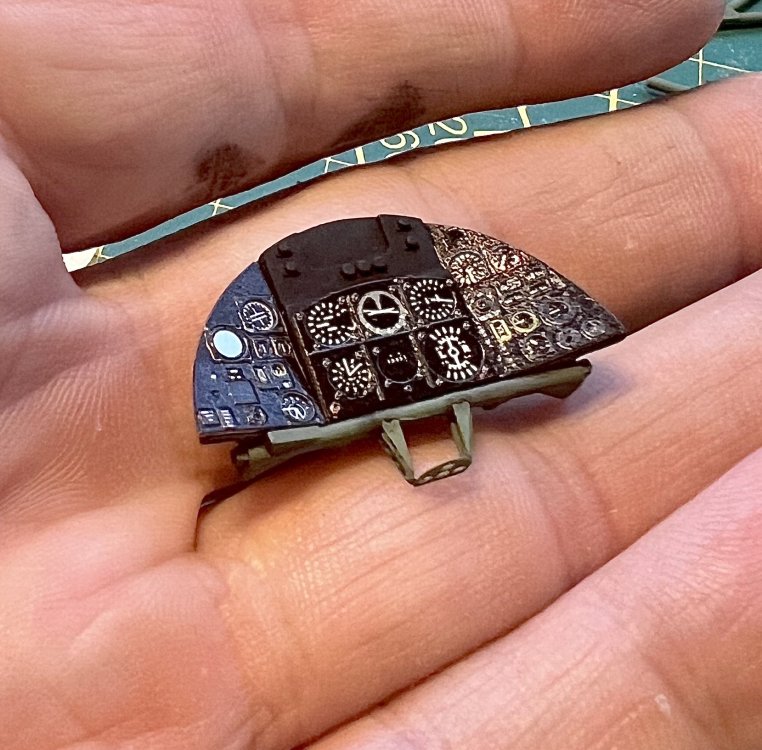

-
1/32 Hawker Tempest
JeroenPeters replied to JeroenPeters's topic in LSM 1/35 and Larger Work In Progress
It doesnt look like much yet, but at least i’m making some progress. Additional wiring will be added and lots of weathering.
- 100 replies
-
- 10
-

-
1/32 Hawker Tempest
JeroenPeters replied to JeroenPeters's topic in LSM 1/35 and Larger Work In Progress
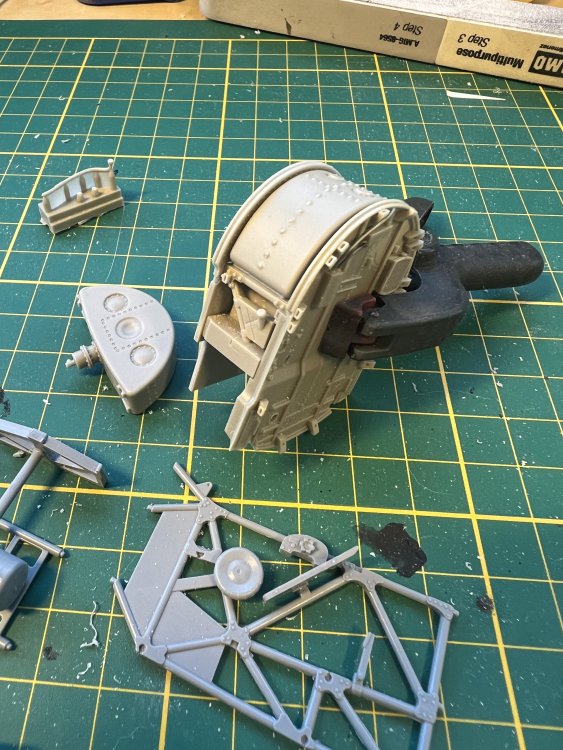
To be able to proceed with the cockpit, i need to paint some sub assemblies. The black is just a primer. Also added the photo etch canopy rails.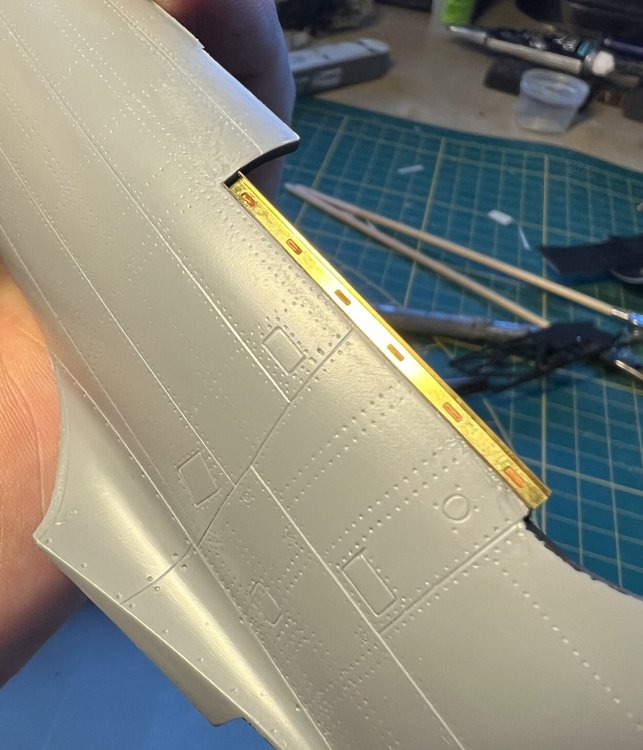
-
1/32 Hawker Tempest
JeroenPeters replied to JeroenPeters's topic in LSM 1/35 and Larger Work In Progress
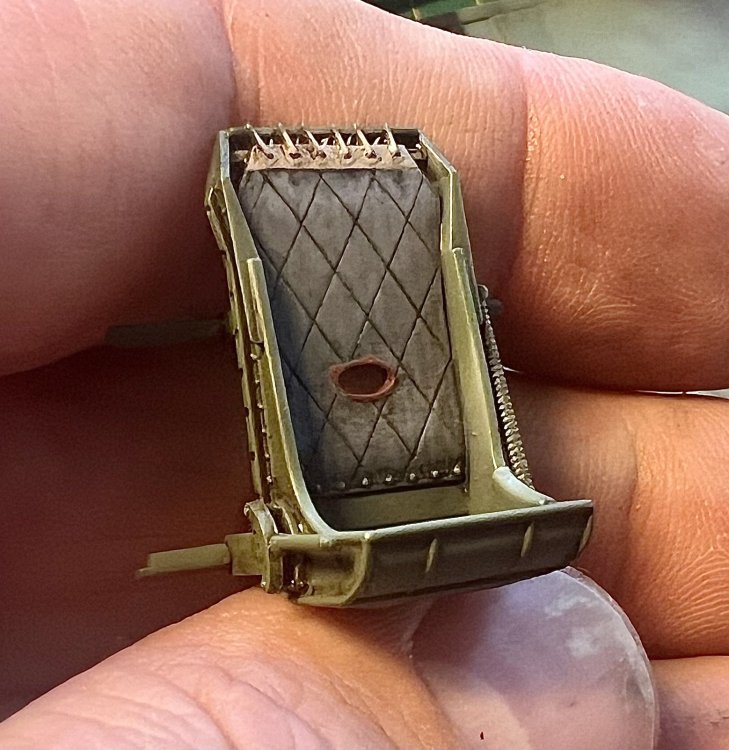
Only a few moments a day to spent at the bench. Happy with only doing small things. Resin seat, photo etch compass bracket.
-
1/32 Hawker Tempest
JeroenPeters replied to JeroenPeters's topic in LSM 1/35 and Larger Work In Progress
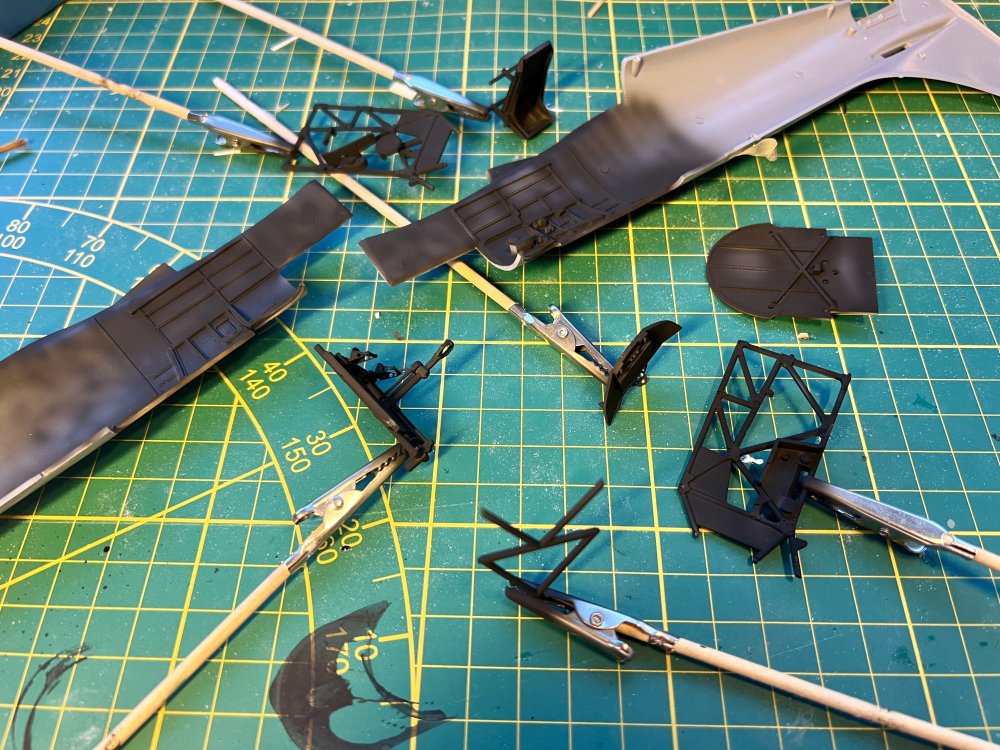
A lot of care and time is needed to properly clean the parts from flash. And to cut of detail that will be replaced by Eduard photo etch.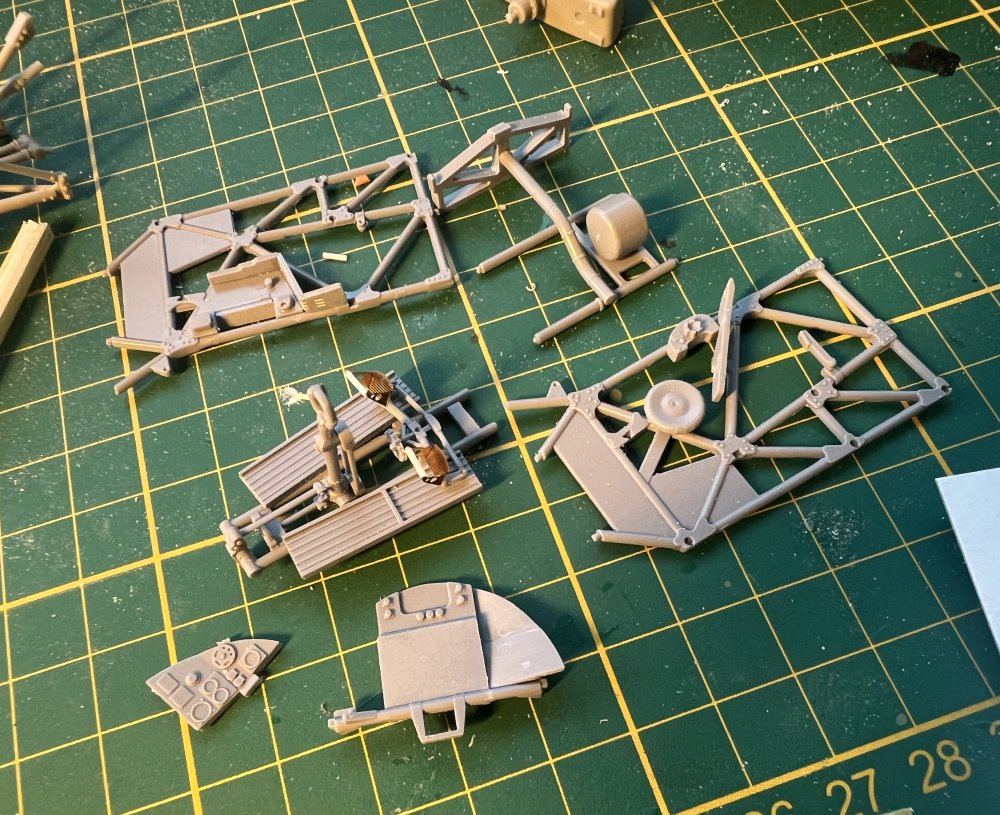
- 100 replies
-
- 11
-
-
1/32 Hawker Tempest
JeroenPeters replied to JeroenPeters's topic in LSM 1/35 and Larger Work In Progress
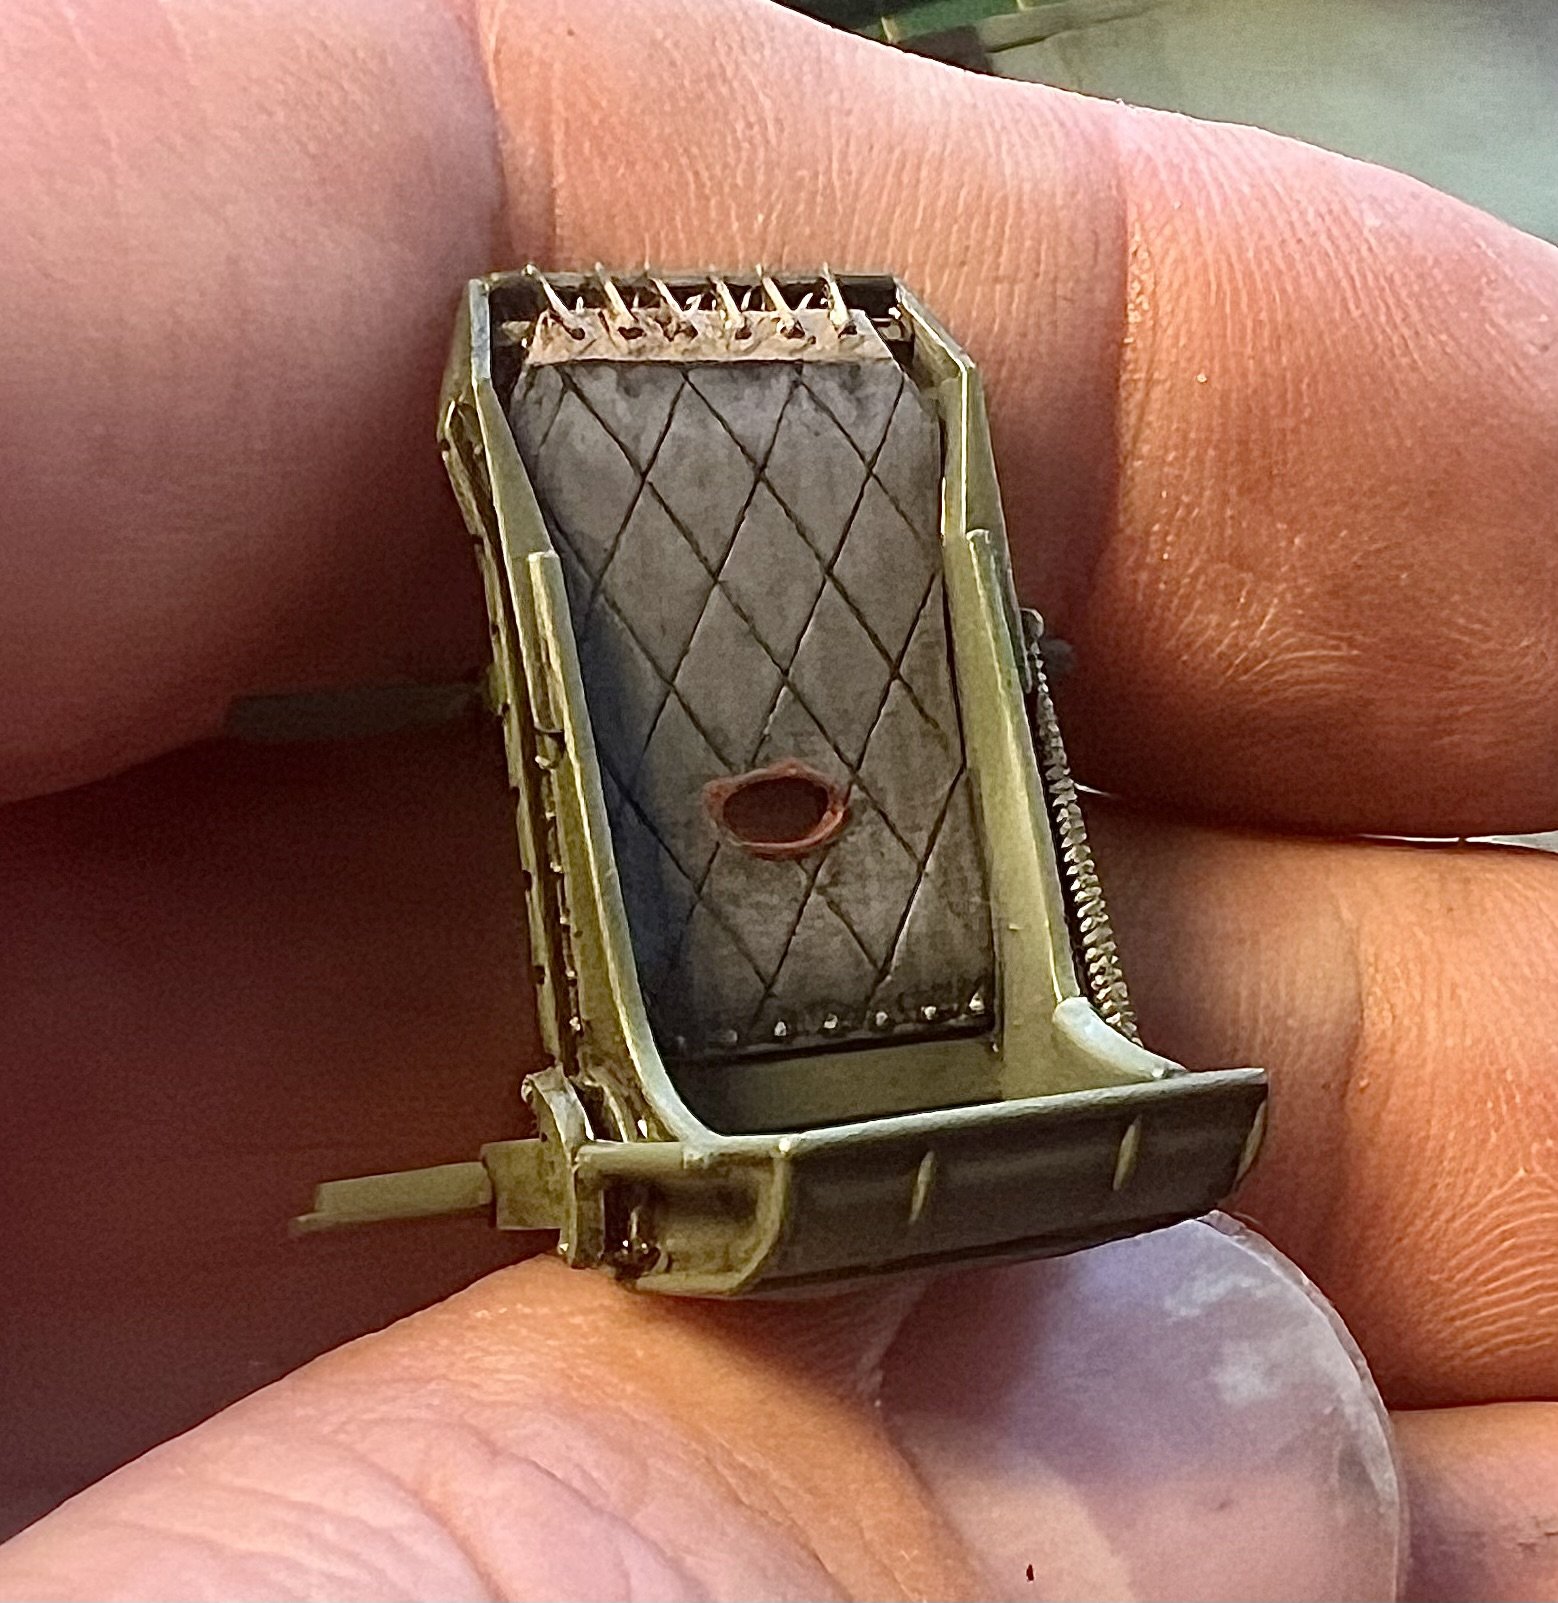
Hi Kevin, Cees is doing fine! We live closeby and frequent model shows together. One of my best friends. Here’s the fuel tank coming along. Ofcourse, also here a part is missing, so had to scratch this.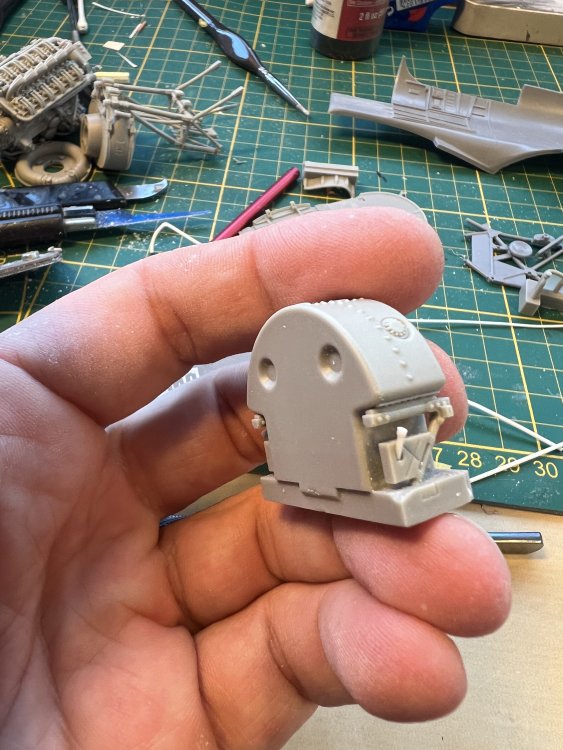
-
1/32 Hawker Tempest
JeroenPeters replied to JeroenPeters's topic in LSM 1/35 and Larger Work In Progress
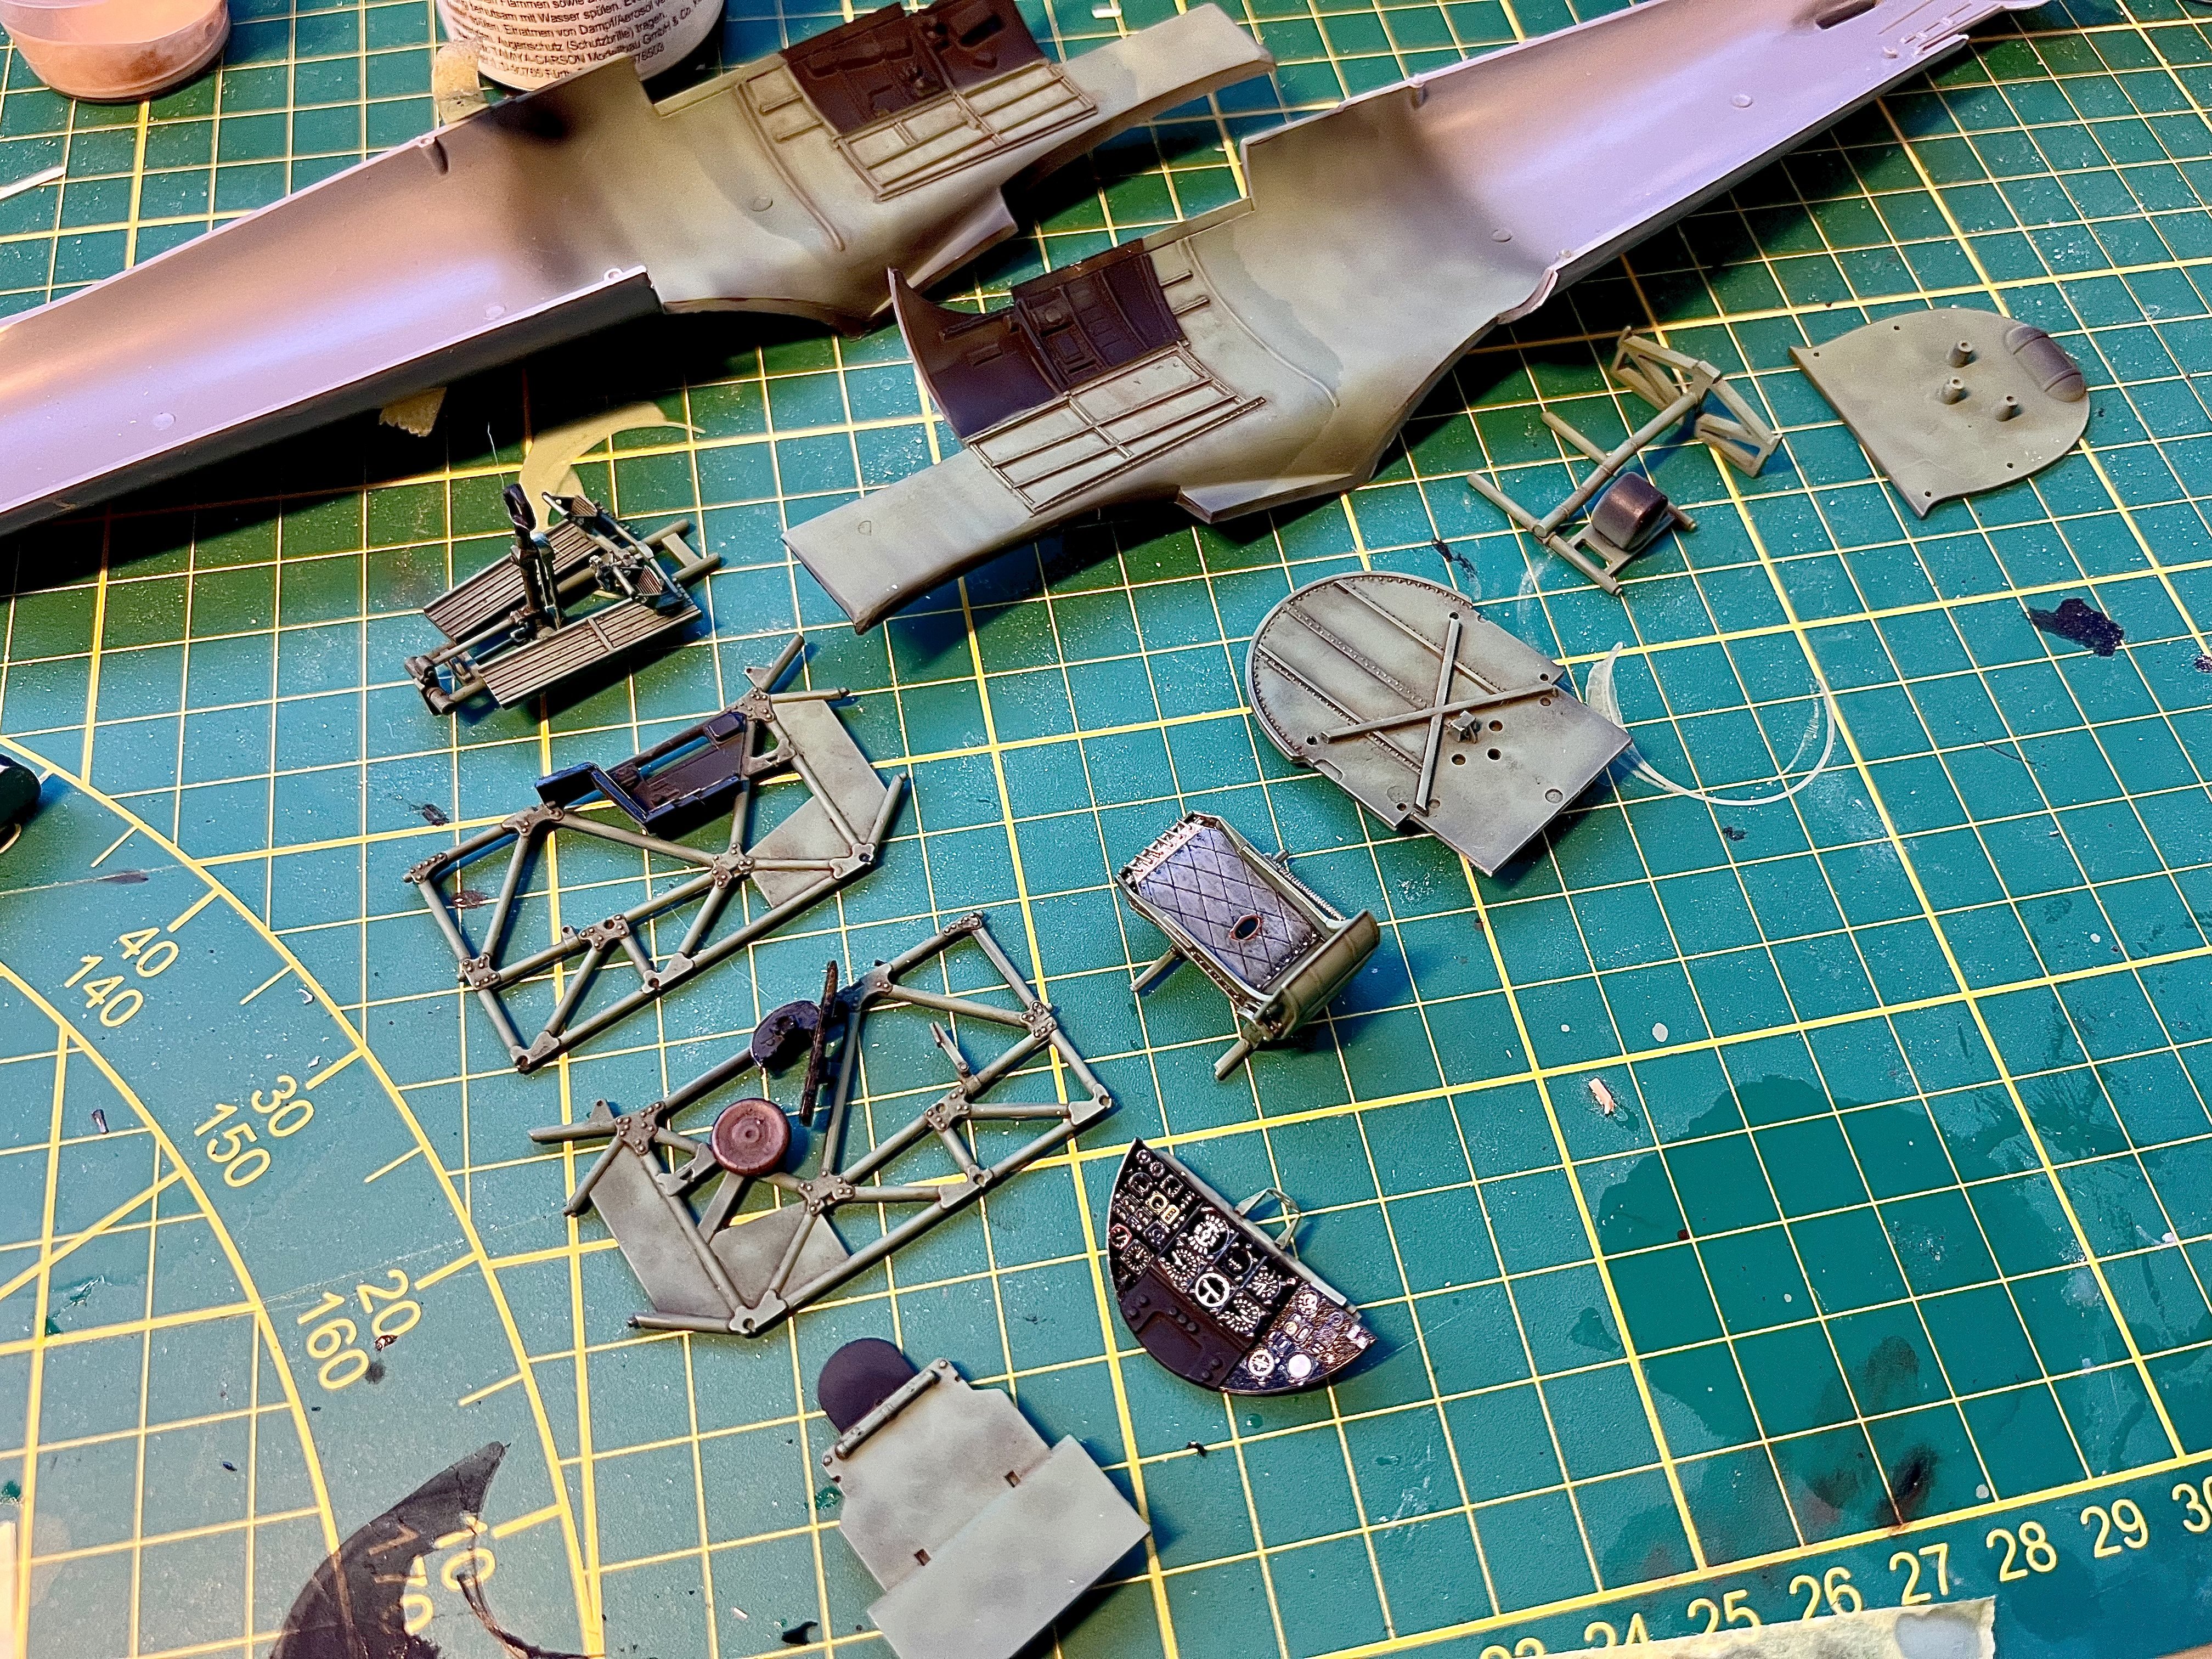
Cees Broere gifted me this kit. Started cutting it up to show the fuel tank. A lot of staring at the different instructions that come into play and the order of things is crucial. Eduard cockpit, CMK fuel tank and Special Hobby plastic.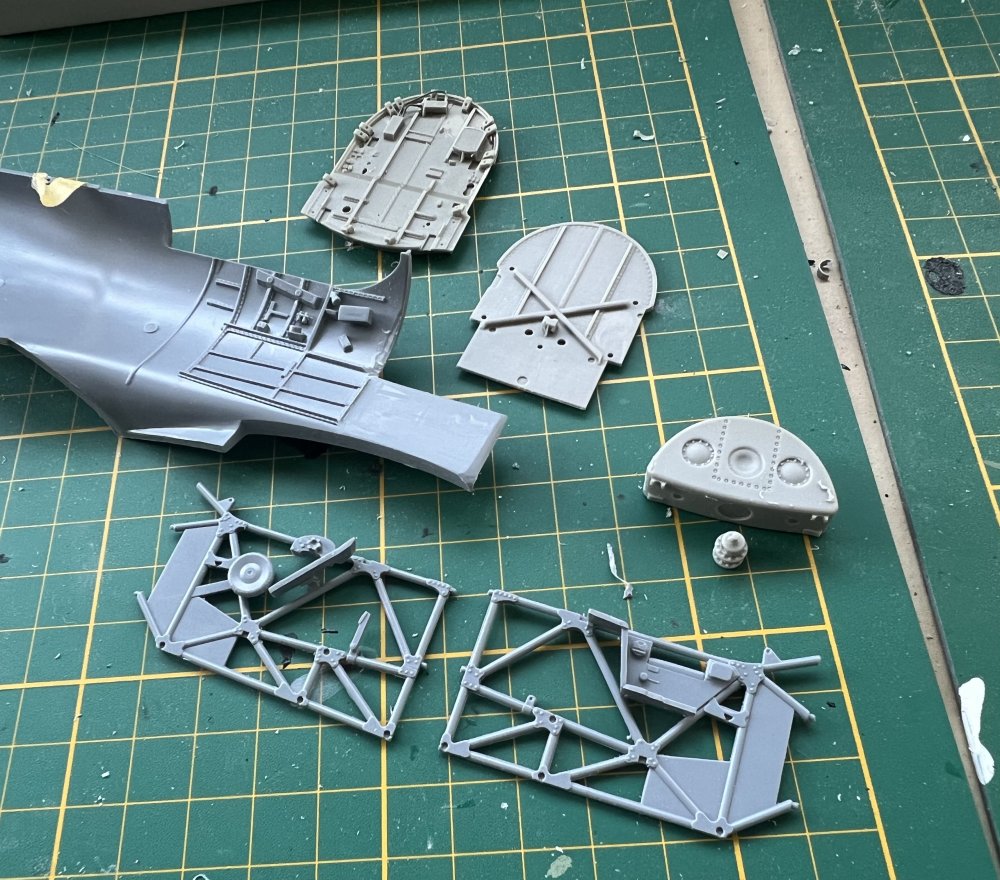
-
1/32 Hawker Tempest
JeroenPeters replied to JeroenPeters's topic in LSM 1/35 and Larger Work In Progress
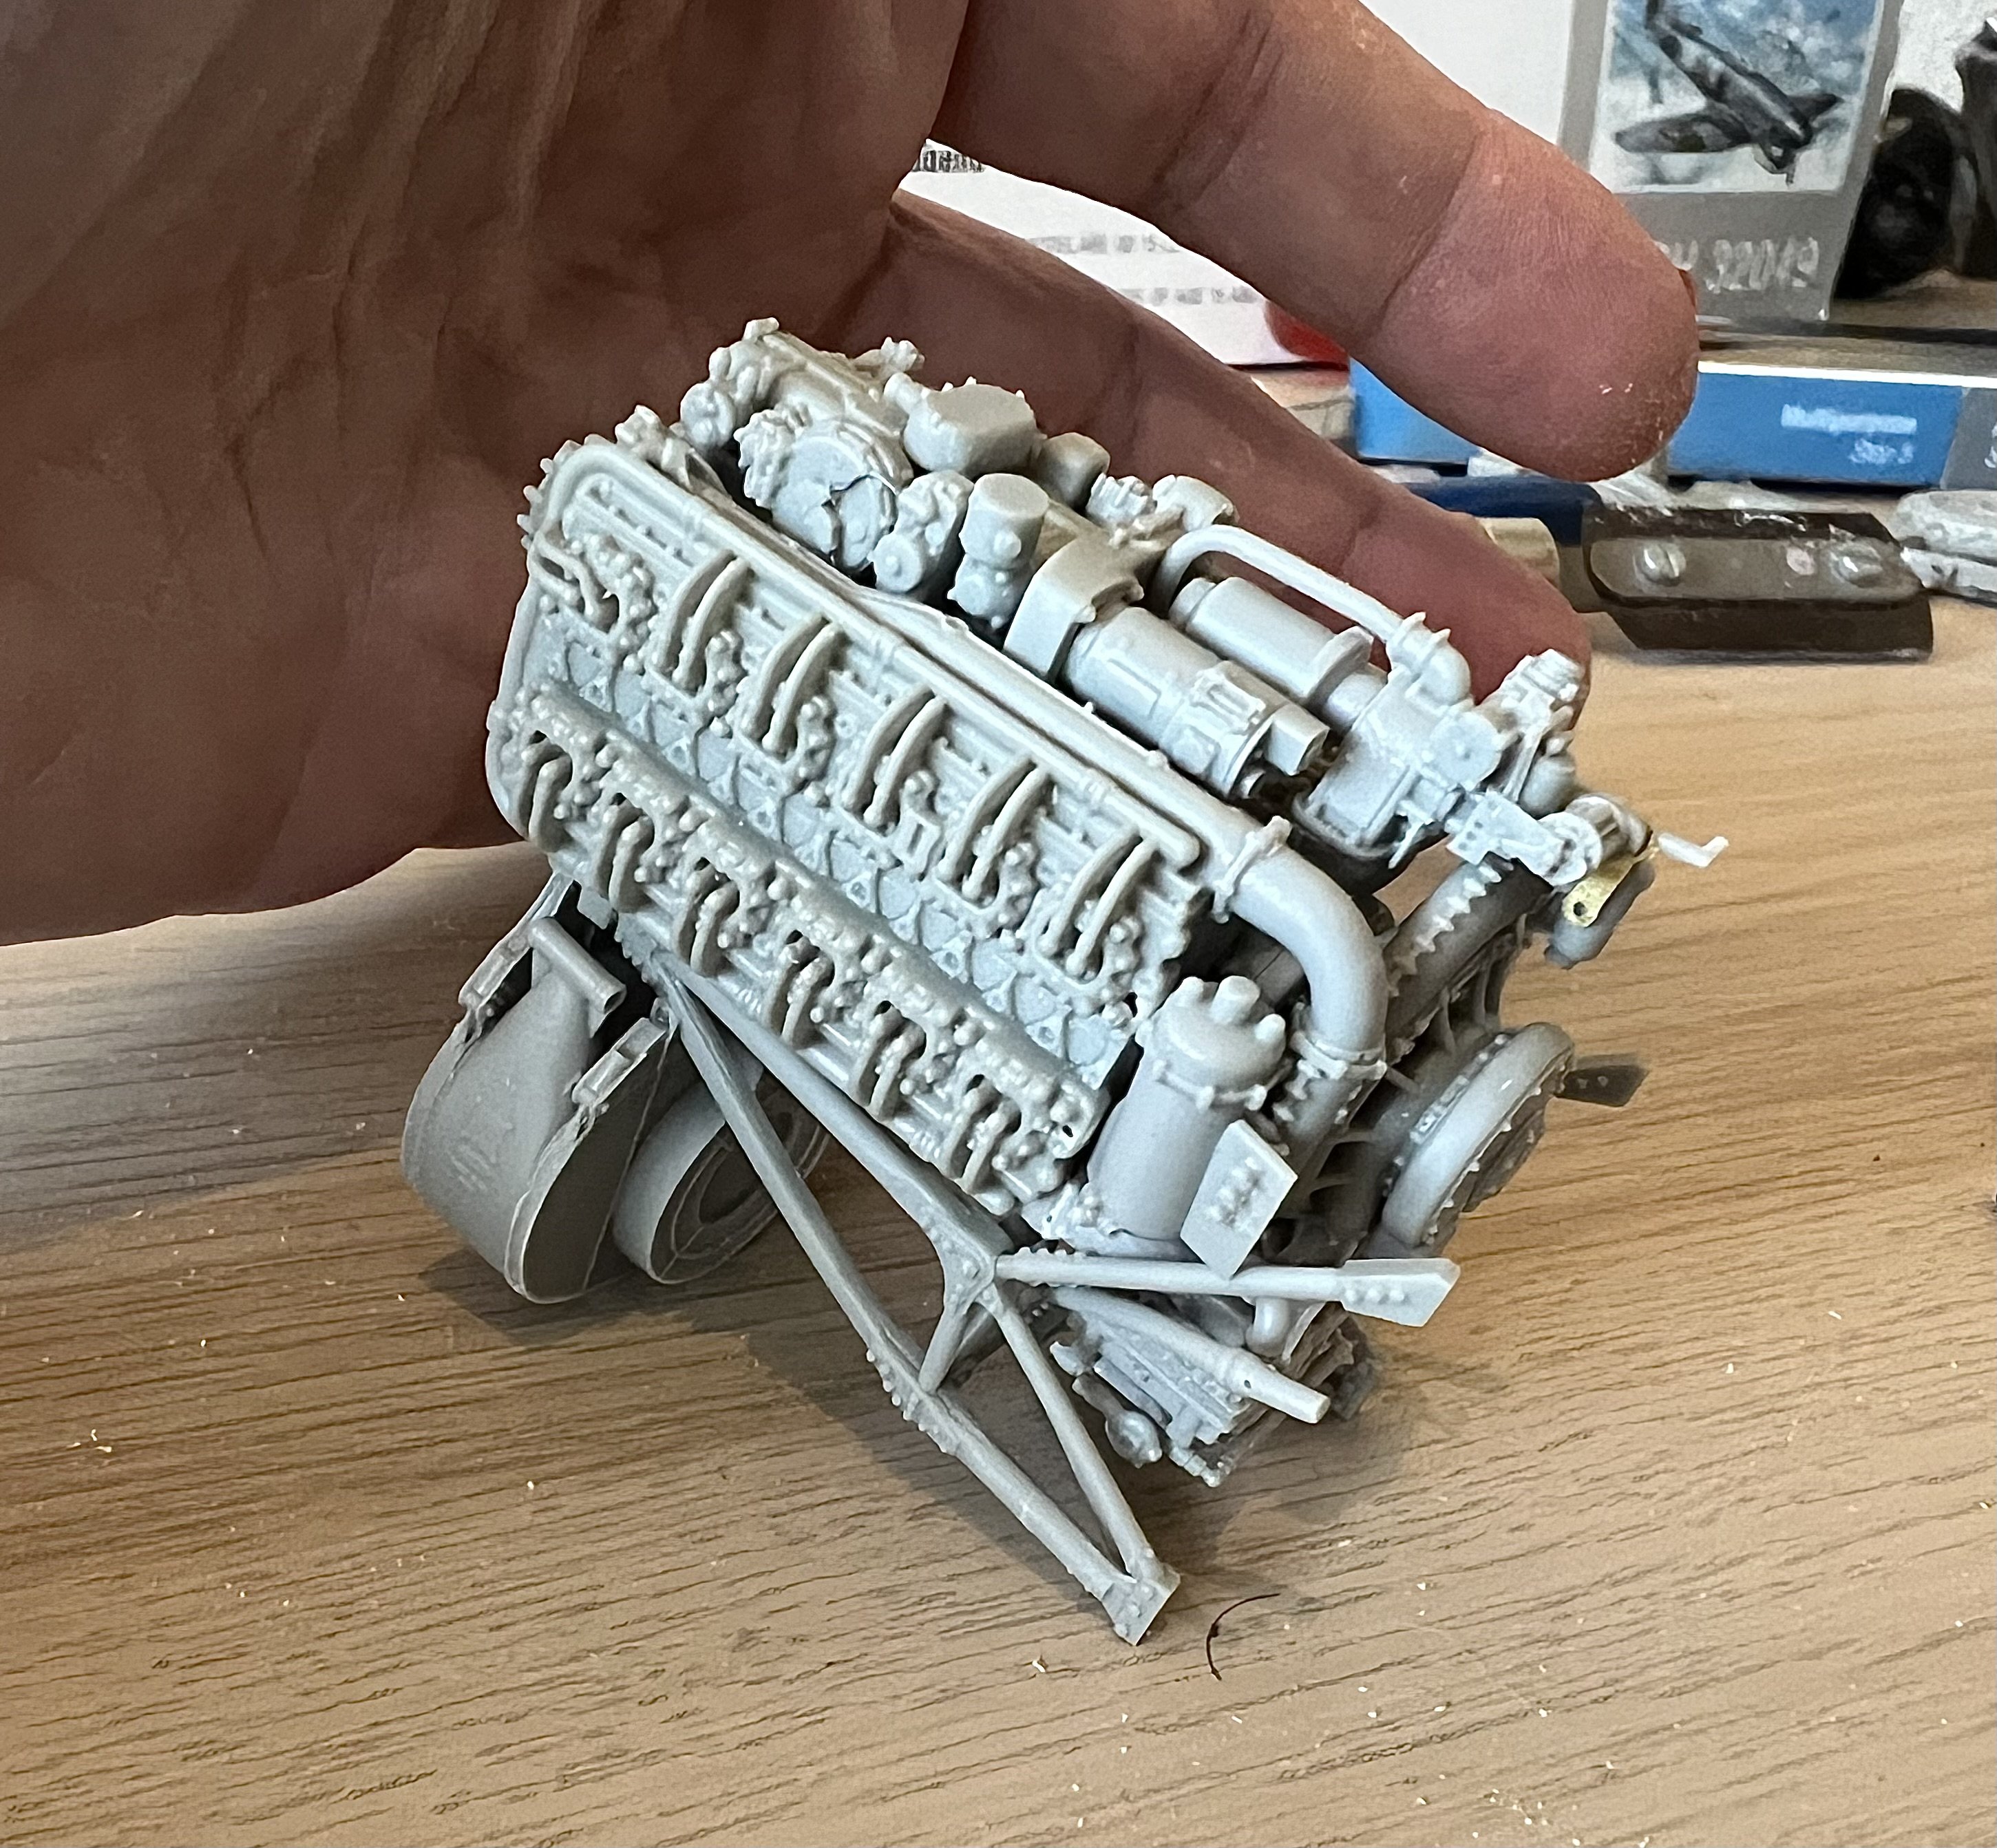
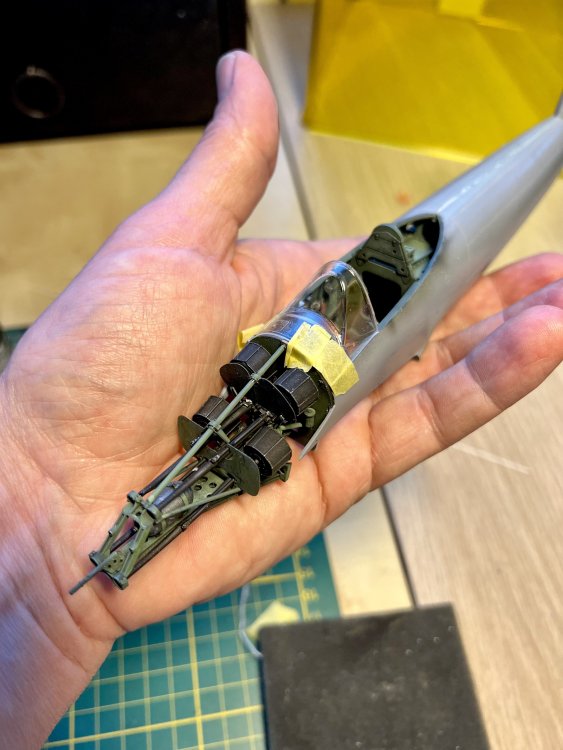
First subassemblies ready for paint. Had to use the resin exhausts sadly. The Moskit exhausts are not designed to be shown all the way since they don’t have the attachment detail at the base. I have to paint these parts first before mating them and add more wiring and hoses.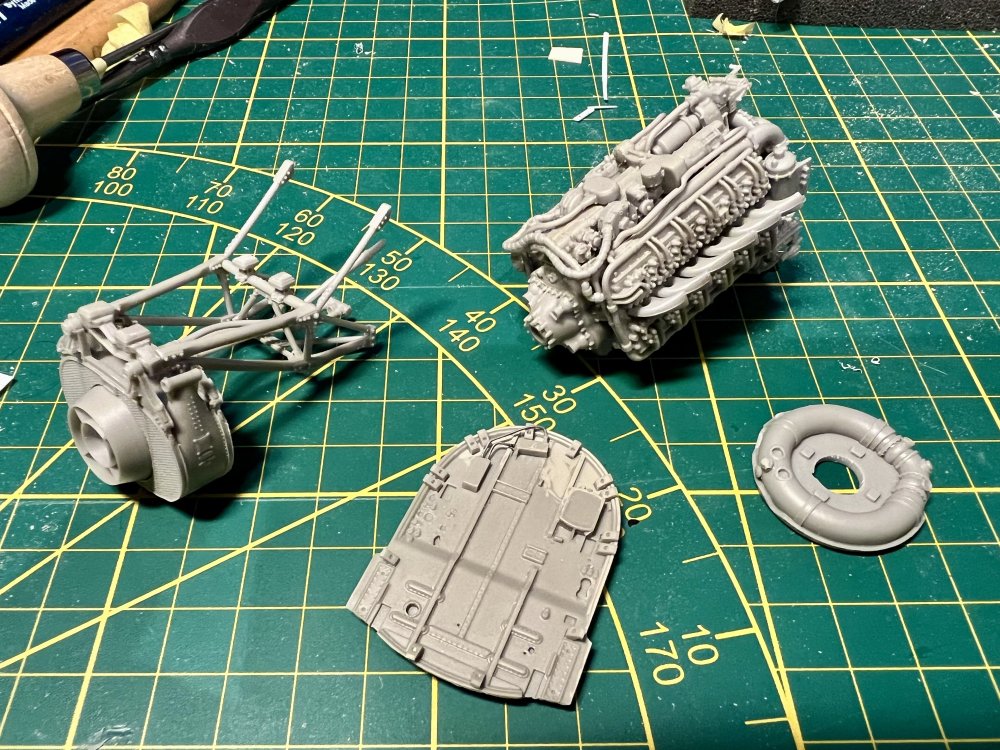
-
1/32 Hawker Tempest
JeroenPeters replied to JeroenPeters's topic in LSM 1/35 and Larger Work In Progress
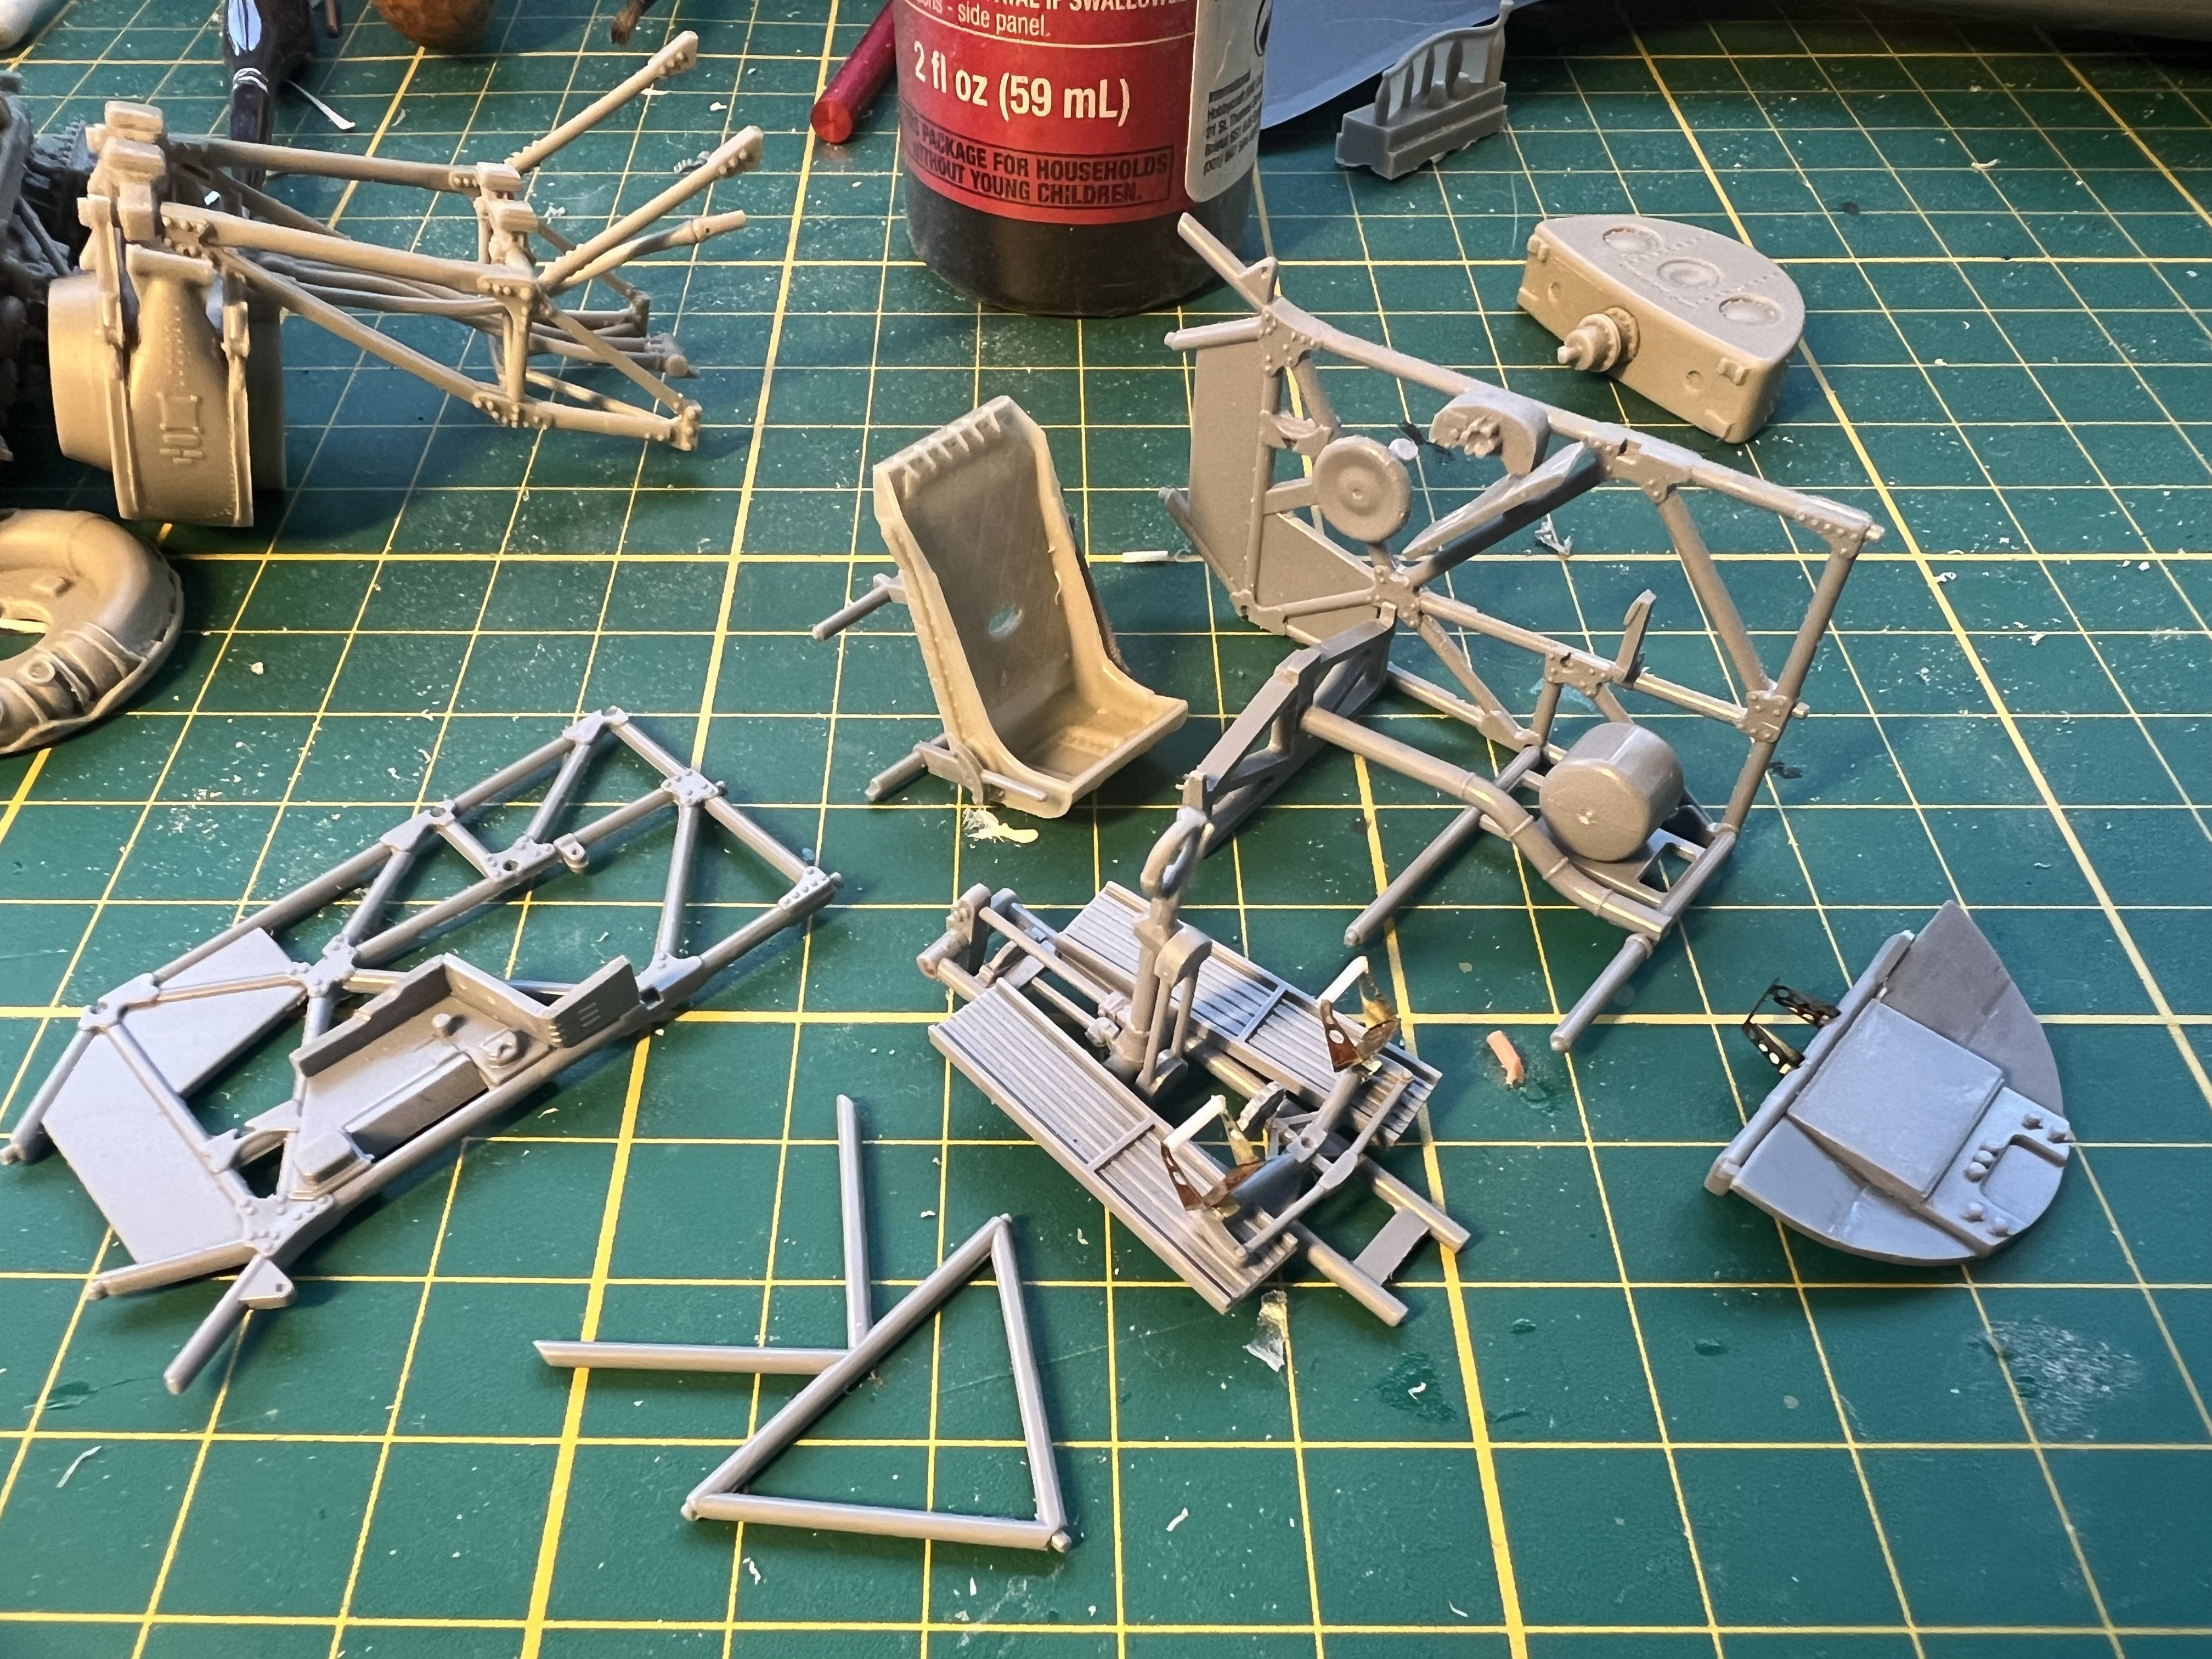
Haven’t clocked much benchtime lately, but today managed to clean up more resin parts and glue them on.

-
1/32 Hawker Tempest
JeroenPeters replied to JeroenPeters's topic in LSM 1/35 and Larger Work In Progress
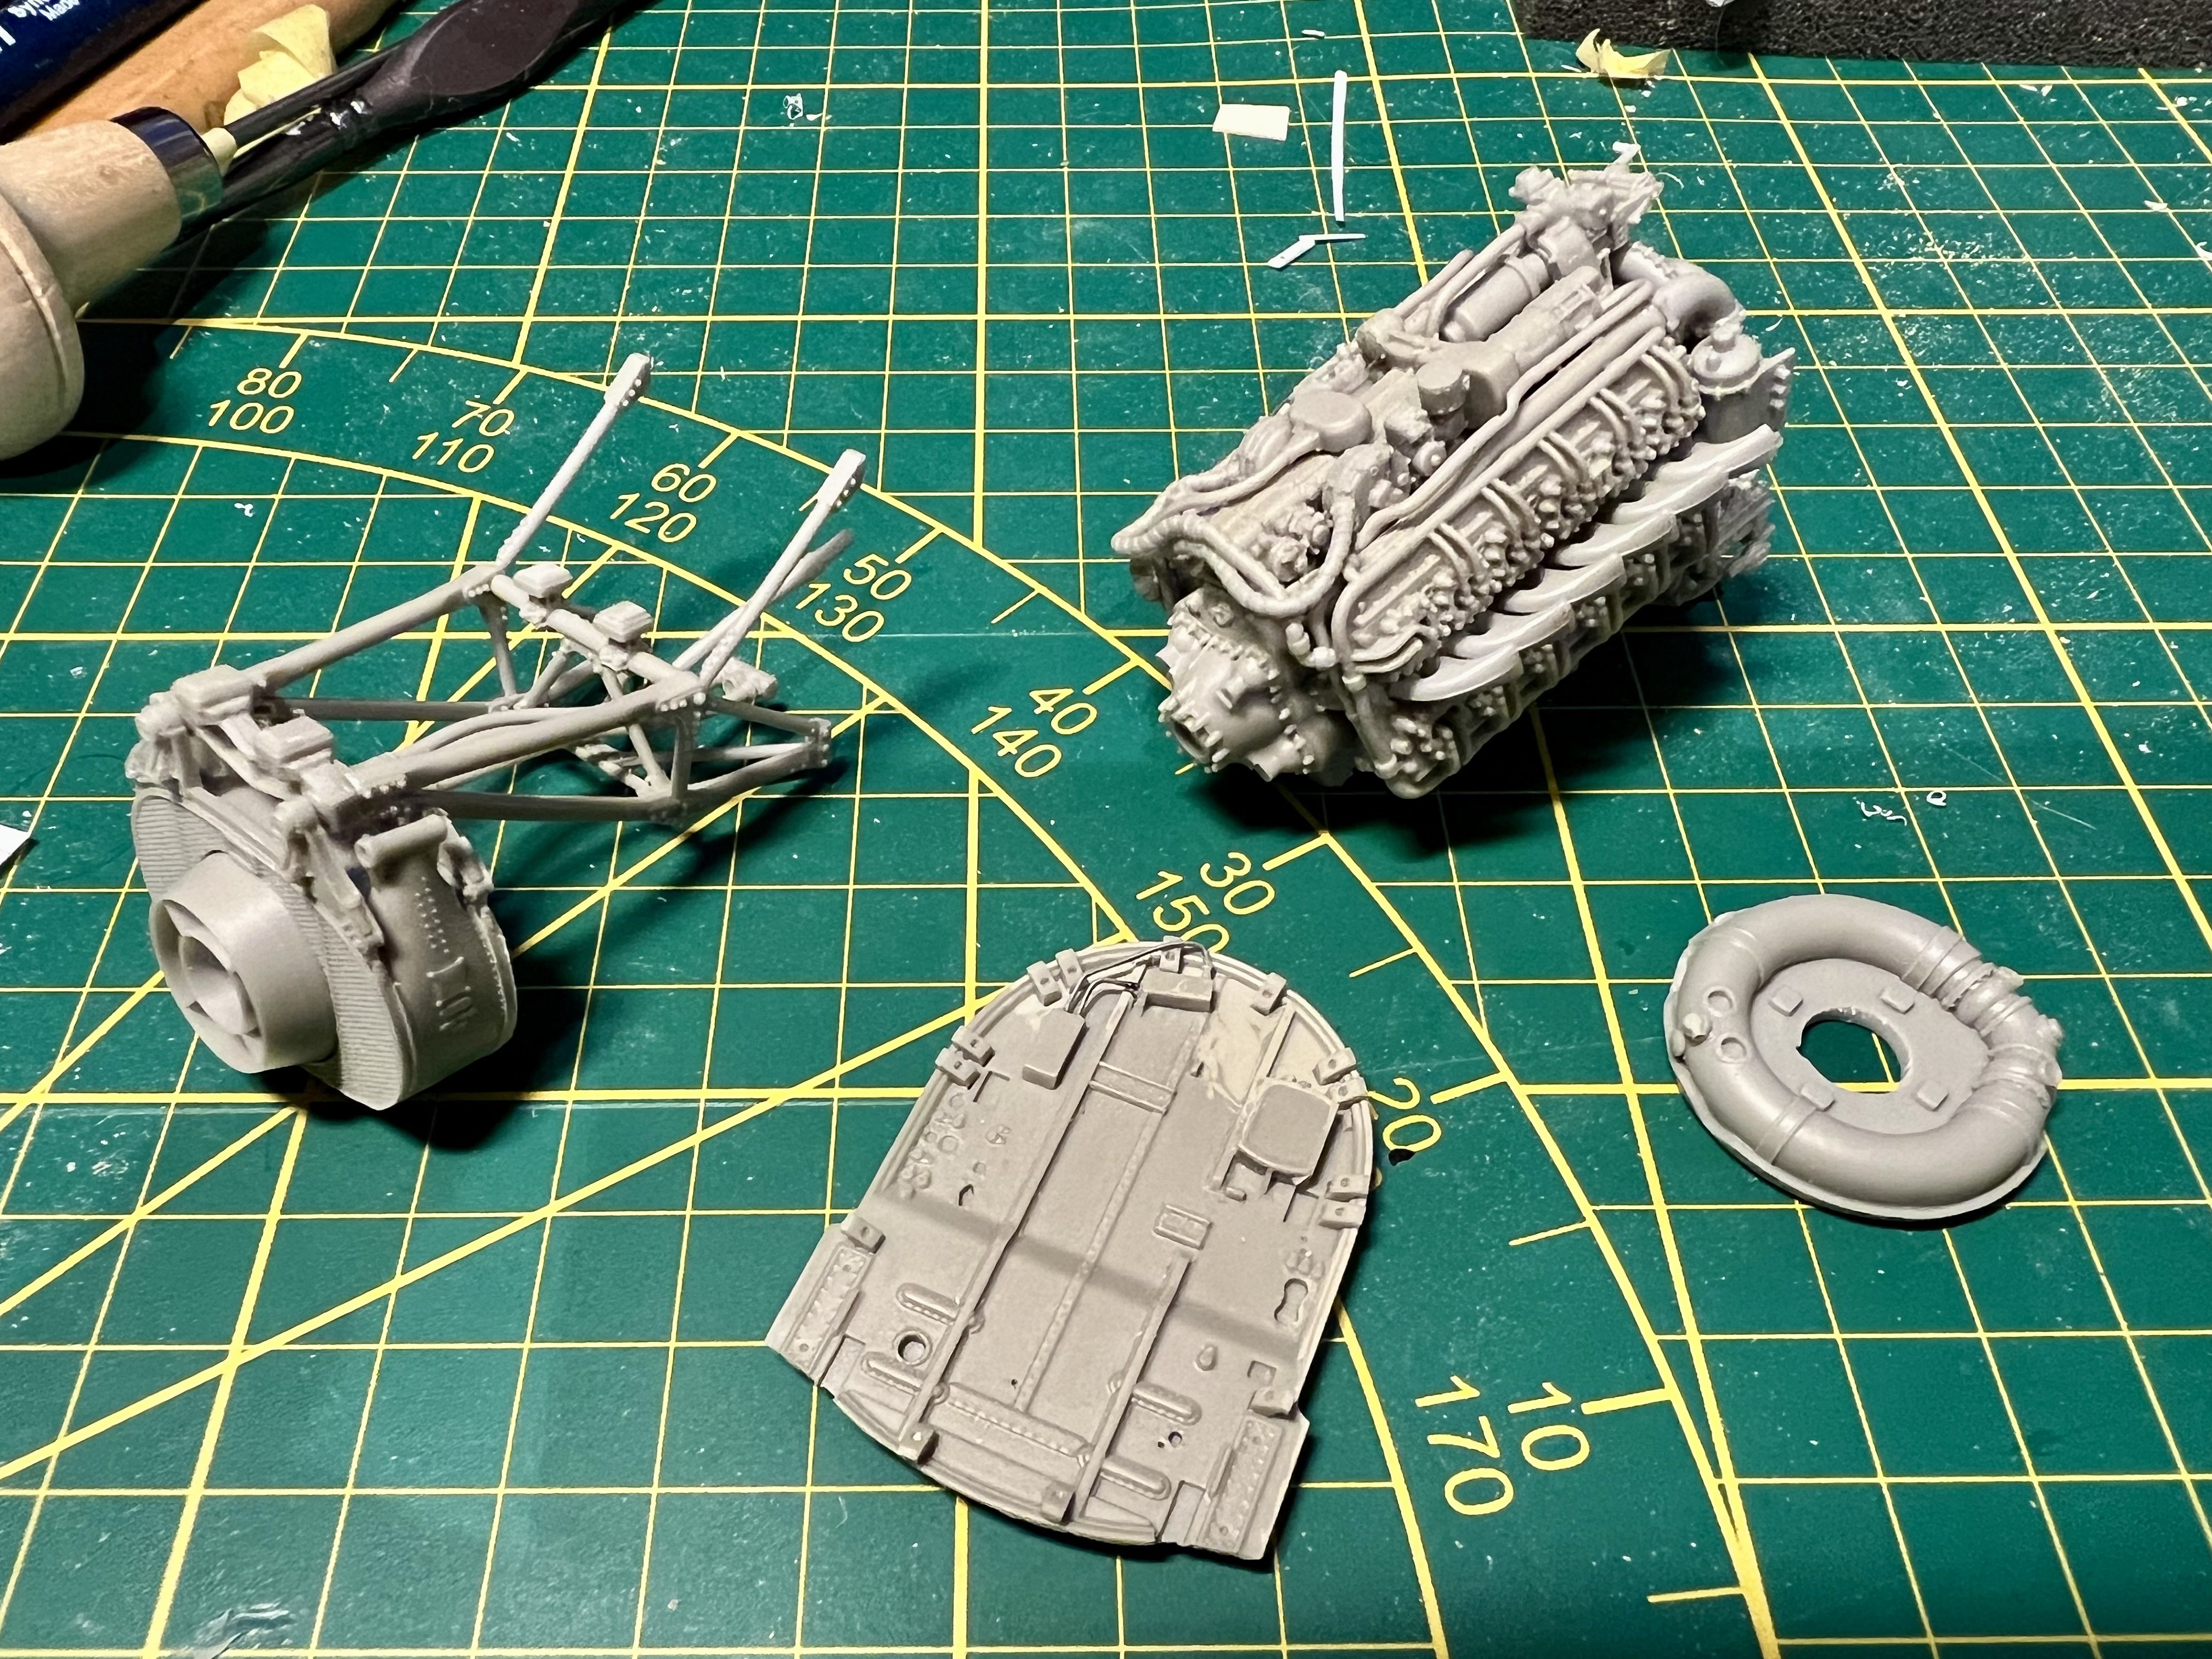
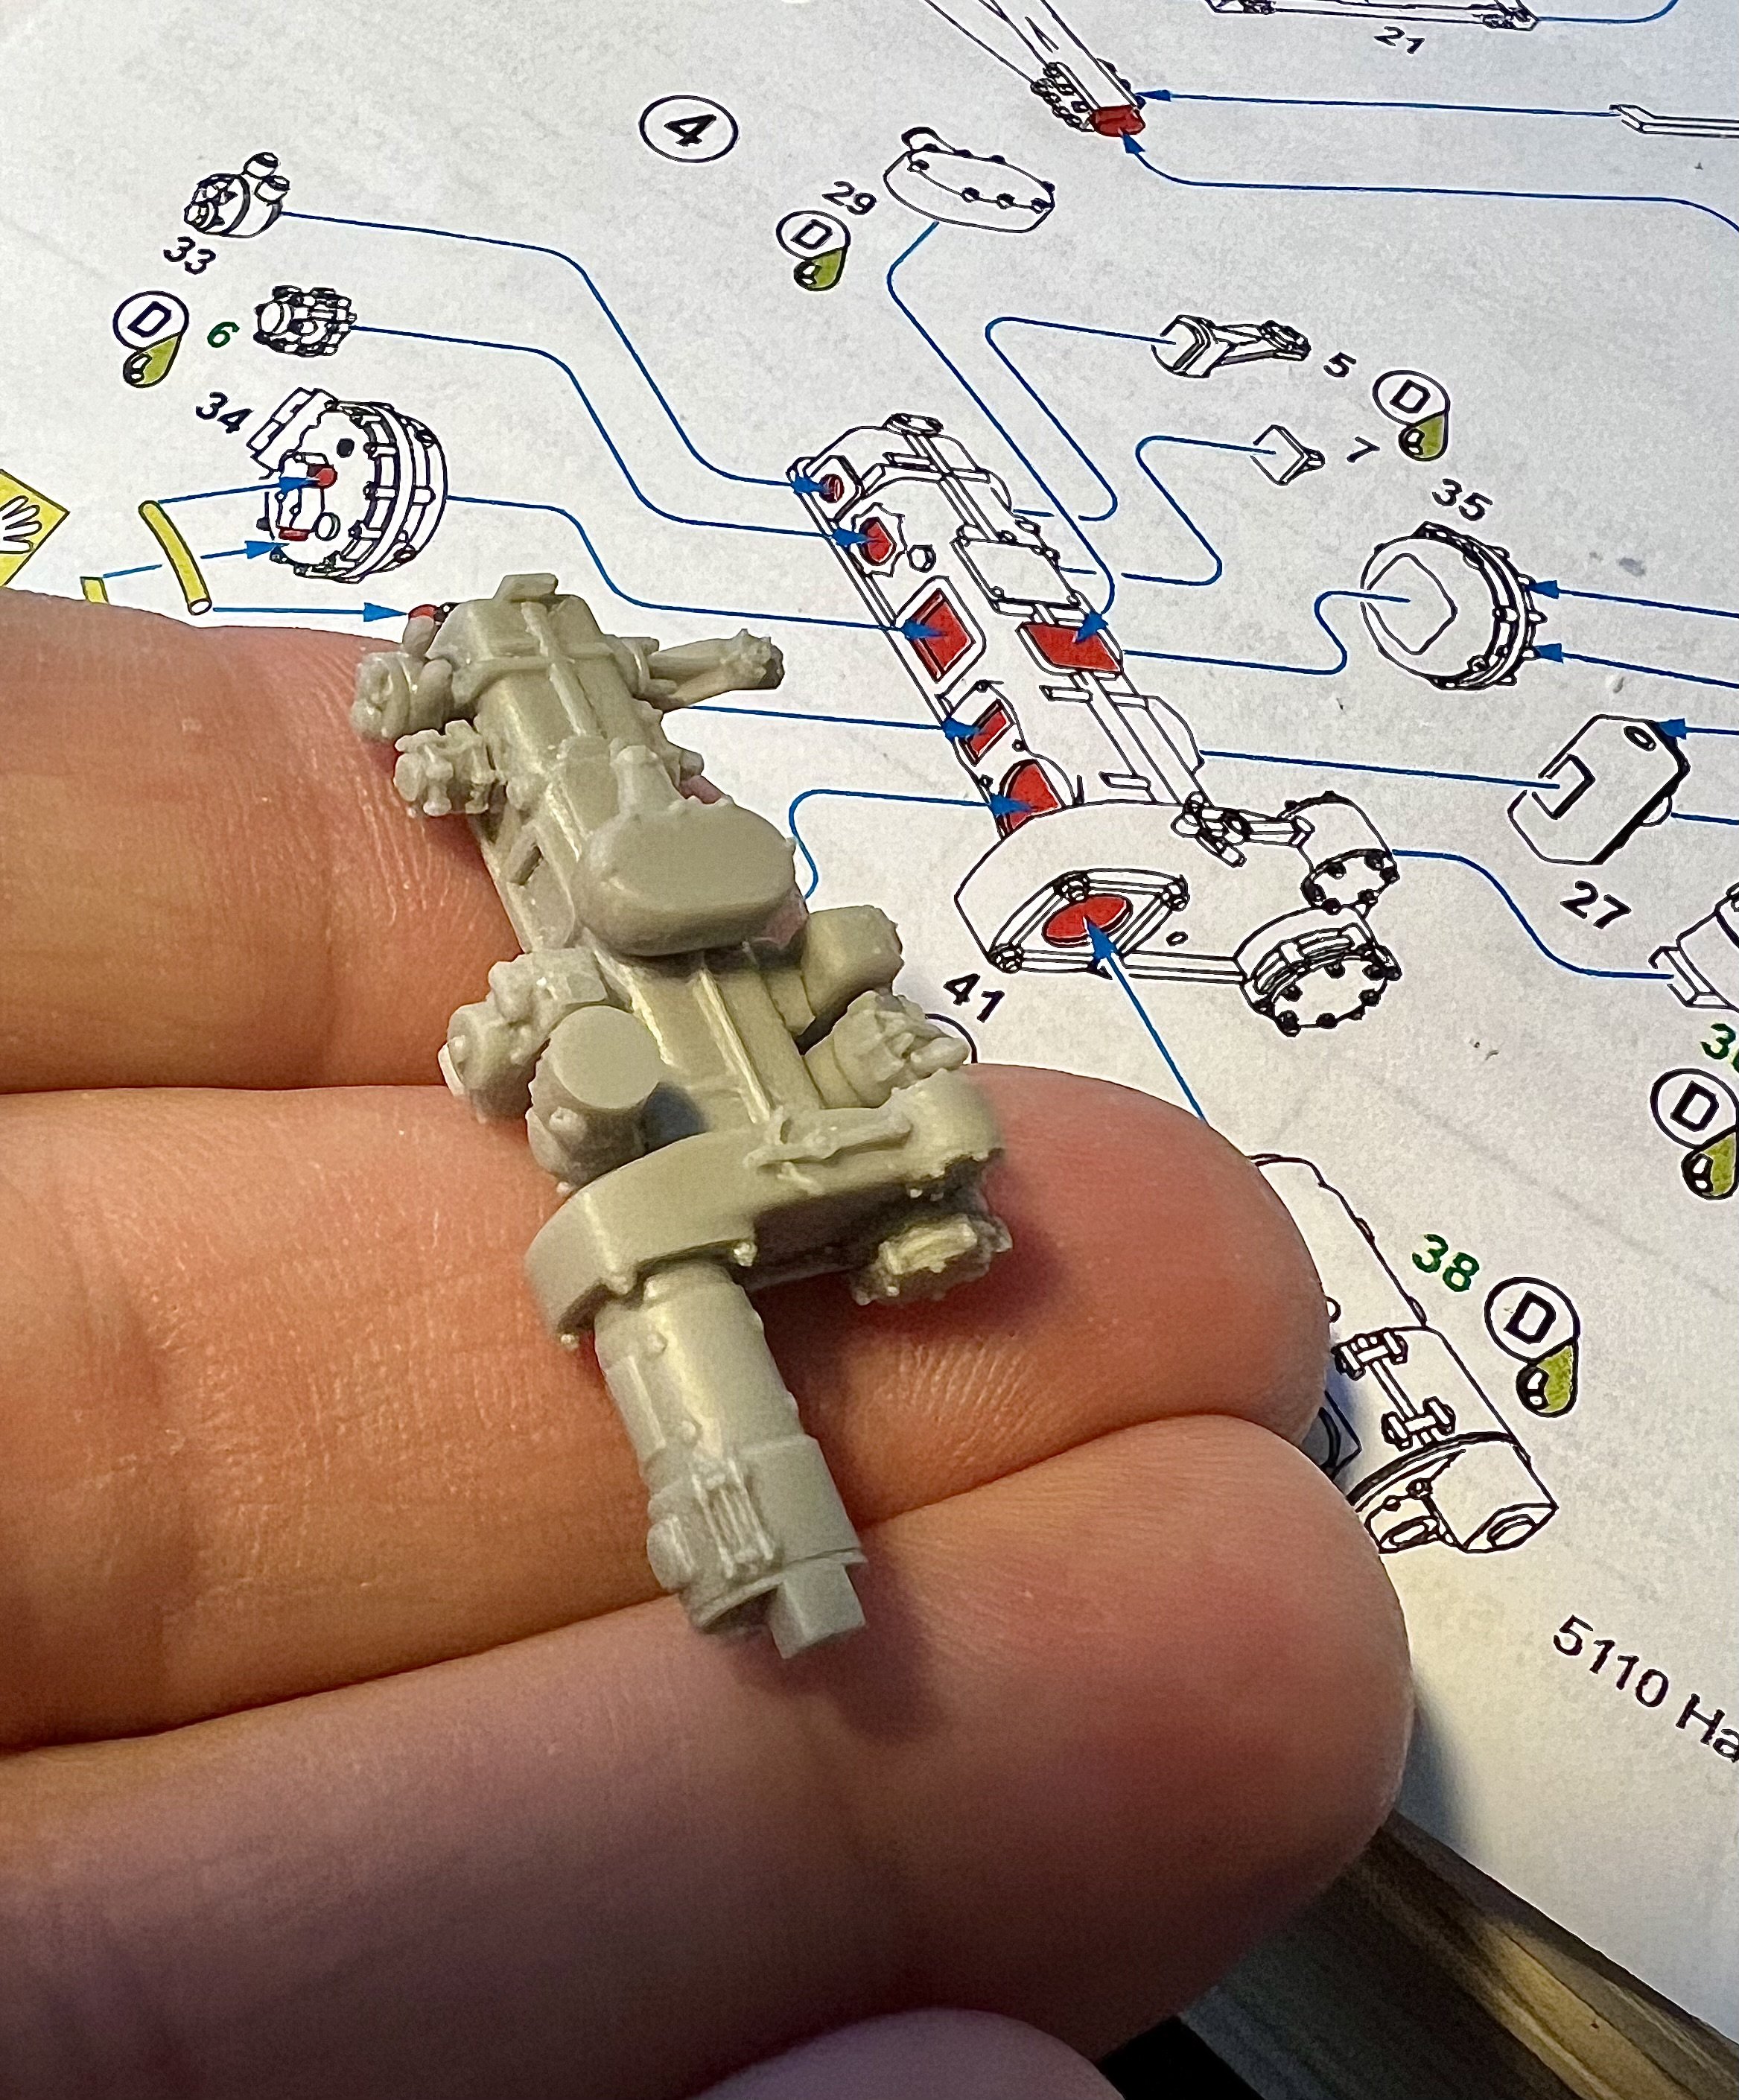
Forum member Towerpower gifted me a set of Moskit metal exhausts. These come on a square tube. To install them on a bare engine they need to be seperately sawn off. Looks like i can make it work. Thnx!!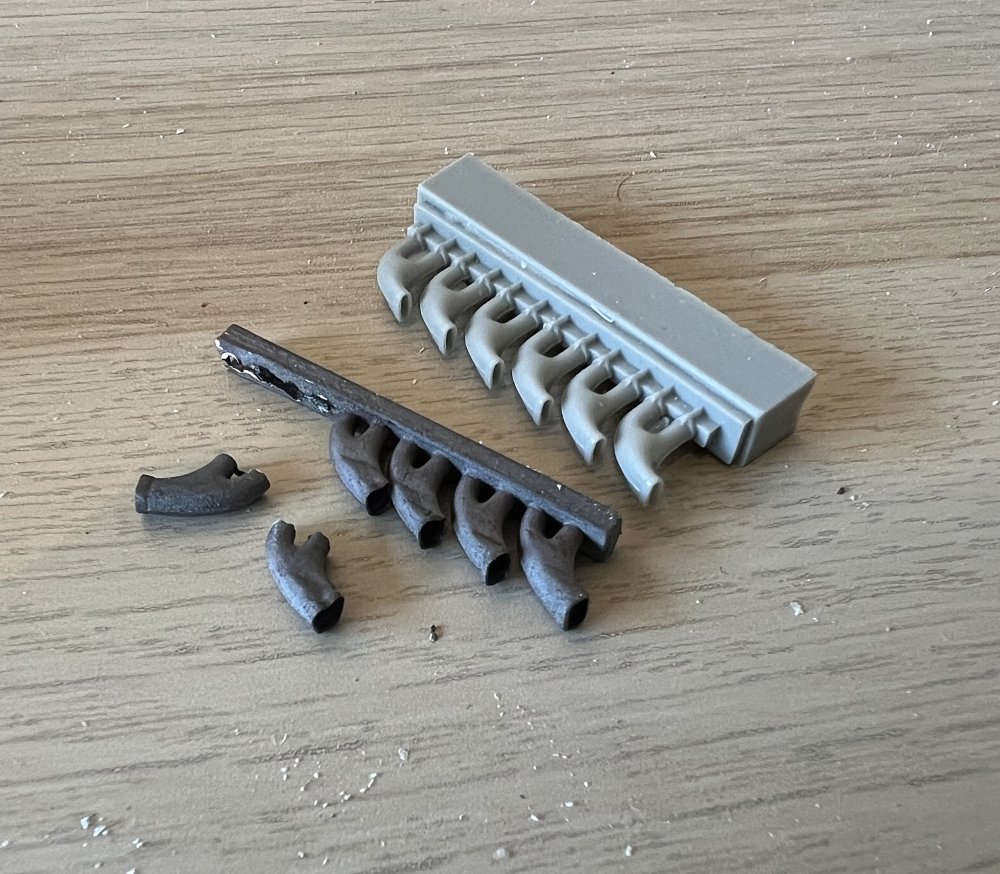

-
1/32 Hawker Tempest
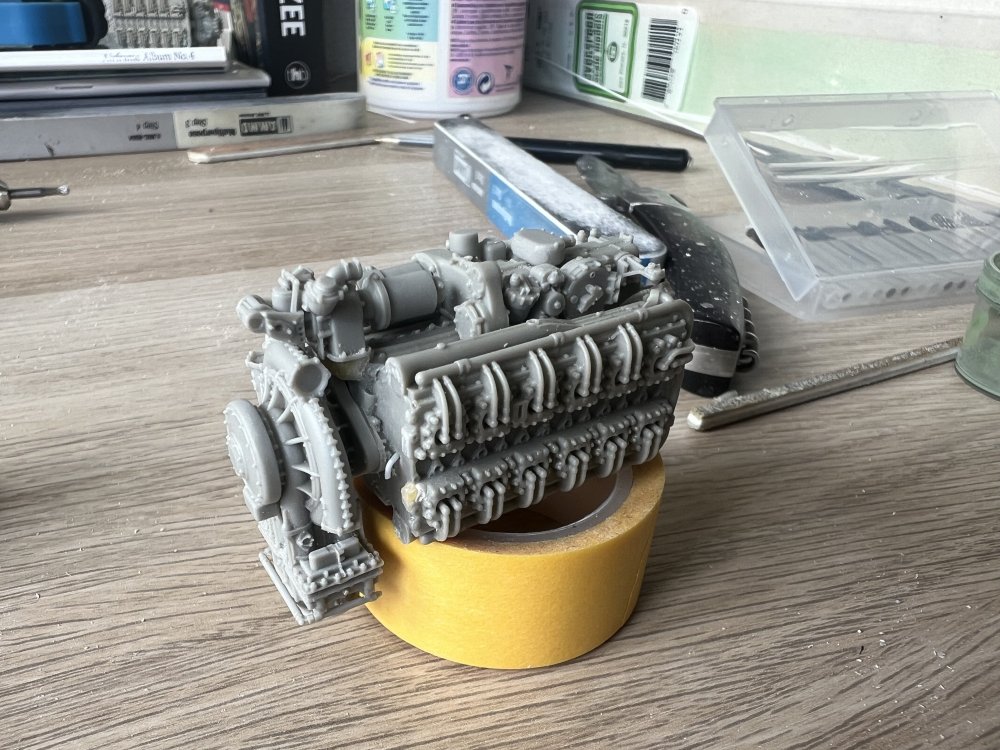
JeroenPeters replied to JeroenPeters's topic in LSM 1/35 and Larger Work In Progress
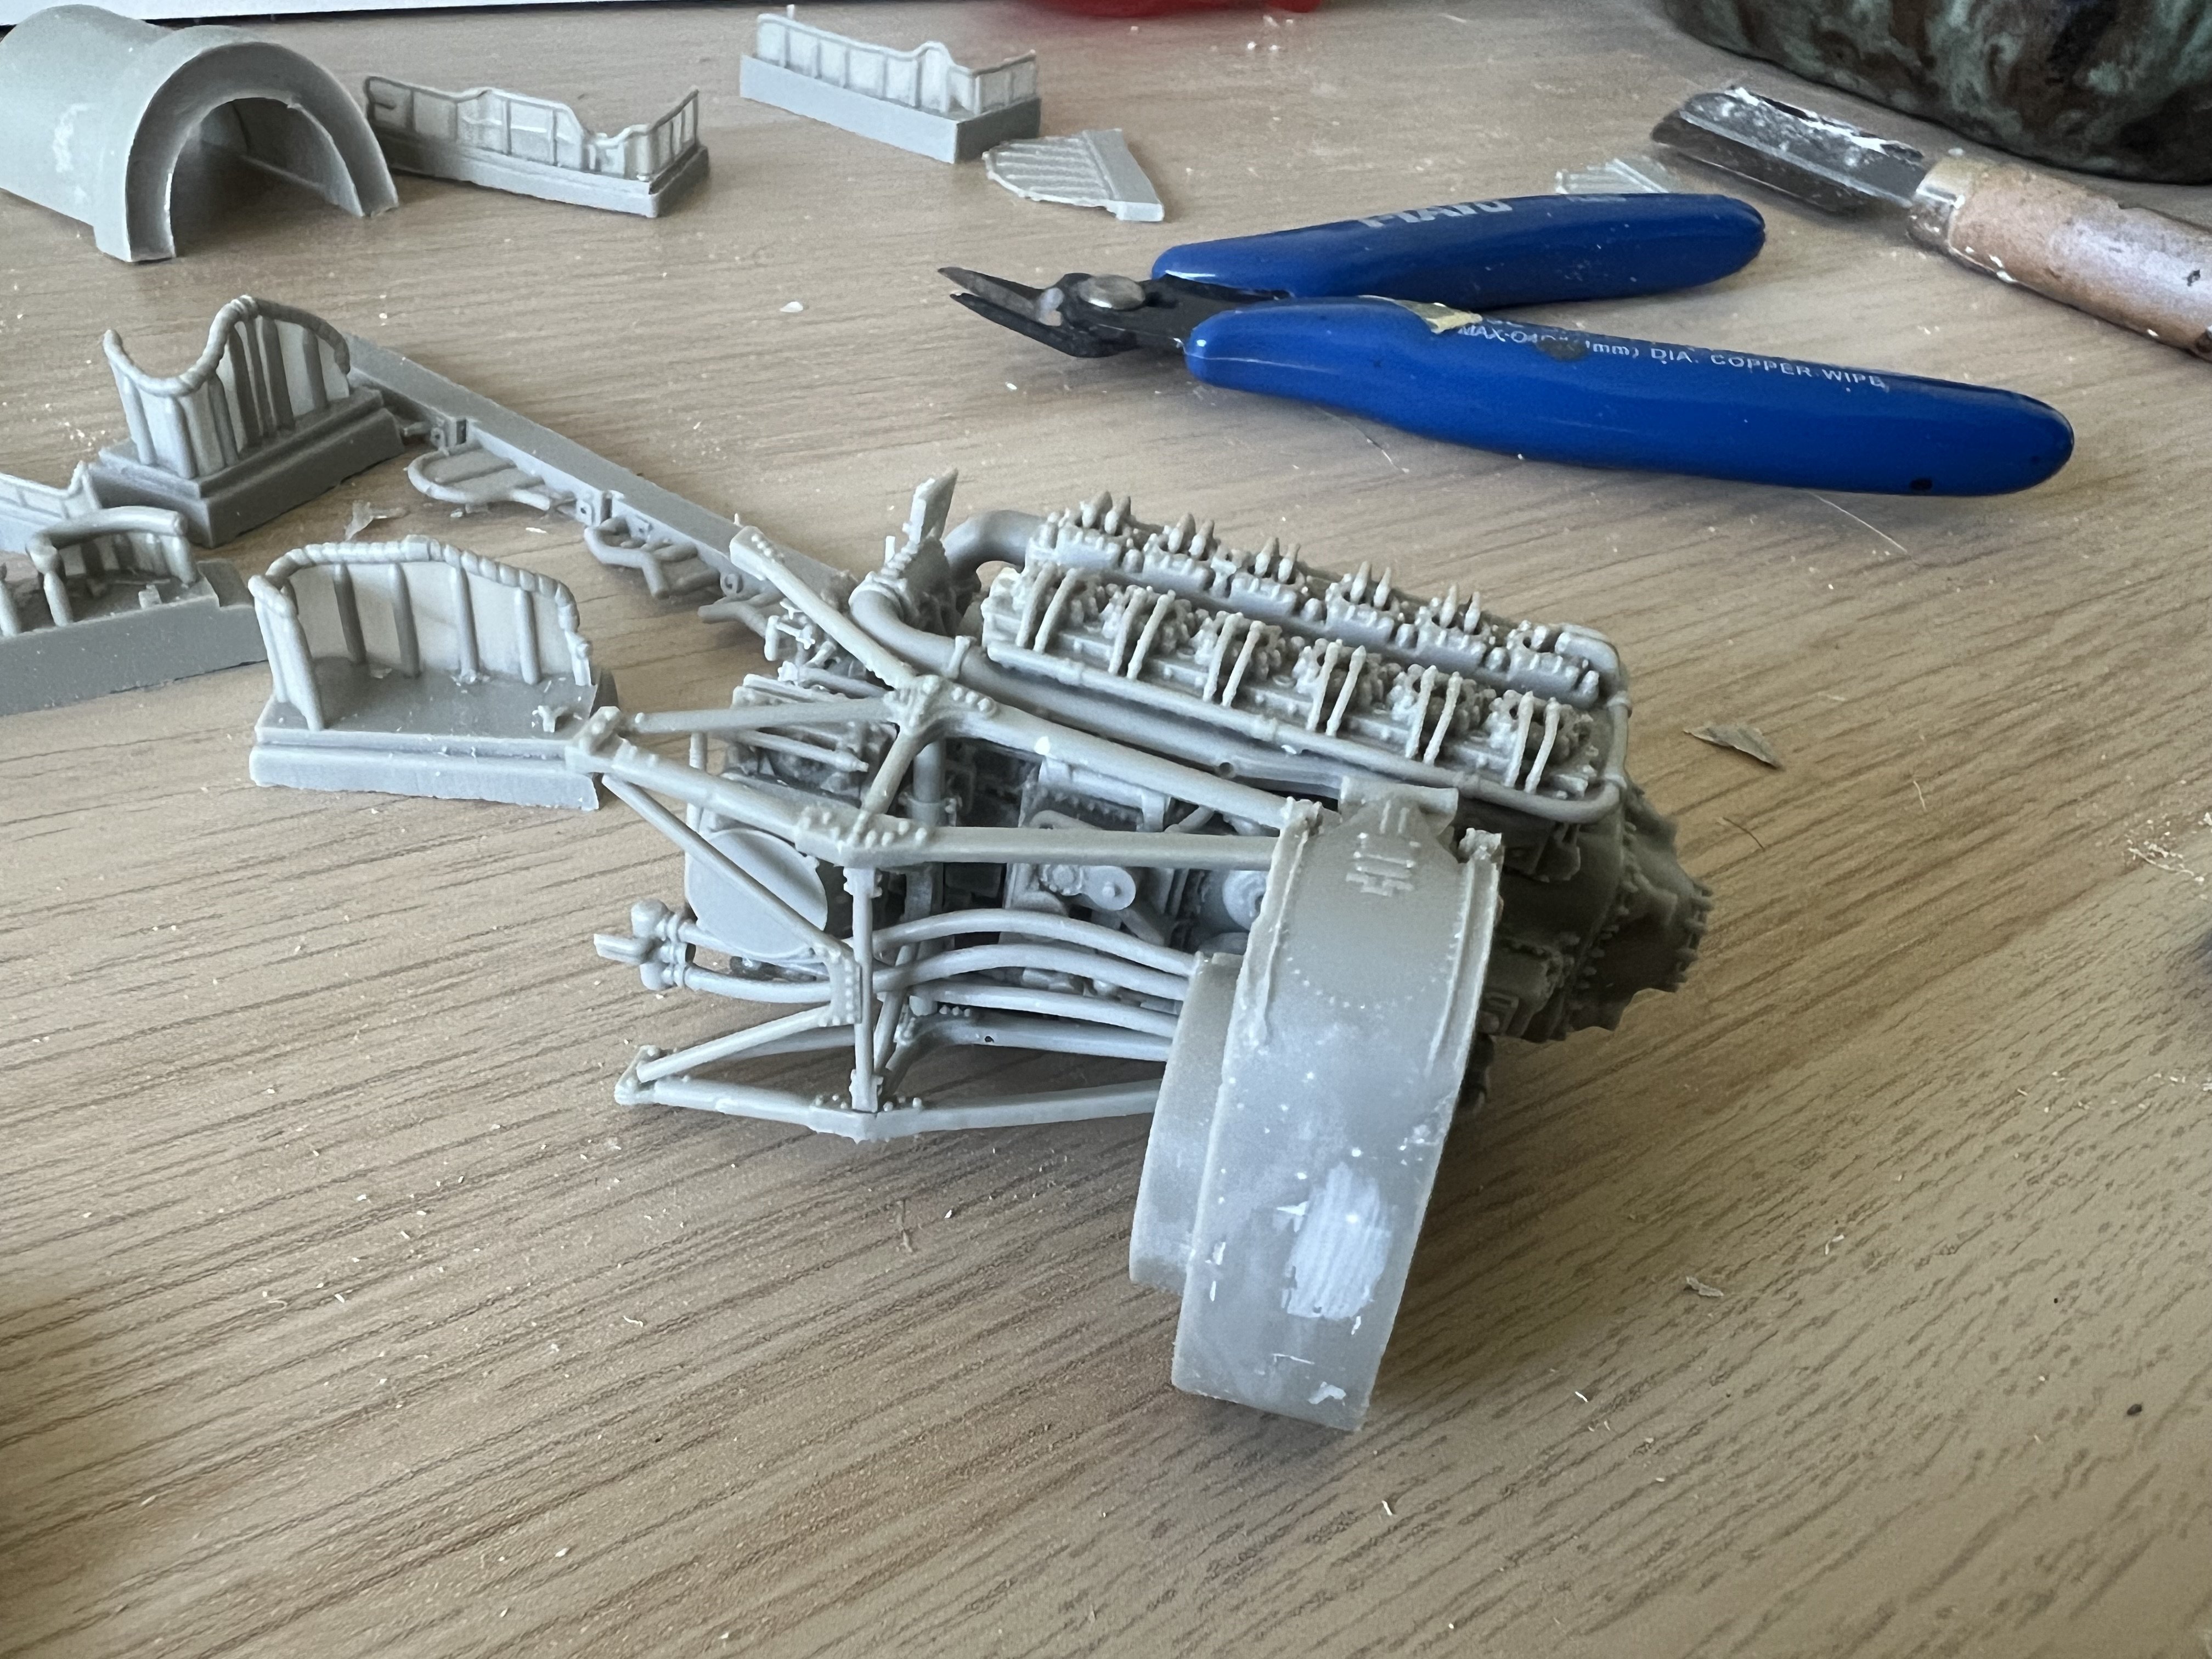
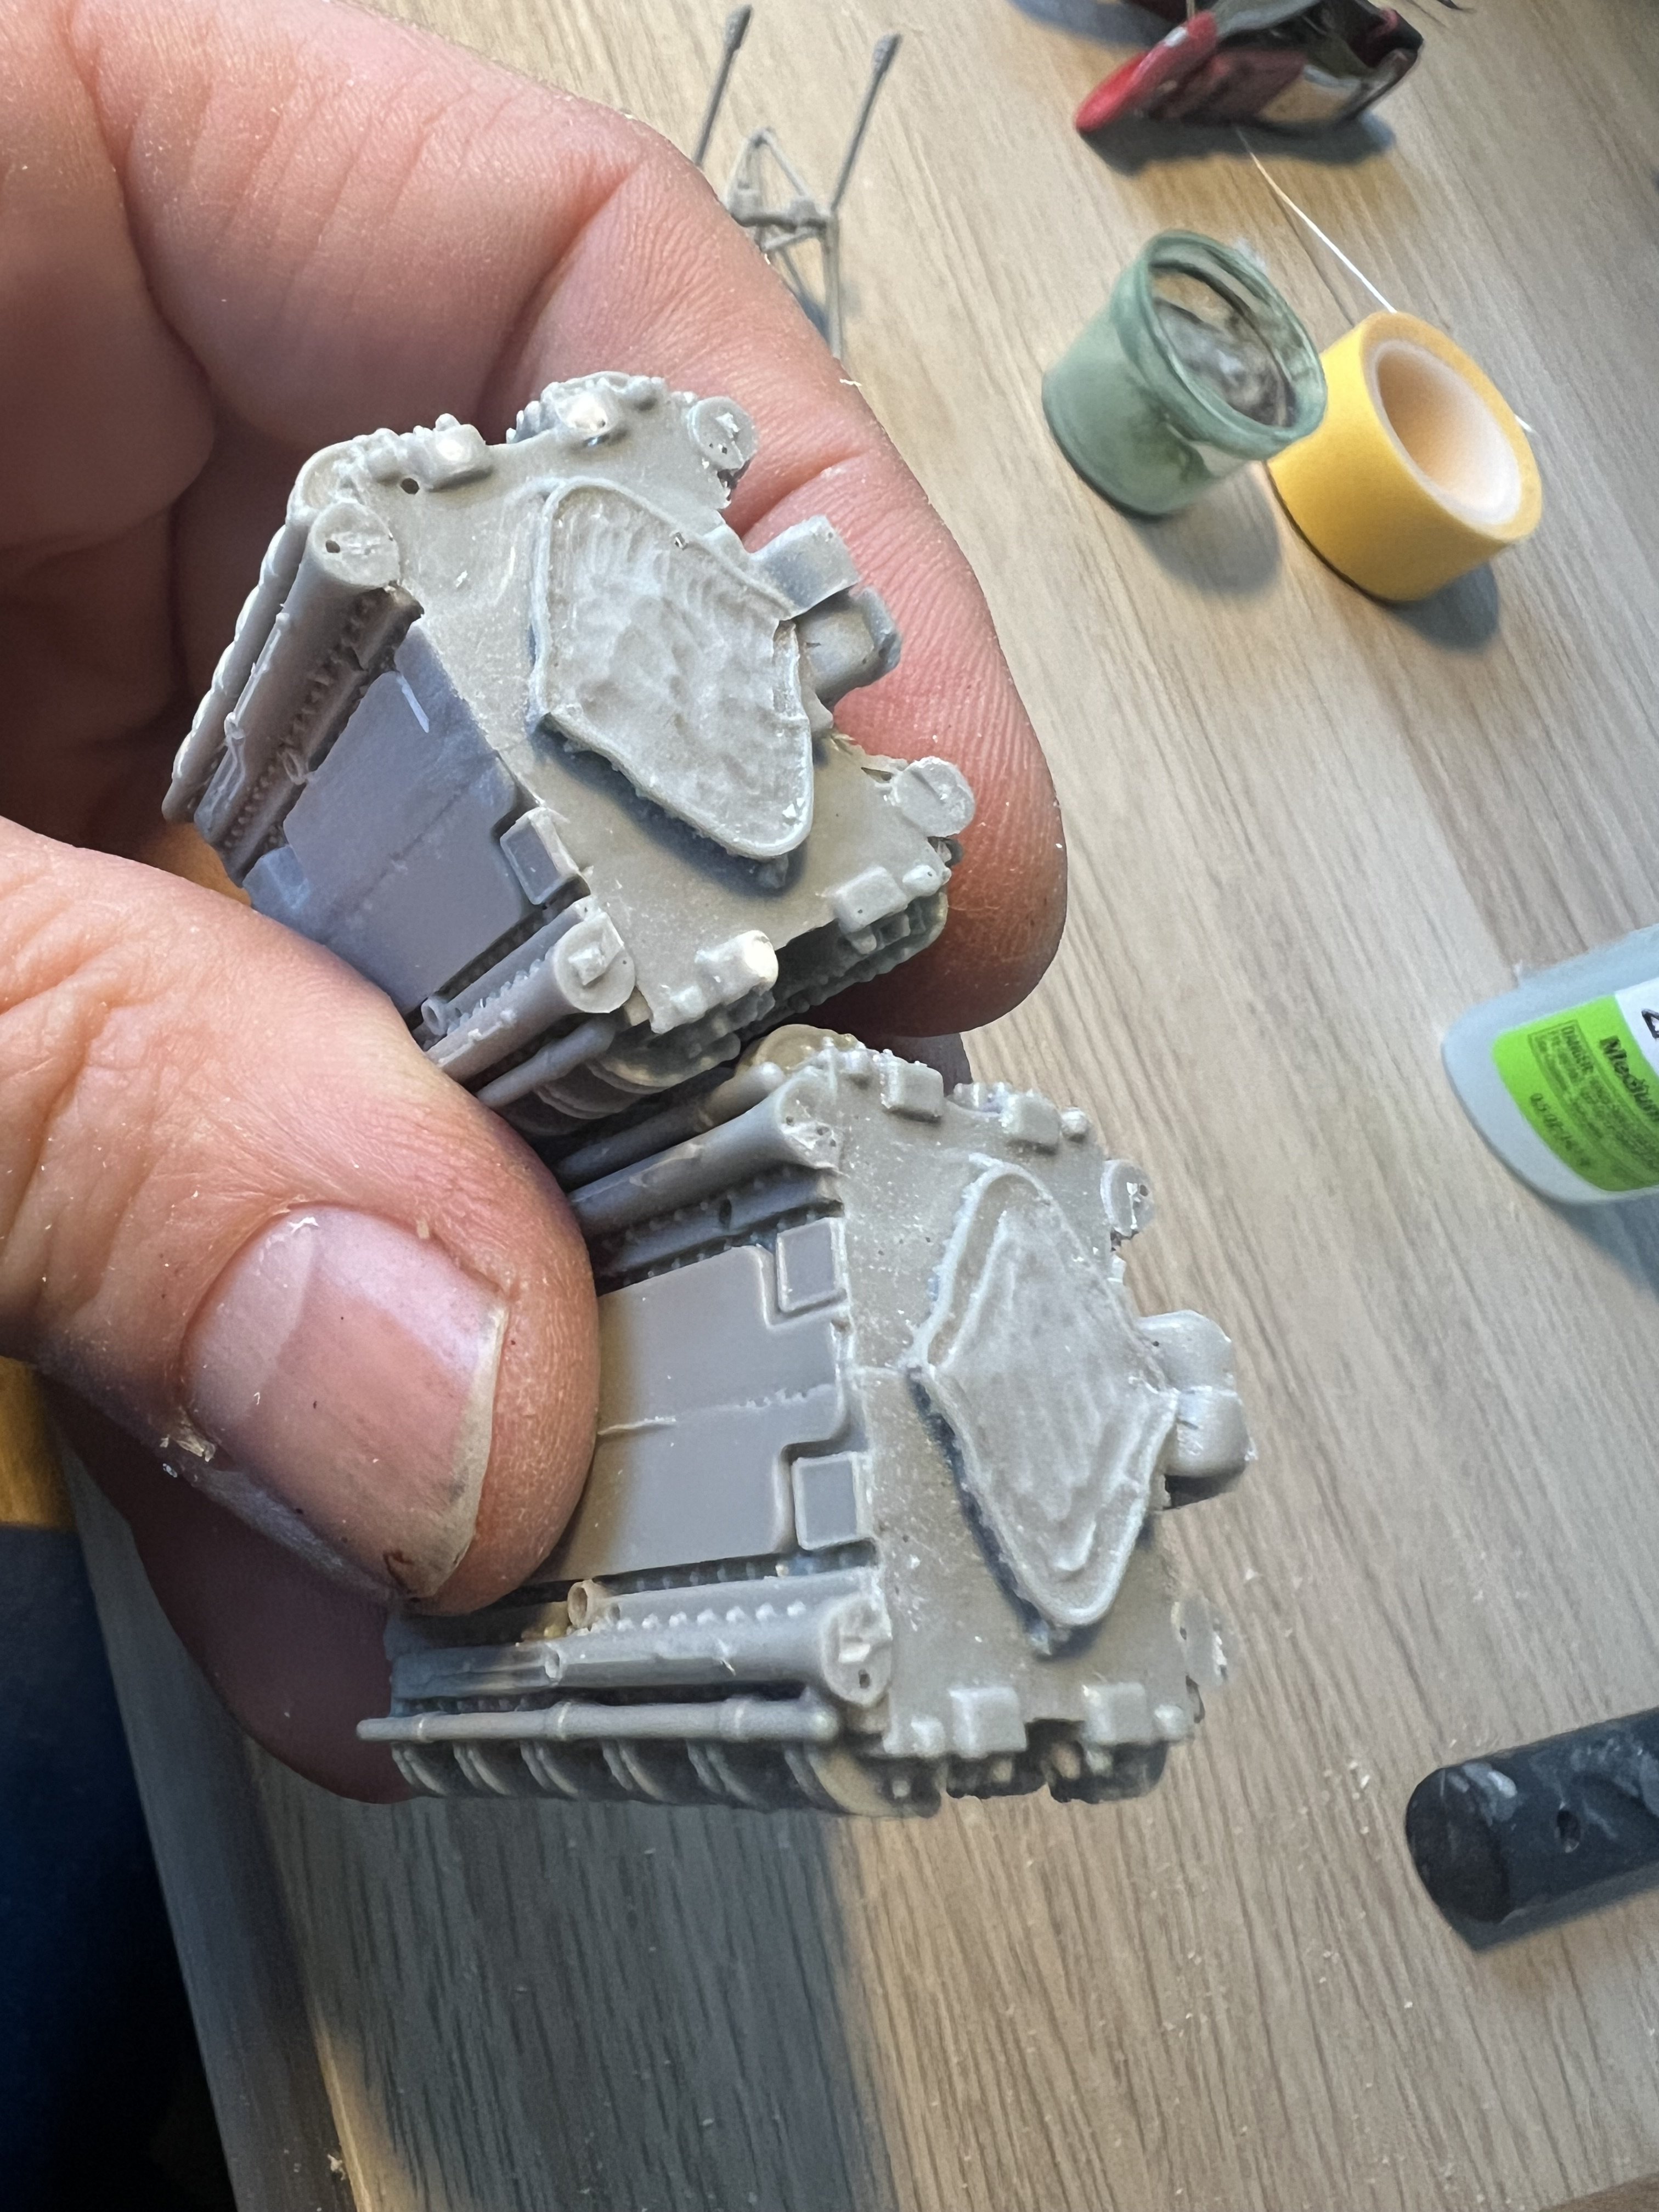
The tolerances on this kittle kit are tiny. There’s a lot of cleanup and dry fitting. I clean up about 3 or 4 parts every session and see this engine block slowly growing.
- 100 replies
-
- 10
-
-
1/32 Hawker Tempest
JeroenPeters replied to JeroenPeters's topic in LSM 1/35 and Larger Work In Progress
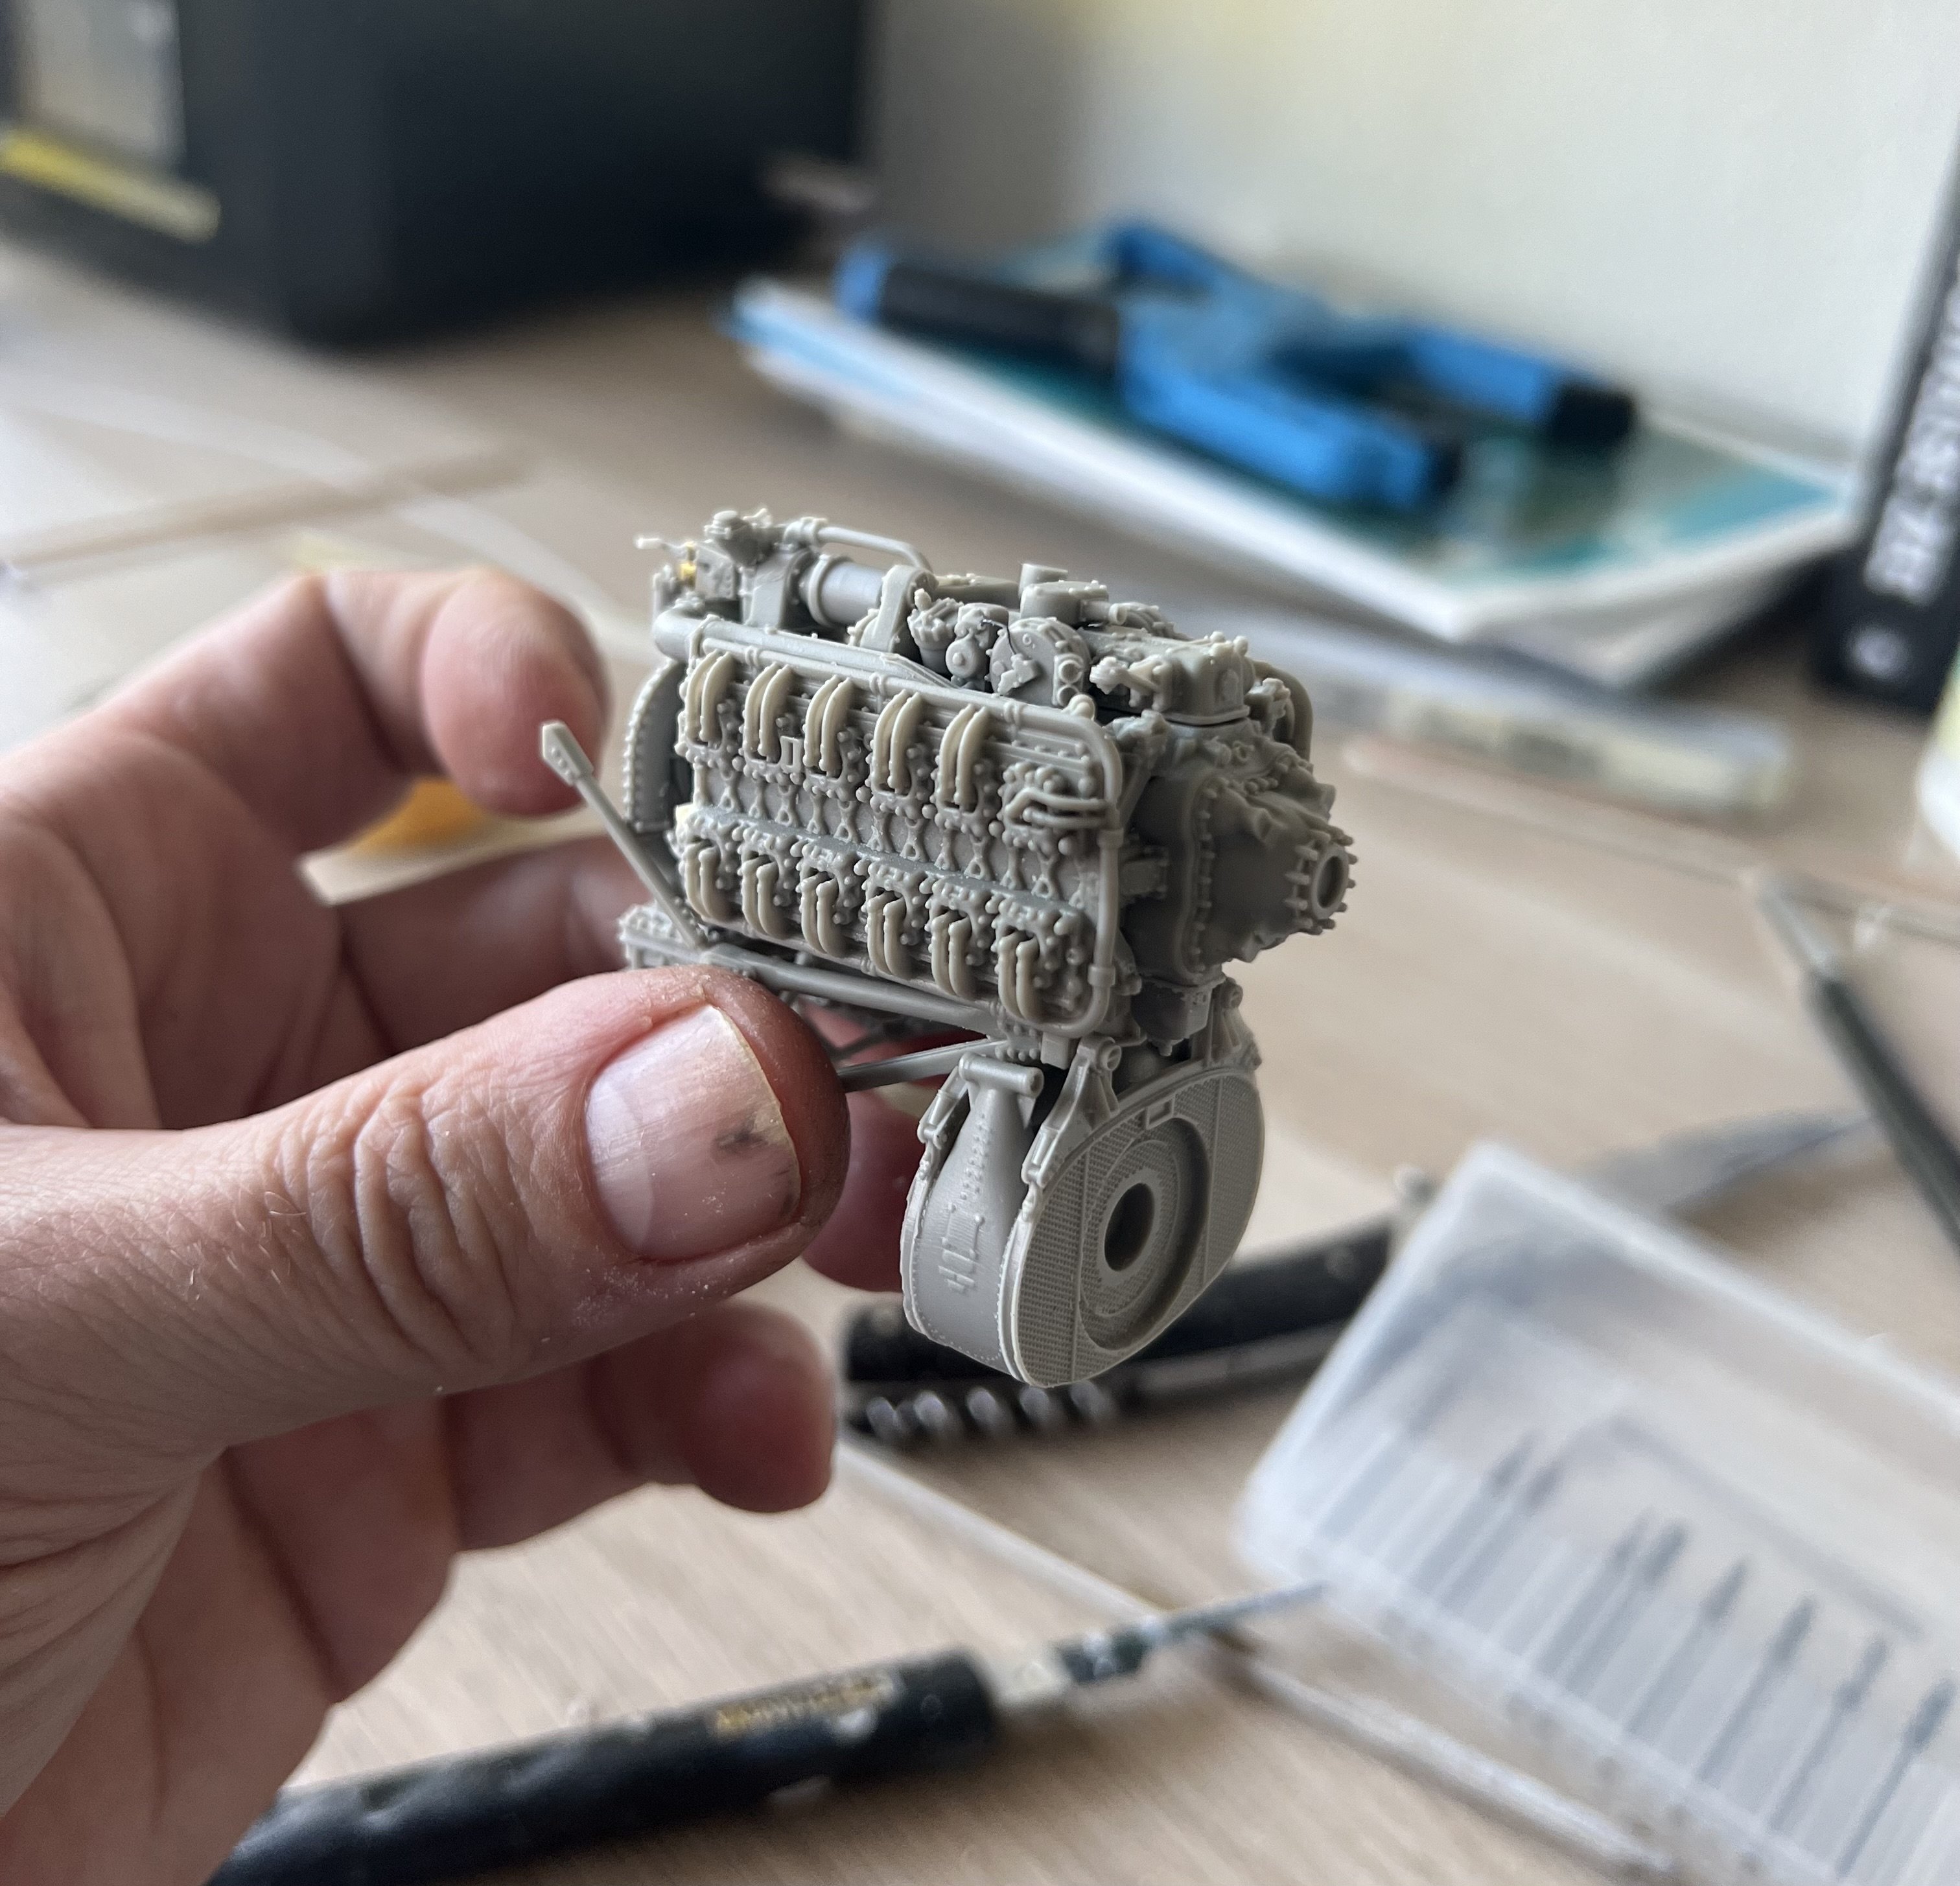
Adding lead wire. There was a day when i didnt need magnifying glasses.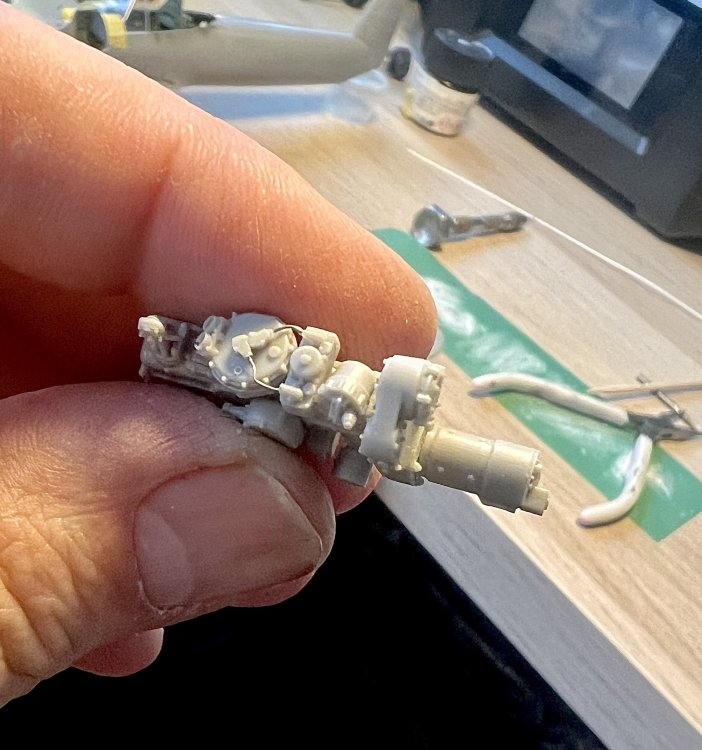
-
1/32 Hawker Tempest
JeroenPeters replied to JeroenPeters's topic in LSM 1/35 and Larger Work In Progress
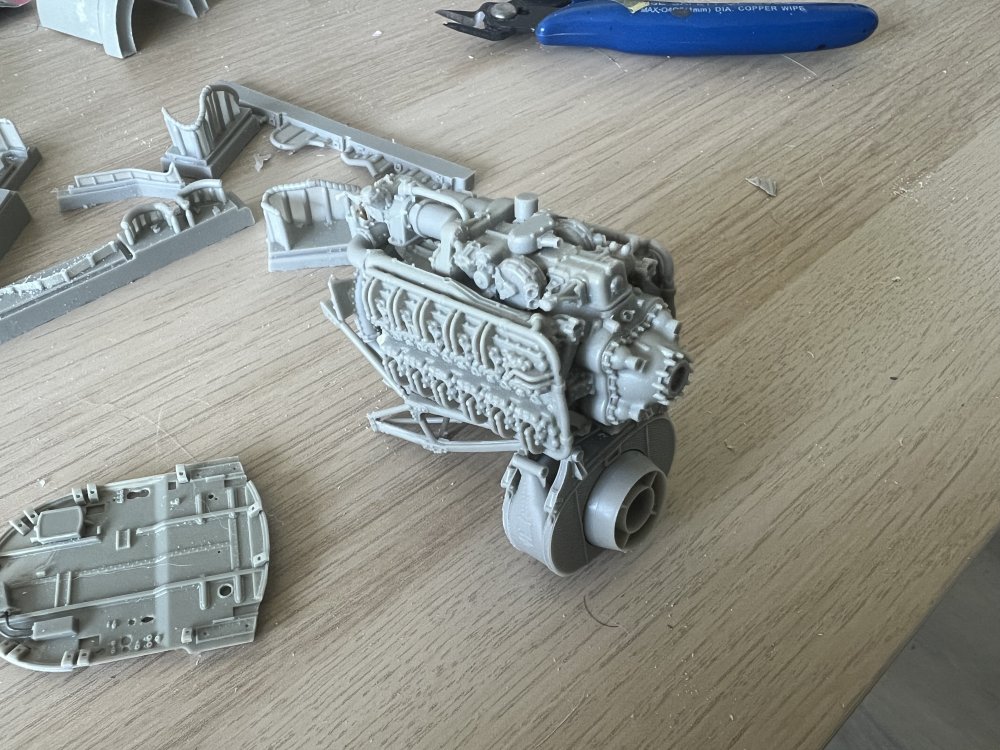
Really not a set for the novice. Lots of parts missing, broken or short shot. The size between the RR Peregrine and the Napier isnt even as different than i expected.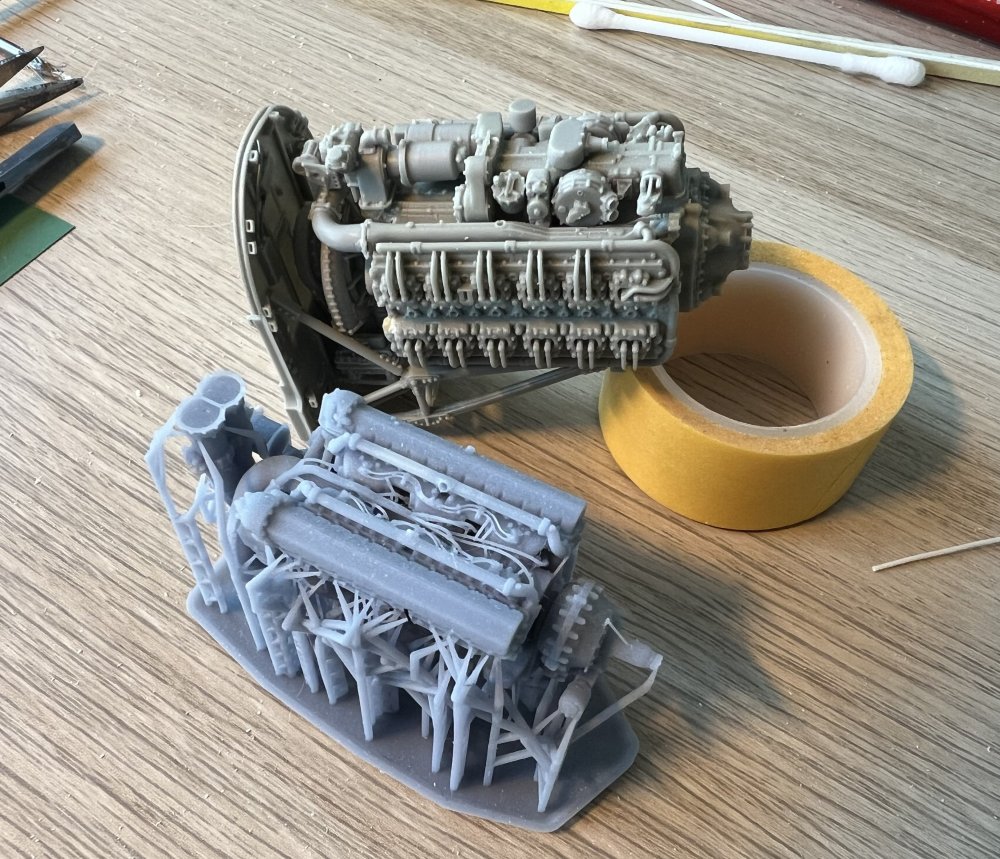
-
1/32 Hawker Tempest
JeroenPeters replied to JeroenPeters's topic in LSM 1/35 and Larger Work In Progress
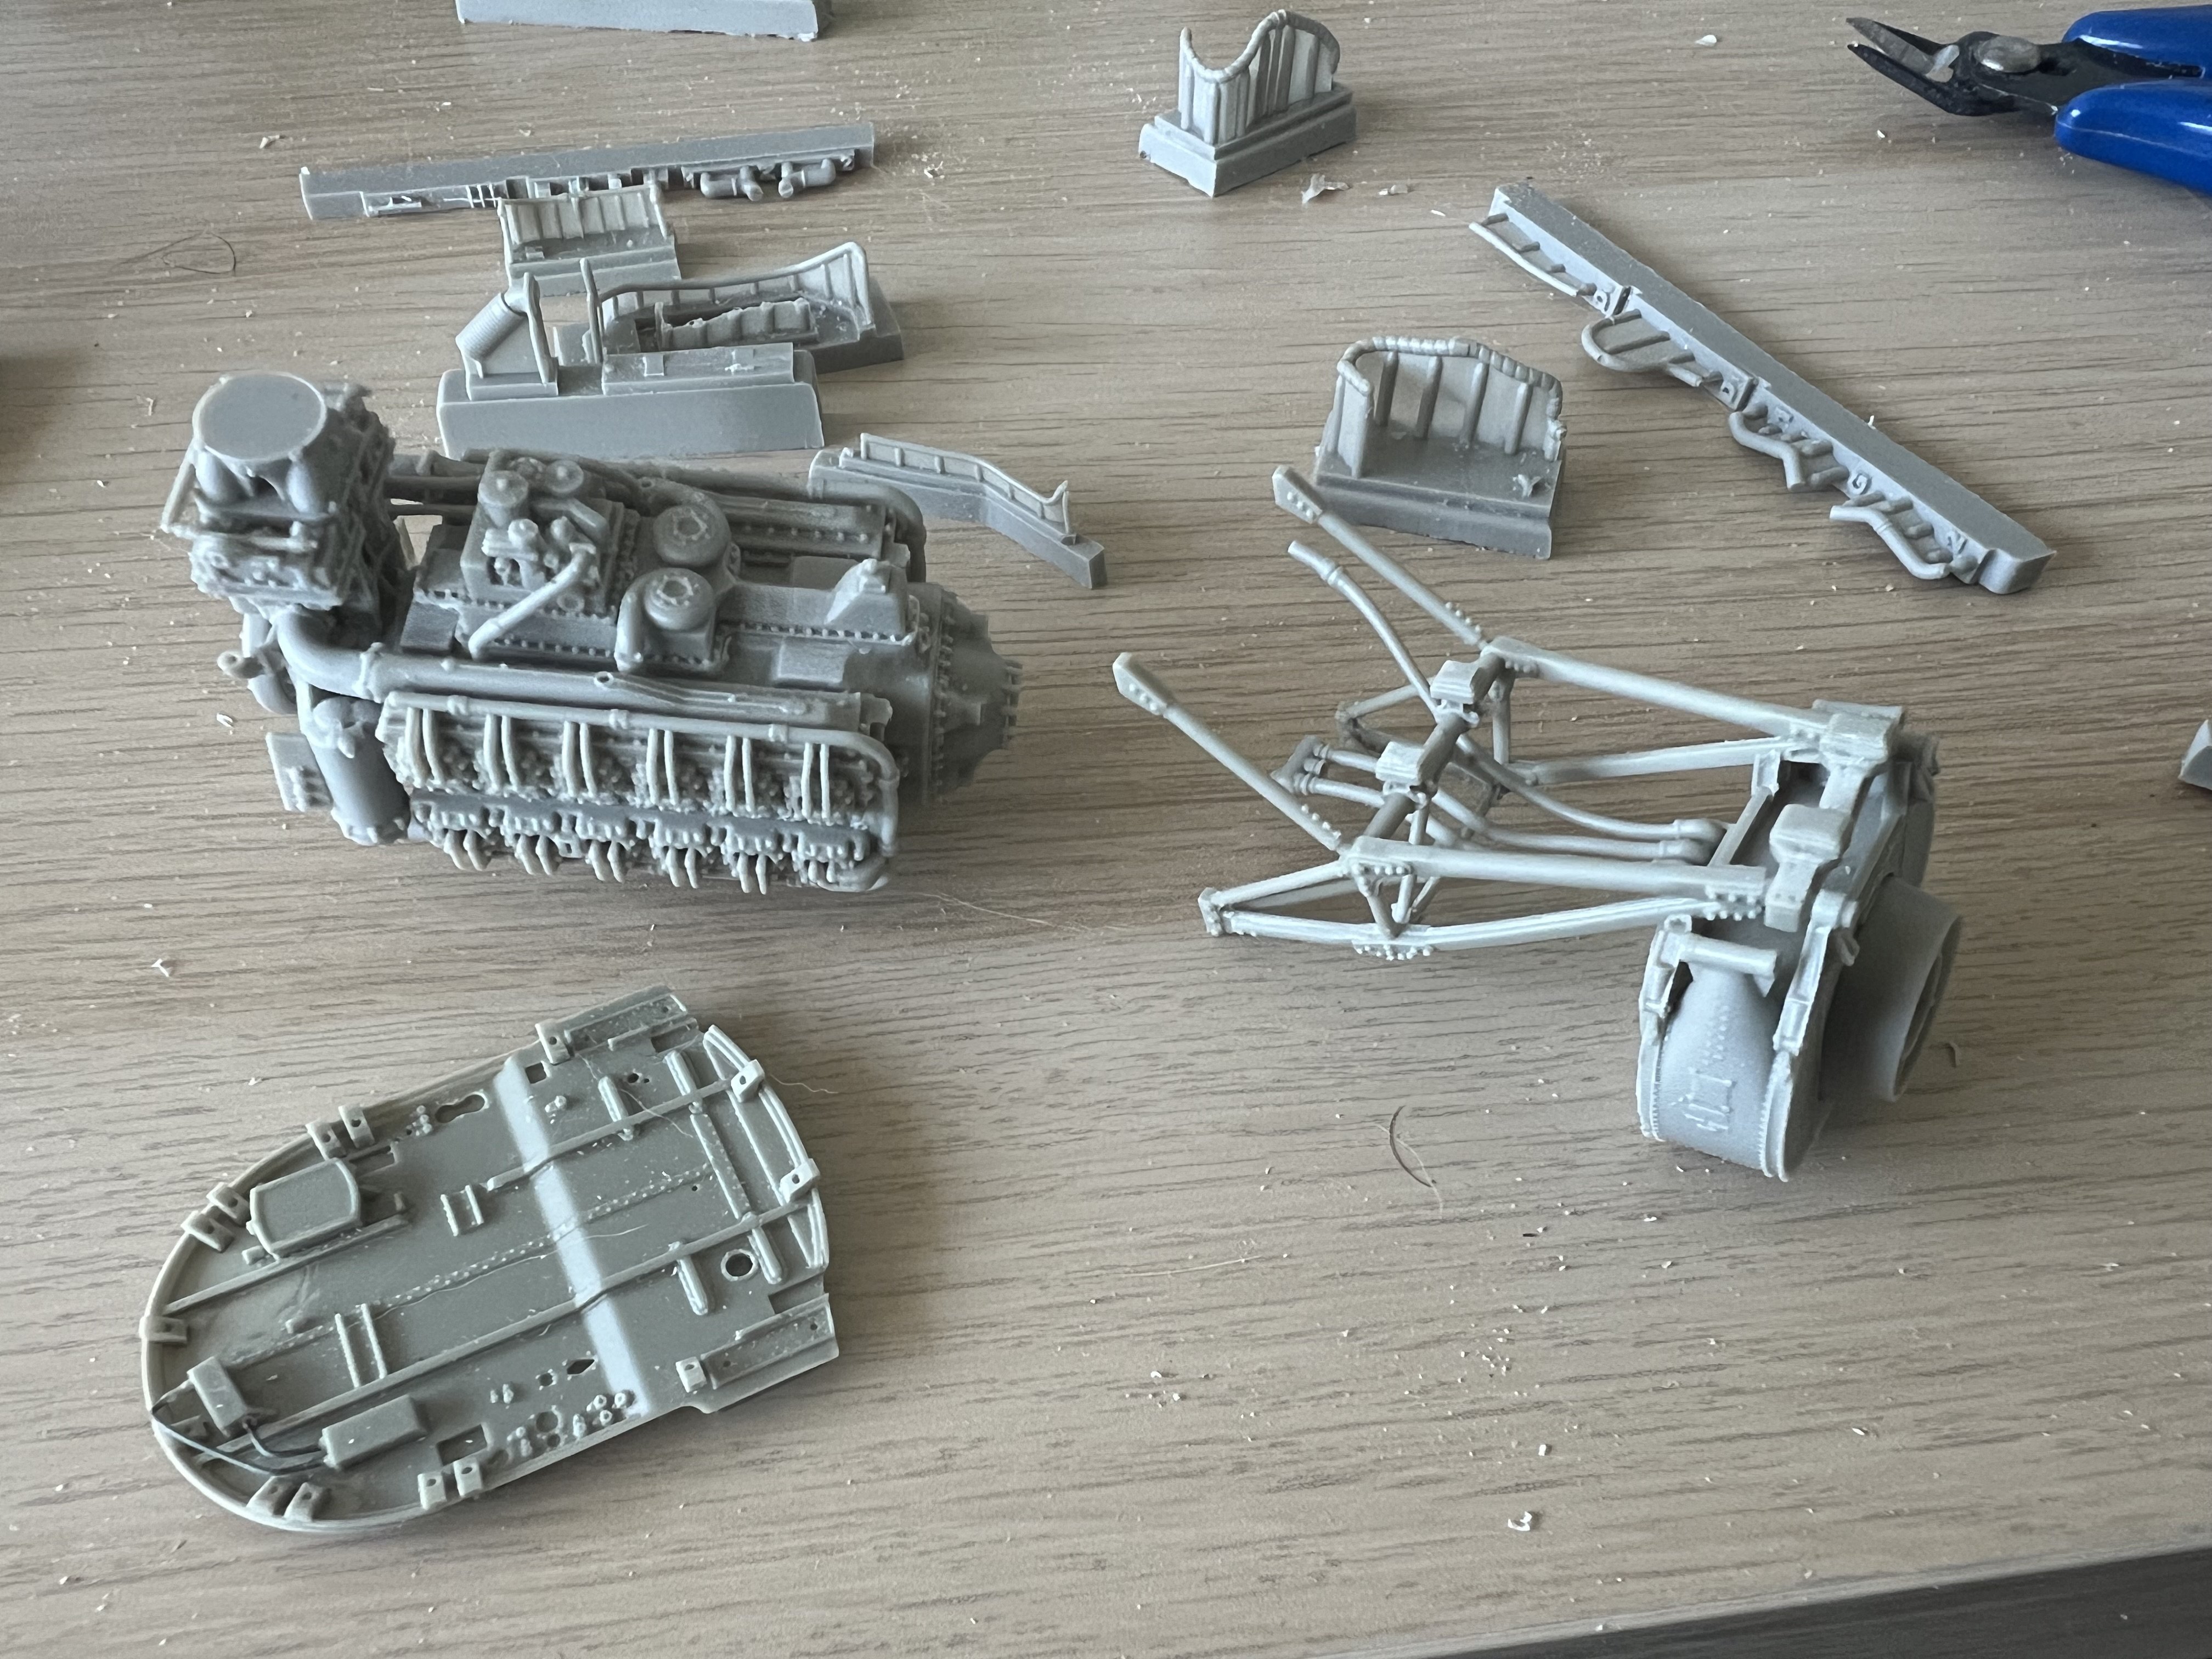
It’s becoming one big chunk of resin.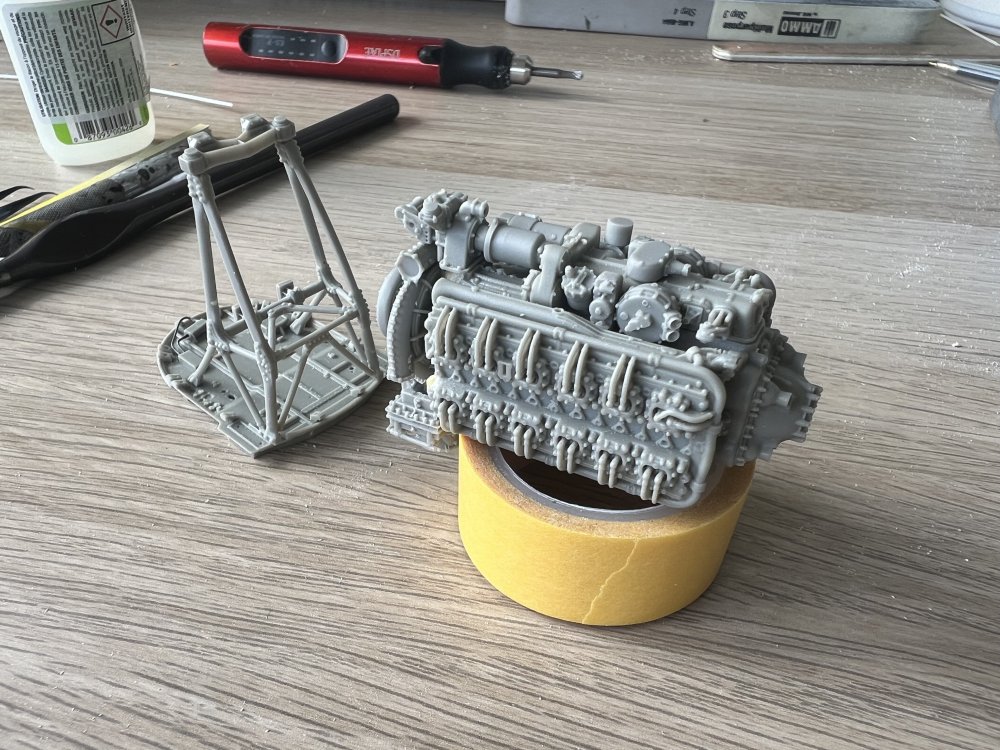
- 100 replies
-
- 11
-
-
1/32 Hawker Tempest
JeroenPeters replied to JeroenPeters's topic in LSM 1/35 and Larger Work In Progress
Another sub assembly done. And i fixed one of the misalligned parts with light curing putty.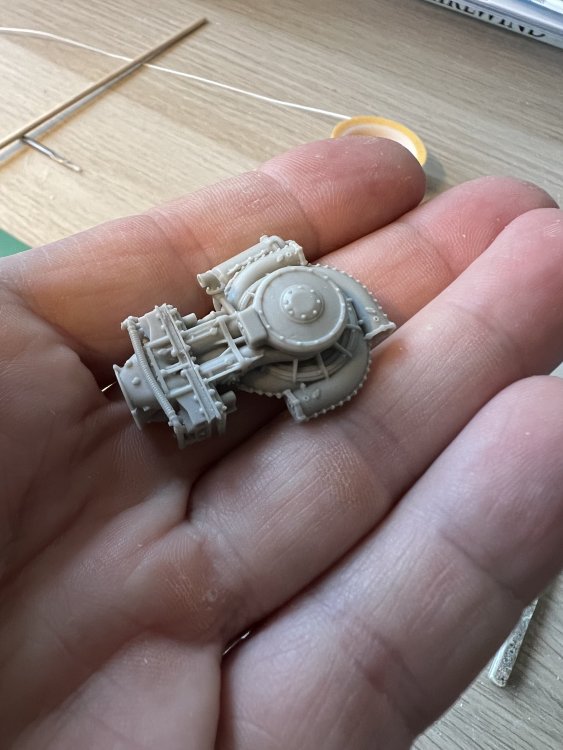

- 100 replies
-
- 10
-
-
1/32 Hawker Tempest
JeroenPeters replied to JeroenPeters's topic in LSM 1/35 and Larger Work In Progress
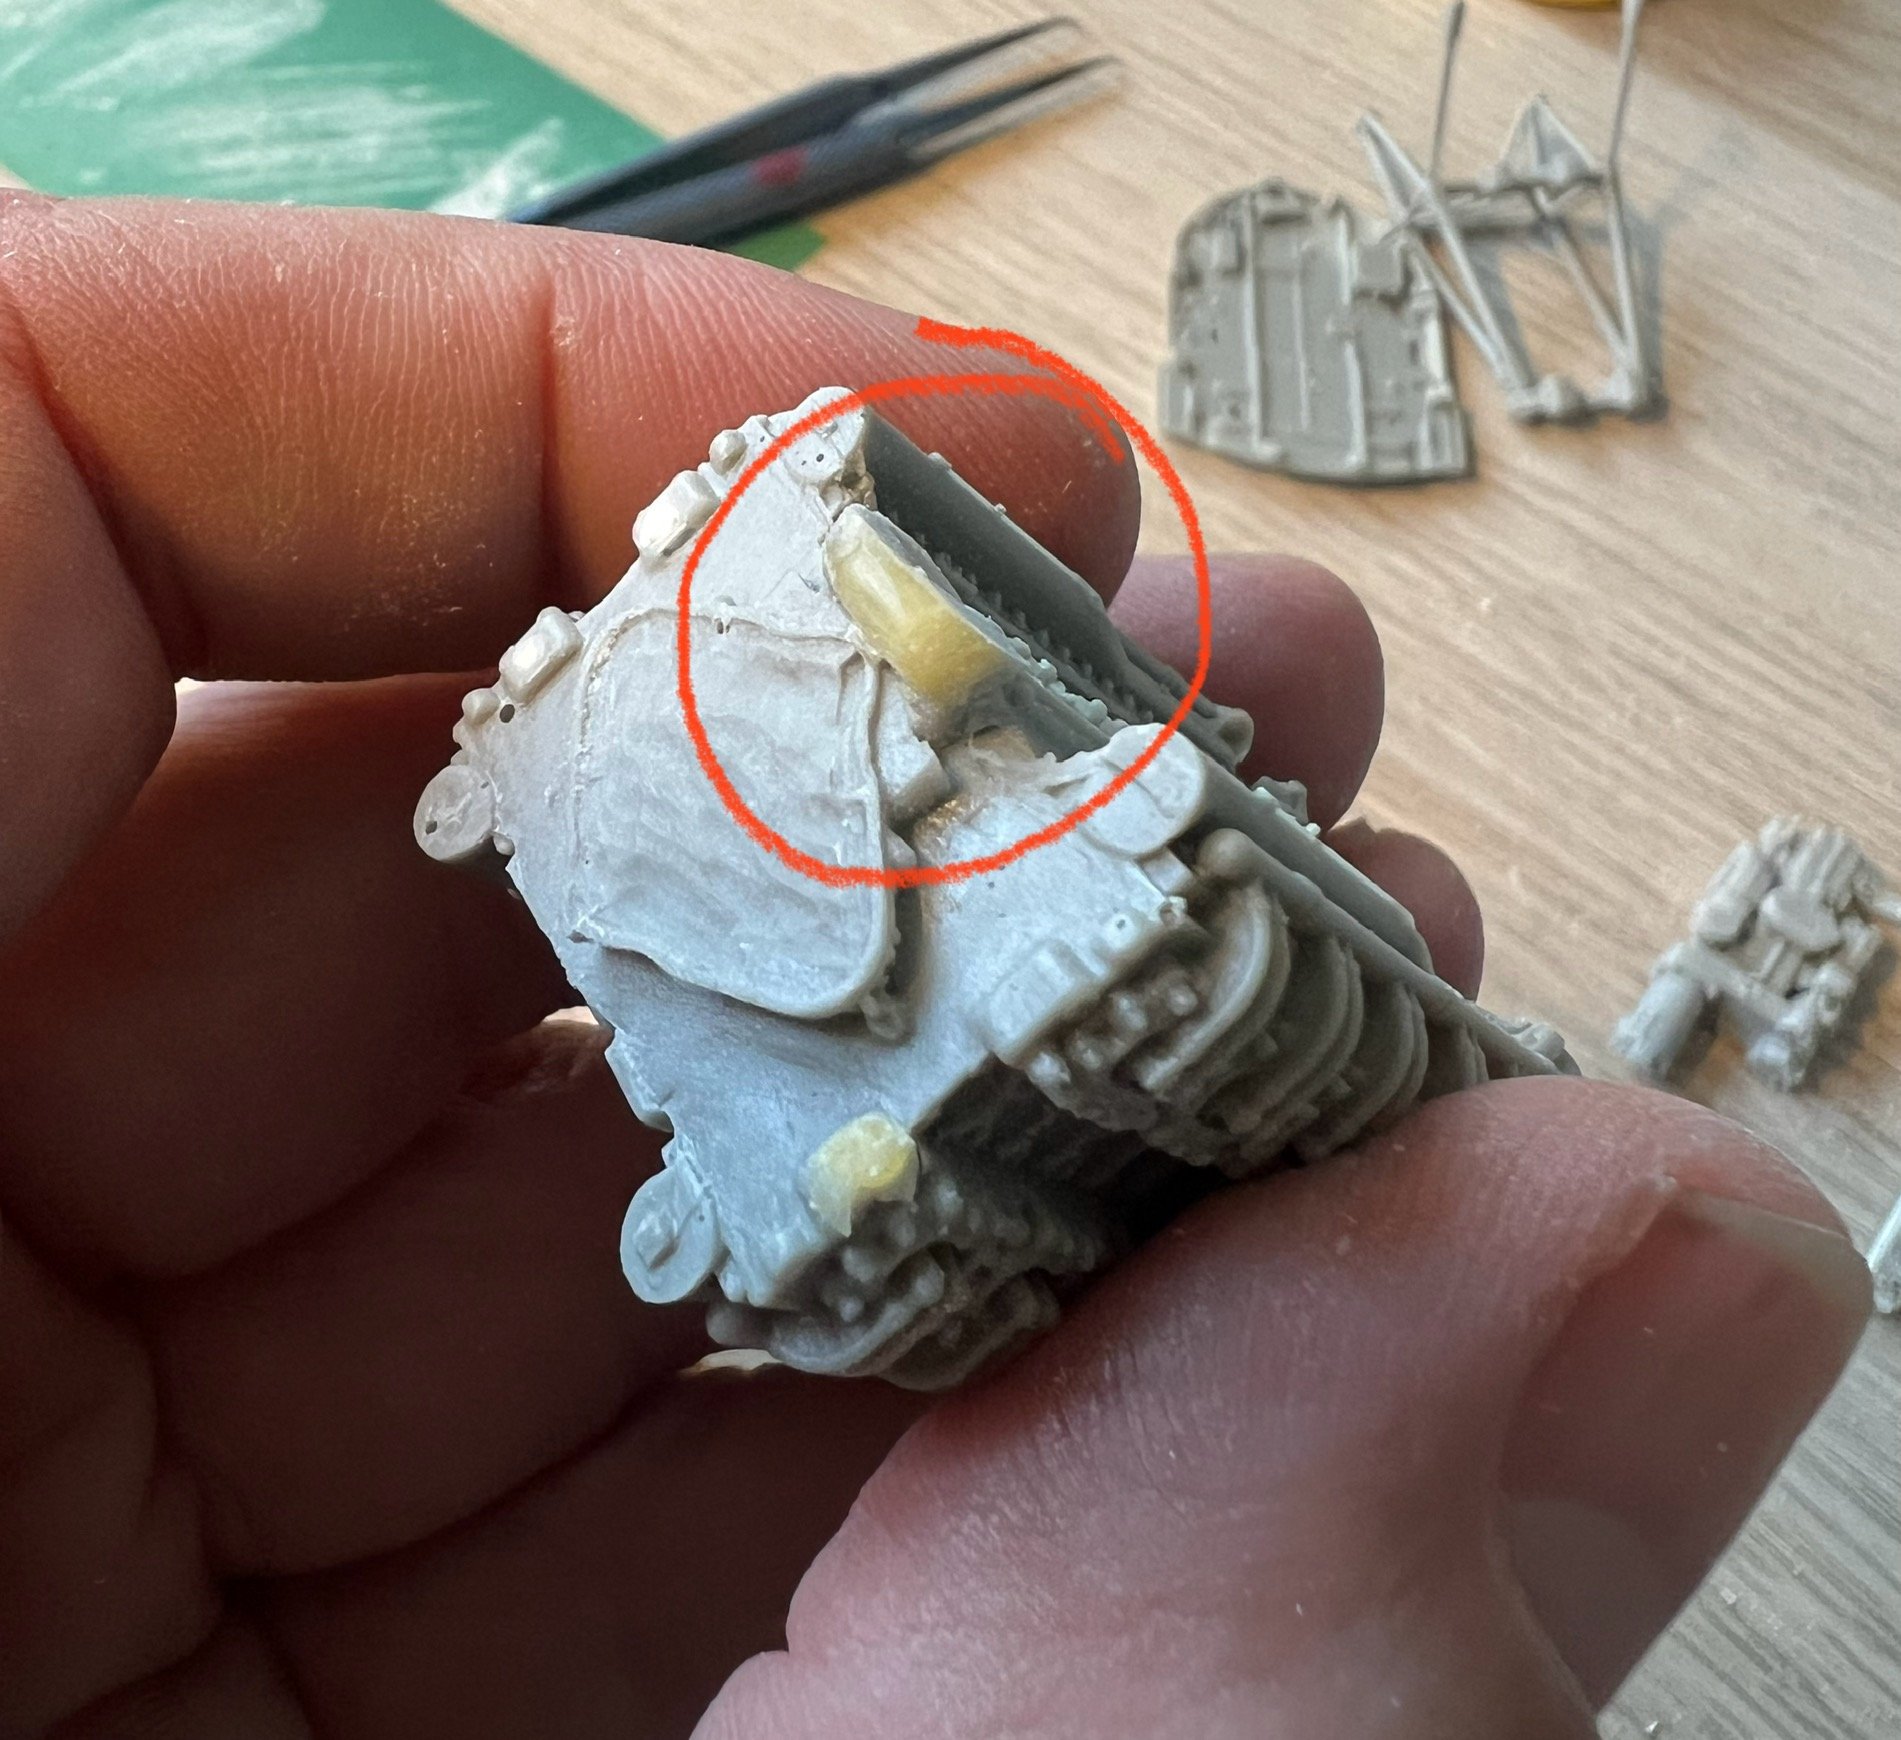
A bit frustrated with the Special Hobby engine which turns out to be special indeed. In the sense that the back of the replaced engine block is completely misformed and also a little misalligned. I have decided to even use the original block which i had replaced. A lot of careful filling and shaping will need to be done. Also: some small parts are missing of the casting blocks. I will have to scratch those. Pretty dissatisfied with this expensive set. I’ll fix it but it will take a lot of time.

-
1/32 Hawker Tempest
JeroenPeters replied to JeroenPeters's topic in LSM 1/35 and Larger Work In Progress
Lots of tiny parts. A real gem. I hope 😬
-
1/32 Hawker Tempest
JeroenPeters replied to JeroenPeters's topic in LSM 1/35 and Larger Work In Progress
Just visited Cees Broere and was treated to a few great reference books. Almost ready to go full speed on this build. Which is snail pace in my world.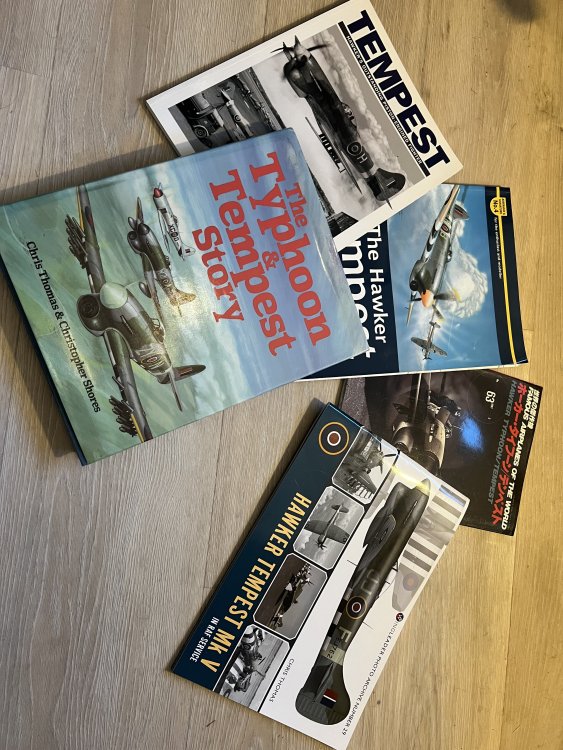
-
1/32 Westland Whirlwind
JeroenPeters replied to JeroenPeters's topic in LSM 1/35 and Larger Work In Progress
The signed photo arrived. Now to think of a base to hold this.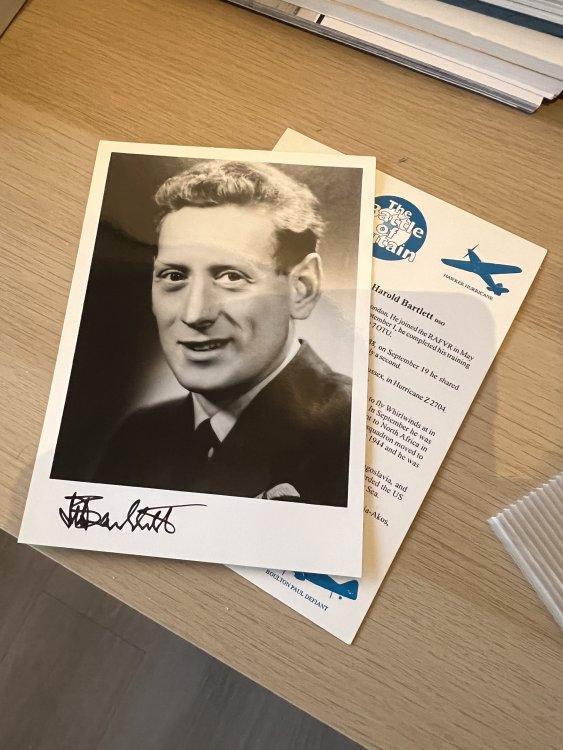
-
1/32 Hawker Tempest
JeroenPeters replied to JeroenPeters's topic in LSM 1/35 and Larger Work In Progress
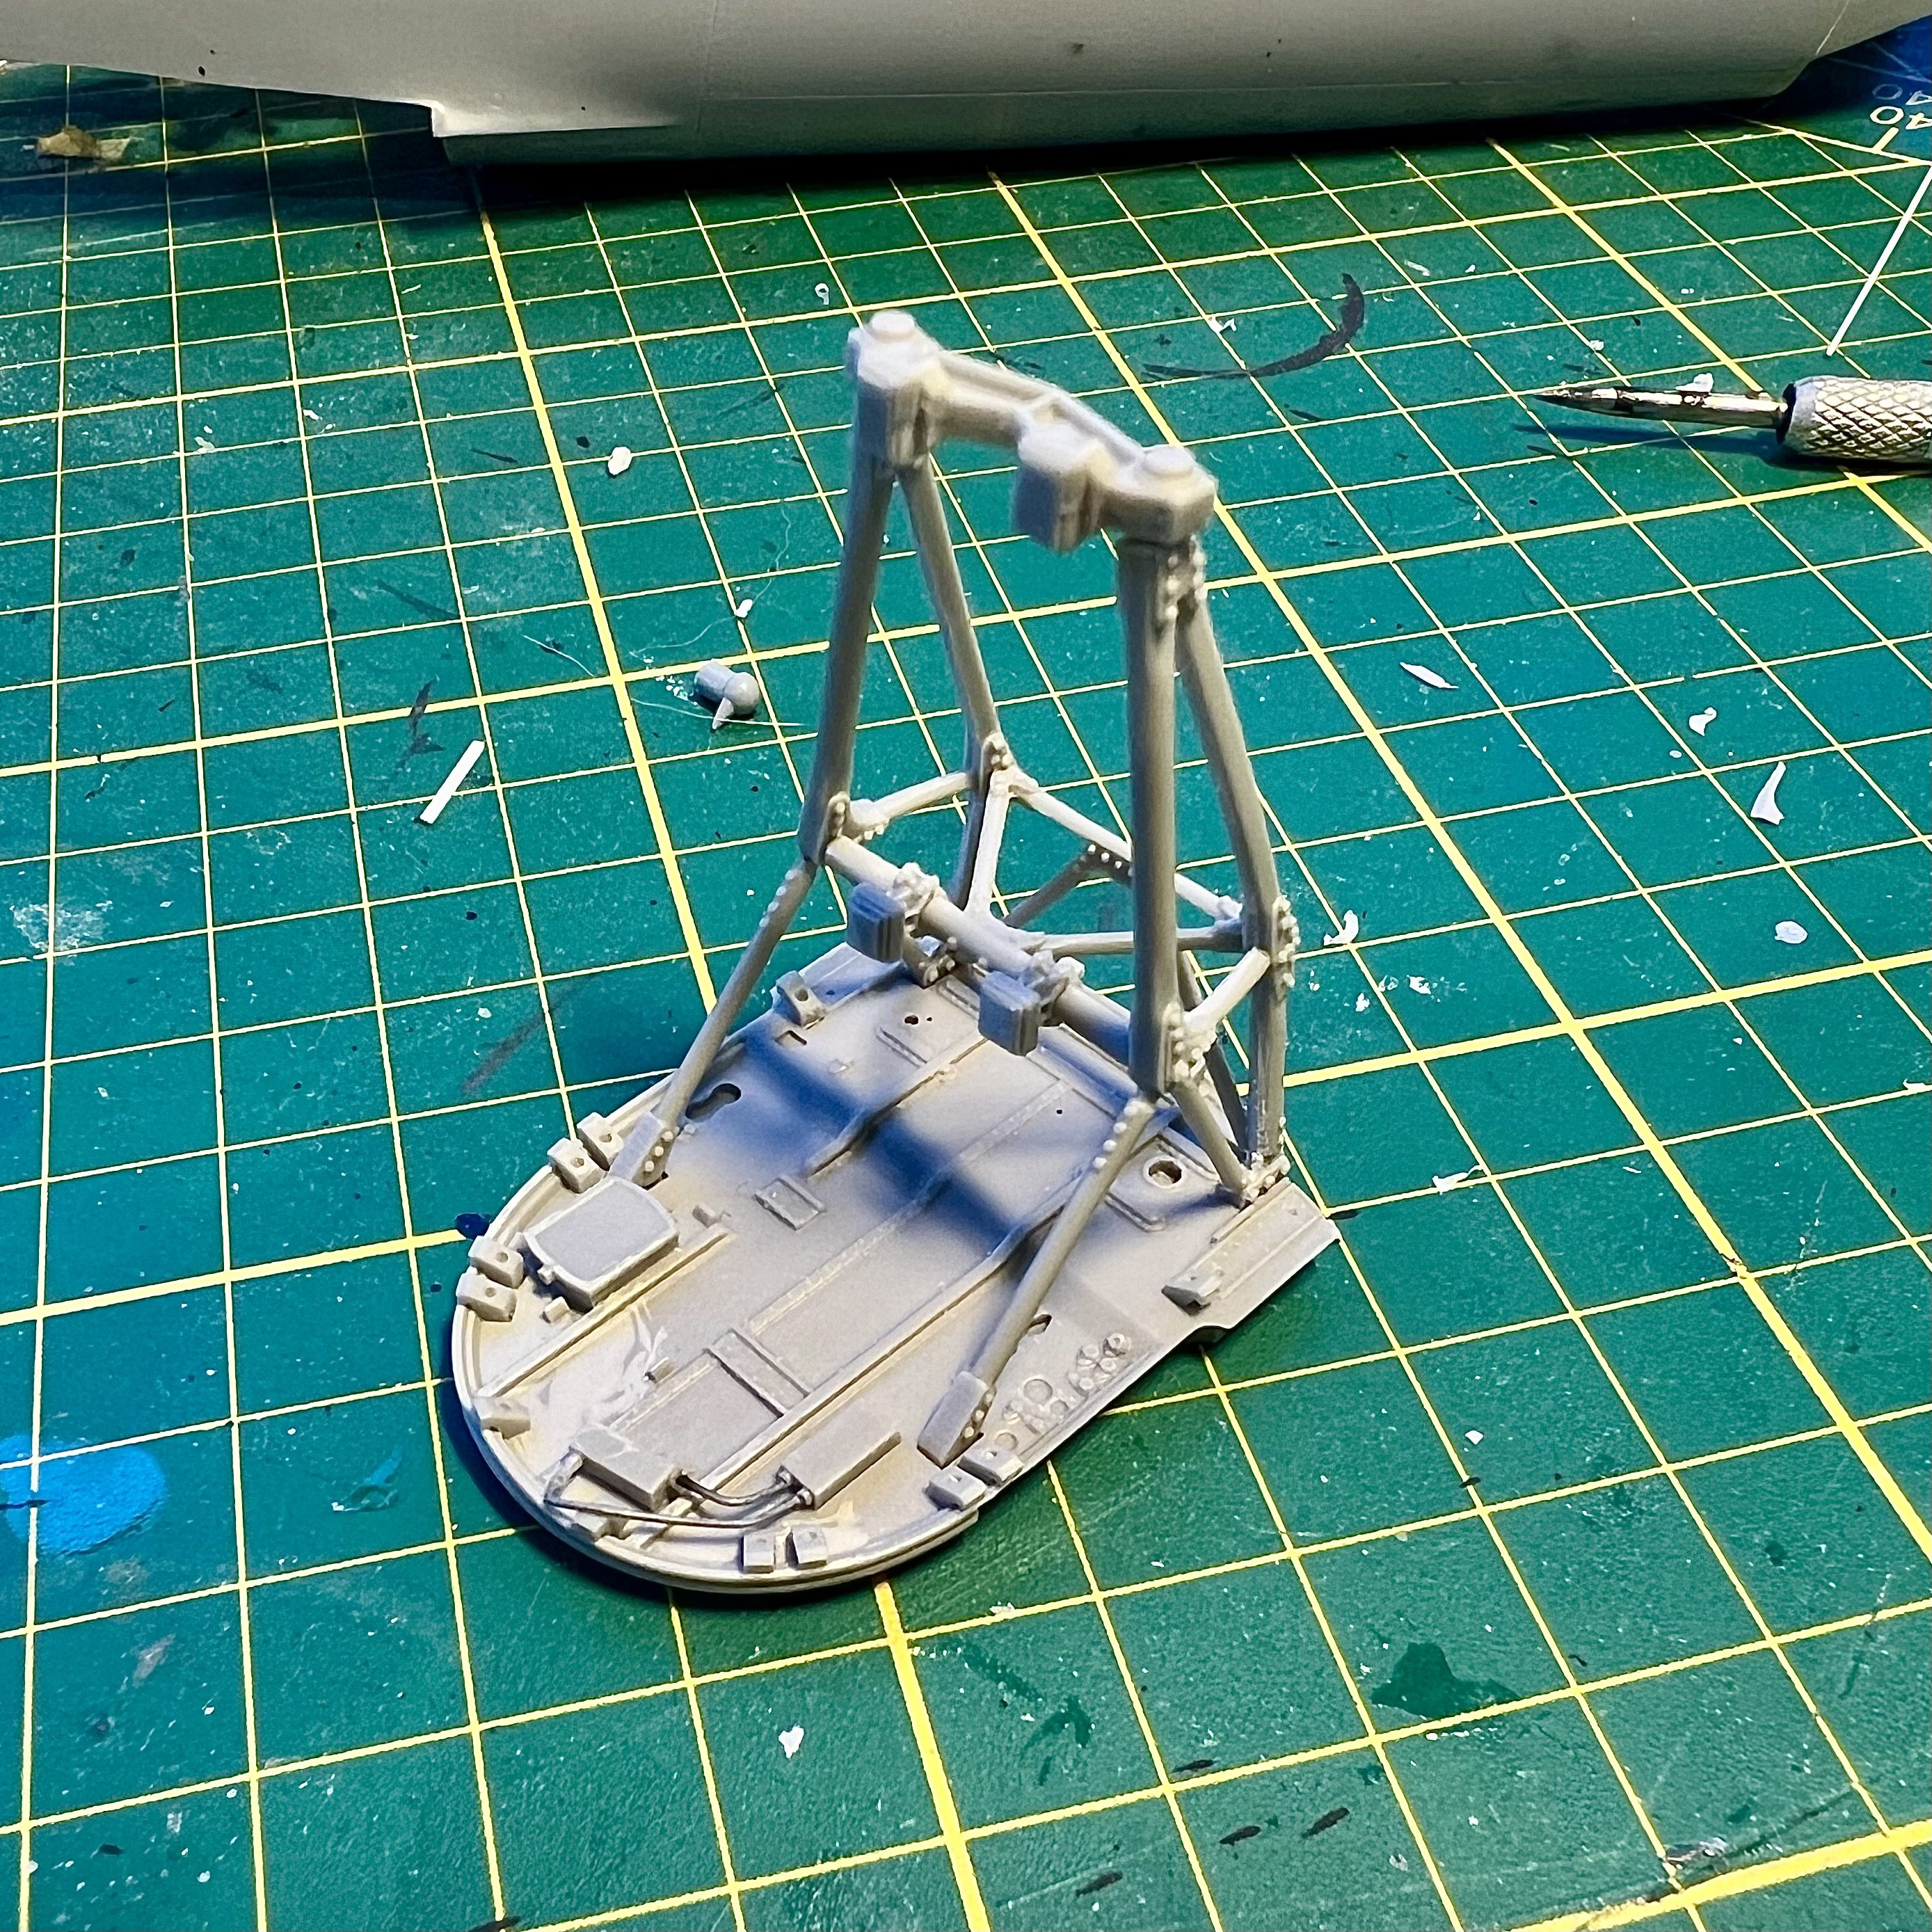
Engine bearers now properly alligned.
-
1/32 Hawker Tempest
JeroenPeters replied to JeroenPeters's topic in LSM 1/35 and Larger Work In Progress
Started with the engine bearers. You need to be very careful in lining these up properly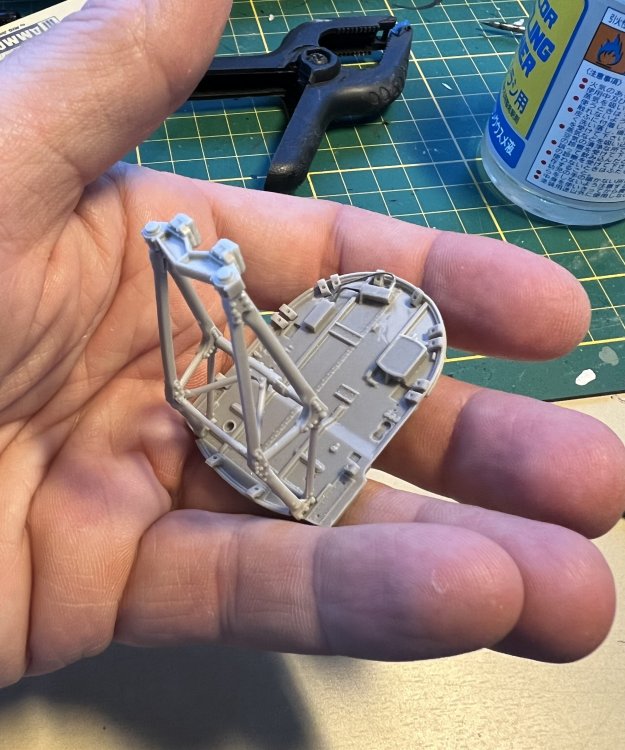
-
1/32 Westland Whirlwind
JeroenPeters replied to JeroenPeters's topic in LSM 1/35 and Larger Work In Progress
More serious clamping going on..
-
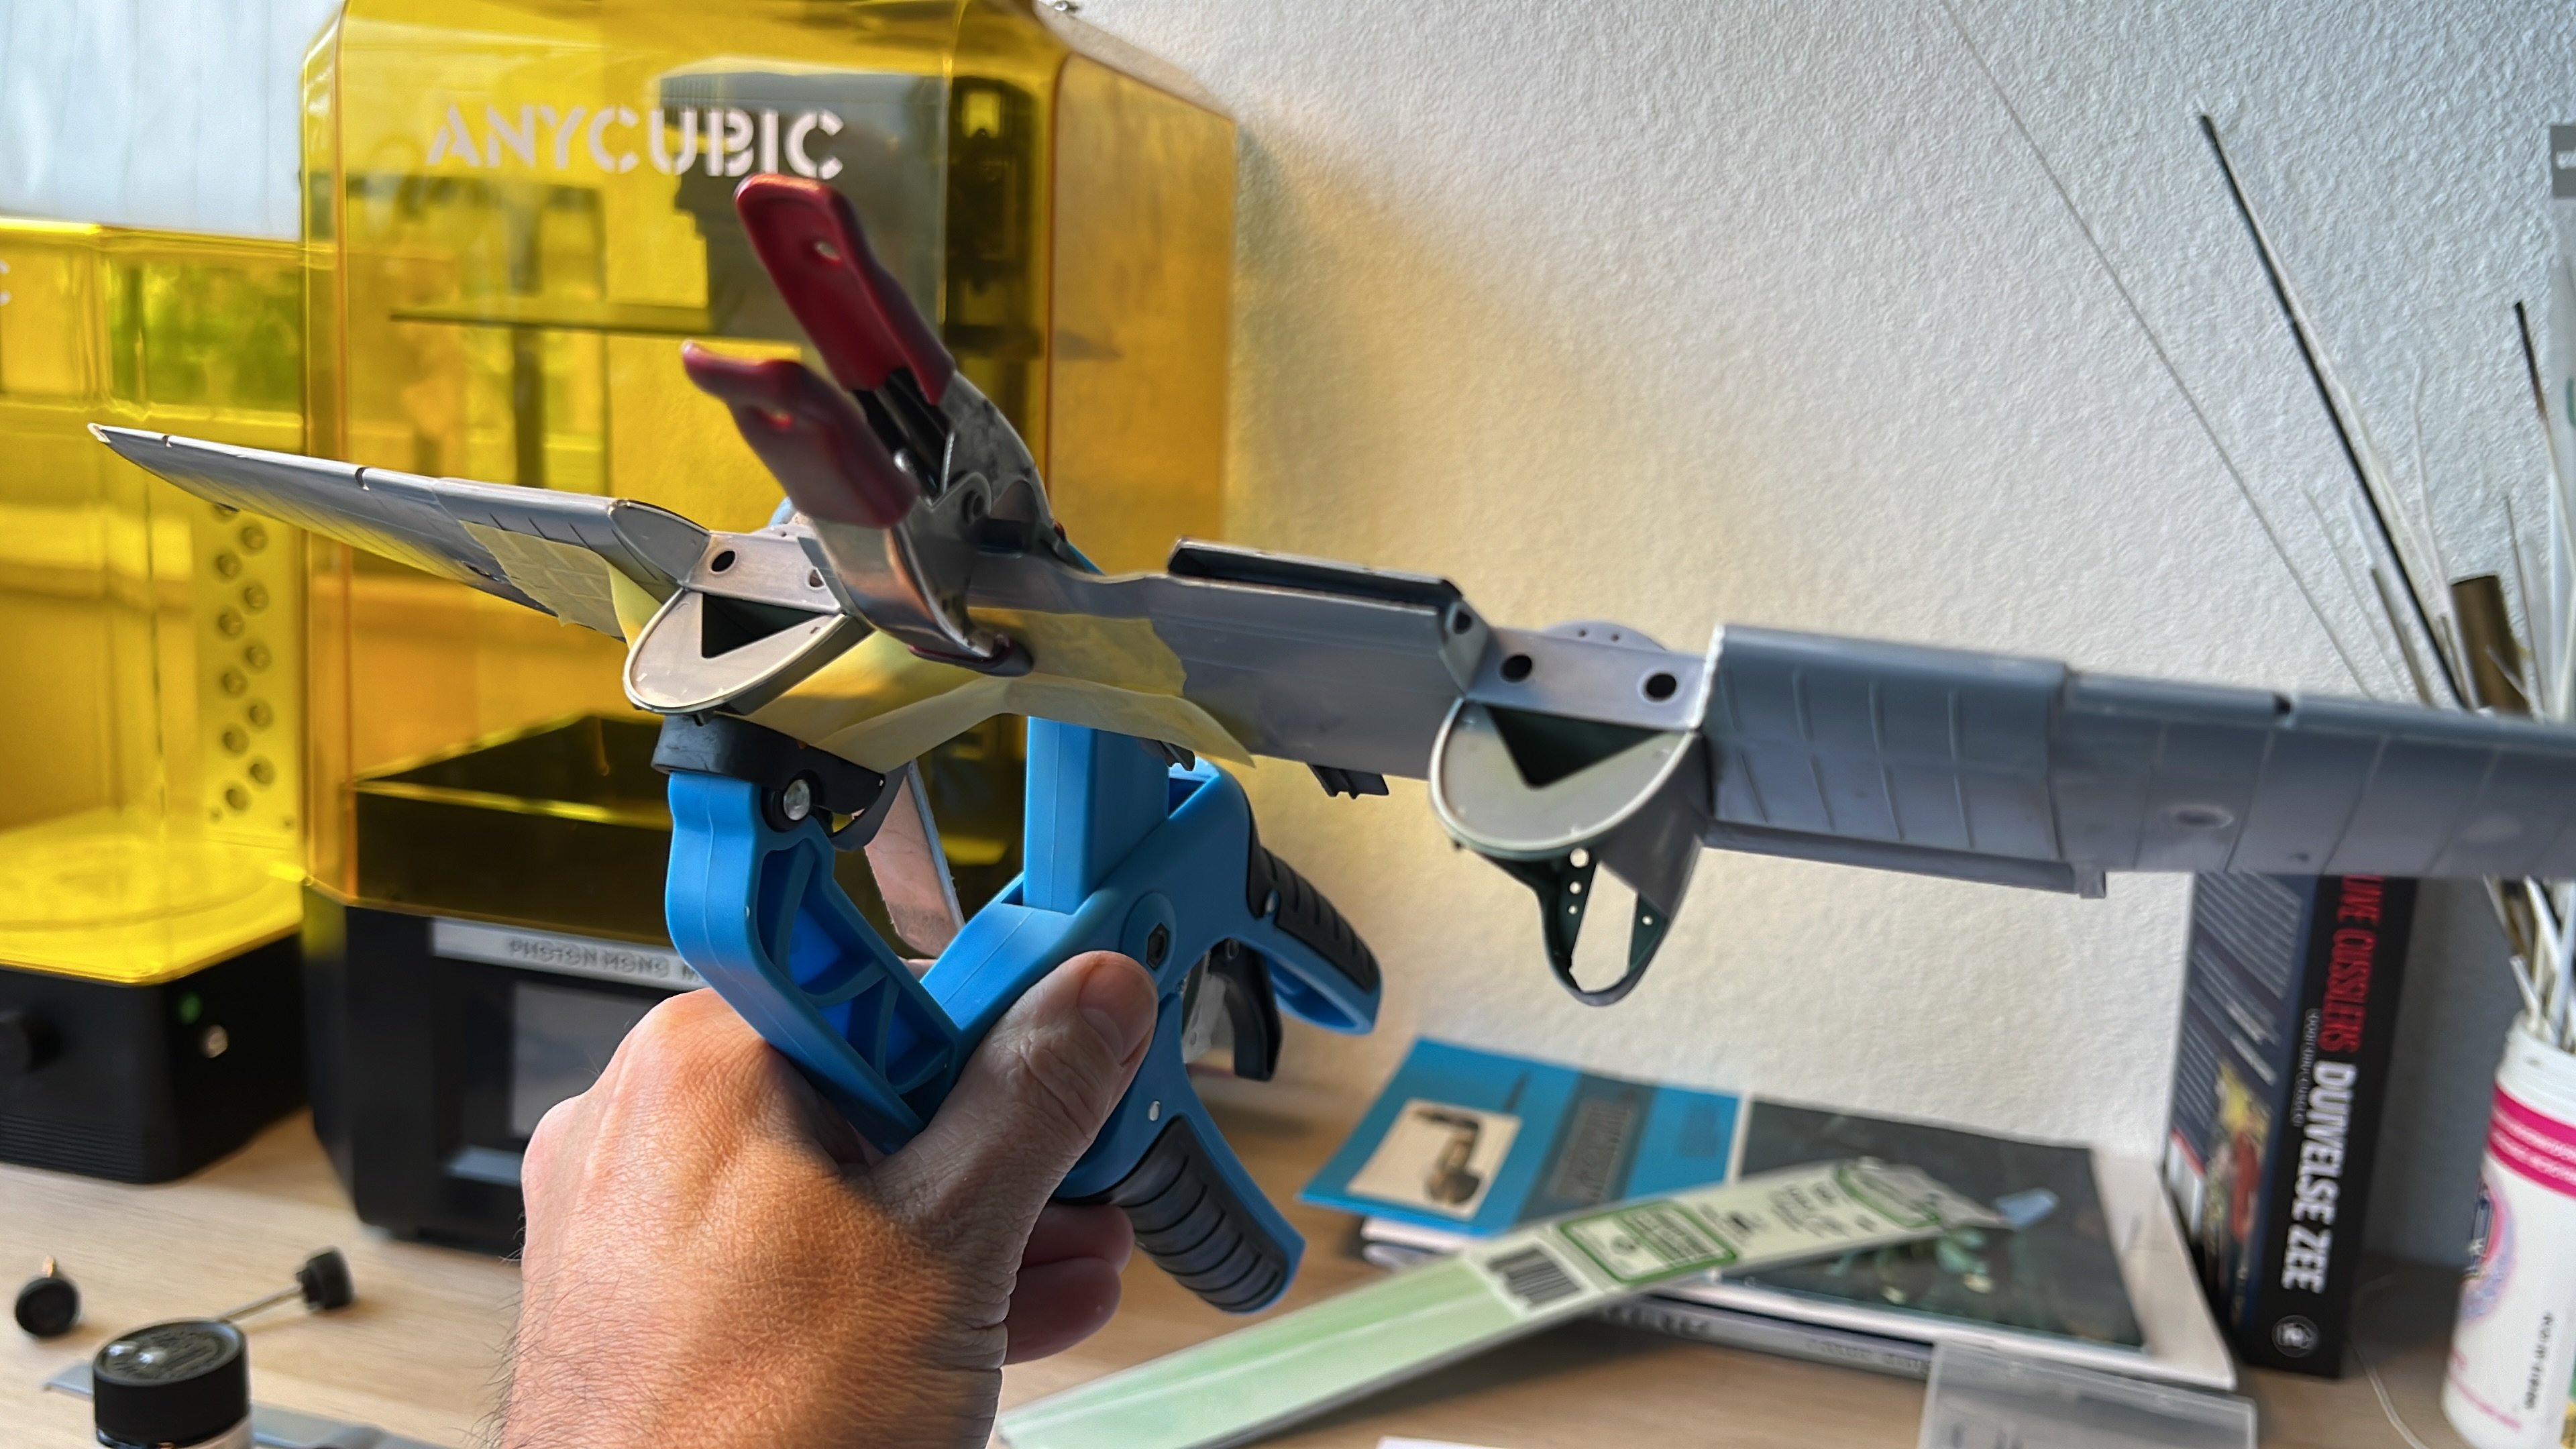
1/32 Westland Whirlwind
JeroenPeters replied to JeroenPeters's topic in LSM 1/35 and Larger Work In Progress
A whole lot of fitting. Took some sanding and elbow grease to fit the nose guns. And took some more persuasion to fit the first gondola!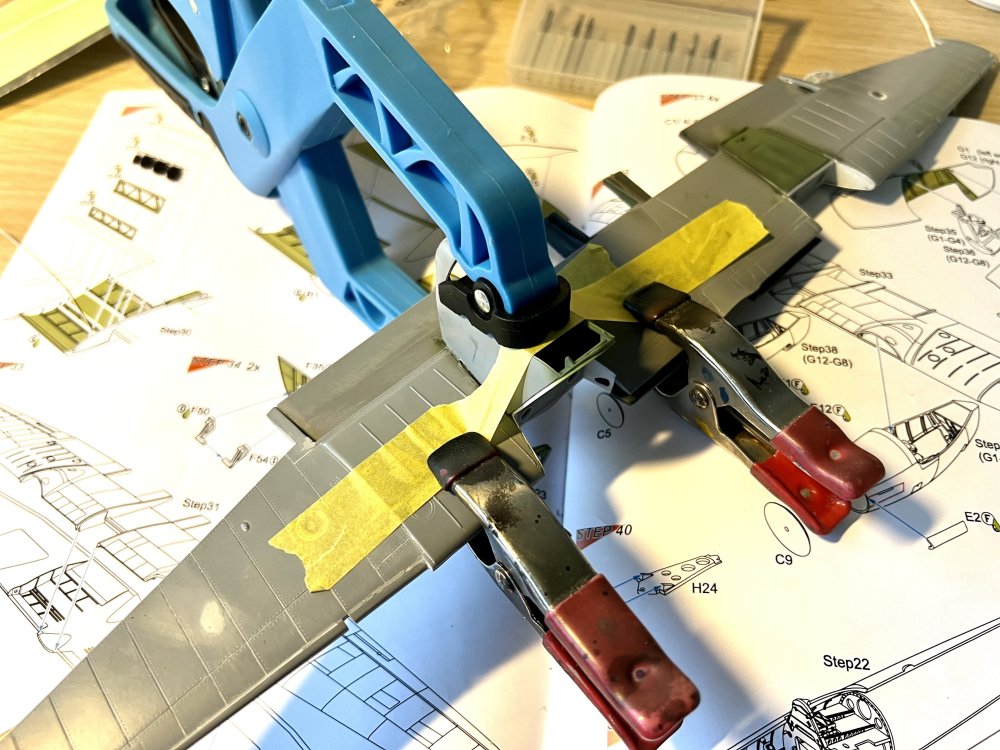
- 439 replies
-
- 11
-
-
1/32 Hawker Tempest
JeroenPeters replied to JeroenPeters's topic in LSM 1/35 and Larger Work In Progress
Cleaned up all the parts for the first few steps. Then i discovered some misaligned casting on the engine block. Wrote and email to Special Hobby. They replied swiftly and sent me a replacement straight away. Great customer service!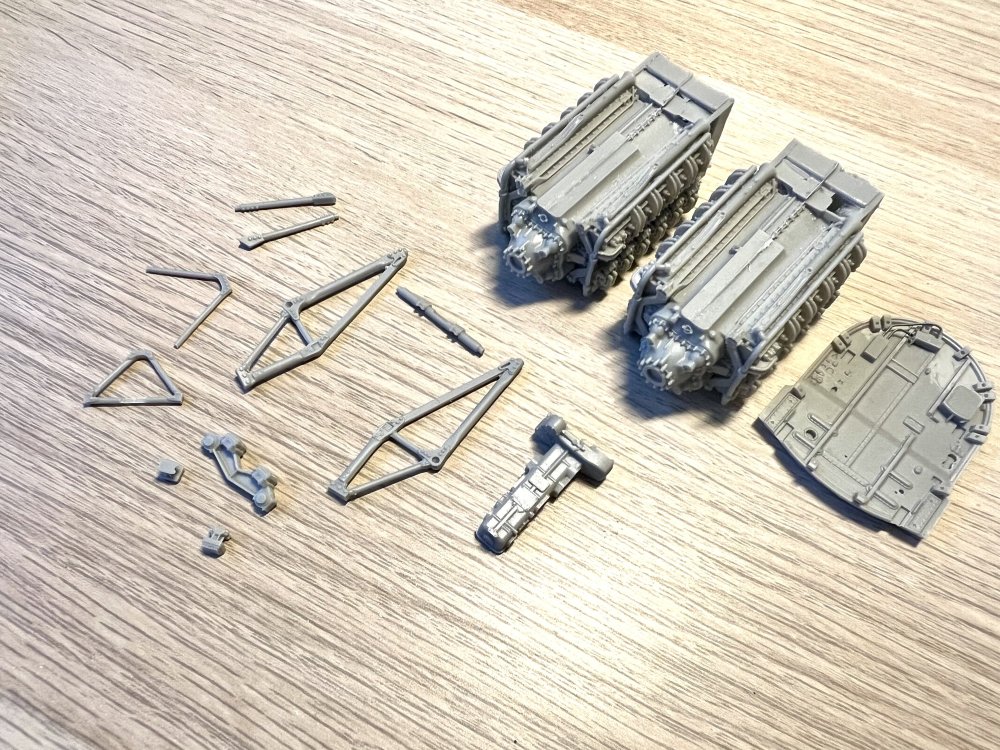
- 100 replies
-
- 10
-
-
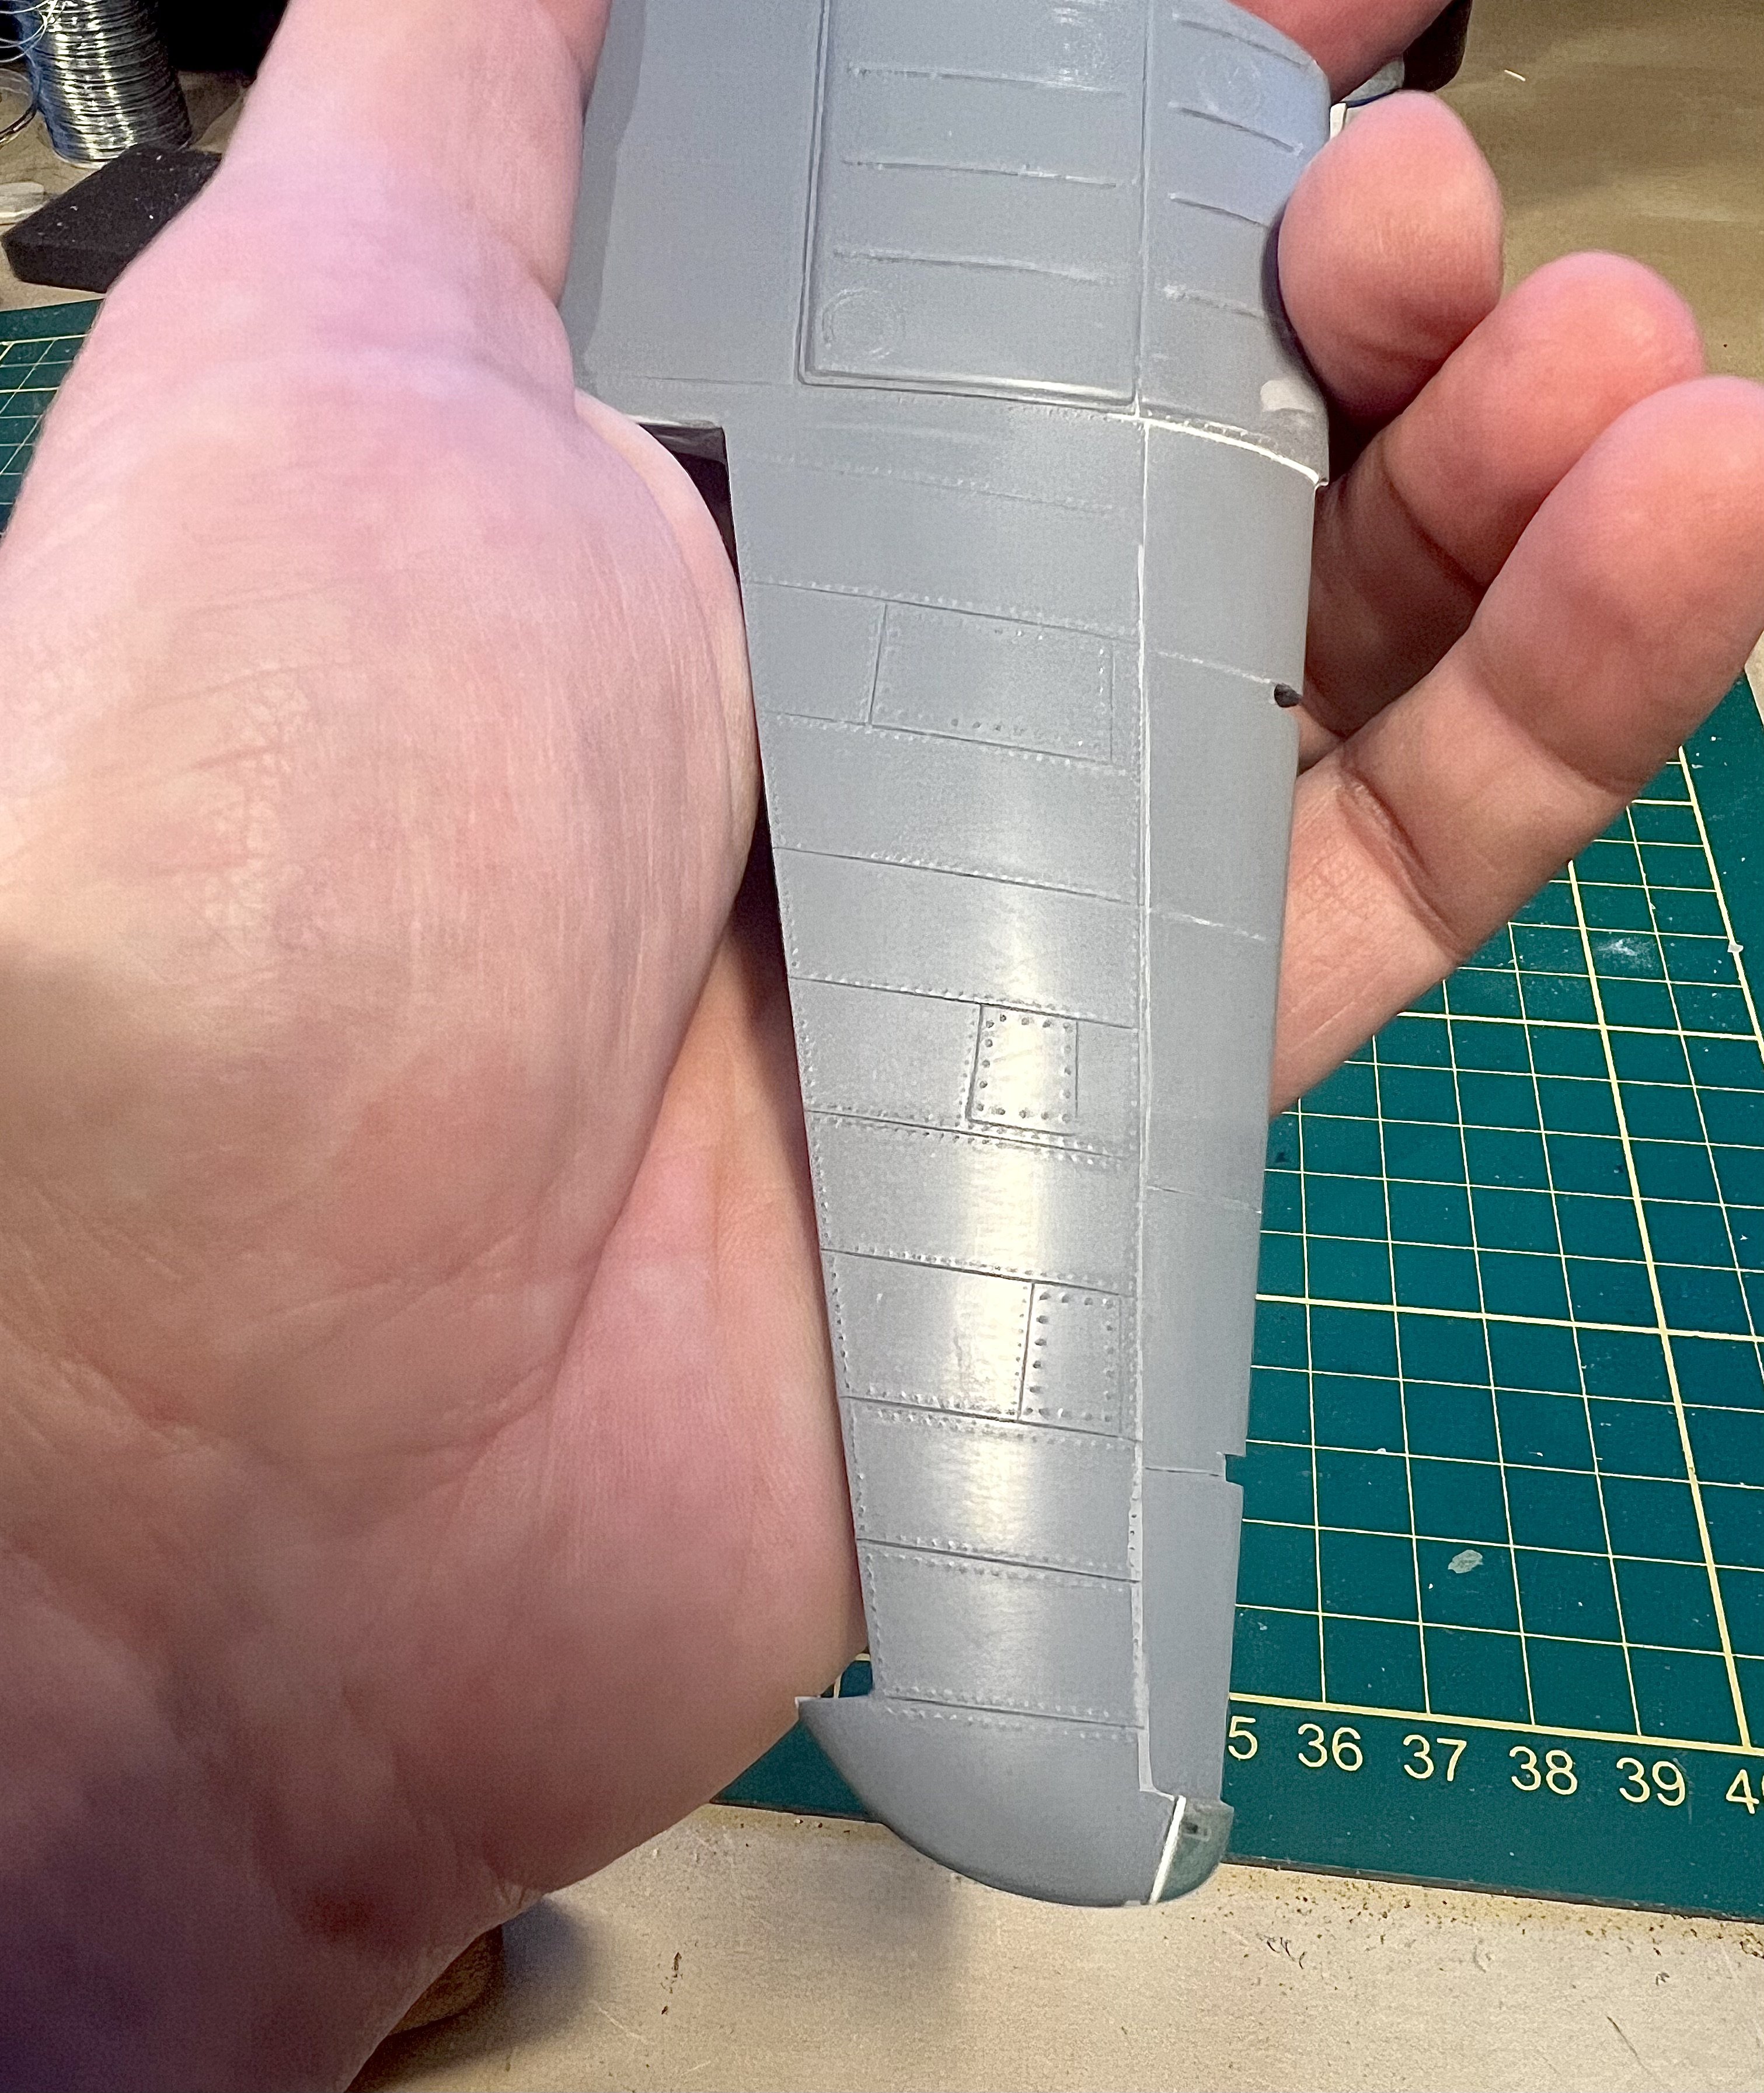
1/32 Westland Whirlwind
JeroenPeters replied to JeroenPeters's topic in LSM 1/35 and Larger Work In Progress
In the order of things i should first polish, rescribe and re-rivet the wings before i install the gondola’s.