Wingco57
-
Posts
3,925 -
Joined
-
Last visited
Content Type
Profiles
Forums
Events
Gallery
Everything posted by Wingco57
-

Masochistic build, the 1/48 Fonderie Miniatures Halifax III
Wingco57 replied to Wingco57's topic in LSM 1/48 Work in Progress
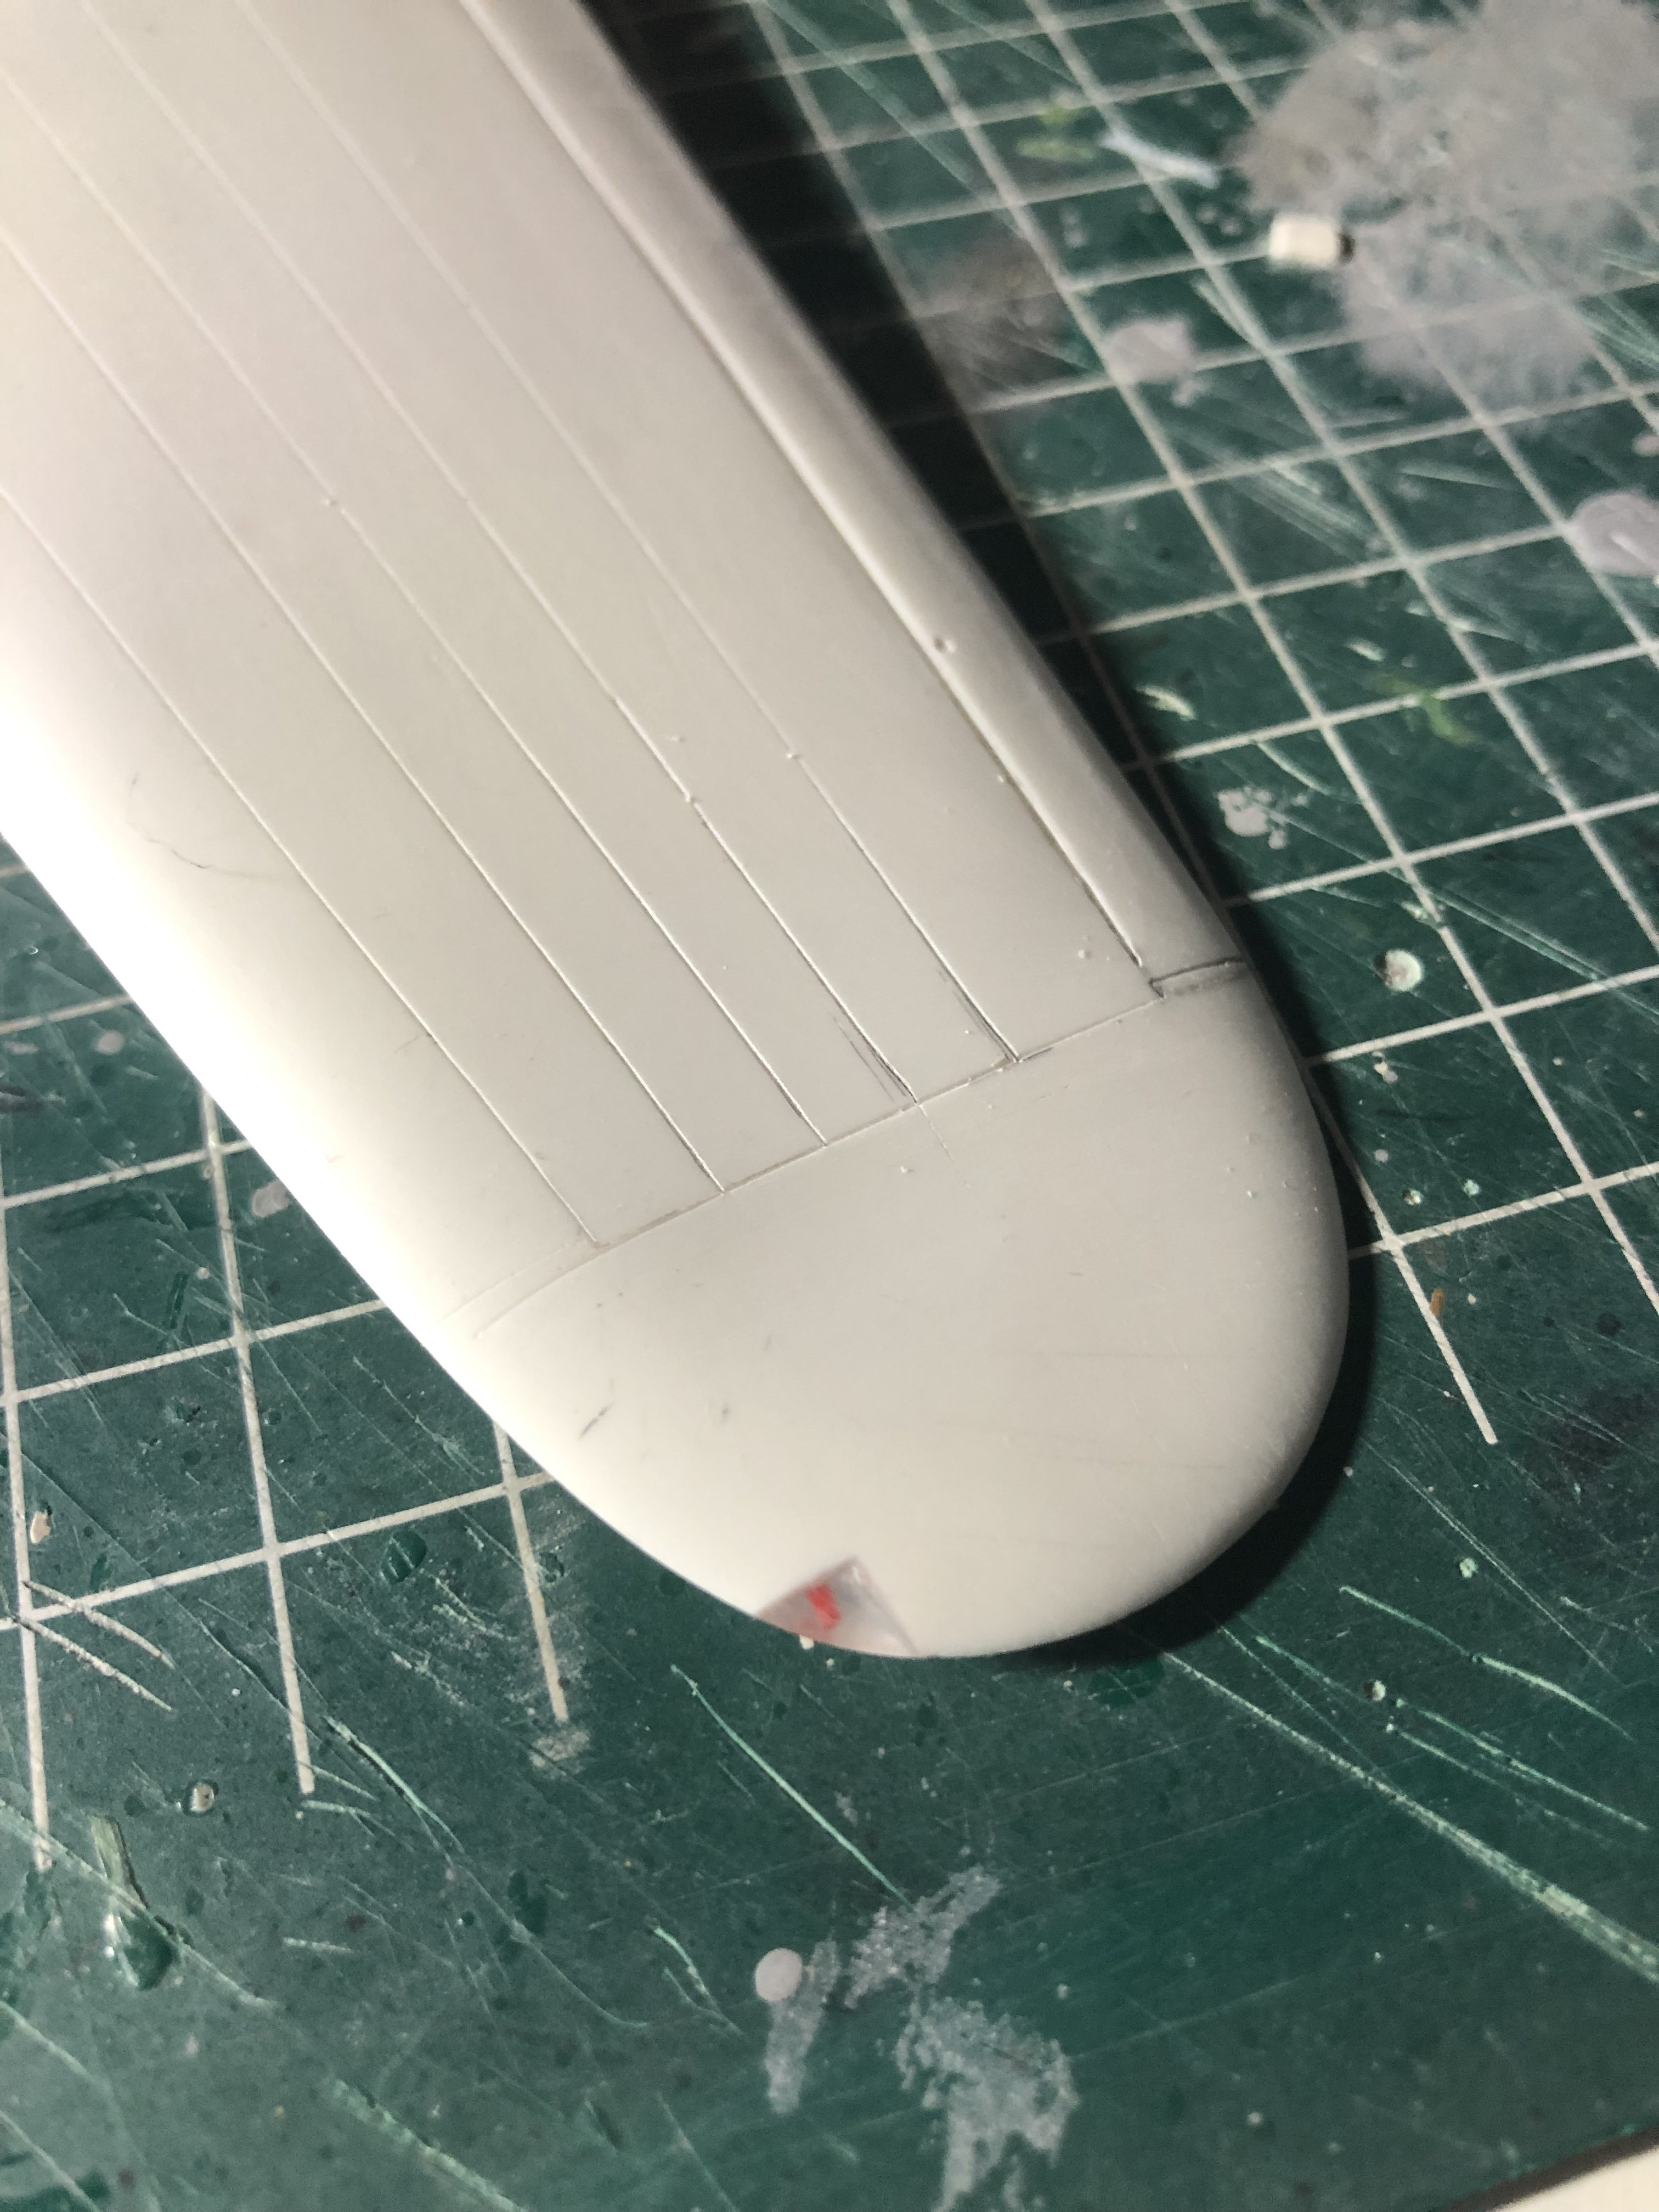
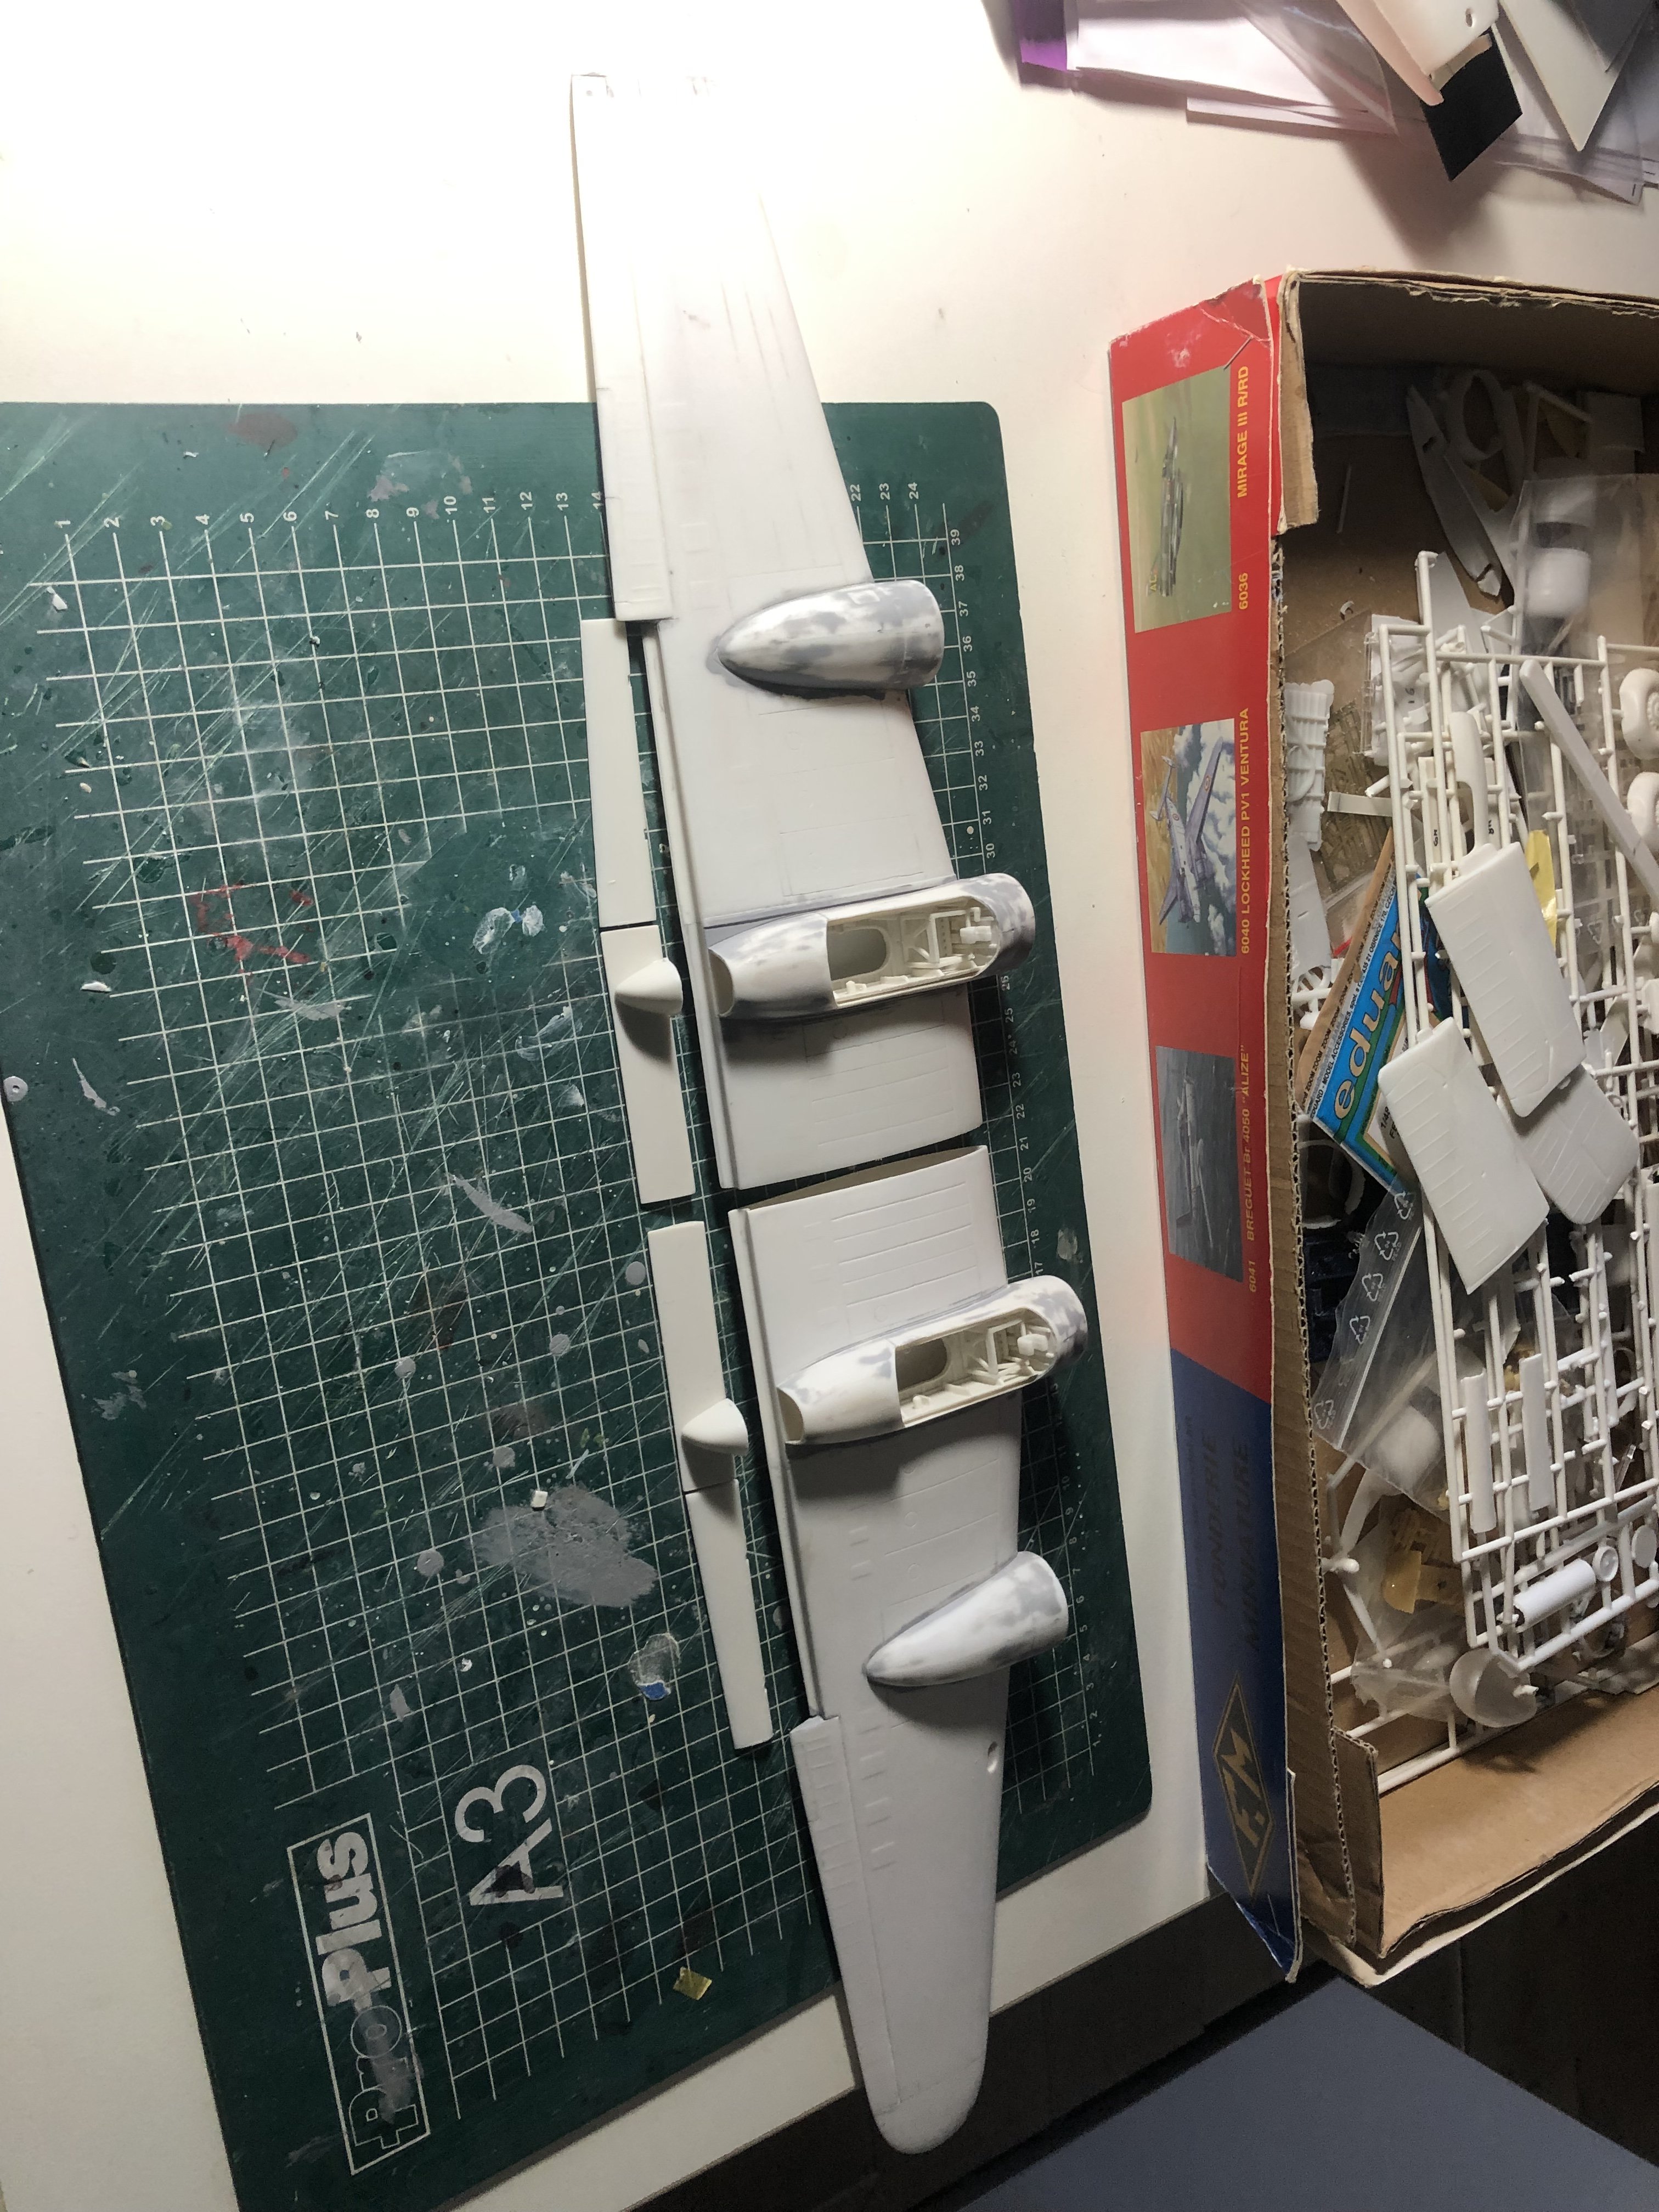
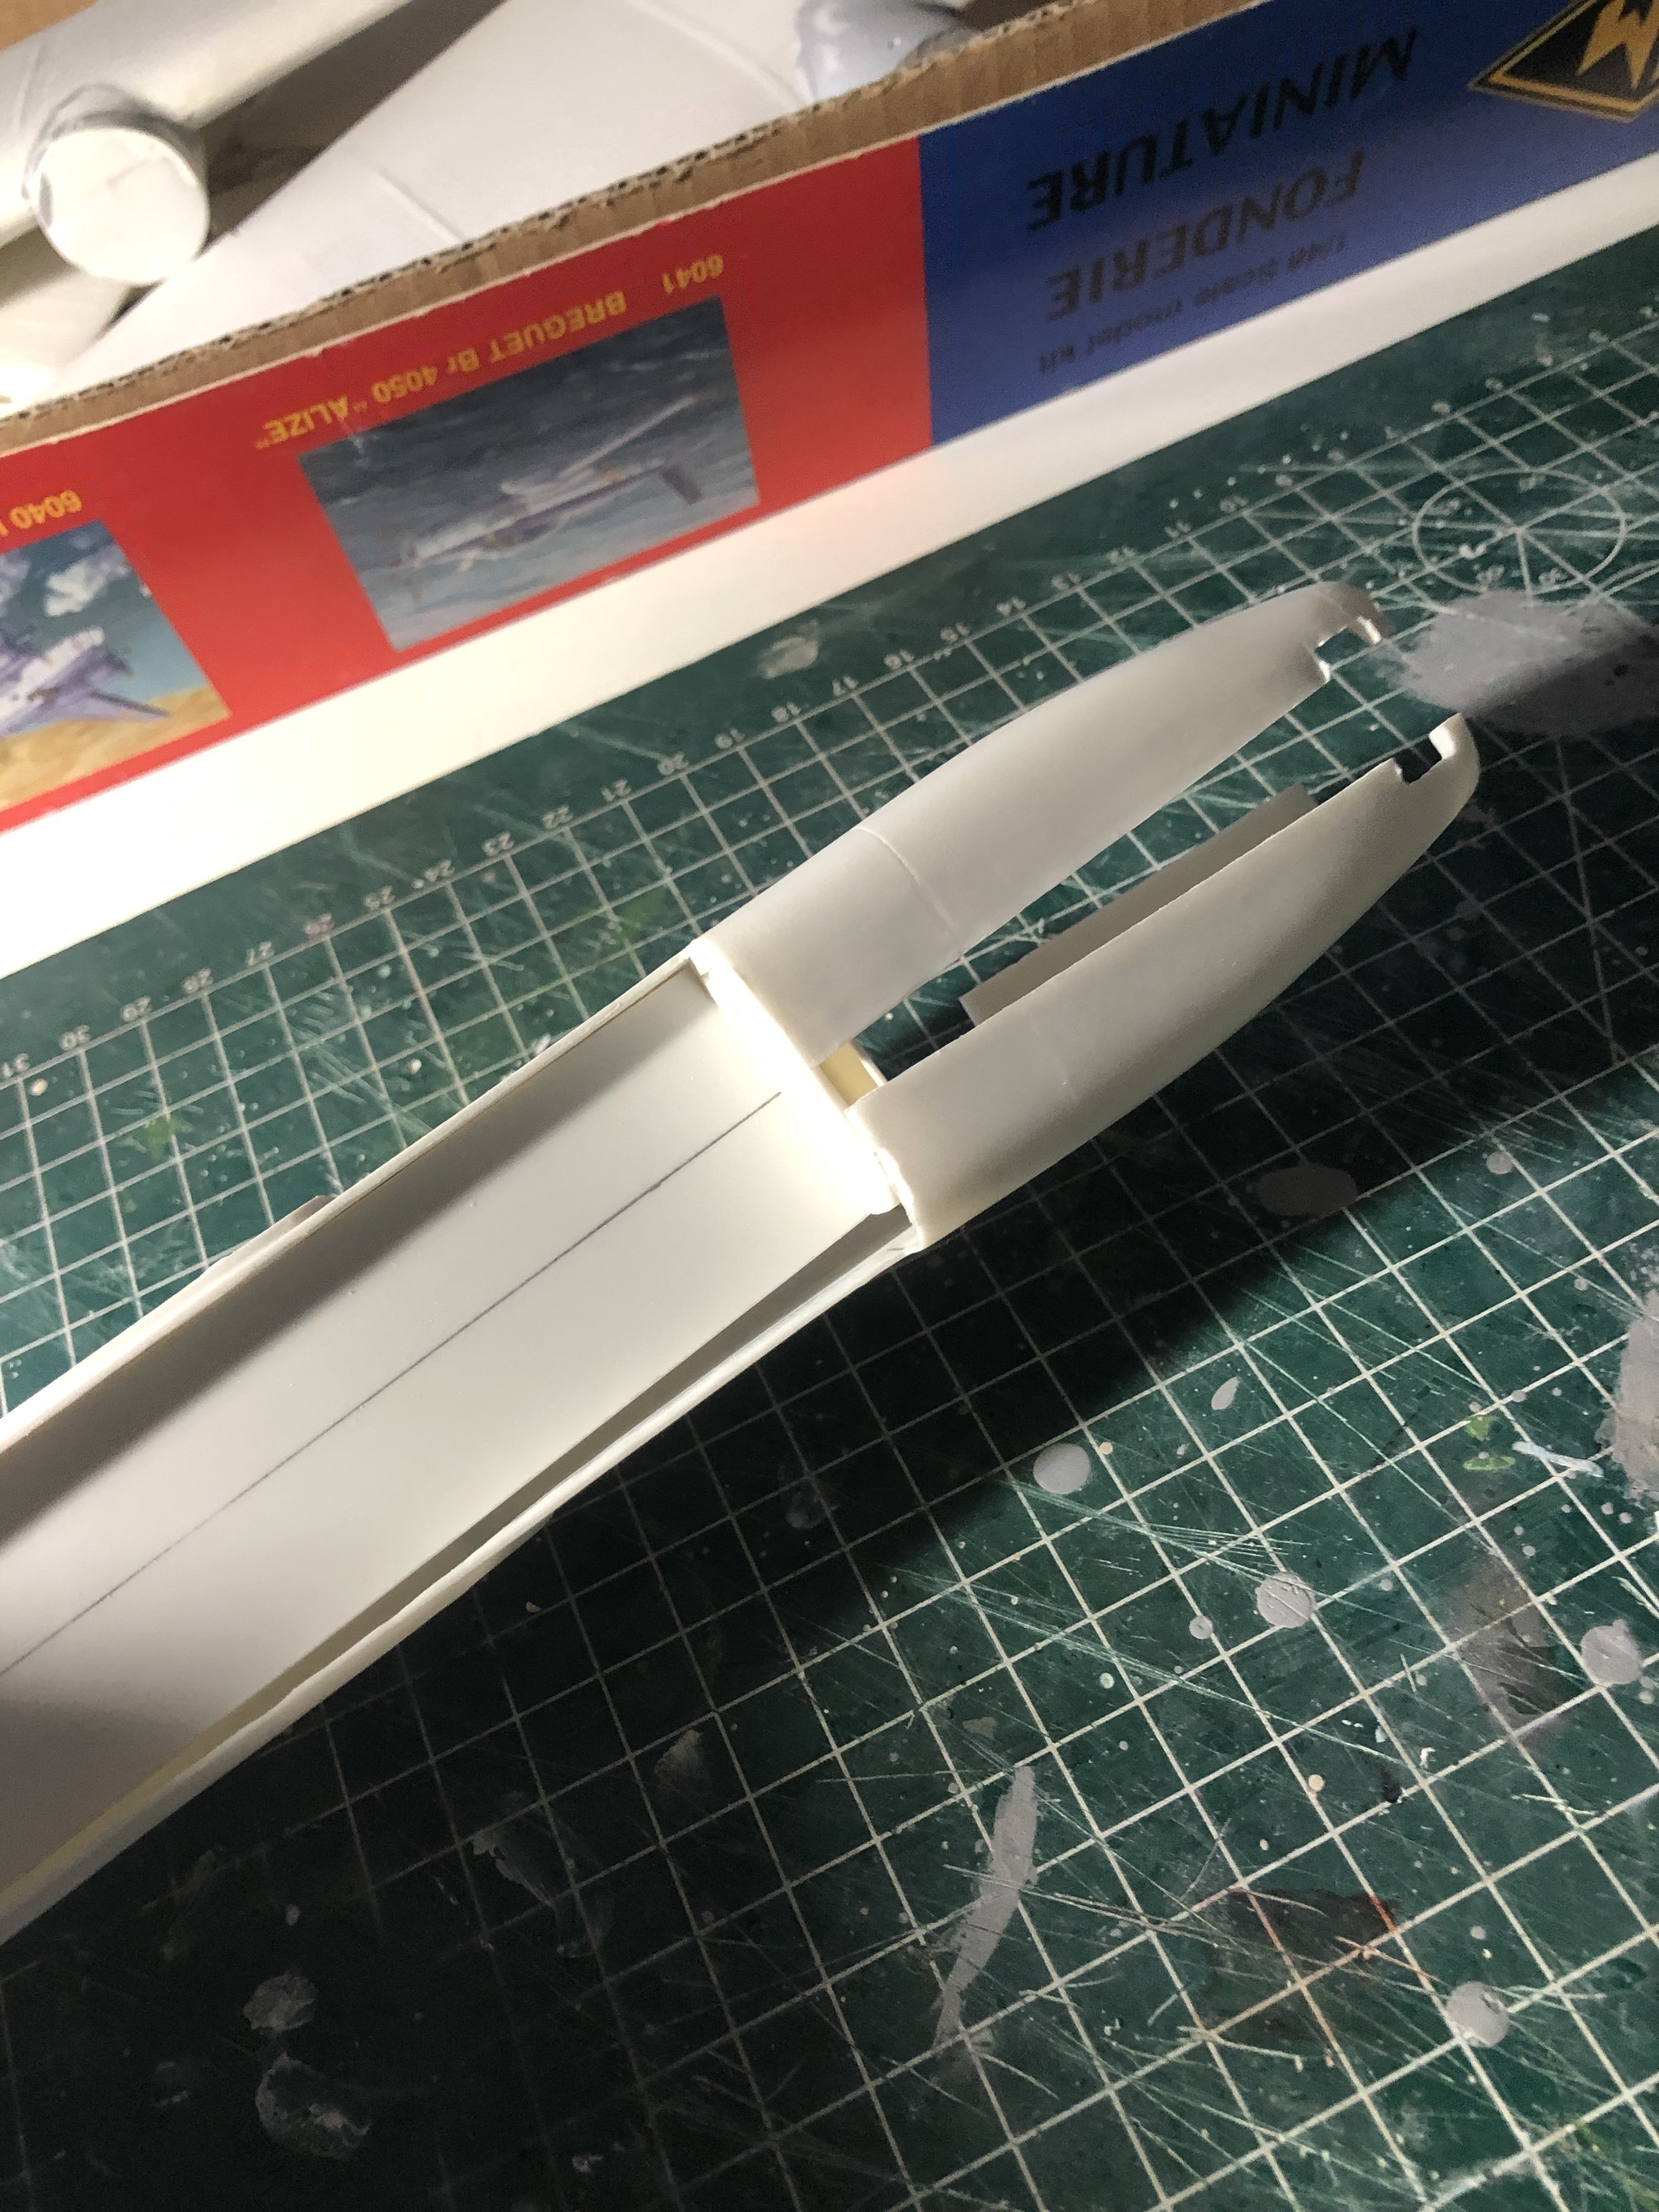
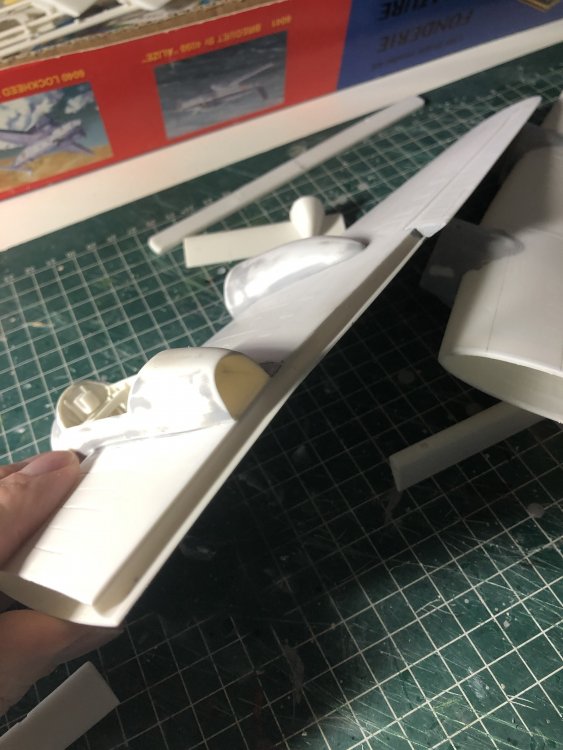
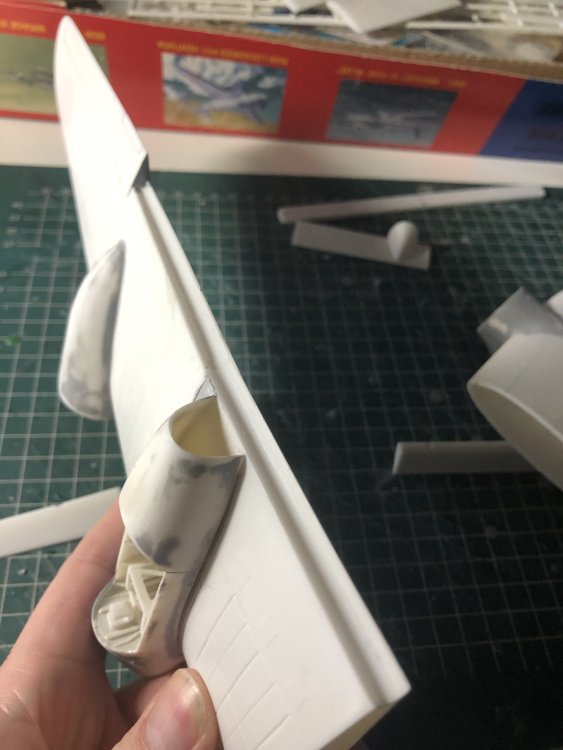
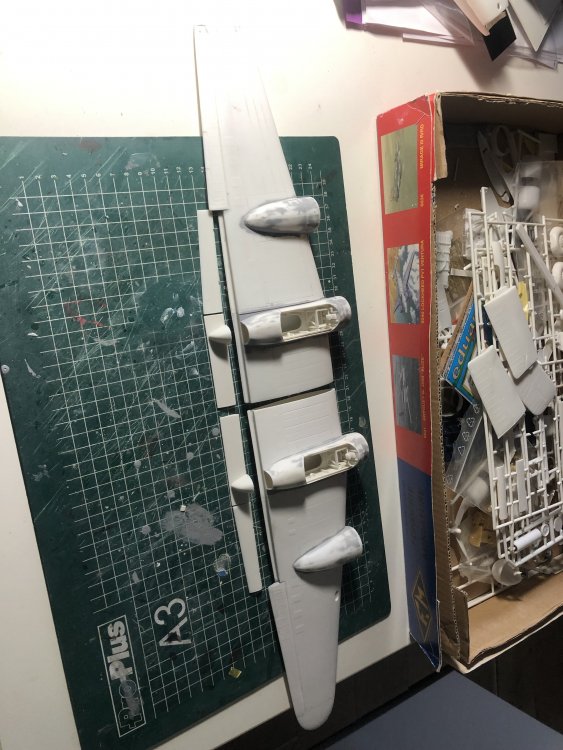
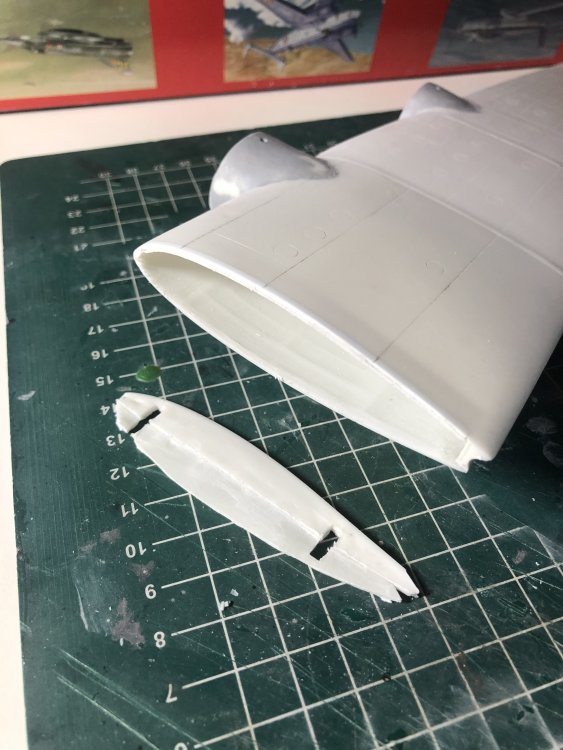
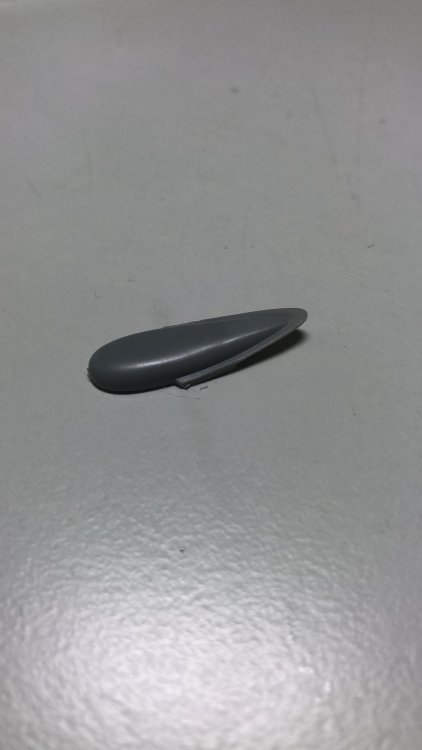
Initially I cut off the wingtips to make an early Mk III but changed my mind and reattached them again. The wingtip lights were fashioned from pieces of perspex and sanded smooth. The wings were then fully assembled including the flaps ( to be fitted down later). although the seperate flap shrouds caused a lot of fitproblems.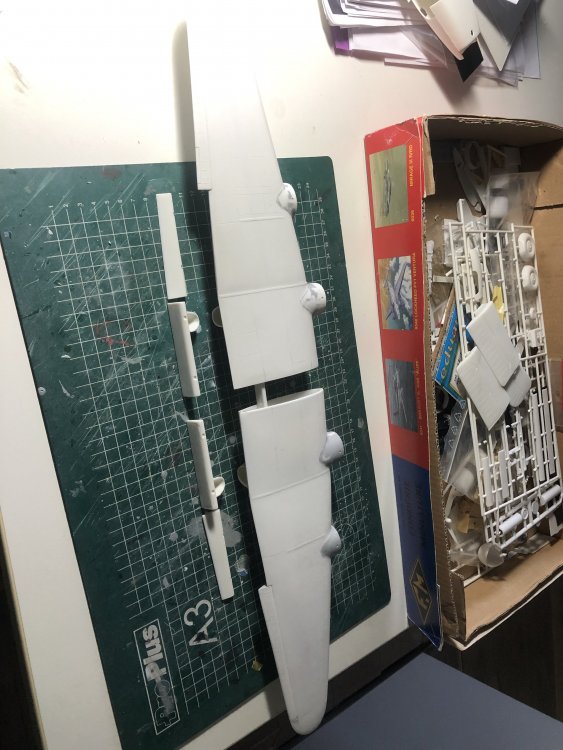

-
Masochistic build, the 1/48 Fonderie Miniatures Halifax III
Wingco57 replied to Wingco57's topic in LSM 1/48 Work in Progress
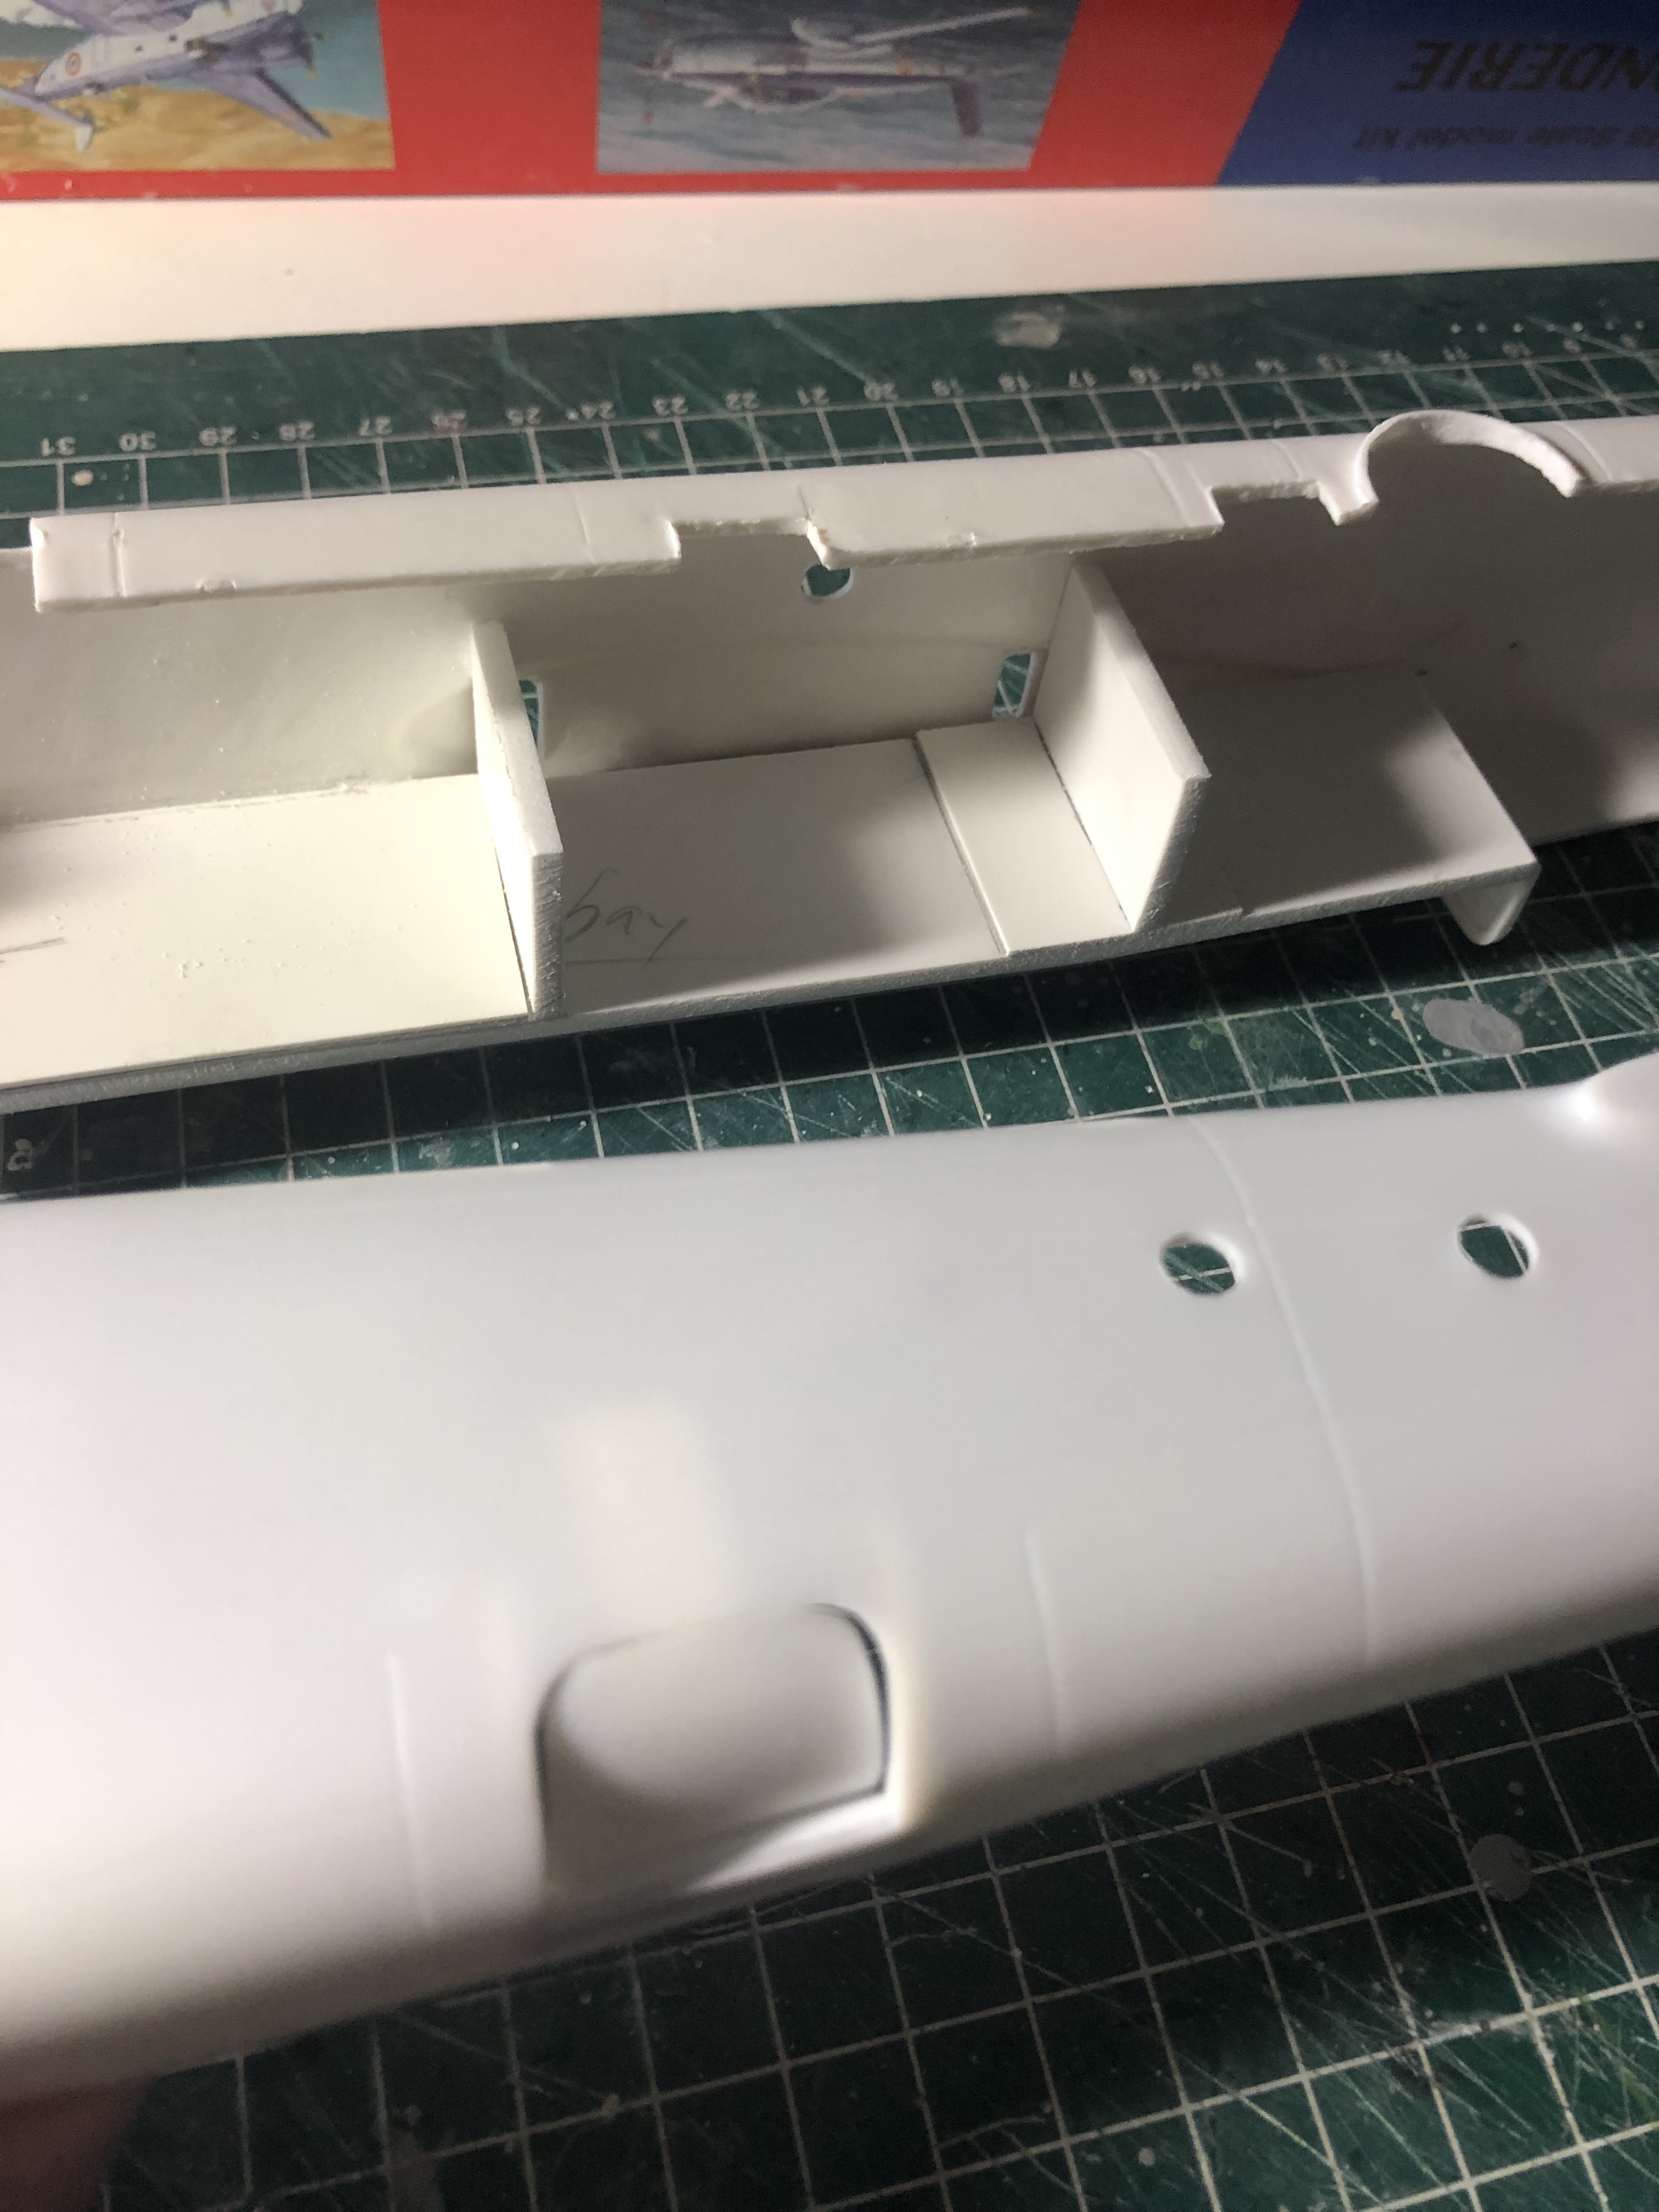
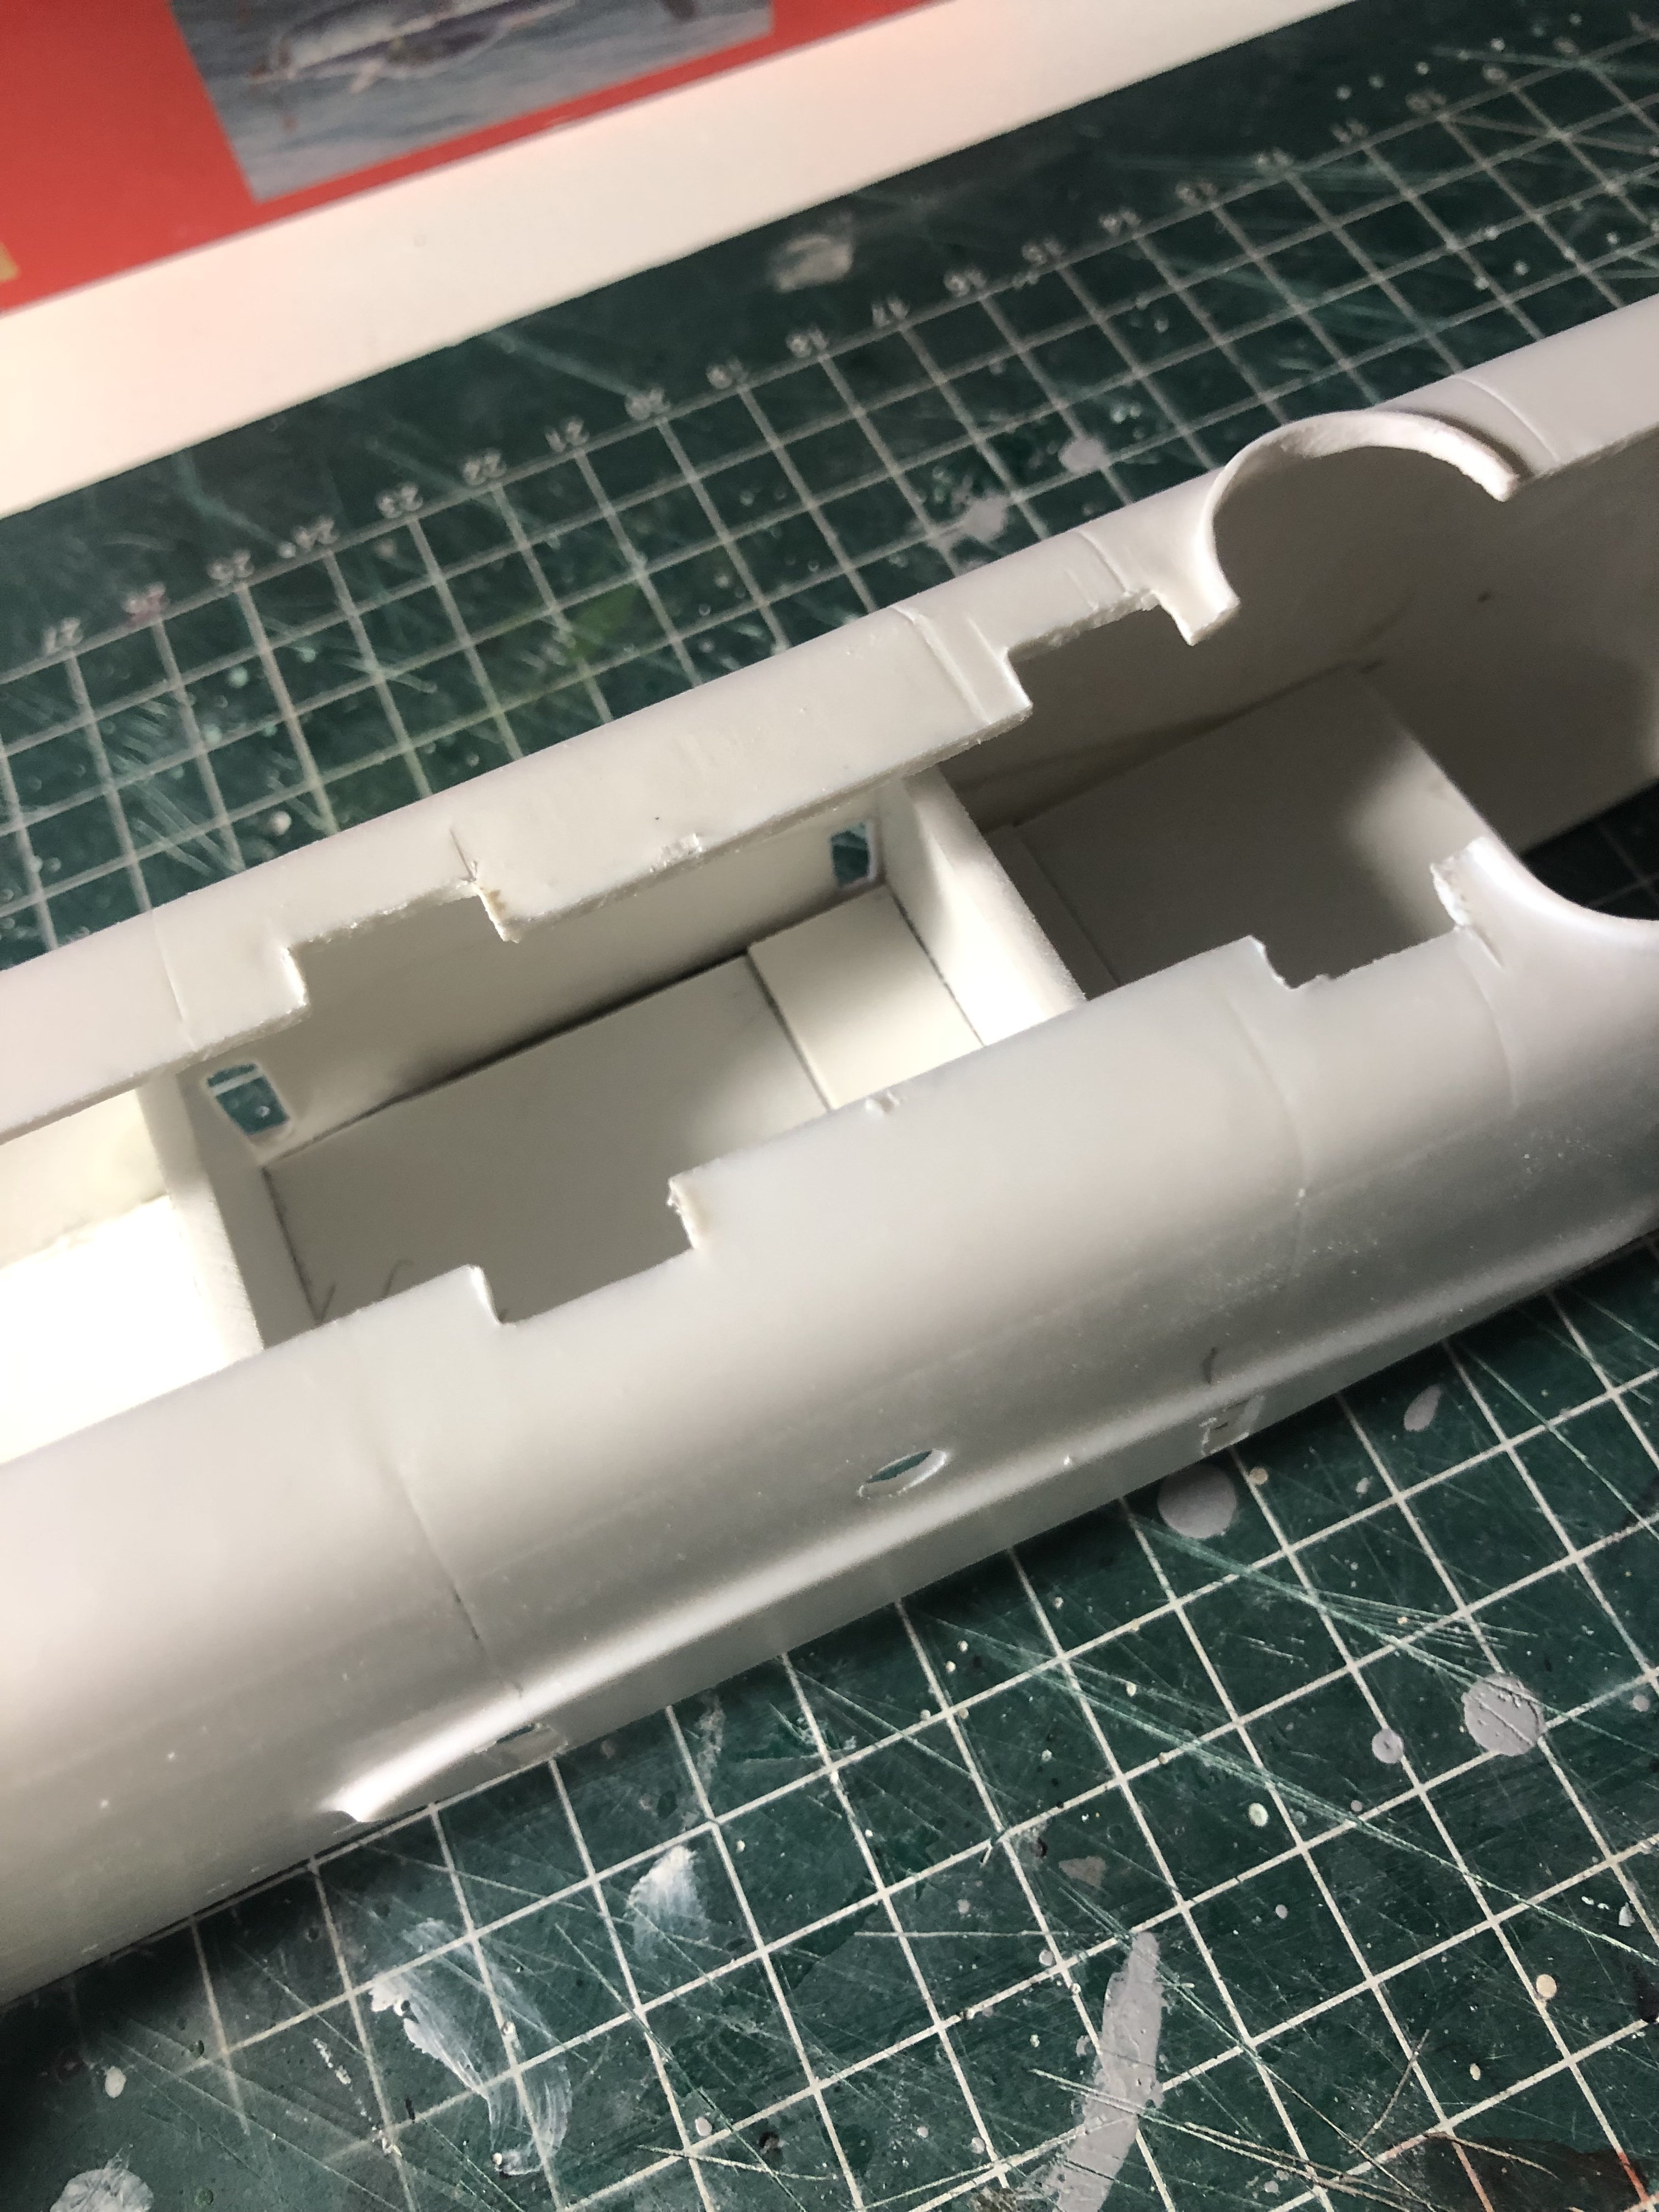
The wings were a different matter and needed a lot of fettling to get together. The wingroots are anything but square and I cut out the butting area to create a hollow wing. The plan is to slide the wings over the provided wingspars to get the wings square, rigid and the fuselage needed strenghtening as well and I made a thick plastcard bombbayfloor and some bulkheads.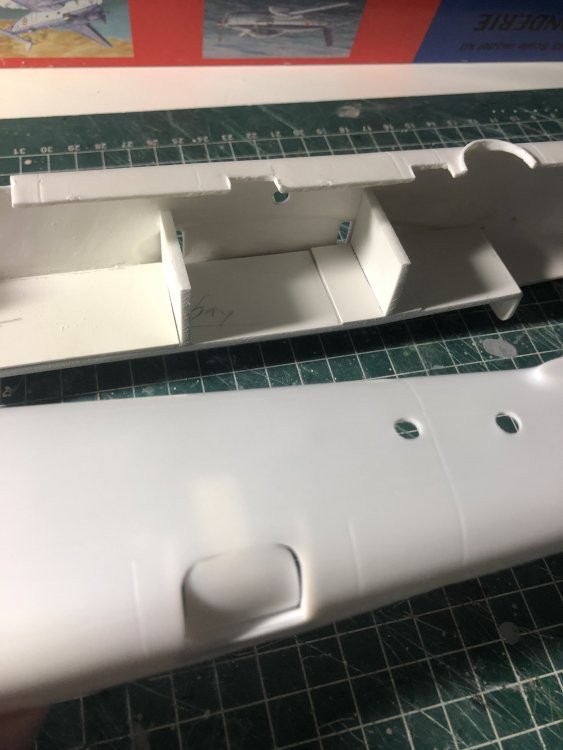

-
Masochistic build, the 1/48 Fonderie Miniatures Halifax III
Wingco57 replied to Wingco57's topic in LSM 1/48 Work in Progress
The tail went together very well.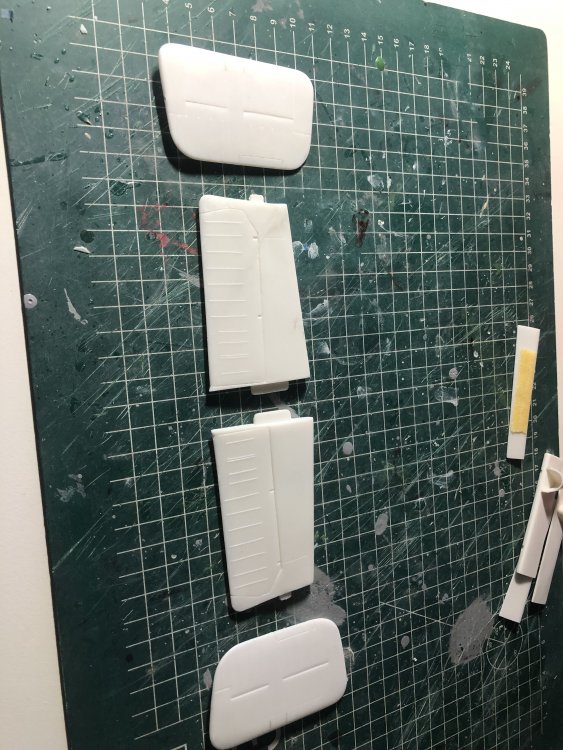
-
Always wanted to build a 1/48 Halifax of which the FM Halifax is the only option ( the Sanger vacform kit excluded). problem is that many consider it to be unbuildable due to the terrible plastic and bad moulding quality. Then again the shape is reasonable. Having tried two earlier attempts, I was given this kit recently and was still itching to start again. although the problems were obvious with a lot of warping.


-
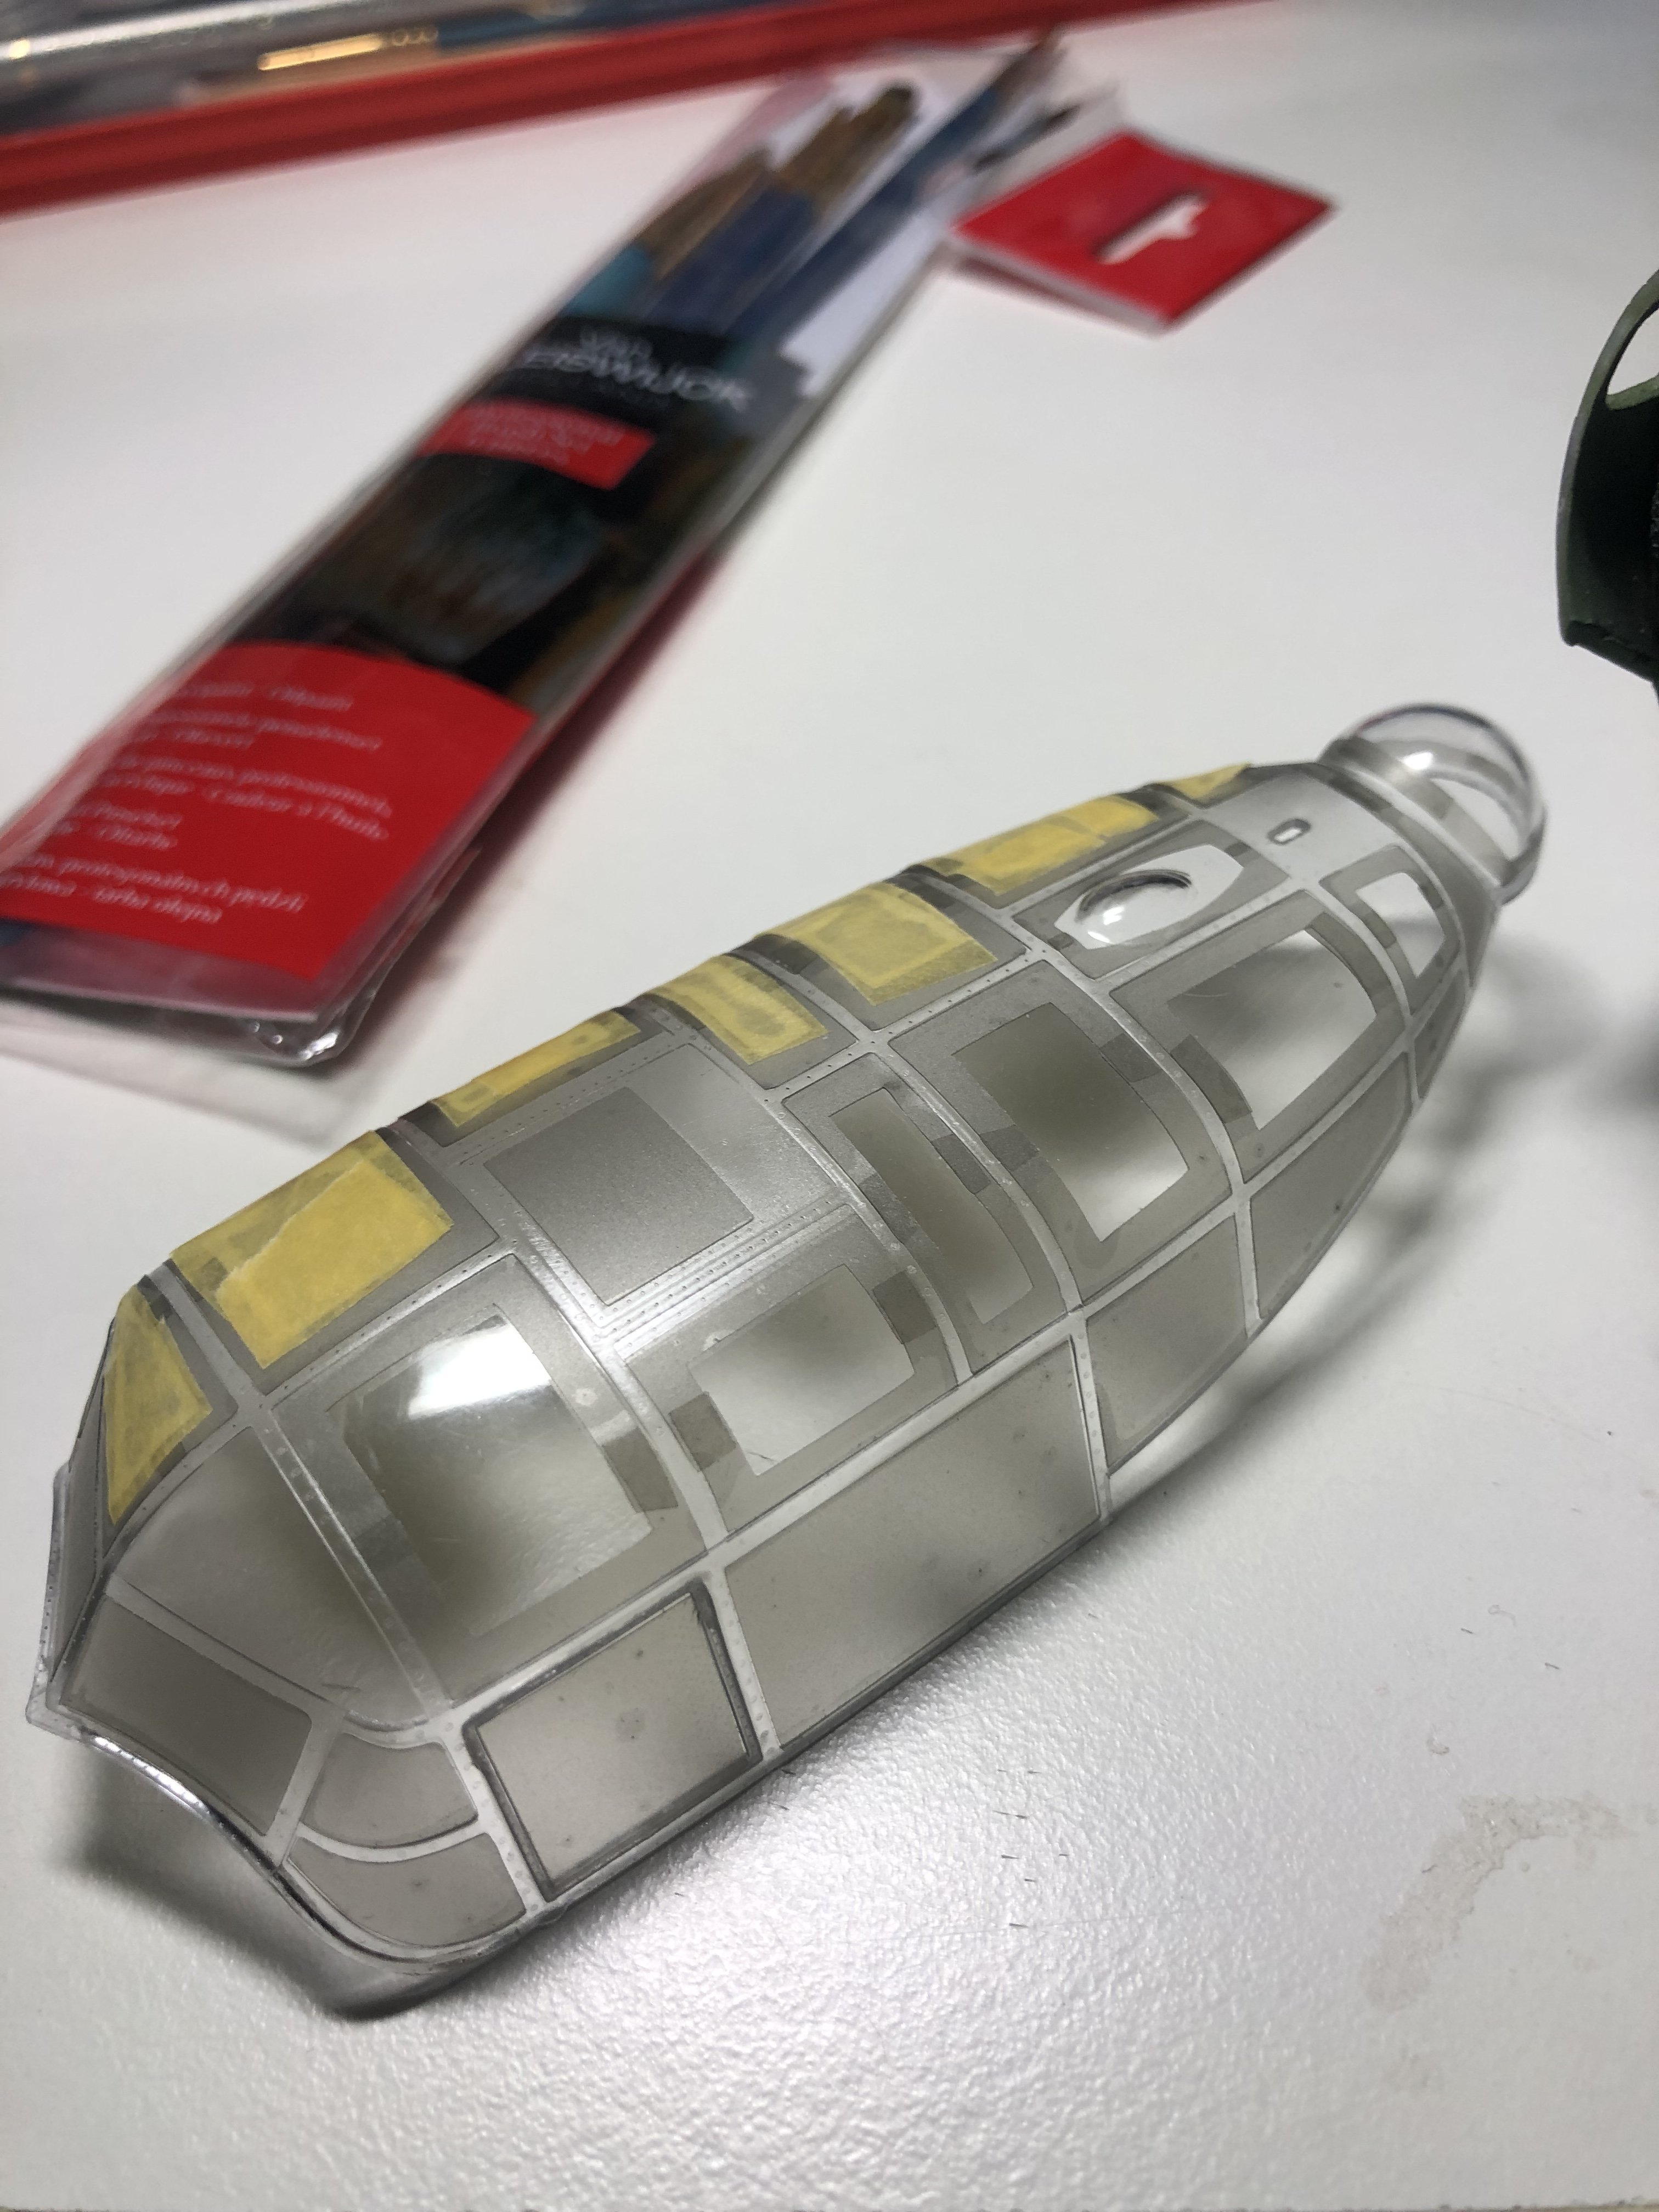
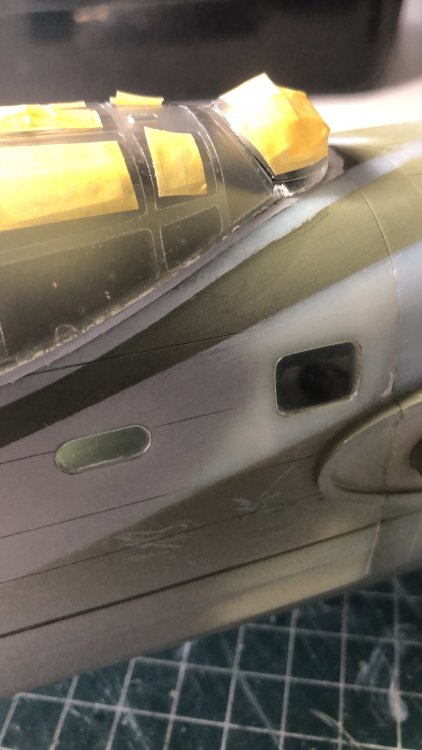
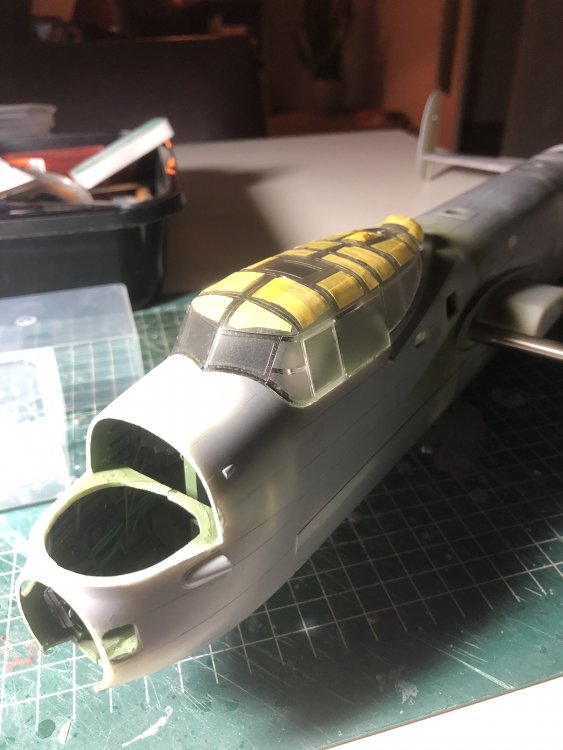
Thanks chaps, I do my best. The forward windows have been fitted, these are selfmade from a CD-cover as are most fuselage windows. They will need some sanding and polishing. Then some surgery to the turret fairing, i cut out the acorn and fitted the sidepieces. the acorn had been modified and it looks it was successful, still need to gaps with plastic strip but another problem solved. cheers Cees
-
Thanks Anthony, One problem that rears it's head sometimes is that I am working with a 3D printed prototype and using production injection moulded parts. It seems like the position where the noseturet needs to go sits is a bit higher than the kit which makes that the fairing between the turret and the fuselage doesn't fit. The acorn is a bit too high as a result of this. I cannot adjust the turret and only a limited amount of the turret seat can be adjusted so have to find a way to modify the acorn to conform to the top of the turret. But that's part of the fun. Cees
-
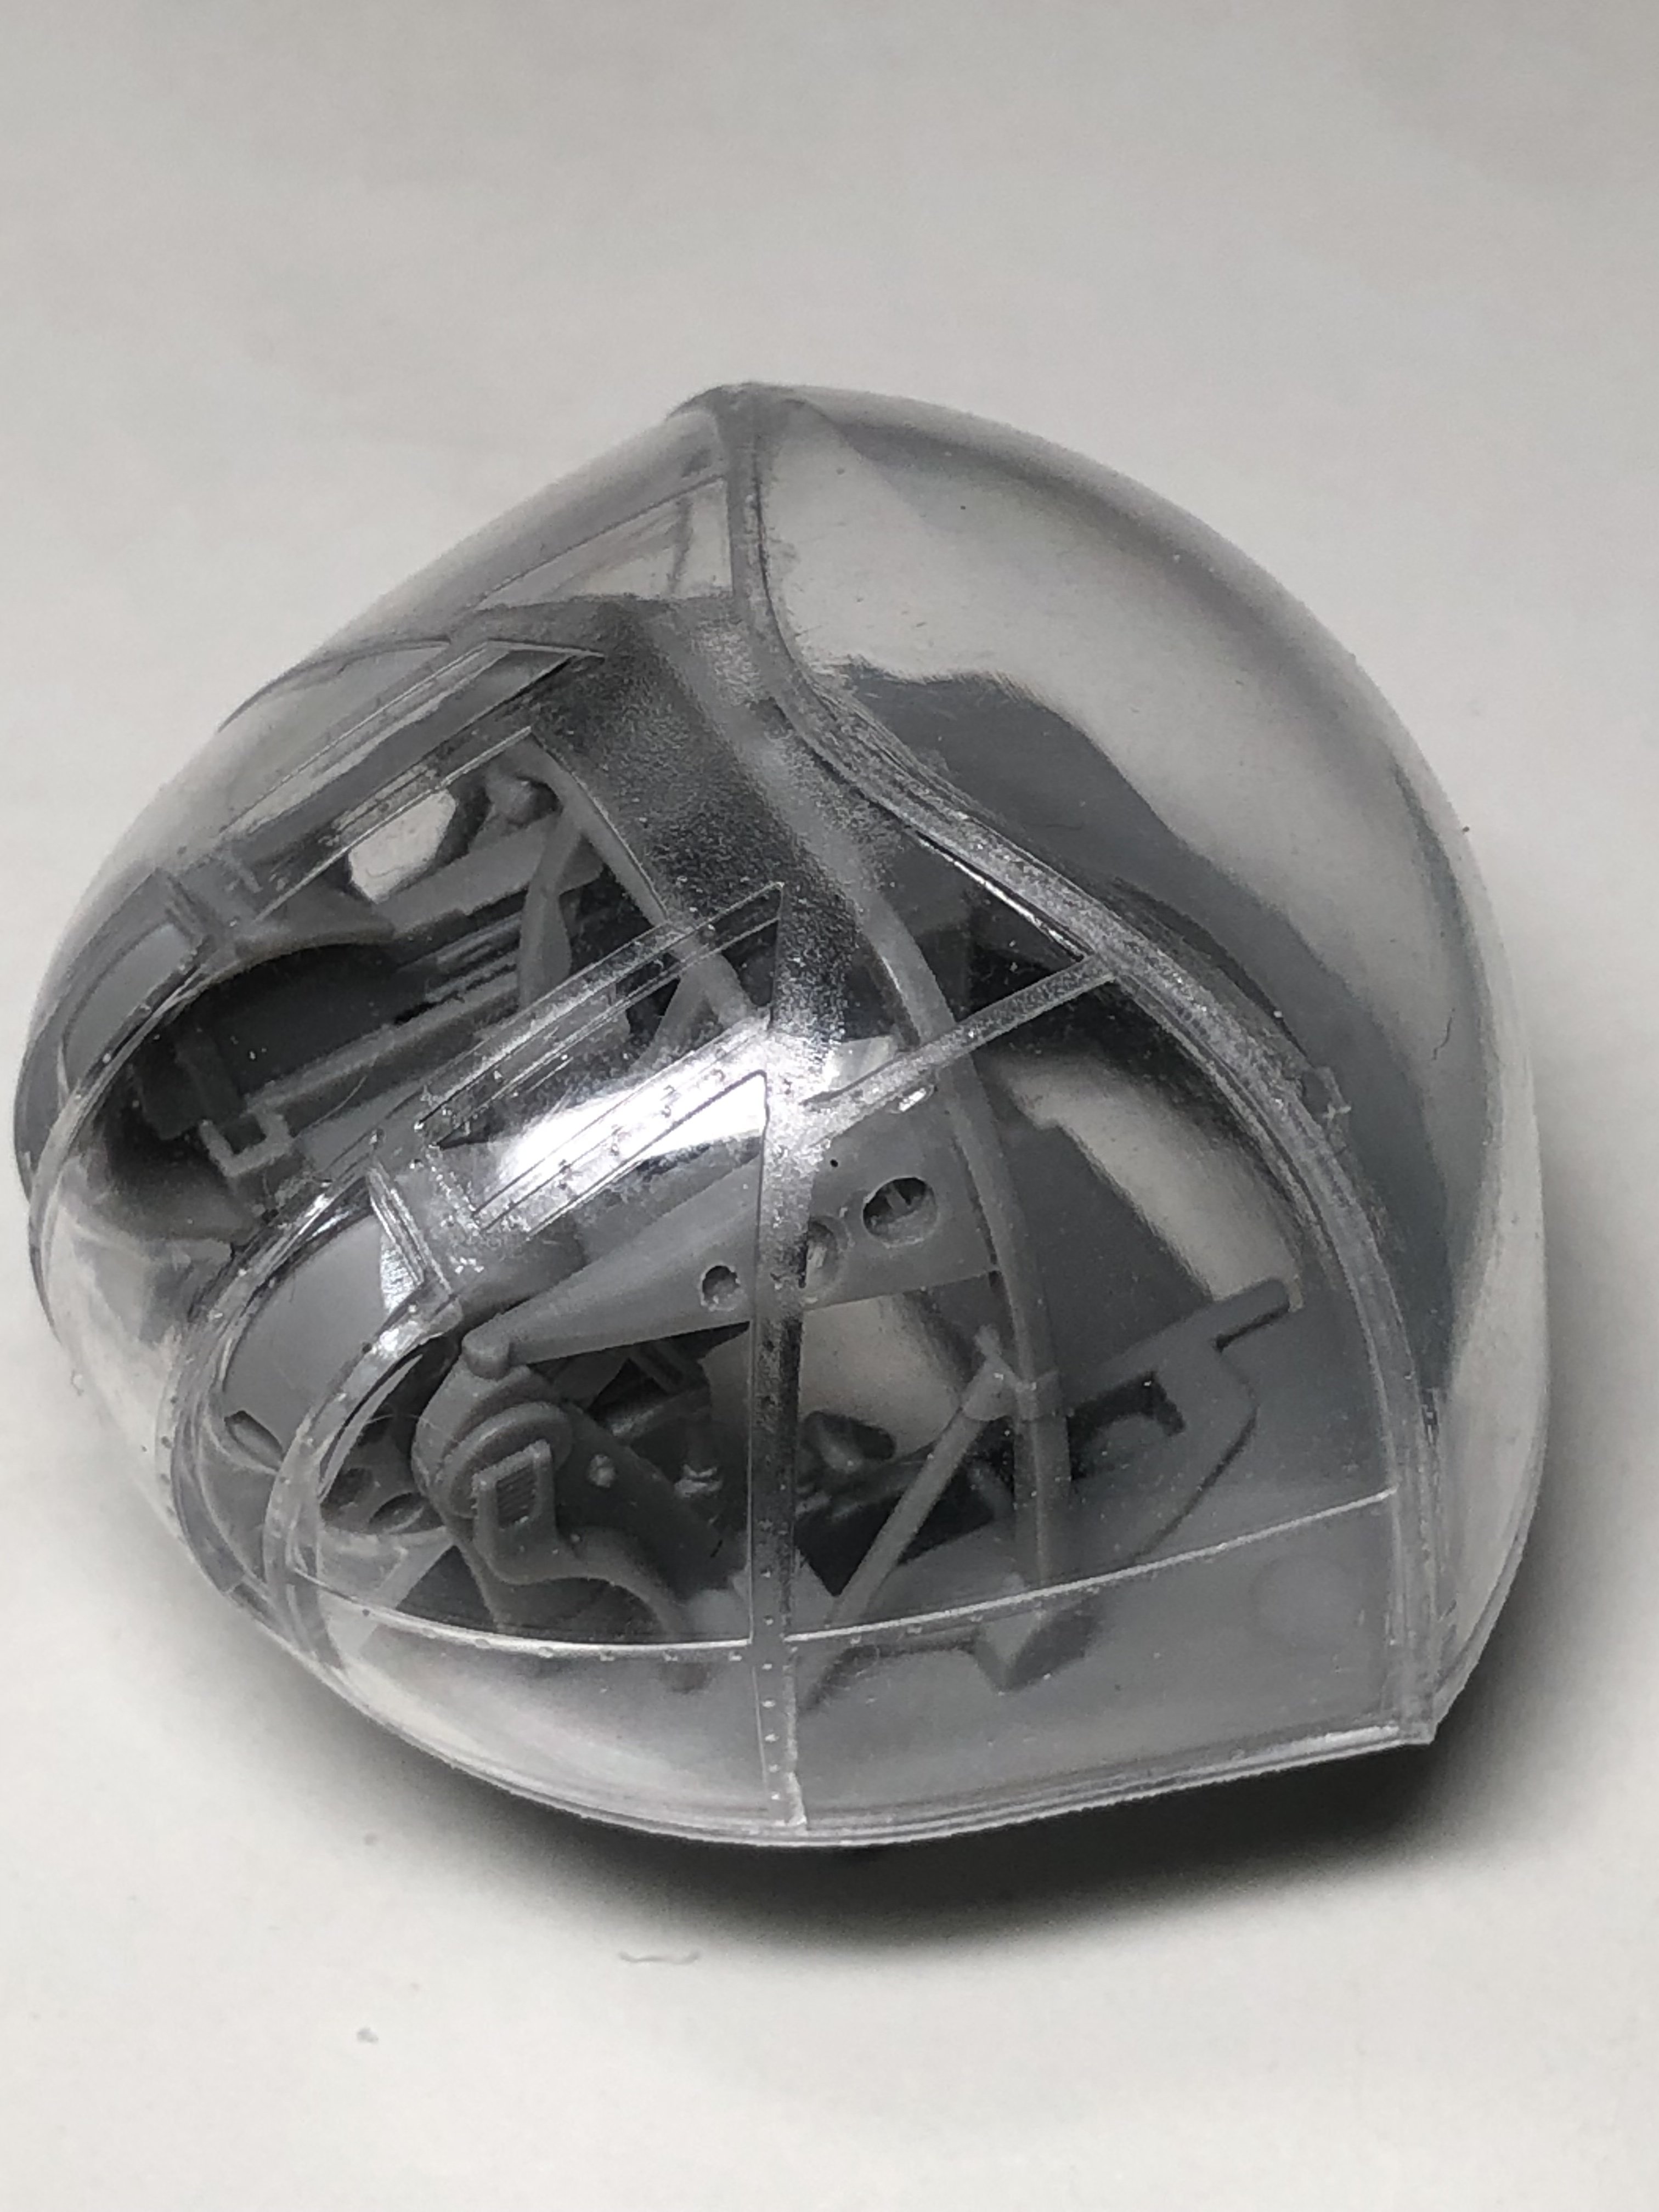
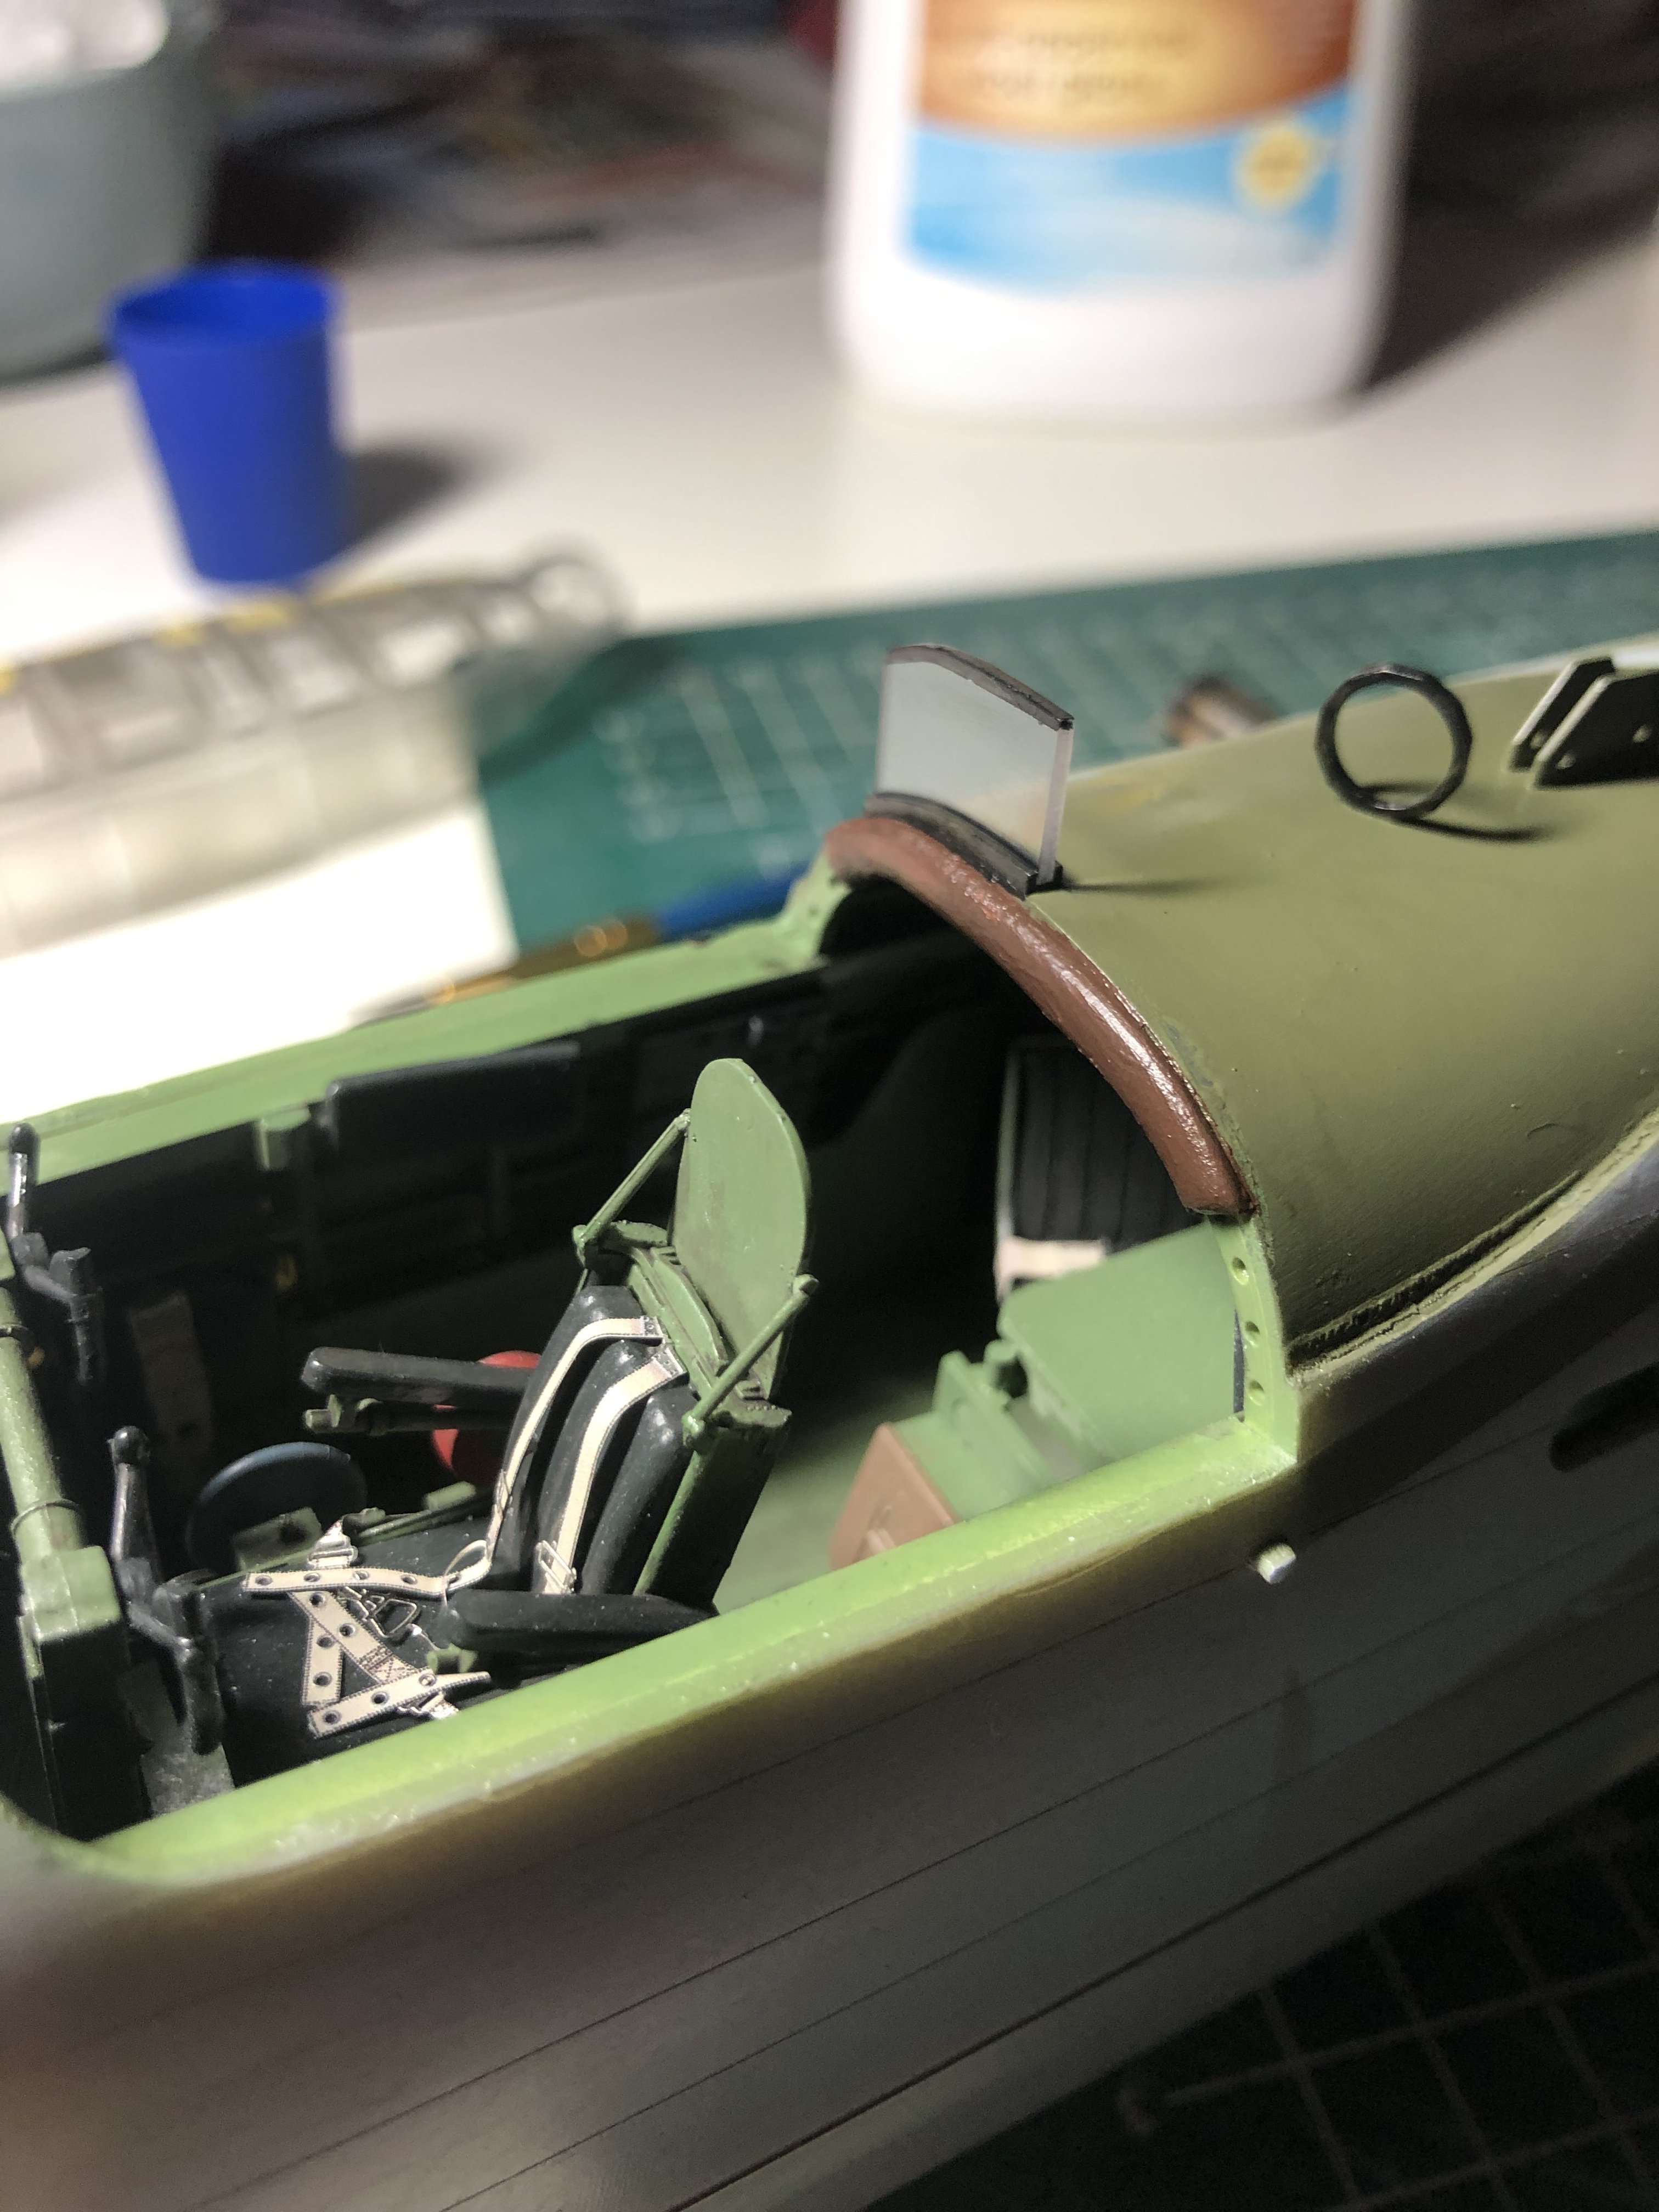
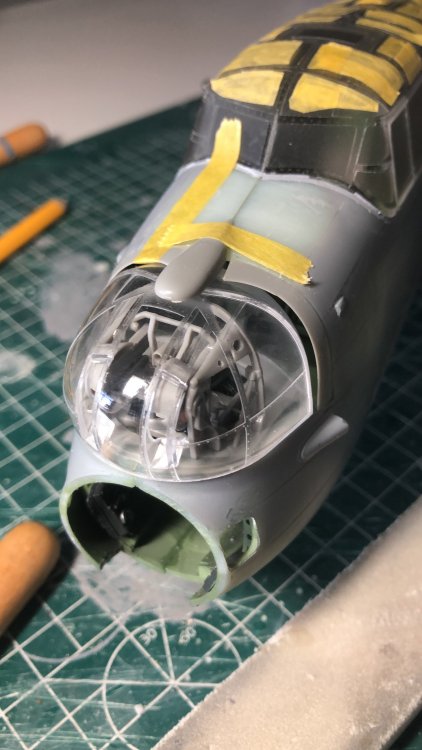
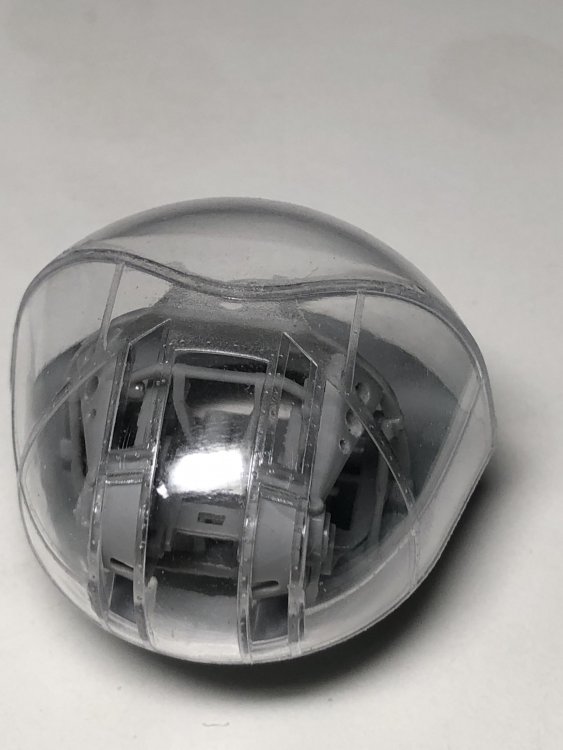
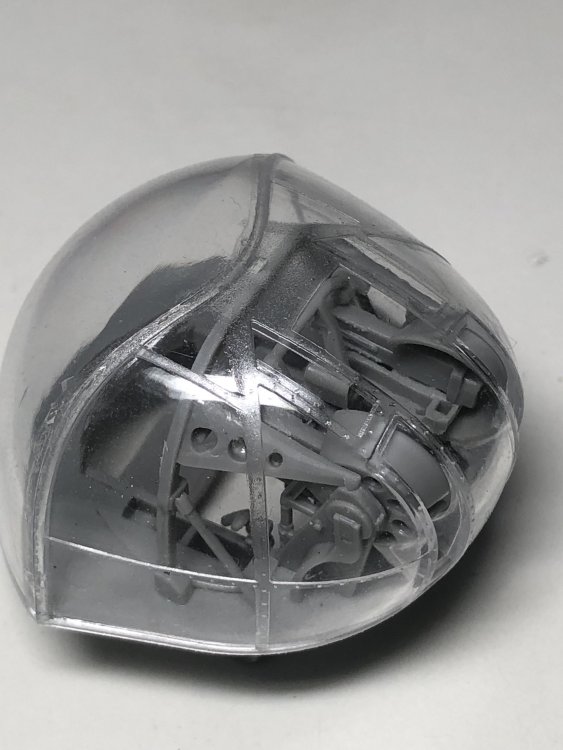
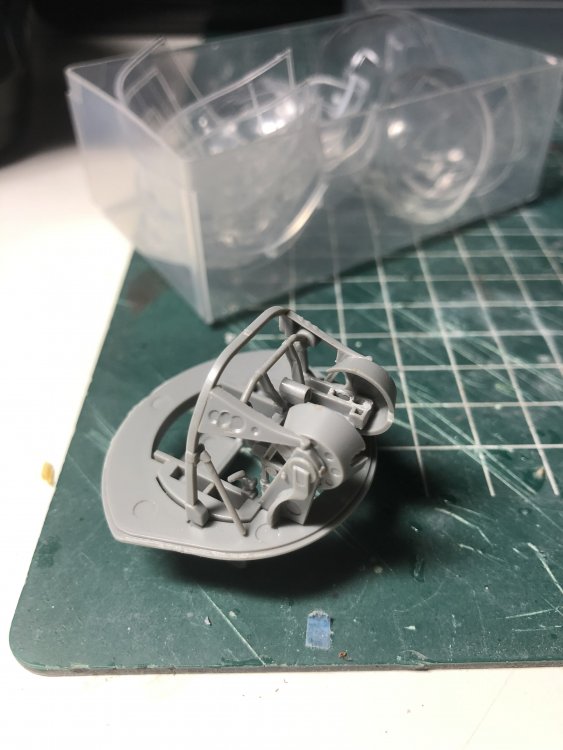
The detail out of the box is quite nice, as is the cupola. I wont’t change much so this can be painted soon. Cees

-
Hi Dennis, Regarding the turret, for my Manchester I also will be doing an aluminium interior. IIRC the structure is all aluminium with some parts such as elevation rams in steel (if ever visible and will have to be scratchbuilt). There is a sort of instrument panel which will be black as will be the gunsight Mk III which fits over the guns, and the guns themselves will be gunmetal of course. Cheers Cees
-
And I have decided not to bother regarding the chutes.
-
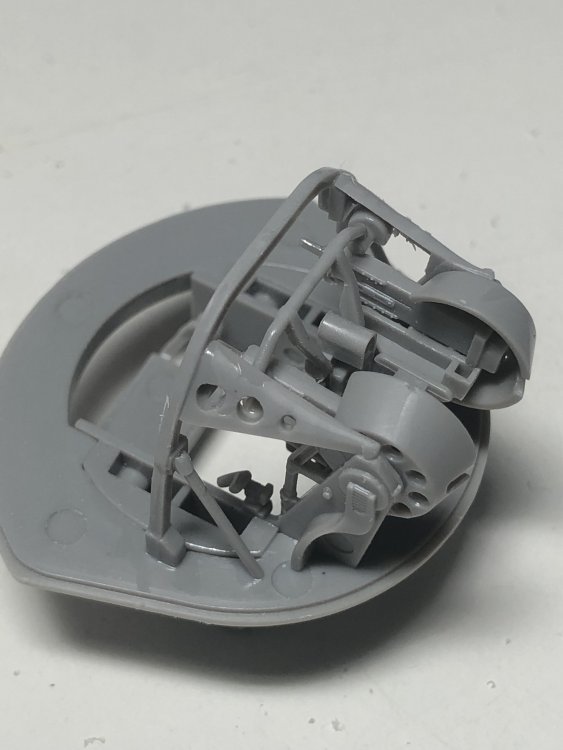
Drilling out holes costs a little effort but has great effect.
-
1/32 Connie Edwards Ha-1112 Buchon
Wingco57 replied to JeroenPeters's topic in LSM 1/35 and Larger Work In Progress
Very nice. Don't forget to "dump" the tailfeathers in a very casual way too. -
1/18 P51C Mustang "Lopes Hope 3rd"
Wingco57 replied to airscale's topic in LSM 1/35 and Larger Work In Progress
I think I just had a modelling orgasm..... -
1/32 Connie Edwards Ha-1112 Buchon
Wingco57 replied to JeroenPeters's topic in LSM 1/35 and Larger Work In Progress
Very nice scratchbuilding. If it itches you have to scratch. Cees -
hk models HK Models 1/32 Avro Lancaster Mk.1 (Part 1)
Wingco57 replied to JeroenPeters's topic in Aircraft Reviews
Which one? There were several types. Mk VII, SABS etc. -
Don't you just hate photobucket
-
Hi Giorgio, I checked to see if I had a set of Lanc cowlings left but it seems that I gave both of them away some time ago. I have none remaining. Sorry. Cees
-
Thanks for the info Fidd, I will use your image as seen in the previous post to scratchbuild some new chutes as I am aware that the ones in the kit are not accurate. Mind you I will only make it a representation as I tend to not lose much sleep over such a thing. Cheers Cees
-
Hobbycraft F6A D-Day - Ready for inspection!
Wingco57 replied to 1to1scale's topic in D-Day 75th Anniversary Group Build
That's looking very nice. -
1/32 Connie Edwards Ha-1112 Buchon
Wingco57 replied to JeroenPeters's topic in LSM 1/35 and Larger Work In Progress
I noticed in the cockpit photograph that it had a British intercom socket. Must also be a result of the filmwork at the time. Very interesting. Cees -
F4U-1A finished!
Wingco57 replied to JohnB's topic in LSM 1/32 and Larger Aircraft Ready for Inspection
Nice one John, I have always liked that classic Navy livery. Cheers Cees -
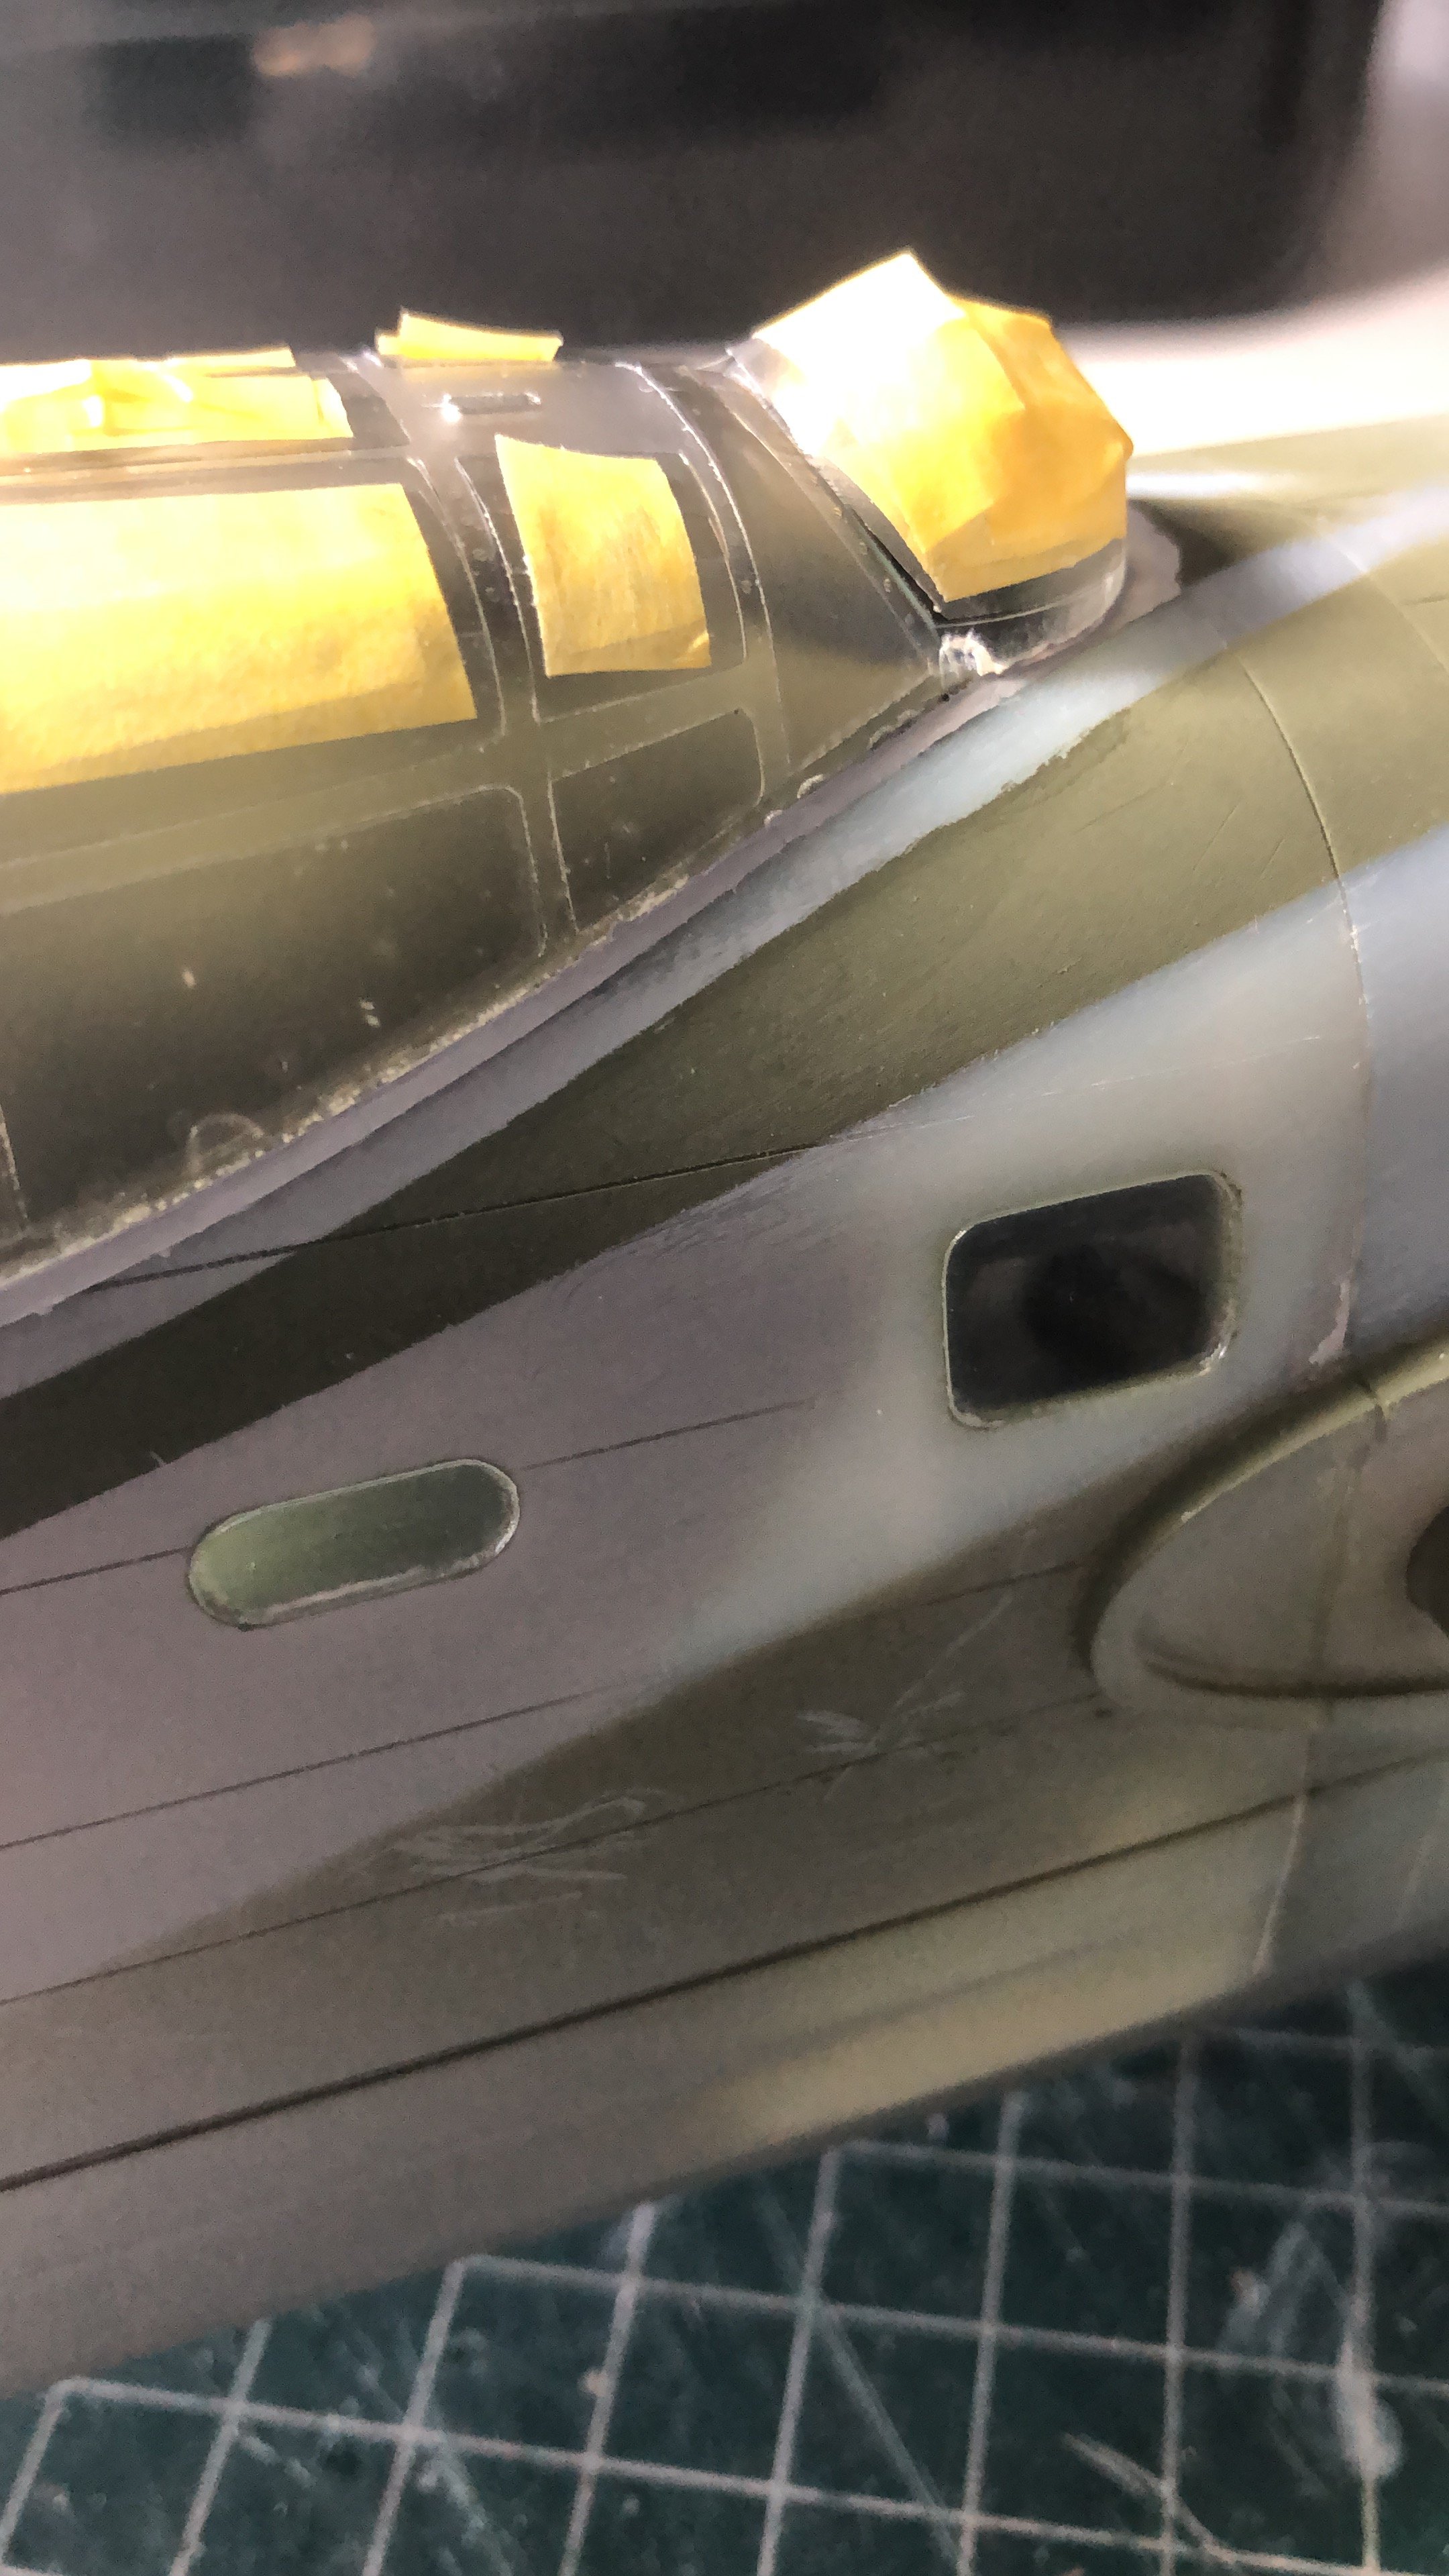
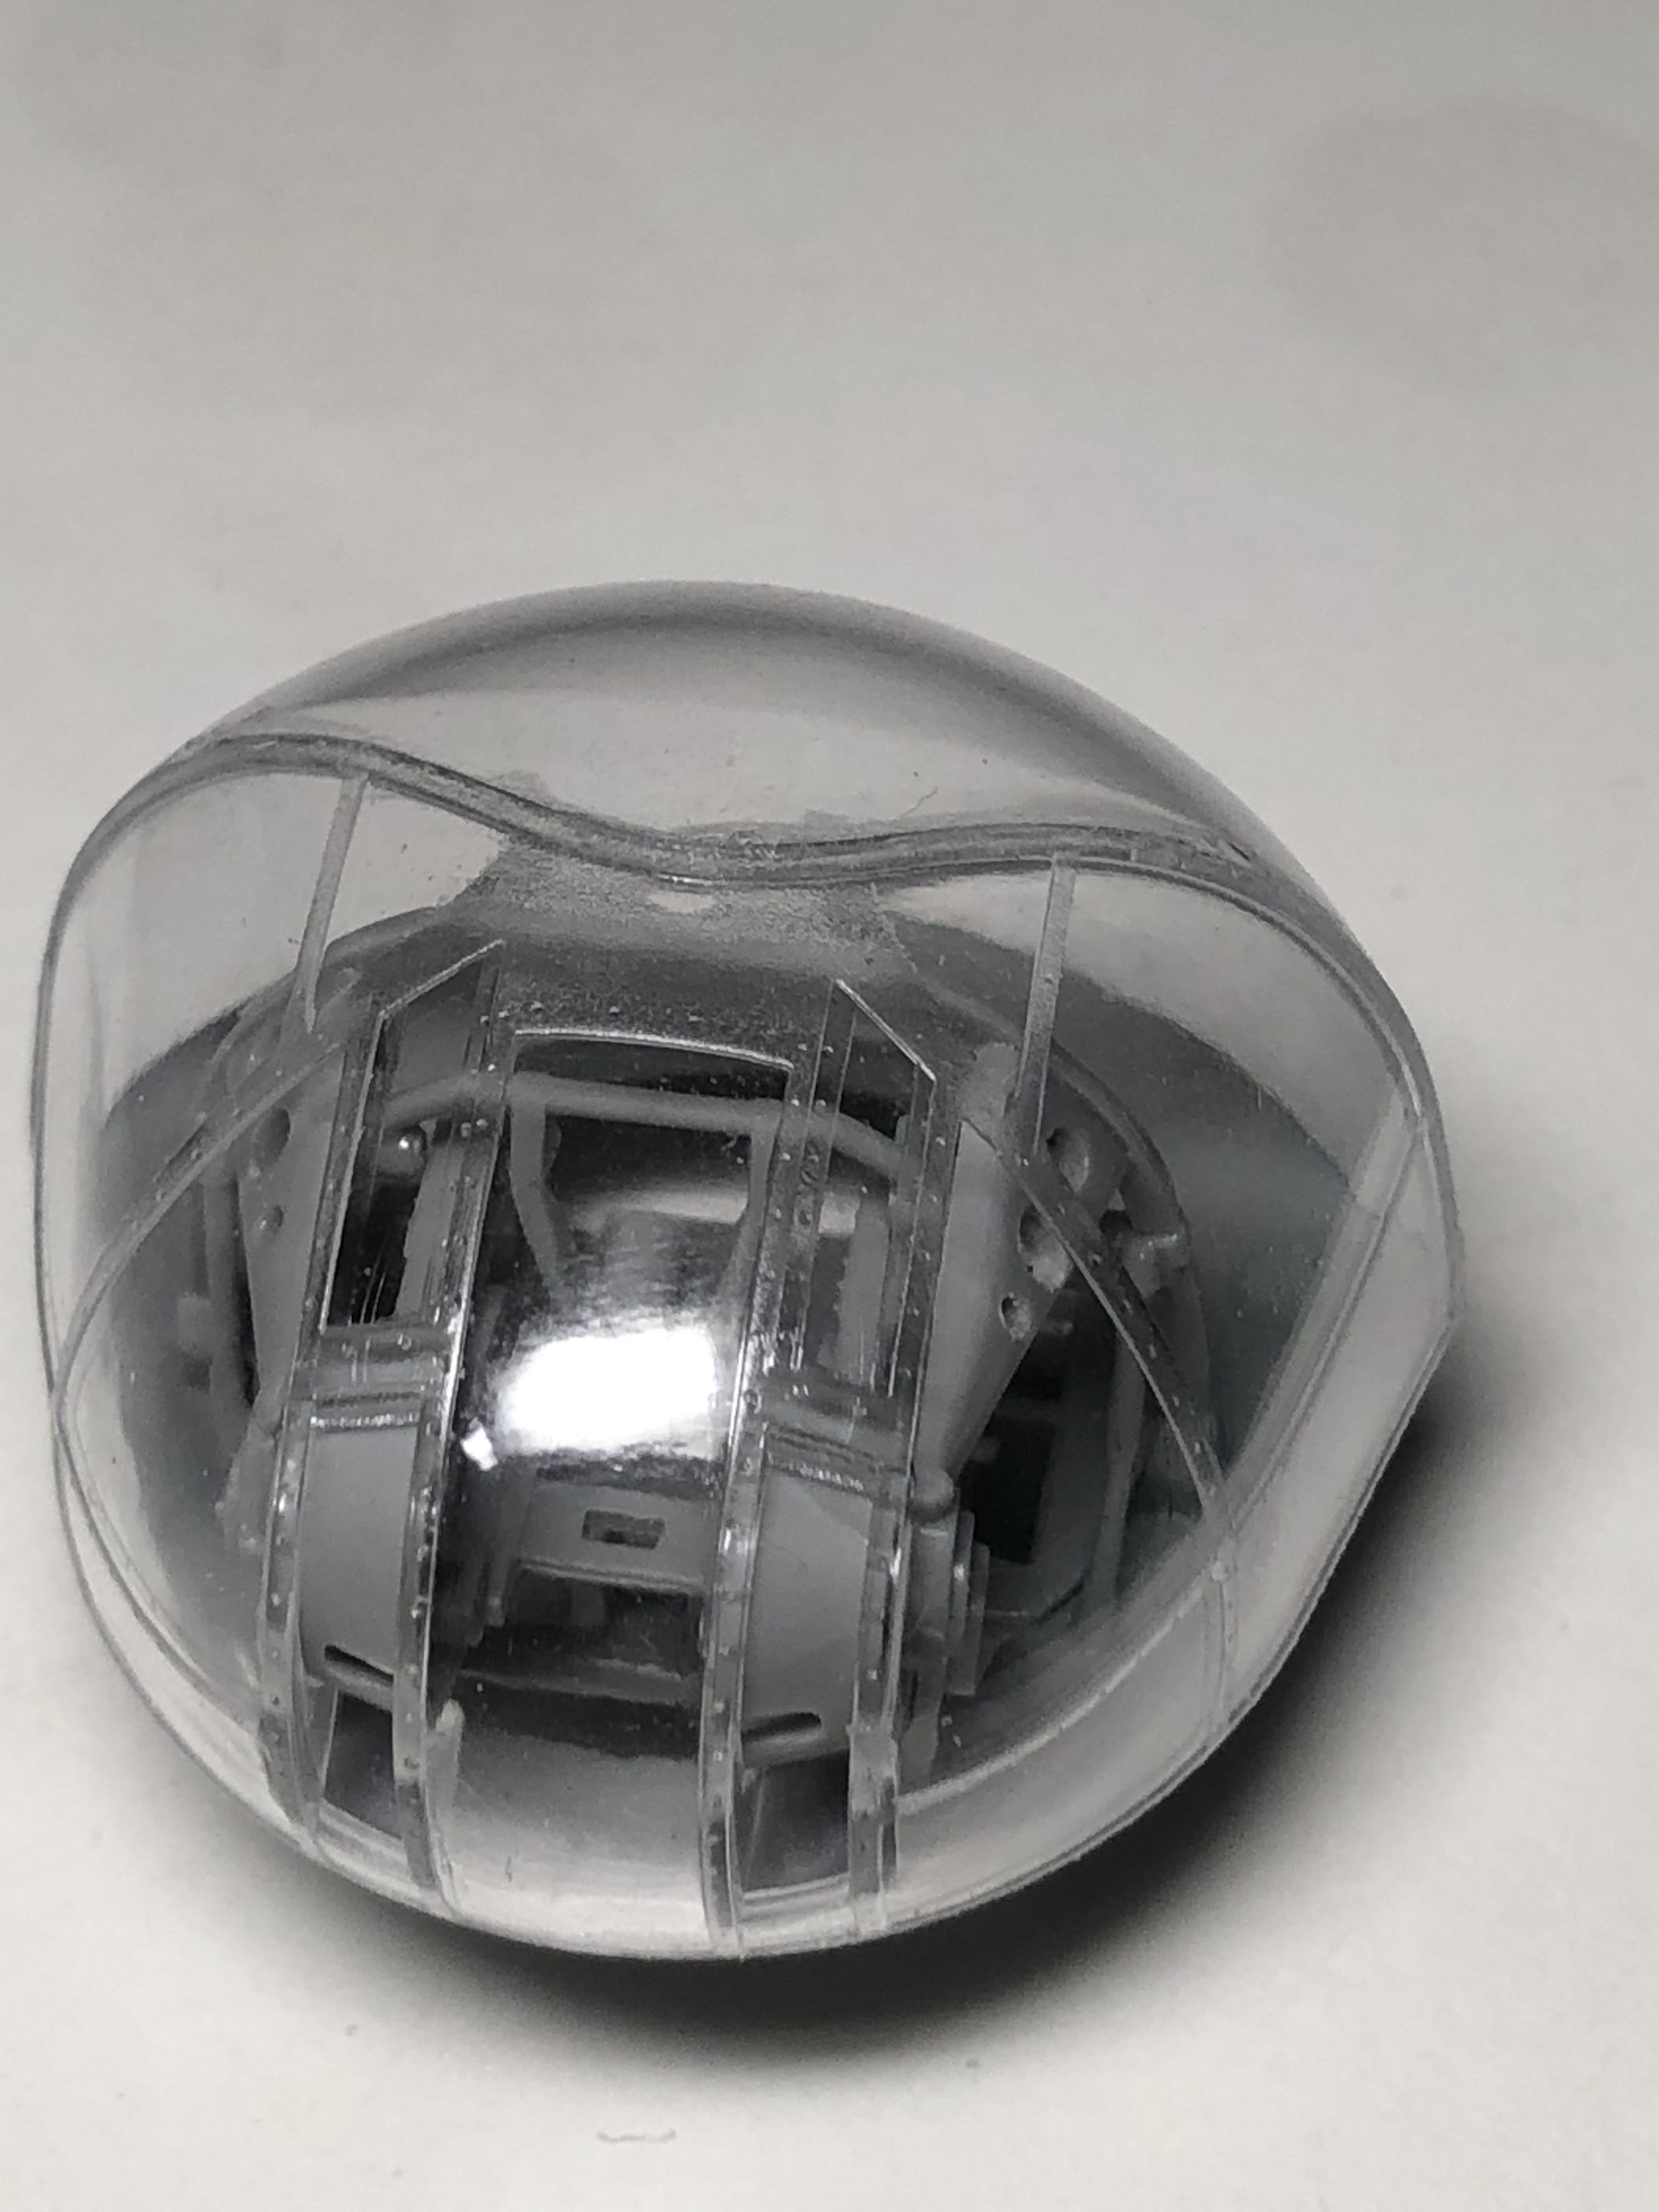
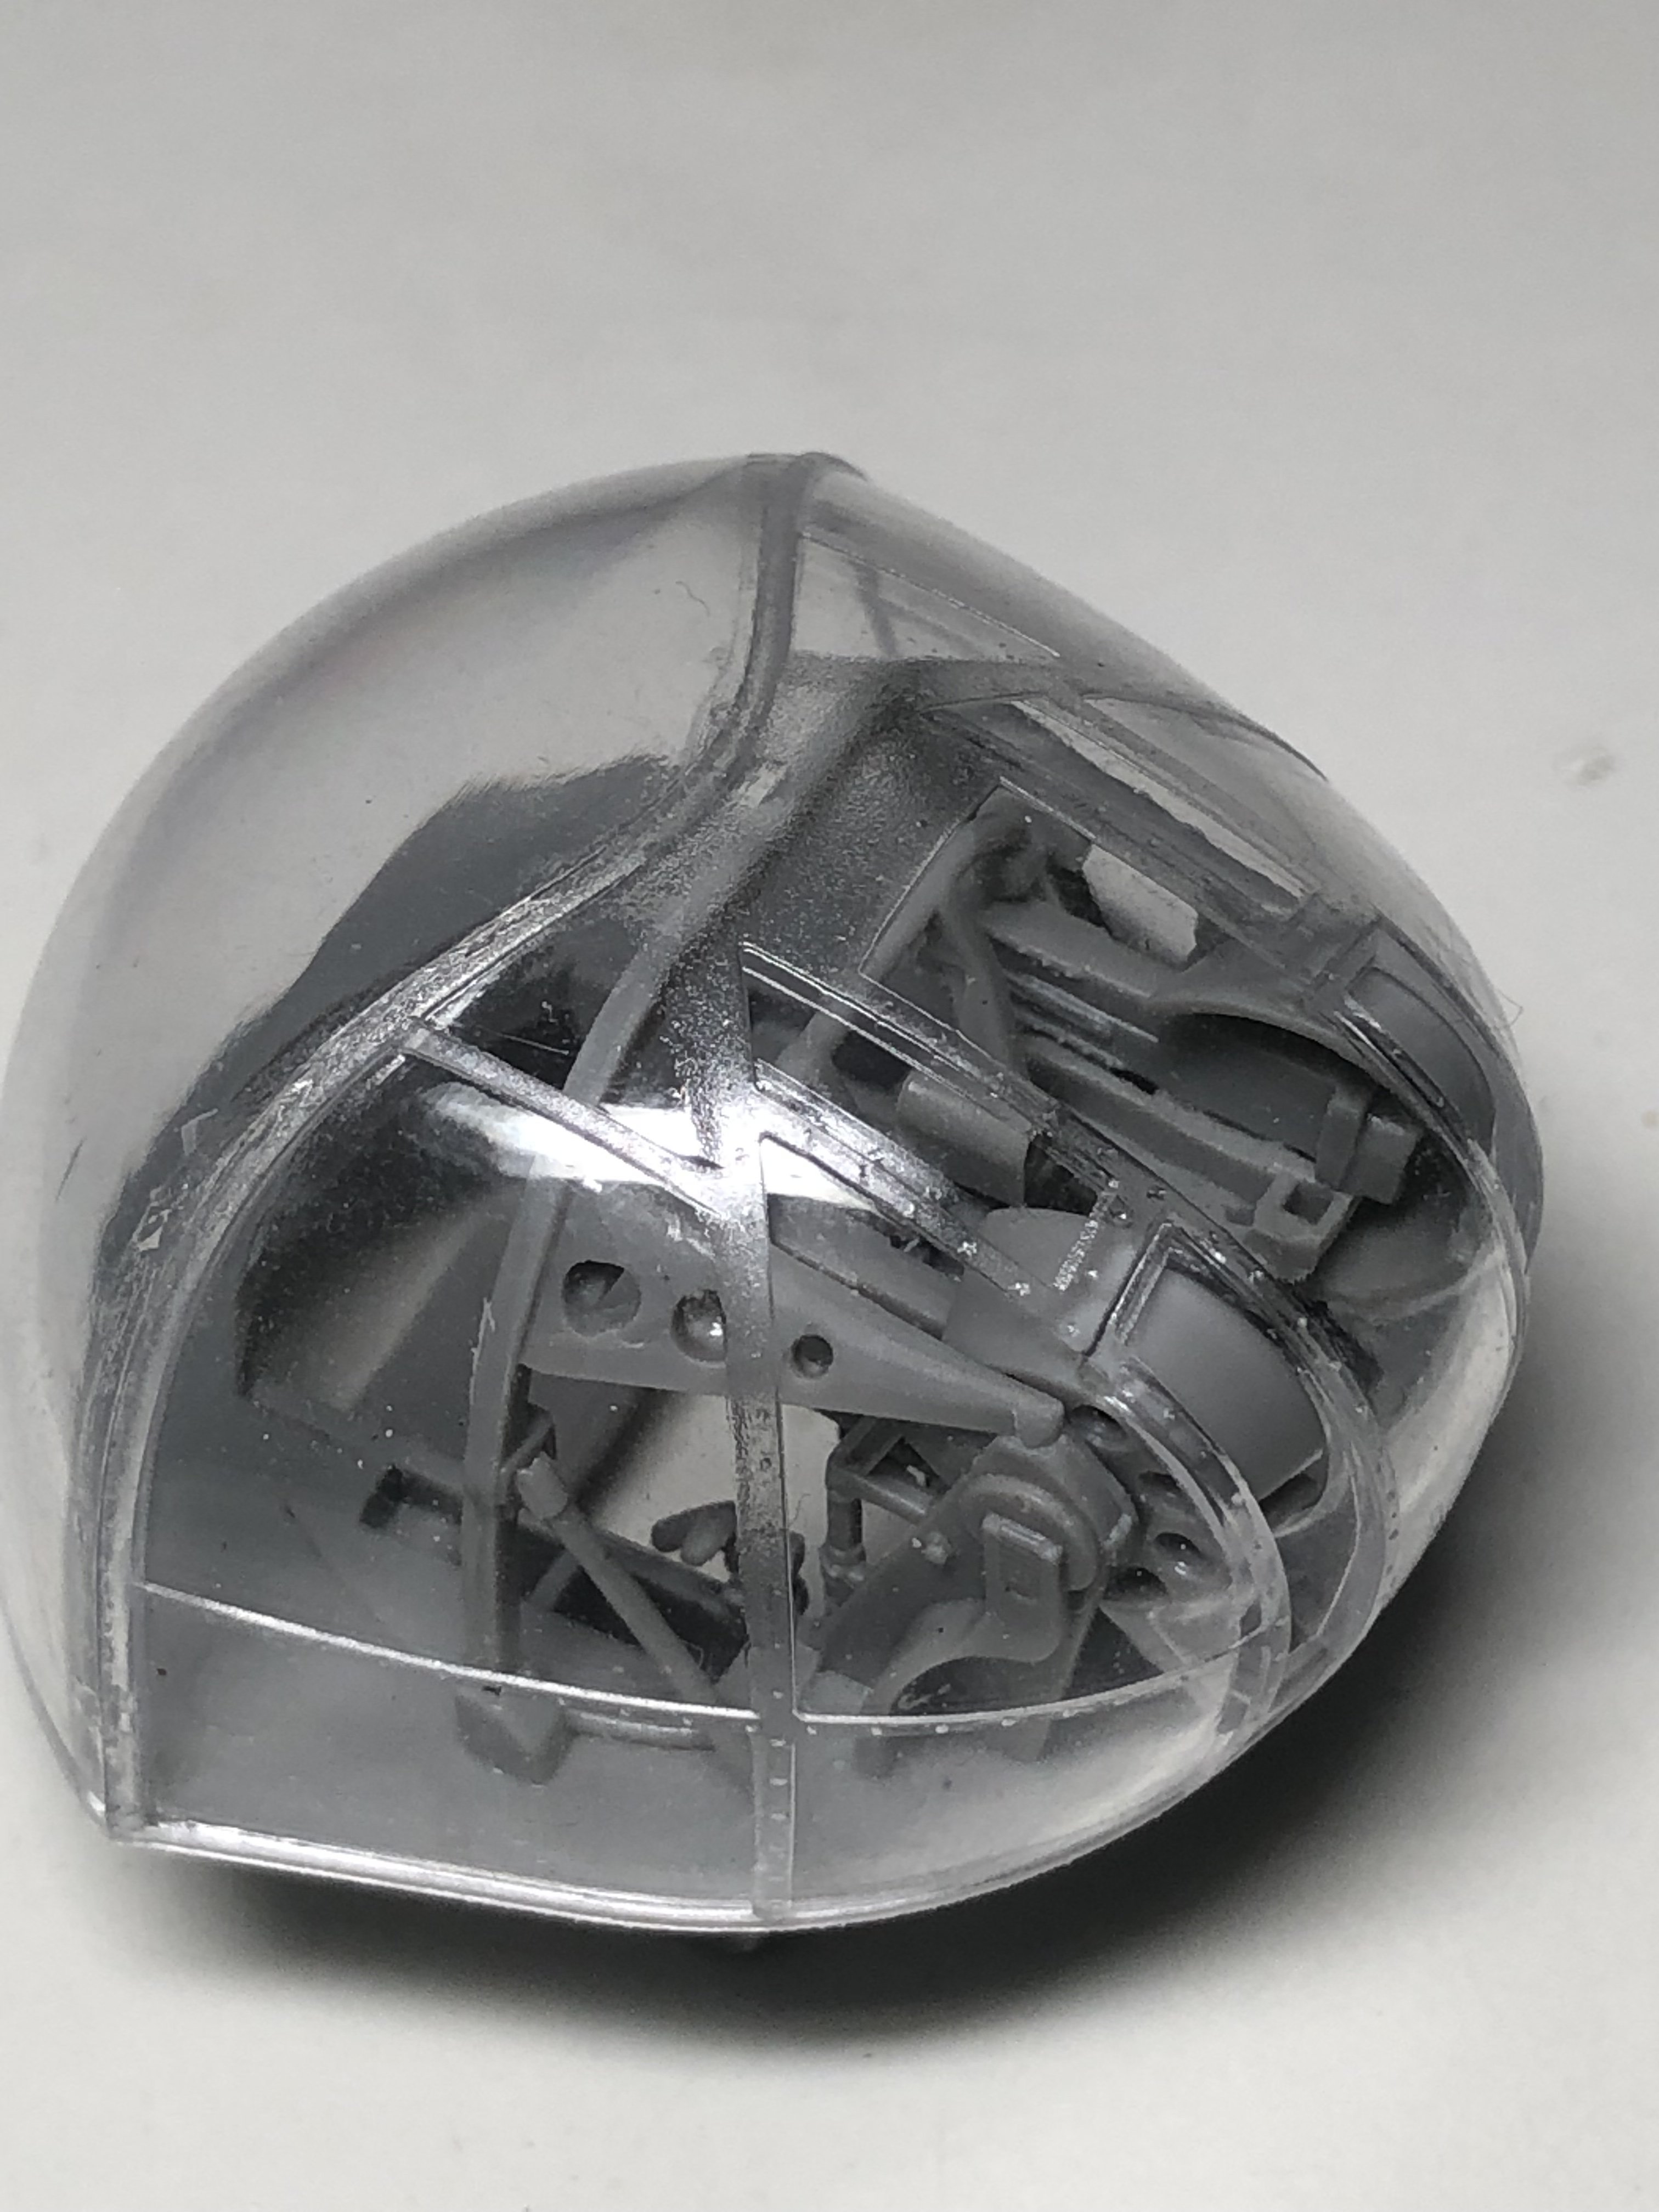
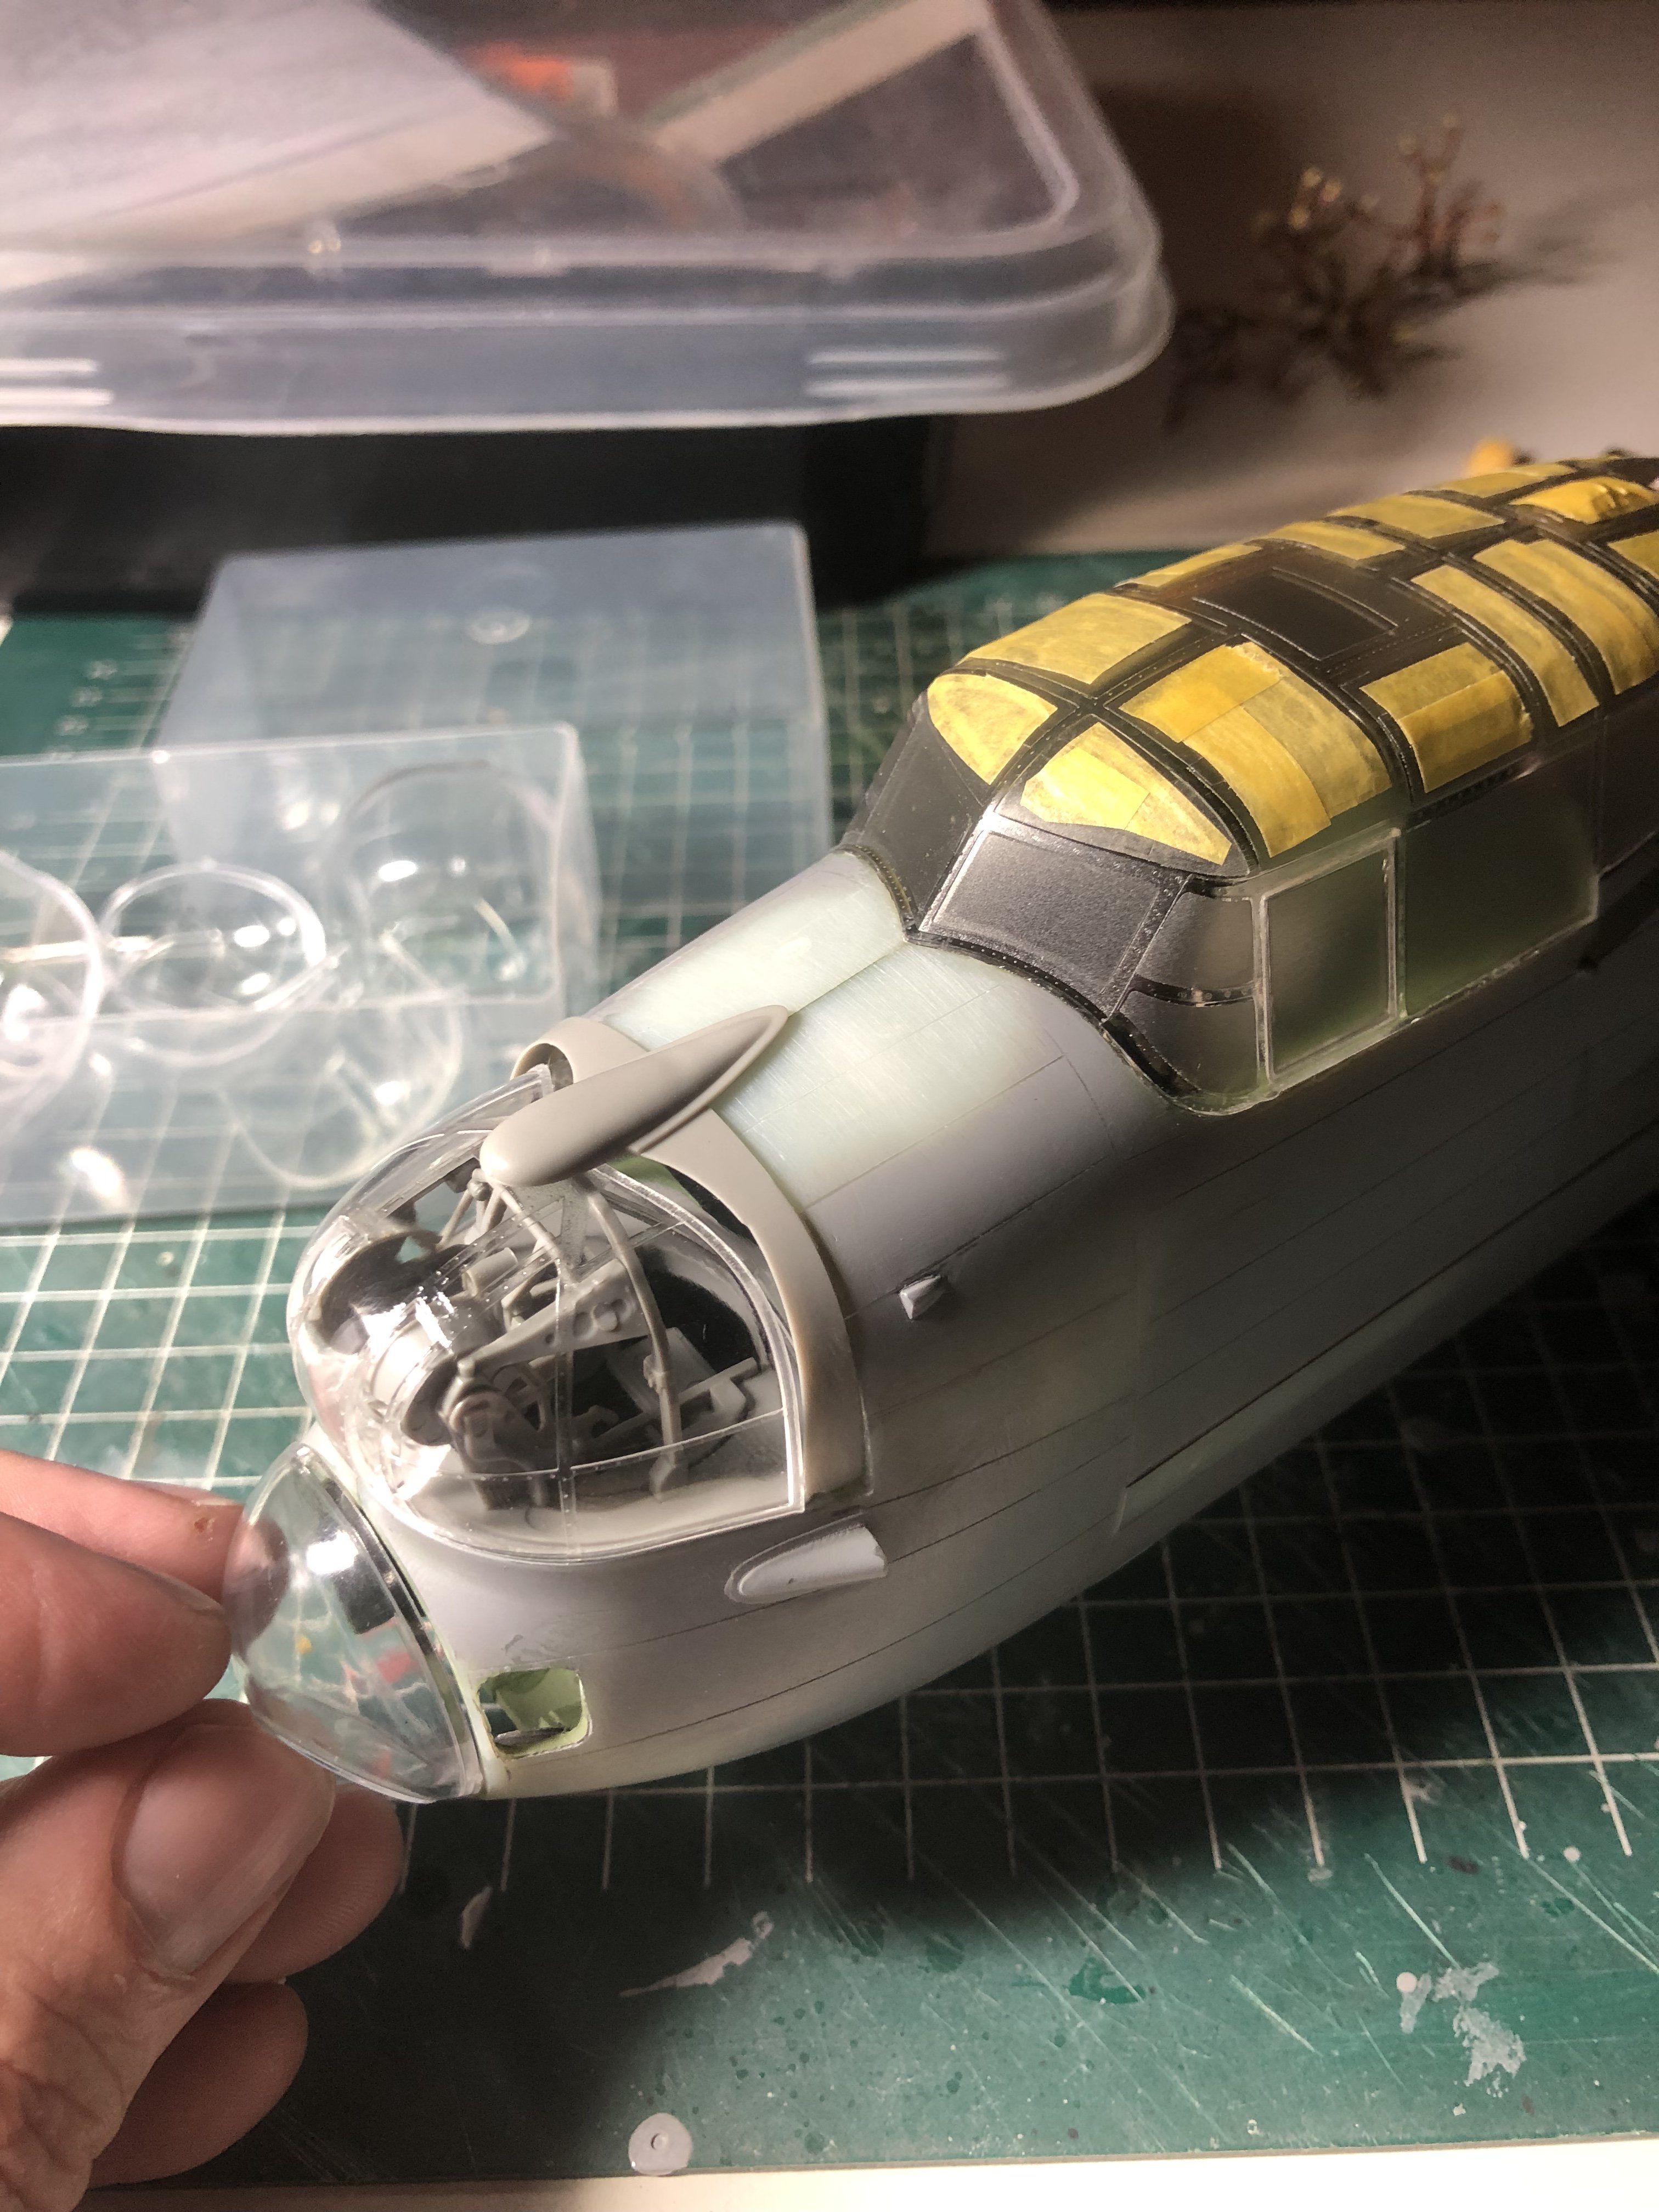
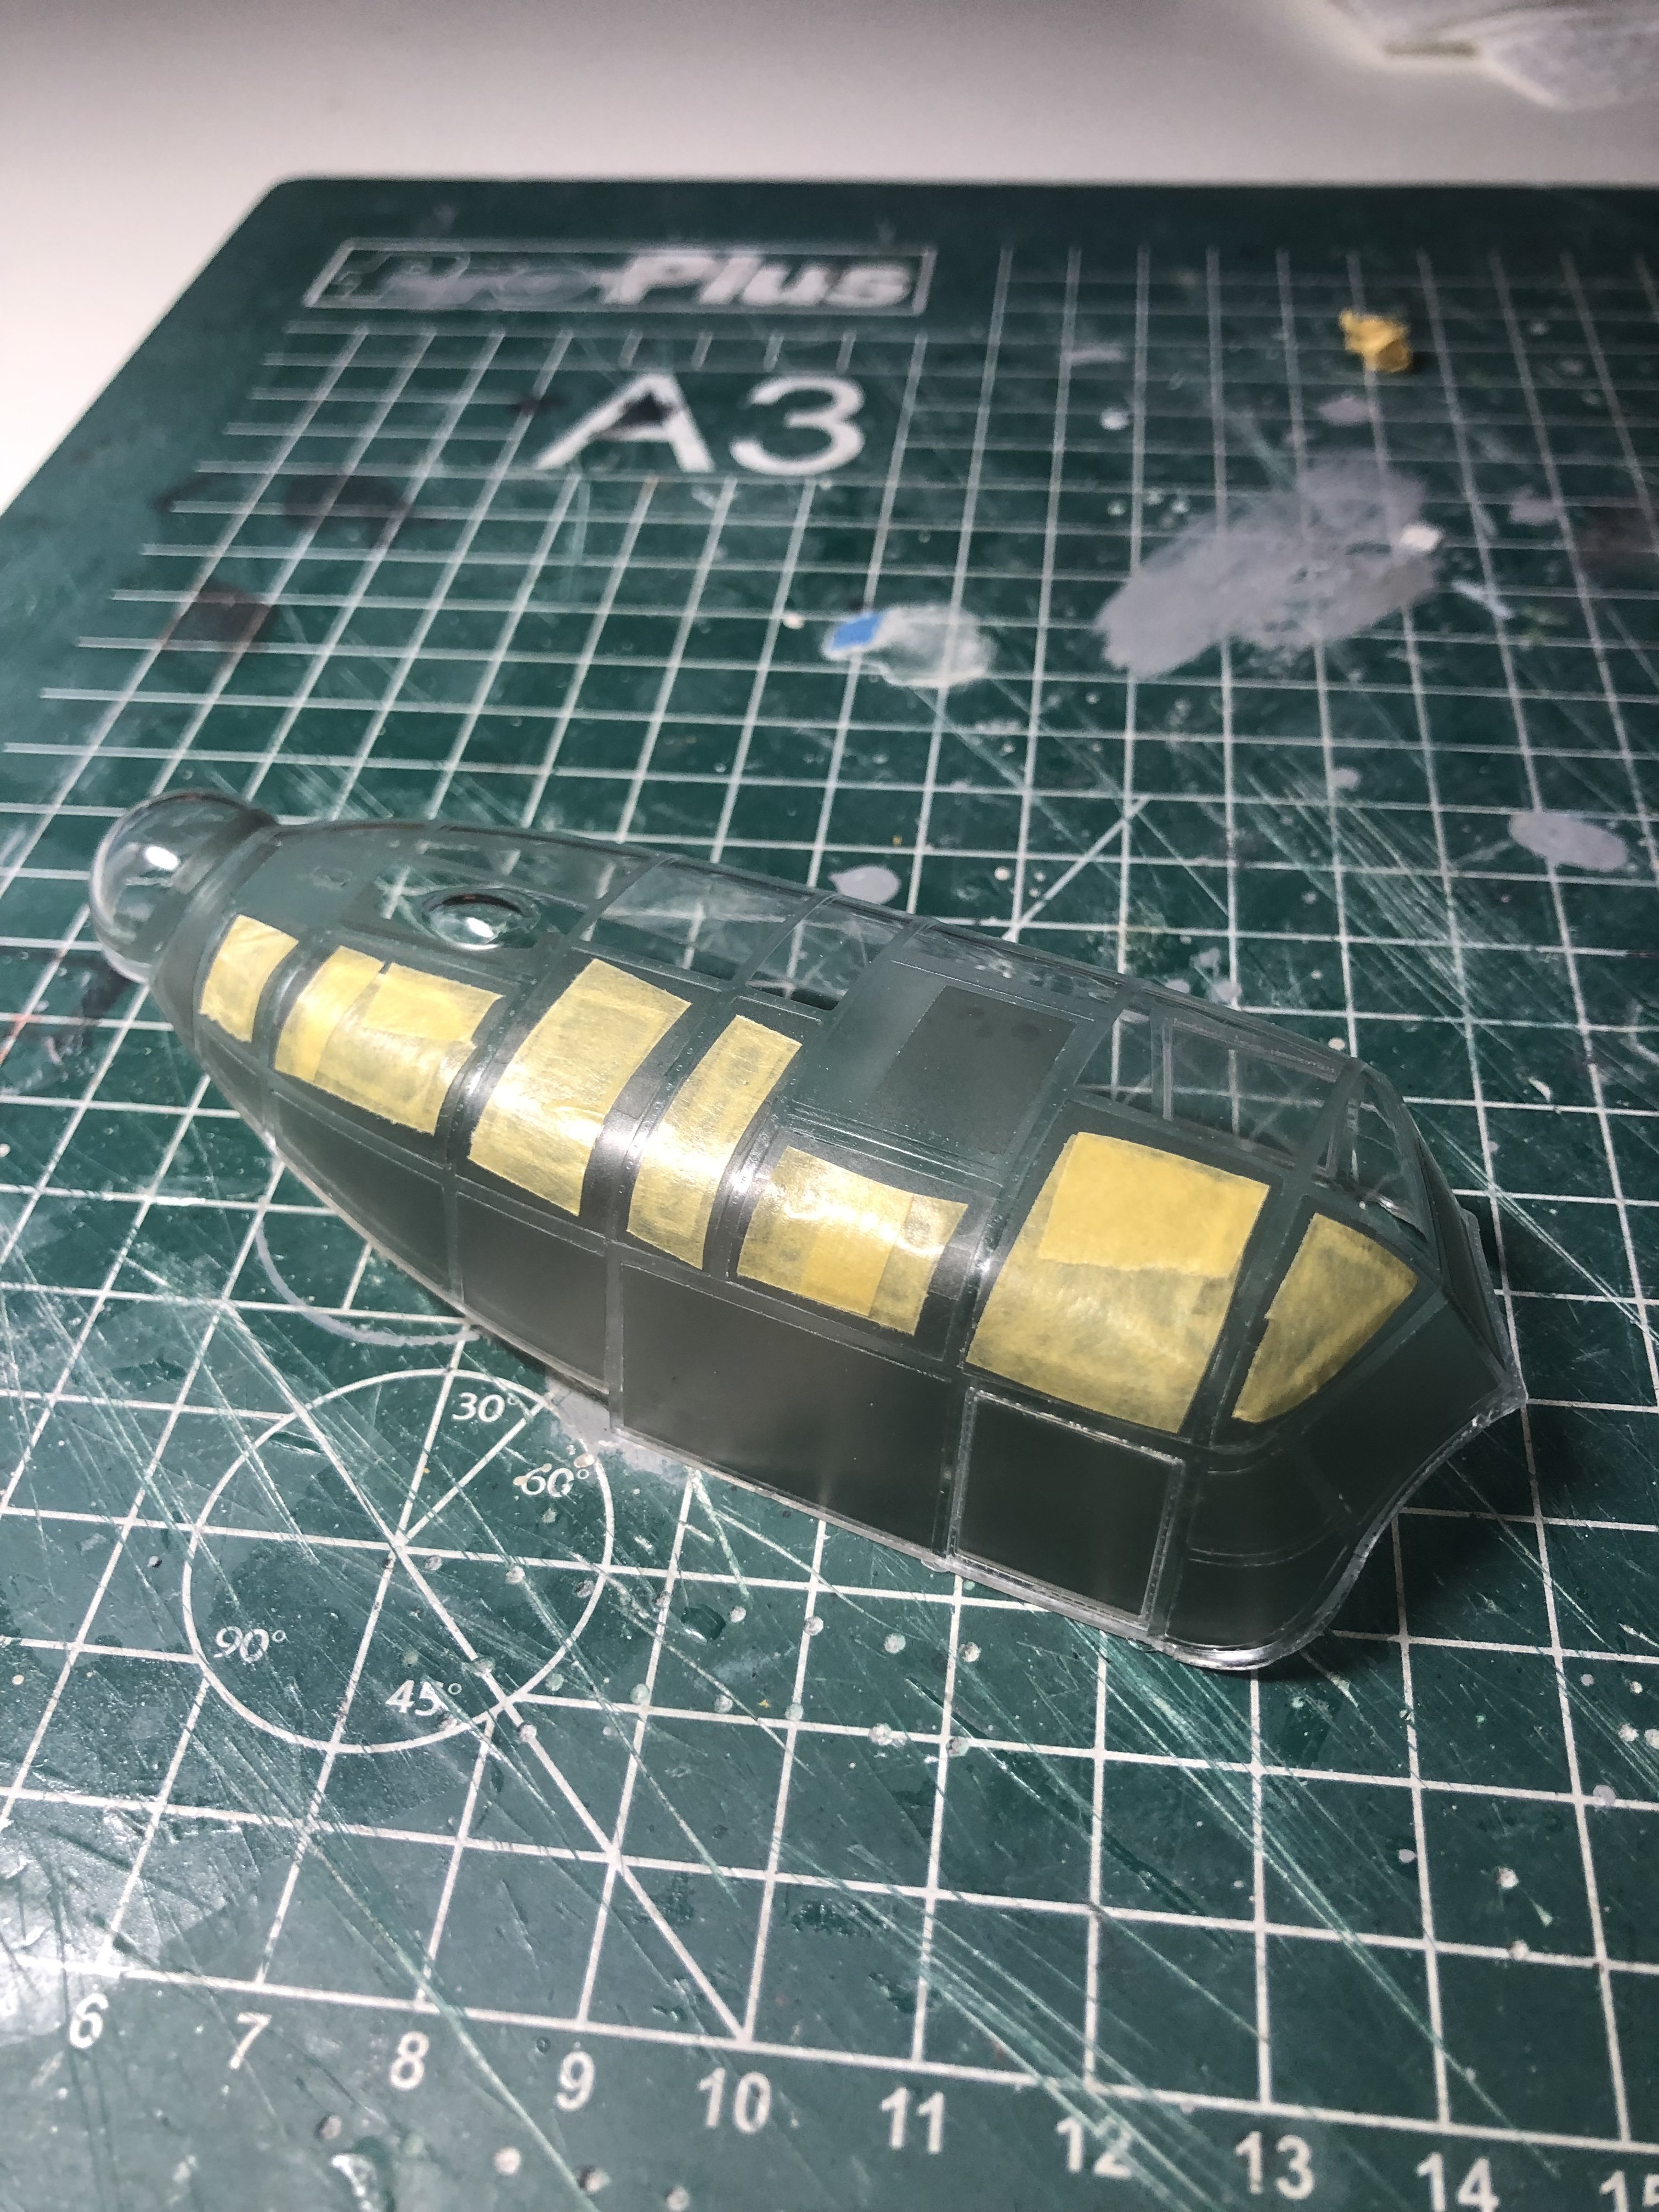
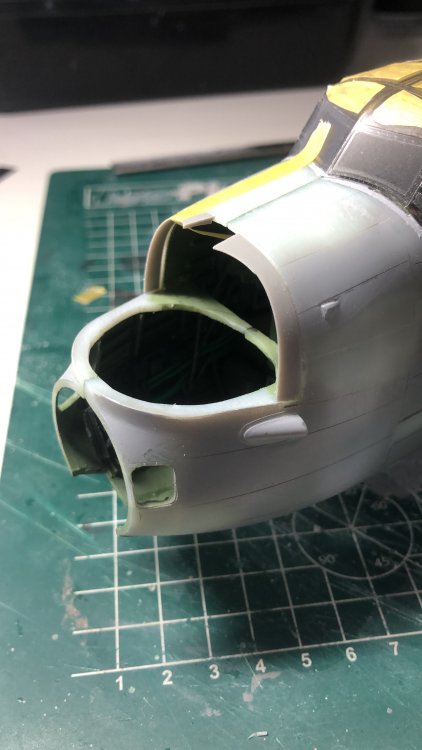
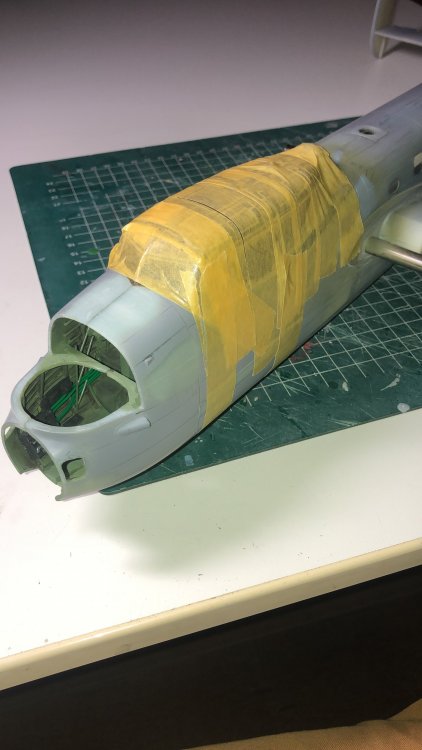
Well I am happy the canopy has been fitted neatly. the sides will need to be blended in with mr surfacer. The open areas not covered by the DN Models masks have been filled in with tape. the FN-5 turret is almost complete bar some details and the drilling out of the lightening hole in the trunnionstays. The early turrets were predominantly aluminium so this one will be too. What luxury having so many spares at hand. Cheers Cees


-
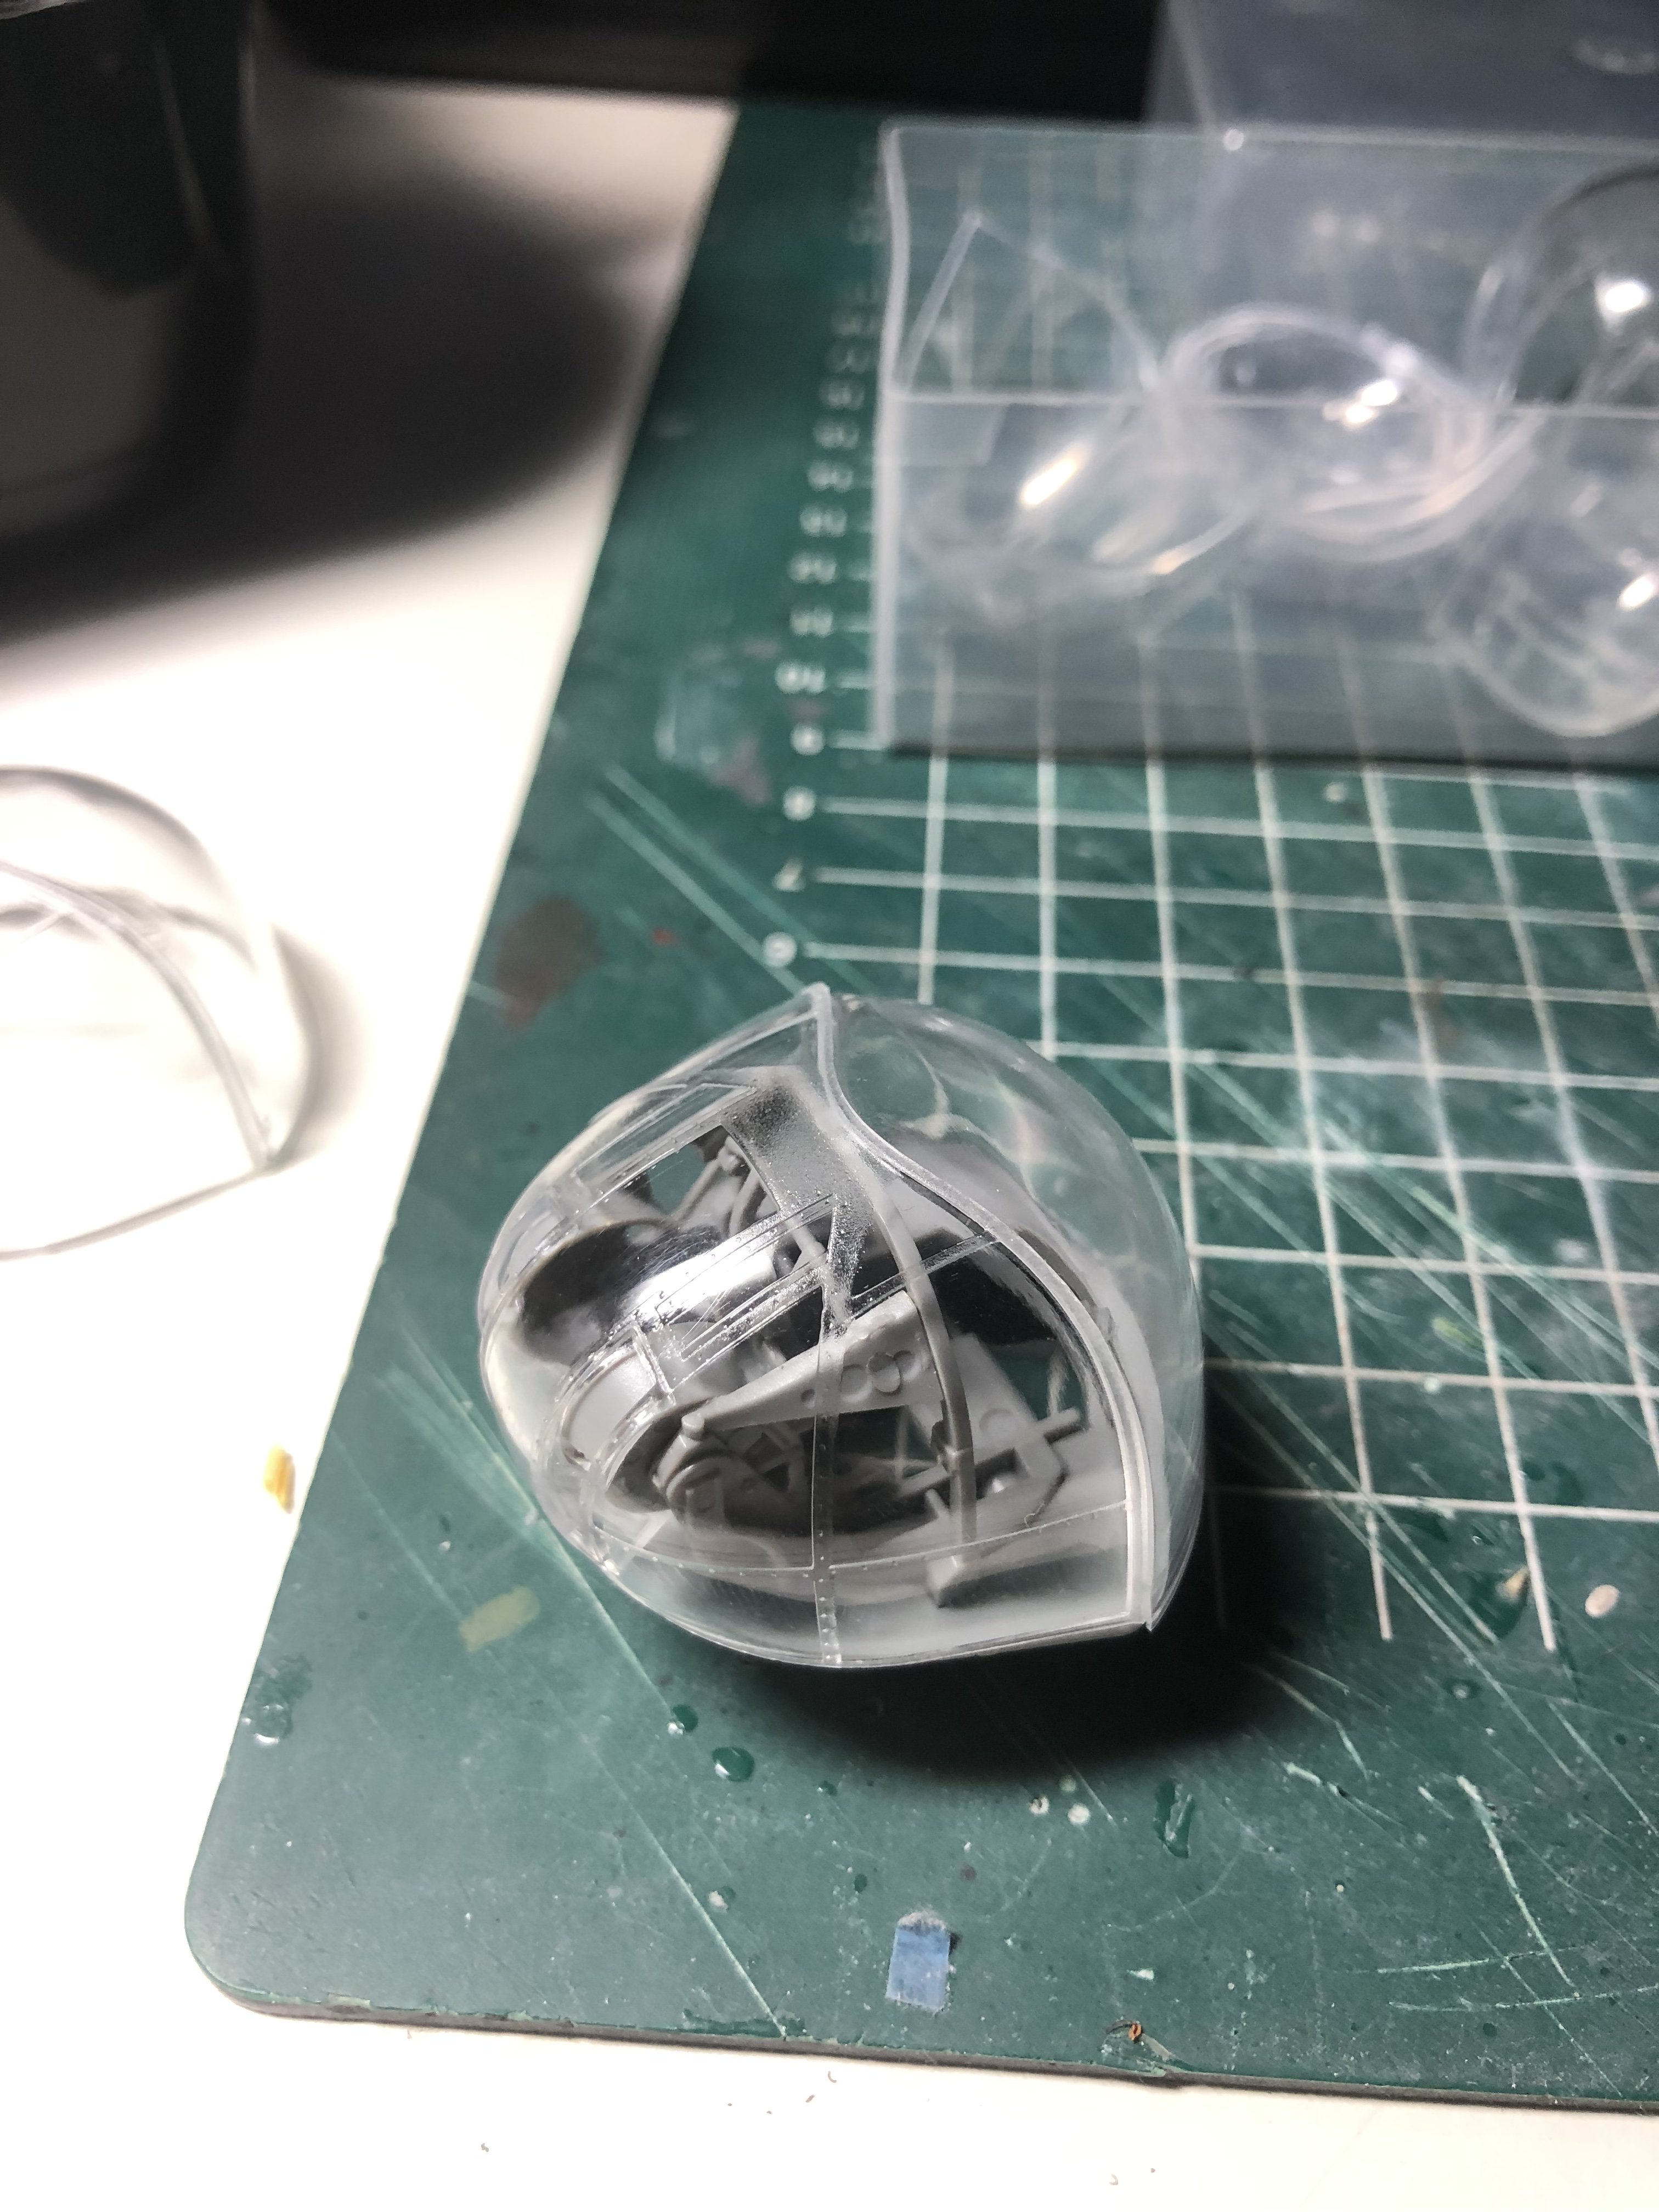
@Anthony, thanks and this is not a standard HKM Lancaster but the 3D-printed prototype devoid of any detail. @Neil, good to see you here again mate and now get those modelling juices flowing again. Glad that the canopy is on now, some more blending in into the surrounding area and then the FN-5 turret is next. Getting there. Cheers Cees
-
The canopy is on. Cheers Cees
-
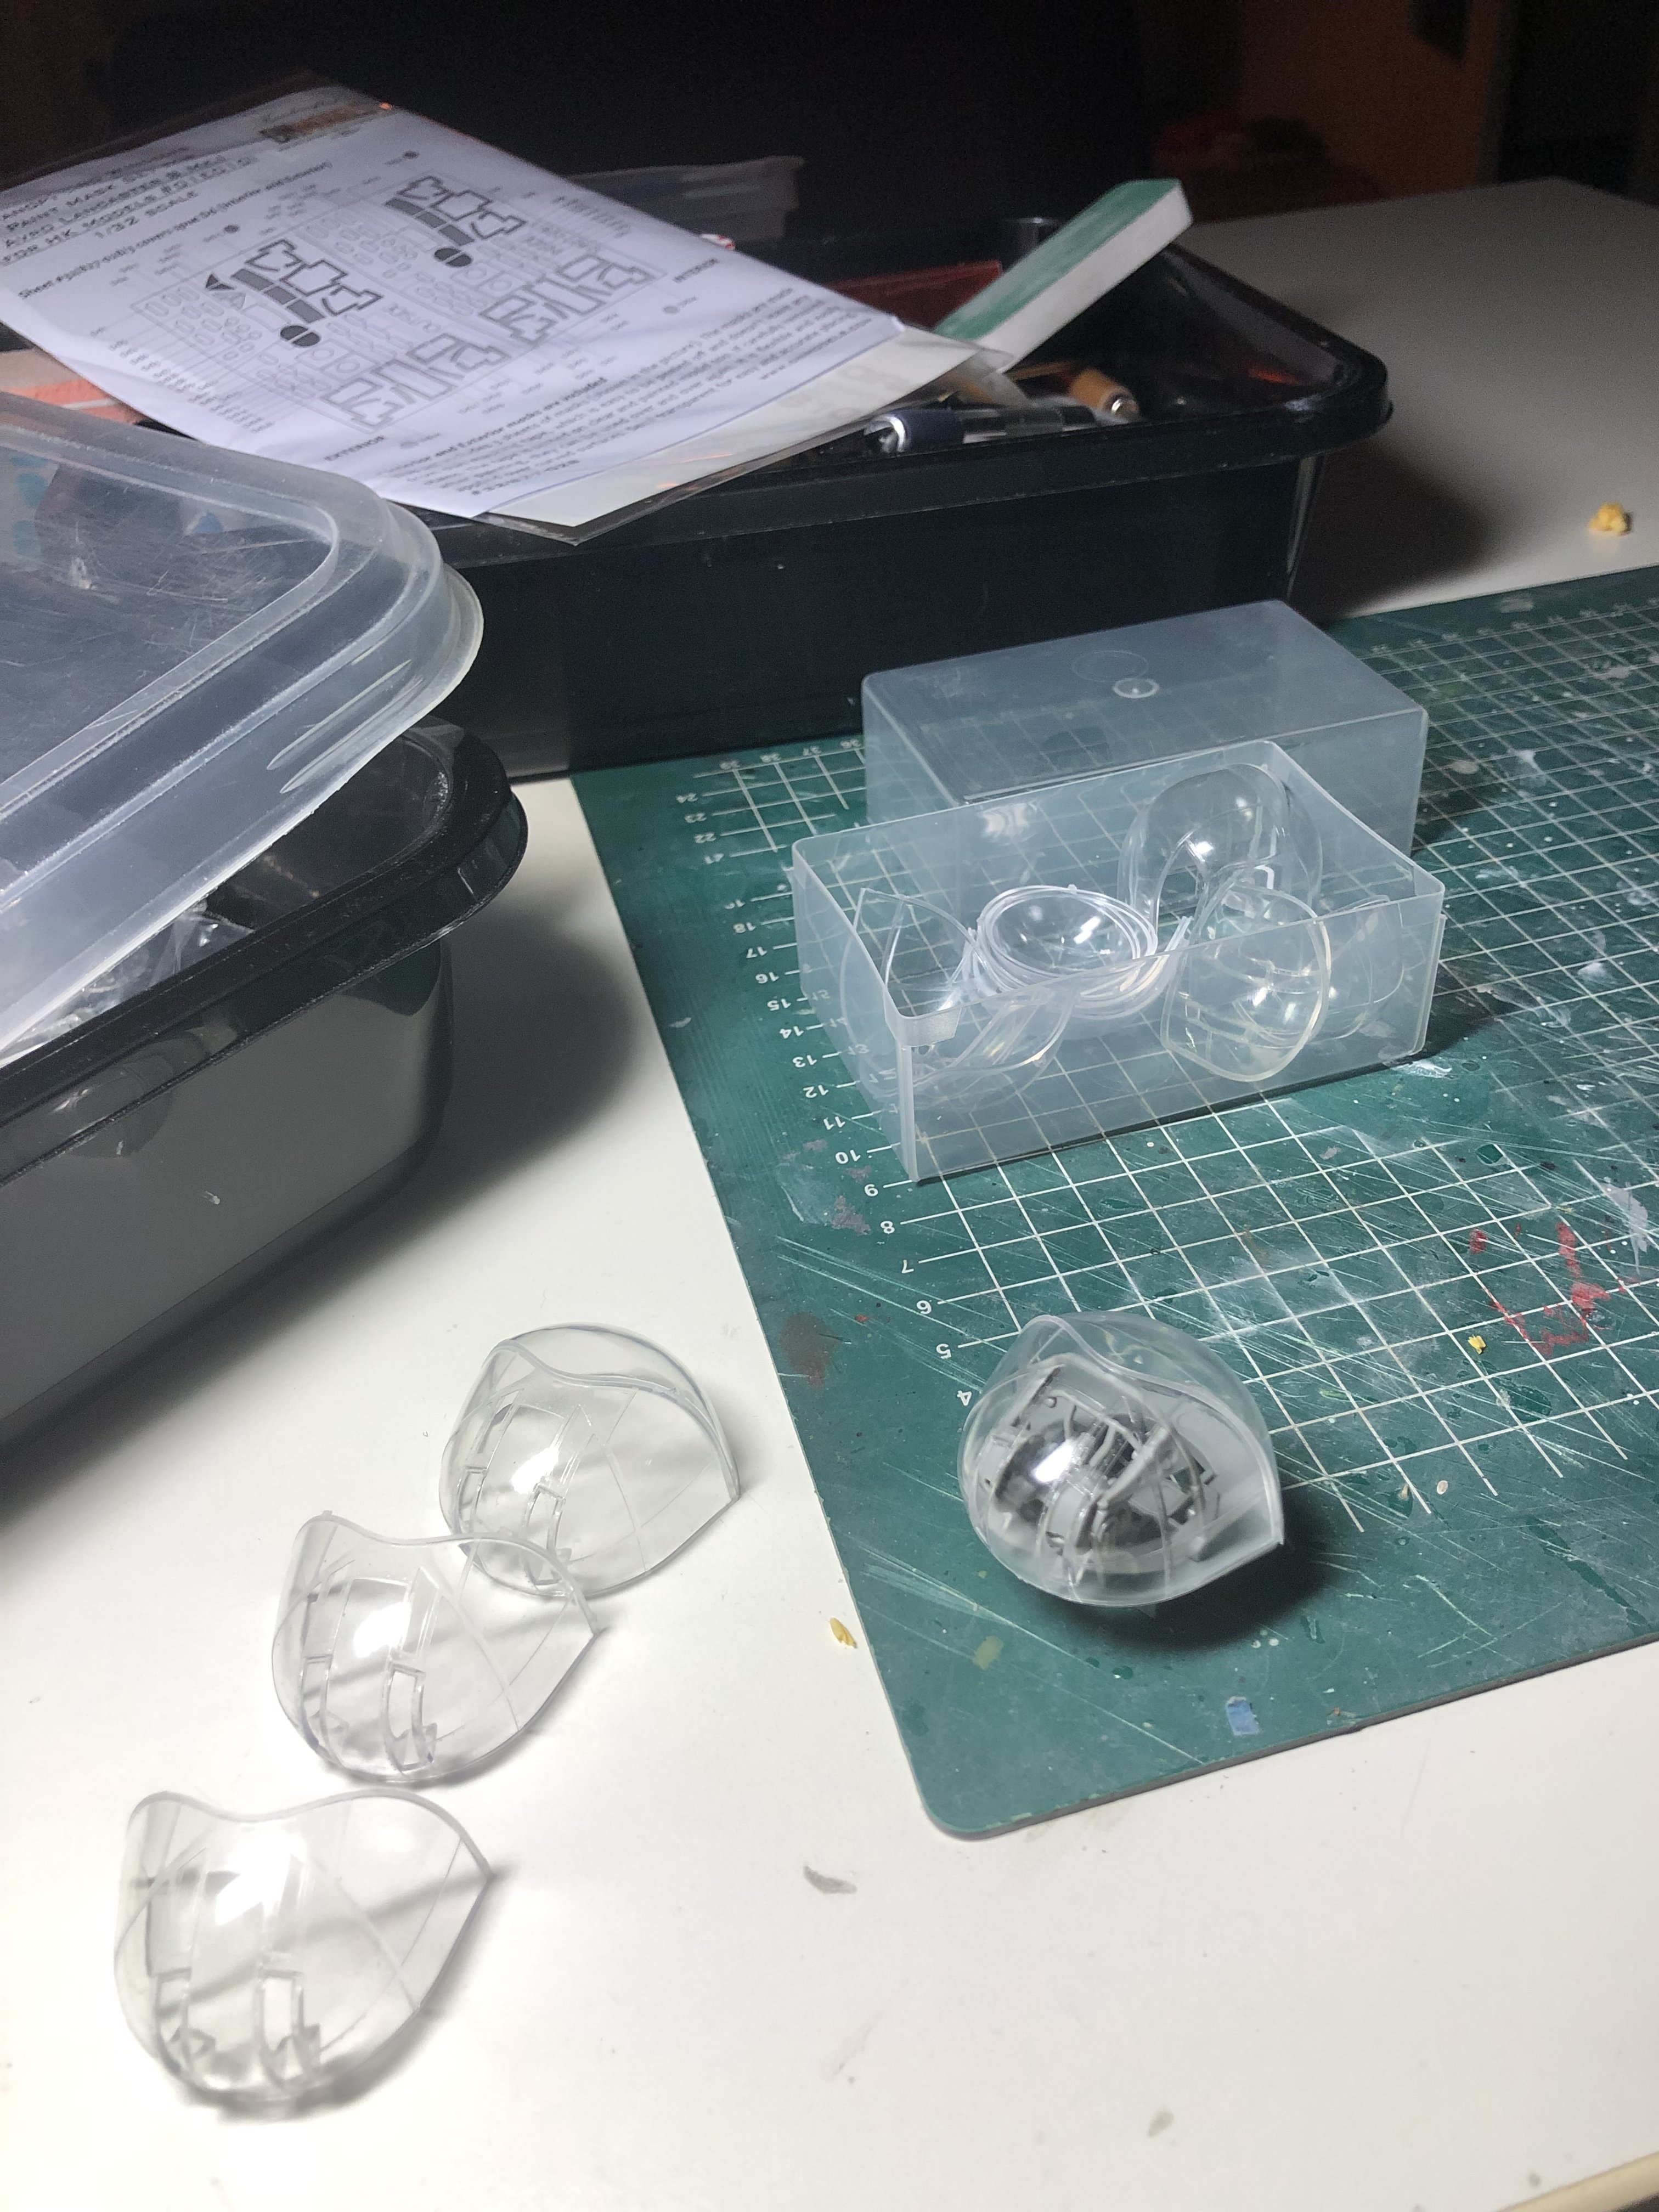
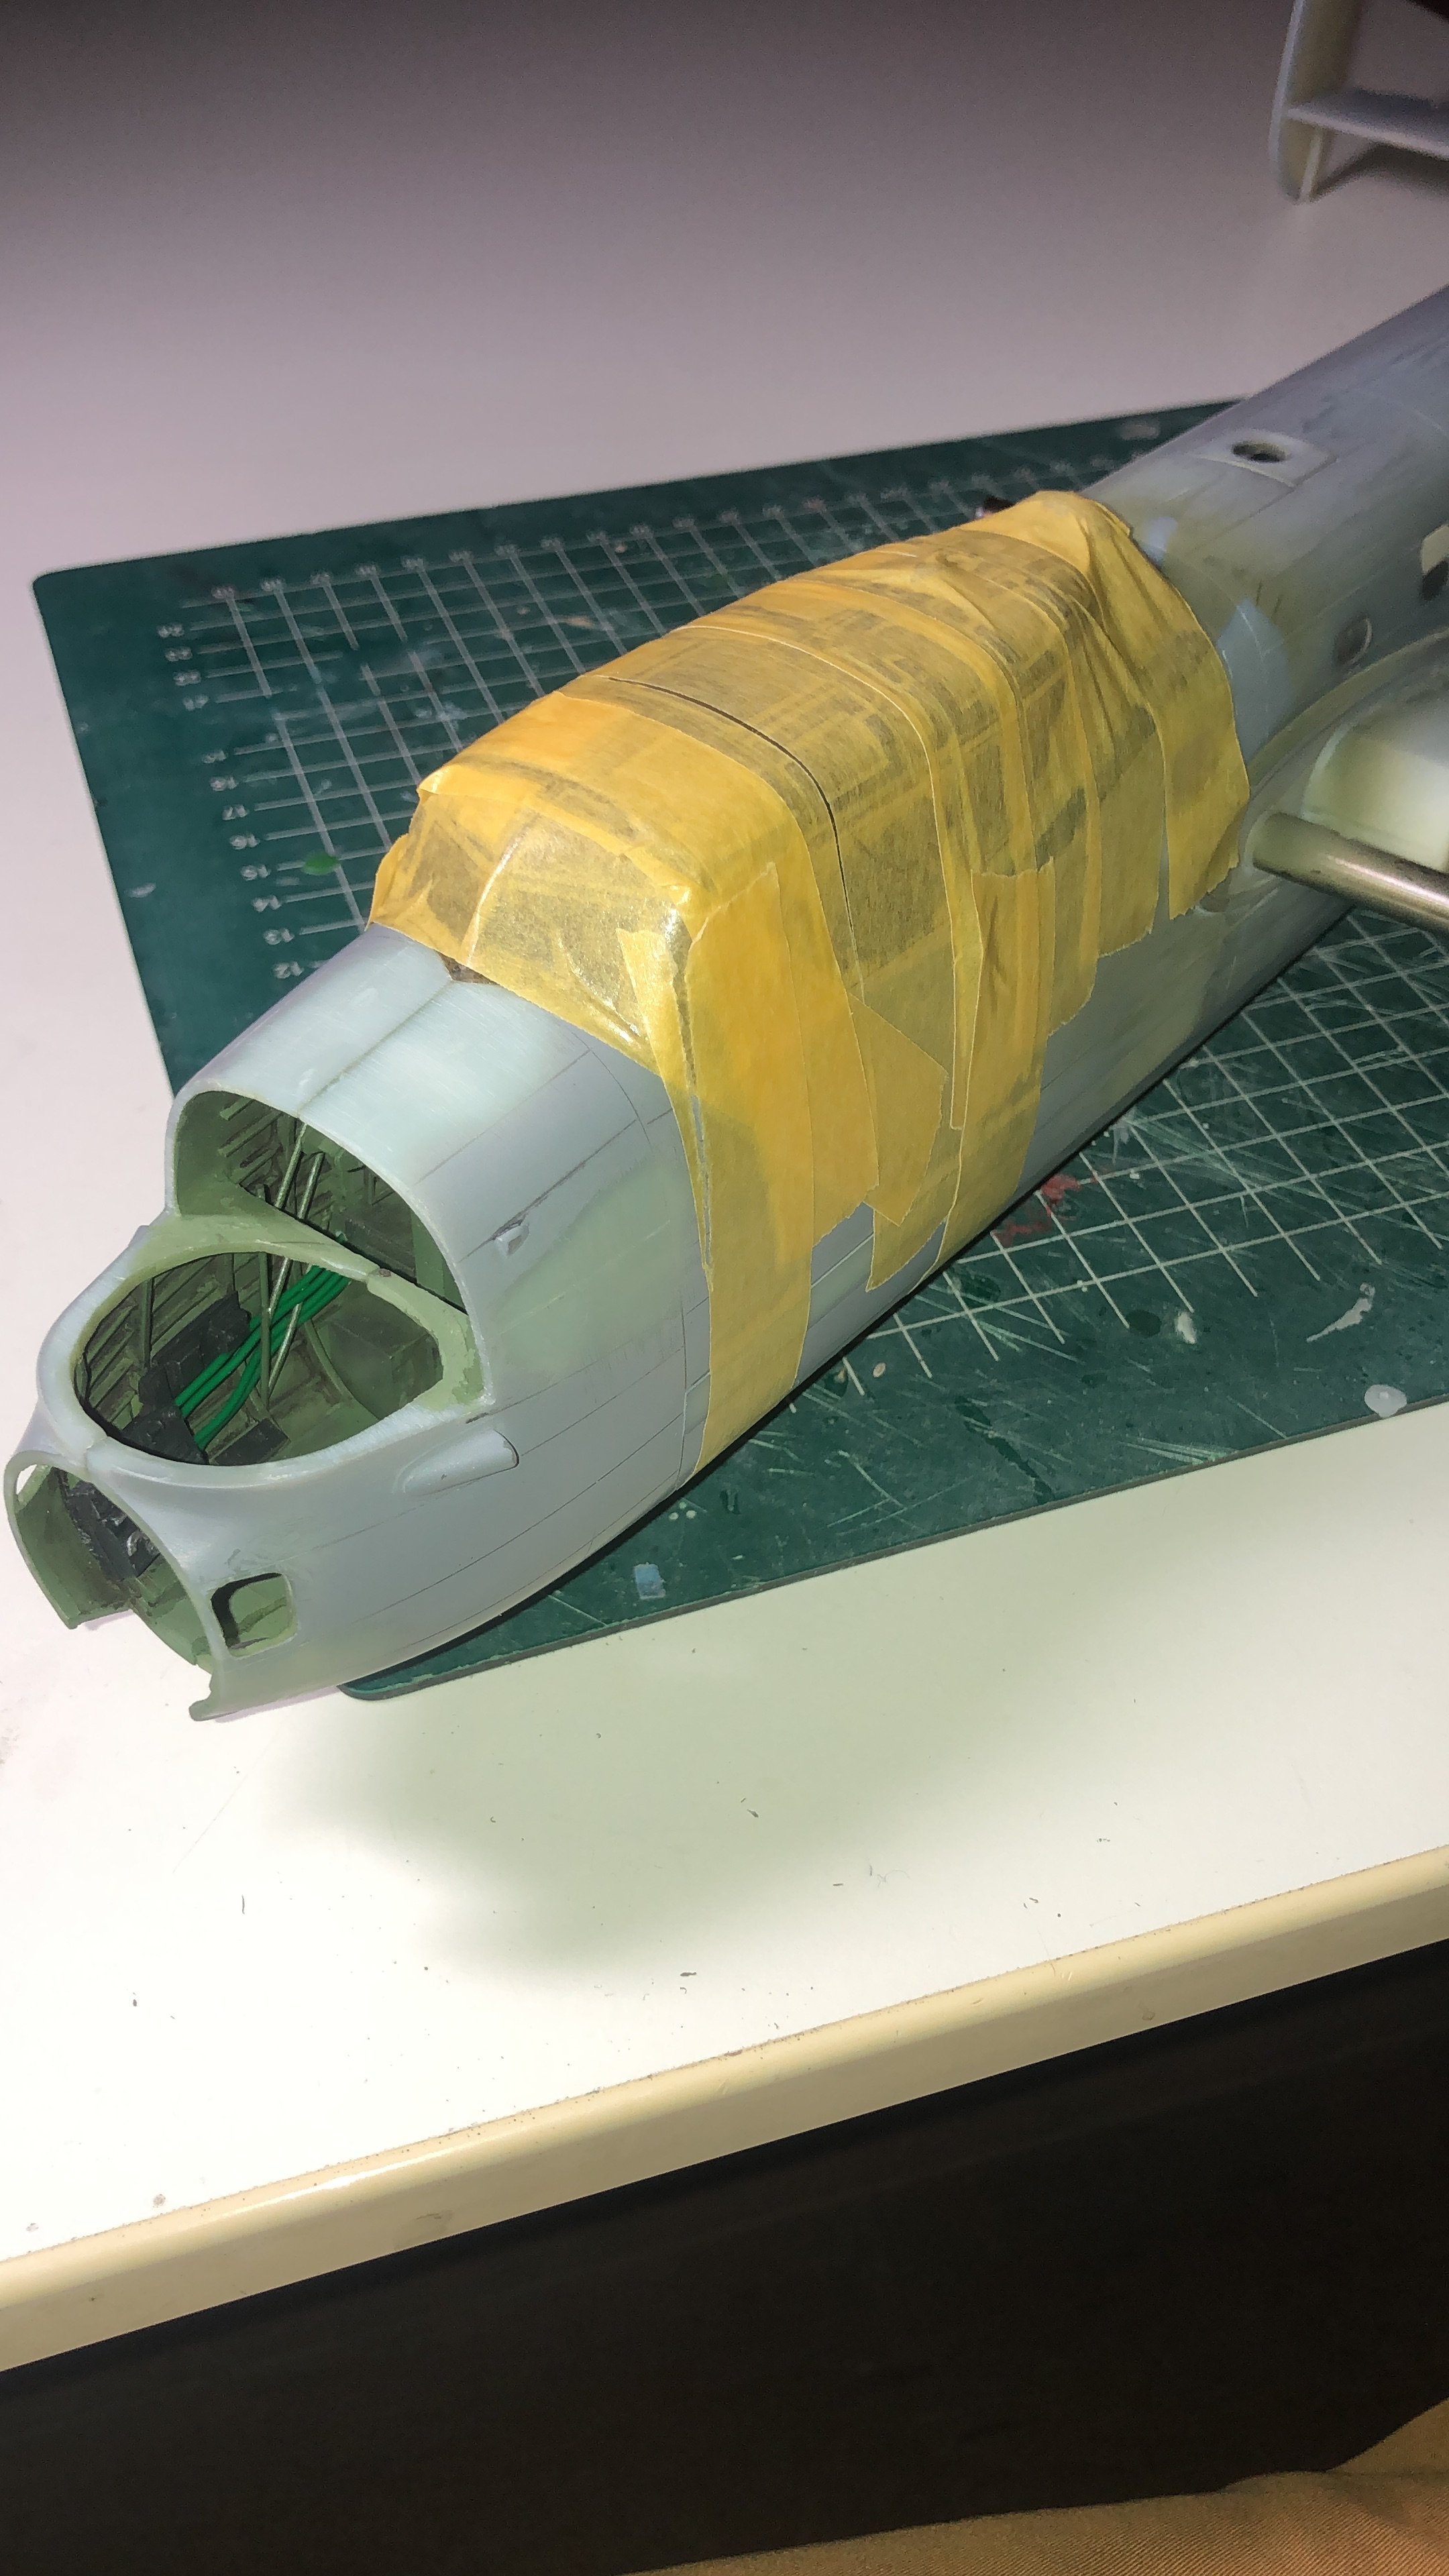
Hi Giorgio, I think I may help you on that. I have applied a final coat of clear on the topdecking underneath the canopy, which can then be fitted later tomorrow. Masking it has been completed. Cees


-
One side is done.