Daniel_Roxy
-
Posts
214 -
Joined
-
Last visited
Content Type
Profiles
Forums
Events
Gallery
Everything posted by Daniel_Roxy
-

German Panzer IV Ausf H
Daniel_Roxy replied to Daniel_Roxy's topic in LSM 1/35 and Larger Work In Progress
I do have an air brush yes but it's not the best and I don't have plans to buy another one soon. Untill I have had time to have a good look and see what the best I can get for my money is. -
German Panzer IV Ausf H
Daniel_Roxy replied to Daniel_Roxy's topic in LSM 1/35 and Larger Work In Progress
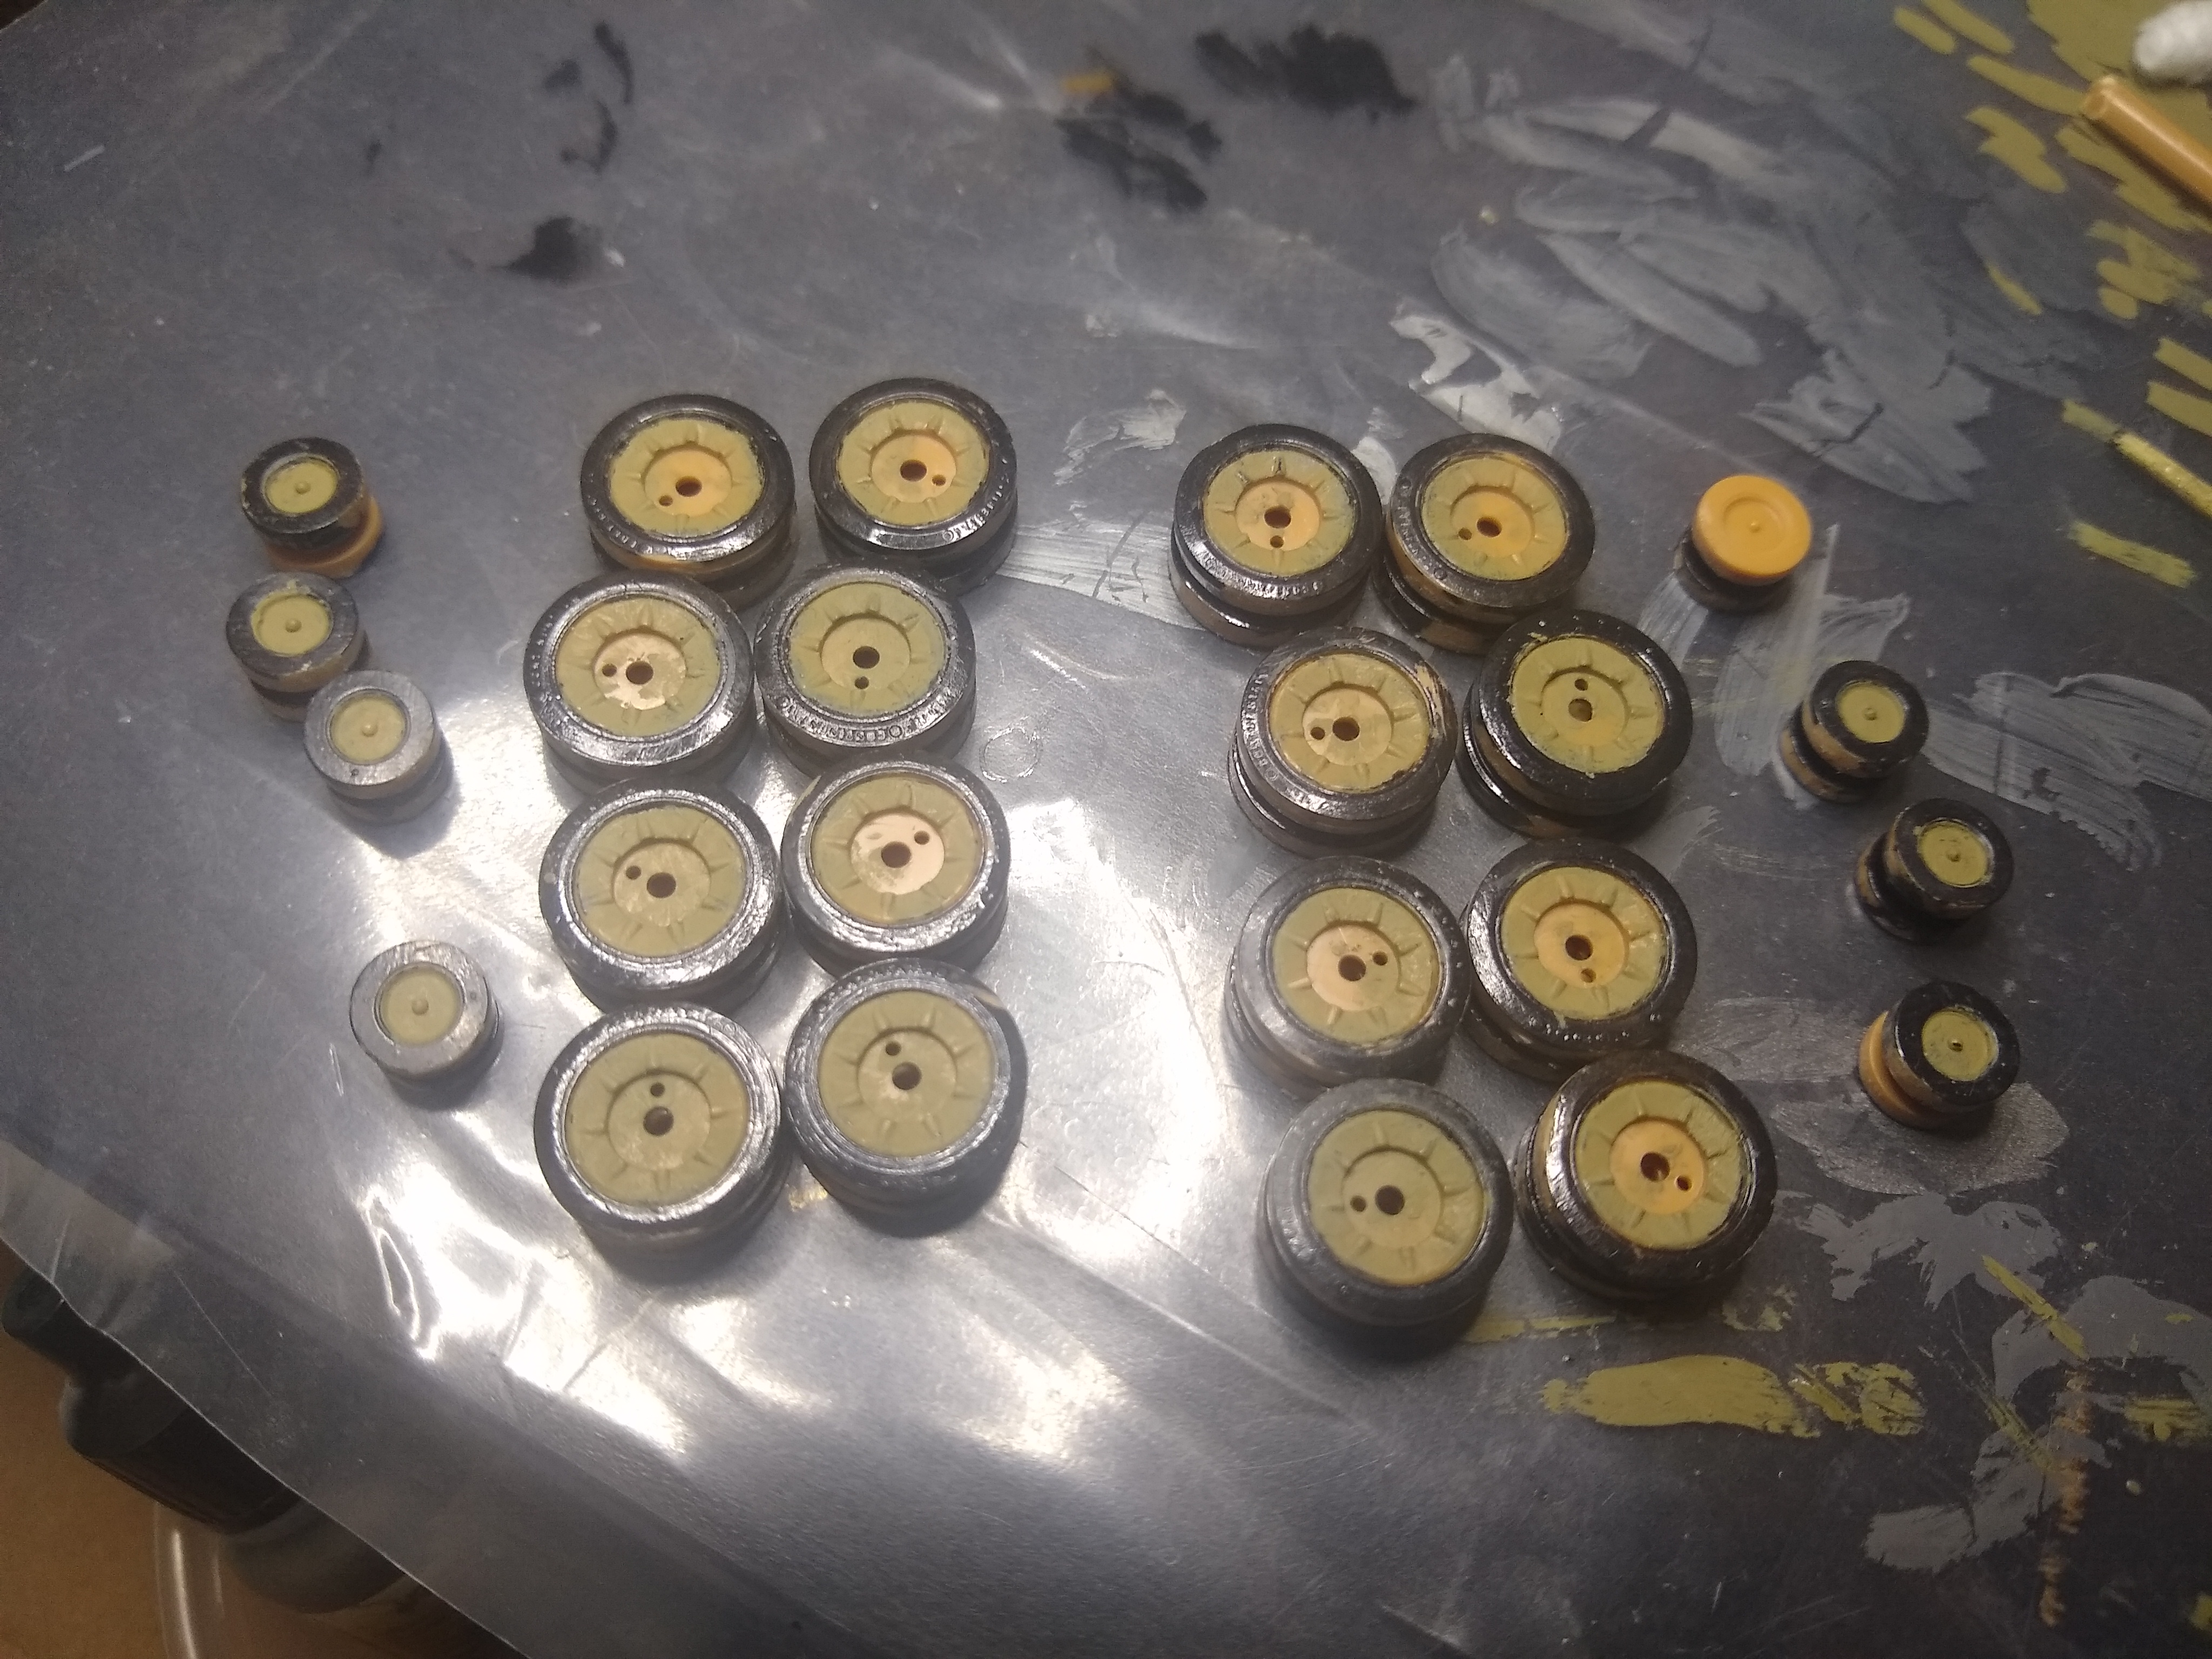
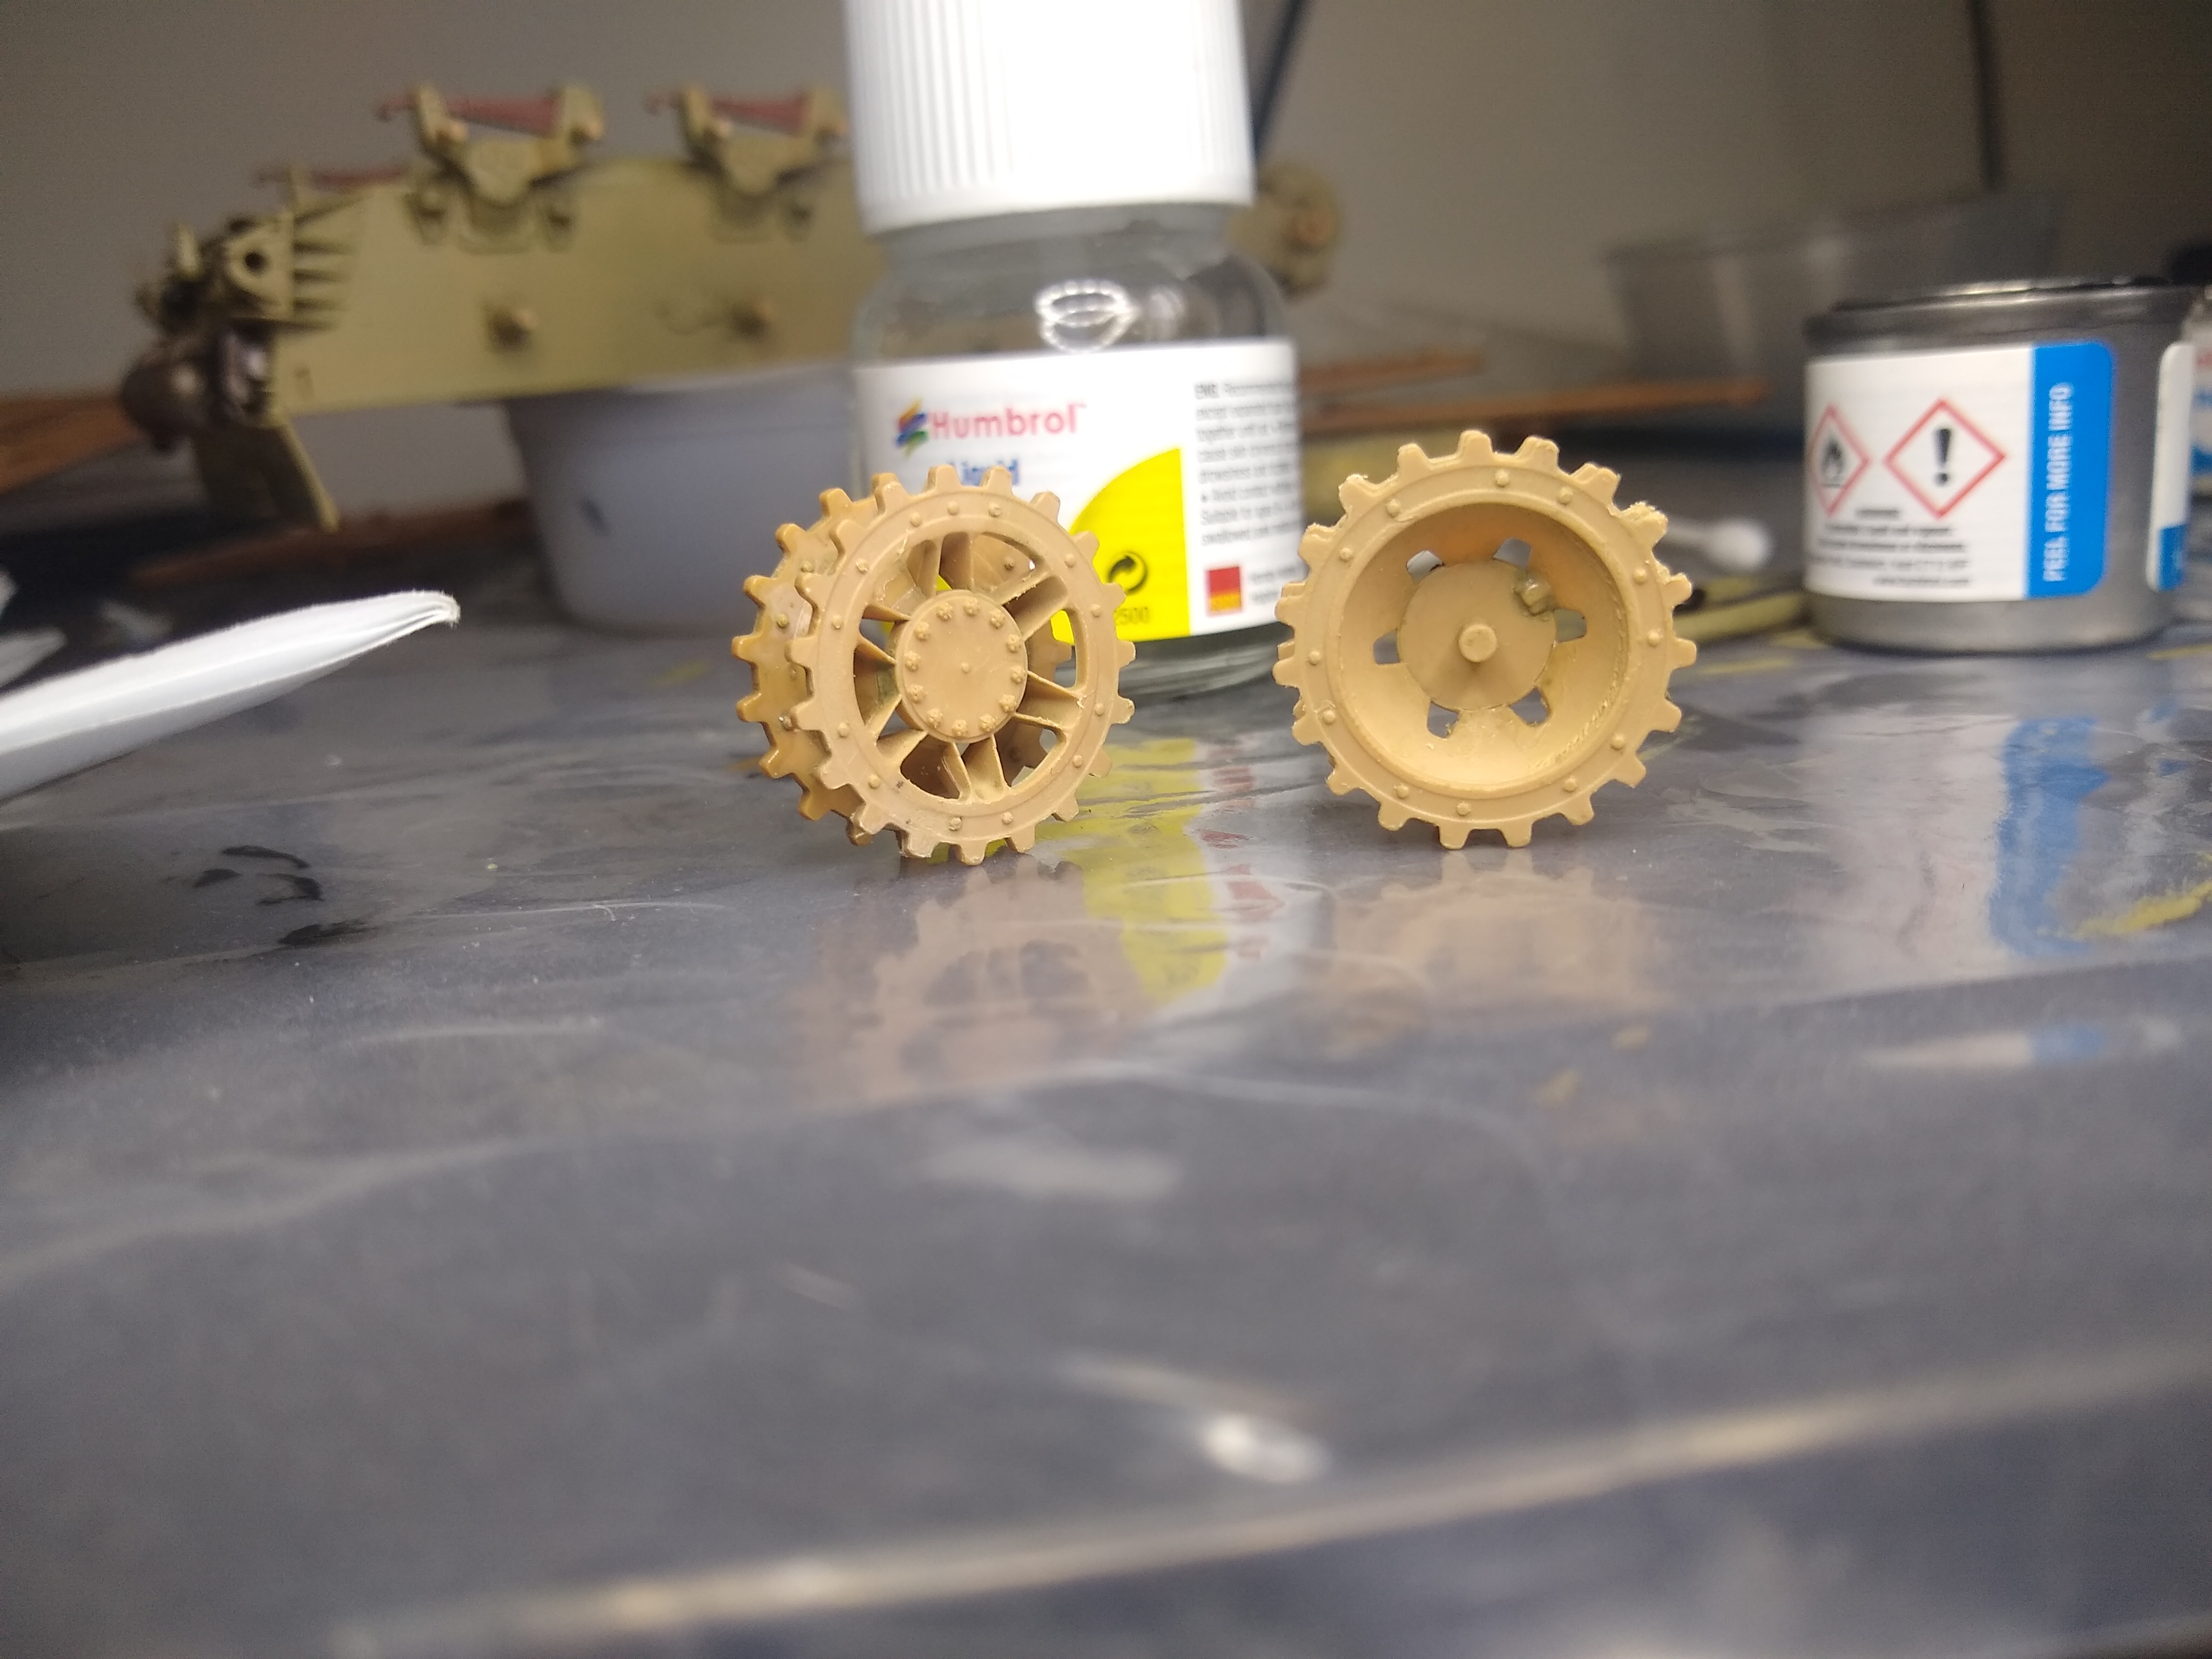
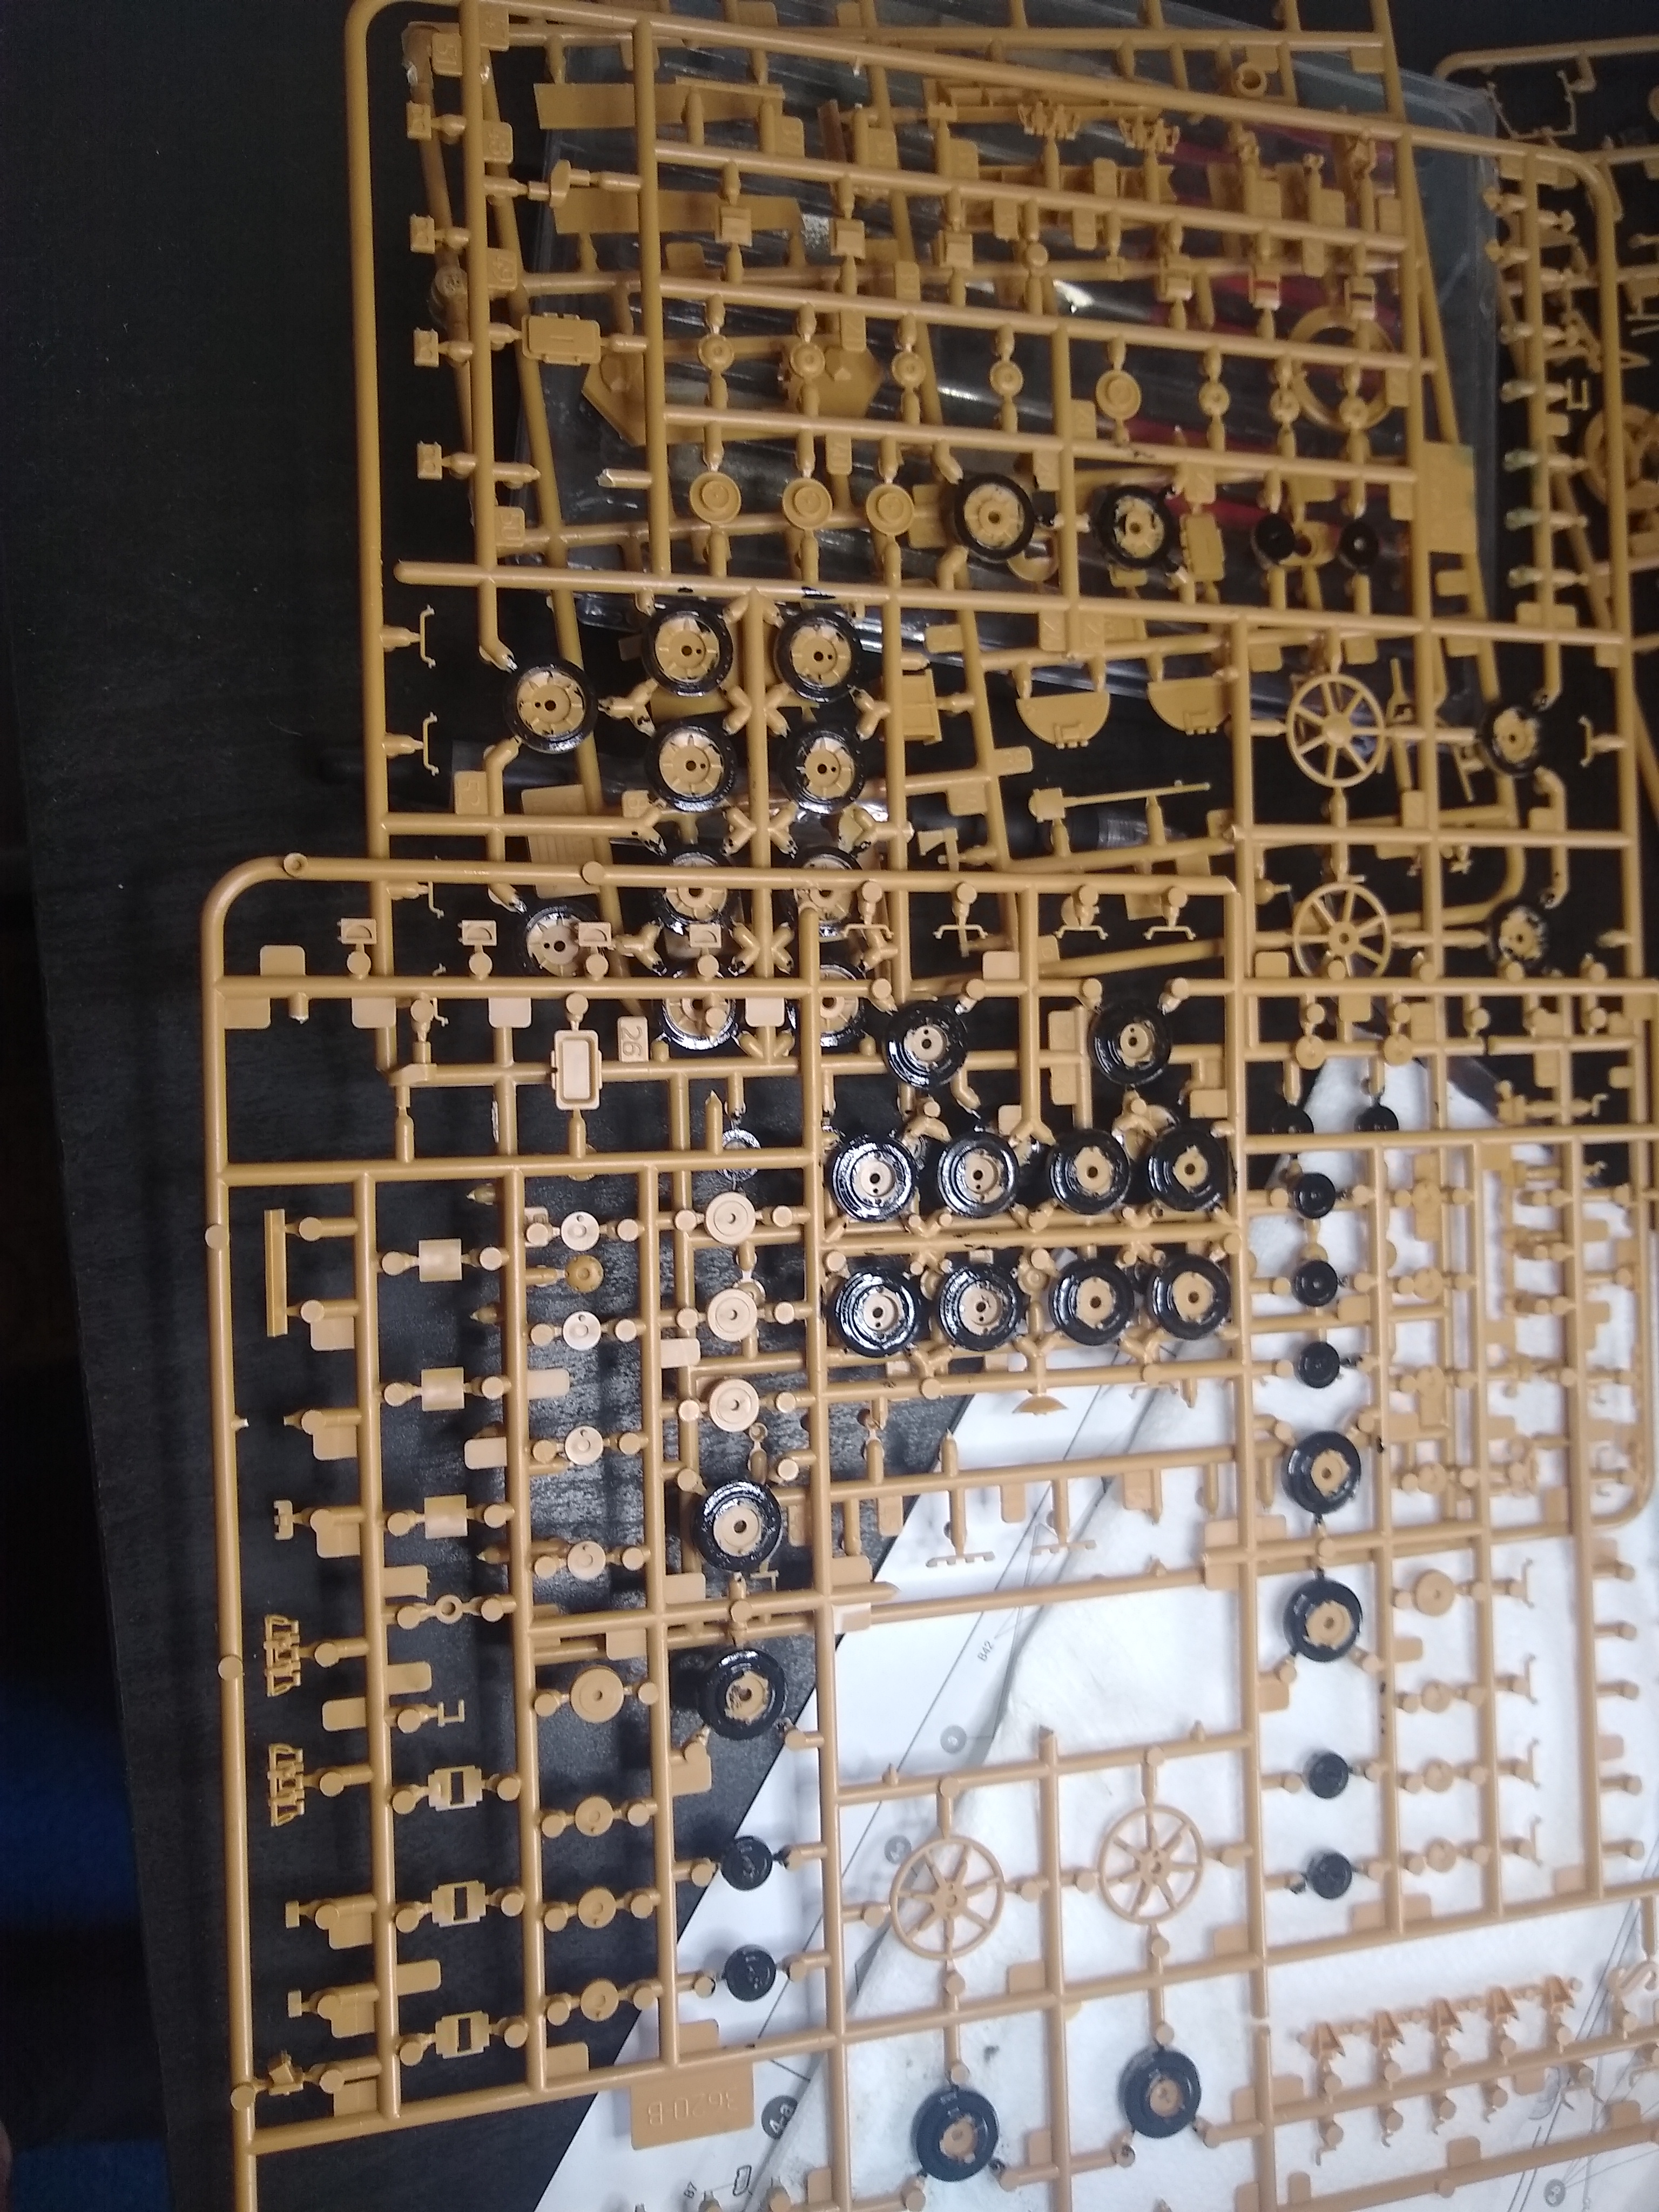
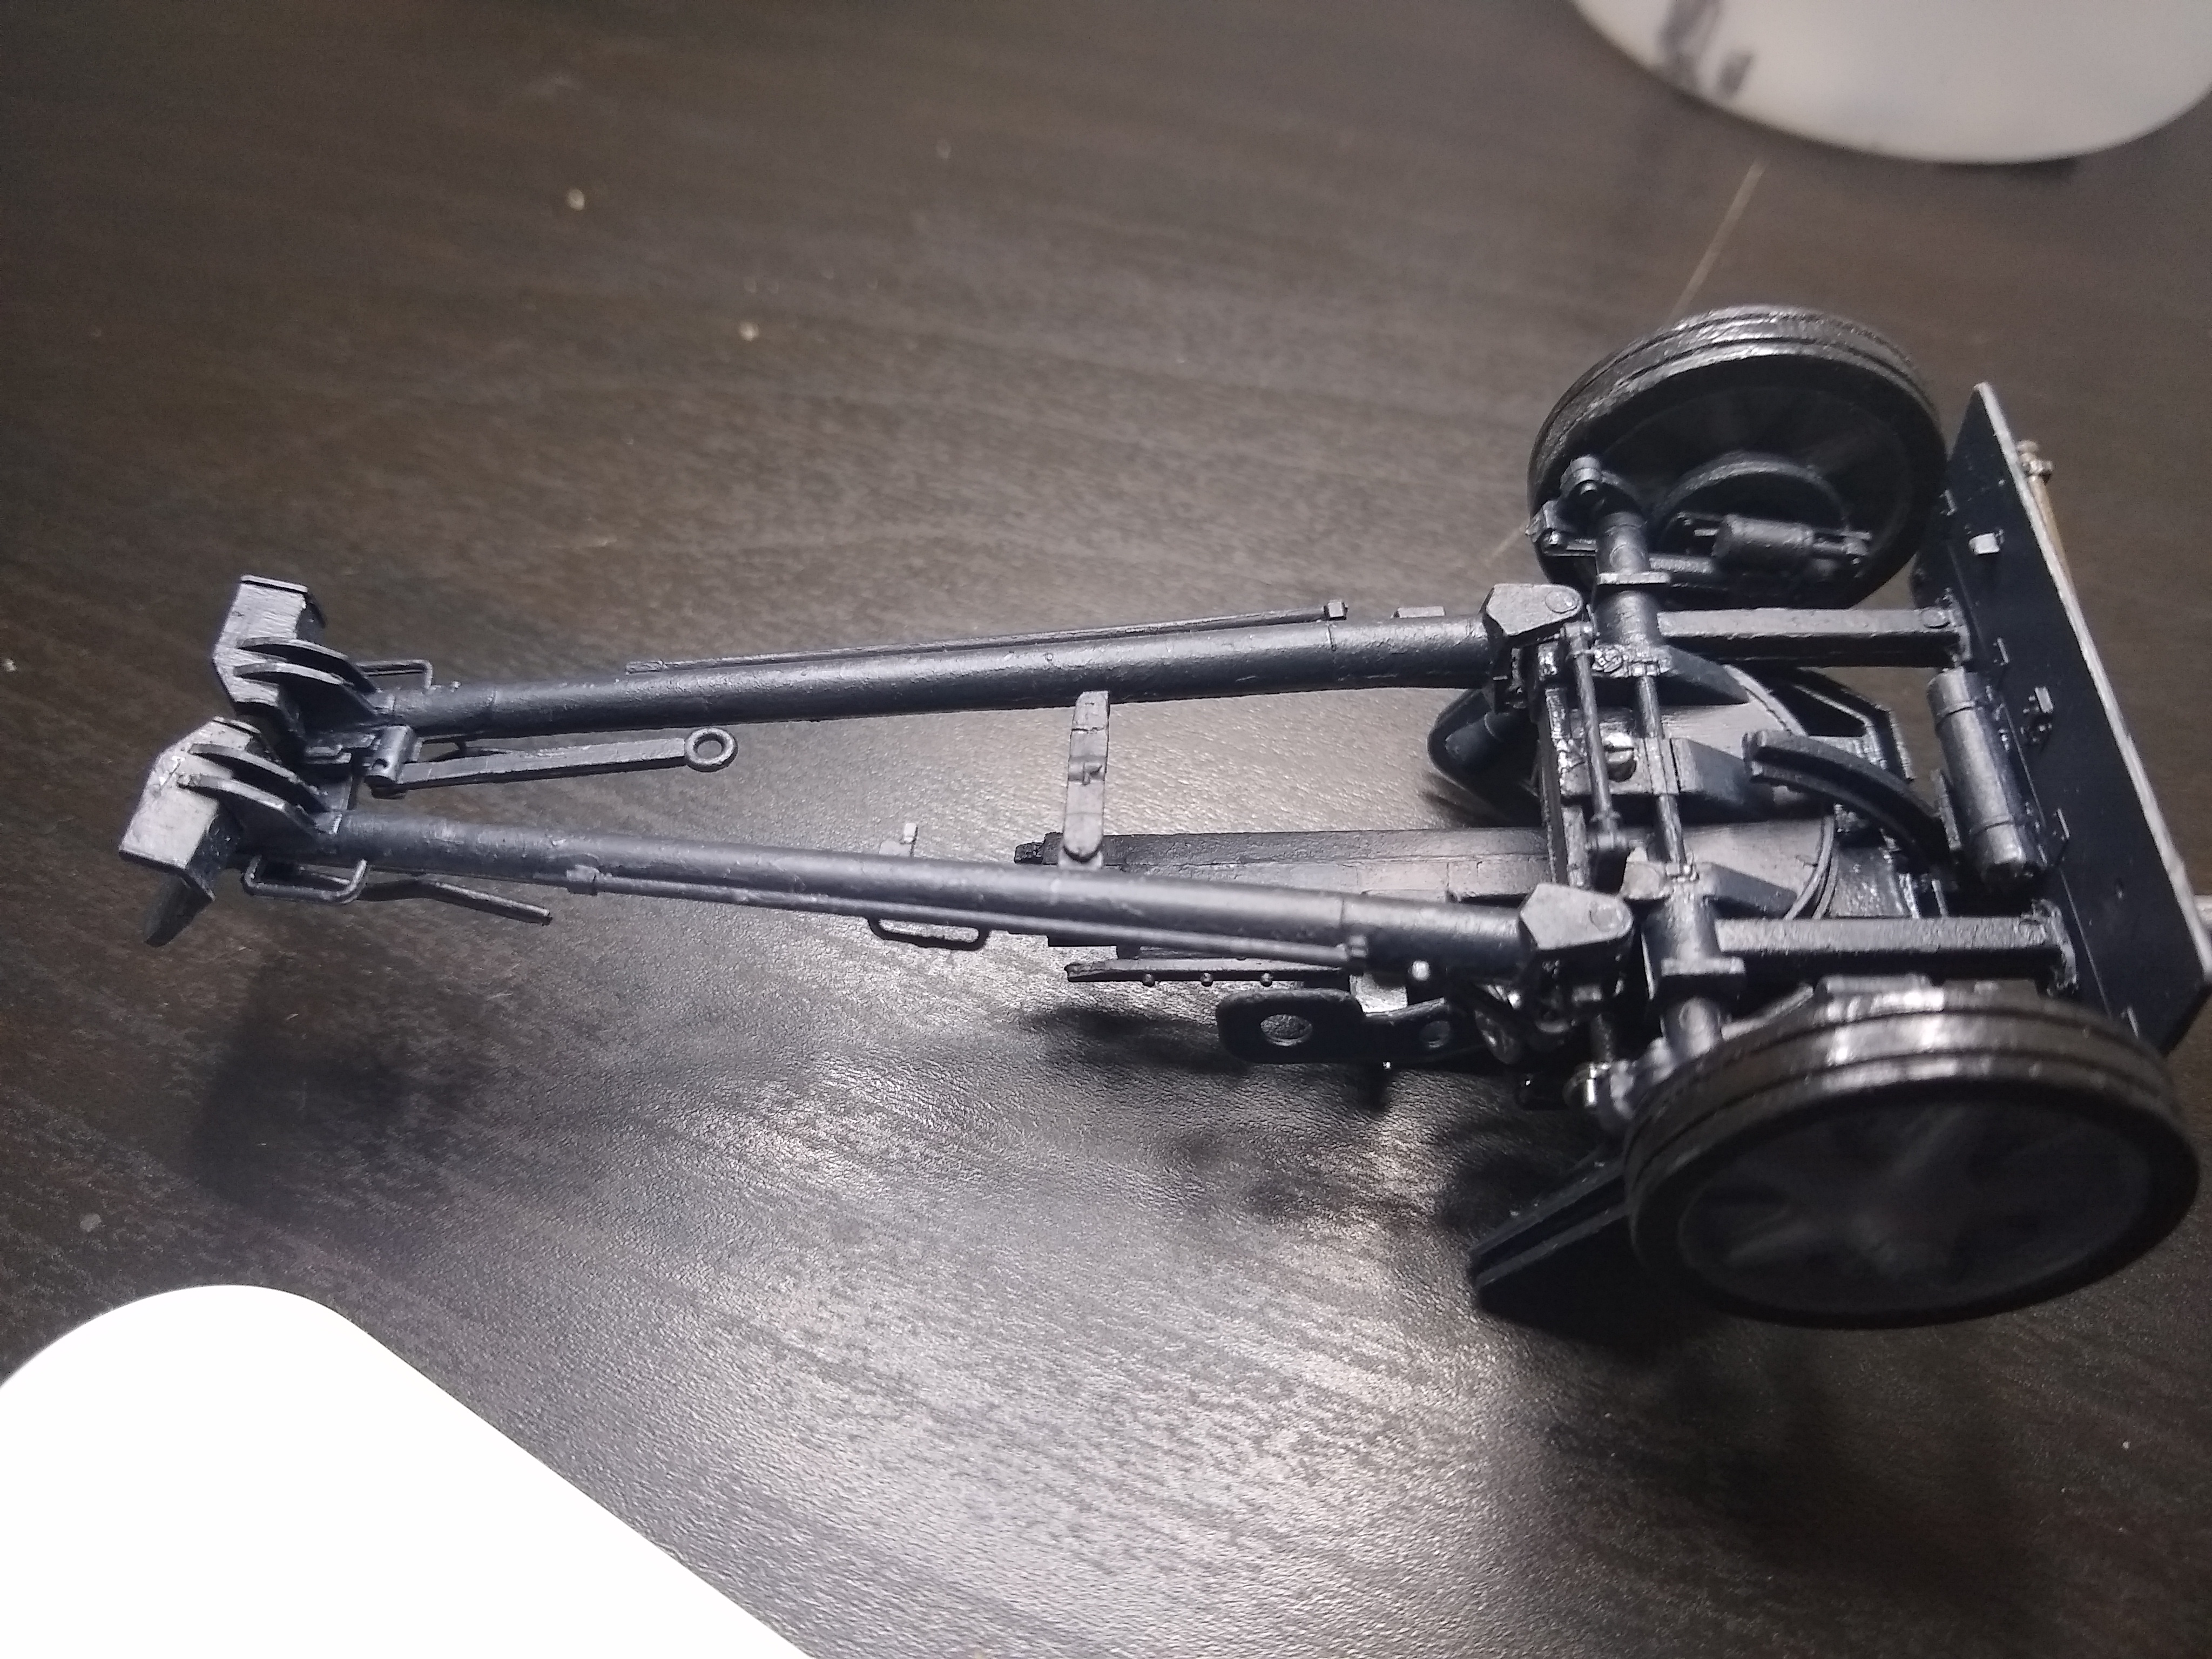
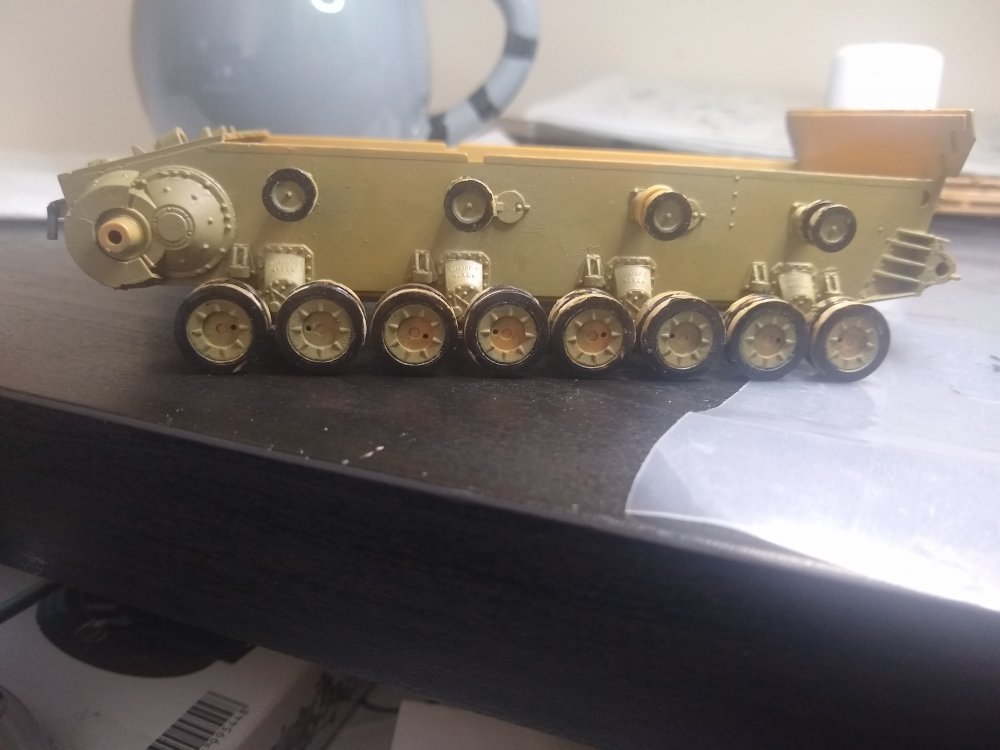
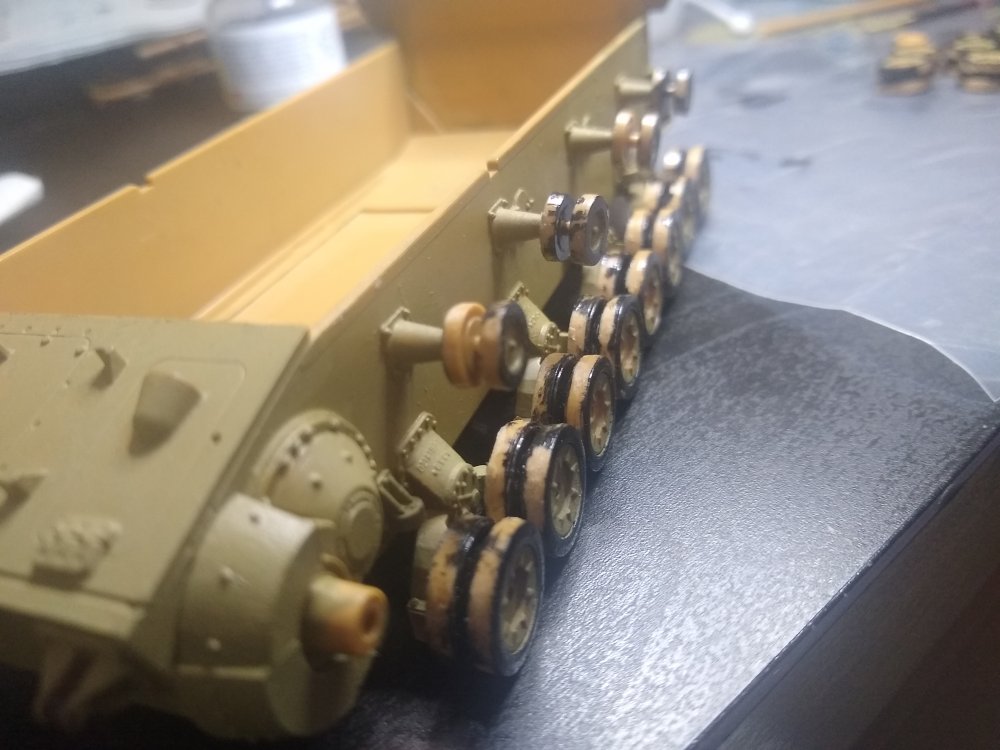
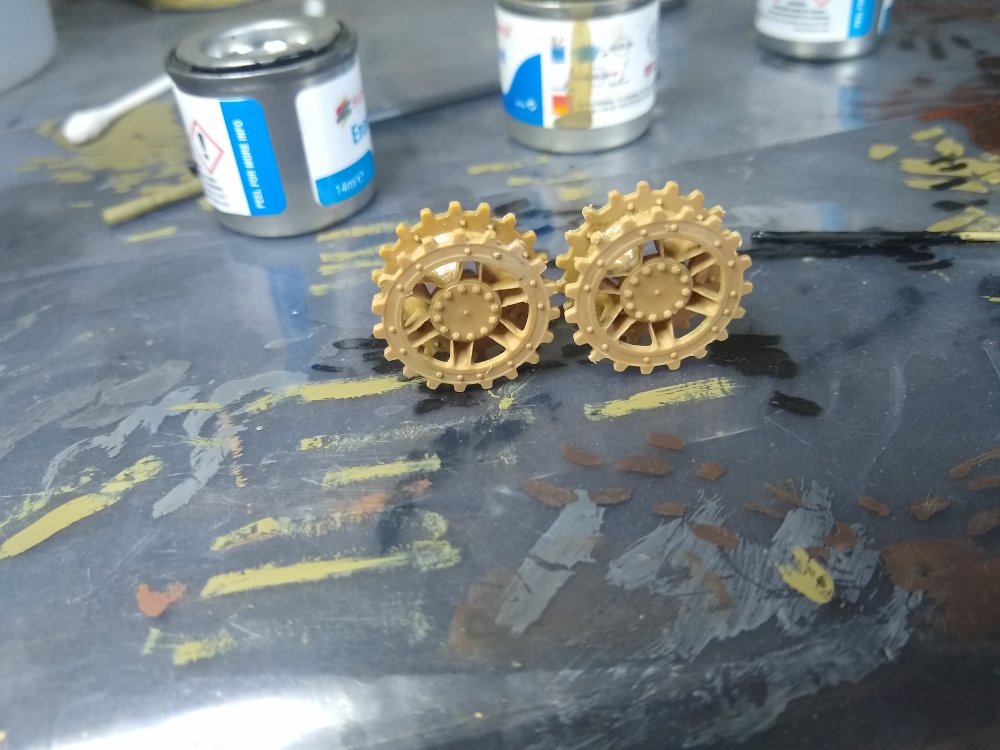
Road Wheels Everyone love doing them right. Trying to paint them perfectly and no go out of the lines. Anyway yeah don't most of that now. They need touching up and a couple parts I have missed painting so will do that too but there together now. sights to fill nightmares that is there. and the idler wheels tooA touch of magic (and glue) And you get this.not too bad still some bits that need attention but they arnt bad at all. they fit in place very nicely aswell. I was worried about them not lining up properly as there was no guide or anything for the susp arms like there was with the American T-34 model I did previous.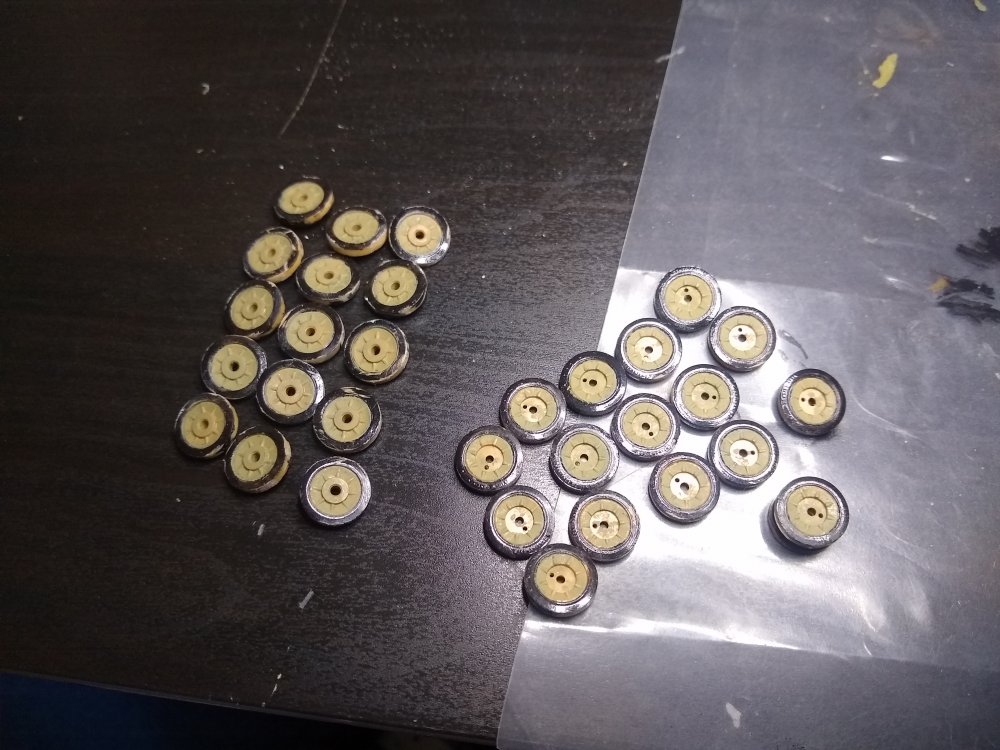

-
German Panzer IV Ausf H
Daniel_Roxy replied to Daniel_Roxy's topic in LSM 1/35 and Larger Work In Progress
Yeah thanks. Was a nice holiday although the weather did get abit crap middle of the week -
German Panzer IV Ausf H
Daniel_Roxy replied to Daniel_Roxy's topic in LSM 1/35 and Larger Work In Progress
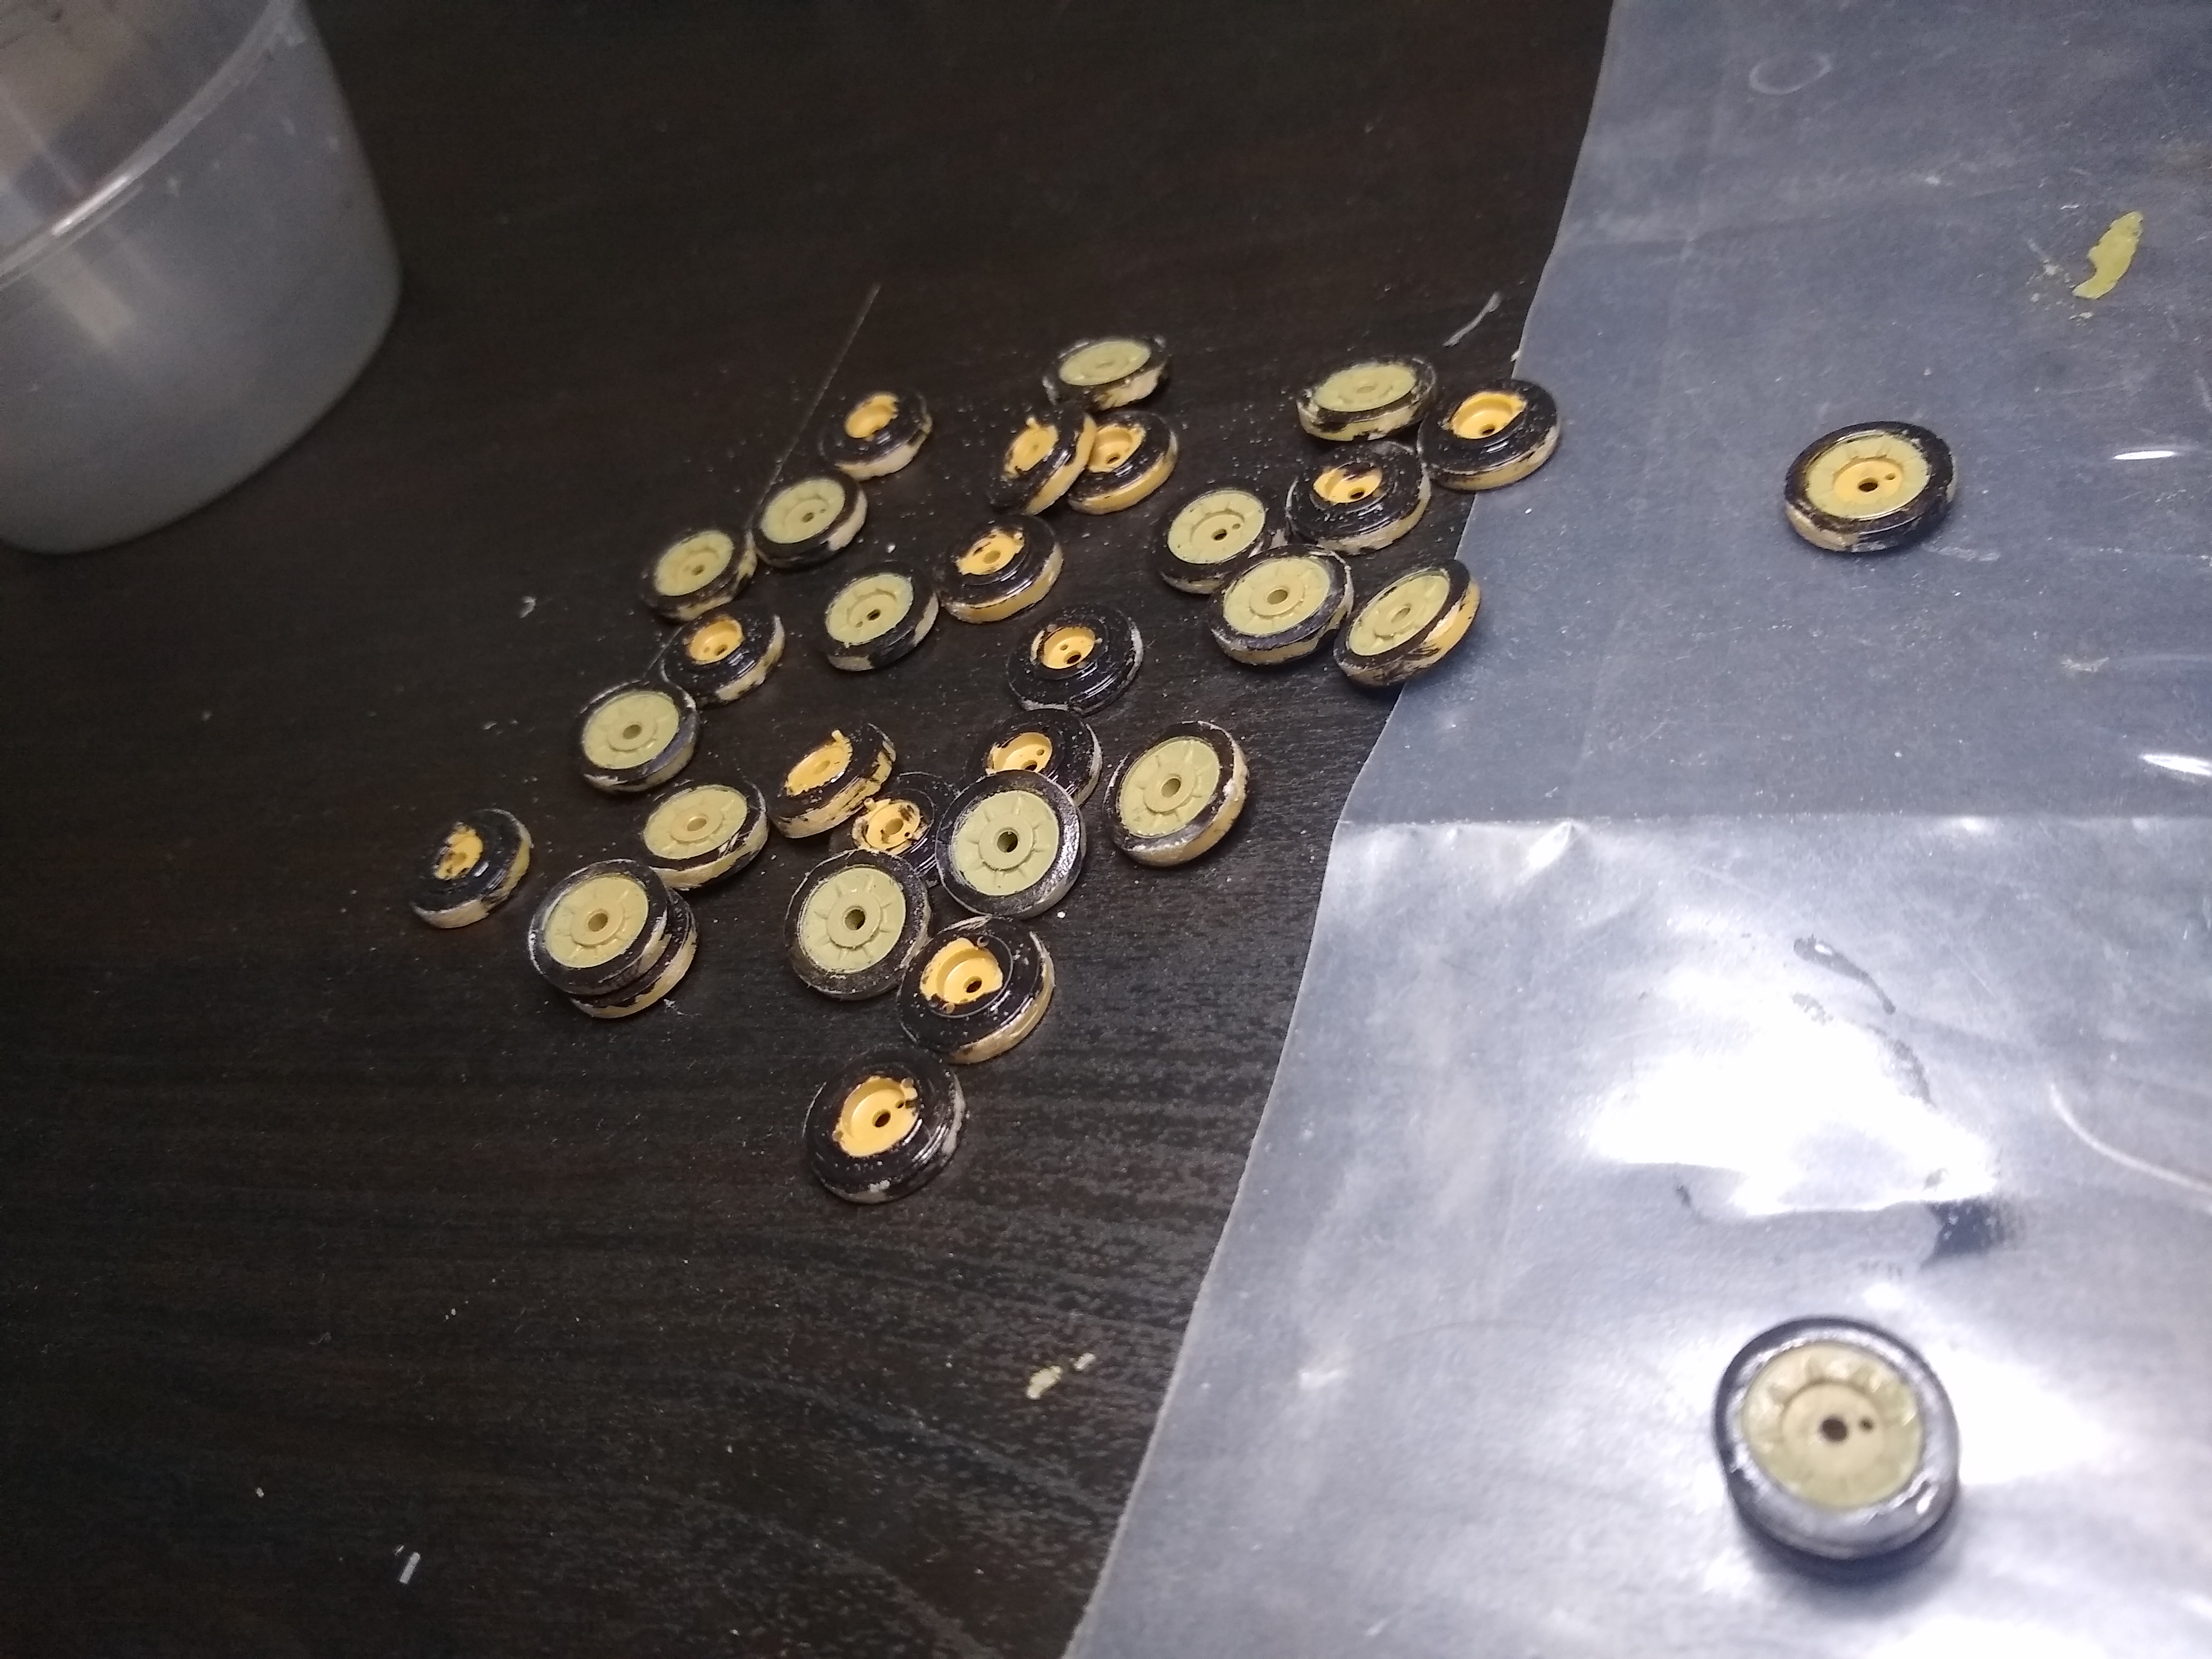
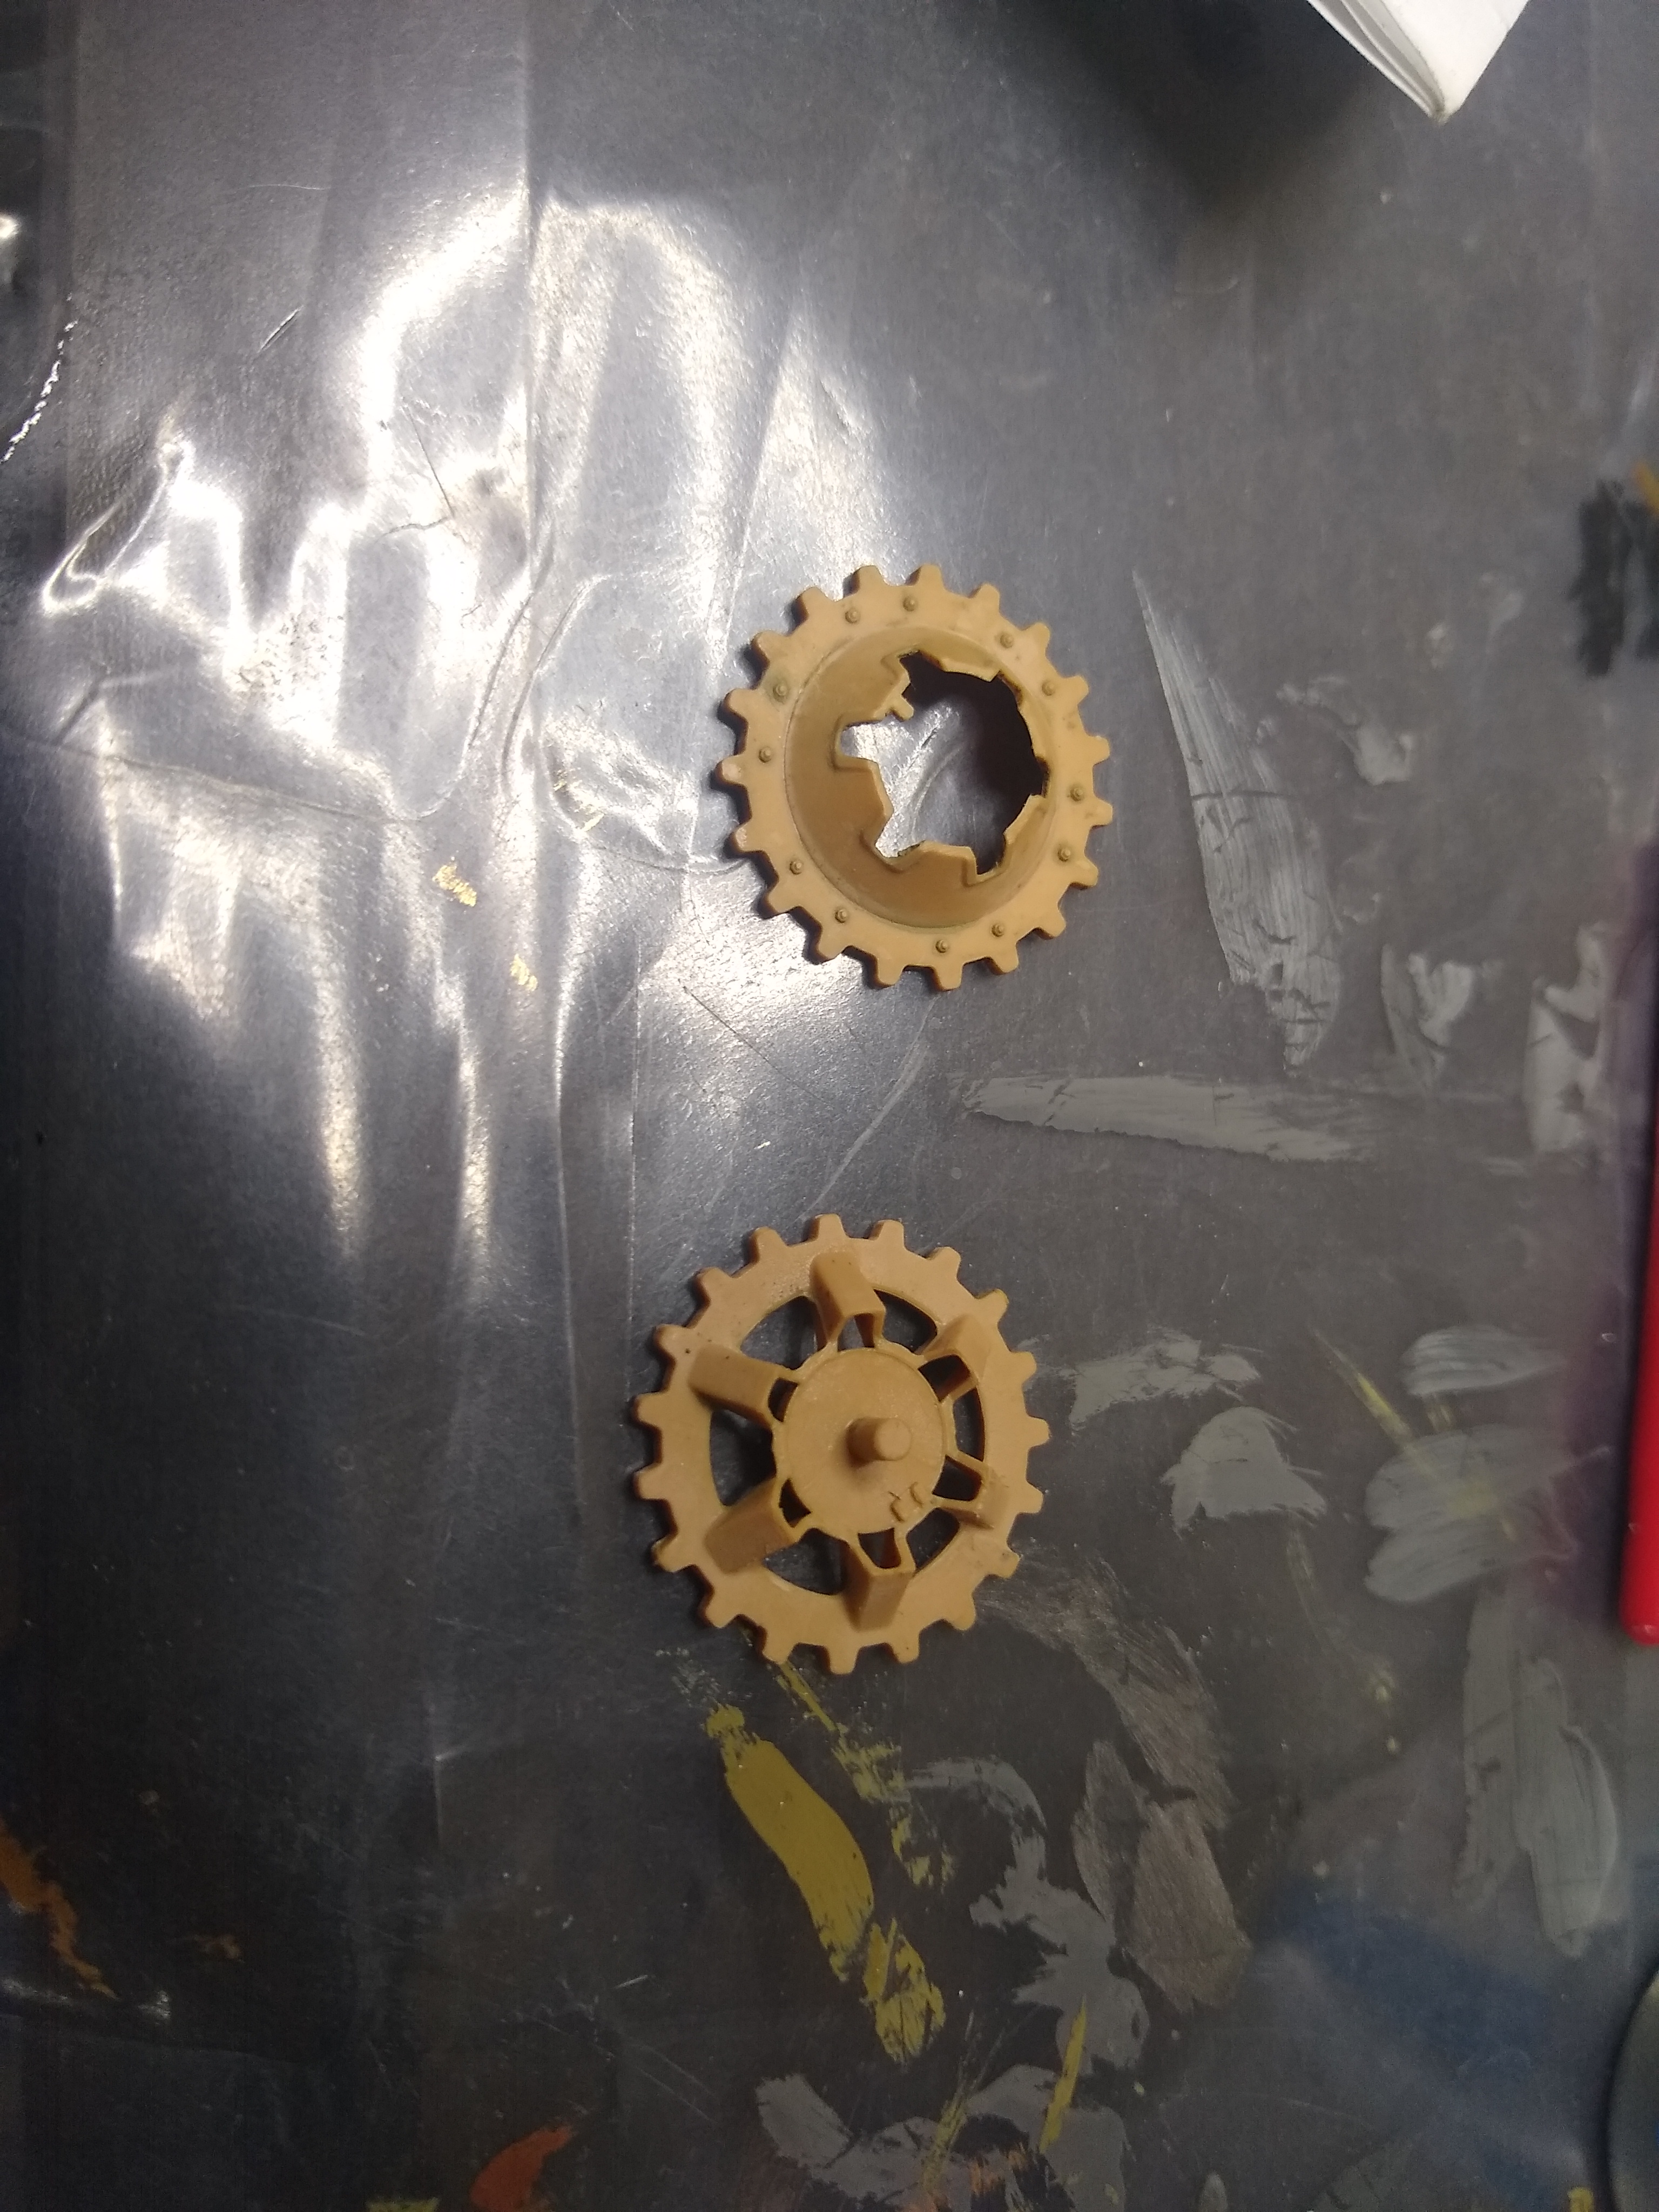
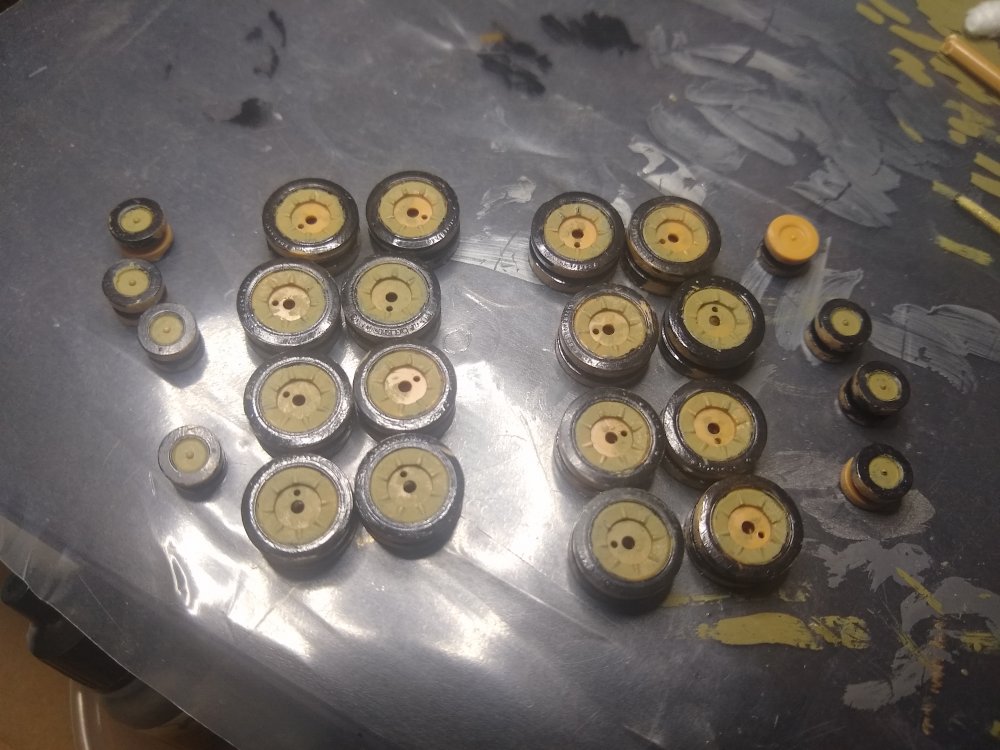
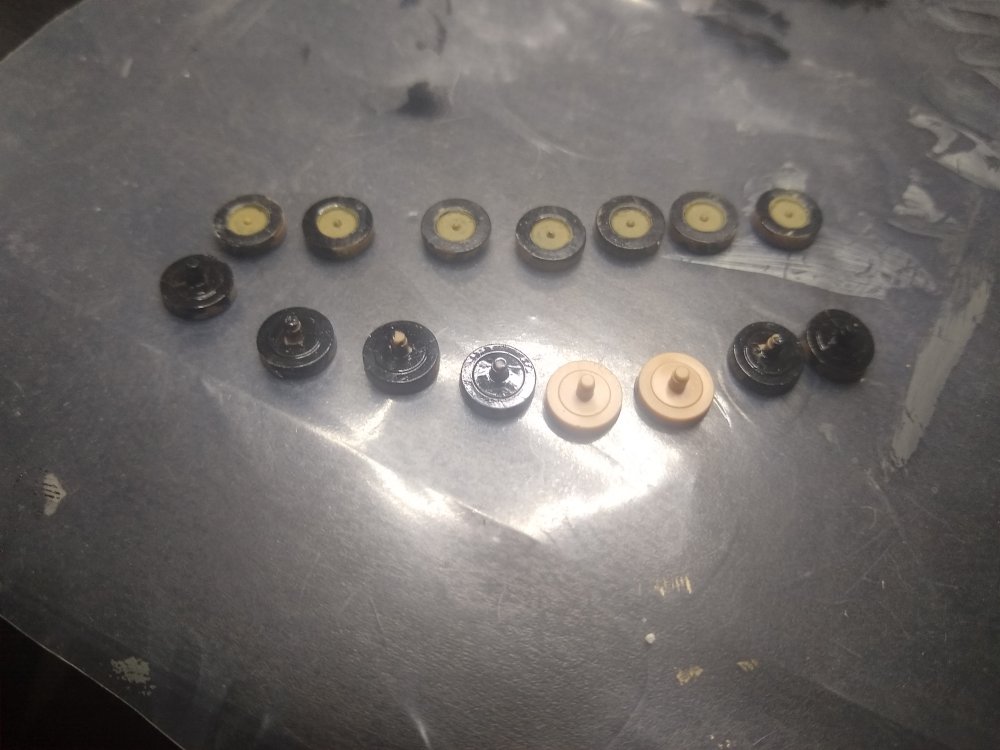
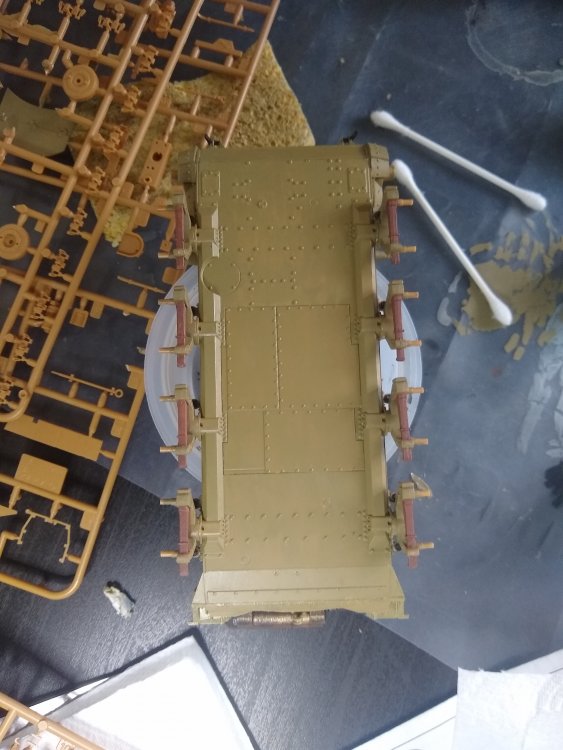
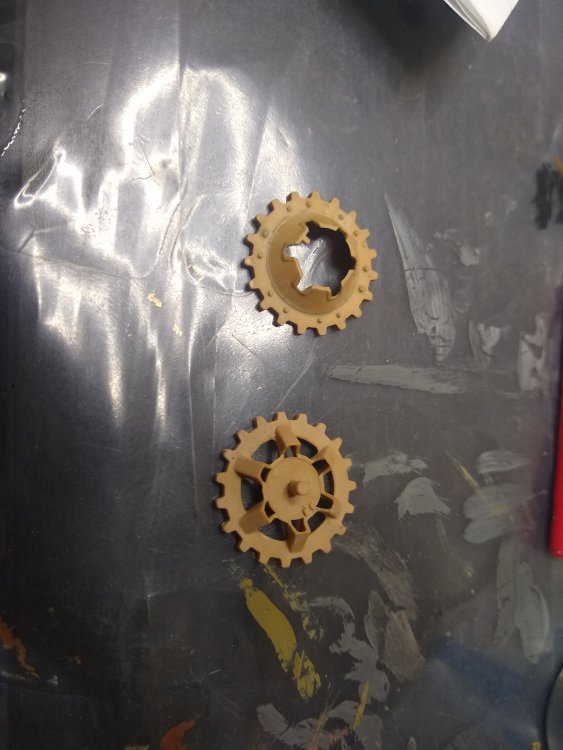
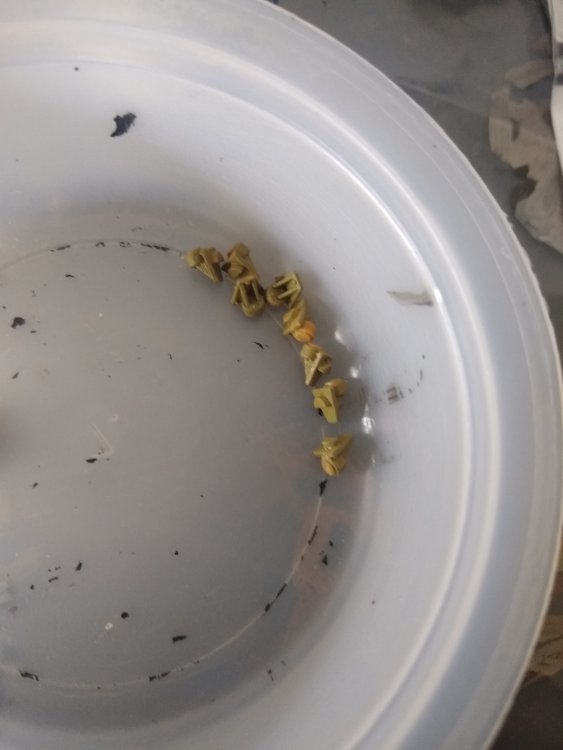
As you request. I have painted the black onto the road and idler wheels also glued the drive/sprocket wheels. And fixed the suspension arms to the hull. First up sprocket wheels then we got the suspension arms. And here's all 48 idler and road wheels. A little messy now but they will look better when I clean em up and paint the center's


-
RFM Panzer IV Ausf H (Early)
Daniel_Roxy replied to Bomber_County's topic in LSM 1/35 and Larger Work In Progress
Yeah it looks really good. Iv been looking at there models and they do a nice Sherman. I haven't done one of those yet -
German Panzer IV Ausf H
Daniel_Roxy replied to Daniel_Roxy's topic in LSM 1/35 and Larger Work In Progress
Well it's been a week. Had a nice holiday down at Torquay. Now to get back to the war effort.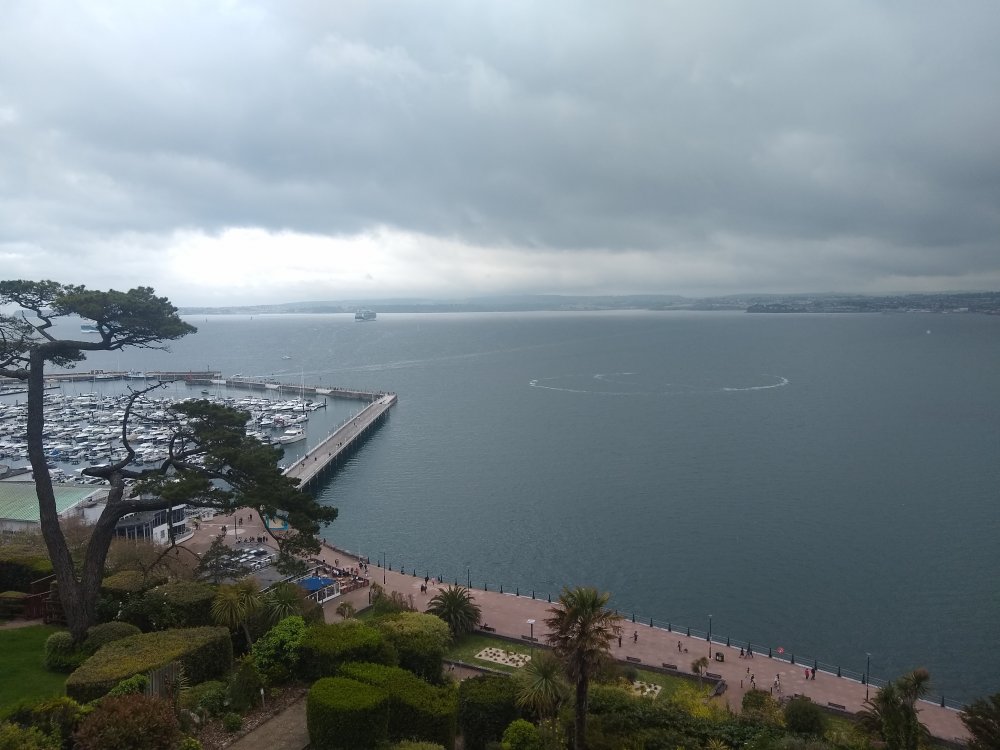
-
RFM Panzer IV Ausf H (Early)
Daniel_Roxy replied to Bomber_County's topic in LSM 1/35 and Larger Work In Progress
Looks good. Also looks bigger than my Panzer IV even though there the same scale. Looks like some nice detailing on the engine too. Can't wait to see more. -
German Panzer IV Ausf H
Daniel_Roxy replied to Daniel_Roxy's topic in LSM 1/35 and Larger Work In Progress
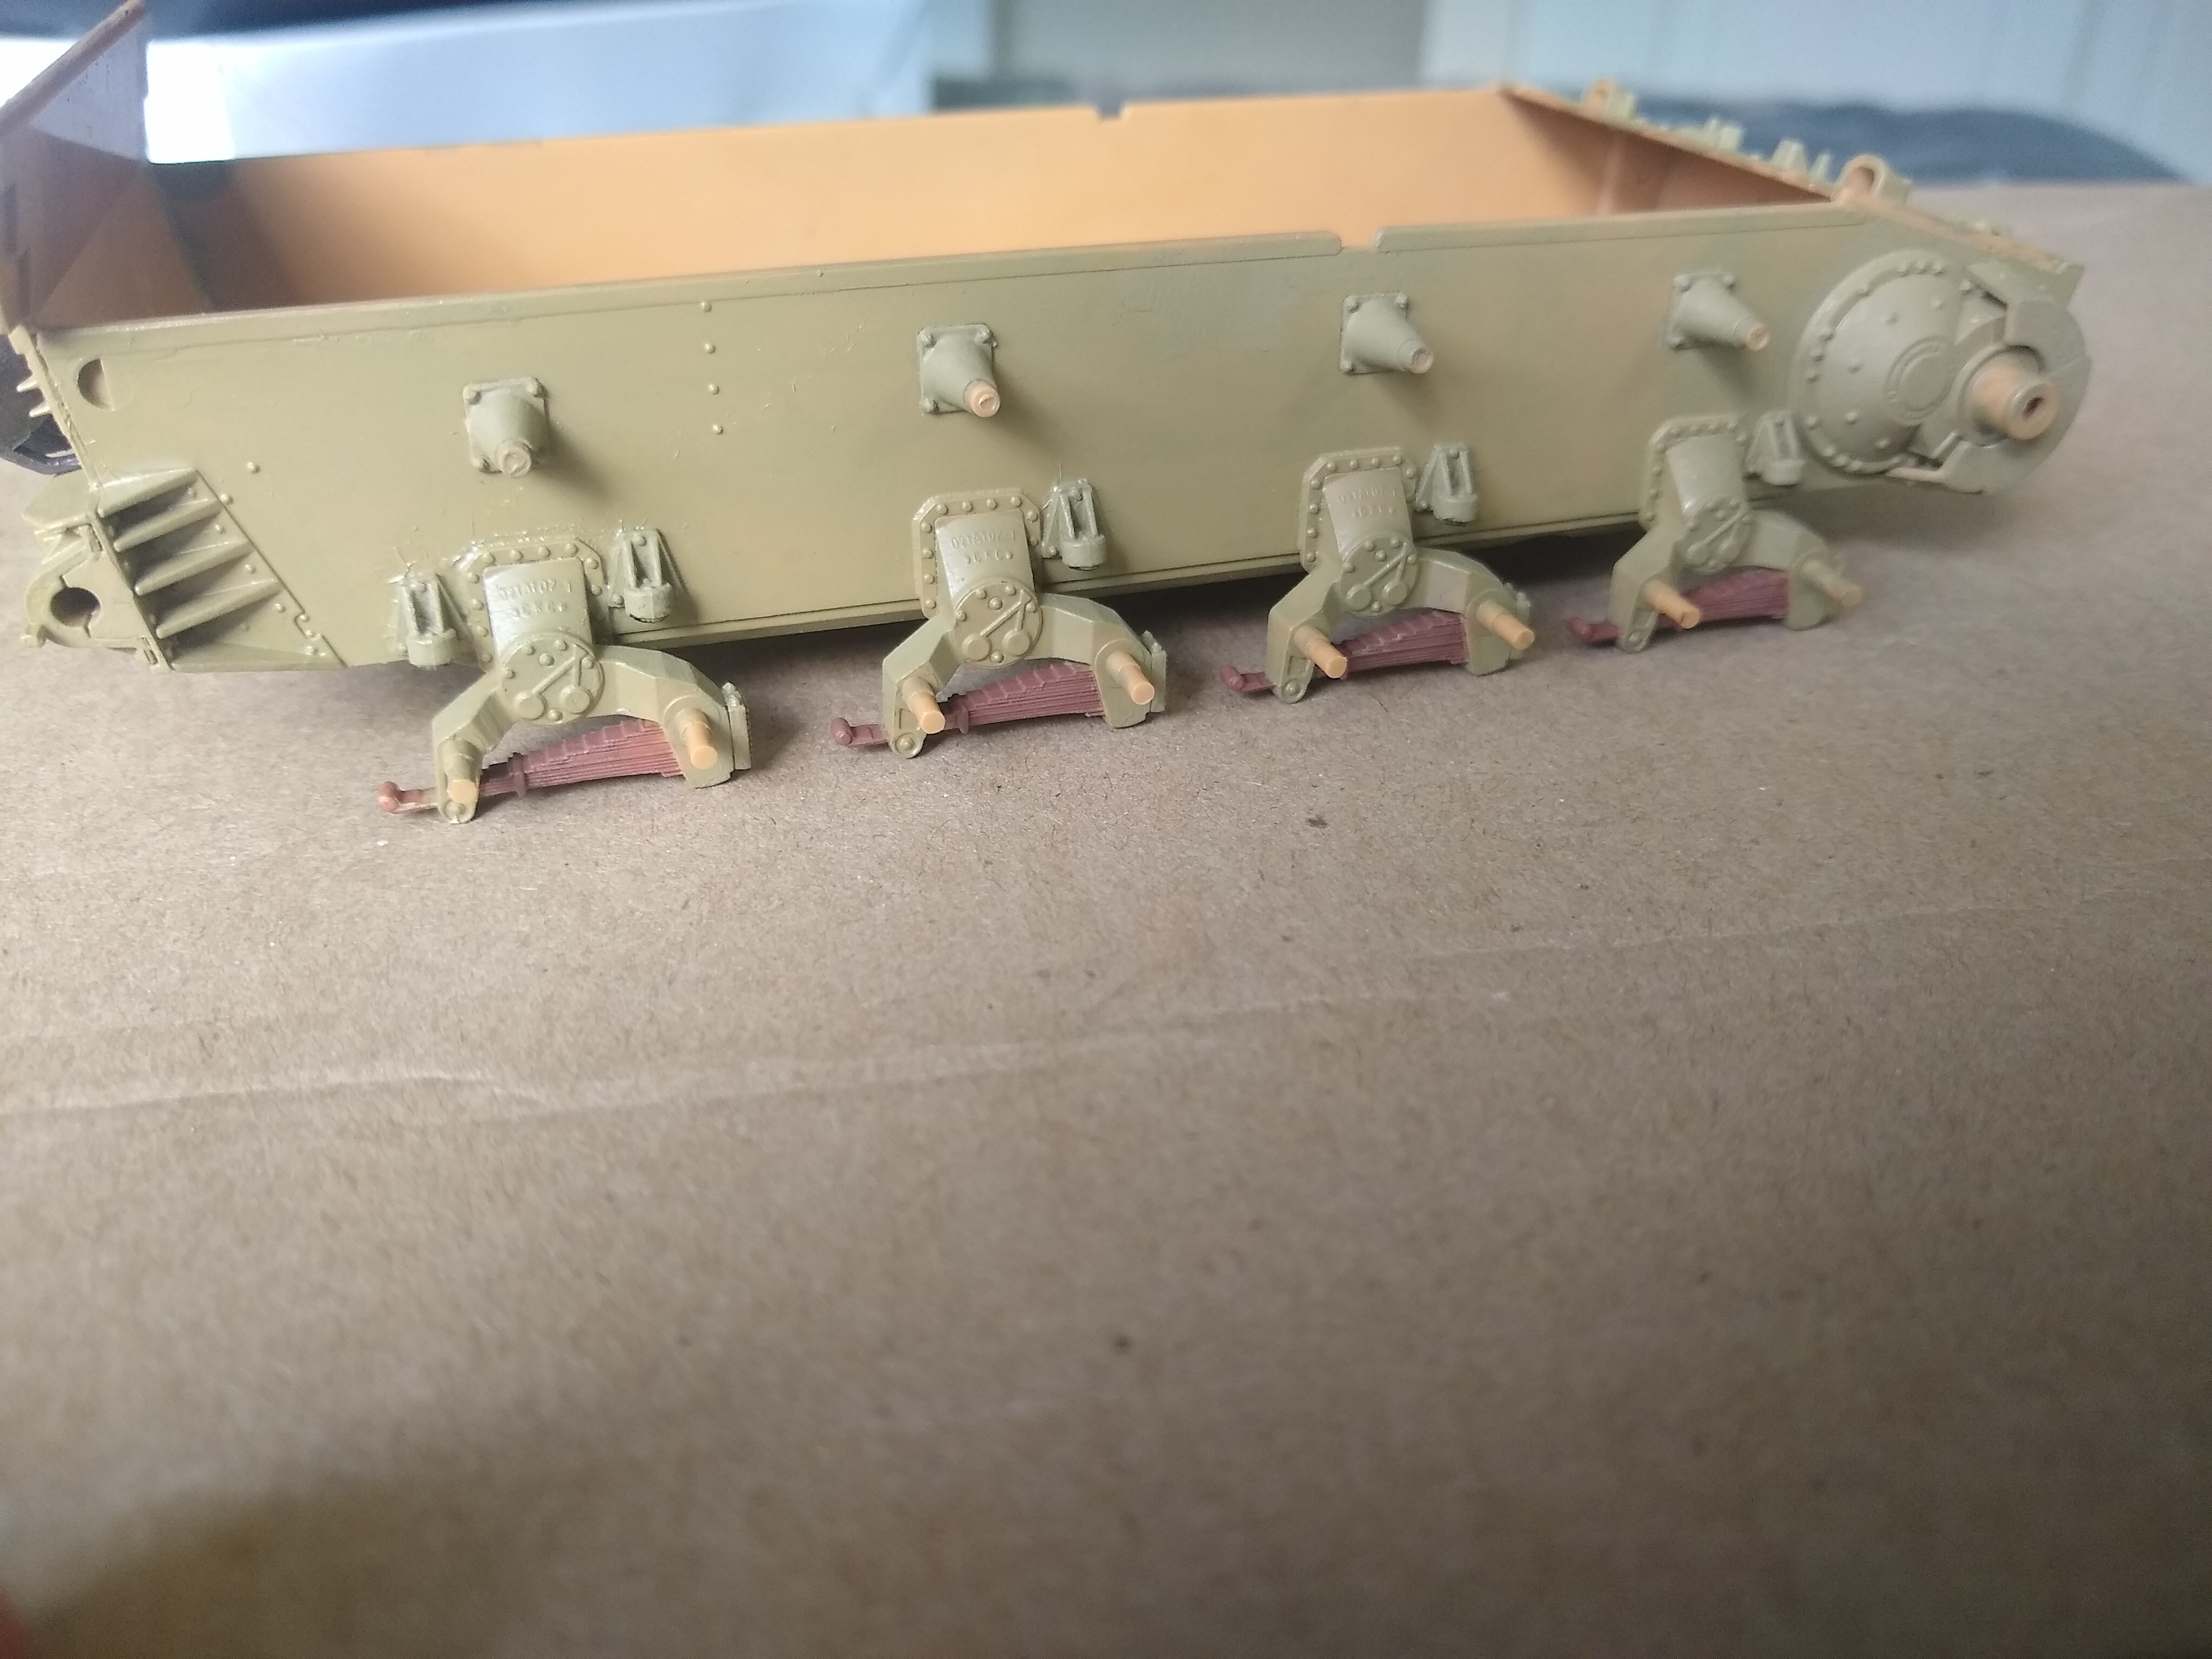
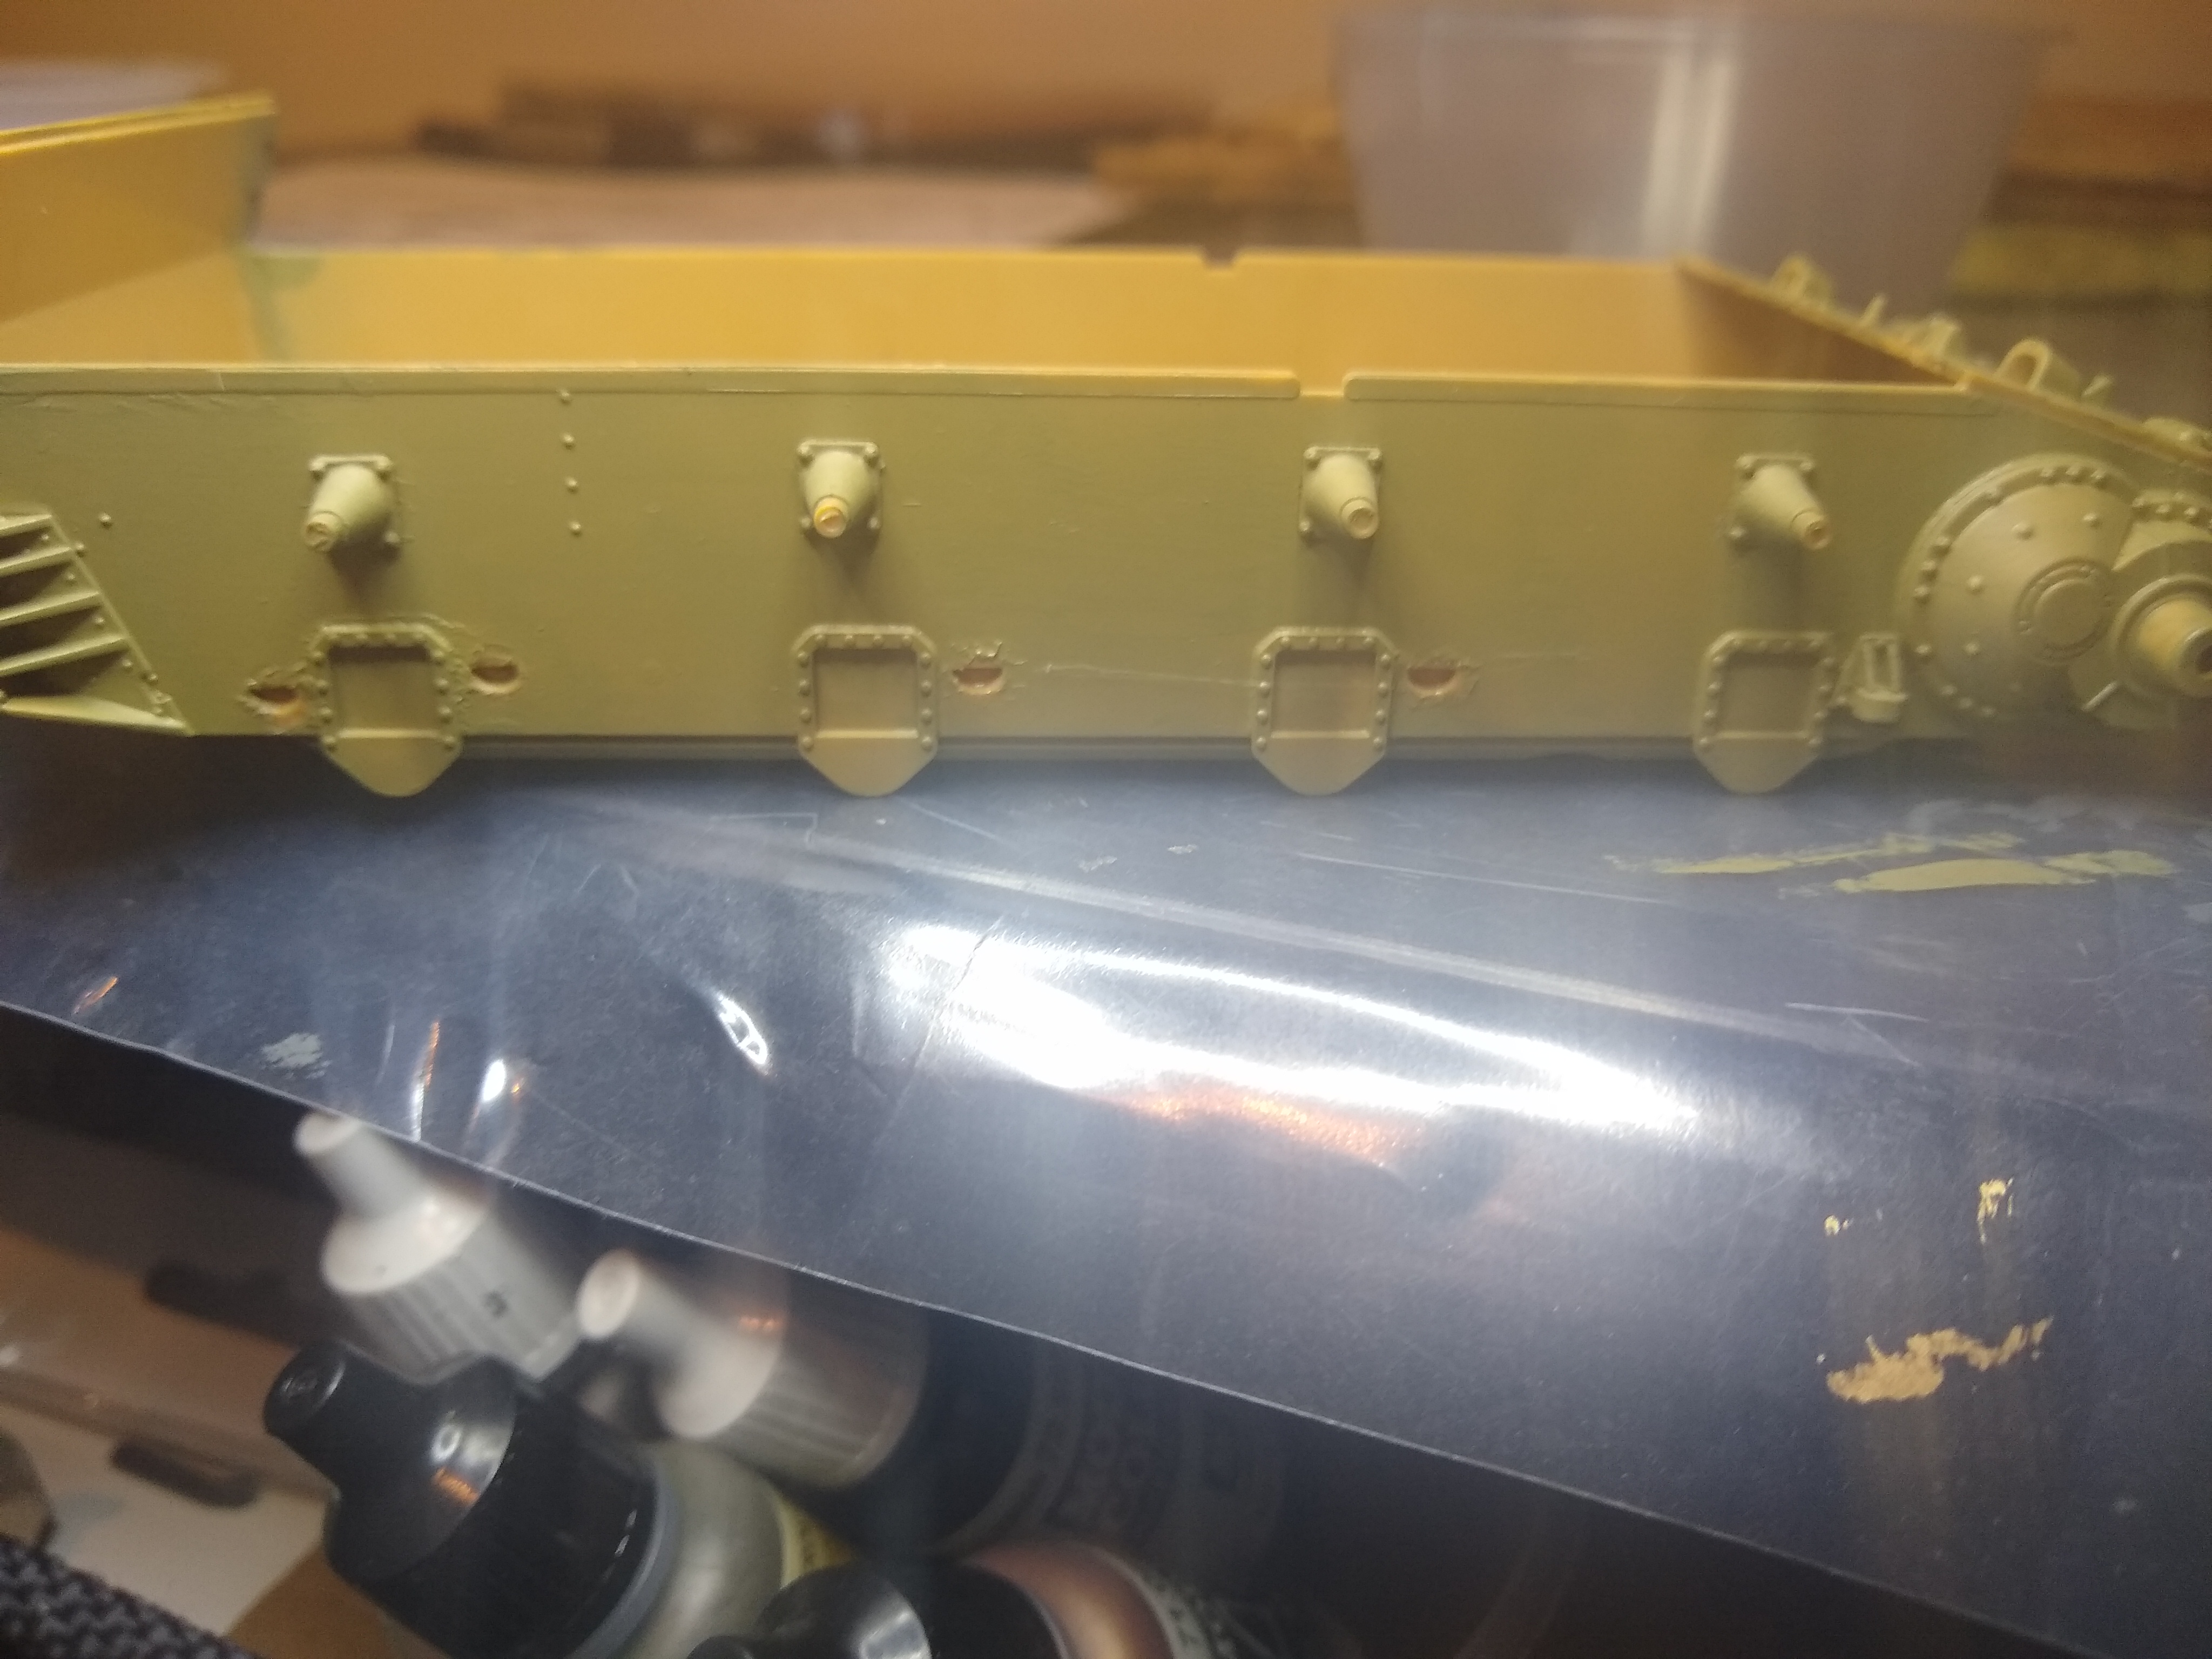
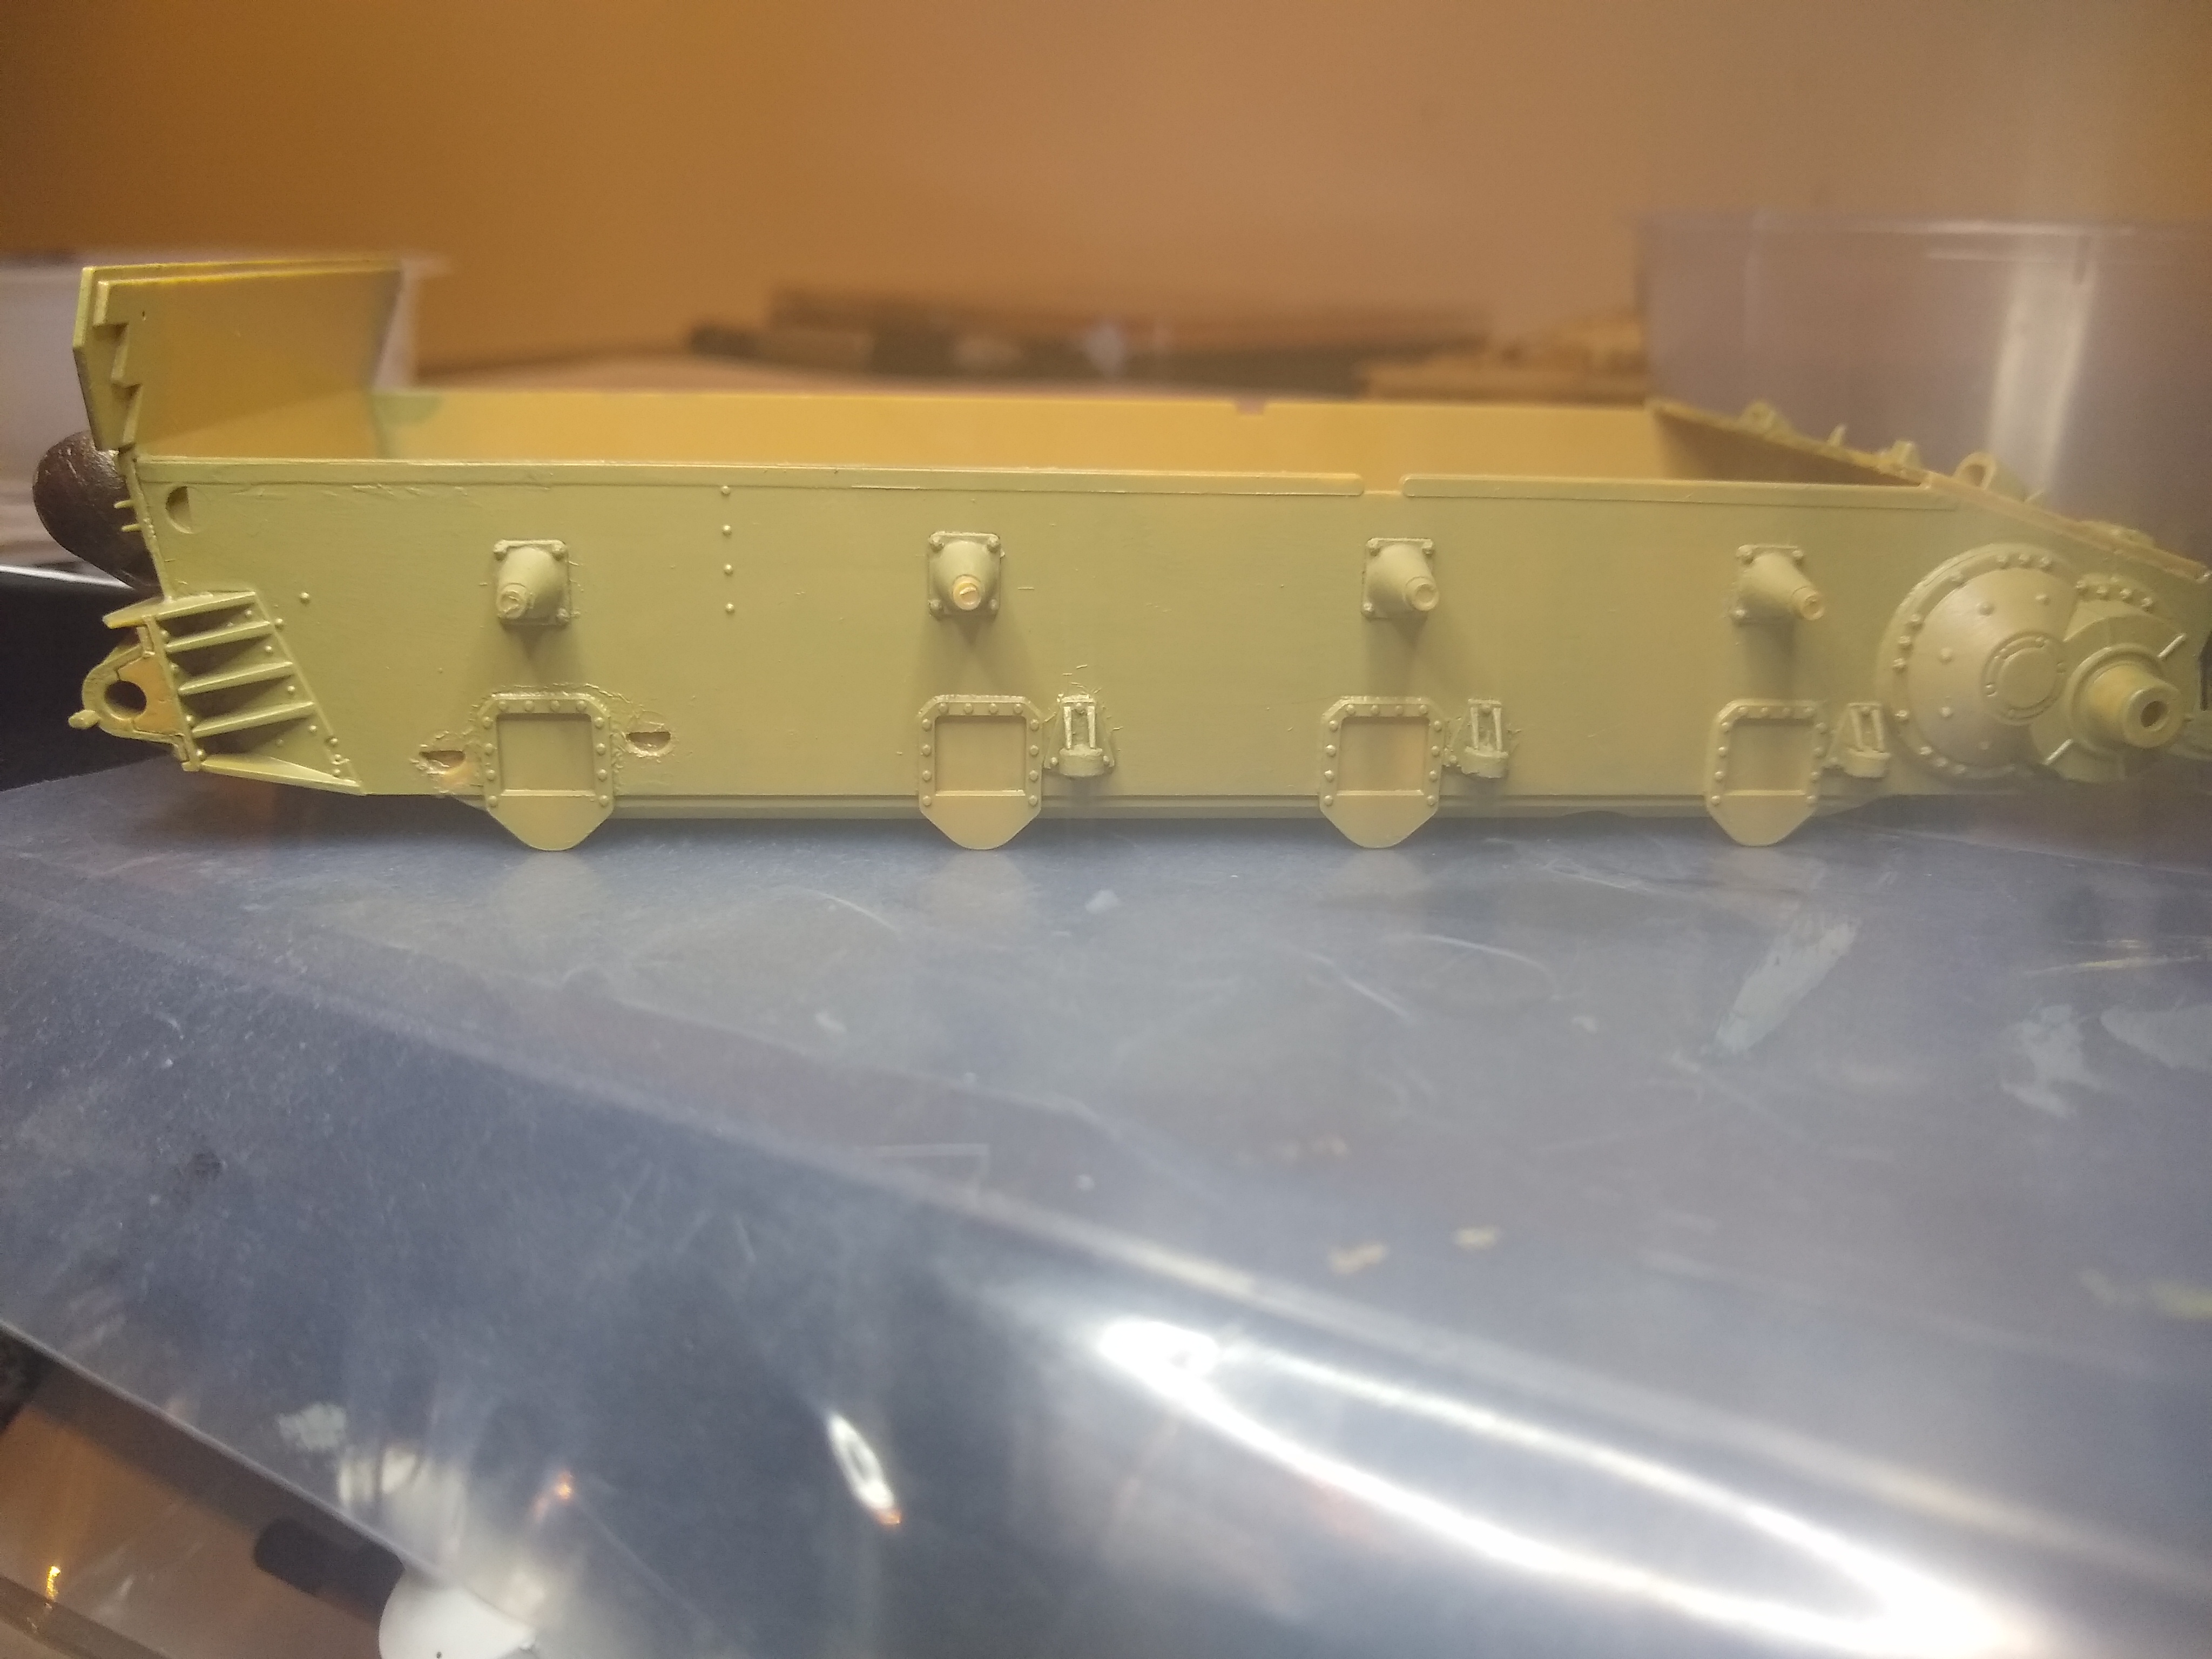
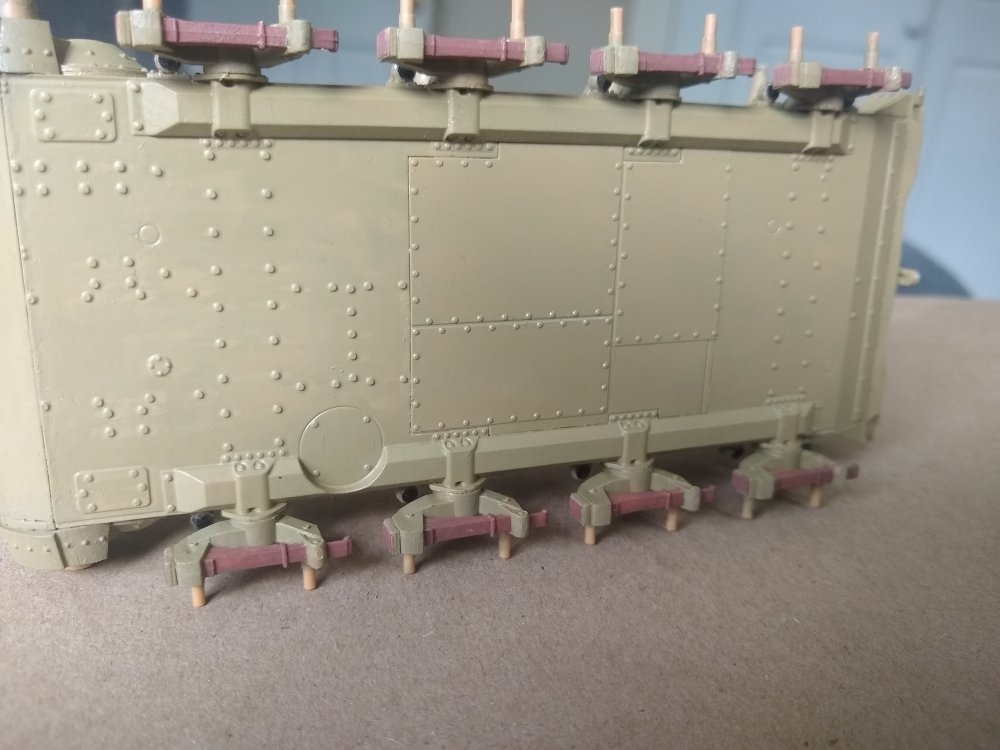
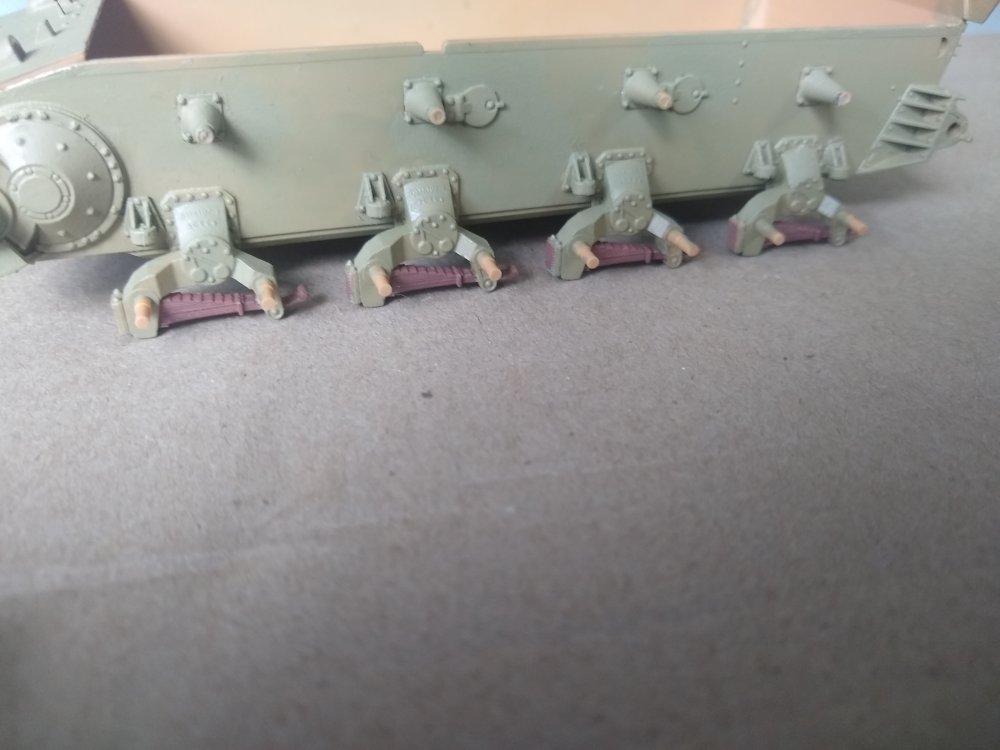
Added the suspension arms buffers. Looking like some actual progress now And the left side too.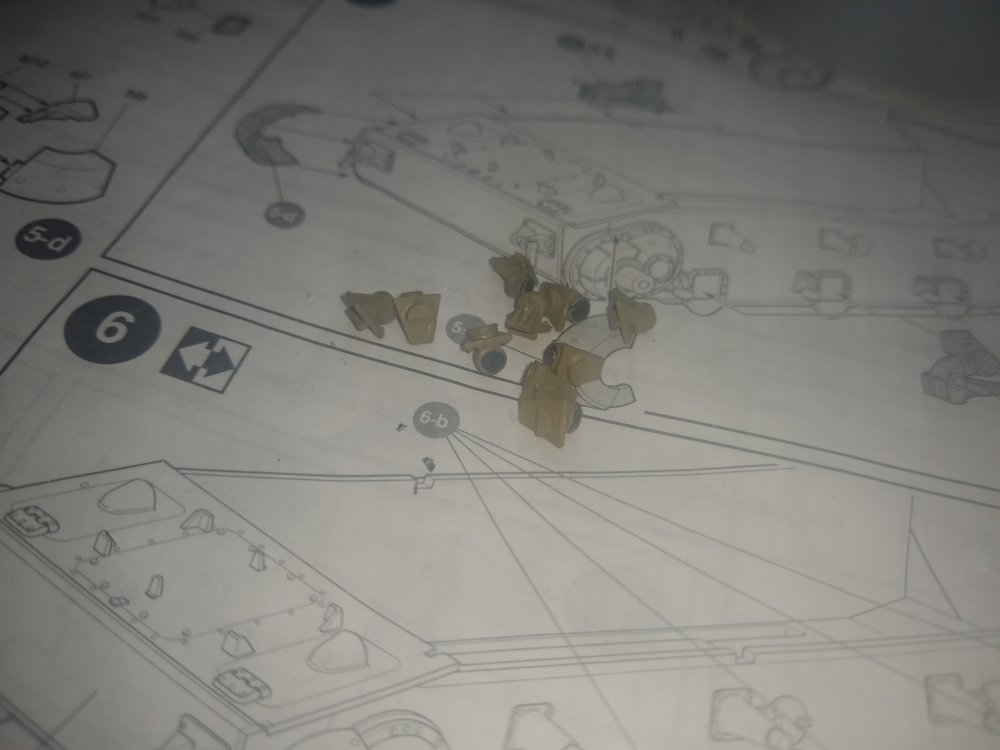


-
German Panzer IV Ausf H
Daniel_Roxy replied to Daniel_Roxy's topic in LSM 1/35 and Larger Work In Progress
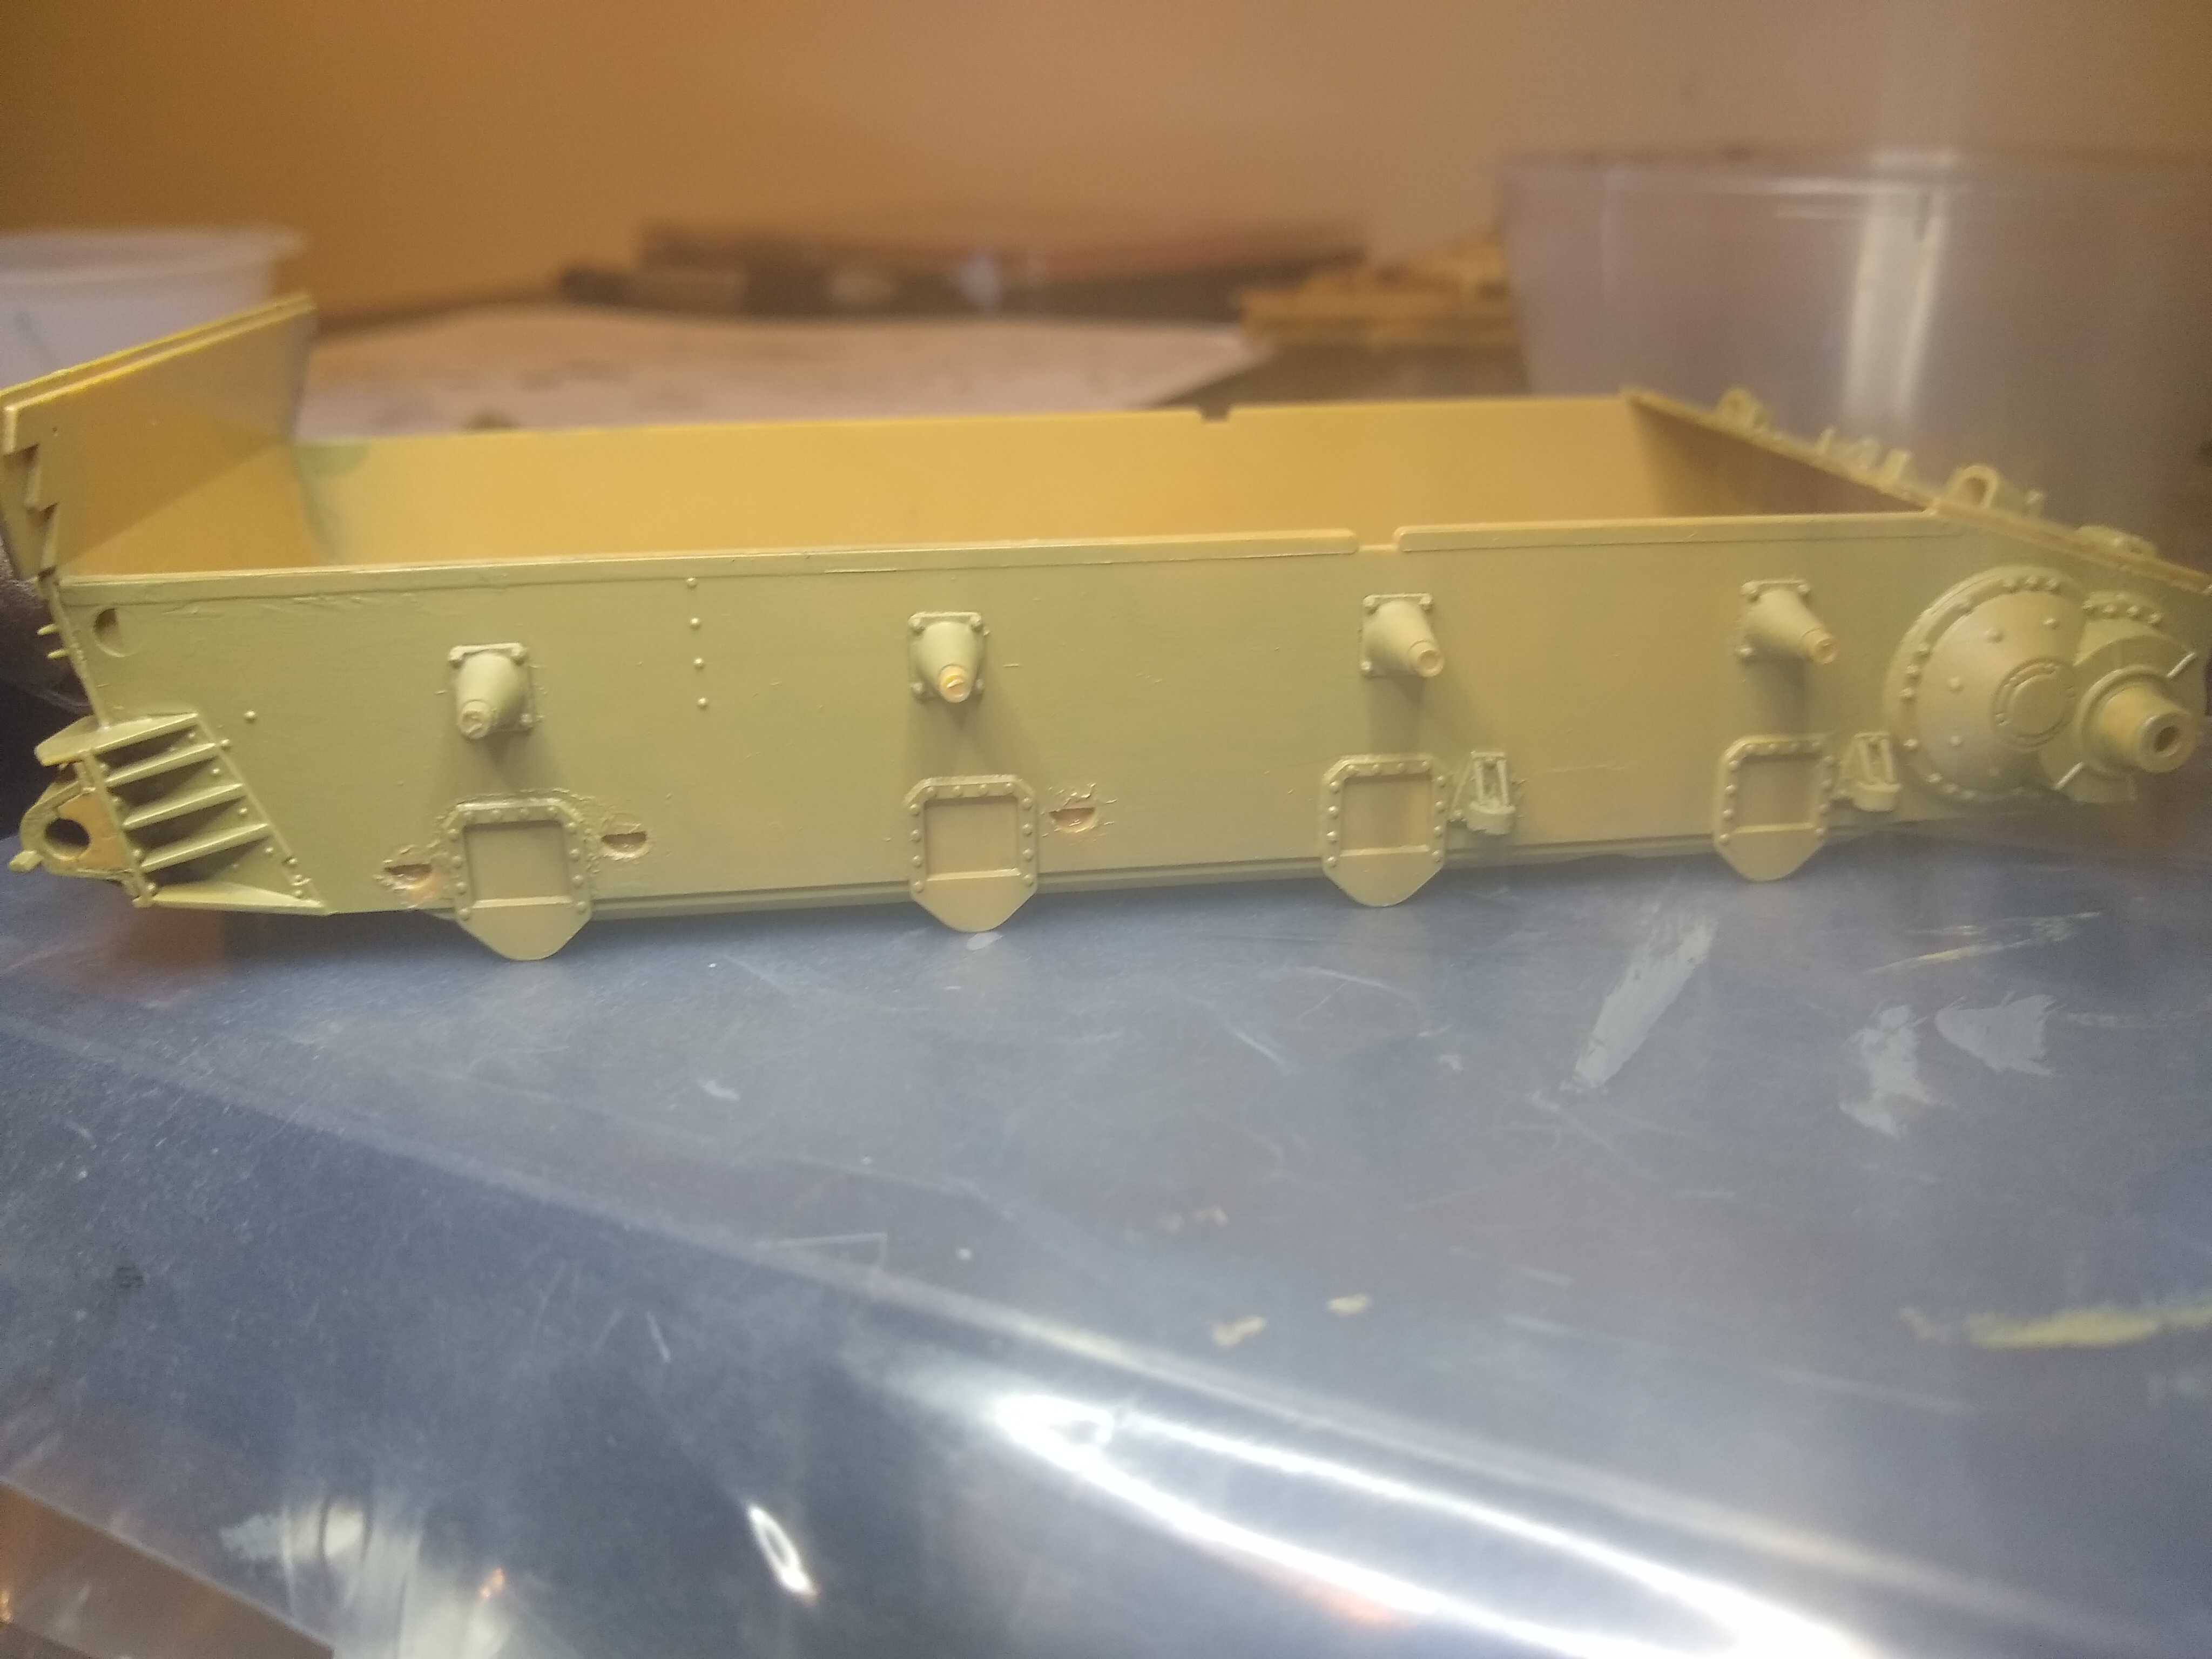
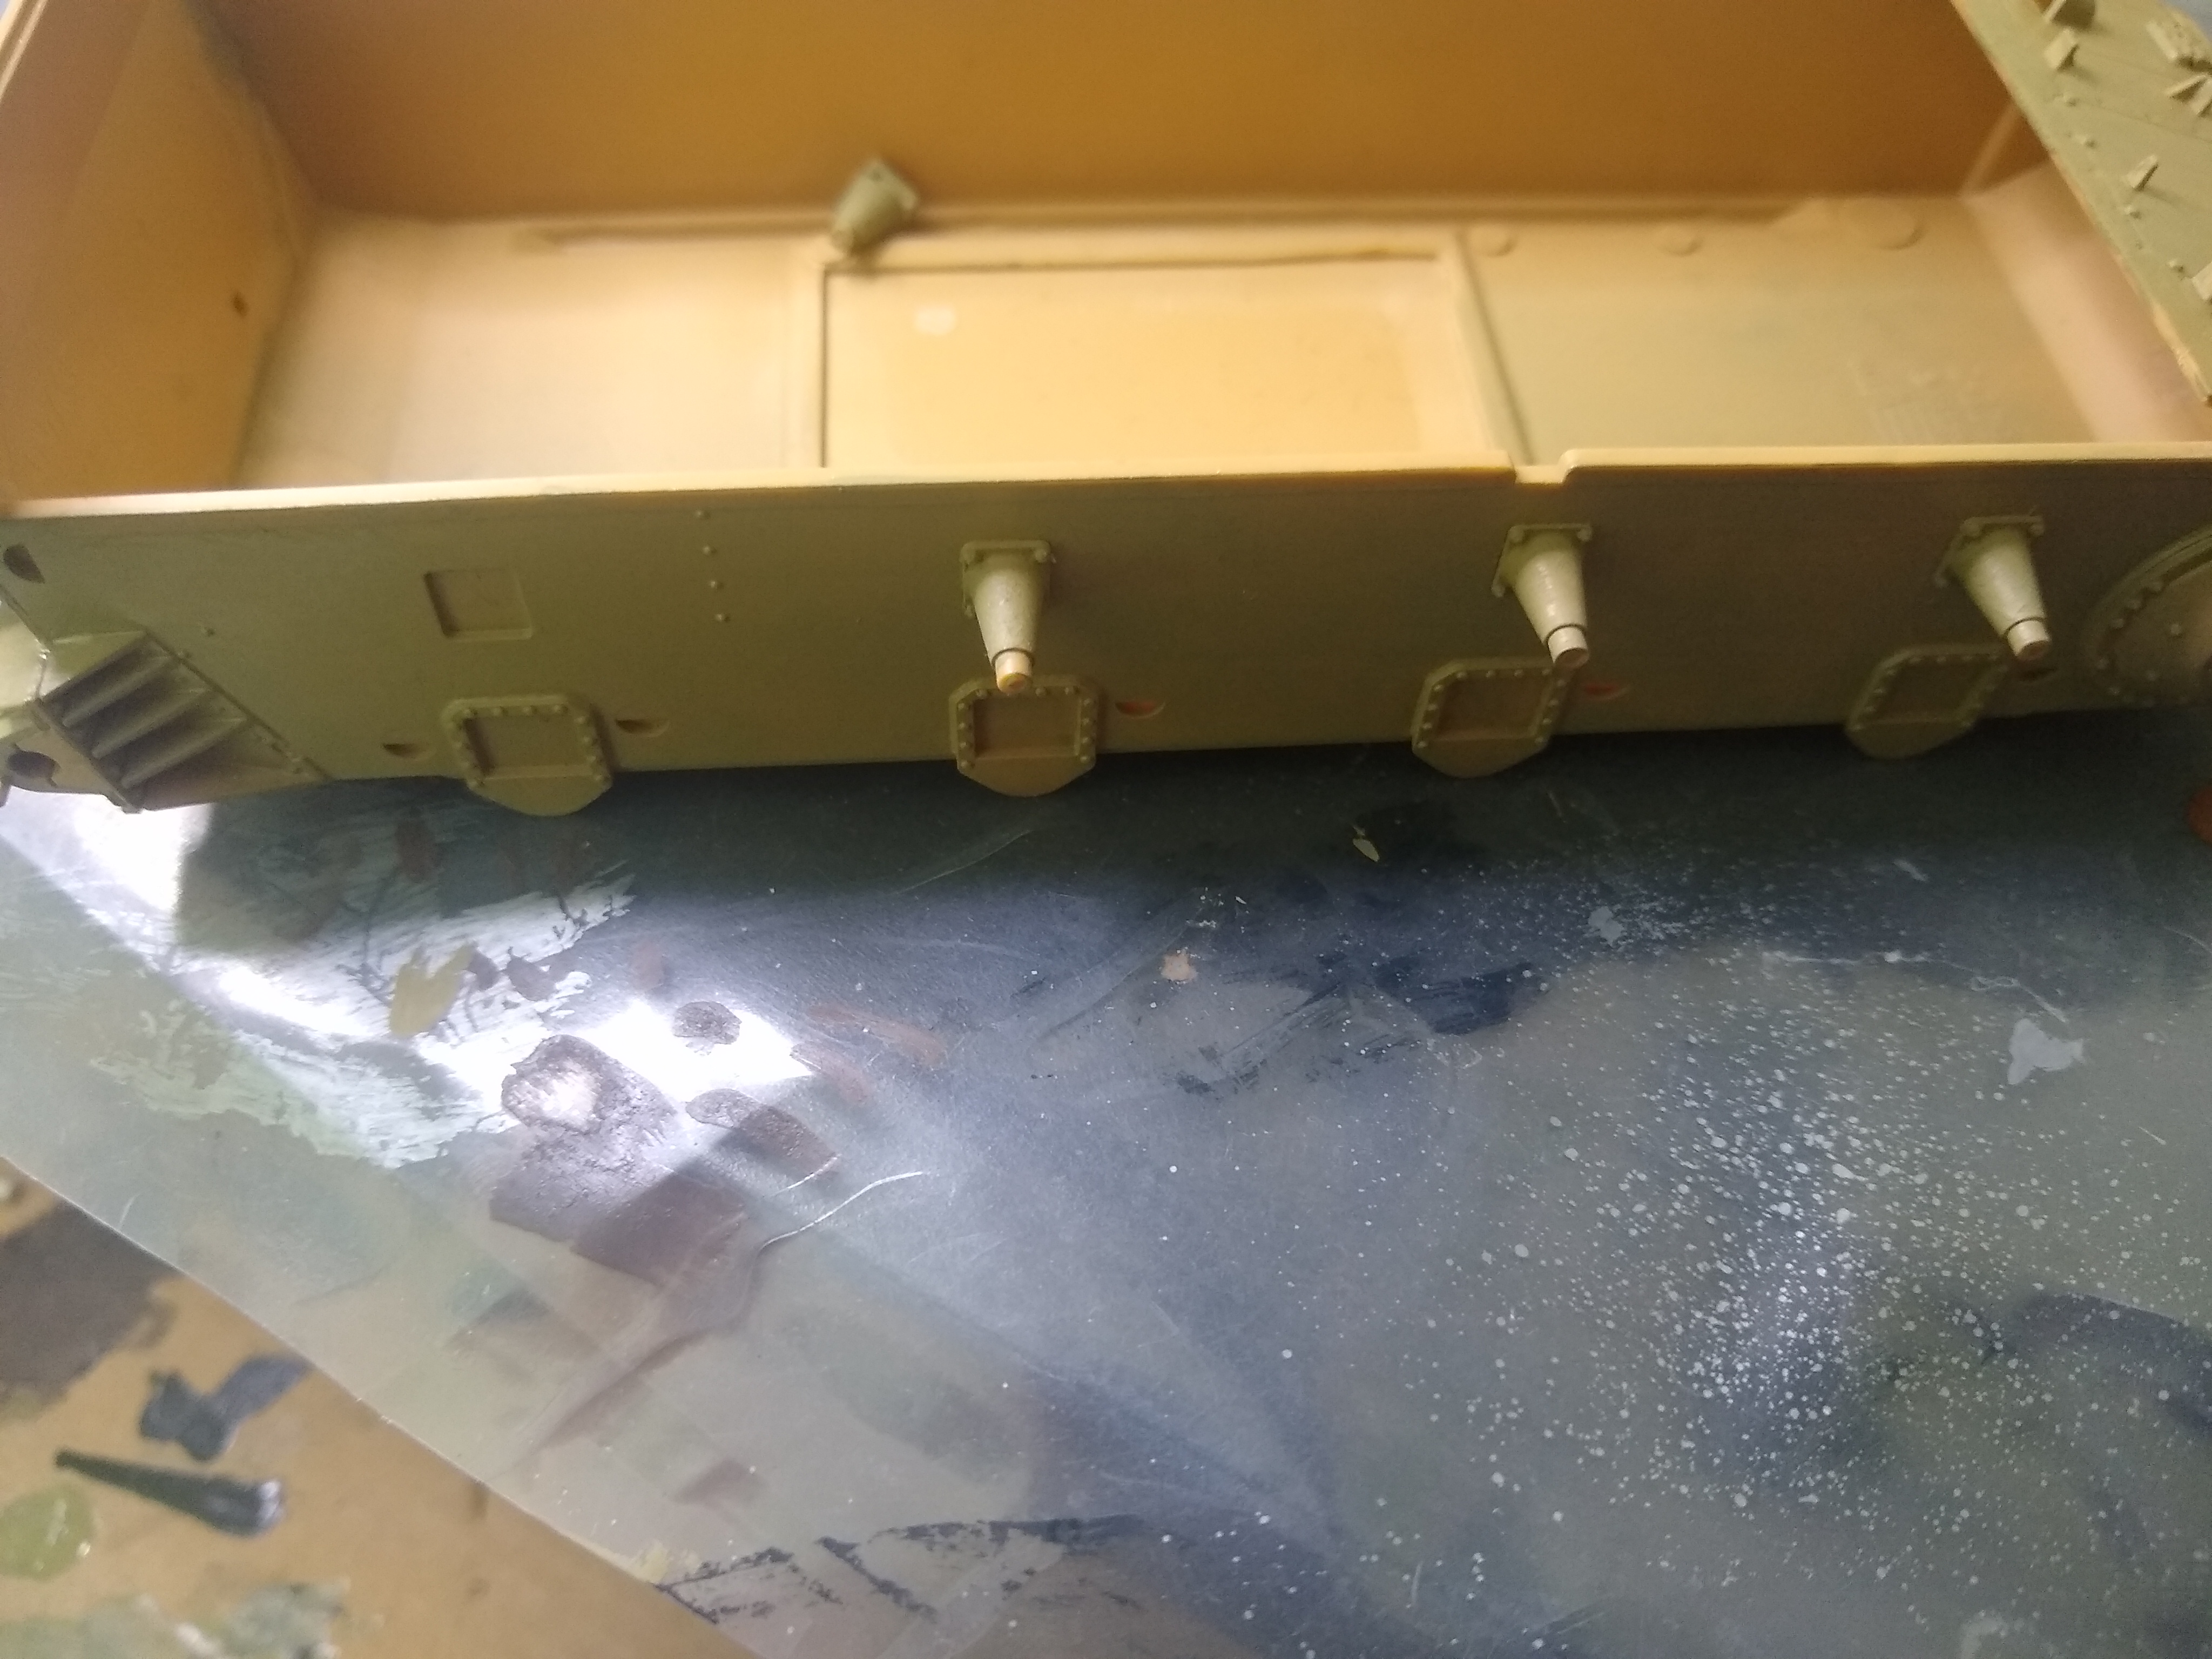
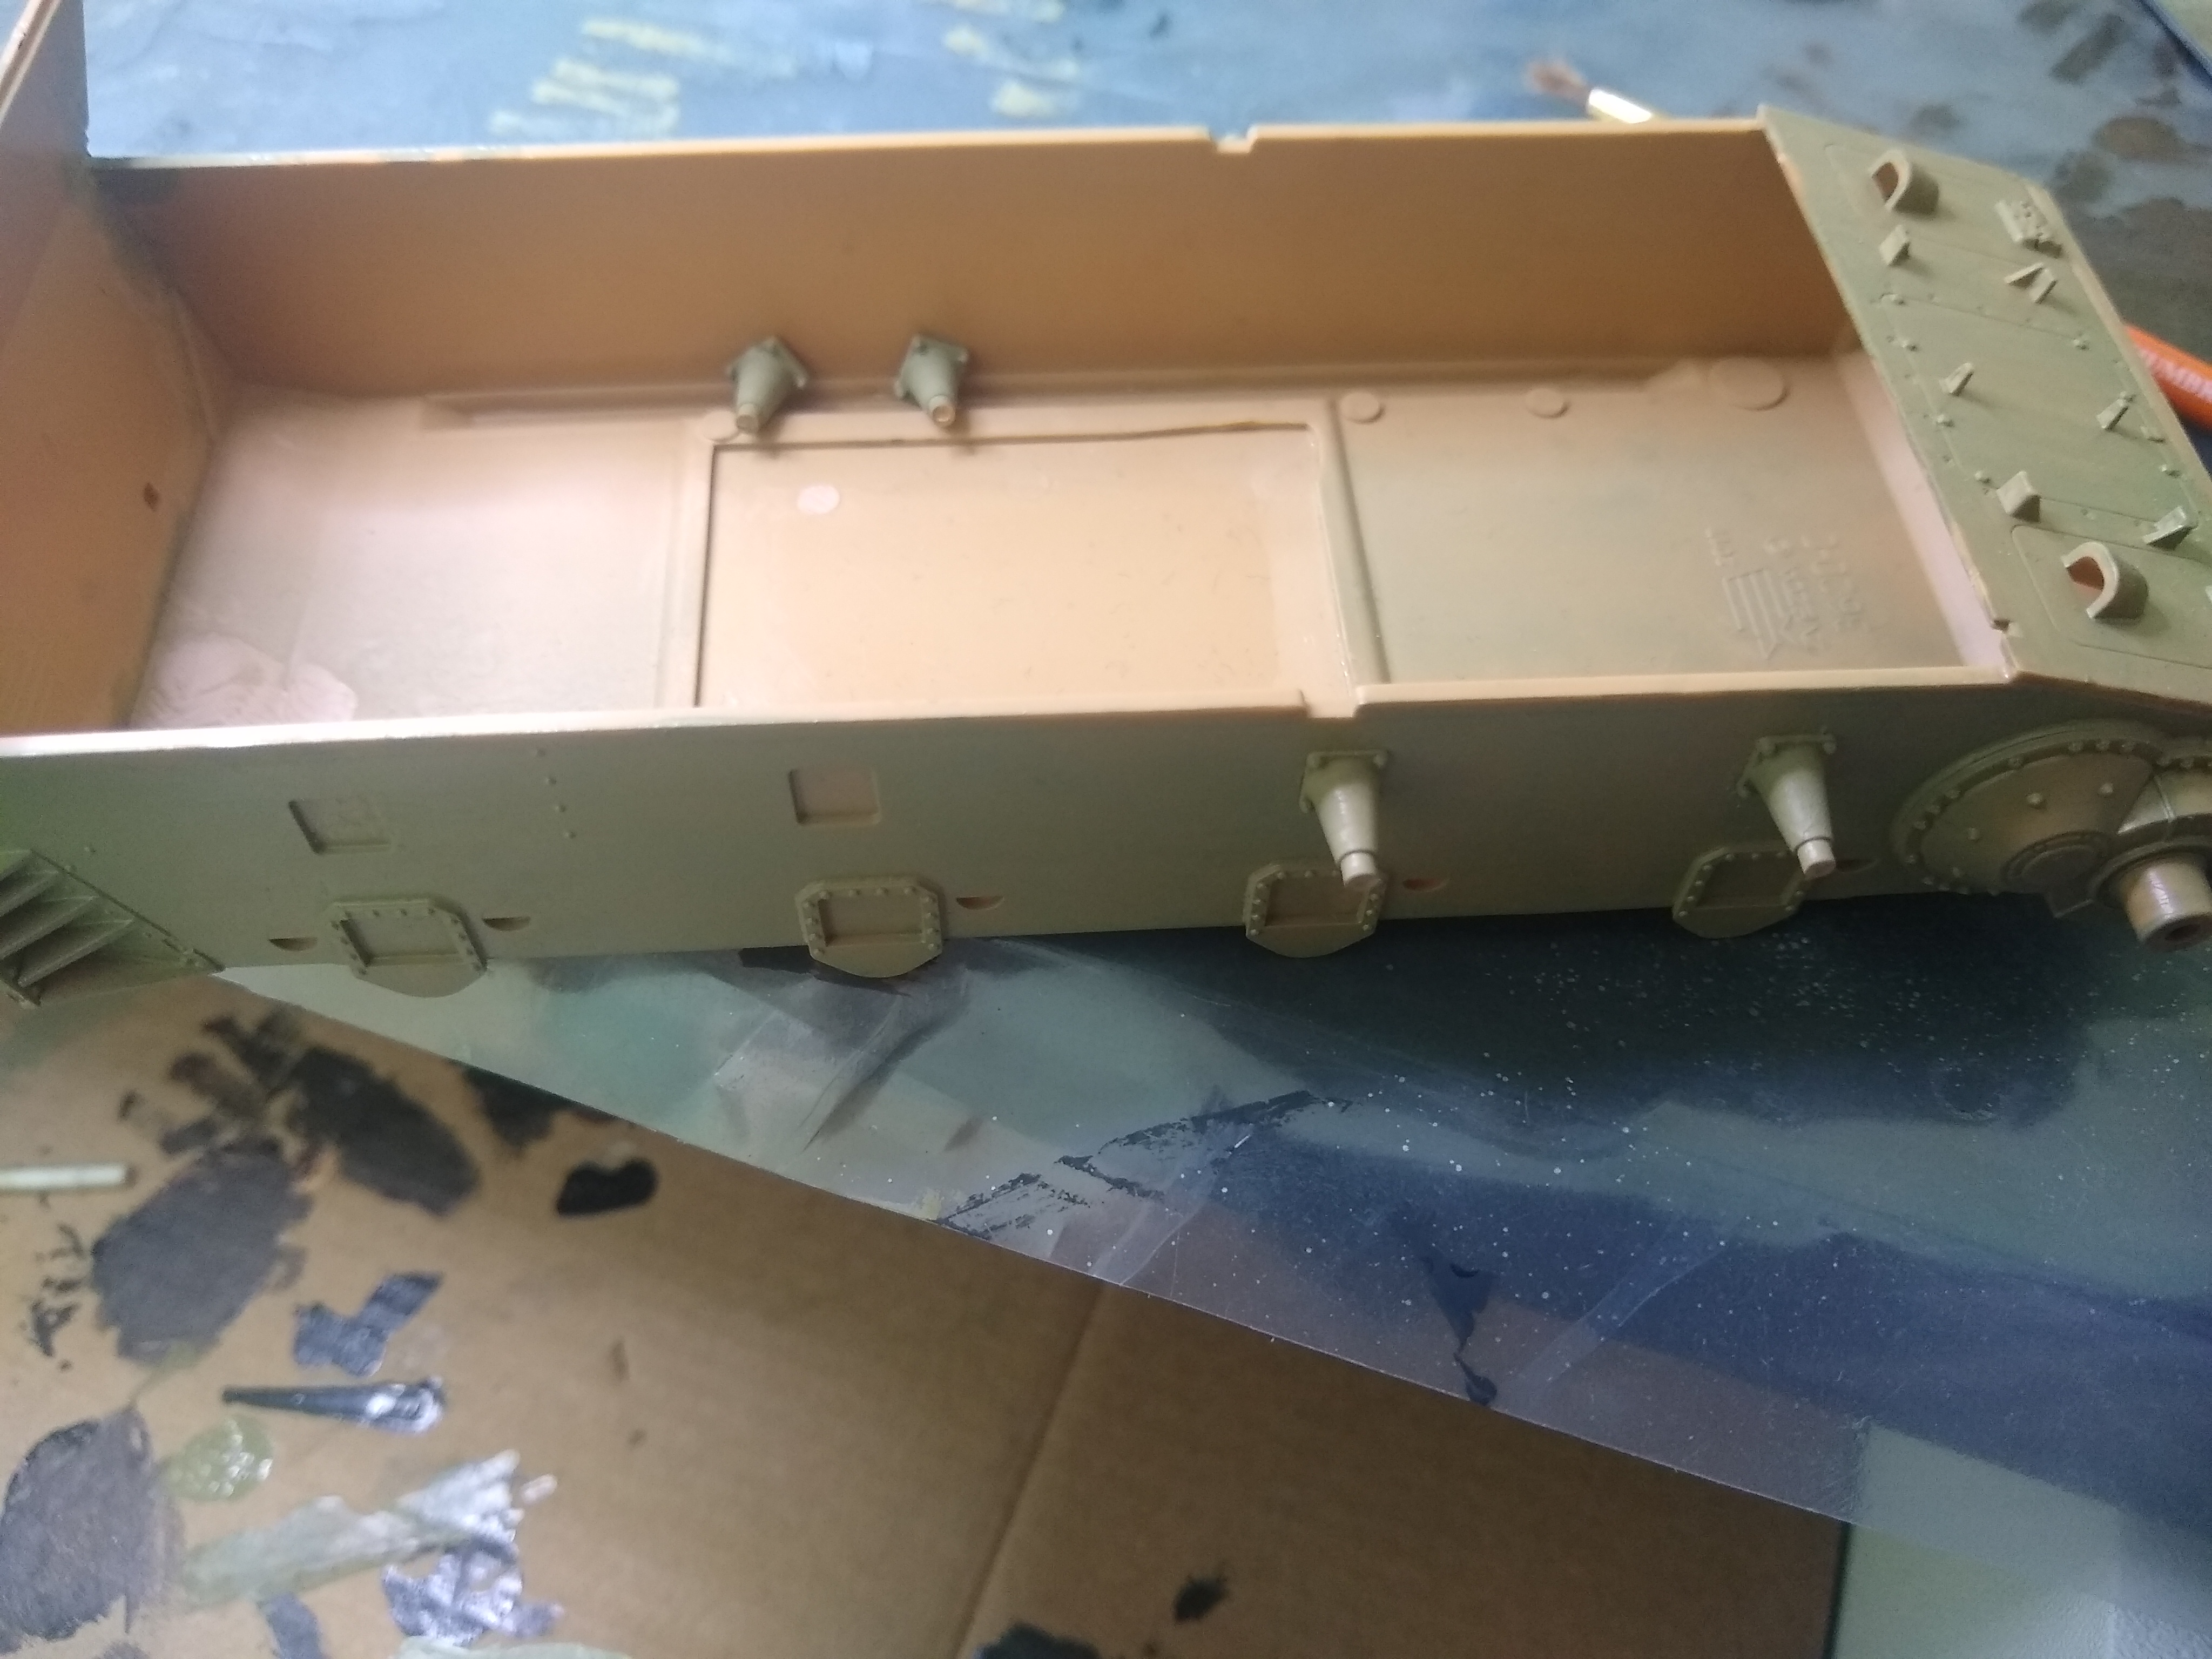
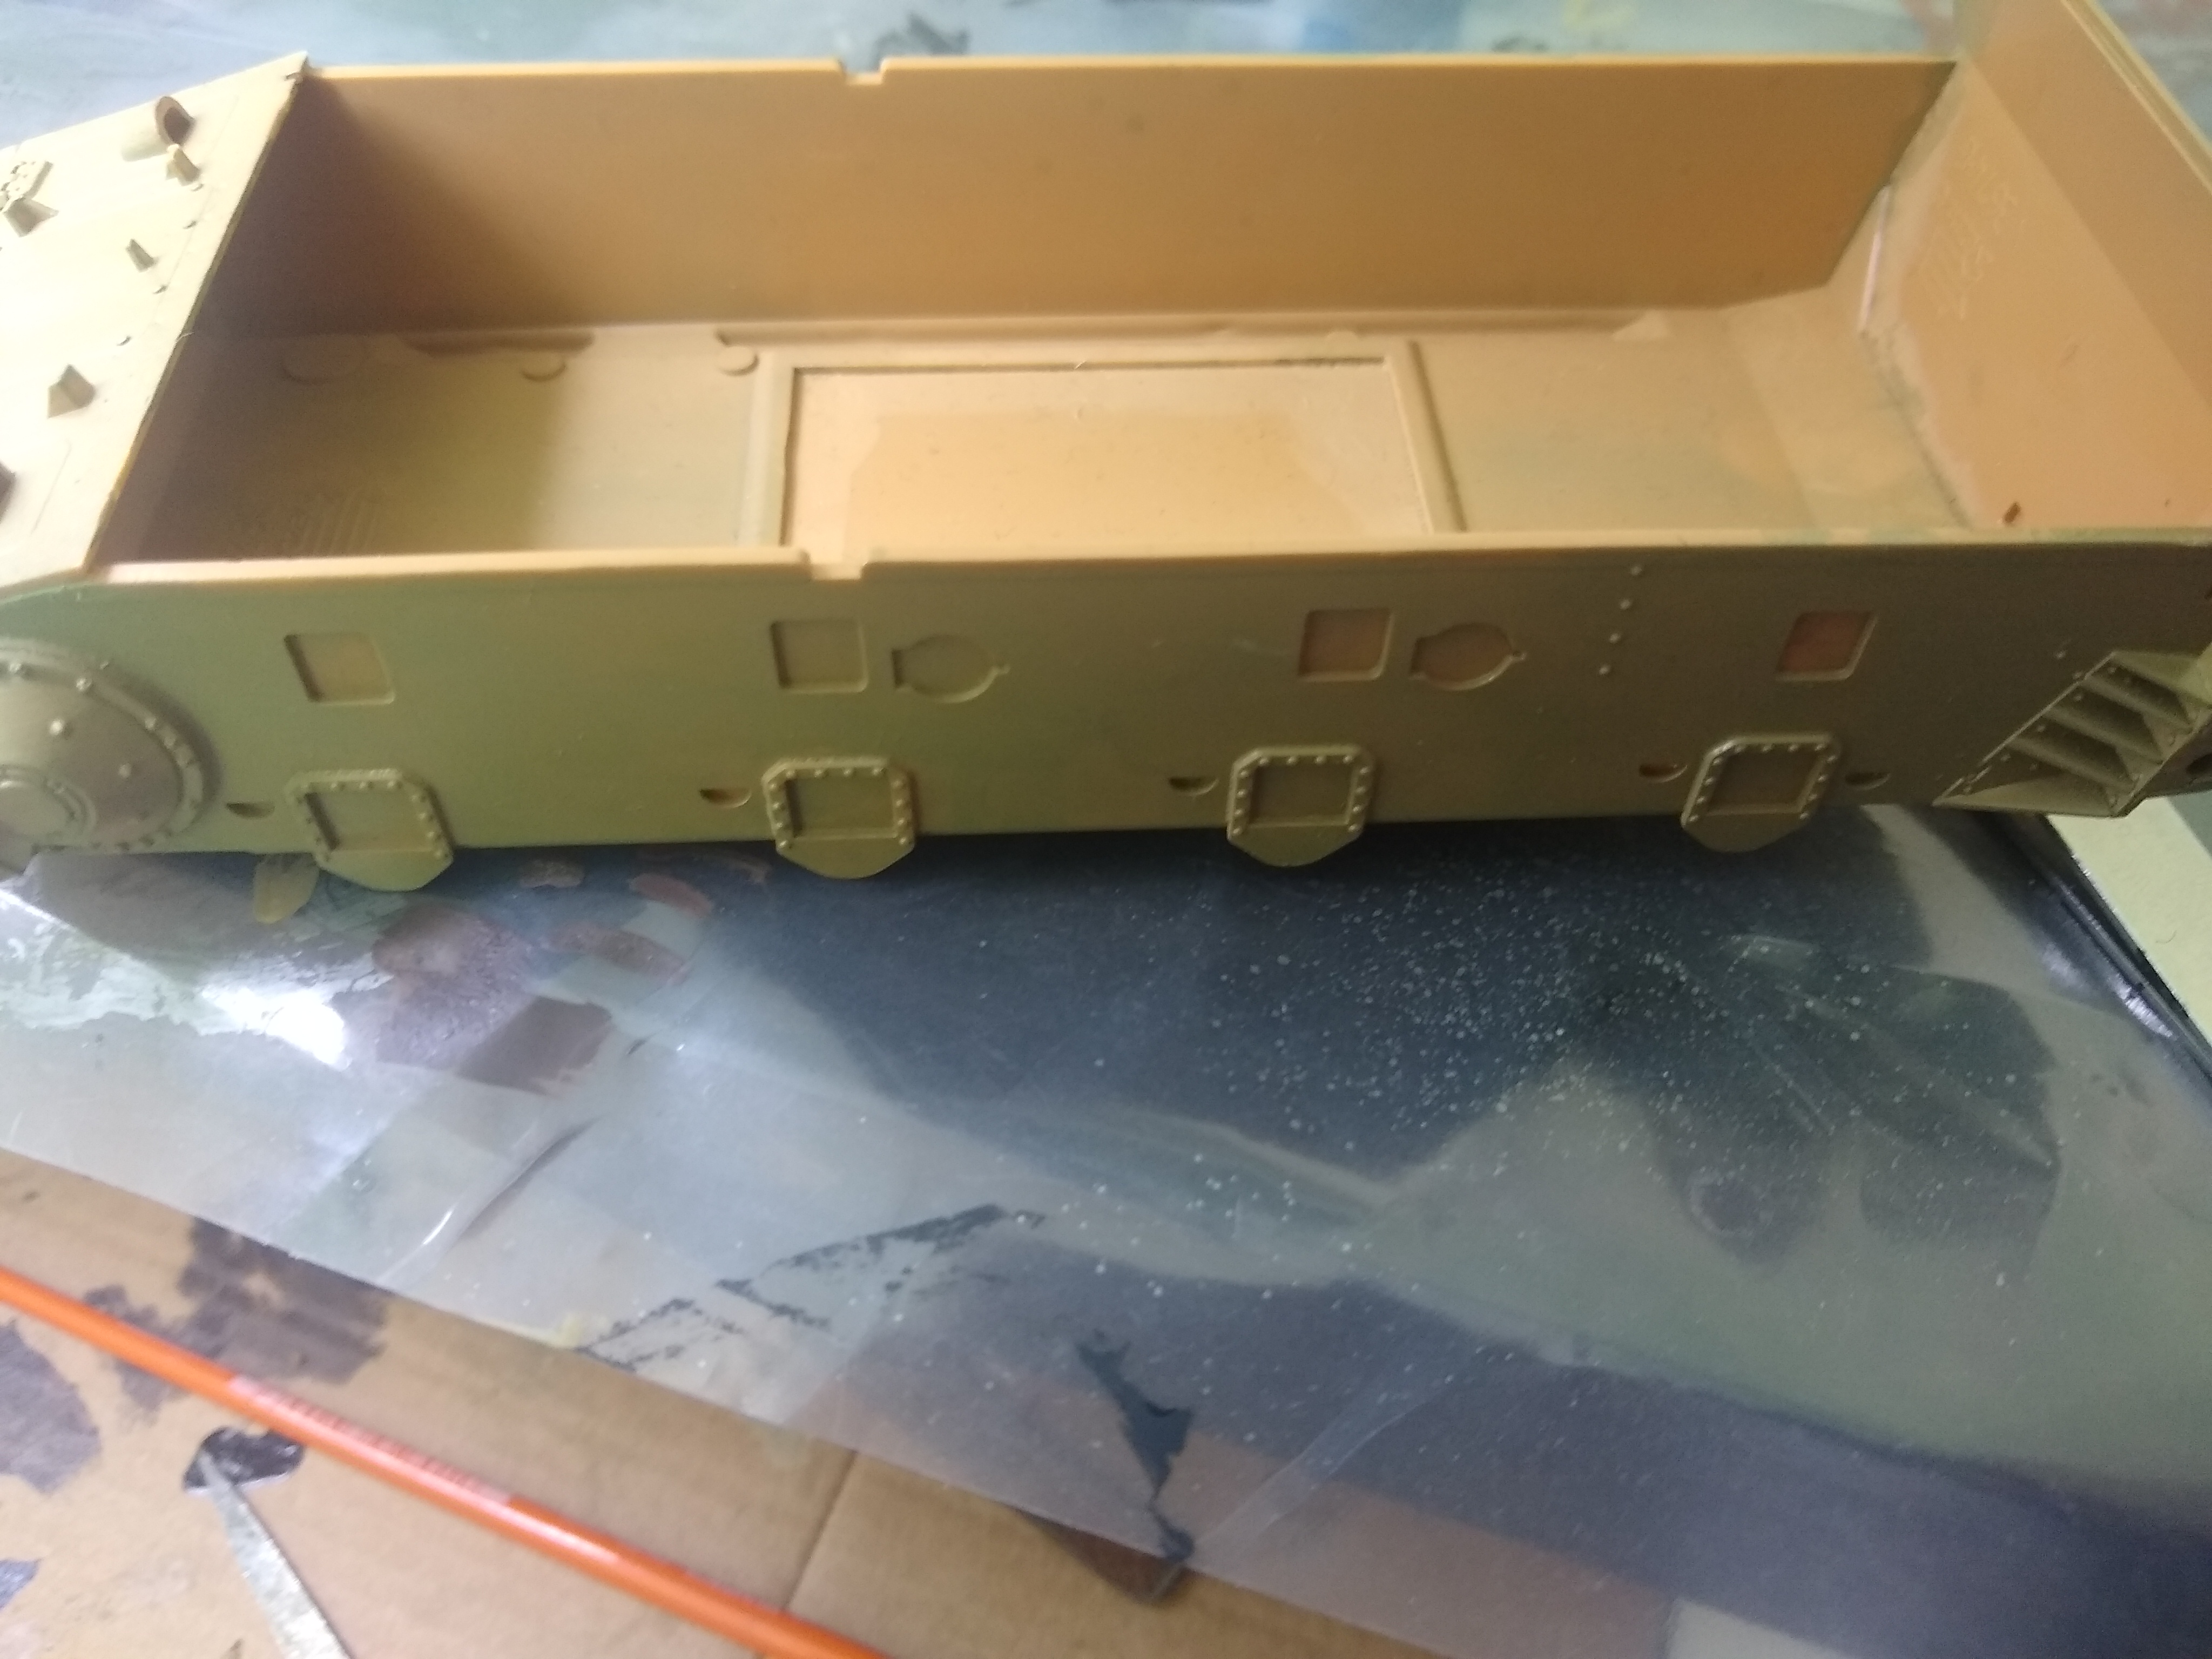
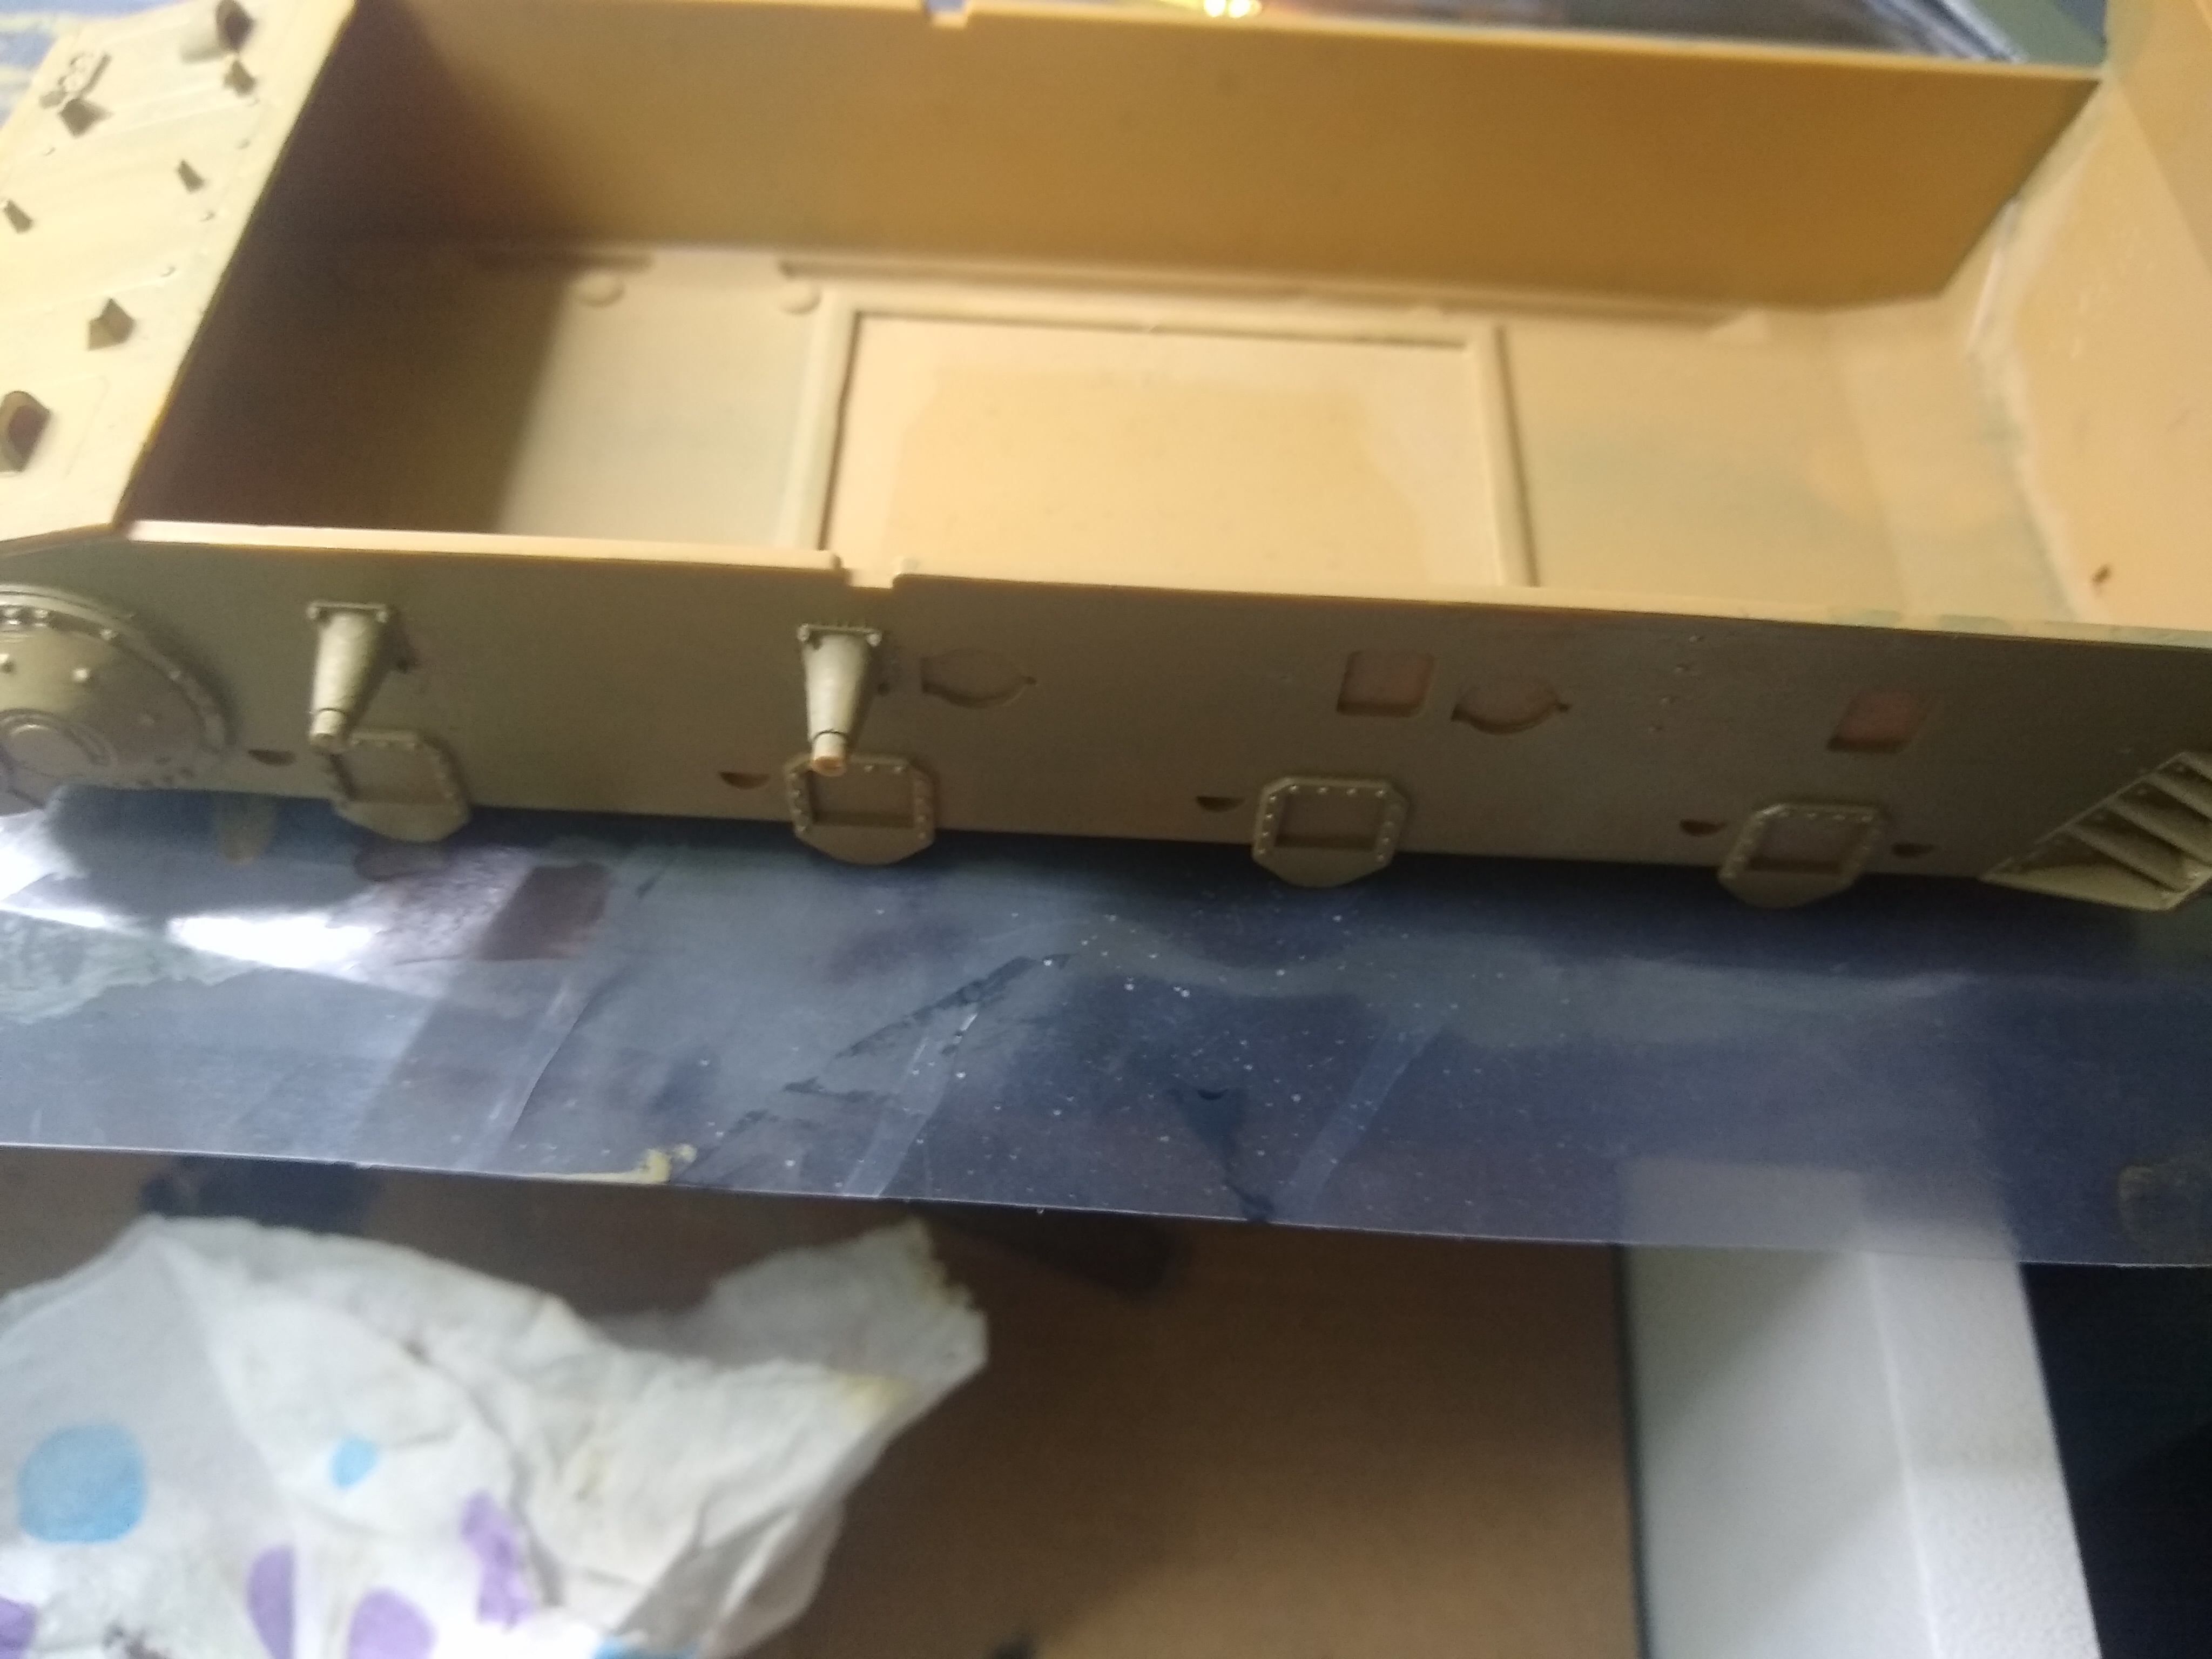
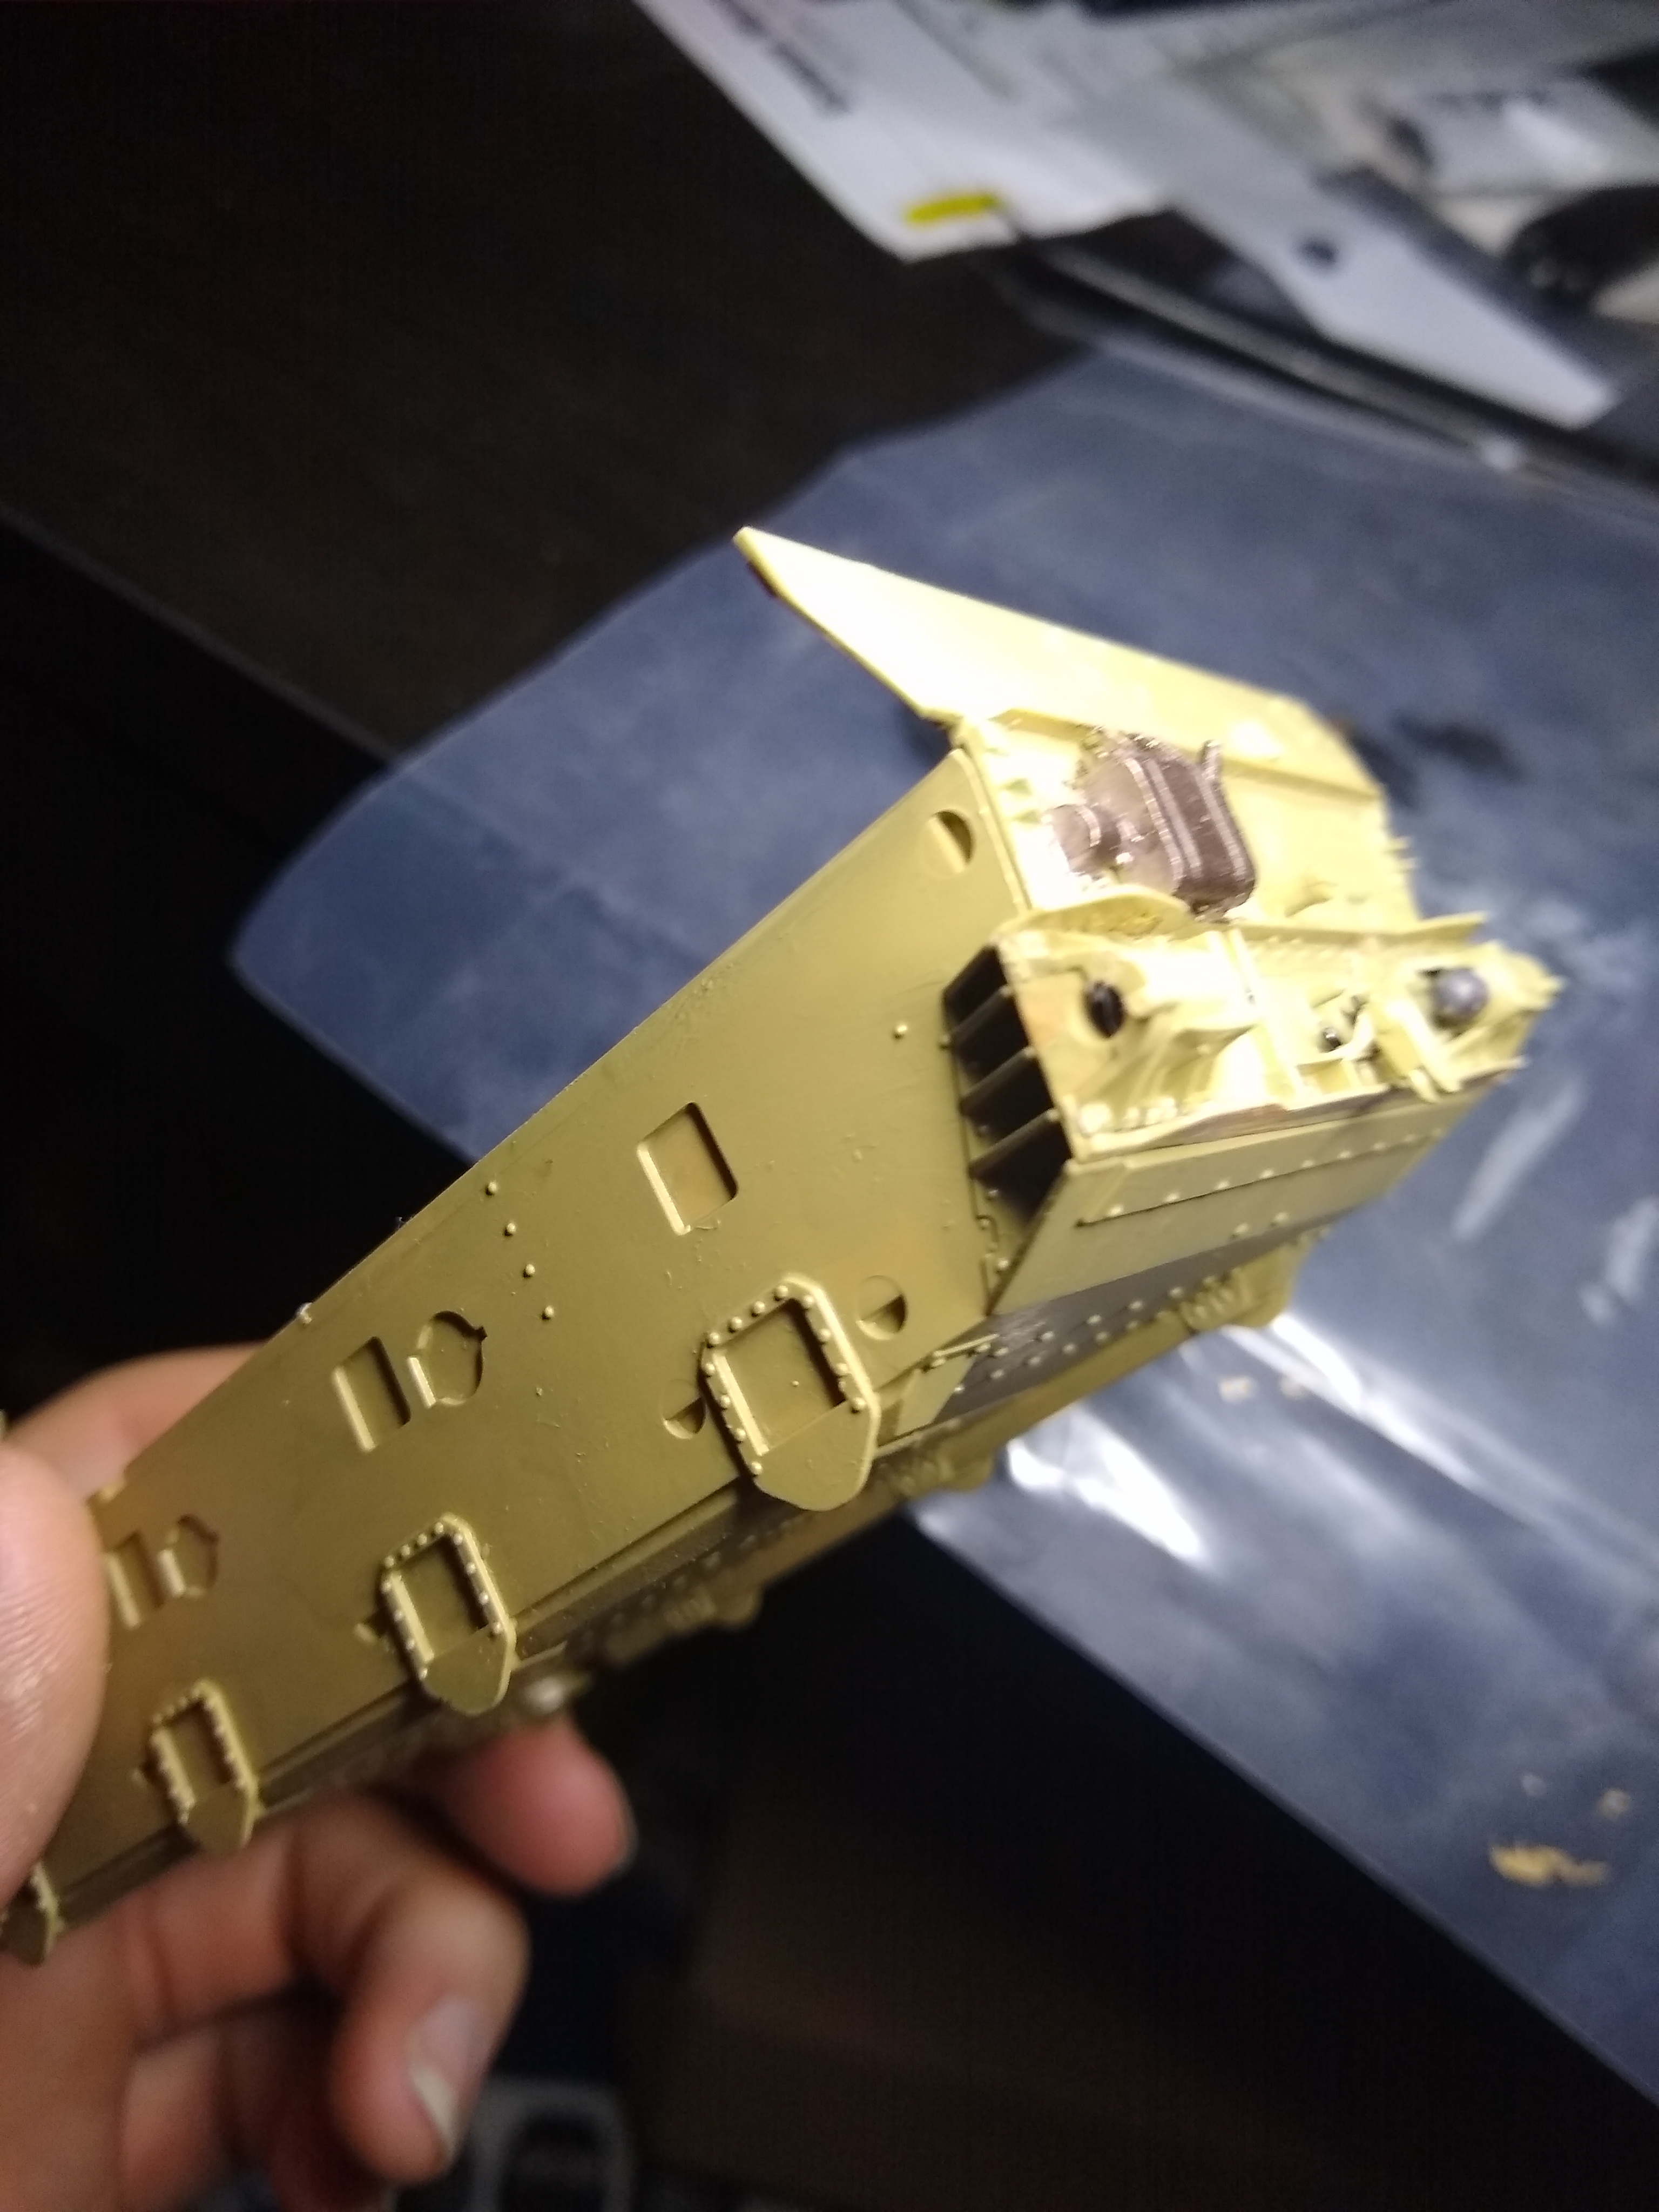
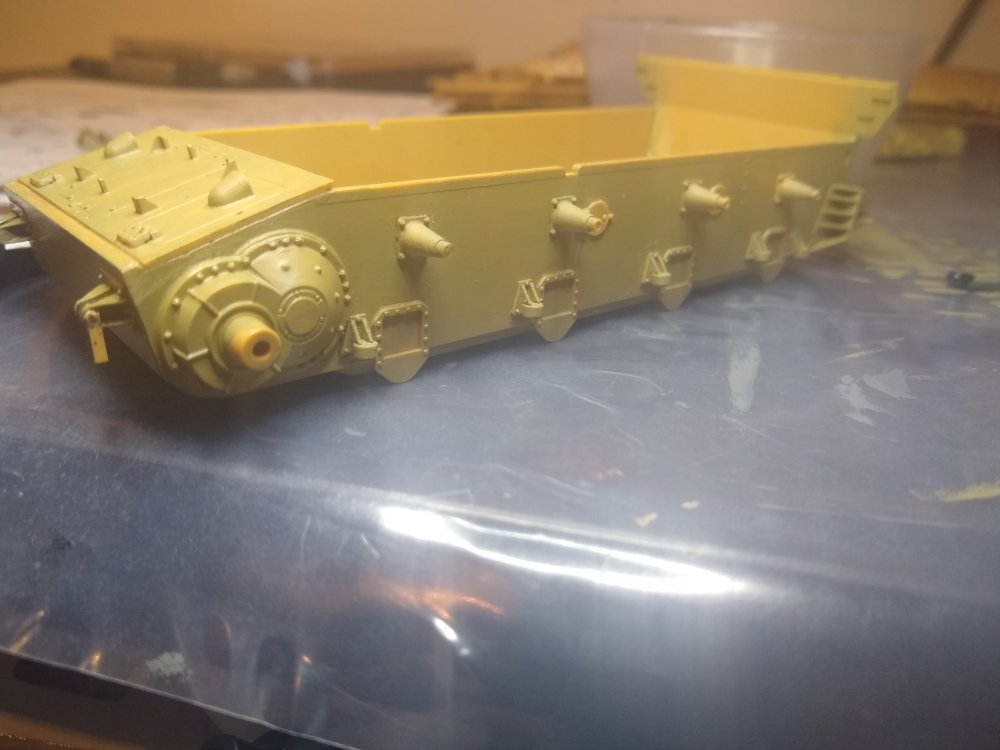
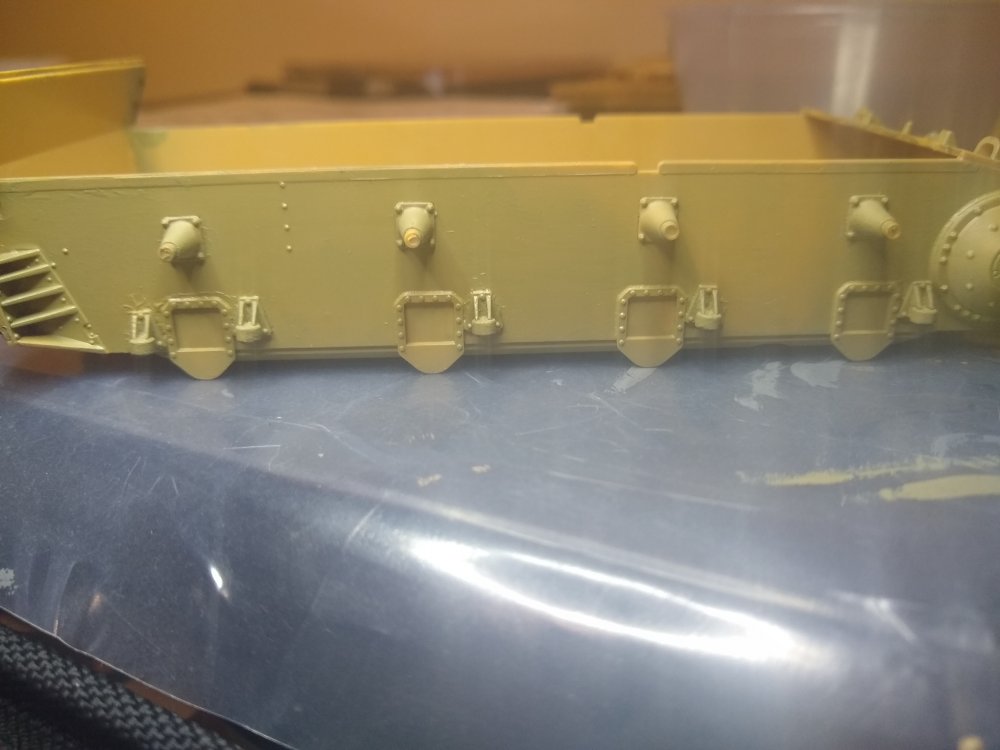
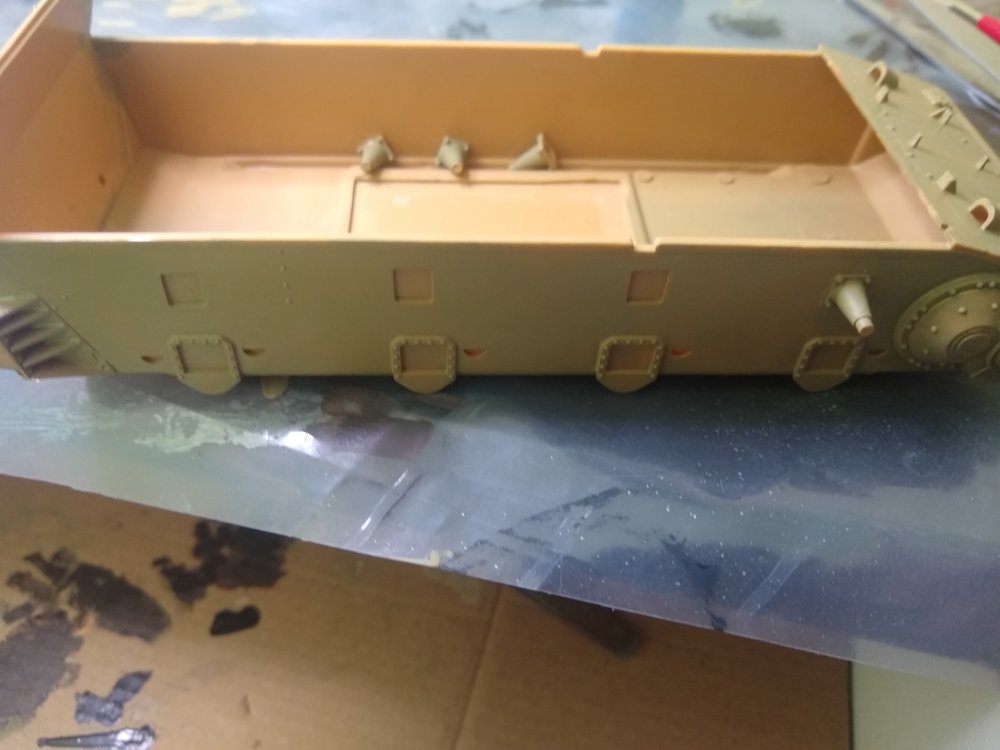
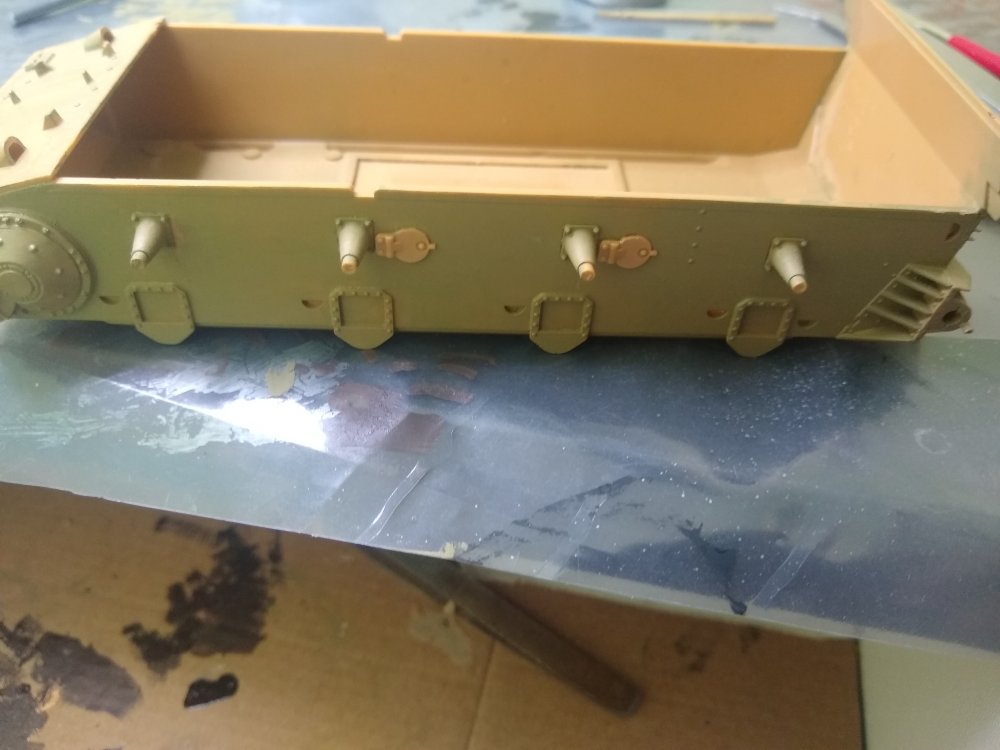
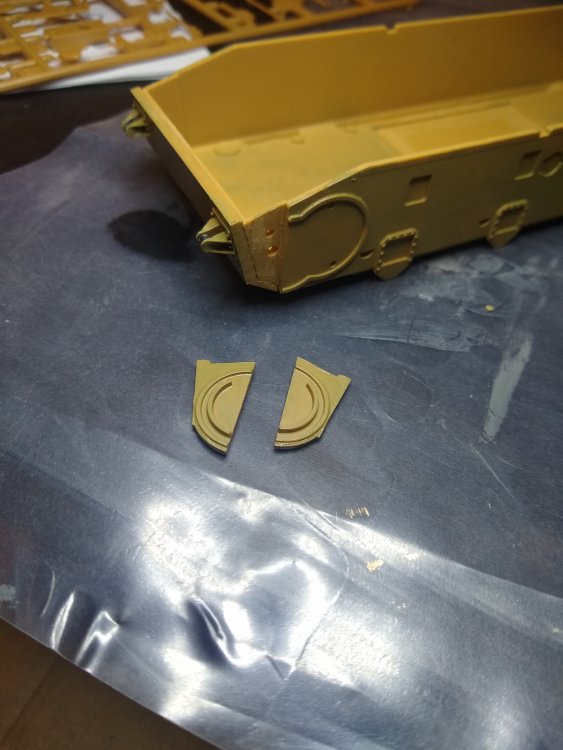
Now I just glued the traffic cones to the sides. They fit quite well. And there was a pair of small hatches that I also glued on and the other side.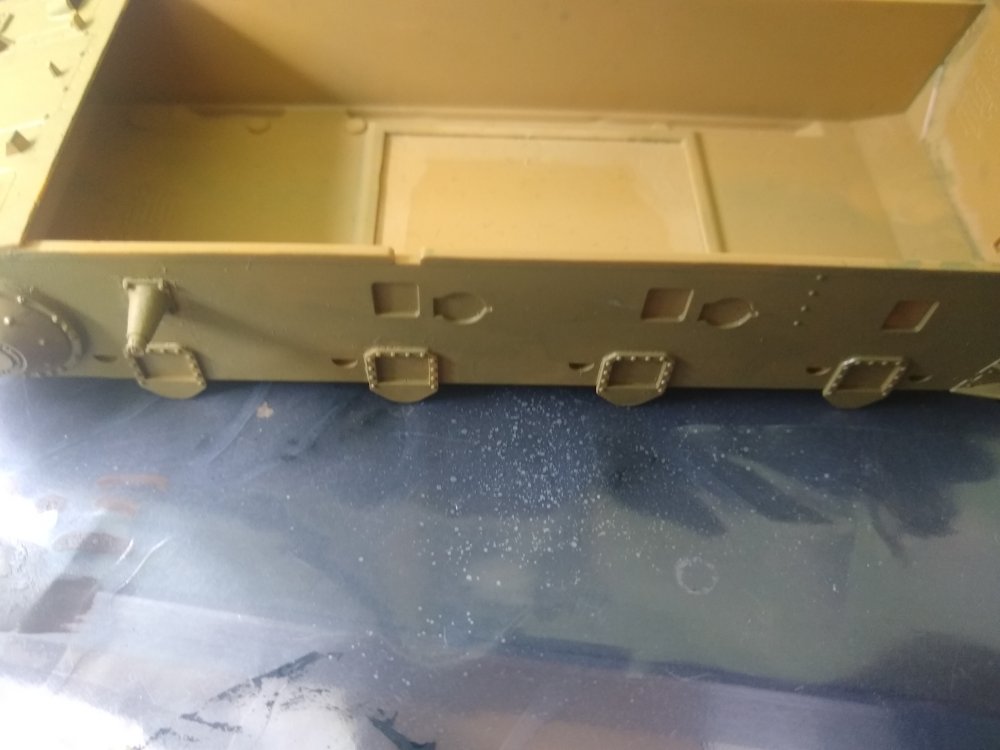


-
RFM Panzer IV Ausf H (Early)
Daniel_Roxy replied to Bomber_County's topic in LSM 1/35 and Larger Work In Progress
Looks like a nice kit. May have to go look them up after I'm done with my Panzer IV and KV-1. Will keep track of your progress when I update mine. -
German Panzer IV Ausf H
Daniel_Roxy replied to Daniel_Roxy's topic in LSM 1/35 and Larger Work In Progress
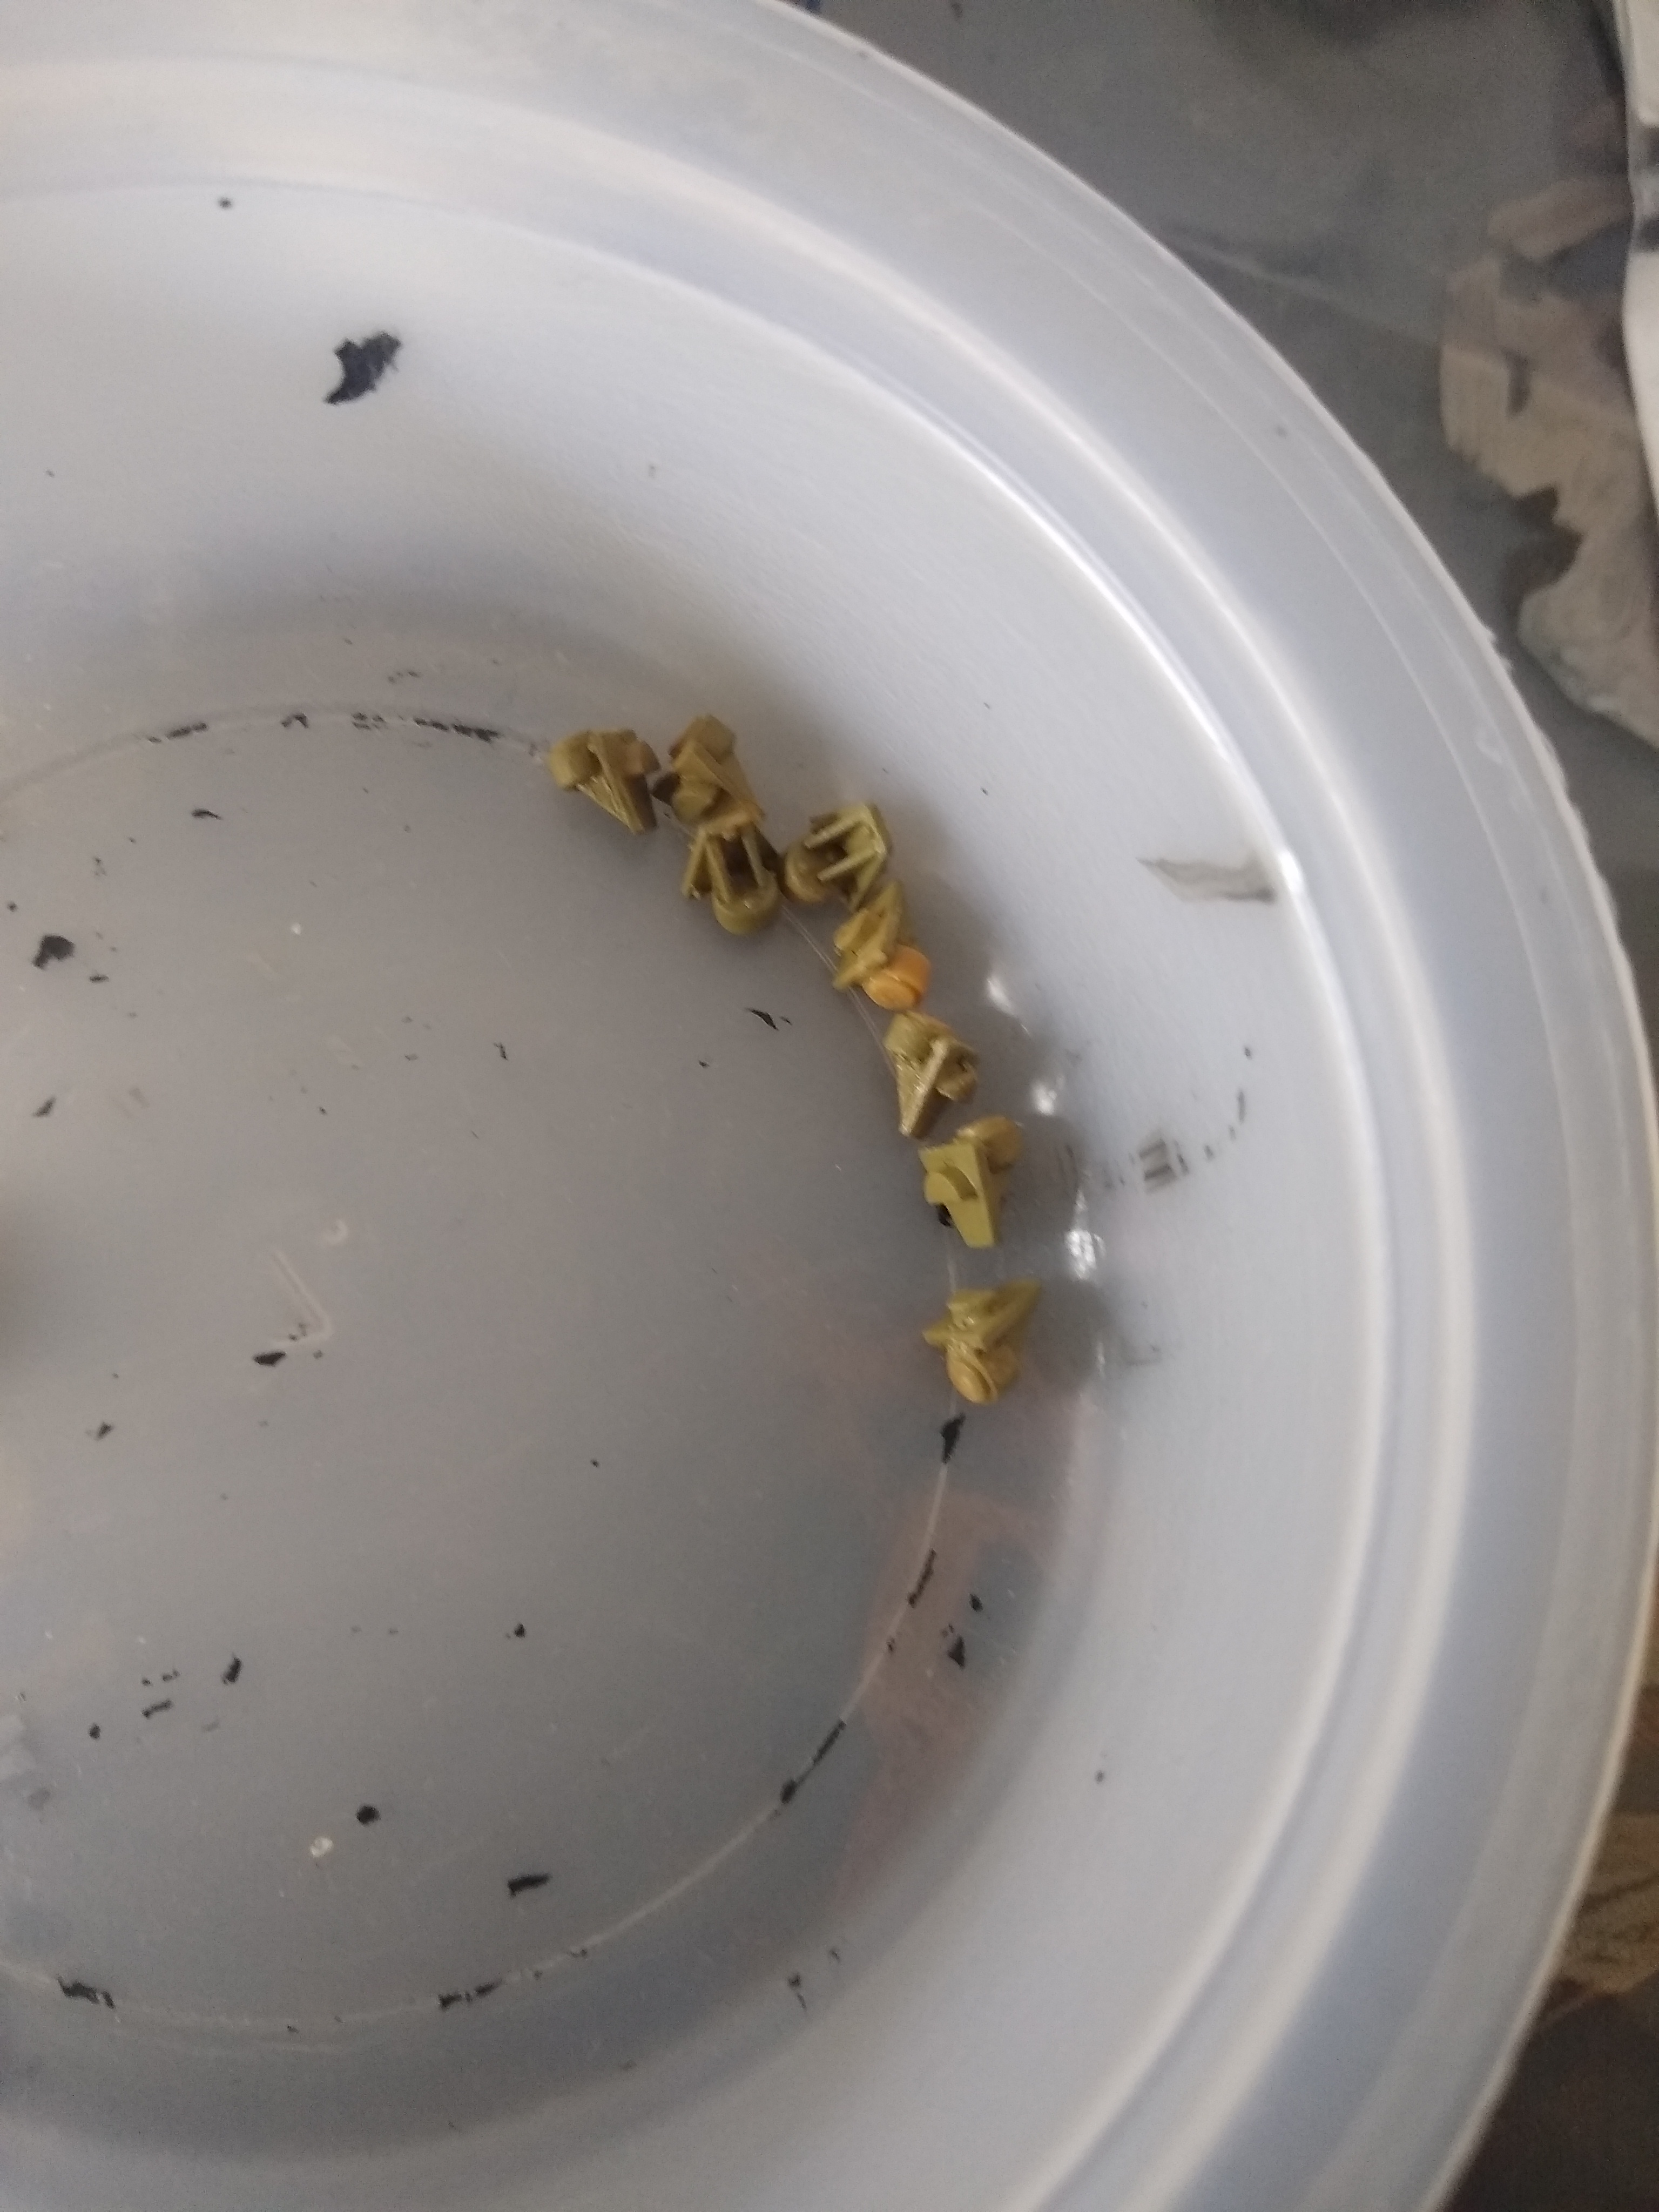
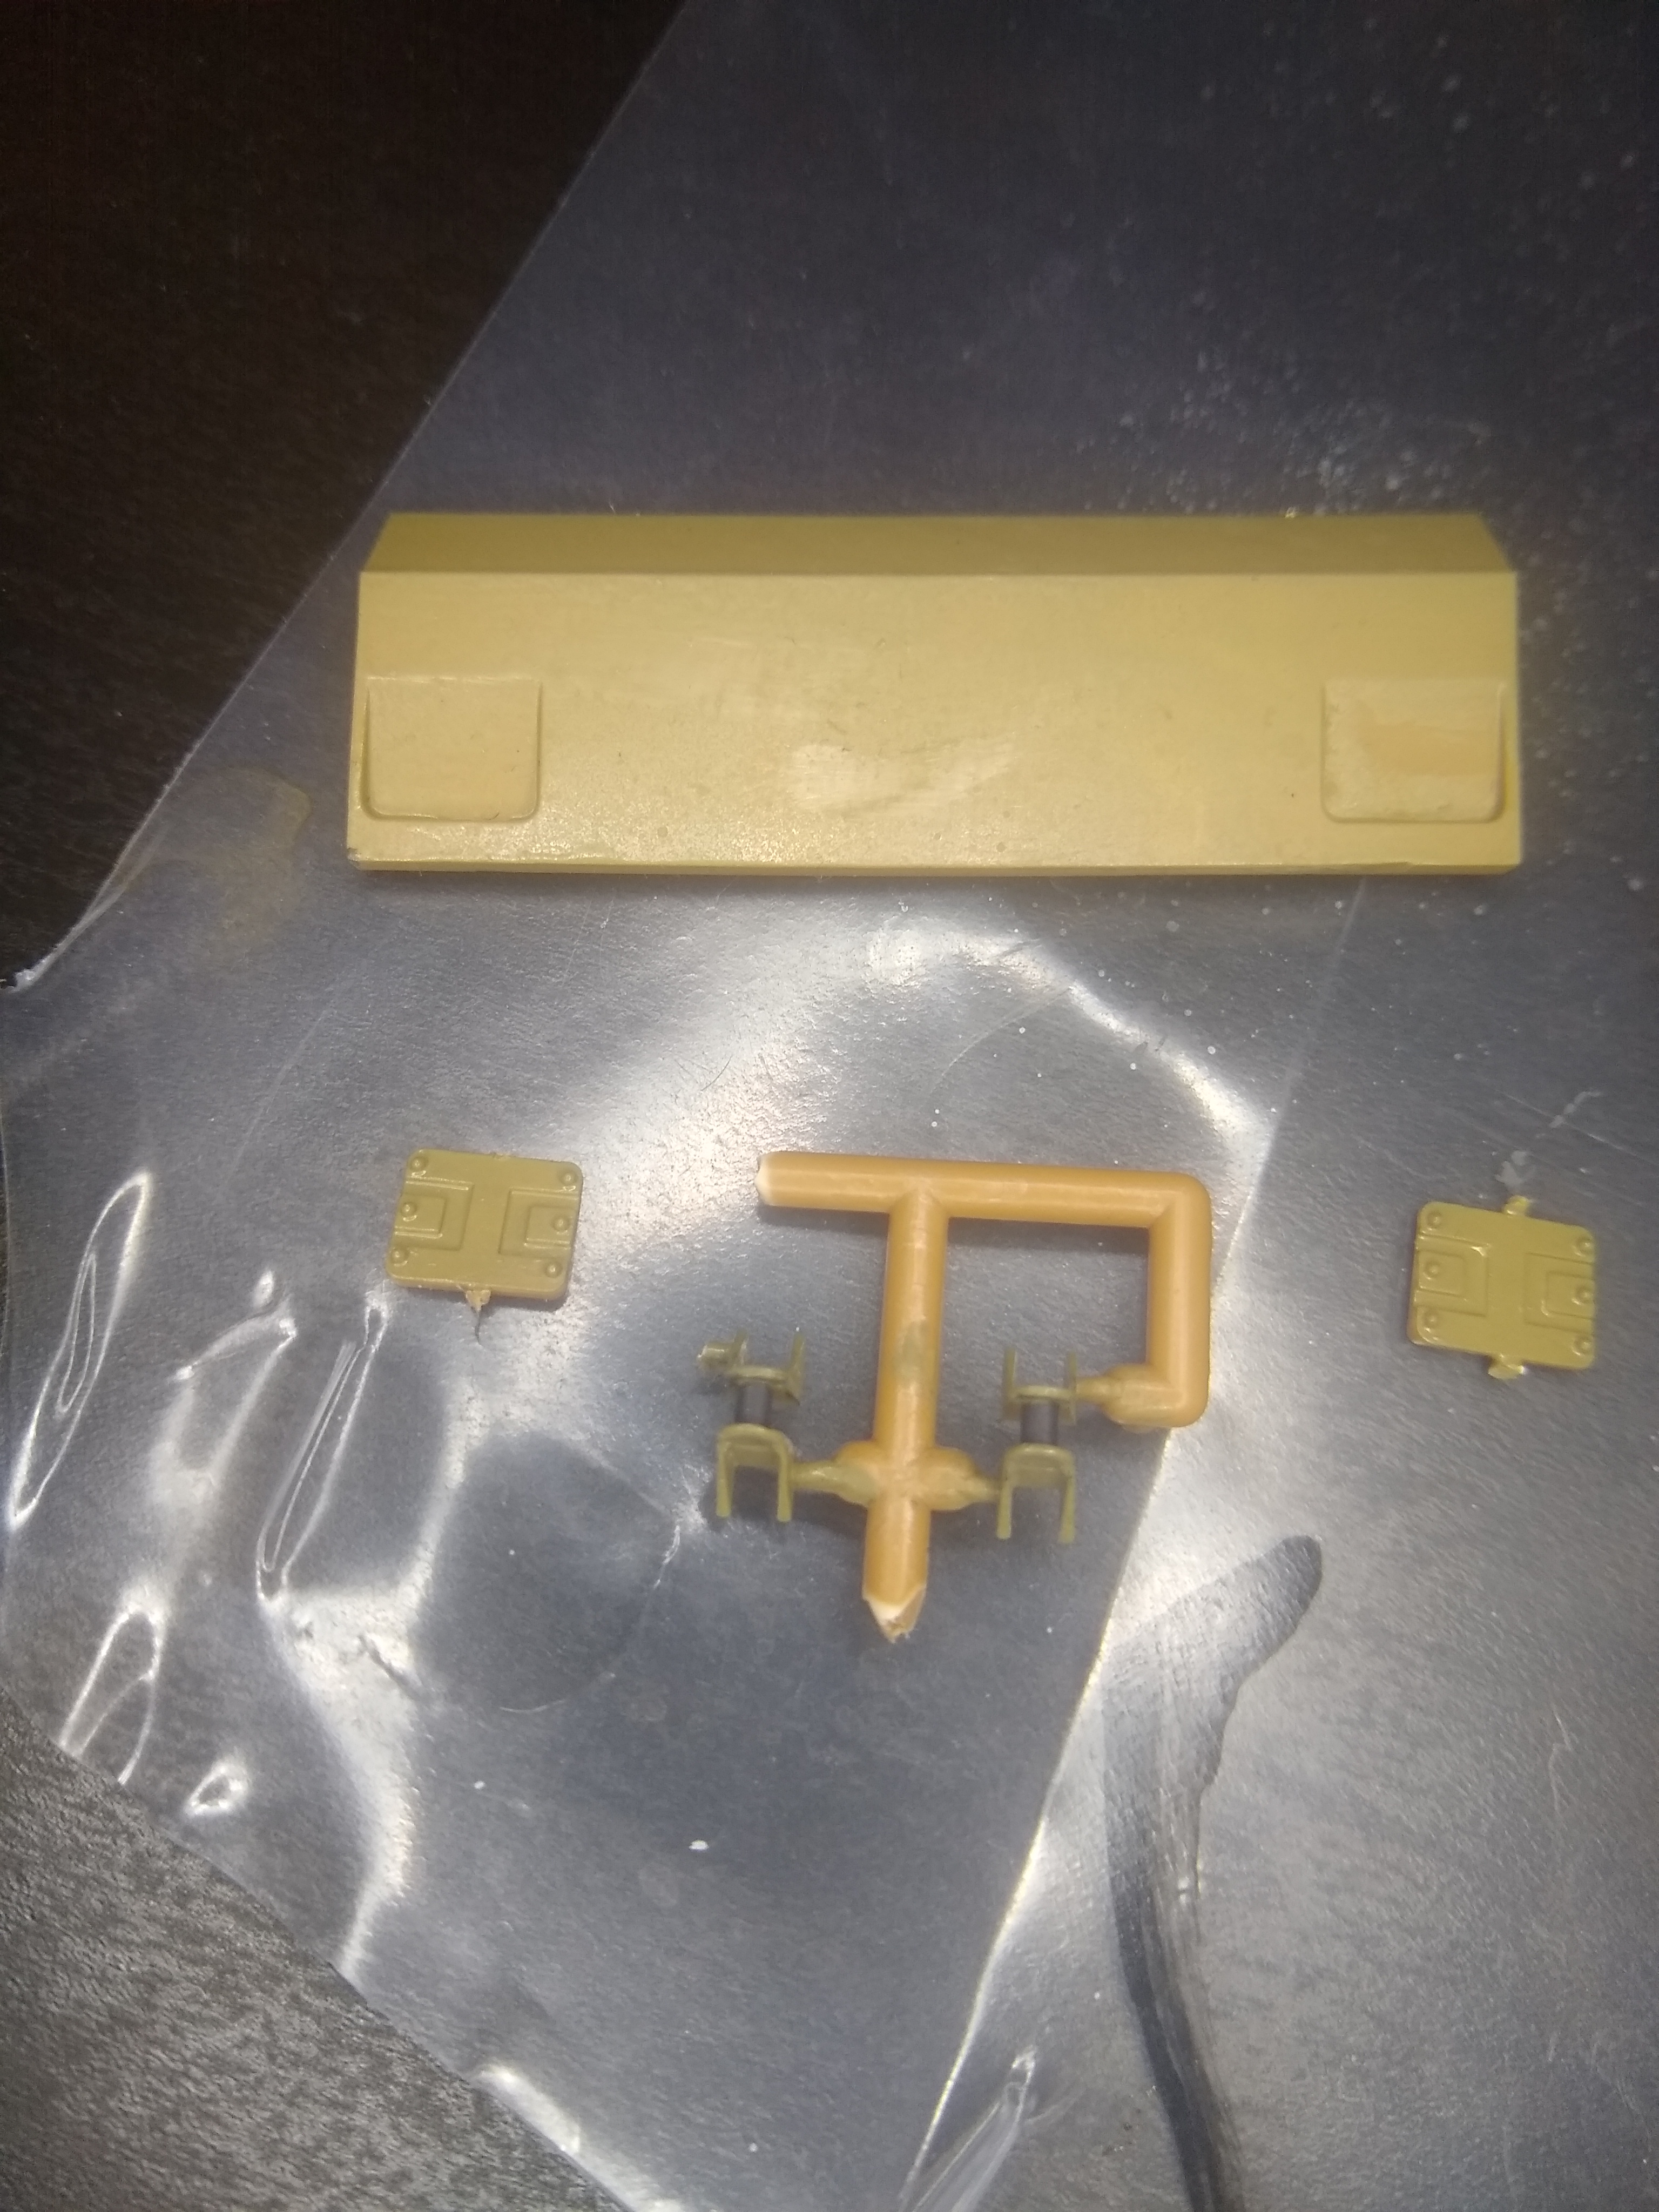
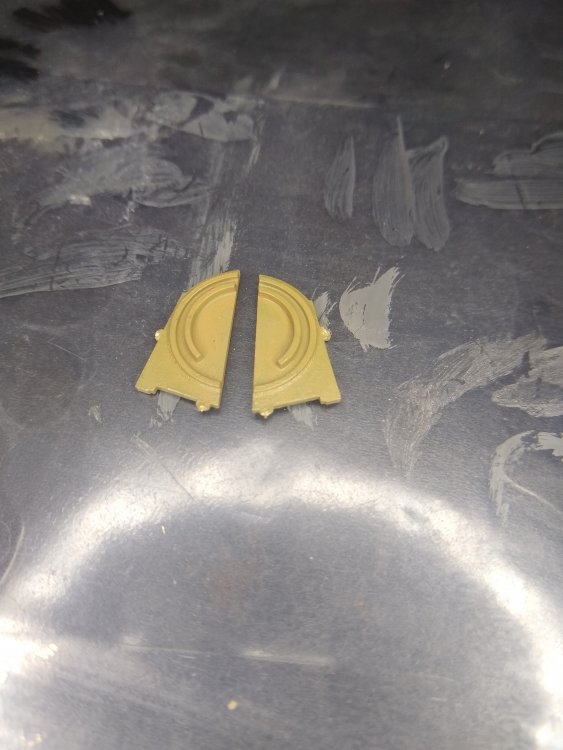
got these little parts painted up nicely. Now to add a little black to them and stick em on.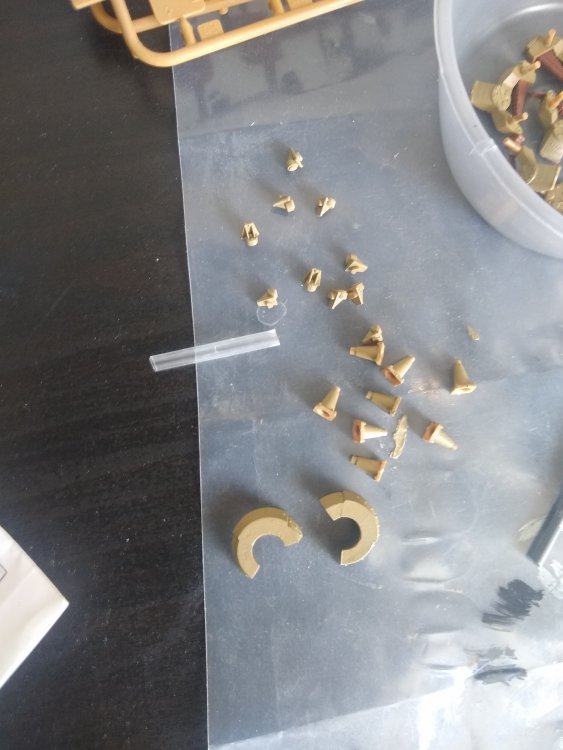
-
German Panzer IV Ausf H
Daniel_Roxy replied to Daniel_Roxy's topic in LSM 1/35 and Larger Work In Progress
Looks interesting. I see a full engine and looks like the tracks and suspension can move on that one were as this one has no engine and tracks are all solid. Turrets both have interior tho. So yeah be interesting to compare. Feel free to drop a link to your build when you do it in response to your message if you like. -
German Panzer IV Ausf H
Daniel_Roxy replied to Daniel_Roxy's topic in LSM 1/35 and Larger Work In Progress
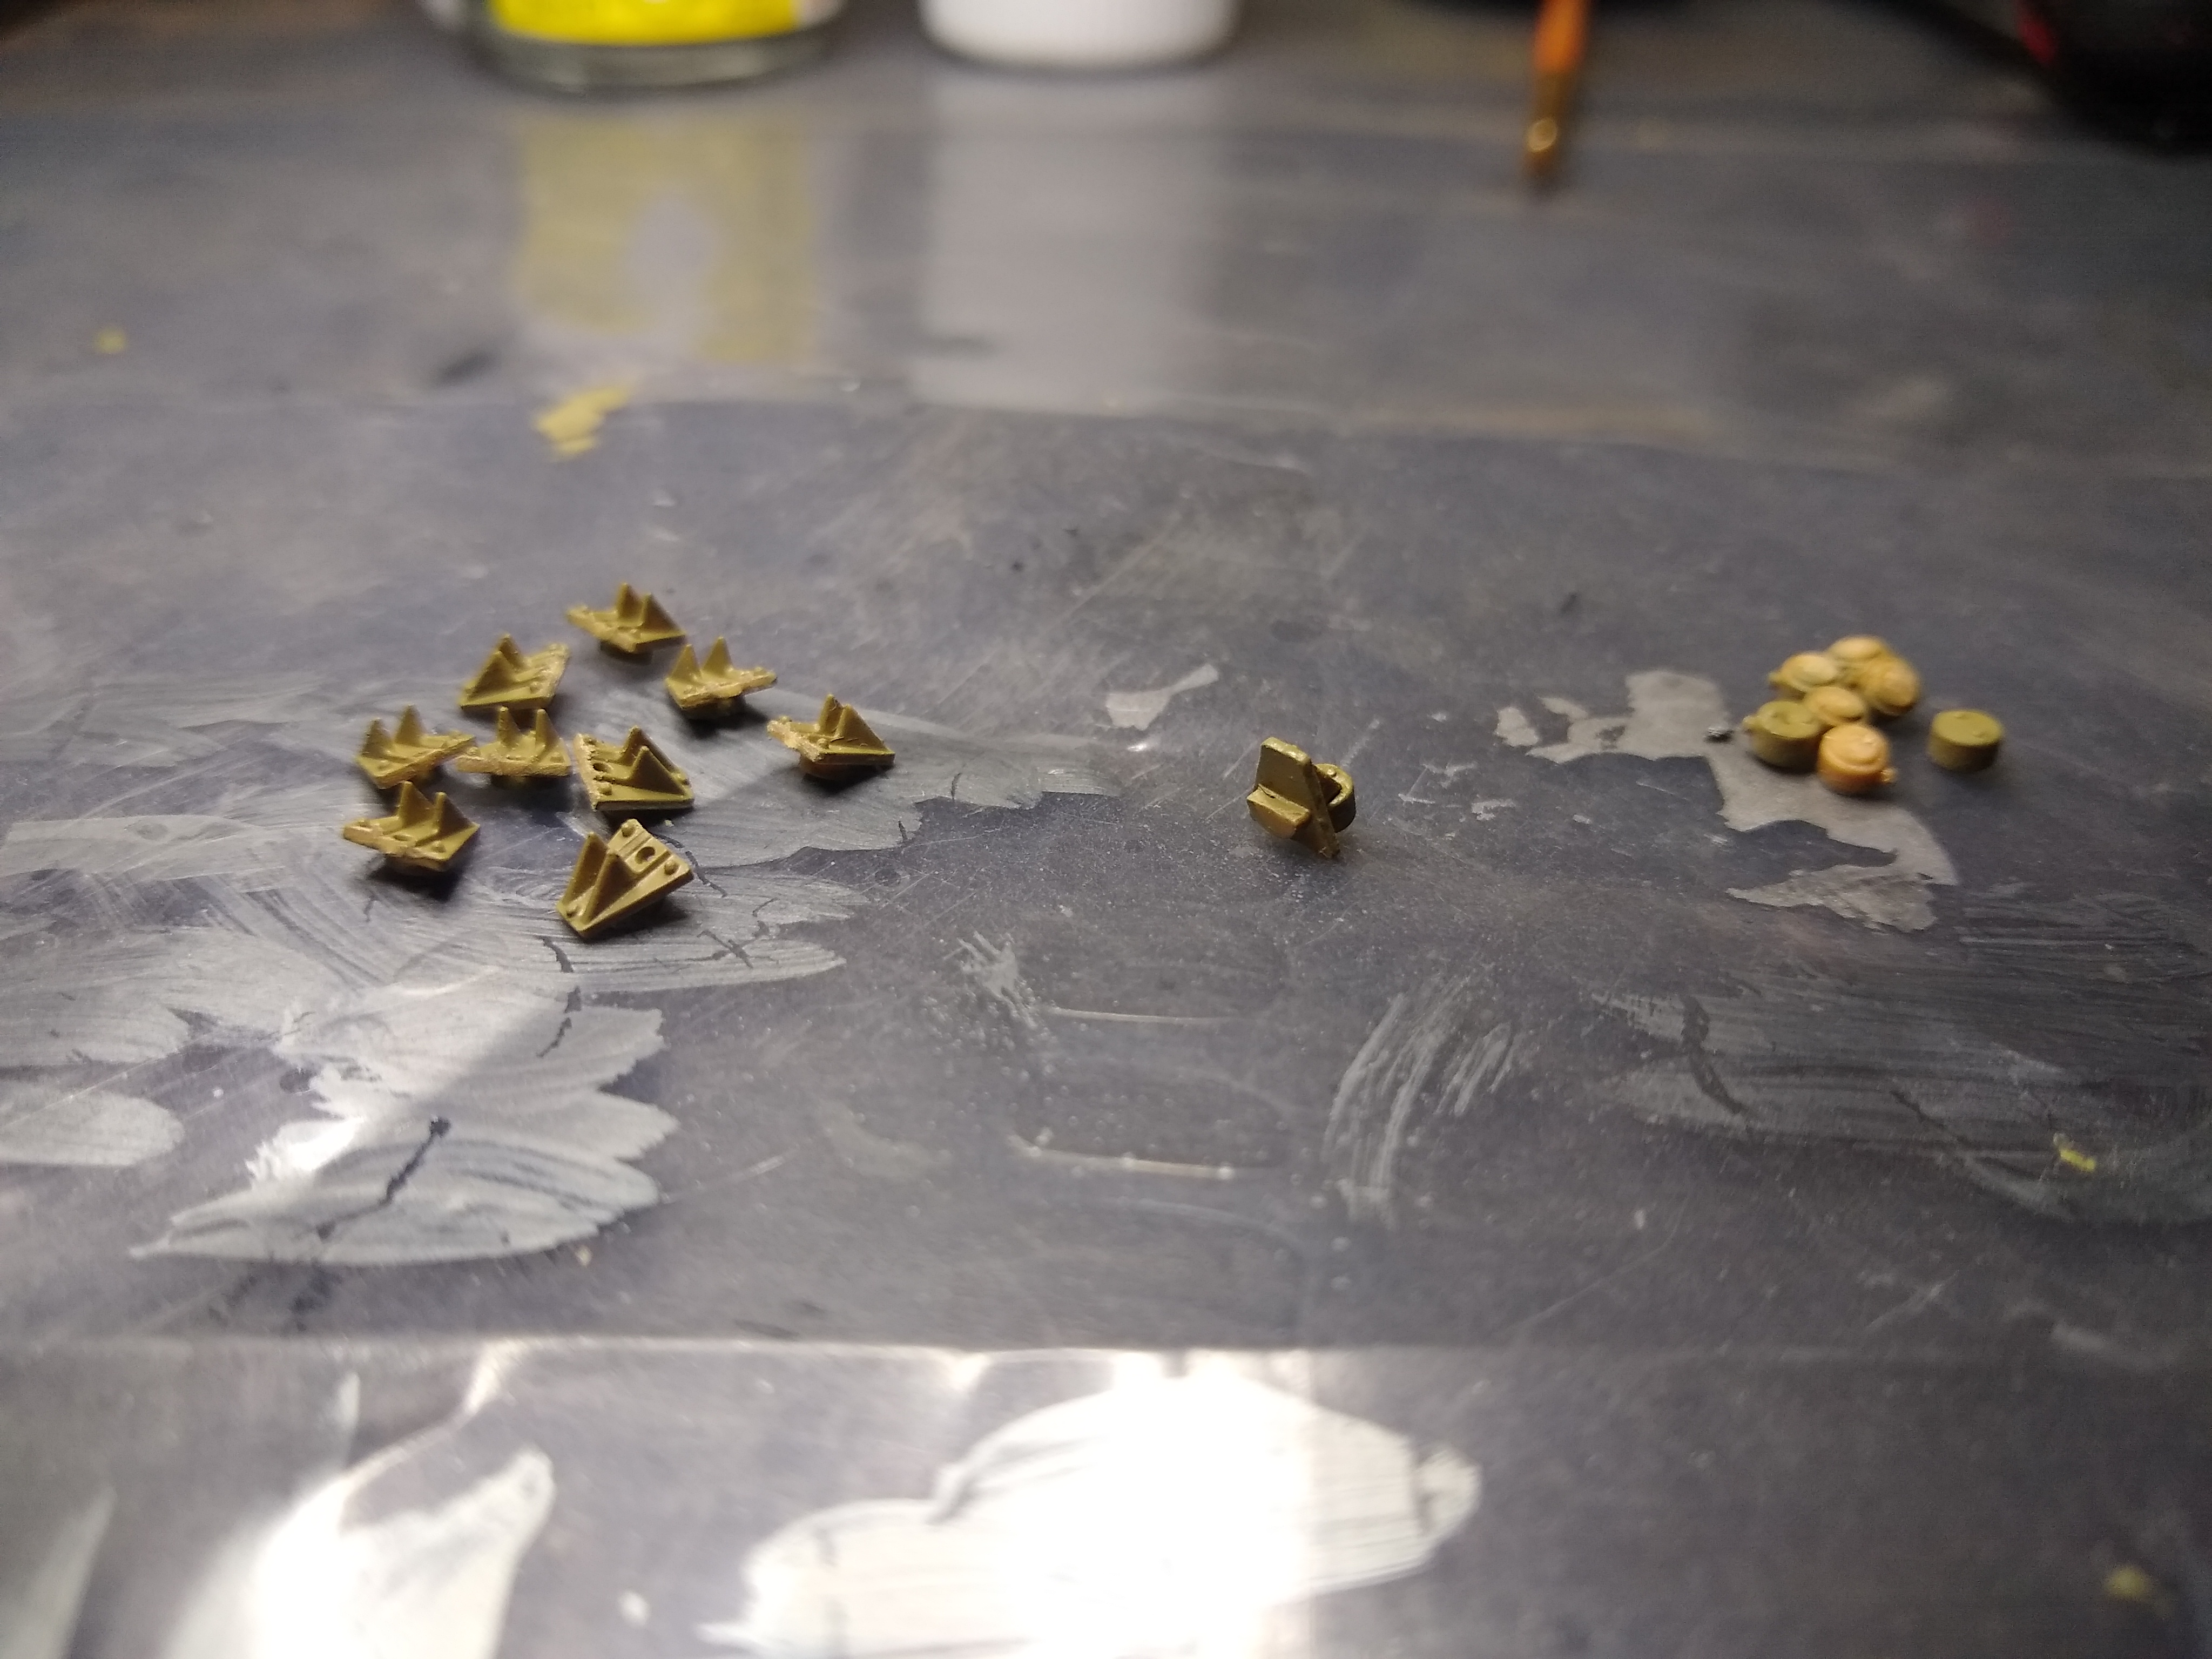
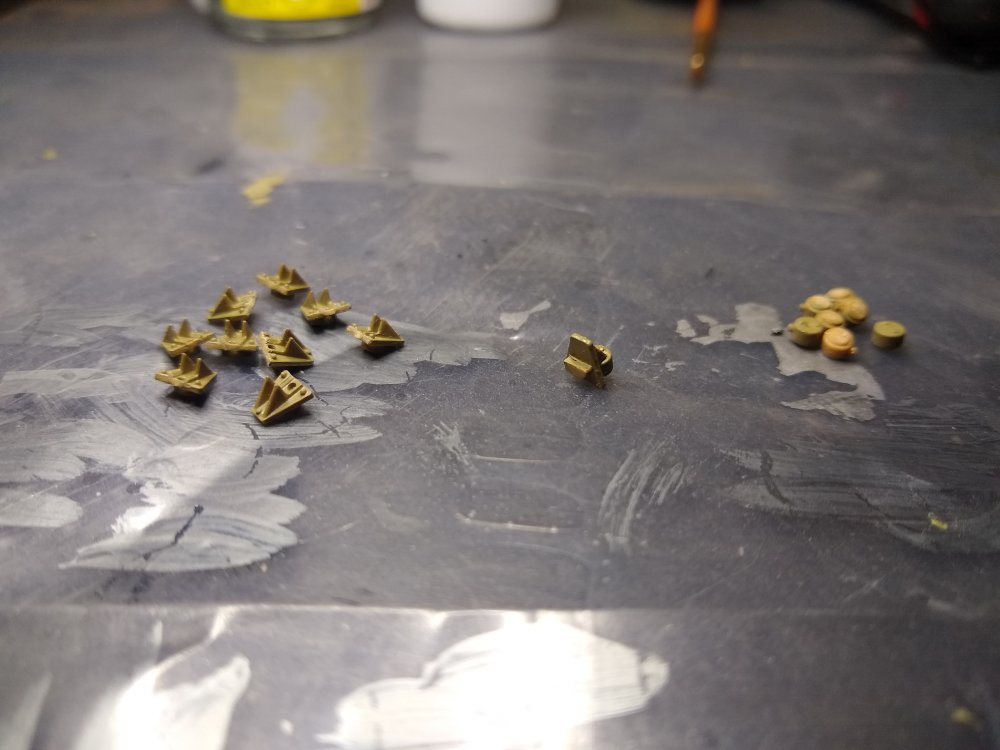
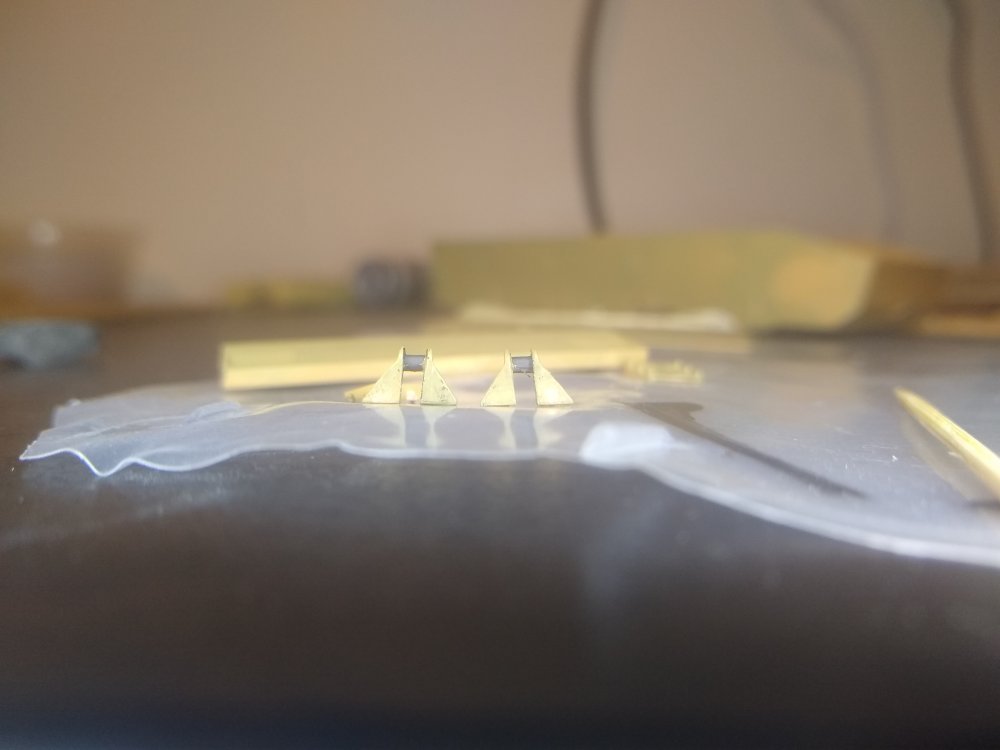
Put these little buggers together.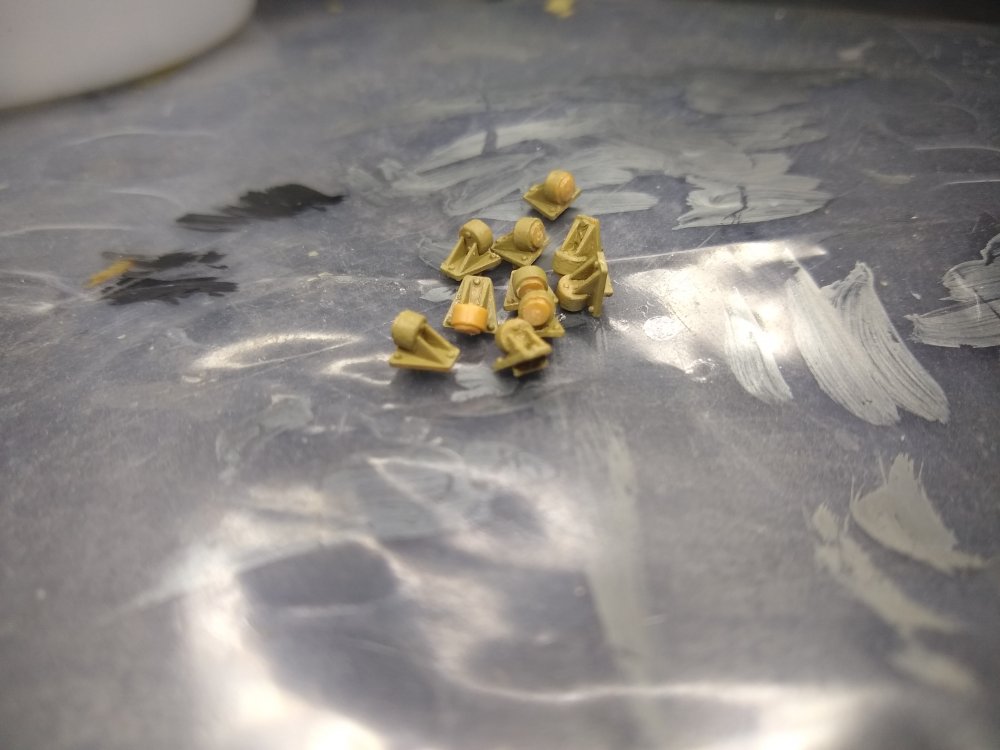
-
German Panzer IV Ausf H
Daniel_Roxy replied to Daniel_Roxy's topic in LSM 1/35 and Larger Work In Progress
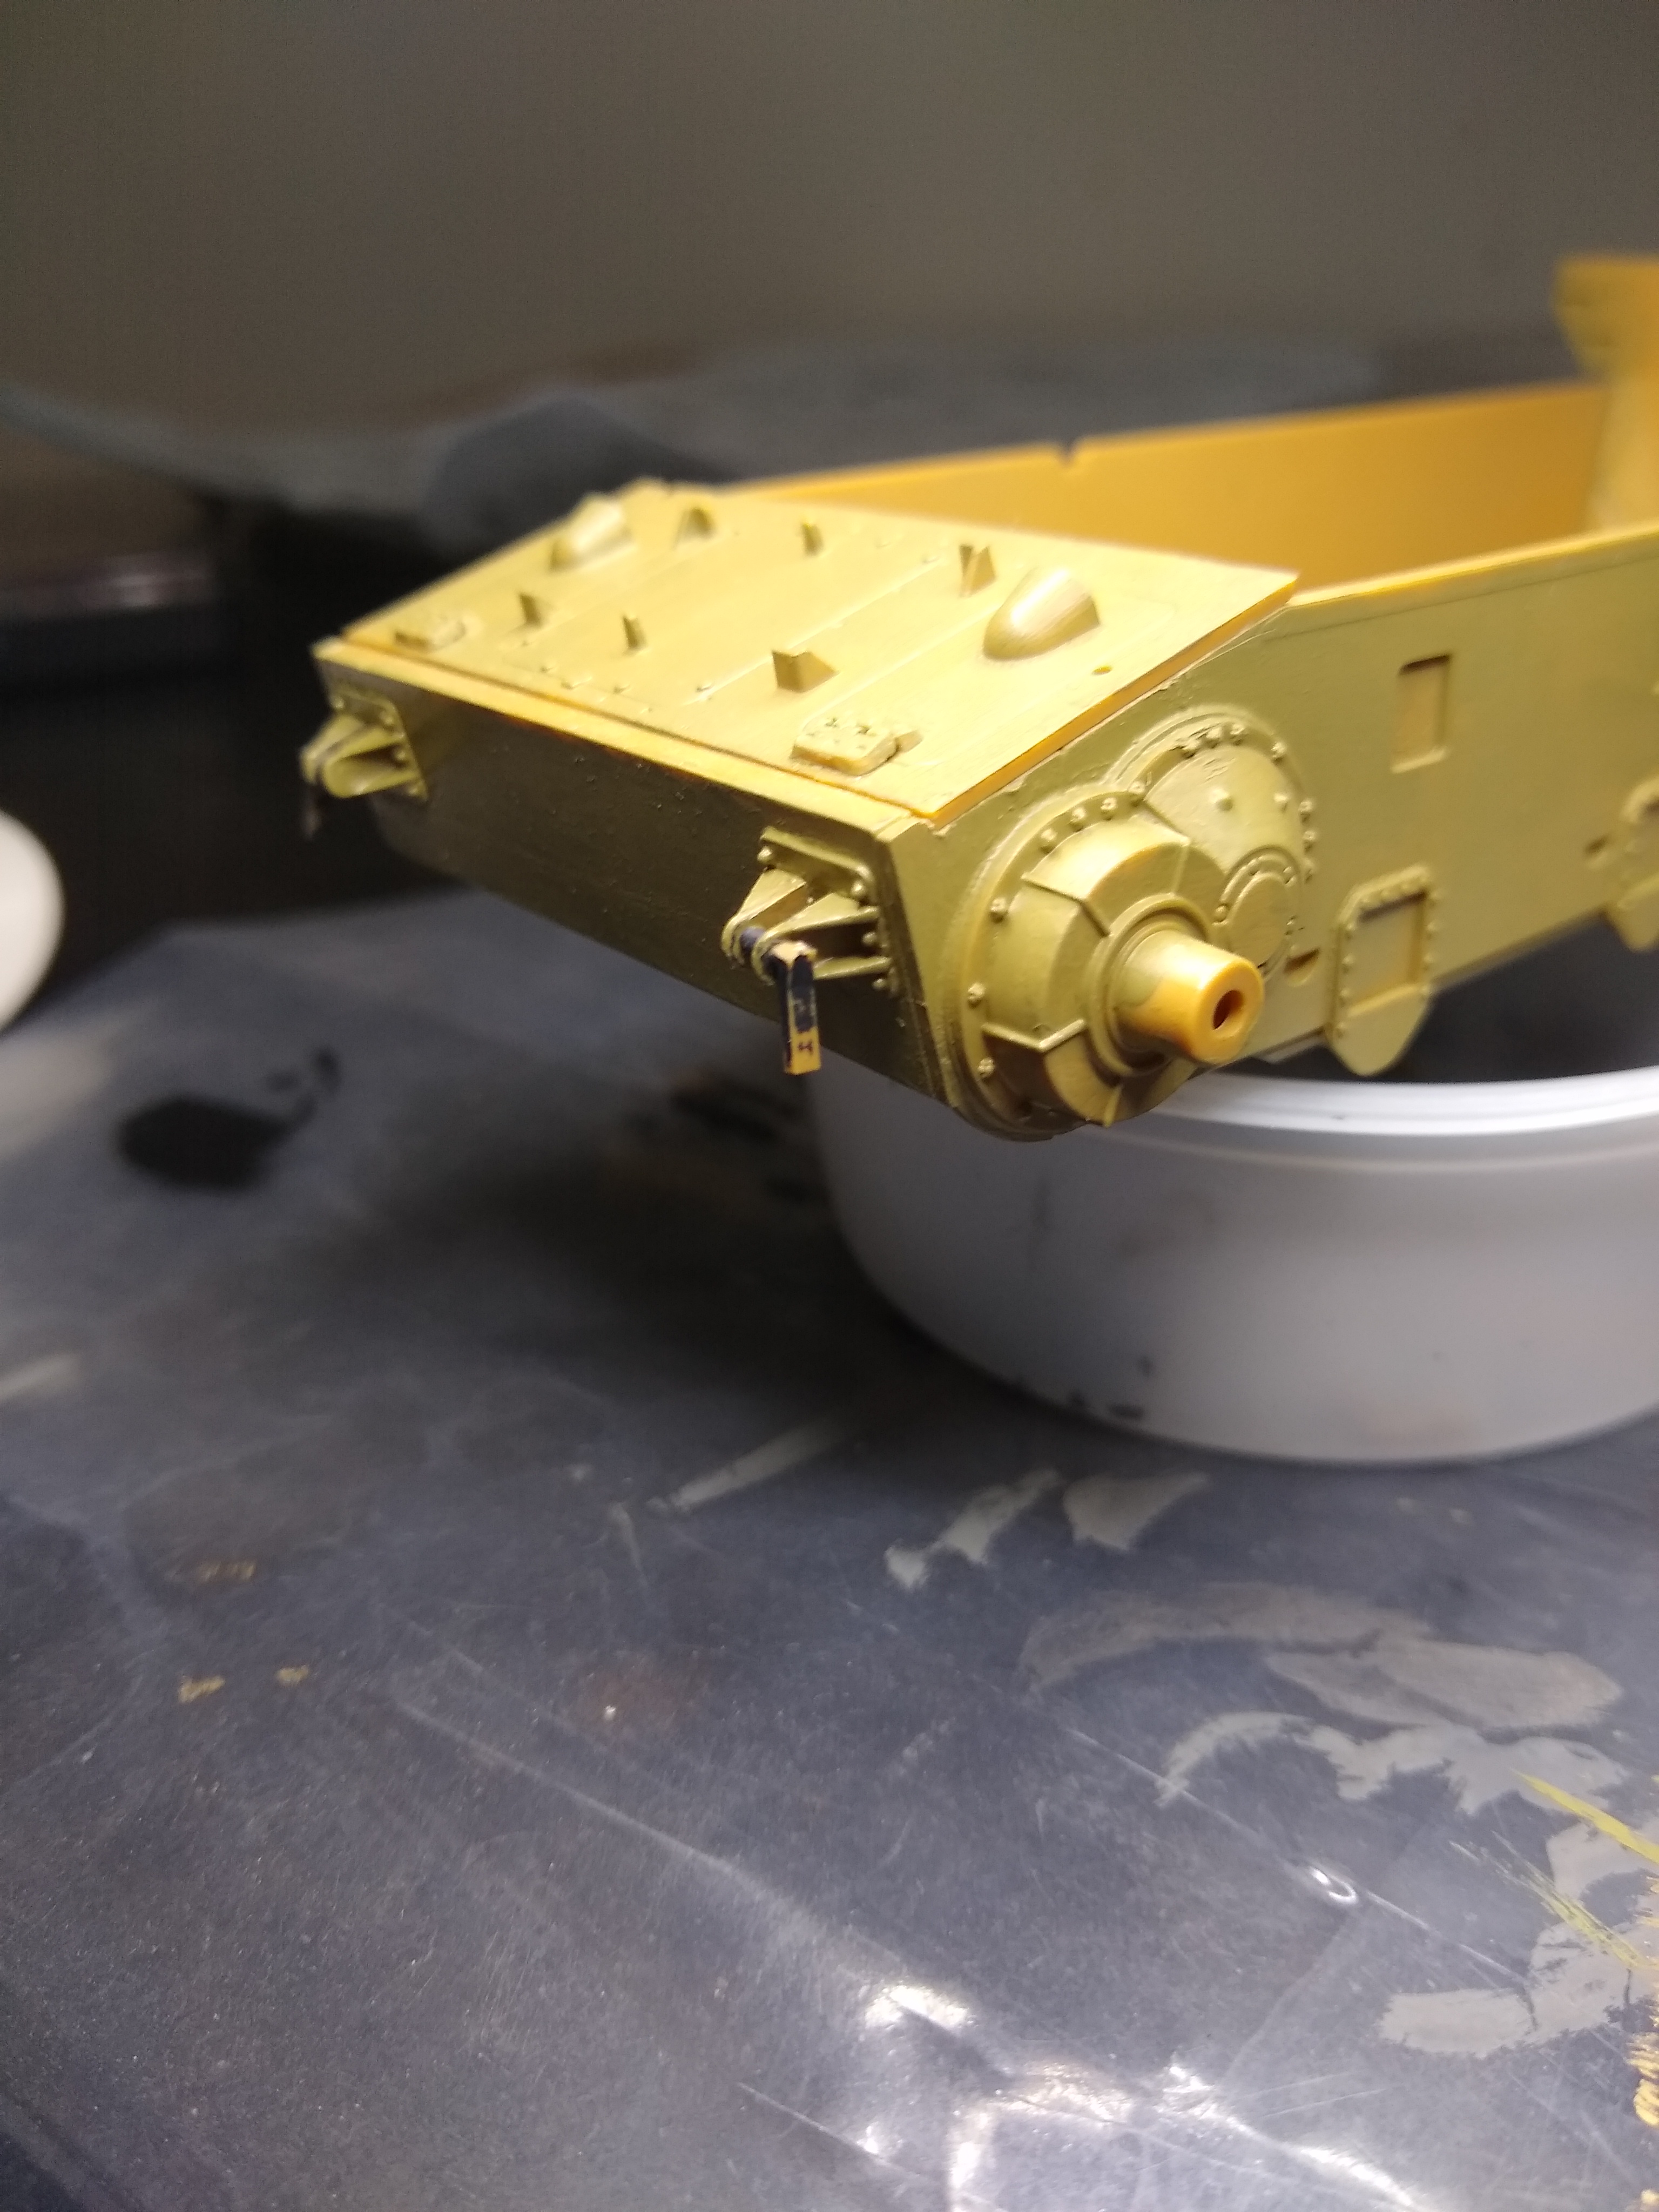
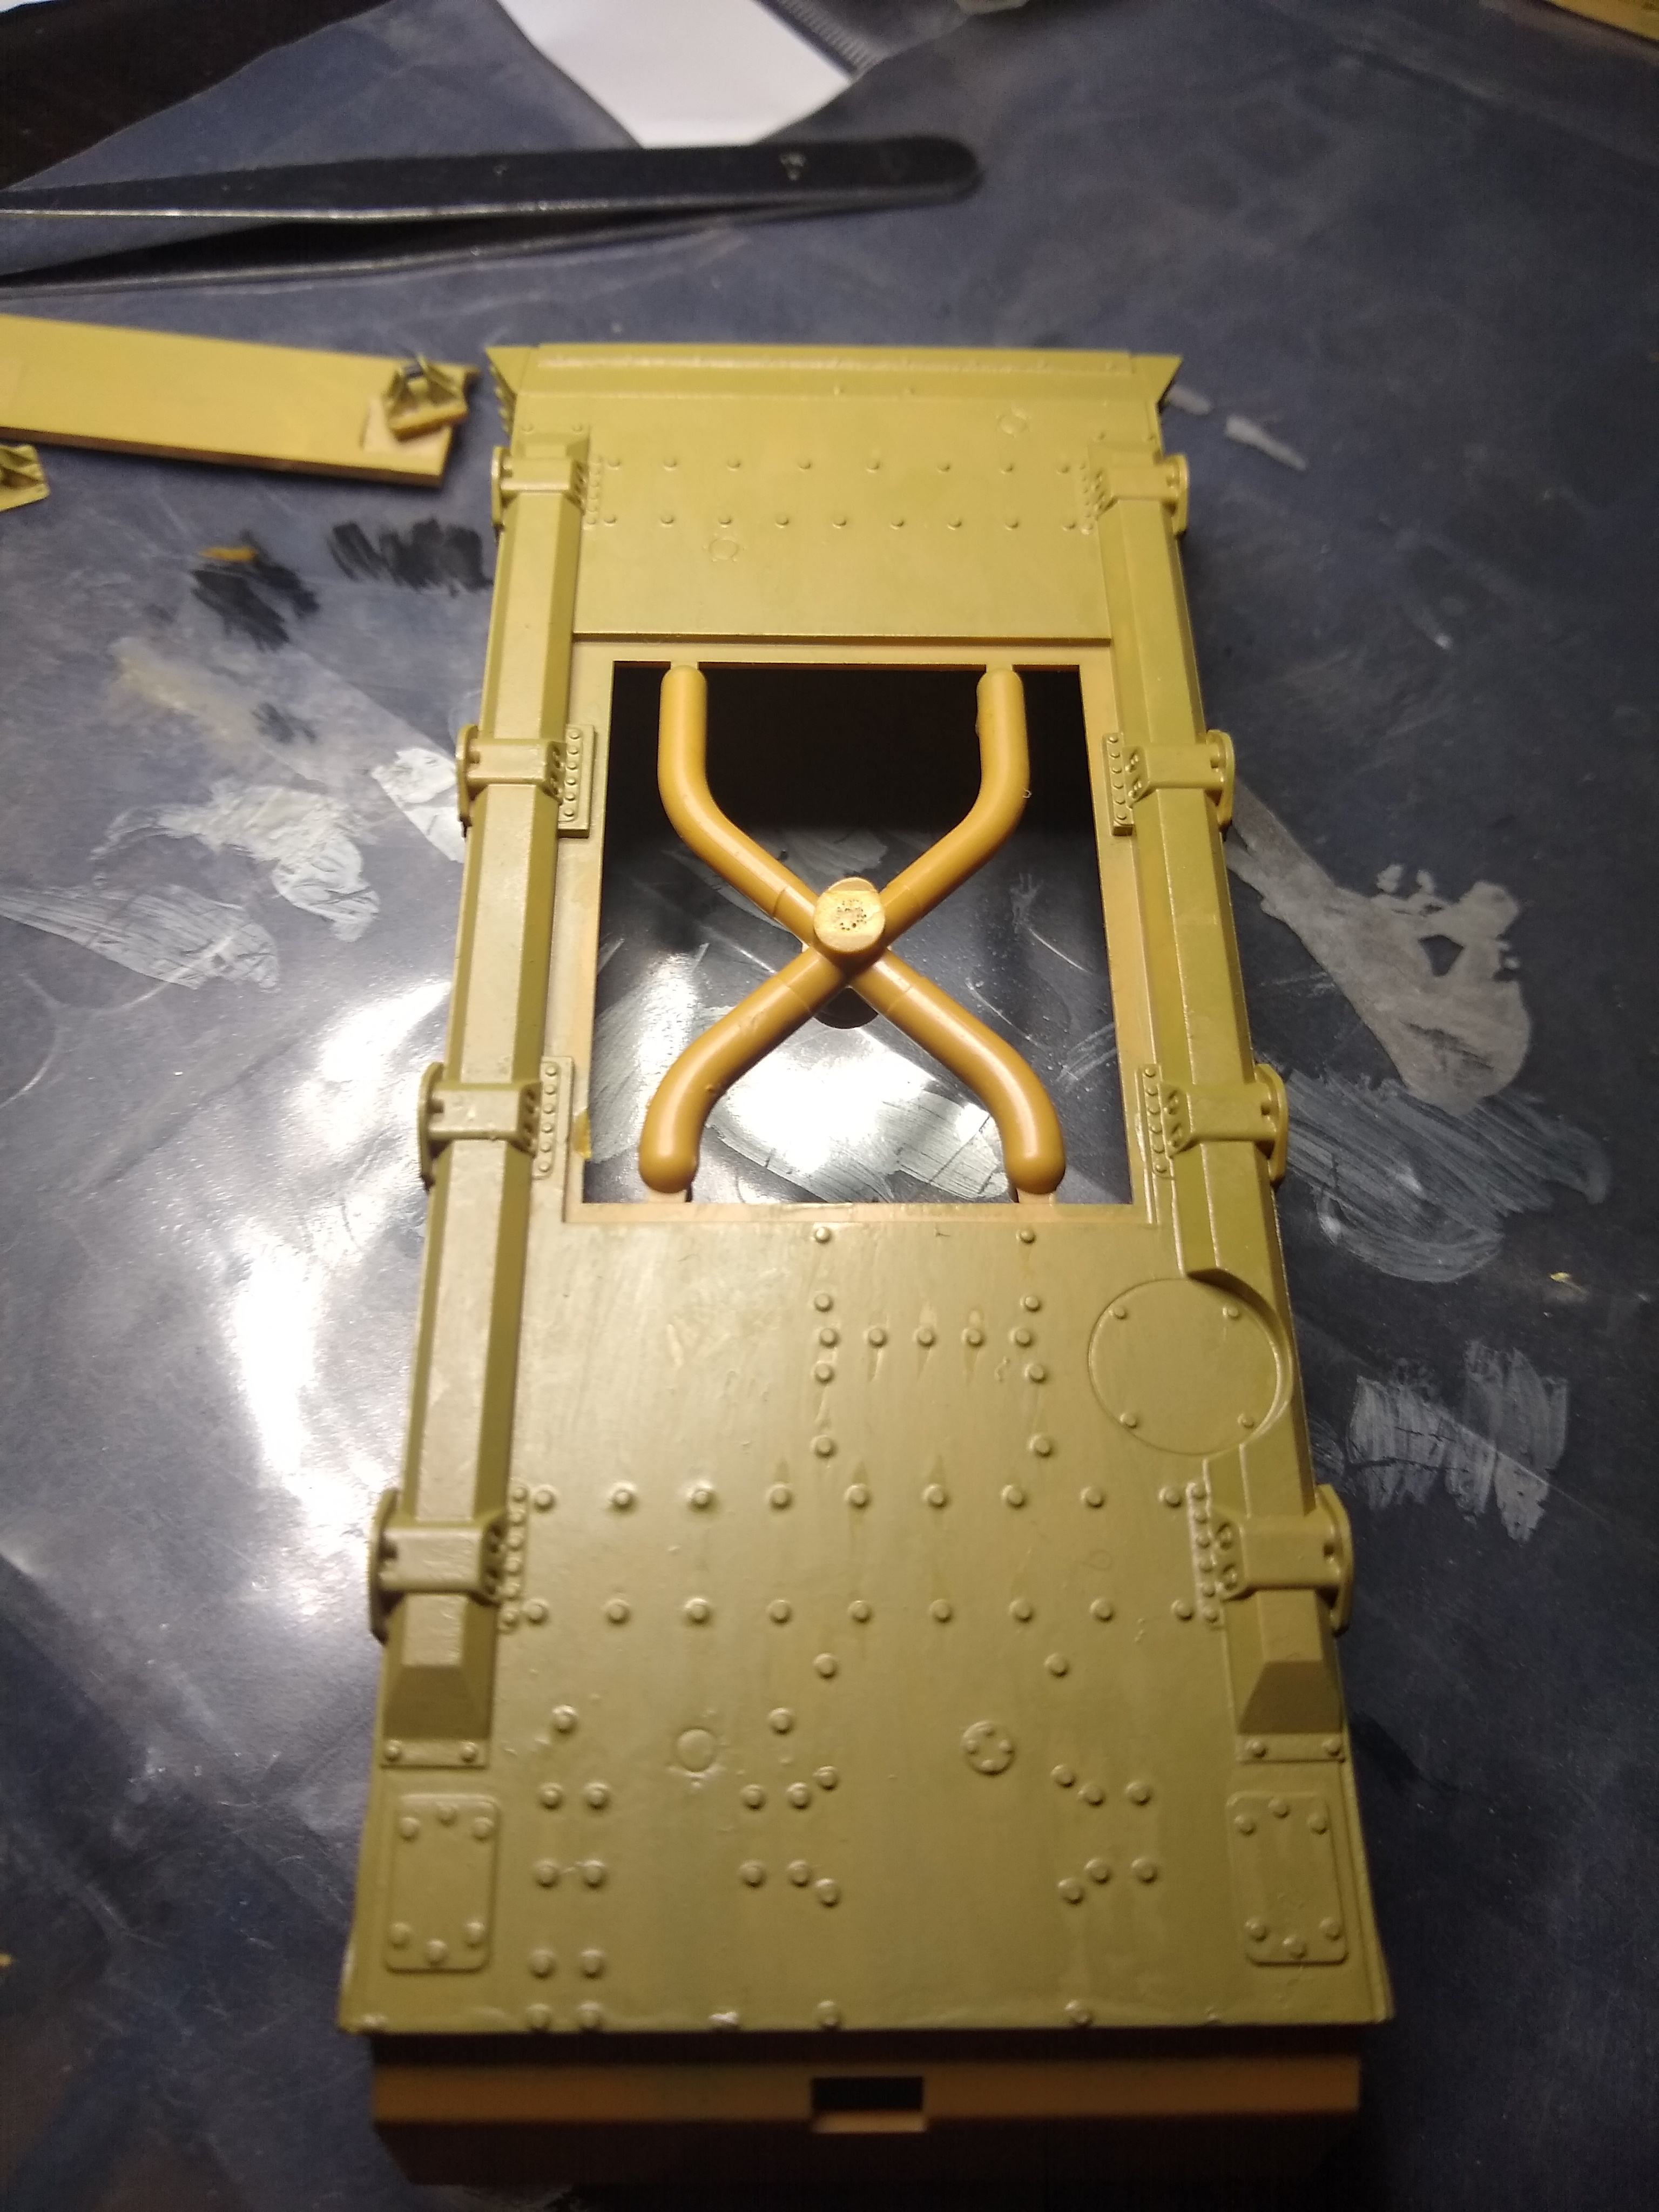
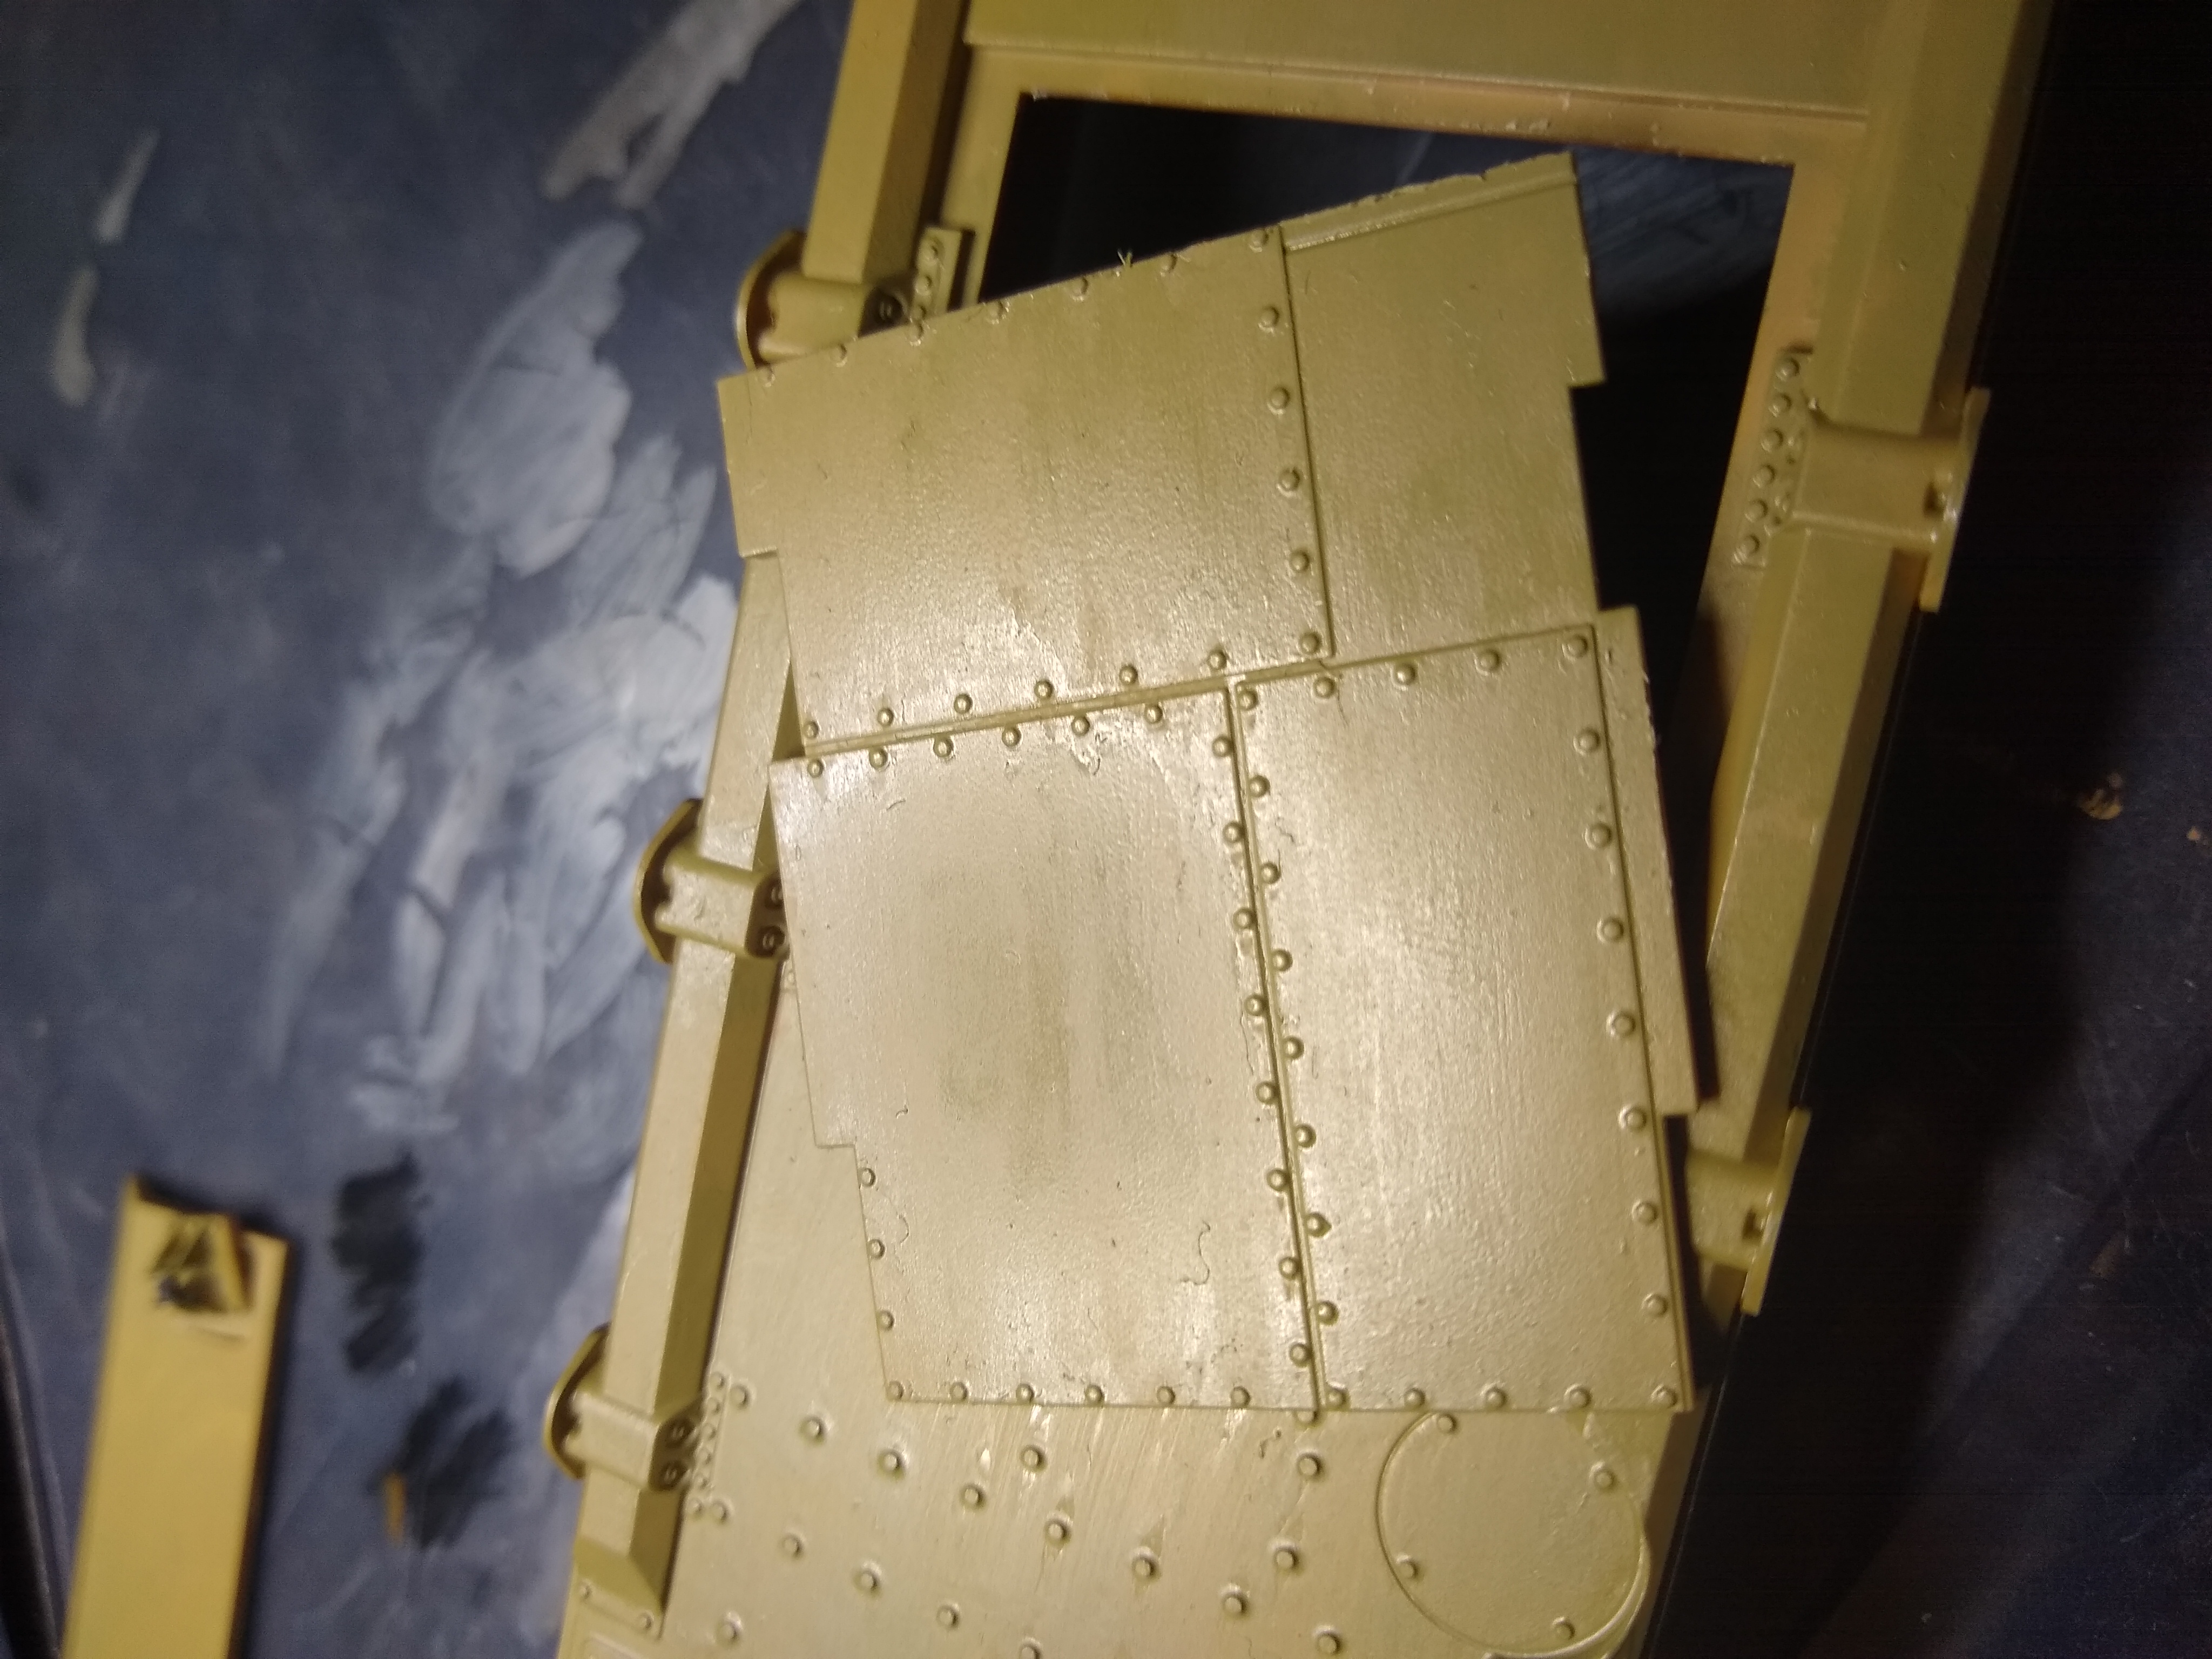
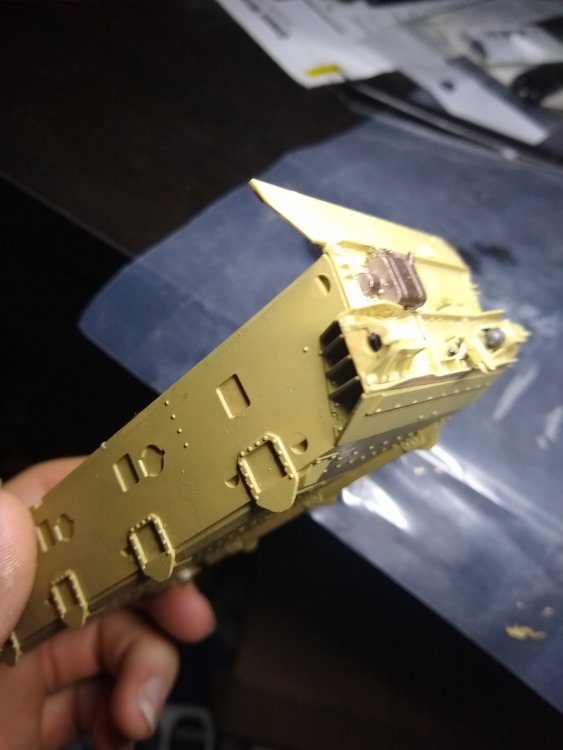
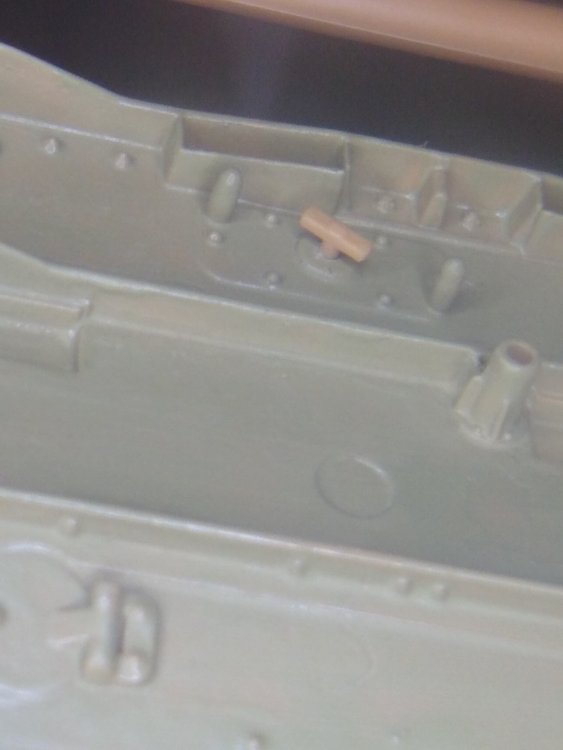
Put the handles on the towing hooks. And mounted the upper front plate.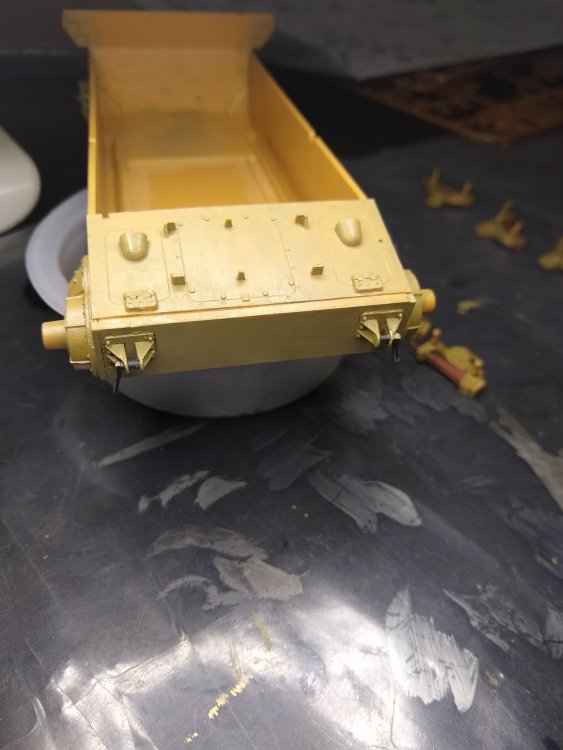
-
German Panzer IV Ausf H
Daniel_Roxy replied to Daniel_Roxy's topic in LSM 1/35 and Larger Work In Progress
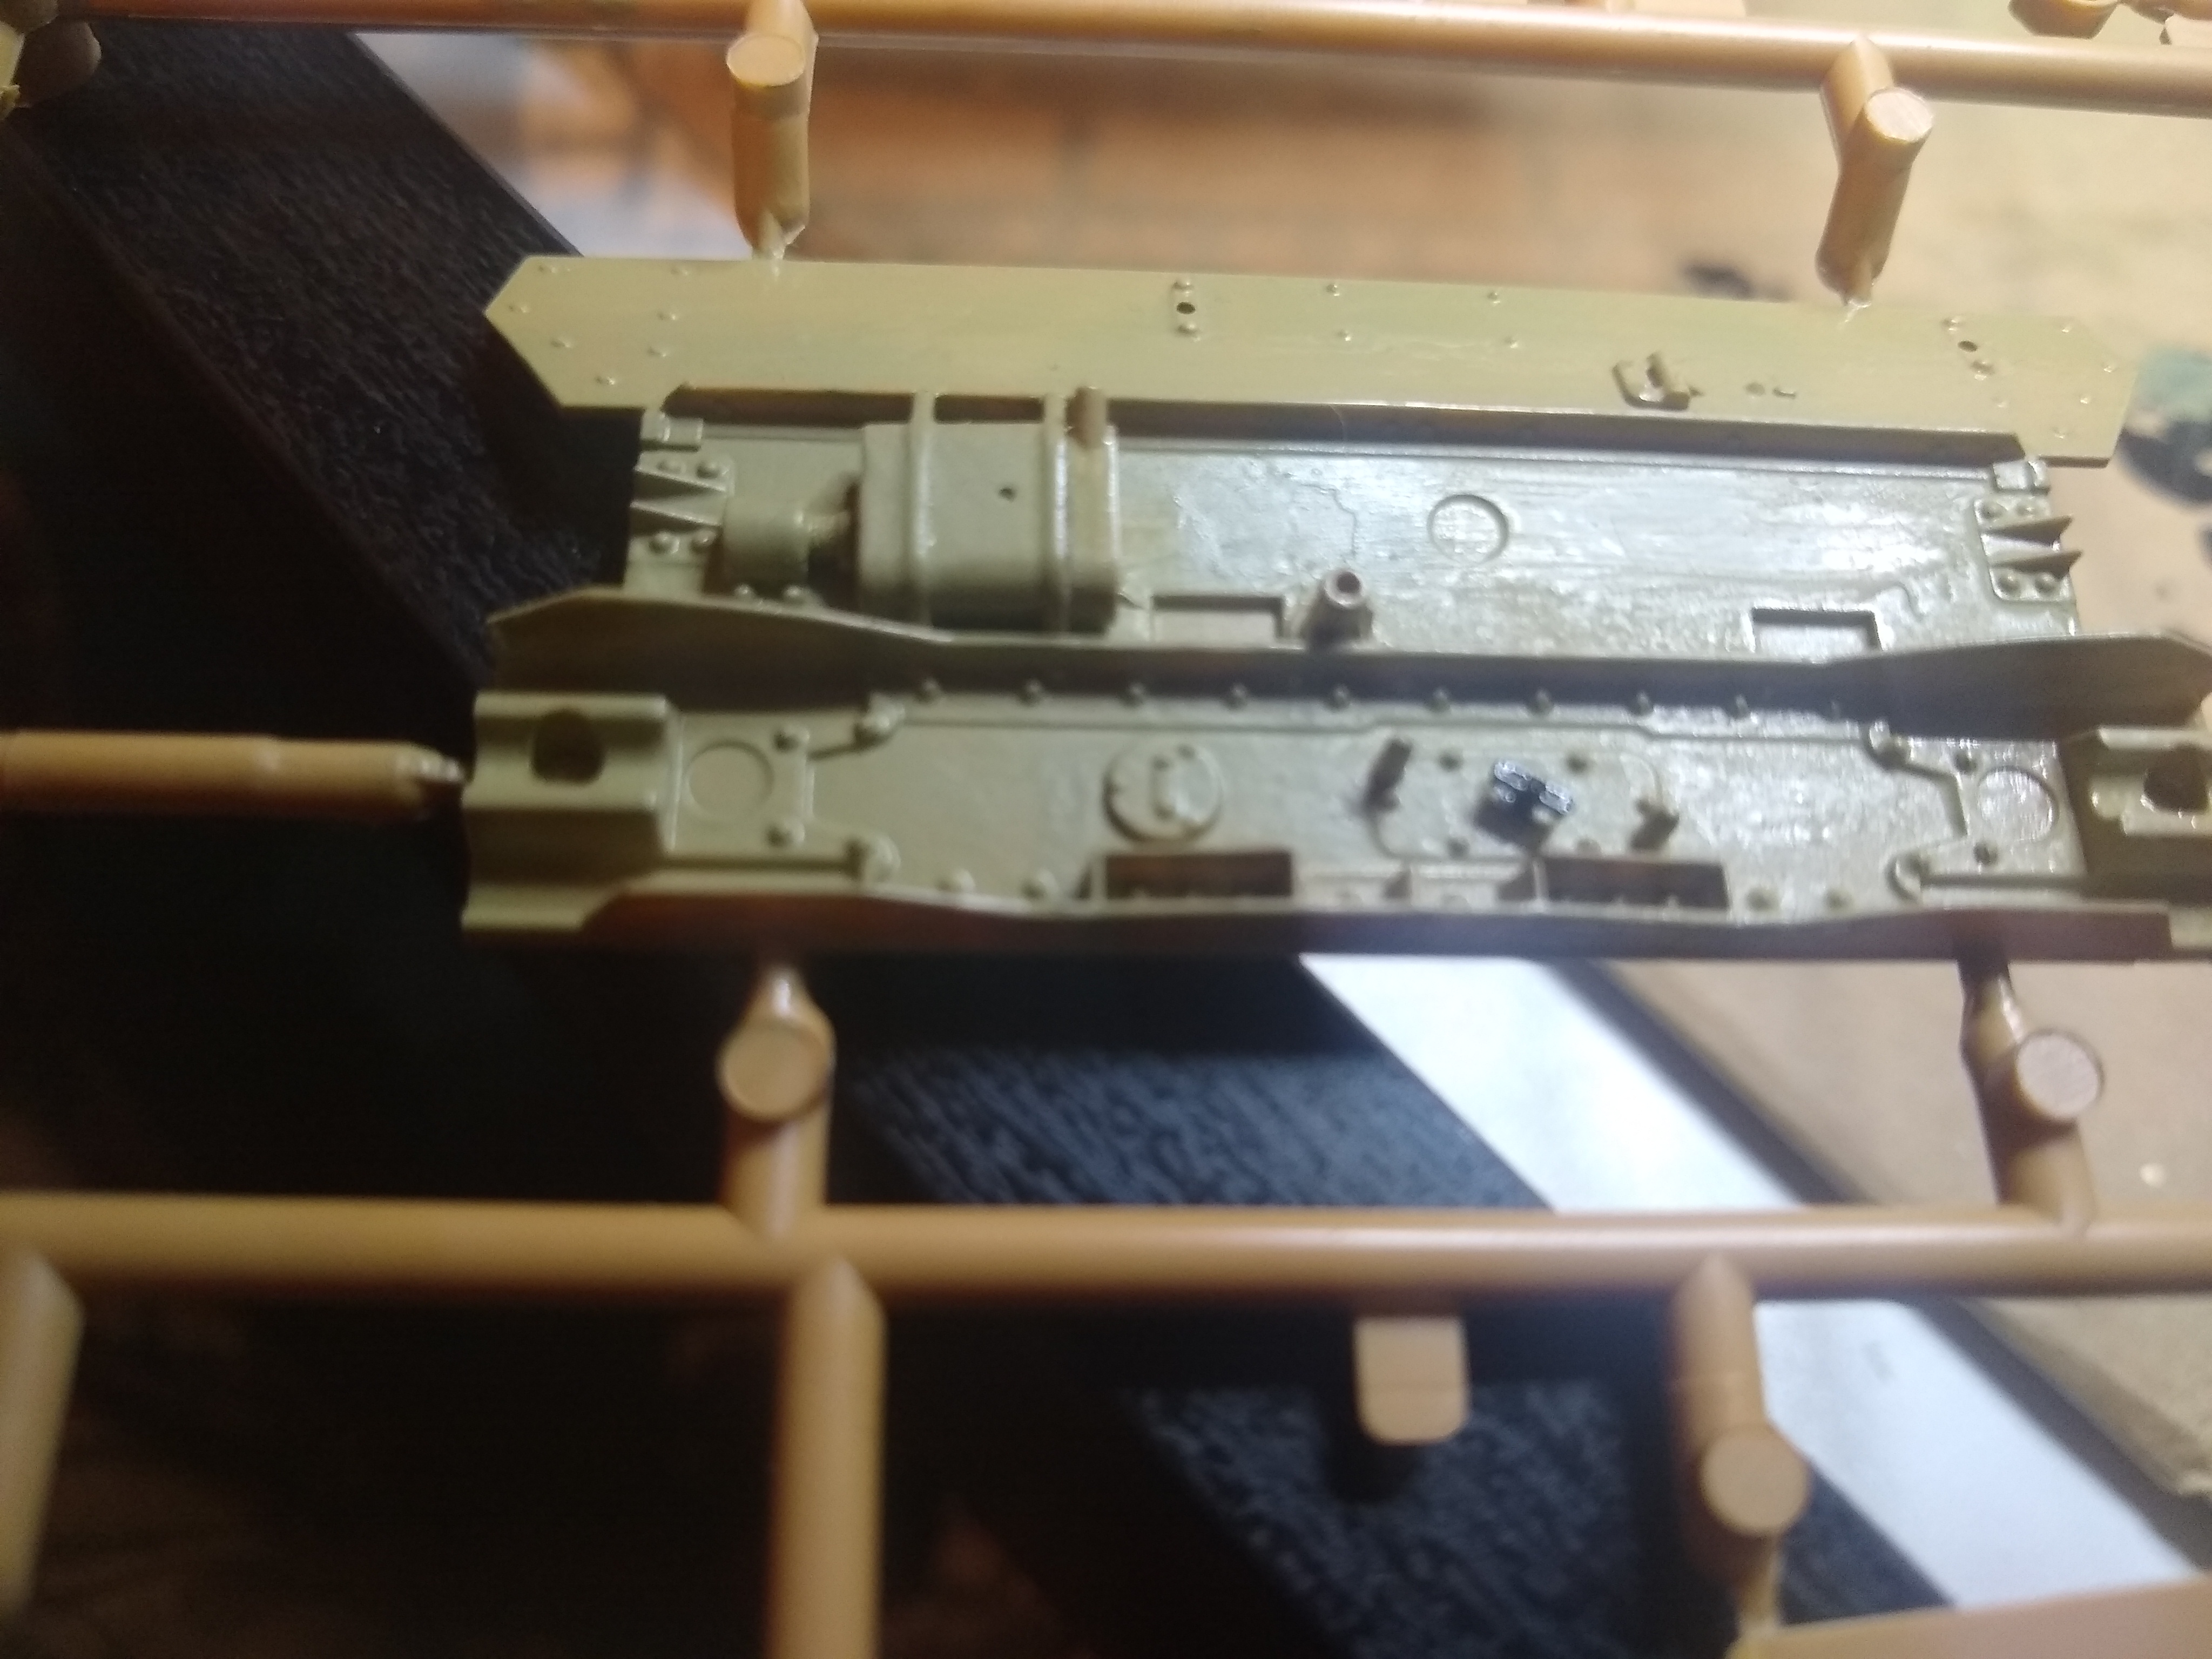
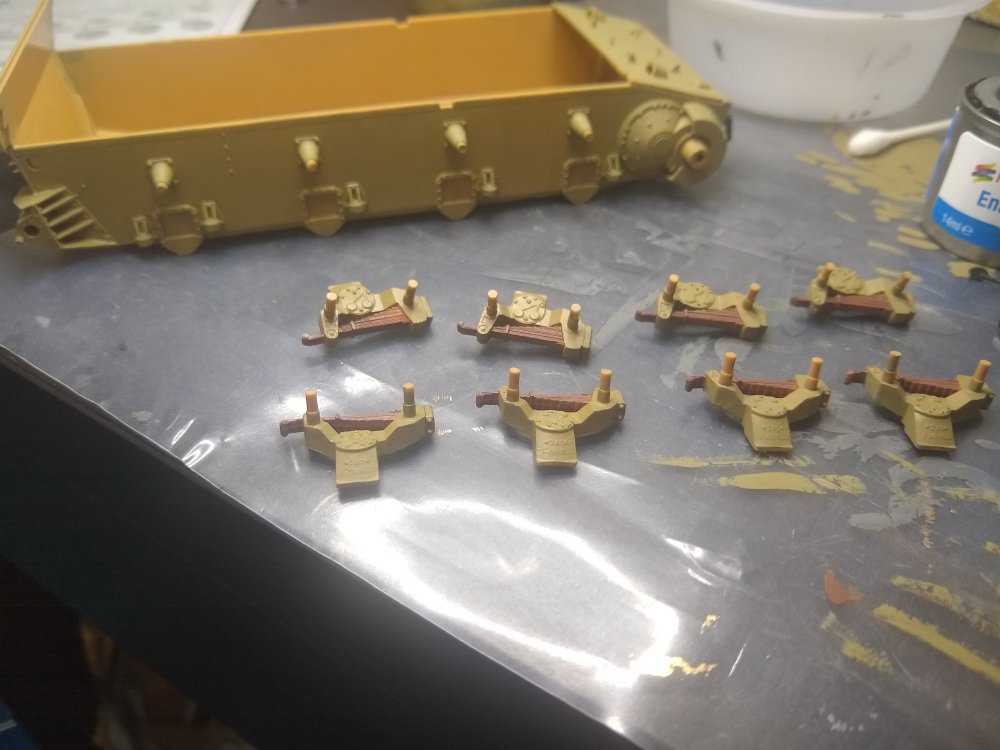
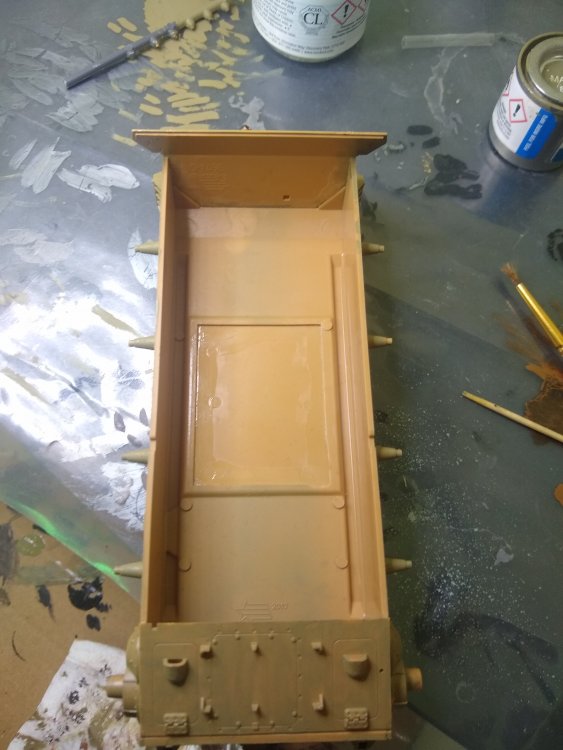
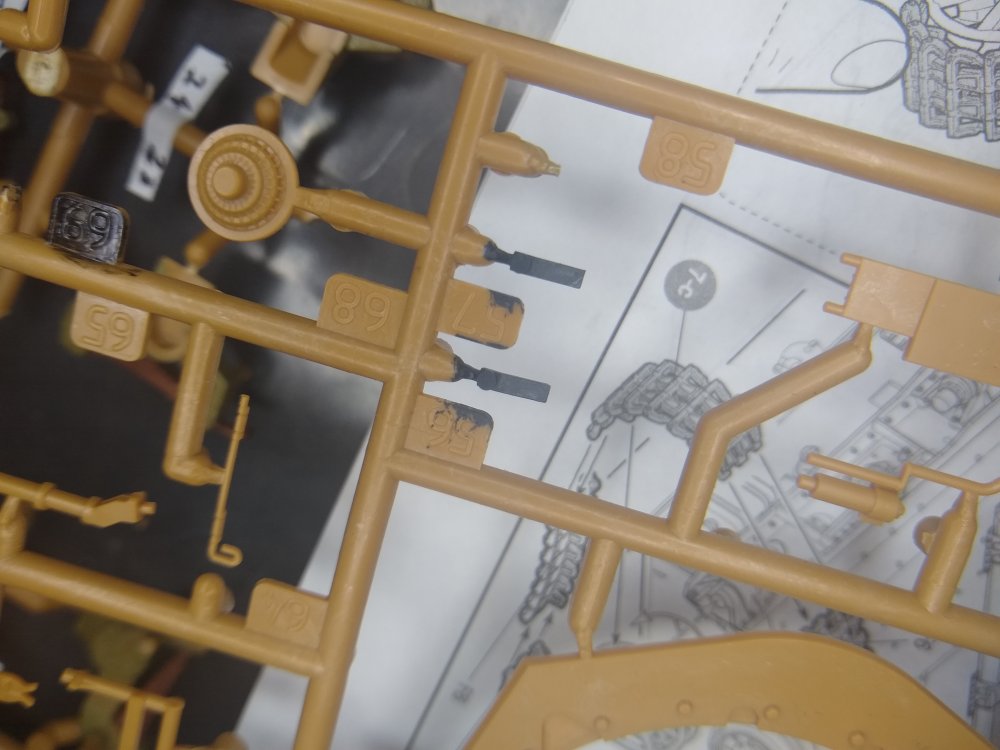
Well it's been a while but I'm back at it. First off I cut some of the frame away to paint these little parts easier I painted the rest of the suspension arms and they came out quite nicely if I do say so myself. Also painted these small handles that go on the towing hooks on the front. Applied a 2nd coat of paint to the covers for the transmission and a 1st coat to the upper front plate as well as test fitting that pice.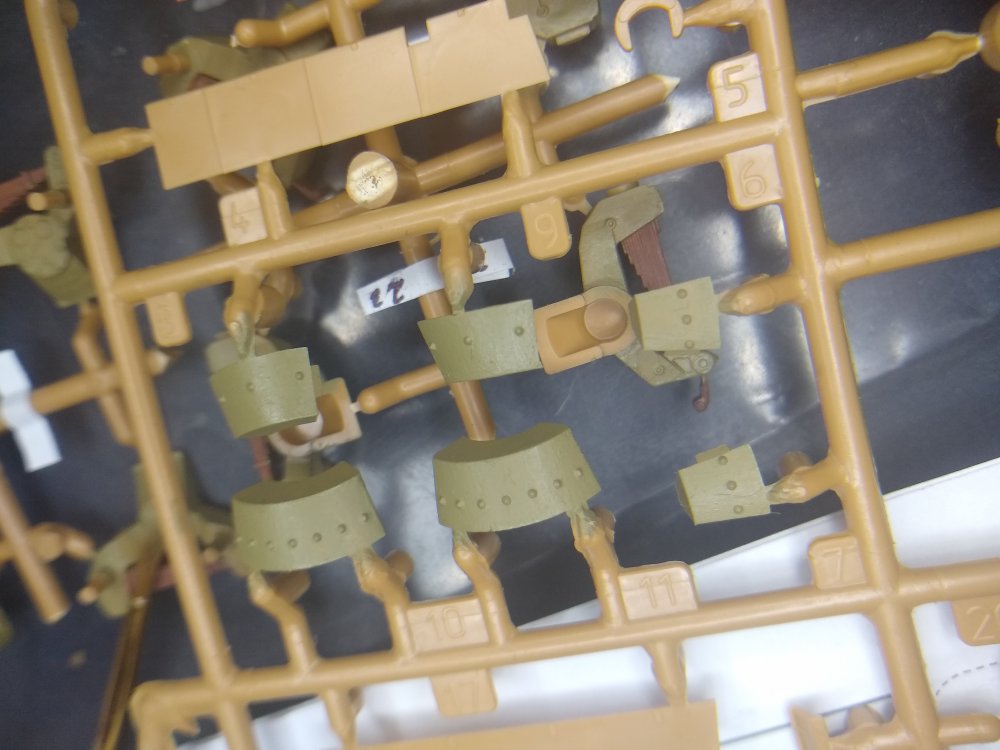


-
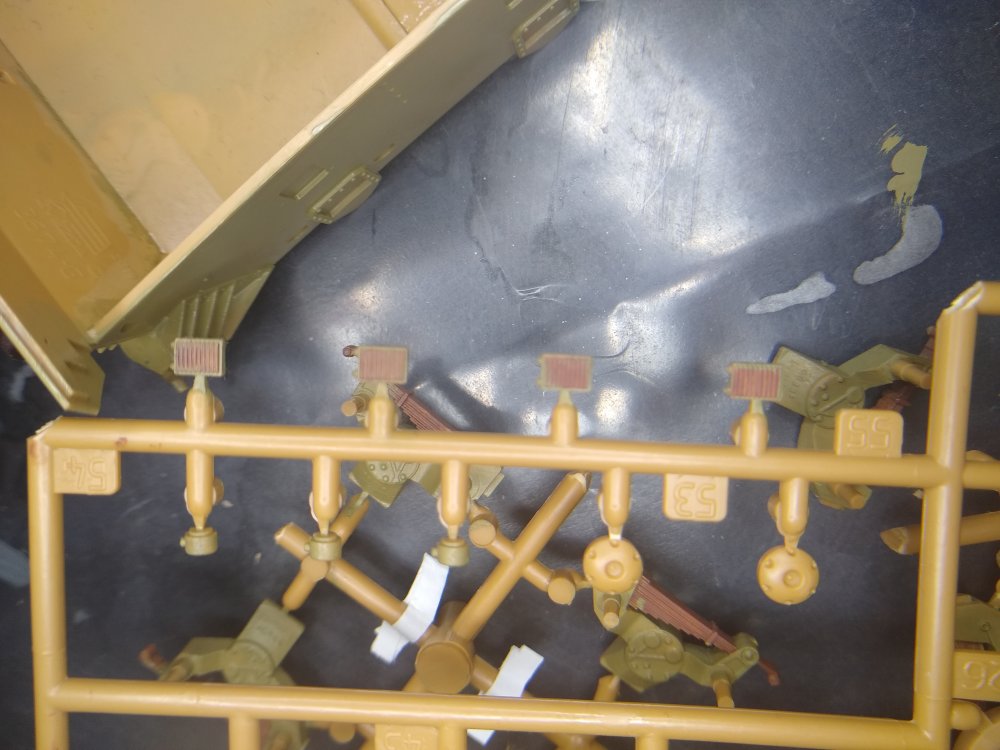
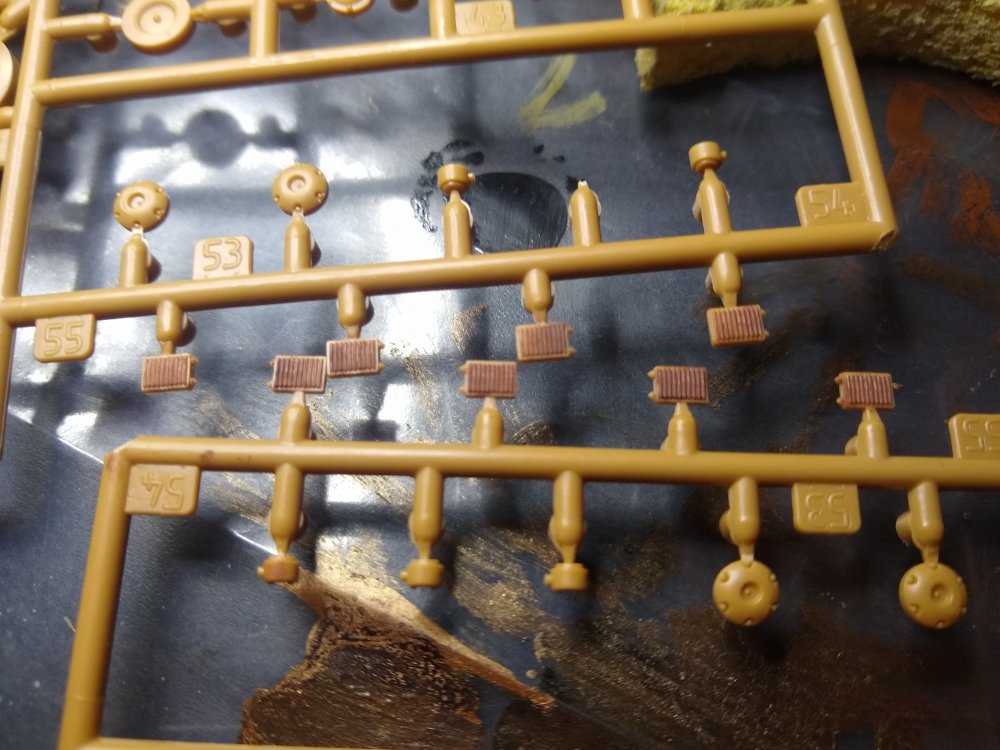
German Panzer IV Ausf H
Daniel_Roxy replied to Daniel_Roxy's topic in LSM 1/35 and Larger Work In Progress
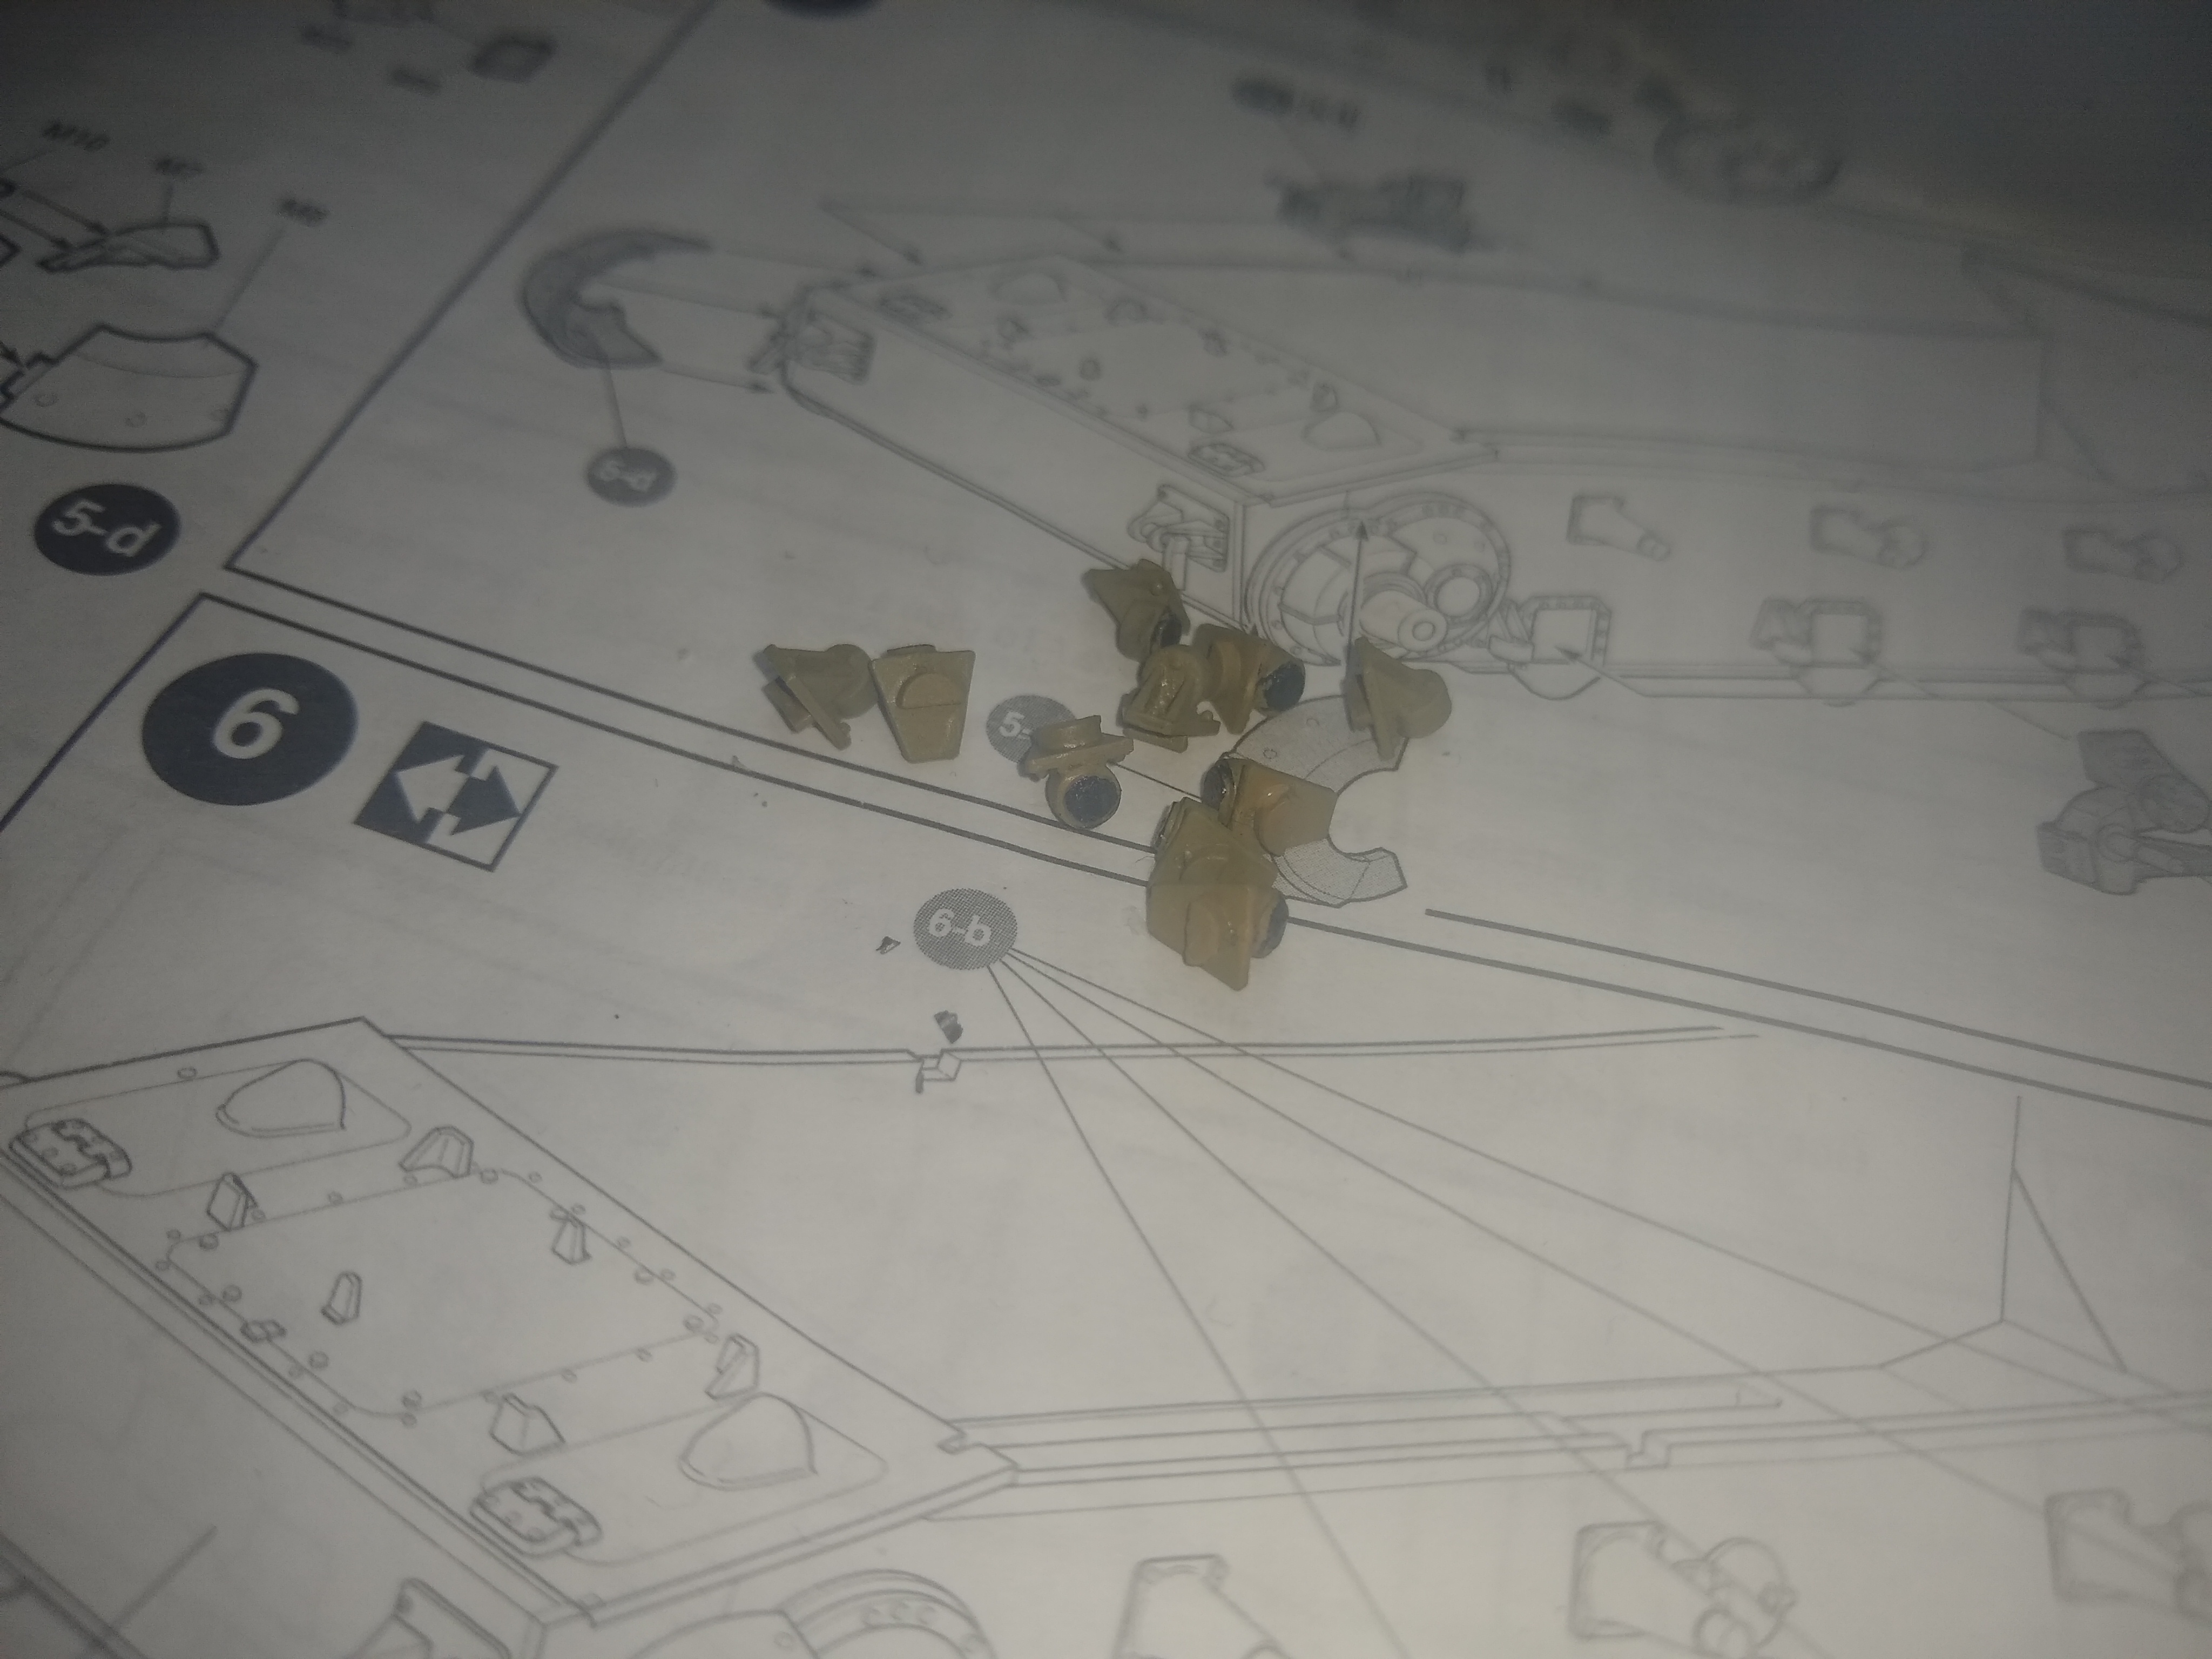
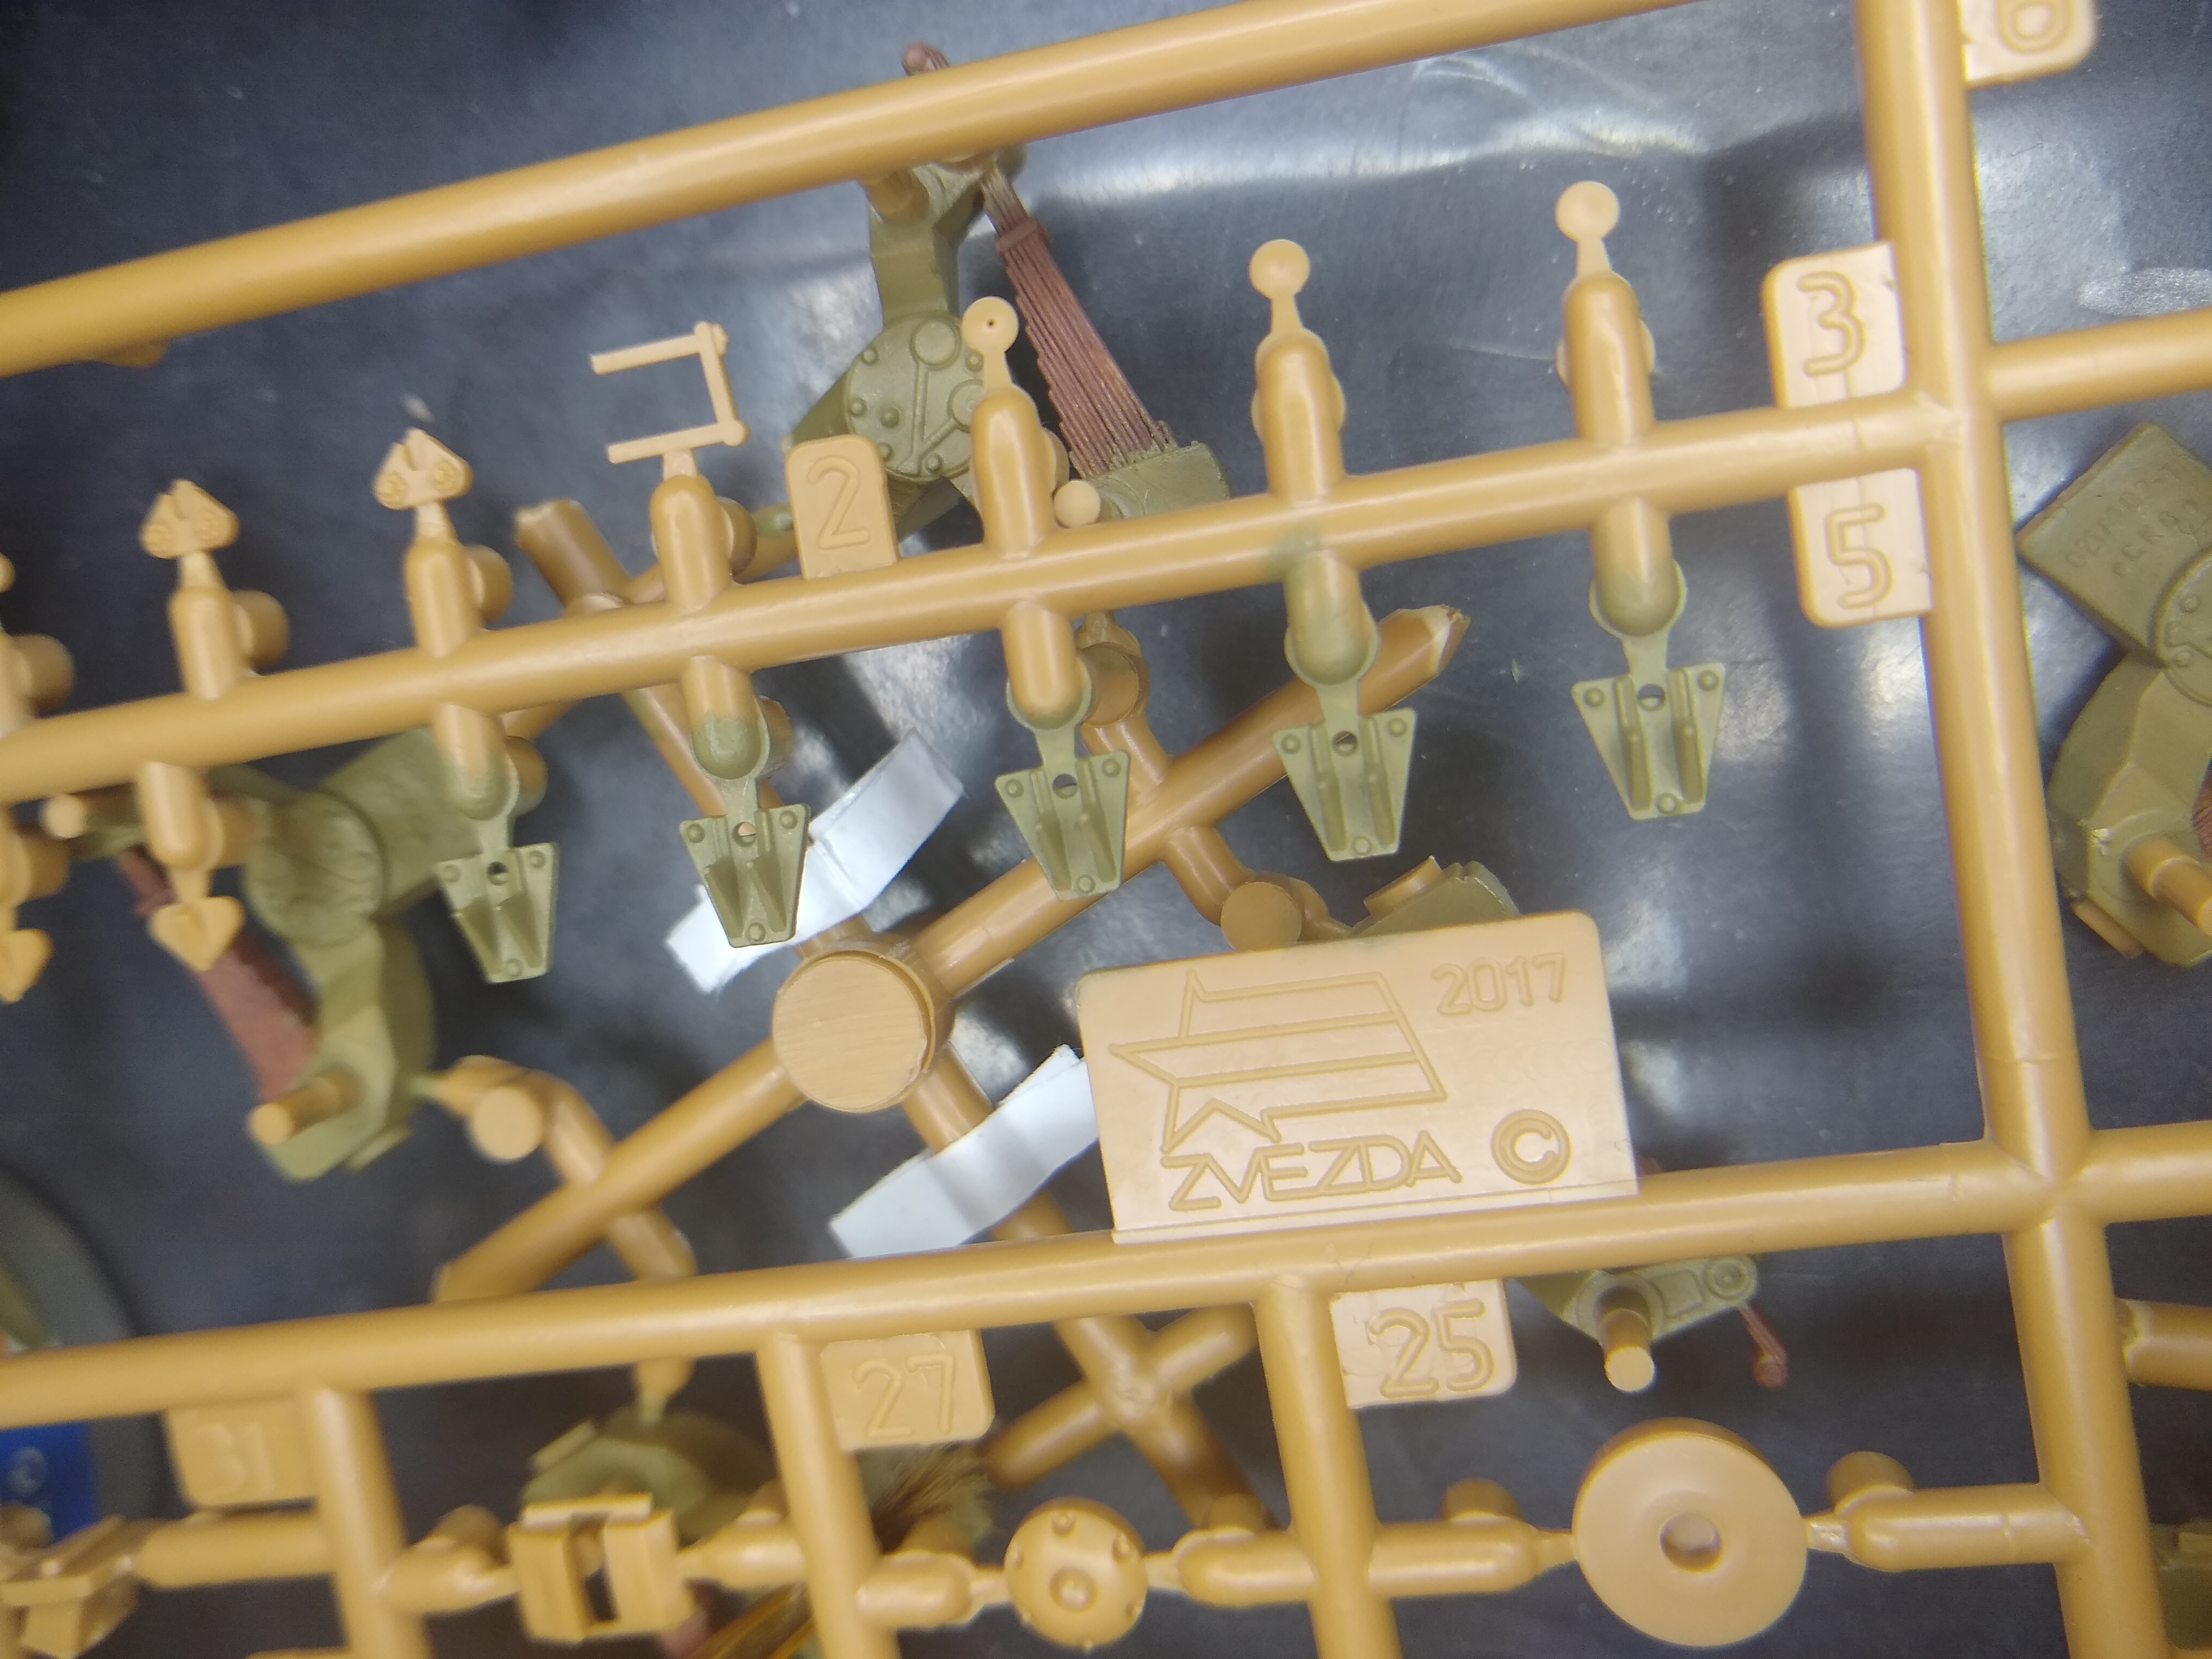
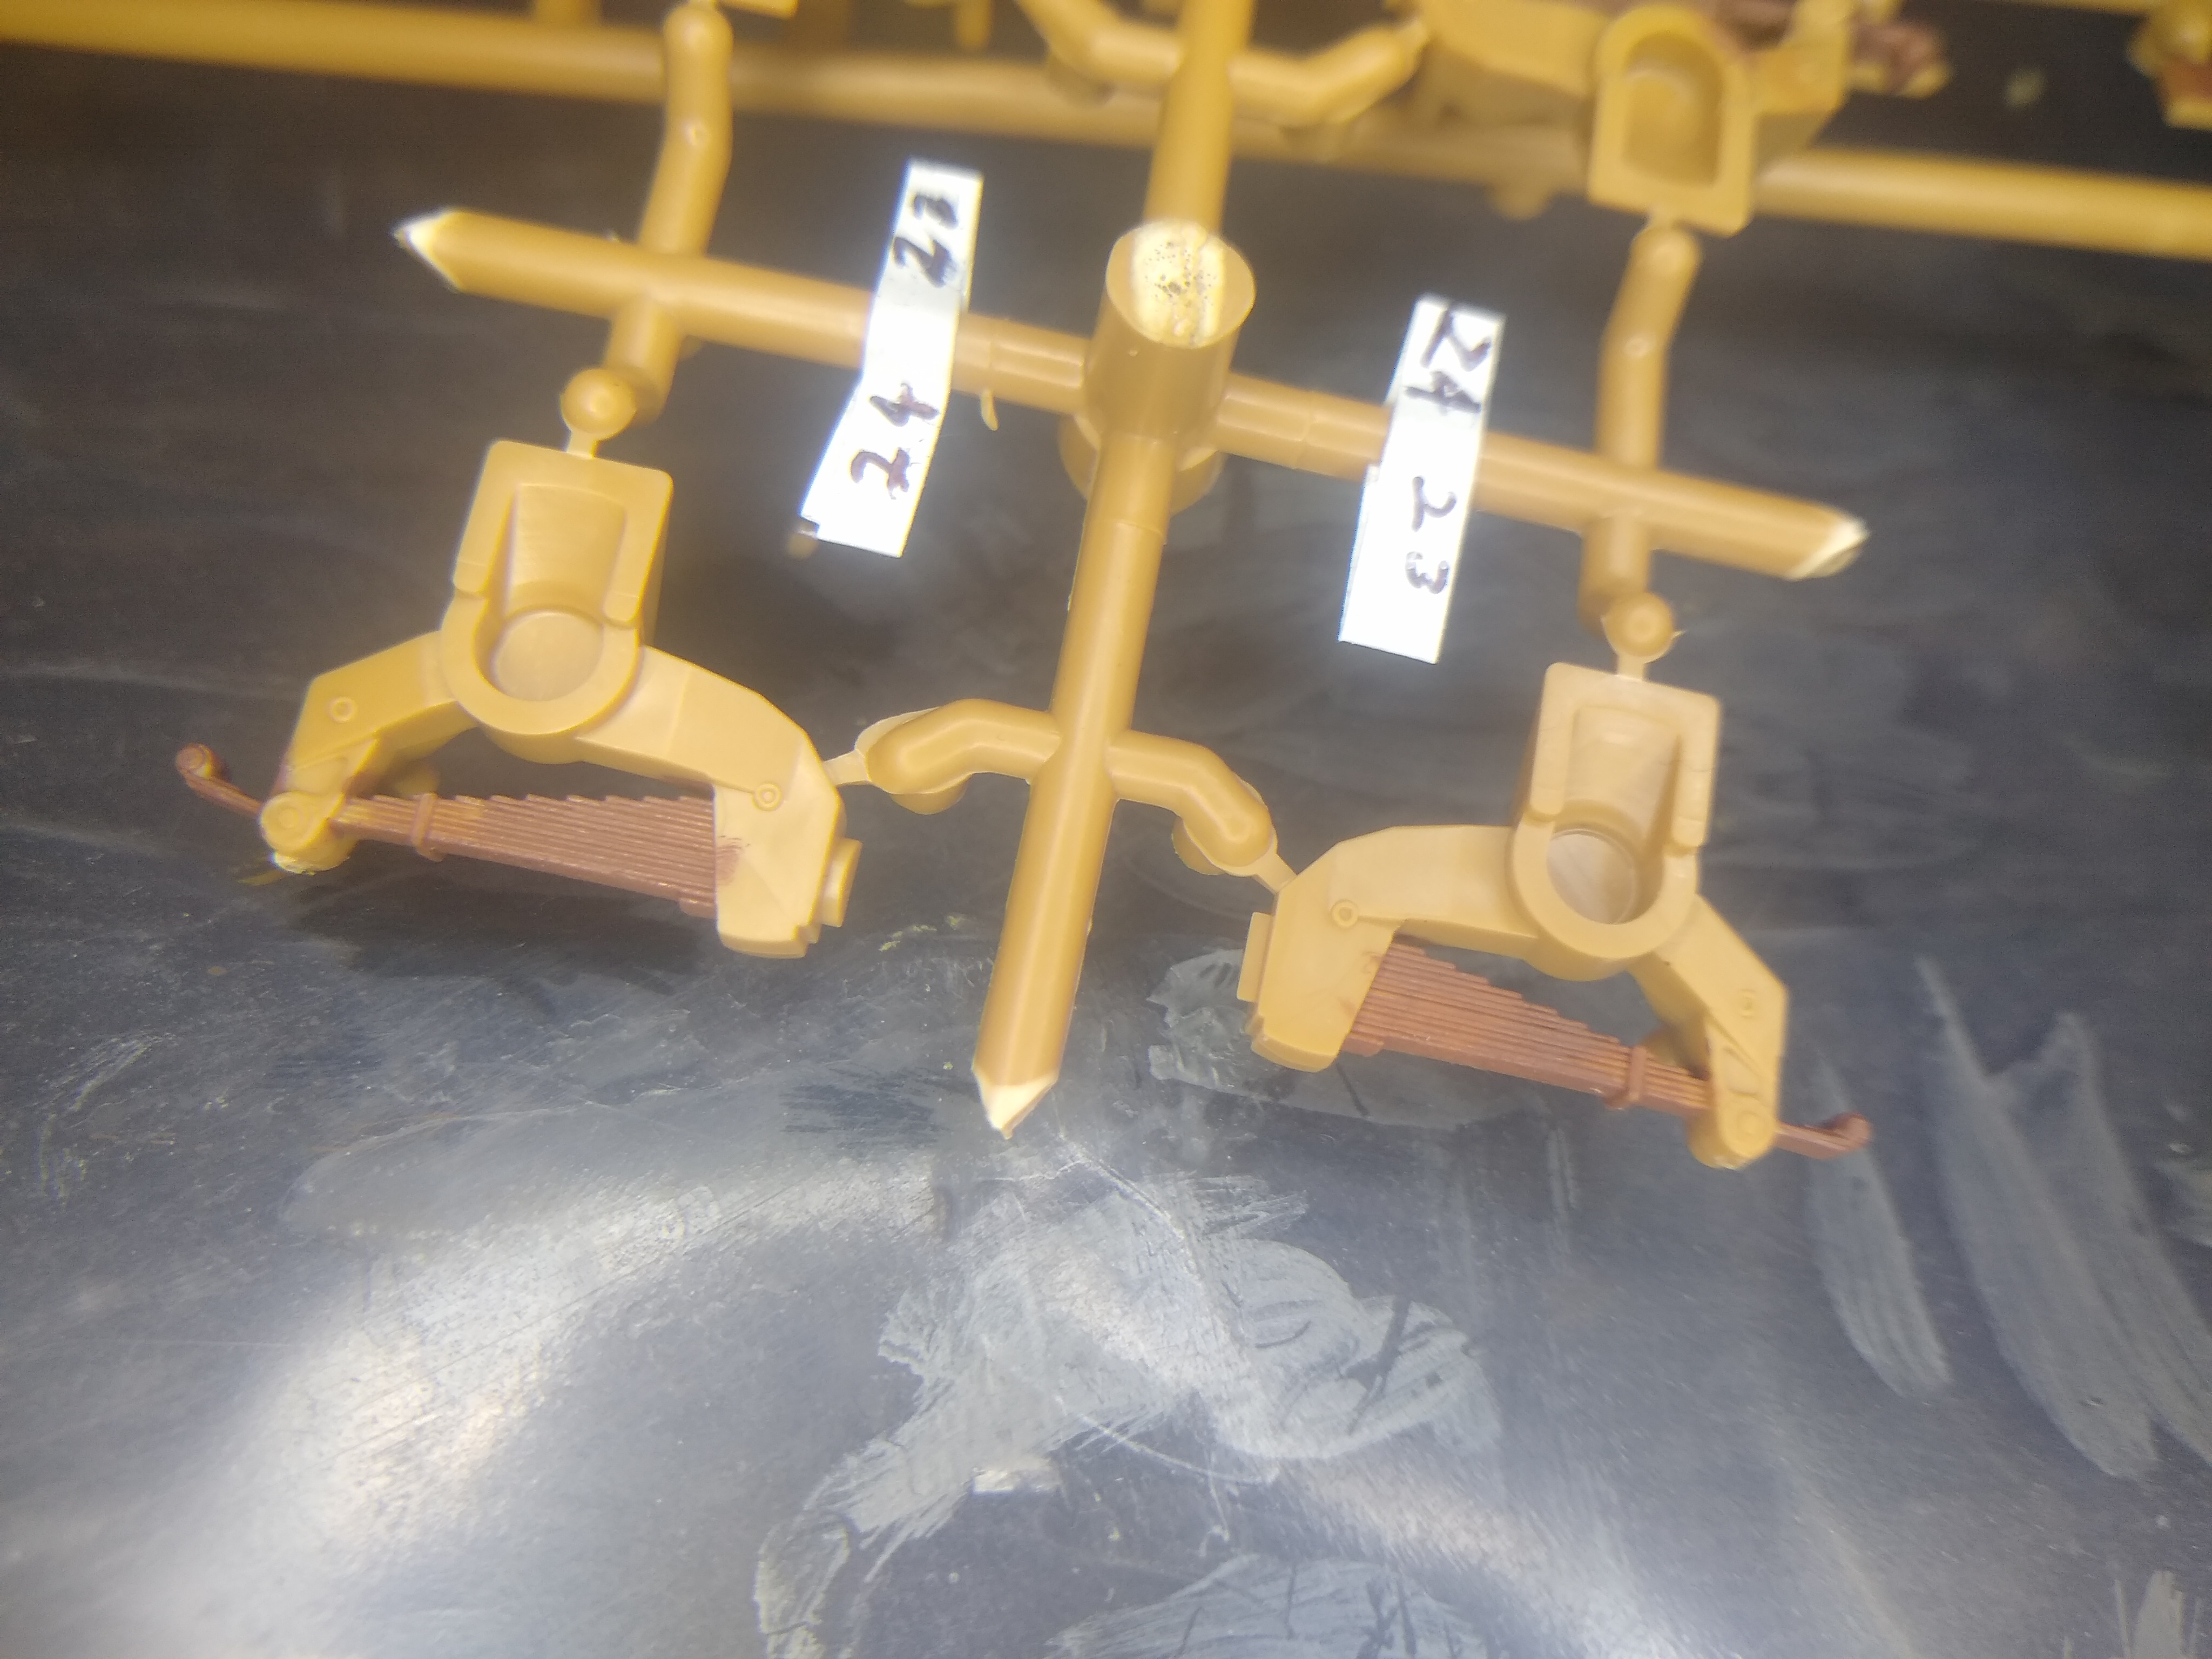
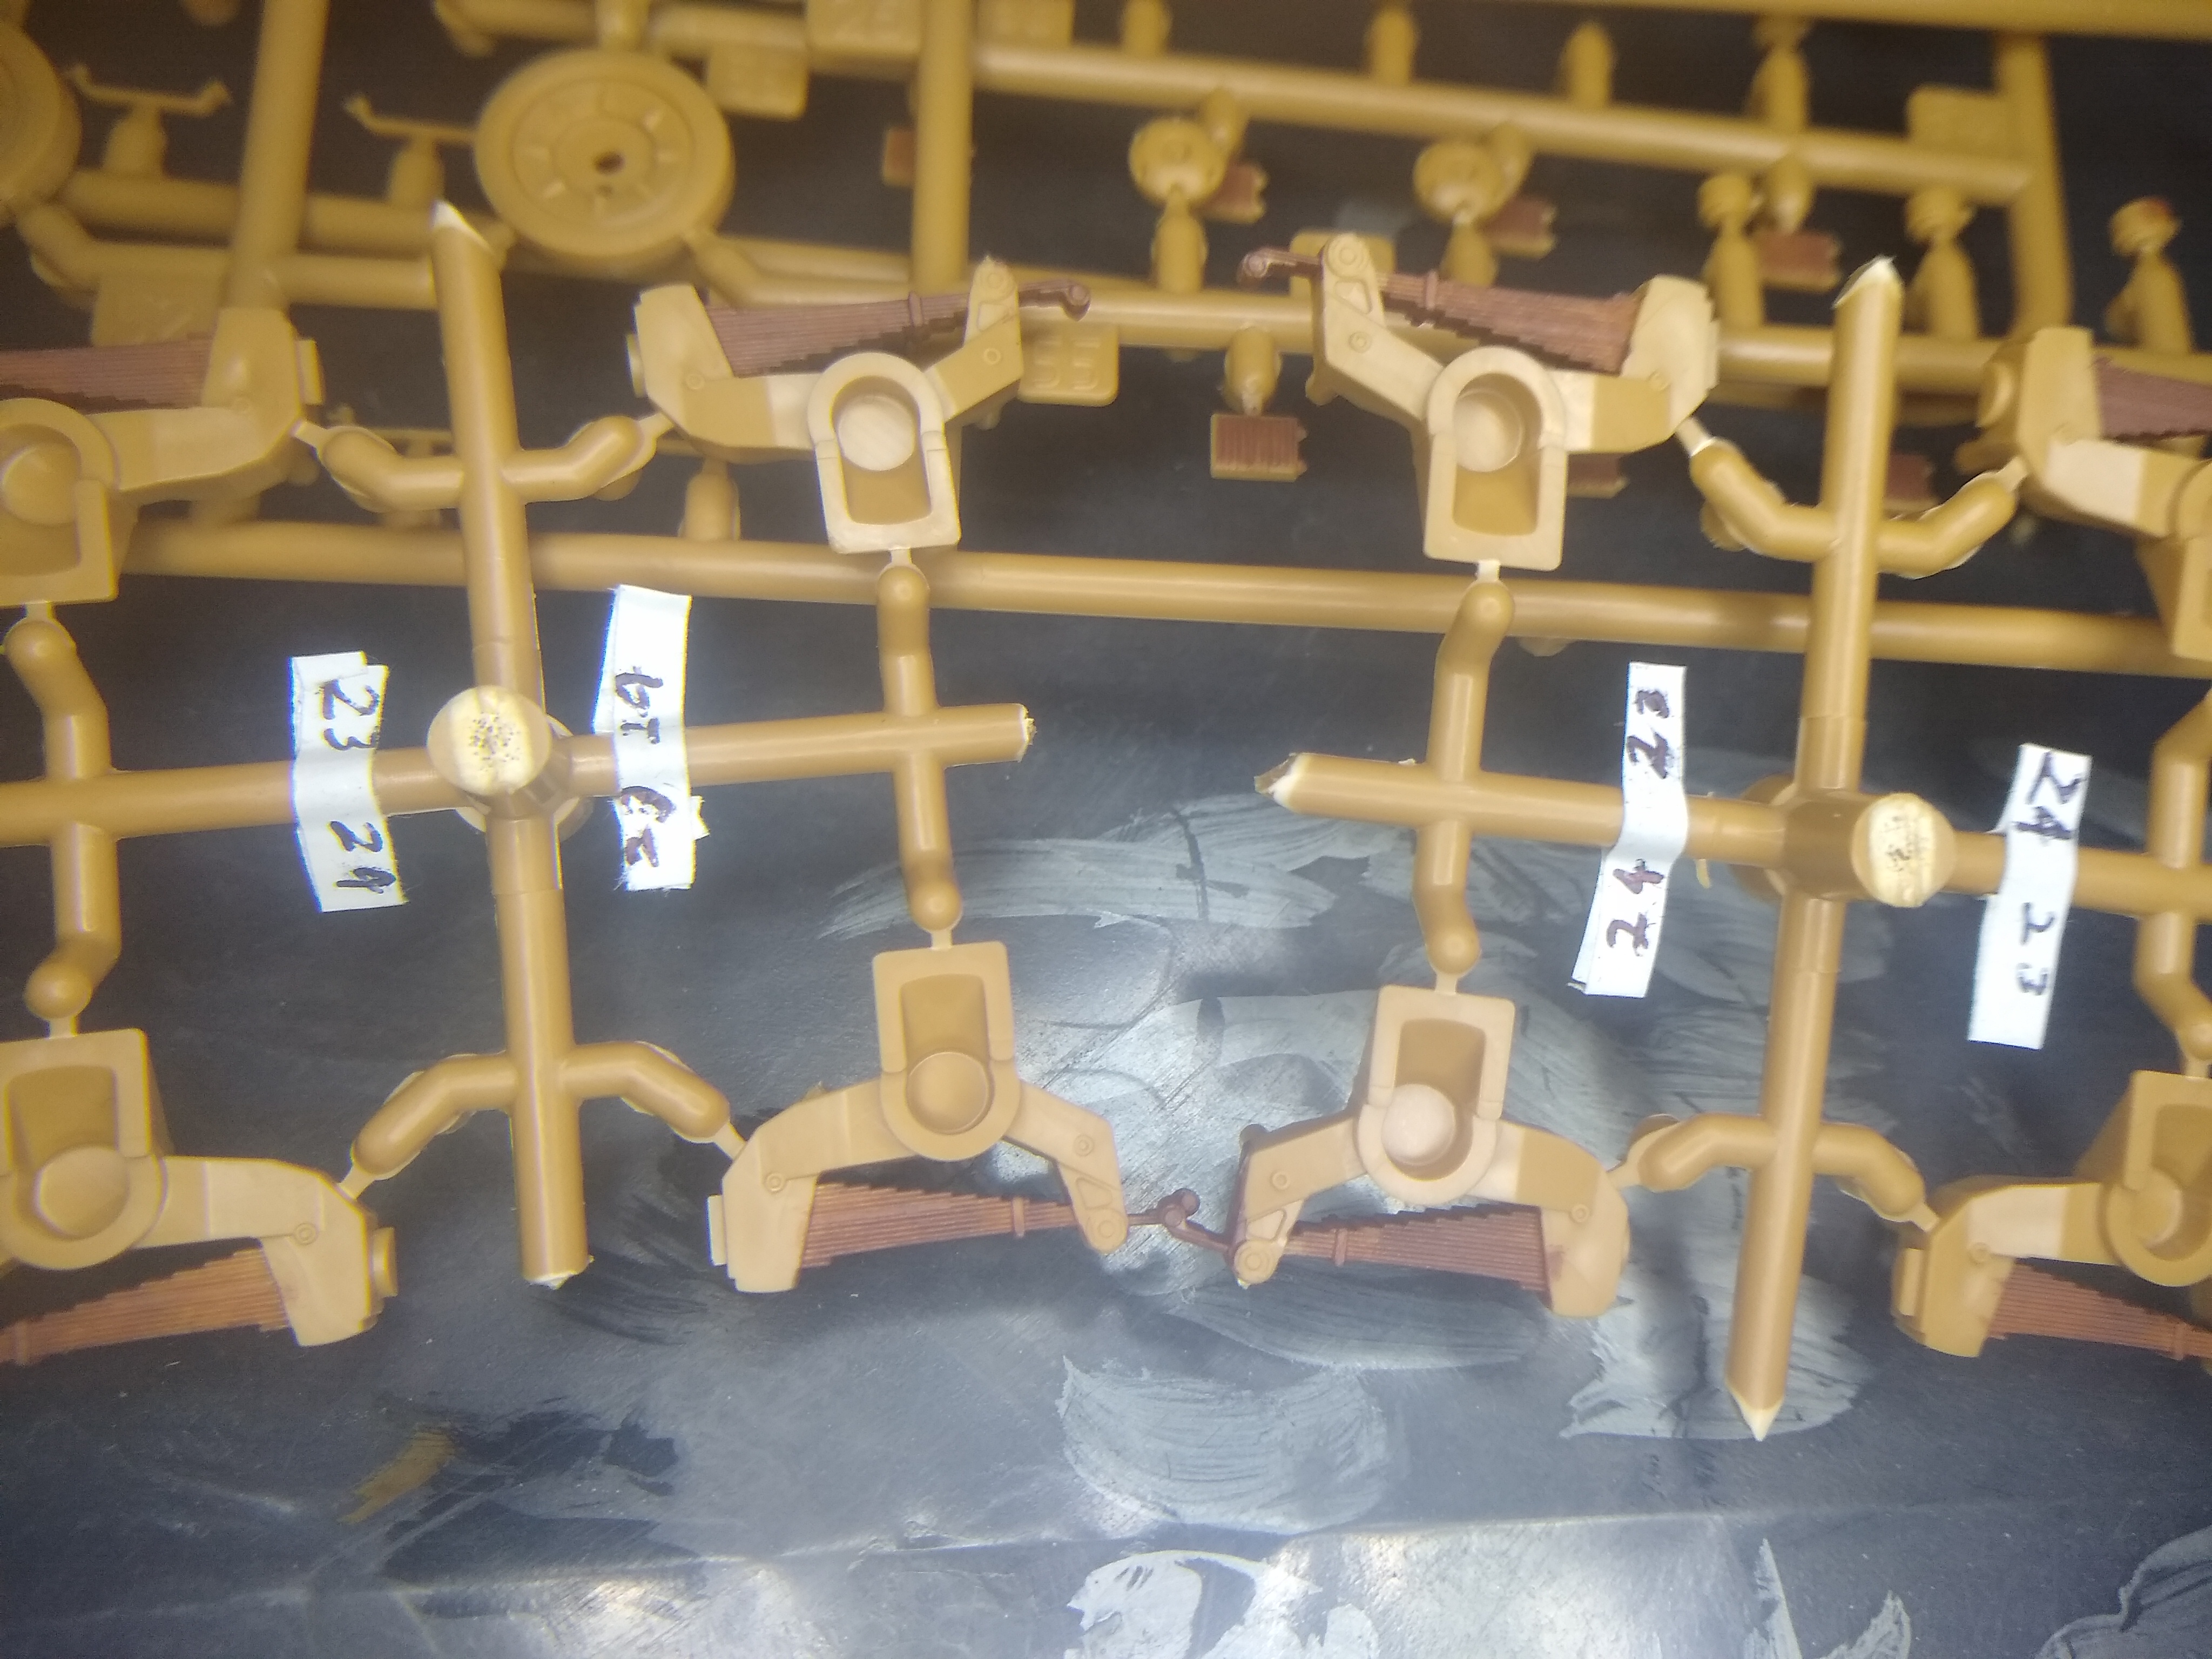
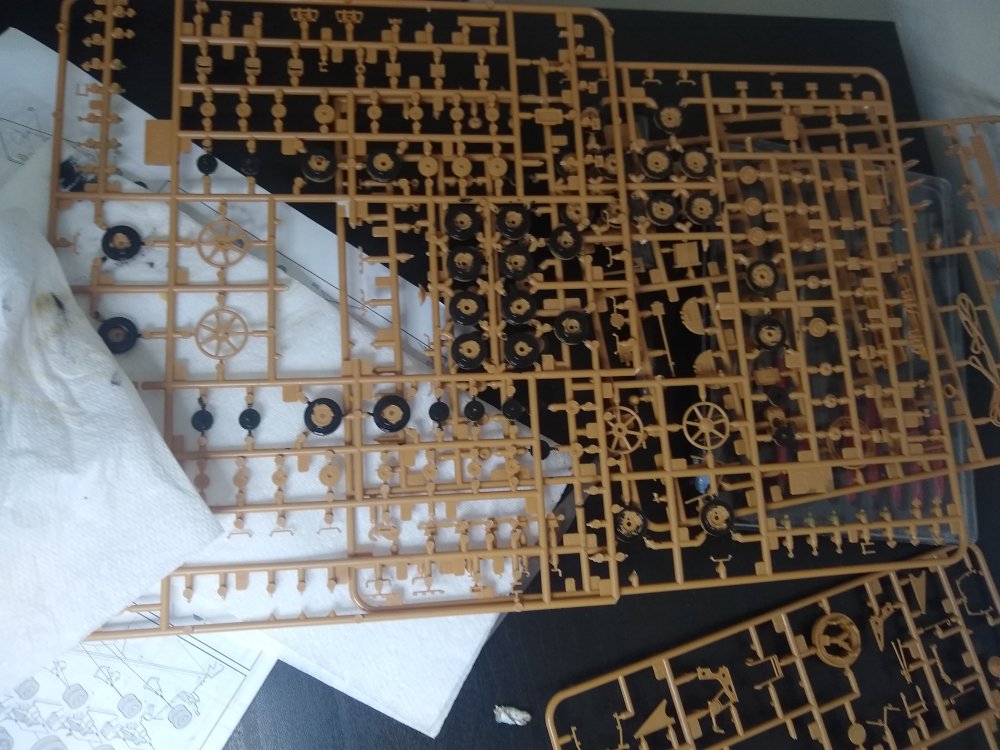
Well i have started on the suspension now. Alot of little parts with this. And the detail on the leaf springs is great. Did have to cut the frames off to paint them better. so also hade to lable them as well.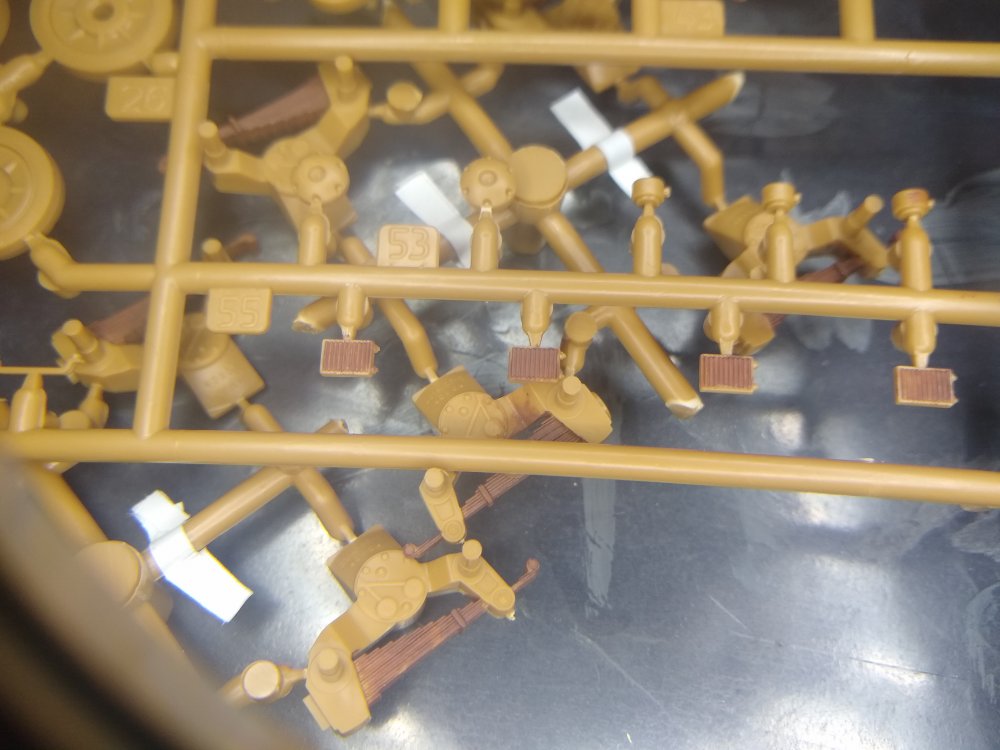


- 104 replies
-
- 10
-

-
German Panzer IV Ausf H
Daniel_Roxy replied to Daniel_Roxy's topic in LSM 1/35 and Larger Work In Progress
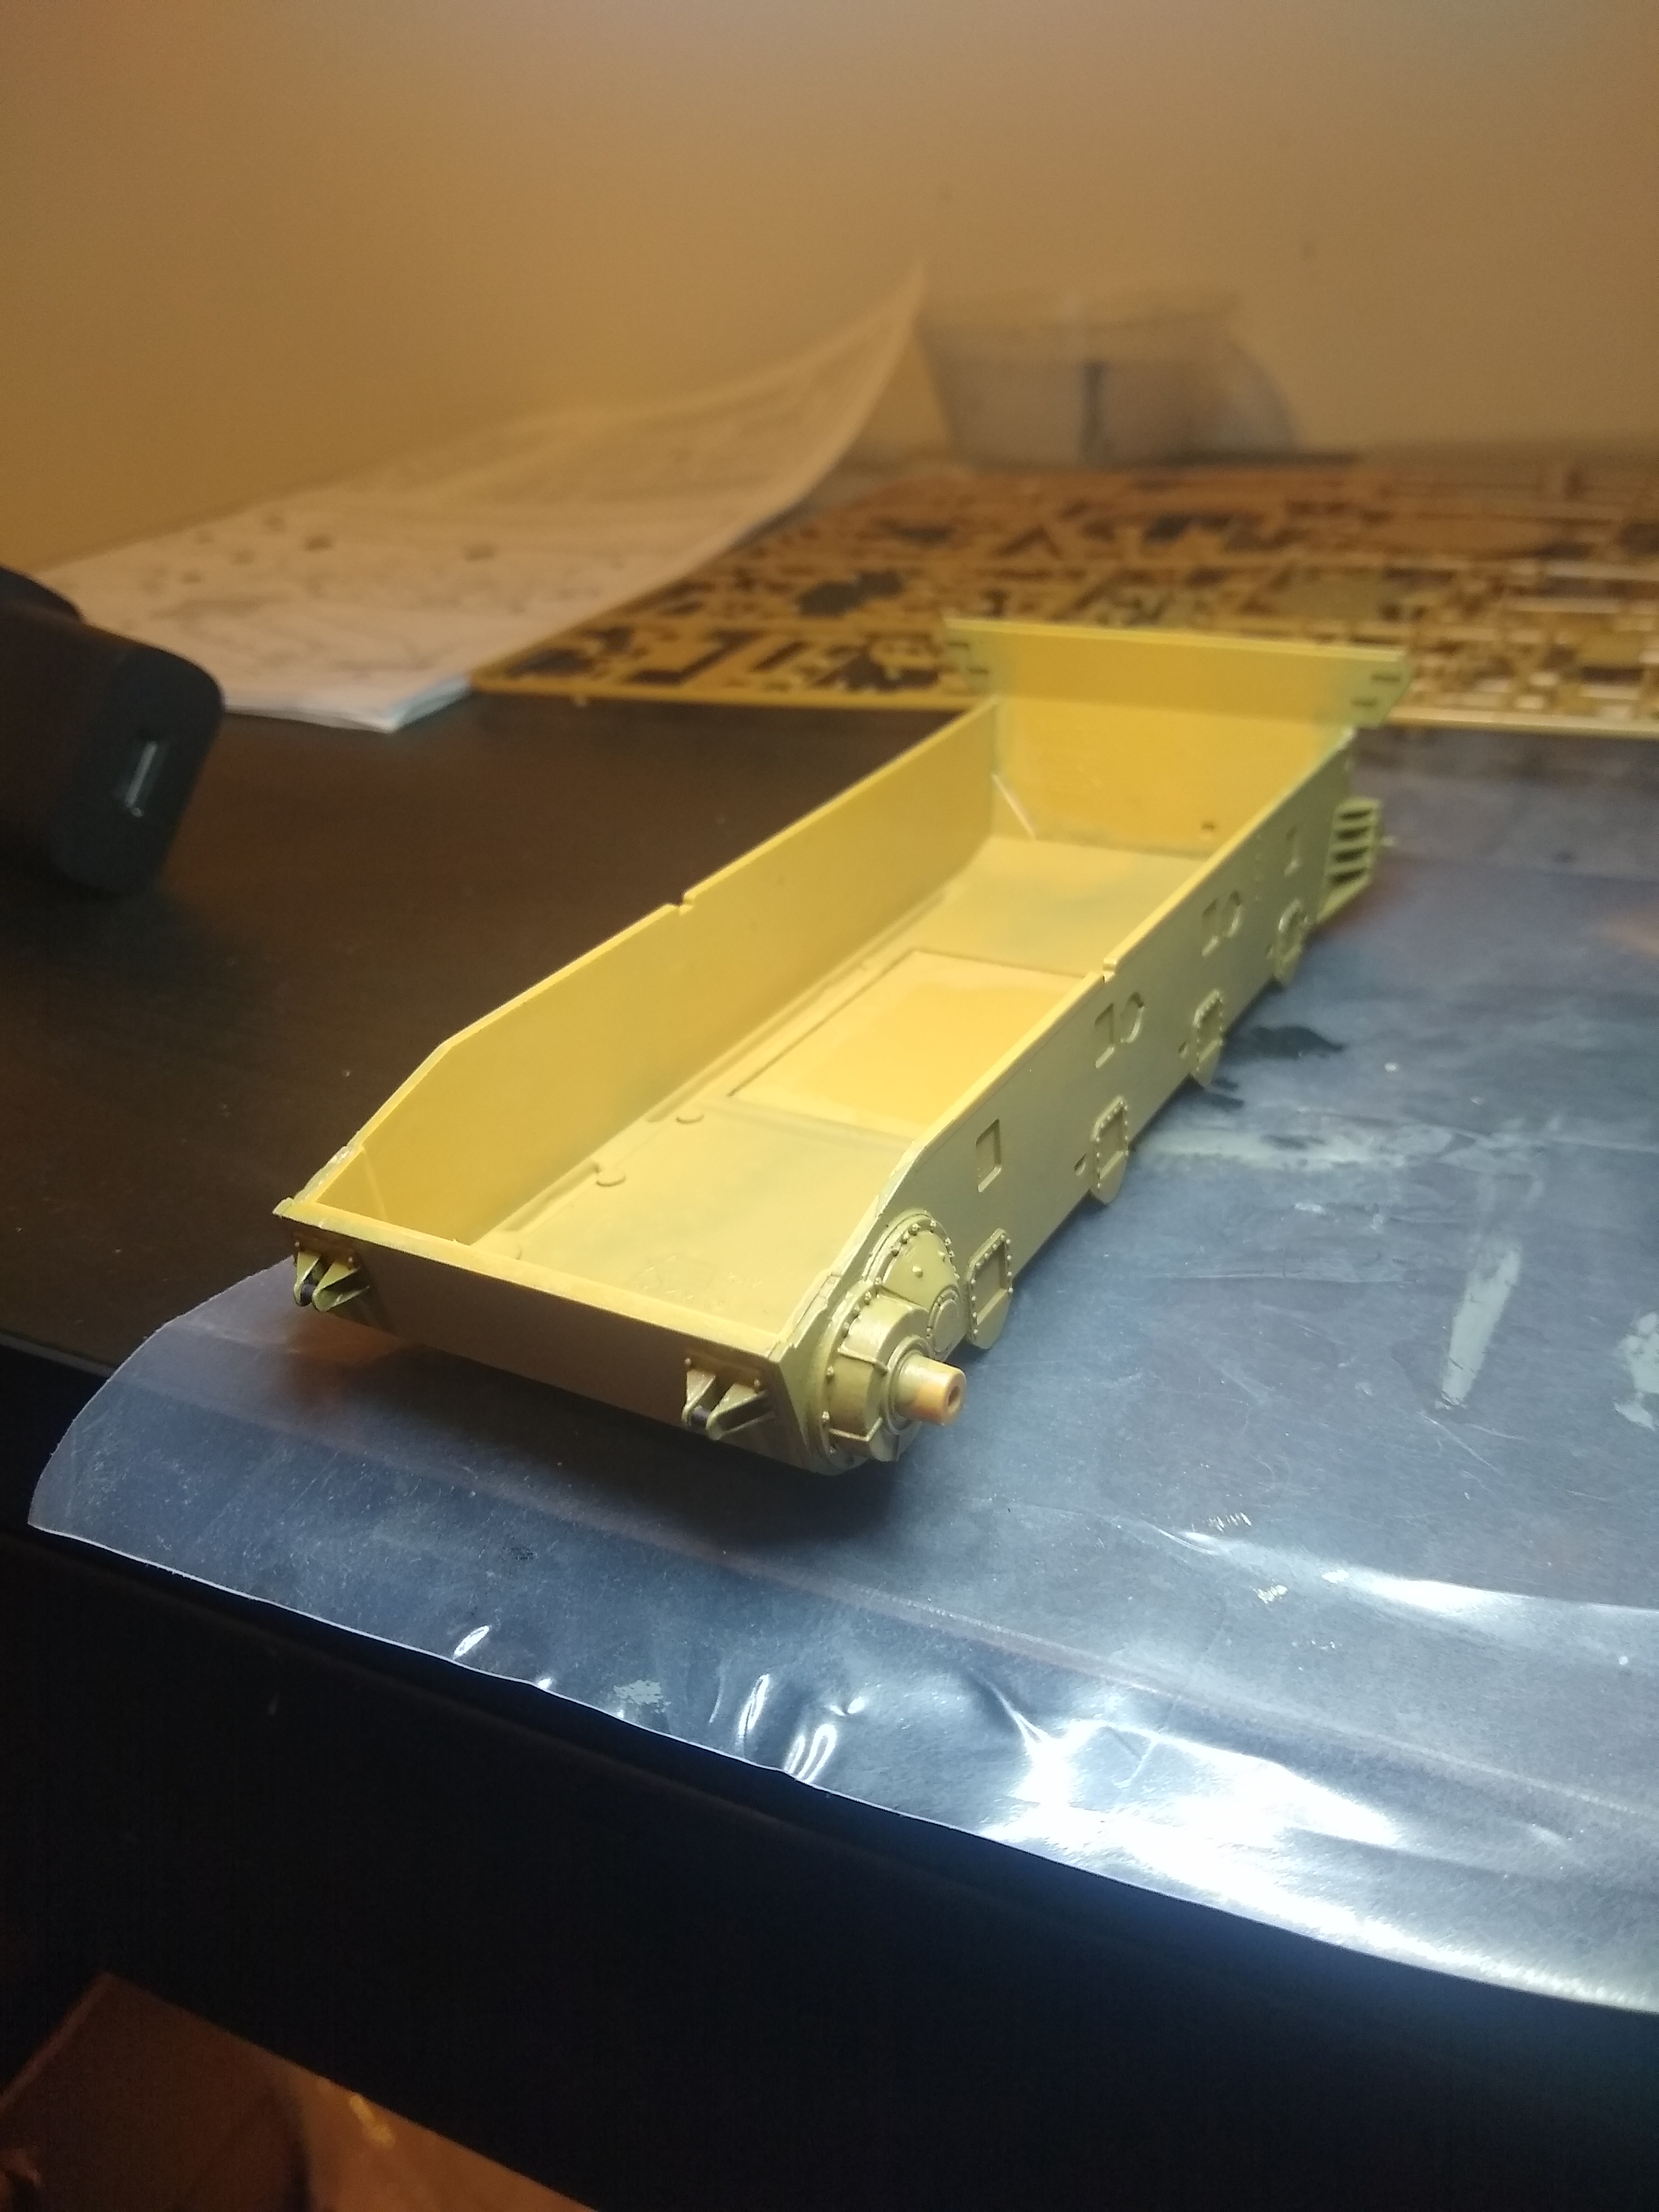
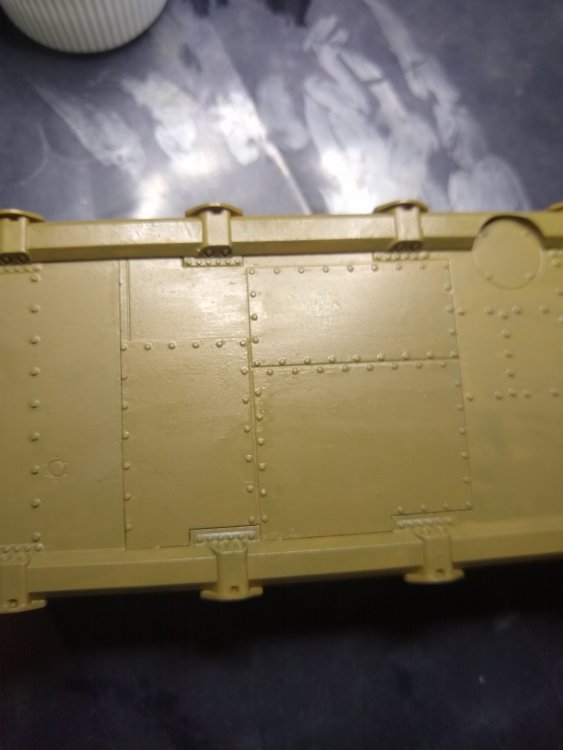
Oh almost forgot. I put the back on aswell. Fits perfectlyAlso a couple of side views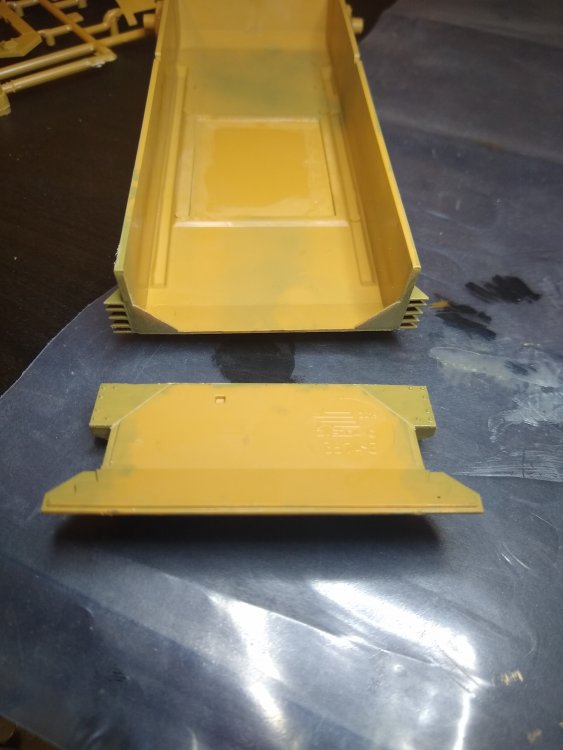


-
German Panzer IV Ausf H
Daniel_Roxy replied to Daniel_Roxy's topic in LSM 1/35 and Larger Work In Progress
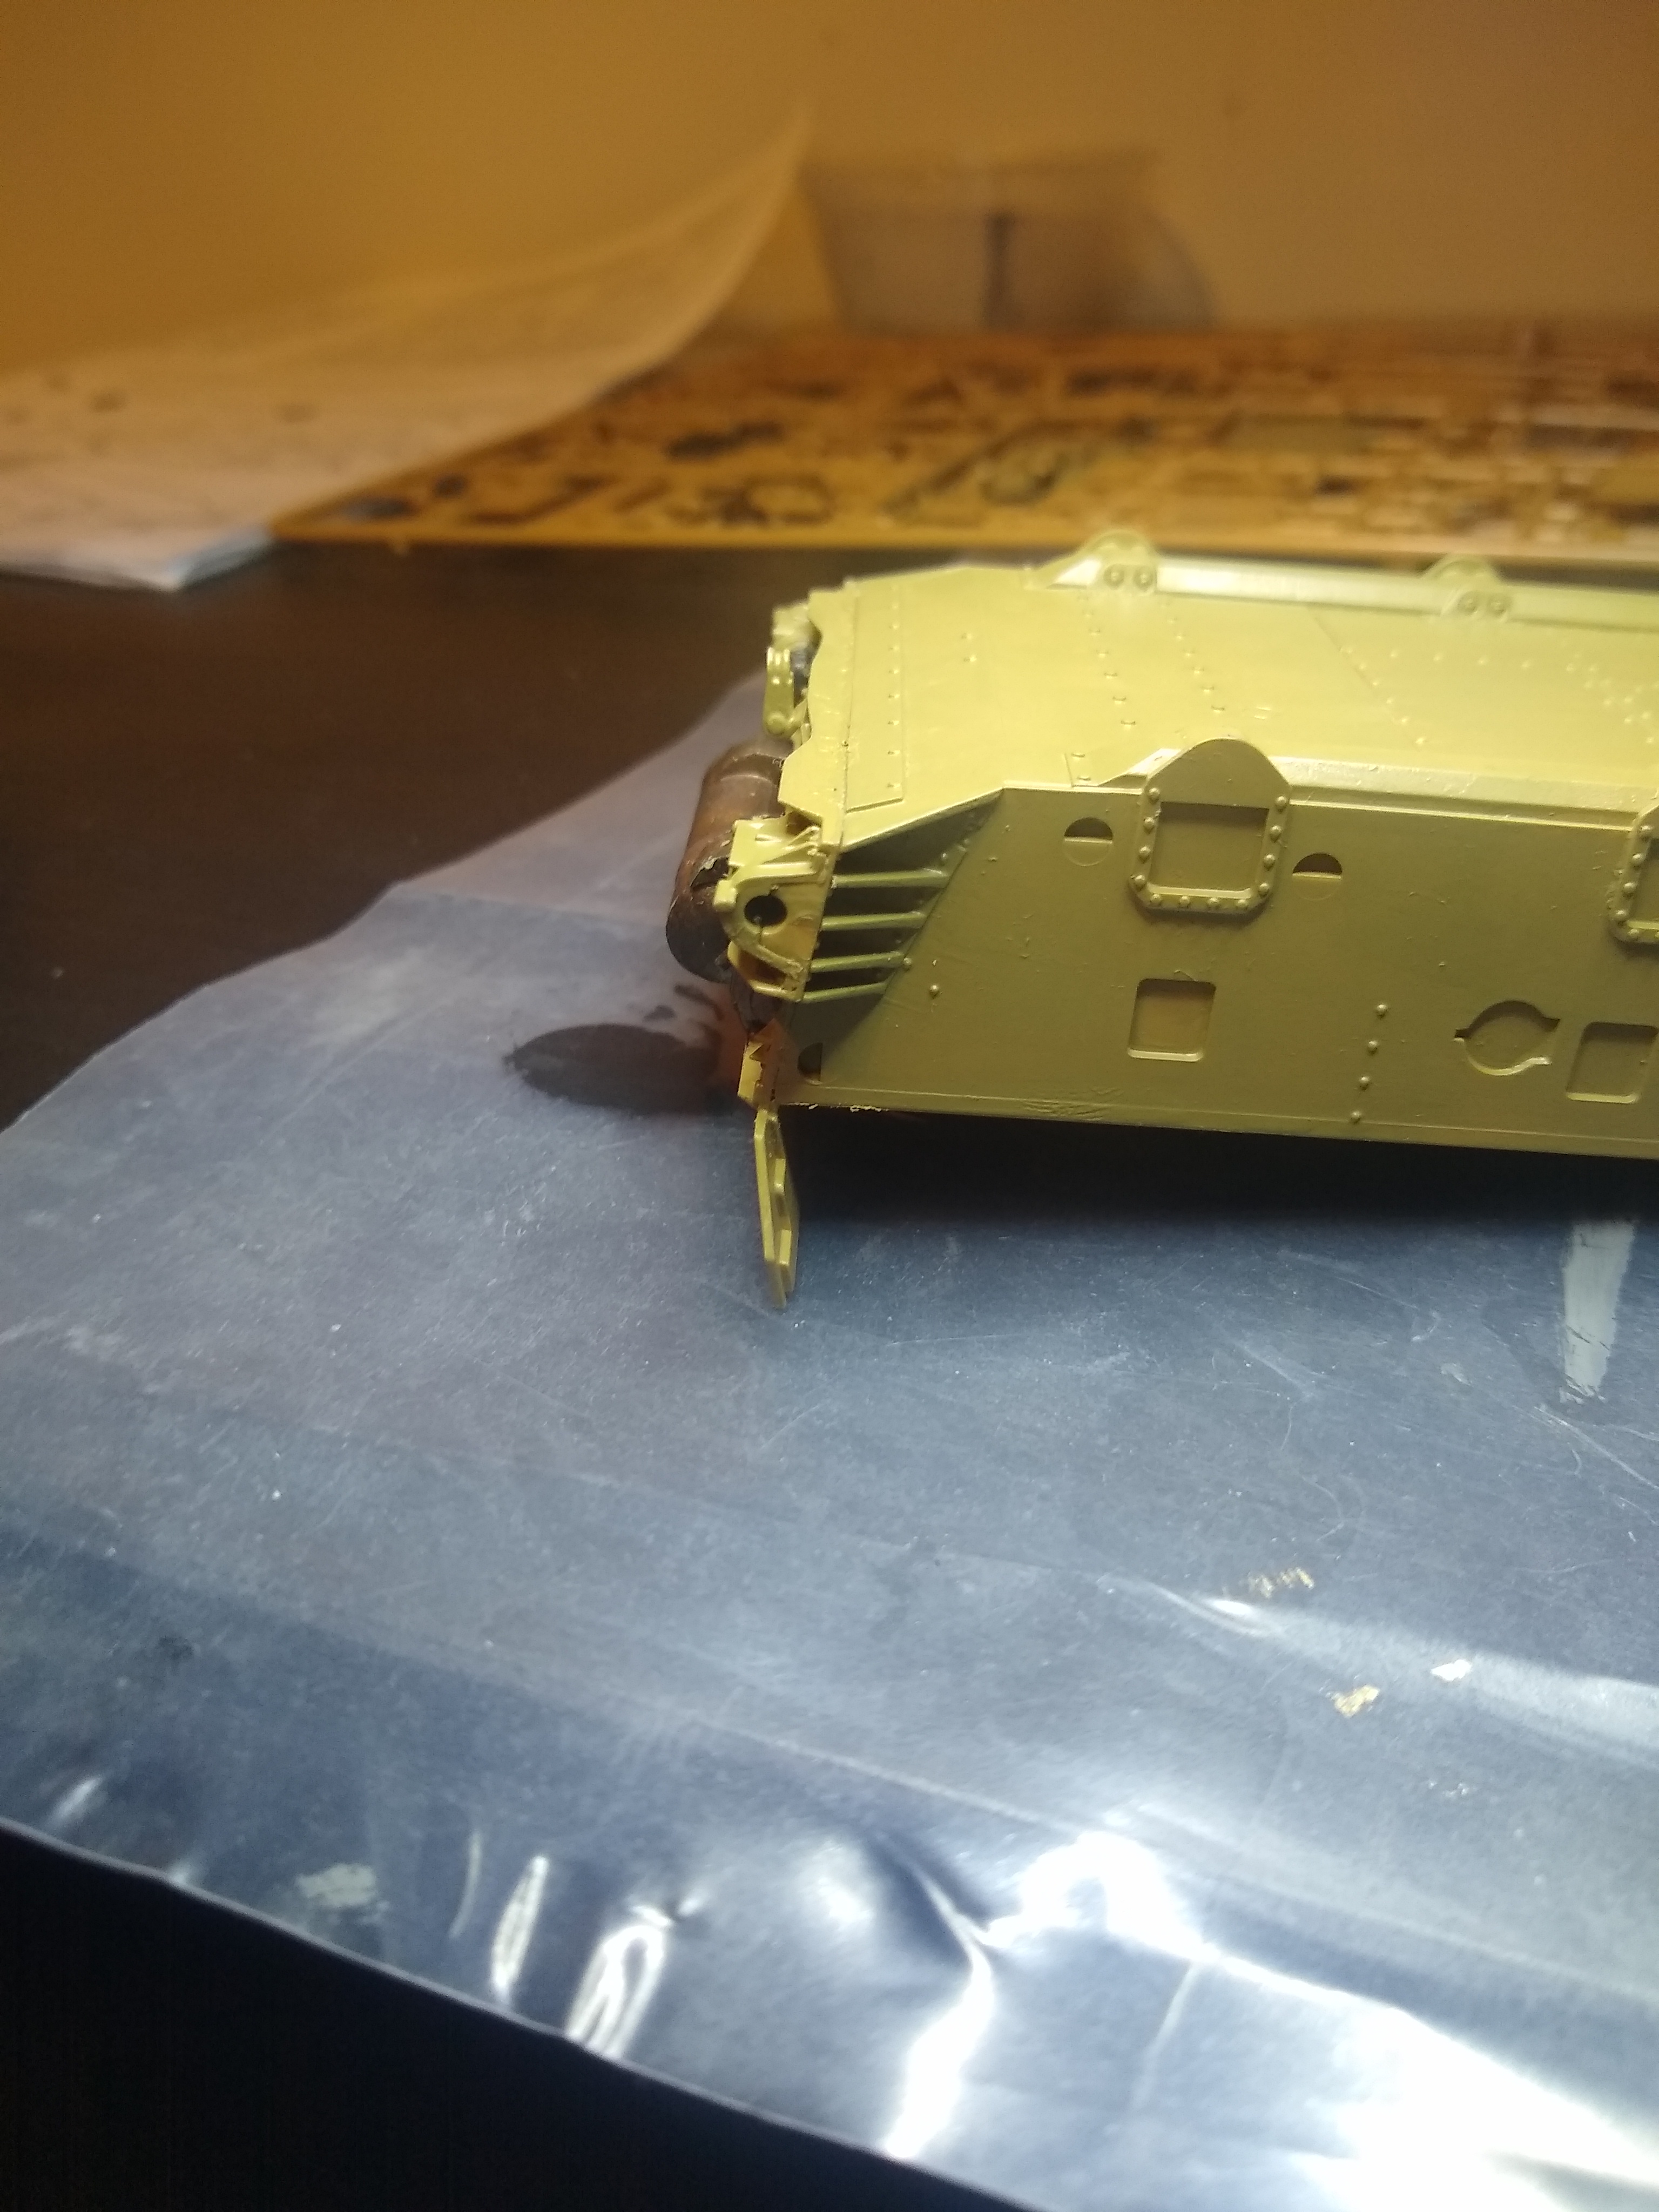
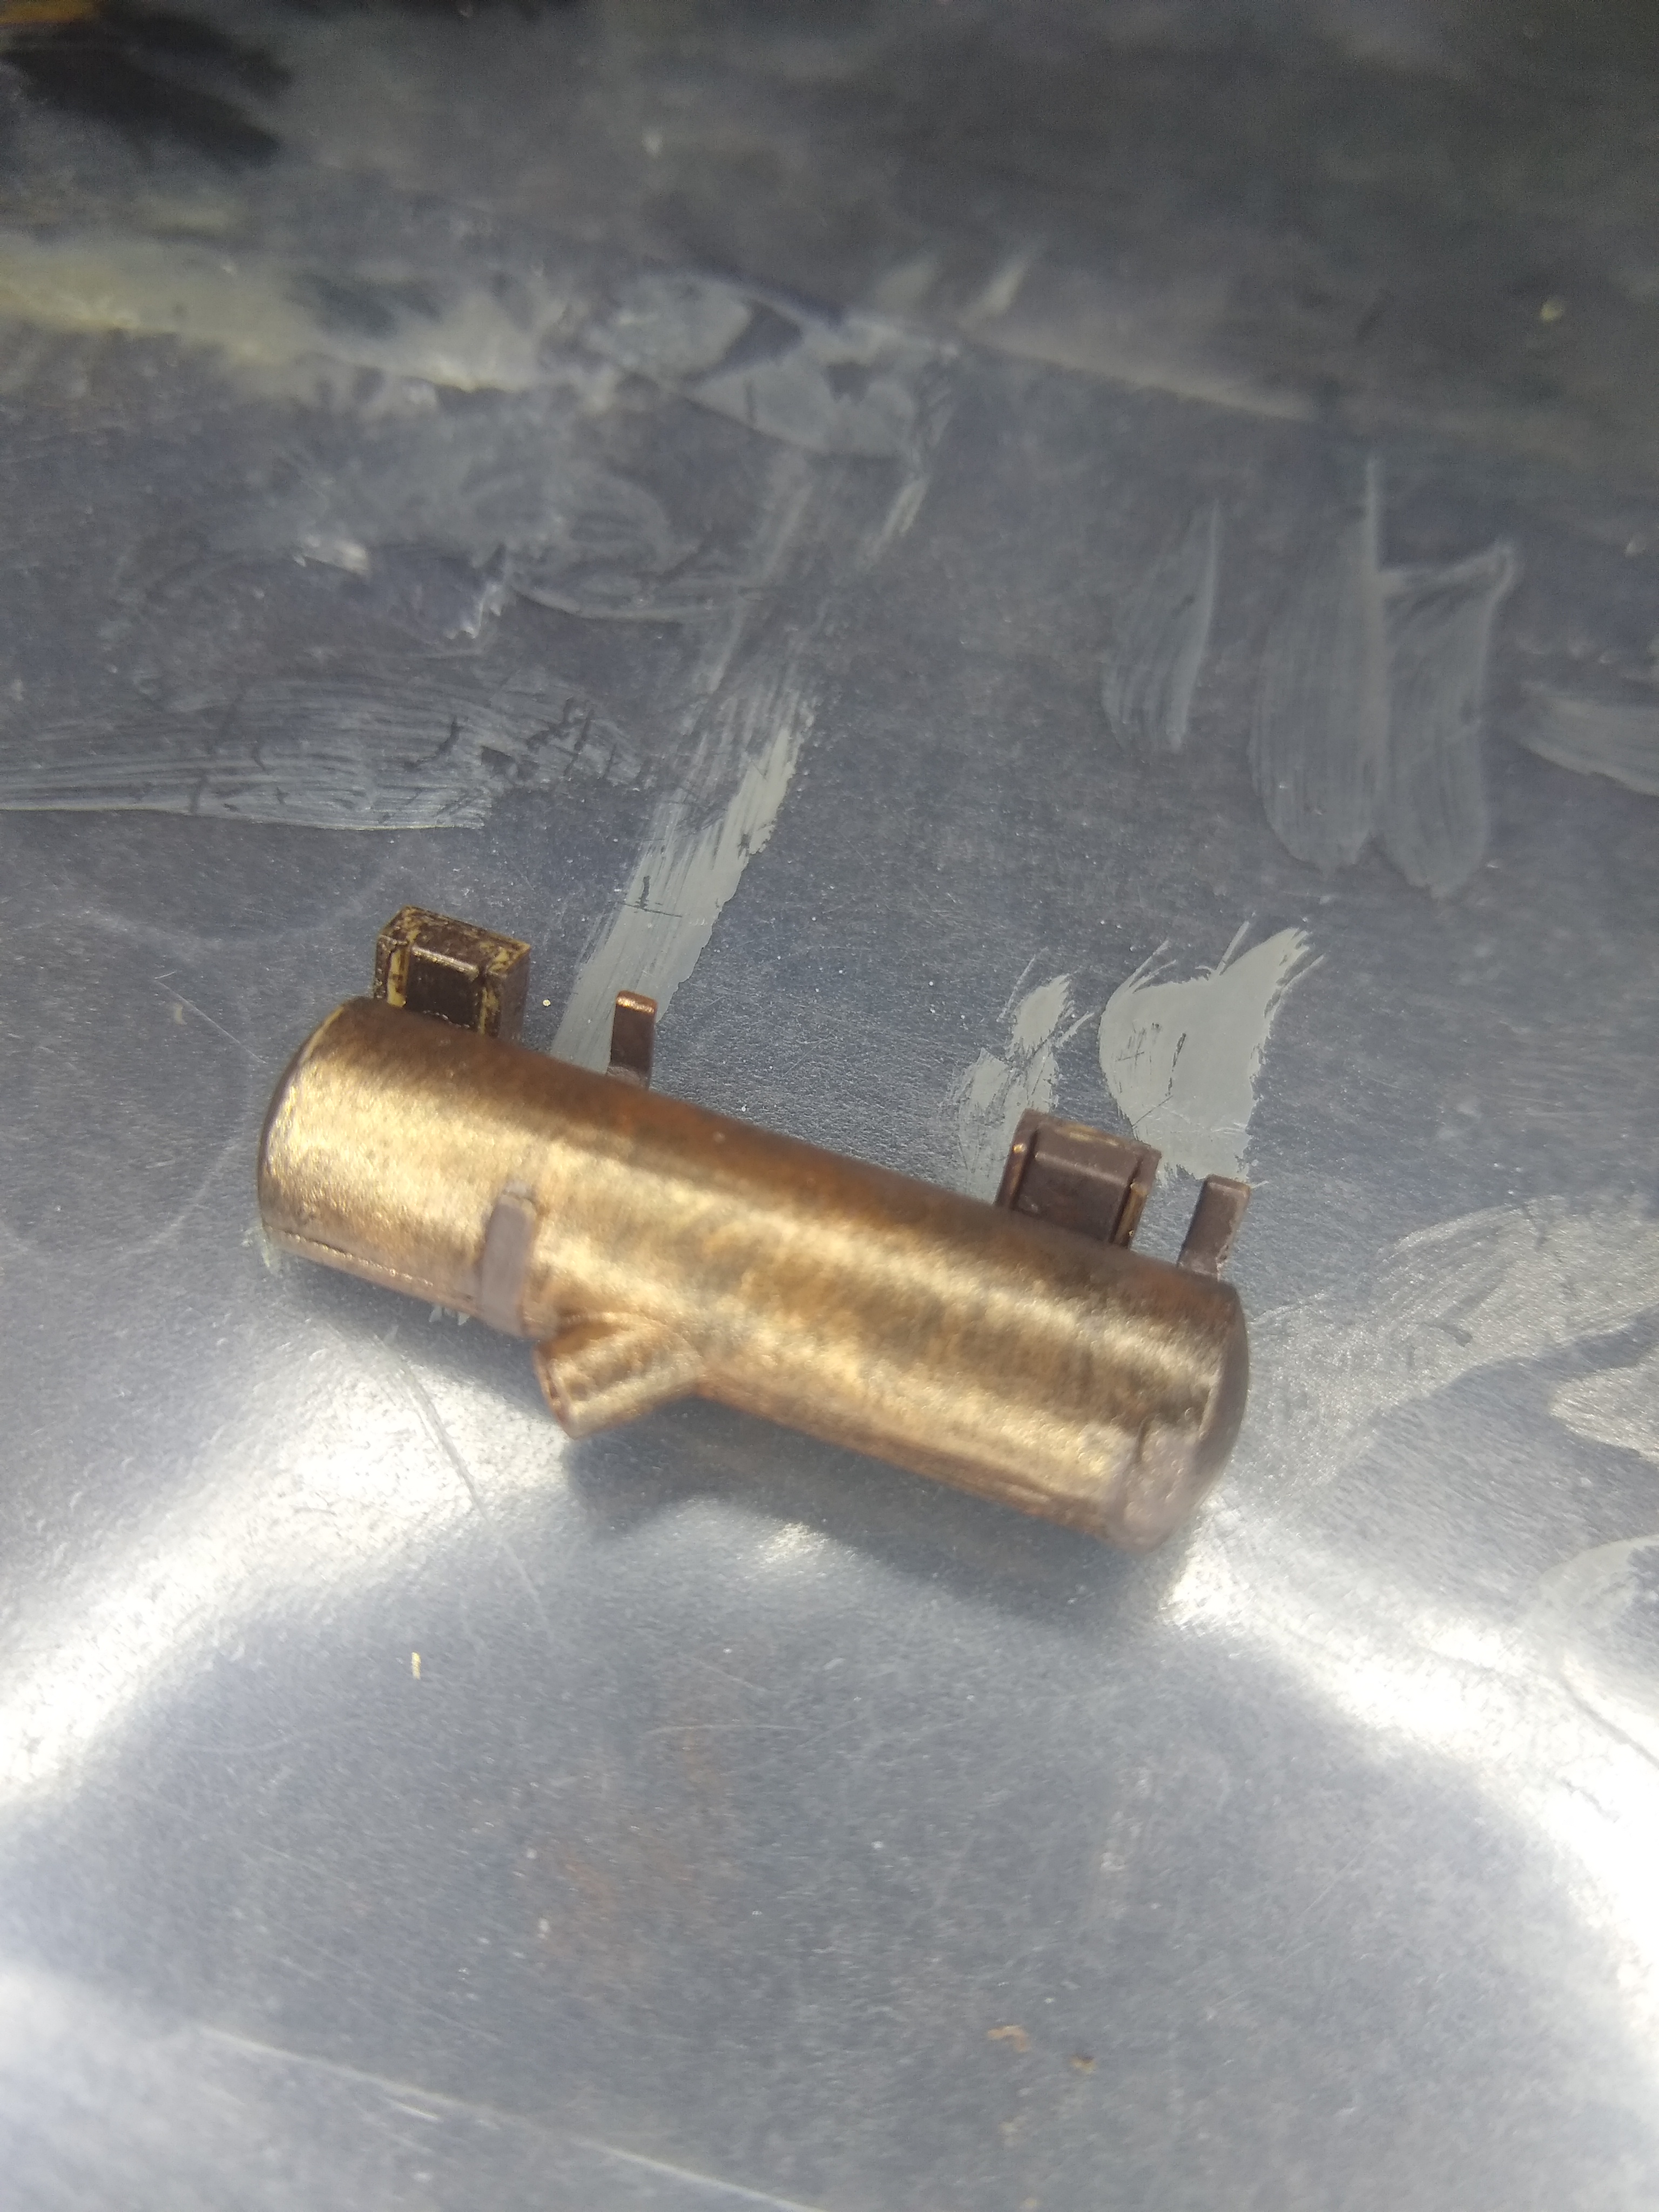
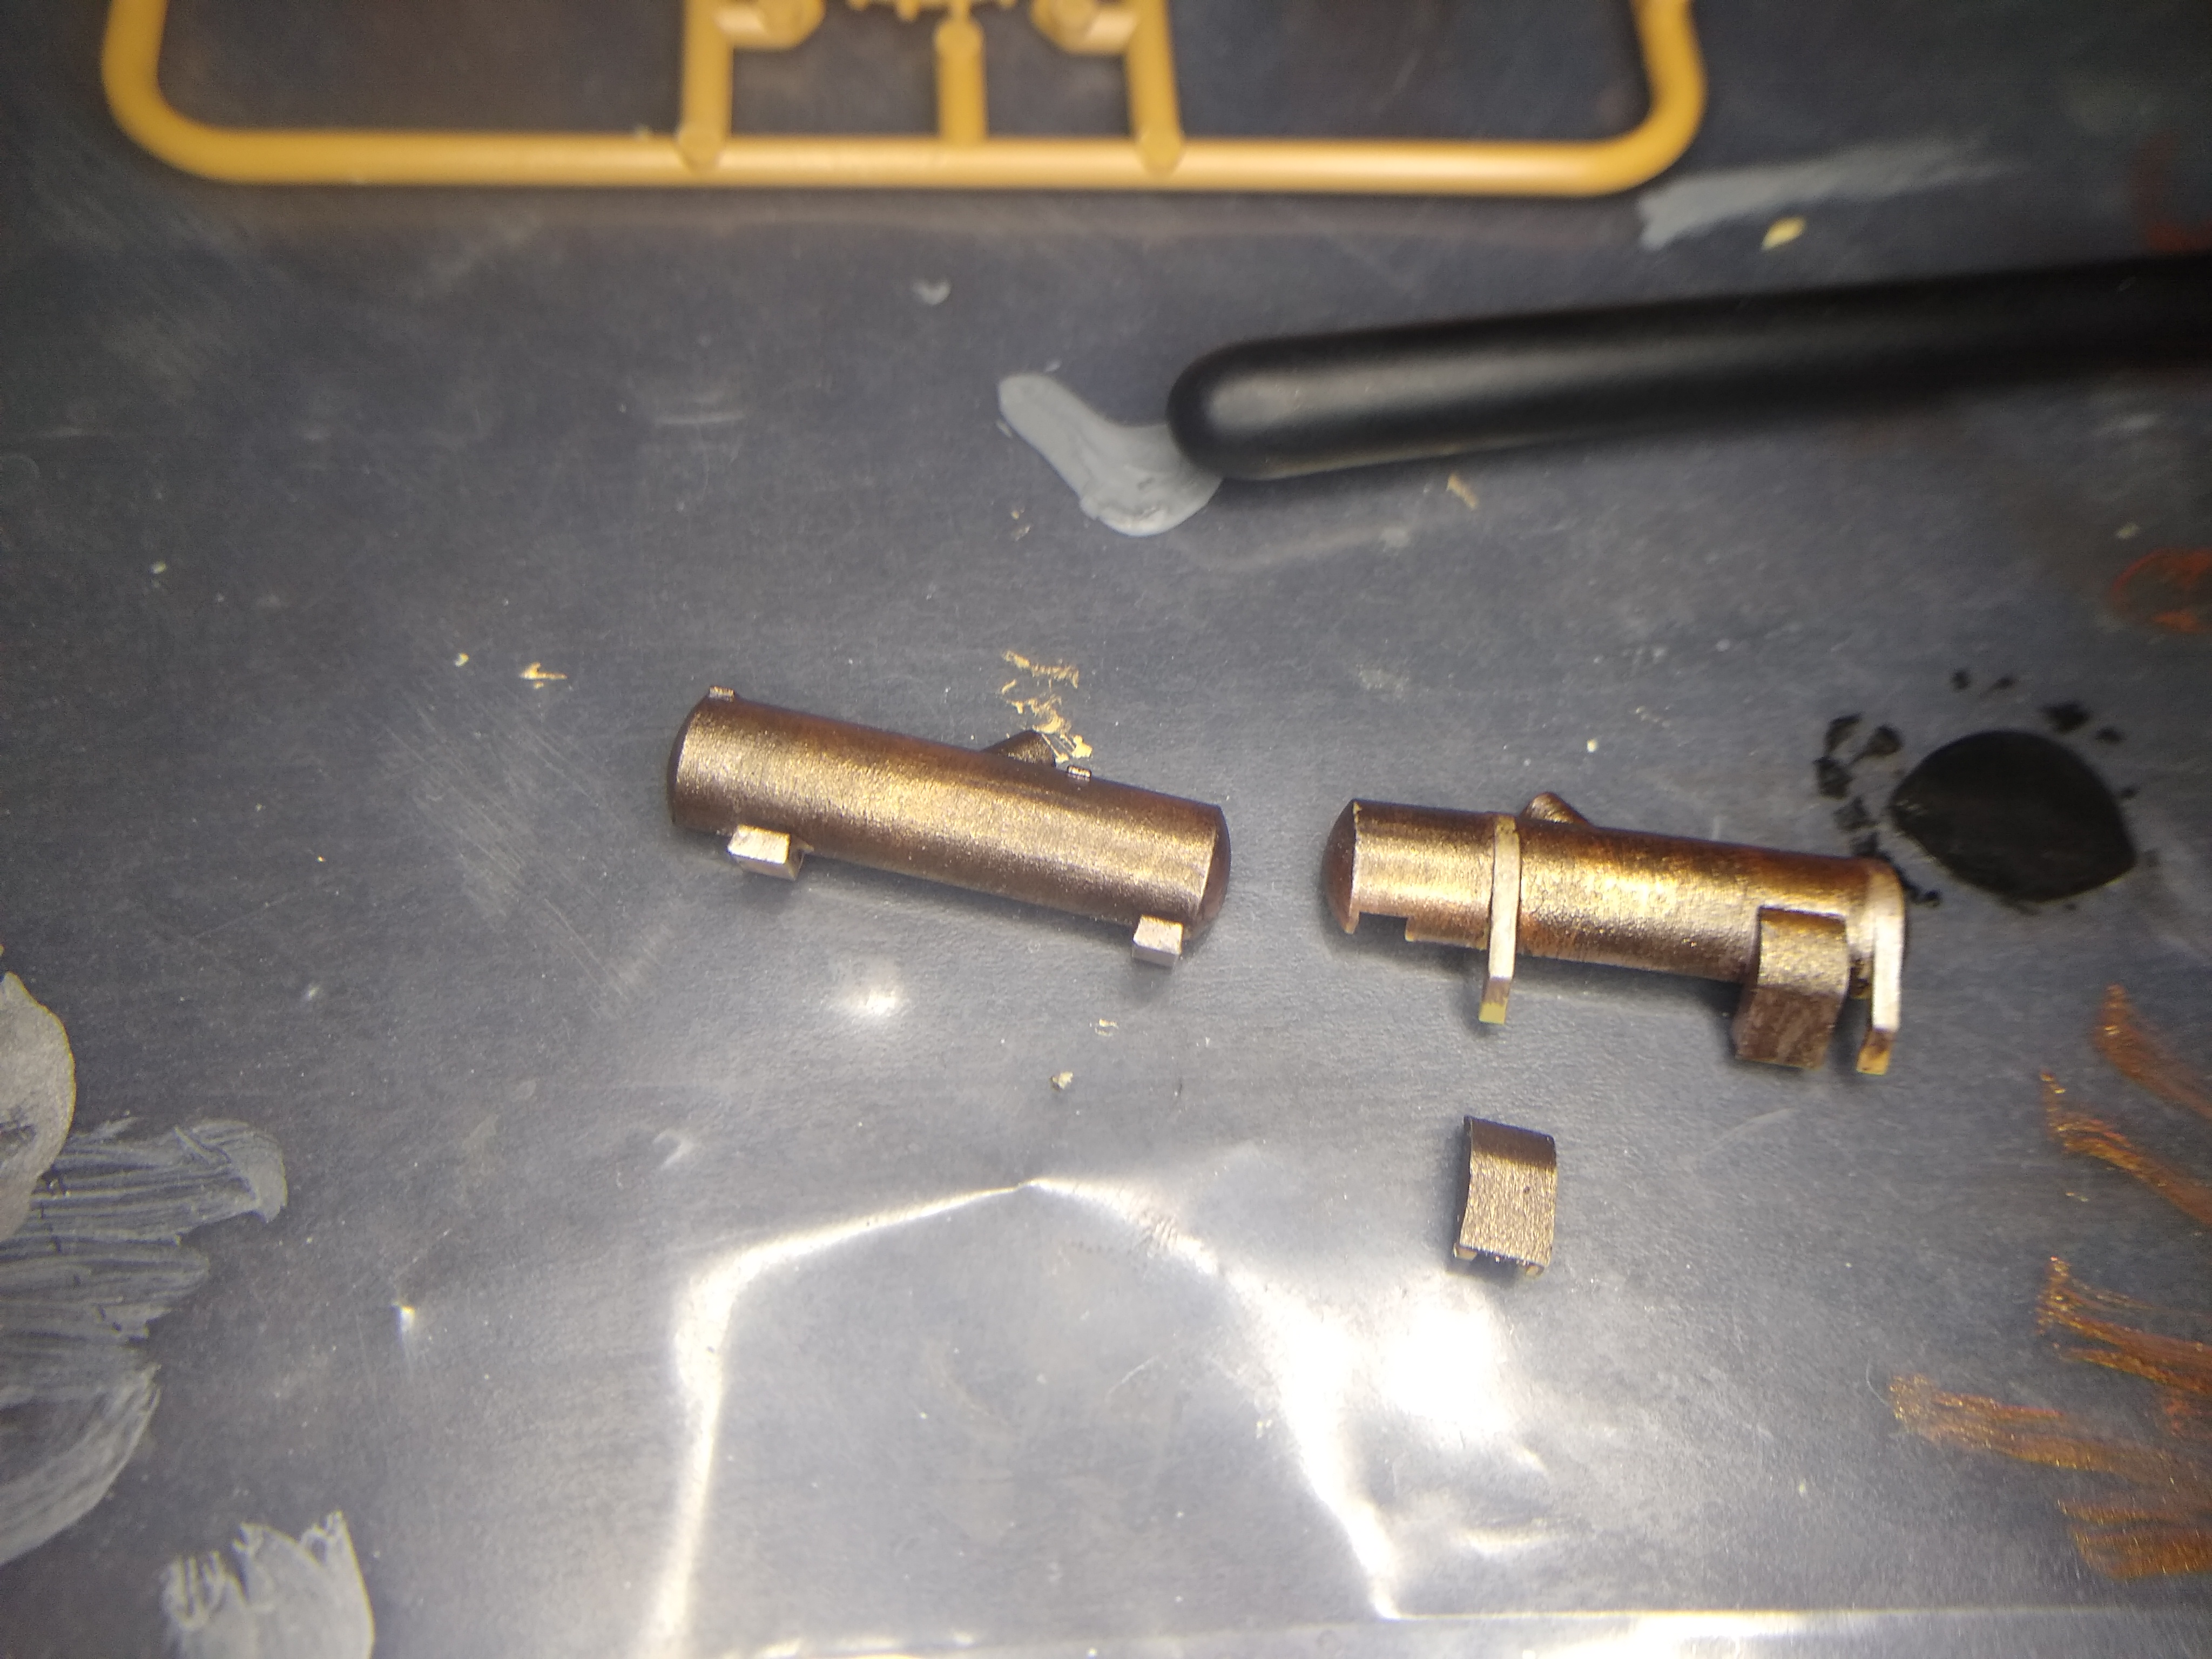
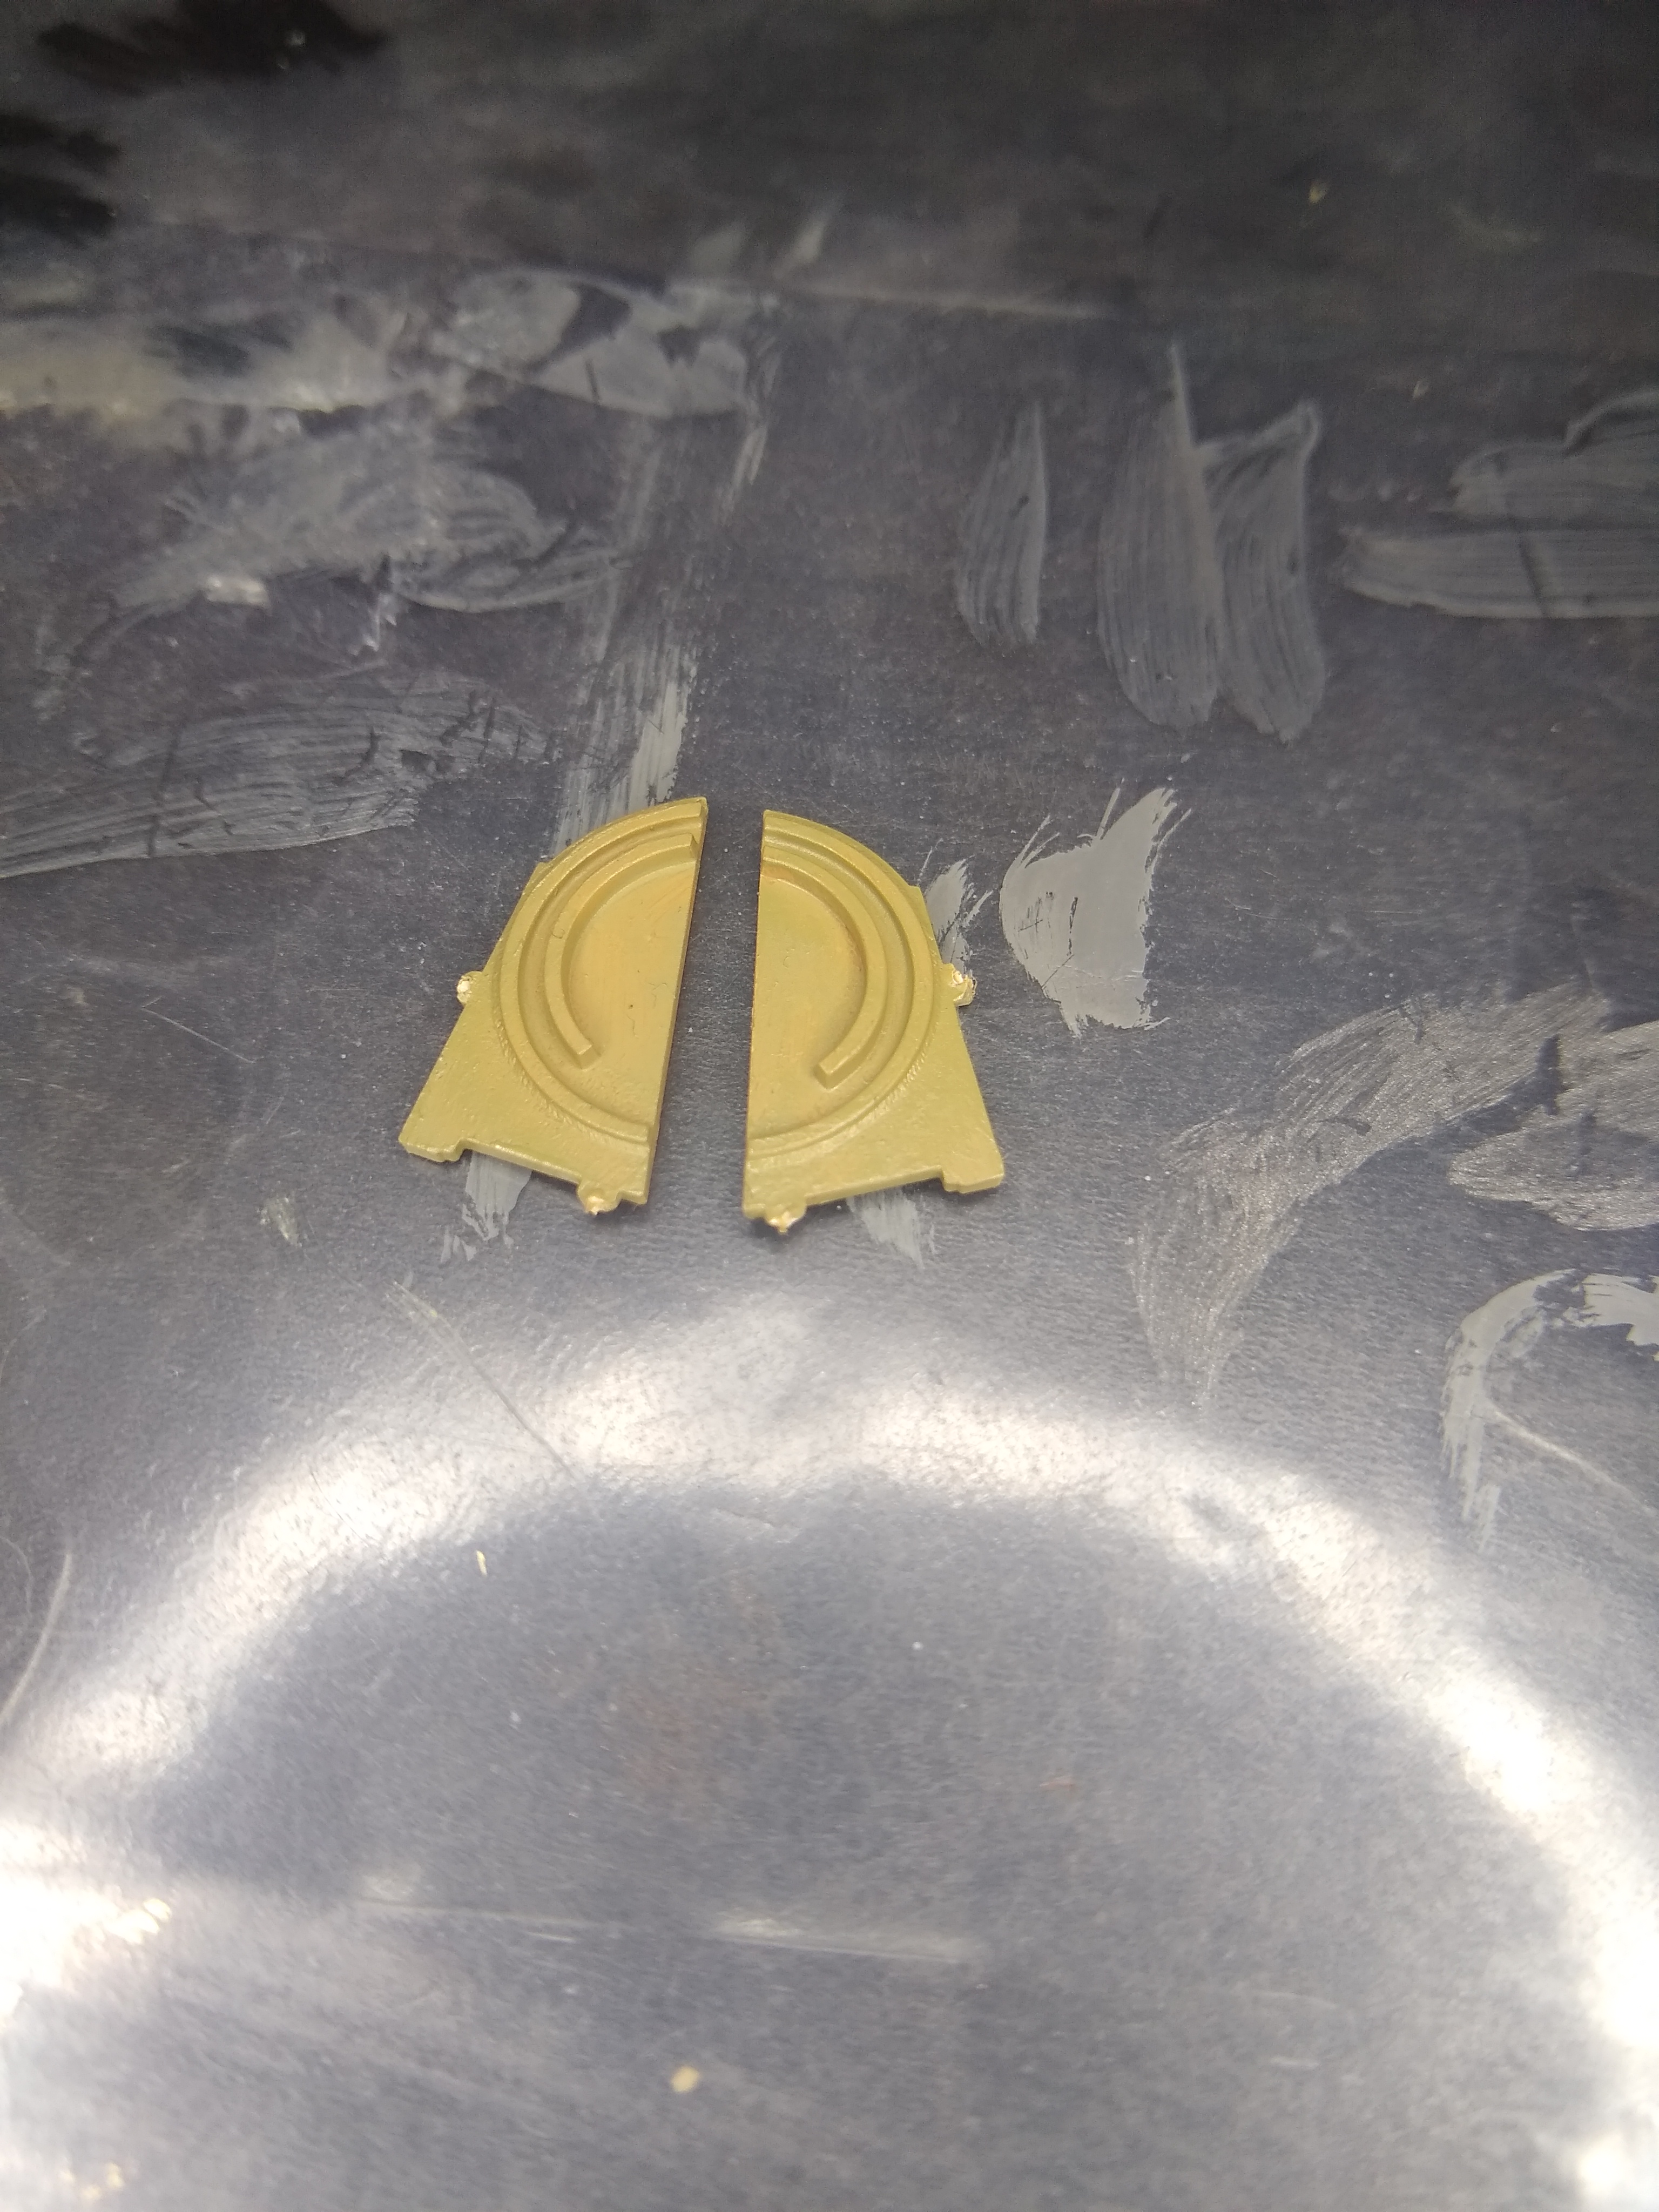
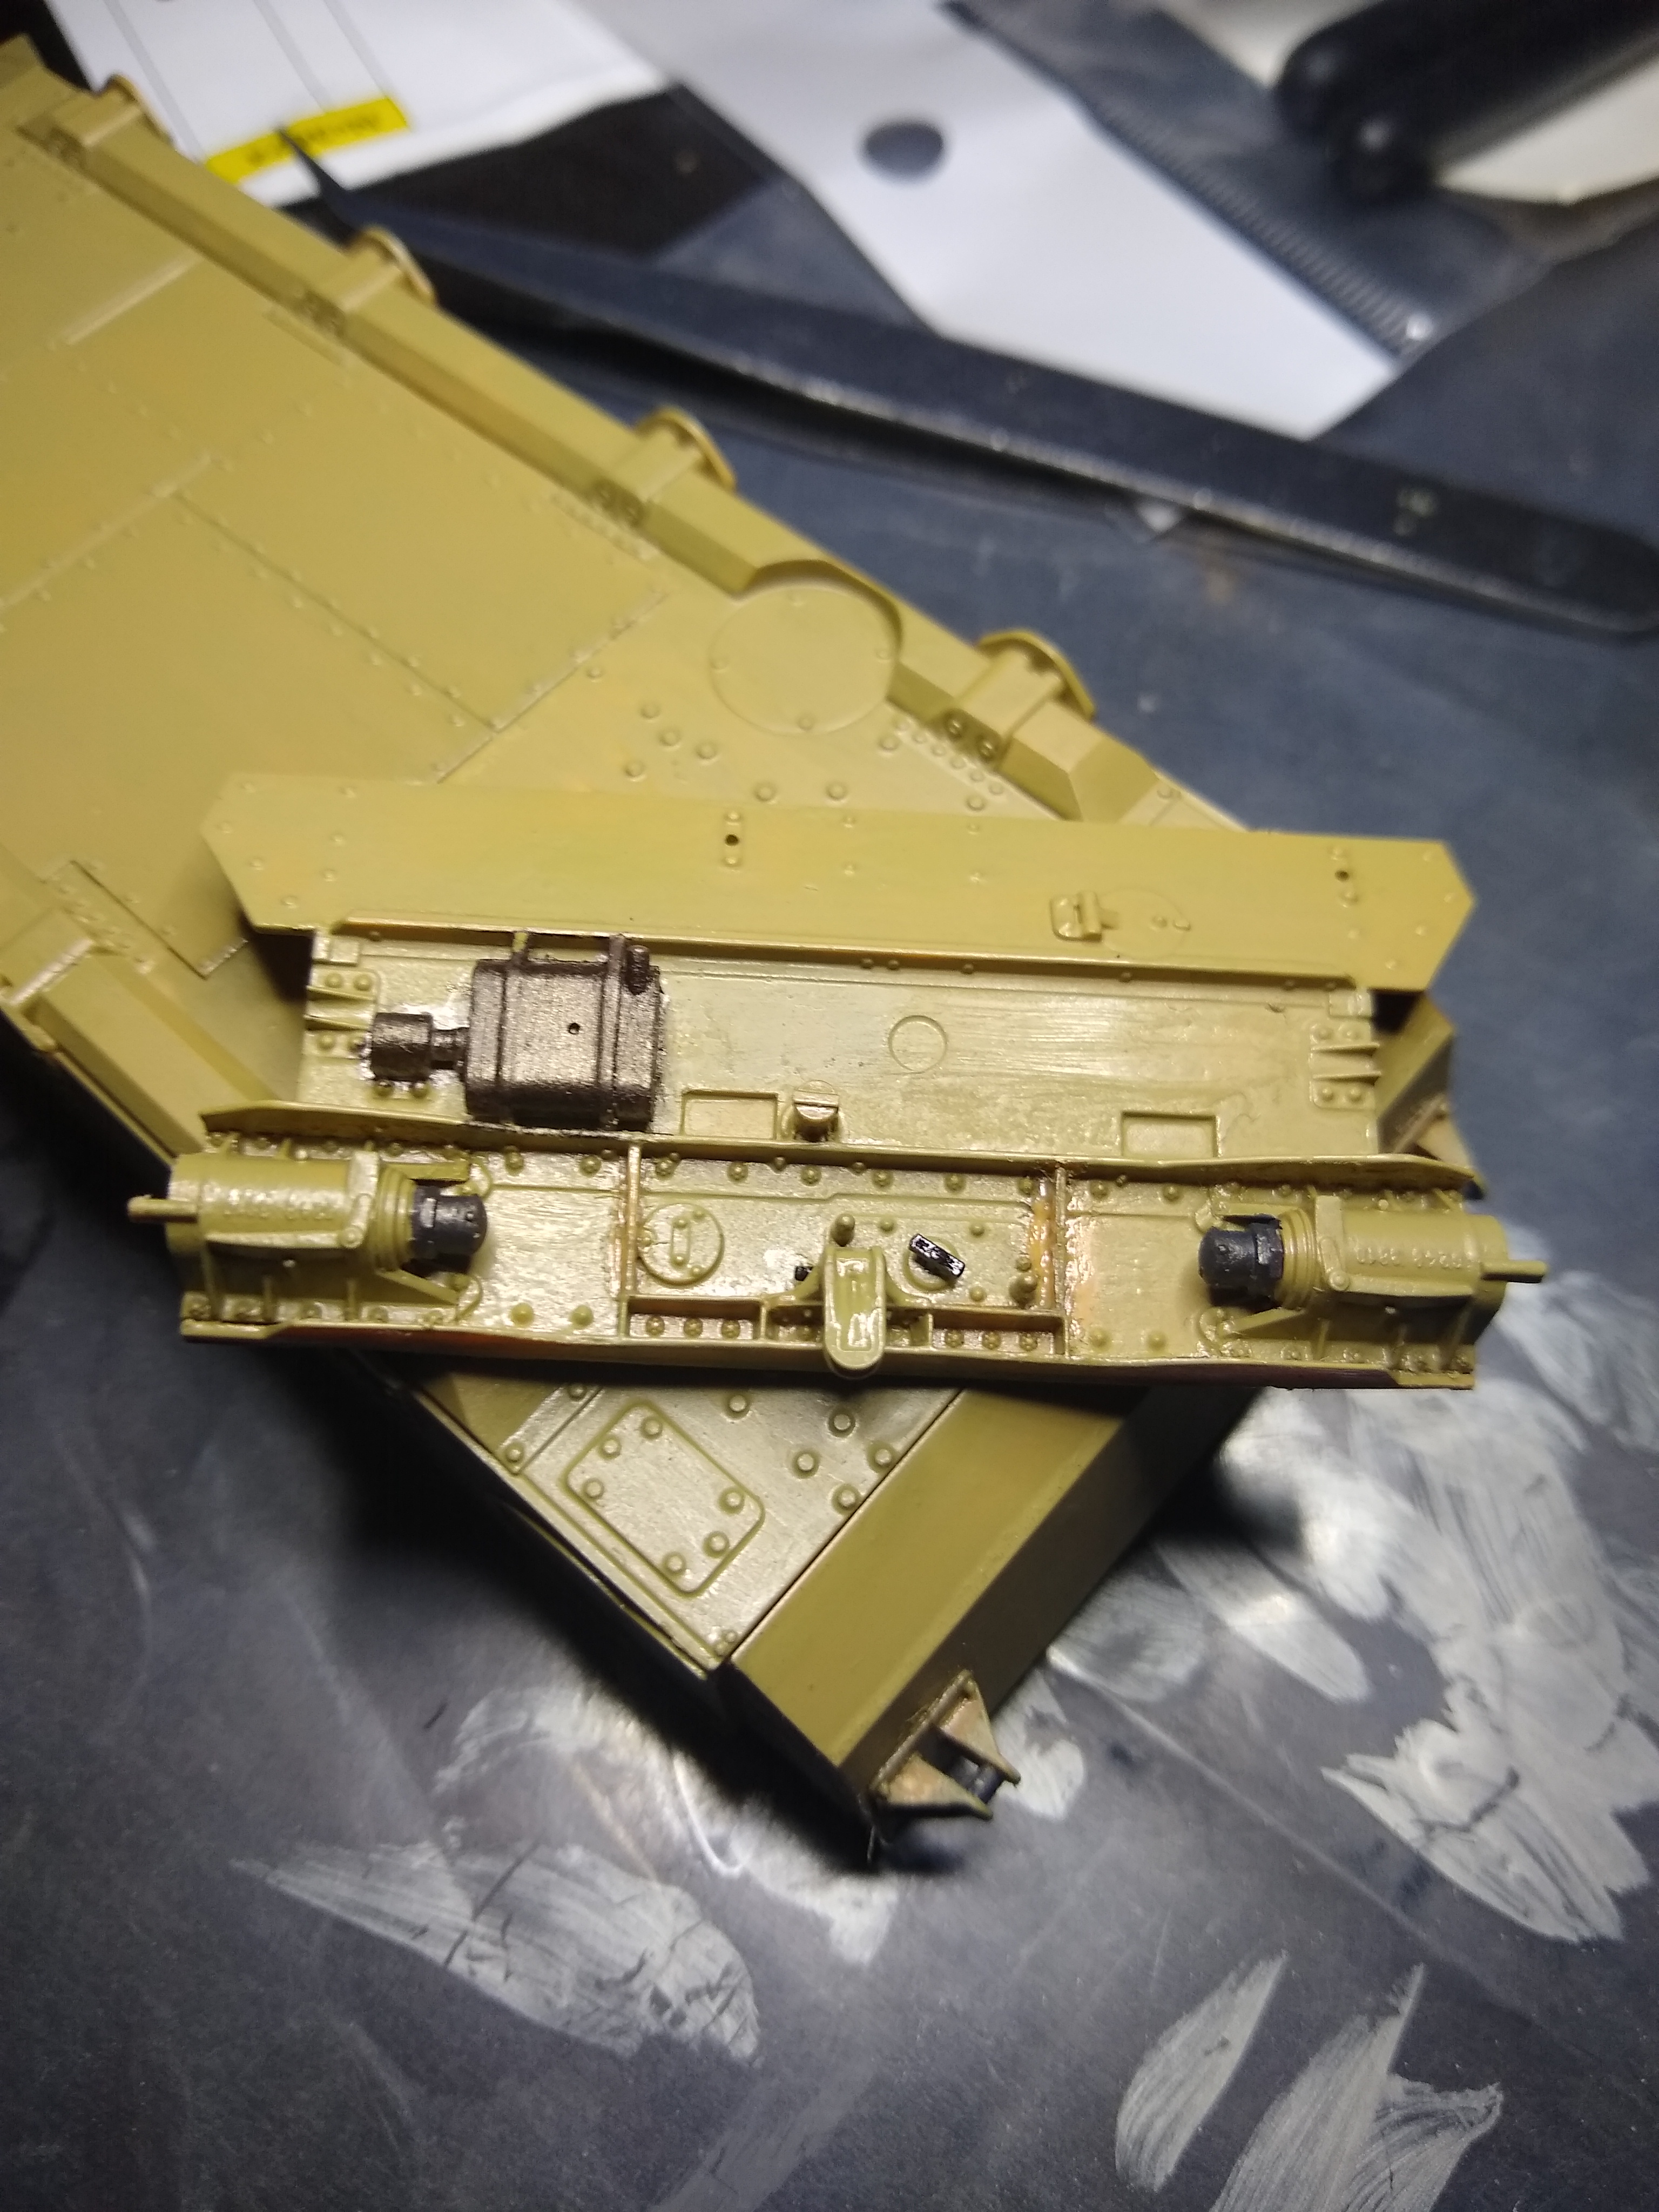
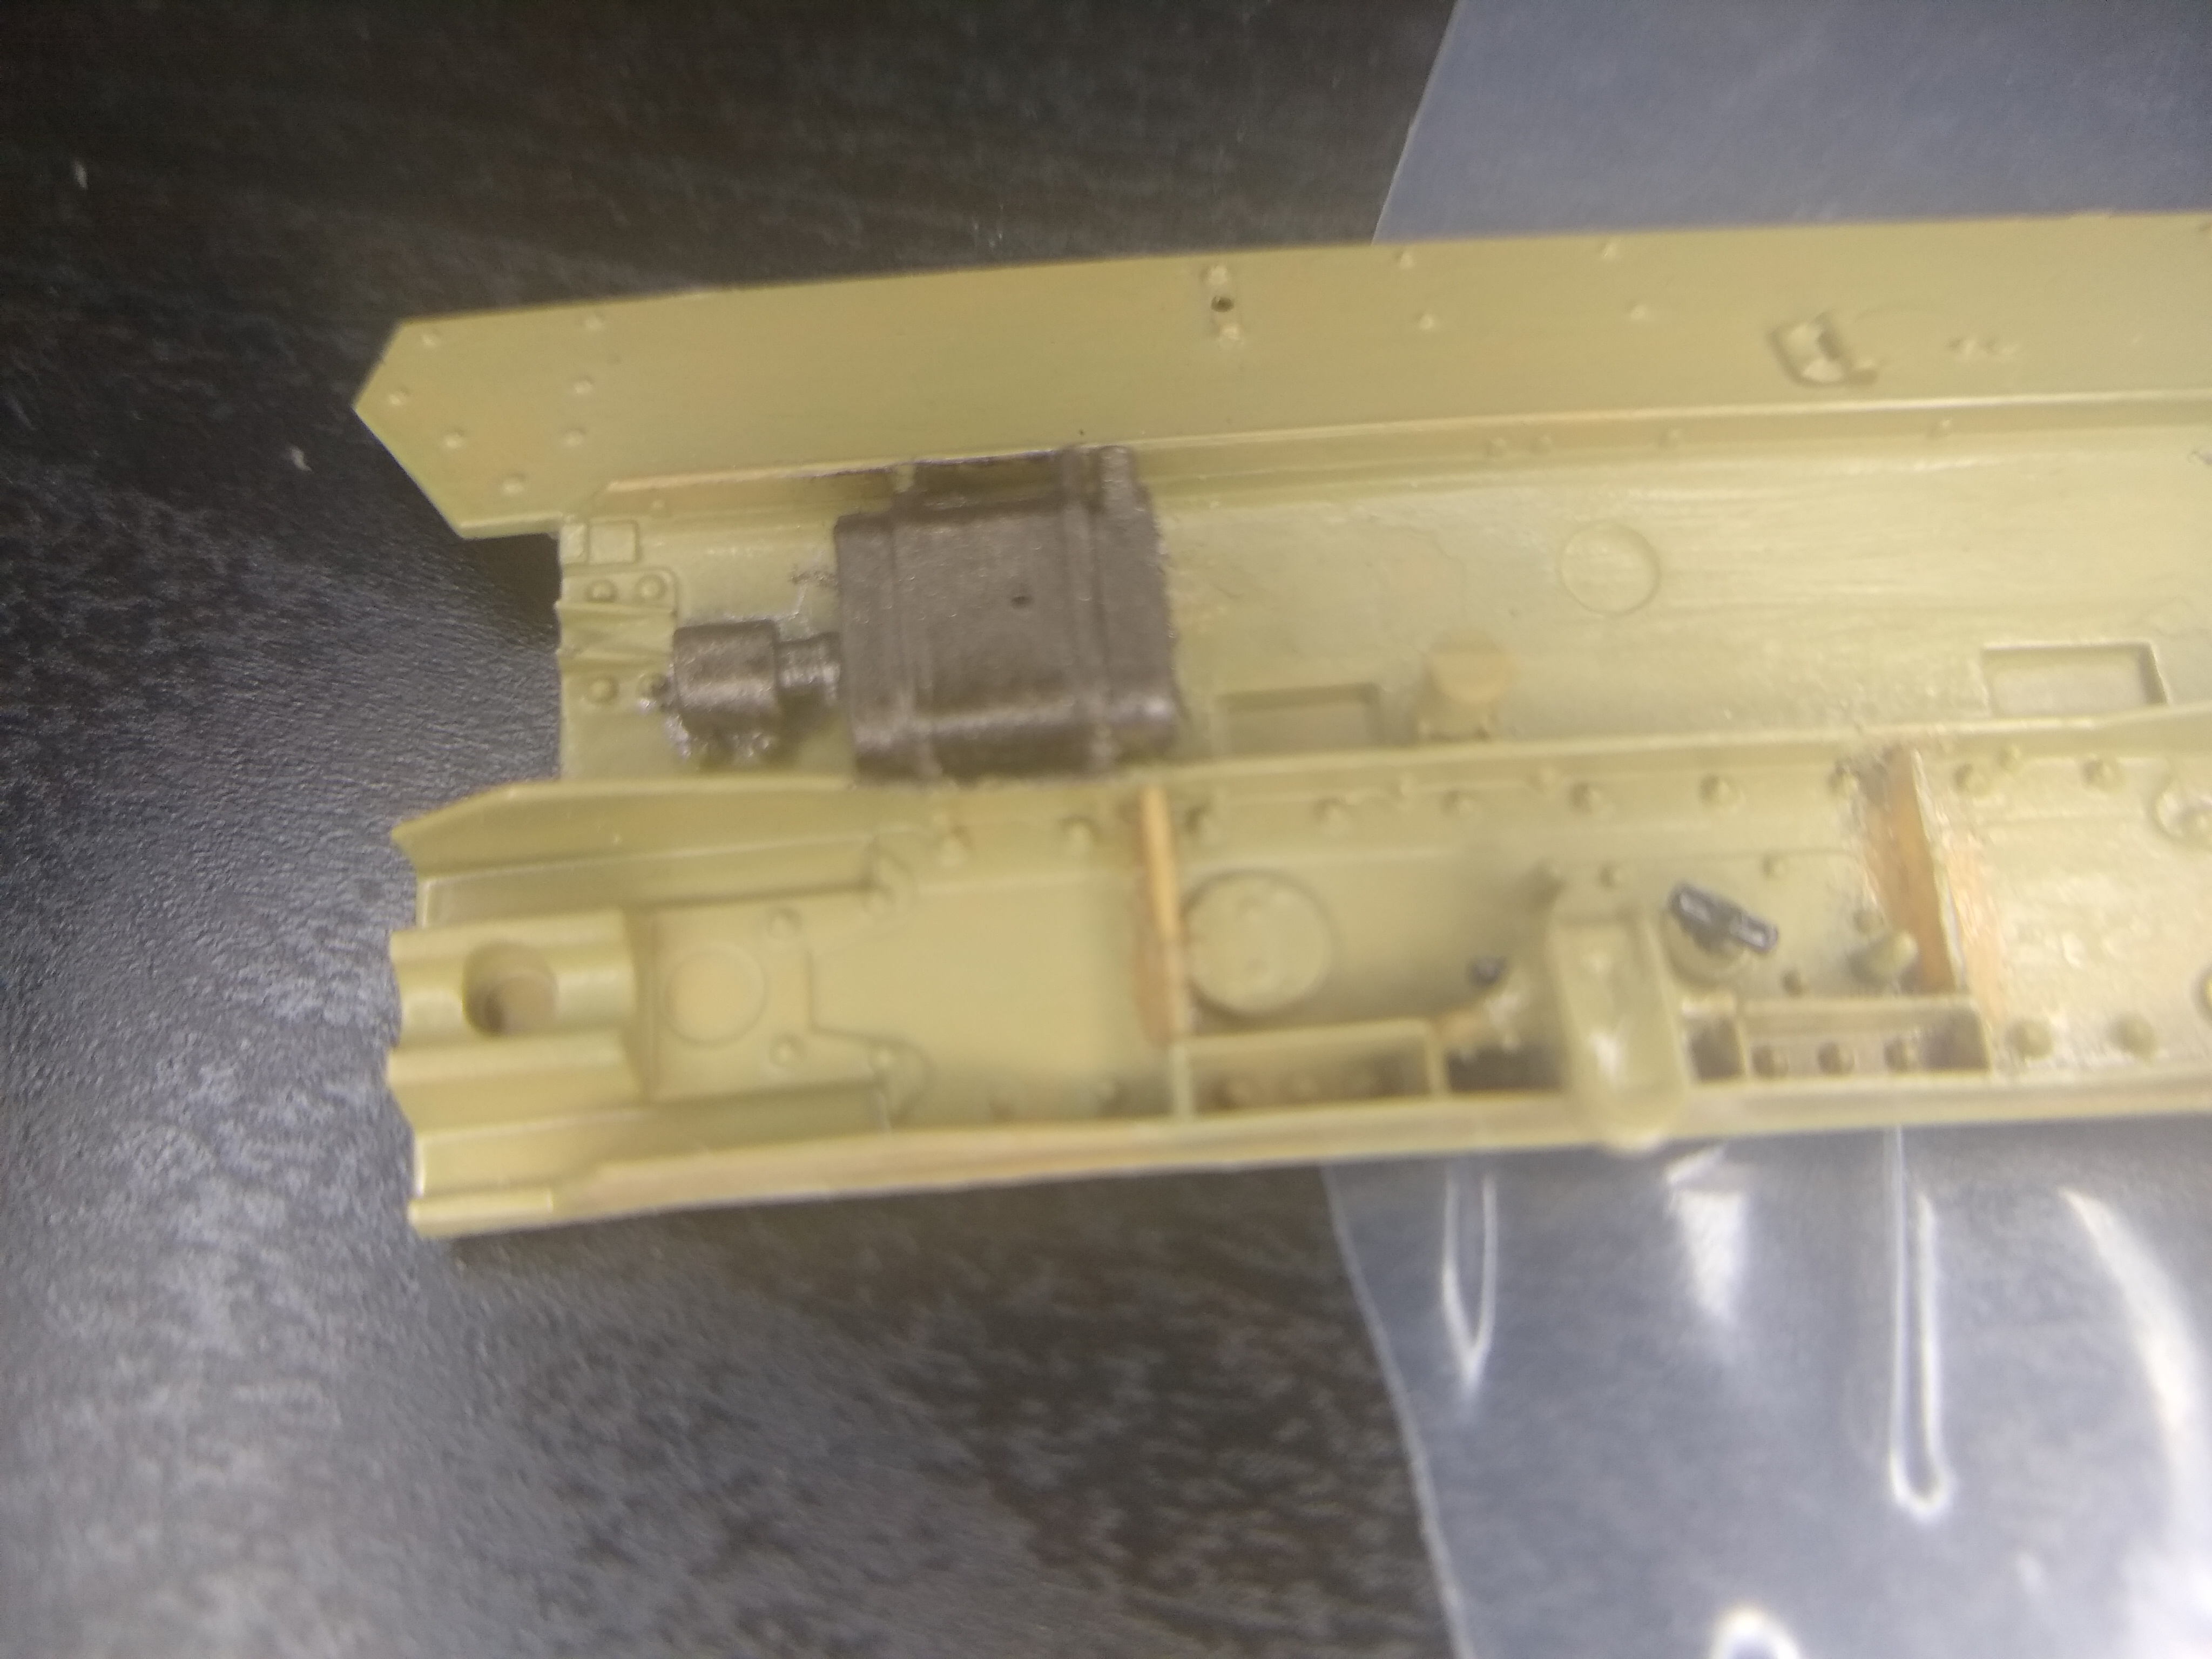
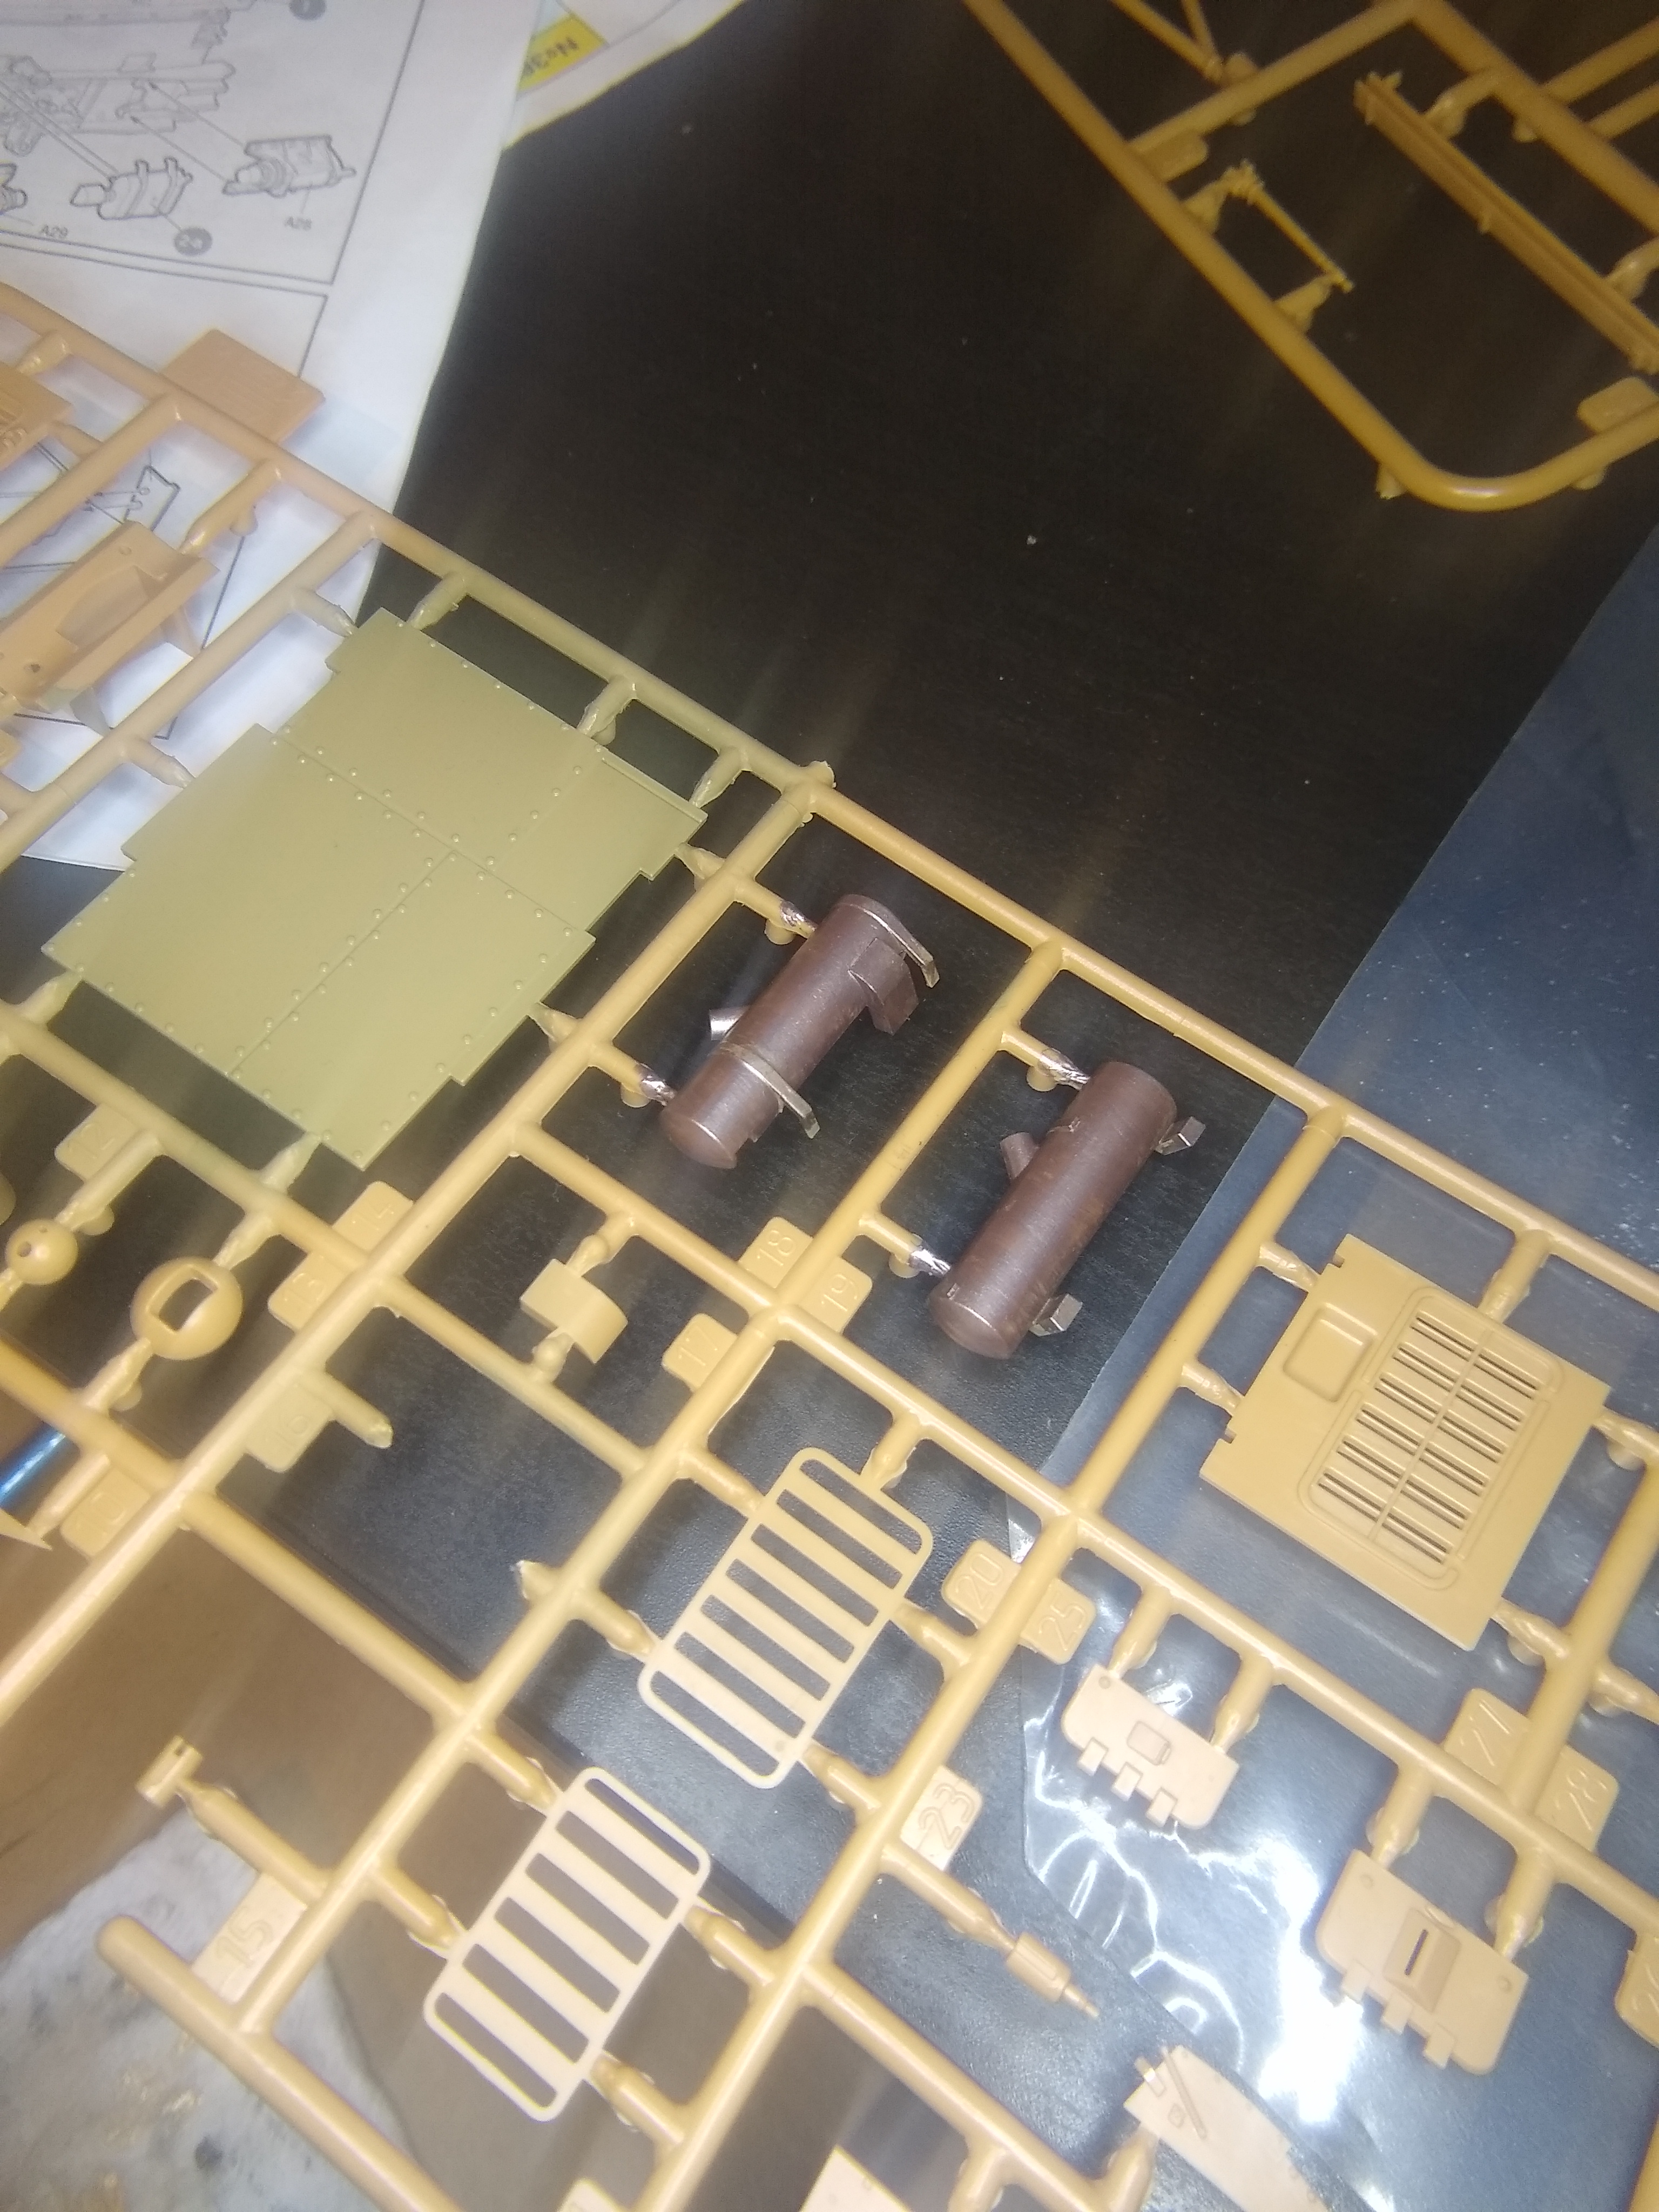
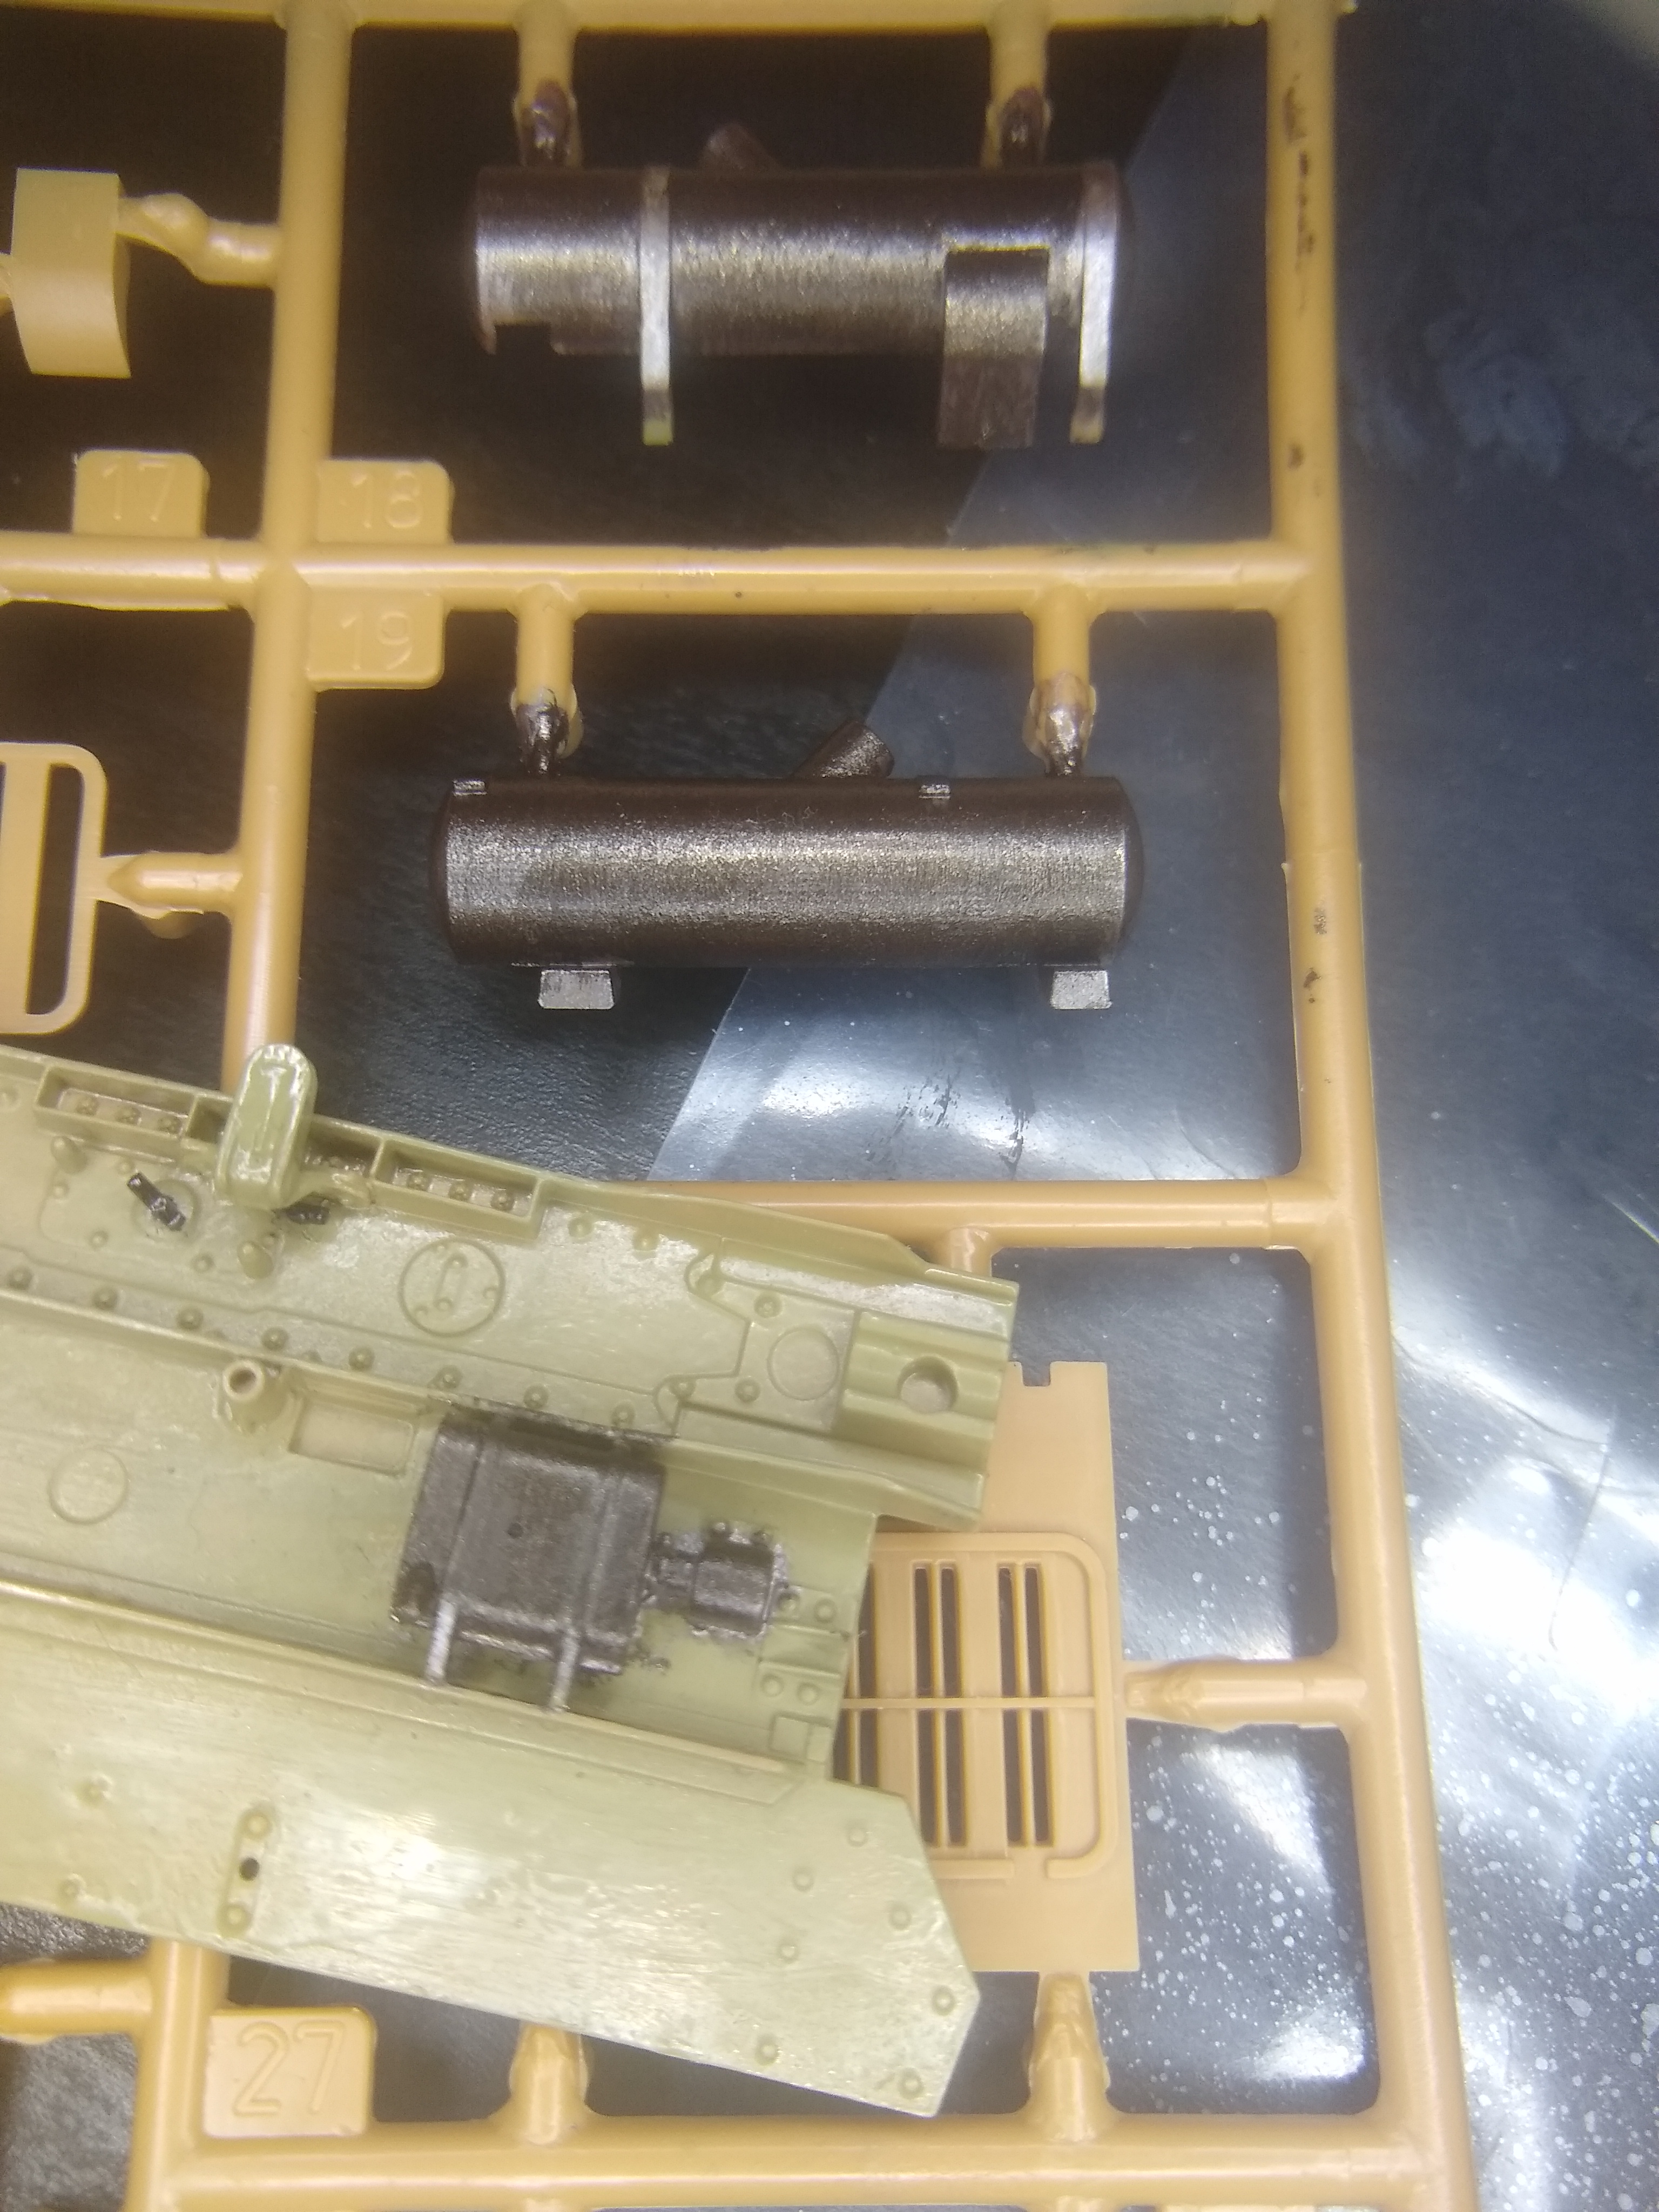
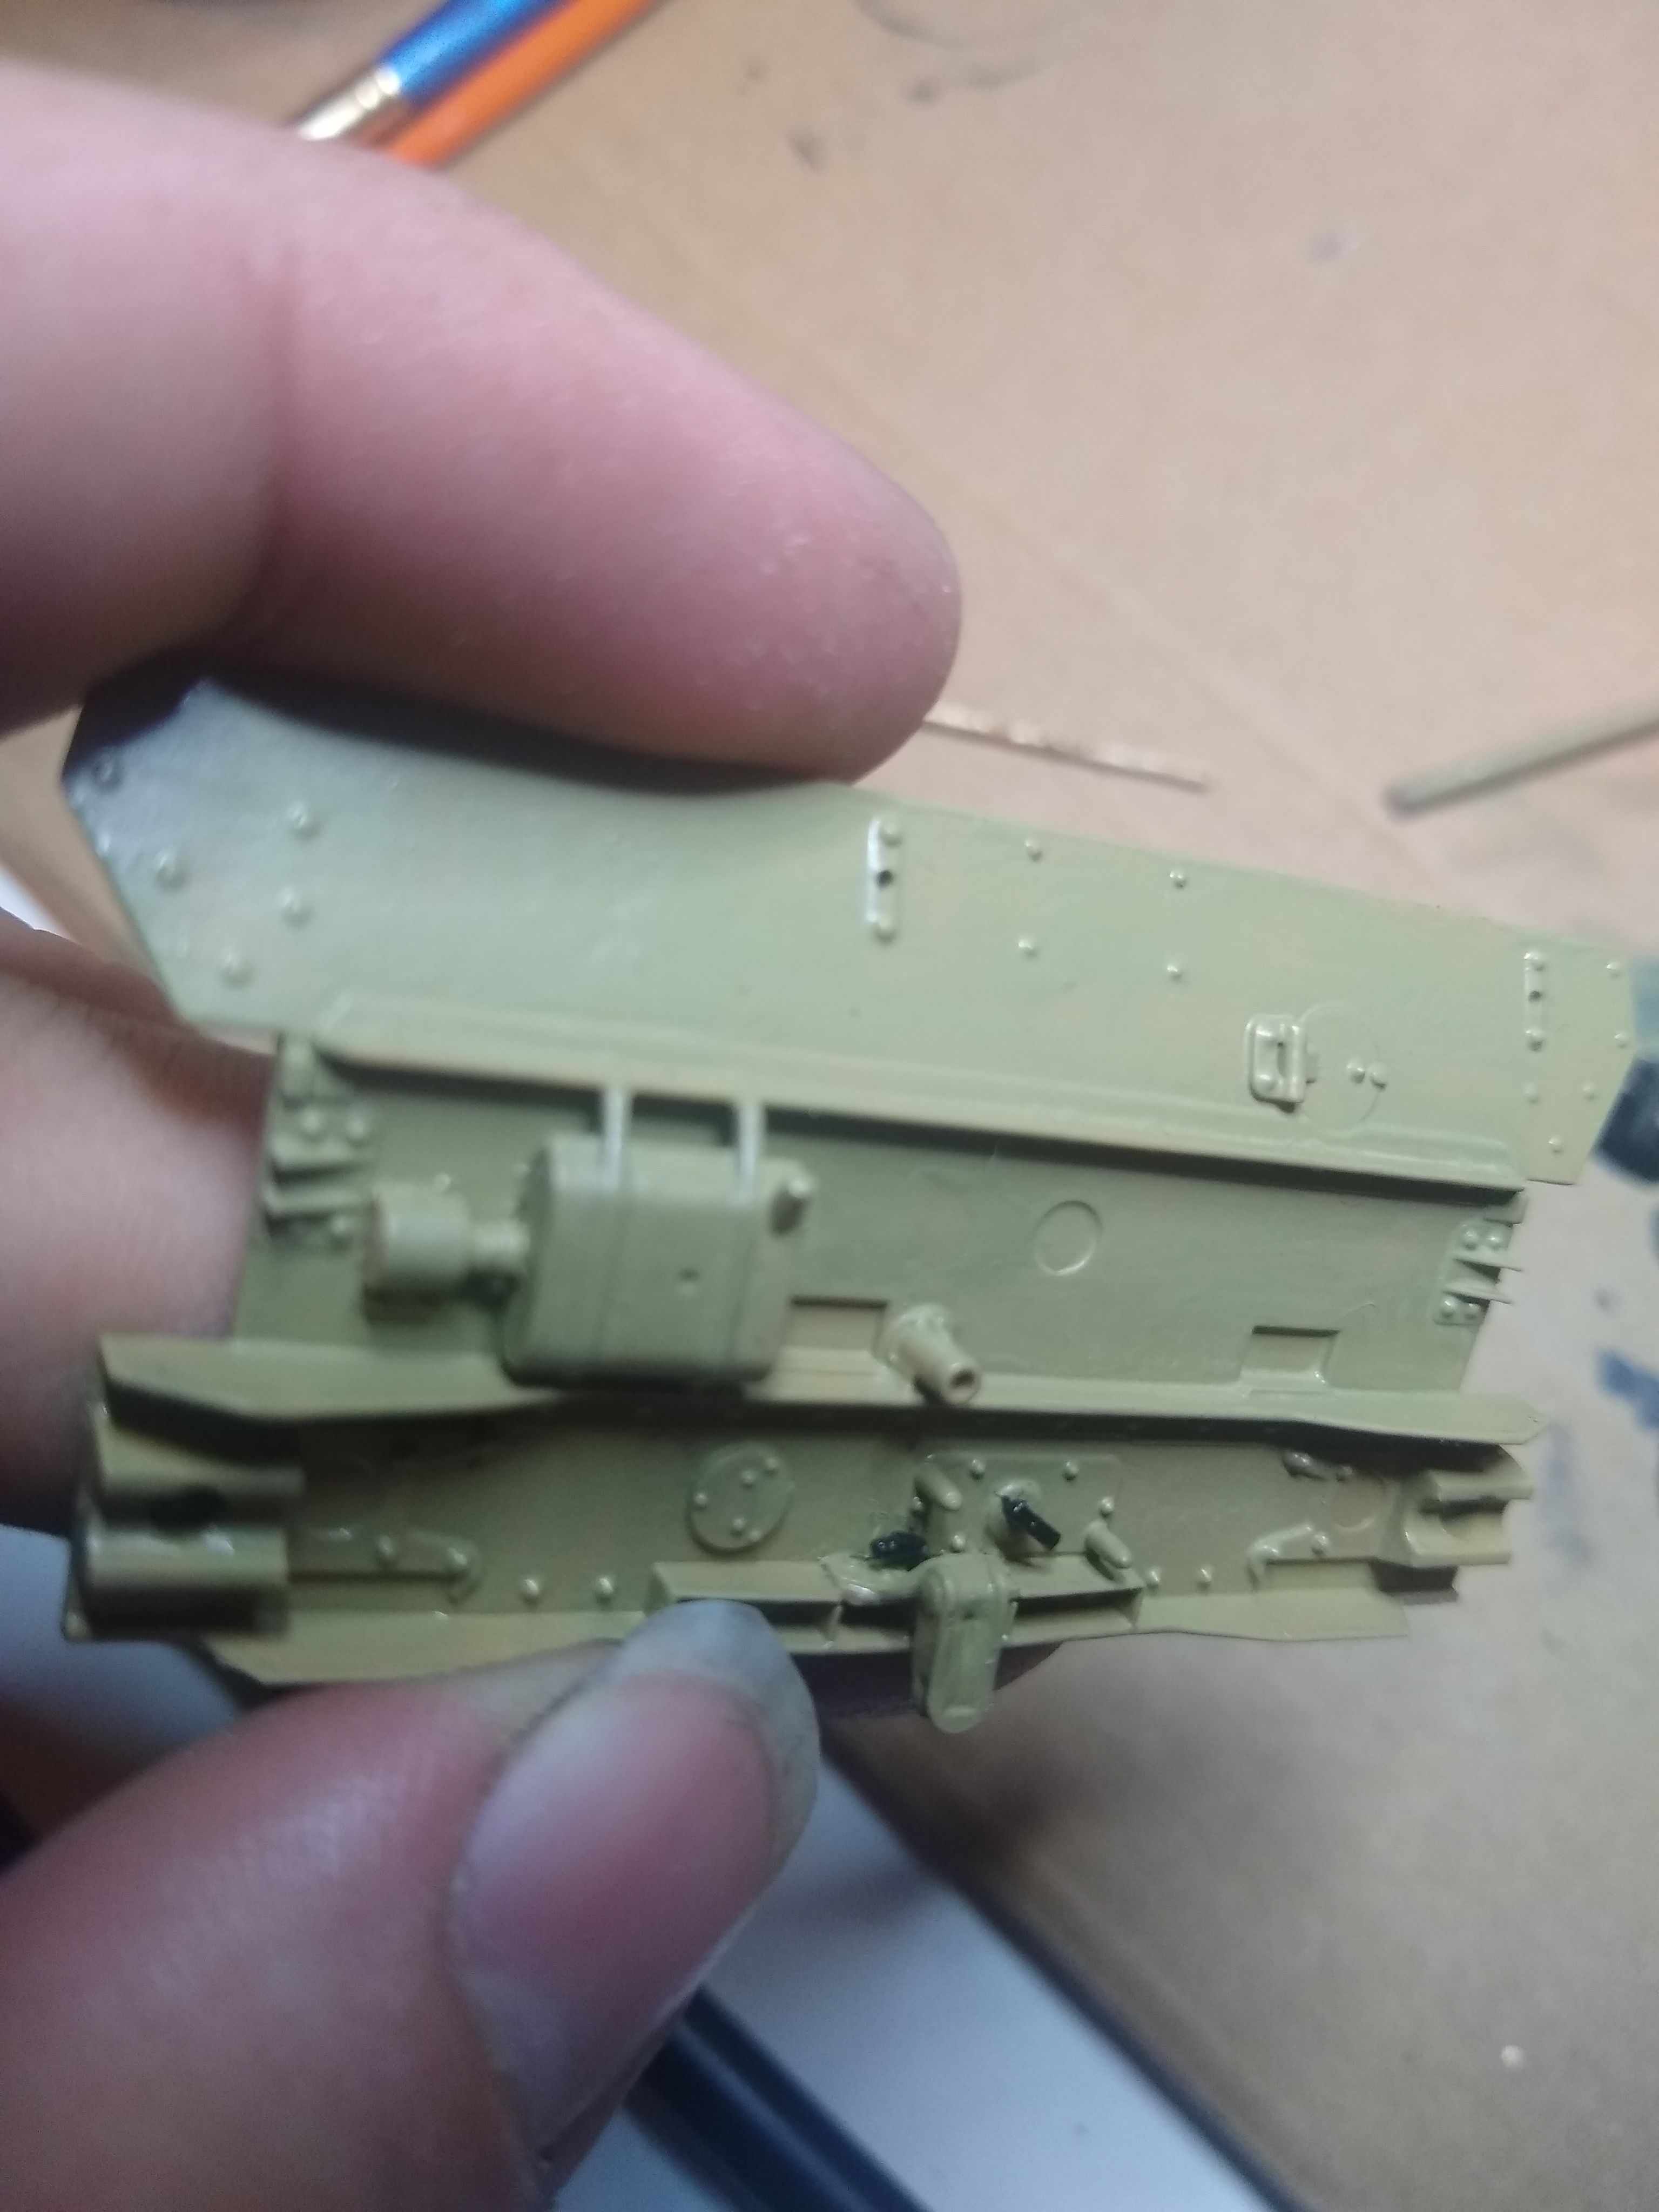
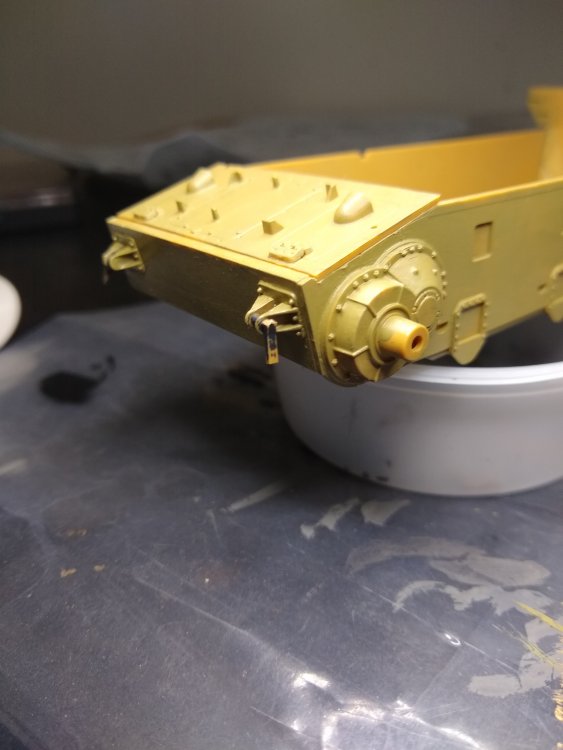
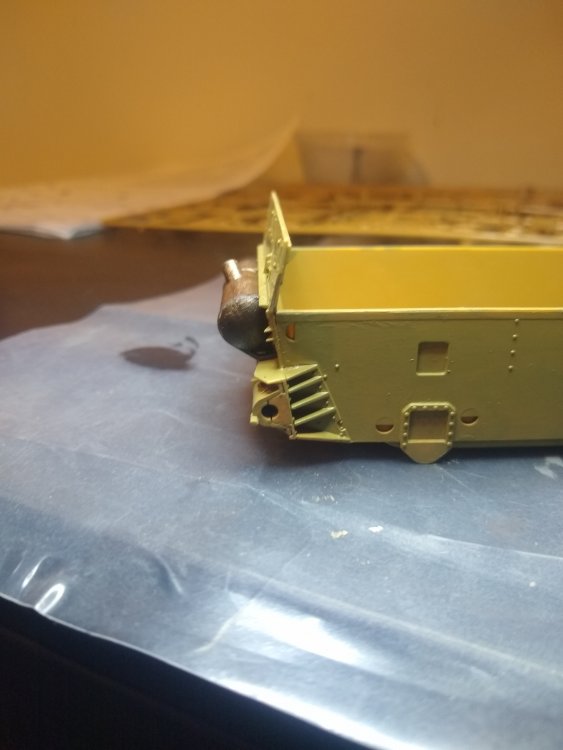
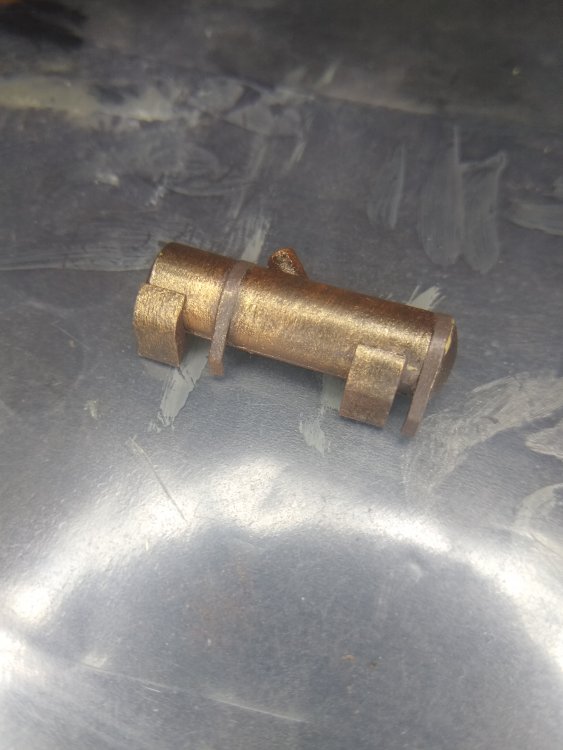
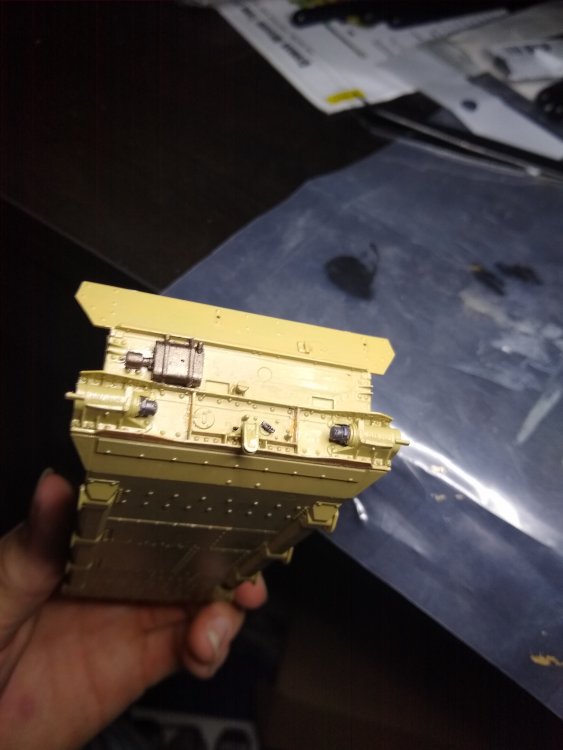
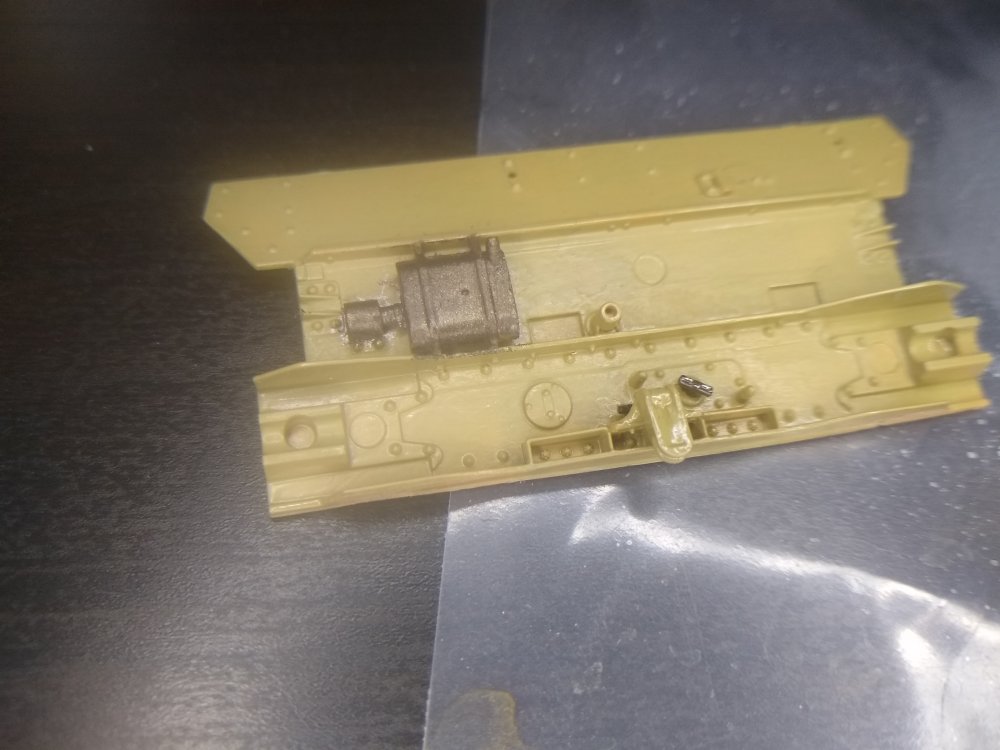
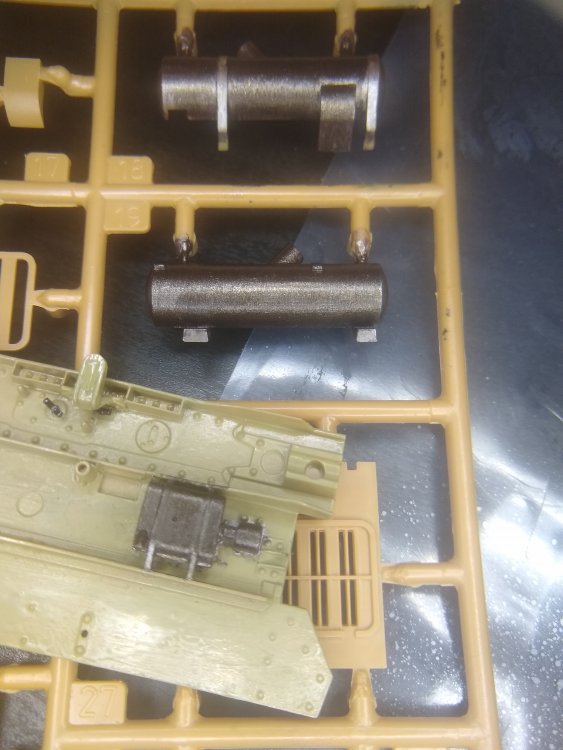
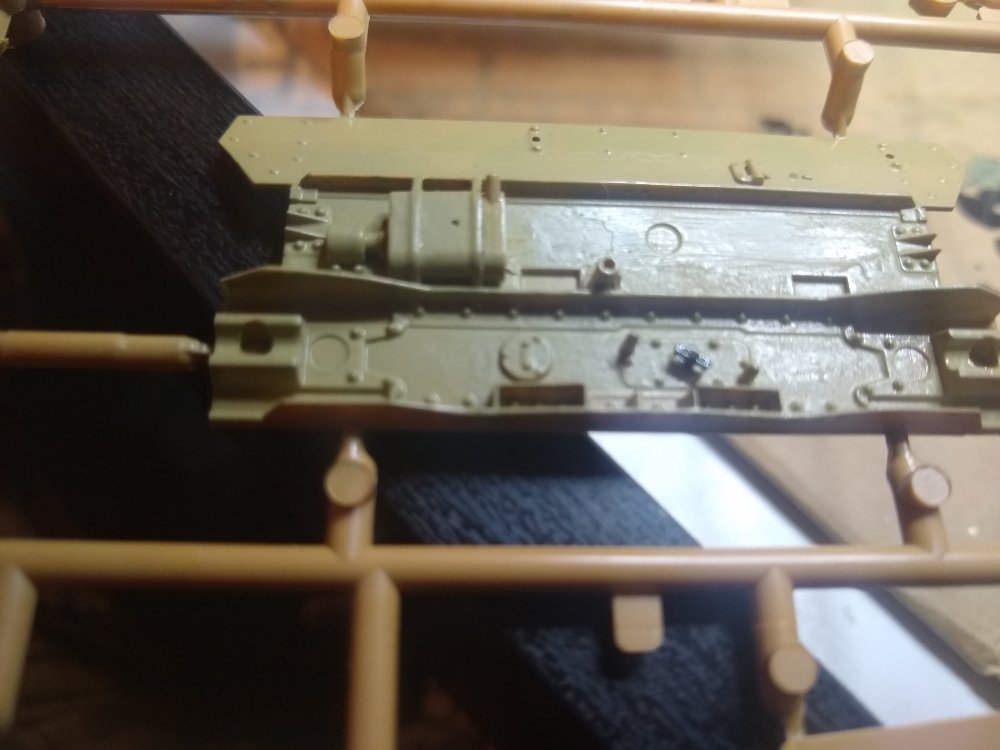
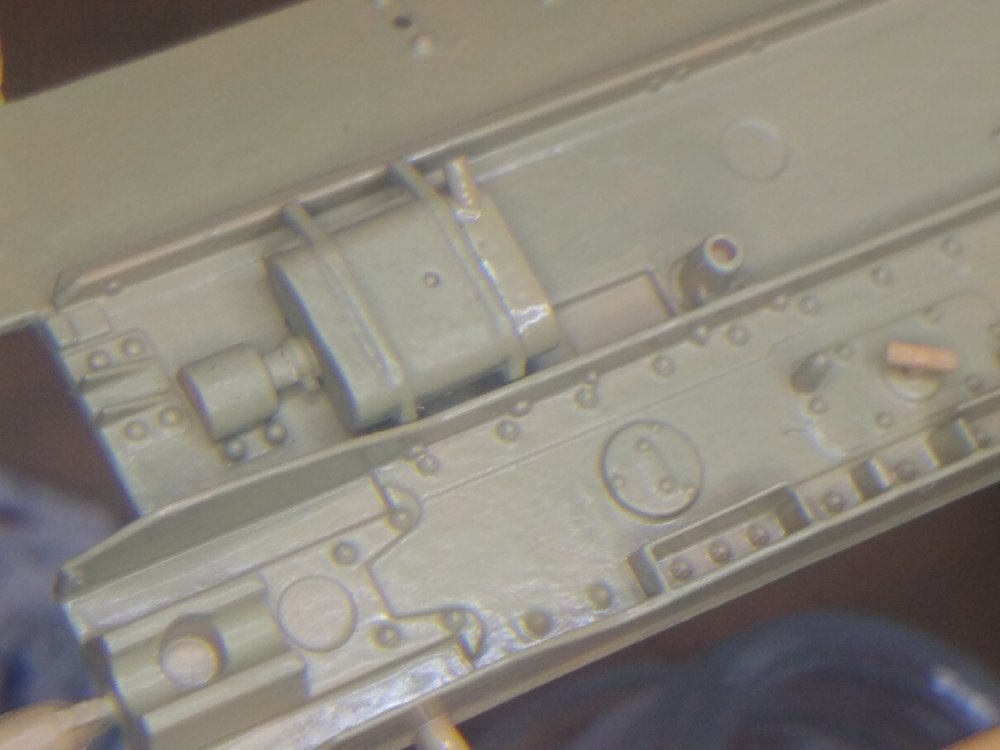
Bit more of an update. I did forget to take some photos of painting some parts but I got some of it. So far iv painted the exhaust box with a mix of Rust and german gray.That gave it a good look glued the parts together then touched it up with rust. and glued it into place.Also glued these little covers in place. then i put these parts on. and gave them a touch of paint.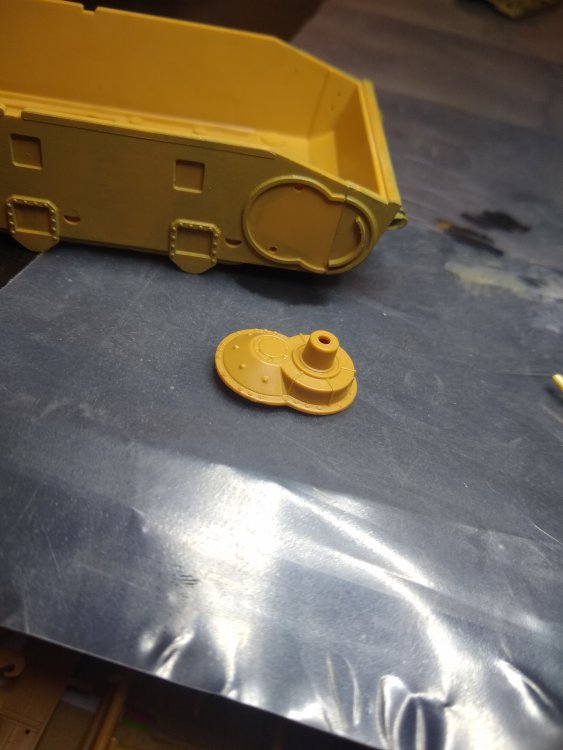


-
German Panzer IV Ausf H
Daniel_Roxy replied to Daniel_Roxy's topic in LSM 1/35 and Larger Work In Progress
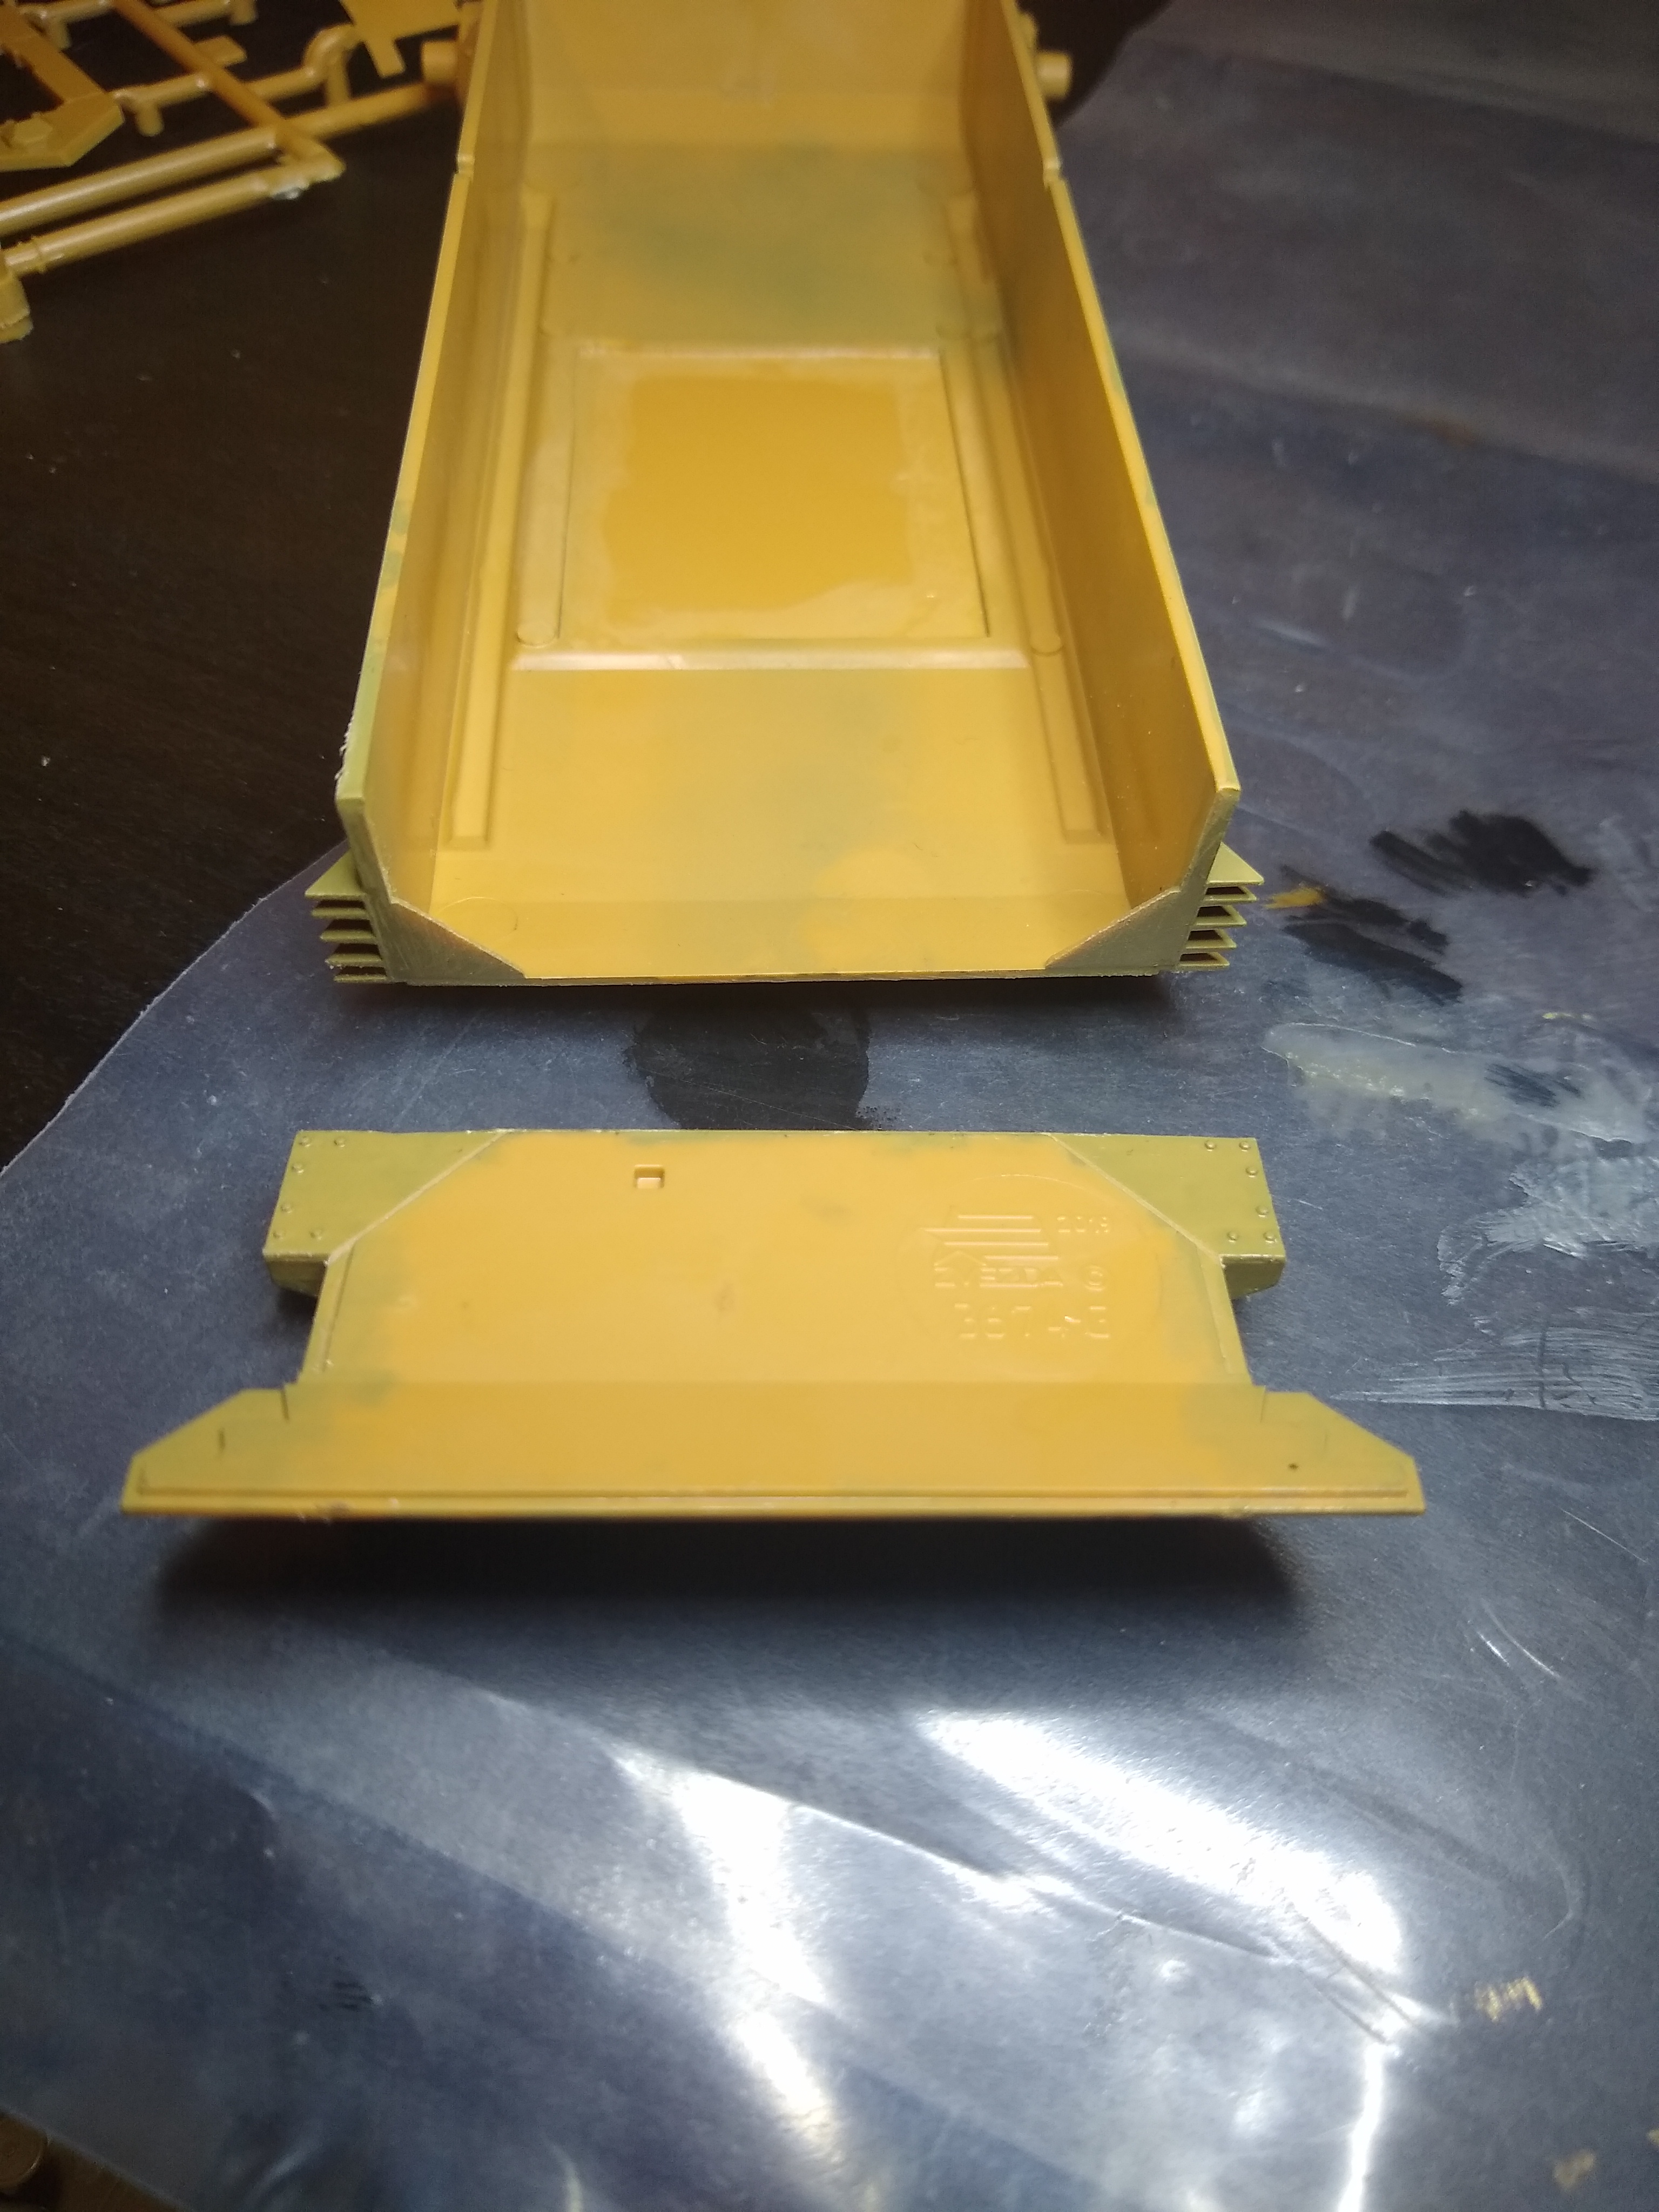
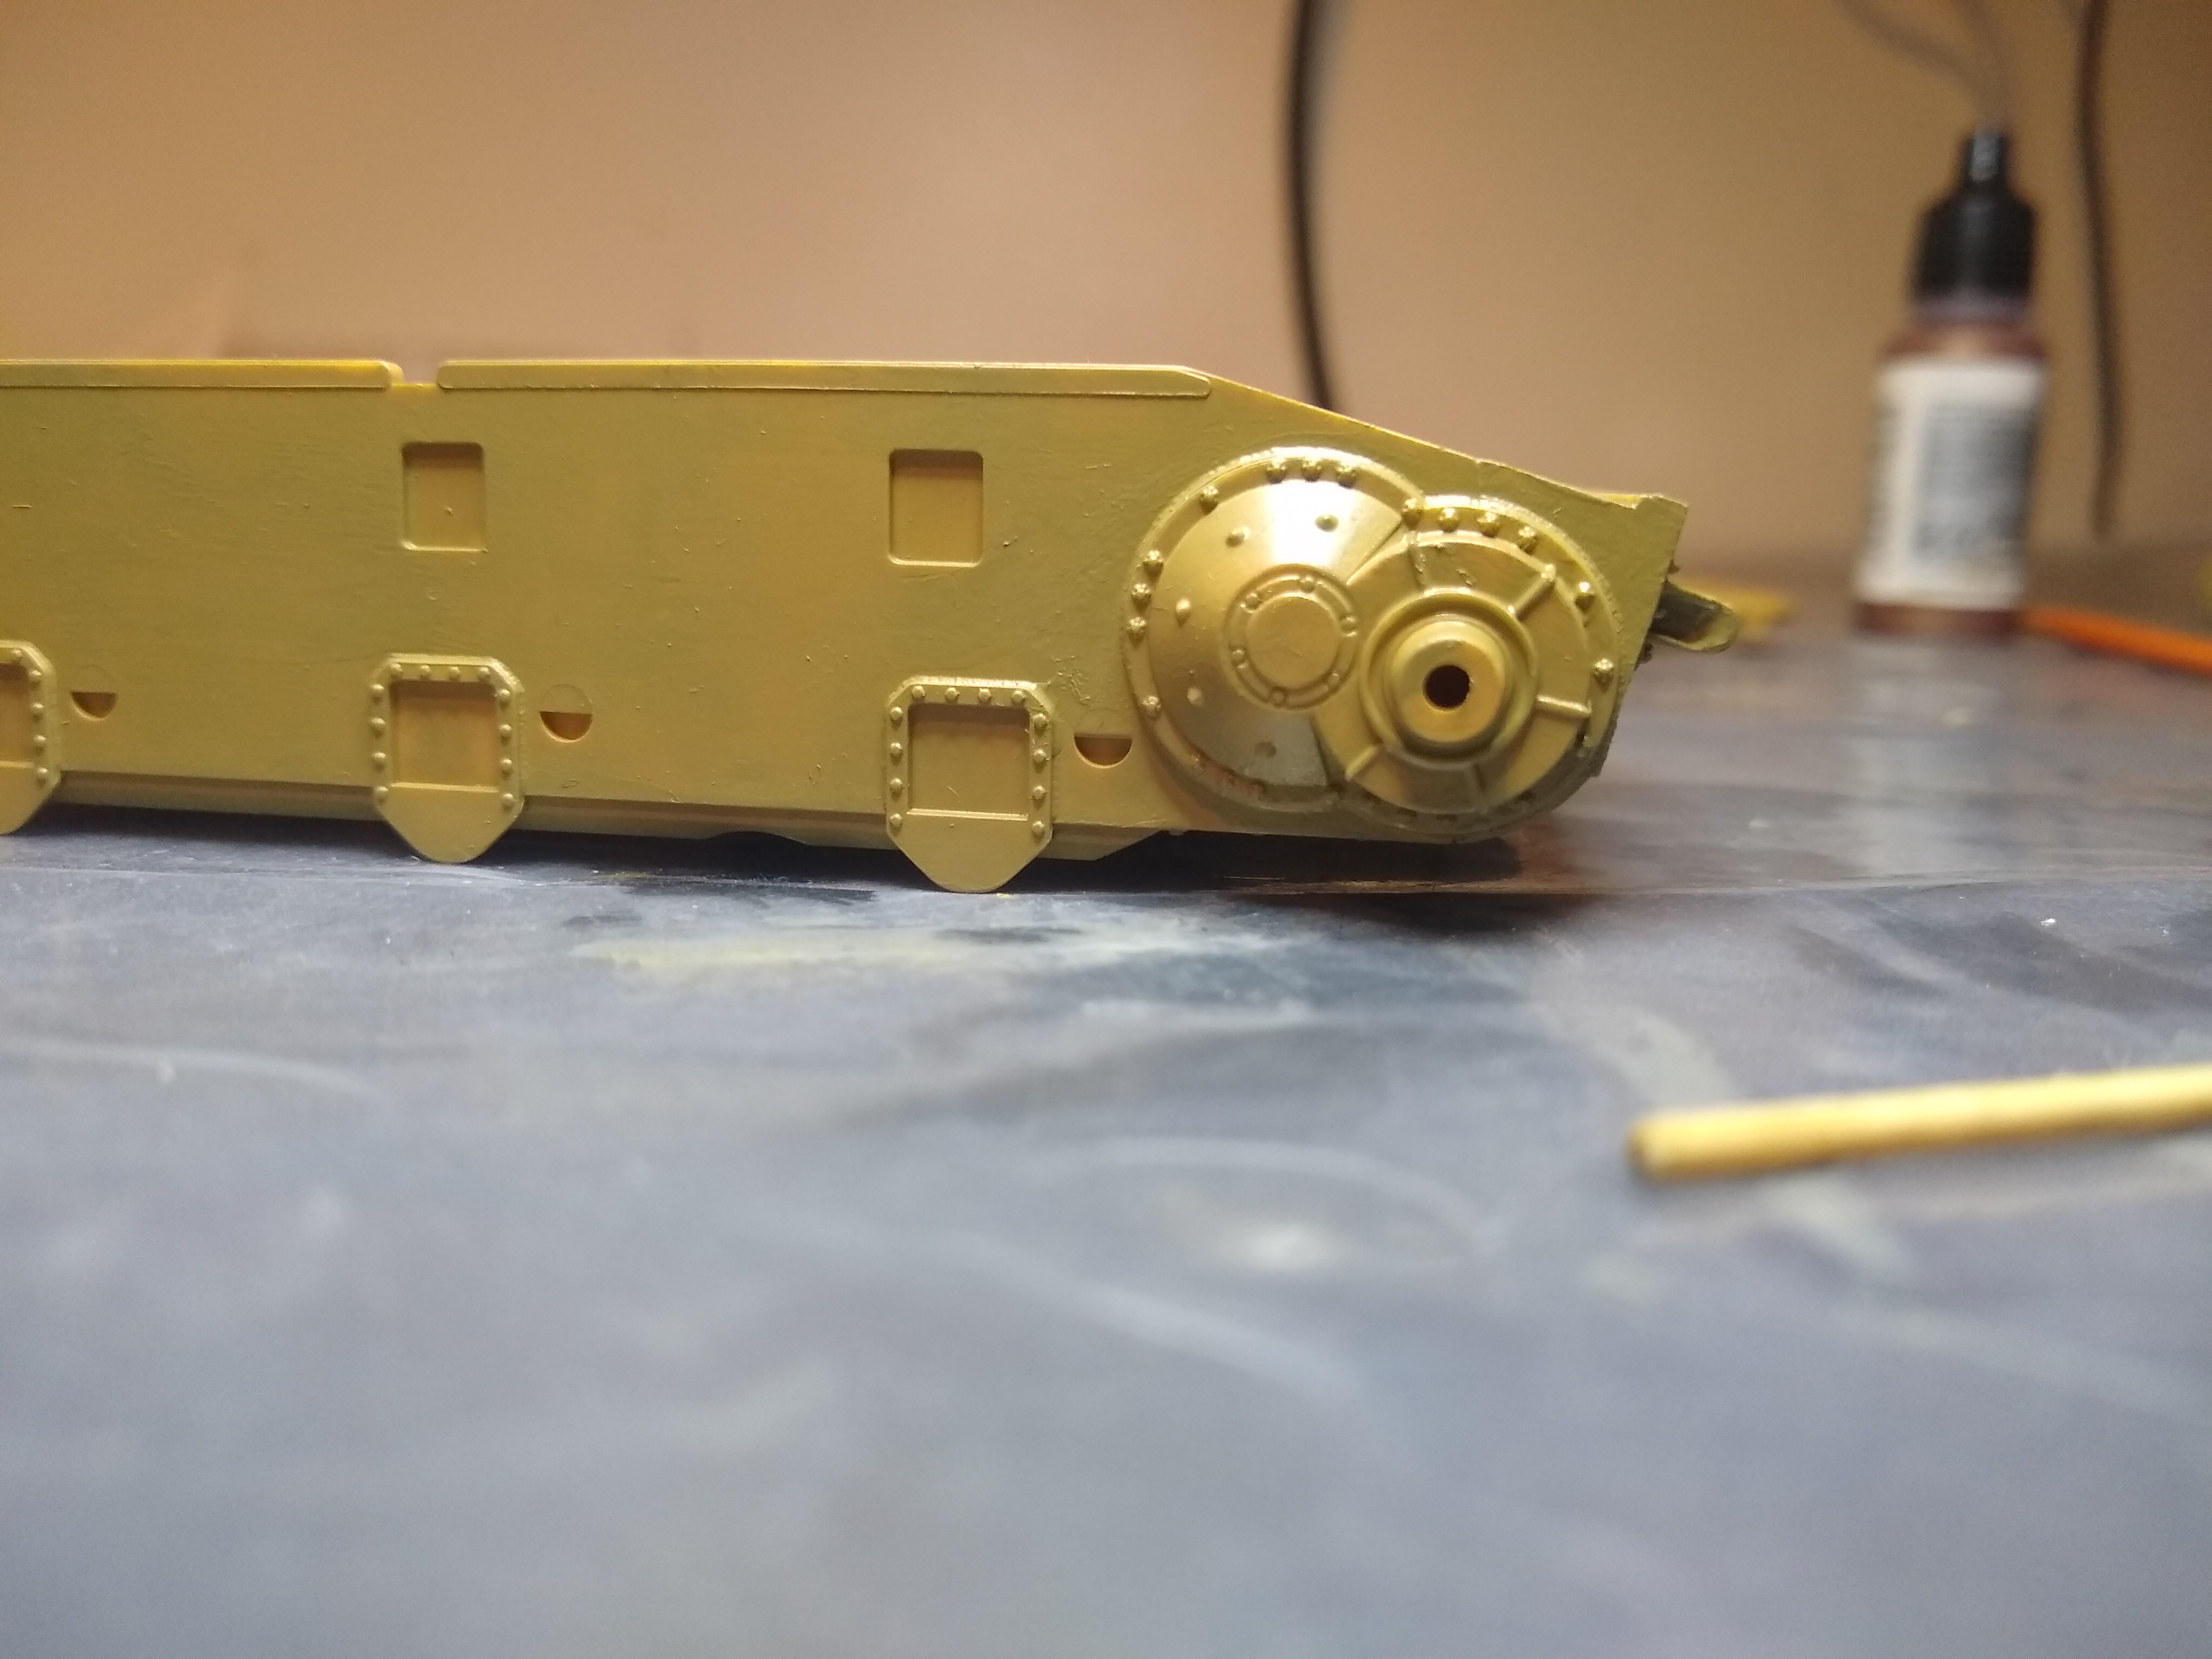
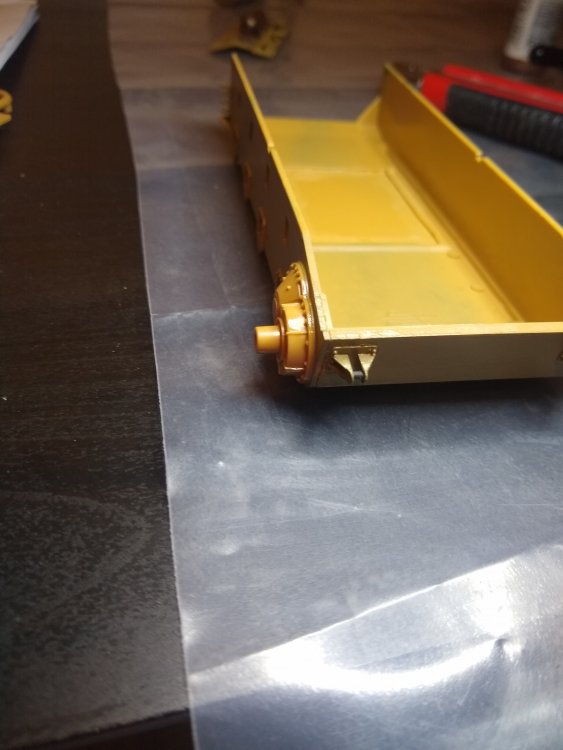
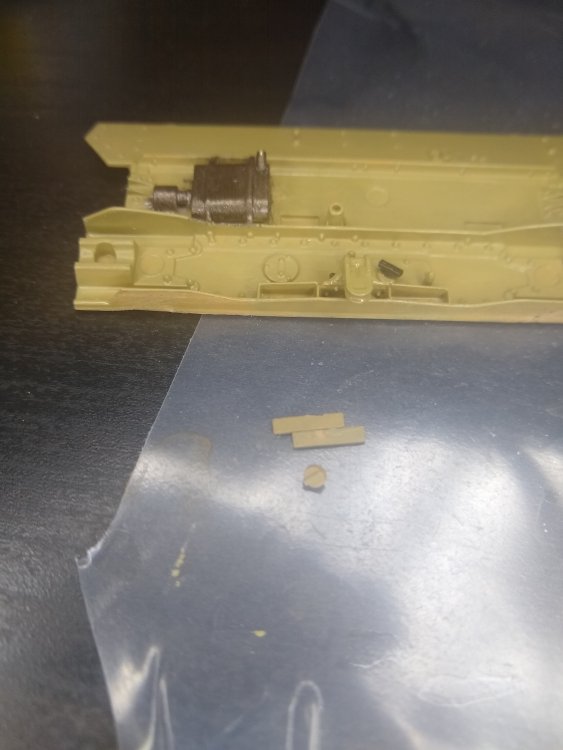
So a little late as I thought I had posted about this already. But did some more on the first steps. Including cutting part of the casting out of the hull and then cleaning the sides of the plate that goes in the hole. Looks quite neat and not very noticeable that it was a separate part. I have noticed with this model that the parts seam very well made so fit very well. Also put the track tensioners on the back with the rest. I did find I had to clean the paint off some parts as they fitted so tightly it was causing issues. And lastly I just test fitted the back plate to the hull. Again it fits perfectly into place.


-
German Panzer IV Ausf H
Daniel_Roxy replied to Daniel_Roxy's topic in LSM 1/35 and Larger Work In Progress
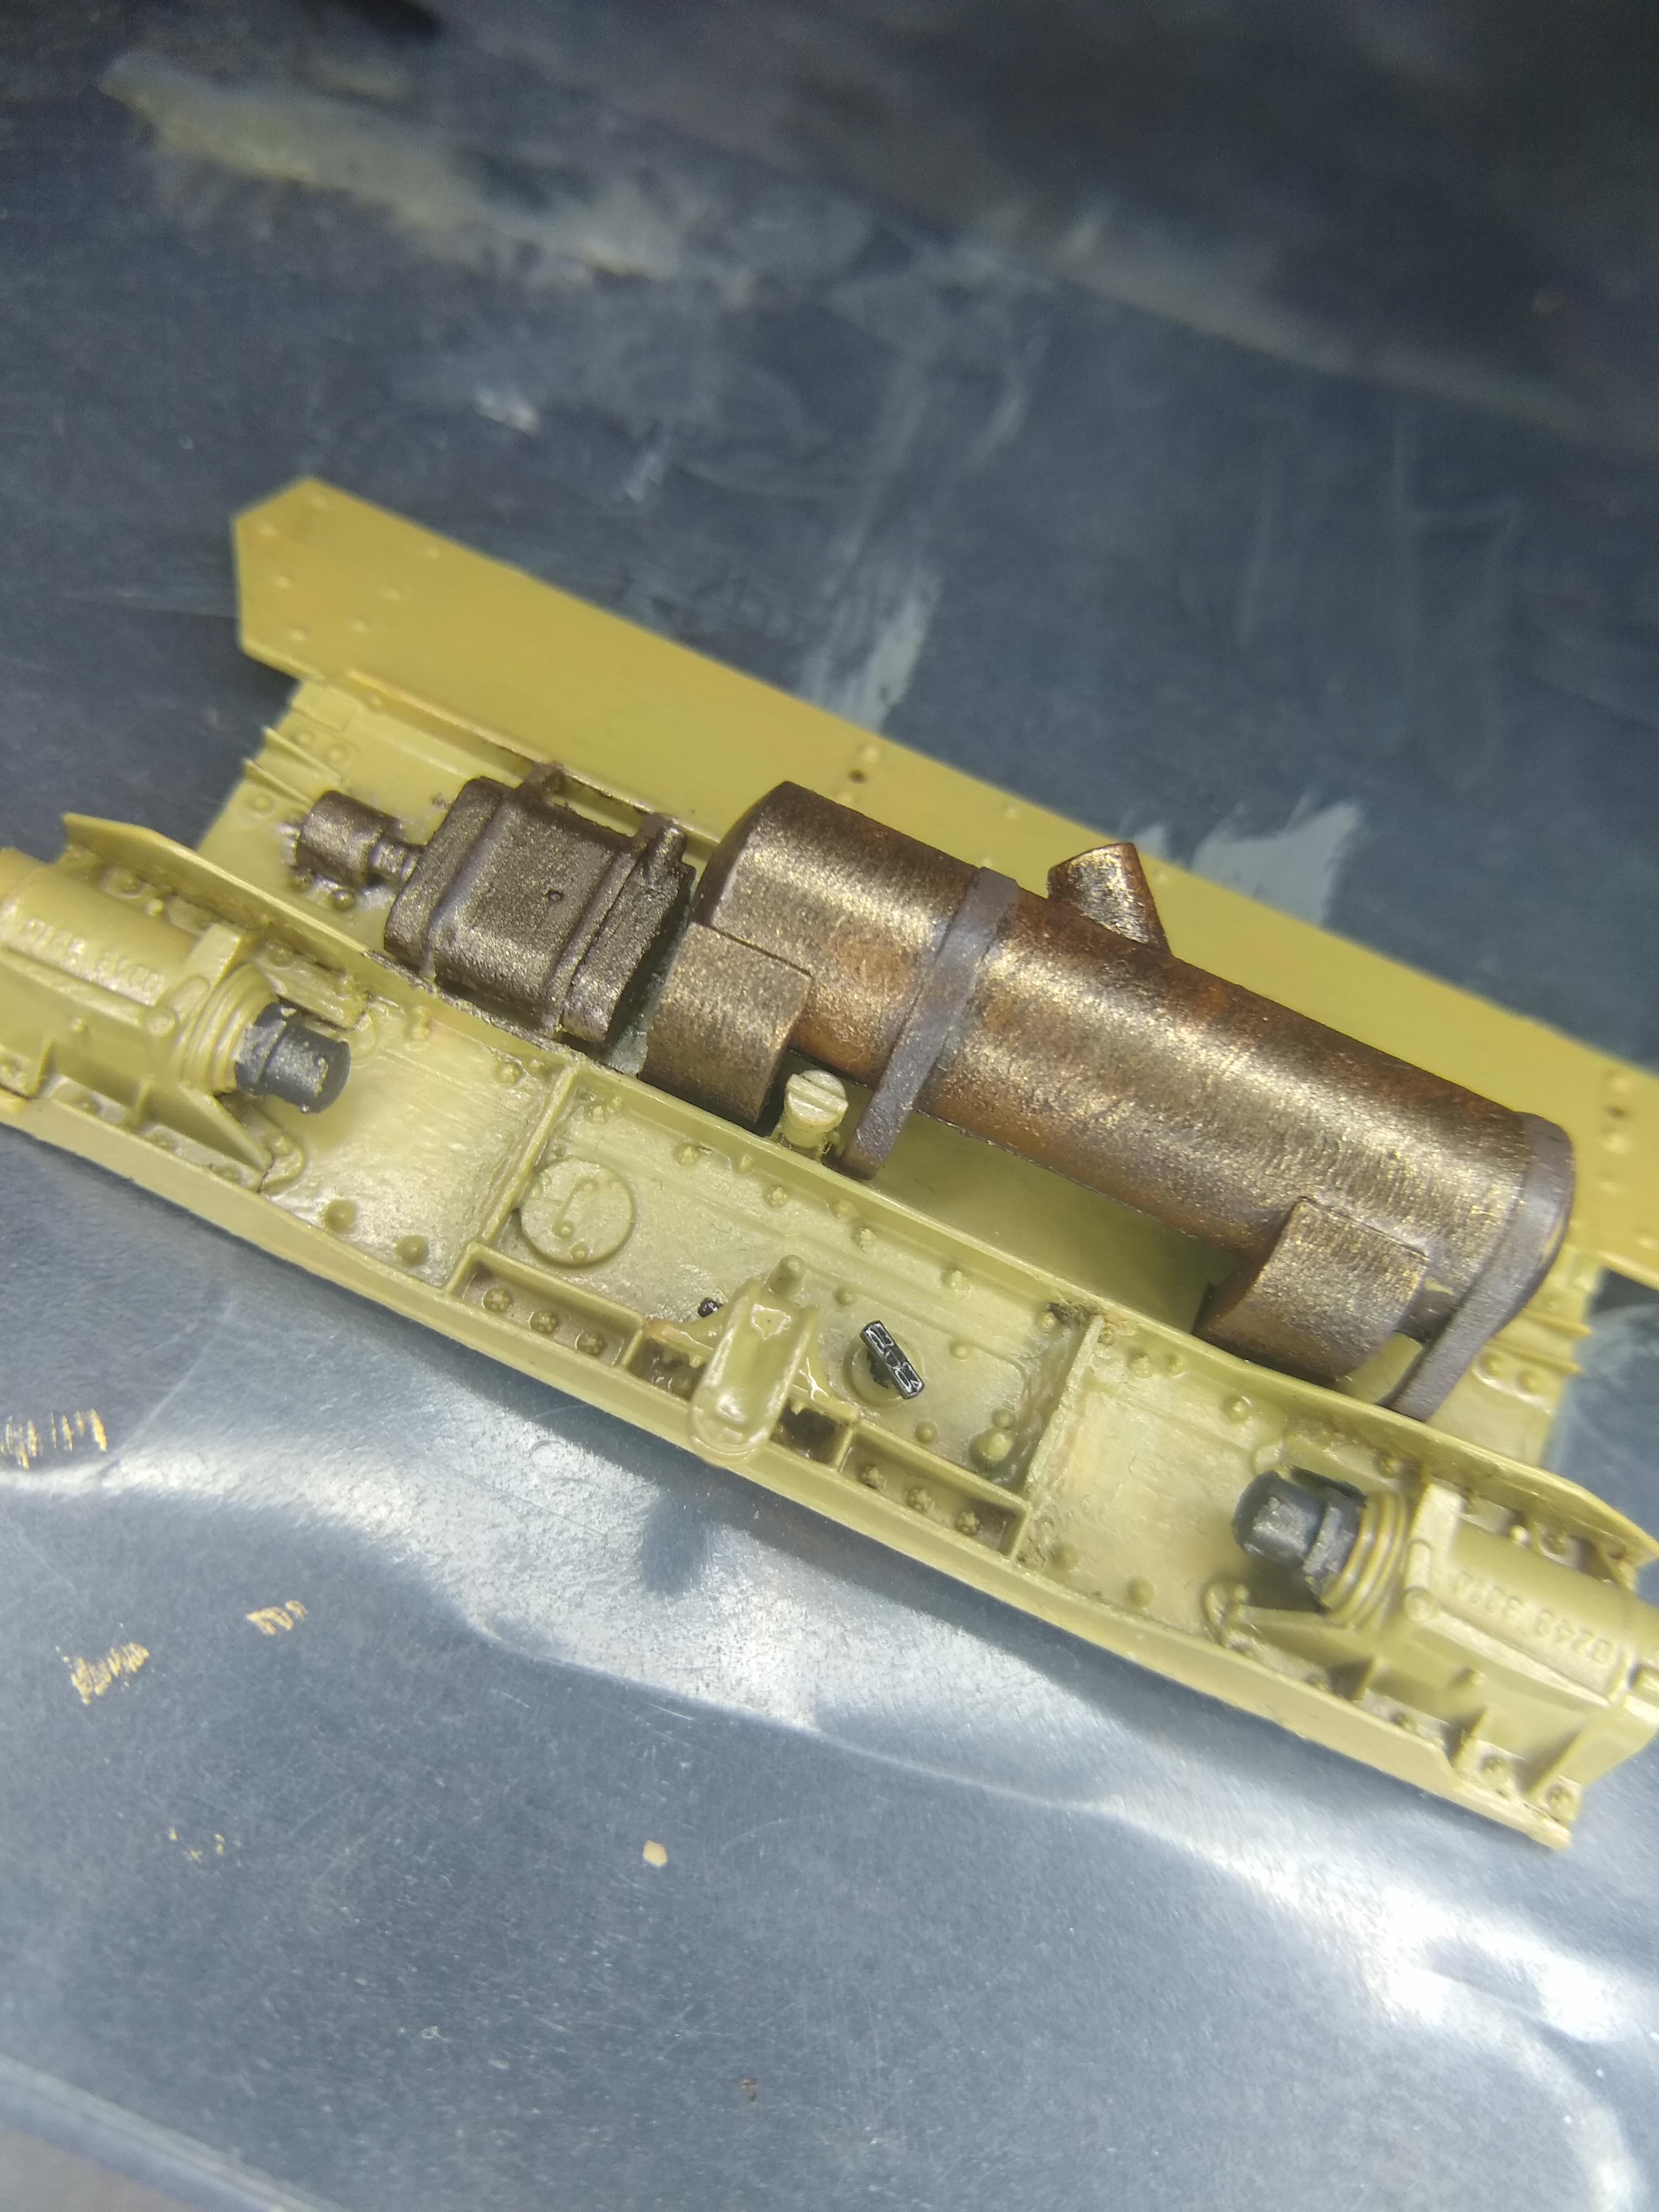
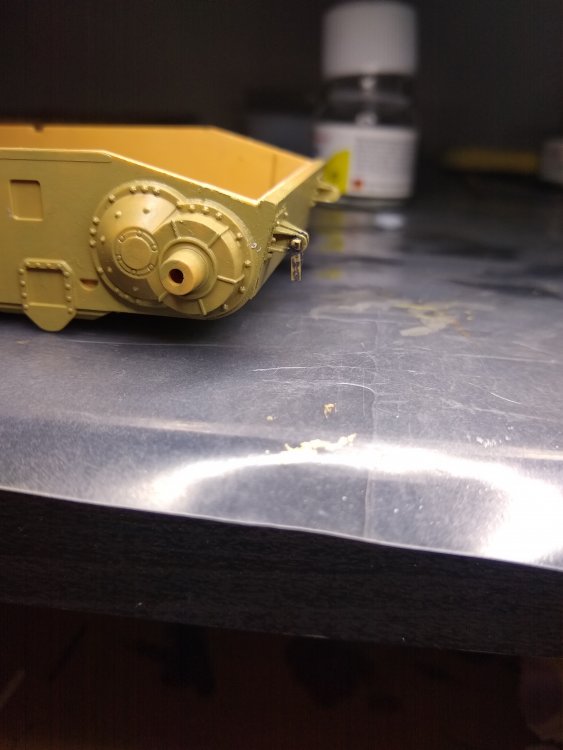
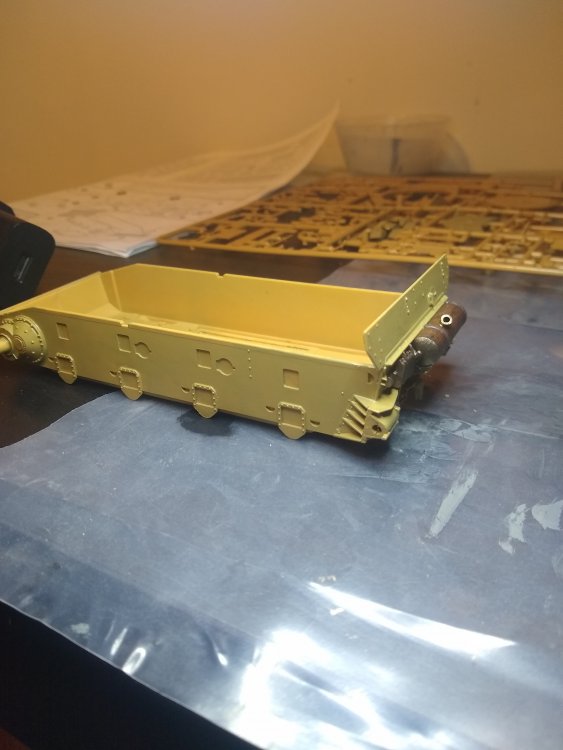
Some more details on the back also mixed a paint for the exhaust and little thing on the back. Mixed a water based rust and oil based black. Didn't think they would mix but I managed to get them to mix and it looks great. The back. the front. figured out that they are sloping toward eachother slightly. Almost didn't see it but I had seen on the tank in WarThunder. So was actually looking to see if it was sloped on the model. and last but not least the exhaust box. Before. A mix of Rust and Gunmetal.looked a bit too shiny for my liking After. Also tryed to keep the mounting bands clean of this rusty looking color.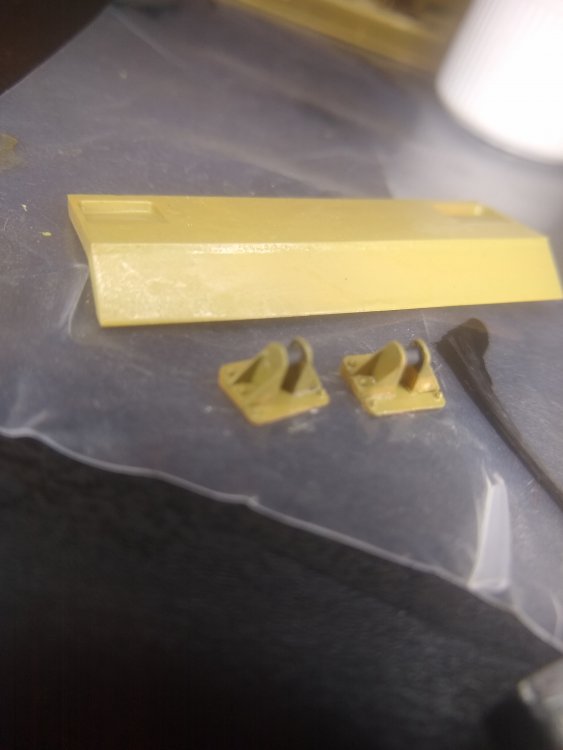


-
German Panzer IV Ausf H
Daniel_Roxy replied to Daniel_Roxy's topic in LSM 1/35 and Larger Work In Progress
Little bit of progress. Was trying to paint some of the bigger parts with my paint gun but it didn't want to work so gave up. Planning on buying a more expensive paint gun as the one I currently have was only cheap and we believe it's blocked somewhere that it can't be cleaned iris stopping it working properly. But here are a few little details iv done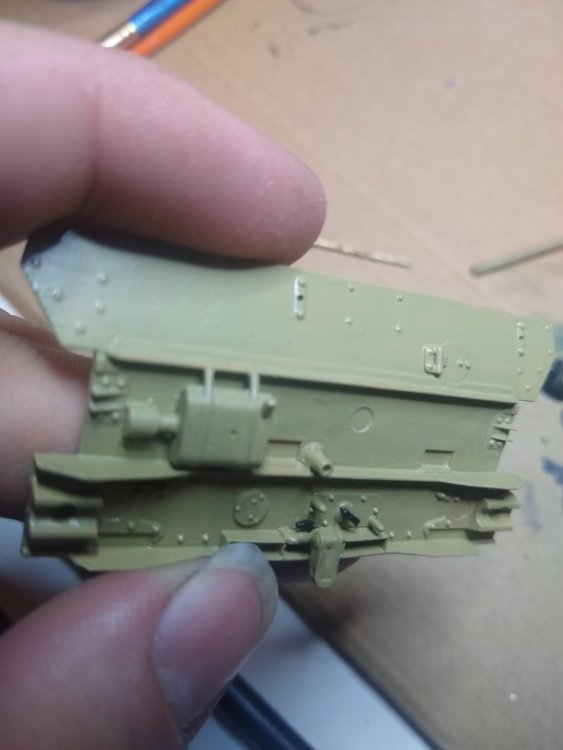
-
German Panzer IV Ausf H
Daniel_Roxy replied to Daniel_Roxy's topic in LSM 1/35 and Larger Work In Progress
Hopefully these videos will help with colours for the interior and exterior as well. Always liked these detailed looks and great to be able to use one for a model https://youtu.be/94yvc_BB-2M -
German Panzer IV Ausf H
Daniel_Roxy replied to Daniel_Roxy's topic in LSM 1/35 and Larger Work In Progress
Yeah I was quite surprised as I didn't see any mention of any interior ether but more than happy to give it a try. Also you can see small details like weld marks as well on the casting -
German Panzer IV Ausf H
Daniel_Roxy replied to Daniel_Roxy's topic in LSM 1/35 and Larger Work In Progress
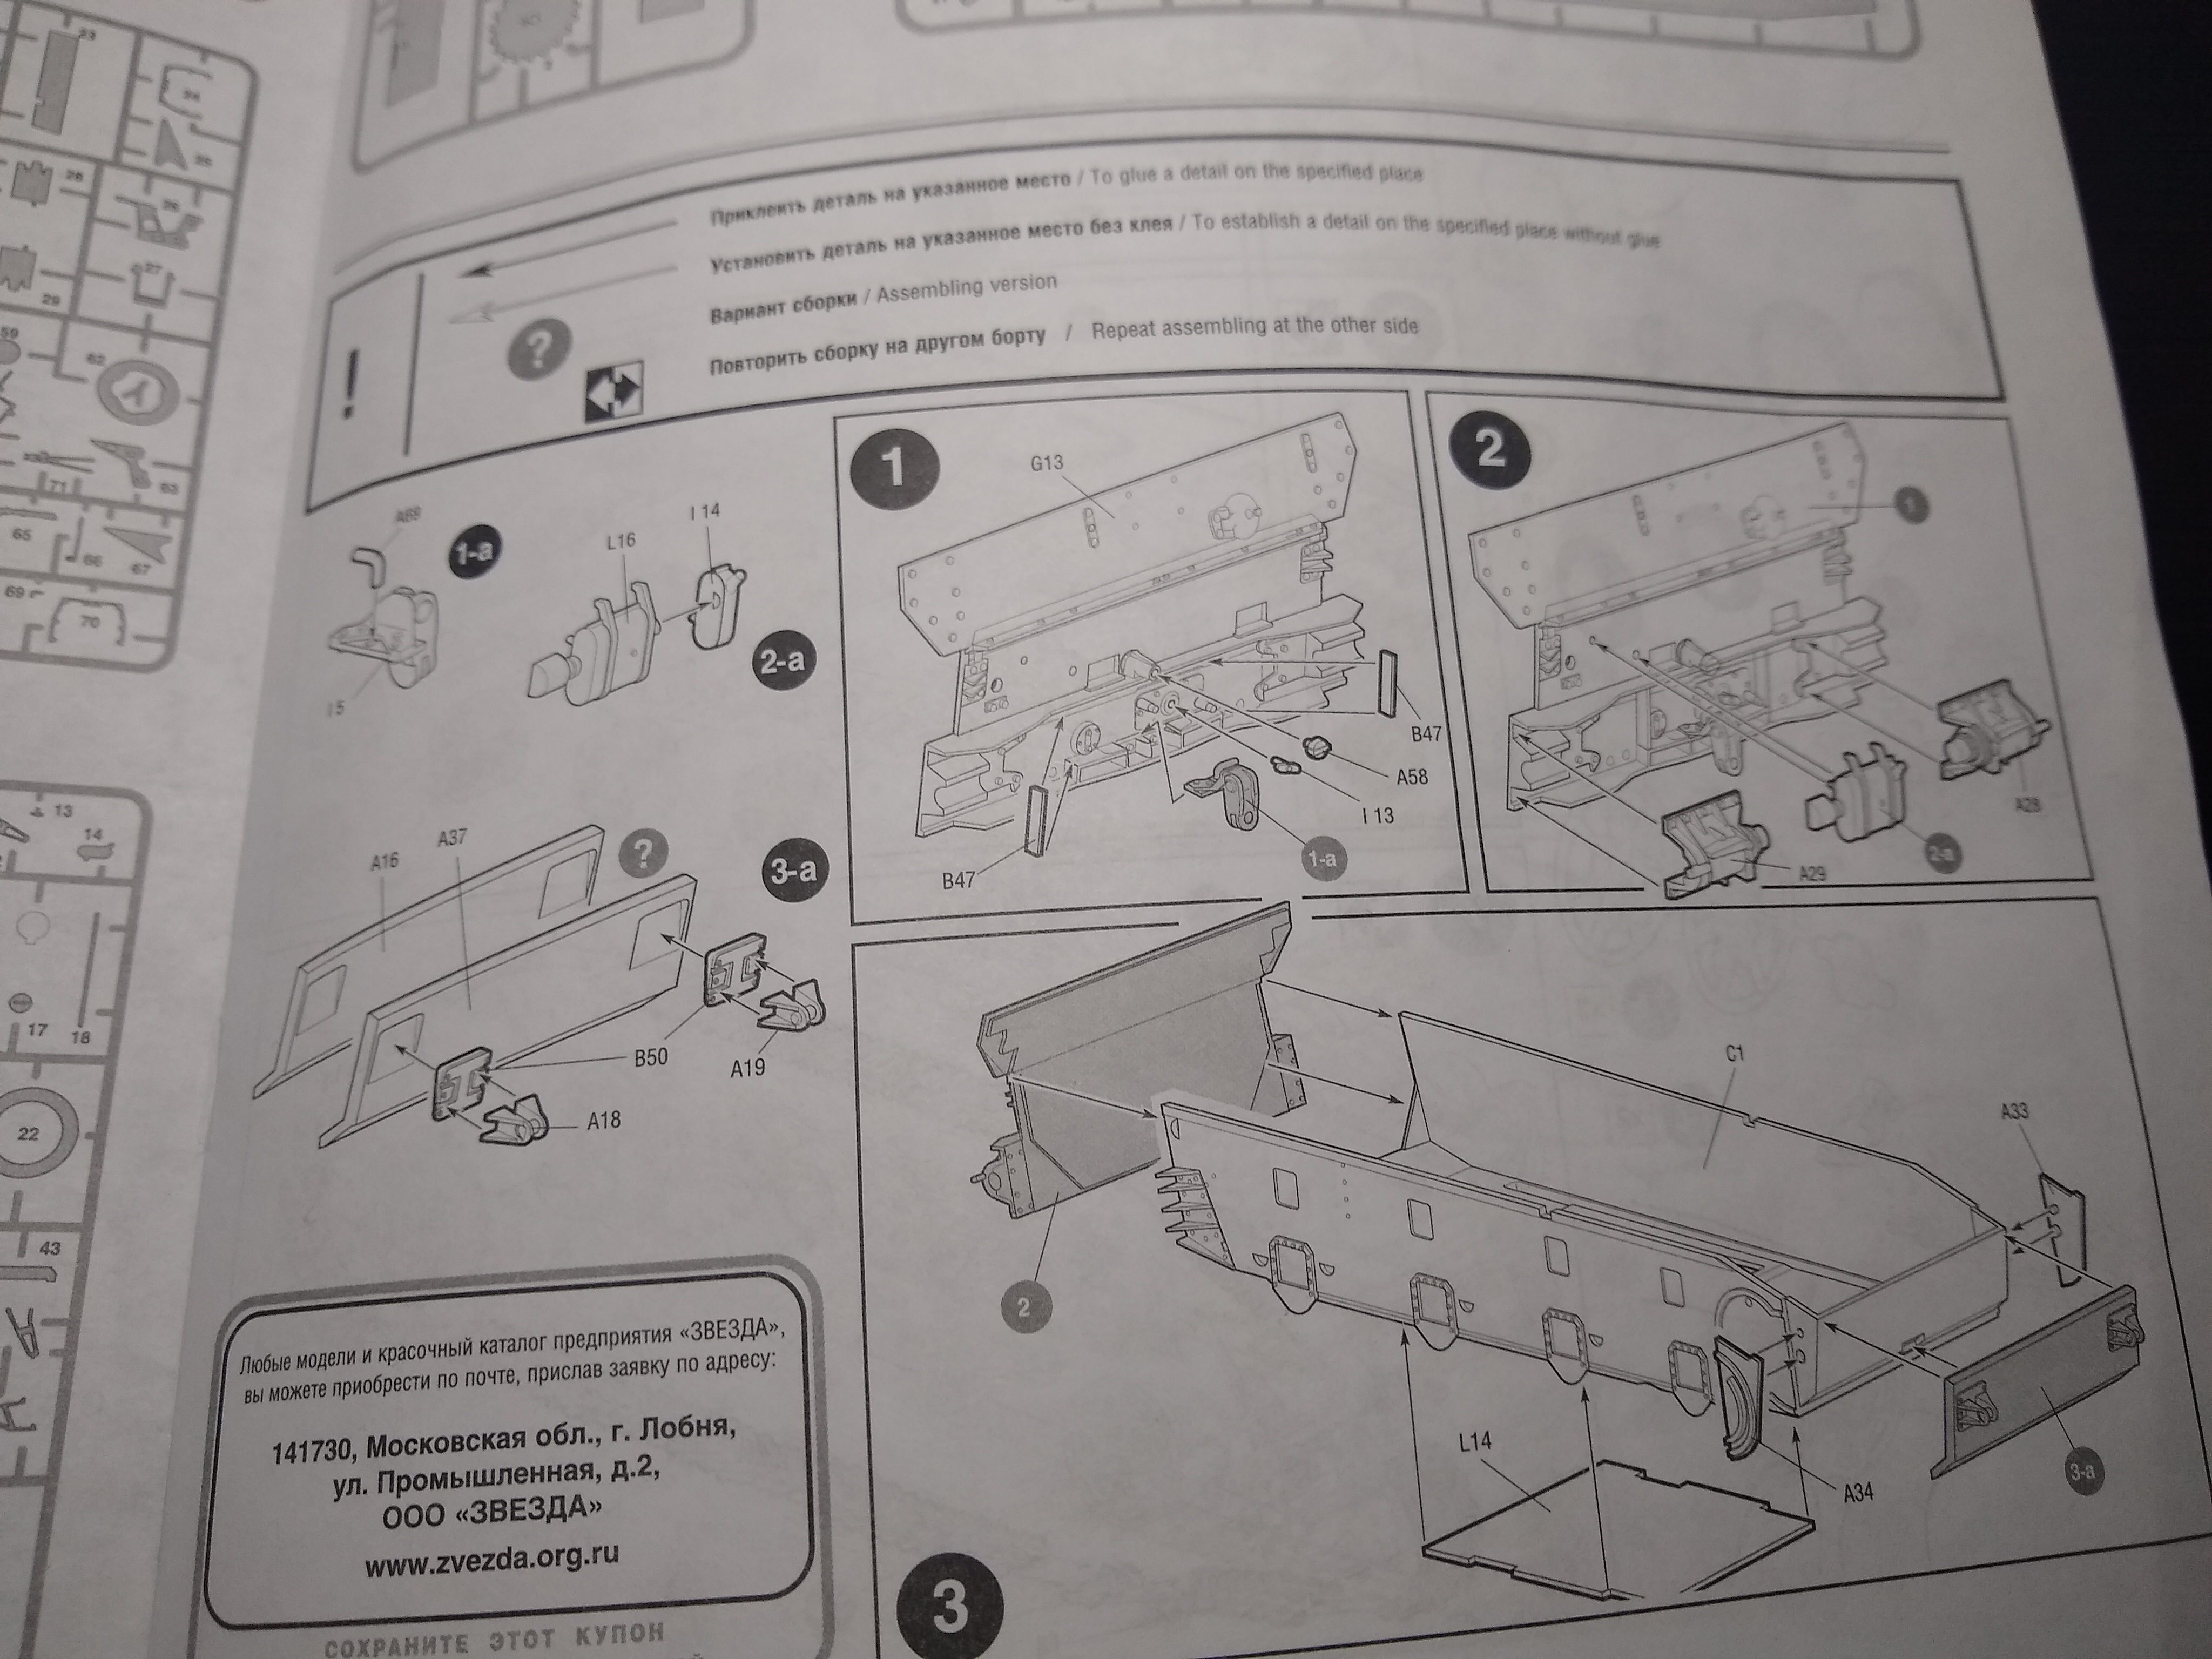
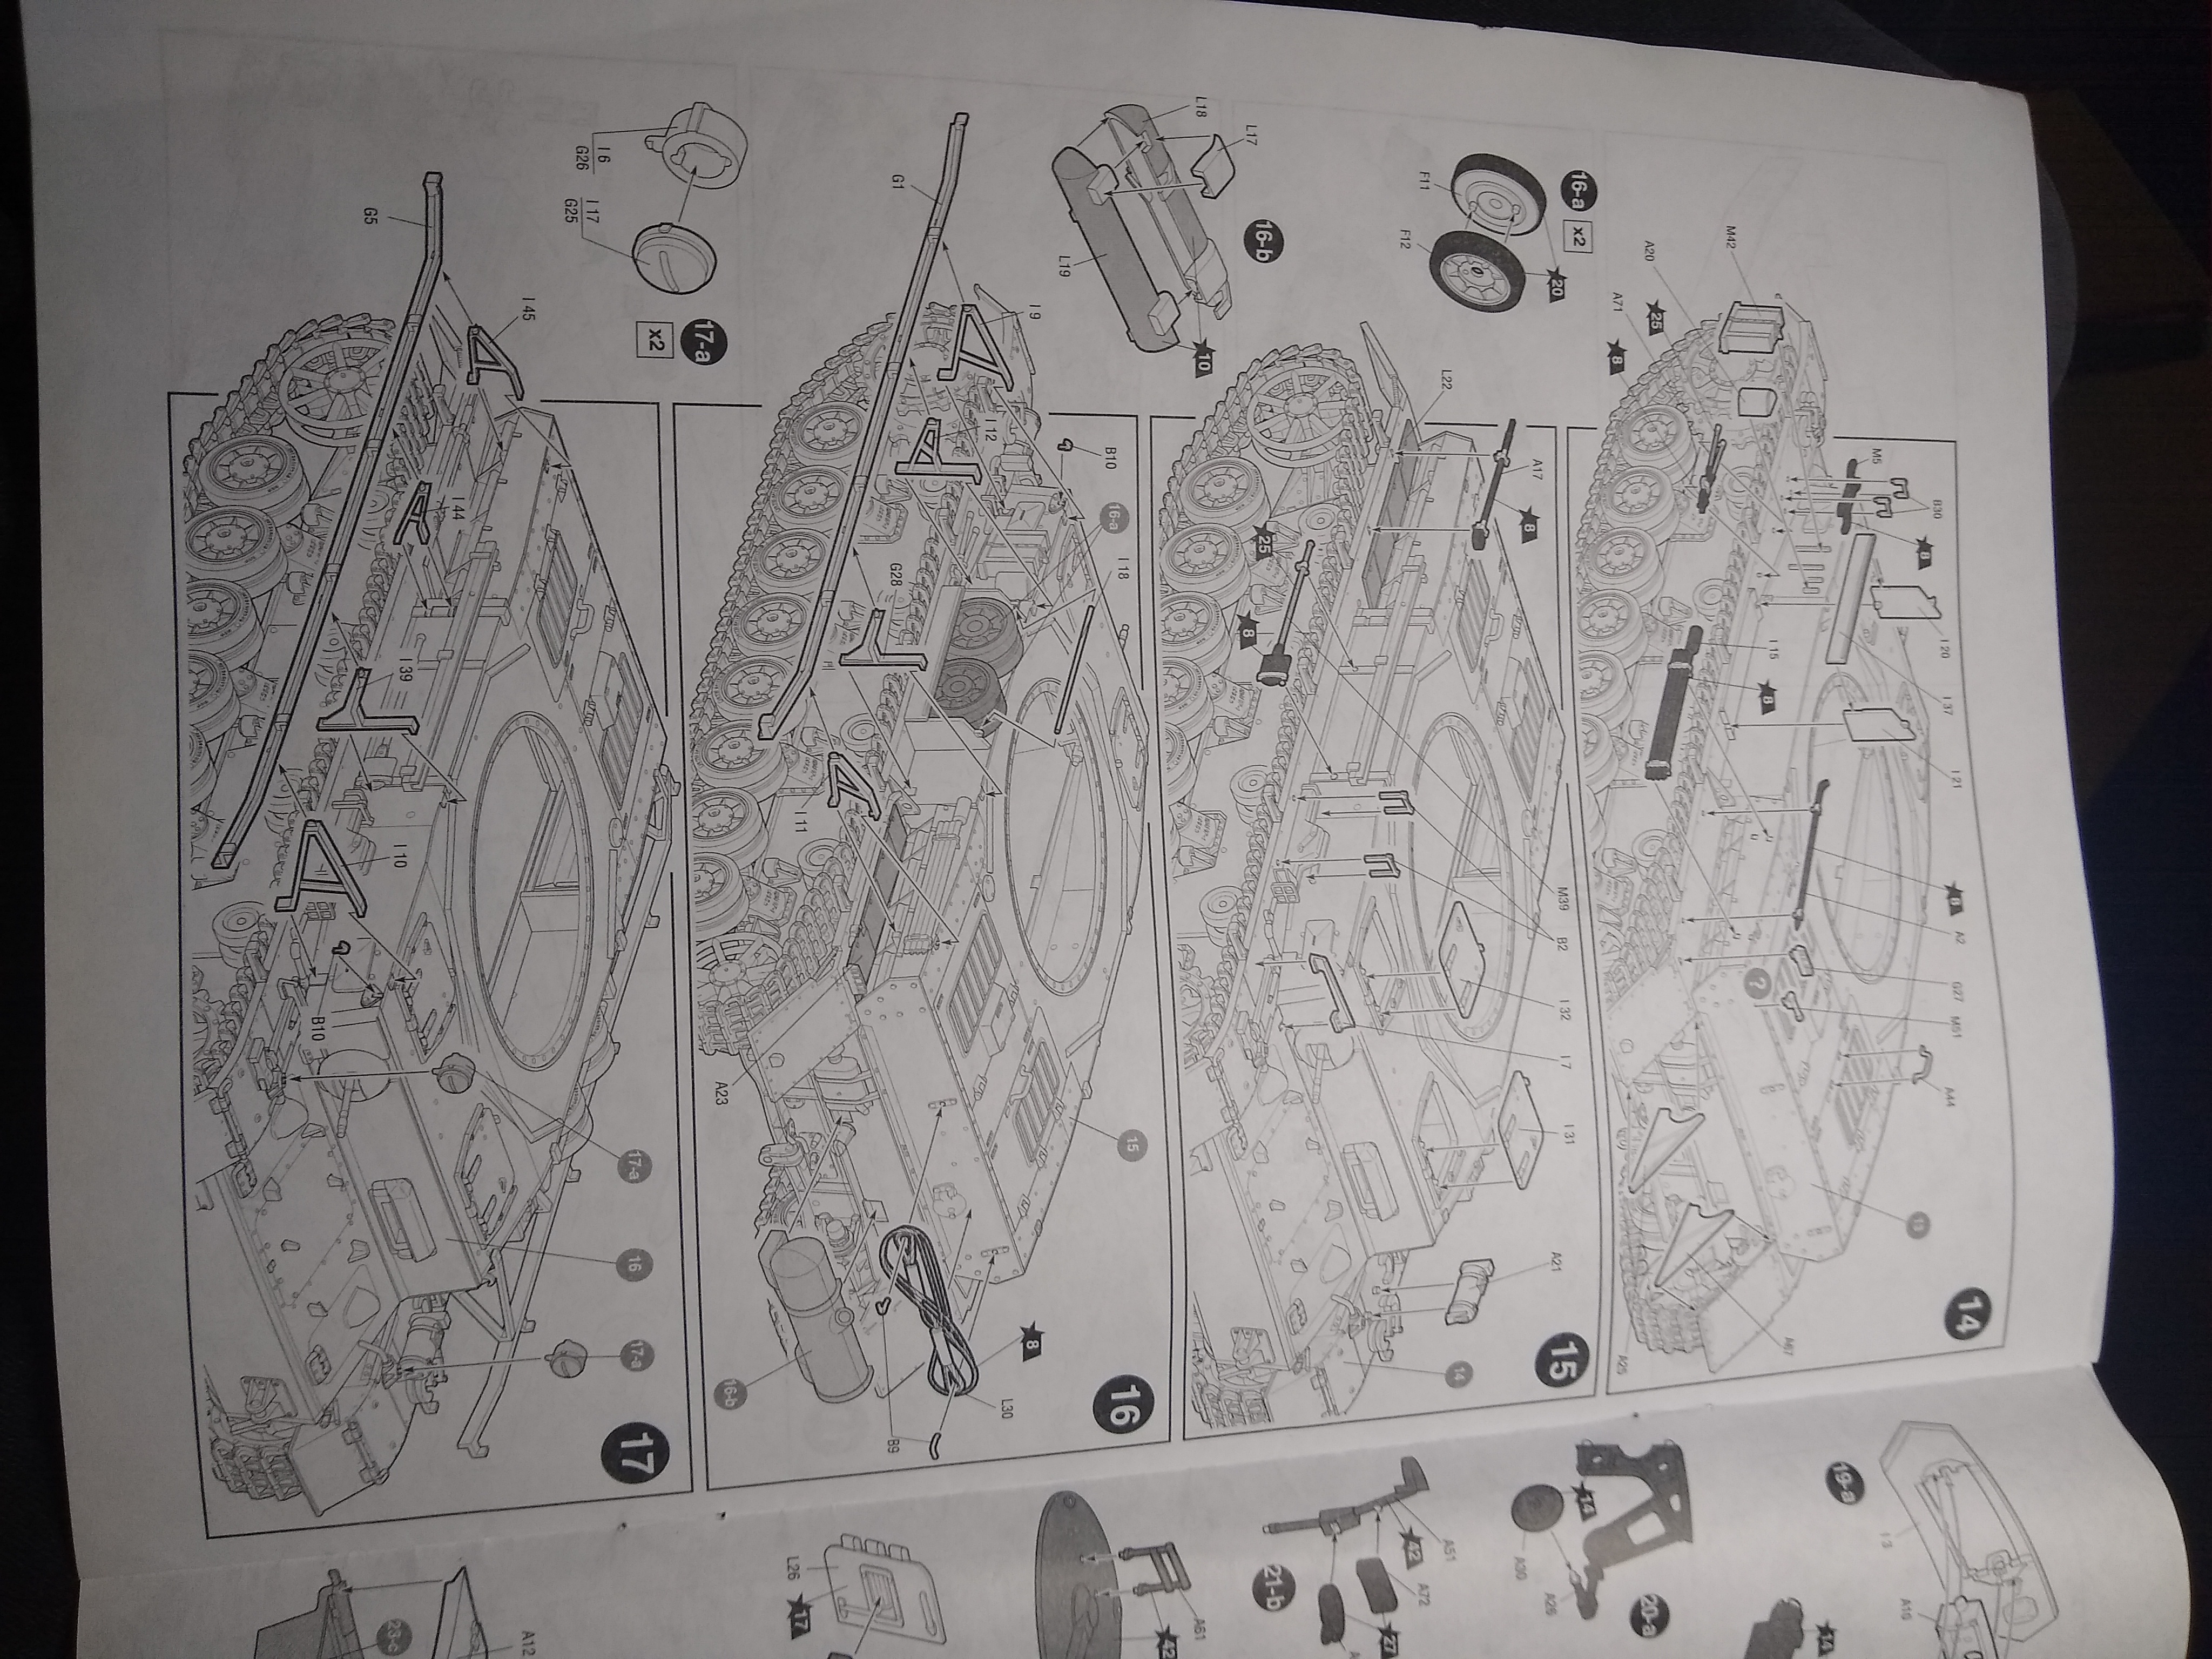
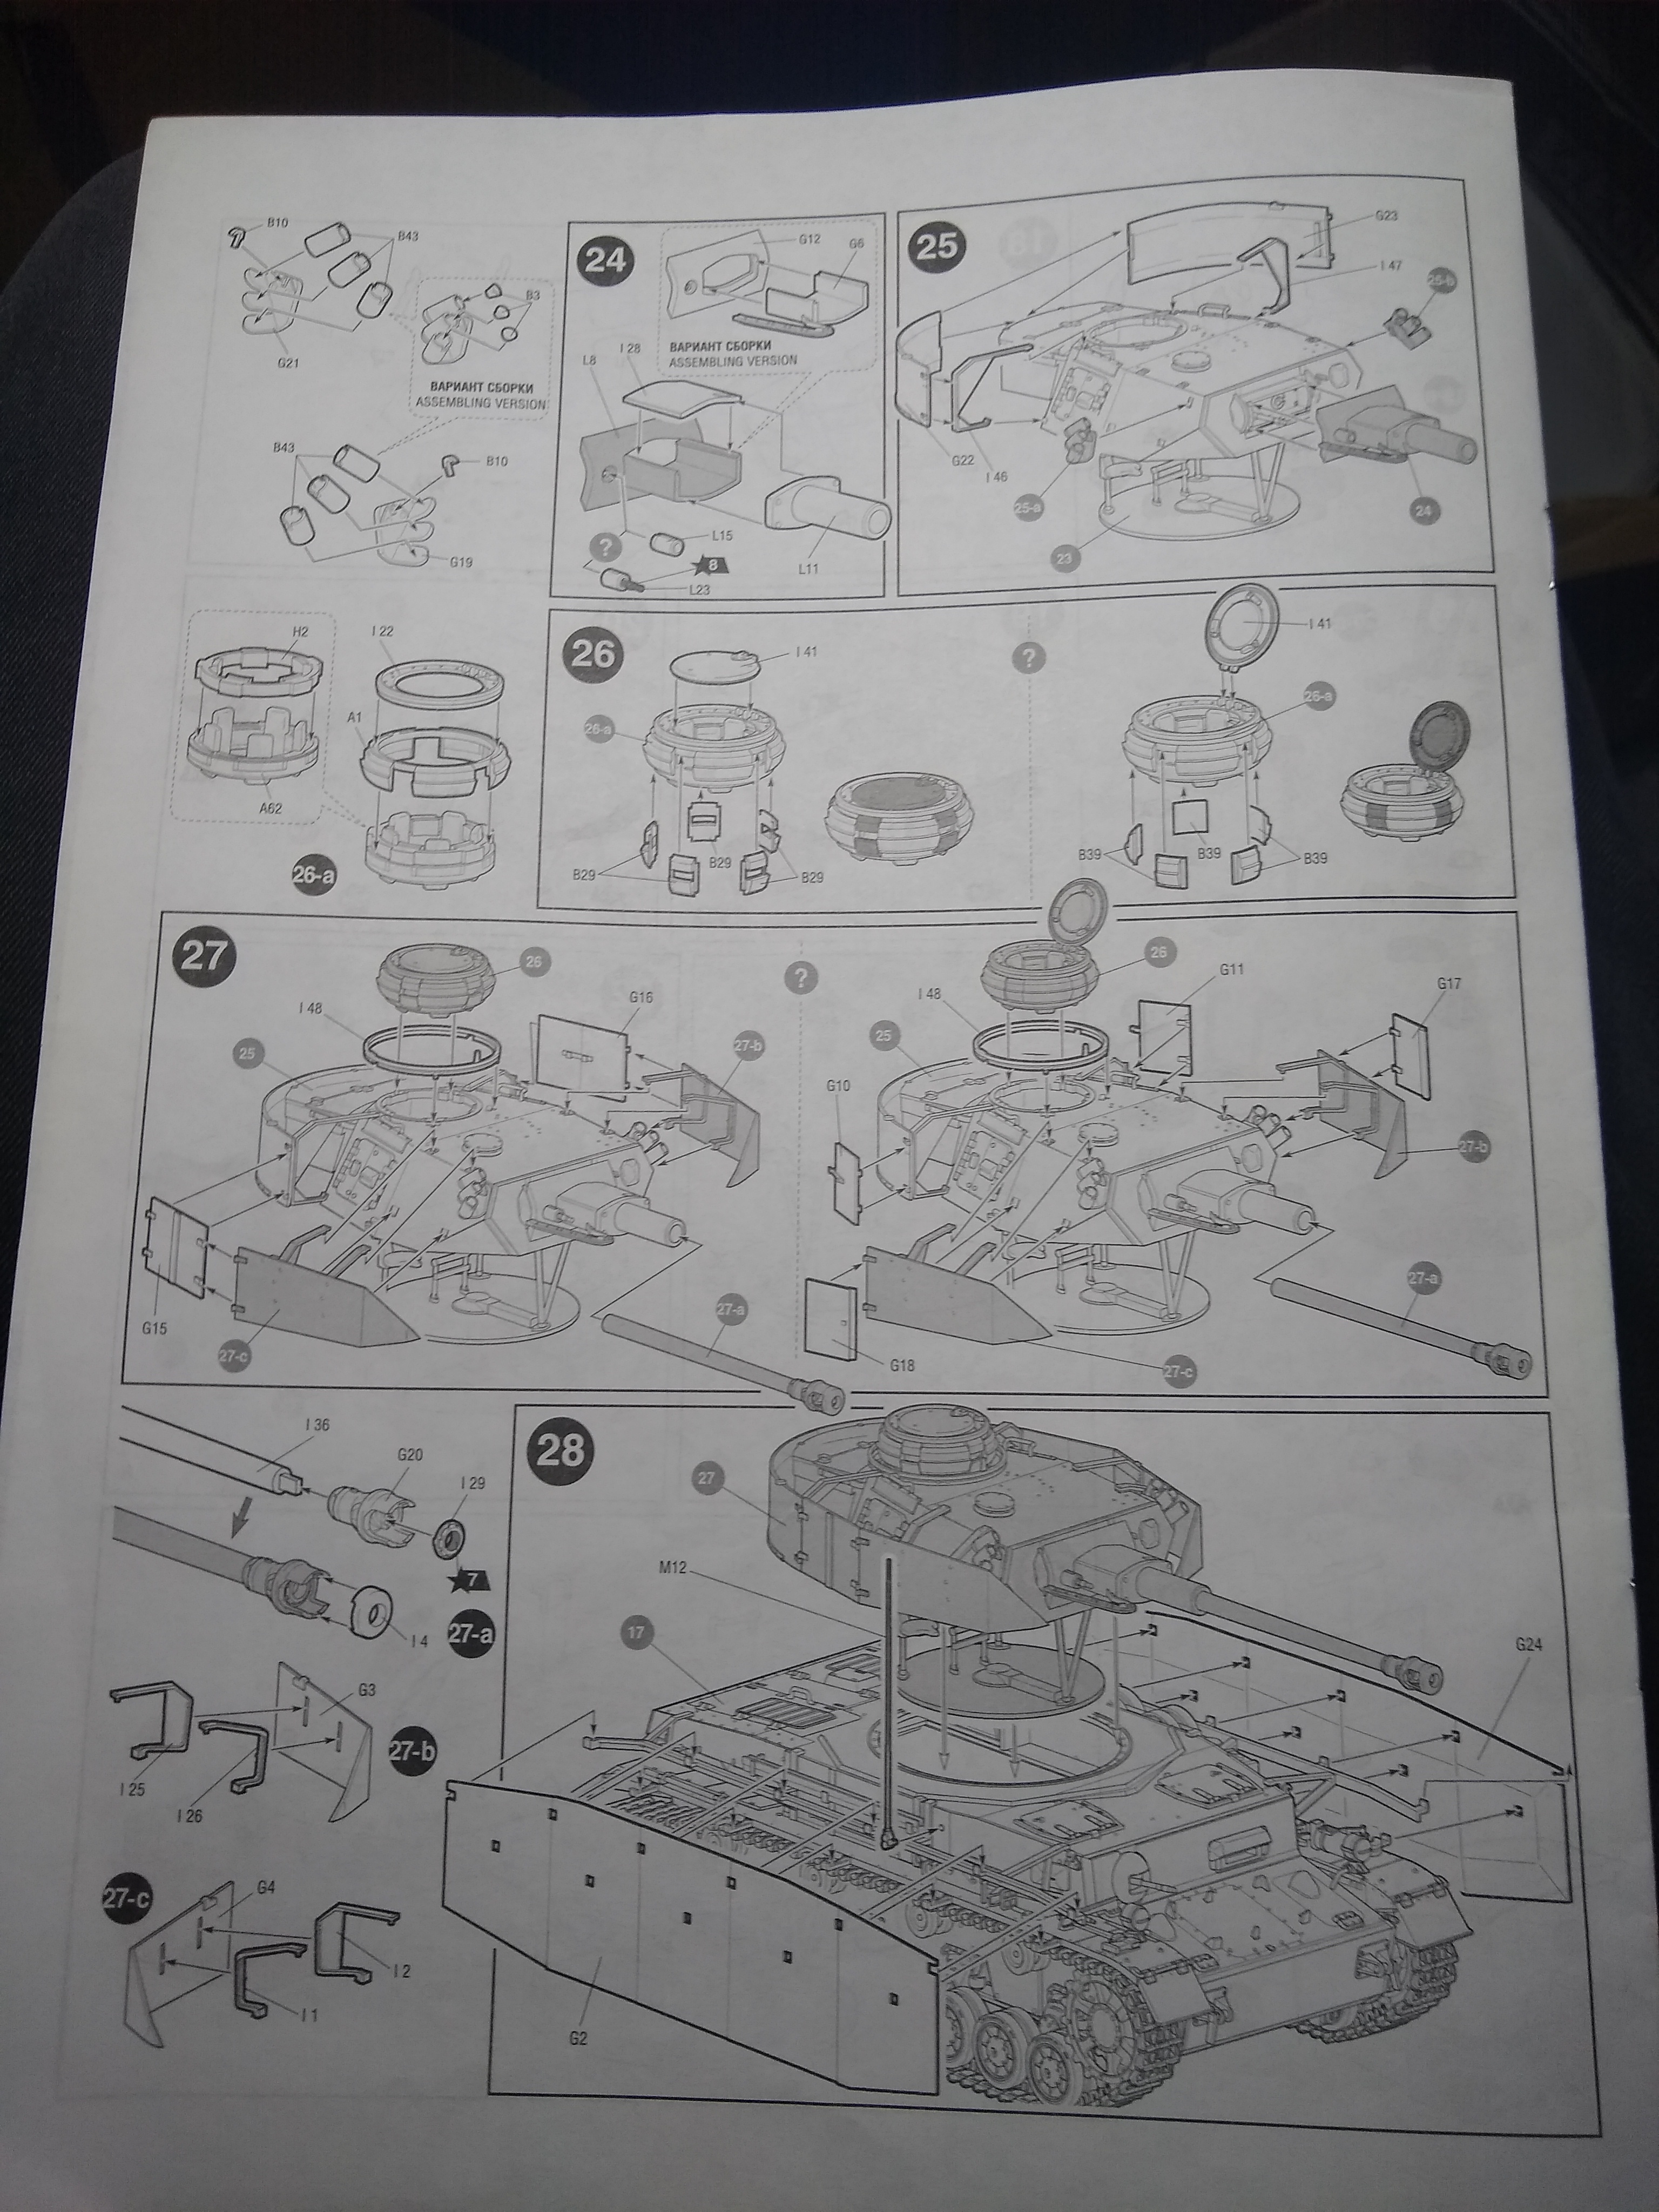
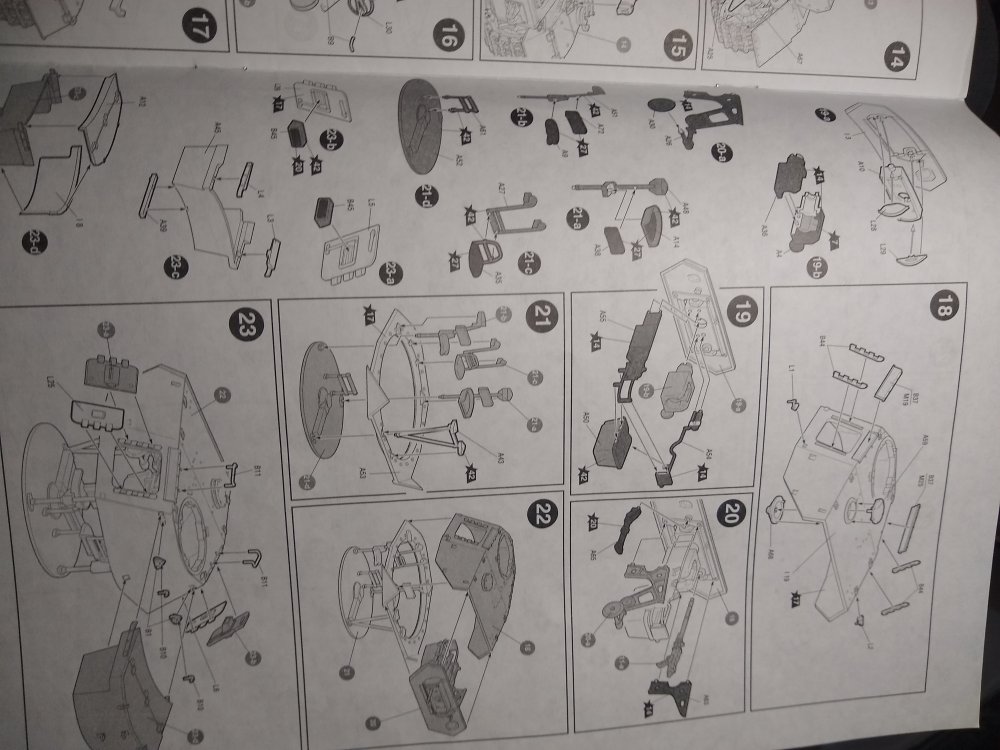
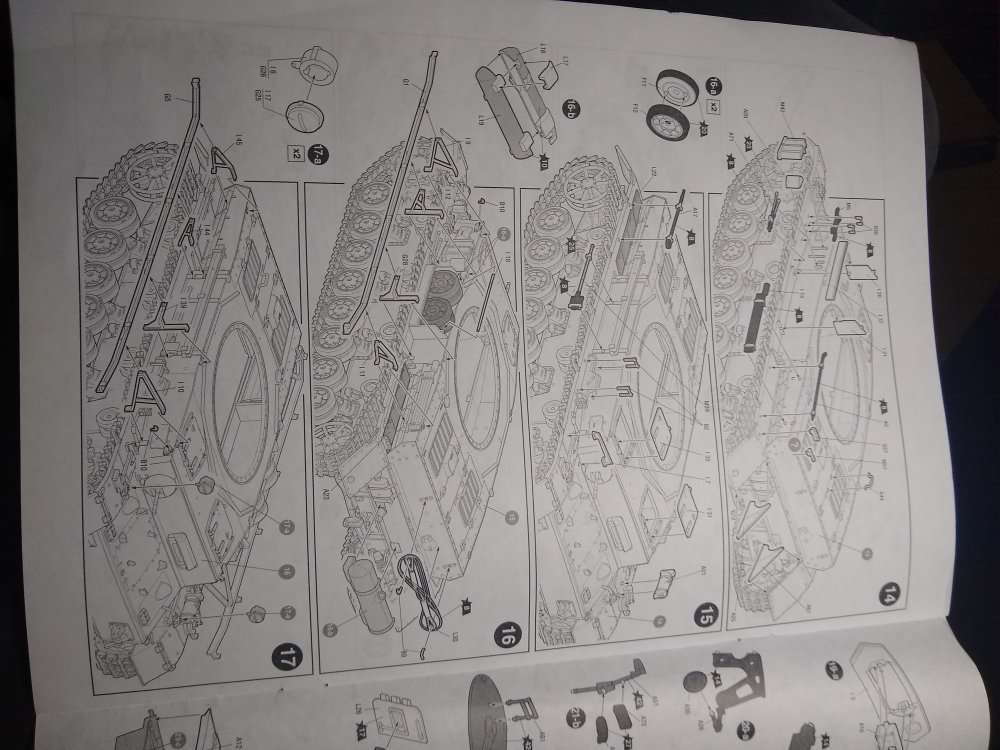
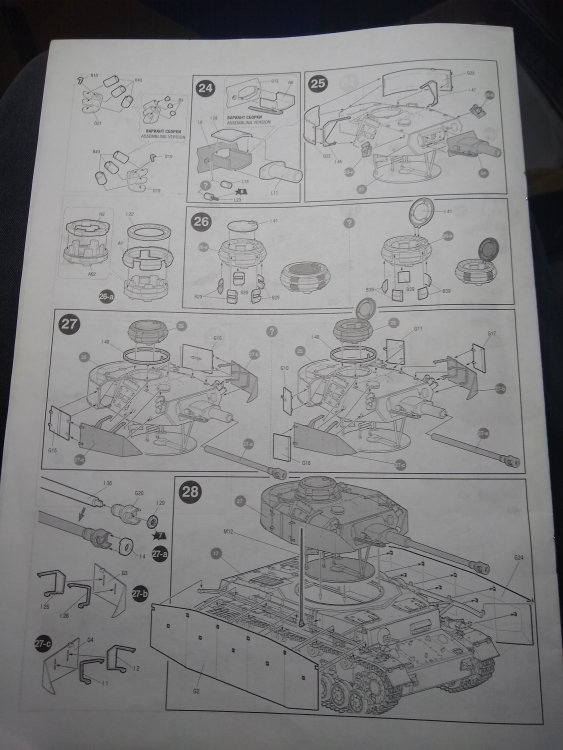
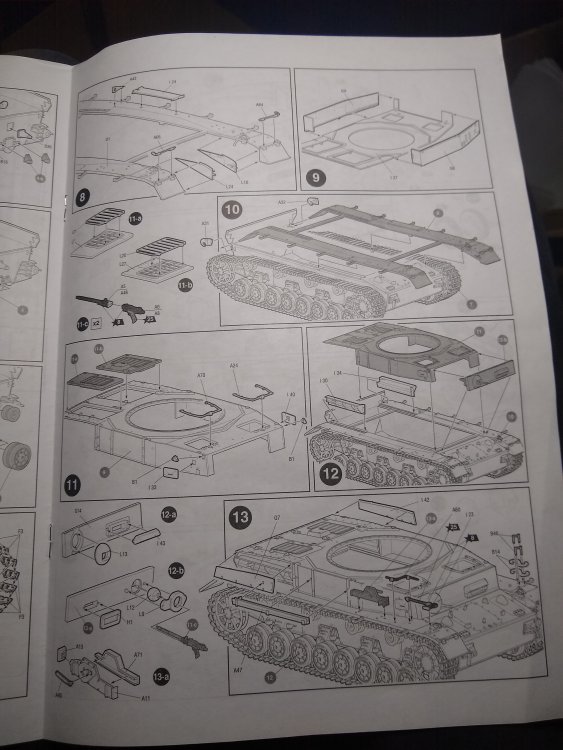
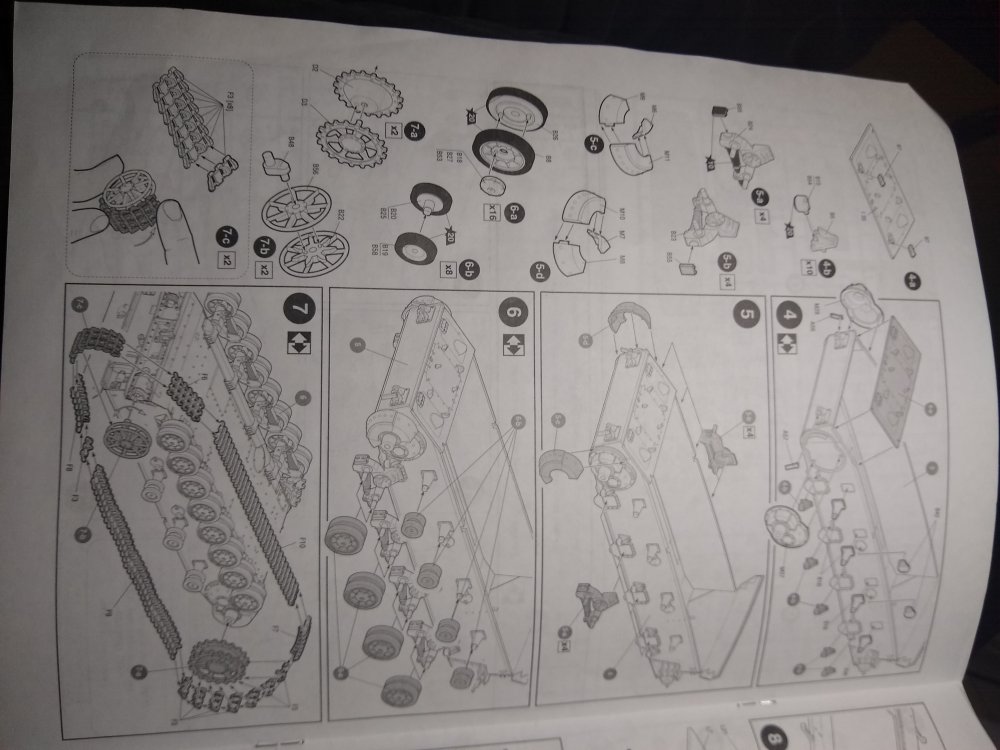
Hears a look at the instructions too.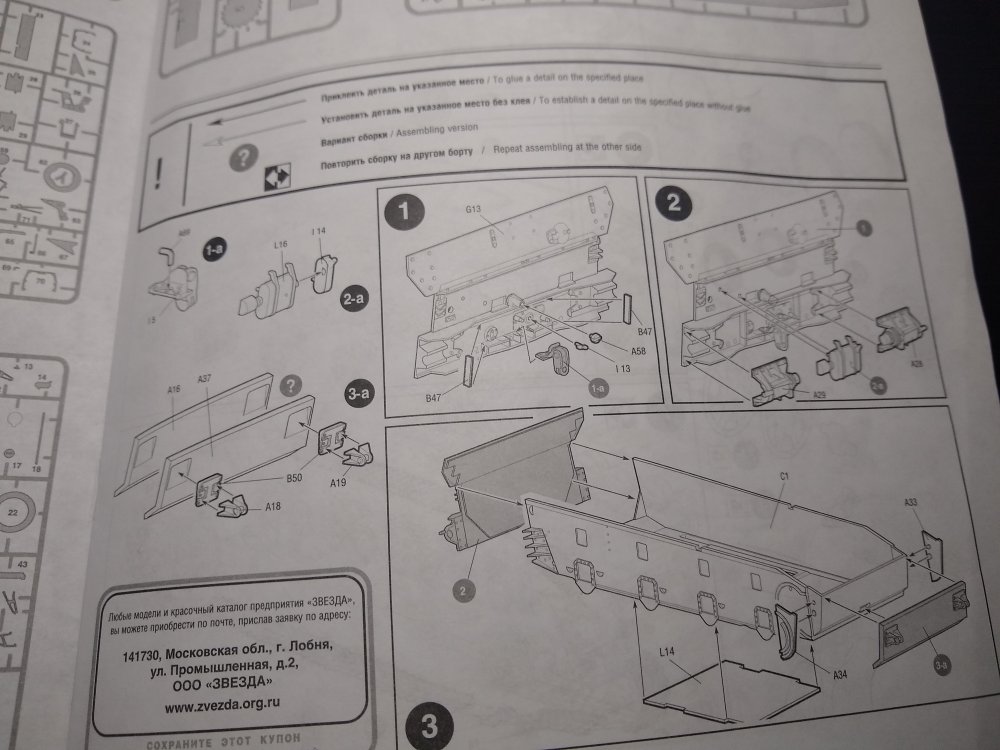
-
7.5cm Anti-Tank Gun PAK40/L46 1:35
Daniel_Roxy replied to Daniel_Roxy's topic in LSM 1/35 and Larger Work In Progress
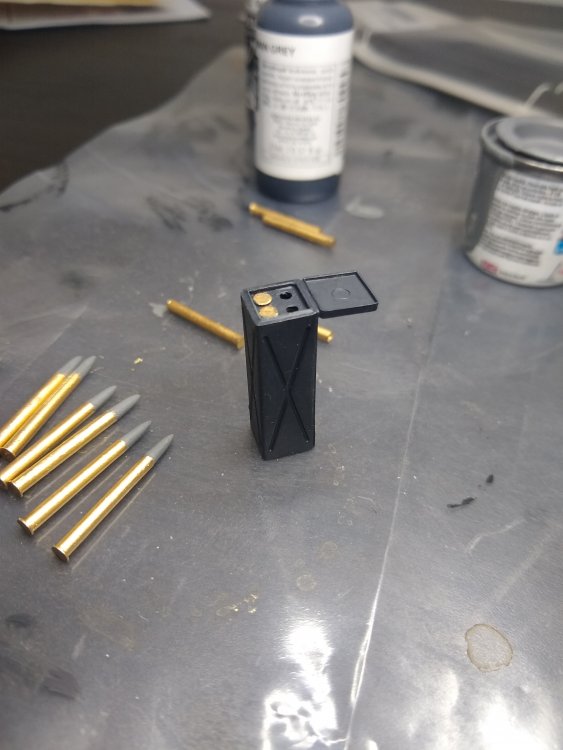
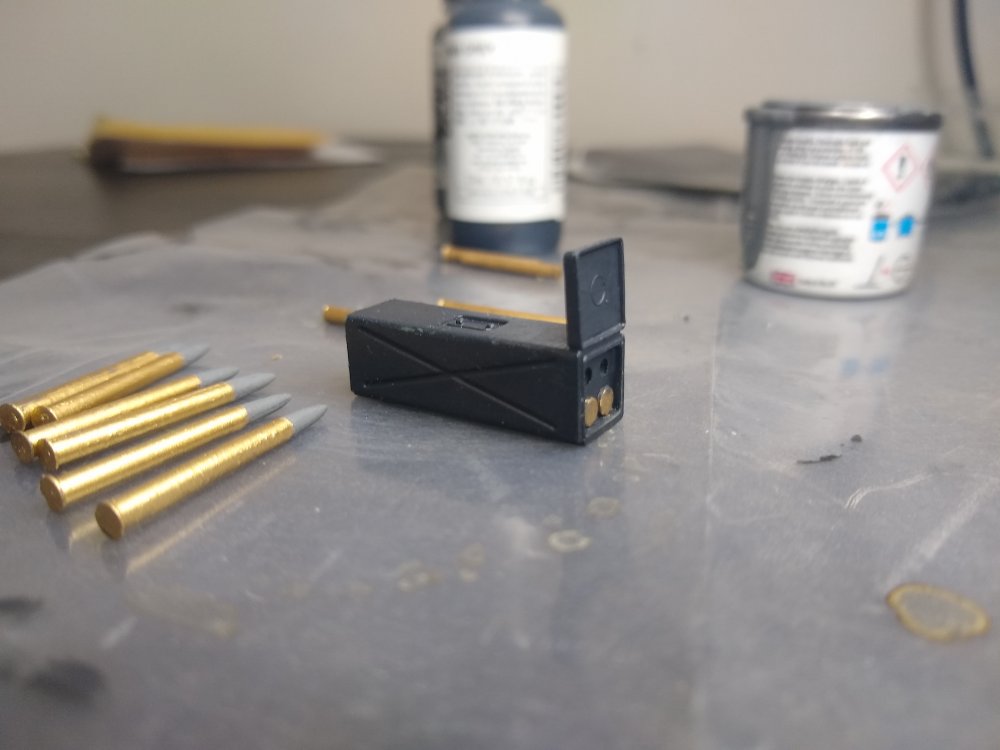
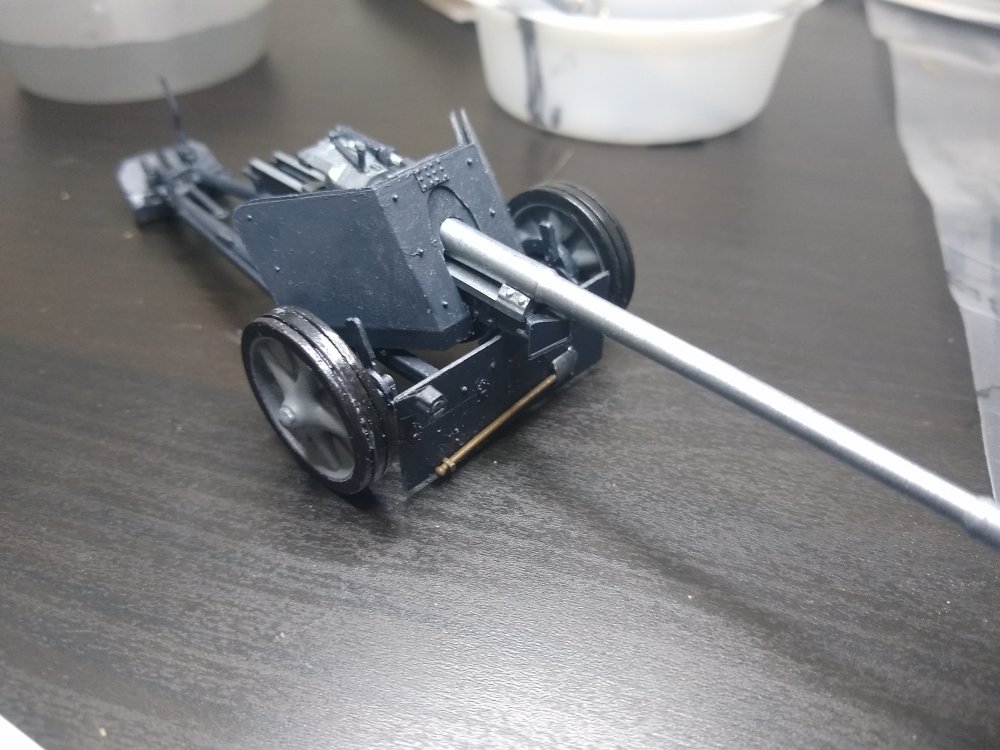
Well took a little longer than I thought it would but it looks better now and the shells and ammunition box look nice and clean. The Gun And the Ammunition Box casings and shells. I believe I got the shells quite good. Took about of effort getting the right colour for them