
Daniel_Roxy
-
Posts
214 -
Joined
-
Last visited
Content Type
Profiles
Forums
Events
Gallery
Everything posted by Daniel_Roxy
-

7.5cm Anti-Tank Gun PAK40/L46 1:35
Daniel_Roxy replied to Daniel_Roxy's topic in LSM 1/35 and Larger Work In Progress
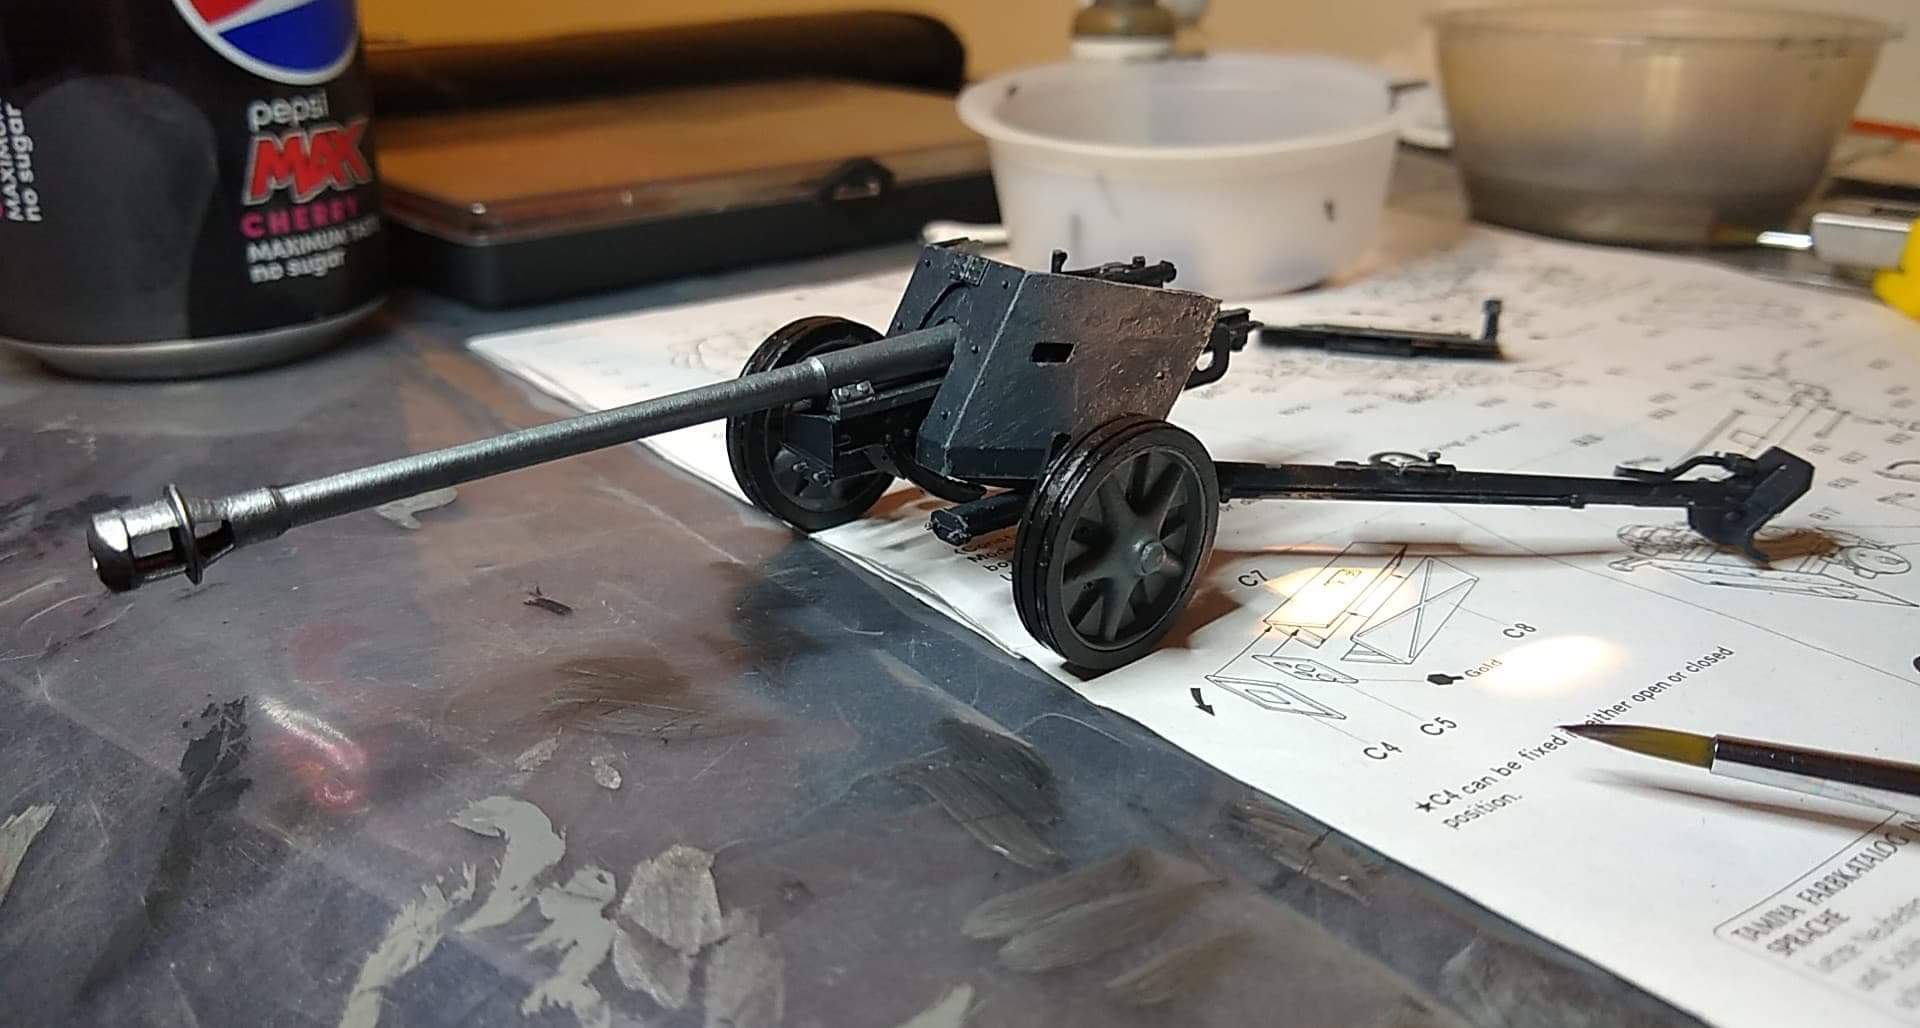
And also going to touch up all the scratched pain on the gun and carriage
-
7.5cm Anti-Tank Gun PAK40/L46 1:35
Daniel_Roxy replied to Daniel_Roxy's topic in LSM 1/35 and Larger Work In Progress
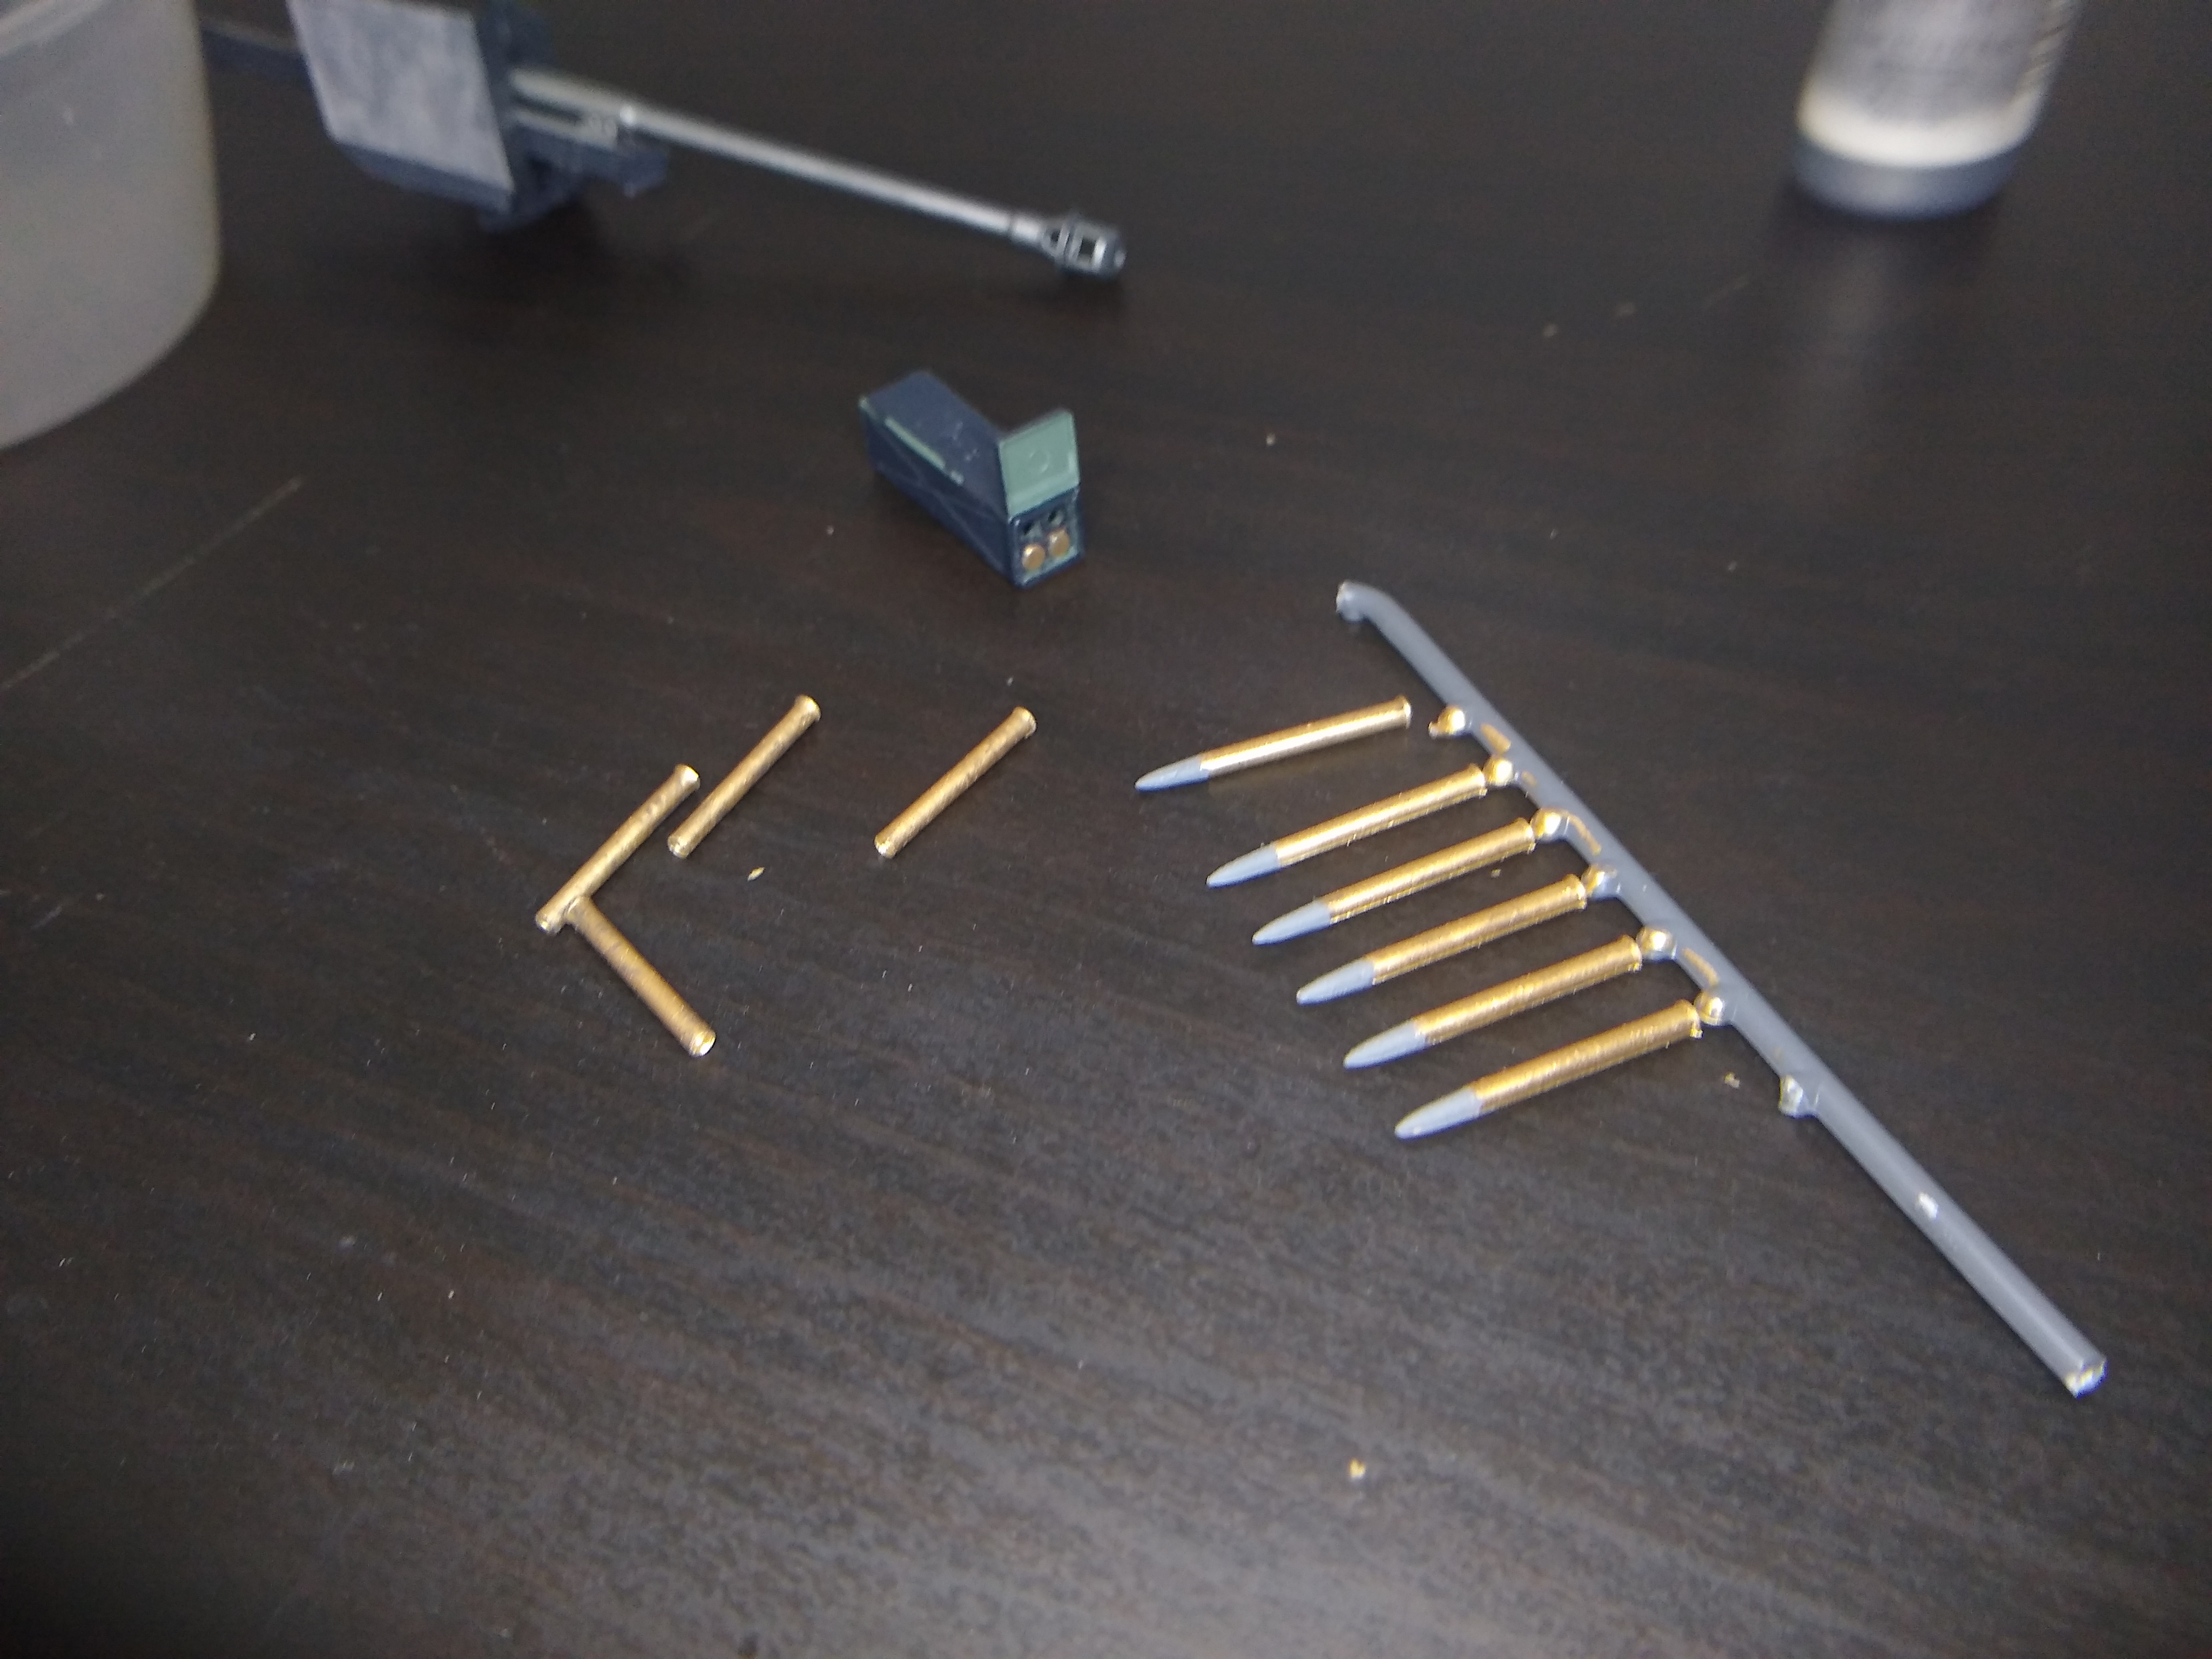
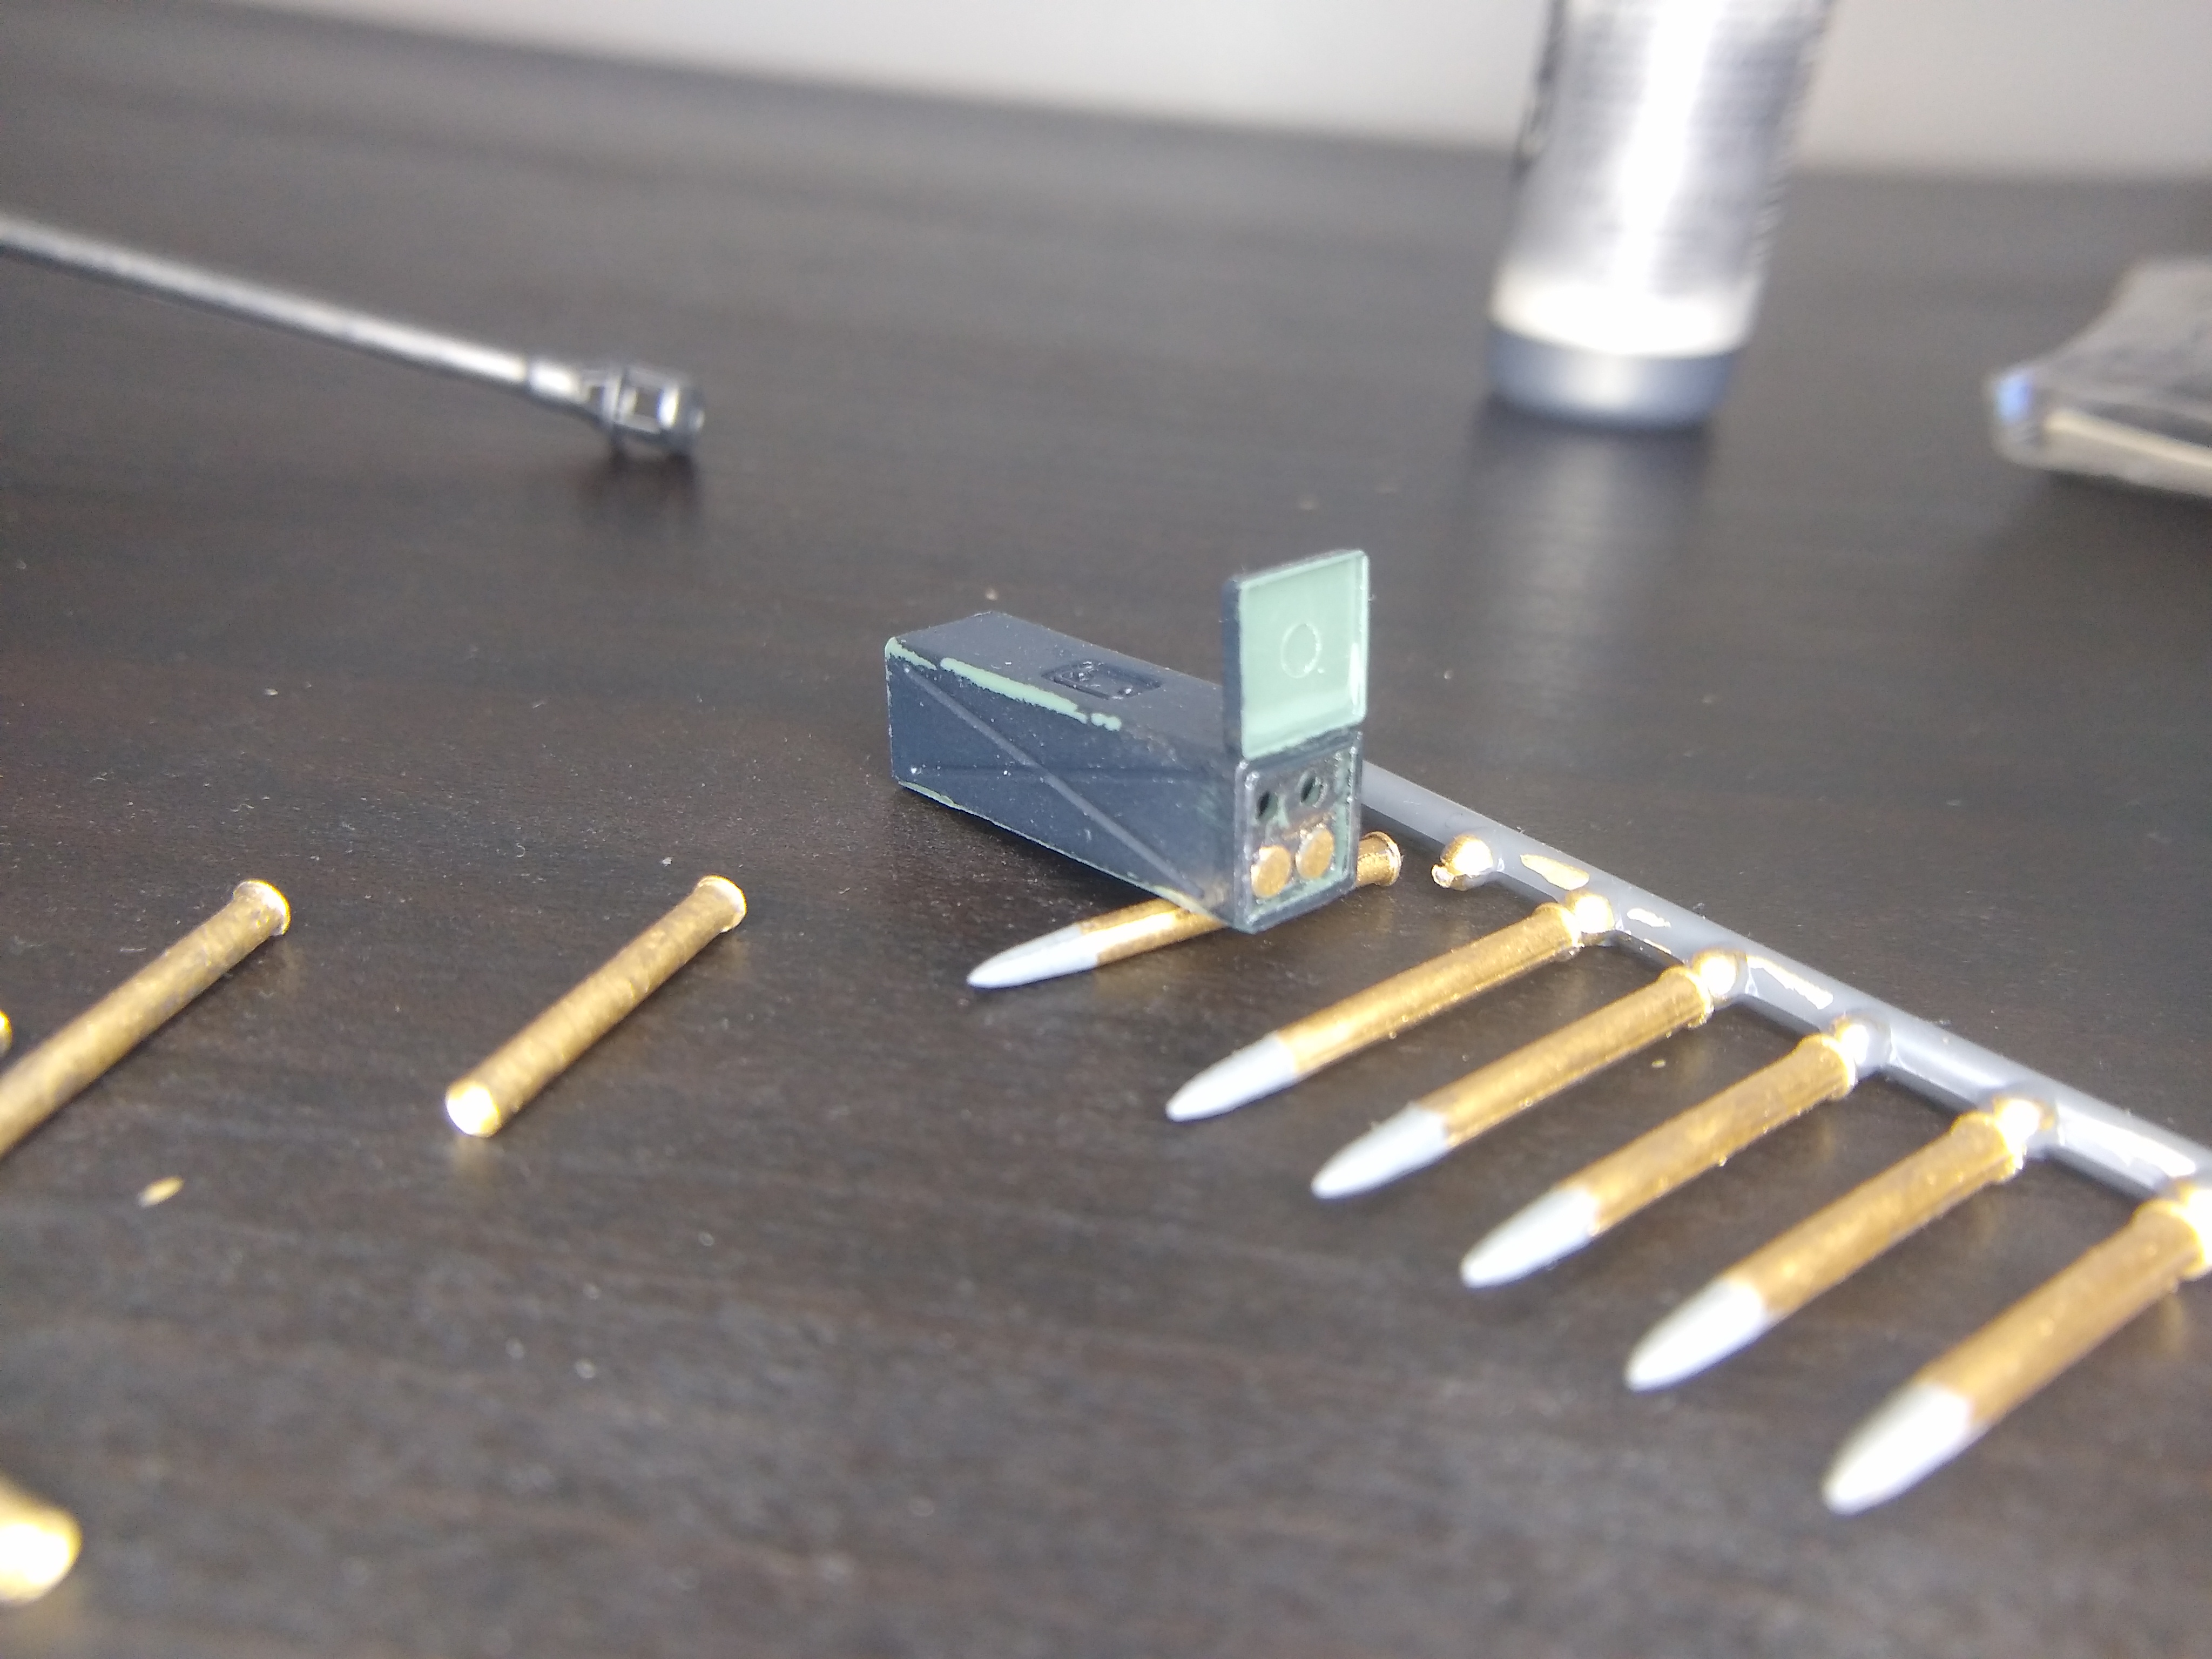
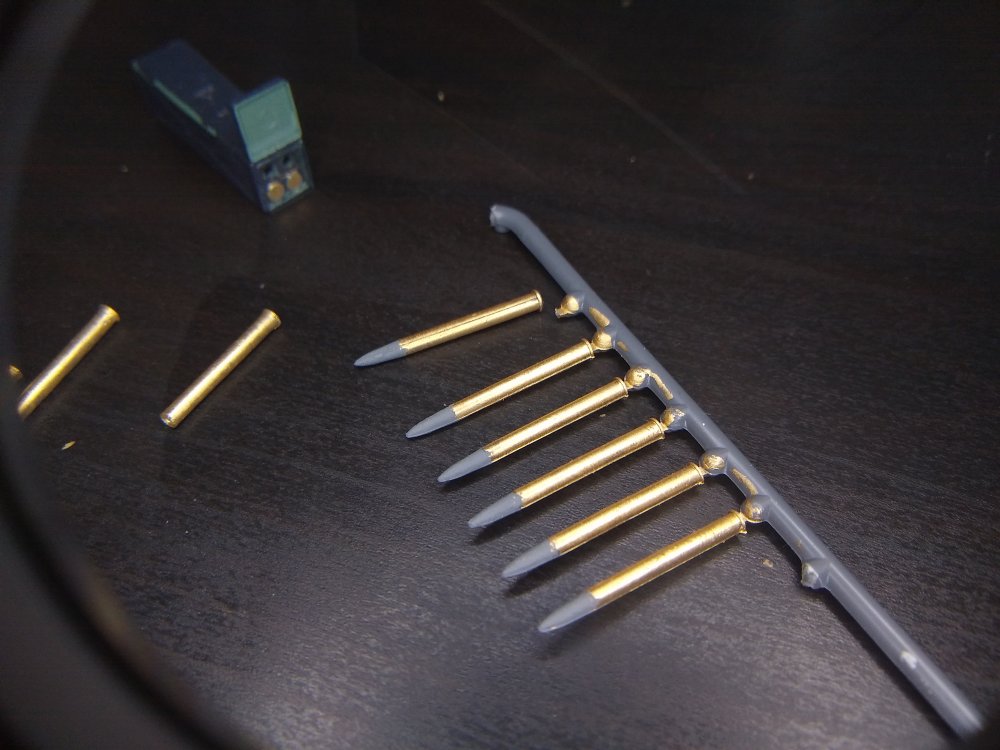
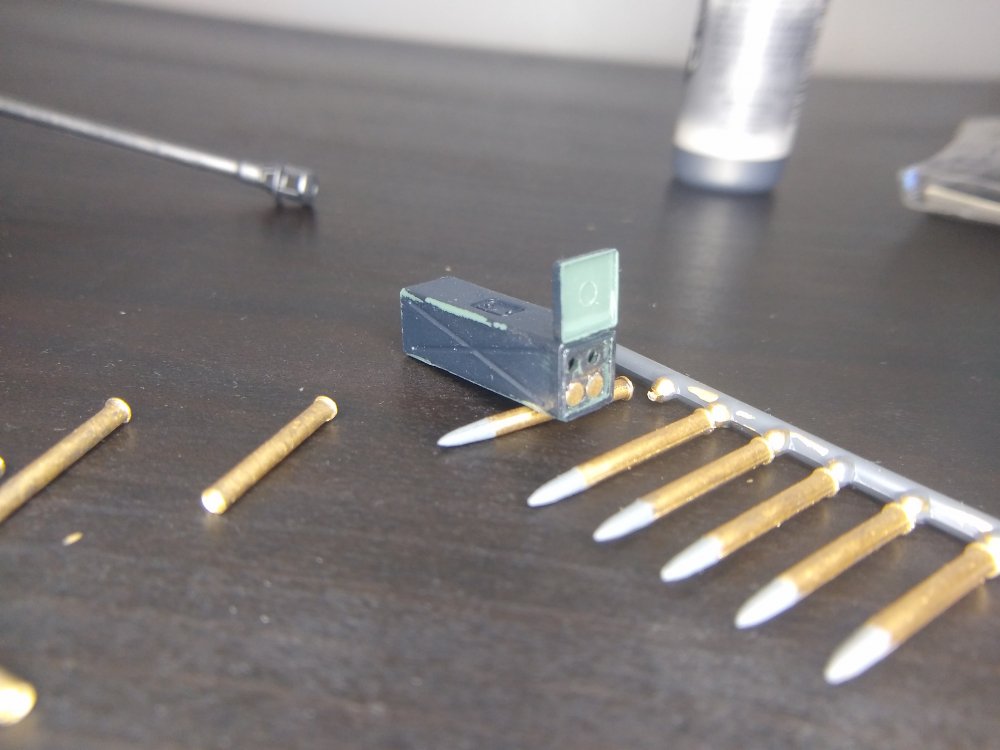
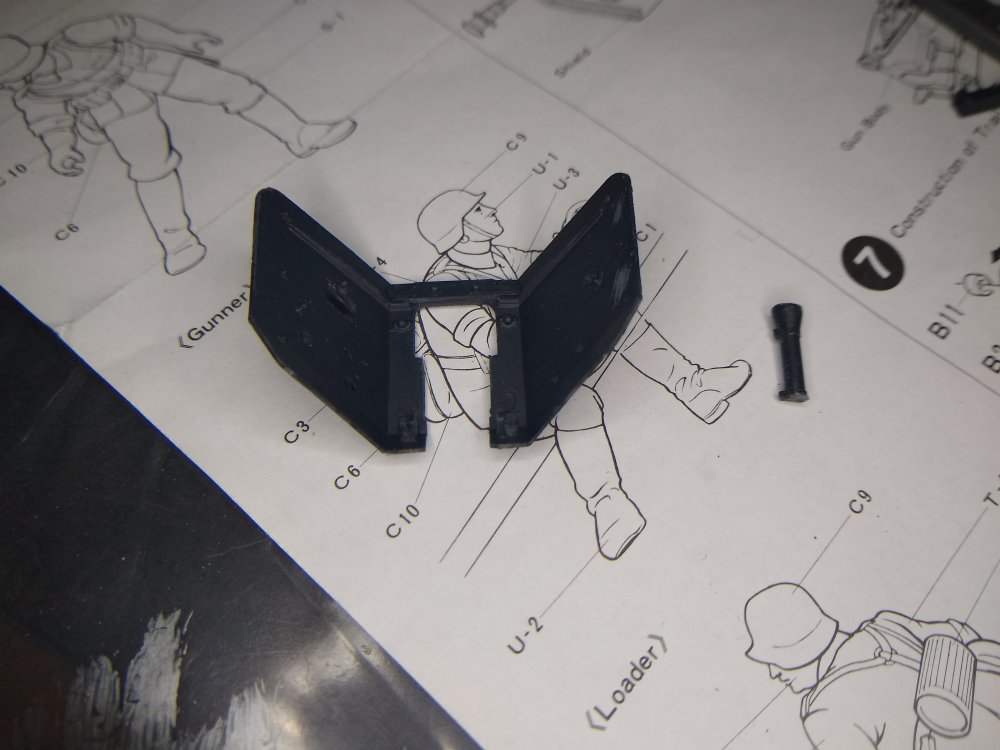
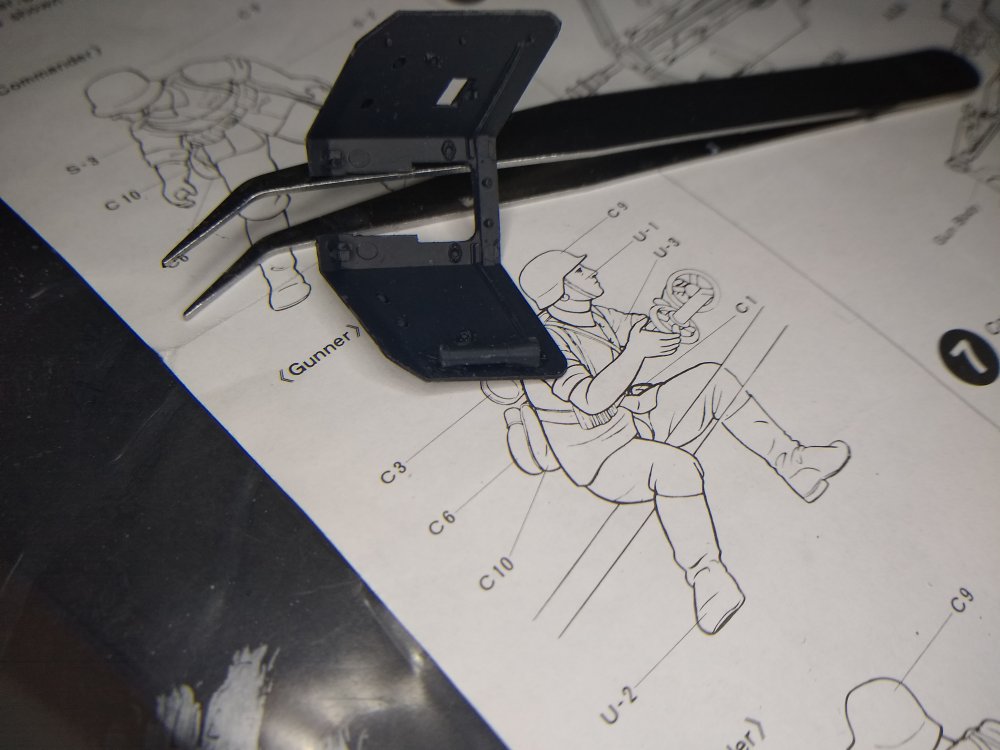
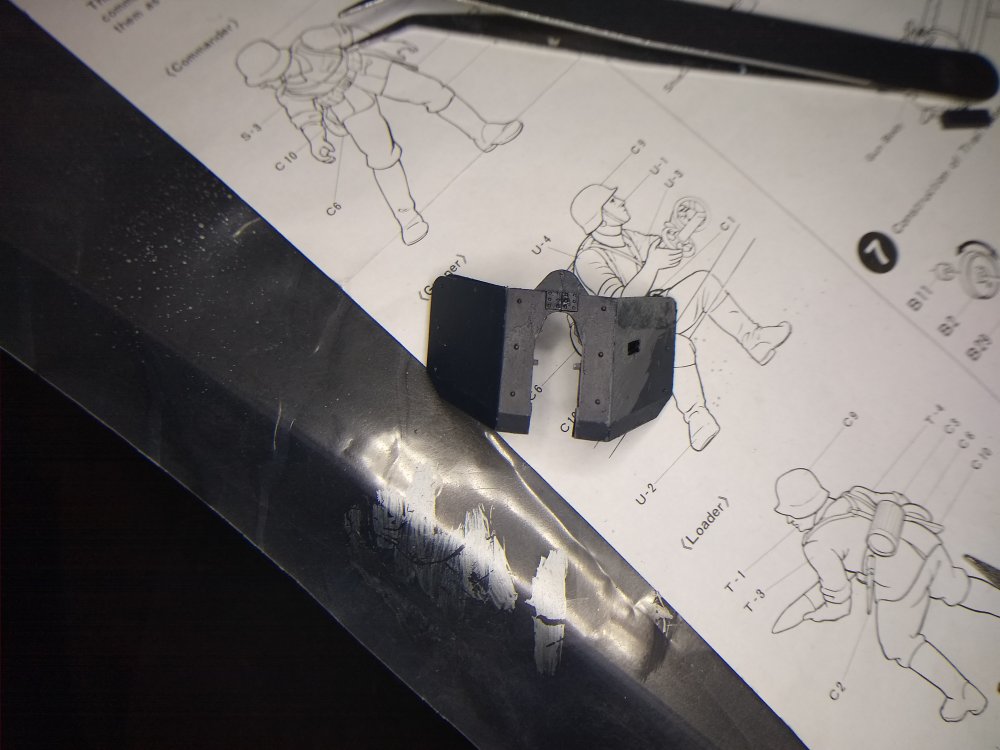
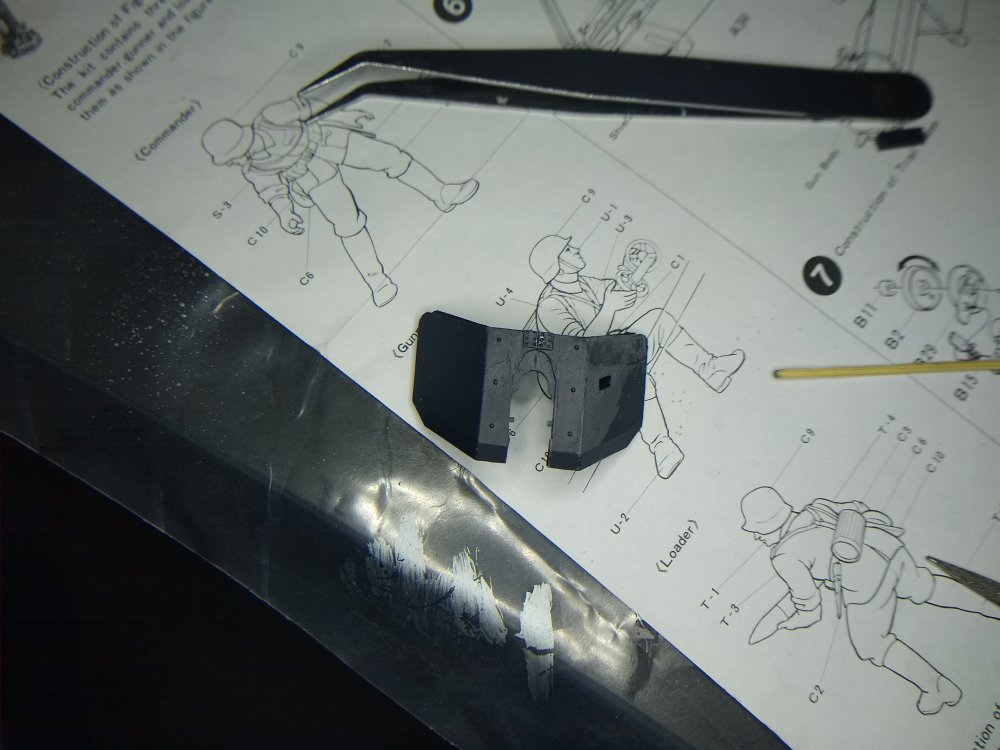
Well before I go onto that Panzer IV model I should finish this one off so here's the shells casings and little ammunition box it has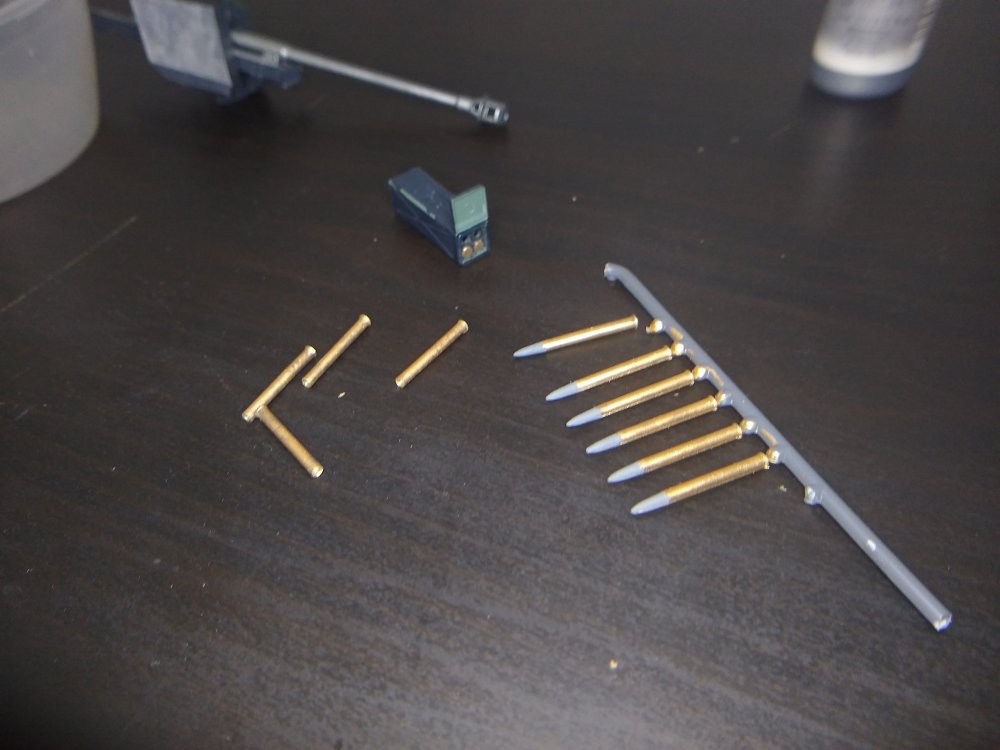
-
German Panzer IV Ausf H
Daniel_Roxy replied to Daniel_Roxy's topic in LSM 1/35 and Larger Work In Progress
Yeah the kit looks good lots of detail including a turret basket. Should be alot of fun -
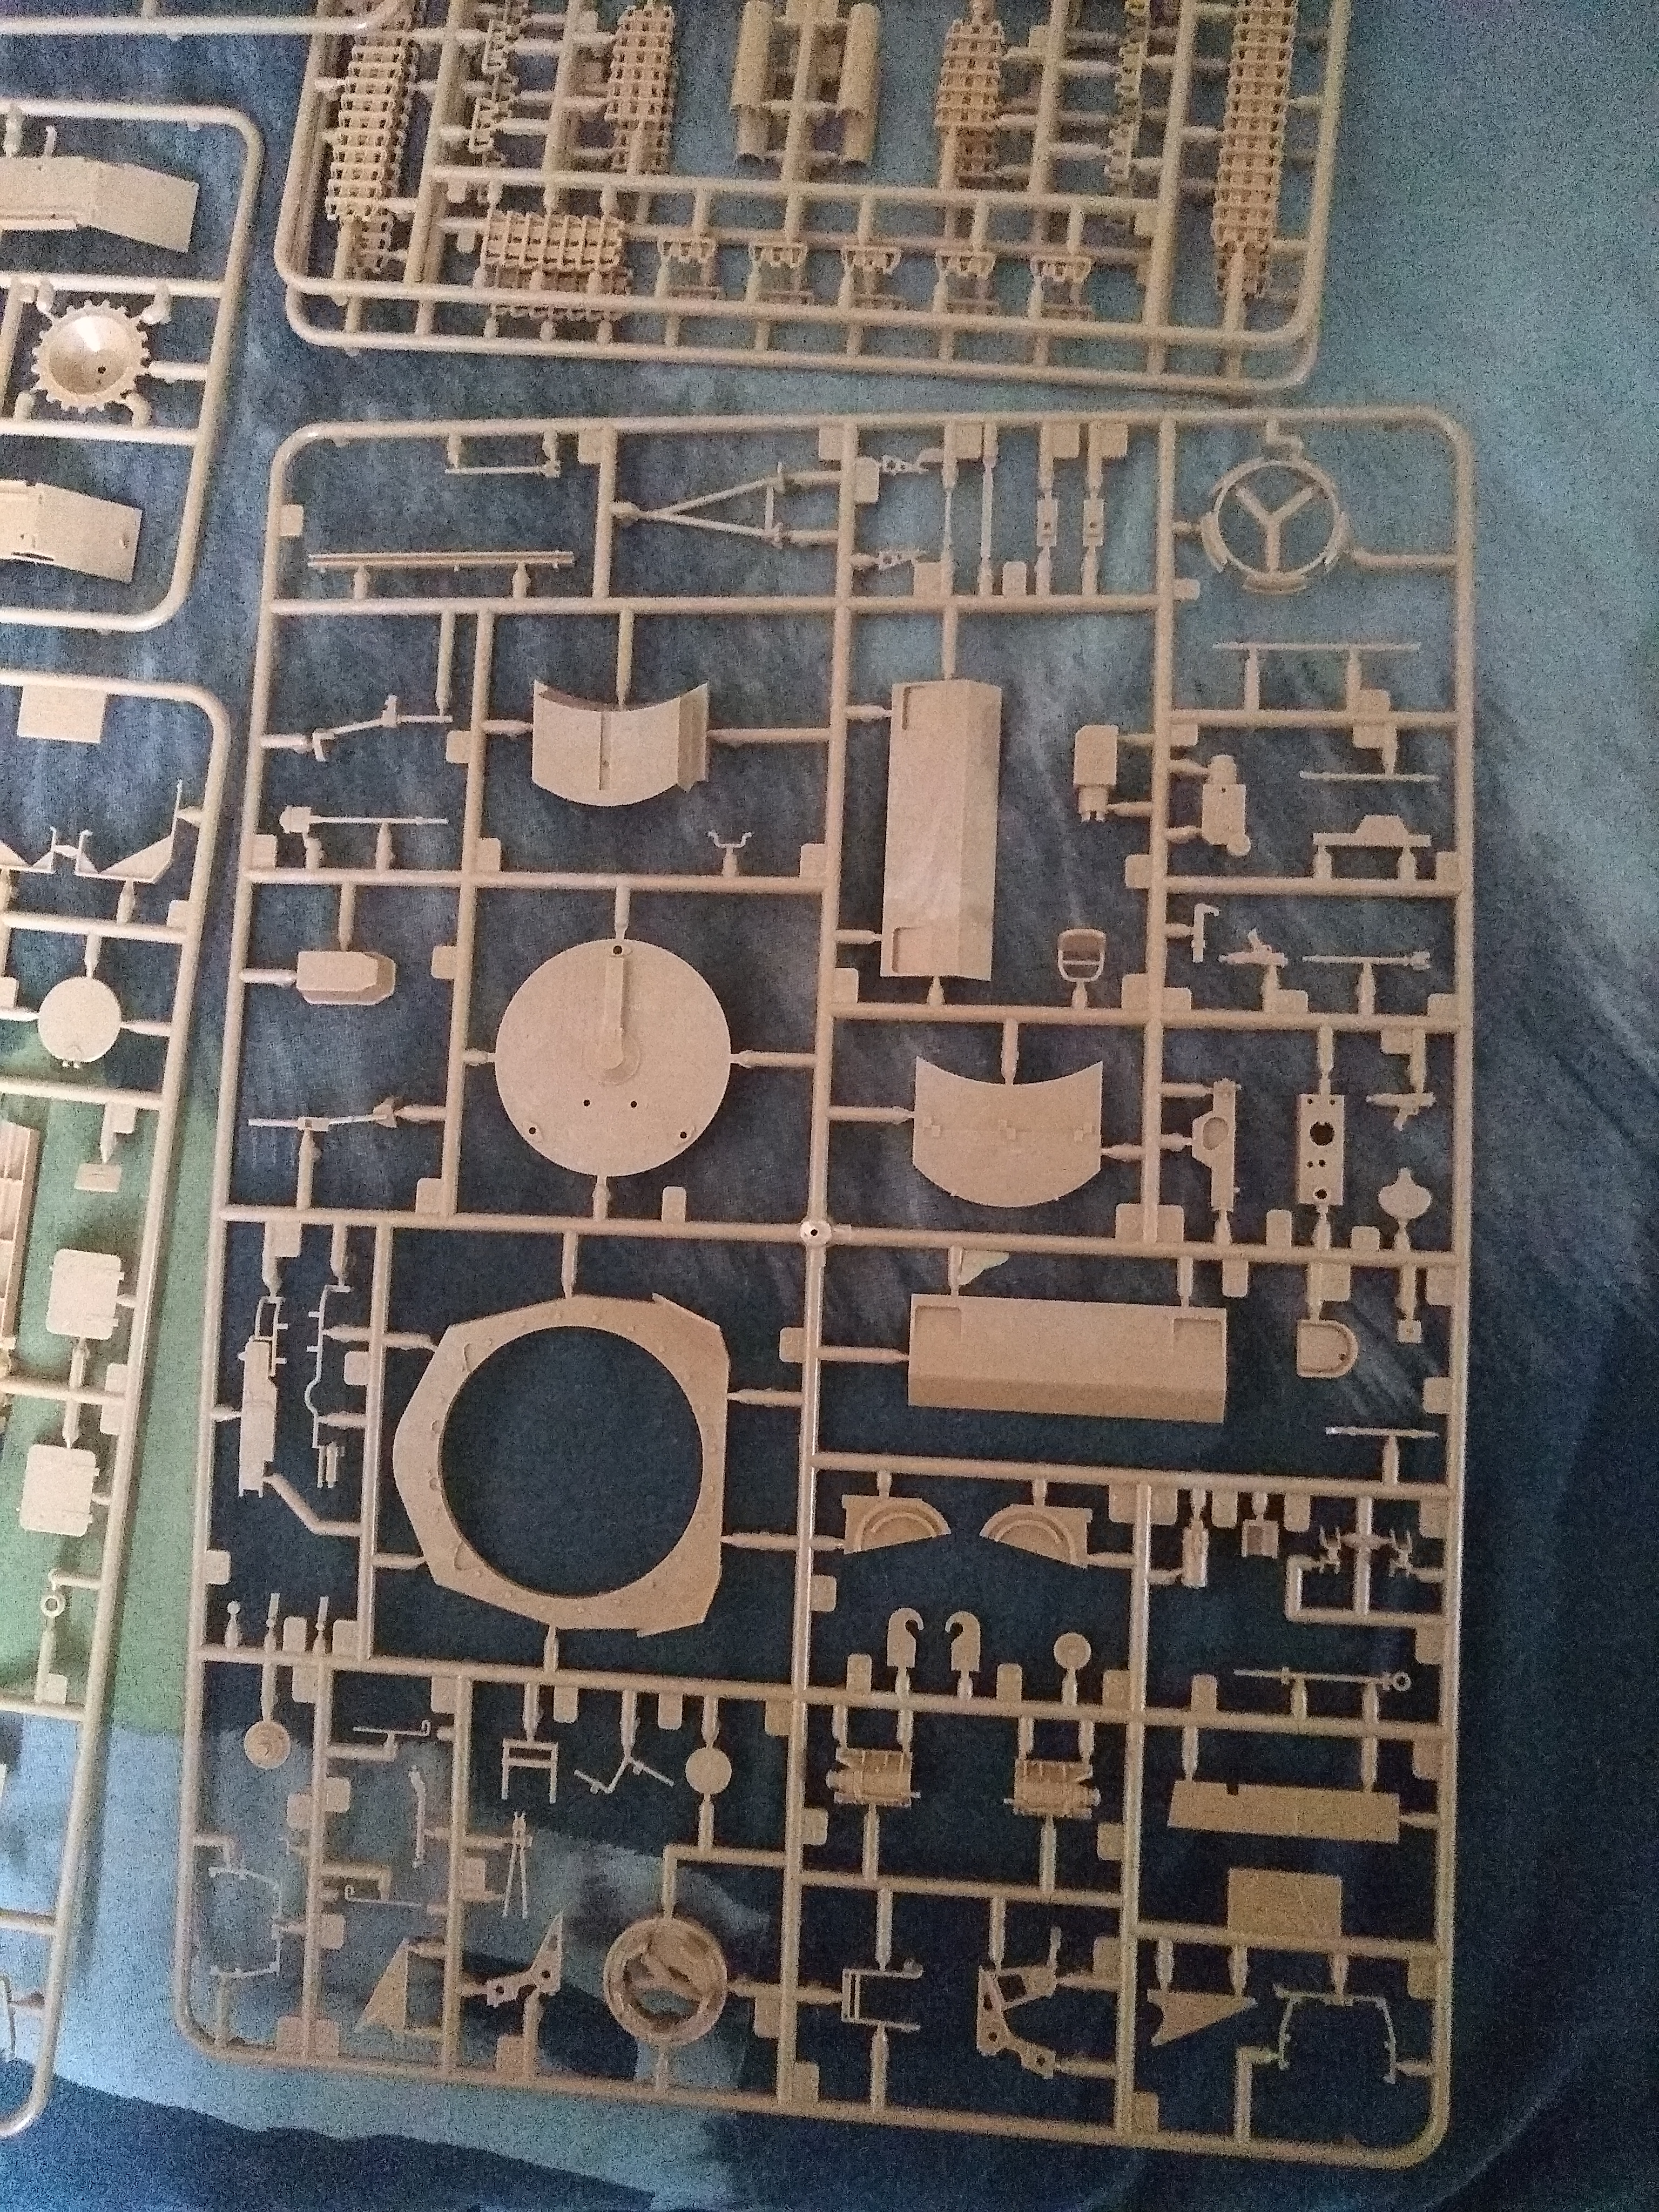
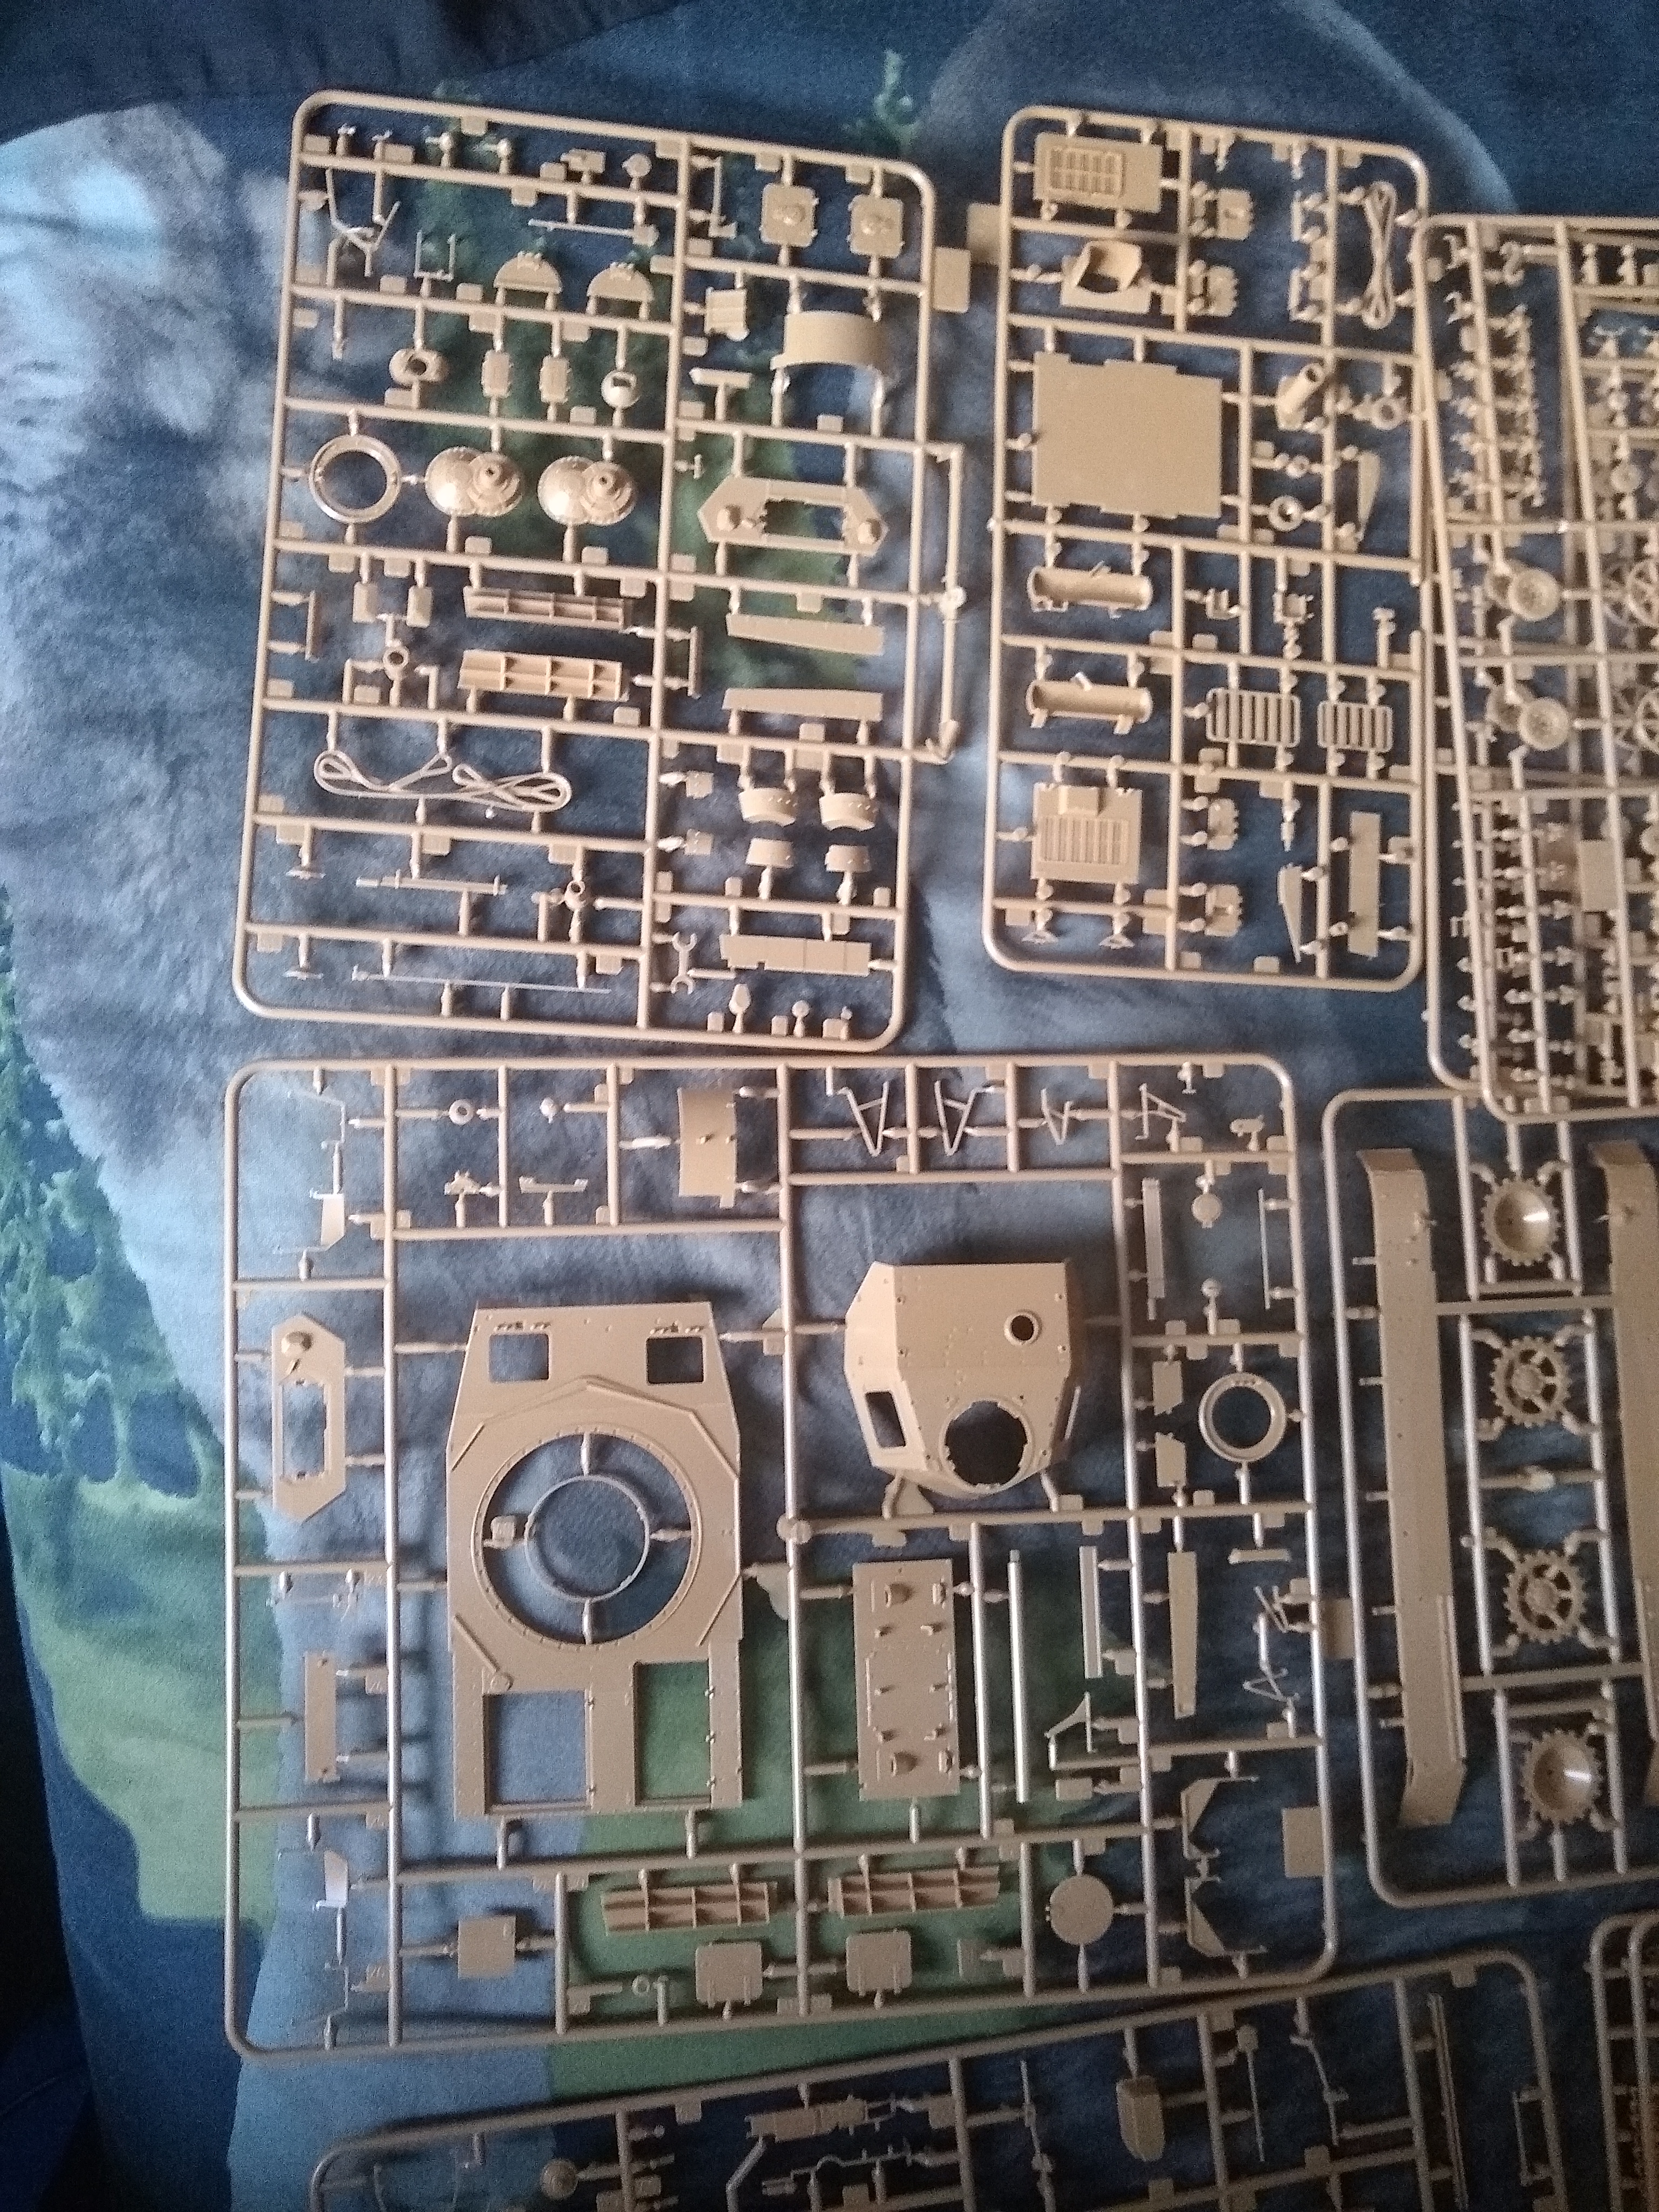
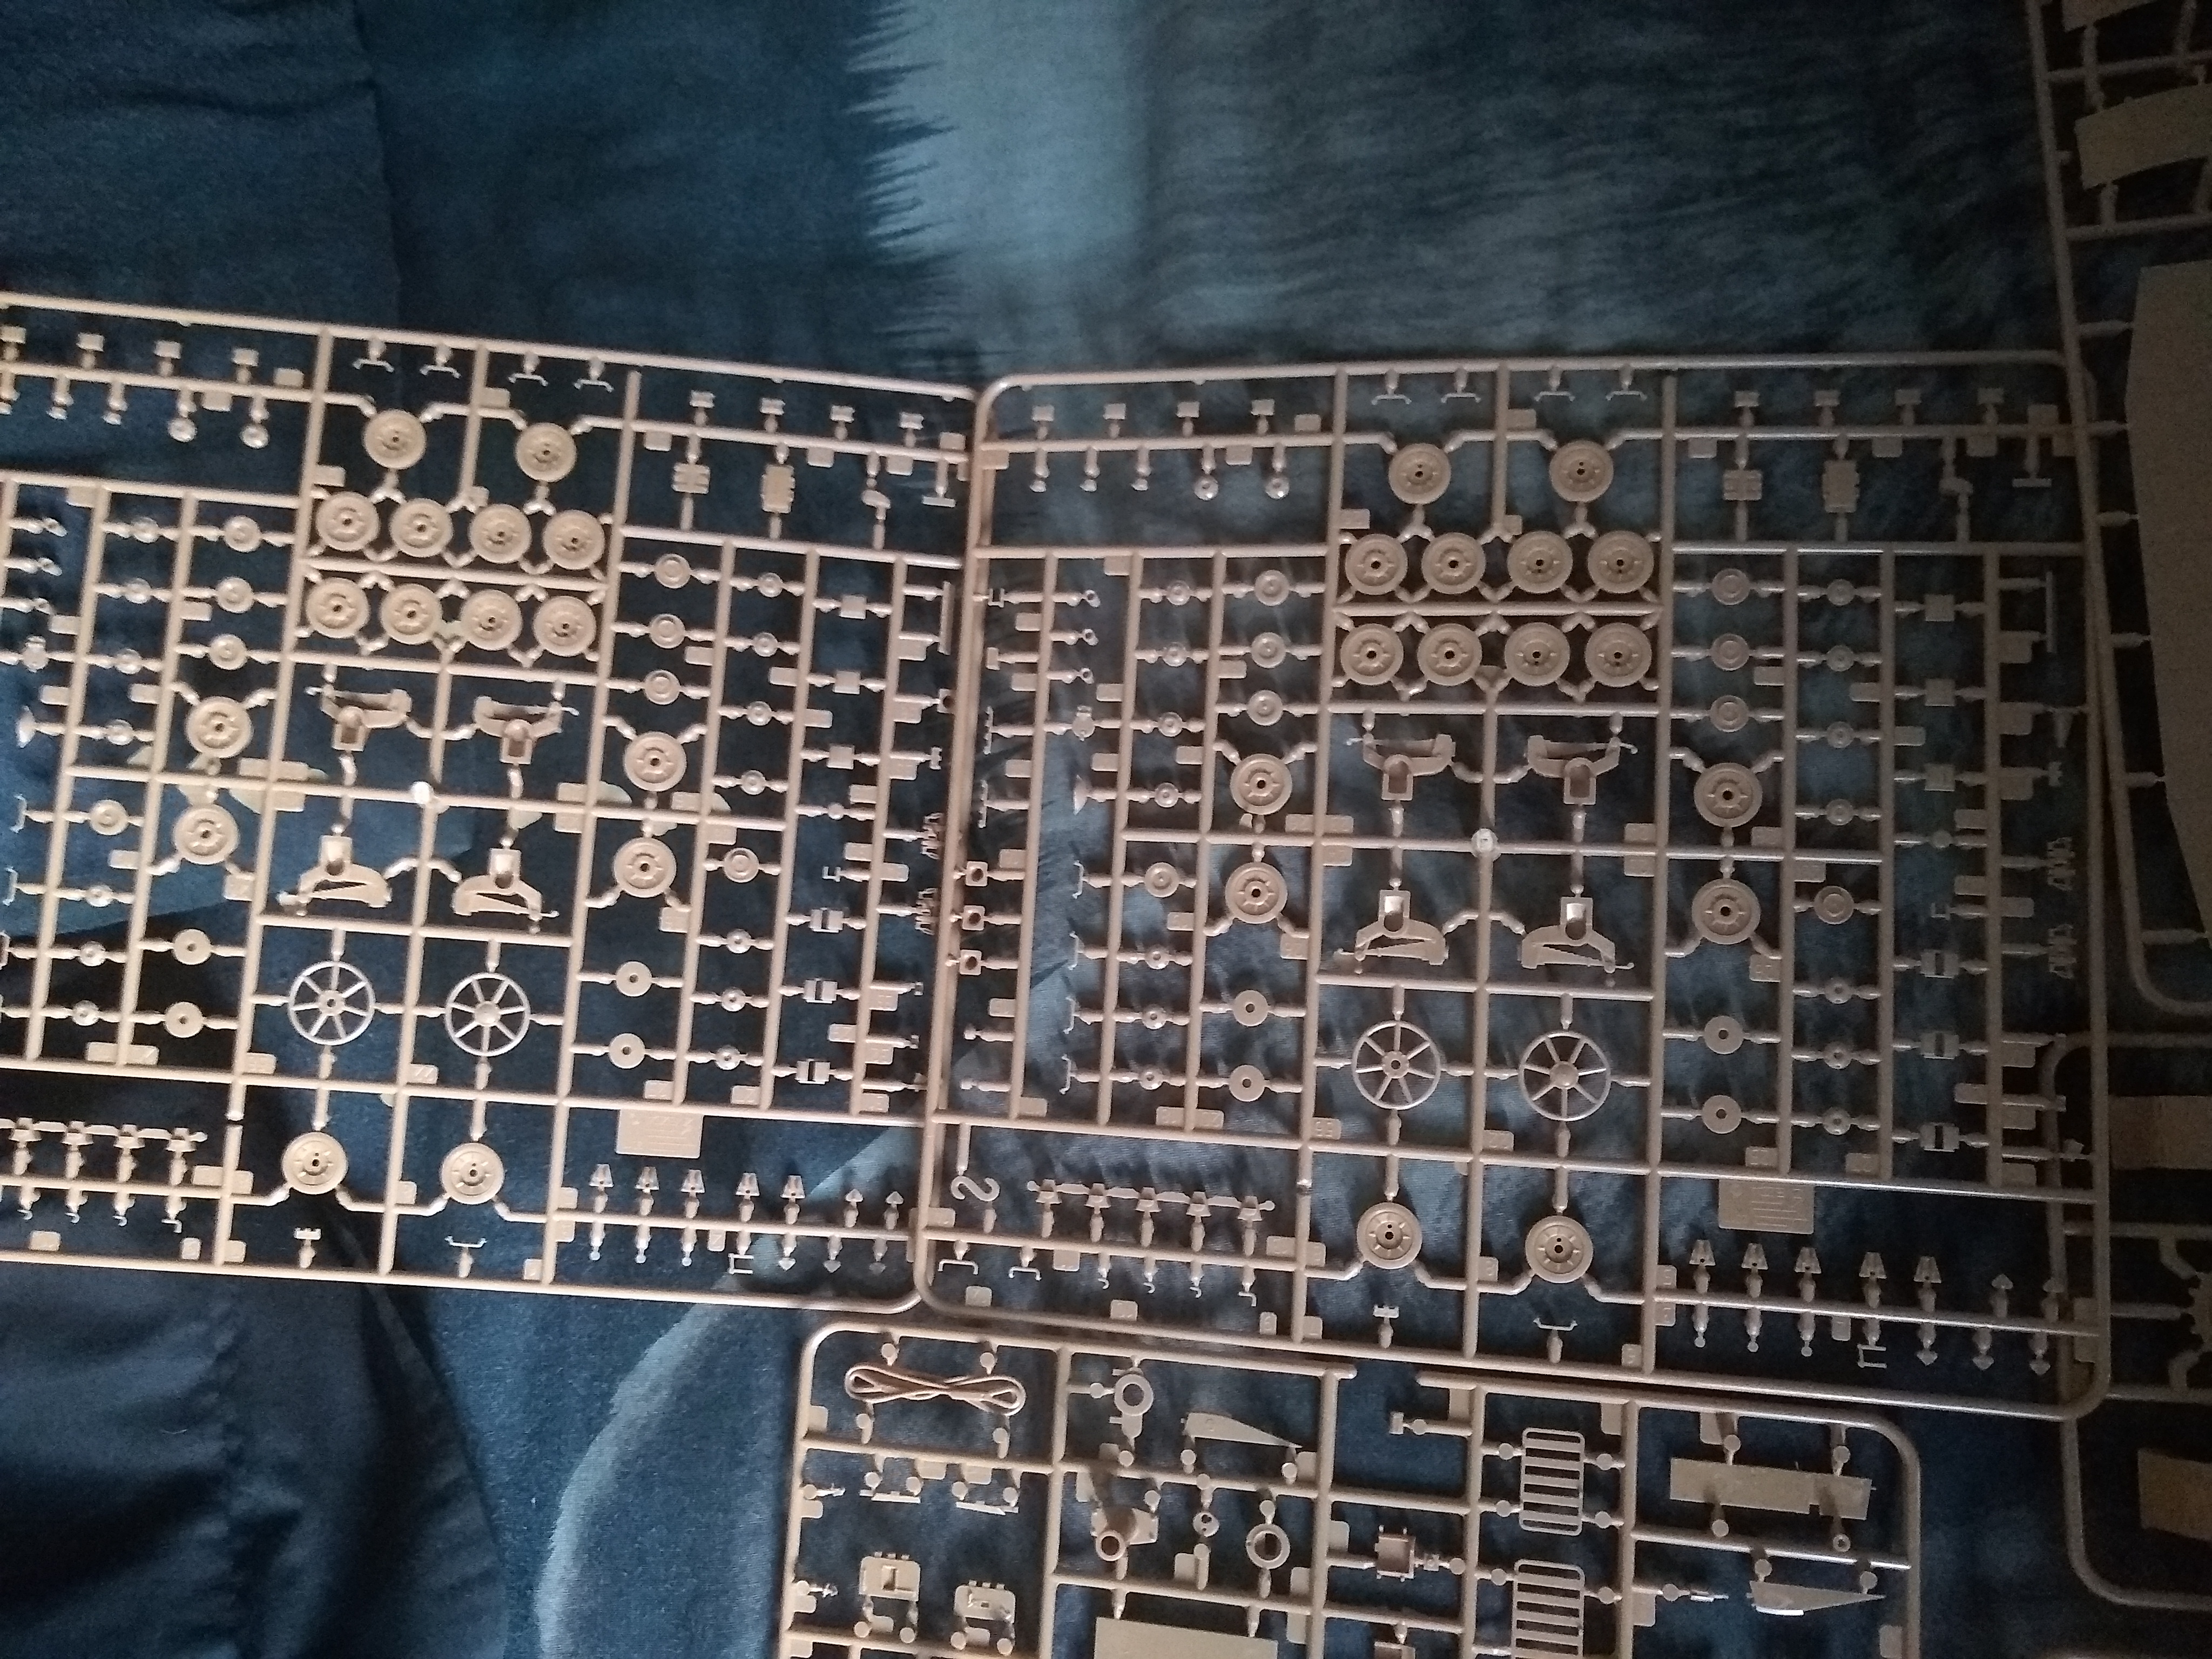
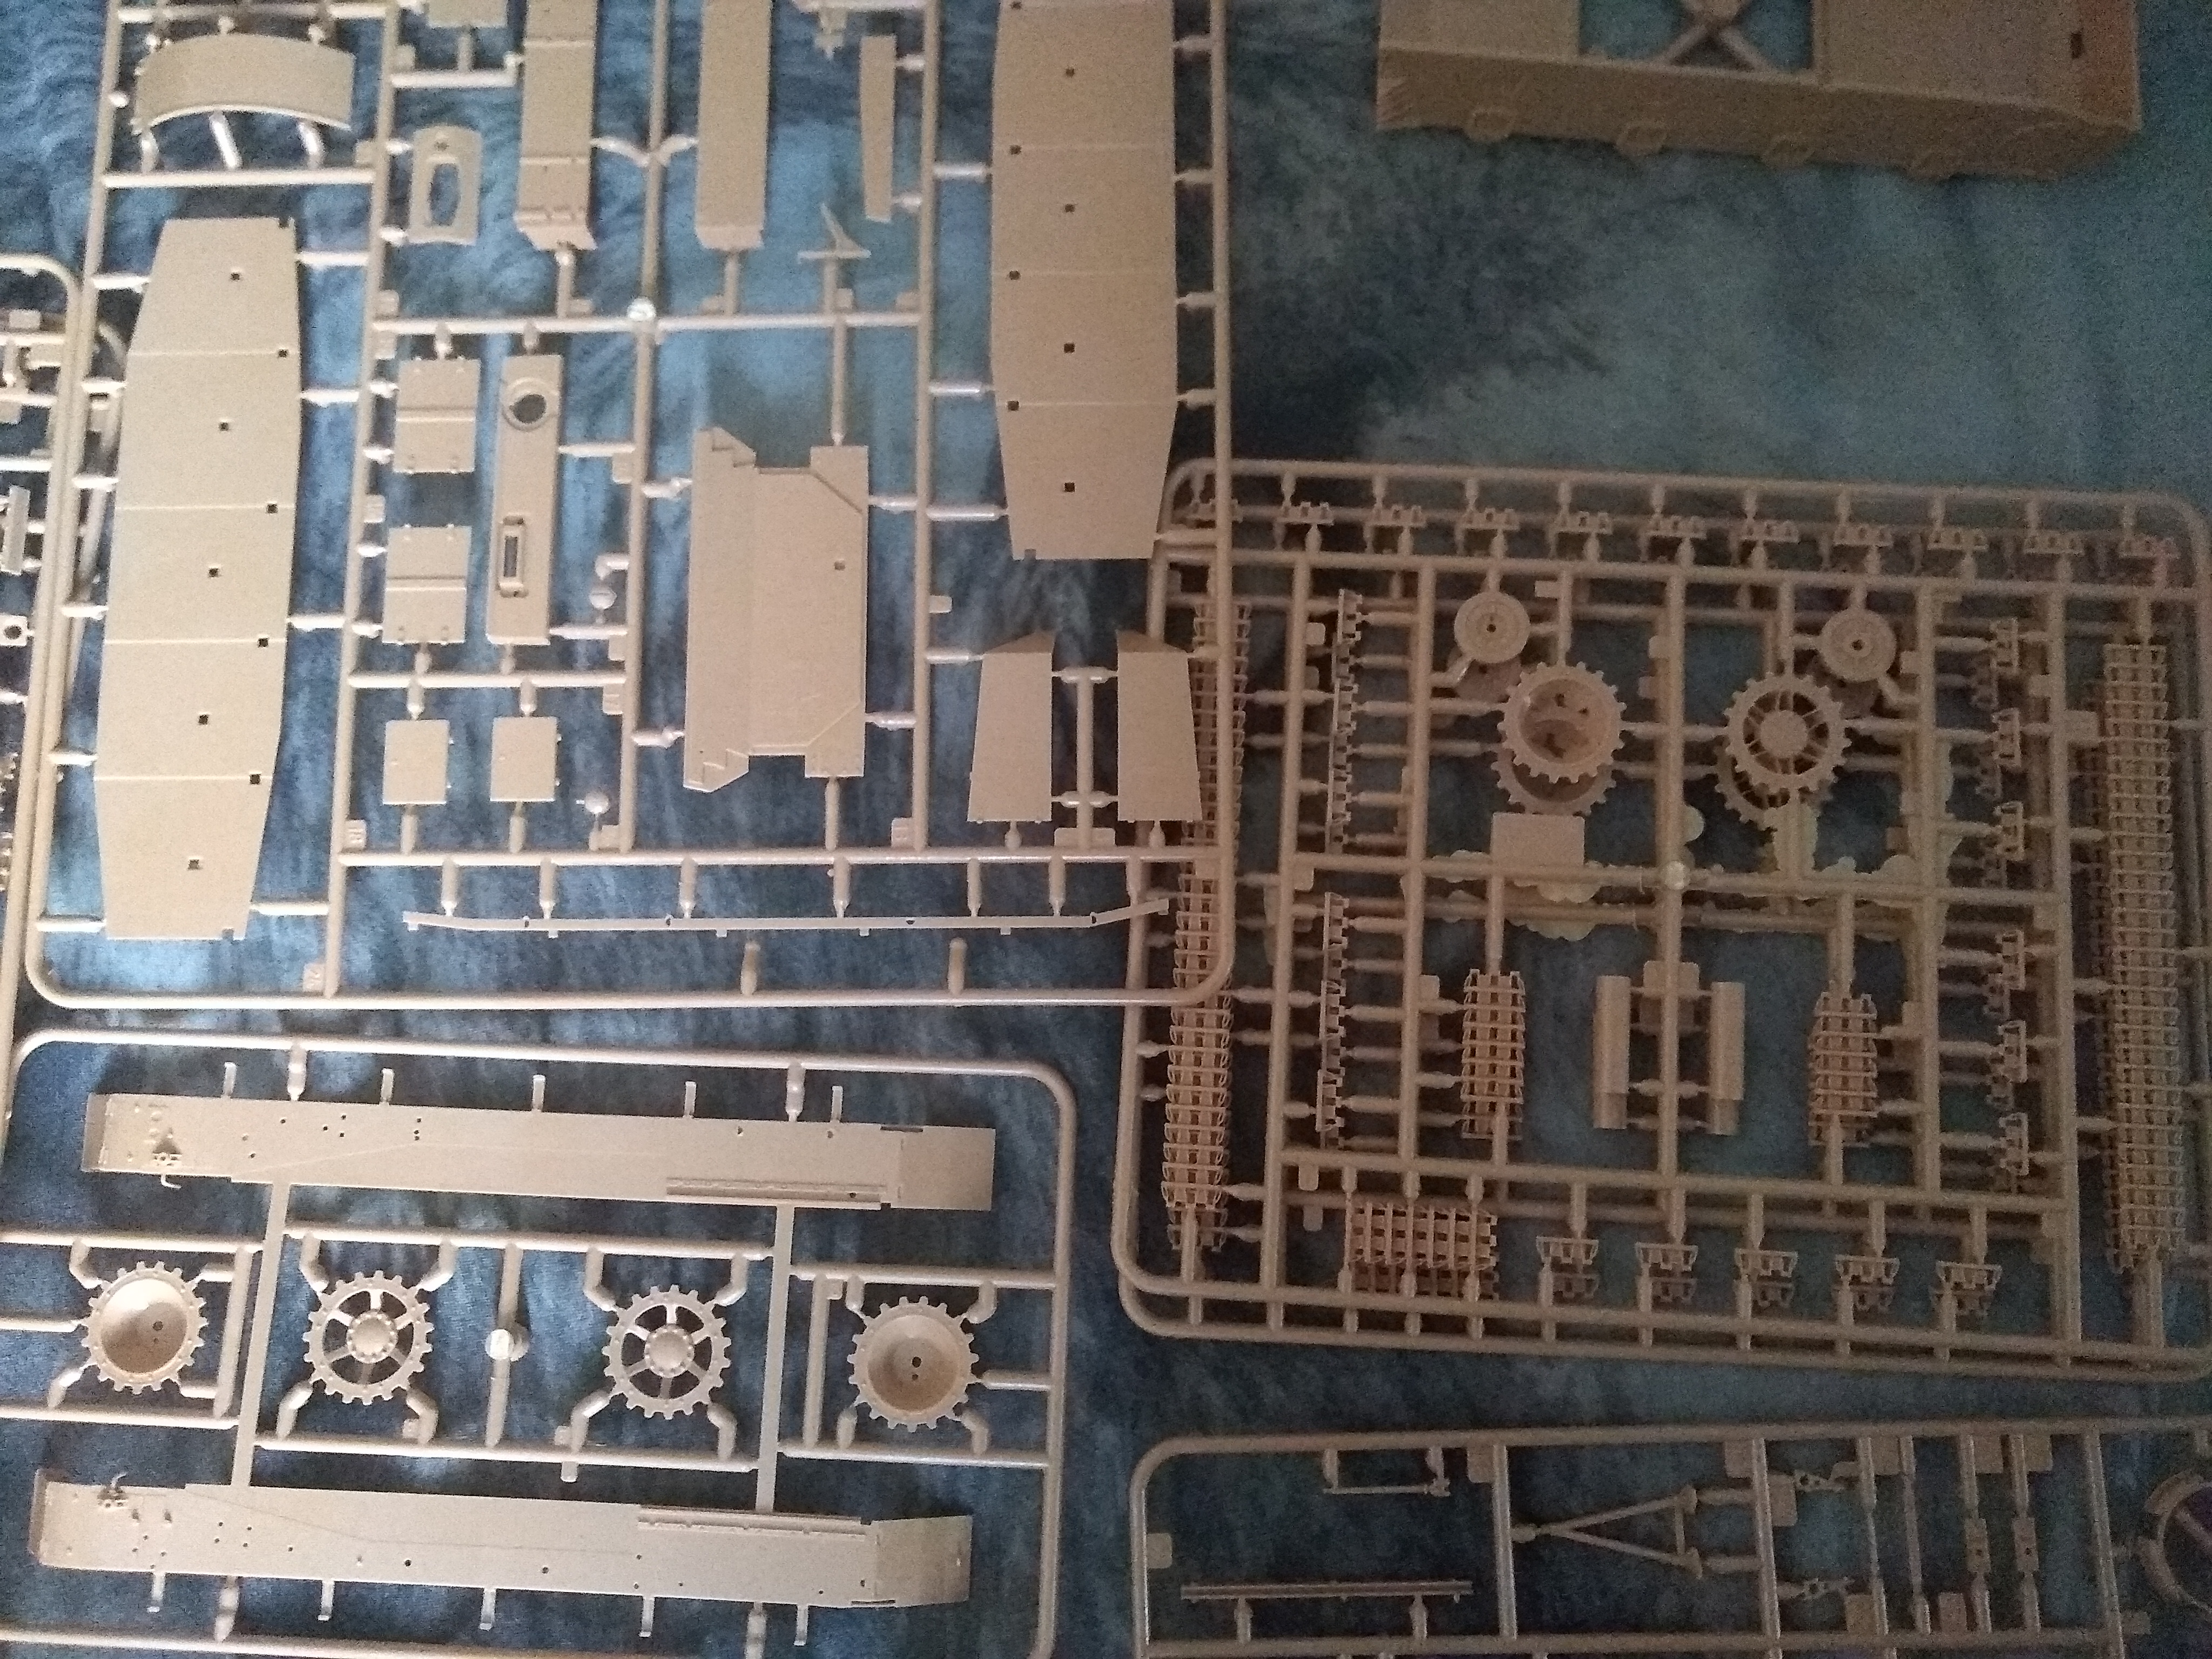
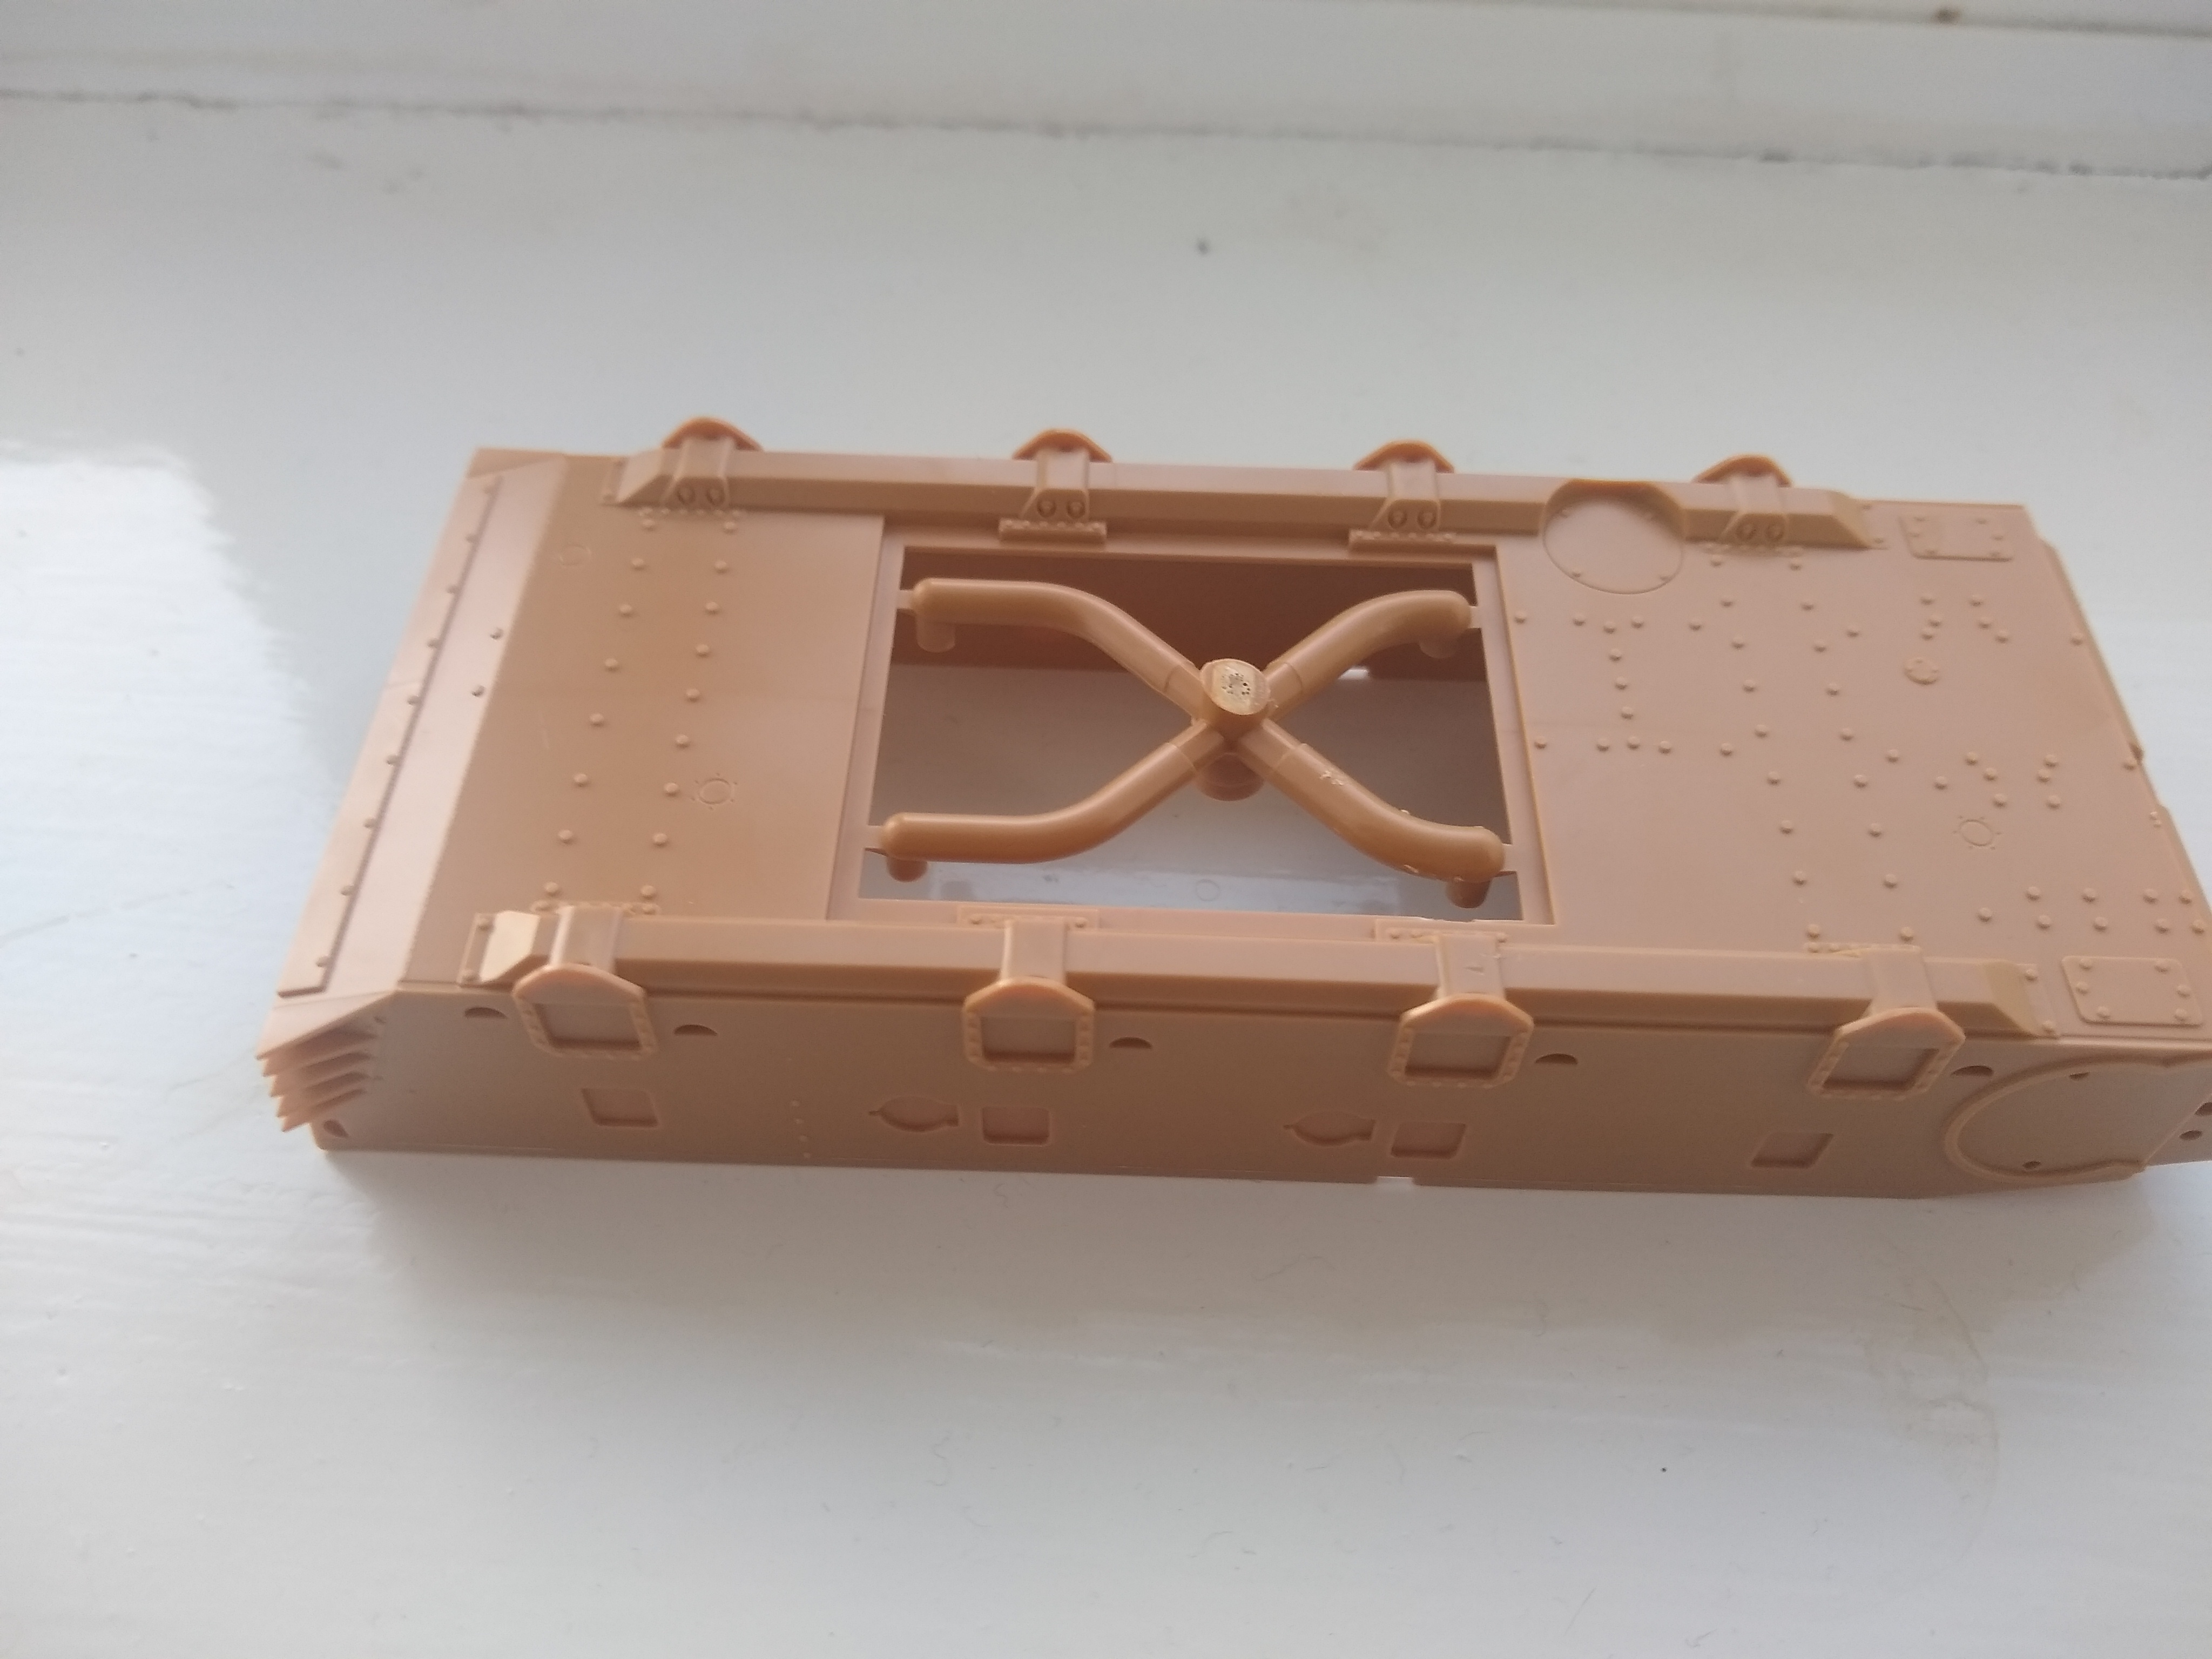
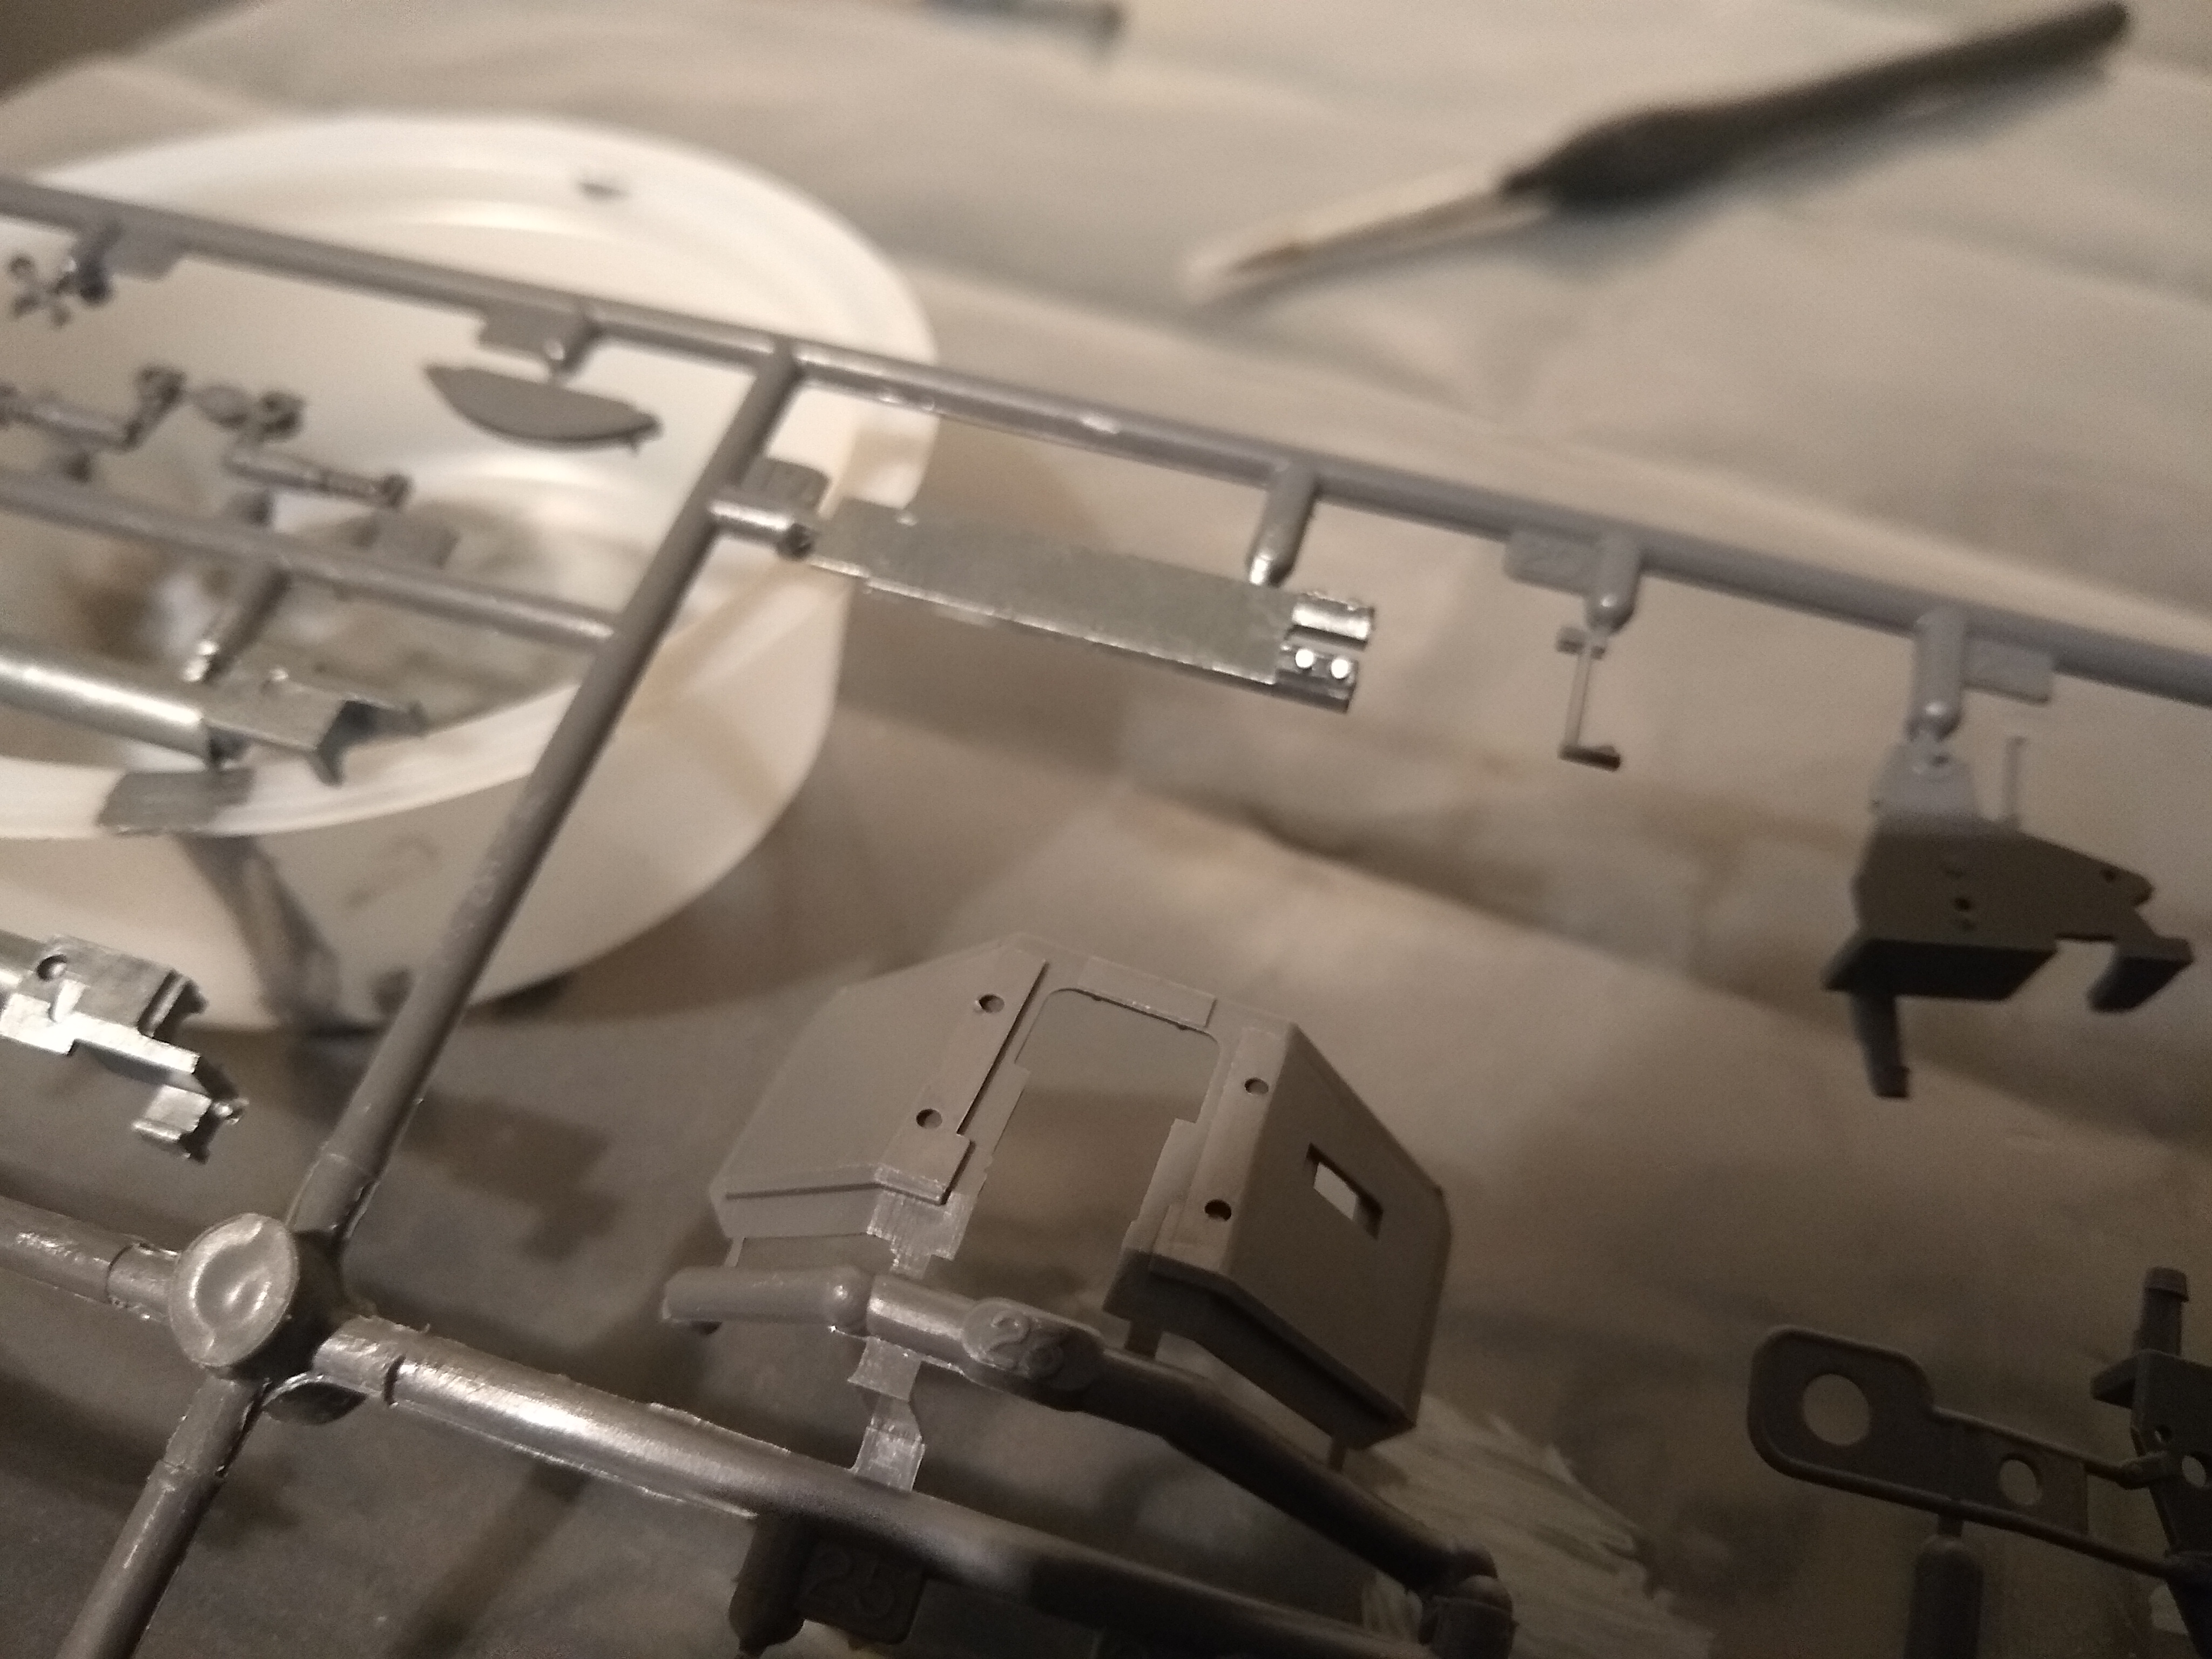
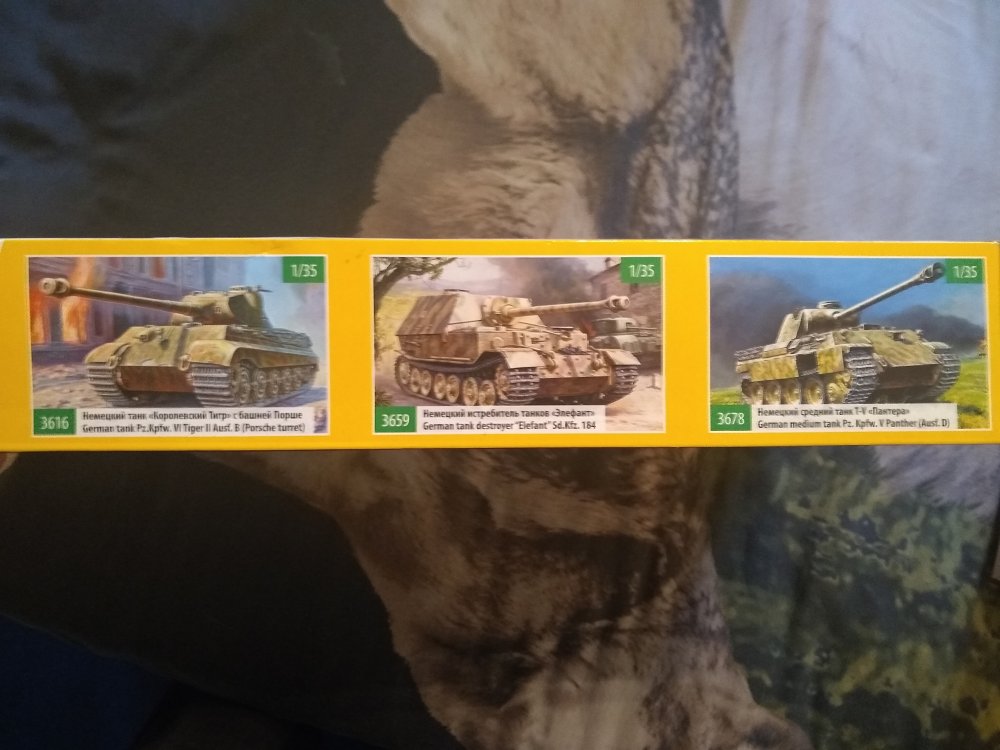
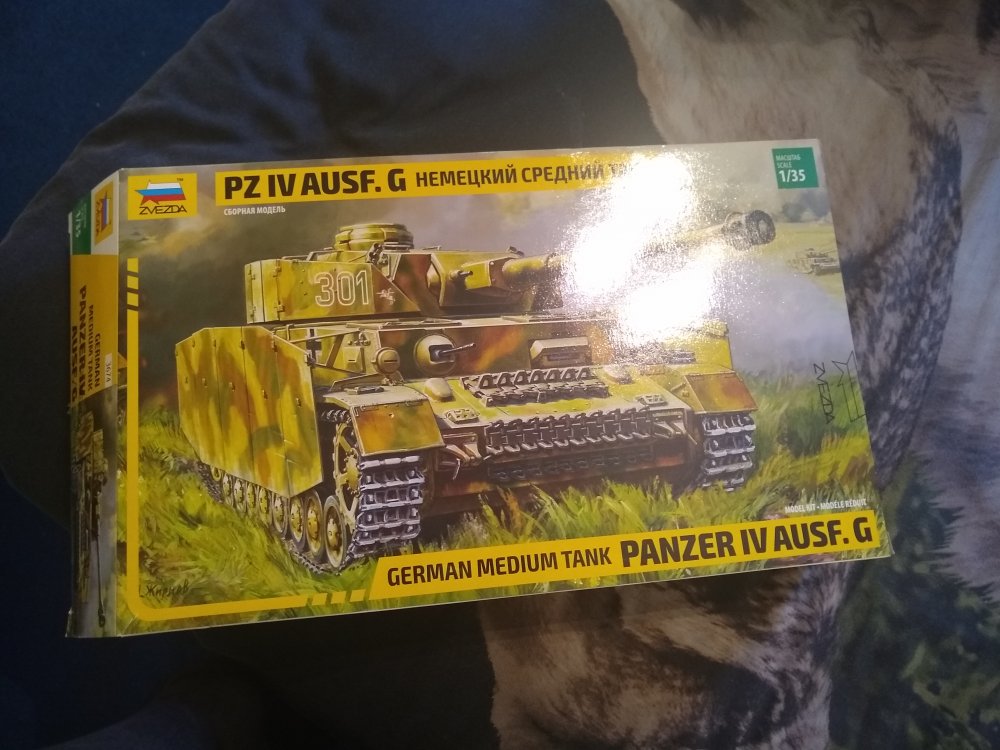
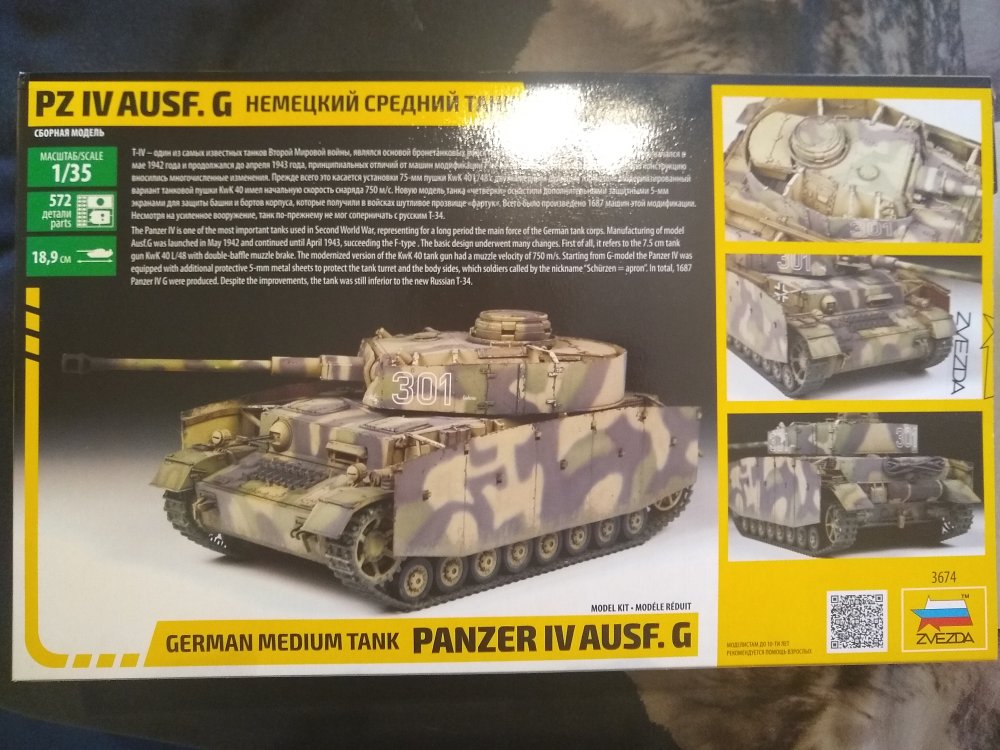
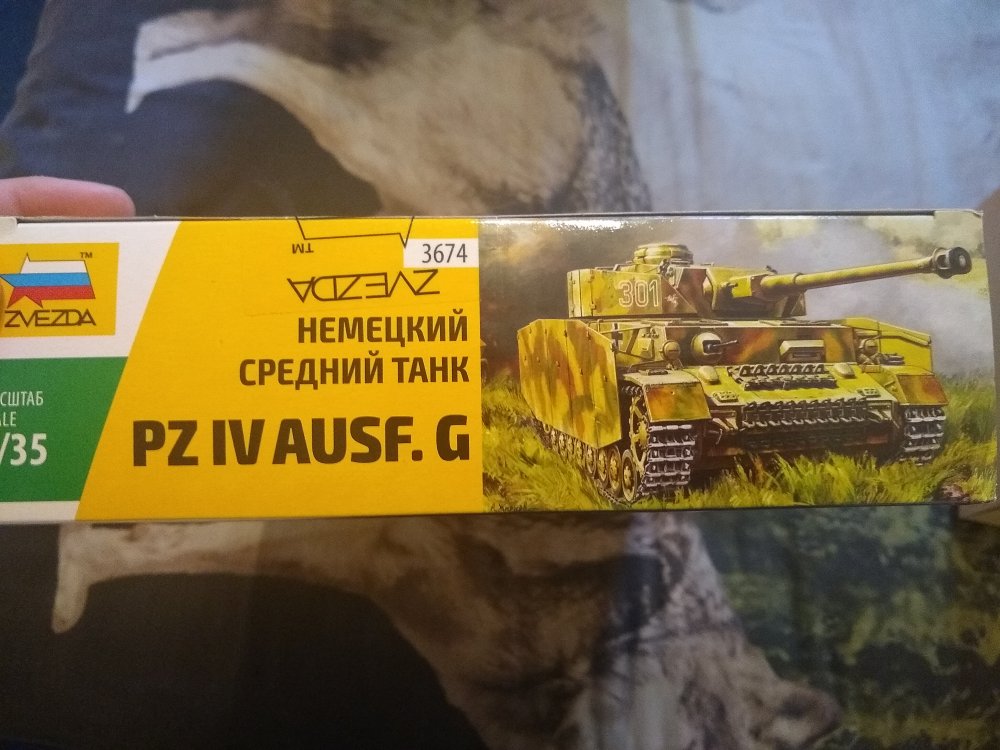
Up next is a German panzer 4 ausf H. I'm pretty sure this is the H variant although it's labeled as G on the box This model is from the maker ZVEZDA I haven't made any models from this company before but they looked pretty good and had decent reviews so I thought I'd give one a go. Pictures of the box. Whitch is more of a cover as all the model is in a plain cardboard box inside this Pictures of the parts and frames.


-
7.5cm Anti-Tank Gun PAK40/L46 1:35
Daniel_Roxy replied to Daniel_Roxy's topic in LSM 1/35 and Larger Work In Progress
Well almost done.Now just the crew, ammunition box, casing's and shells to do.

-
7.5cm Anti-Tank Gun PAK40/L46 1:35
Daniel_Roxy replied to Daniel_Roxy's topic in LSM 1/35 and Larger Work In Progress
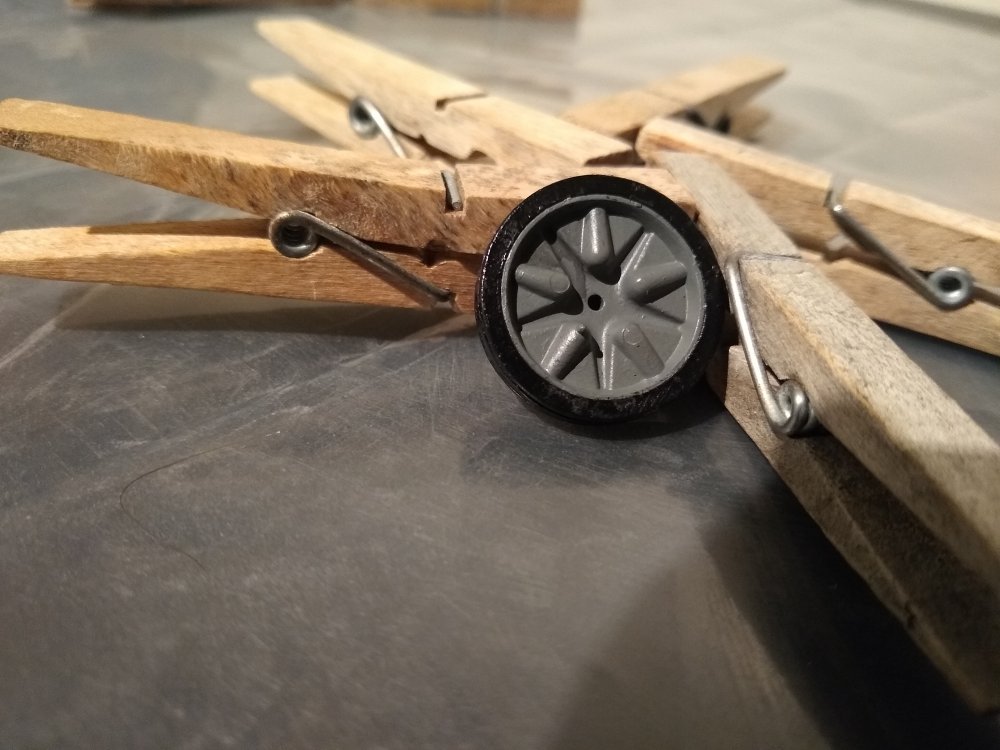
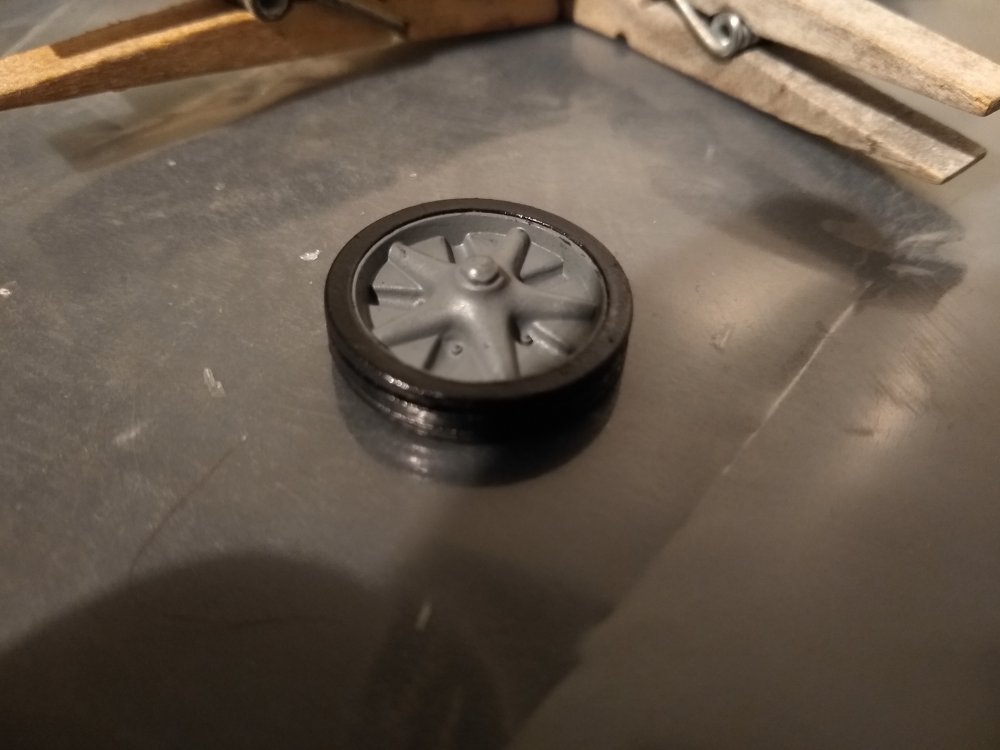
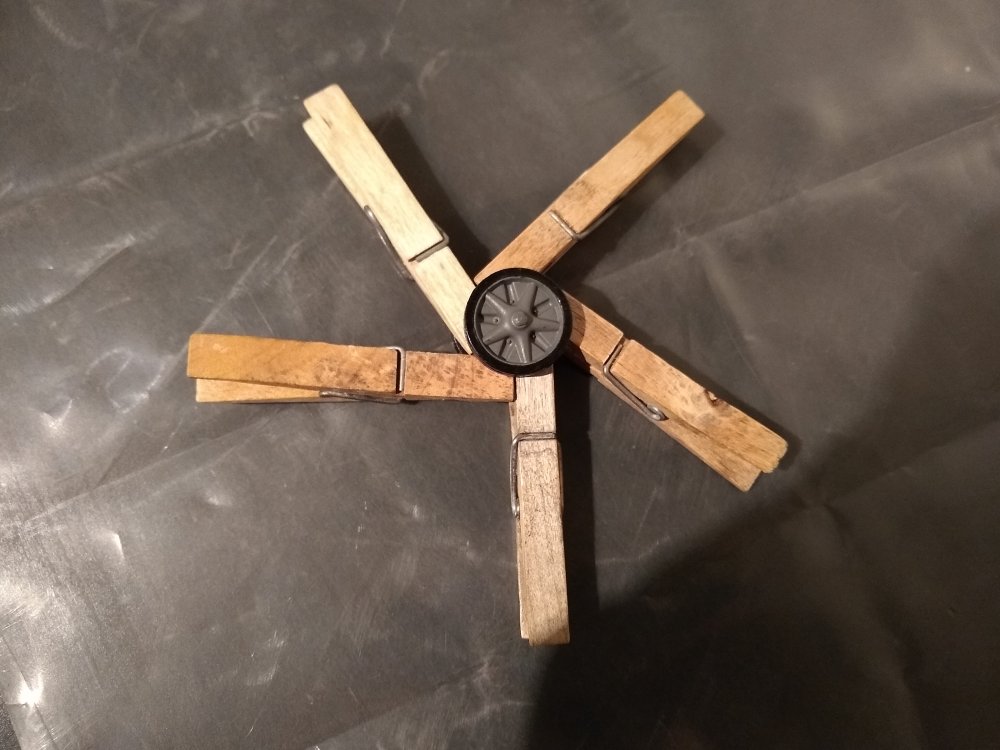
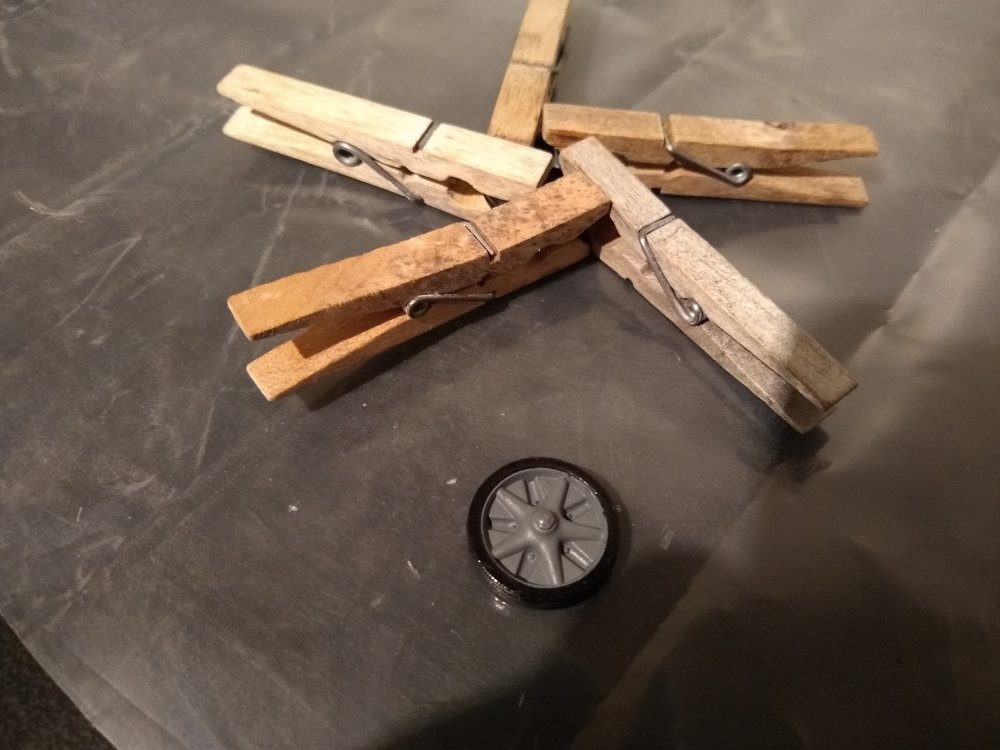
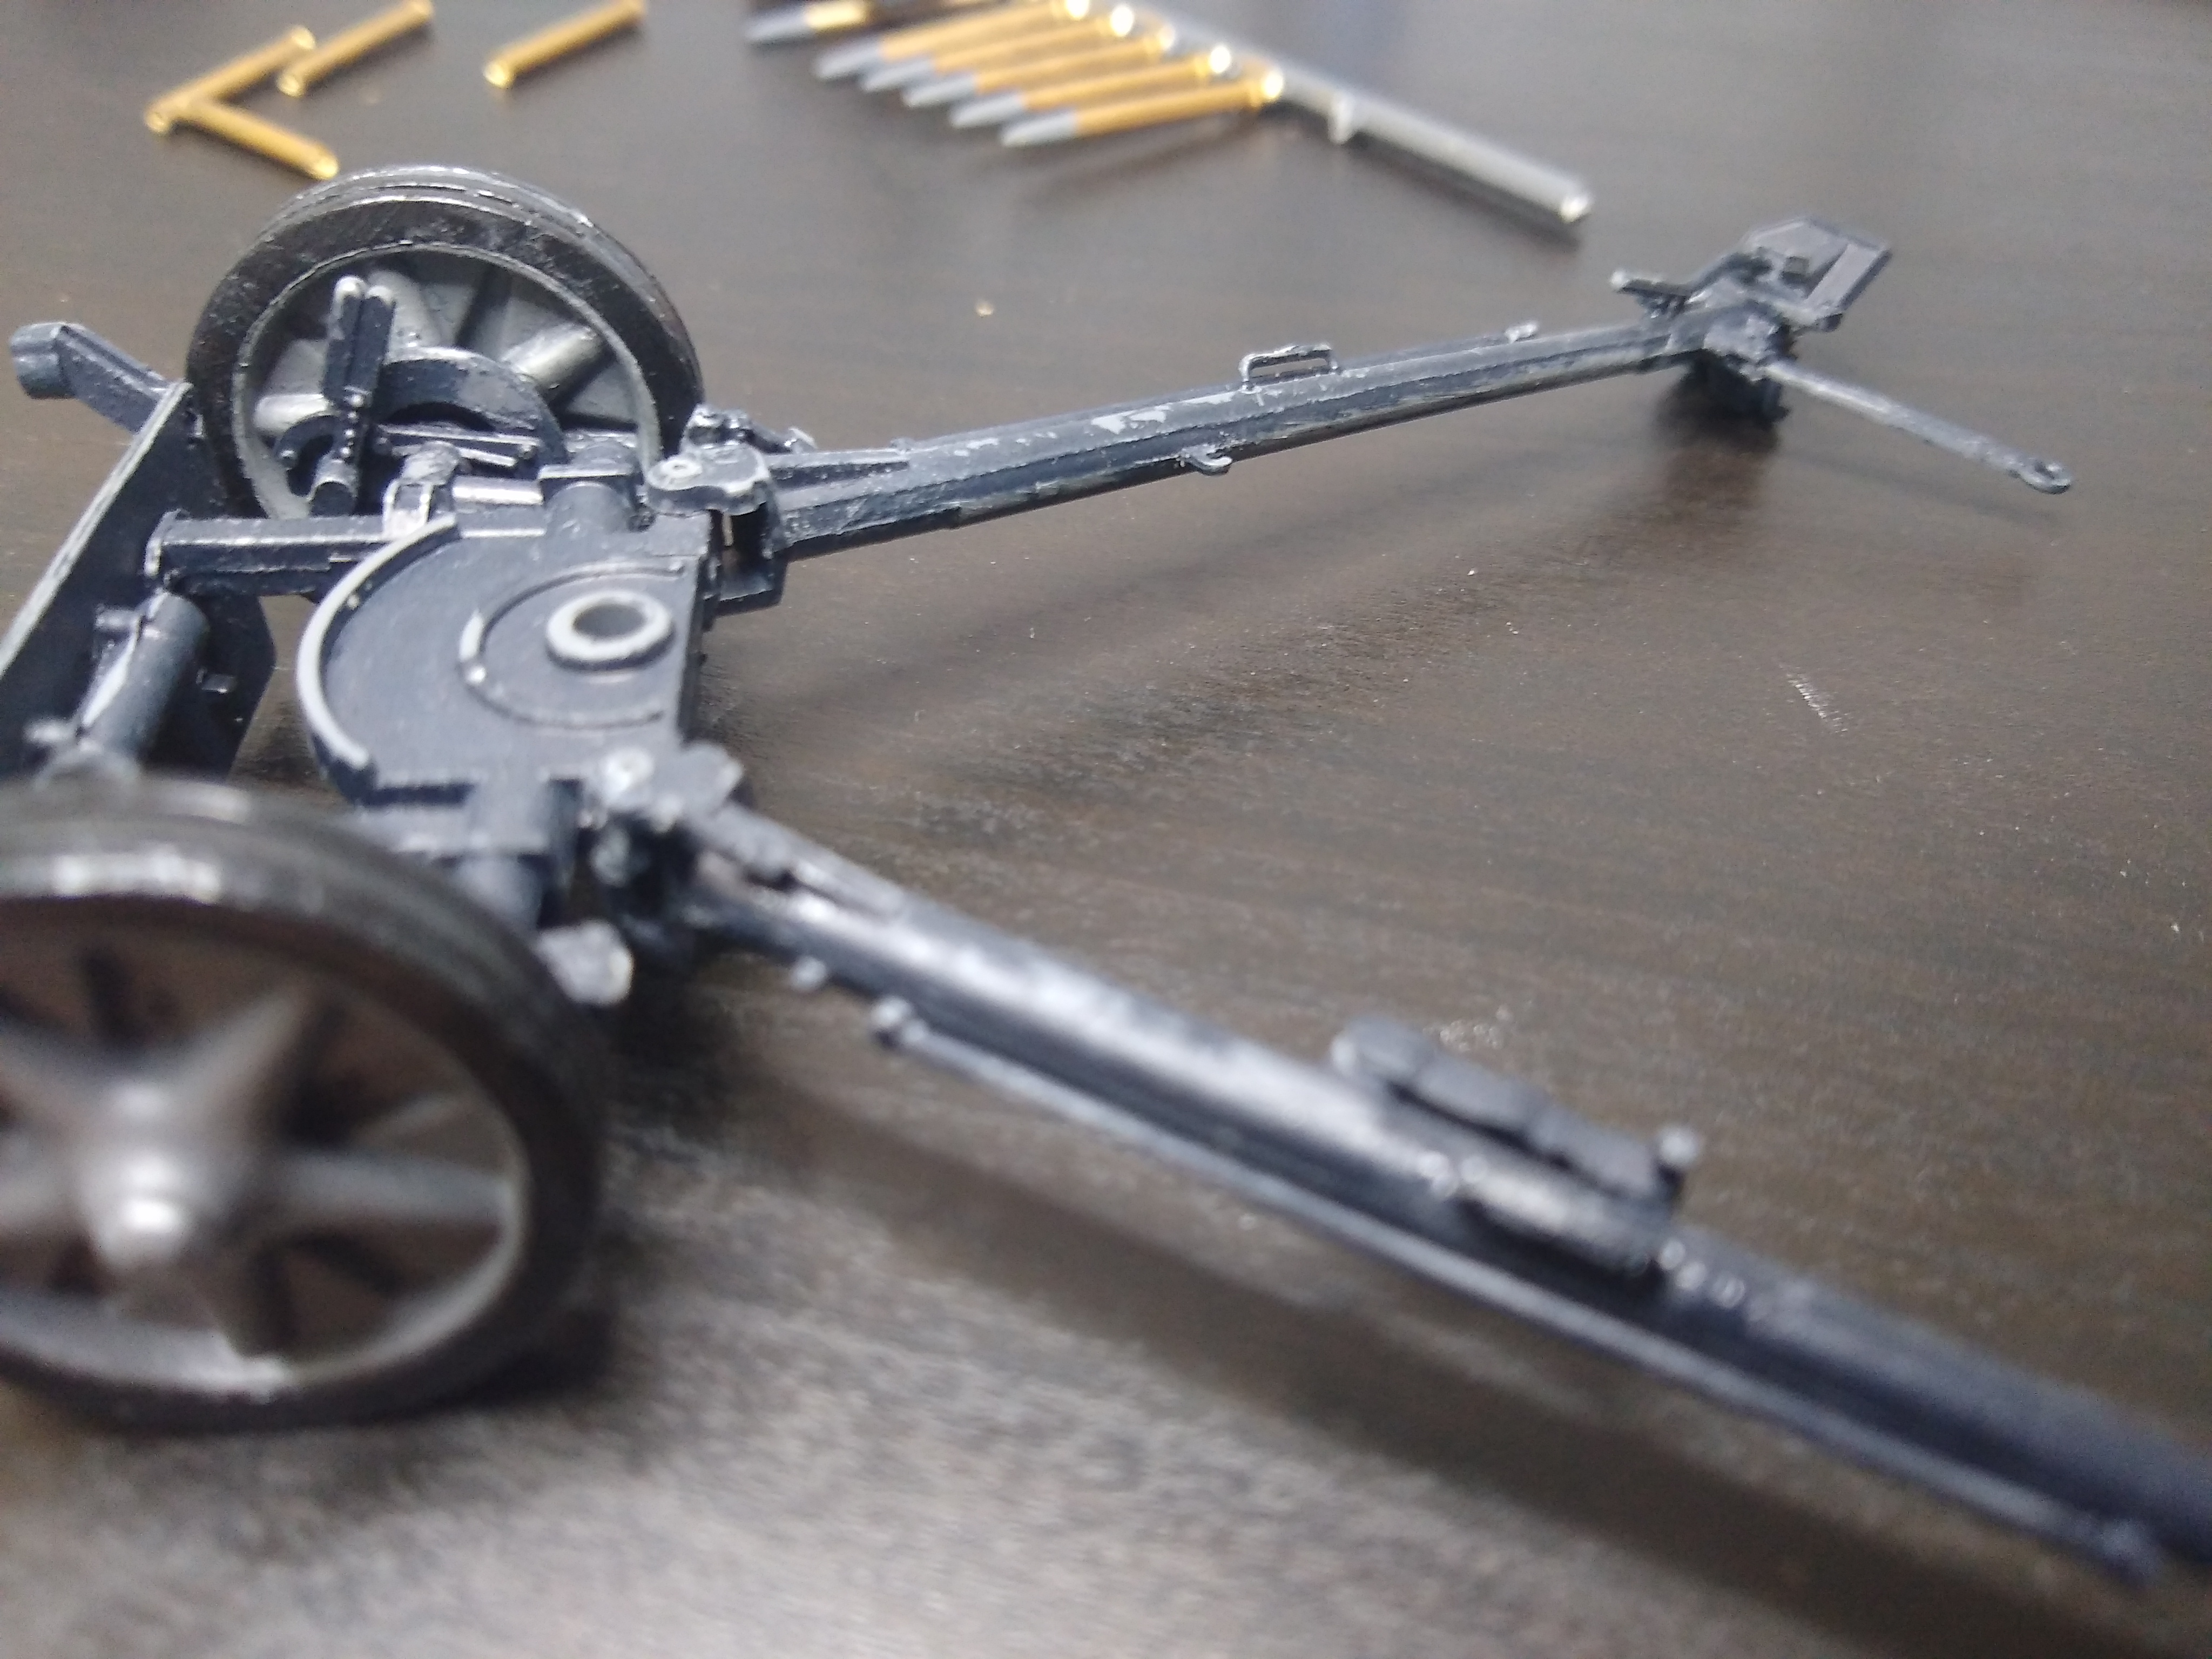
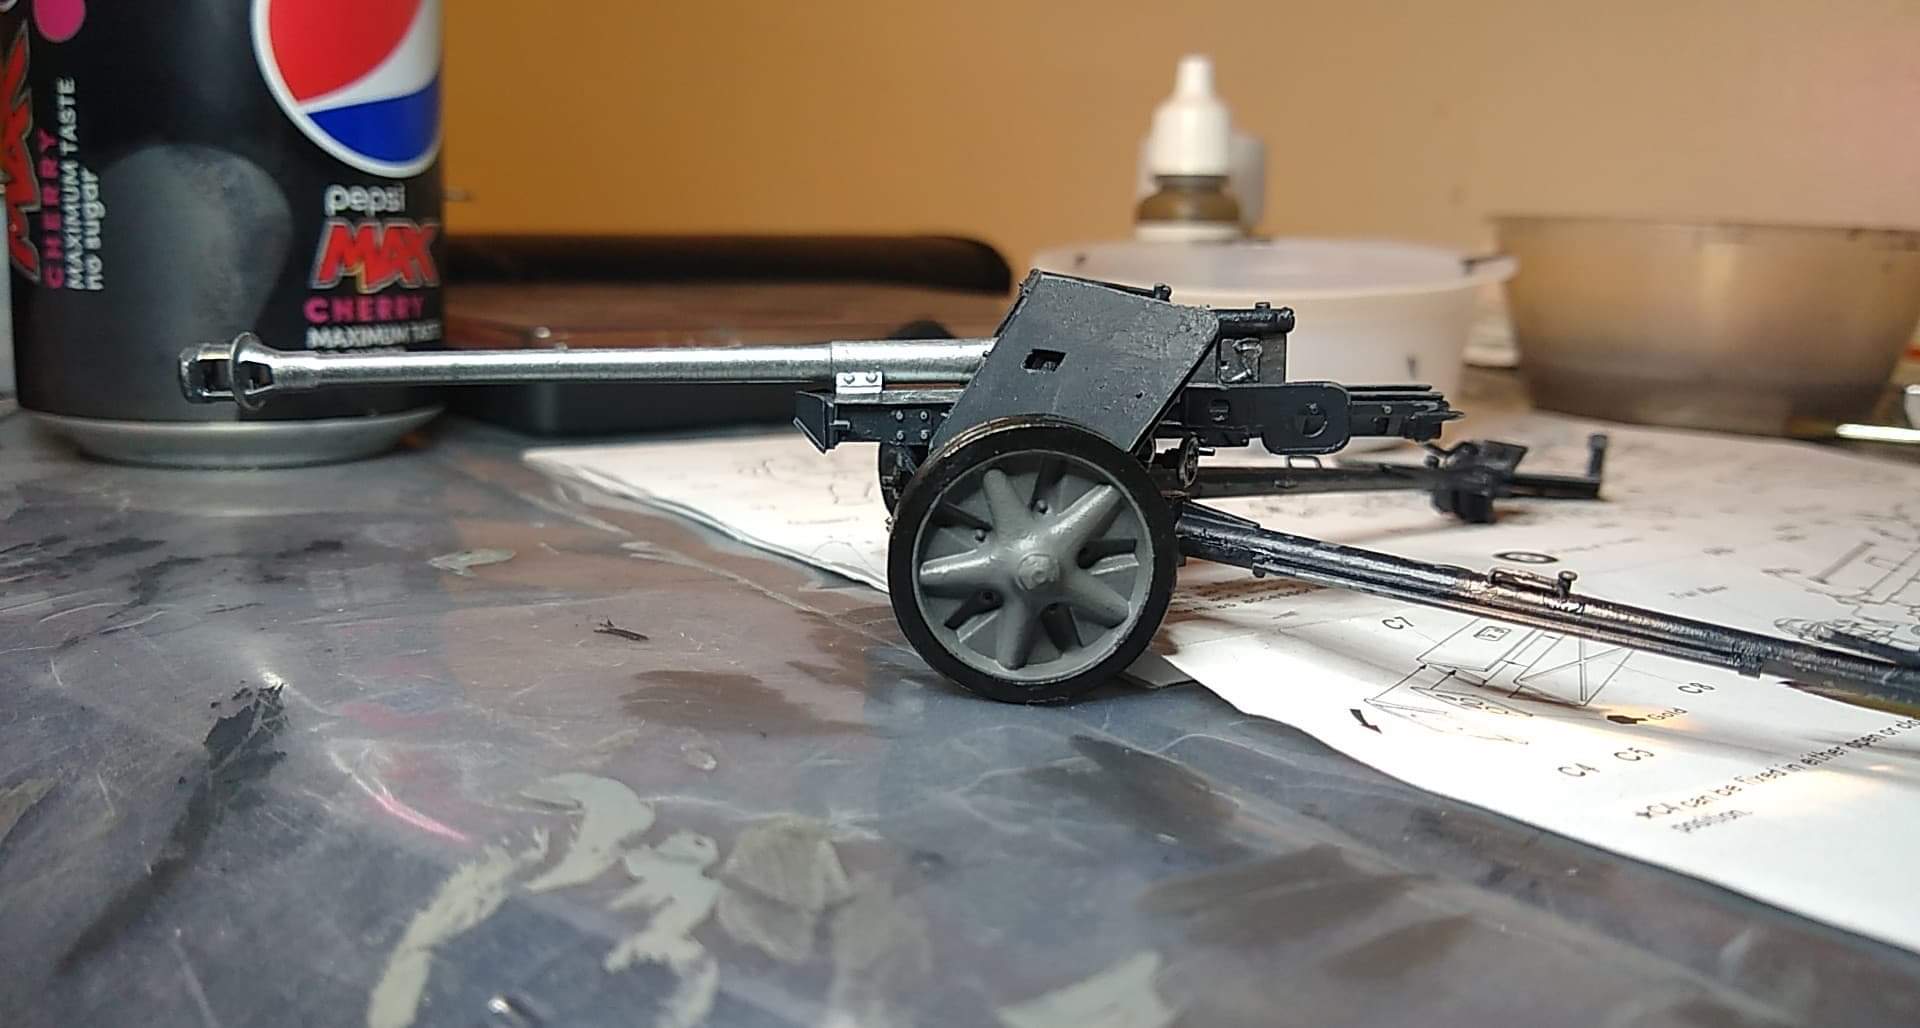
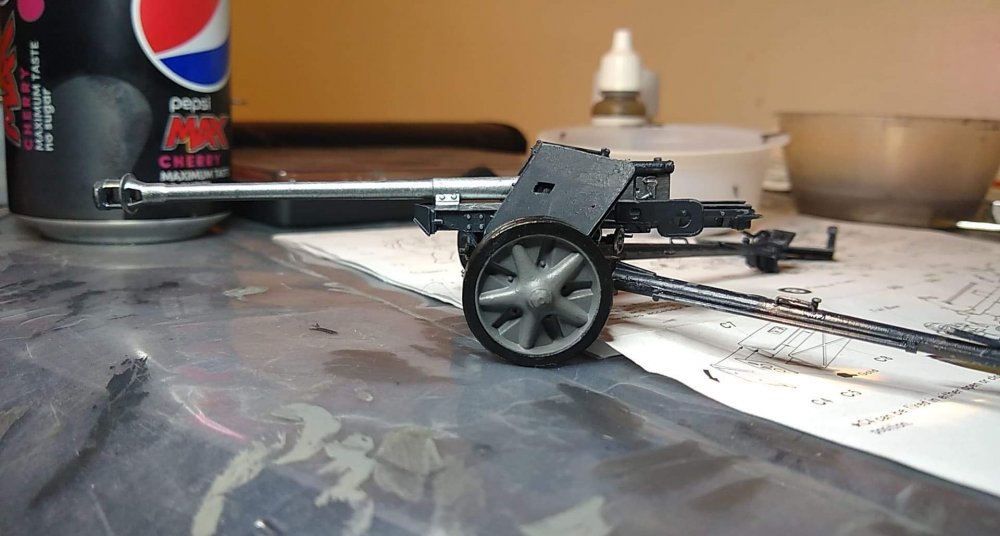
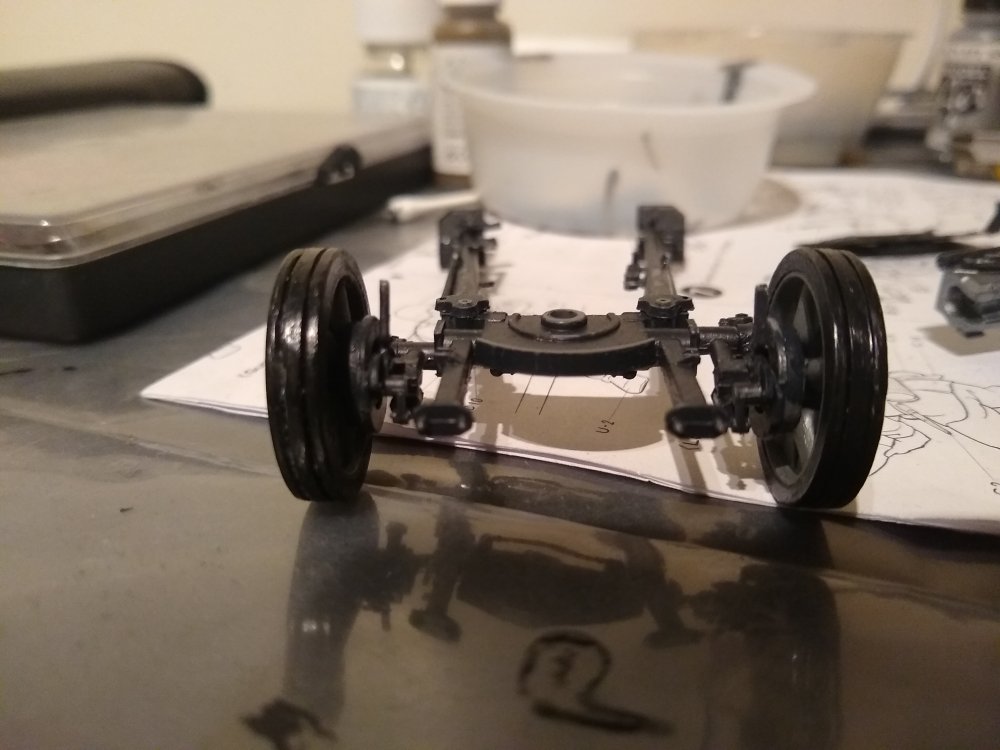
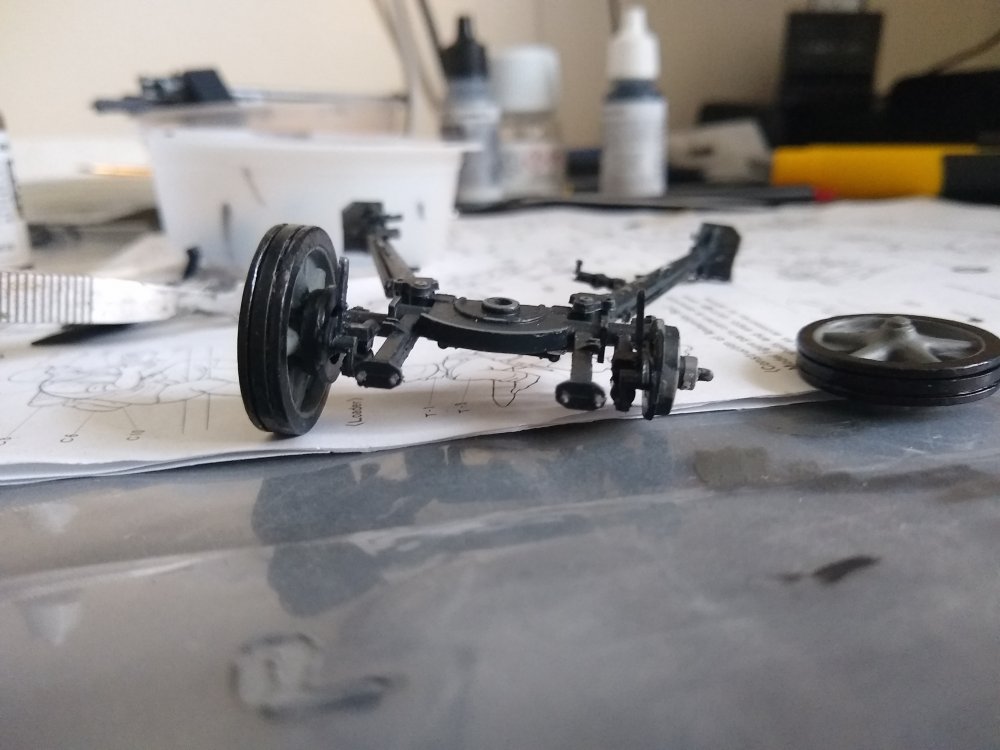
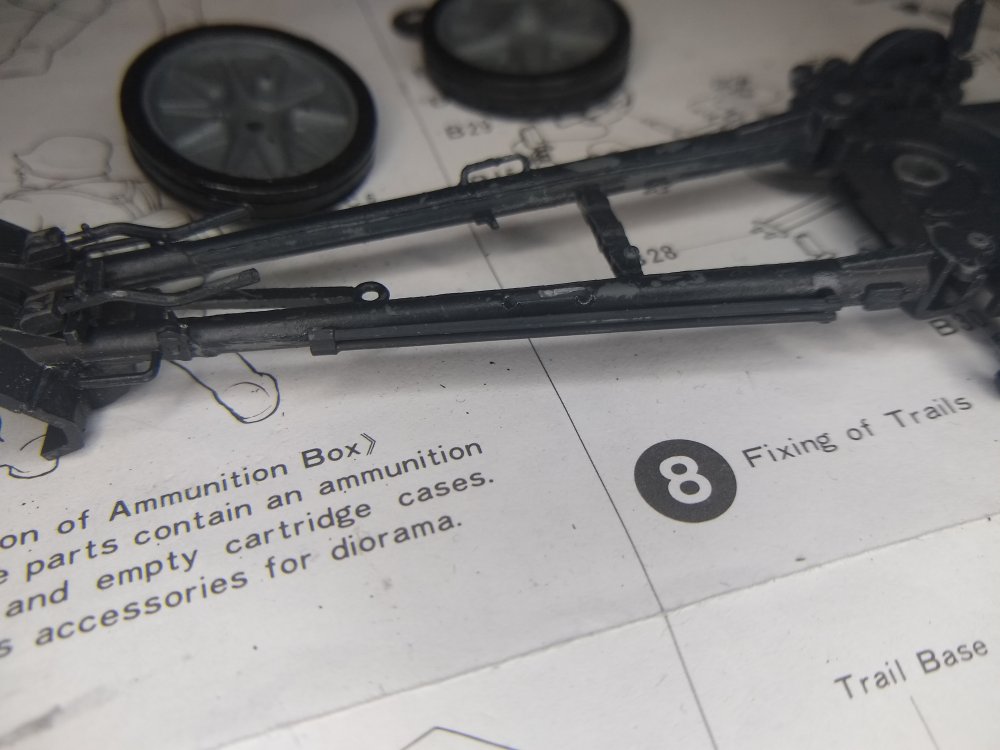
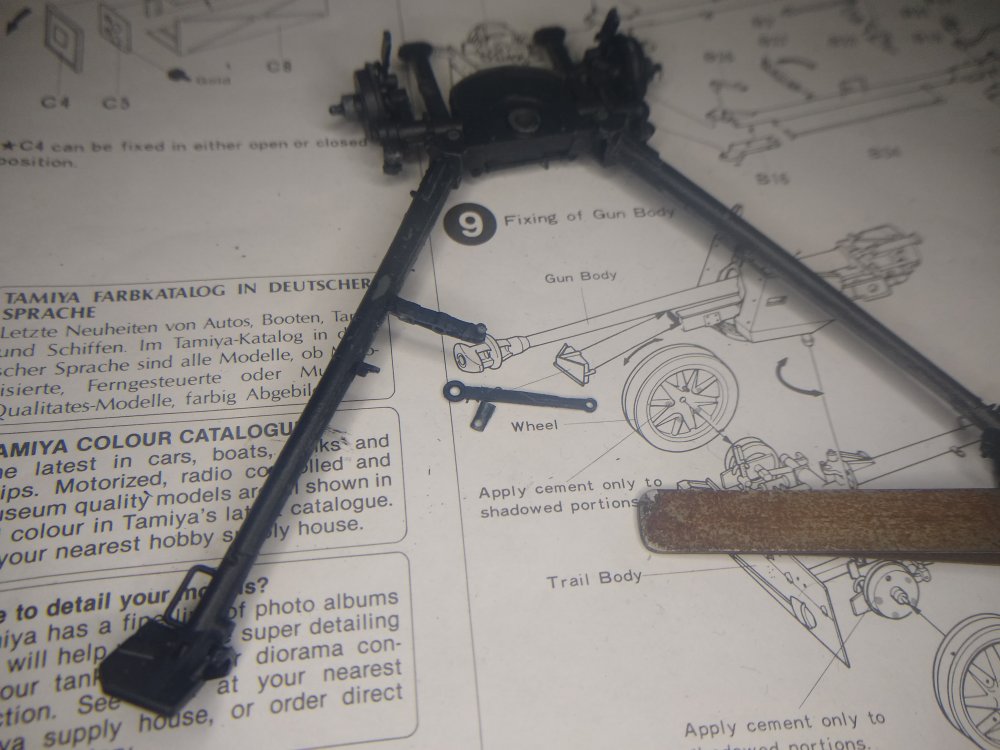
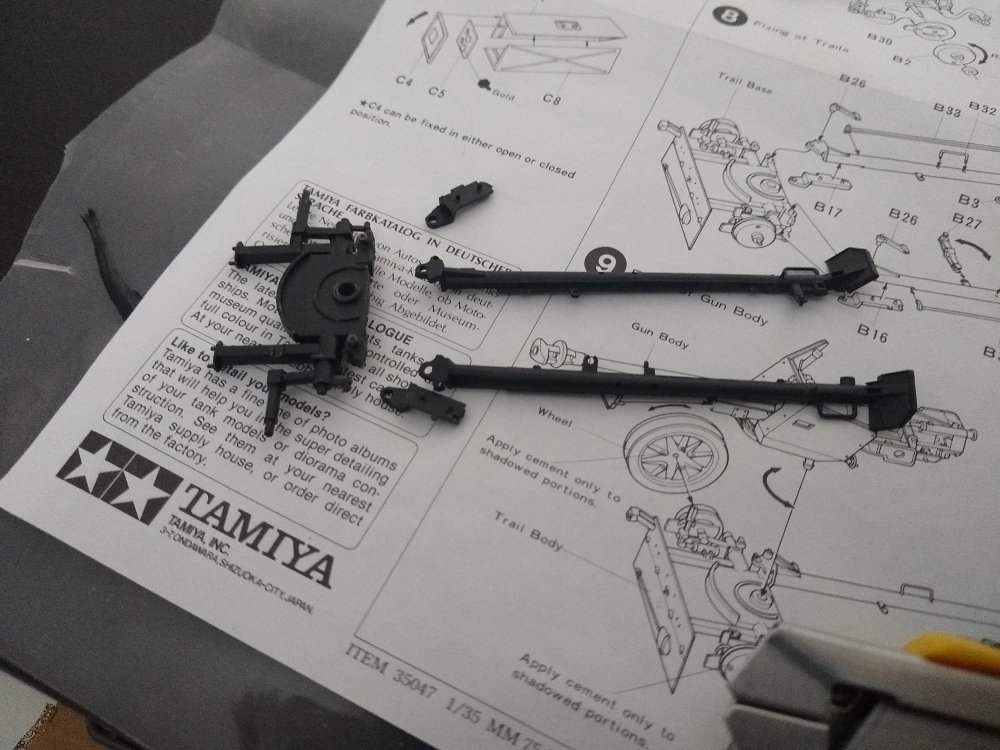
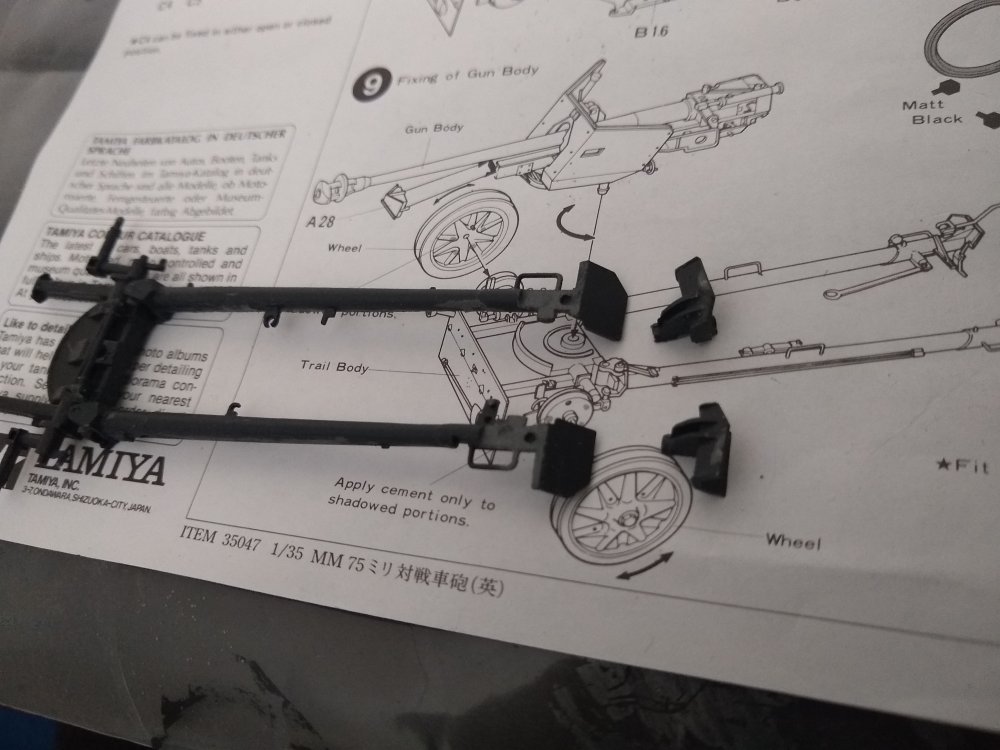
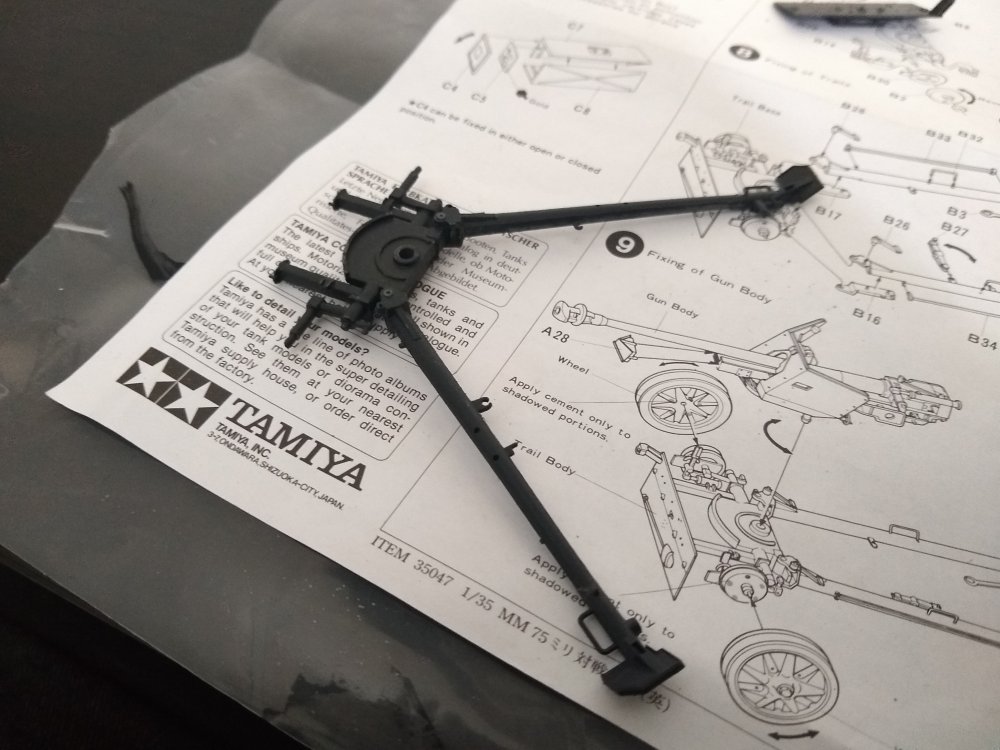
Put the wheels on. Not much left now.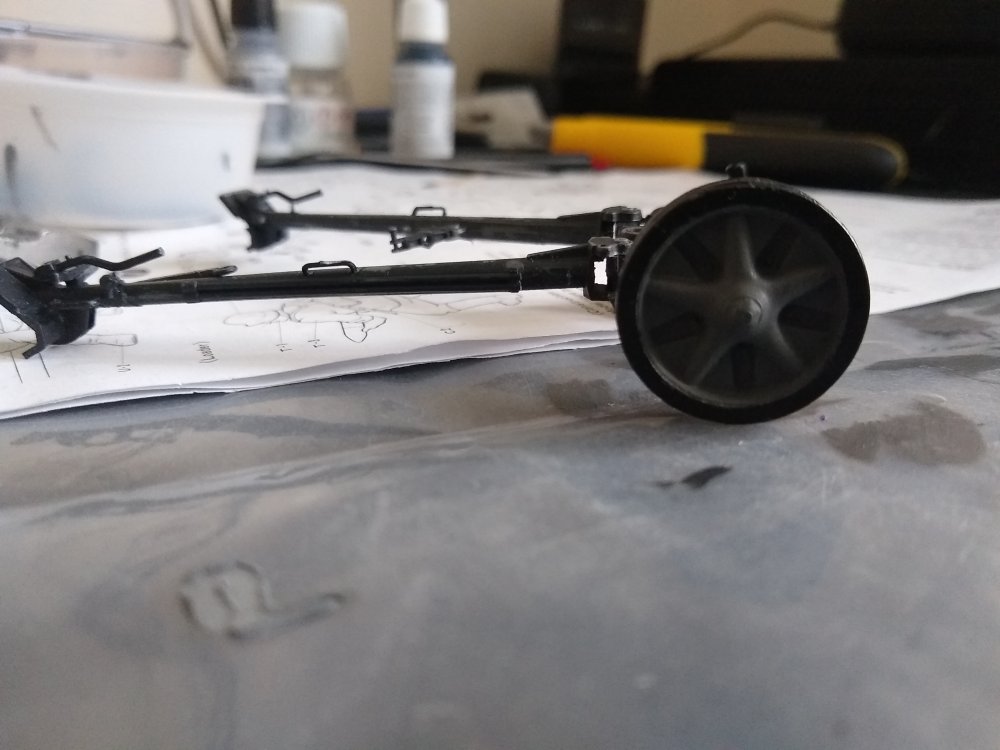
-
7.5cm Anti-Tank Gun PAK40/L46 1:35
Daniel_Roxy replied to Daniel_Roxy's topic in LSM 1/35 and Larger Work In Progress
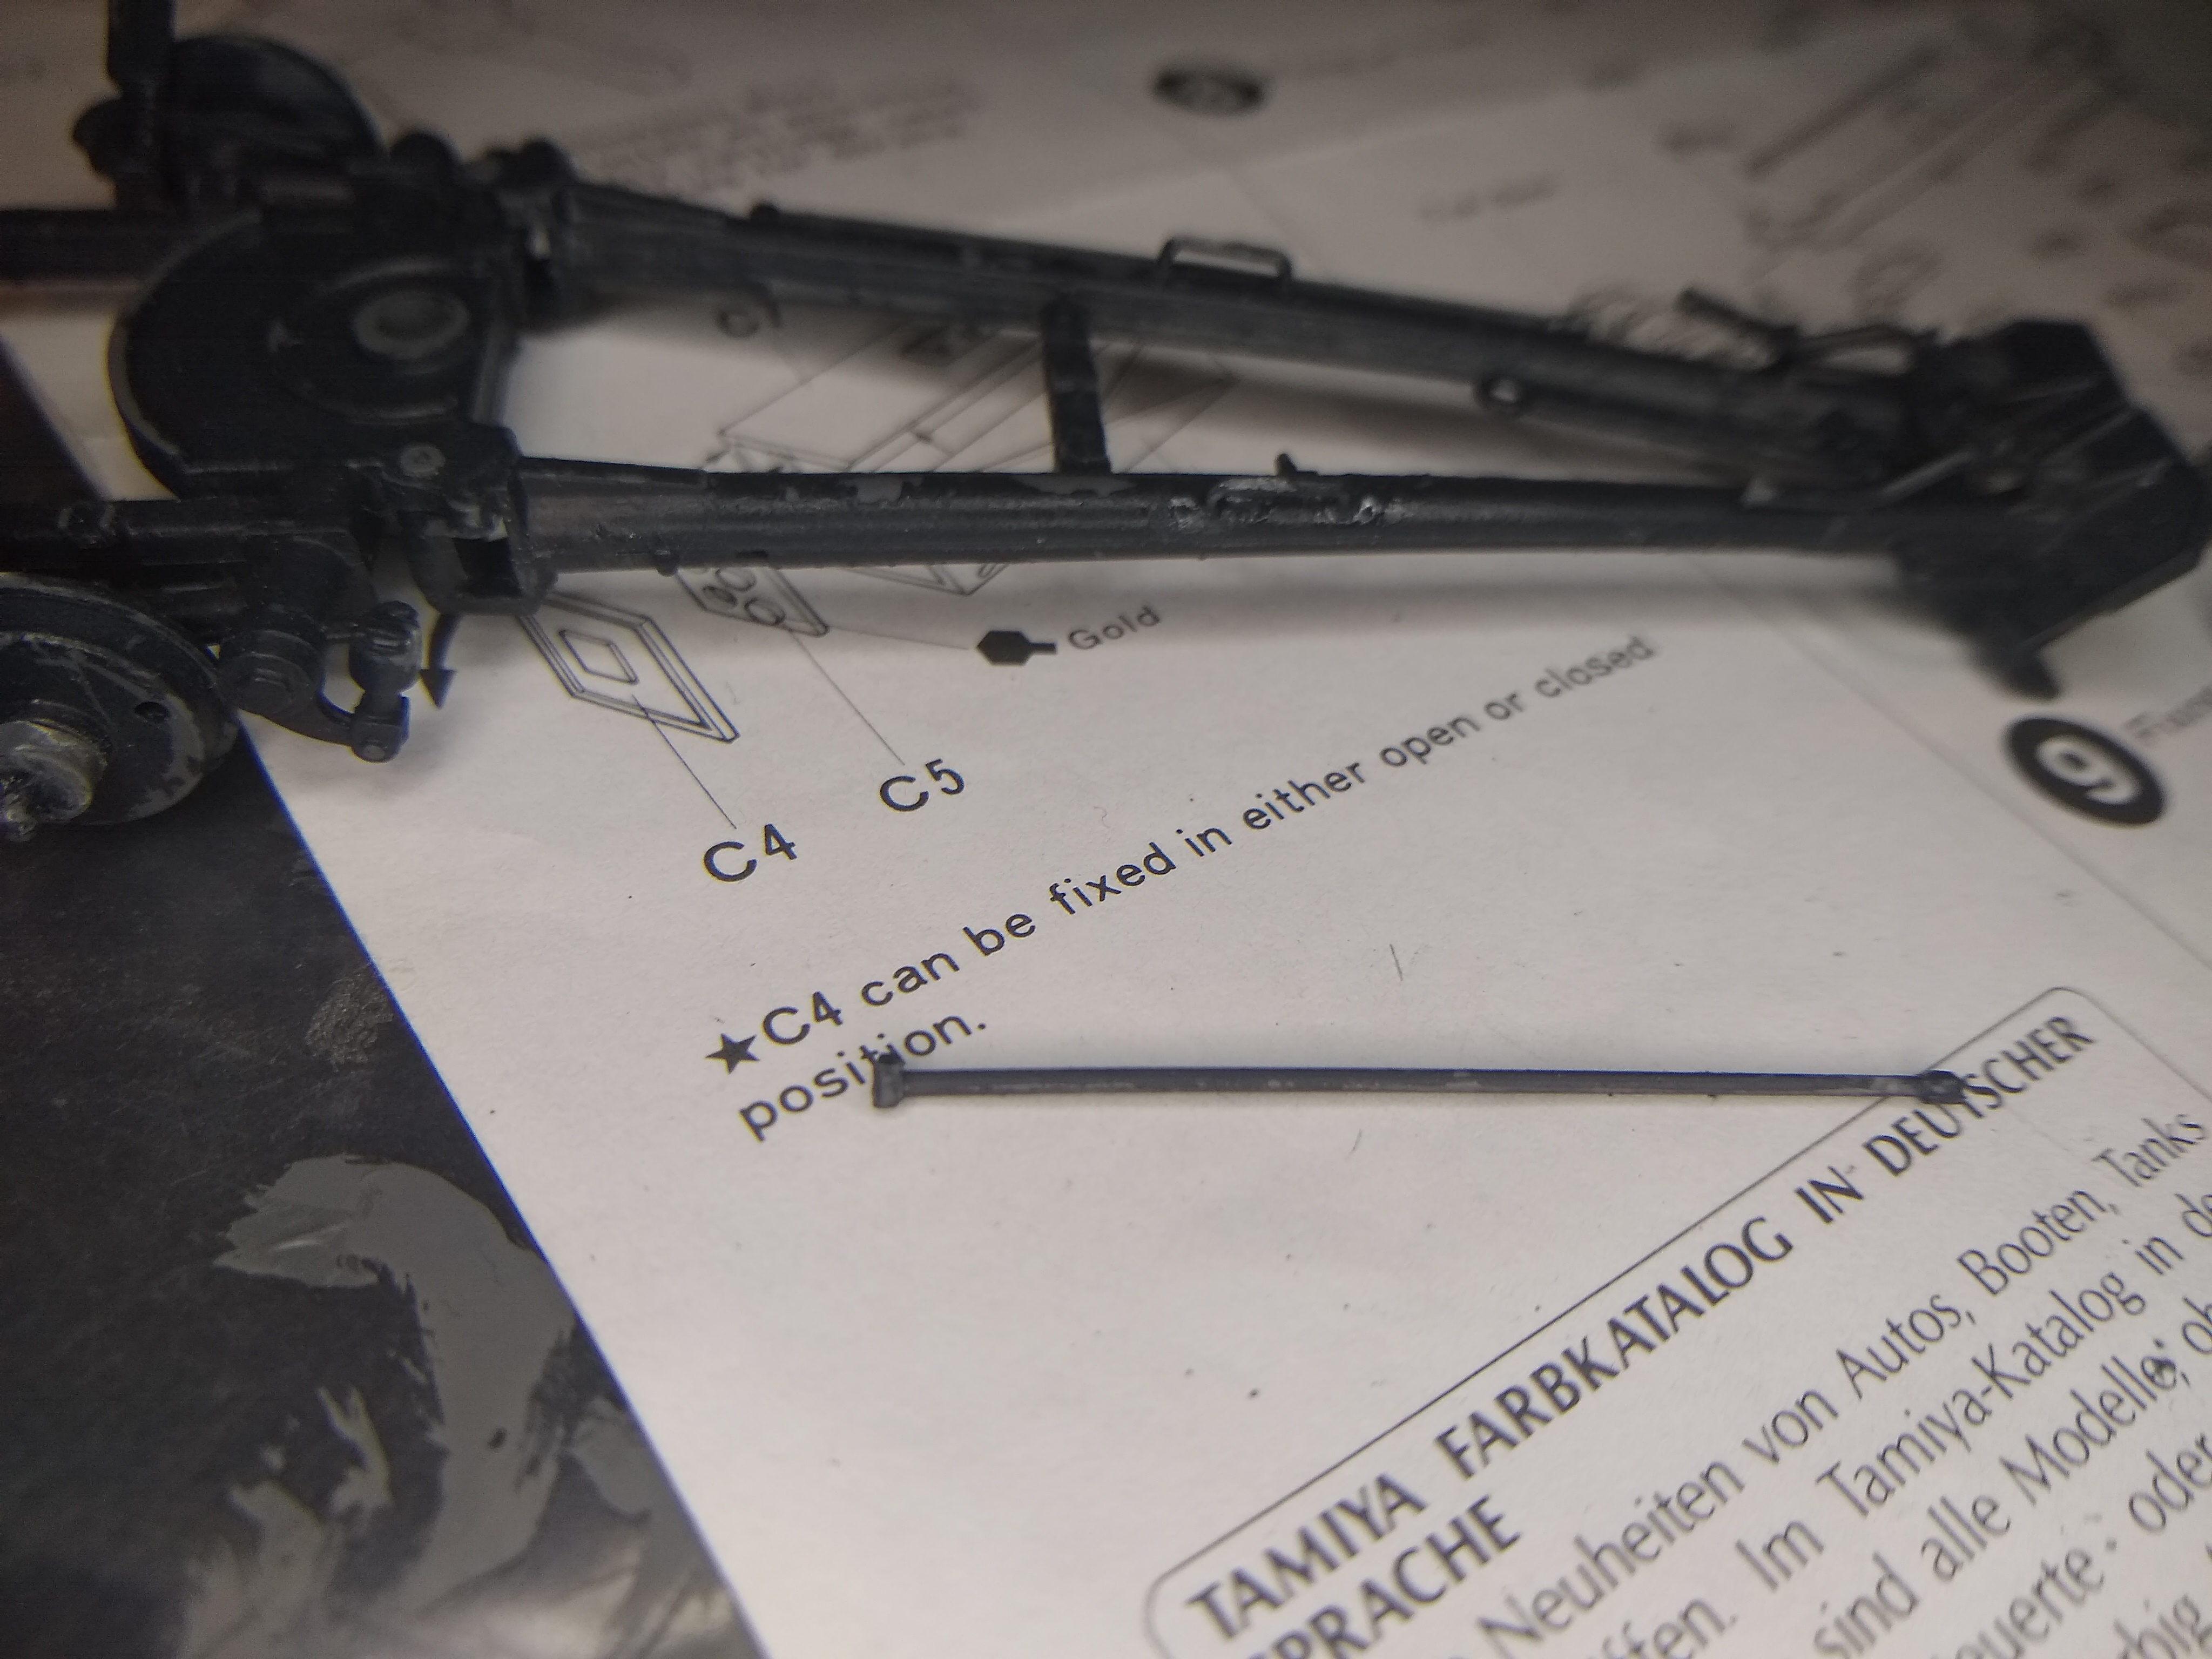
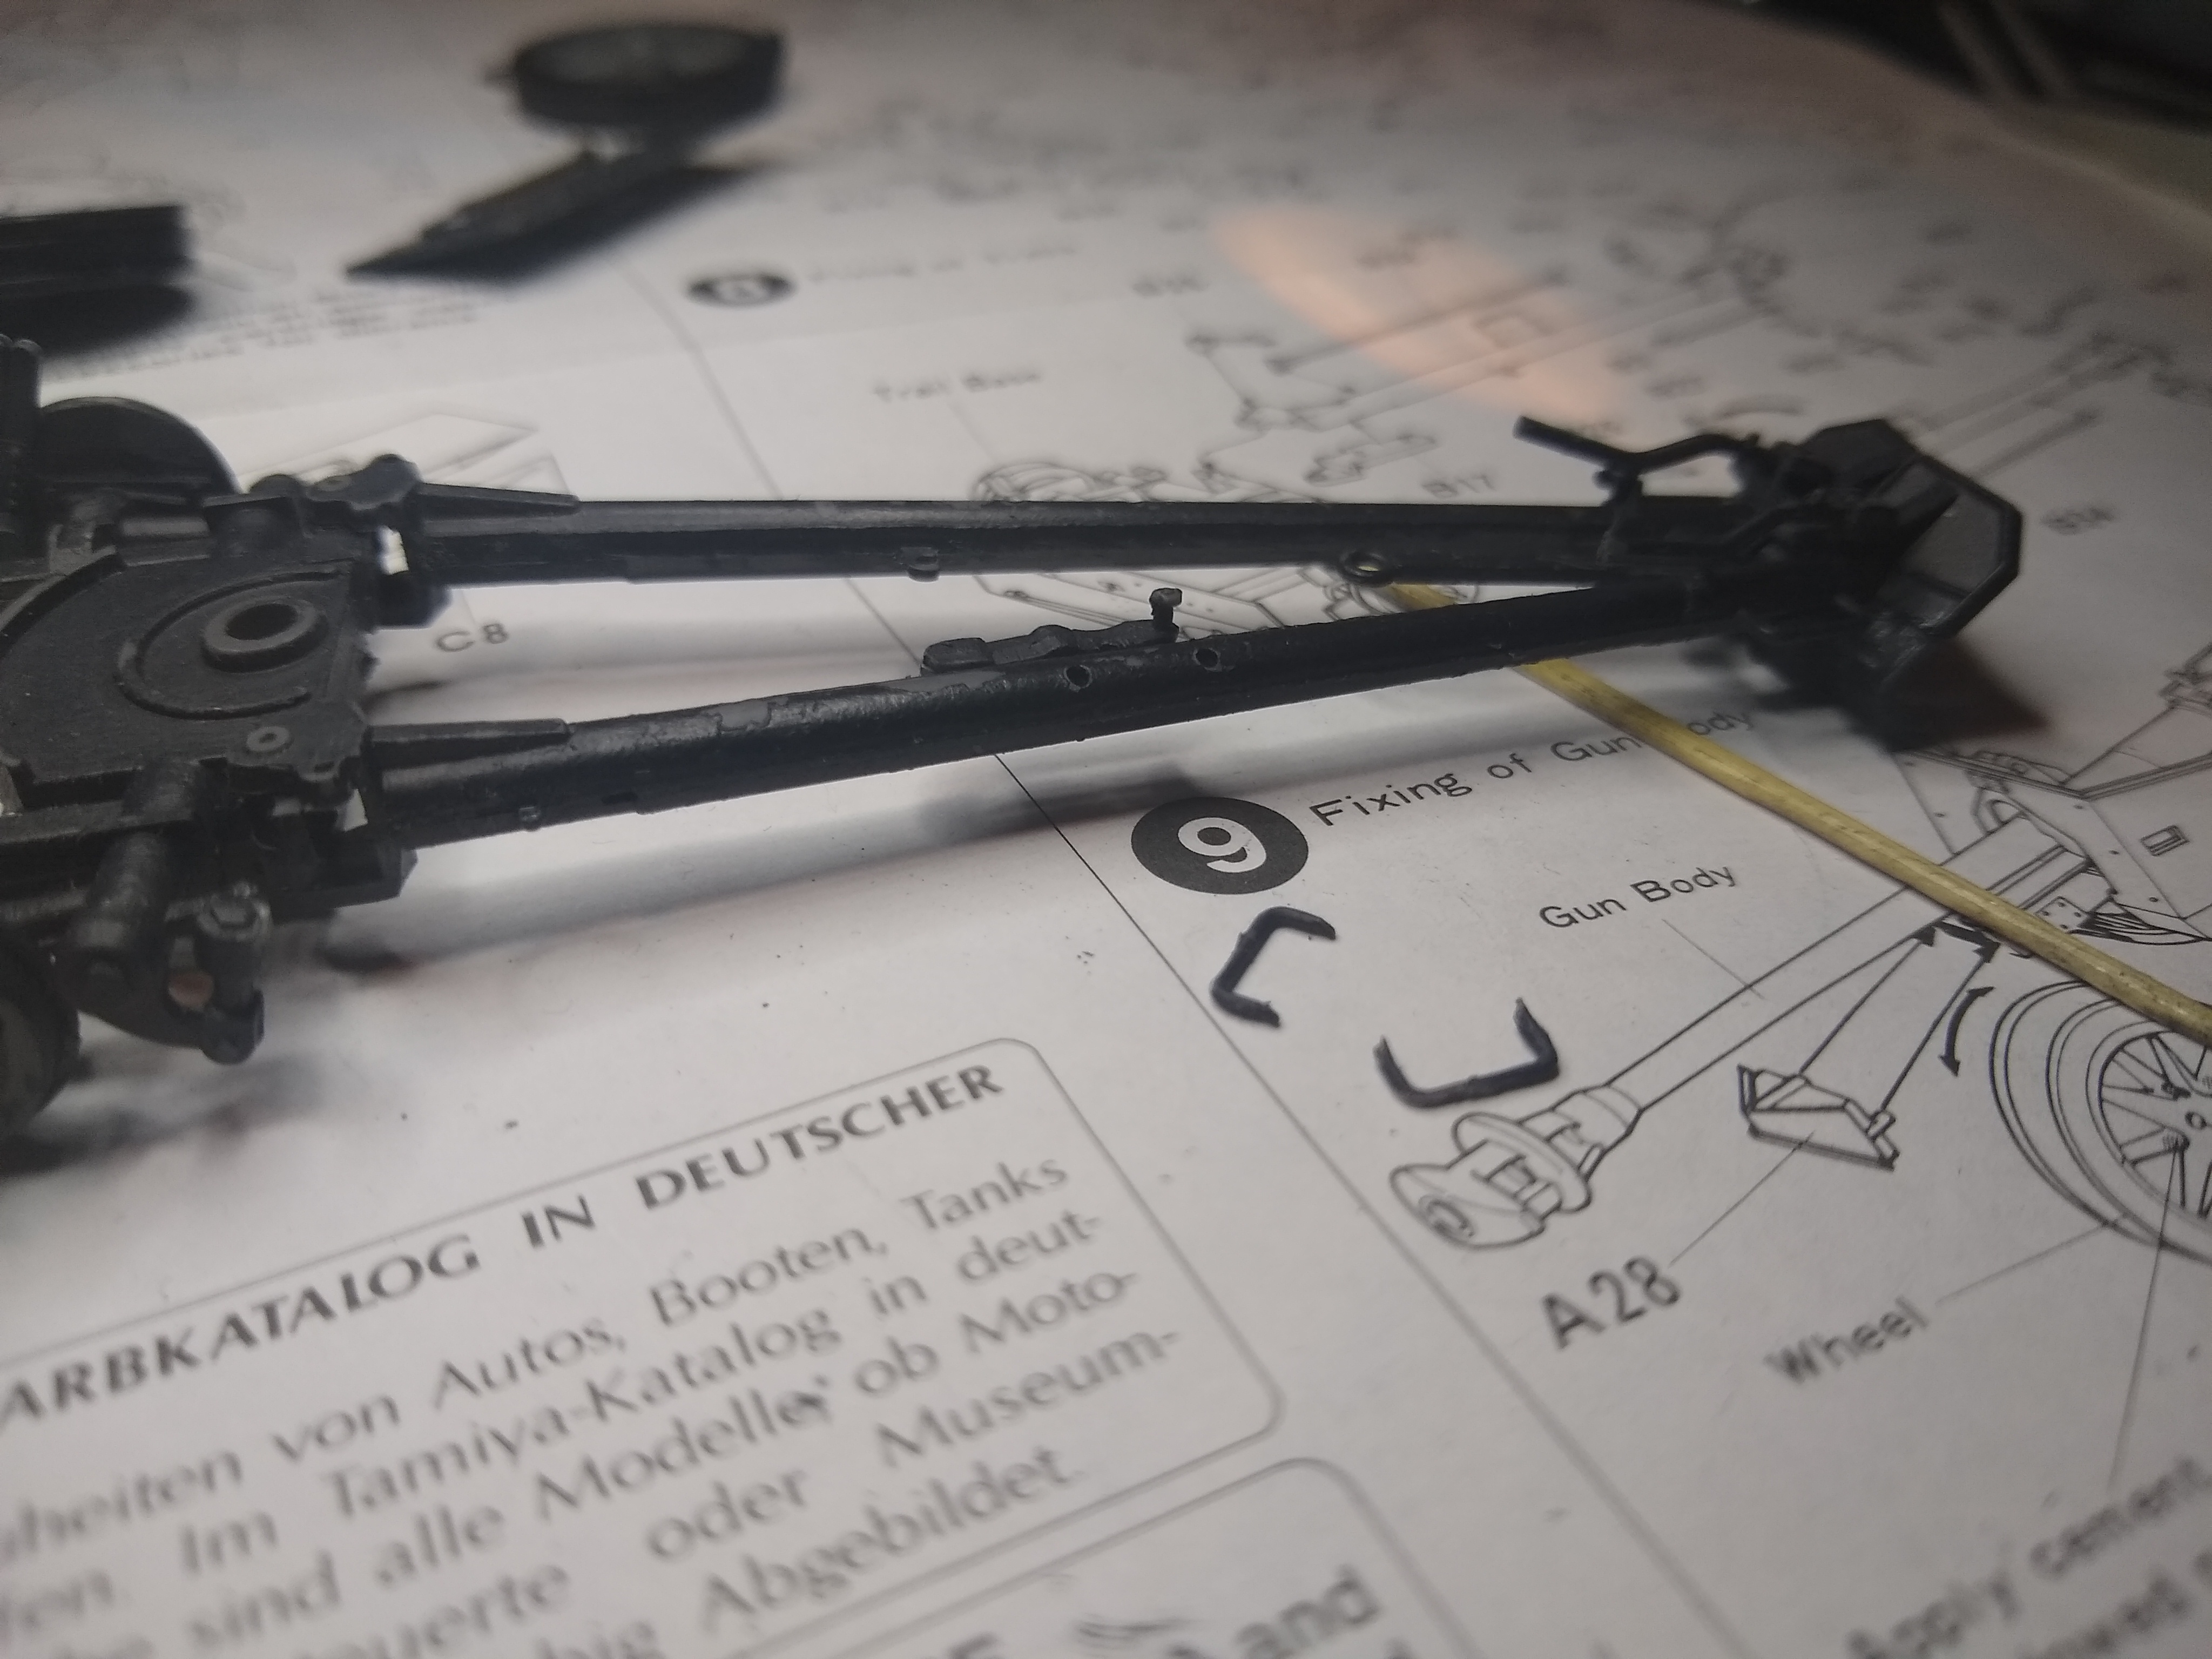
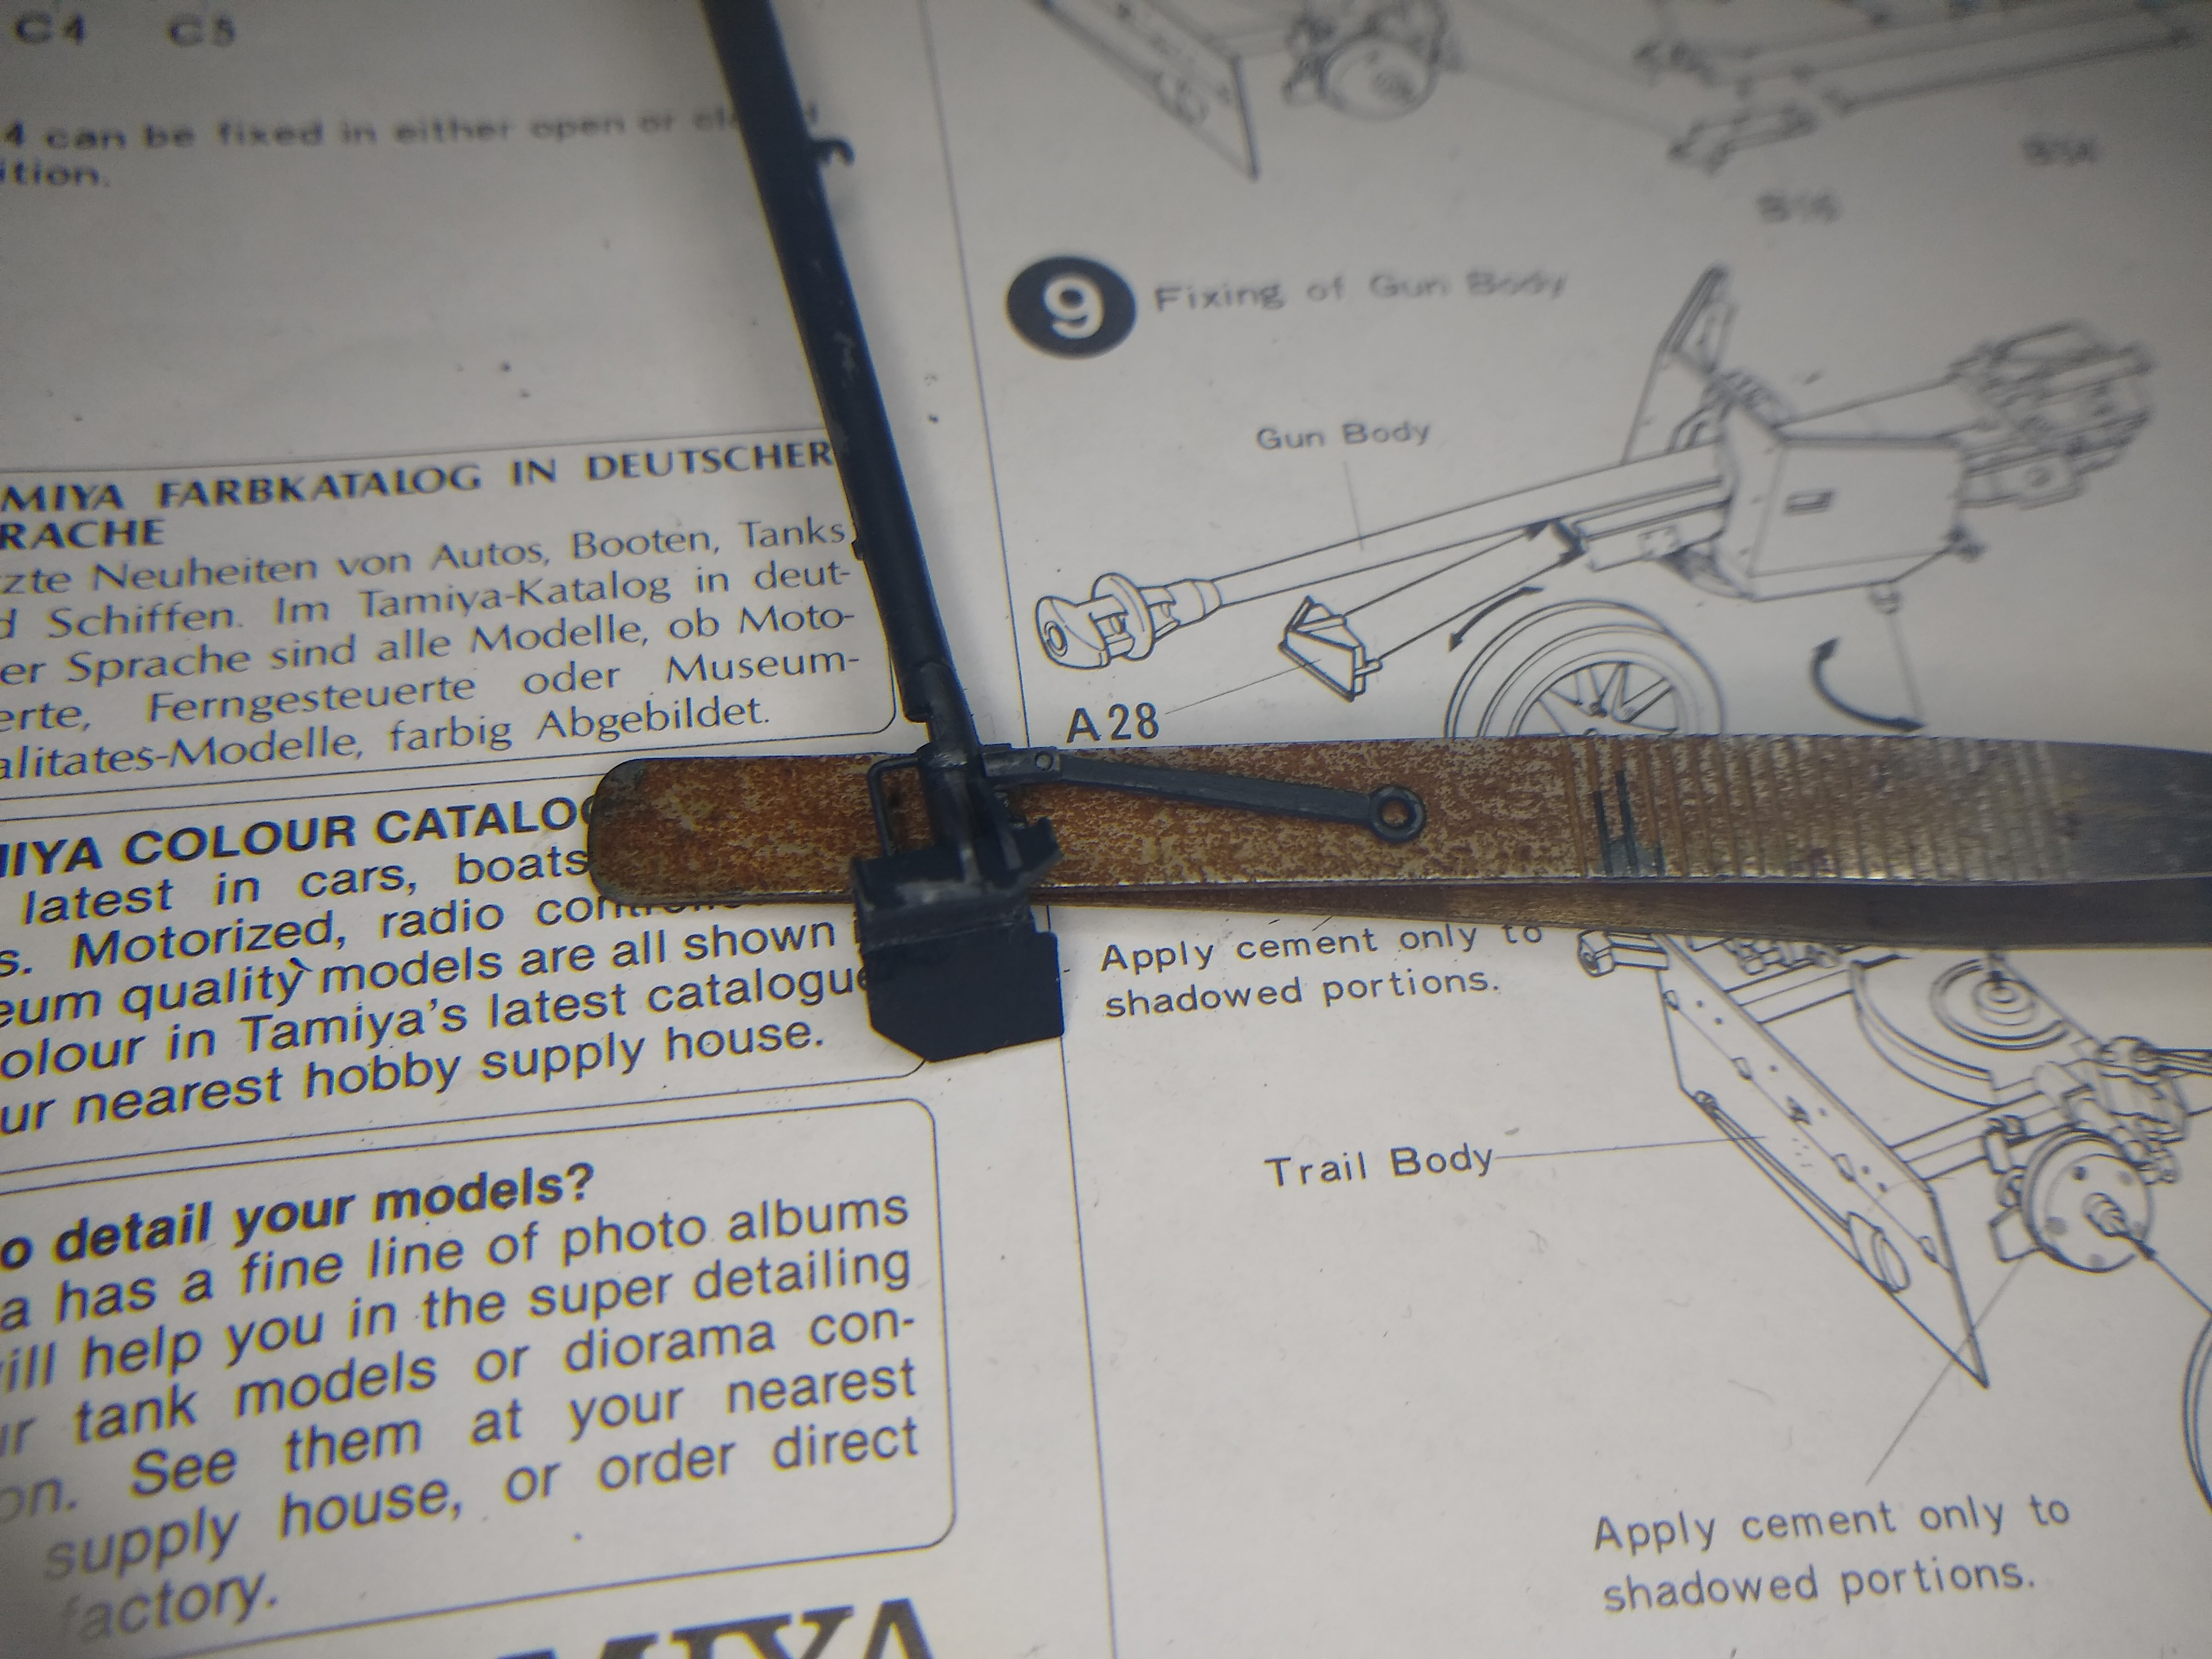
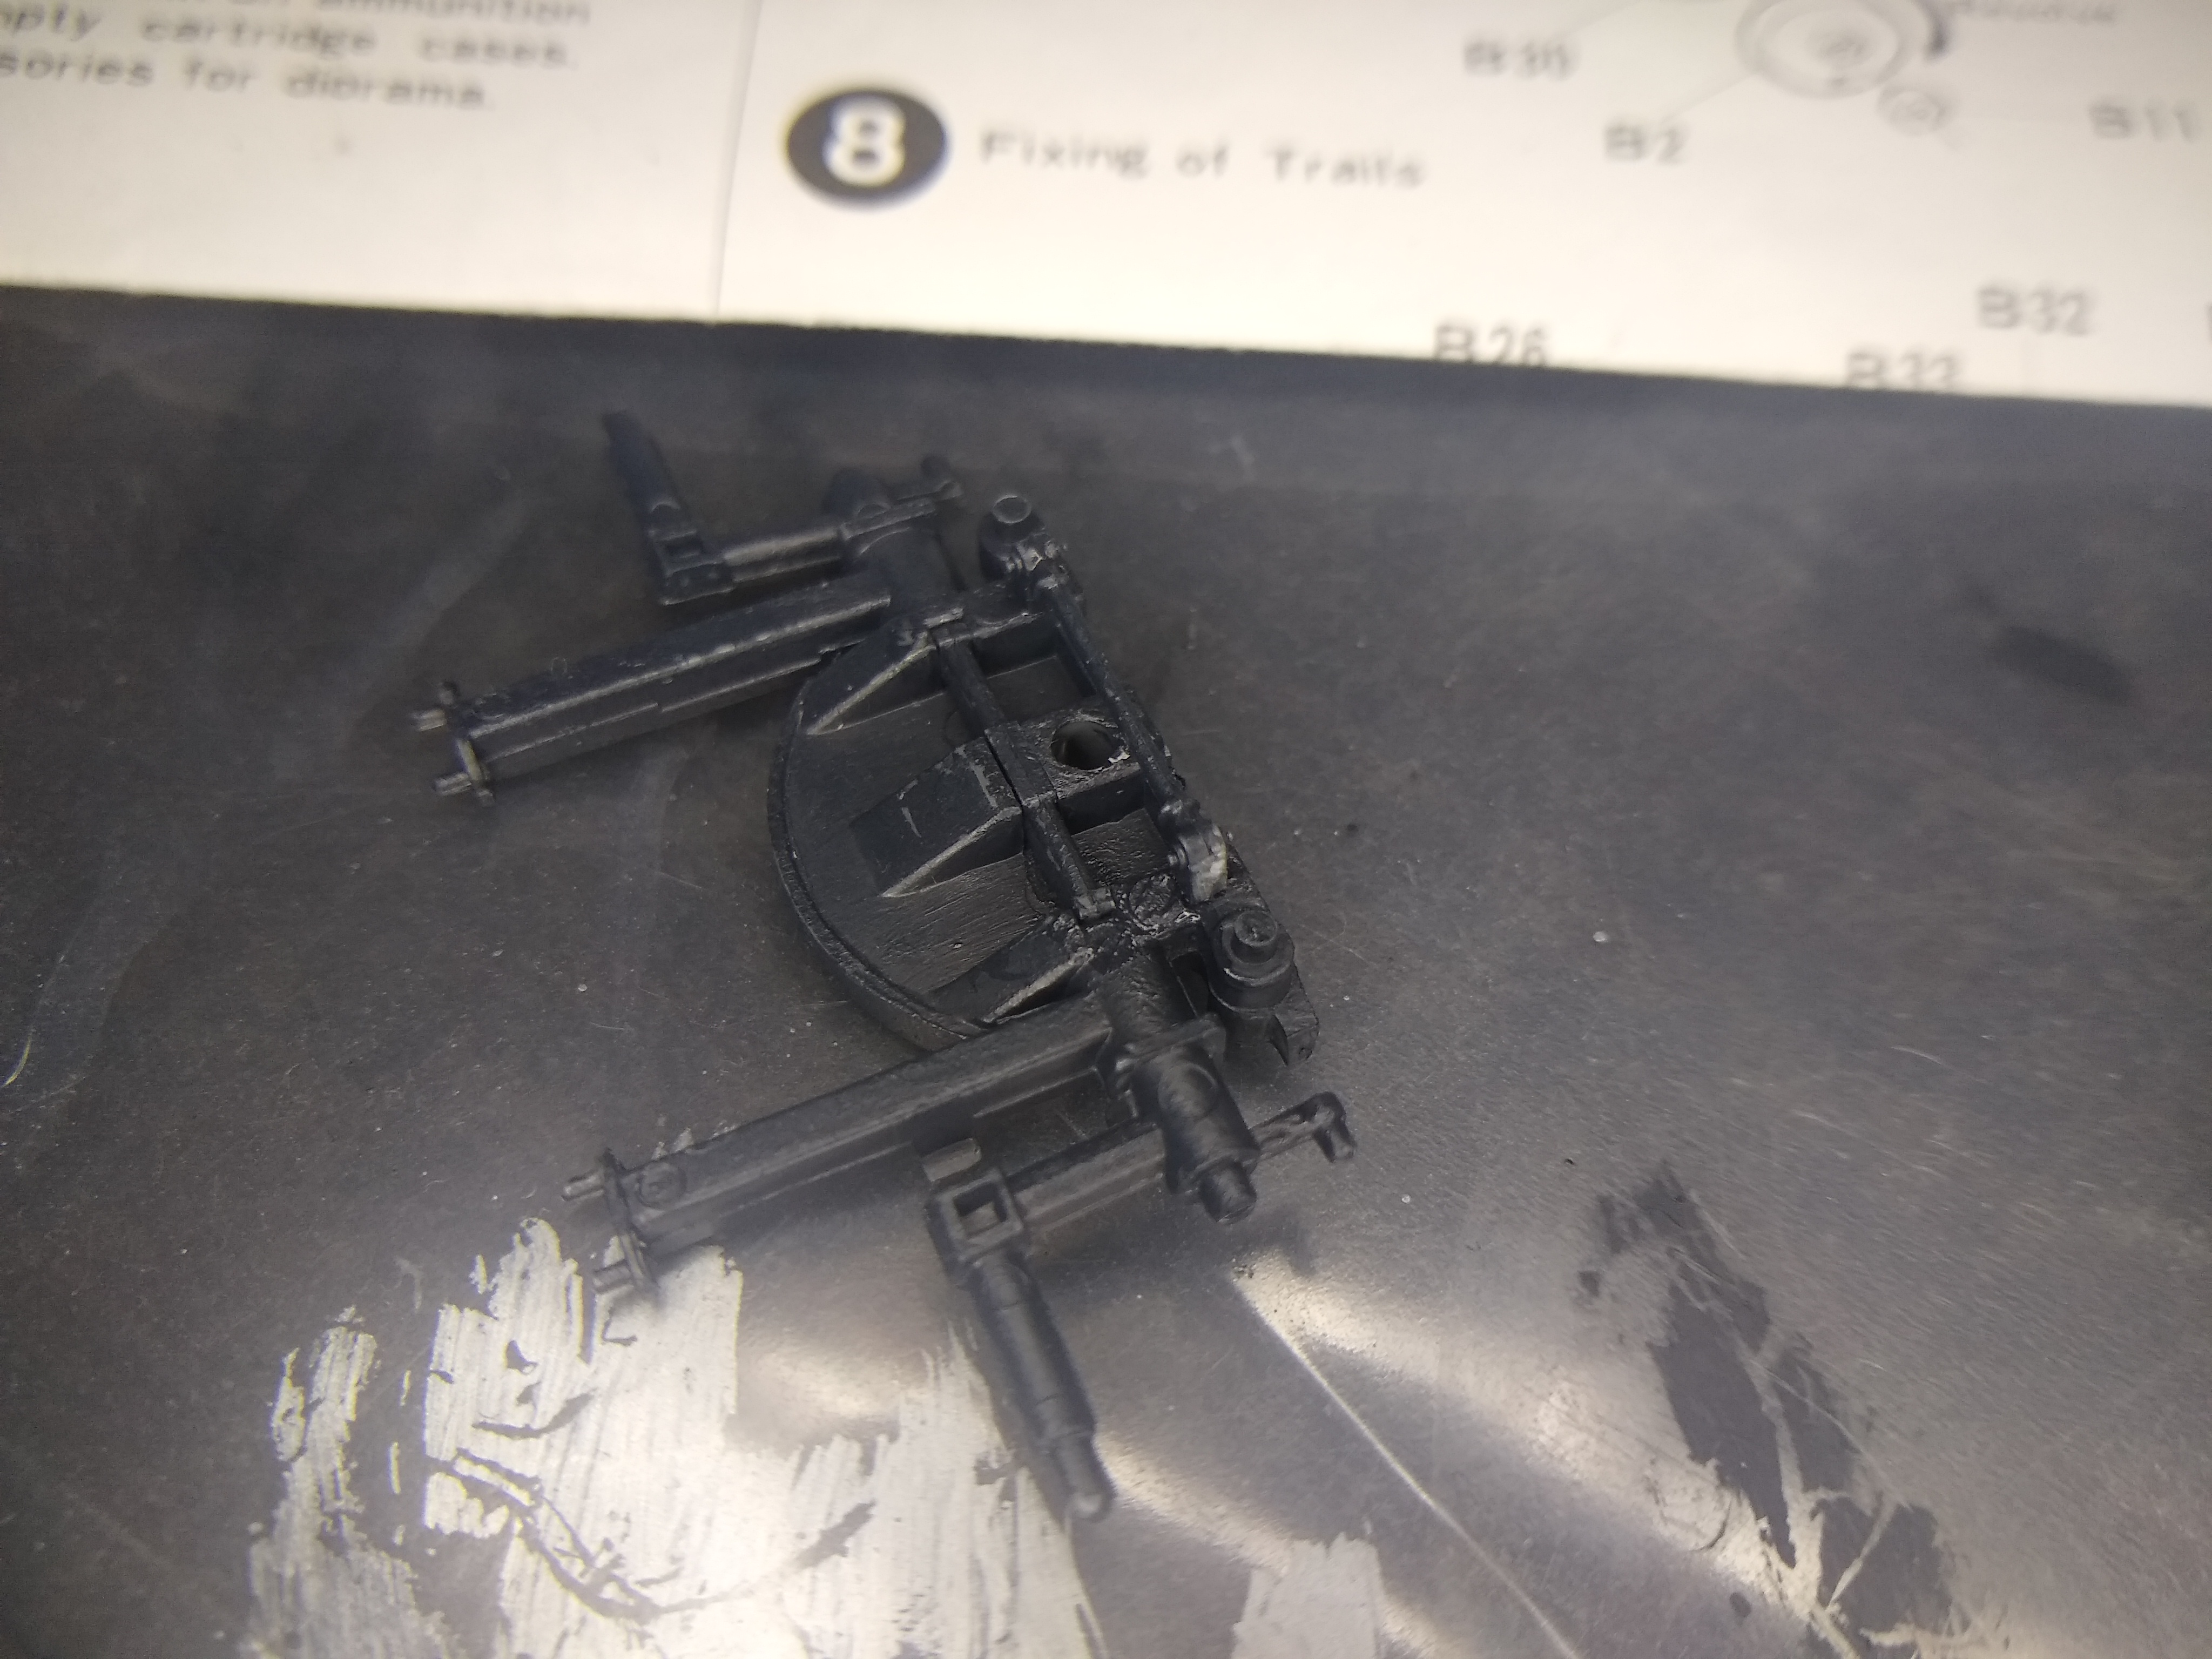
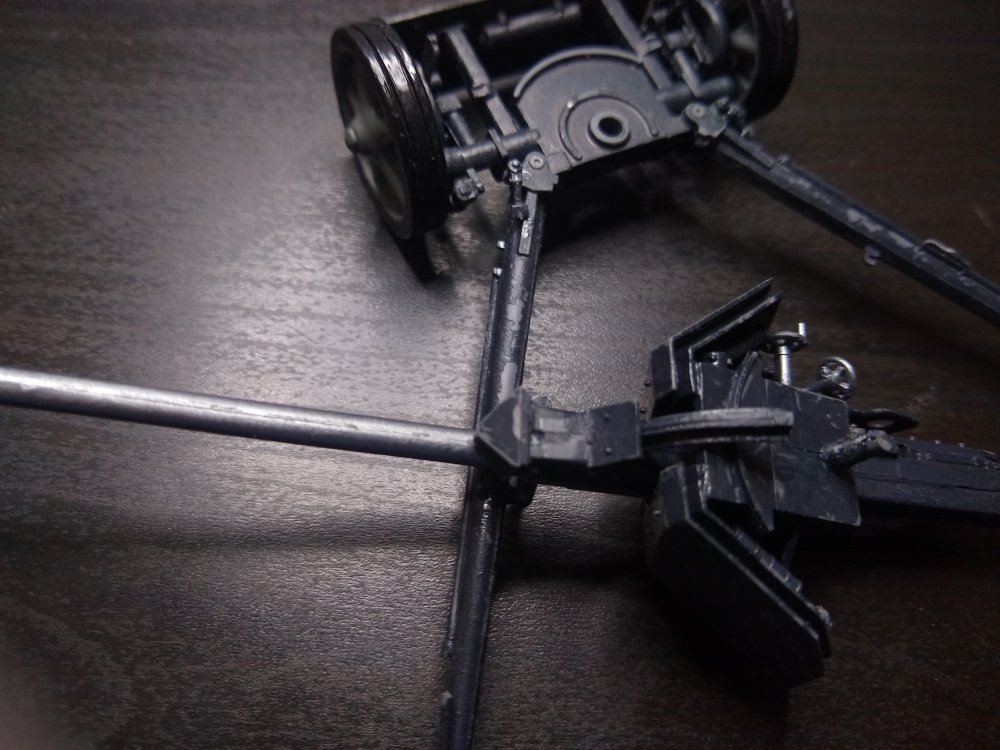
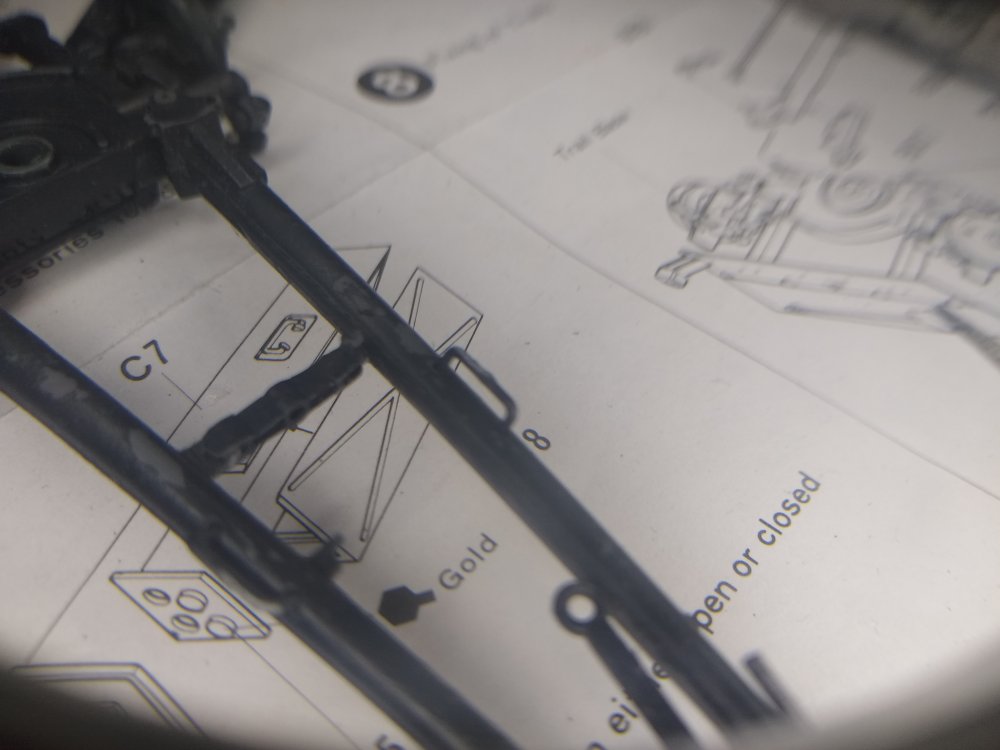
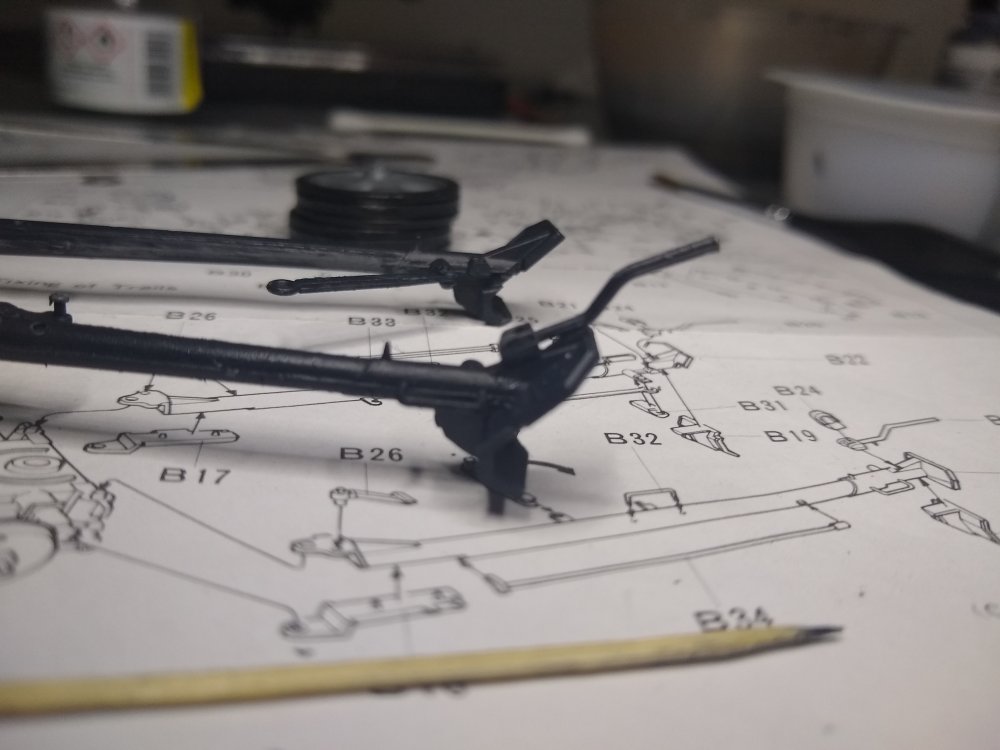
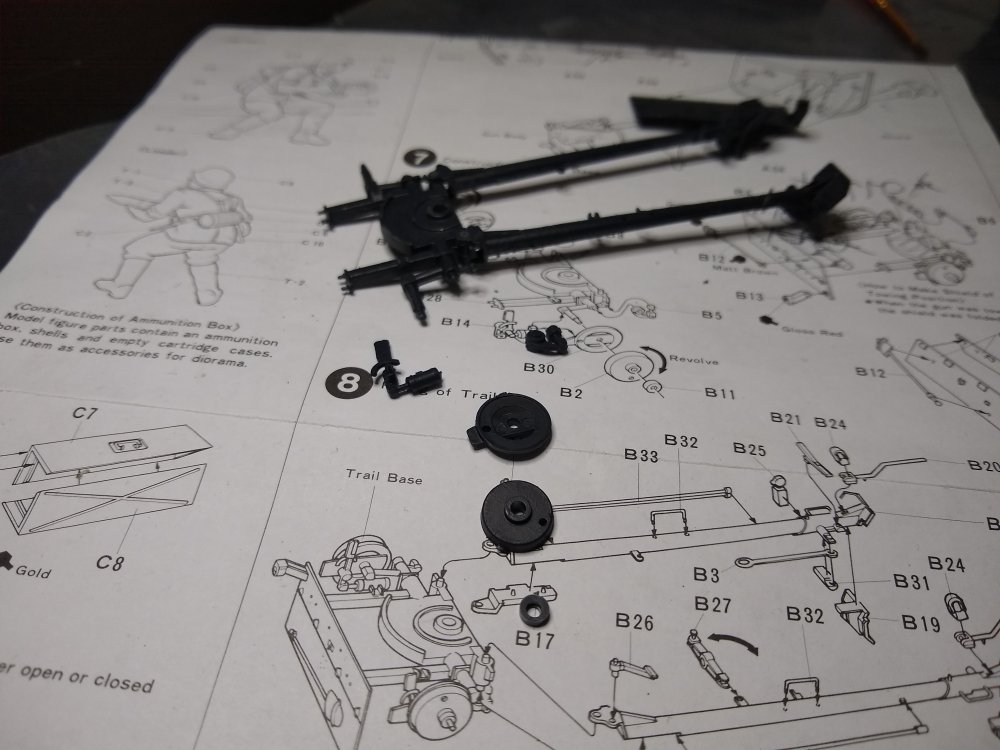
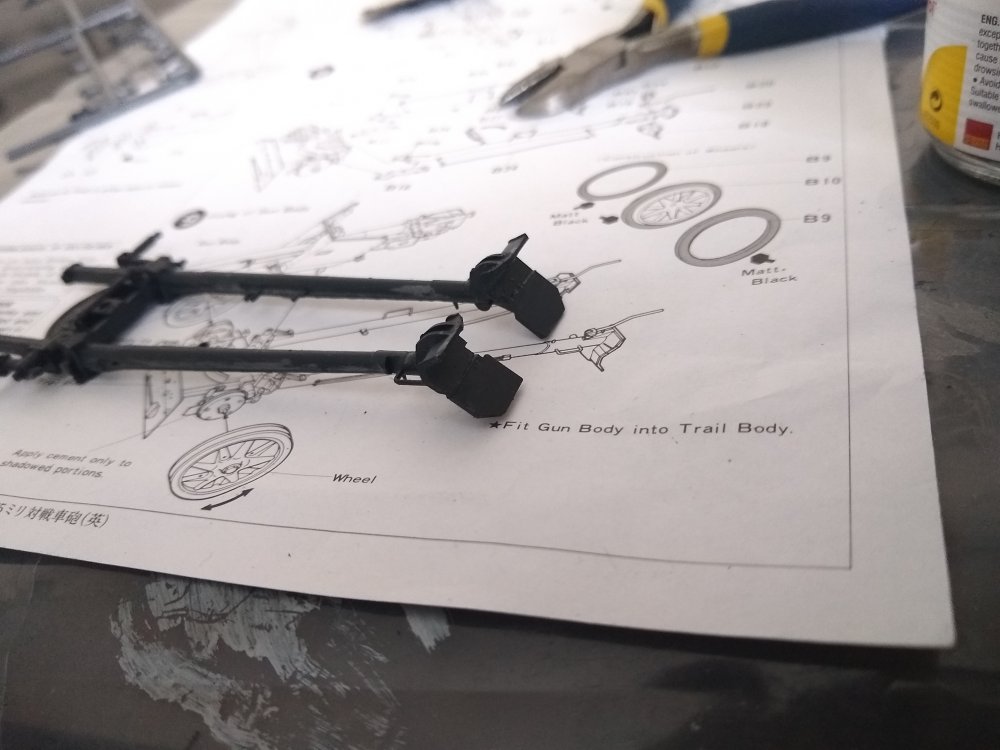
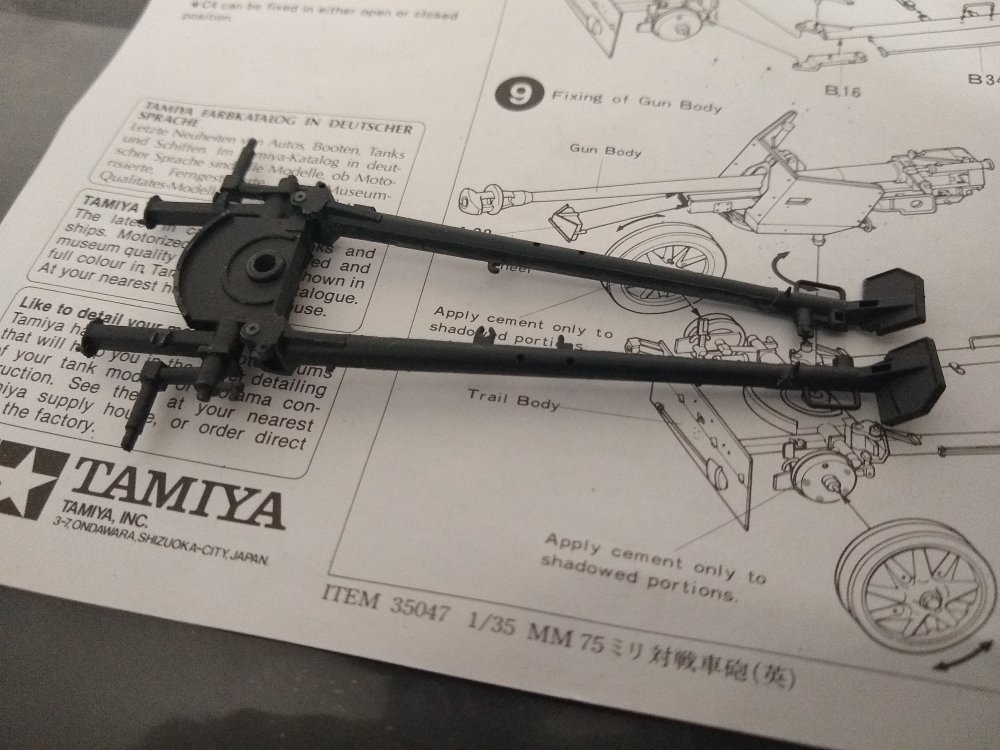
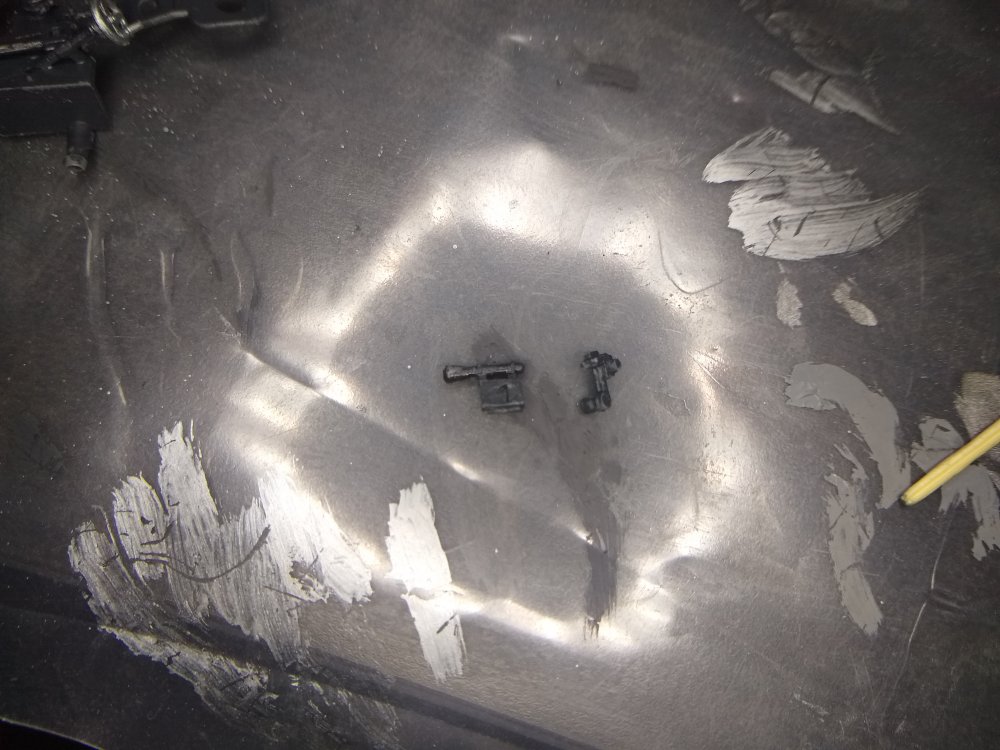
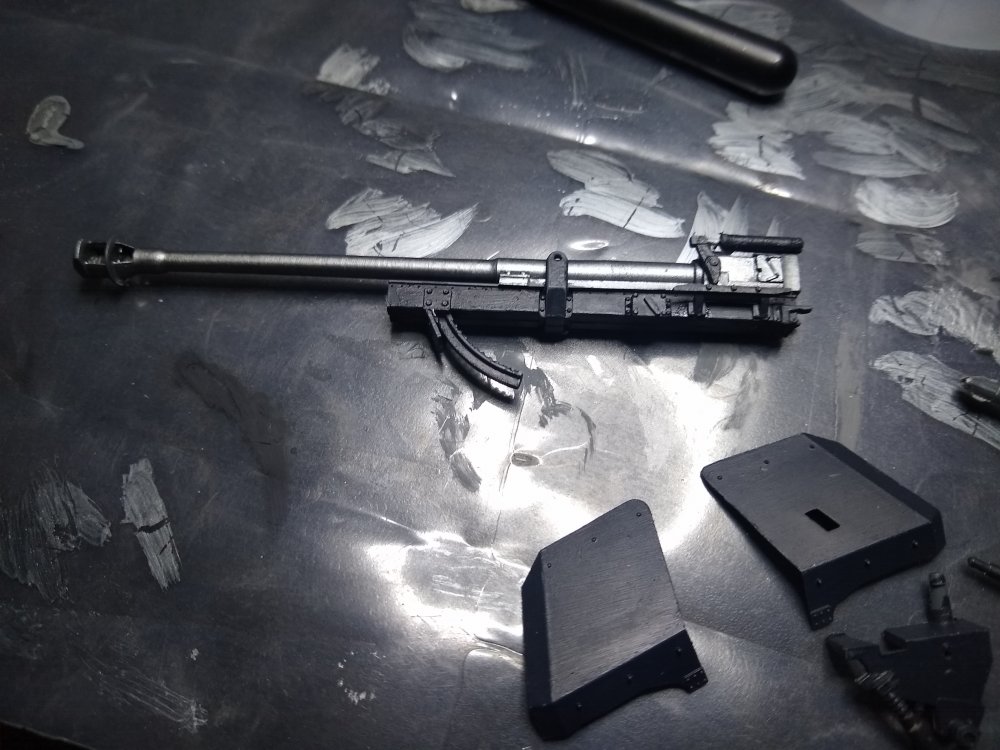
Just added some more of the details and a pair of small handles that I believe were used to spread out the trails when the gun was put into a firing position im not sure what these parts are but they kinda look like cleaning rods. this side. The left trail only has one were as the right one has 2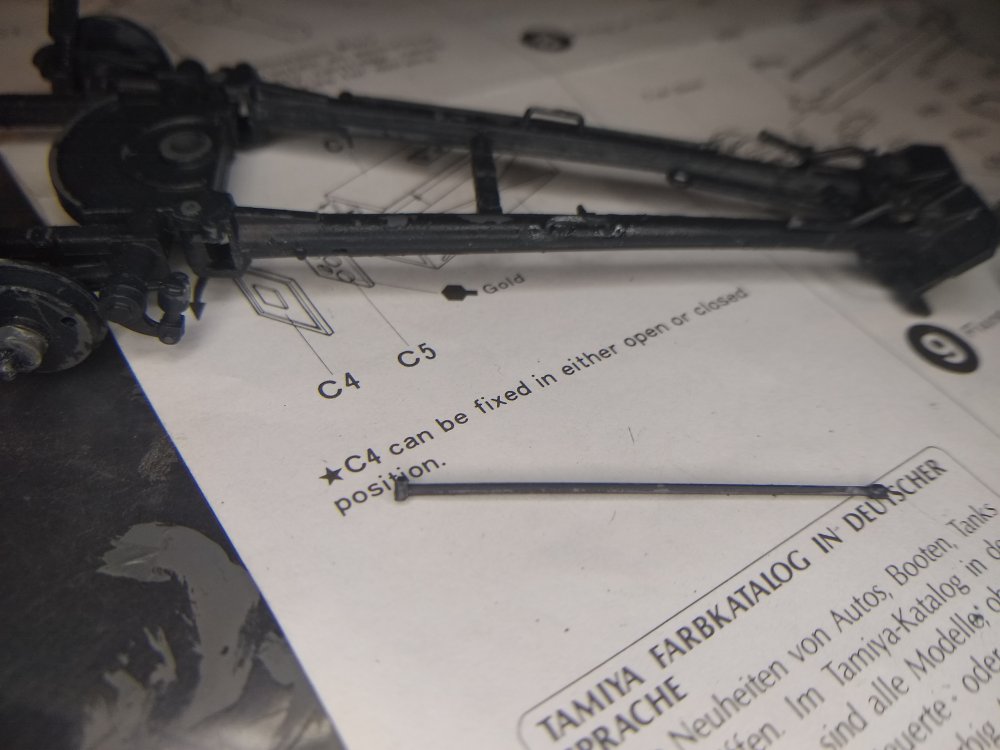

-
7.5cm Anti-Tank Gun PAK40/L46 1:35
Daniel_Roxy replied to Daniel_Roxy's topic in LSM 1/35 and Larger Work In Progress
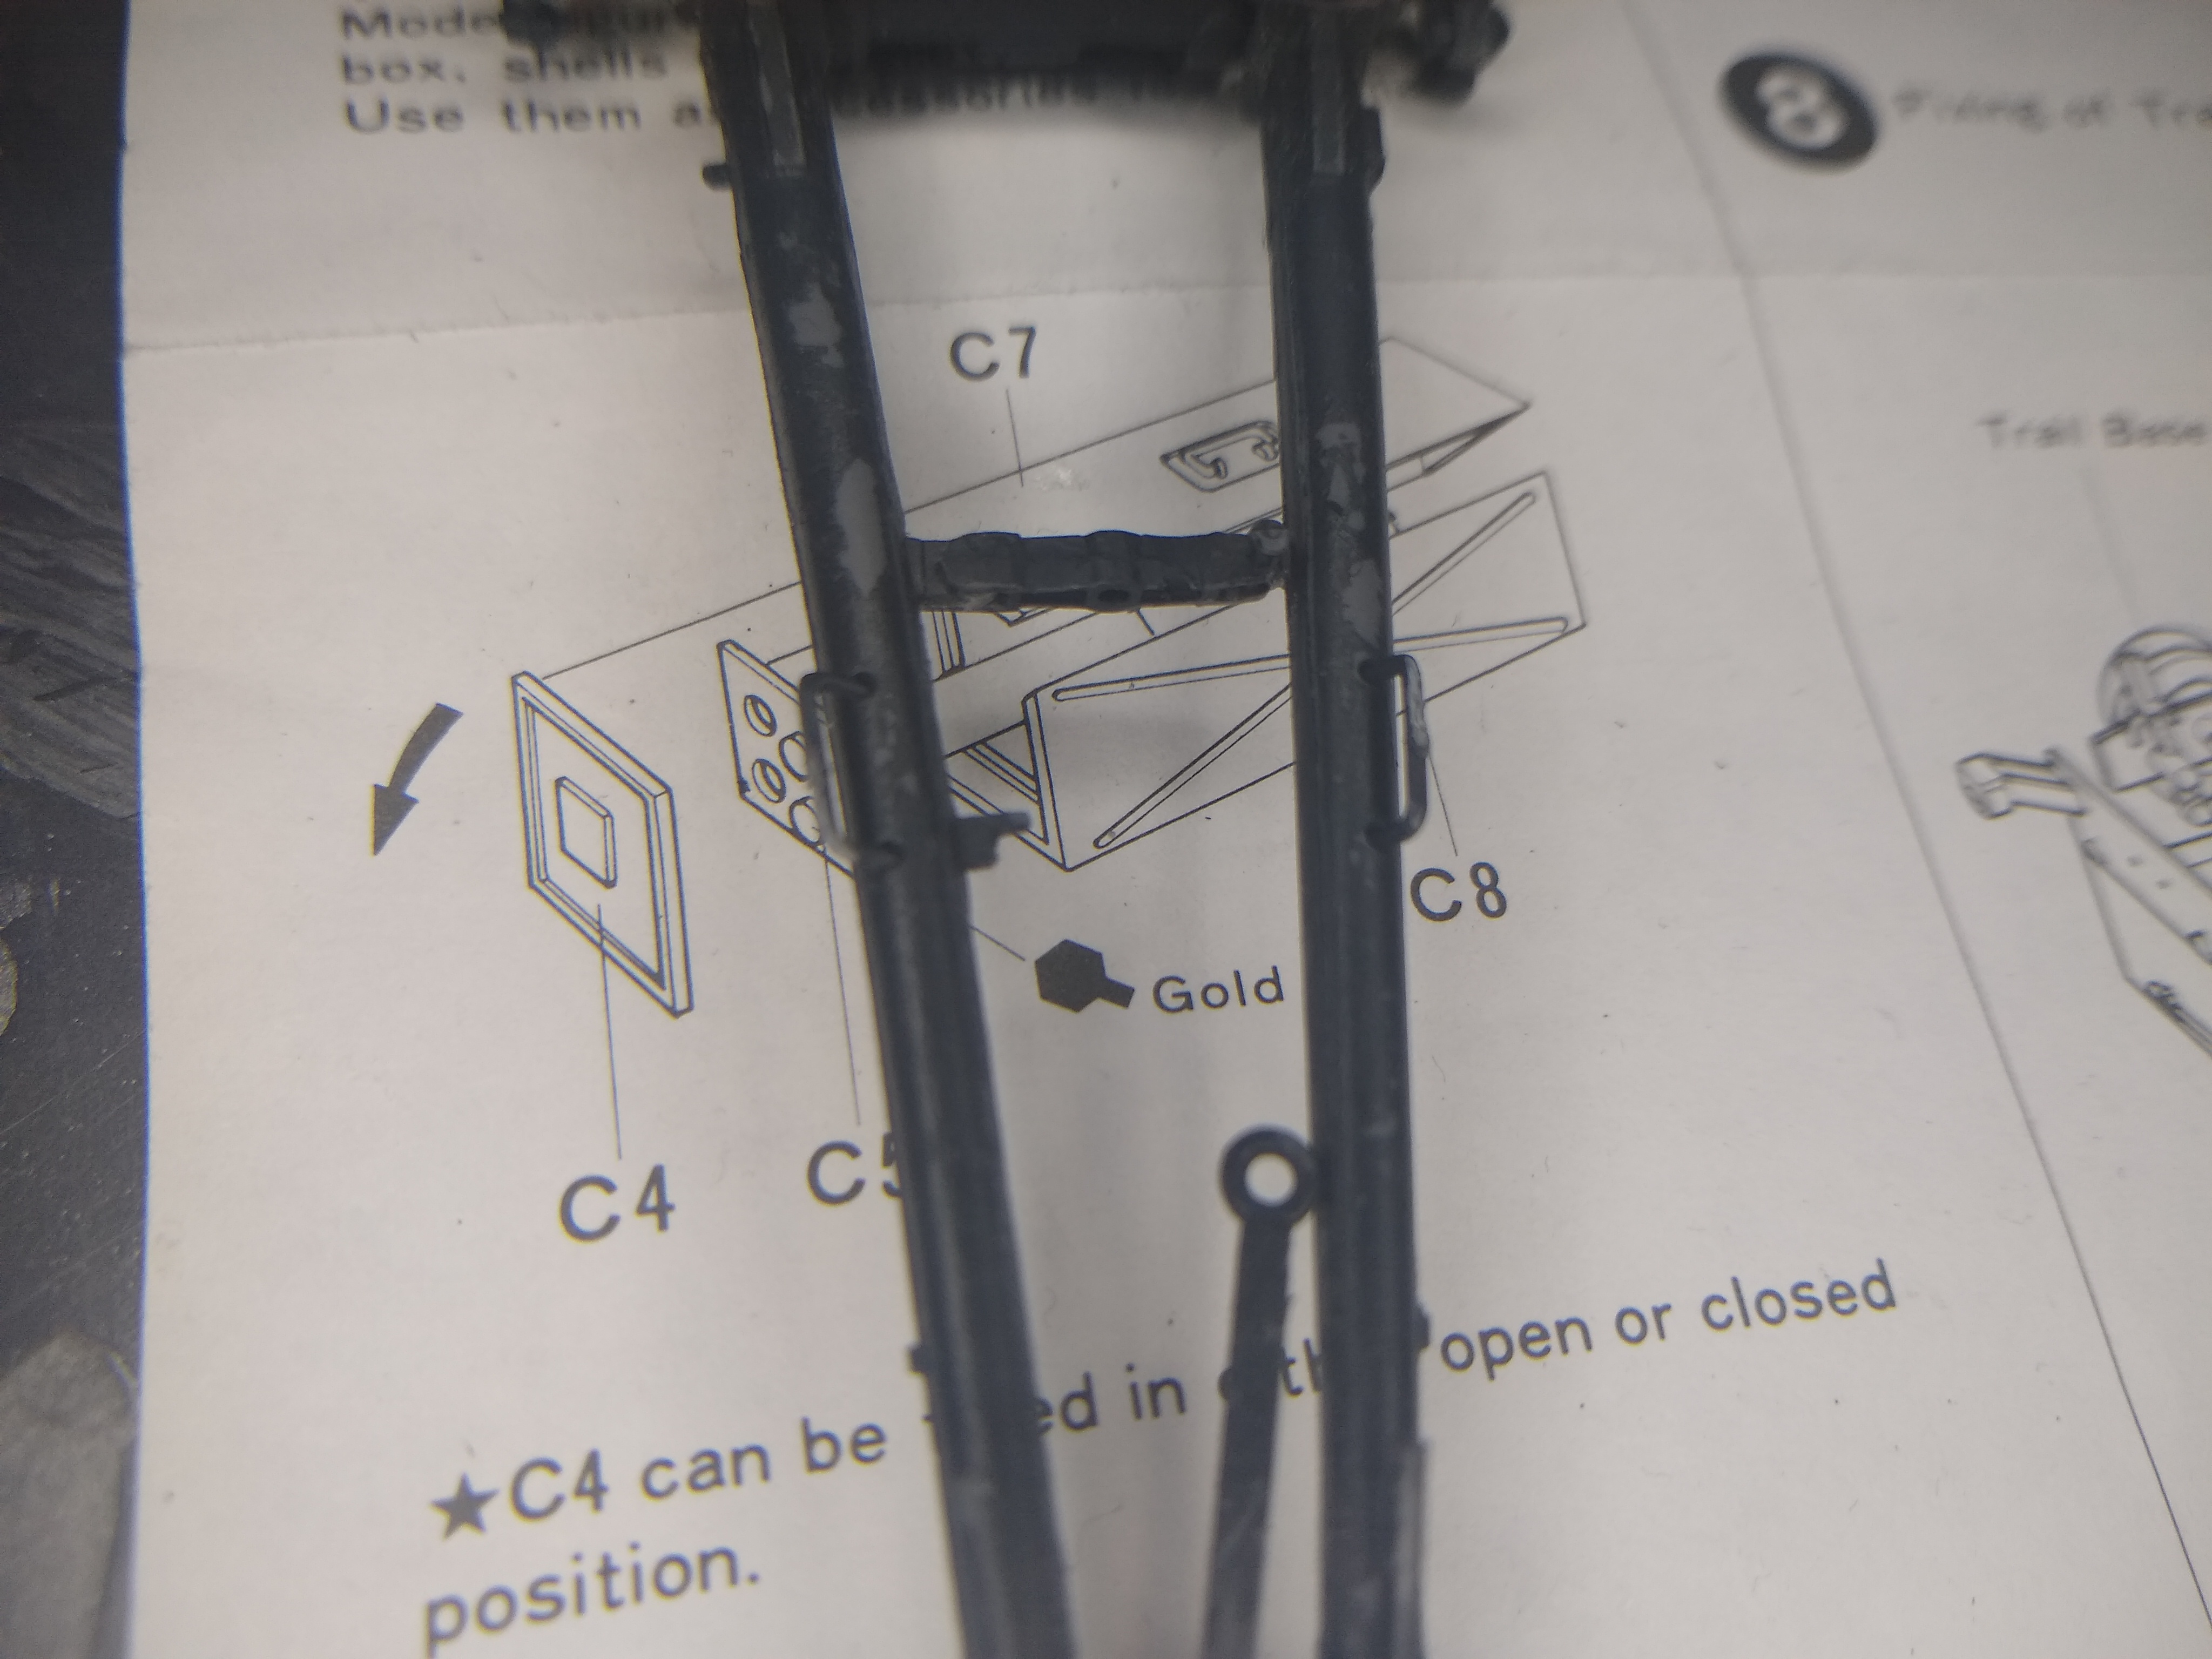
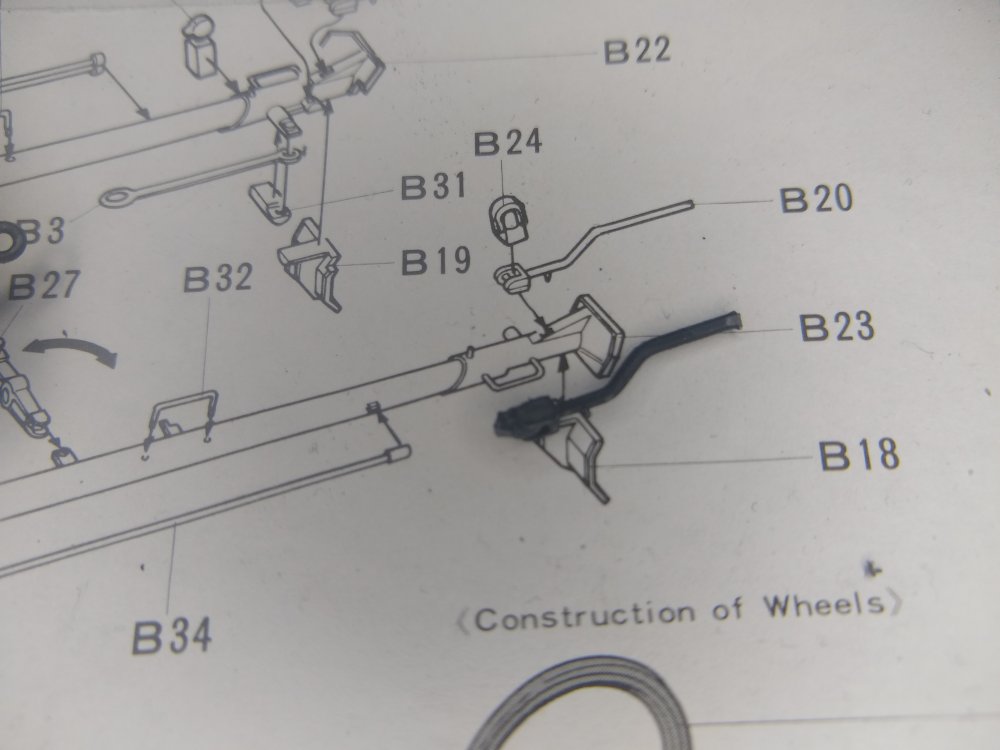
Just sticking some of the details on the trails. Also spent about 30 mins looking for part B24 after it fell on the floor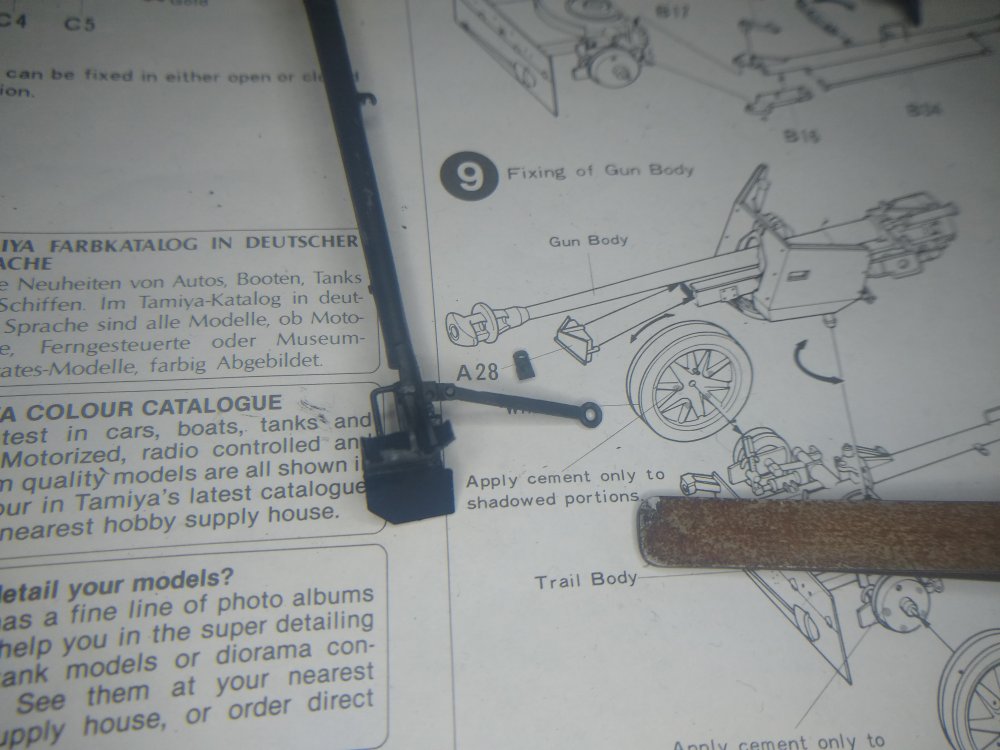


-
7.5cm Anti-Tank Gun PAK40/L46 1:35
Daniel_Roxy replied to Daniel_Roxy's topic in LSM 1/35 and Larger Work In Progress
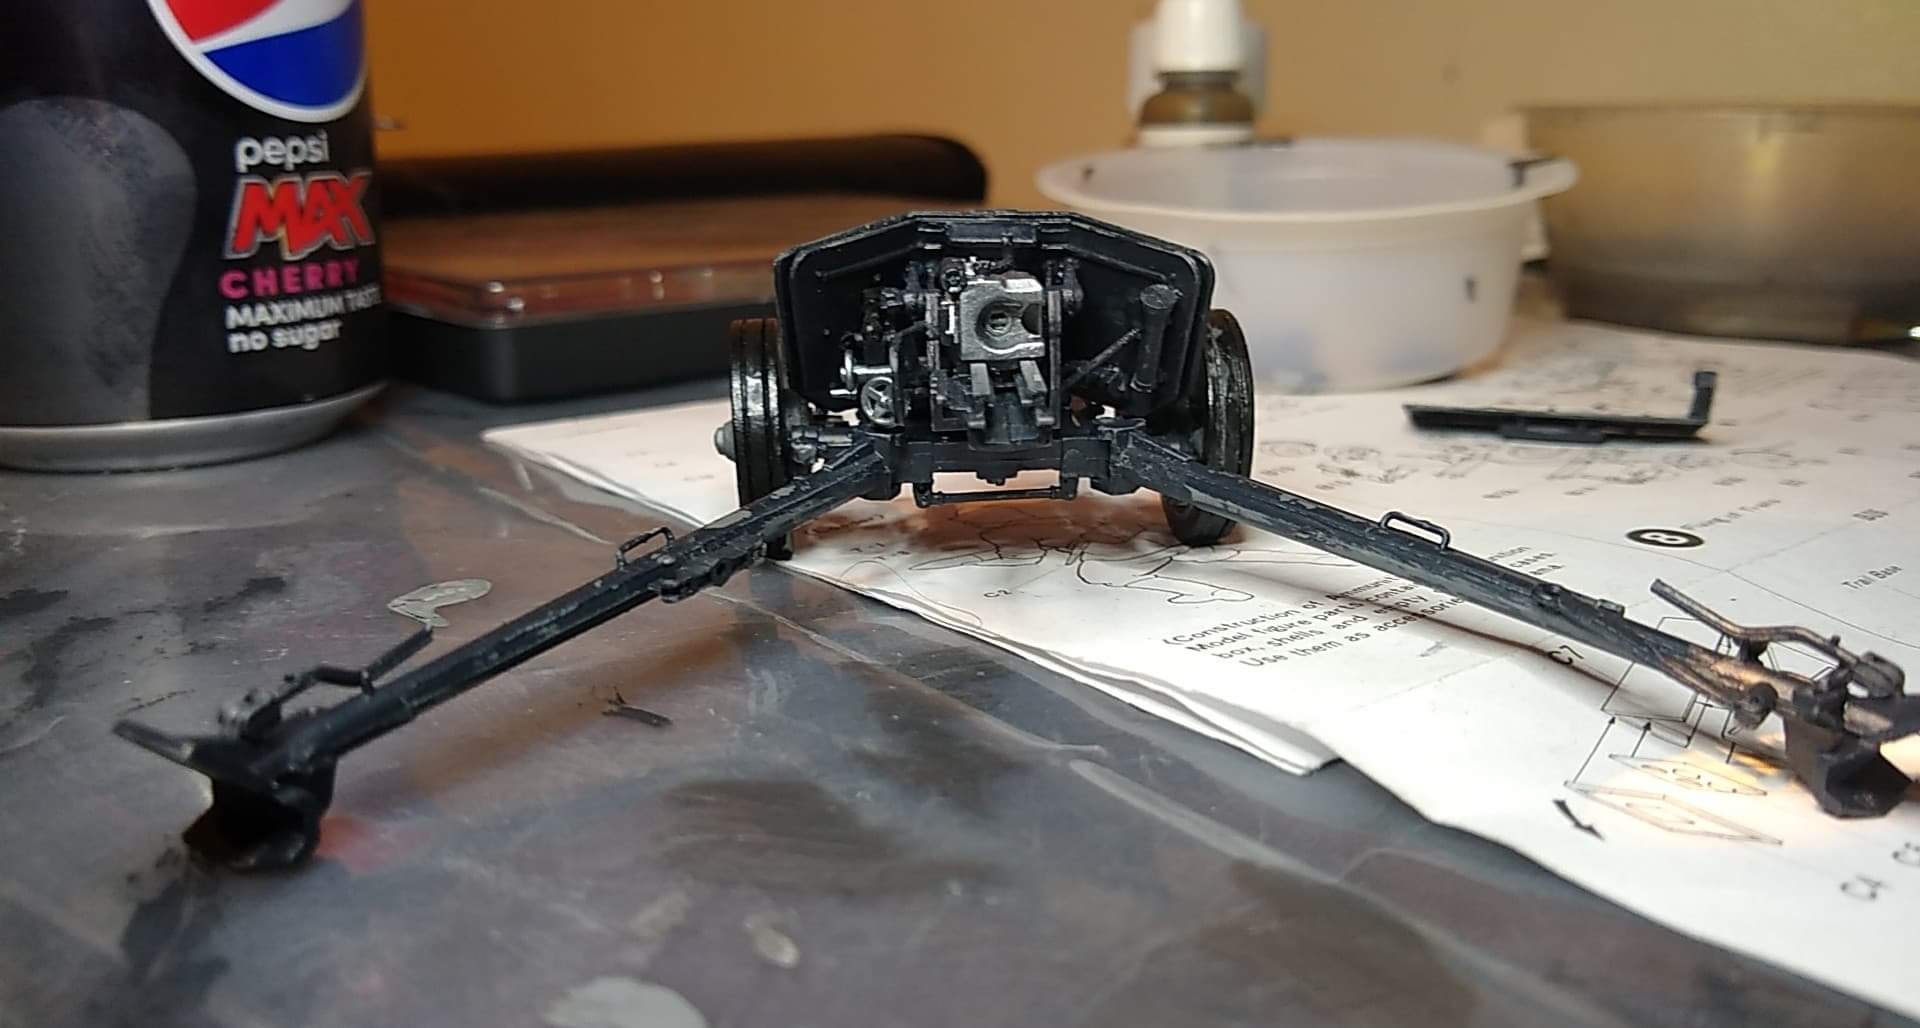
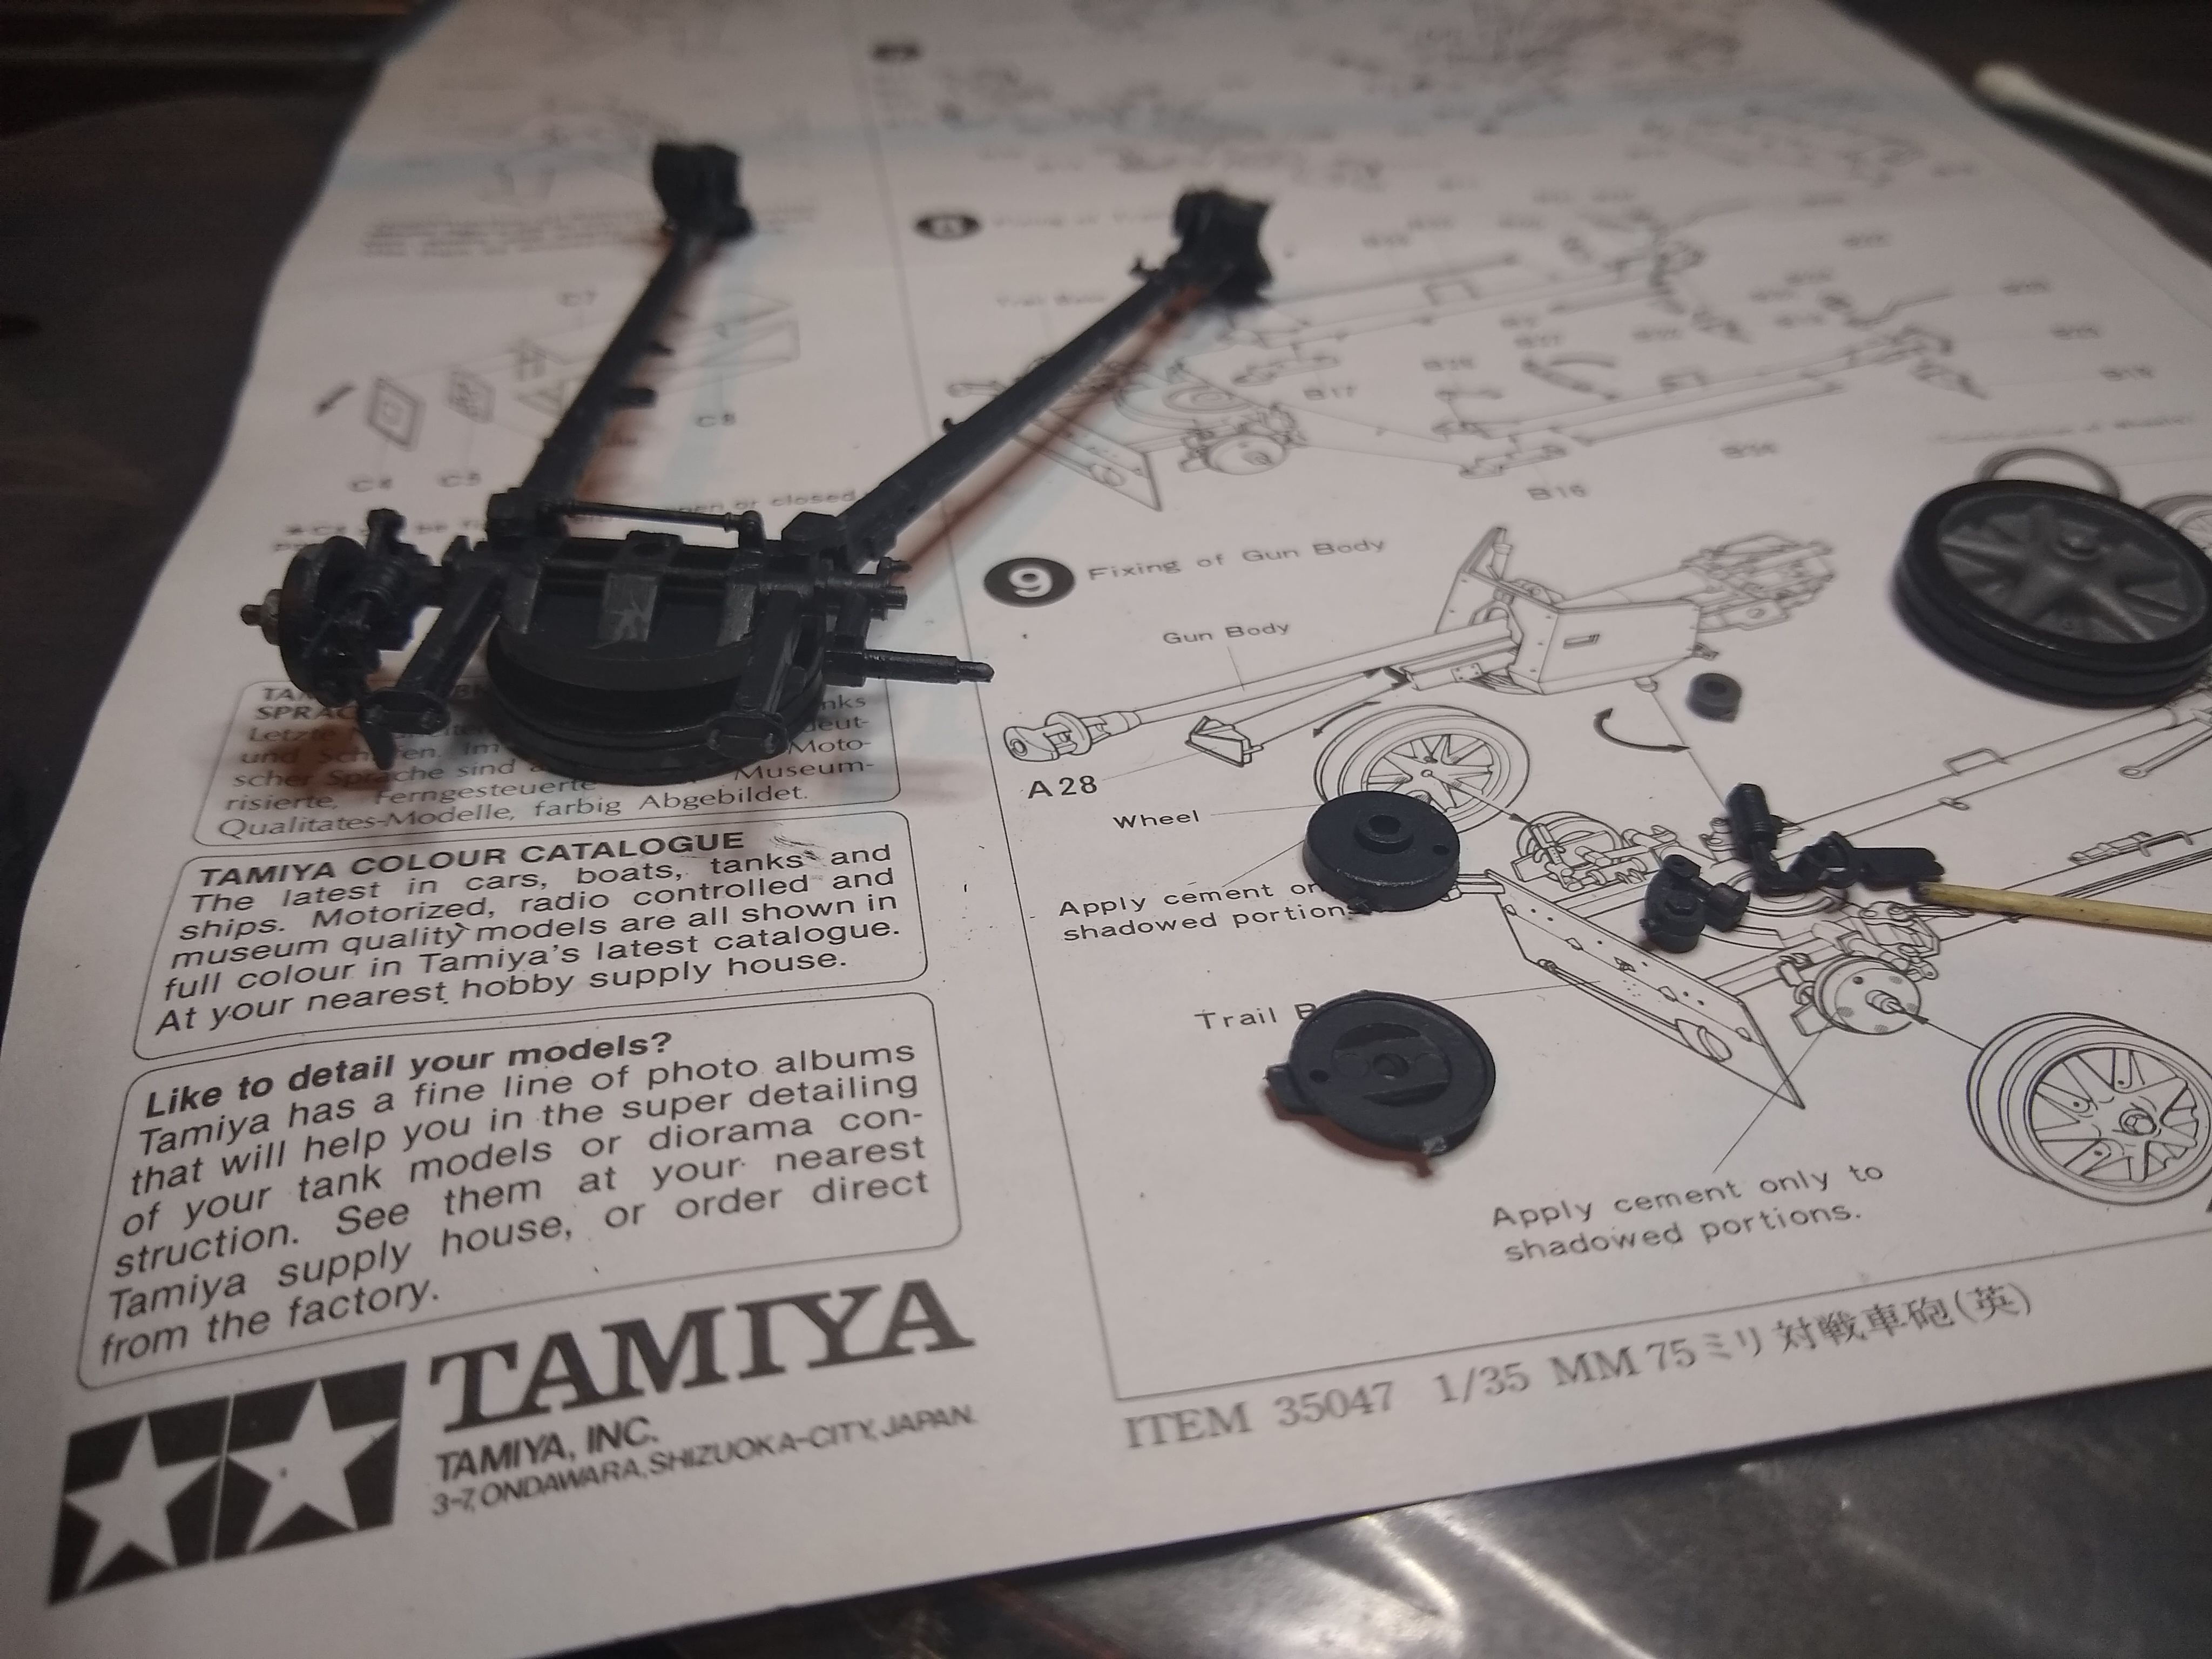
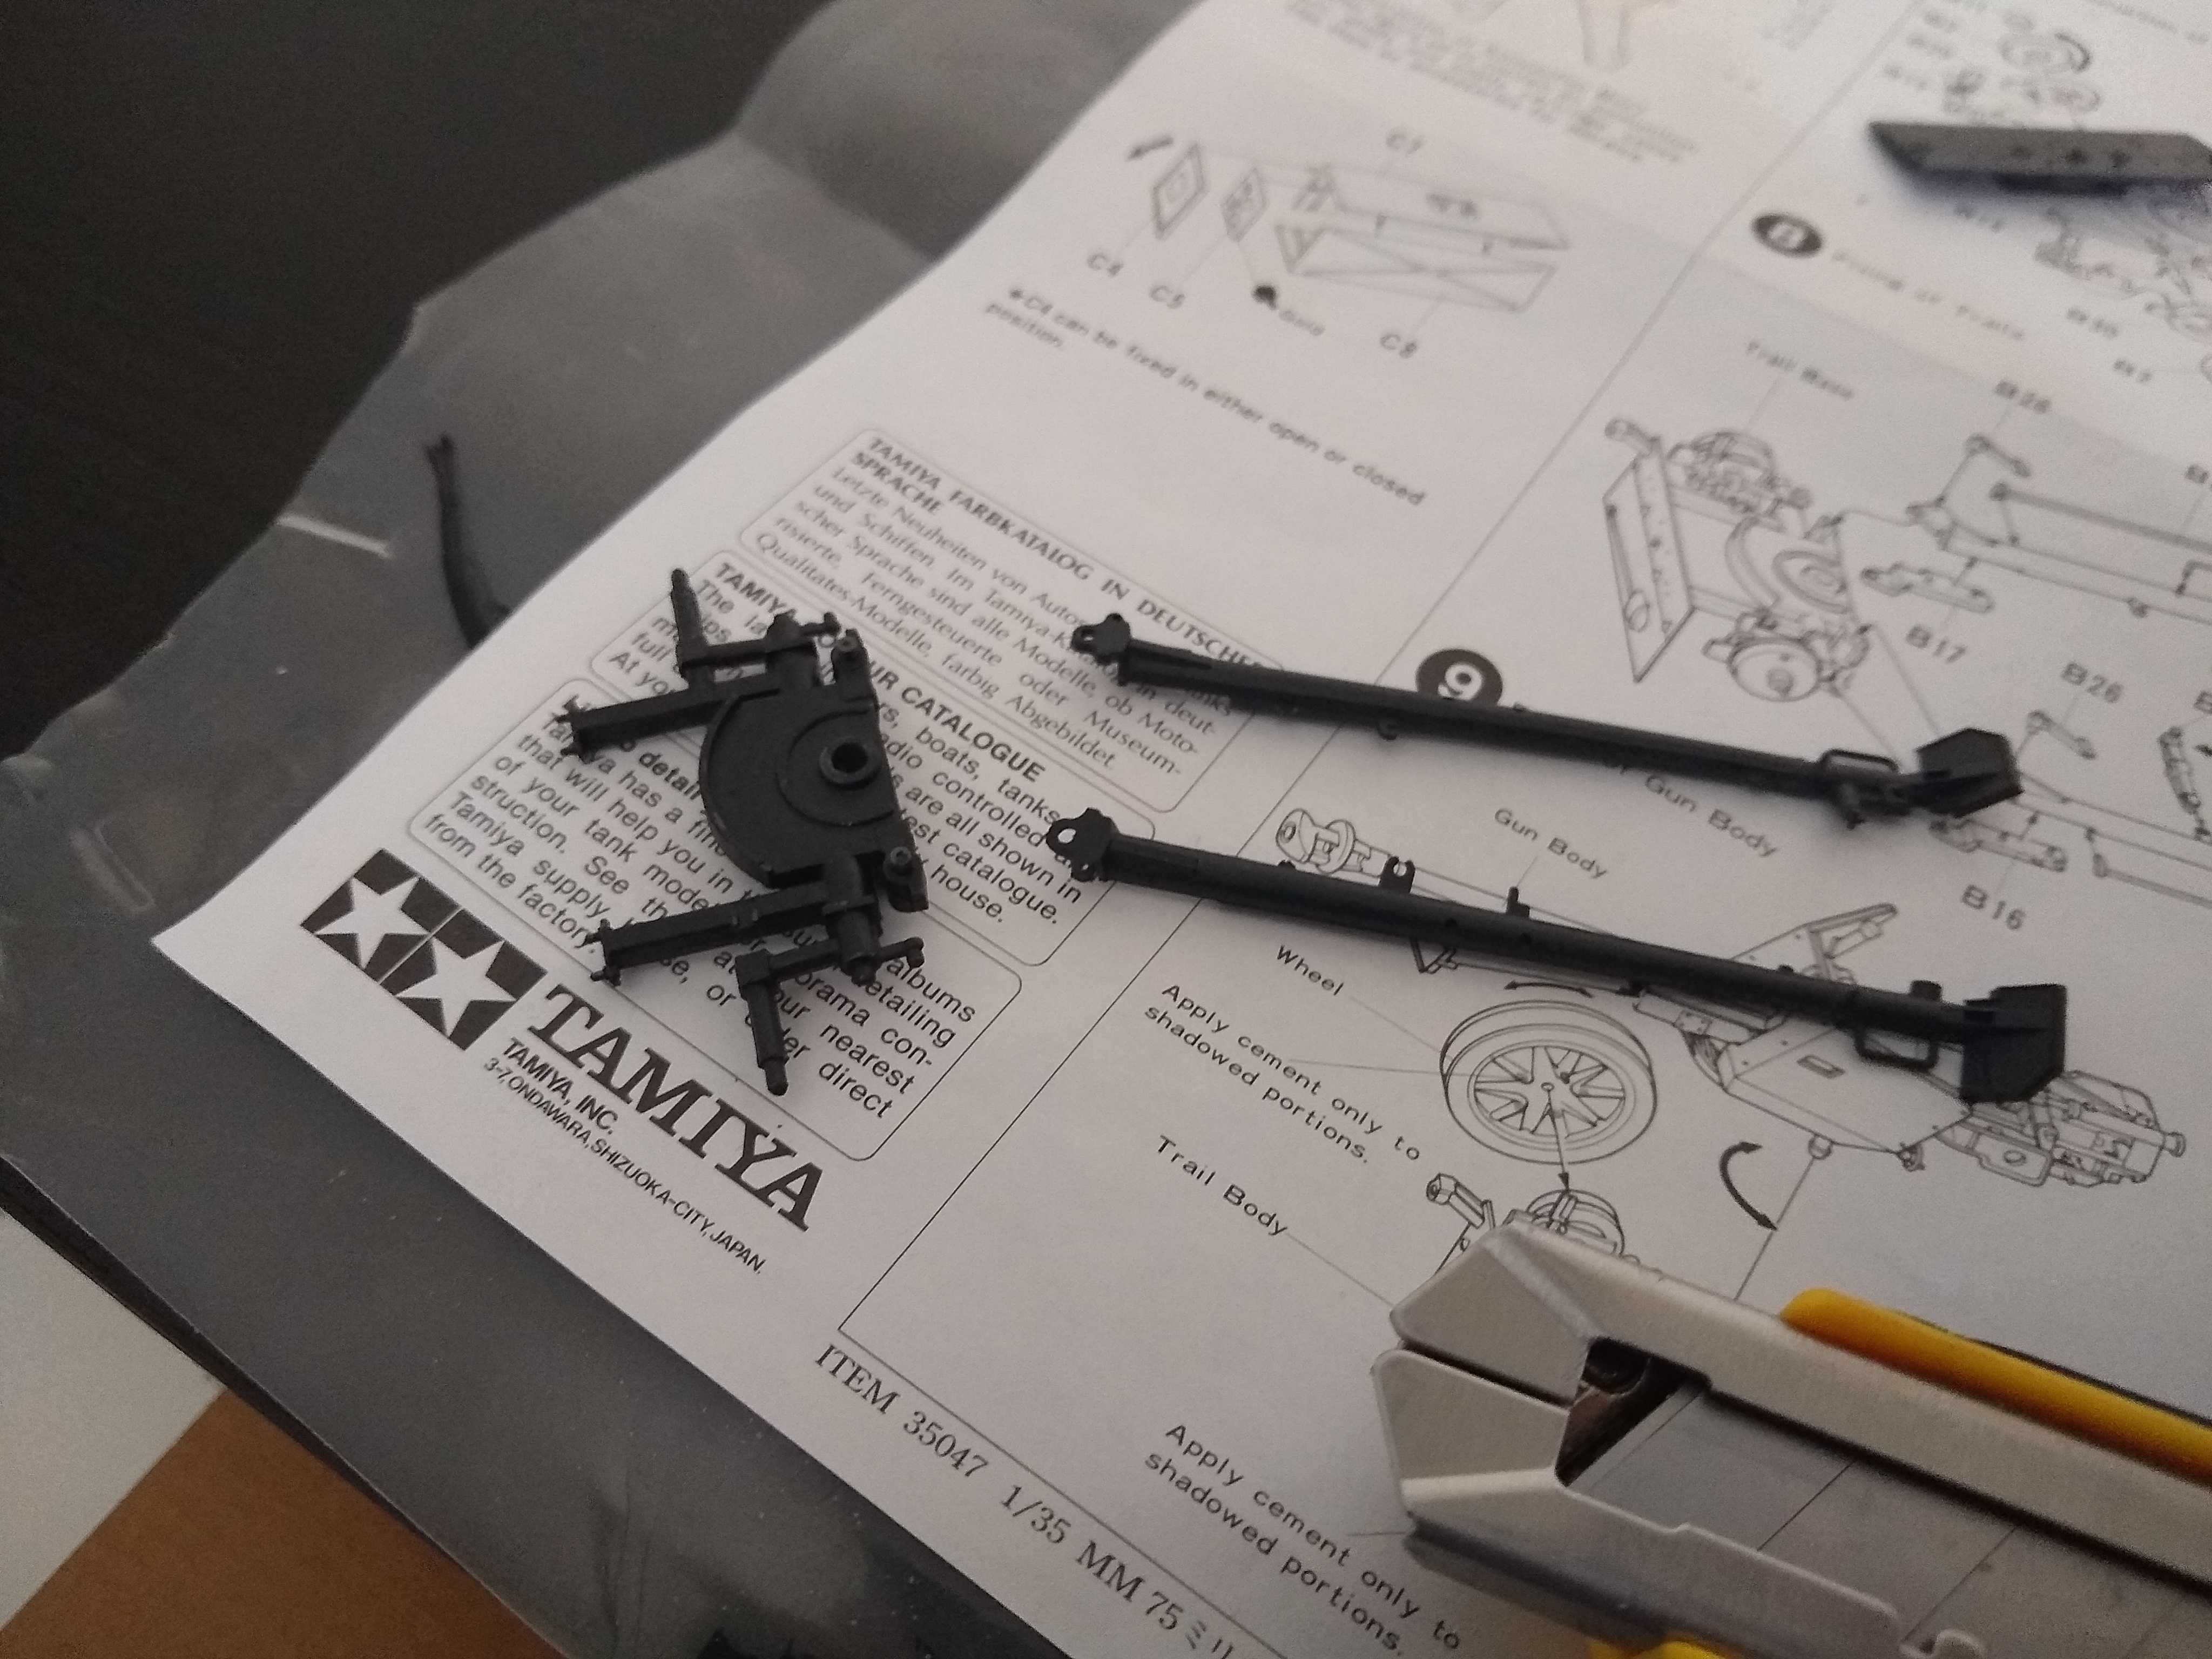
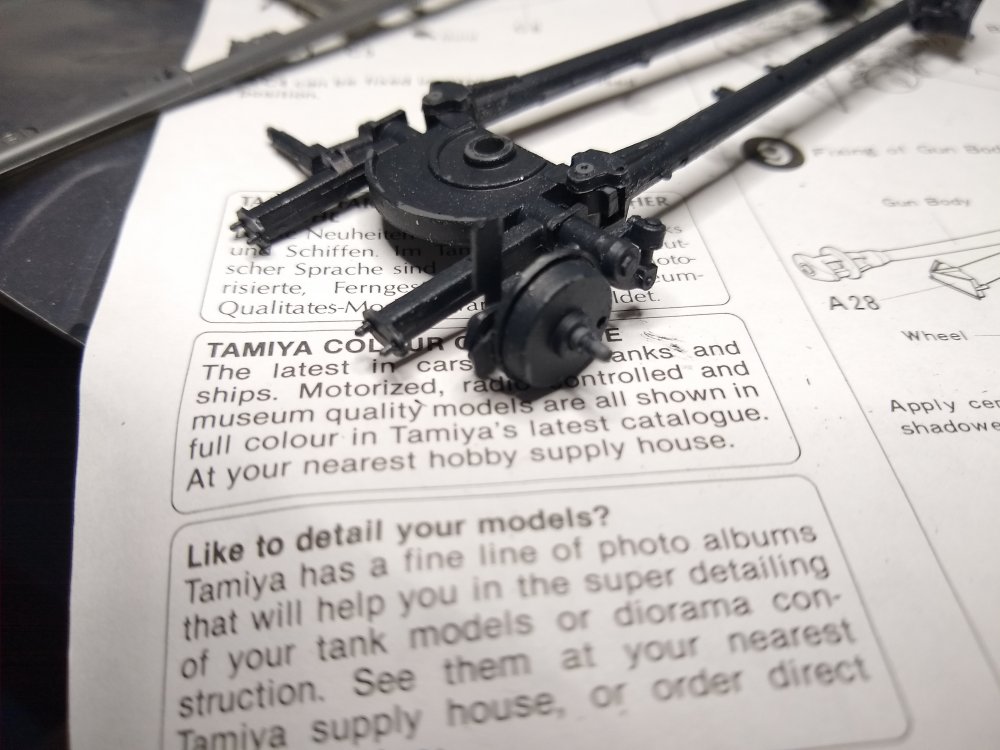
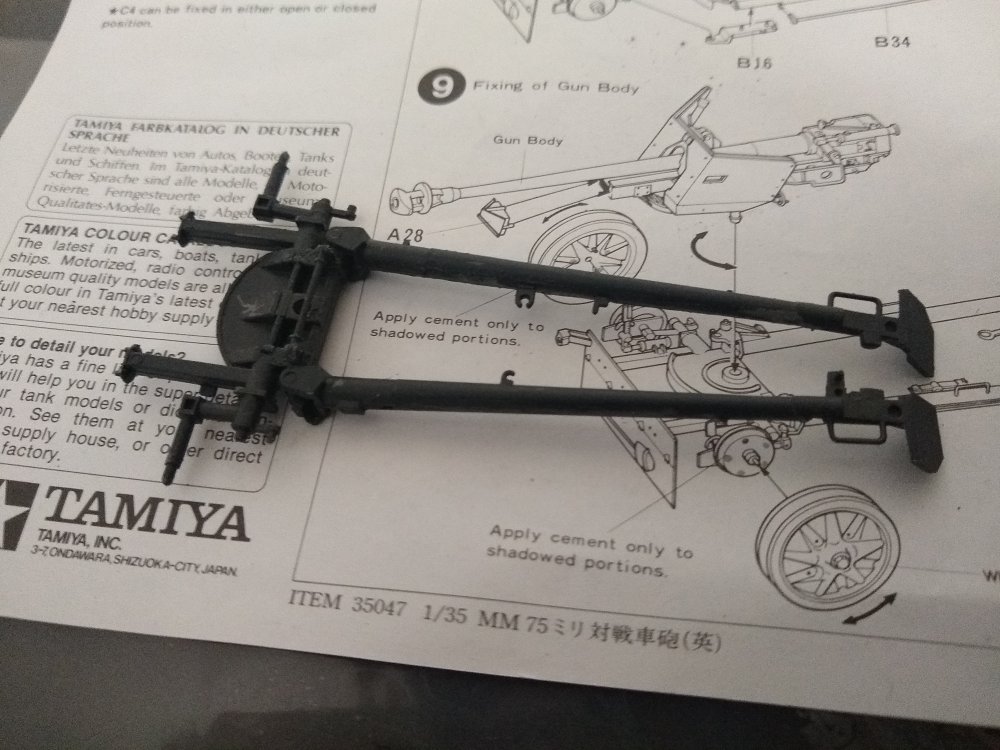
Well I have started on the suspension now. The brake drums are free to turn on the axle and the wheels slot into the hole on them when I install the. And will turn with the drums.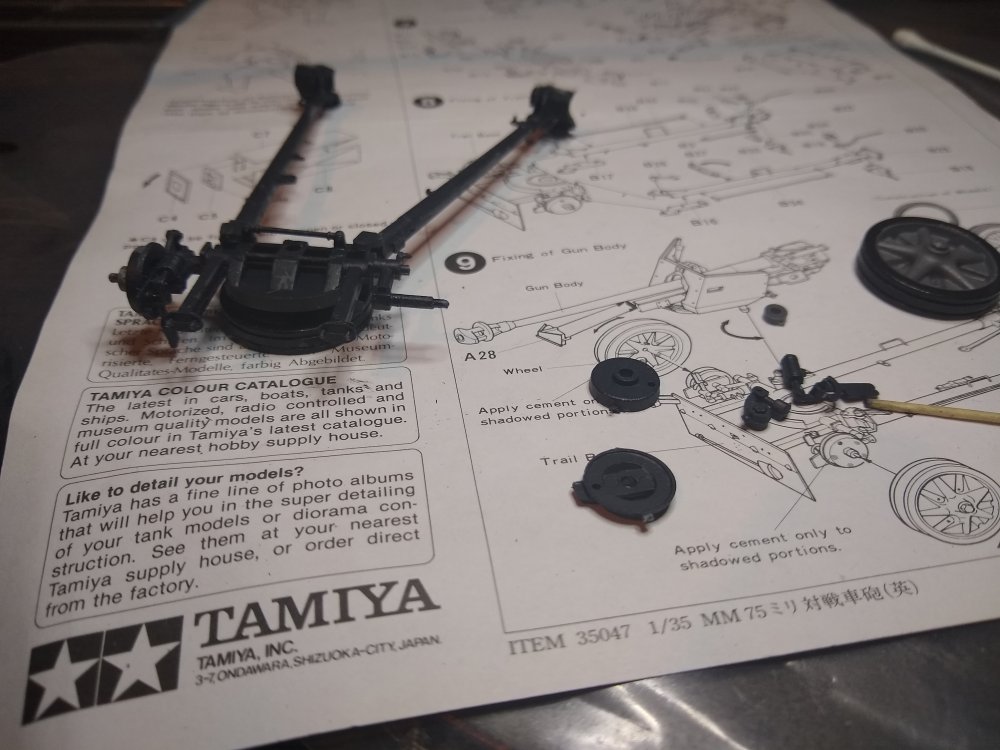
-
7.5cm Anti-Tank Gun PAK40/L46 1:35
Daniel_Roxy replied to Daniel_Roxy's topic in LSM 1/35 and Larger Work In Progress
Oow intresting thanks for the information -
7.5cm Anti-Tank Gun PAK40/L46 1:35
Daniel_Roxy replied to Daniel_Roxy's topic in LSM 1/35 and Larger Work In Progress
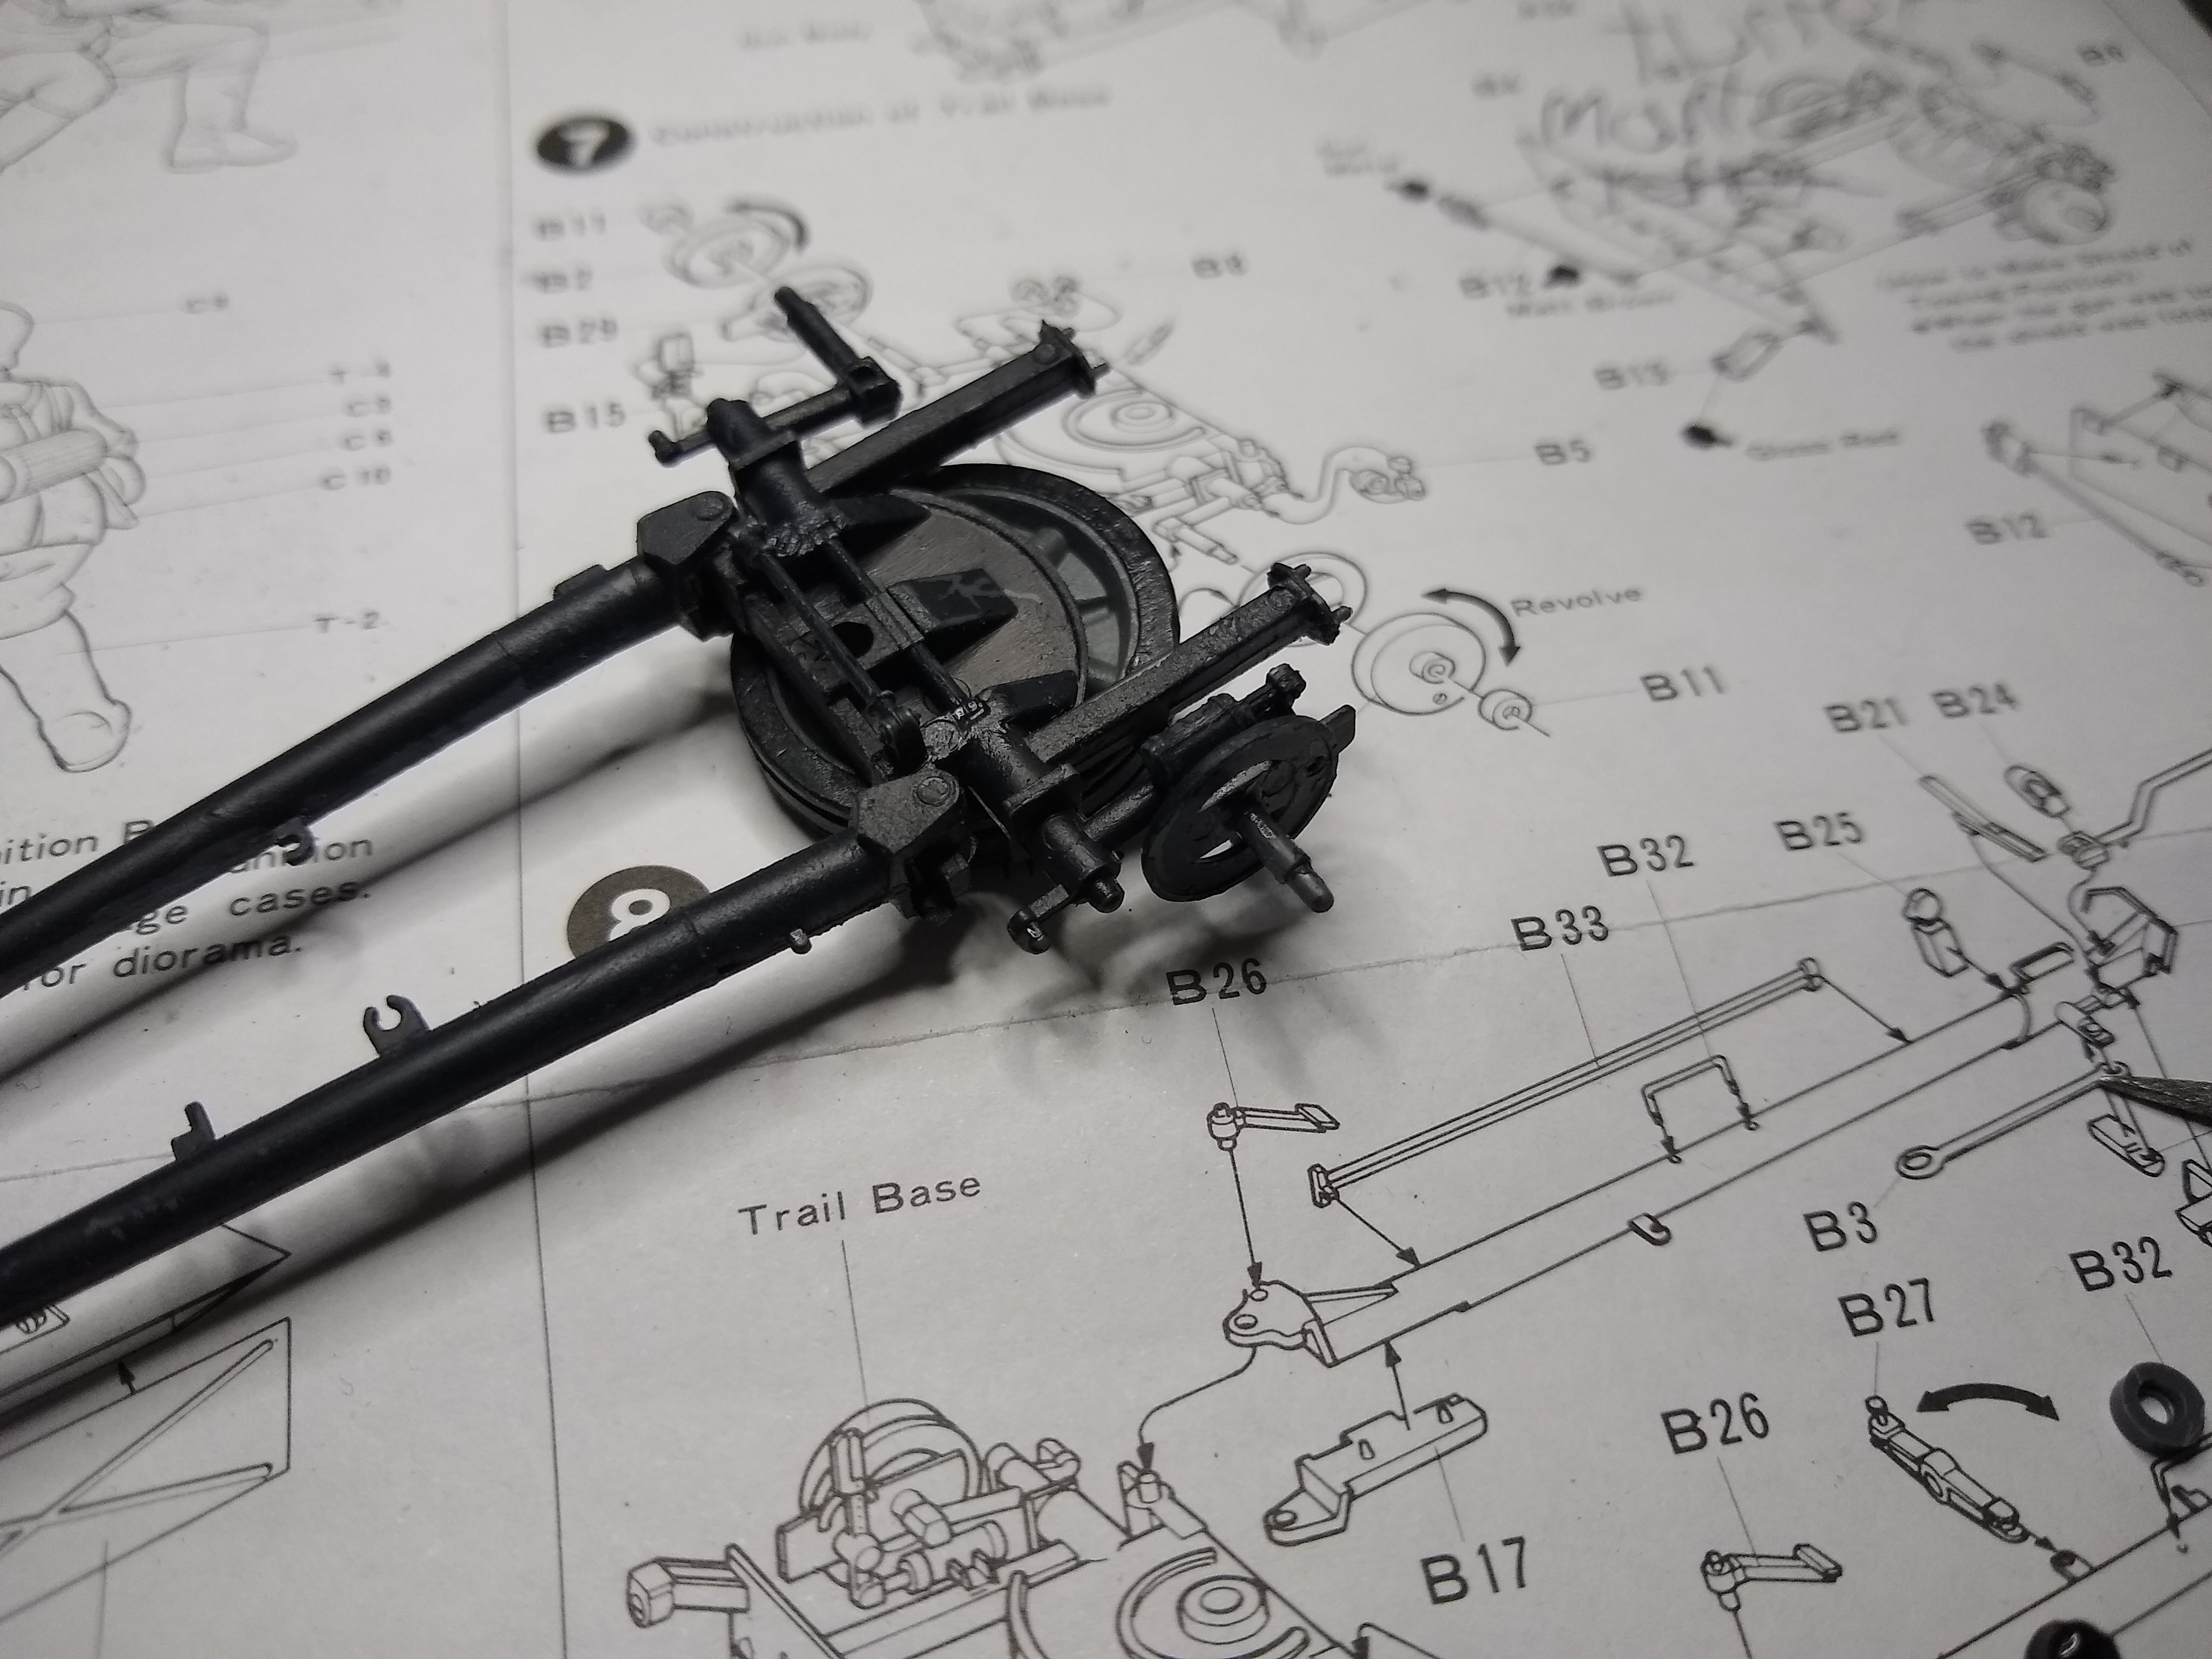
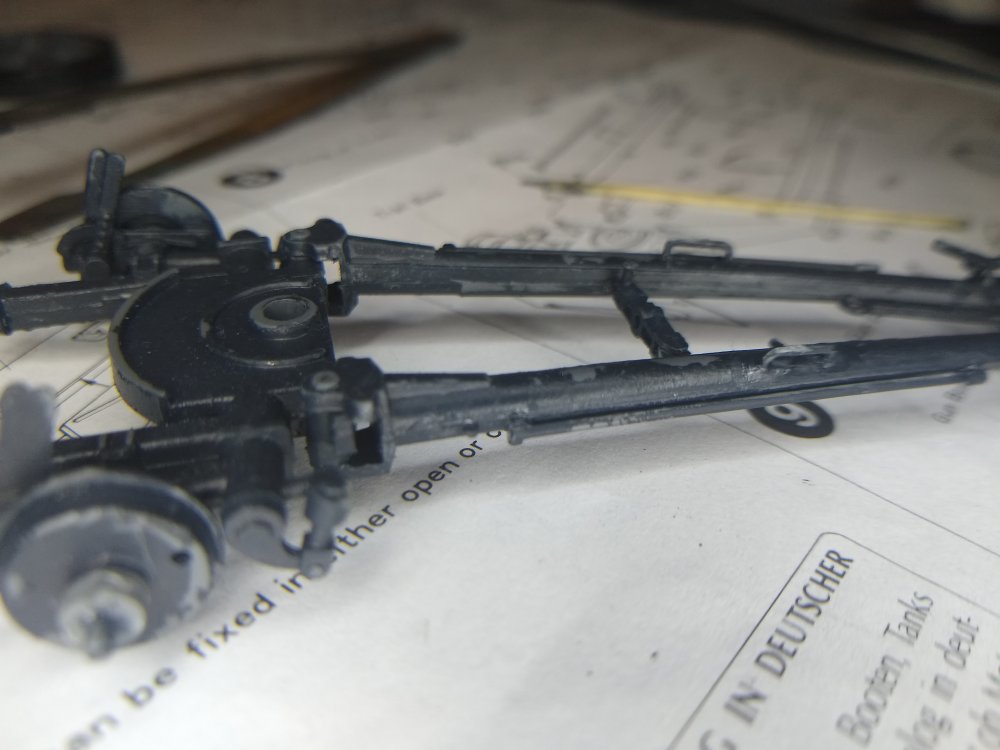
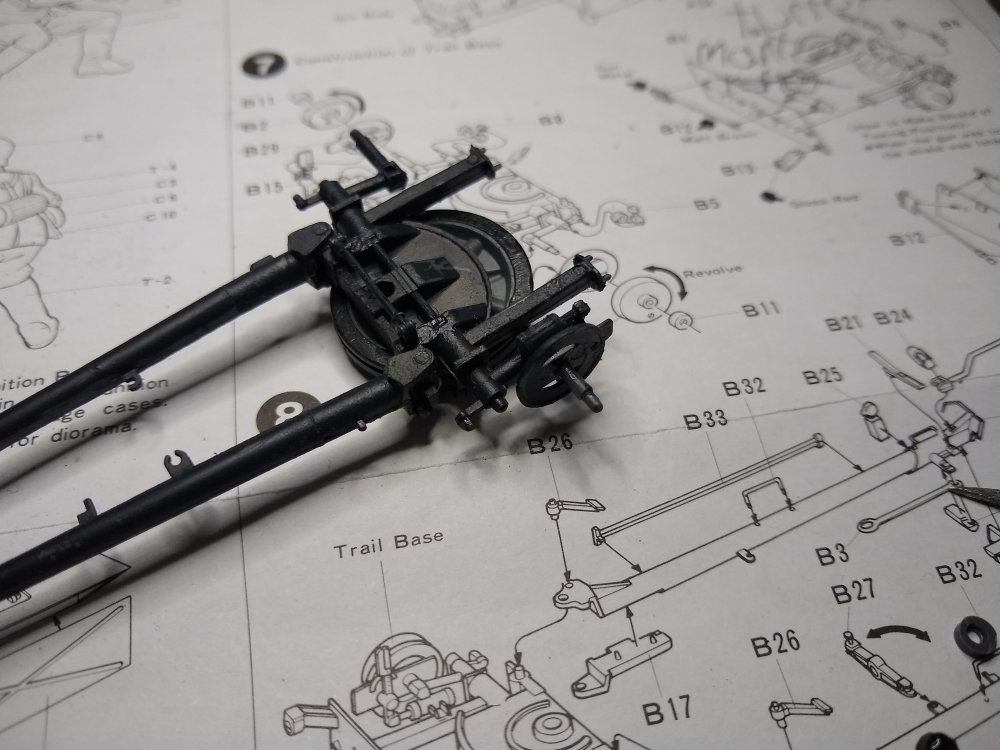
Just done with the legs. Now for all the small details.


-
7.5cm Anti-Tank Gun PAK40/L46 1:35
Daniel_Roxy replied to Daniel_Roxy's topic in LSM 1/35 and Larger Work In Progress
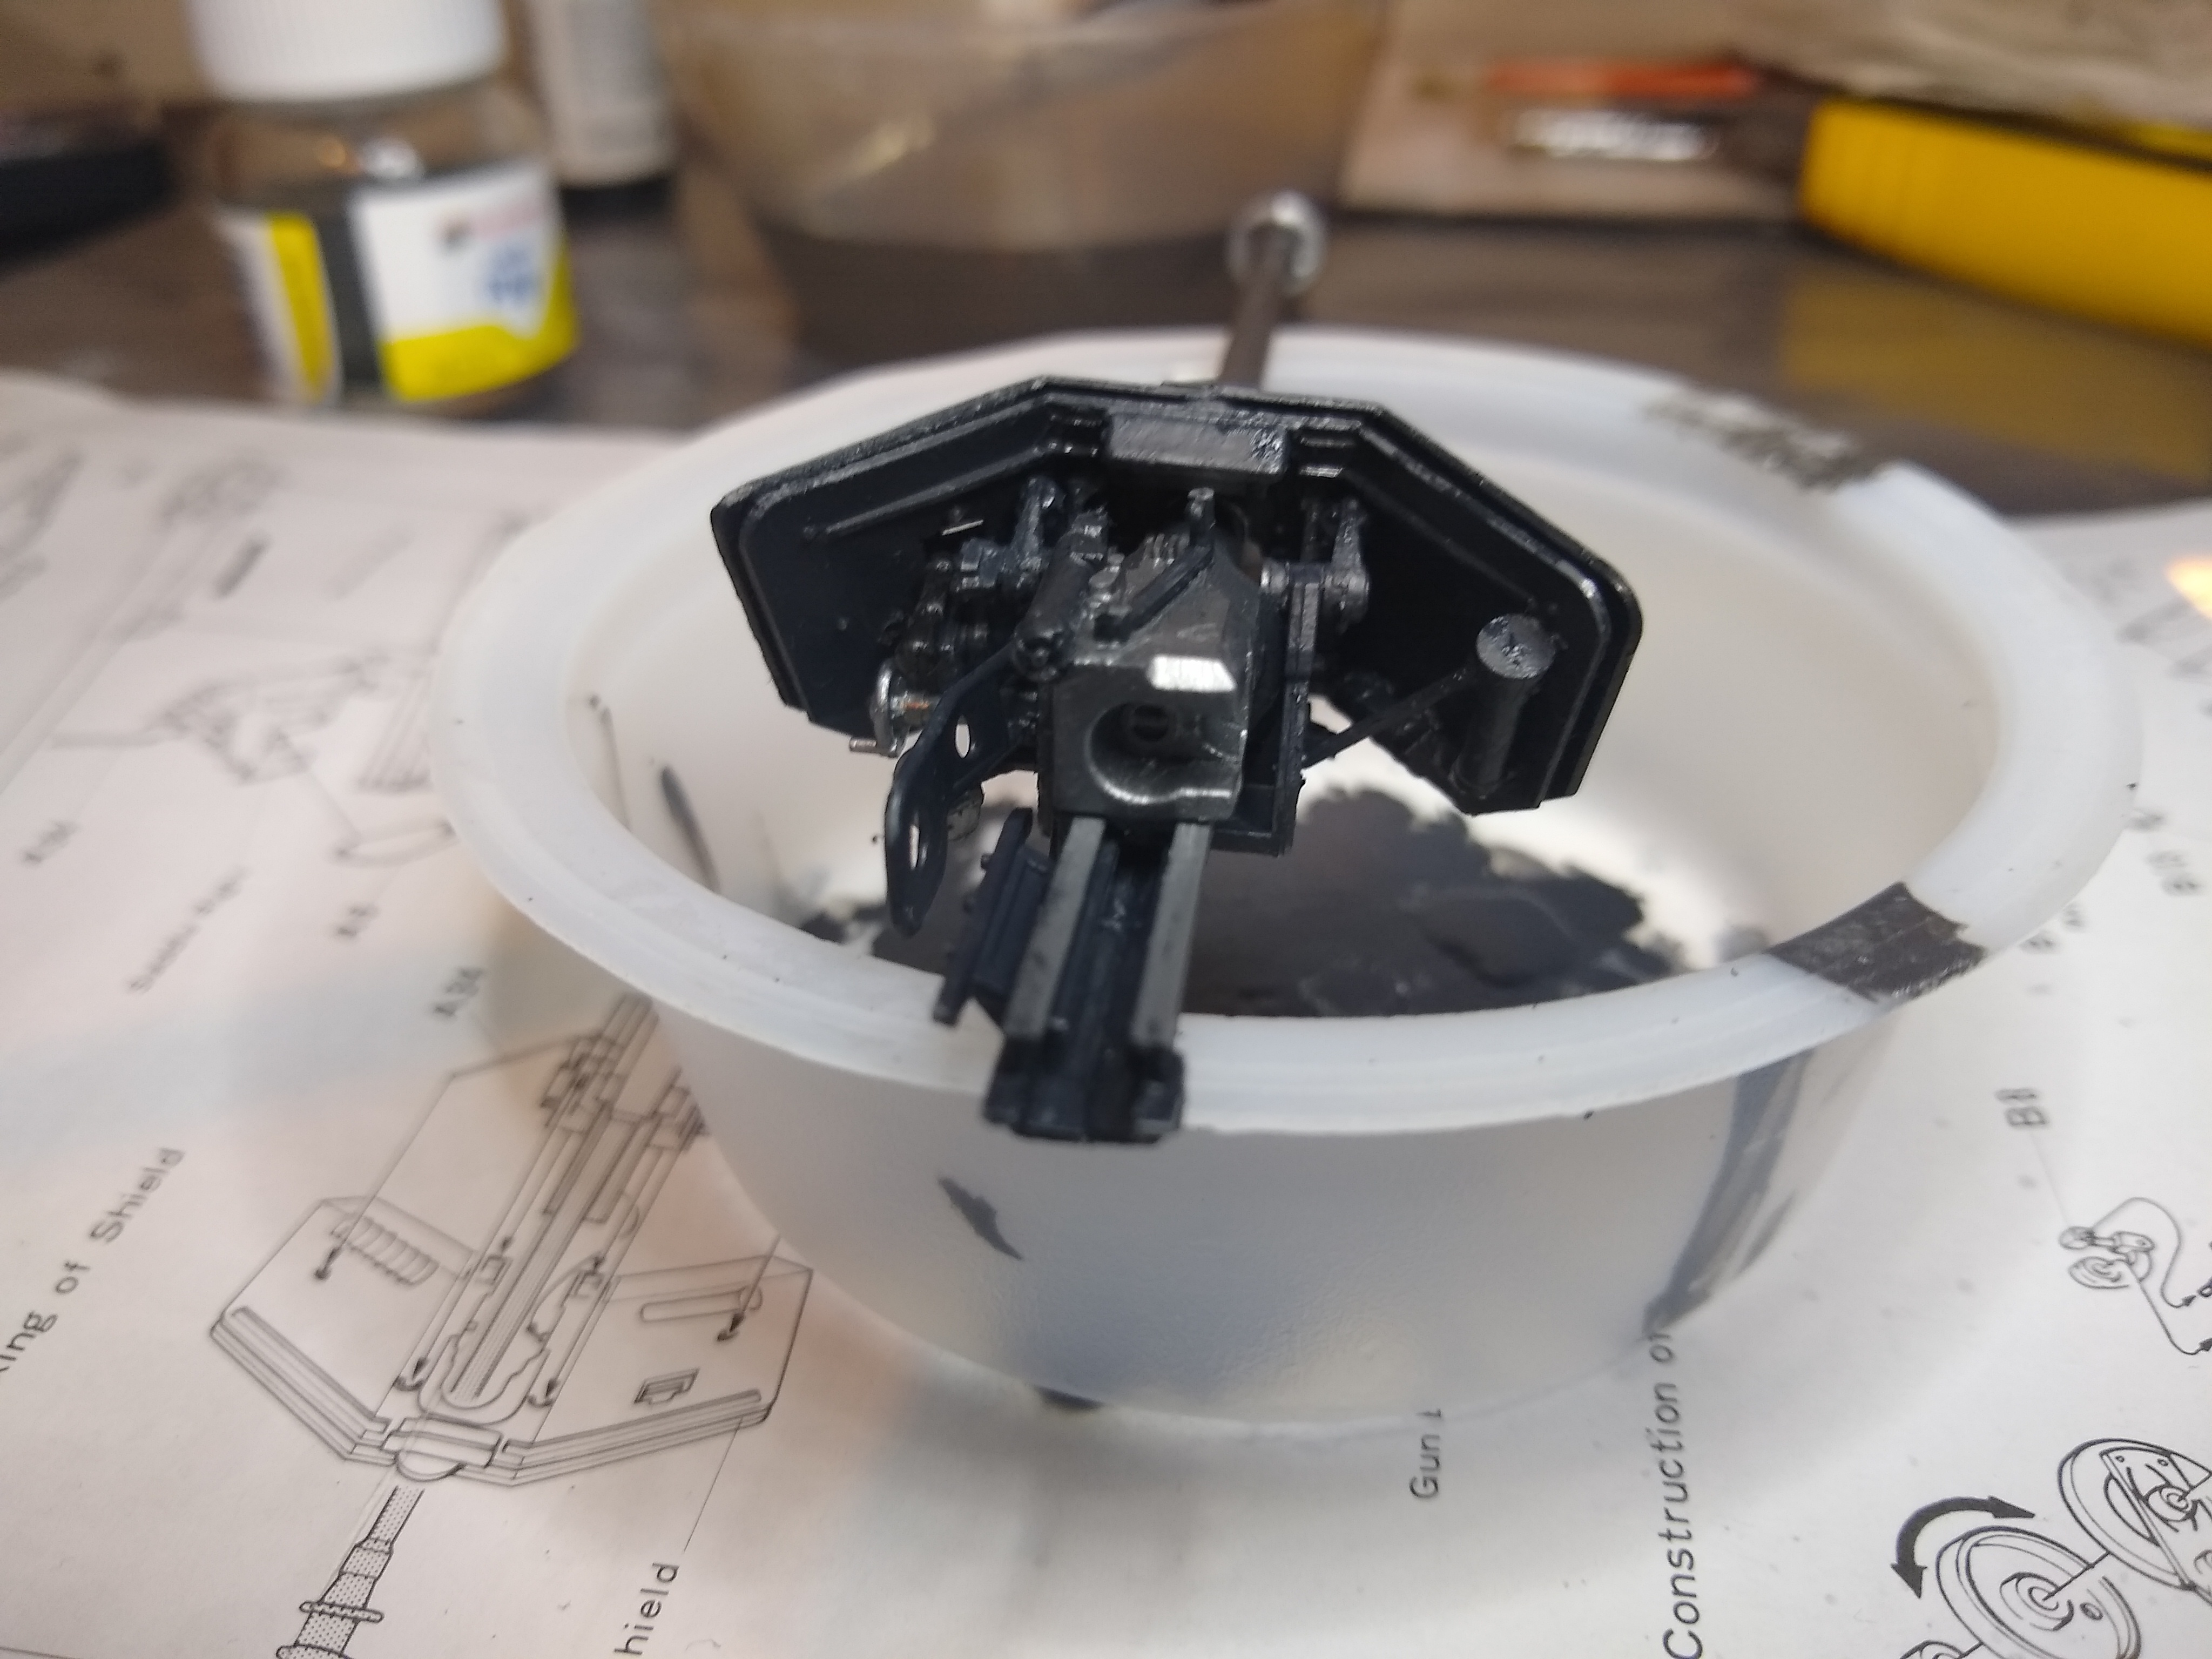
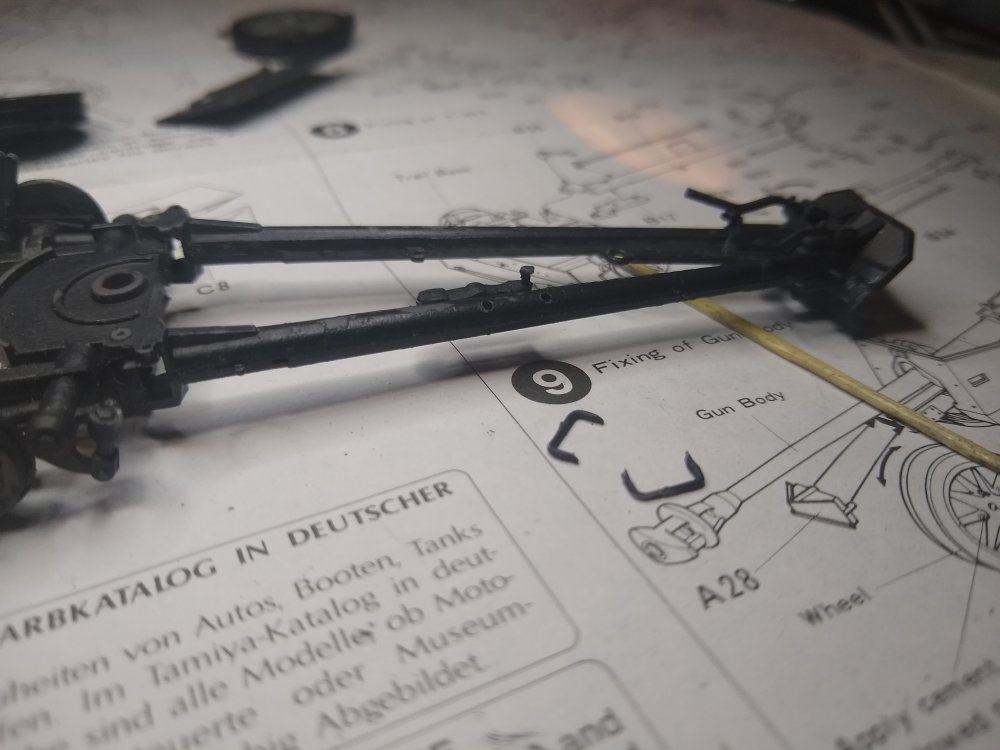
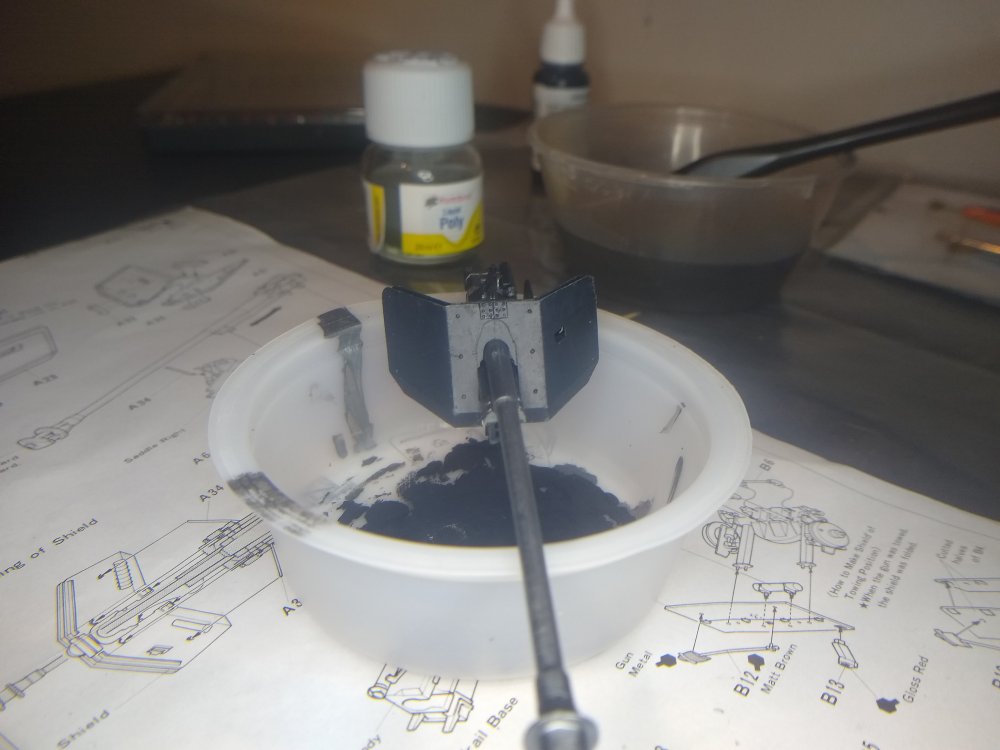
Well it took some fiddling but I got the fun shield on. Looks good too. The barrel can still slide along it's carrier too.

-
7.5cm Anti-Tank Gun PAK40/L46 1:35
Daniel_Roxy replied to Daniel_Roxy's topic in LSM 1/35 and Larger Work In Progress
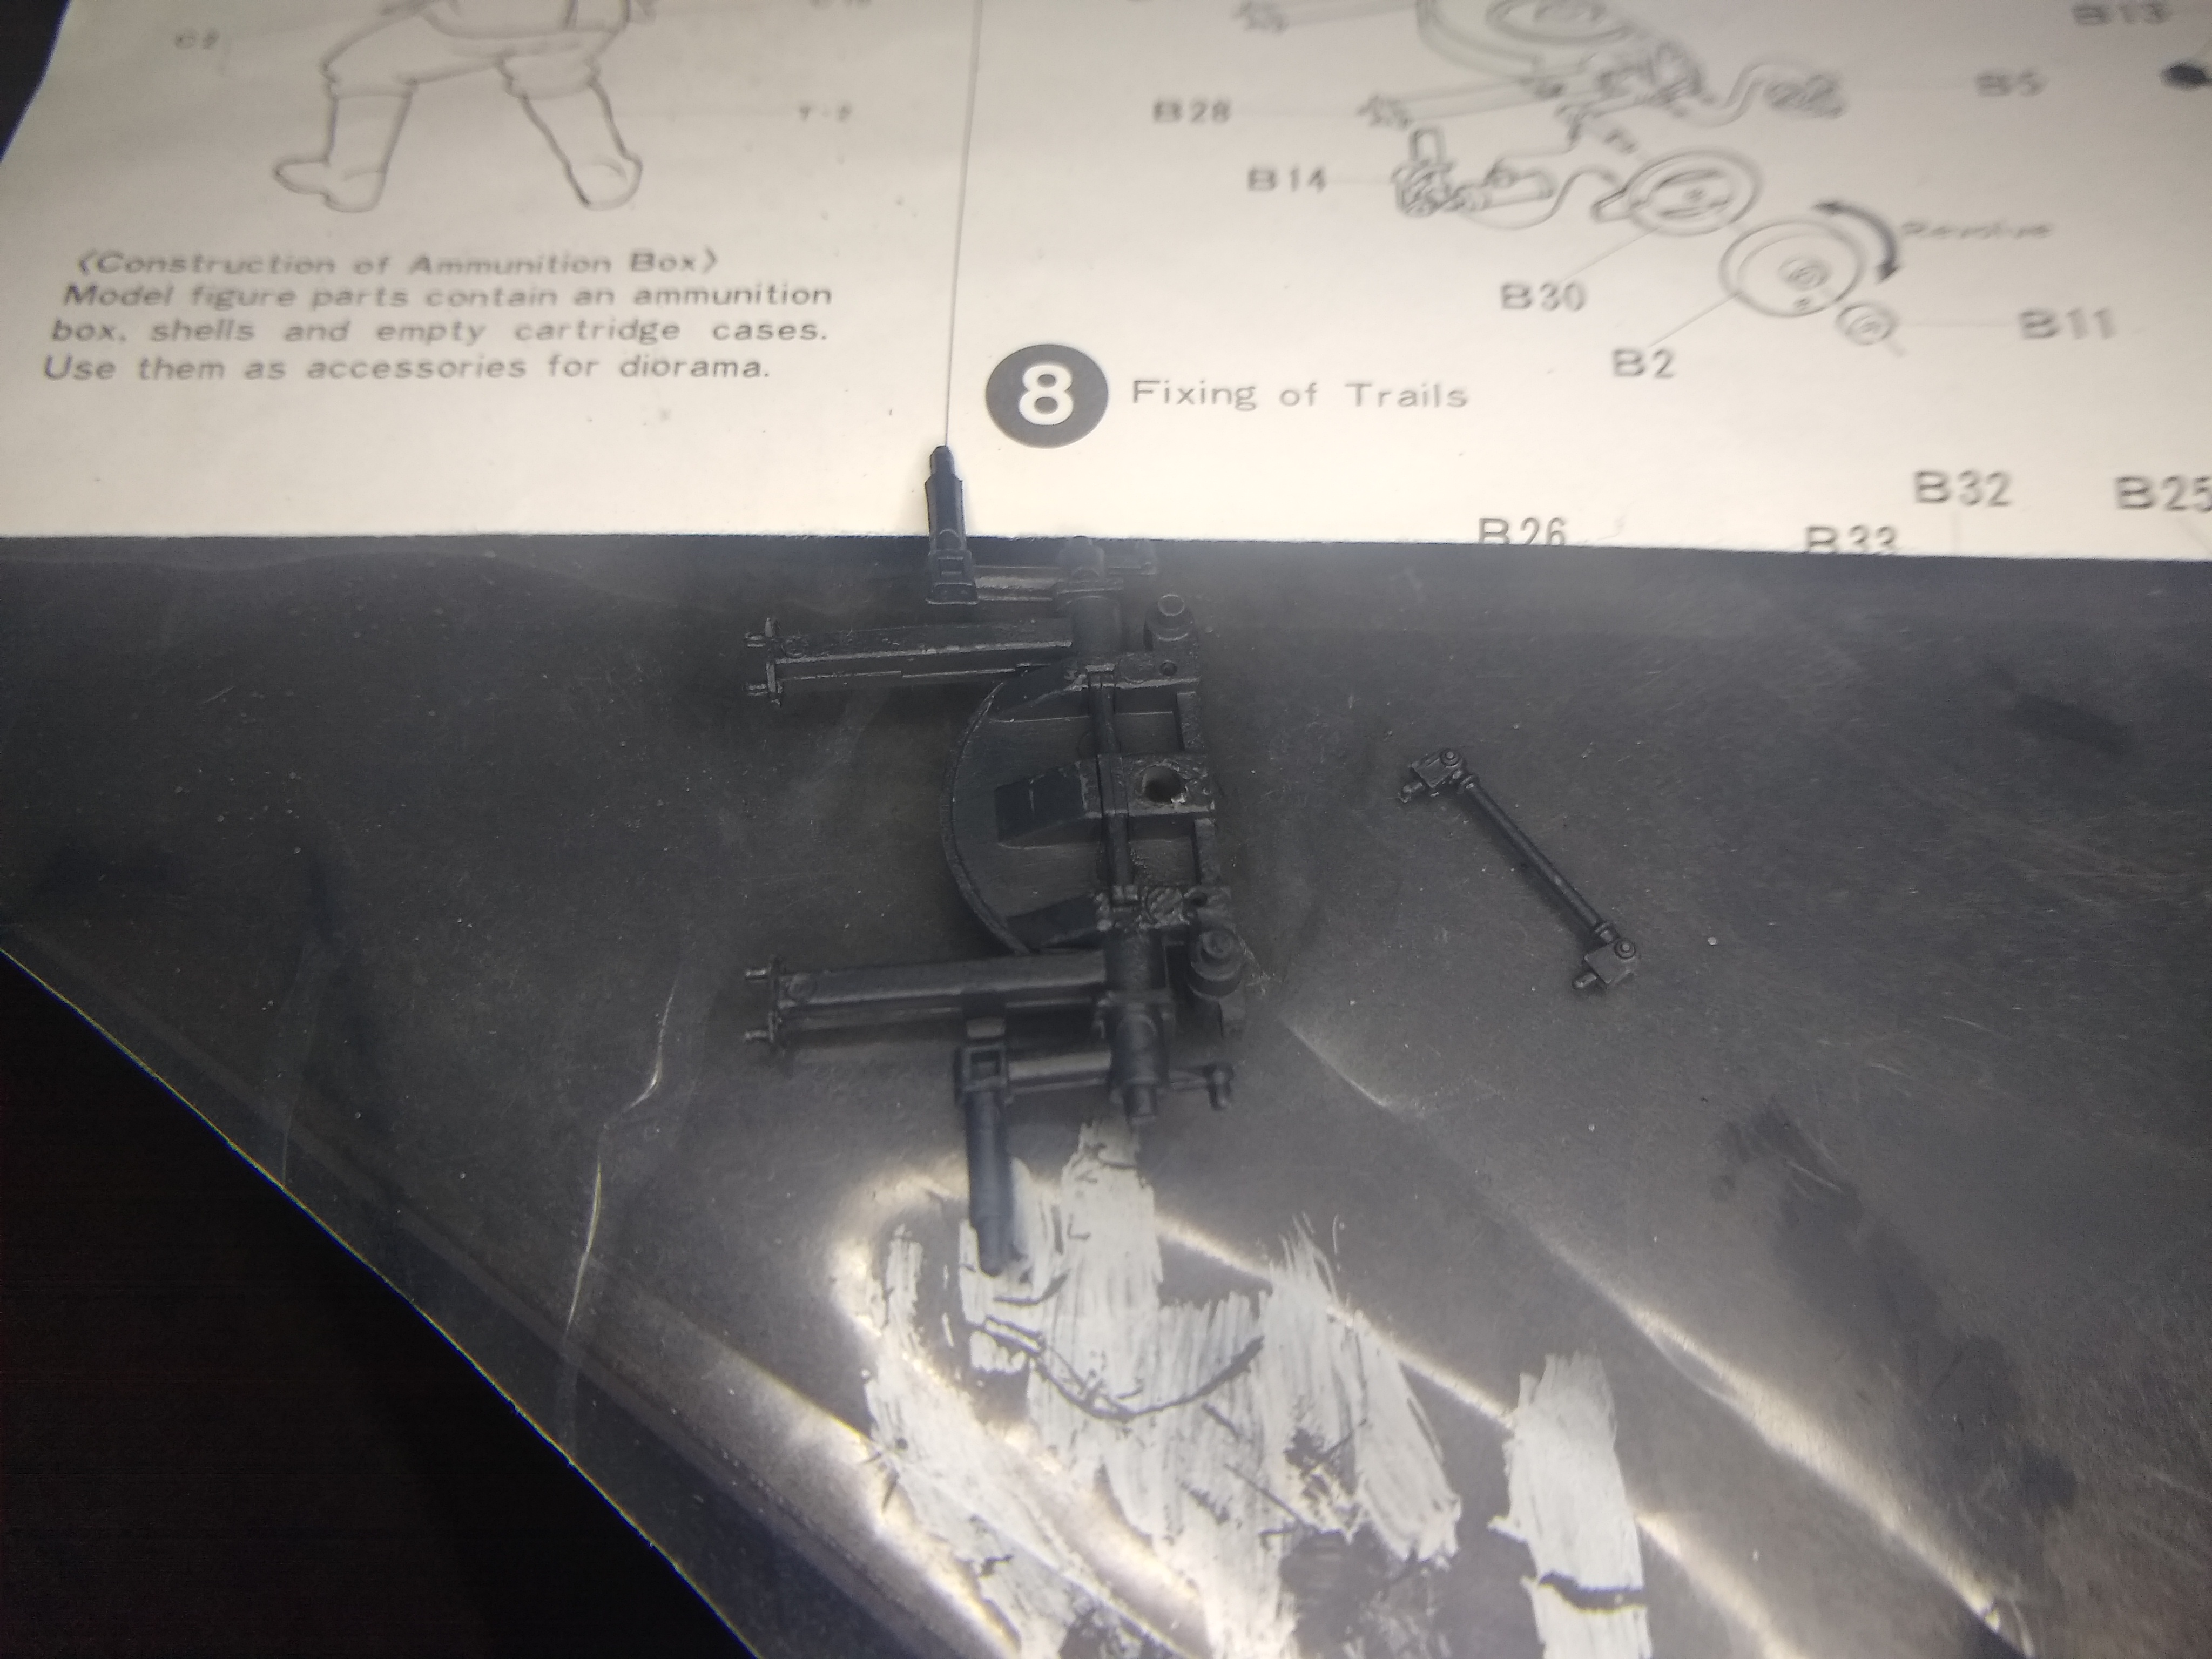
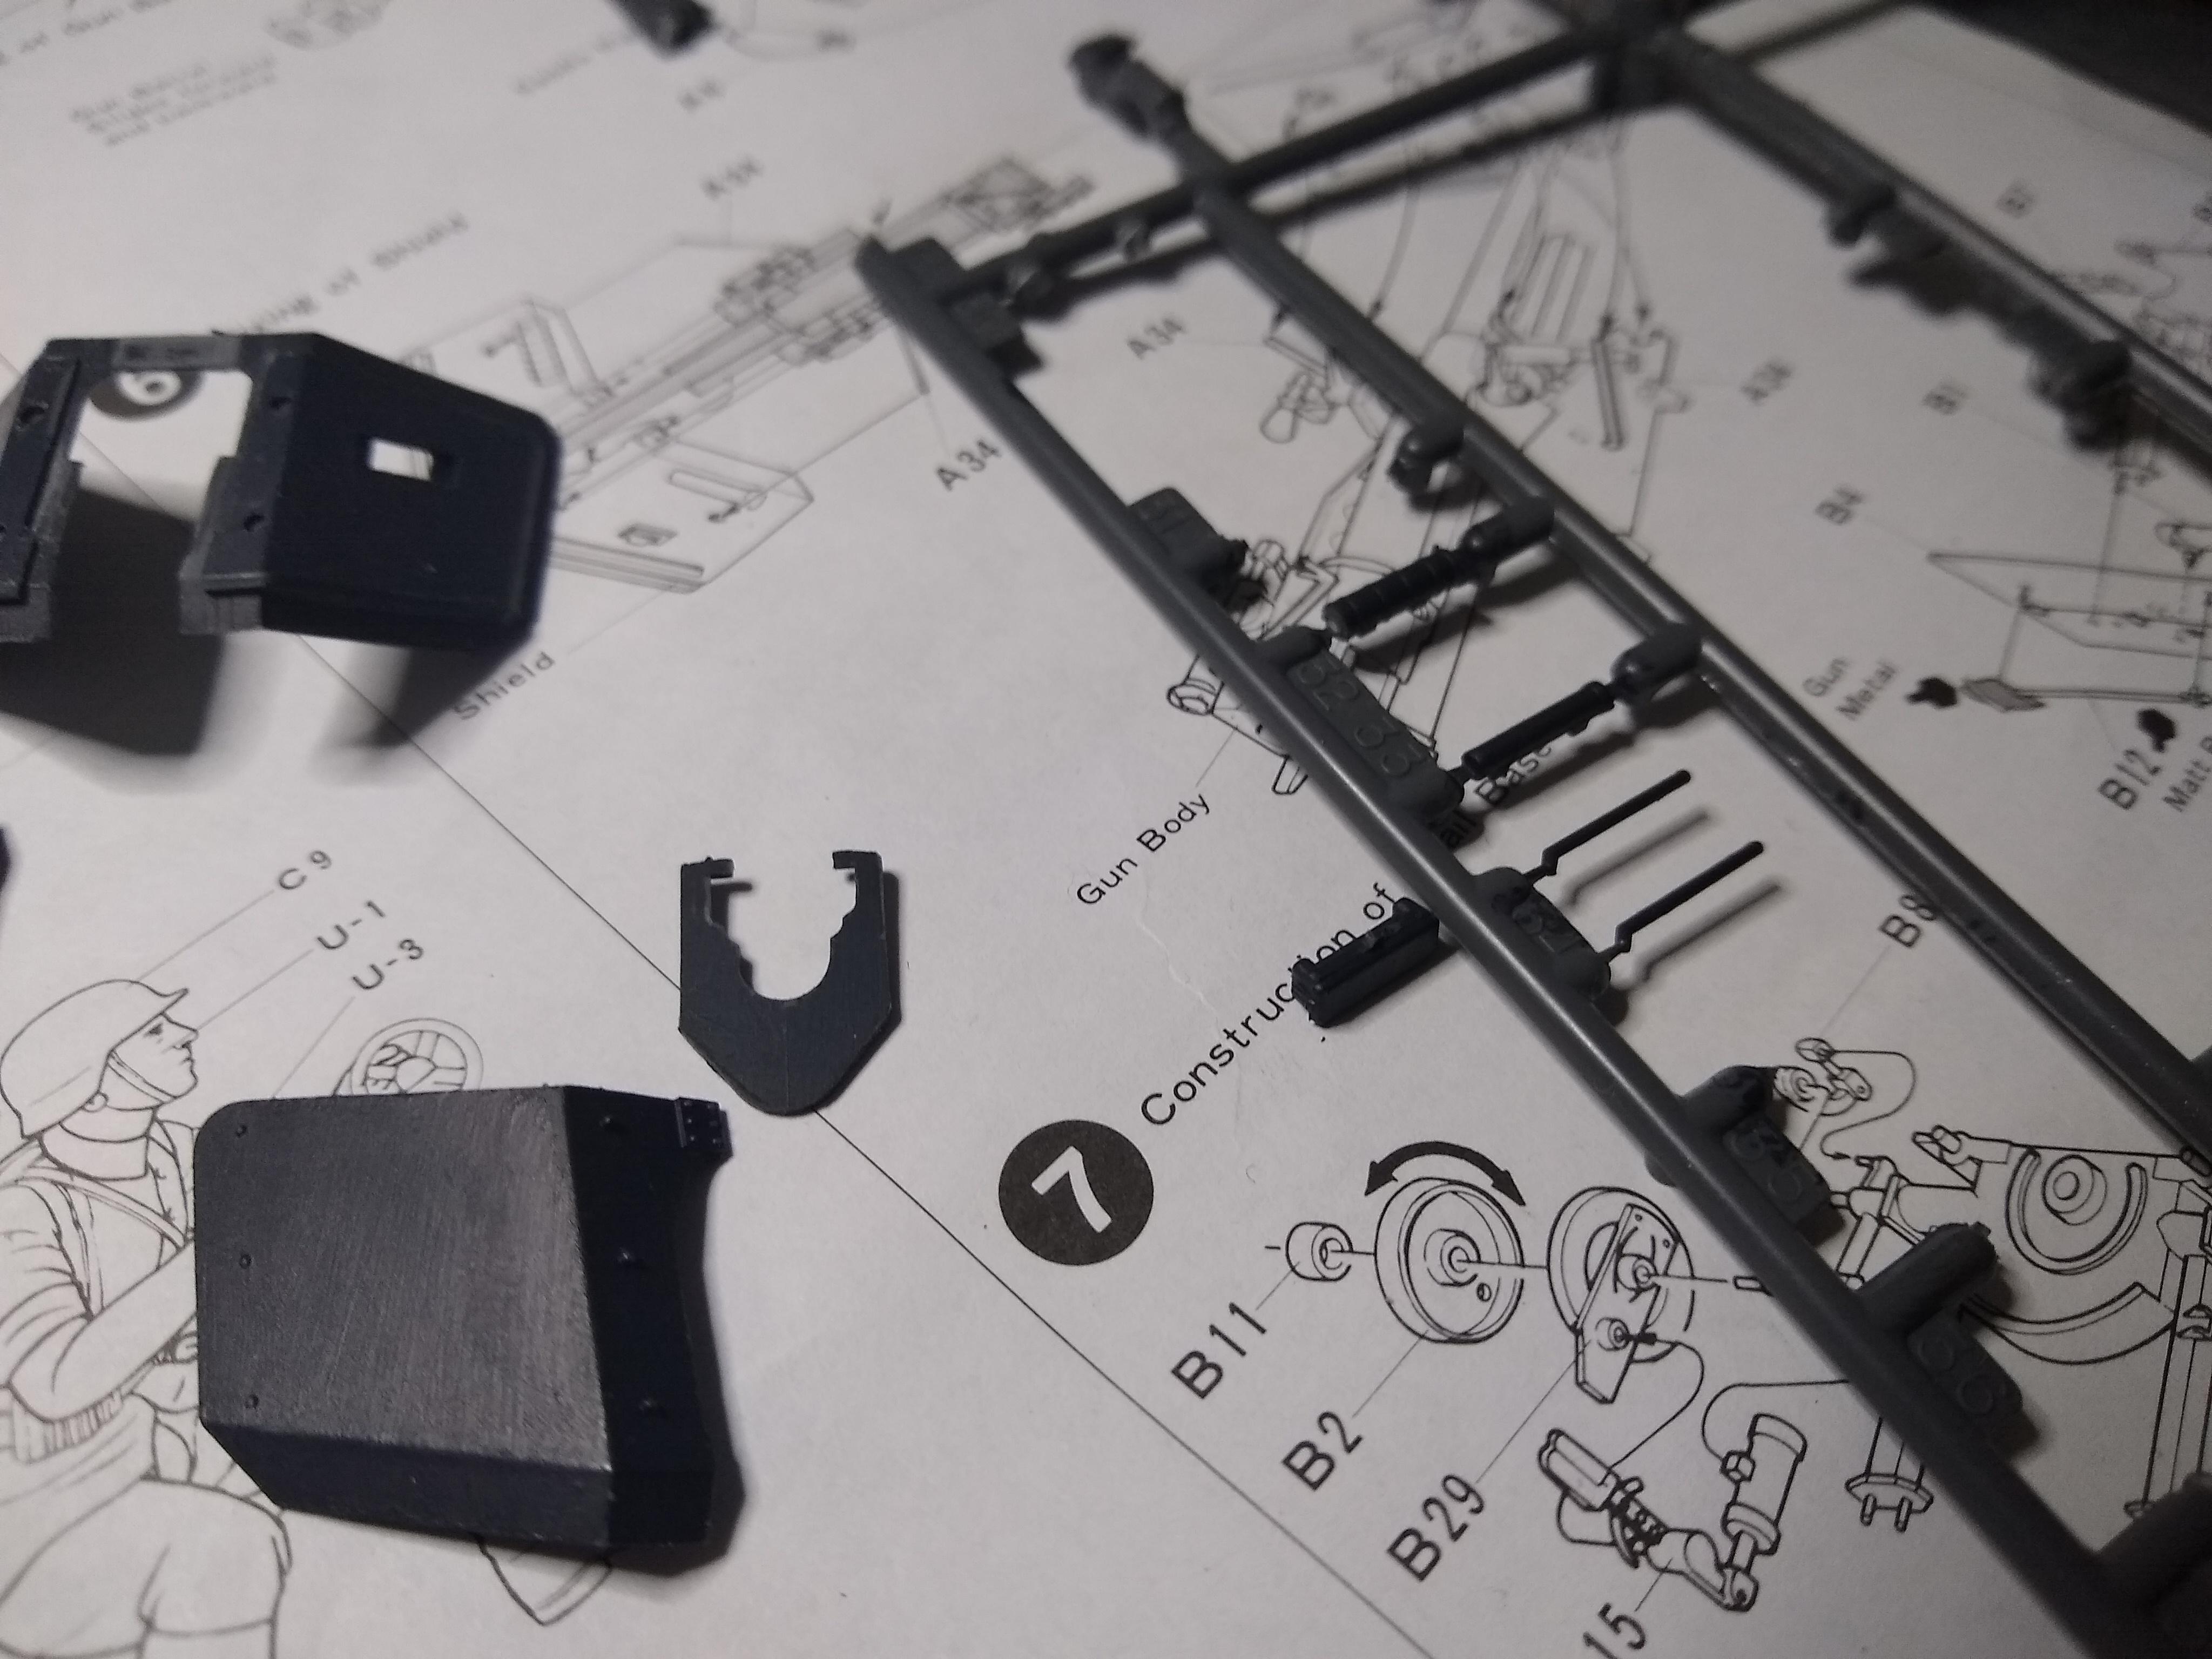
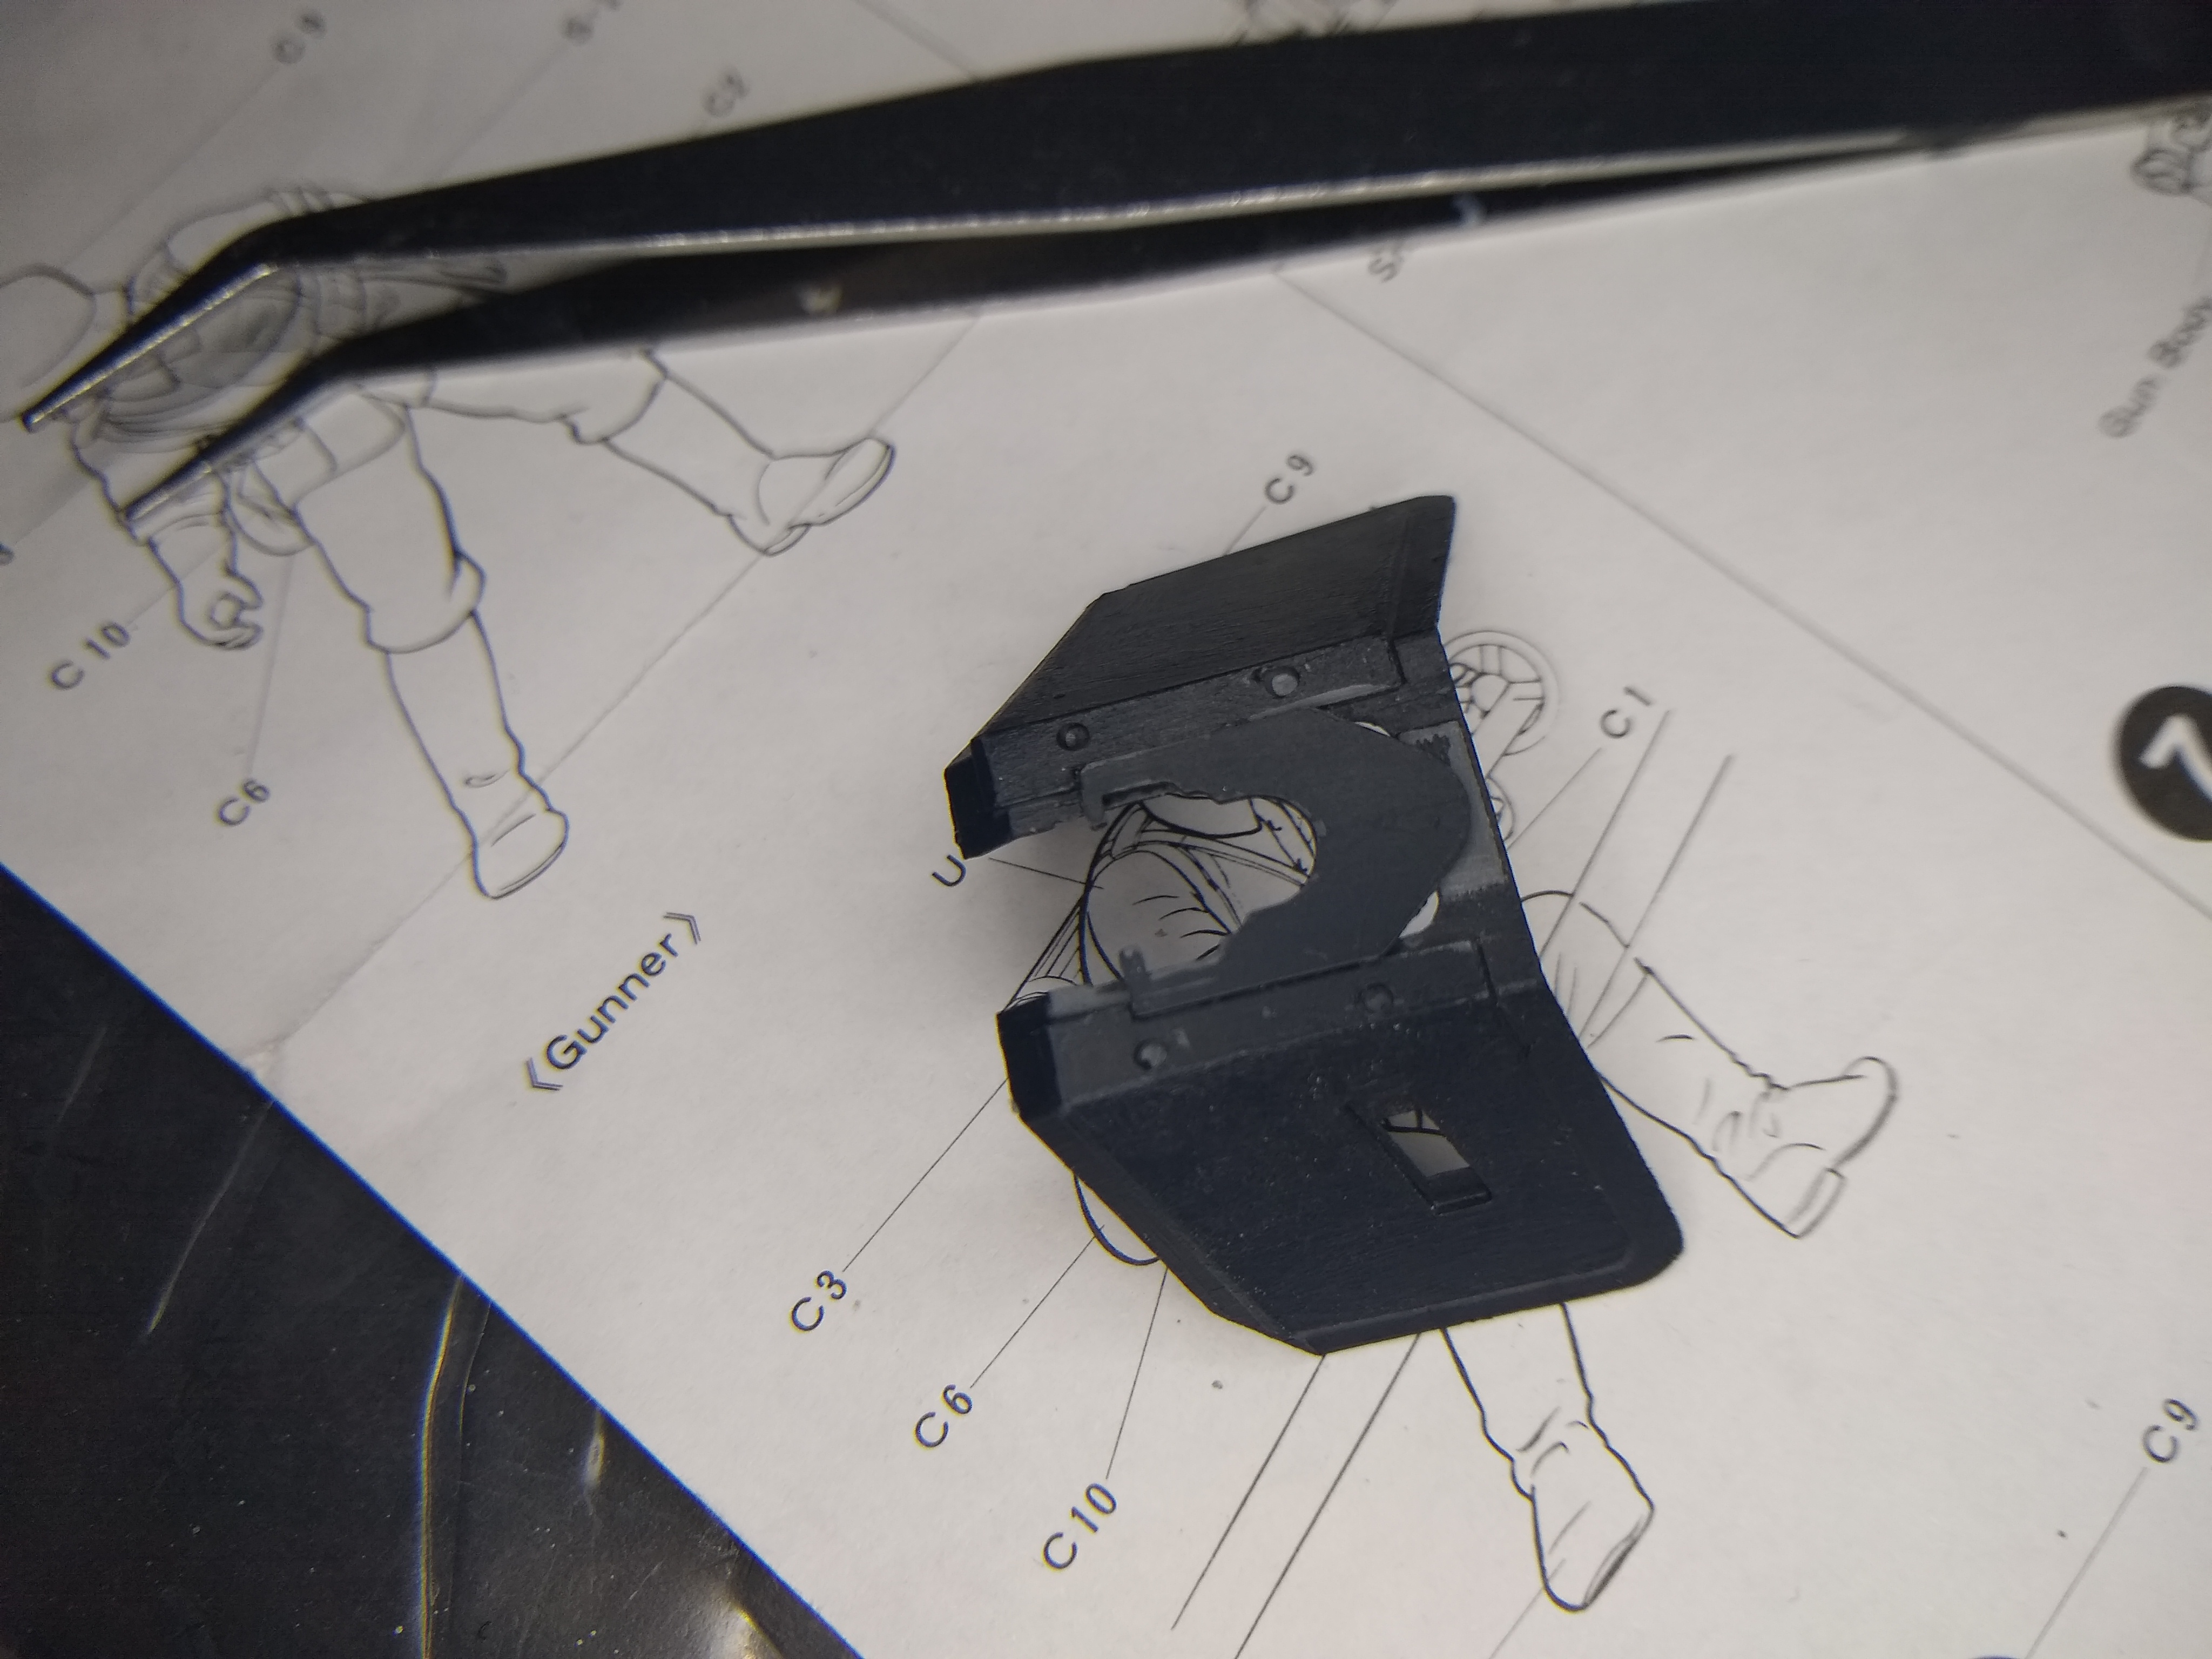
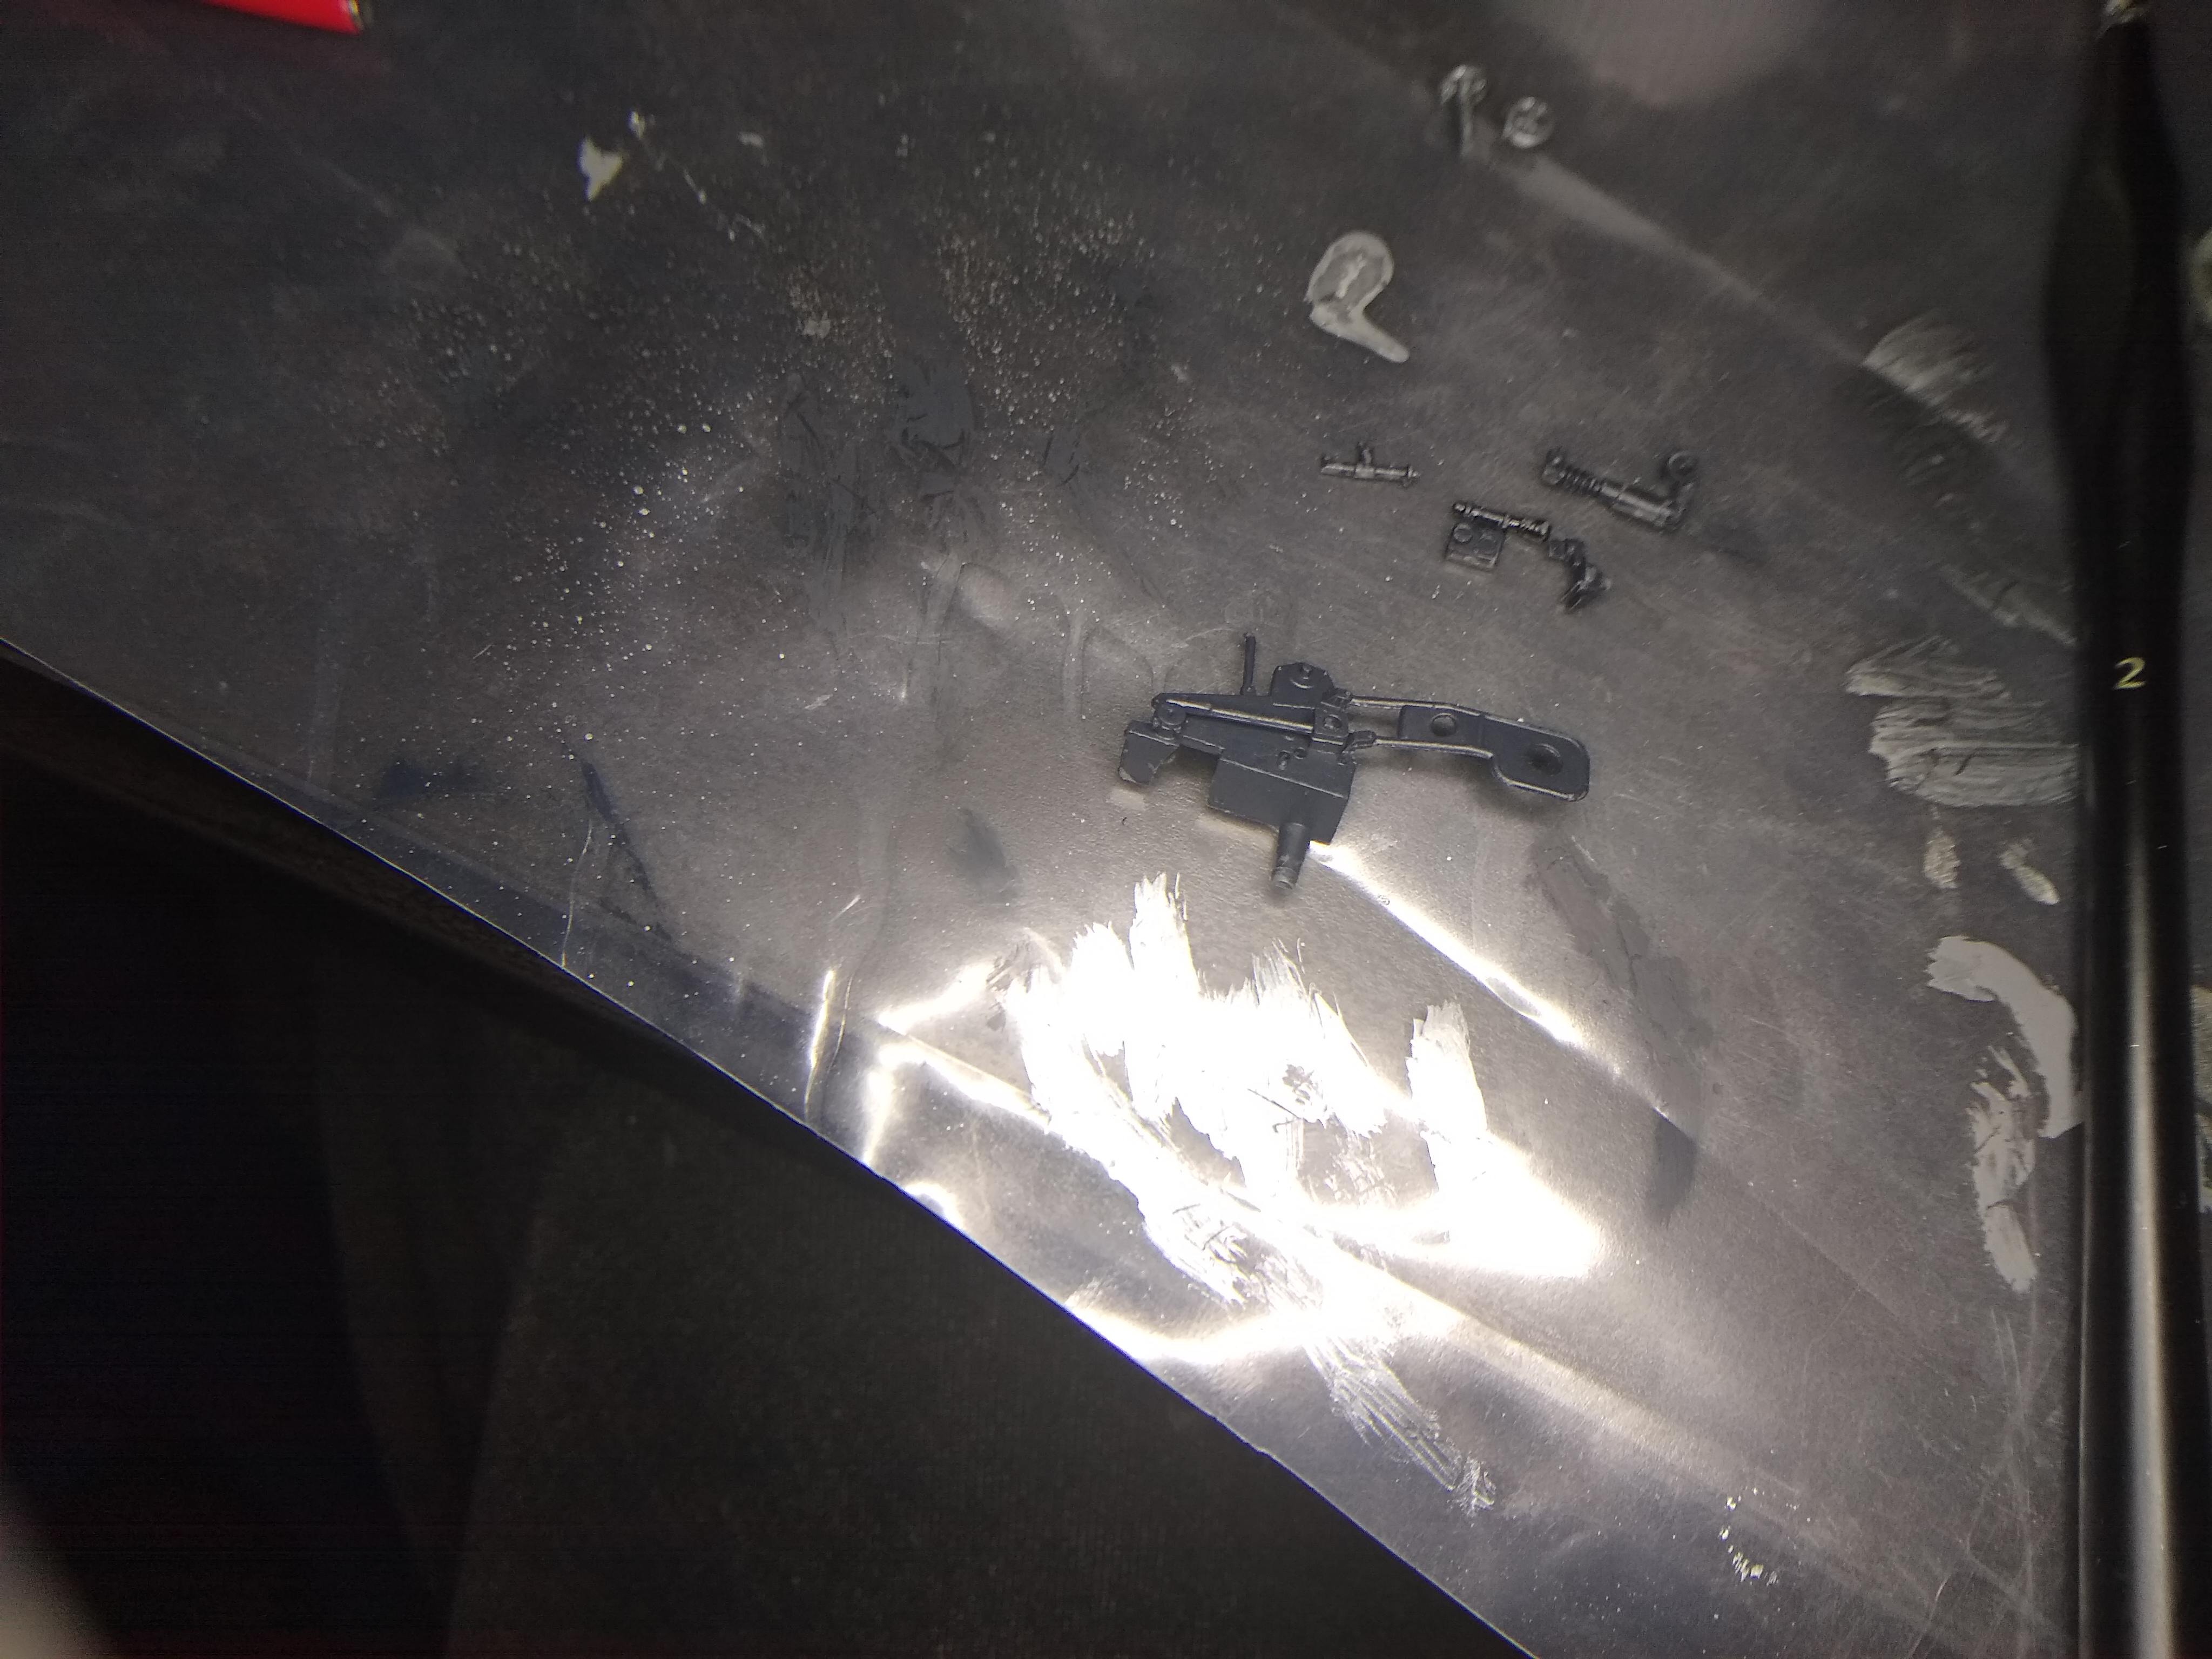
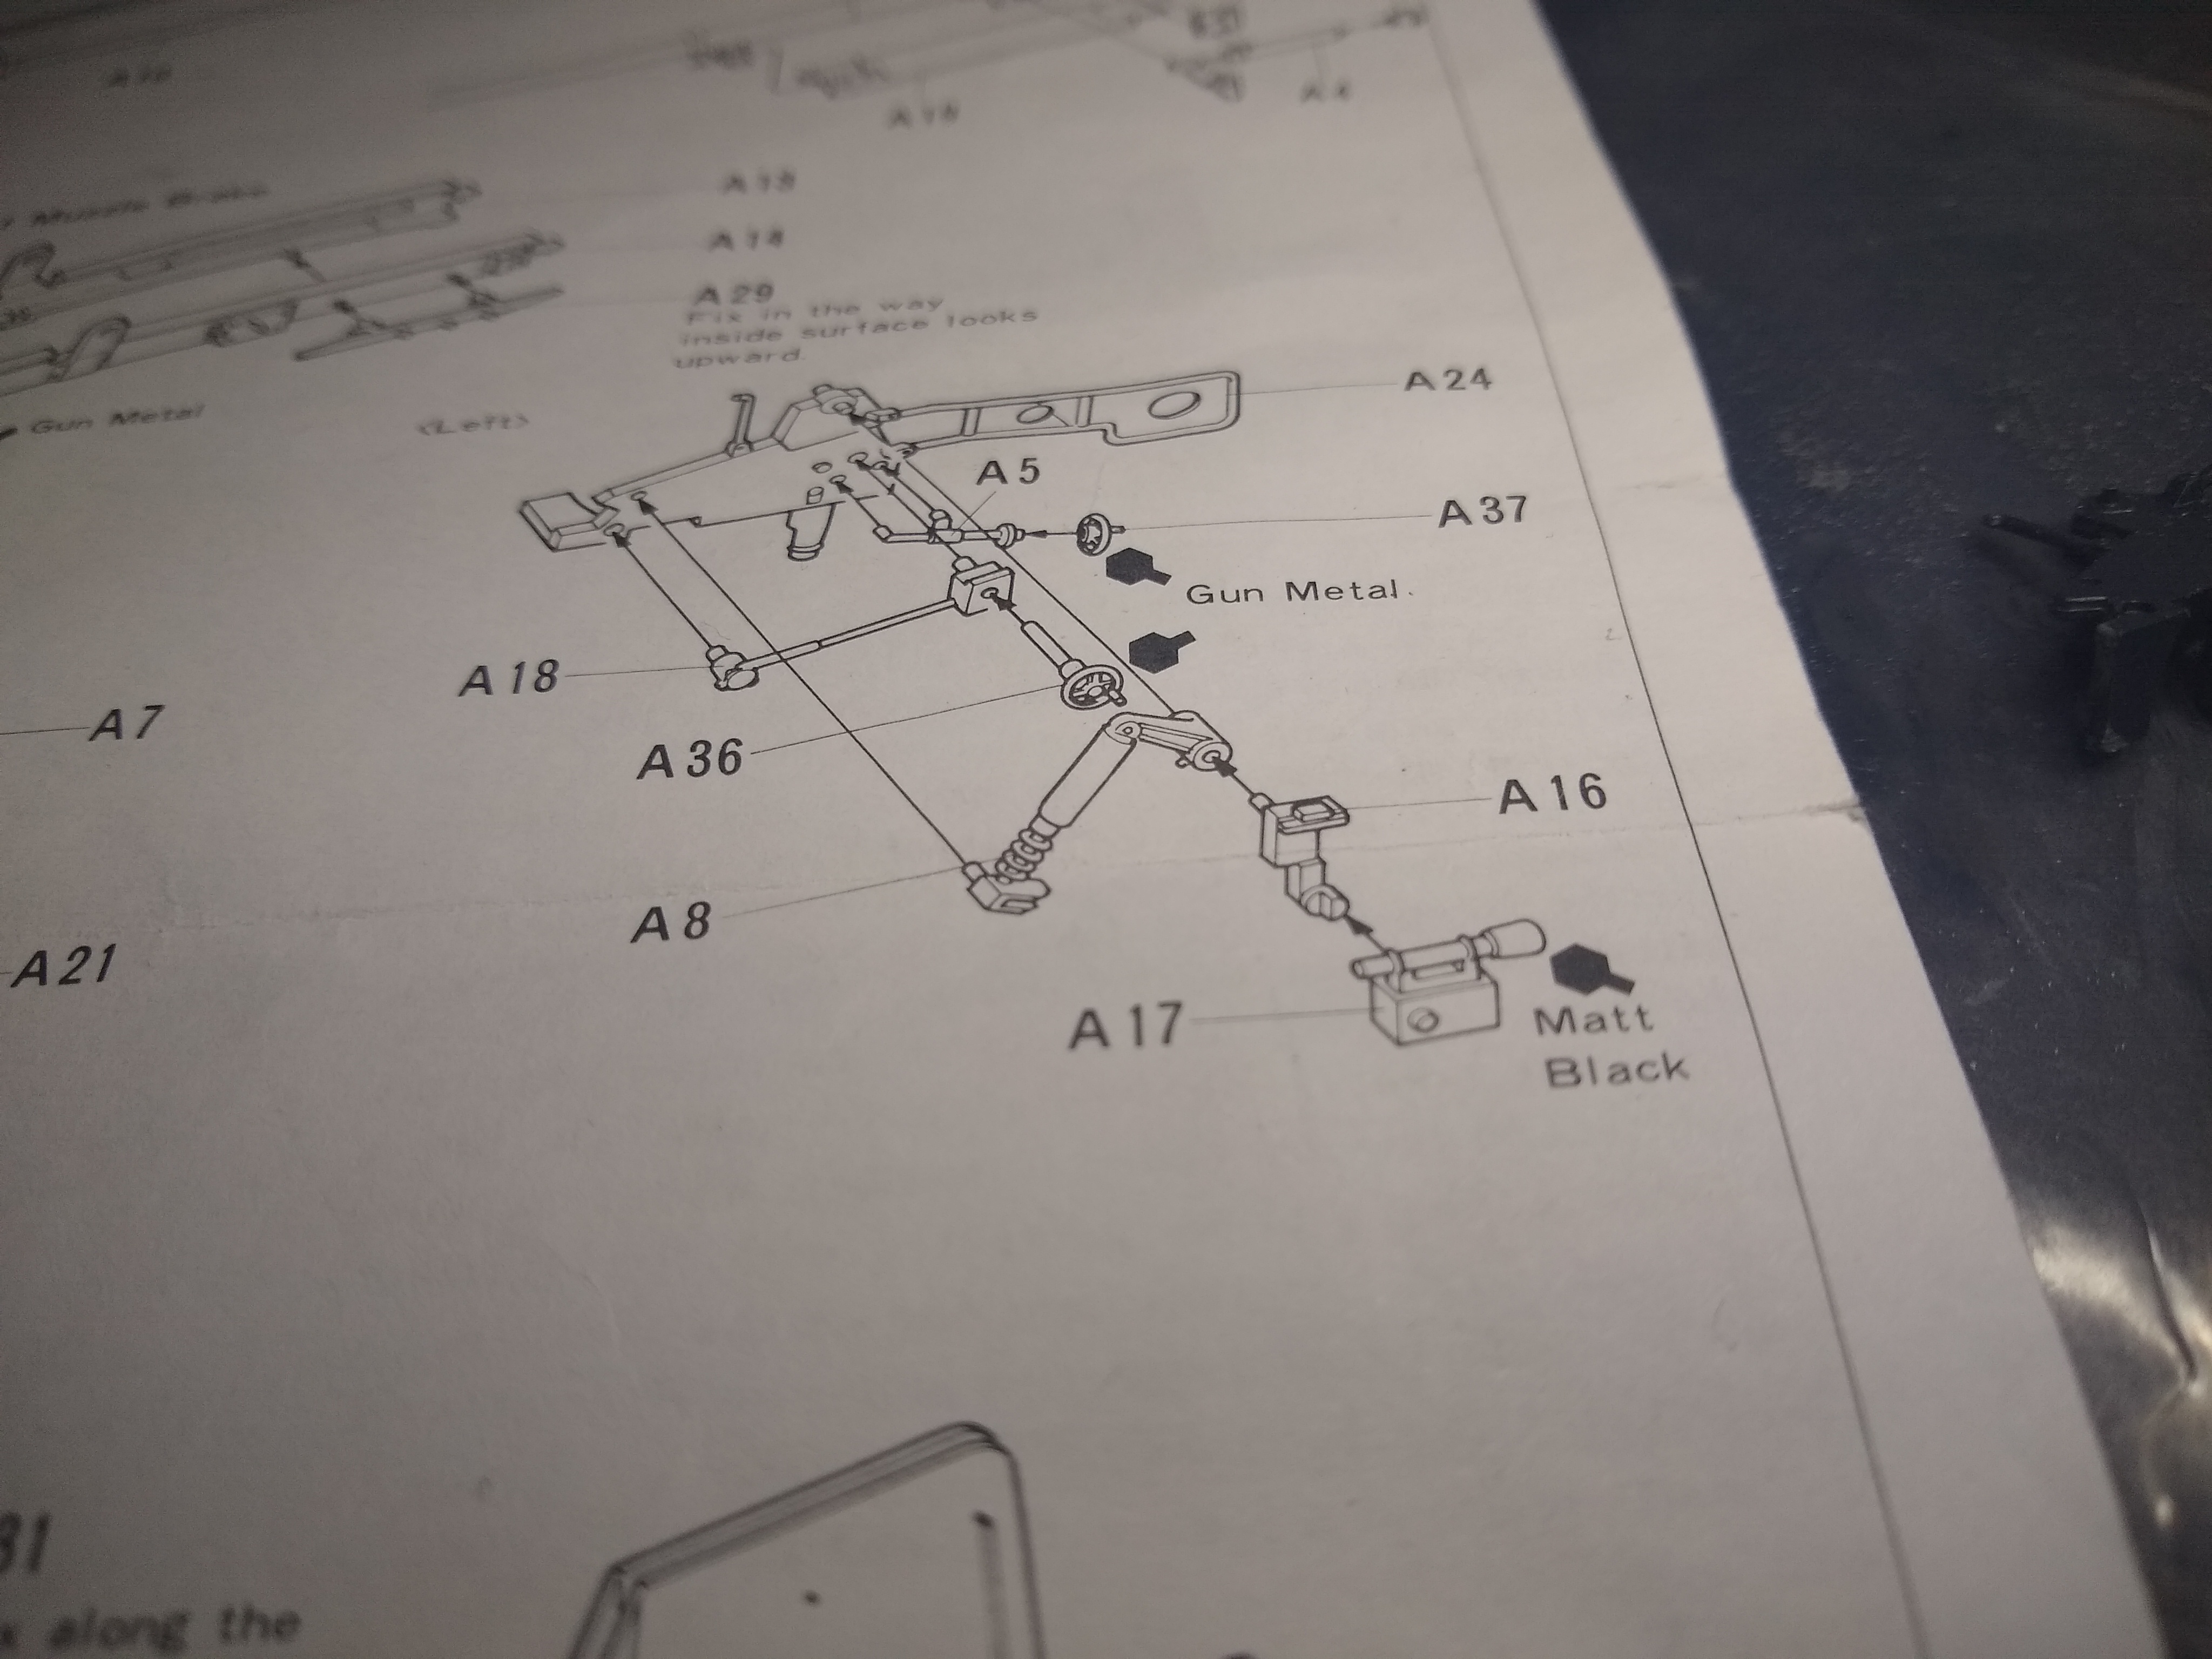
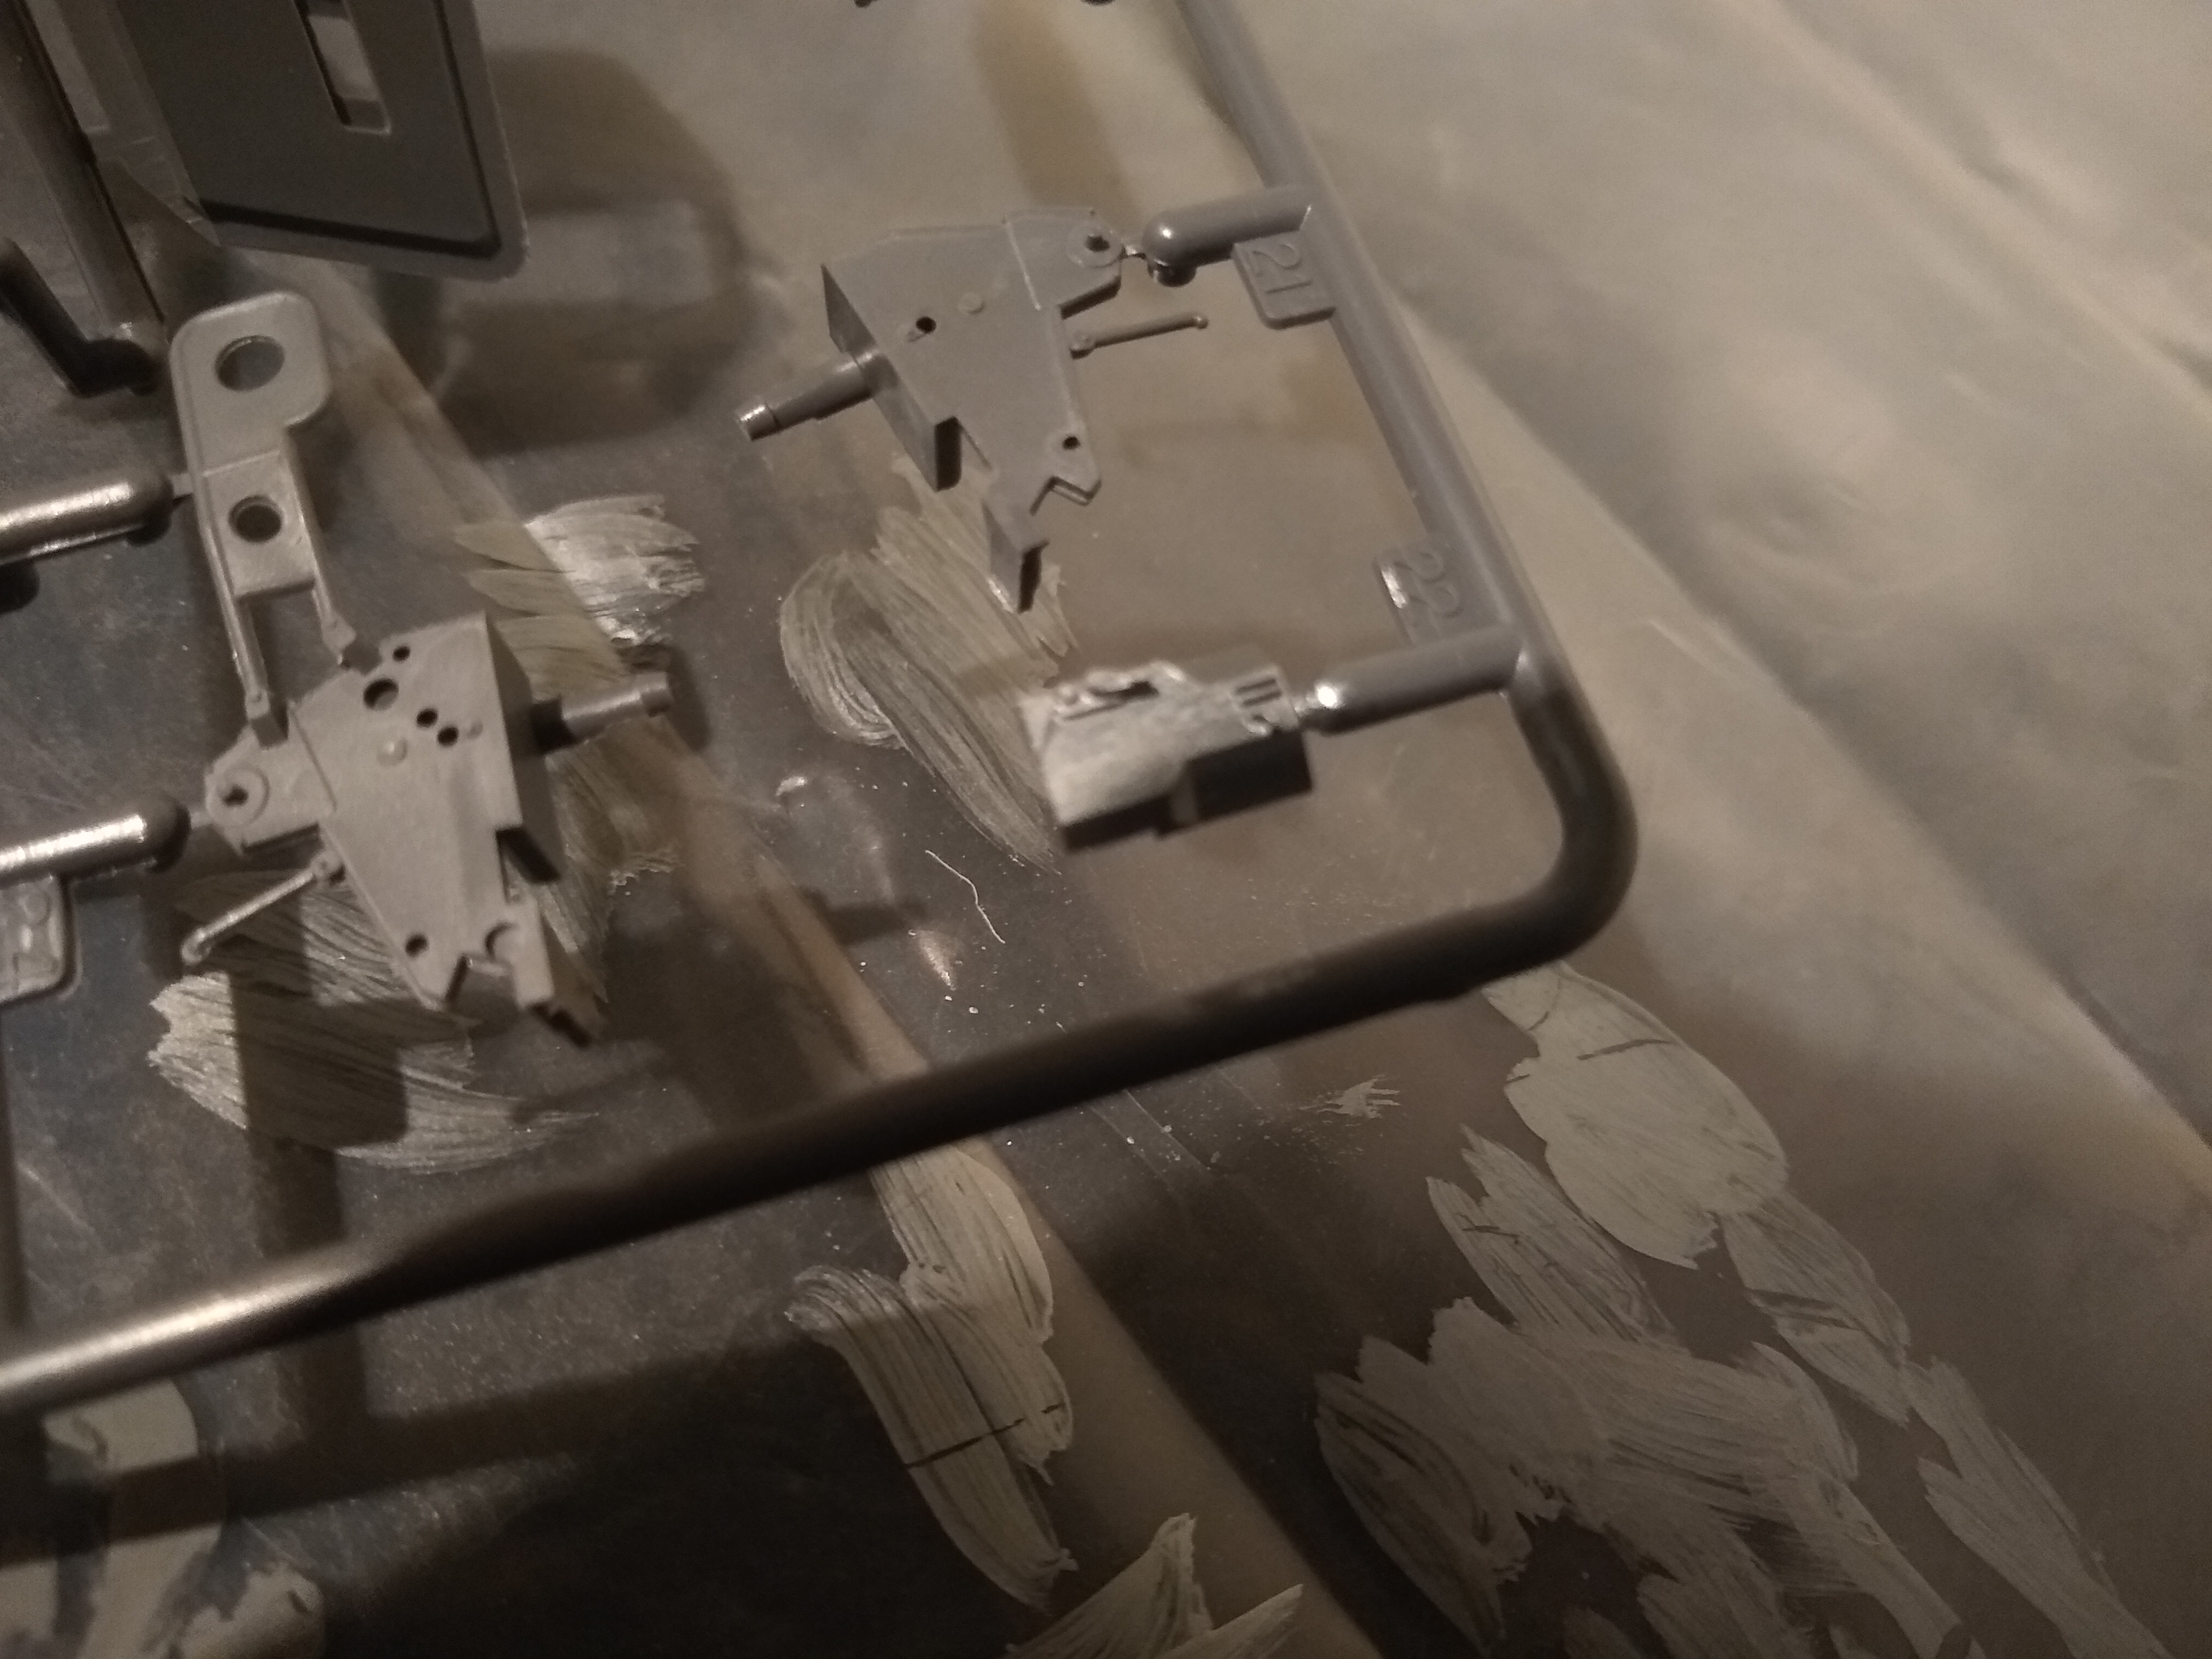
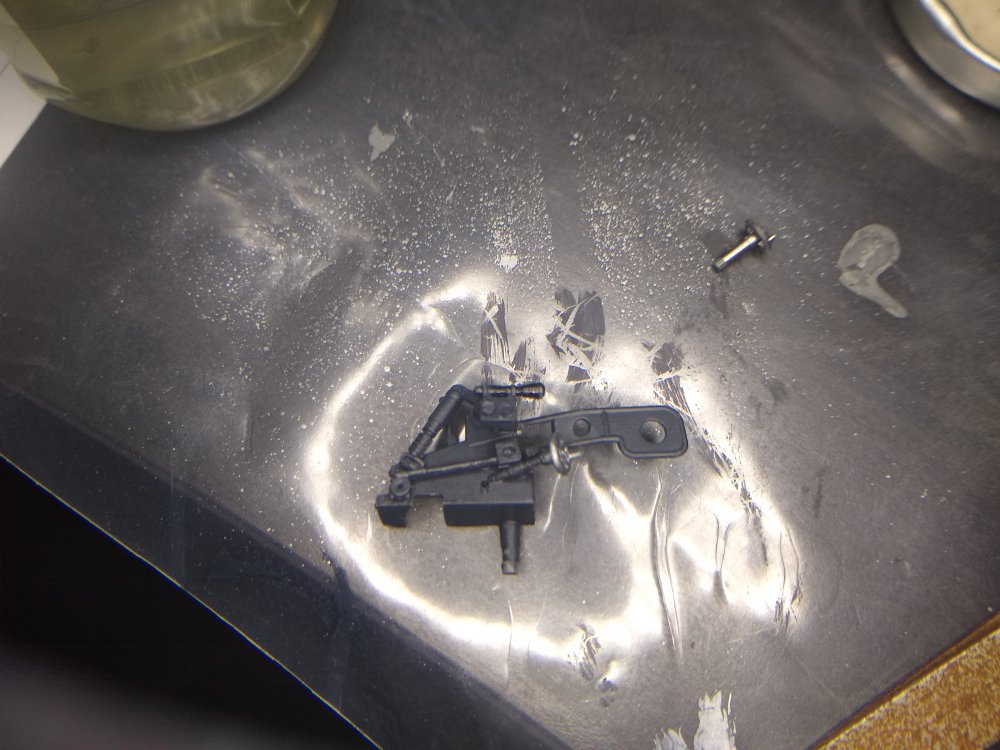
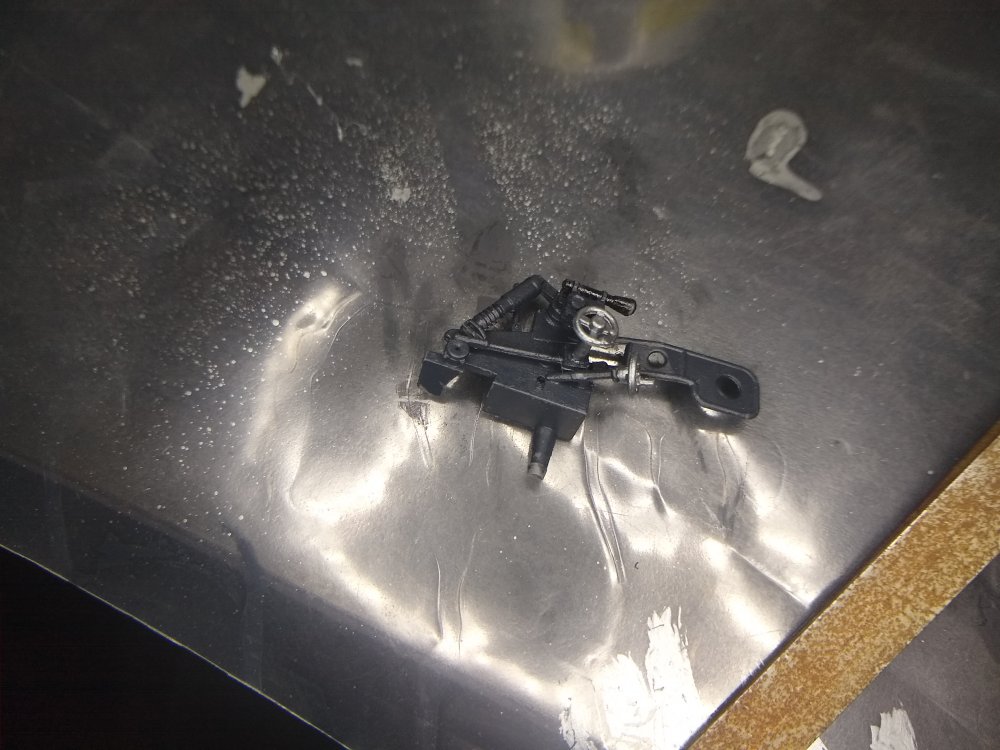
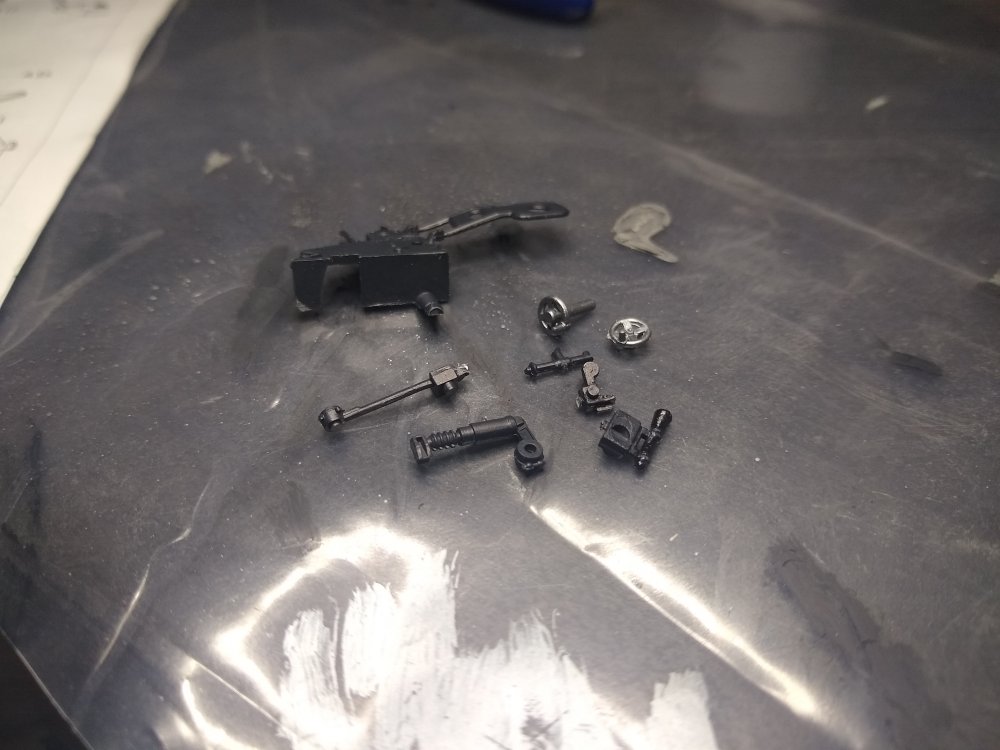
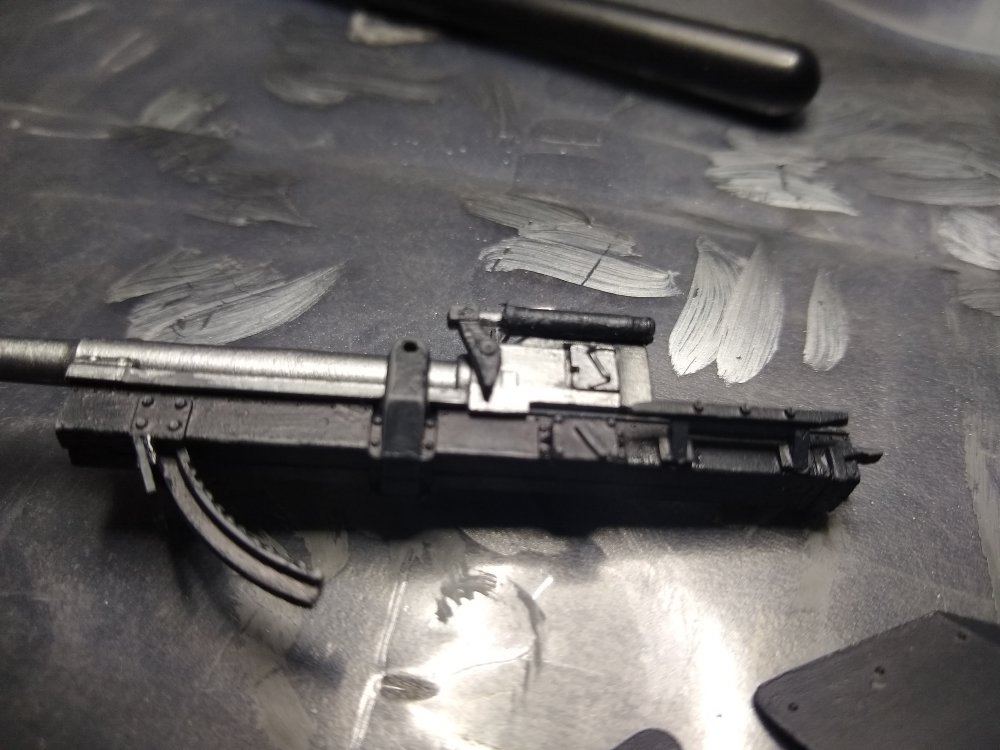
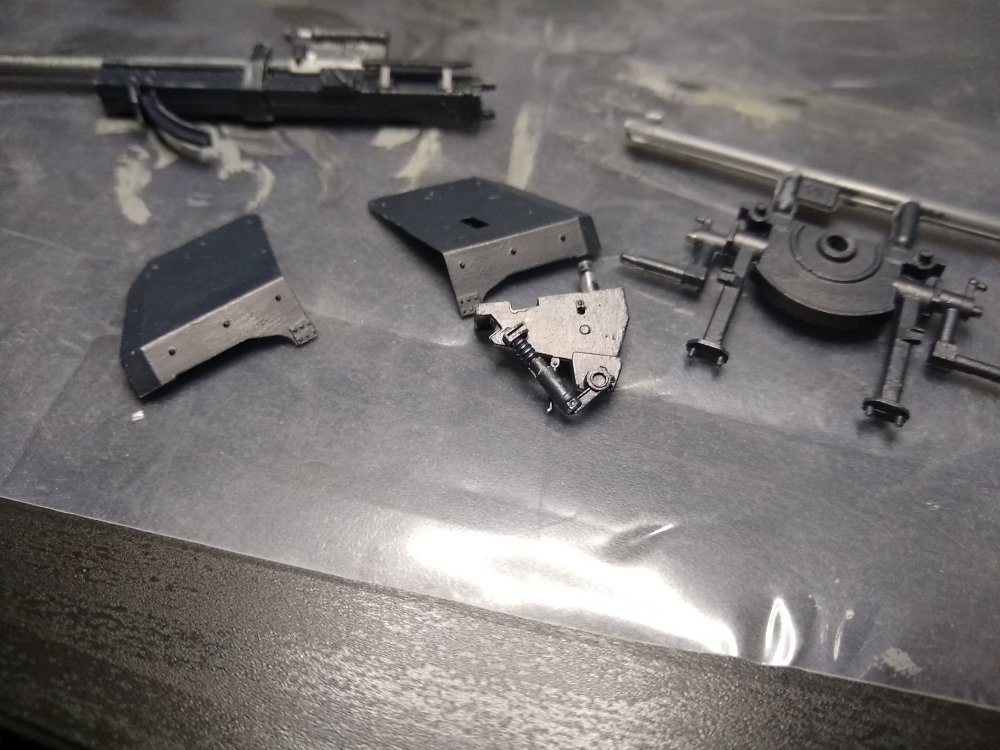
Well done the gun shield now. Just need to touch up the paint and should be ready for the next step. Parts The middle part of the gun shield don't actually know what it's called but it moves up and down with the gun barrel. and the last few pieces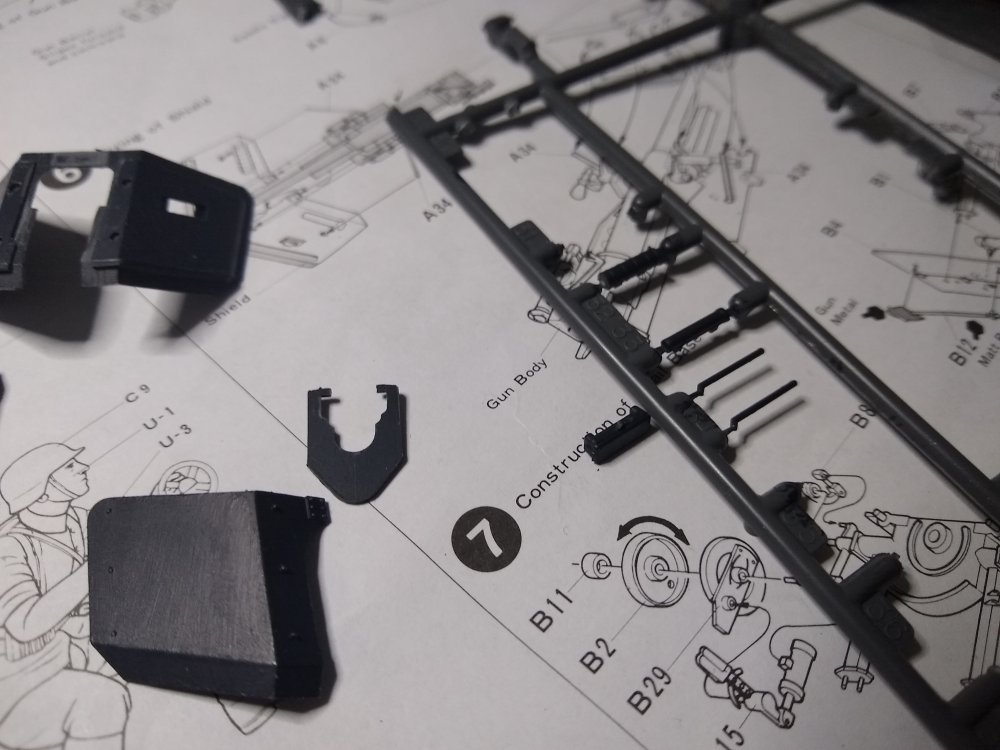


-
7.5cm Anti-Tank Gun PAK40/L46 1:35
Daniel_Roxy replied to Daniel_Roxy's topic in LSM 1/35 and Larger Work In Progress
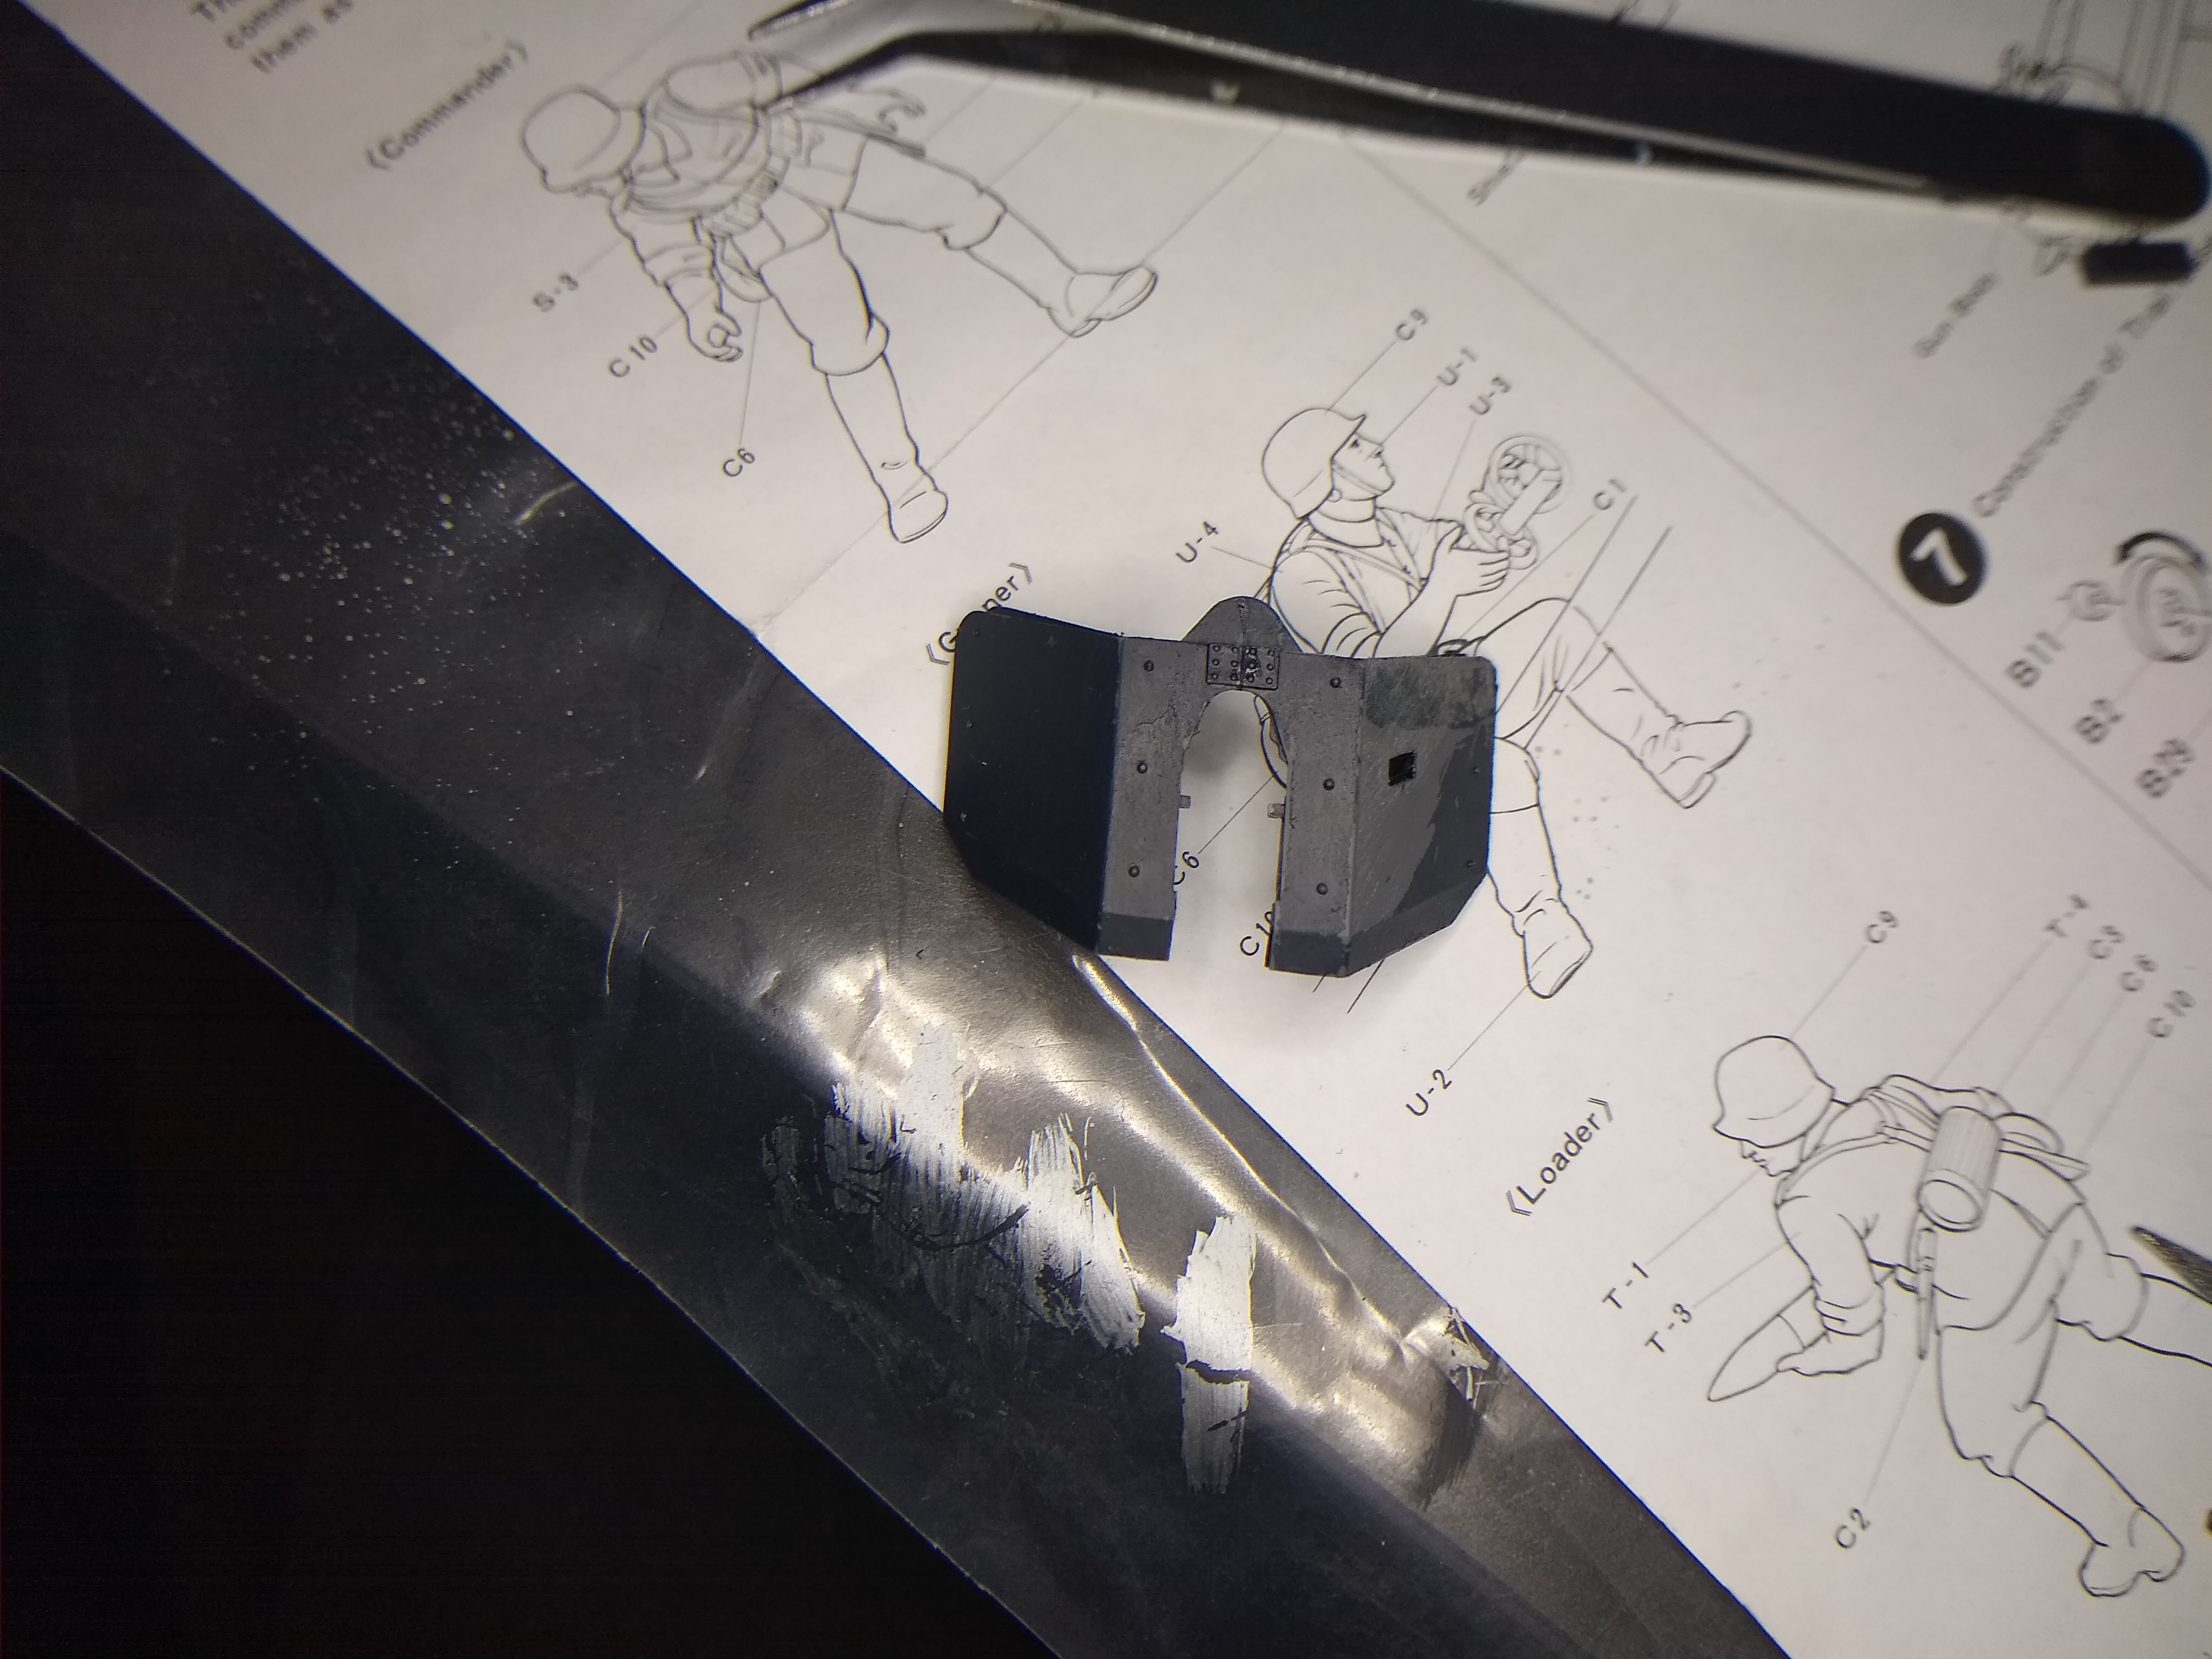
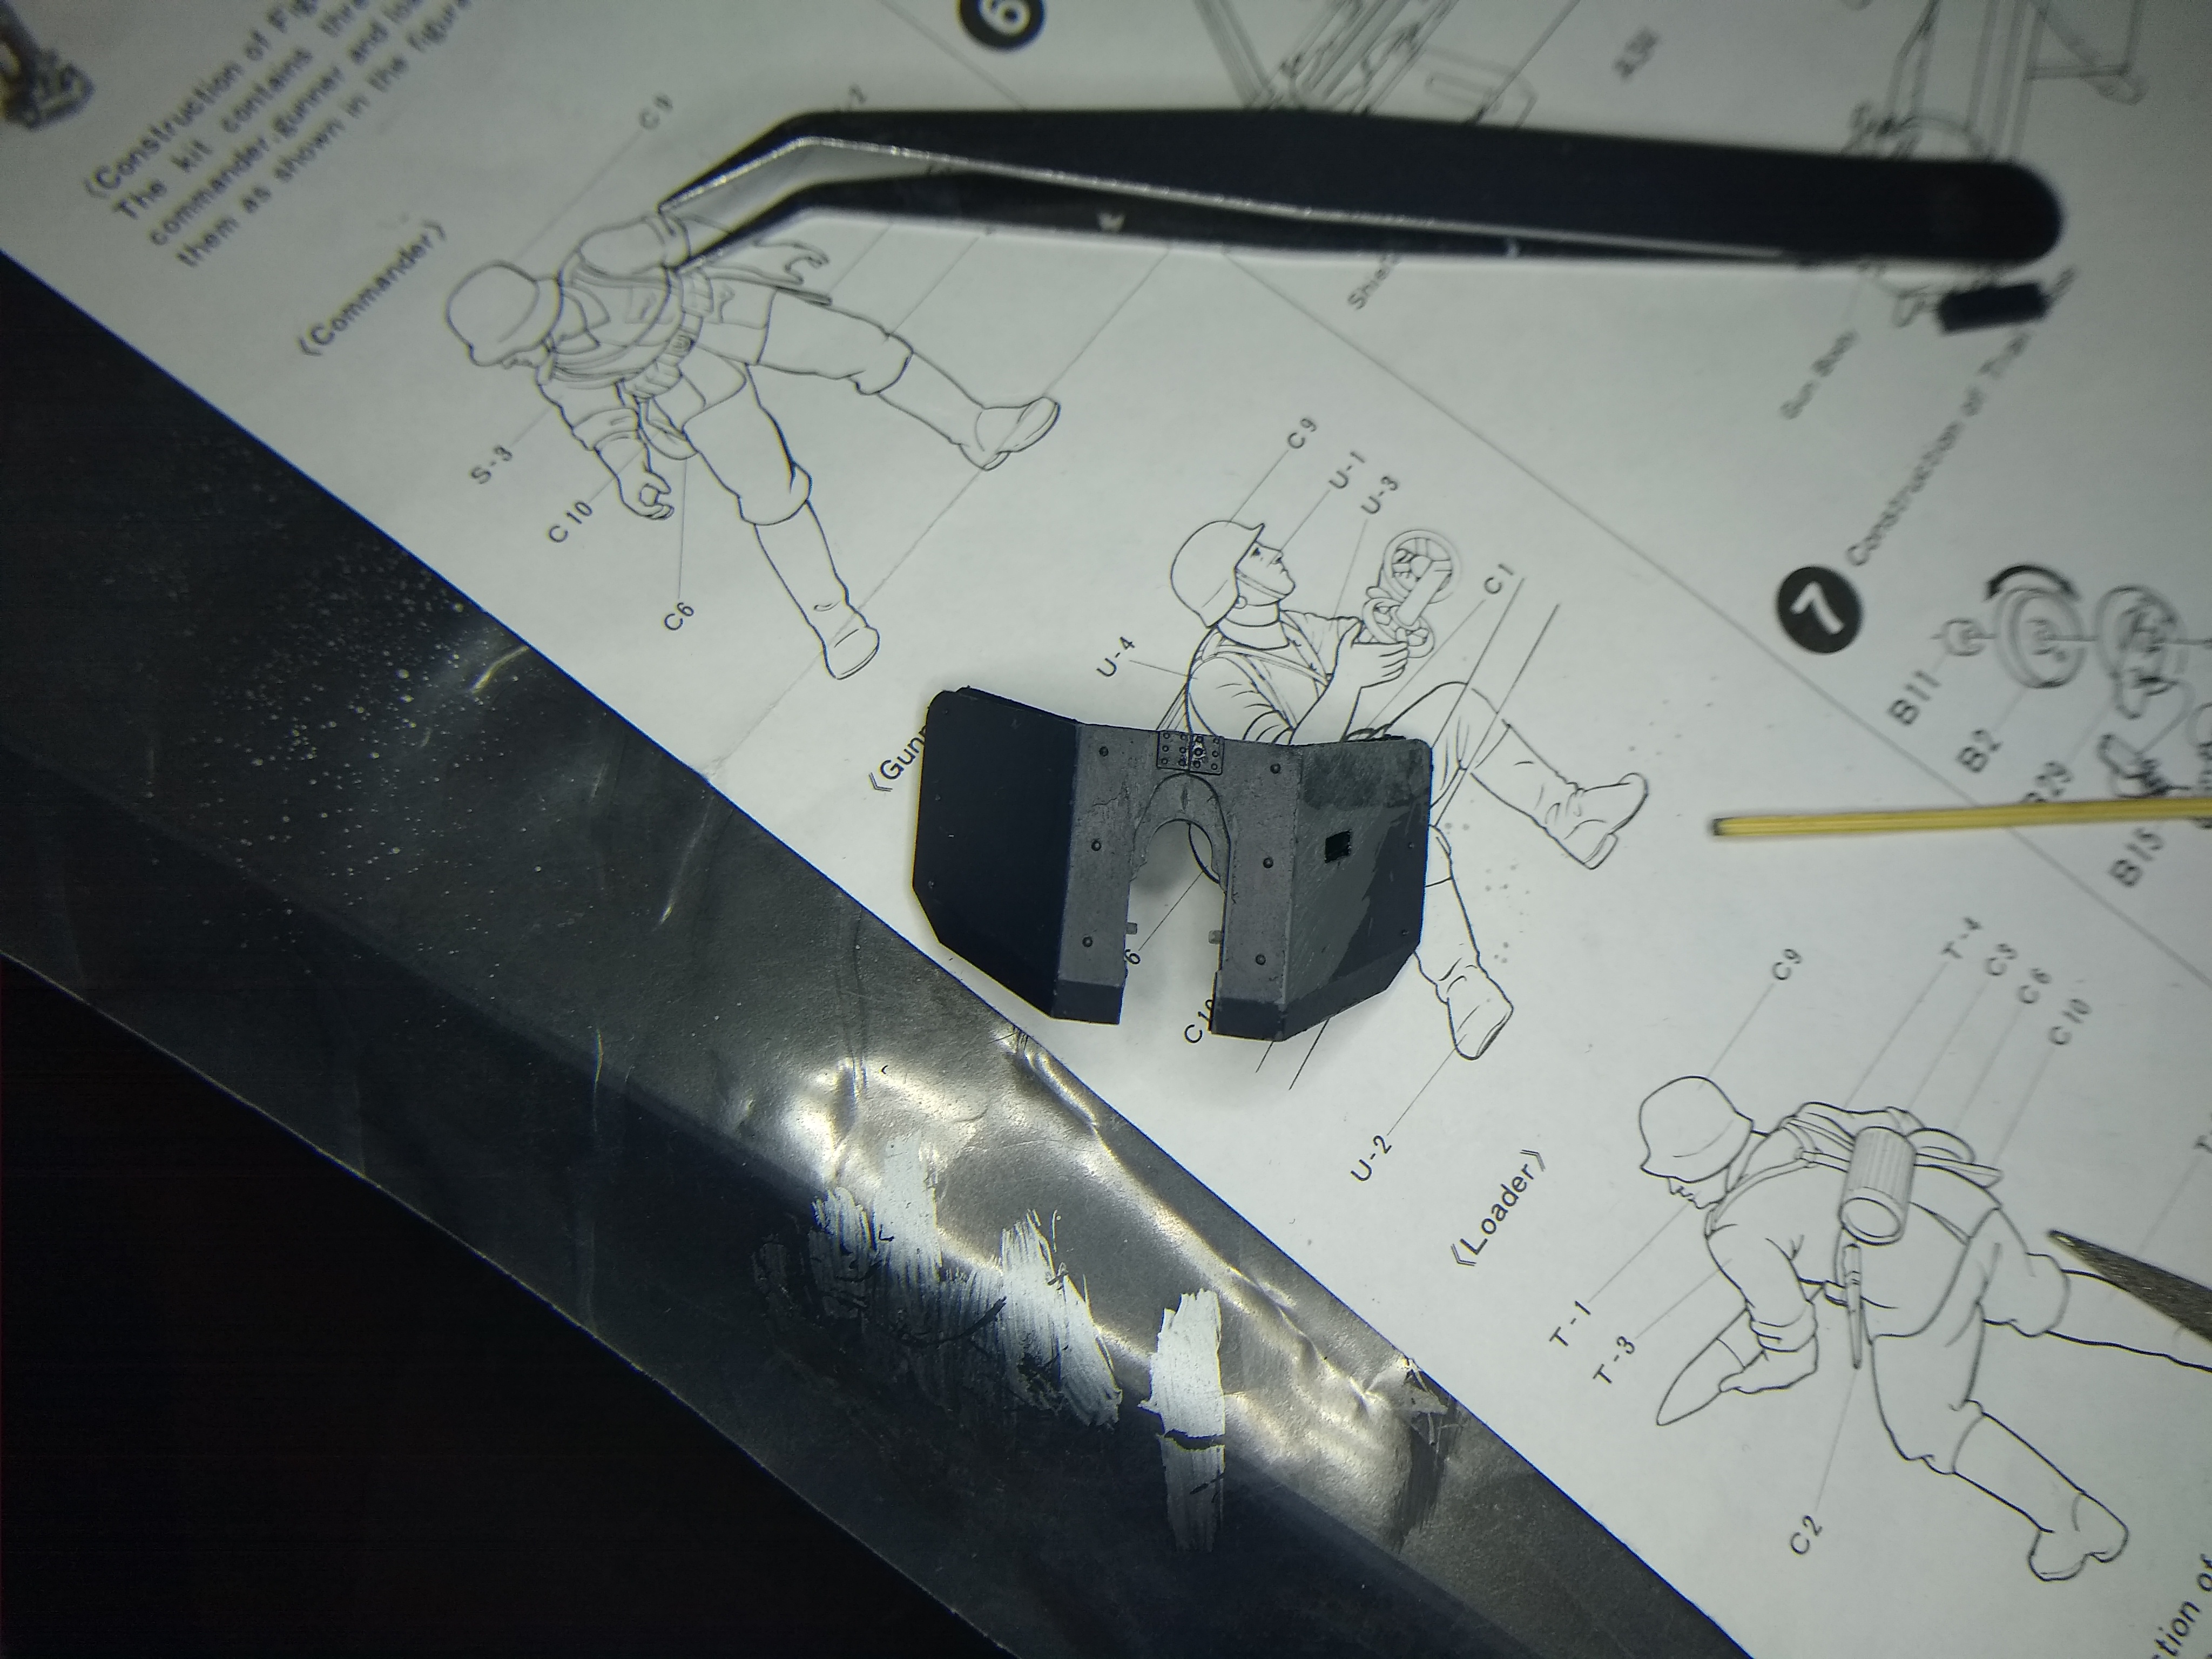
And just a quick look to make sure it all fits together correctly


-
7.5cm Anti-Tank Gun PAK40/L46 1:35
Daniel_Roxy replied to Daniel_Roxy's topic in LSM 1/35 and Larger Work In Progress
Well that's all done now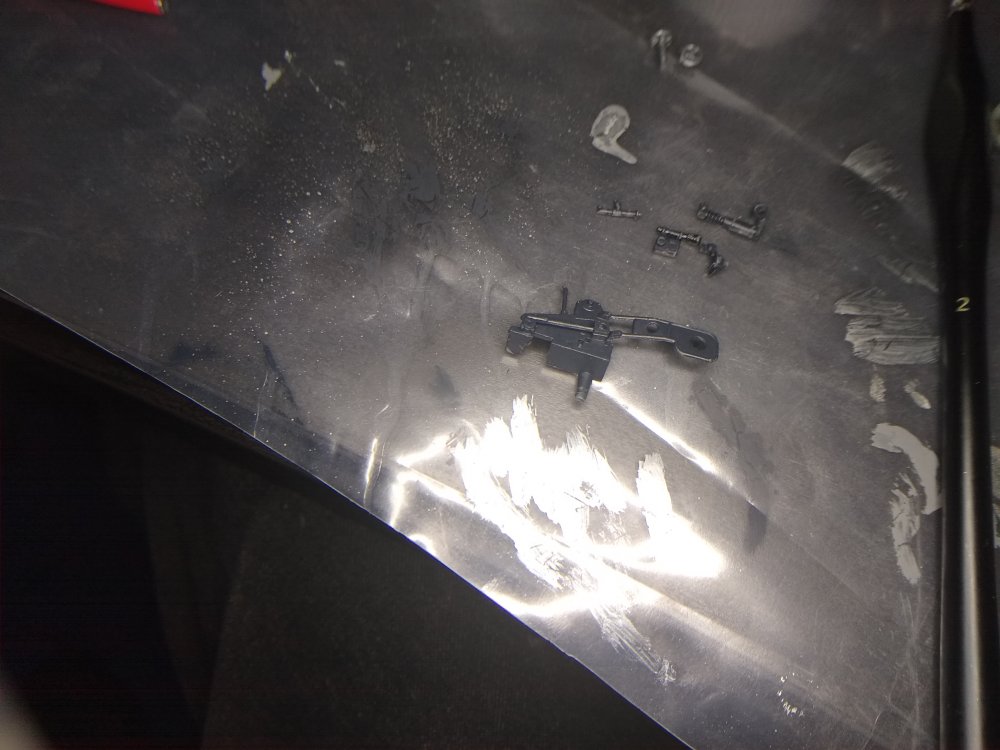
-
7.5cm Anti-Tank Gun PAK40/L46 1:35
Daniel_Roxy replied to Daniel_Roxy's topic in LSM 1/35 and Larger Work In Progress
Well this is going to be fun
-
7.5cm Anti-Tank Gun PAK40/L46 1:35
Daniel_Roxy replied to Daniel_Roxy's topic in LSM 1/35 and Larger Work In Progress
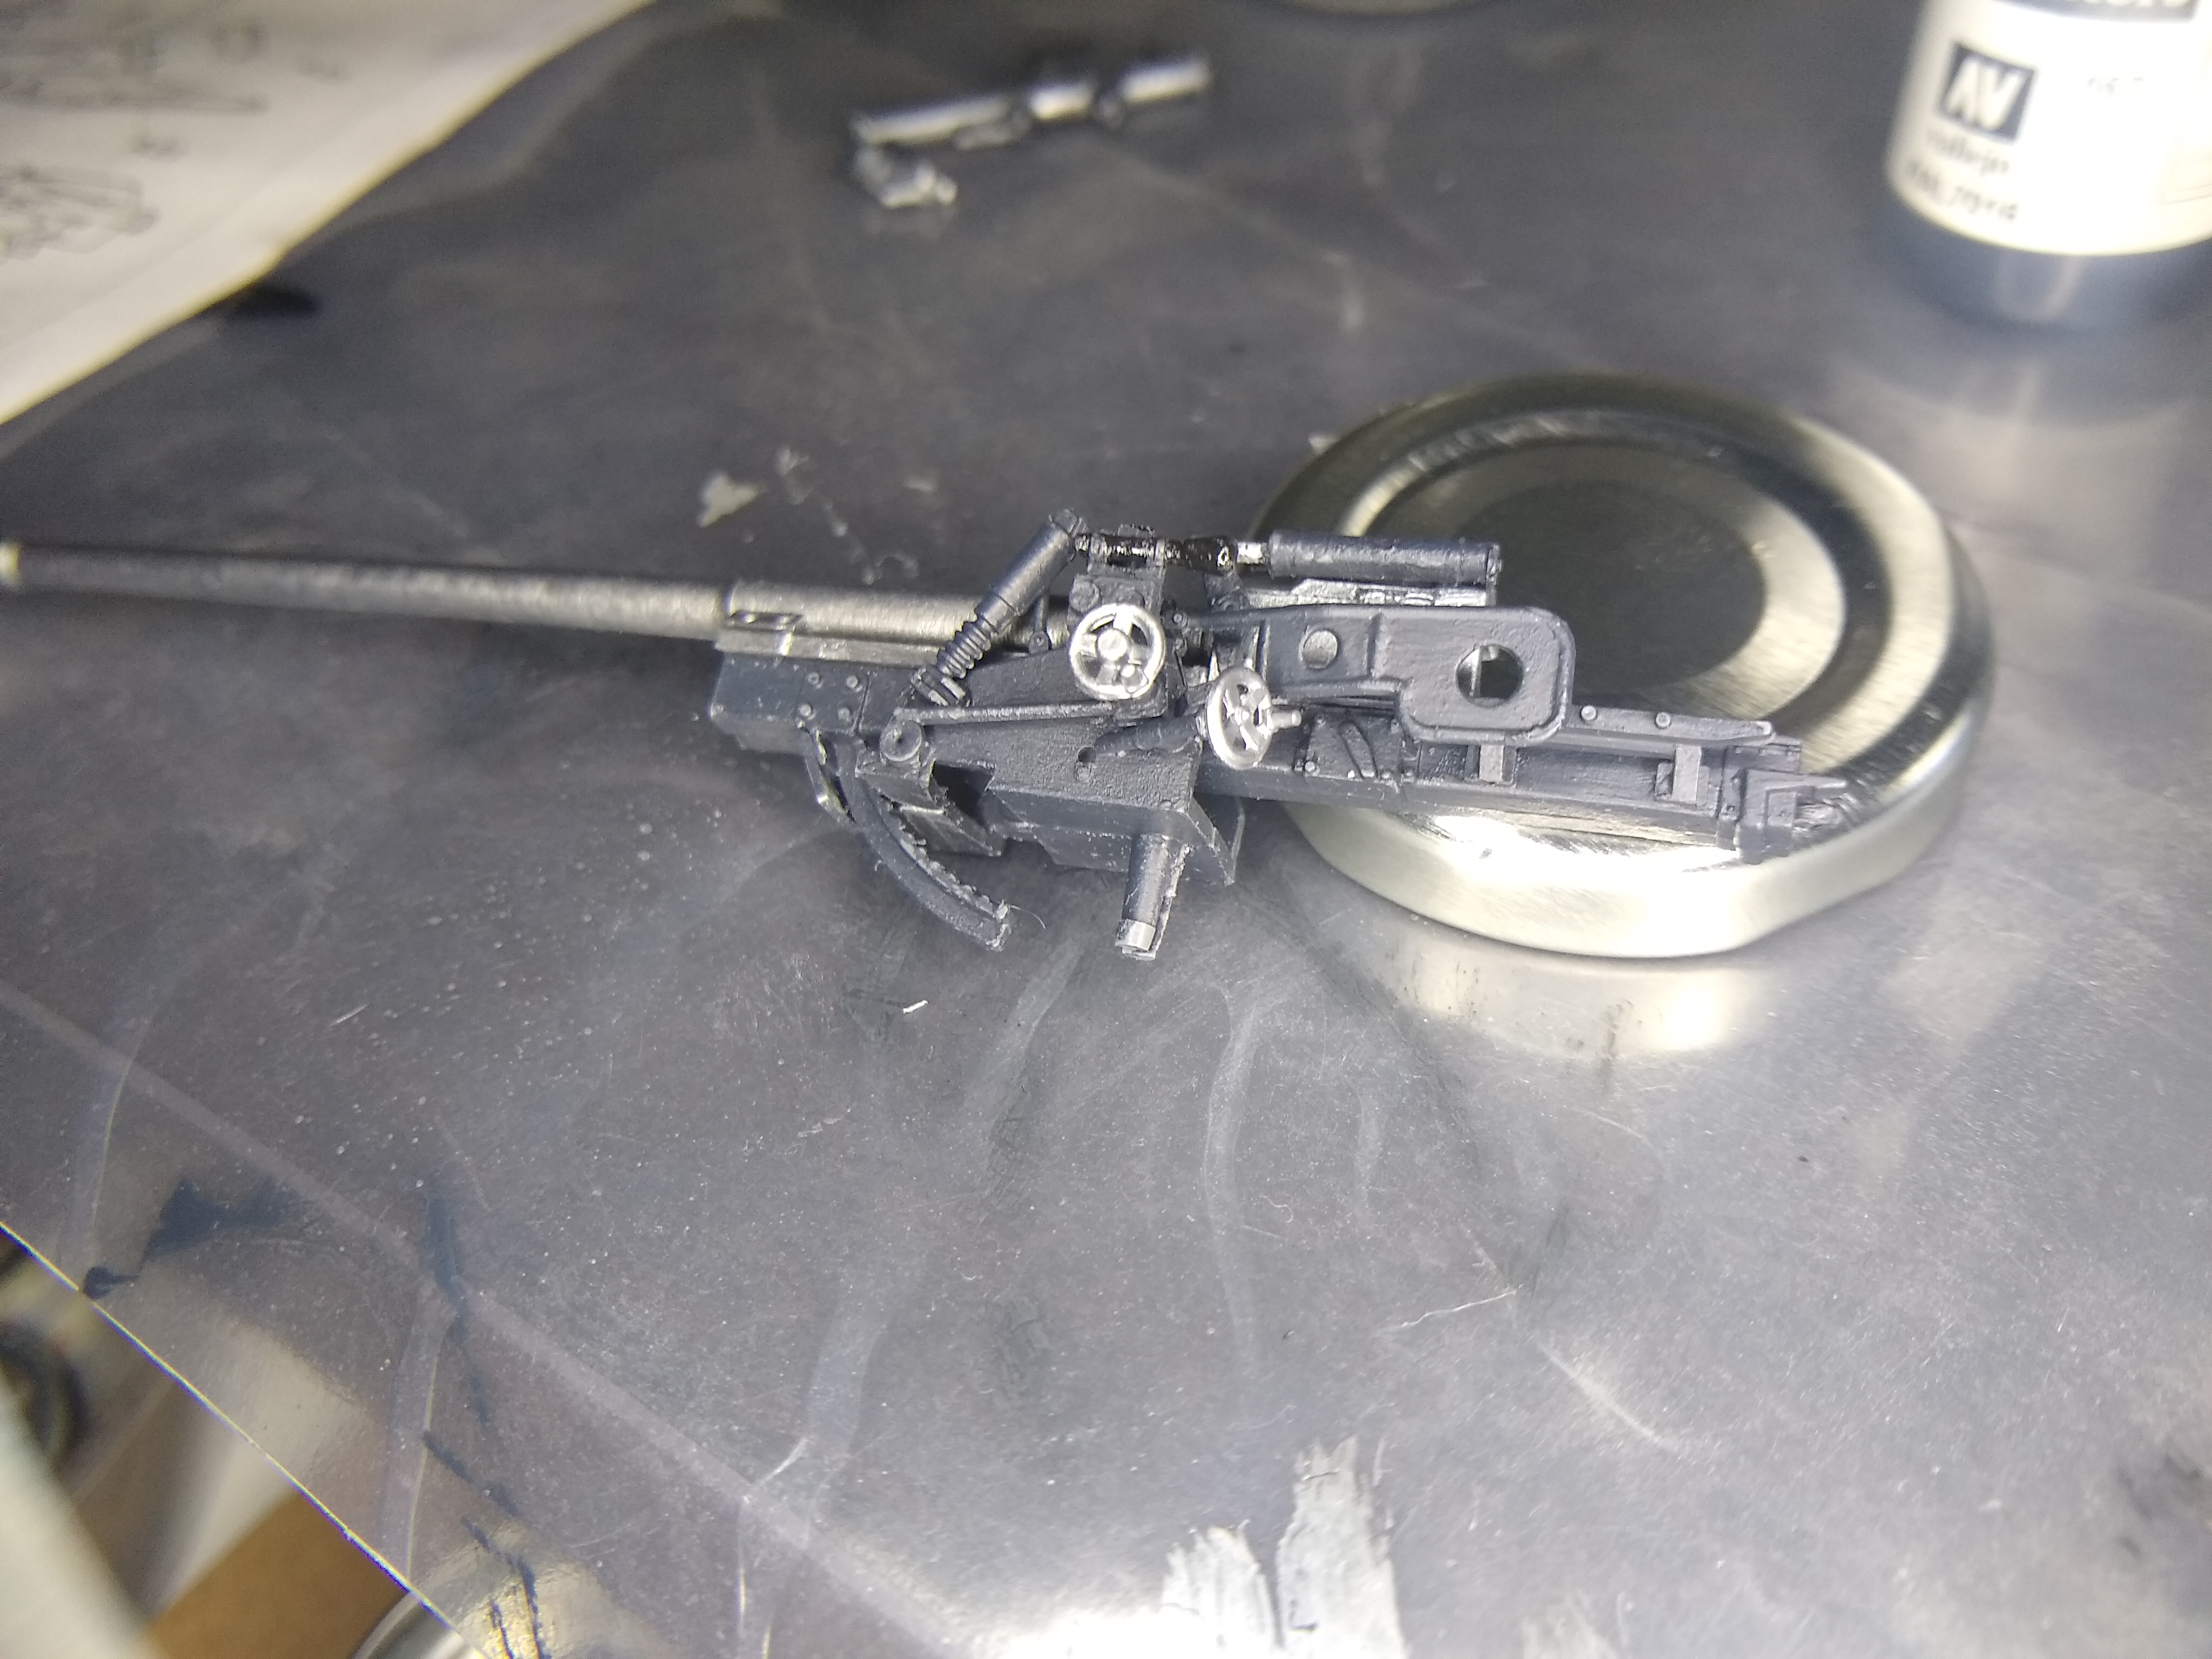
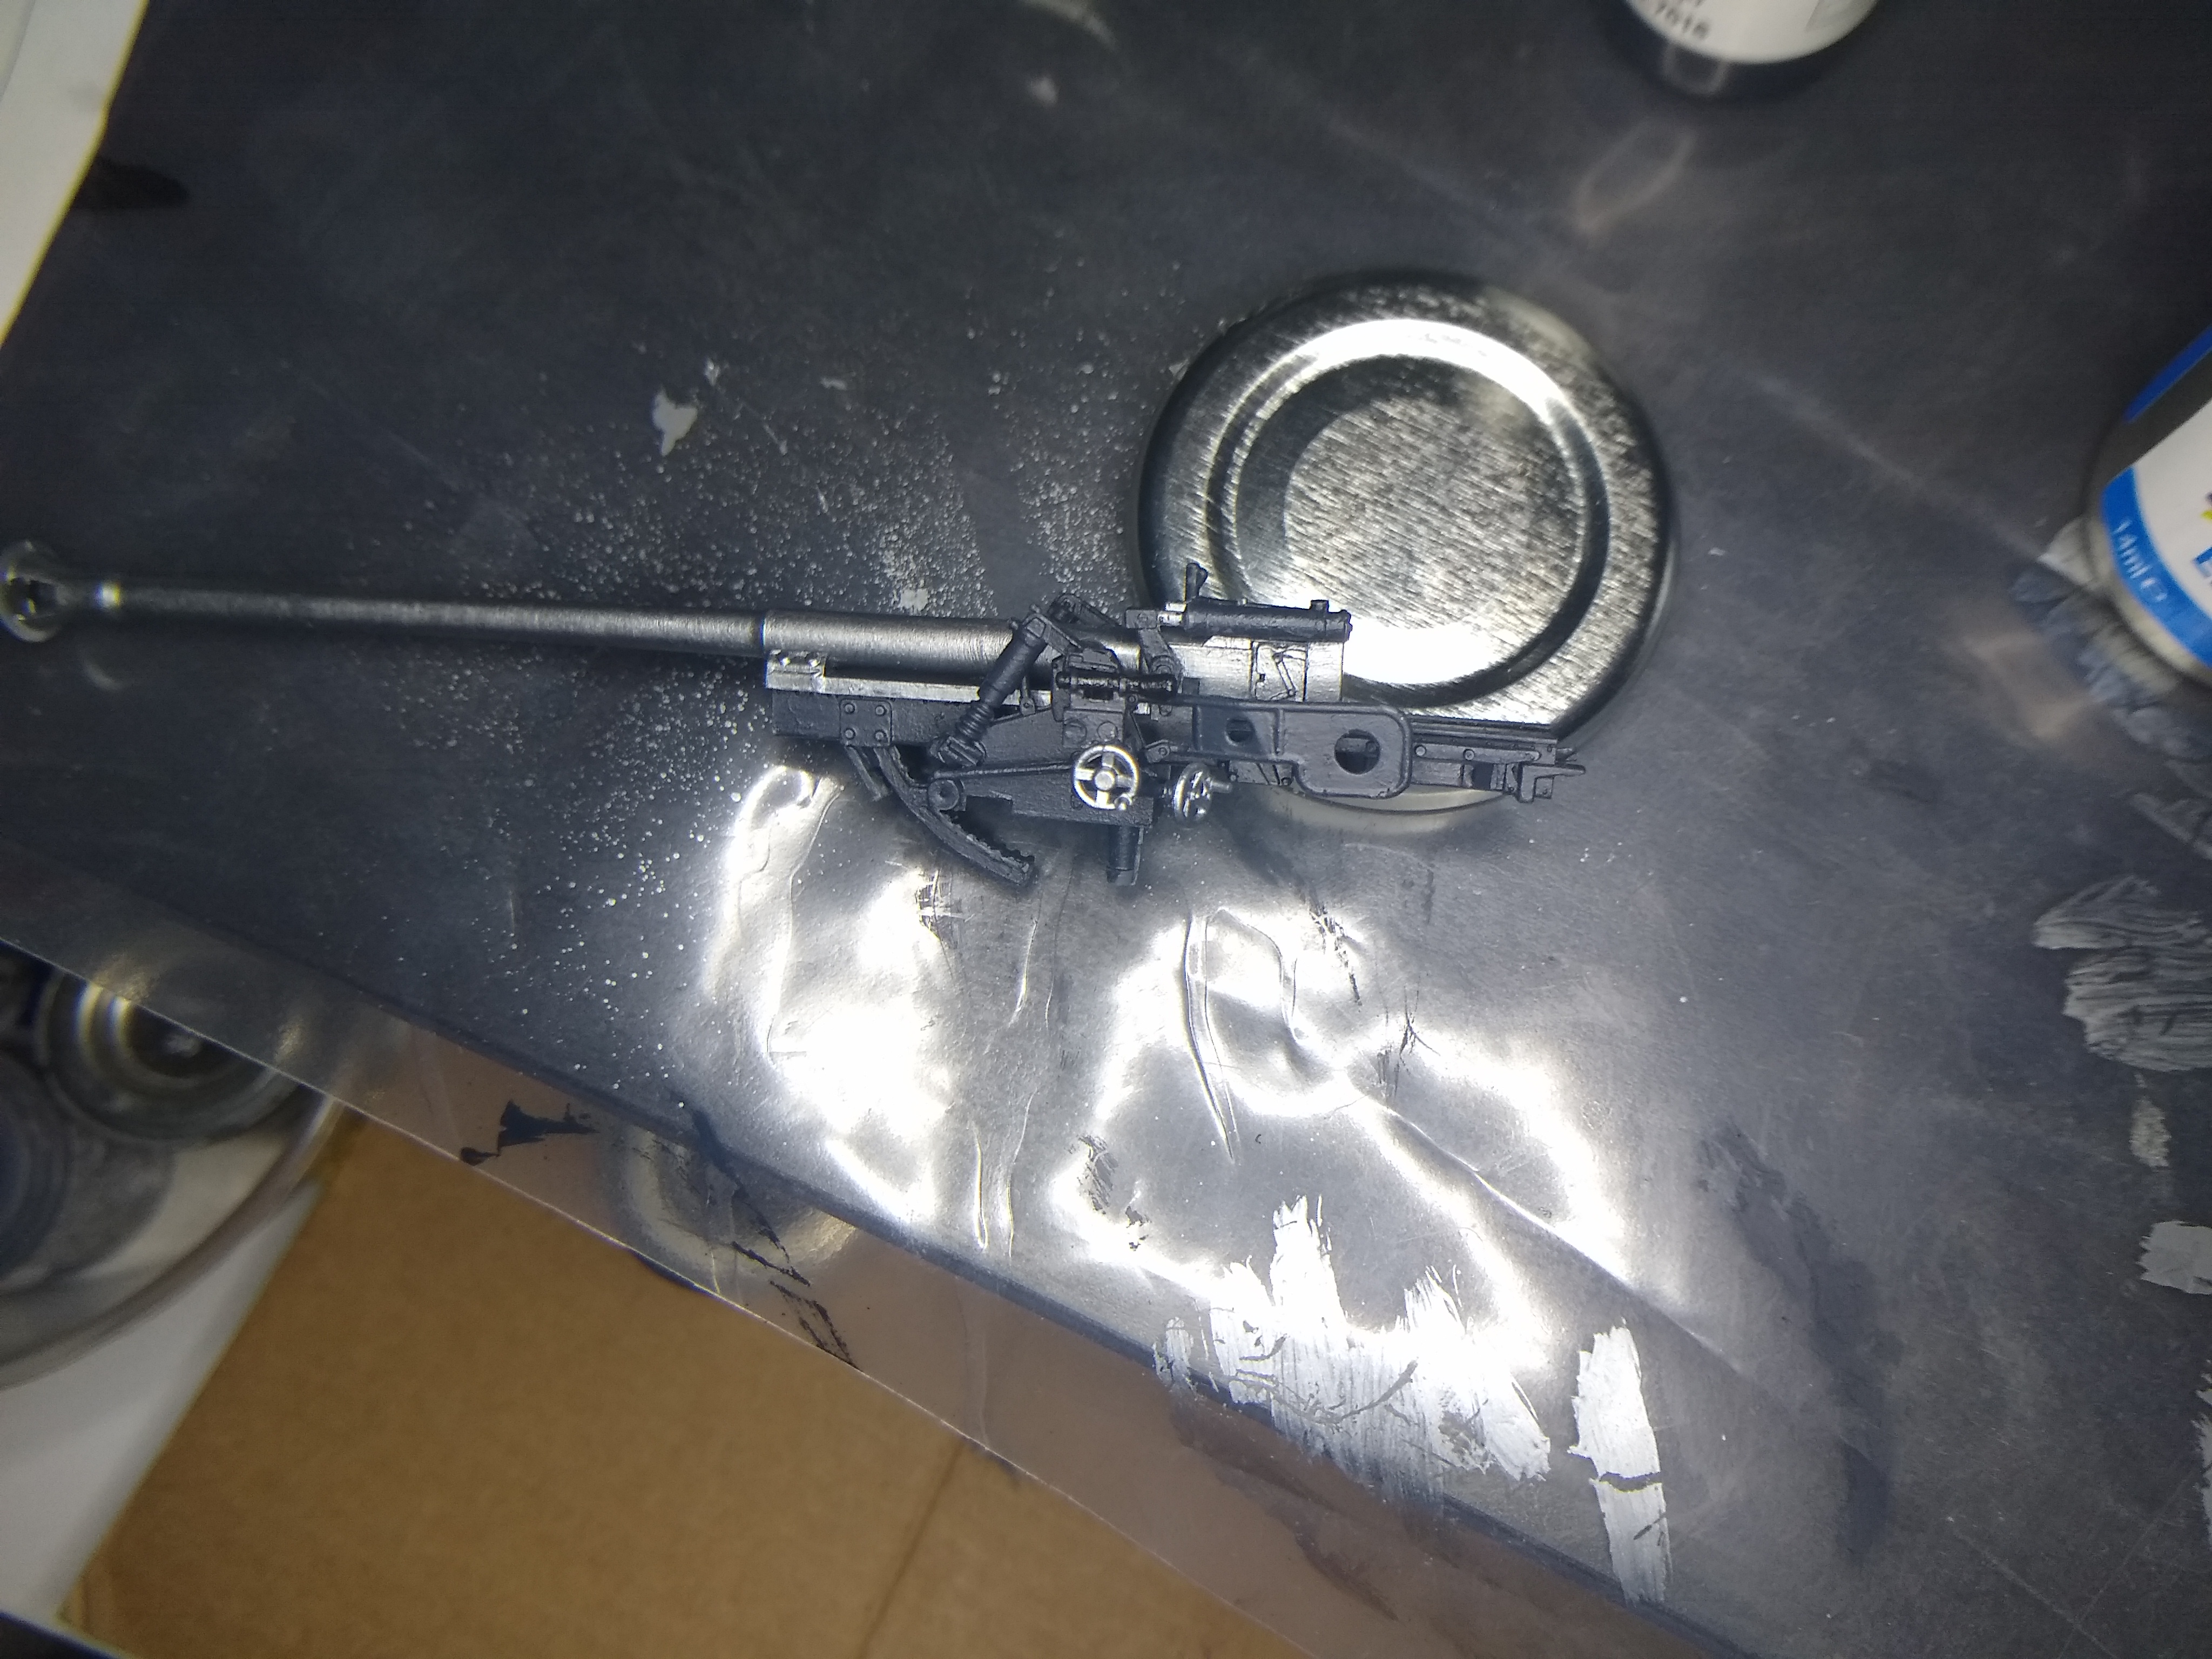
A couple more pictures of the details on the gun.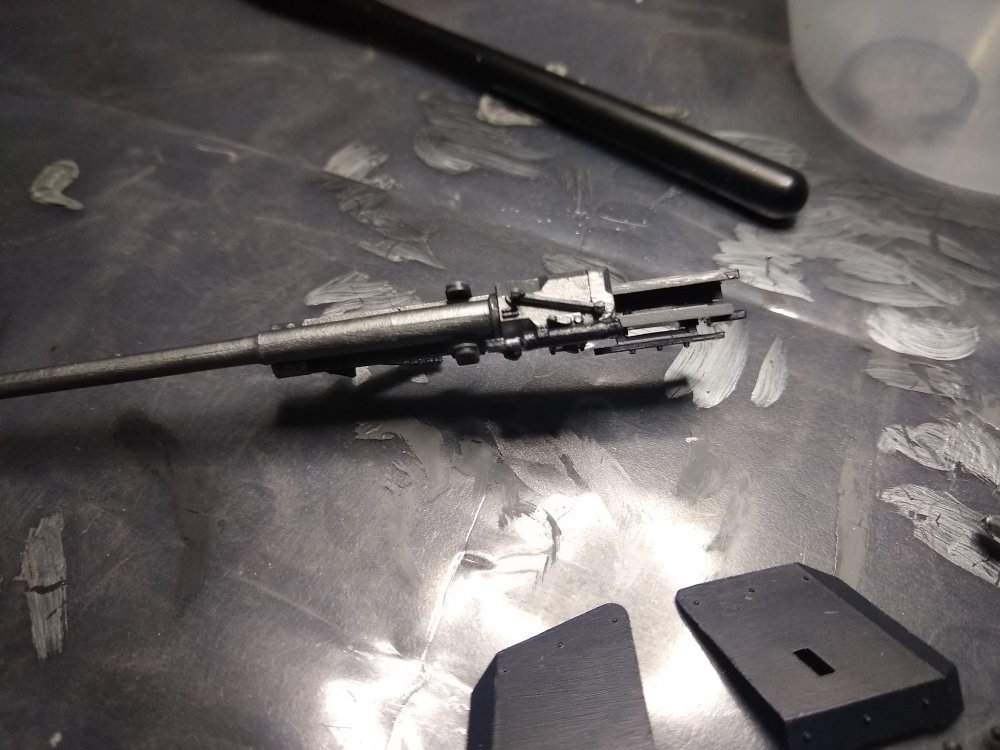
-
7.5cm Anti-Tank Gun PAK40/L46 1:35
Daniel_Roxy replied to Daniel_Roxy's topic in LSM 1/35 and Larger Work In Progress
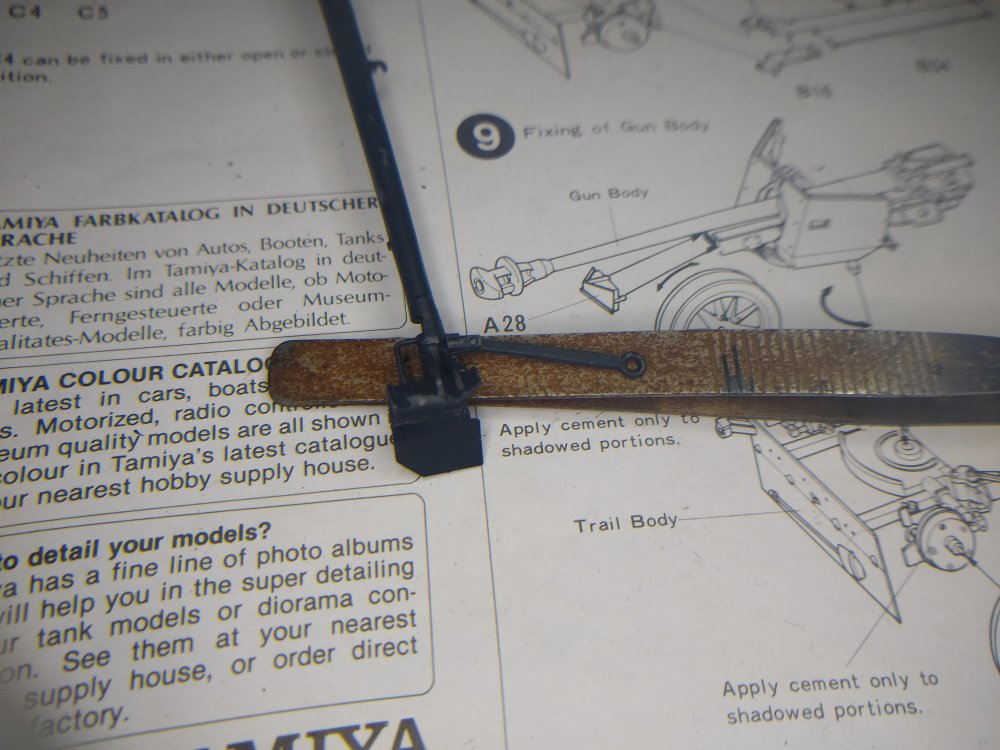
Ok have done some small details and mostly been painting parts. stuck afew parts together as well like the mount the gun slides in and 2 parts that hold one side of that. The gun can also slide pretty freely in it's cradle now as well. Sadly lost most of the time I had planned to spend today doing this model. Trying to fix the lights on my car. At least that's done now so back to making tanks and stuff.

-
7.5cm Anti-Tank Gun PAK40/L46 1:35
Daniel_Roxy replied to Daniel_Roxy's topic in LSM 1/35 and Larger Work In Progress
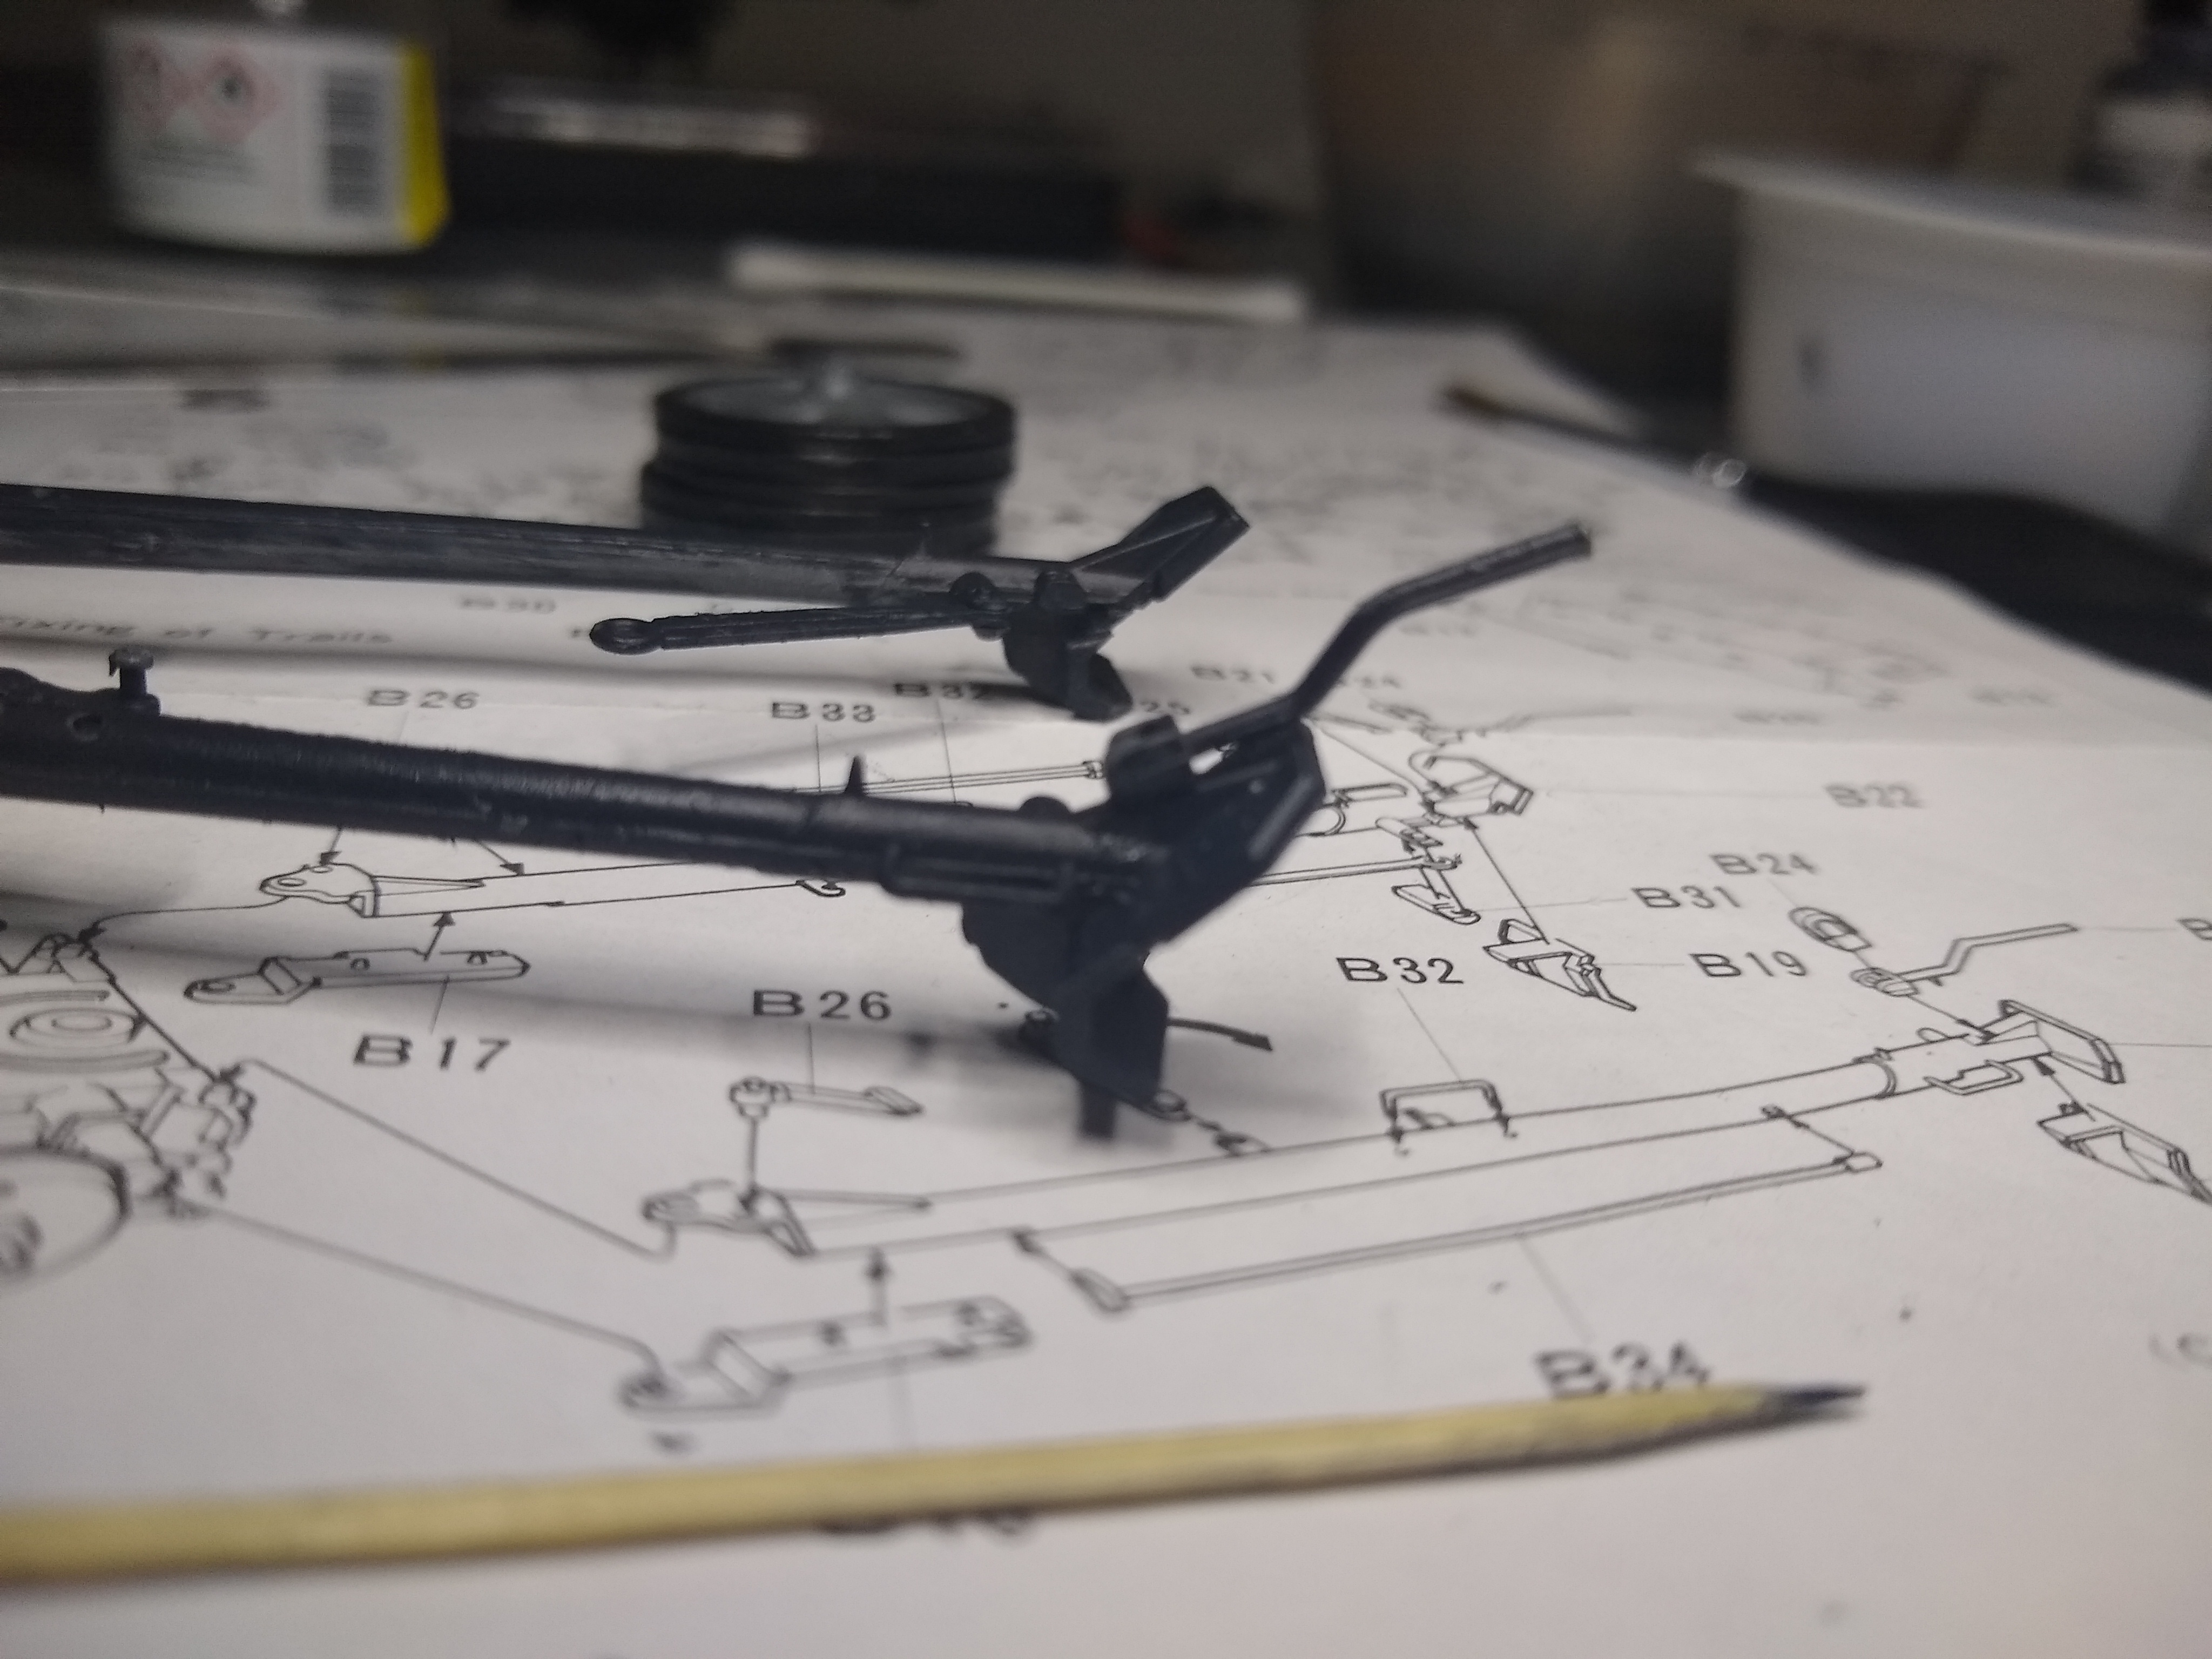
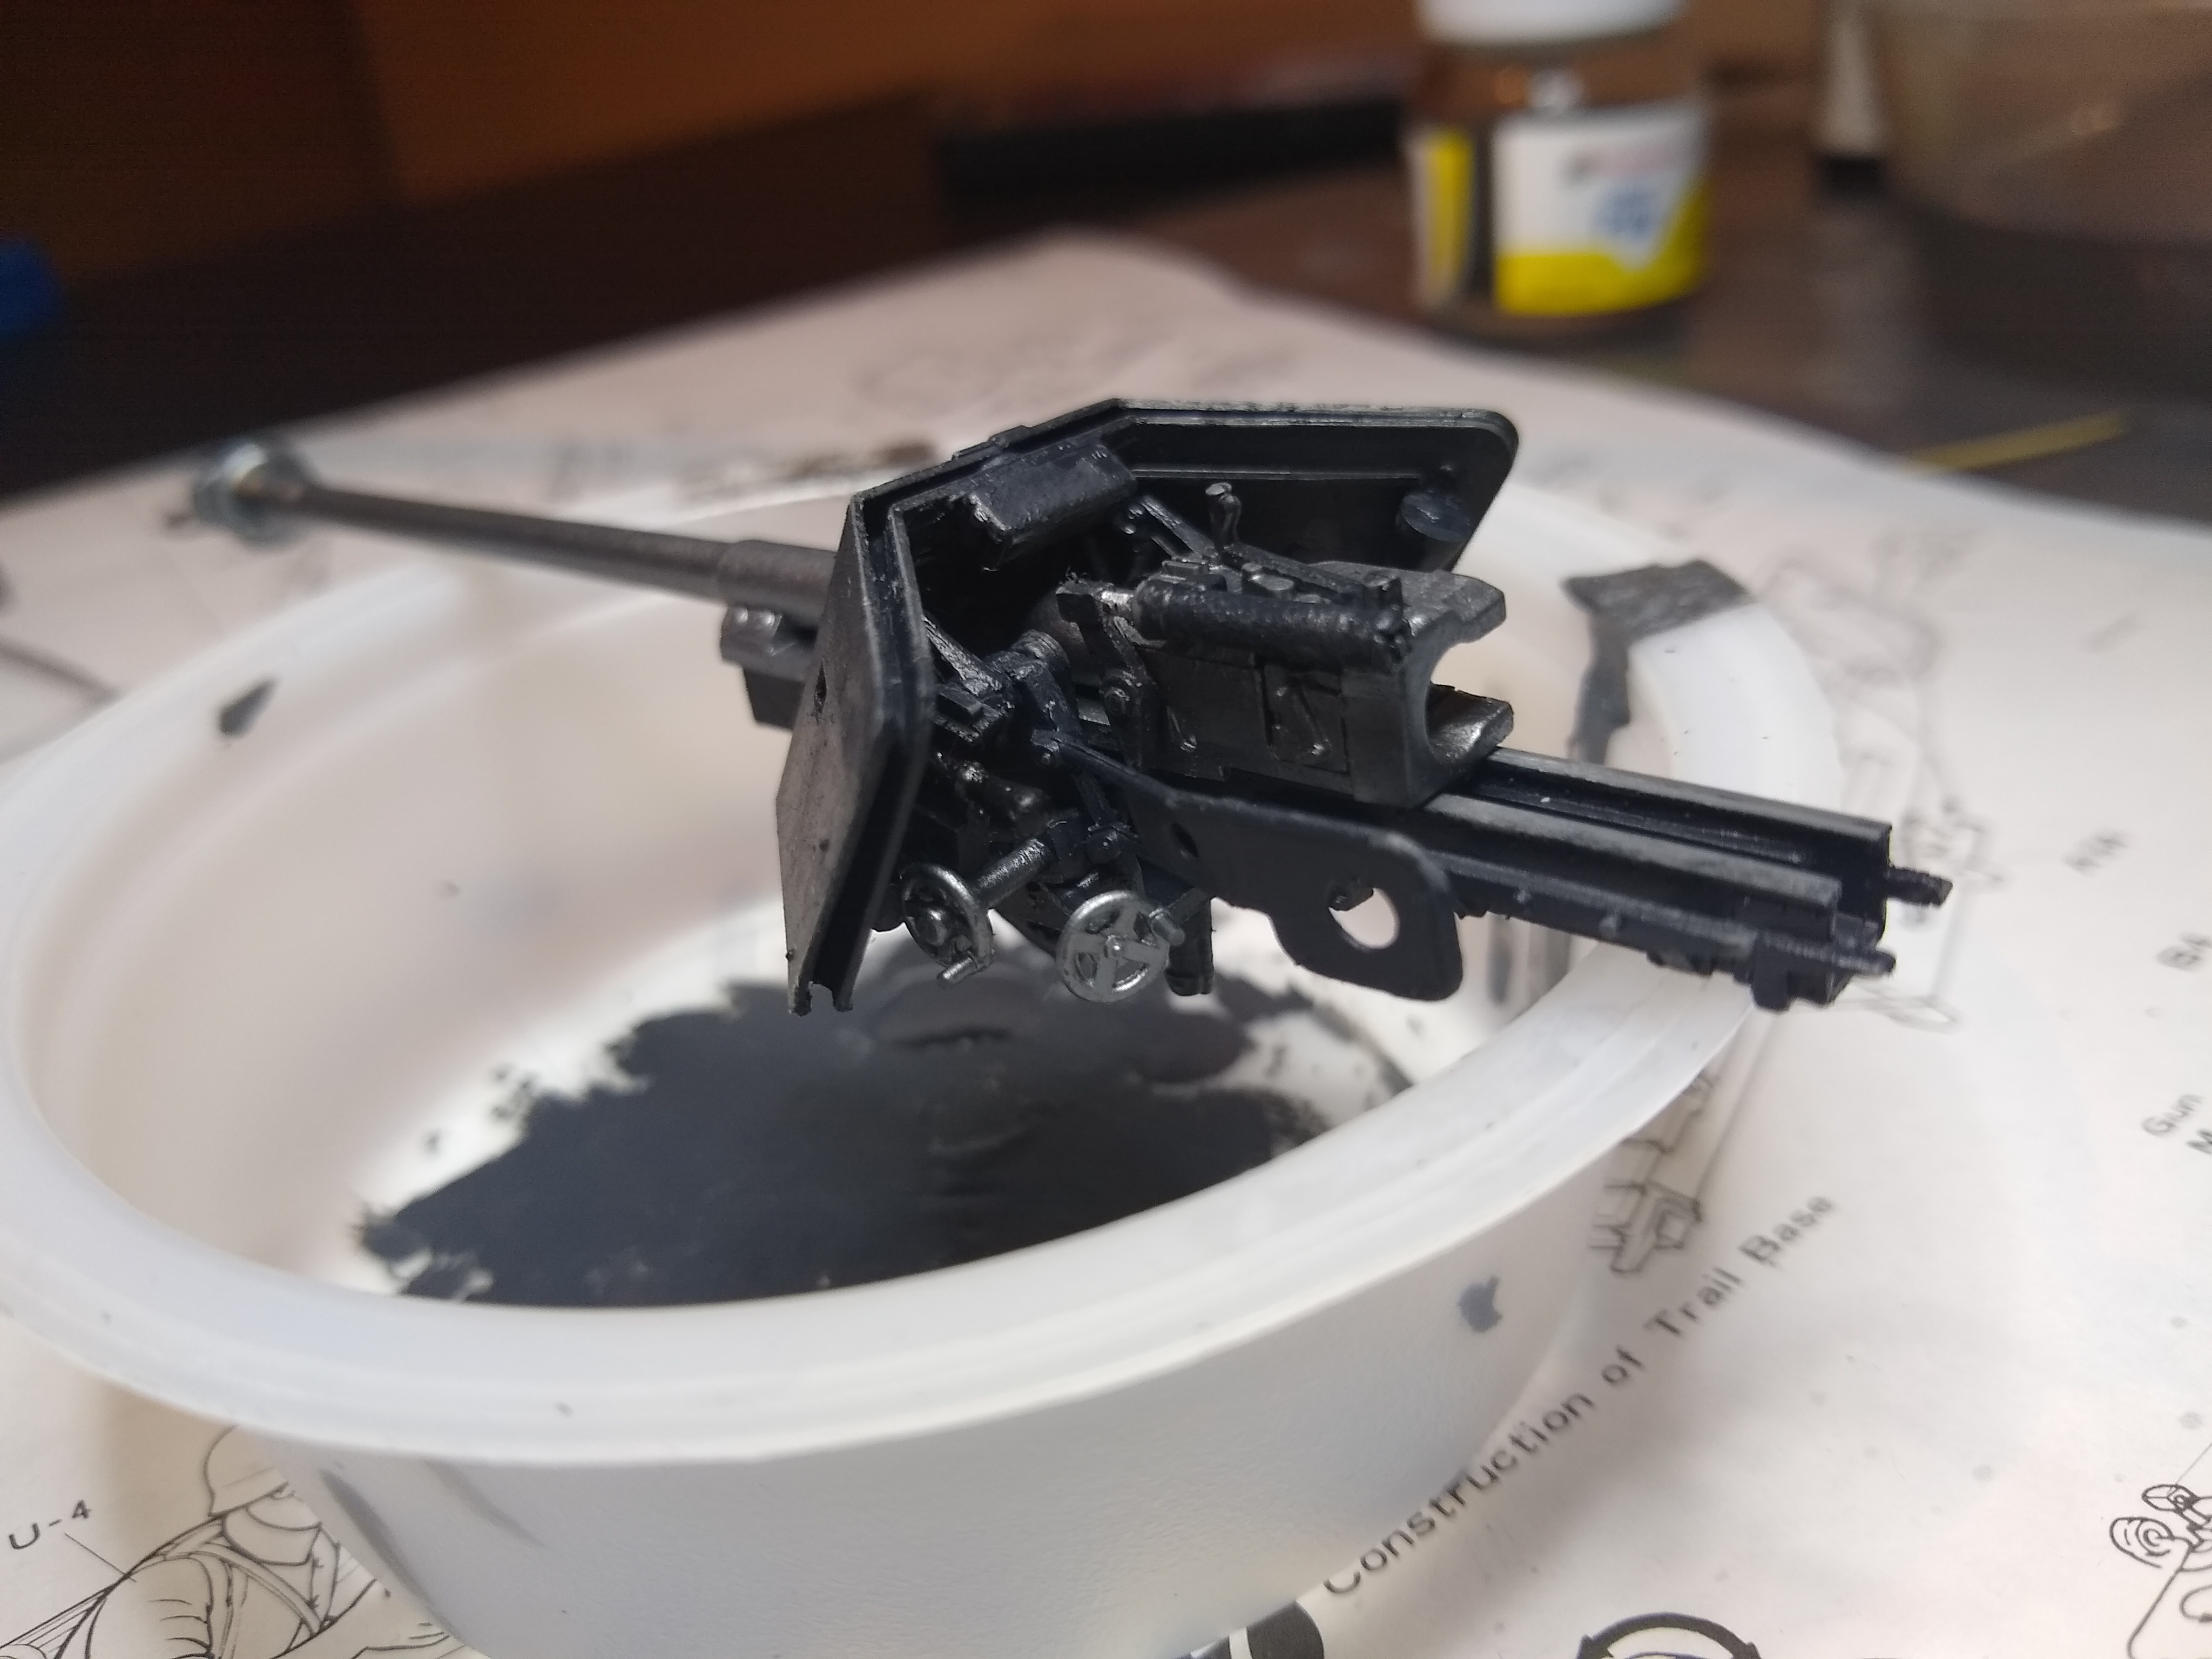
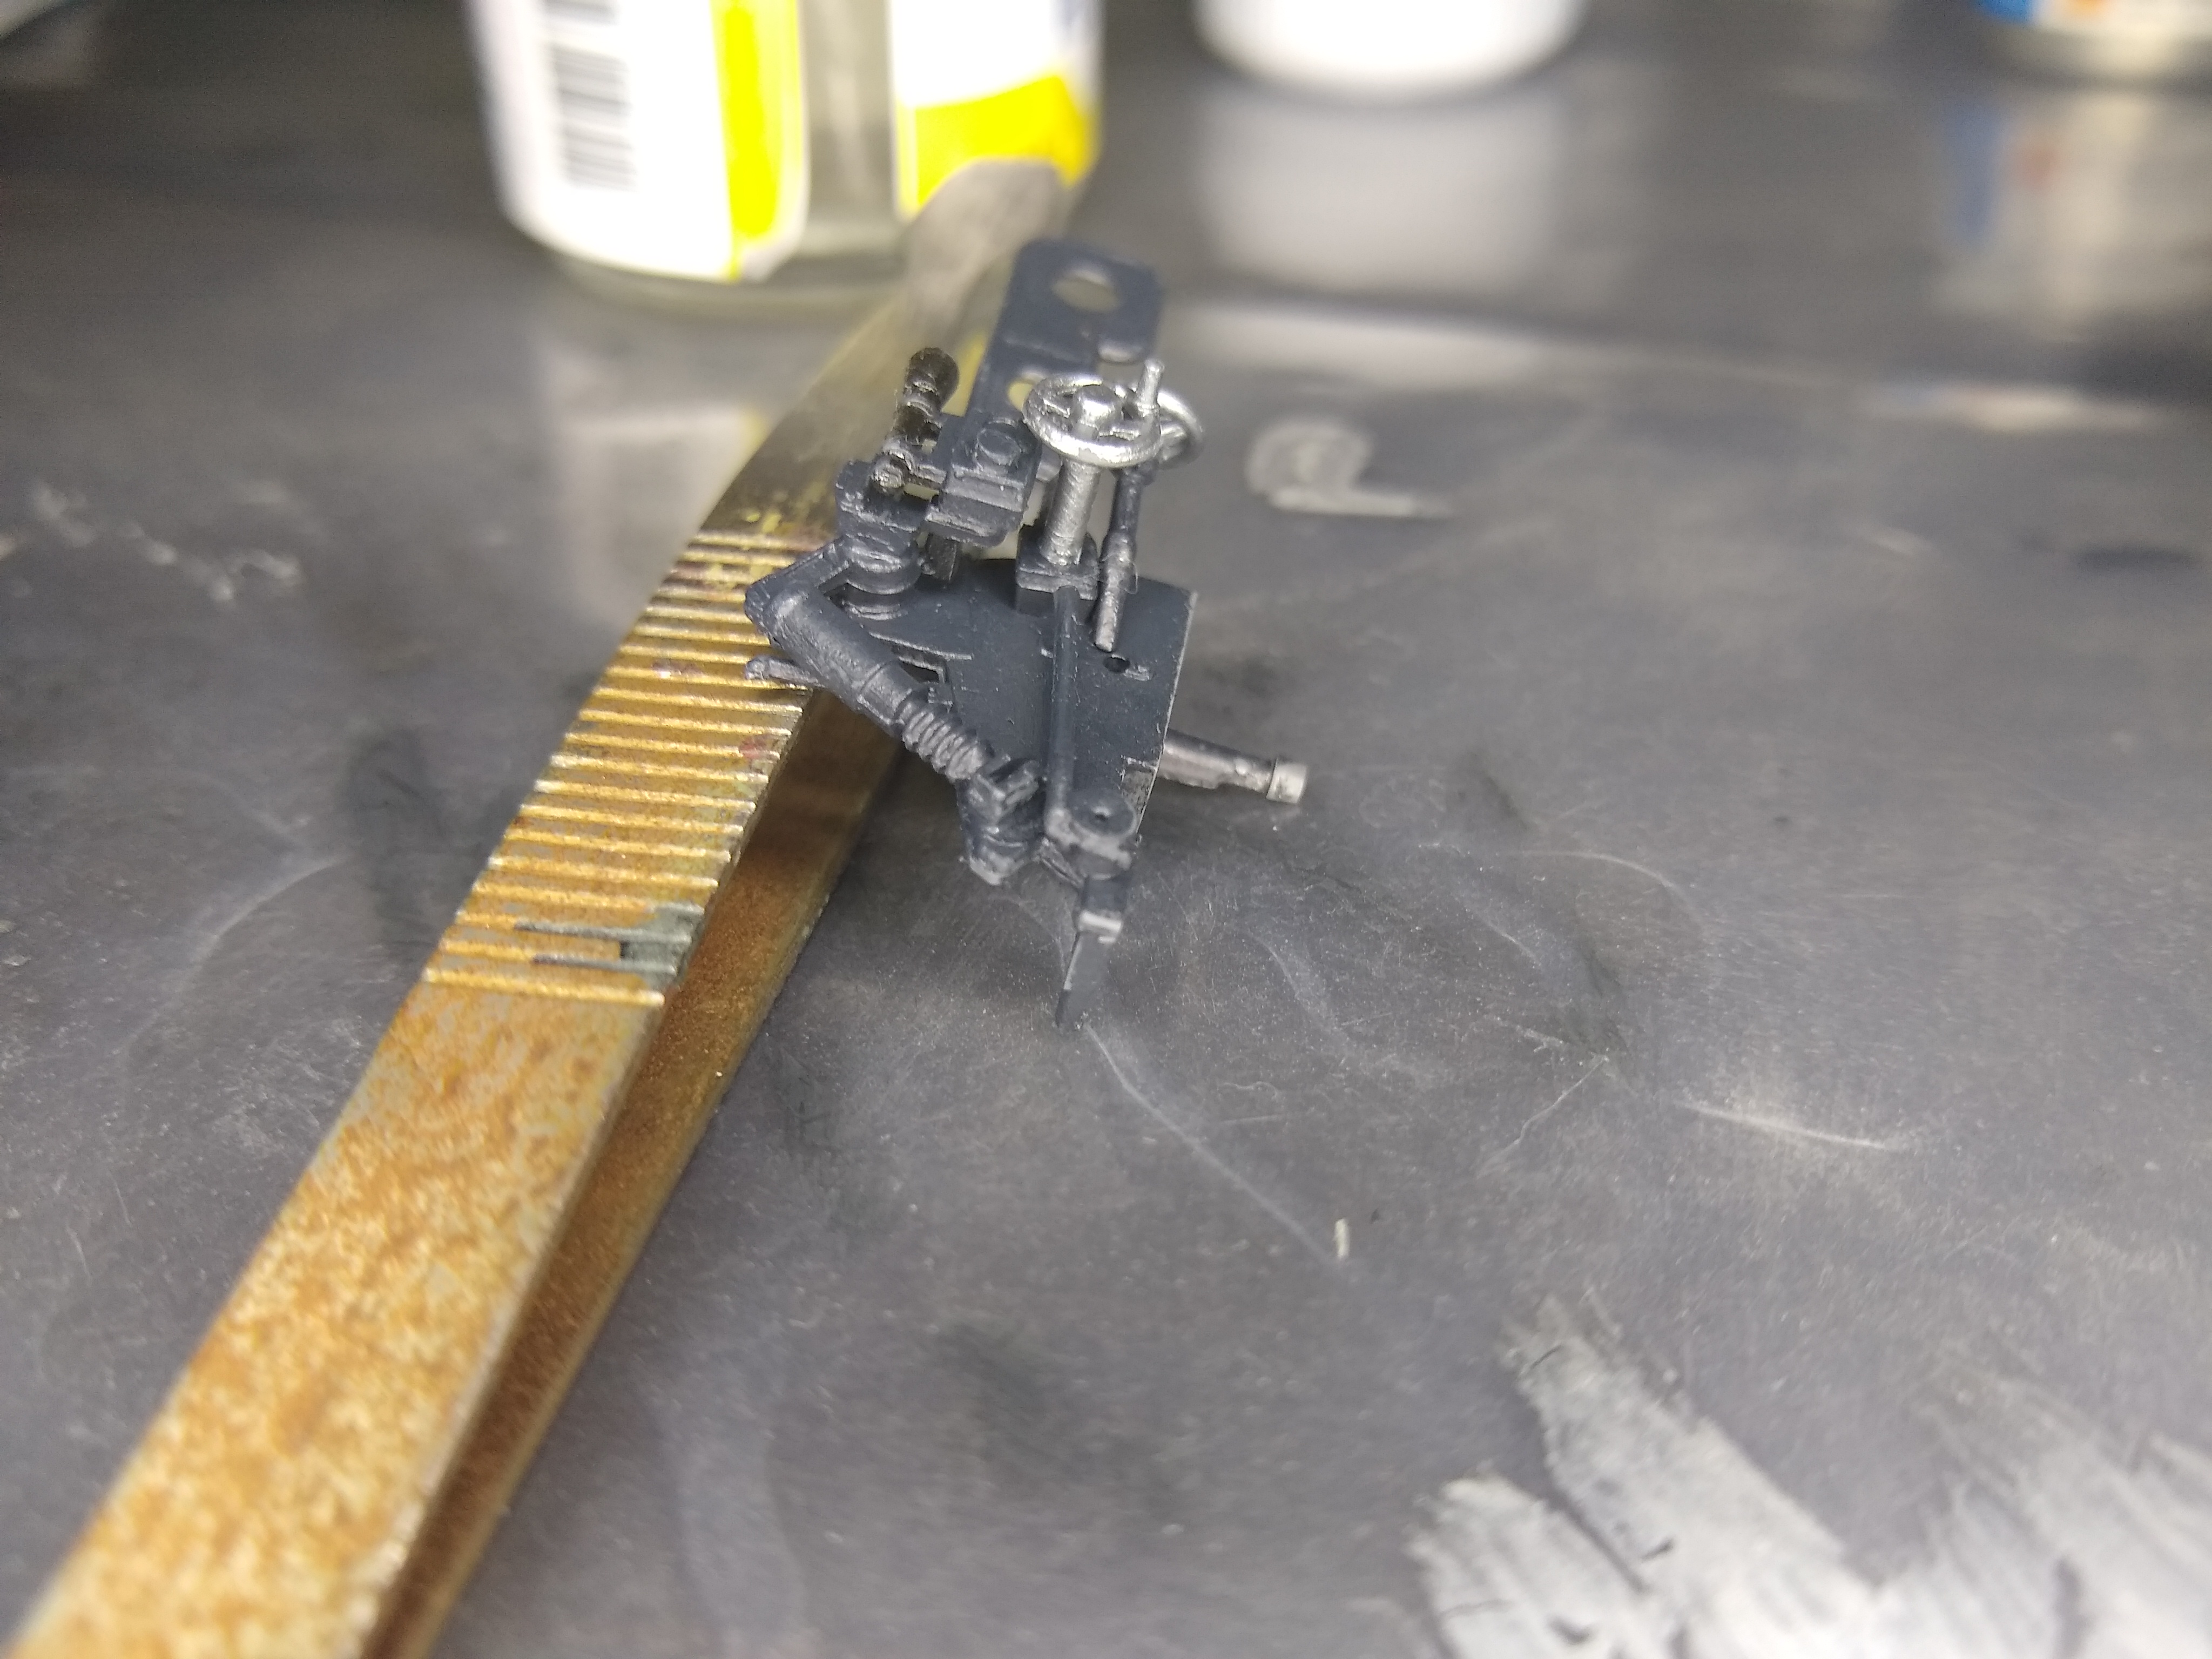
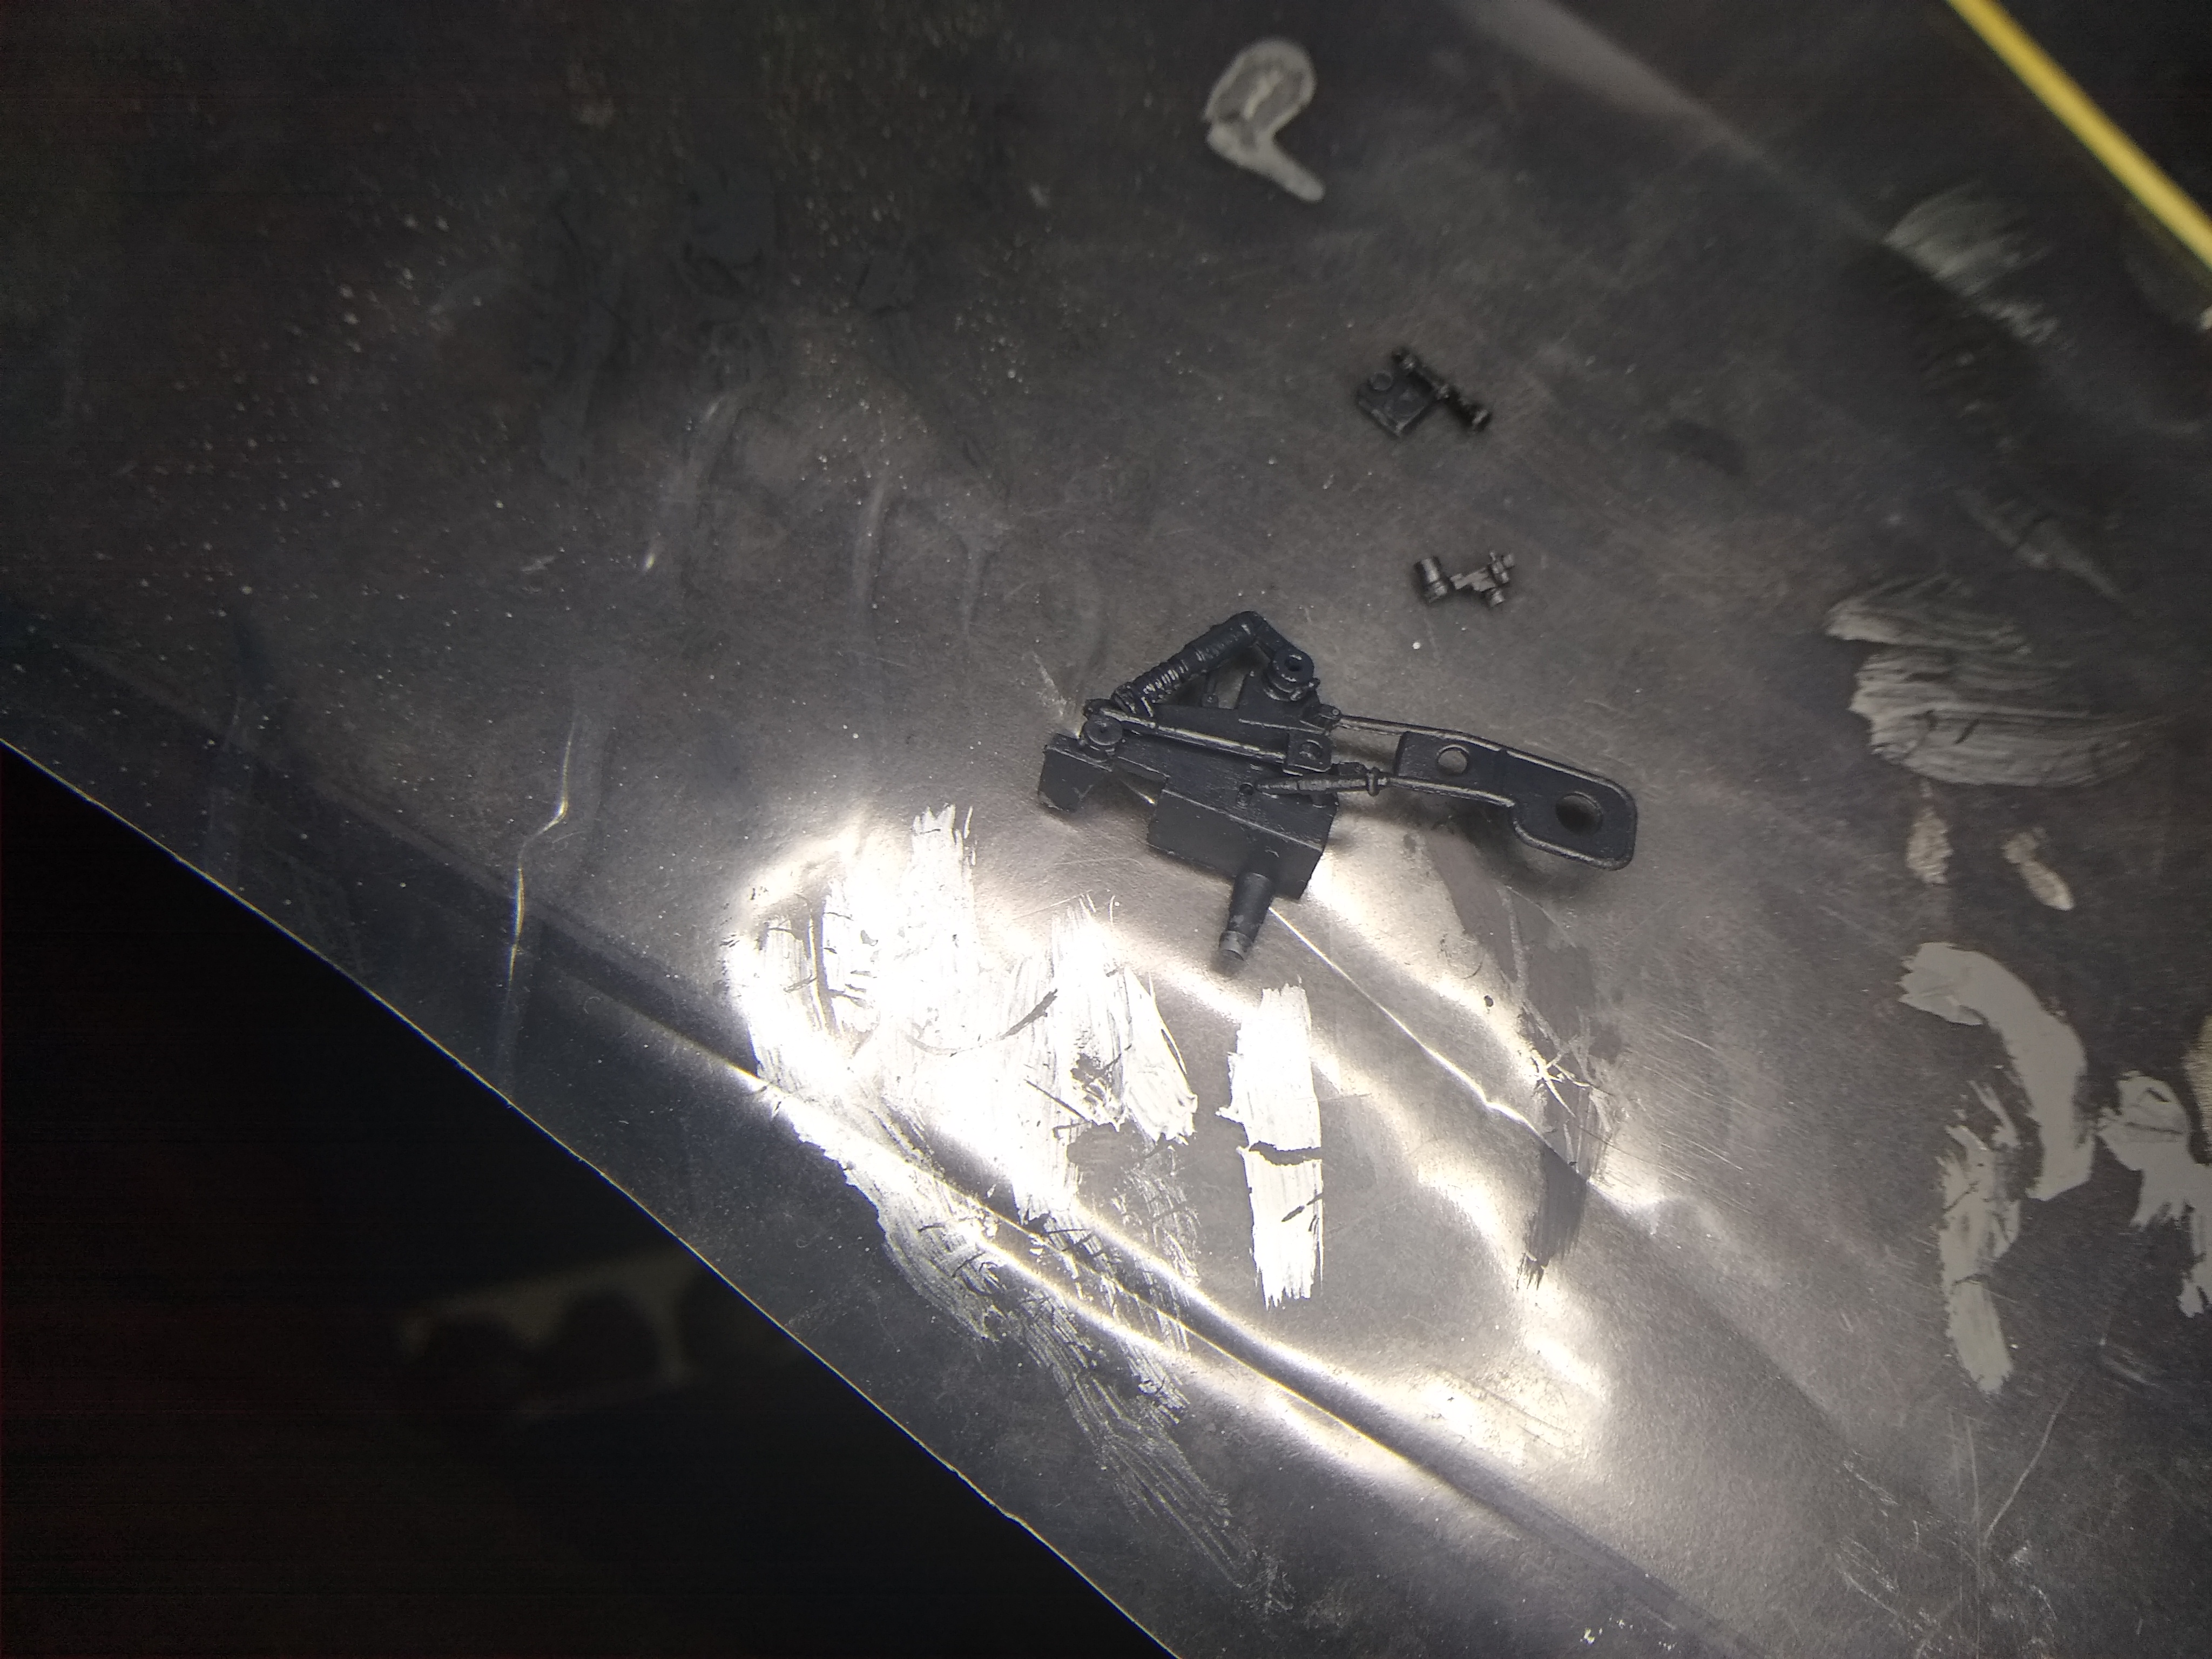
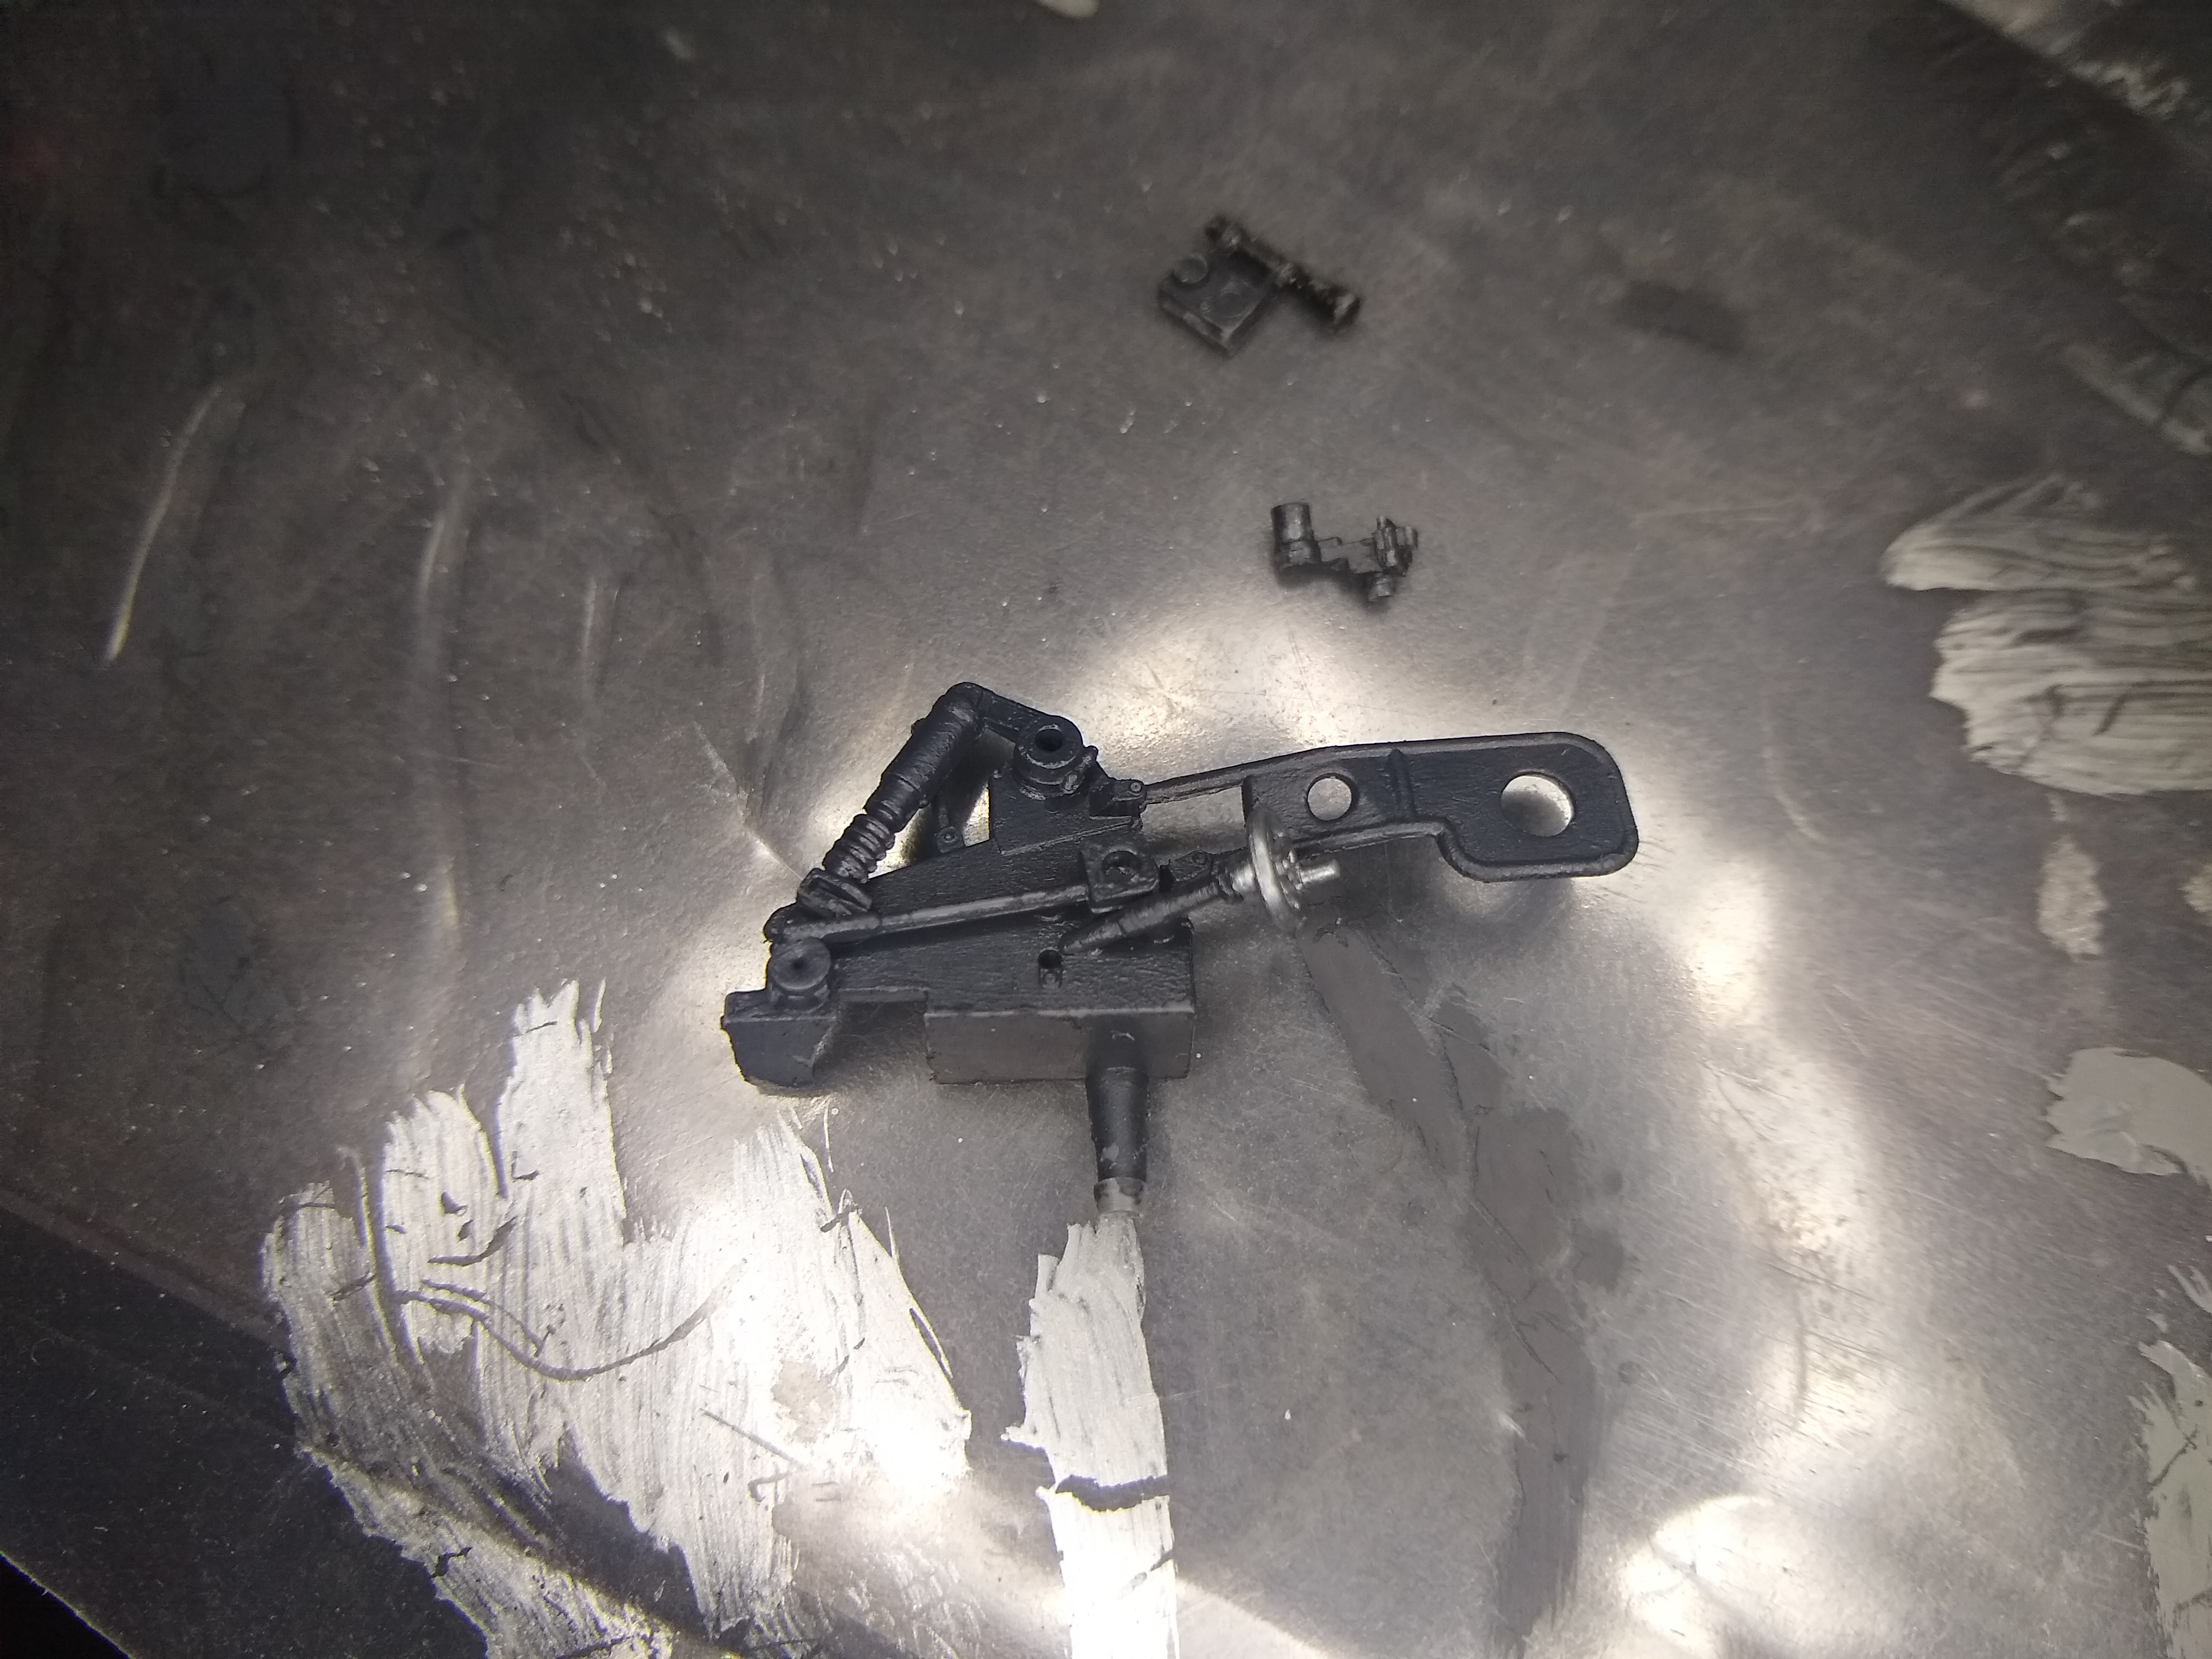
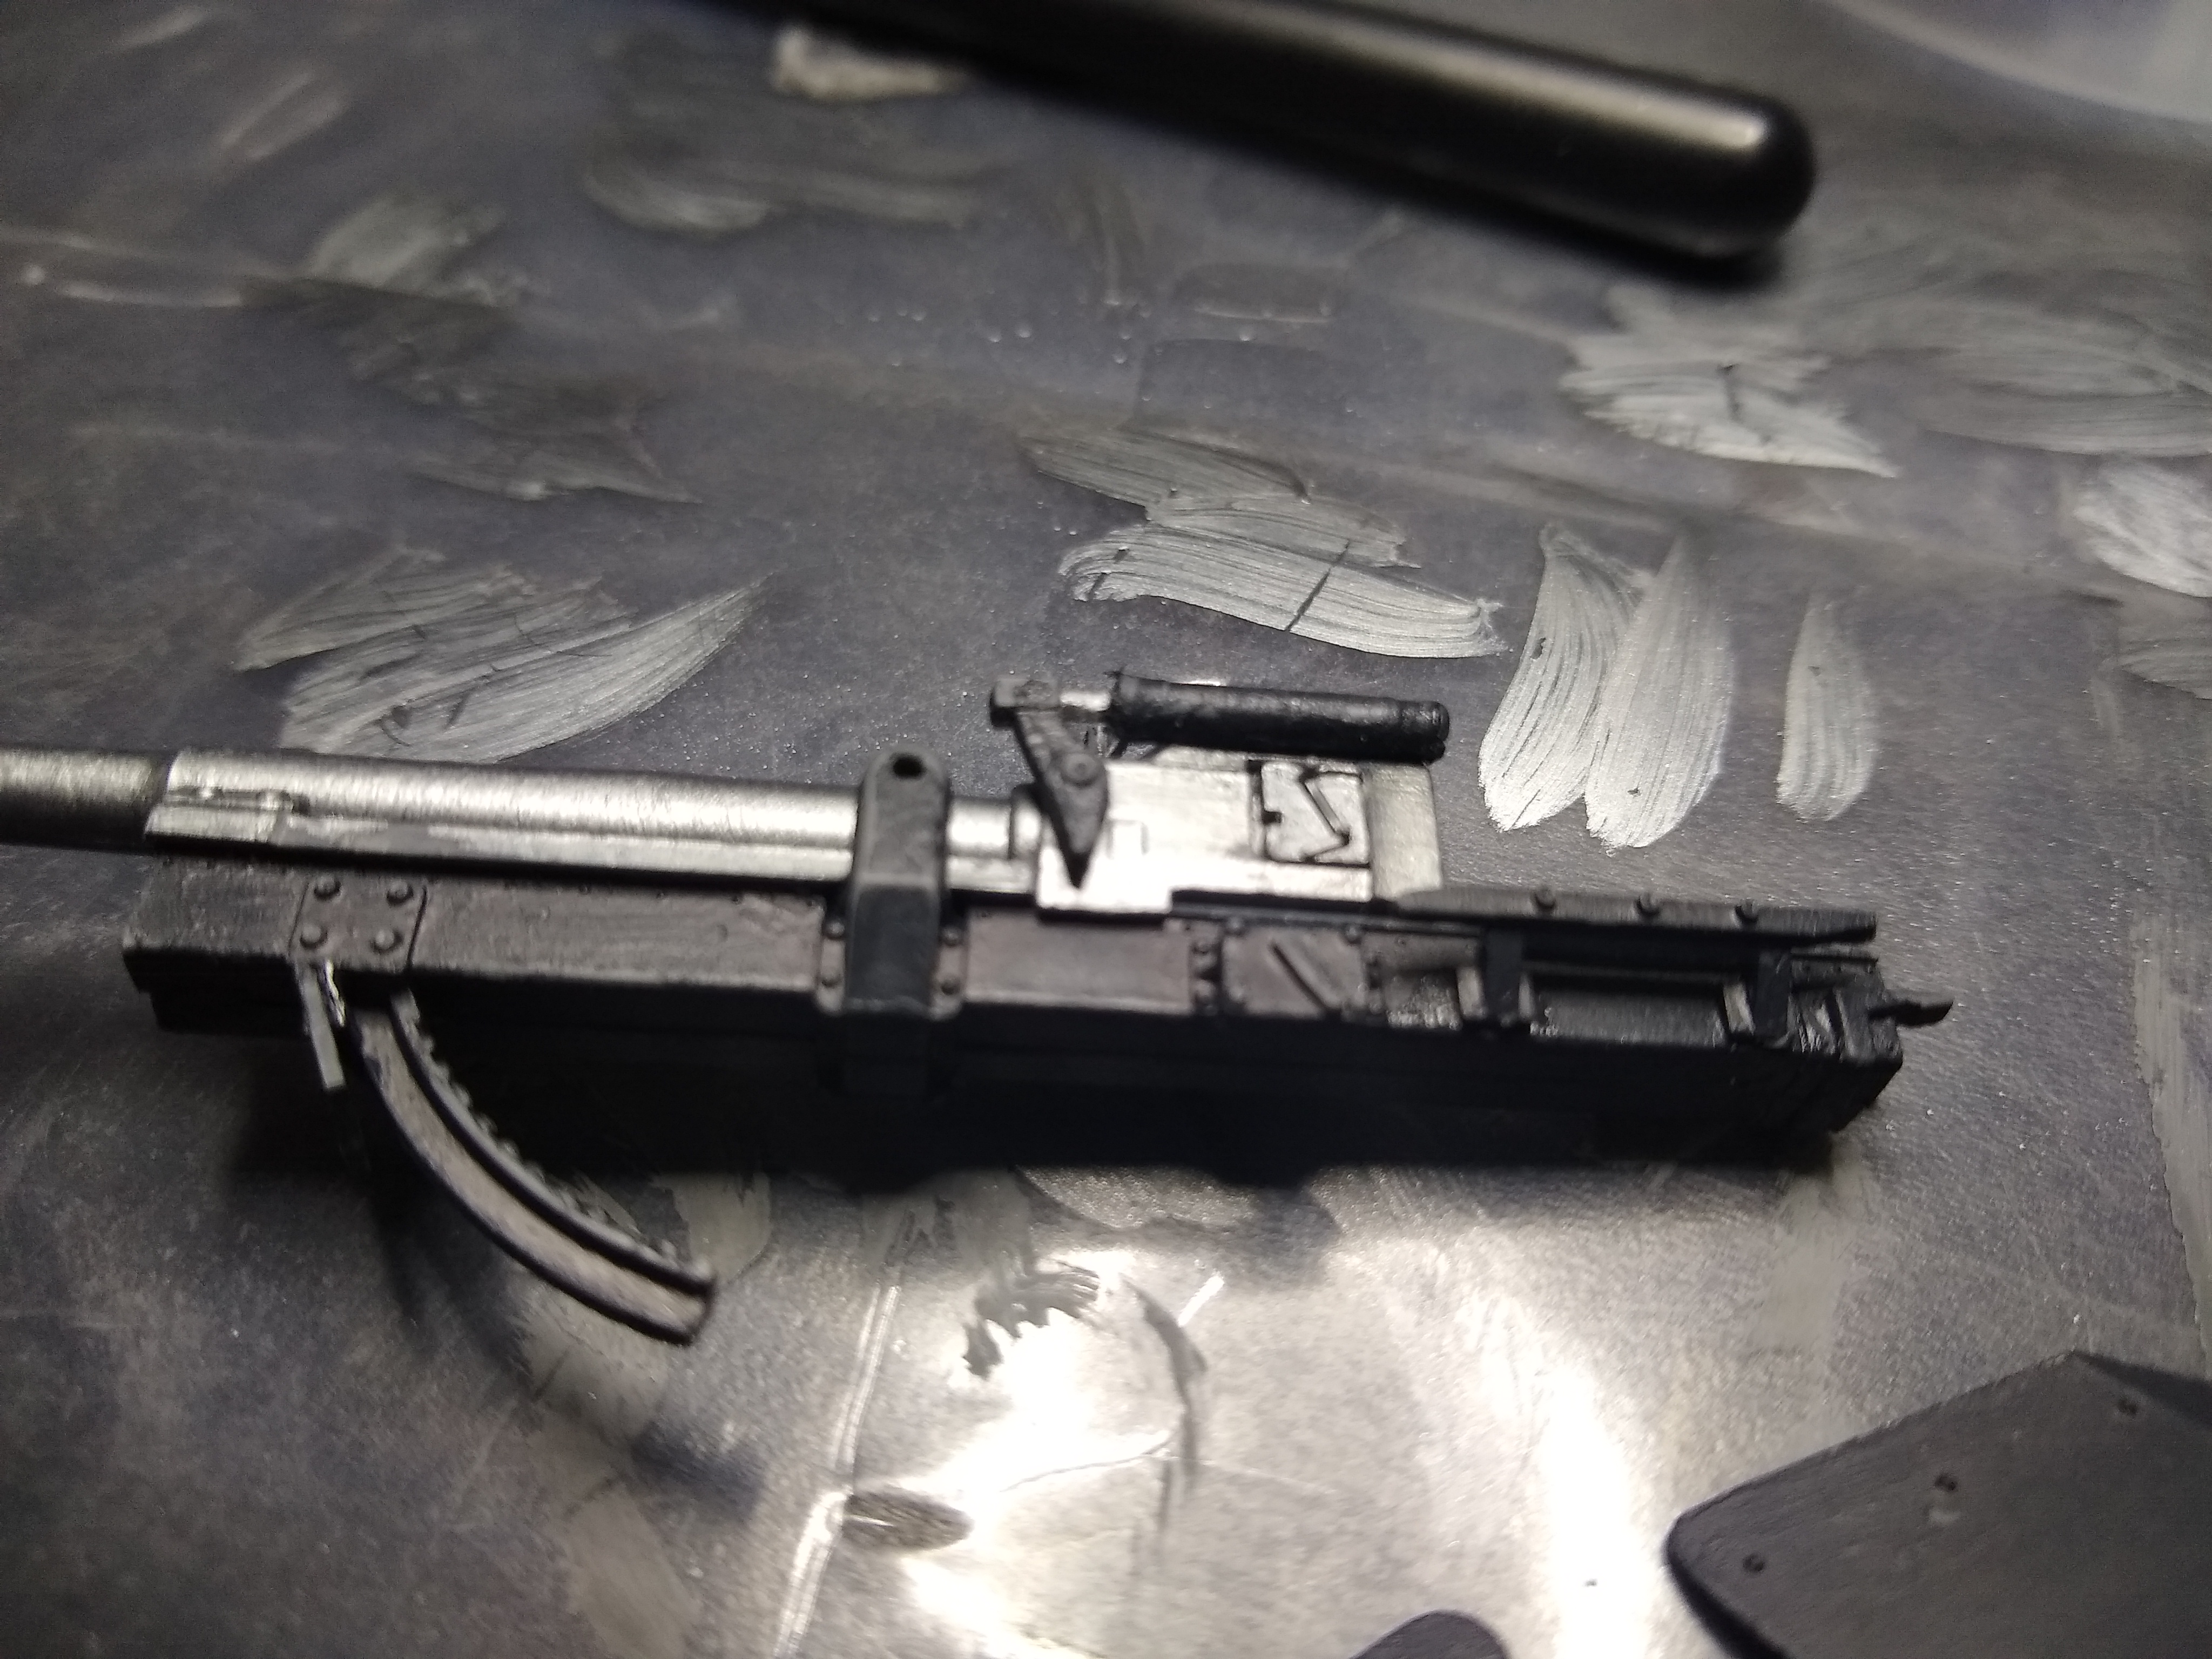
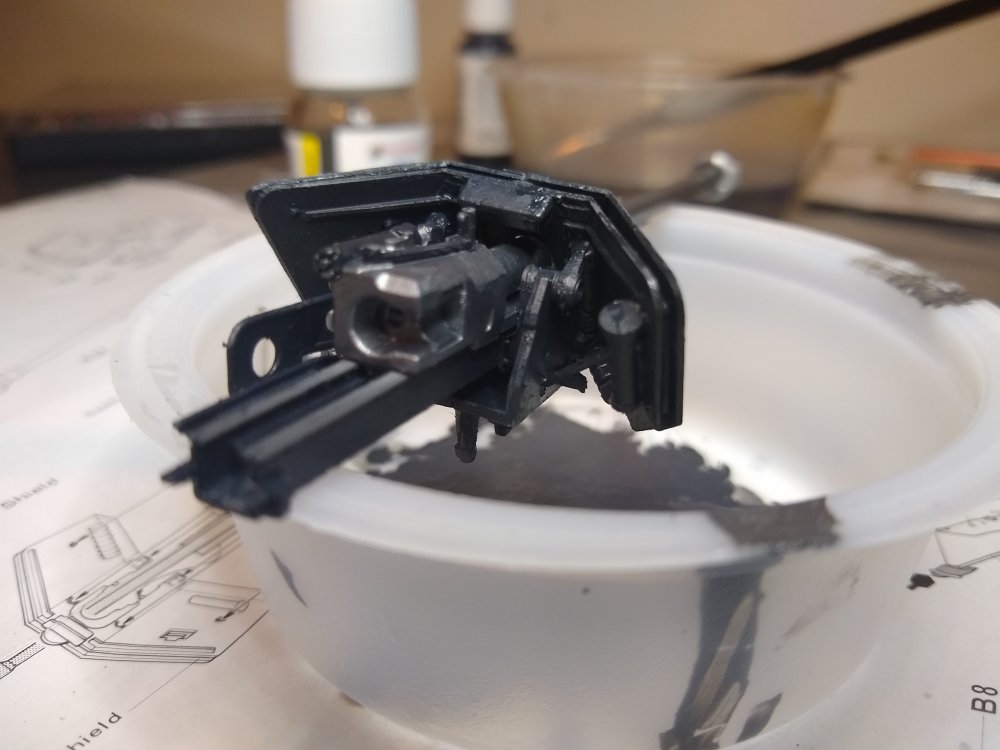
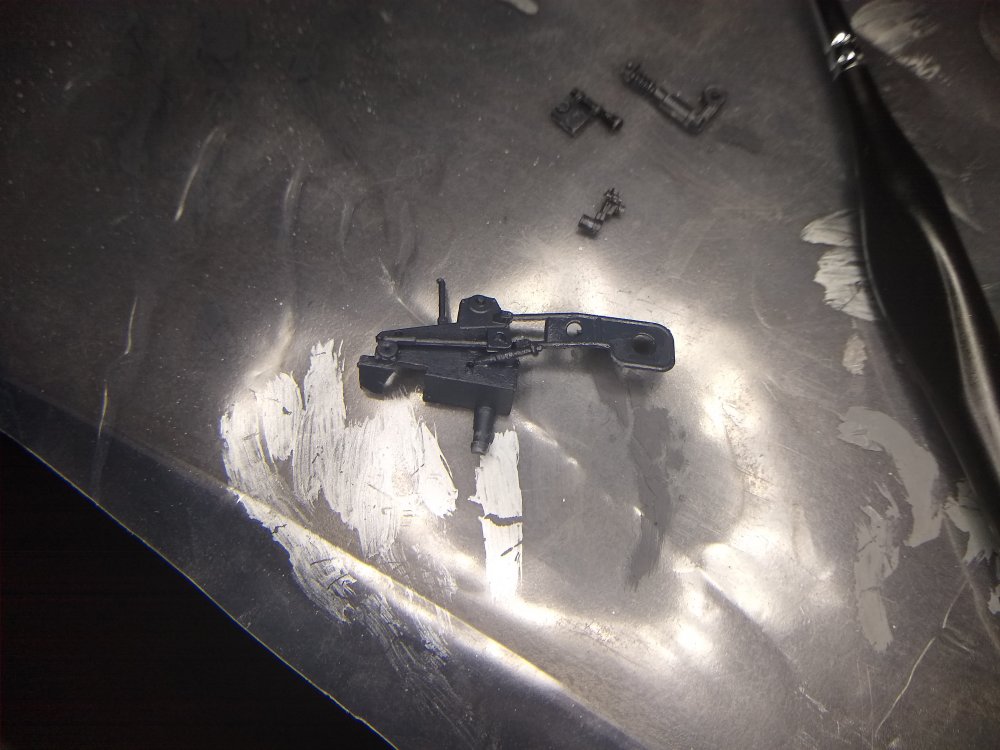
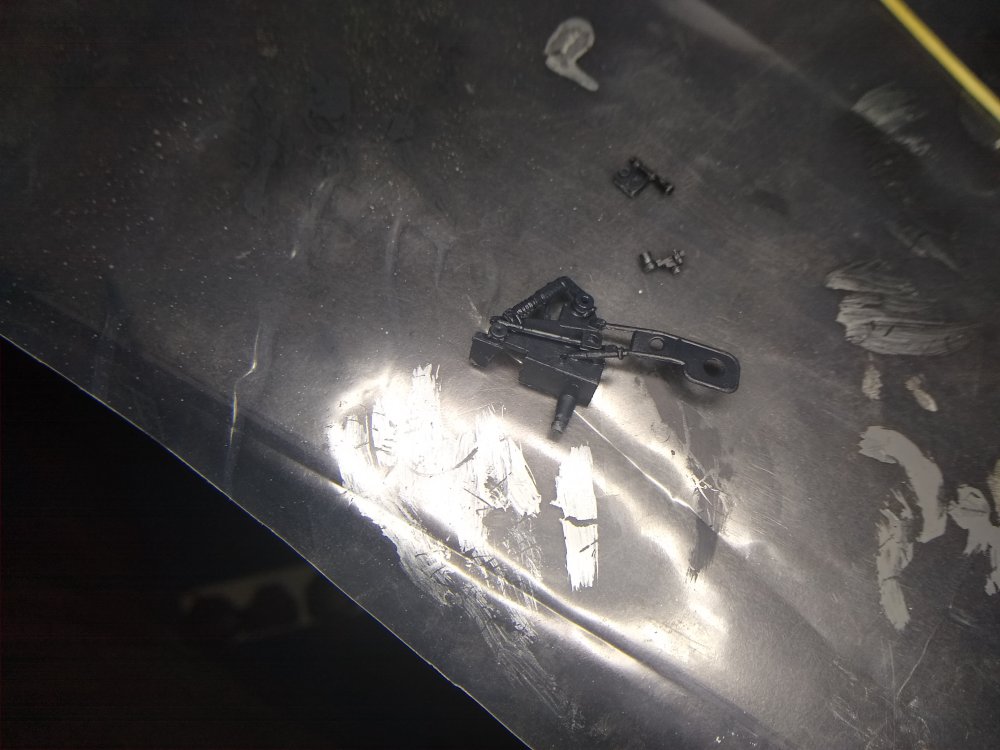
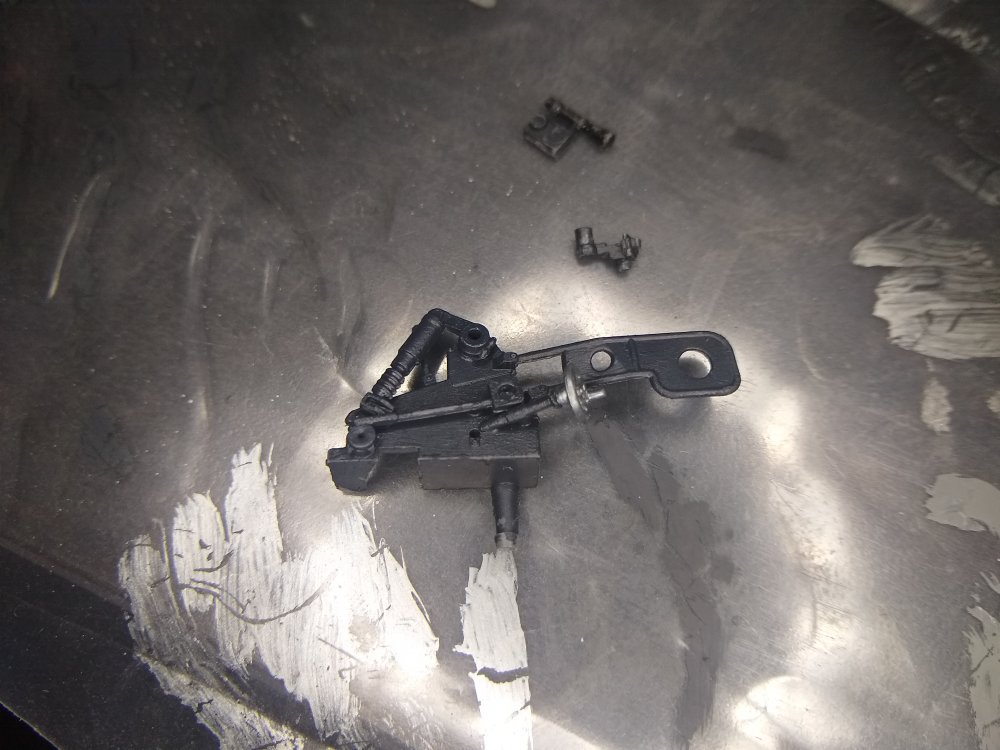
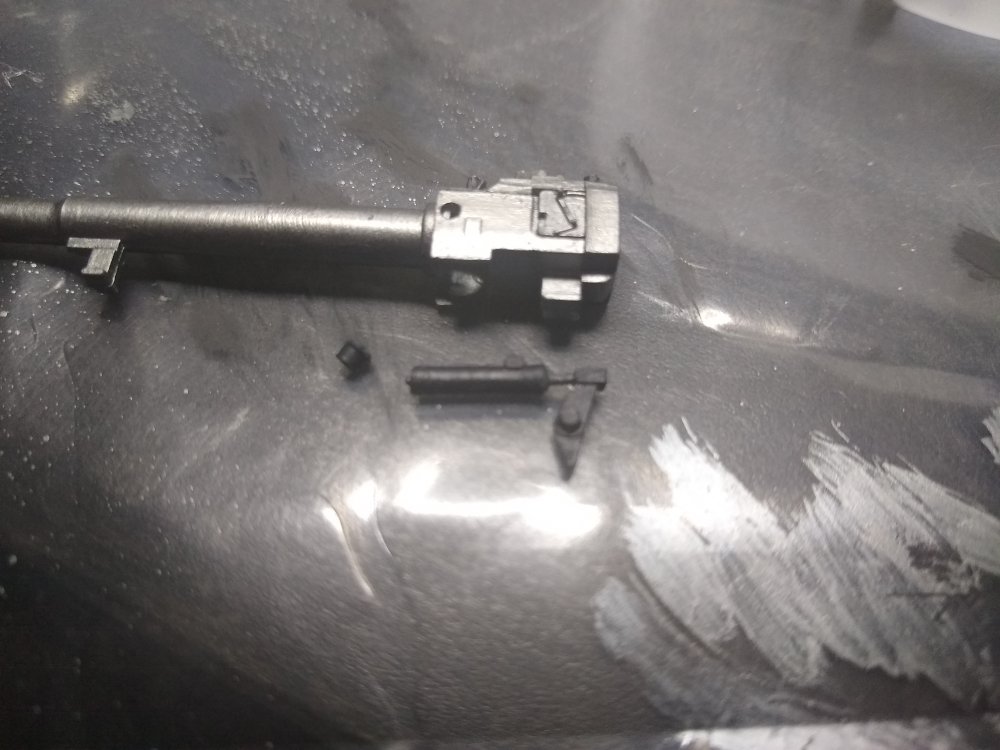
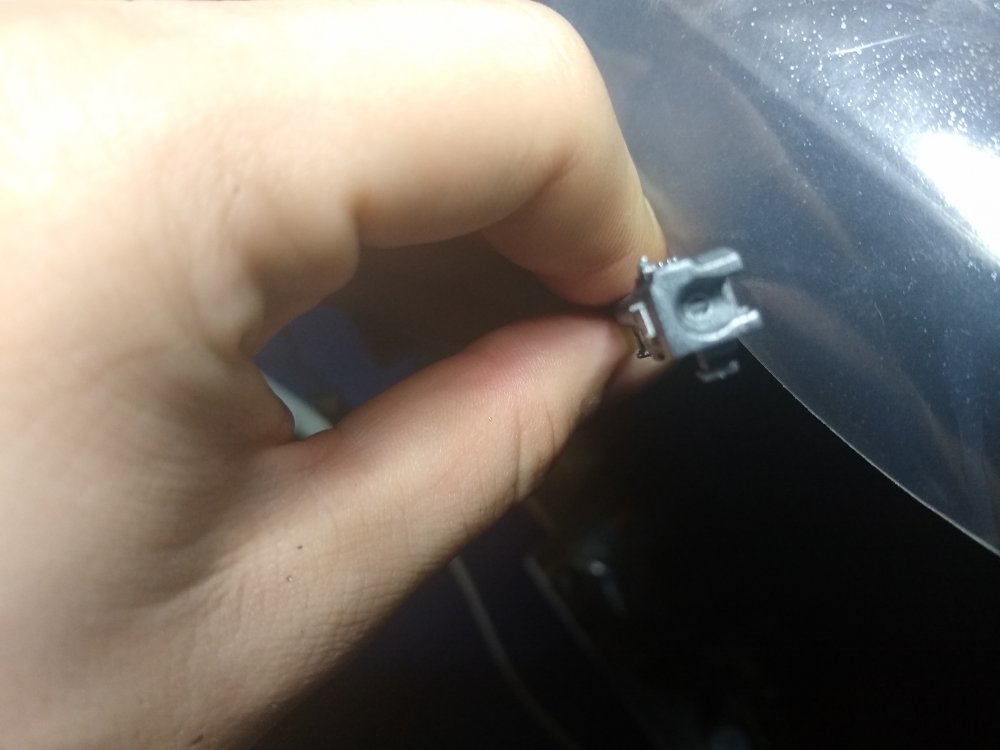
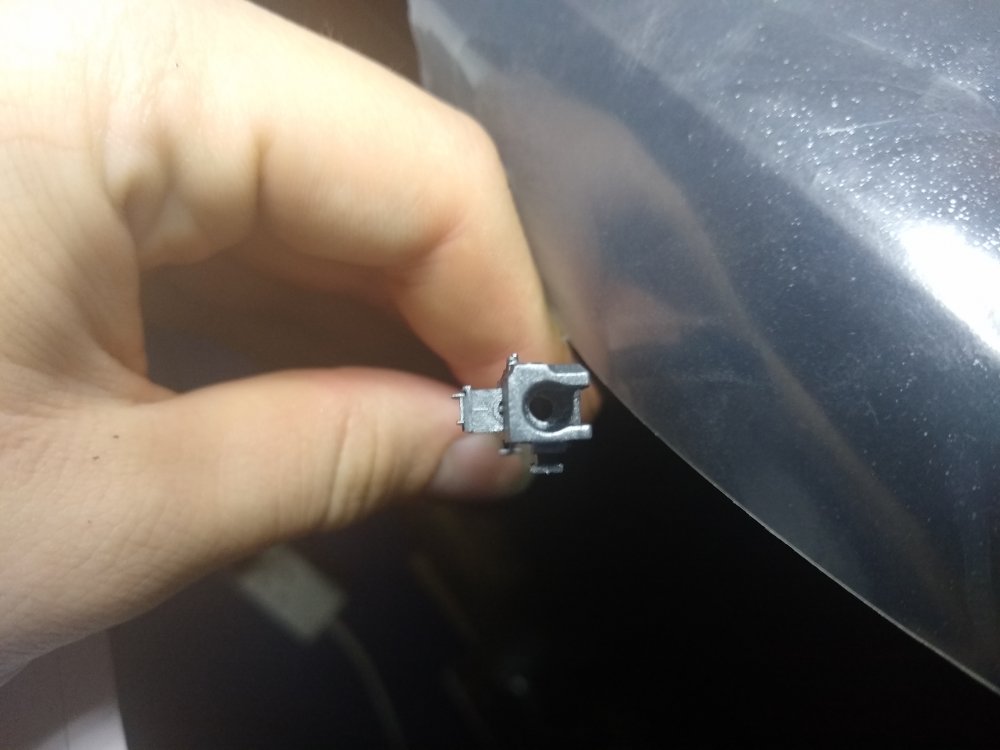
Another small update. Got the breach in and moving freely Breach closed Breach Open I am incredibly happy with this small detail. As it was very fiddly to get in place and took a fair bit of fiddling and adjustment.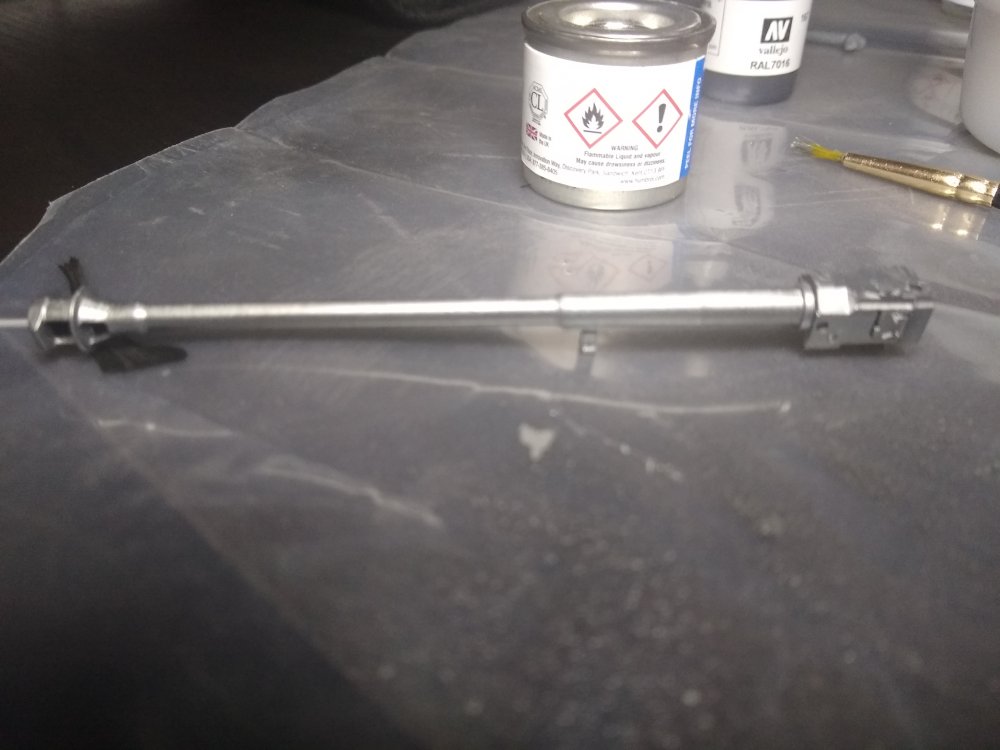

-
7.5cm Anti-Tank Gun PAK40/L46 1:35
Daniel_Roxy replied to Daniel_Roxy's topic in LSM 1/35 and Larger Work In Progress
Found another walk around of a PAK 40.I am doing alot of research for this model. I am quite enjoying doing it too. https//www.youtube.com/watch?v=hg4fcnfqw3E -
7.5cm Anti-Tank Gun PAK40/L46 1:35
Daniel_Roxy replied to Daniel_Roxy's topic in LSM 1/35 and Larger Work In Progress
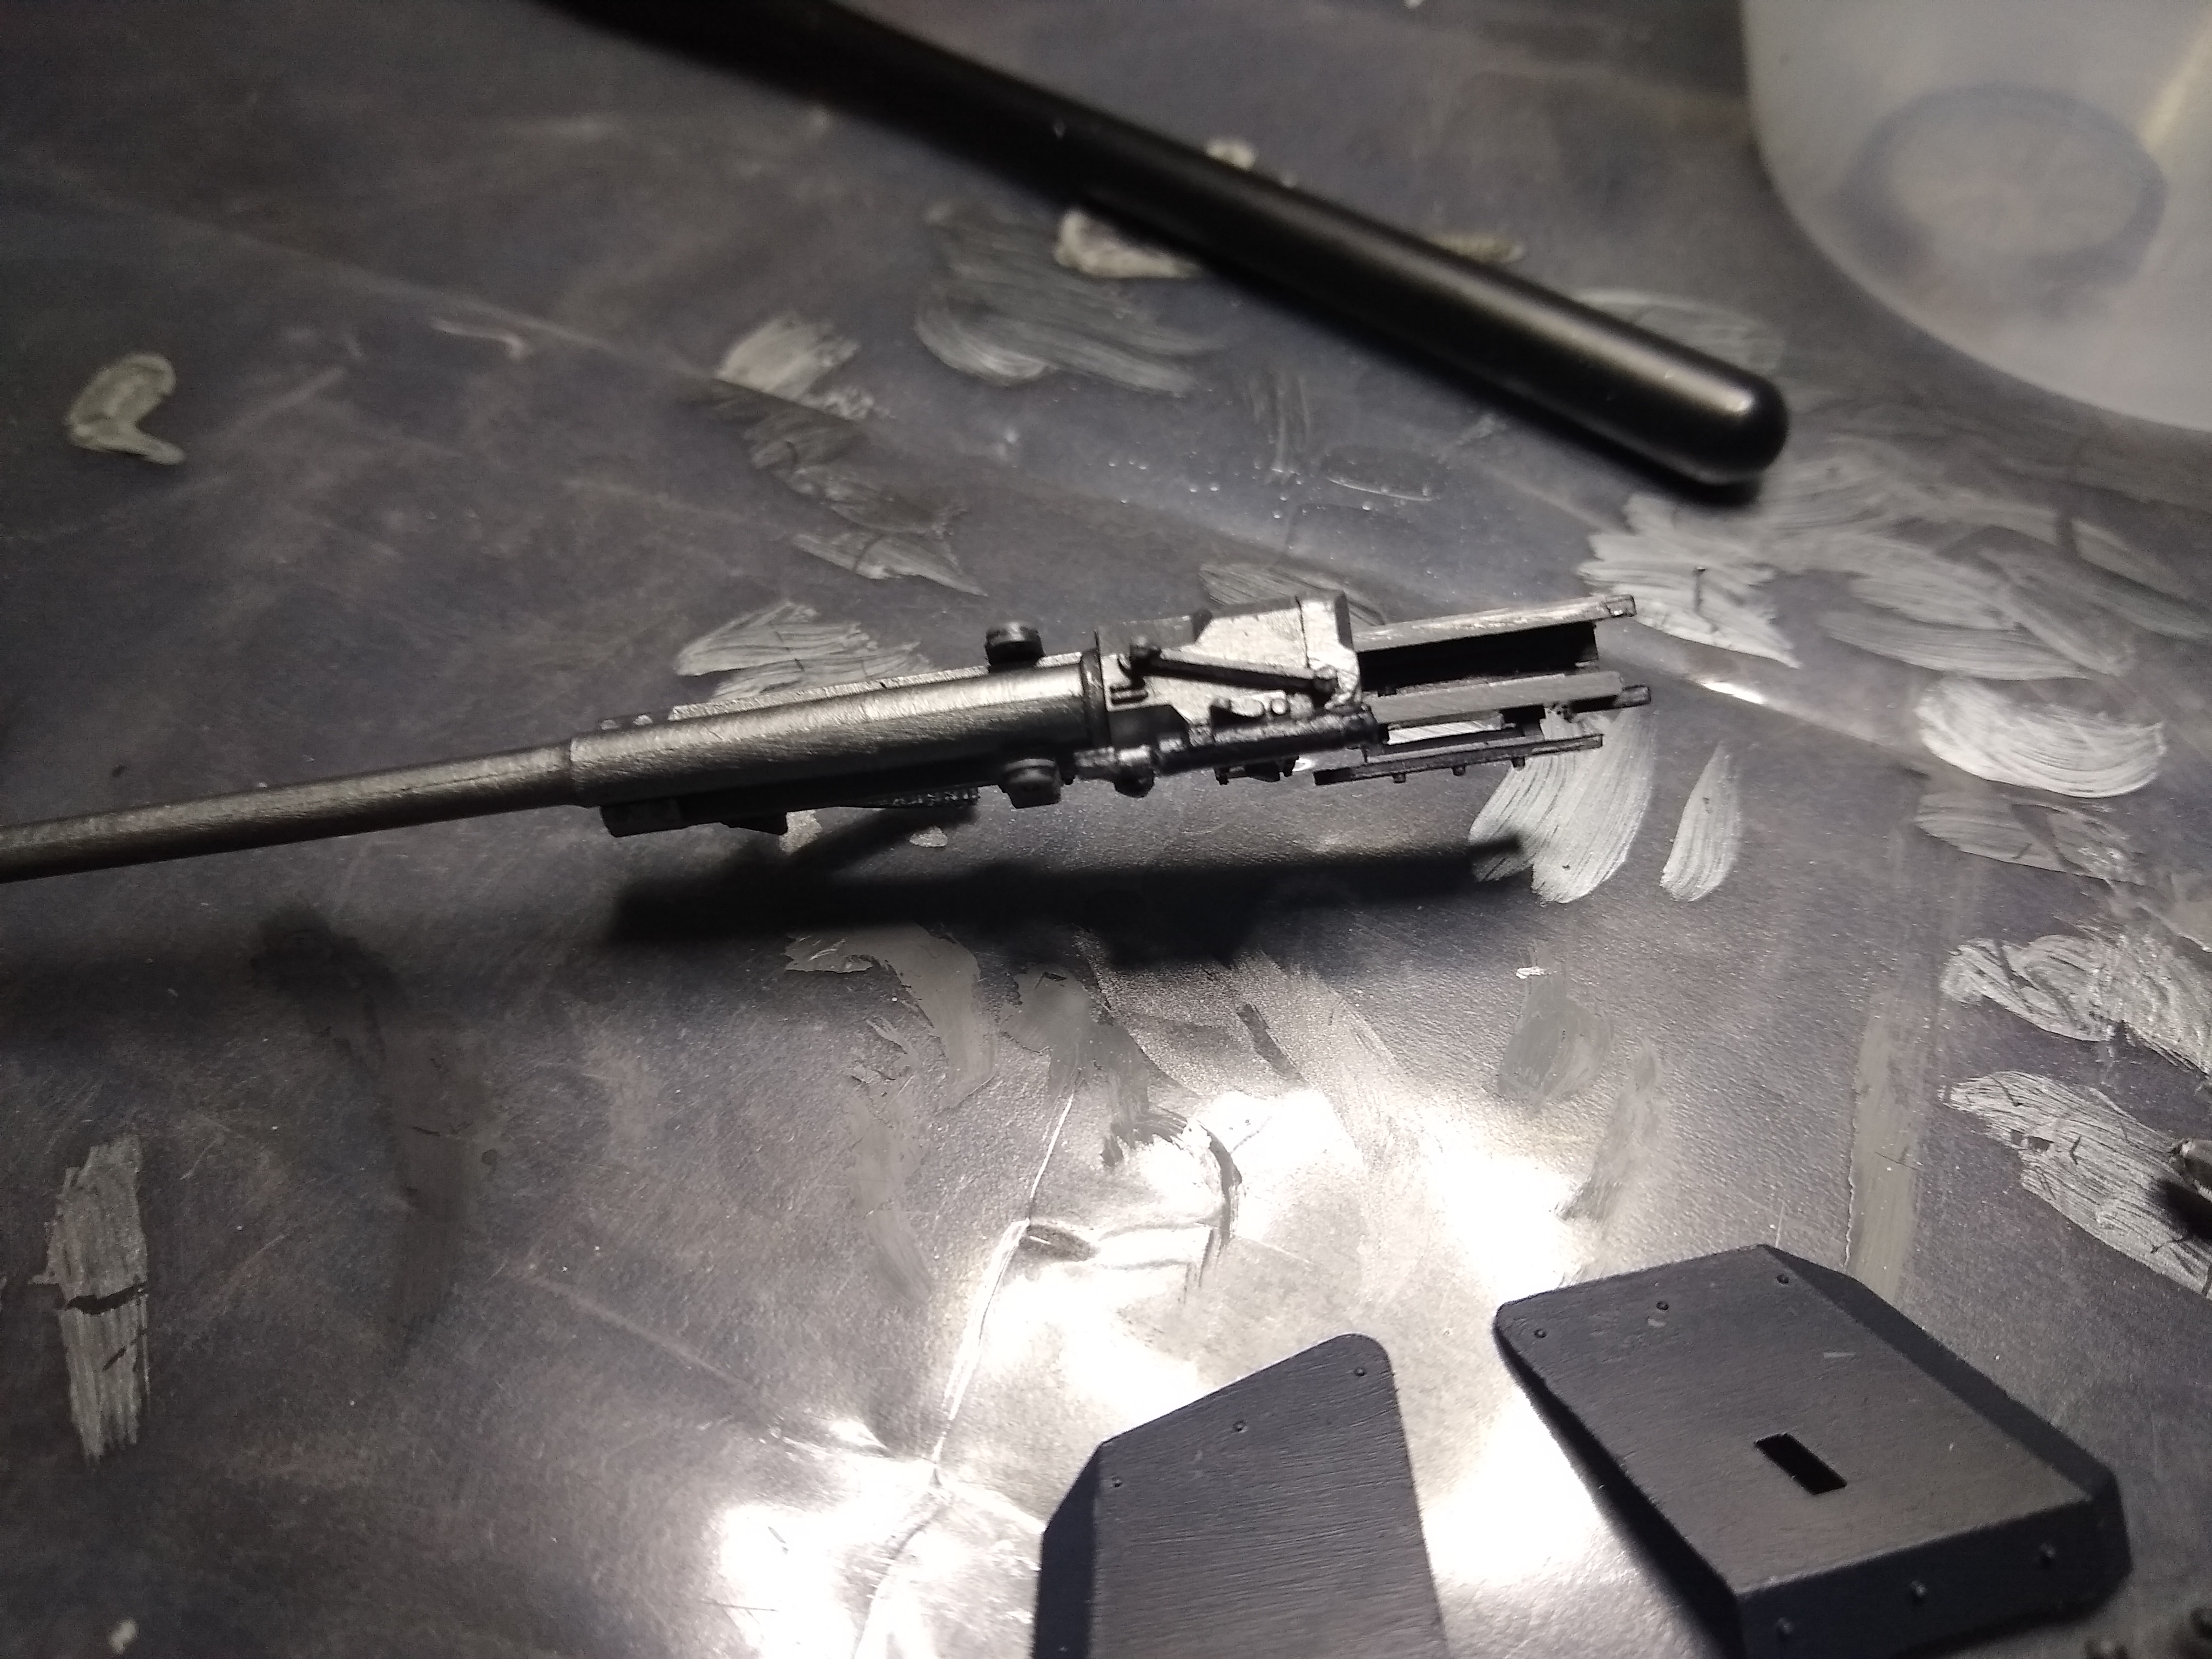
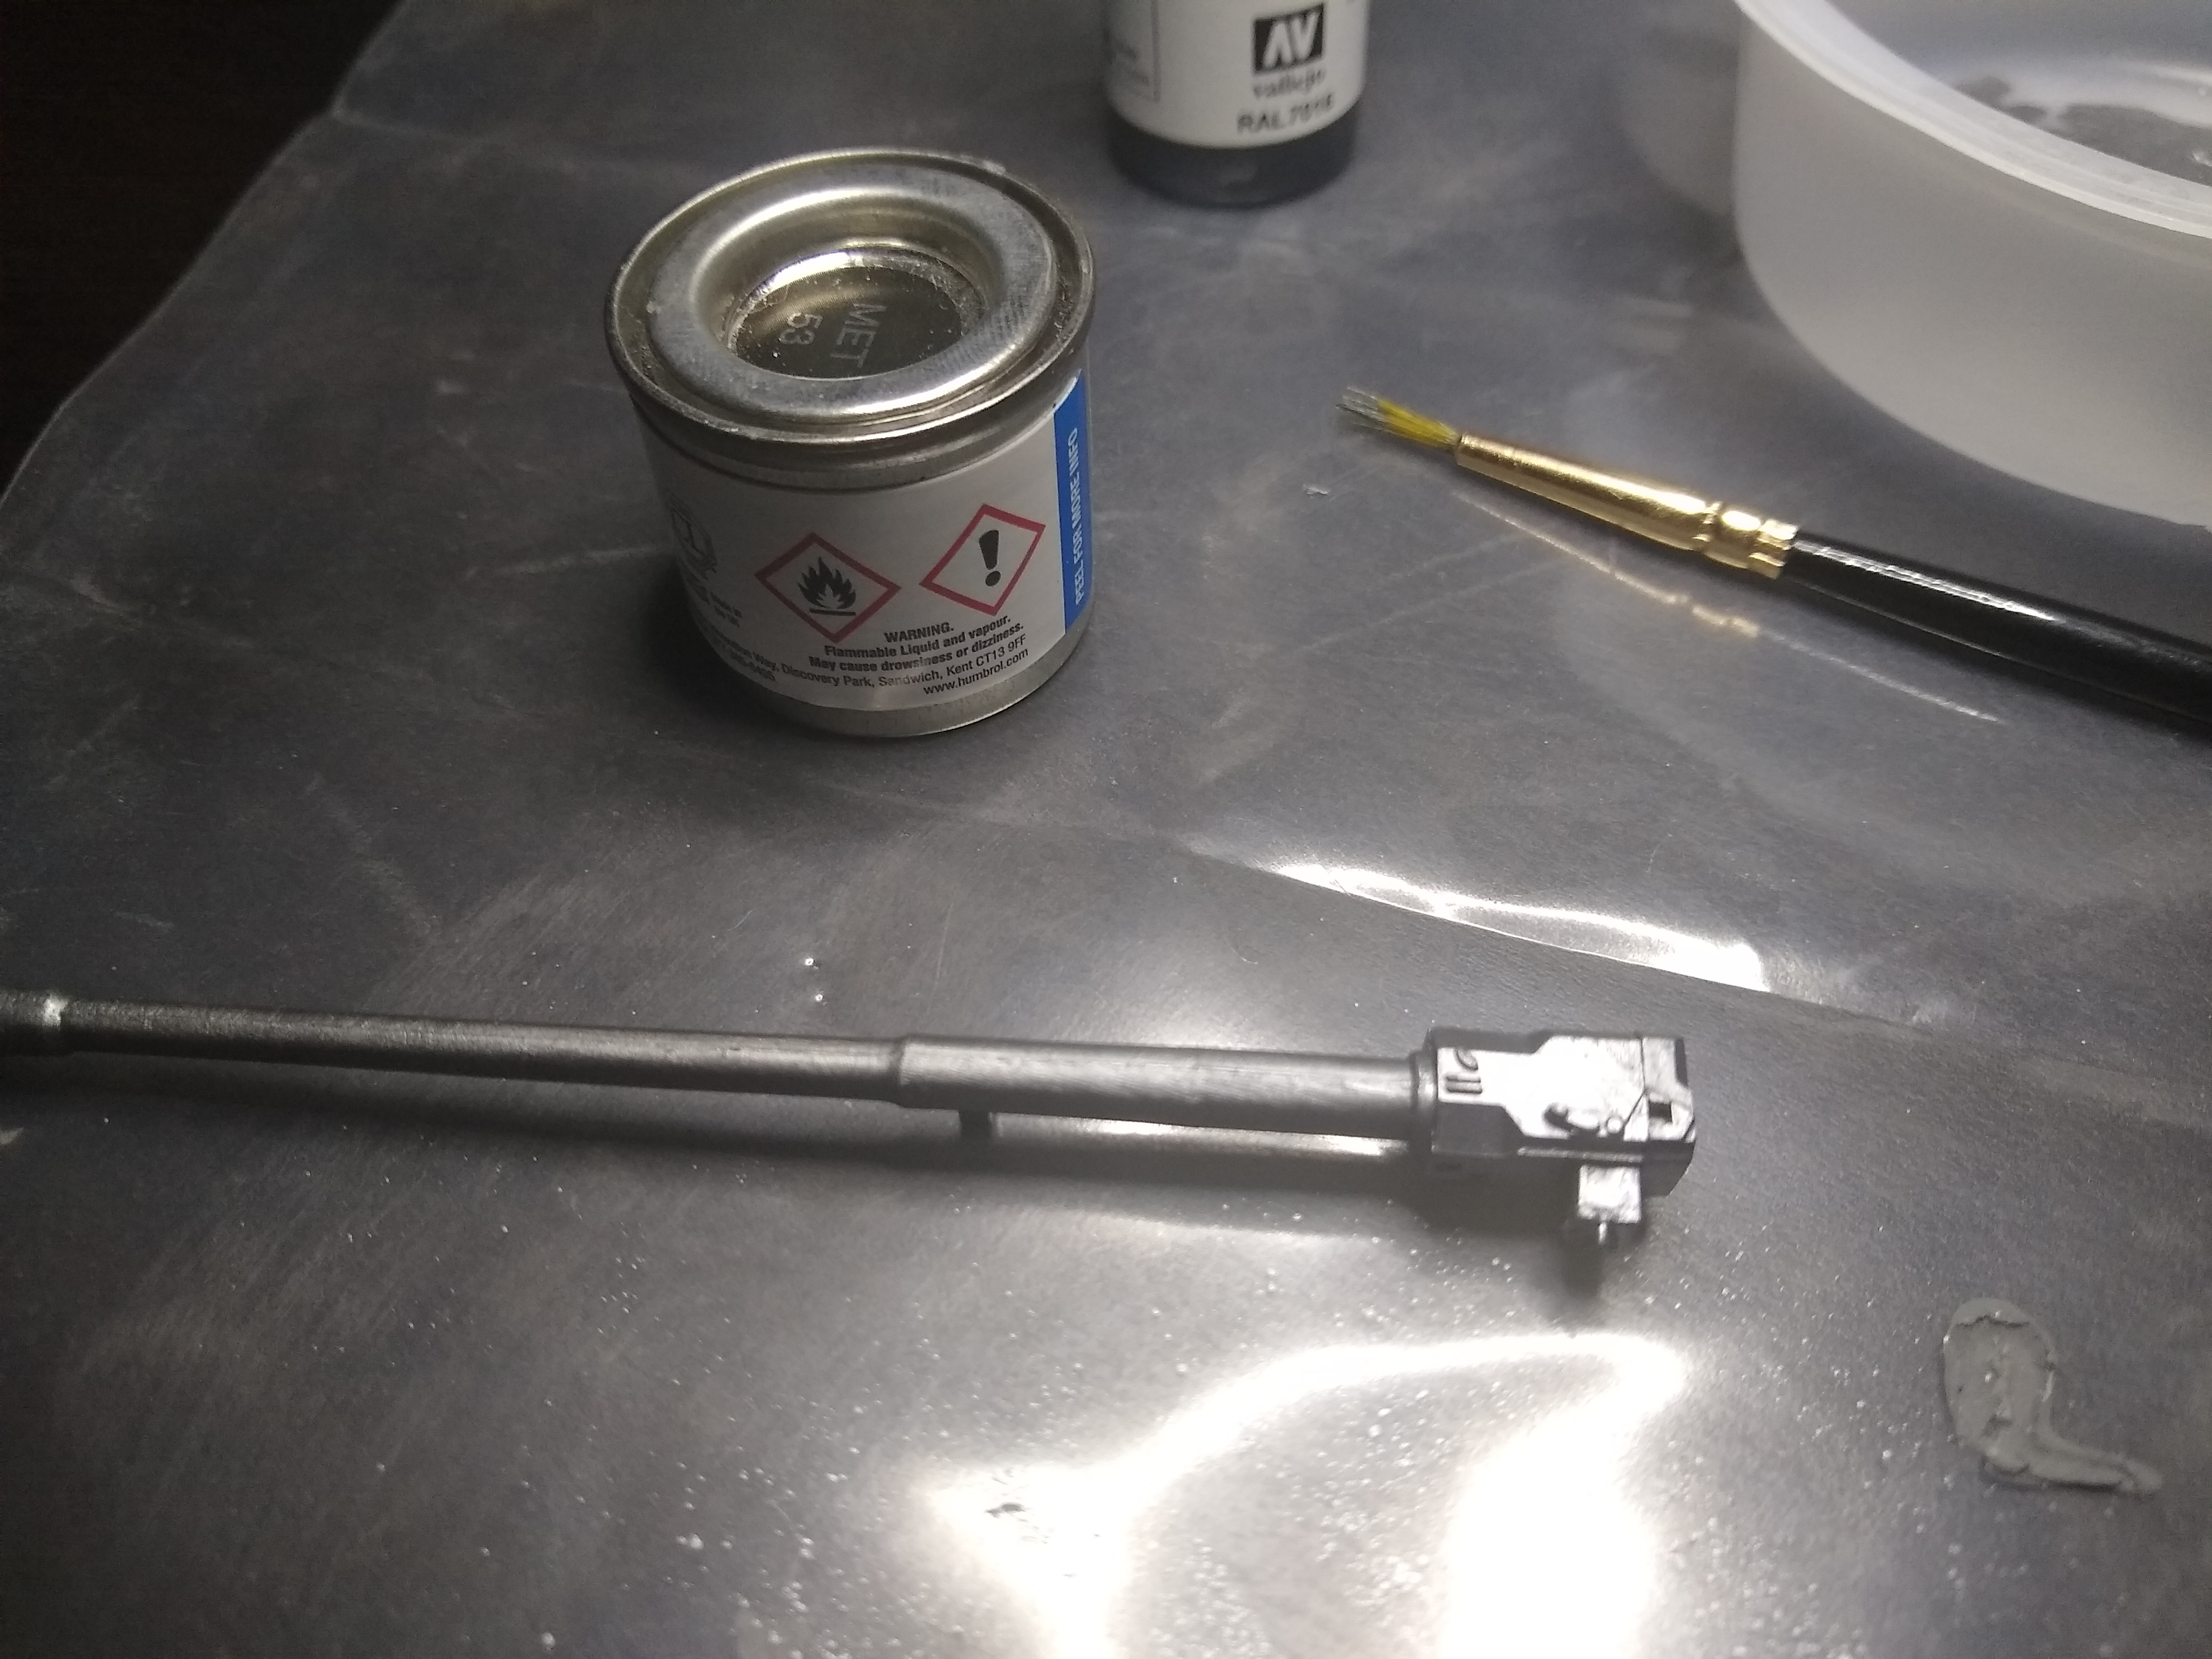
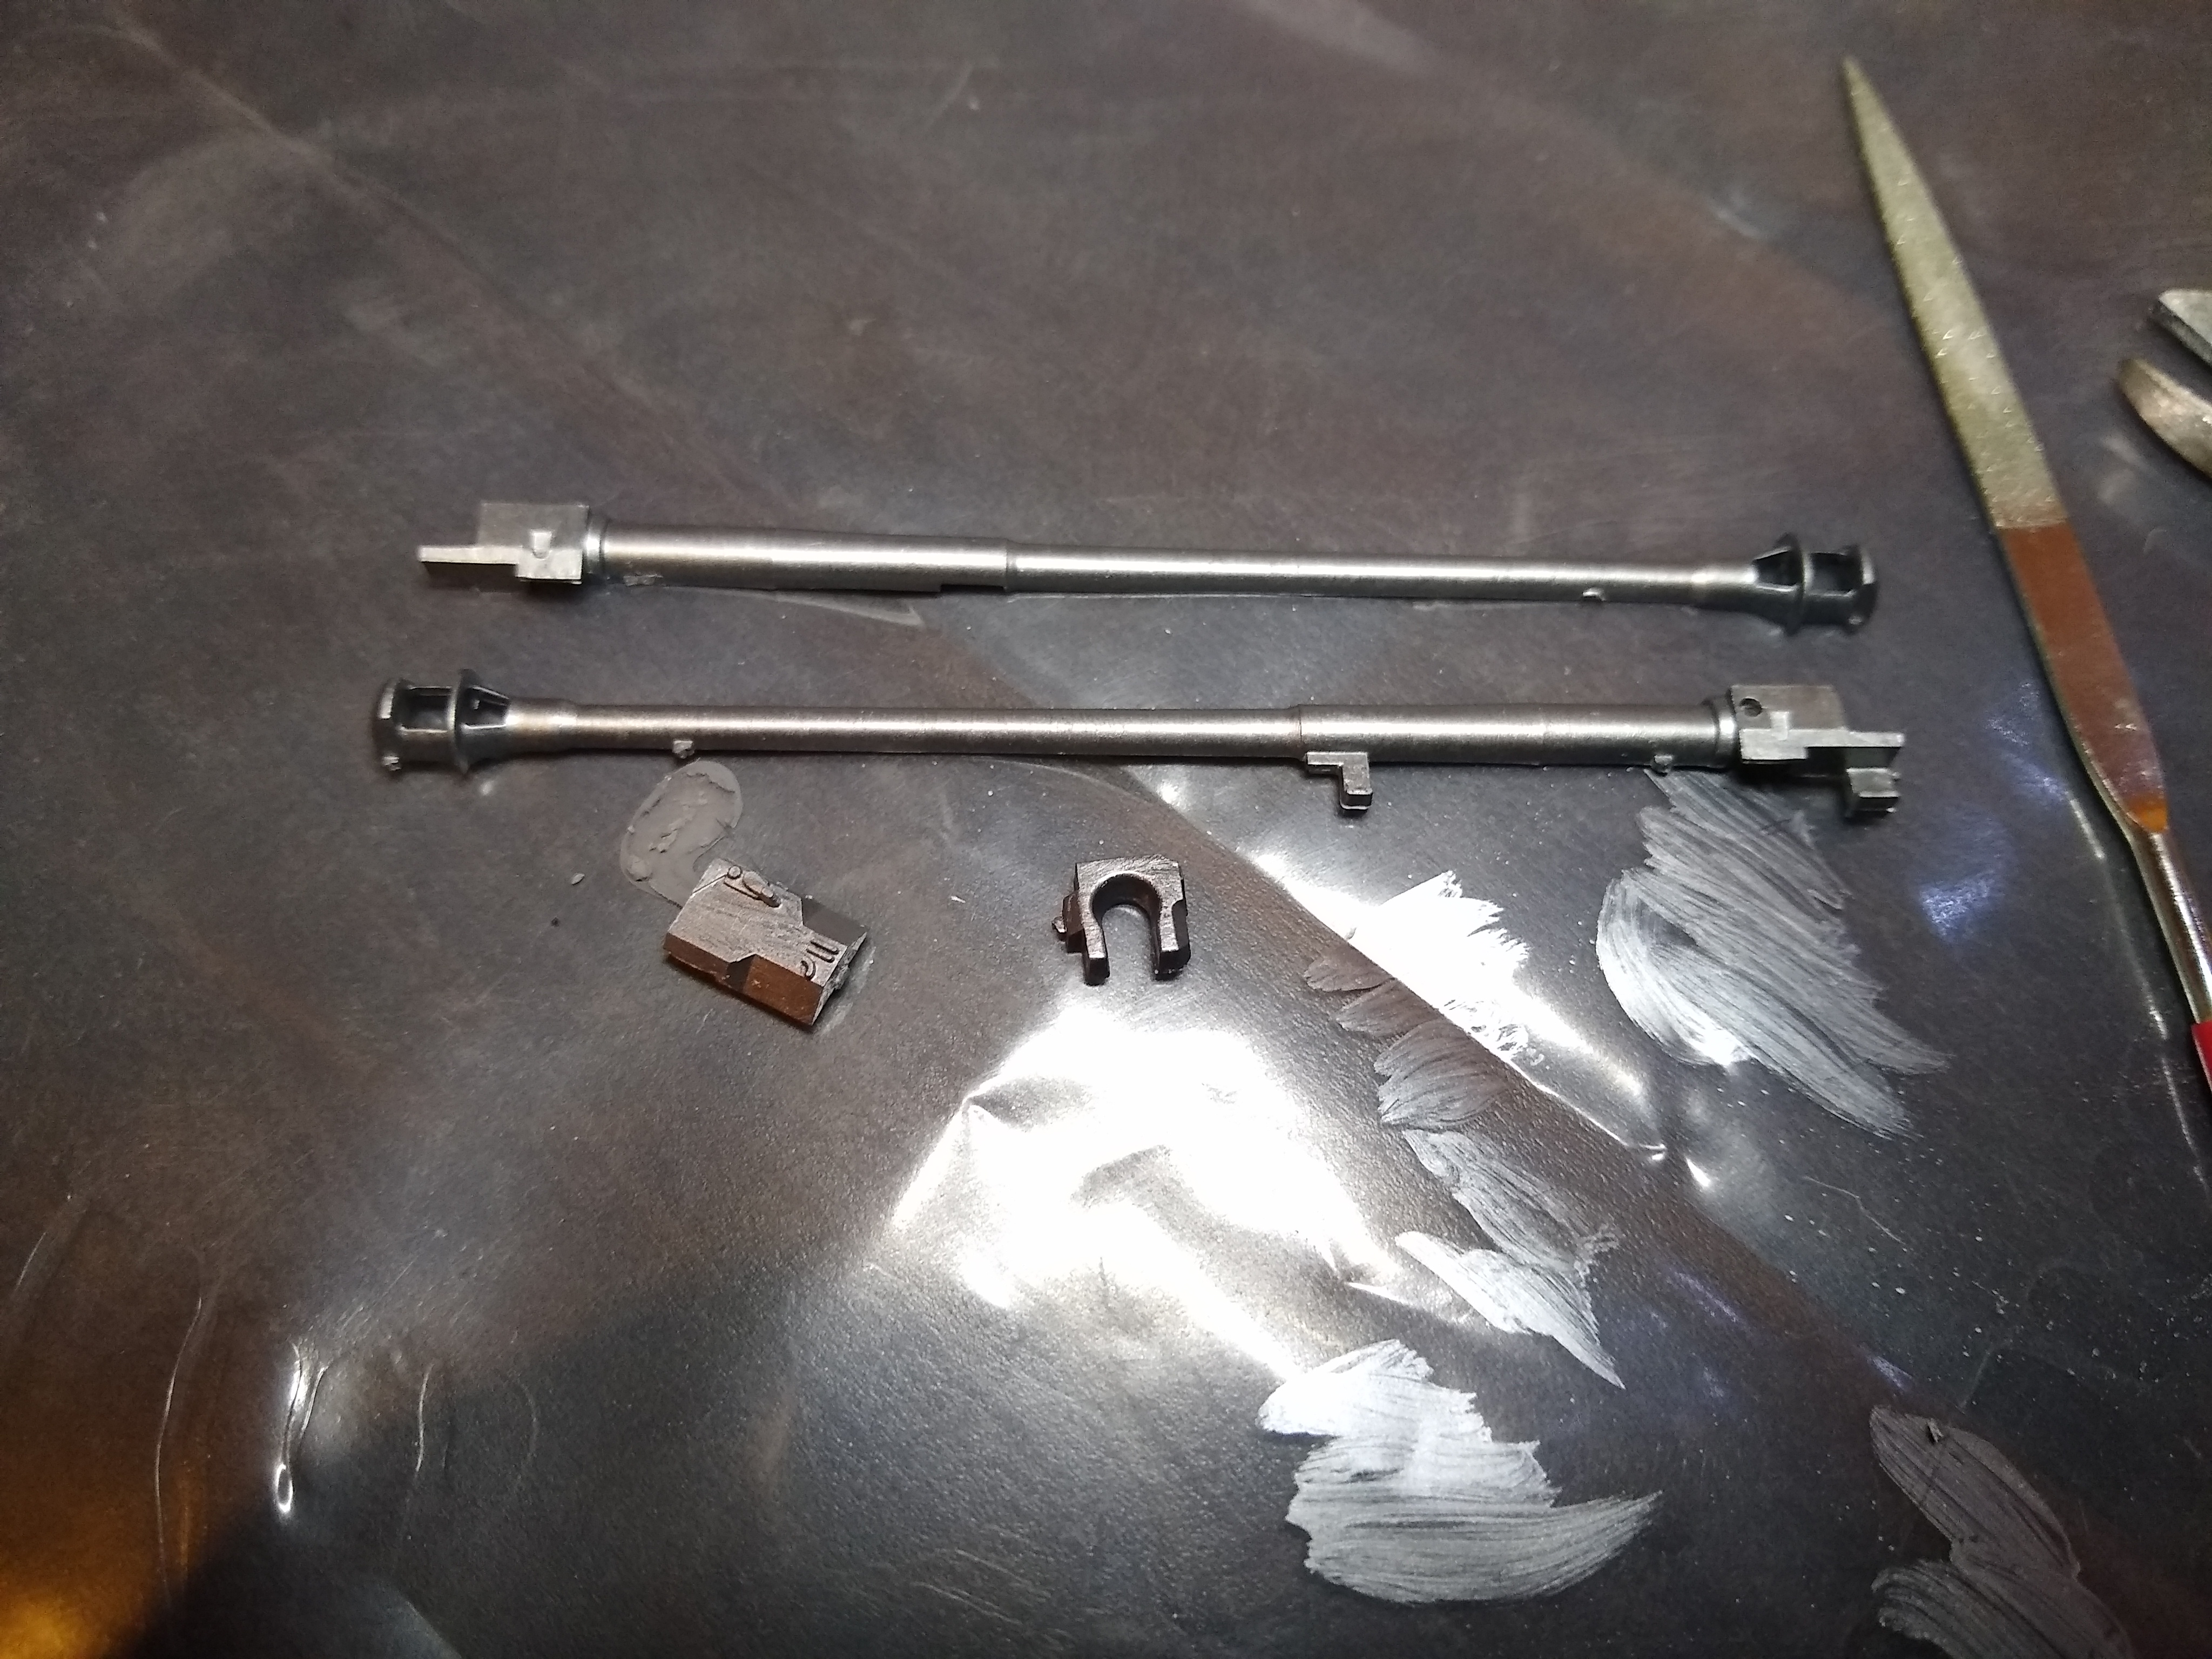
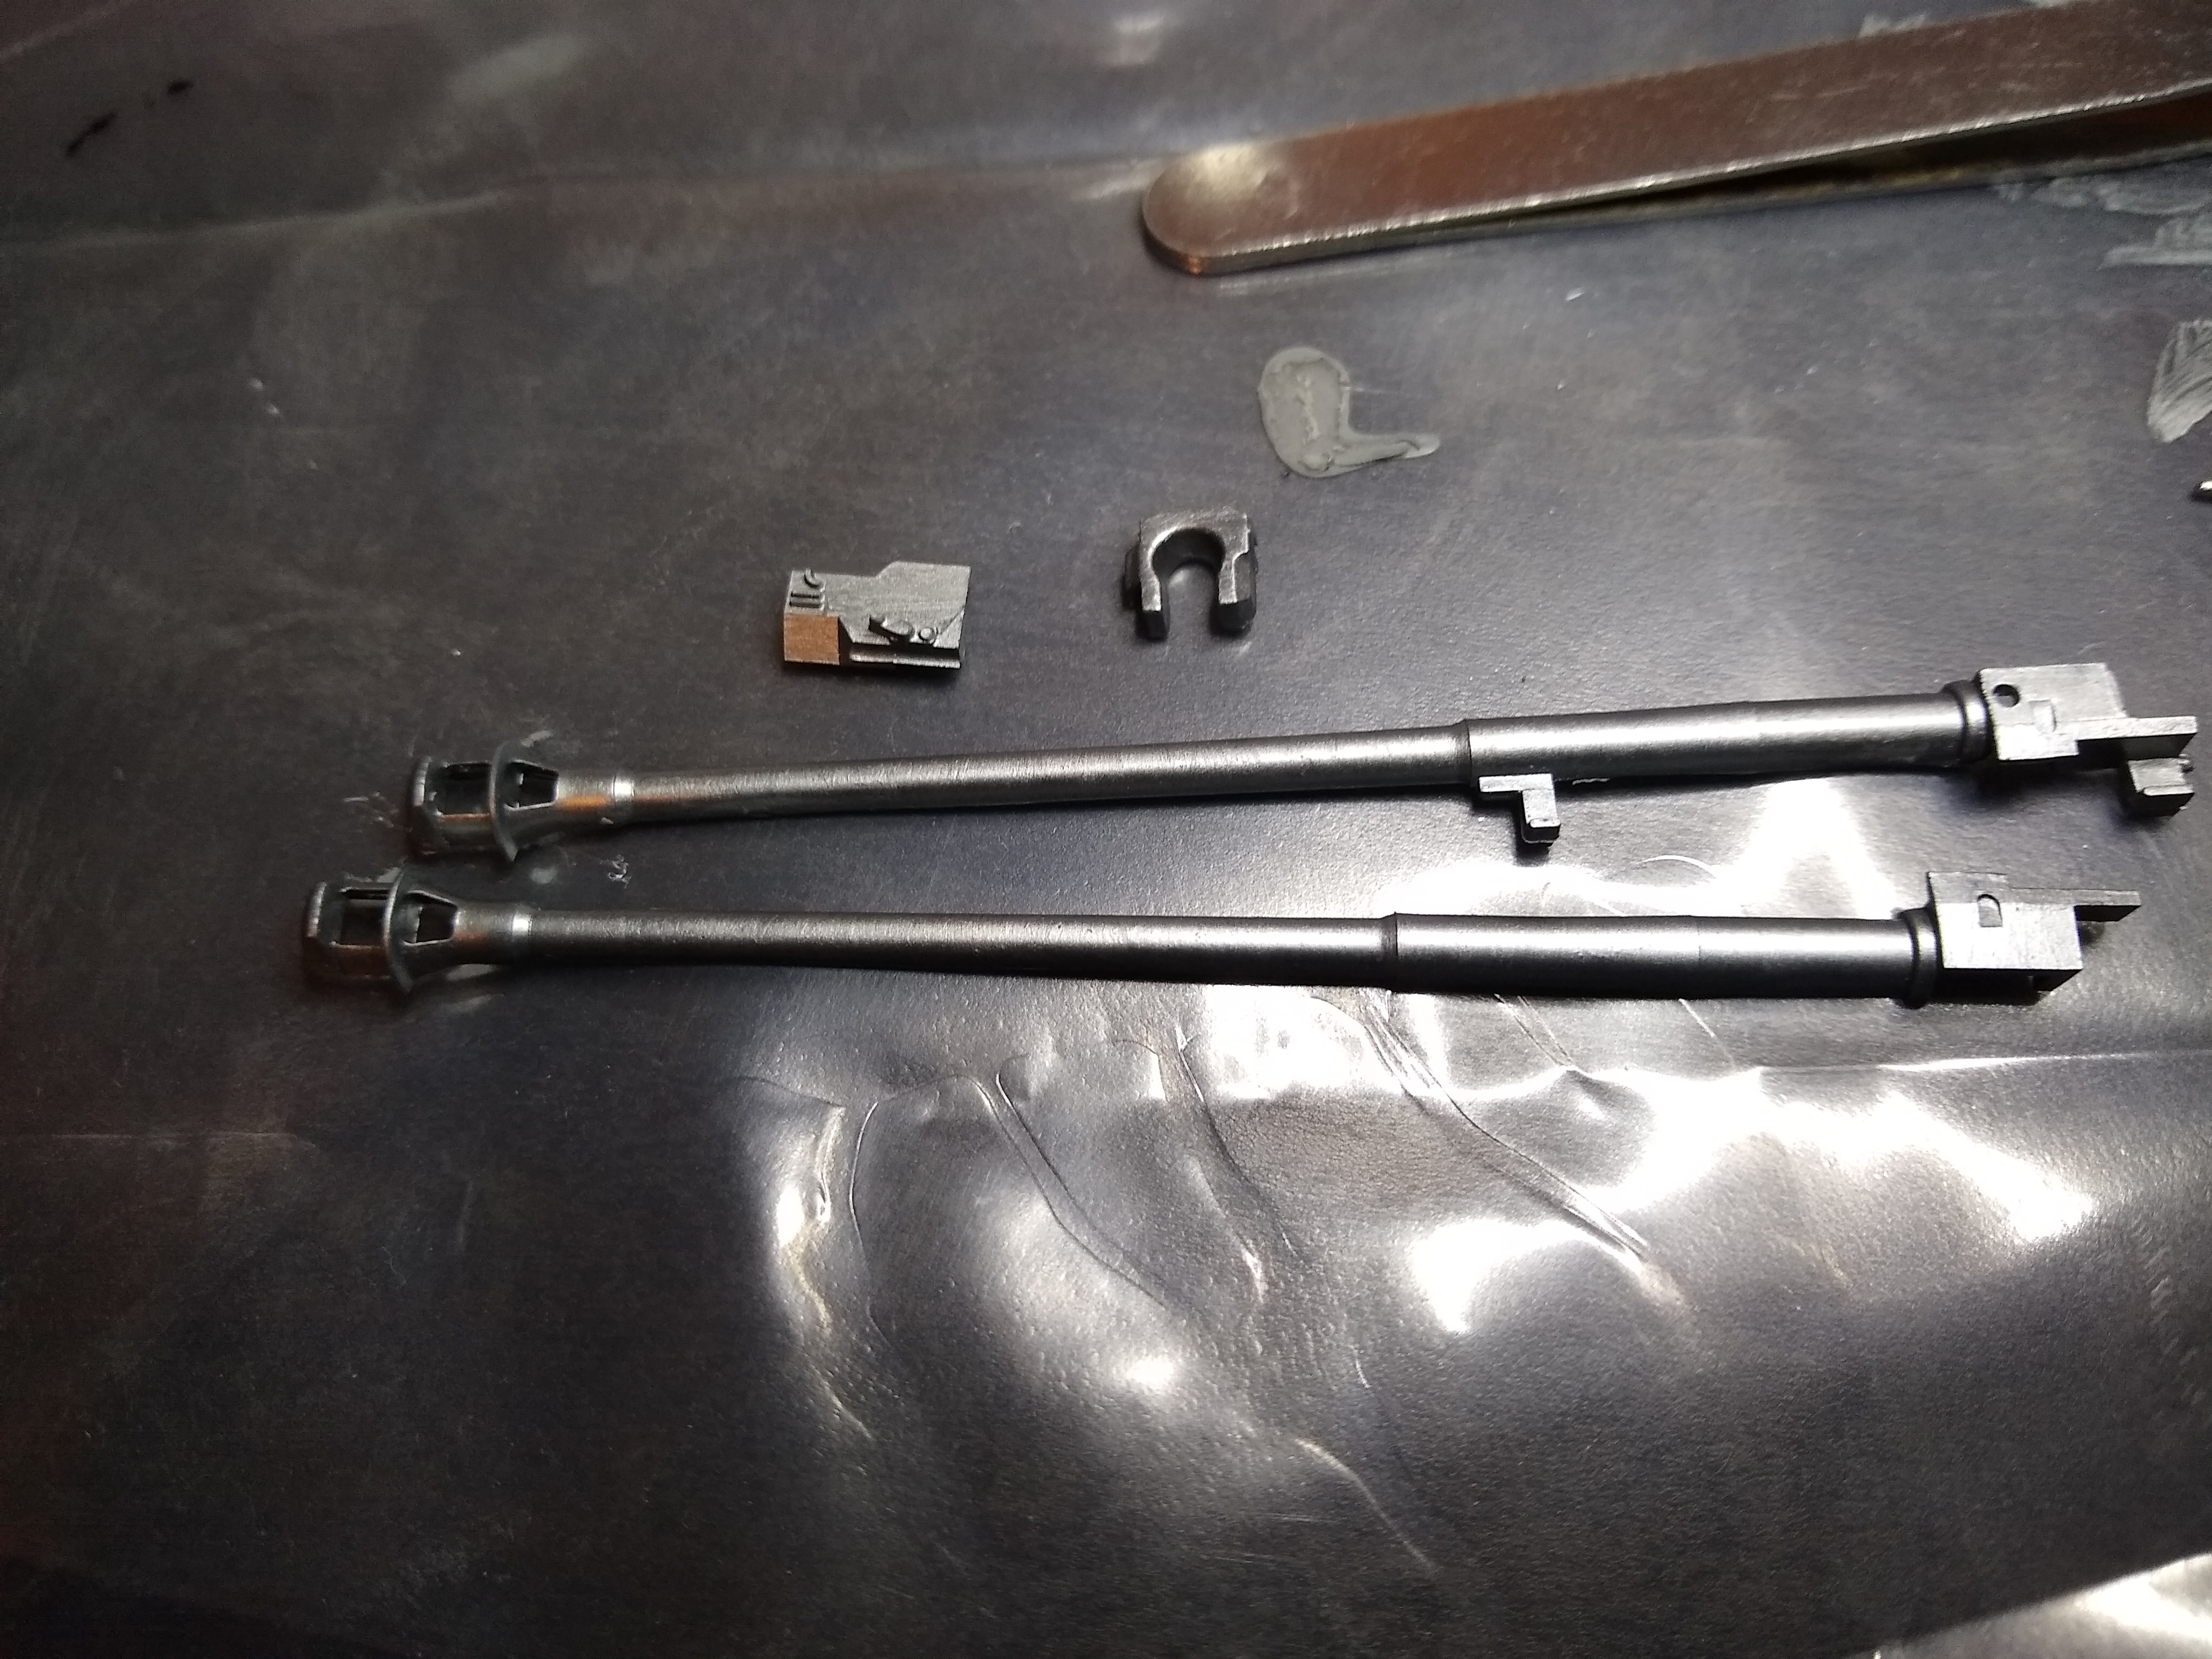
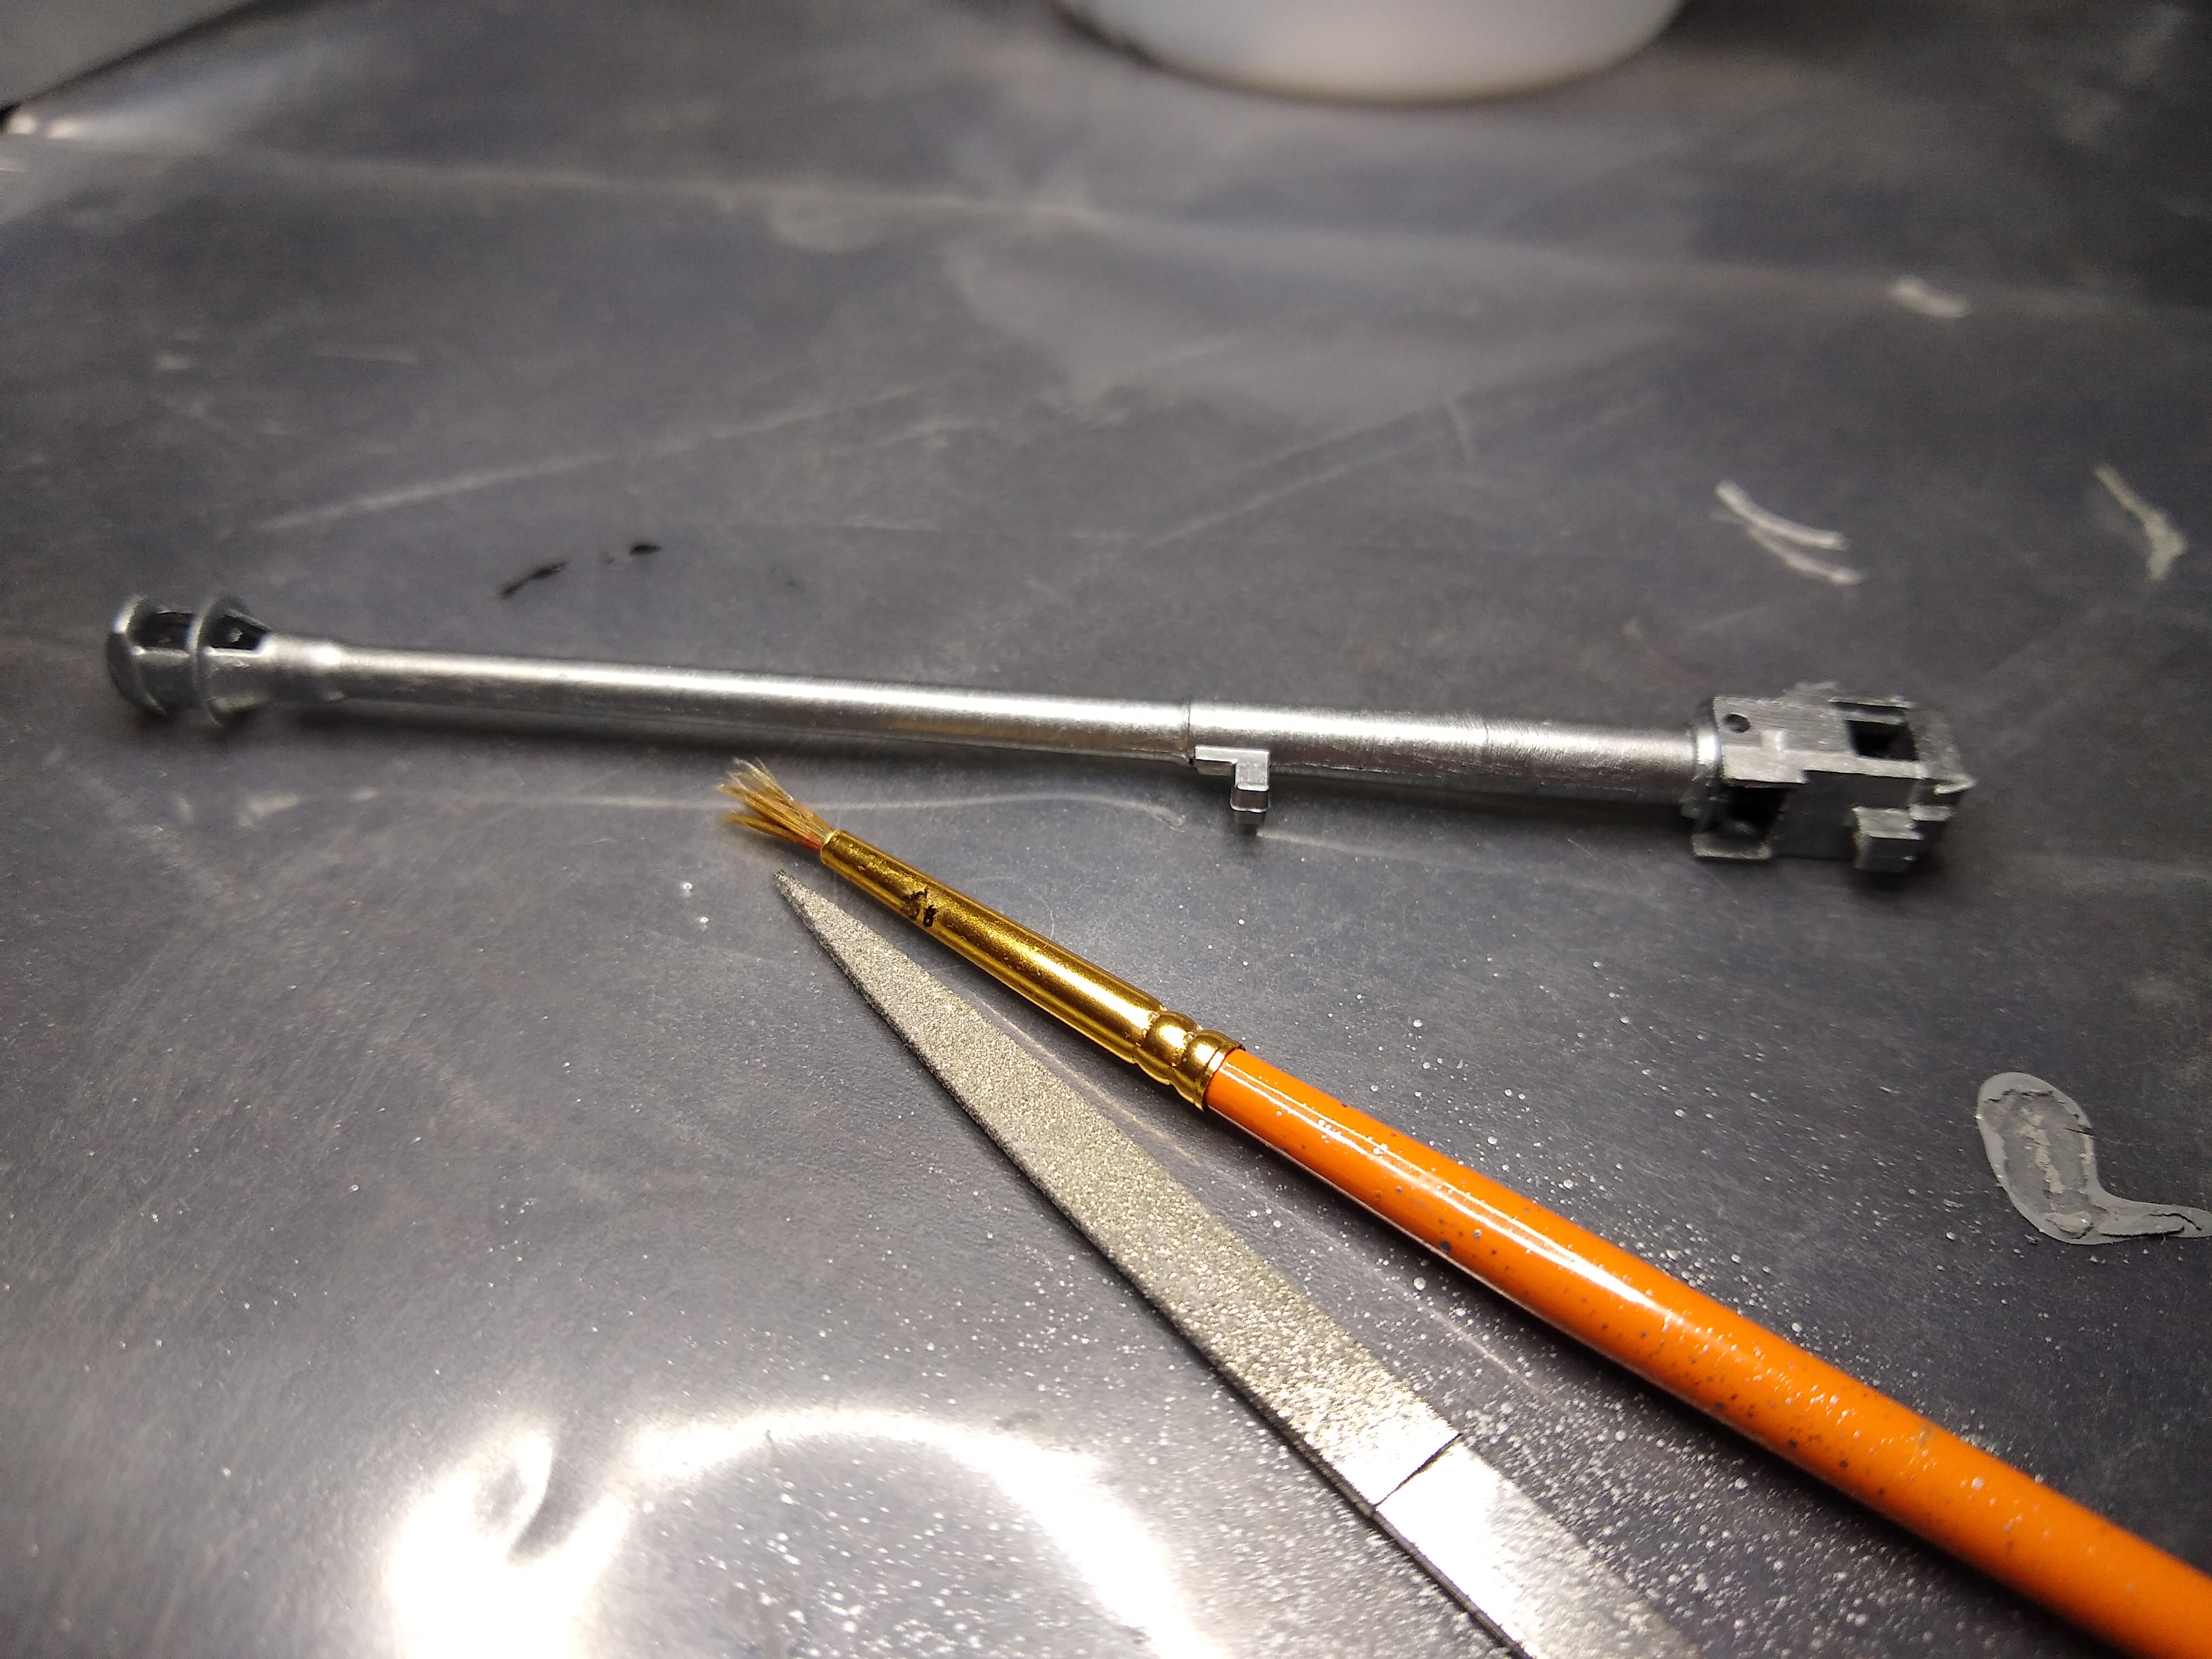
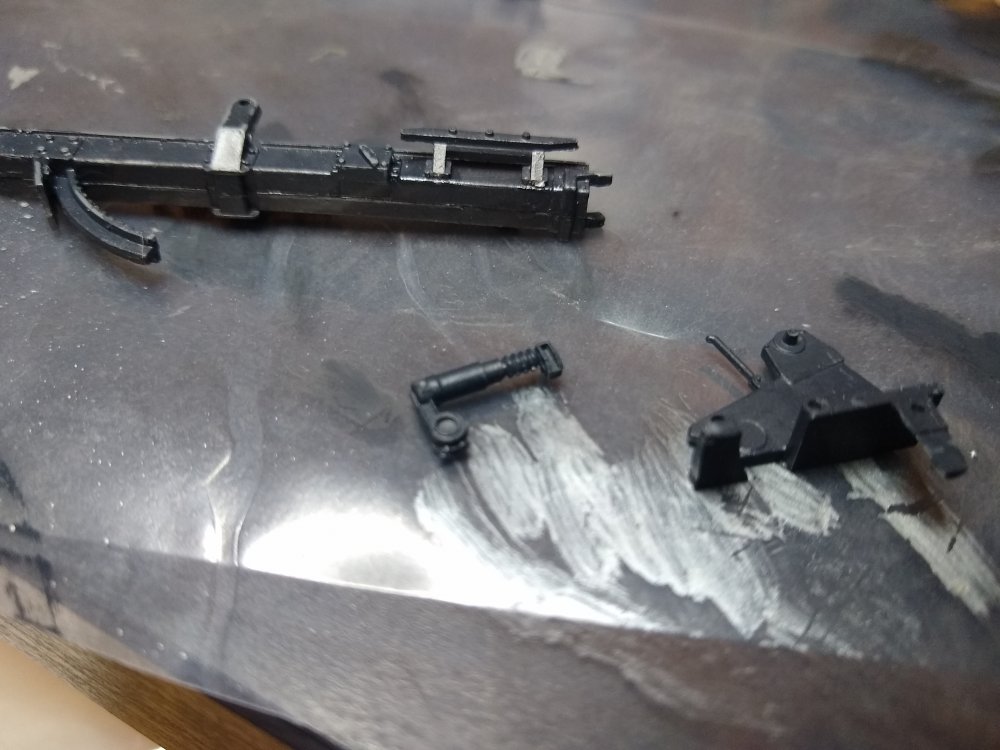
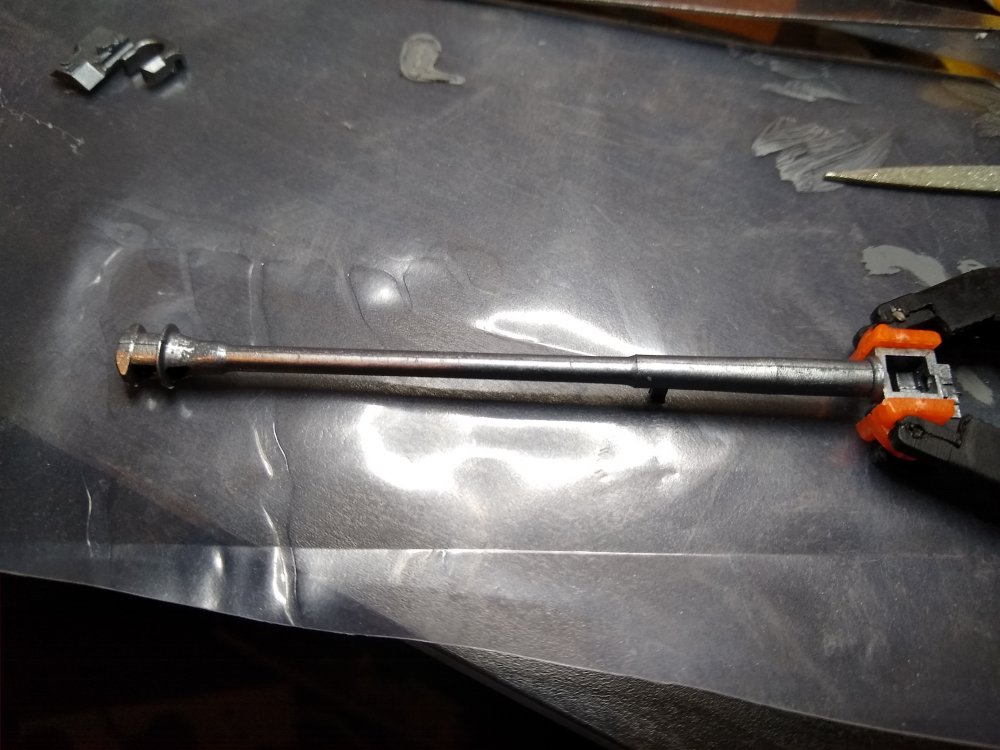
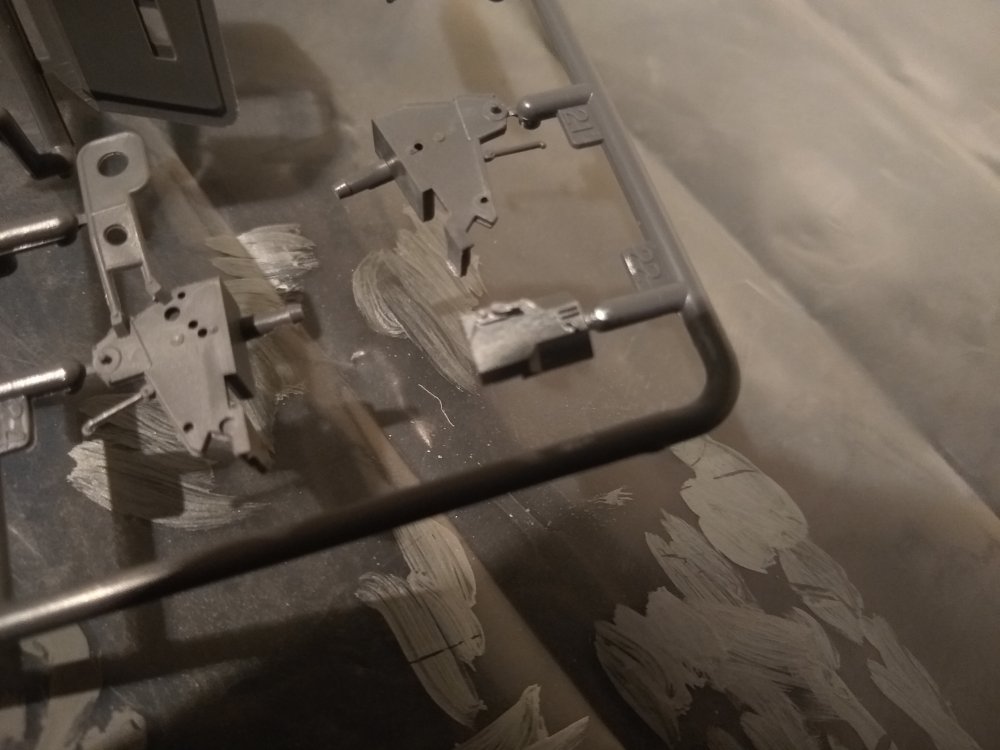
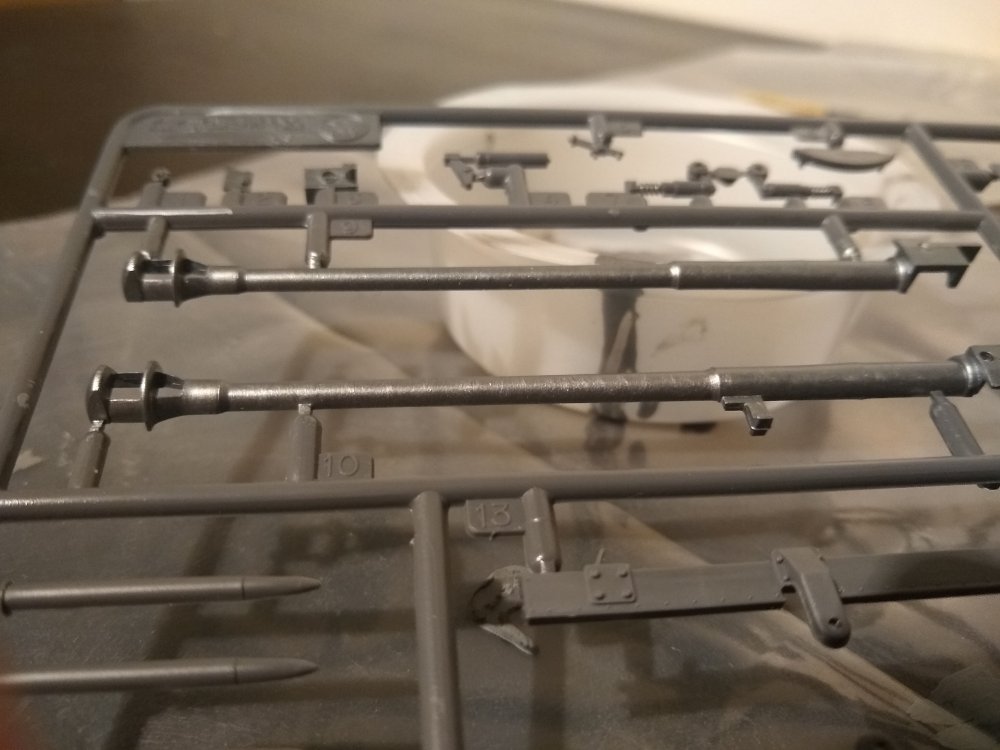
UPDATE. I have assembled the guns first step. The barrel and breach parts. this is the 4 parts just after cutting them off frame. After removing the remains of the frame. After glueing the 2 half's of the barrel together The finished pice with all 4 parts.


-
I expect it's abit low this year as so many people are struggling from the whole covid situation and then in the uk Brexit. So not too surprised the numbers are a little low.
-
7.5cm Anti-Tank Gun PAK40/L46 1:35
Daniel_Roxy replied to Daniel_Roxy's topic in LSM 1/35 and Larger Work In Progress
So I'm just doing a little at a time currently. And just done painting the barrel and breach parts for step 1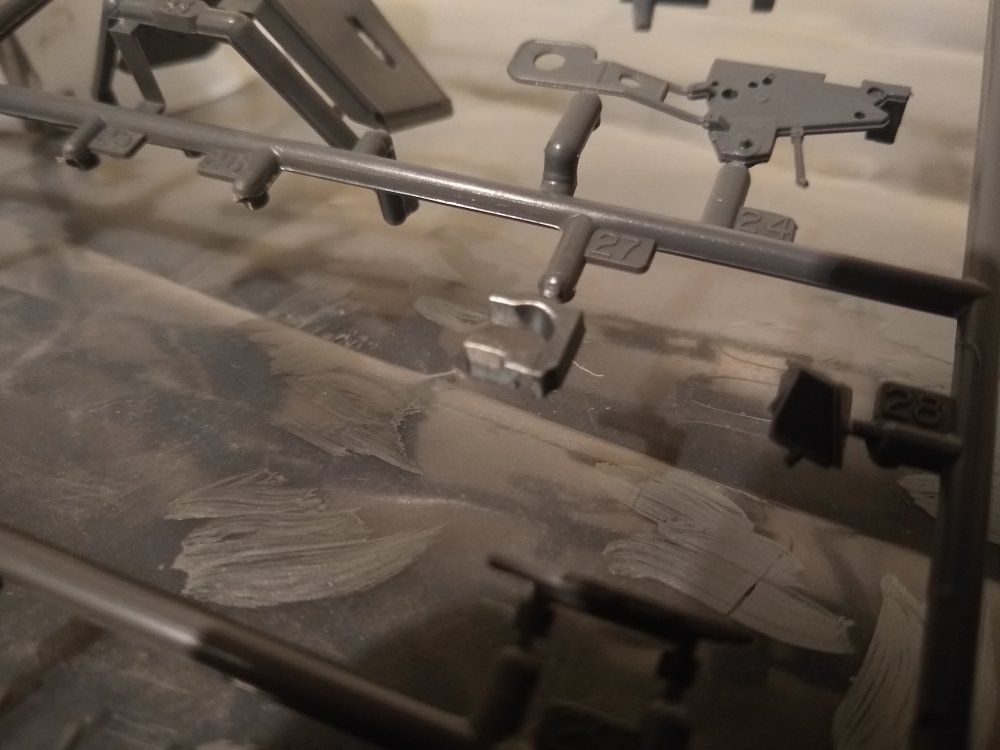

-
7.5cm Anti-Tank Gun PAK40/L46 1:35
Daniel_Roxy replied to Daniel_Roxy's topic in LSM 1/35 and Larger Work In Progress
Got some more information including the 3 rounds the Pak 40 can fire from a Simple History video. also found a video of one firing. Could help with some small details with colours.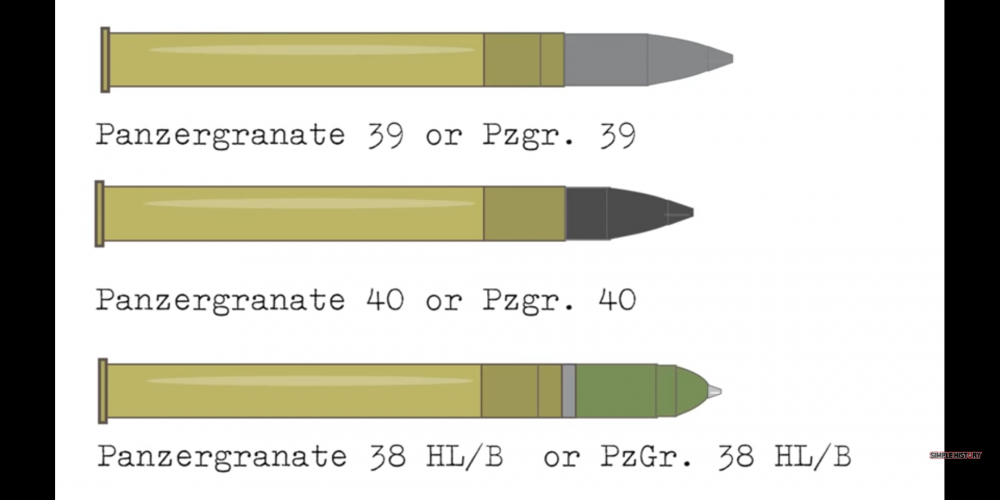
-
7.5cm Anti-Tank Gun PAK40/L46 1:35
Daniel_Roxy replied to Daniel_Roxy's topic in LSM 1/35 and Larger Work In Progress
So just finished glueing the wheels together. And they look good. There are one or two spots that need attention but appart from that there perfect