Daniel_Roxy
-
Posts
214 -
Joined
-
Last visited
Content Type
Profiles
Forums
Events
Gallery
Everything posted by Daniel_Roxy
-

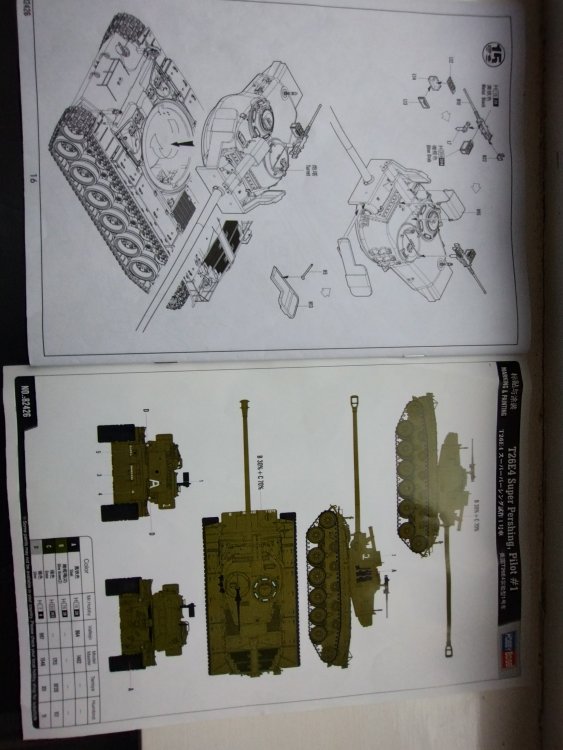
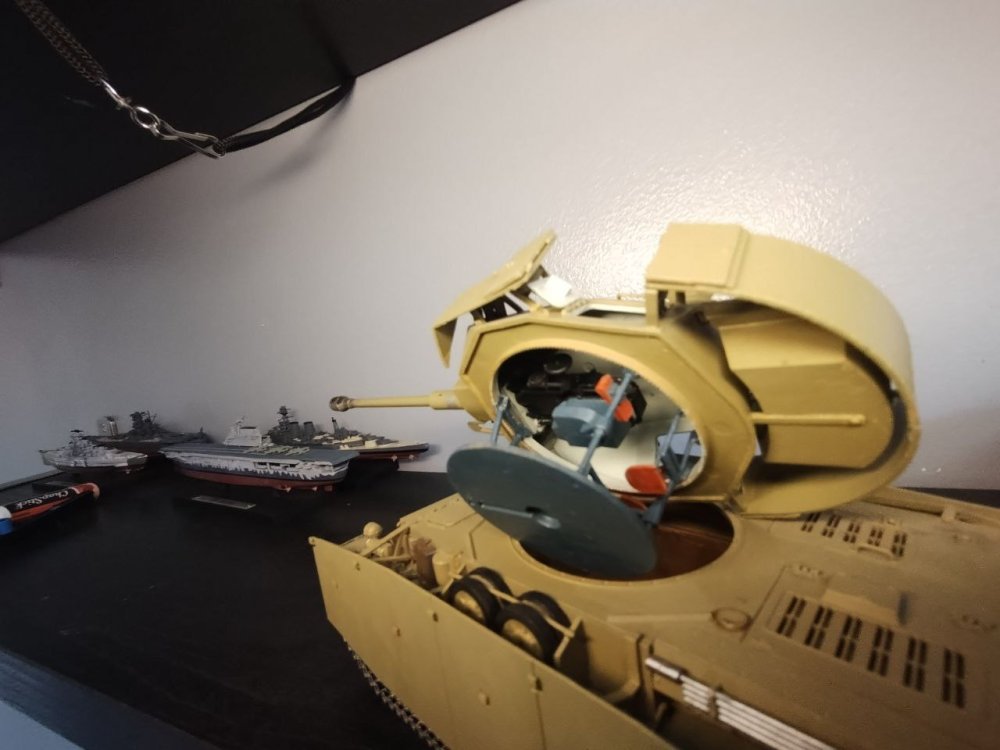
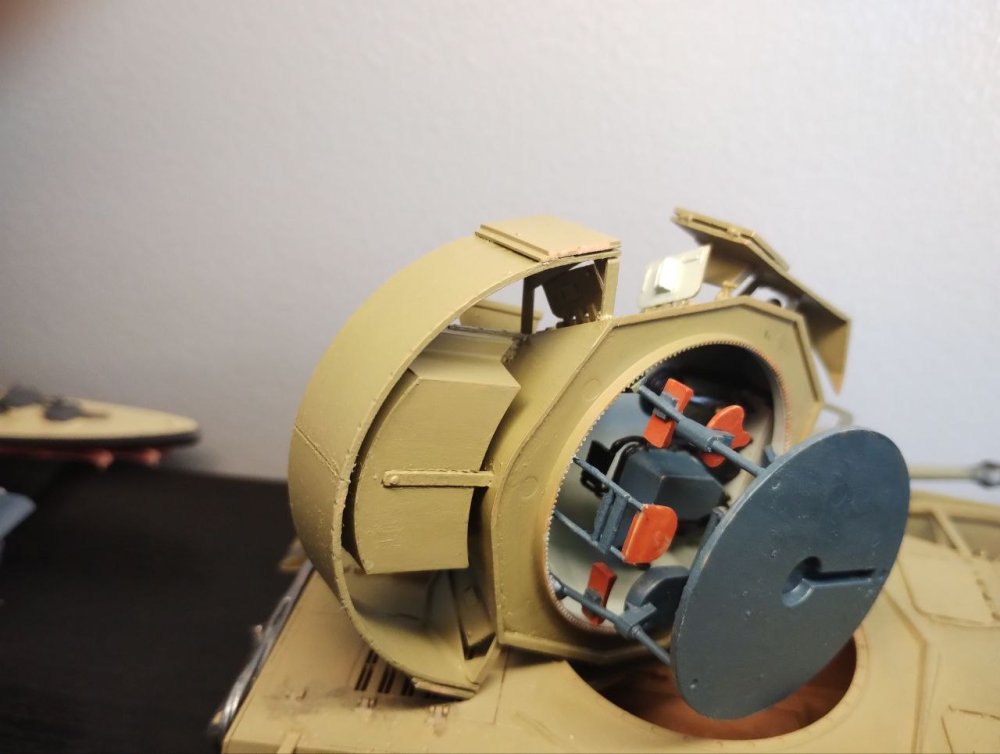
T26E4 Super Pershing
Daniel_Roxy replied to Daniel_Roxy's topic in LSM 1/35 and Larger Work In Progress
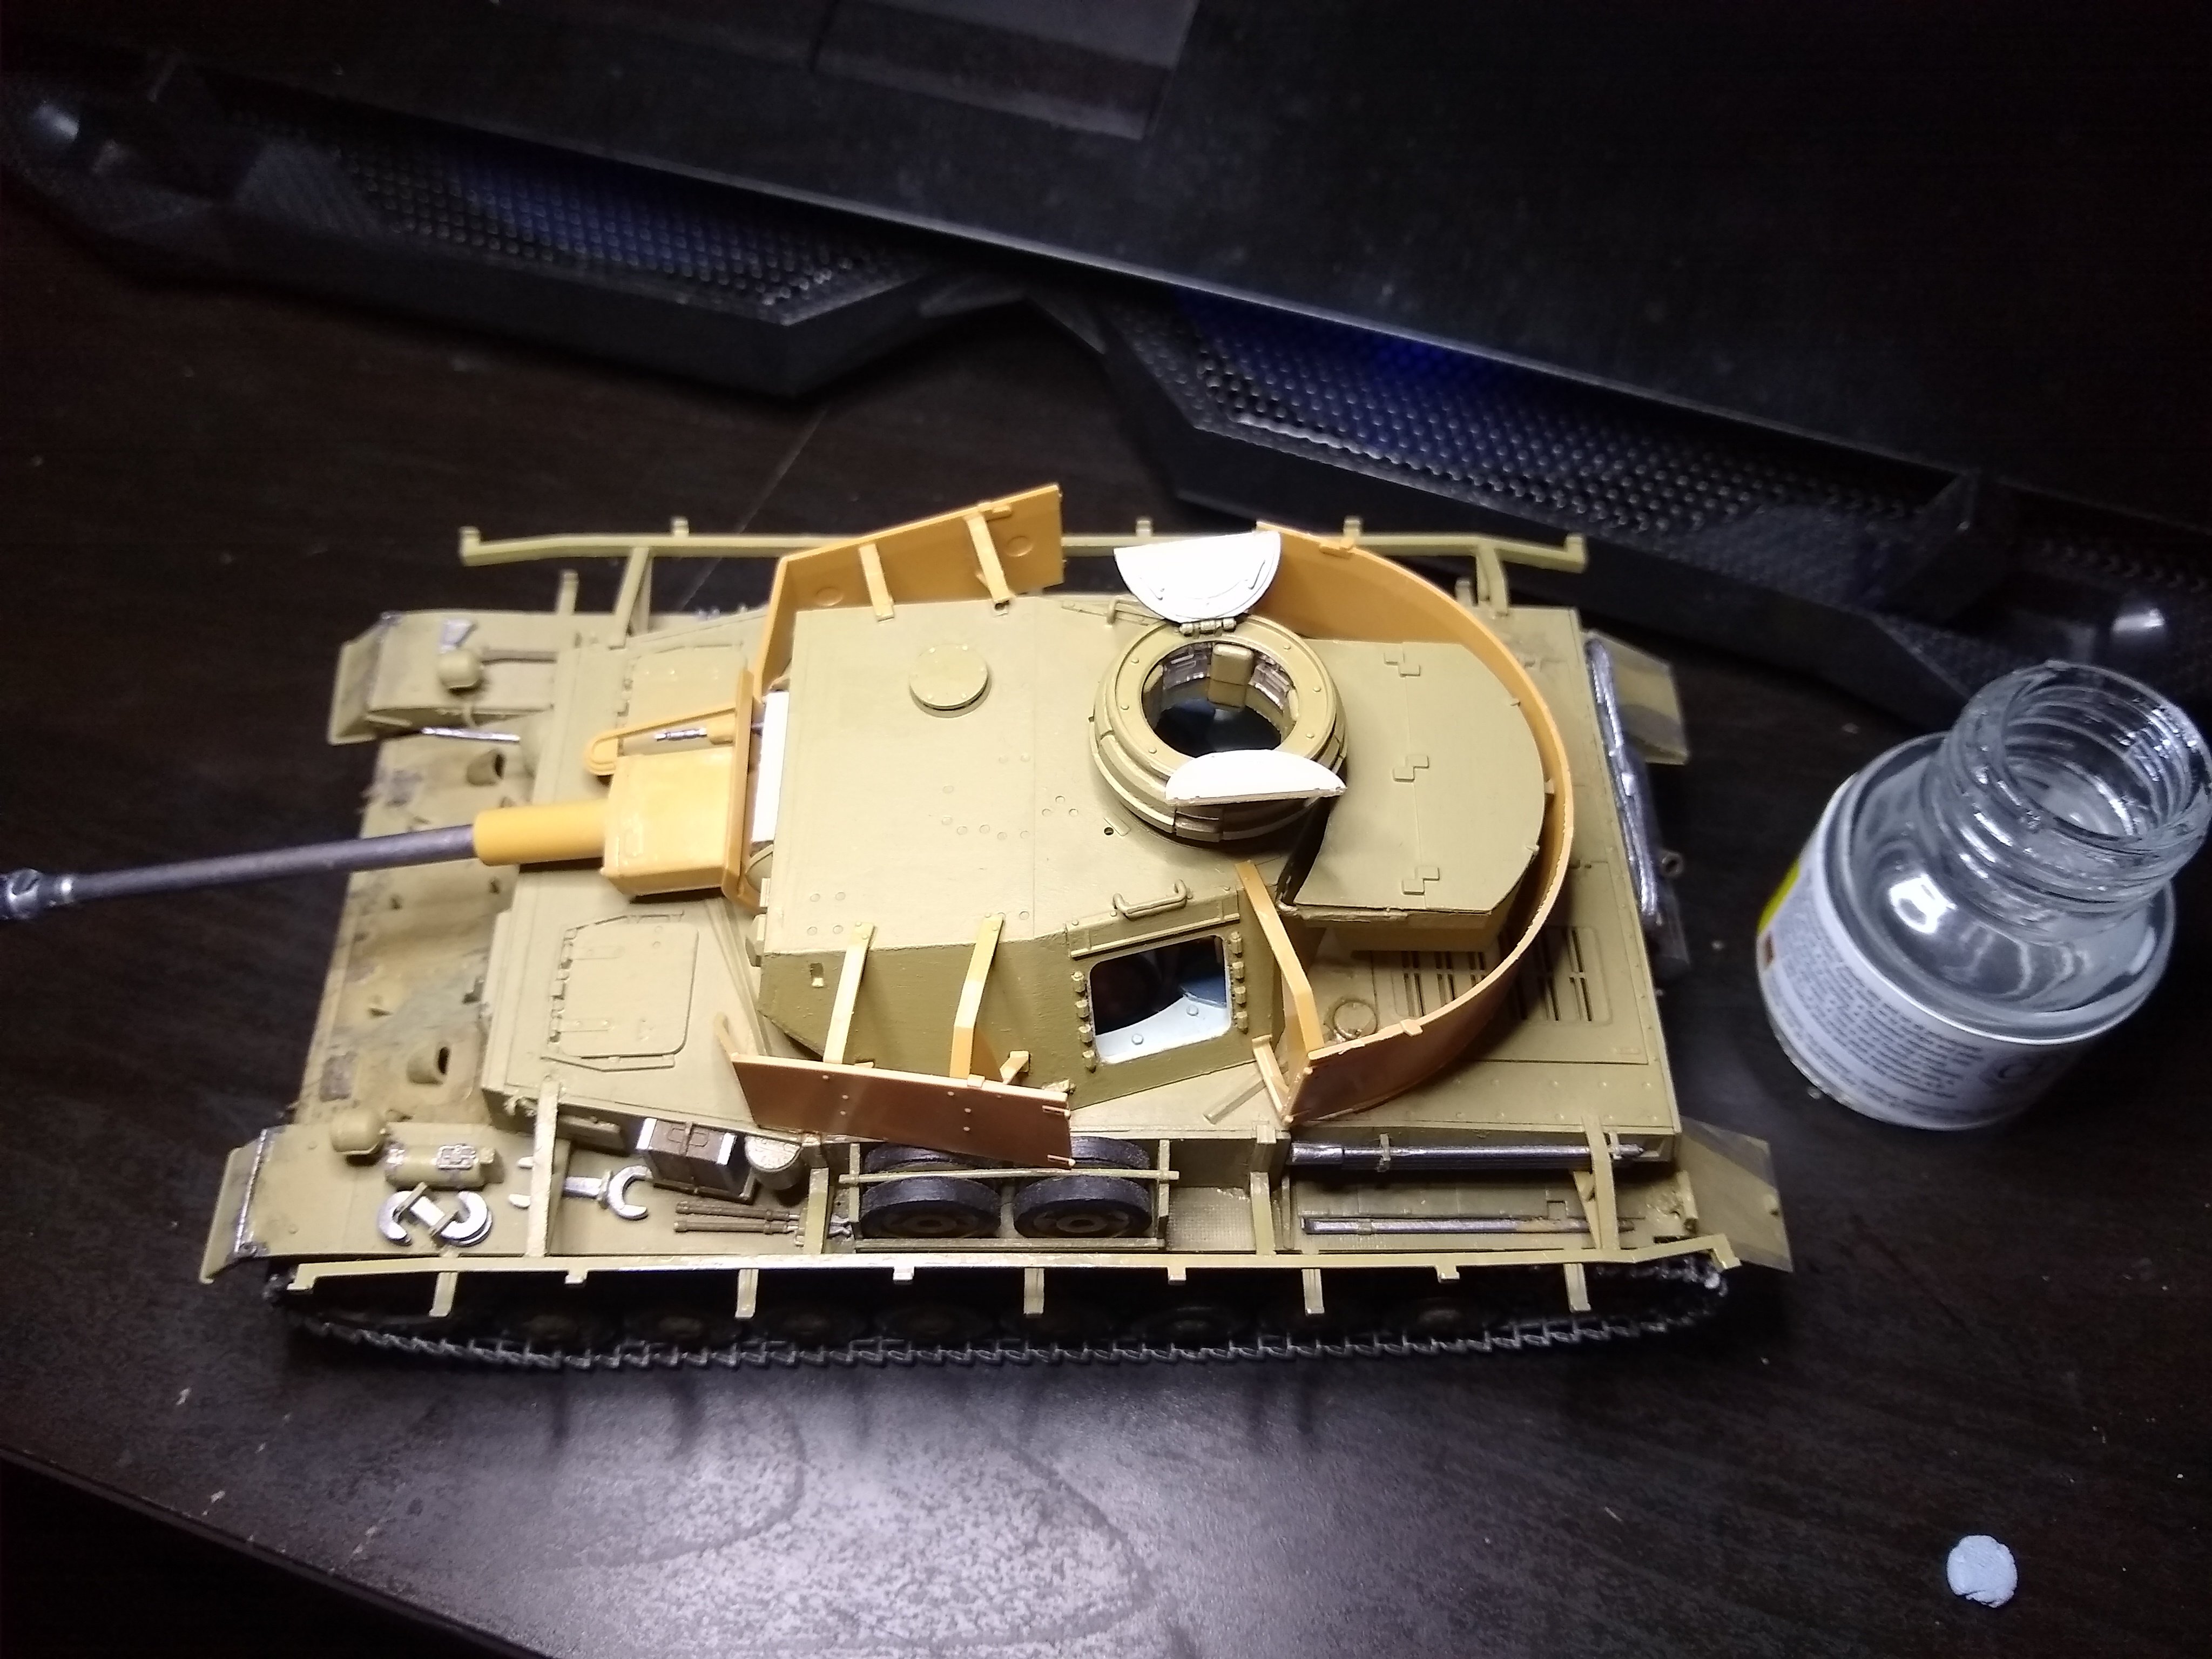
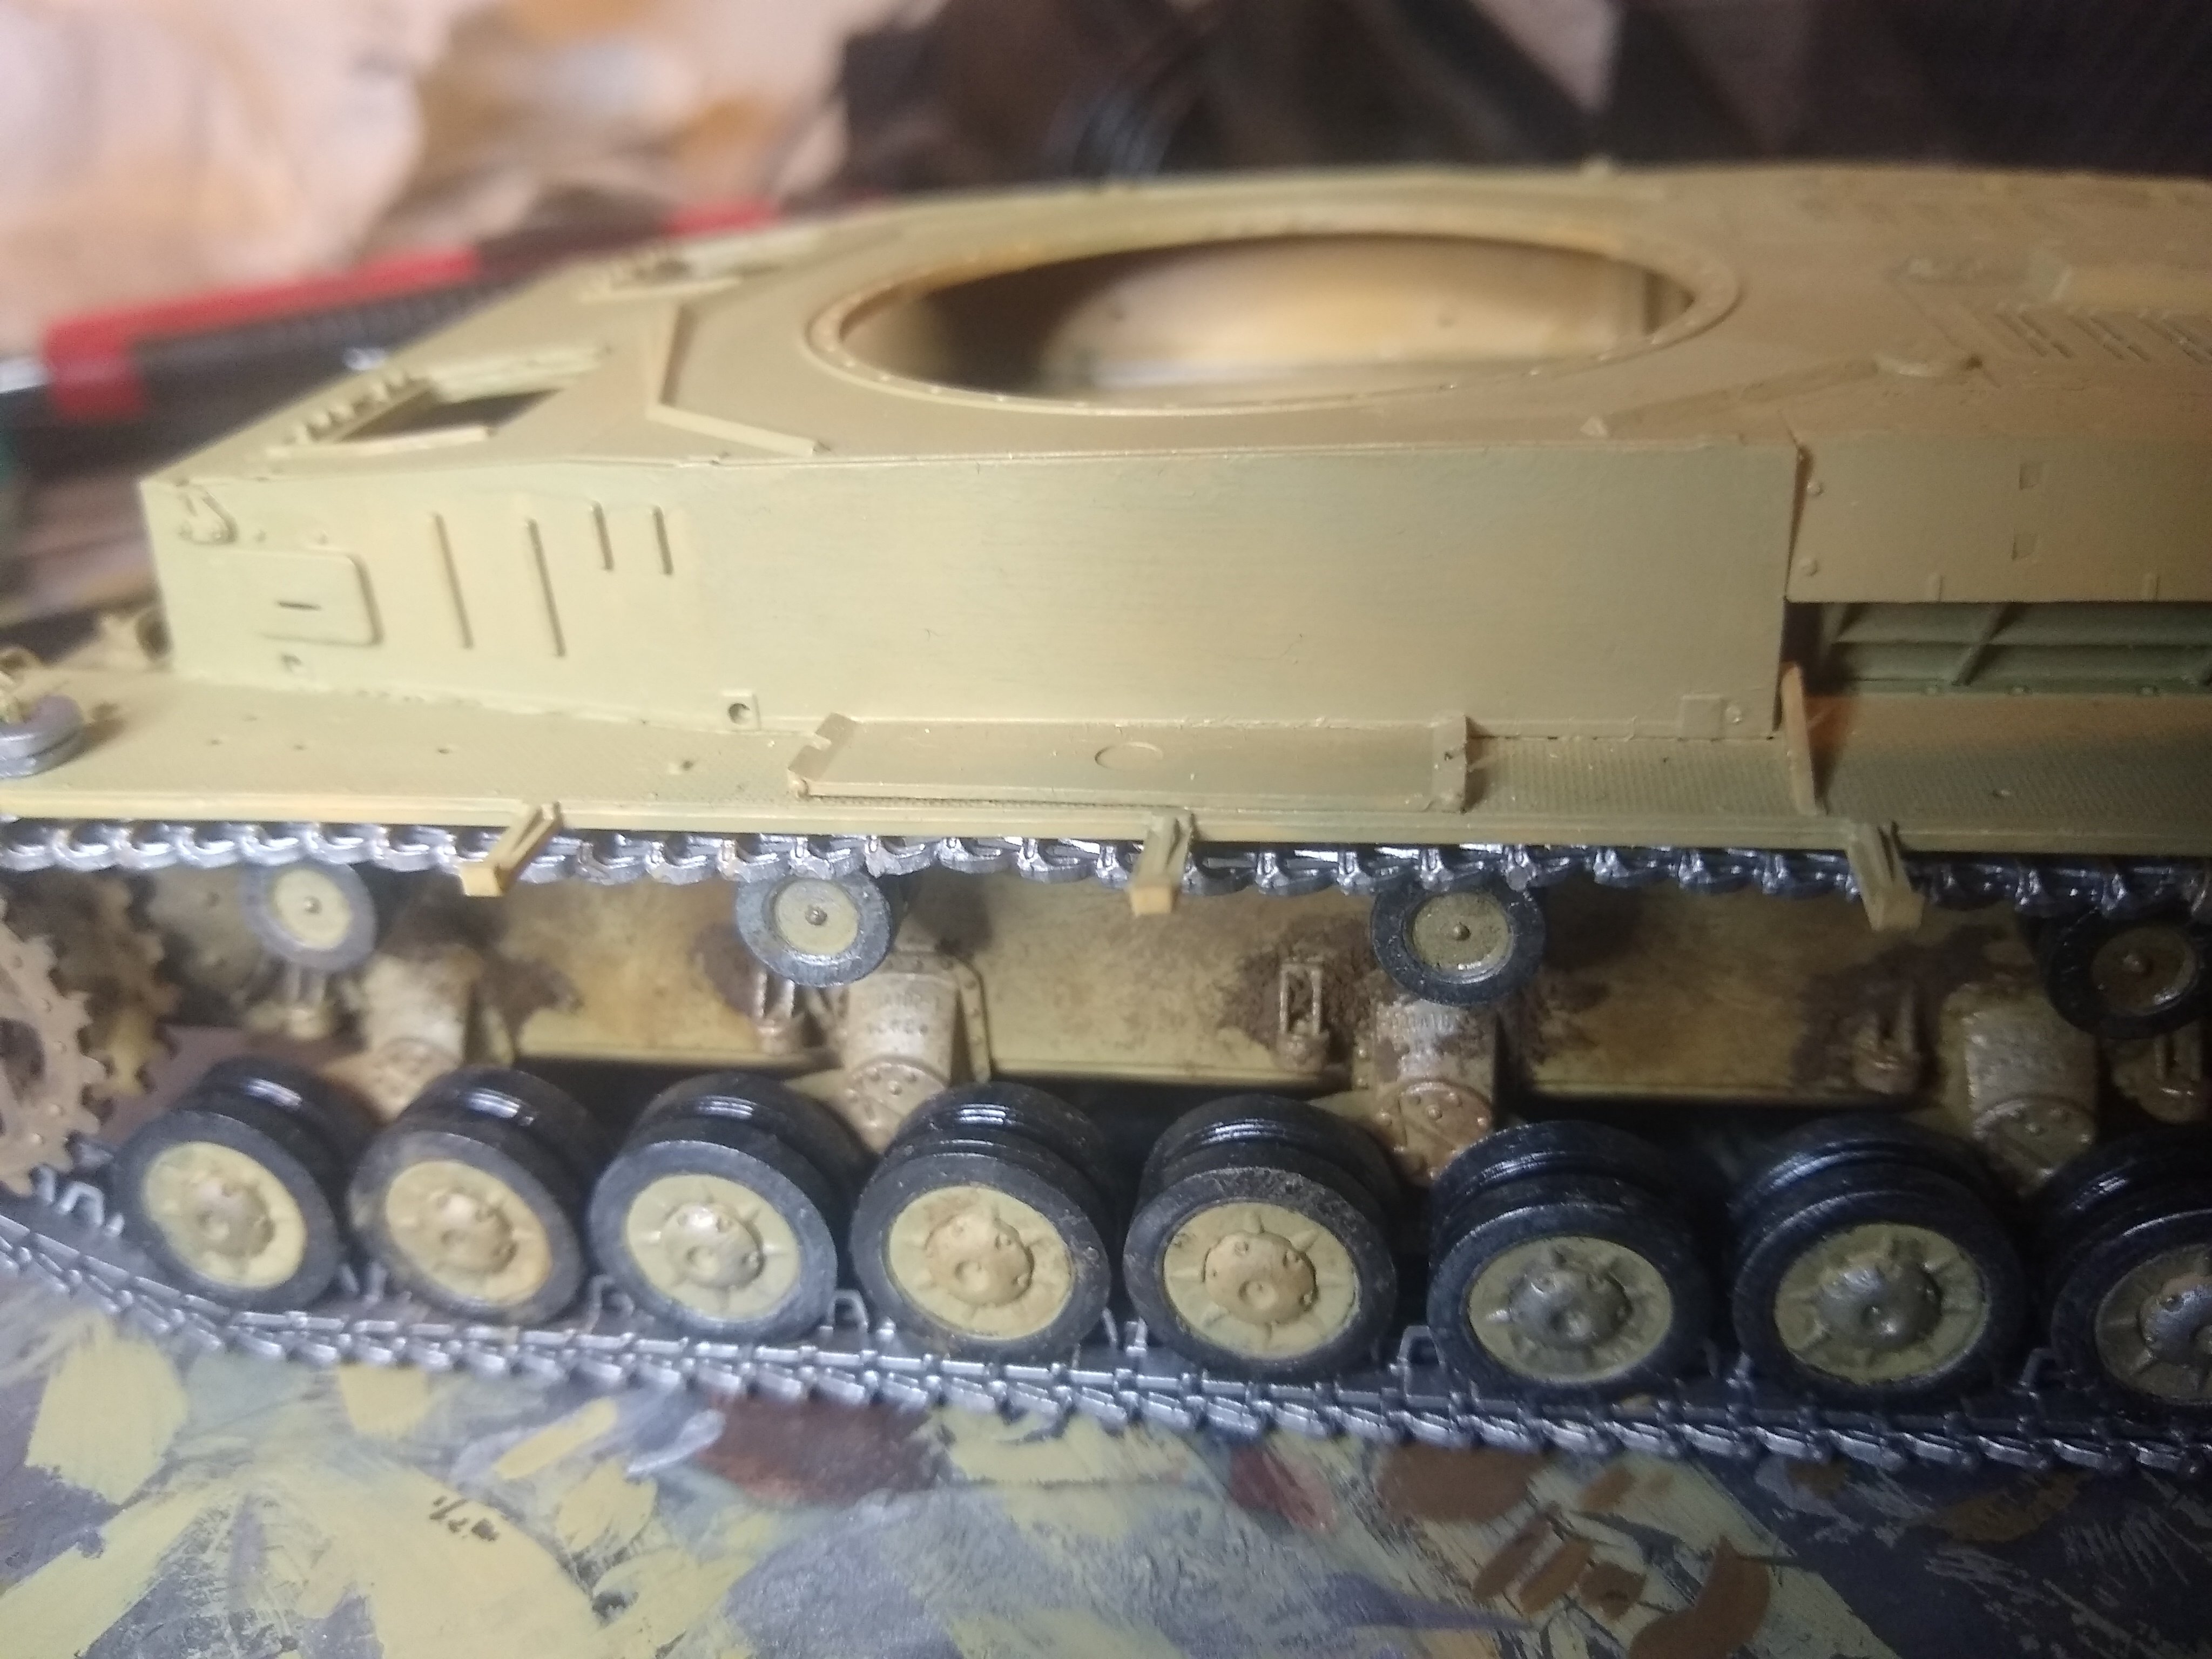
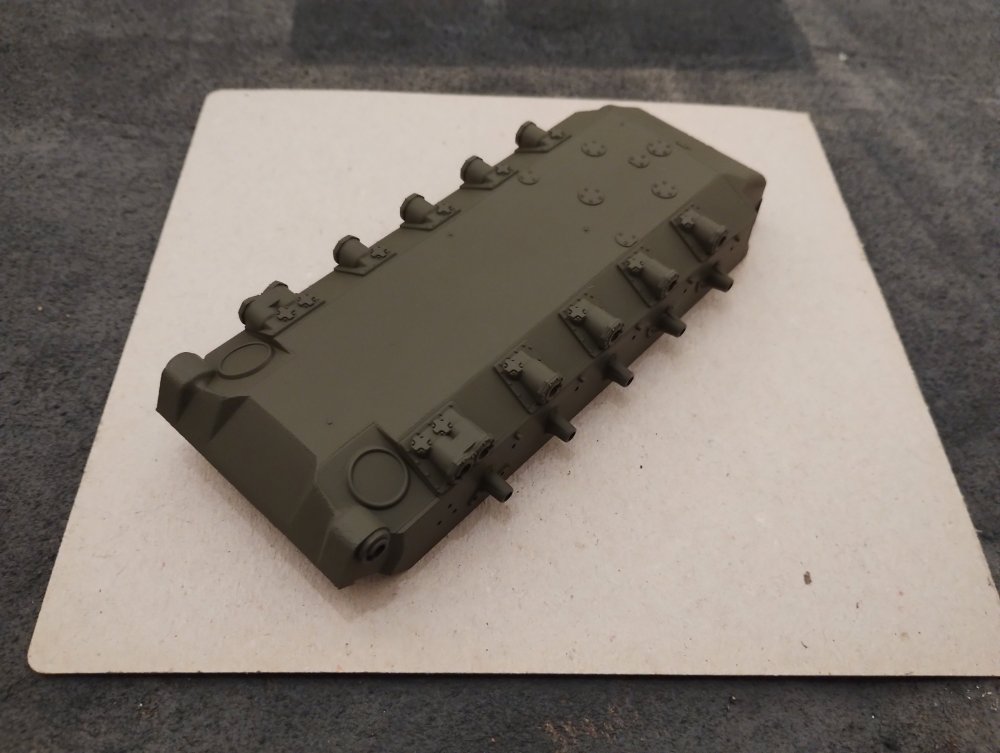
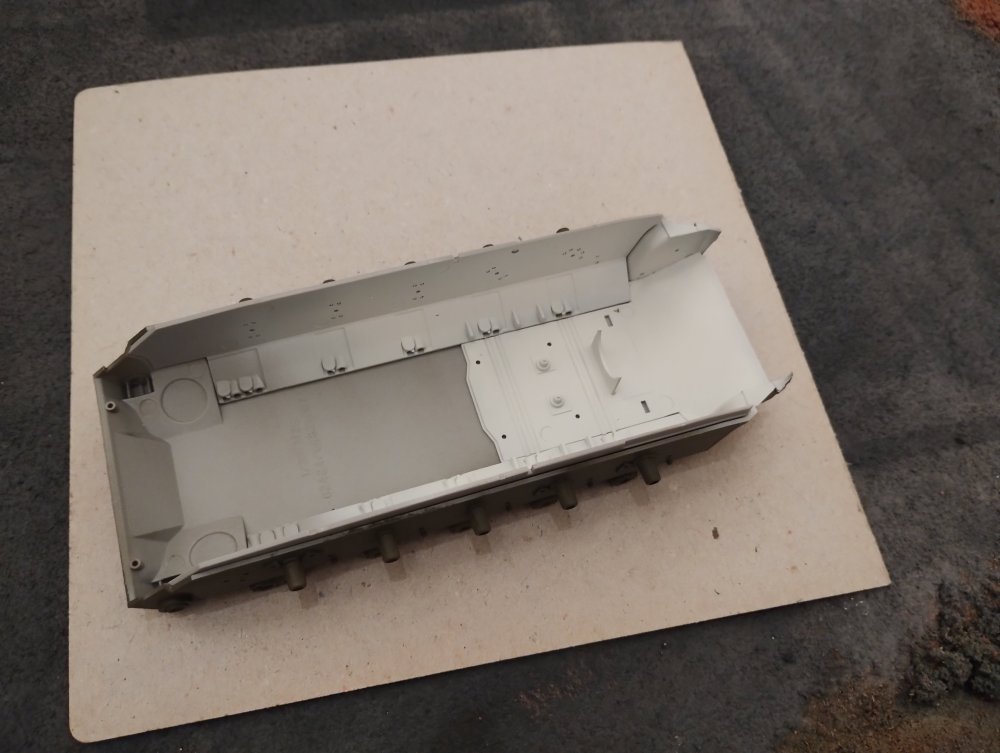
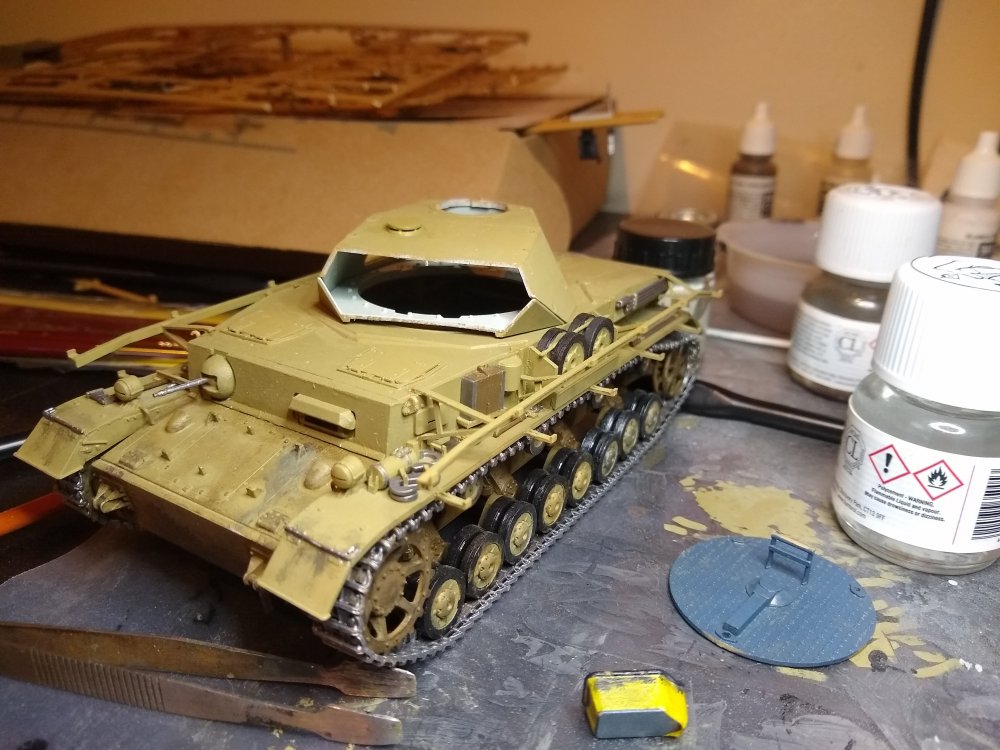
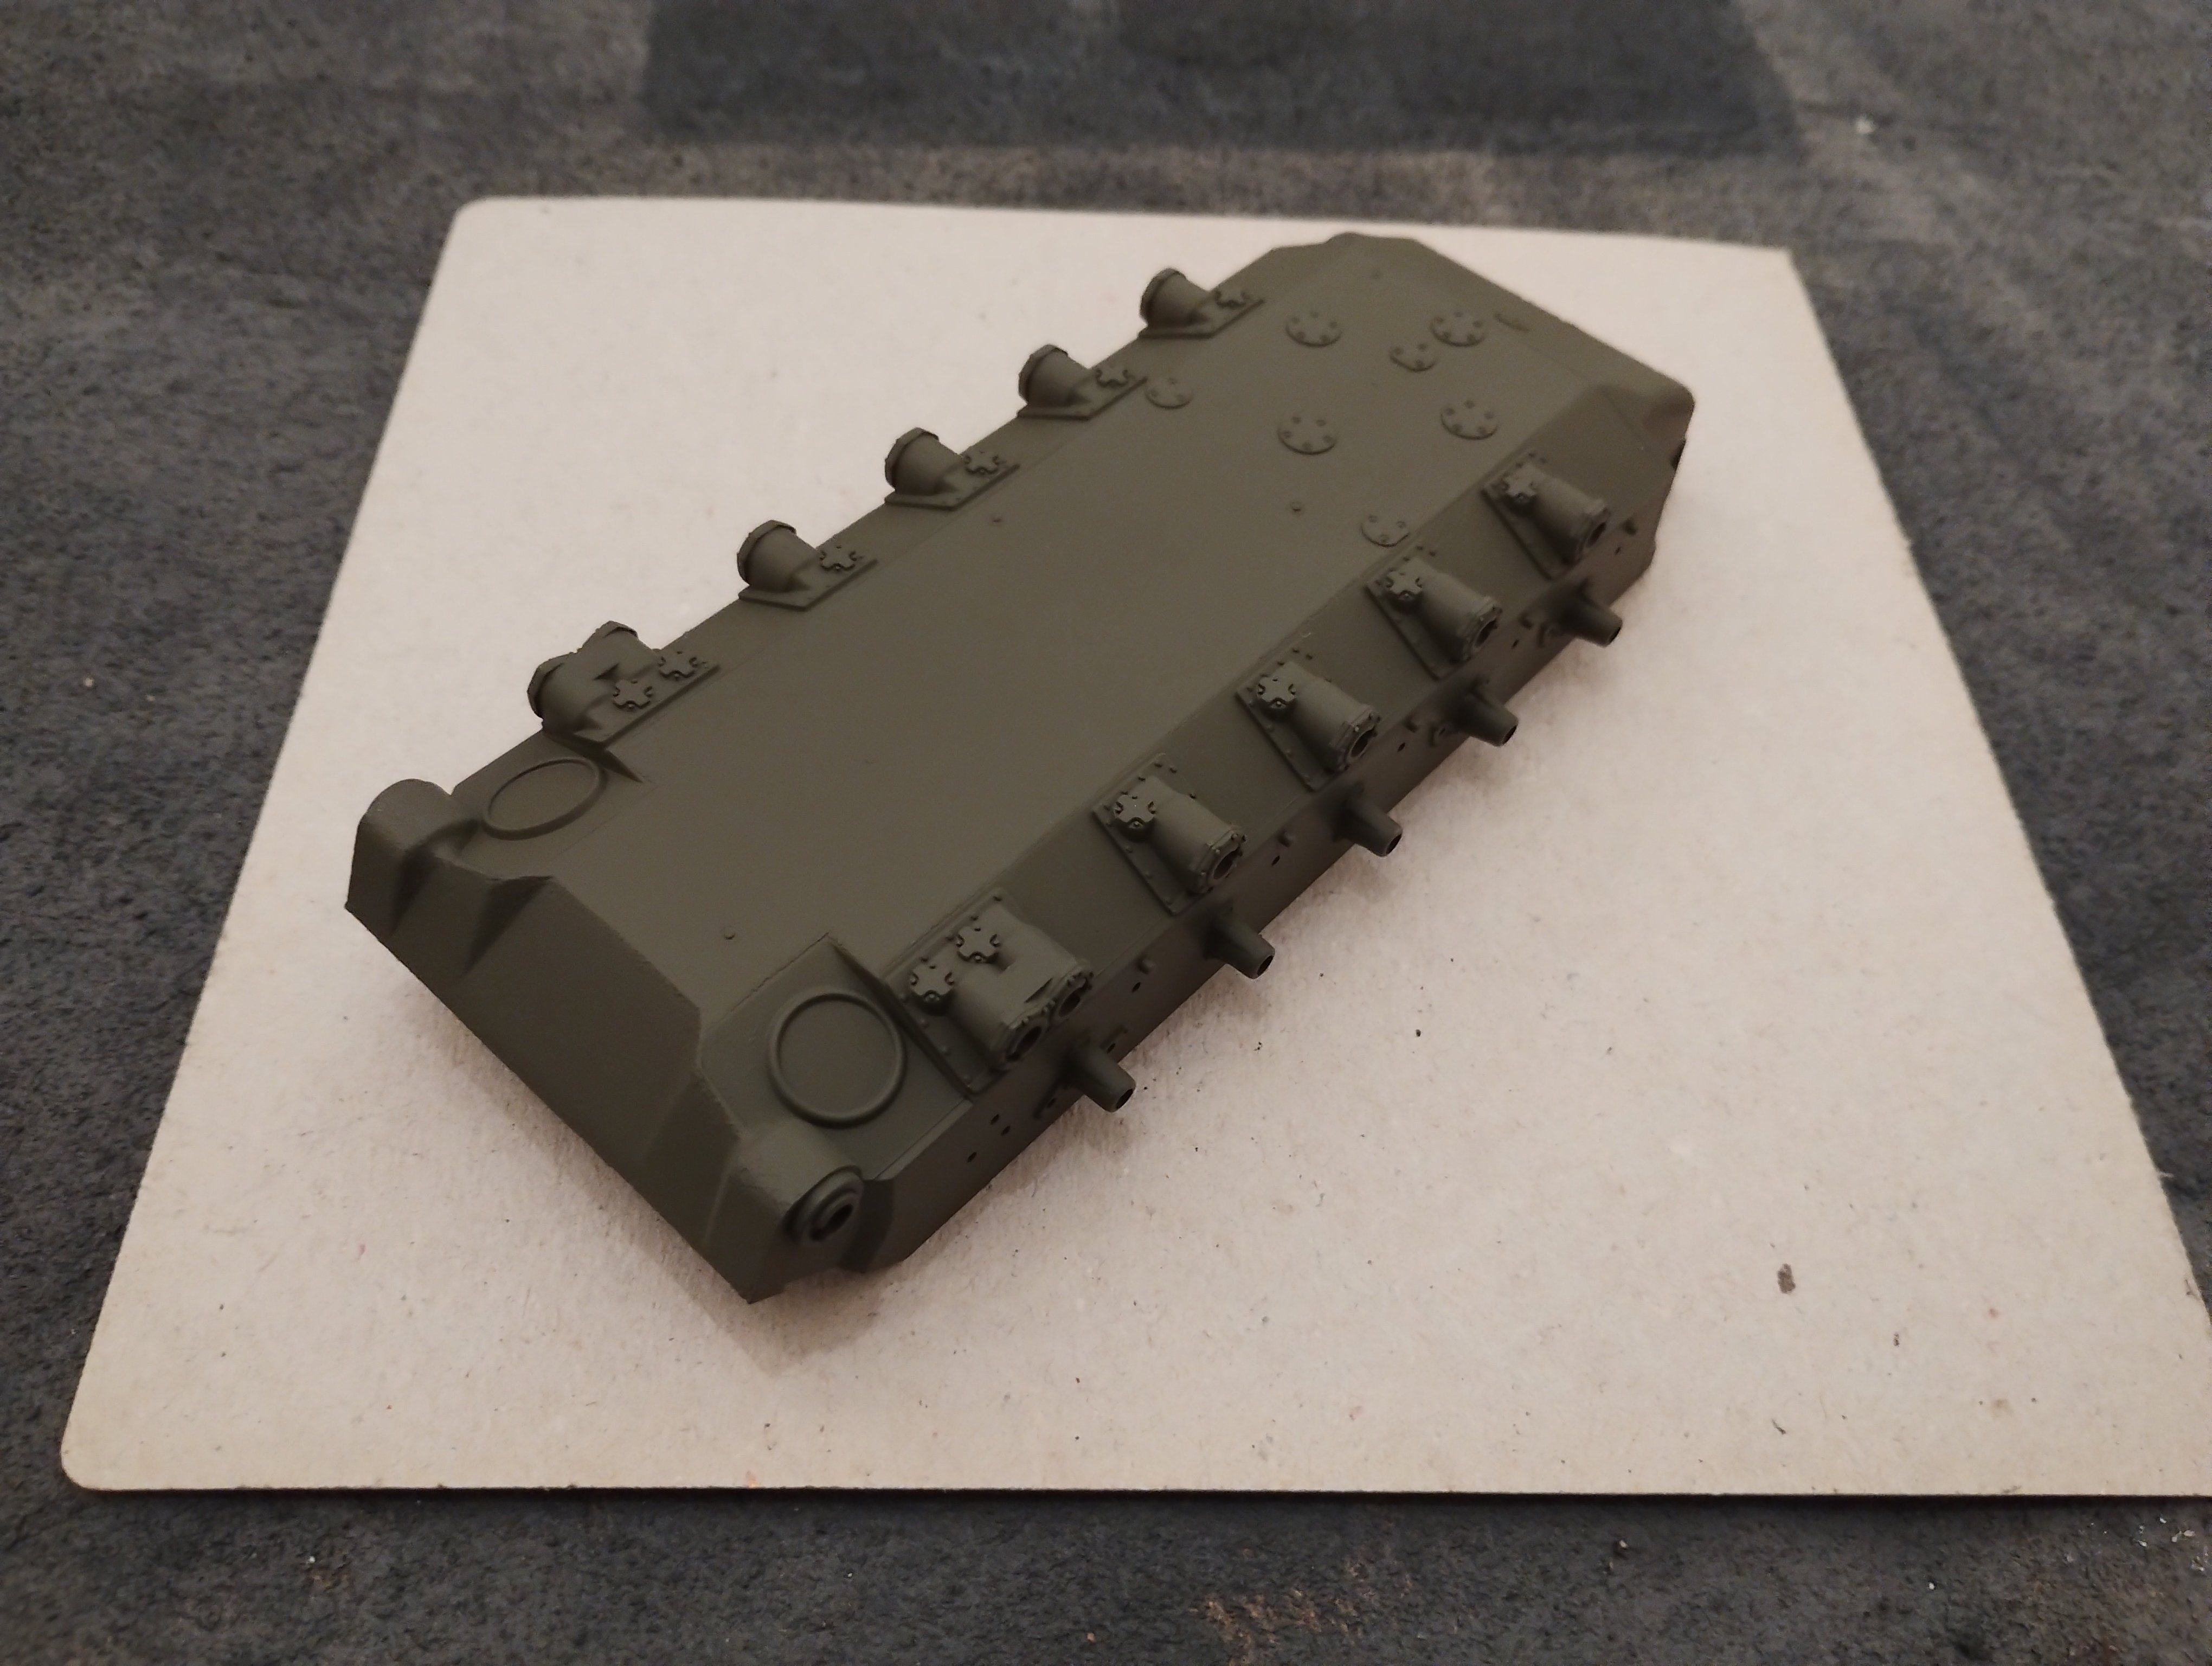
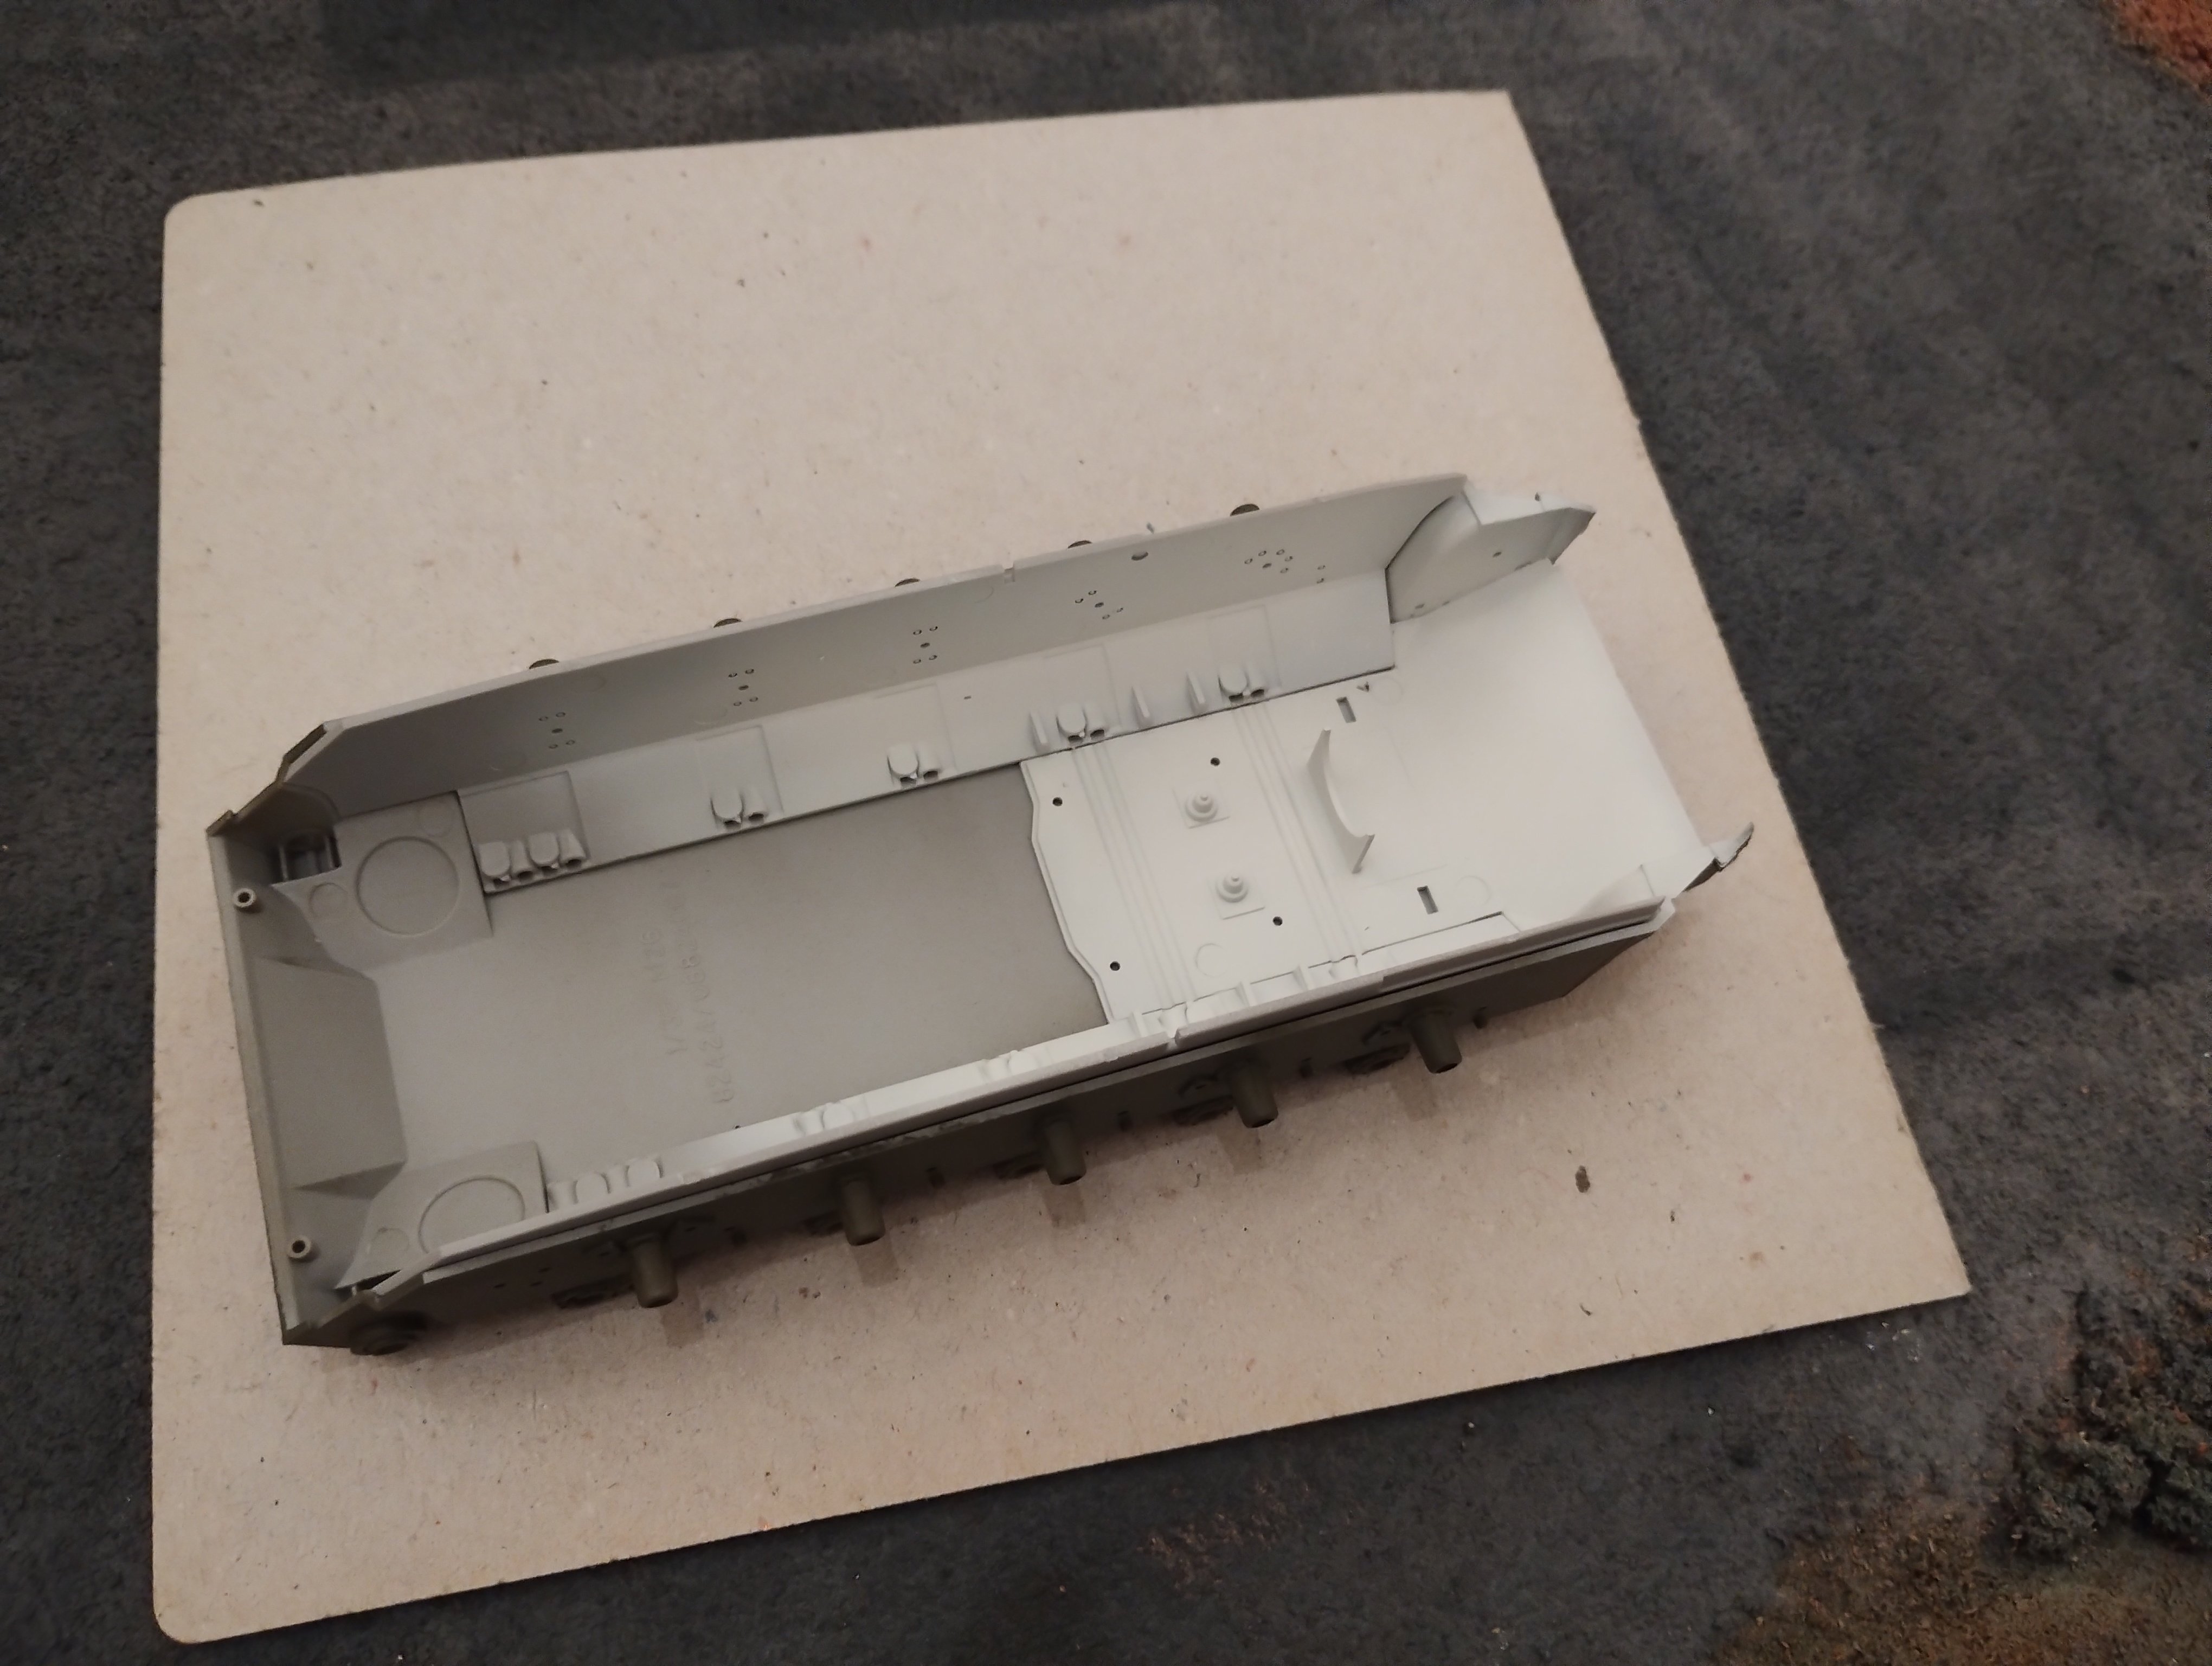
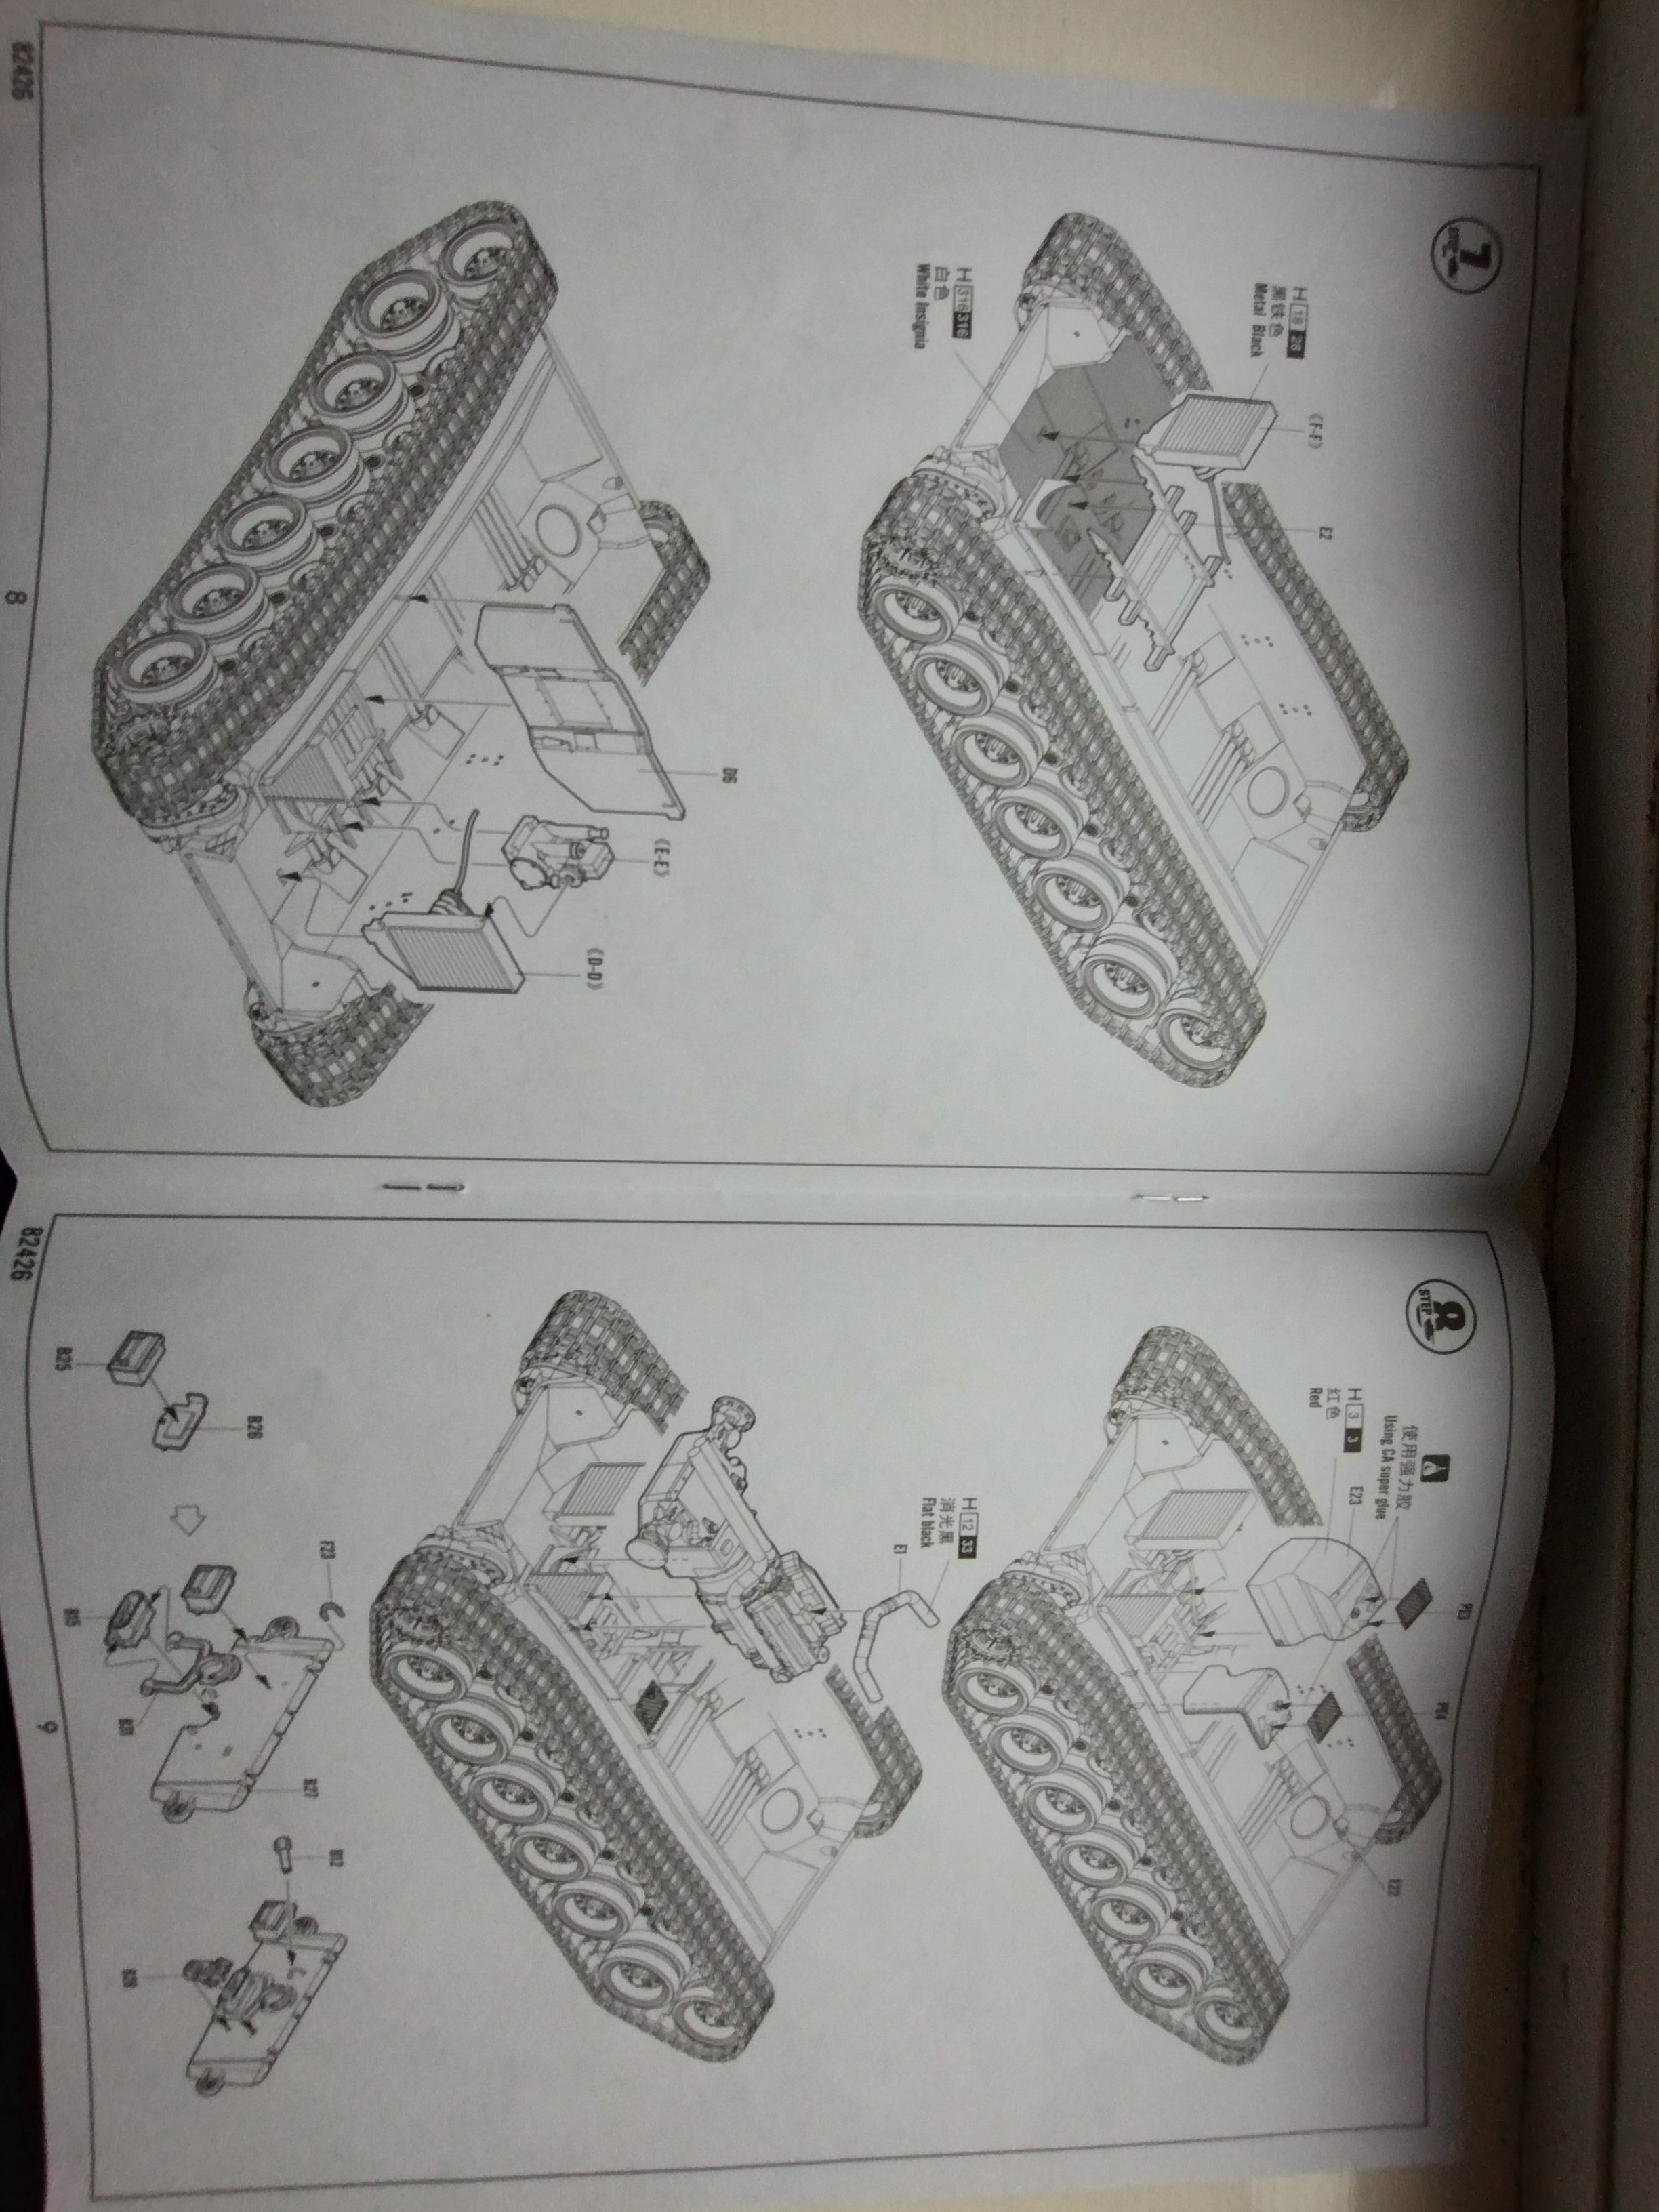
Thanks for the interest helps keep my motivation going. Just done some painting so far. The road wheels suspension arms and hull coated with my new air gun. Also painted inside the inside engine bay area and fire wall.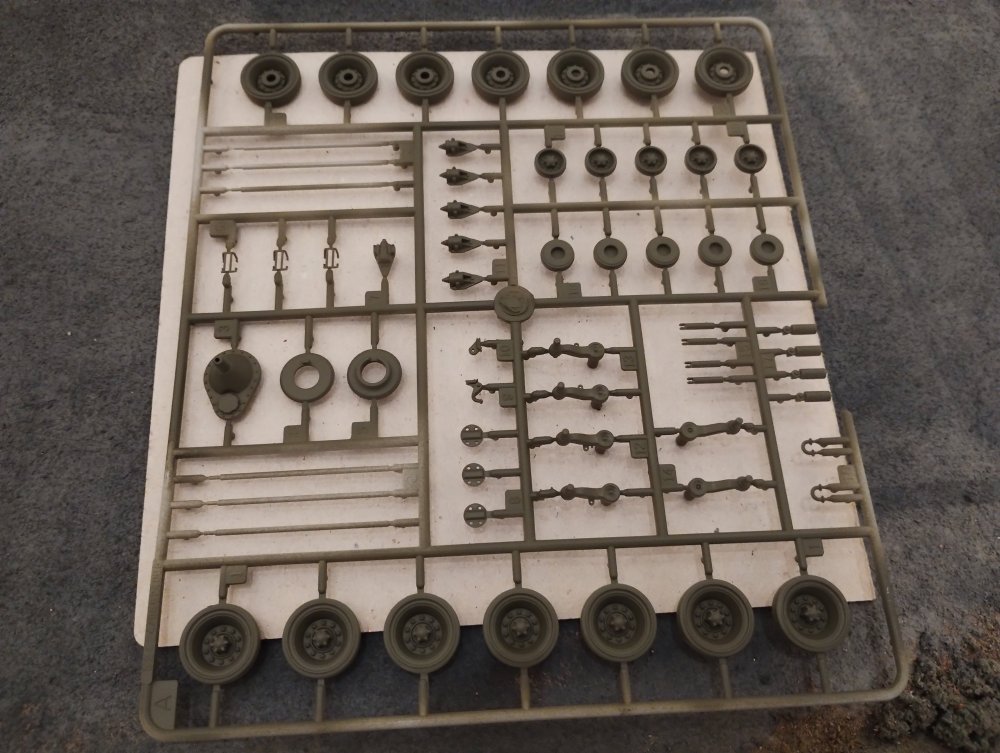


-
T26E4 Super Pershing
Daniel_Roxy replied to Daniel_Roxy's topic in LSM 1/35 and Larger Work In Progress
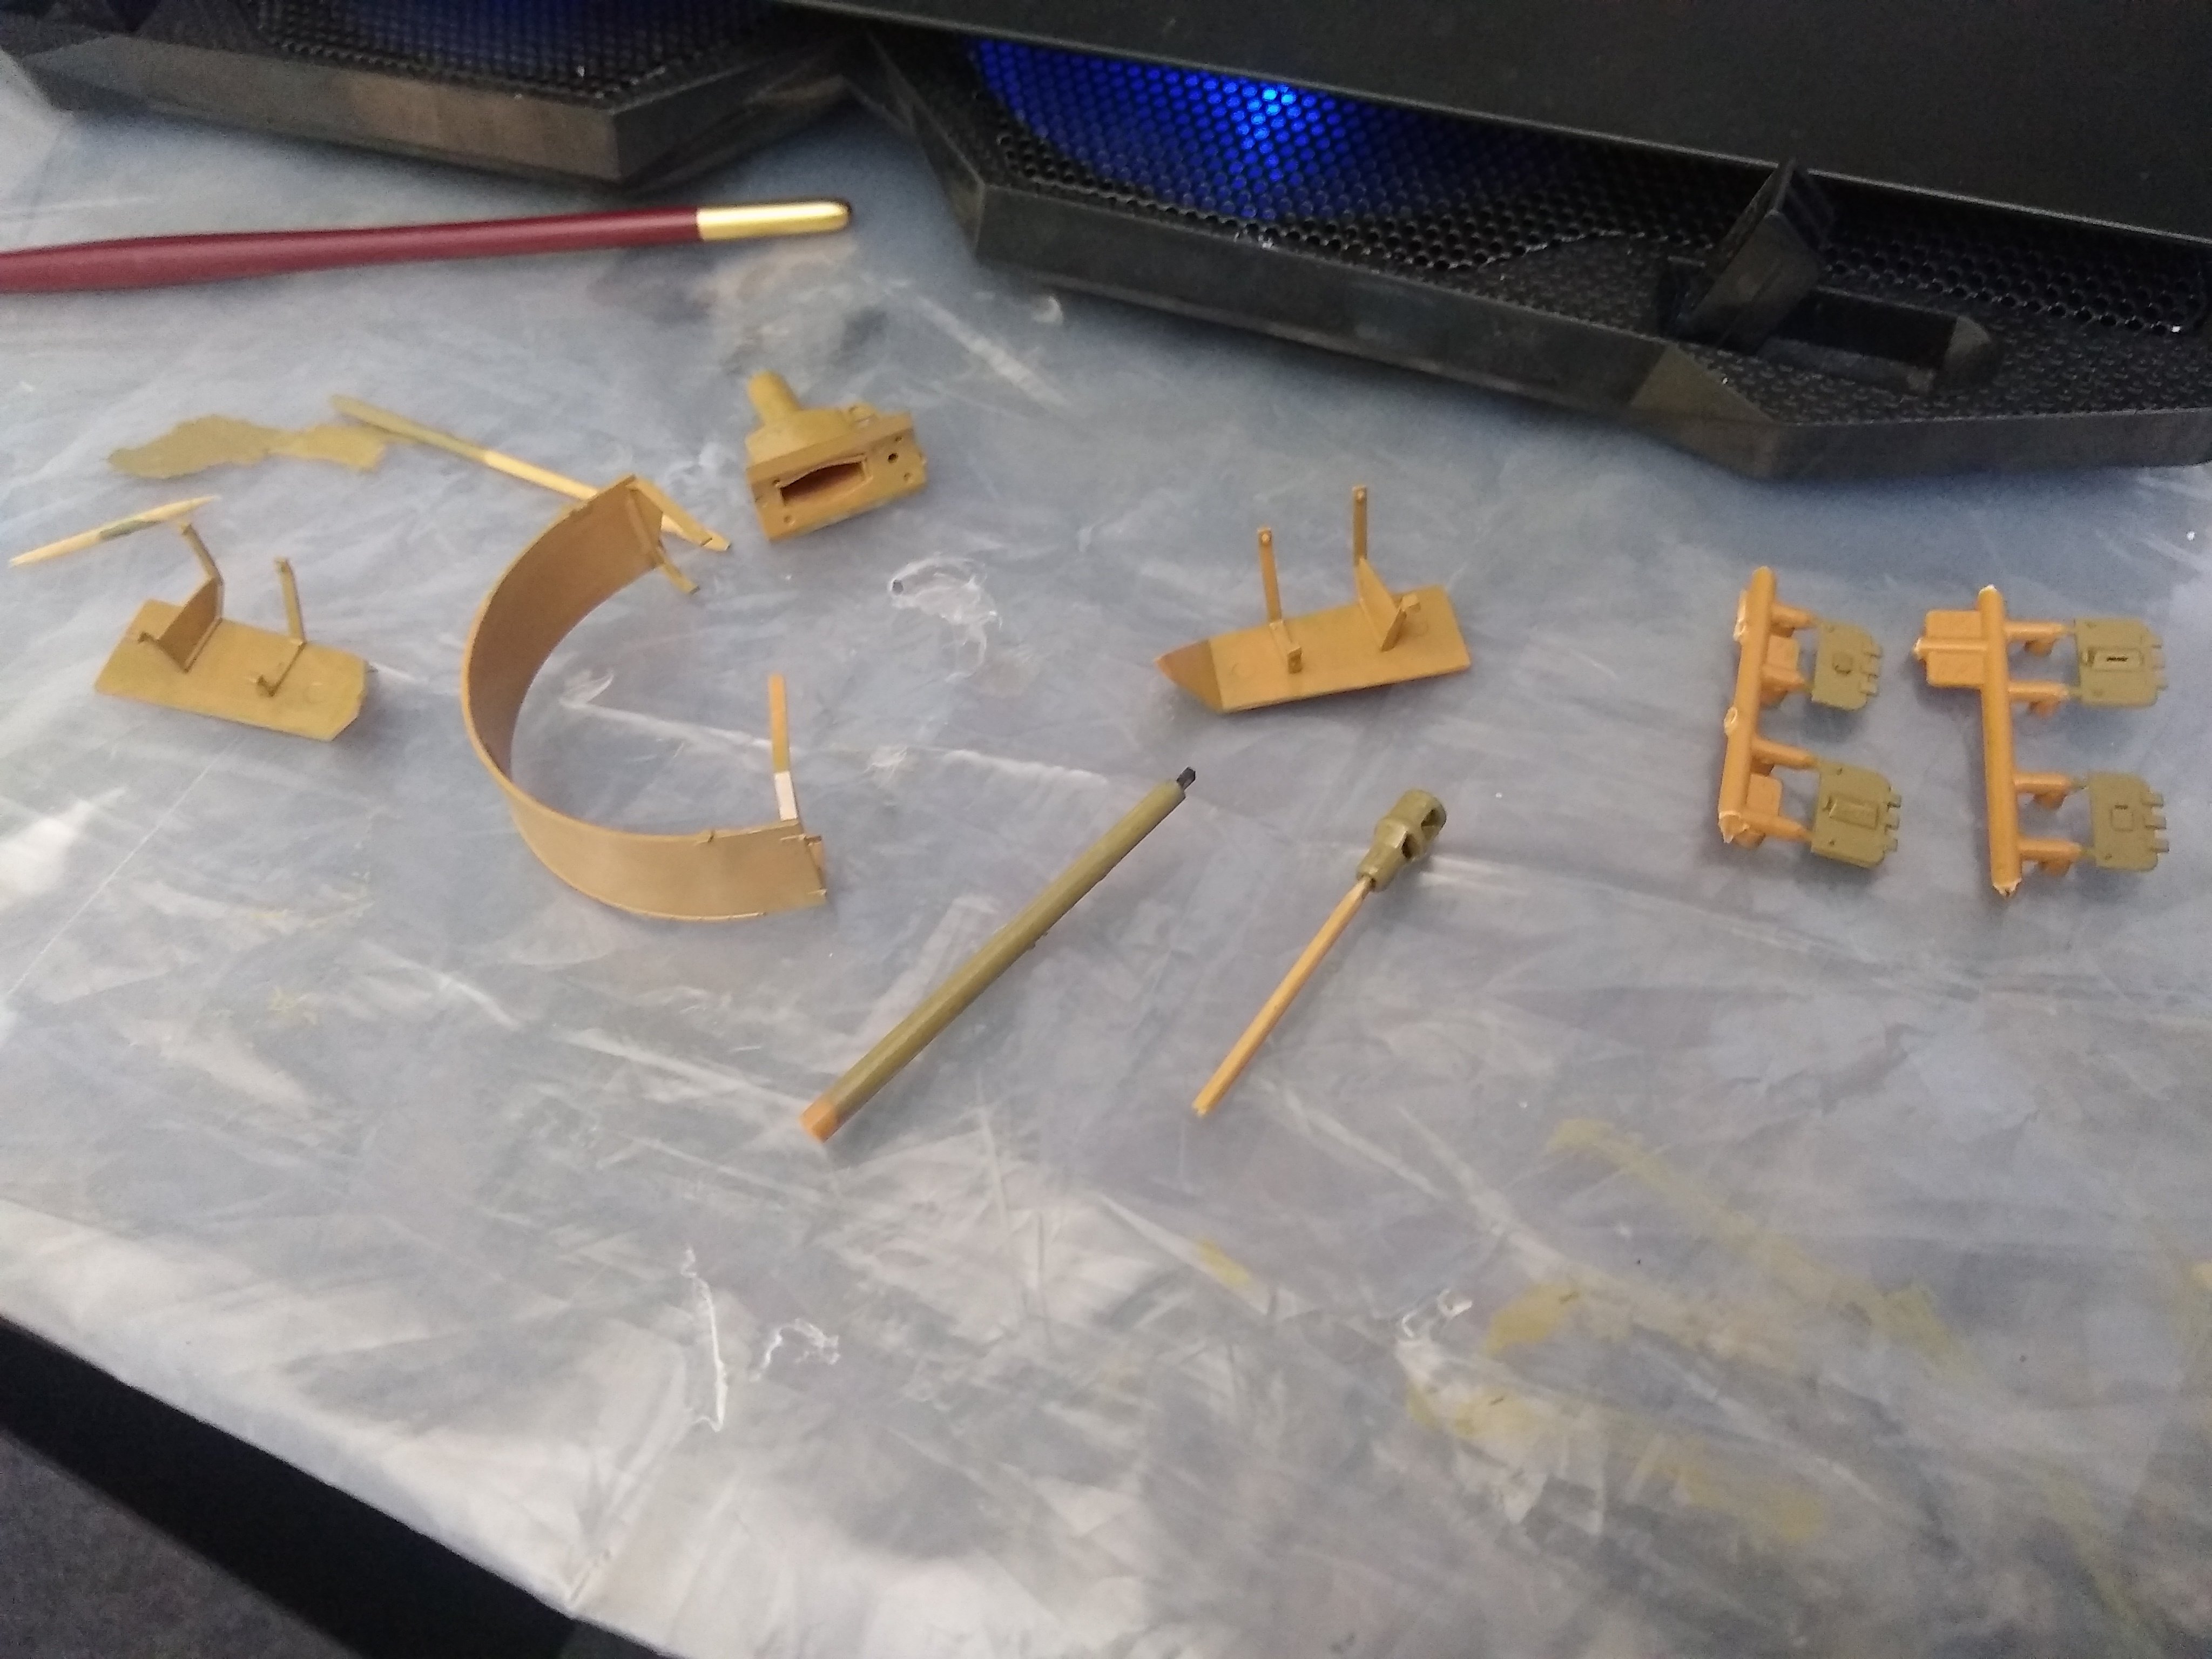
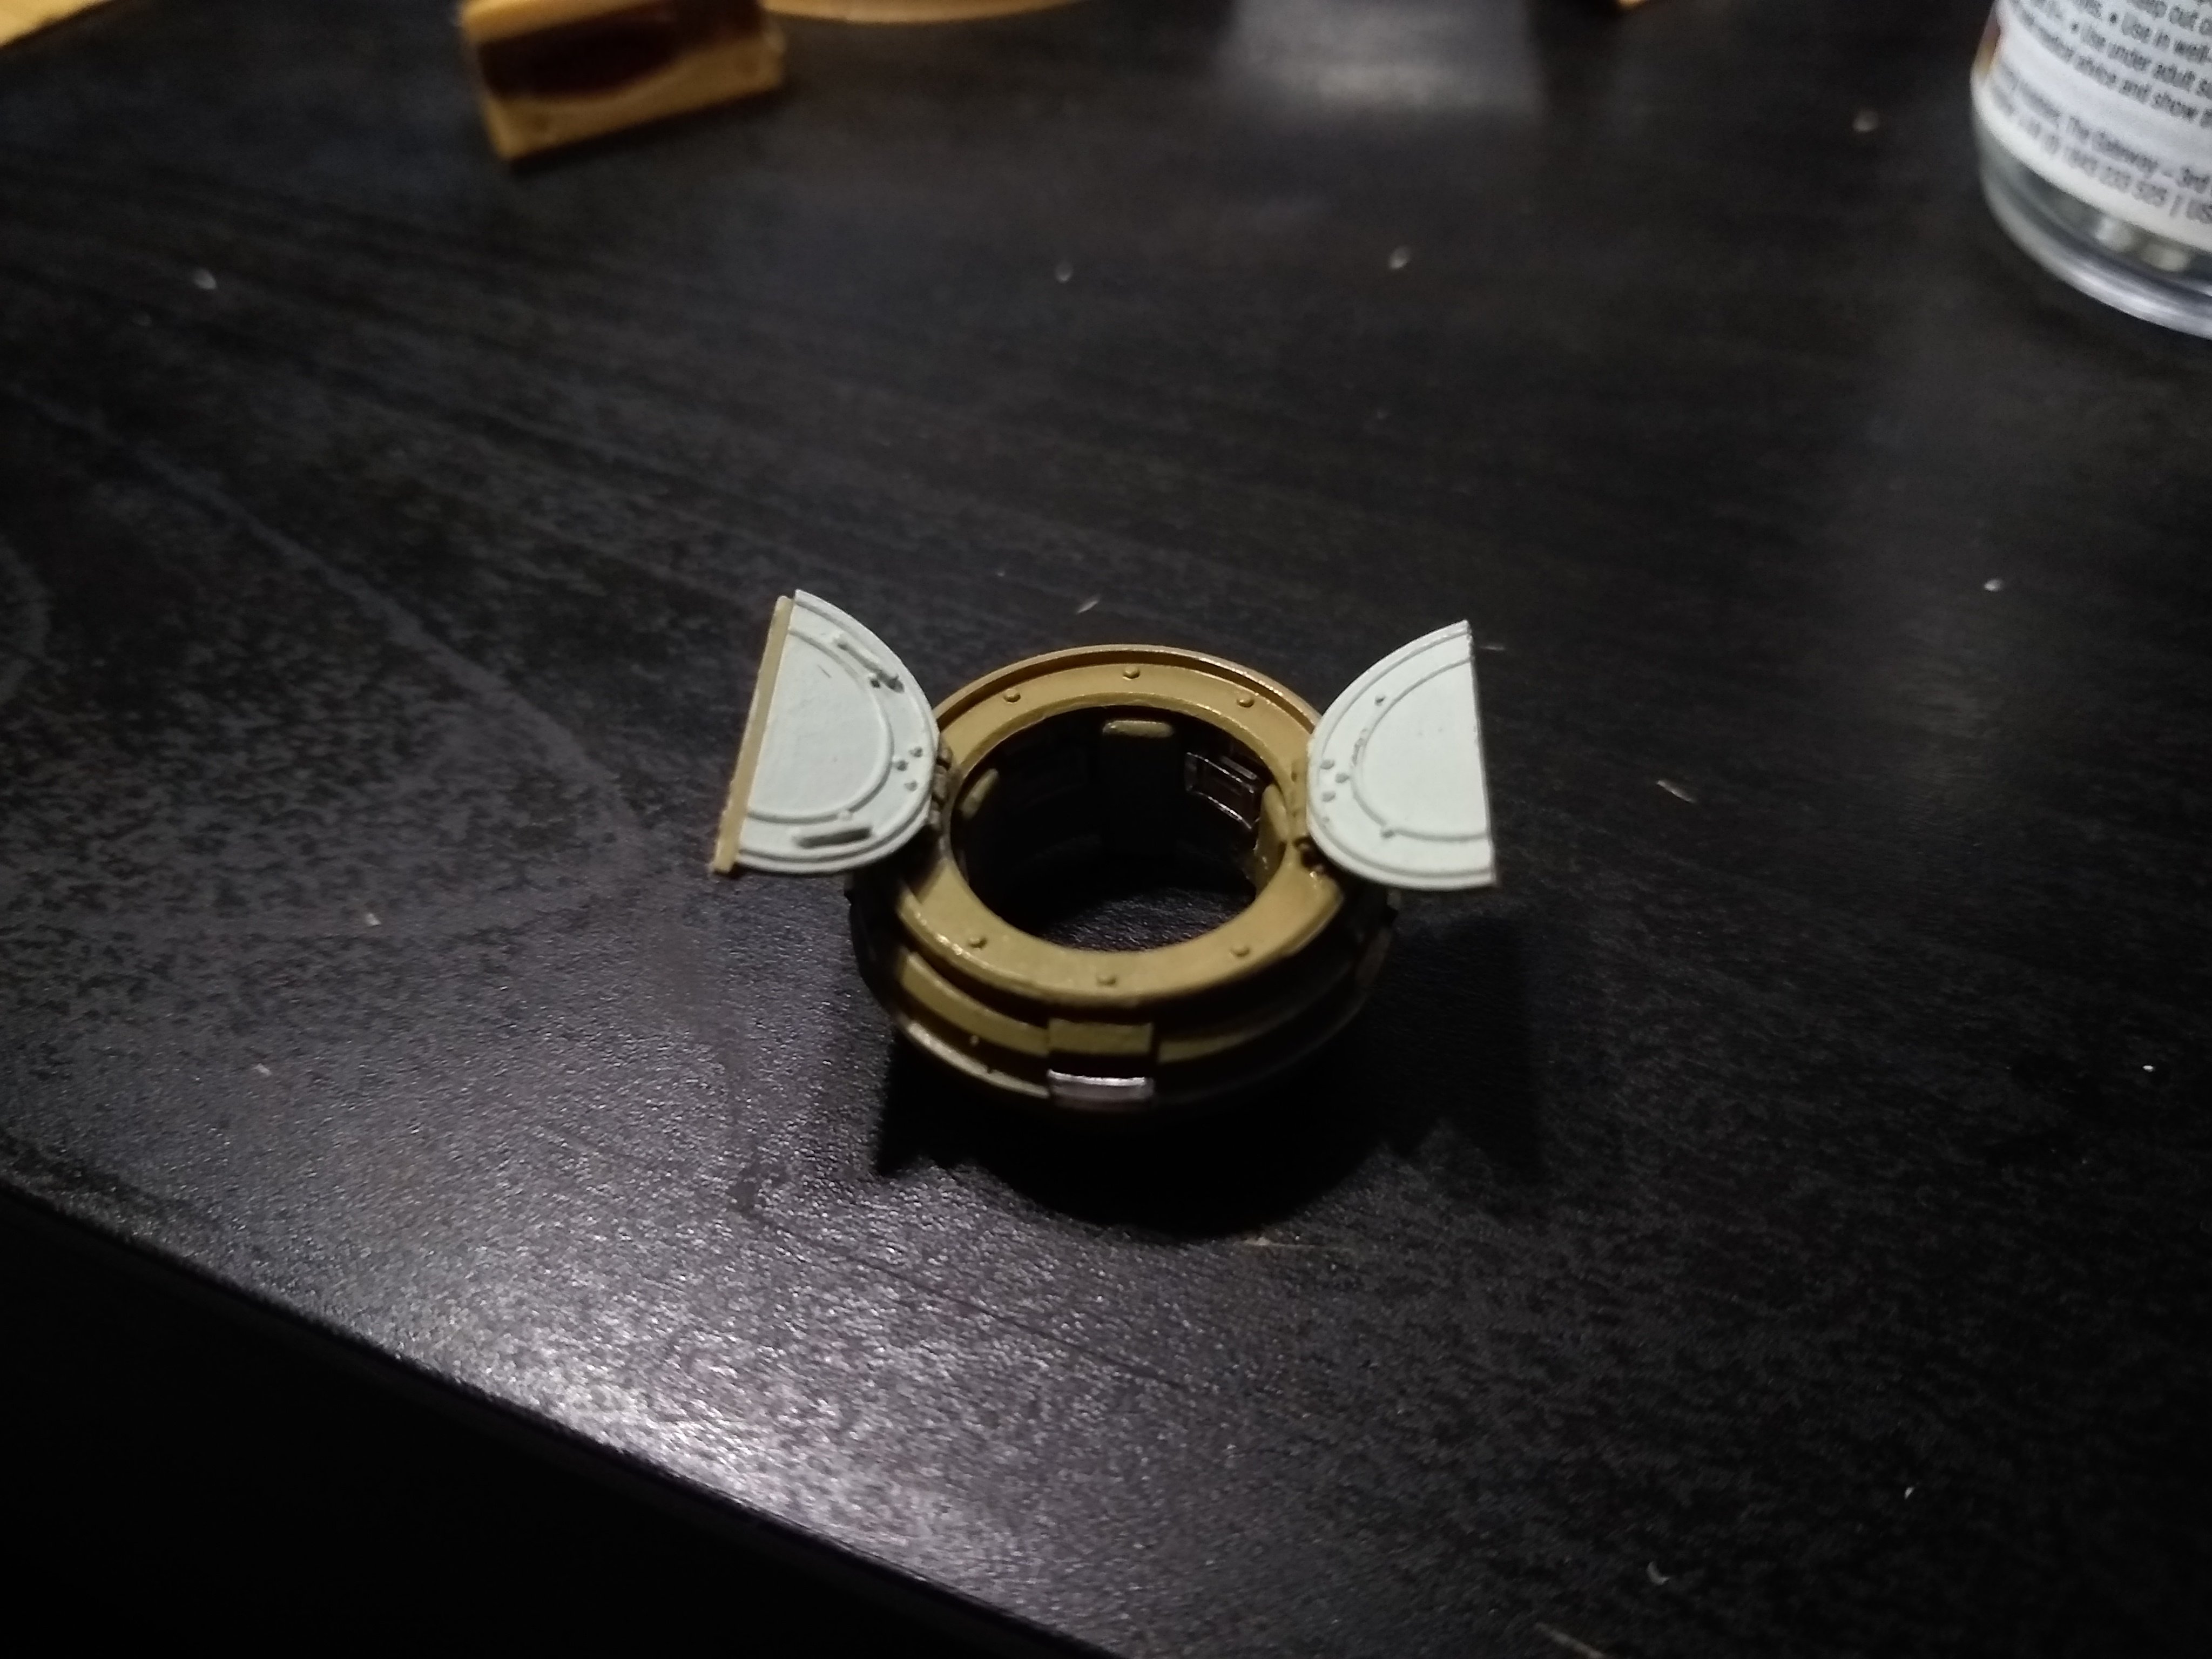
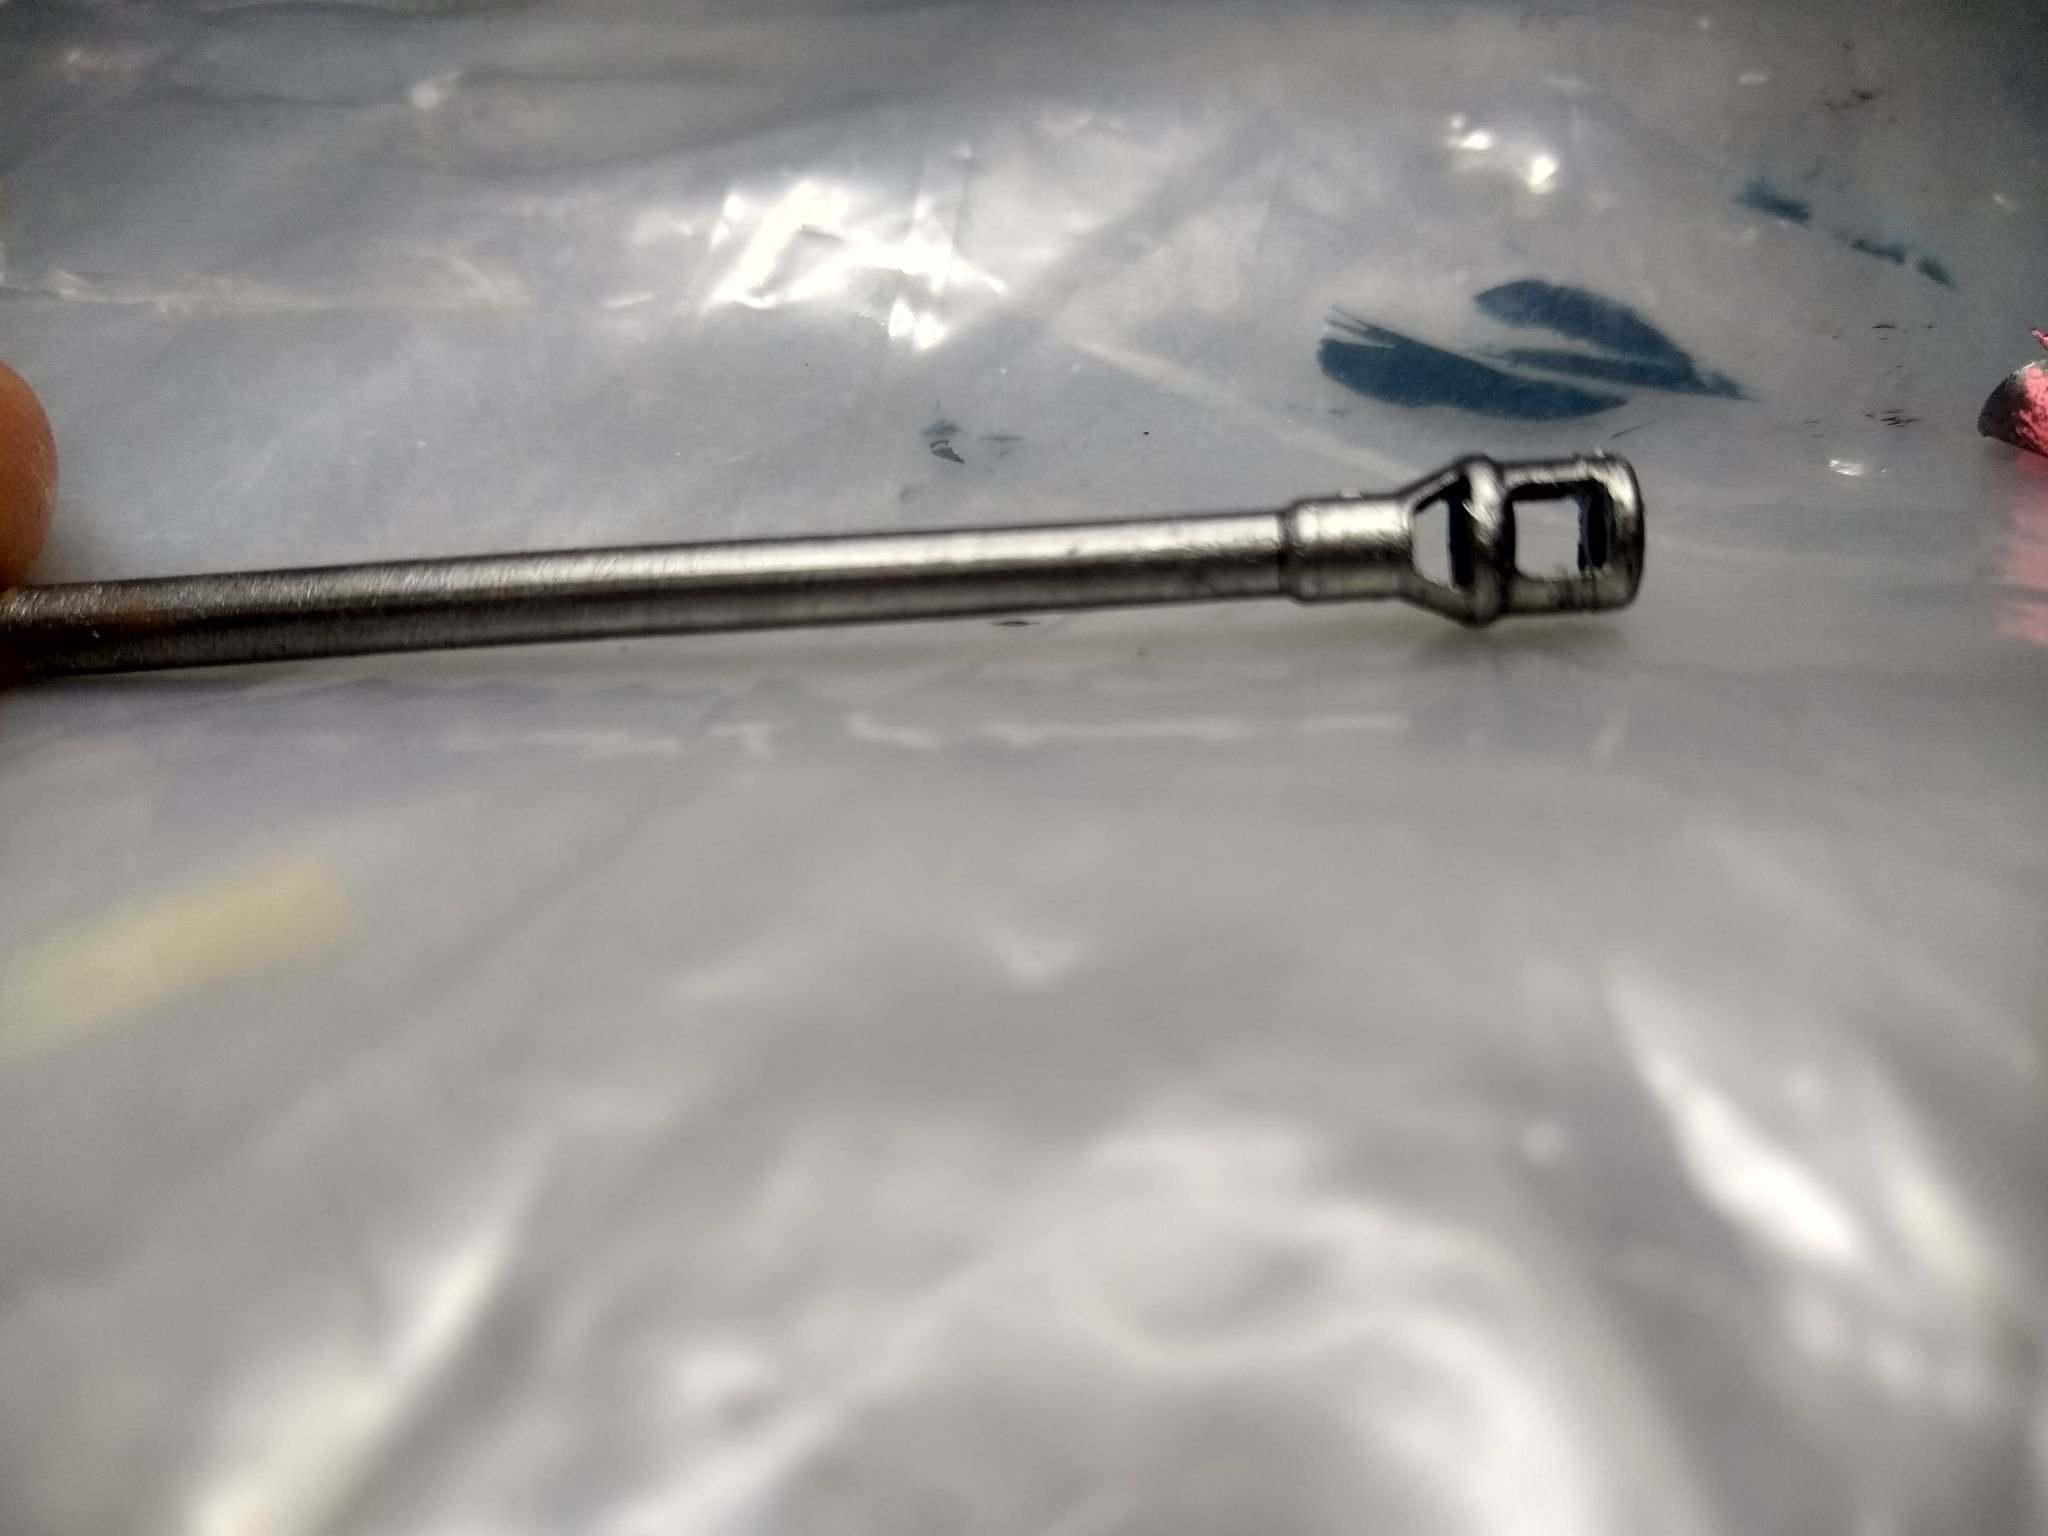
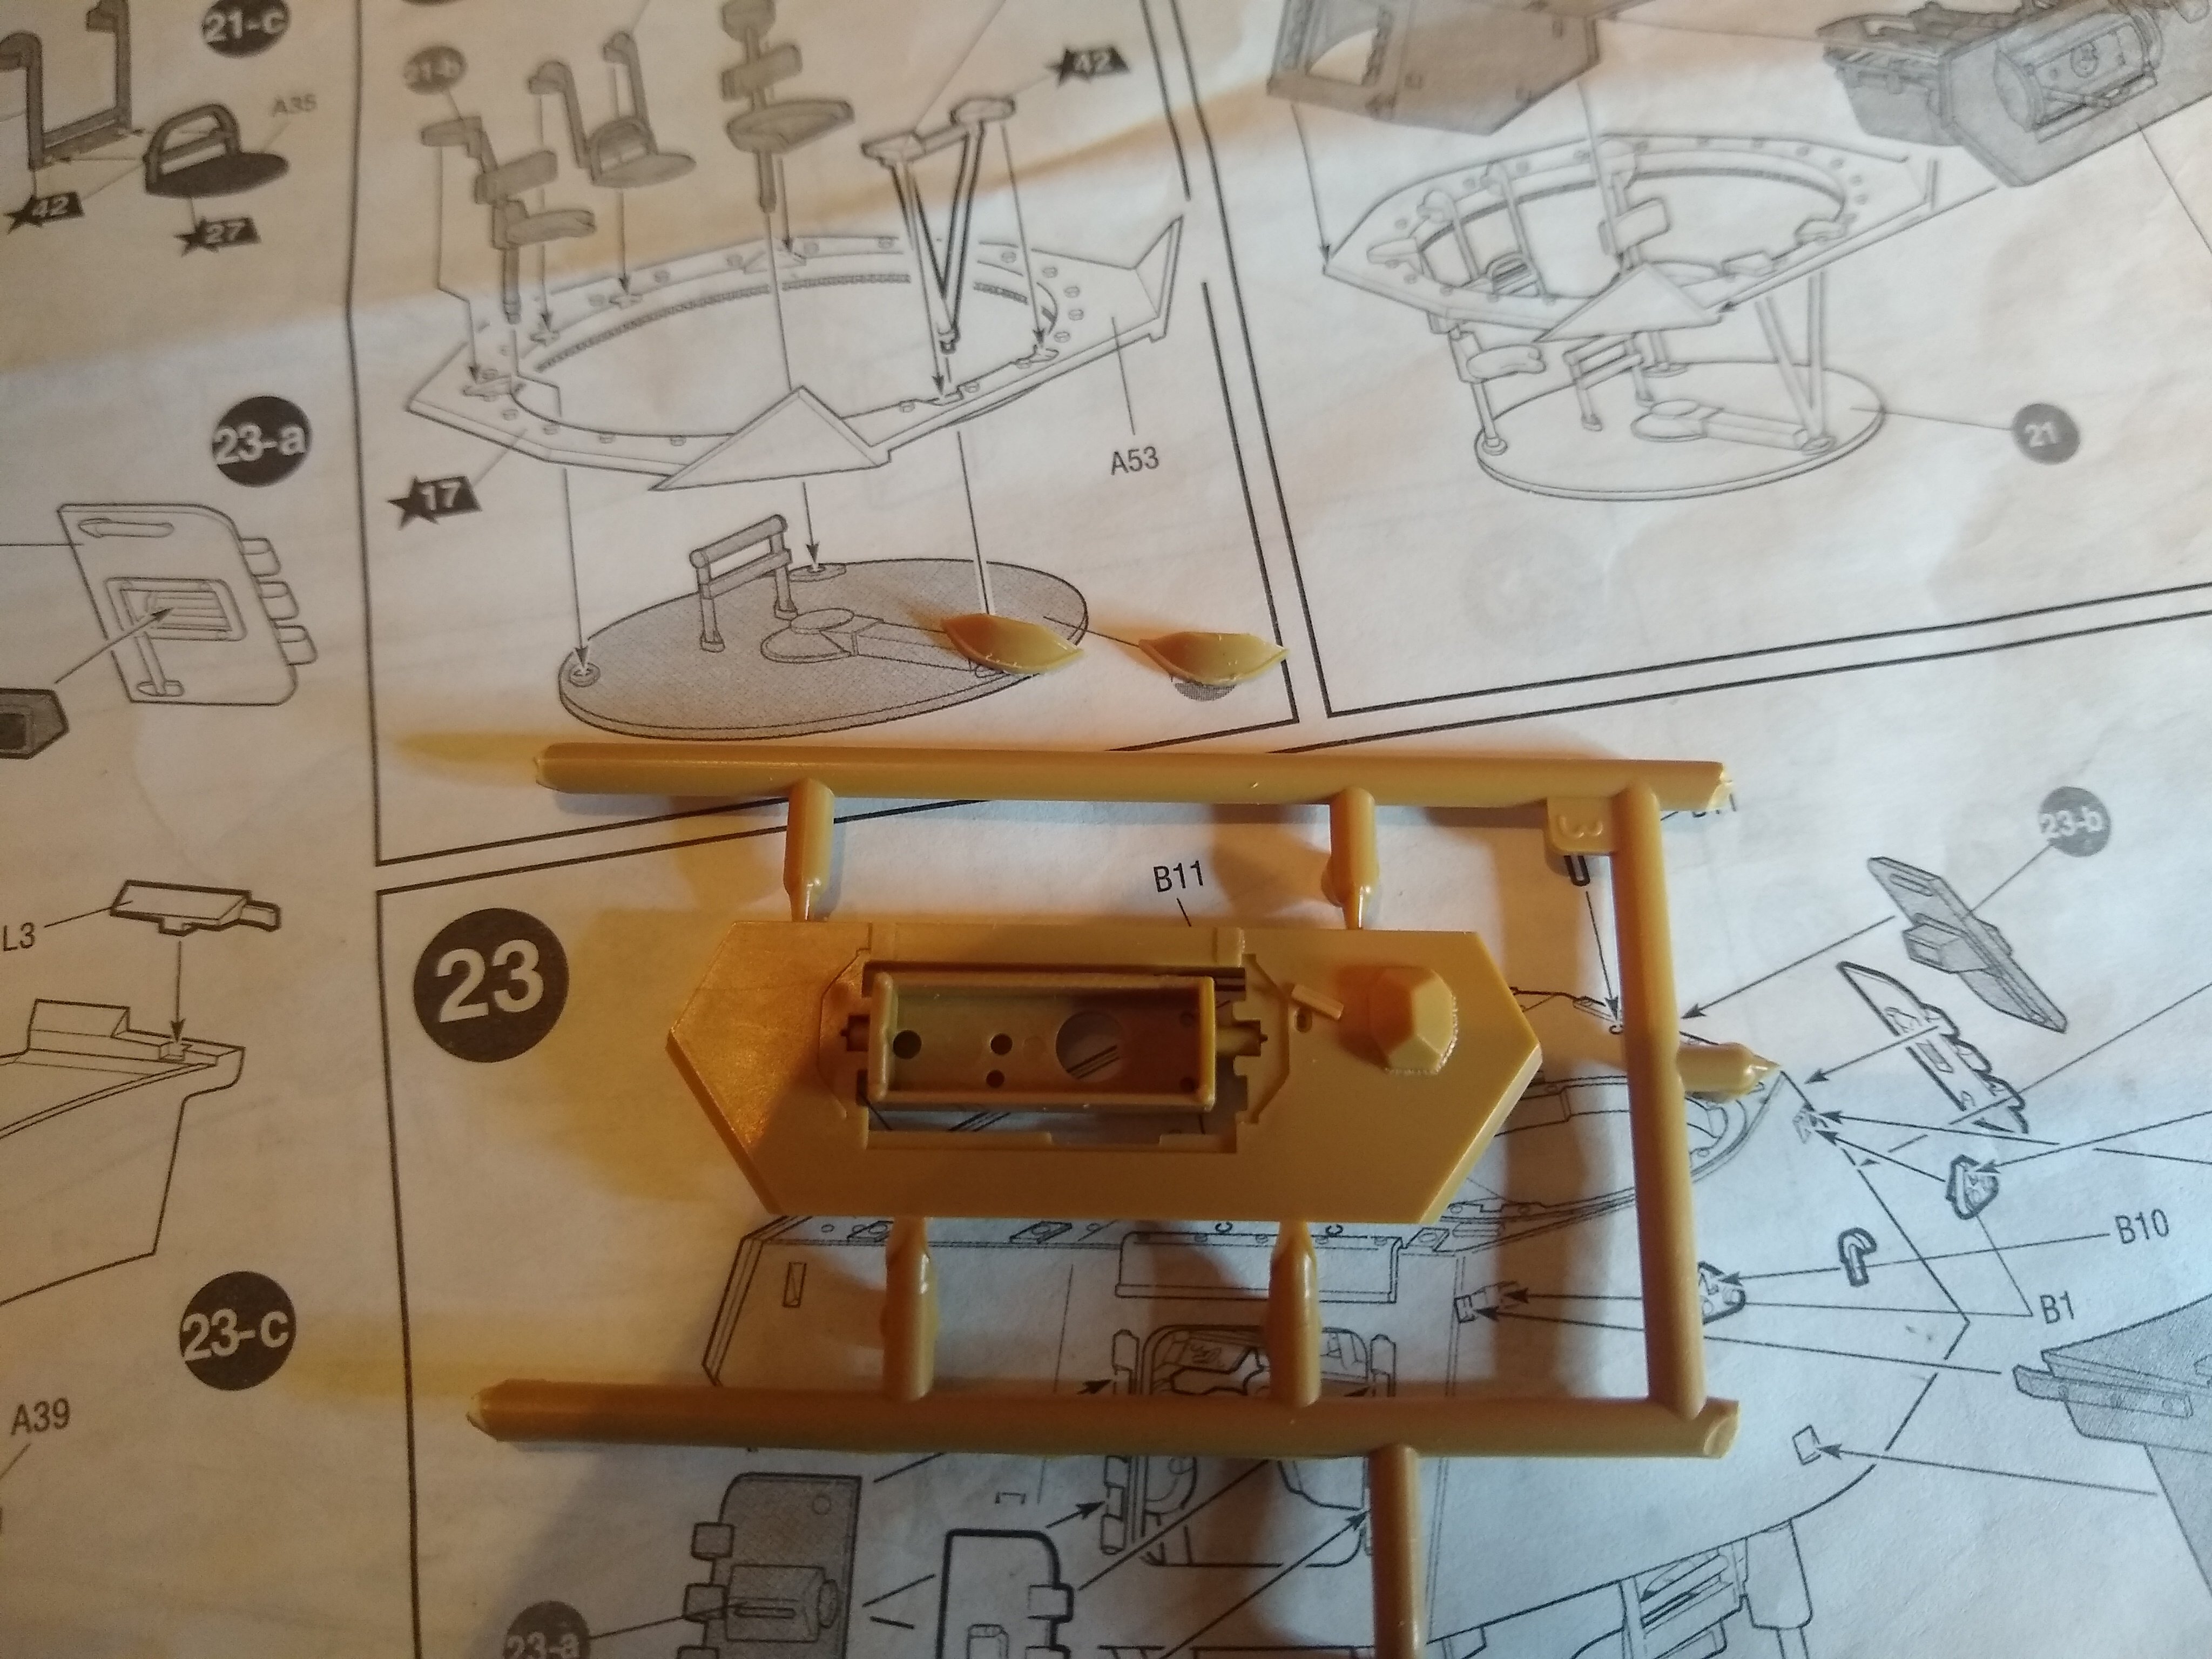
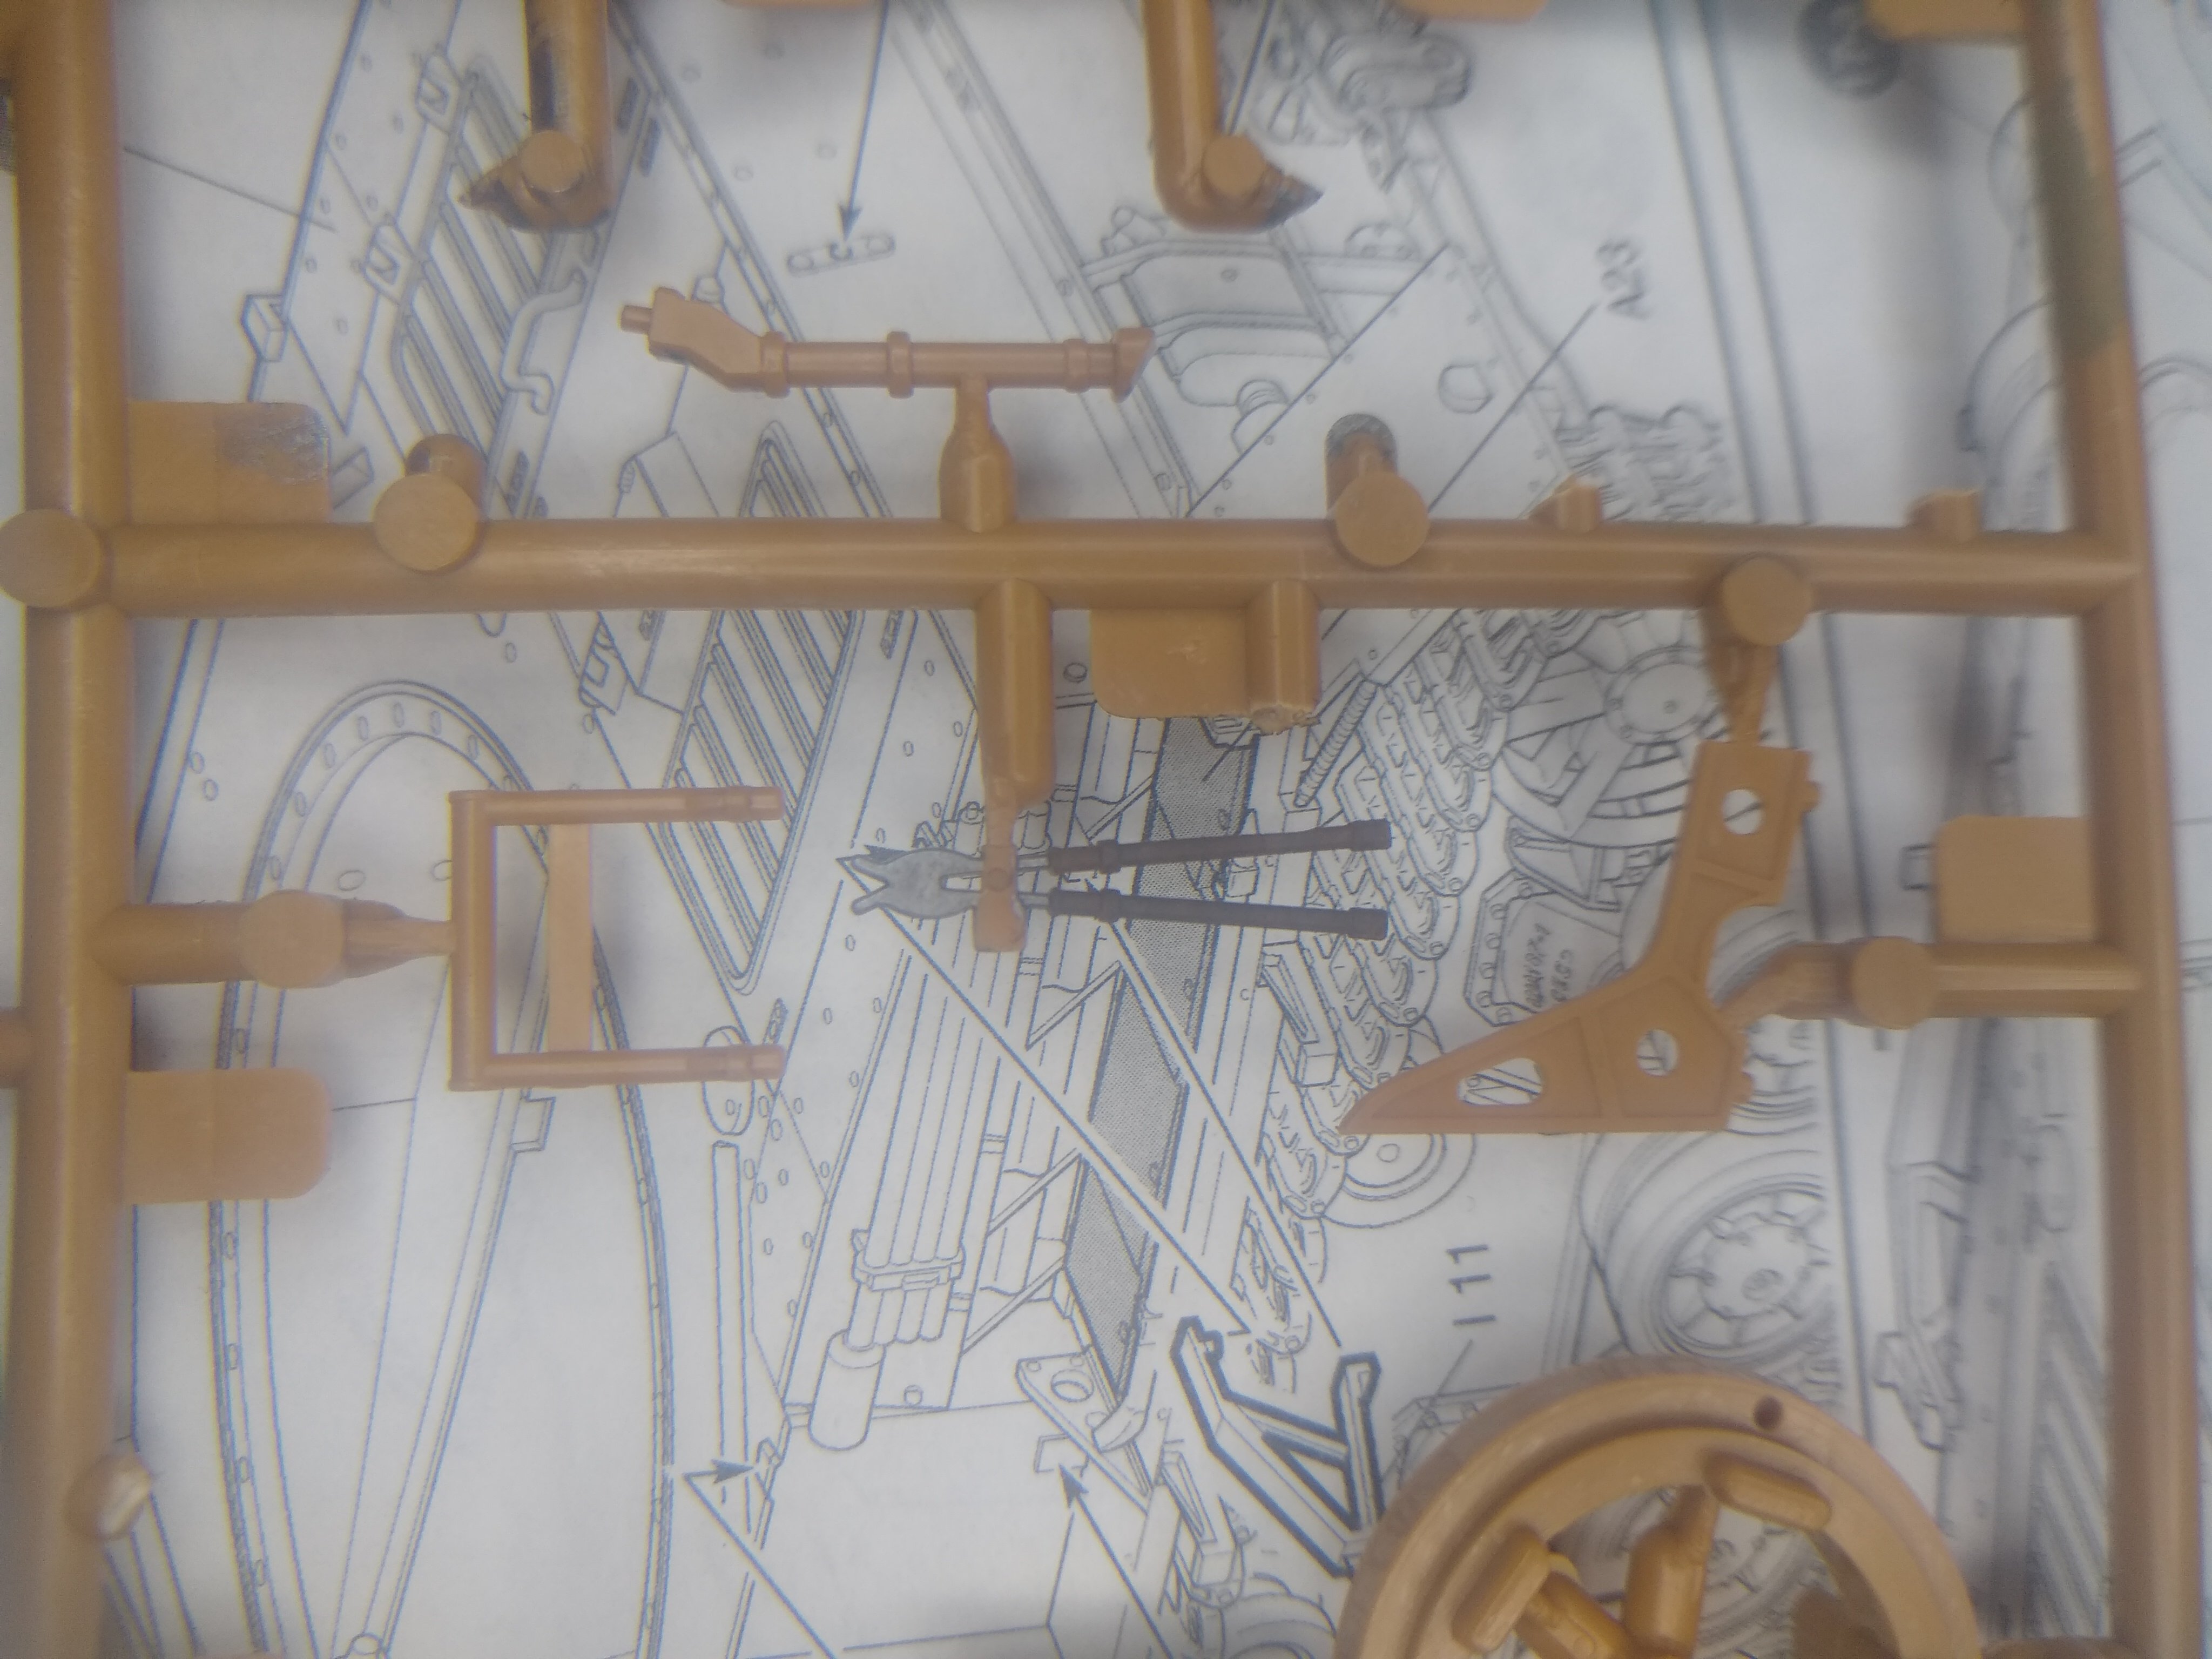
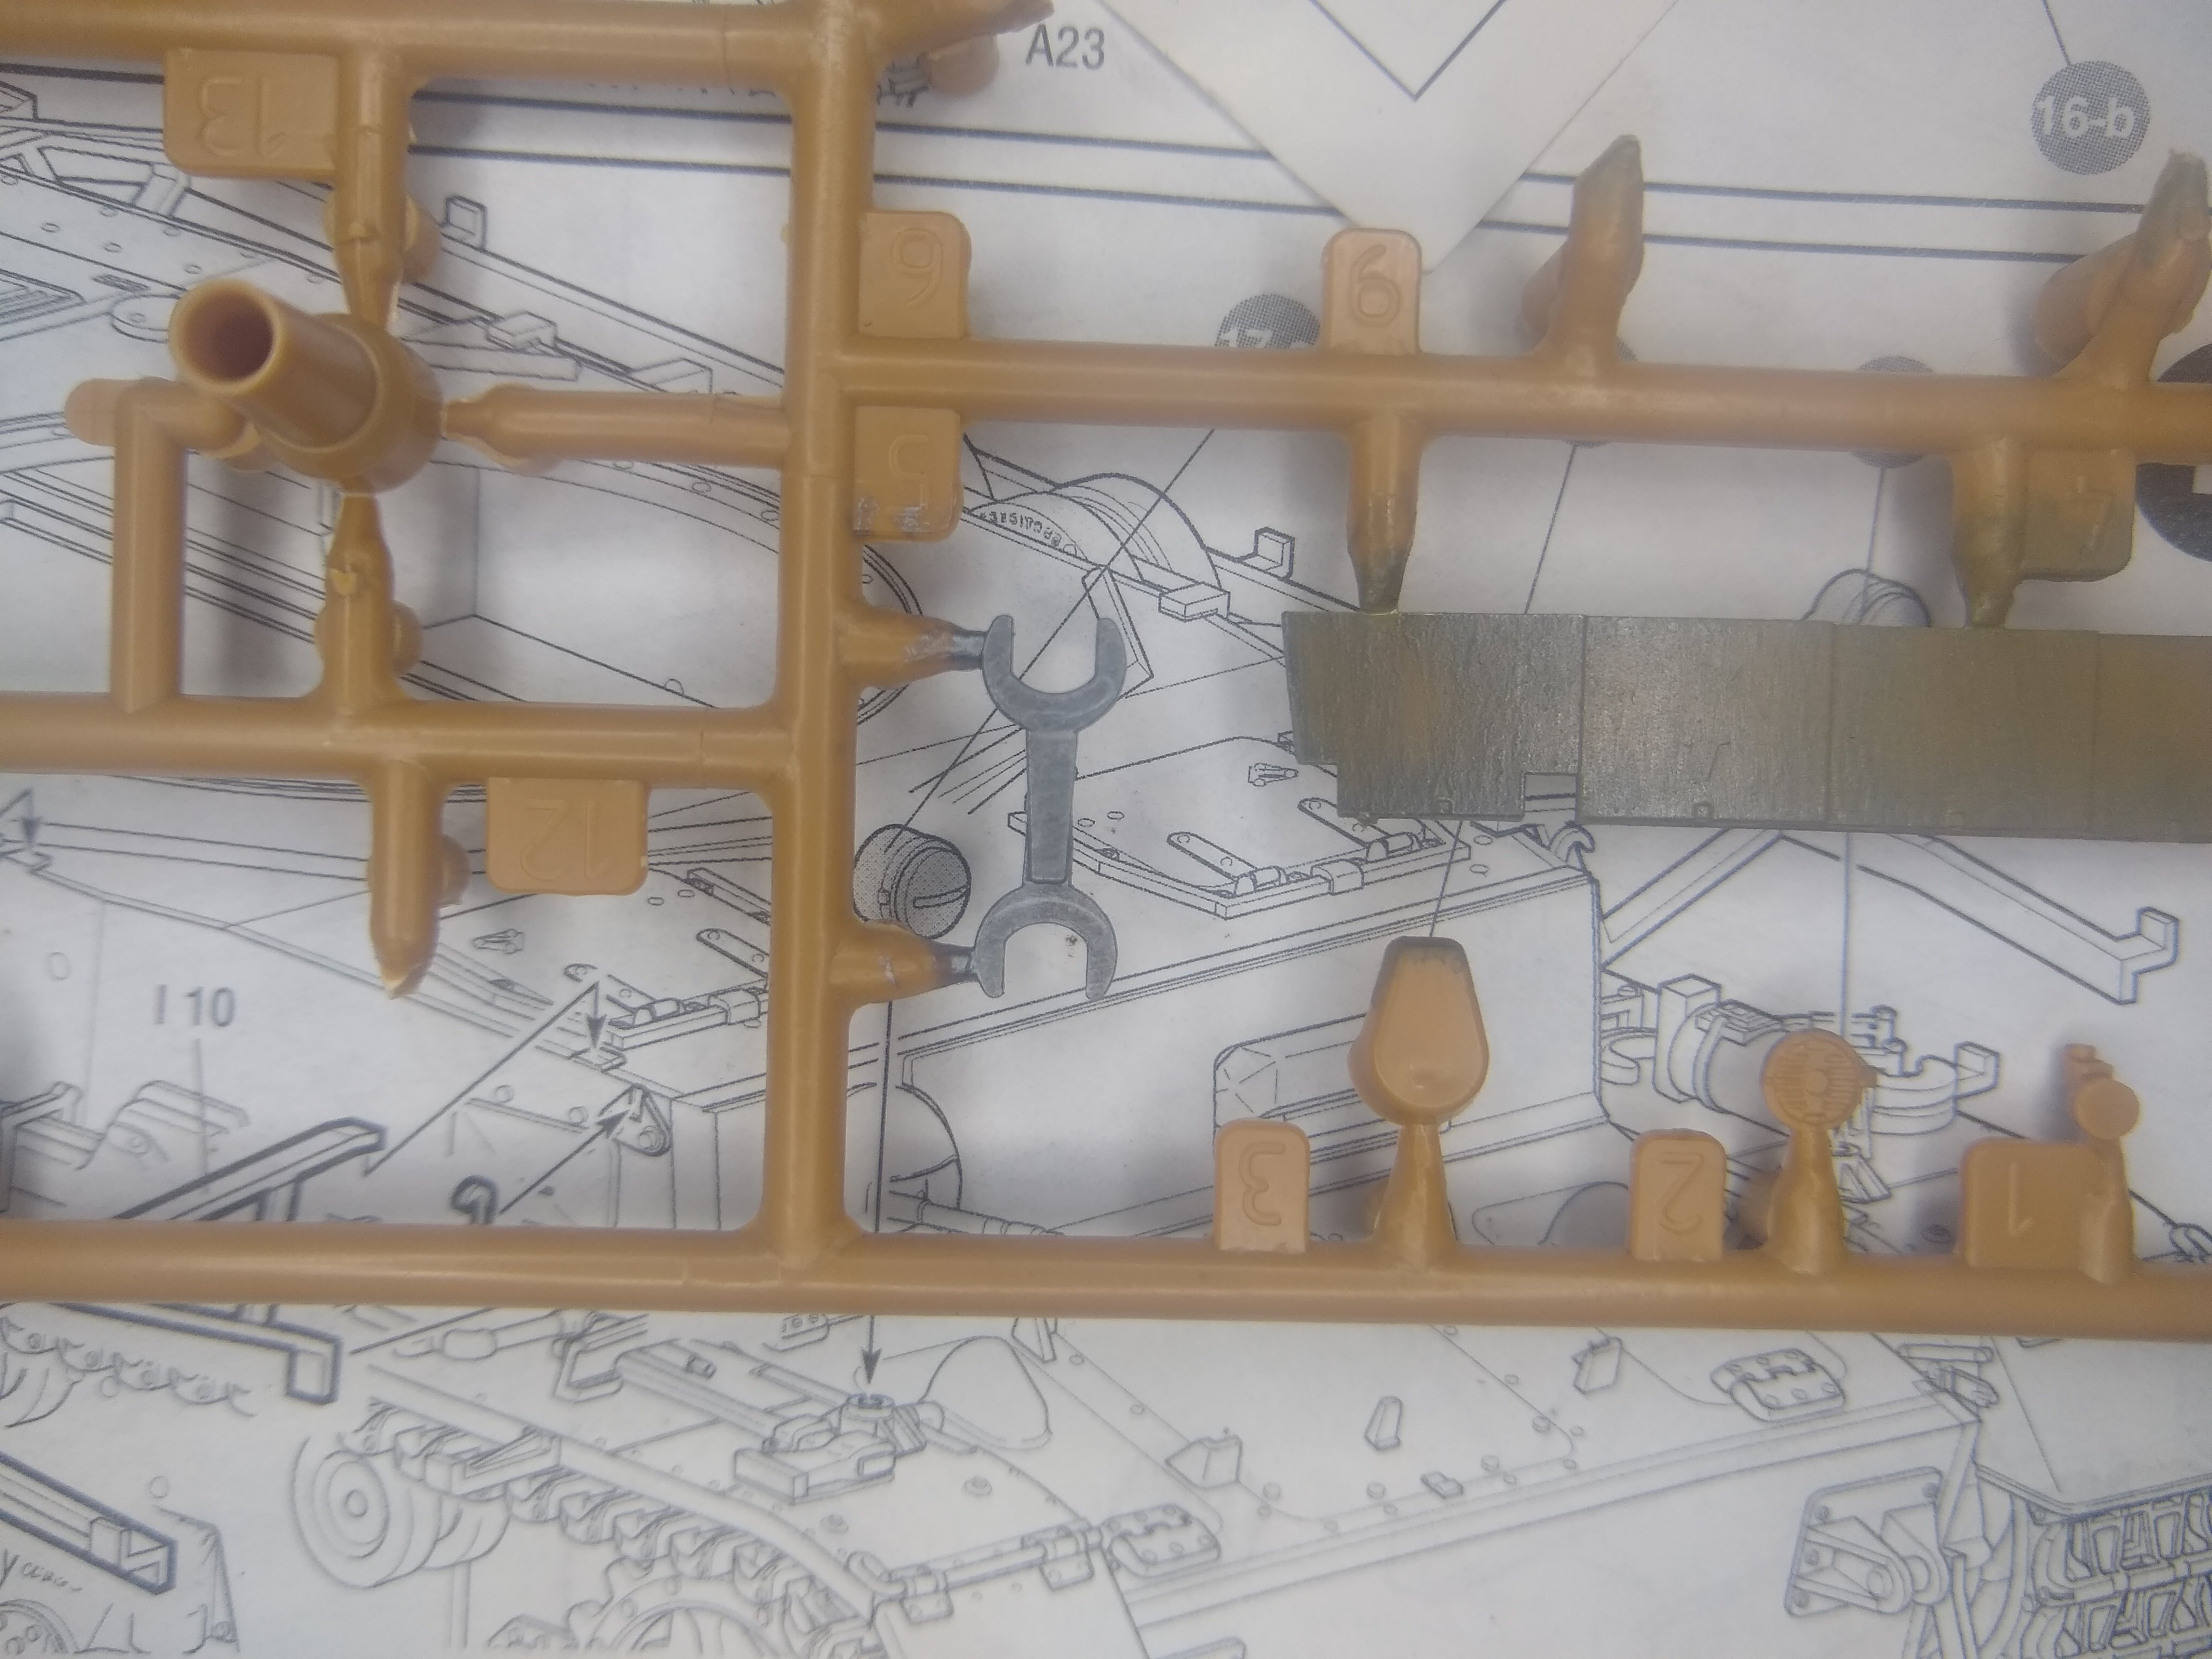
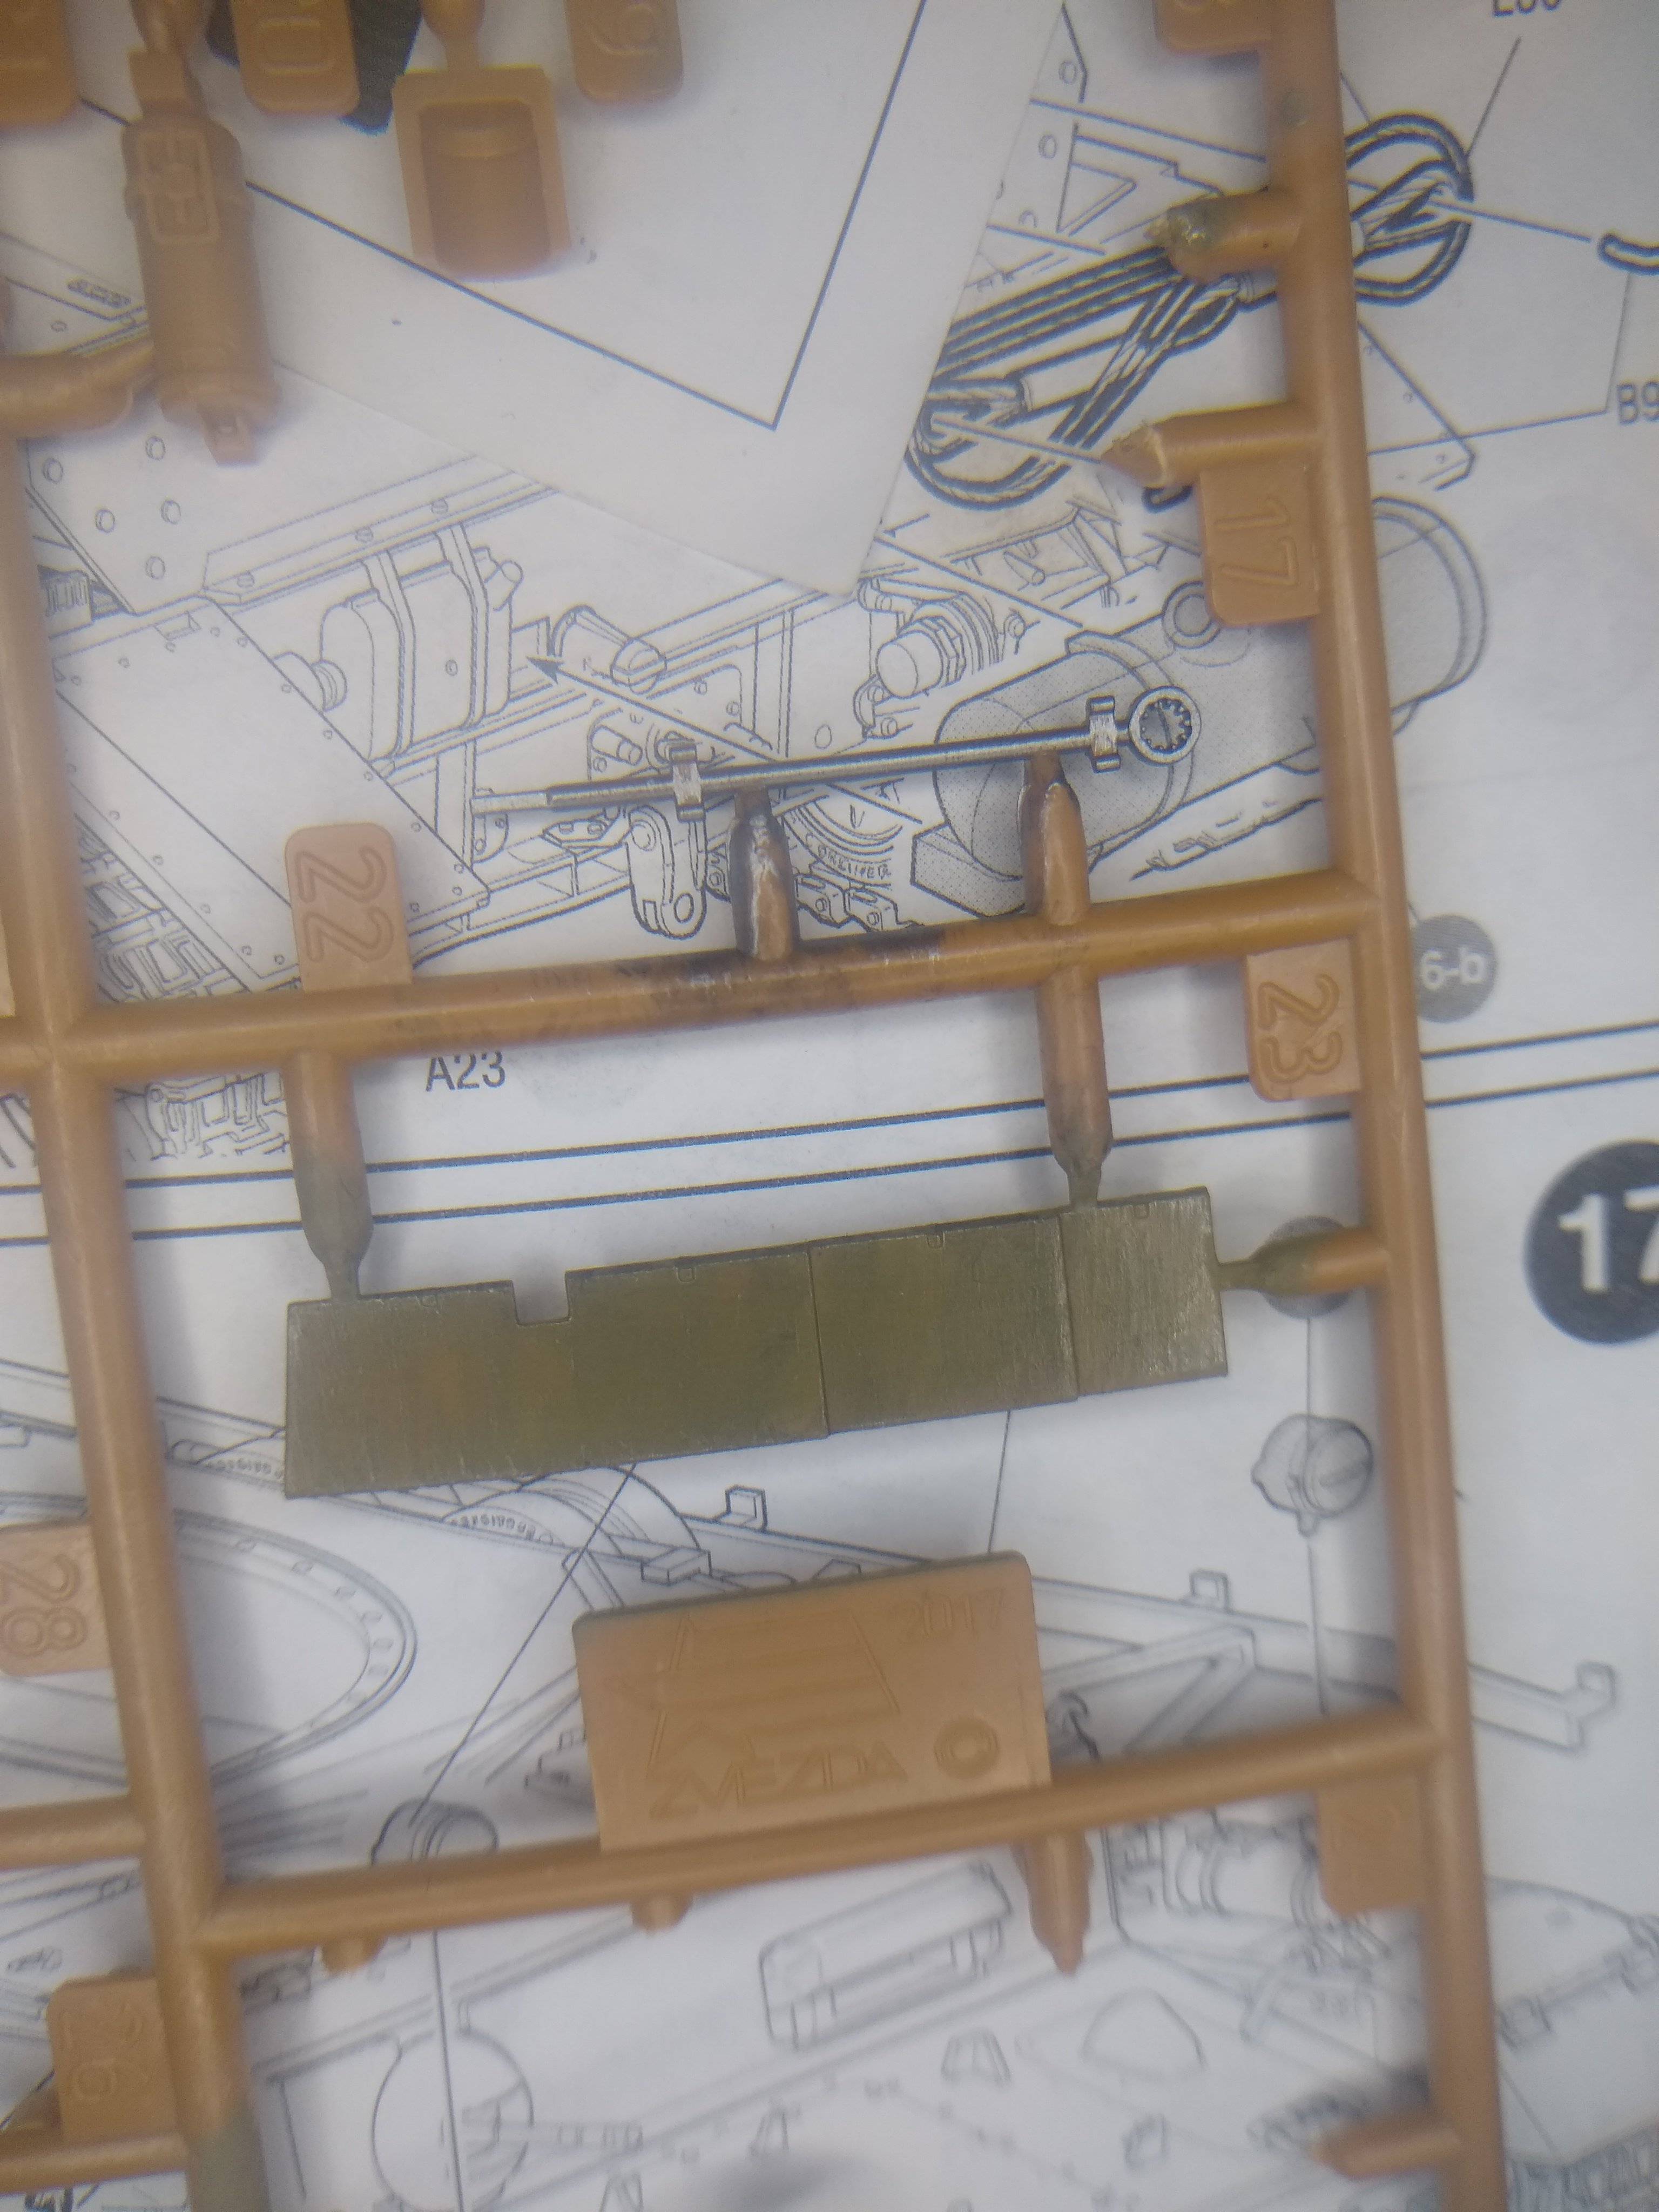
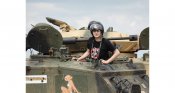
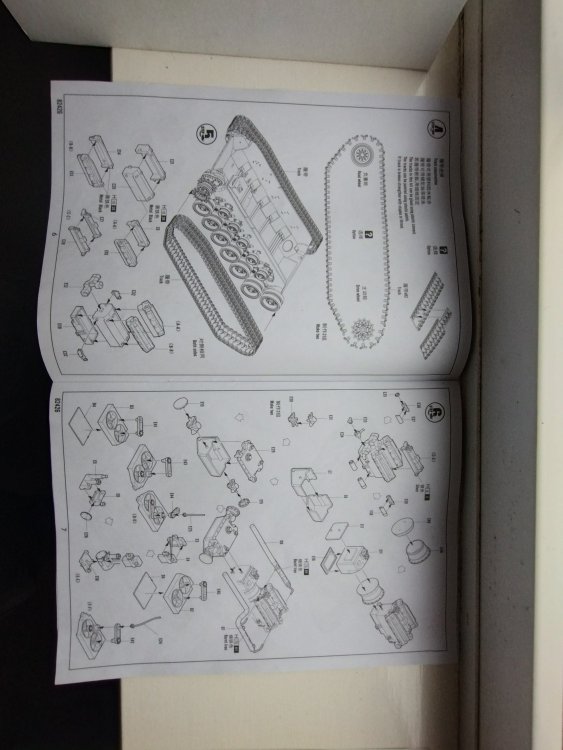
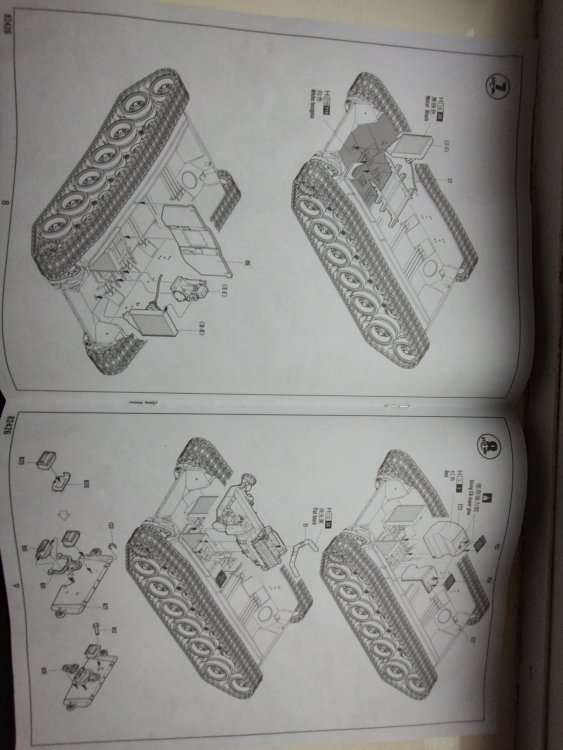
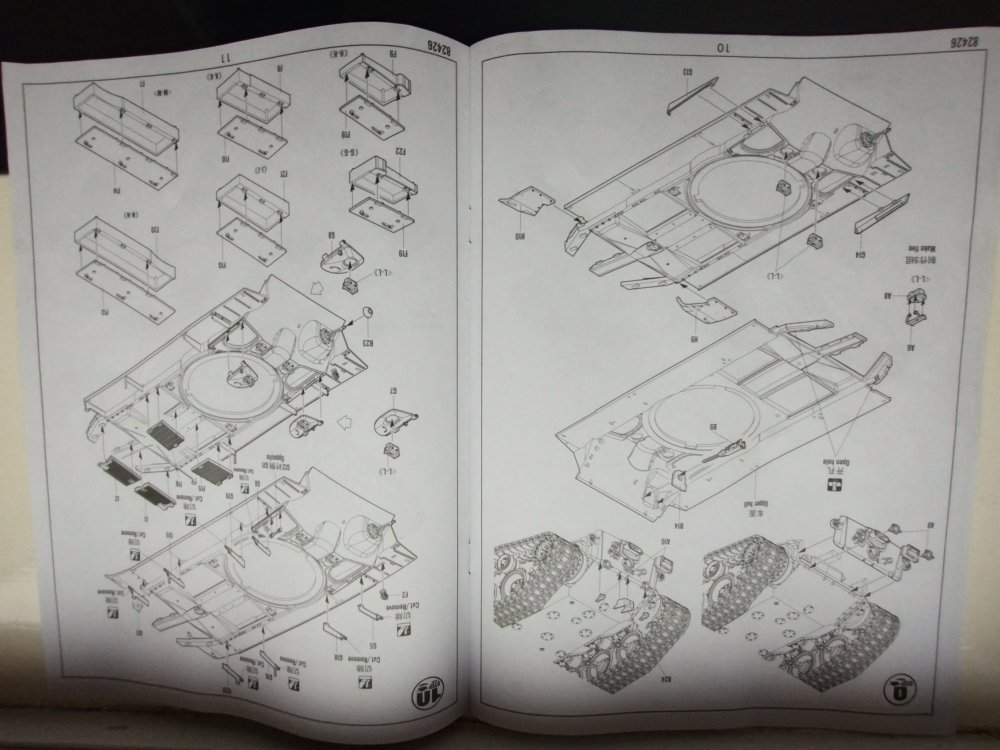
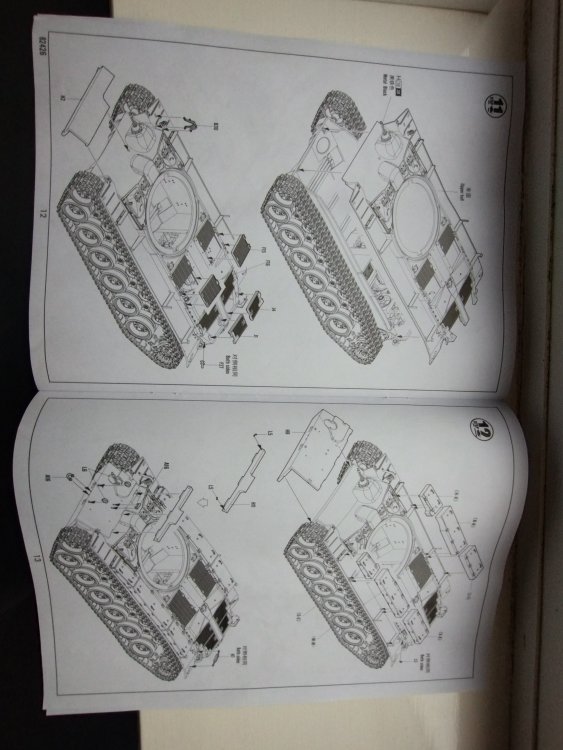
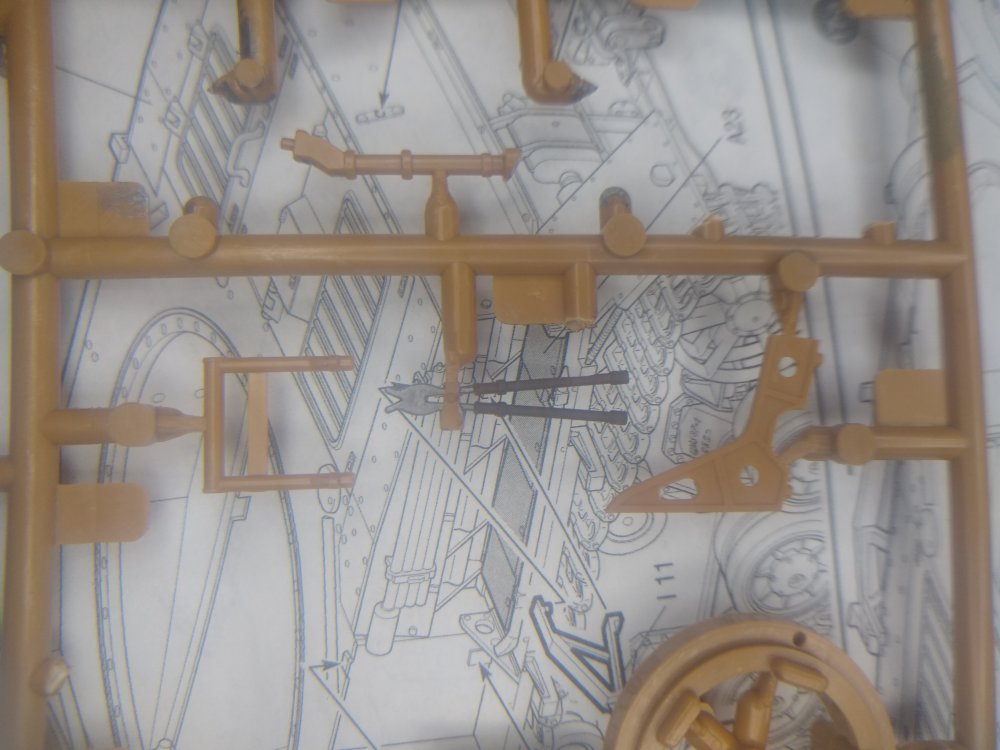
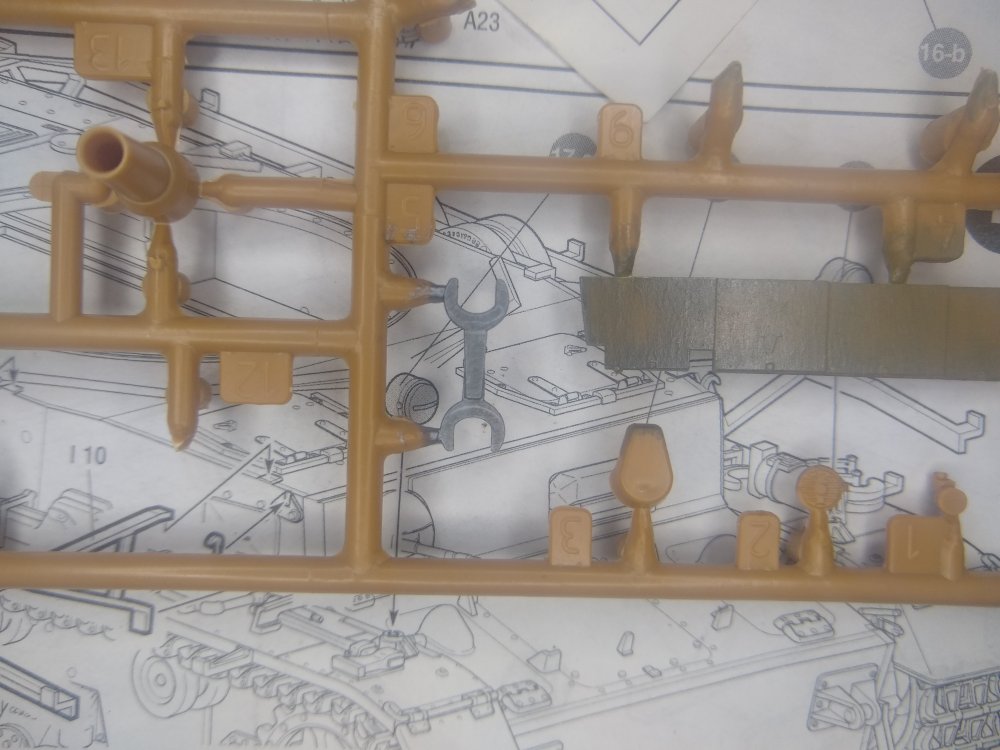
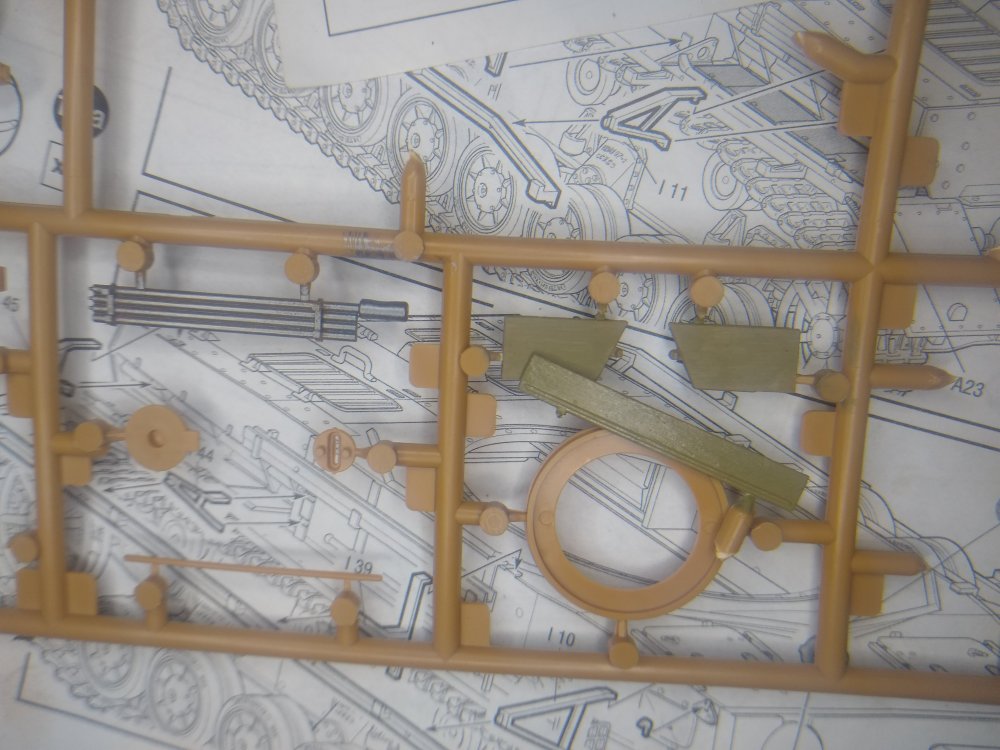
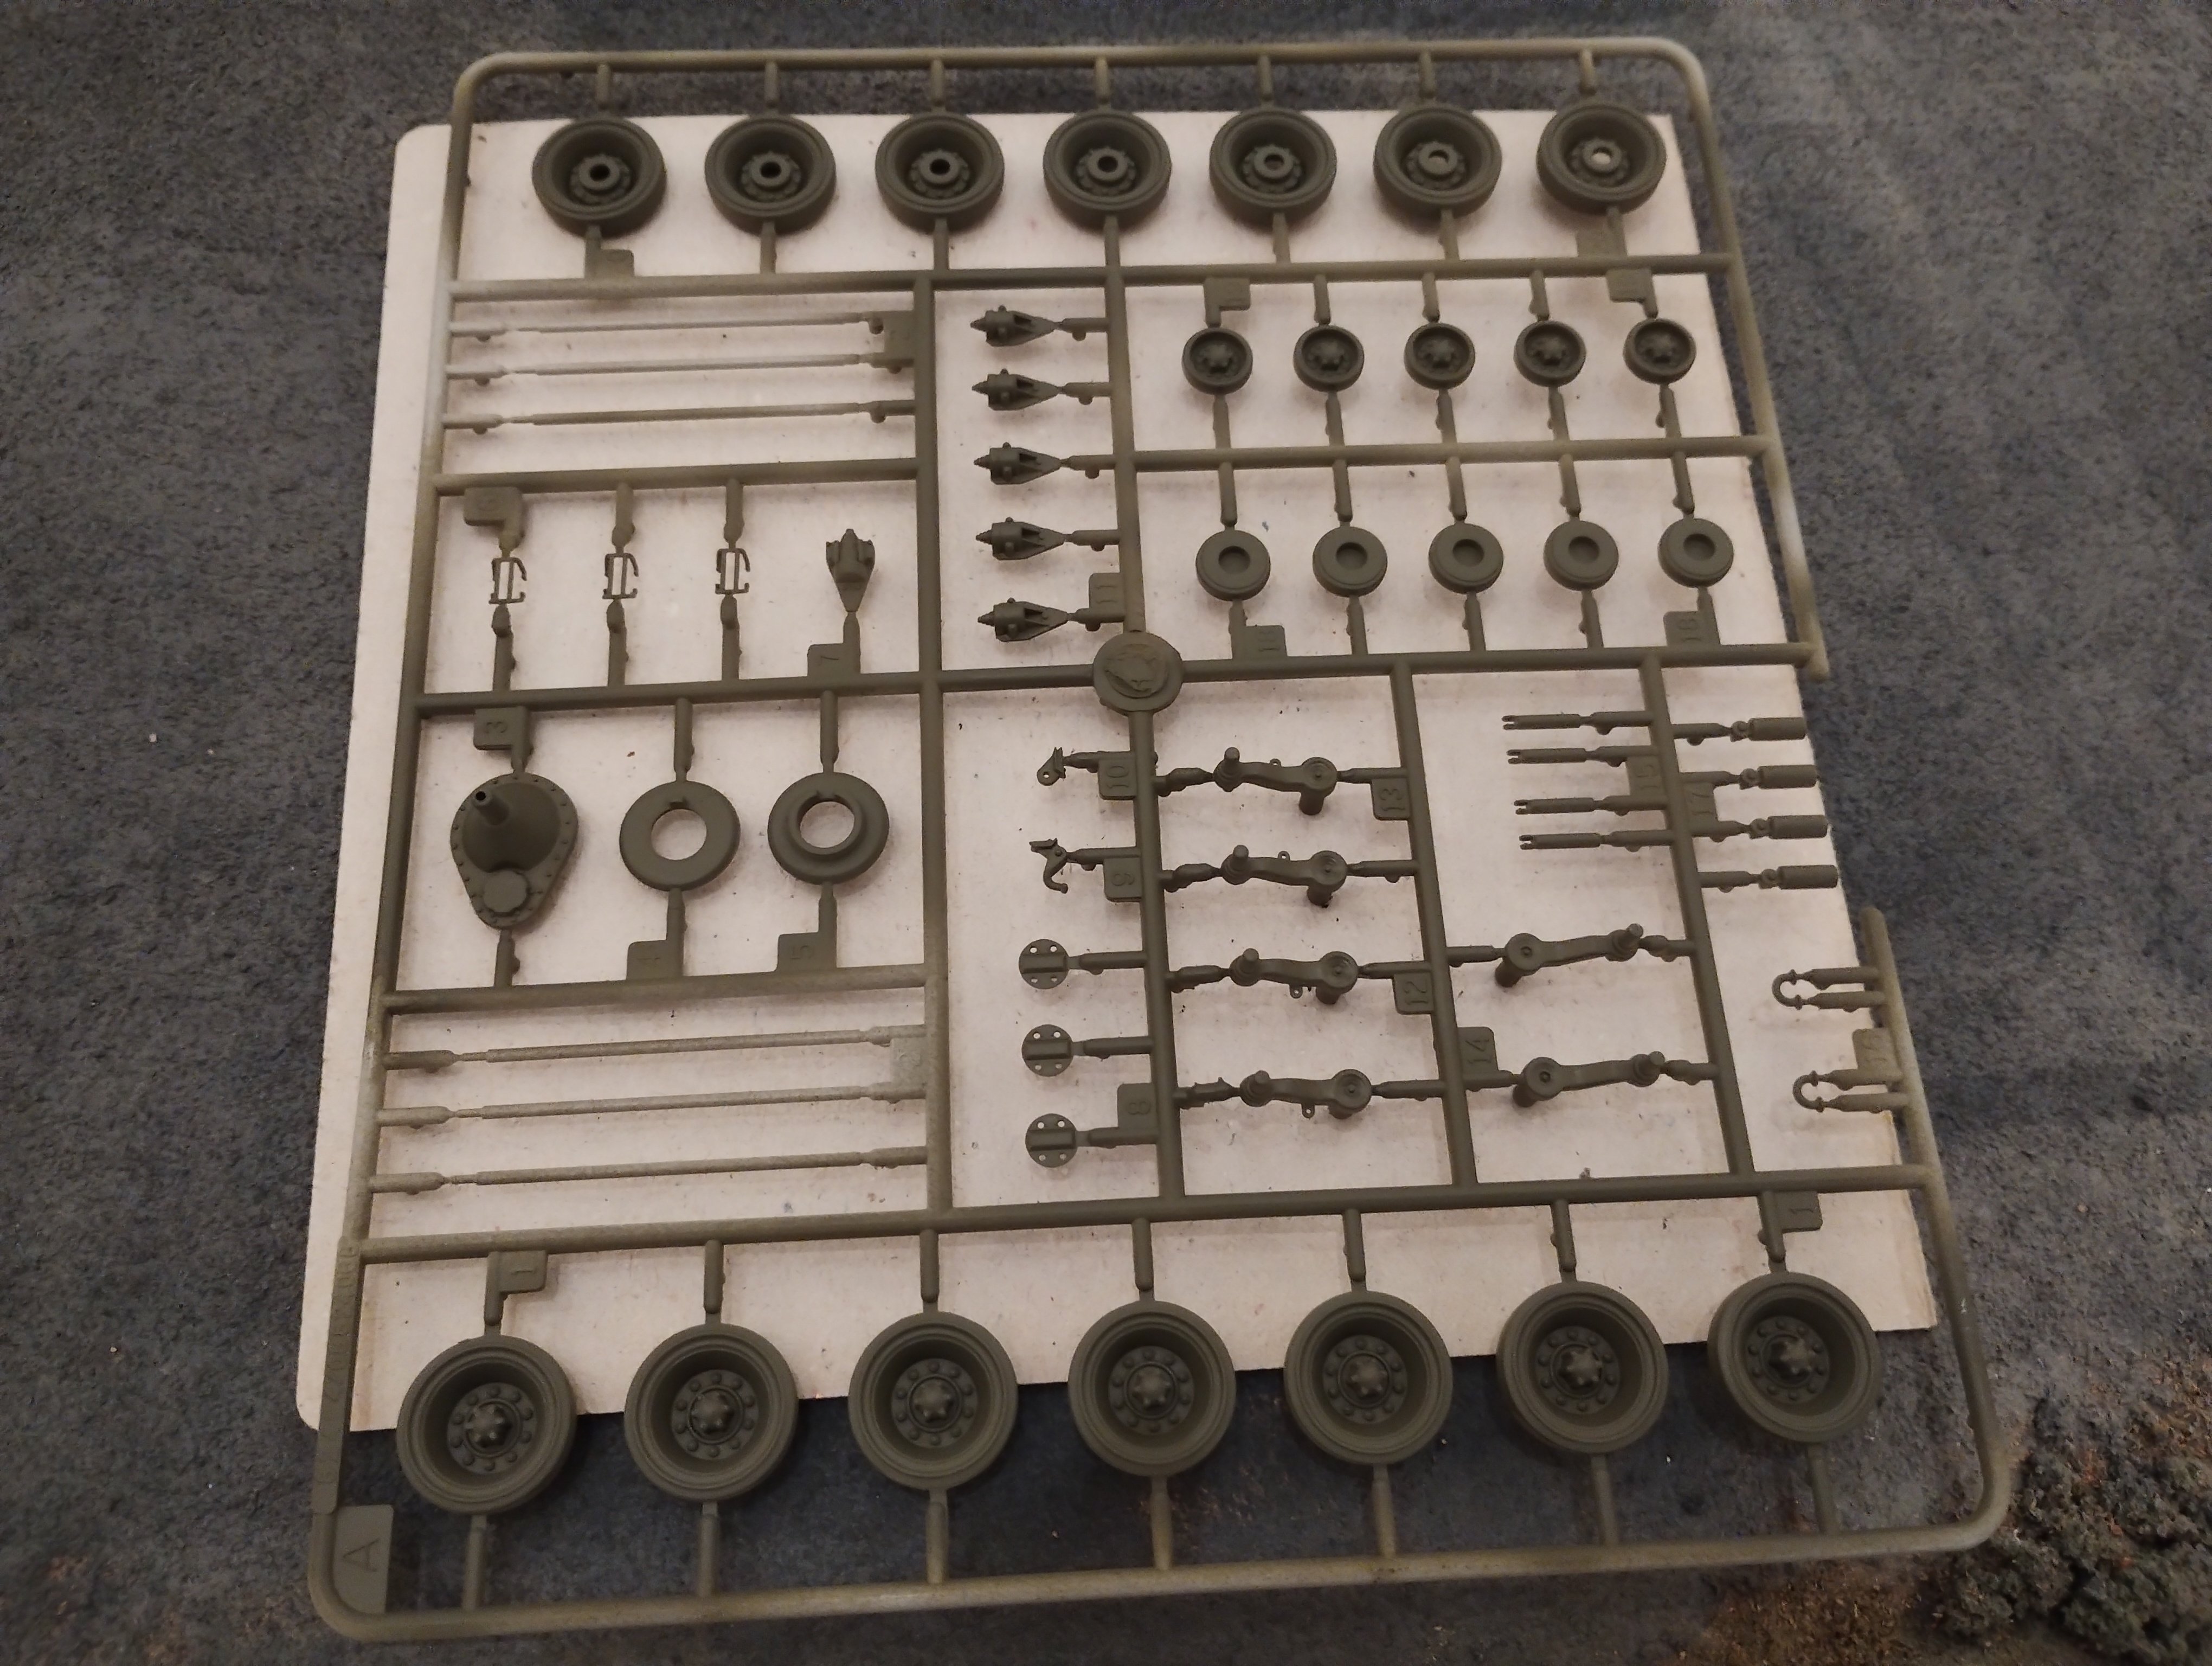
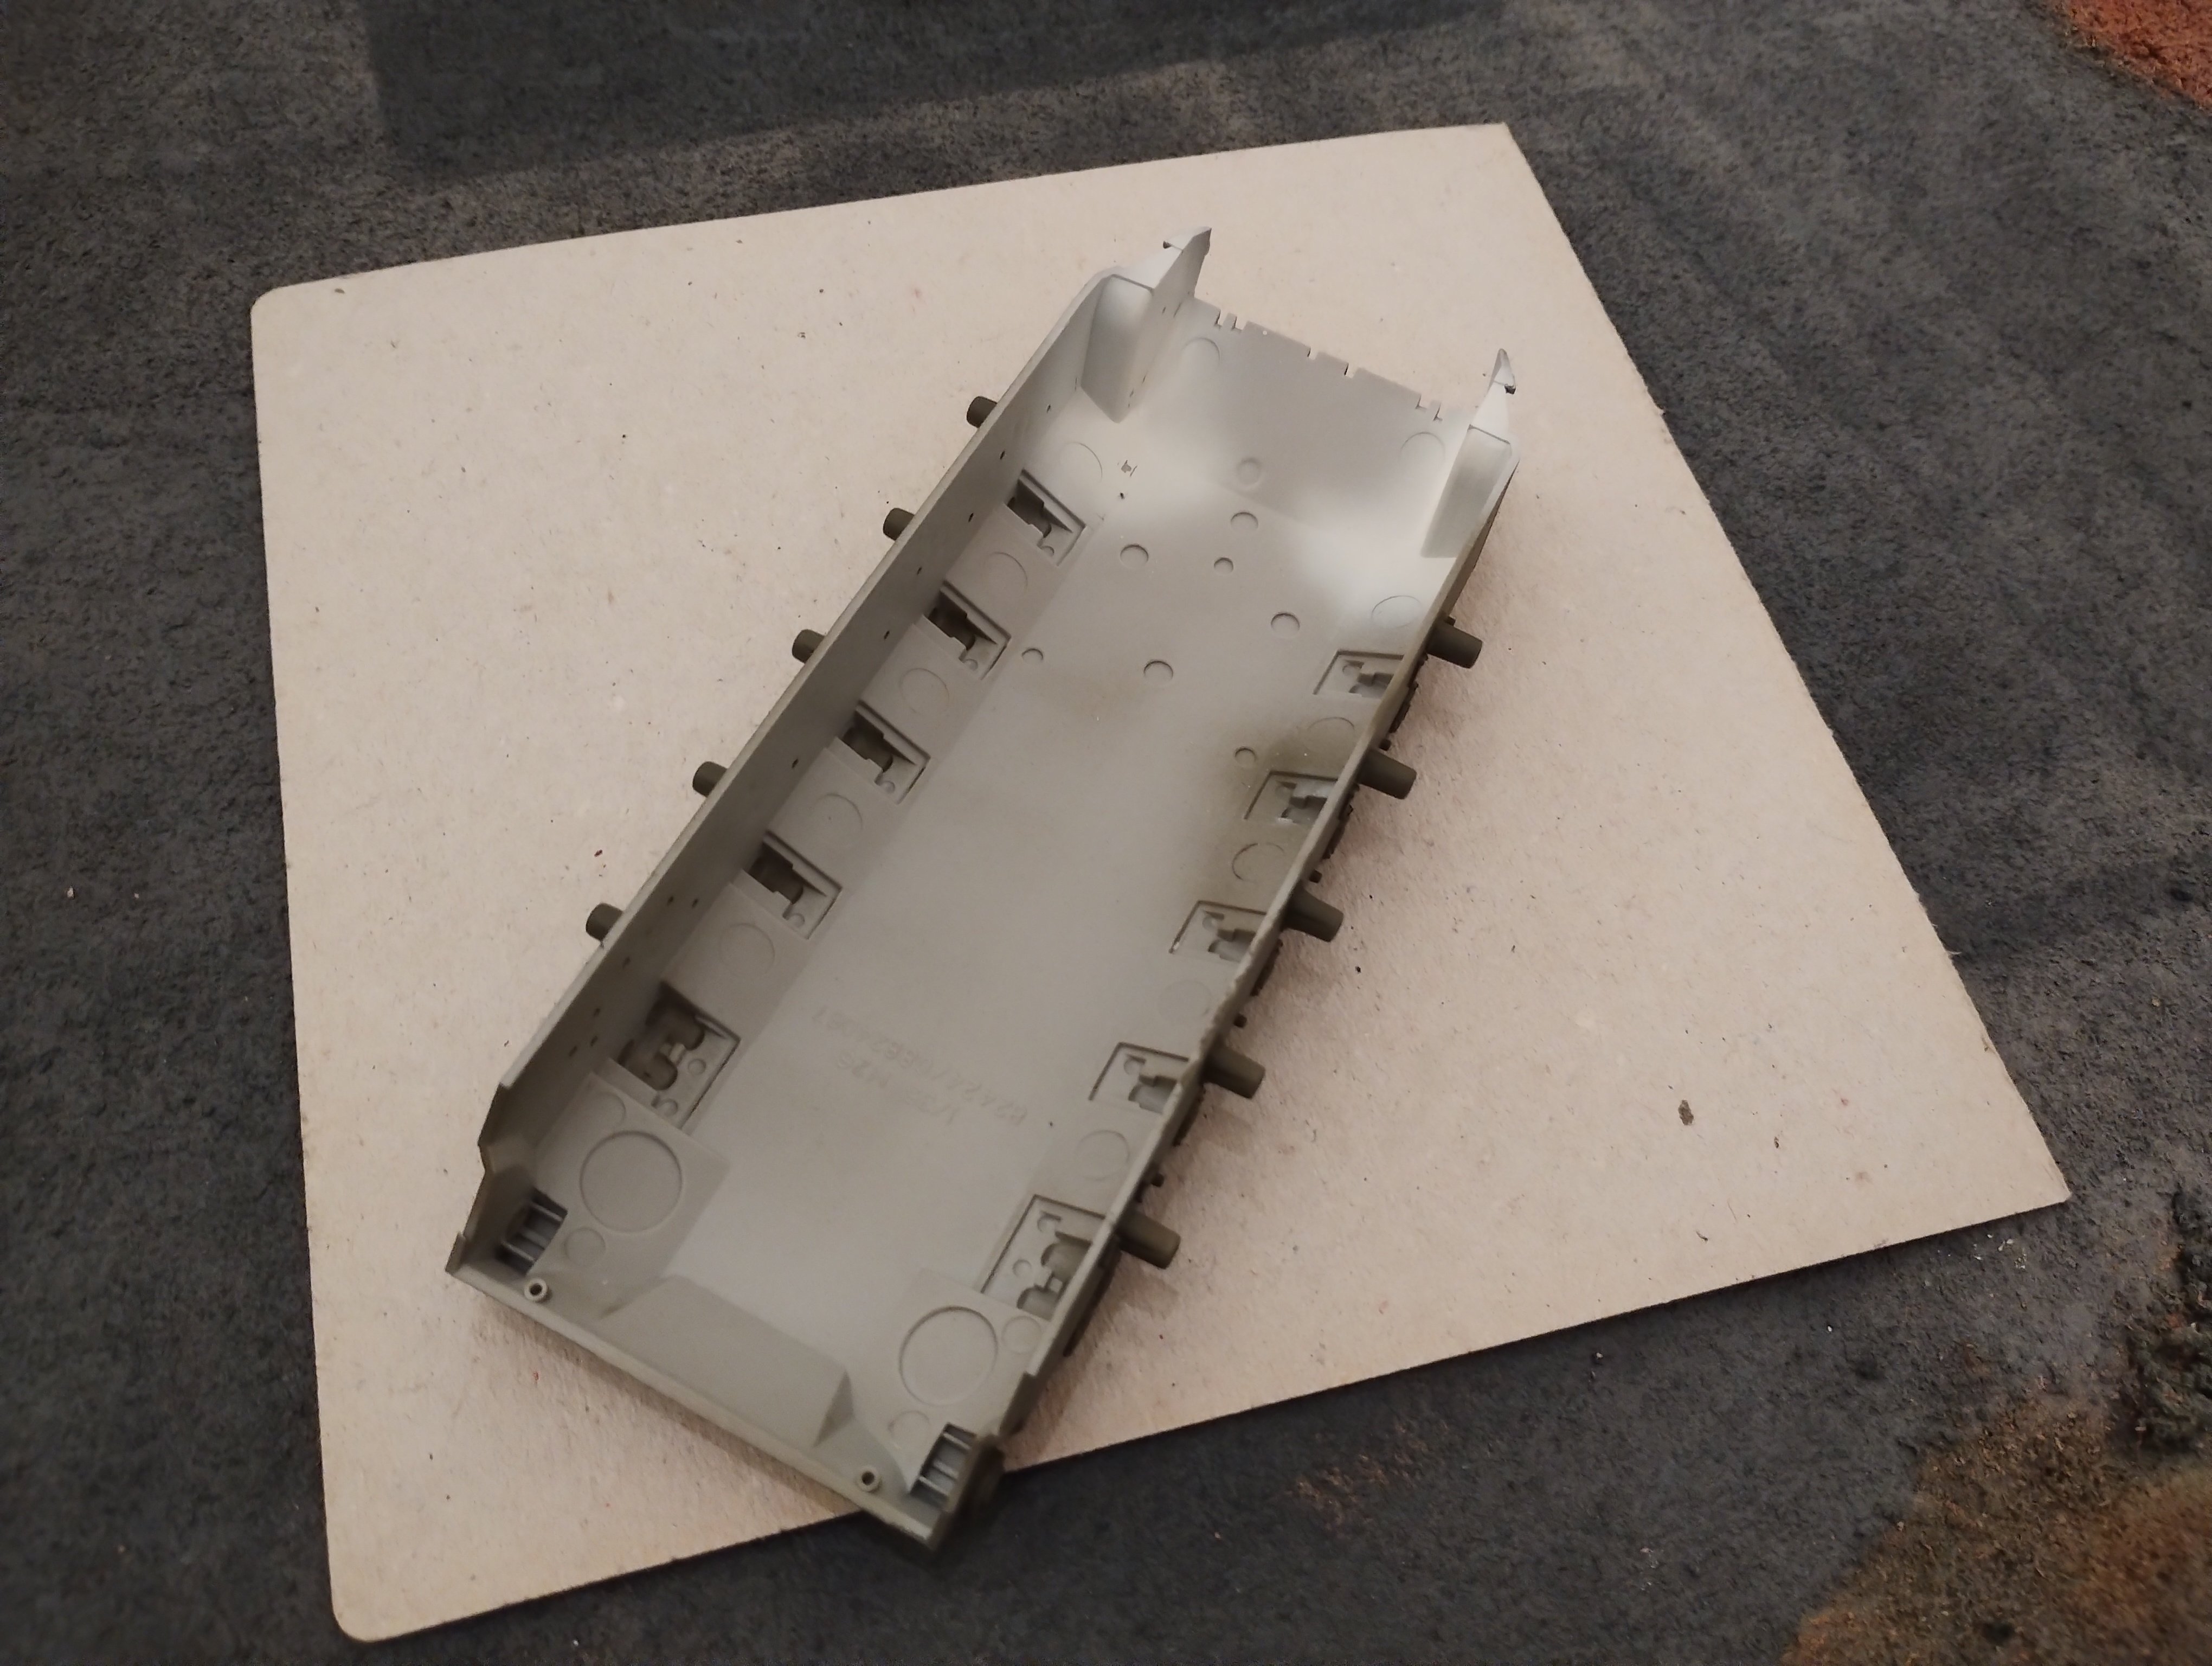
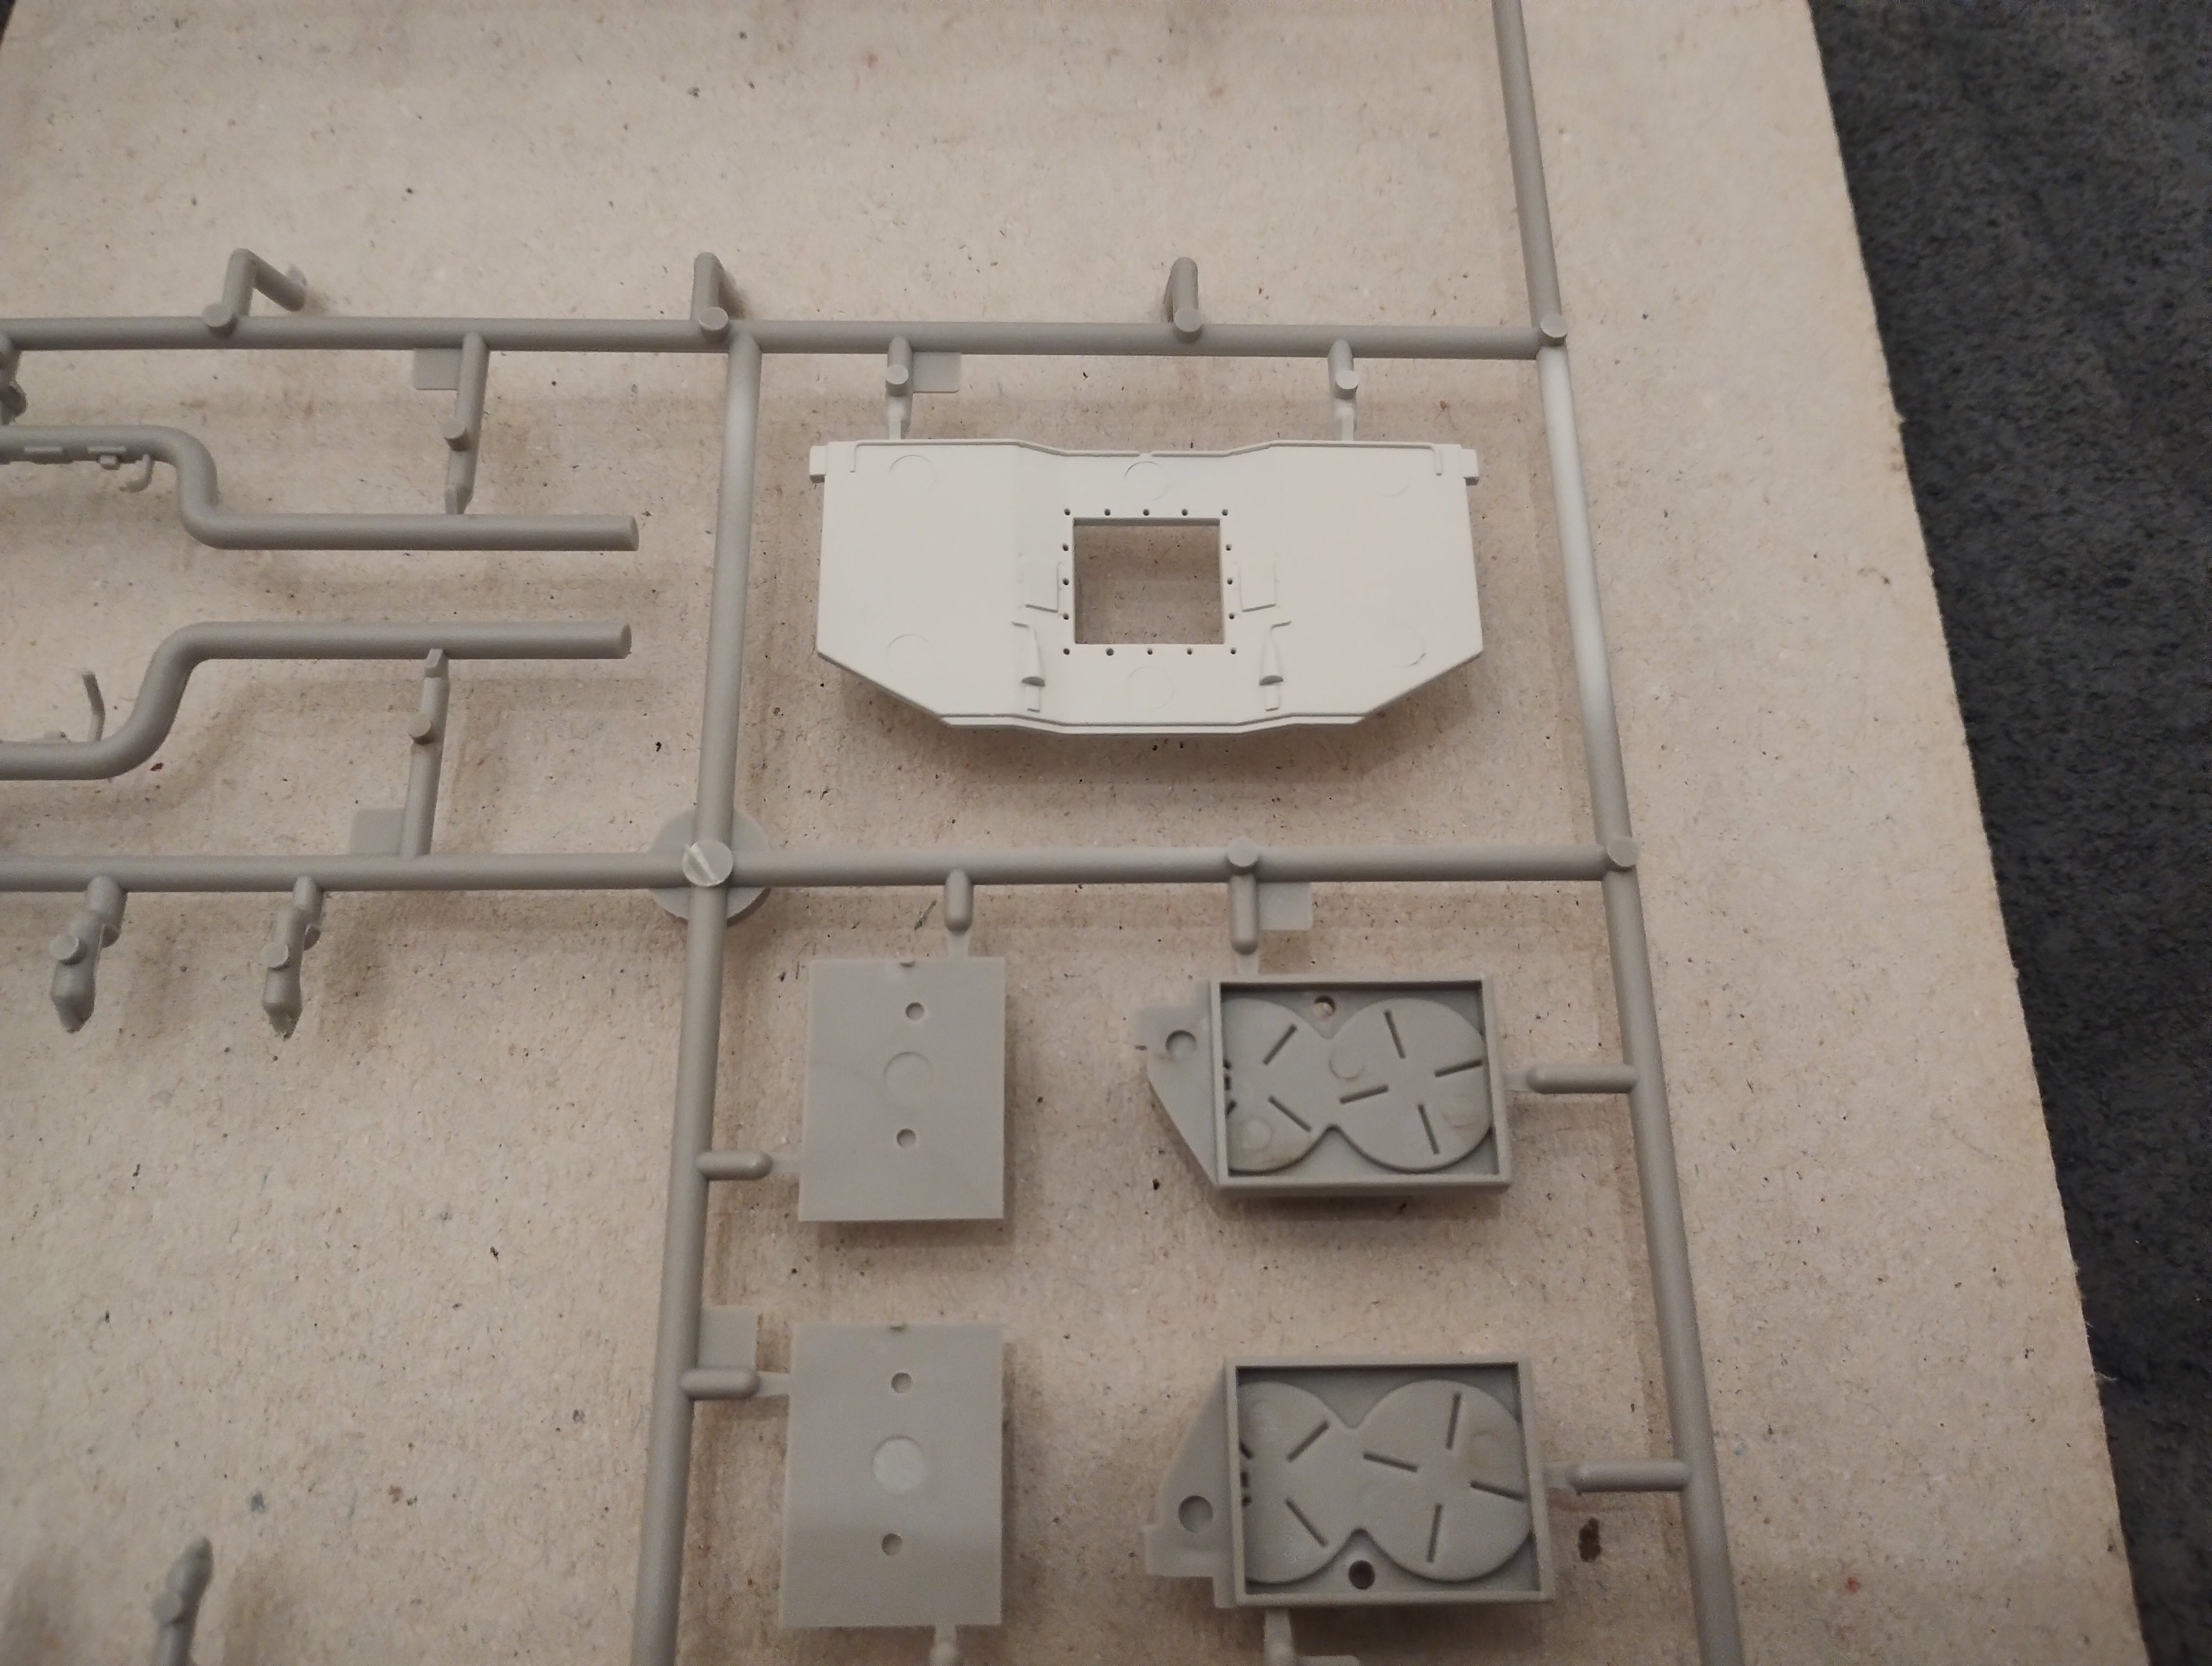
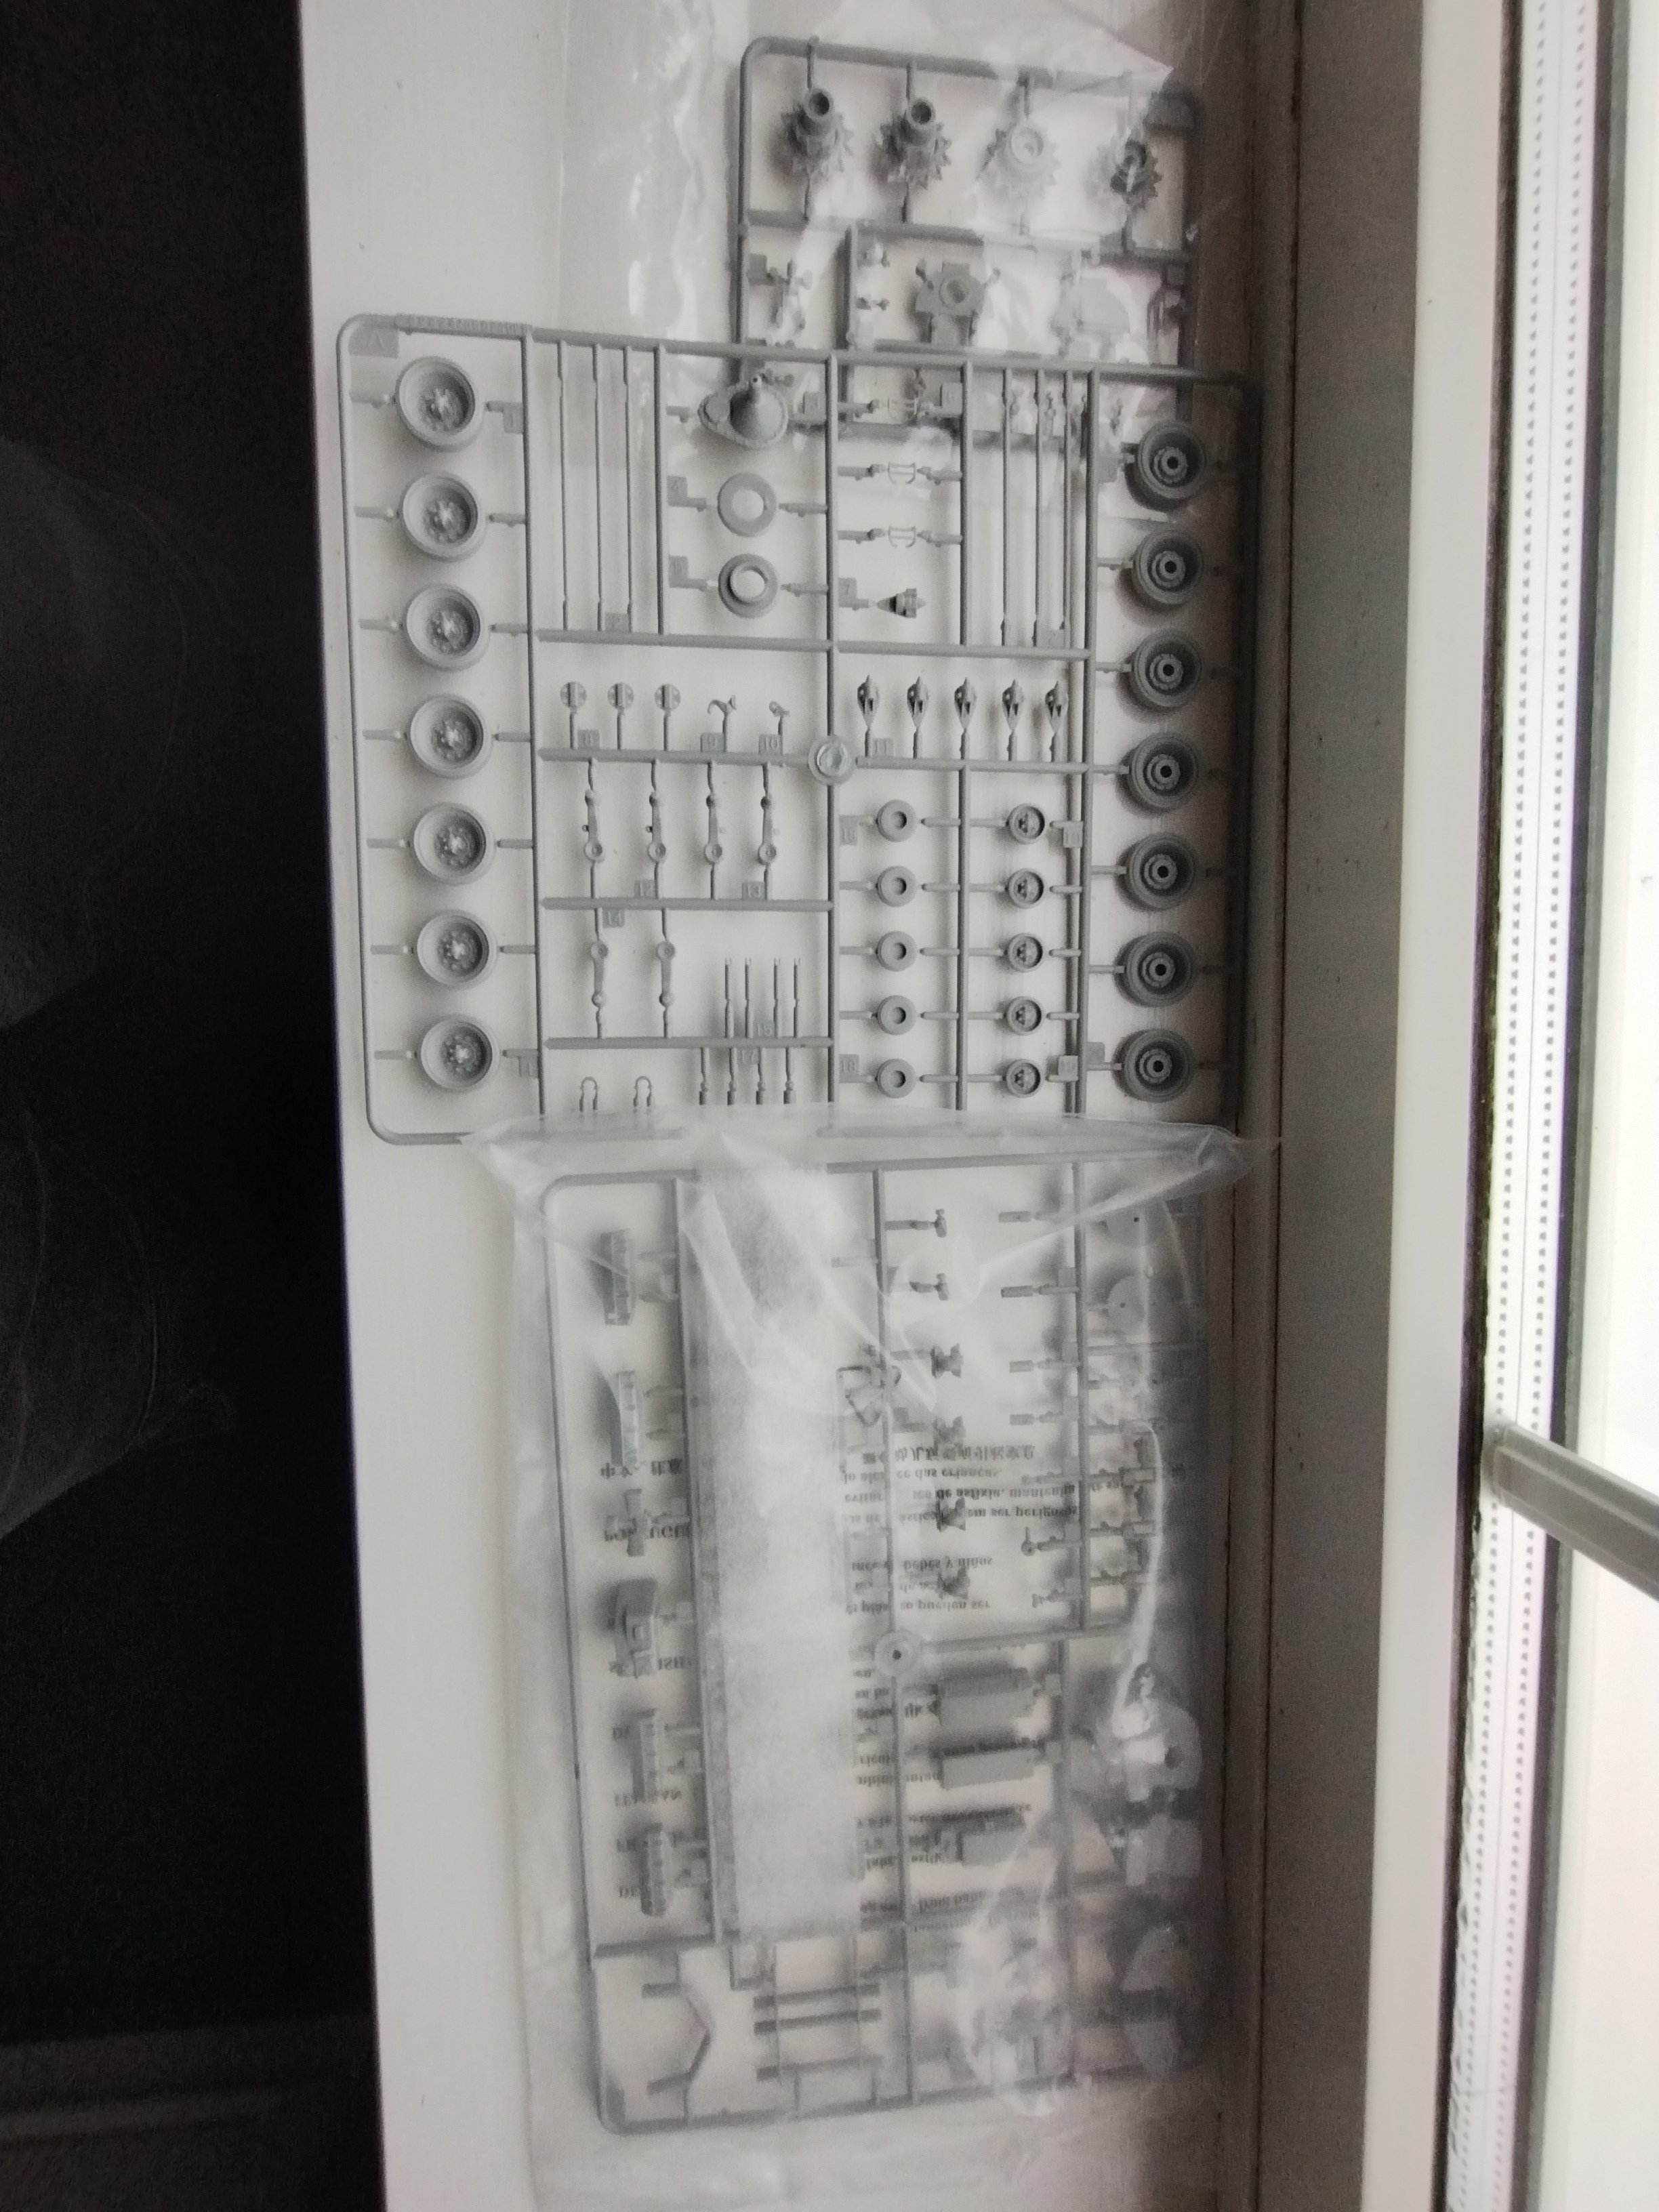
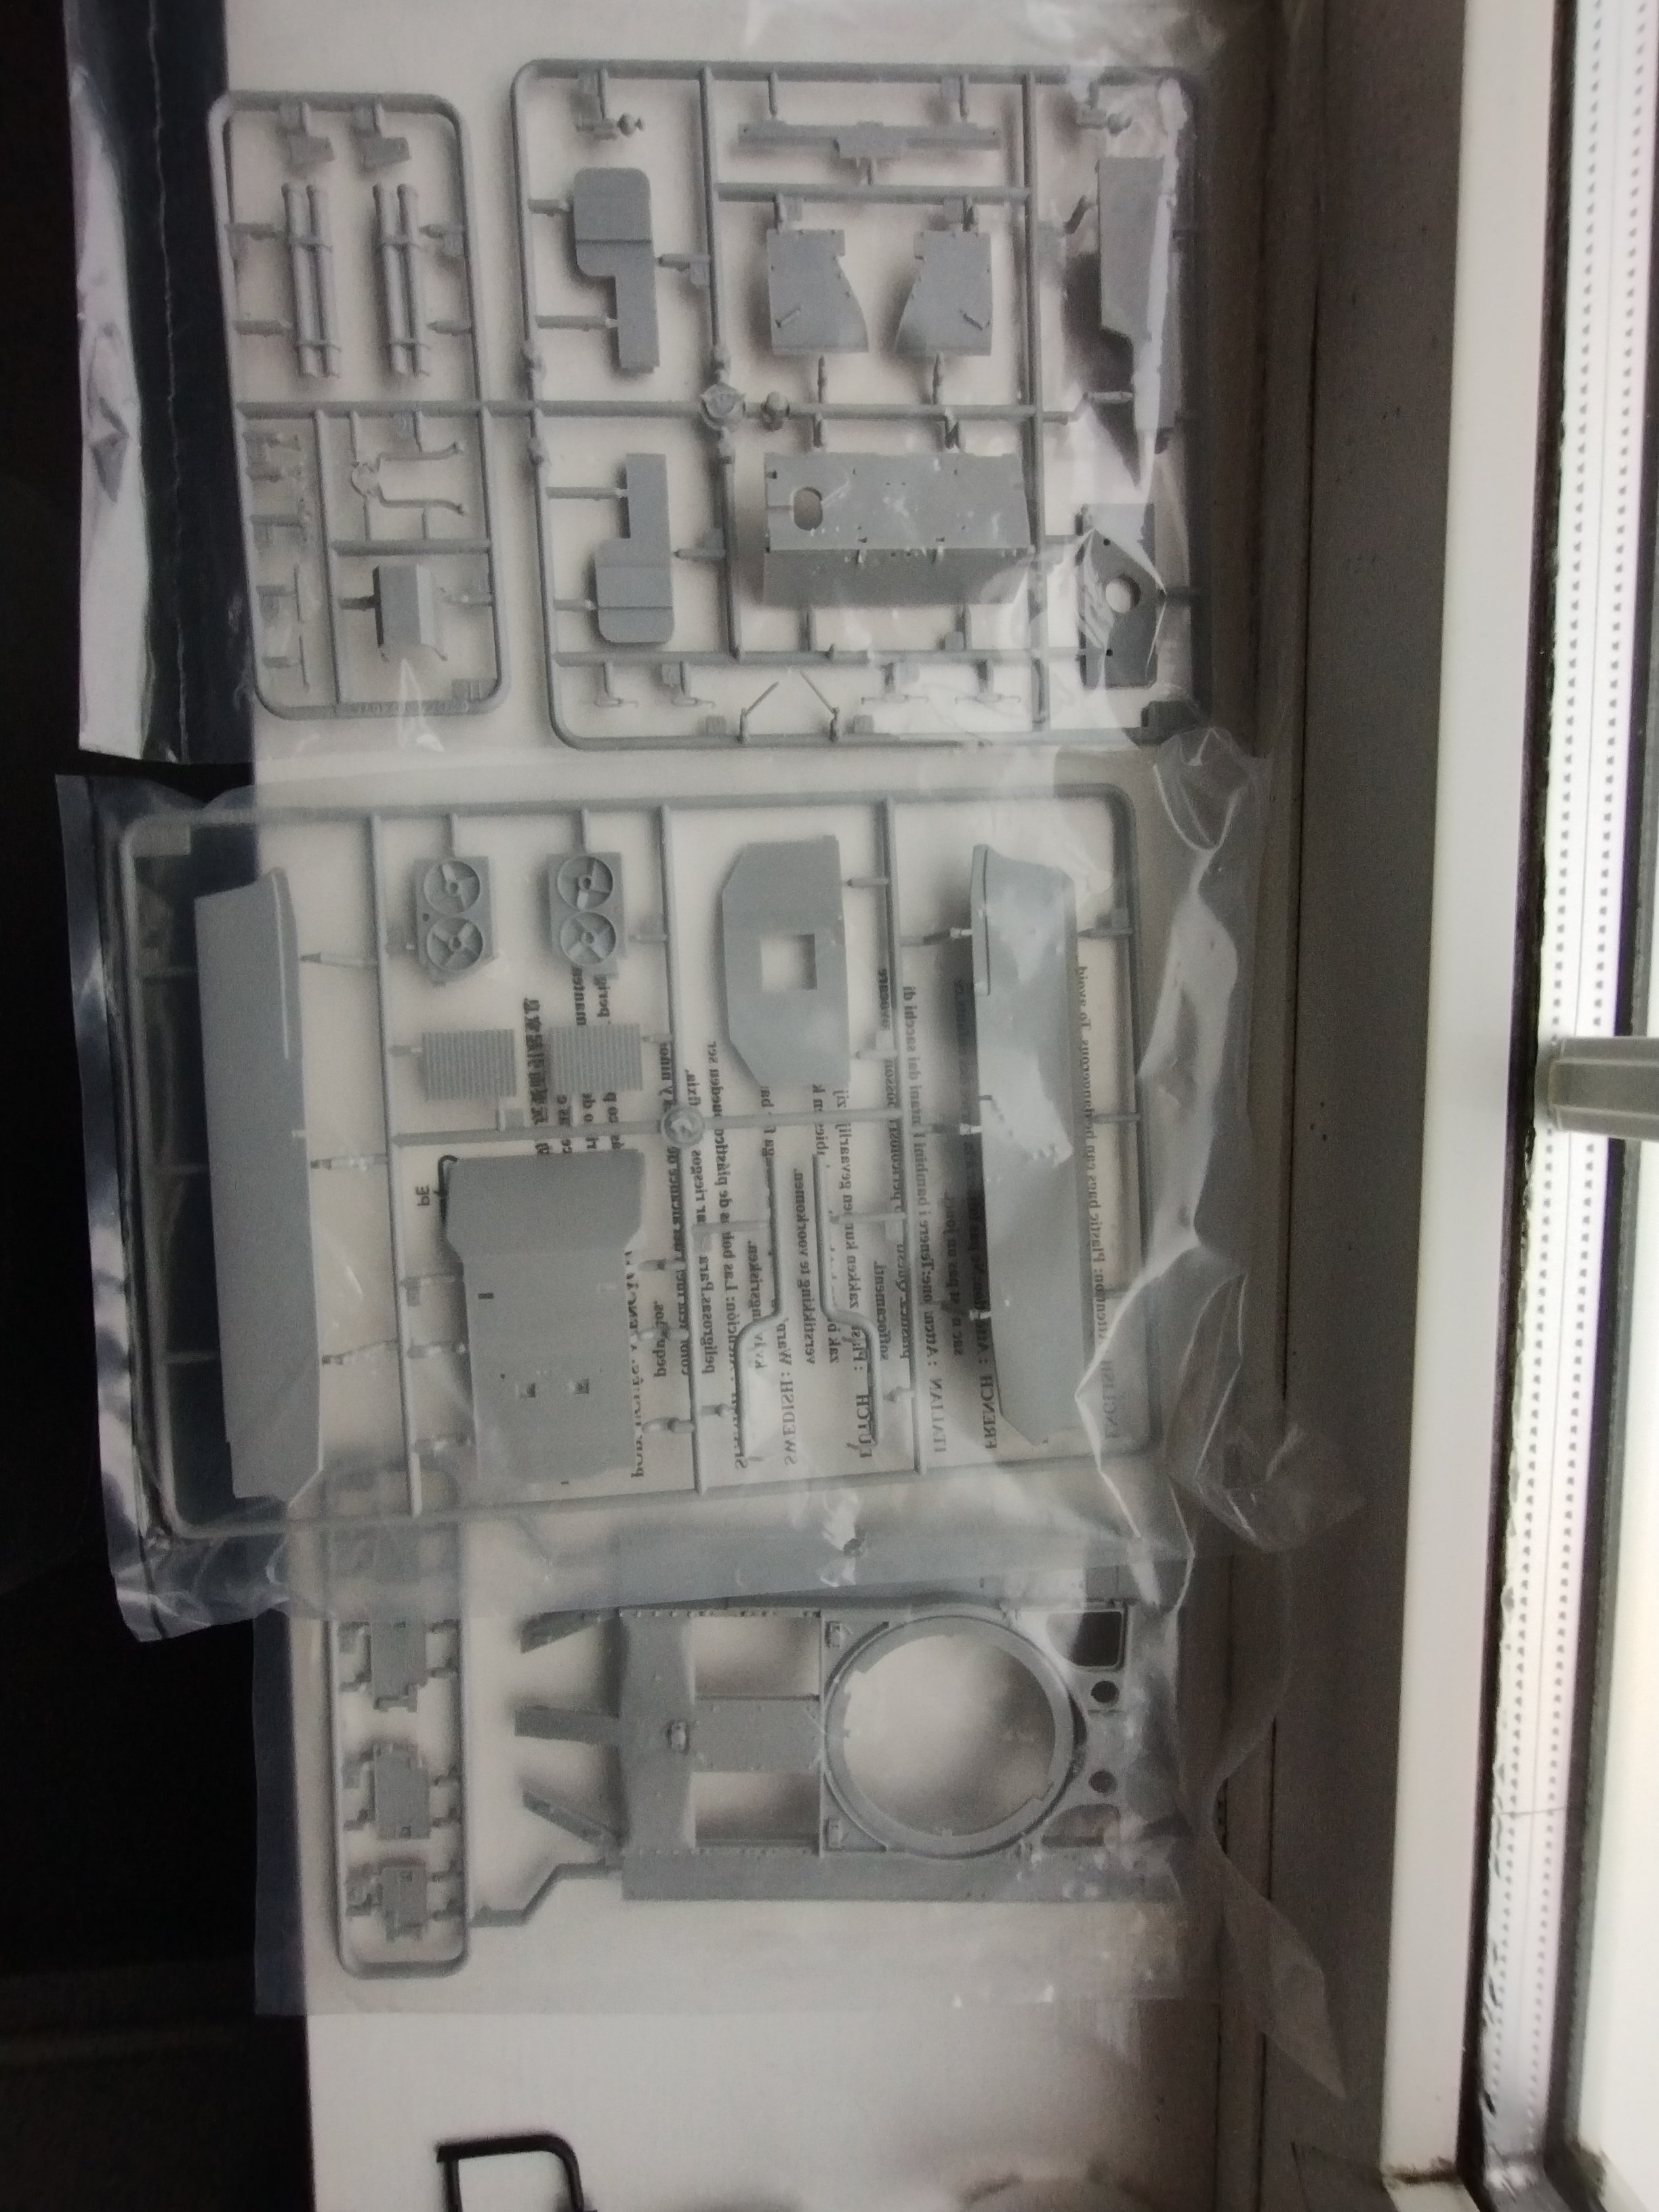
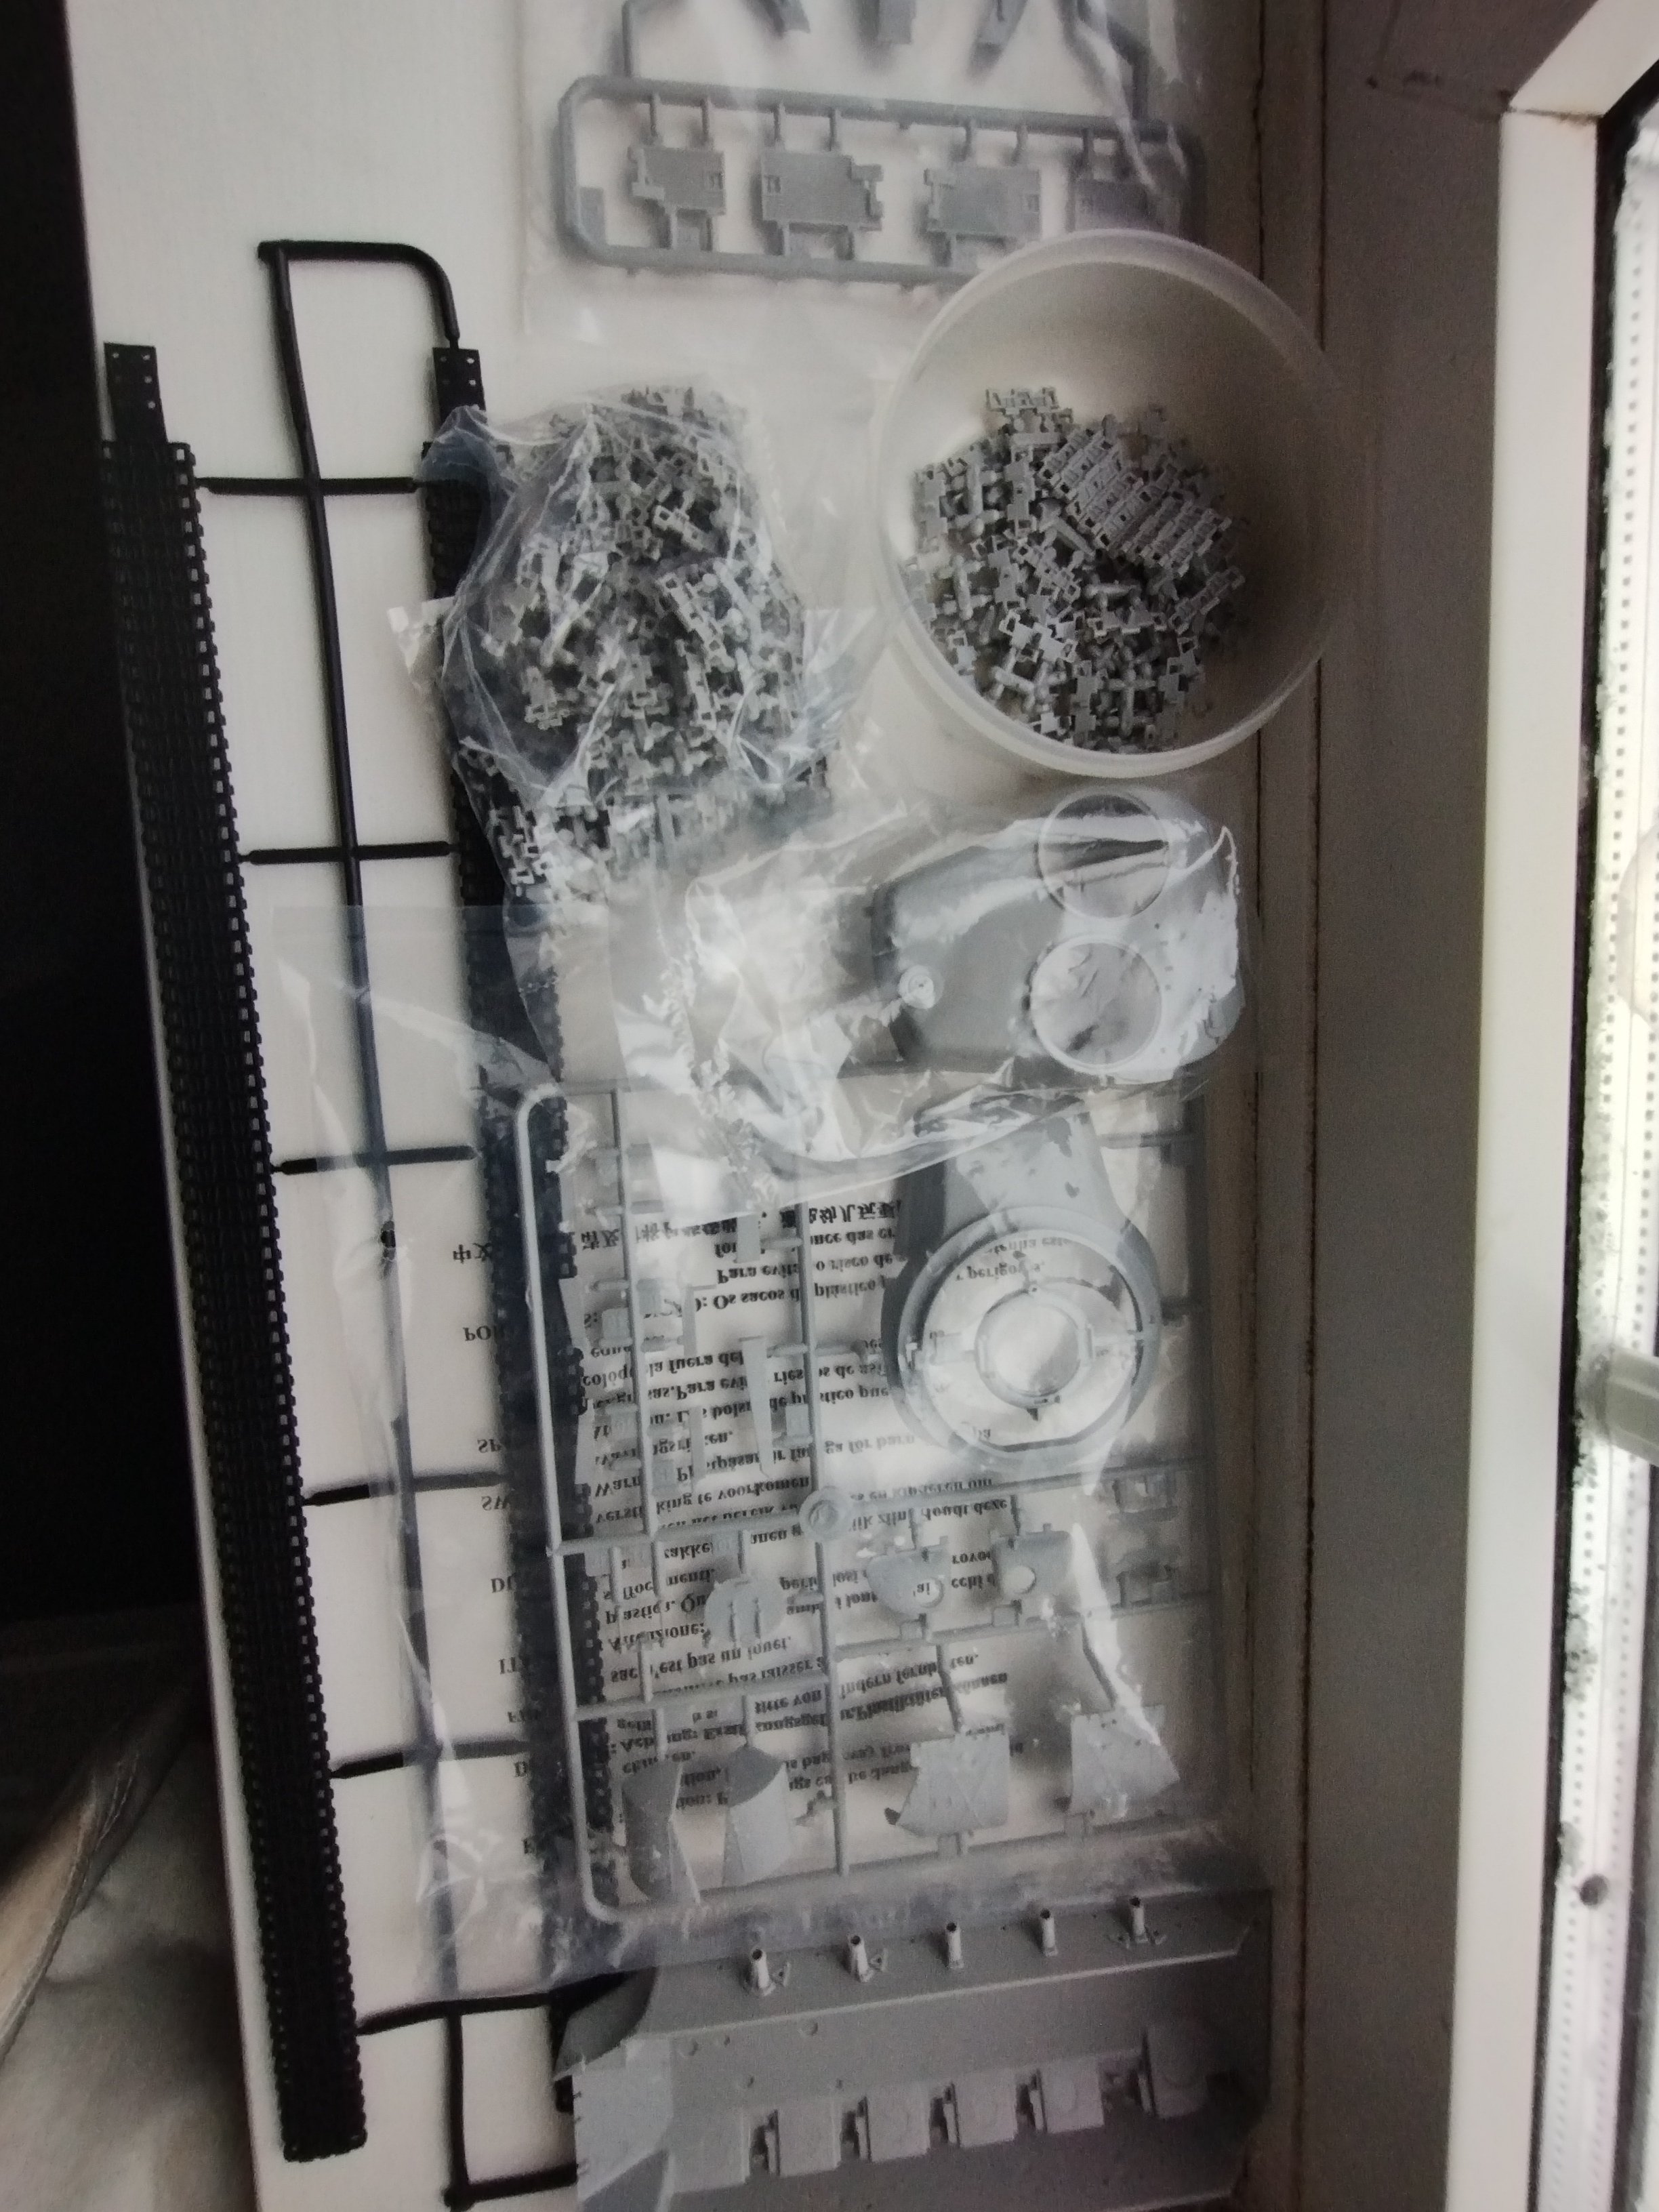
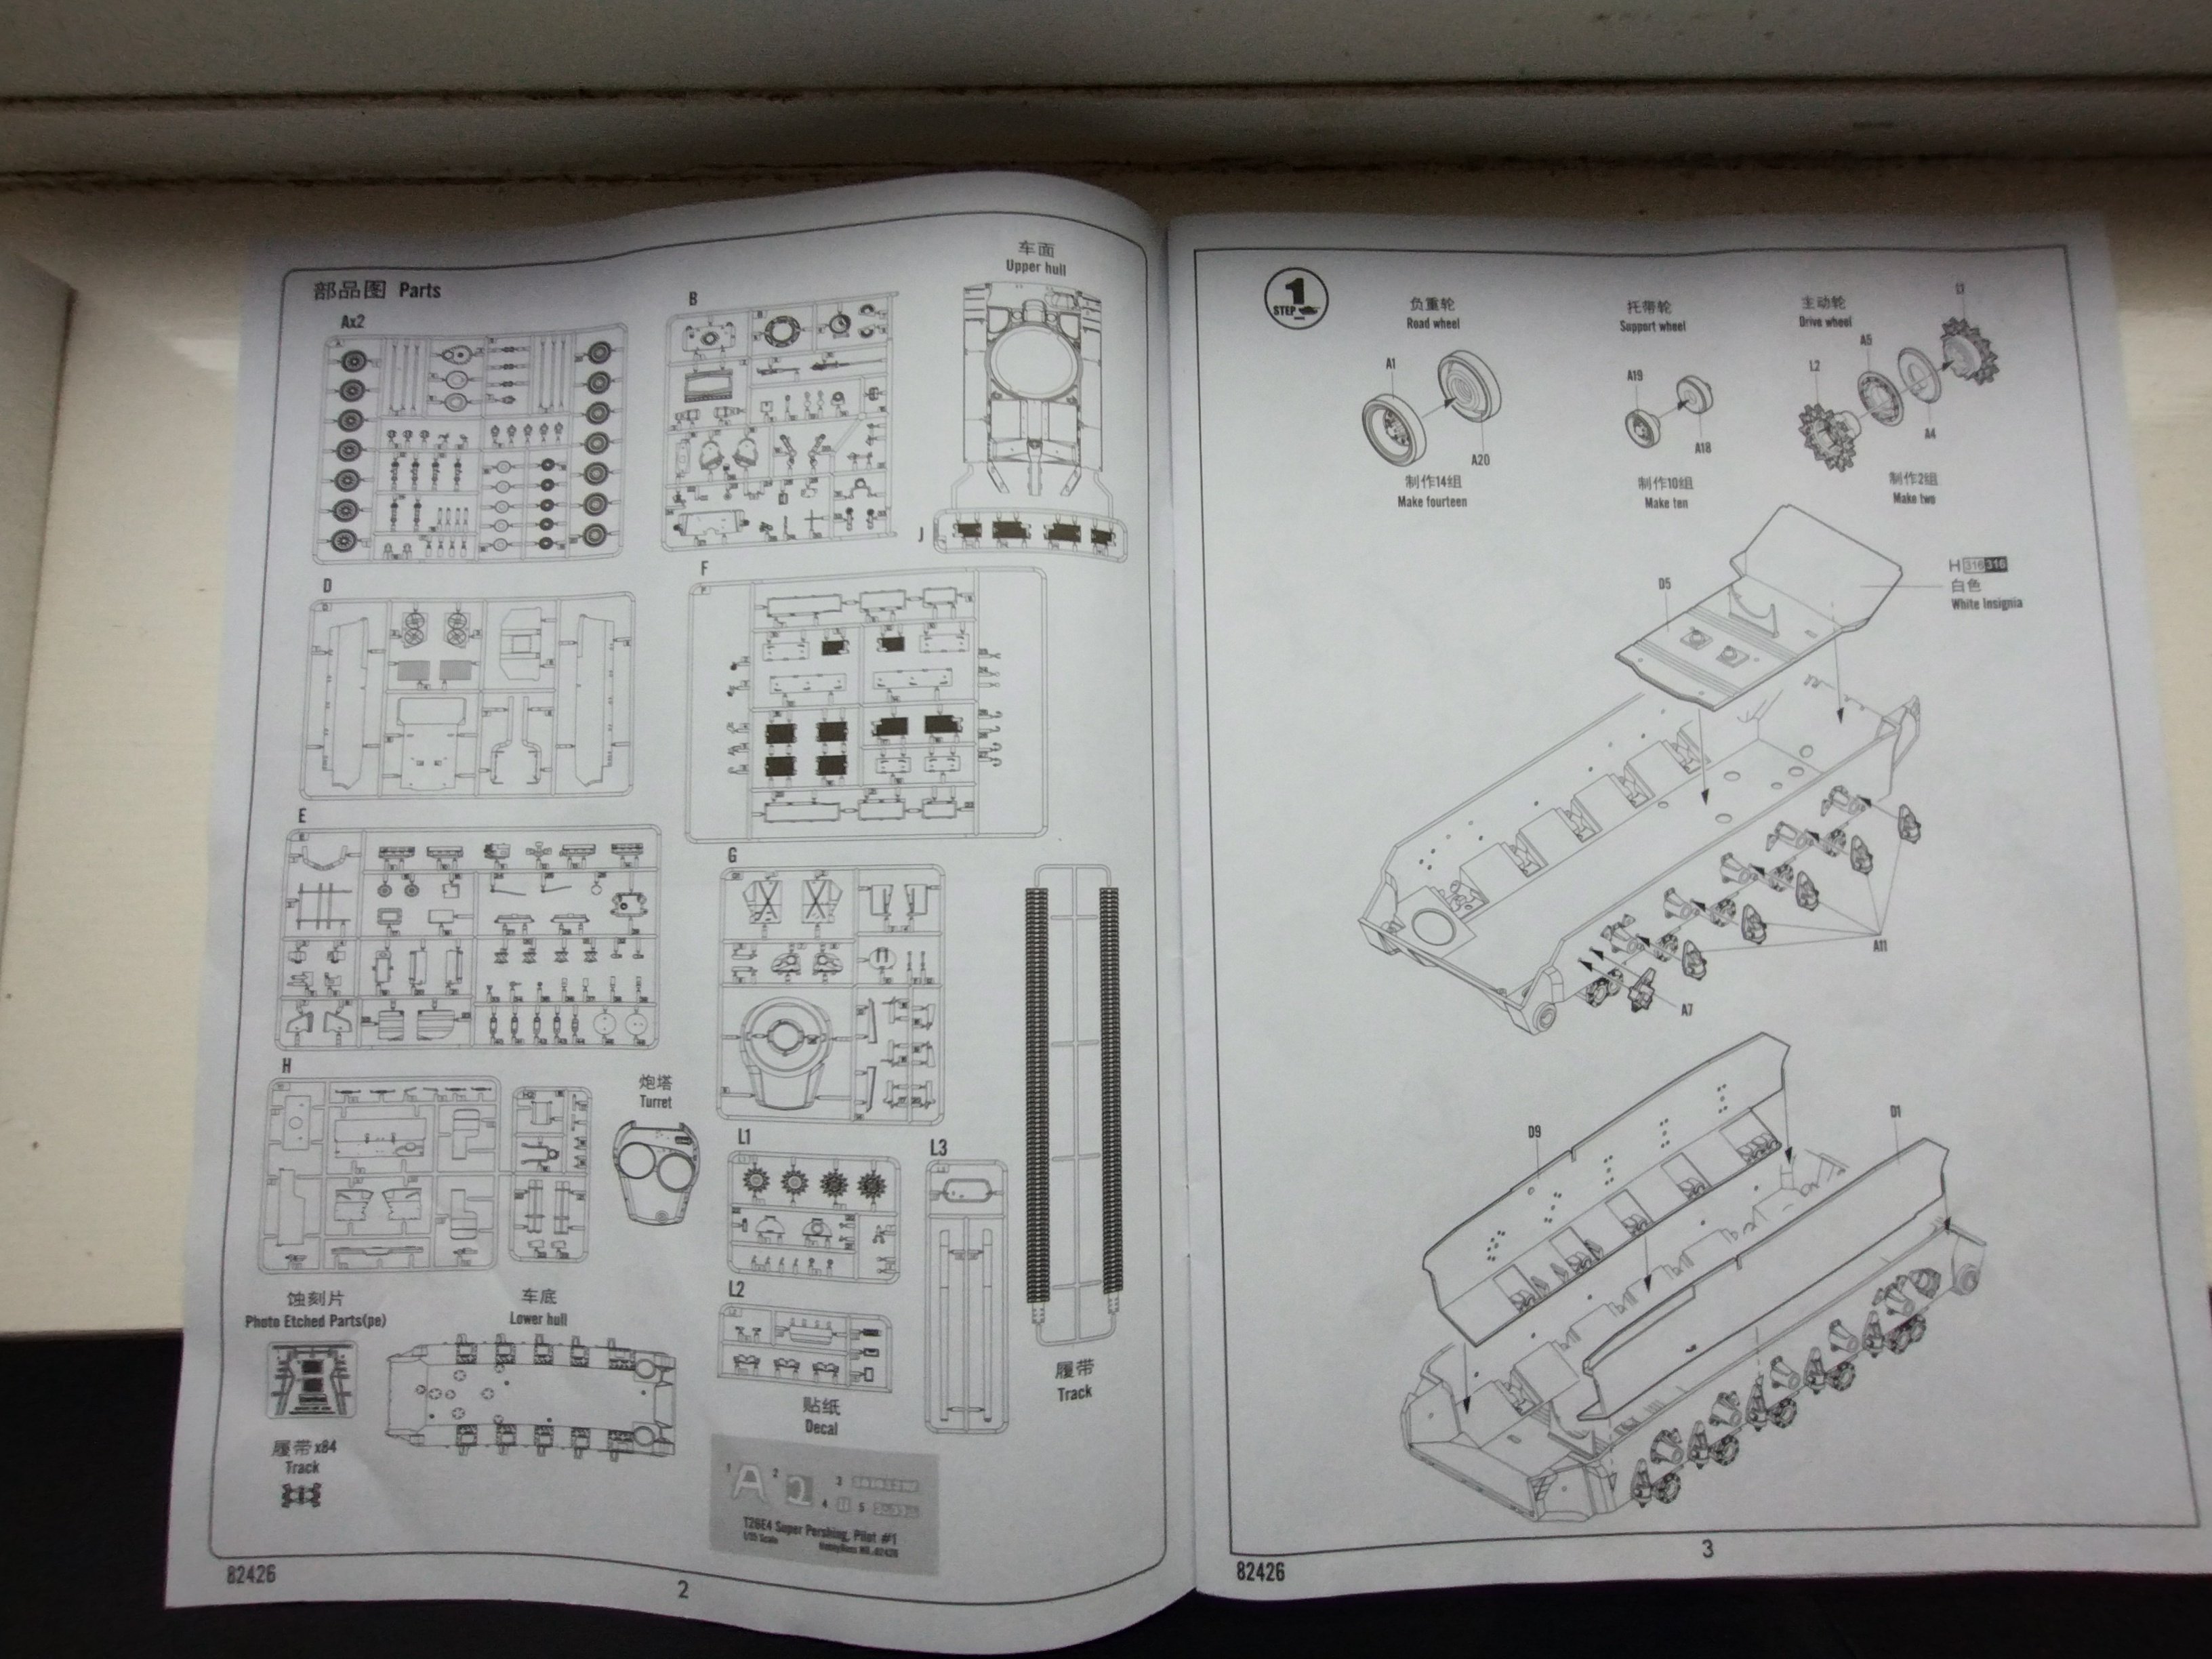
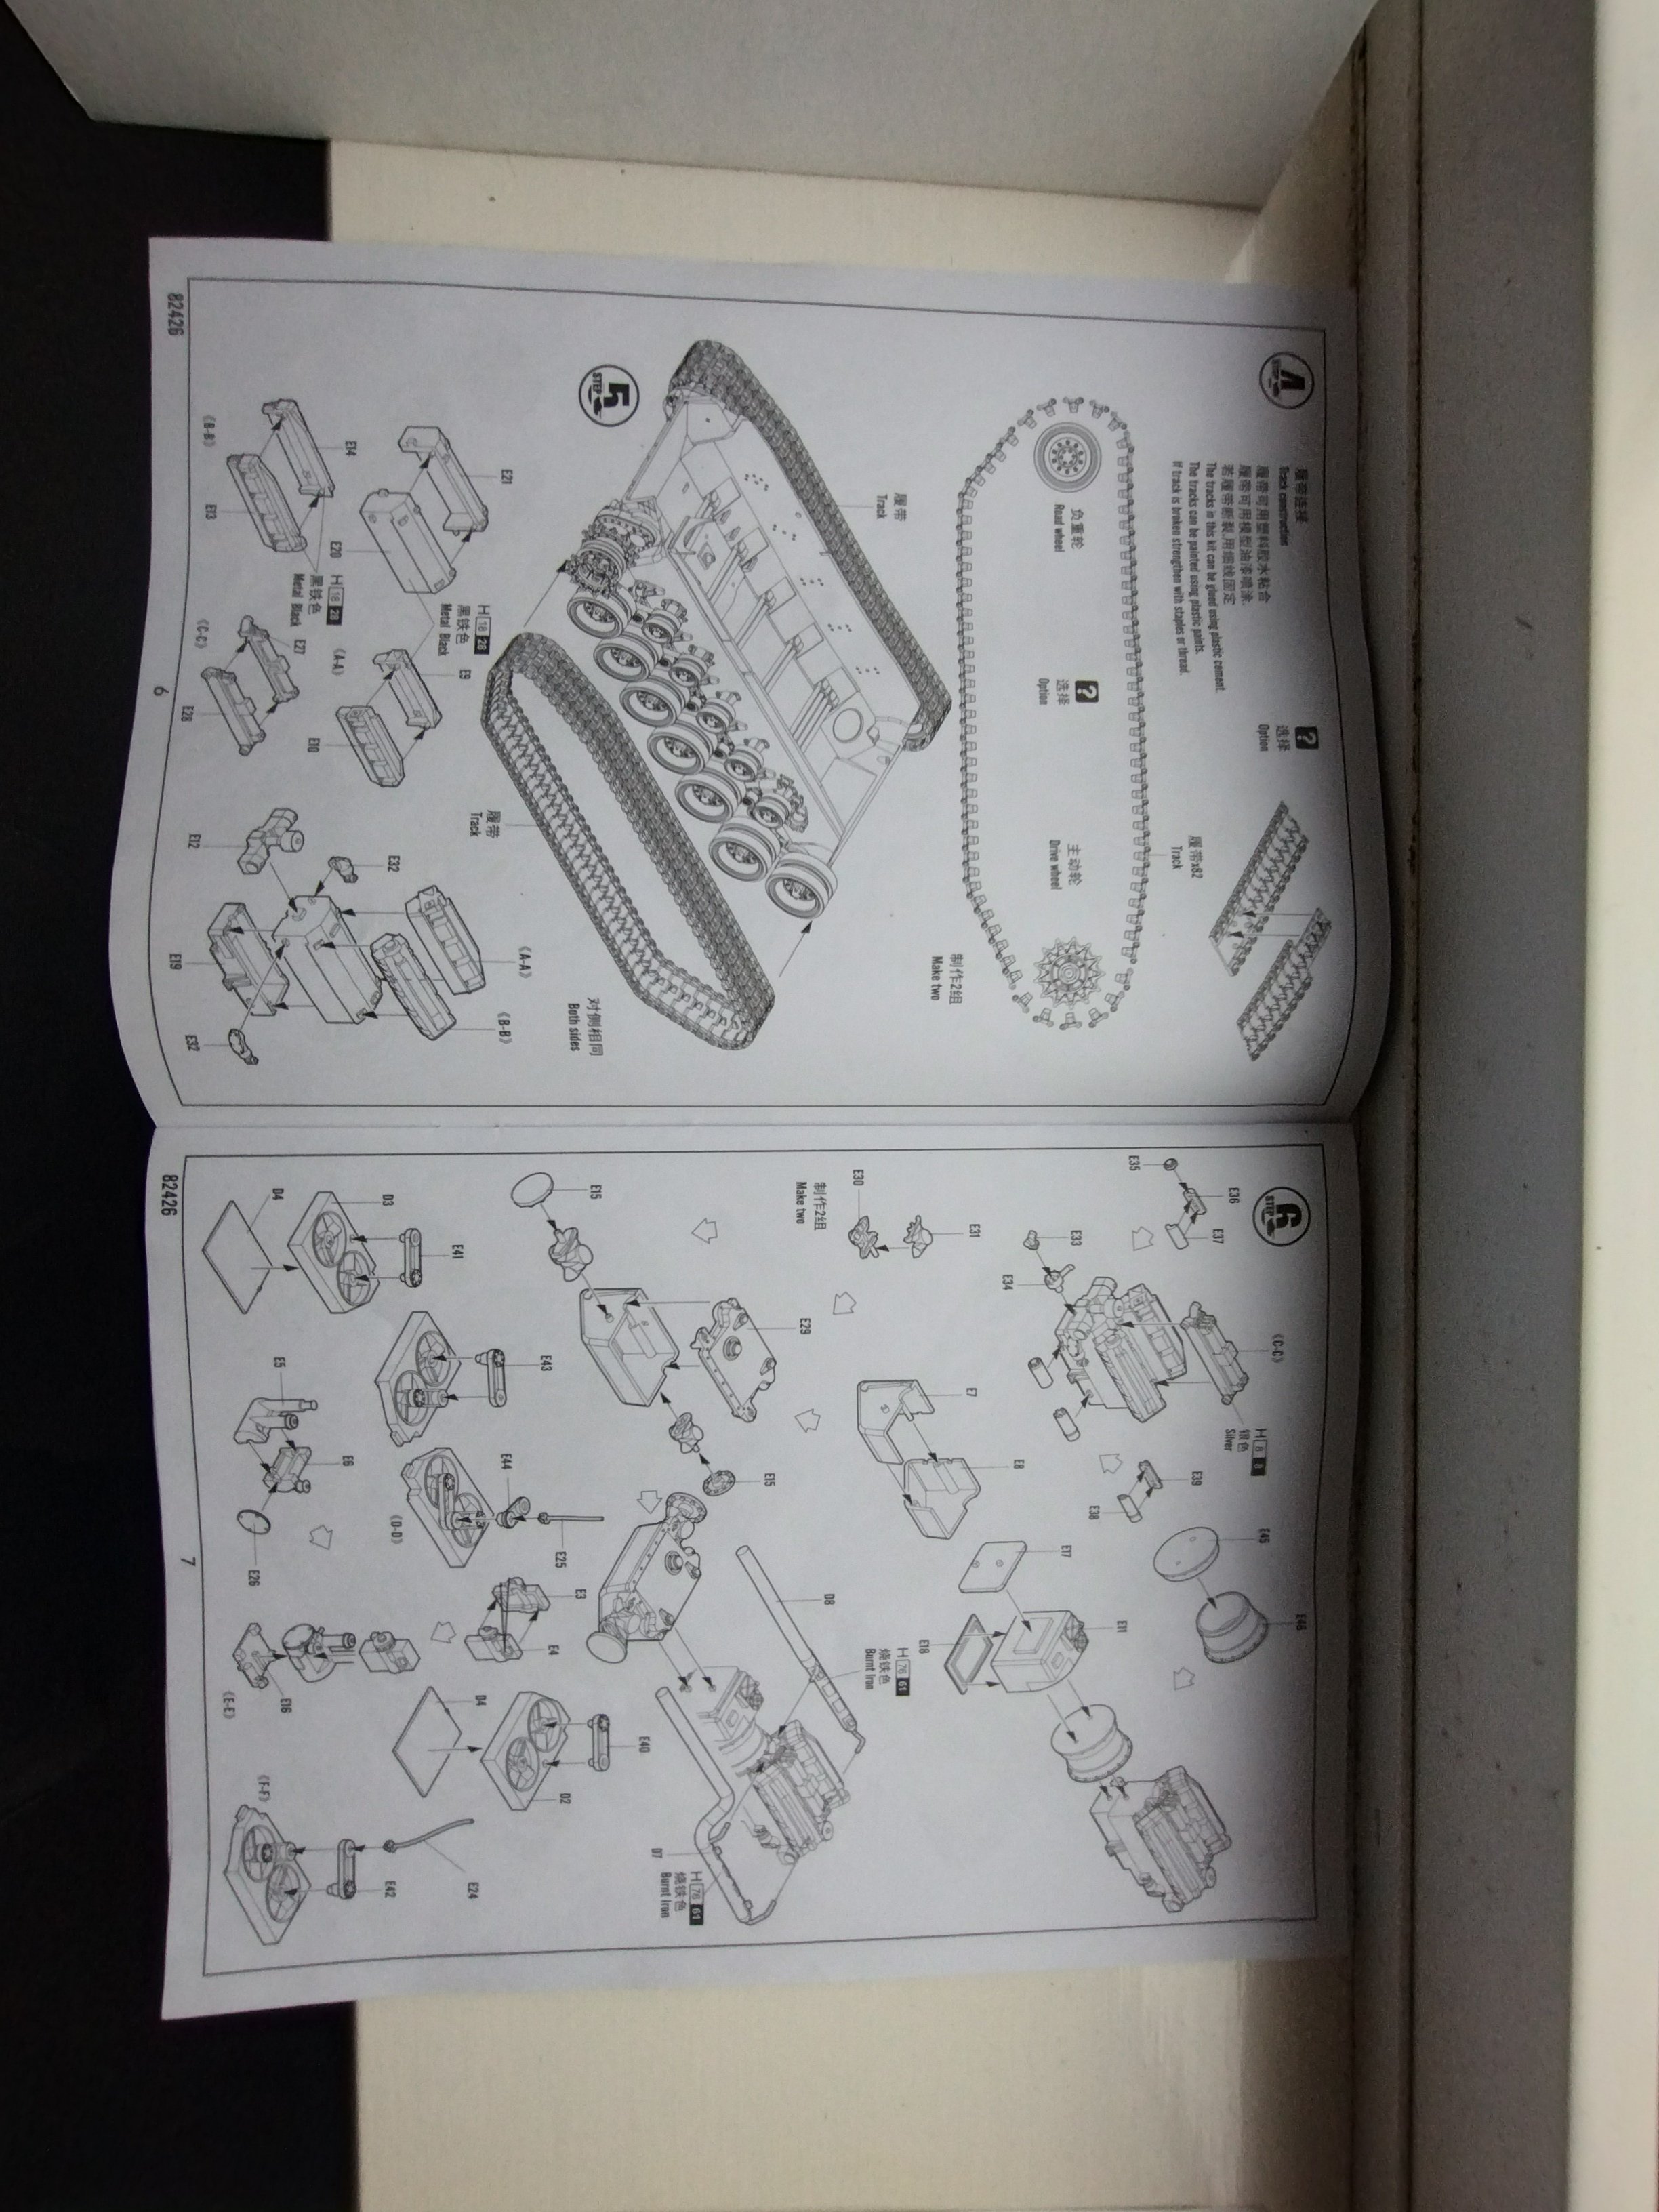
First up is all the parts. Including all the track links. Brass details and even some pieces that are wrapped in some foam for protection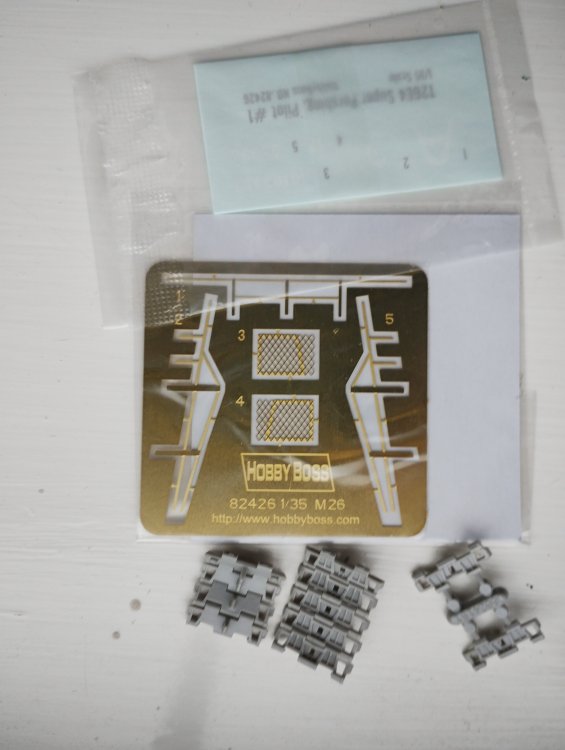

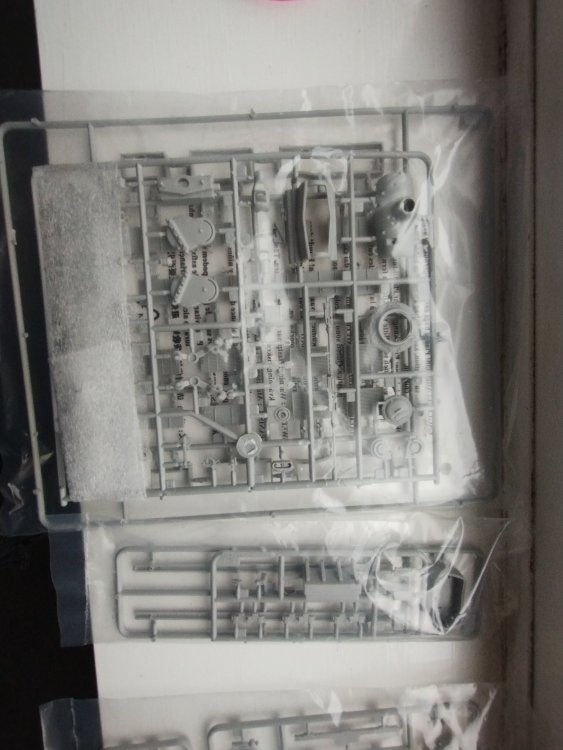

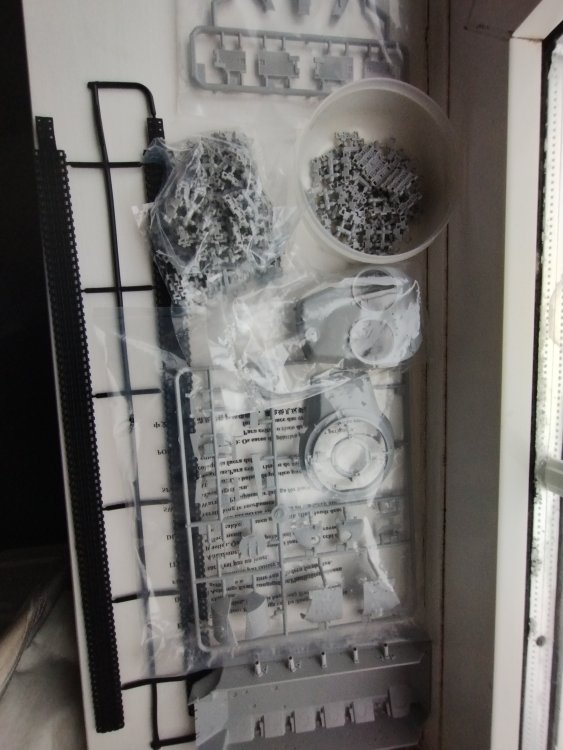
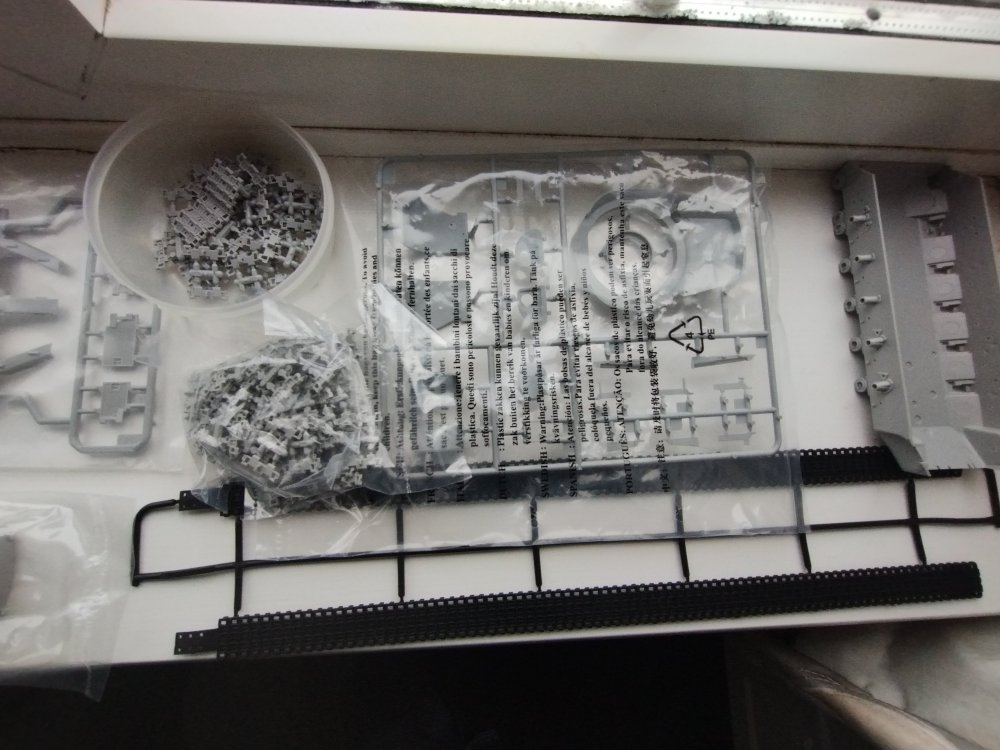
-
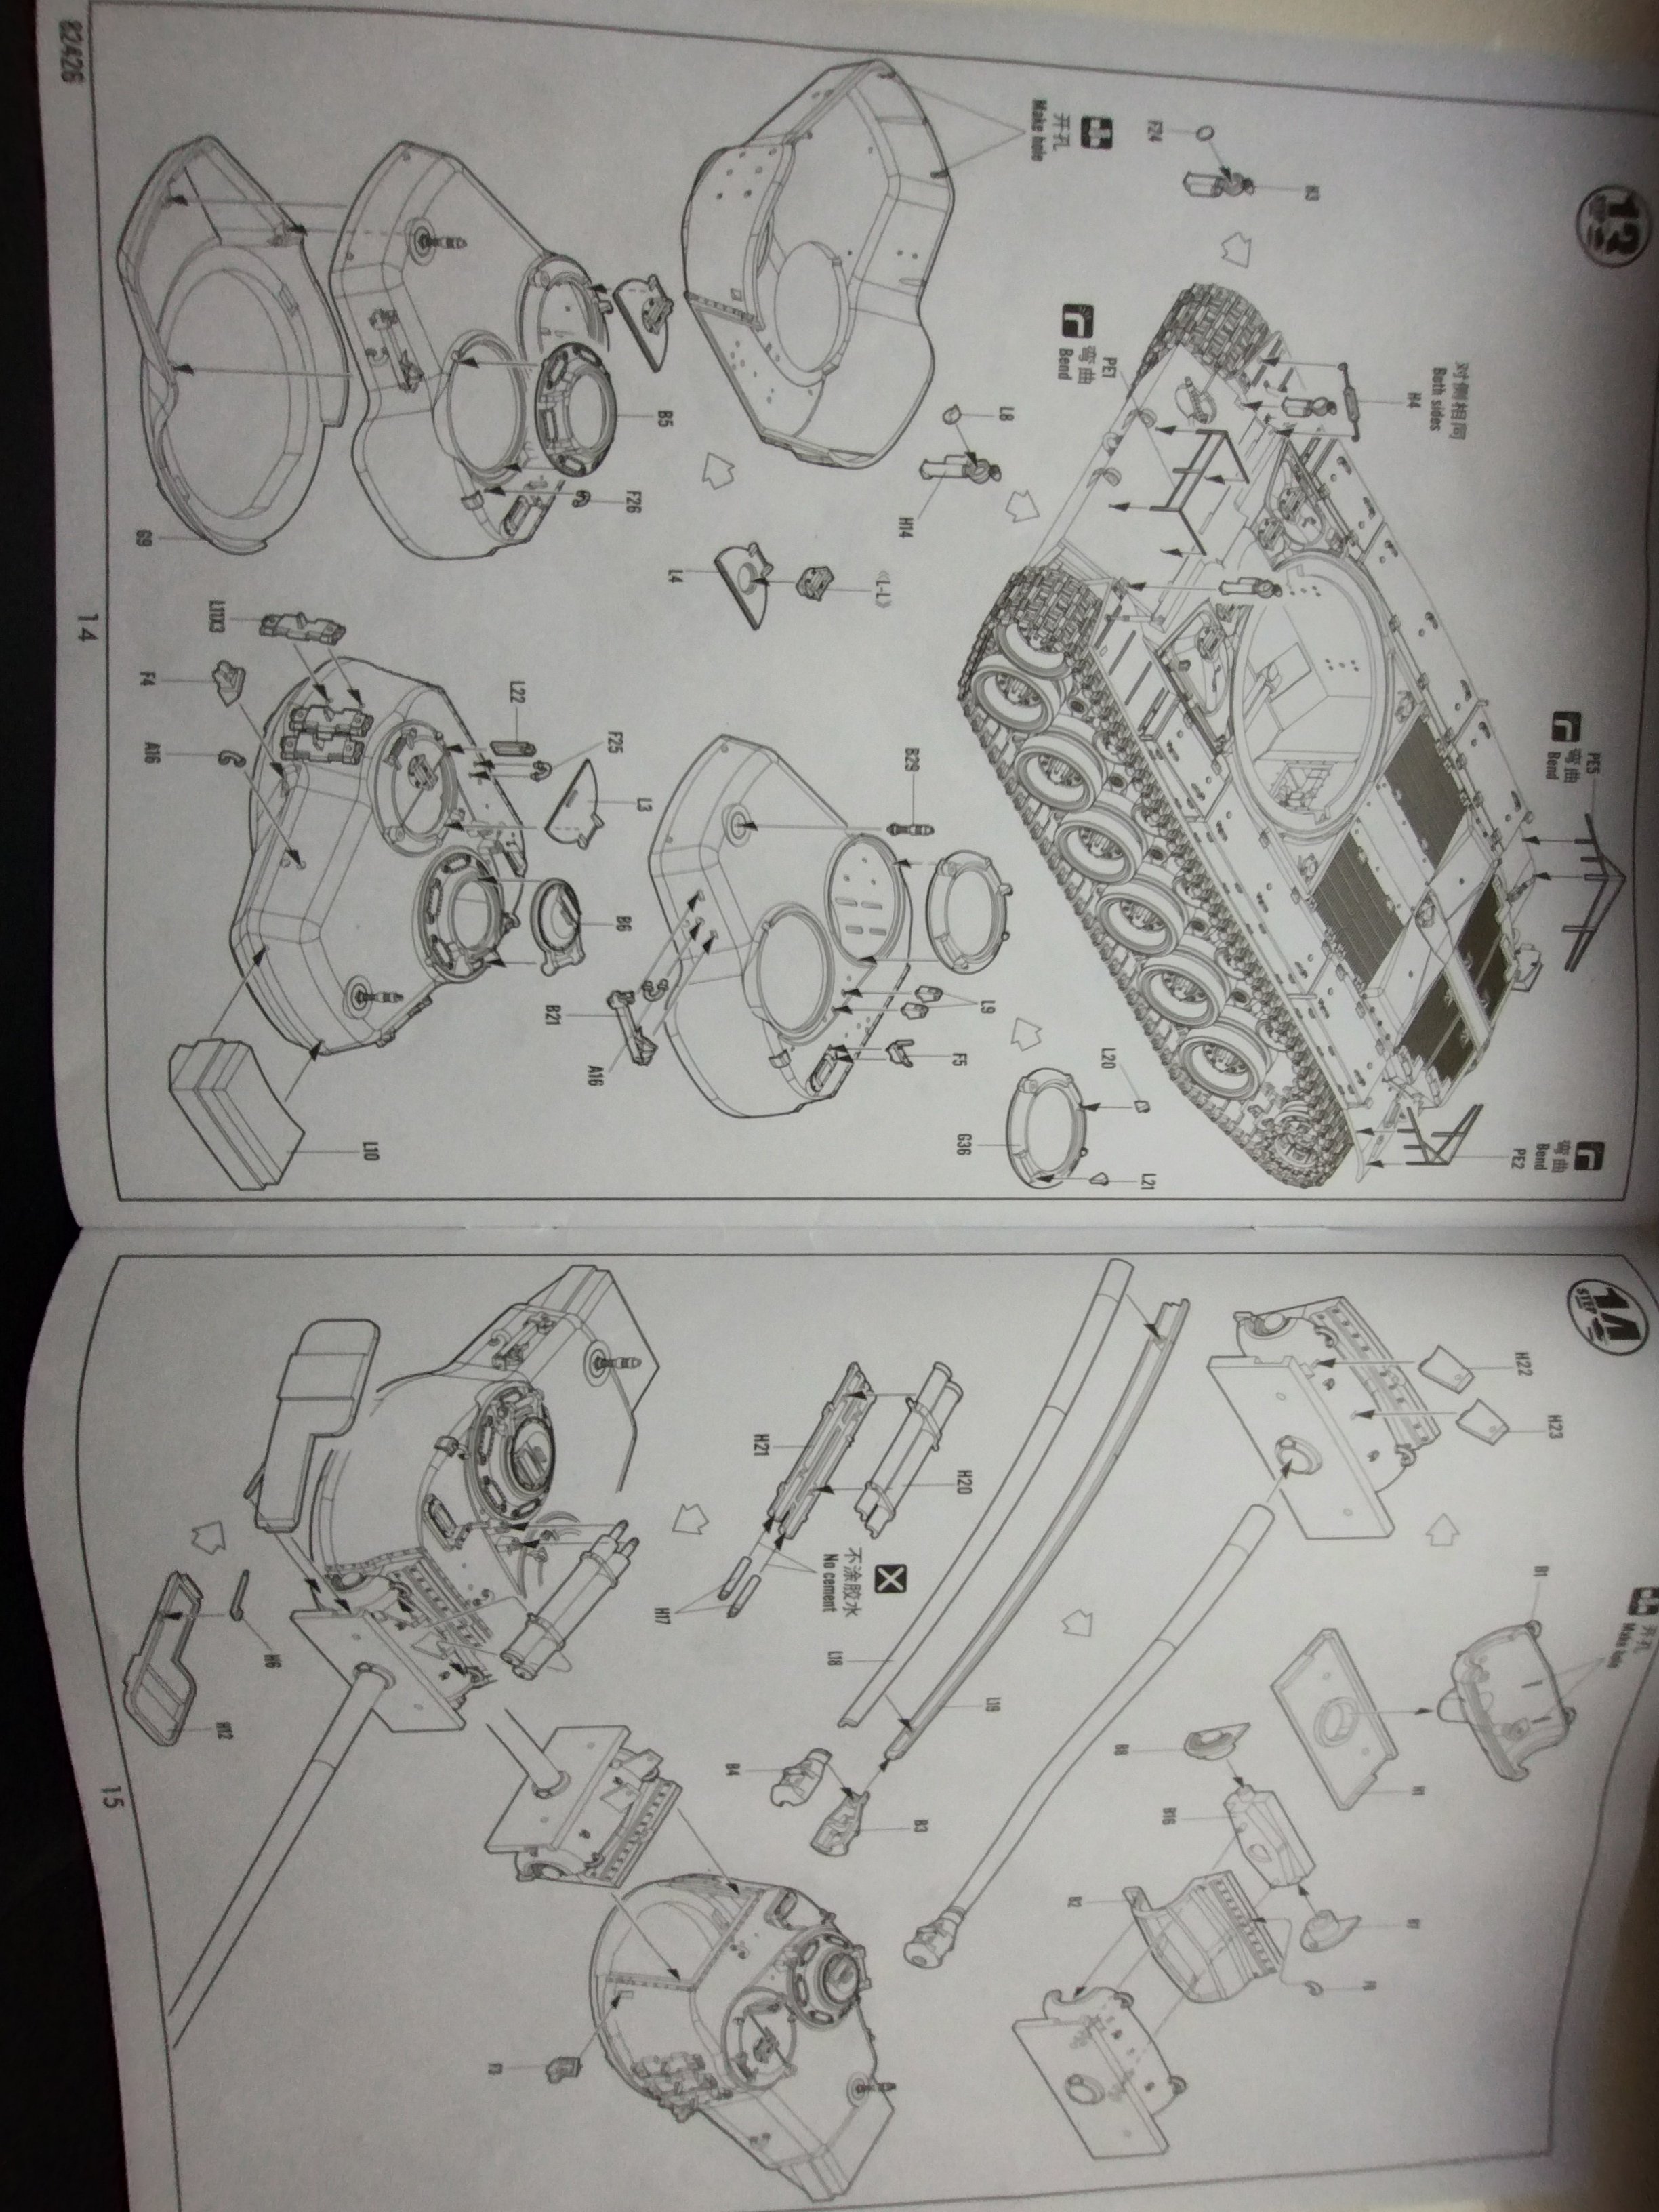
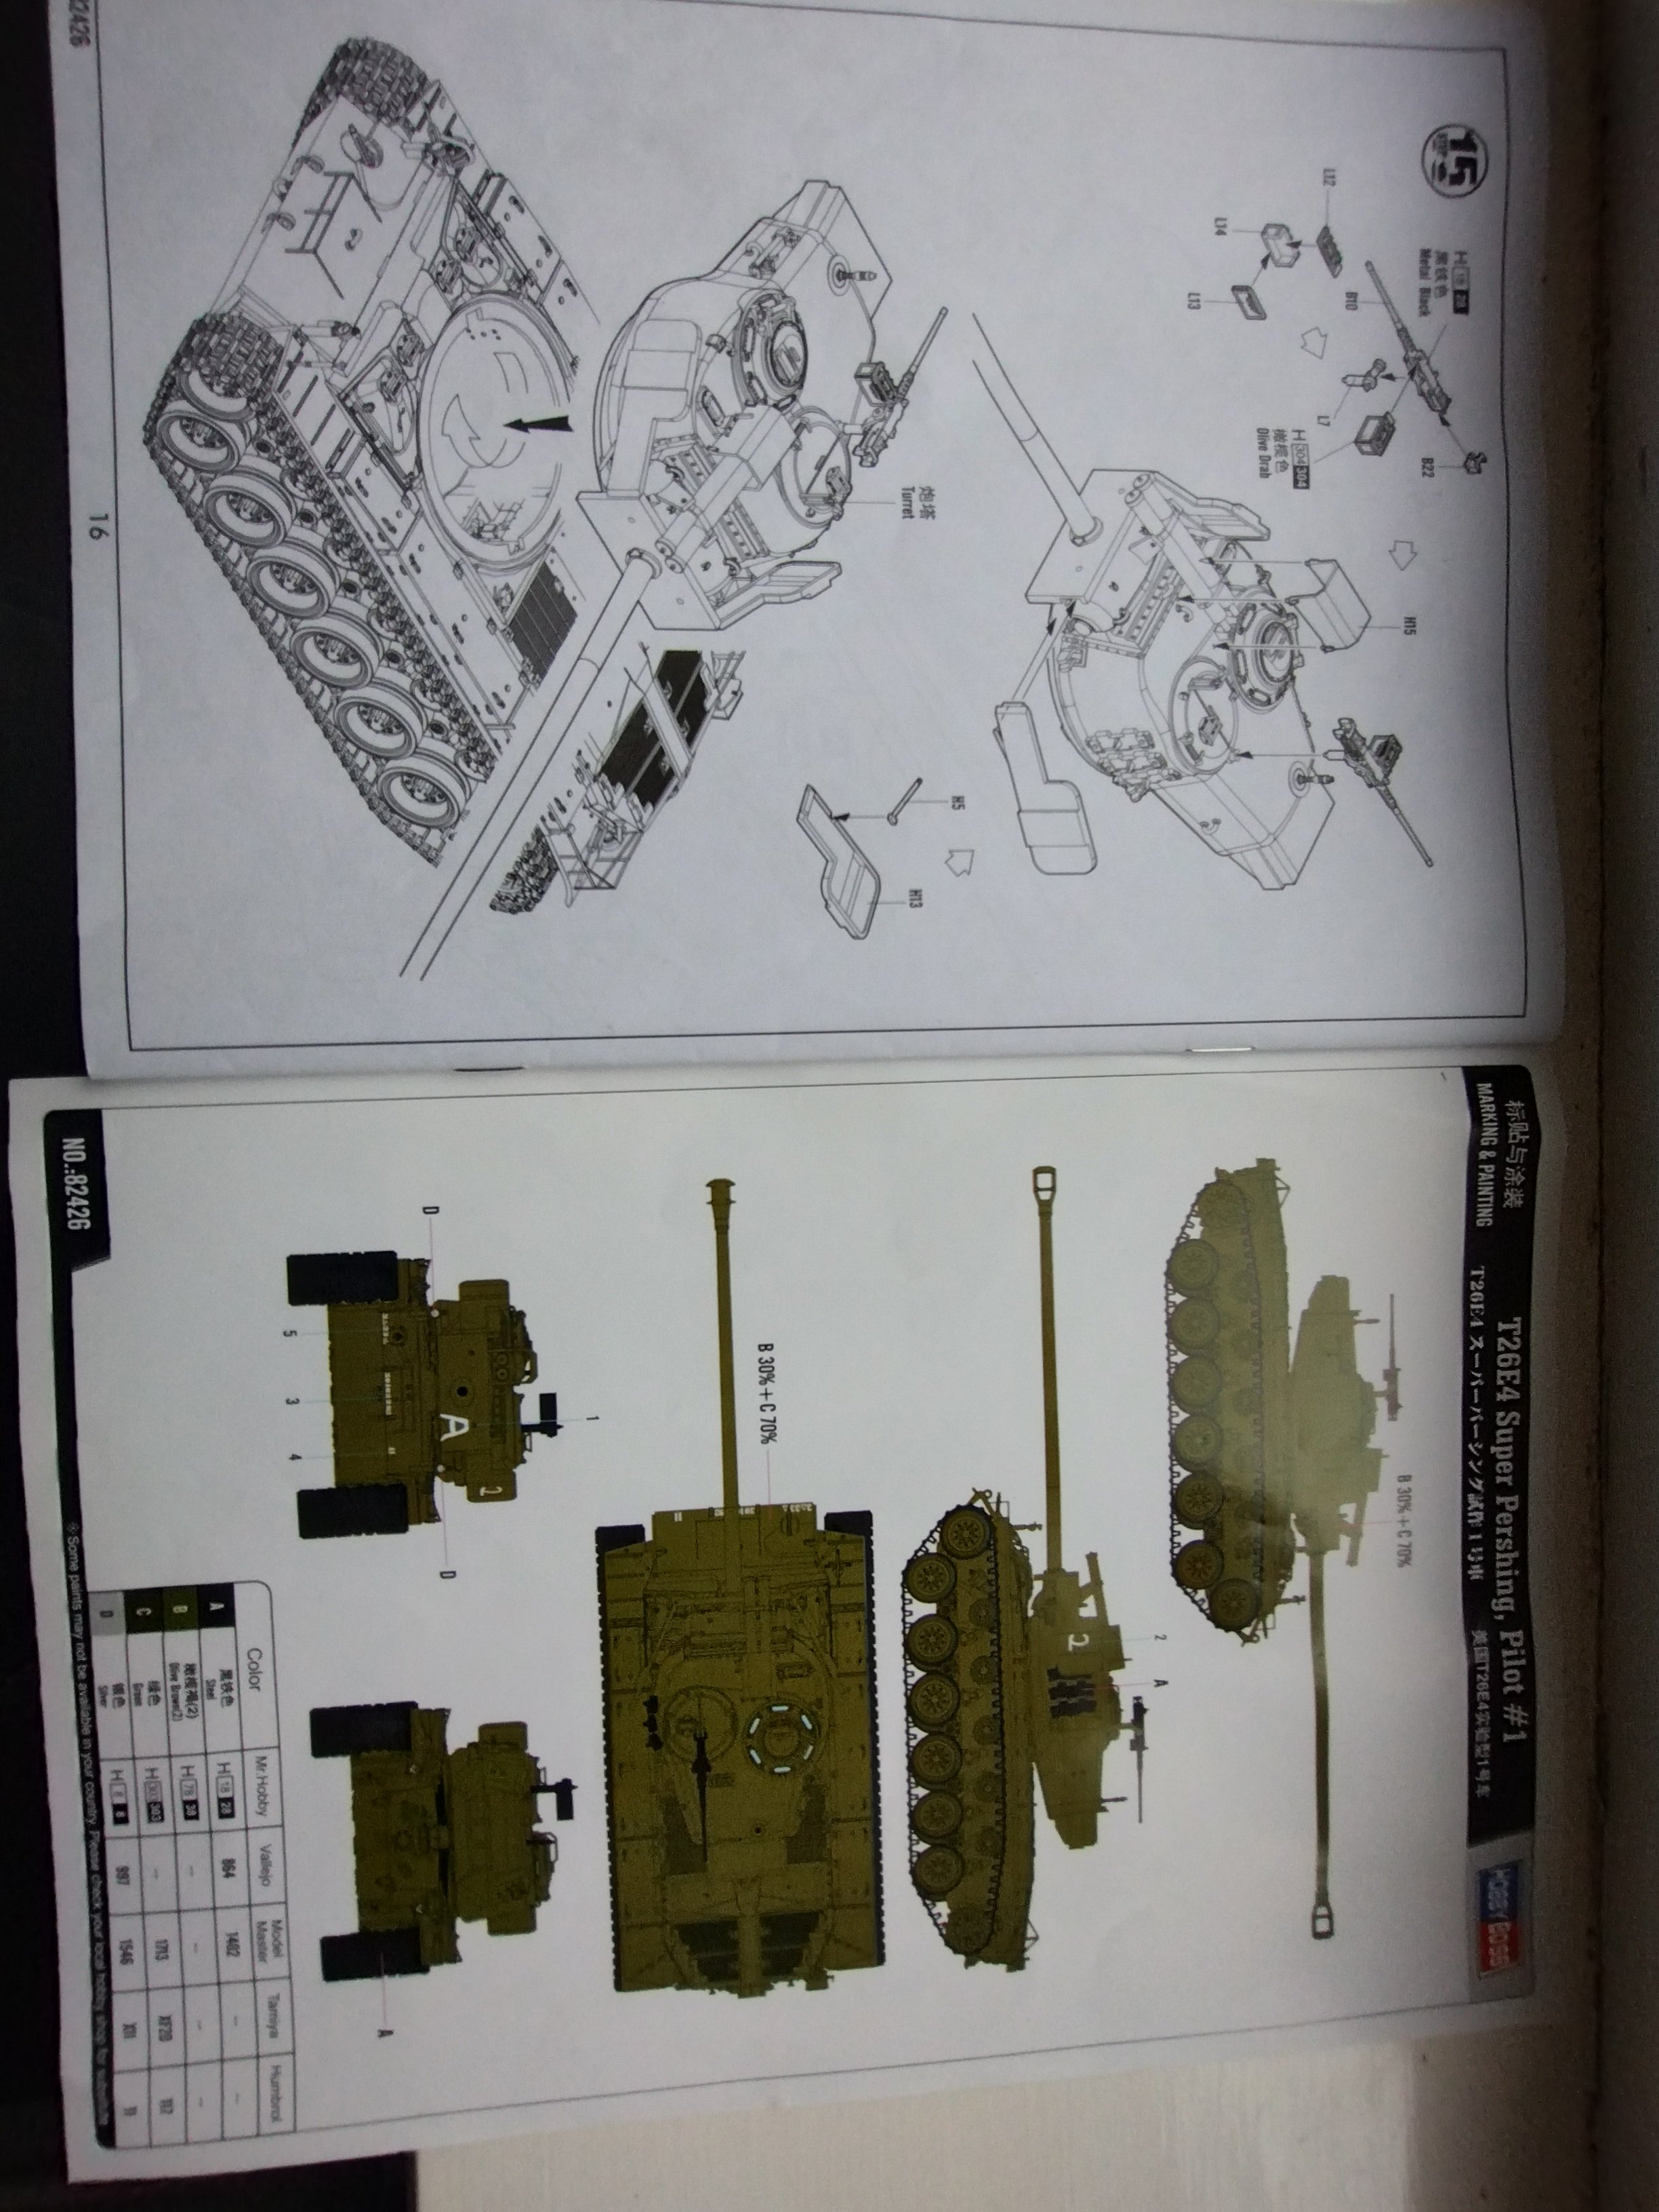
This is a interesting model of the Super Pershing from HobbyBoss. The kit has a lot of details including full engine bay and individually linked tracks. Along with torsion bar suspension.


-
German Panzer IV Ausf H
Daniel_Roxy replied to Daniel_Roxy's topic in LSM 1/35 and Larger Work In Progress
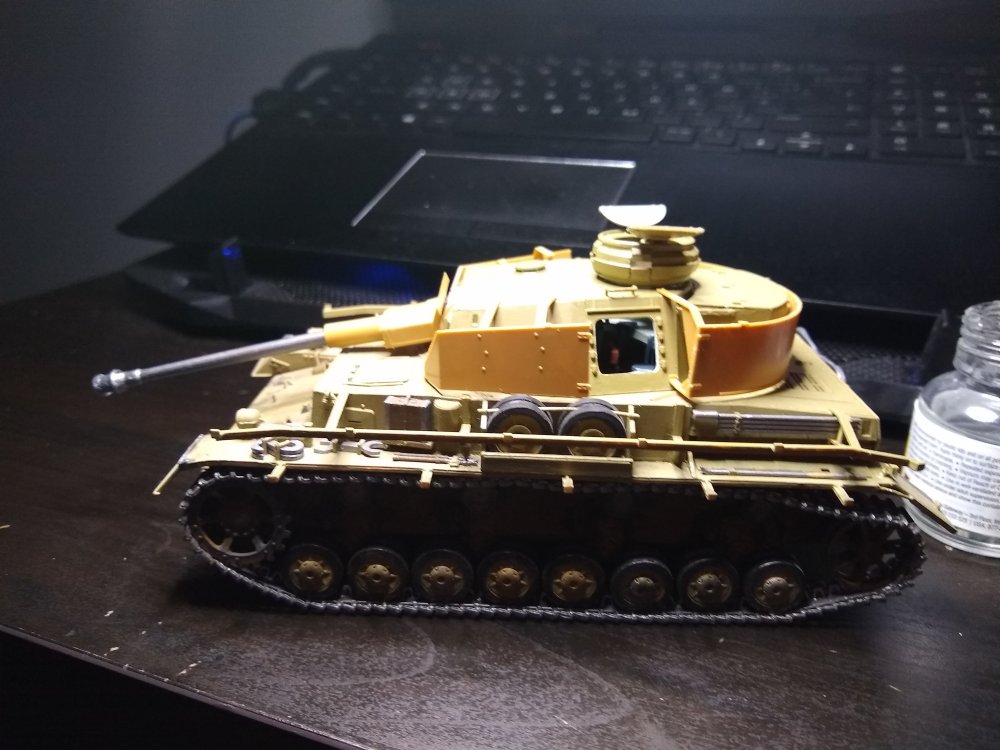
I have finished this model now. had some stuff change in my life over the last few months so just forgot to upload the images but here they are. just deciding what model to do next.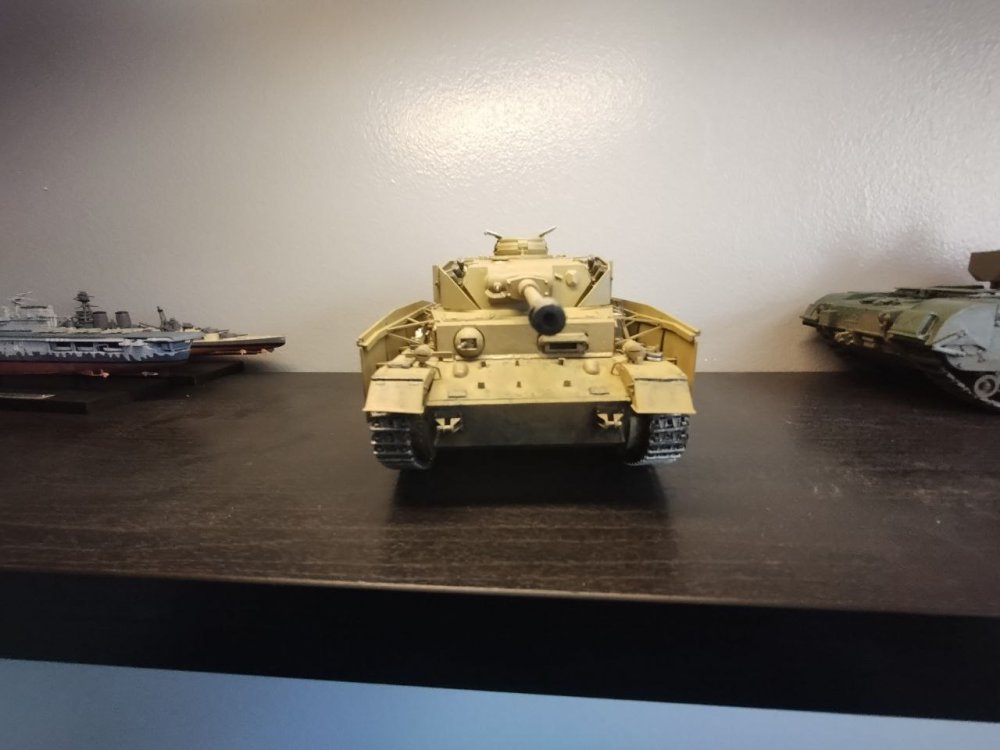

.thumb.jpg.2ac1a0bd9348979a19592ed3743390d2.jpg)
-
German Panzer IV Ausf H
Daniel_Roxy replied to Daniel_Roxy's topic in LSM 1/35 and Larger Work In Progress
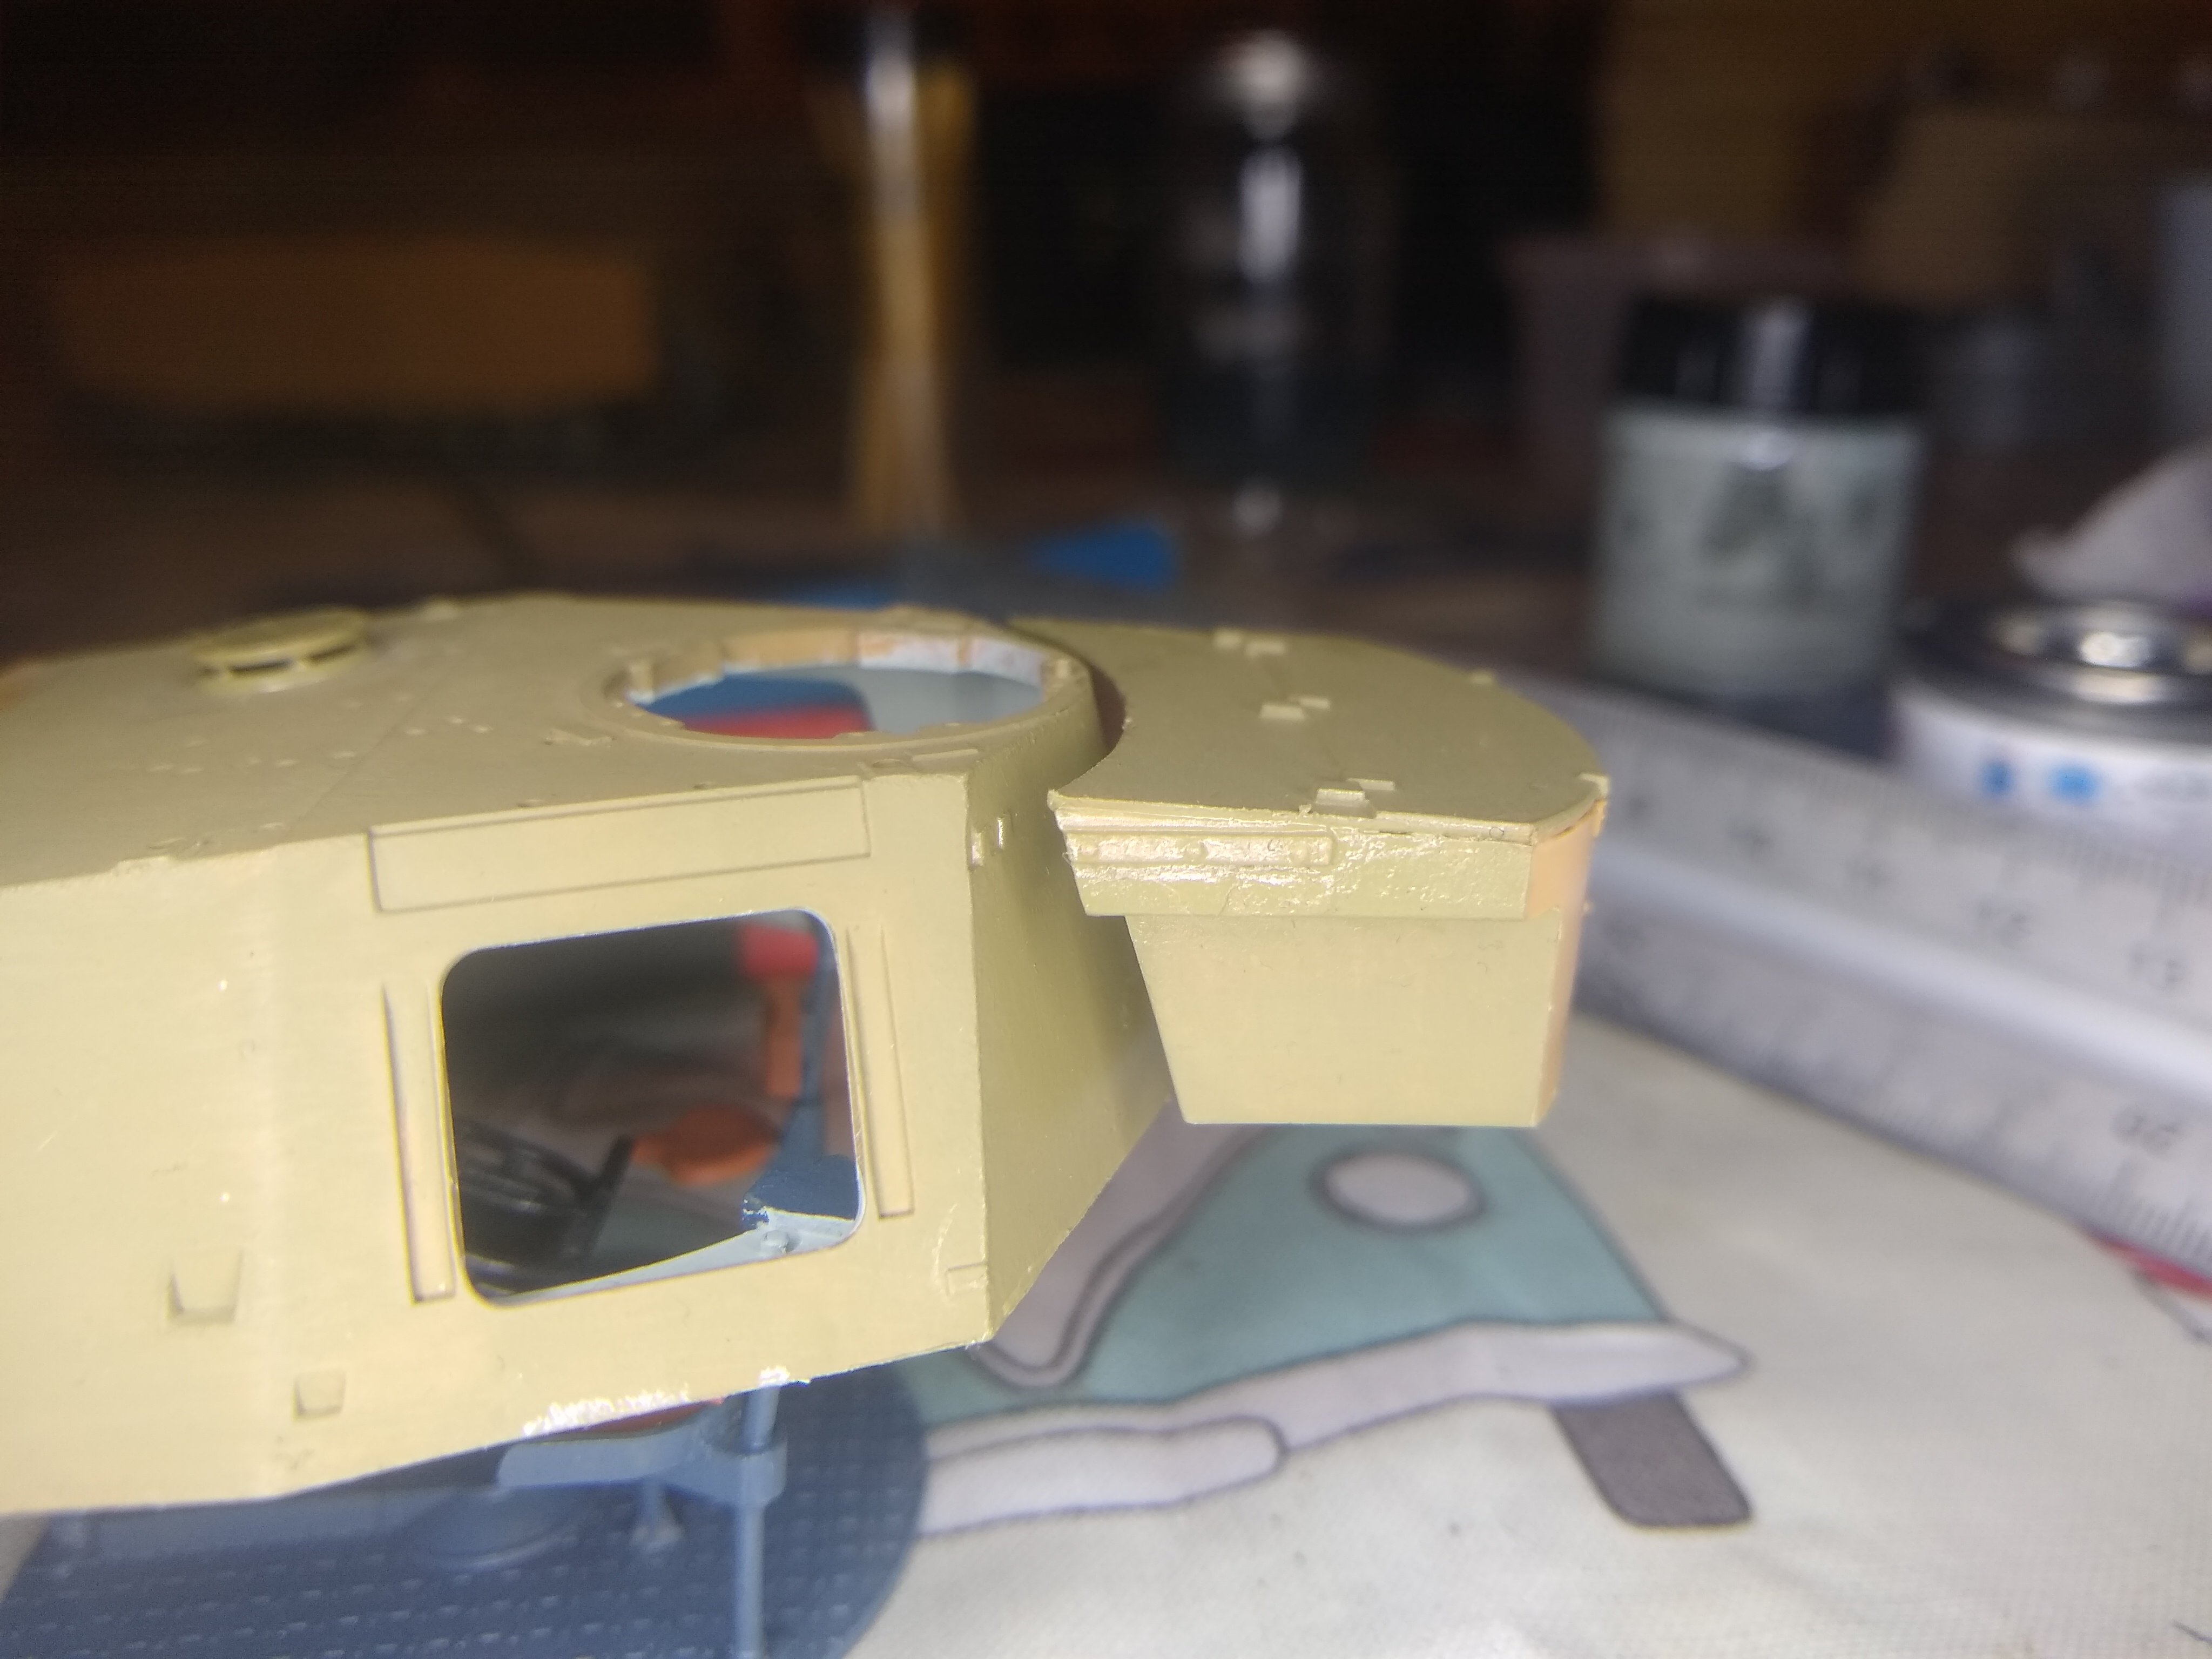
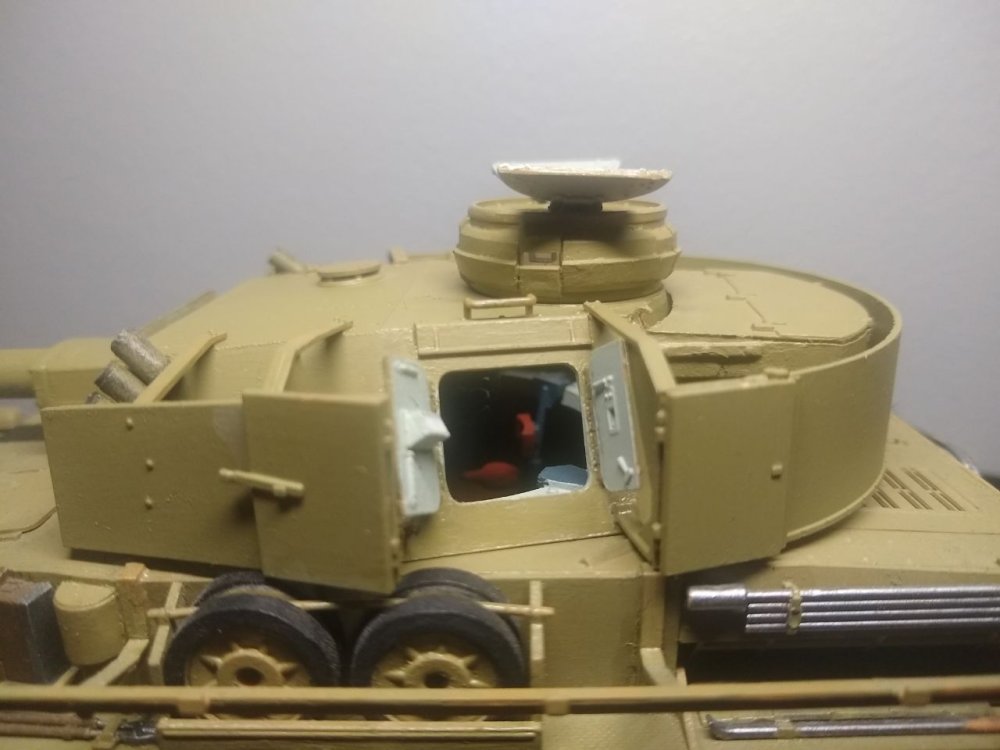
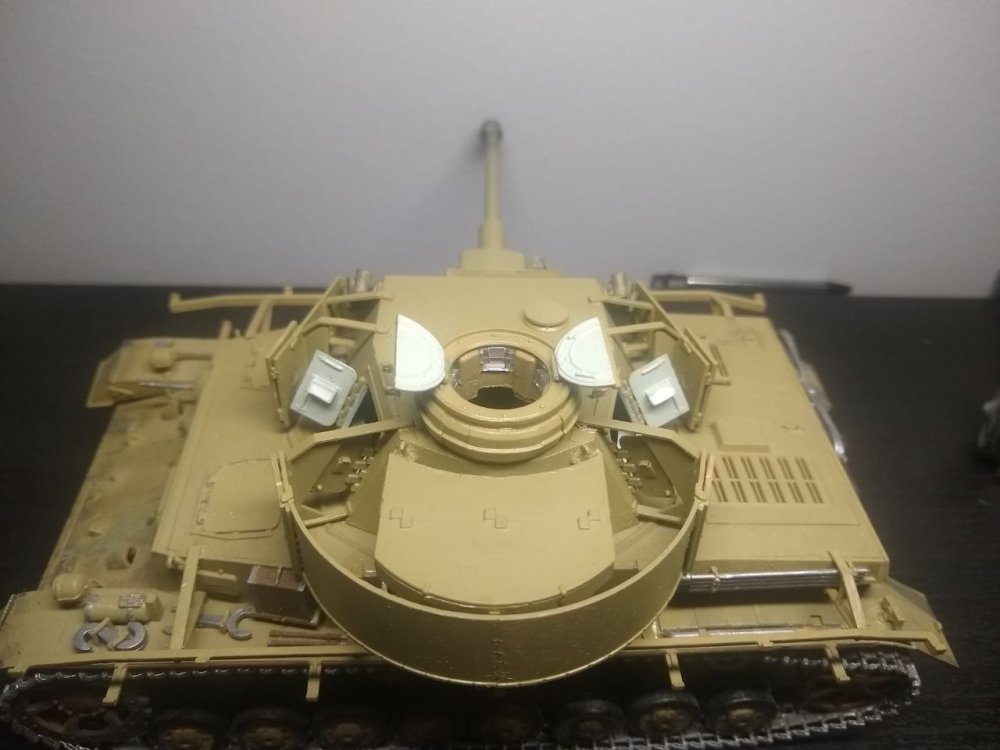
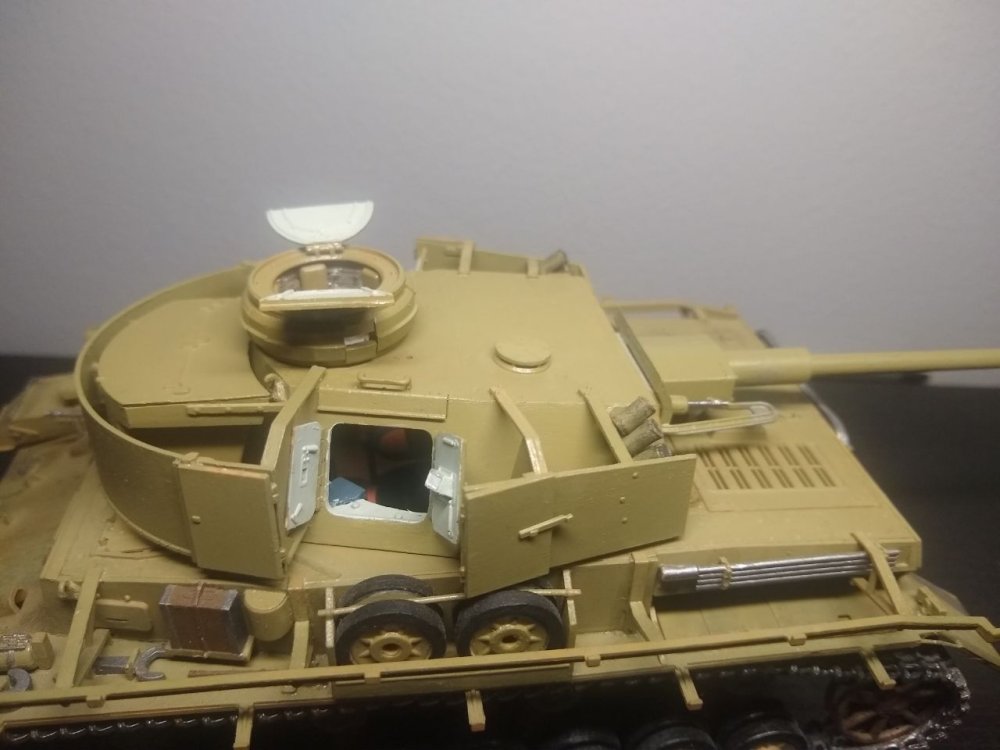
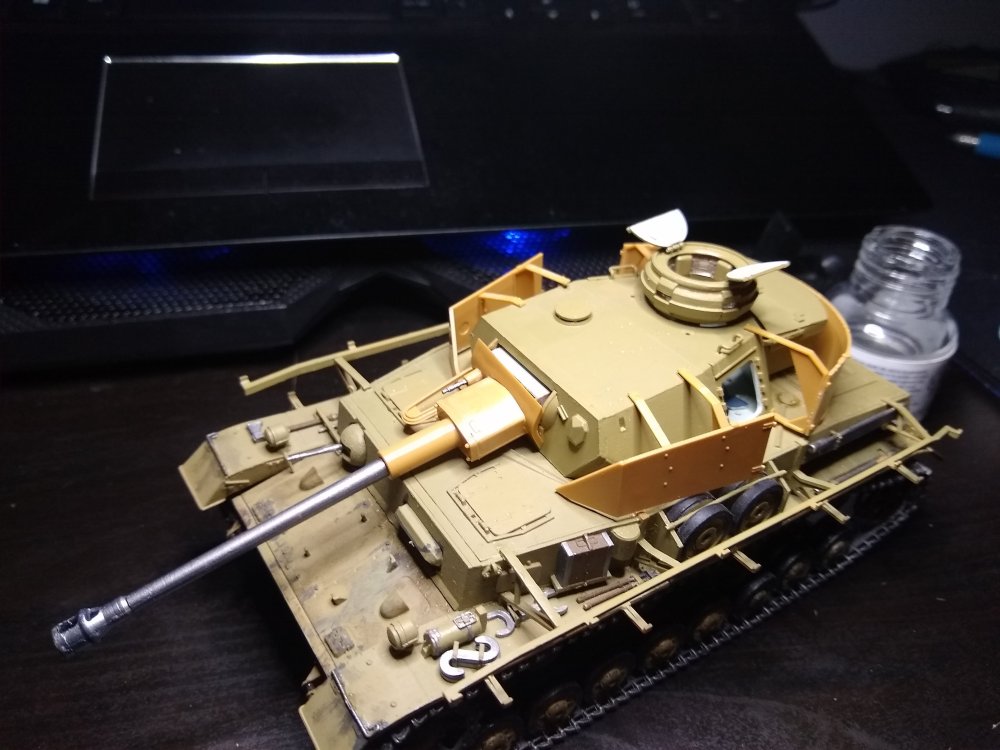
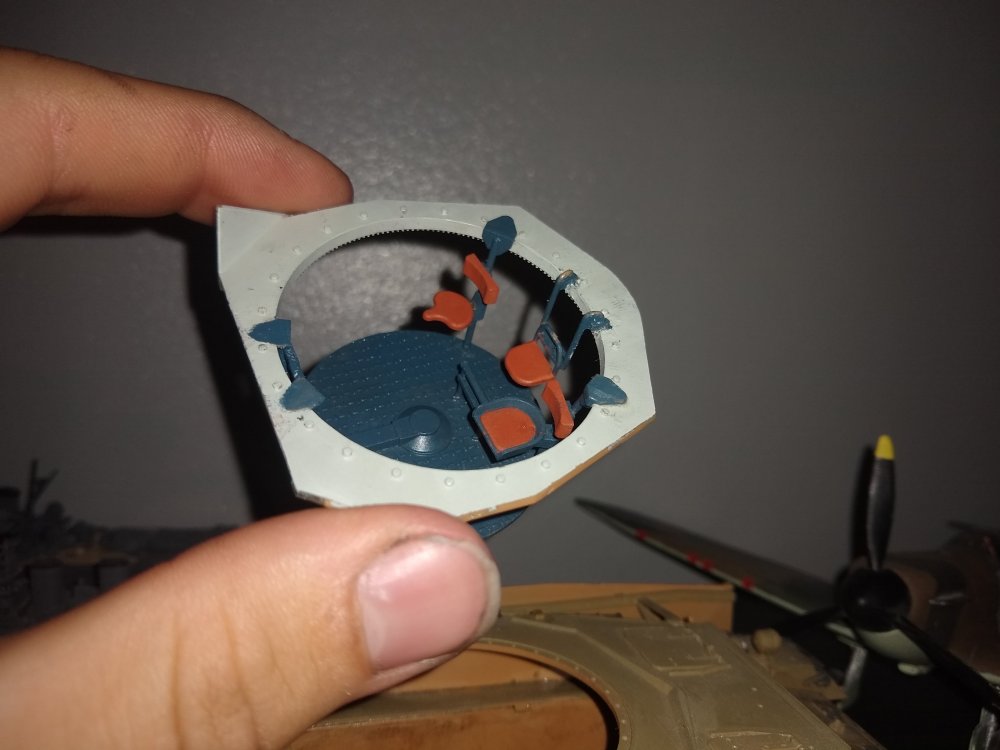
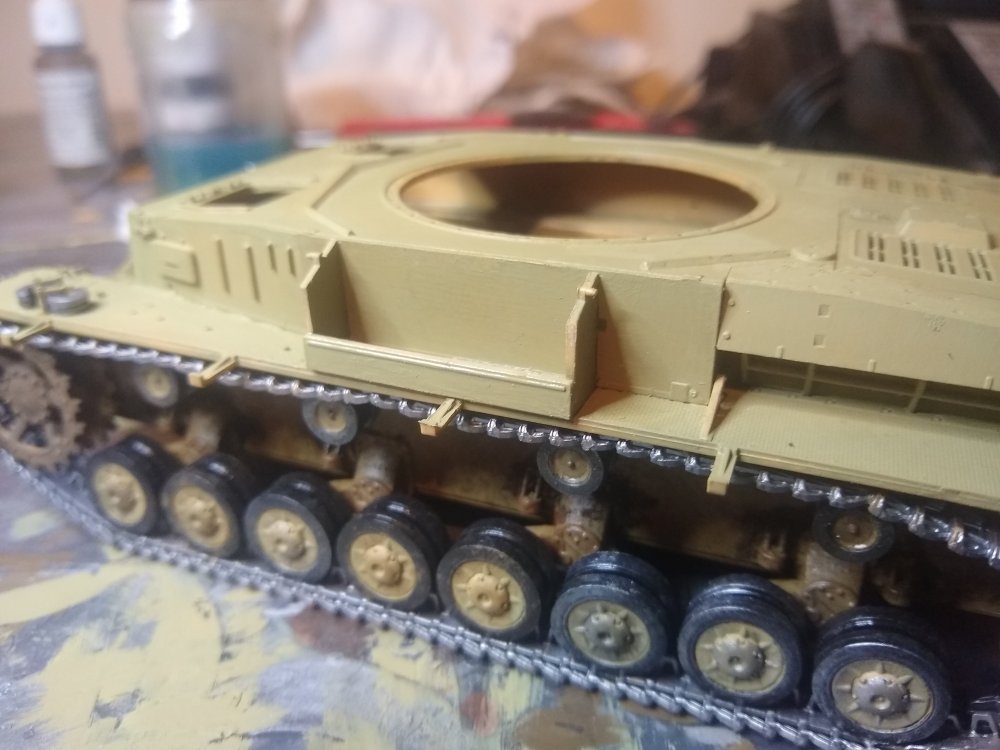
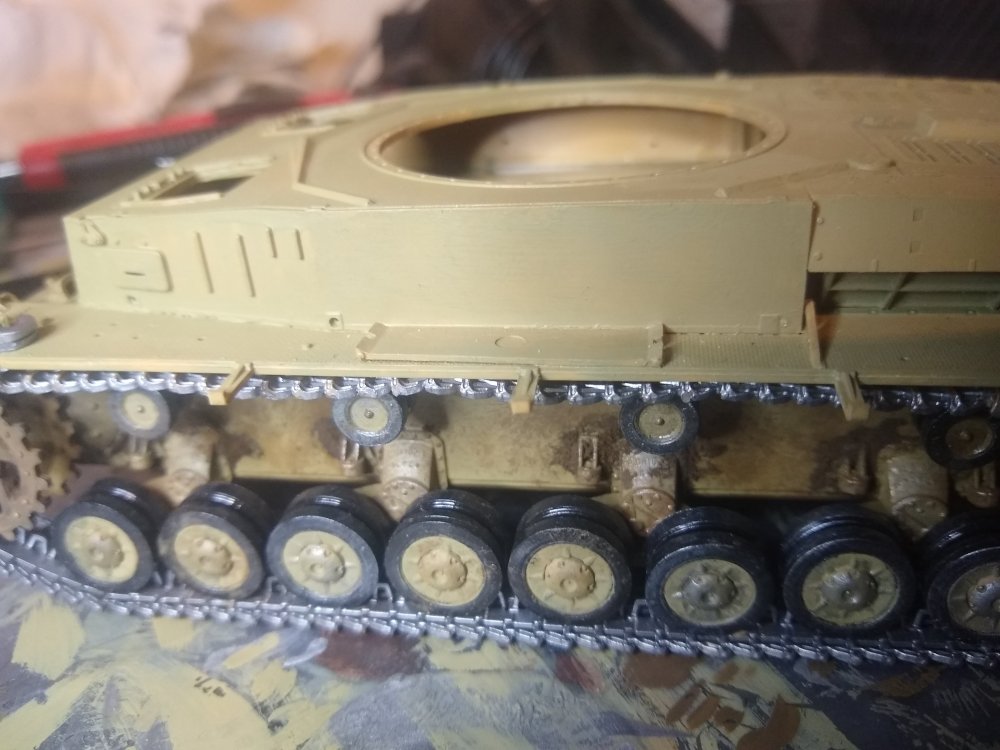
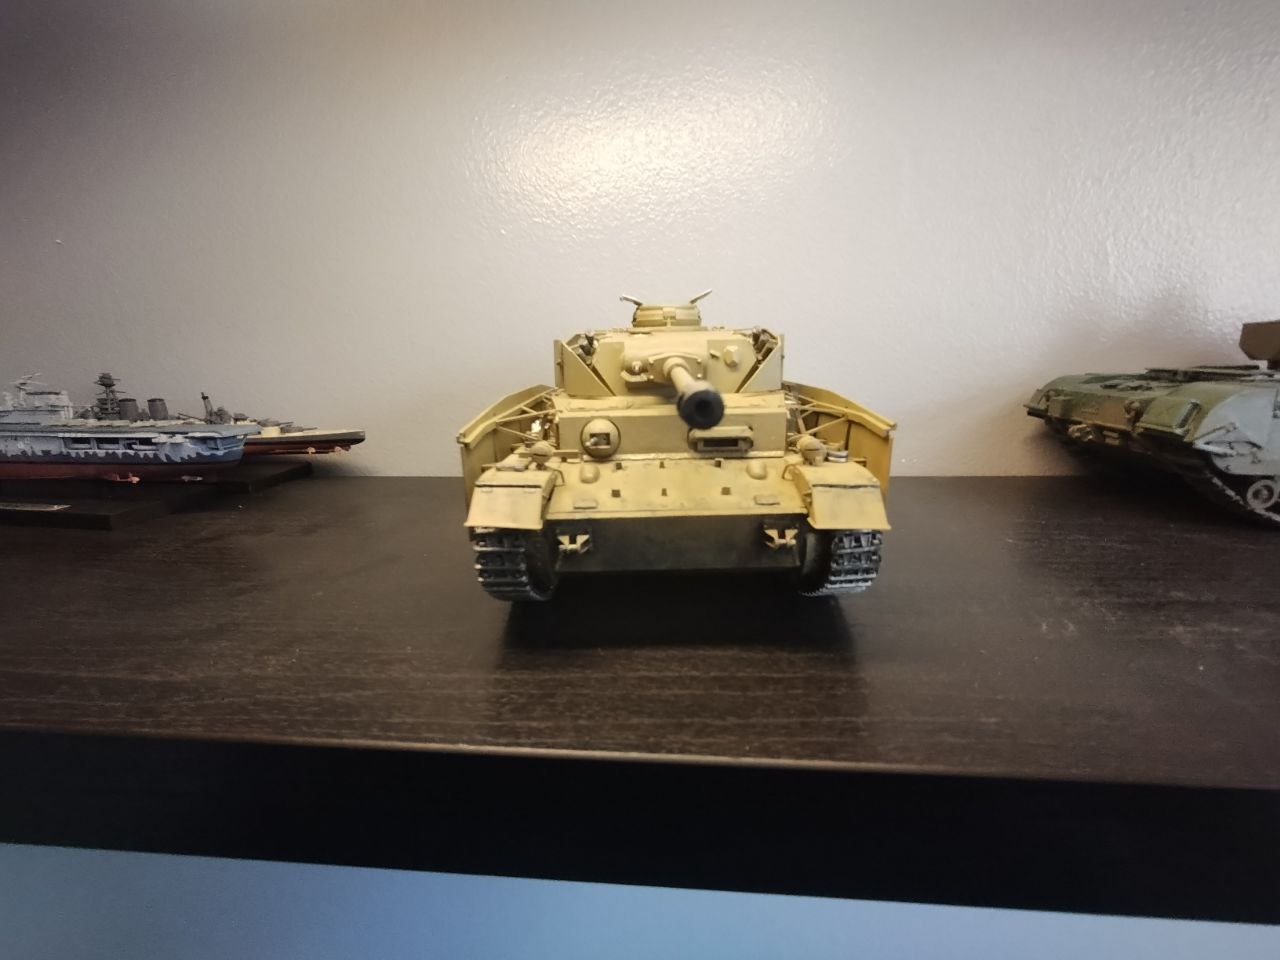
Quite a bit of progress since last check in. got the turret skirts all on. Sorted the gun and muzzle break out with a bit of weathering and now gonna to add more to the whole turret at some pint now. I have made the smoke launchers on ether side of the turrets front god they were fiddley with 8 tiny pieces each. But there looking good now. have decided to have all the hatches open on the turret so worked that out best I could and it looks great. Even if I do say so my self.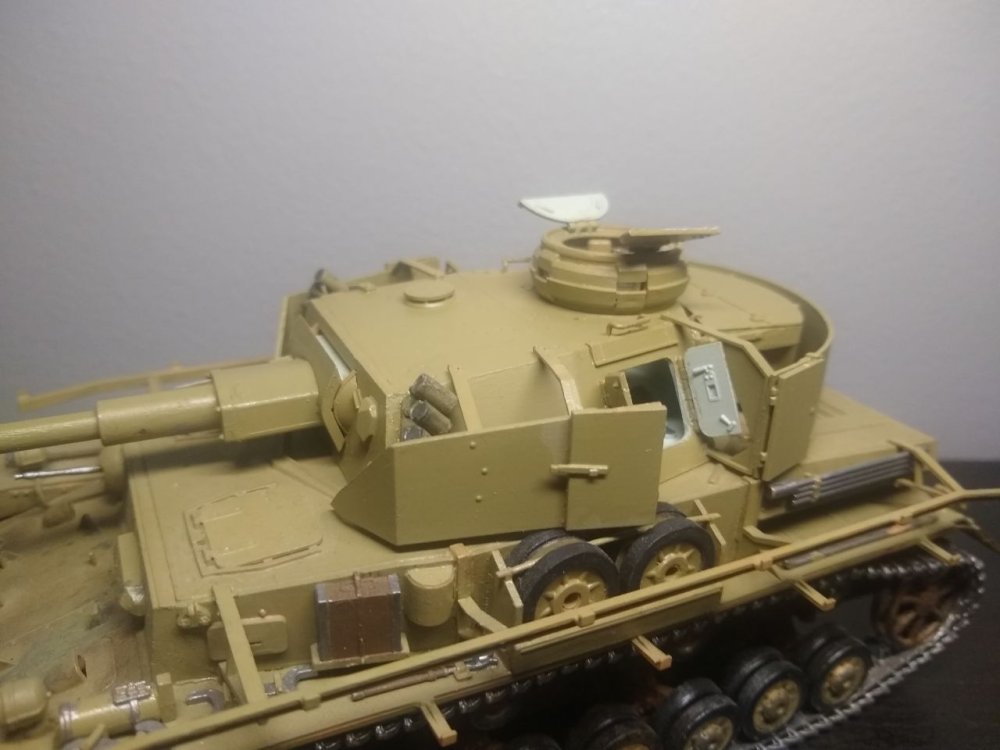
-
German Panzer IV Ausf H
Daniel_Roxy replied to Daniel_Roxy's topic in LSM 1/35 and Larger Work In Progress
Bit of paint never hurts
-
German Panzer IV Ausf H
Daniel_Roxy replied to Daniel_Roxy's topic in LSM 1/35 and Larger Work In Progress
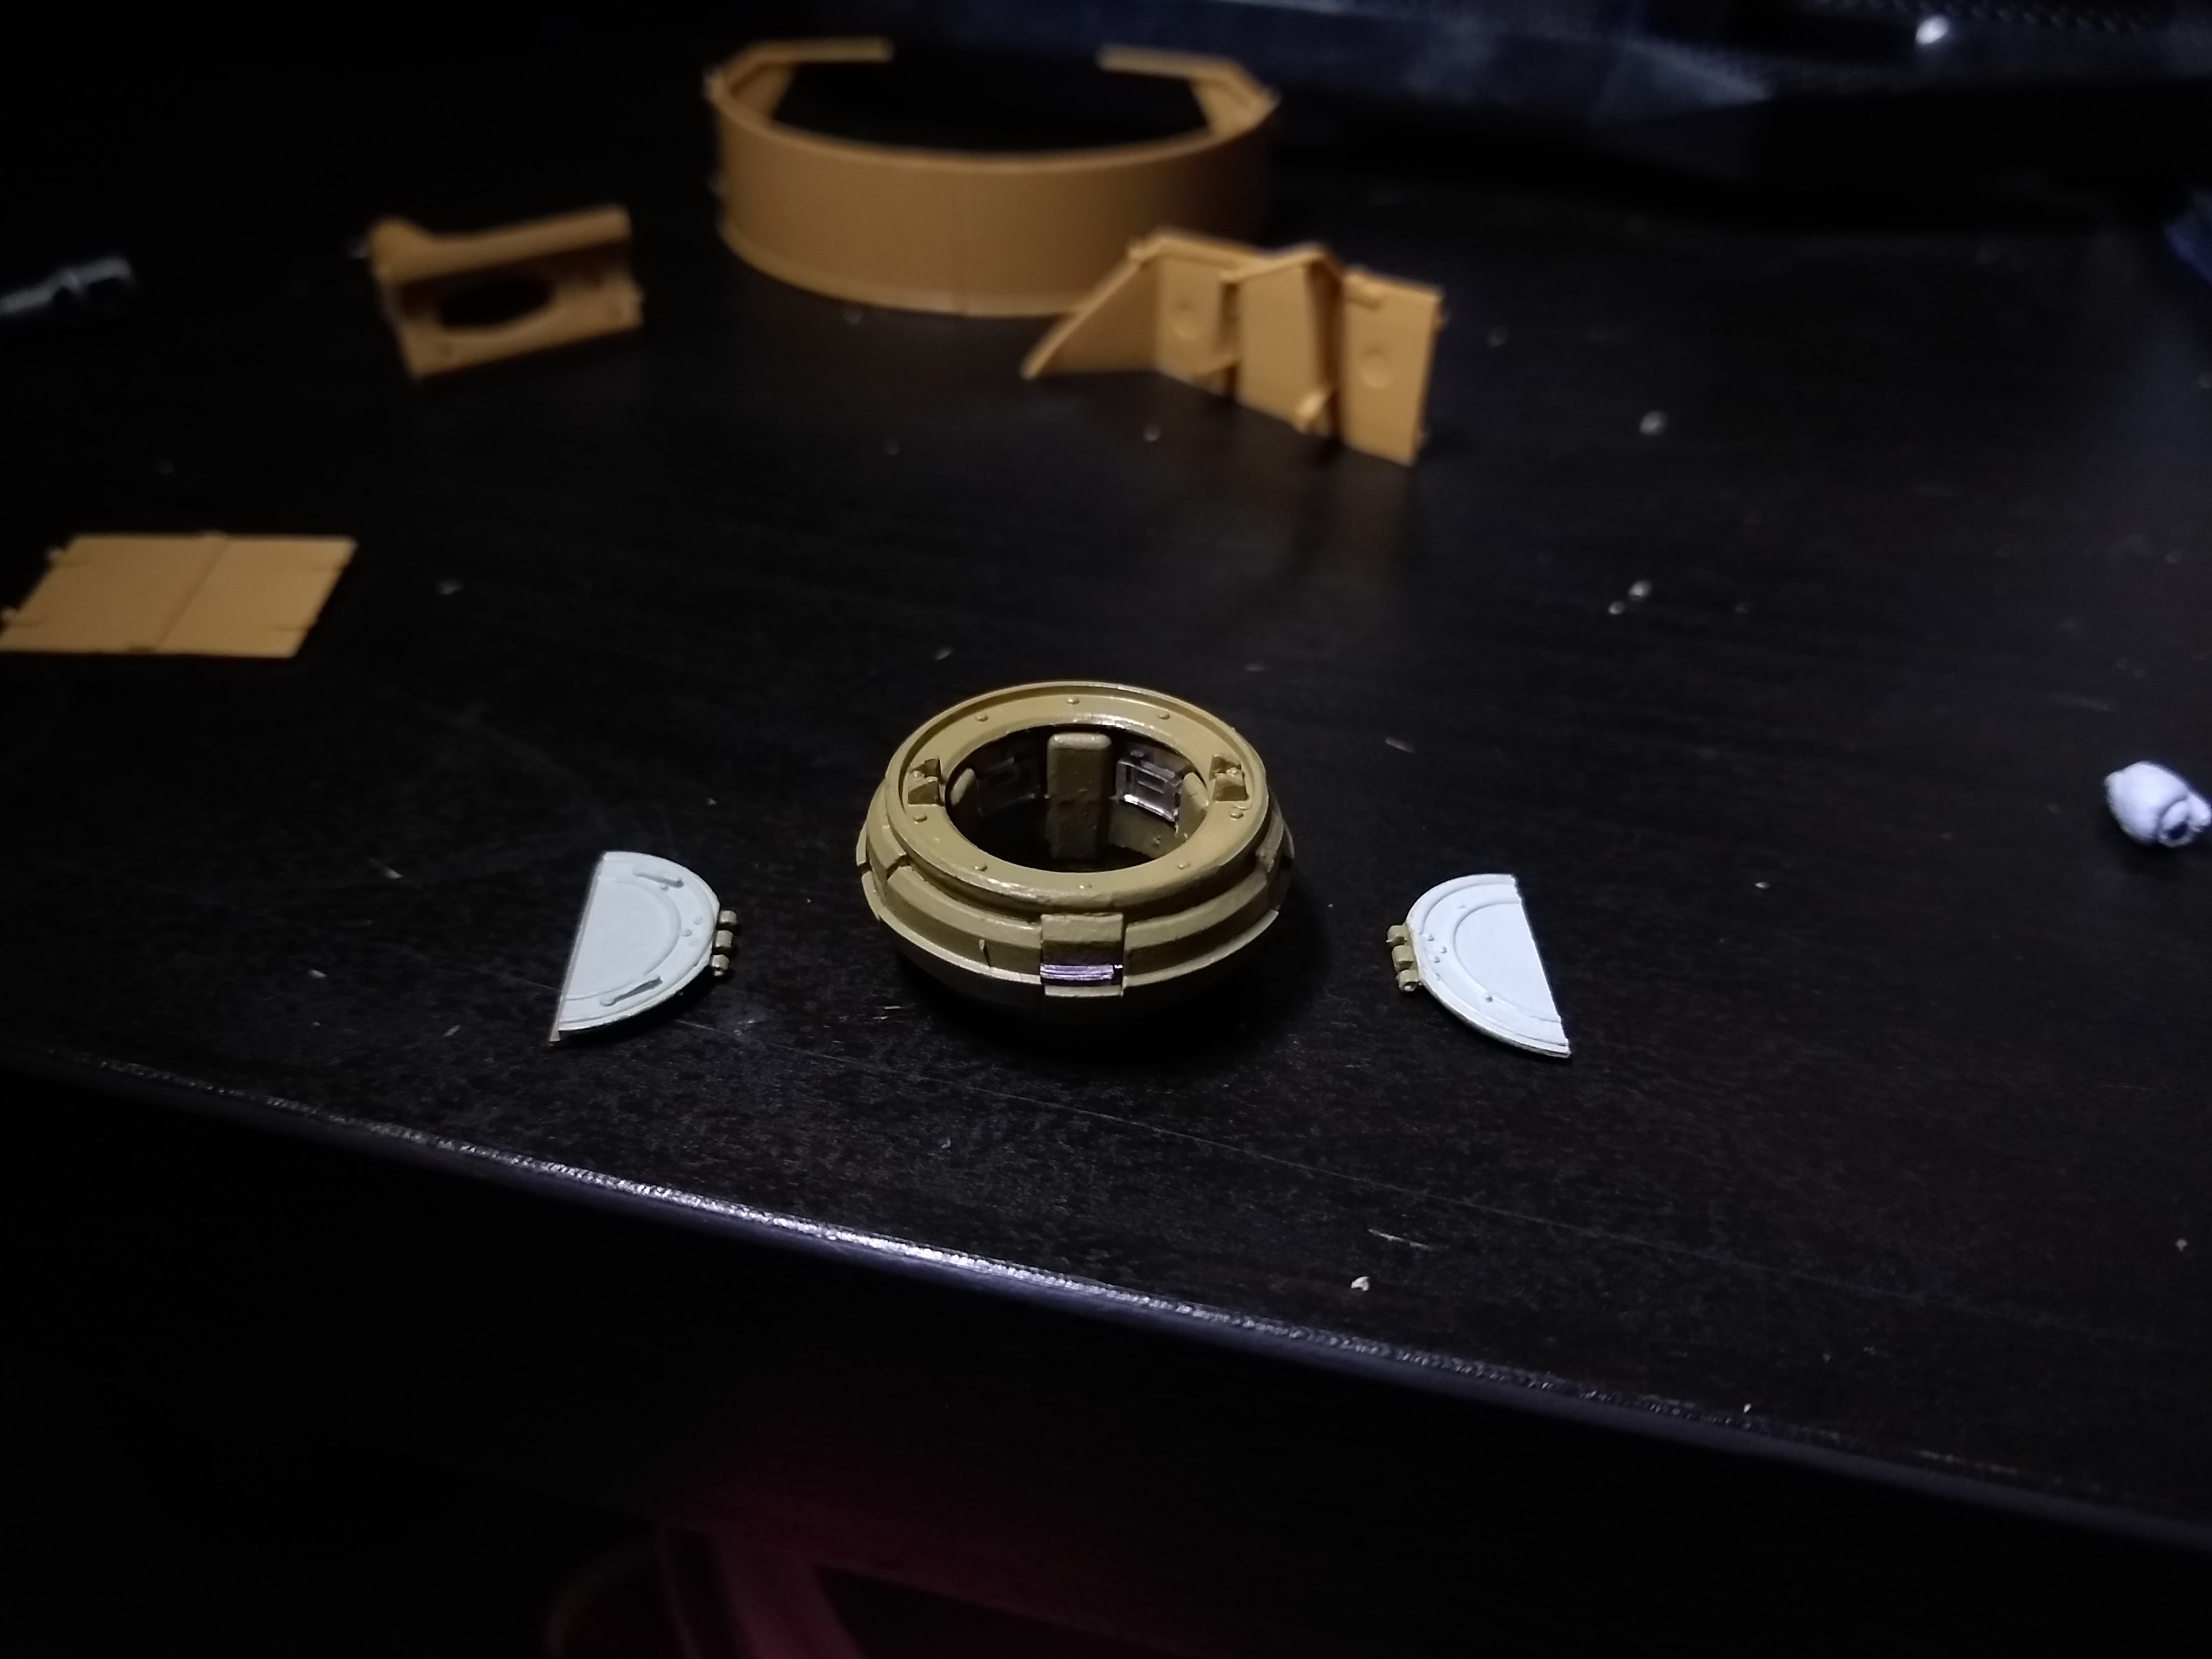
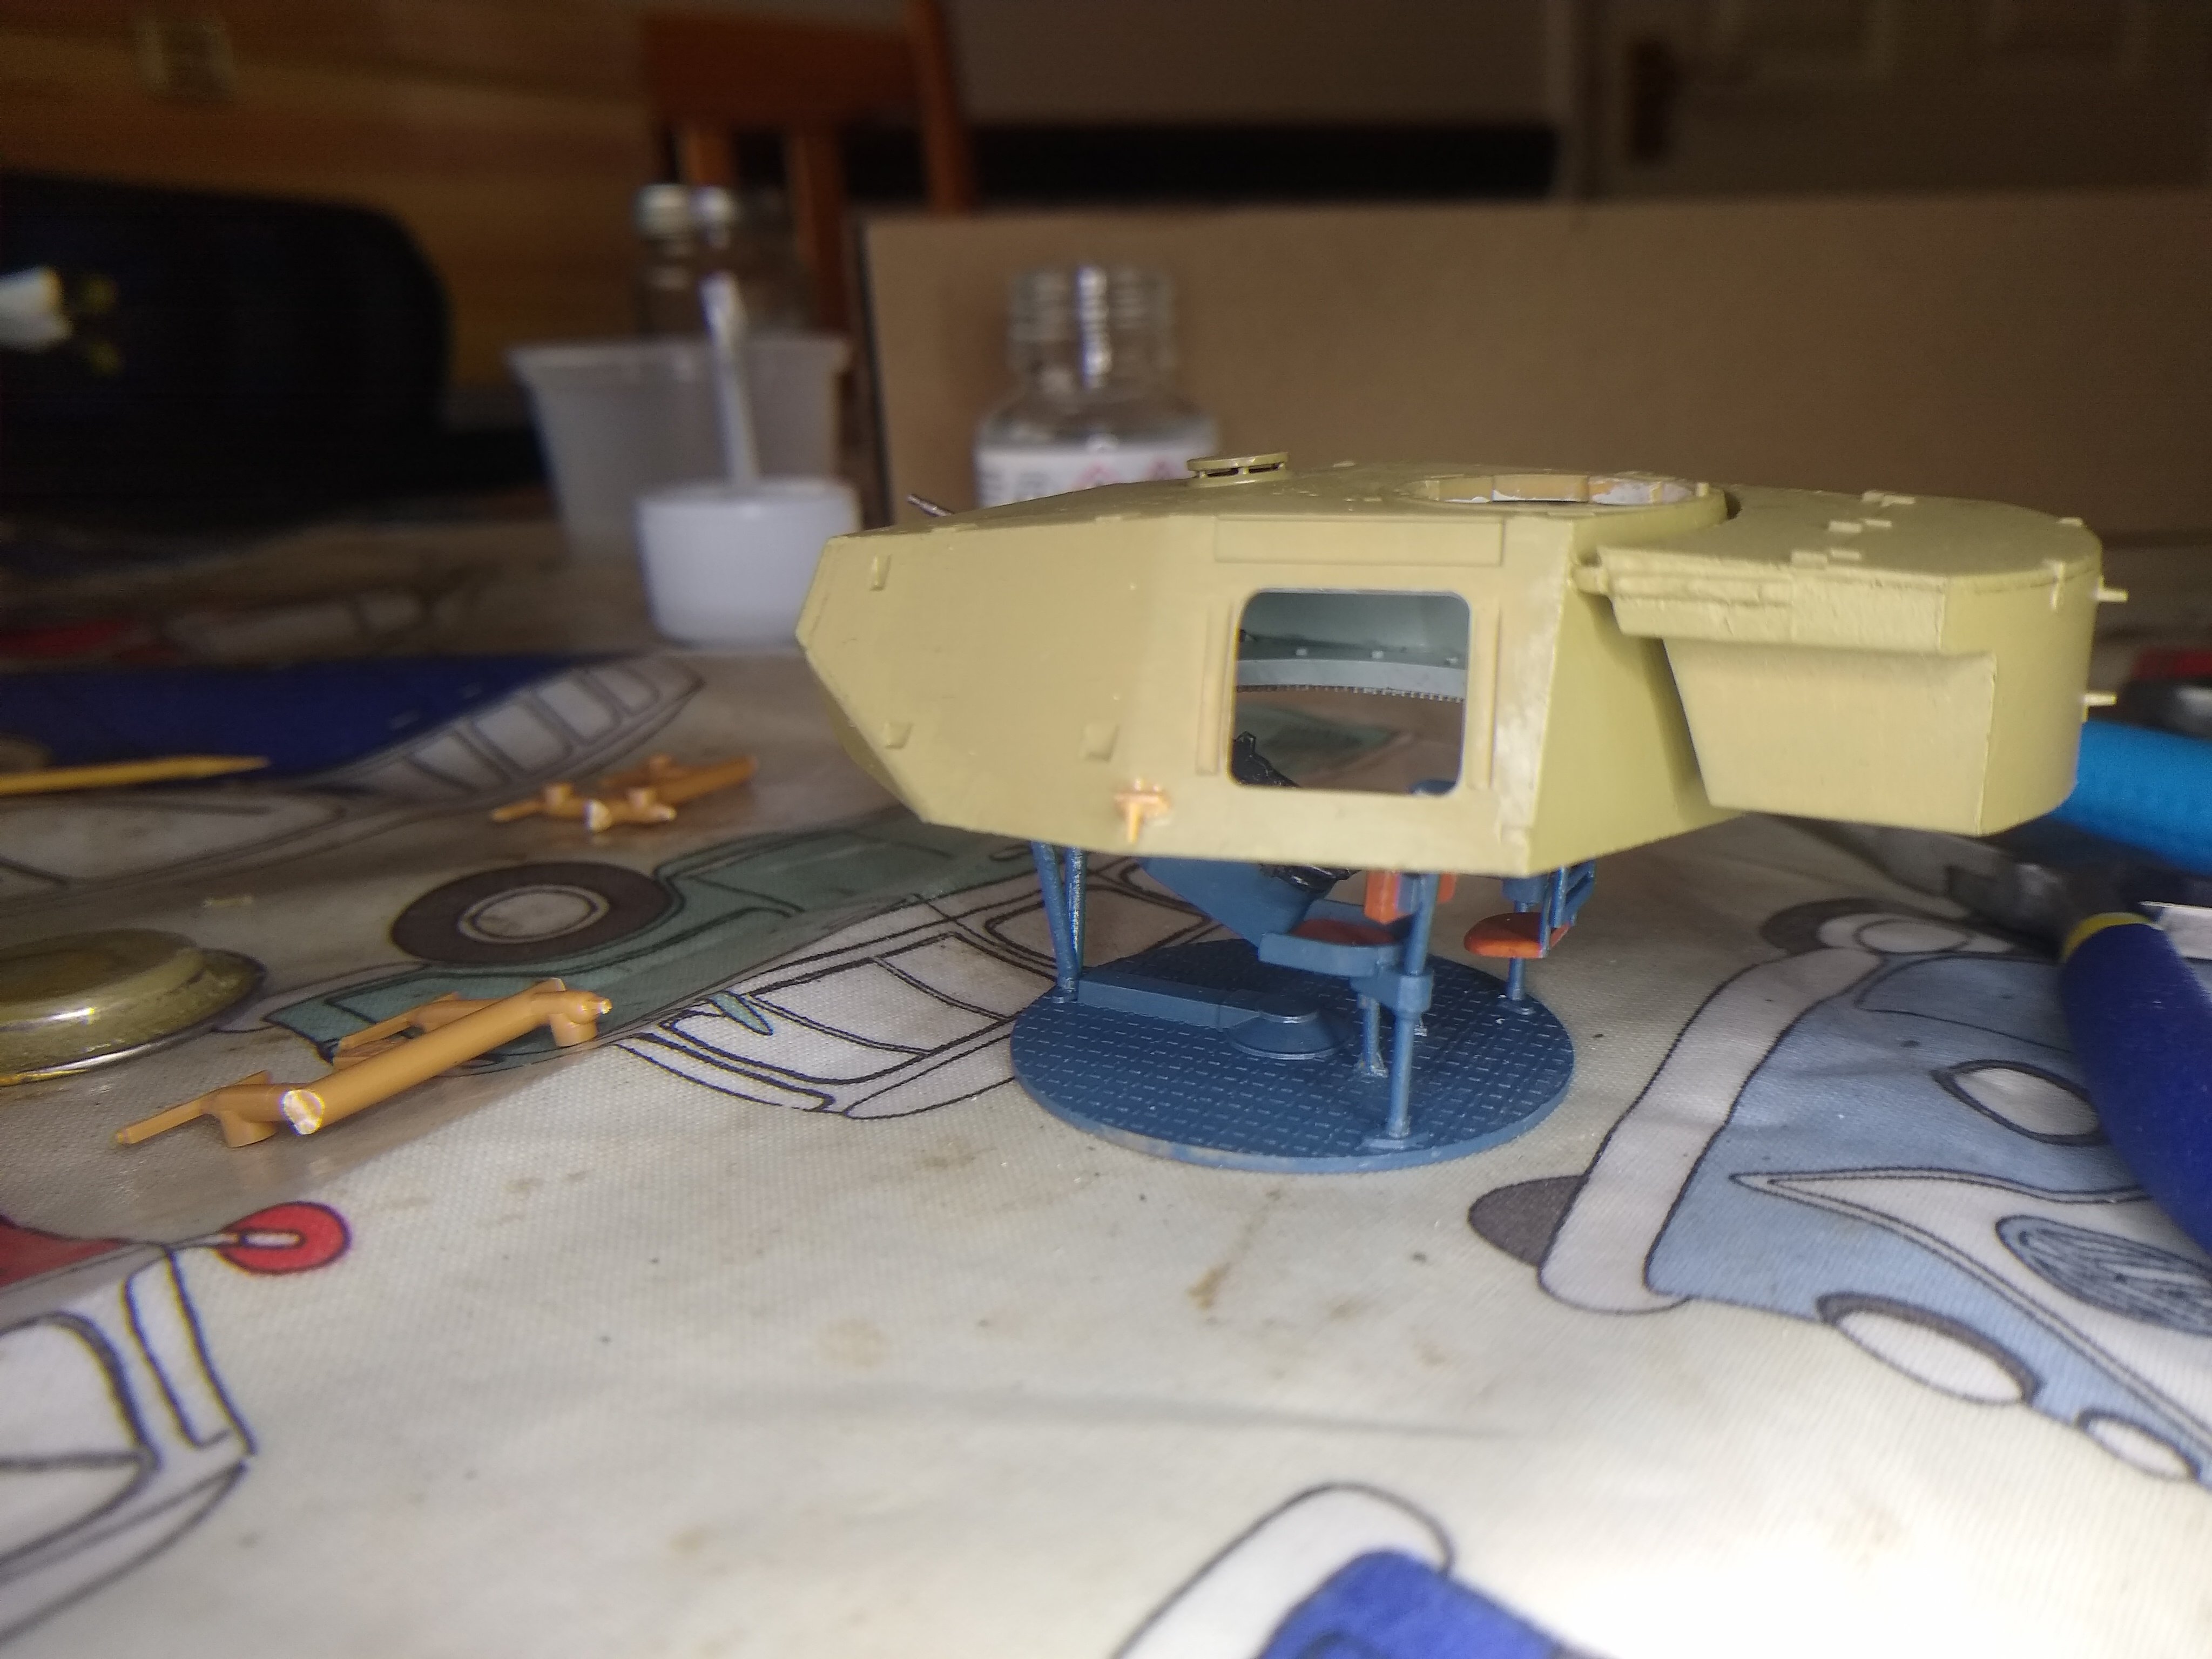
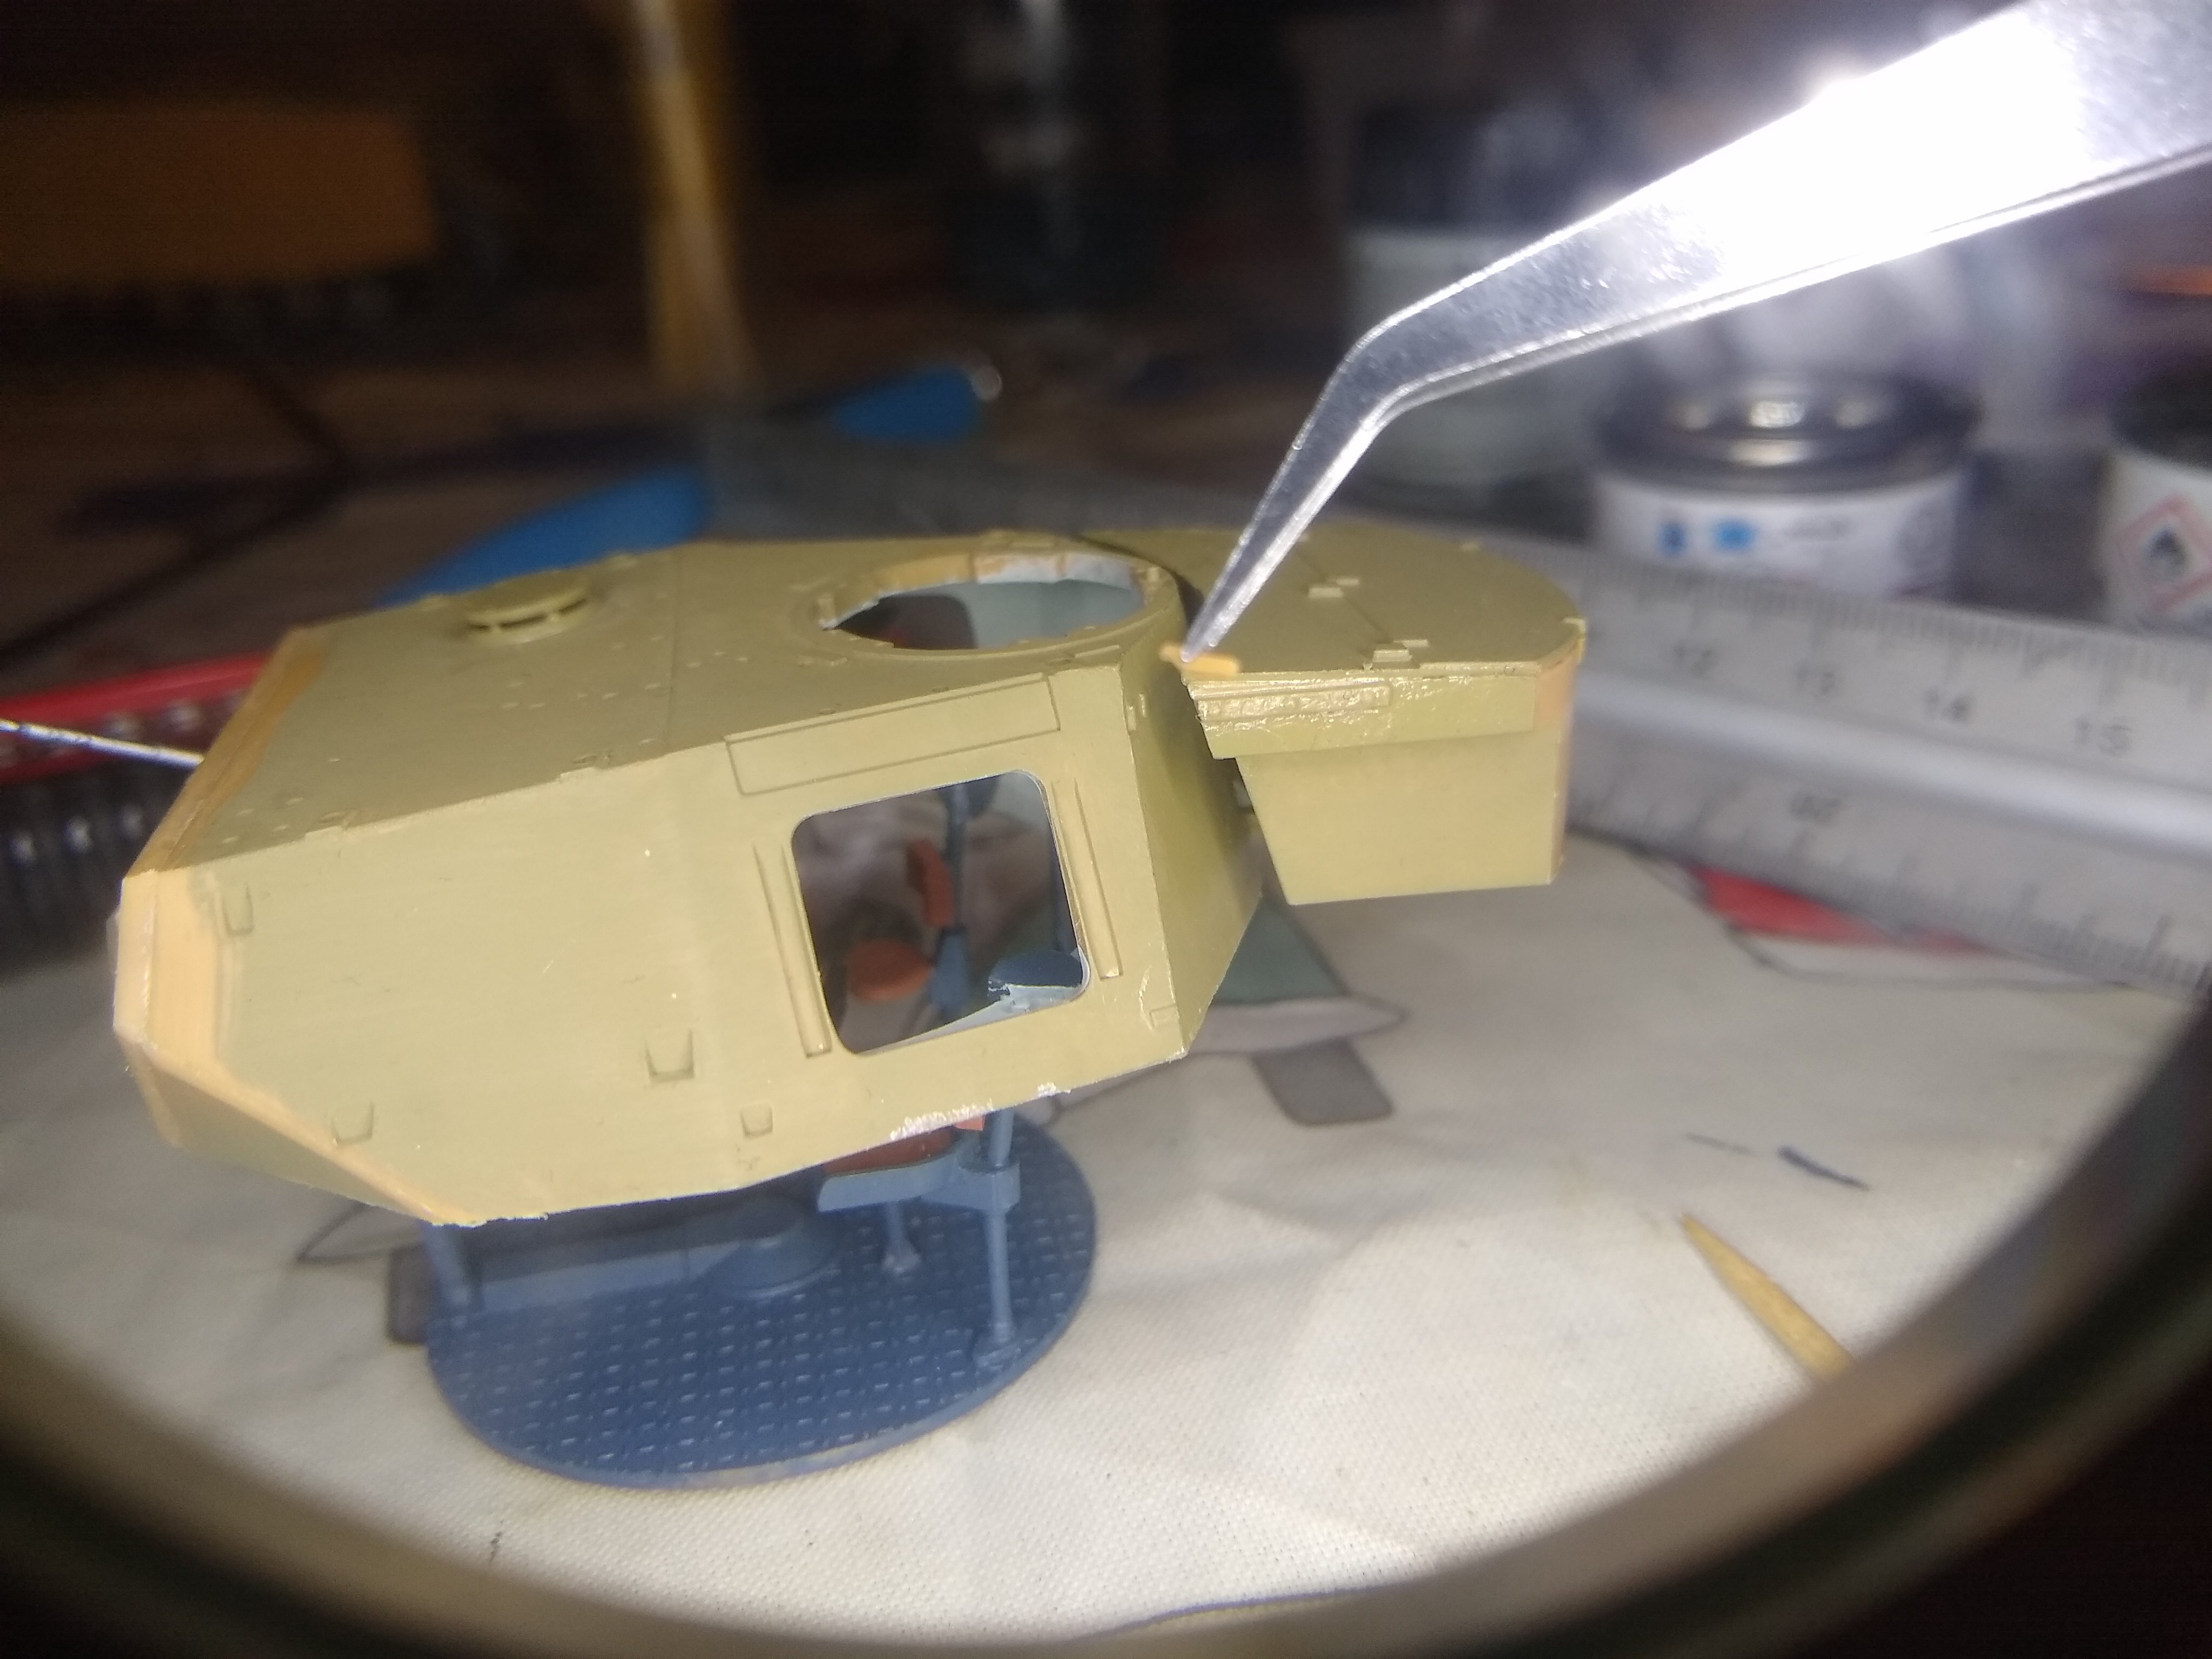
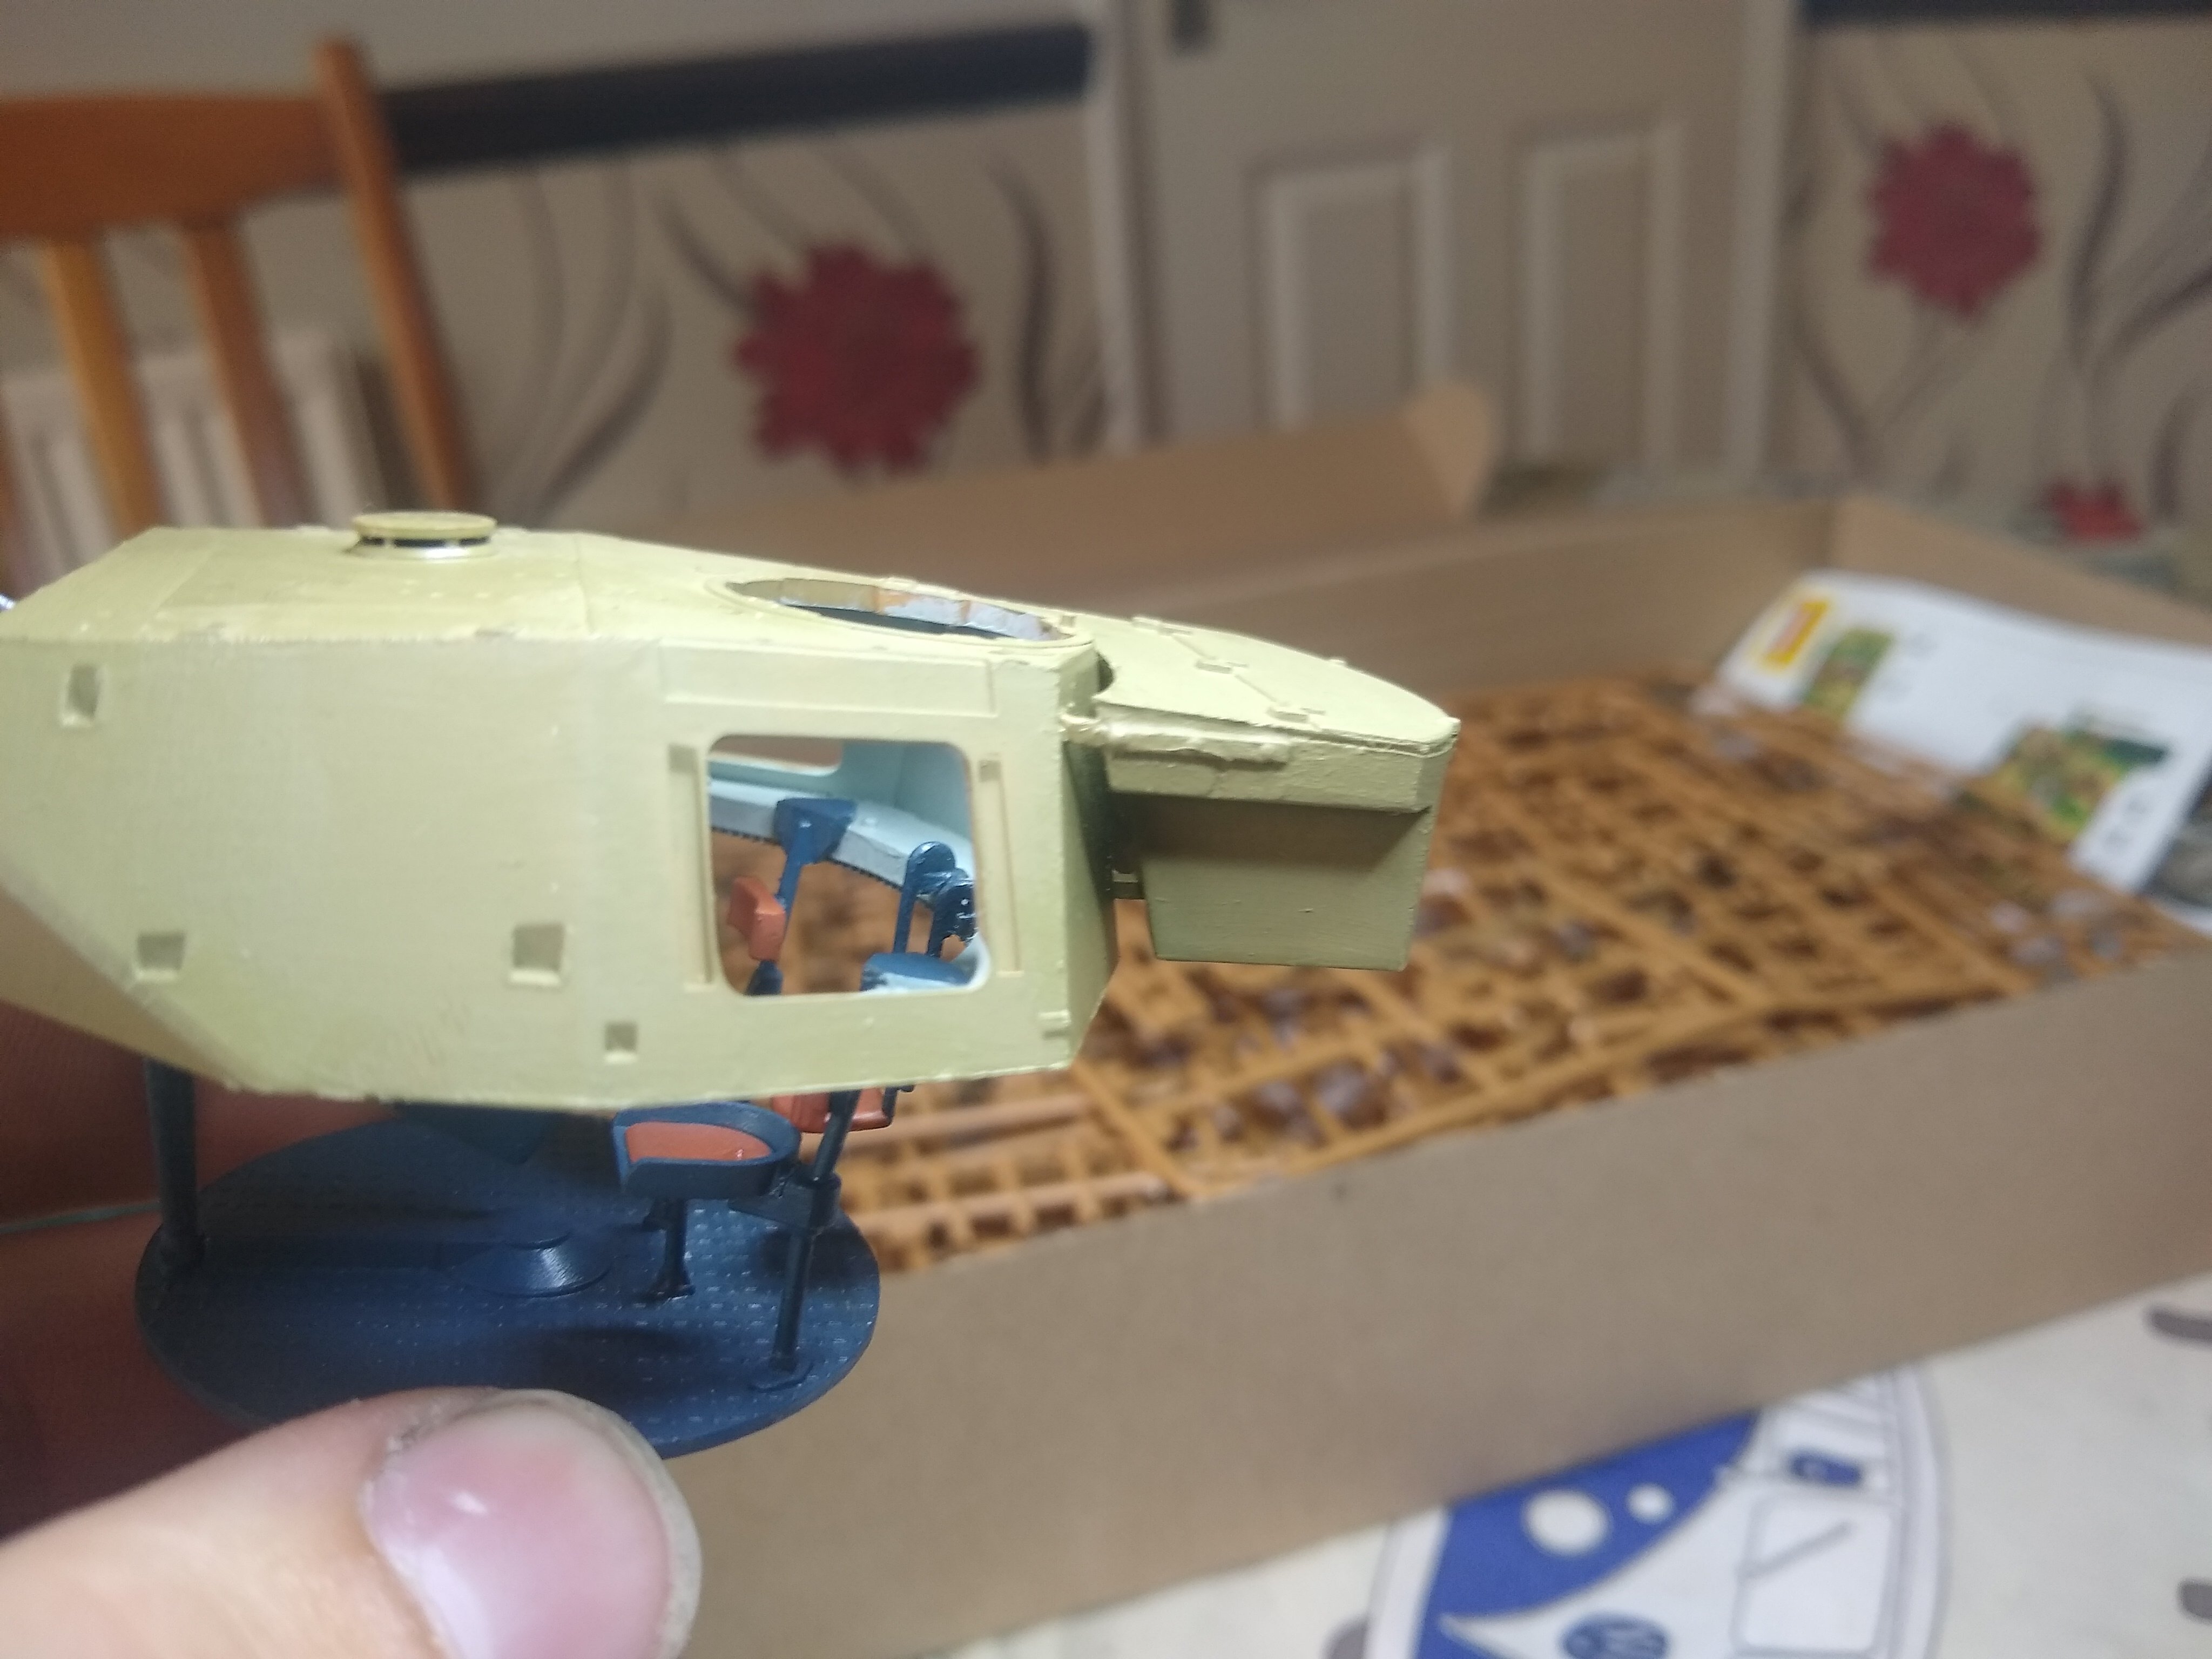
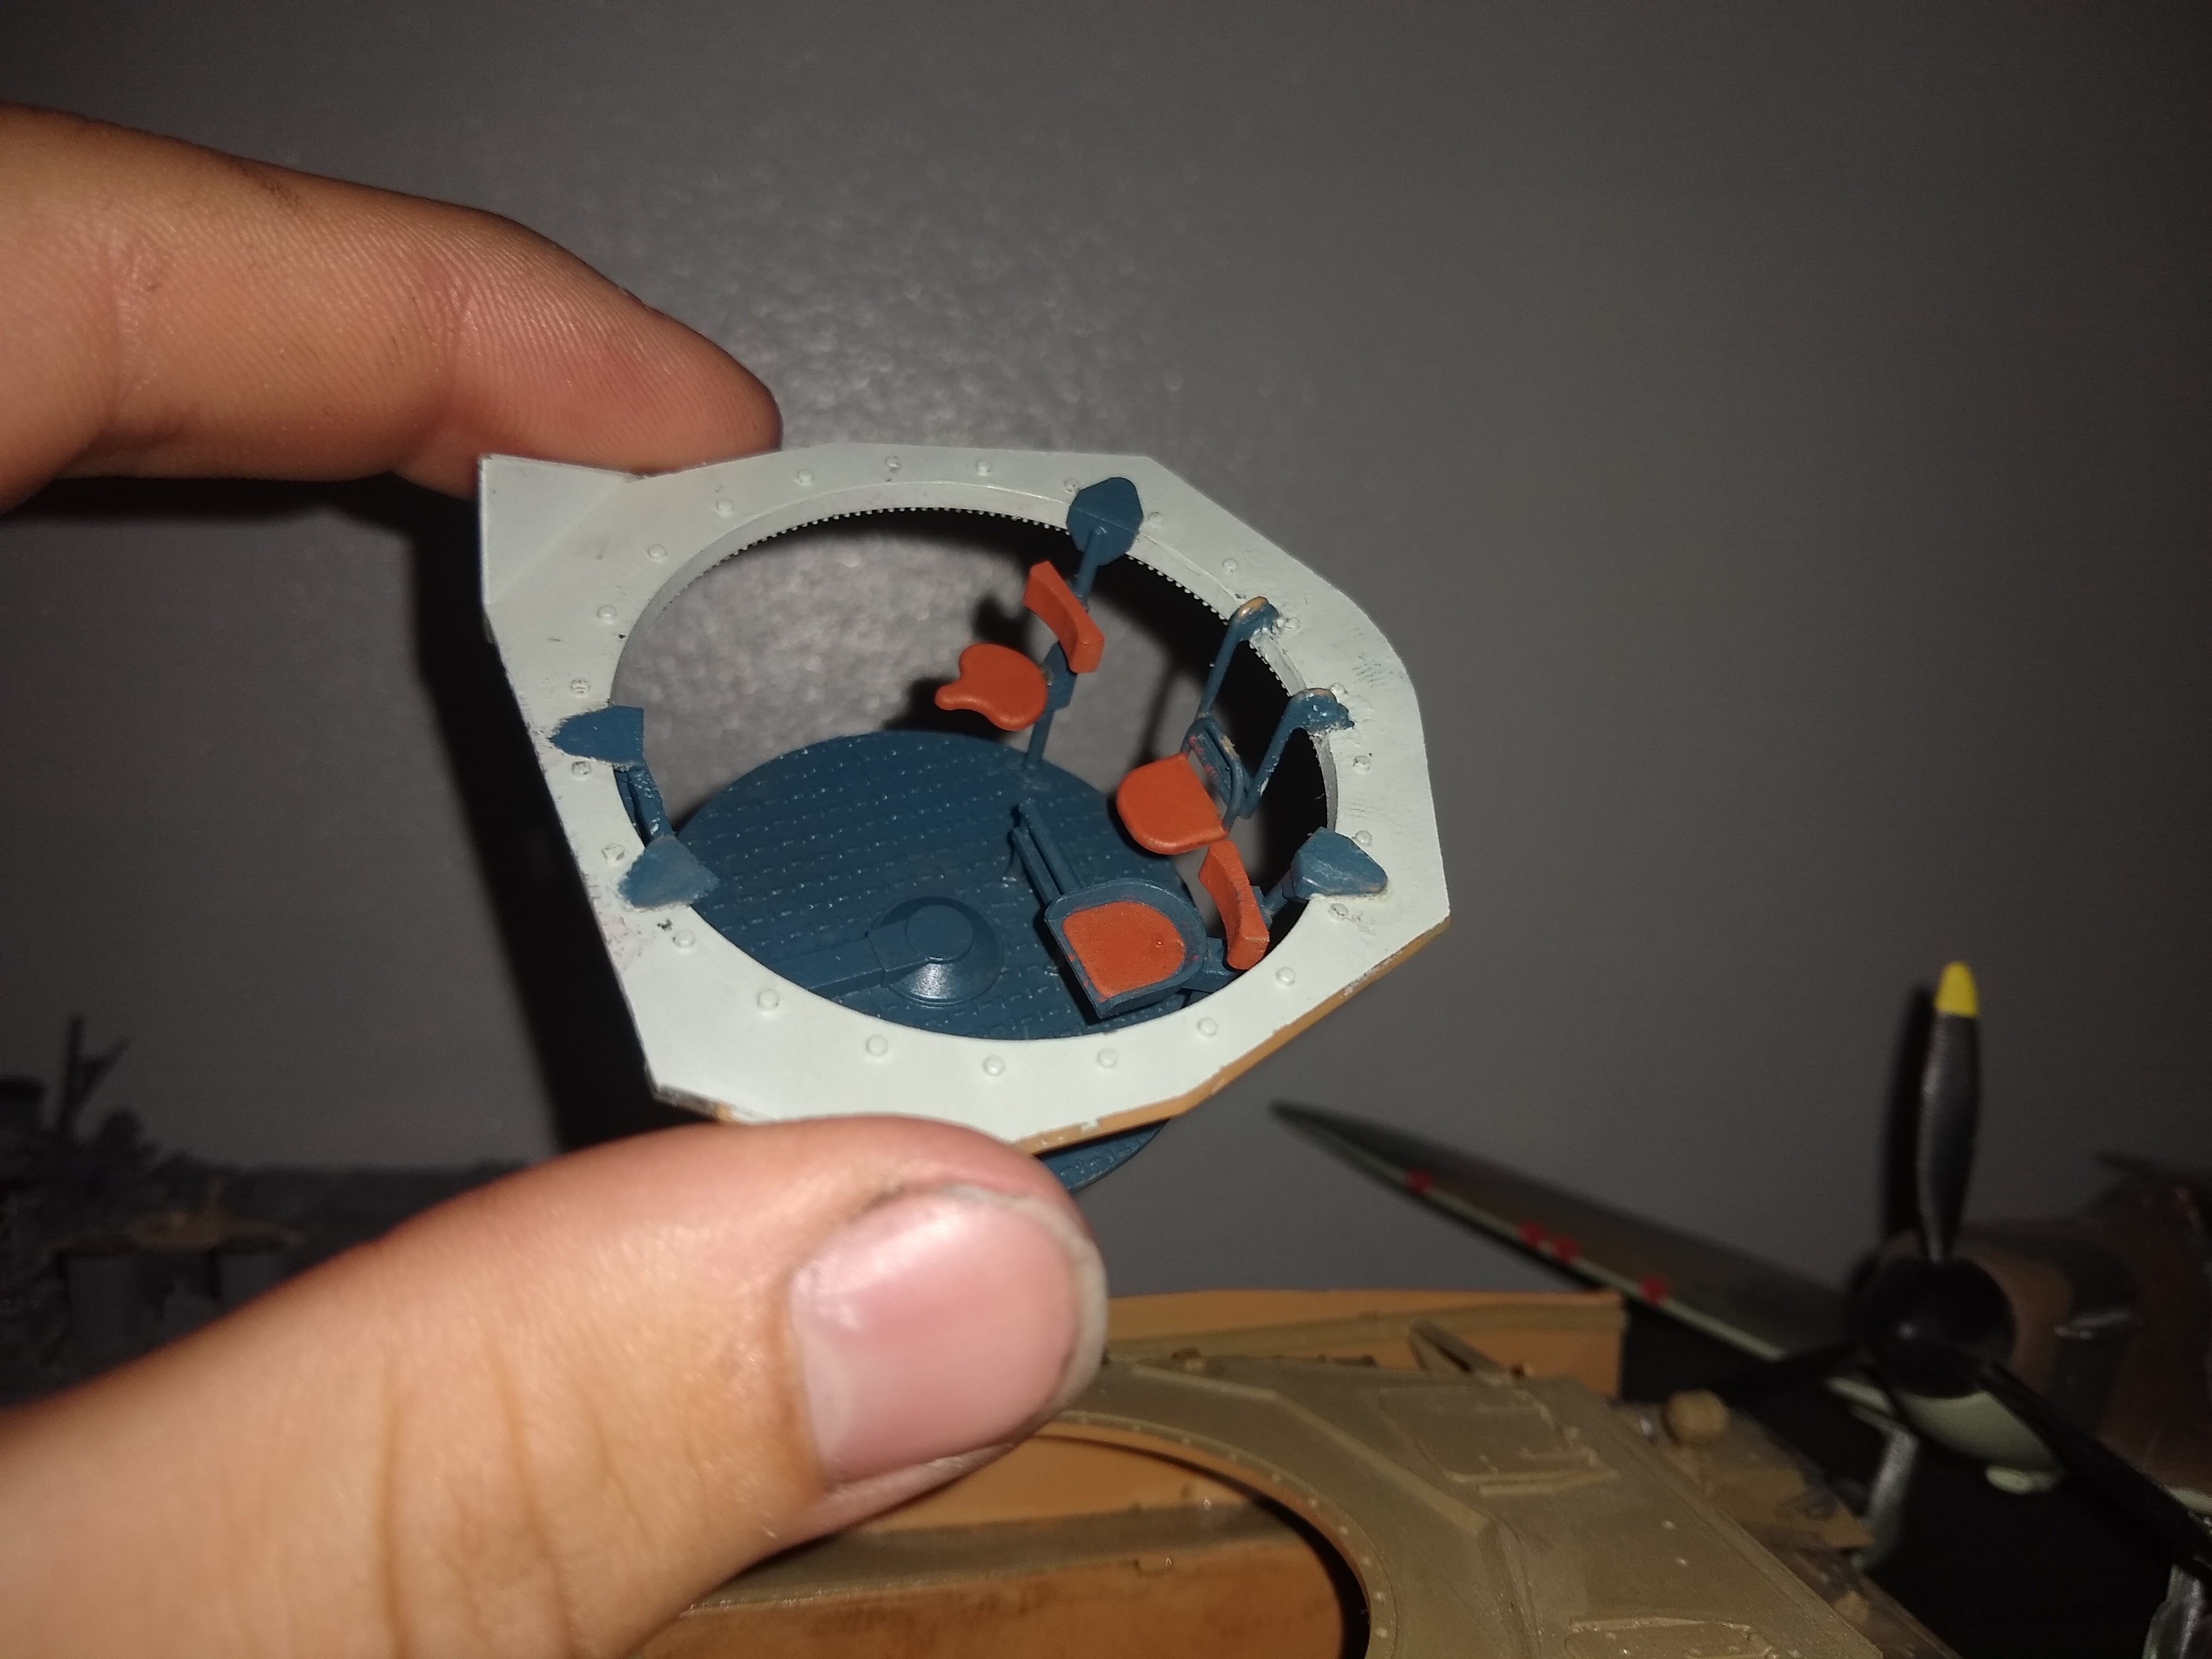
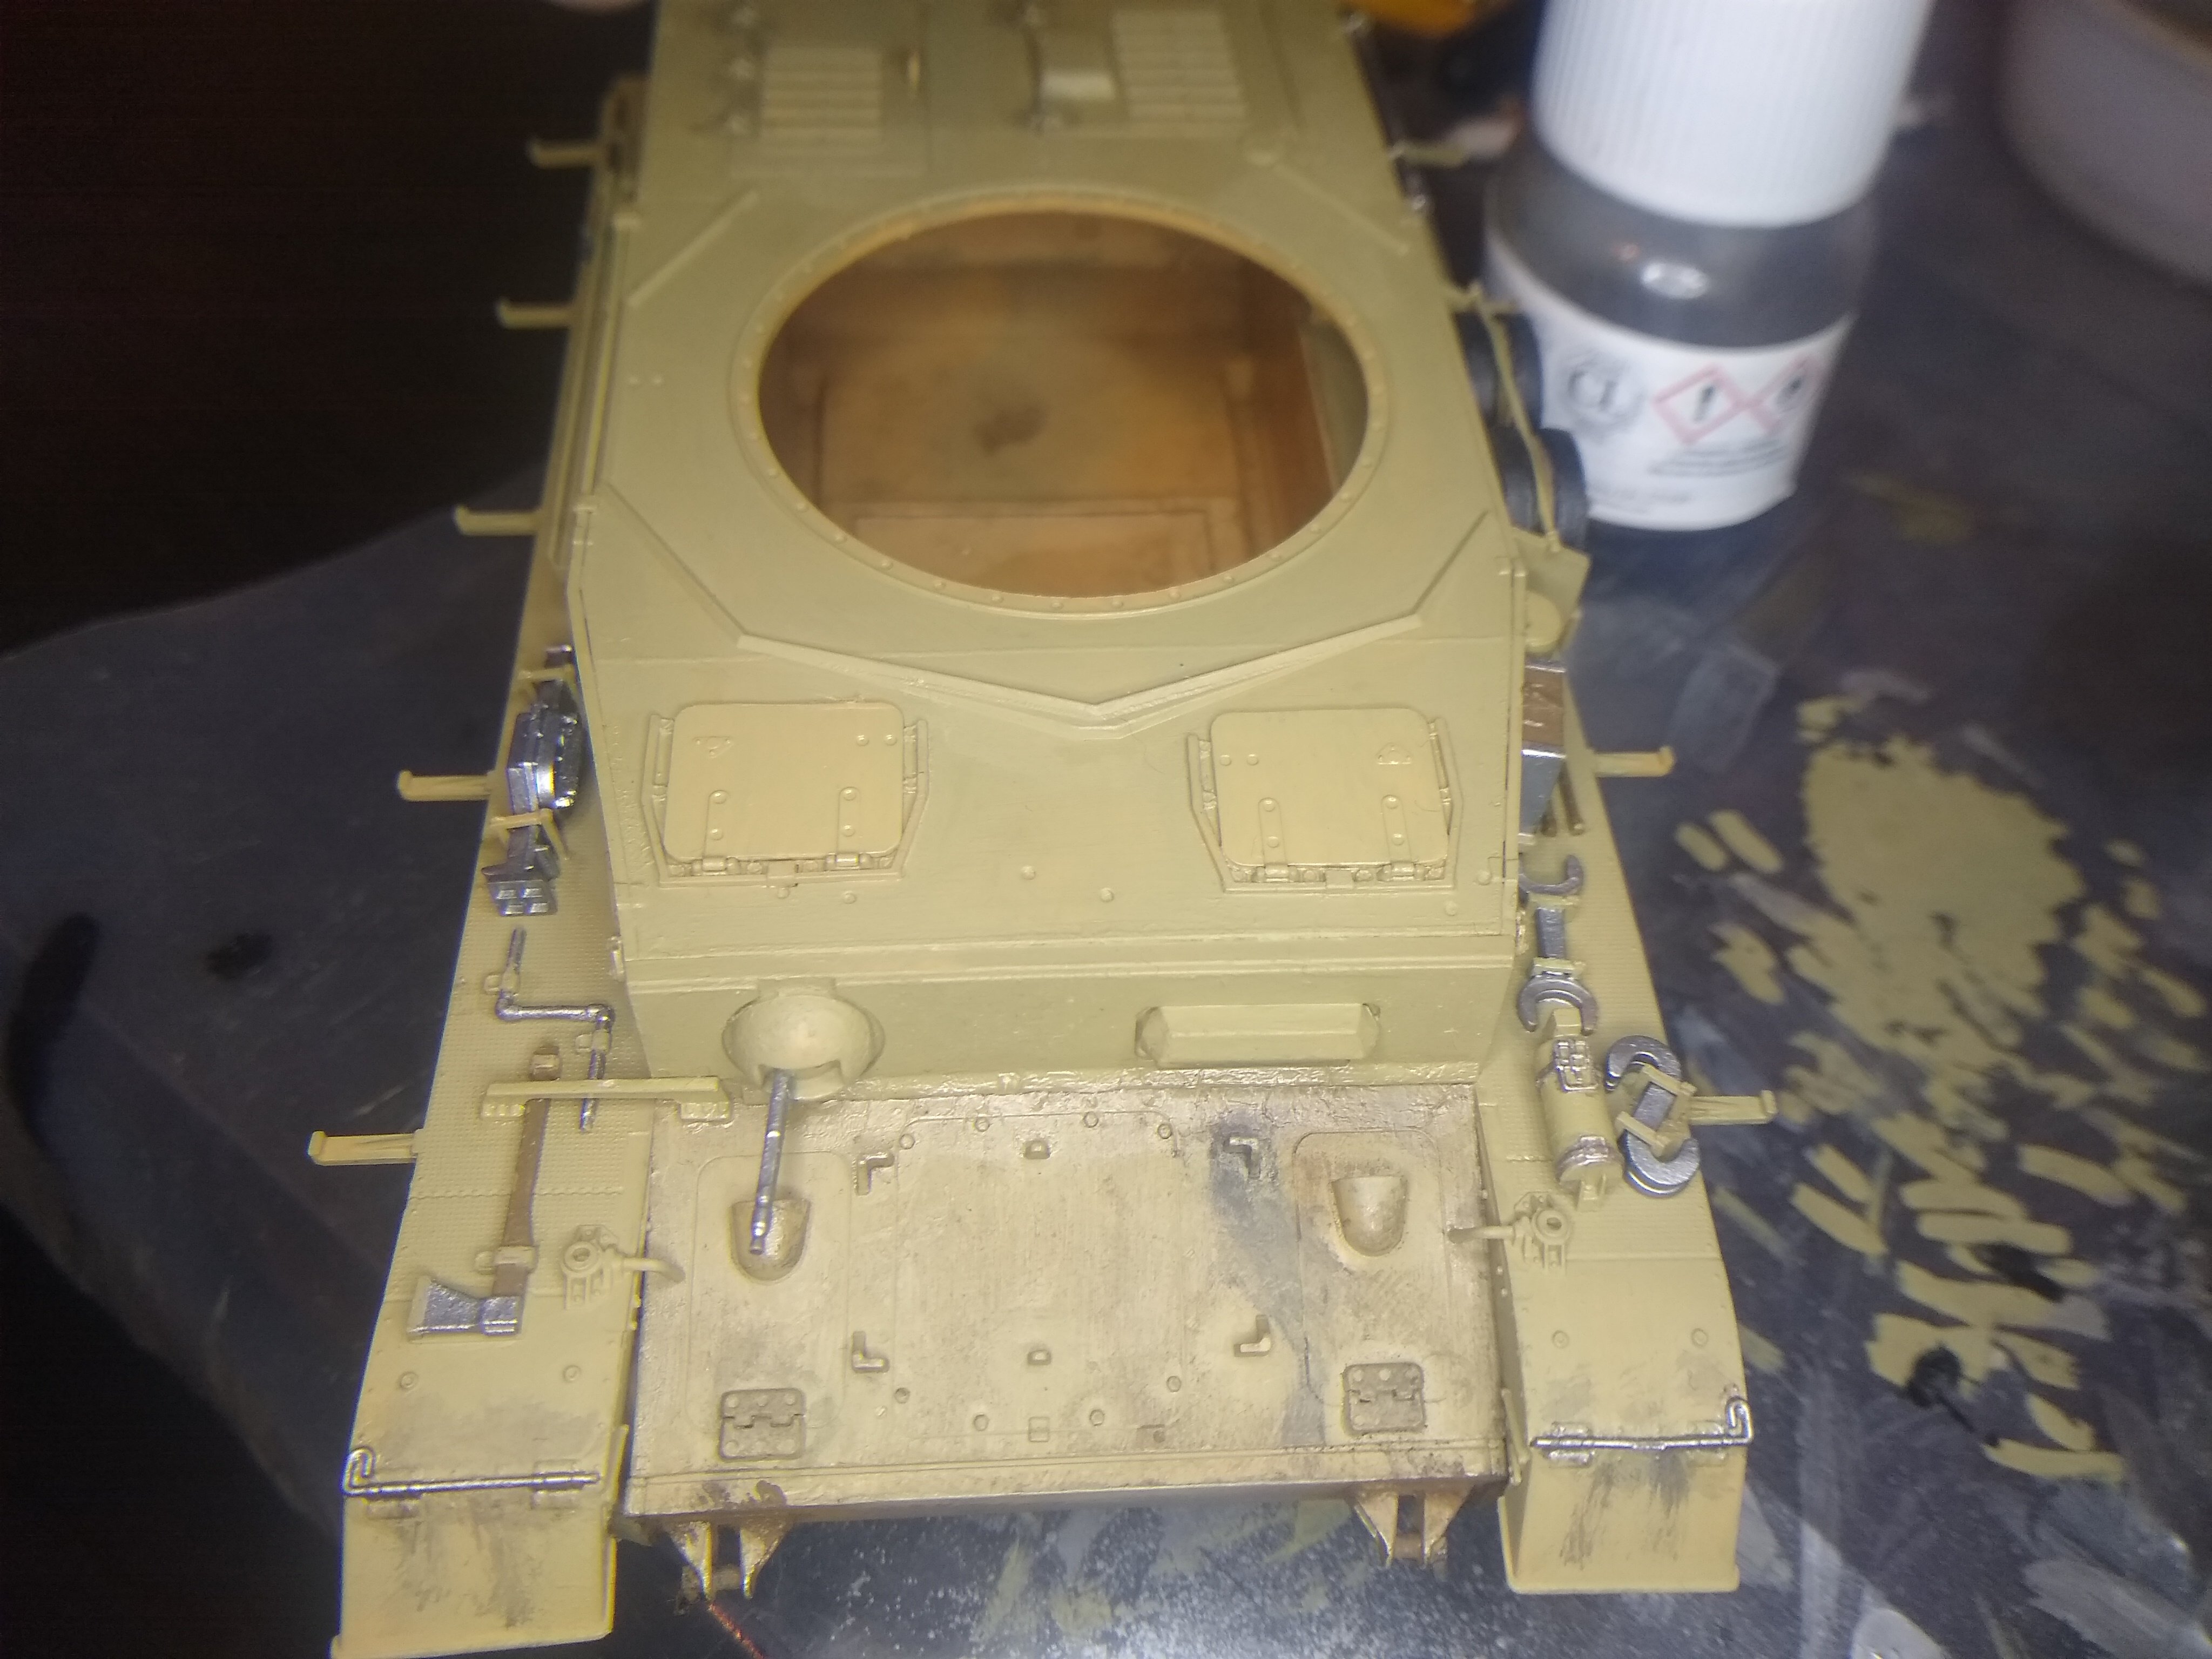
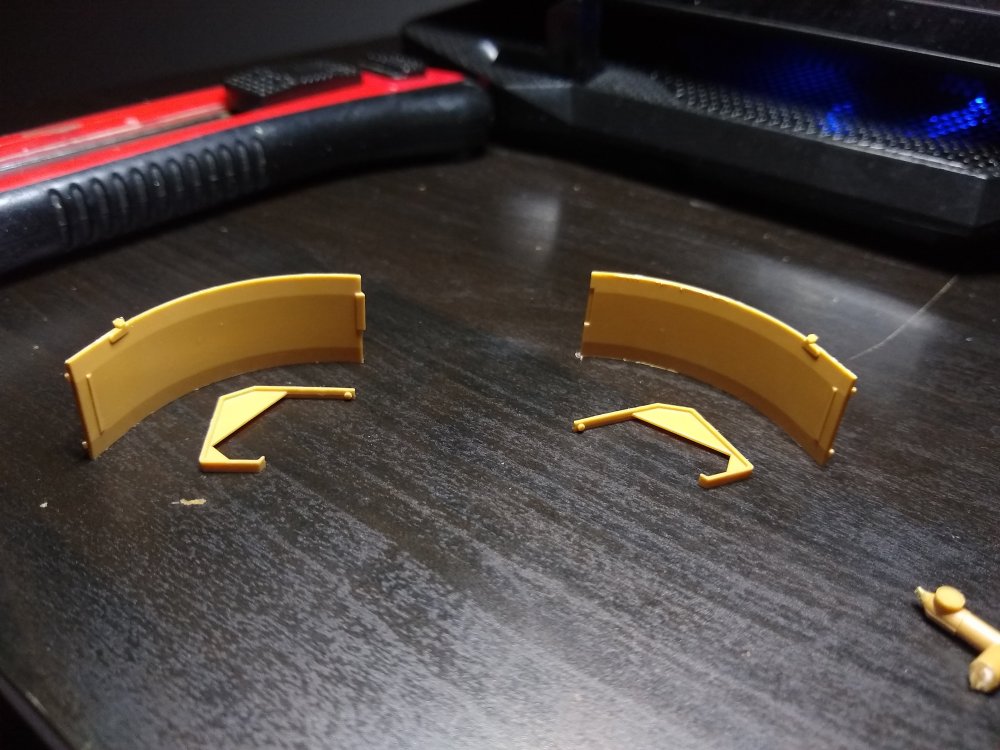
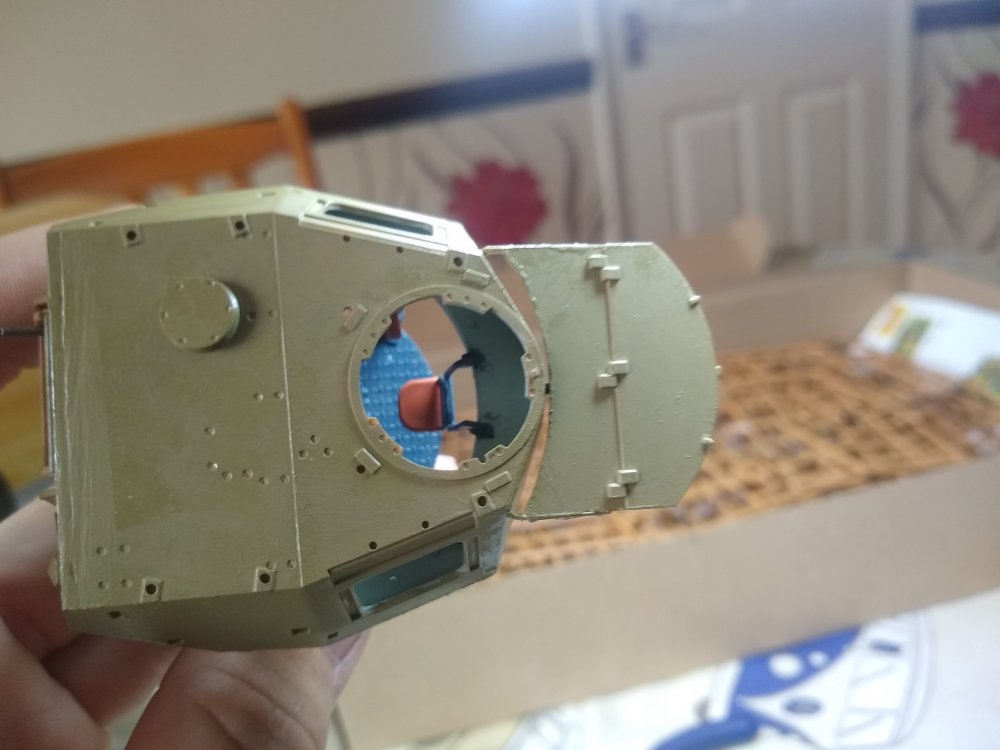
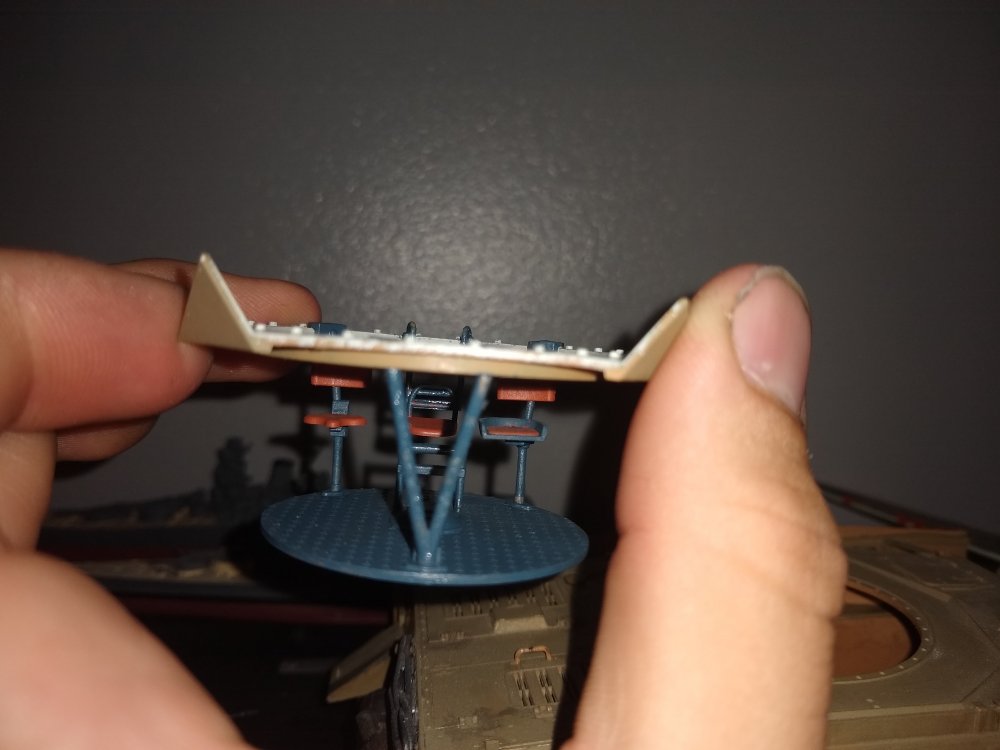
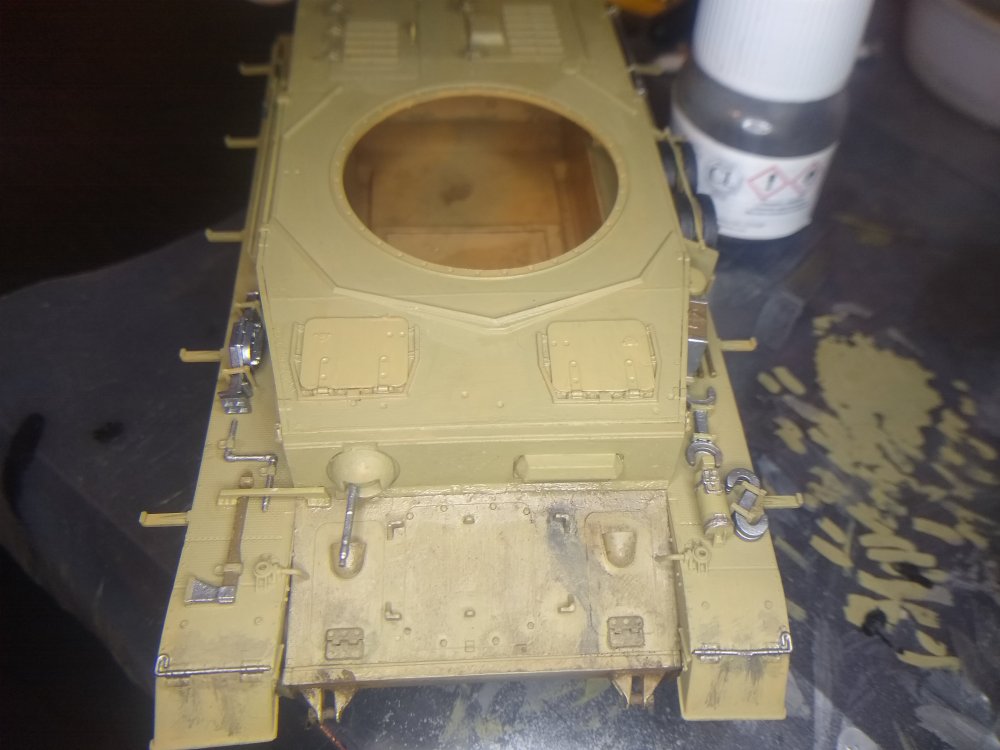
Finishing up putting the parts of the turret skirts together. And dry fitting them to the tank along with the gun. And commanders hatchets Quite happy with the hatches and cupola. And with the parts dry fitted to the tank. Gonna paint the unpaited bits now and add the rest of the turret hatches. In the open position.


-
German Panzer IV Ausf H
Daniel_Roxy replied to Daniel_Roxy's topic in LSM 1/35 and Larger Work In Progress
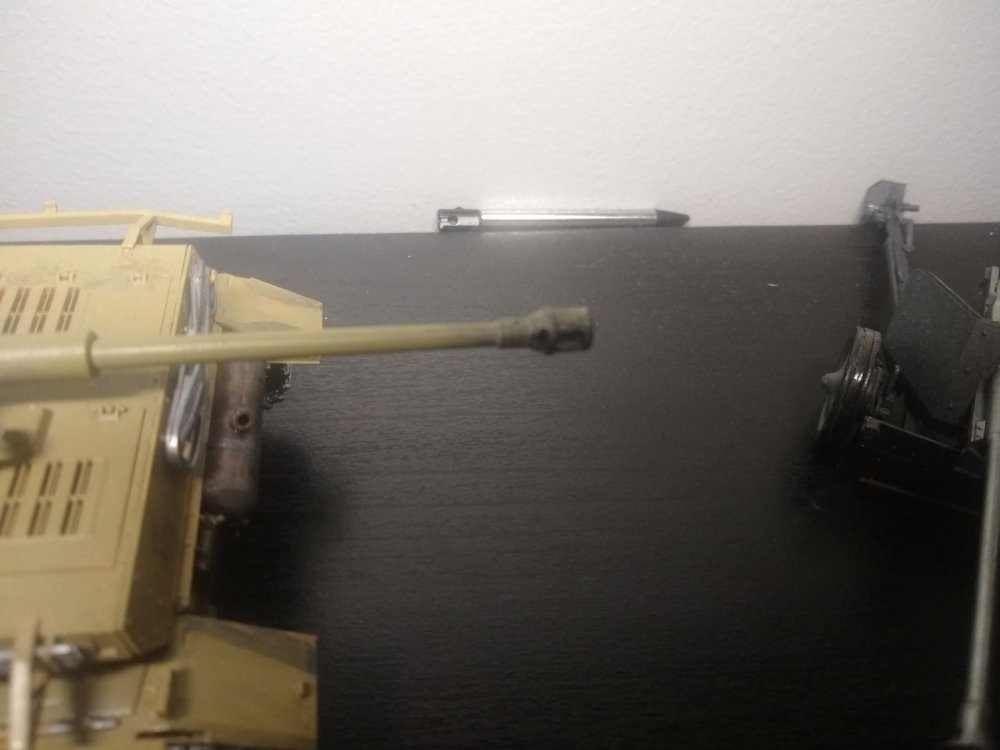
Done some more work on the Panzer. Got the front of the Gun mantlet put together. And the barrel along with it. With those pieces glued together I moved onto painting and dry fitting the gun barrel and muzzle. as a whole these parts fit together very nicely. however I find that I had to file down the aligning lug inside the mantlet piece as the barrel was actually sitting with the break at a 30° angle instead of being level. Also stuck together one piece of the turret skirts. to see how it looks.

-
That's quite the list of extra pieces will be following for sure.
-
German Panzer IV Ausf H
Daniel_Roxy replied to Daniel_Roxy's topic in LSM 1/35 and Larger Work In Progress
A quick bit of progress. PaintIng the vision ports and associated hatches for them.

-
German Panzer IV Ausf H
Daniel_Roxy replied to Daniel_Roxy's topic in LSM 1/35 and Larger Work In Progress
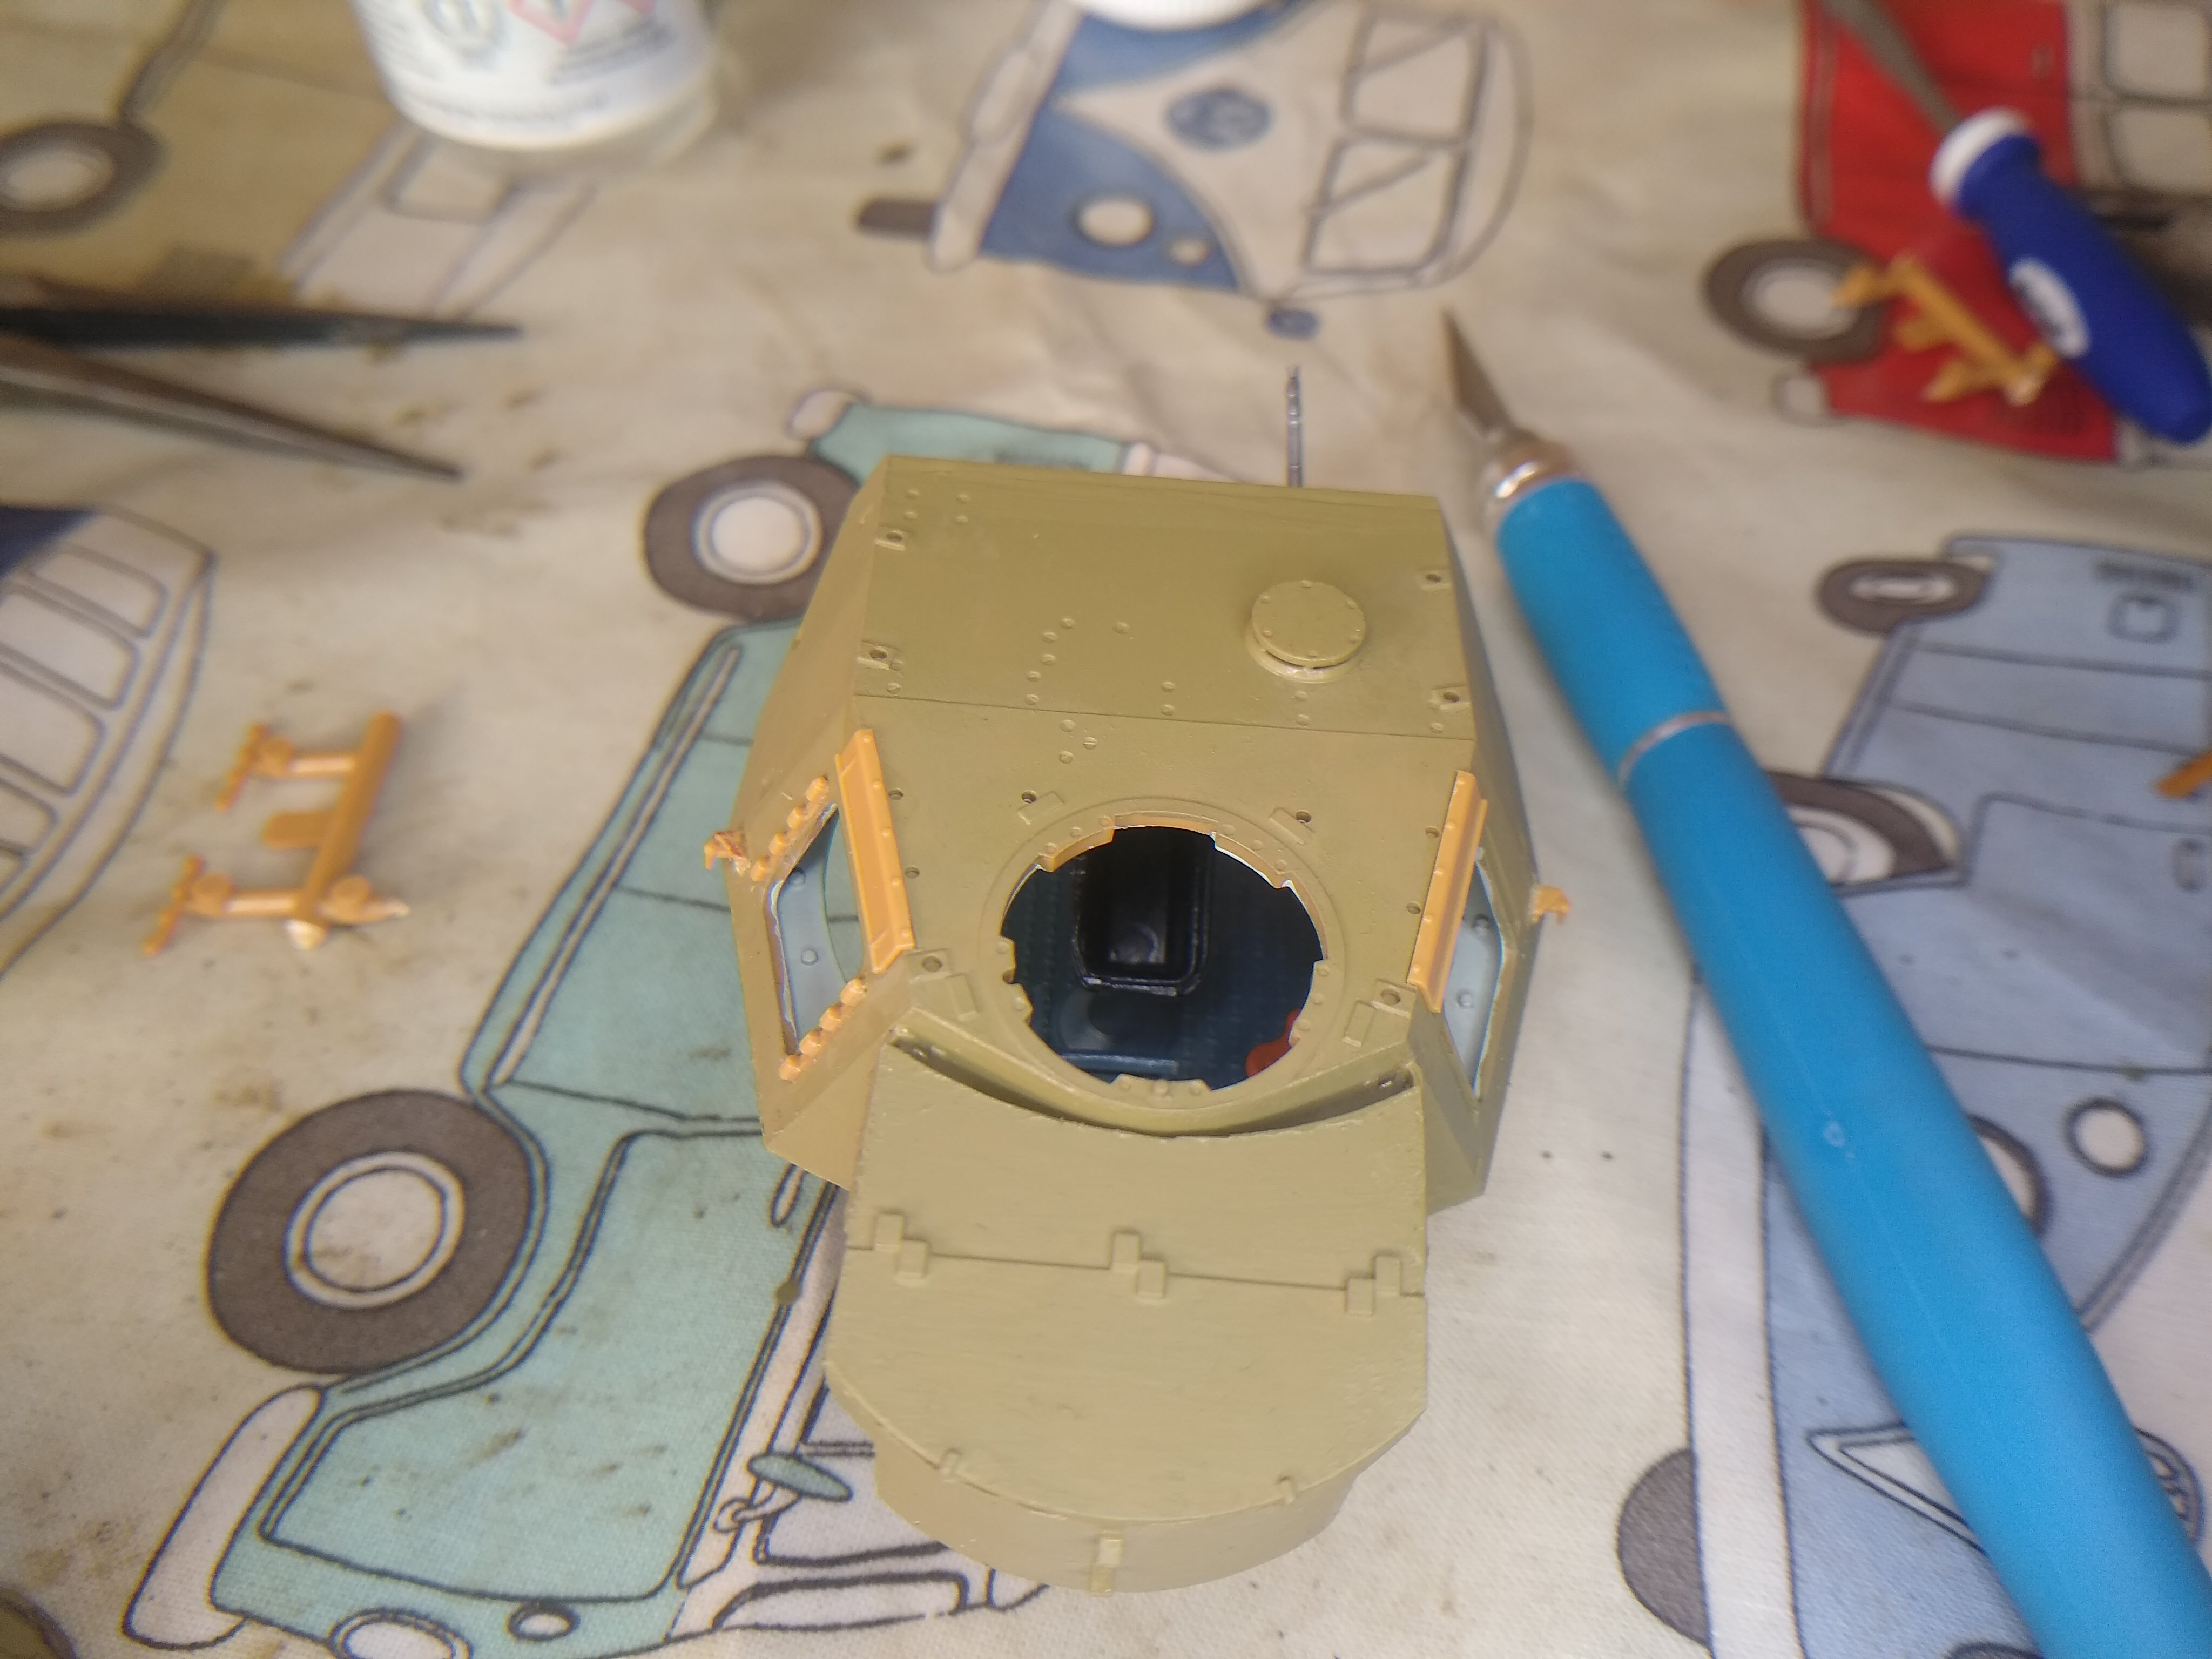
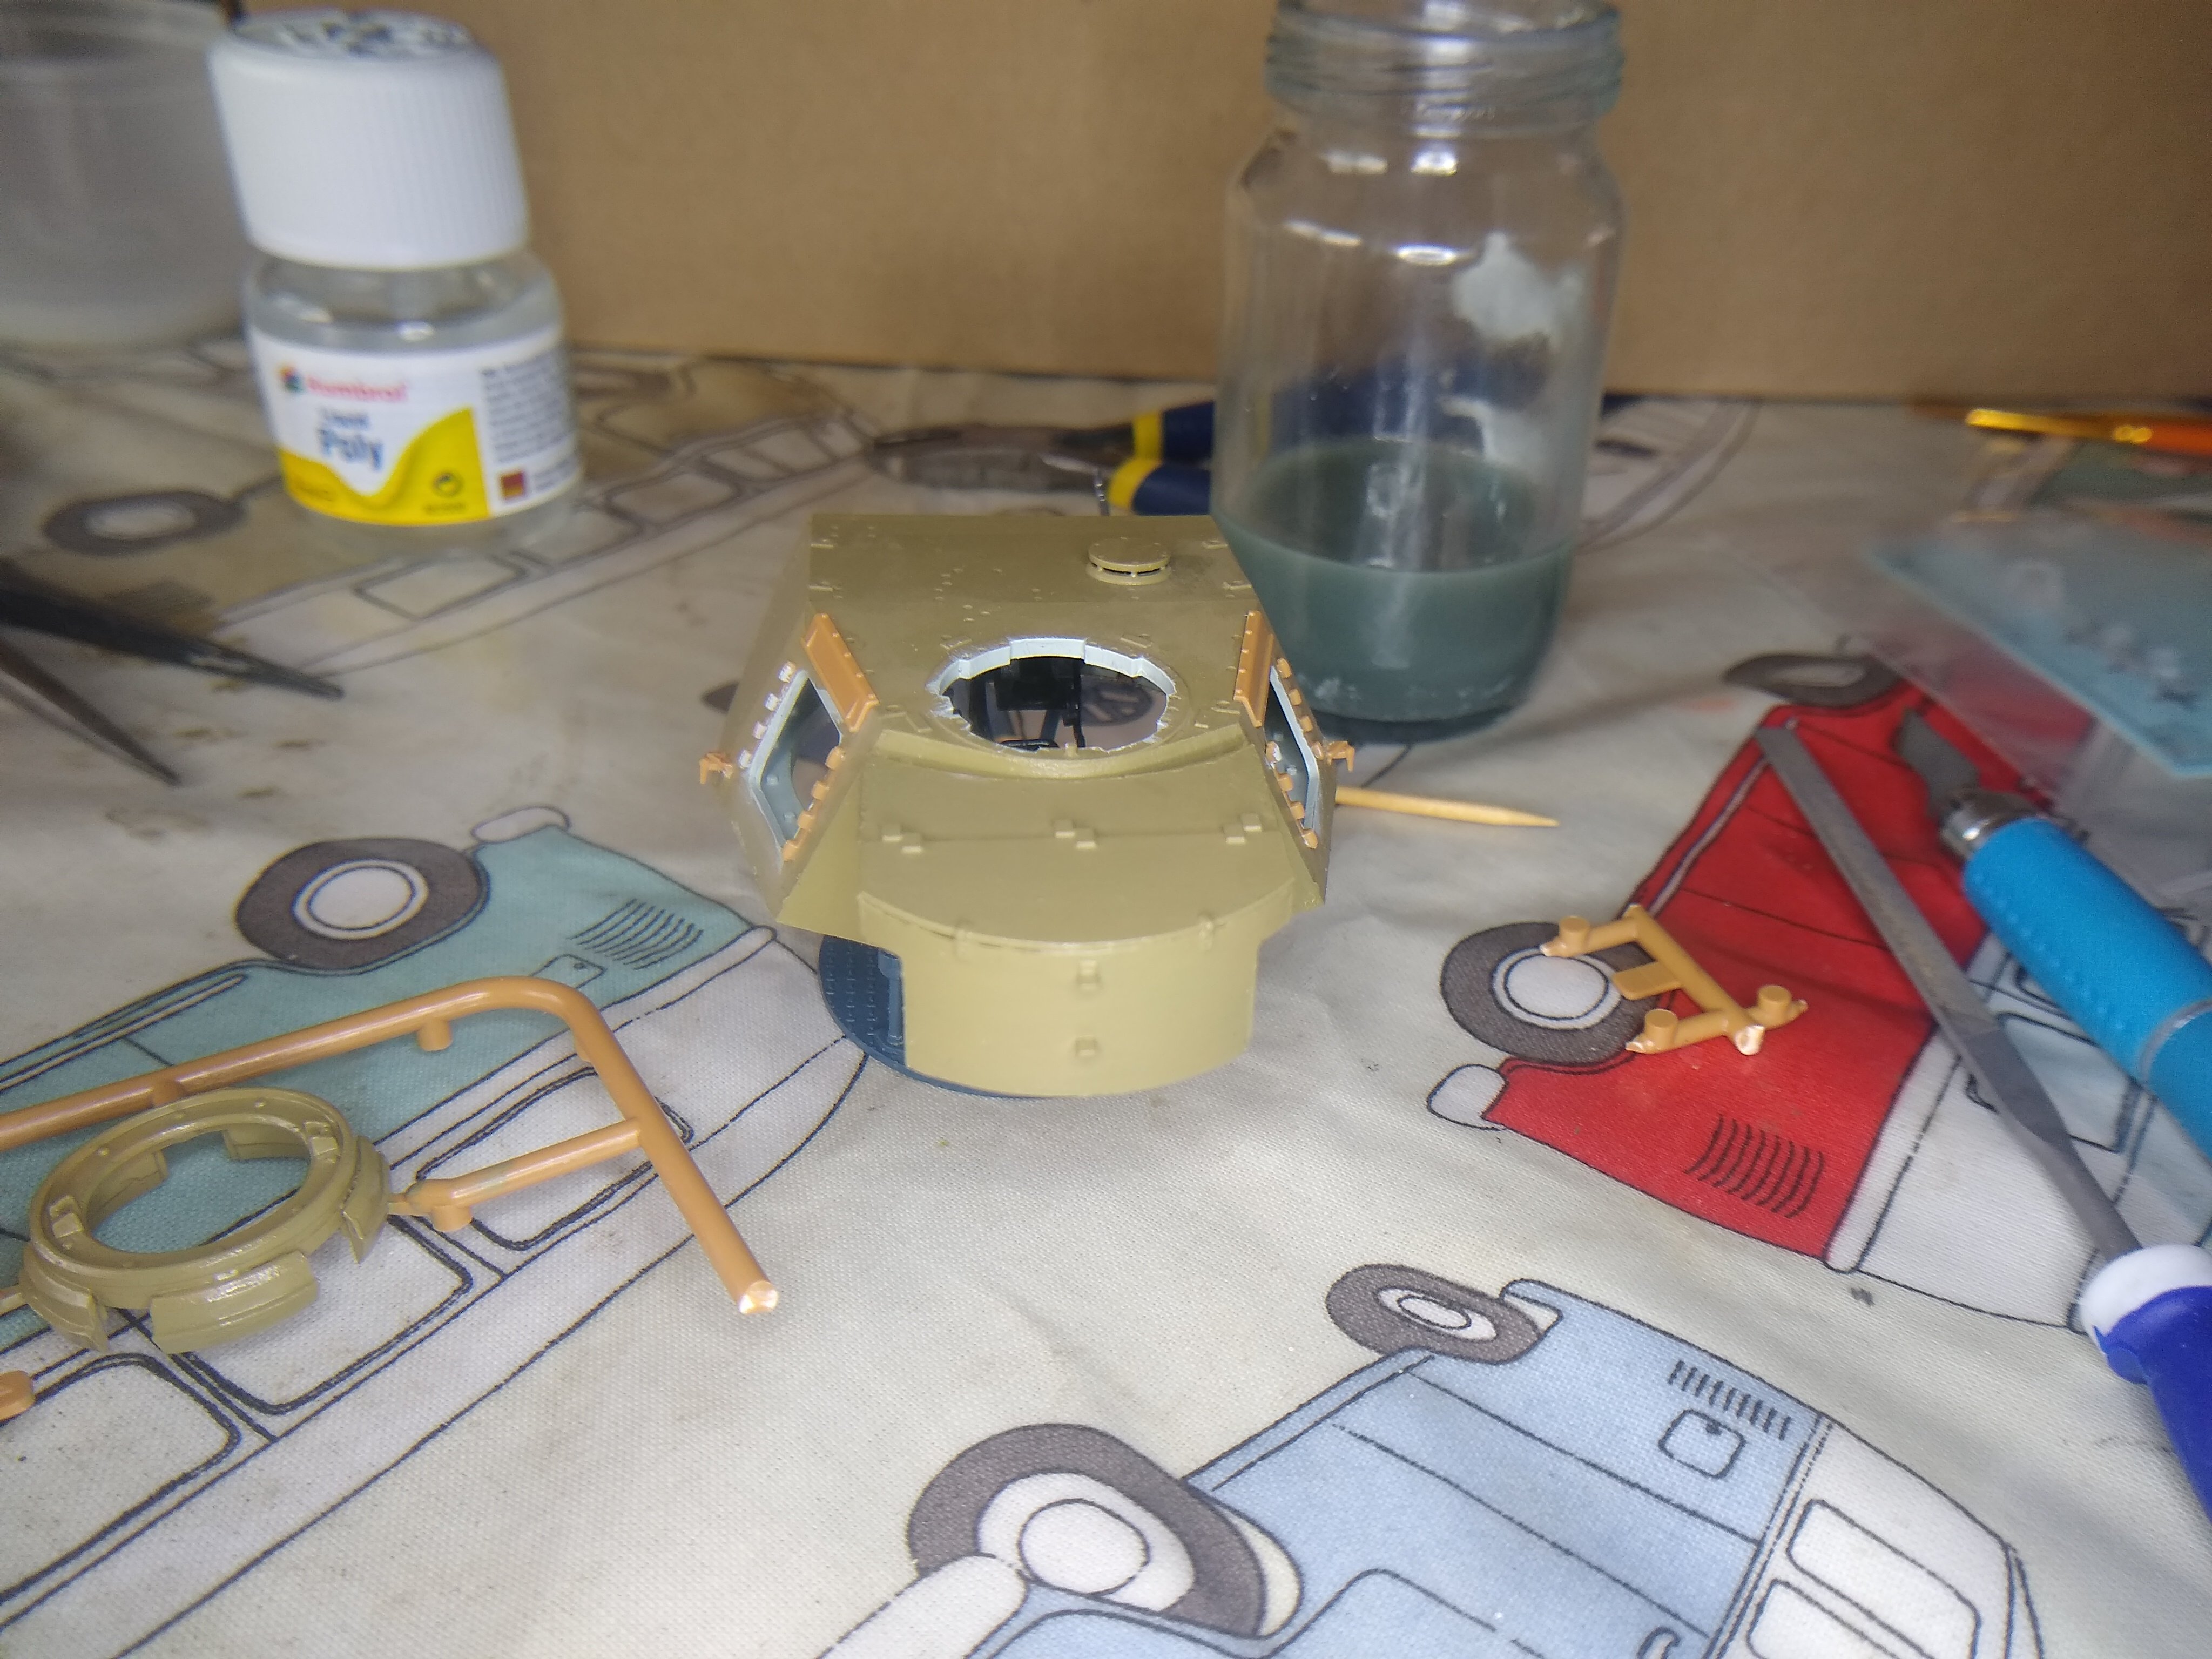
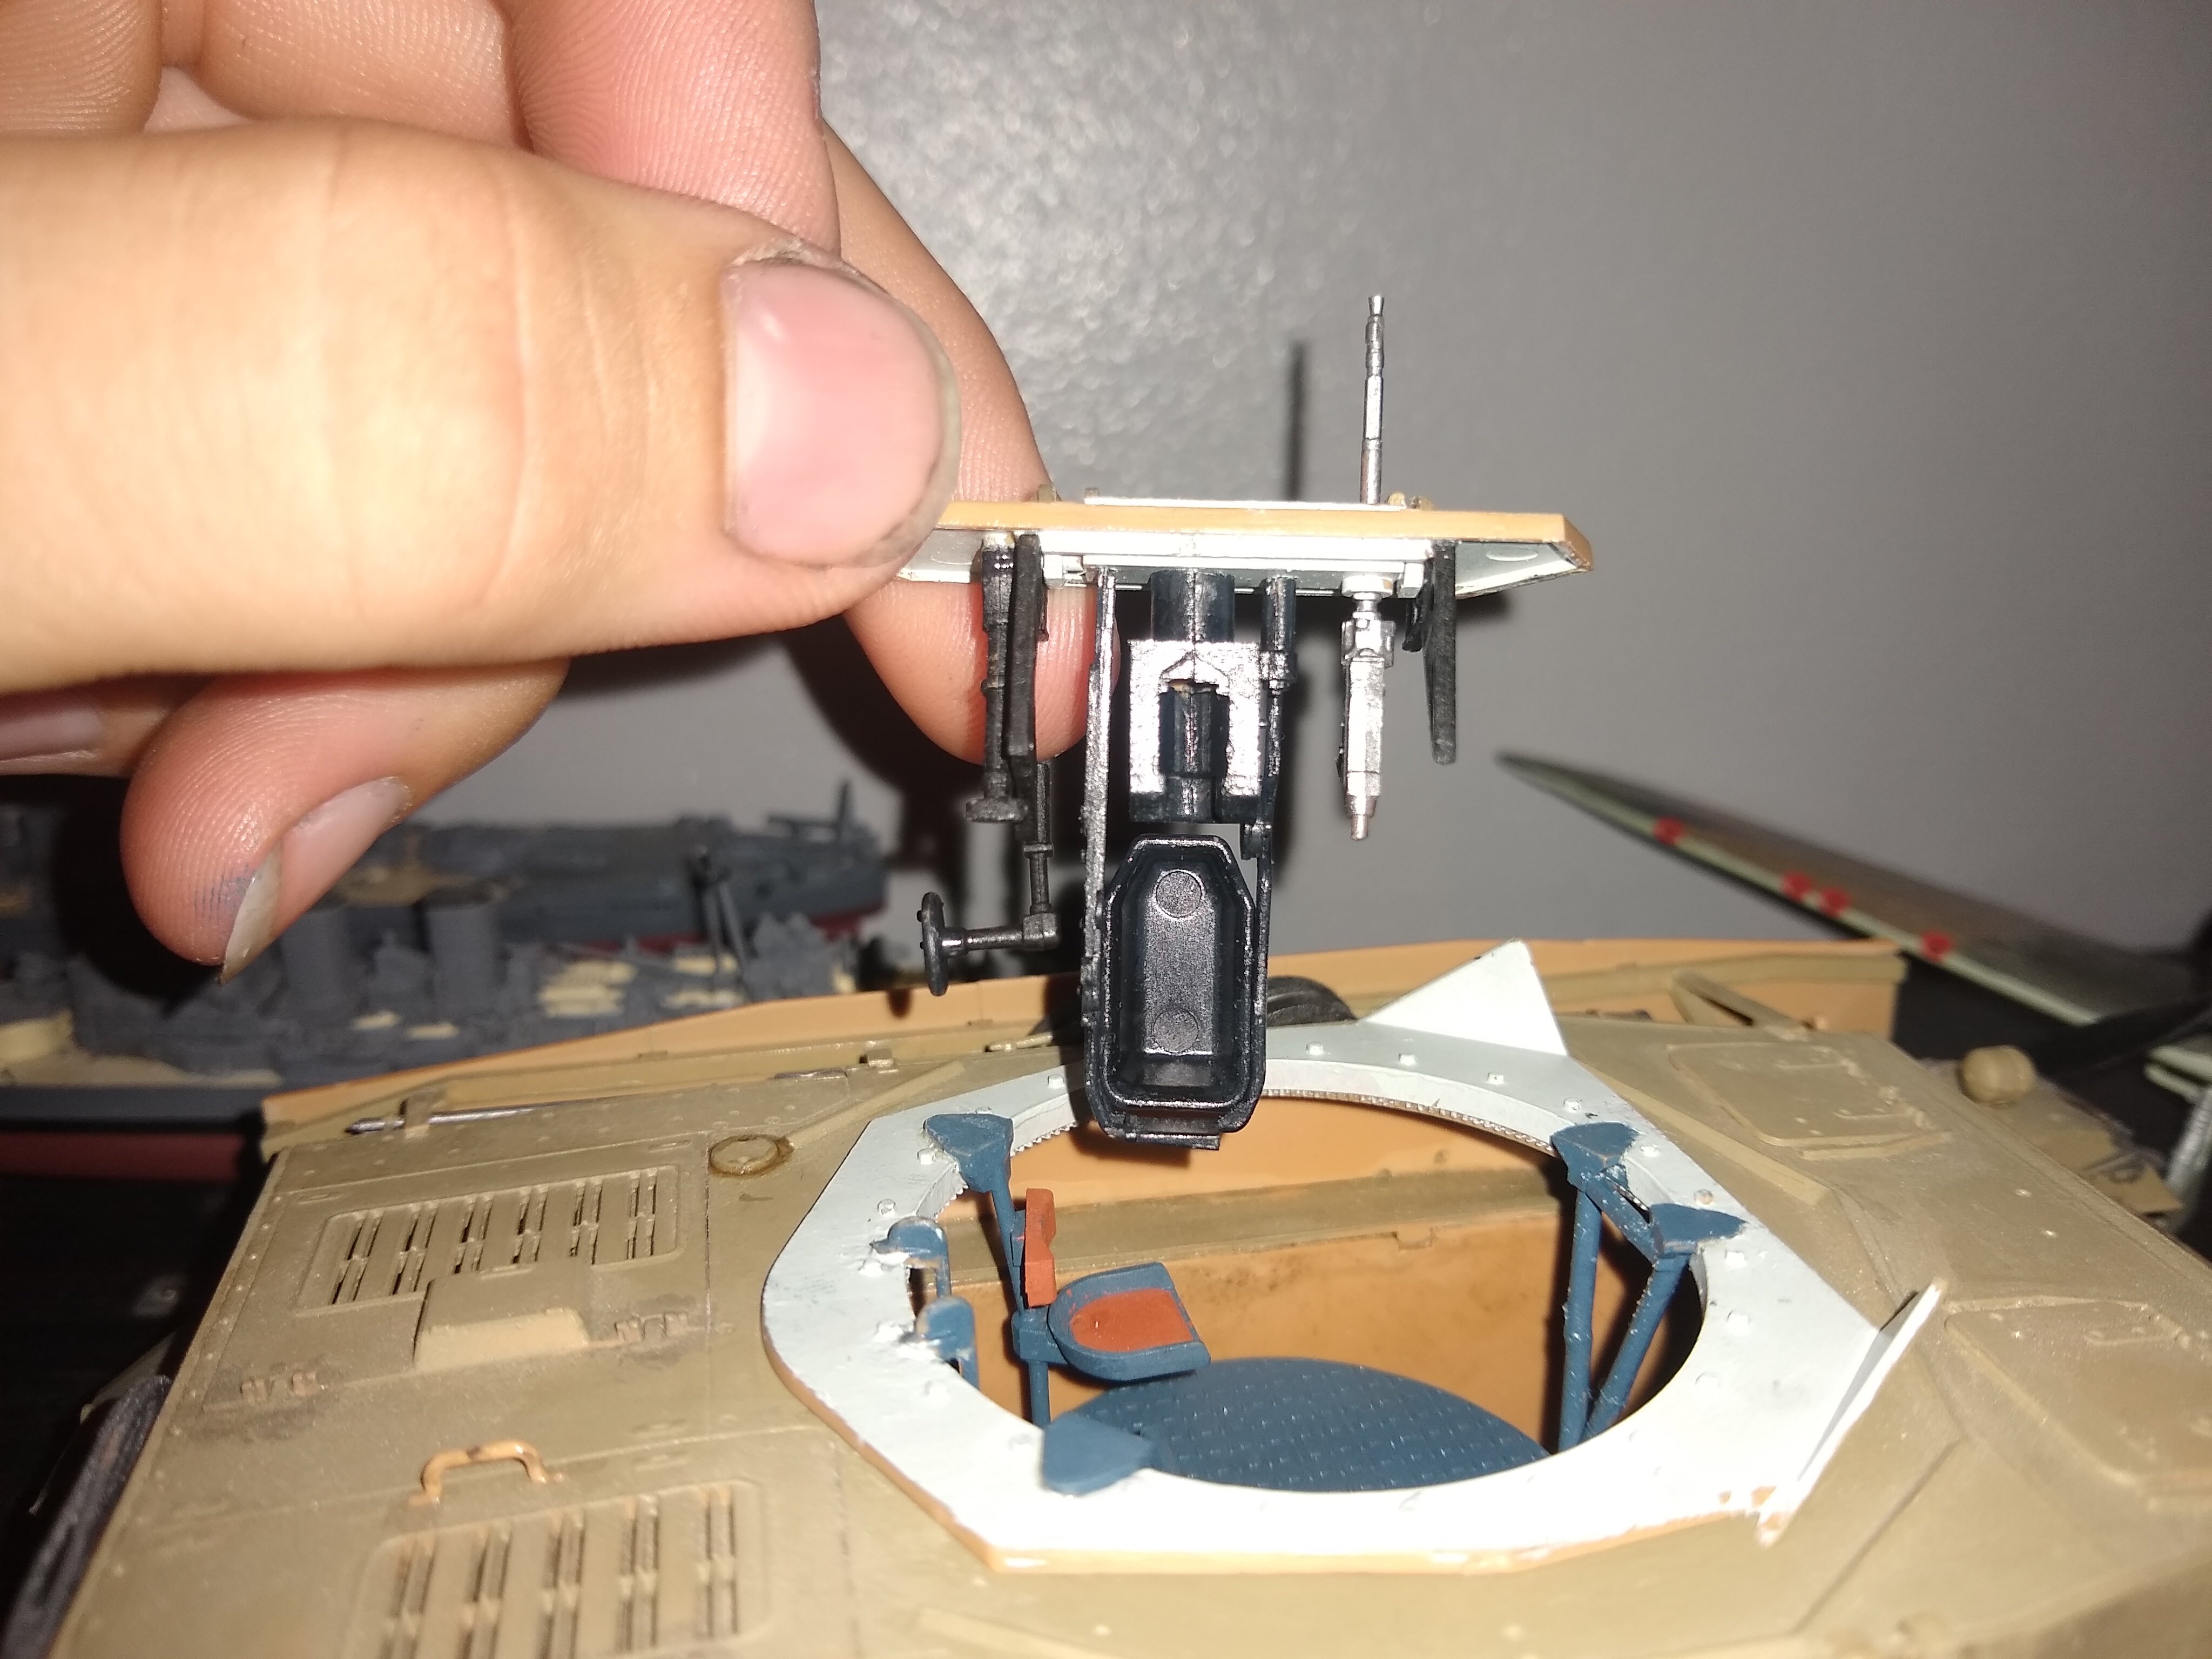
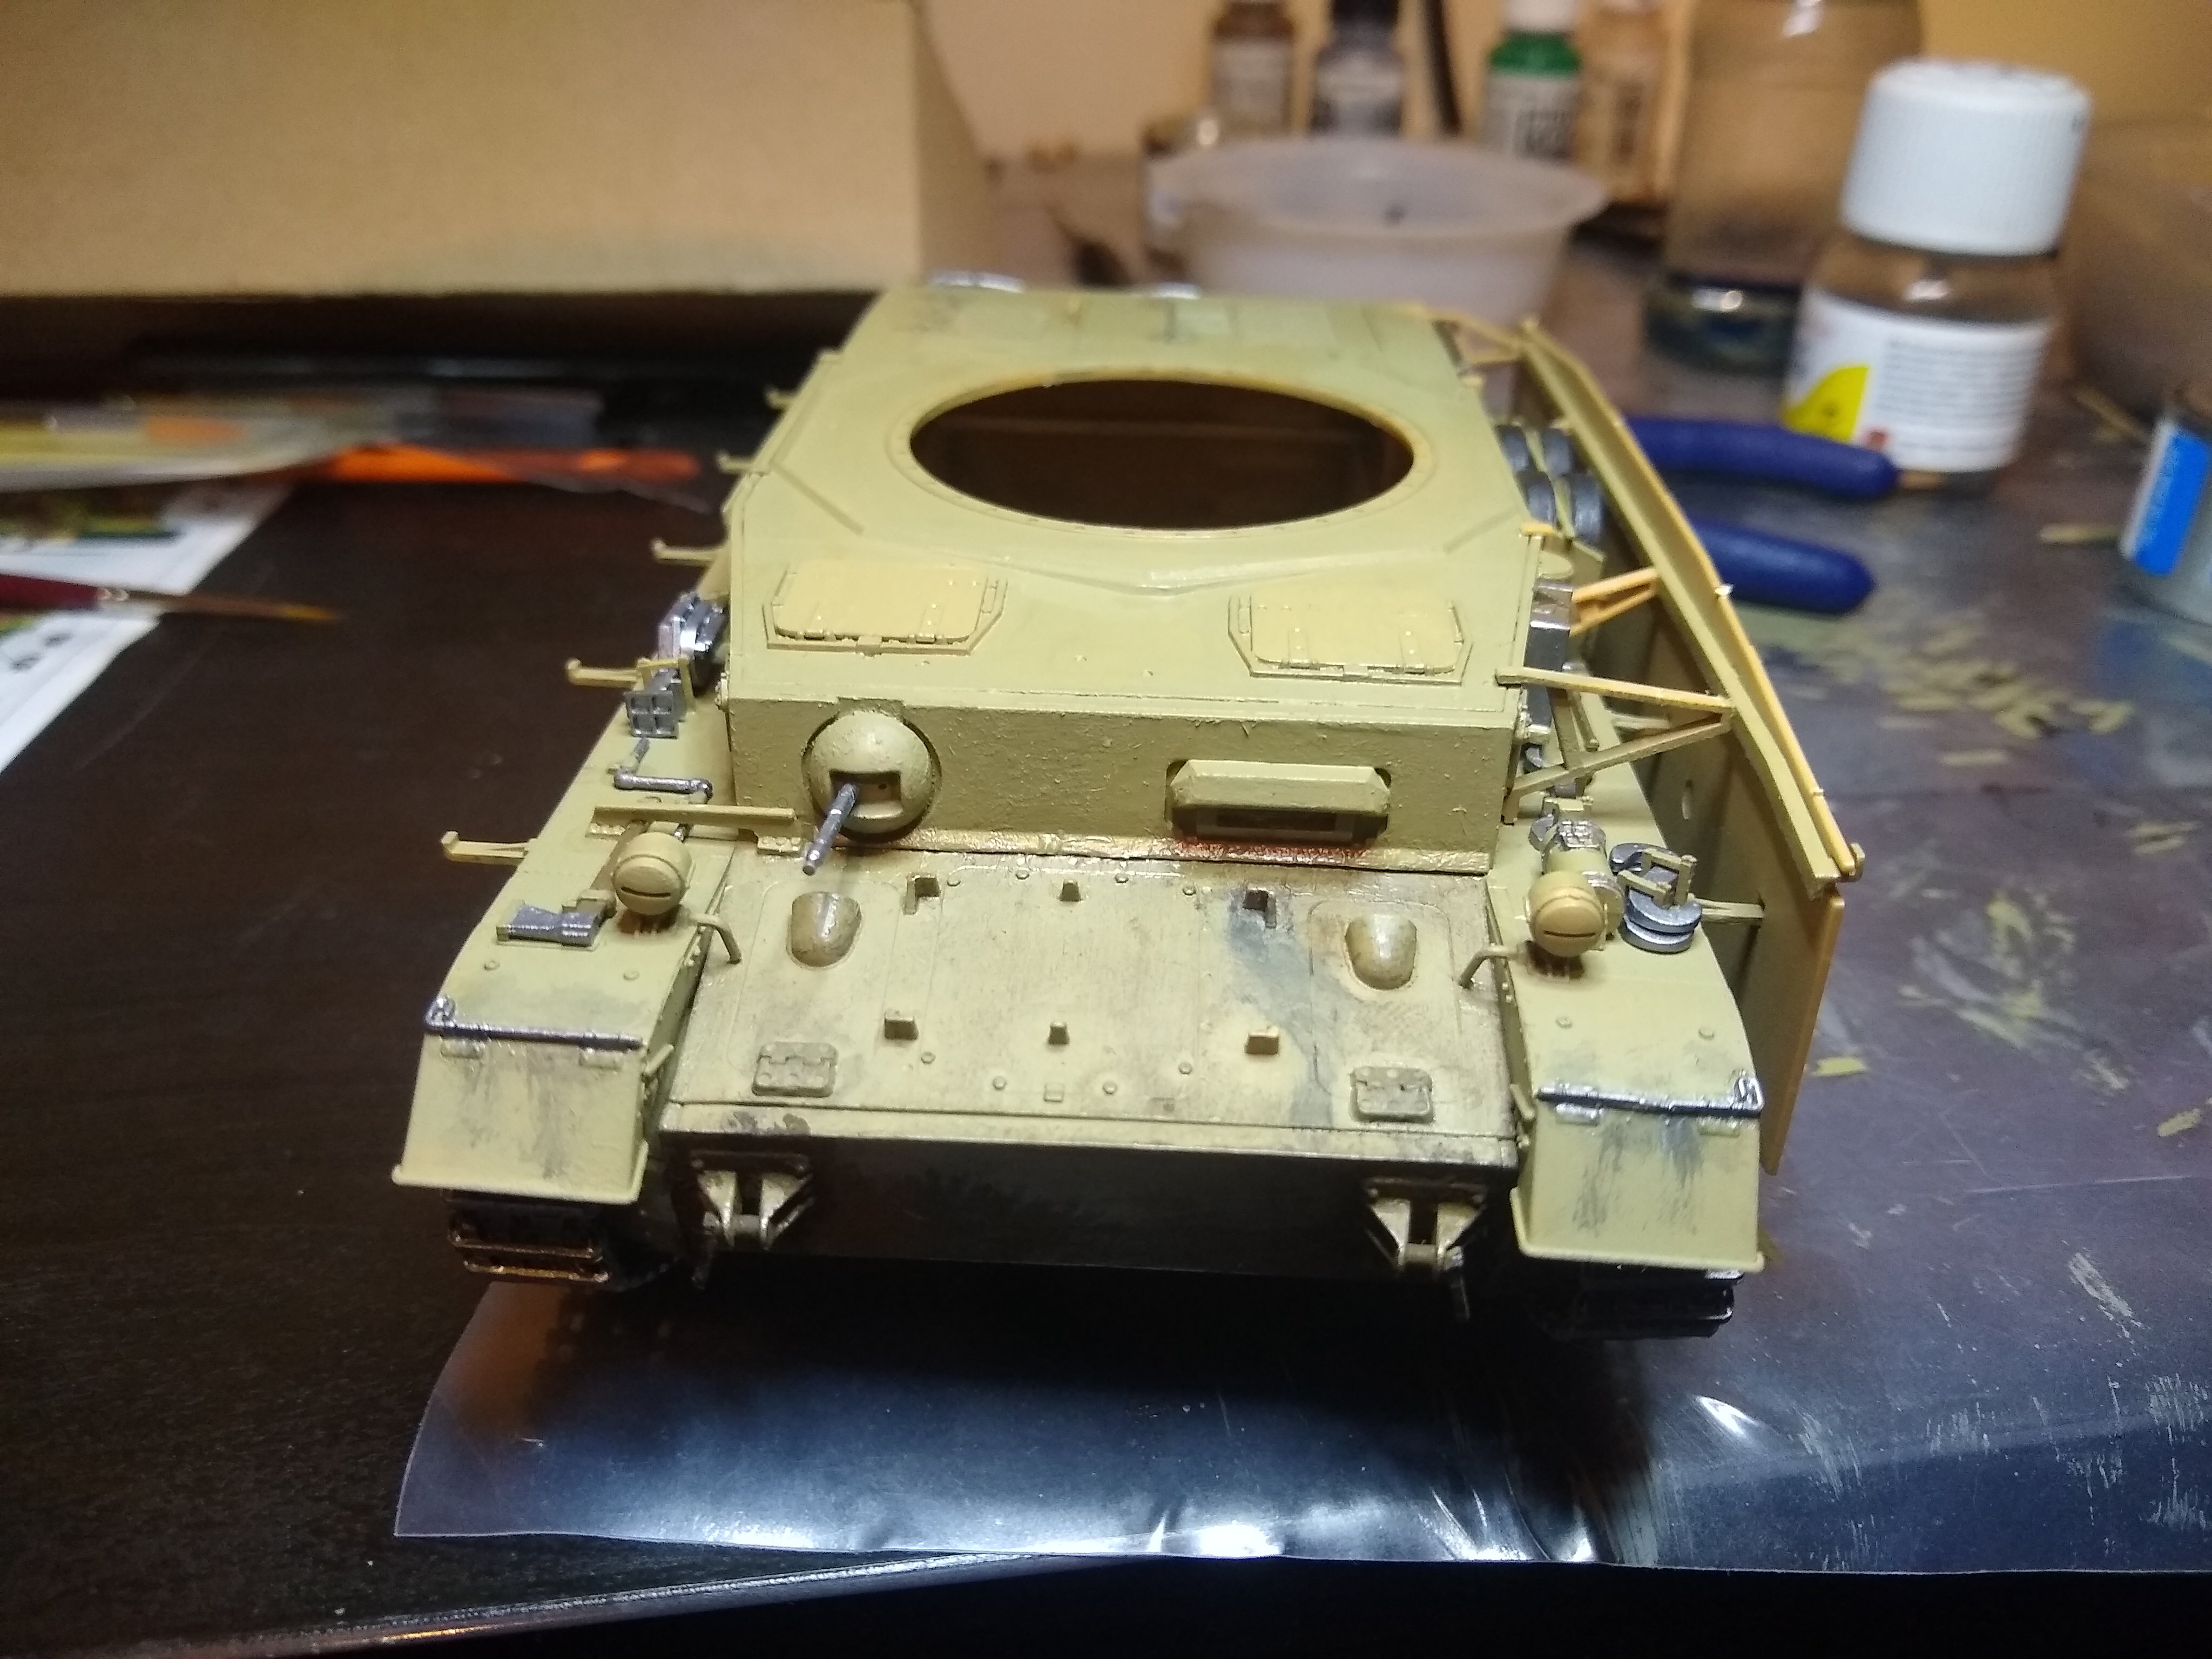
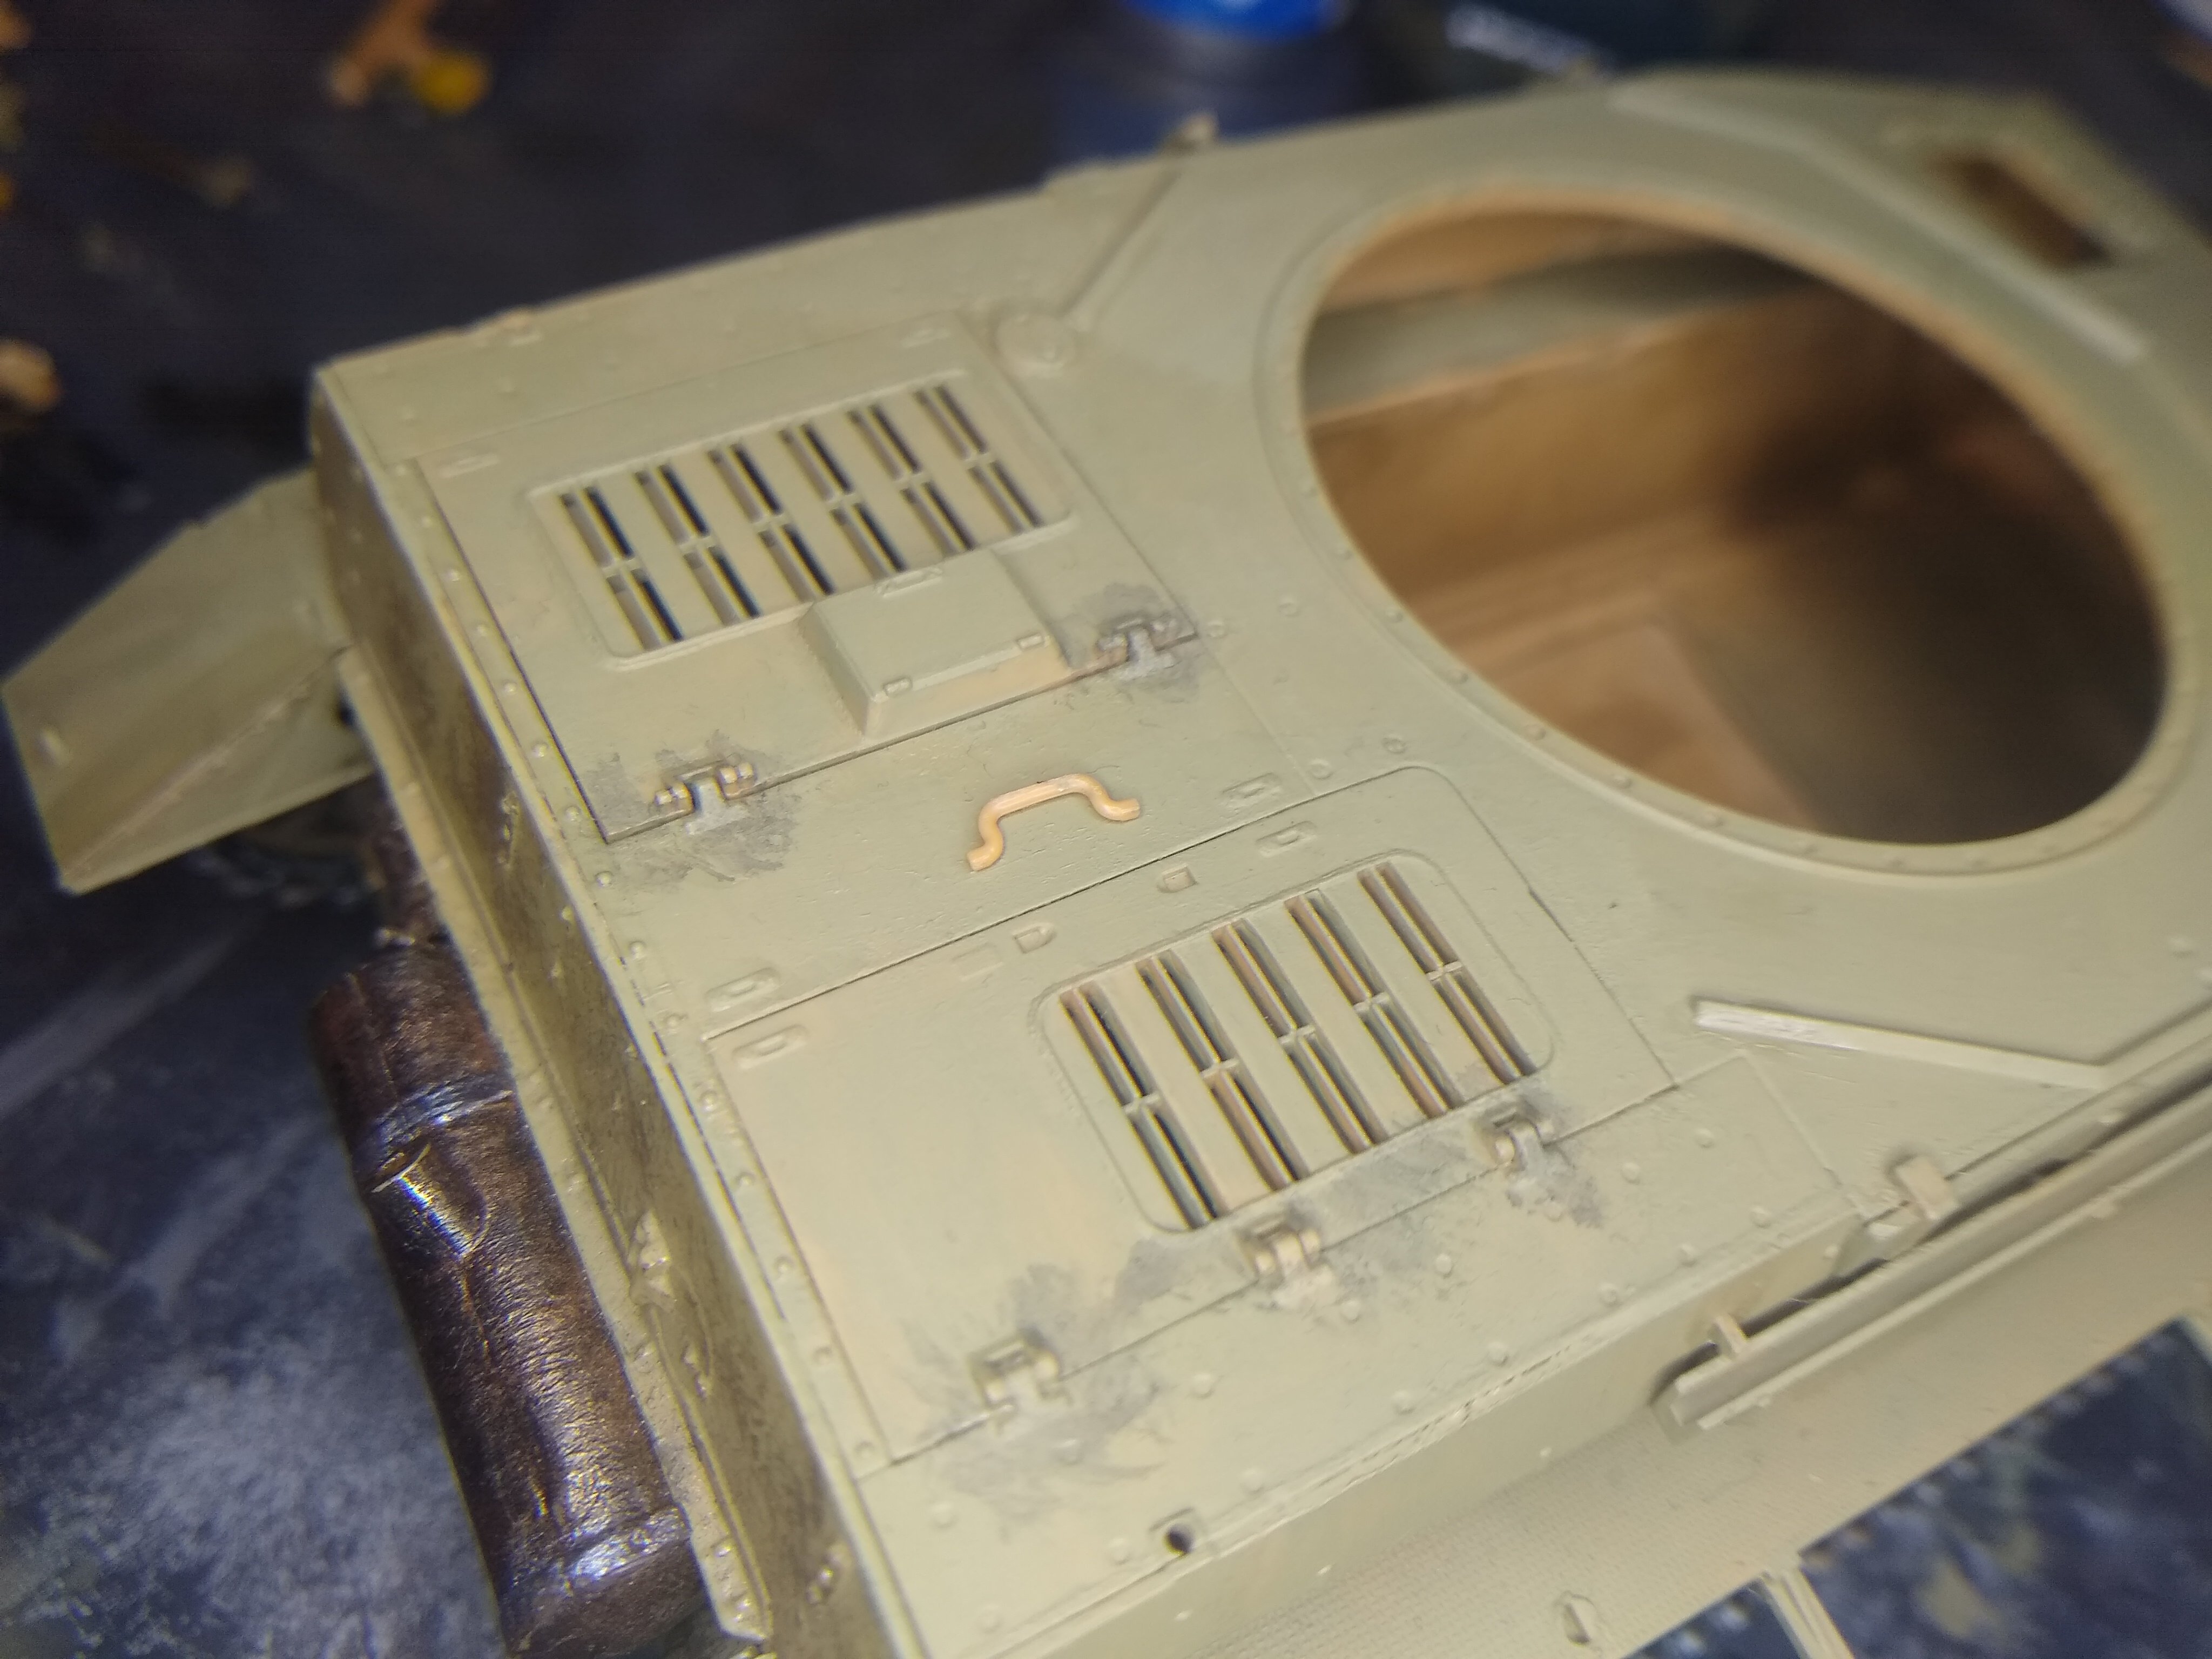
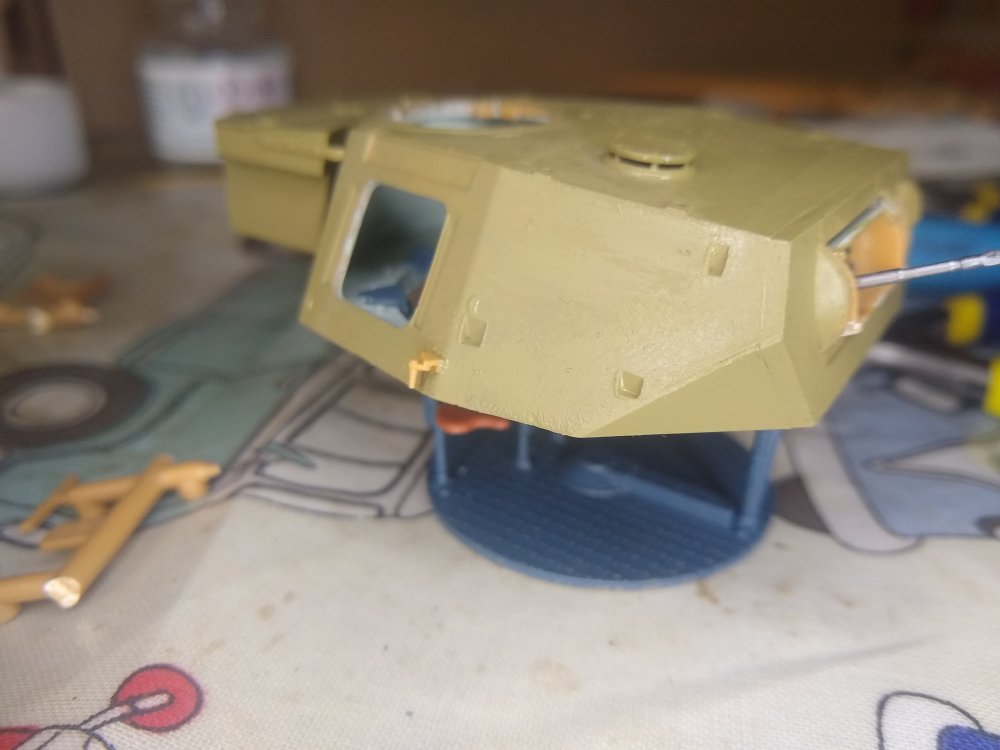
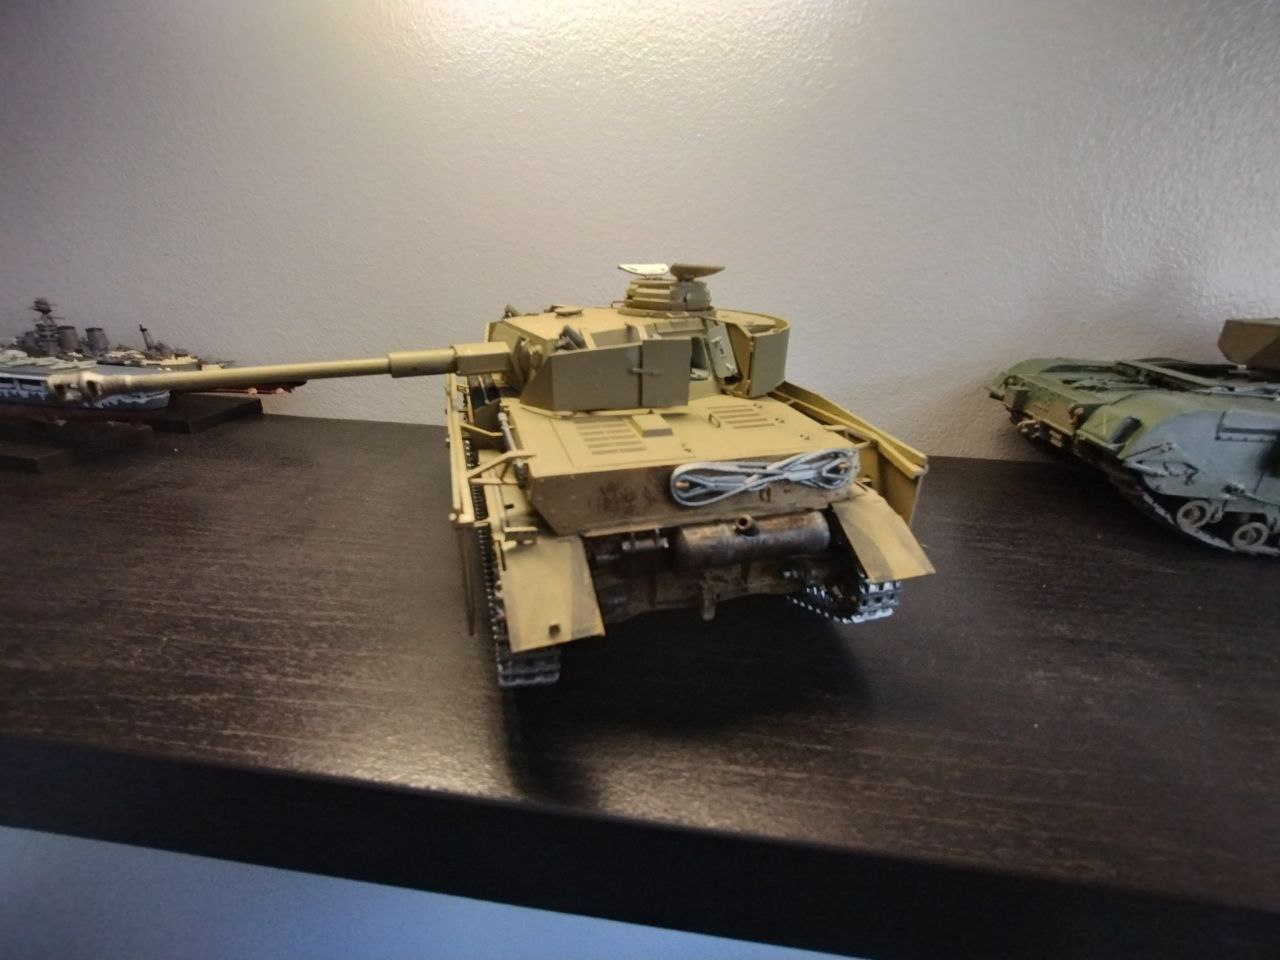
Installed some of the extra parts on the turret. And cleaned up the paint. and started on the commanders cupola. (Think I spelled that correct)


-
German Panzer IV Ausf H
Daniel_Roxy replied to Daniel_Roxy's topic in LSM 1/35 and Larger Work In Progress
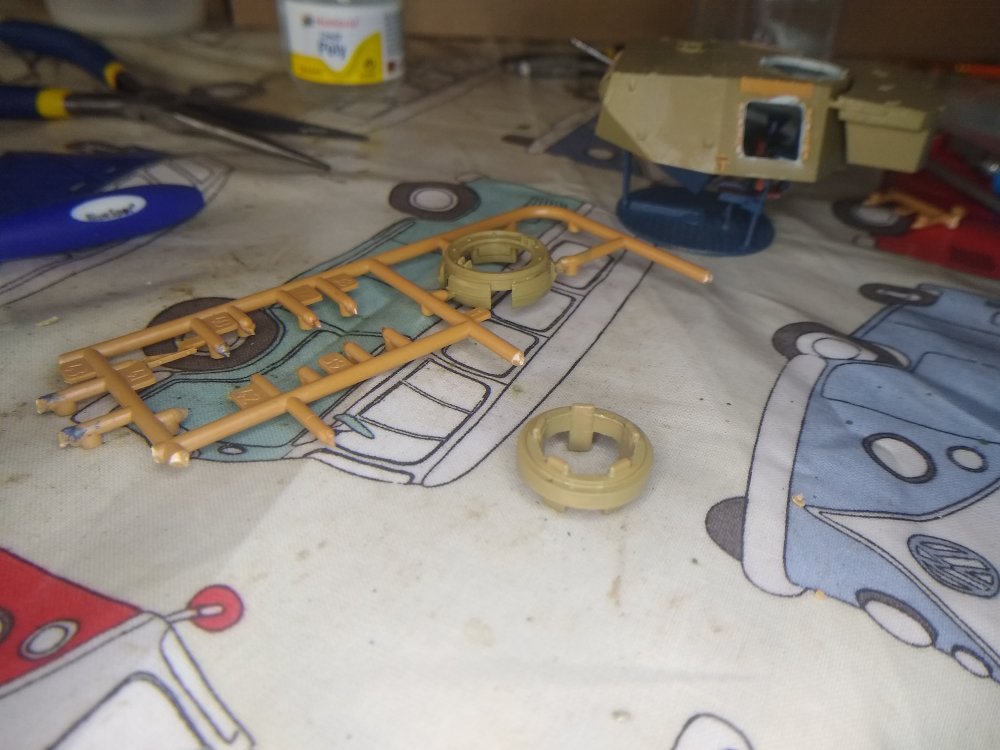
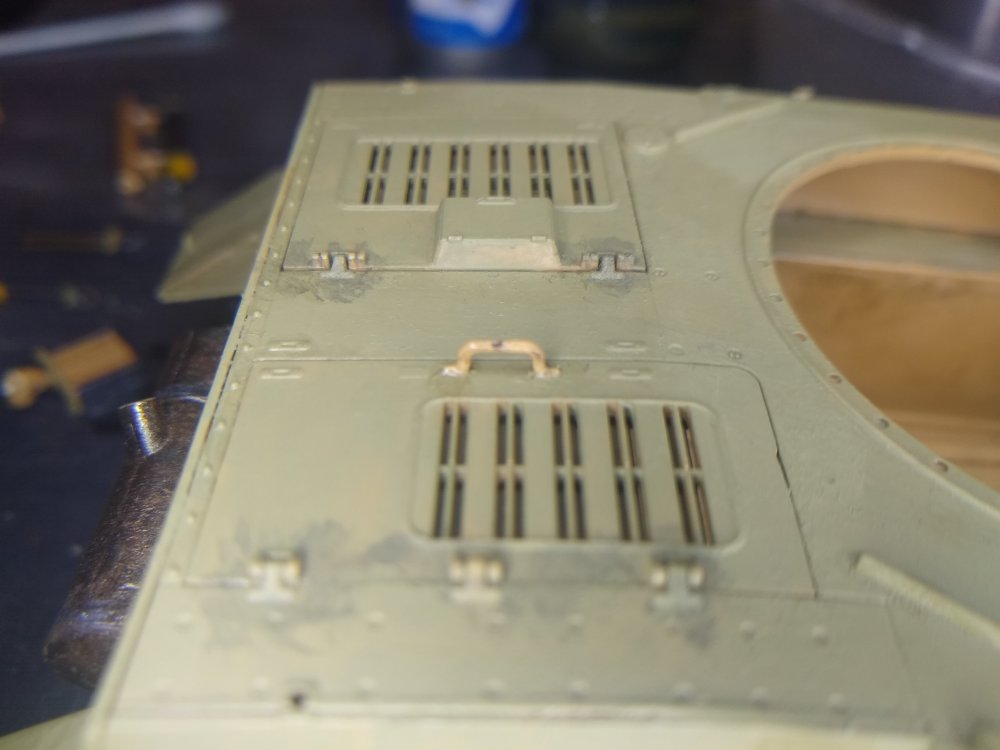
Had a small pice break in removing it from the sprue. Managed to repair and place it. So main storage box is now installed on the turret too.


-
German Panzer IV Ausf H
Daniel_Roxy replied to Daniel_Roxy's topic in LSM 1/35 and Larger Work In Progress
Ah yes I did a lot of searching and looking in some games like Tank Mechanic Simulator. and found that majority of courses showed a light cream/Beige colour. the blue colour. was supposed to be darker but I quite like the look and contrast so I kept it instead of scrubbing and starting again. -
German Panzer IV Ausf H
Daniel_Roxy replied to Daniel_Roxy's topic in LSM 1/35 and Larger Work In Progress
Well it's been a while. Have been to a convention and a military show (Militrax in the Netherlands) while waiting for replacement parts to come in. But now atleast work can continue.


-
German Panzer IV Ausf H
Daniel_Roxy replied to Daniel_Roxy's topic in LSM 1/35 and Larger Work In Progress
I It's definitely a nice kit tho this one is branded as the G verient. There is on there website the actual H verient as well. This kit however is like a mix between a 4G and A 4H. Still a nice kit -
German Panzer IV Ausf H
Daniel_Roxy replied to Daniel_Roxy's topic in LSM 1/35 and Larger Work In Progress
Just gonna dump some photos. Got some inspiration and colours from my games and a restoration log from The tank museum of Tiger 131.

-
German Panzer IV Ausf H
Daniel_Roxy replied to Daniel_Roxy's topic in LSM 1/35 and Larger Work In Progress
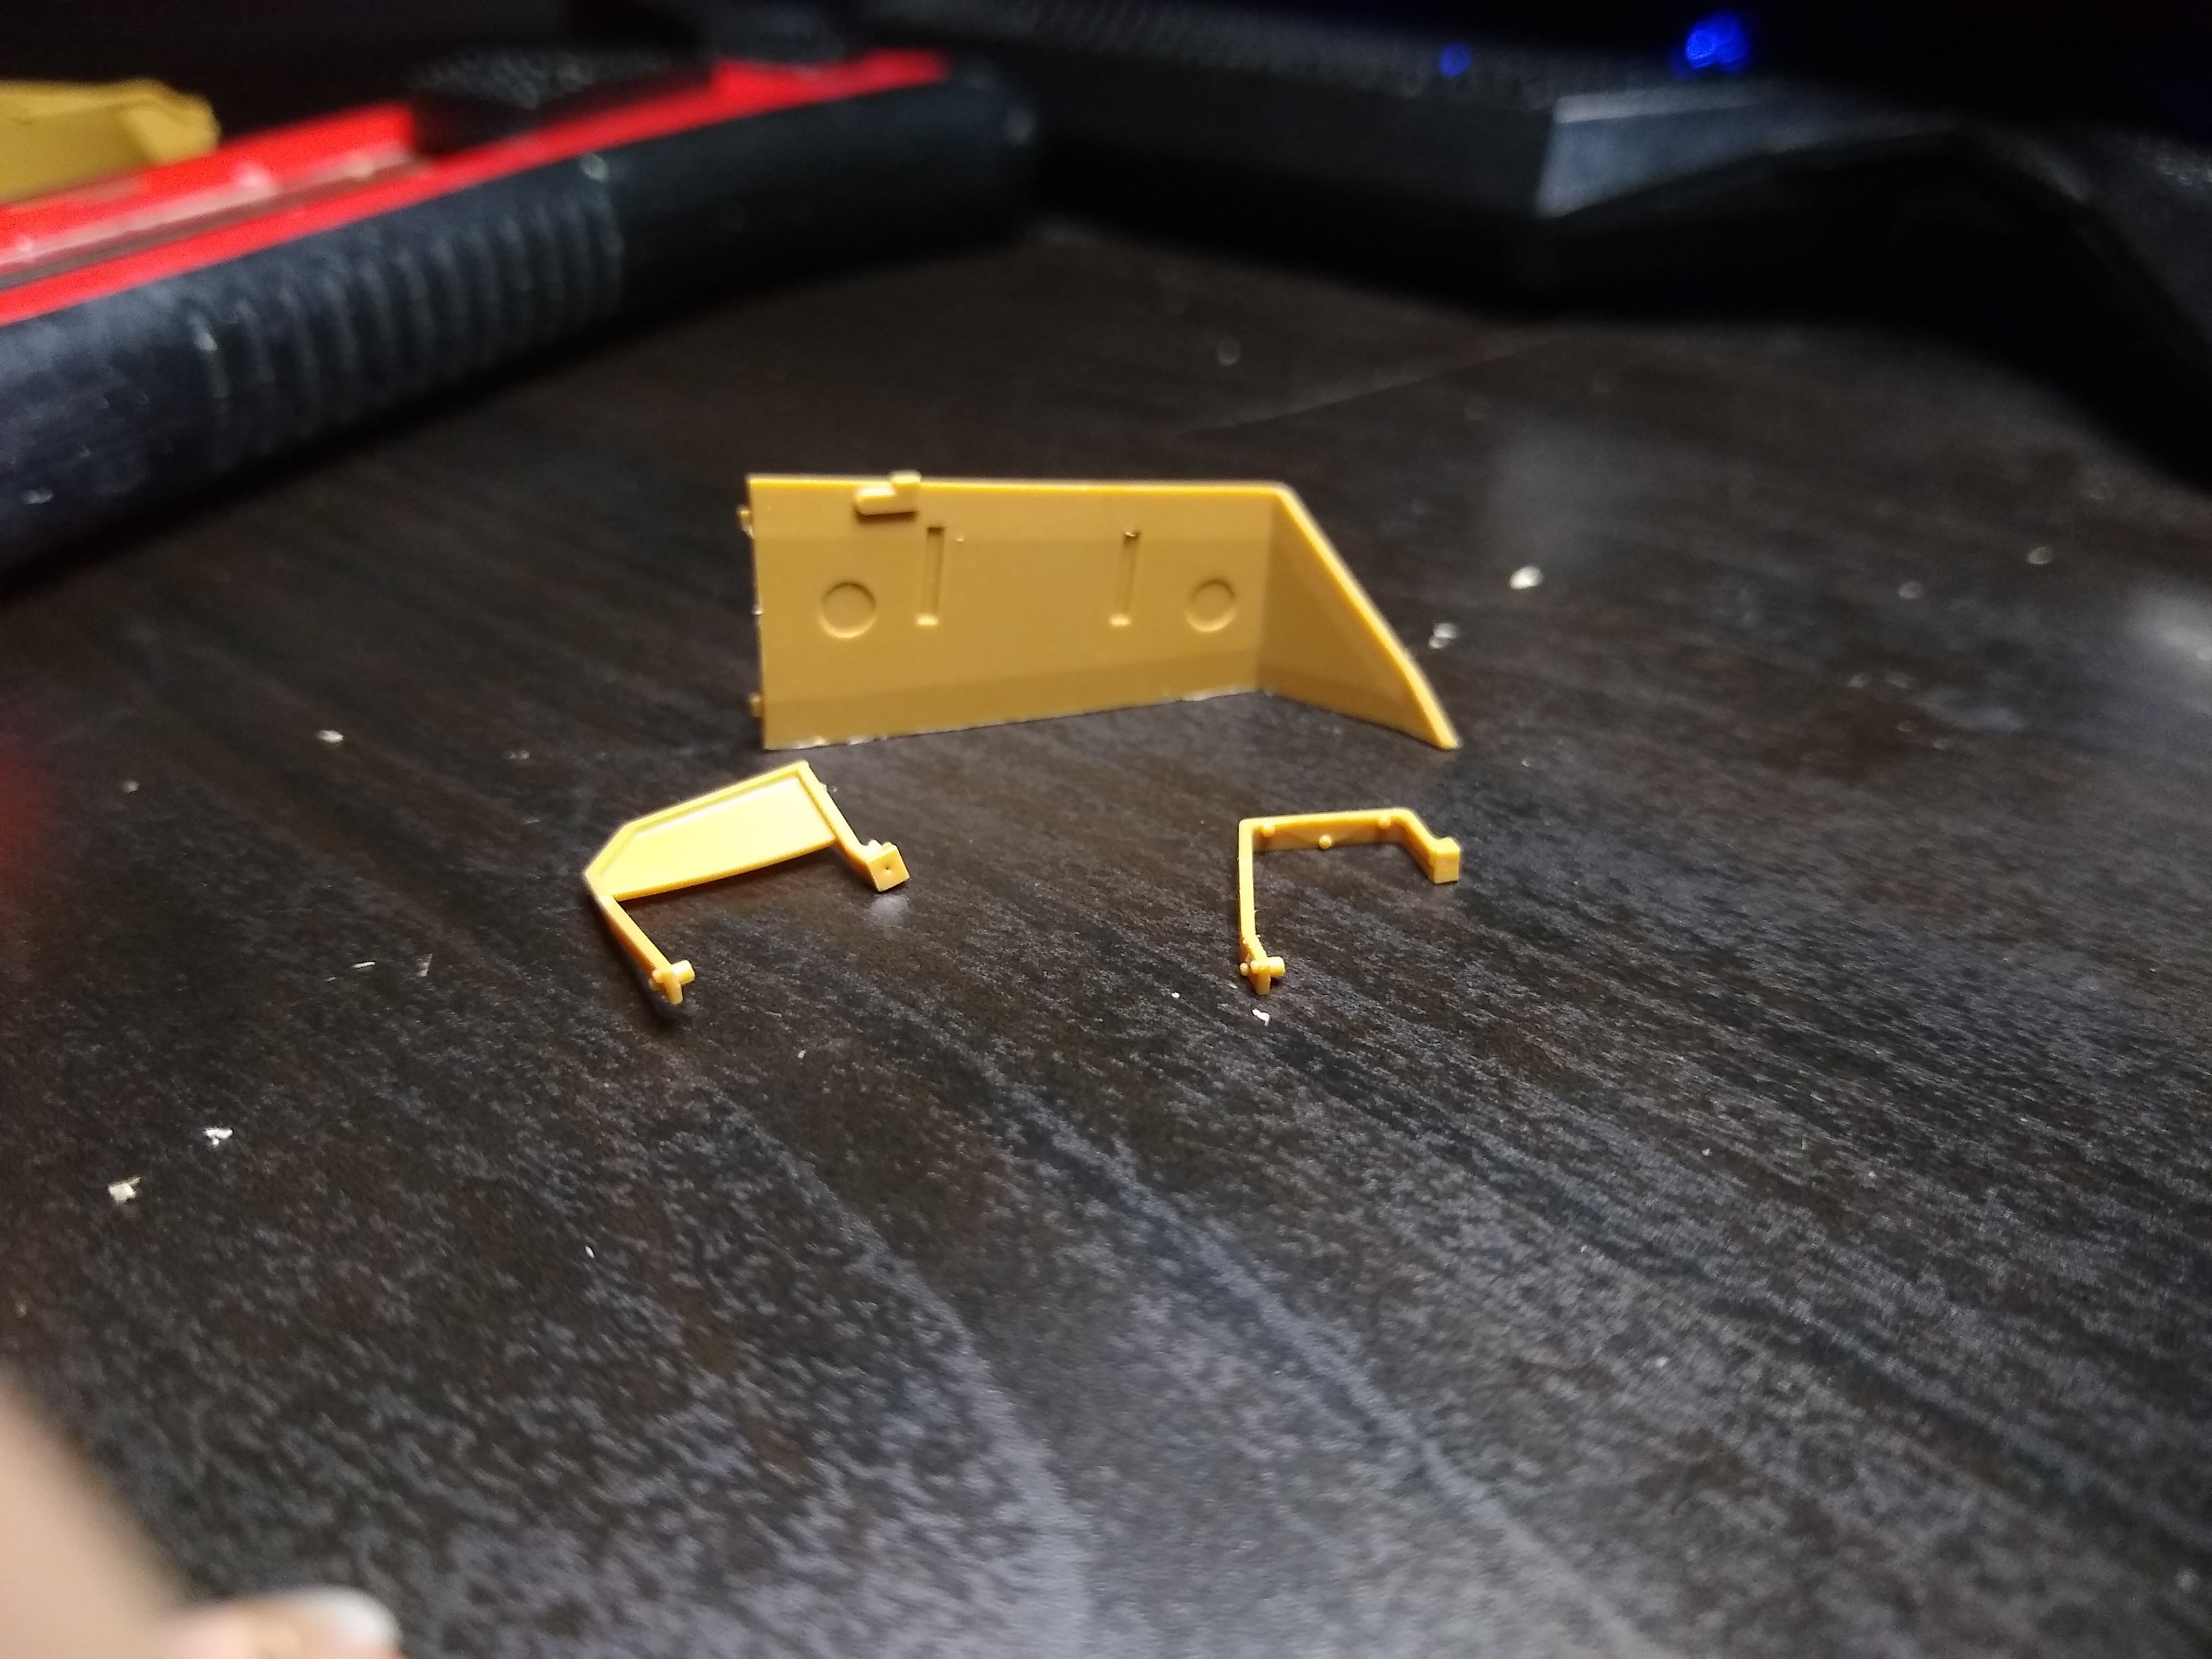
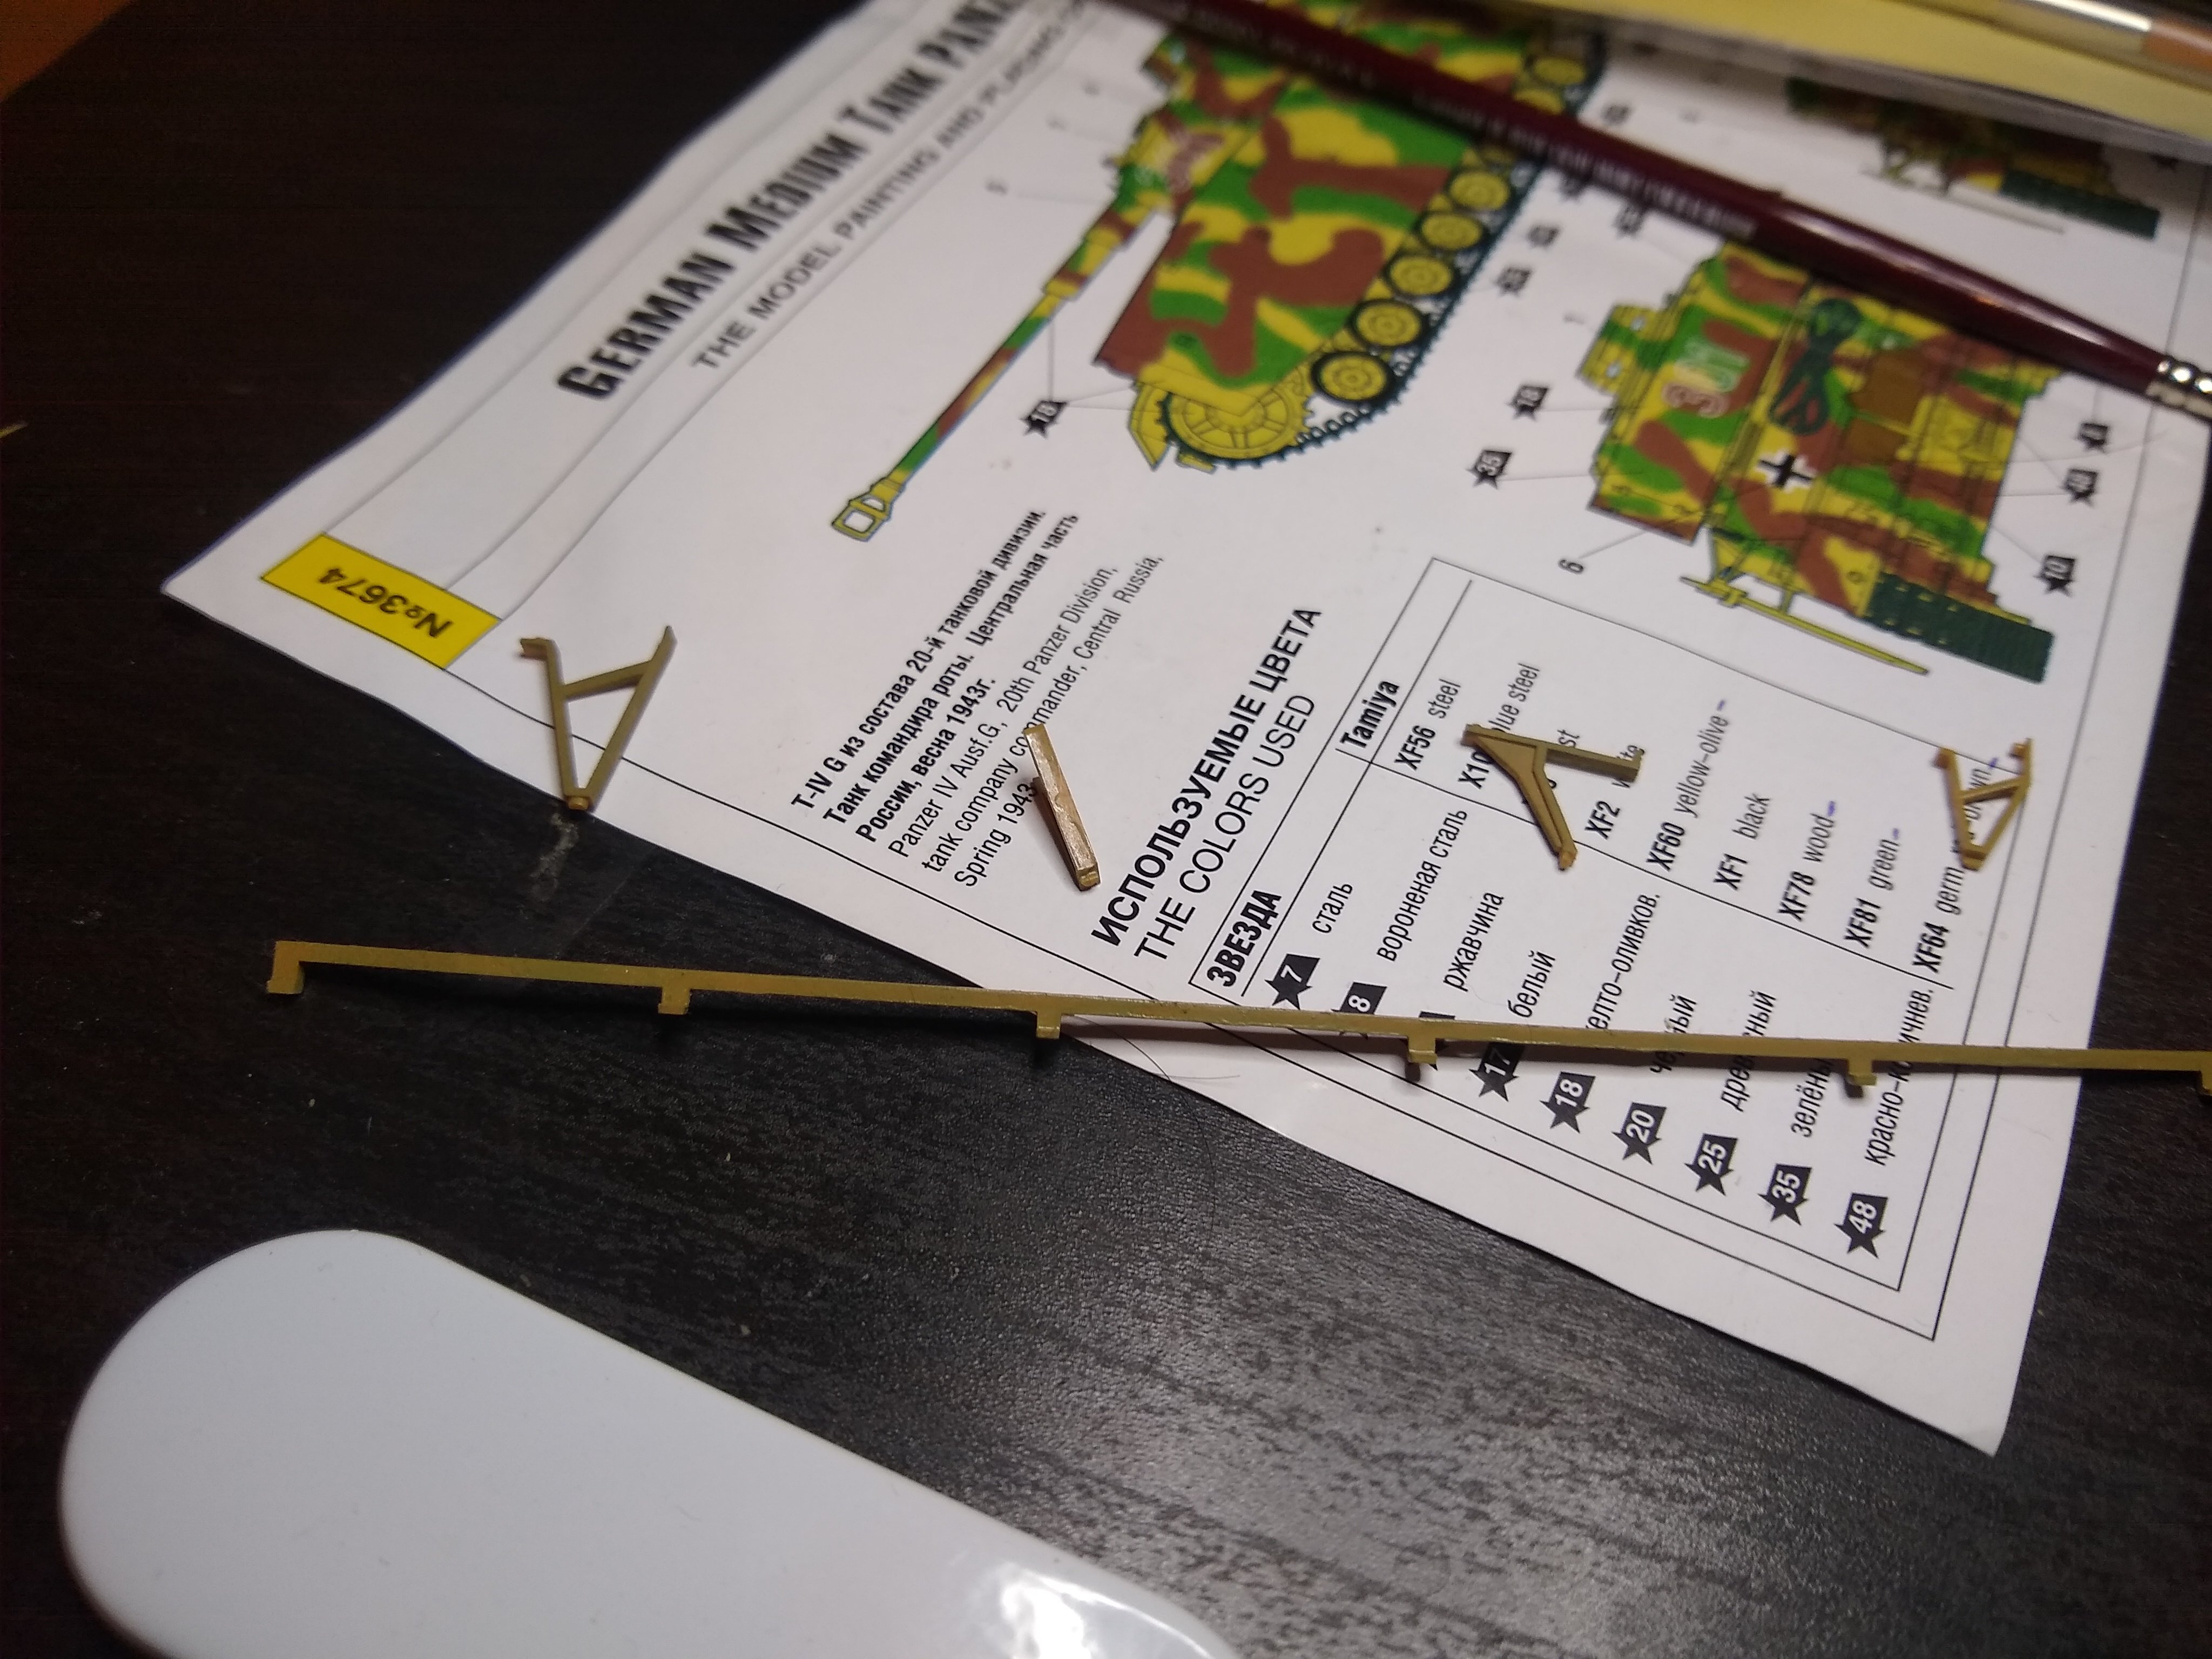
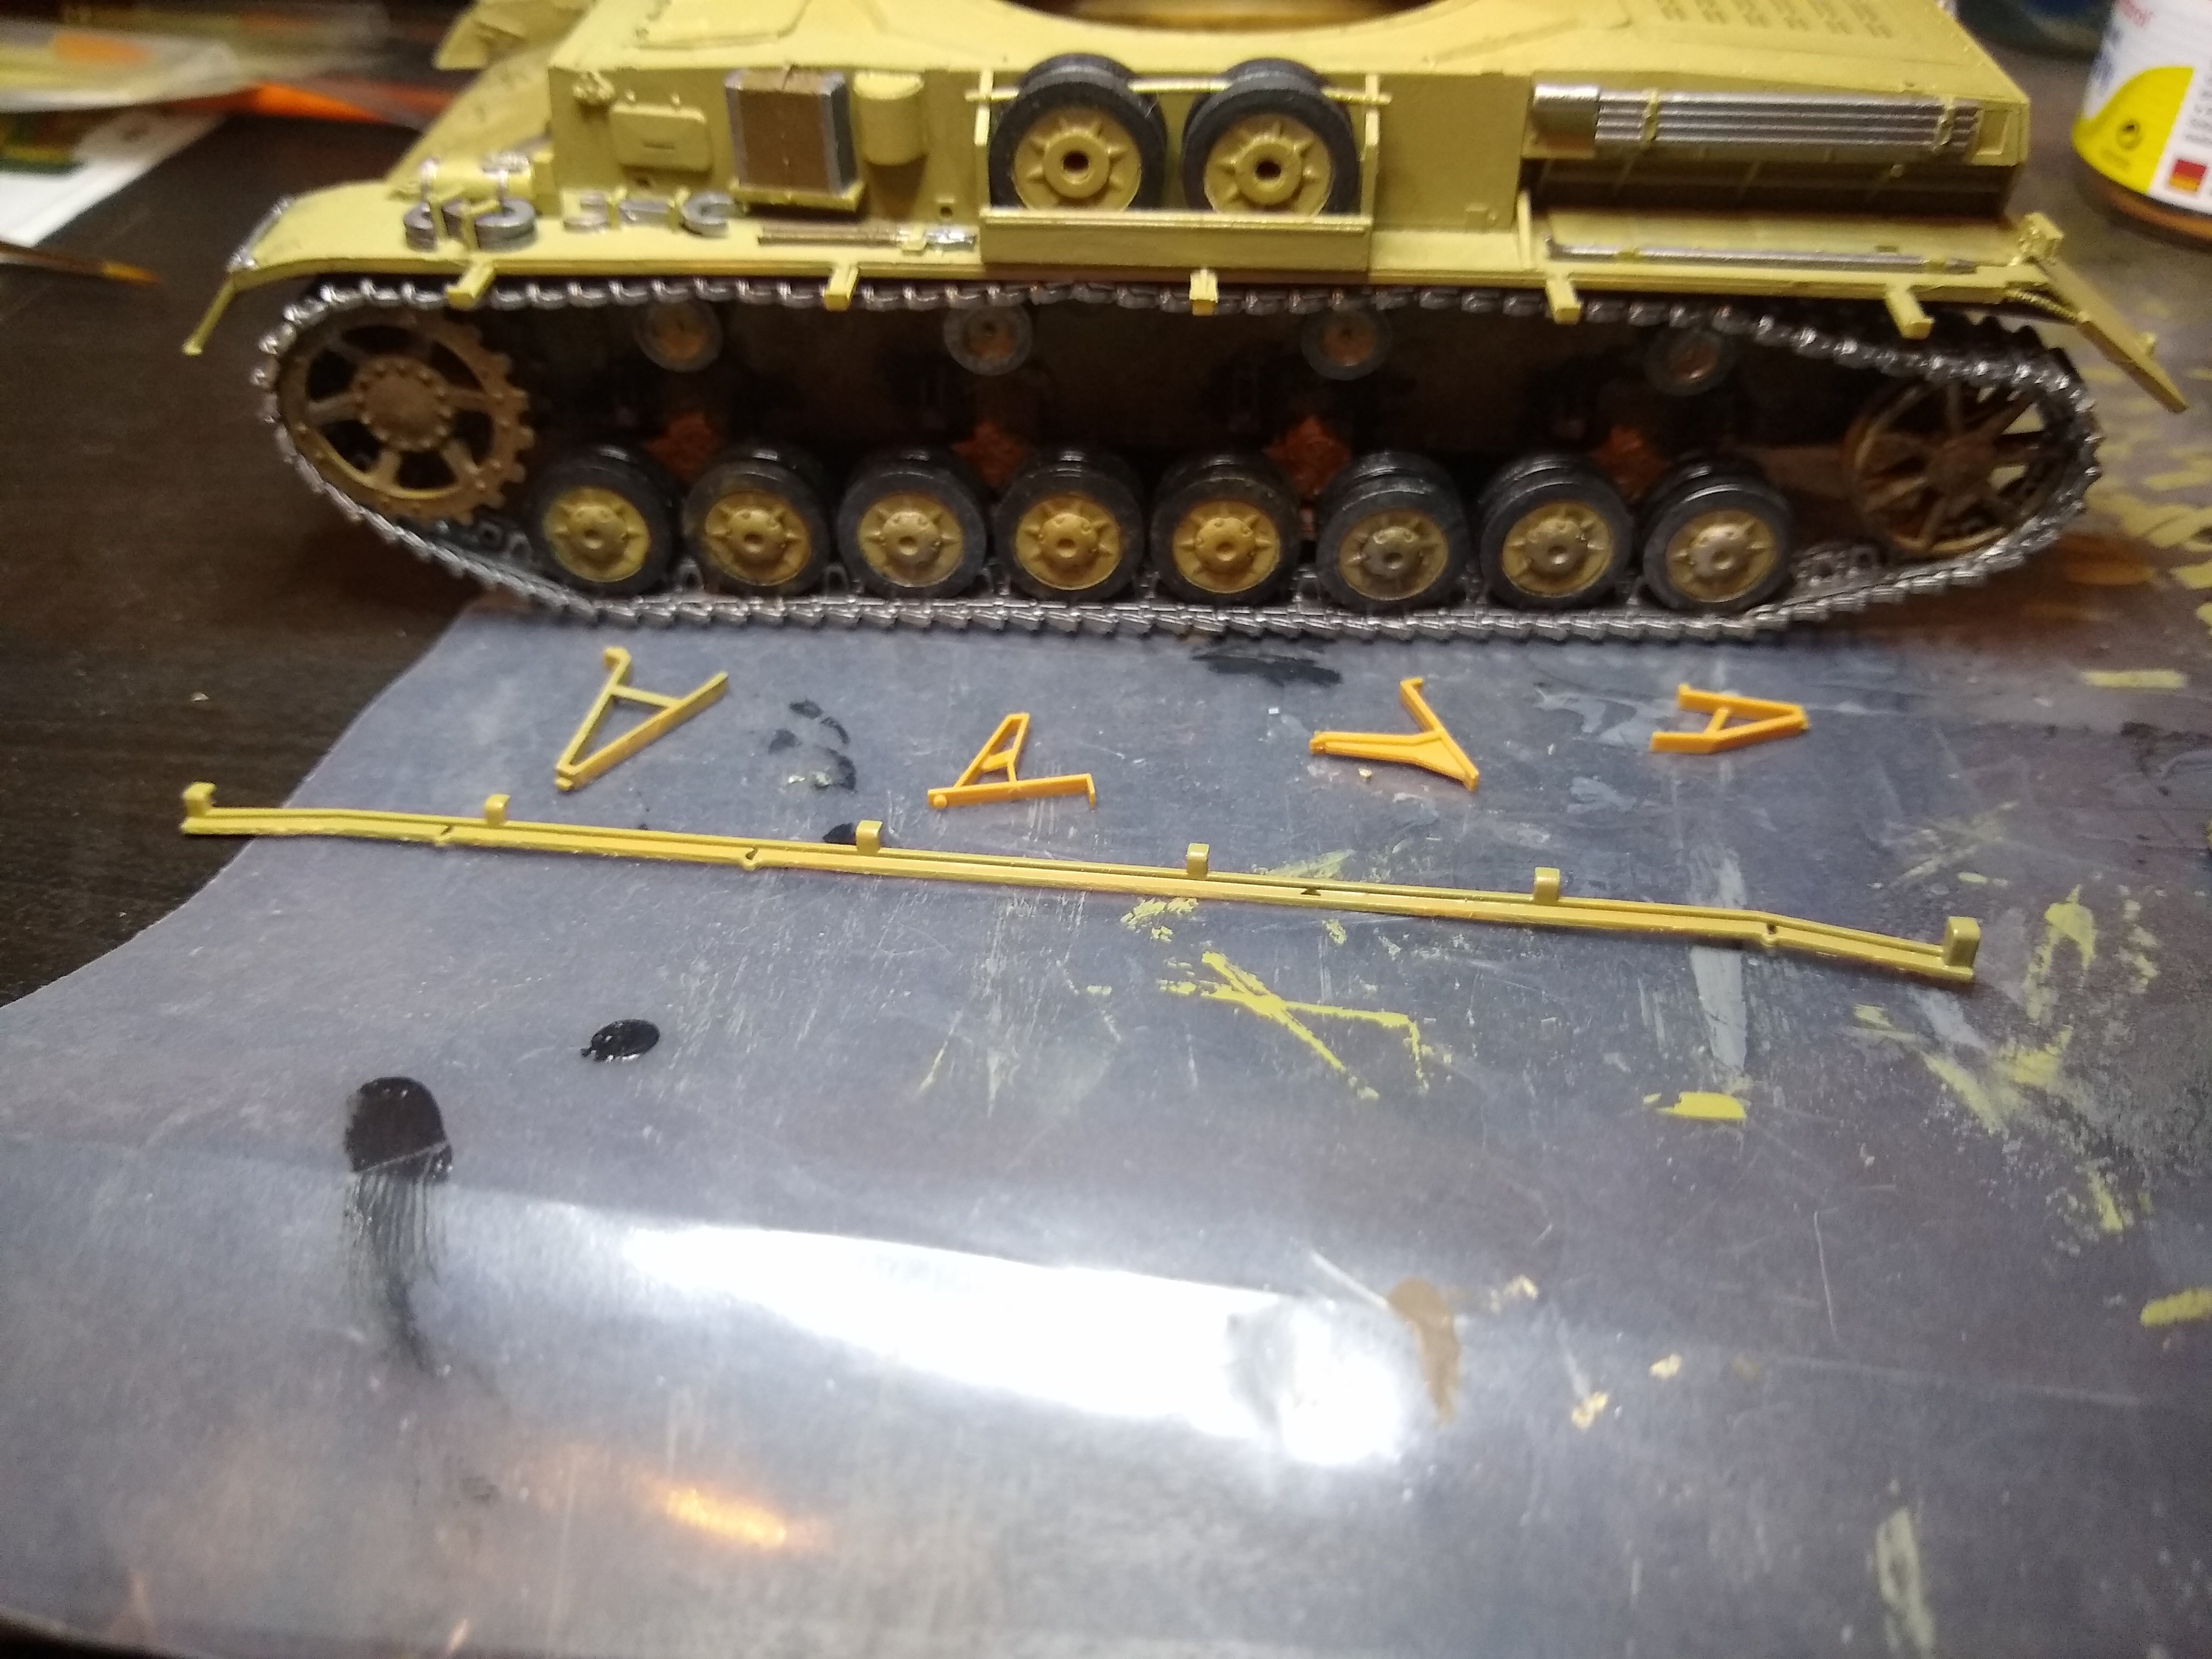
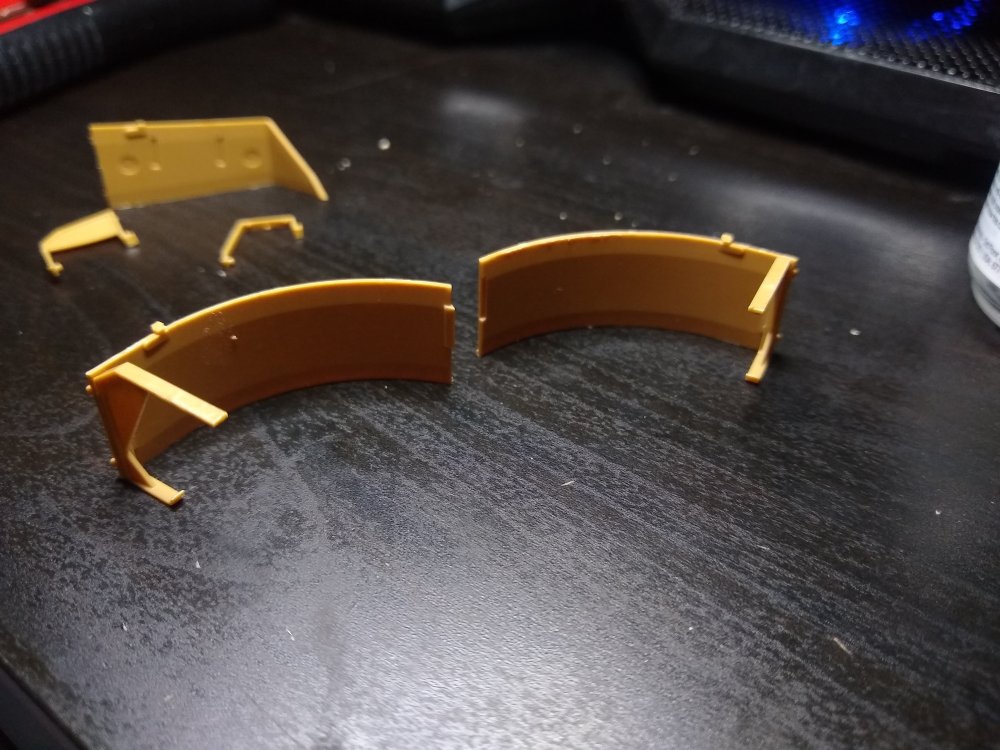
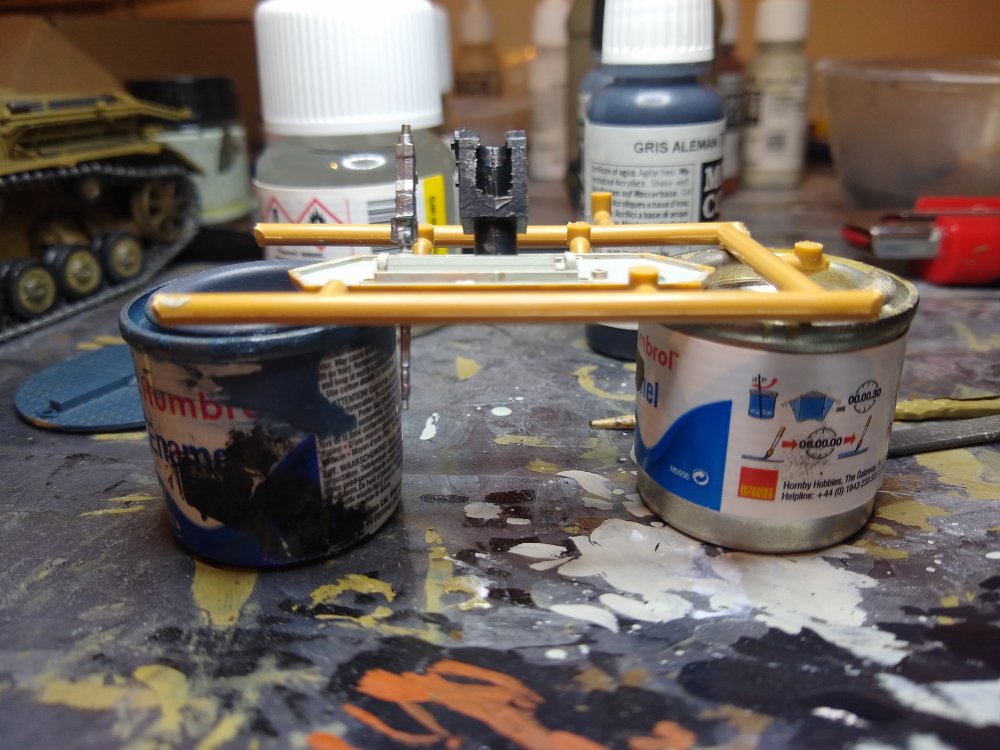
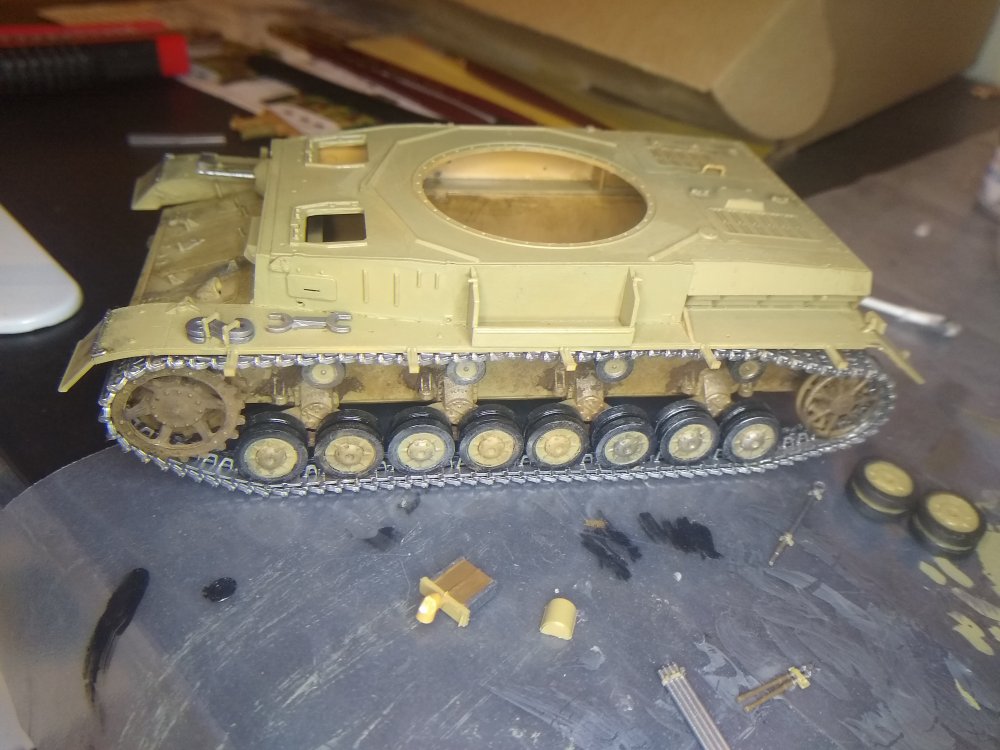
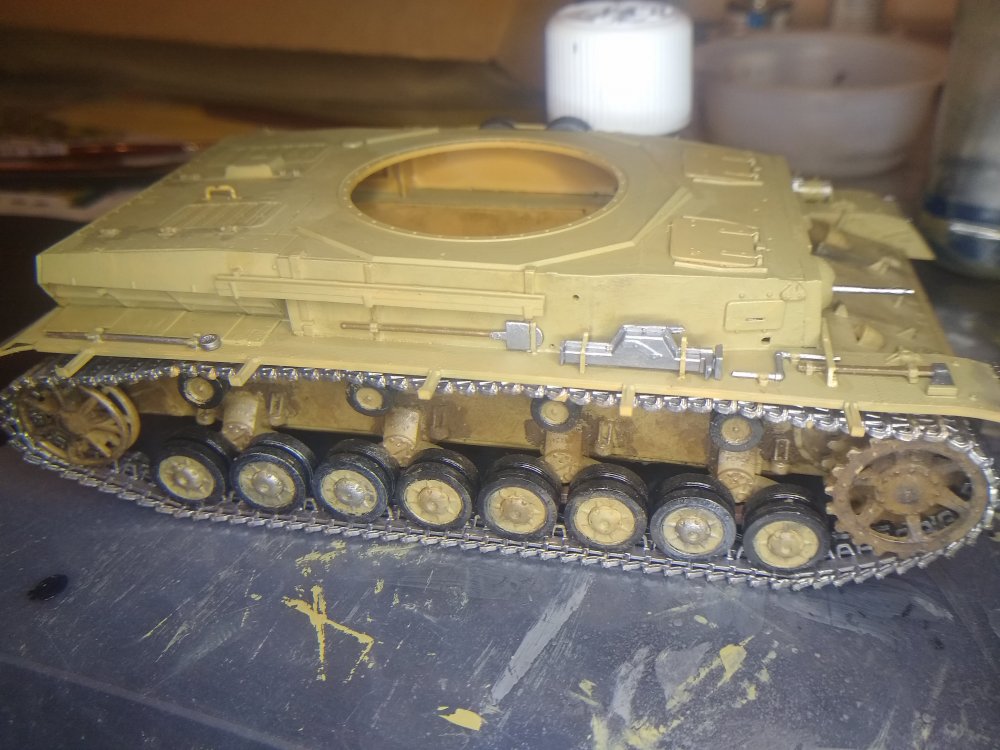
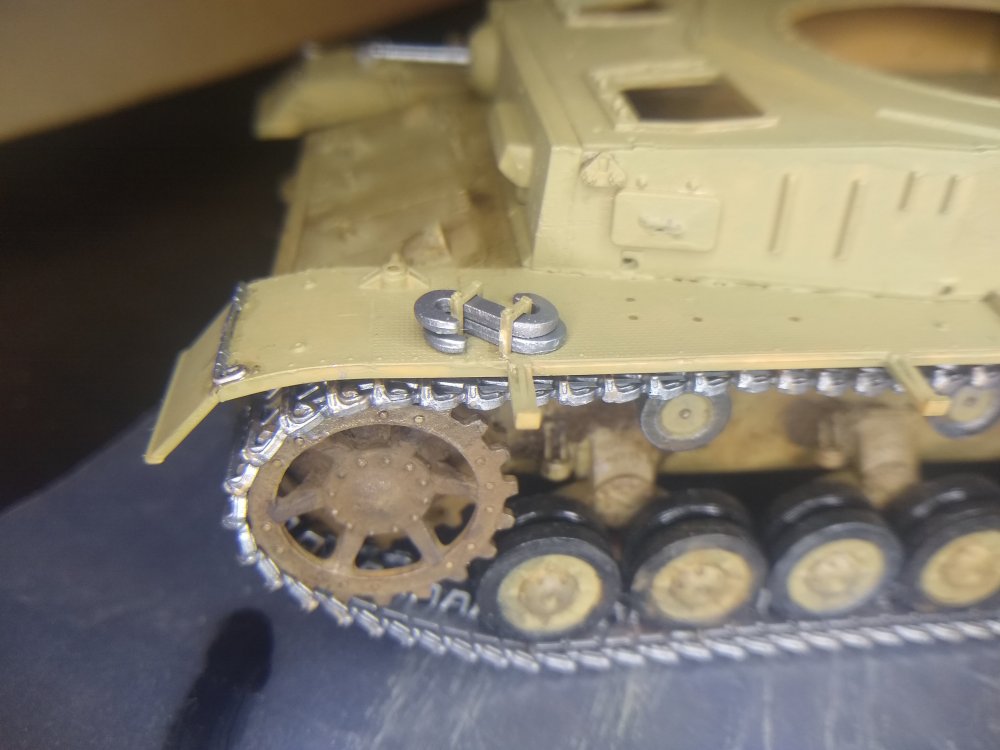
Put together the brackets for the side of the tank. Very fiddly parts to get right.Then tryed dry fitting them to the hull with the side skirts as well.then right.Also put the headlights on too.No


-
German Panzer IV Ausf H
Daniel_Roxy replied to Daniel_Roxy's topic in LSM 1/35 and Larger Work In Progress
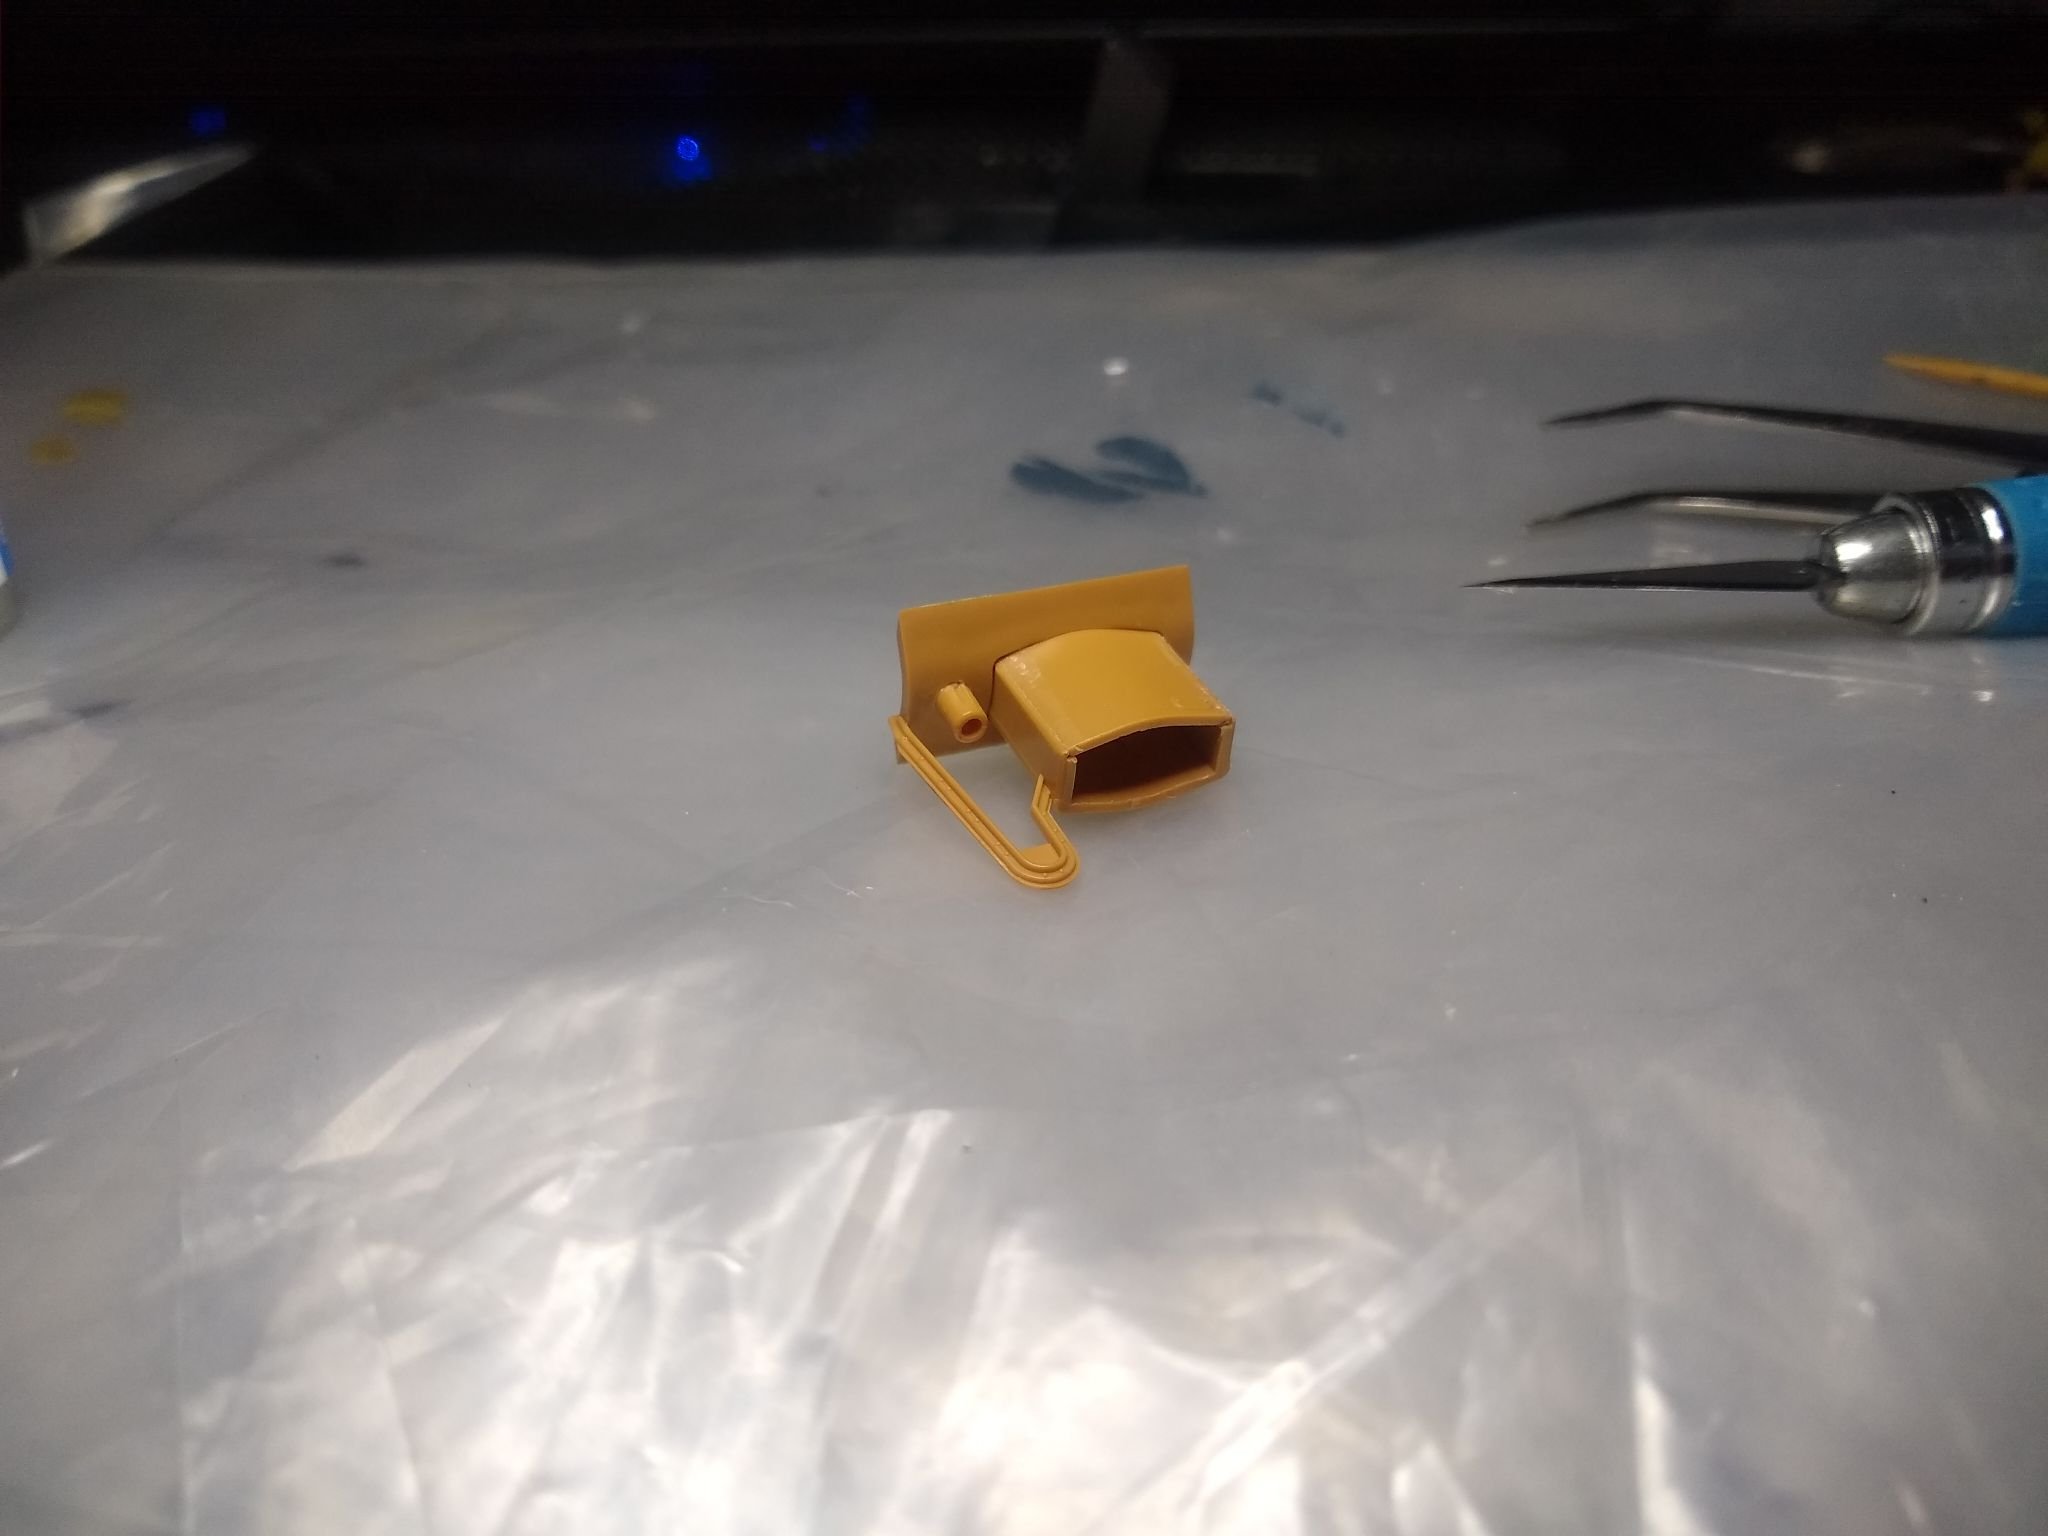
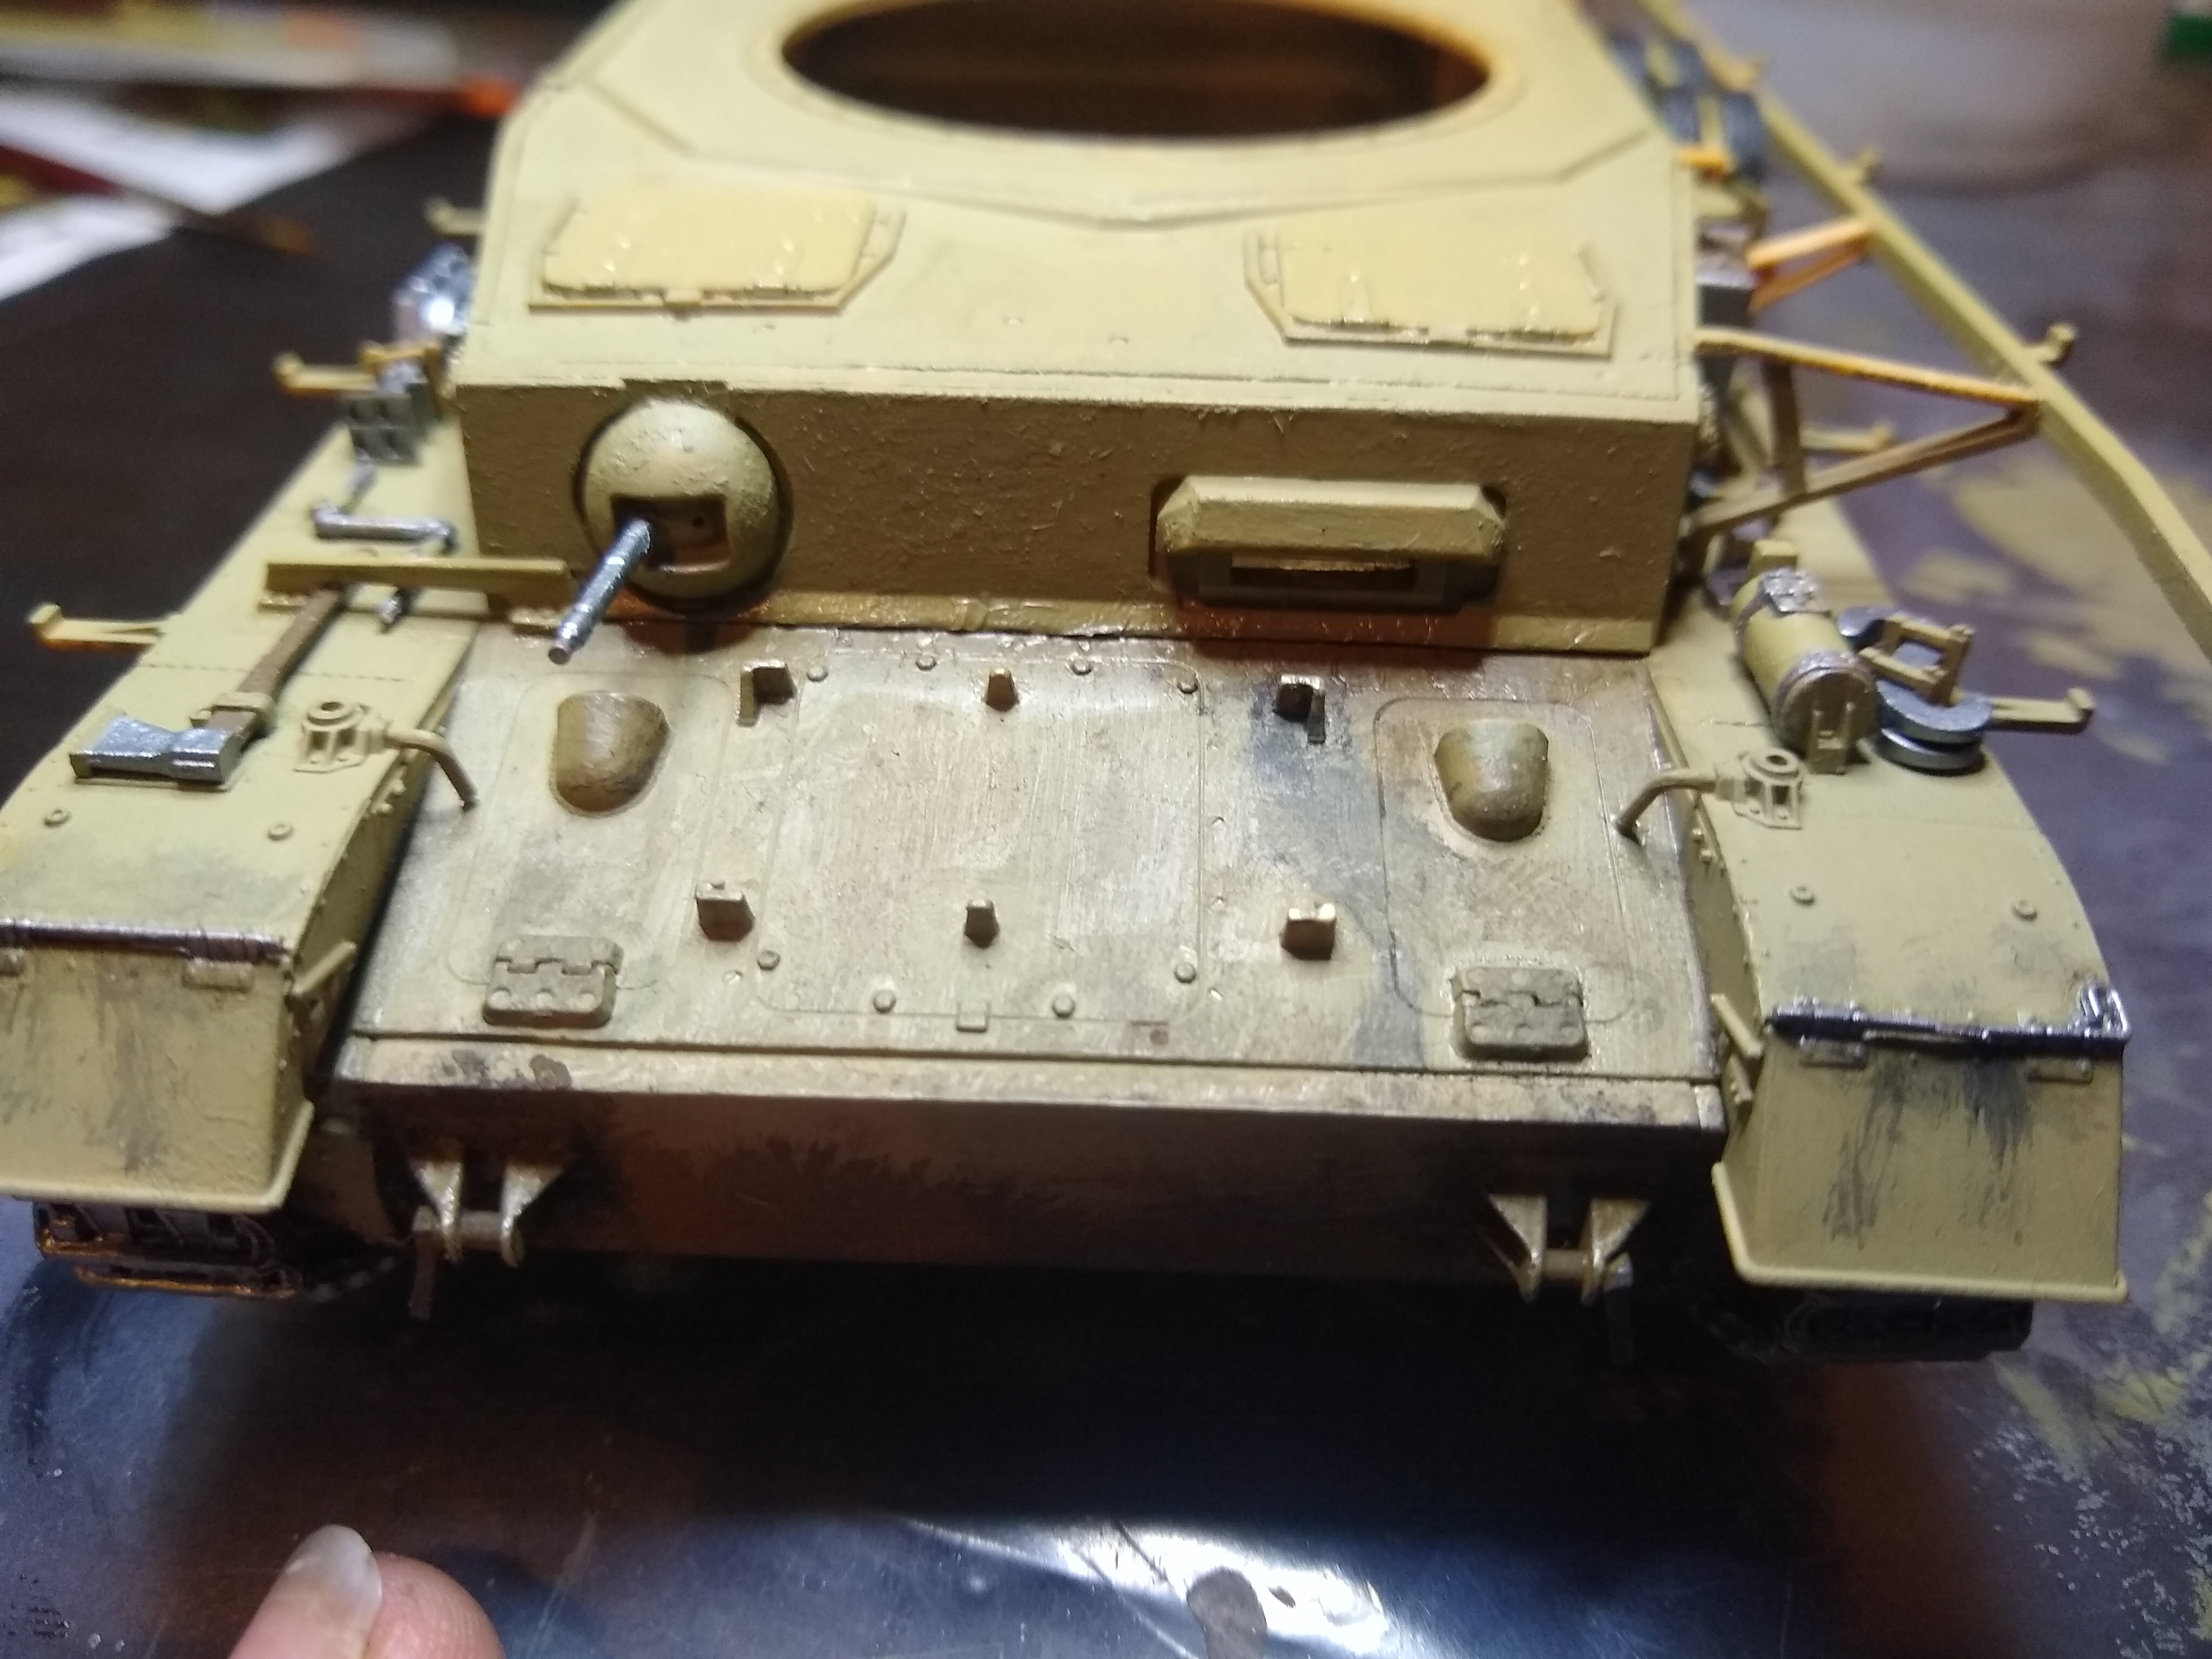
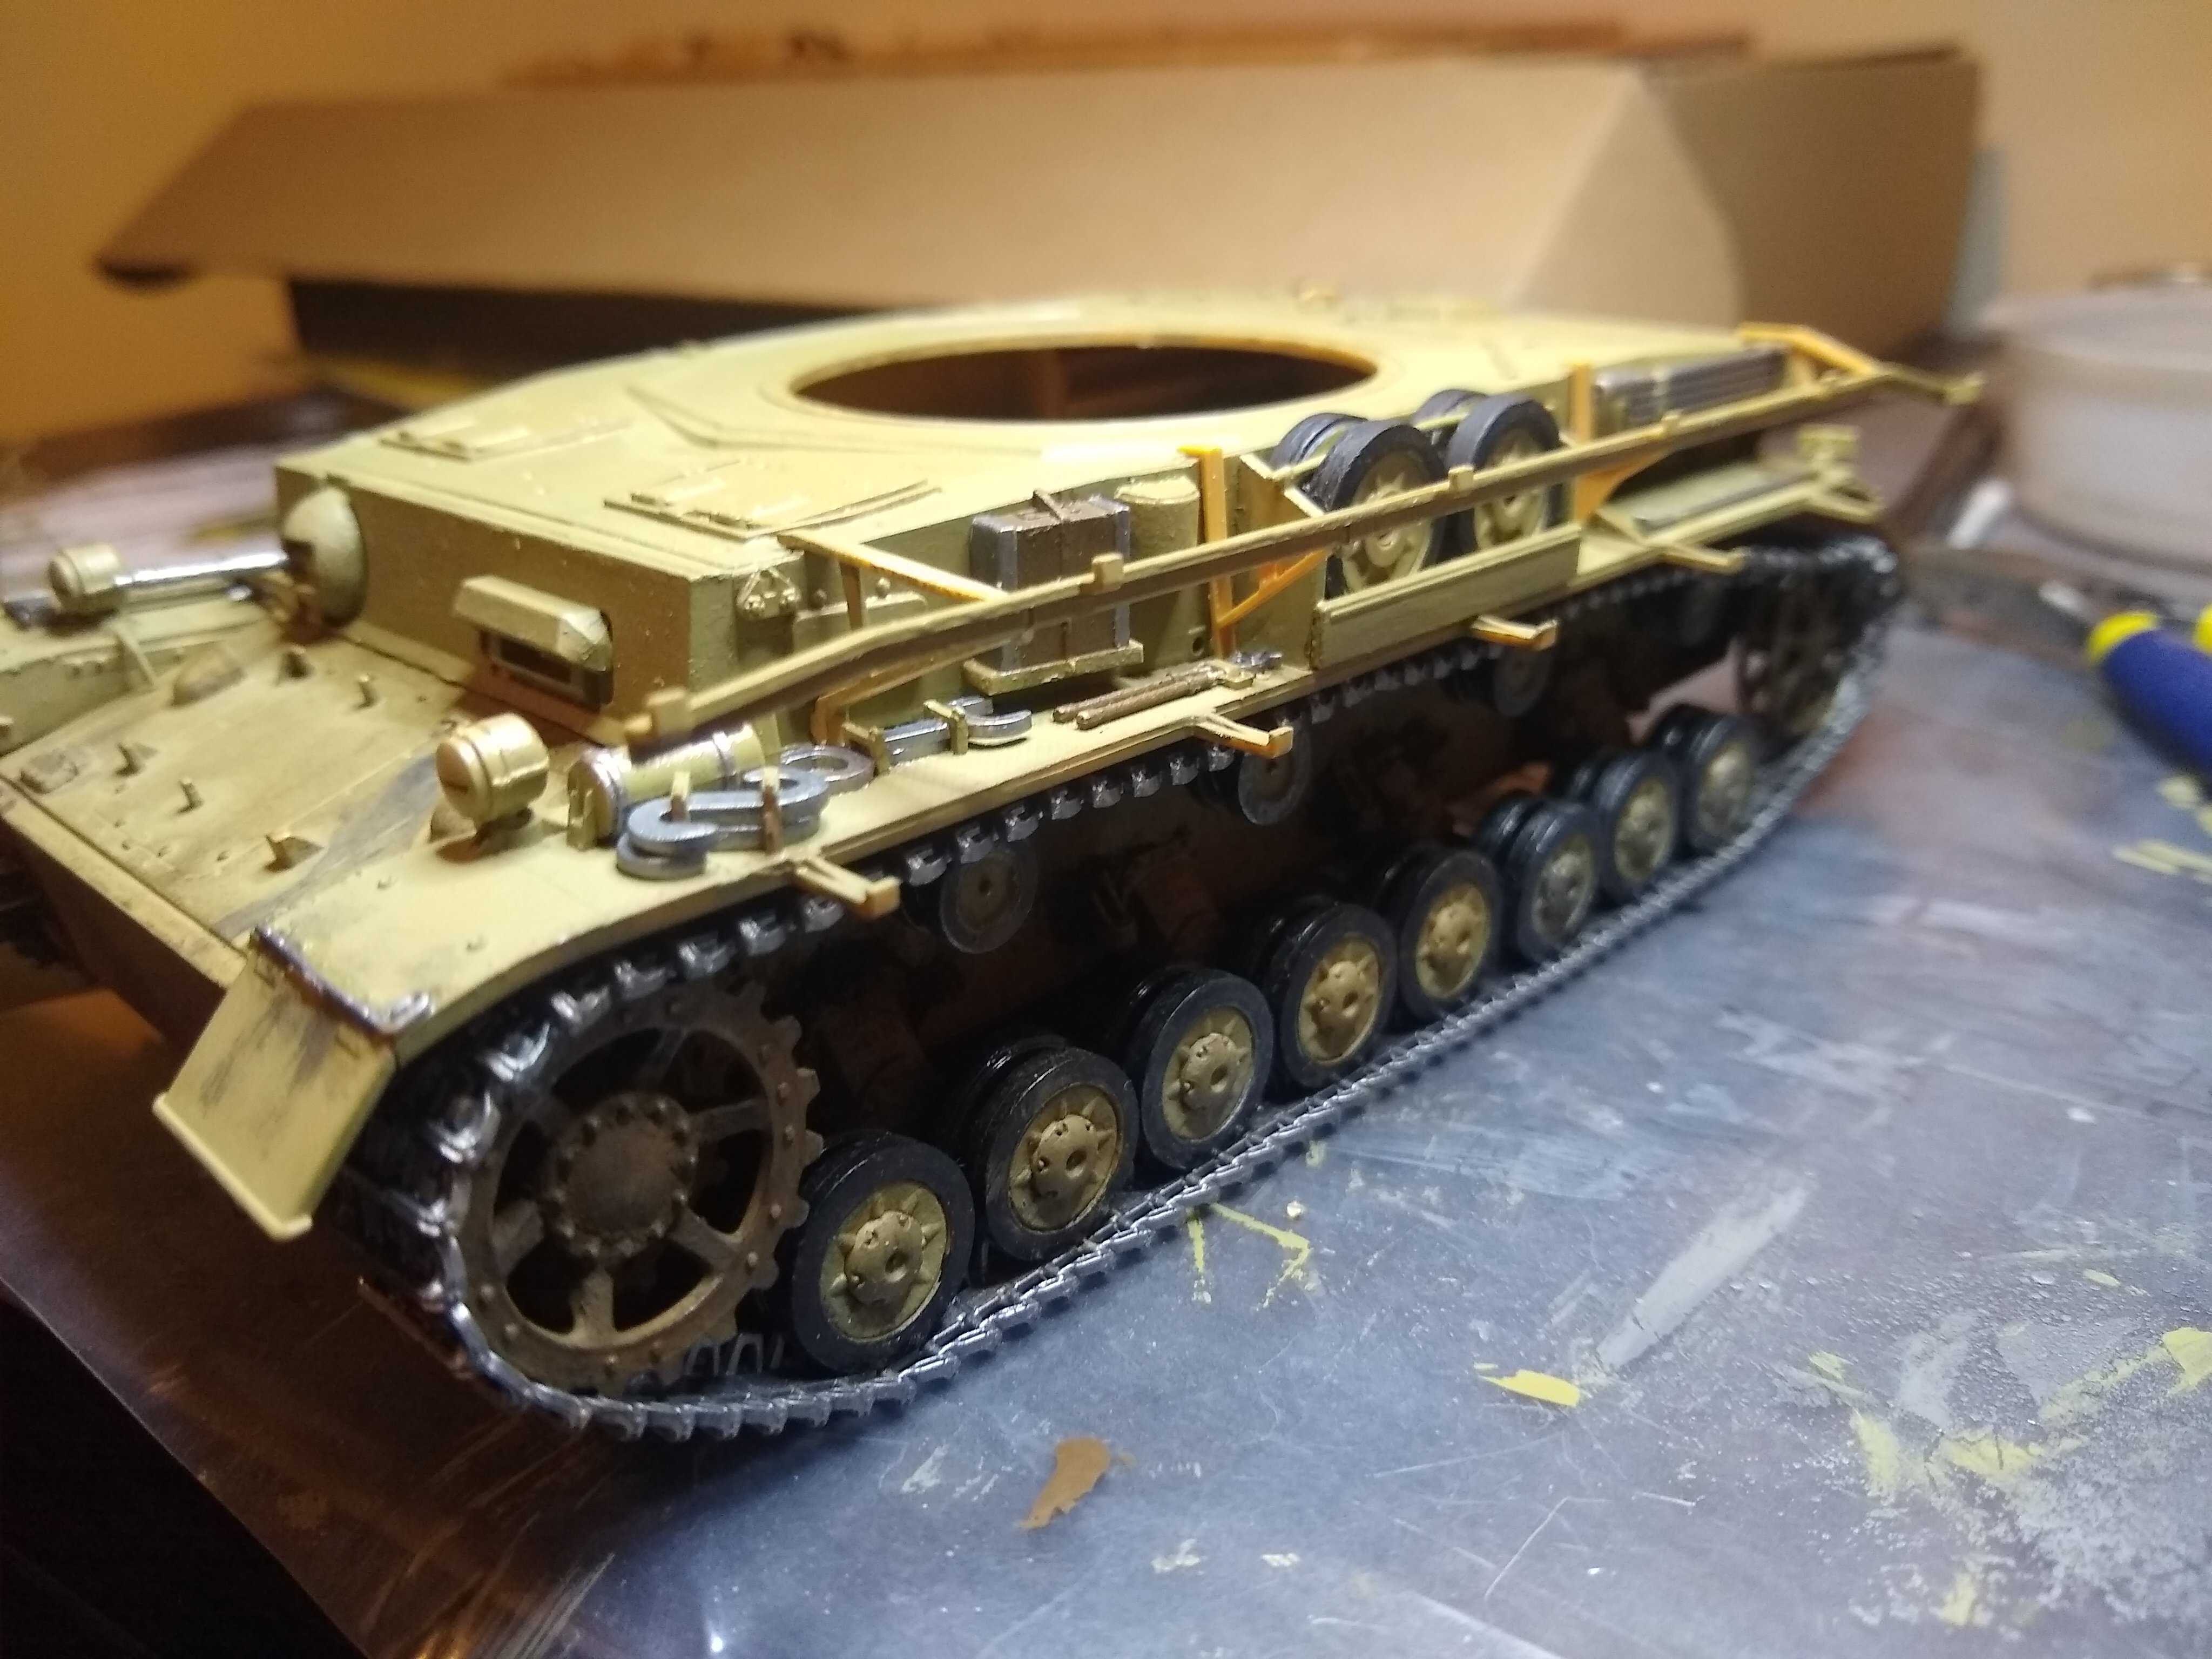
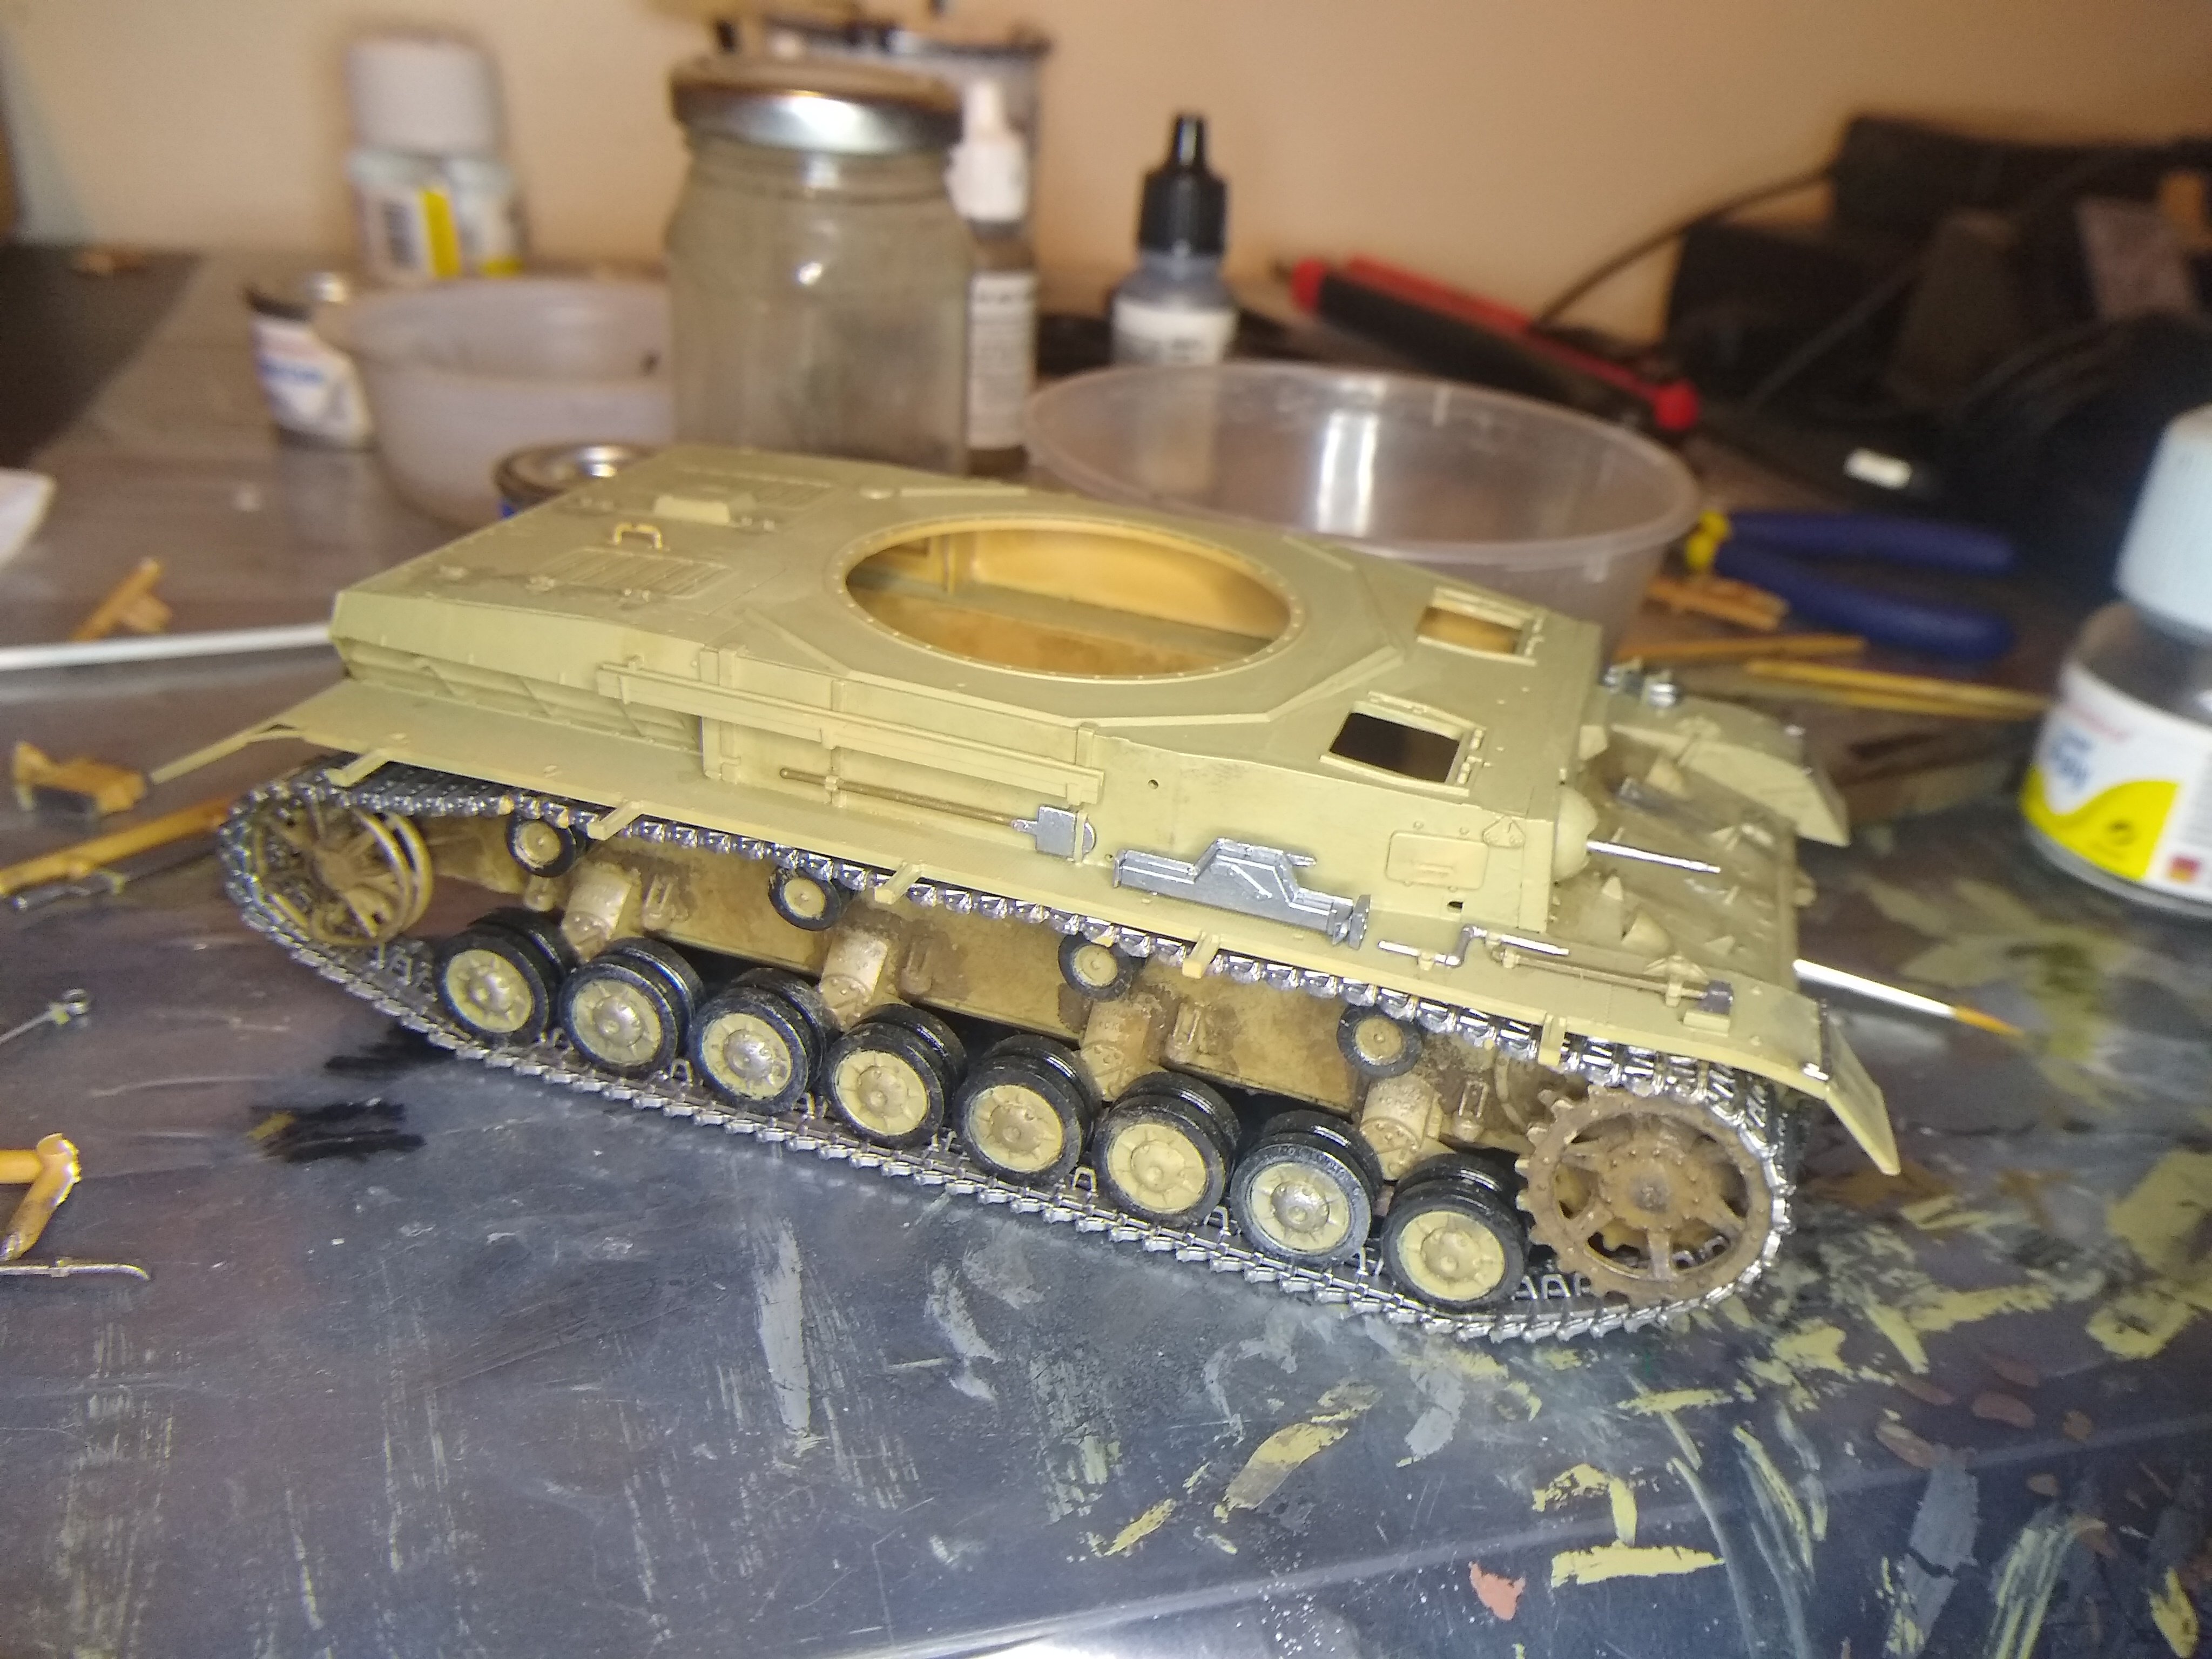
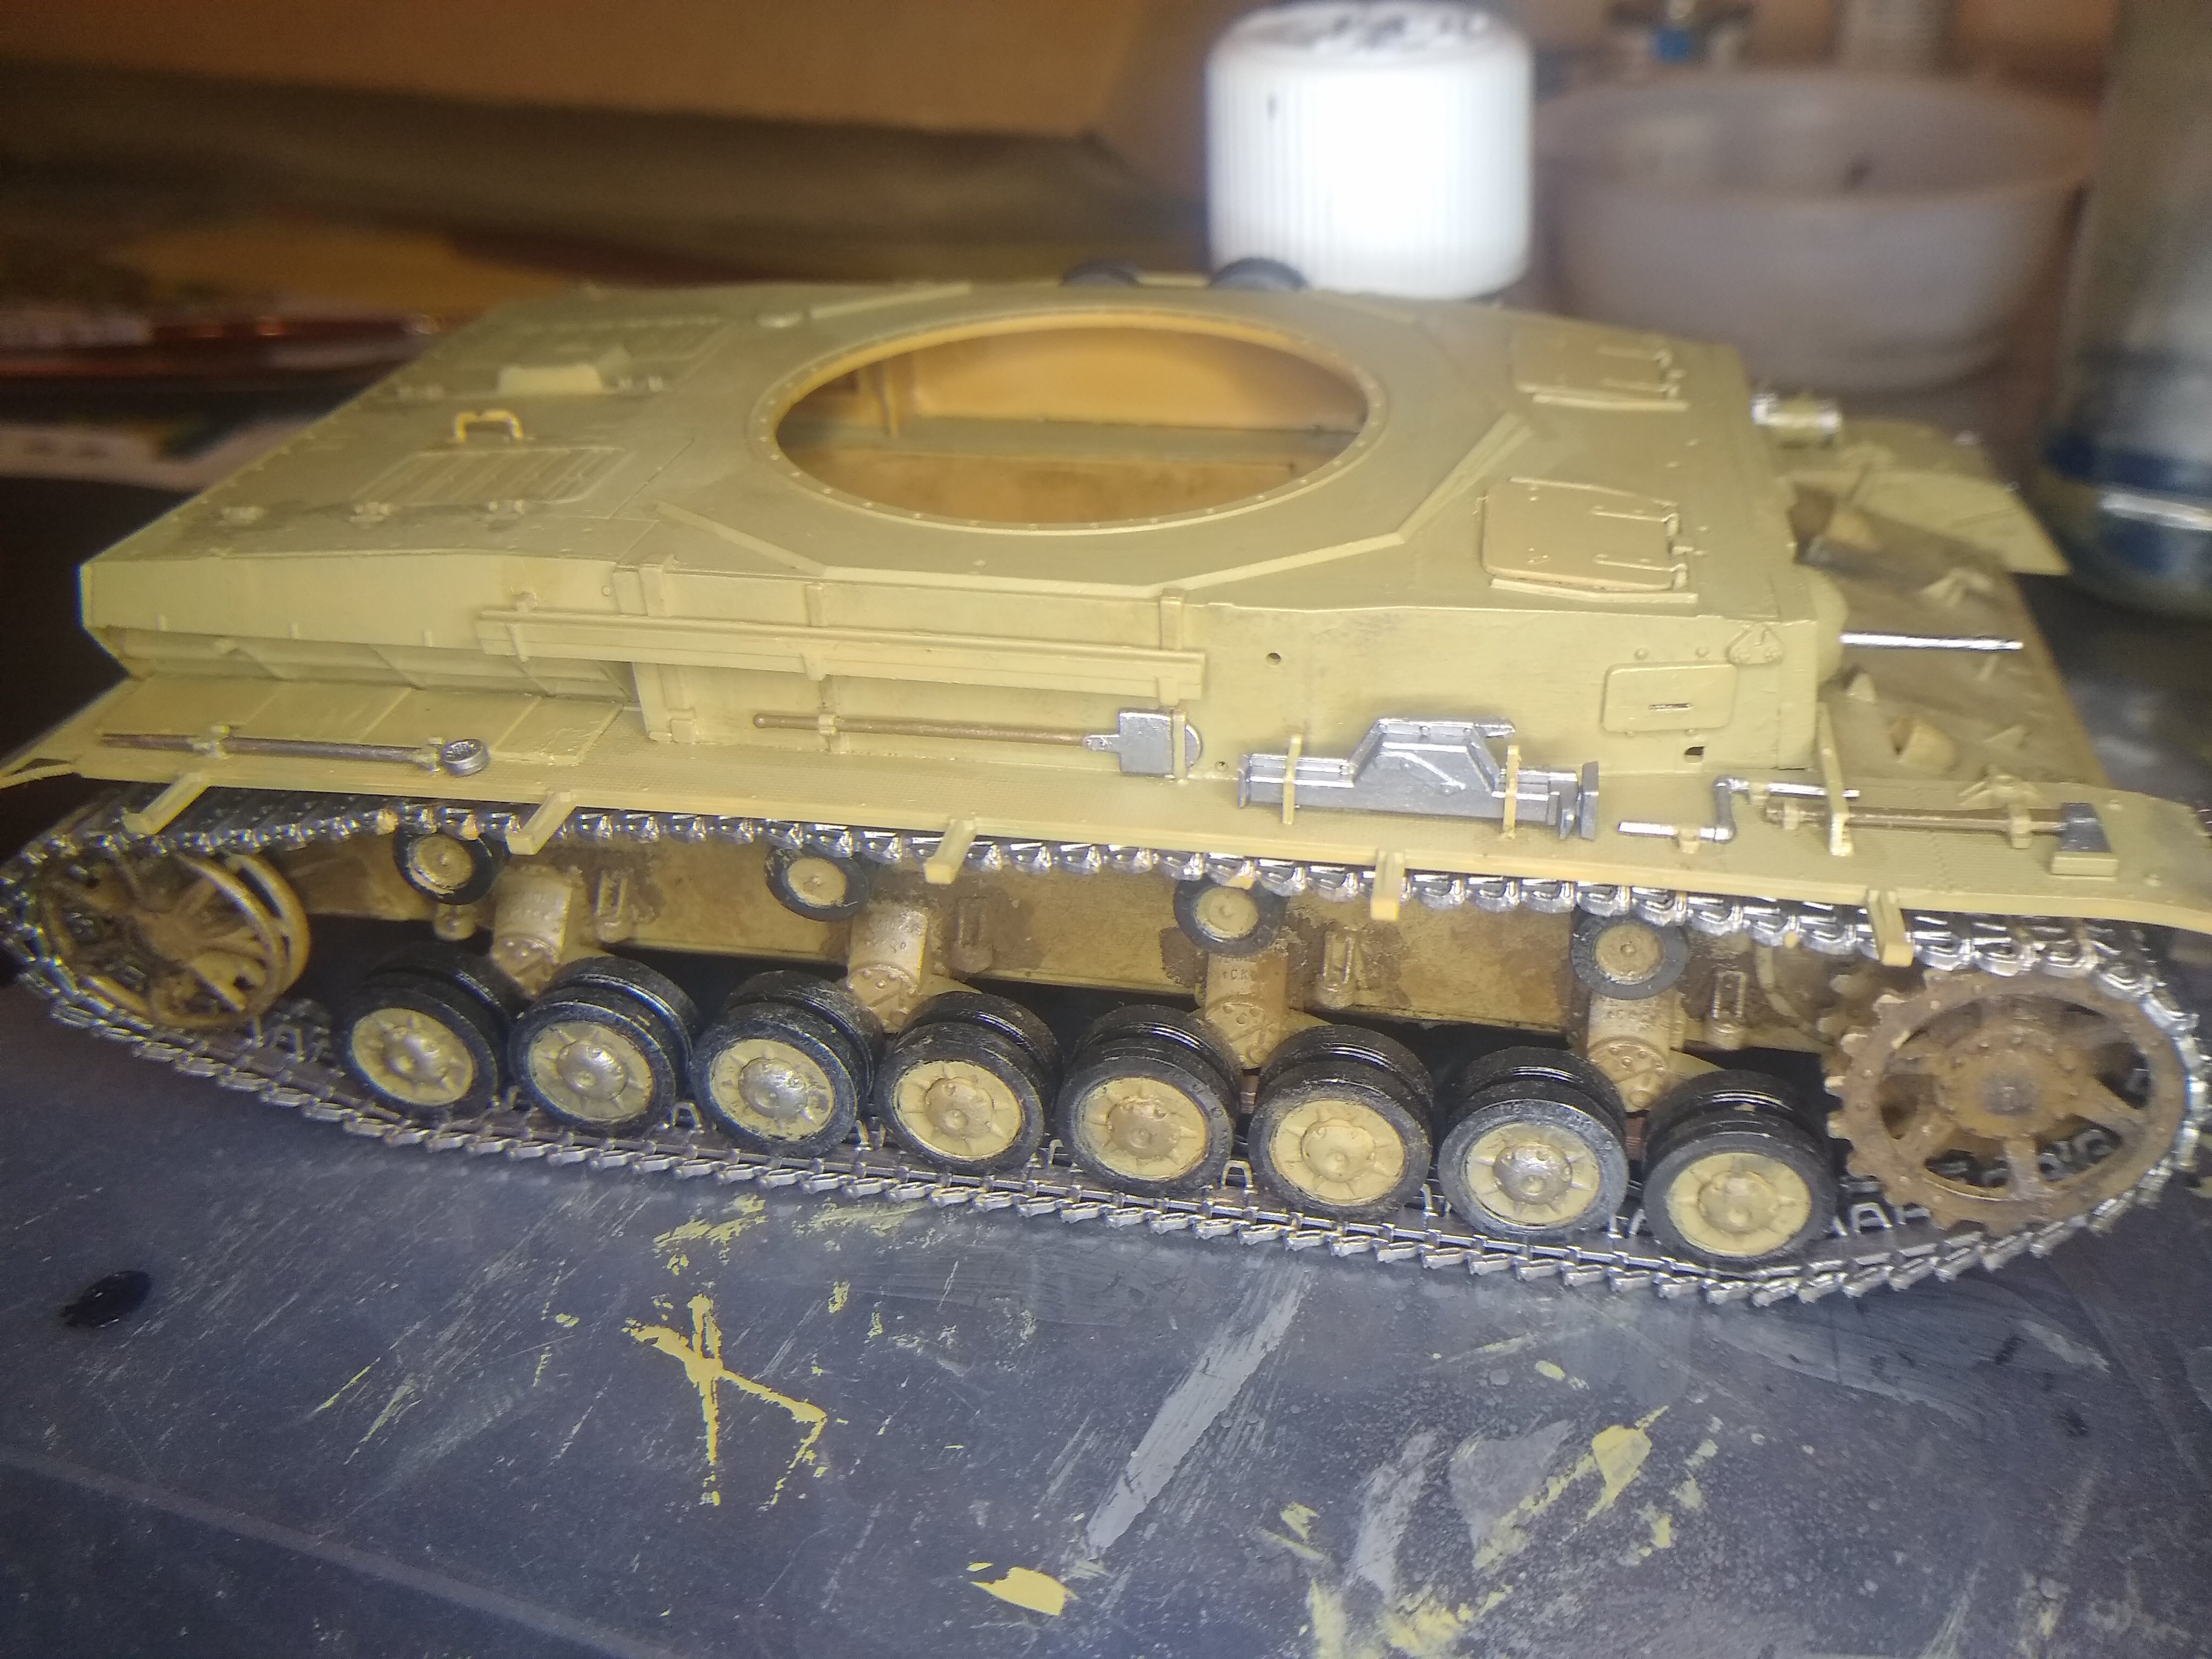
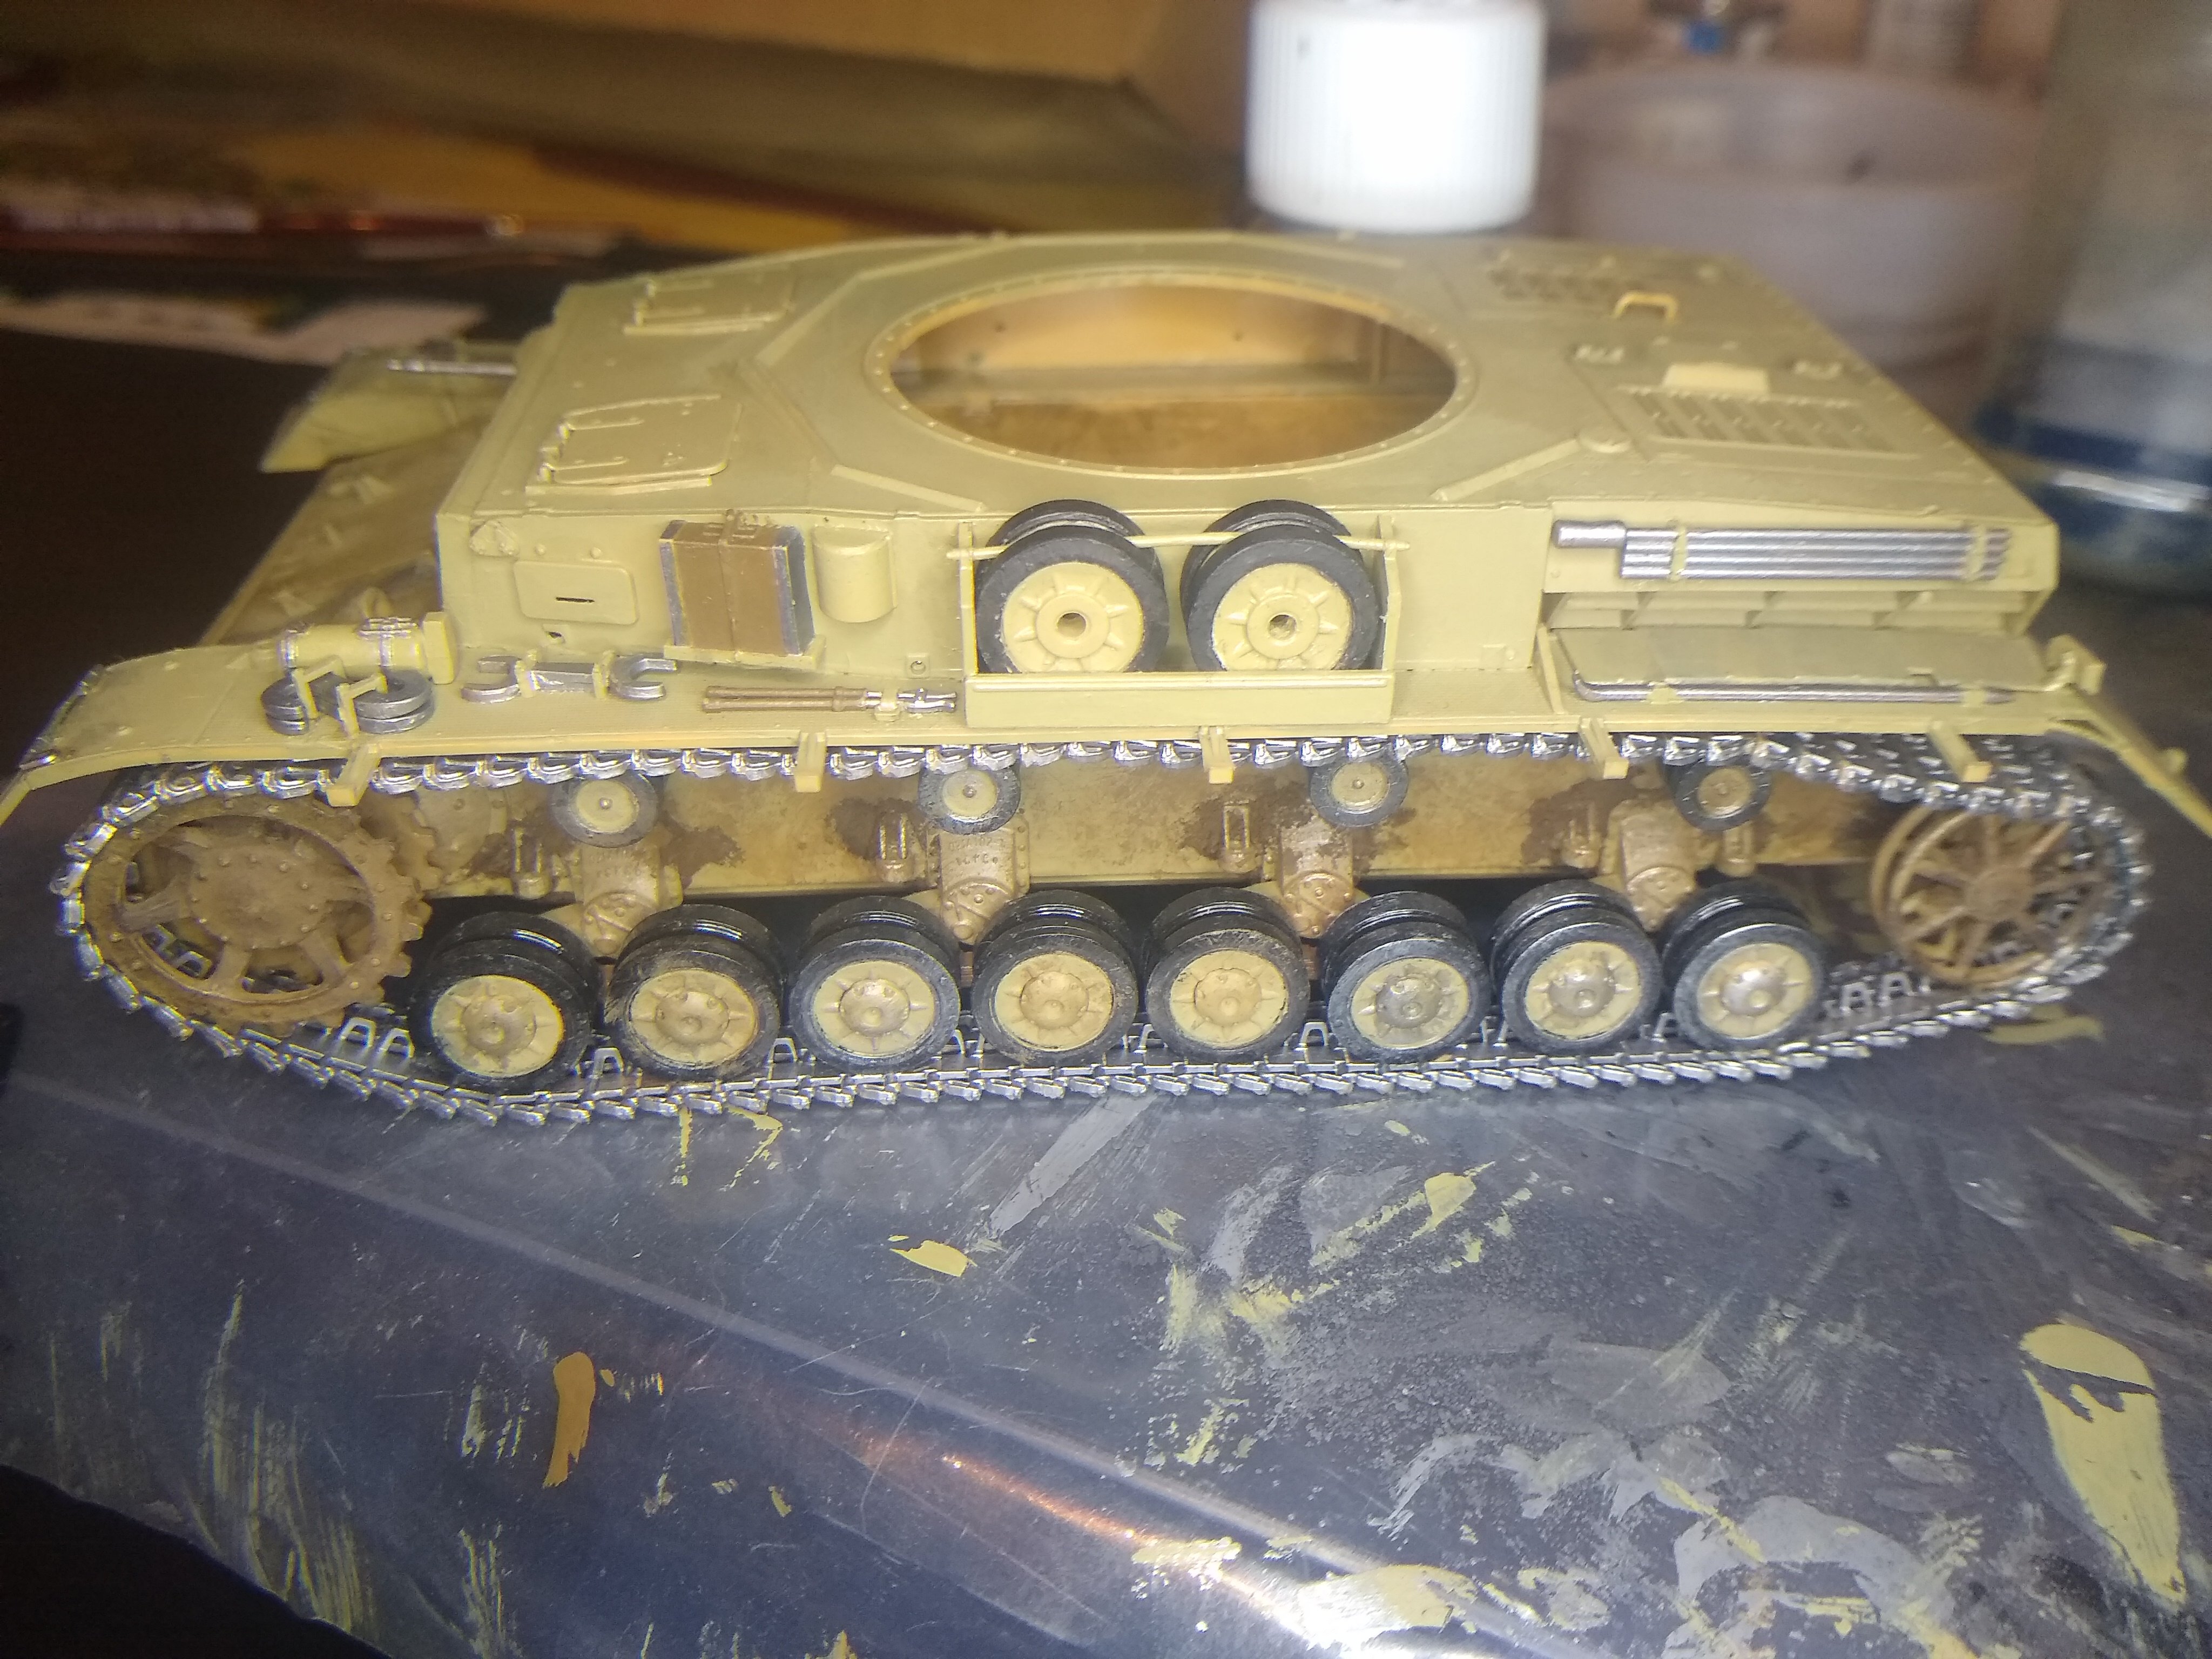
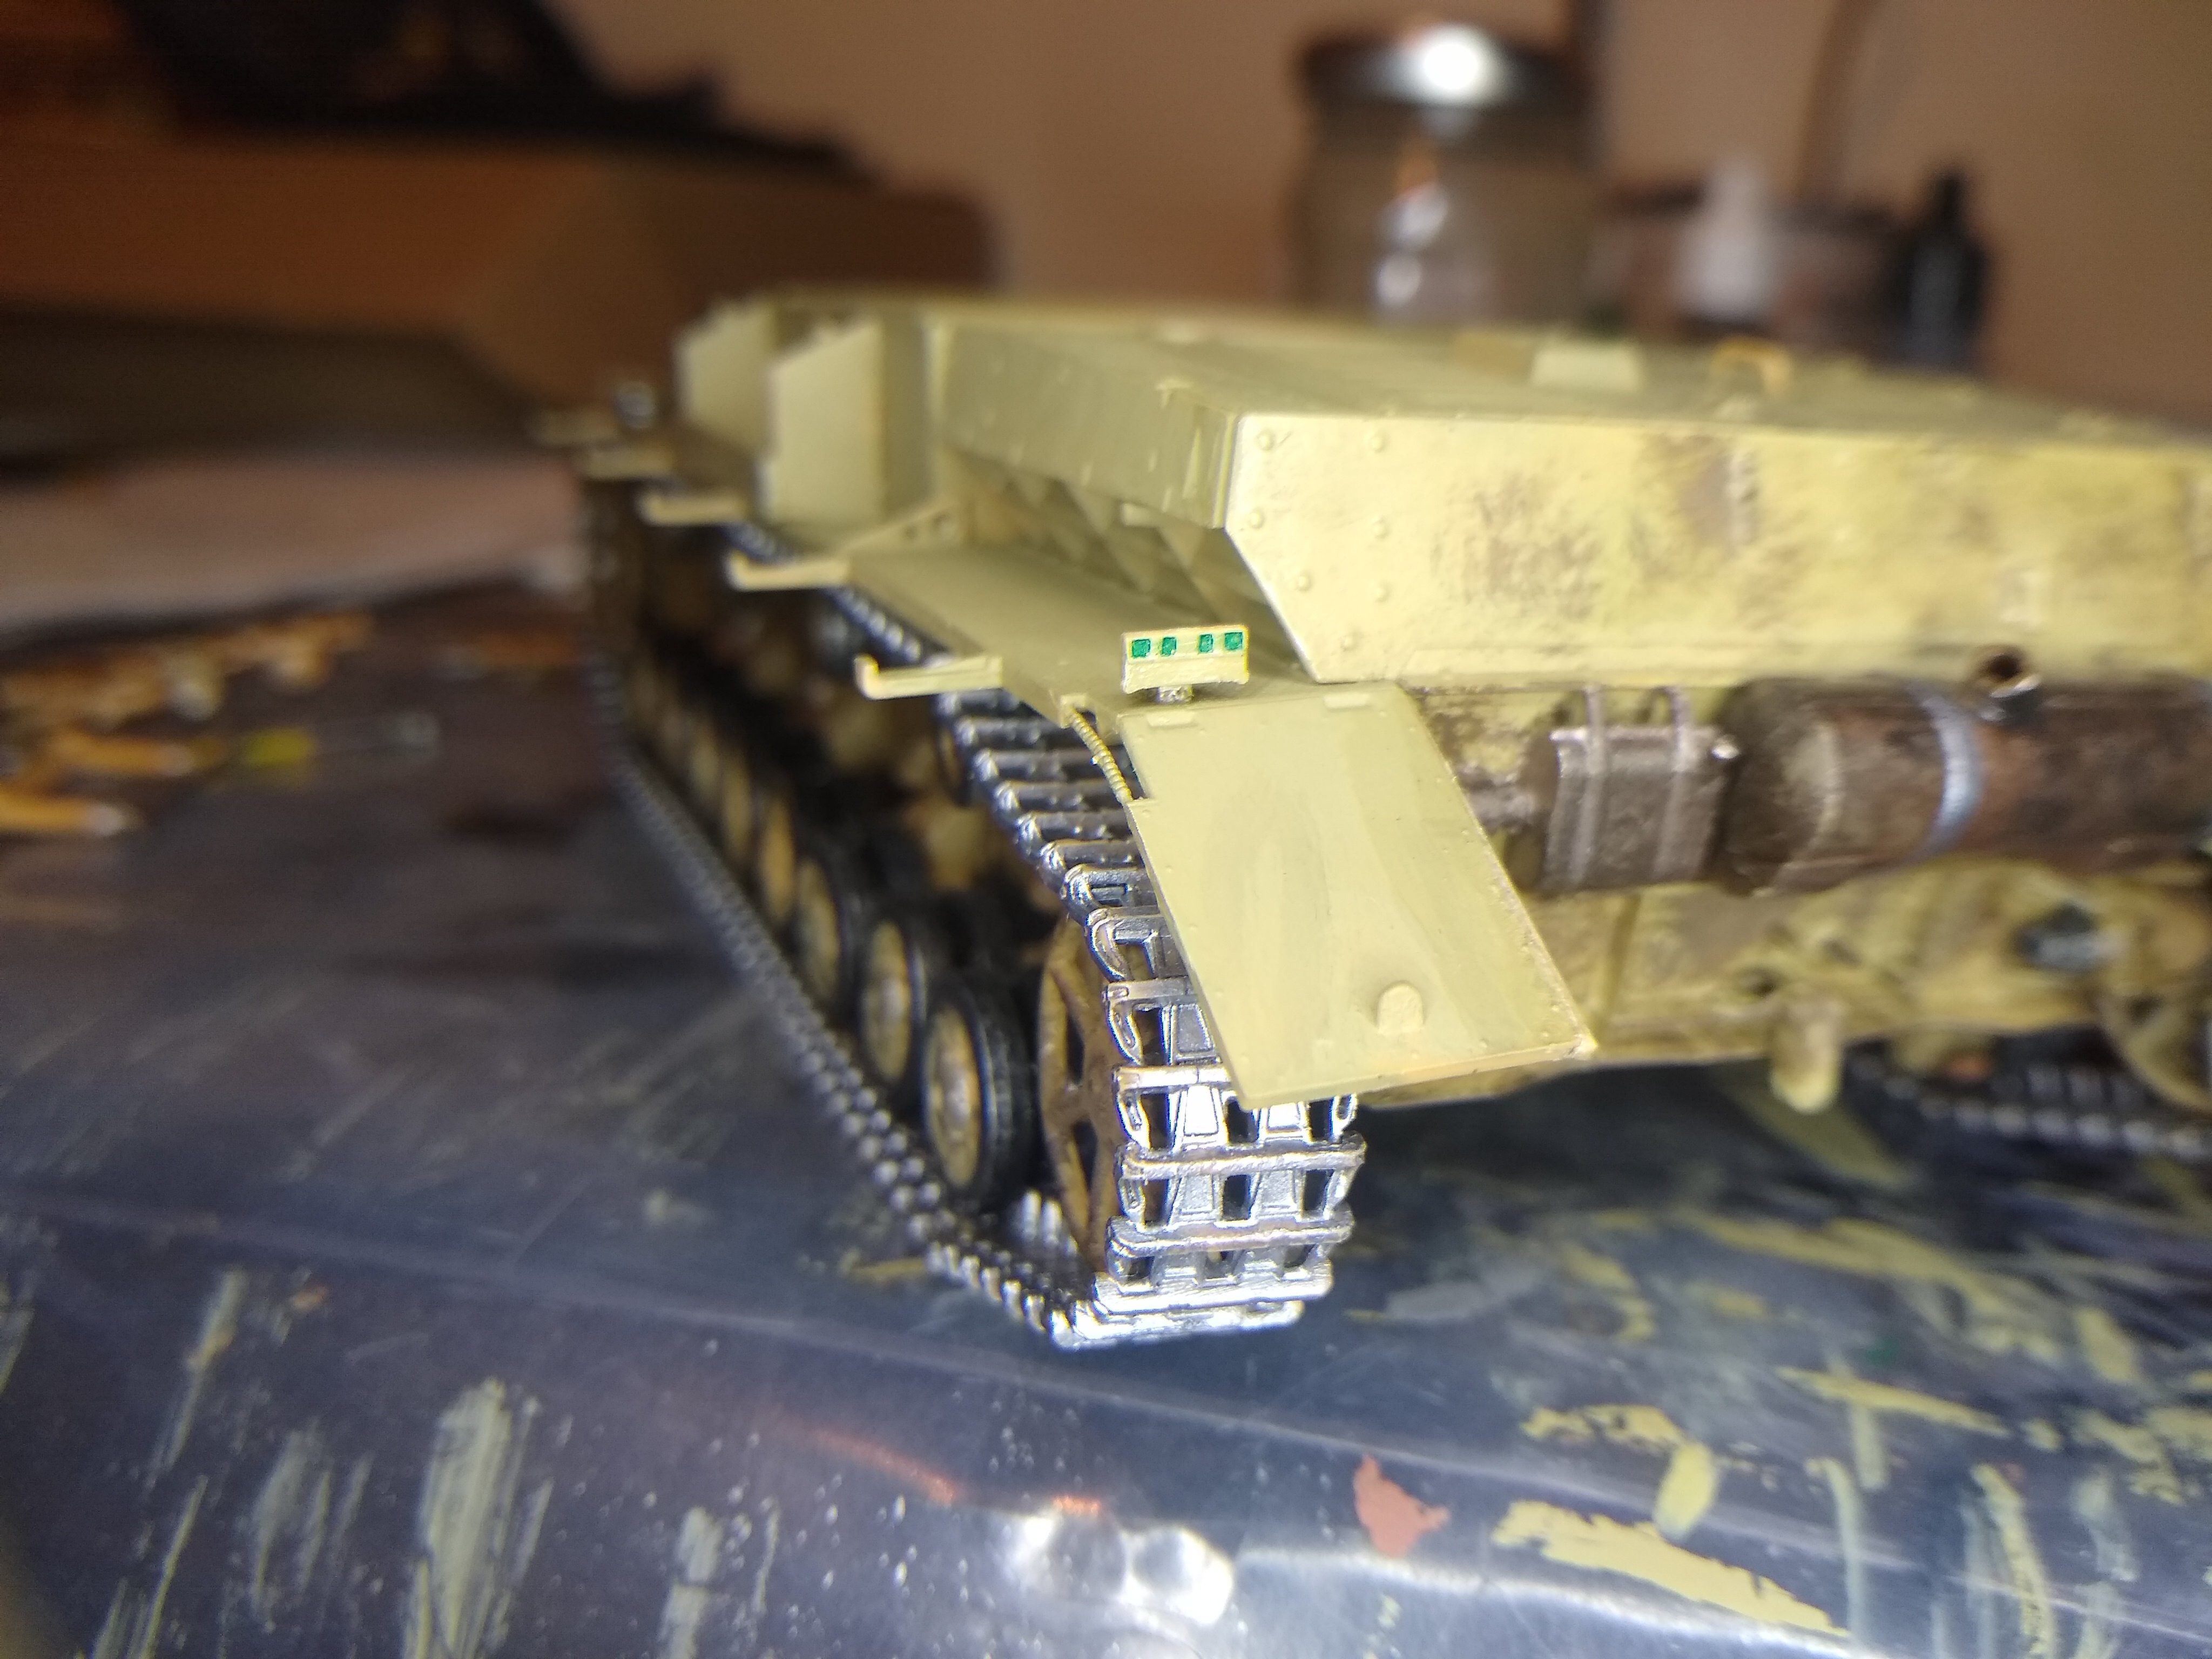
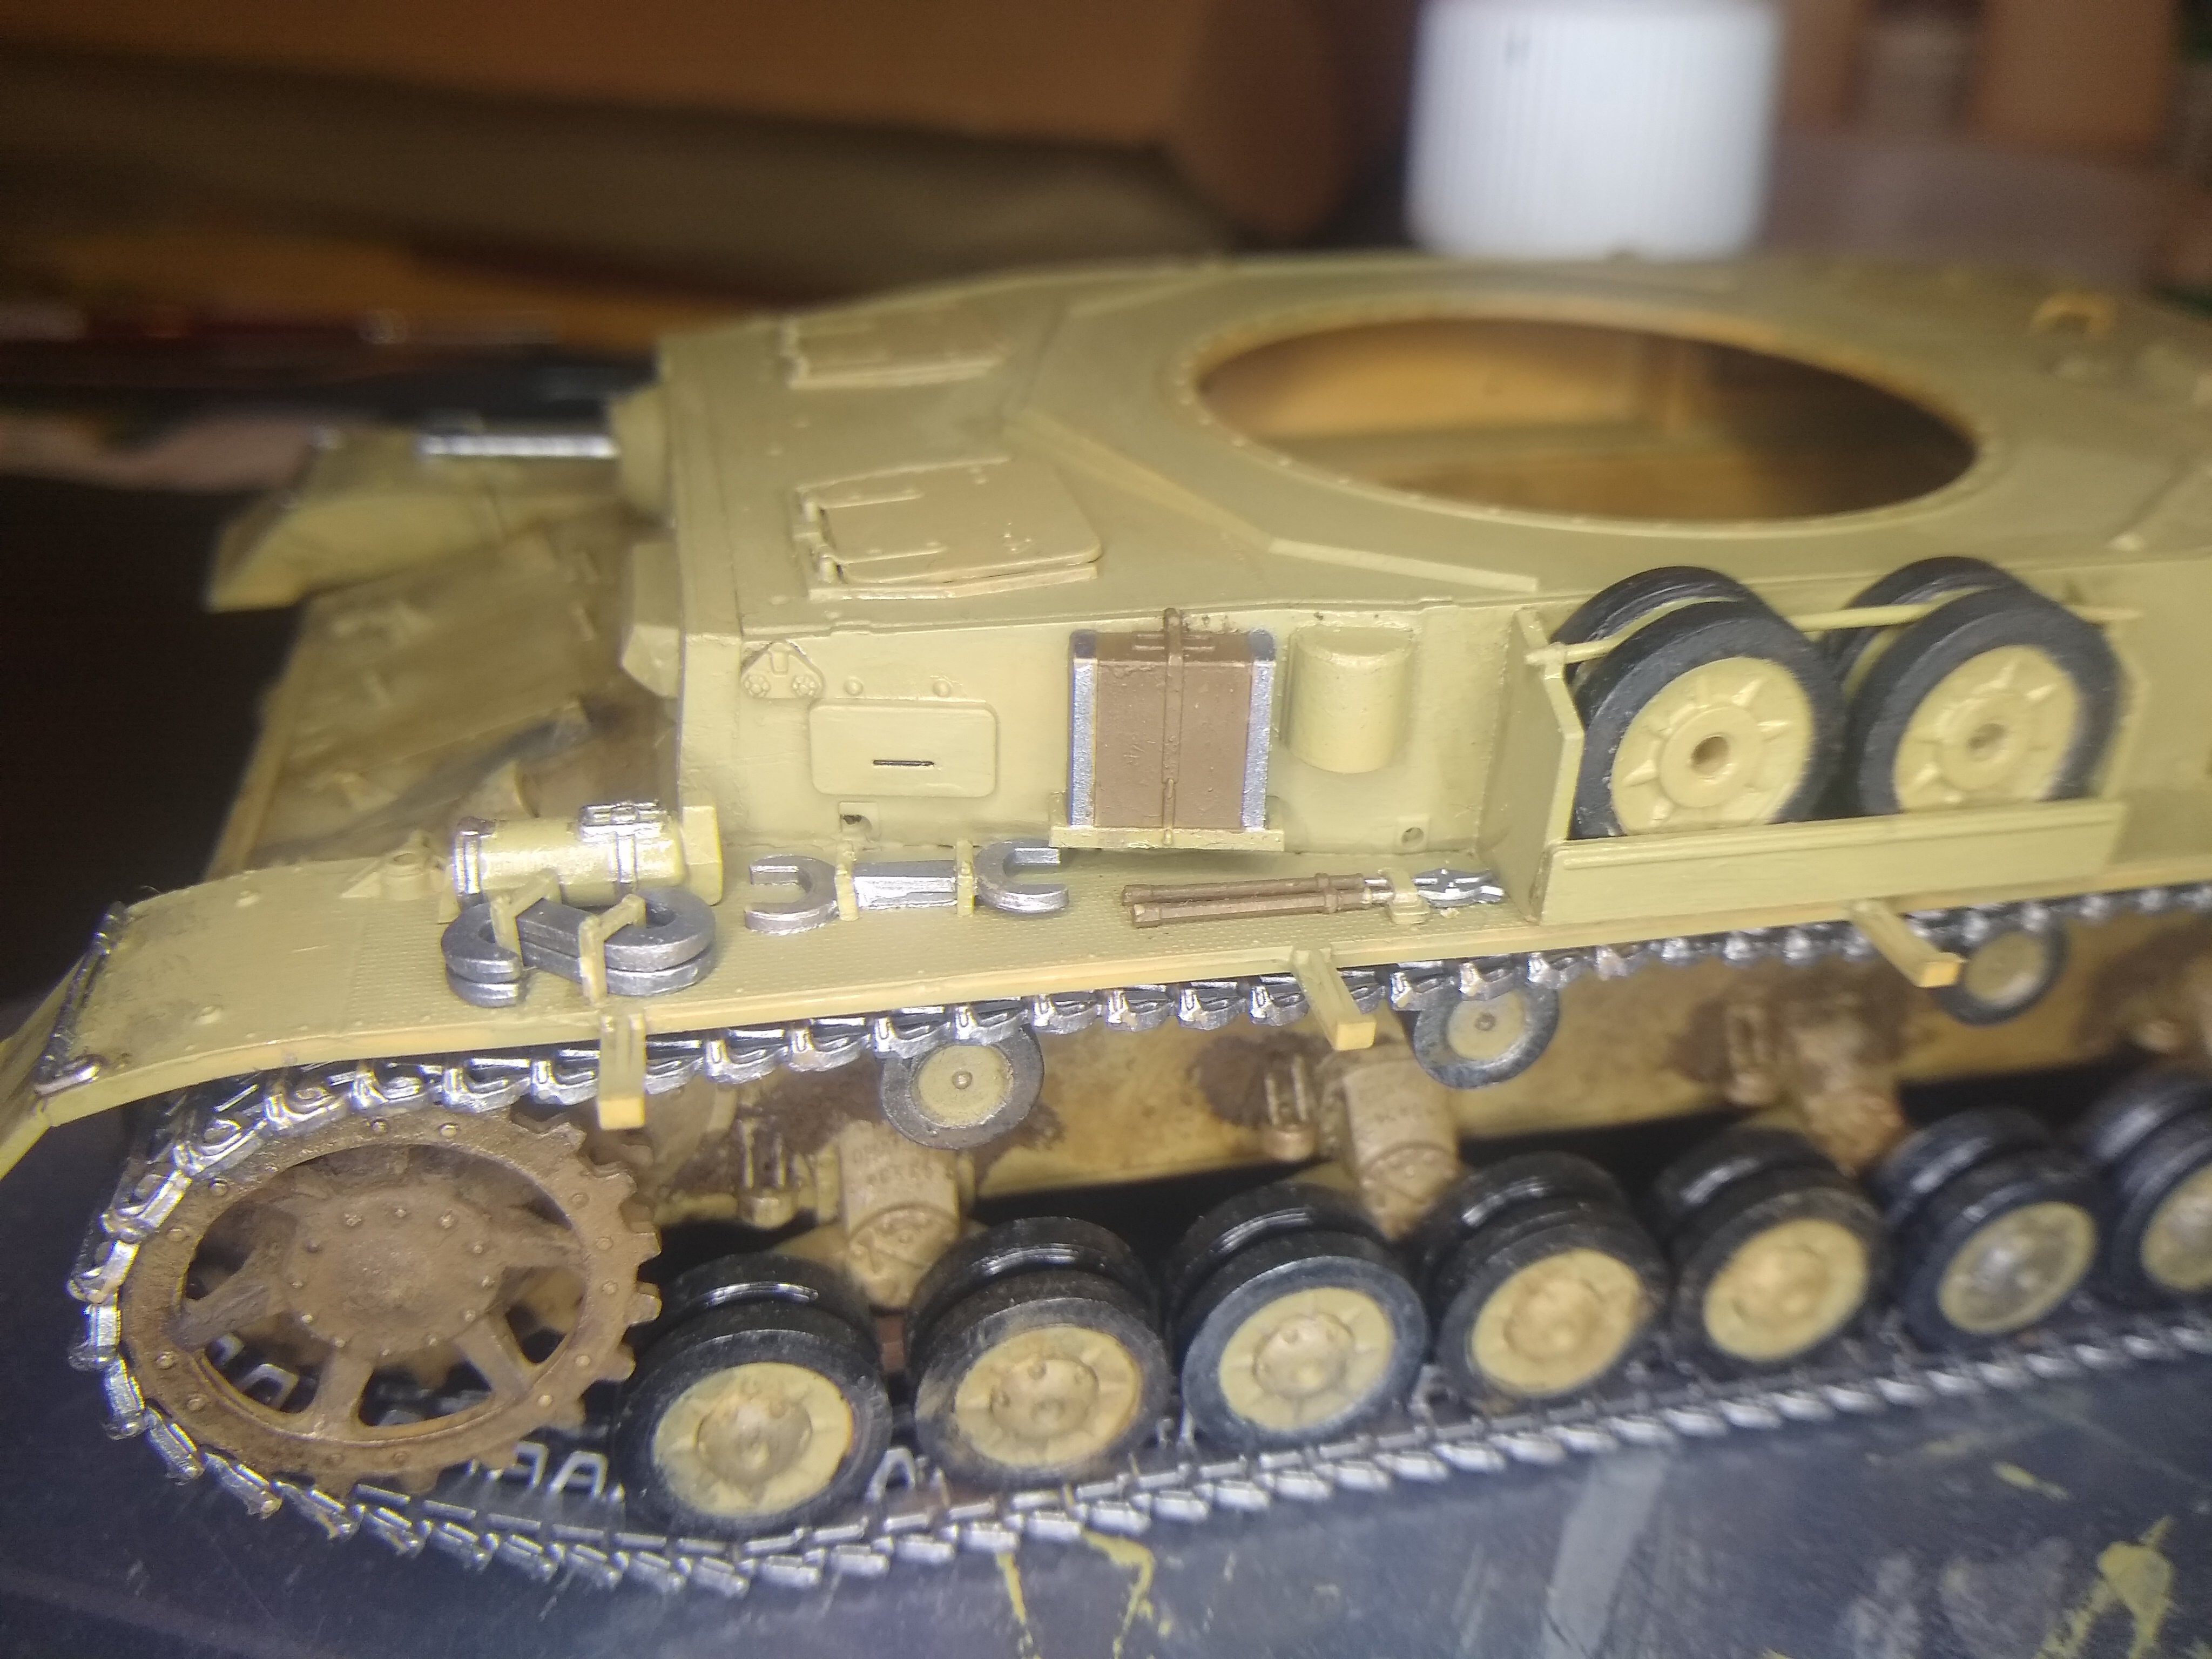
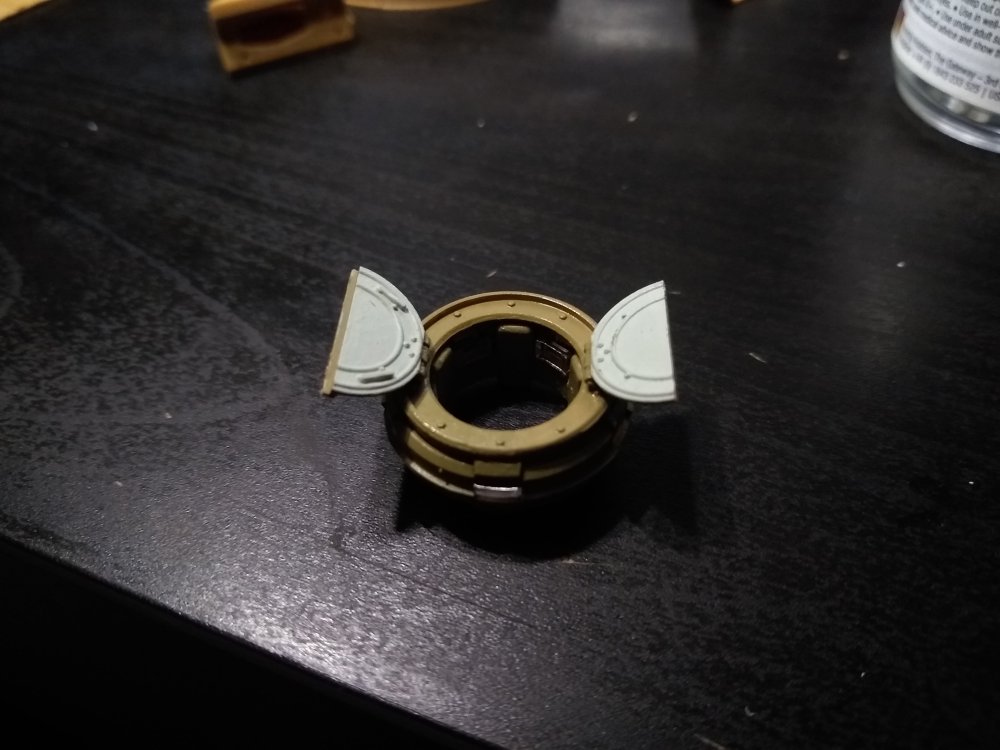
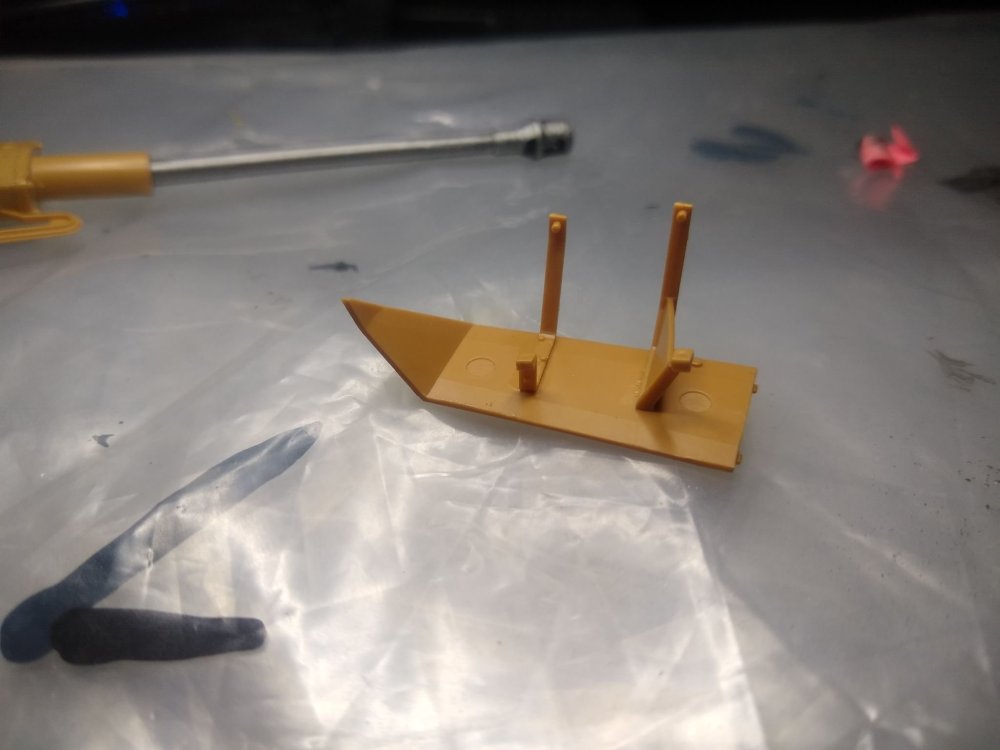
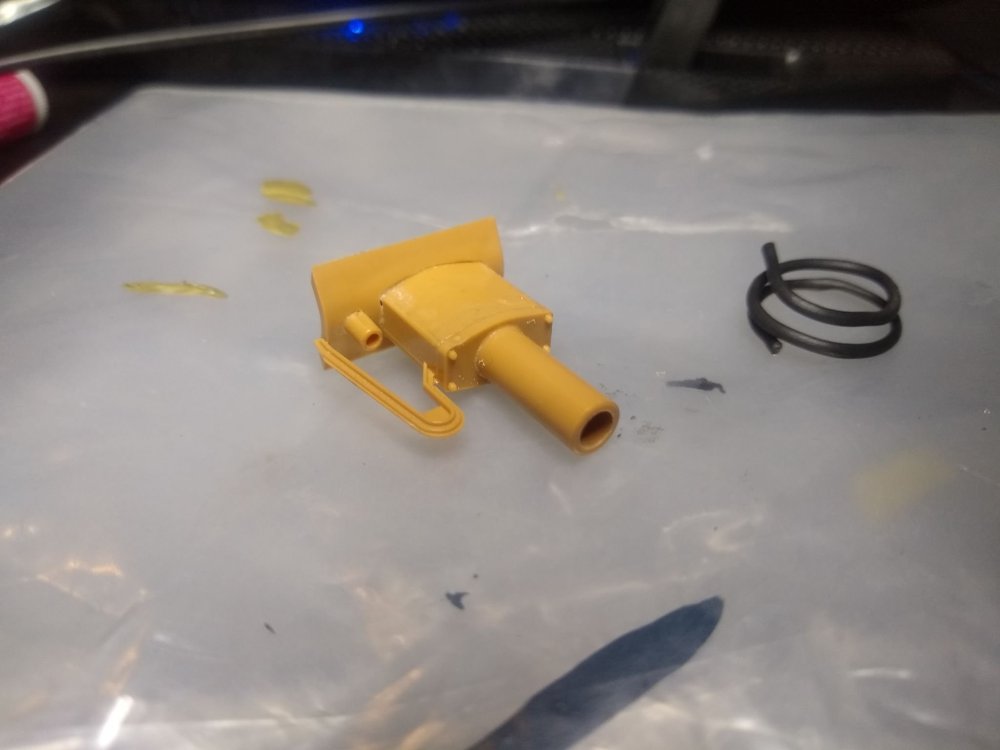
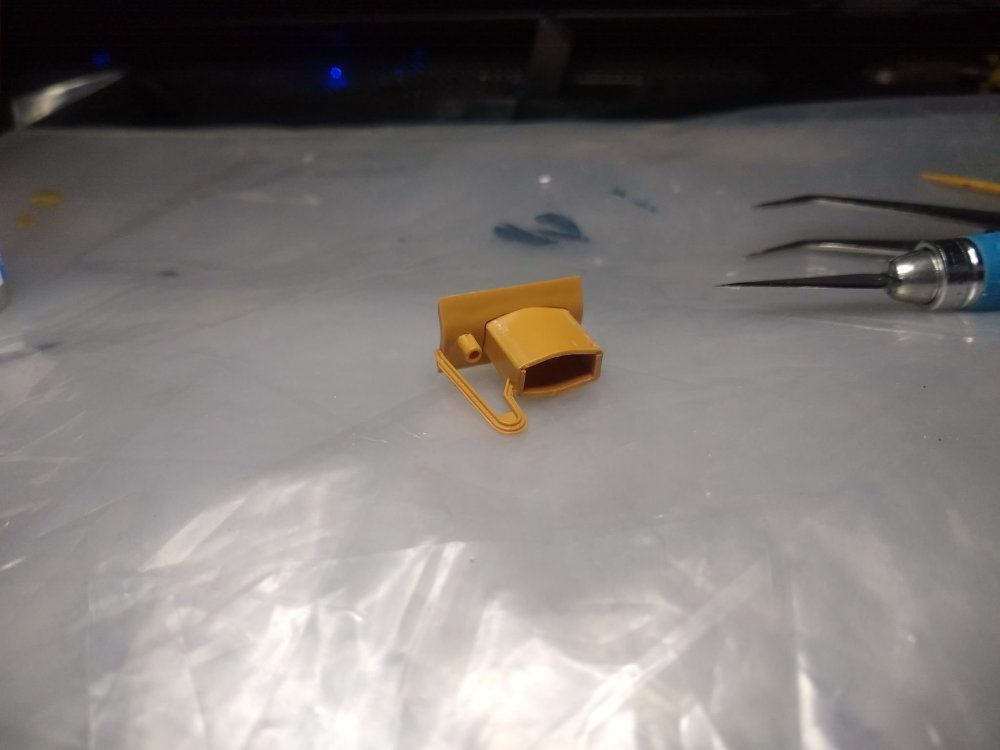
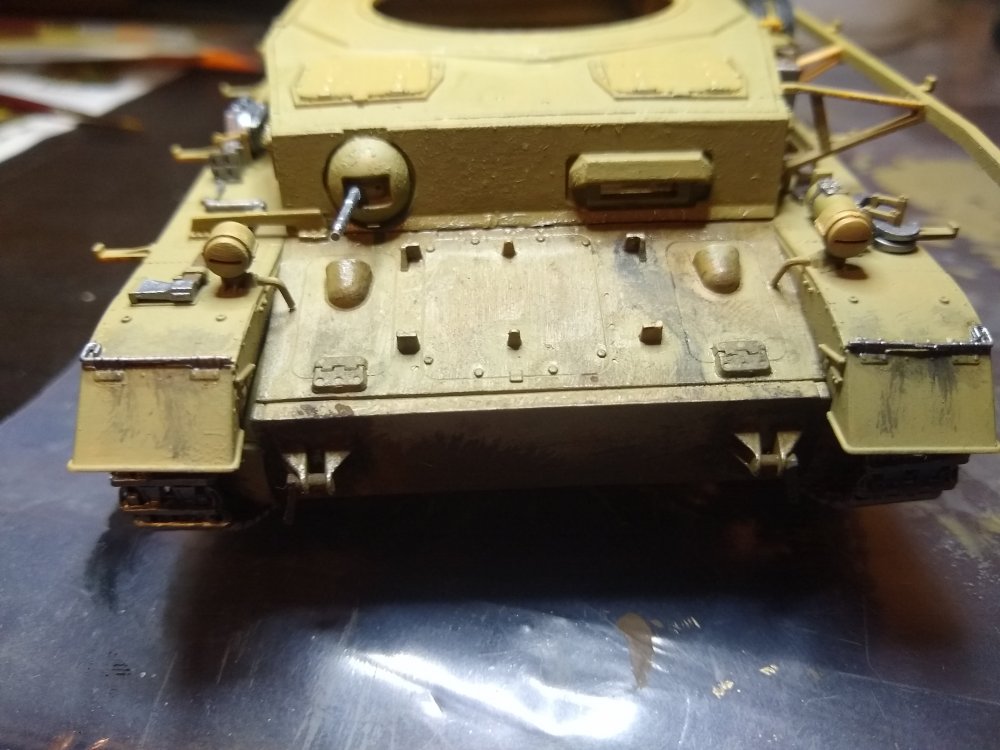
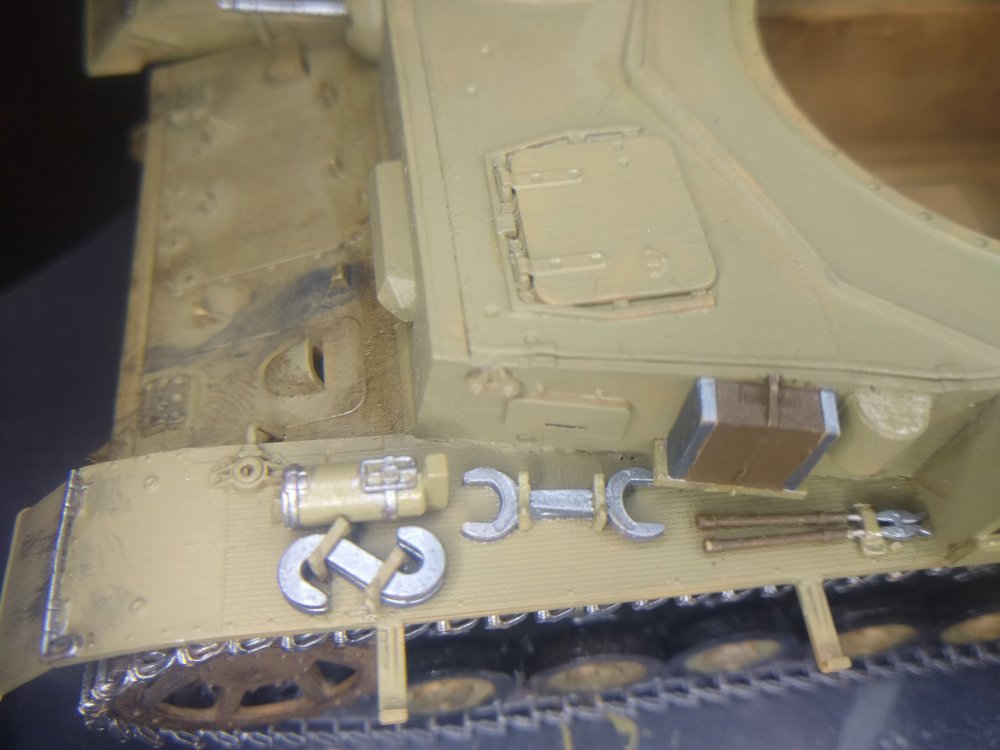
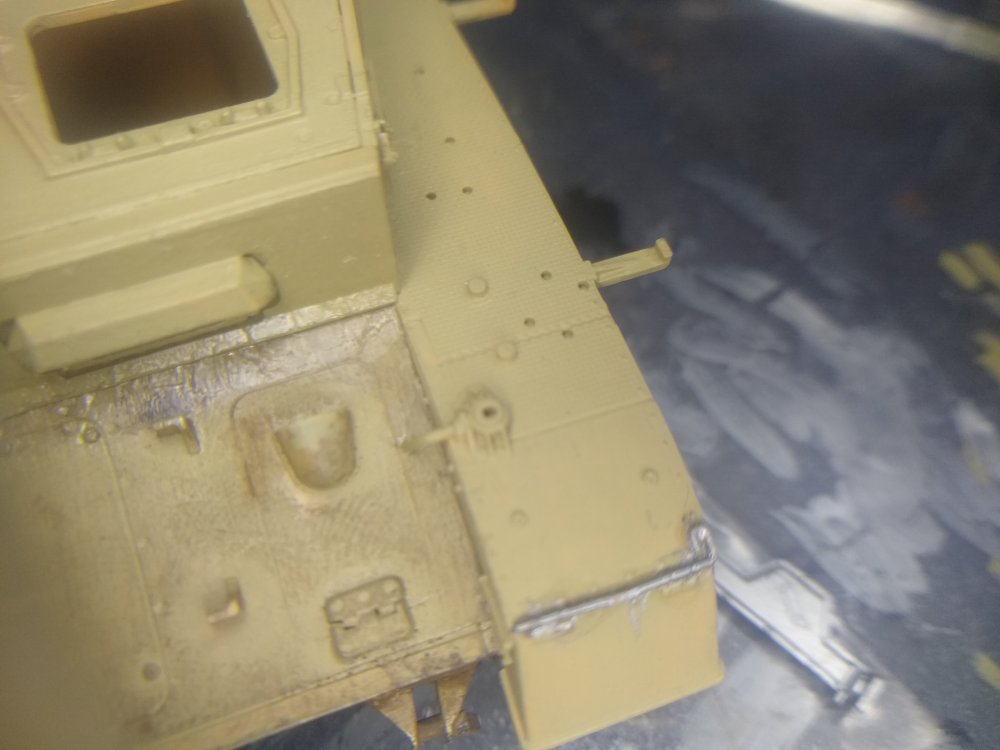
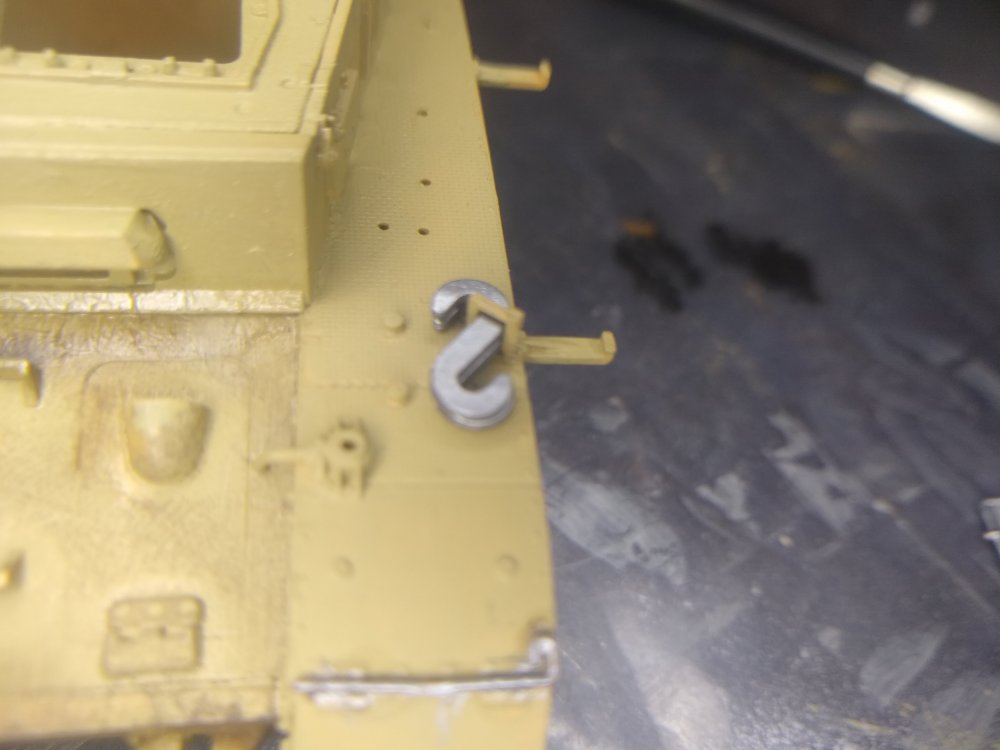
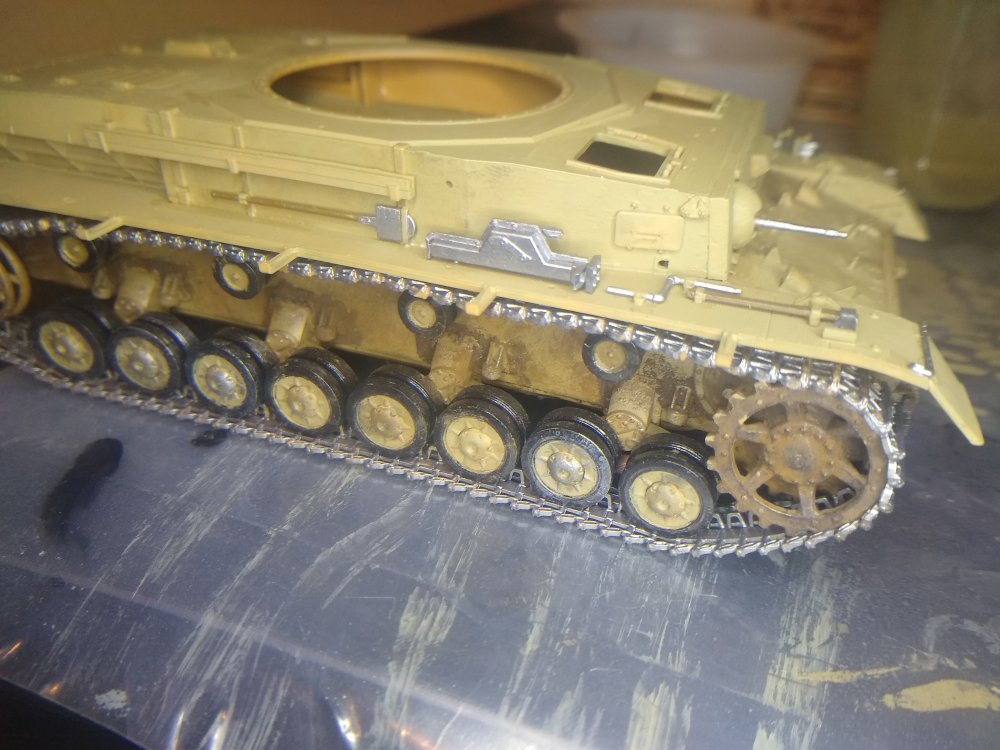
There is definitely alot more loose tools on these German tanks compared to US and British tanks. But it's nice putting them all together and painting them. Very satisfied with this. First off the convoy light. Really happy with this tiny detail.Its such a simple yet ingenious way of keeping distance. If the following tank/vehicle is too close they would see all 4 lights. If to far they would see 1 block of light. But if at the right distance they would see 2 blocks of light. Now some hatches And before details shots Left sideRight side And now with the details Right side Left sideand a little close up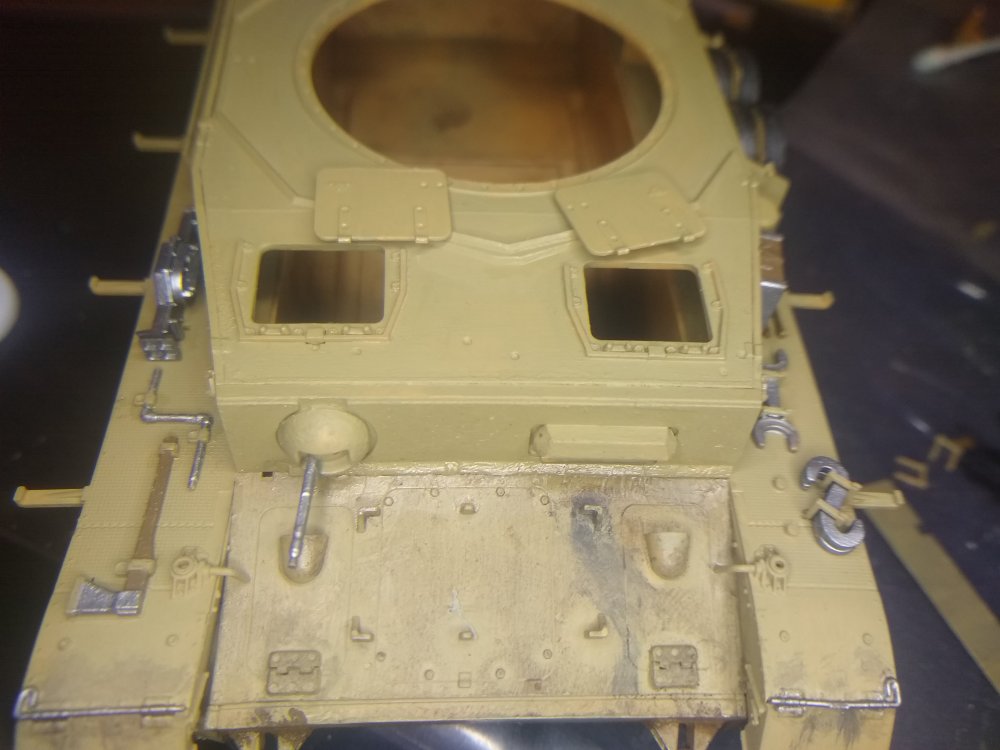


-
German Panzer IV Ausf H
Daniel_Roxy replied to Daniel_Roxy's topic in LSM 1/35 and Larger Work In Progress
There are so many tools and pieces of equipment attacked to the sides of this tank. And most other German tanks. Do you think they ever heard of using a tool box? Lotsa small details. Also really happy with thoes spare wheels I painted Theo's with no guide or cover/masking. And I also stuck on a small handle.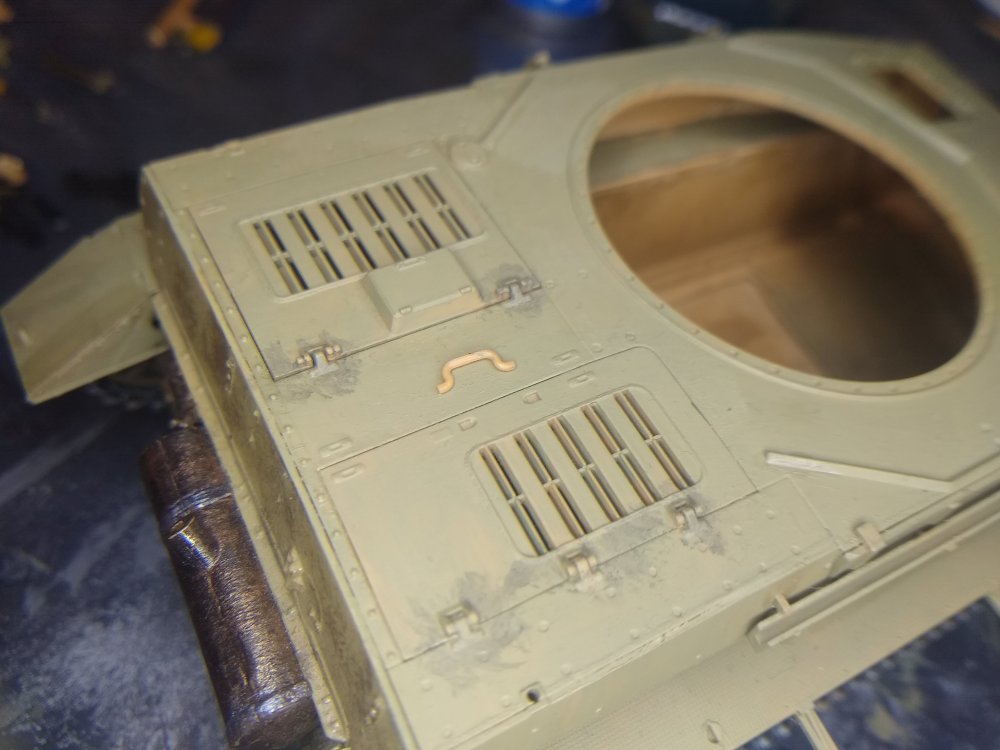

-
astounding looking build. love the detail and scene.
-
looking very nice. will have to keep a tab on this one.
-
German Panzer IV Ausf H
Daniel_Roxy replied to Daniel_Roxy's topic in LSM 1/35 and Larger Work In Progress
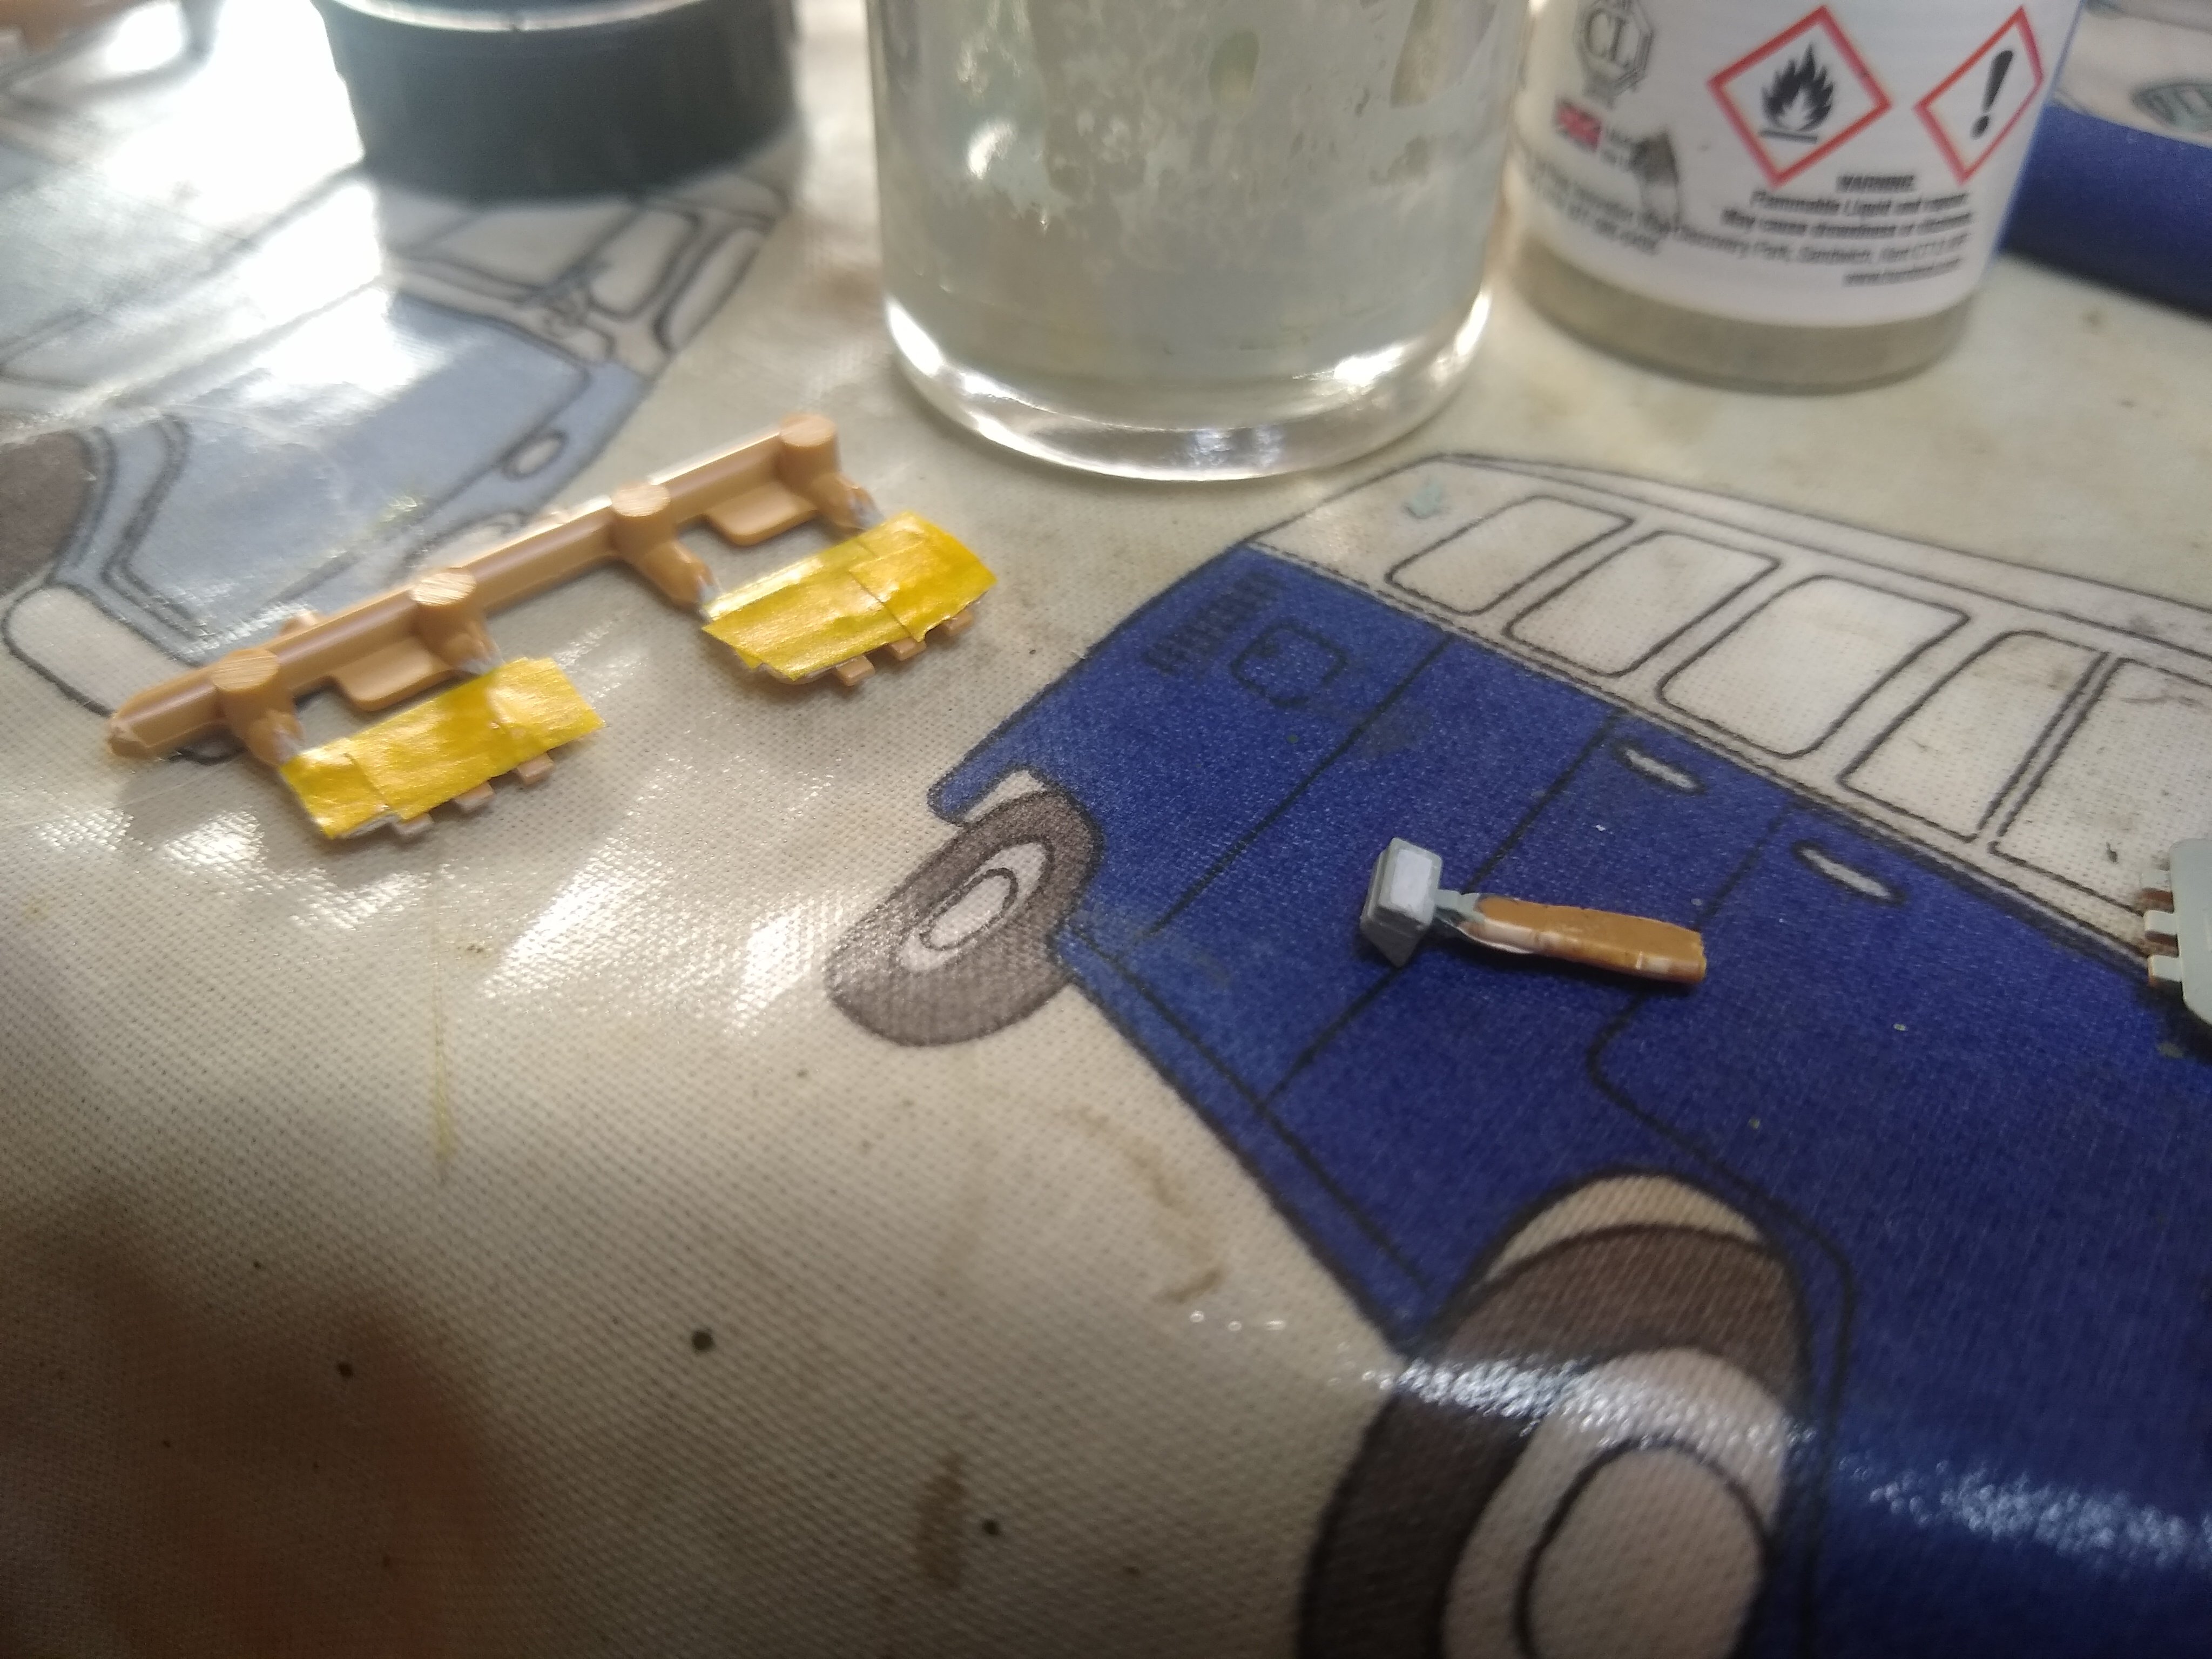
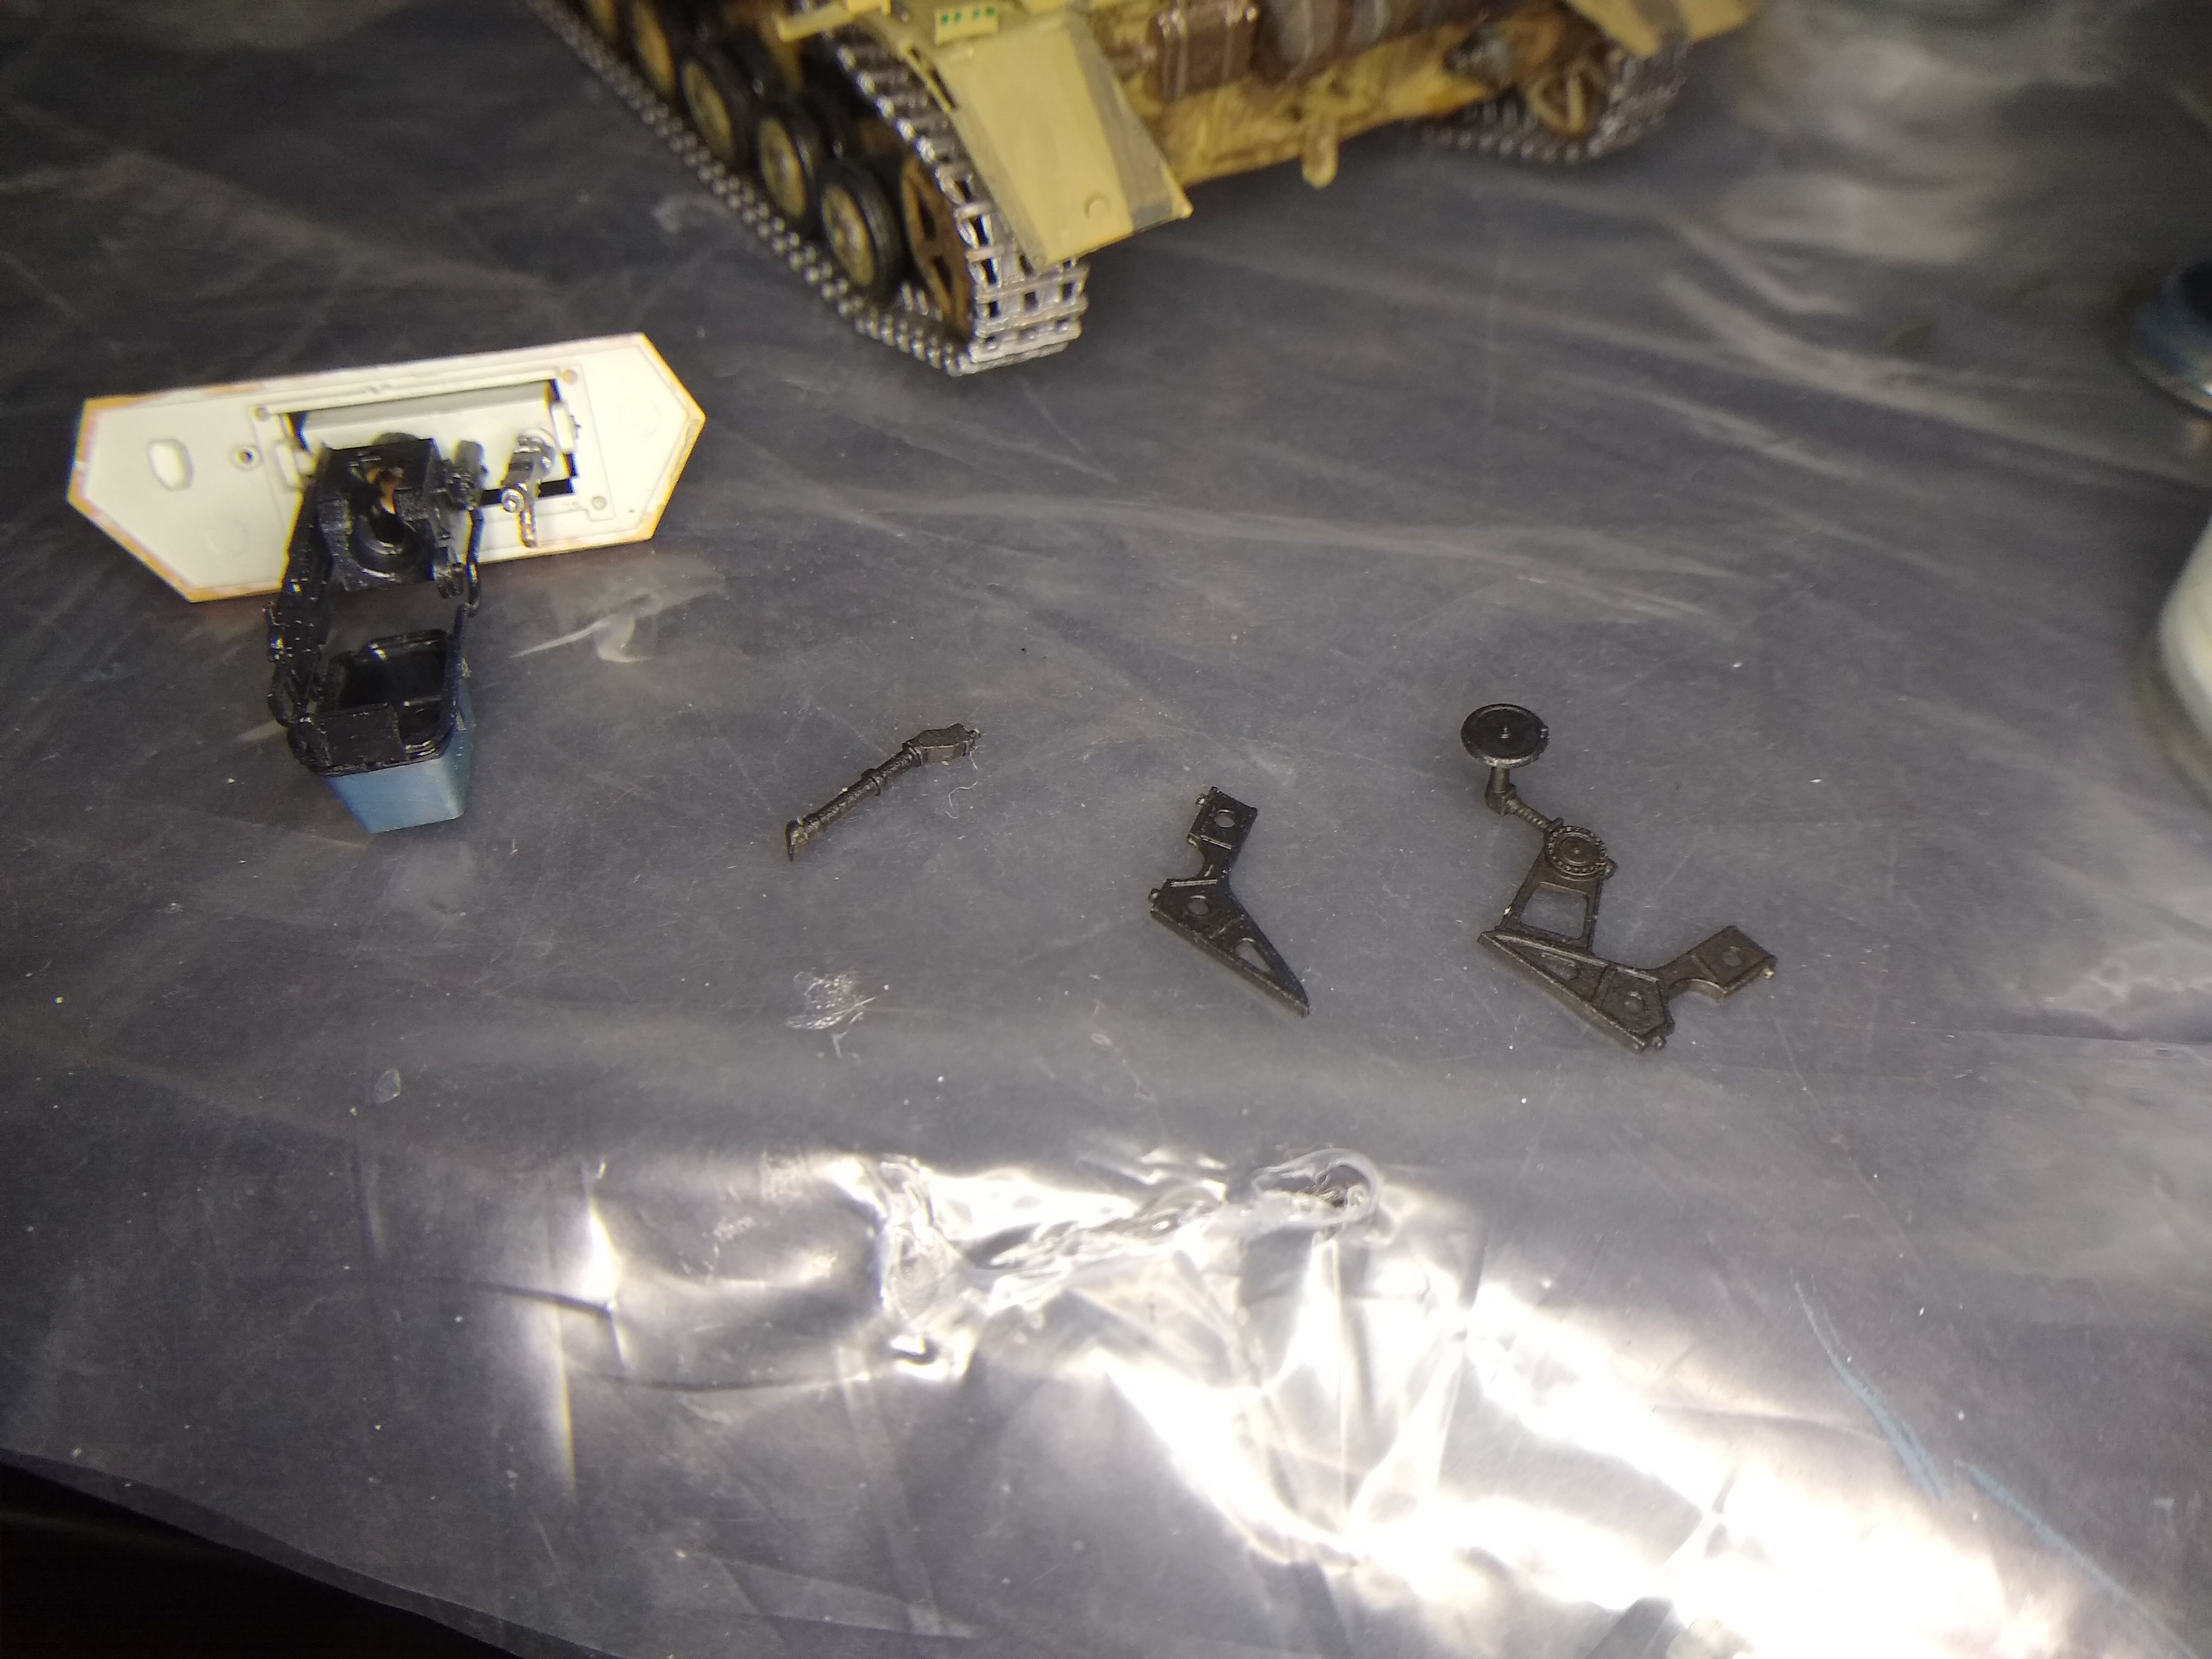
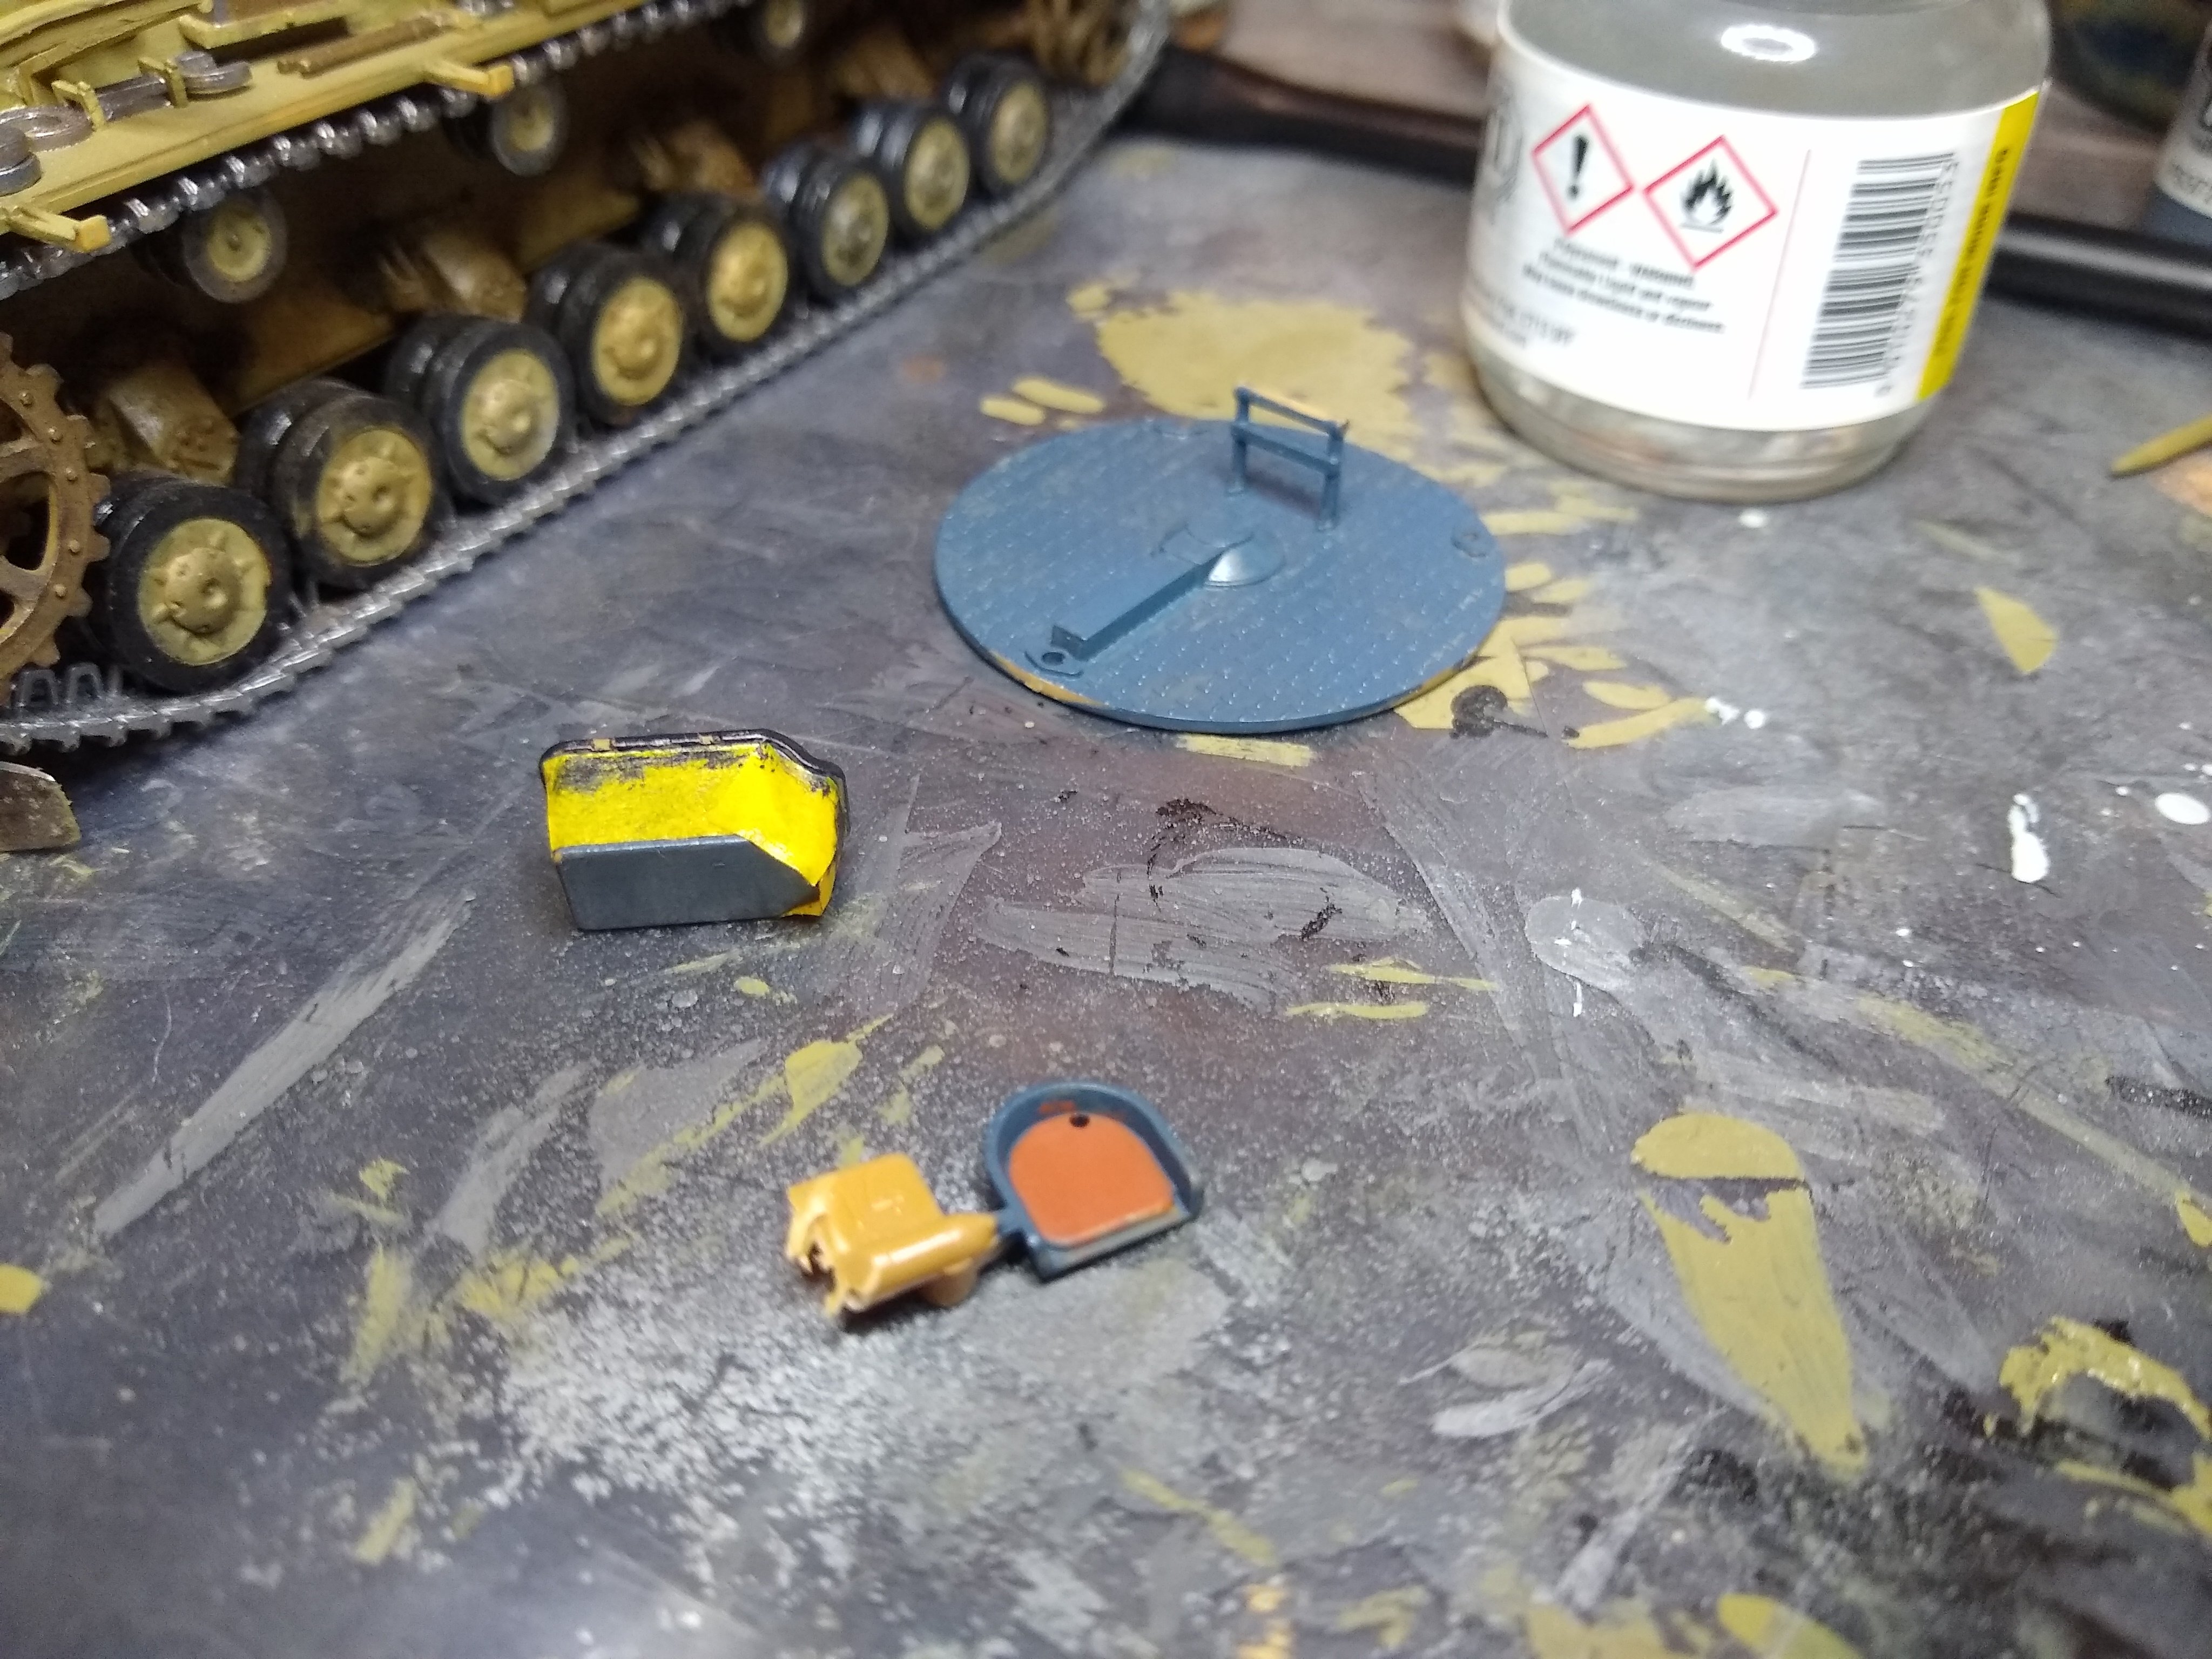
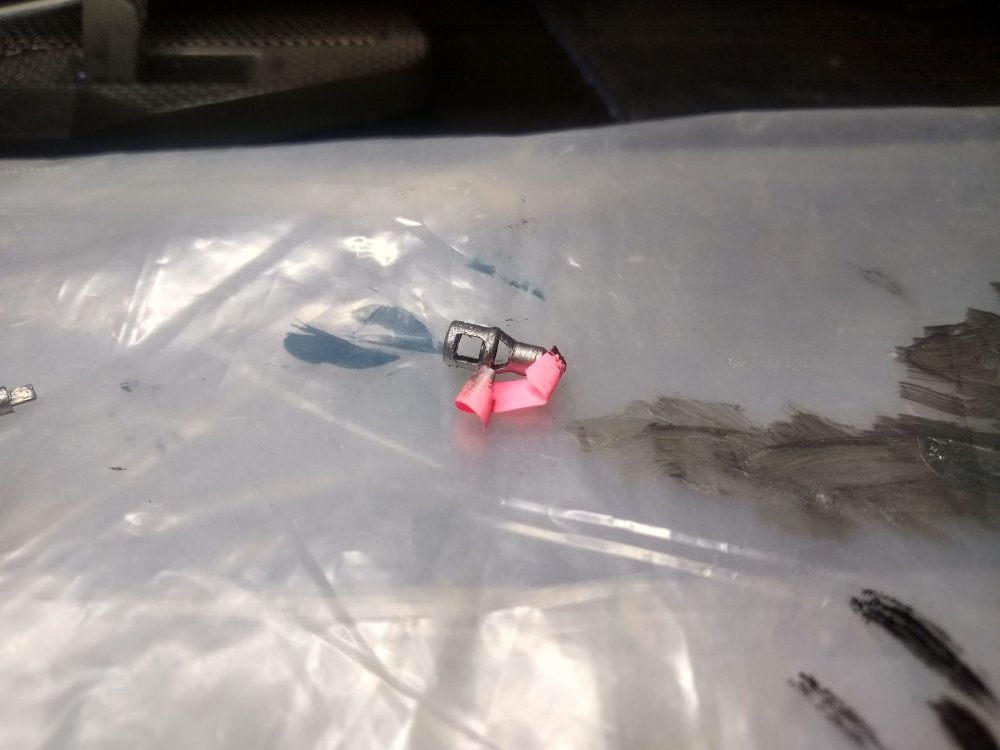
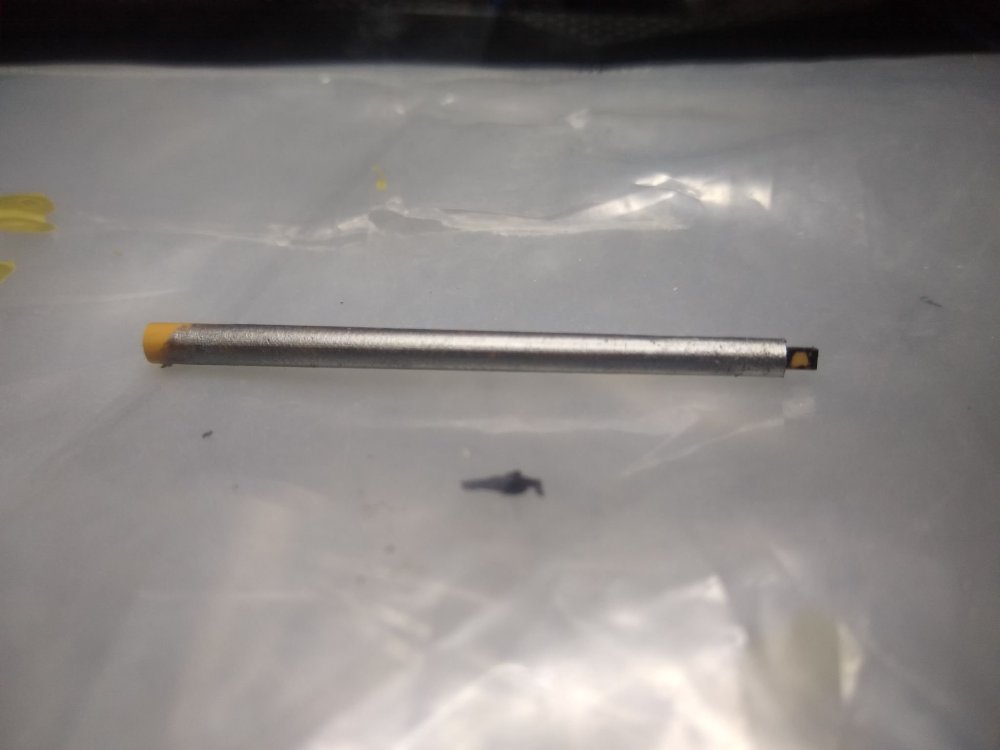
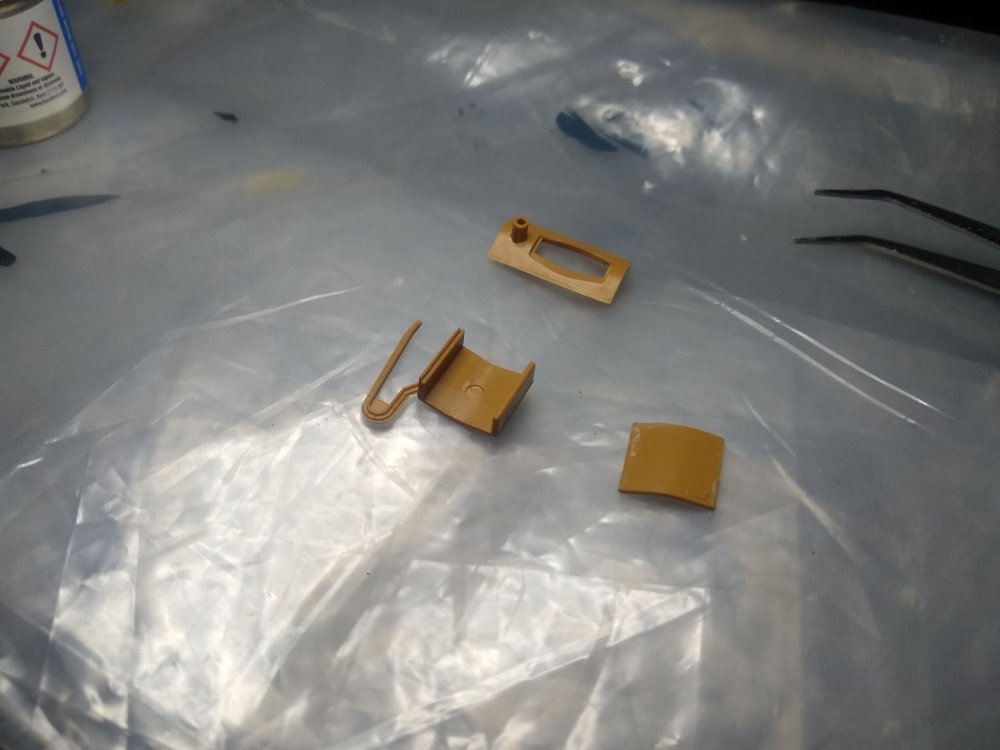
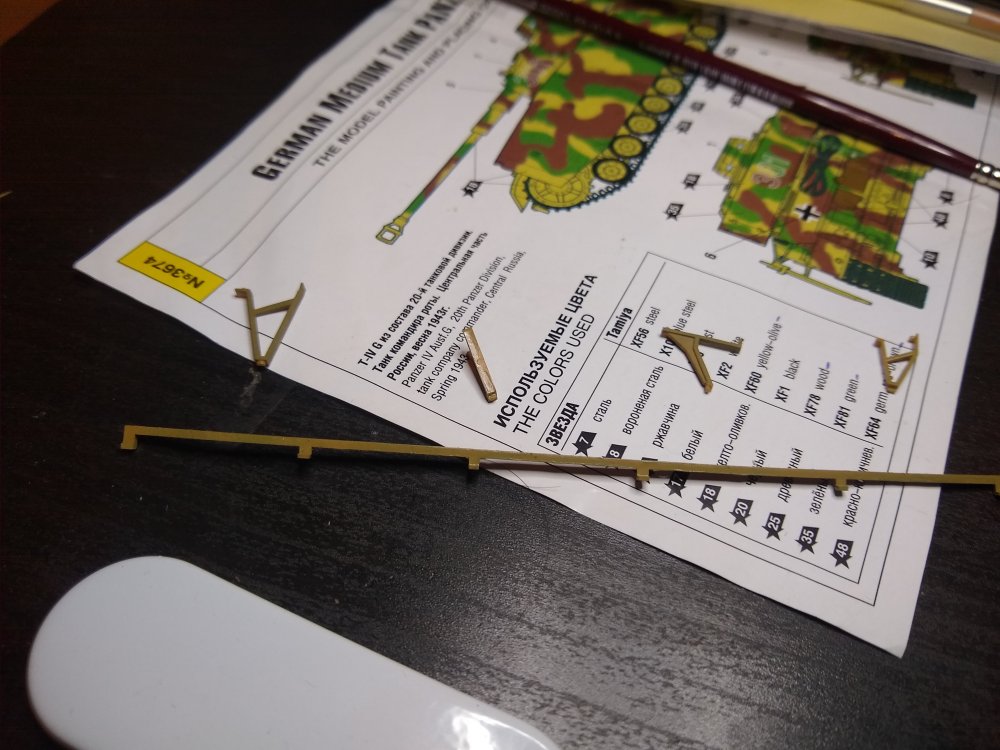
Just painting some small parts and glueing a couple on as well. and then these 3 pieces.

-
Not sure we're to ask this or put this. But seams about the best place. Id like to change my account name but don't know how.
-
German Panzer IV Ausf H
Daniel_Roxy replied to Daniel_Roxy's topic in LSM 1/35 and Larger Work In Progress
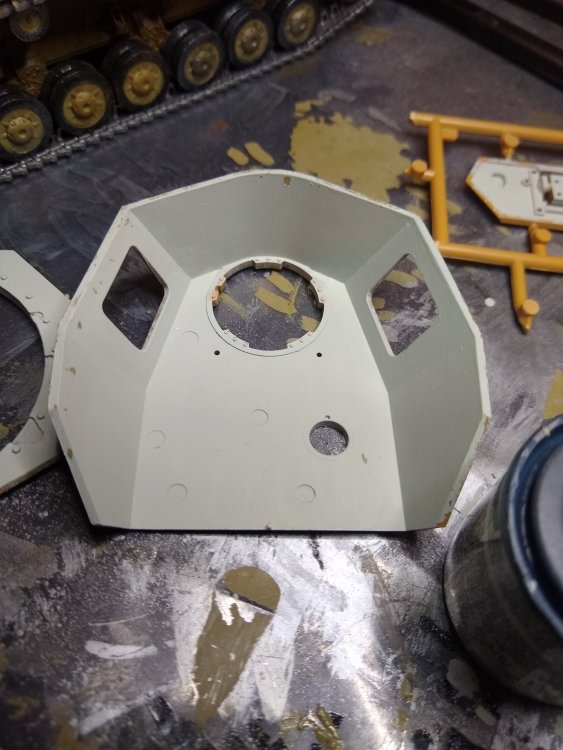
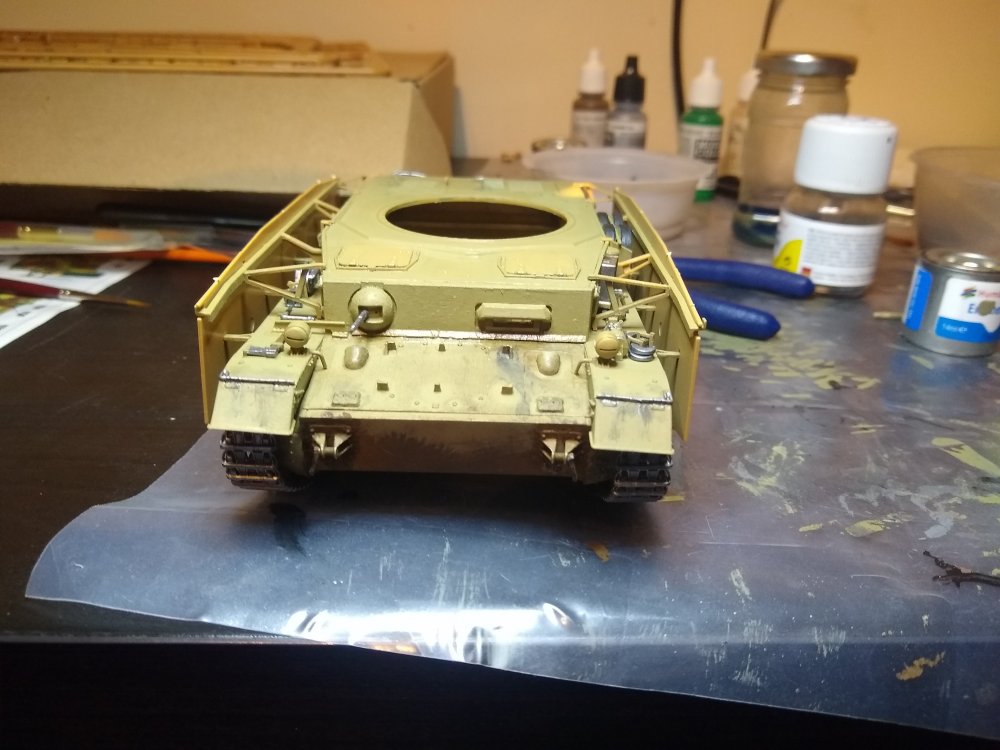
It's a good model but I have found some issues with it. Firstly an error in casting leaving 2 holes slightly out of line but easily accounted for. But 2ndly I wouldn't call this a panzer 4H or 4G it's like an amalgamation of both. Biggest difference I have found so far being the radio antenna. On the 4h or any verient with the side skirts it should be on the back left side of the hull and there should be something in between the side skirt and hull were it is normally. But it's in the standard location. I'll come back and show with some images when I get round to it. But with that being said it's still a great model. Yet to do the turret but that looks like it's going to be the main bit of fun with a full basket and interior. -
German Panzer IV Ausf H
Daniel_Roxy replied to Daniel_Roxy's topic in LSM 1/35 and Larger Work In Progress
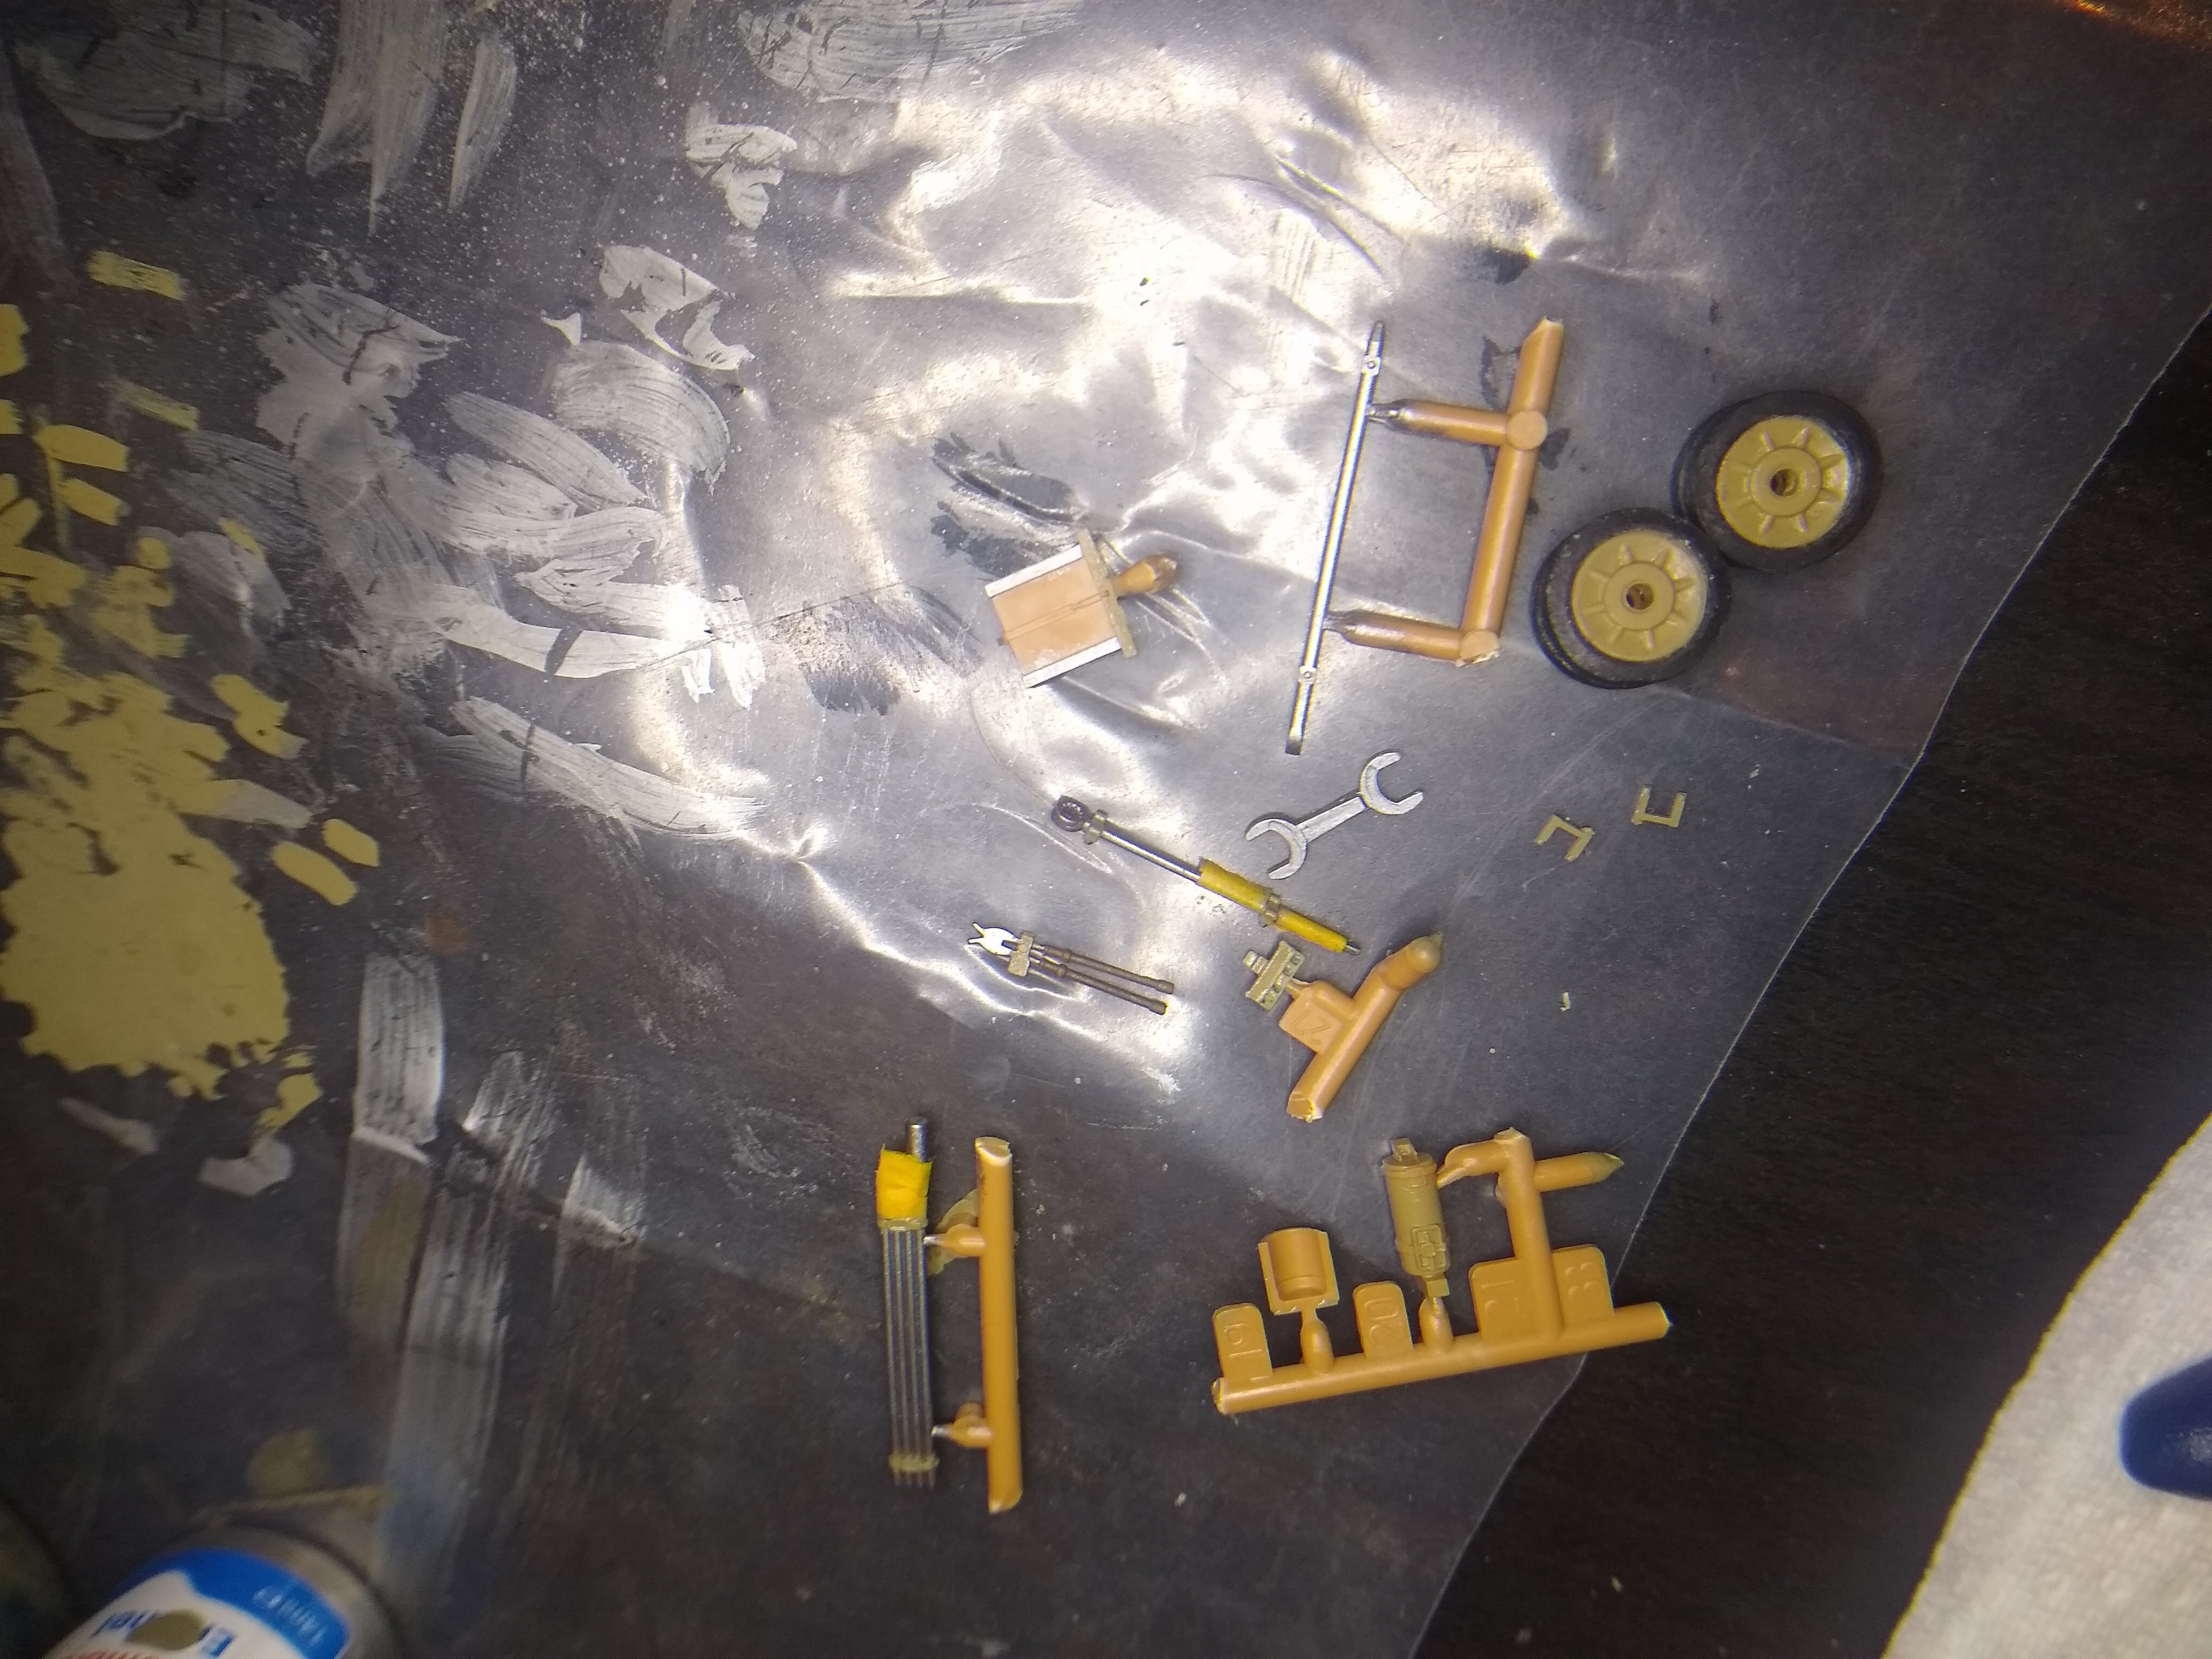
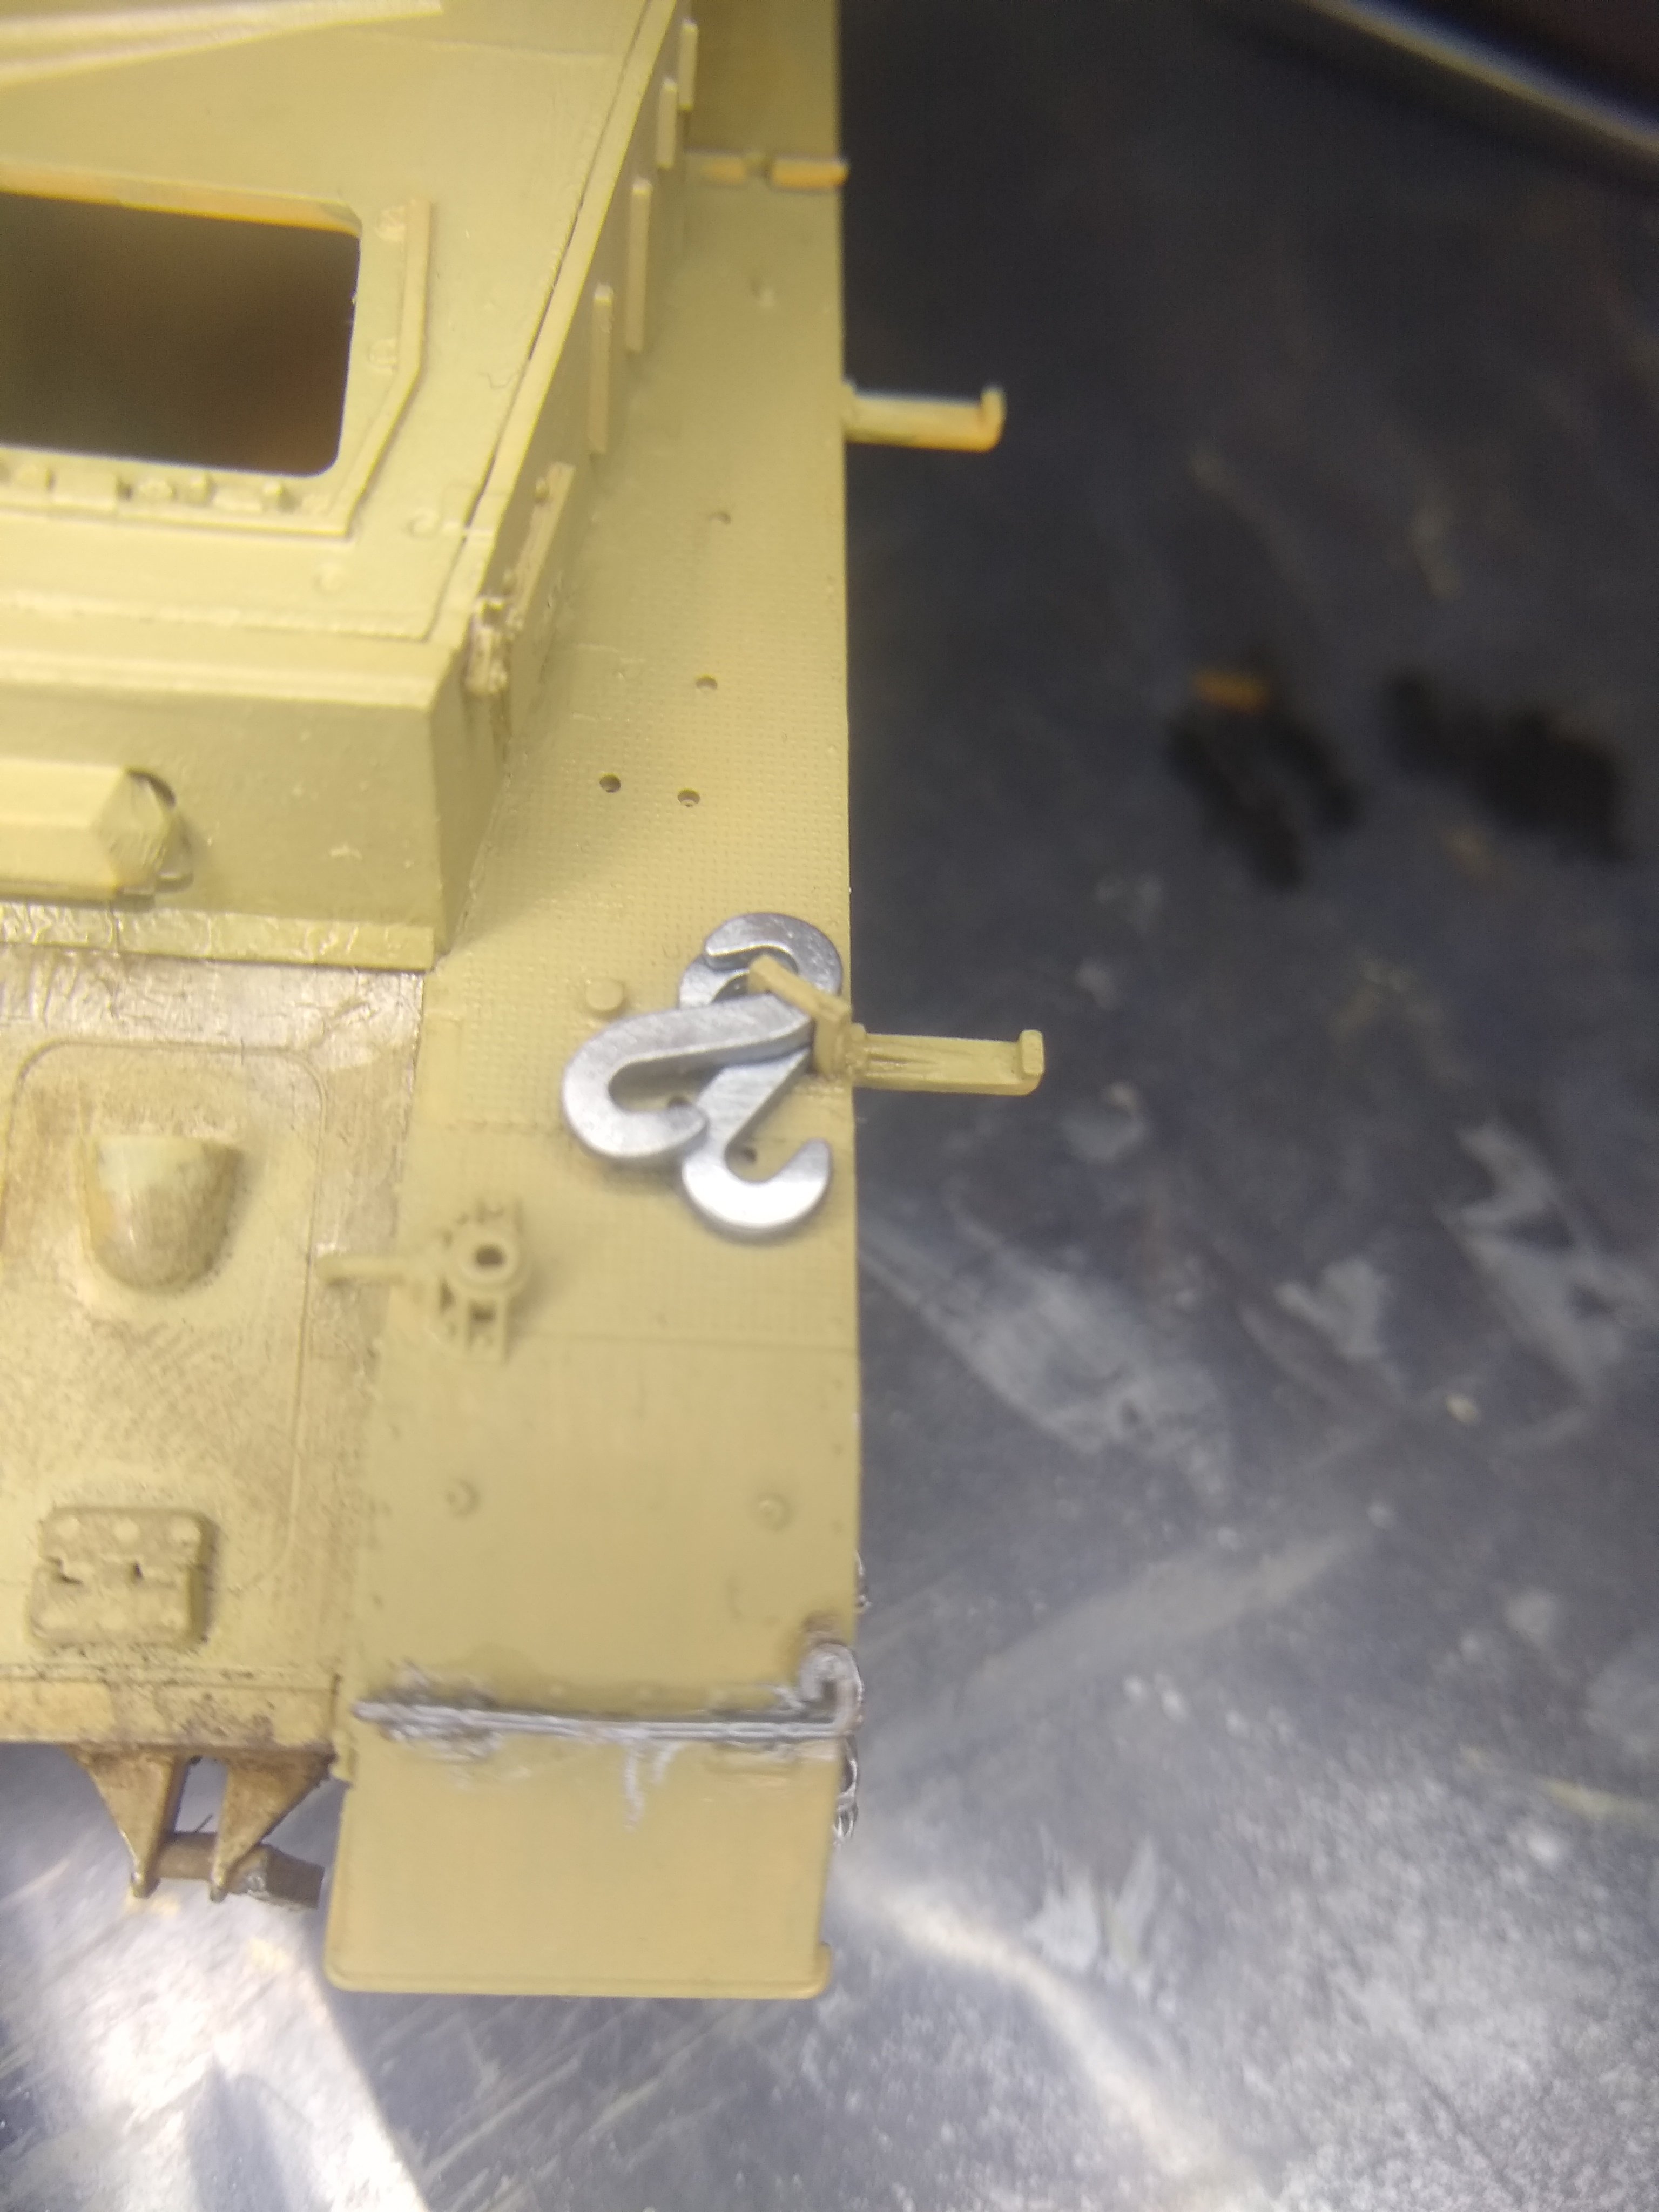
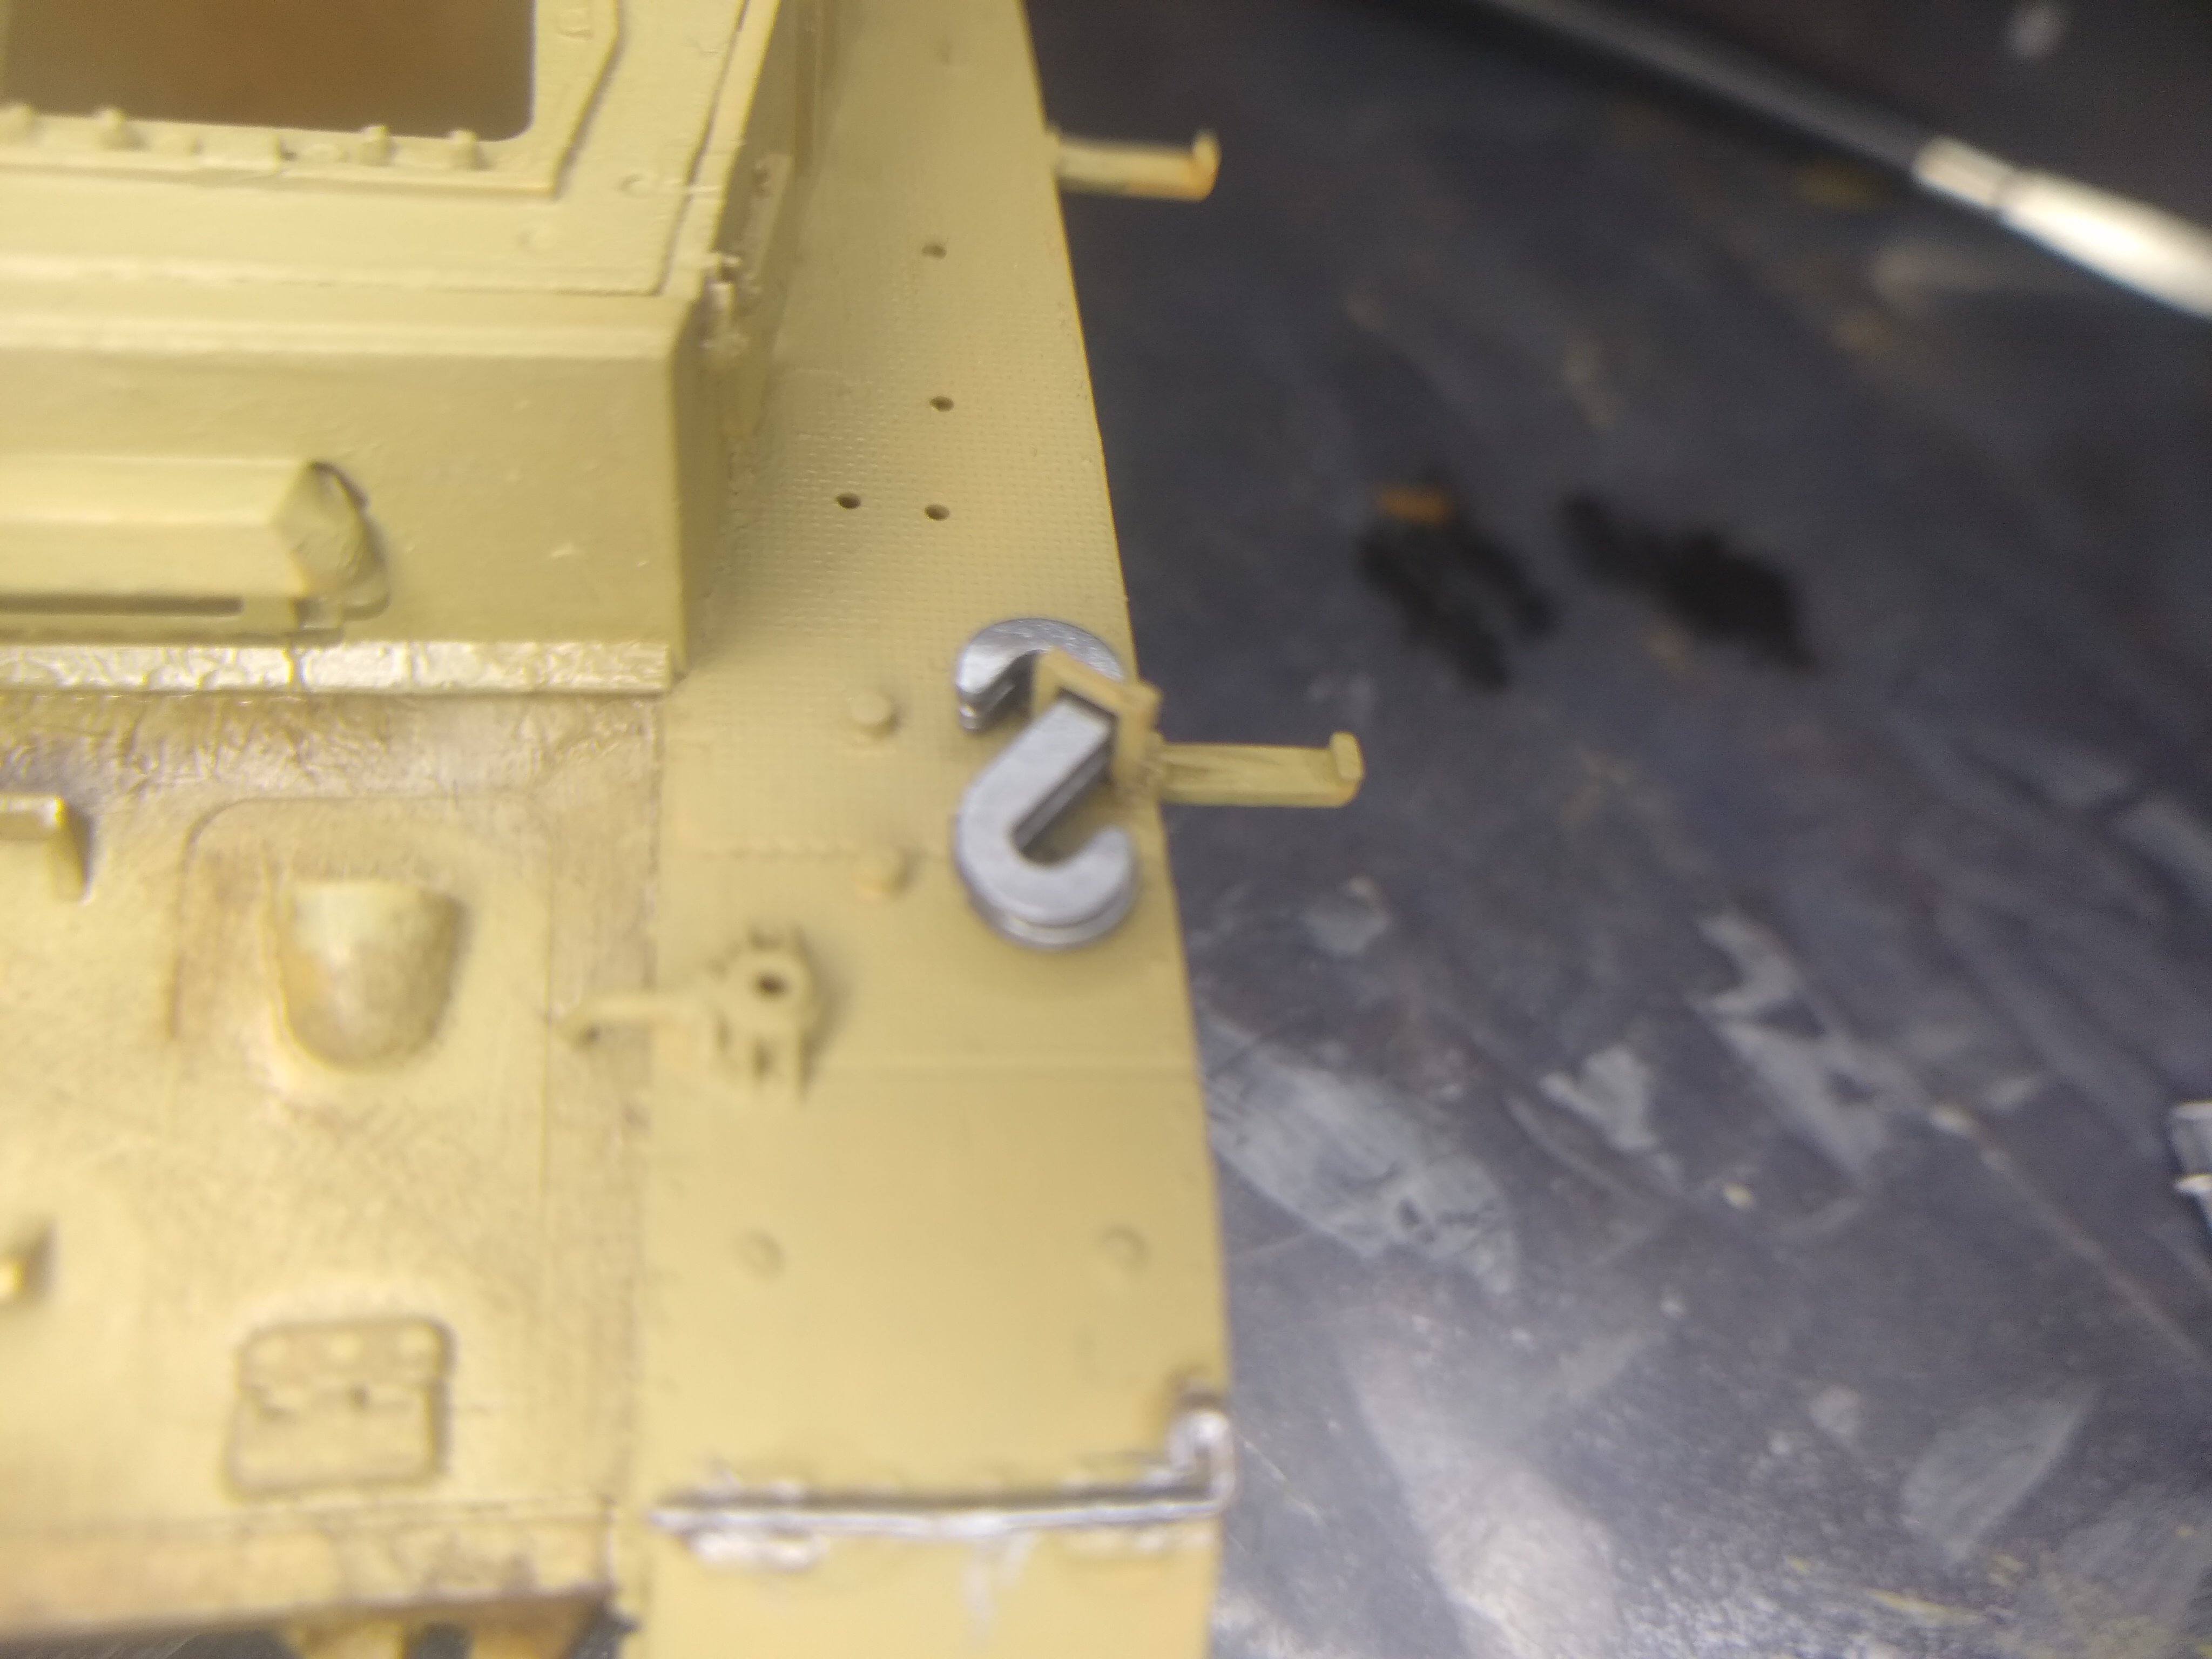
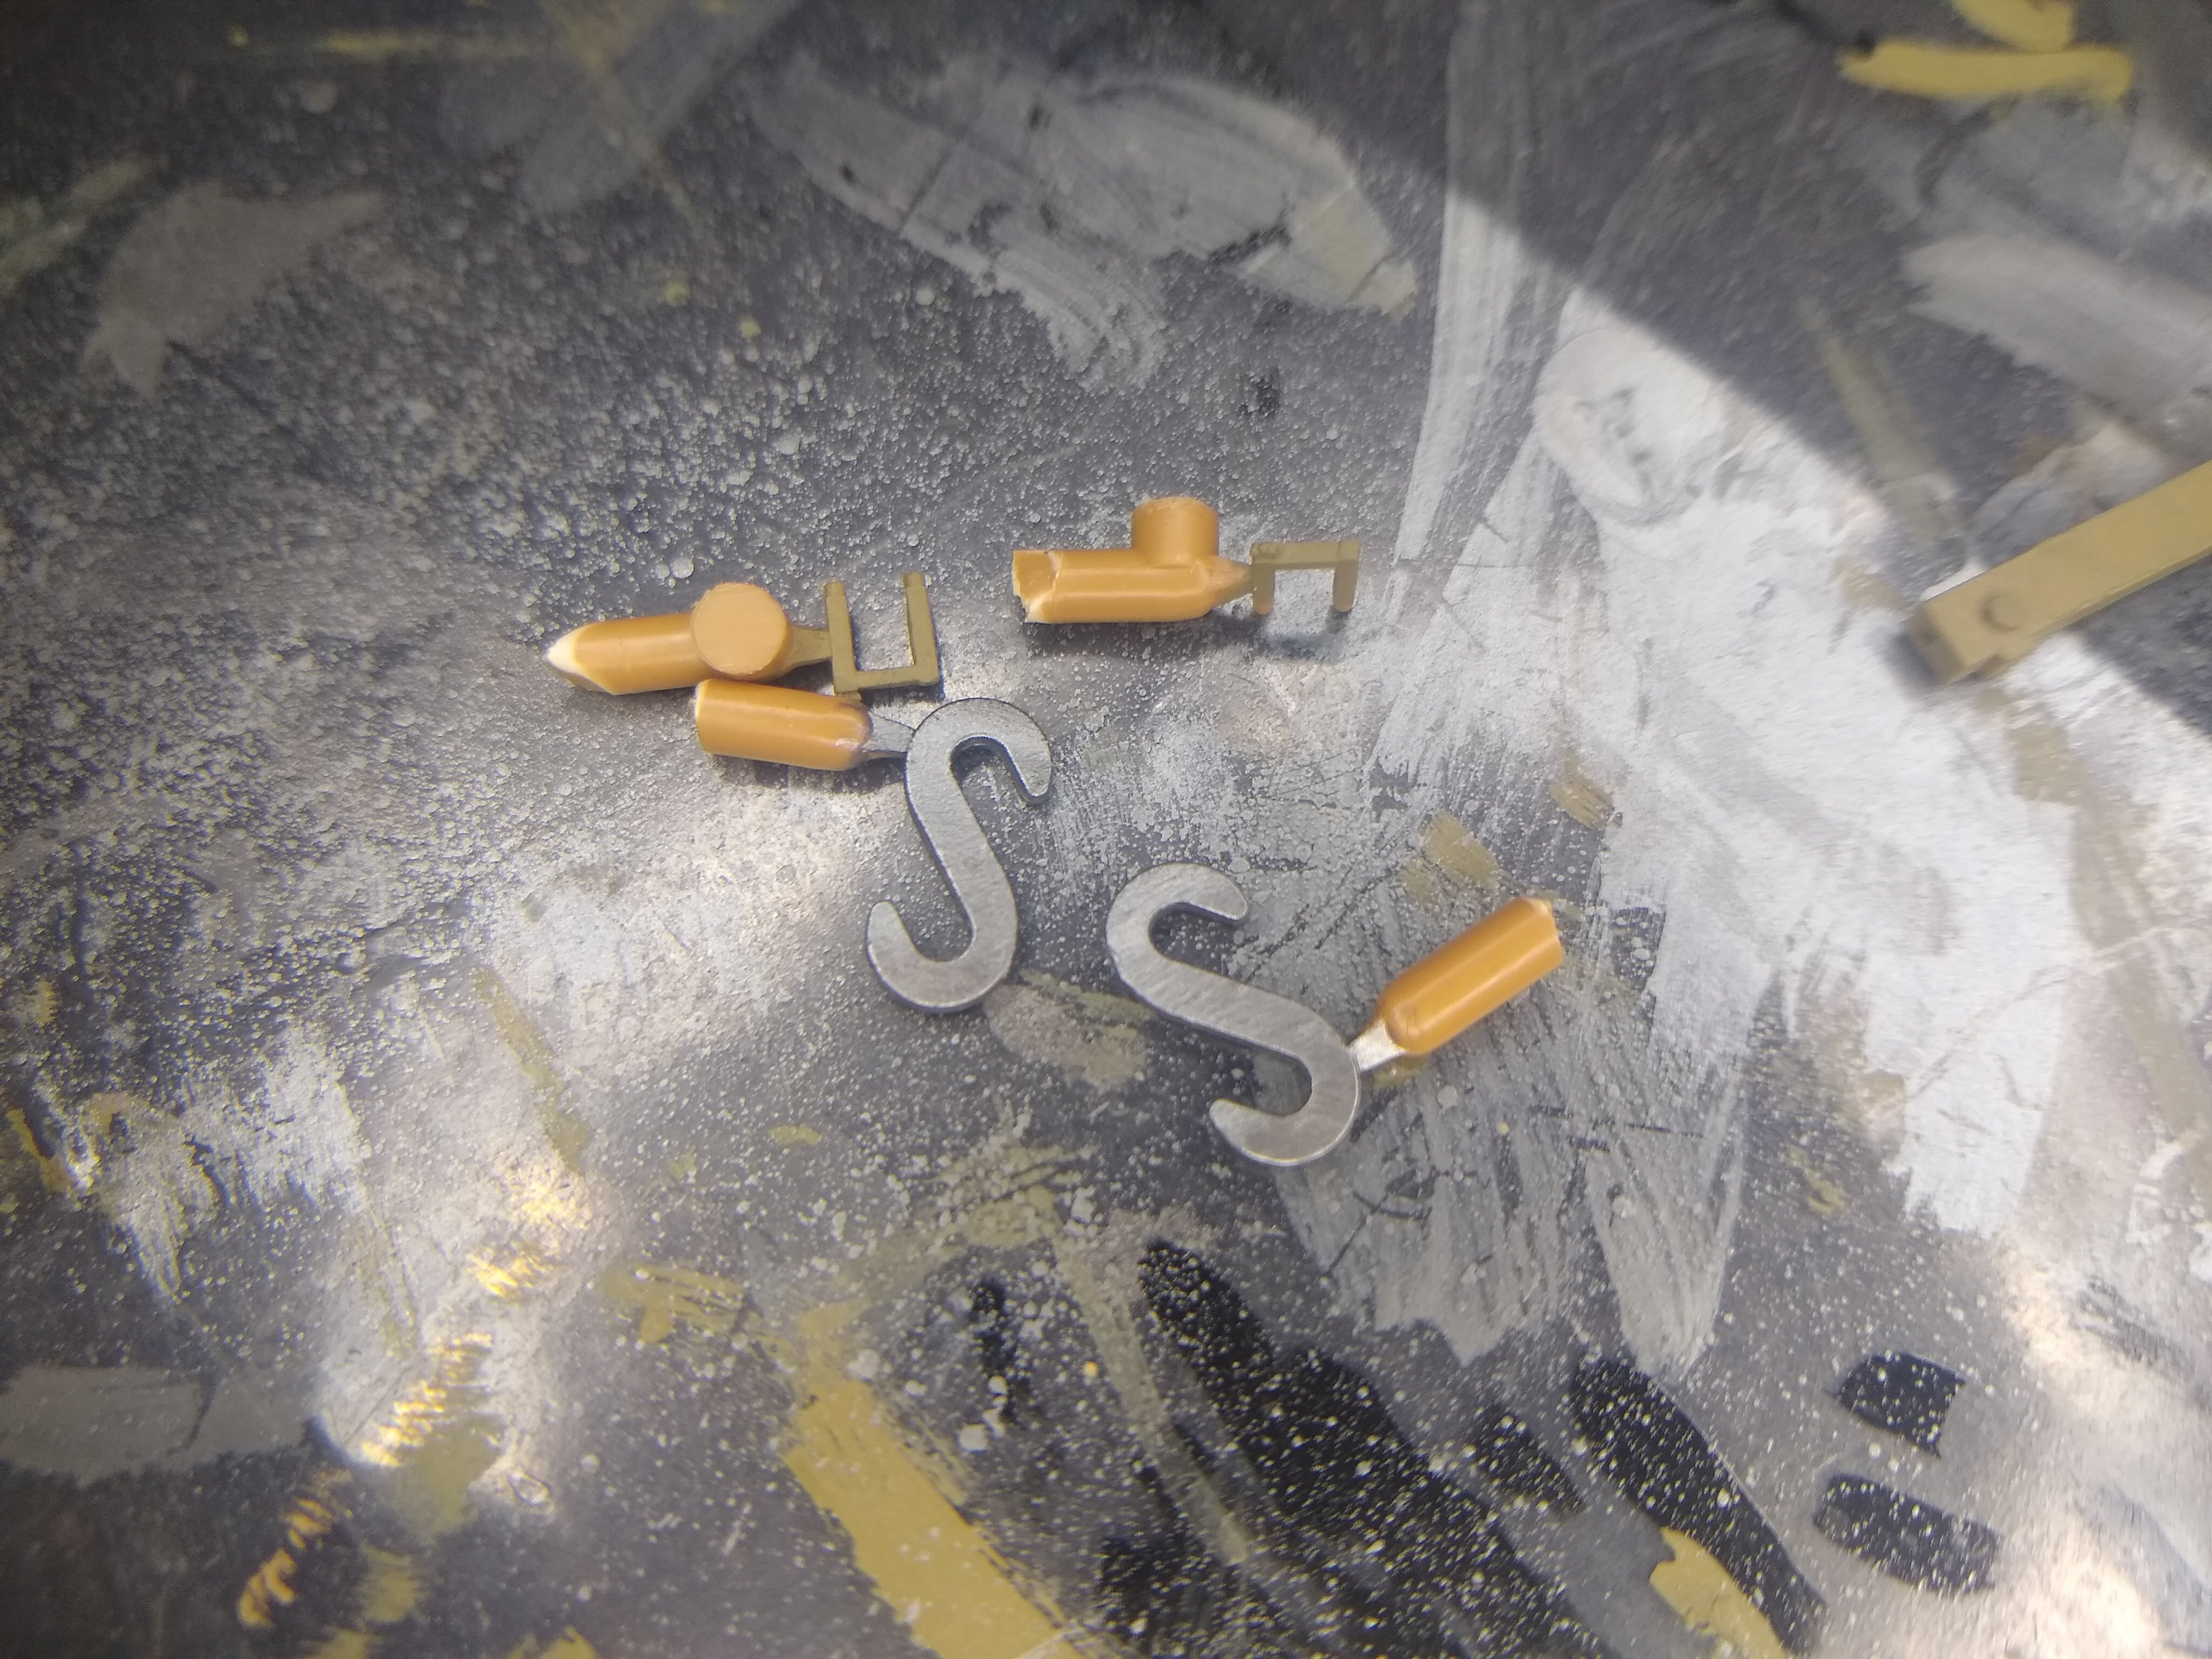
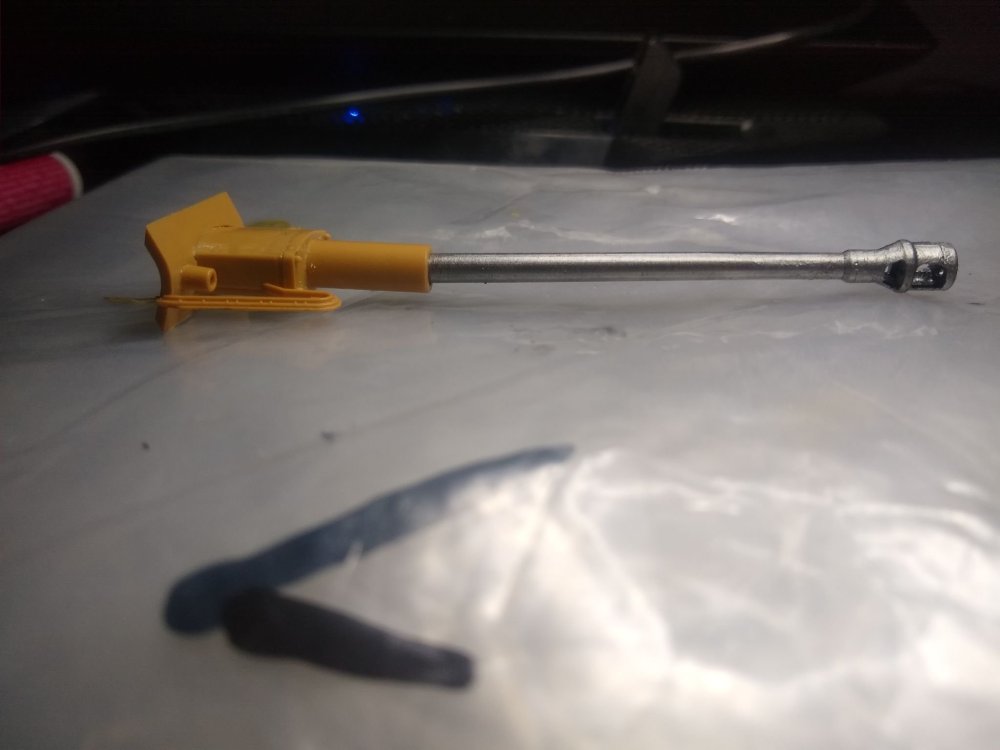
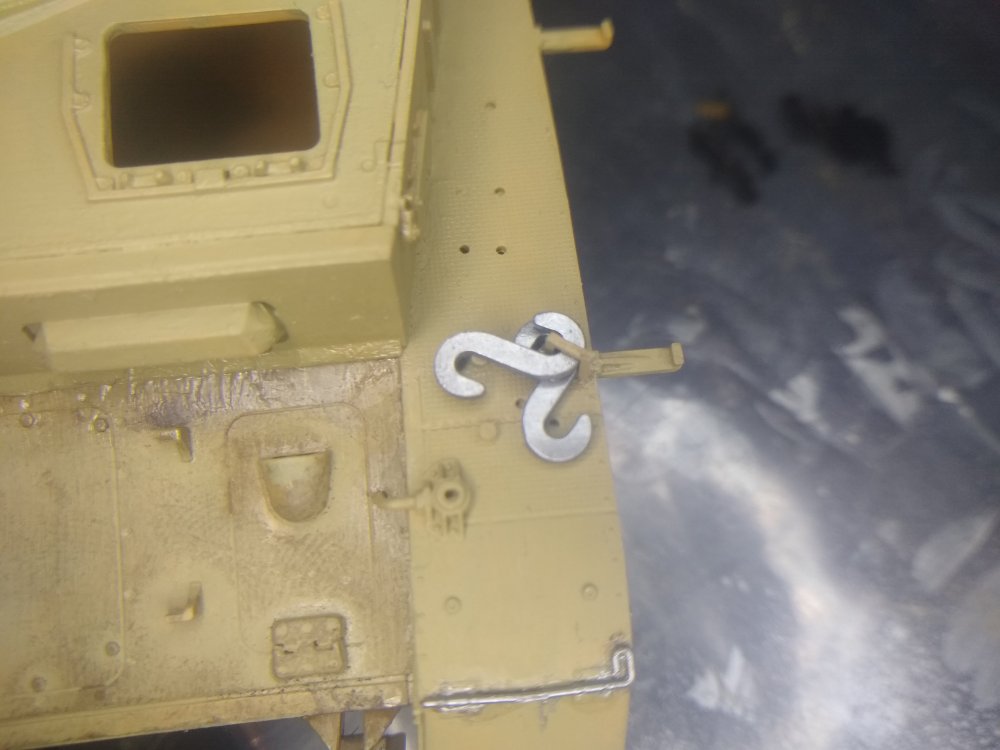
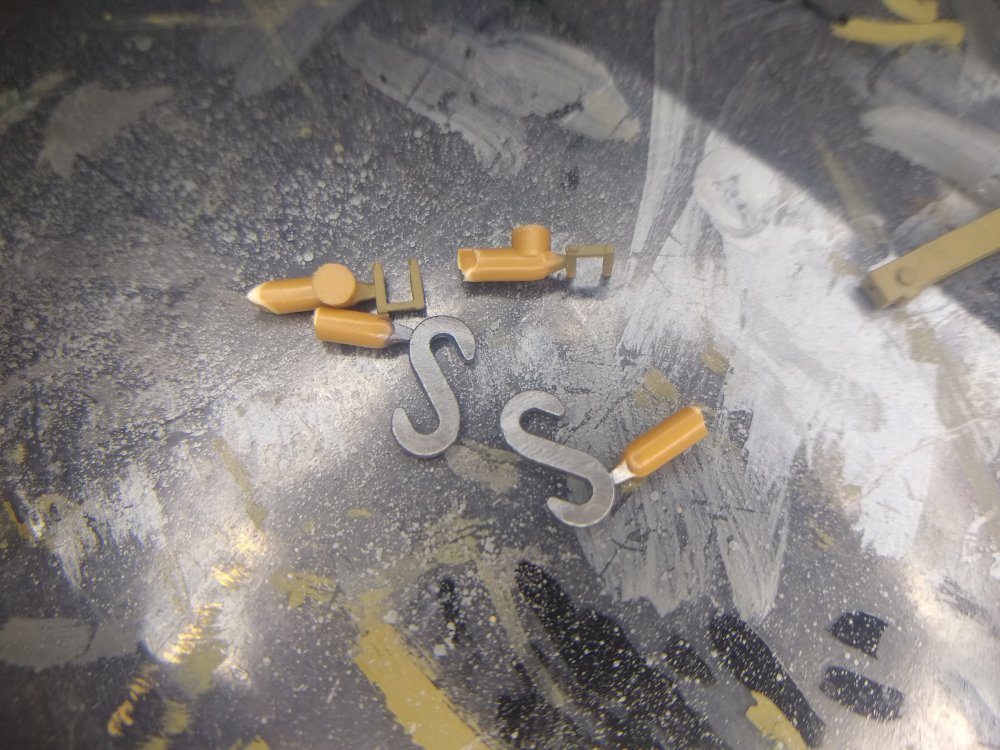
Well what a day. I am now a fully qualified counter balance lift truck (forklift) operator. So what better way to celebrate than doing a little more tank. First up a couple towing hooks. Fastened them loosely into there brackets. After gluing the 1st bracket I had to slot the hooks into place.And here's there rest of the tools


.jpg.f15b78c579319dedd28ae194a3f1e9f2.jpg)