
Clunkmeister
-
Posts
7,200 -
Joined
-
Last visited
Content Type
Profiles
Forums
Events
Gallery
Everything posted by Clunkmeister
-
 Thanks, Kevin. I’m loving this kit more and more every day. Infinity has a real winner here, and as long as the loudmouths who love to bash on short run kits get ignored, this kit will do great. I’m going to say that this may be one of the easiest building short run kits out there. The worst part being the wing to fuselage joint, but if you take your time and don’t allow the fuselage bulkheads to expand anything, this won’t give anyone with a few kits under their belts any issues at all.
 -
I found this interesting article online, and it may be a simple way to tart that hub up, at least until a good resin replacement part comes along. https://airplanes3d.wordpress.com/2016/05/28/modeling-hamilton-standard-counterweight-propeller/
-
Infinity Models 1/32 D3A1 “Val” dive bomber by HPH.
Clunkmeister replied to Clunkmeister's topic in Aircraft Reviews
A few more thoughts on this Infinity kit for those who are not following my ongoing build of this kit. This kit is literally head and shoulders over any of the previous Infinity kits. It’s turning into a semi relaxing, extremely rewarding build of a very intelligently thought out, planned, and engineered short run kit. Yes, because it IS short run, there will be parts clean up, mating surface trueing, and even a bit of parts thinning needed. Flash IS present, especially on some smaller parts and the control surfaces. There are mold mating lines that need careful scraping off, and of course there are no assembly guide pins. So slowly, go carefully, text fit, test fit, test fit 3 steps ahead while building an assembly, read my build thread and I give a few alternate build sequences that may help, and I believe that because I am almost finished the airframe, I can safely say that this kit is quite achievable by any modeler with a few mainline kits under their belt. This kit may be a great candidate for a modeler’s first short run kit, it’s that decent. For the most part, things fit, and fit better than any short run kit I’ve ever built, except the Special Hobby Buffalo, and that’s only almost an equal to this. It doesn’t have separate control surfaces, so it loses points from me there. The only reason I’d say do the Buffalo first is the included resin parts, and the smaller size. You need to buy any resin you want to add to the Infinity kit, although it’s not really needed. Plus, on the Infinity kit, and this is a BIG plus, ALL control surfaces are separate. No cutting, filling, manufacturing, filling, sanding, filling, sanding, scribing needed. 😂 -
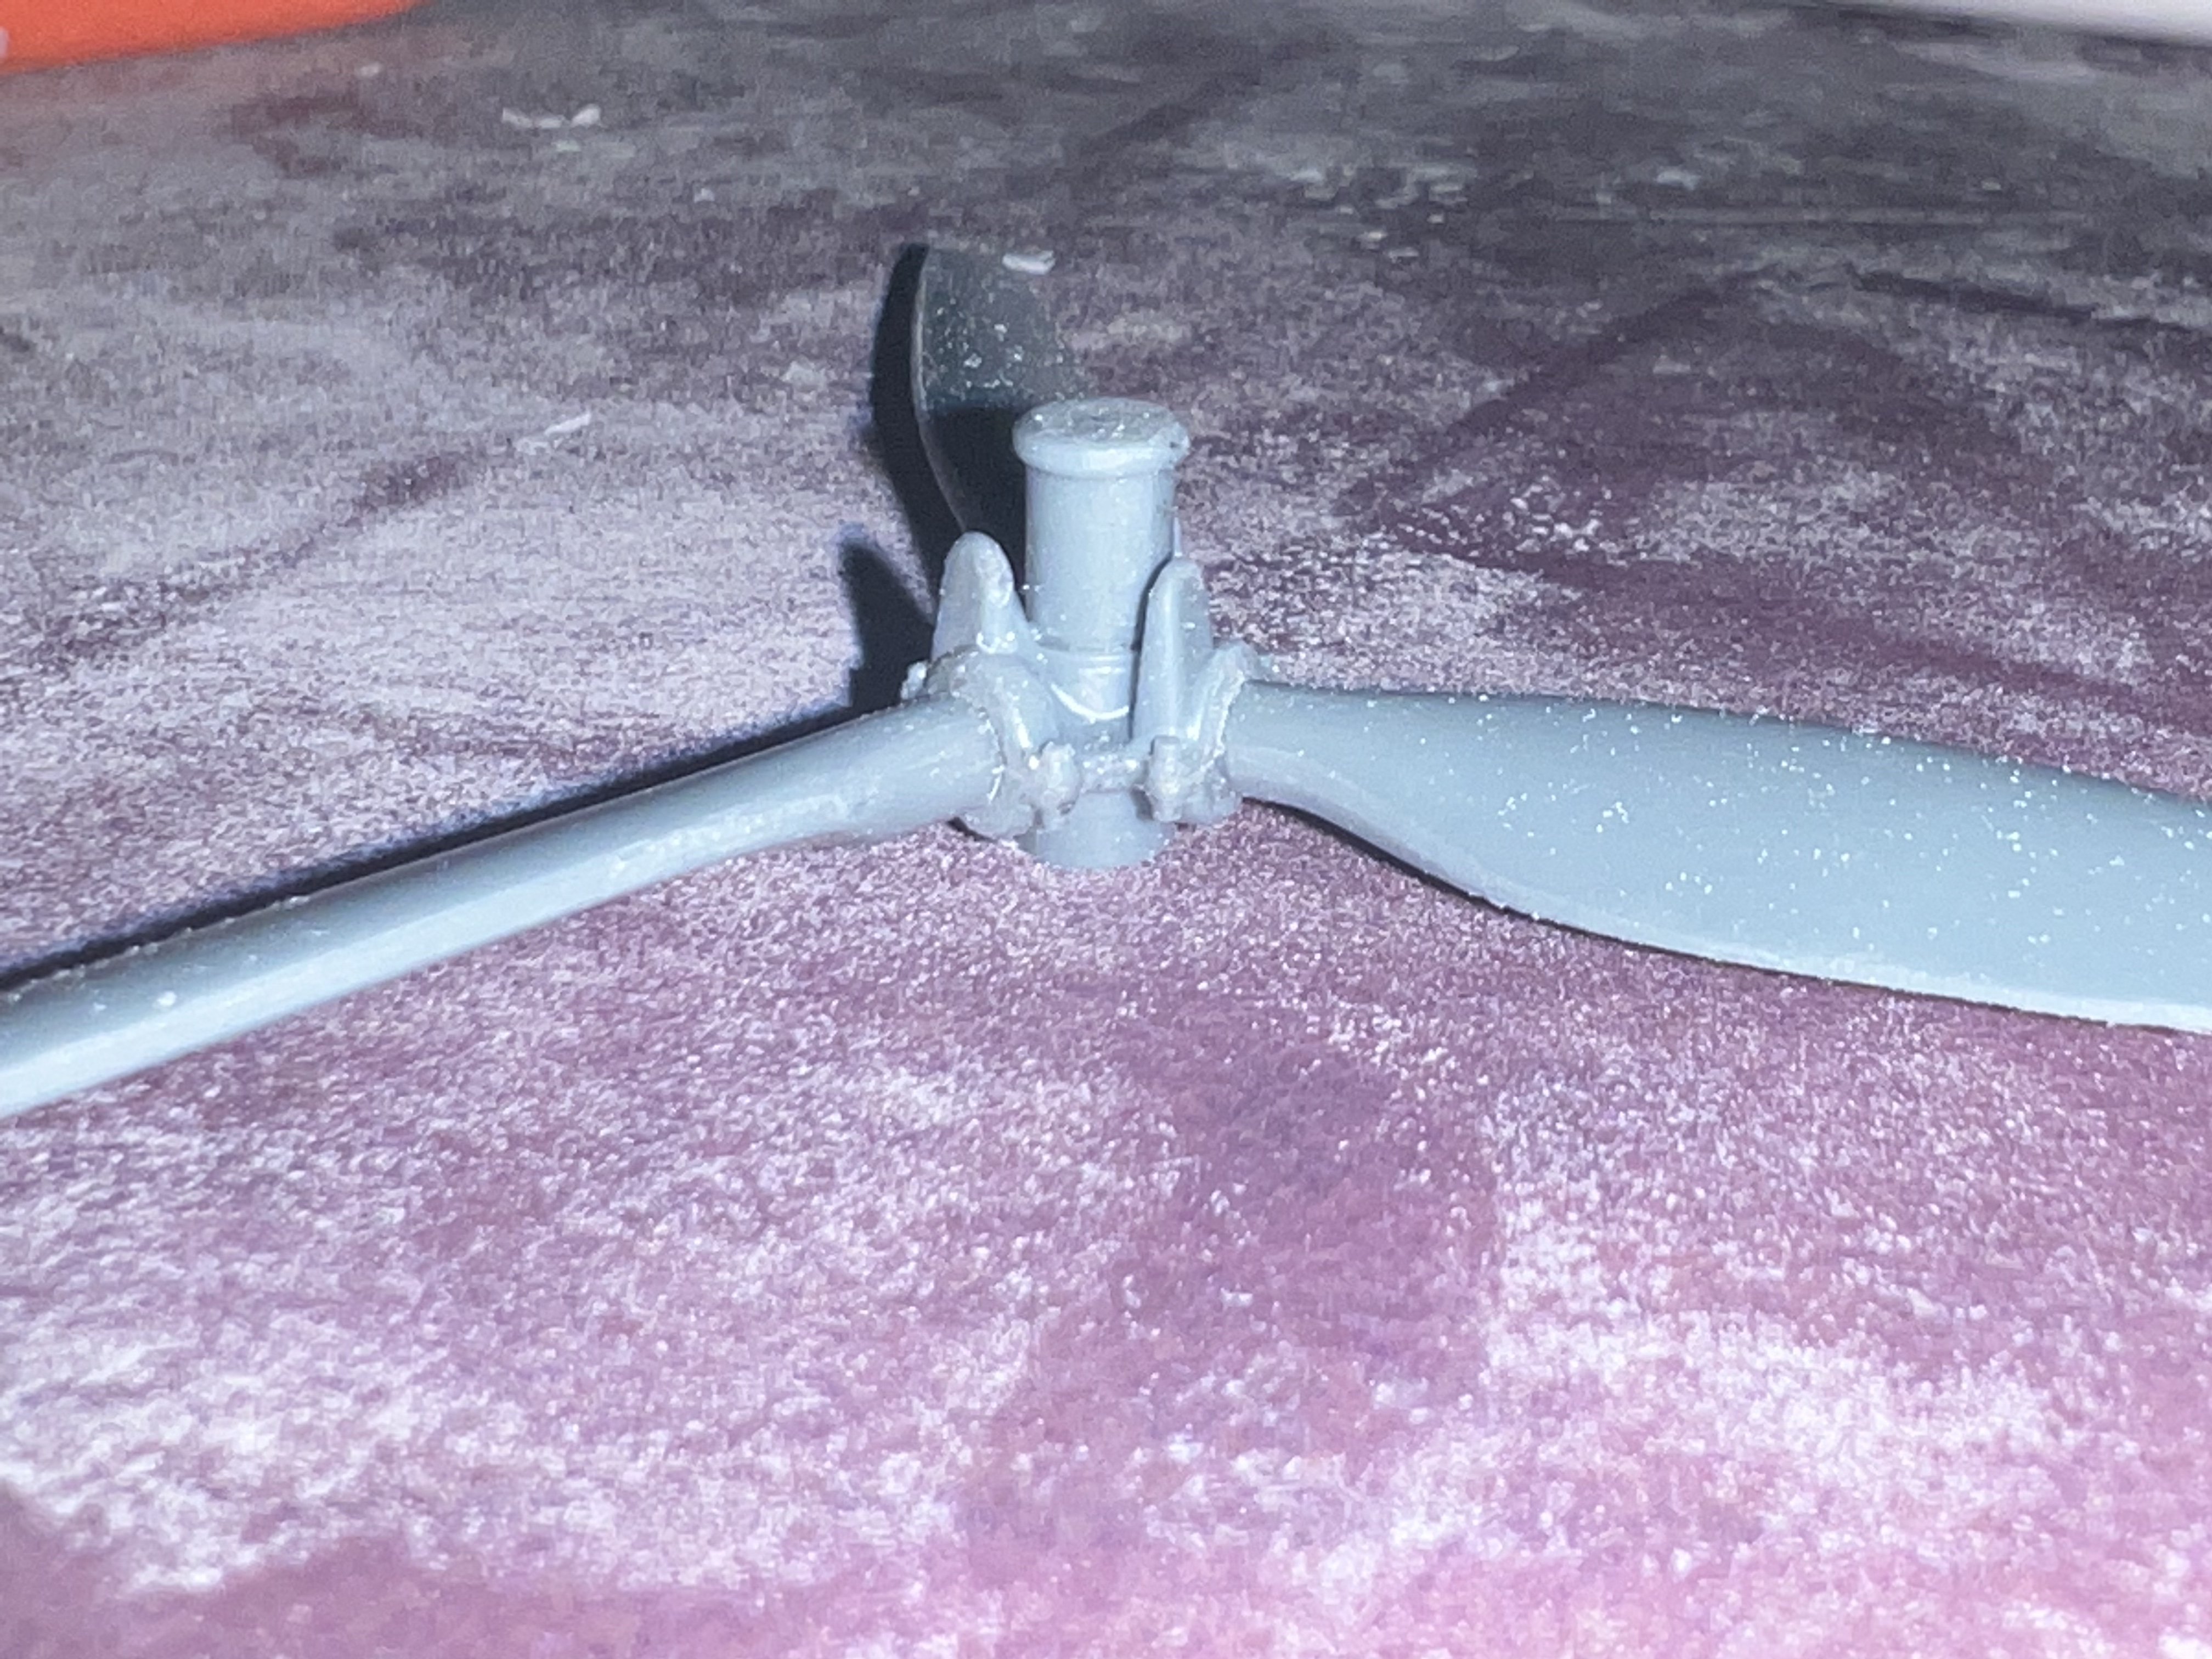
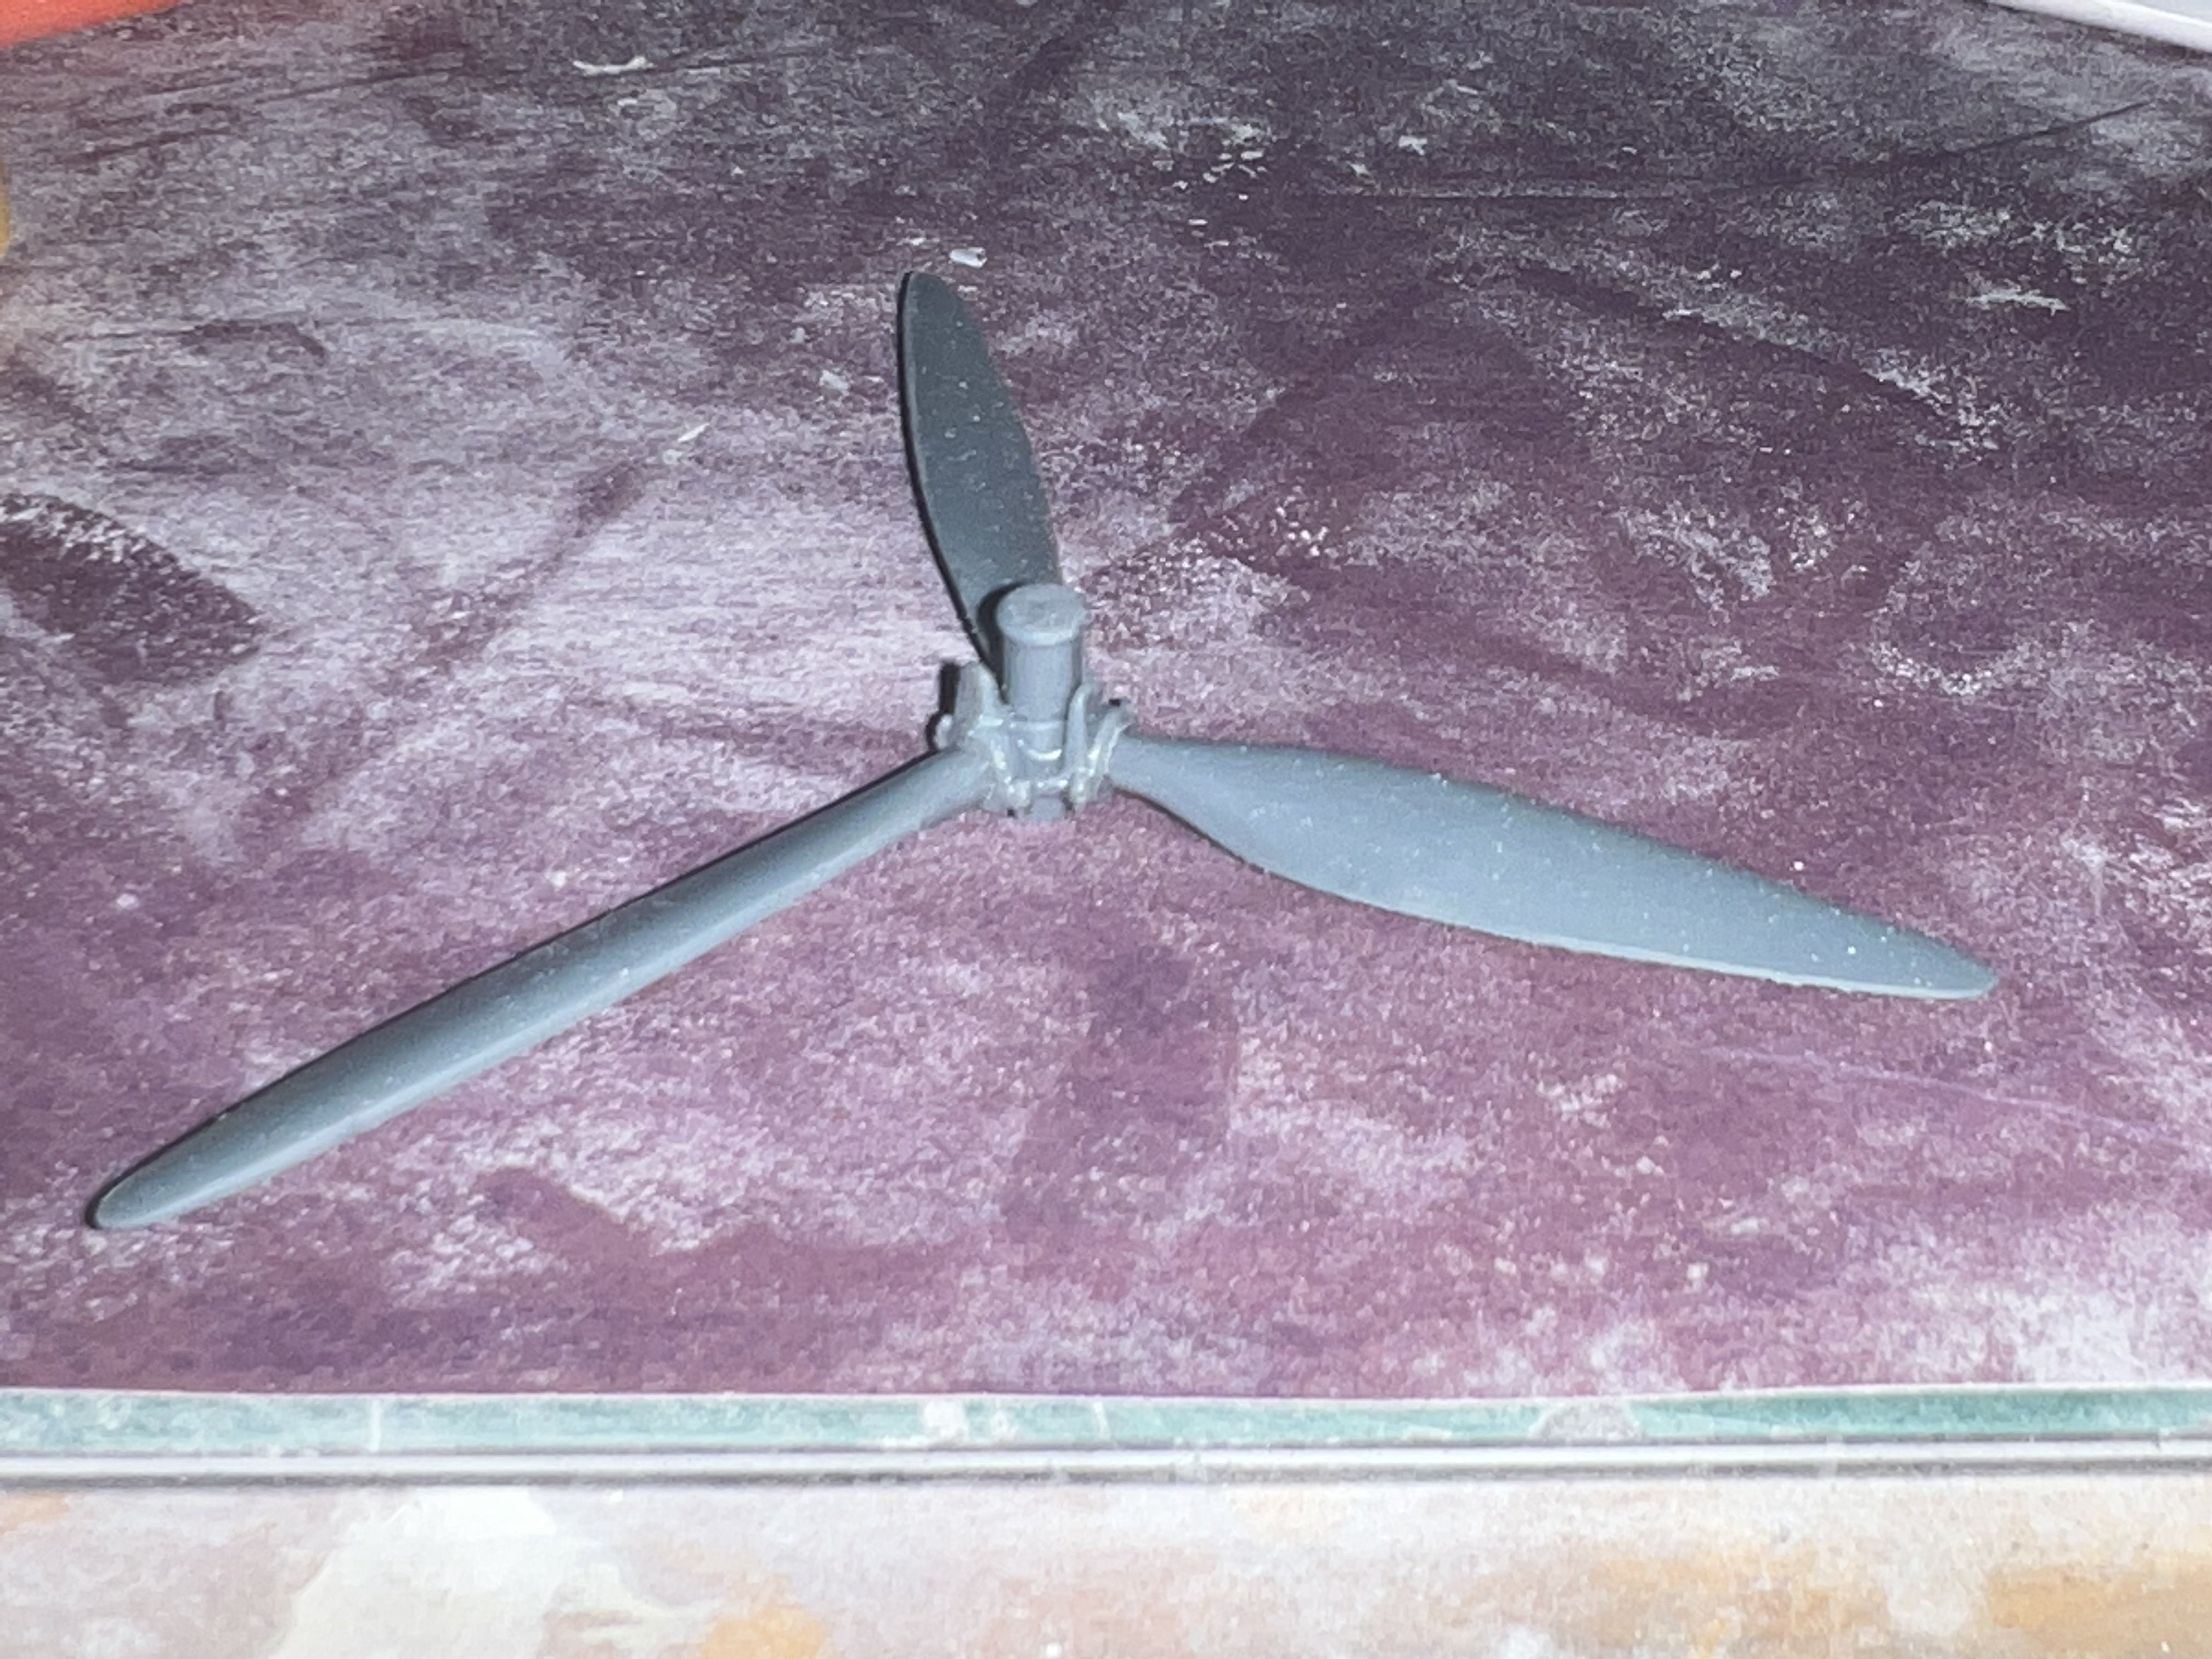
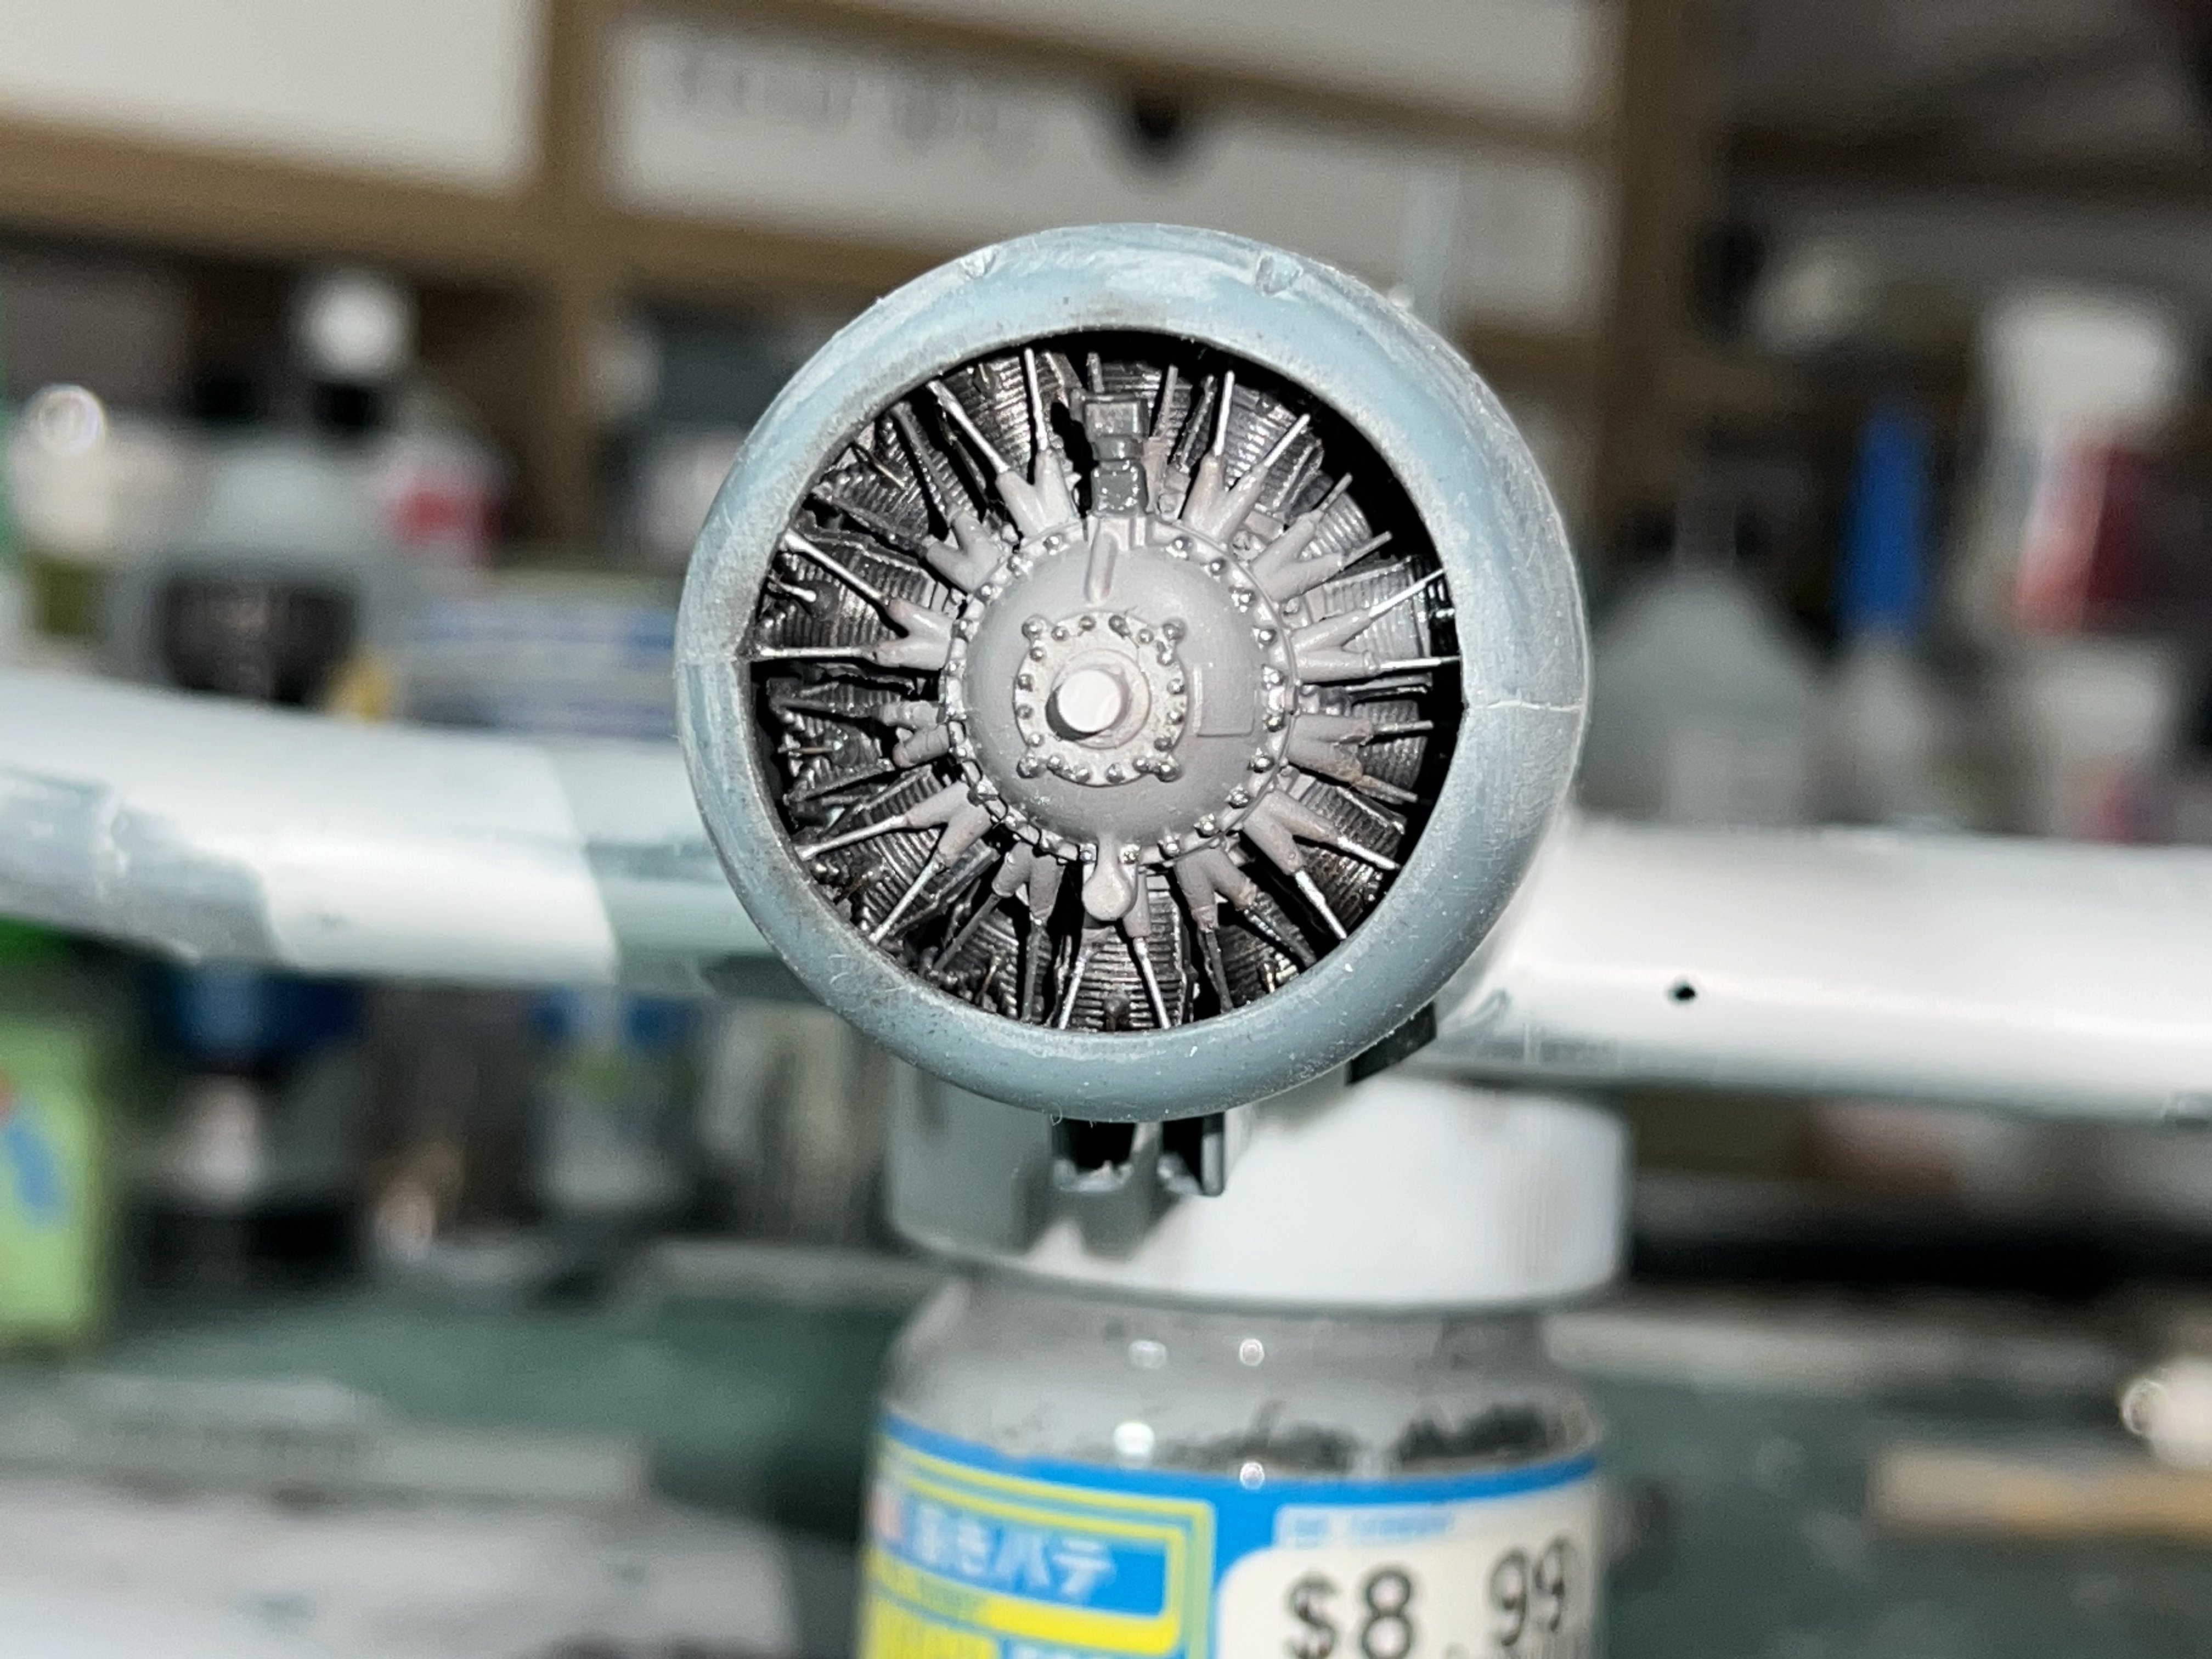
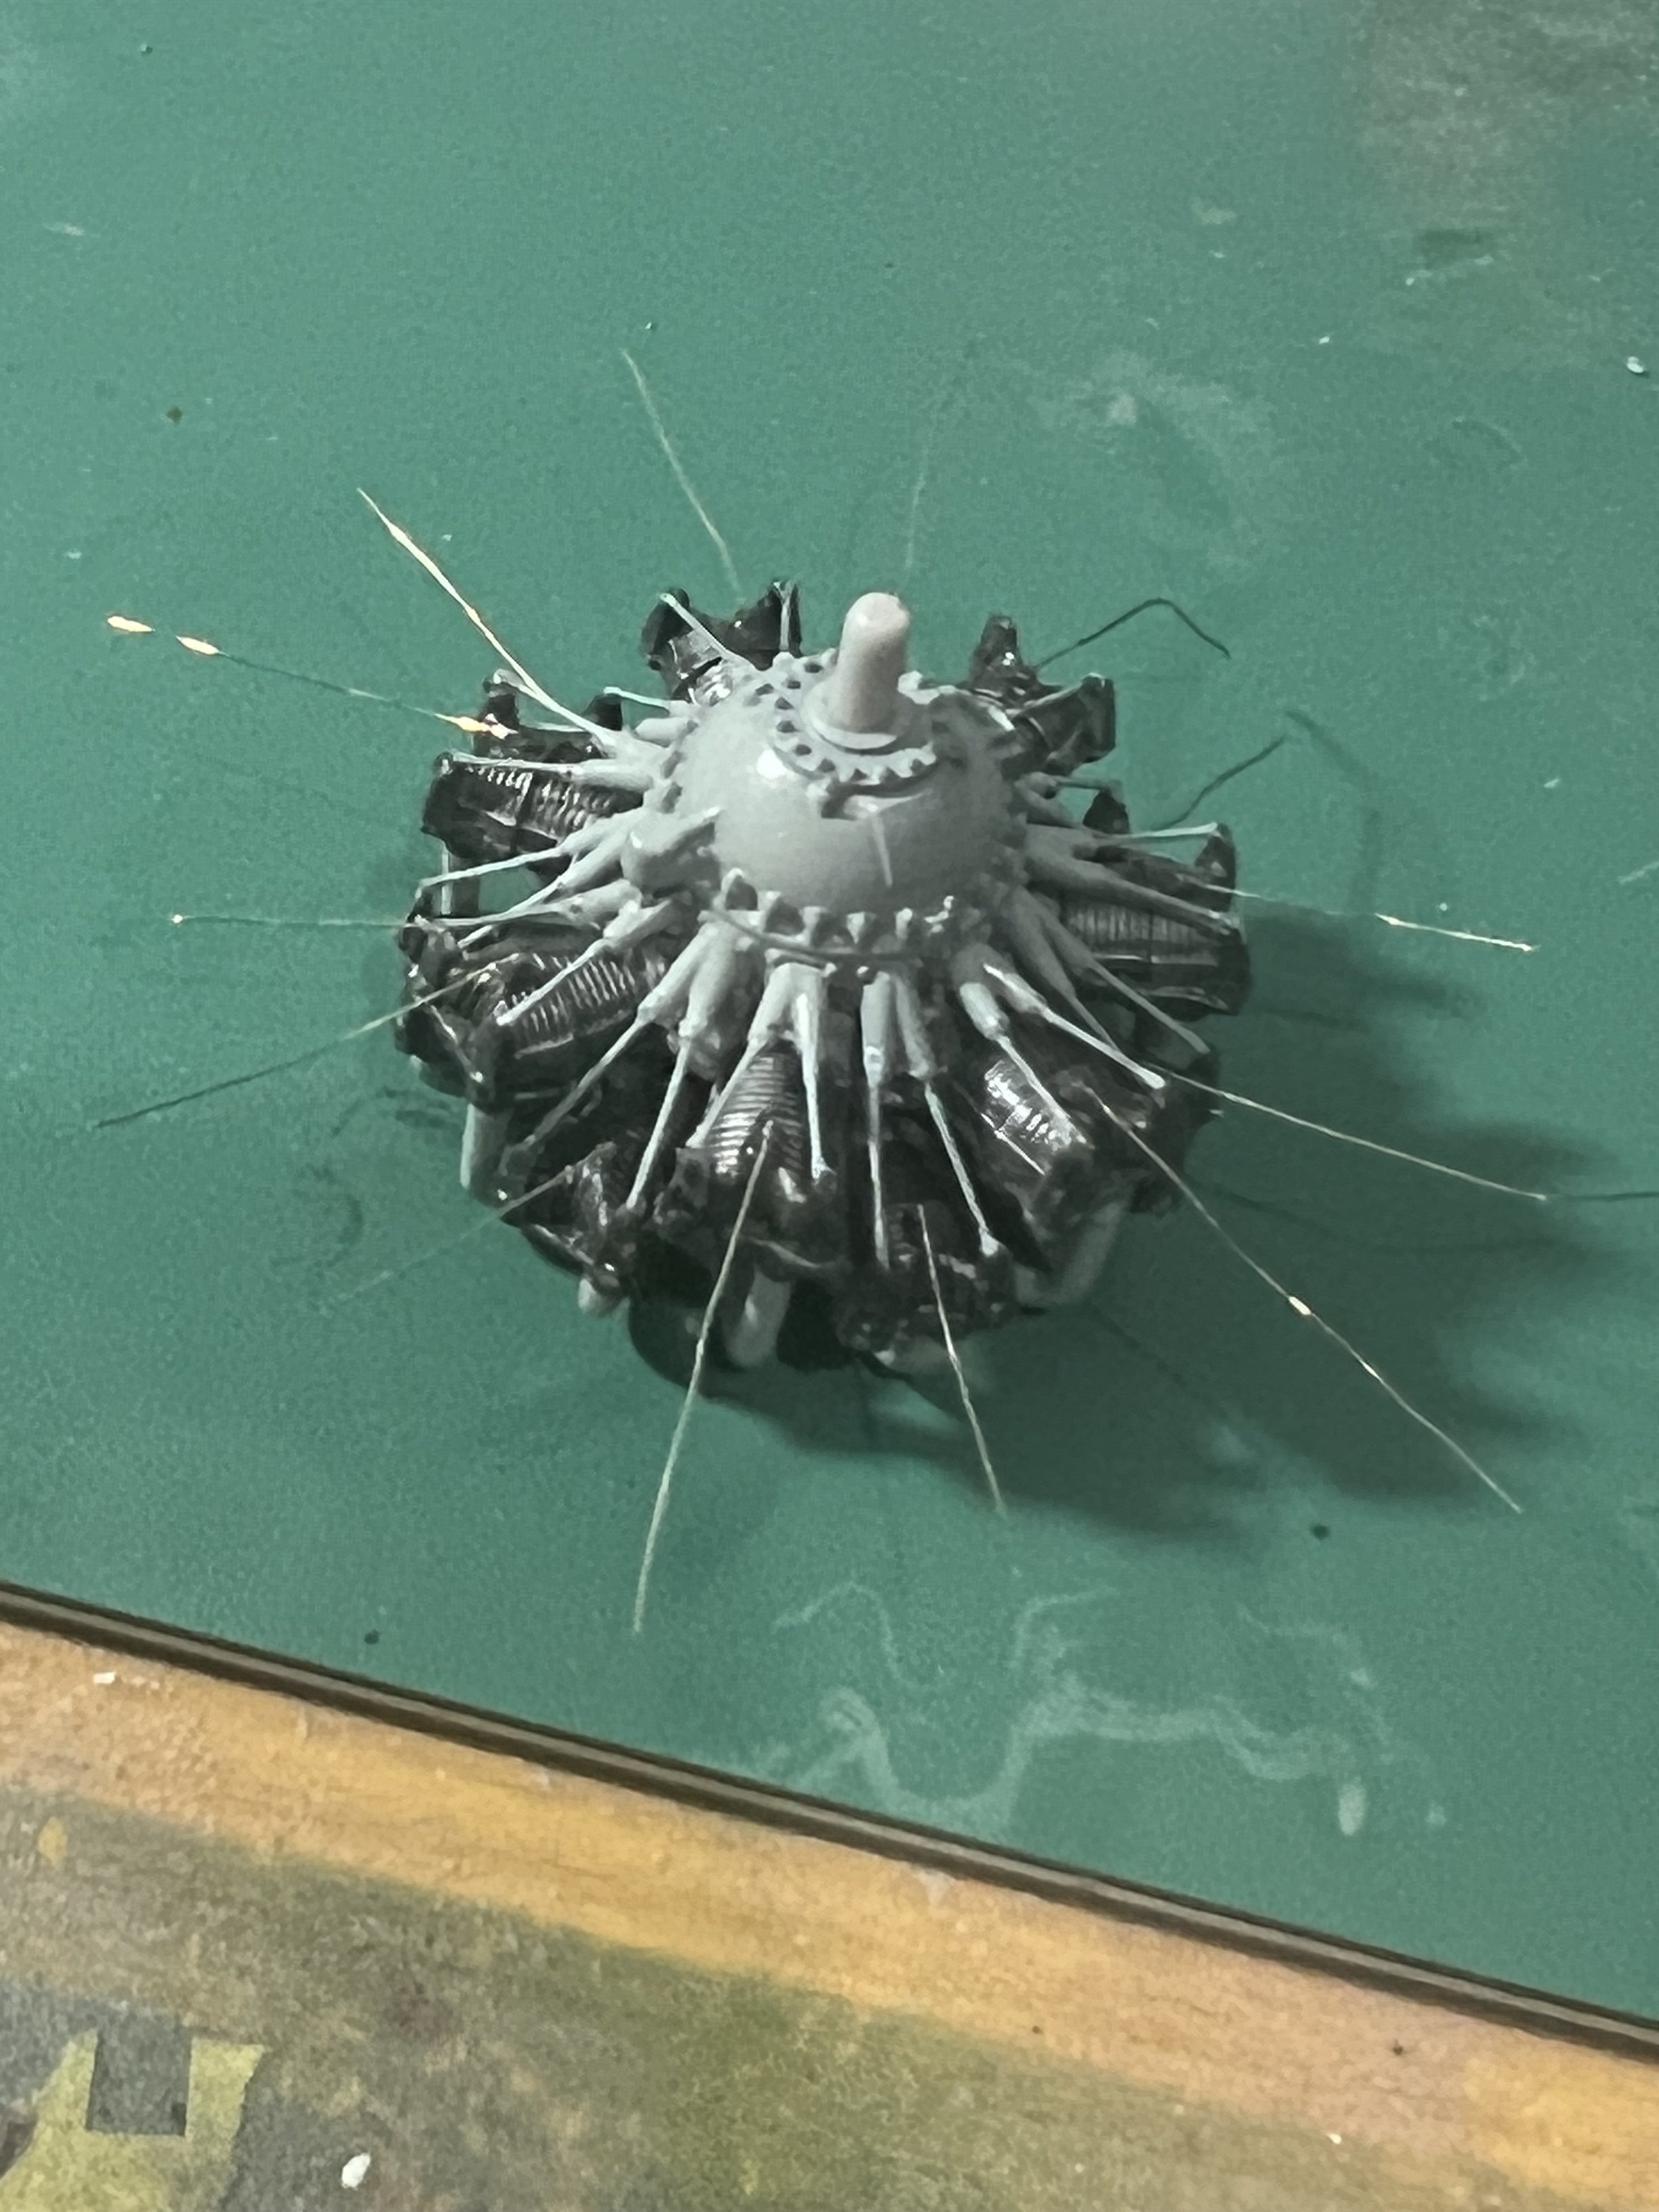
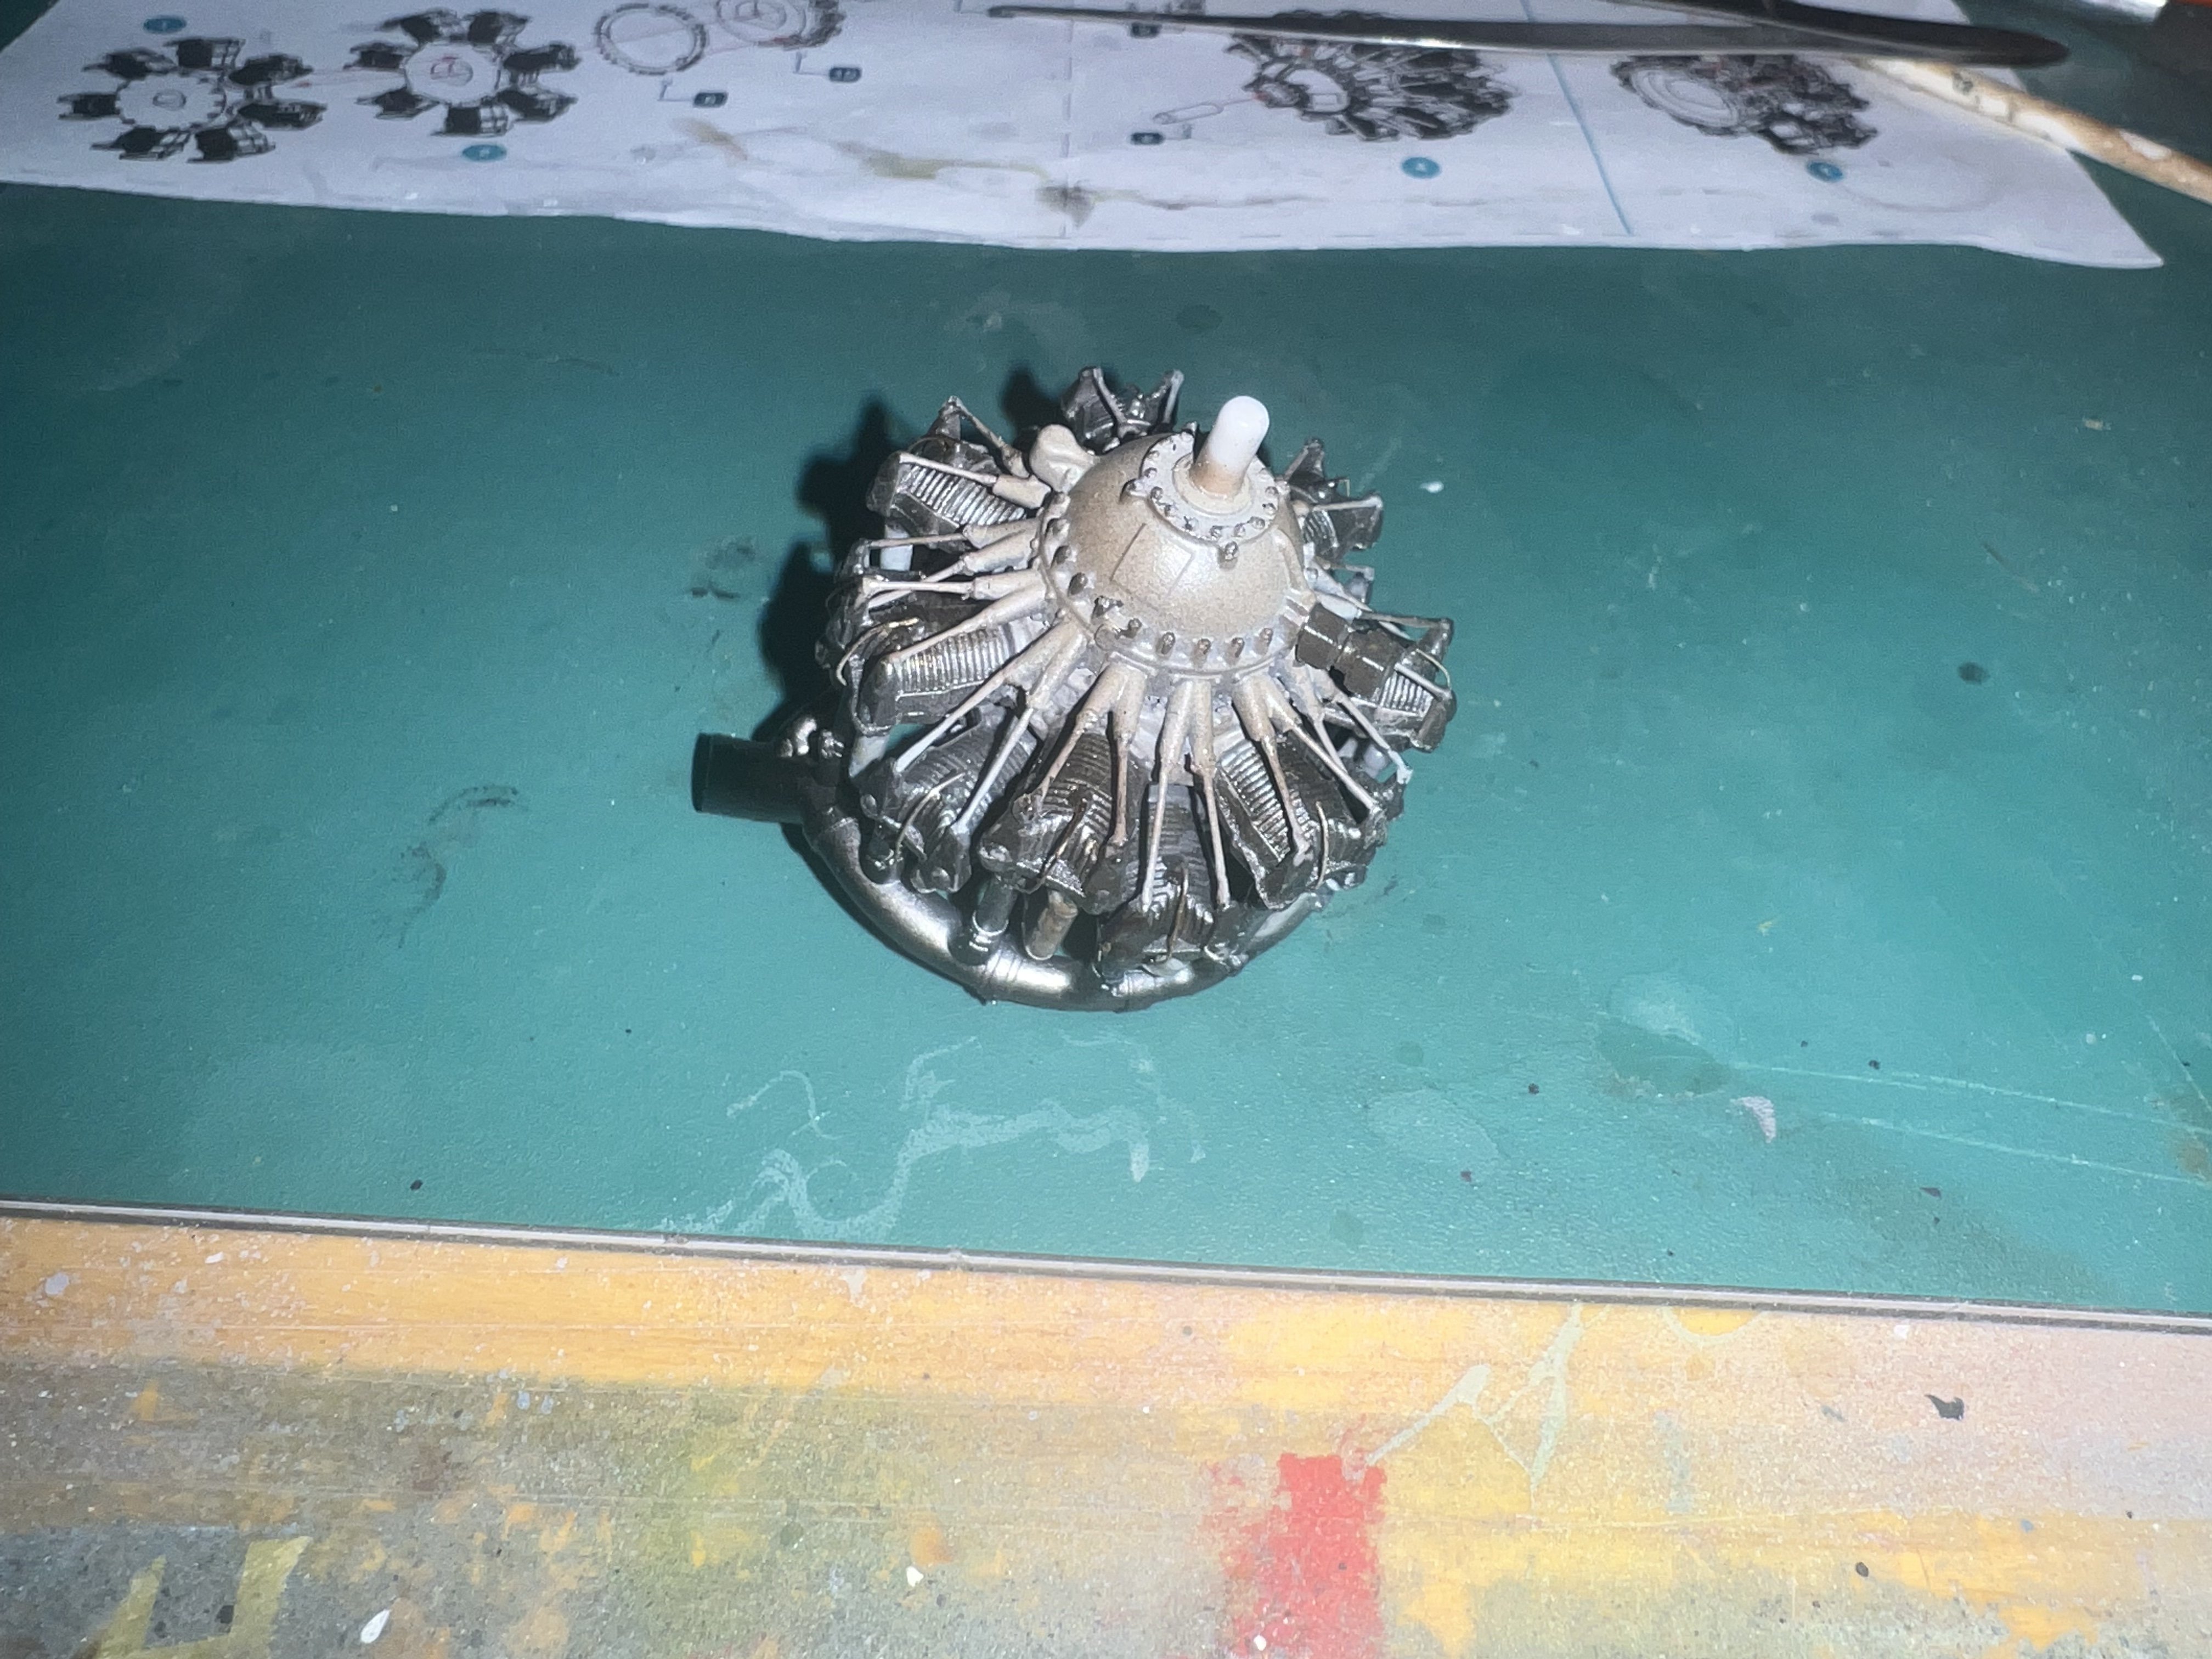
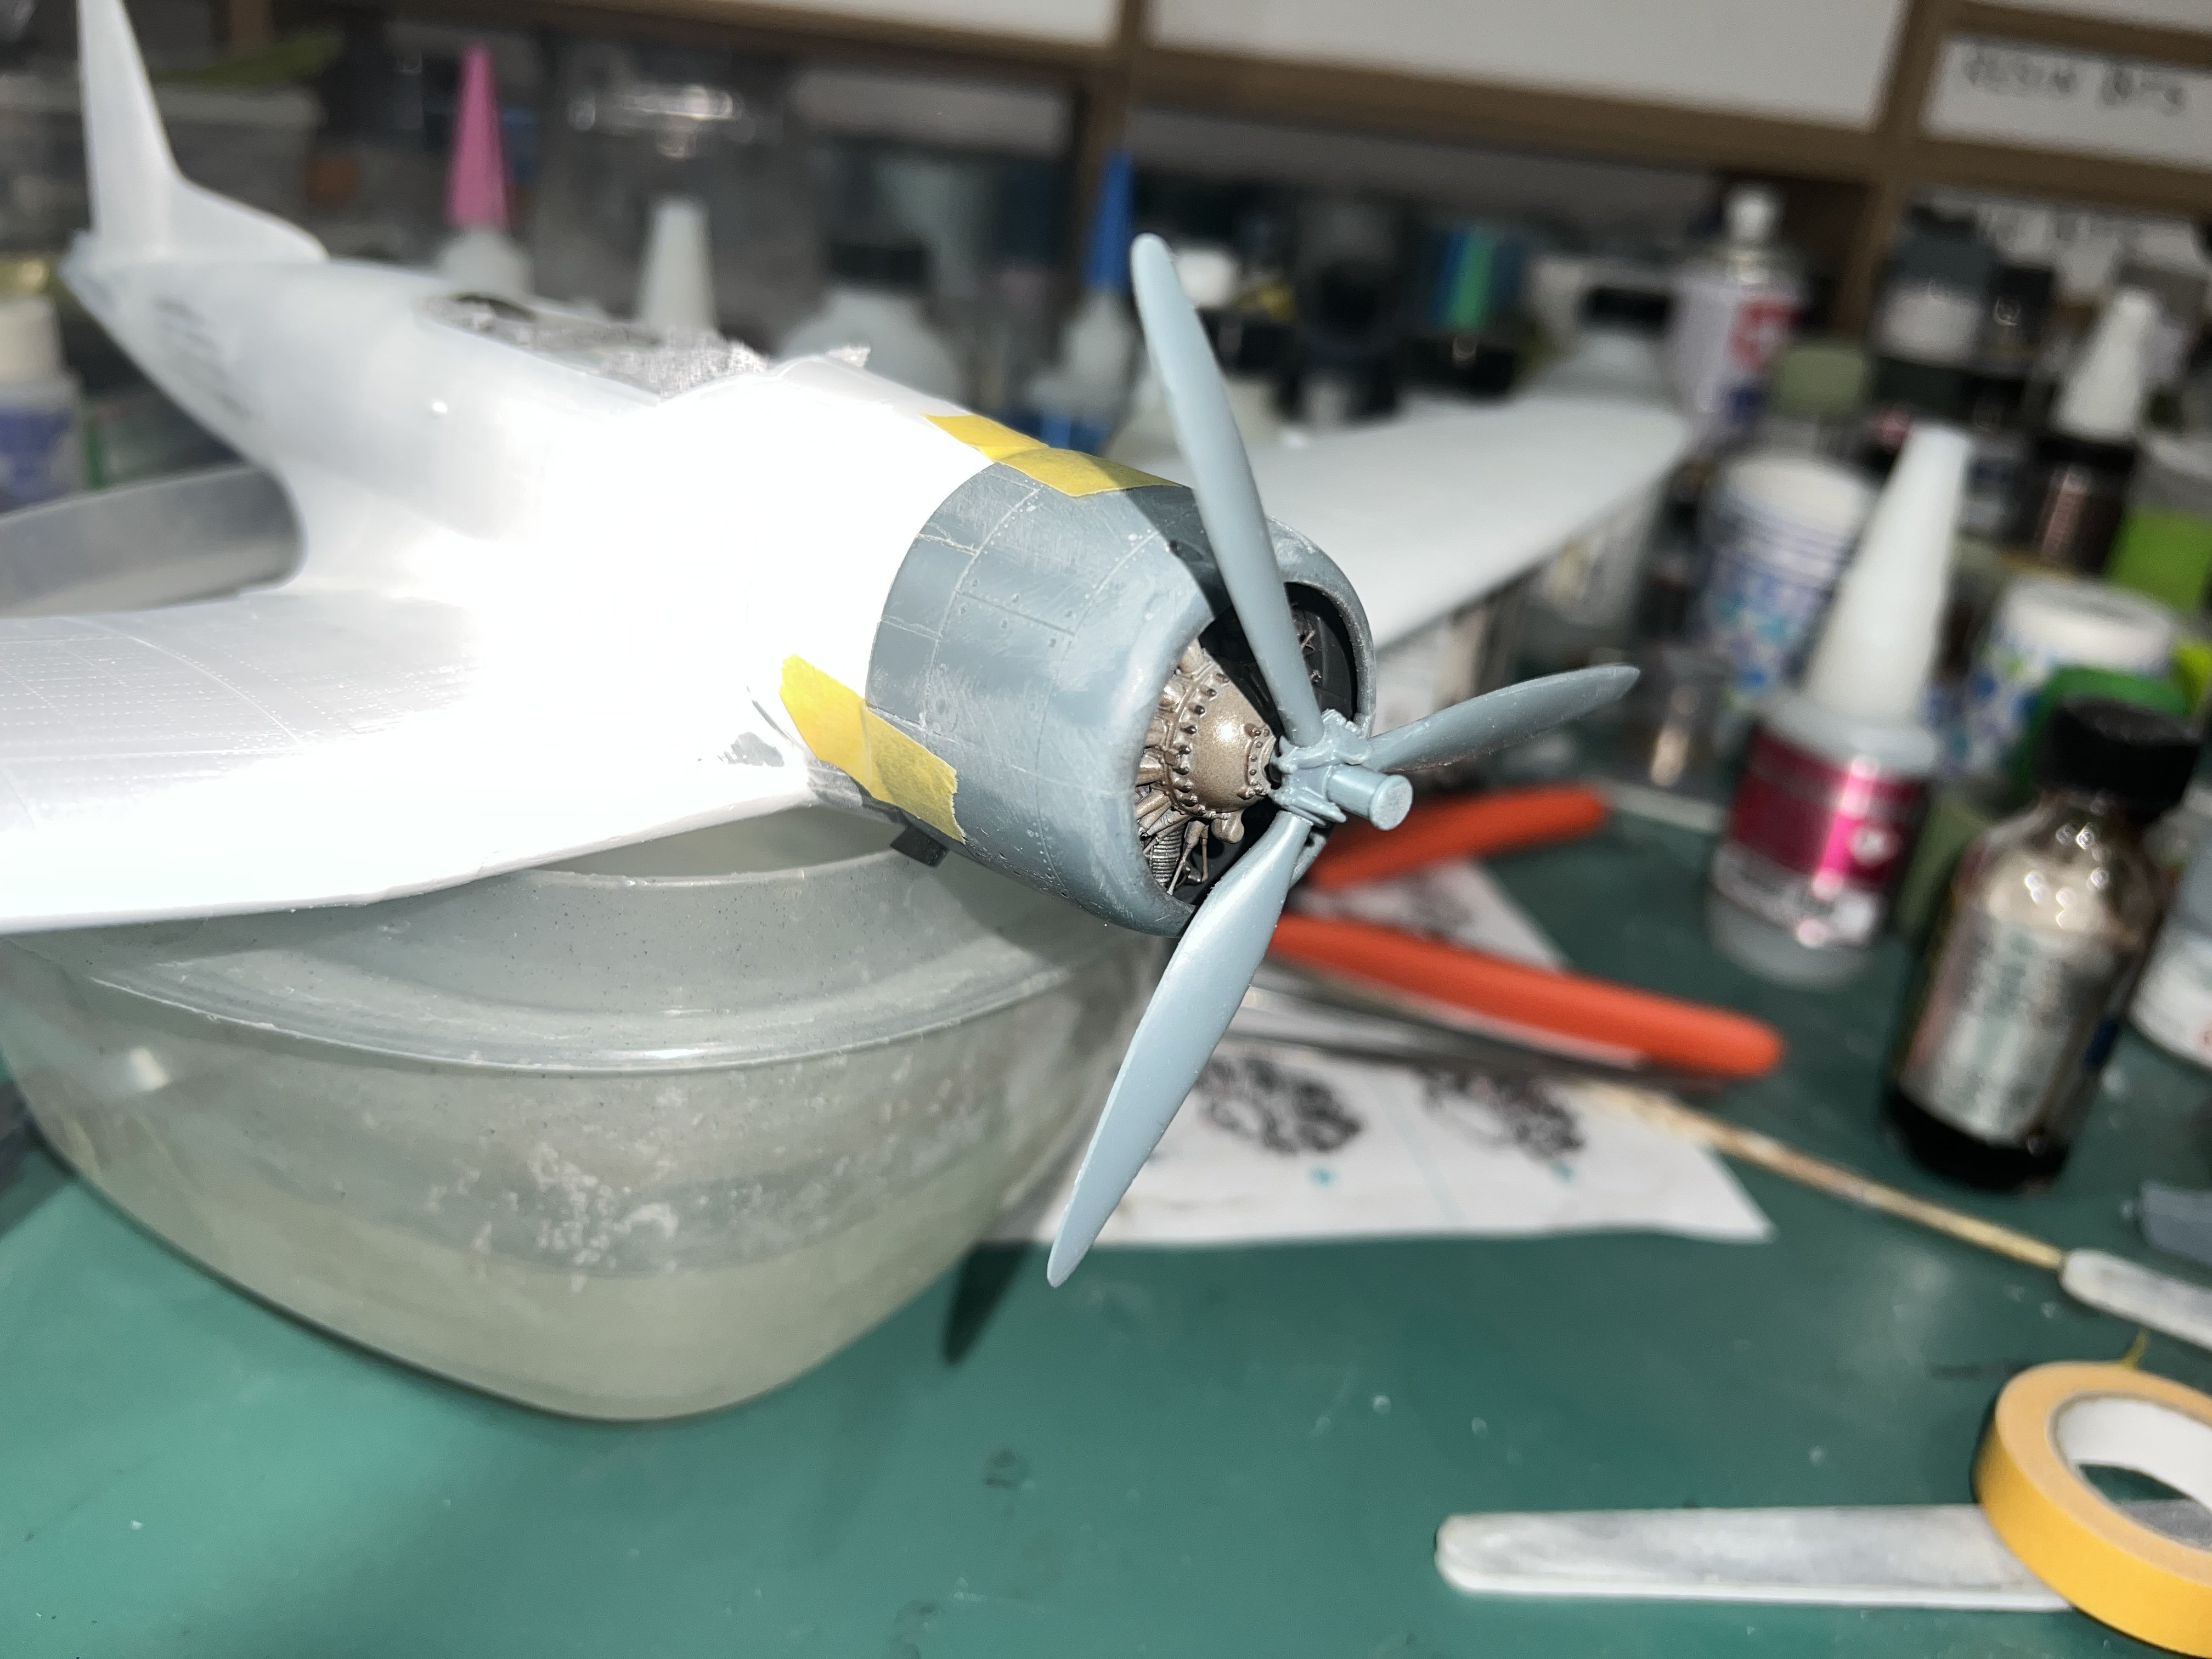
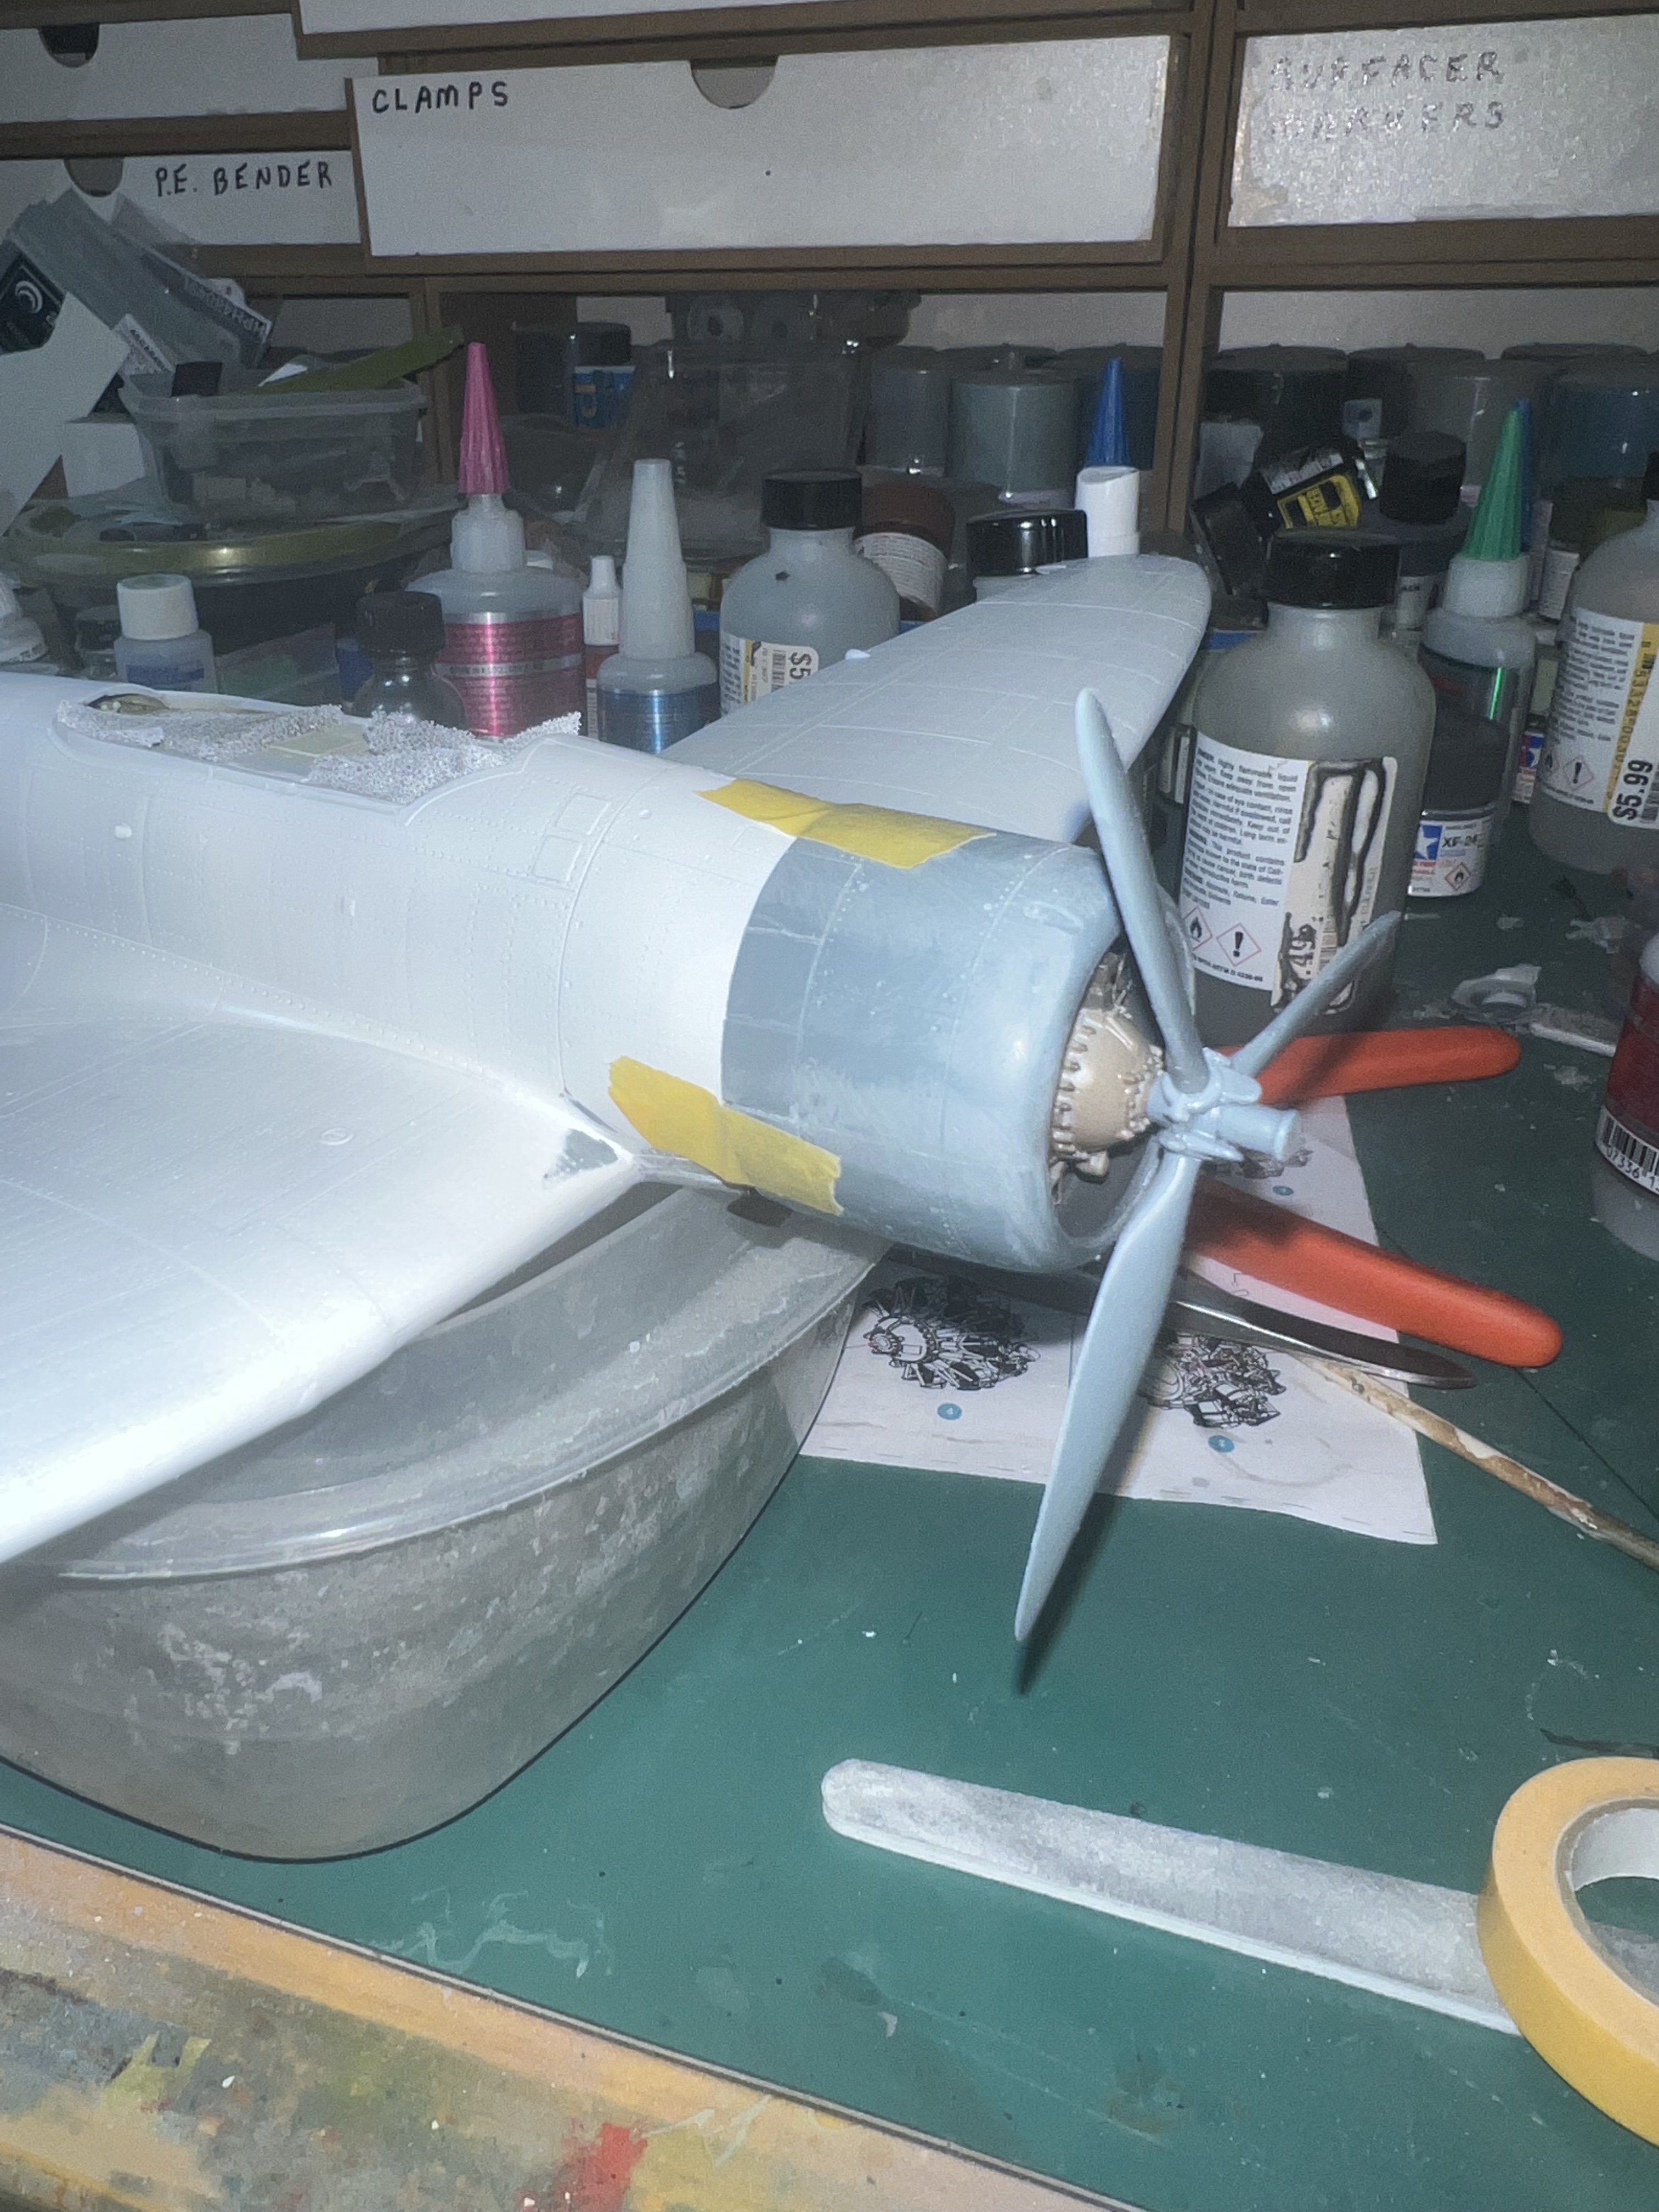
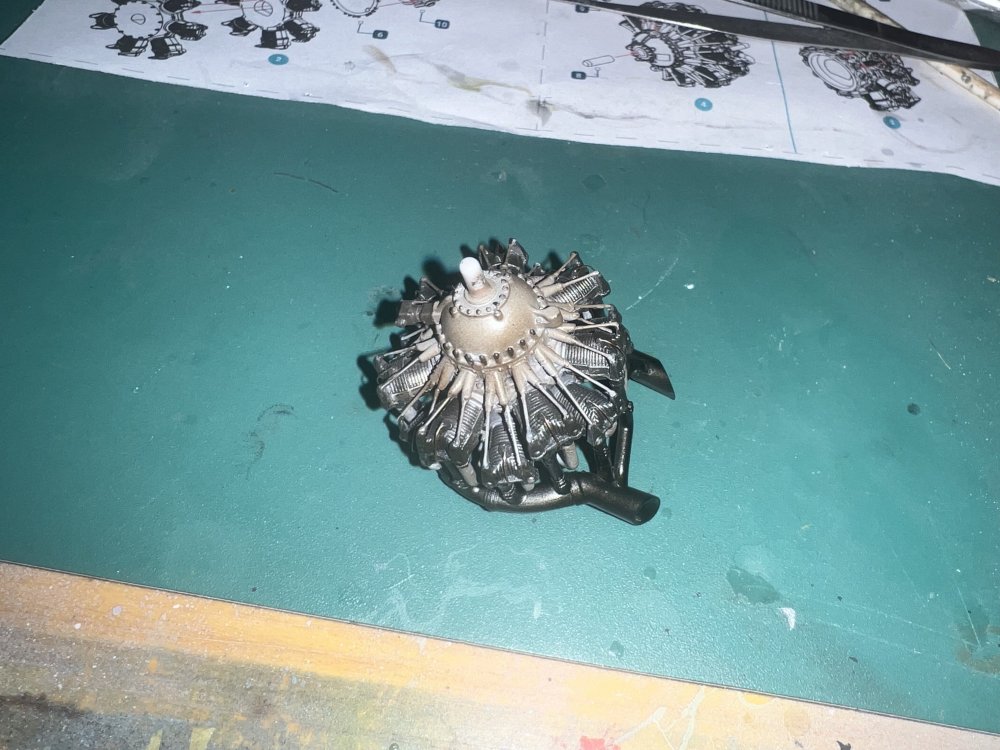
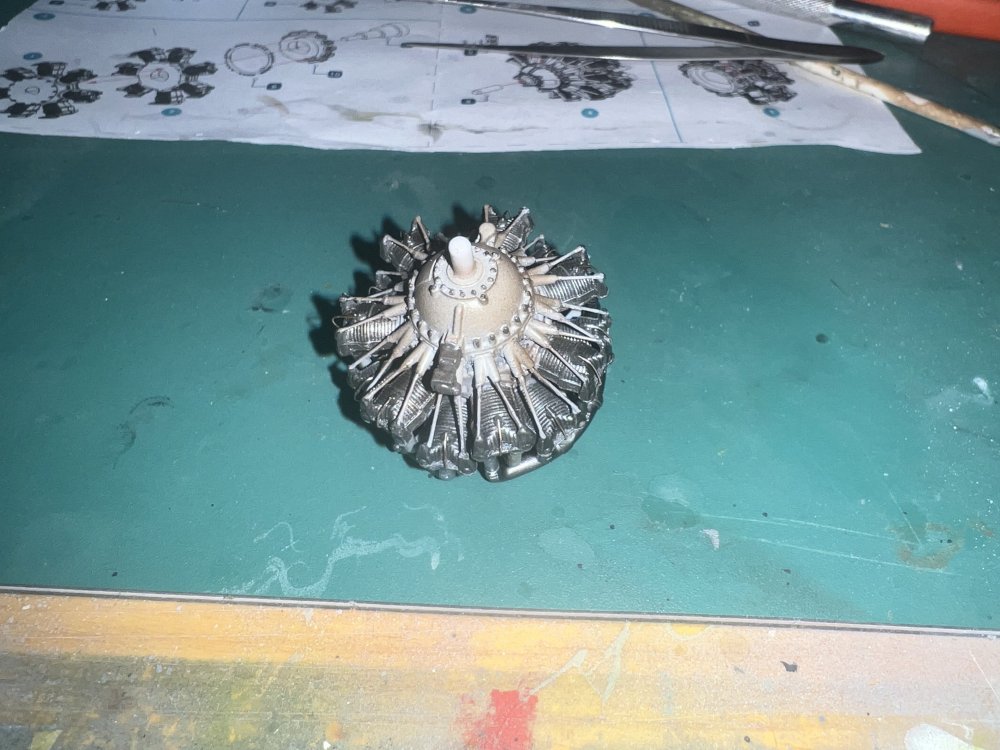
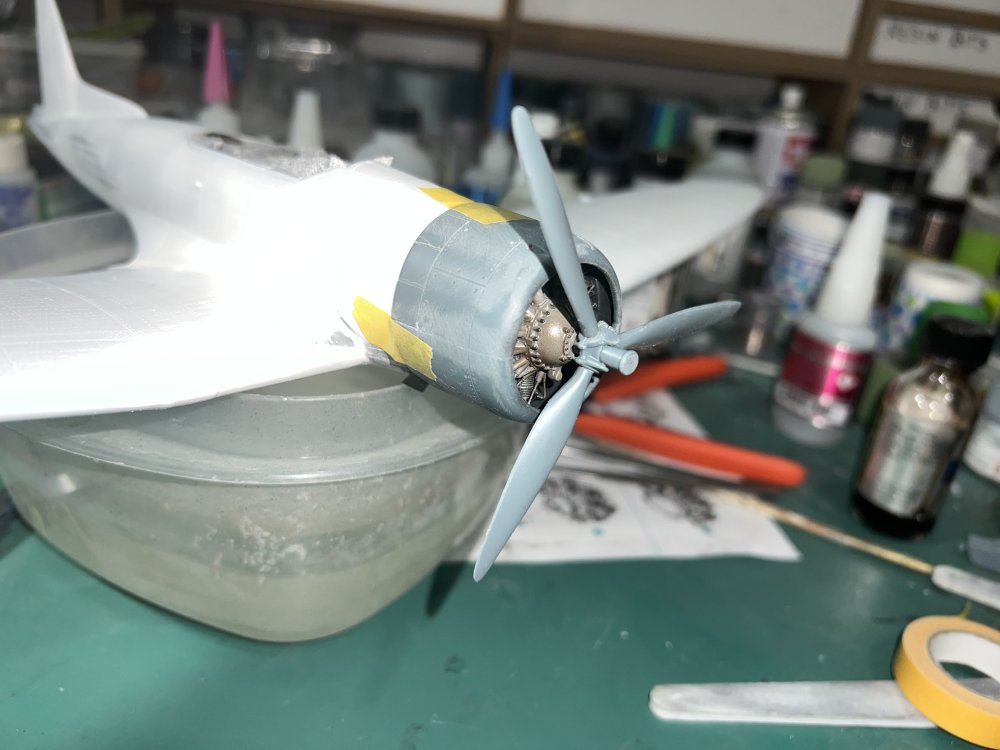
Ok, one more little tidbit tonight. Several days ago, I assembled the controllable pitch prop hub. It’s a two piece affair, with a barrel added afterwards. I thinned and carefully trued the mating surfaces to give circular blade openings, and lined up the clamps and NBW moldings before committing to glue. It came out marvelous, especially after adding the very prominent hub barrel on the front end. The prop blades needed sanding, thinning, and edge clean up, but to me, look more or less correct for the D3A1 variant. The very last A1s and all the improved A2s used a prop spinner to hide oth oh-so-Golden-Age looking Hamilton controllable pitch hub unit. I SIMPLY PRESS FIT THE BLADES IN PLACE FOR THESE PHOTOS My thoughts on the hub are as such: I didn’t have a lot of hope here, as styrene can only do so much. Tamiya, Kotare, or ICM high pressure molding could certainly achieve a much better result, but for Short Run, this is pretty bloody decent. The three hub clamps with their respective NBW hardware actually look decent. As long as you carefully clean up the flash and then true the mating surfaces. The mechanisms bob weights are a bit of a miss. The representation is there as simple discs, but al look at any of our gorgeous Golden Age racers, especially ships like the Northrop Gamma will show you that there is much more to be achieved here. I’m going to valiantly attempt to procure a miracle courtesy of my #11 blade, a jewelers loupe, (ok, my Optivisor), a couple good pictures, and a solid set of my tongue. Failing that, I’ll try some brass. This is one area where a resin cast multiple part assembled unit will absolutely SHINE. And maybe PE bobweights? To me, the prop hub is one of the coolest parts of this plane. It completely fits with those beautiful elliptical surfaces. Don’t get me wrong, the kit part looks great from 4 ft away, and will work perfectly fine for a shelf display model, but I’m a true Golden Age Racer guy at heart, (My first short run kit was a Williams Bros. Wendell Williams that I super detailed back in the late 70s) and to me, these links to an earlier era need to be see, hopefully up close and in all their glory. That’s precisely why I used the resin extra cost kit for that glorious 14 cylinder radial and exhaust, even though the kit parts would be kinda OK, even though everything from the sides and rear will be invisible.

-
What I’m going to explore in a future build is making some open cowl flaps. But I expect the aftermarket may be well on their way already.
-
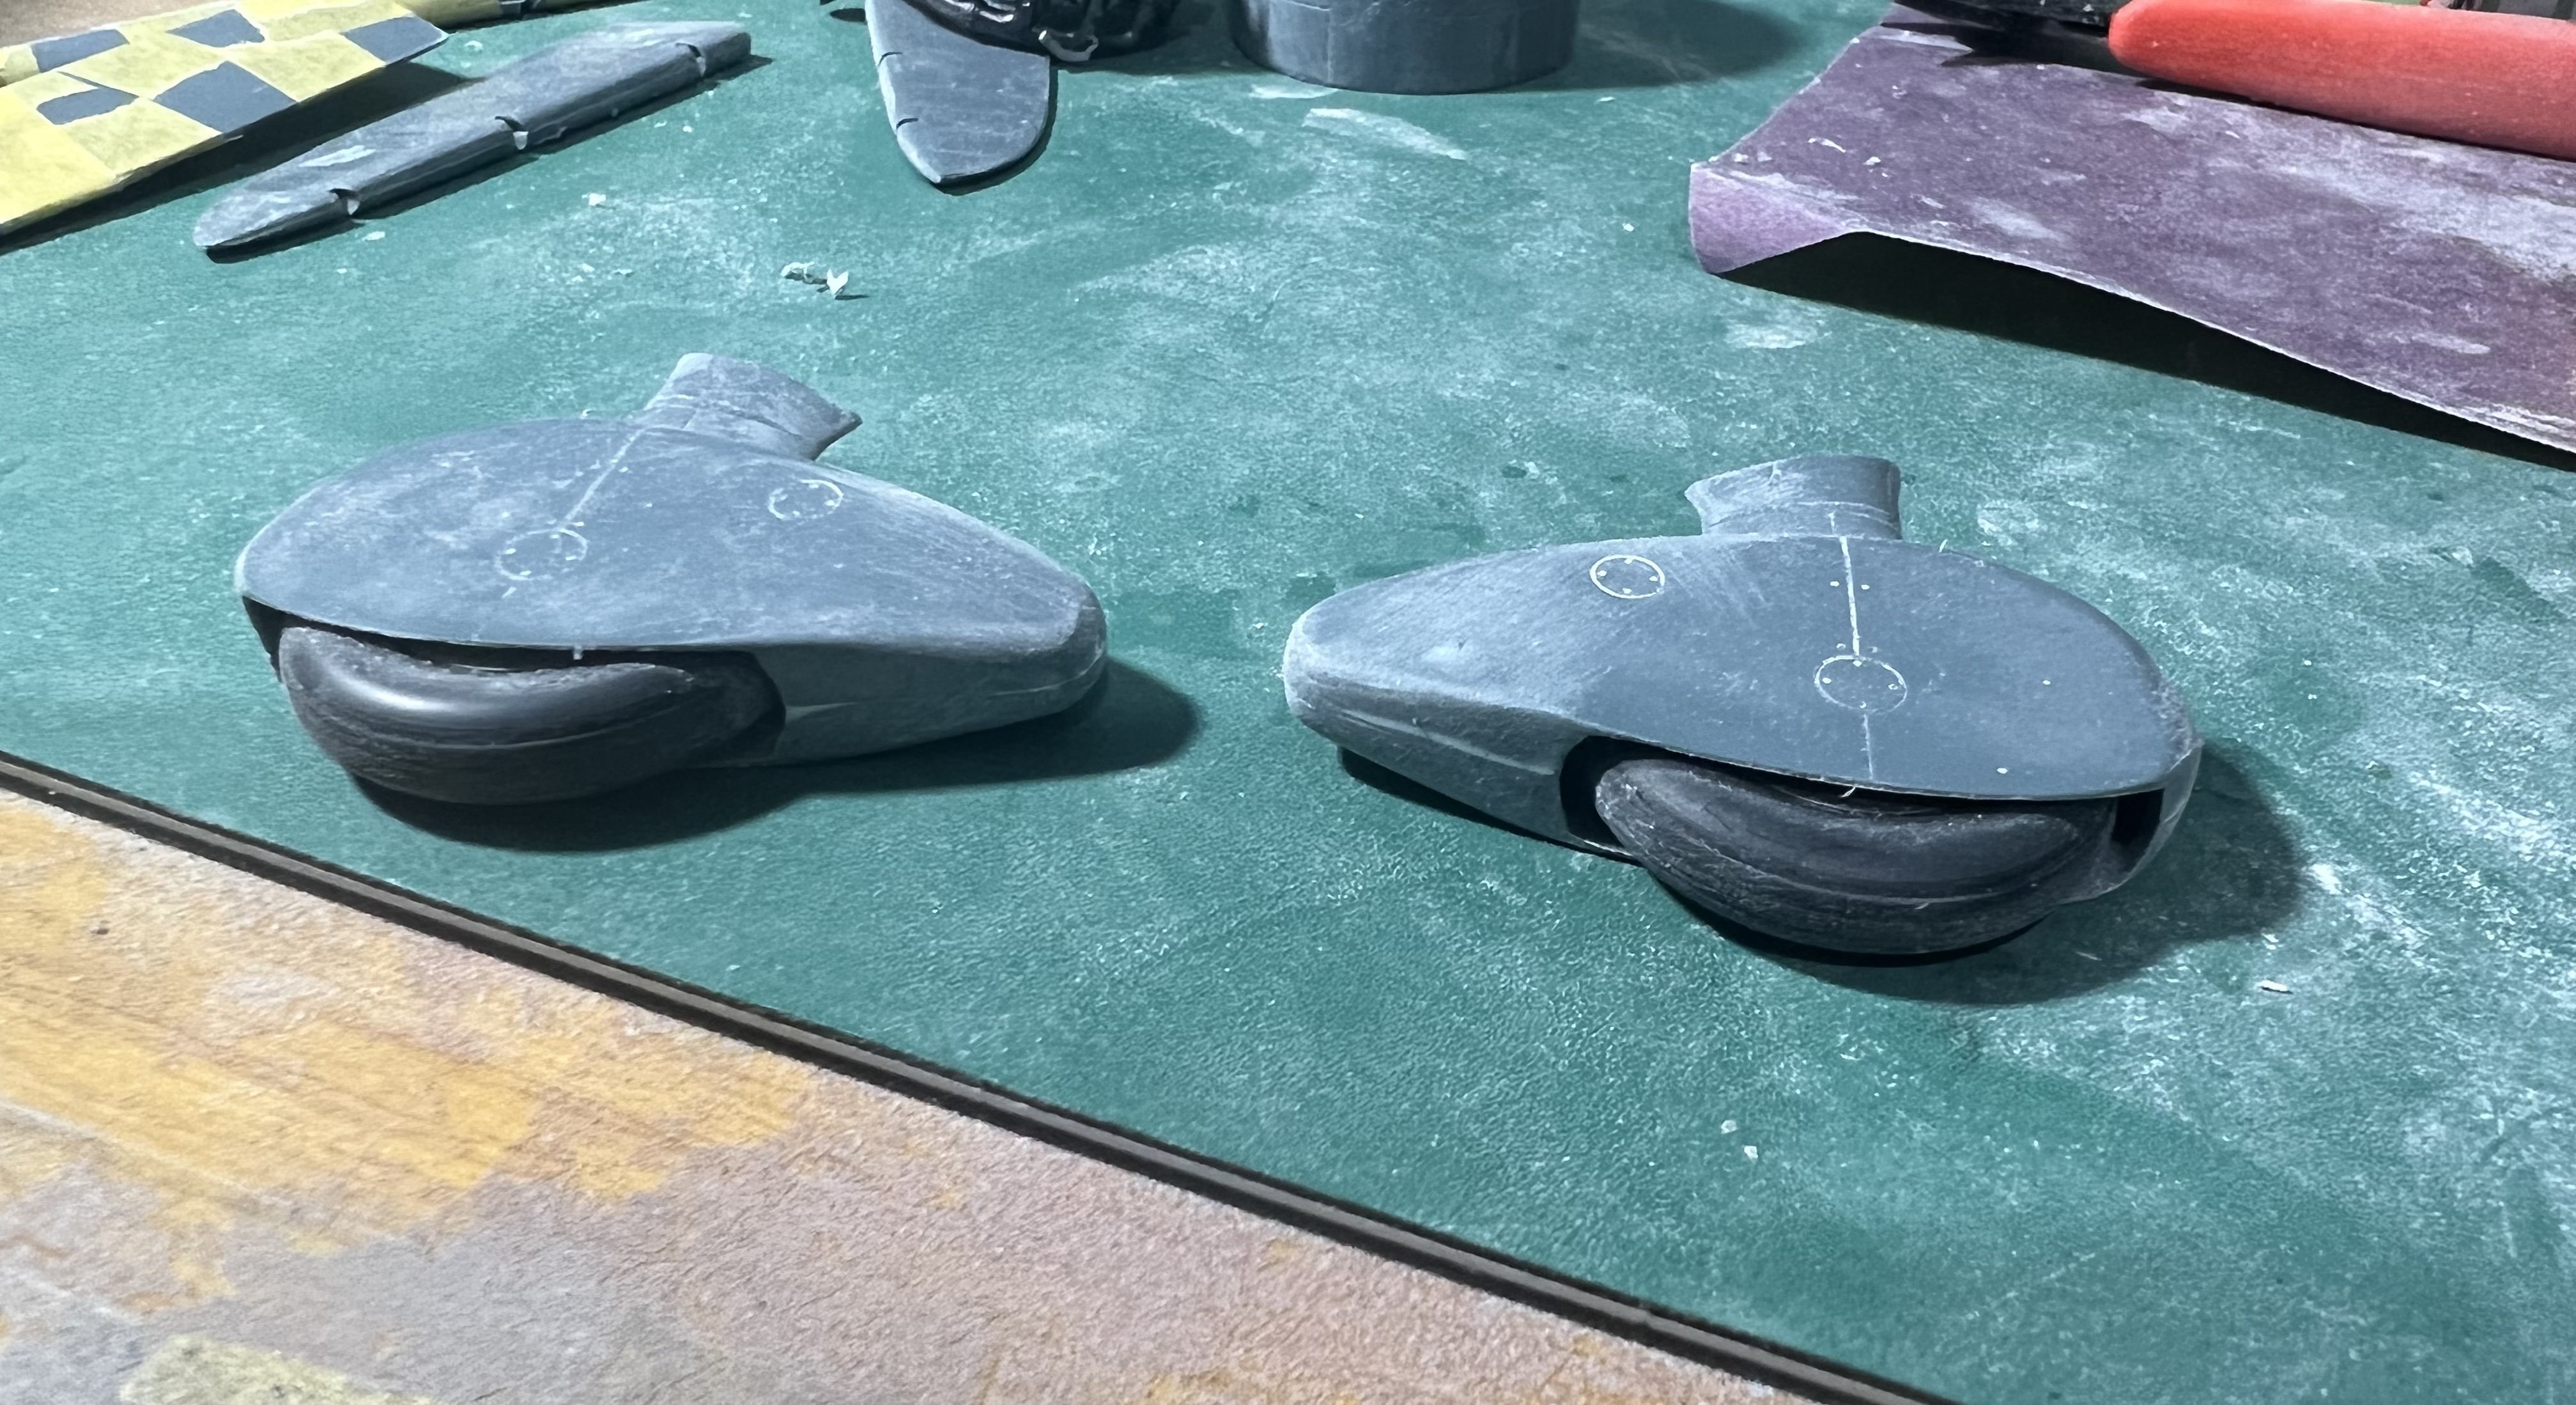
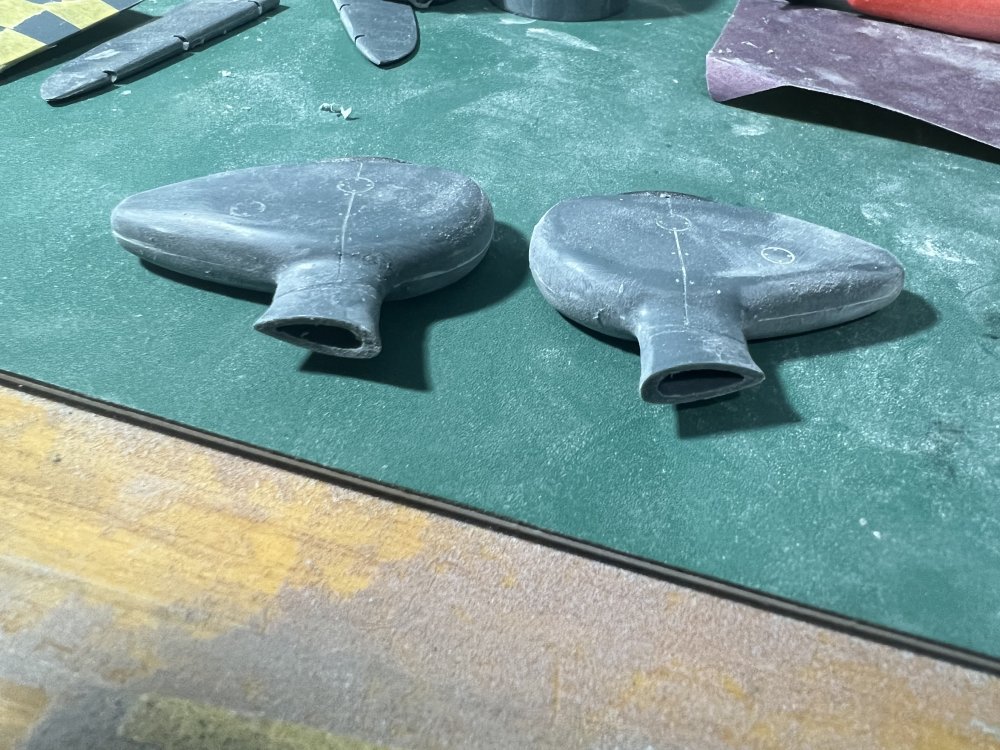
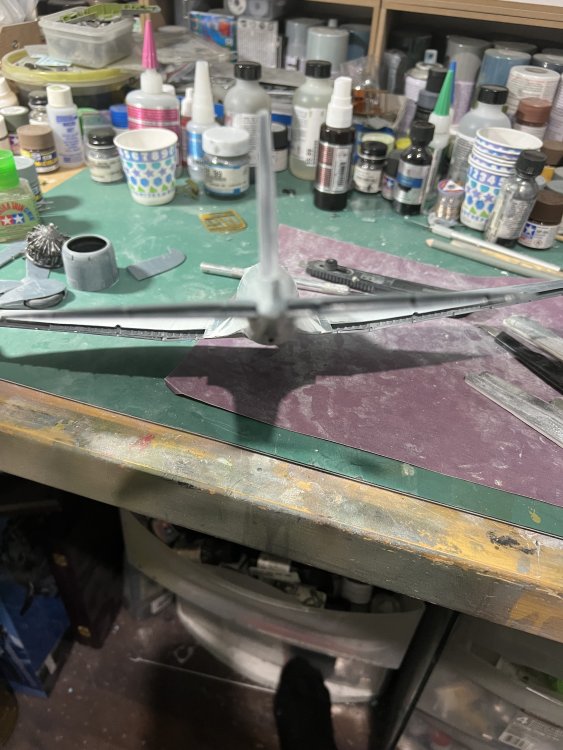
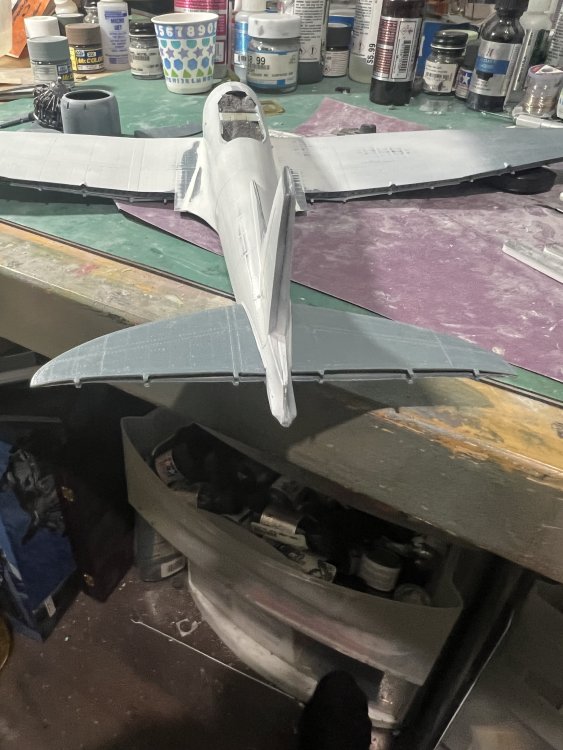
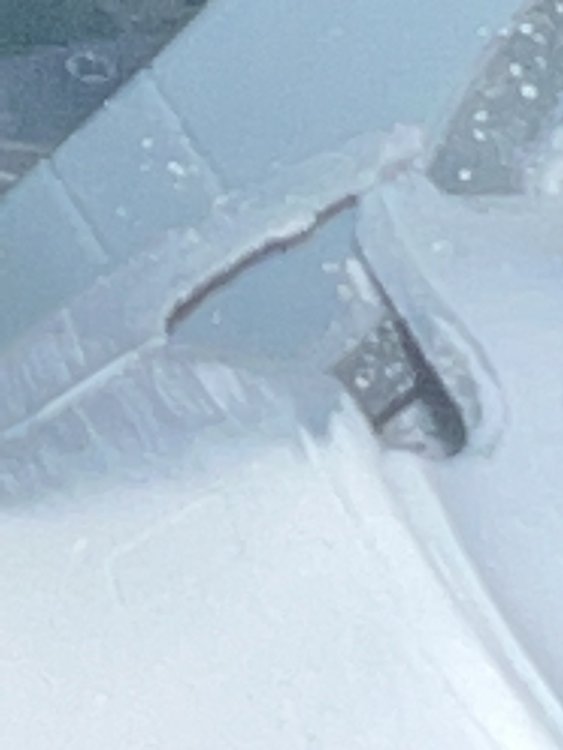
And last but not least for tonight. One of the D3A Val’s signature features: those huge wheel spats attached below that gorgeous elliptical wing. The Aichi Type 99 was designed and developed using the exact same aerodynamic theories and formulae that Reginald J. Mitchell used when designing what would become the Spitfire. The prevailing thought at the time was that a smooth elliptical wing designed to a set curvature would give maximum lift, least drag, and allow for decent wing area and extremely high maneuverability. The Spitfire achieved all of that, as did the Type 99. The Japanese aircraft obviously wasn’t designed for speed, but it proved to be extremely nimble, and surprised more than a few unsuspecting Allied pilots who got drawn in by the mild looking plodding bomber. Given the availability more power to allow for up gunning and up armoring, the D3A was seriously considered as what could have been a very nasty fighter bomber. But as built, it would have needed a lot of work to make mud moving a survivable affair. The plane just wasn’t built for it. The wheel spats, with some careful edge cleanup sanding and wheel opening thinning, went together great. But a bit of putty was needed in the seams as I didn’t want to thin myself into an Evergreen outward expansion. But even with the putty, no panel lines were harmed in the production of this exposé

-
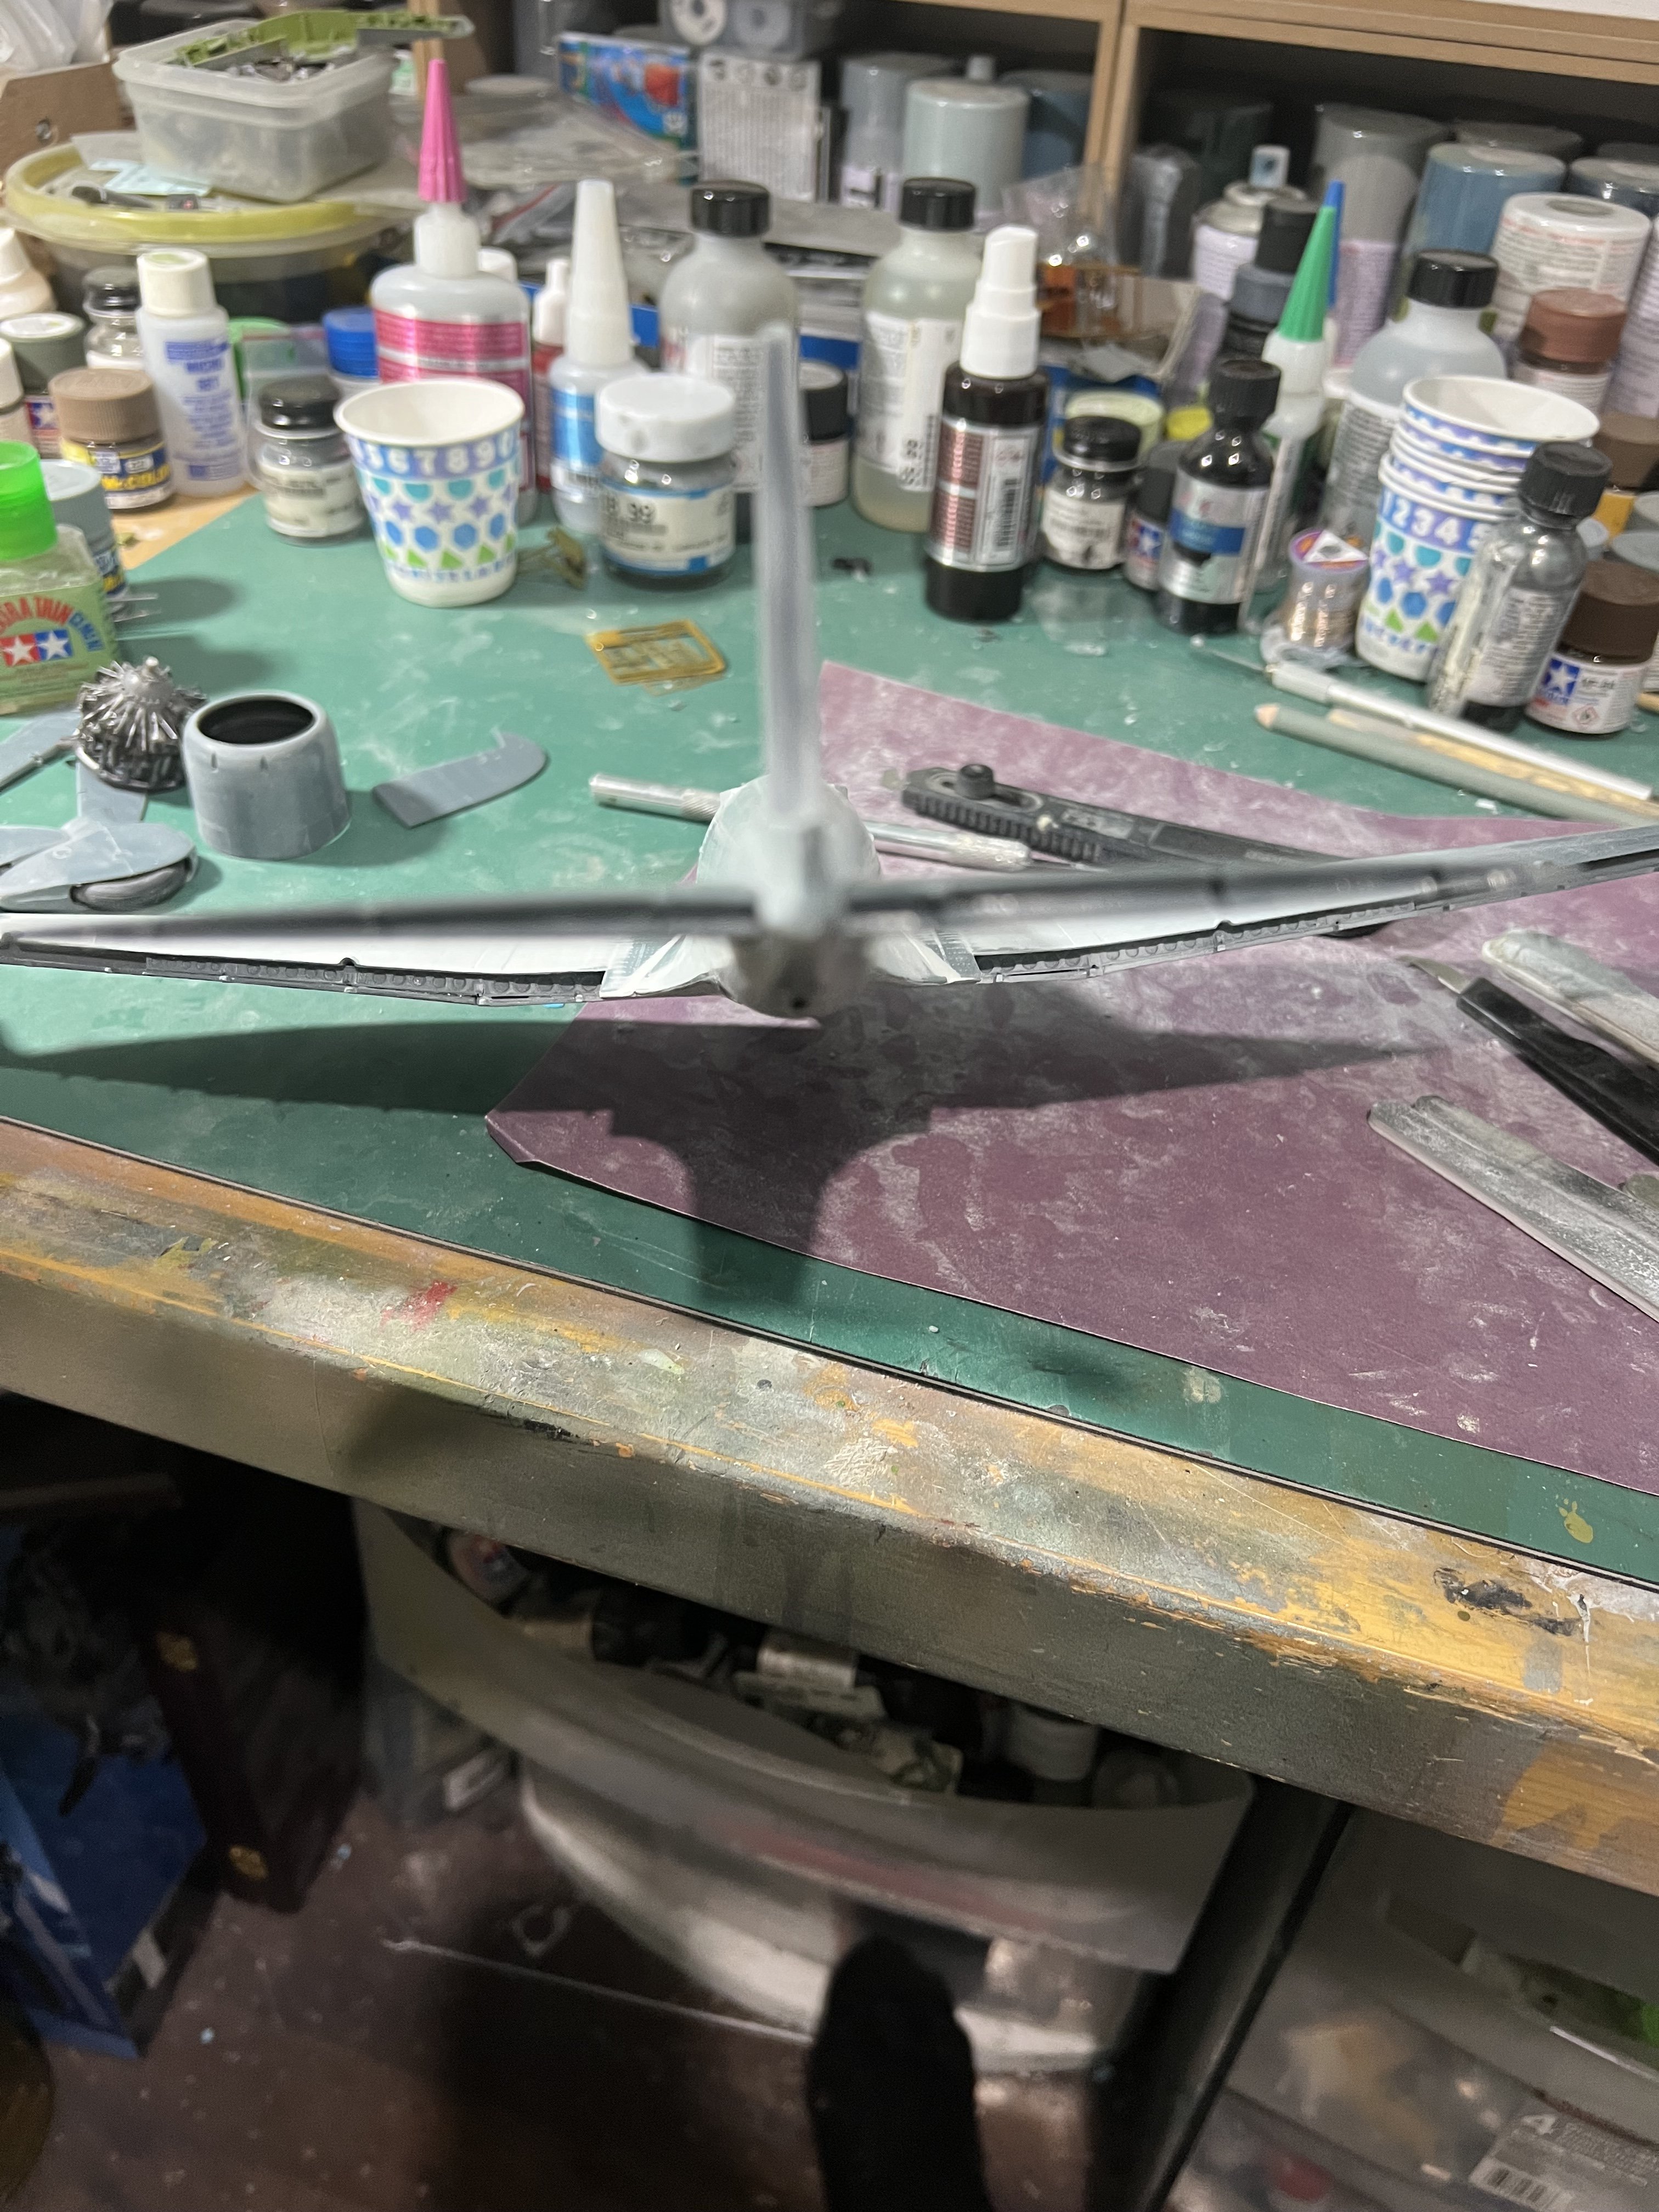
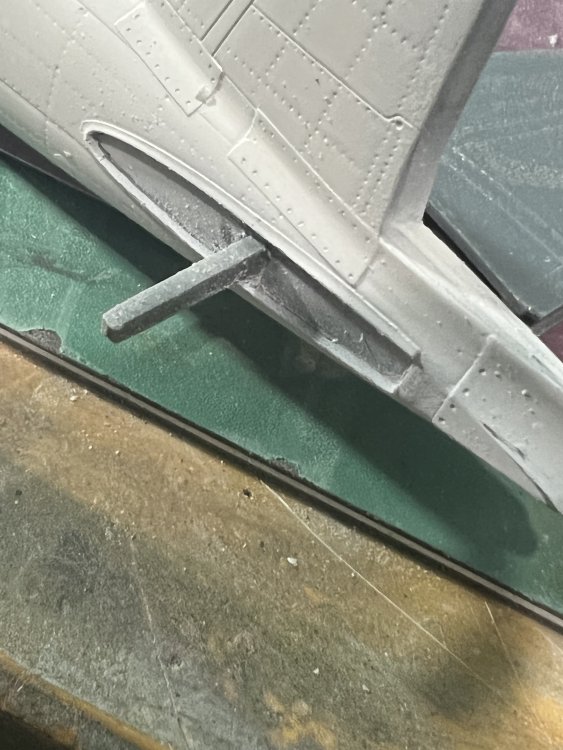
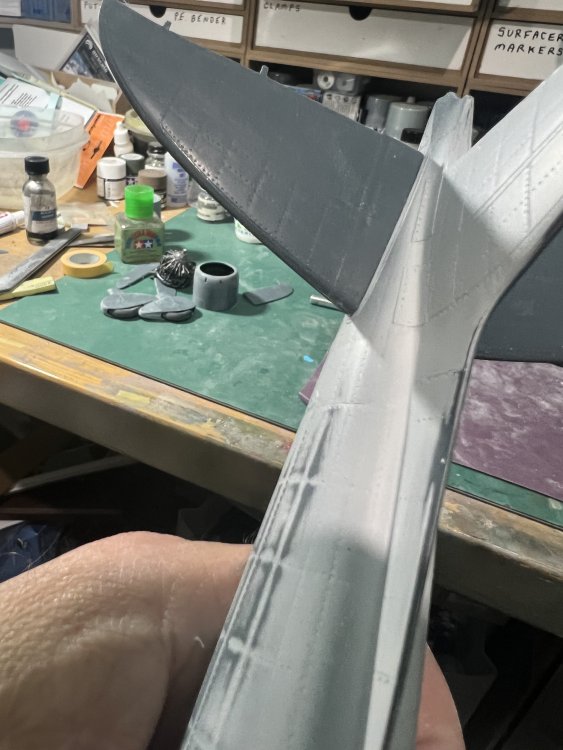
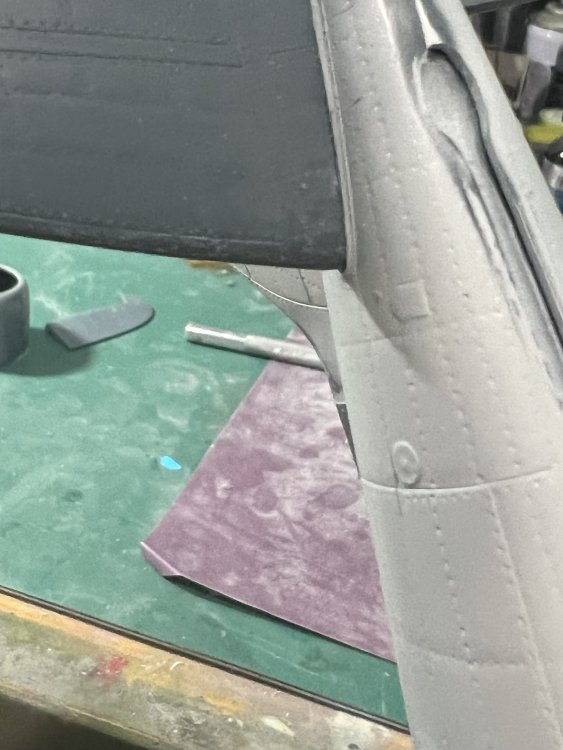
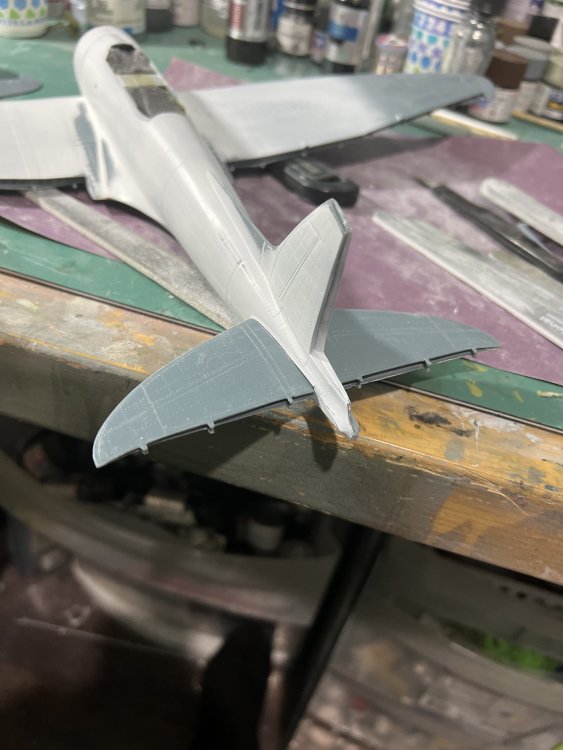
OK, now, the other nicely done thing I found today. Take the time to fit, sand and fiddle with the stabilizer halves. They need a bit of thinning, and some clean up, but the method of attachment is brilliant. A stub spar is glued into the fuselage. The instructions have you mount it during fuselage assembly, but you CAN save it for after it’s together. One less thing to get in the way when aligning the halves. I found this out when I dutifully inserted it into one half, slipped the other half over it, and then, while taping the halves in alignment, it dutifully gravity dutifully slid it out to plop down on to my bench. 😙 The fuselage has some nice scale-like flange fillets between the fuselage and stabilizers. The stab halves fit INSIDE the fillets, AND, if you carefully fit them on, they’ll butt up against the flanges, giving a wonderful scale effect. Of course ai went a bit far in a couple spots, and will gently and very carefully fill with Evergreen. This is a VERY nice bit of design engineering that I can happily applaud. And, if done as I say, not as I did, it’ll thrill you with its precise scale accuracy. But remember, you’re still working with thick Short Run plastic, so make sure you thin the edges as normal. That goes for all flying surface edges. Edge thickness is often way over scale, but can be a bit wavy on the mating edges. I try to always always keep a full sheet of 220 taped to my bench for sanding big parts.


-
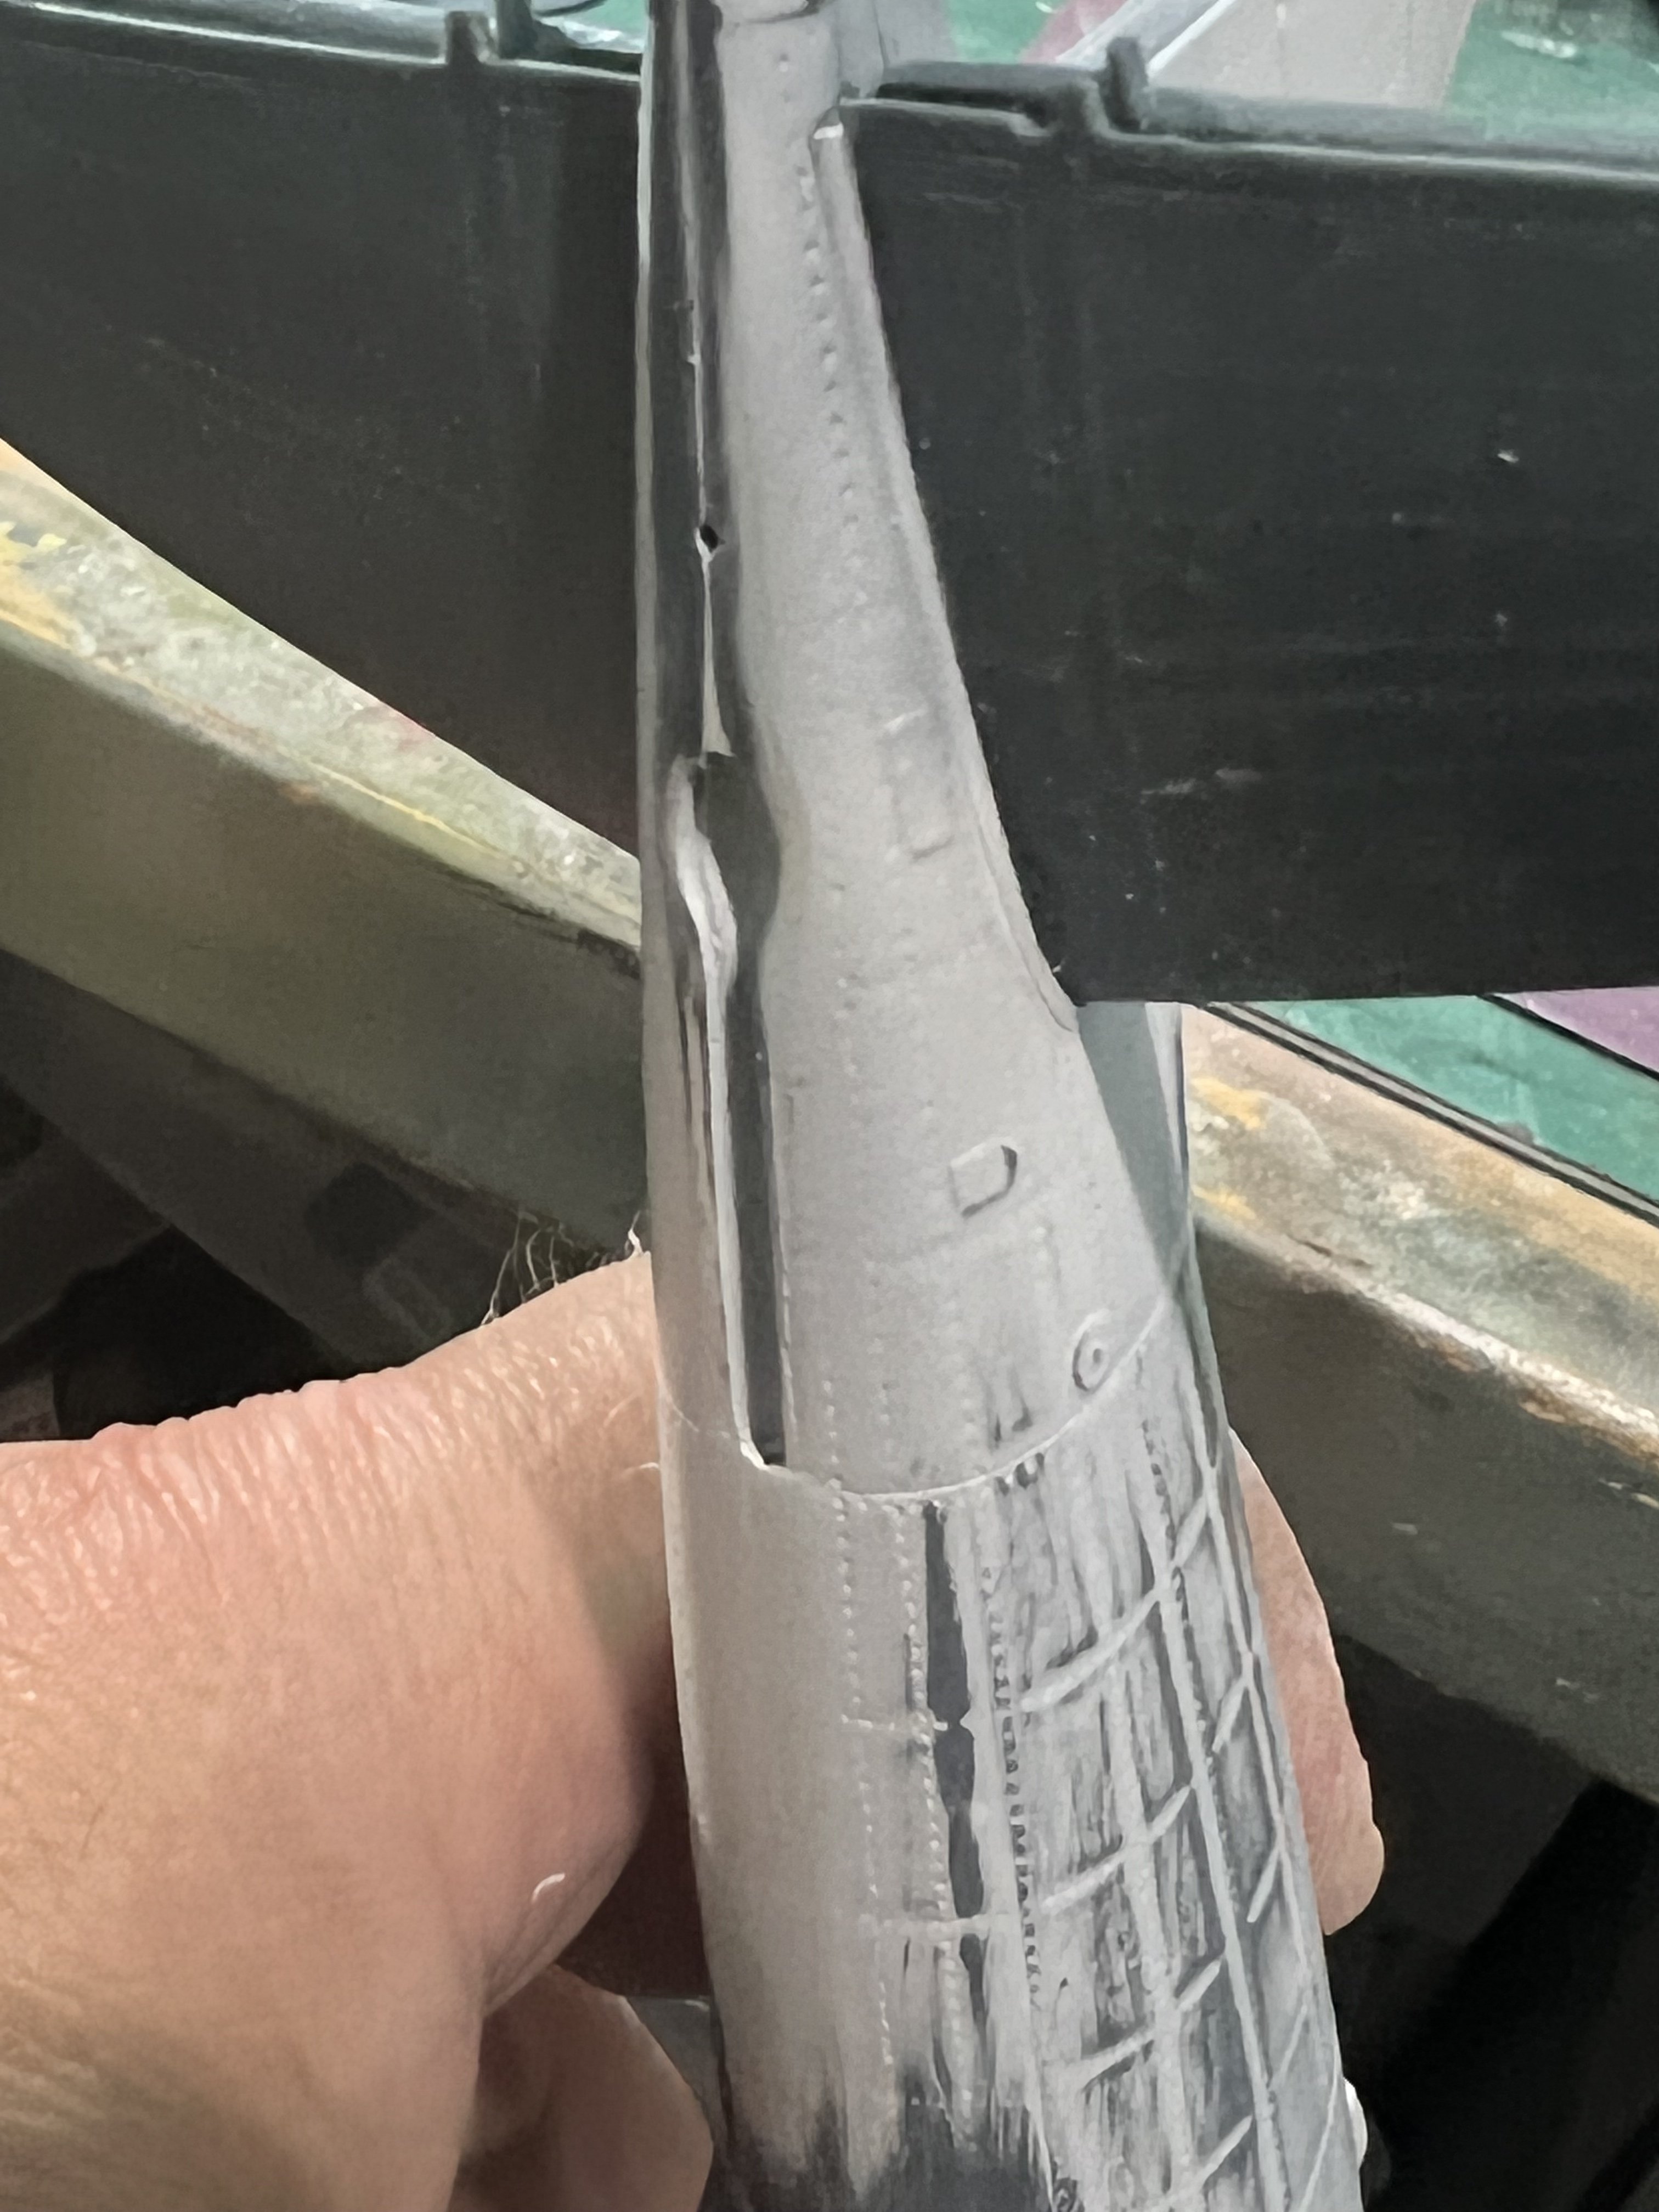
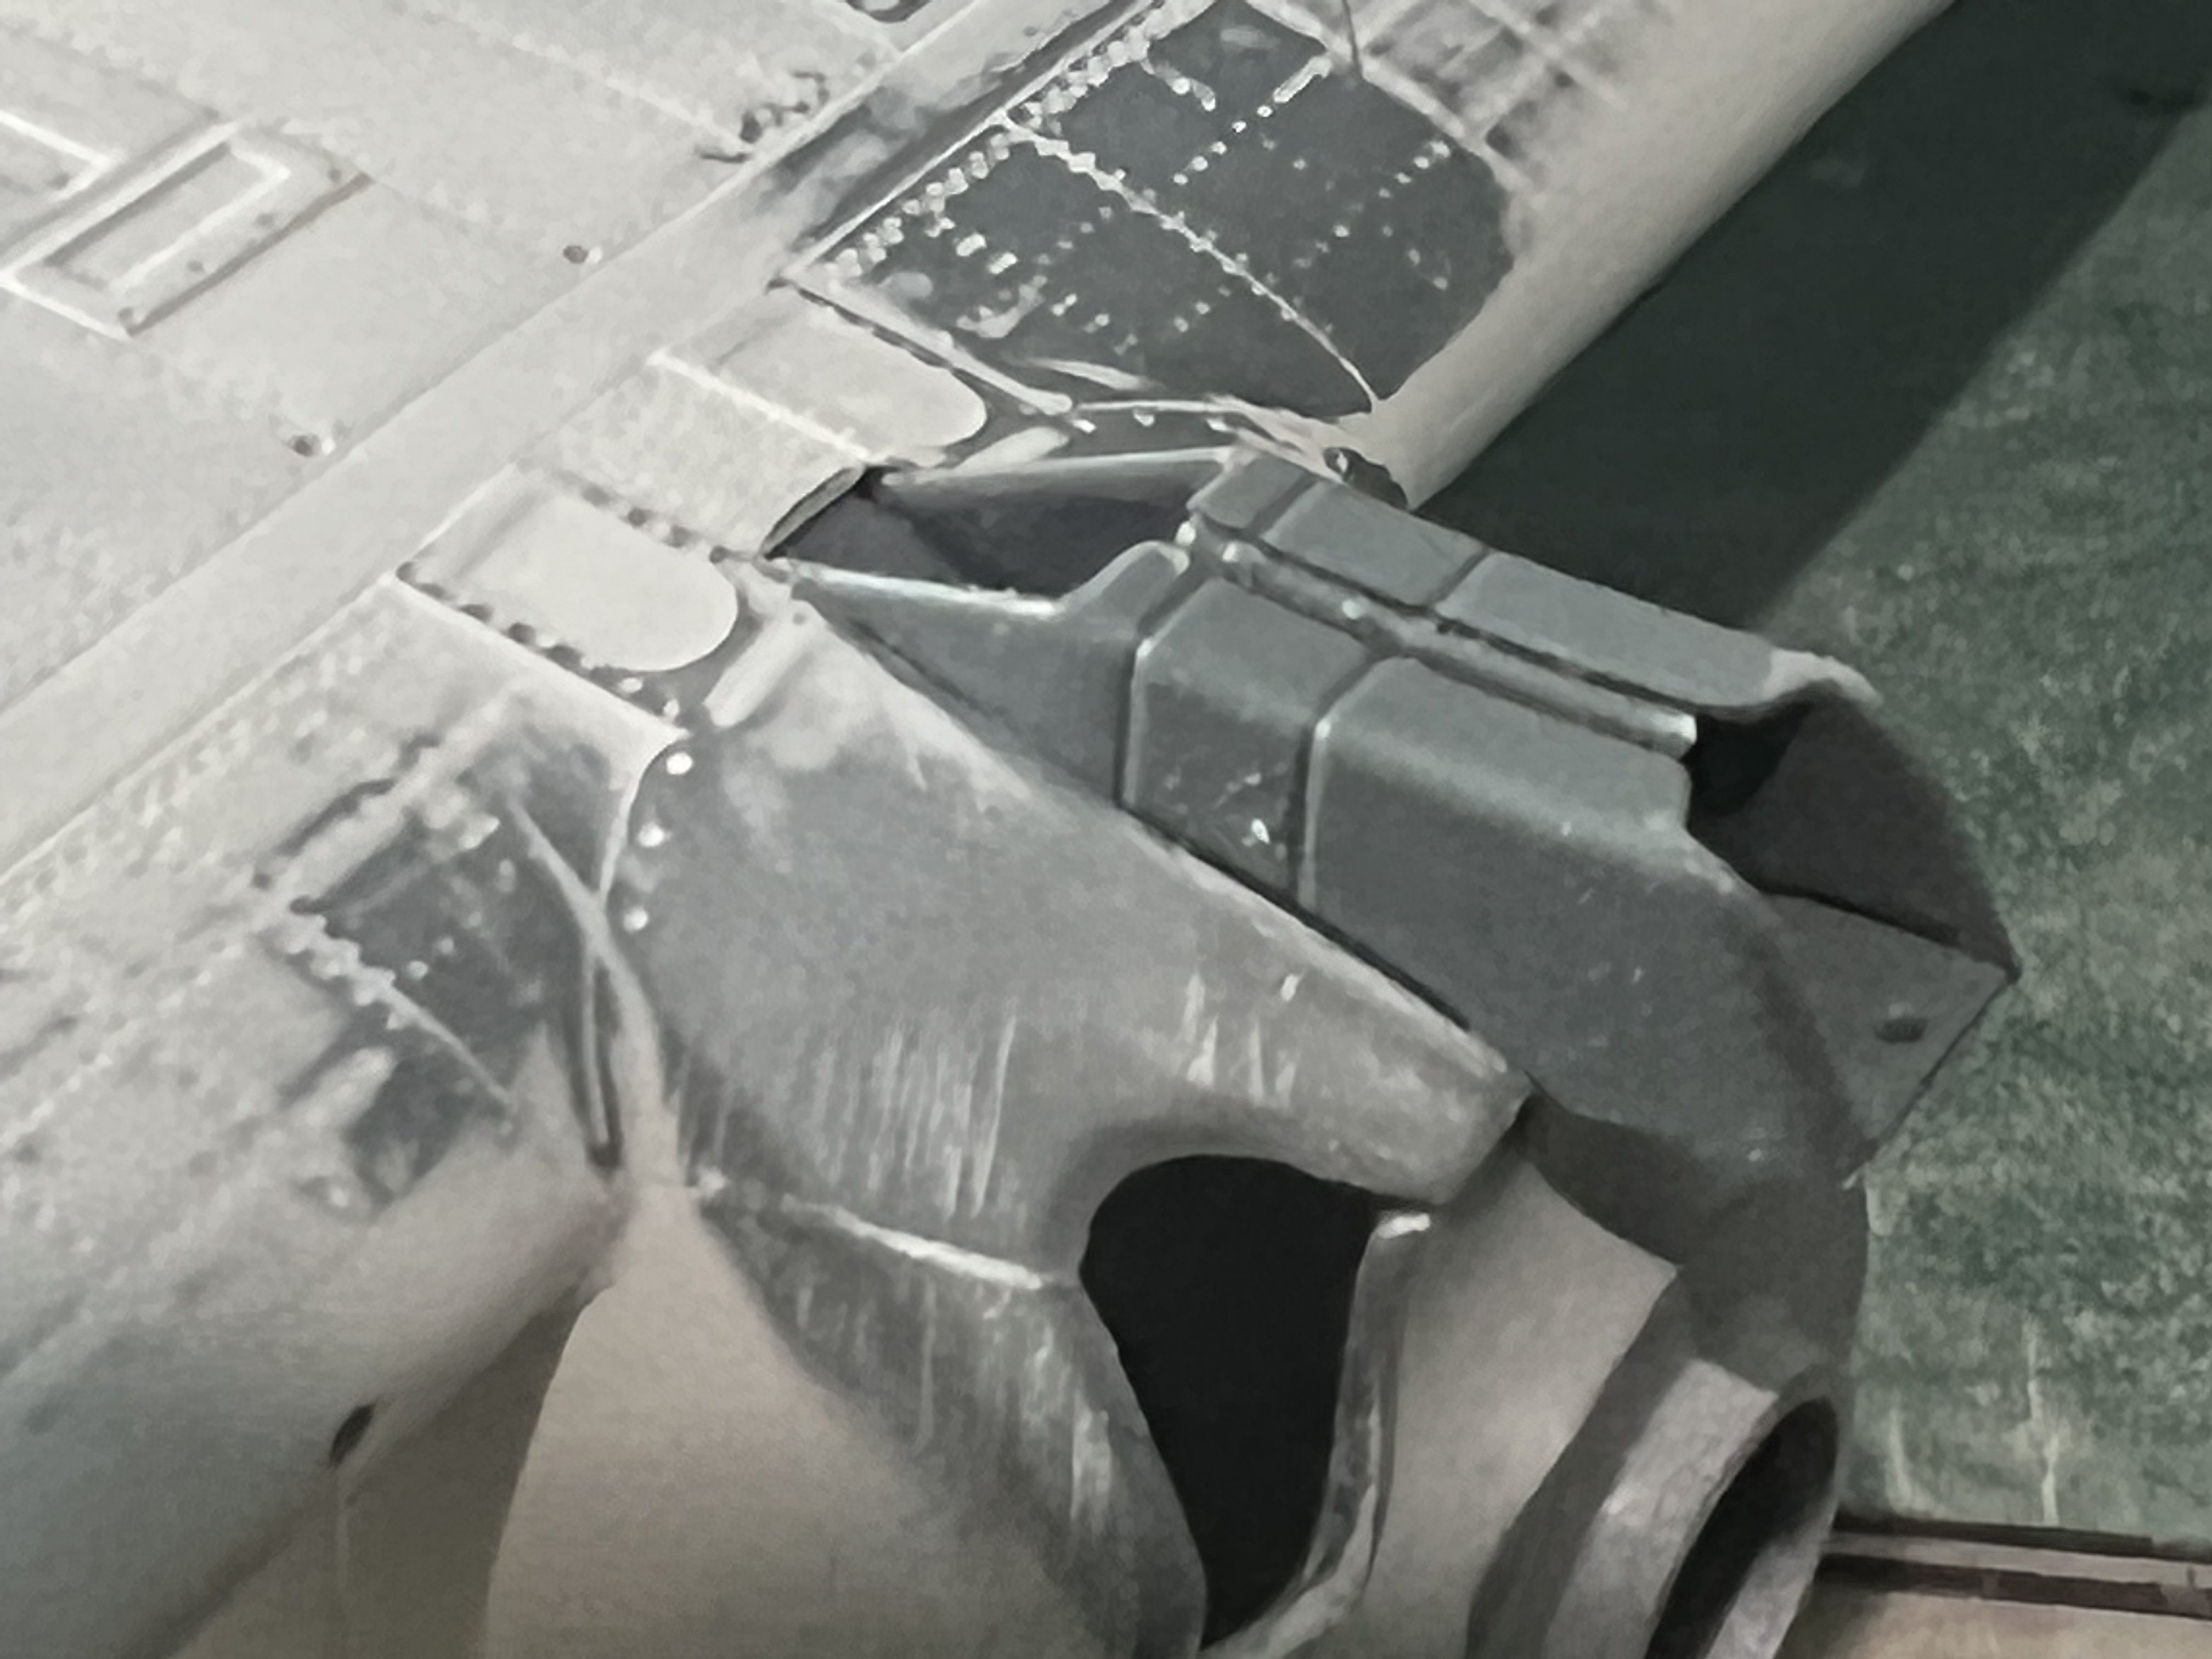
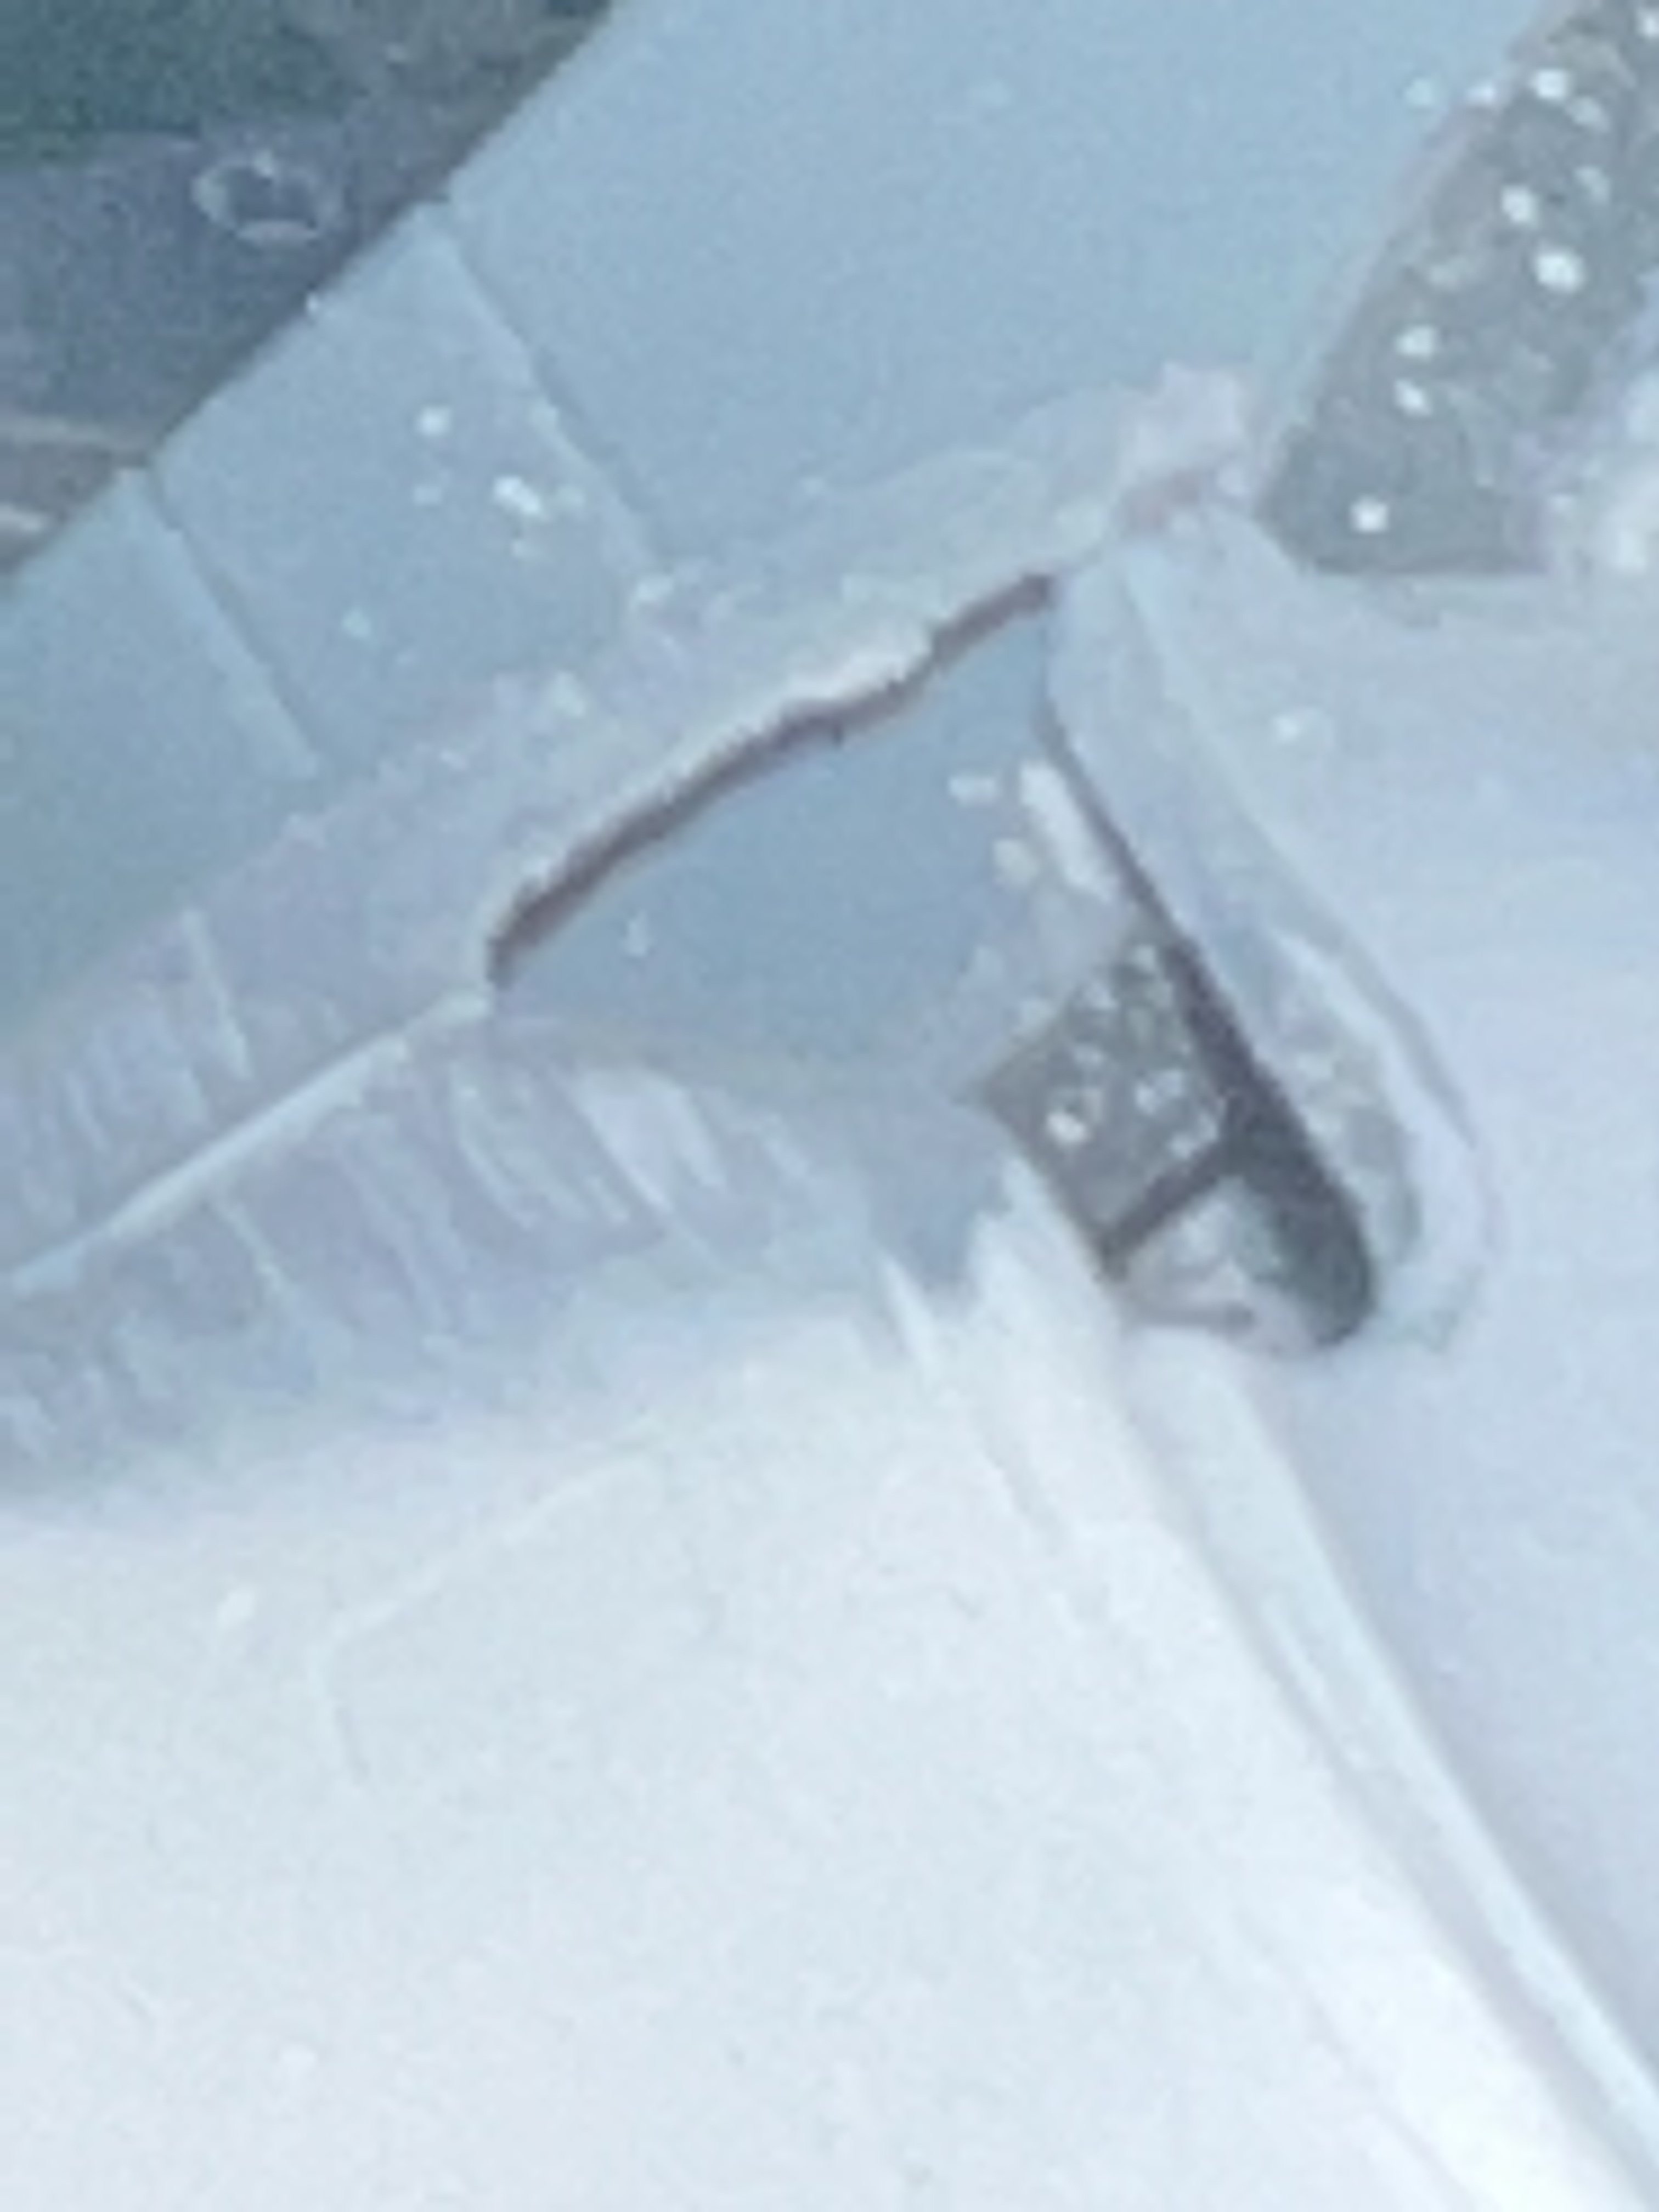
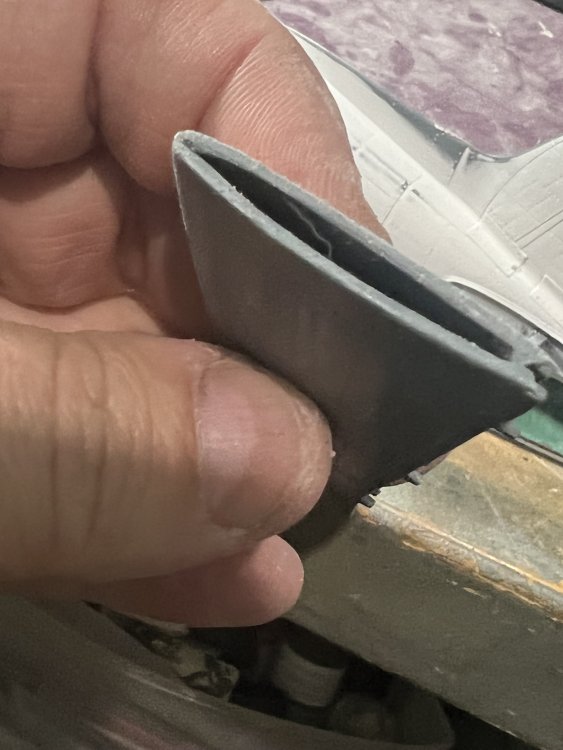
If you look here, you can see how the oil cooler comes together on the fuselage bottom, you can see how this front bottom area is critical. Mine is nowhere near perfect, Athena there are plenty of gaps between the firewall and the fuselage sides, which resulted from me goobering up the first firewall. 😡 Totally due to me getting ahead of myself and cementing it into place slightly out of line. That in turn cocks up the engine, and borks the oil cooler alignment. (I hate autocorrect, it autocorrected to Culo, not cool for all y’all Spanish speakers.) How does Apple get Culo from Cooler? 😵💫 Me partí el culo cuando me contaron el chiste. You can see how important it is to take the time to assure the wing bottom and firewall all line up. Maybe consider attaching the firewall when you do the wing. It may save you from my almost trainwreck. And a close up inside, as seen through the exhaust openings, where you can see how it slips in, right up to its lip.

-
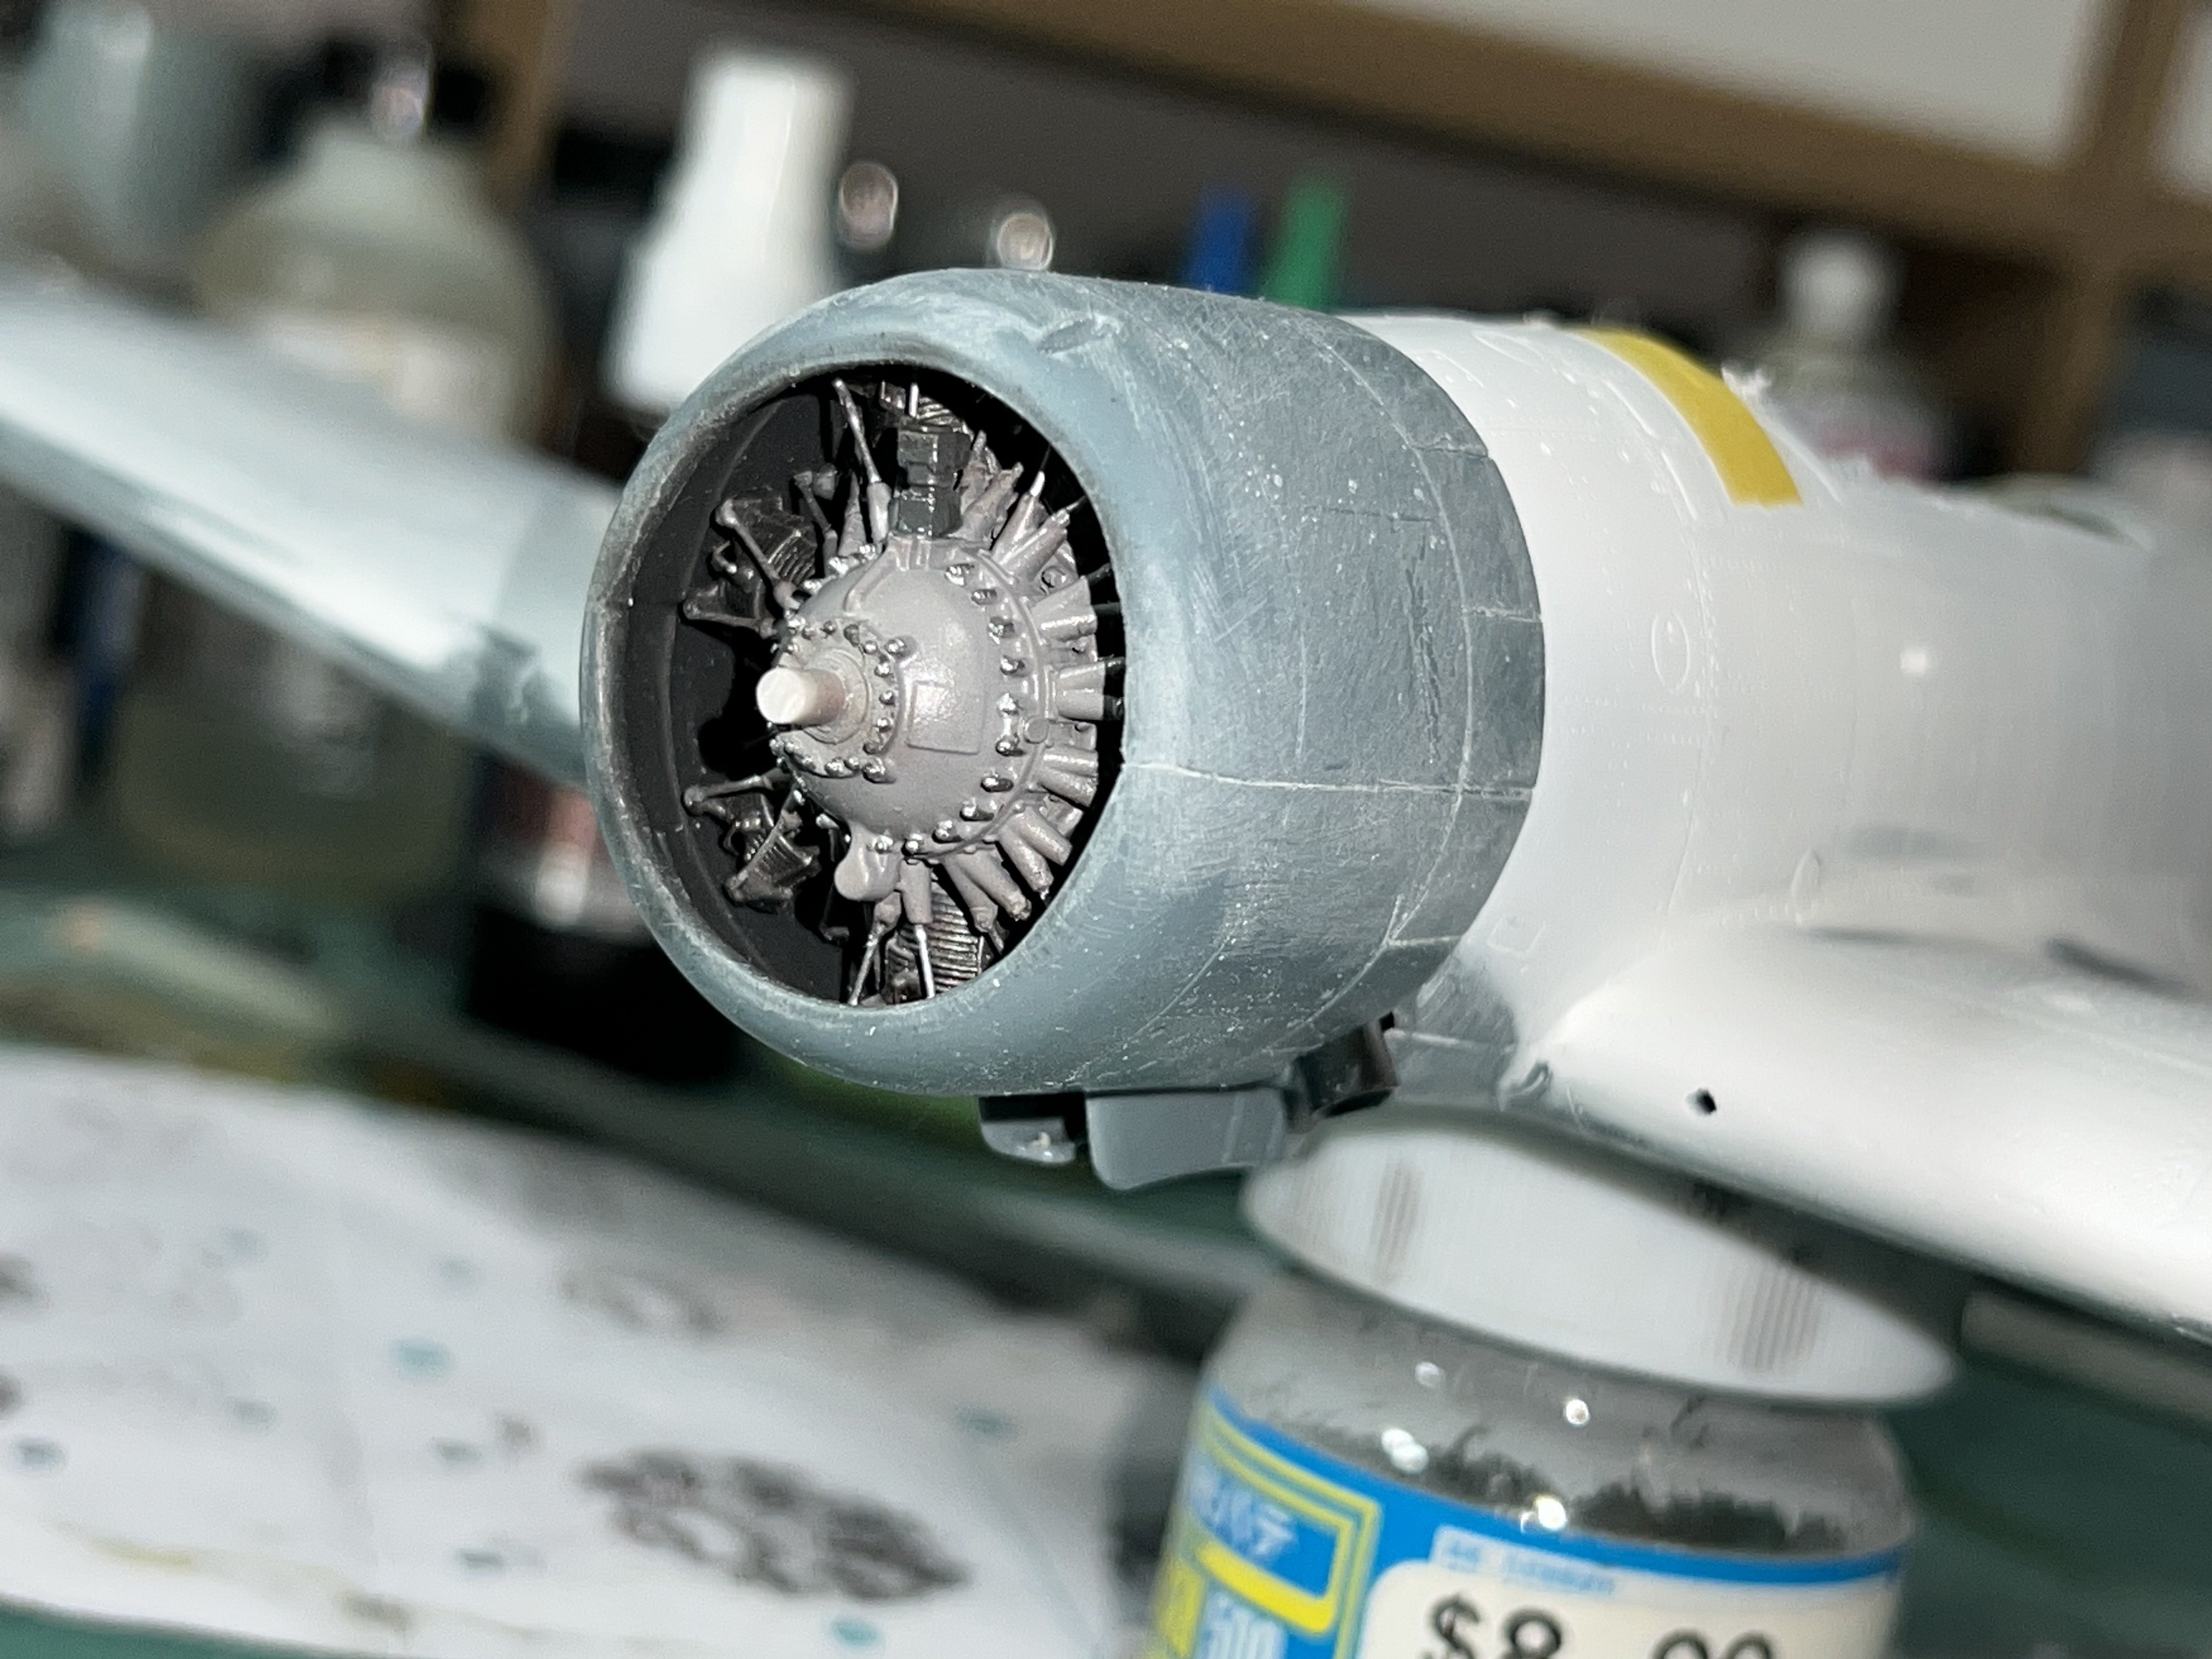
Well, the fun continues. When you build this kit, it quickly becomes apparent that the designers and engineers have put a lot of thought into this kit, and it’s assembly method. The engine plugs into the firewall, as does the multiple component oil cooler and it’s housing. The cowl then plugs into the oil cooler, and allows the builder to adjust the cowl angle precisely. The instruction drawings seem to suggest that you attach the engine into the cowl first, and then mount it as an assembly. DON’T DO THAT. Instead, first attach the oil cooler to the fuselage bottom. Then, attach the complete engine. After that is on correctly and two your satisfaction, finally mount the cowl TO THE OIL COOLER HOUSING, NOT ThE ENGINE. ****** Take the time to make sure the engine is sitting correctly and with a proper thrust line by slightly sanding the keyed ring mount on the rear of the accessory section as necessary. Don’t assume anything, because that firewall may not be 100% in line. It’s completely invisible afterwards and simply serves as an engine mount. If you follow my way, and I’m ASSUMING that you’re test fitting the entire time here, (right?), you’ll have a very precise assembly with absolutely perfect alignment, in one of the most visible areas of the model. This preciseness can be a real rarity for short run kits without the intrepid builder embarking on a boatload of extra curricular work. The assembly sequence I mentioned to follow is too dang easy, almost Tamiya precise, which, for sadists like me, truly sucks. 😂😂😂😂😂😂😂 Yes, a couple of the pics are old, taken during test fitting, and the cowl lip has since been cleaned up.


-
I read that as well. The industry is fickle. BUT, nobody makes the basic stuff we all need like Barracuda does. Plus, Corsair and Mustang placards. Nobody else would have dreamed up those. And they sell them by the crate, I’m sure.
-
Well, with Trumpeter dropping a brand new 1/32 kit on the market, (Devastator), the cynic in me is expecting the anticipated trainwreck, and Roy will have his hands full pumping stuff out for this kit. I can say already that the main wheels are, (only one guess allowed) yep, rubber, so there’s #1. Then apparently the bombs look closer to the Inspector Clouseau of La Sûreté Territoriale de Paris’s round gunpowder filled black mortar bombs with a sputtering fuze that he’d always dig up than standard US Navy GP aerial bombs,… soooooo…..

-
Looking awesome, Bill! I built the radials for mine a couple years back, and stopped…. I’m not surprised about having to sand the back of the panel, it seems on every kit, adding PE or 3D fronts really screws it all up. But hey, that’s the challenge, right? Im glad PE’s around for these, as Quinta’s getting real hit and miss these days. Damned war! 🤬
-
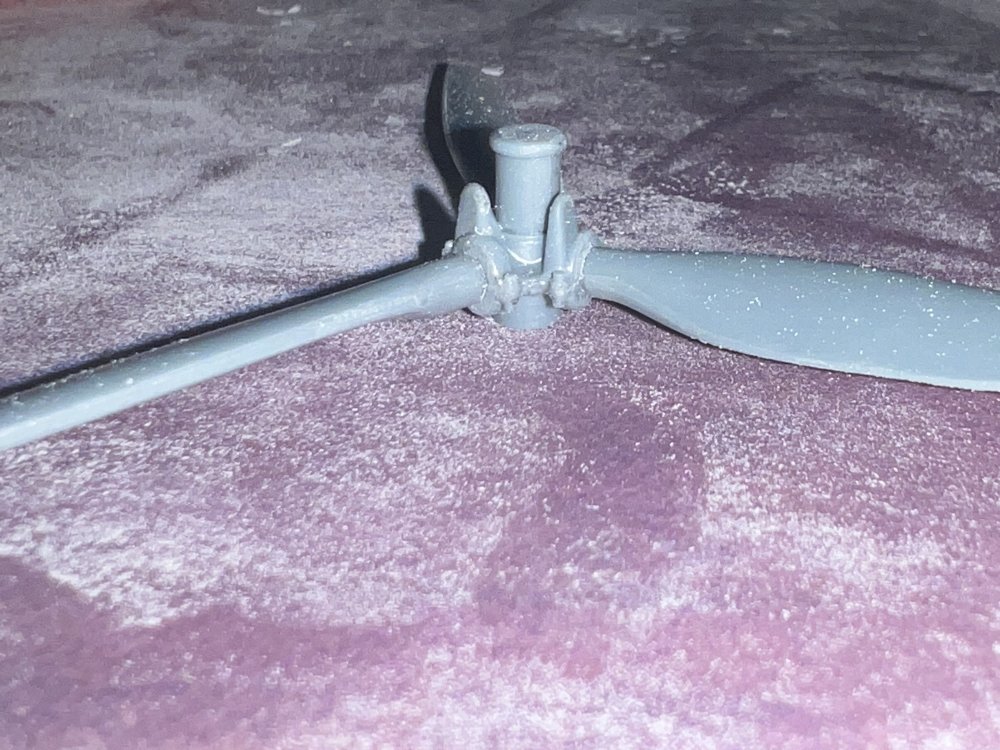
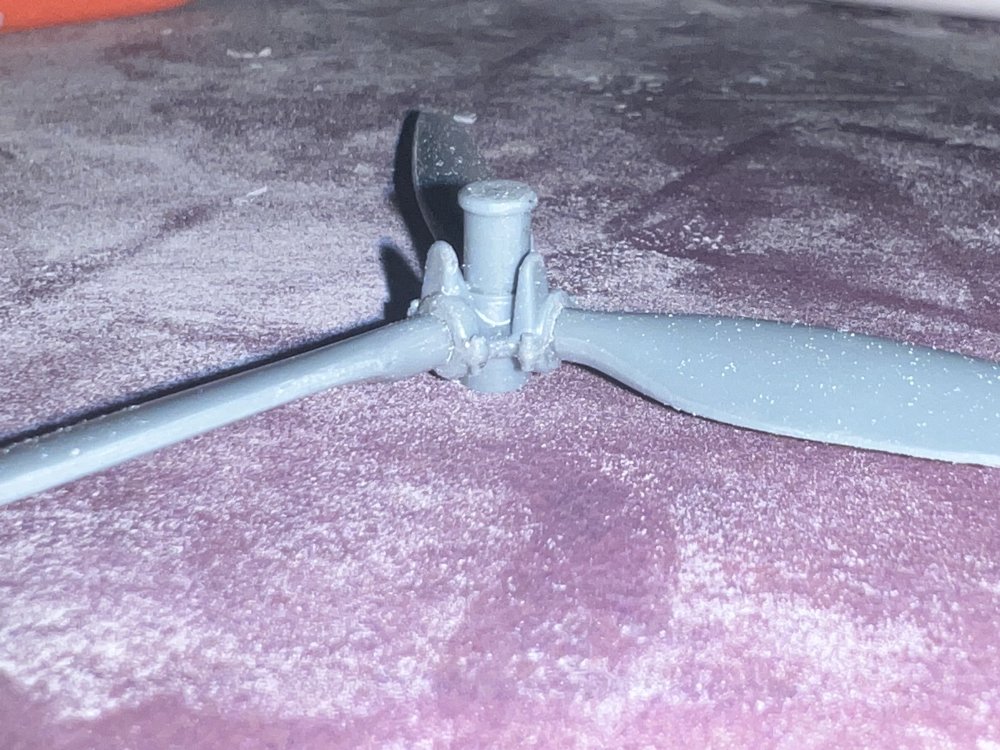
Well here we are again. Still a press-fit, but a bit better engine look, IMHO. Nothing a few minutes of airbrush time and a steady hand couldn’t fix. I’m really liking my new Grex.


- 125 replies
-
- 10
-

-
This Saskatchewan boy kinda likes to know that a Manitoba boy is THE Japanese aircraft guru out there. A bit of homeland pride, maybe?
-
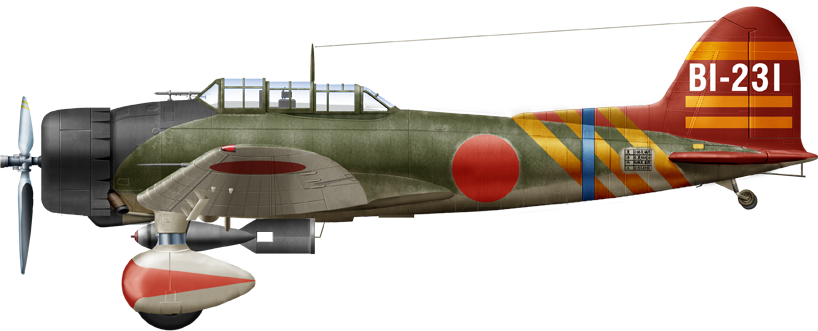
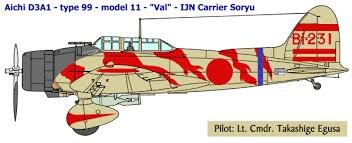
A bit of an update here. I’ve been pulling a “Martin” and have gotten deeper into reading up on these aircraft than I ever have on any aircraft, other than my FM-104 Lanc and Helldiver builds. Also, I’m Blessed in that world renowned and respected a Japanese aircraft expert Ryan Toews and I have exchanged a few emails, and he’s pointed out a few things to me. Apparently the kit is generally accurate but the wing fold is representative of one of the first 46 Vals produced. After 46, it was modified. Plus, I have a big issue with the green scheme as shown in the instructions. Apparently, that scheme is accurate for that exact aircraft, but not until 1942. At Pearl Harbor, that aircraft was the “flamed Val”, which sported a rather wild scheme… maybe an assembly ship? And finally, what I consider one of the earliest takes on Bl-231 and her mystery flame scheme. This famous aircraft sure got around.

-
Haha Carl. That engine looks like it was merrily alight. But, I fixed it and it looks much better now. 😂
-
Seems this Val had an engine fire!
-
Ya know,… sometimes taking pics is a good thing the grime isn’t extreme in person, but on a screen, it sure looks like it had an overheated gearbox or a front seal leak. We’ll back it down ALOT. I’m liking this kit. It’s NOT a tough build, but a bit of a tedious build. I used the resin engine with resin exhaust, and everything fits the kit perfectly. The engine is even keyed to only mount one direction. You can’t screw this up.


-
Kevin, this time I went against my best judgement, and actually followed the instructions. I was worried enough about the bottom alignment to where I just said “screw it” and did it. It actually worked out OK, as the upper wing panels needed trimming down a bit, unlike Special Hobby’s stuff, which is often too short. I’ve got the top seams all worked out, now aim simply fixing the seam at the bottom rear
-
let me guess…. FW-190 stuff in 1/24? You’ve only moaned about that for decades it seems. But his Spitfire control columns are freakin’ amazing!
-
https://barracudacals.com
-
- 1
-
-
I want to now take this opportunity to welcome BarracudaCals onboard as our newest Sponsor, and they will be given a dedicated area in our Vendor’s area. They, or we will, upon notification, post any new upcoming product releases here as well. I think Roy’s Company will be a fine fit here ar LSM, especially with our broadening our scale range to include 1/48, and being friendly to all scales. Feel free to welcome Roy when you interact with him next.
- 31 replies
-
- 13
-
-
New 1:48 Macchi M.41bis flying boat
Clunkmeister replied to Silverwings's topic in Modelling Discussion
Very nice Simon! This will be very popular! Do you foresee a 1/32 version in the future as well? Most of my WW1 stuff is in 1/32 already -
Yes, there are some things done in 3D I believe. The one thing that he has are the good old parts we always seem to need: stuff for the top 10 1/32 scale WW2 fighters we never seem to tire of. 109, 190, Spitfire, Mosquito, P-51, P-47, P-40, P-38, Zero, Ju-88, etc… Other than the two huge Czech companies: CMK and Eduard, we basically have Barracuda, Eagle, Resin2Detail, and ResKit for good, reliable 1/32 output. Yeah we have others, but they’re mostly mom and pop Eastern European companies that you need to read the Czech Model Forum to find out about.
-
Guys, I don’t normally sing the praises of a Company on the open forum, but I have used Barracuda Products on almost every one of my builds now, for a long, long time. Their stuff is often a direct drop in, and if you want to build a 1/48 KittyHawk MiG-25, they offer a line of parts that fixes all the issues on the kit Their decals, and especially their line of 1/32 resin for popular subjects in 1/48, 1/32, and 1/24 is truly spectacular. They JUST released some truly EXQUISITE Spitfire control columns, and they are truly a sight to behold.