Clunkmeister
-
Posts
7,200 -
Joined
-
Last visited
Content Type
Profiles
Forums
Events
Gallery
Everything posted by Clunkmeister
-
How do you guys feel about them? Our “All of Ukraine” group build is wrapping up soon and I’d like some feedback regarding group builds. A good idea or not? Other sites do them, and we had a modicum of interest with this, and it even brought a few new members onboard. It’s the first group build we’ve had in years, and one of the criticisms from the past ones is the lack of a formal end date. Well, we have one for this and it’s coming right quick. IF you guys want another, I’m open to the idea, but understand, I’d like some ideas, we need participation, and also understand that I’m just one guy and It’s a boatload of work, so I’d like to hope that if we keep doing them, y’all will participate in them and make them a success. The floor is yours and we’re open for comments and suggestions.
-
We’ve given it till Sept 10 to wrap it all up, so everyone had another week and a half. Myself included. Even though I’m just doing it “because”.
-
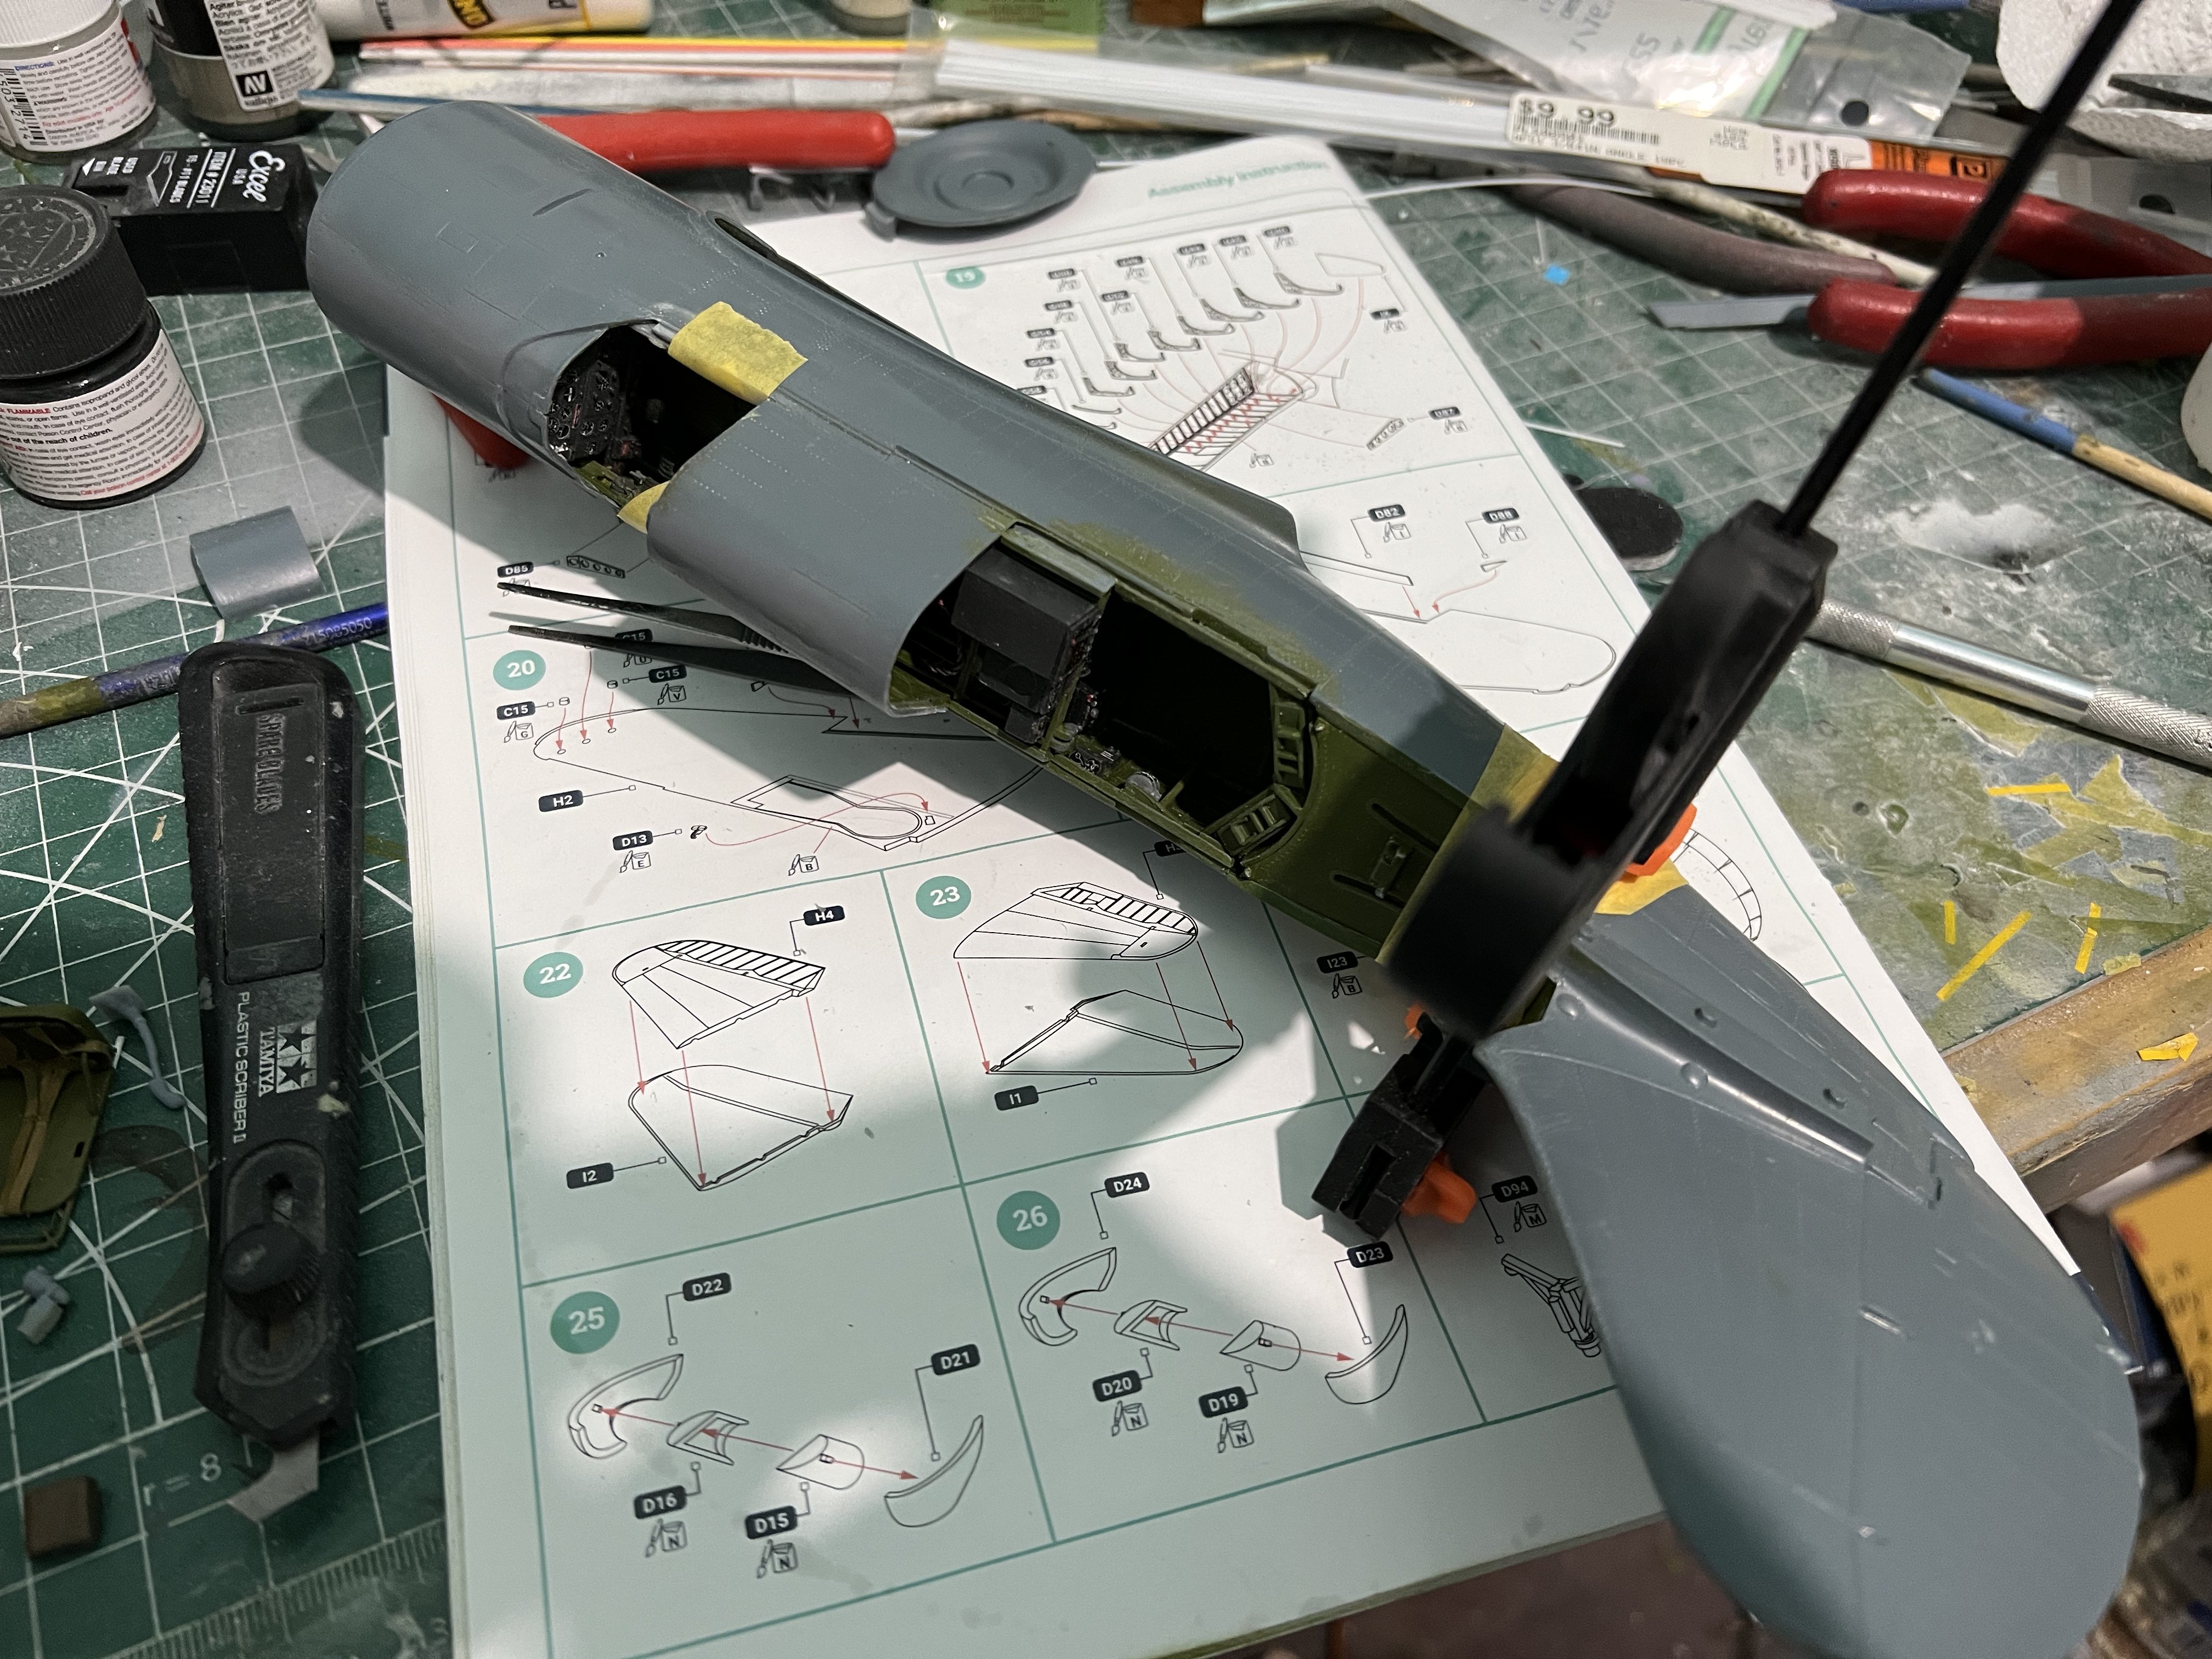
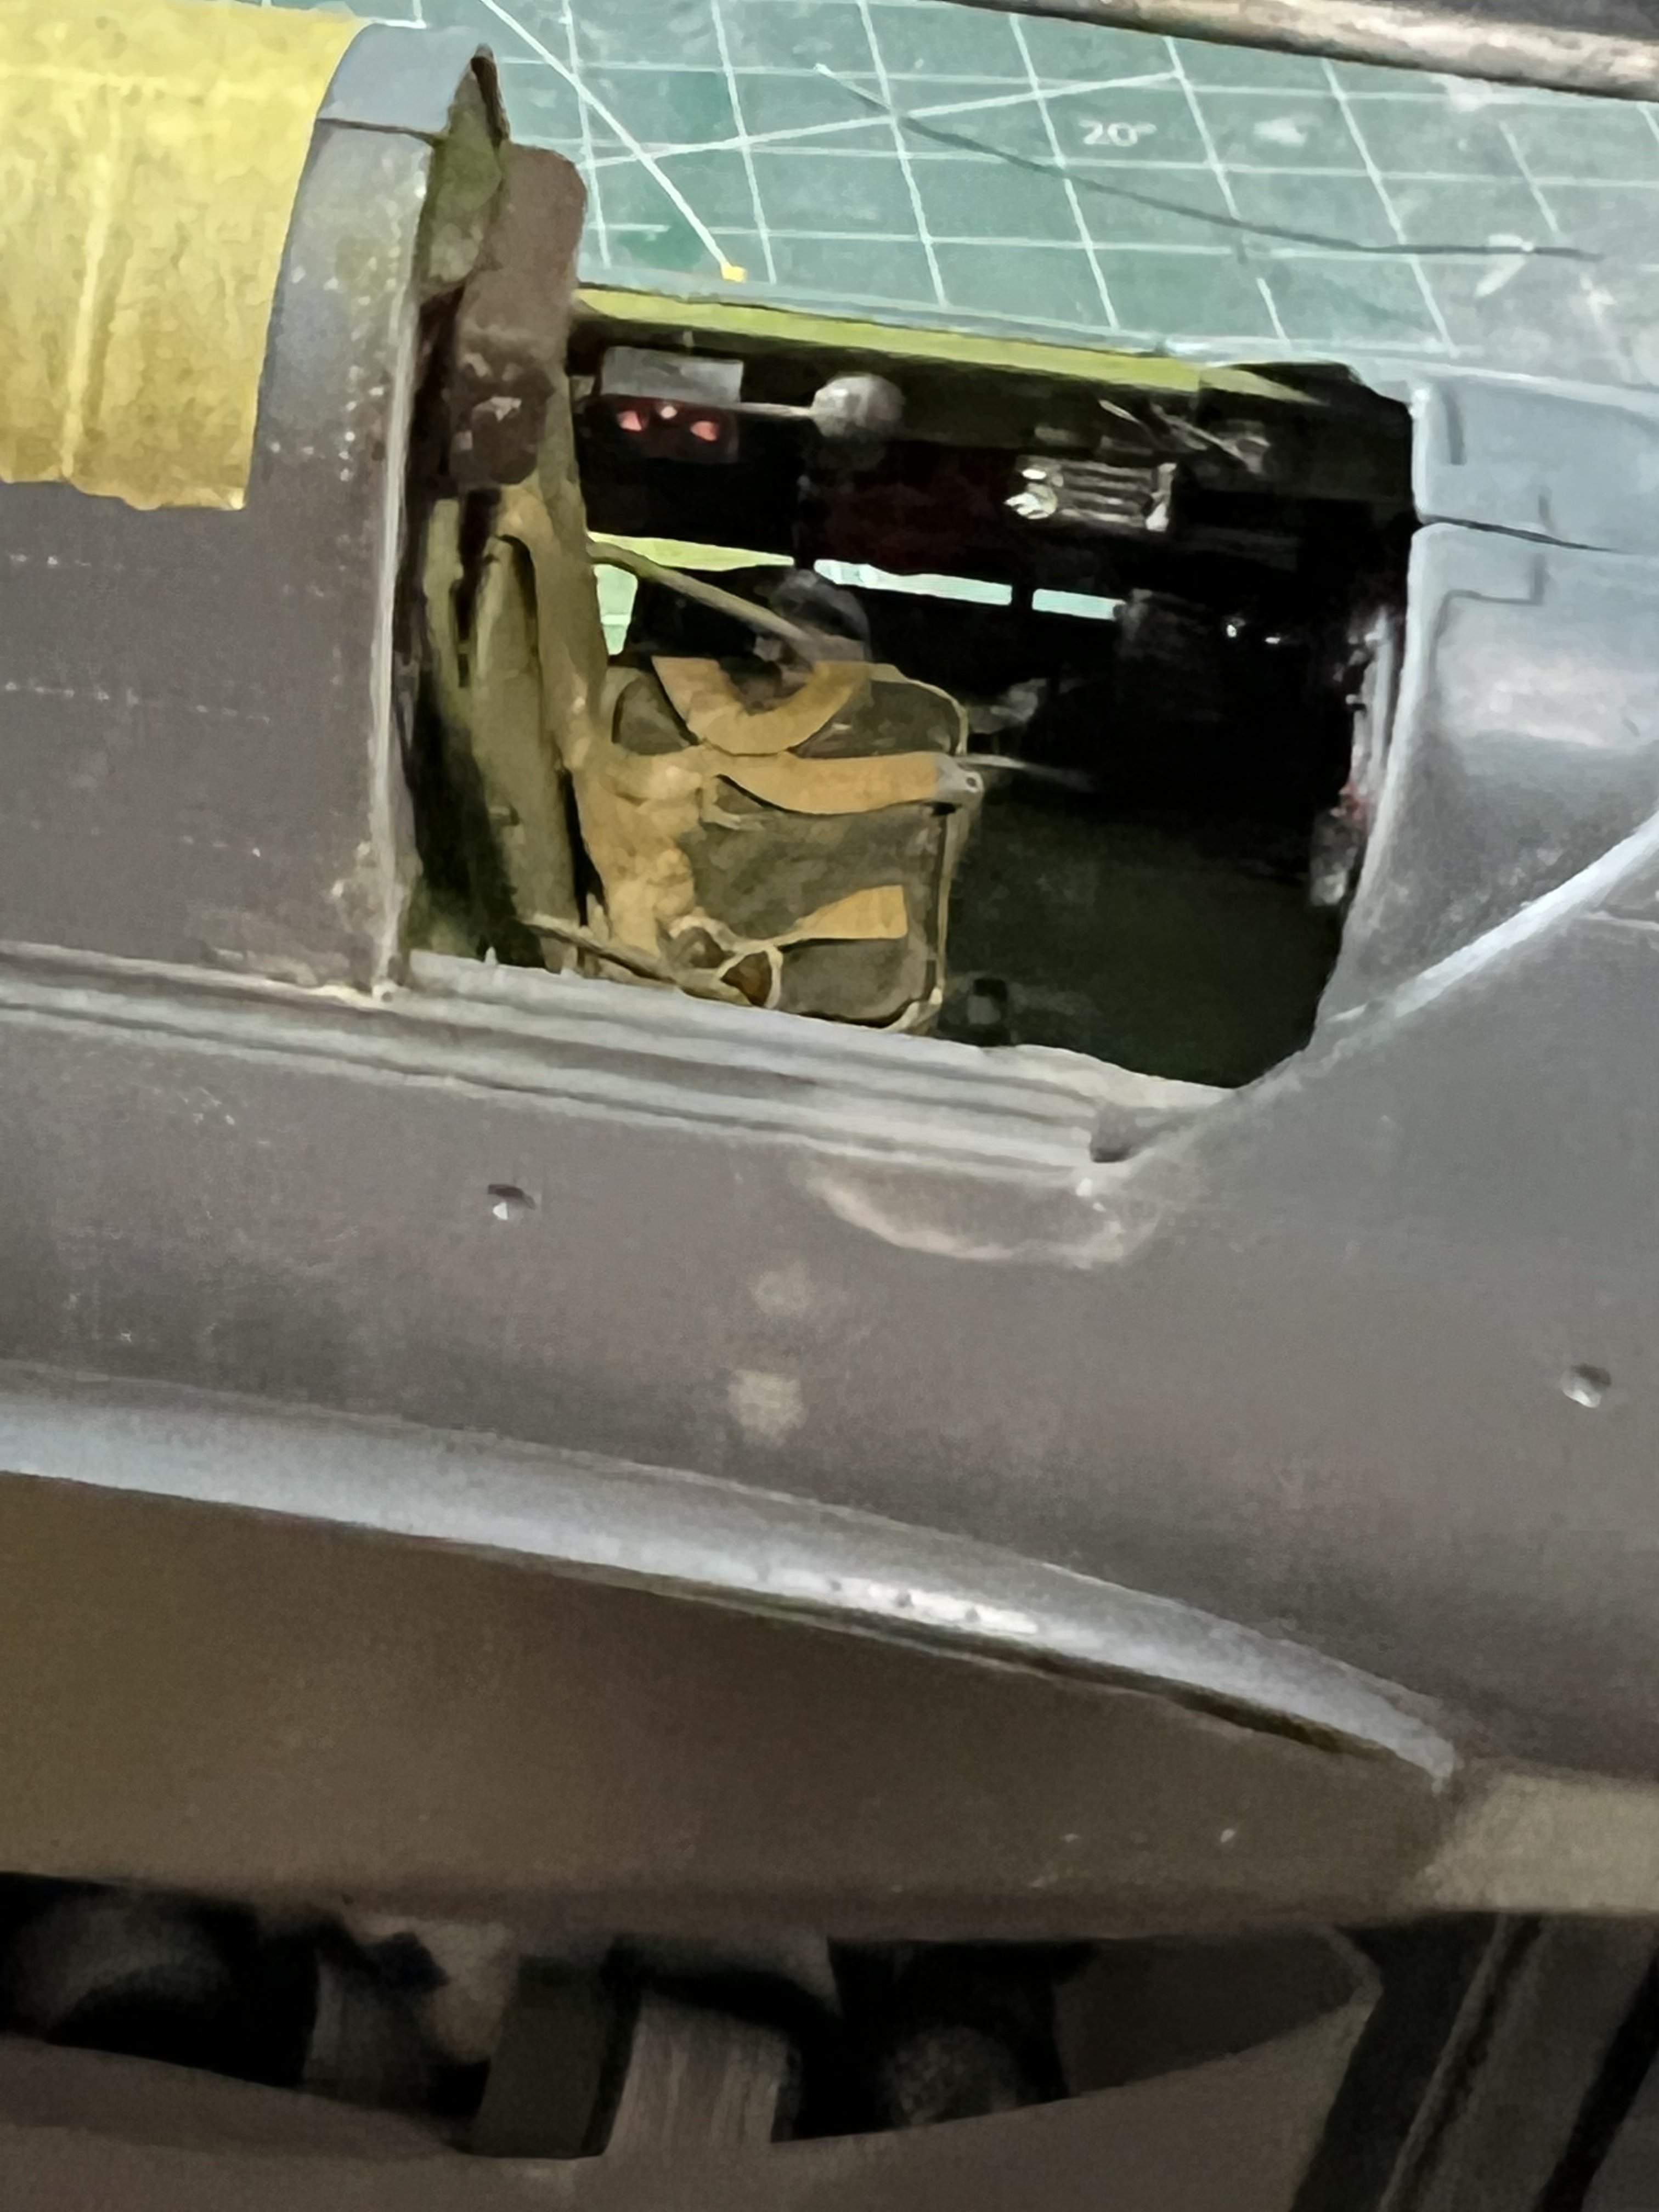
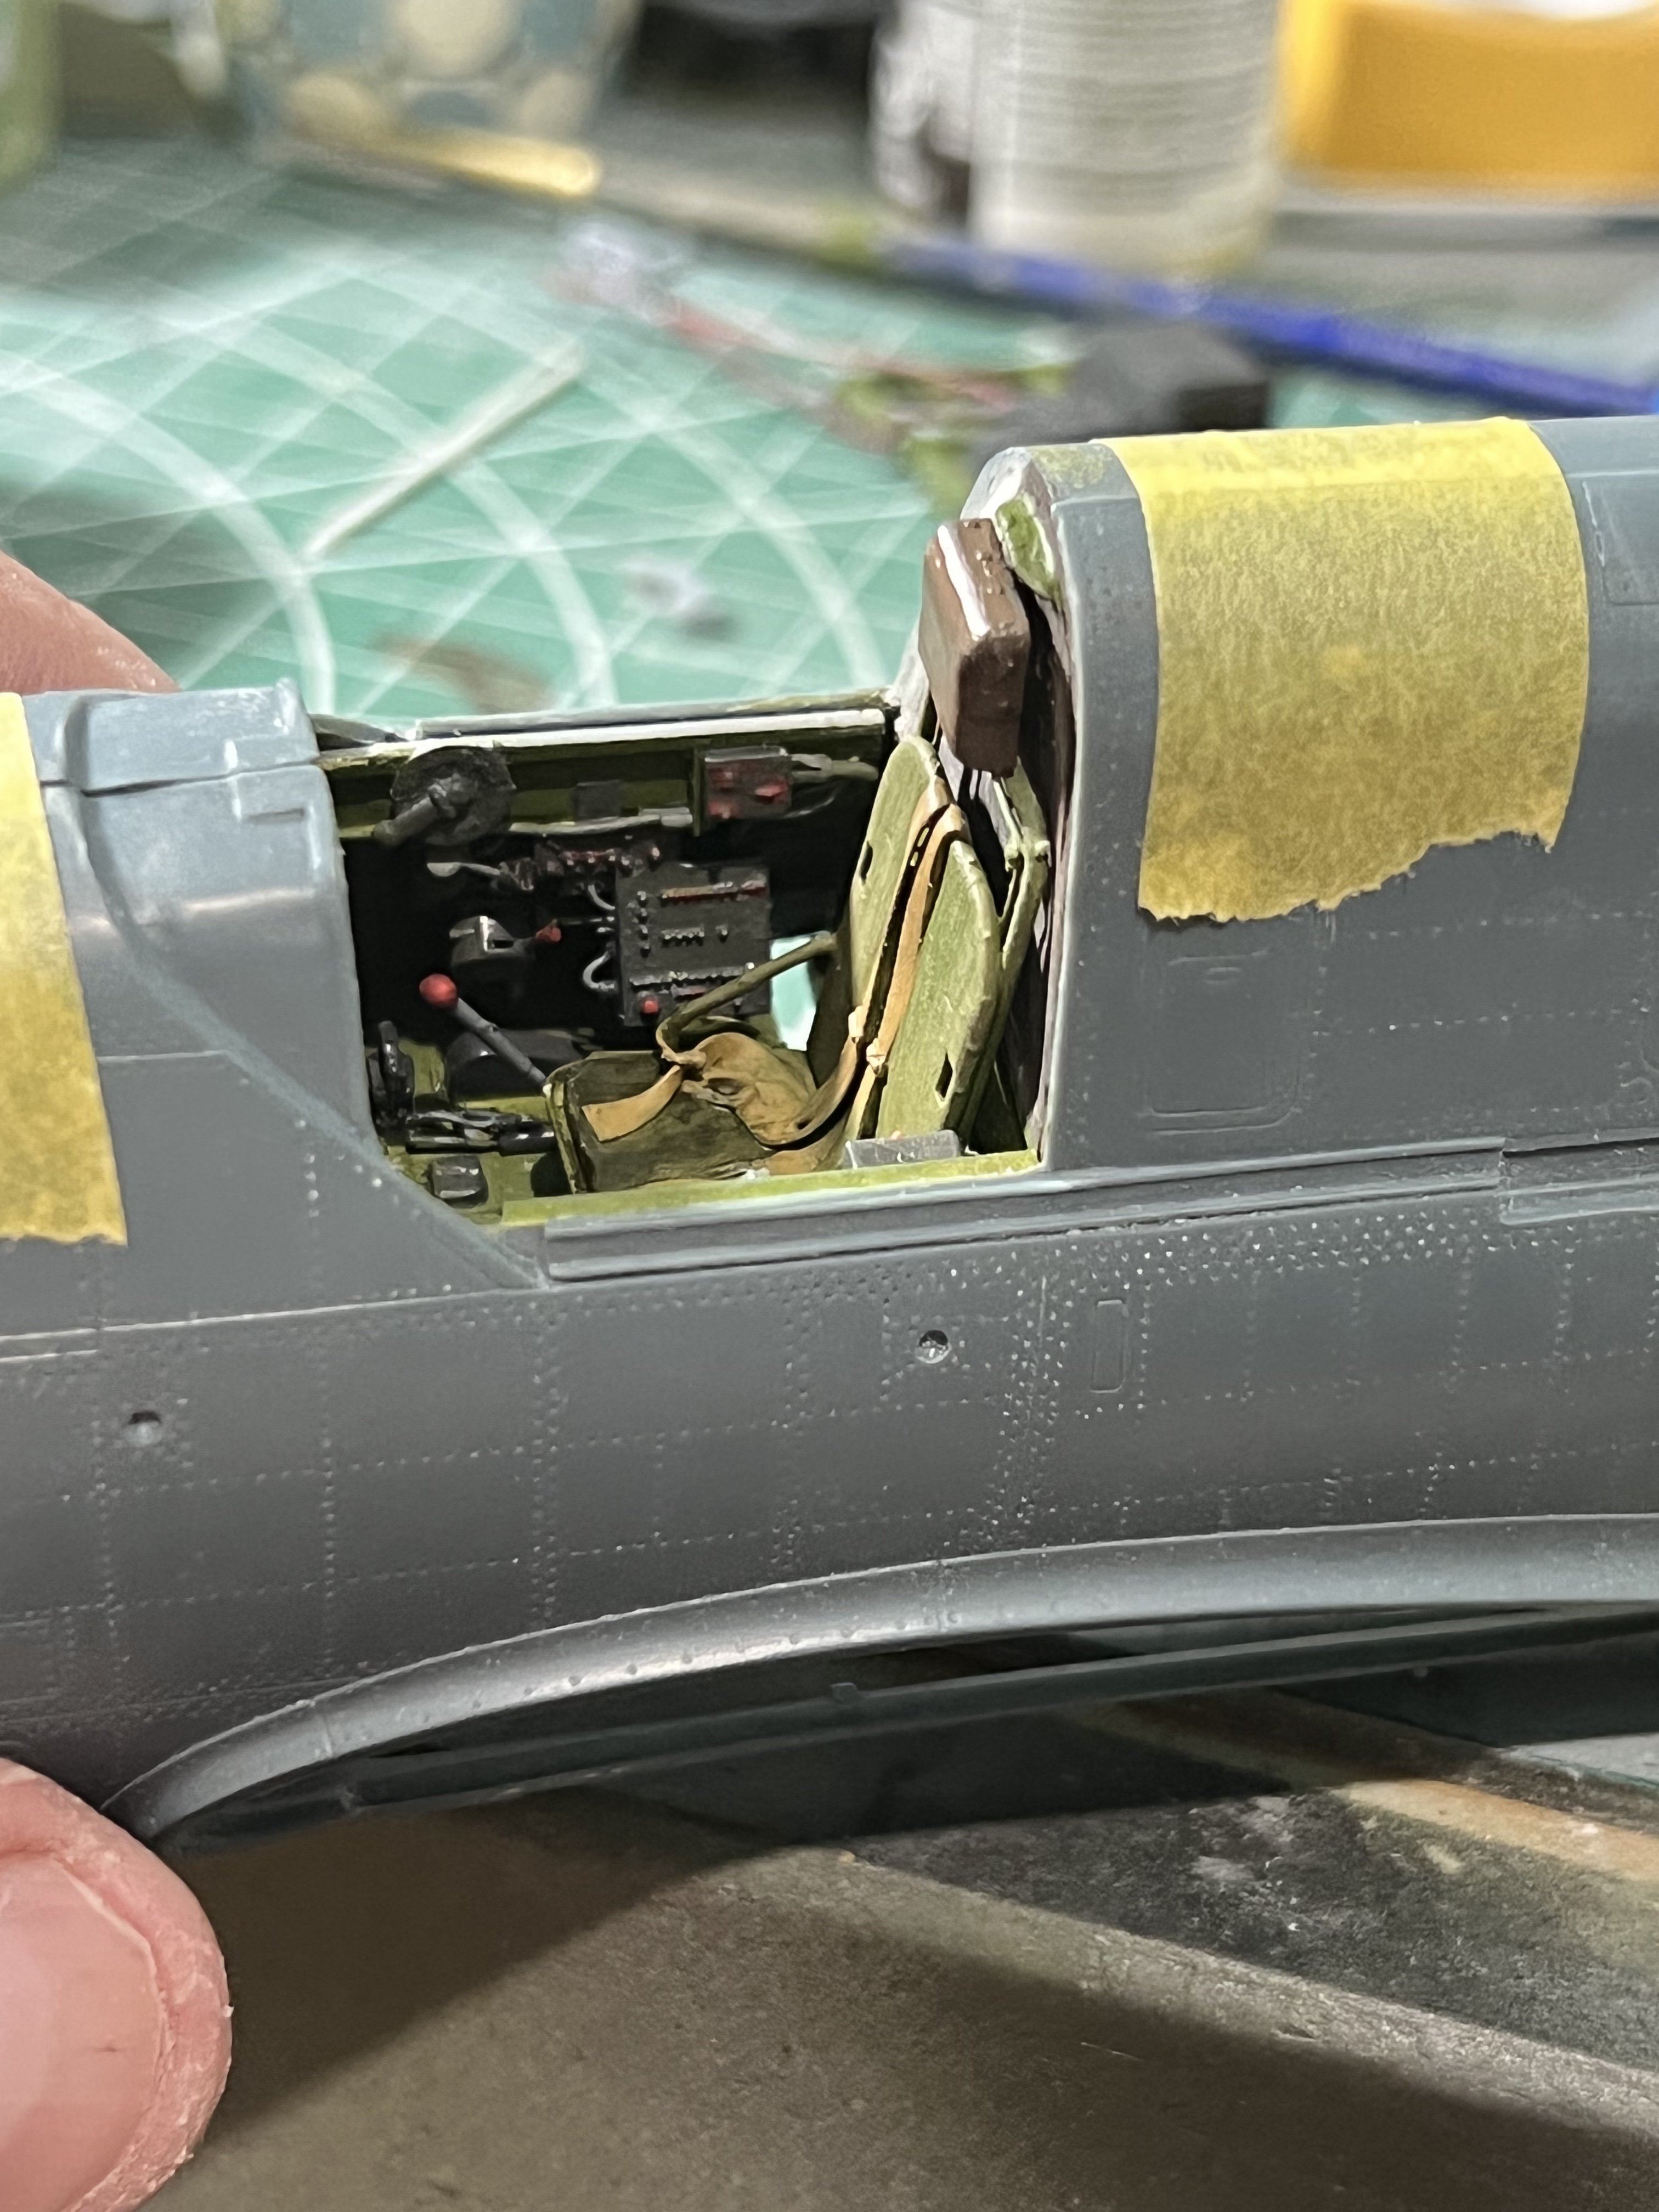
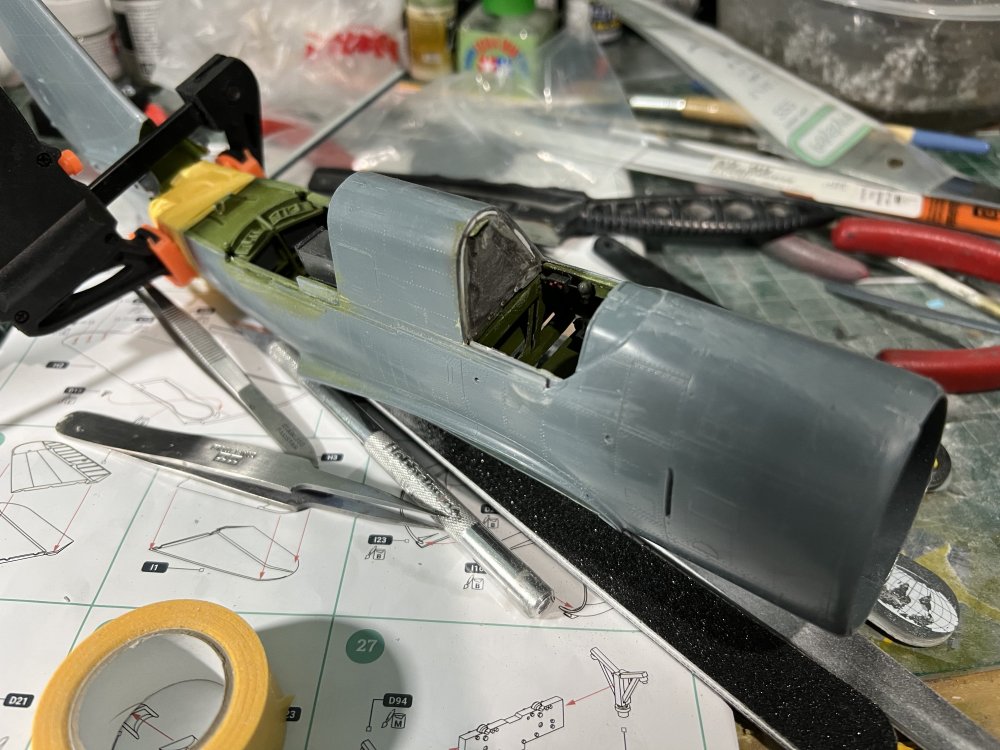
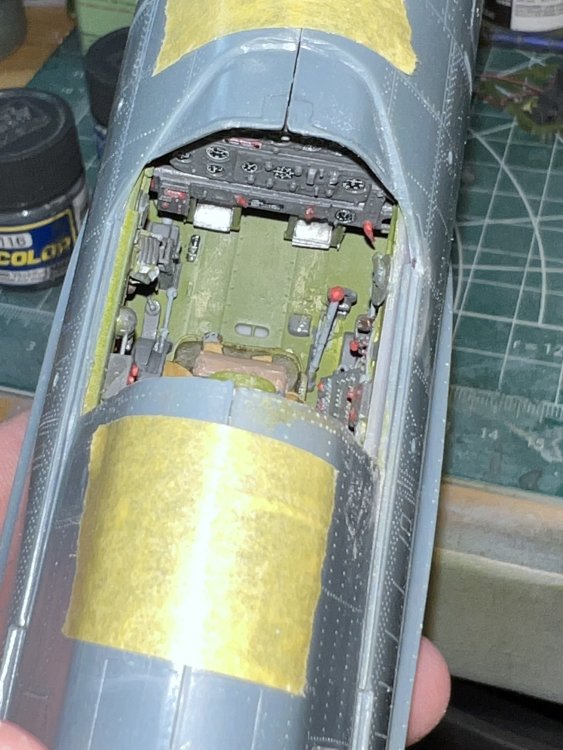
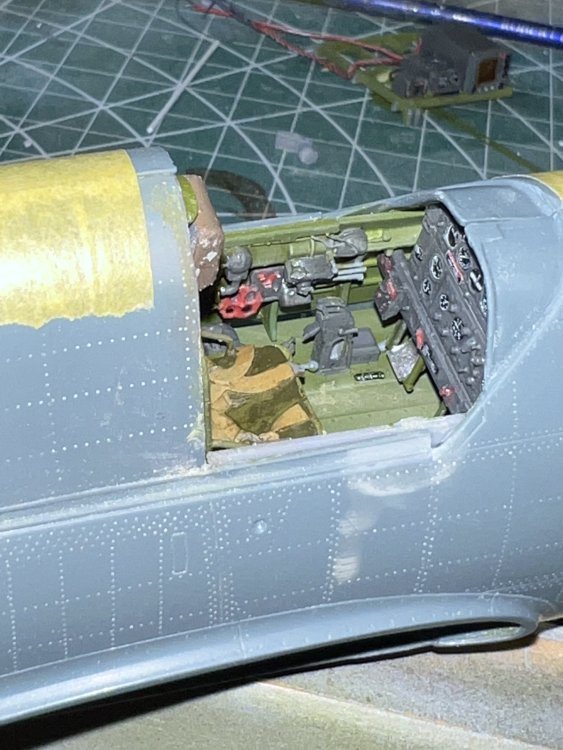
 What I NEED to do is figure out a decent color for the canvas screen behind the pilot’s seat. It’s canvas, so either khaki or OD green.. I think.
 -
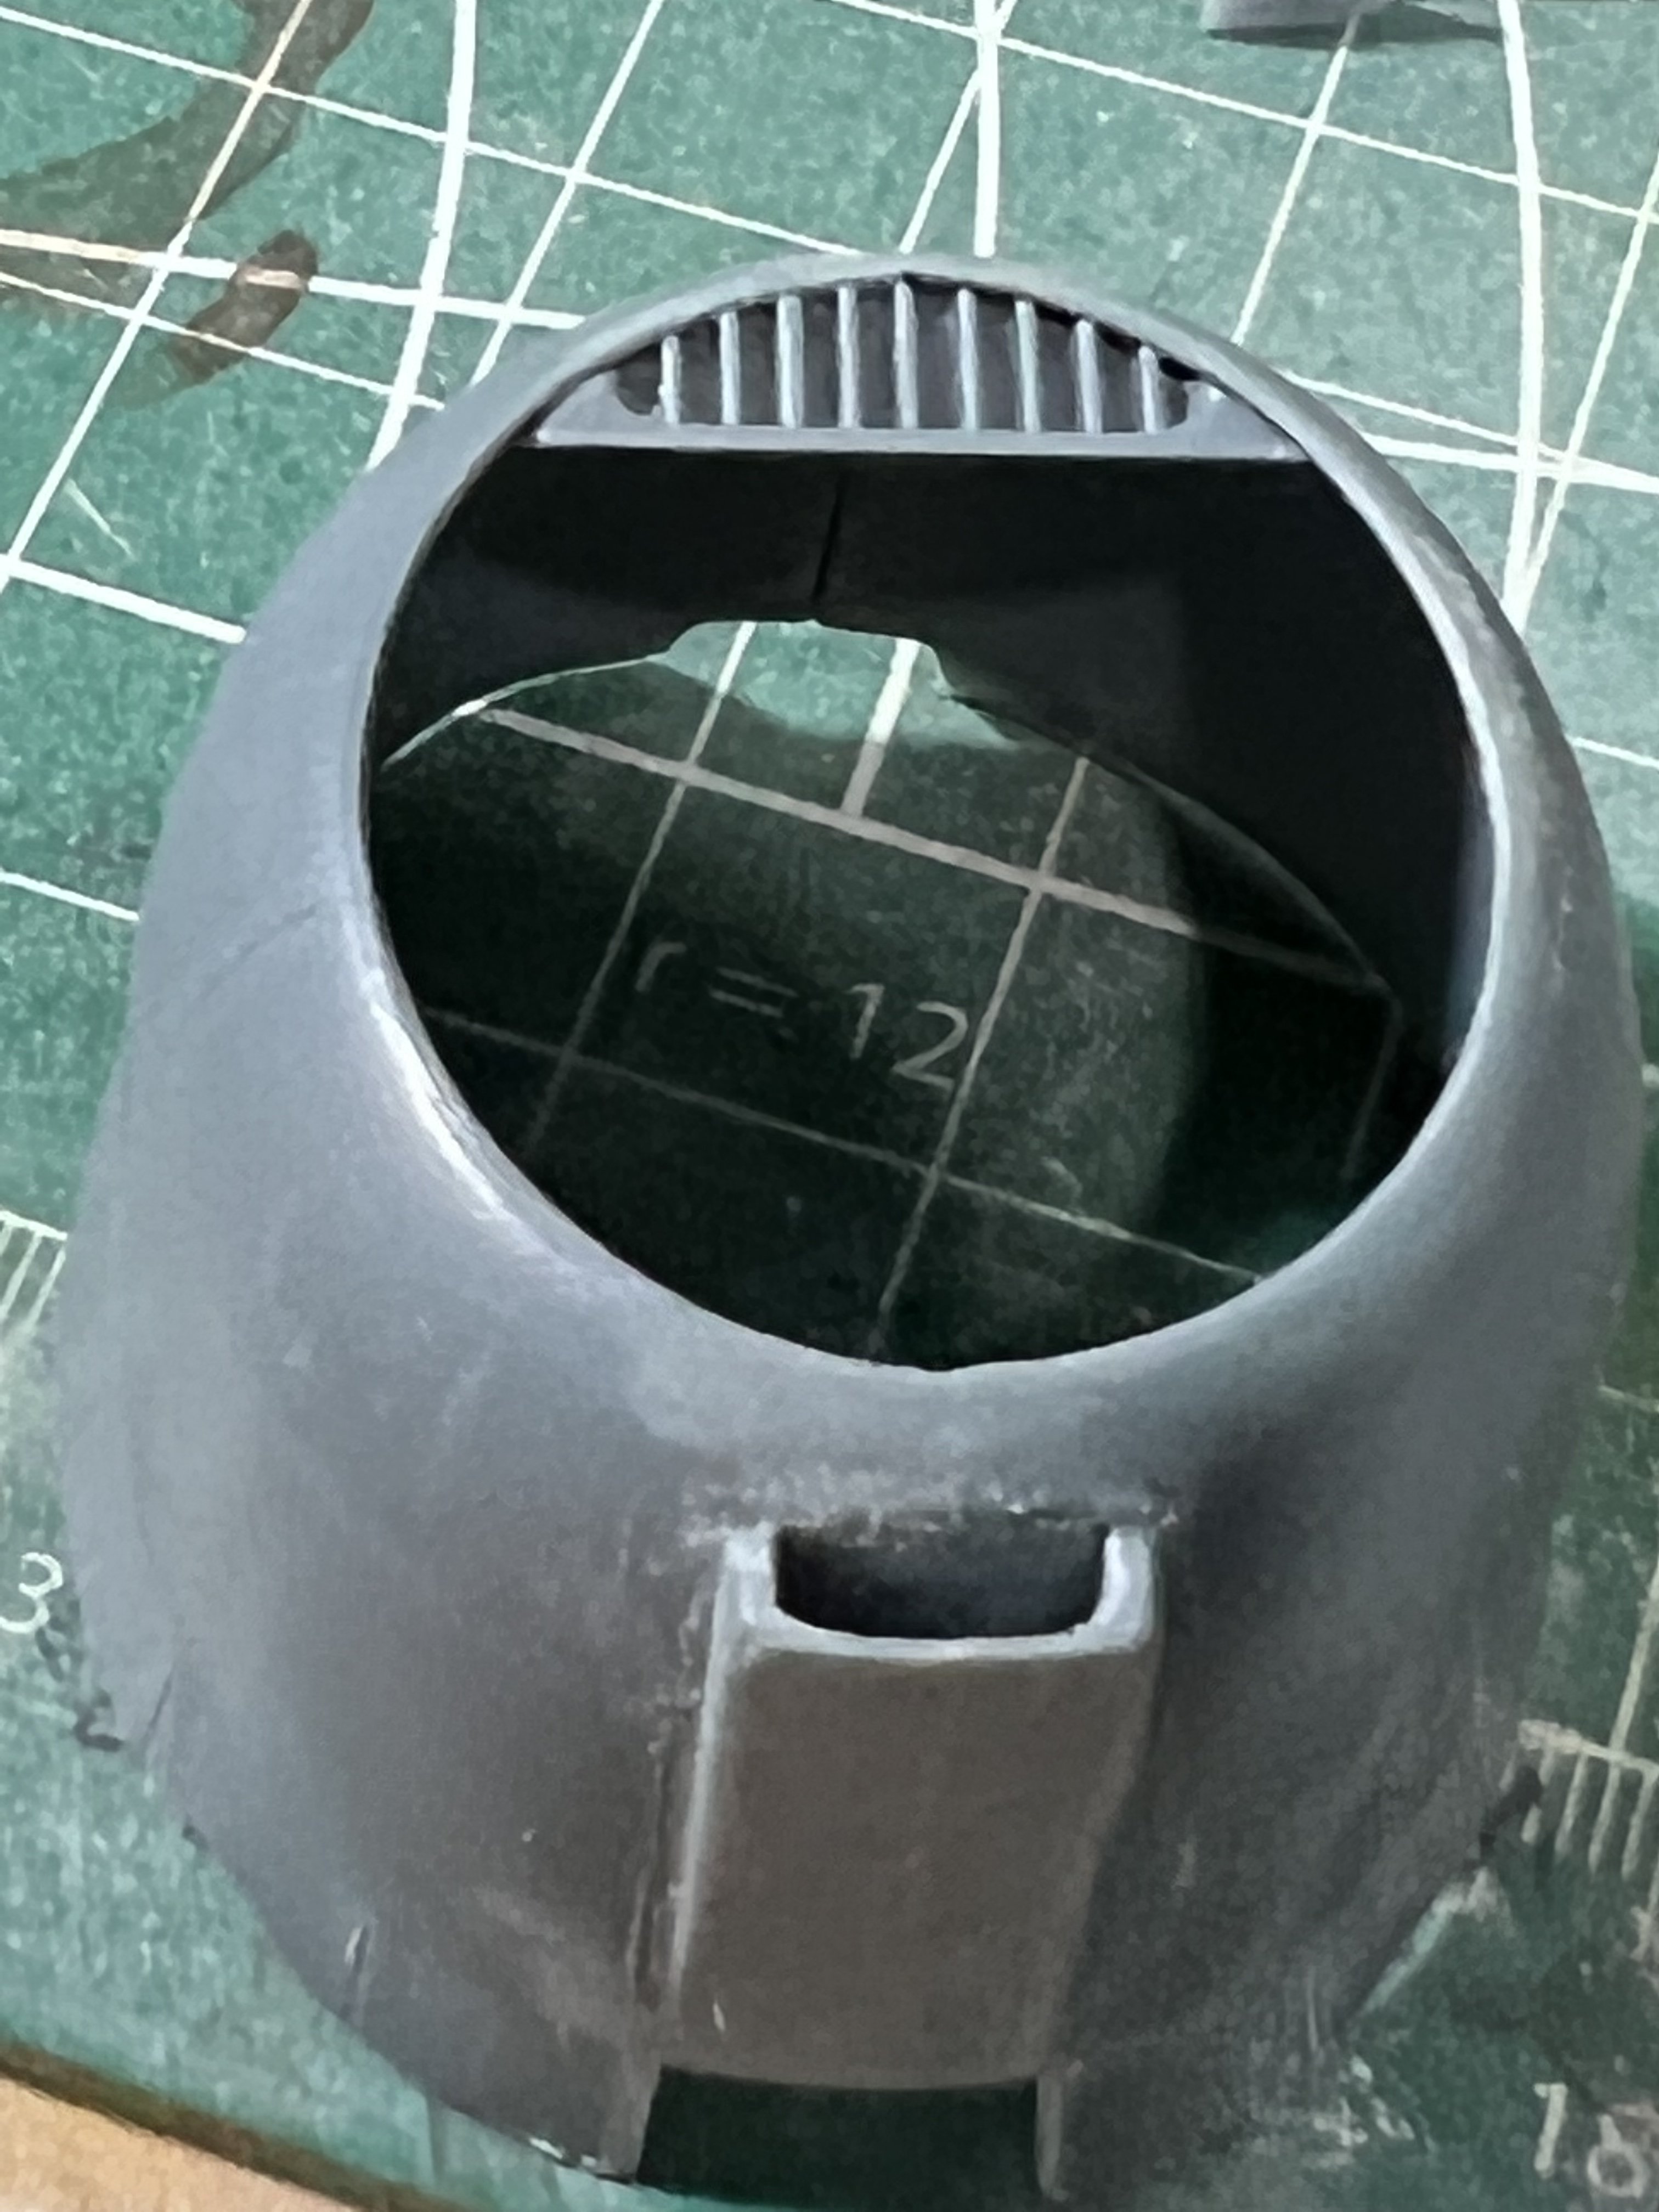
I’ve been away from the bench a couple of days as I’ve been kinda sick. No, matter of fact, I’ve been deathly ill with the flu. BUT, here I am, I’ve surfaced just long enough to recharge my batteries and get fresh air in, and then then back down I go, into the depths of restful sleep. In the meantime I had a chance to spend a bit of time on the bench, and I’ve been working on seams, making sure the basic fuselage was securely together. A bit of industrial help is needed around the rear gun emplacement, and once dry, I’ll start piecing together the bomb bay and main spar. Yes it kinda looks like crap right now, but quite honestly, I’m thrilled with this. And better yet, just after these pics were taken, I masked off the portside wing fabric area on my Corsair! It’s a miracle I say! I did have to get the half inch of dust off it, but I sure got it masked OK.

-
What is on your bench right now ? Share a picture :)
Clunkmeister replied to Martinnfb's topic in Modelling Discussion
Finally I bought a ZM Rai Den kit. Been meaning to forever, but finally did. I managed to goober up the paint on my Hasegawa build, so rather than attempting to strip and repaint it, here I am…. Didn’t throw the Hasegawa away, though. -
I’m actually closer to Chicago than I am to El Paso. Texas is HUGE
-
What is on your bench right now ? Share a picture :)
Clunkmeister replied to Martinnfb's topic in Modelling Discussion
It was a long, long time ago, closer to 2014? Way back when we all hung out on TOS. It was a fun build, and I’d like to do another -
Is that 1/72, John? Great looking build, btw.
-
Joy wanted me to post this for y’all regarding the humidity. This was this year on one of our humid days. BIG Texas hair. It’s twice as bad there, so warn y’all’s ladies to bring plenty of ponytail holders, or they’ll look like a triangle with their hair down…

-
If you got a south wind, you can literally cut the air with a knife. So humid a bullet might even leave ripples in the air….
-
Peter, they’re doing some amazing things over there. Like completely fixing ALL the issues on the HB A-26 and giving us an A-26K Counter Invader conversion as well. I’m trying to talk him into being the guy who FINALLY fixes the nose shape issues on the 1/32 B-17
-
It IS a hot time of the year, imagine Phoenix with humidity.
-
It’s an awesome piece, Peter. All I did was paint it, nothing else
-
Yeah I know, it’s insane. I do slot of dictation into script while I’m driving. I go back and reread everything at least three times before I send a proposal.
-
Ok, I’m going to give till Sept 10 to wrap up these builds, y’all. There will be an award given of a ZM 109G-14 to the winner, who will be chosen by a scientific method: my shop manager’s kid will pick a number between 1 and whatever the top number is. The winner can choose instead the amount of the kit (95 USD) in PP transfer.
-
- 3
-

-
Special Hobby Whirlwind
Clunkmeister replied to Peterpools's topic in LSM 1/35 and Larger Work In Progress
Peter, this is looking great! I’m going to need to take a swipe at mine once I get caught up on builds. Such a truly elegant machine, my friend. -
OK GUYS, absolute apologies to anyone who read my engine post and was shocked or offended. 😡 I communicate on my iPad in three languages: English, some German, and some Polish. It appears when I typed the type of Wright radial engine that was being modeled, my iPad did an autocorrect of the word Cyclone into German. We do have some Jewish members, and if anyone saw it, I immediately fixed it after loading my drawers and freaking out. It’s not bad in and of itself, but we’re all warplane aficionados, and we dabble in history a whole lot around here. My bad, I saw it, I fixed it. I’ll look more carefully next time. But look on the bright side. At least it didn’t come out as trąba powietrzna
-
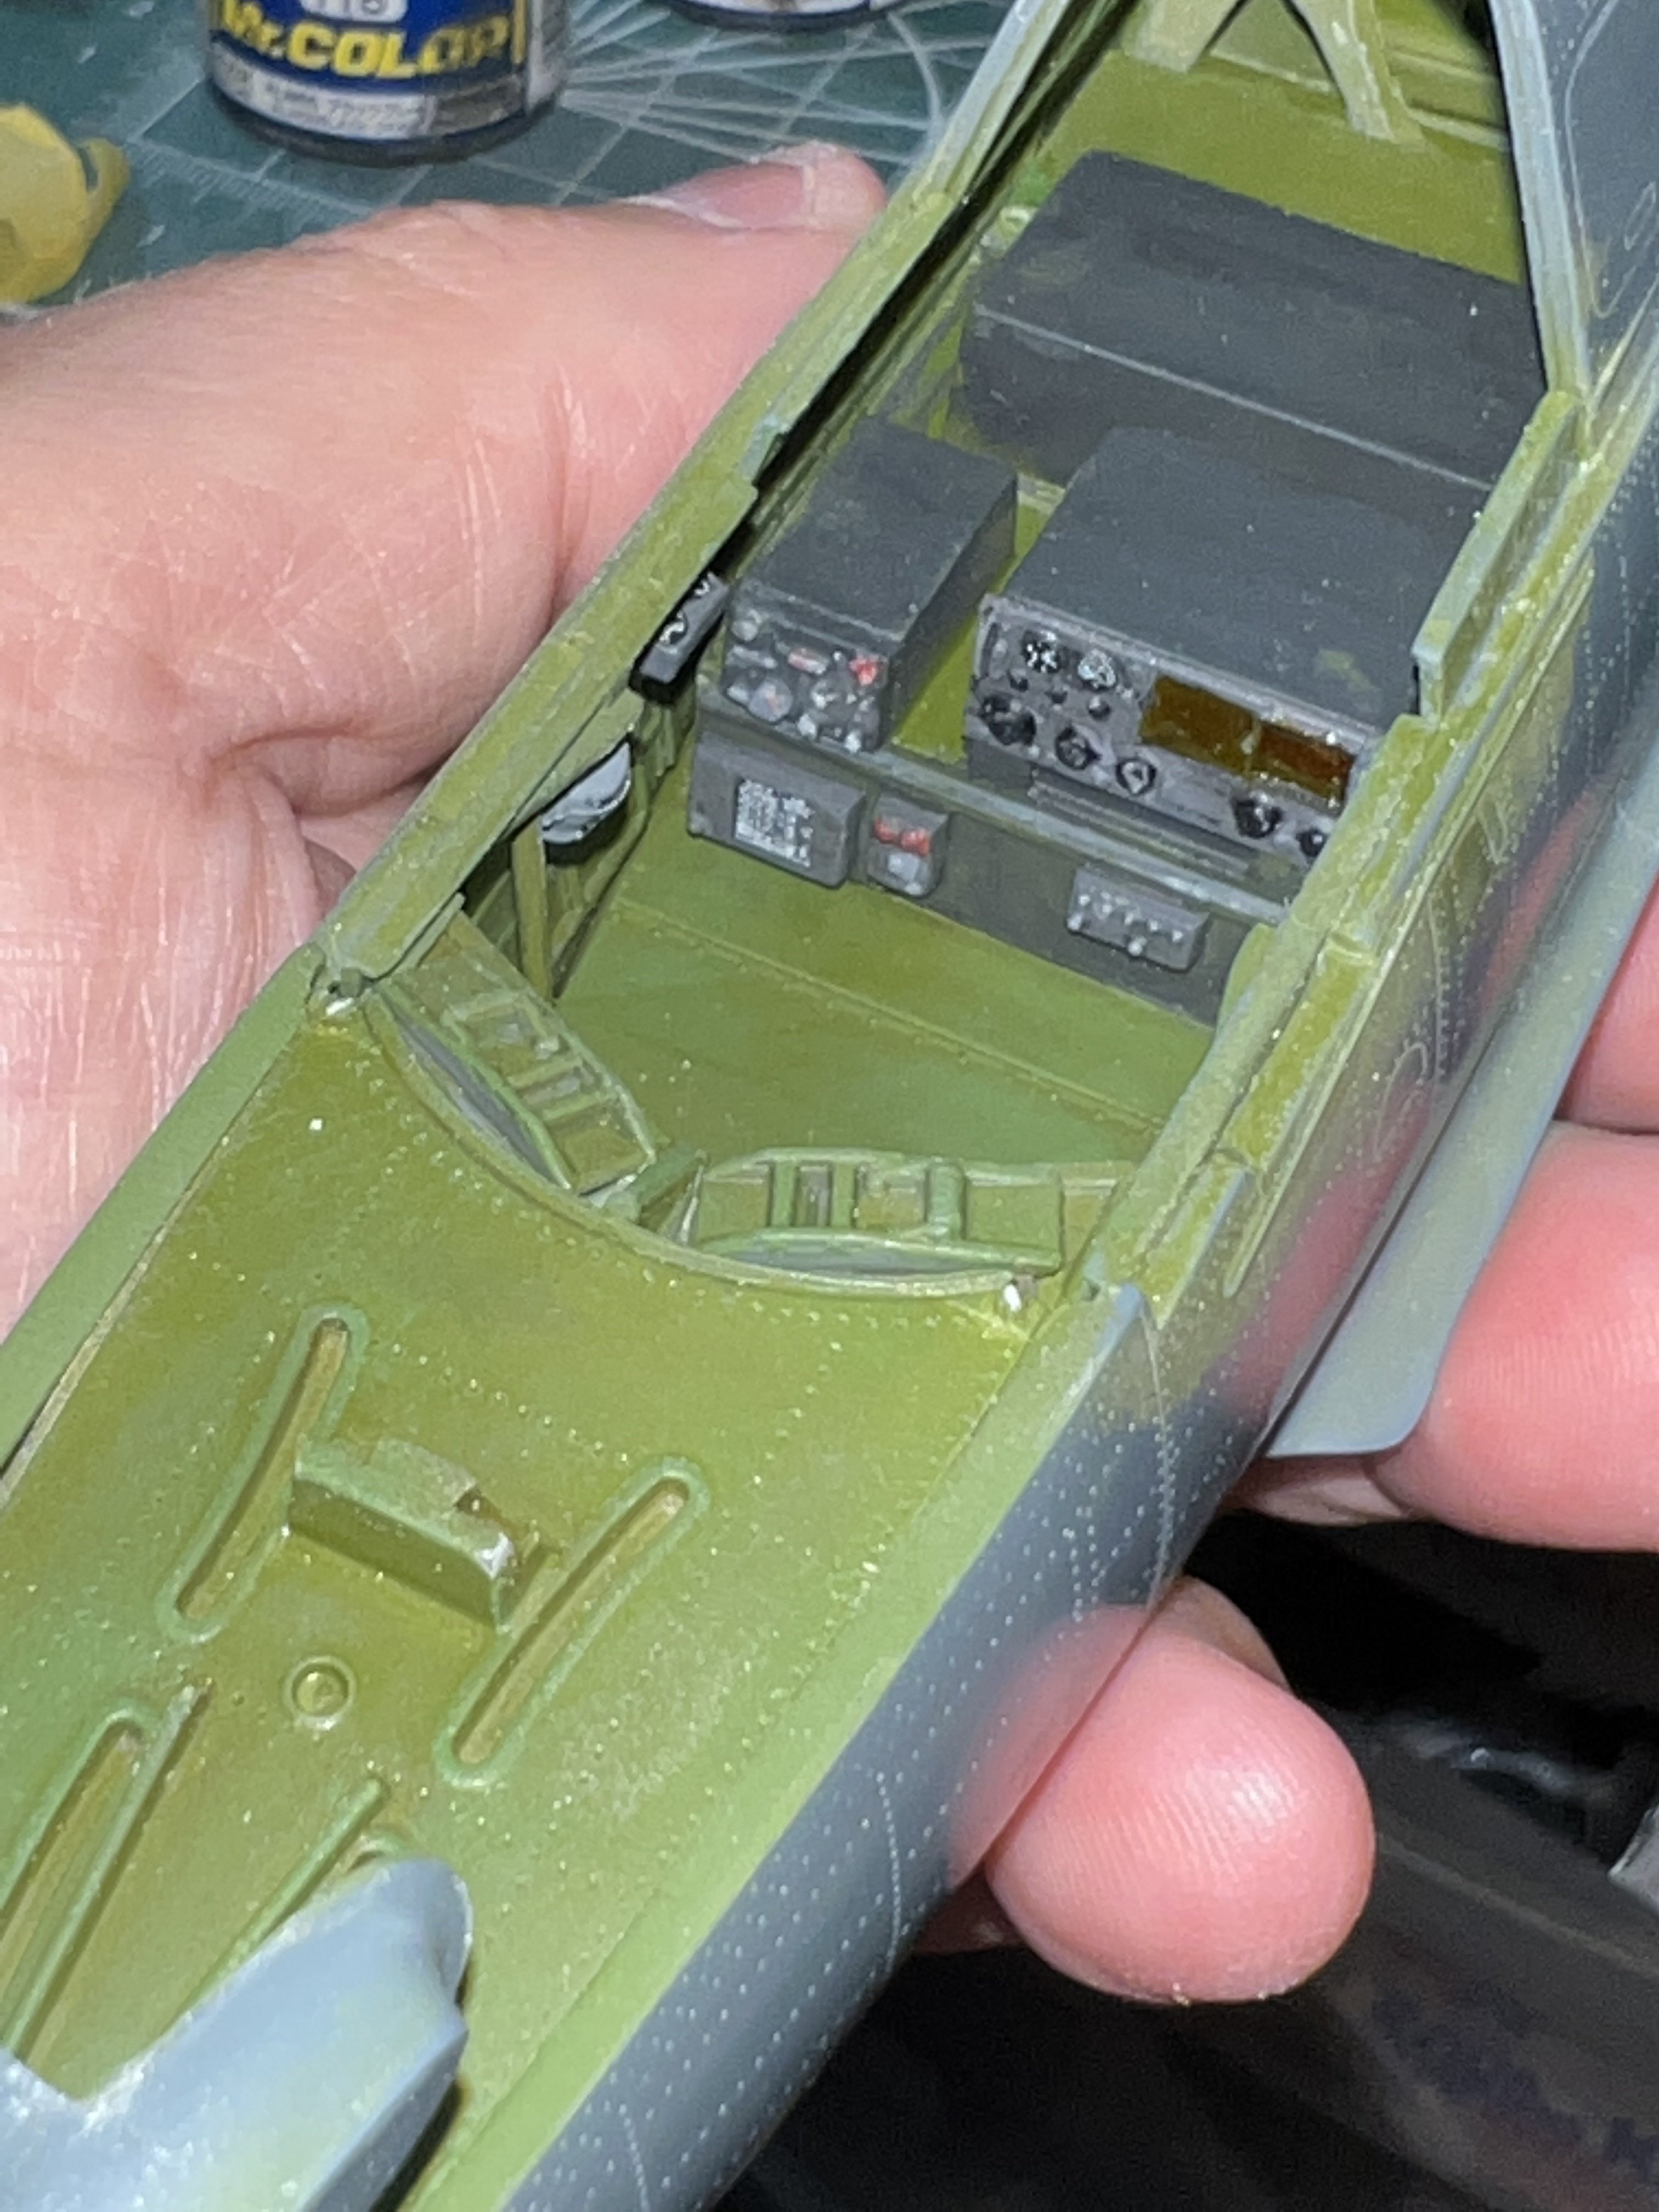
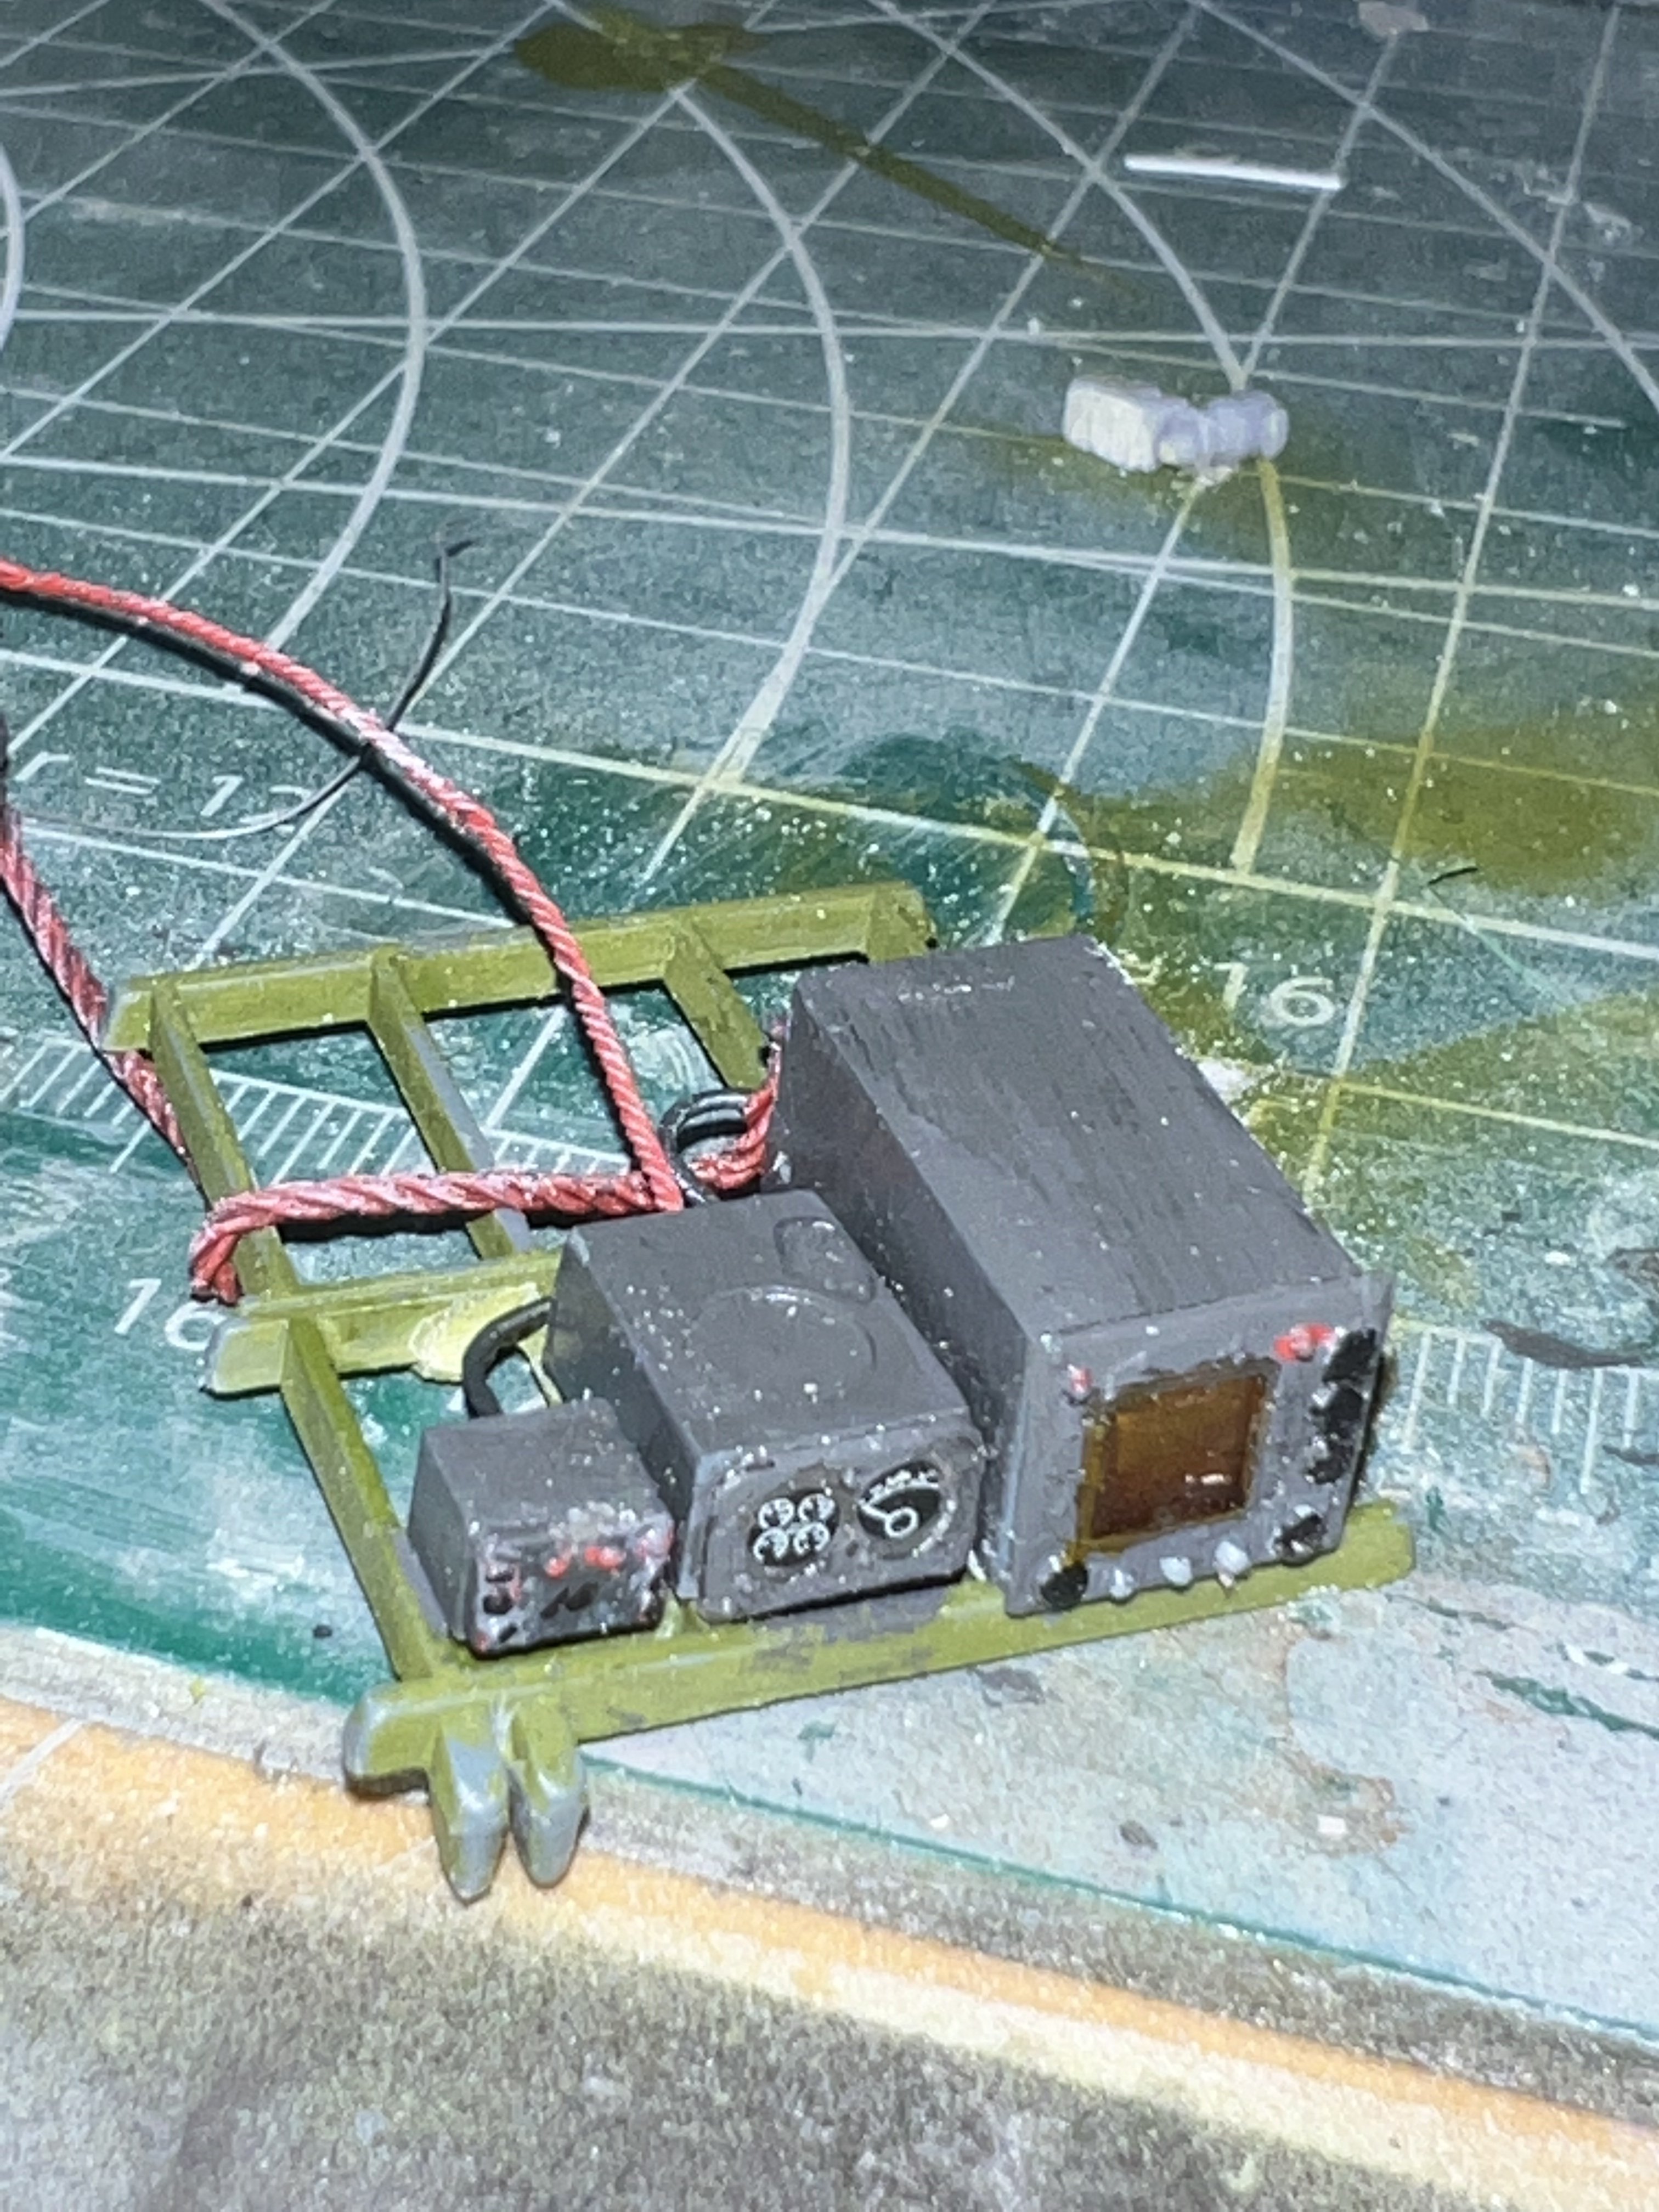
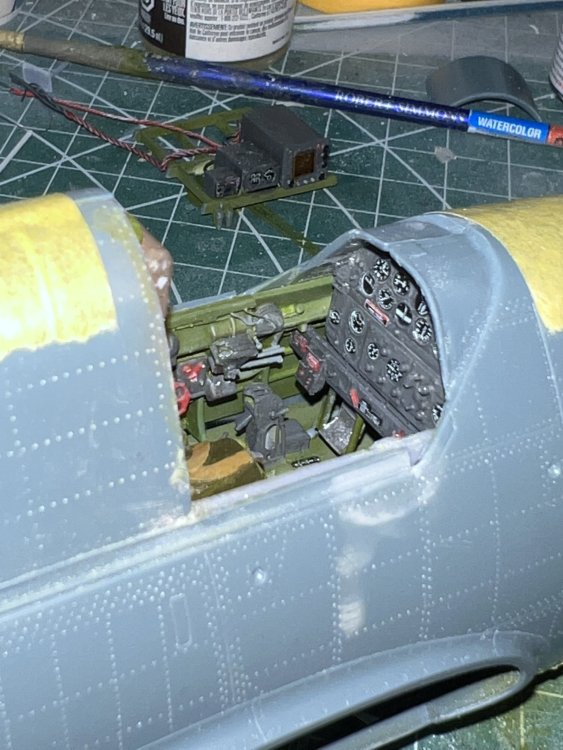
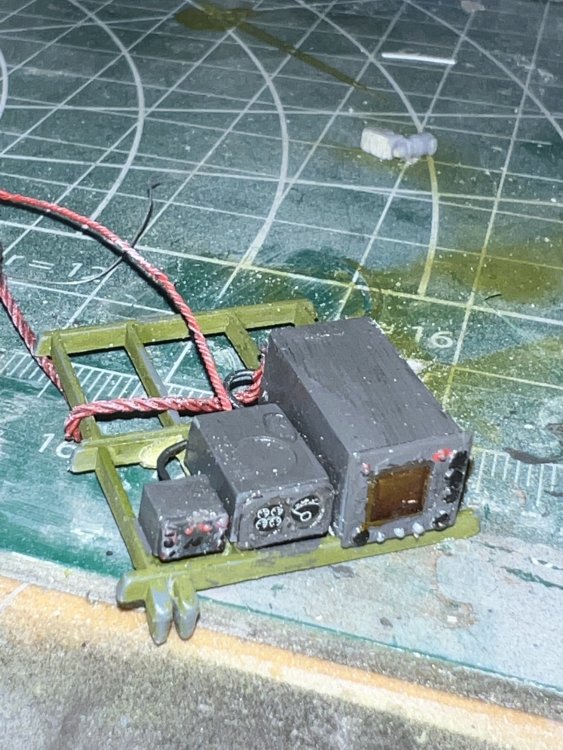
OH Yeah!! Thats what I’ll talking about!! I have just installed the front bulkhead, so there’s plenty of work and wiring ahead of me. Once again, the Research MASTER comes to the aid of a fellow time traveler
-
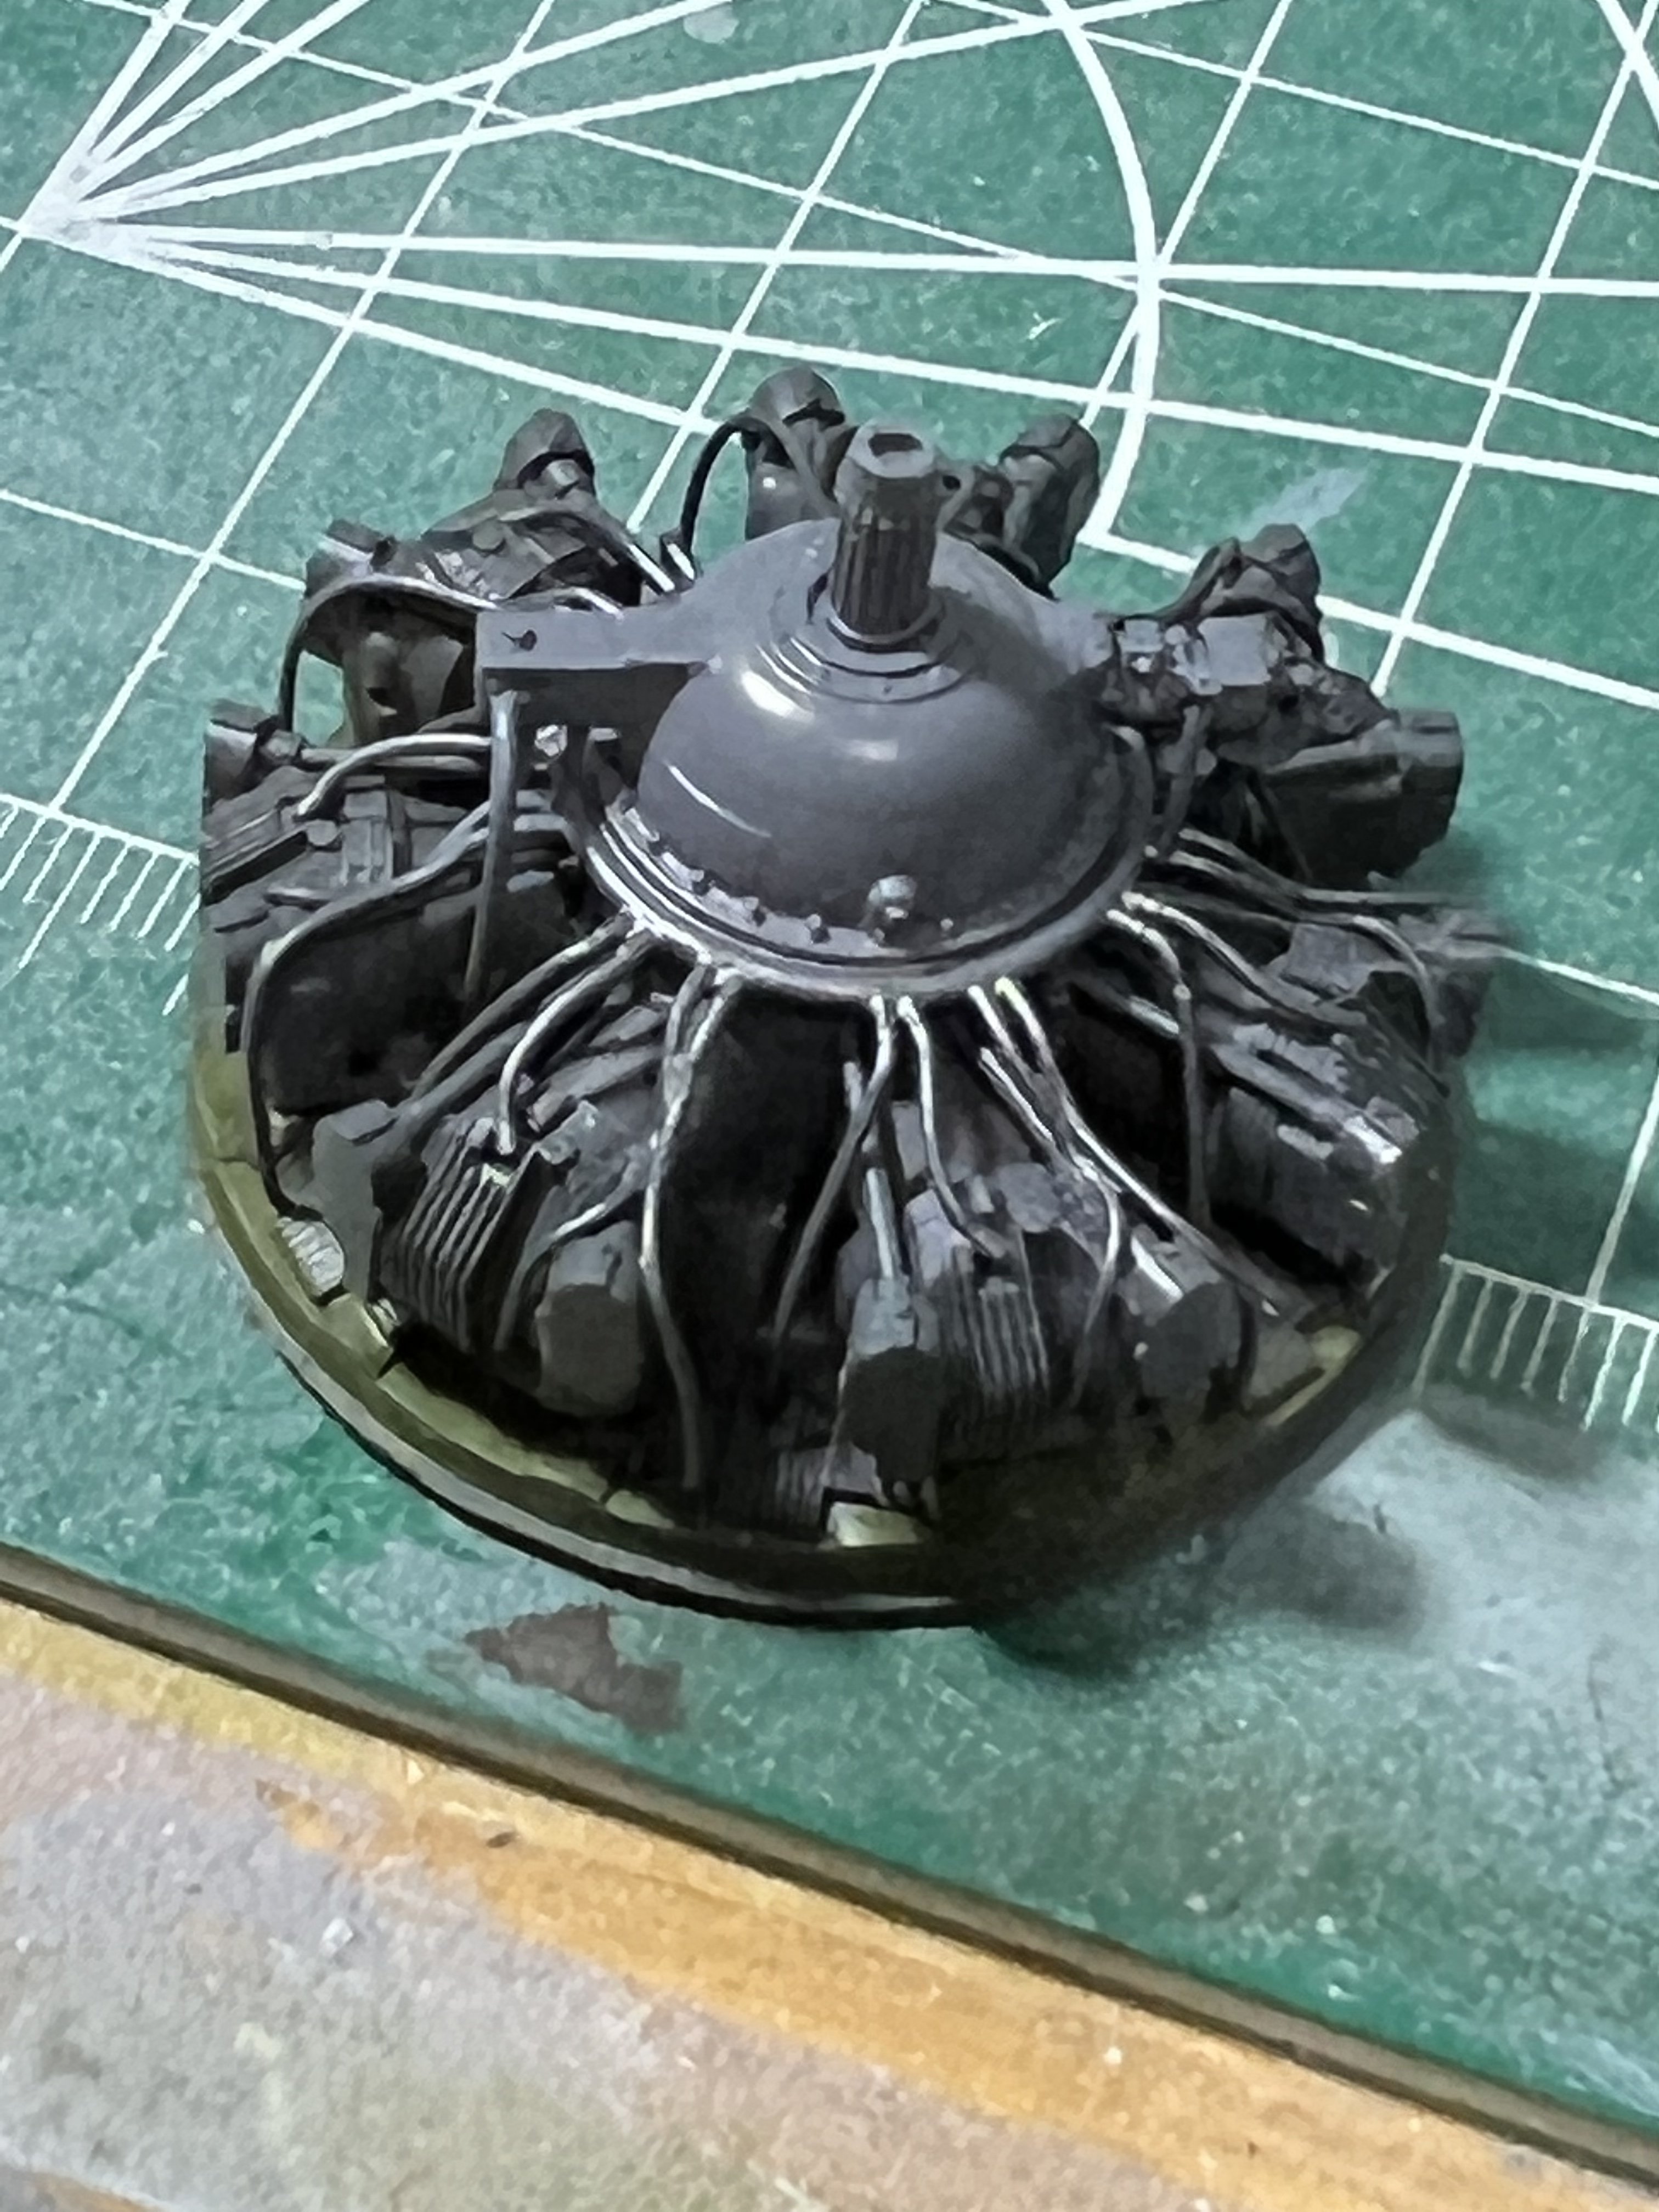
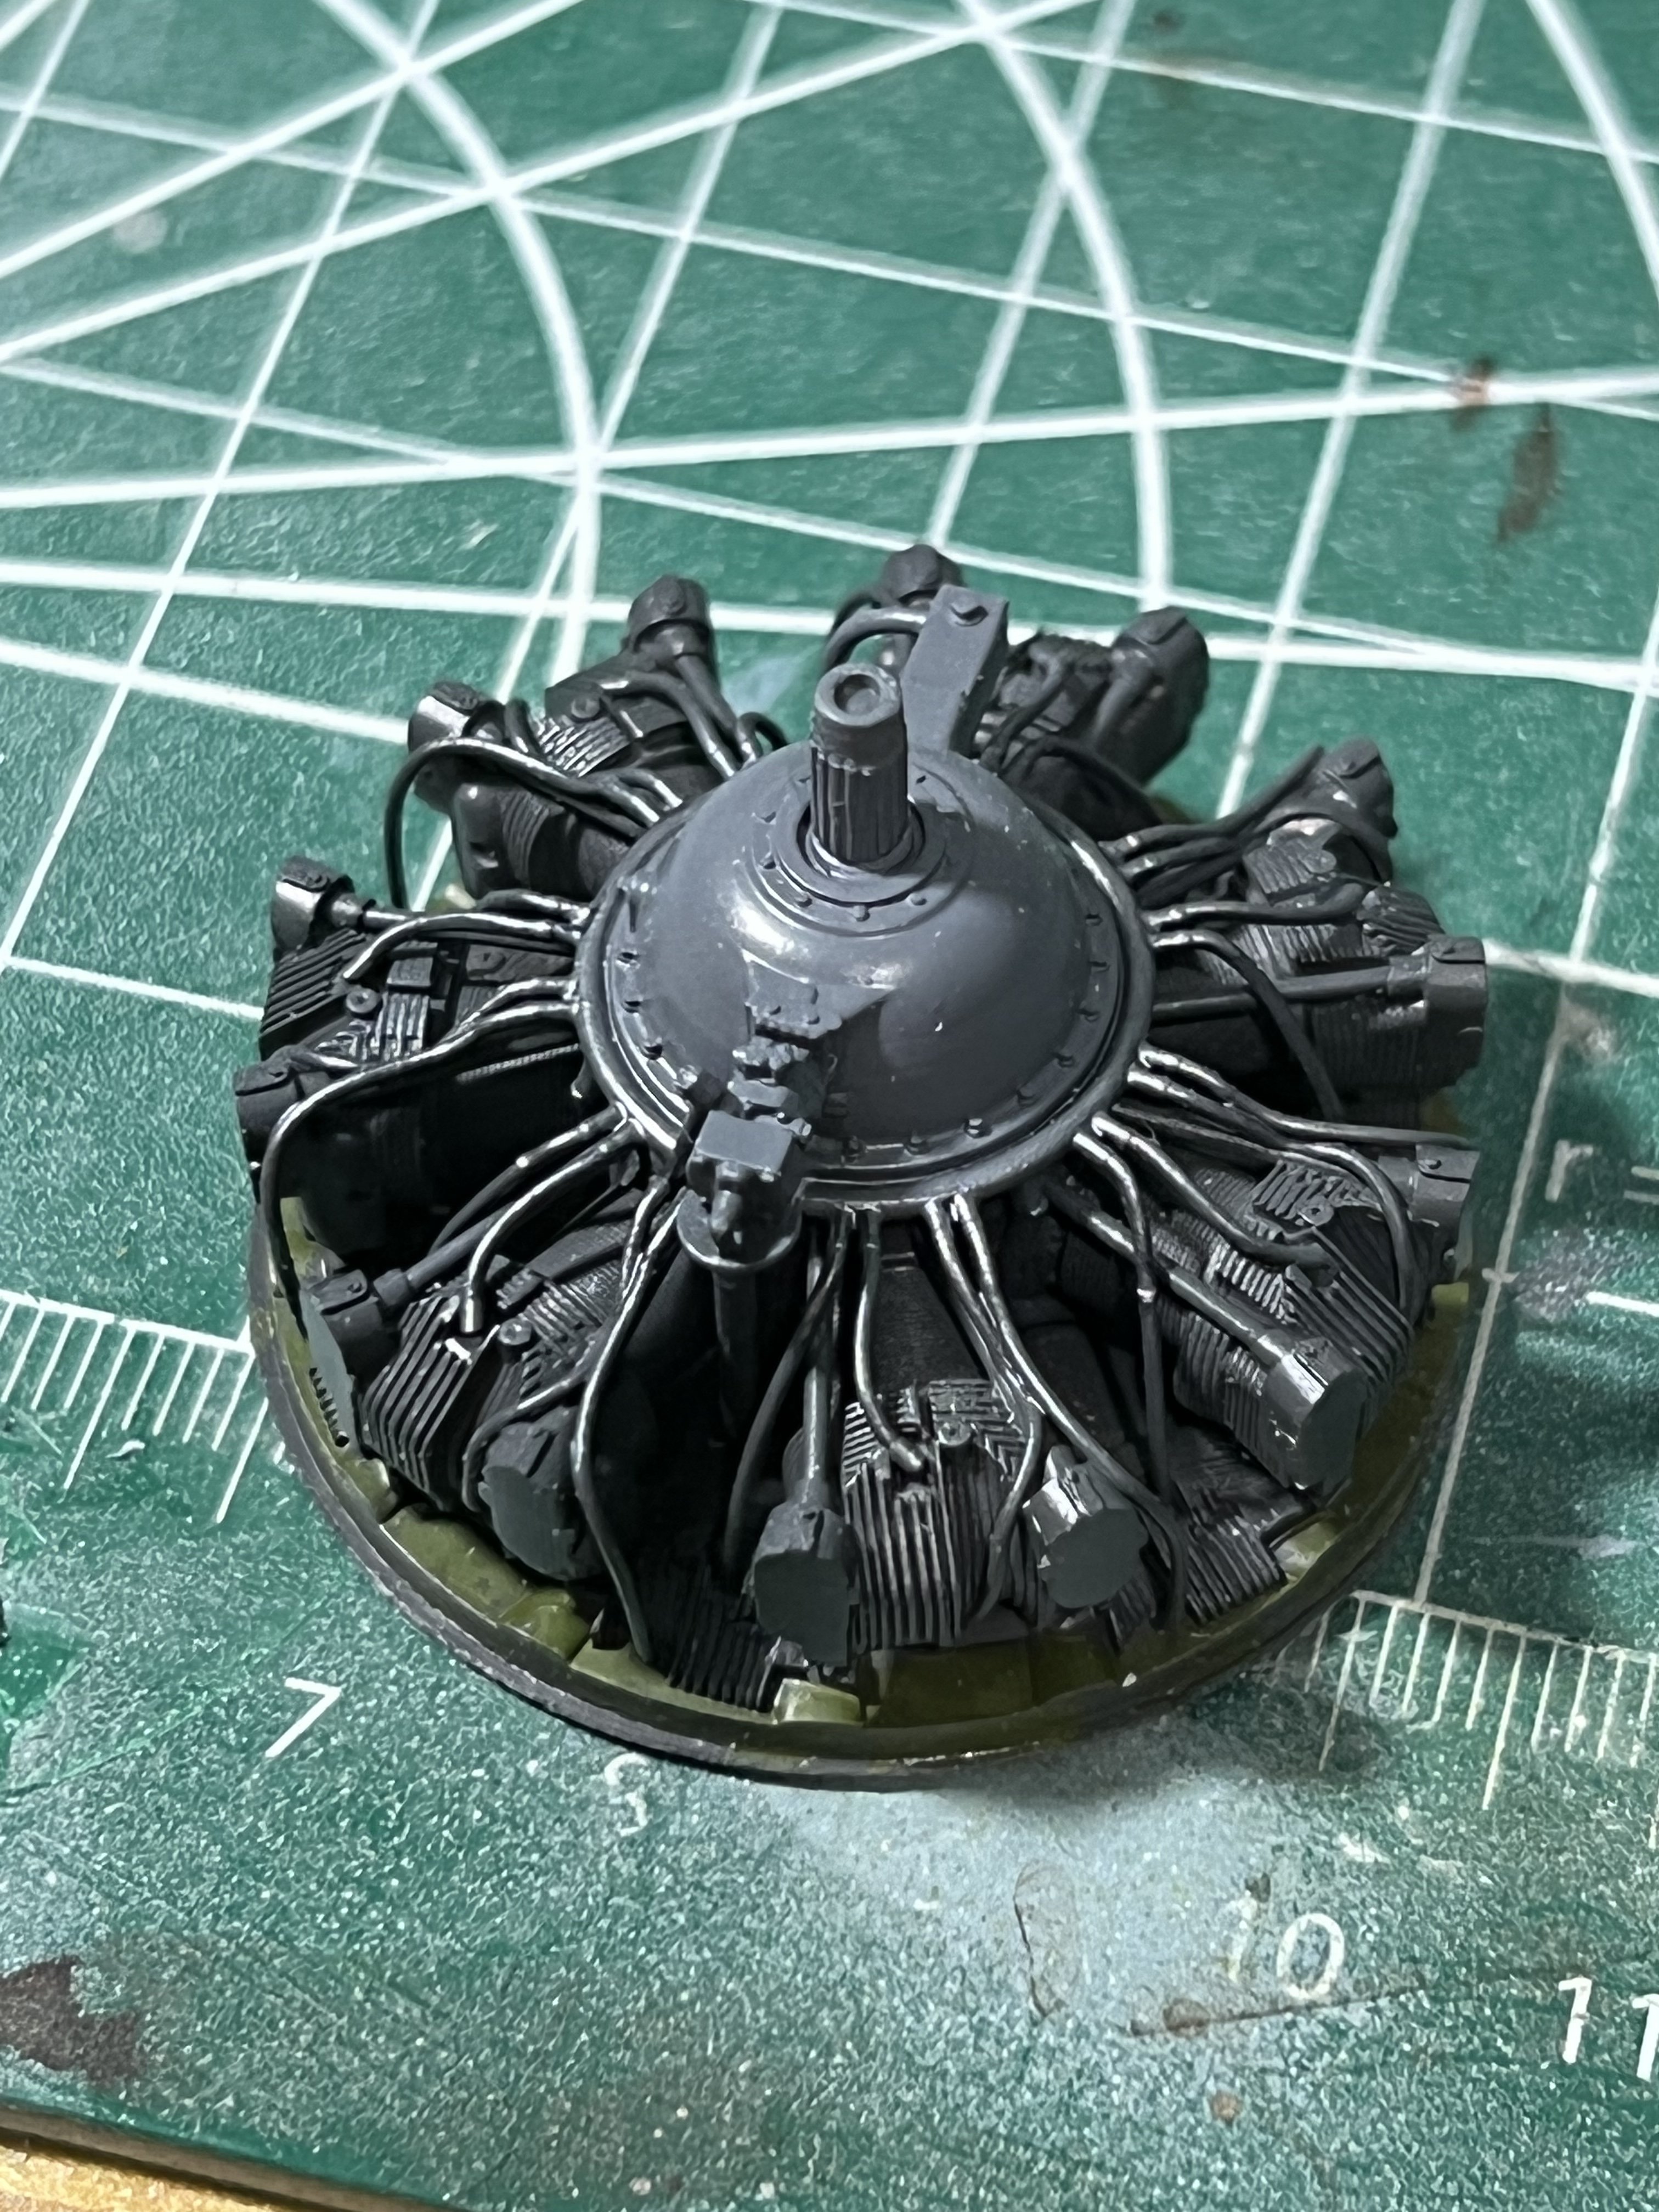
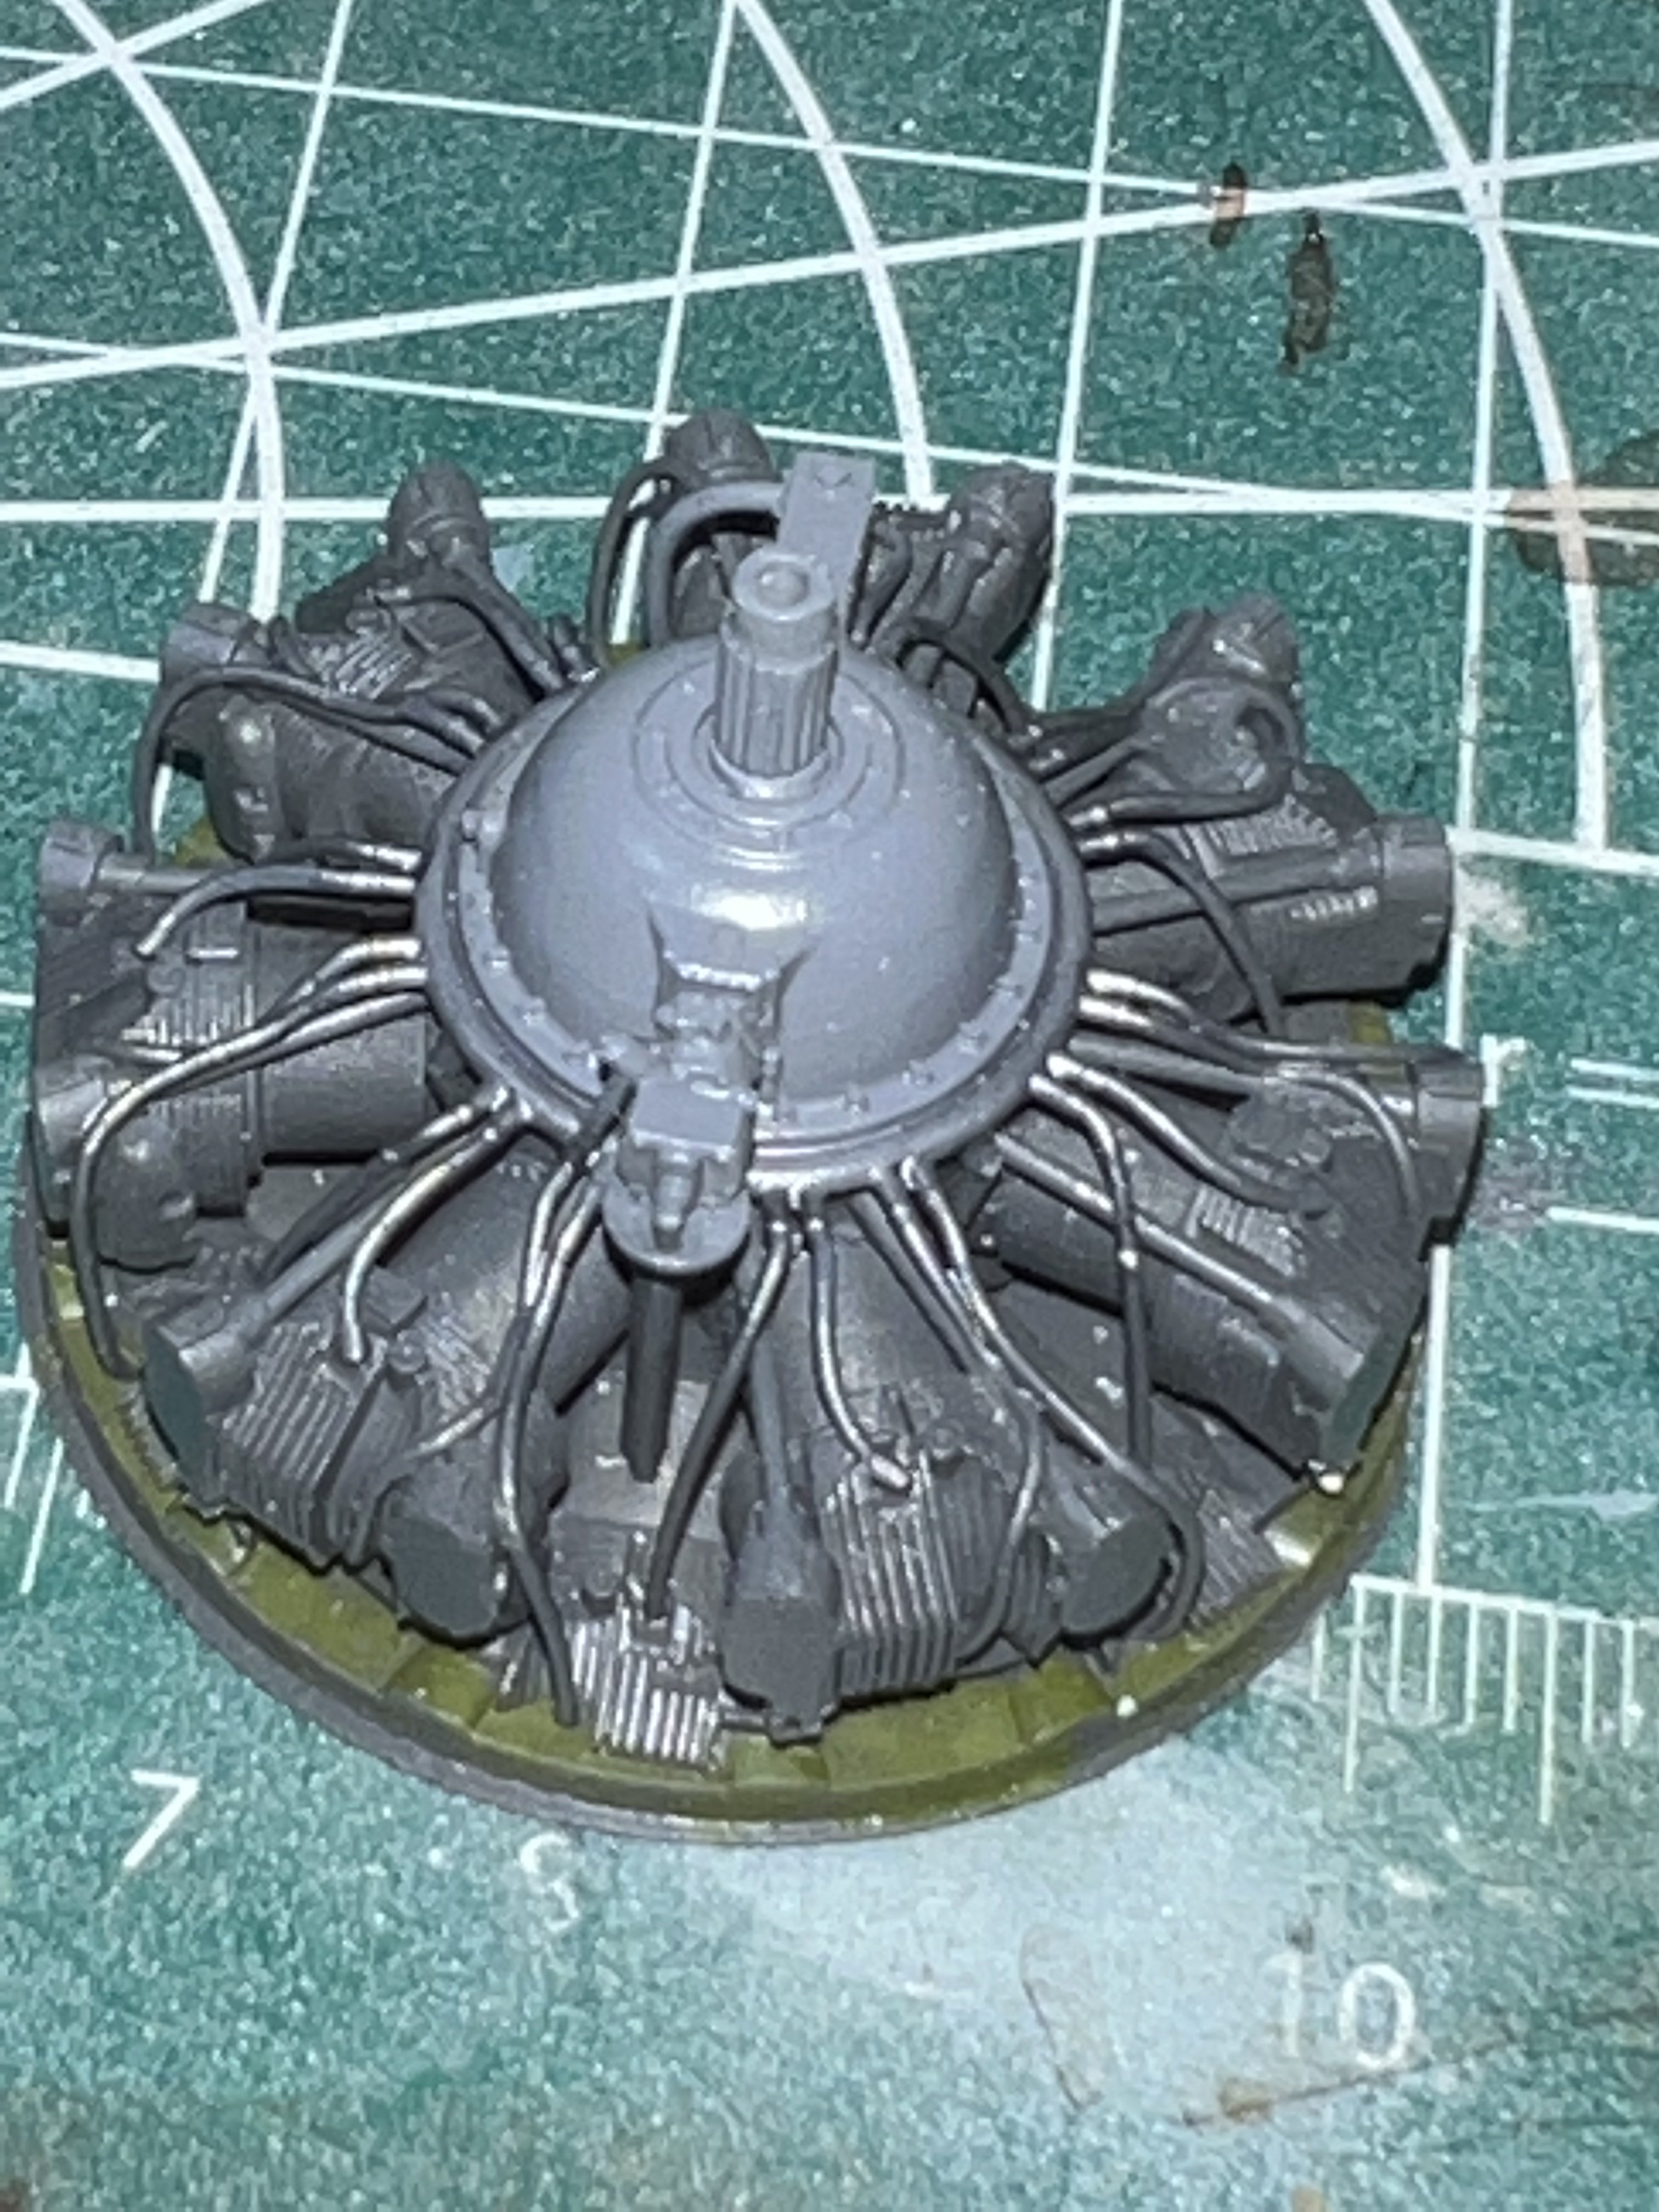
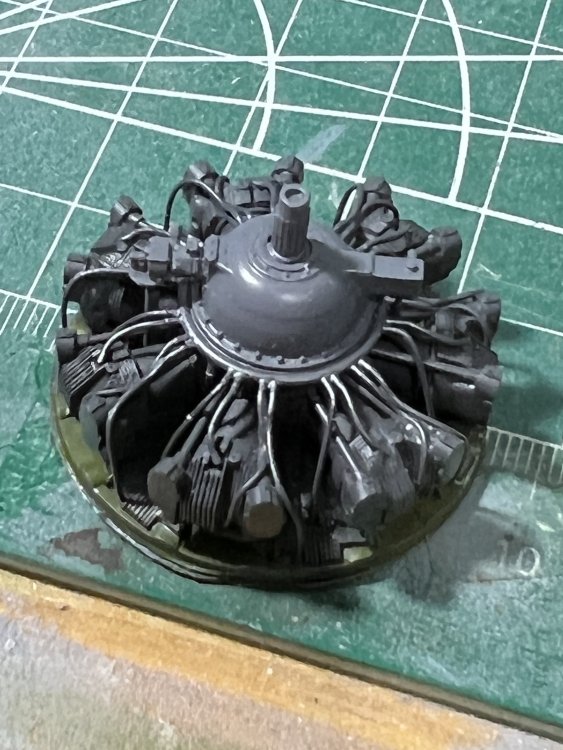
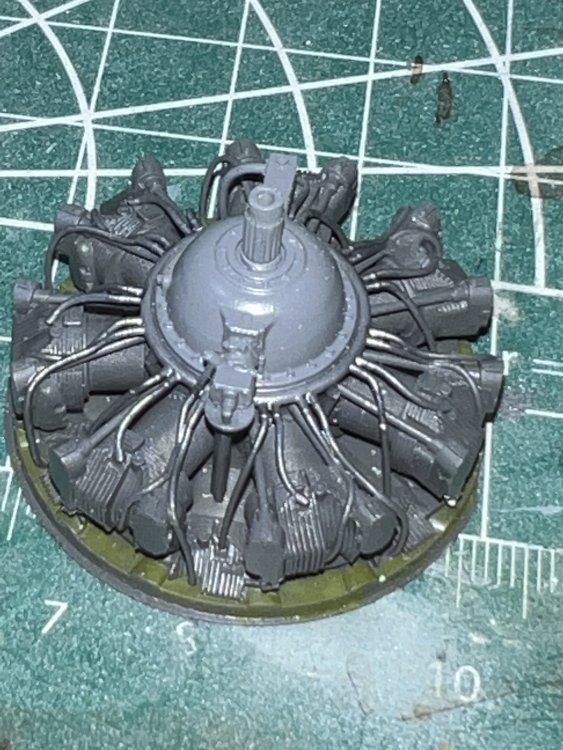
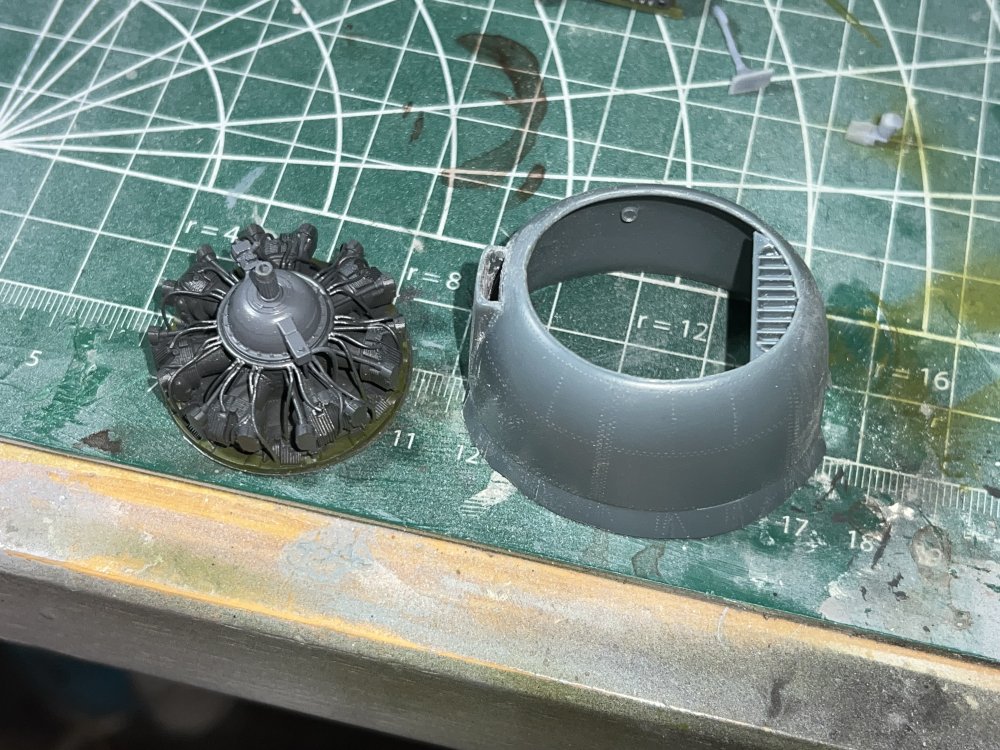
I am using the Reain2Detail FastFix Wright CYCLONE R2600. This is a 1 piece 3D printing that is utterly flawless and is truly a “fast fix”. There is nothing wrong with the kit engine, matter of fact, it is a nice little kit in its own right, but the Resin2Detail part is just SO nice. I it has the ignition ring, all wires, and superb cylinders, with beautiful detail on the gearbox cover itself. Im using Reain2Detail everywhere else, so I’ll use this as well. This is literally about 30 seconds of basic painting. Just wait till we can get on it for real.


- 490 replies
-
- 10
-
-
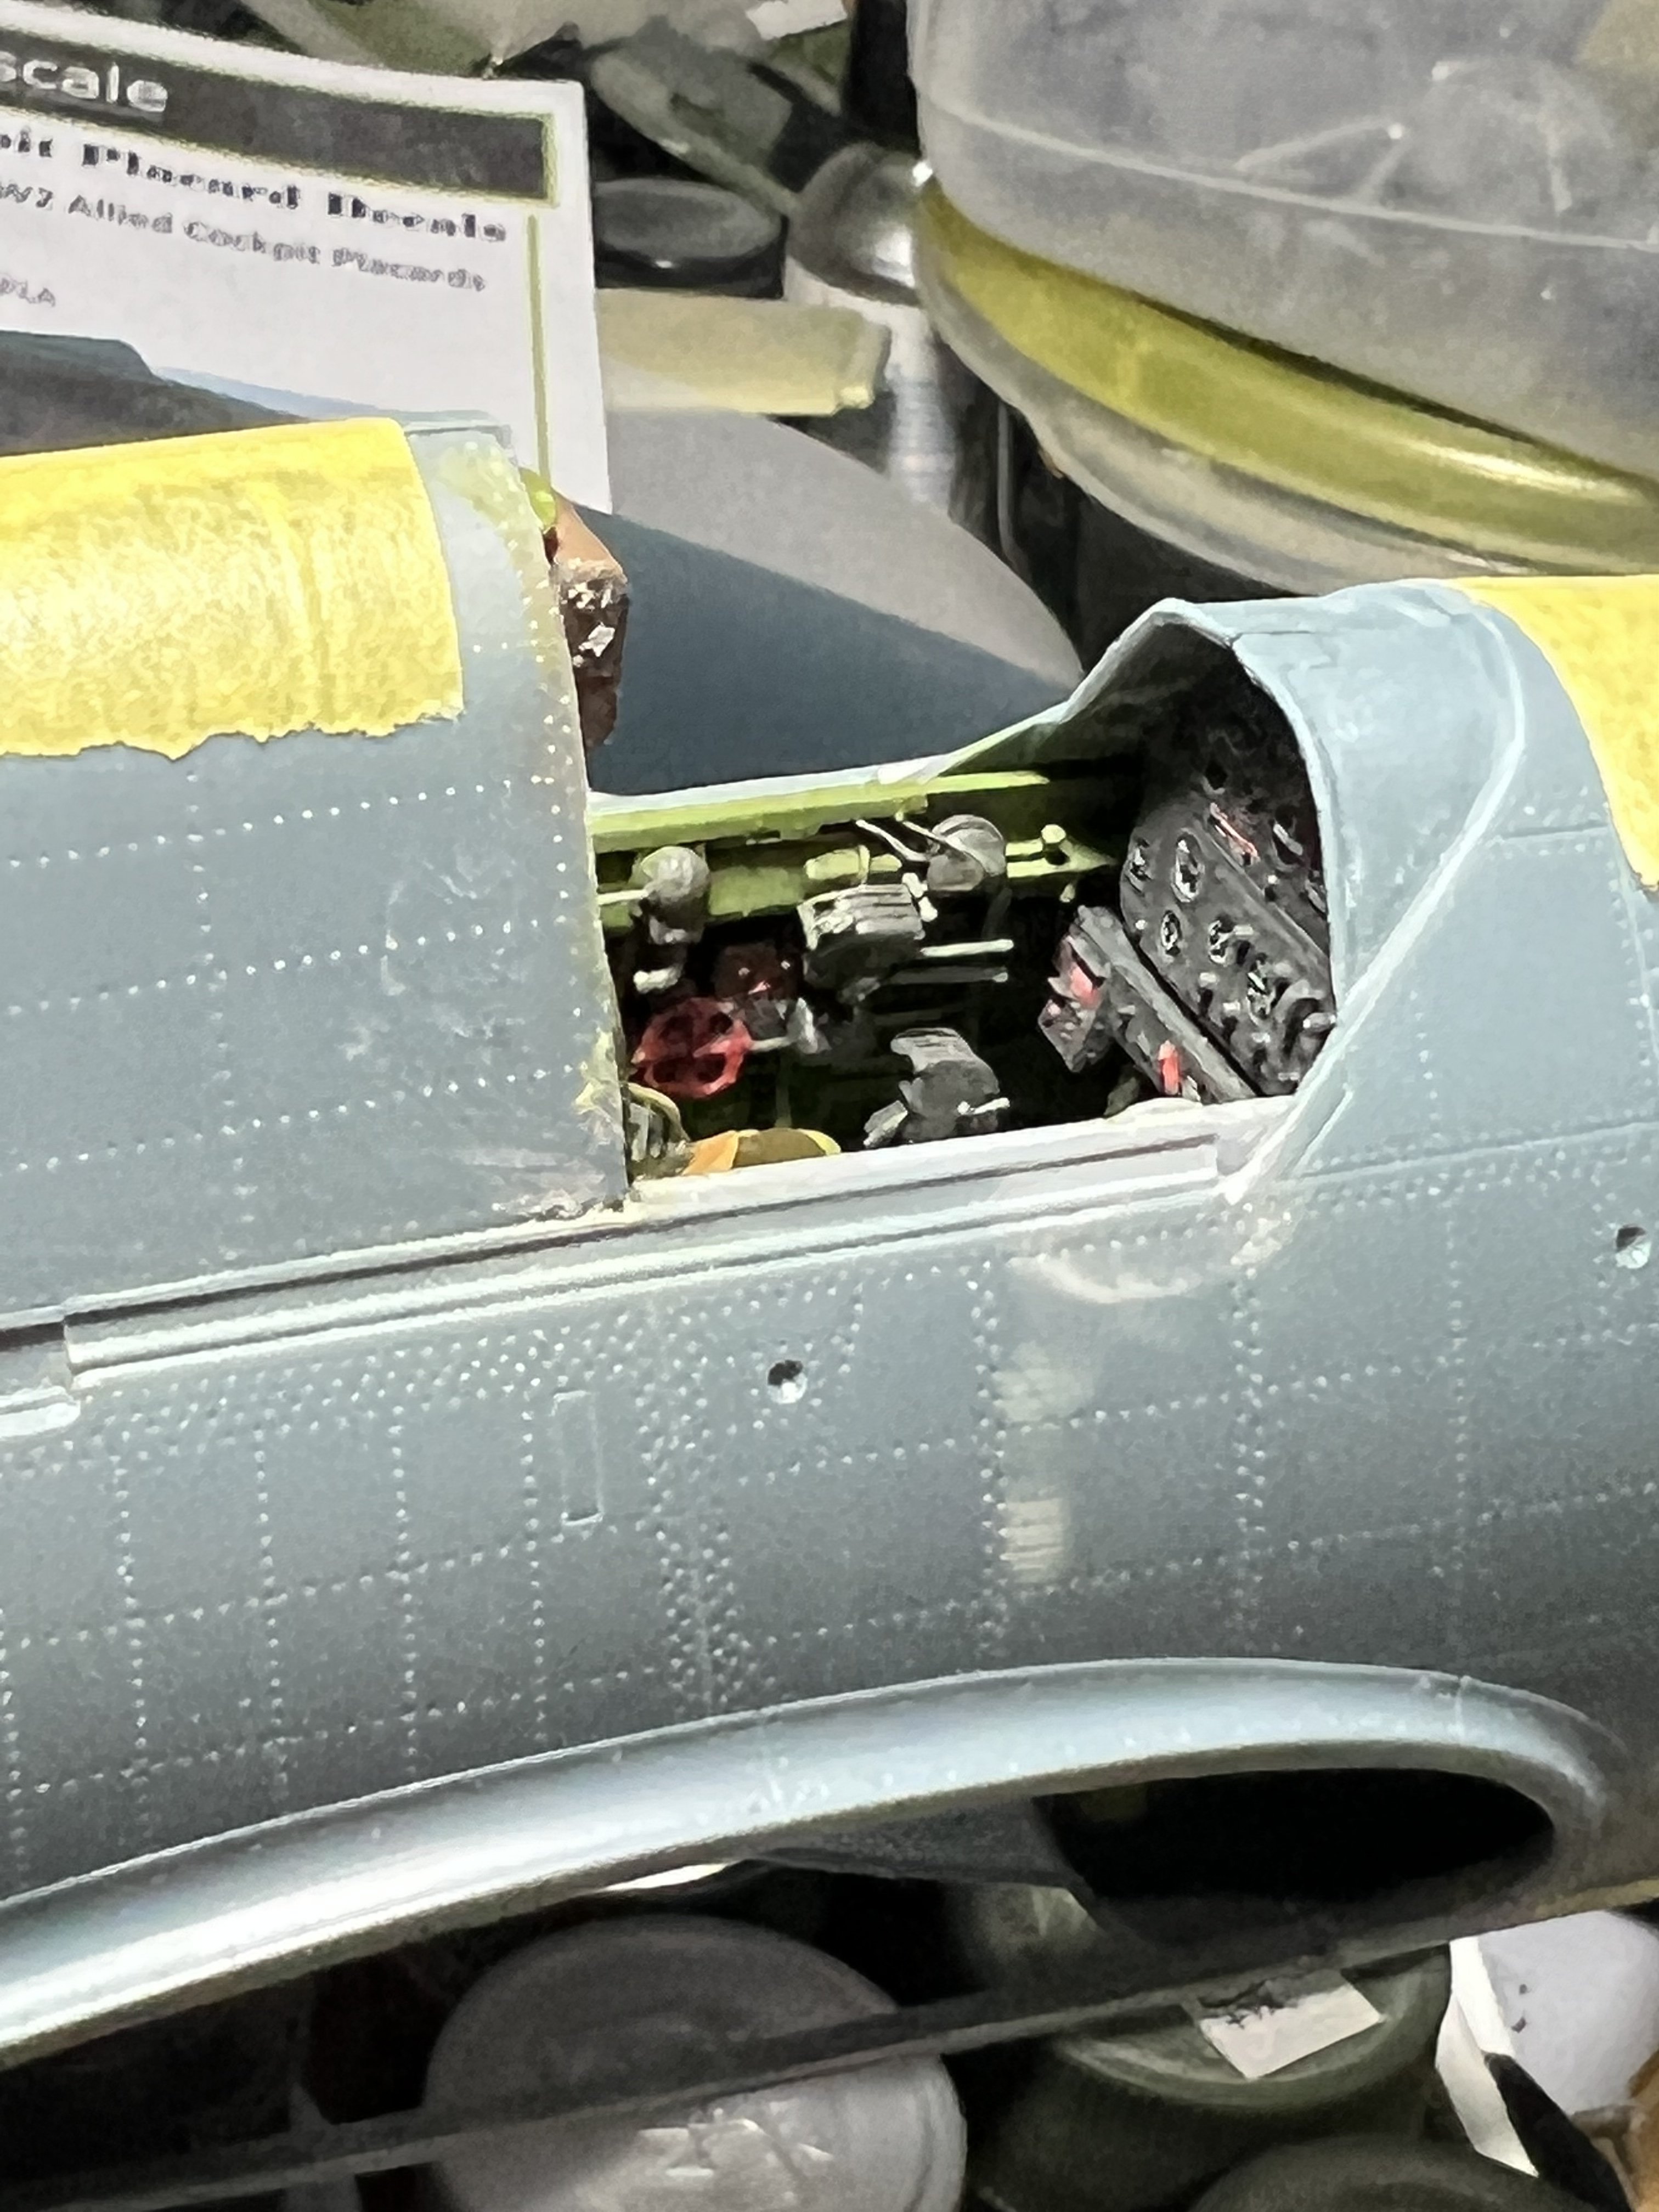
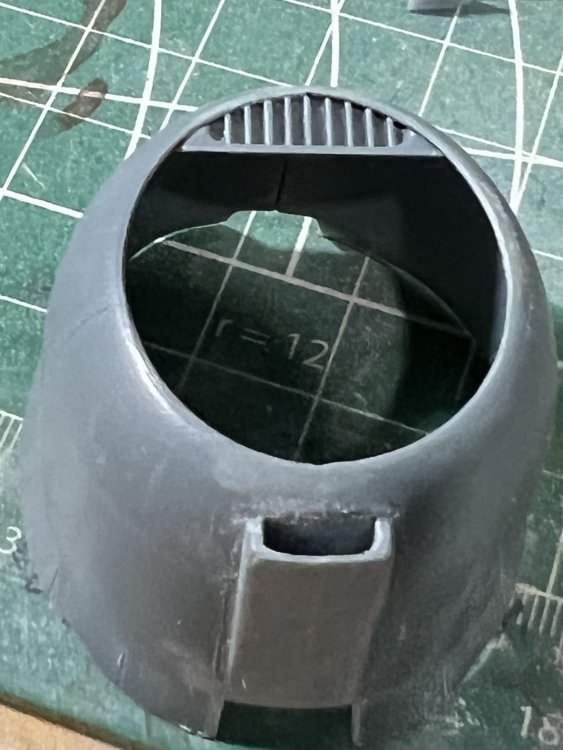
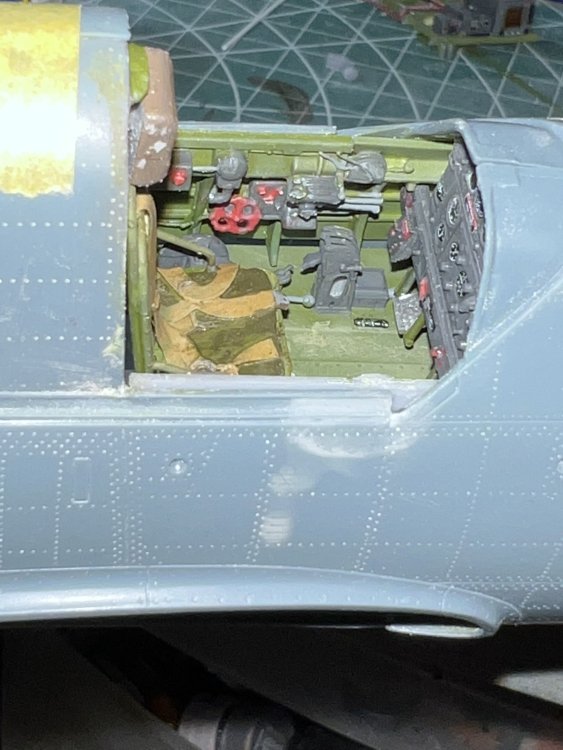
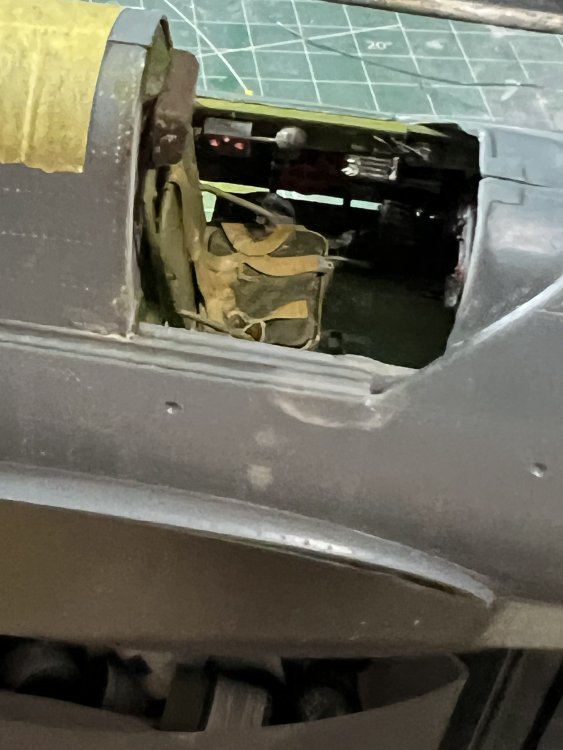
(In fake cheesy high eastern Steppes accent) Small Update, but Great Success! Tacked in the 3D panel and it fits GREAT! I’m seeing the possible end game on the work areas. Starting to really look the biz now.


-
That kit literally drive me to drink. Much to the concern of my loving Southern Baptist wife. I had a few choice words as well, ok, more than a few, but so far, for me, this hasn’t been anything I didn’t expect. I do think that OOB with the addition of a Reain2Detail seat, this’ll look like the cats meow, especially if all closed up. My next one of these will be all closed up, but with folded wings.
-
Beauty vs beerholder, etc. what I like about this is that the main components fit perfectly. Now, I haven’t tackled the rear canopy yet, but the rear gun is up on my build. There are certainly some questionable dimensions on the rear canopy regarding panel height, etc, but I’ll tackle that when I get there. Maybe it’s because I’m on fire for this model, who knows? ALL bad ideas seem like good ideas at first. Like sticking a fork in your thigh,… it’s all kinds of fun up until the moment that it isn’t. That Czech Model P-80 kicked my ass, John.
-
Guys, it’s NOT as bad as it seems. Most ALL of my issues are arising from getting one manufacturer’s parts to fit another manufacturer’s model. This kit is NOT as bad as it seems. Matter of fact, it’s pretty much a run-of-the-mill short run kit. The main airframe’s parts fit is absolutely flawless. The interior is where the fun begins. But just fit one piece at a time and it’ll be fine. Im VERY confident I’ll make this kit shine. I’m doing a few little things to it vor me, which is the reason I haven’t updated in a few days. I wasn’t happy with the bulkhead that supports the seat and pilot’s headrest, so I ripped it out and am scratching a couple pieces for it. That’s simply MY vanity speaking, not a shortcoming of the Resin2Detail part. The canvas screen on the upper part of that bulkhead has me interested to see if I can make one out of silkspan, Kleenex, or similar. If no joy, I’ll redo it in resin. If you can build a Special Hobby or Pacific Coast kit without issues, you’ll have NO trouble with this one, and in that case, at least so far, I HIGHLY recommend this kit.
-
That Helldiver crew is in for the ride of a lifetime. Love the freeze frame and the starboard main gear actually airborne and well ahead of the aircraft itself. This type of accident was only too common through the latter part of the war. Quickly trained pilots, demanding, high performance aircraft that bit the sloppy hand, and small, no, TINY escort carrier flight decks. The small deck alone meant NO room for error. Corsairs had worse problems, Wildcats, Hellcats, and Avengers not so much, but they were Grumman, who had been supplying superb carrier aircraft for years.
-
The Helldiver was unique in that it stormed onto the scene, everyone hated it but in actual service it performed incredibly well. But it was so despised by its crews that along with the termination of the dive bomber program, the Helldiver was completely gone 2 years after the war ended. Of course the French and several other nations used them postwar, all with incredible results. But they were gone so quick, there is little to no record. I can tell you this: the center fuselage section between the crew is pure fiction in this kit. The massive rollover bar is completely missing, along with the center fuel tank…. The Resin2Detail cockpit includes the front rollover bar. I need to make the rear half.