BradG
-
Posts
461 -
Joined
-
Last visited
Content Type
Profiles
Forums
Events
Gallery
Everything posted by BradG
-
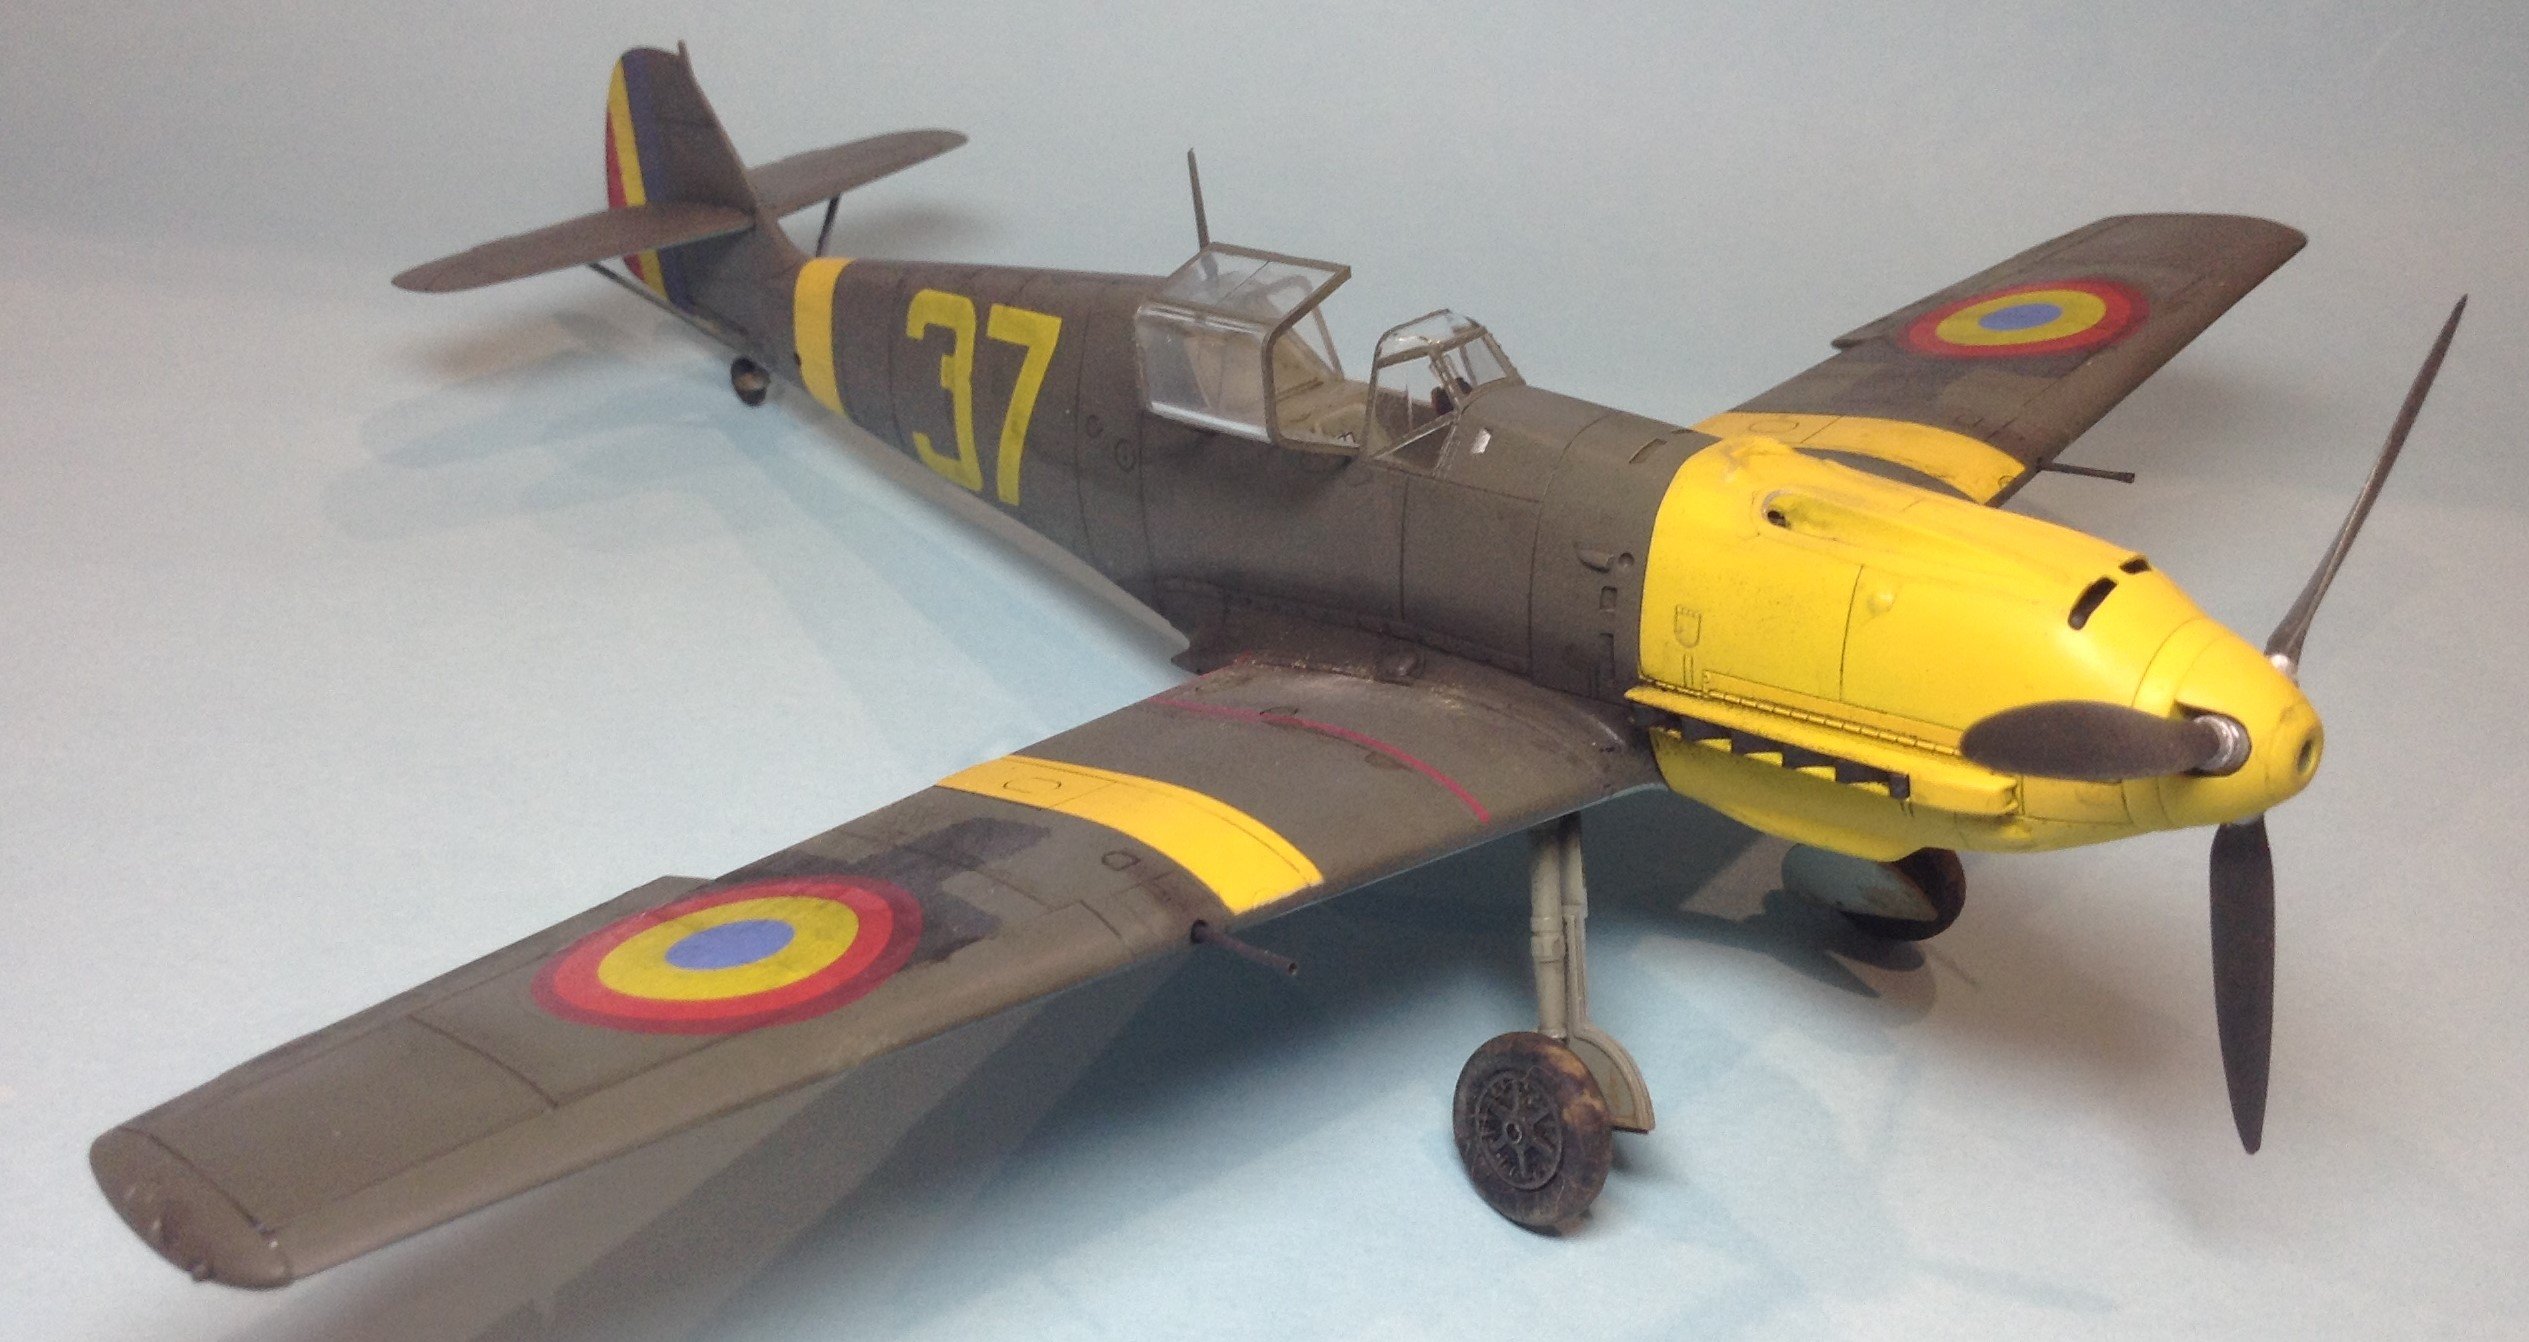
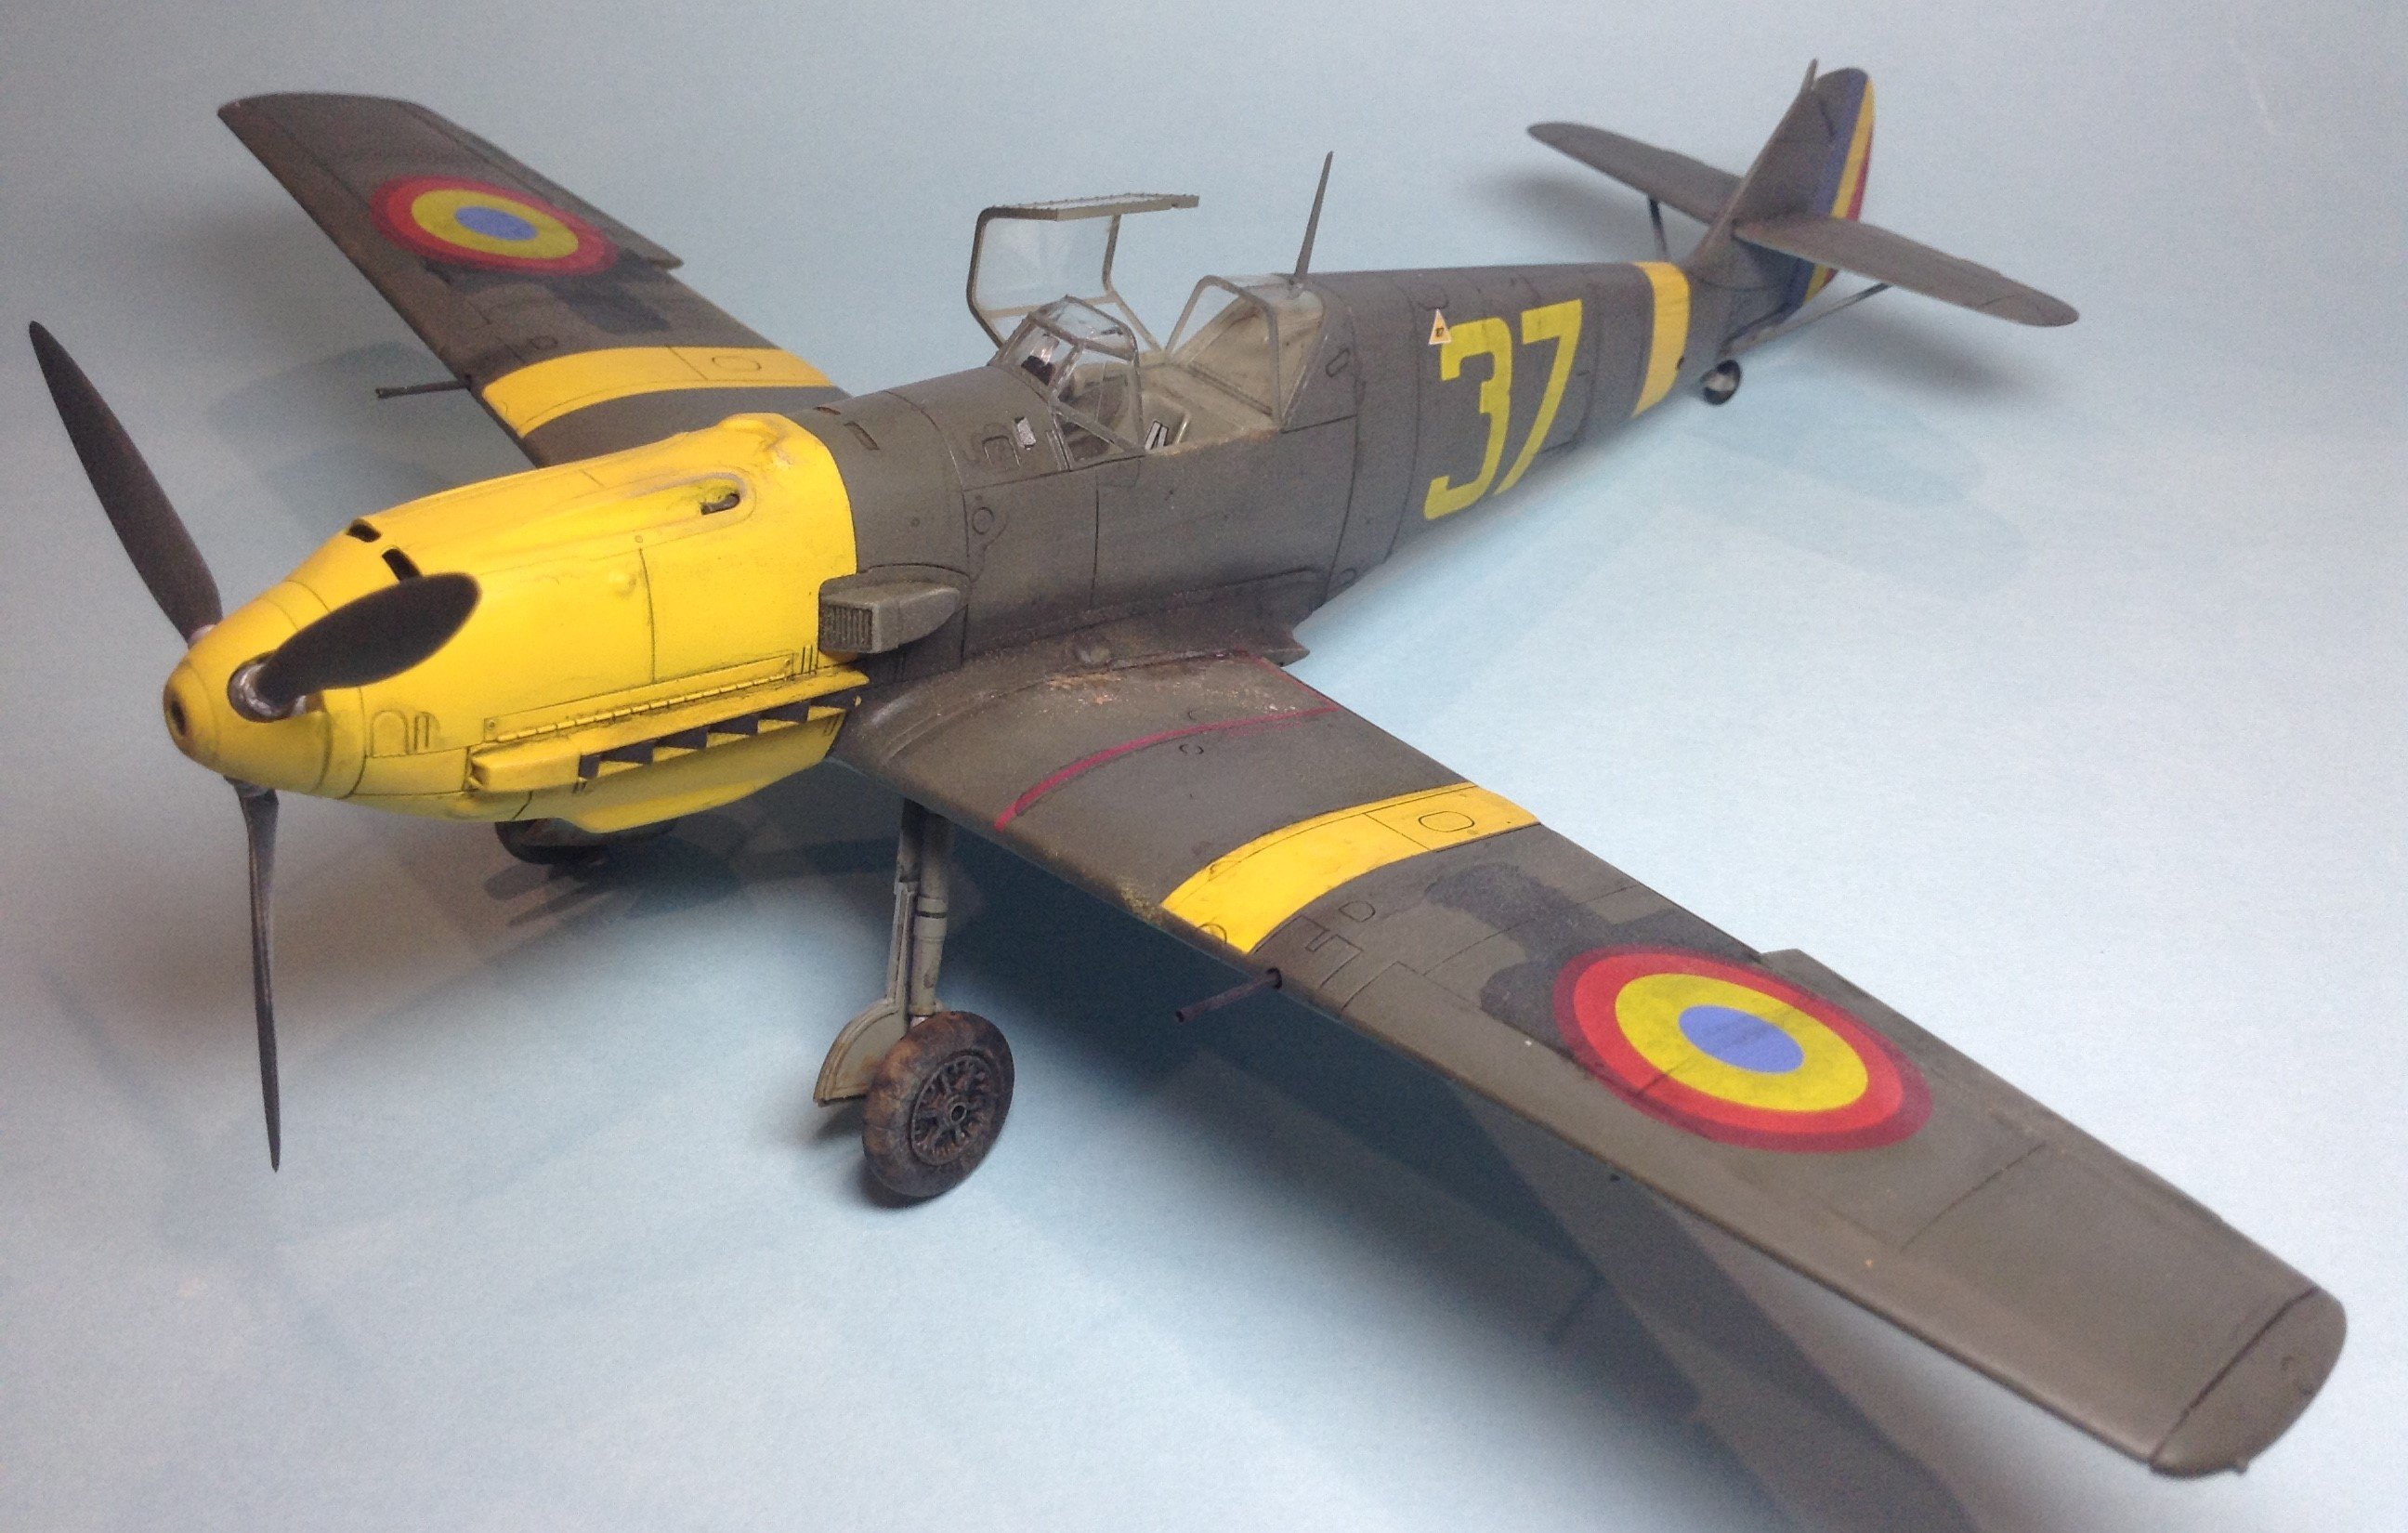
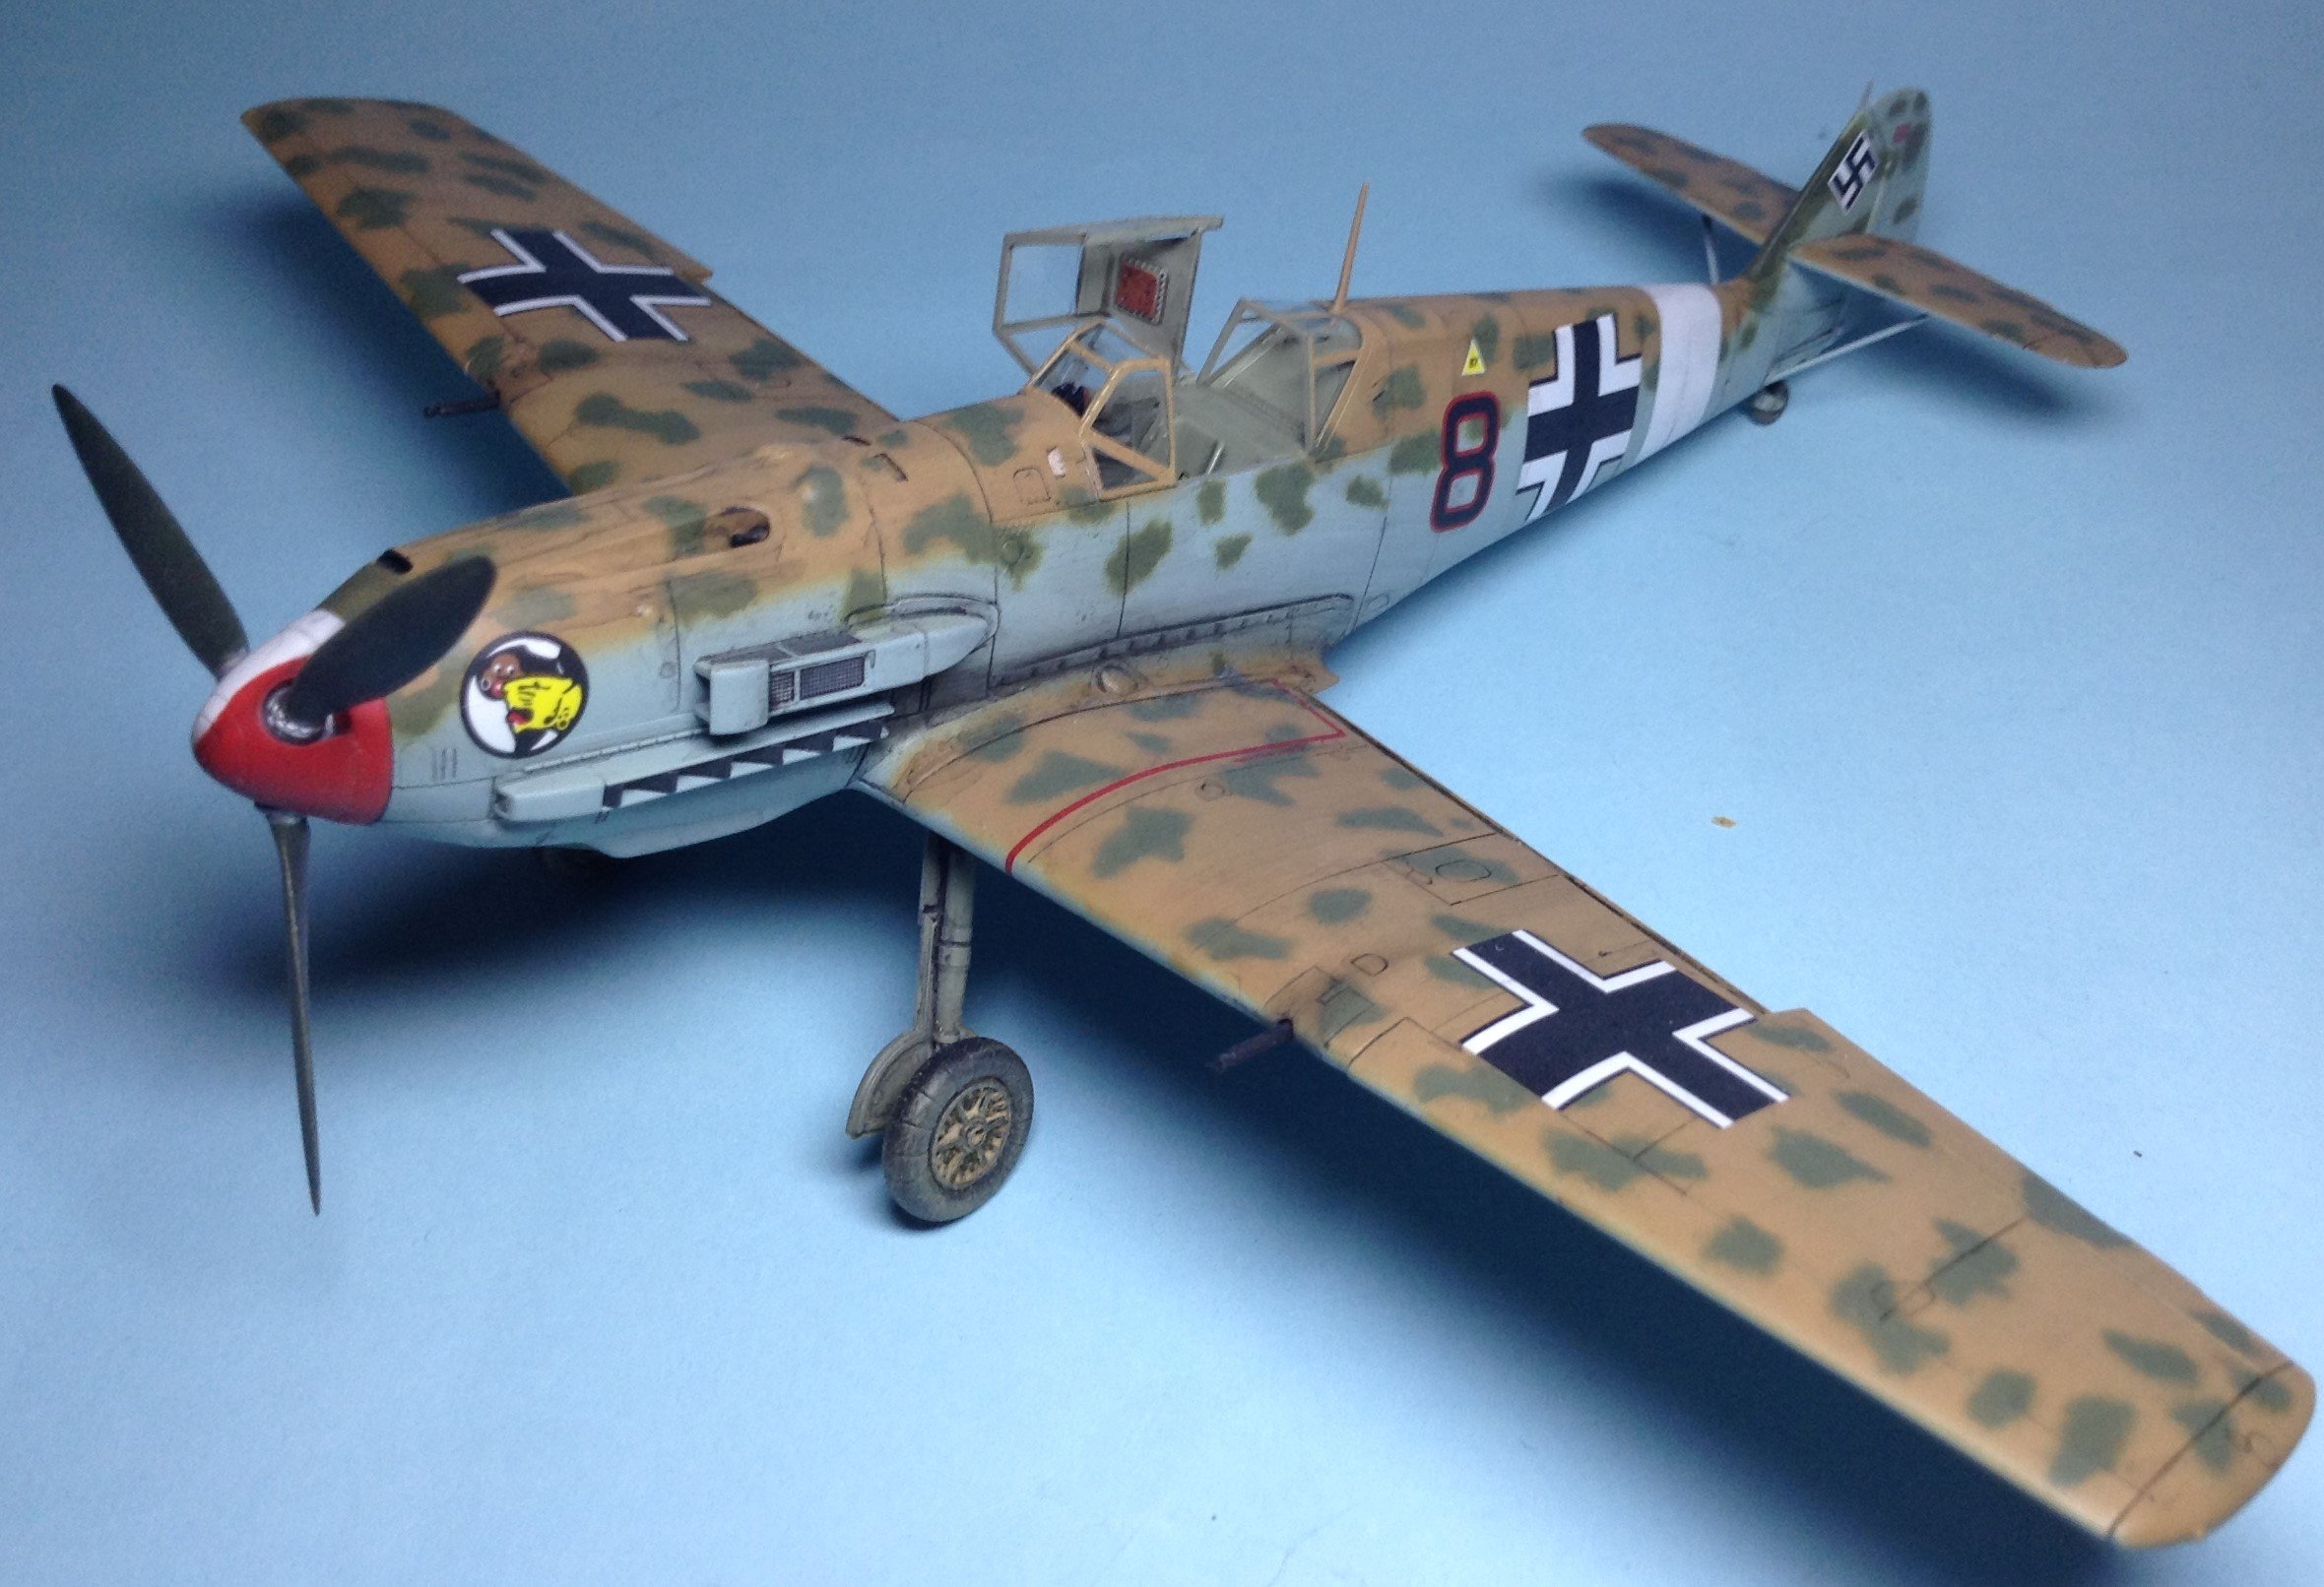
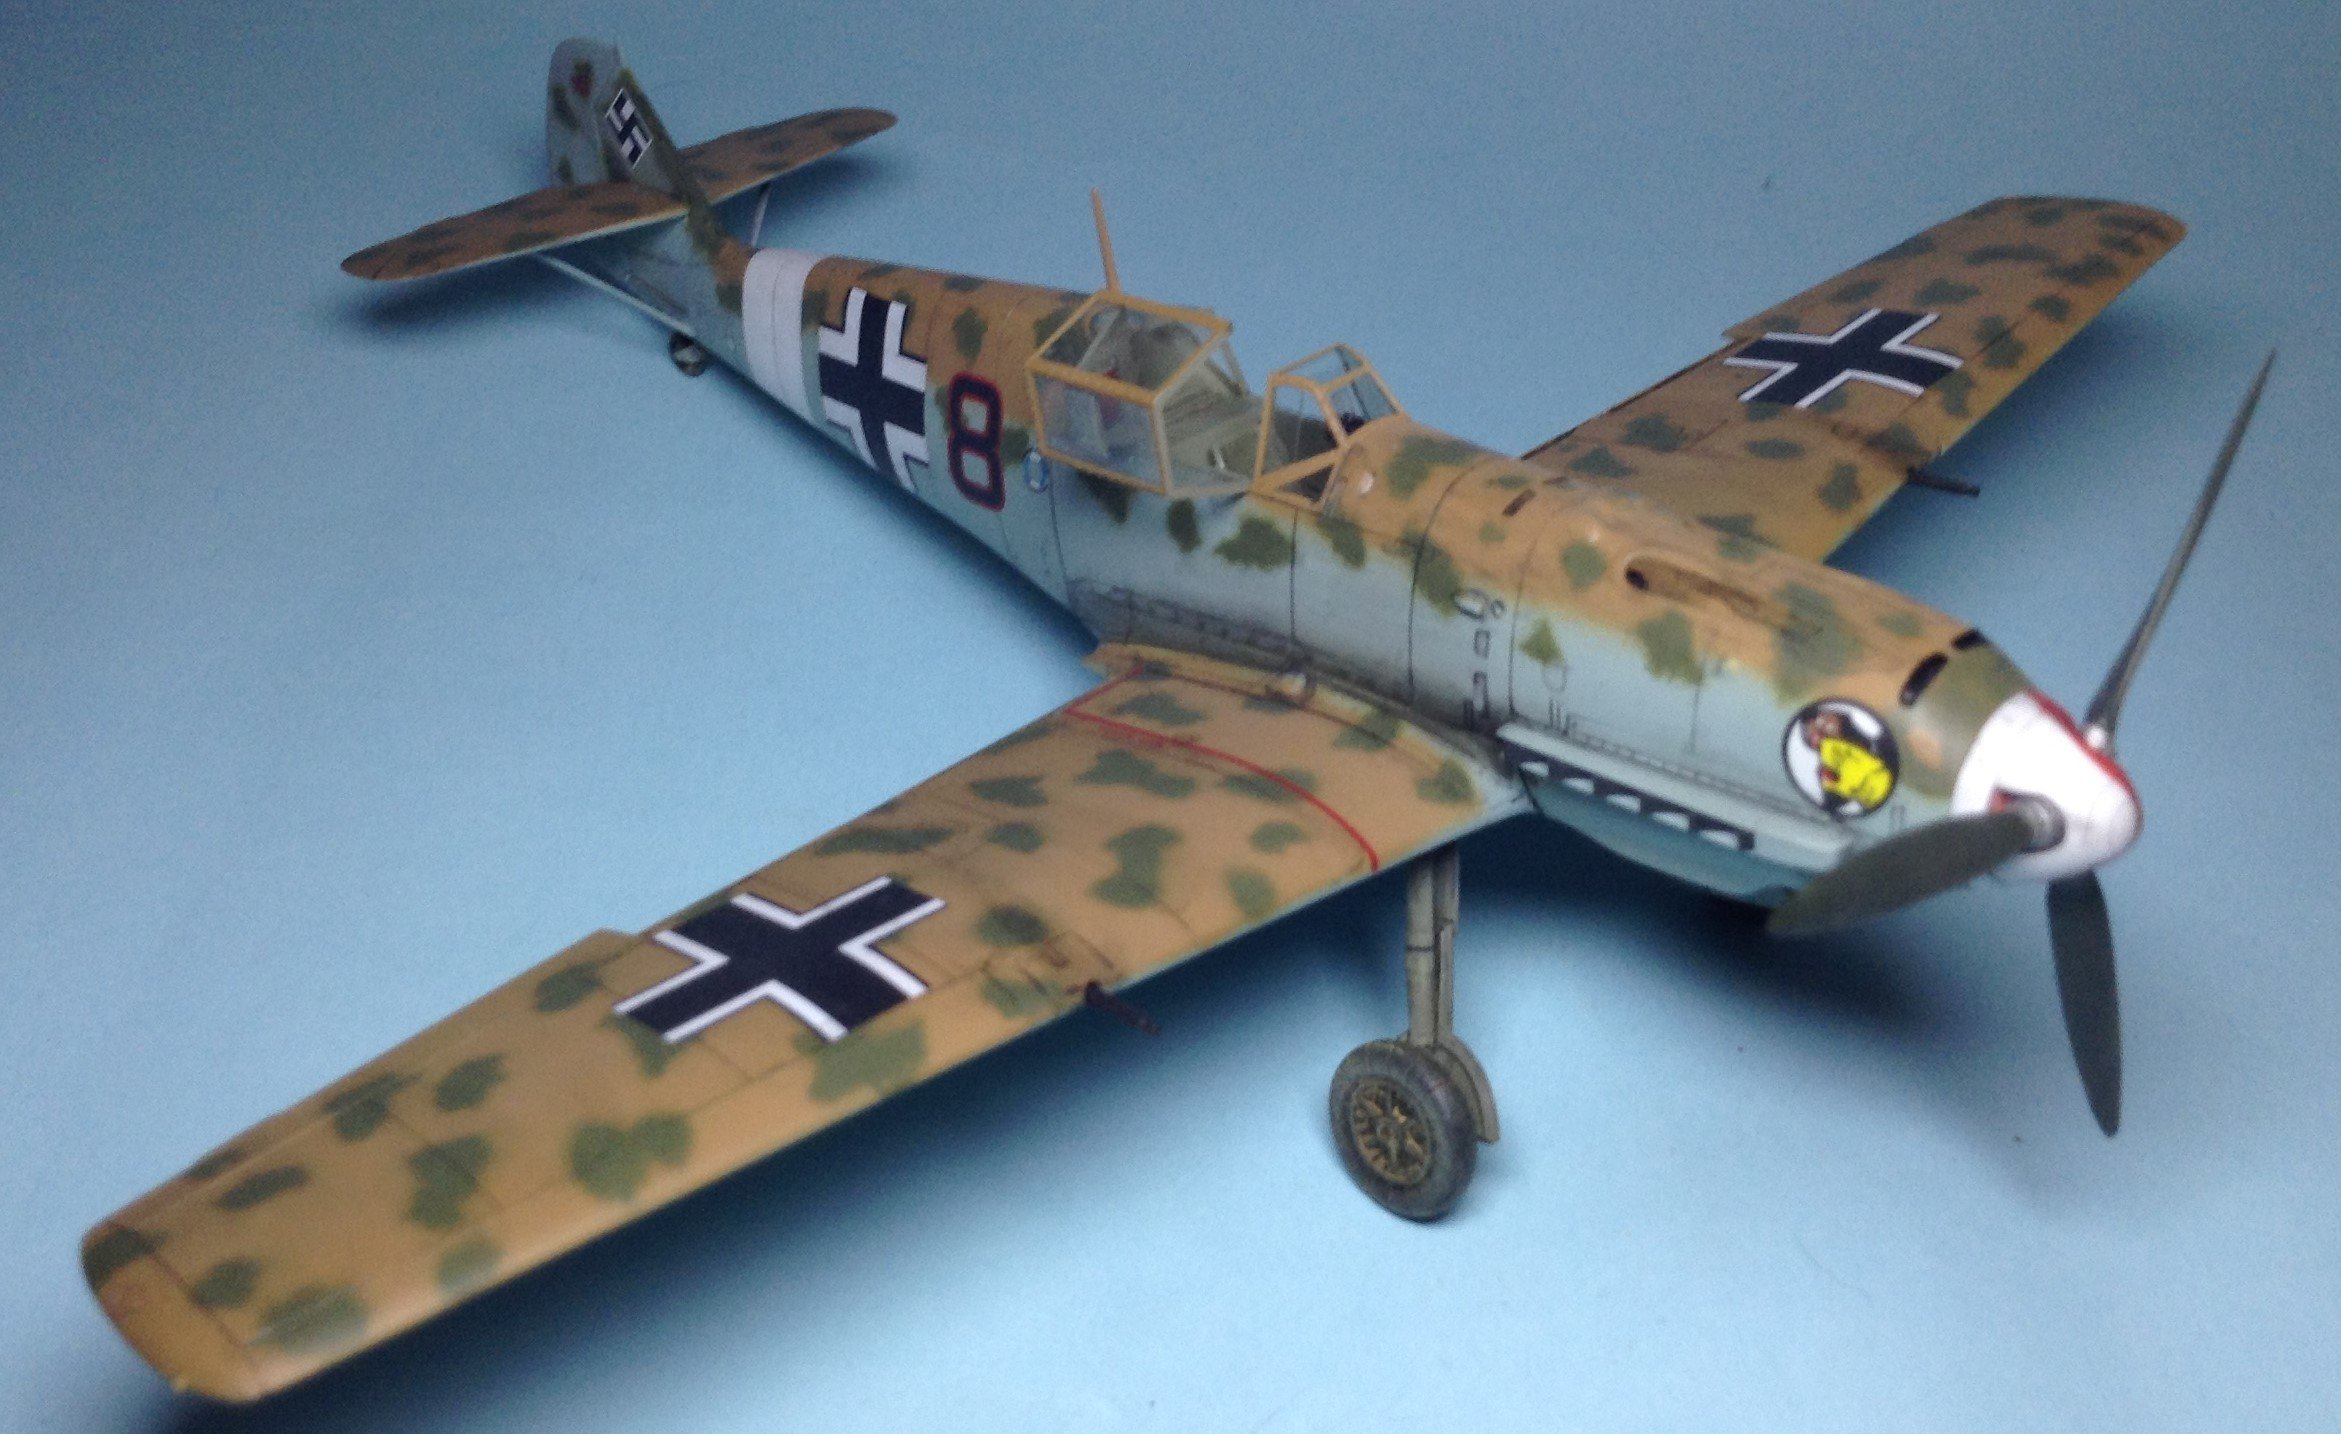
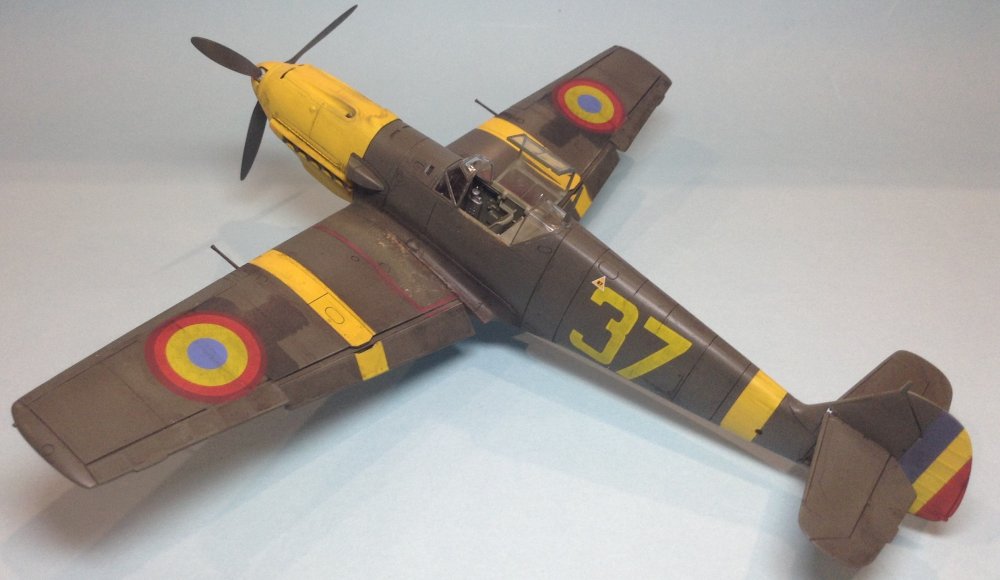
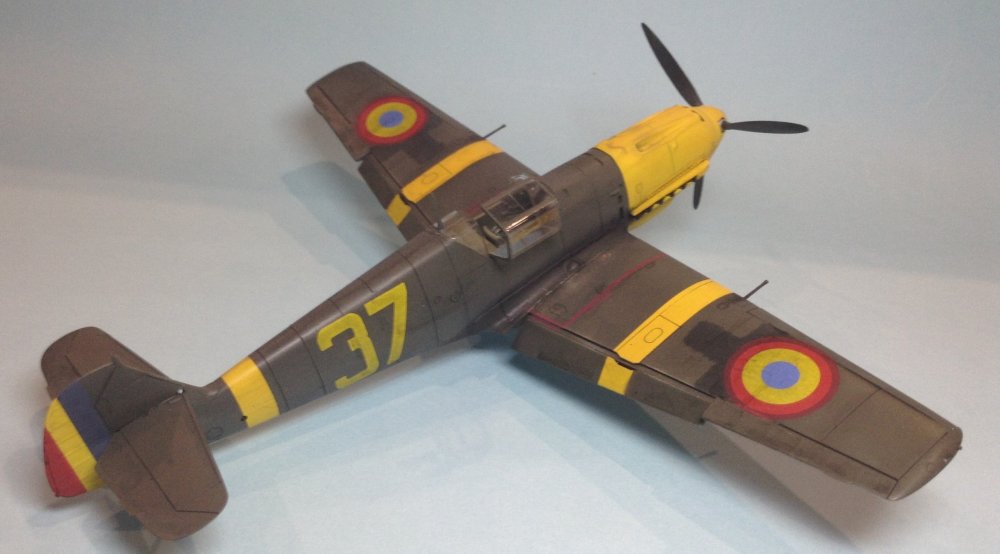
This is the very nice Tamiya kit with Ventura decals and turned brass 20mm barrels. The Rumanian E's were delivered with 20mm oerlikon cannons rather than the standard MGFF weapons. They also had a spade grip to the control column but I found out this information after I'd closed the fuselage. Decals were ok, they could have had better colour density, but oh well. I'm glad I finished this as the project has sat for a good 20 years in the stash!


-
The latest bunch of stuff.
-
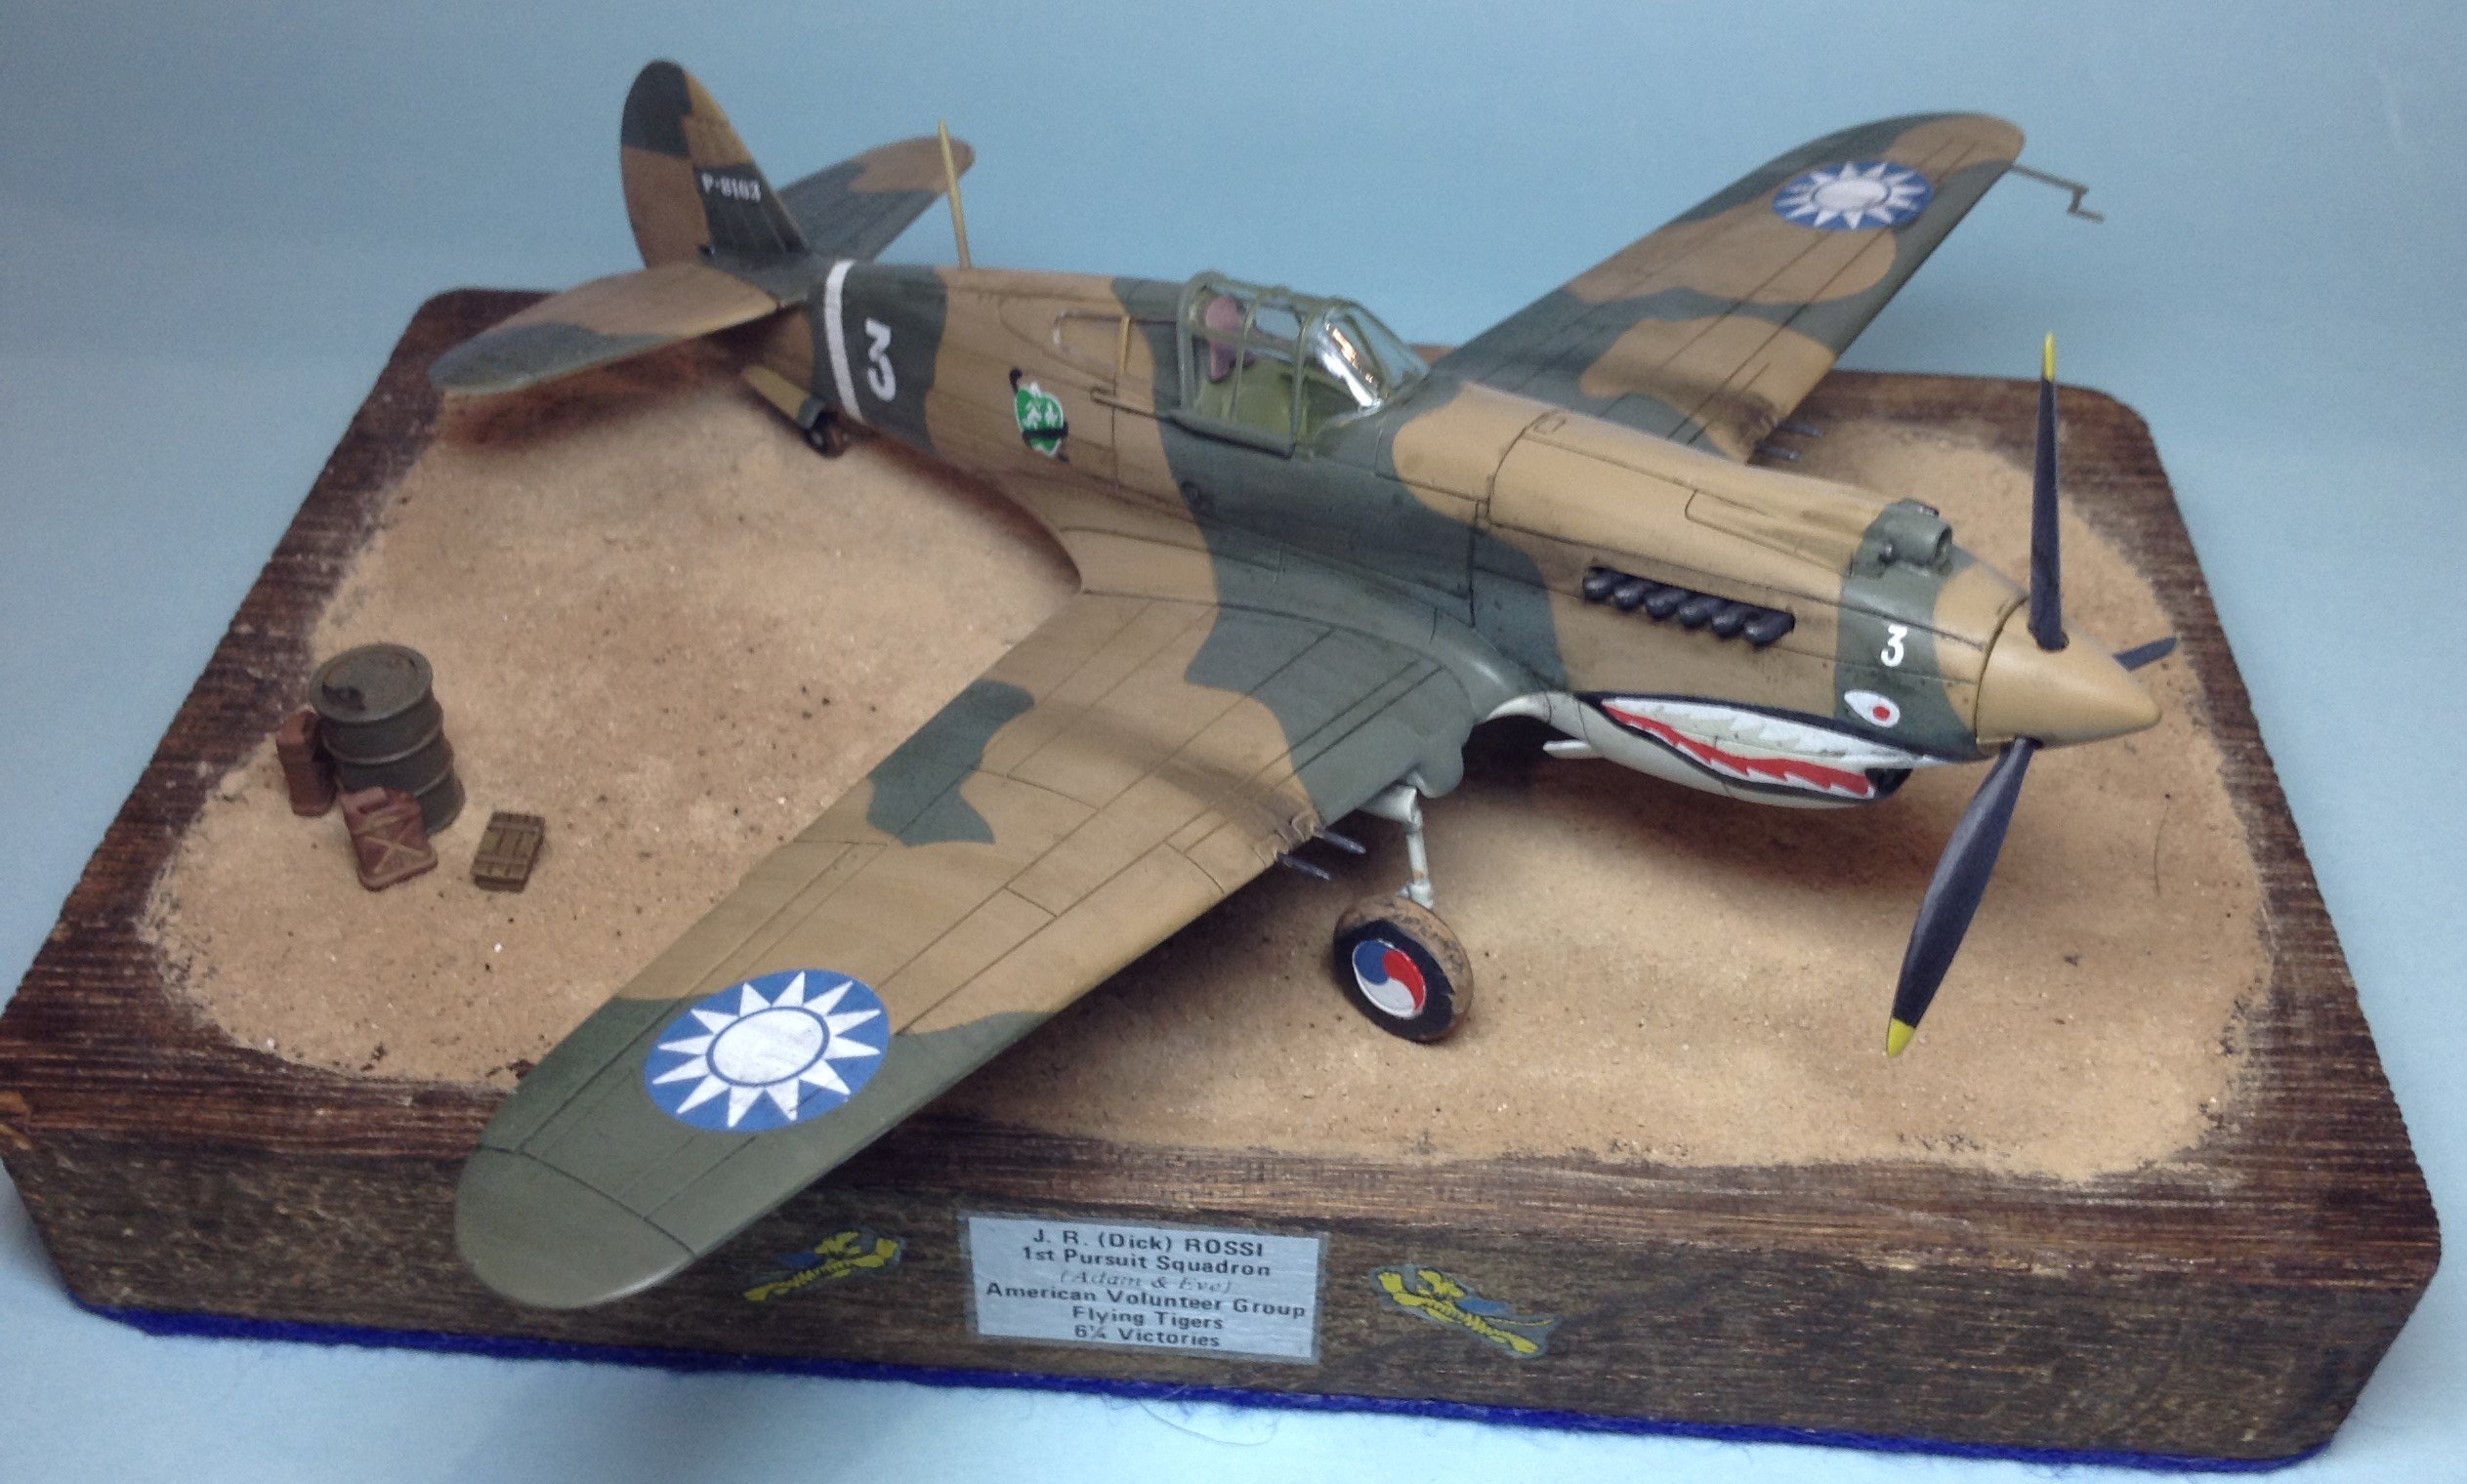
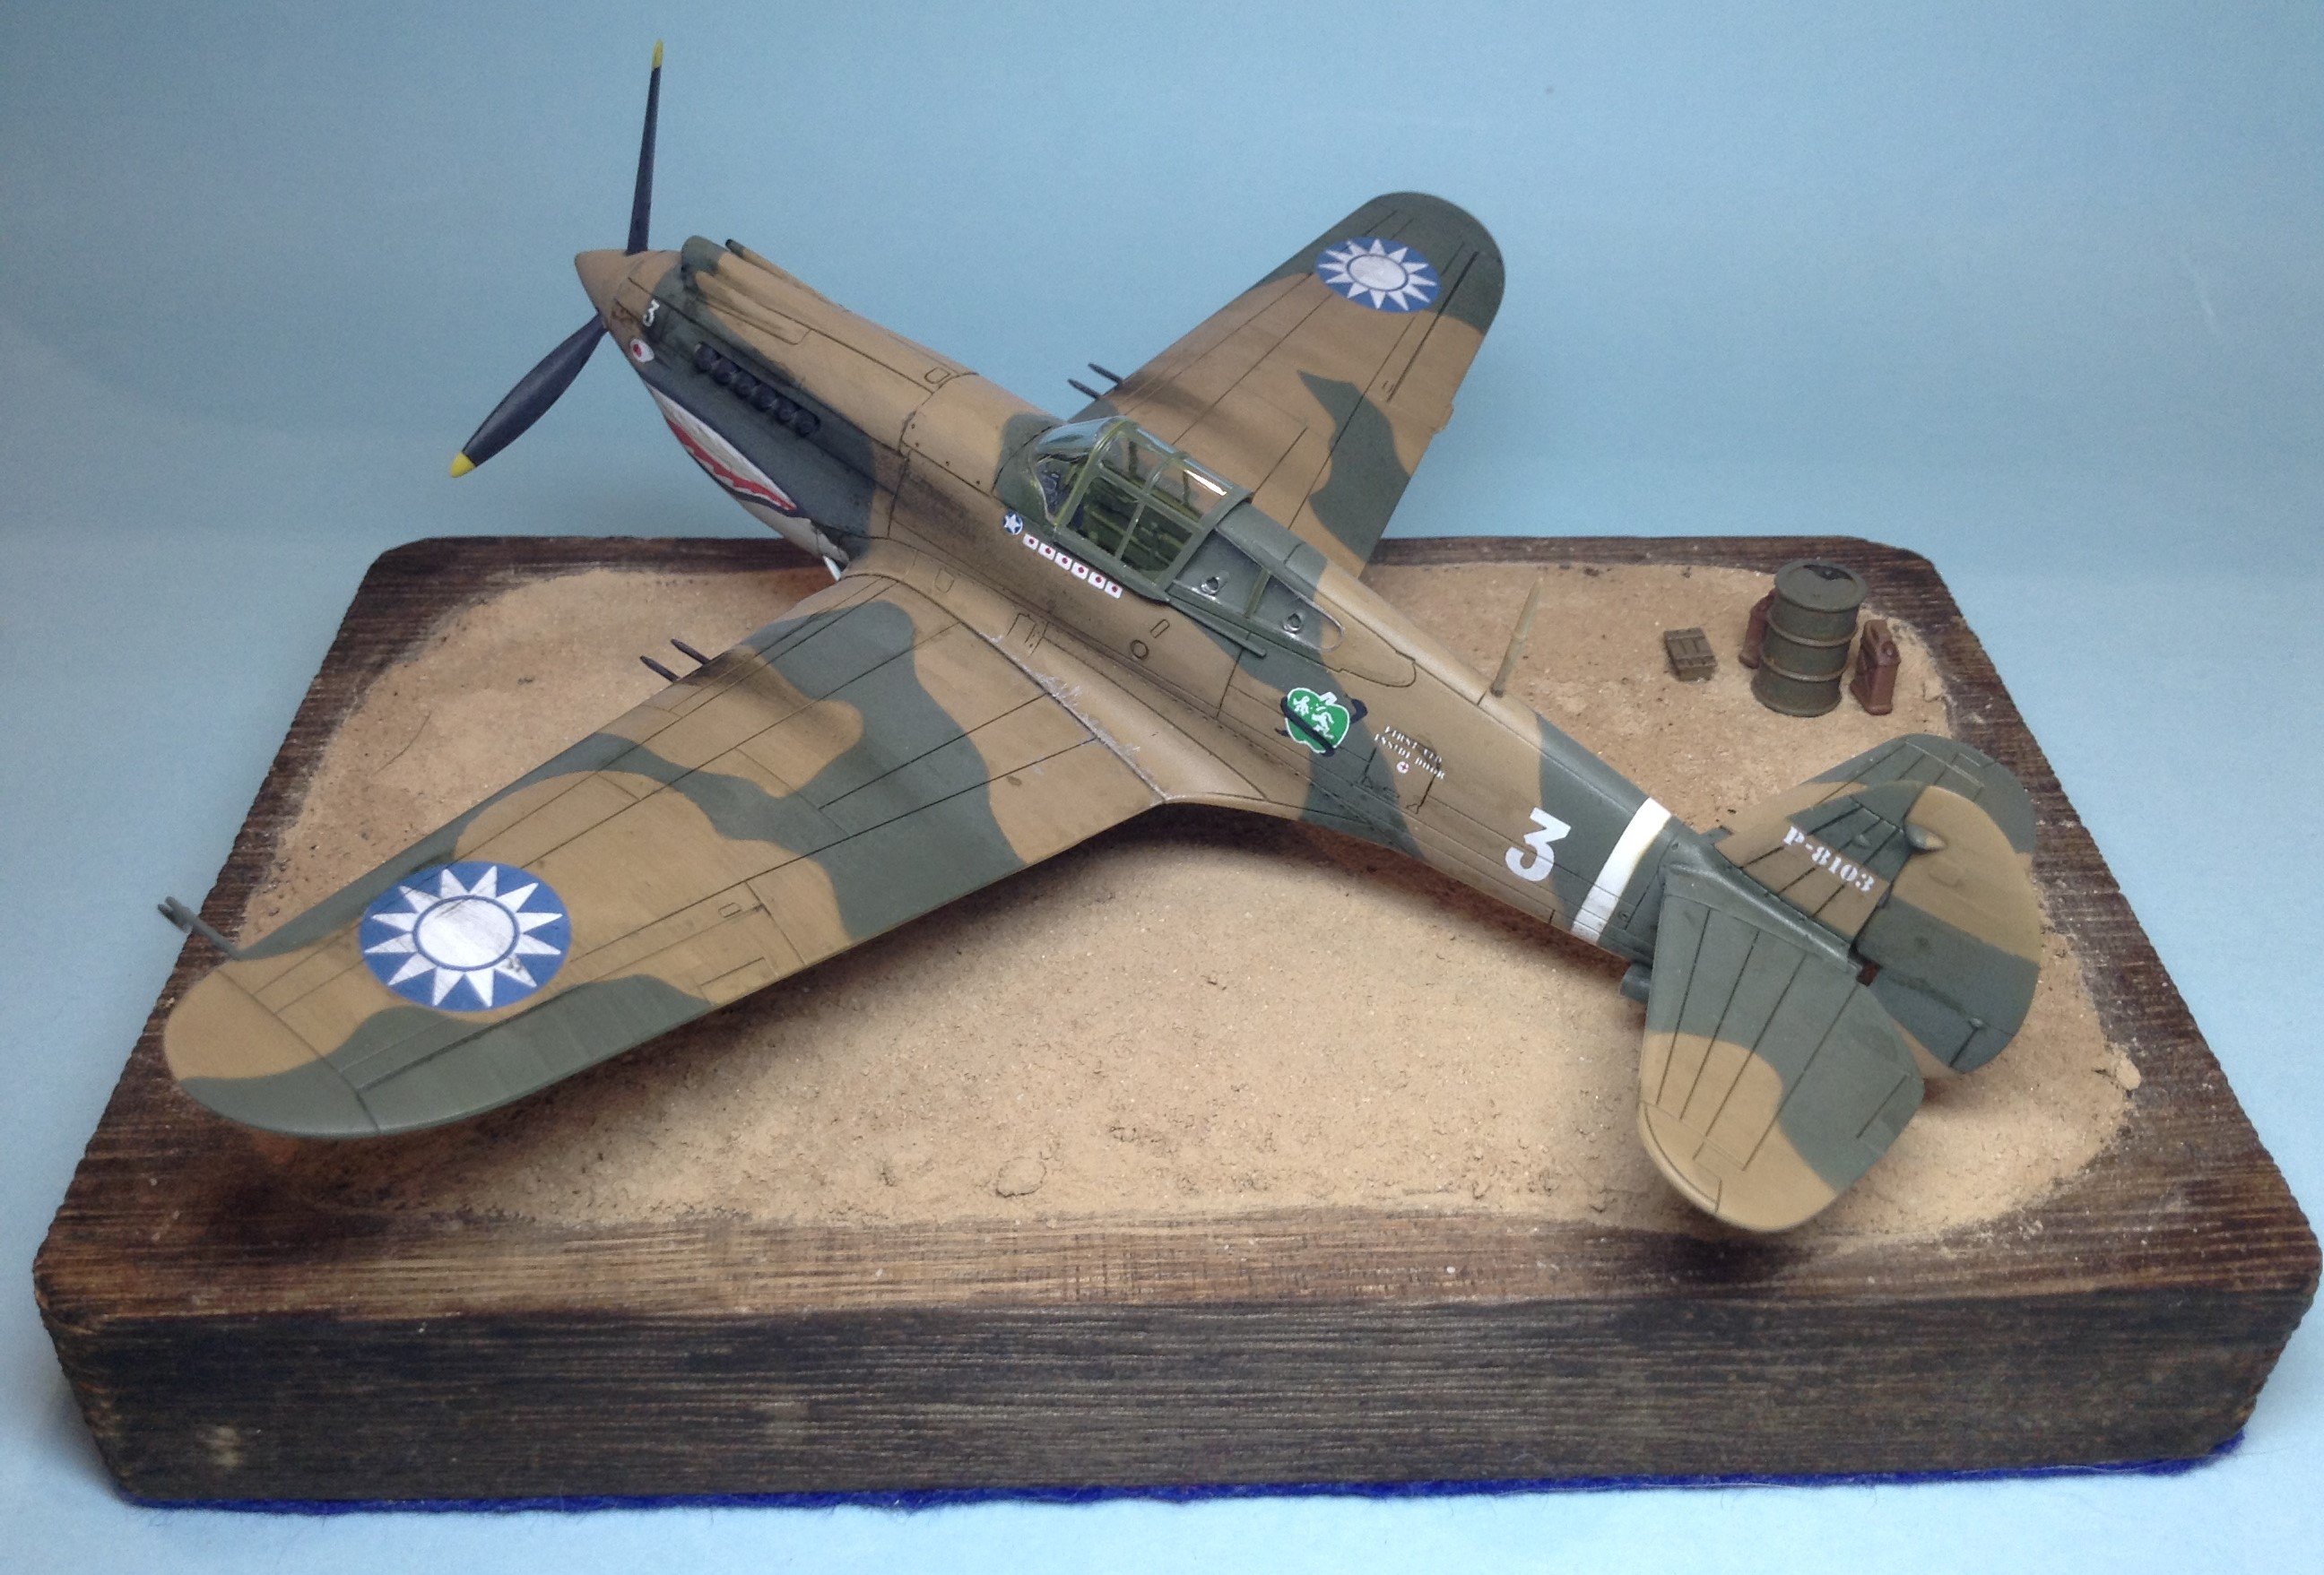
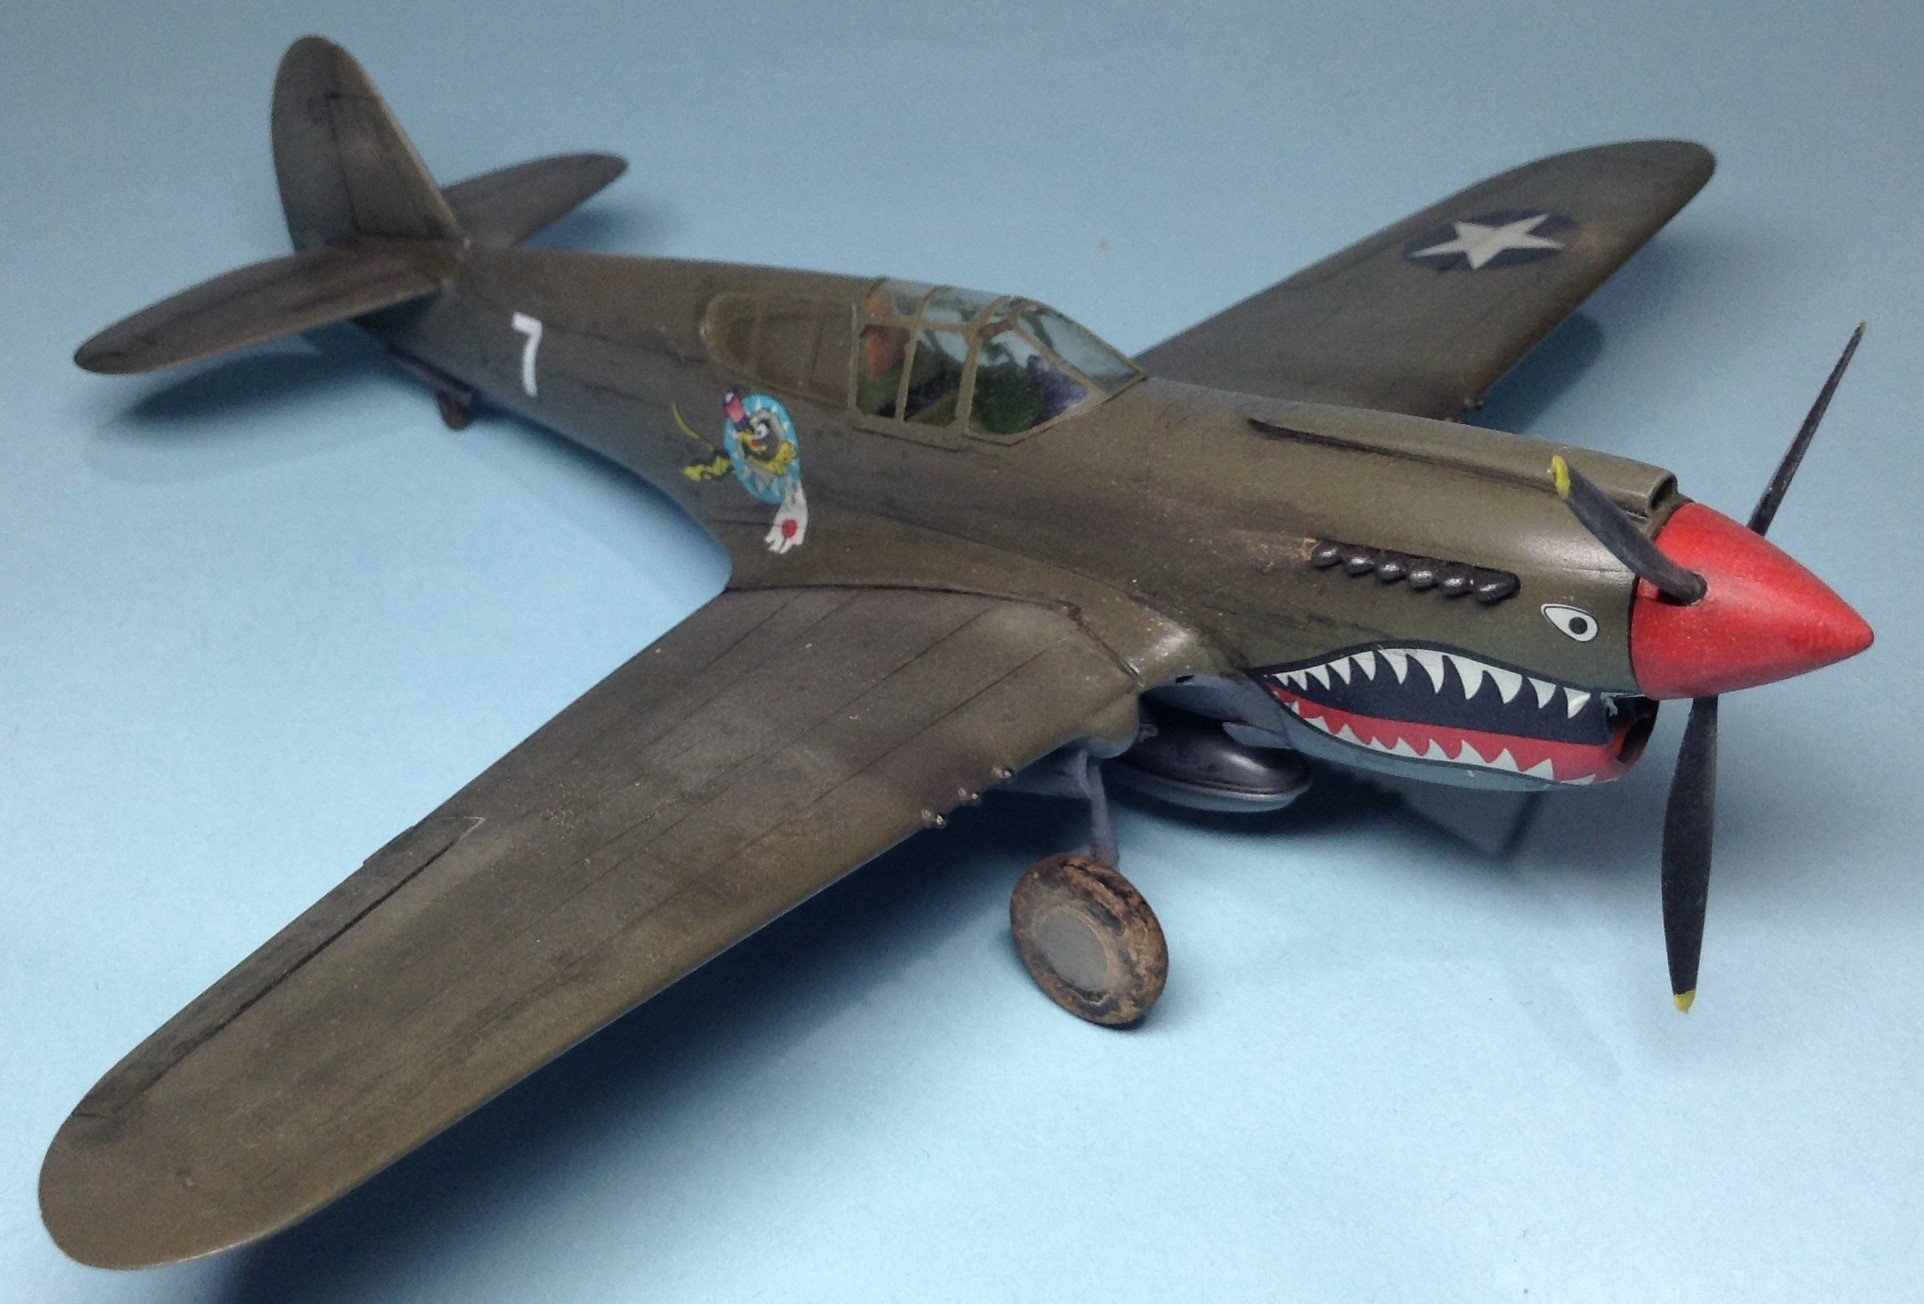
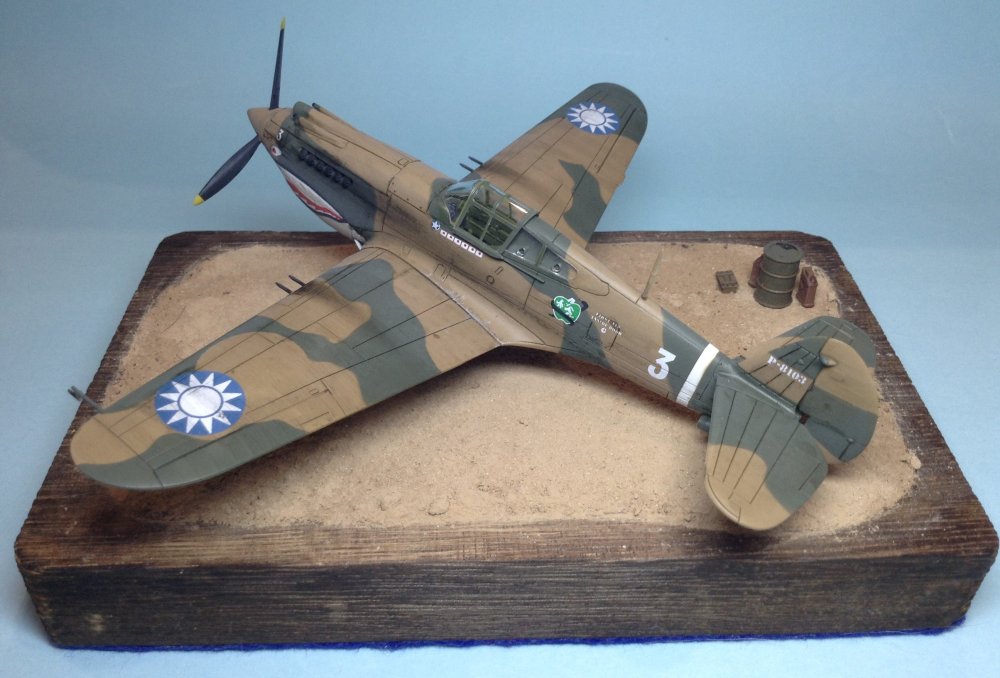
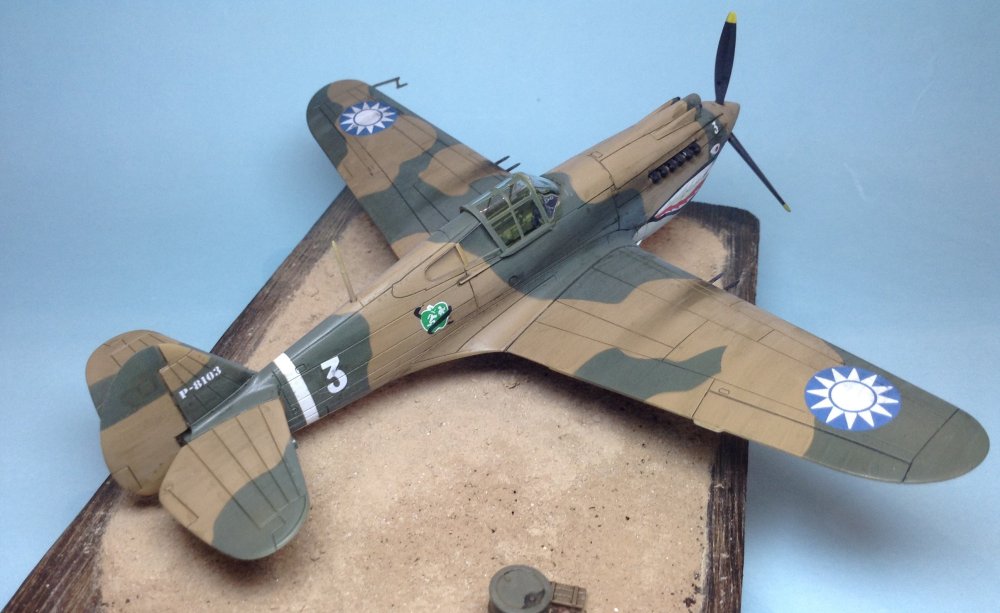
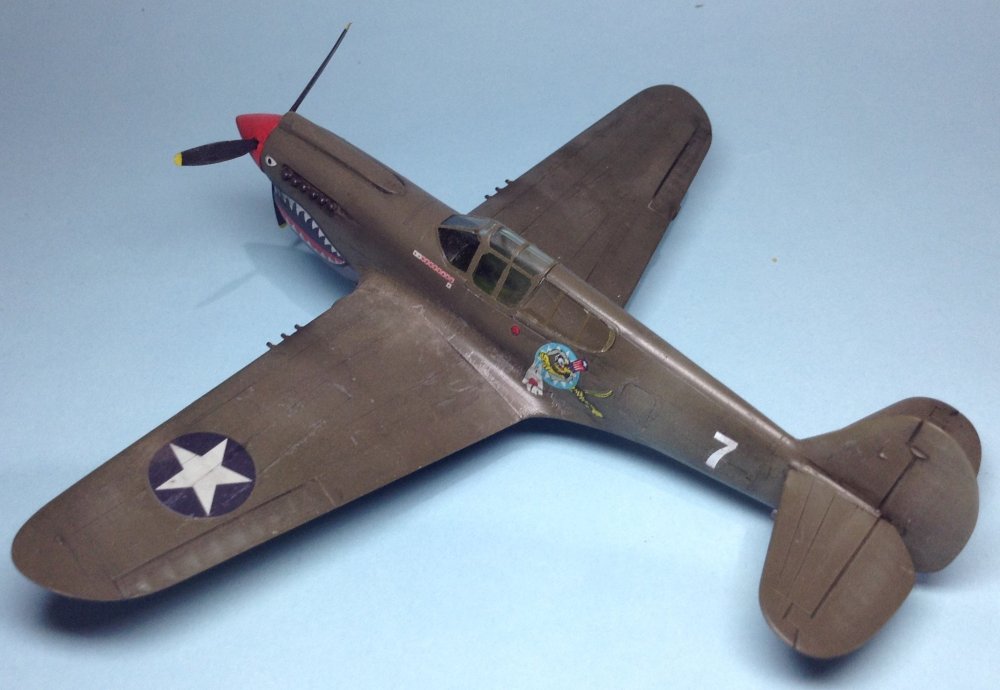
 John Richard Rossi was among the first group of pilots to join the AVG, first seeing combat in January 1942 and finishing in July 1942 with 6.25 victories. He would then join the China National Aviation Corporation and flew over 700 resupply missions over the hump. He would later found Flying Tiger Line, an air transport company and flew as Captain for the next 25 years. He passed away in 2008. This is the Airfix model with Microscale decals. The model is fairly good, with the exception of the cowling upper and lower sections that required some sanding and force to make fit well. Also the wing the fuselage join isn't the best and requires some work. I've had these microscale decals for about 20 years that I picked up second hand, however they were still perfectly good to use. Colours are Gunze 309, 310 and 311. Weathering done with pastels and pigment with the base just tile grout and some bits and bobs from the spares box.
-
This is the original boxing of their Wildcat that dates back to 1994. That said, it's still a great model with nice panel lines and superb fit. The decals however were the usual yellowed white and shattered when put in water. It was actually cheaper to buy myself the new Airfix Wildcat rather than an aftermarket decal sheet, so the markings here are from Airfix. This aircraft was from USS Ranger's VF 41 during Operation Torch. Looking through pictures these aircraft were worked pretty hard, with large cordite stains extending the length of the wings upper and lower. Colours used were Gunze 51 light gull grey and 337 USN grayish blue.
-
Kim a little panicky I think.
-
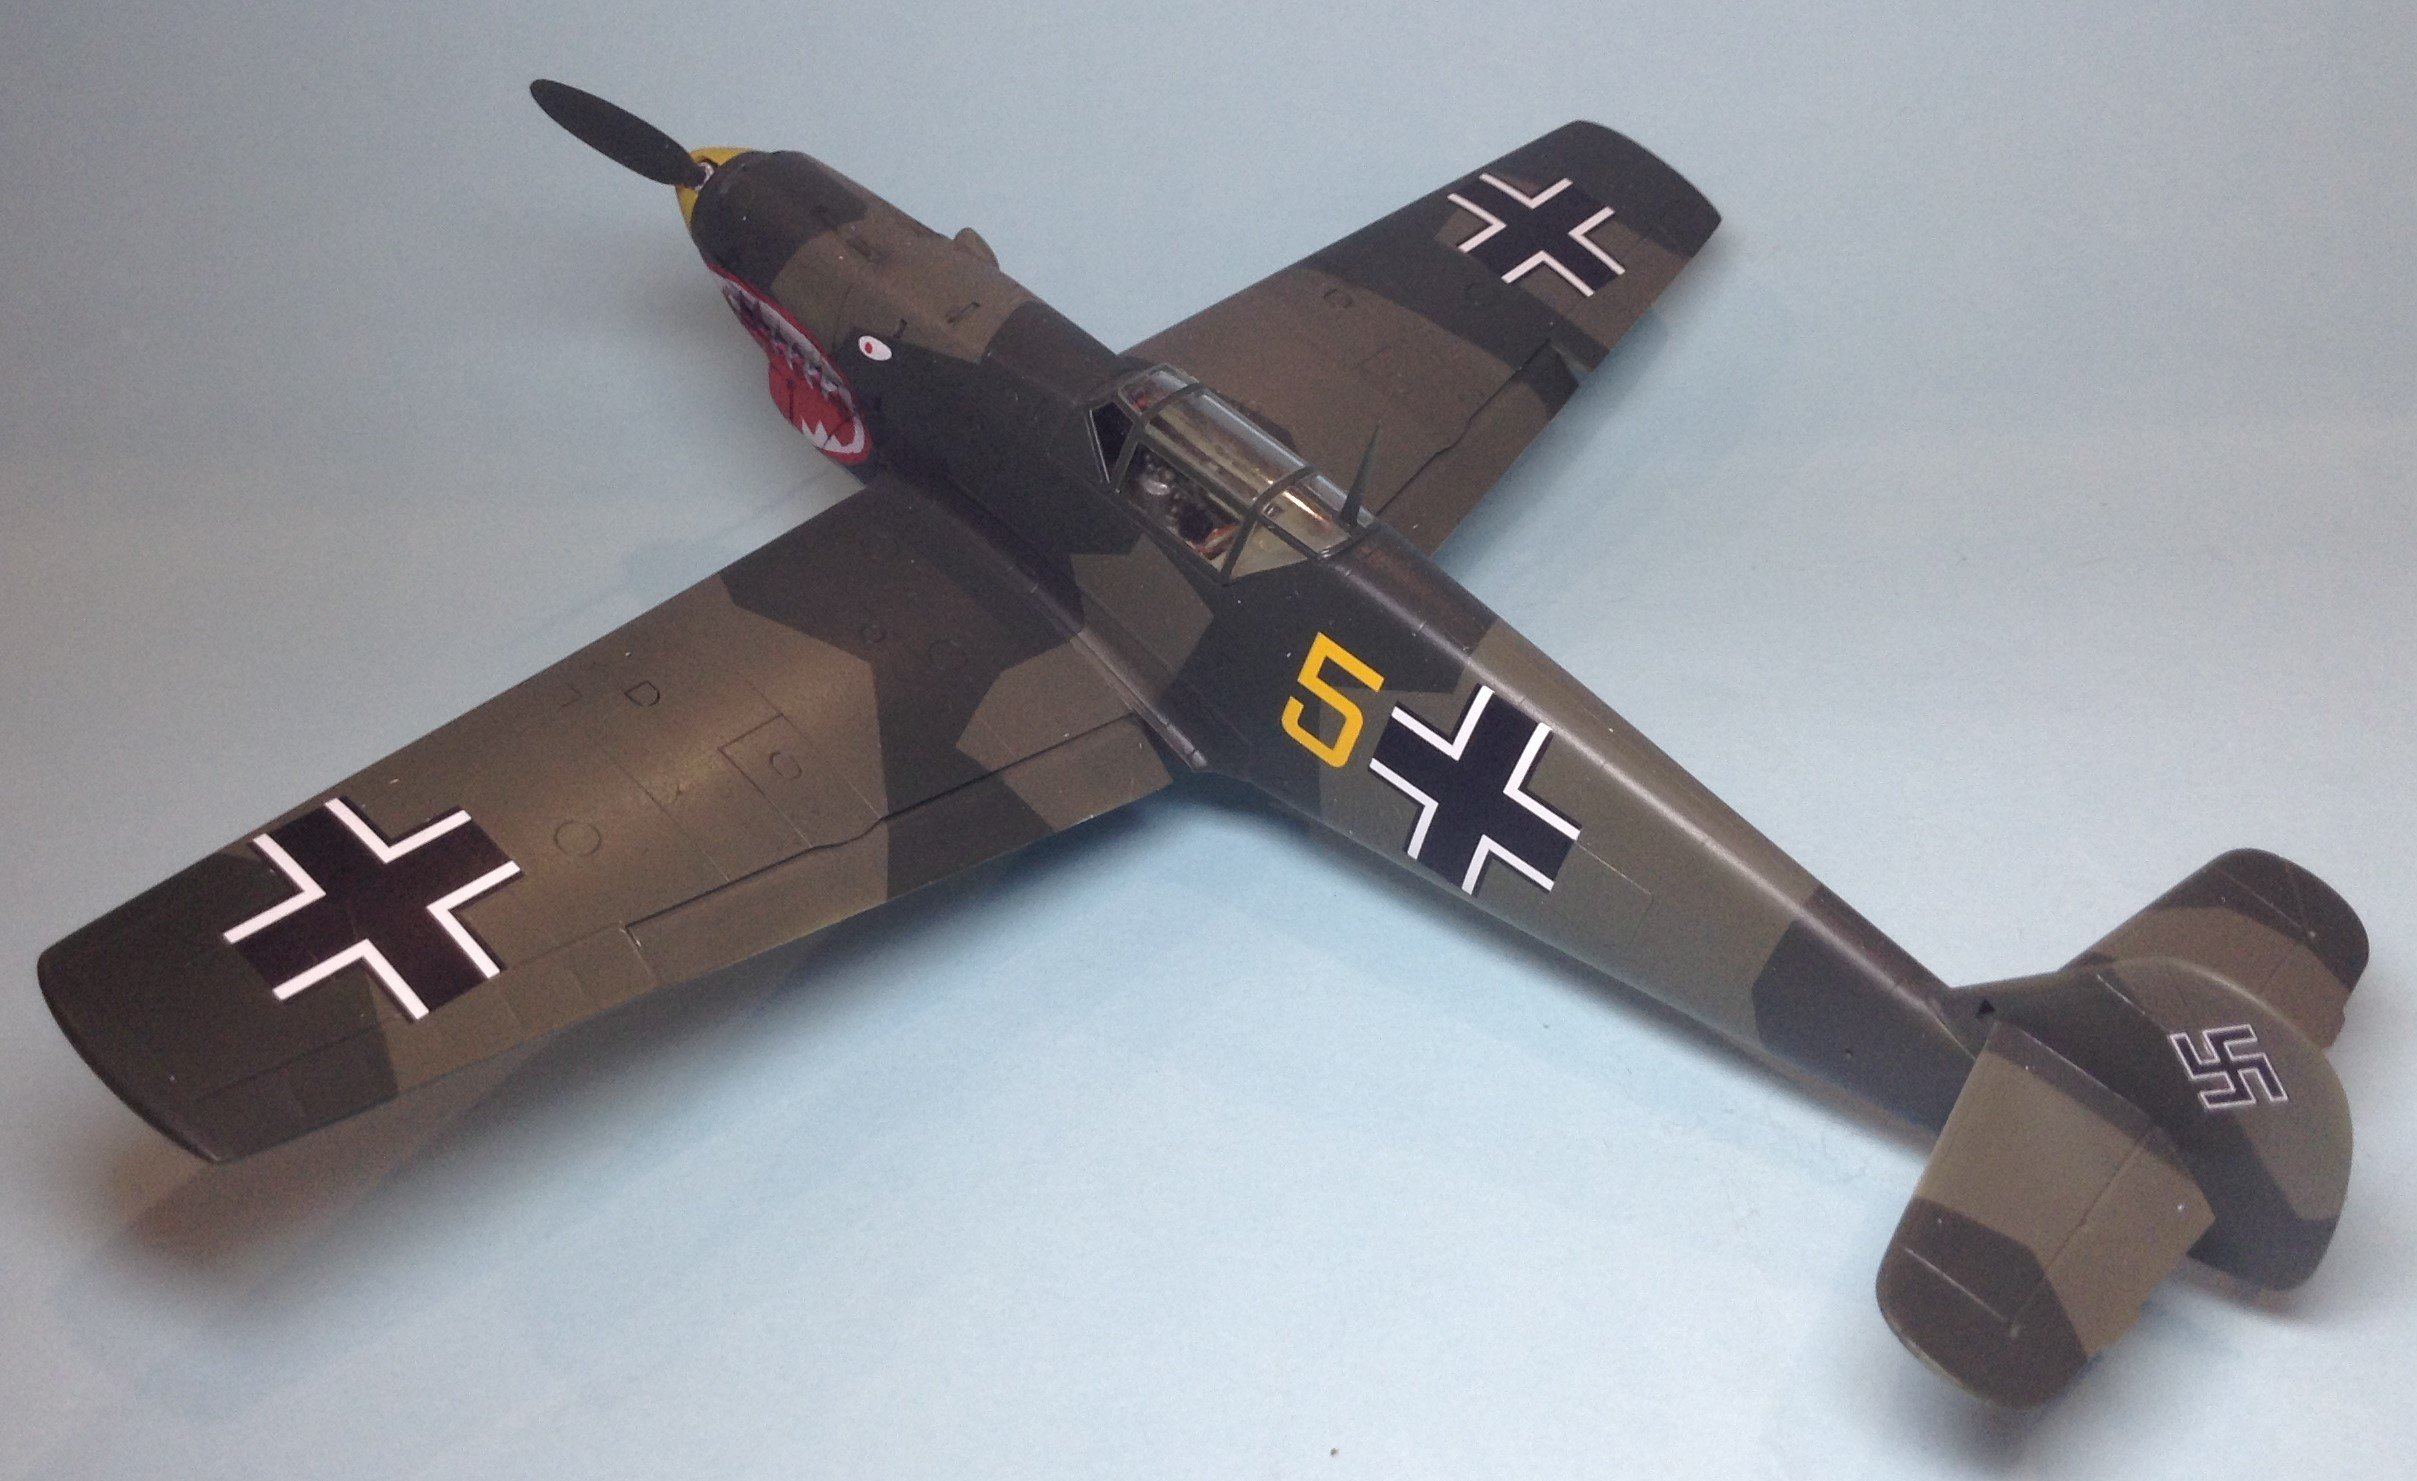
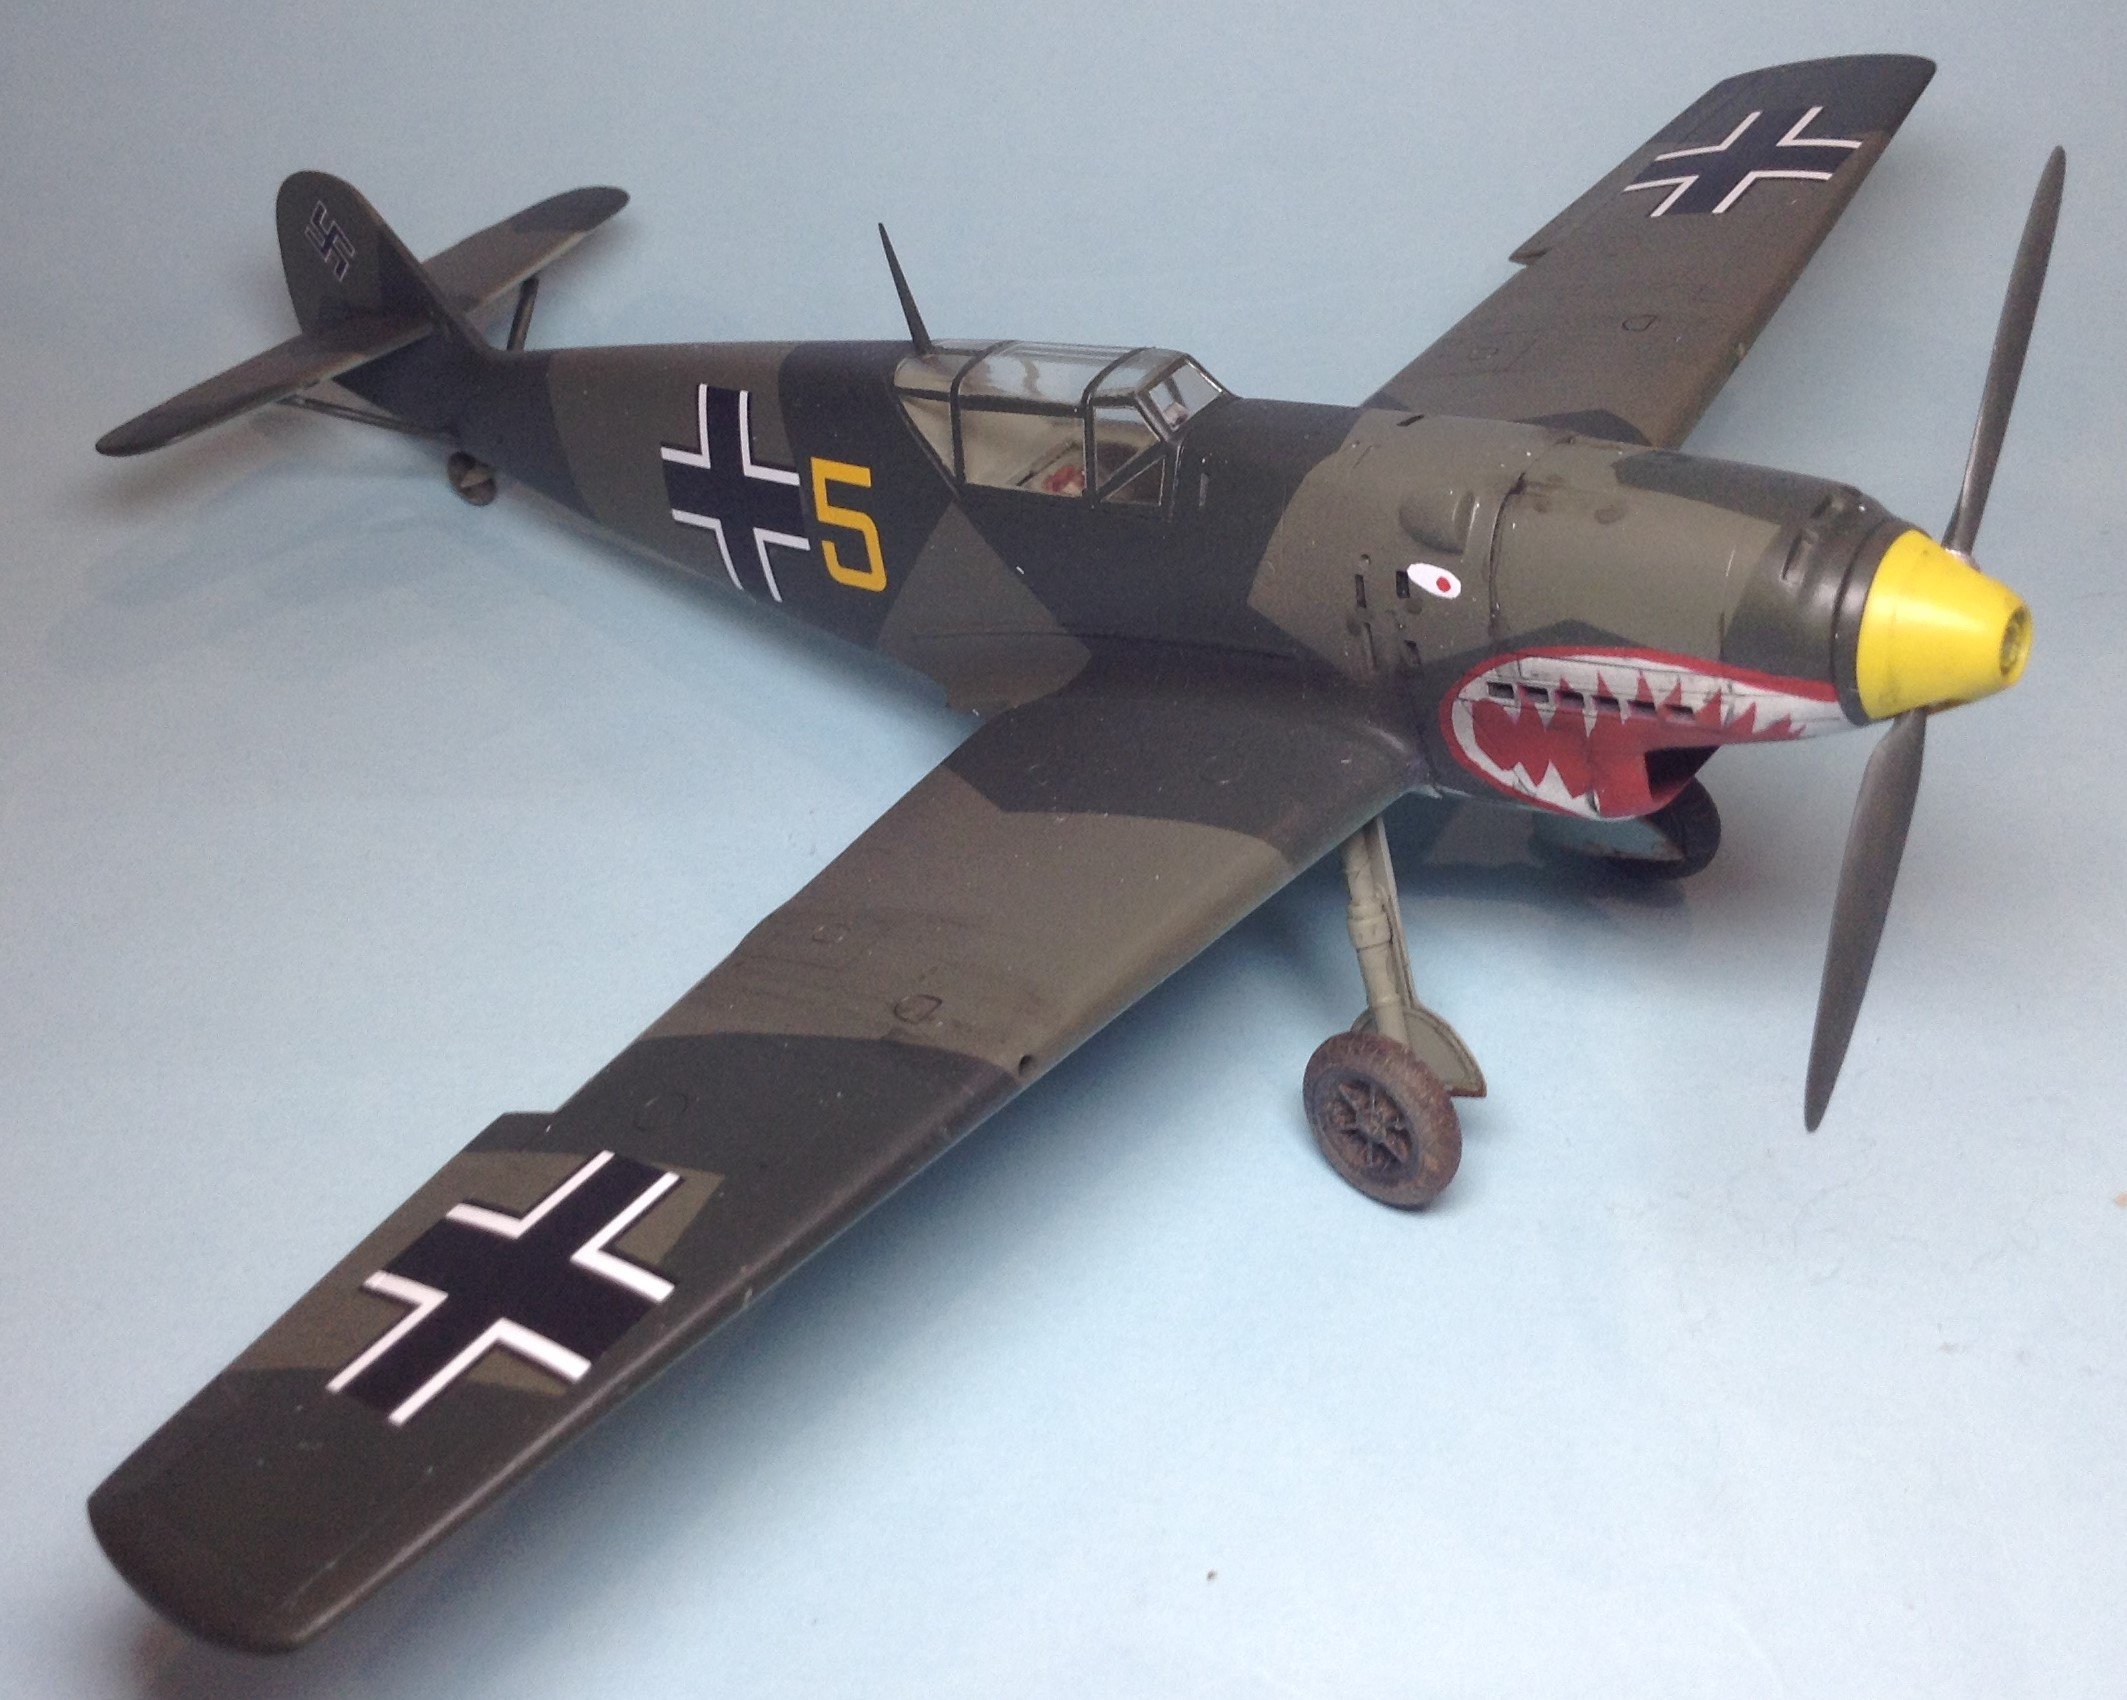
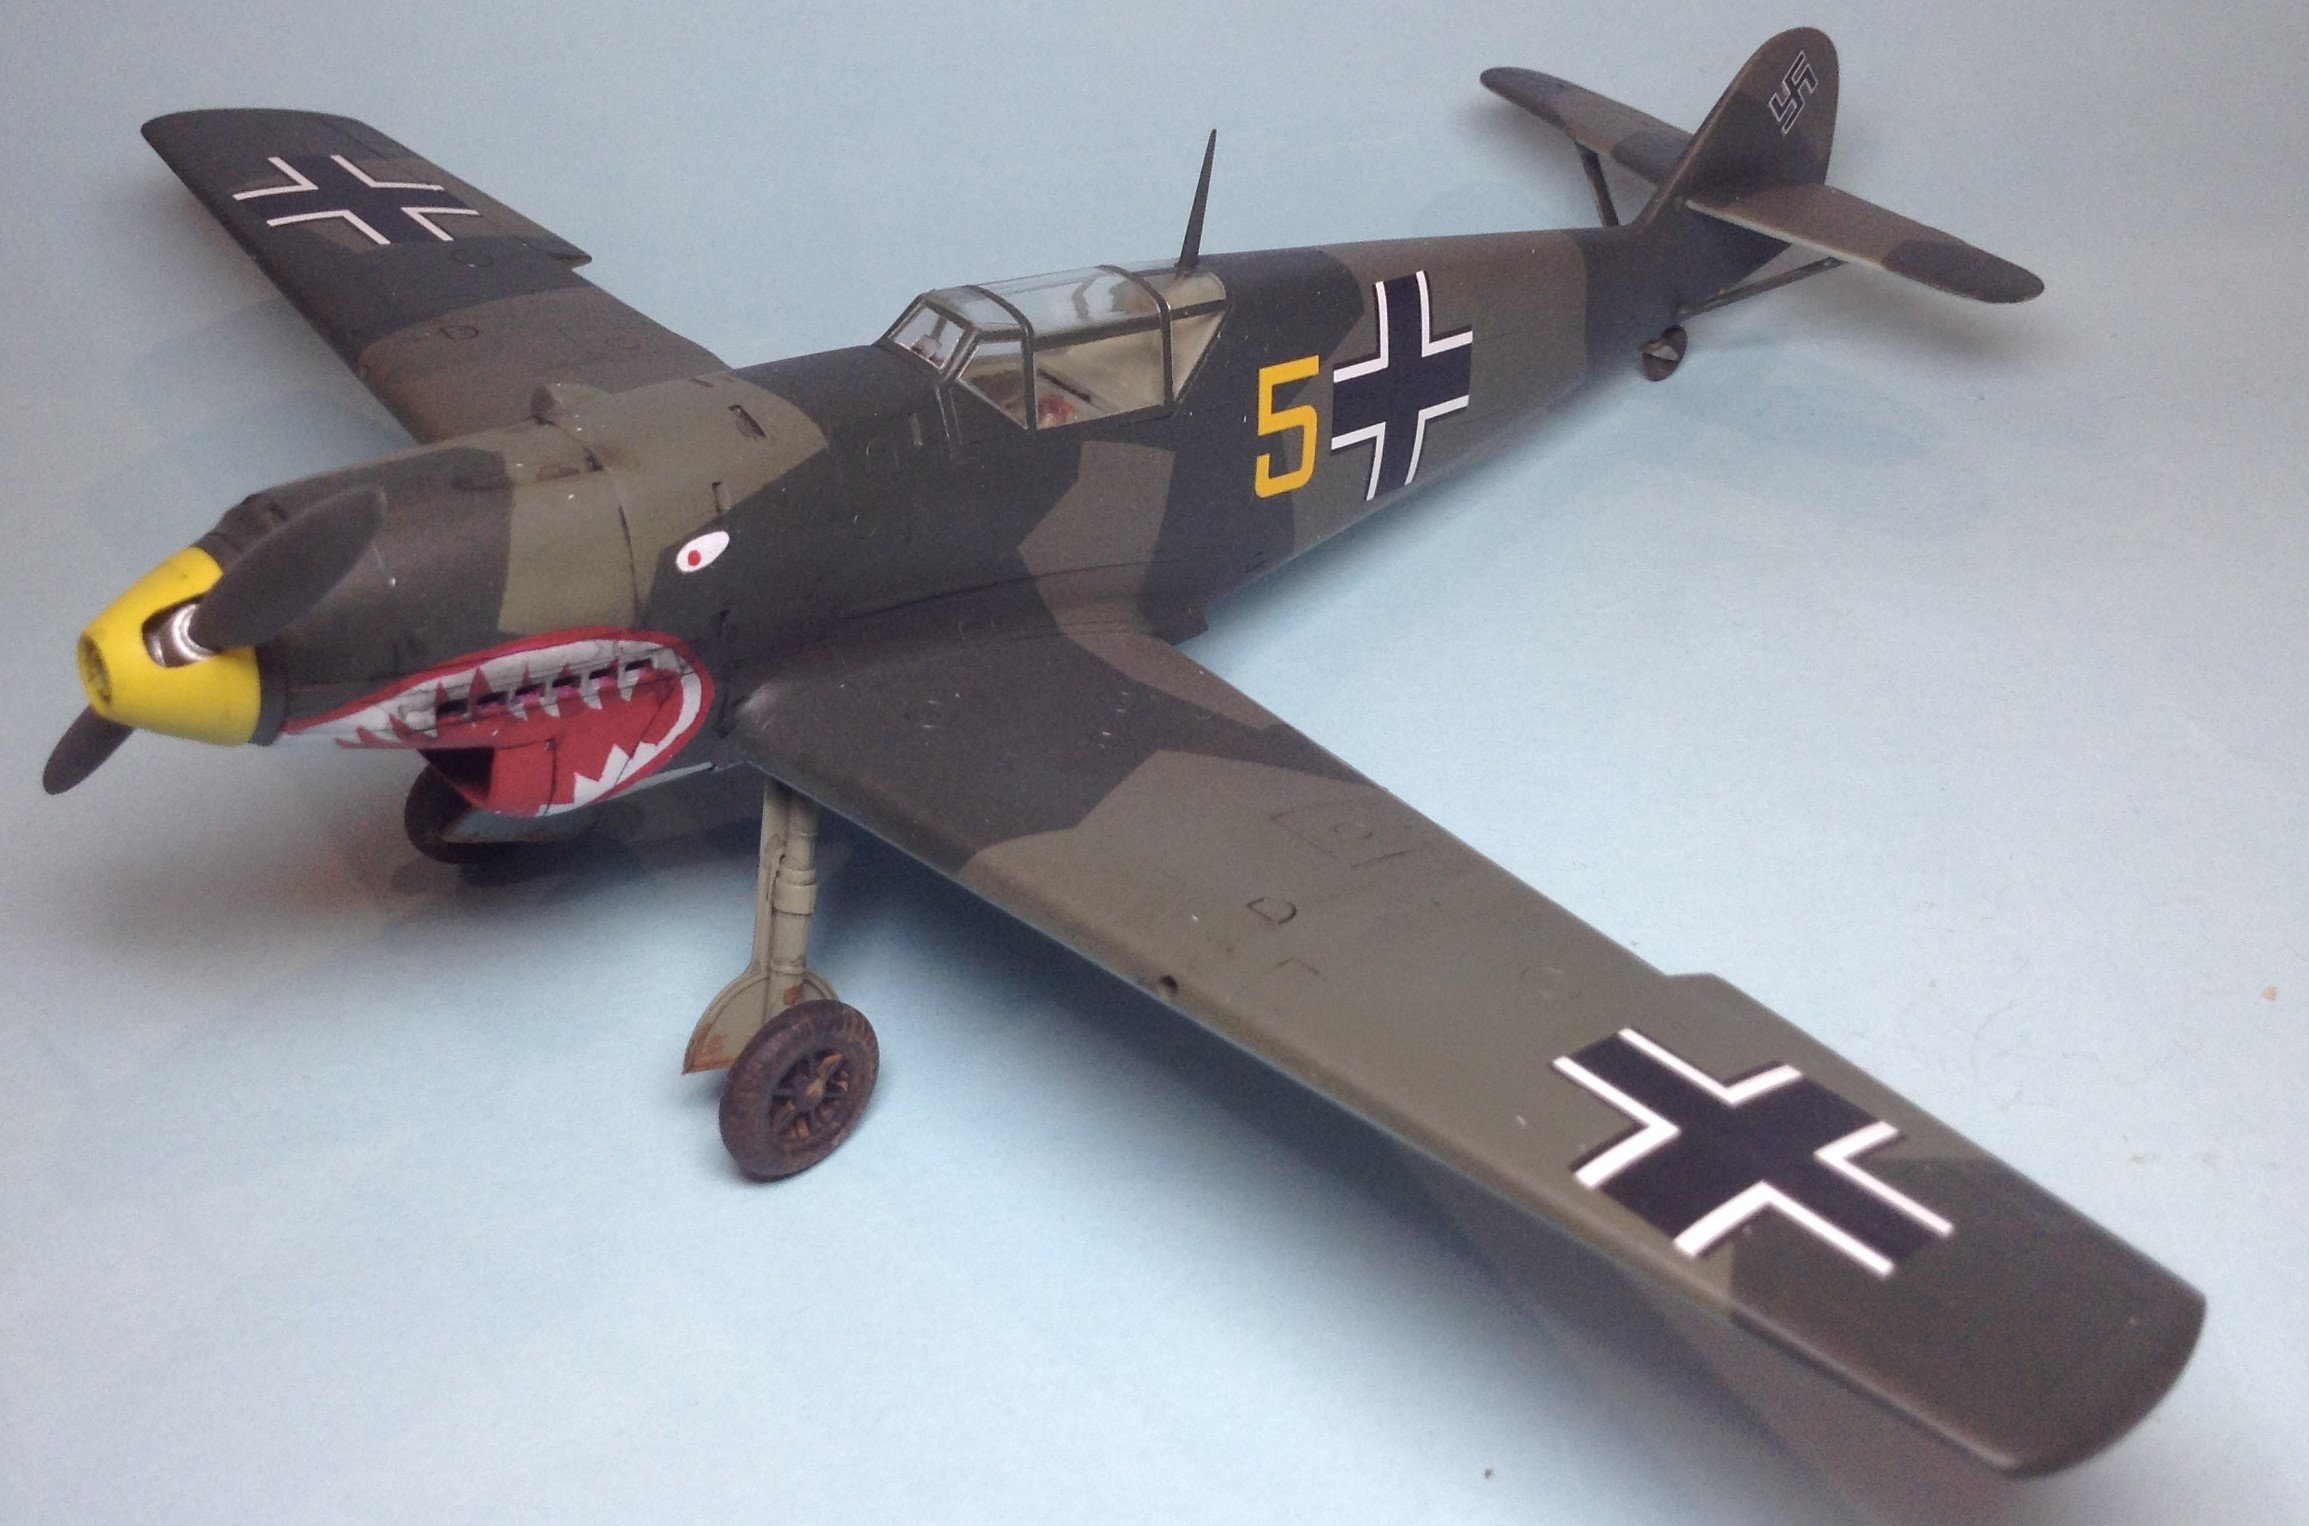
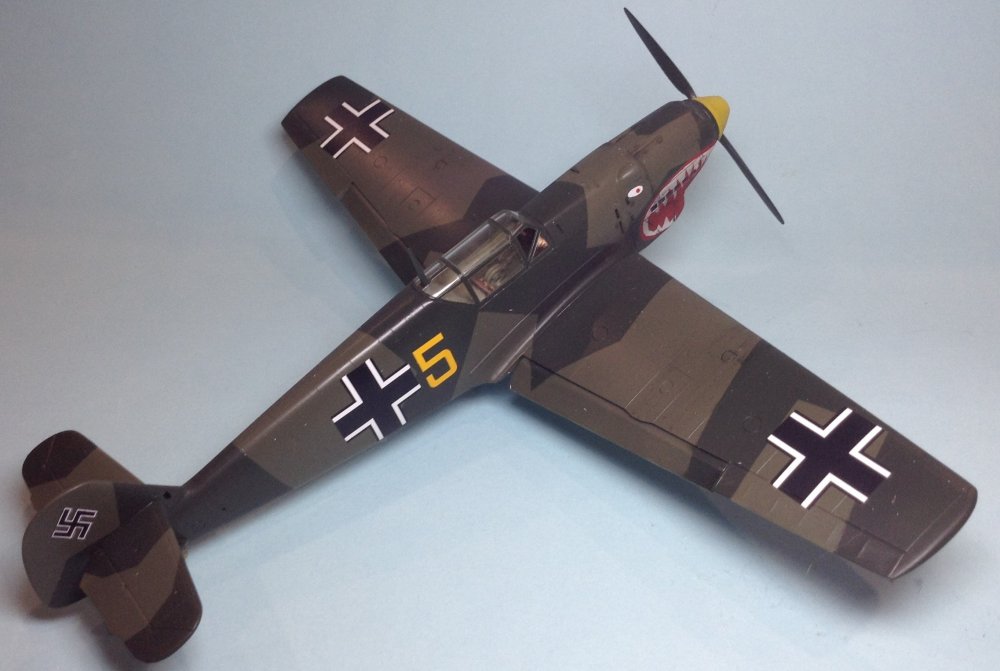
This is the rather old Hobbycraft offering of the early model 109. It does say C on the box but I've built it as a 109D. It is a bit inaccurate in the molds, but it's close enough for me. Decals were beyond salvage and probably incorrect, so I hand cut some masks for the shark mouth and used some Aeromaster decals for the rest. Weathering was kept to a minimum over the Gunze RLM 70/71/65 colour scheme. The fit of the kit is not the best, but nothing a moderately experienced modeller cannot over come. The worst is a slightly undersized canopy, but I can live with that. It also doesn't include exhaust stubbs that would show slightly protruding through the cowling slots.


-
Stuff I've picked up recently. All second hand, the Spitfire and stuff was found at the local good will shop for $3.
-
Another pretty simple little model that I've built after my little adventure to the ICU last year. It's well detailed, has less than 20 parts and fits perfectly. The downside is the stand is a little flimsy for the weight of the model, so I mounted it sideways to stop it leaning to one side. I've read a lot of opinions on the colour of Star Wars fighters and it seems that in the first movie, they were painted a light grey or even off white, where as in the latter two original movies, the Tie Fighters were a more blue-grey. Wanting an OG Tie, I went with Gunze 51, a very light grey. A black wash was used to pop out the detail over this. This is a great little kit for about 20 bucks.
-
- 4
-

-
This is a nice simple little kit that even includes 2 complete models in the box. The only downside is they don't give you any railway track to mount the dolly on, but I had some spare so made a small base with some Noch ballast and a base from the local cheap shop. It's meant to depict a Kaiten used for training.
-
I bought these as an early birthday present to myself.
-
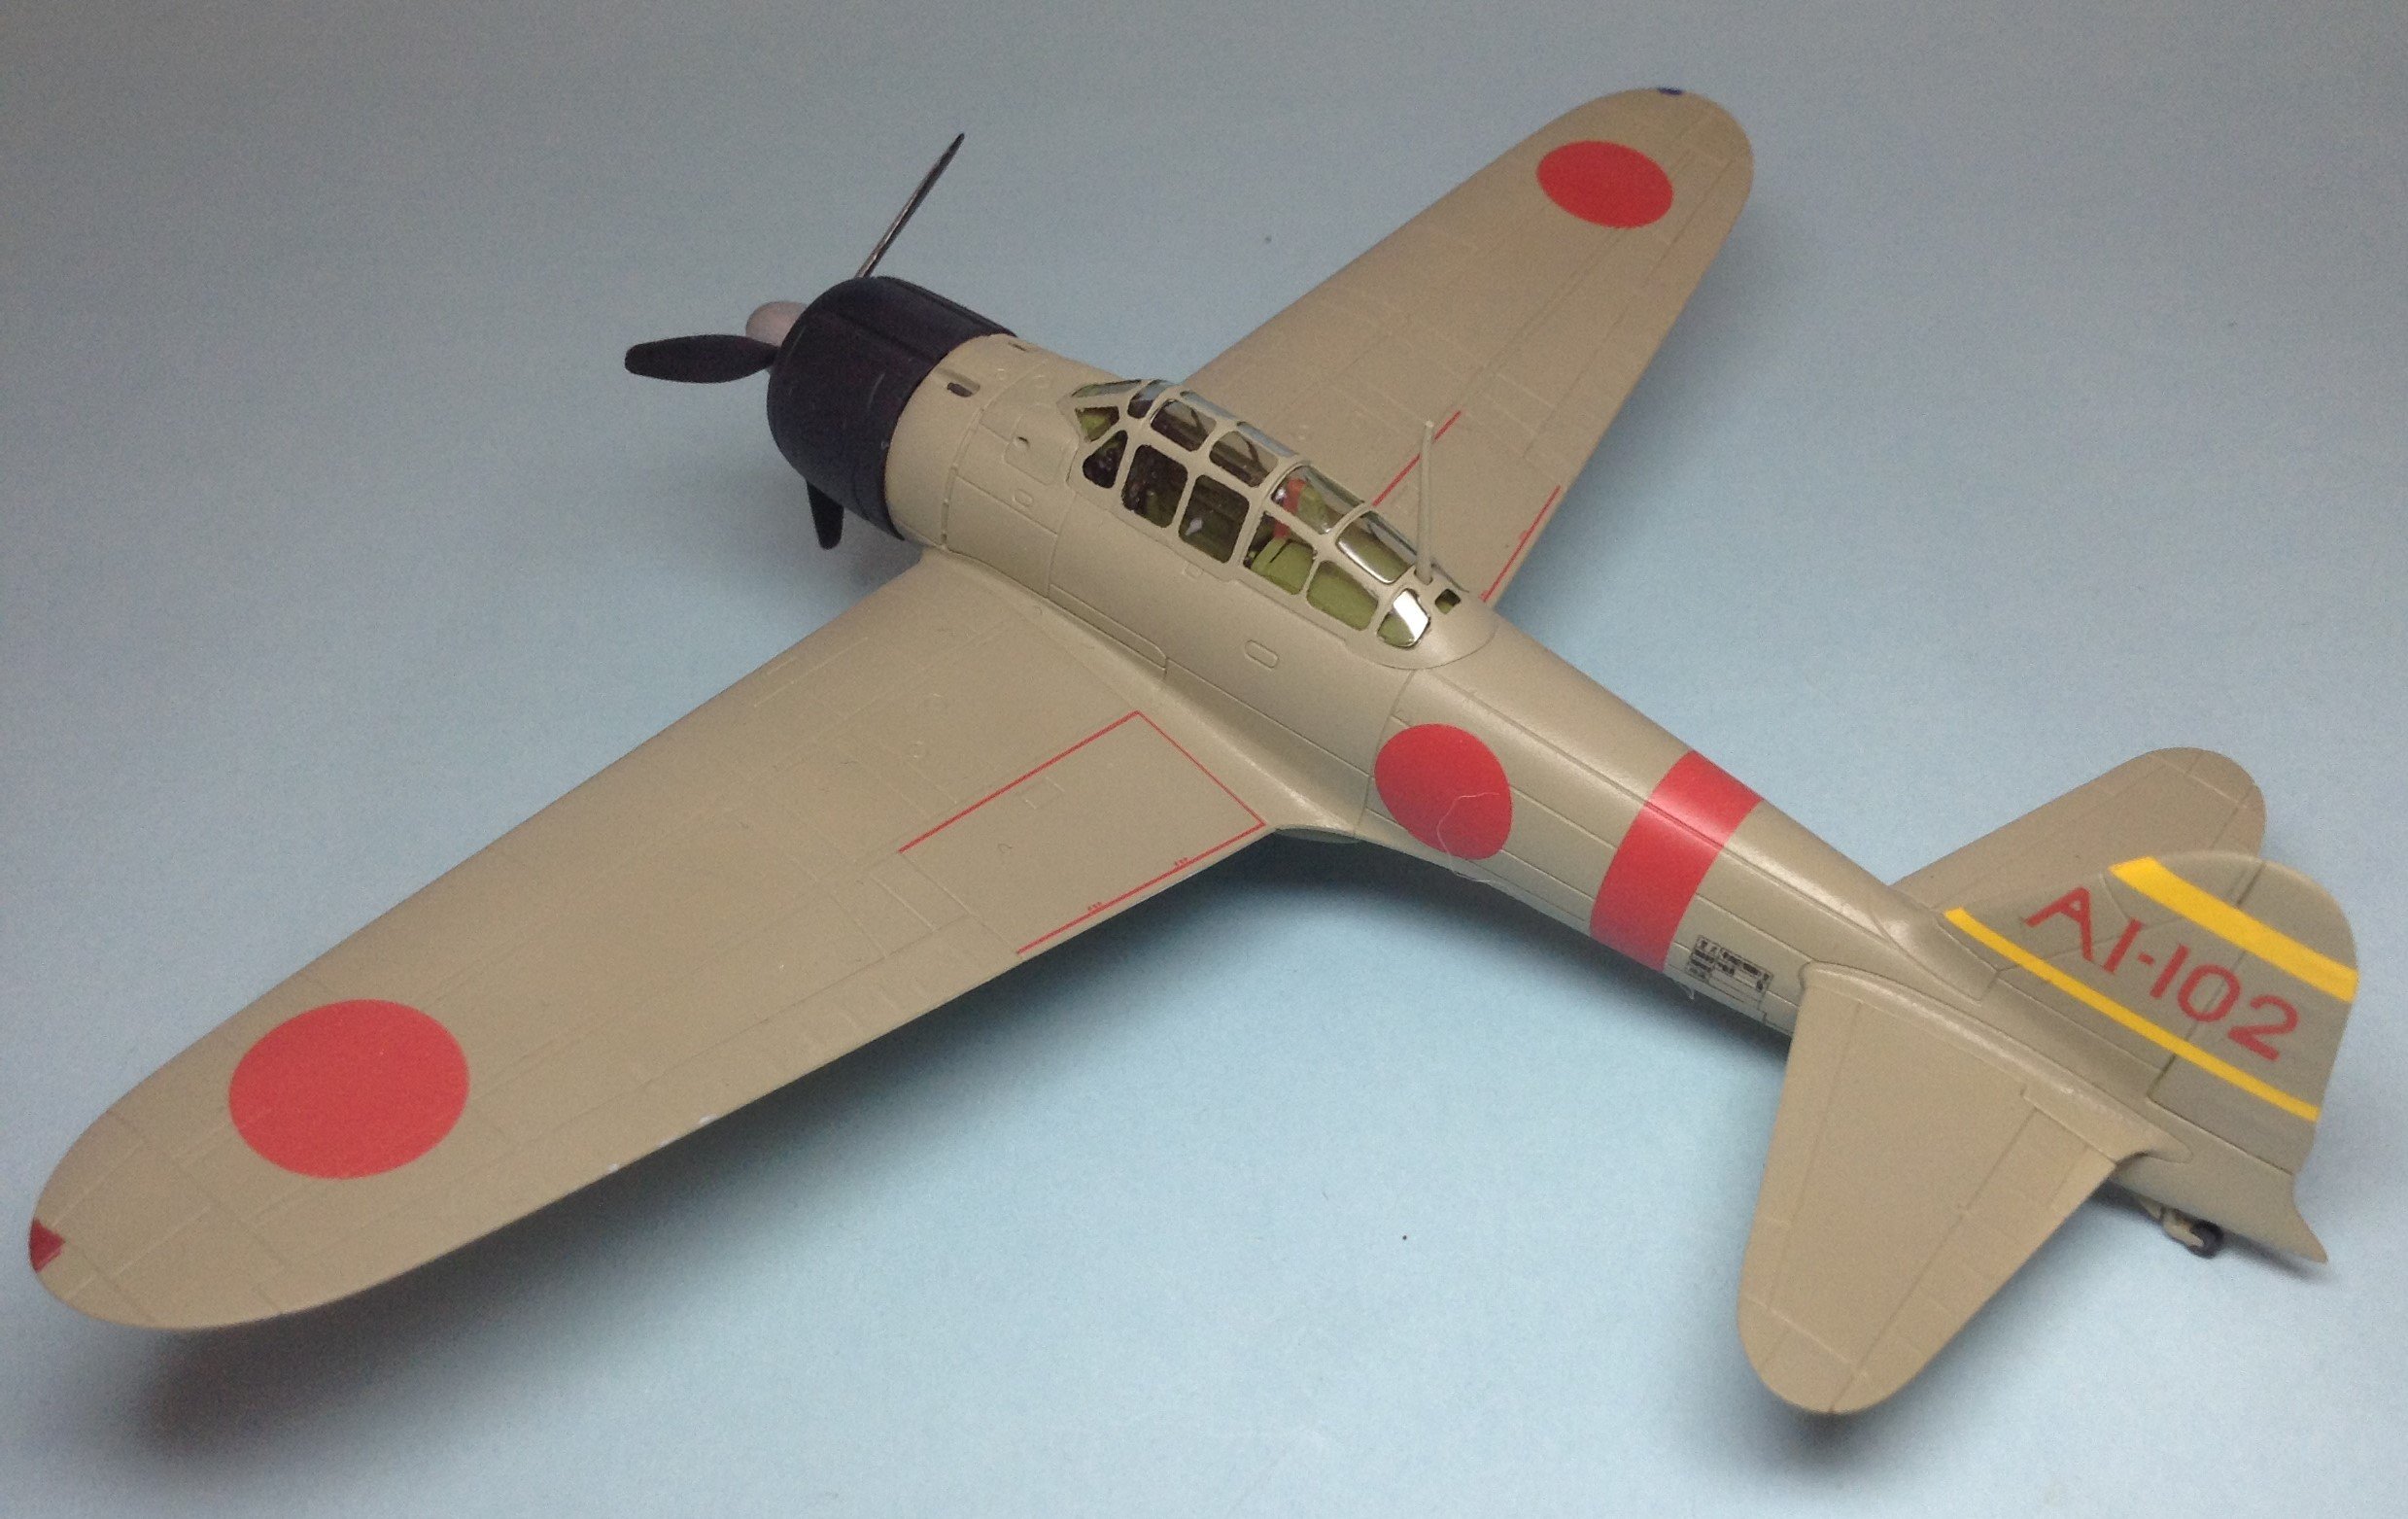
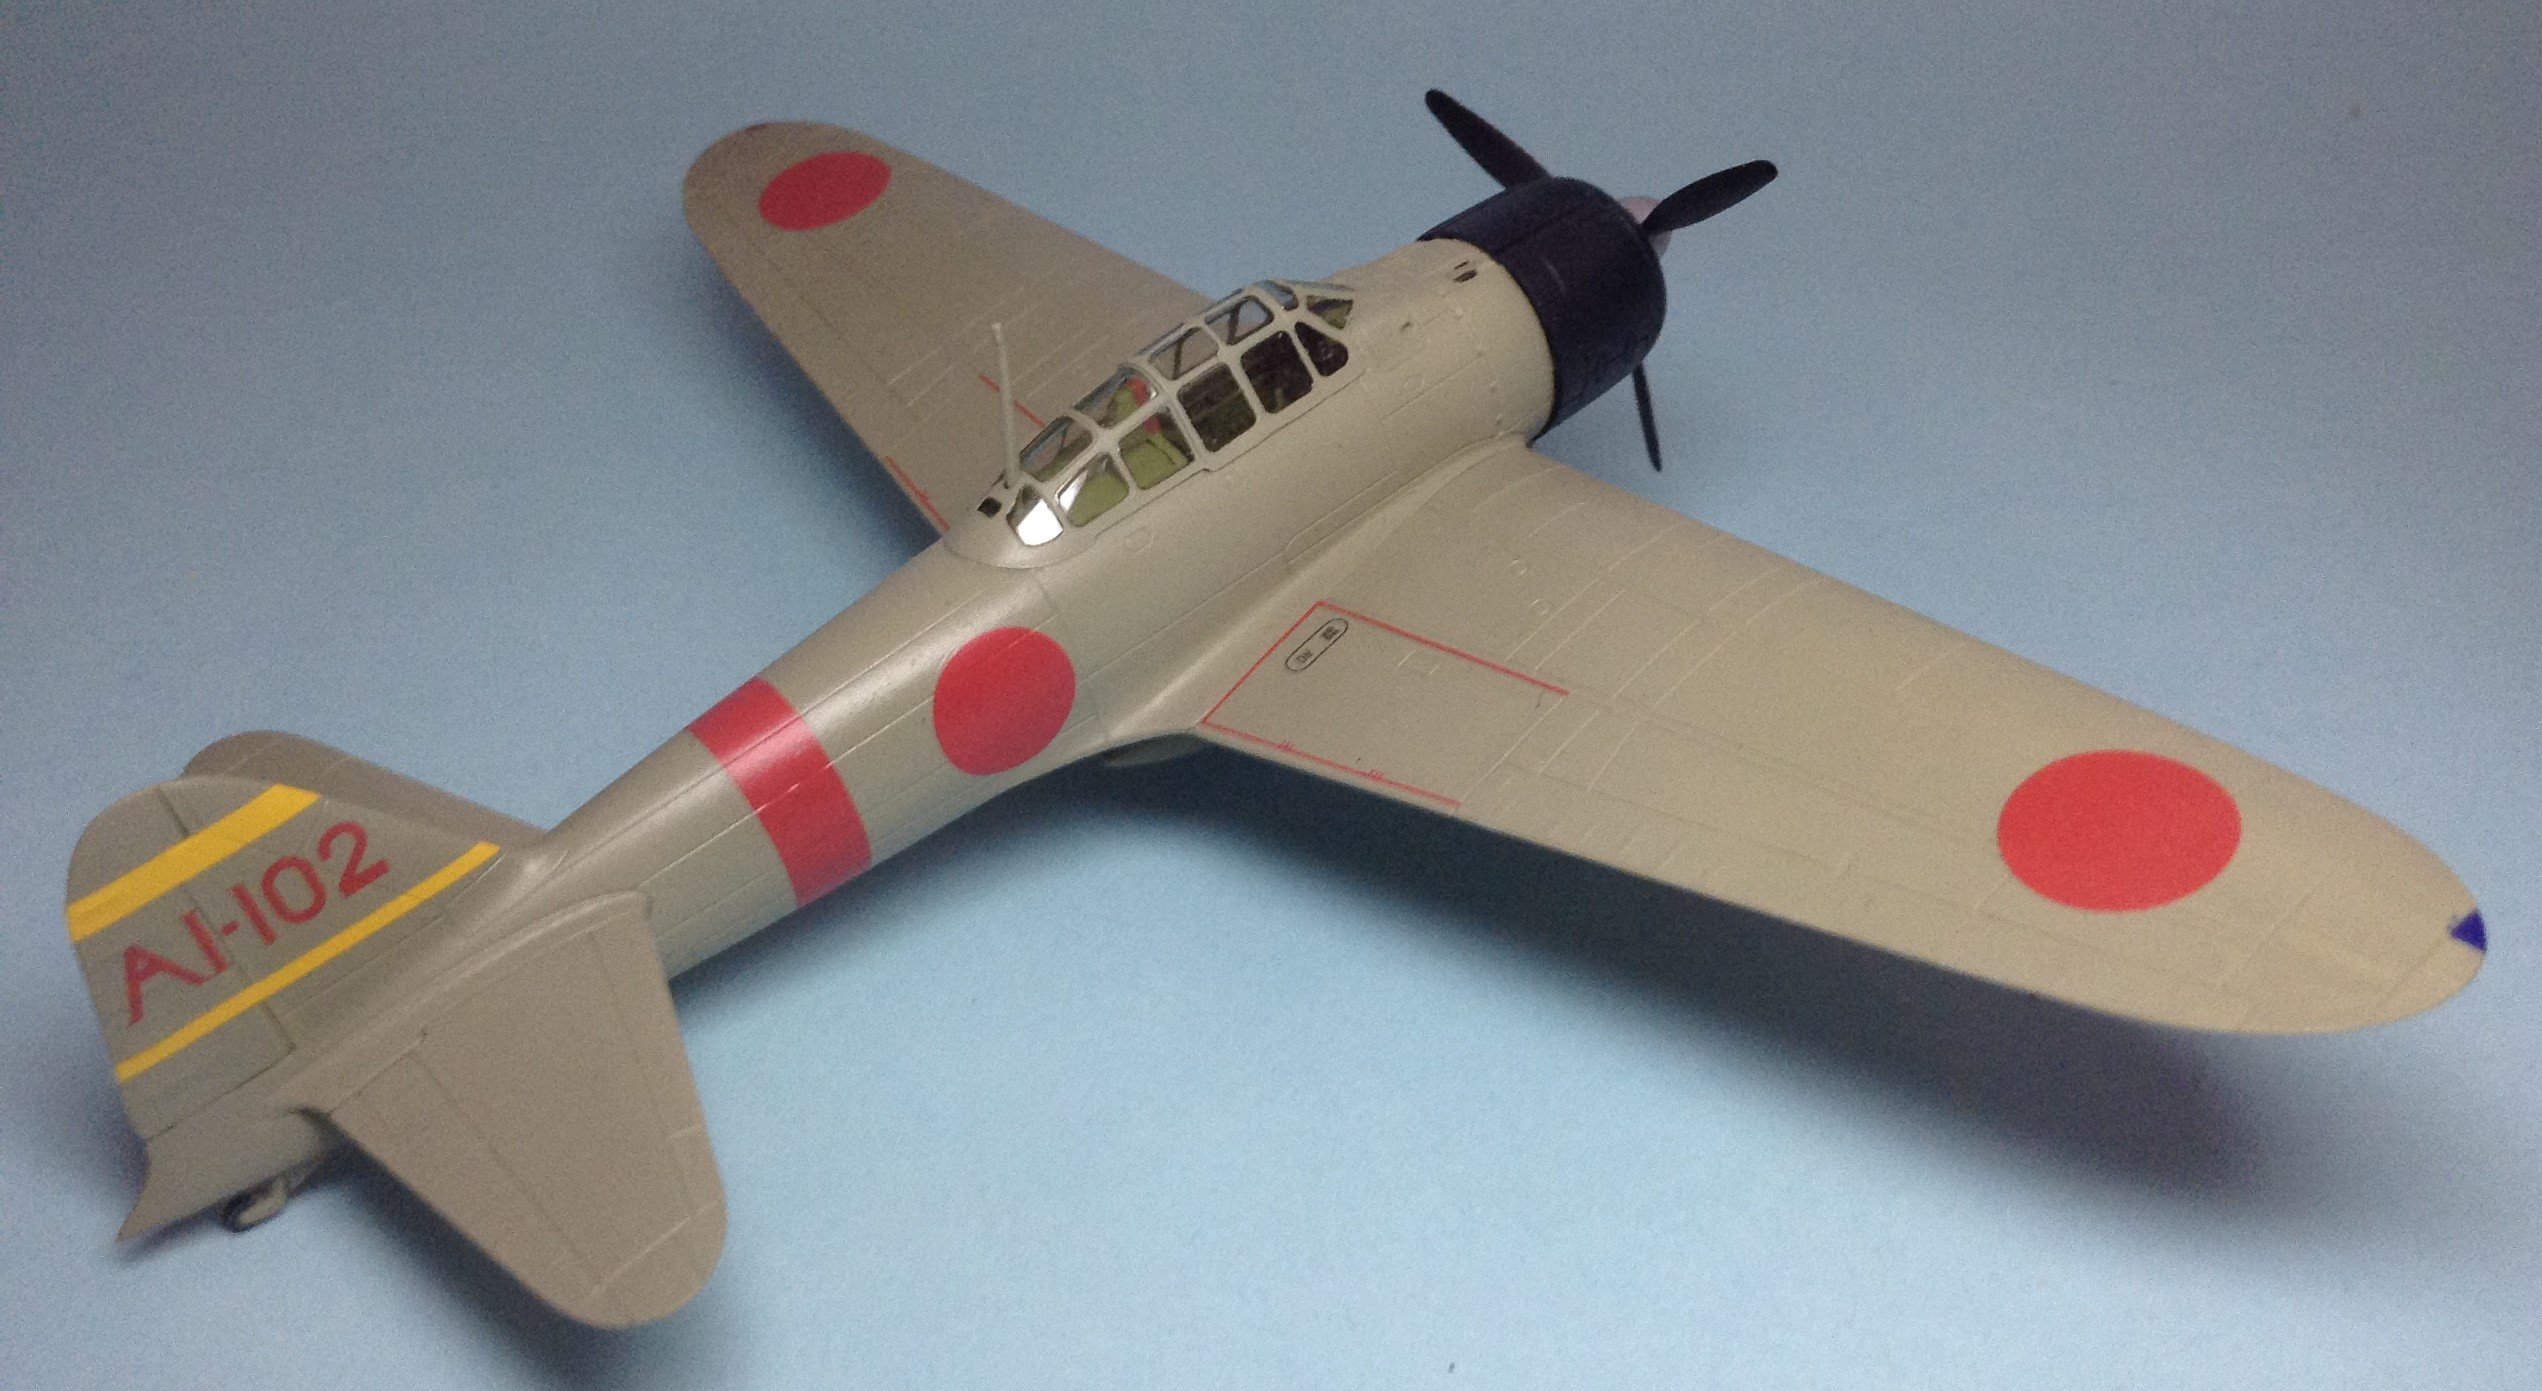
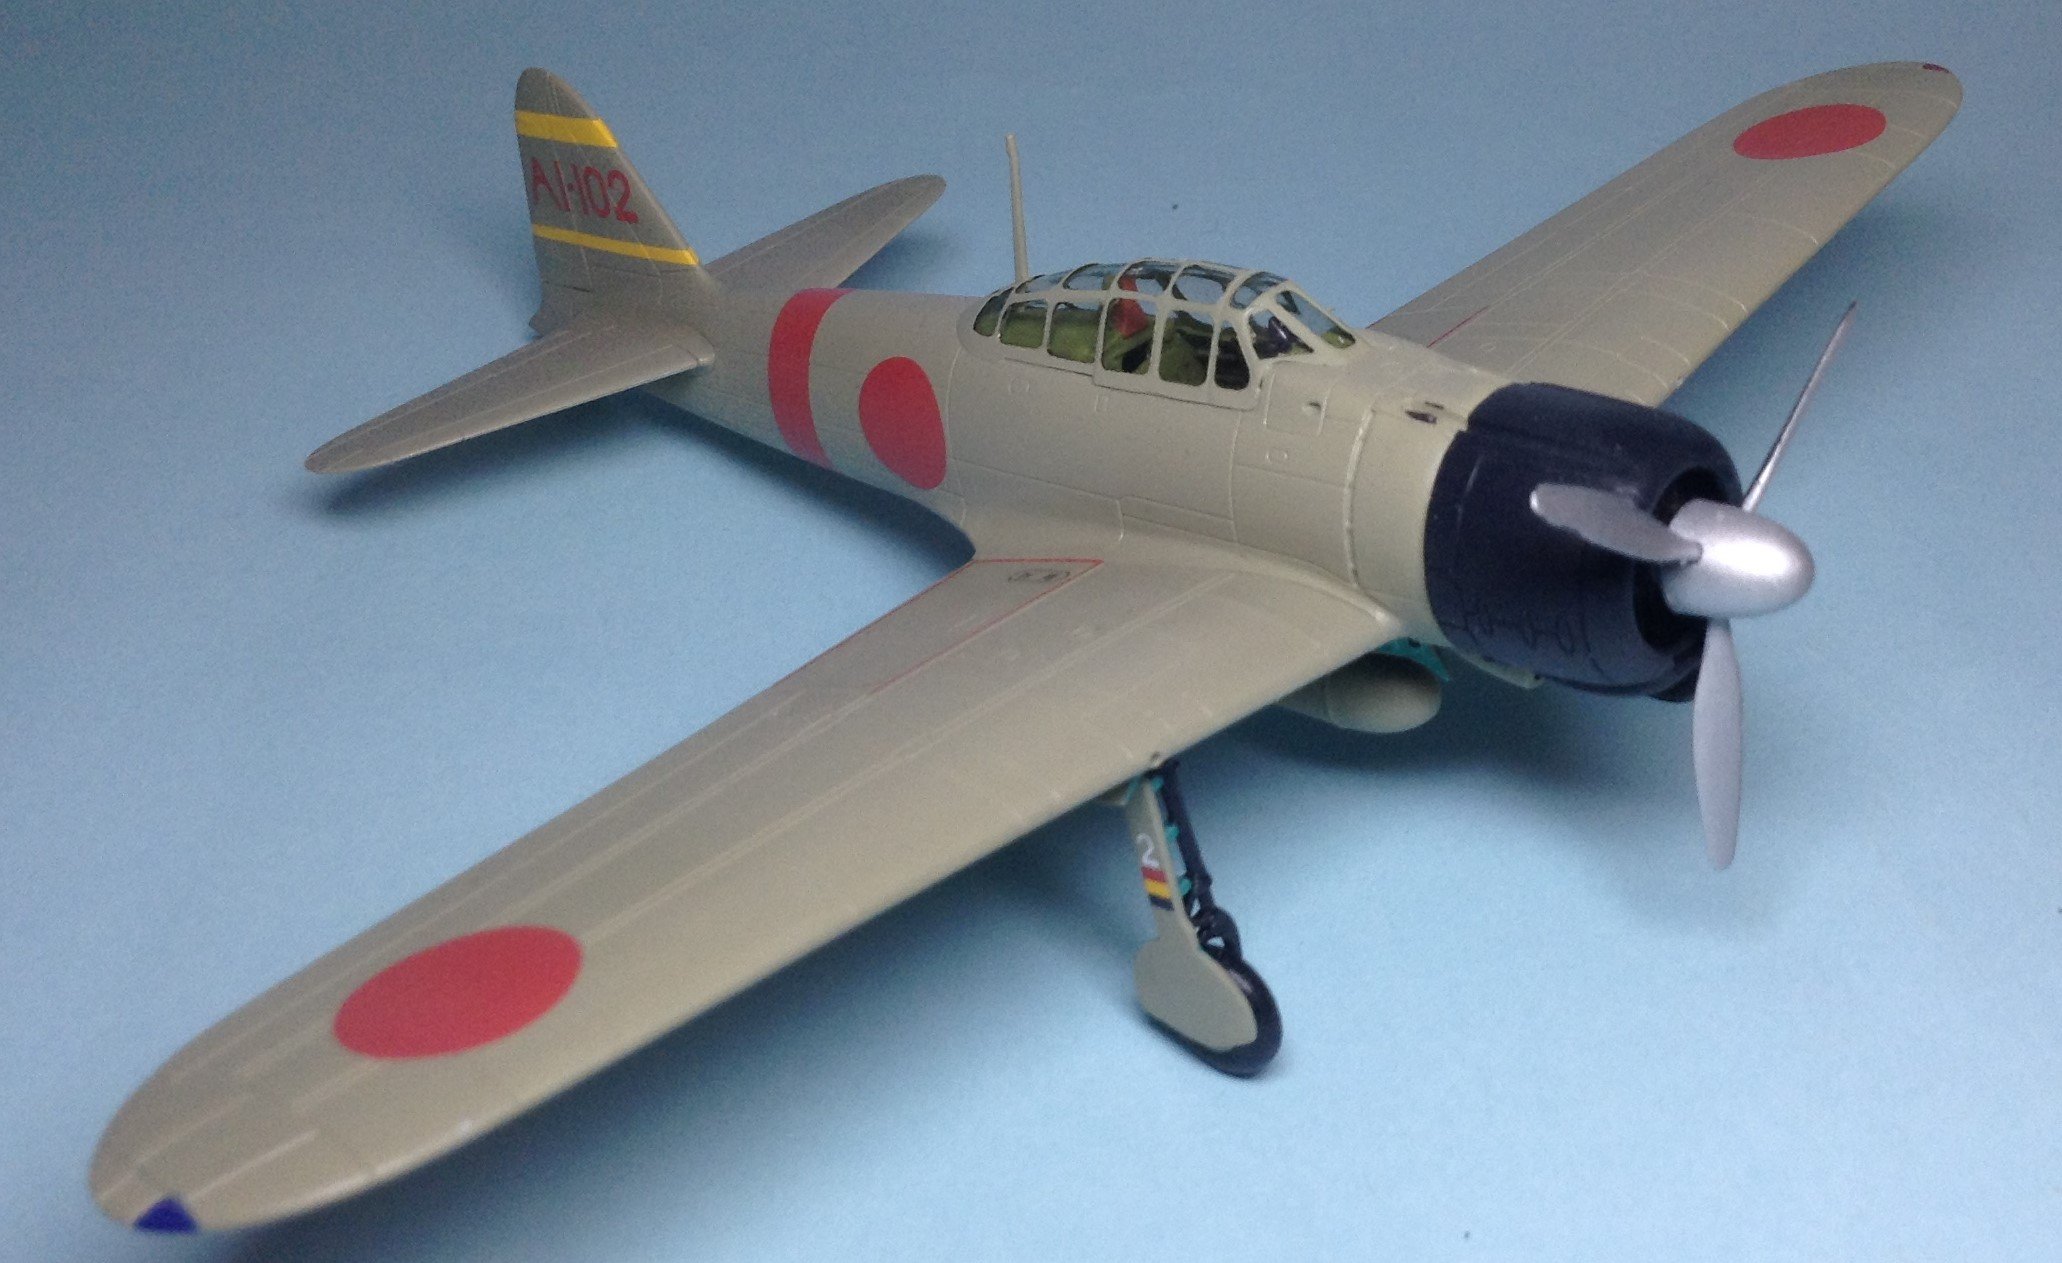
This is the newer Airfix kit that mum actually bought for me when at Aldi. It's a pretty good model, but I find their blue plastic to be very soft, causing smaller parts to break when clipping from the sprue. I also had some issue with smaller parts being very poorly molded, the pitot and actuators for the control surfaces. I thus did not use them. Decals are excellent. I also refrained from weathering as these aircraft were probably very well looked after. From the limited information about Saburo Shindo available, he fought the entire war, was reportedly the man to say "Tora Tora Tora" indicating surprise had been achieved on the morning of December 7th and would engage in several large battles through the Pacific War and surviving, hence why I was surprised there was so little around about the man. He worked for Mazda post war and passed away in 2000. I decided to try the AK Interactive Gen 3 paints as I didn't have anything in the paint stash that looked close to the hemp colour of the aircraft. The paints spray a little spotty, they probably need a touch of flow enhancer, but I have to say they dry beautifully flat and the colour looks great. You can even brush paint them for touch ups which you will need to do because they are rather delicate and easy to rub off or scratch.


-
- 3
-
-
Dedicated 1/72 catagory? Maybe, maybe not.......
BradG replied to JohnB's topic in Problems? Suggestions? Tell us!
Considering I'm about the only active member here who builds in 1/72, I don't think it will happen.....unless you wanna give me my own forum? -
Messerschmitt Bf 109E-7/Trop, JG 27 North Africa
BradG replied to BradG's topic in LSM 1/48 Aircraft Ready for Inspection
Yes 1/48. -
Messerschmitt Bf 109E-7/Trop, JG 27 North Africa
BradG replied to BradG's topic in LSM 1/48 Aircraft Ready for Inspection
Thank you. Not bad for a 30 dollar Temu special with 5 dollar .2mm tip and needle. I did some lubing and tweaking with brasso to get a better fit between parts which worked nicely. No idea how long it will hold out, but if the tip fails it's only another 5 dollars for a replacement. -
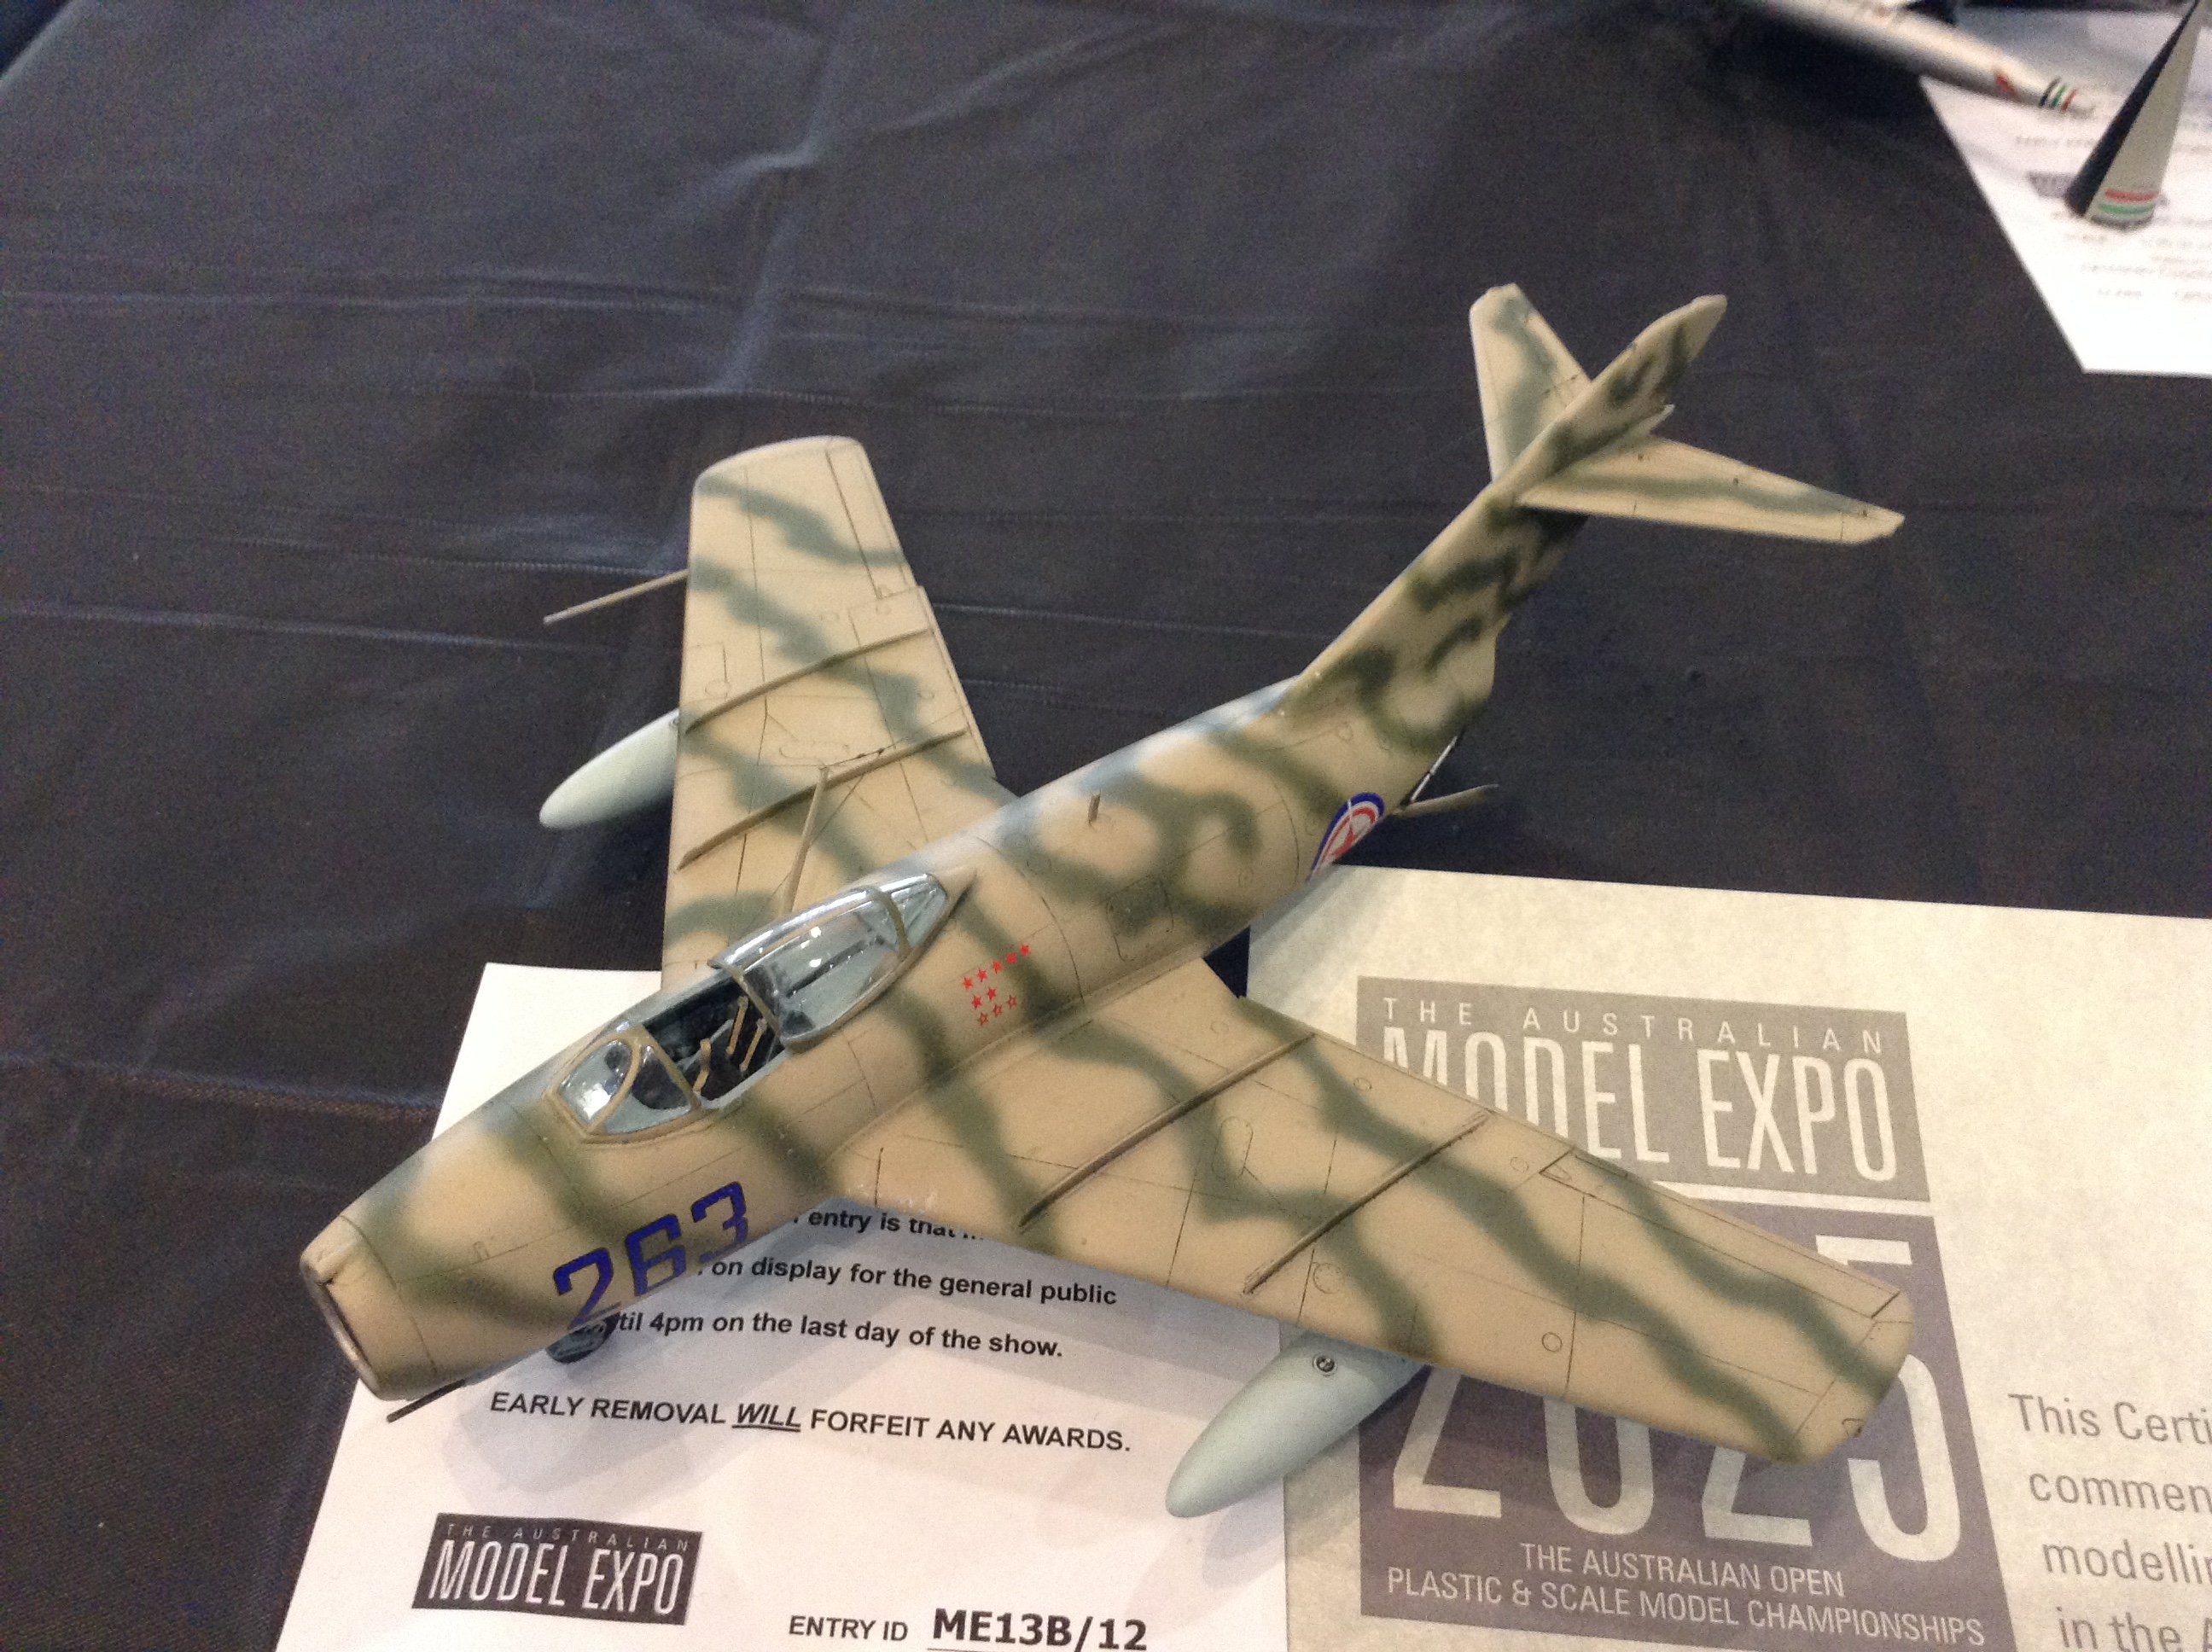
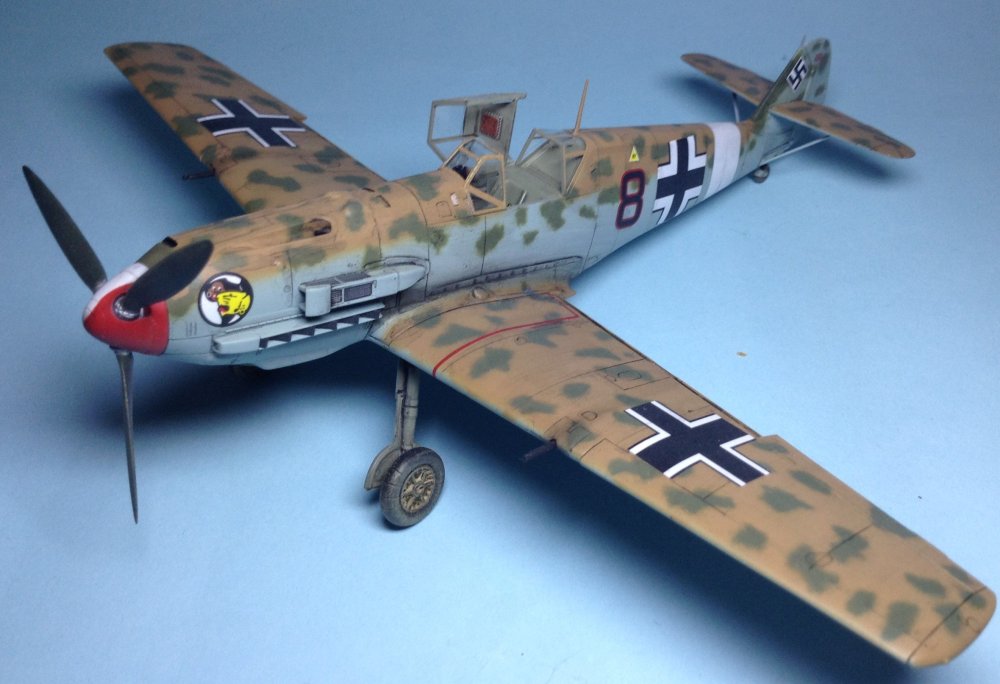
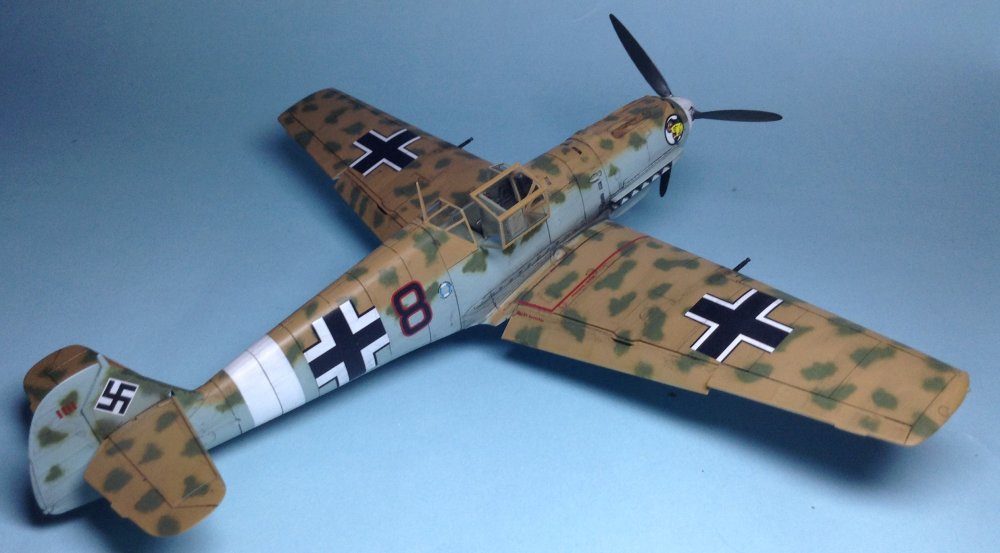
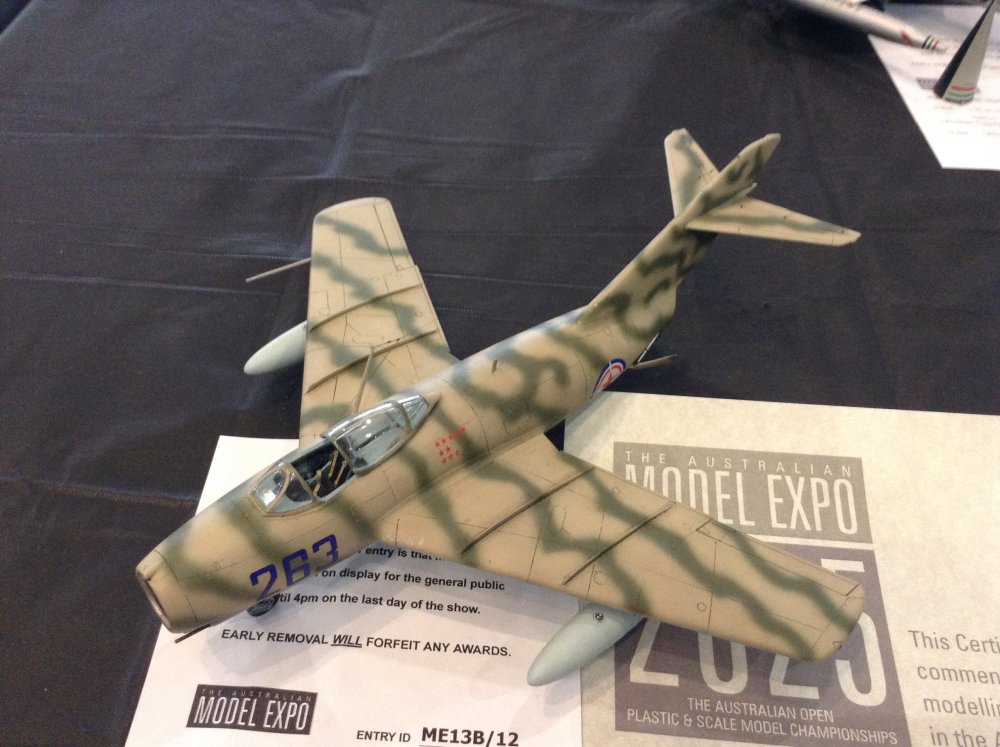
A nice, easy OOB build here from Tamiya. I only decal I didn't use was the white fuselage band, which was masked and painted. Camouflage is gunze paints, RLM 80 green, RLM 78 blue and RLM 79 sandy yellow, all done freehand.


-
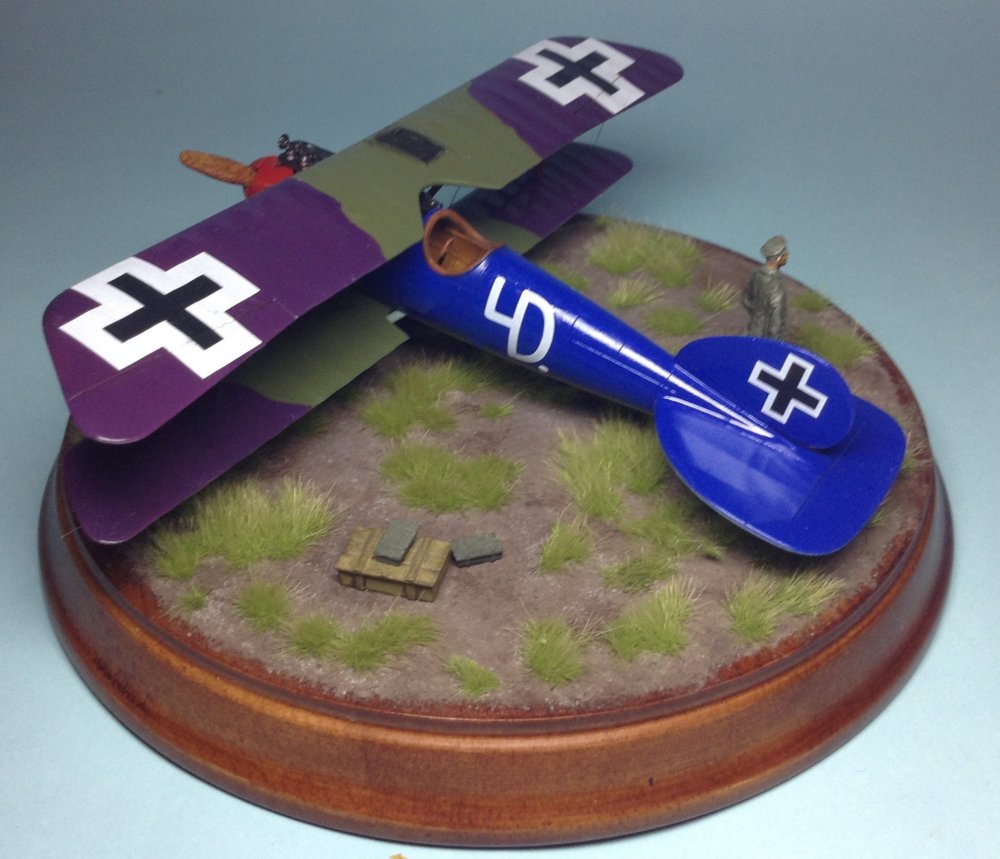
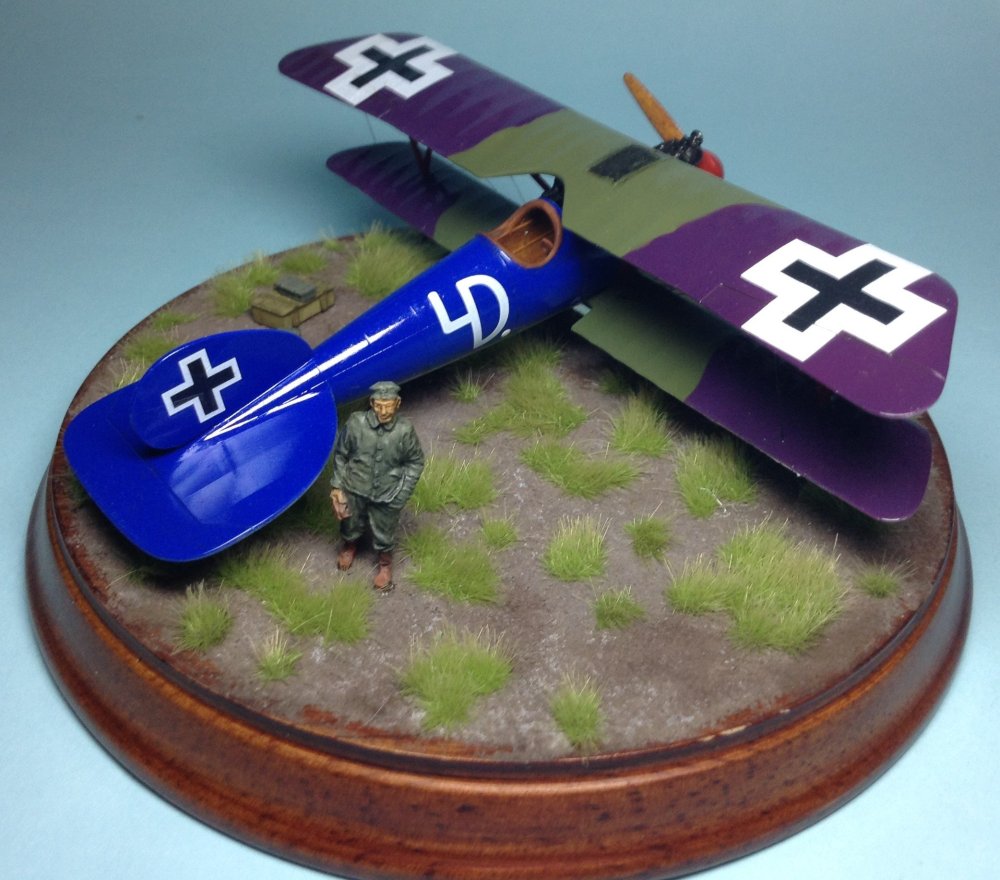
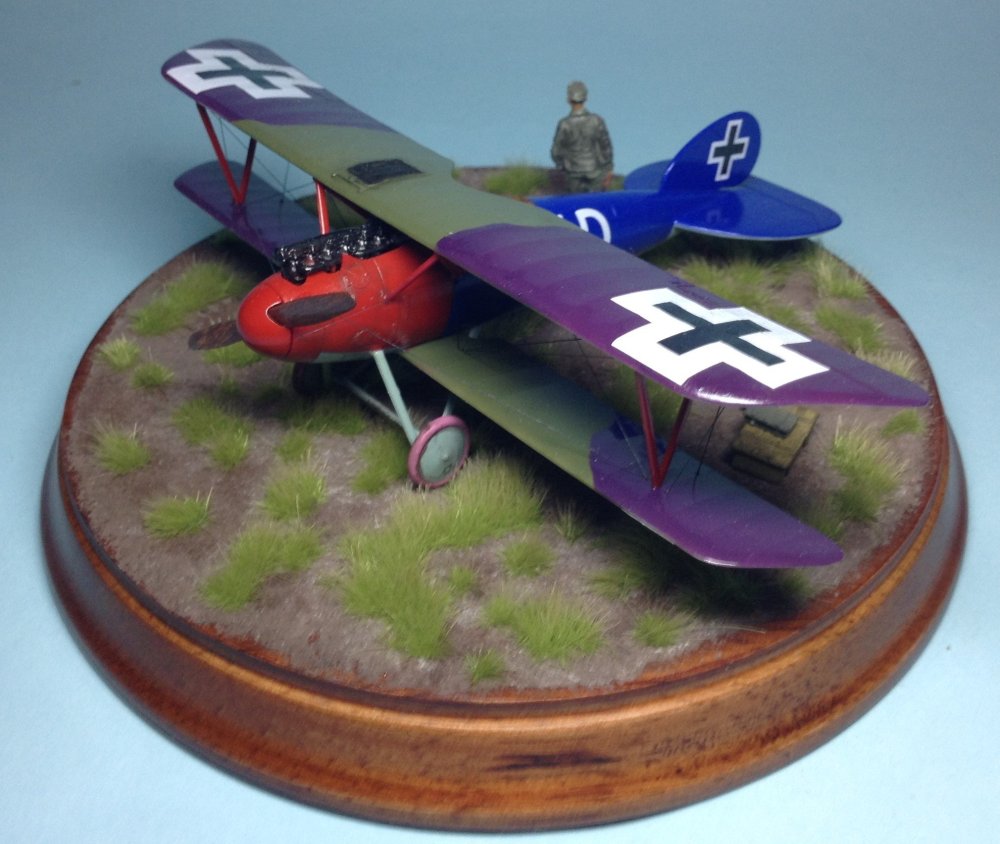
I've had this model kicking around the stash for many years and thought while I'm a bit crook with some head cold and currently high on cough medicine, it might be time to start a WW1 aircraft. I don't usually build WW1 so fitting the struts was interesting, I think I managed to get them mostly lined up. I also in my haze, decided rigging would be a good idea. I drilled small holes and threaded some stretchy line through them. It took me a day but it does look nice. A simple little base was made from a wooden thing i found at a good will shop, grout, some spares box stuff, CMK resin pilot and Mini Natur grass tufts. I left the aircraft pretty clean and glossy, I've read that WW1 paints were high gloss and then faded off, but as this aircraft was not in use long I figured a dead flat finish wouldn't be realistic. The aircraft is apparently one flown by Olivier Freiherr von Beaulieu-Marconnay in probably Jagdstaffel 18, some time in late 1917 or early 1918. He would score 25 victories flying mostly the Fokker DVII between March and October 1918. On October 18th he was hit in the leg, probably by friendly fire. He managed to get back to base but was not expected to survive his wounds. His recommendation for the Blue Max was rushed through, but he would not live to know he'd become the youngest recipient of the award at just 20, dying in hospital 10 days later, only a few hours before confirmation of the award arrived.

-
If I may put forward the tight arse end of the airbrushing spectrum here, I bought a 40 dollar Hobby Easy double action and 5 bucks worth of .2mm parts from Temu and have an airbrush that works like a charm. 1/72 free hand mottle and camouflage is done without trouble. I'm not knocking your purchase at all, I'd love a Iwata HP myself and very seriously considered dropping 340 bucks a few weeks ago on one, but just couldn't justify that at the moment.
-
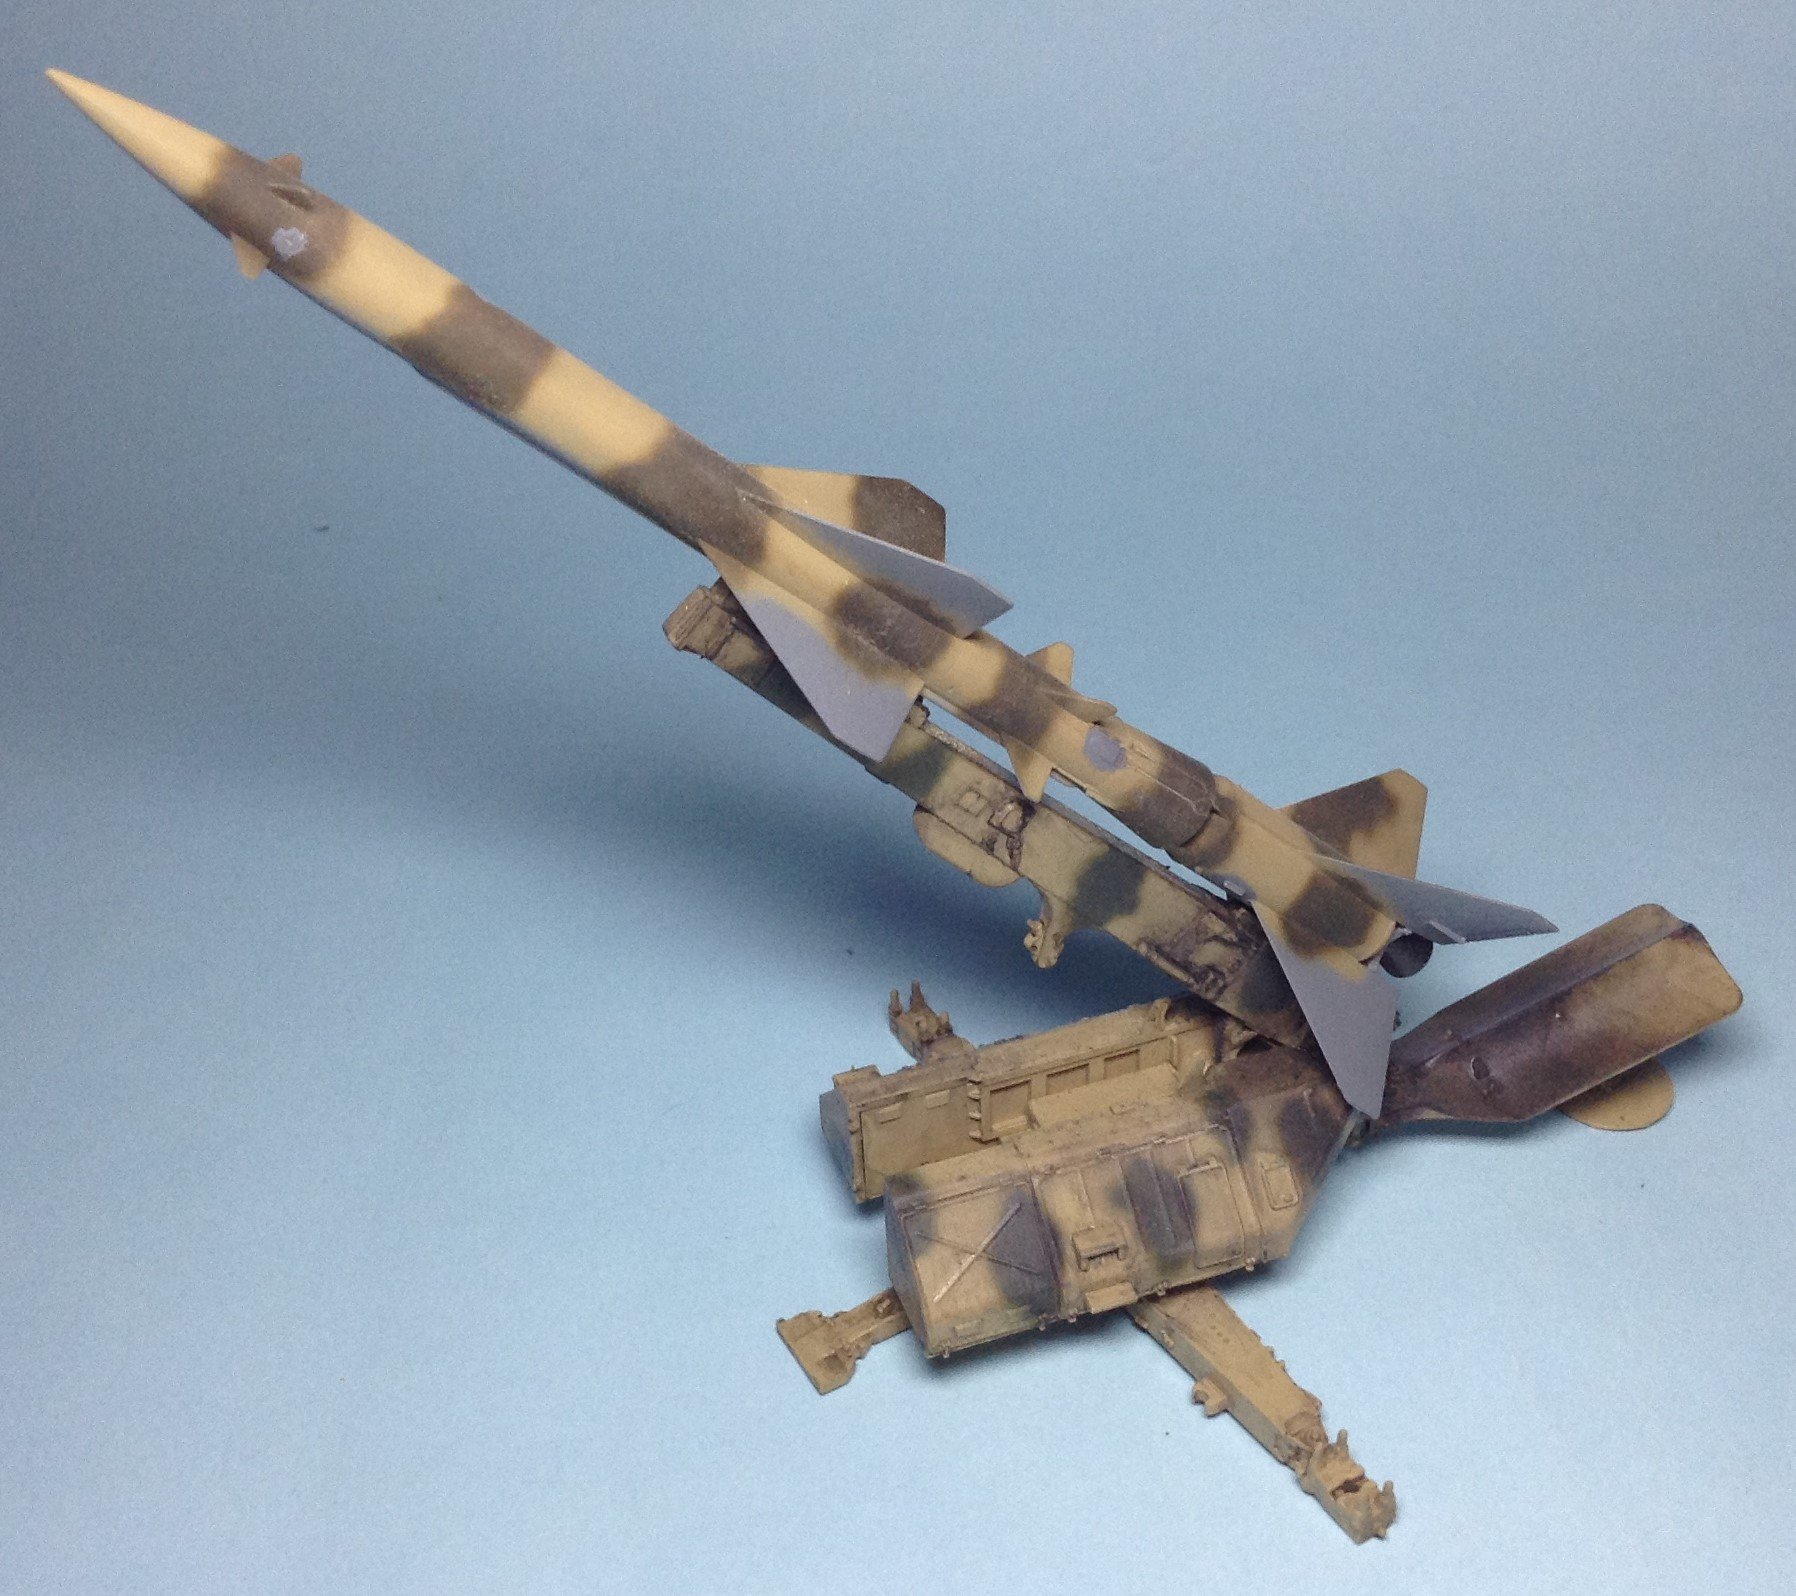
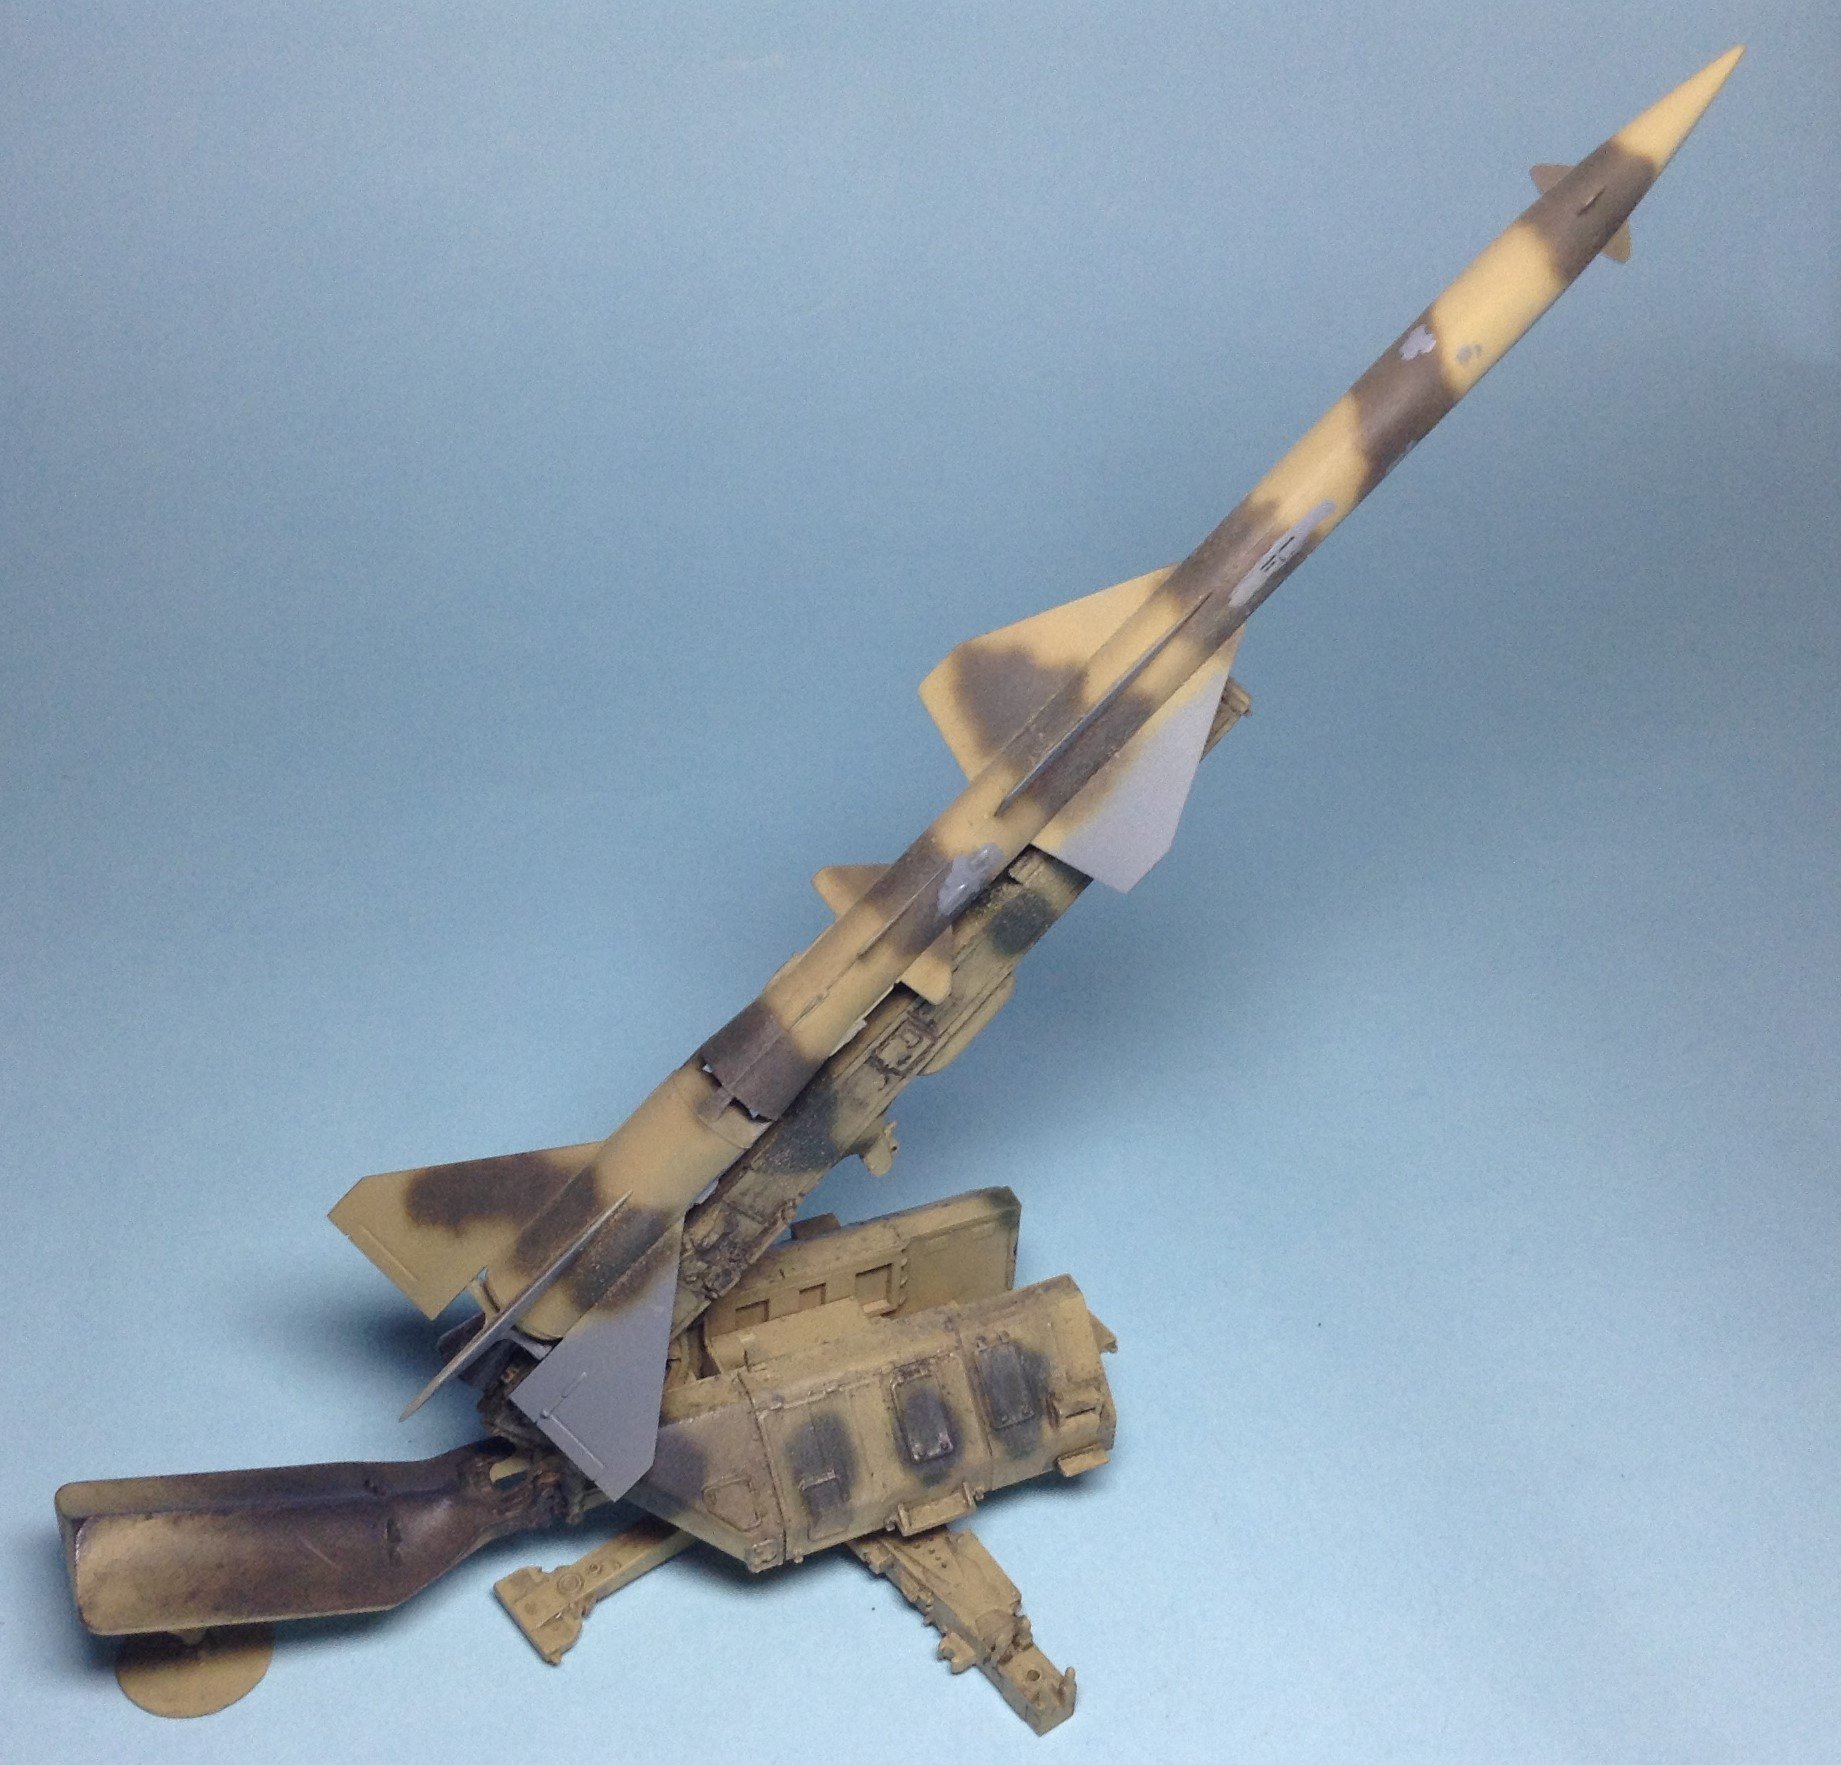
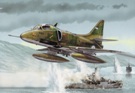
A nice little kit from Hobby Boss, literally no filler required and most of the kit fits together with minimal glue. I really like how they molded the missle, using slide molds I'd say as it comes in only two pieces and glues together where the missile itself parts after launch, so no nasty seams down the length to fill and sand. I painted this up as a missile in Egypt I think, that's what the caption said anyway. It looks as though the missile itself had been camouflaged on the launcher itself, with the lower surface left in the original blue grey paint. If you like missiles this makes a good weekend build.


-
- 6
-
-
That was one of my favourites too.
-
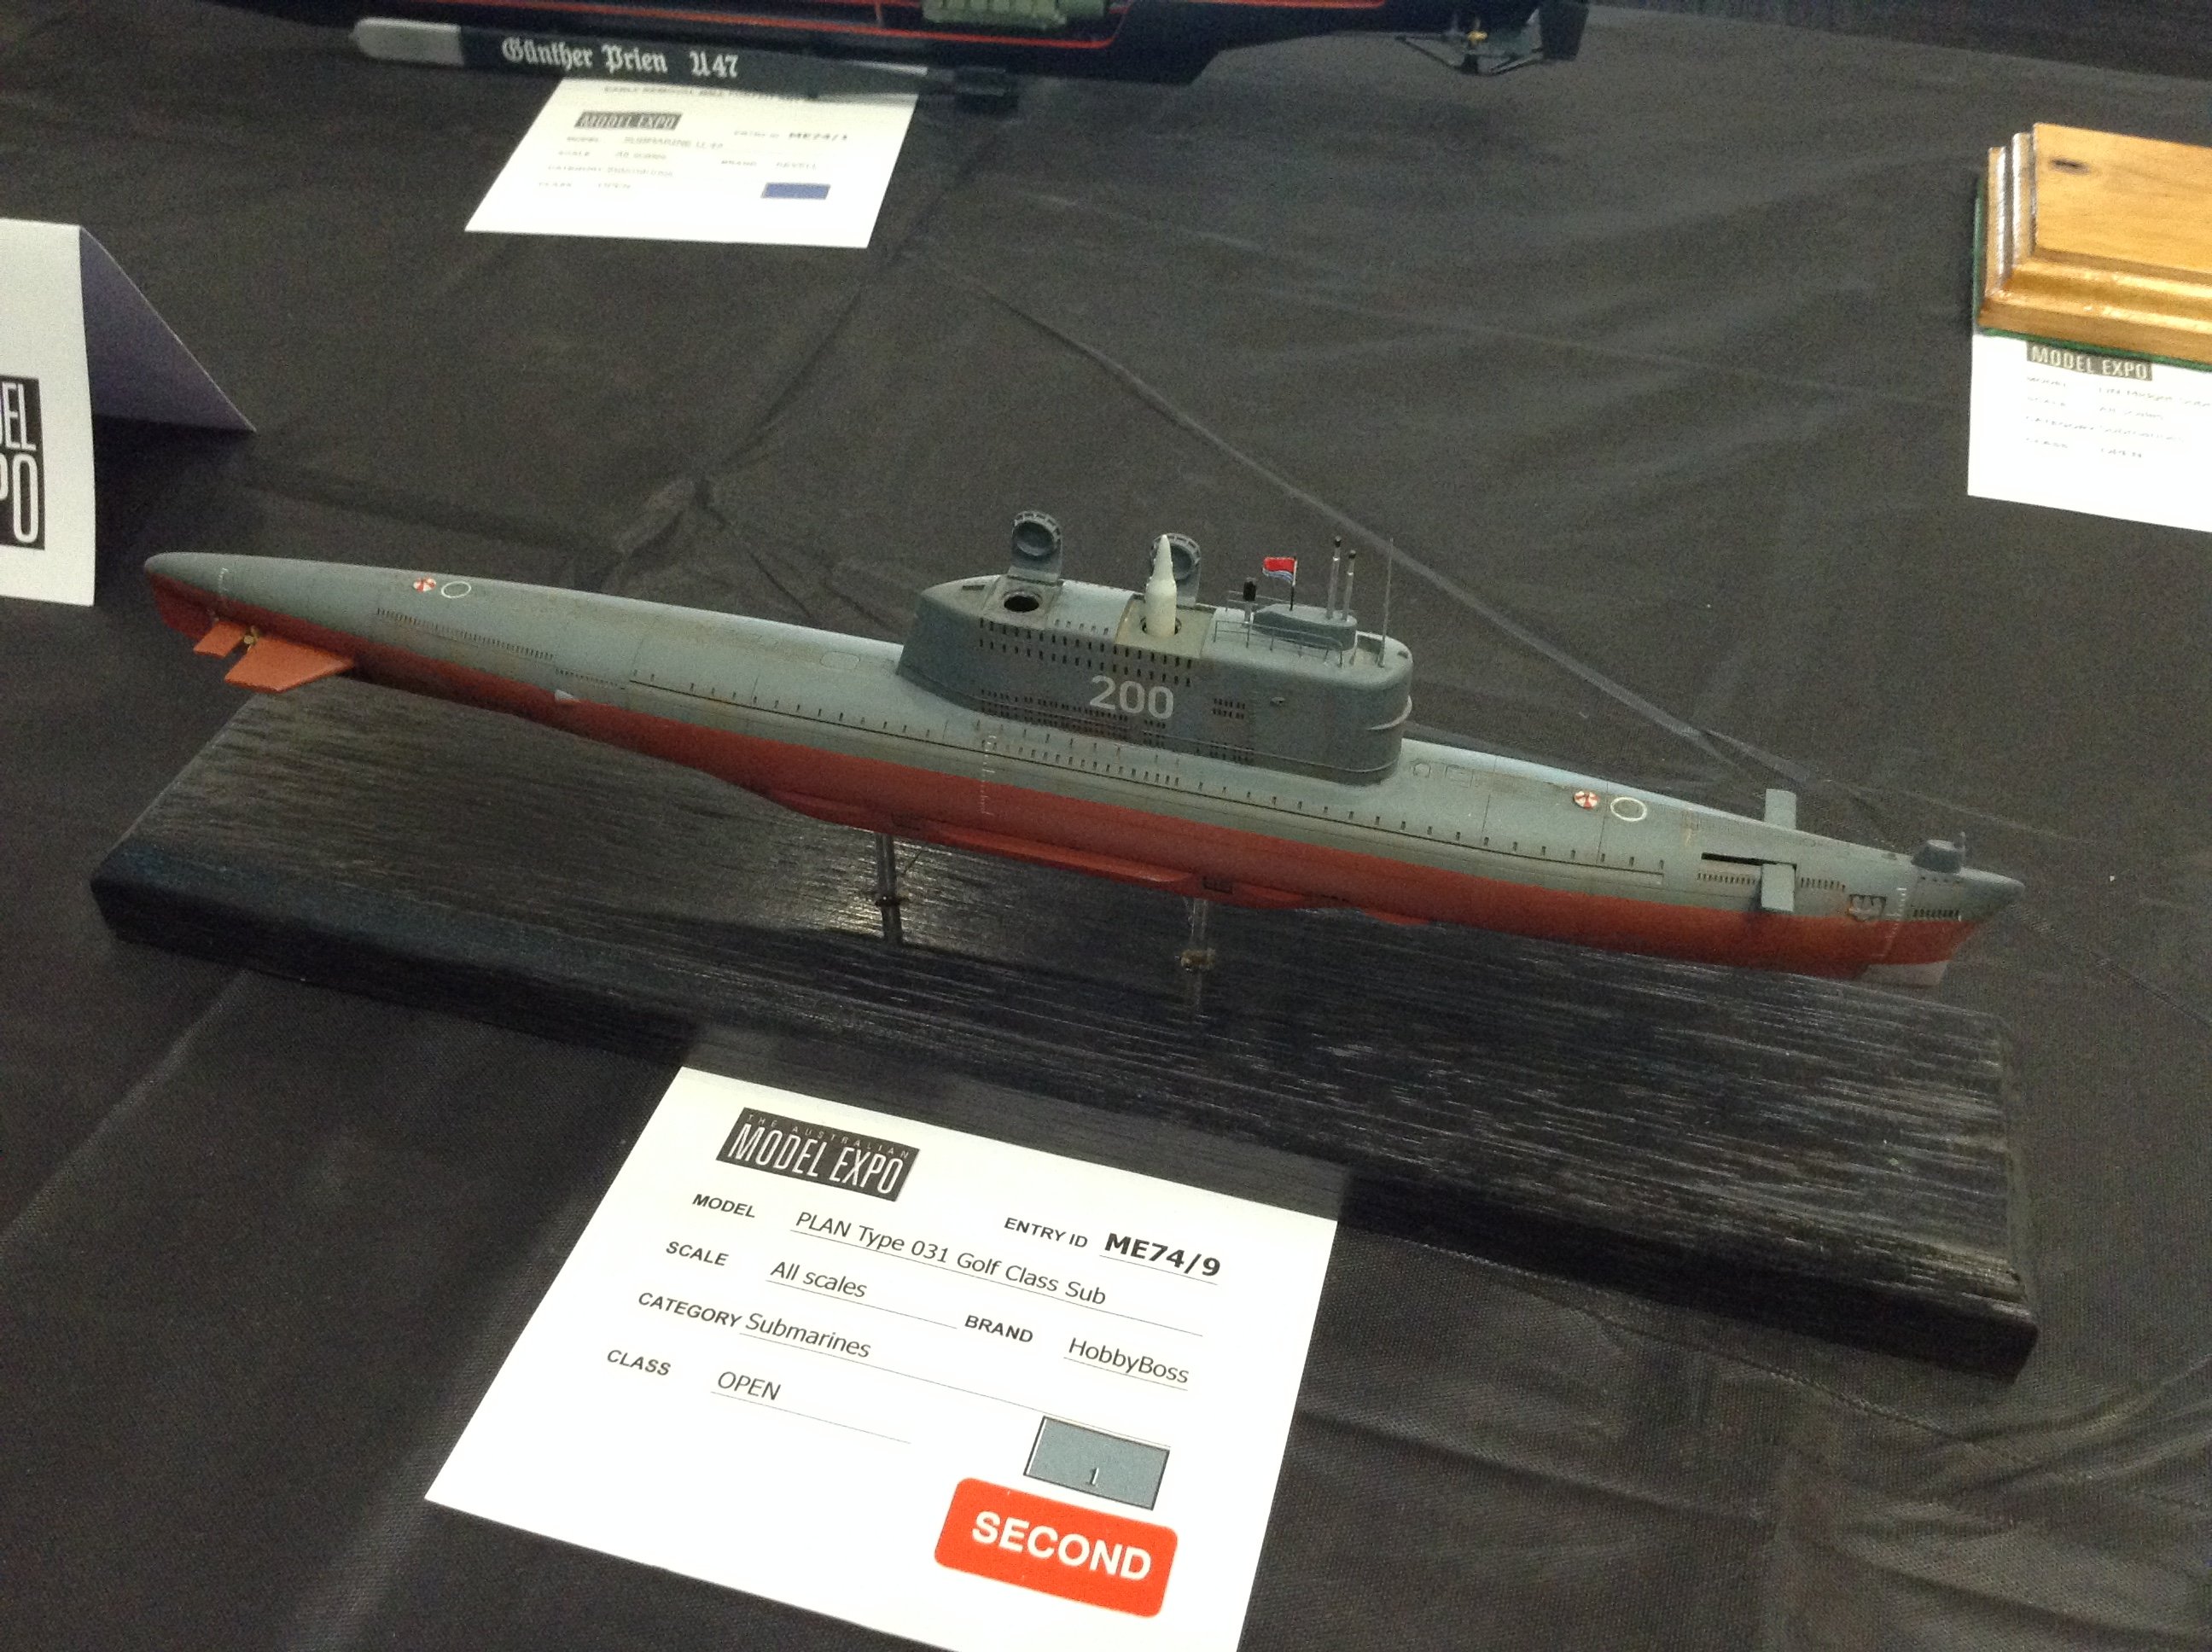
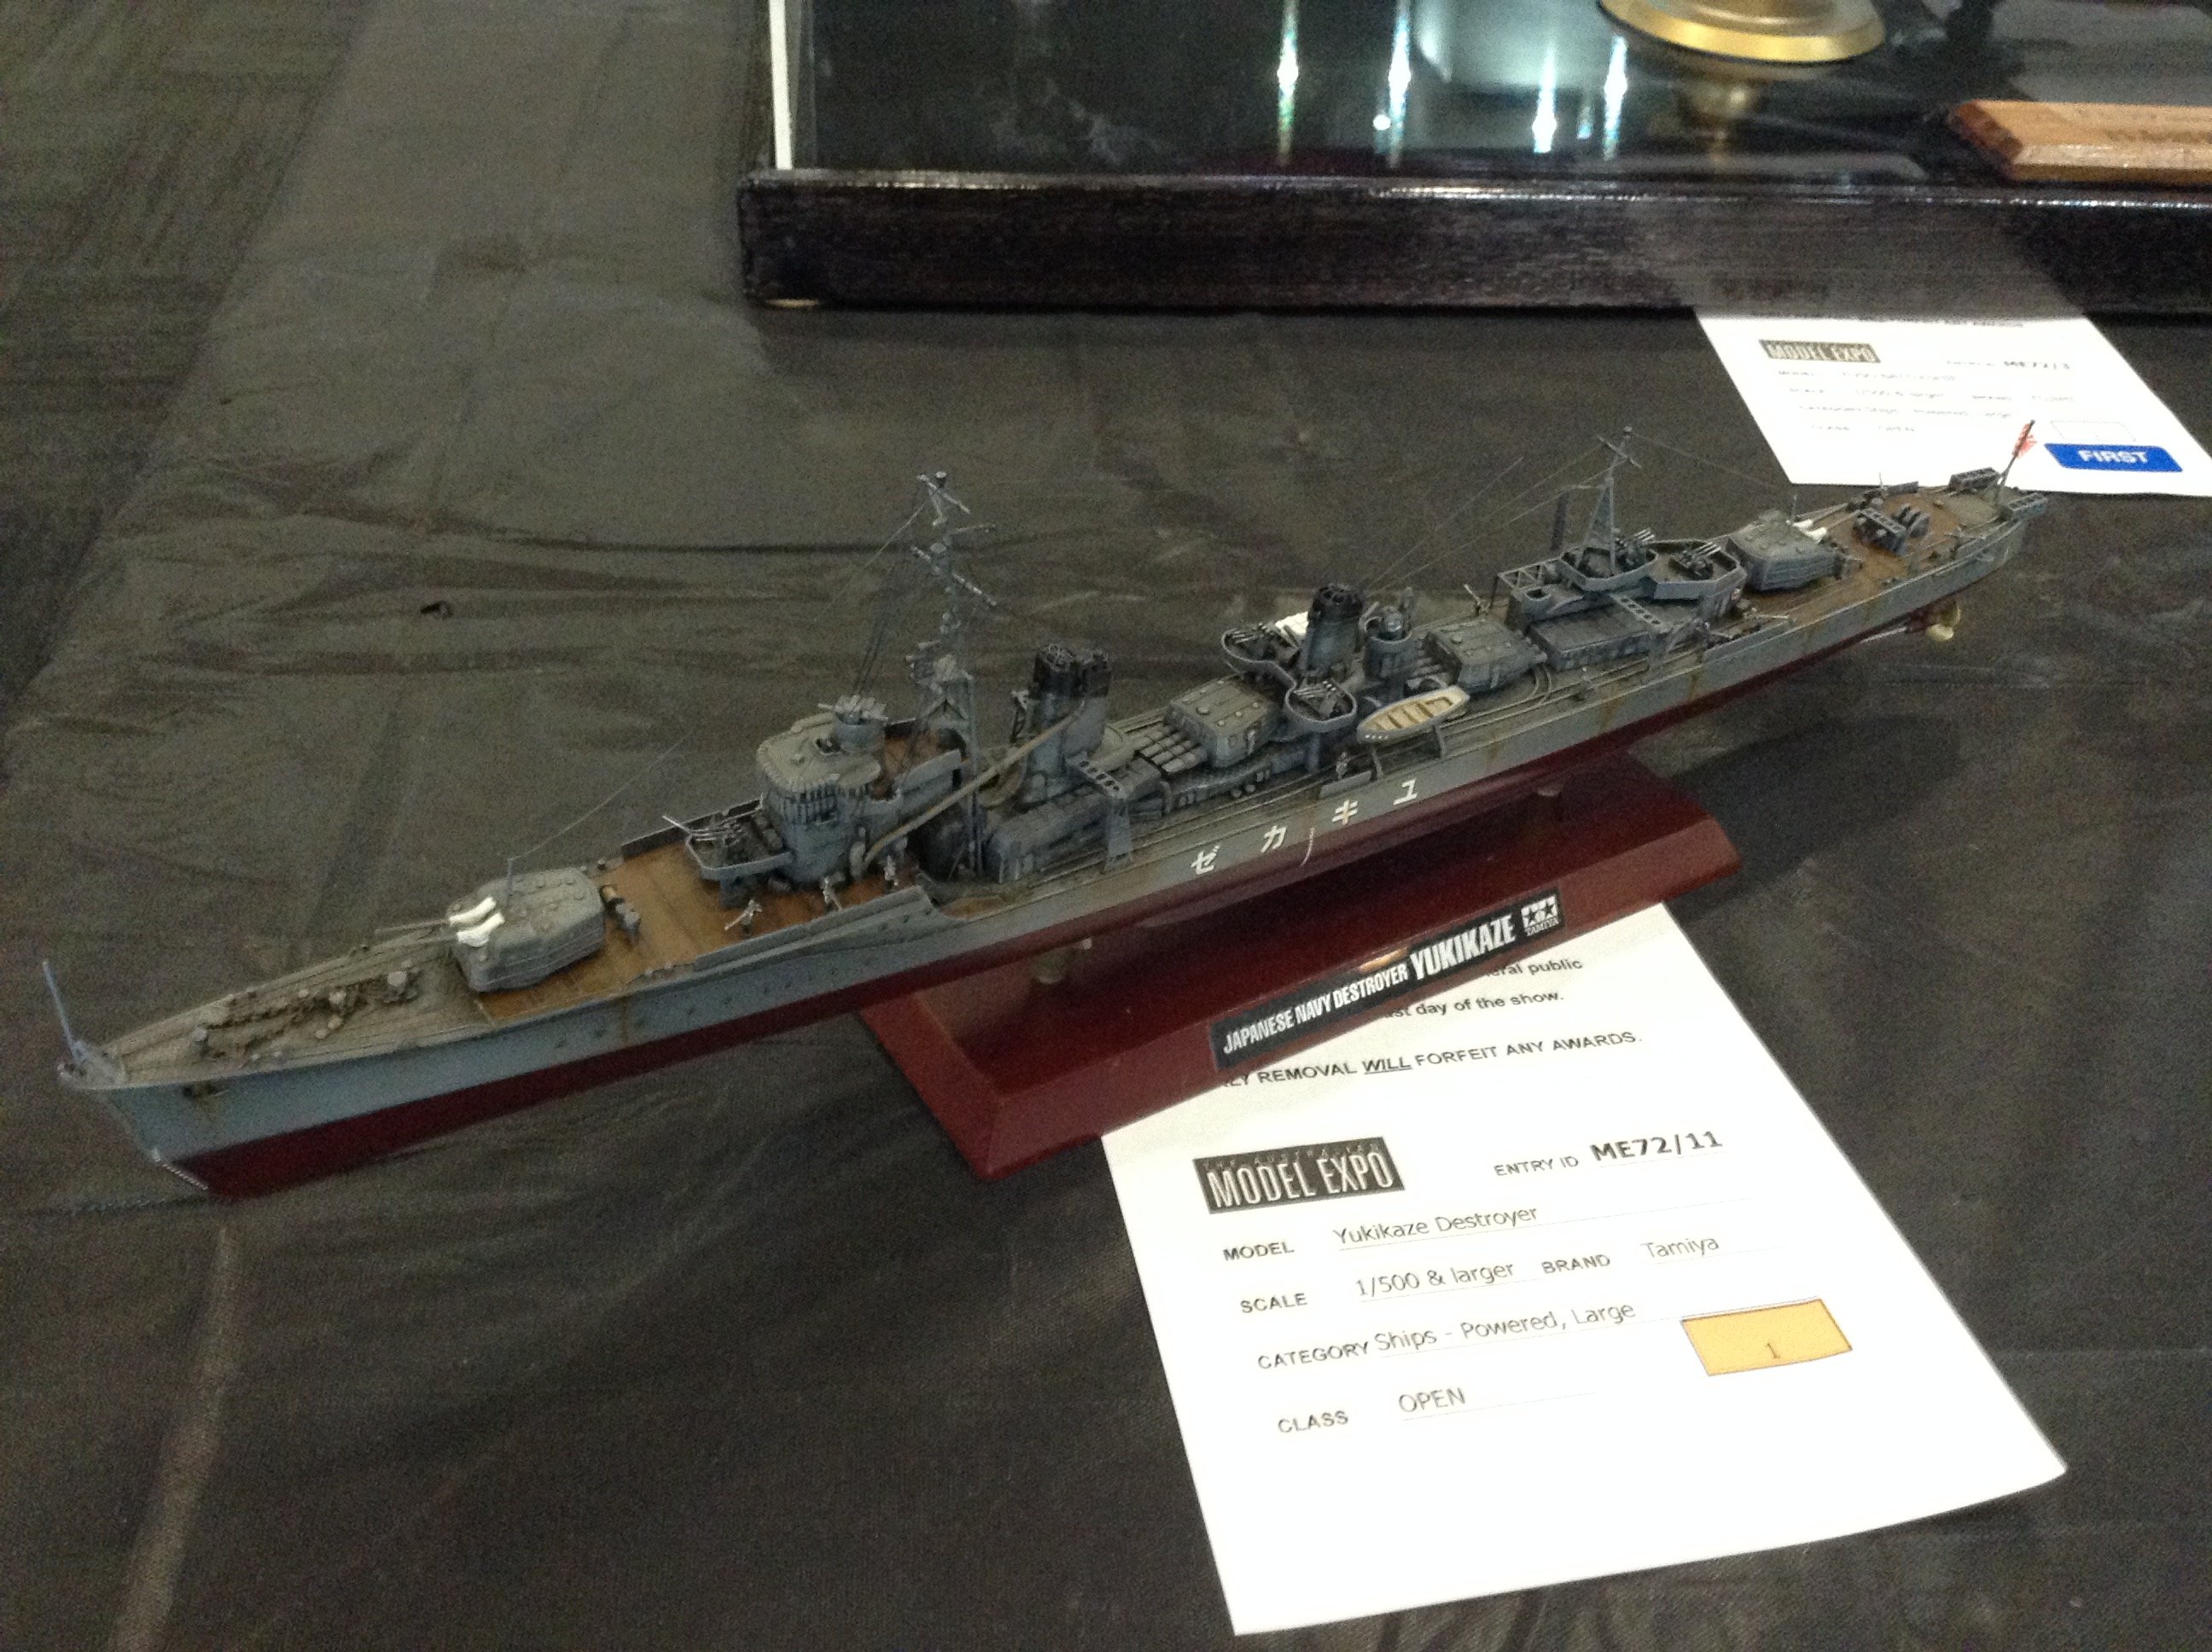
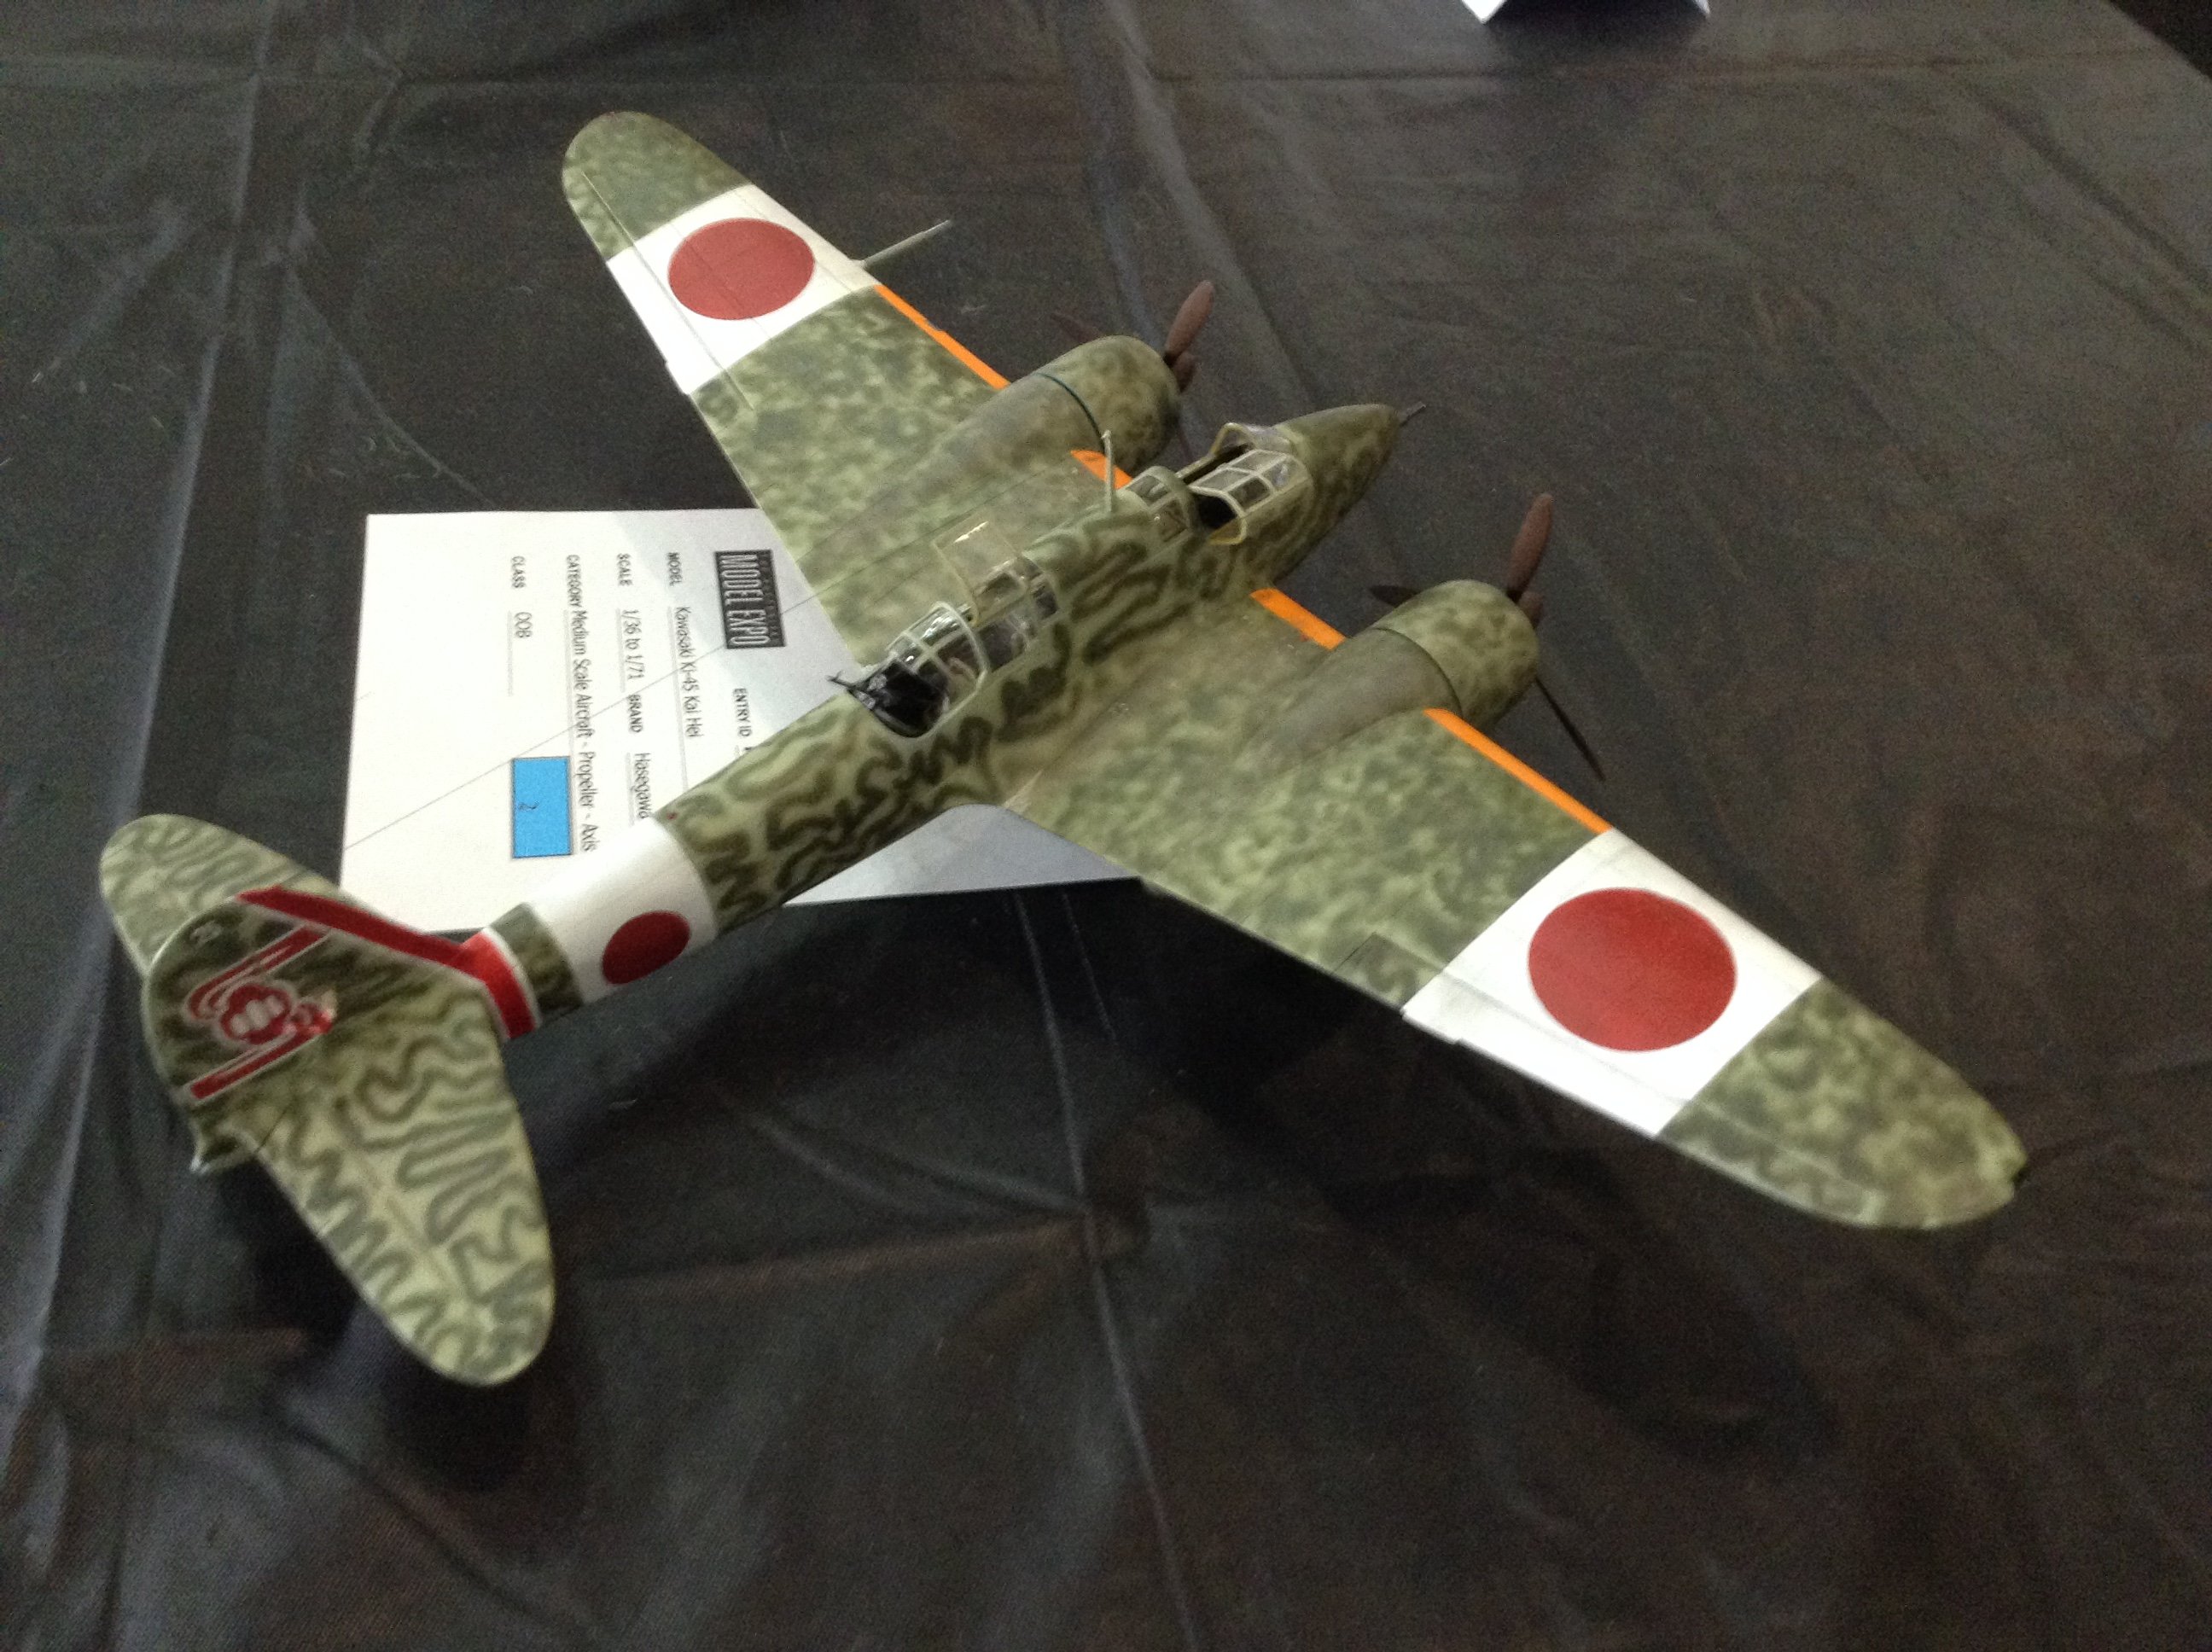
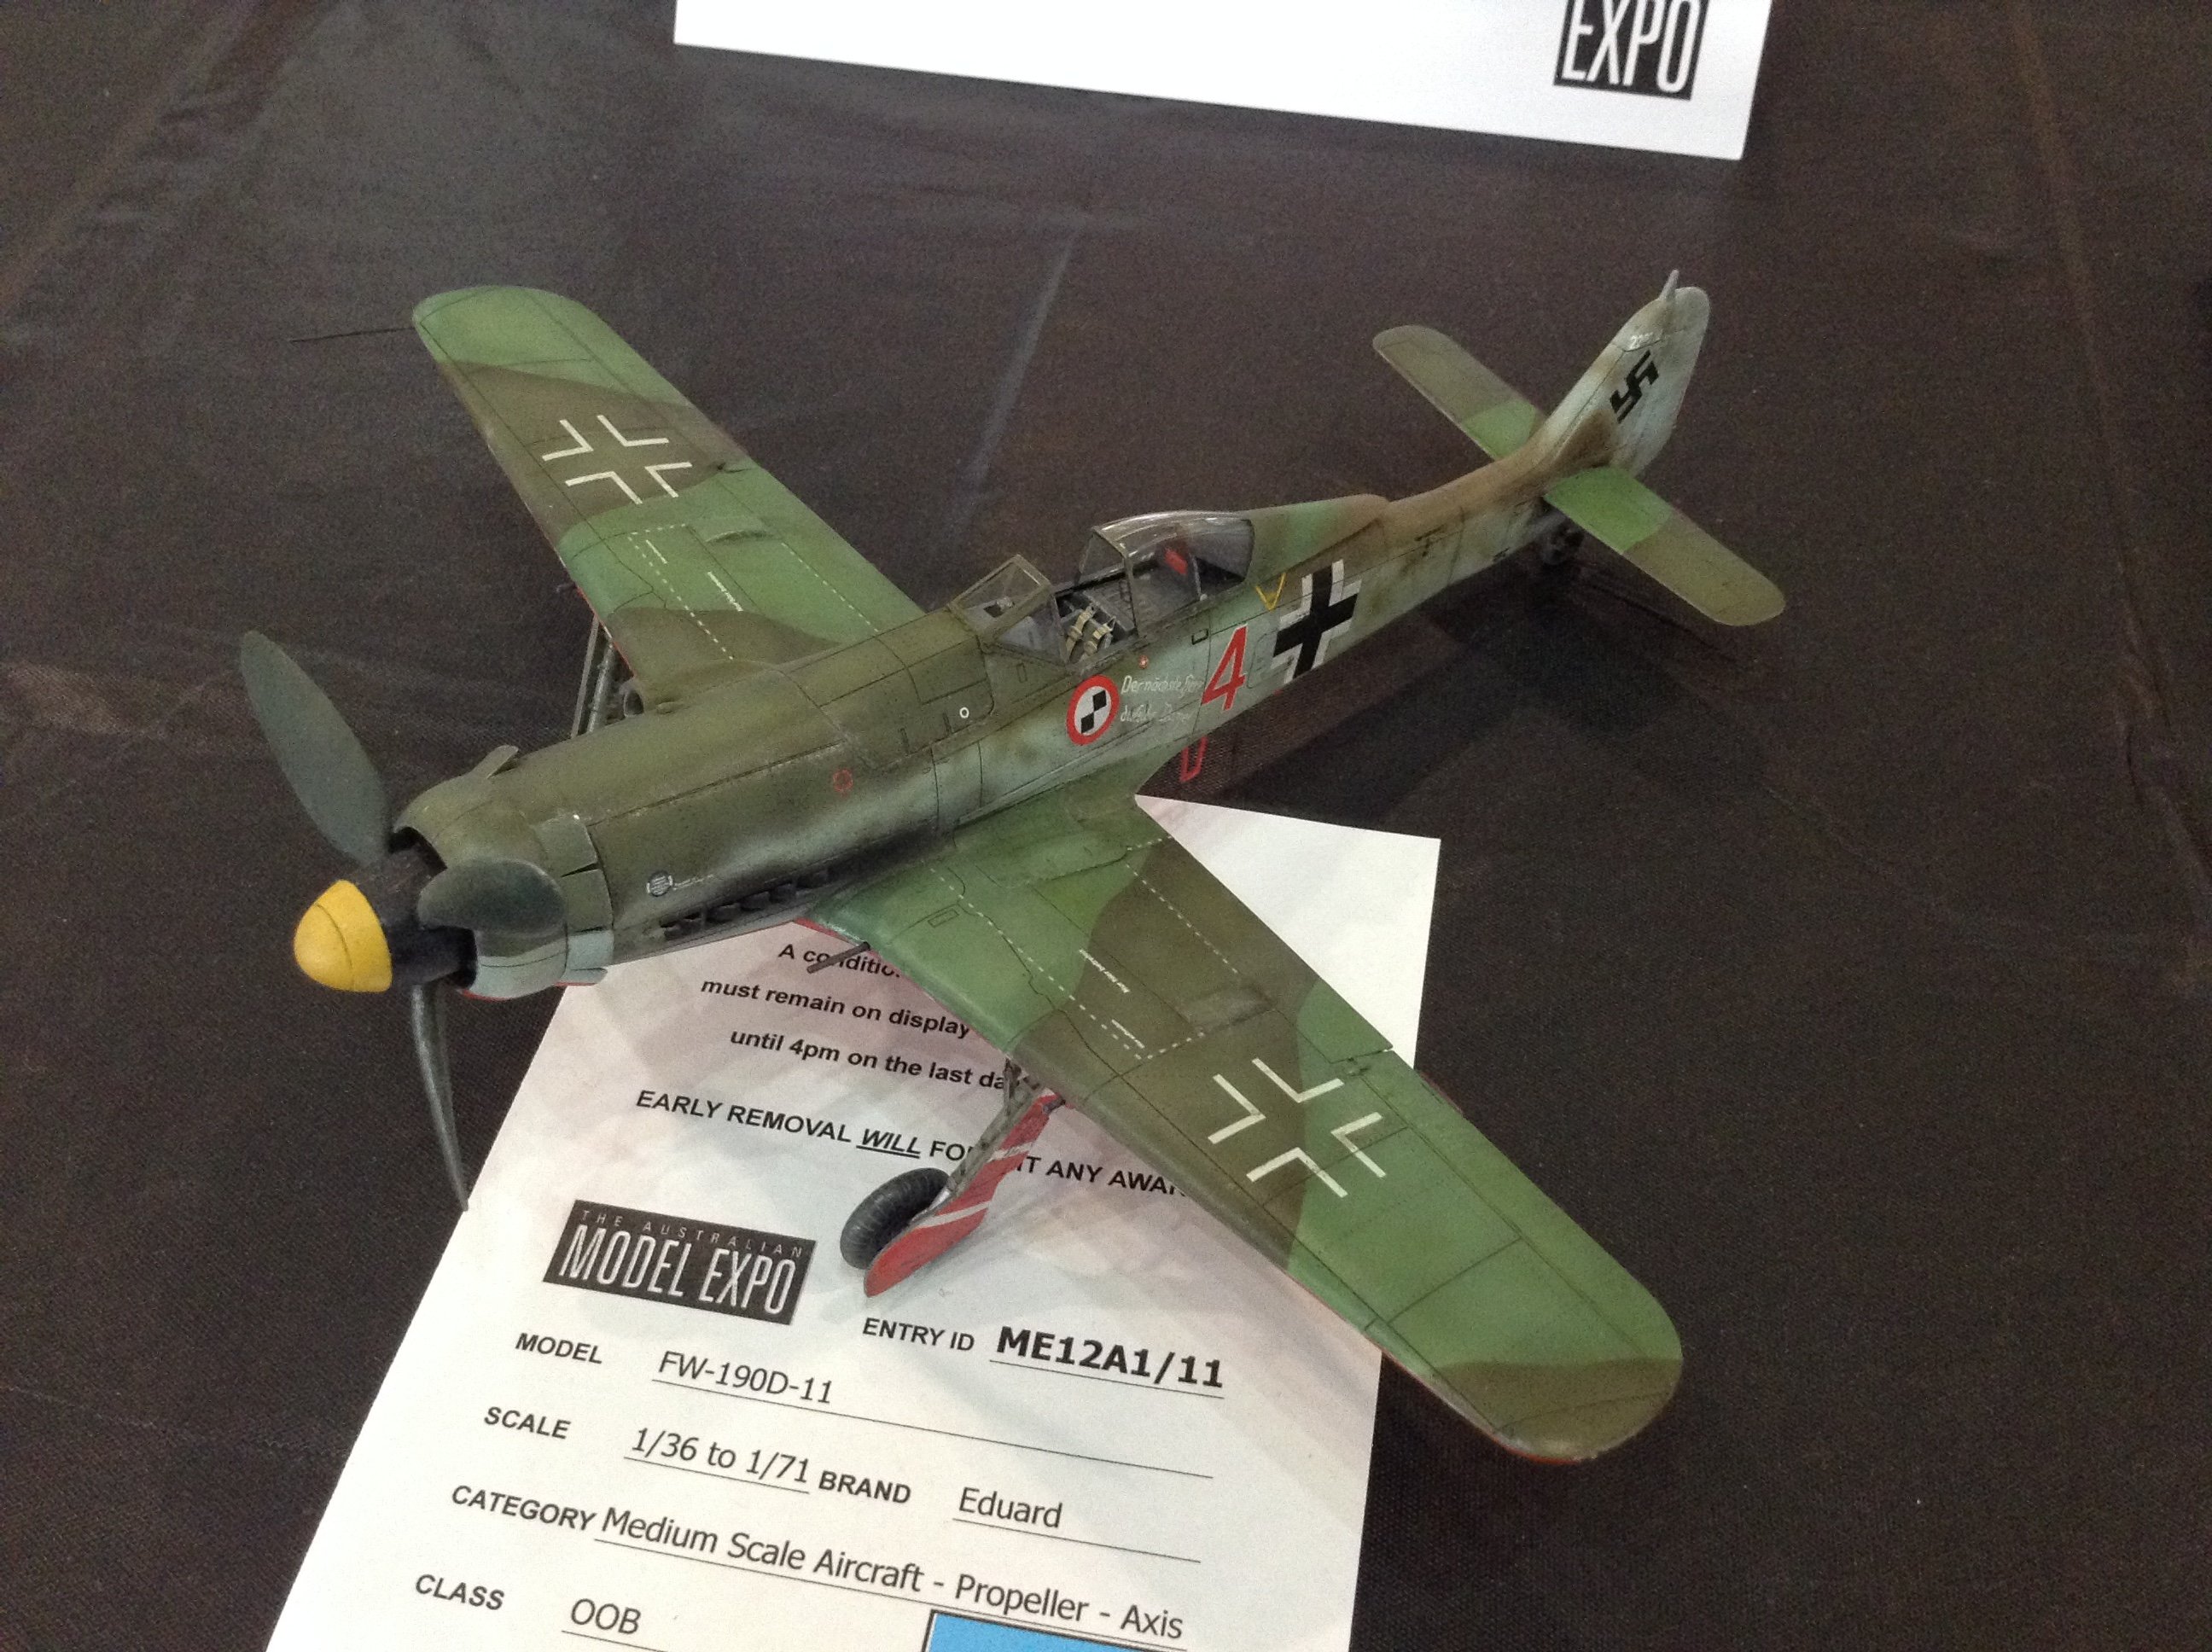
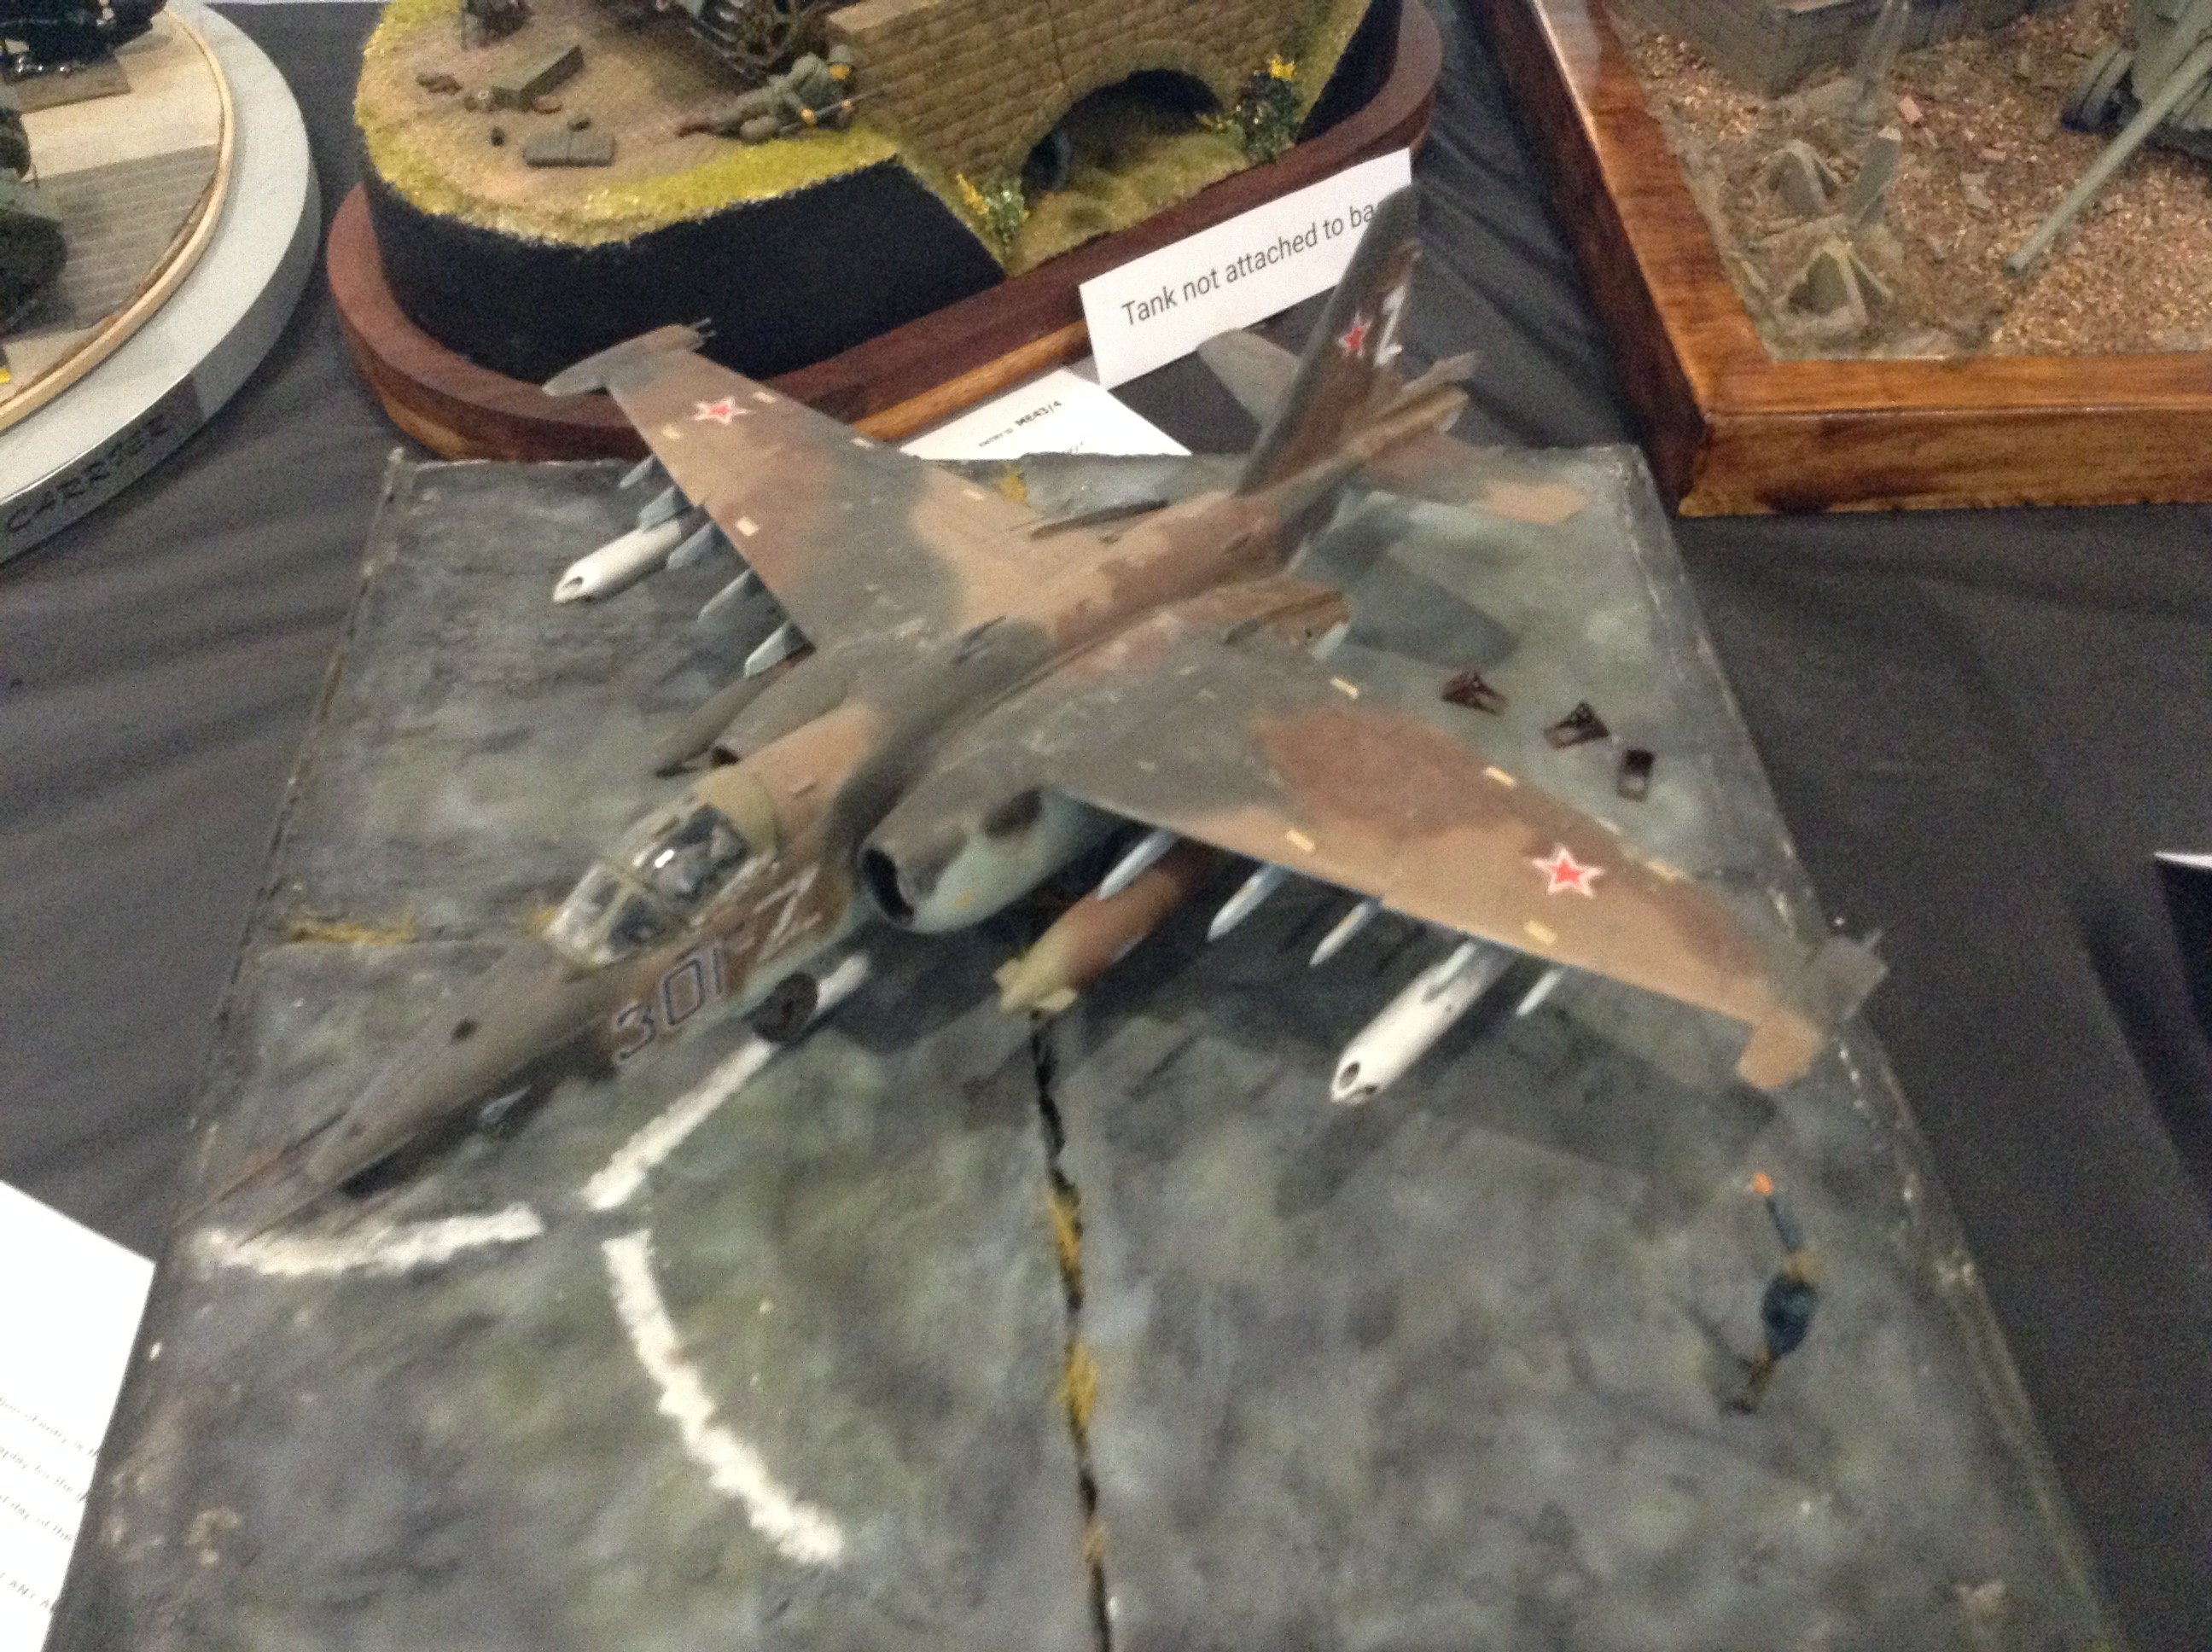
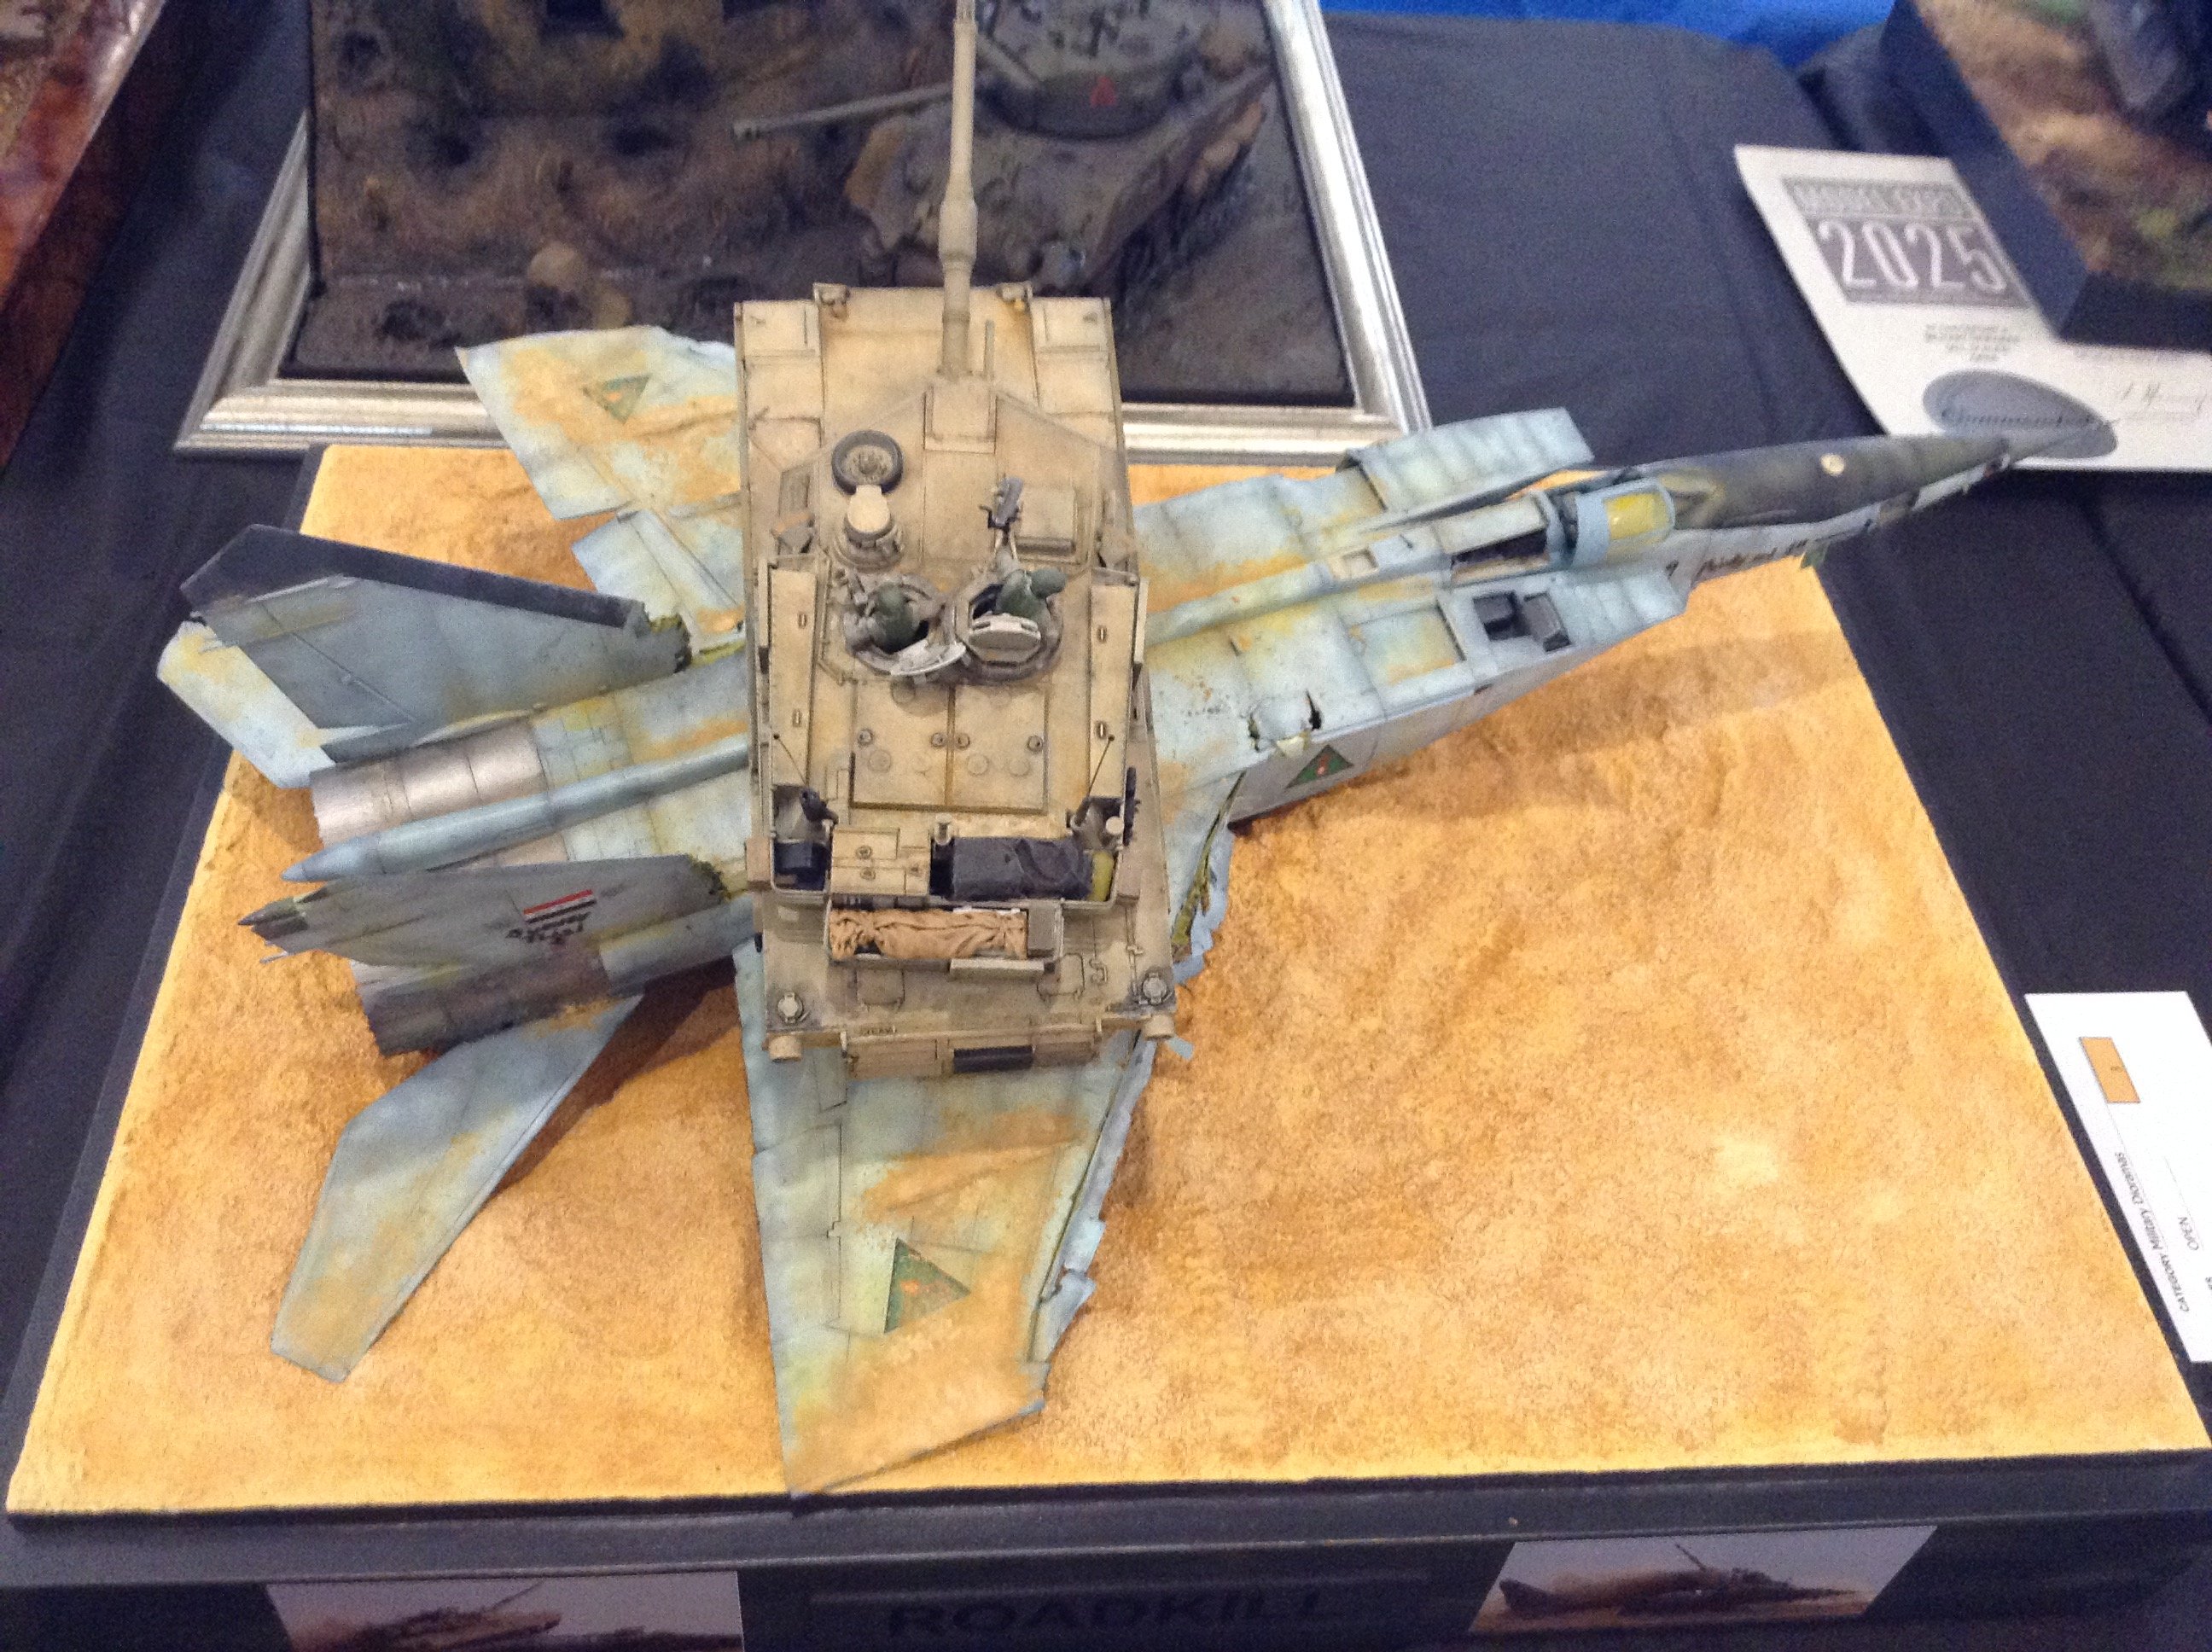
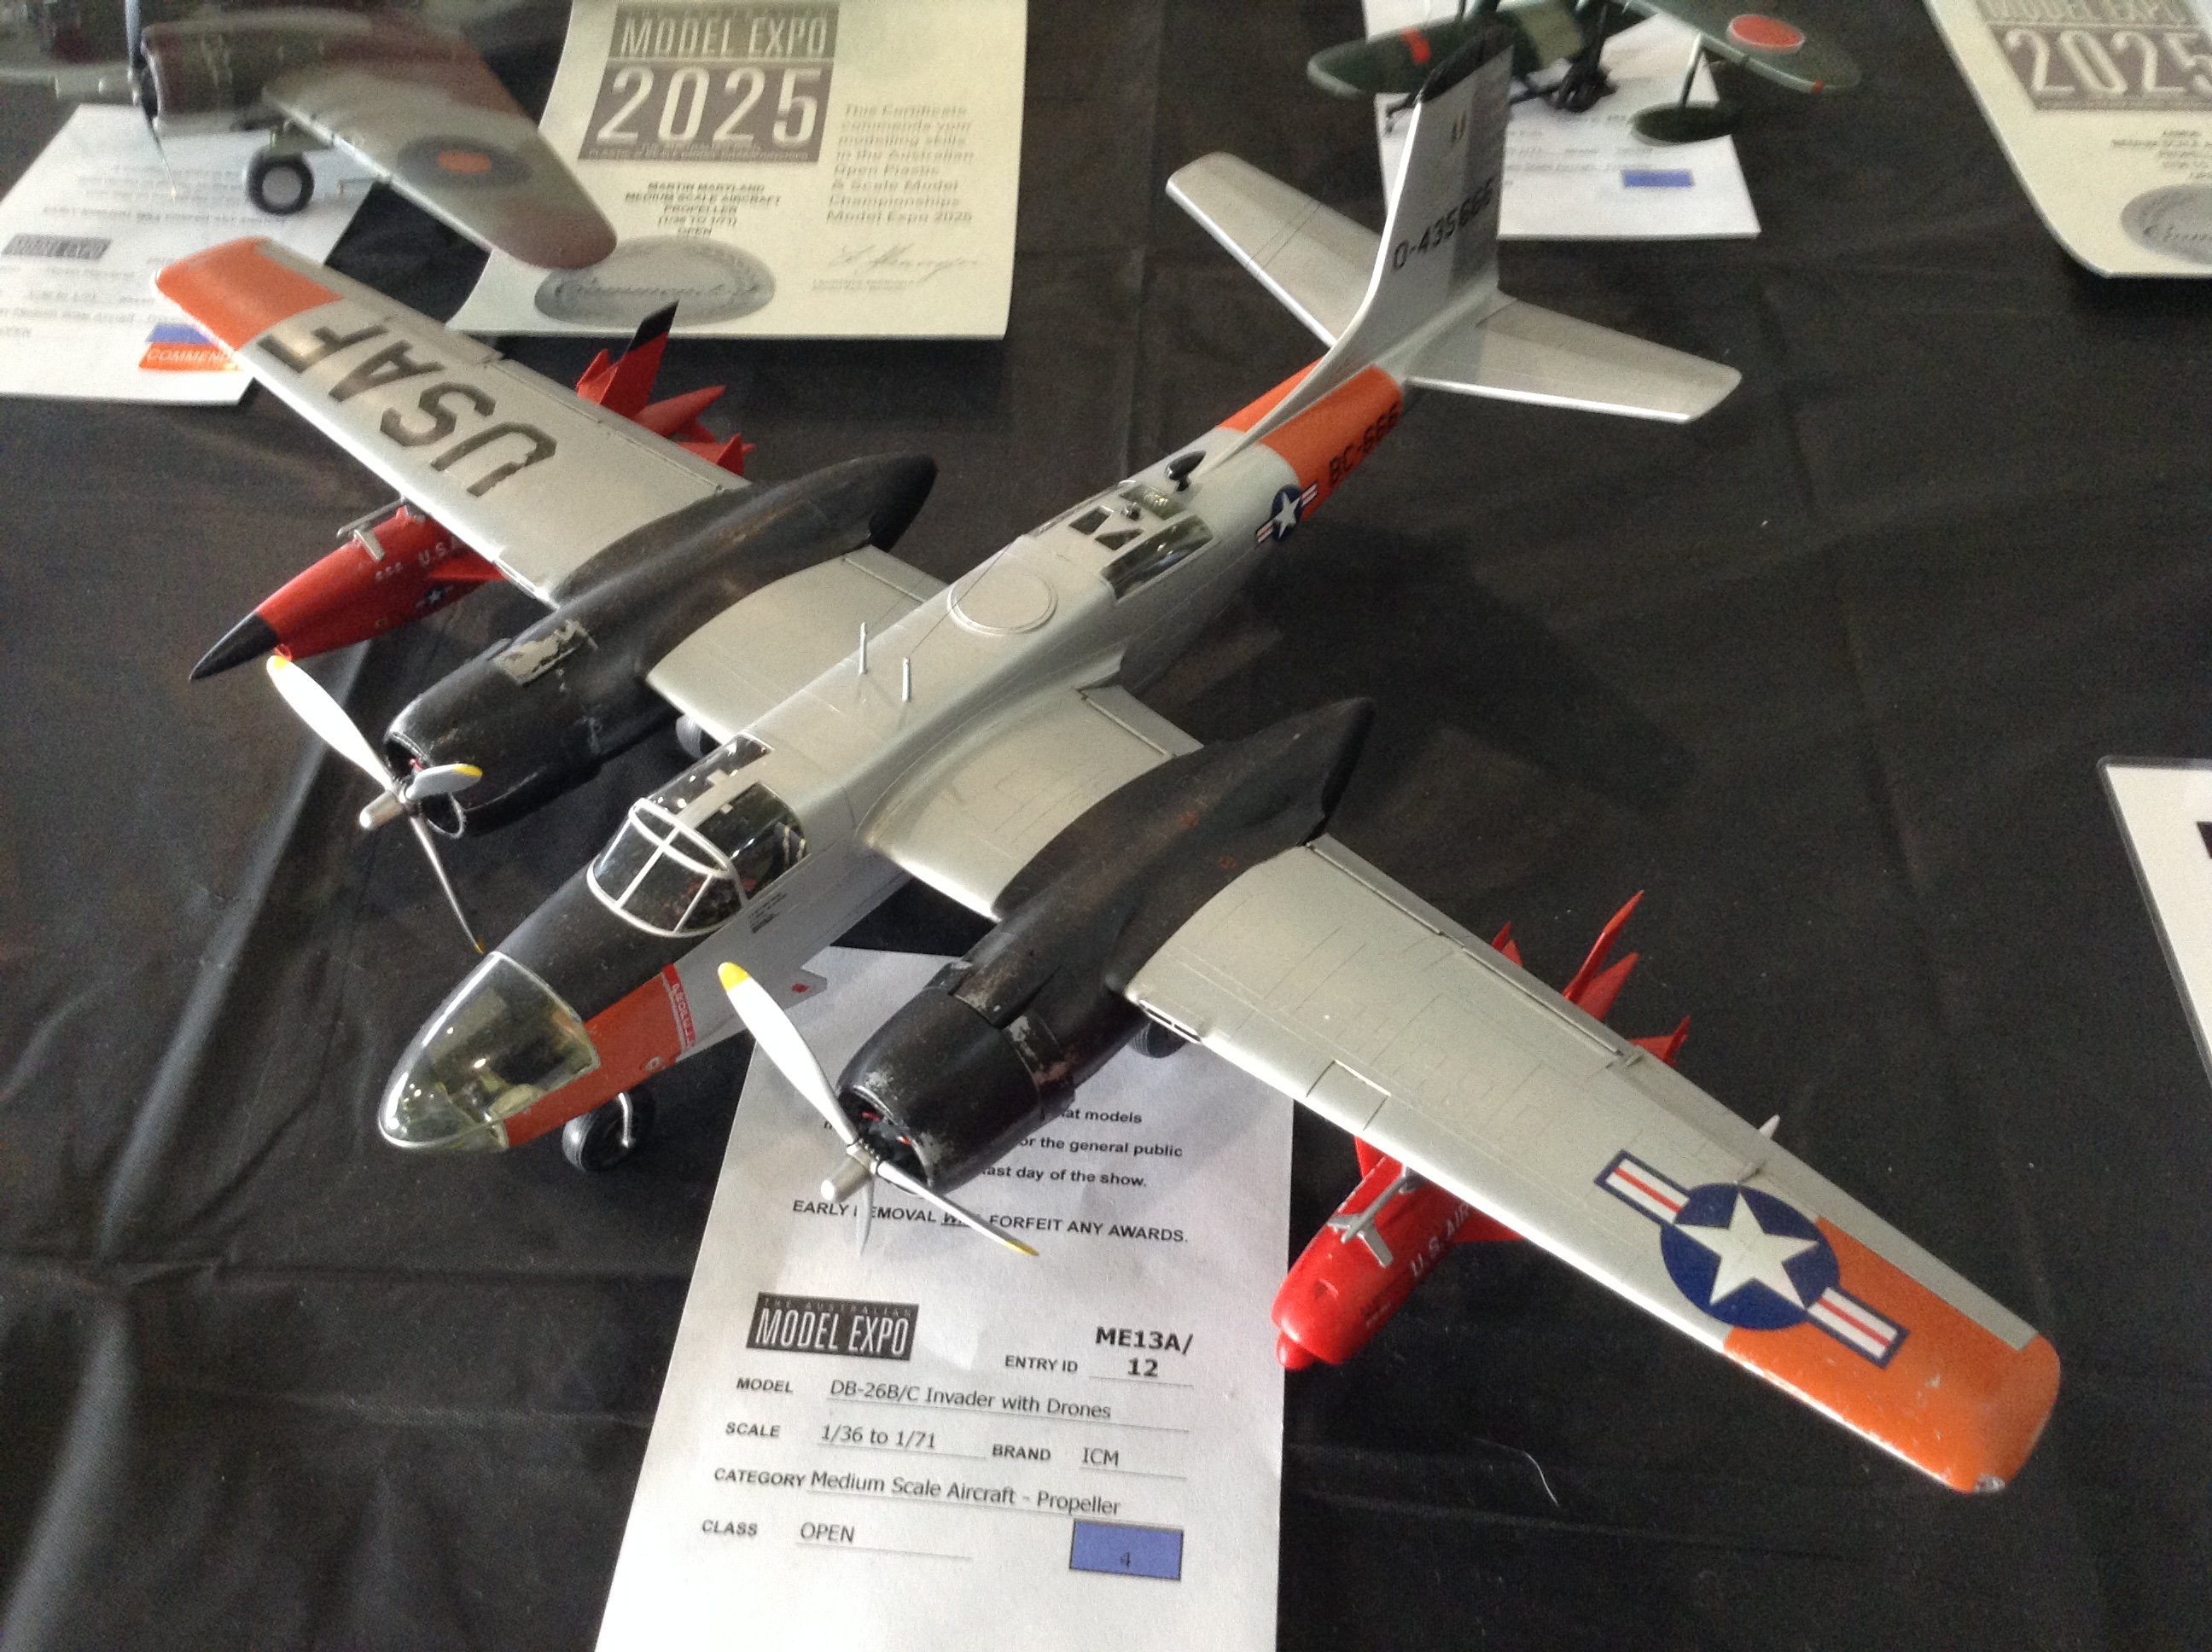
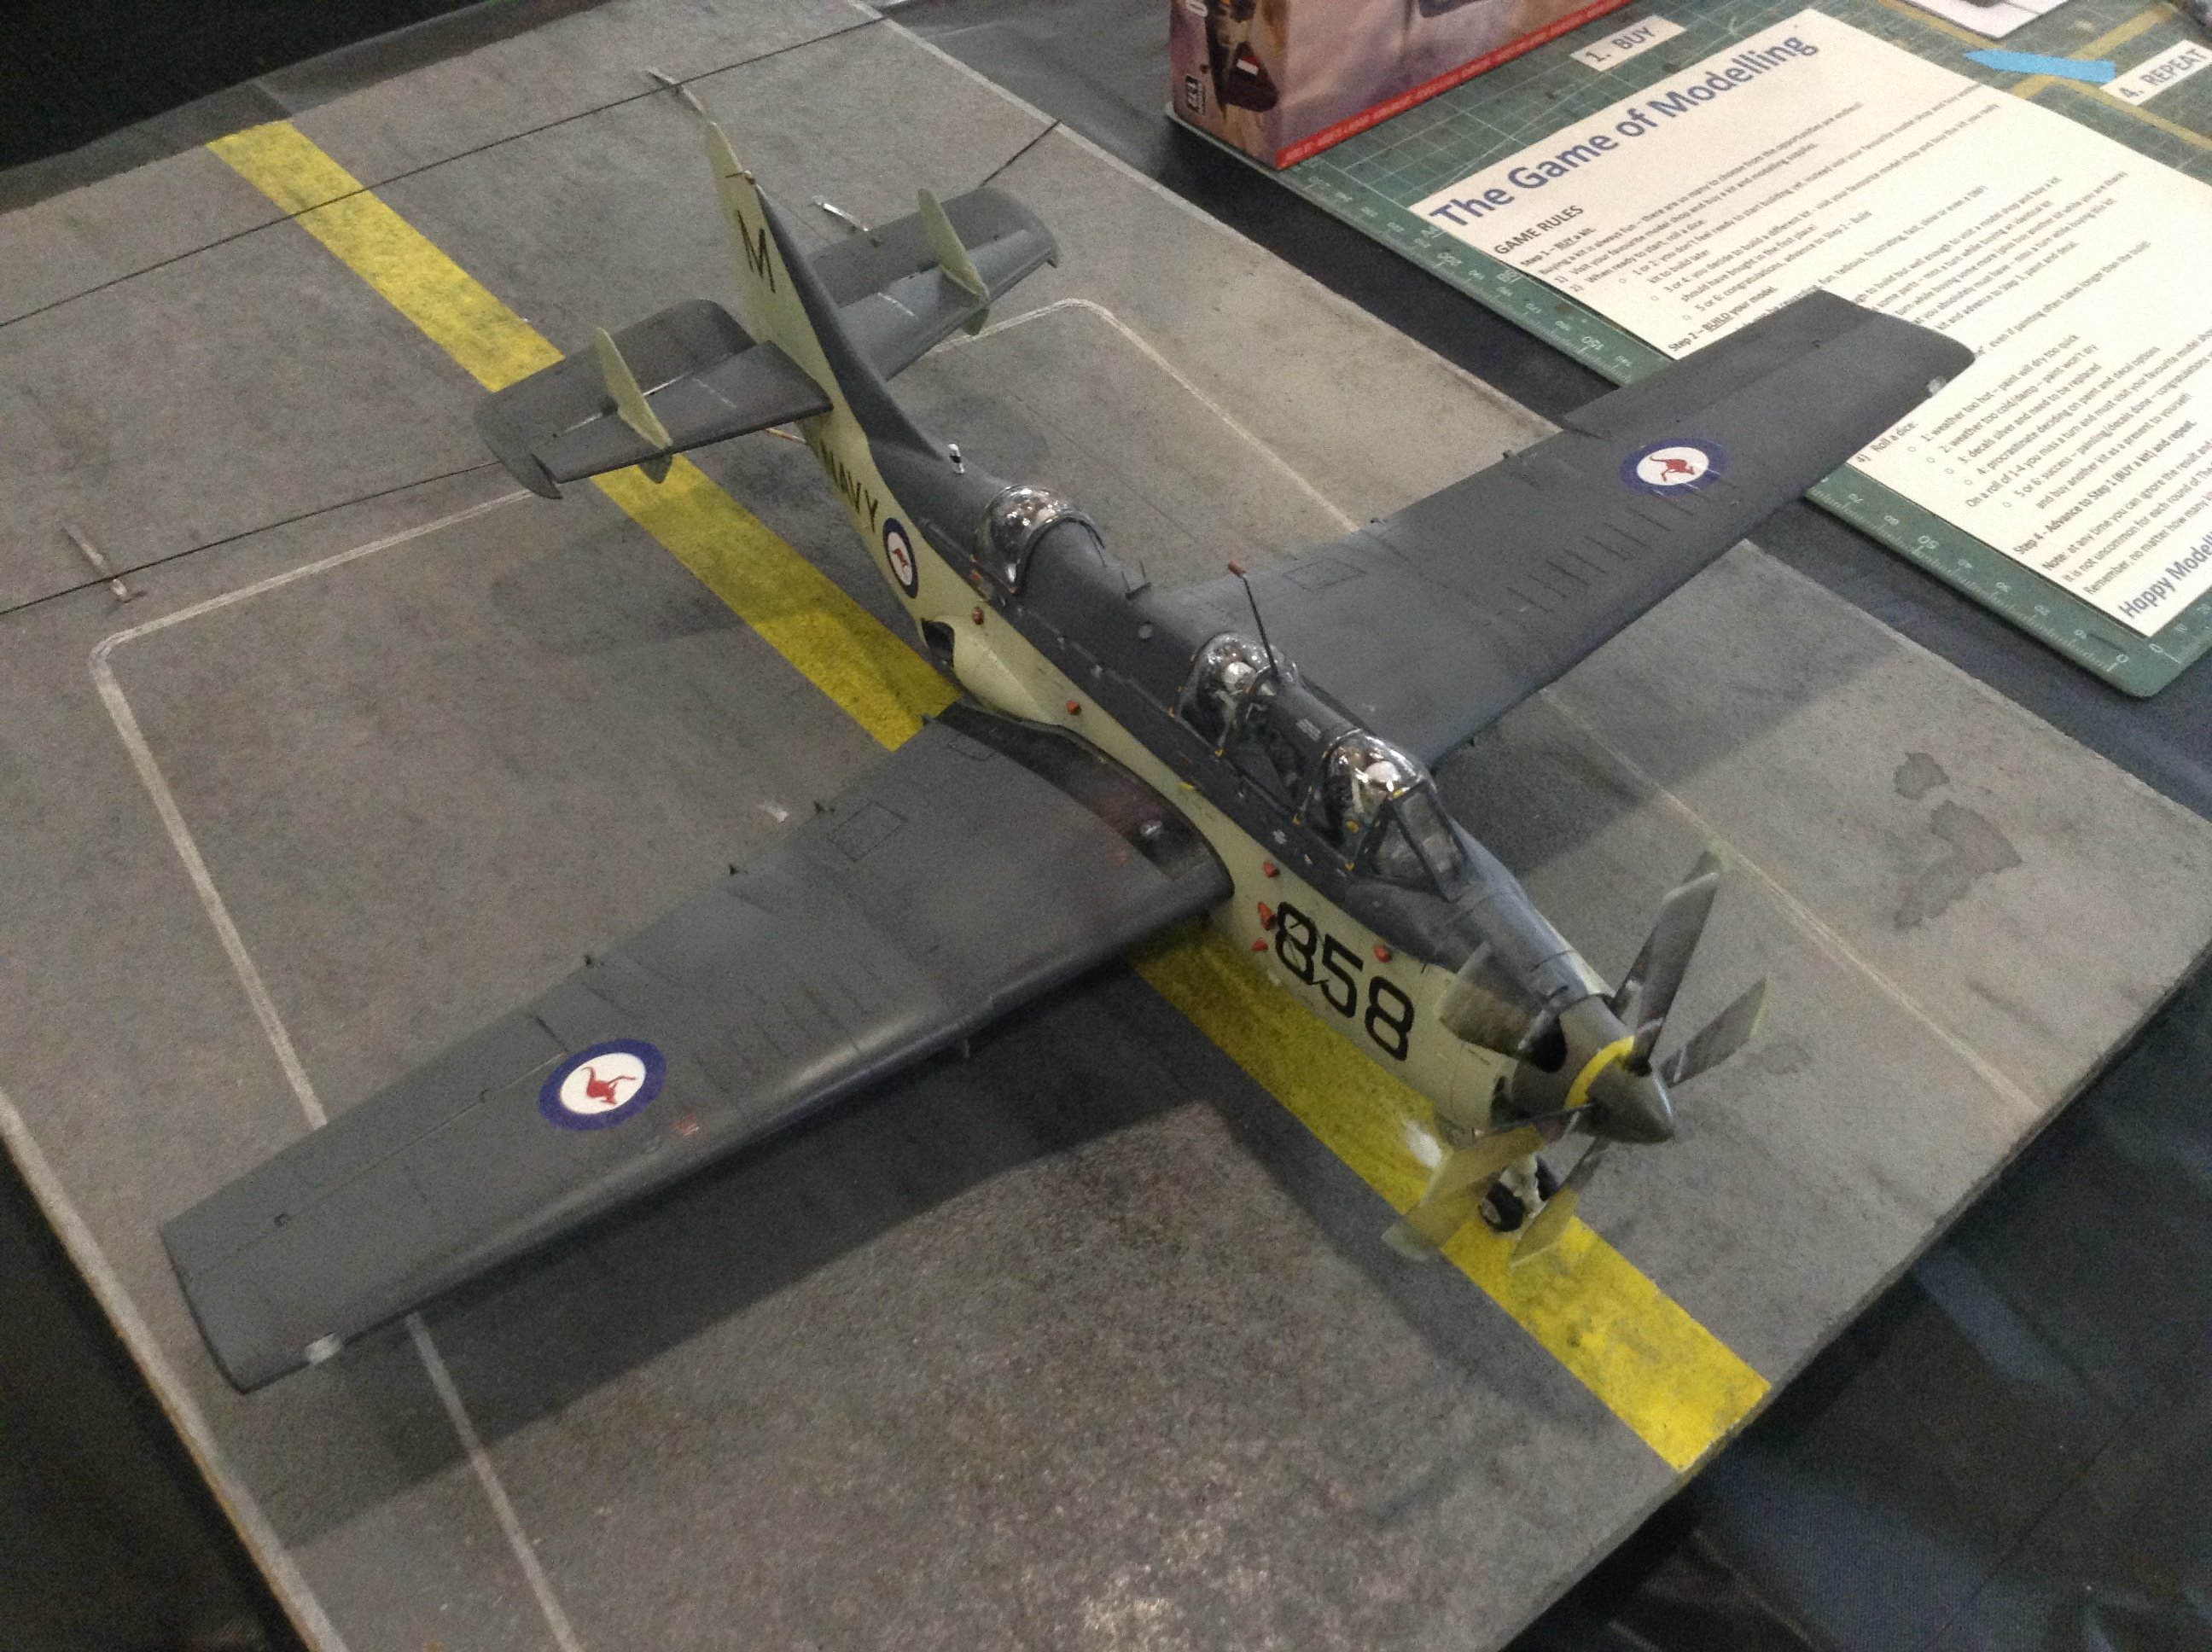
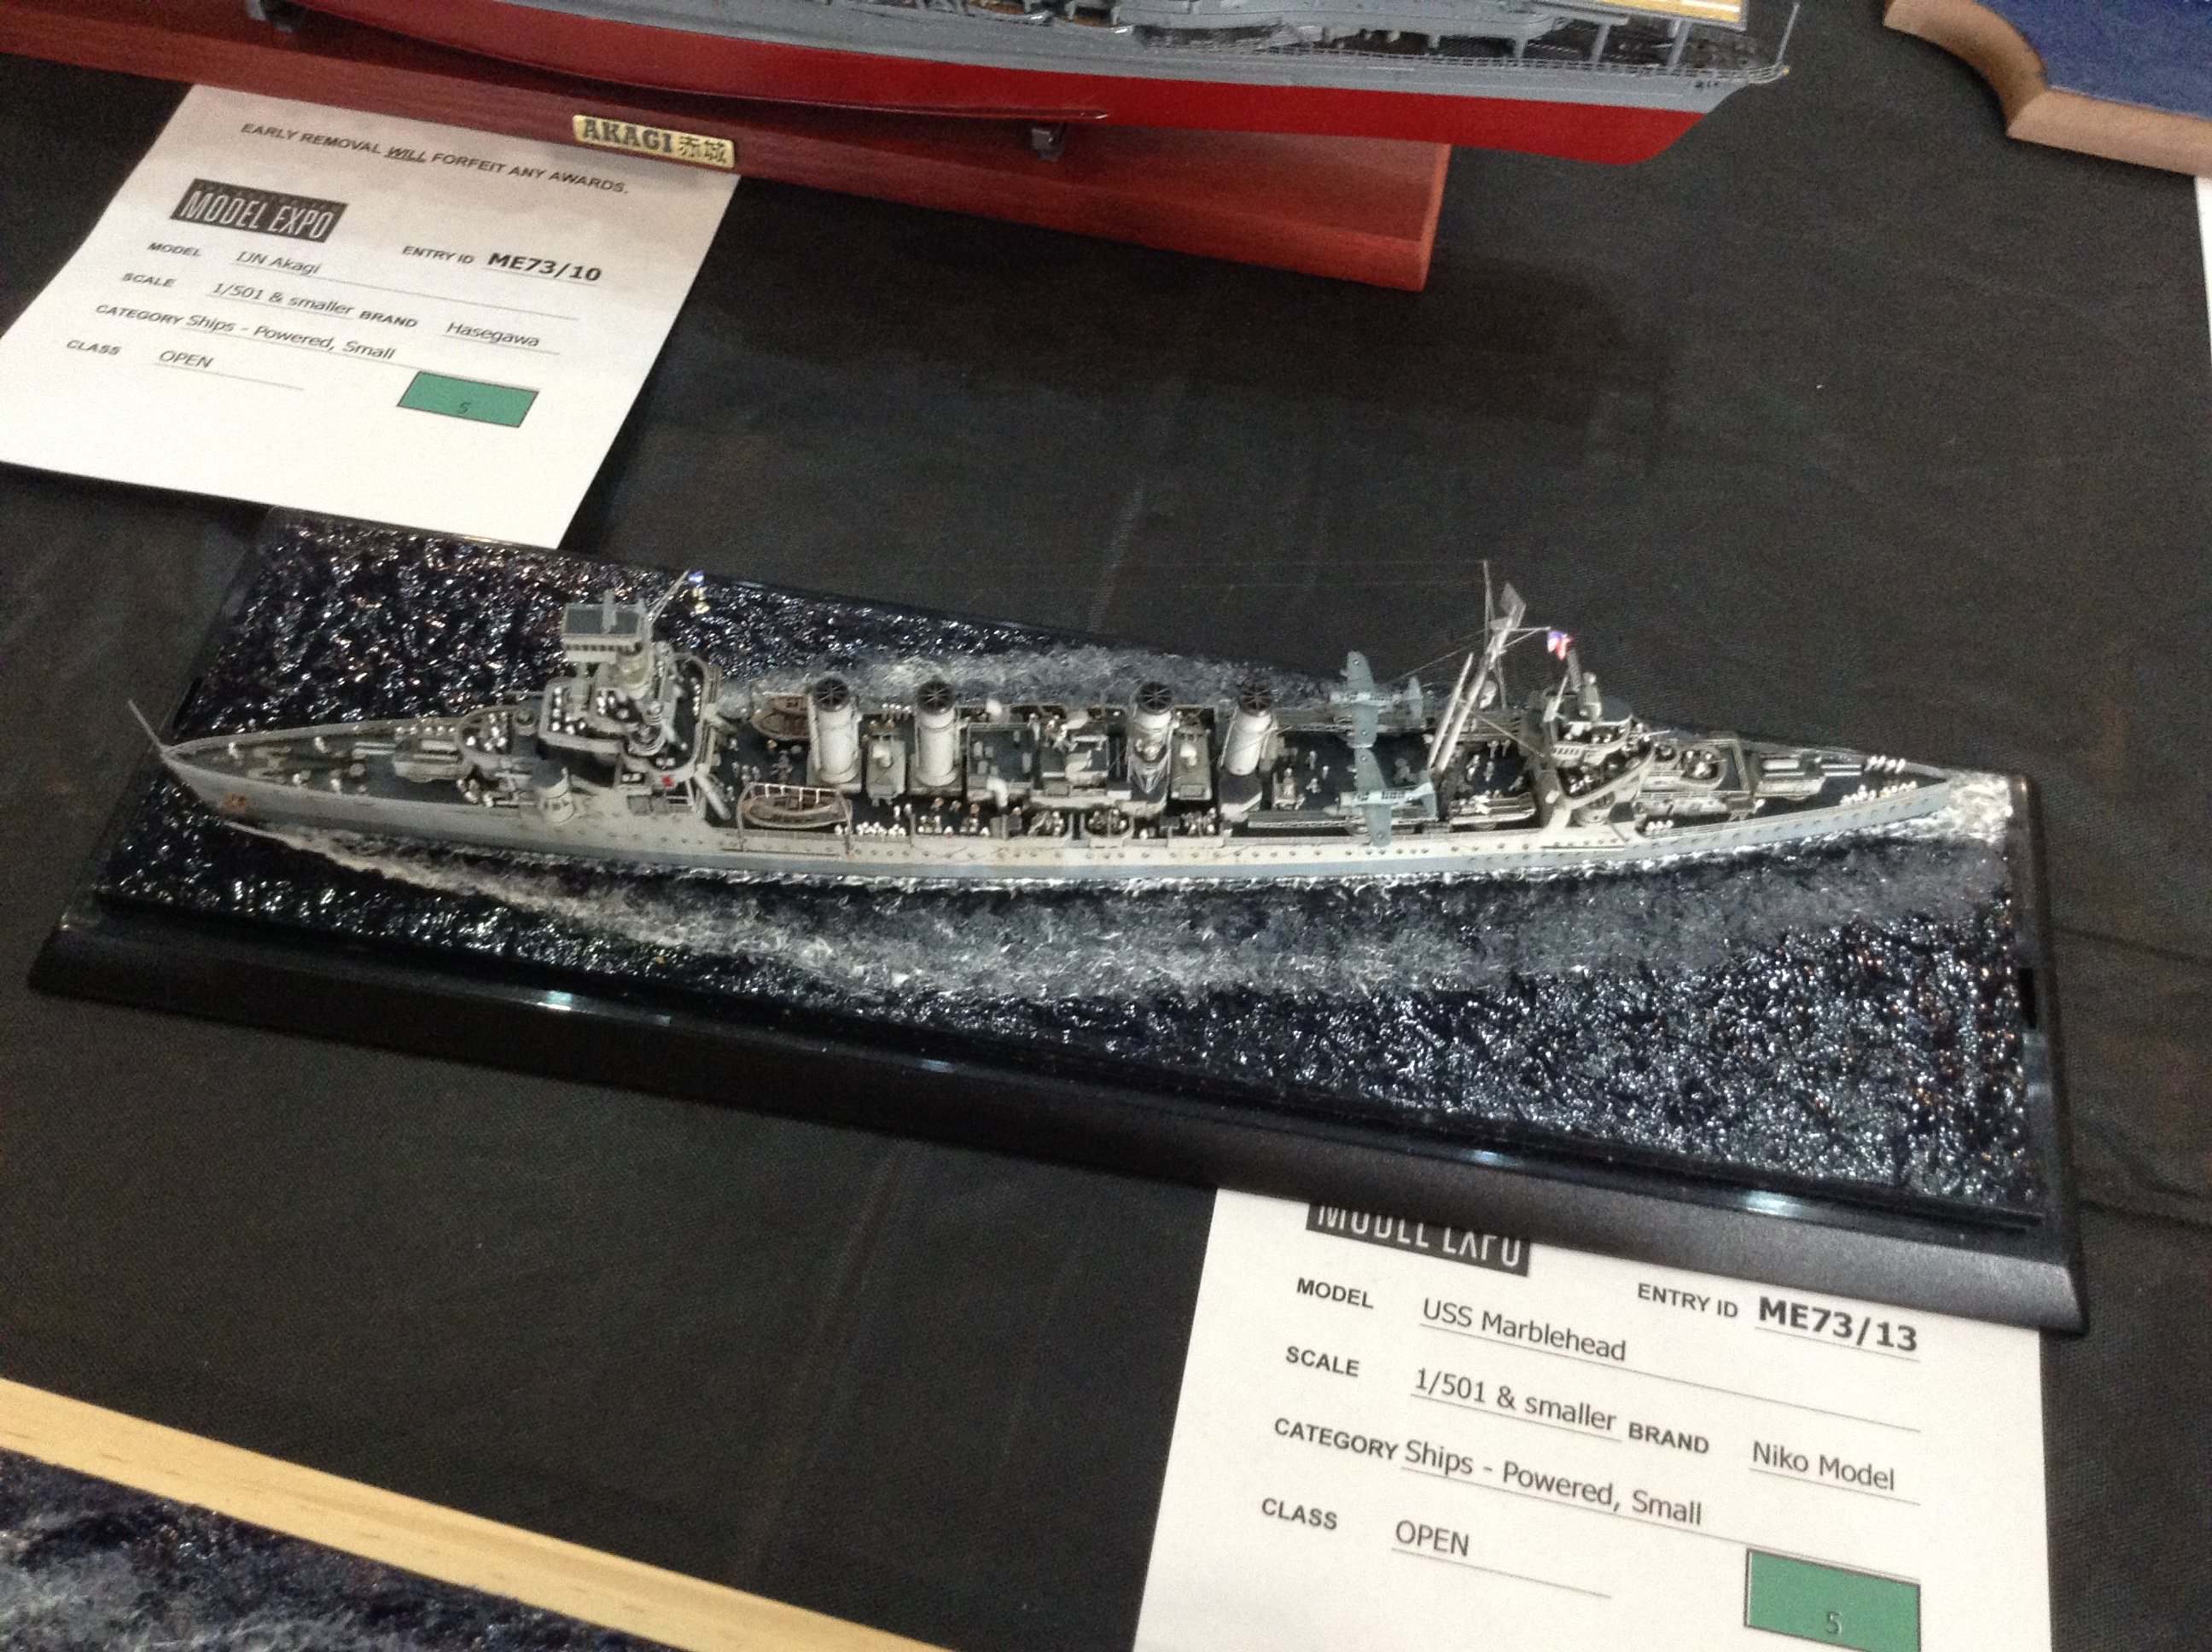
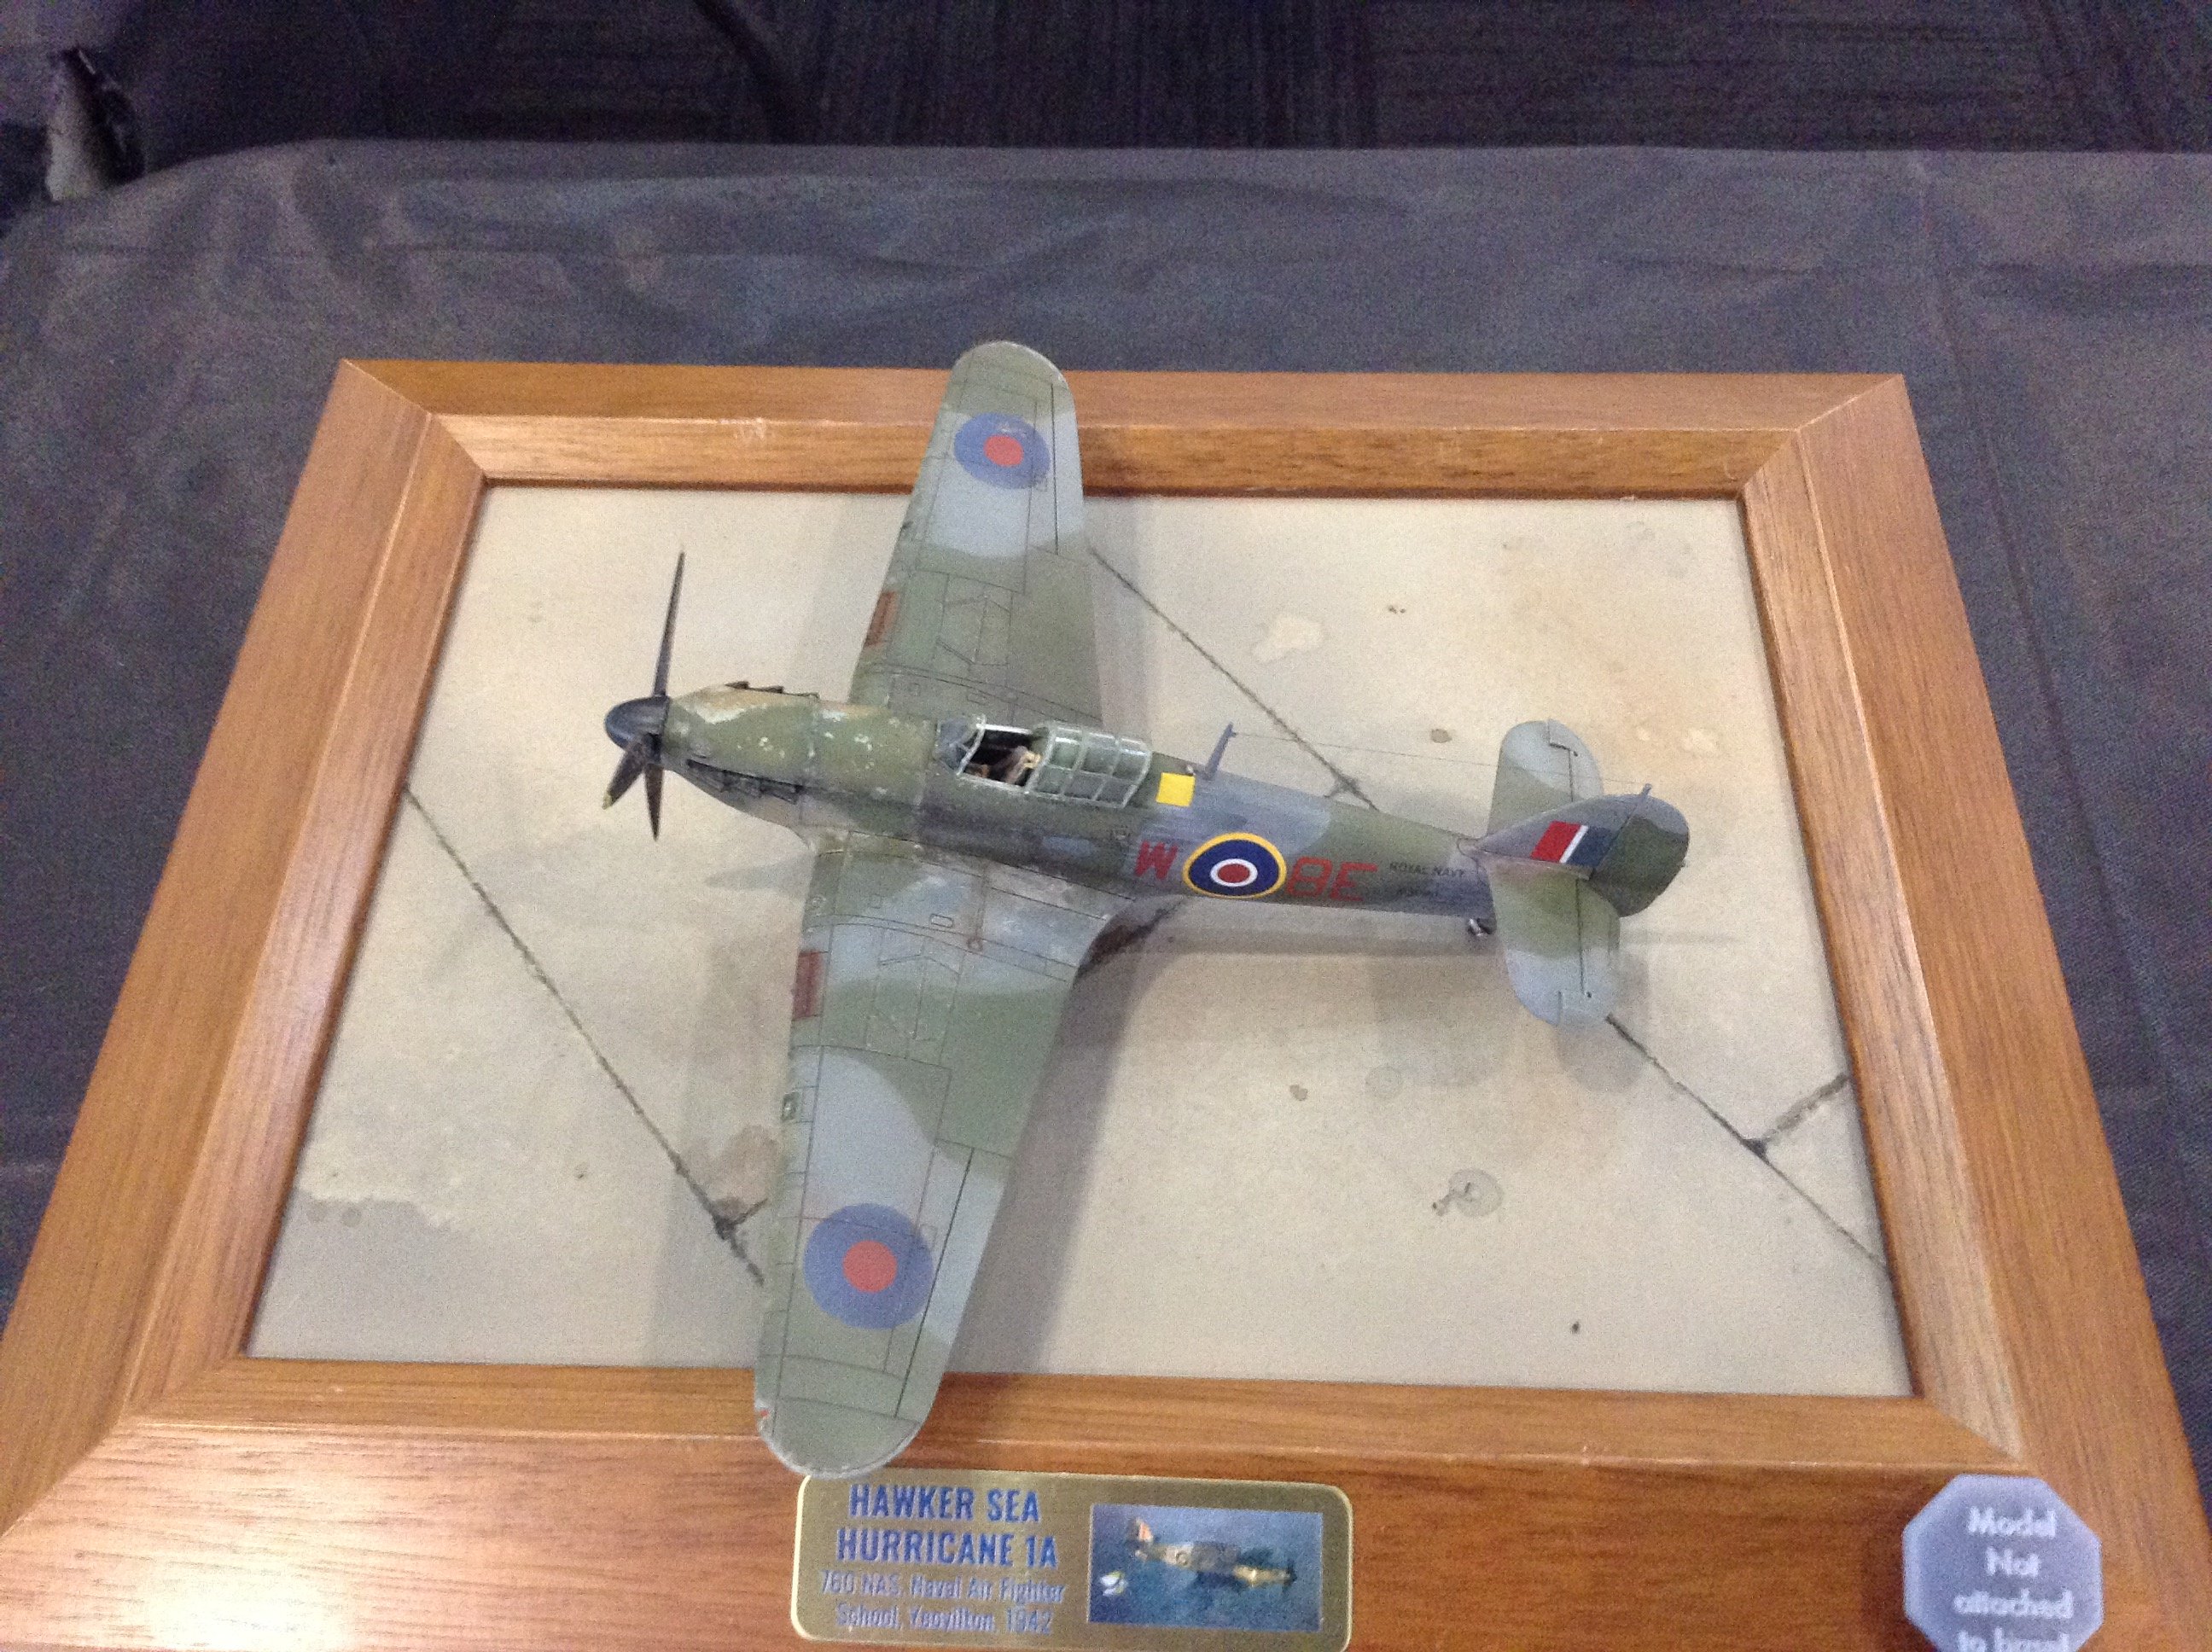
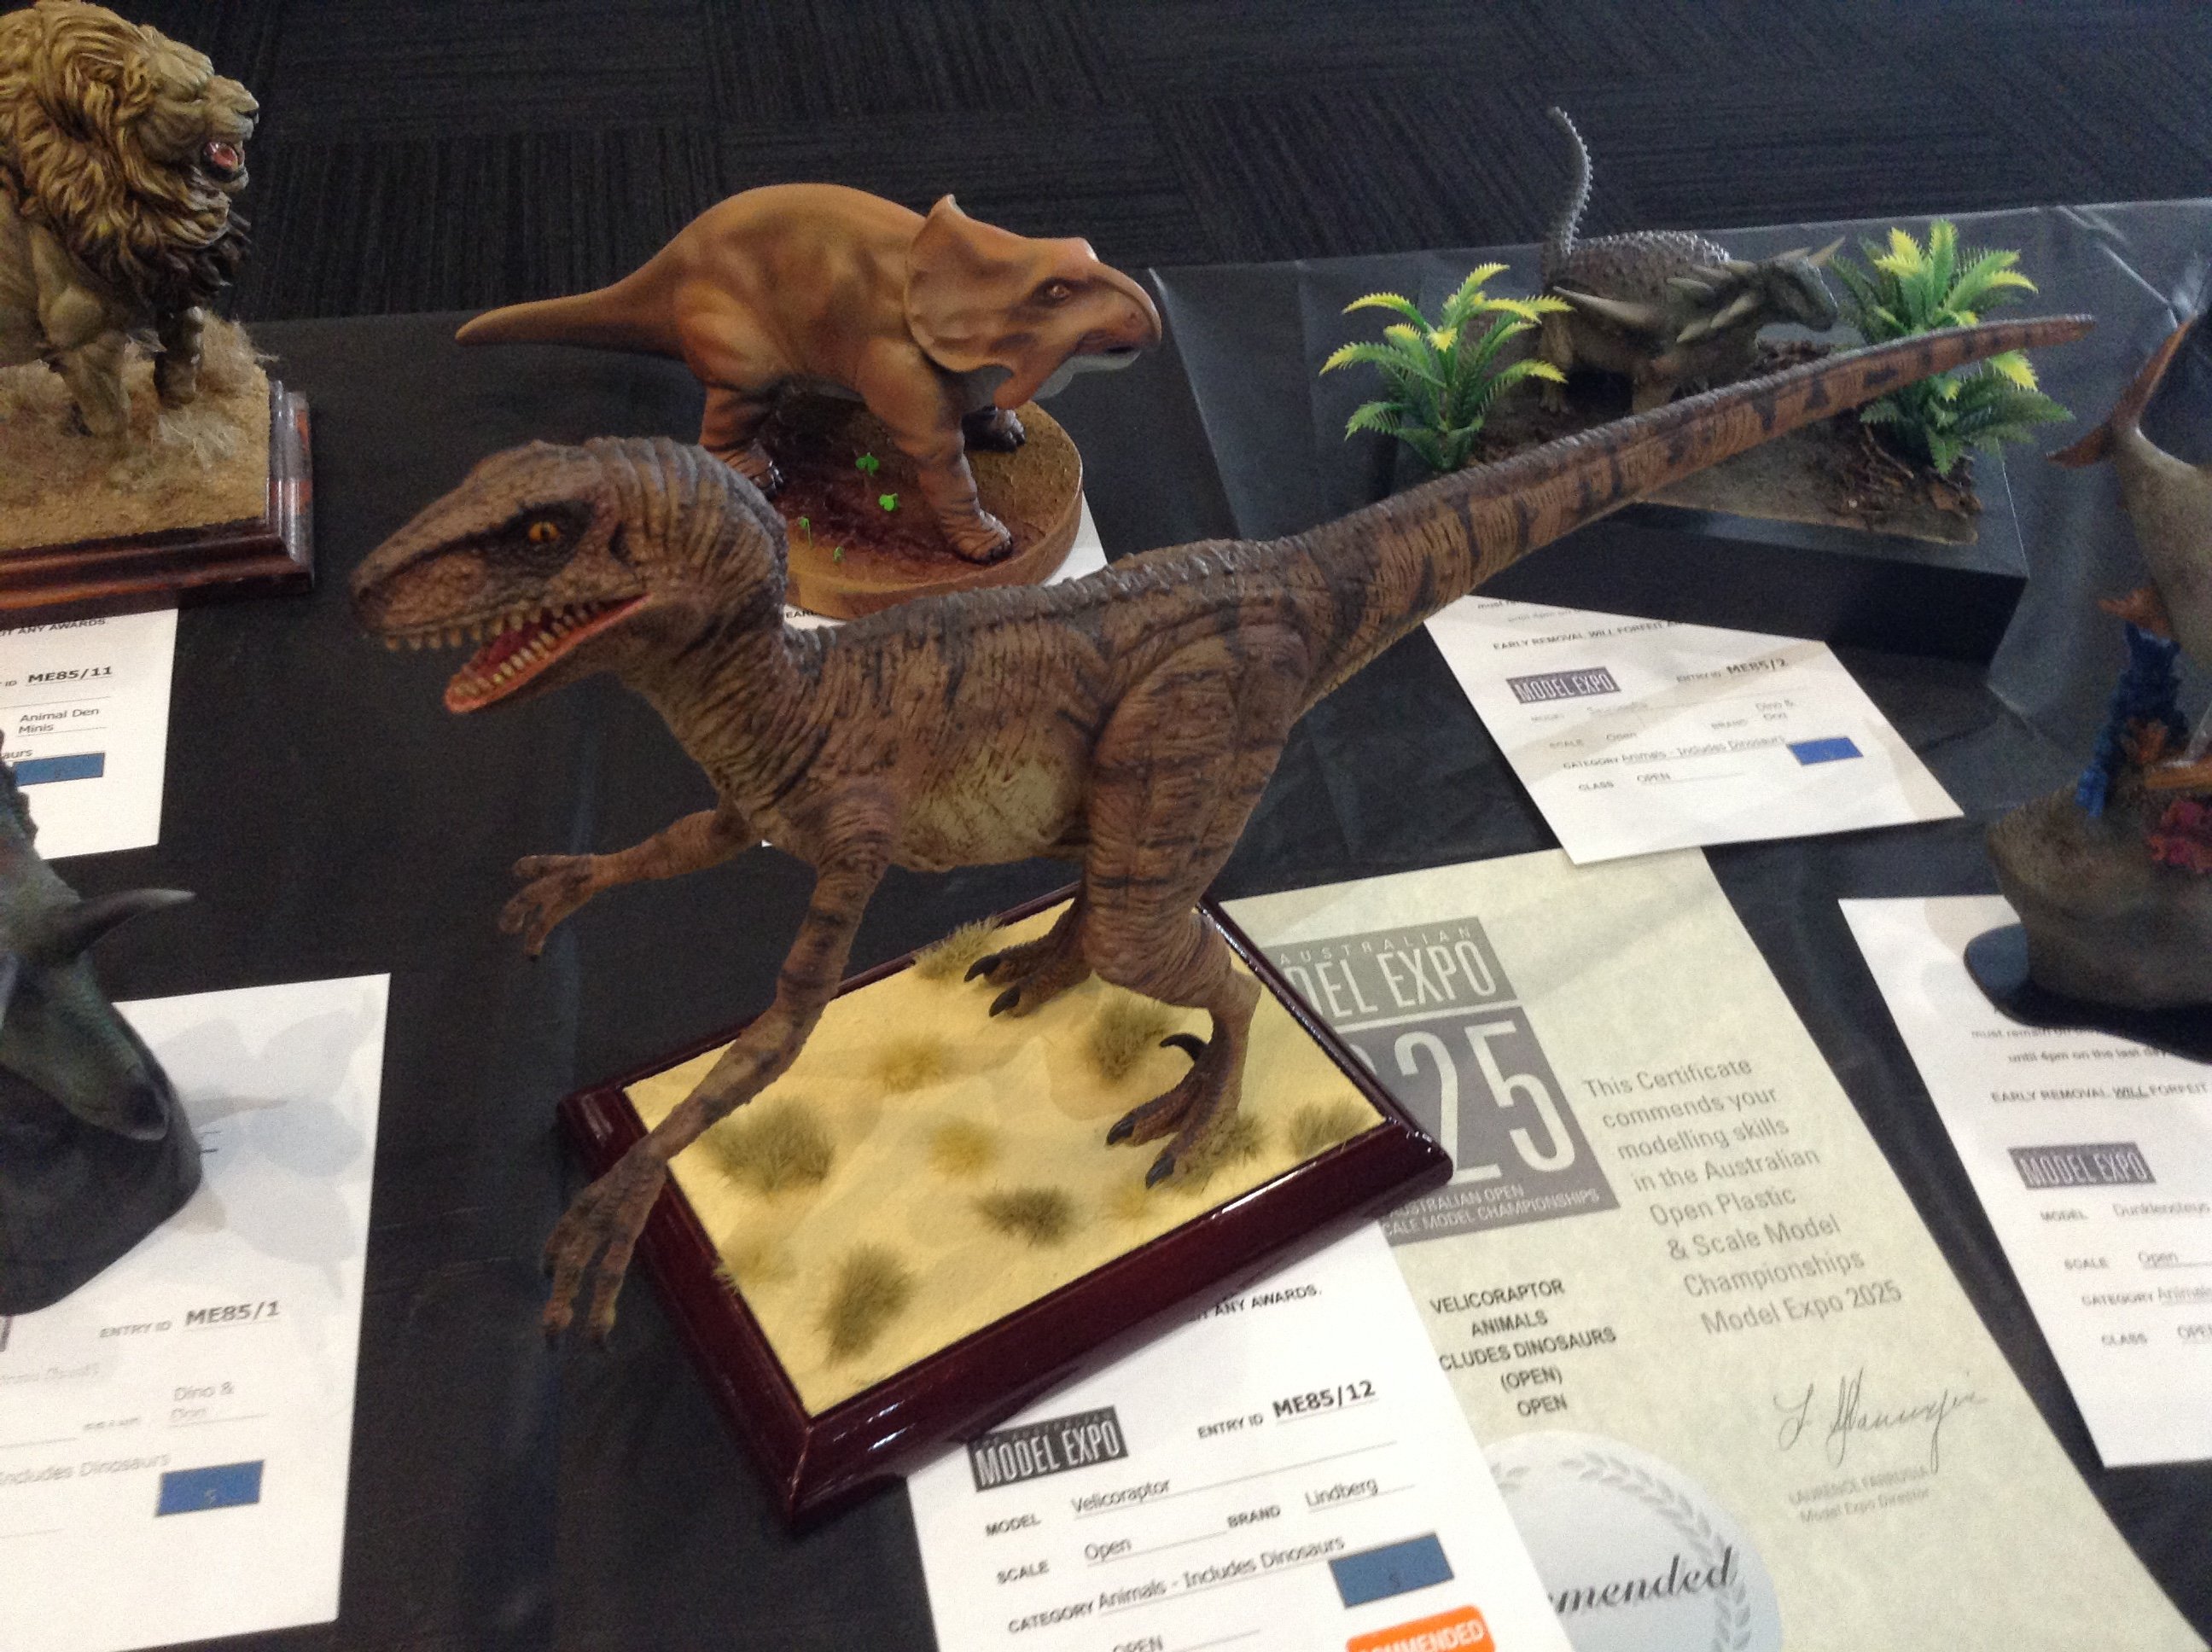
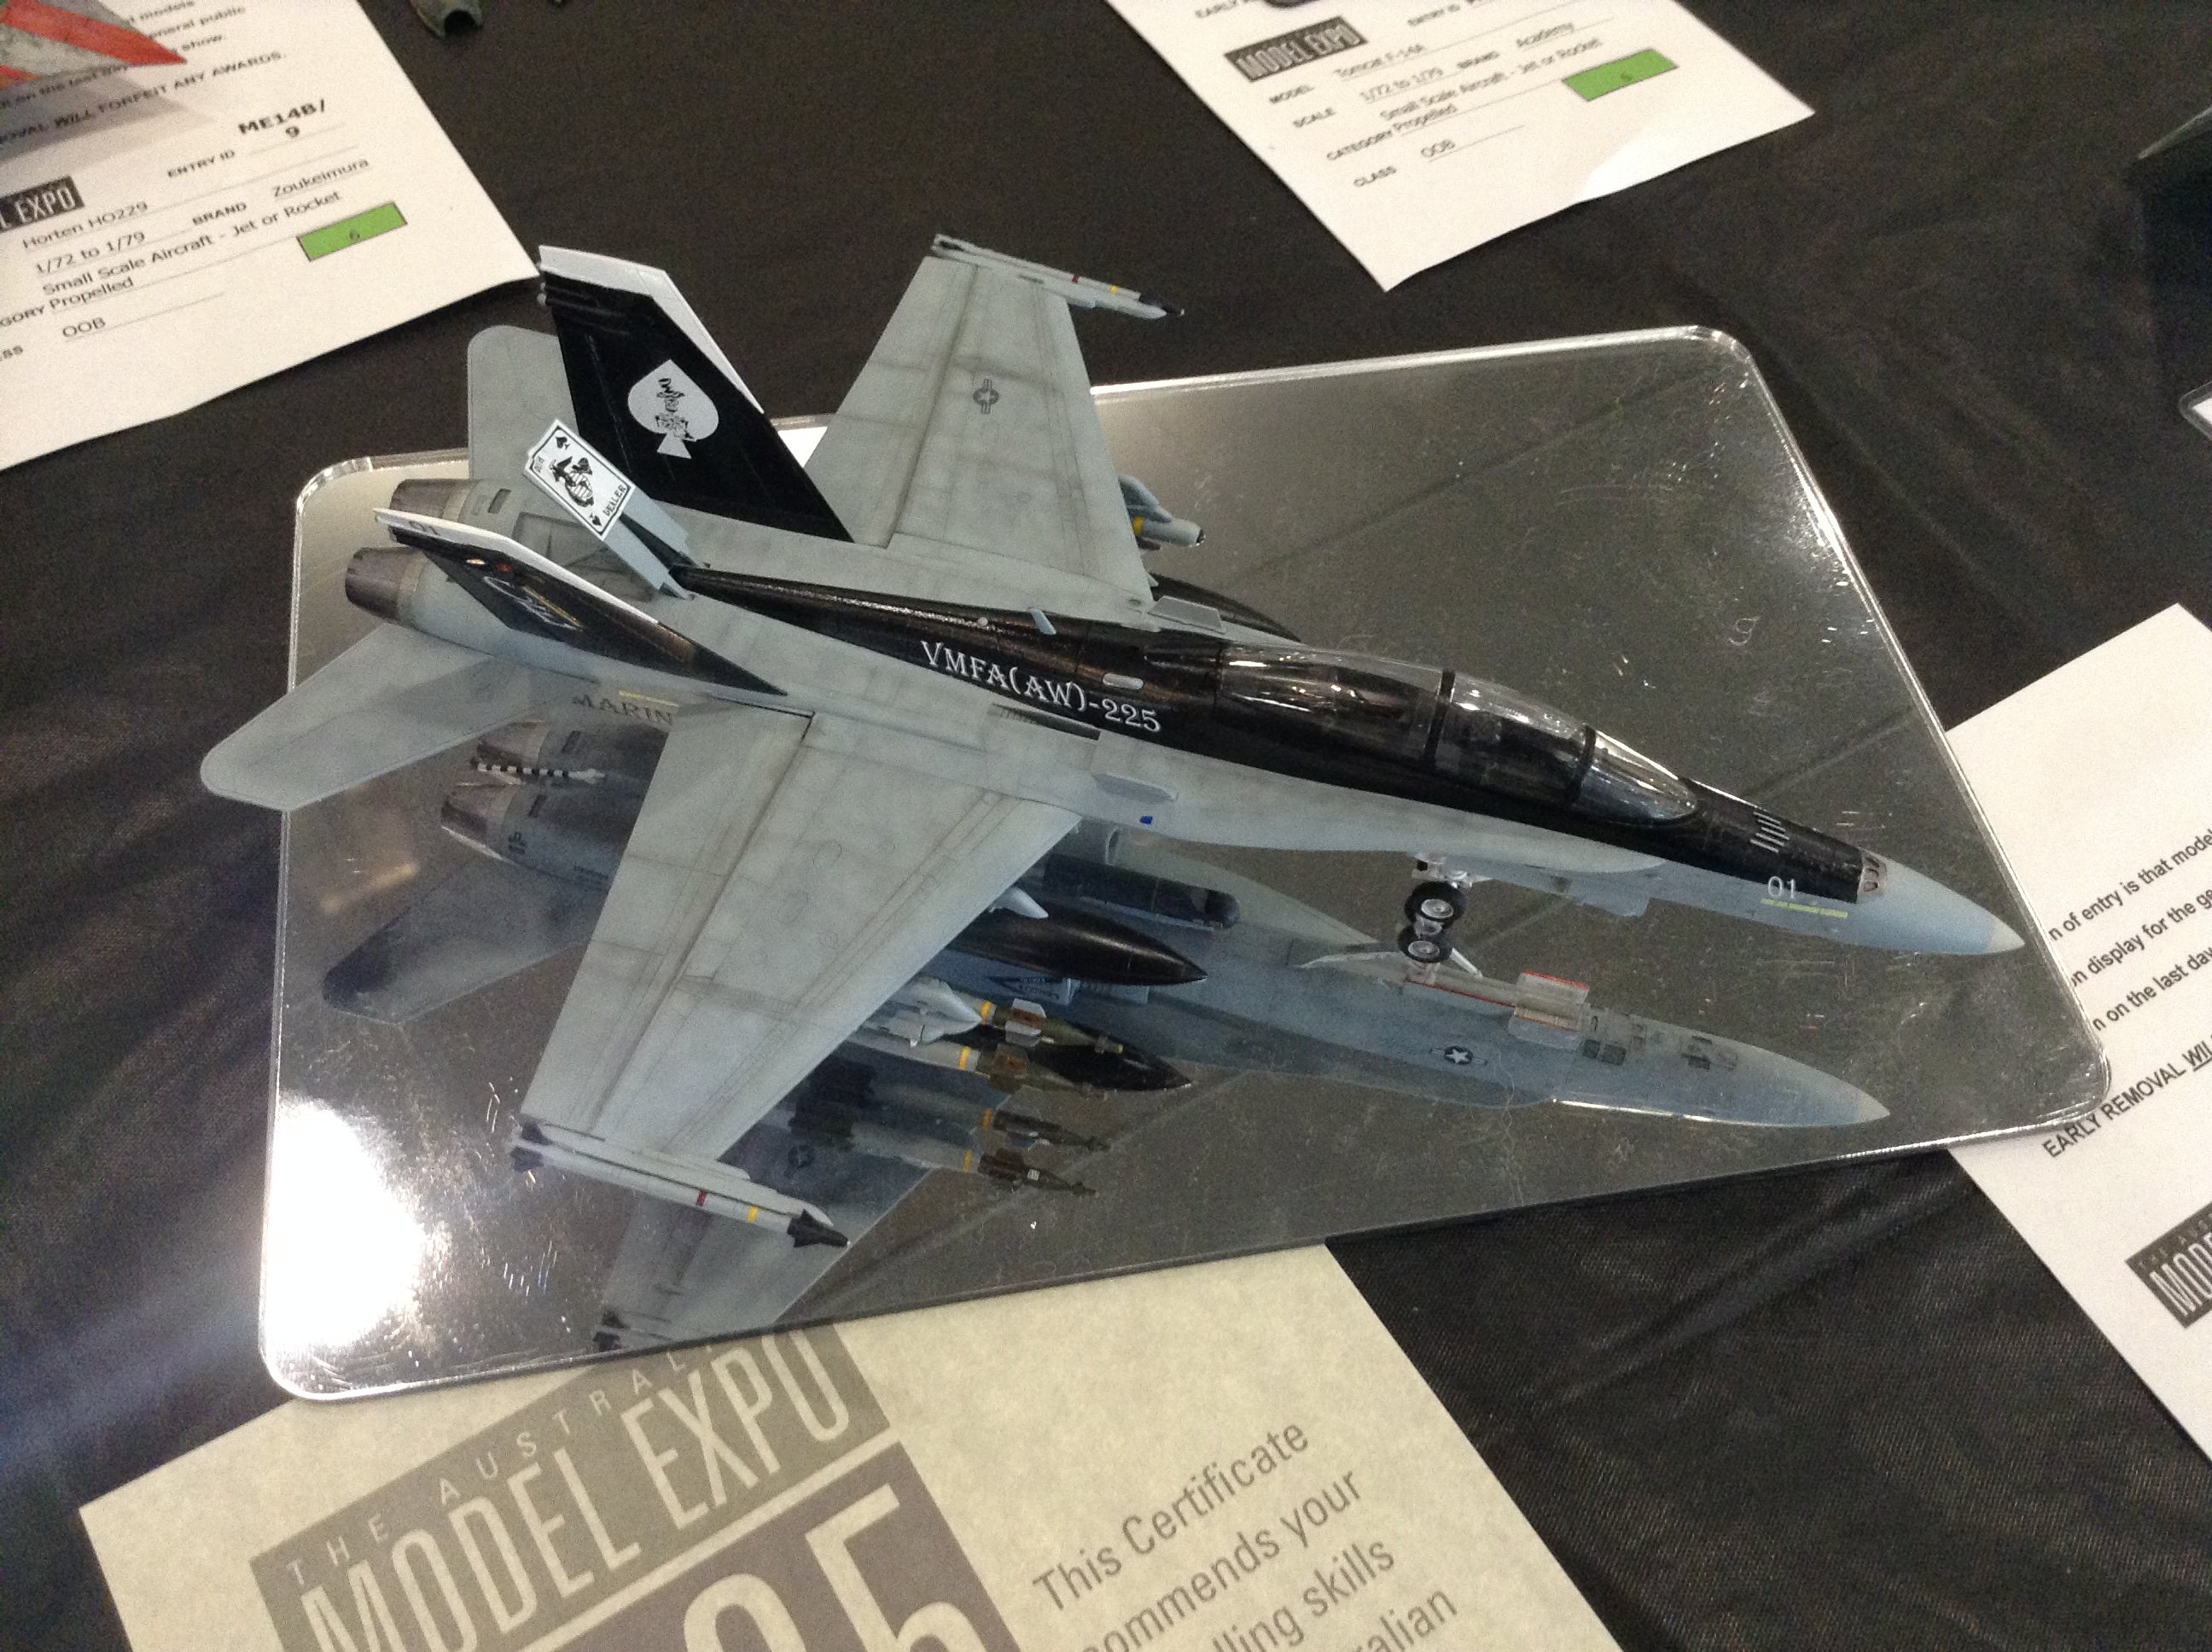
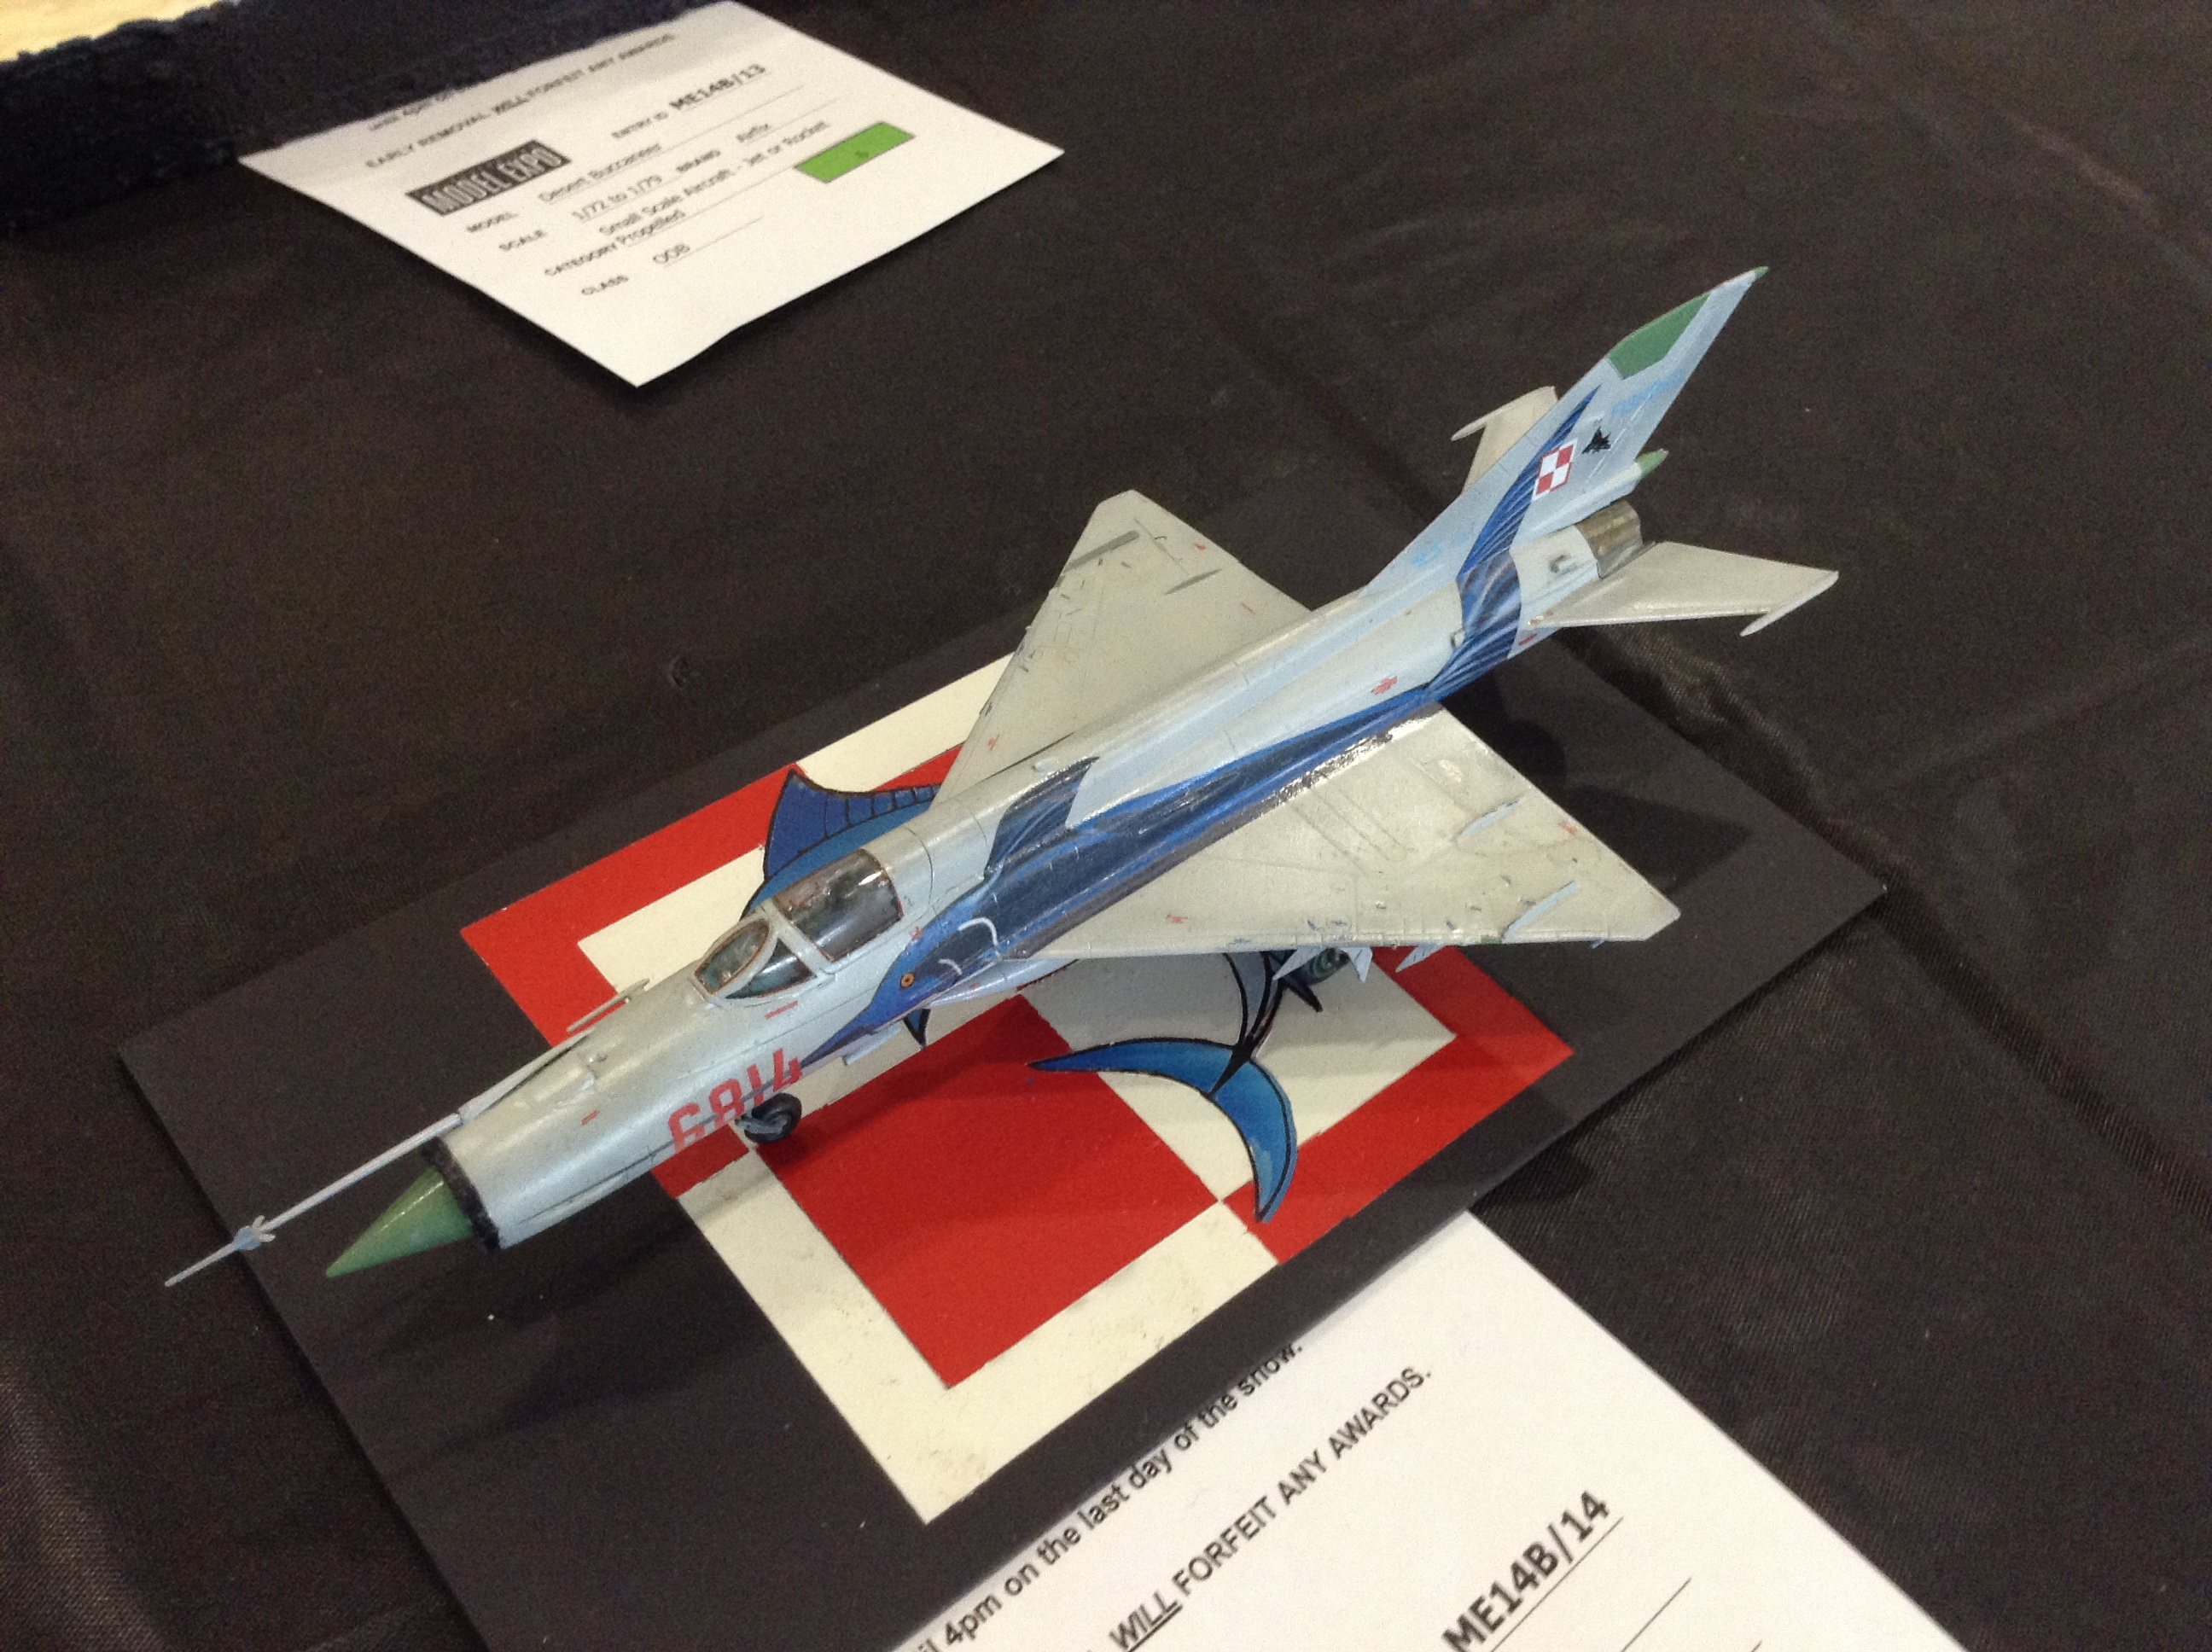
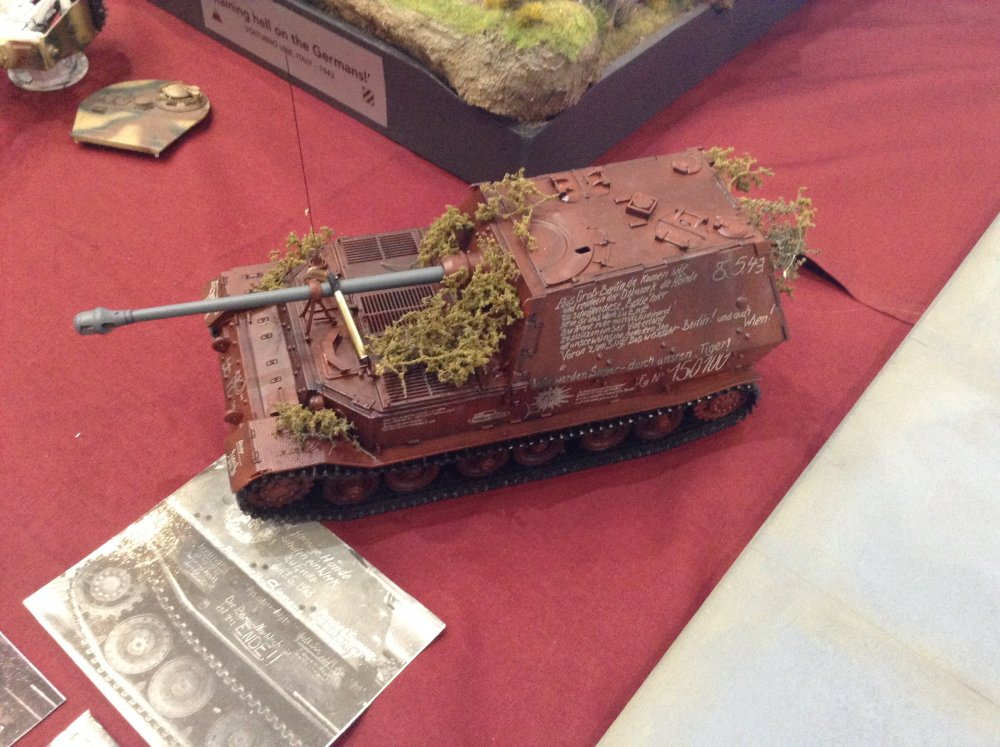
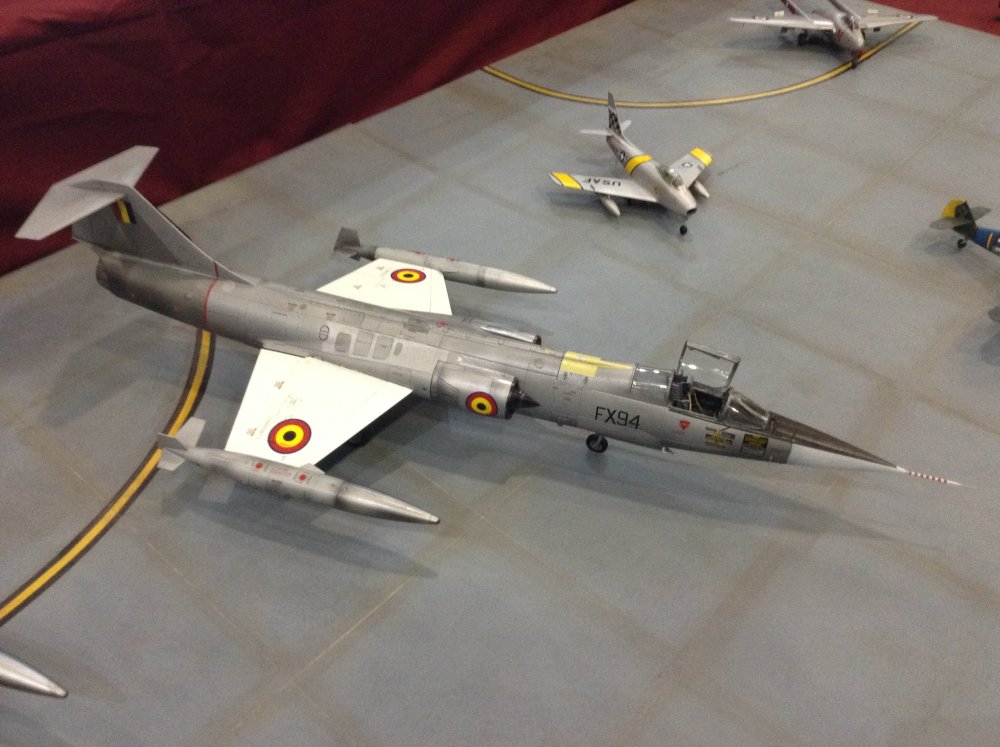
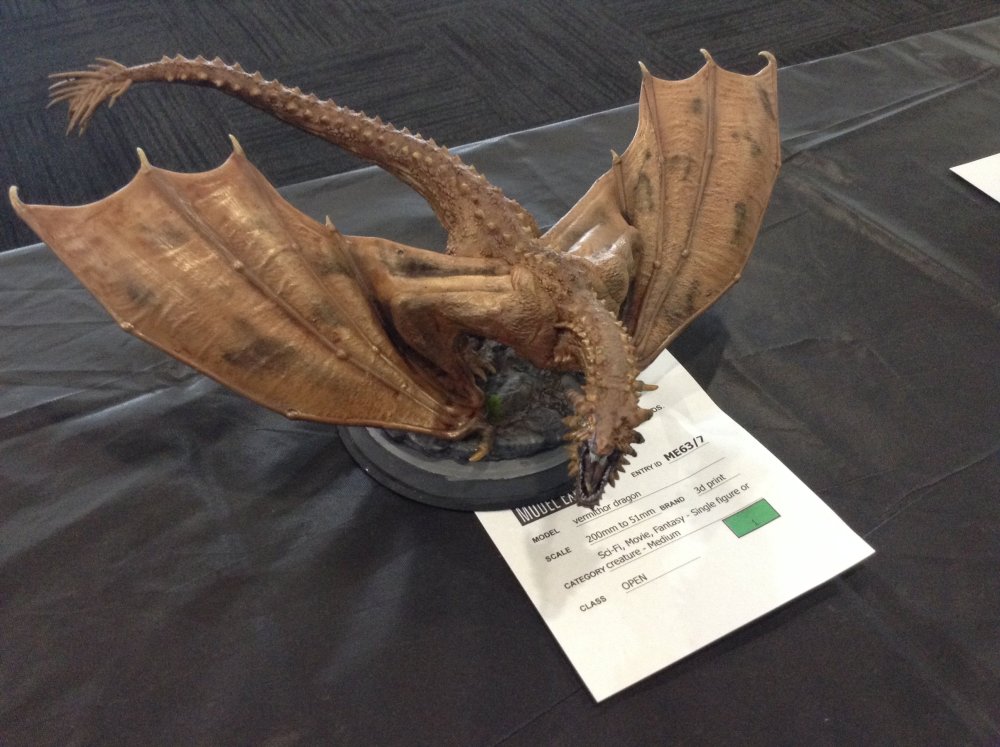
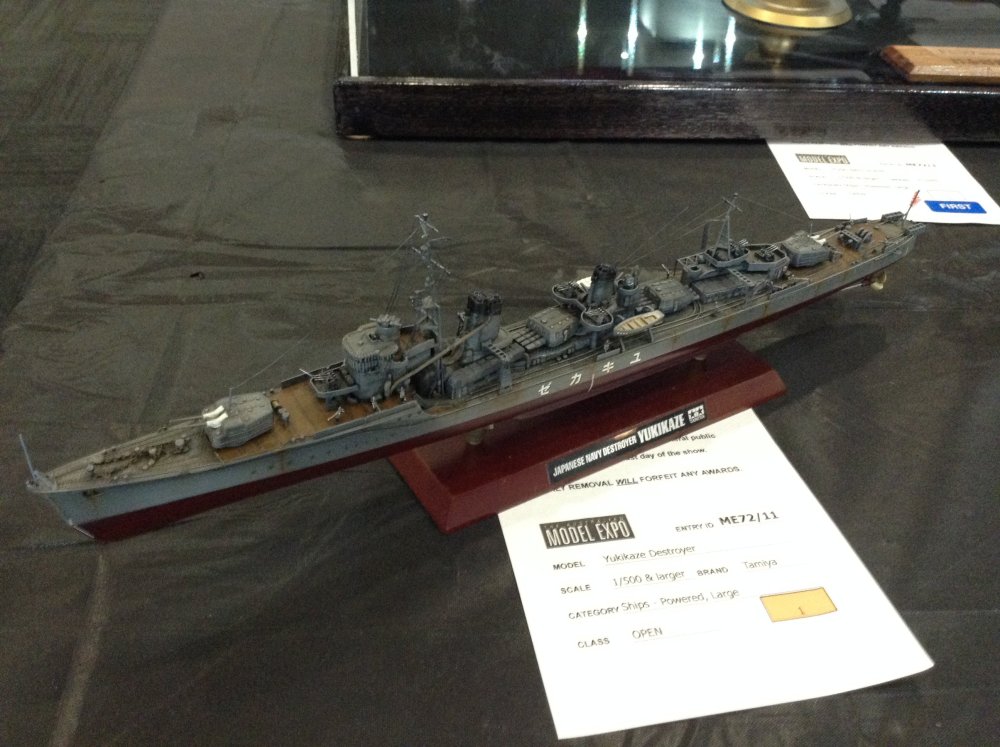
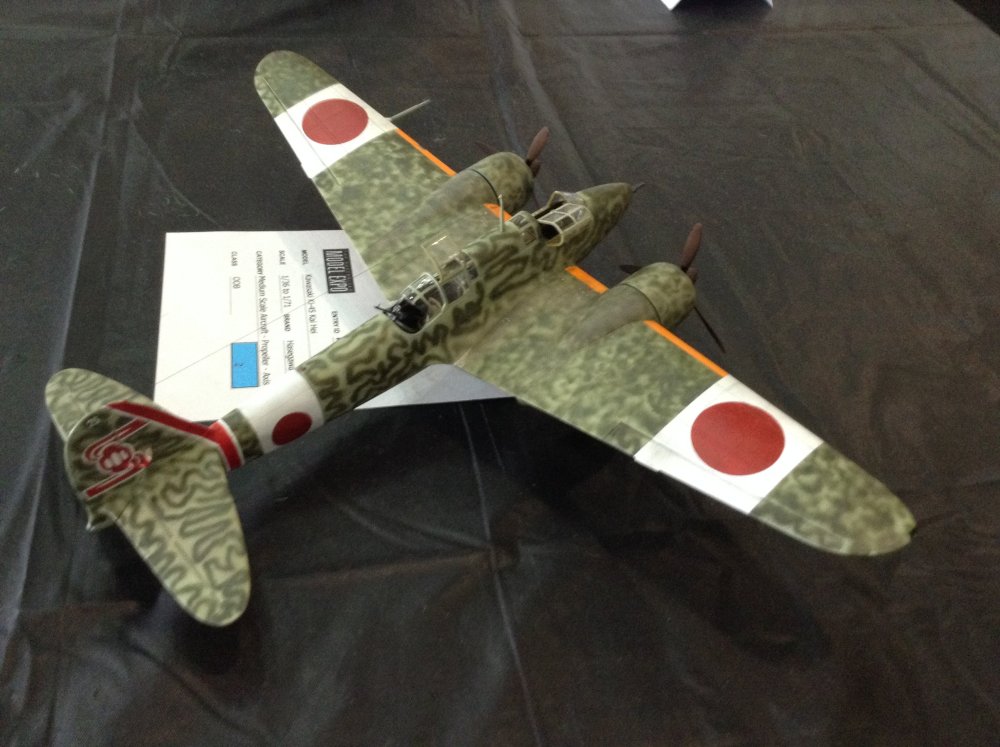
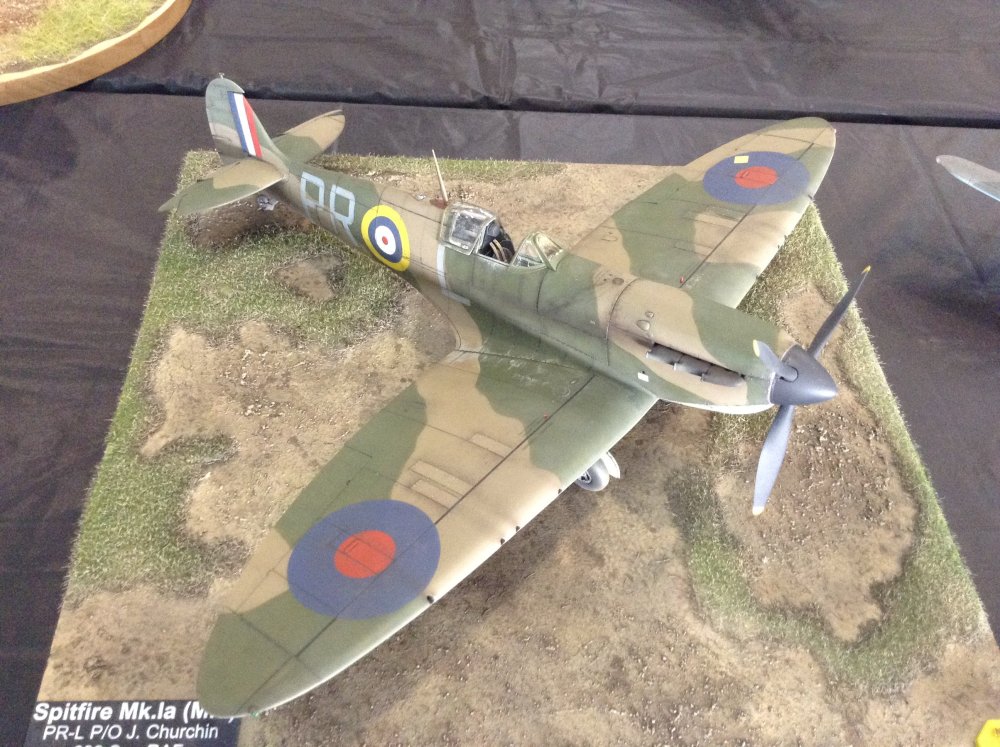
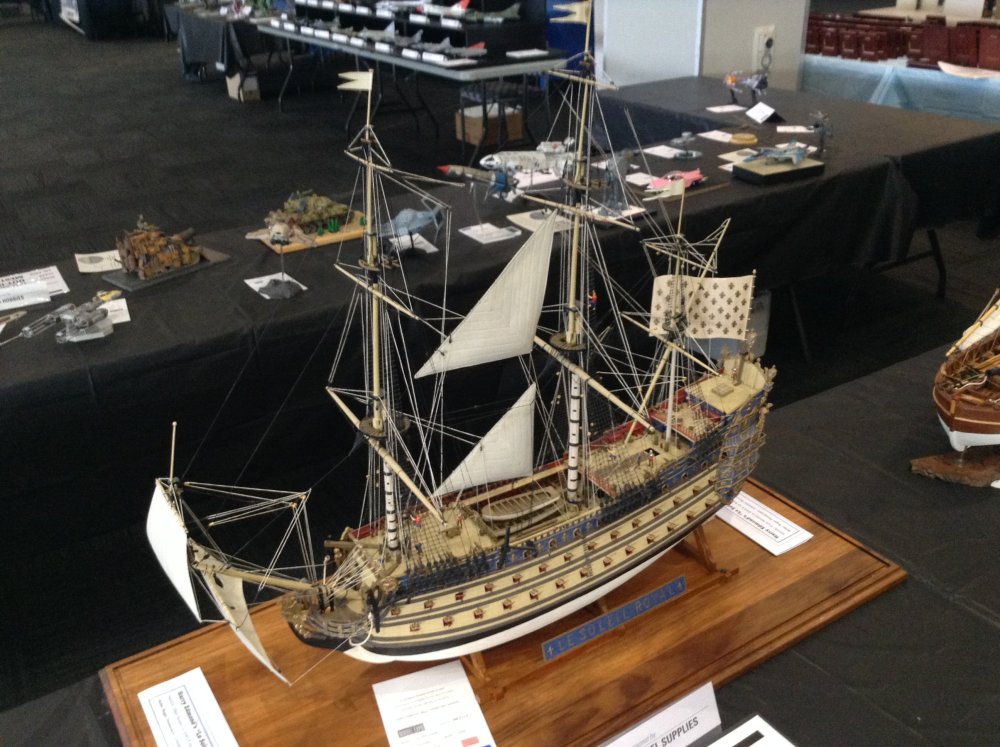
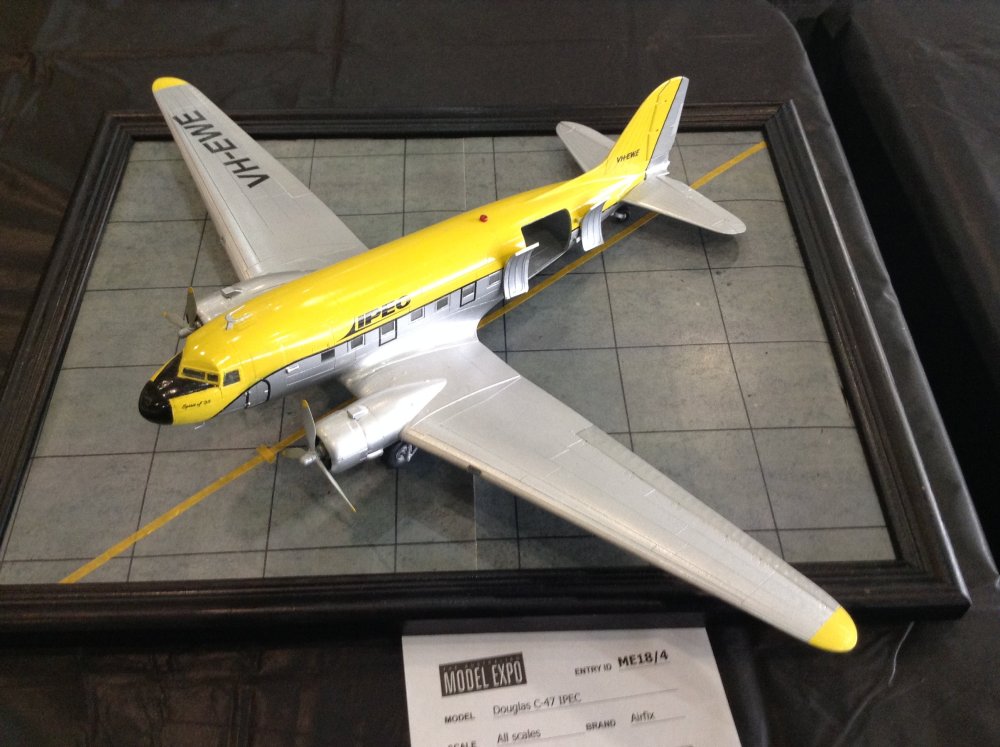
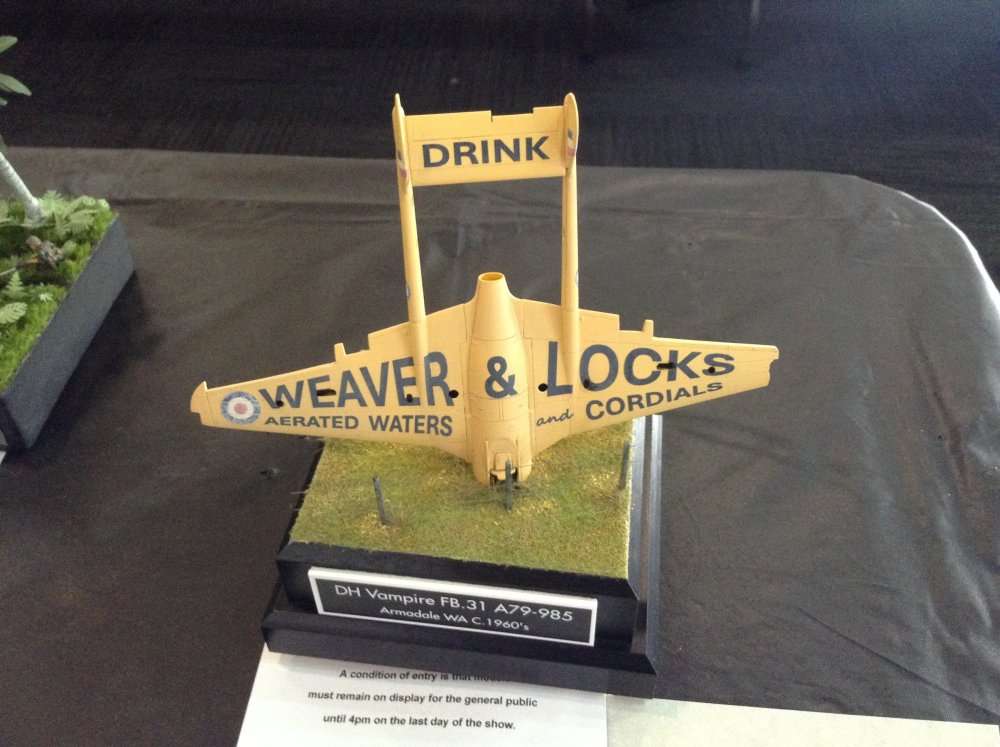
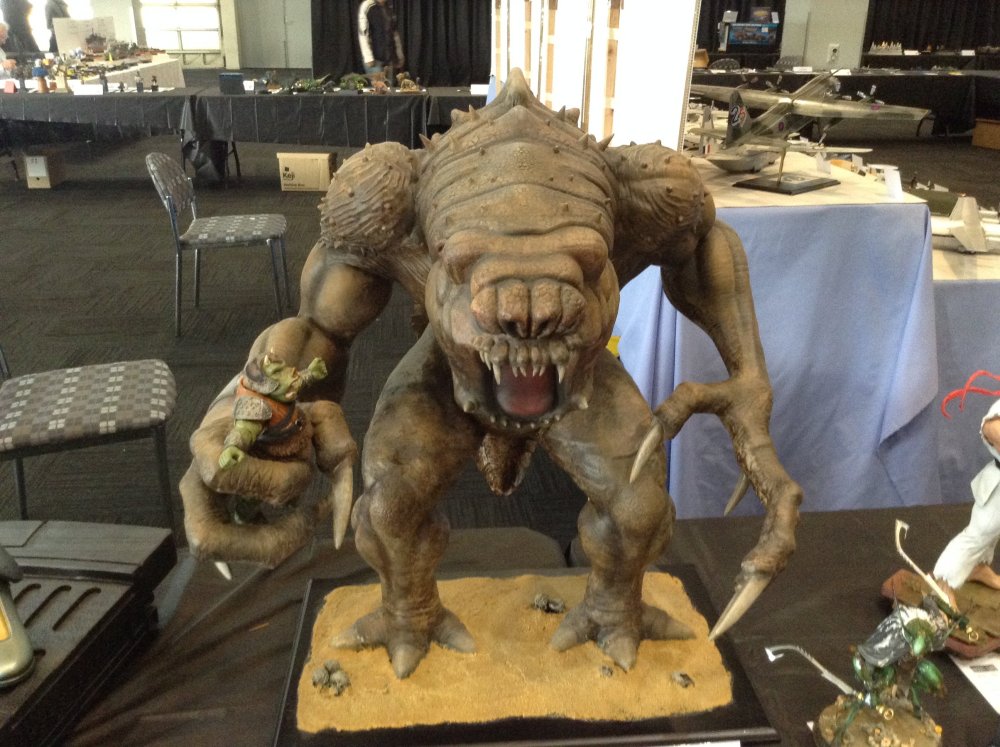
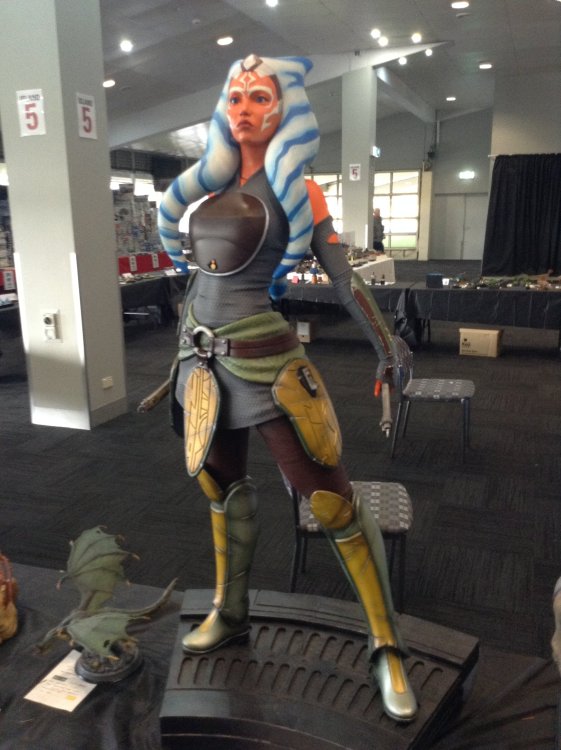
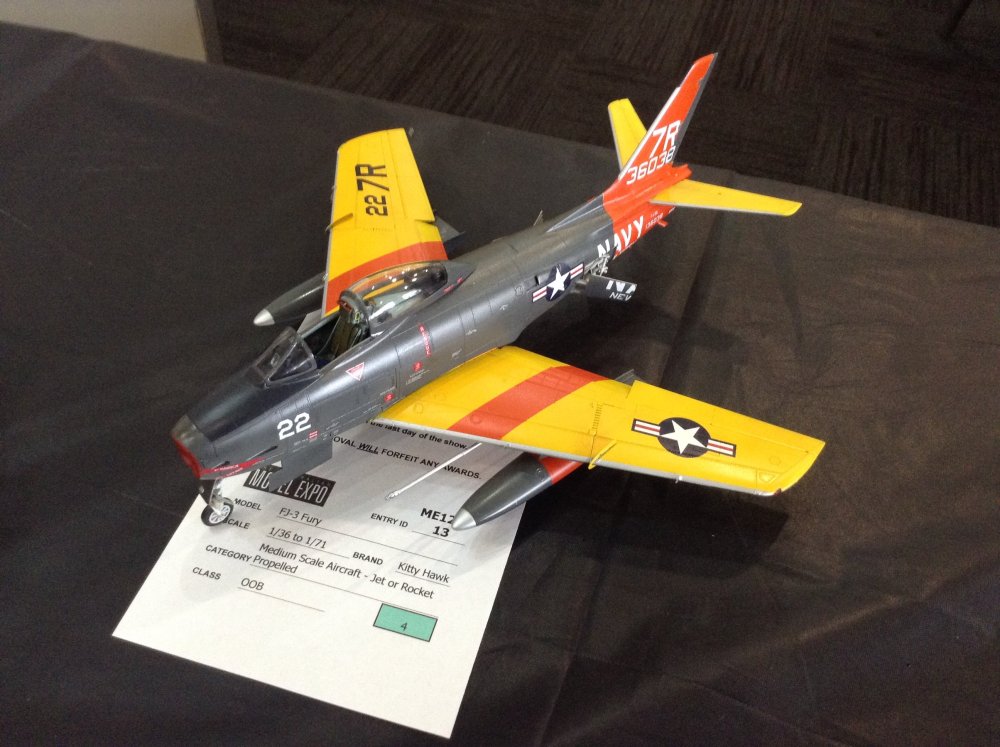
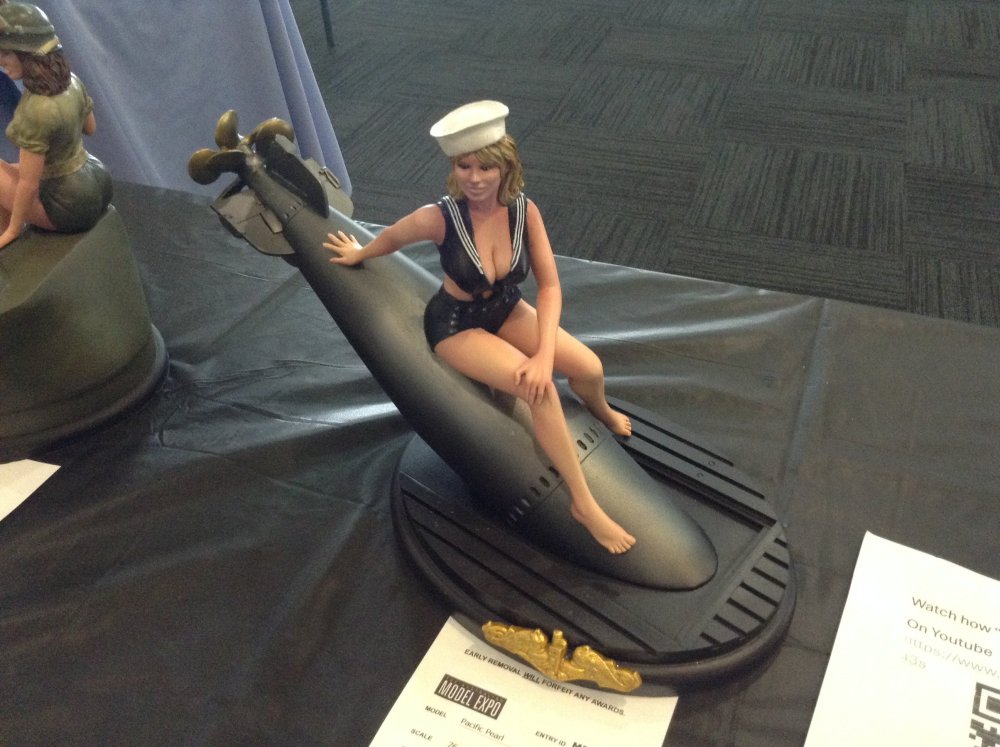
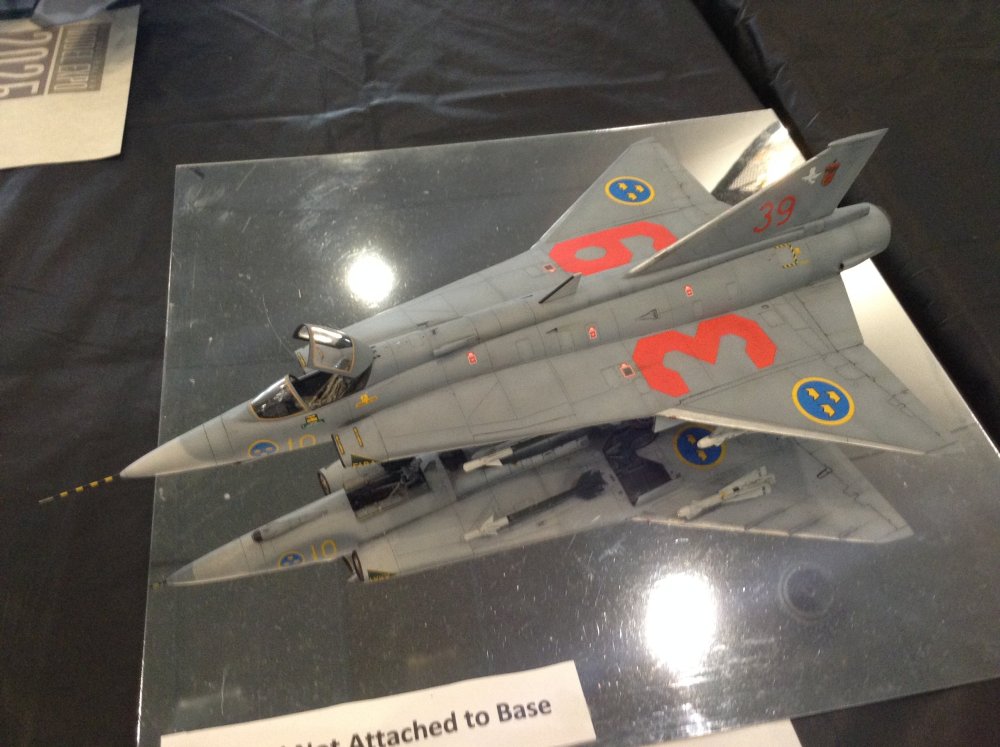
Over the previous weekend, which was a long weekend over here, we had Model Expo on, which is the largest model competition in the southern hemisphere. 750 kits entered, about 15 traders (yours truly and dad were manning one trade stand) and multiple other club displays were on show. Below are a few pics from the show. I managed to pick up one gong; second place in 1/72 Out of Box Commonwealth Aircraft. We also had a good weekend selling second hand books for the museum, raising several thousand dollars to keep the museum running.


-
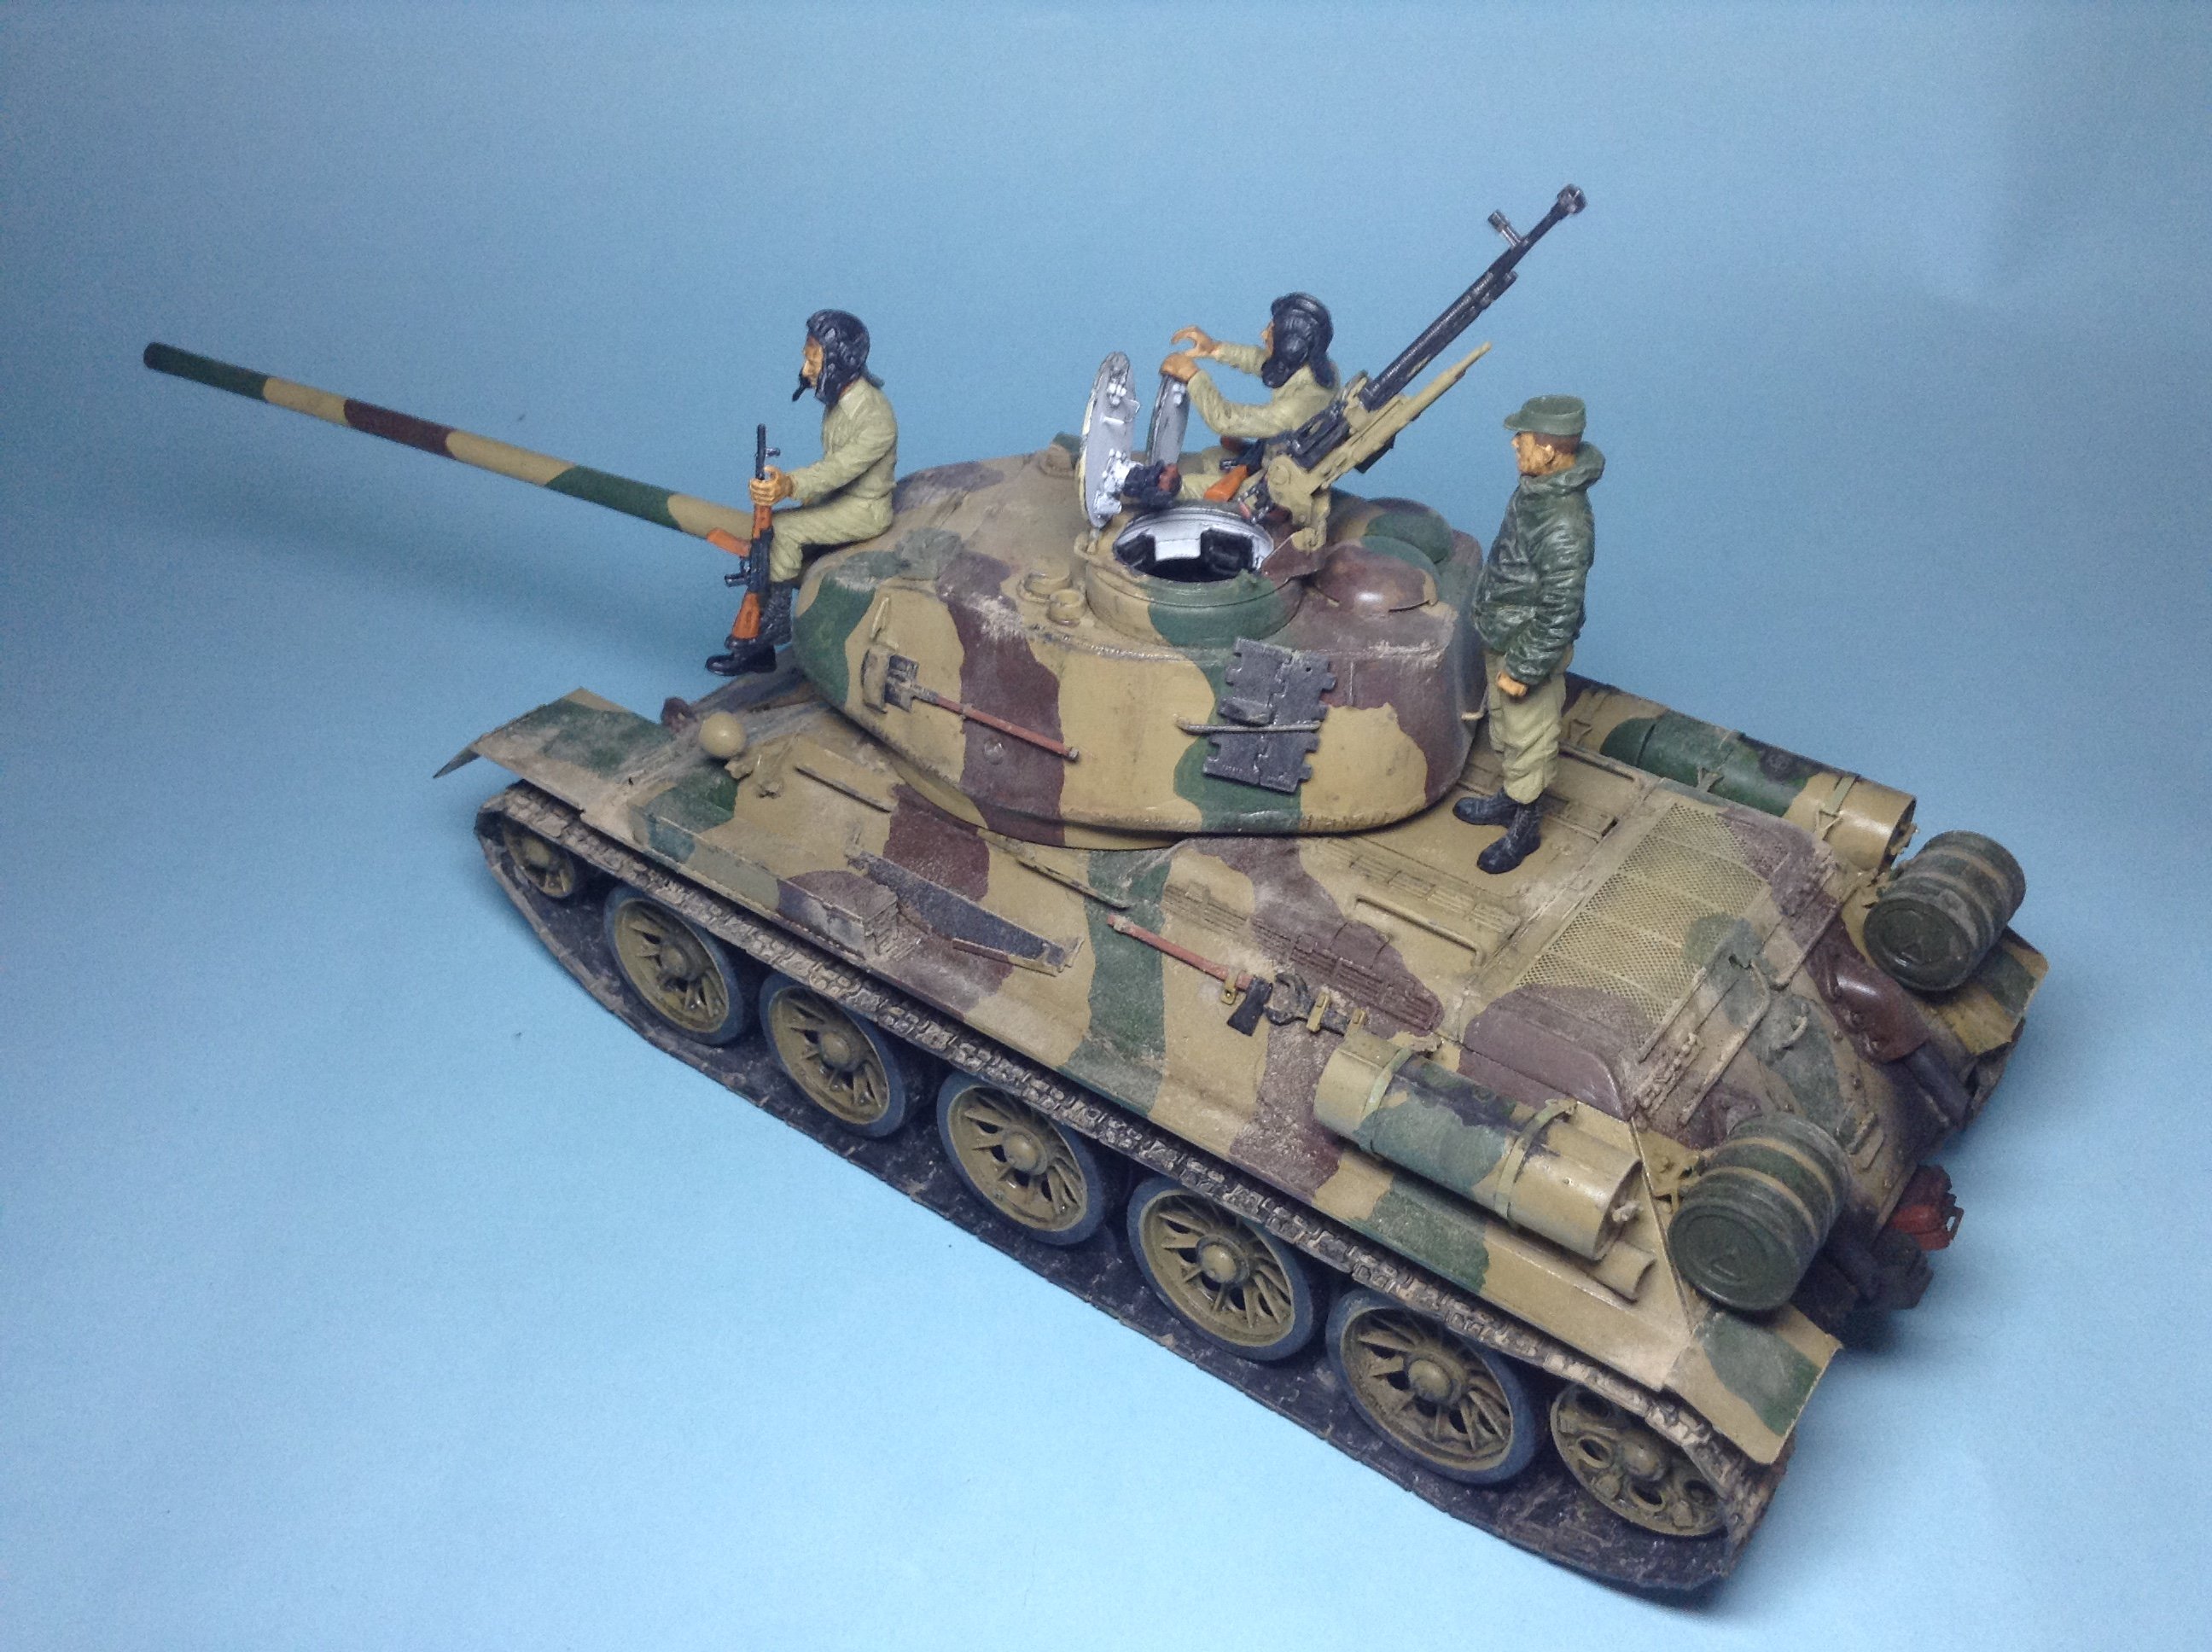
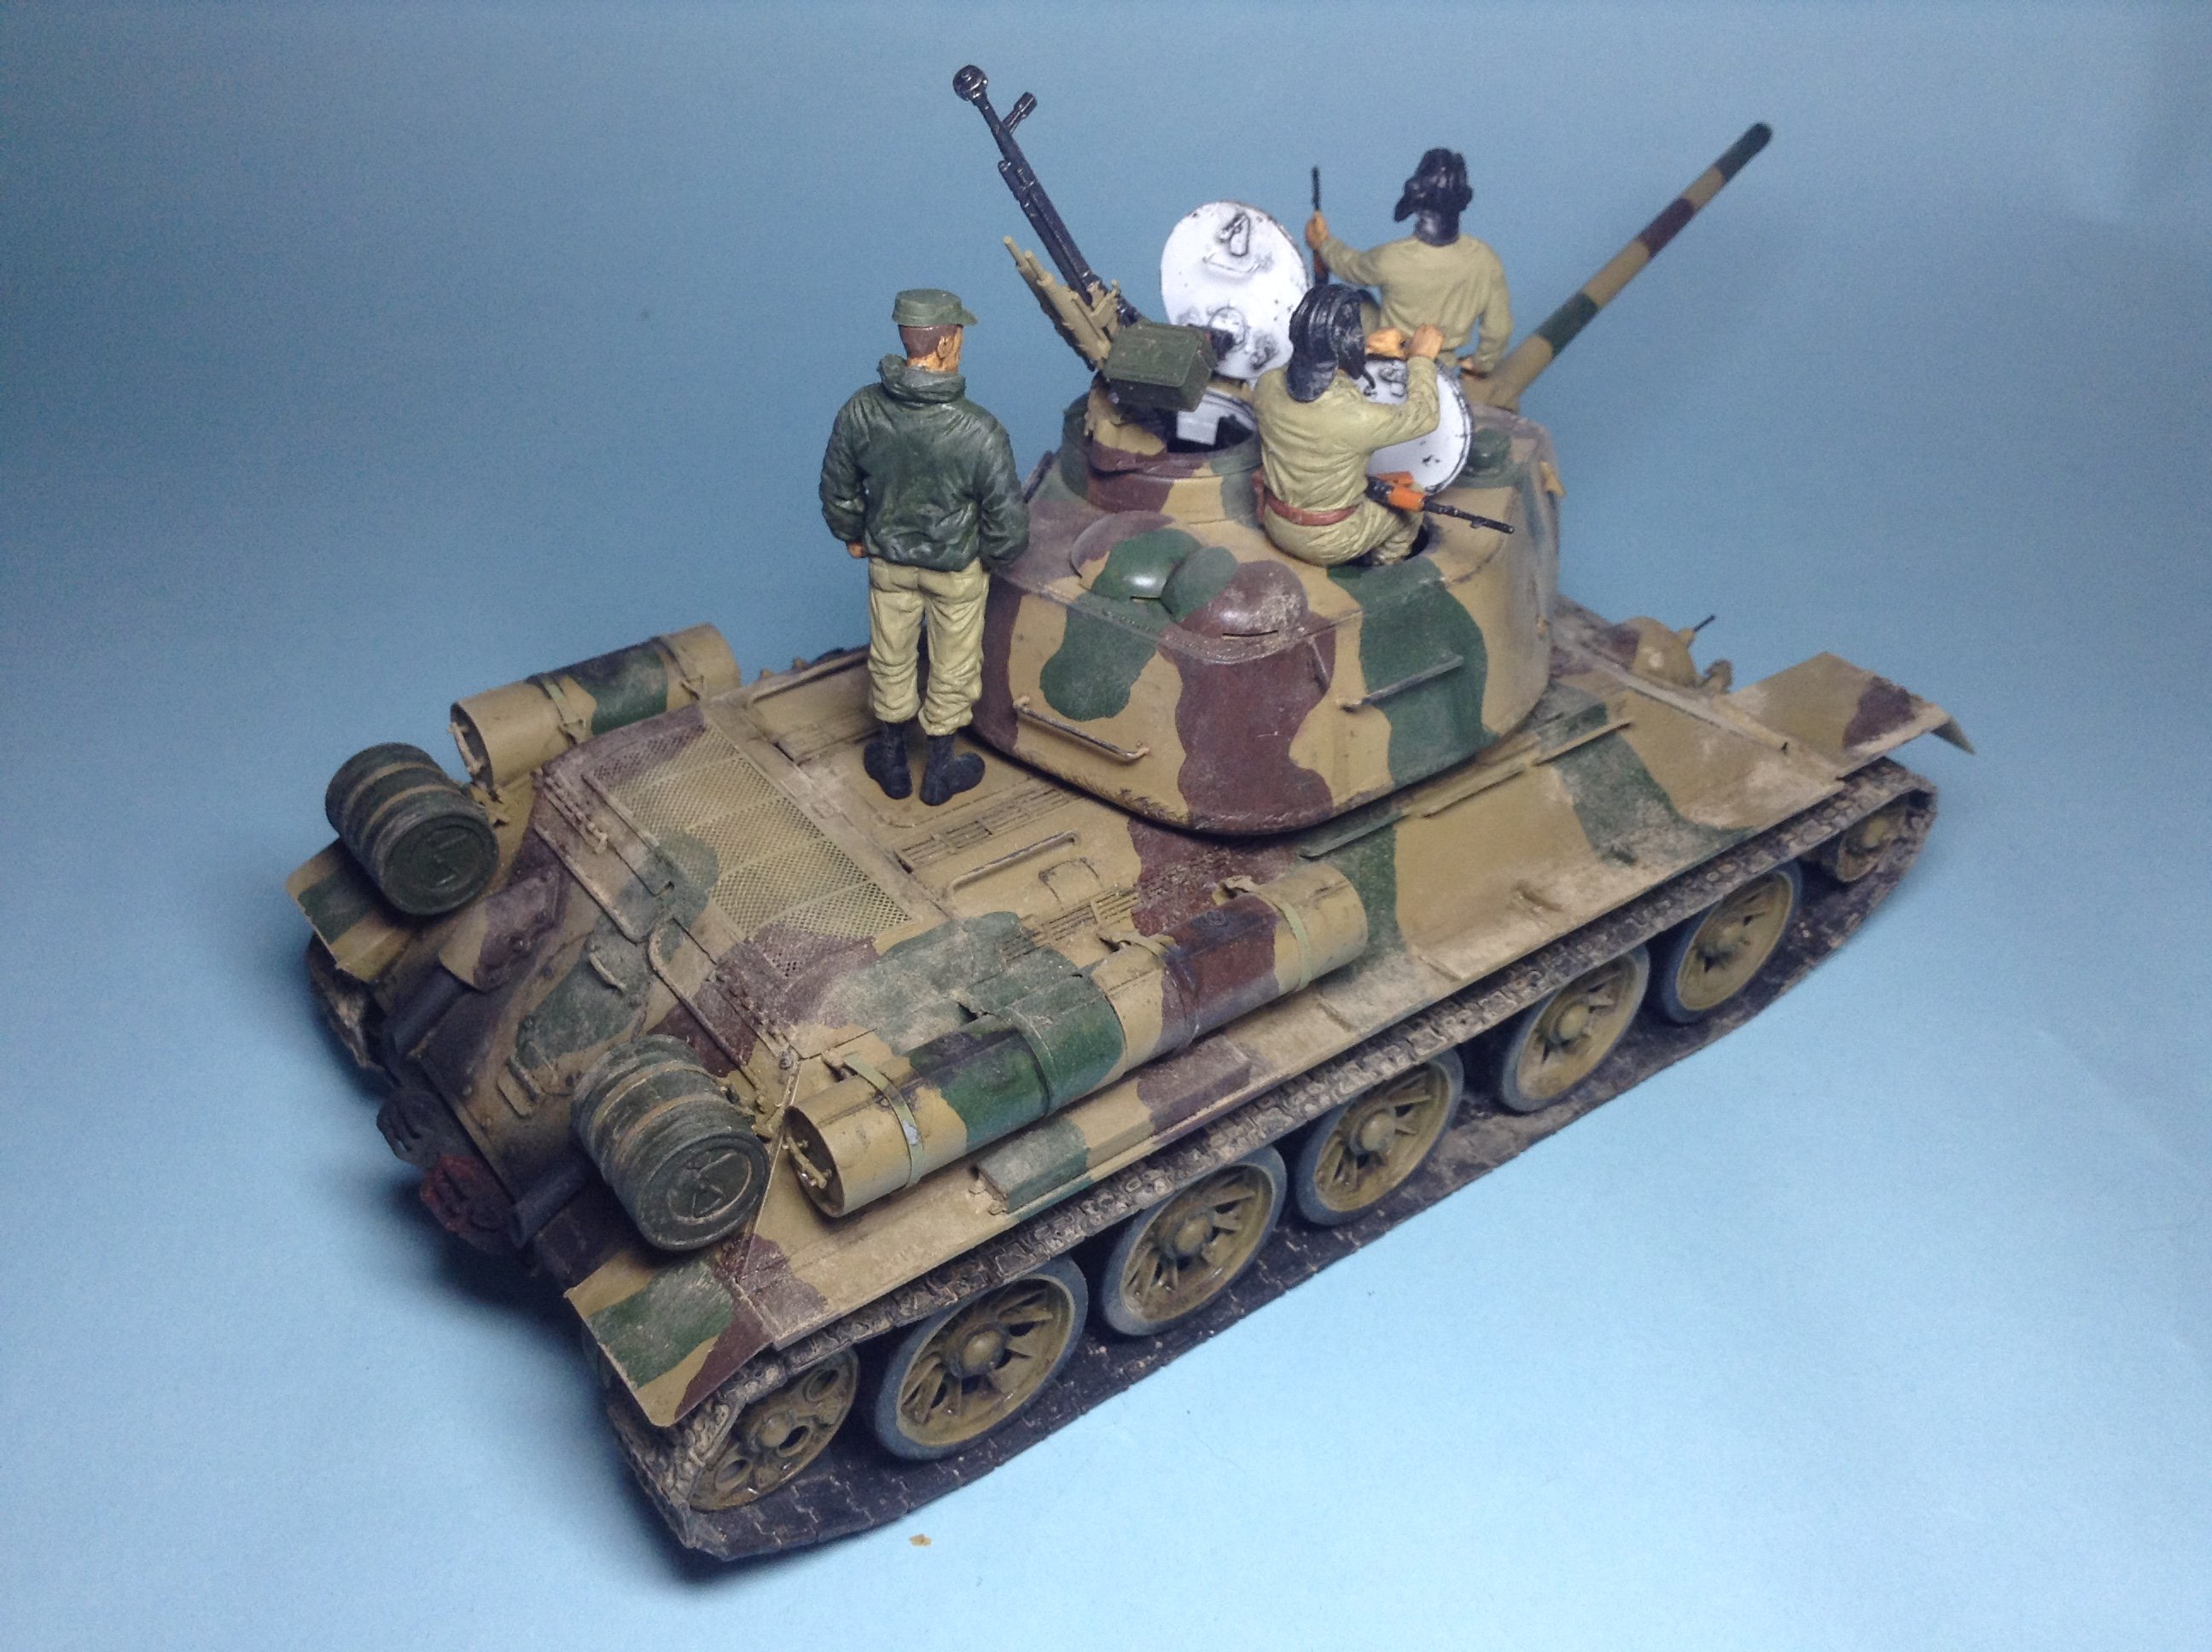
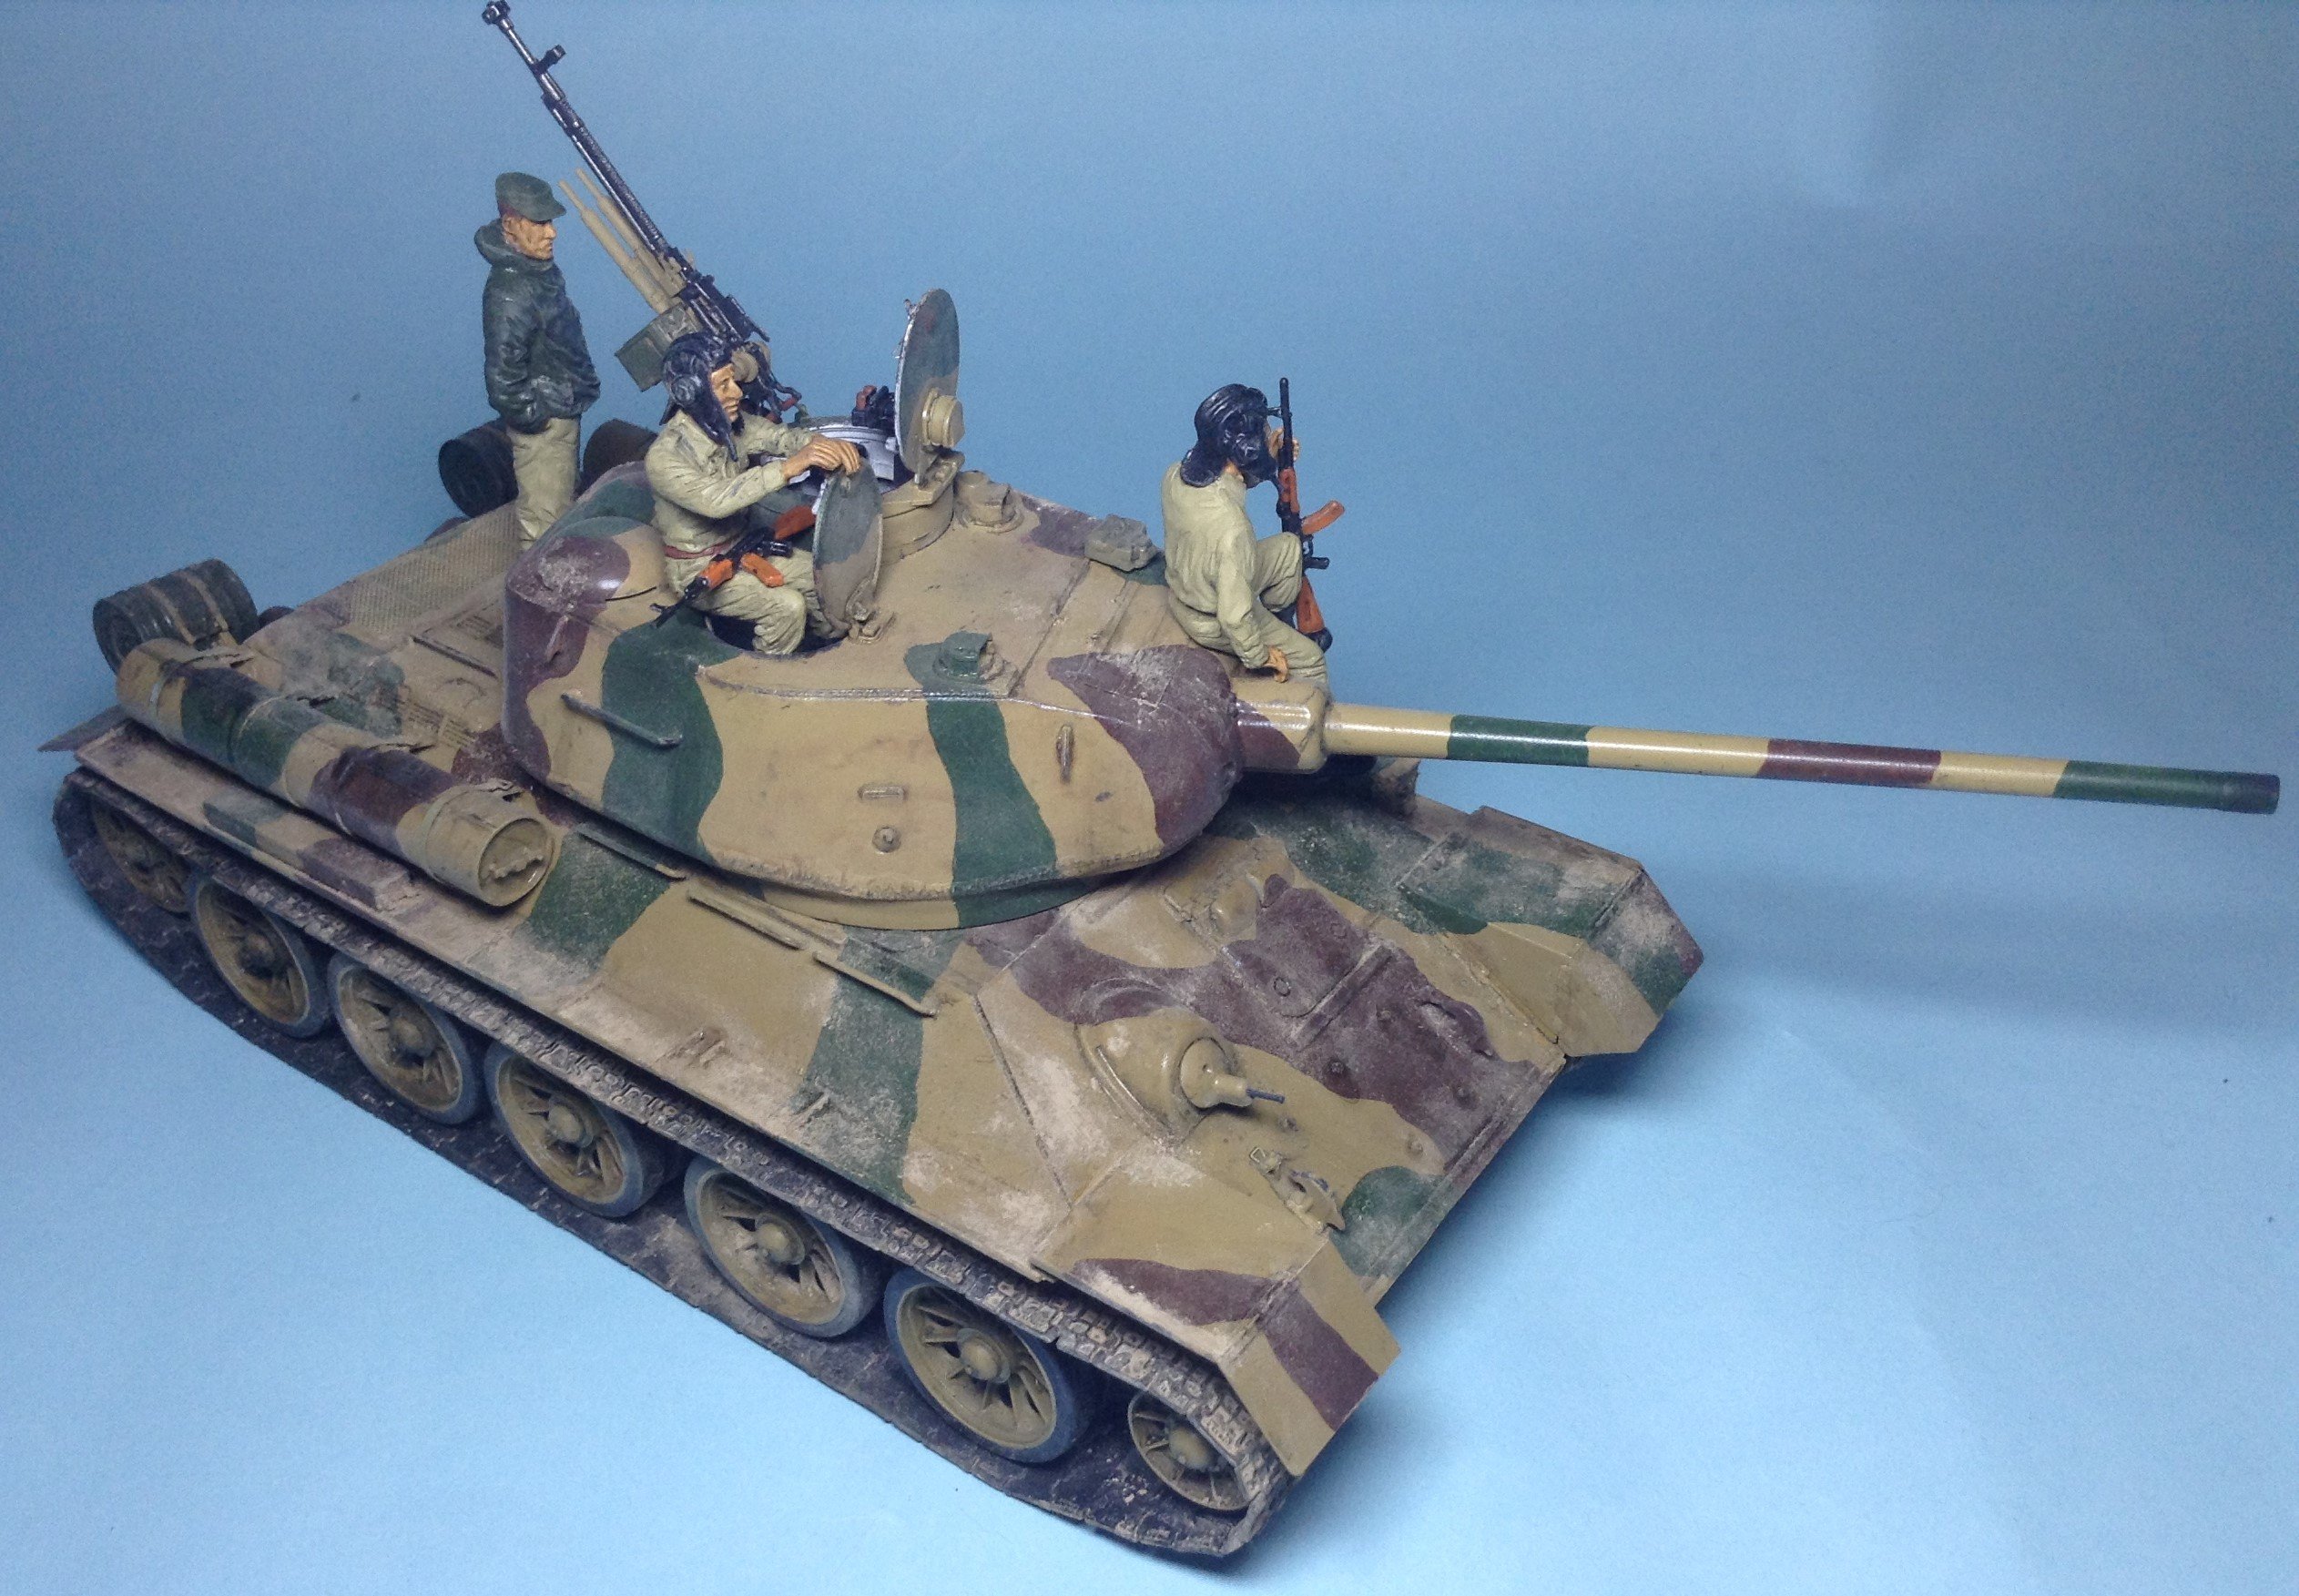
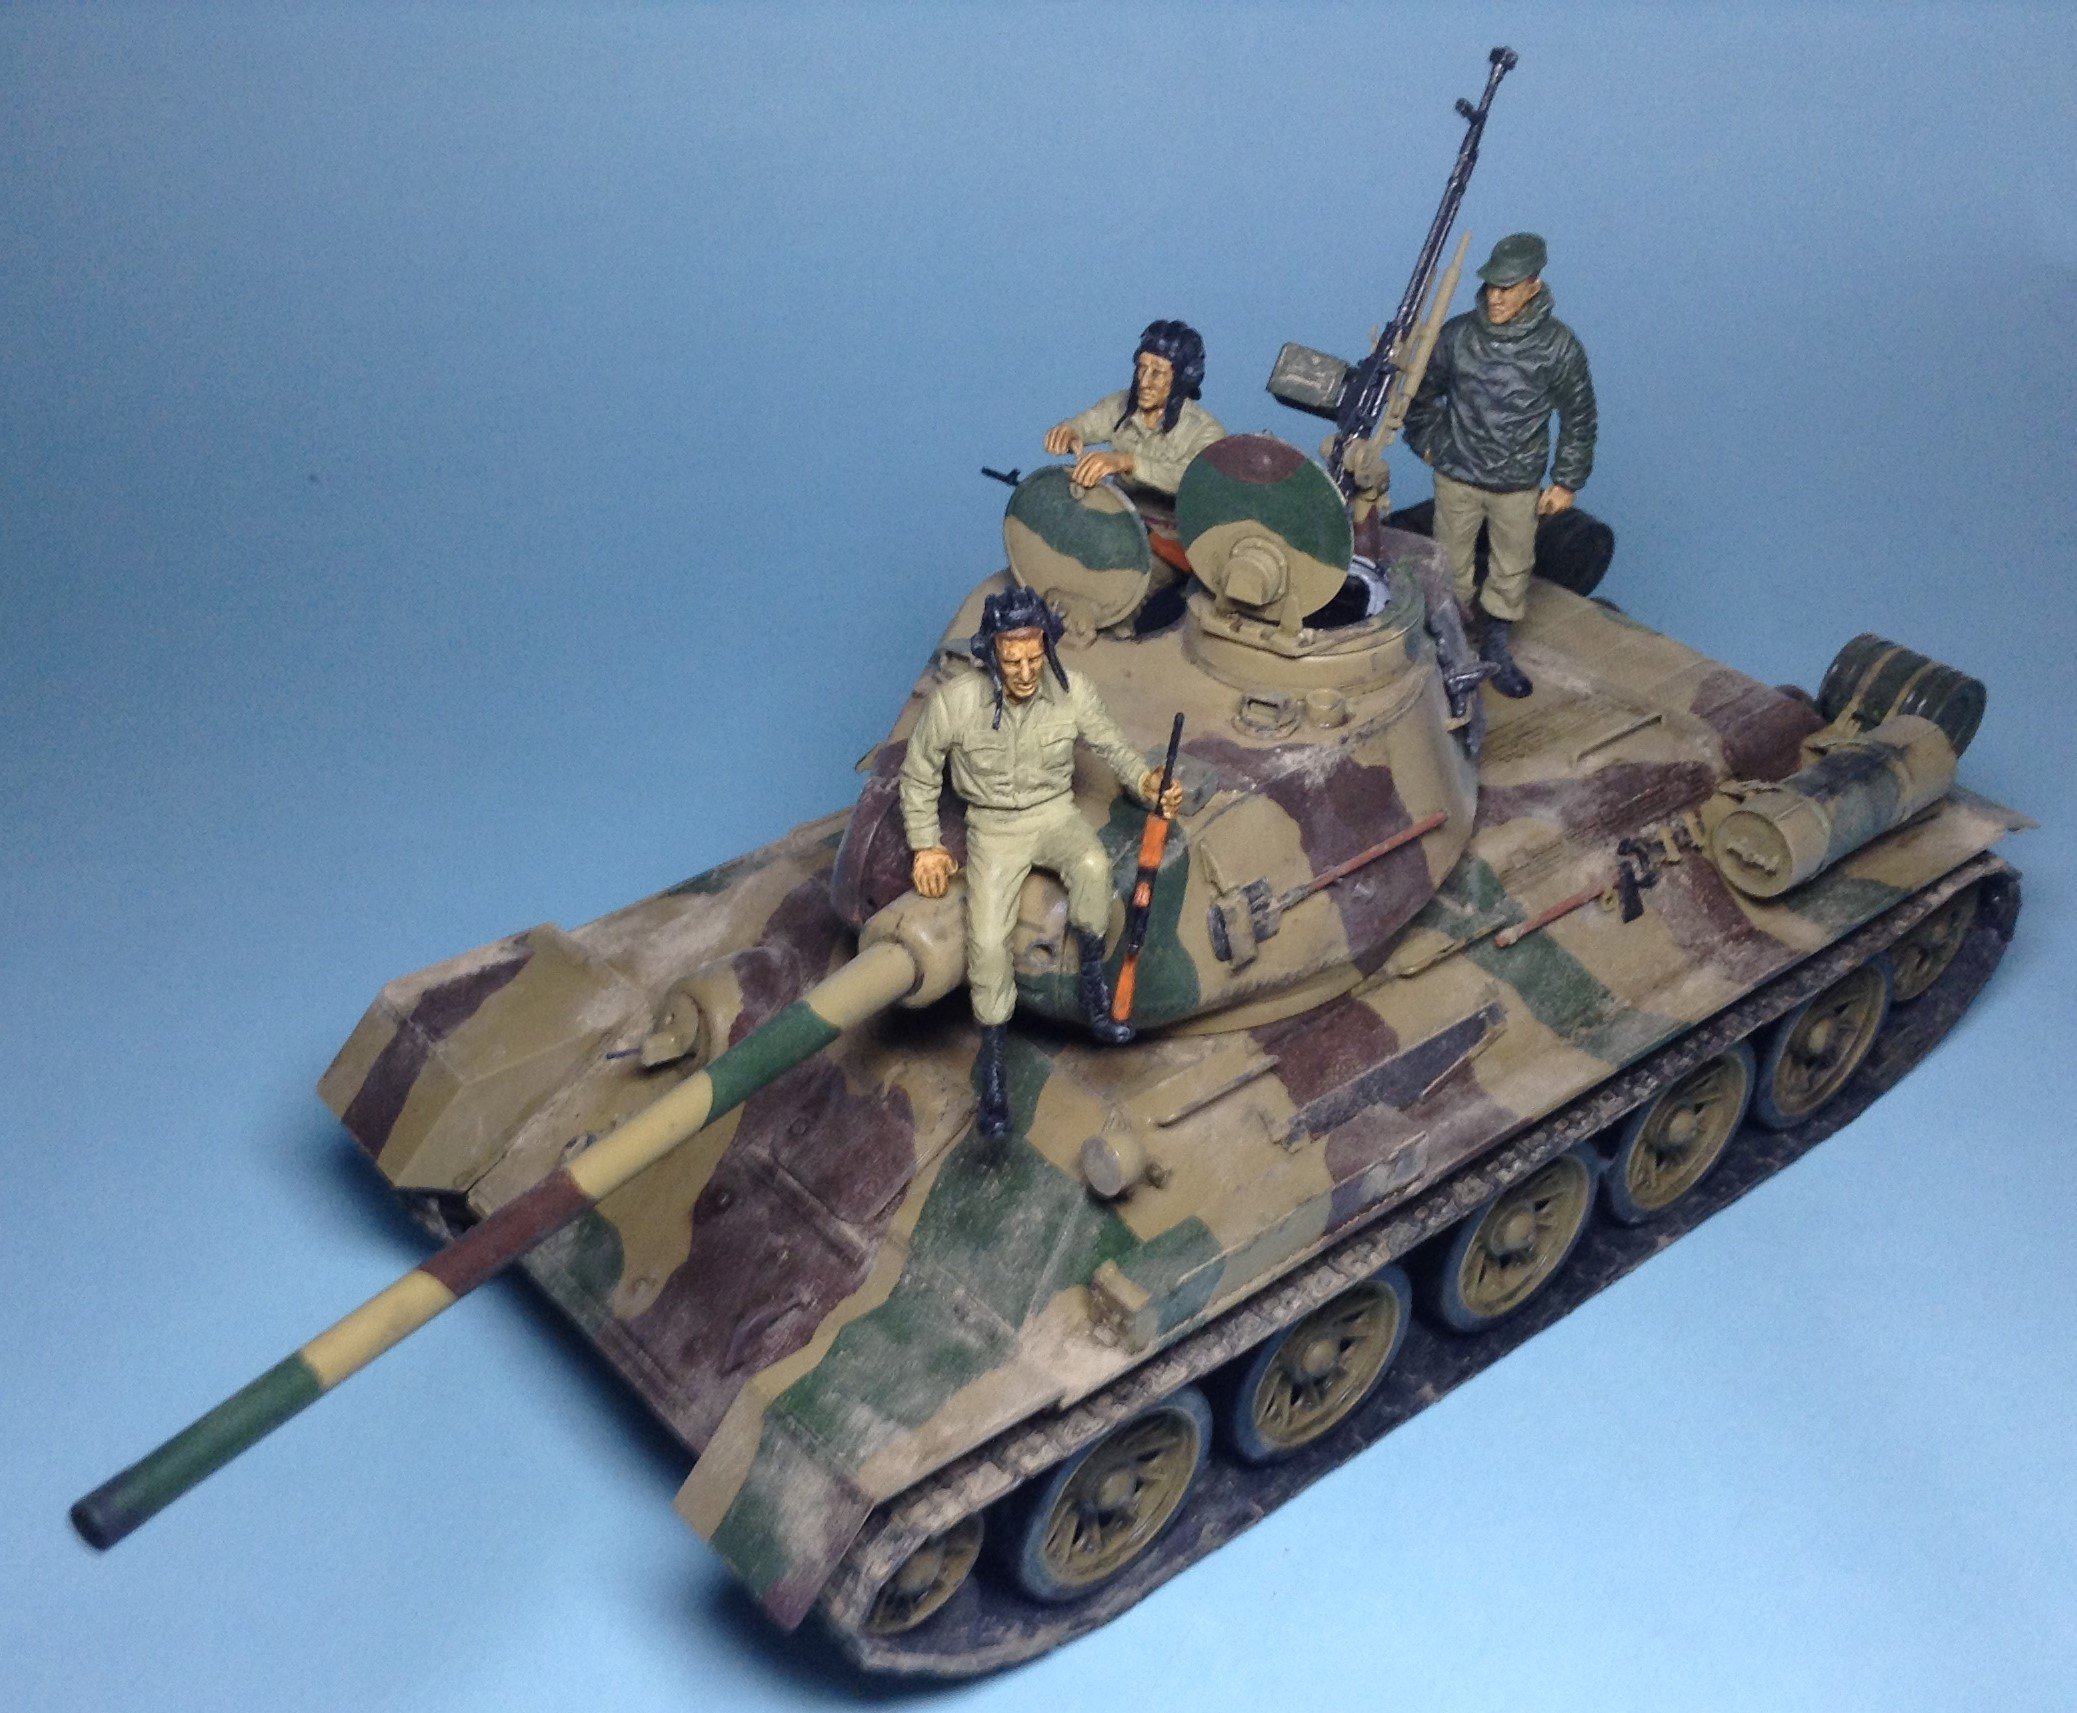
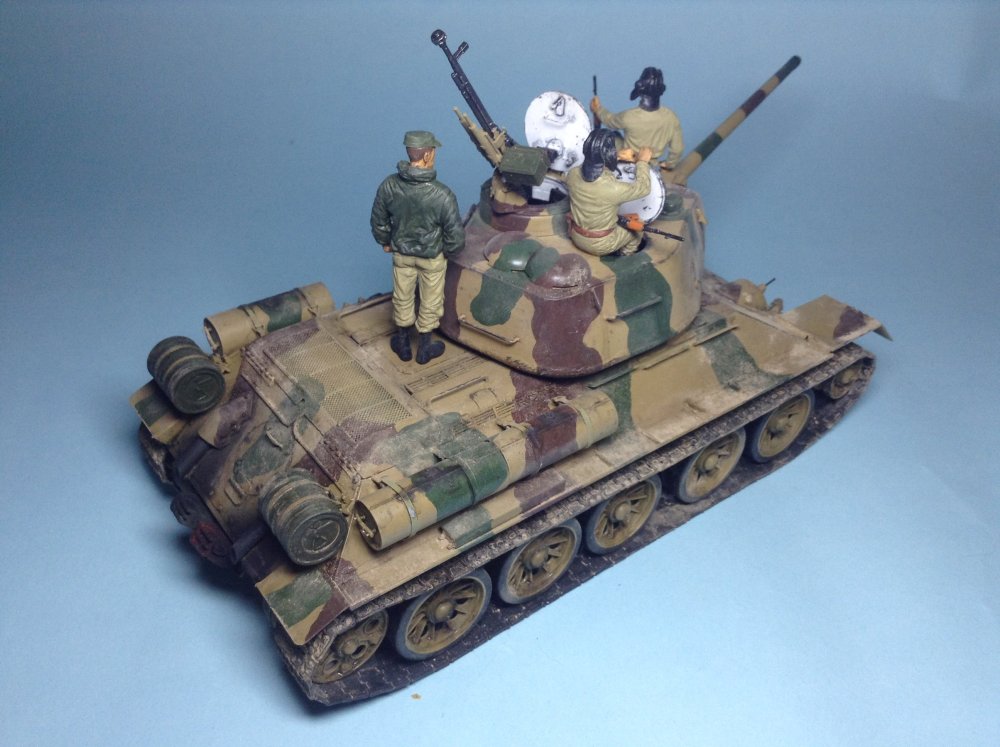
This is the reasonably new Miniart kit with crew figures in 1/35. If it's detail and parts you want, this is the kit for you. There's multiple decal options which require many different parts for different configurations of tank. There is also an extensive photo etch fret. I have deviated a little from the instructions; I changed the road wheels to the open kind and included the heavy machine gun on the cupola for this version as I liked the look. I also played around with the tools and stores on the tank. The kit includes 4 figures. I didn't use the bloke squatting down as I thought it looked like he was taking a dump. I did however cut off his hands and put them on the figure sitting in the turret as I liked them better than the closed fisted hands supplied. AK-47s come from the spares box. I decided to use a brush for this model as I figure it probably wasn't all nicely spray painted with and air gun, more likely being painted with a brush, or mop. I like the hard edge to the camo pattern this gives. Weathering was done with various washes and sandy pigments worked into the surface. These Miniart armour kits are very nice, but require a lot of work due to the high parts count and complexity of the build. I also found the plastic very soft and broke several smaller pieces trying to get them off the sprue. It's also worth noting these don't have anything like the Dragon Magic tracks, so every track link has 4 sprue attachment points to cut and clean, times by about 150 links. That said, patience will result in a nice looking model. I do have their T-55 and Panzer IV in the stash to build as well.


-
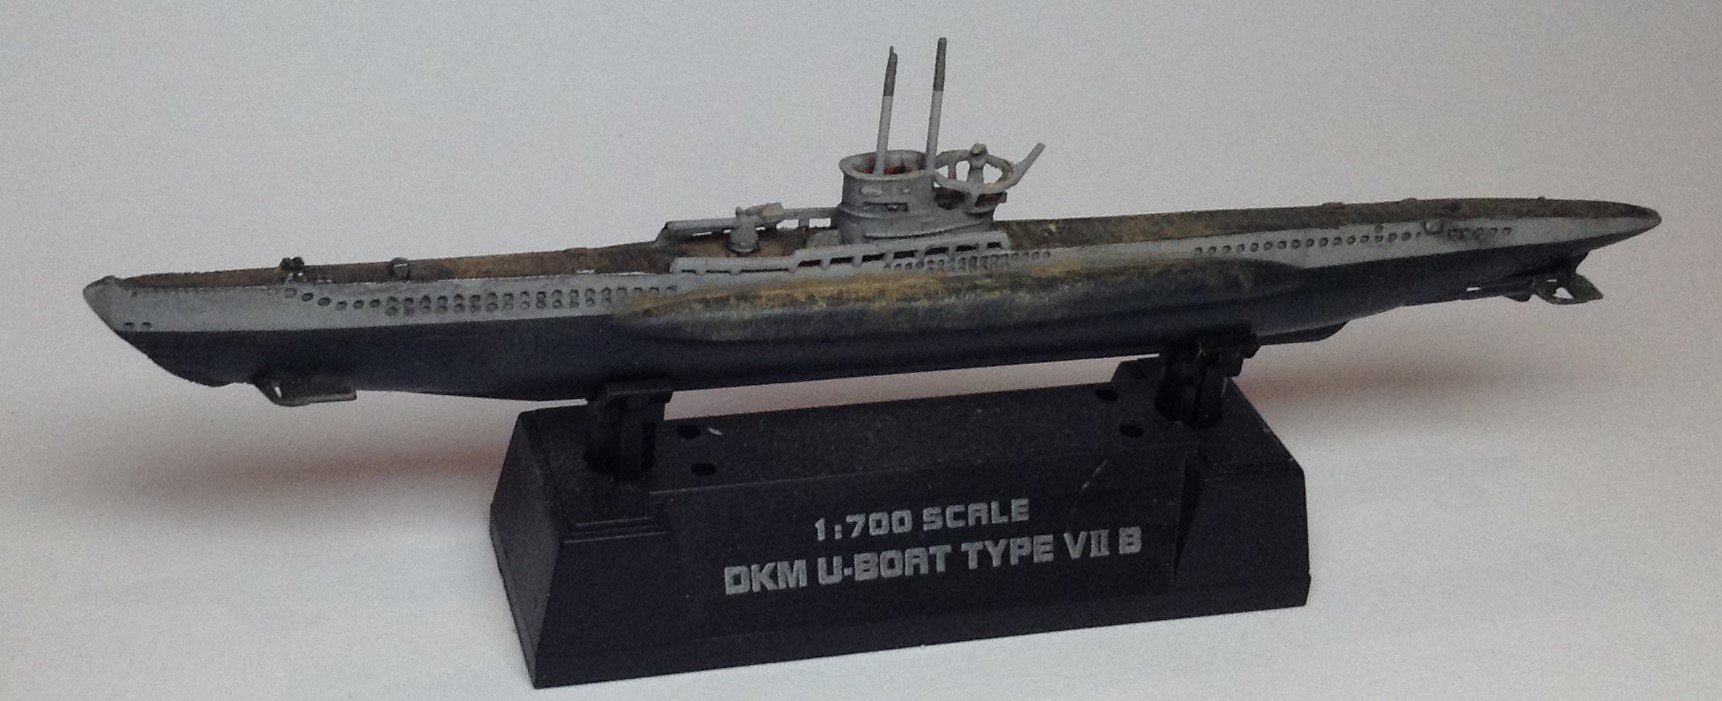
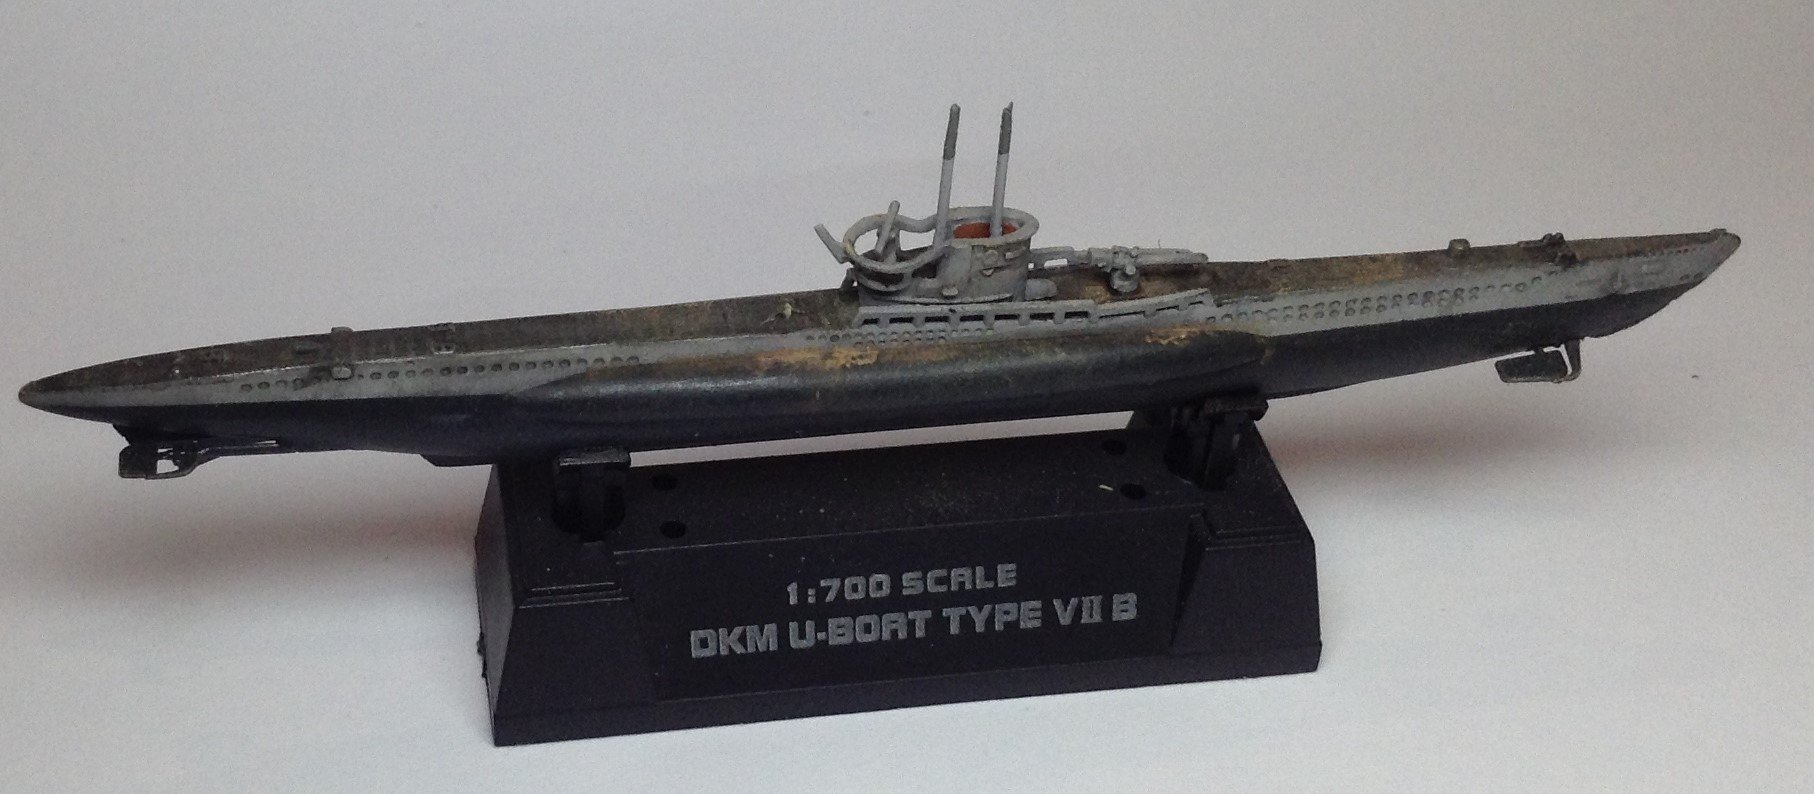
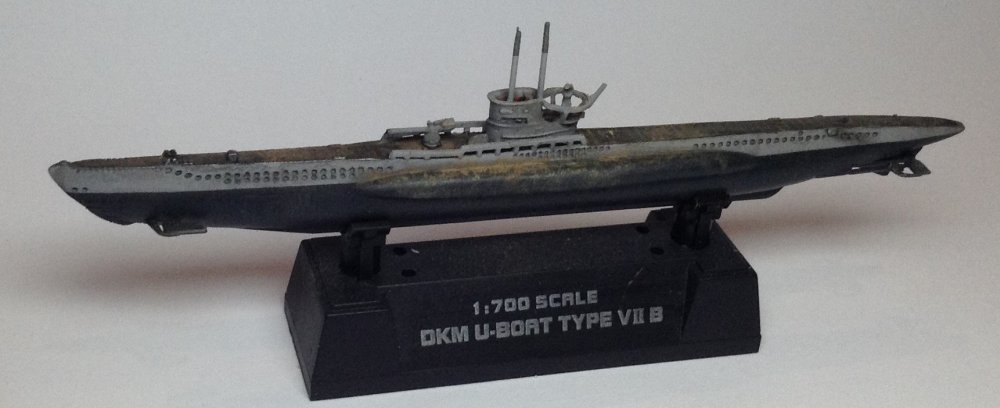
Just a little something I picked up cheap second hand and was building in between other models. For 1/700 Hobby boss it is pretty nicely molded with the rails for the hull and conning tower molded to their respective sections. Painted with WEM enamel in Hellgrau 50 and PSBF III, the standard for early war subs. Deck is black. The base even has the nice writing on it already printed.

-
- 1
-
-
- uboat
- hobby boss
- (and 1 more)
-
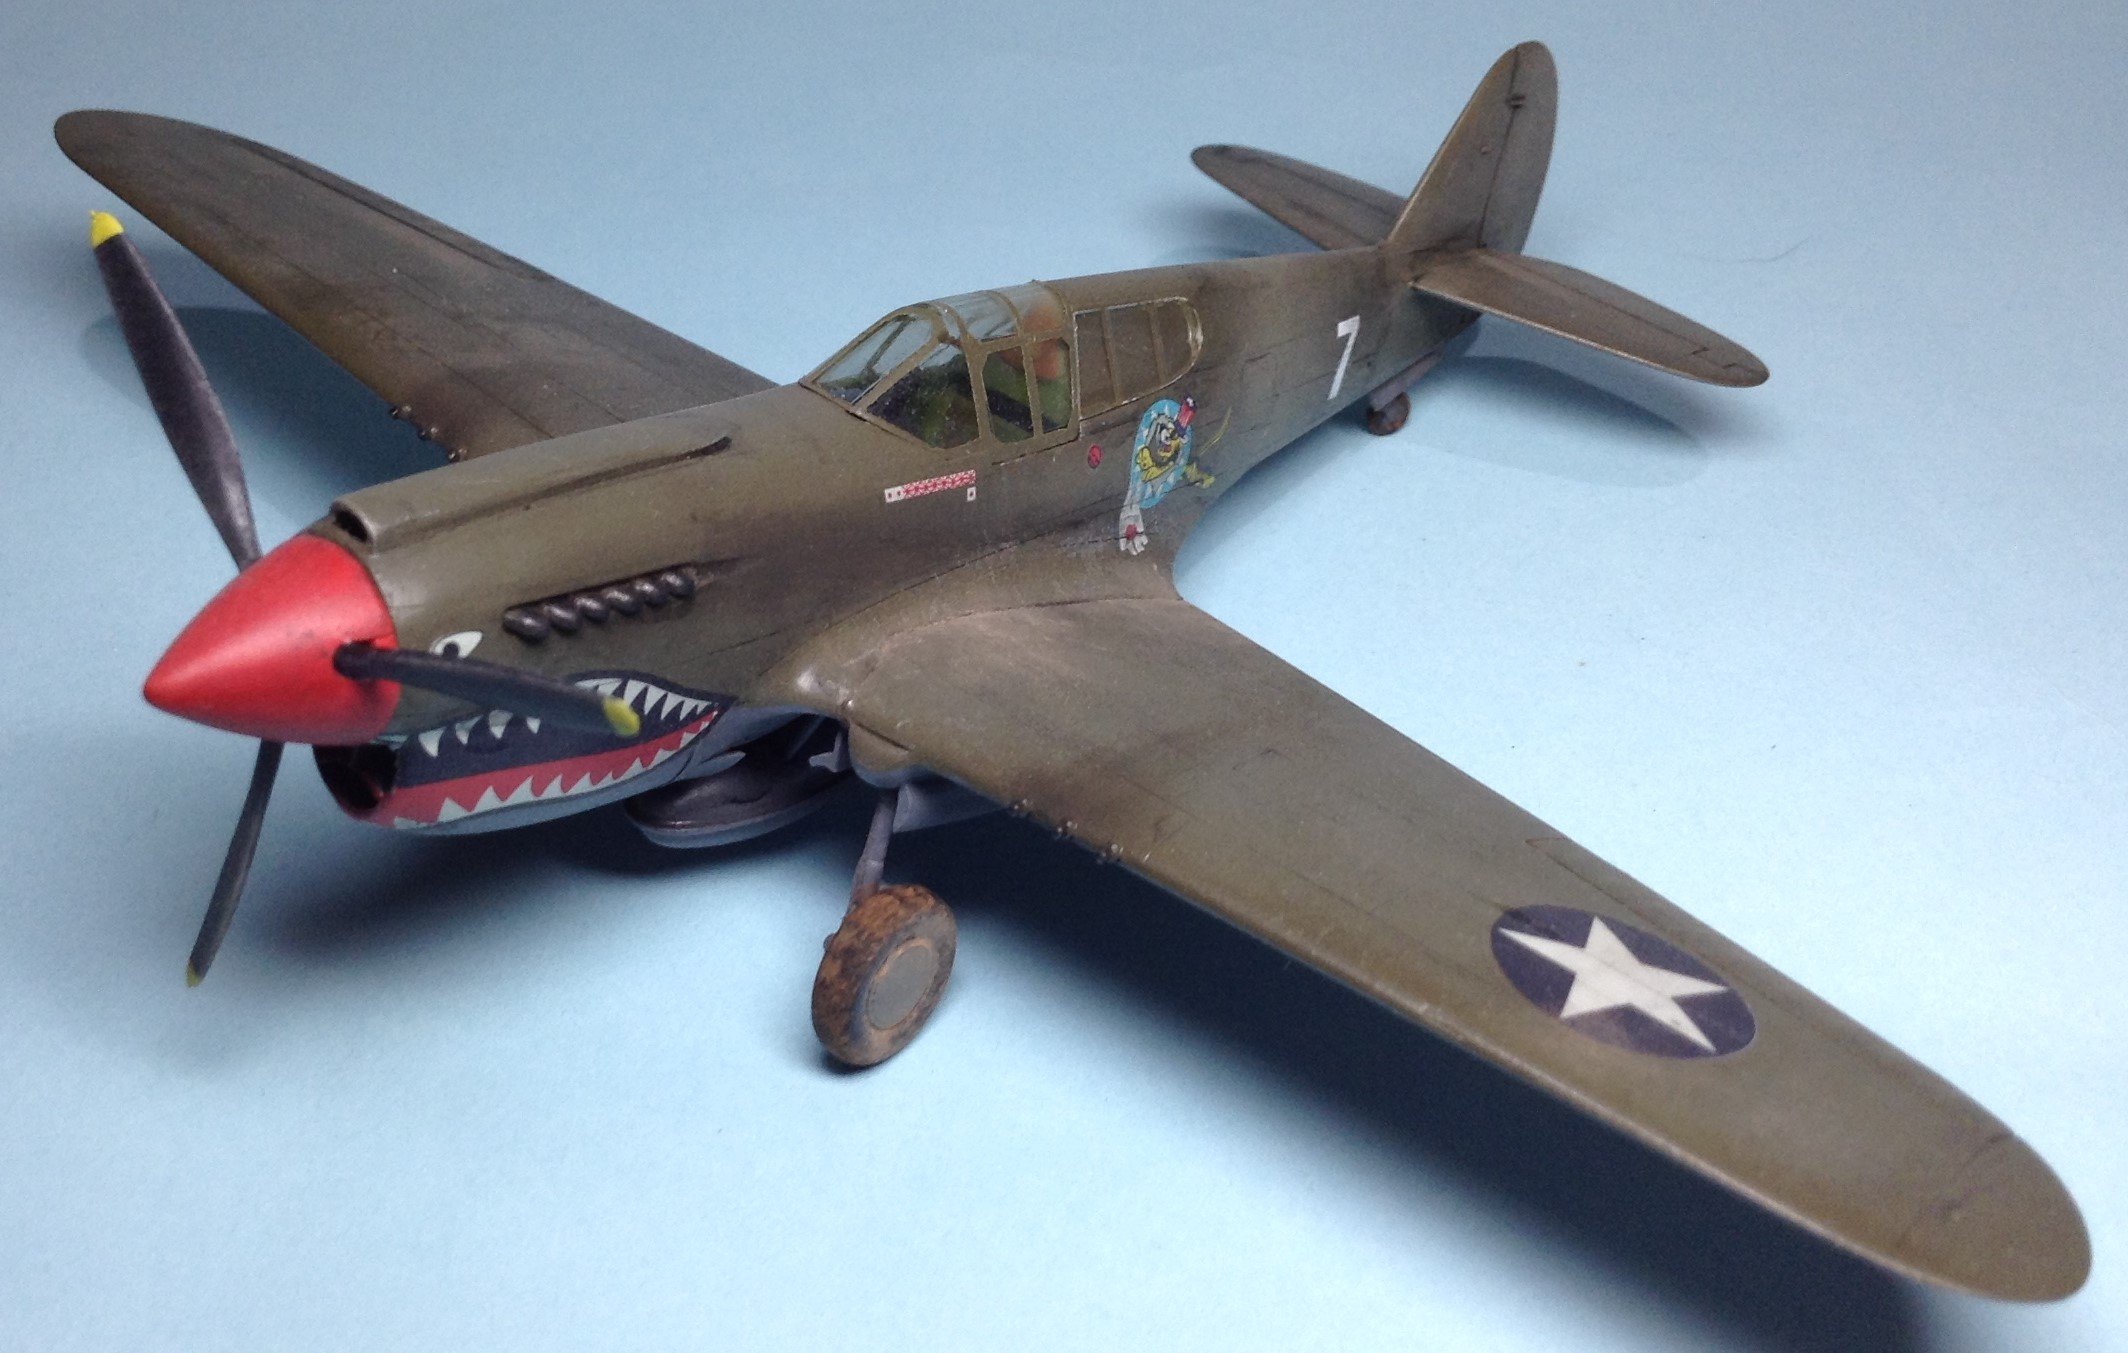
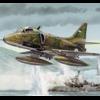
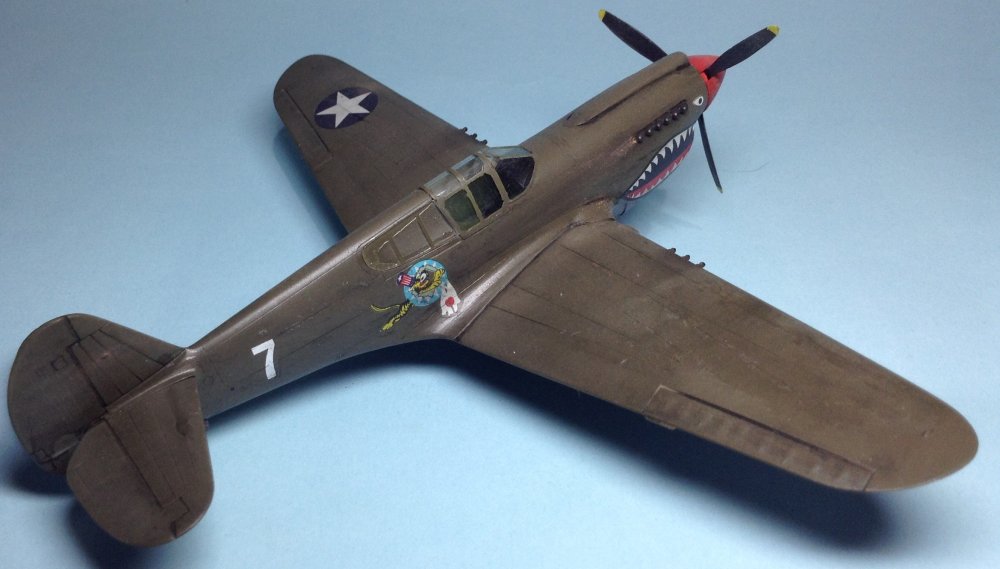
This is the oldish Hasegawa 1/72 kit. Despite being nearly 50 years old, the kit is surprisingly decent, with fine engraved lines and good decals, this boxing I think is 1992. It does lack cockpit detail and the decals are incorrect in this boxing for Scott's P-40E. Supplied is a serial number for the tail, which despite being incorrect, this aircraft had no serial painted on it and it lacks the white 7 for the rear fuselage (this came from the spares box). The 2014 dual boxing of the kit corrects these errors. A quick look online sees not very many 1/72 P-40E's available so for it's simple buildability and being fairly easy to come across, it's still up there with the best in scale for it's type. I rather hope Airfix might continue their P-40 line.


-
- 2
-
-
- hasegawa
- flying tigers
- (and 1 more)