shark64
-
Posts
691 -
Joined
-
Last visited
Content Type
Profiles
Forums
Events
Gallery
Everything posted by shark64
-
well, thats looking rather sharp. Oliver
-
Special Hobby Whirlwind
shark64 replied to Peterpools's topic in LSM 1/35 and Larger Work In Progress
Hi , How did i miss this? Great subject, amazing start. It looks like a baby mosquito. Hows the kit ? Oliver -


-
Tamiya Spitfire MK XVIe
shark64 replied to Peterpools's topic in LSM 1/35 and Larger Work In Progress
i have no words to describe how amazing this is. wow wow wow -
Some stuff done this weekend but too hot in modeling room.


-
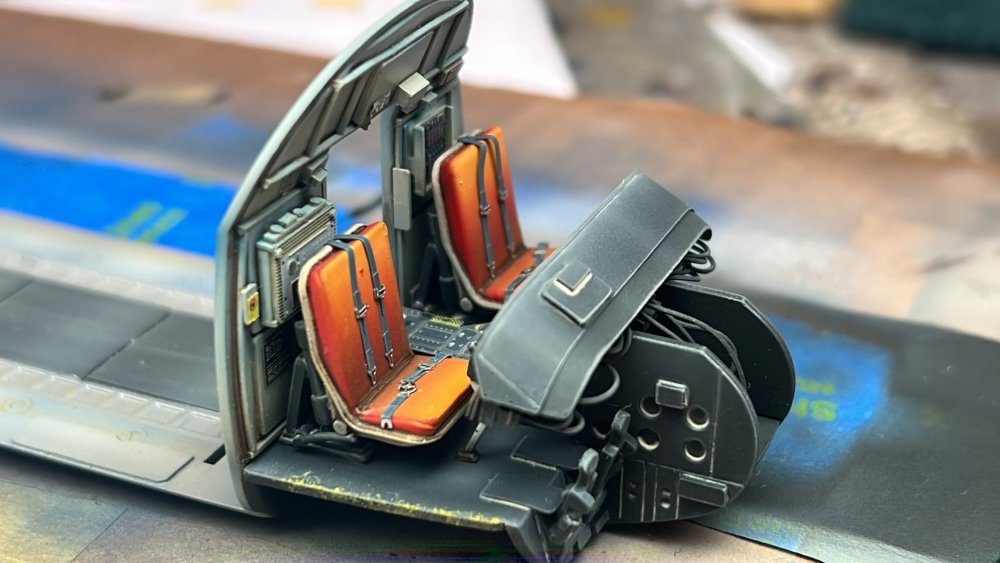
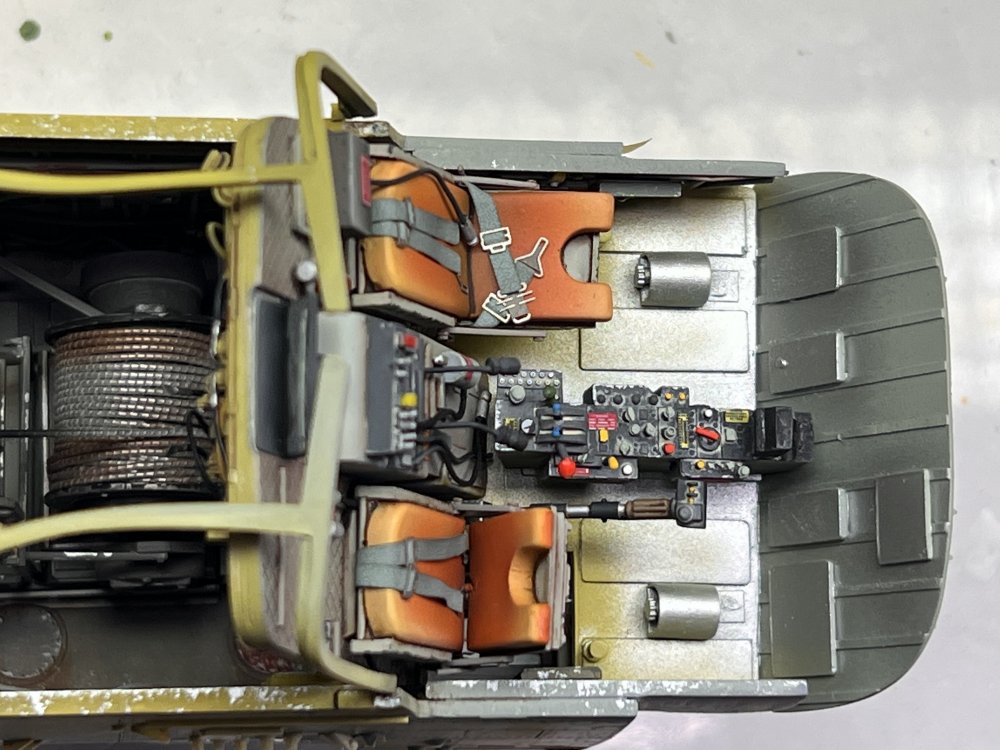
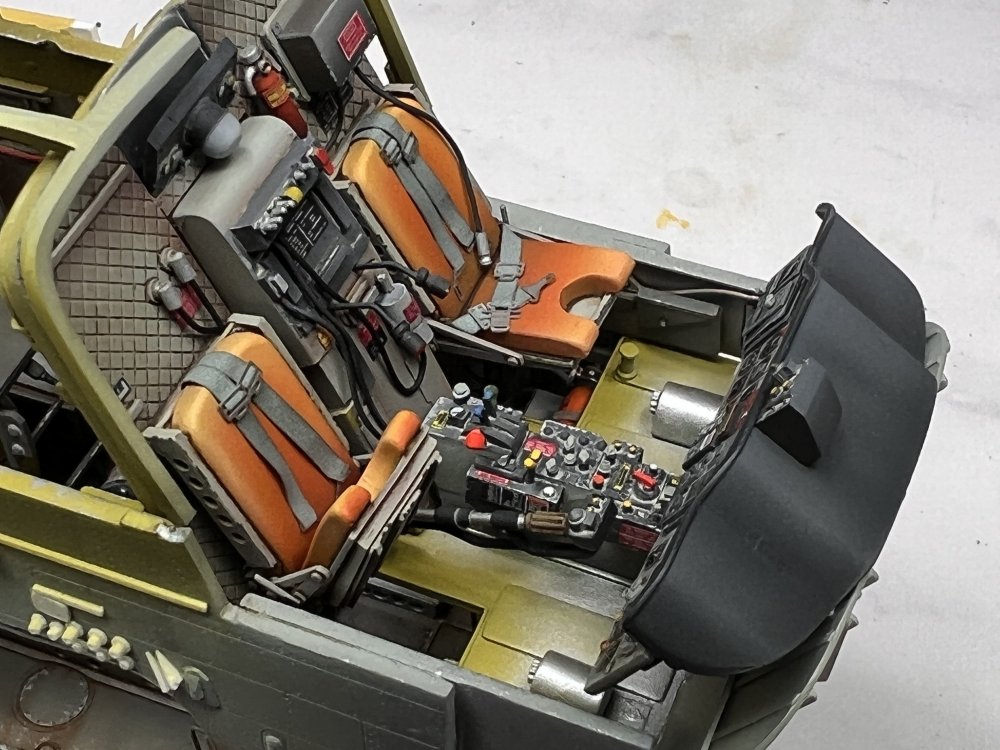
Thanks Everyone for the comments. I was able to get the cockpit finished today.
-
Spectacular work. Friend of mine had the same car, sadly he sits in his garage and barely drives it. nice work Pete.
-
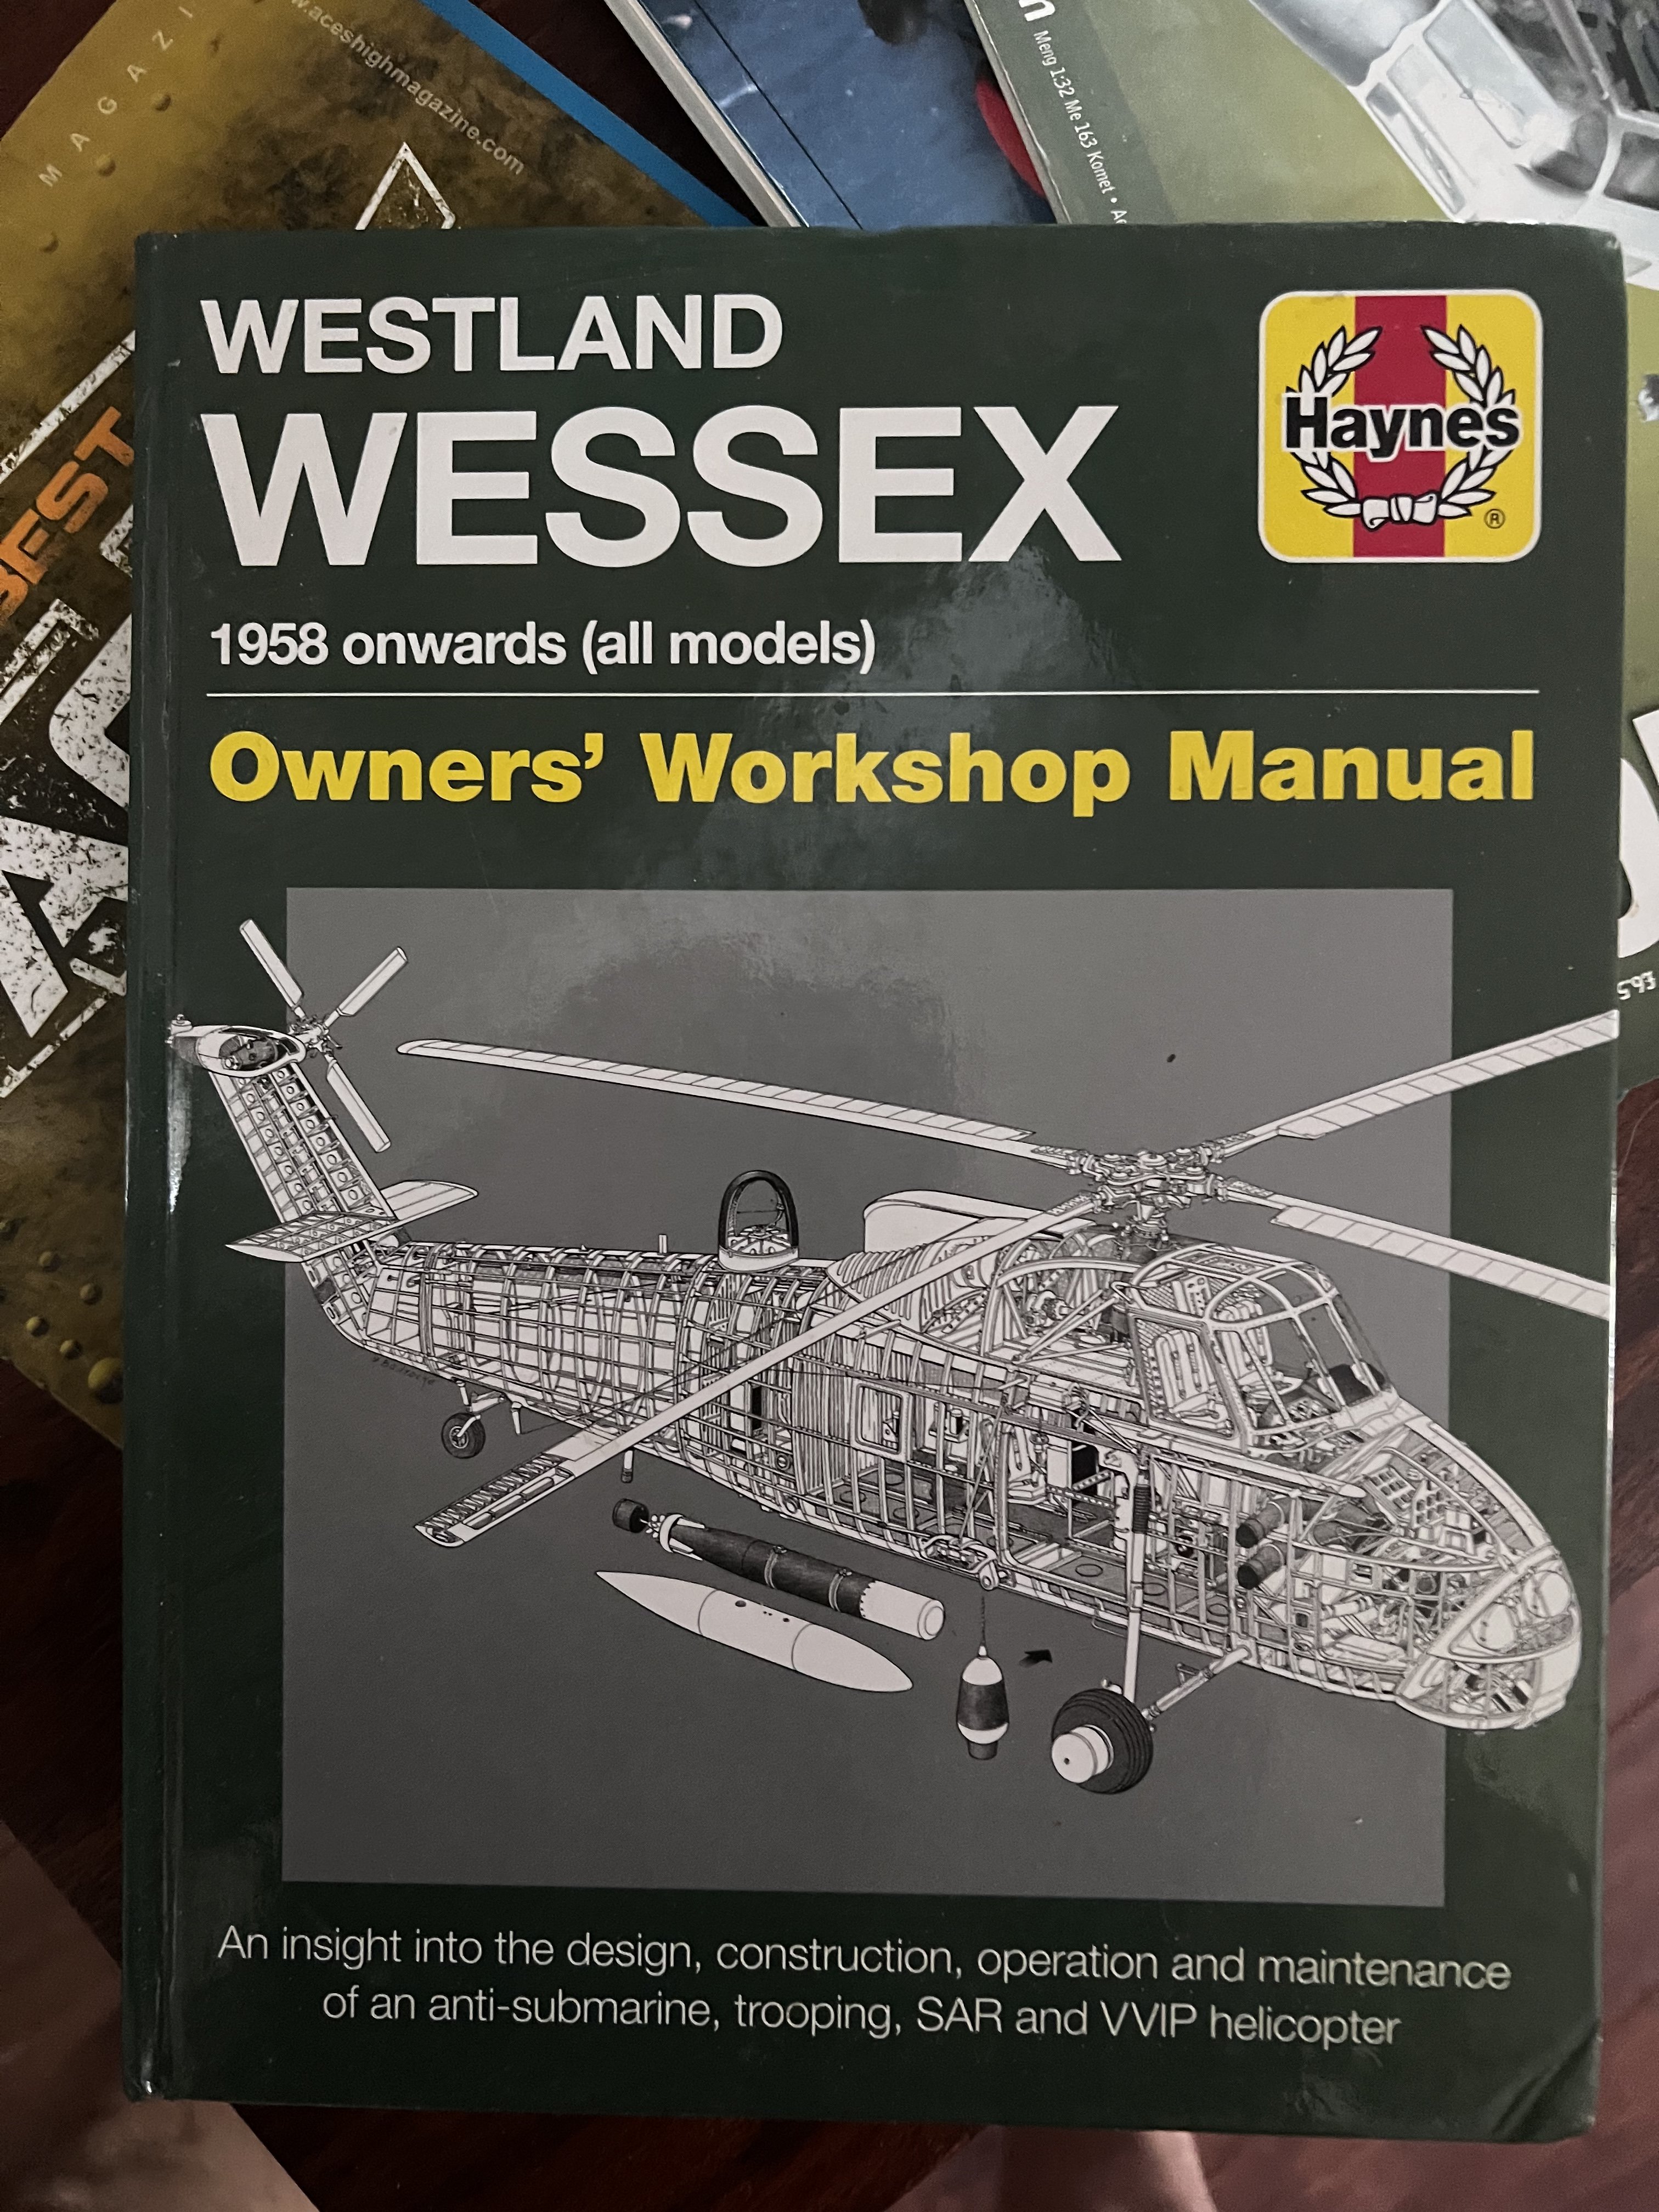
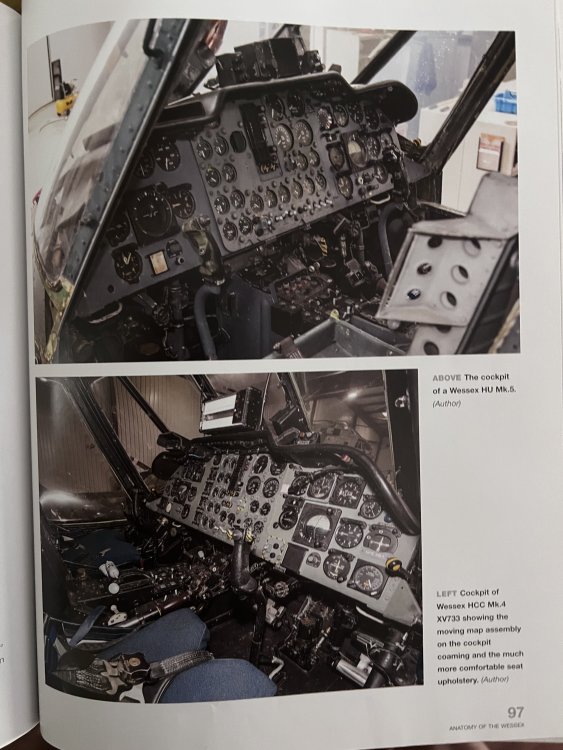
This book will help your build.

-
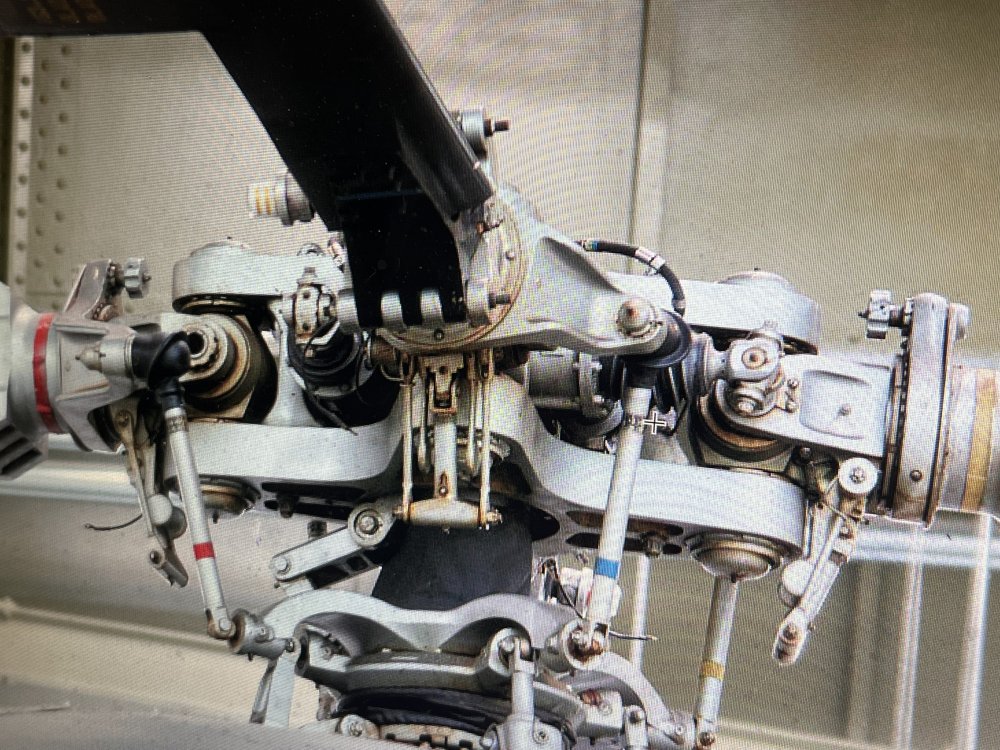
Alain, go to the Helicopter Walkaround on Britmodeler website, many photos of the Wessex including cockpit or get the Wessex book.
-
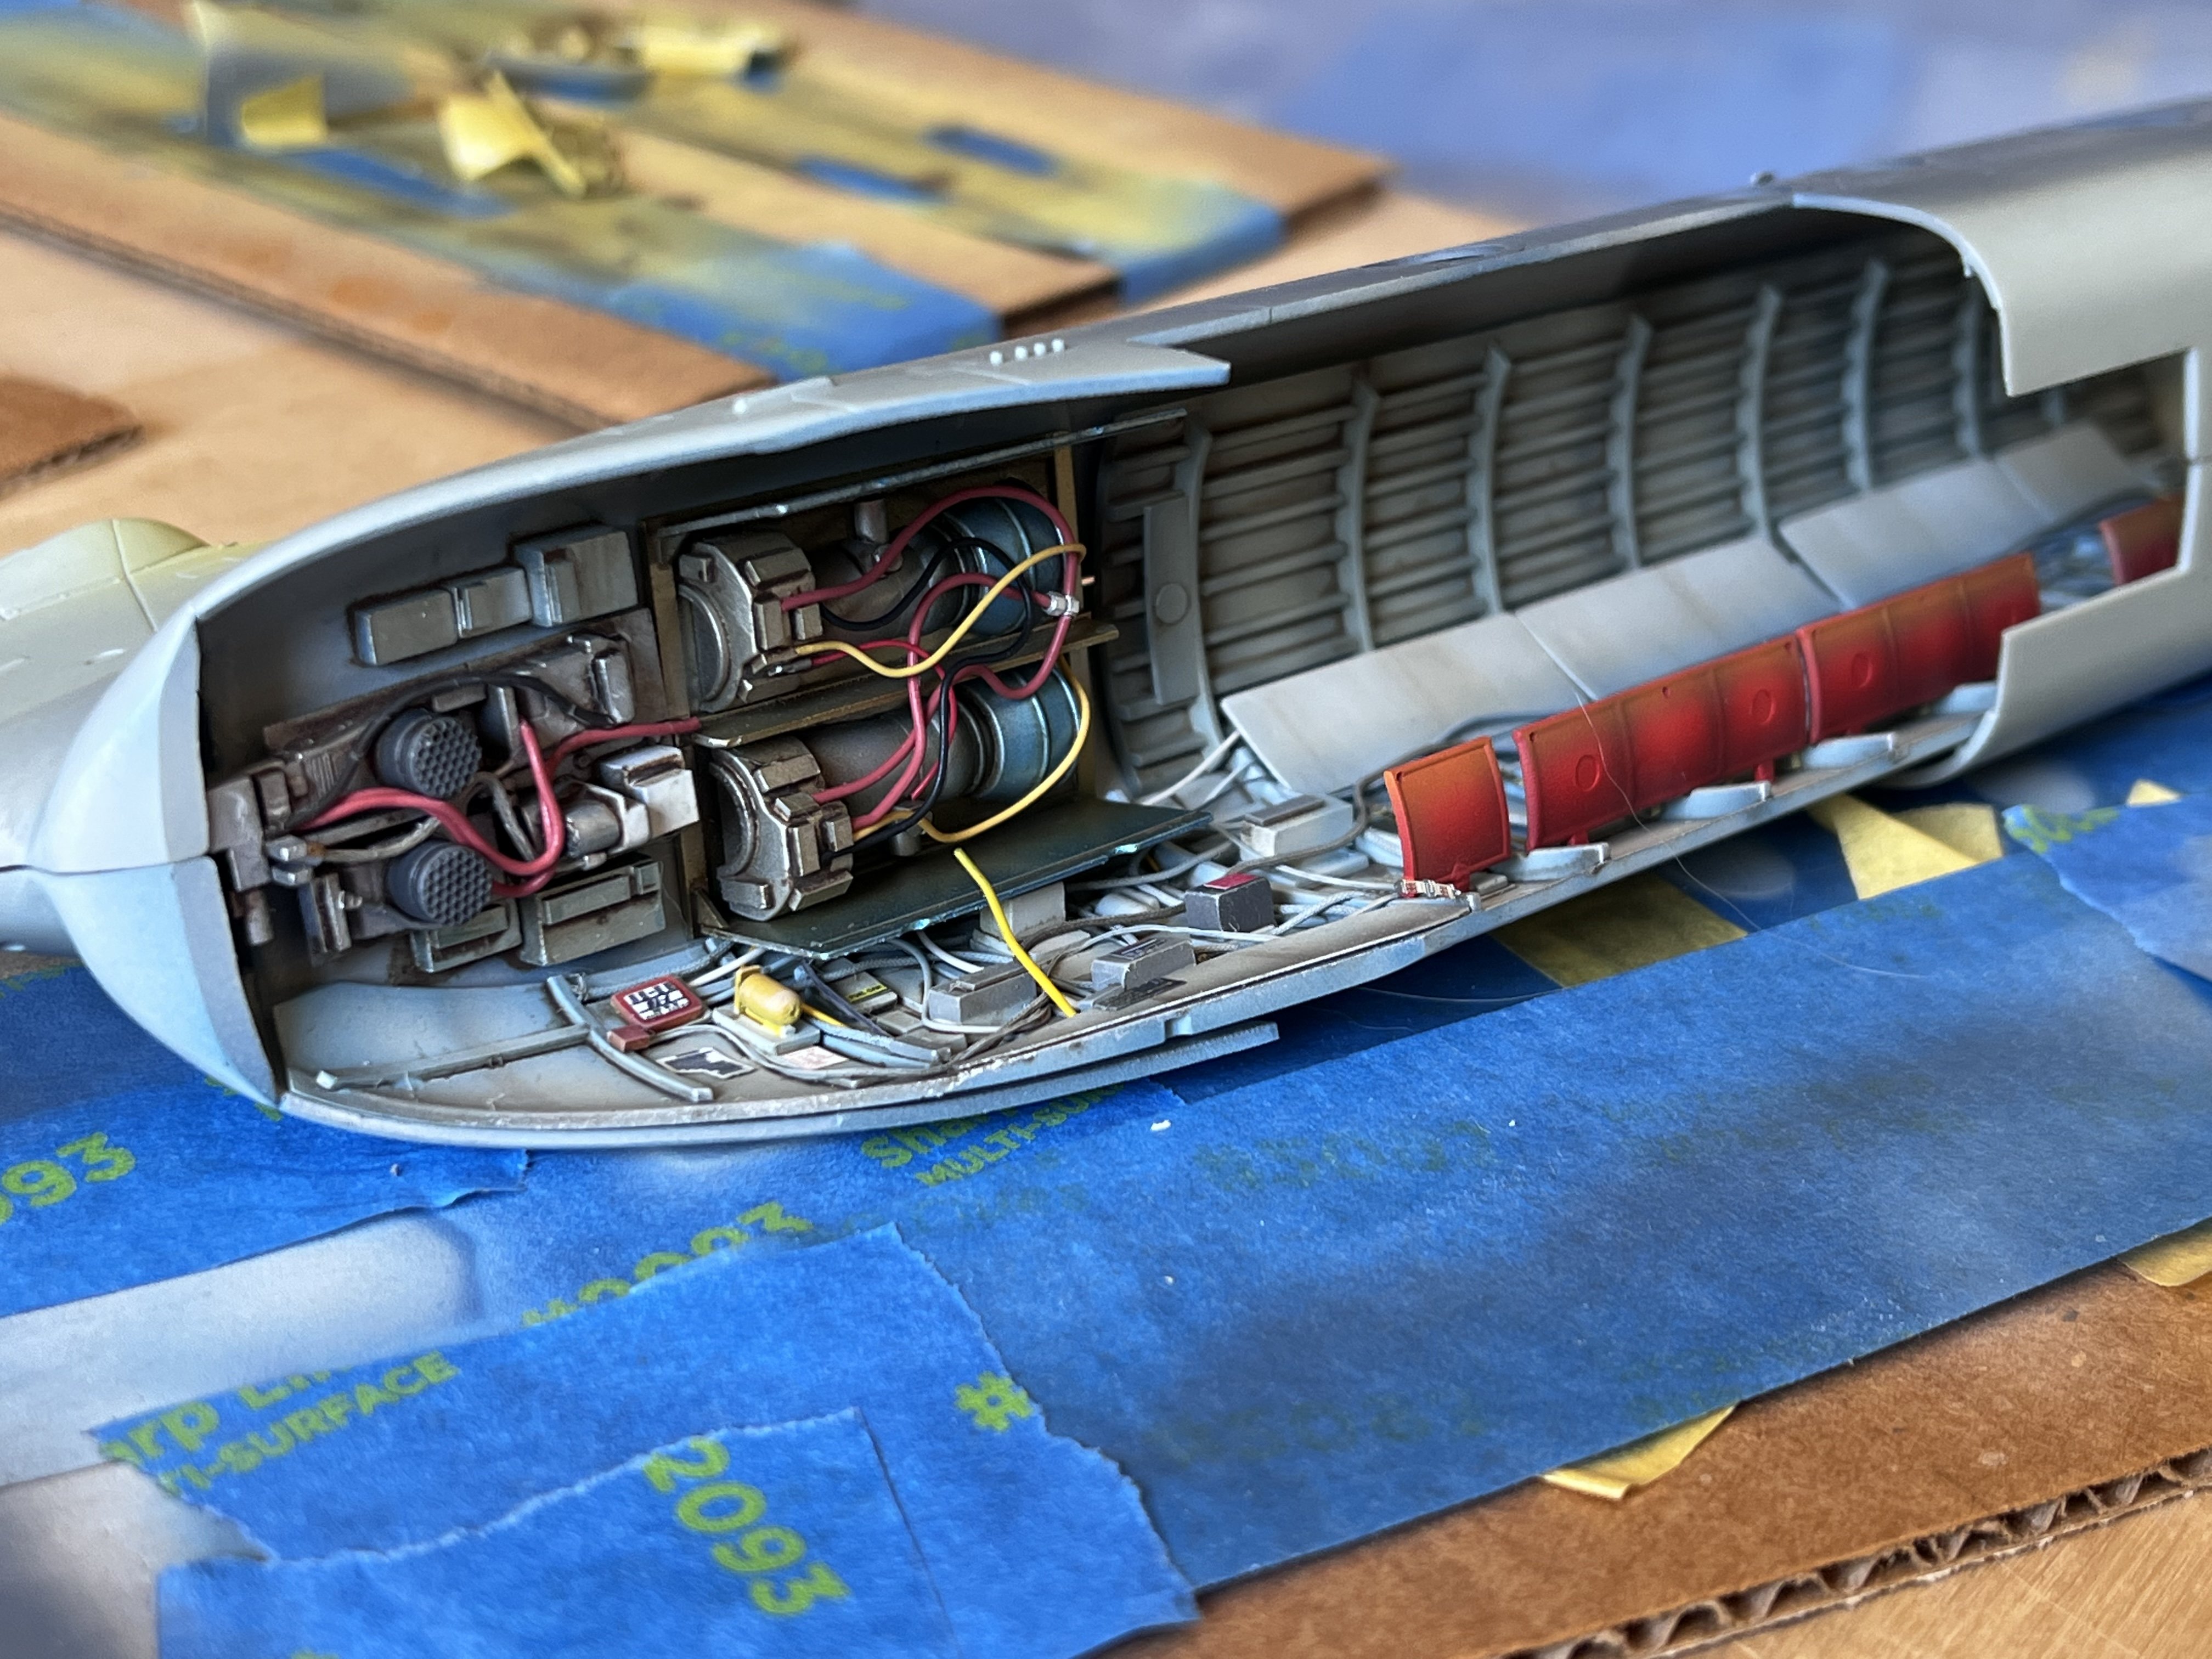
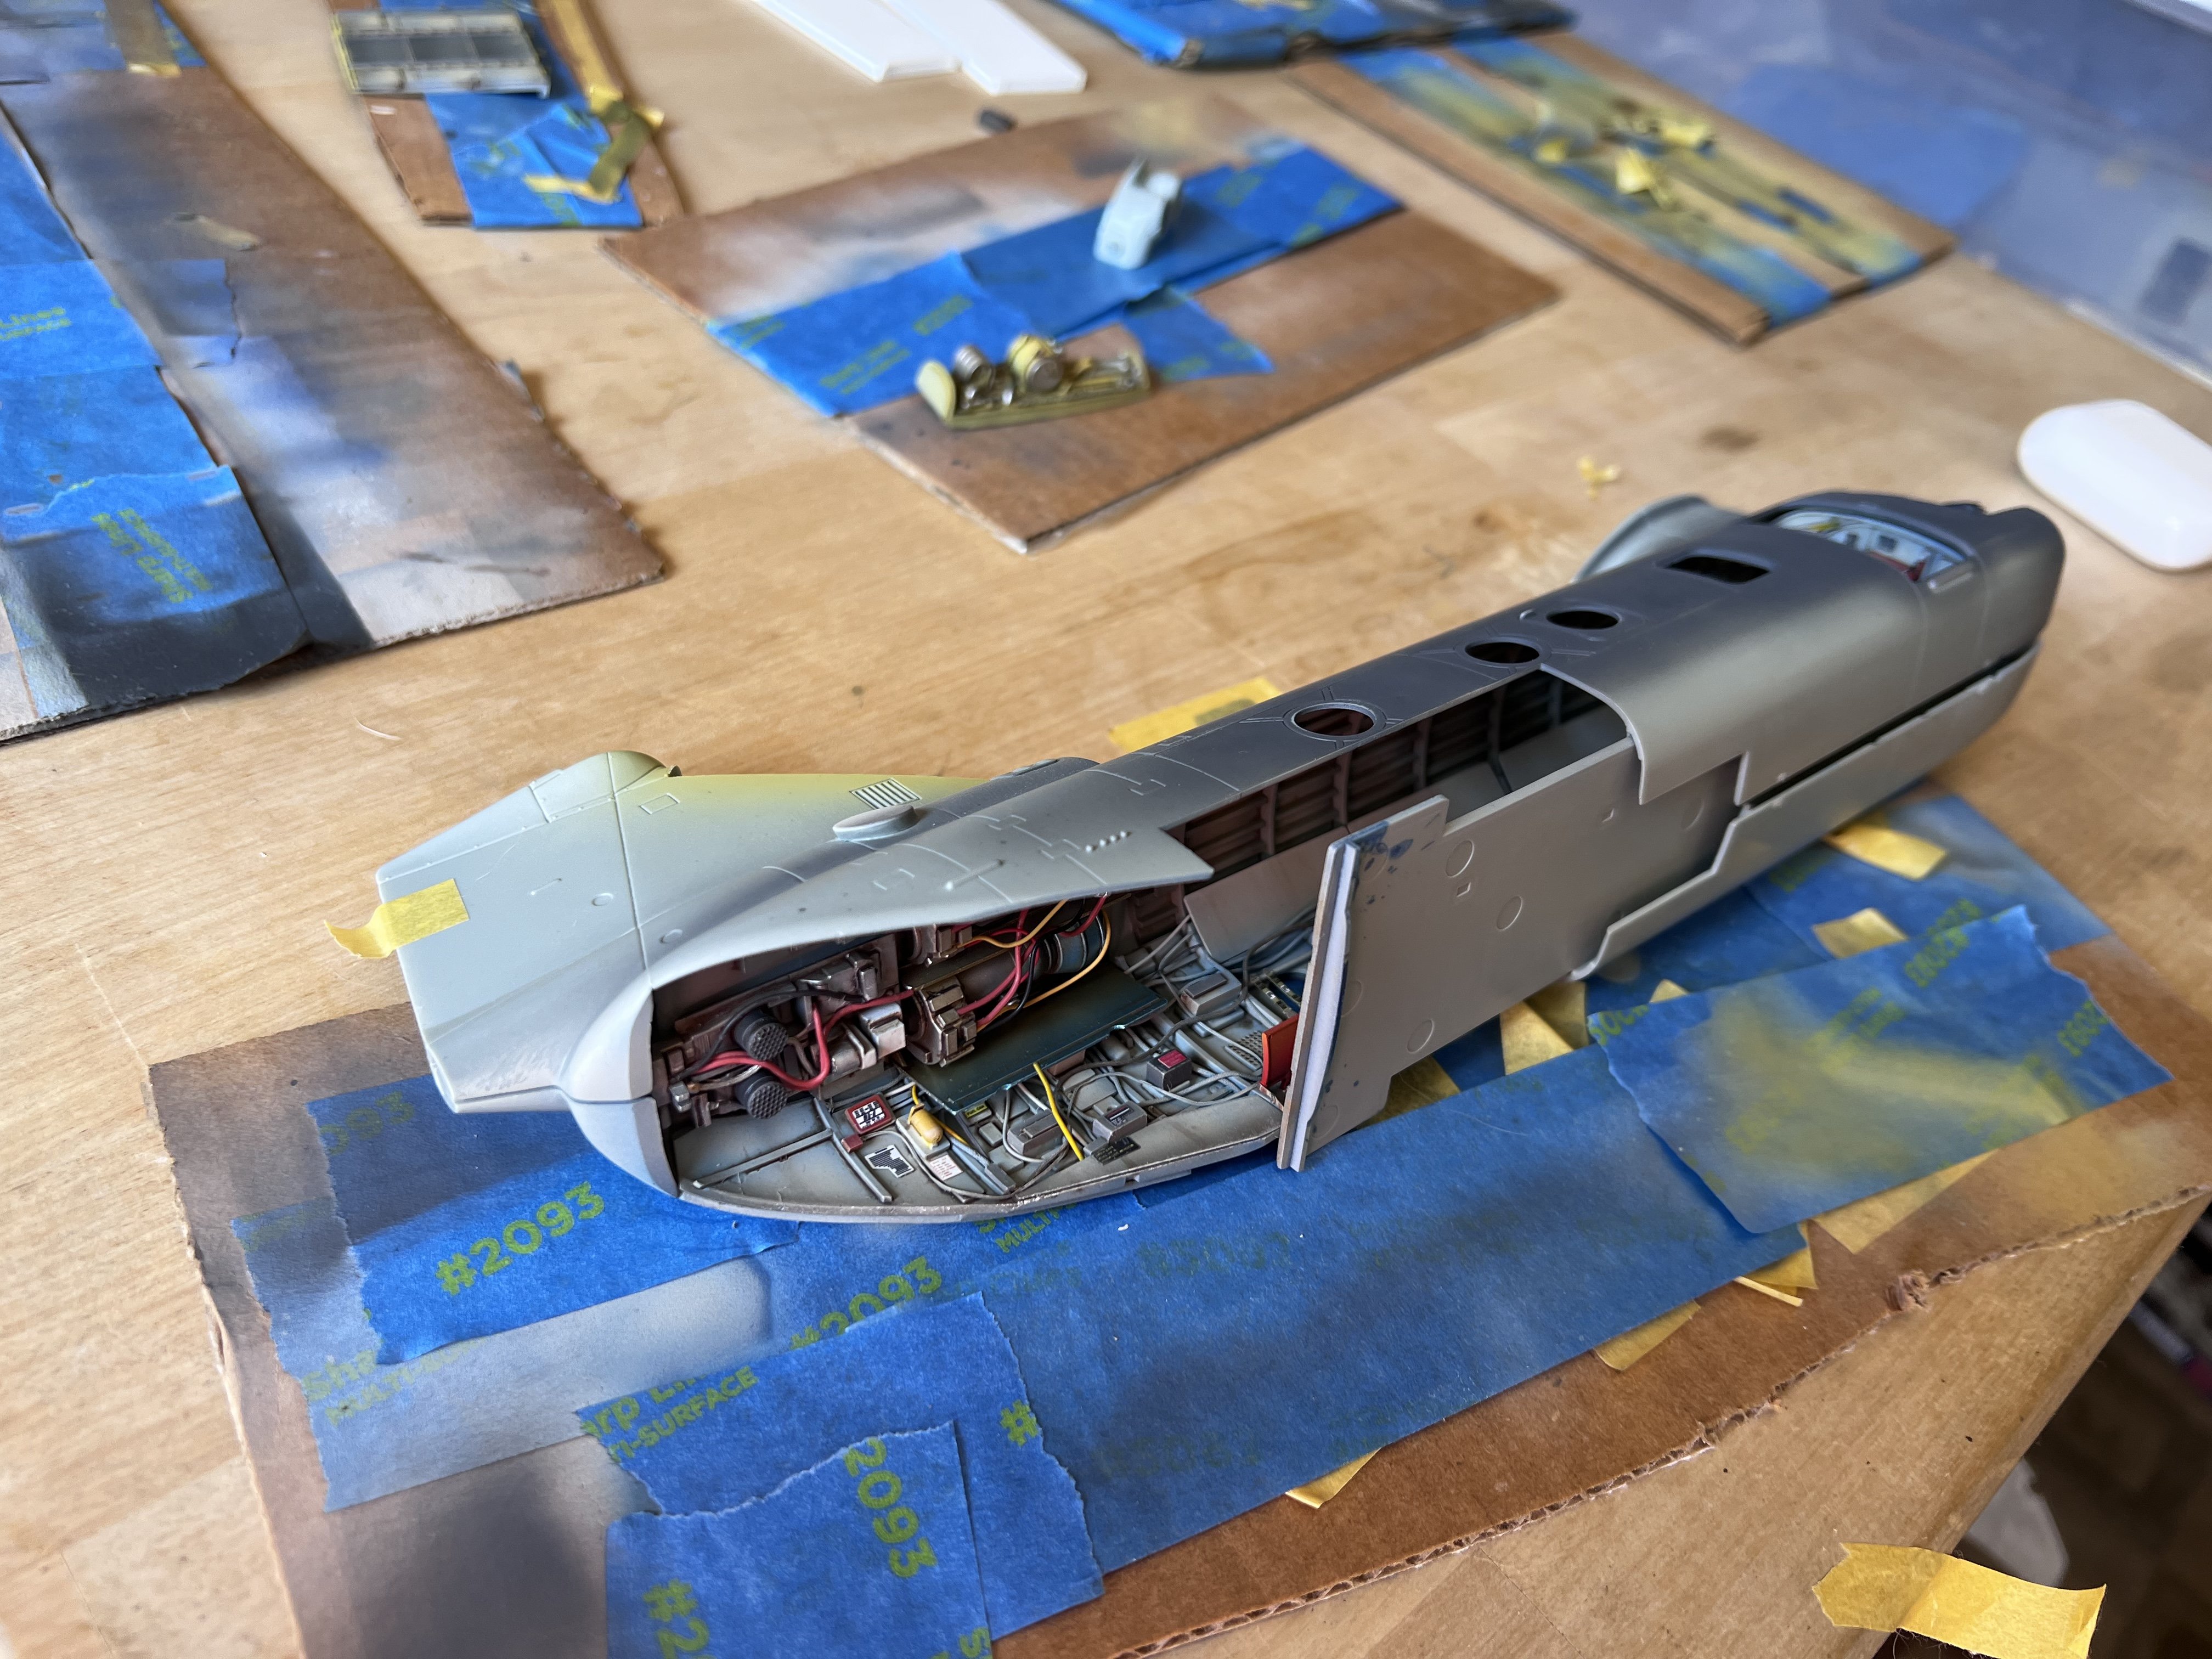
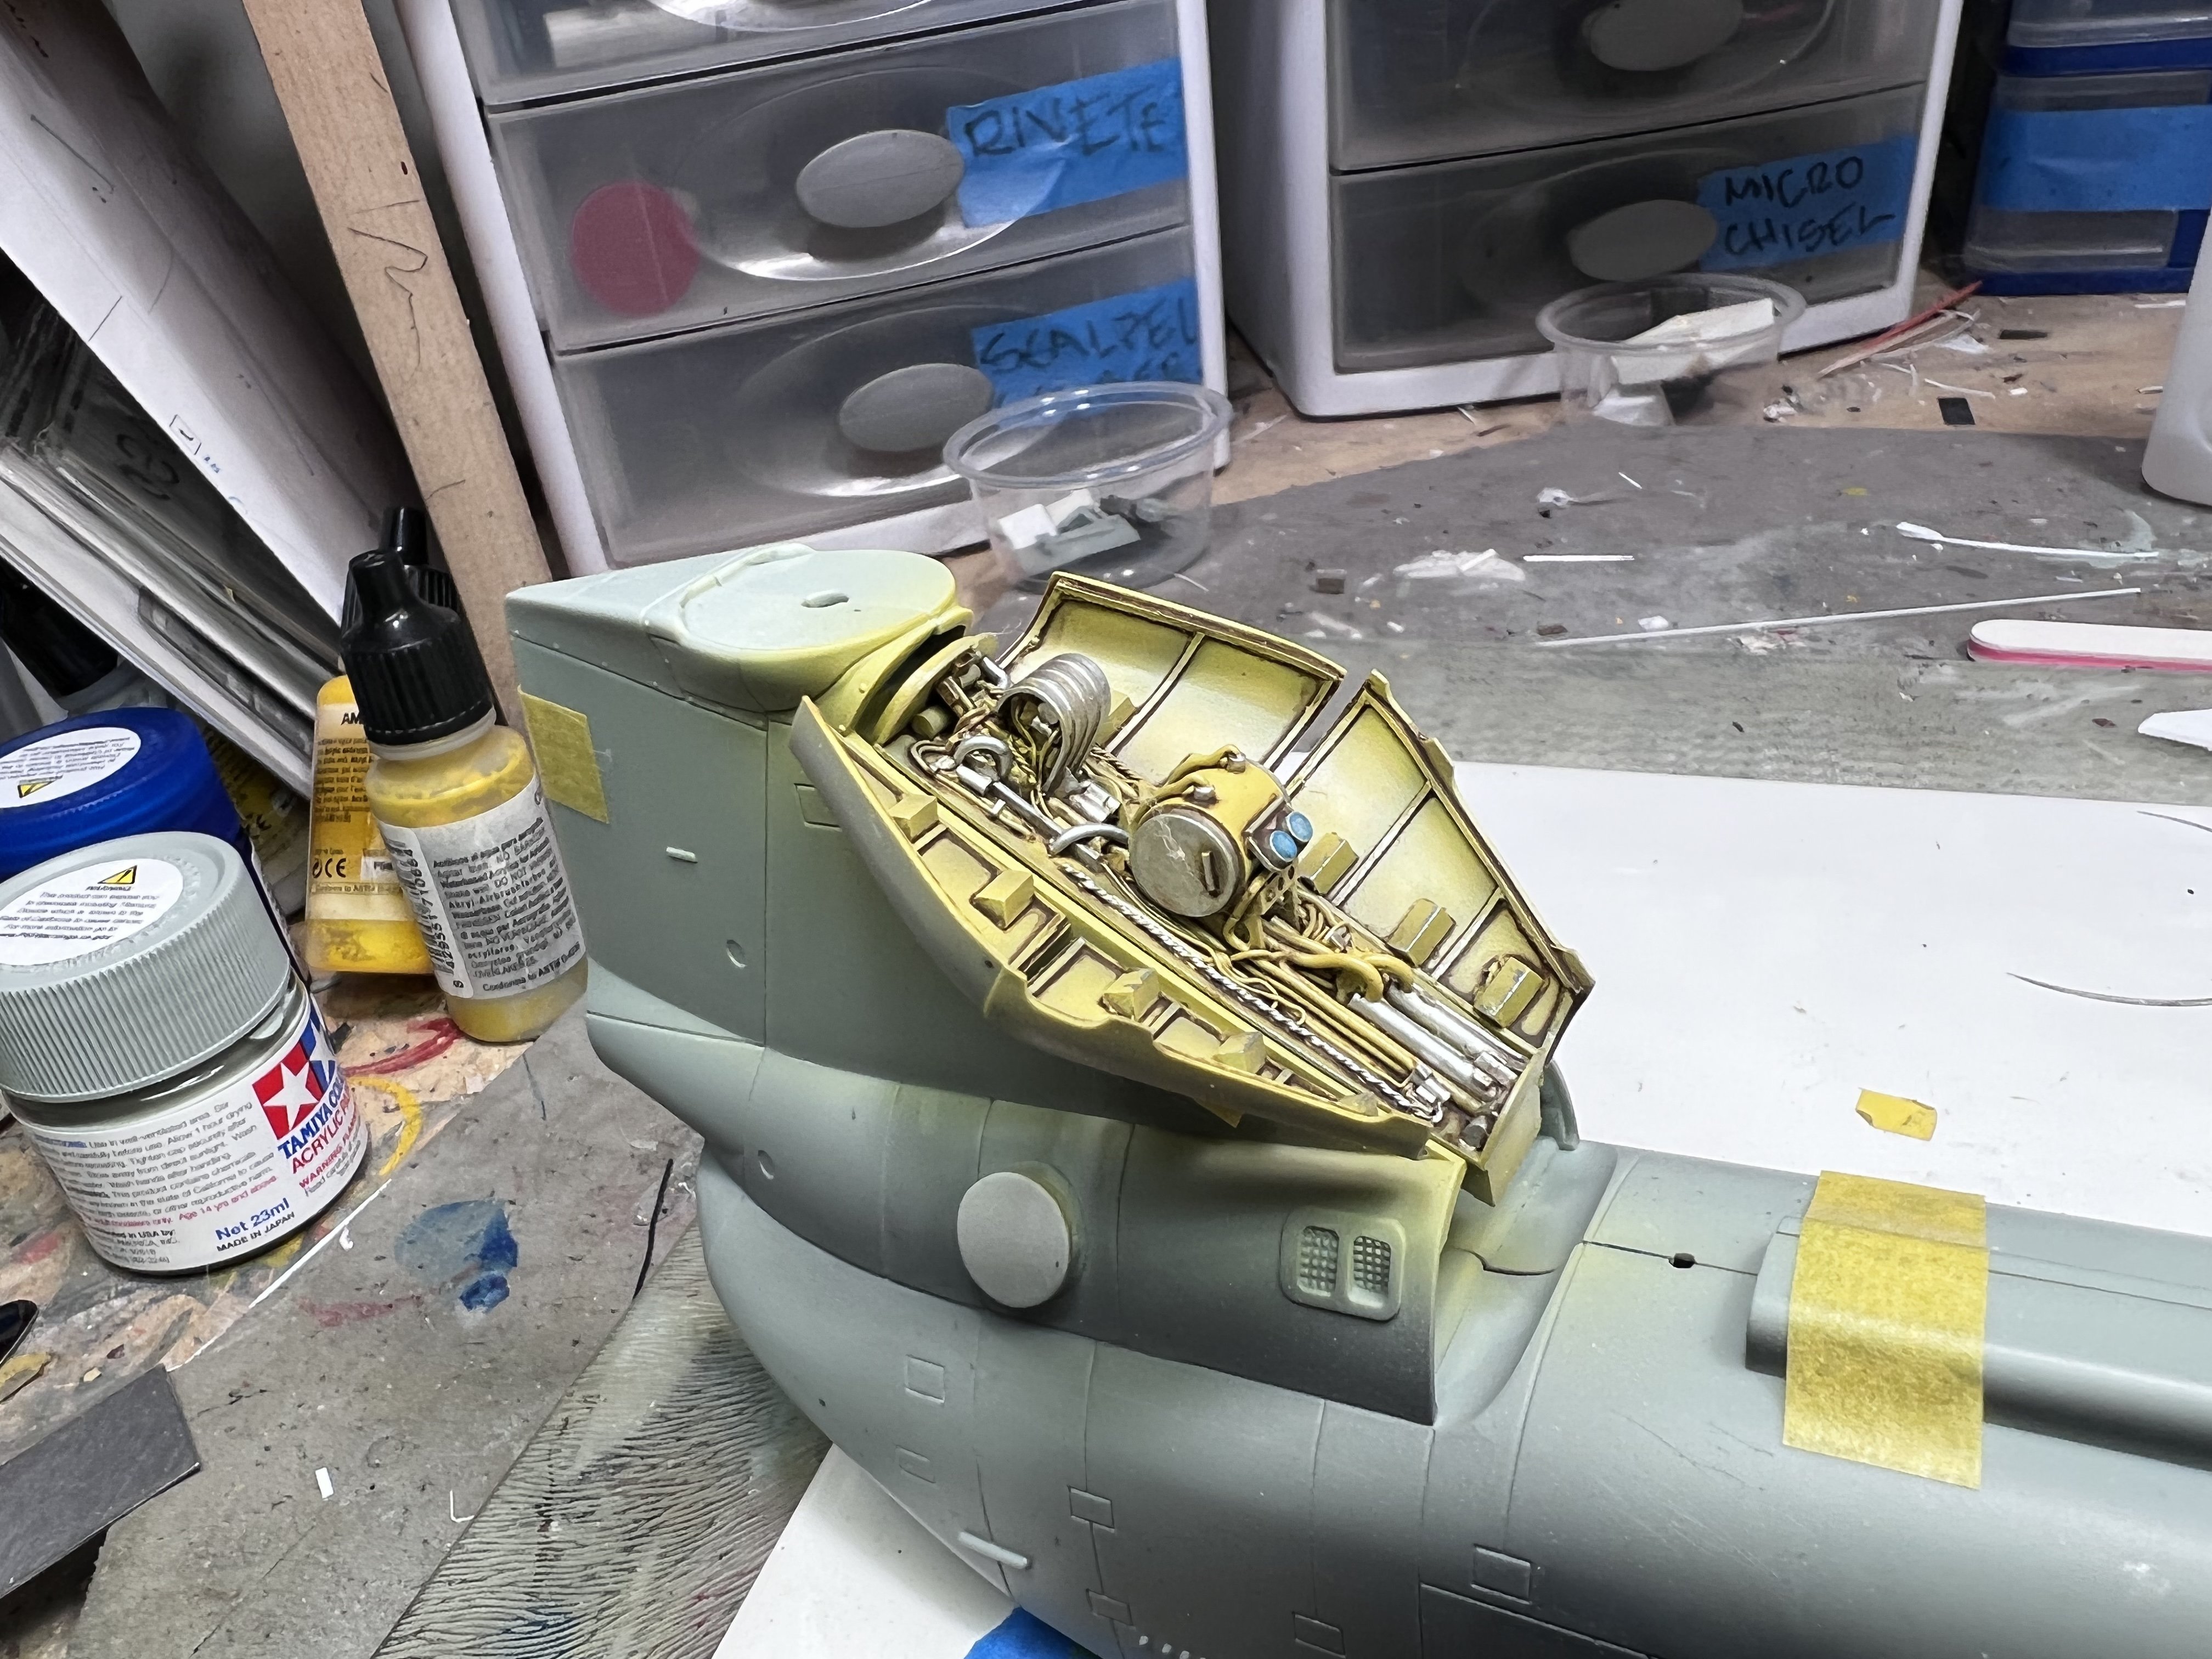
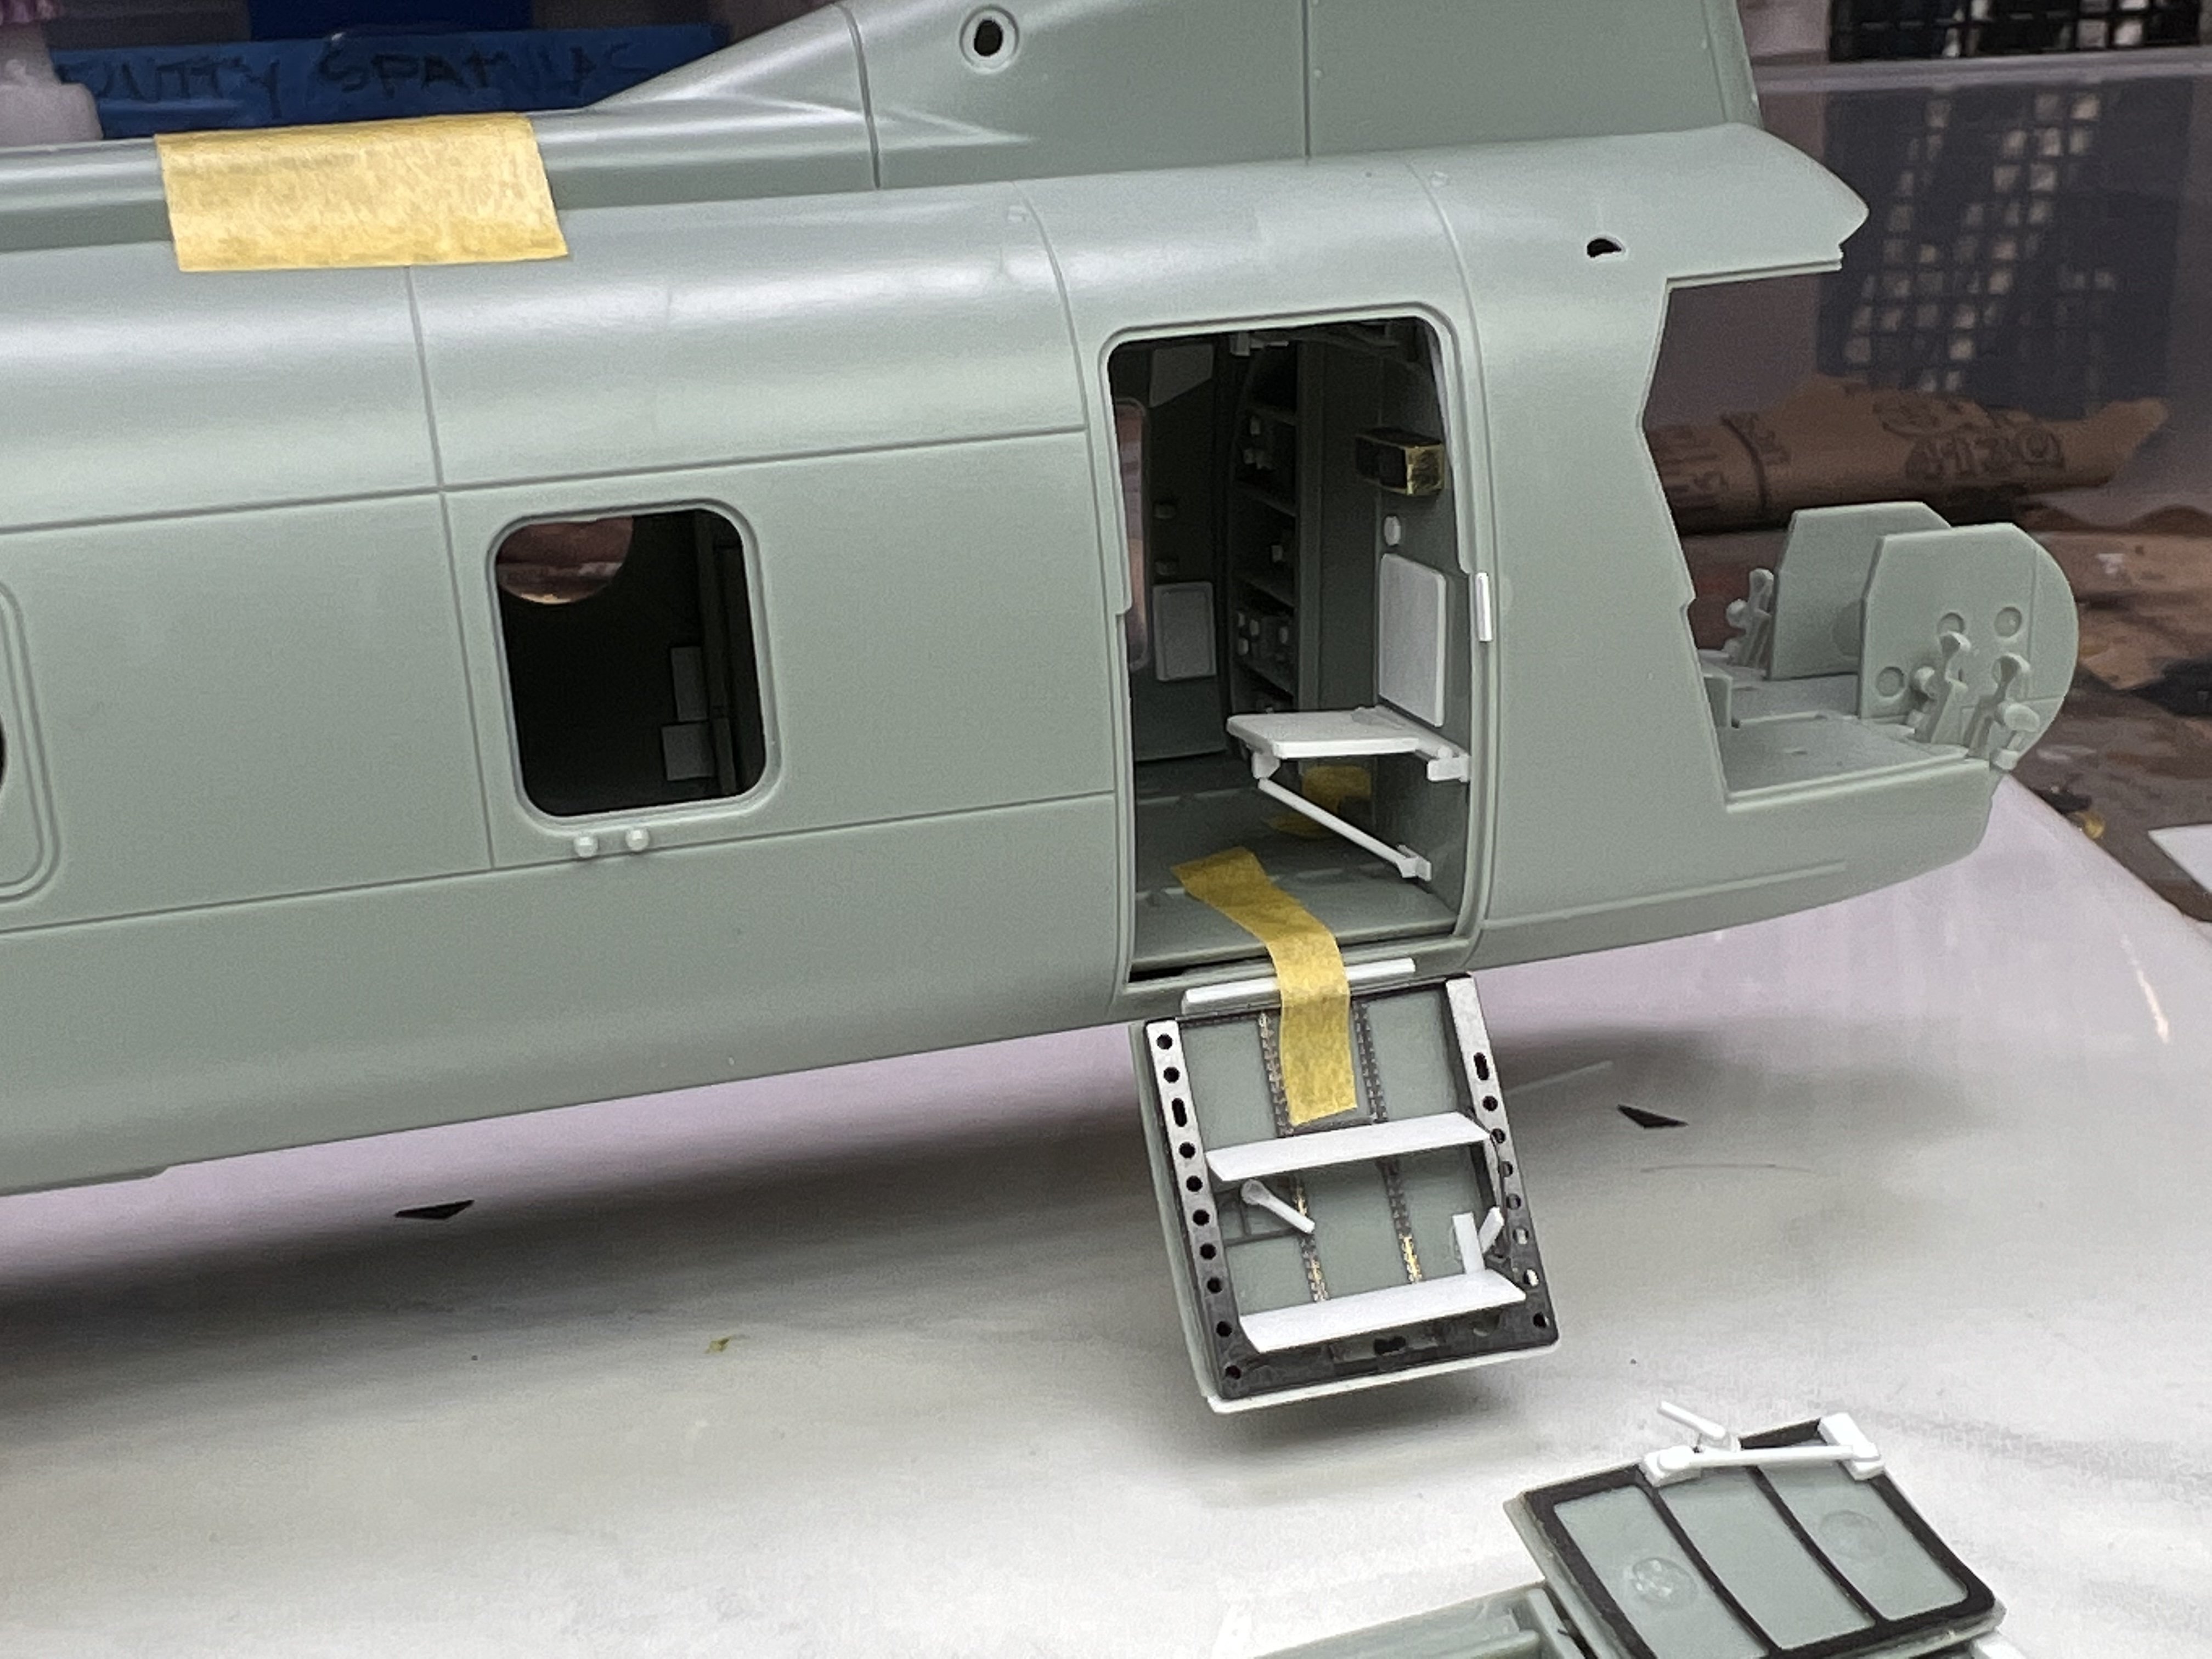
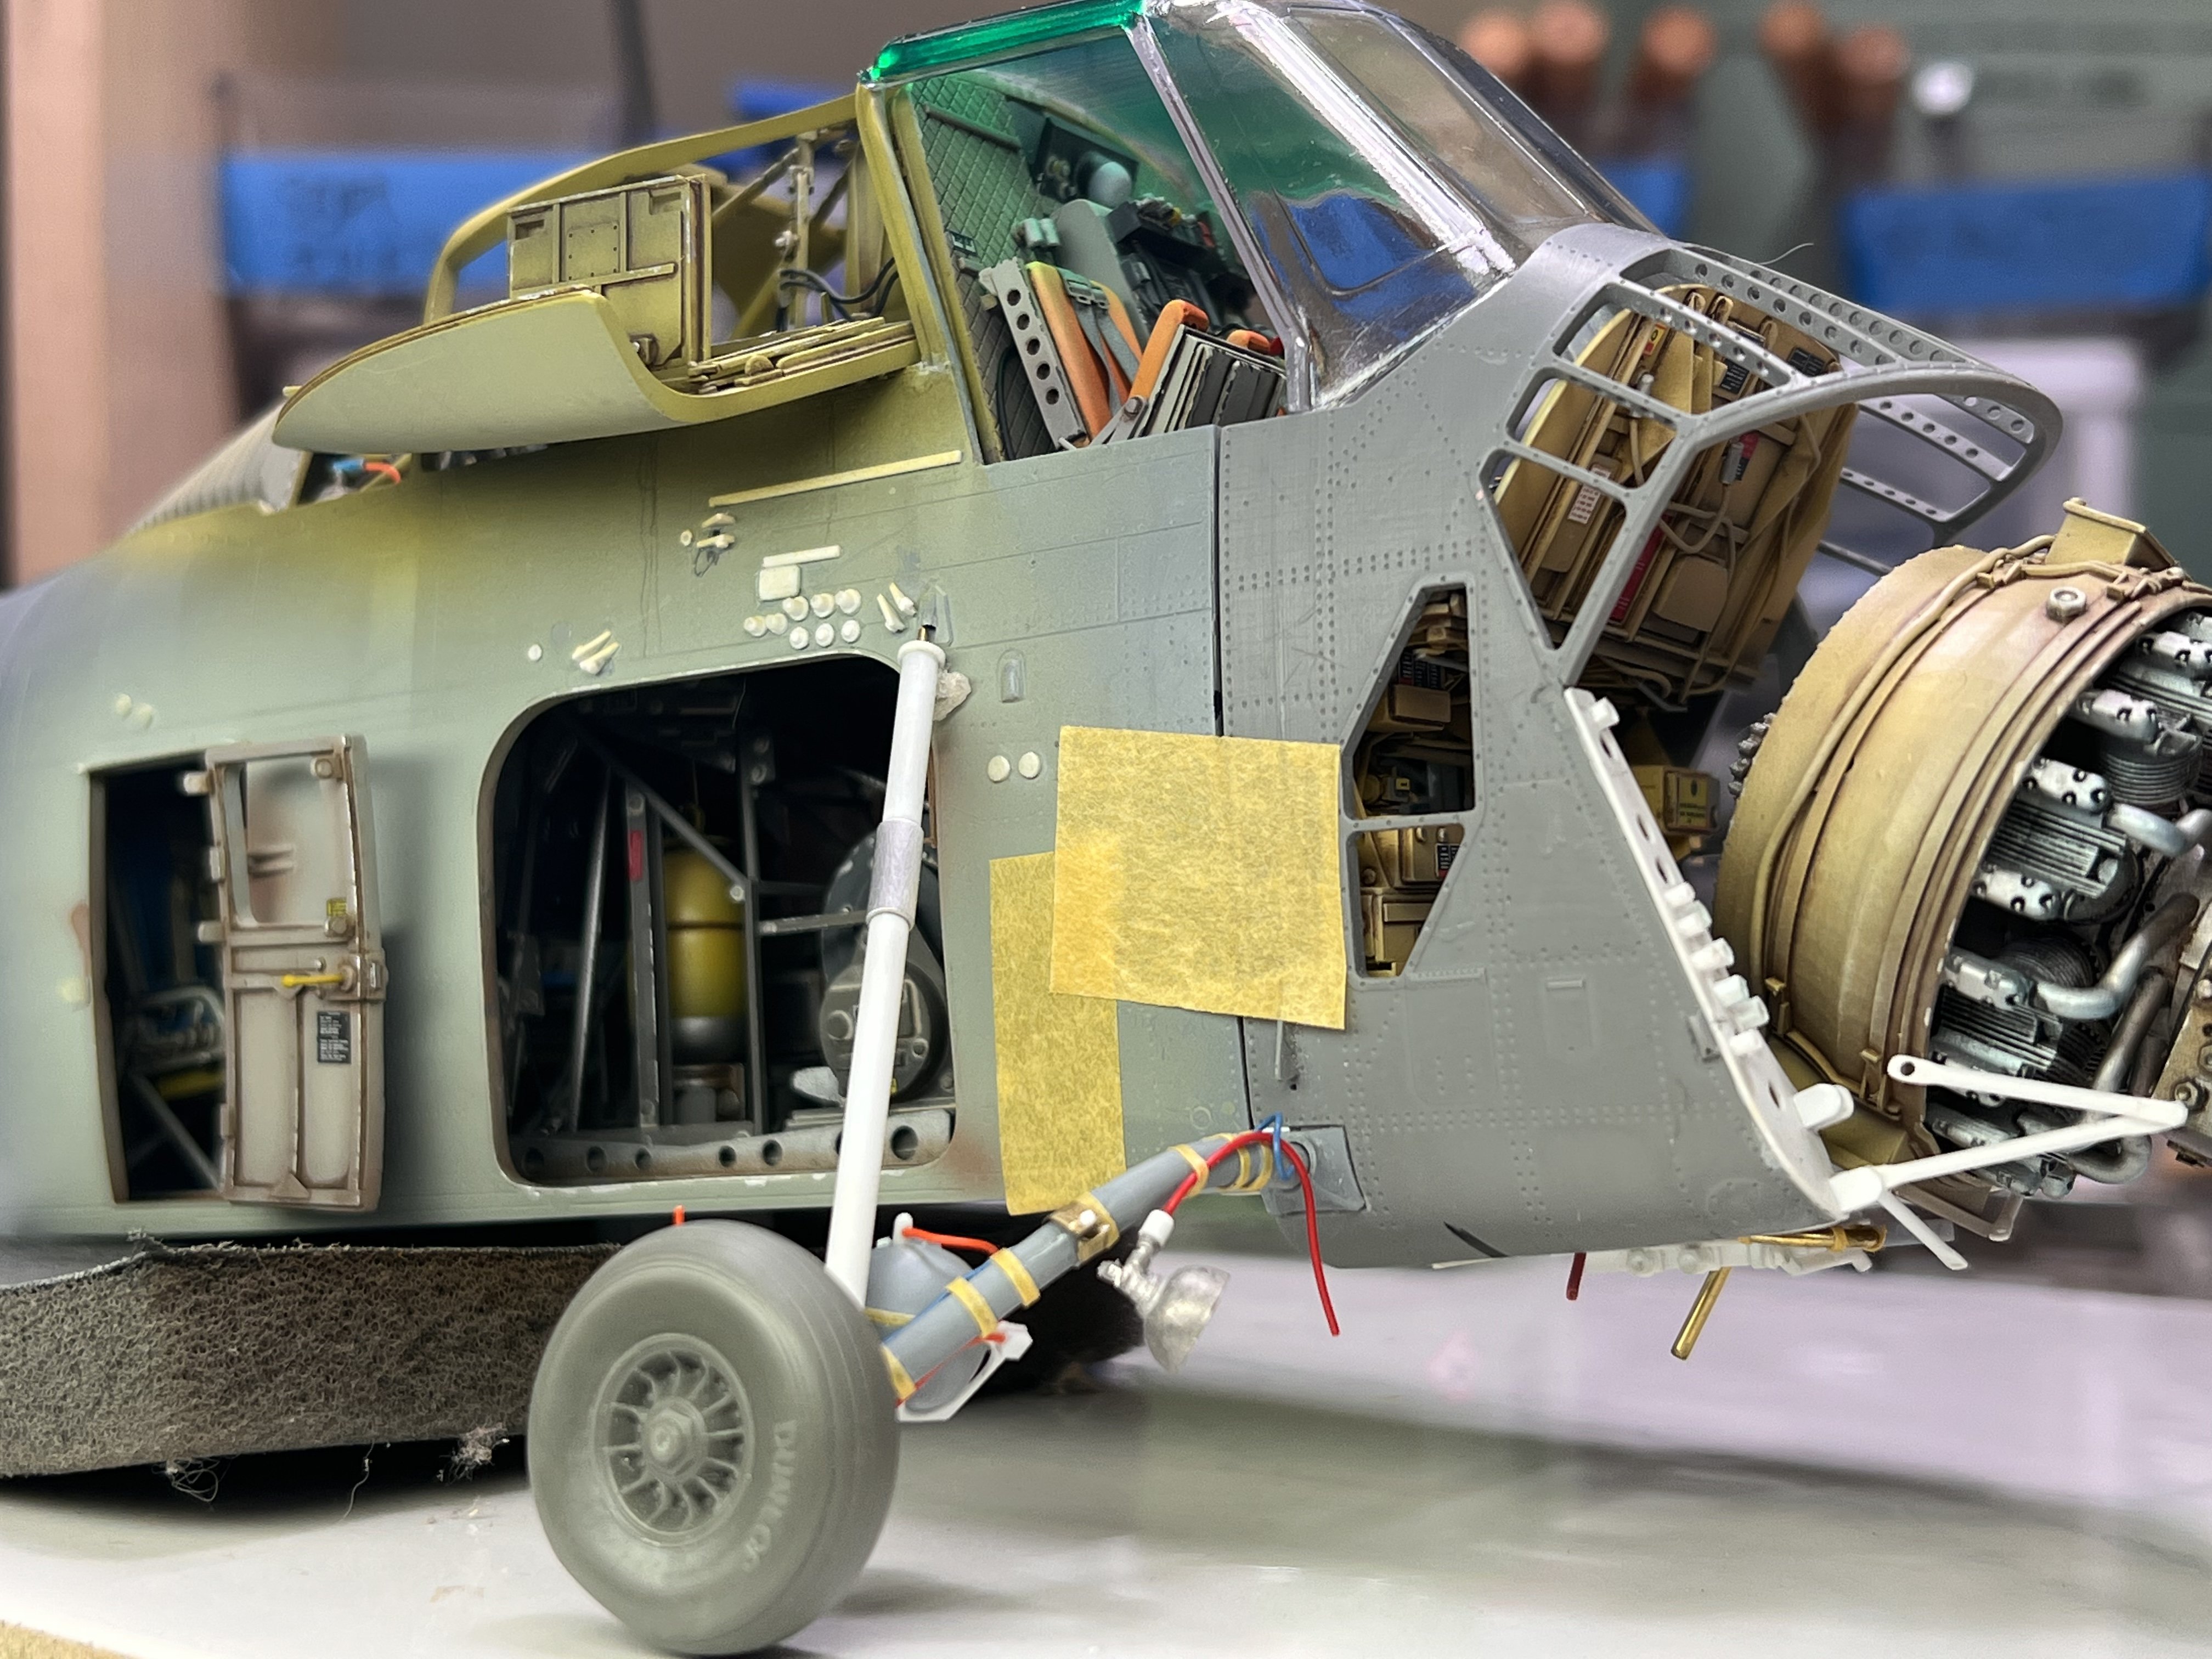
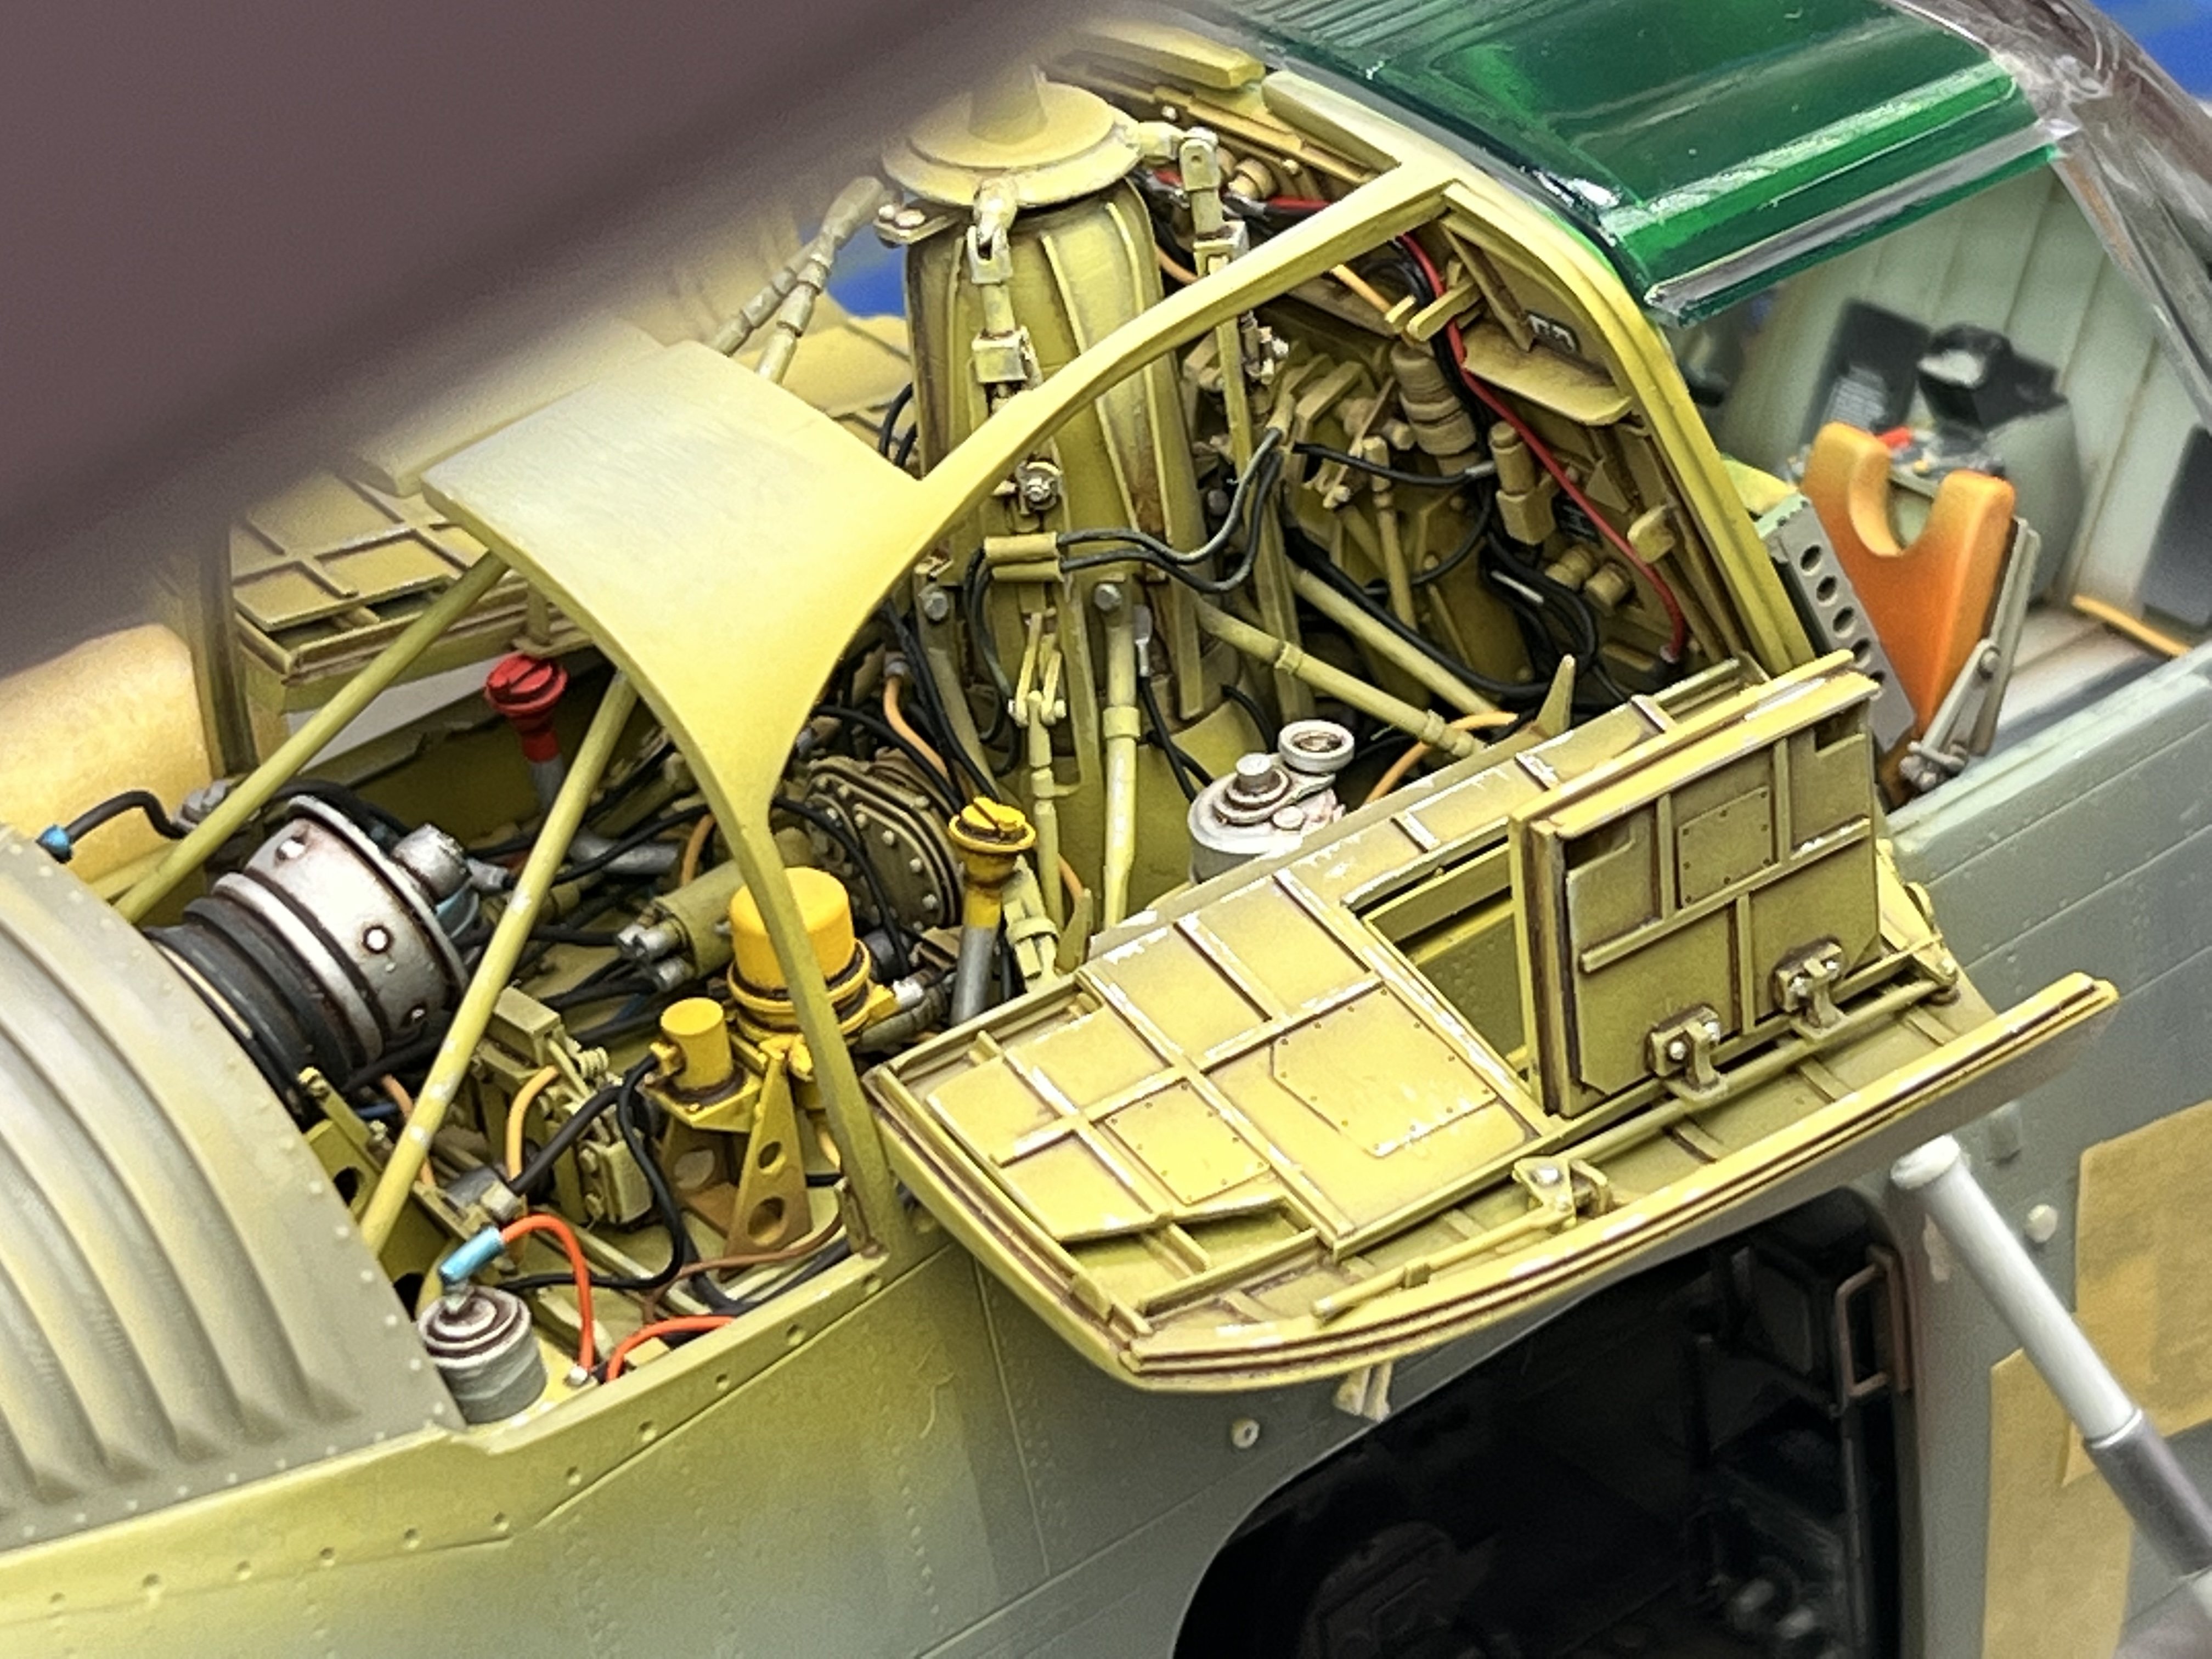
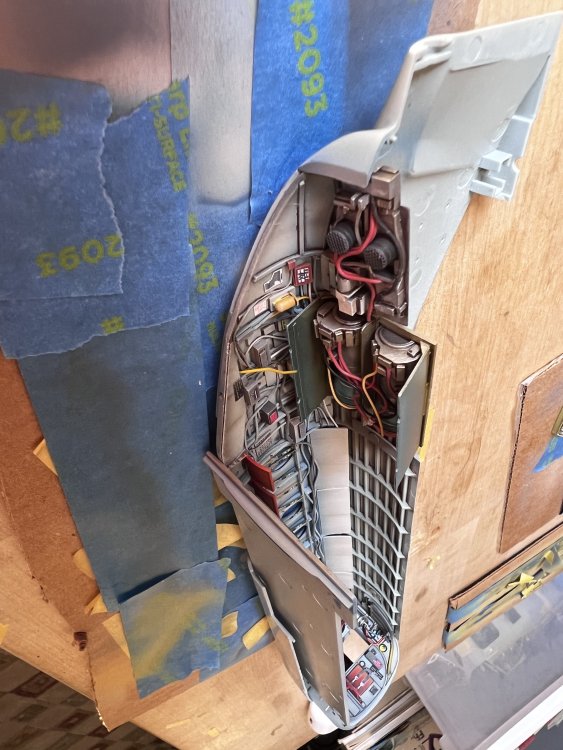
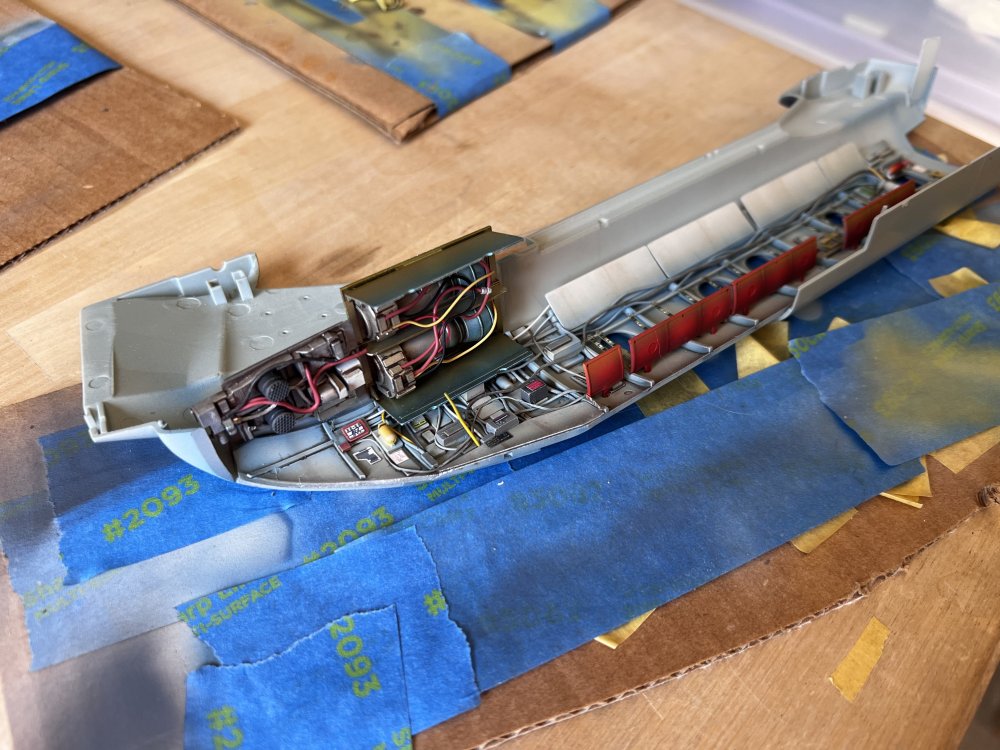
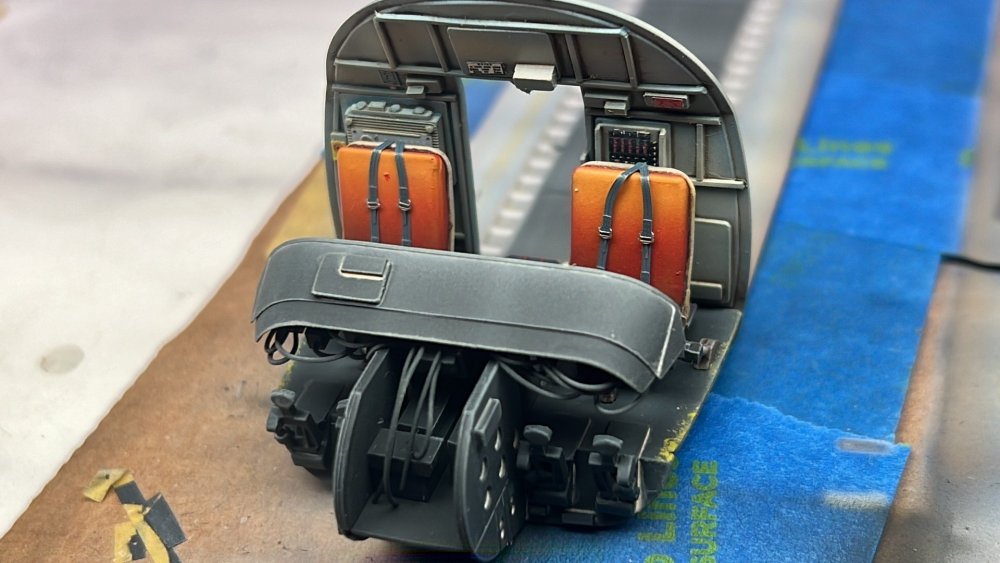
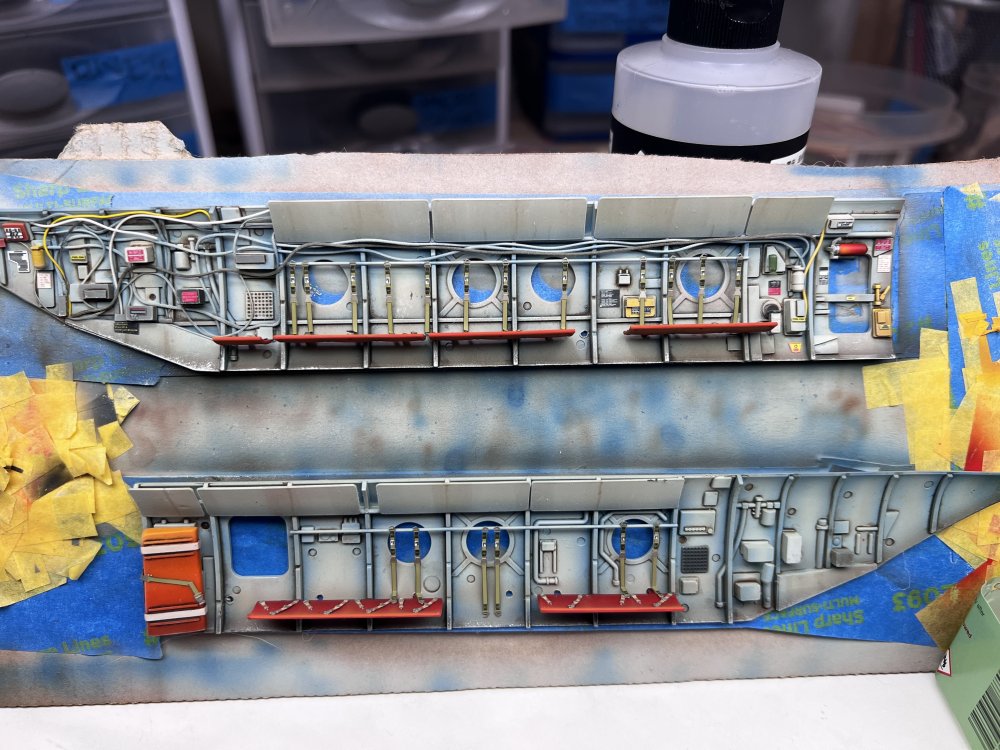
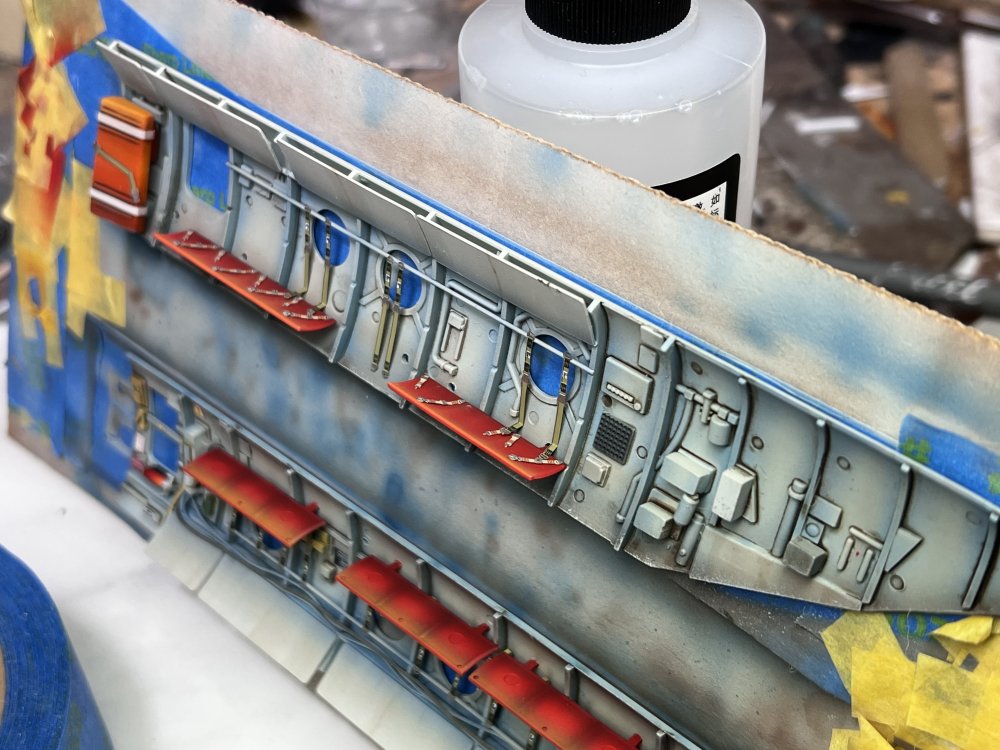
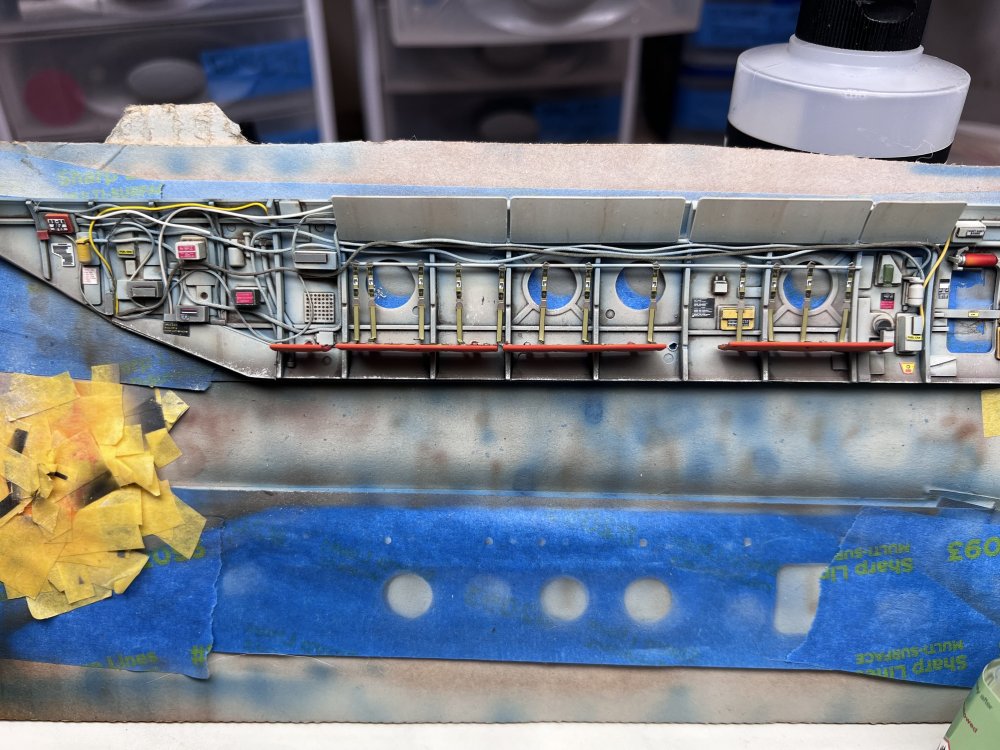
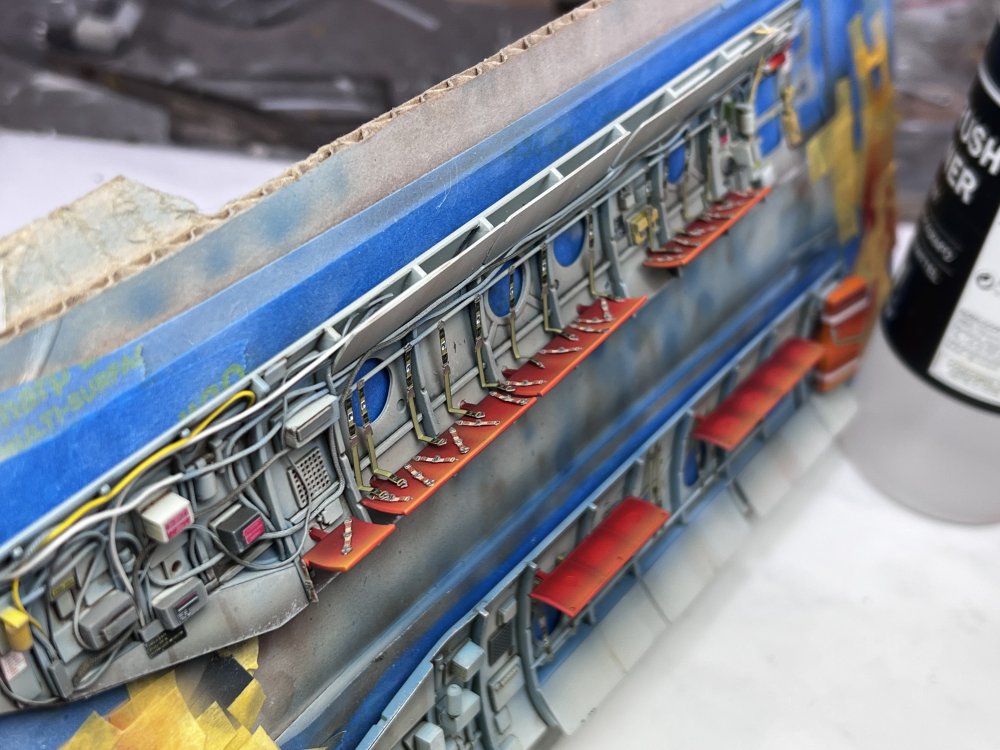
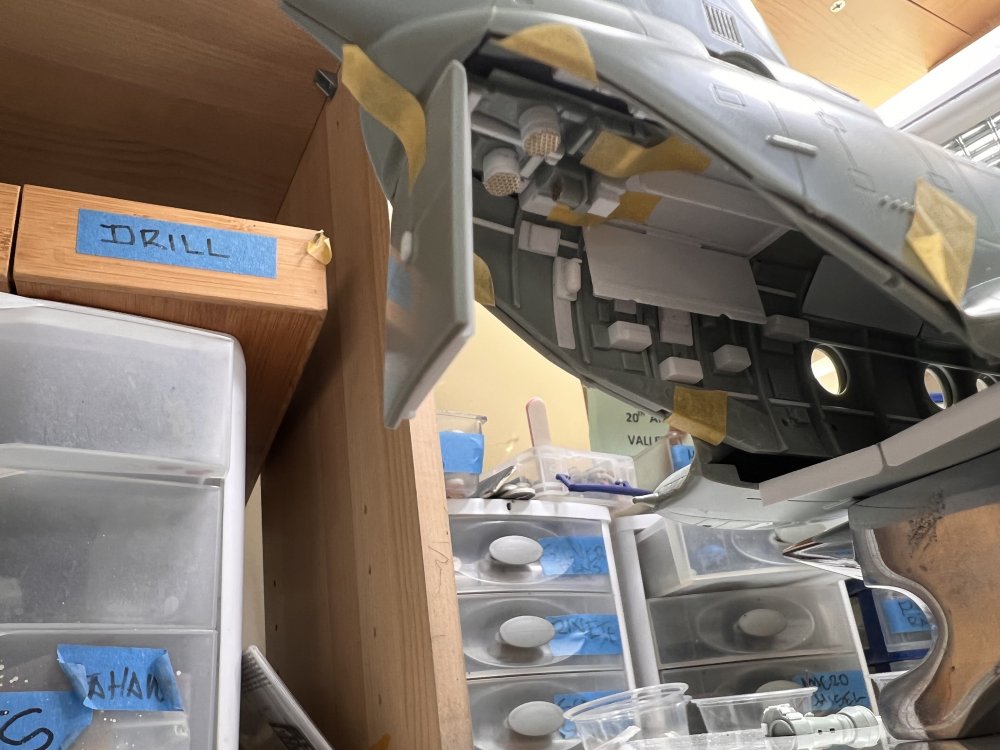
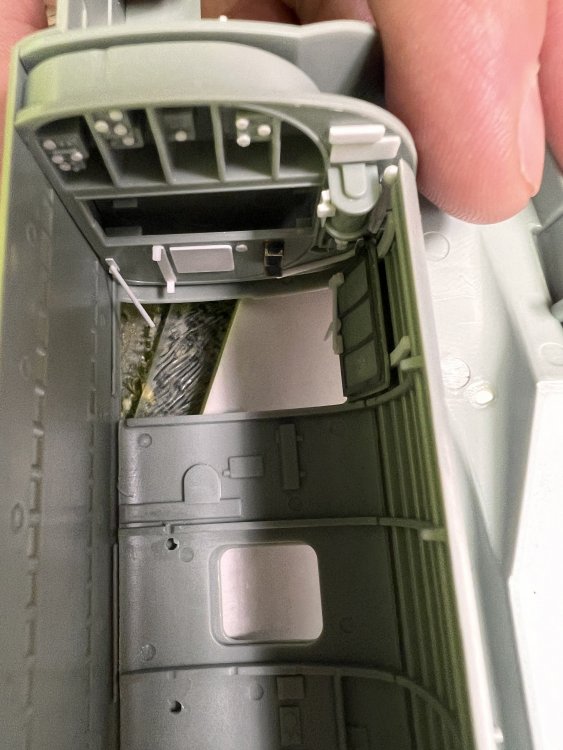
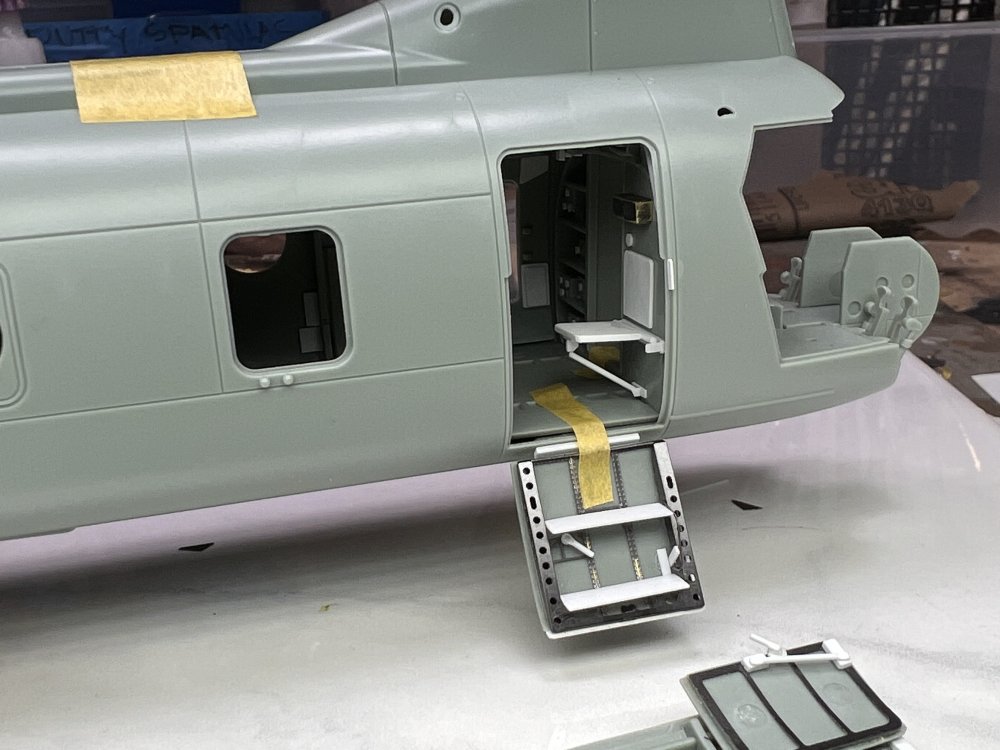
I am opening one of the emergency hatch on the right side for some viewing inside.
-
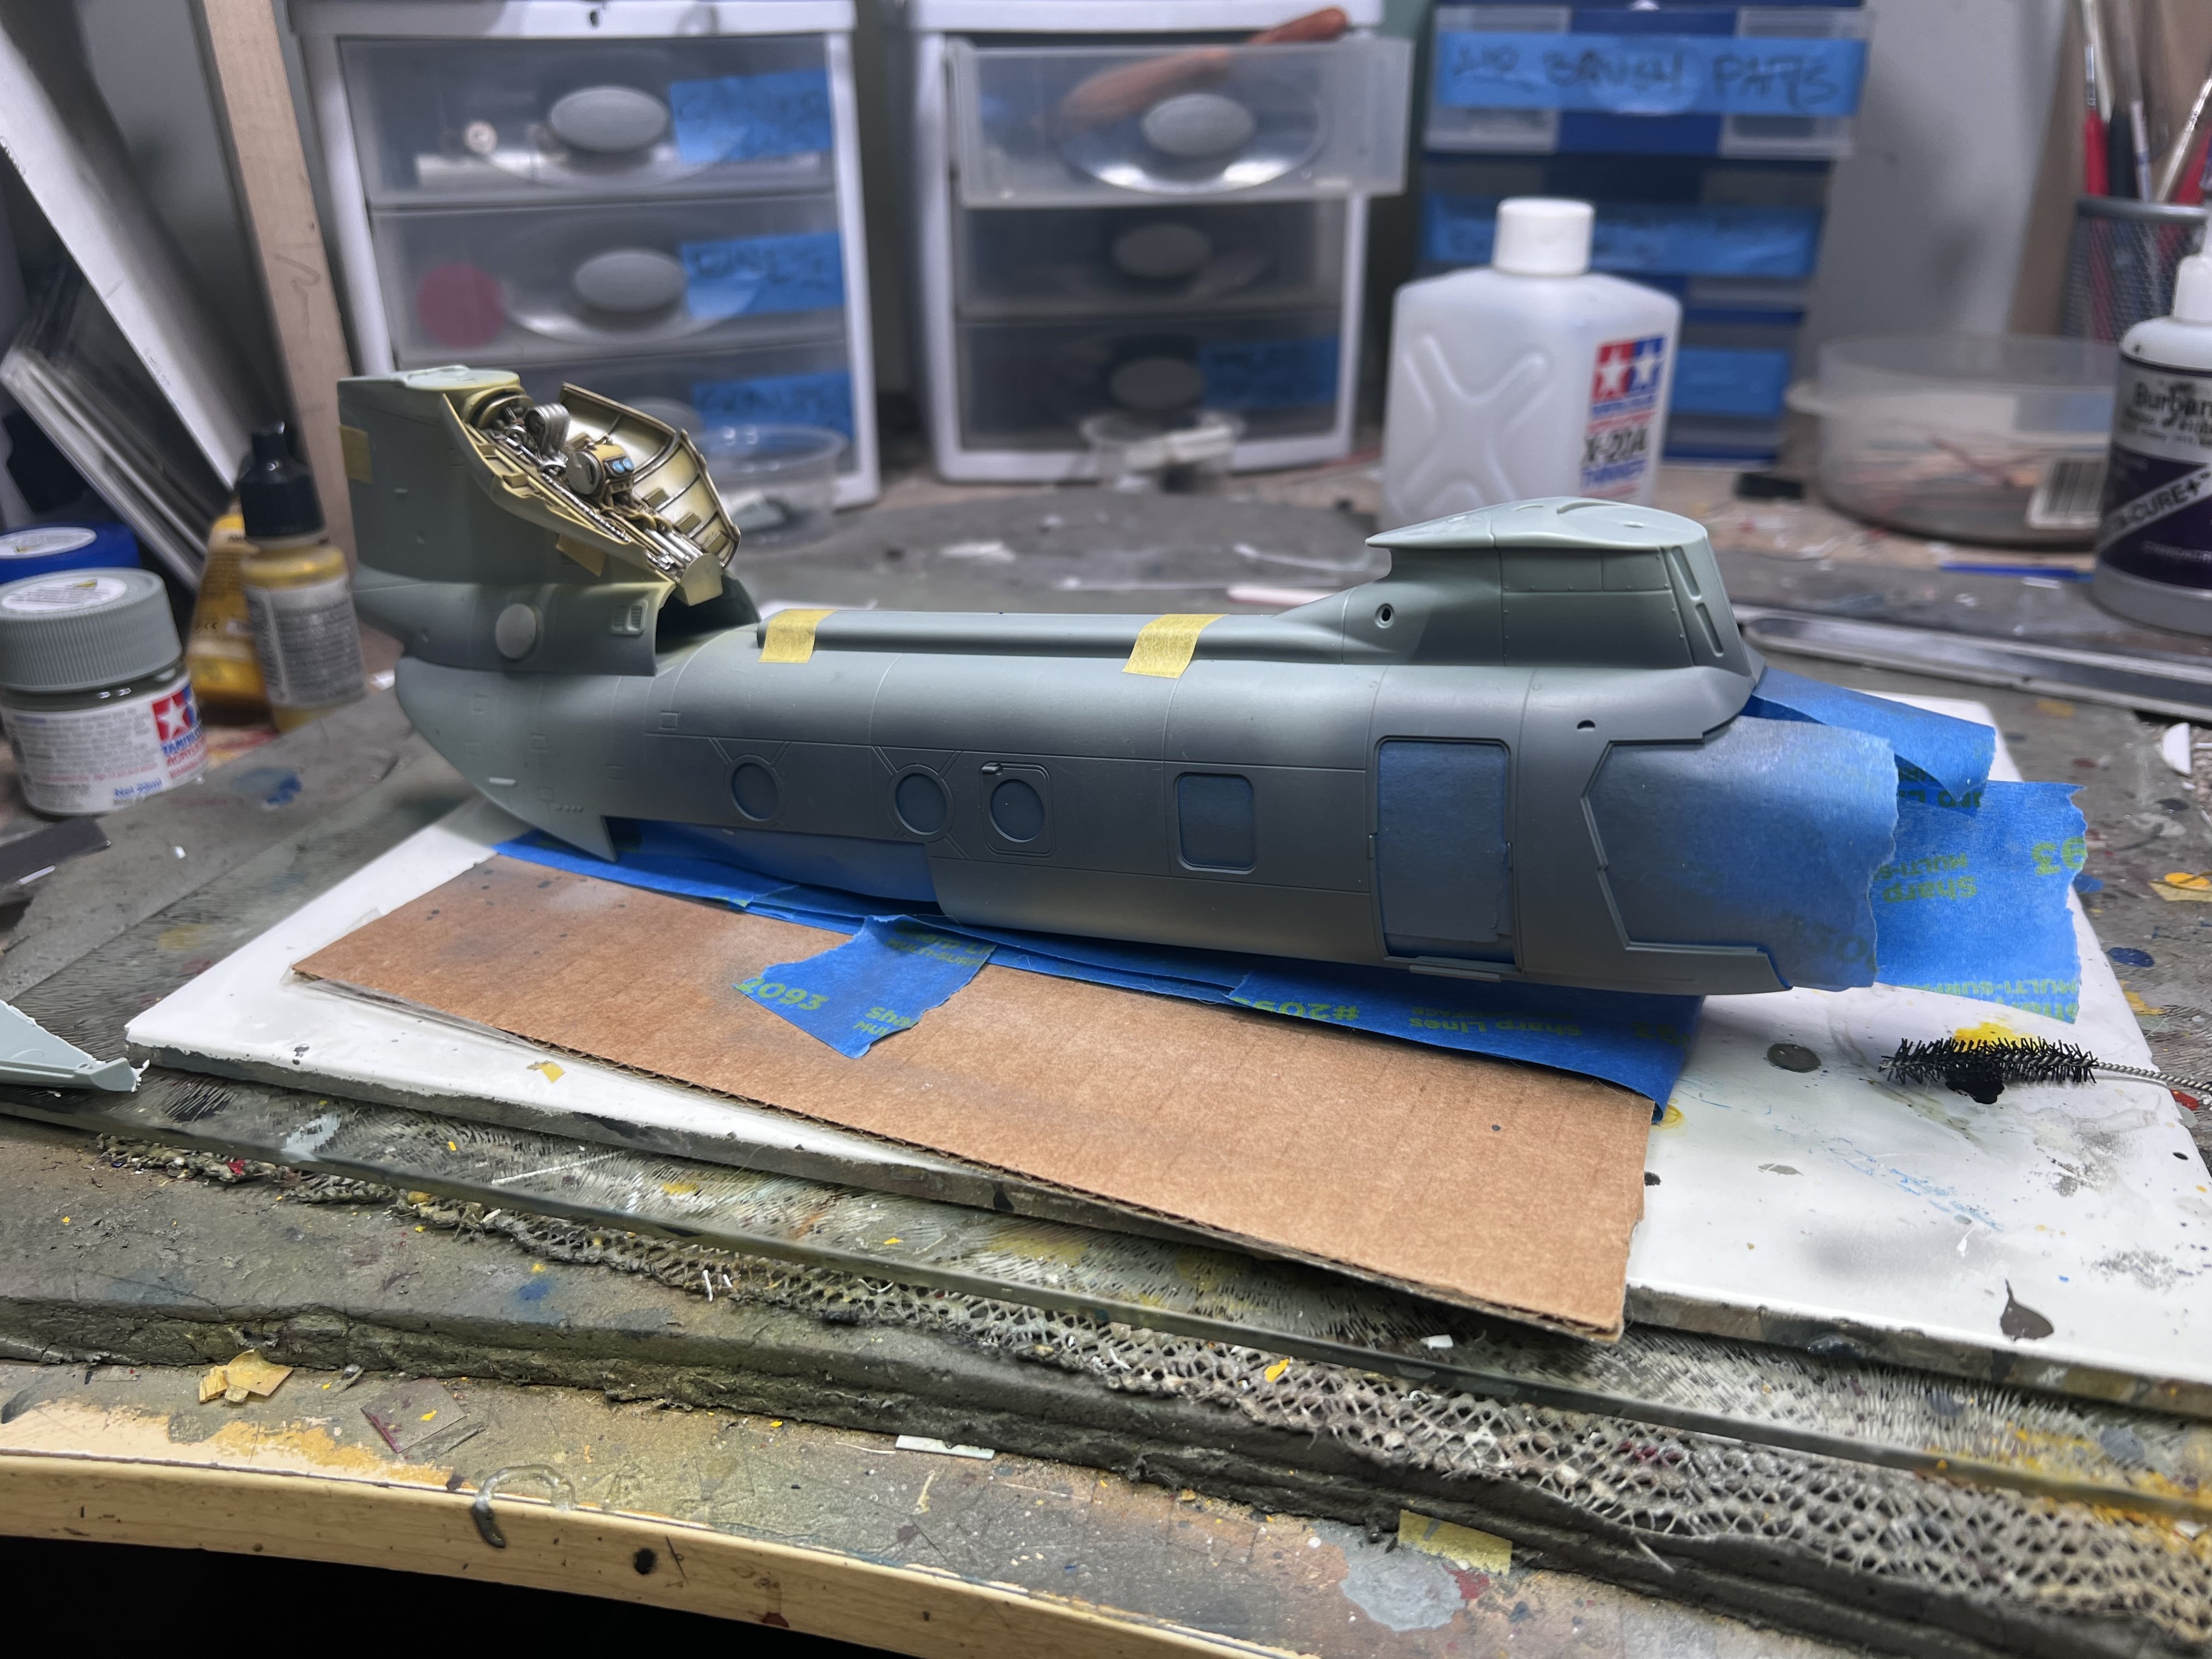
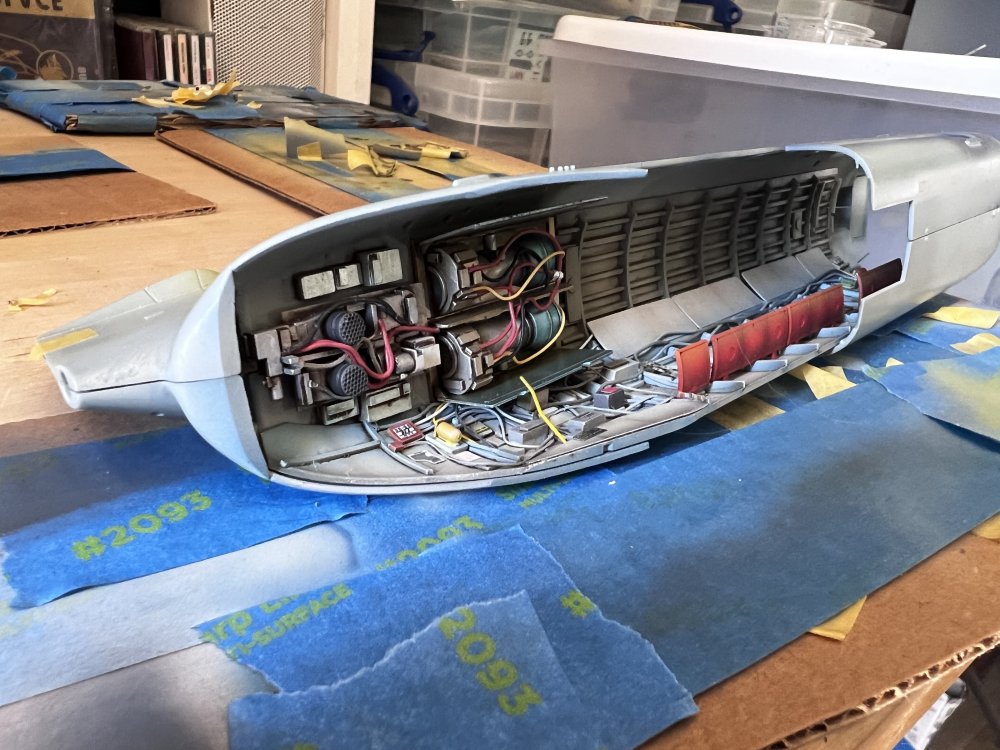
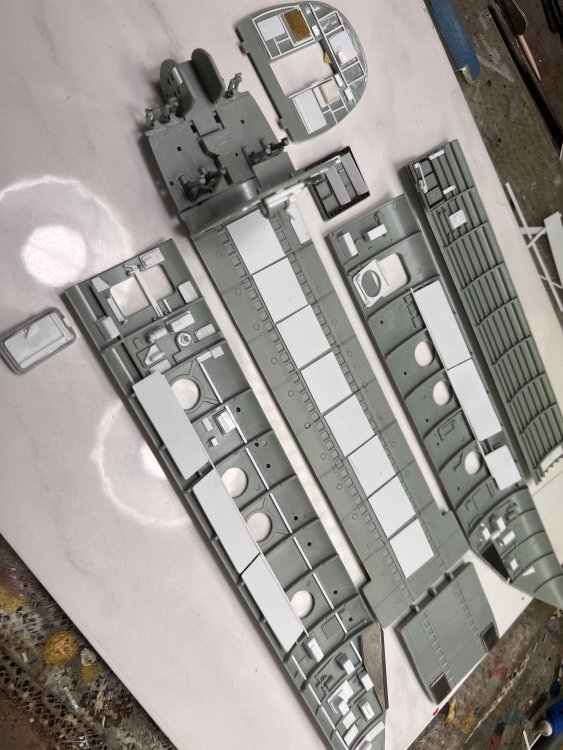
Slow progress since back at work. So little will be seen when I close up the fuselage but it’s there.

-
Thanks Pete.
-


-

-


-
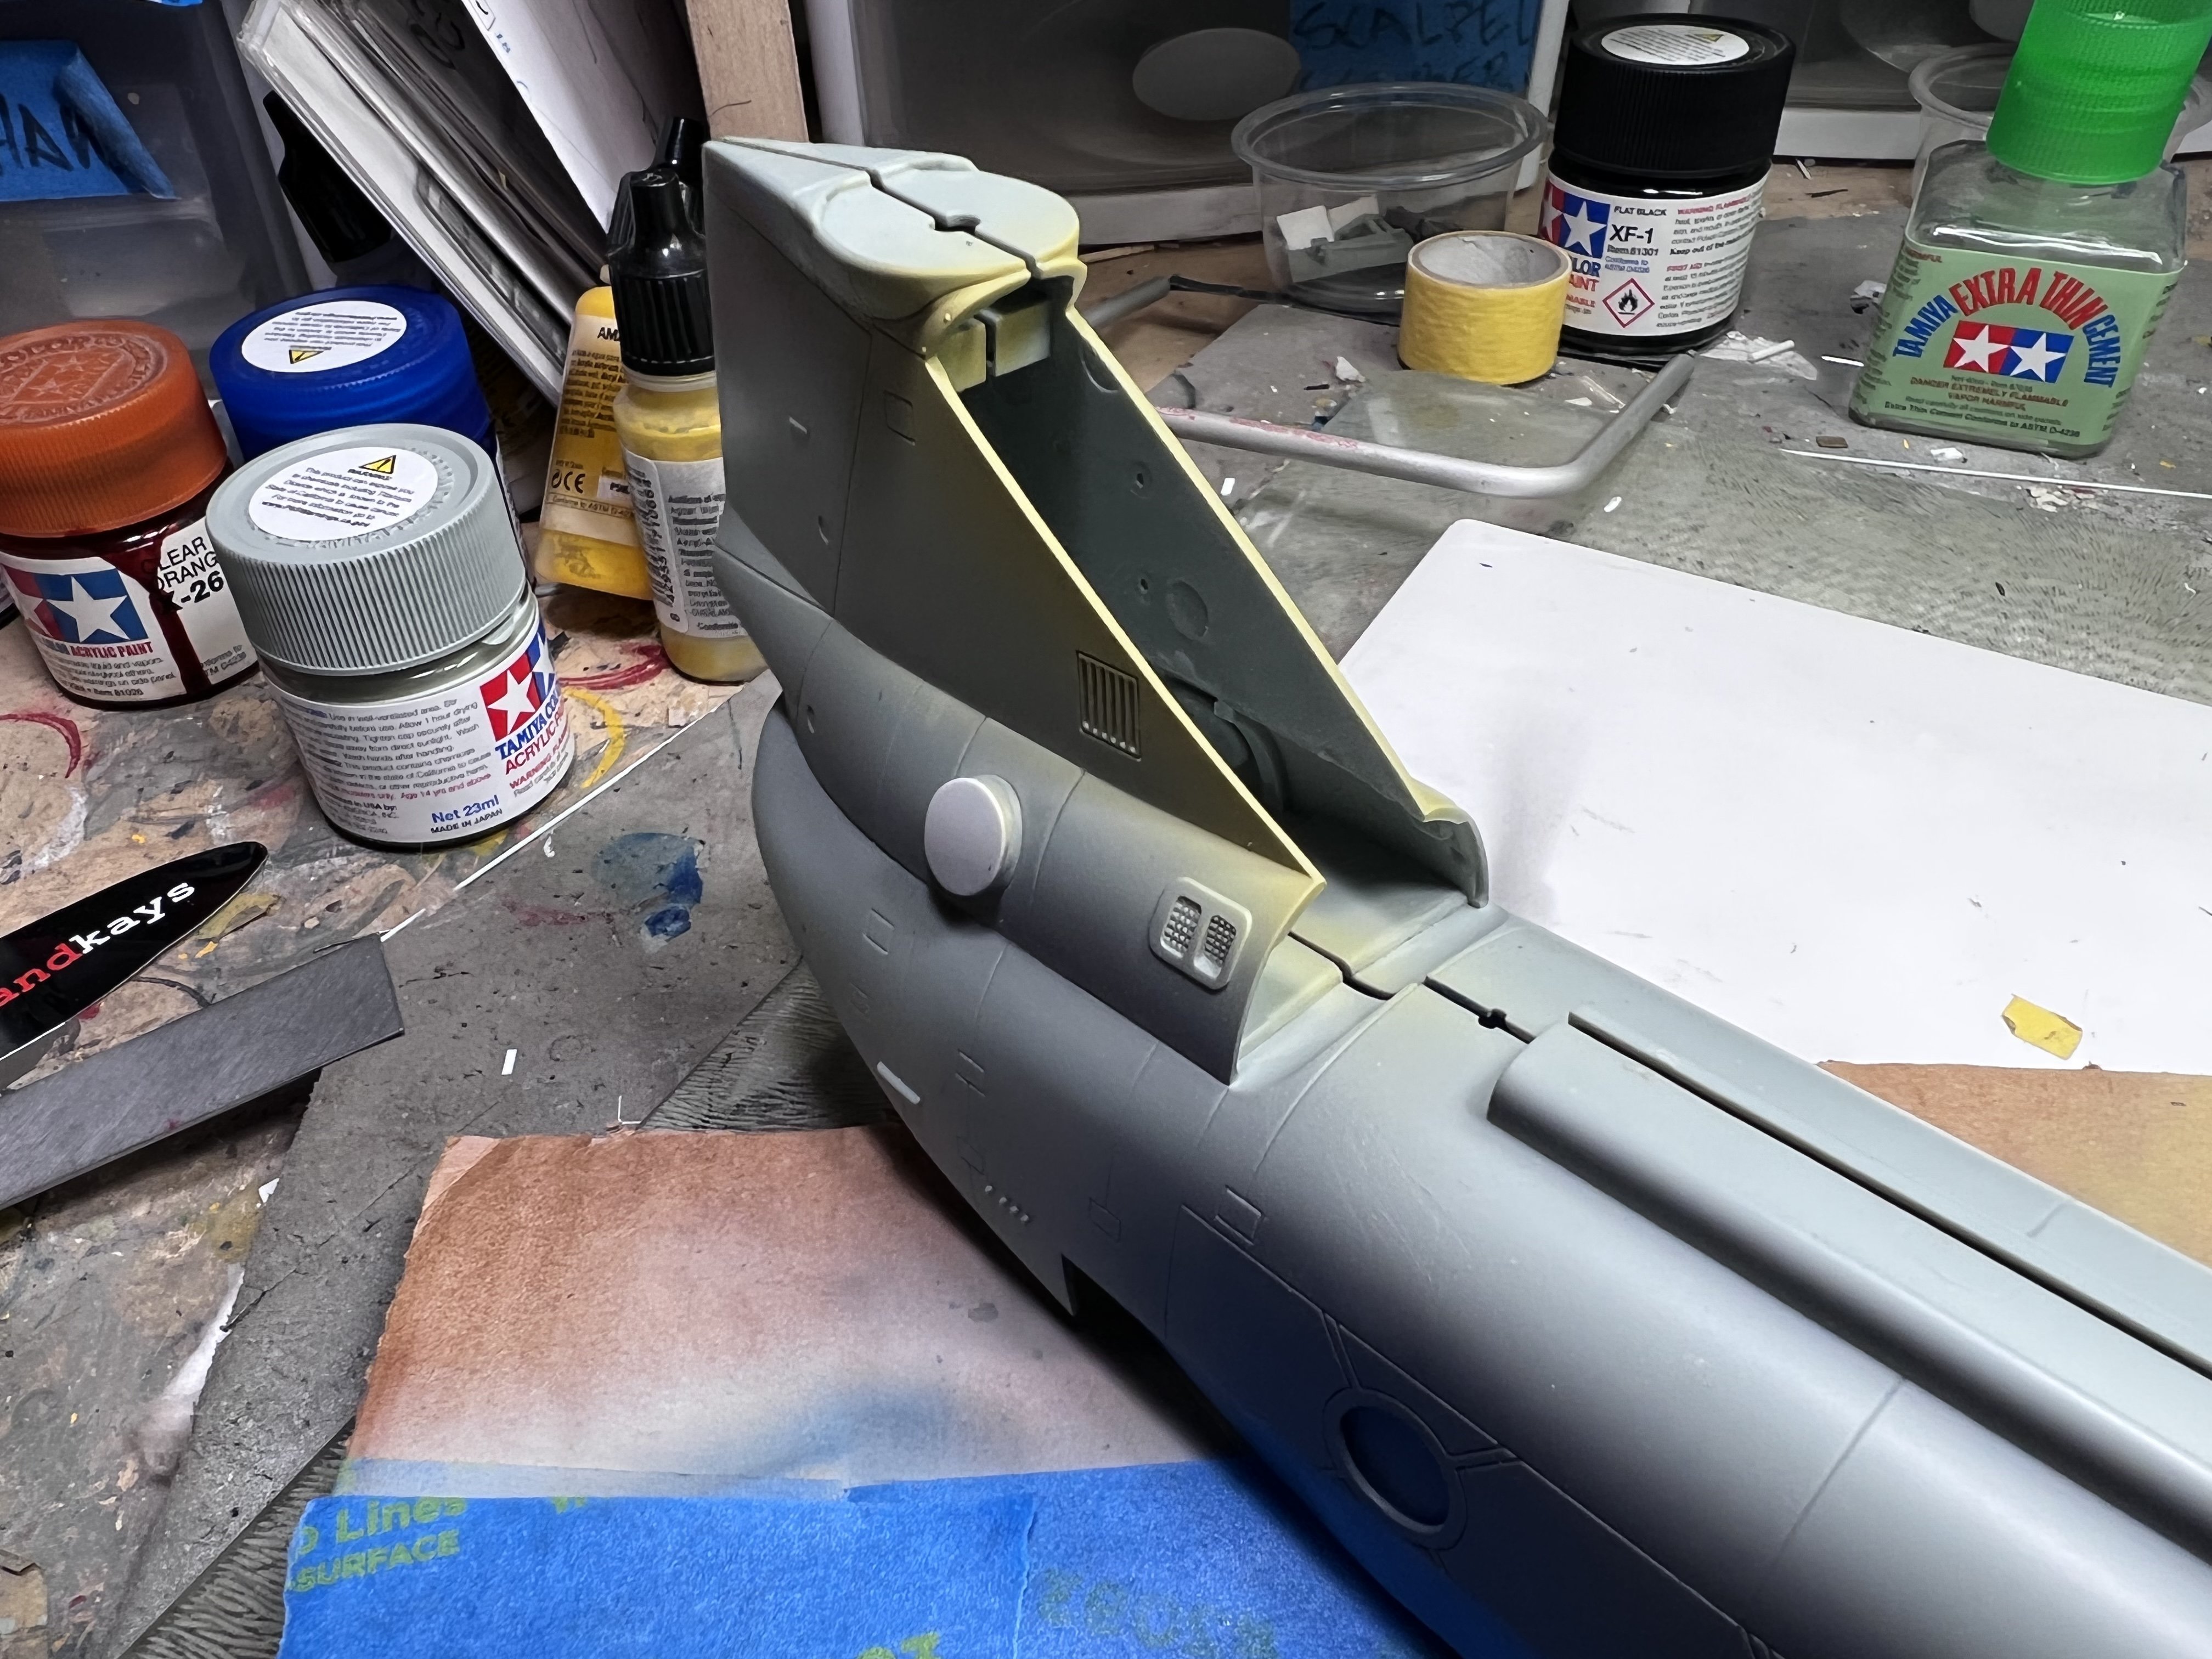
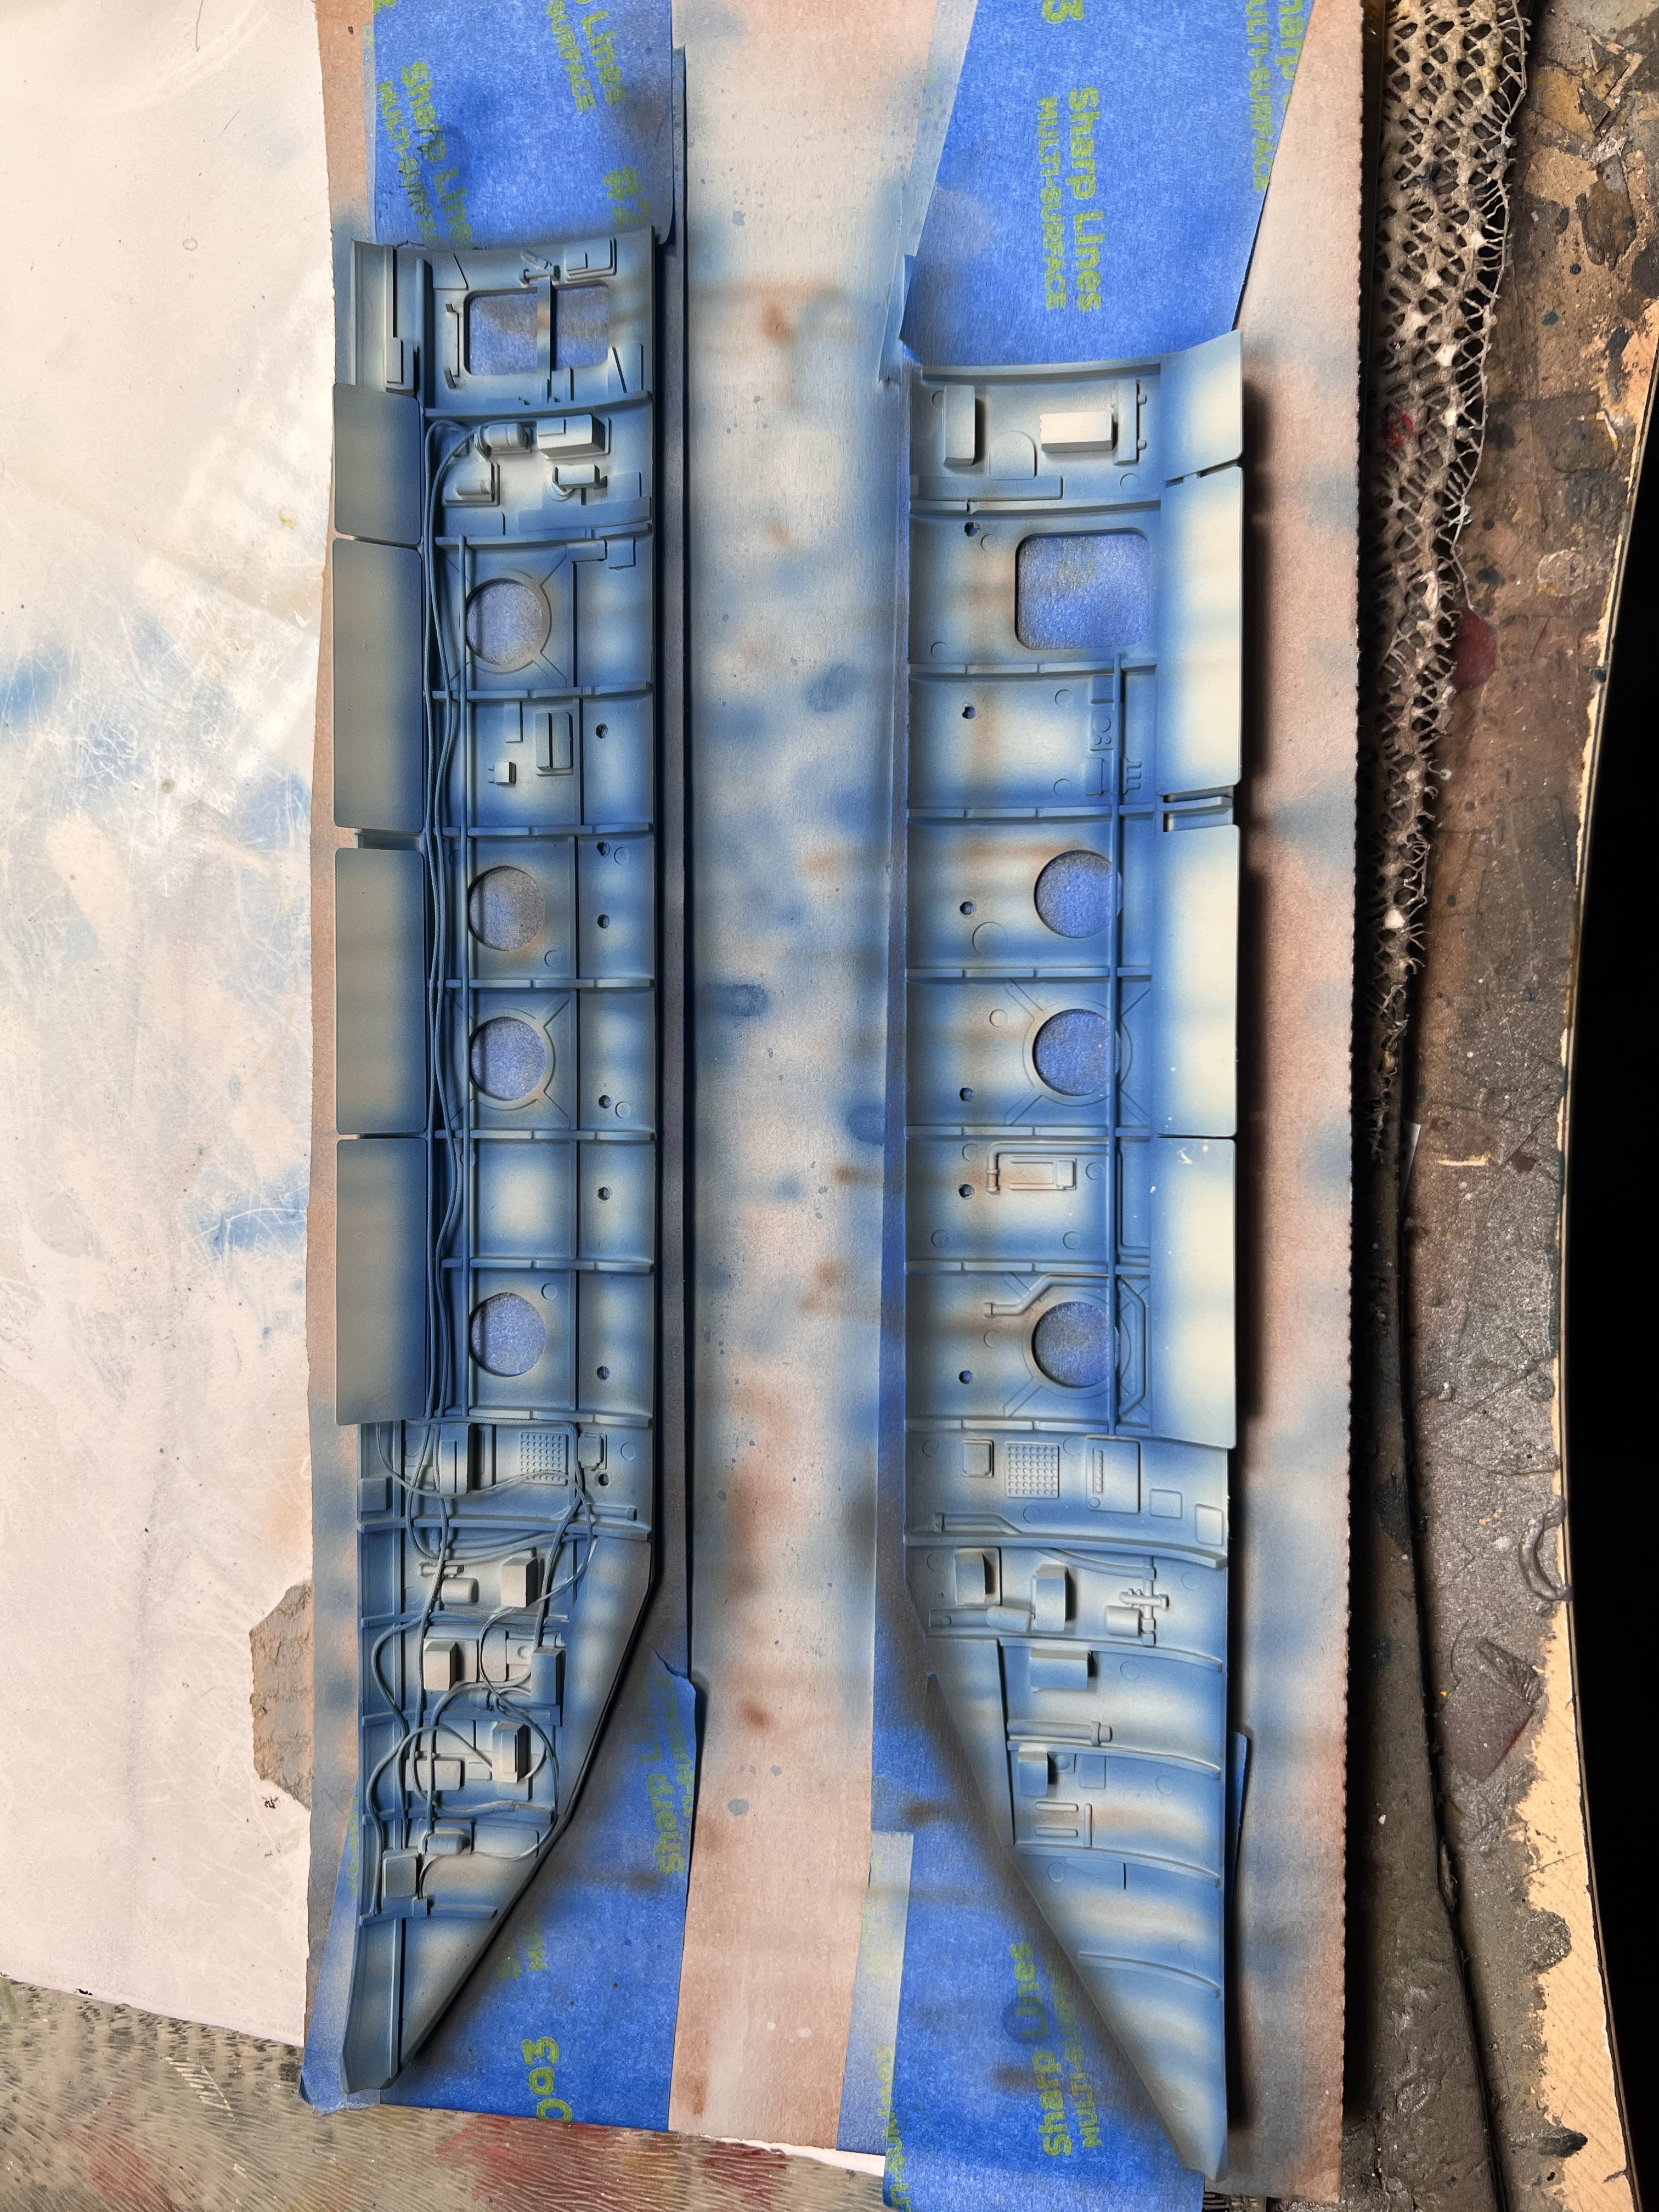
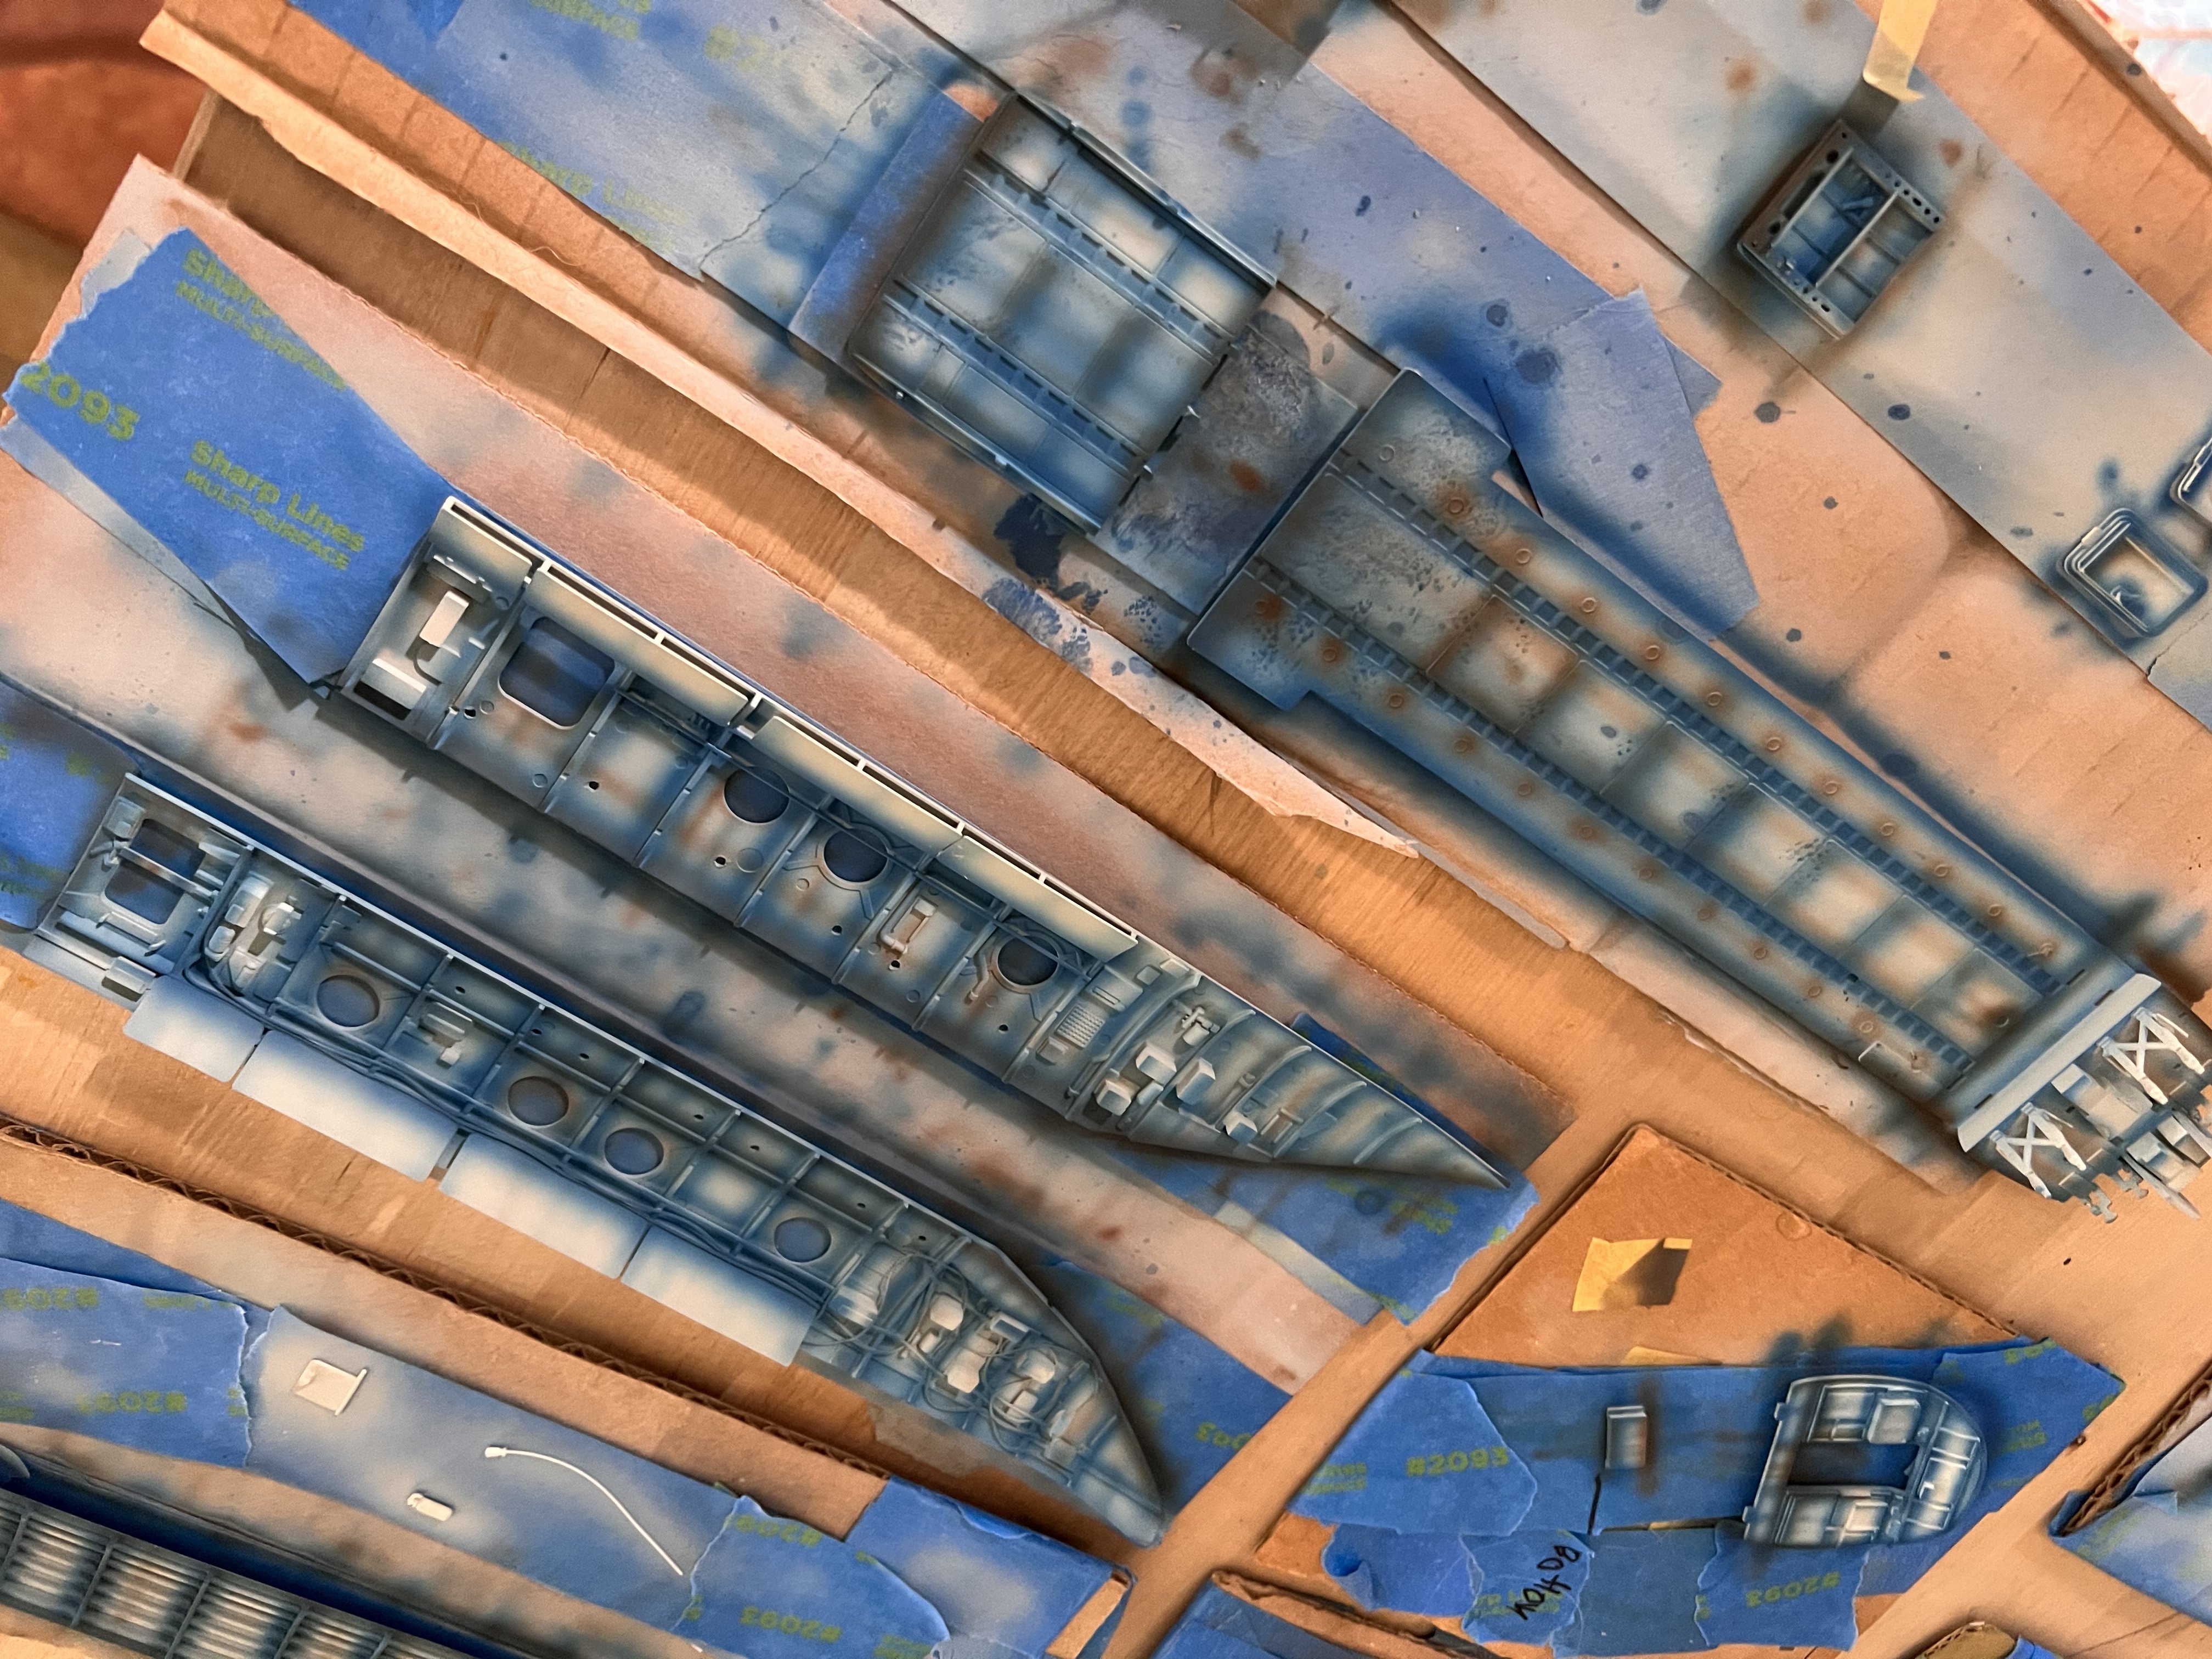
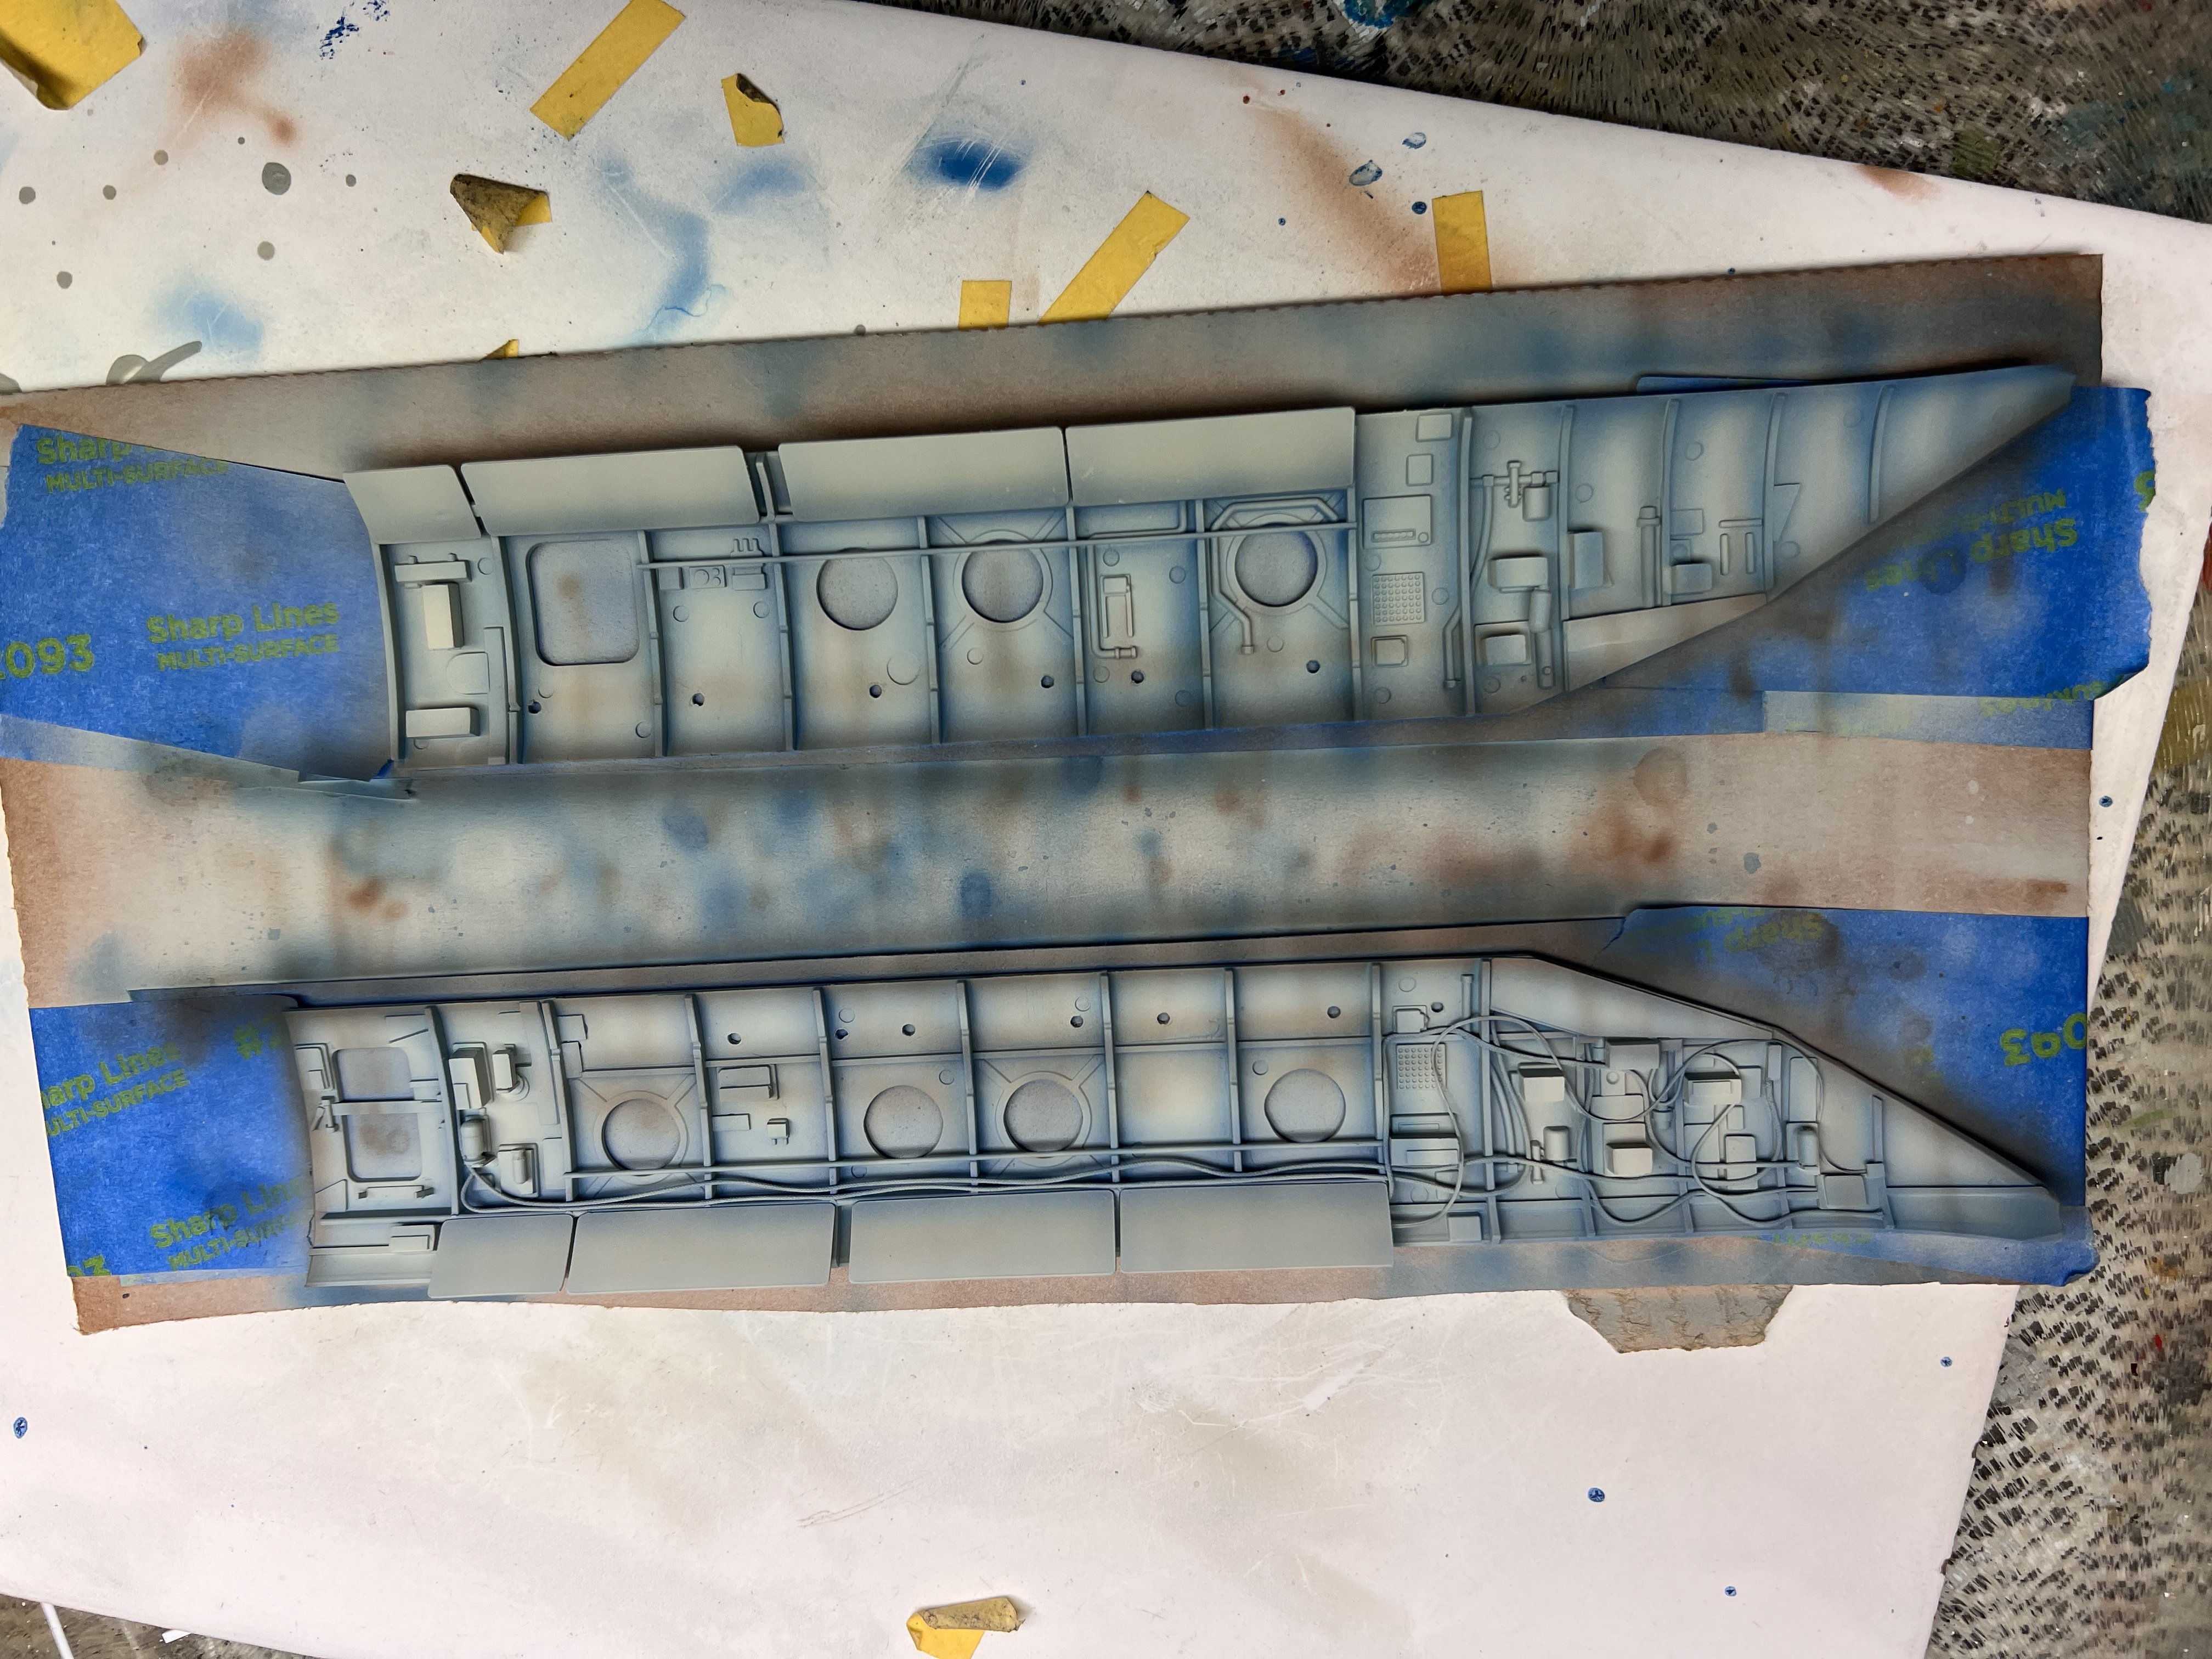
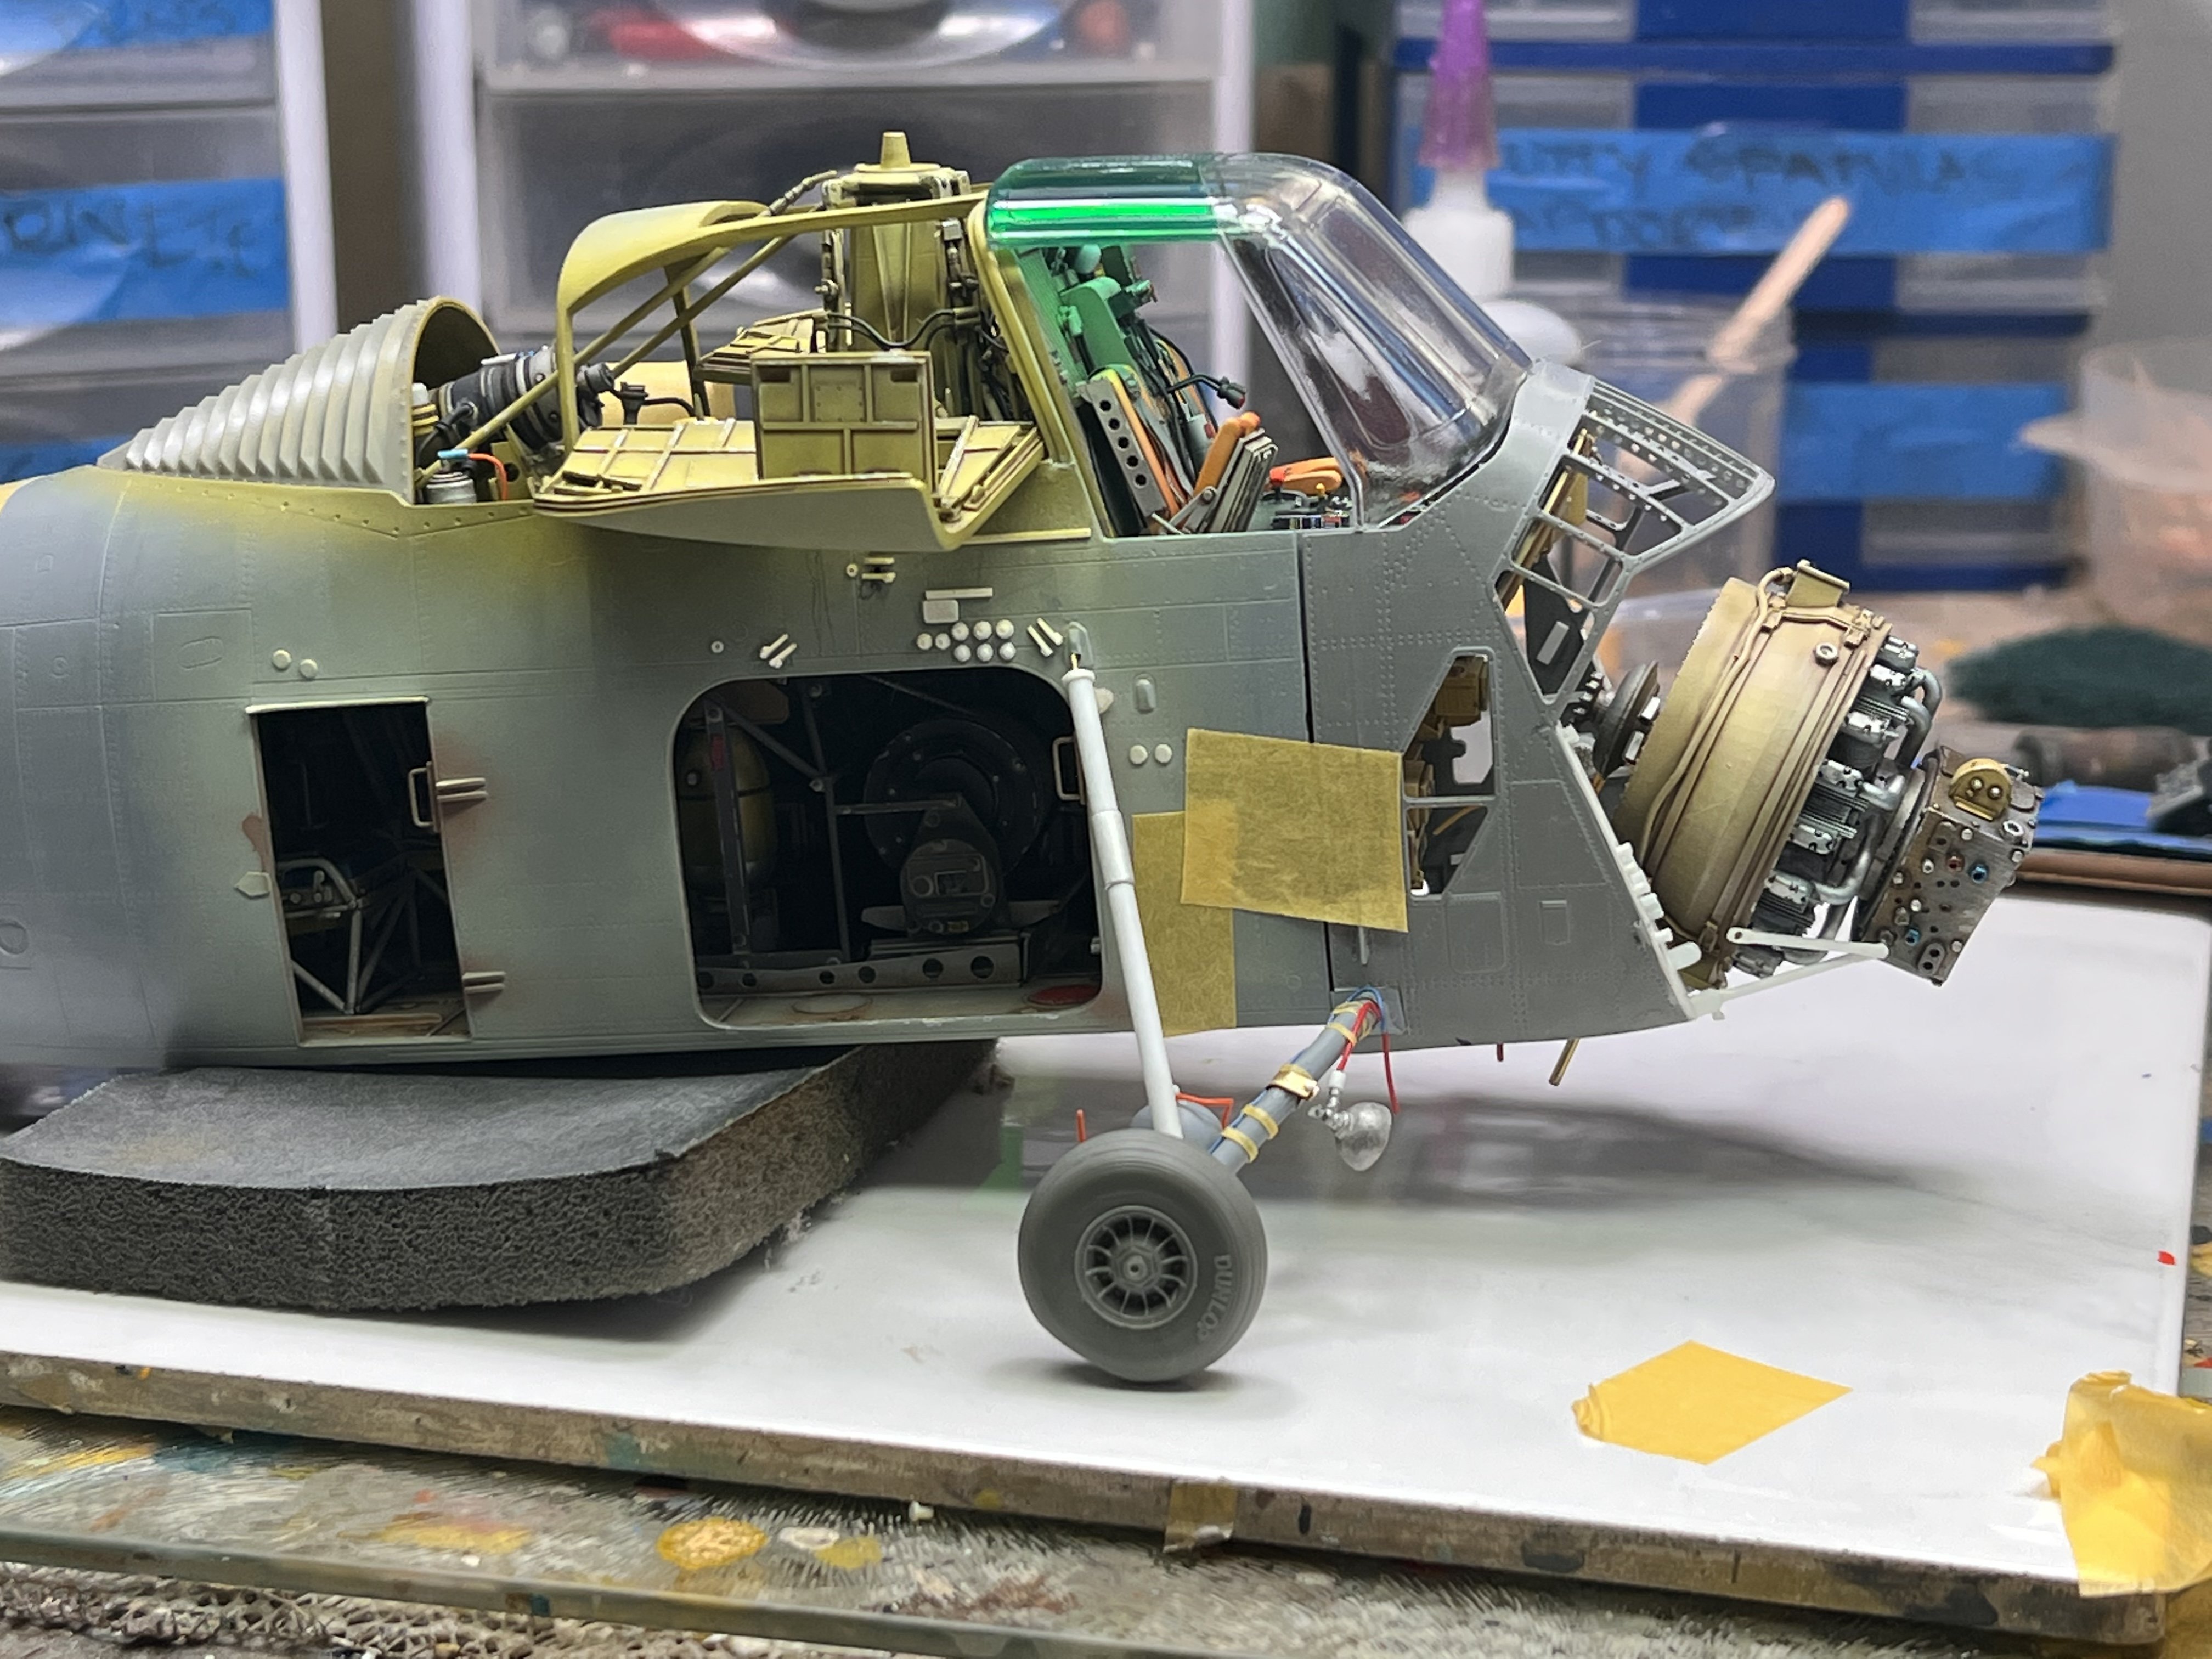
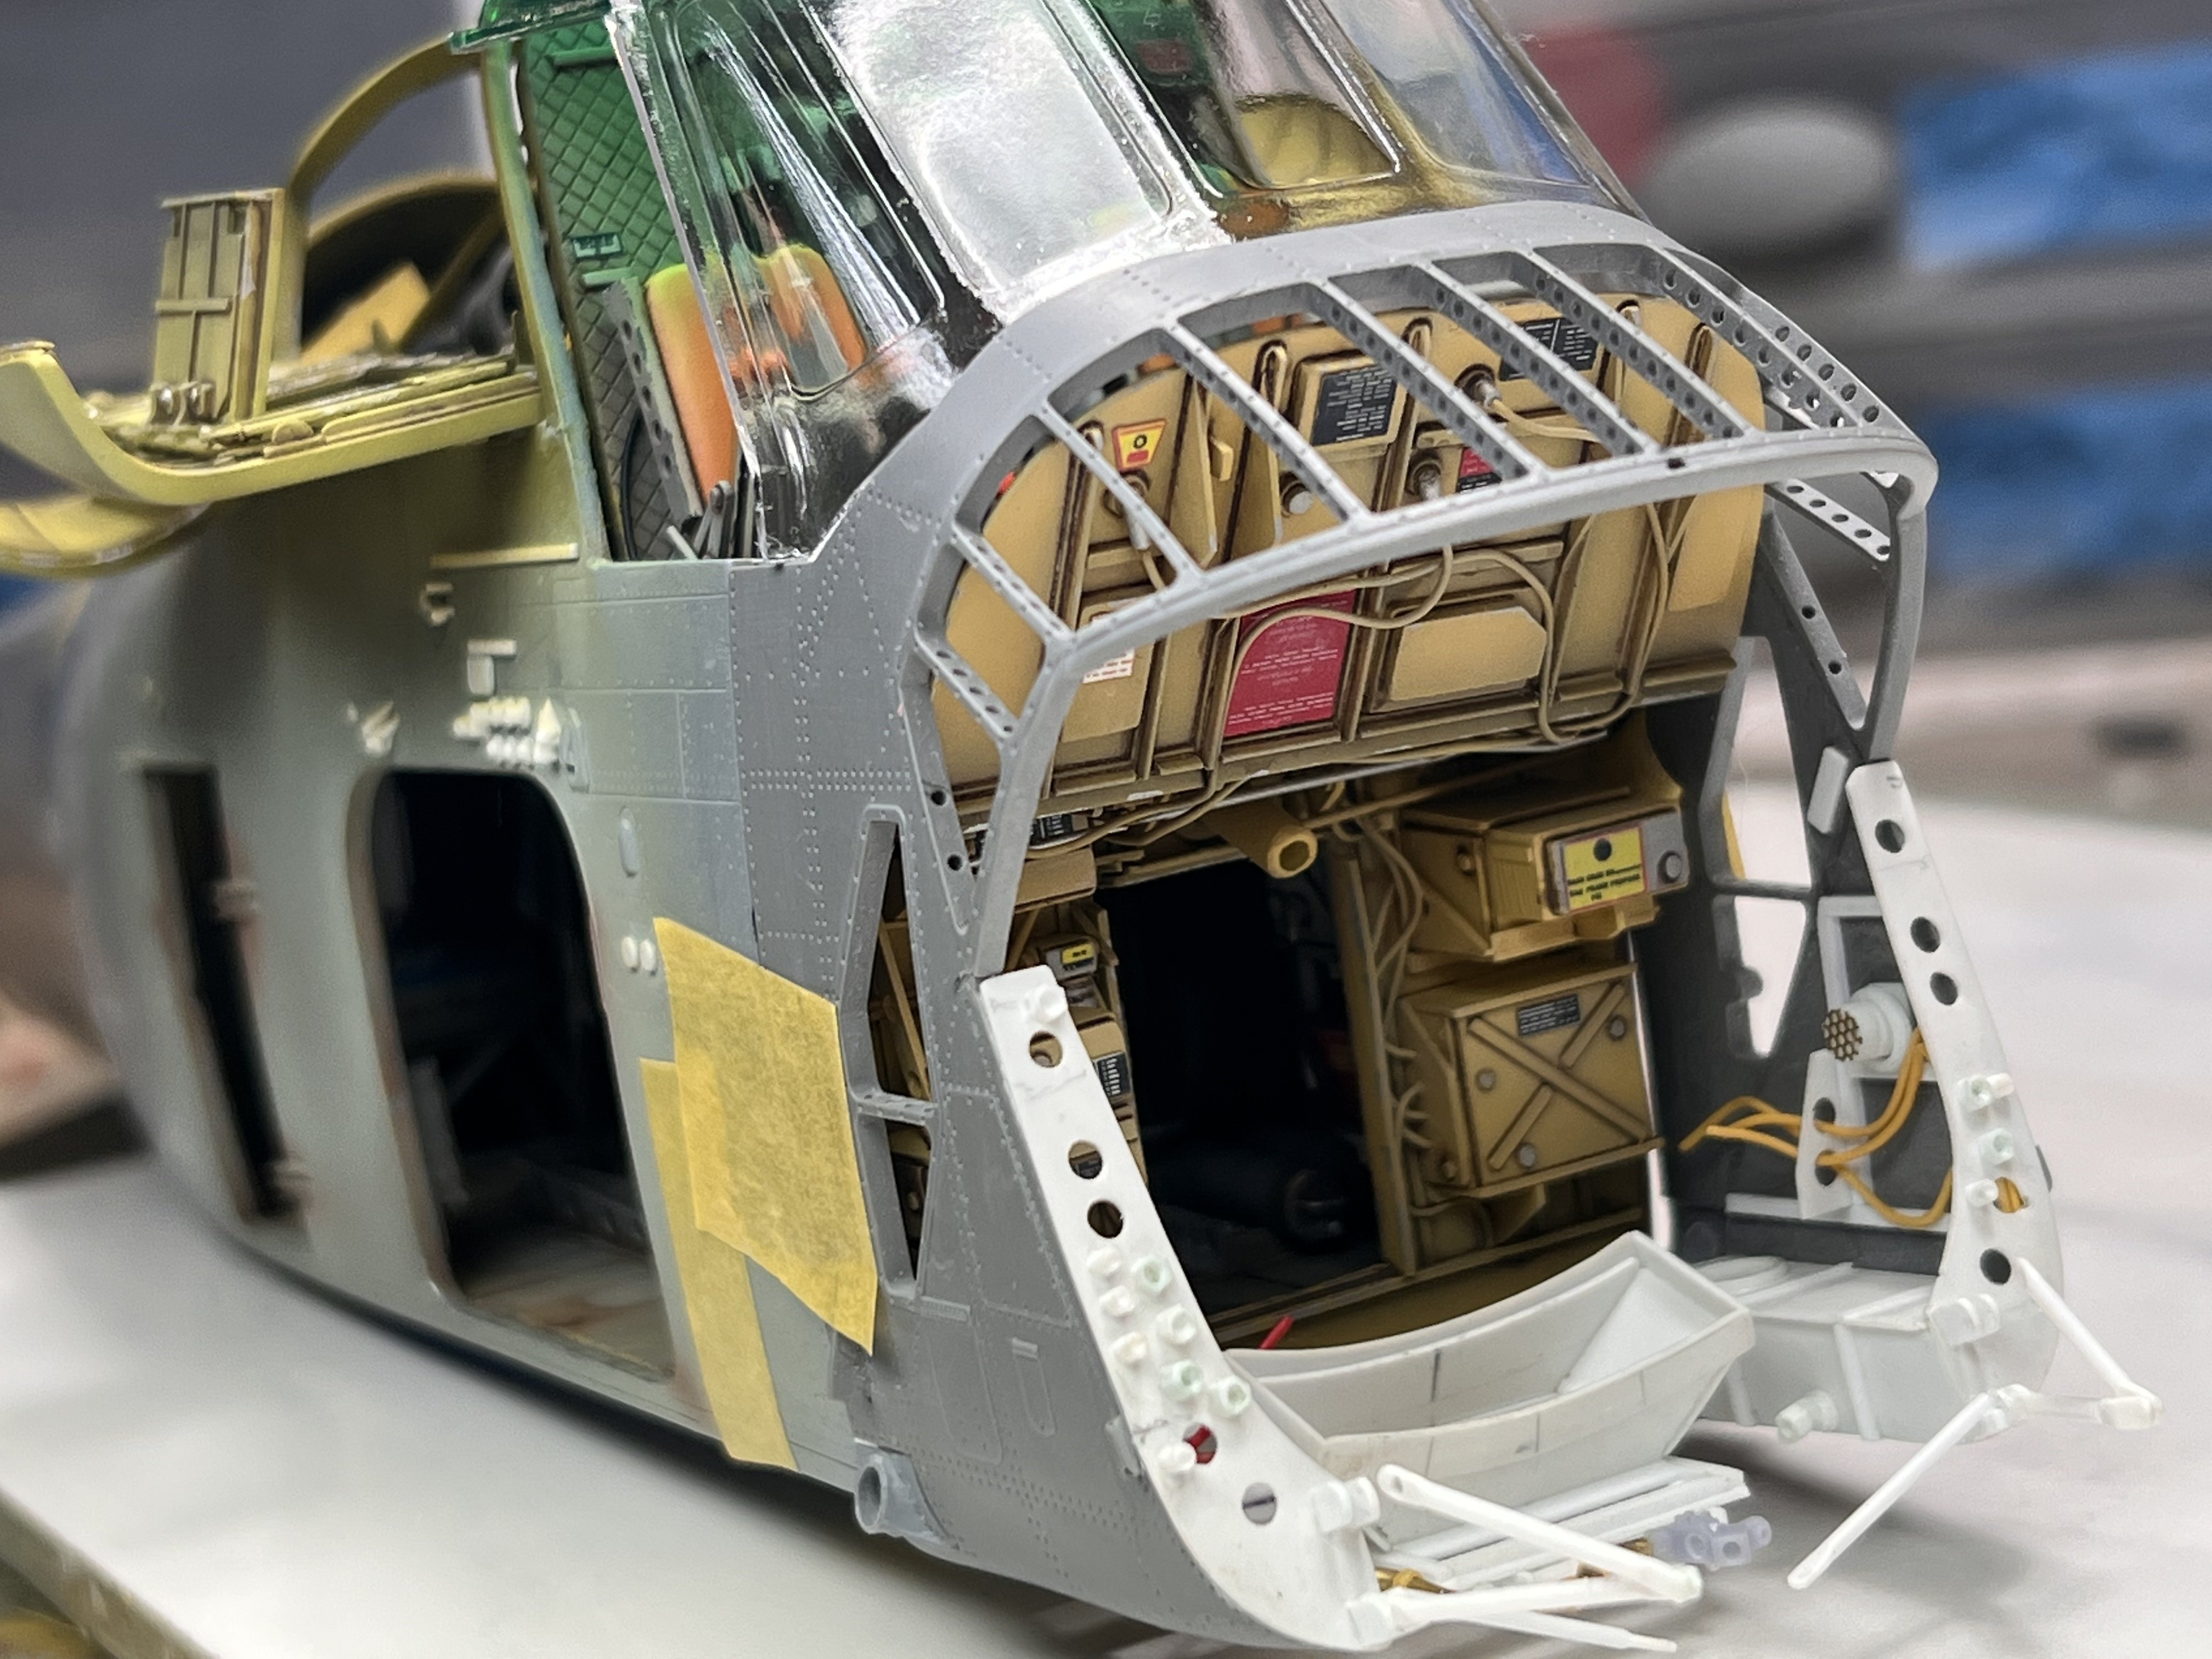
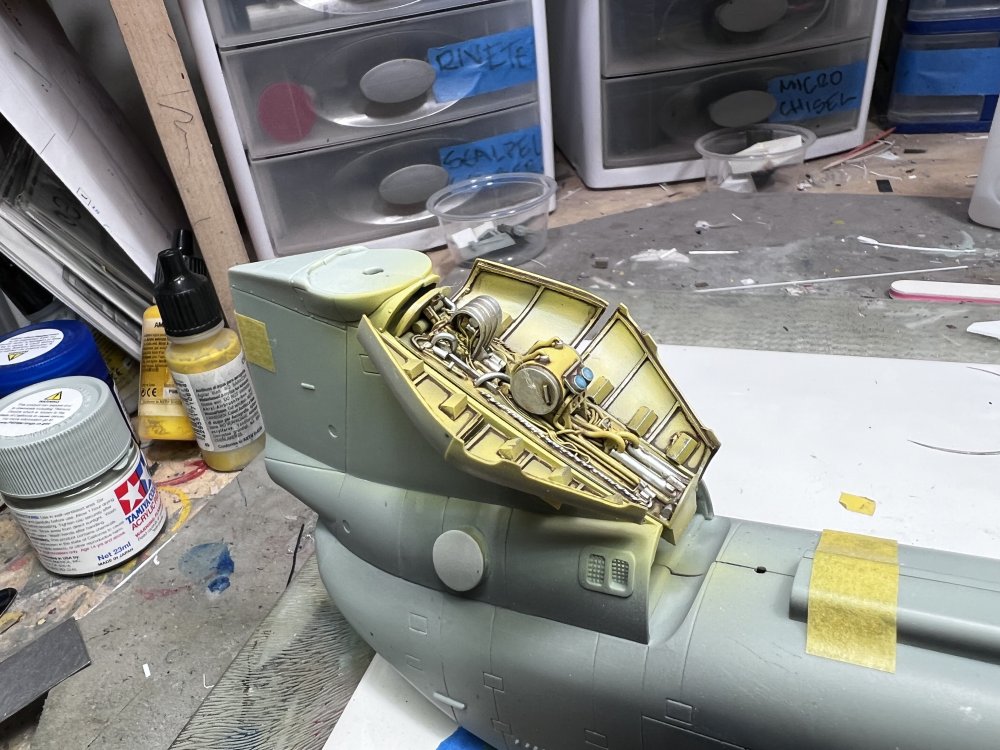
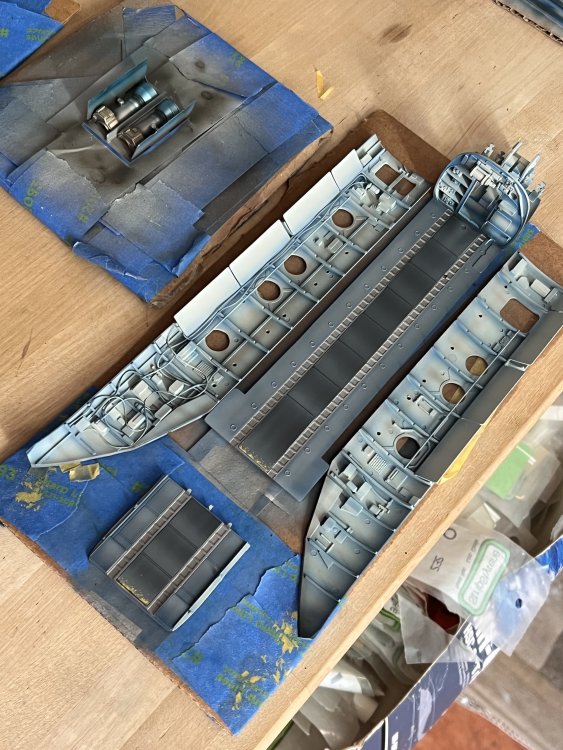
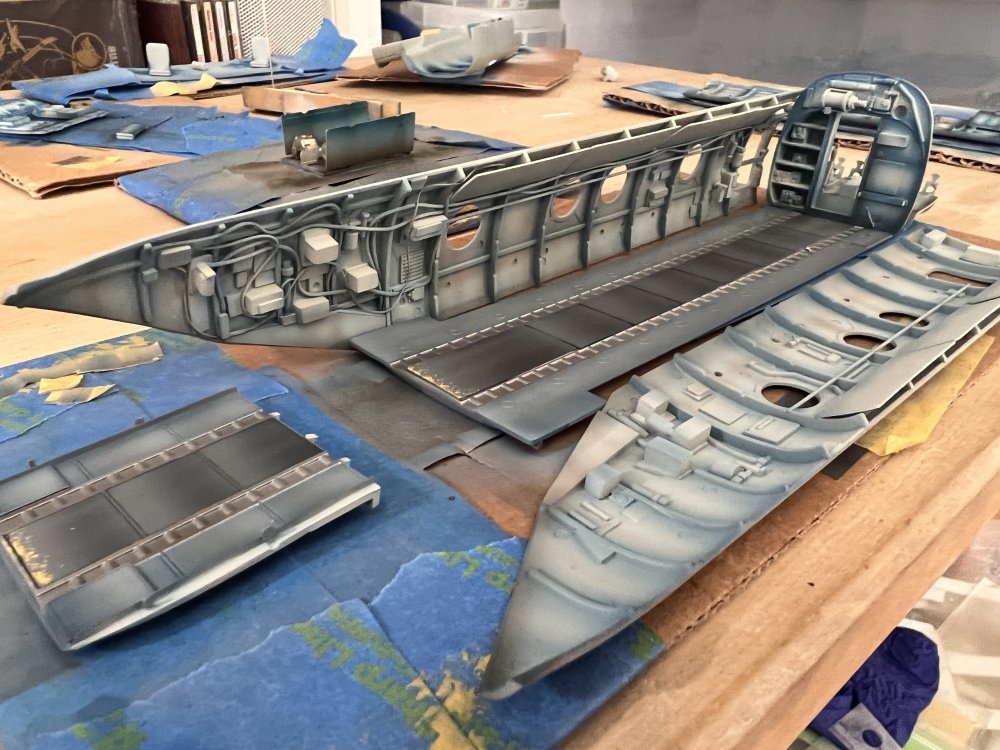
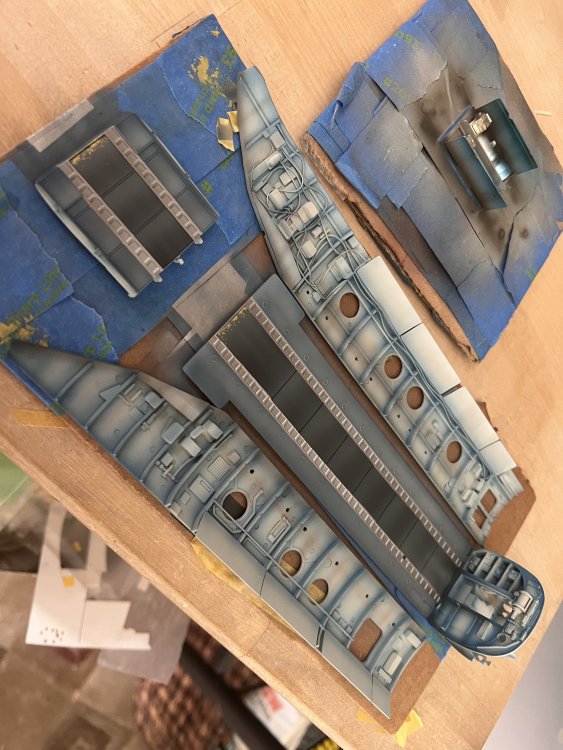
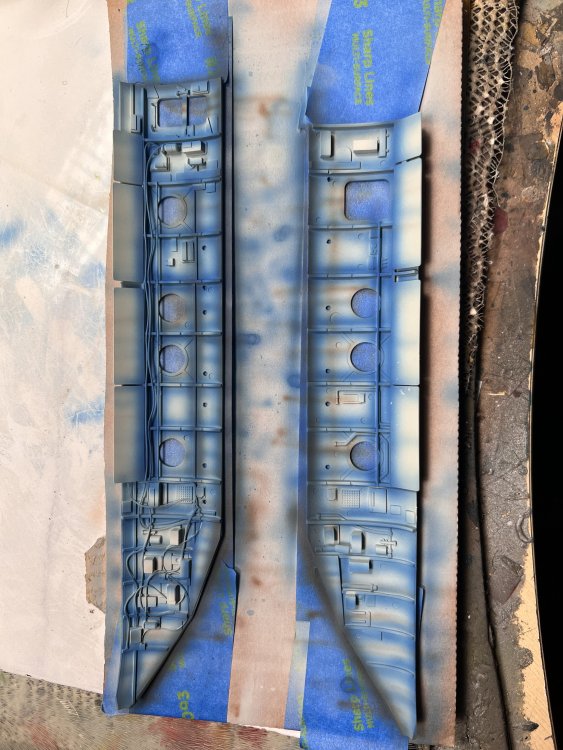
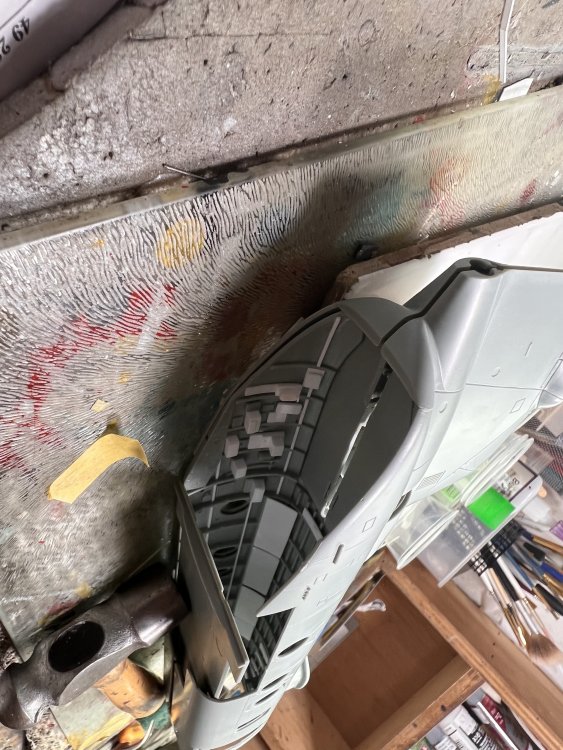
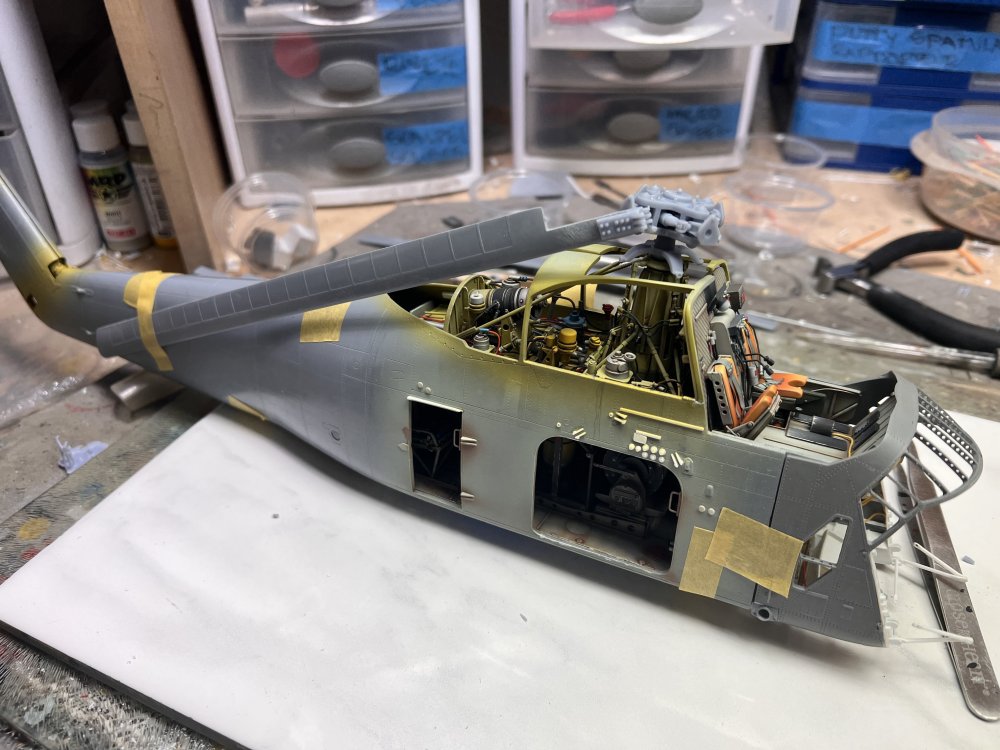
Ok . I think I’m ready for painting.


-
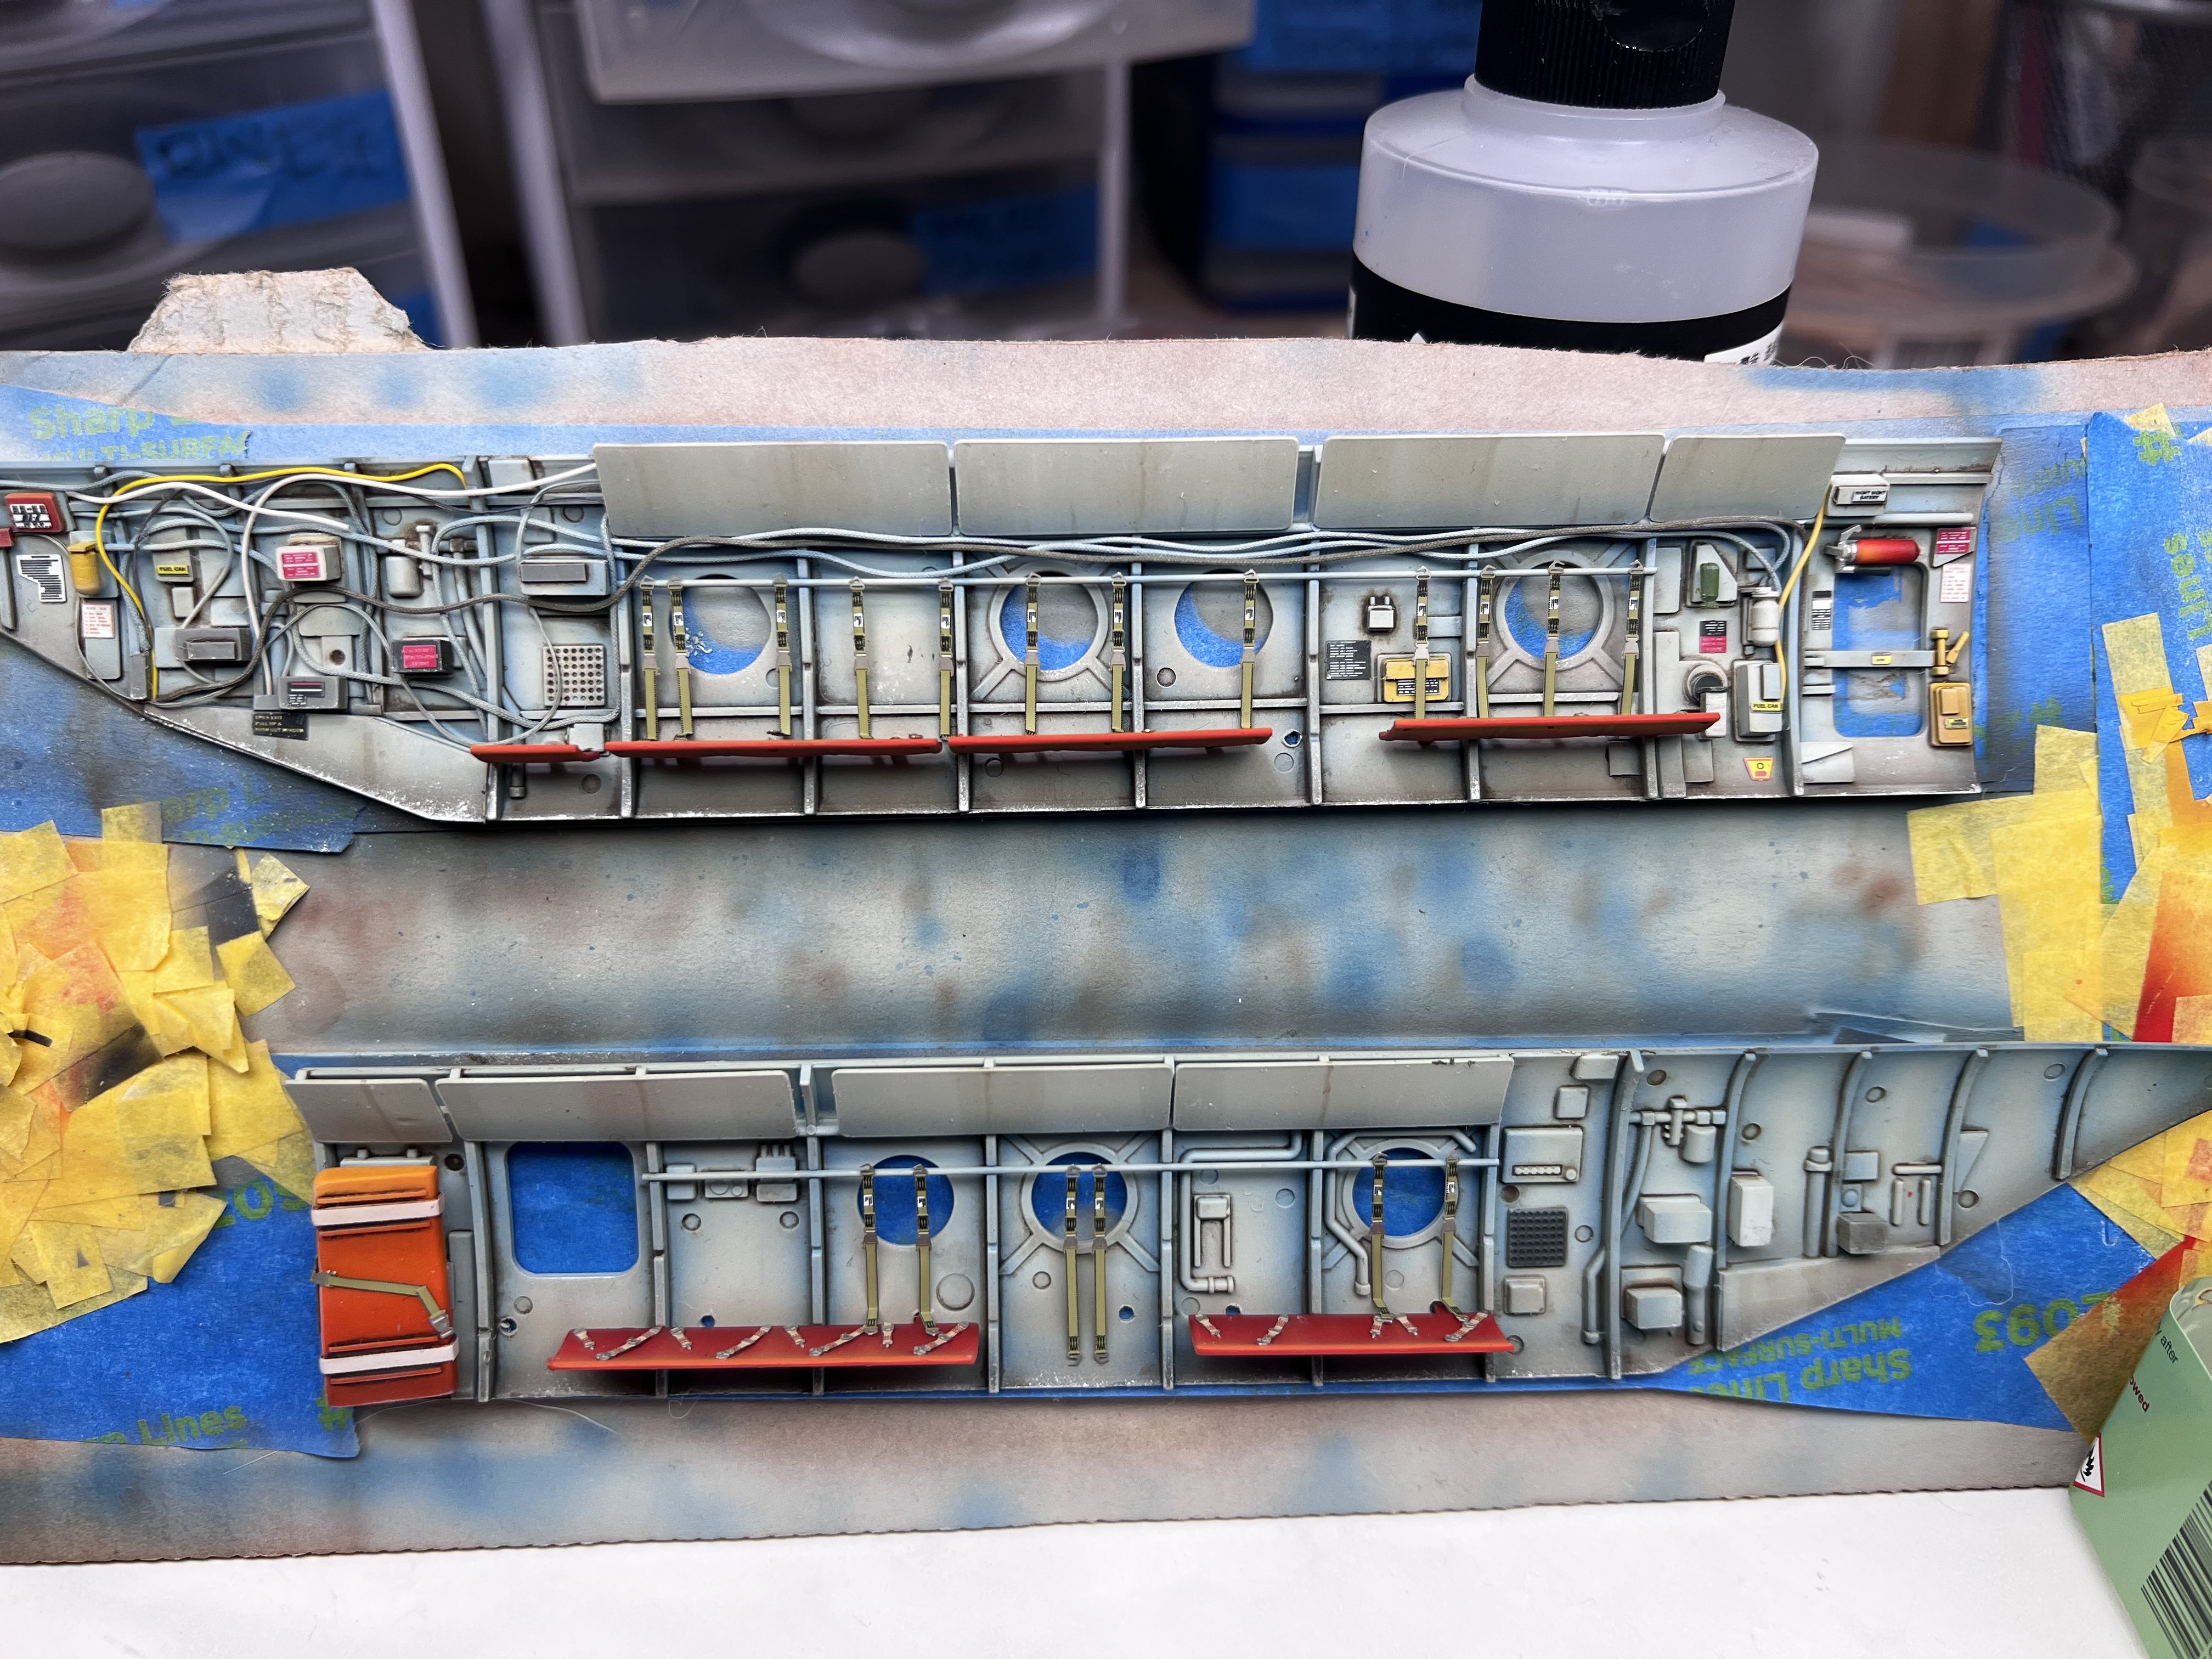
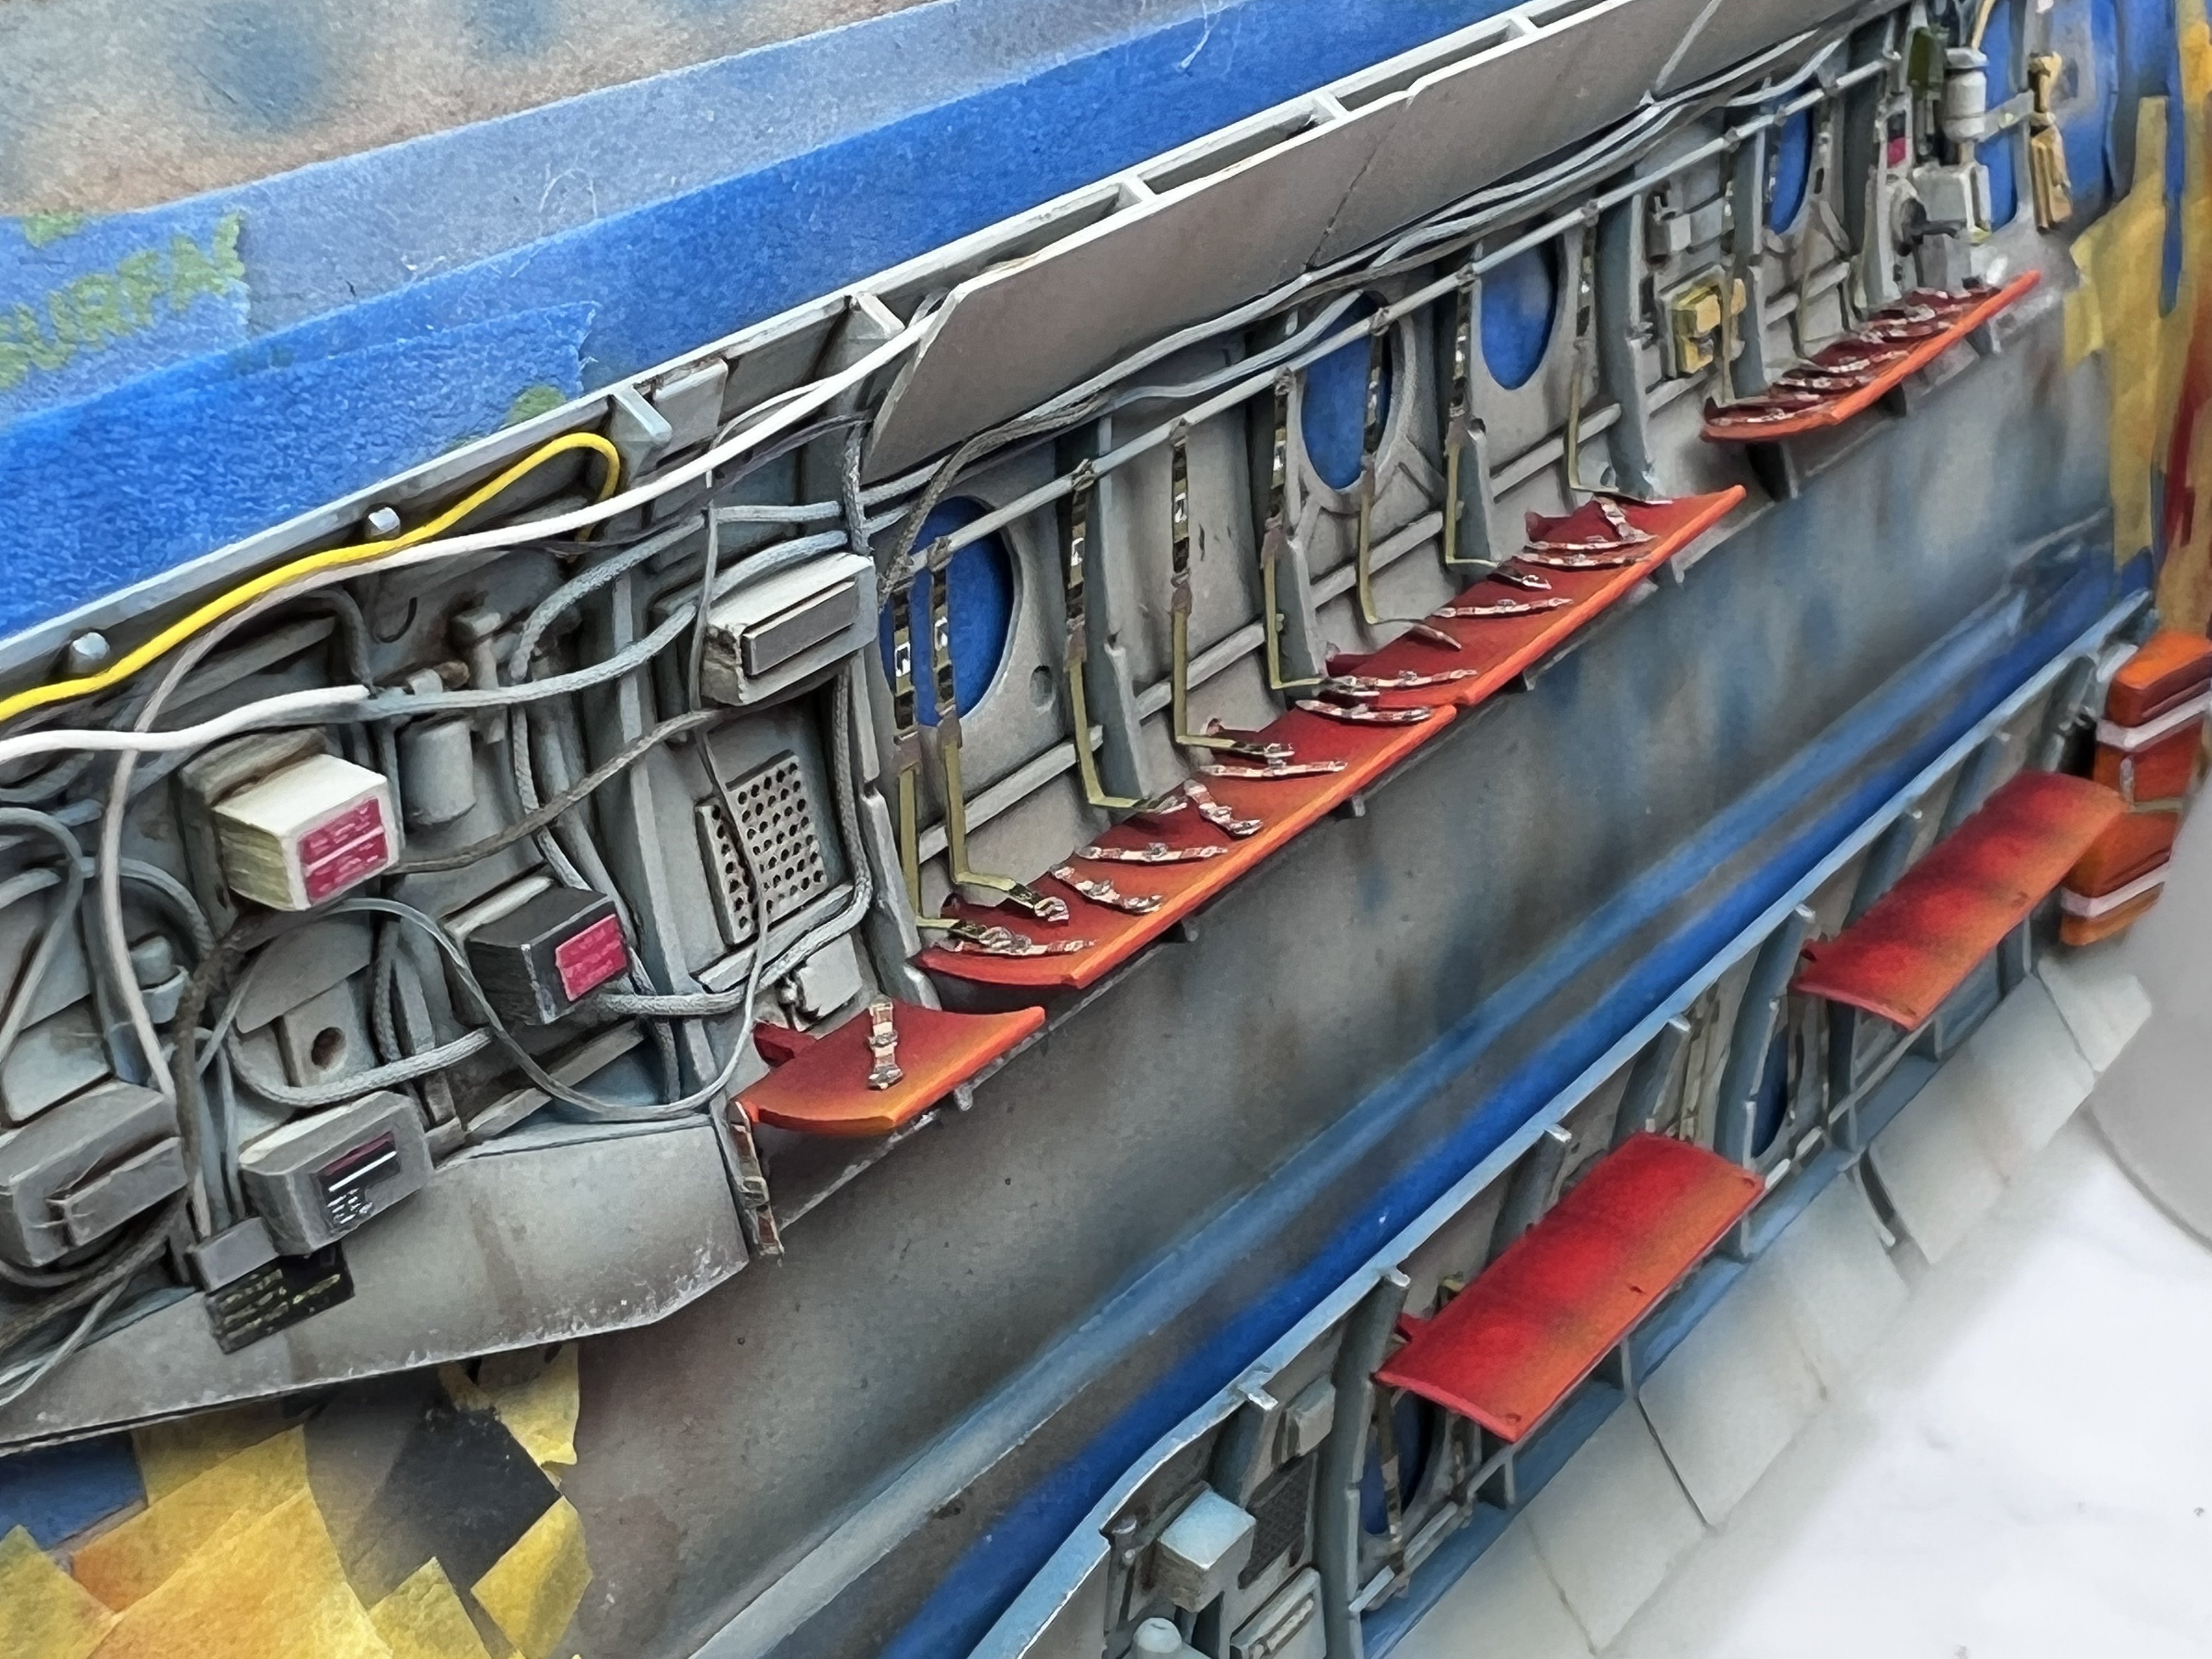
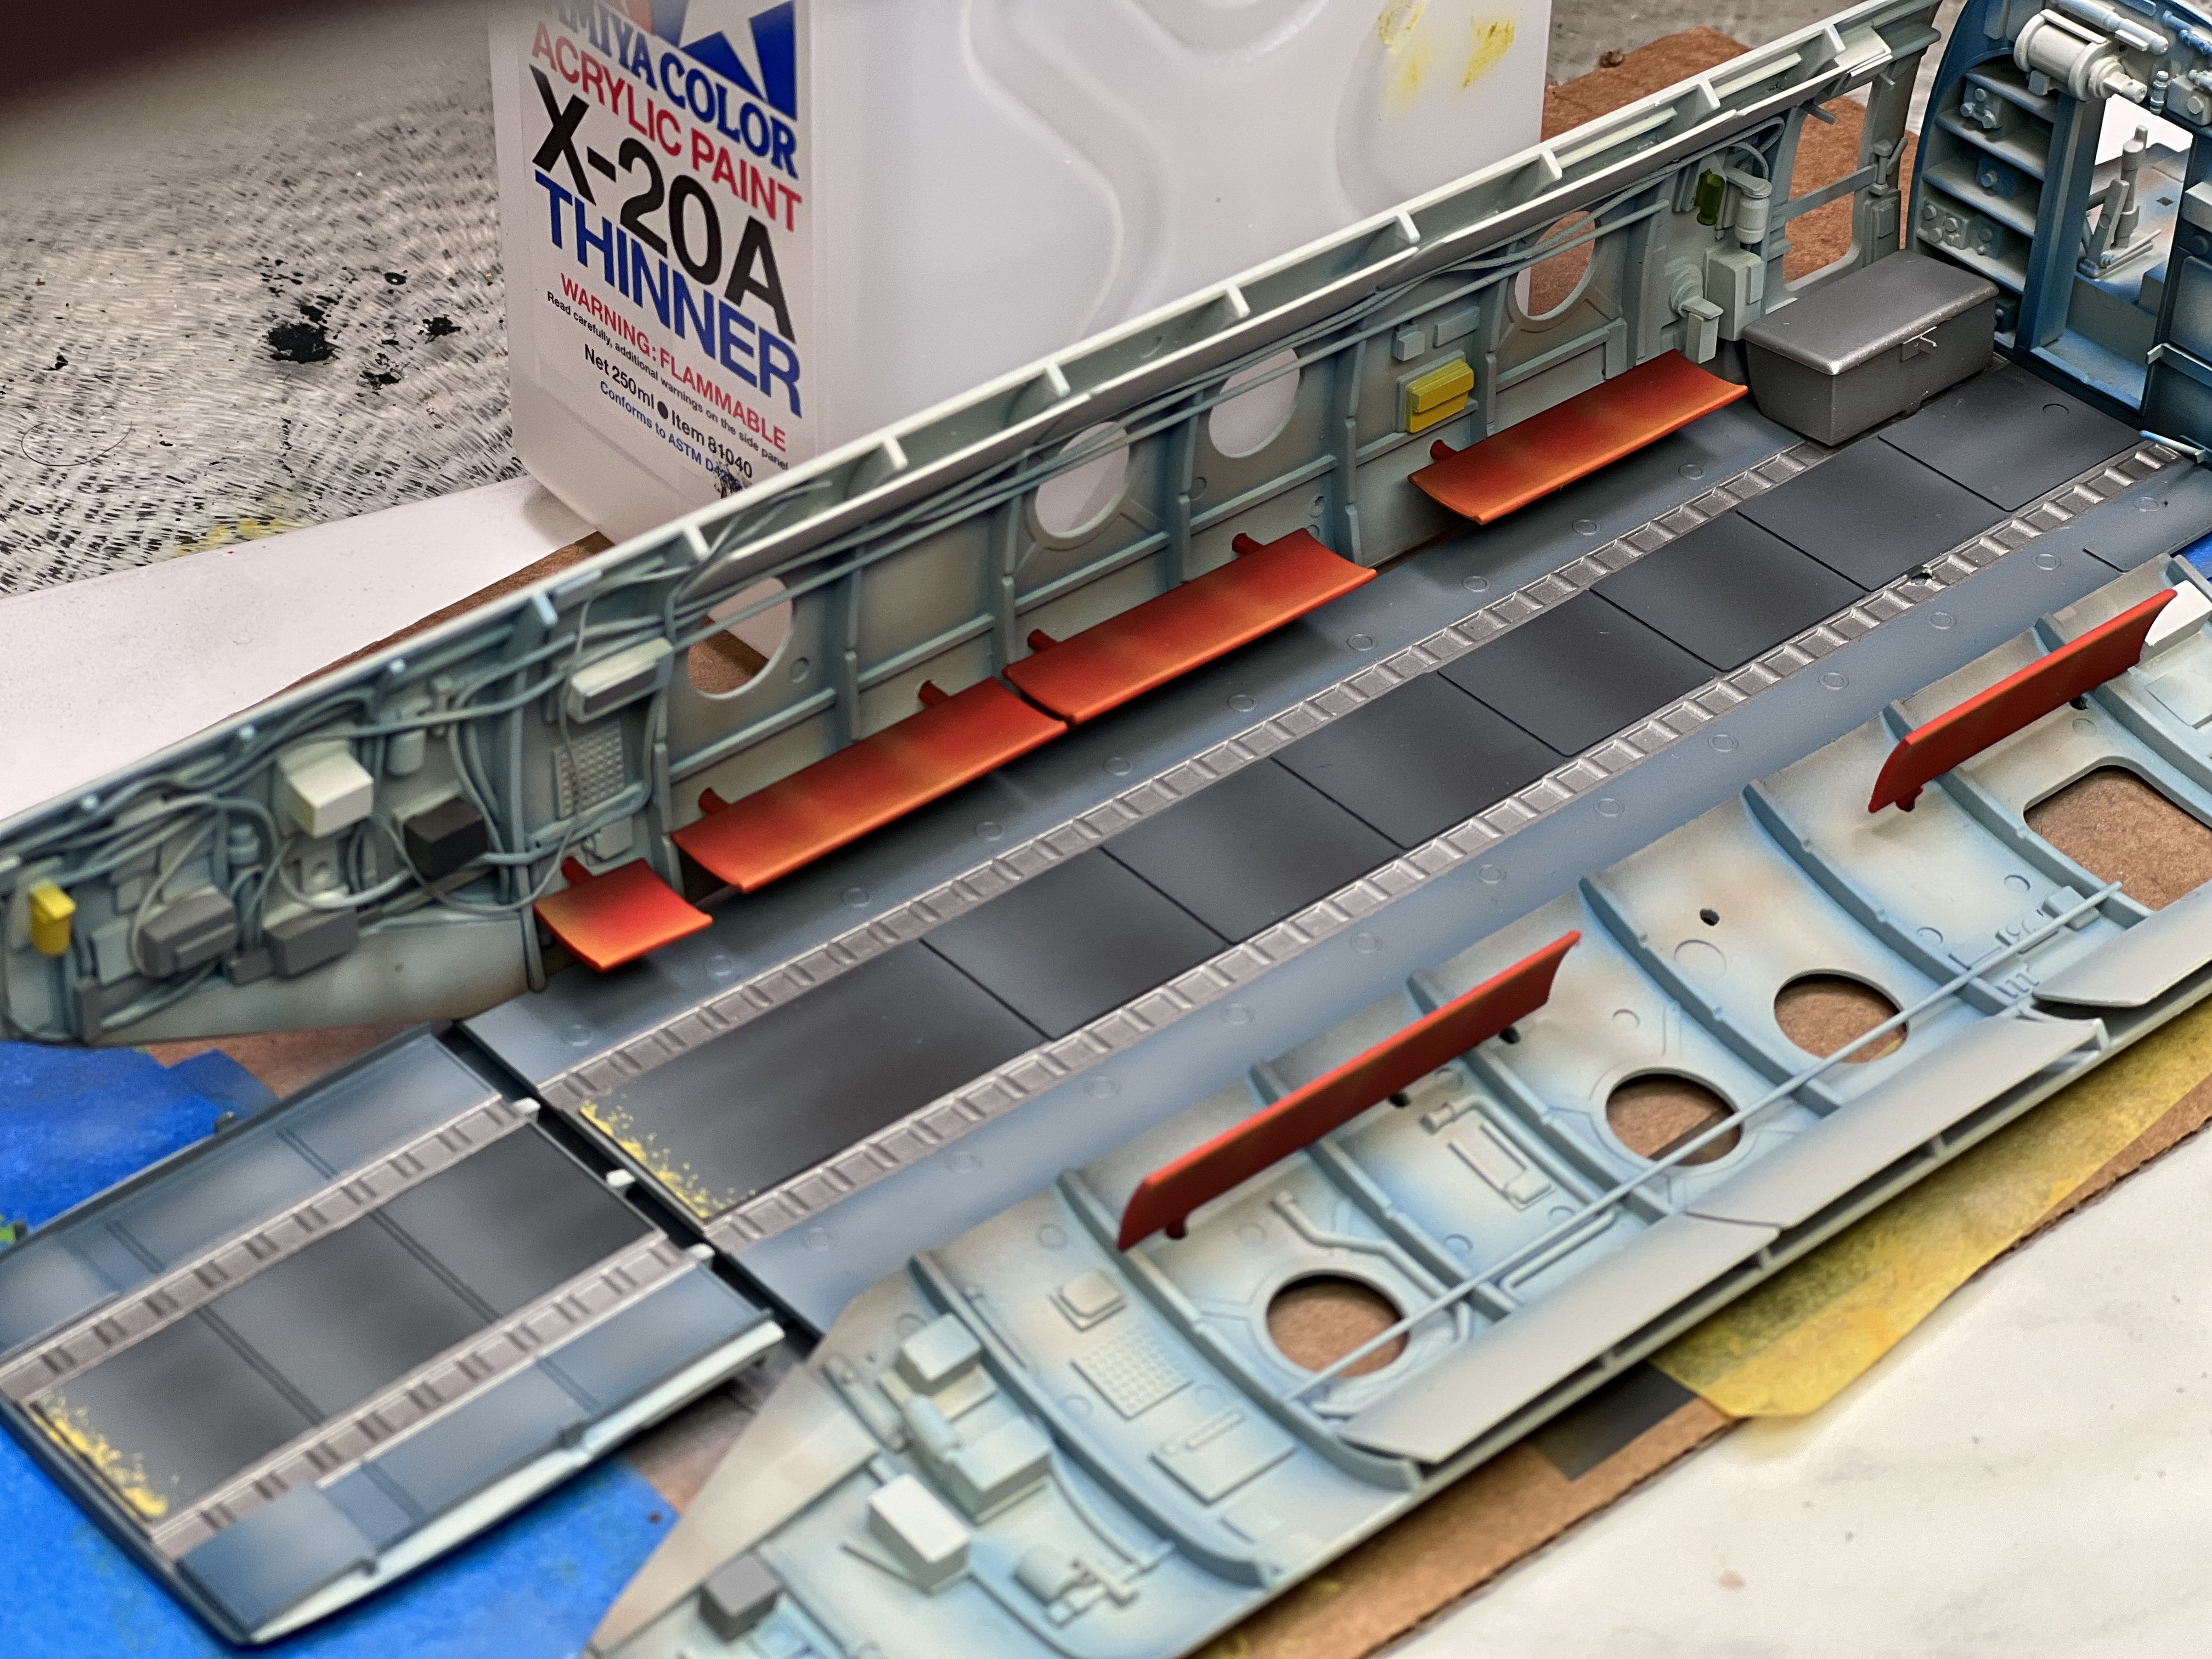
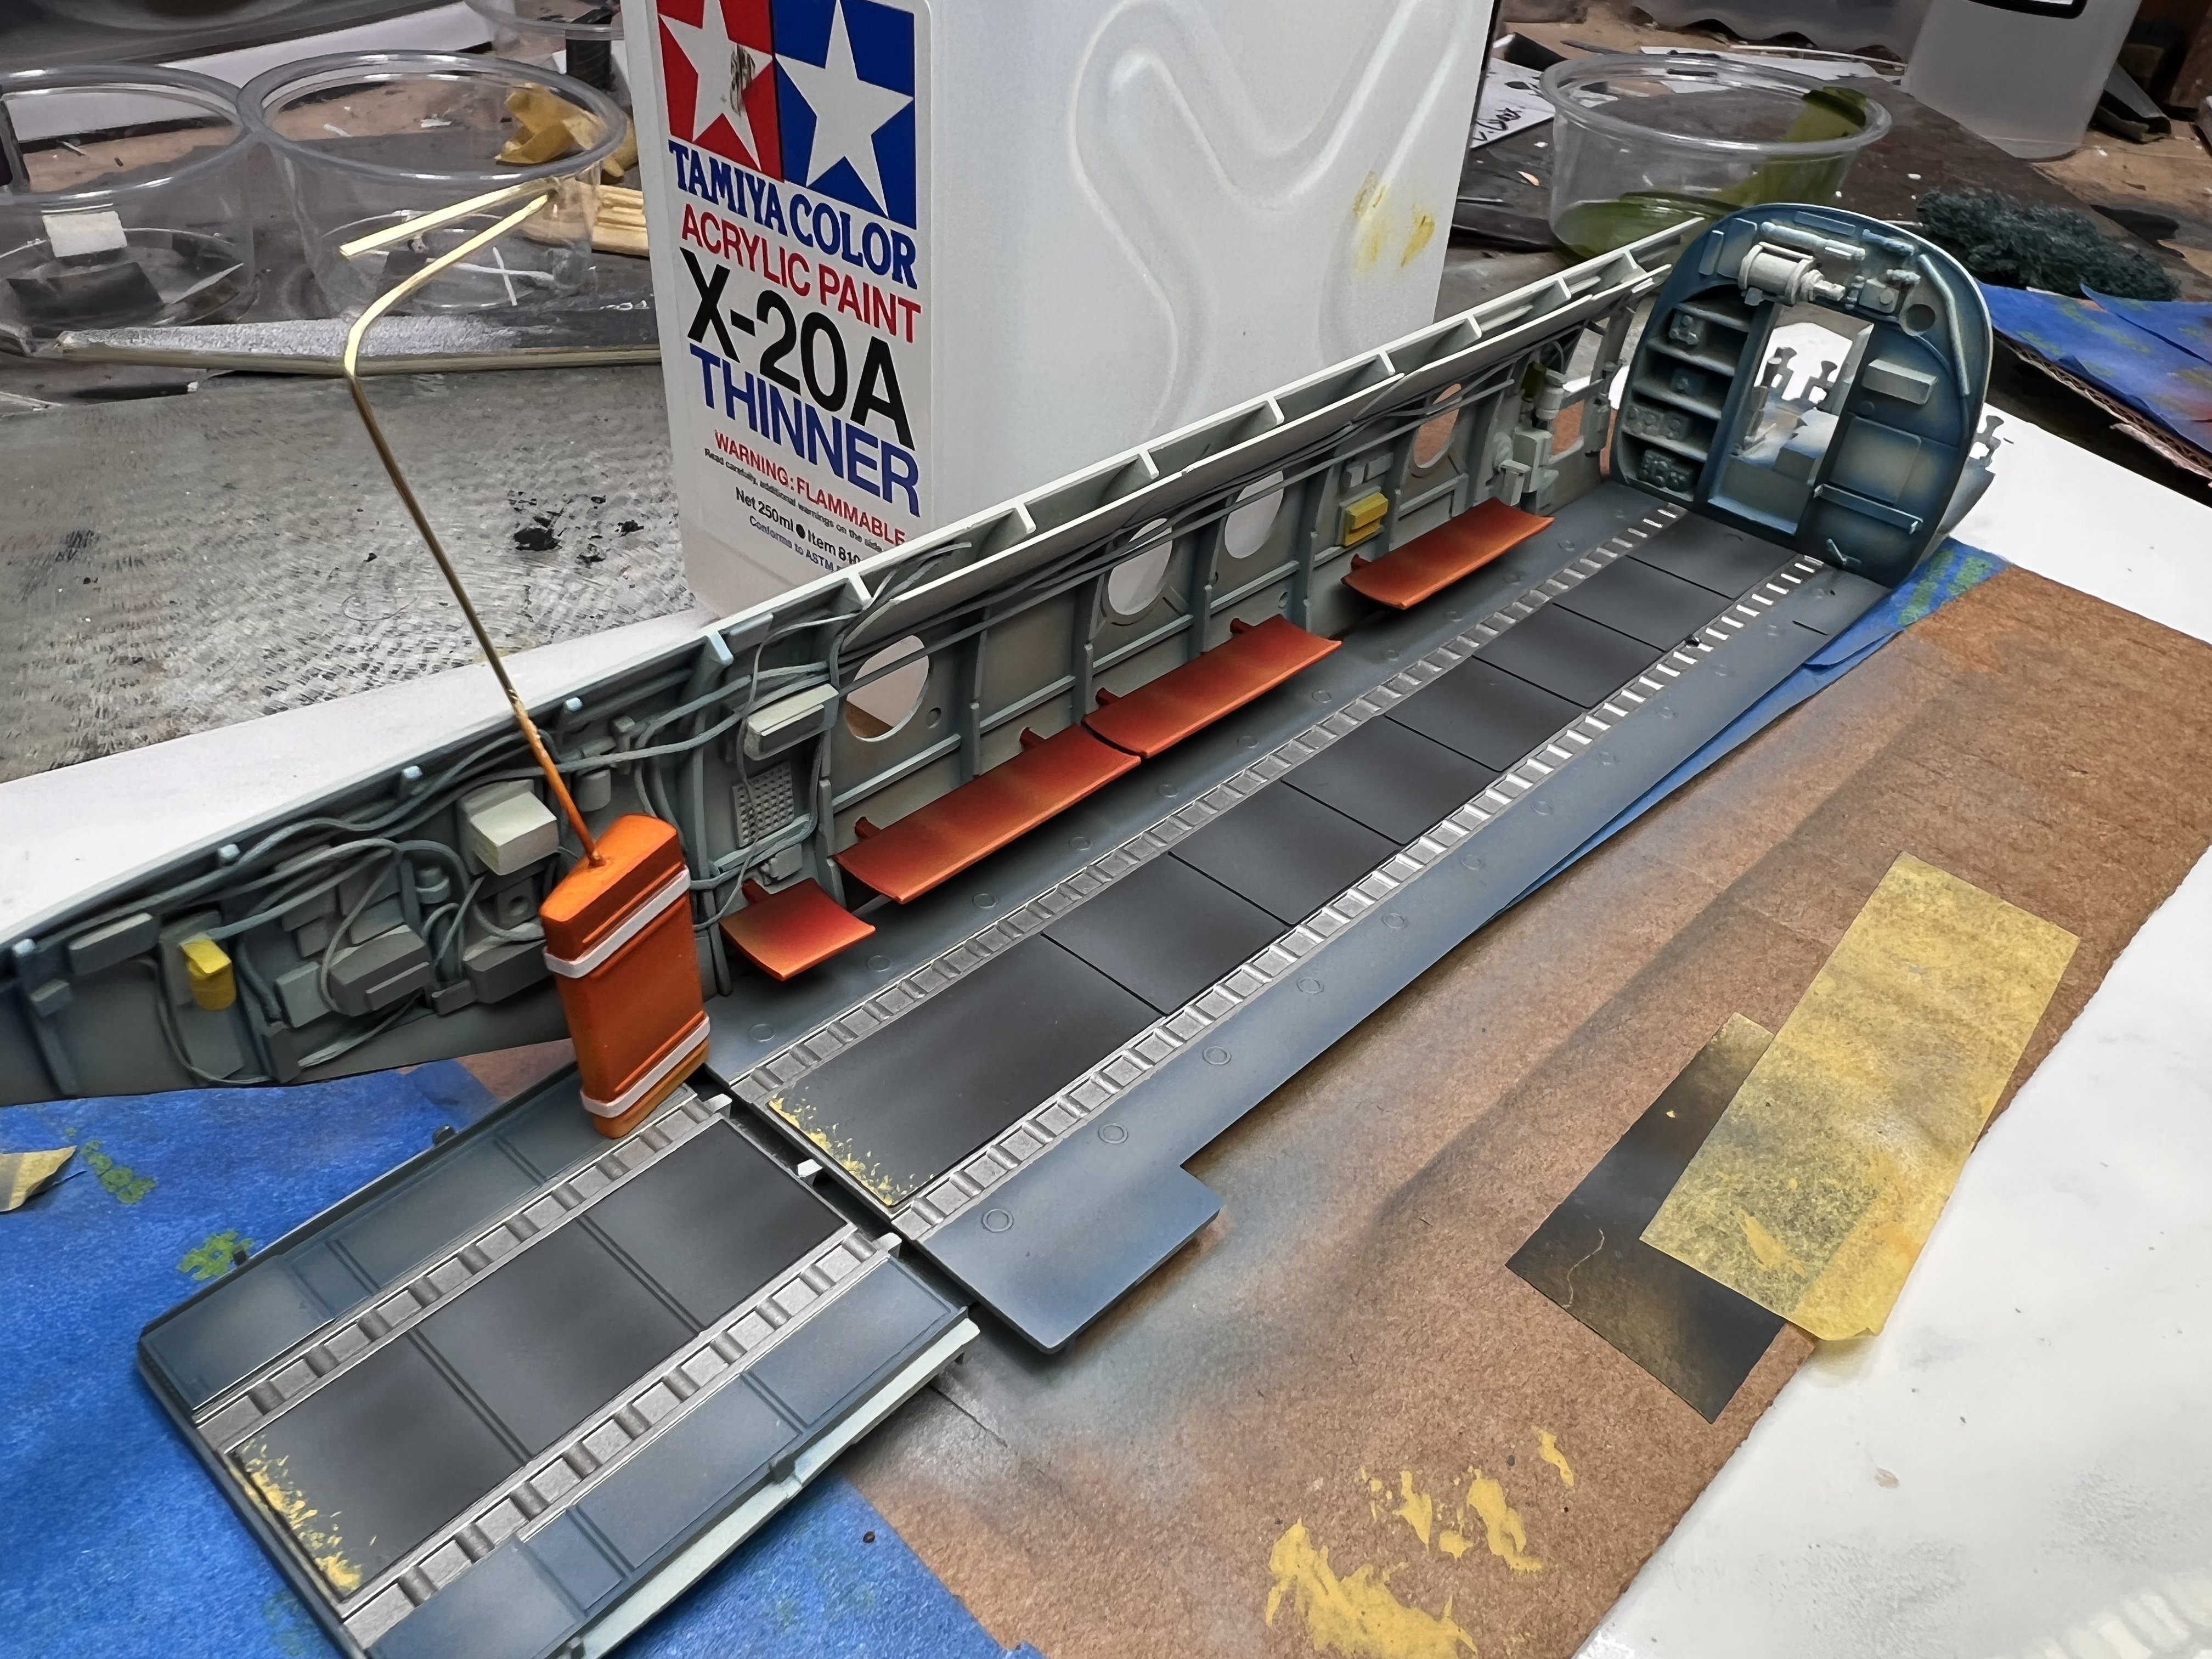
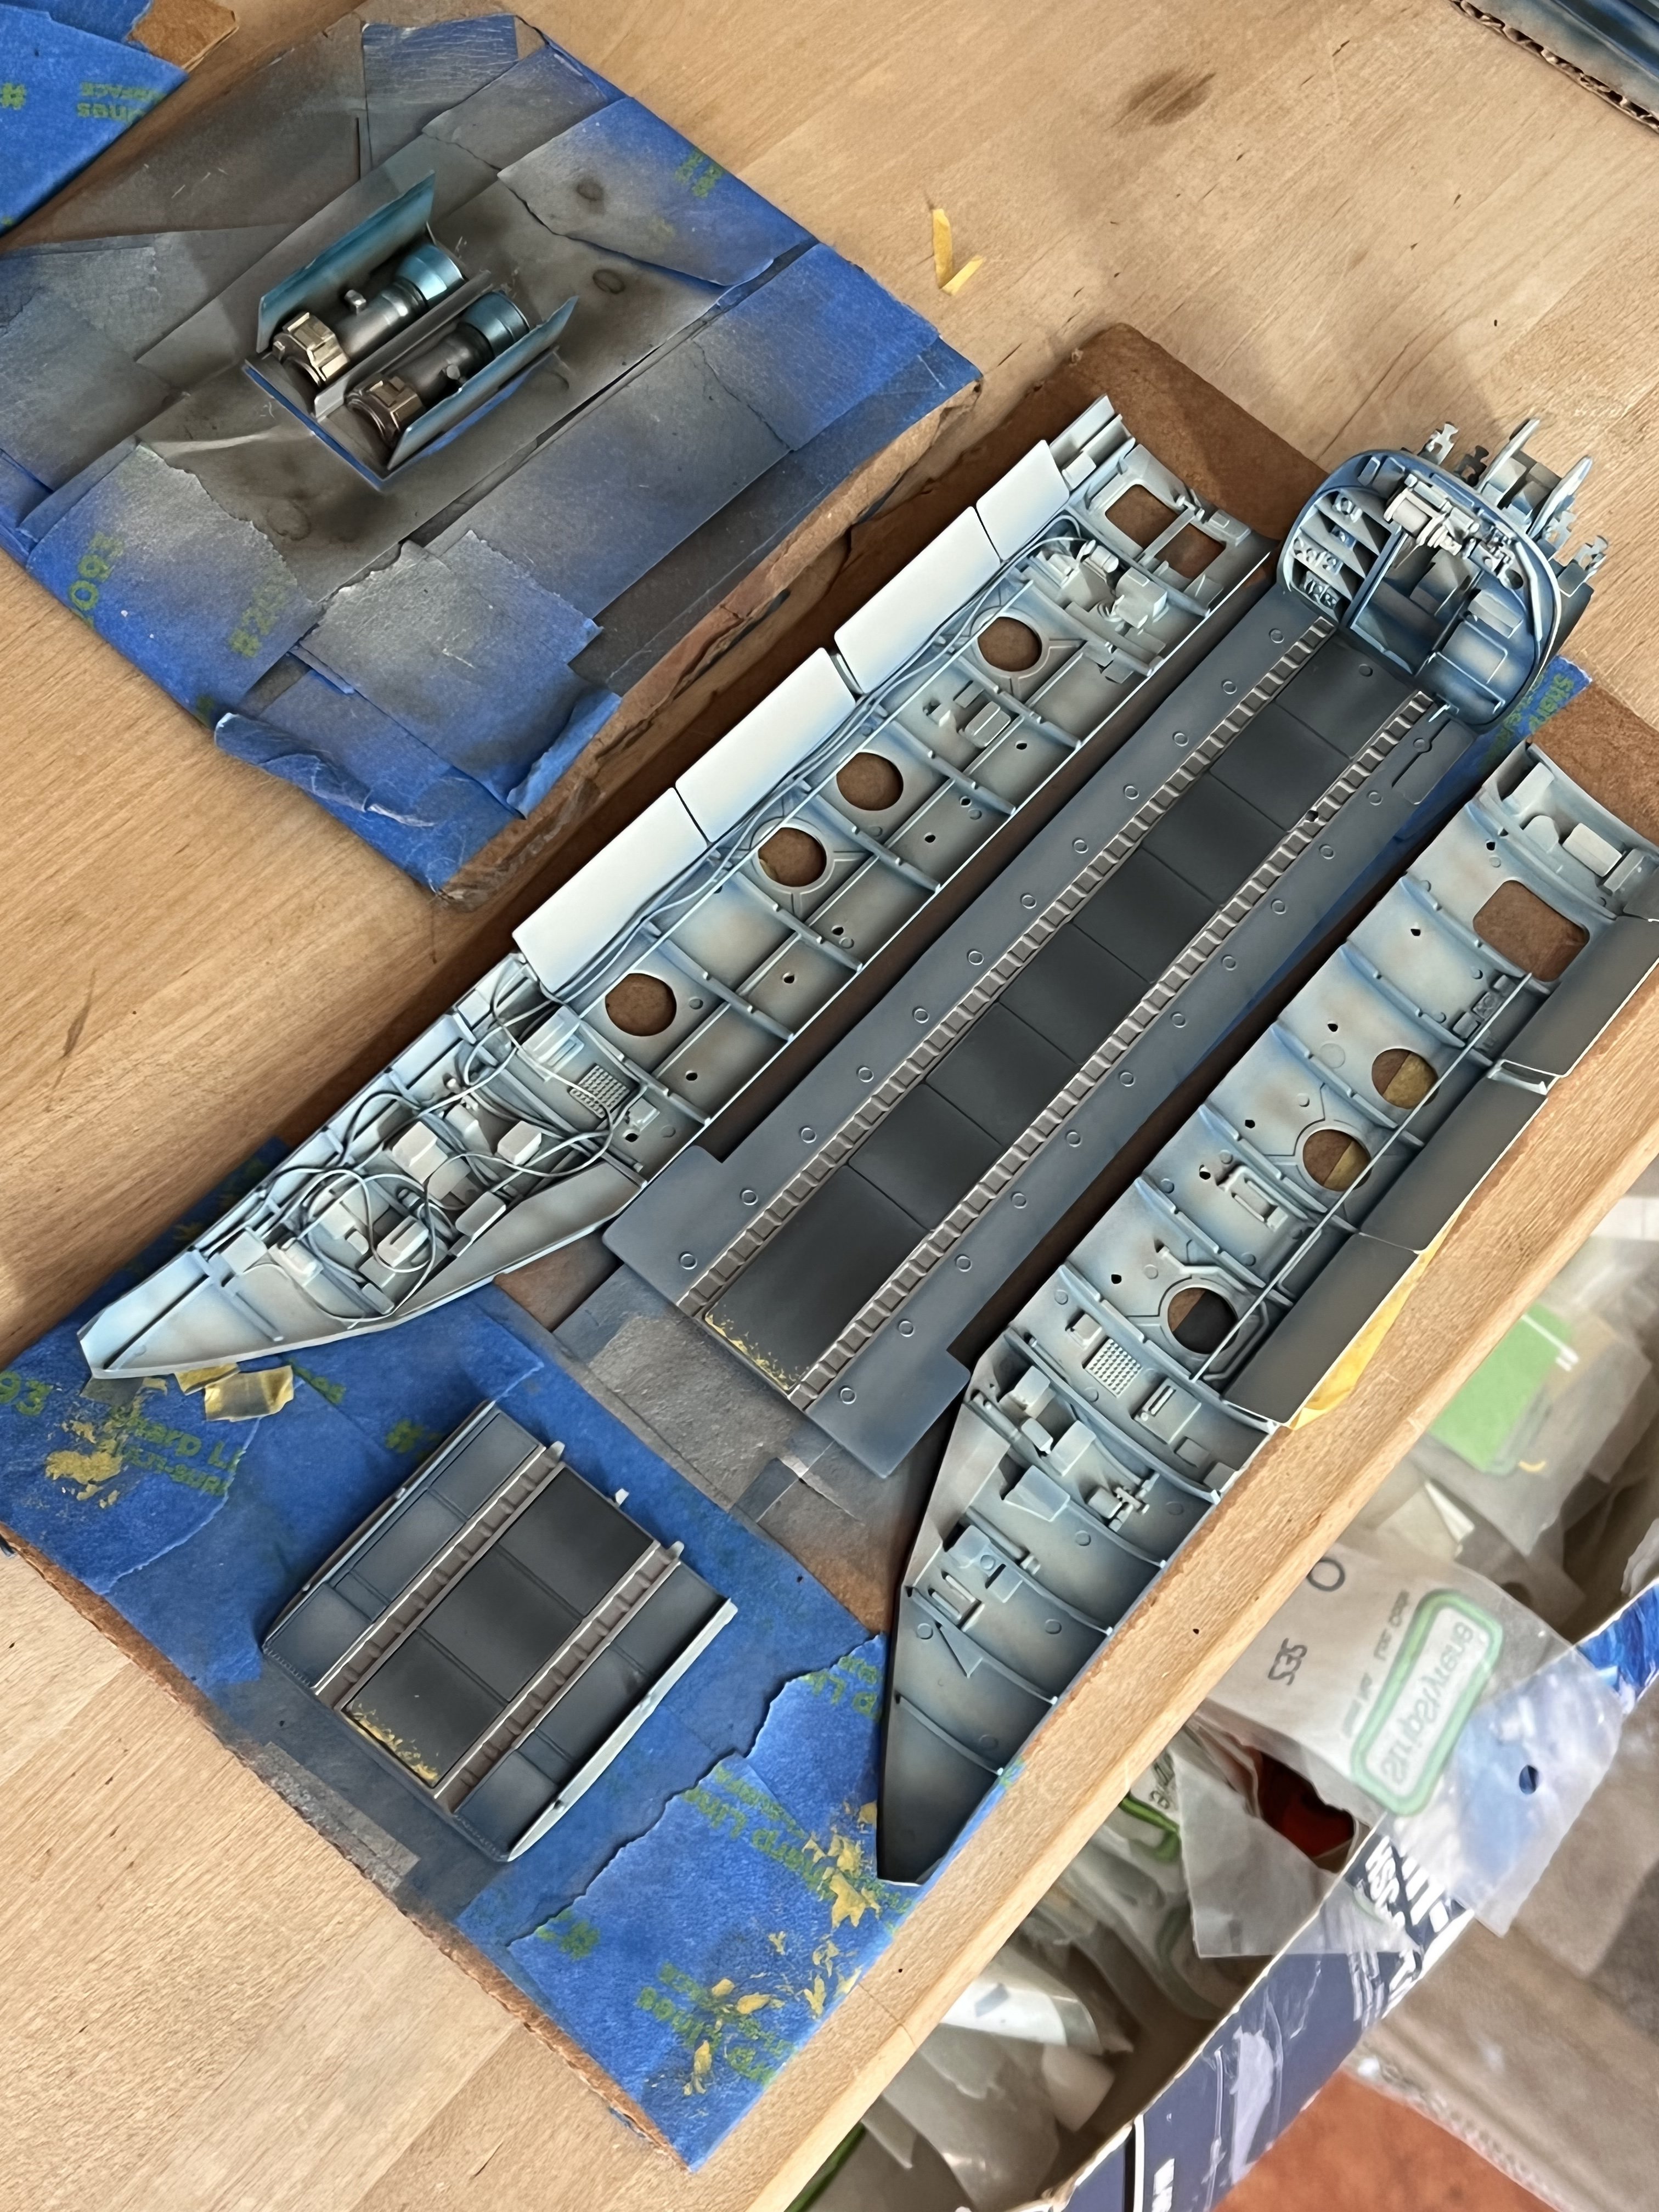
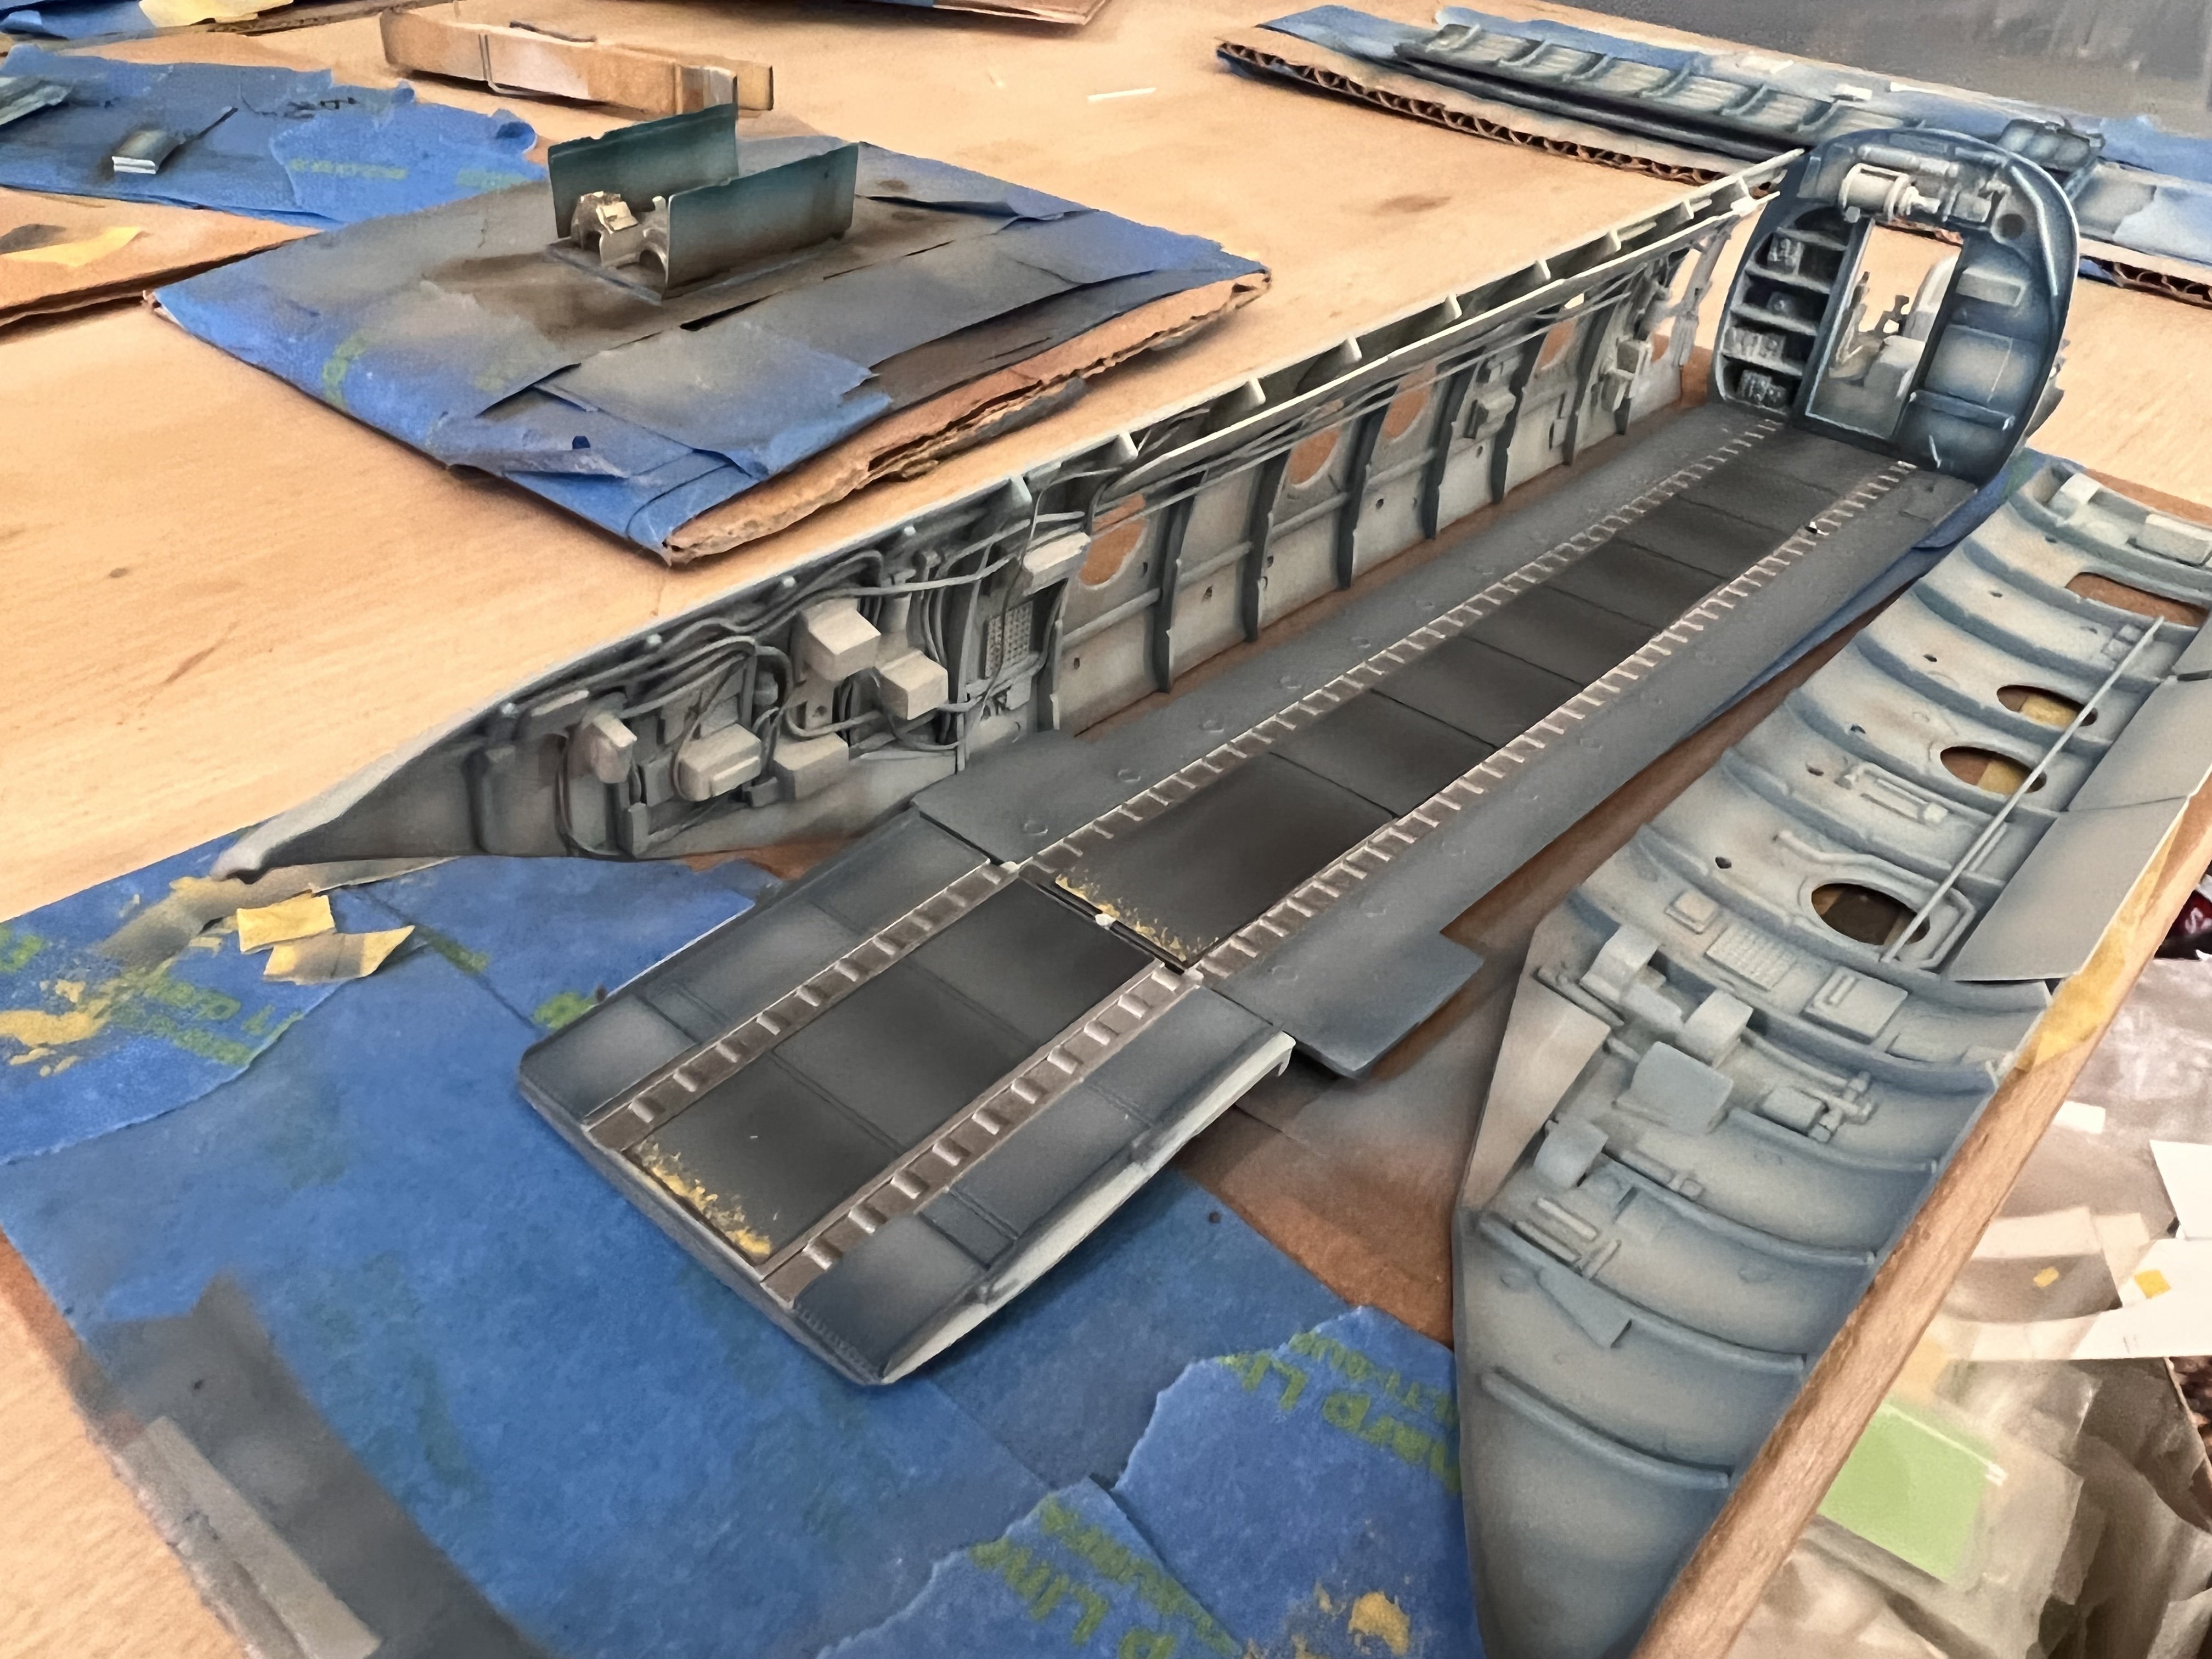
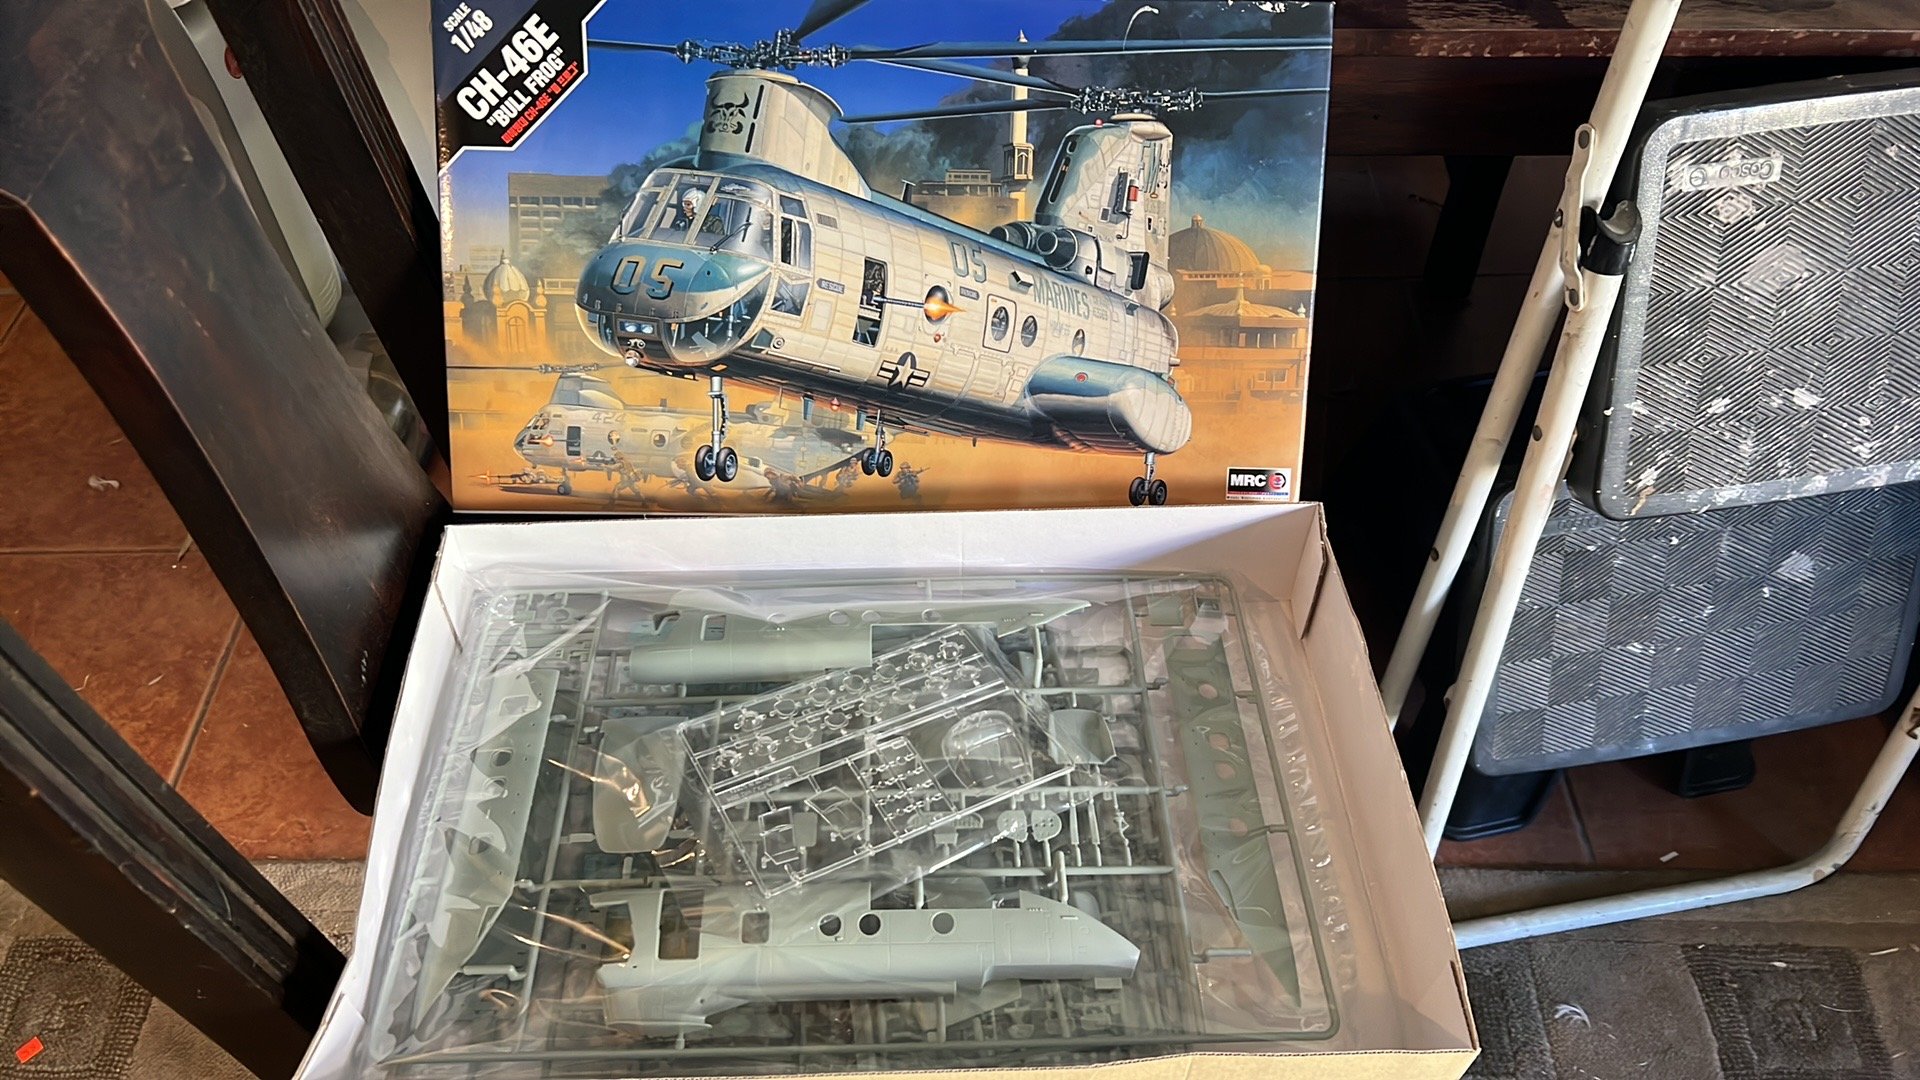
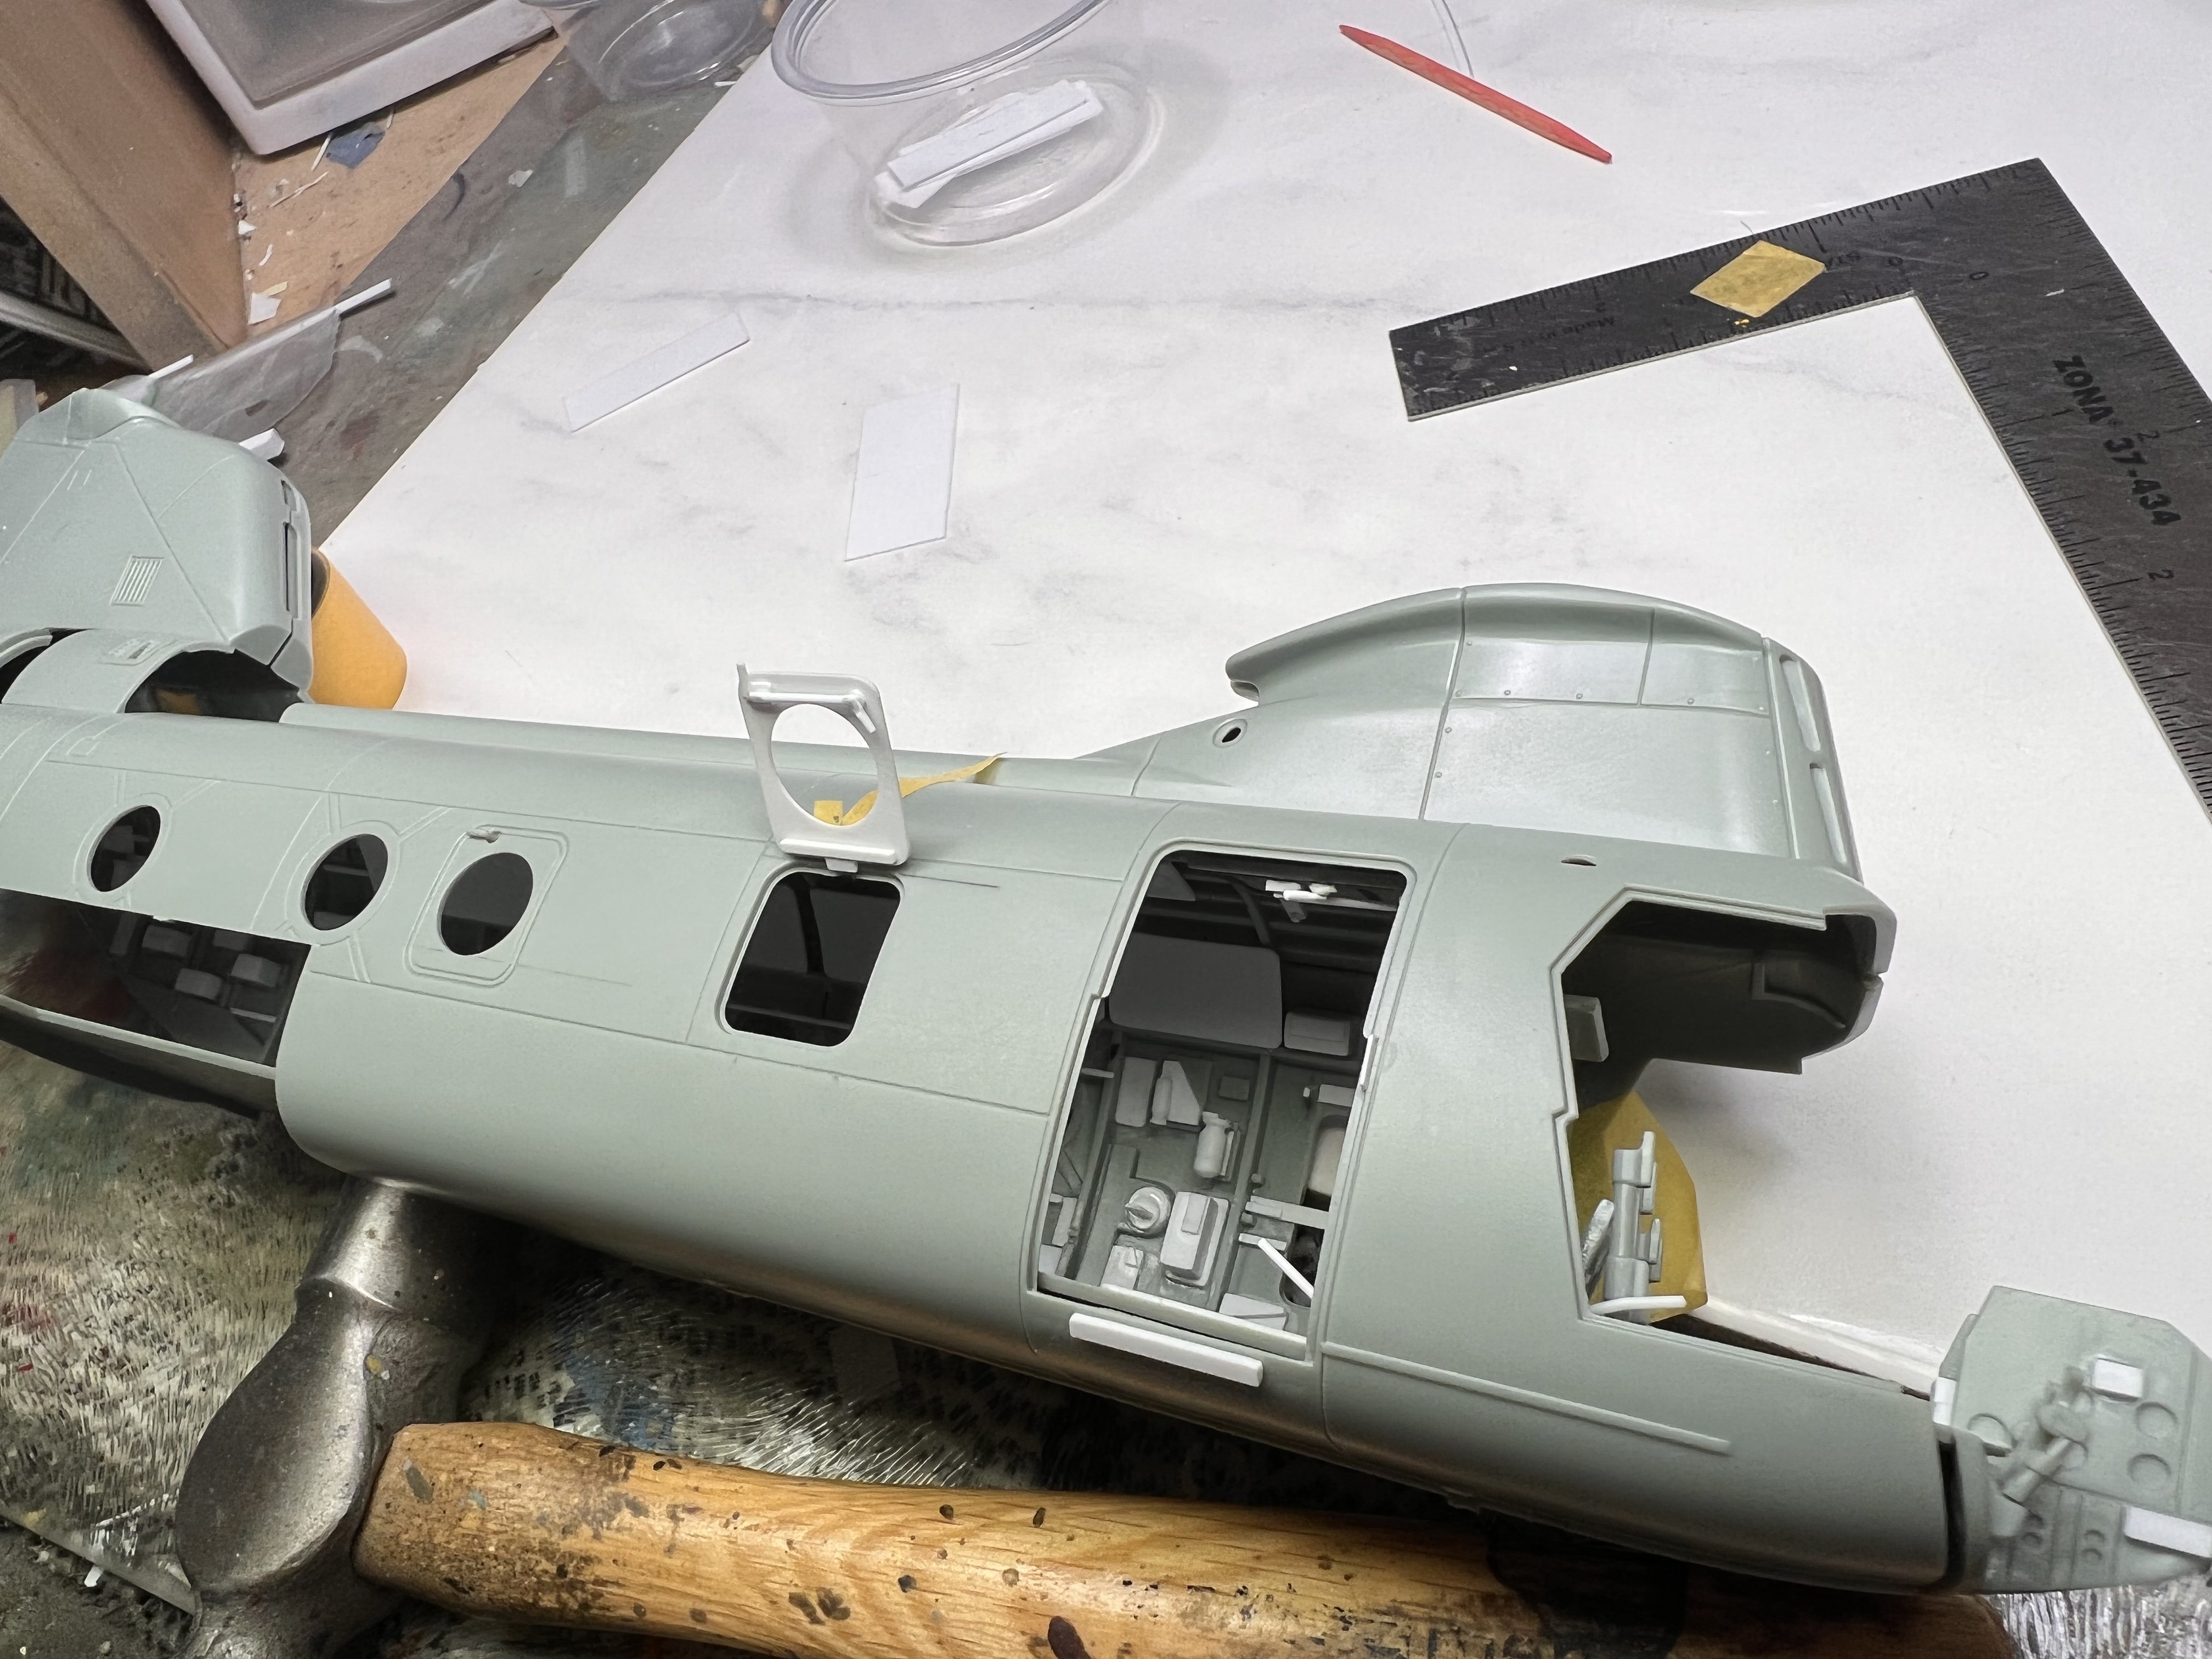
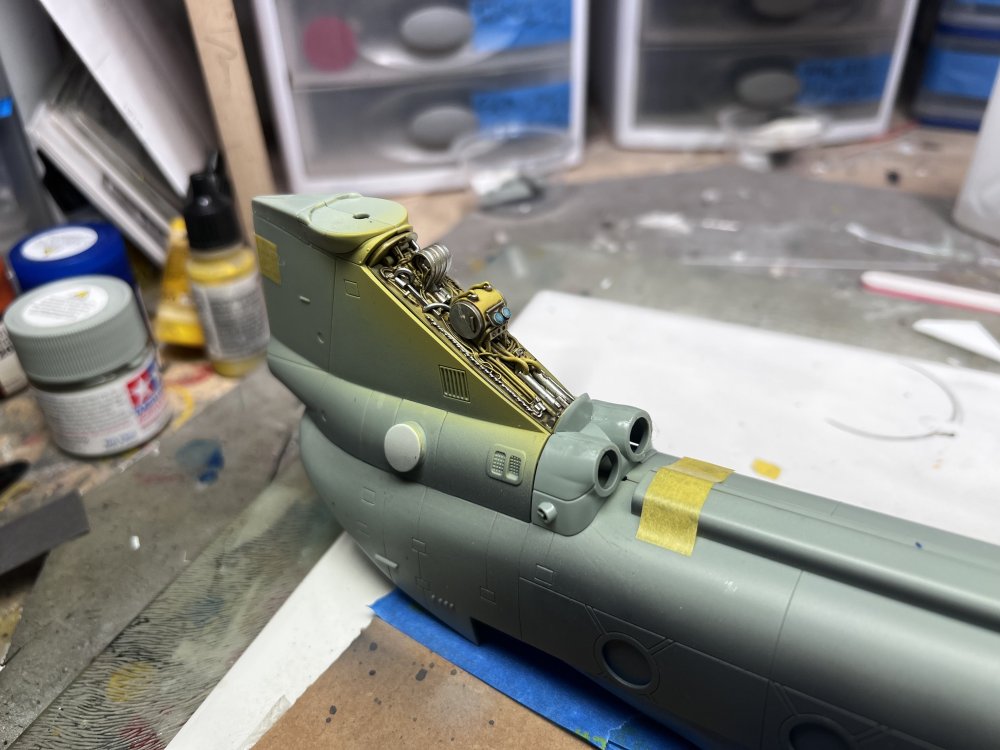
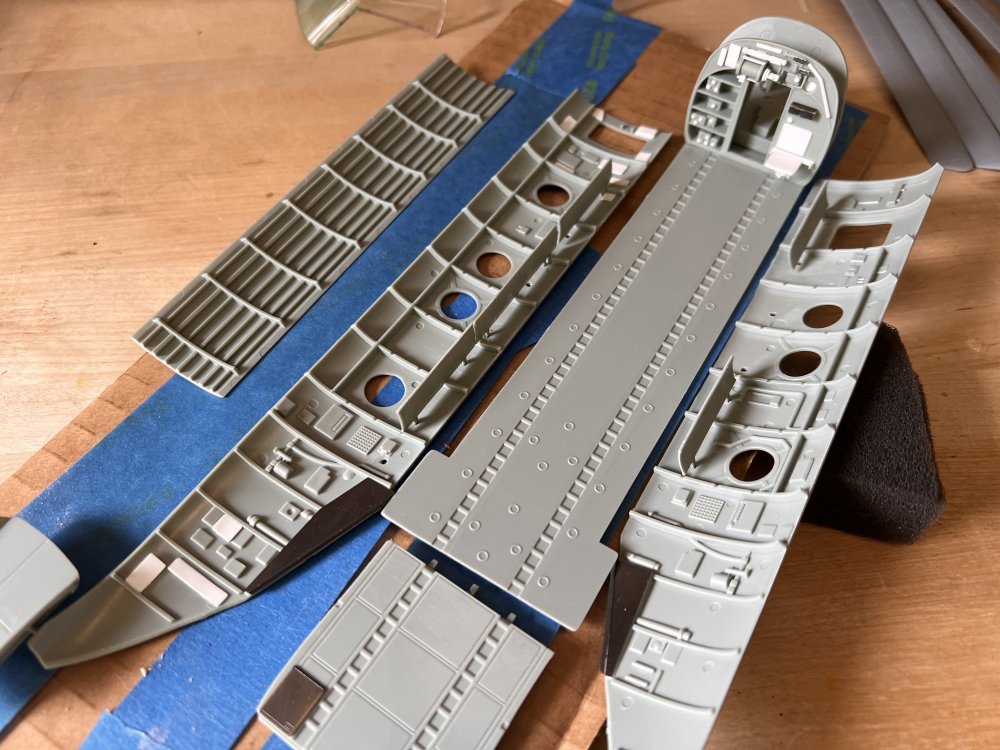
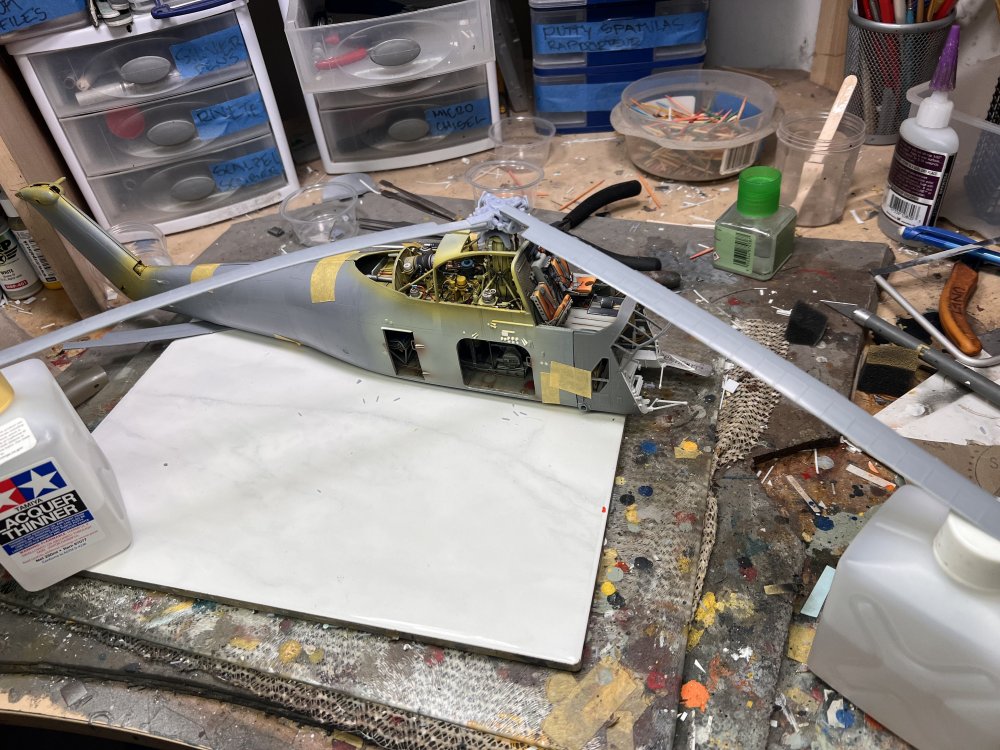
I was asked to build a CH 46 in 48 scale for an upcoming dio for someone else. I only have 2 weeks before i go back to work so this will be quick build for me. someone will build a Skyraider, someone will do deck tractors and some else will do figures and the deck. I must finish this is one in less than 2 weeks(if its even possible for me) Oliver


-
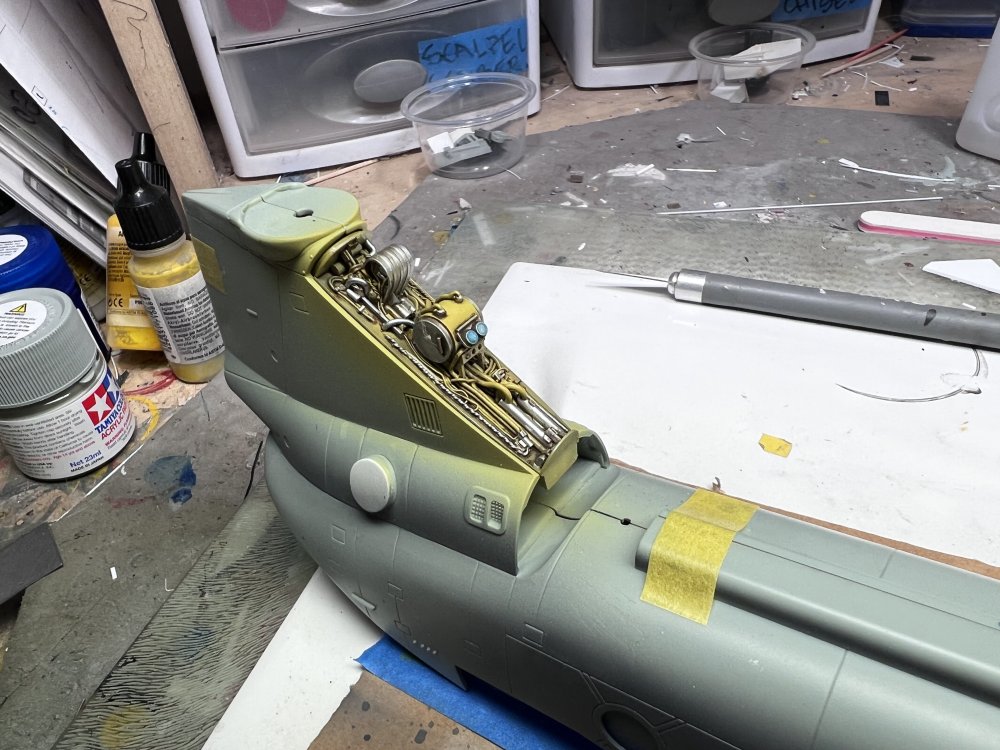
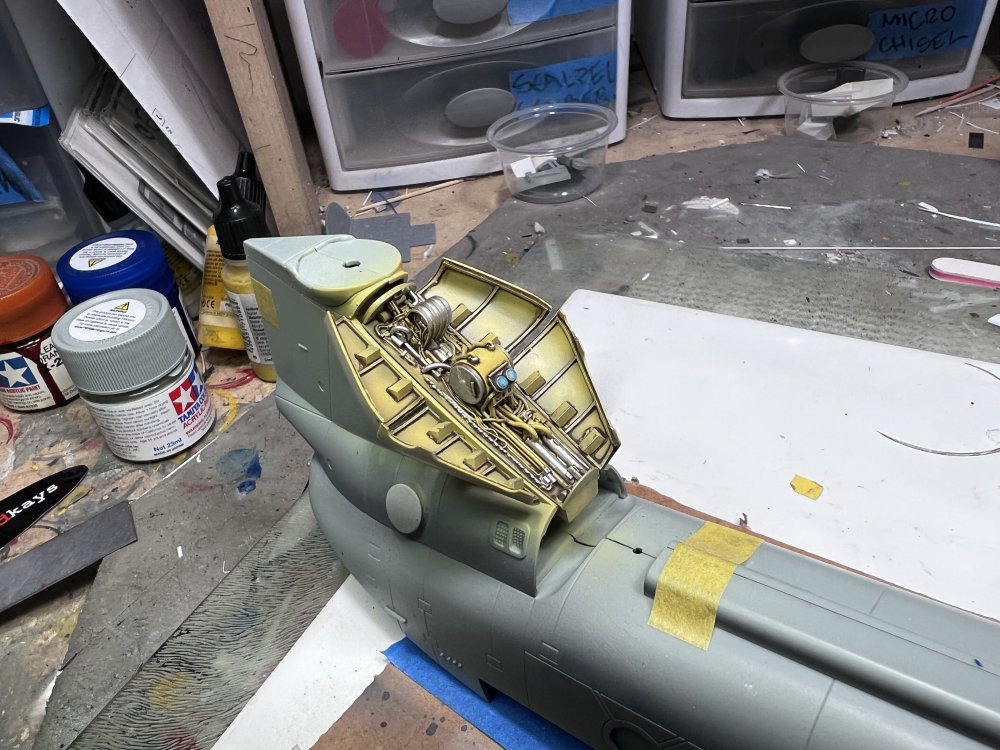
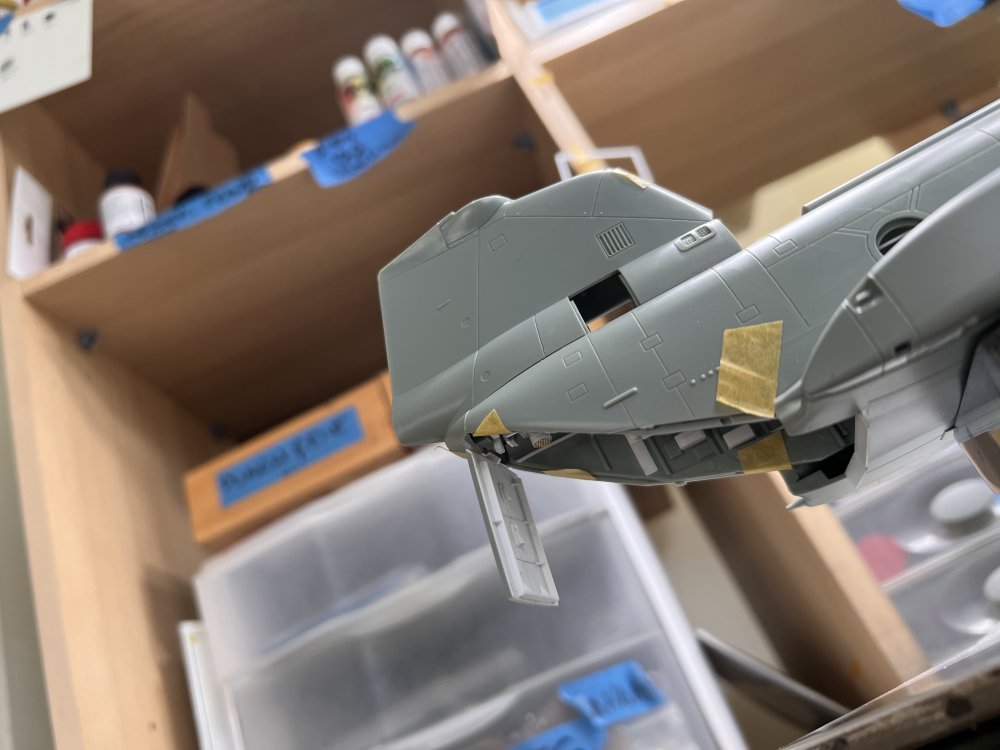
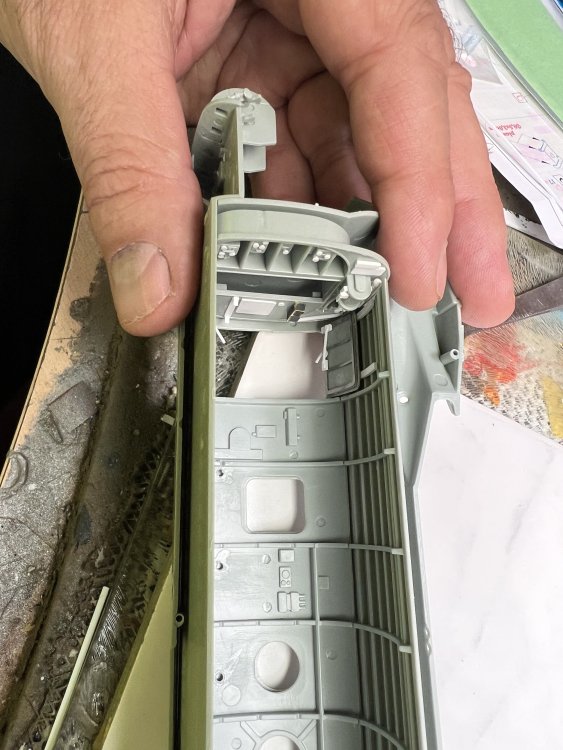
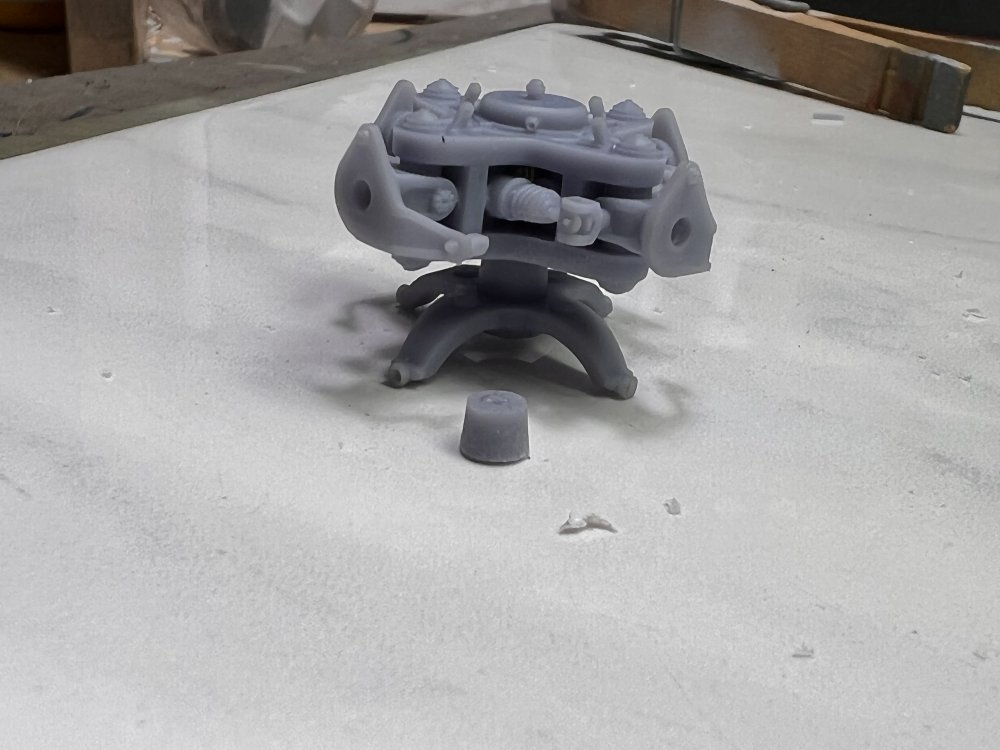
Hi i had to check the main rotor height before closing up the fuselage since once that’s done there is no turning back. Question of the day. Folded blades or not. This kit is huge and I am worry once I had the truck it will be a rather piece.

-
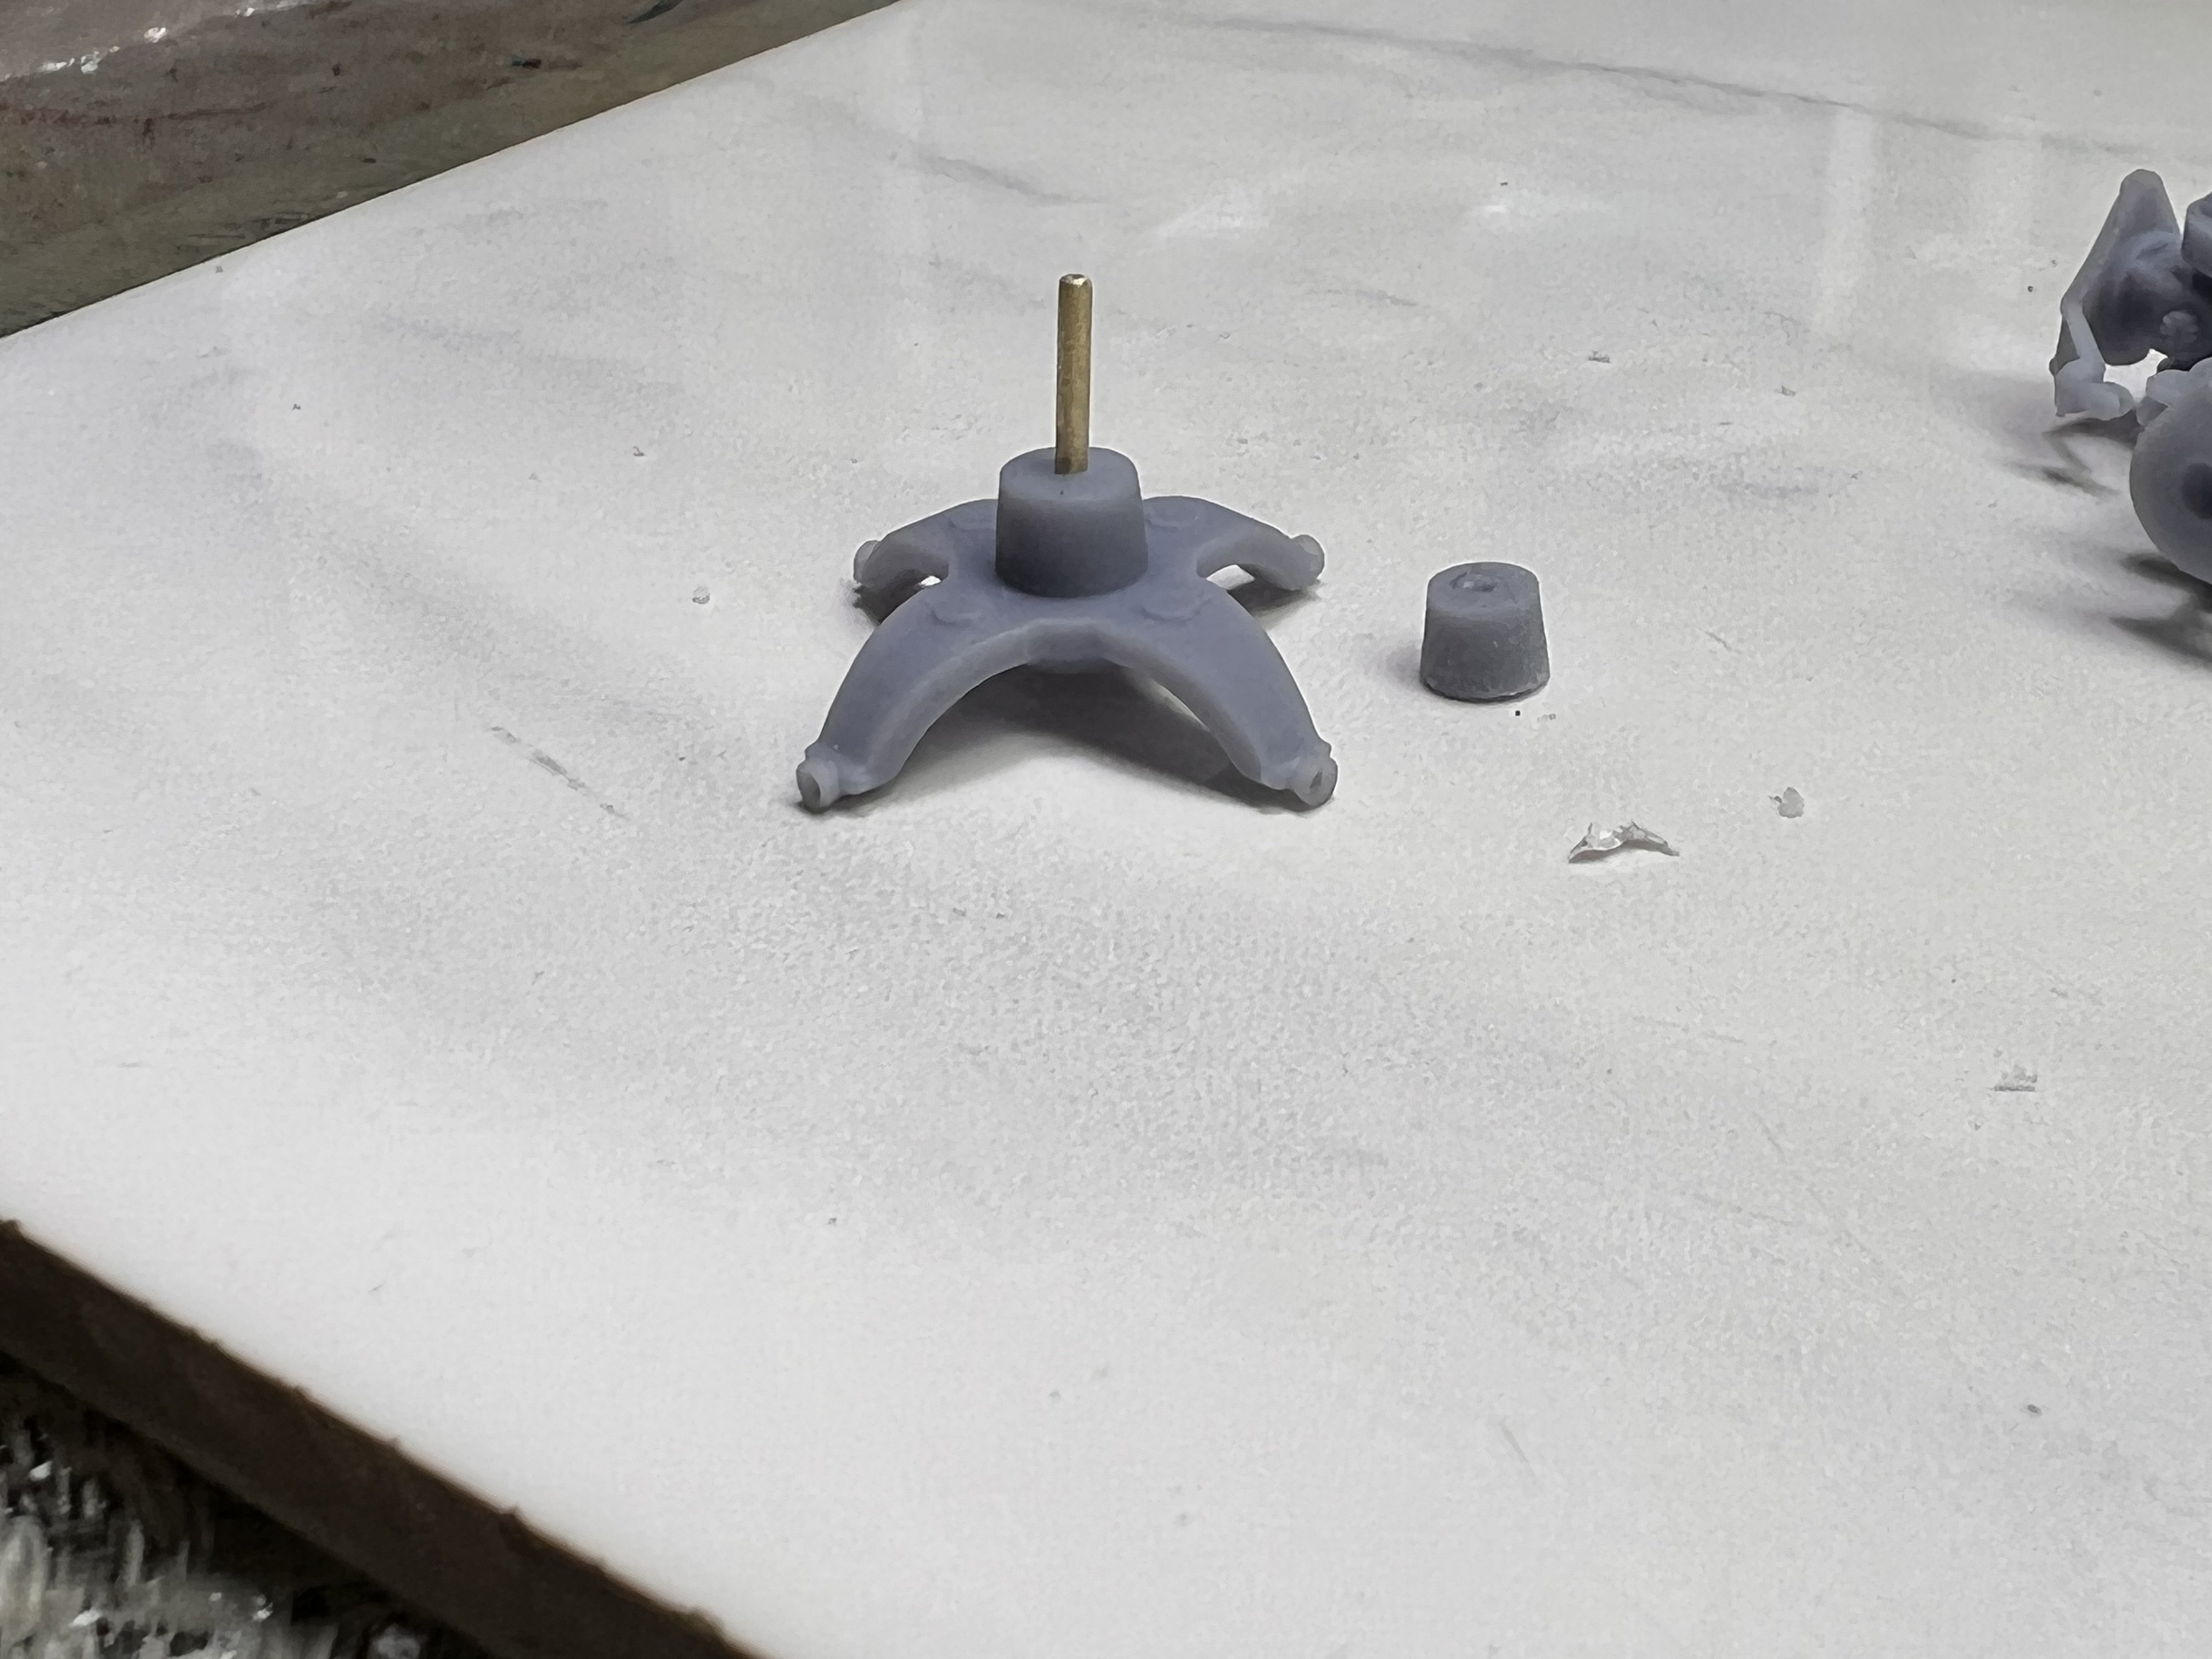
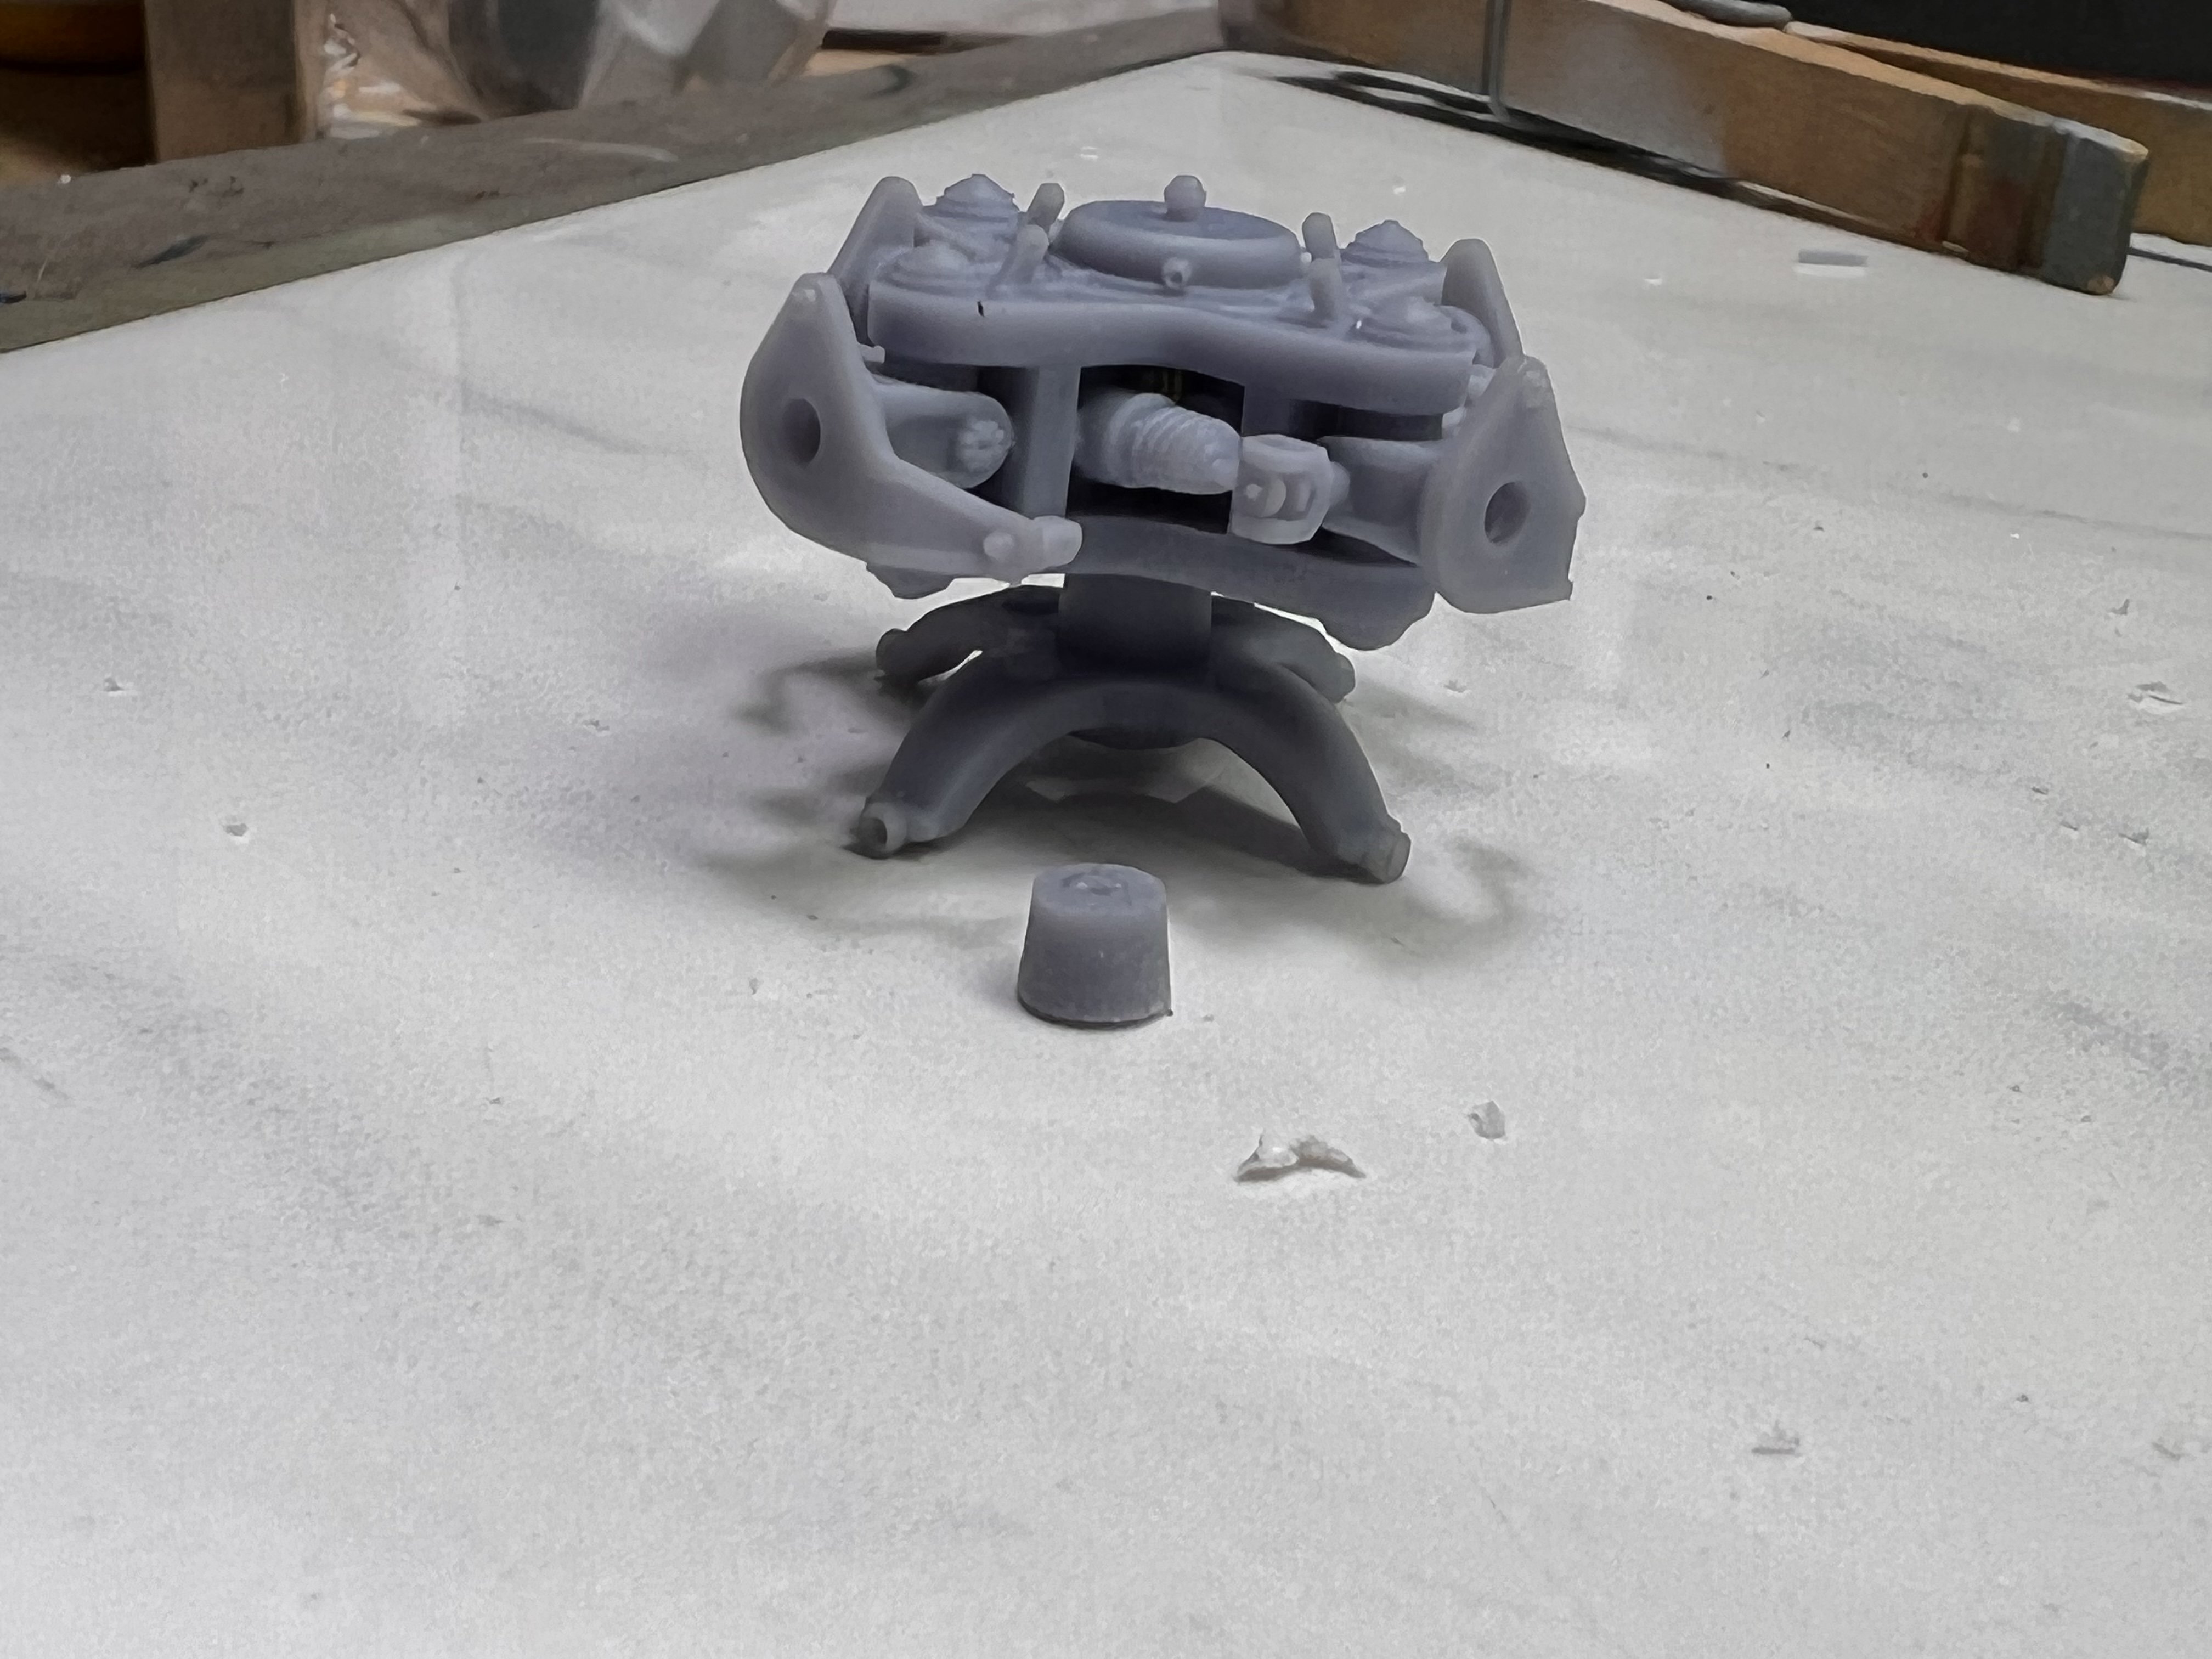
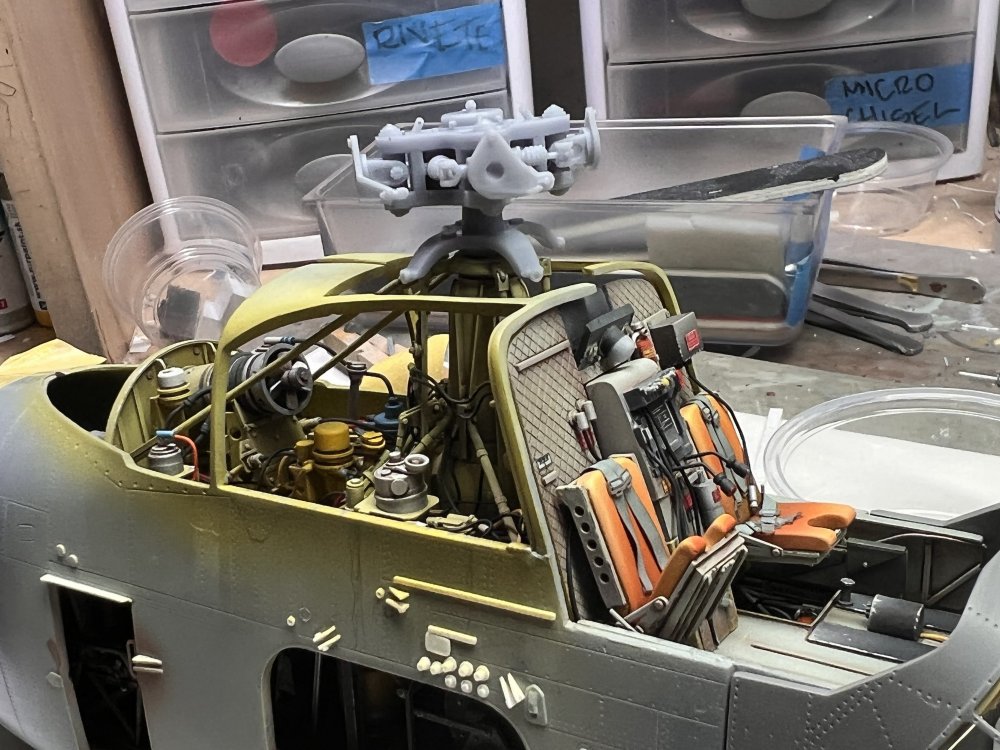
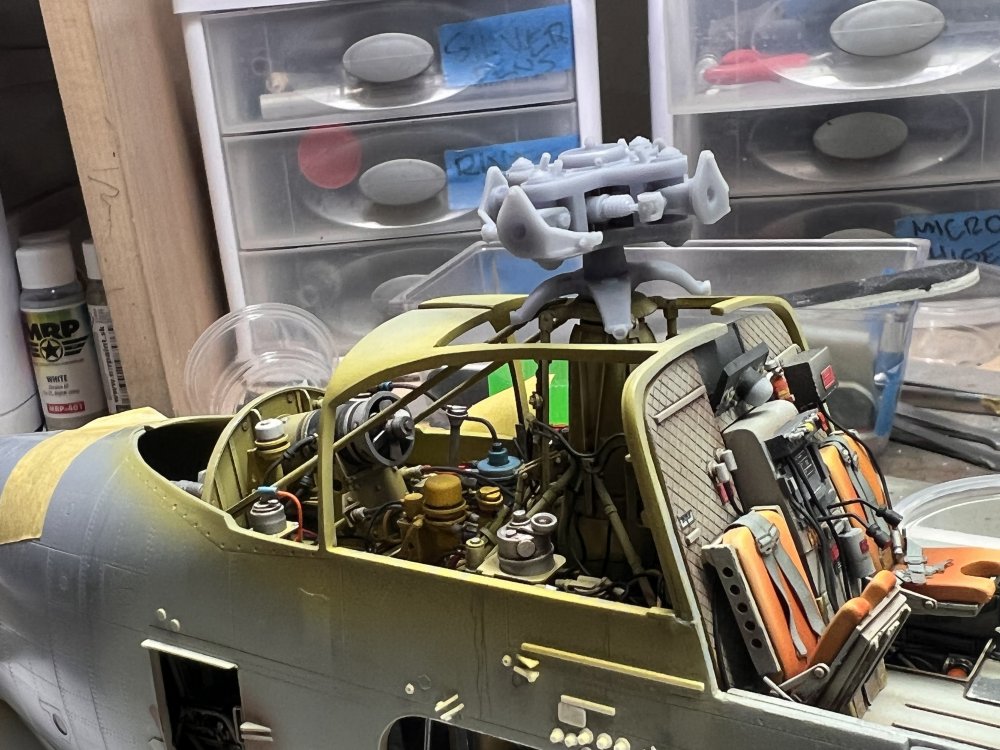
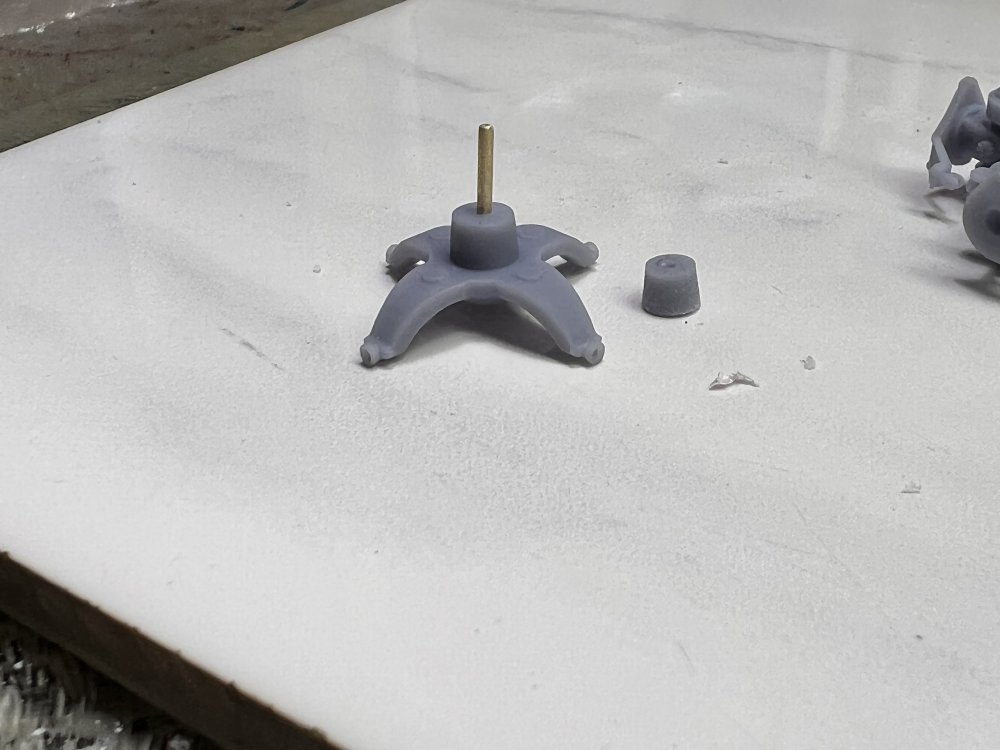
Harv, i don’t know if u have the Adriatic model piece for the main rotor but if u do some trimming is needed since it sits too tall. Here’s what needs to be done.

-
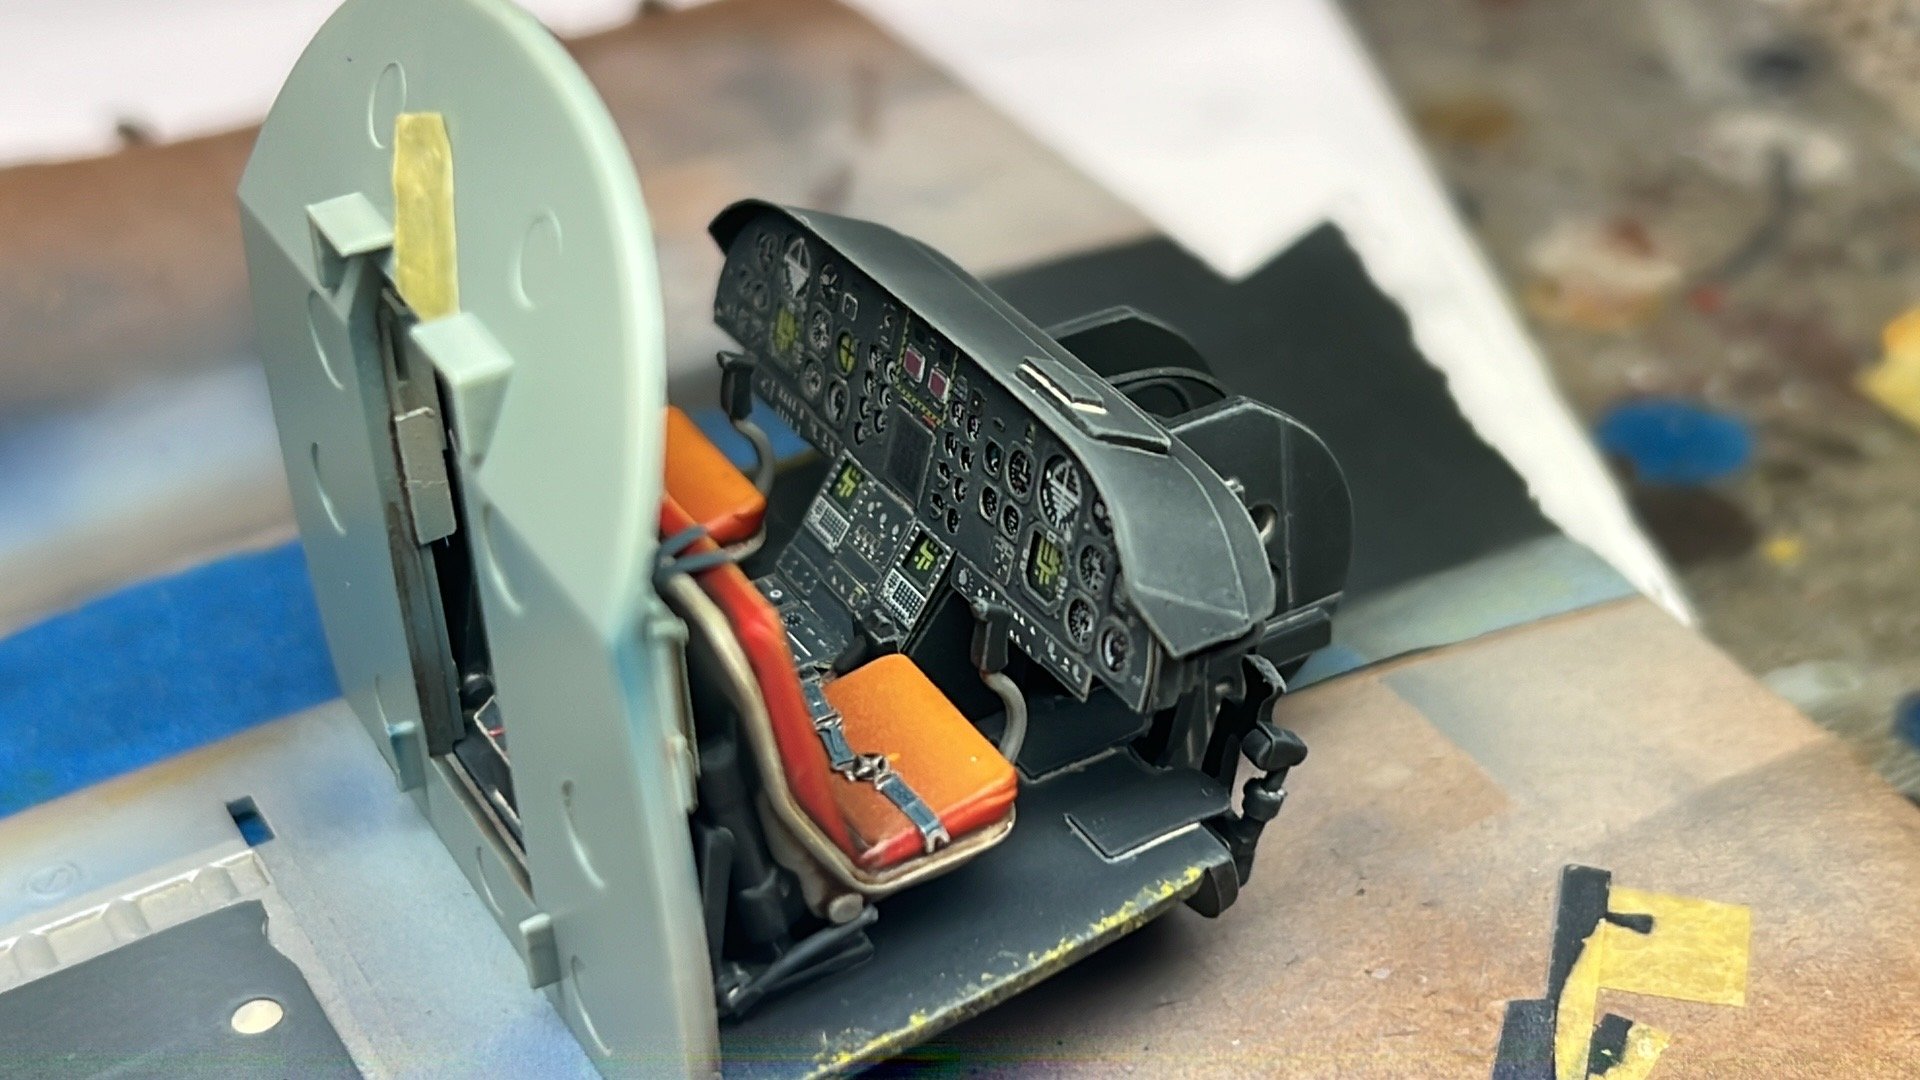
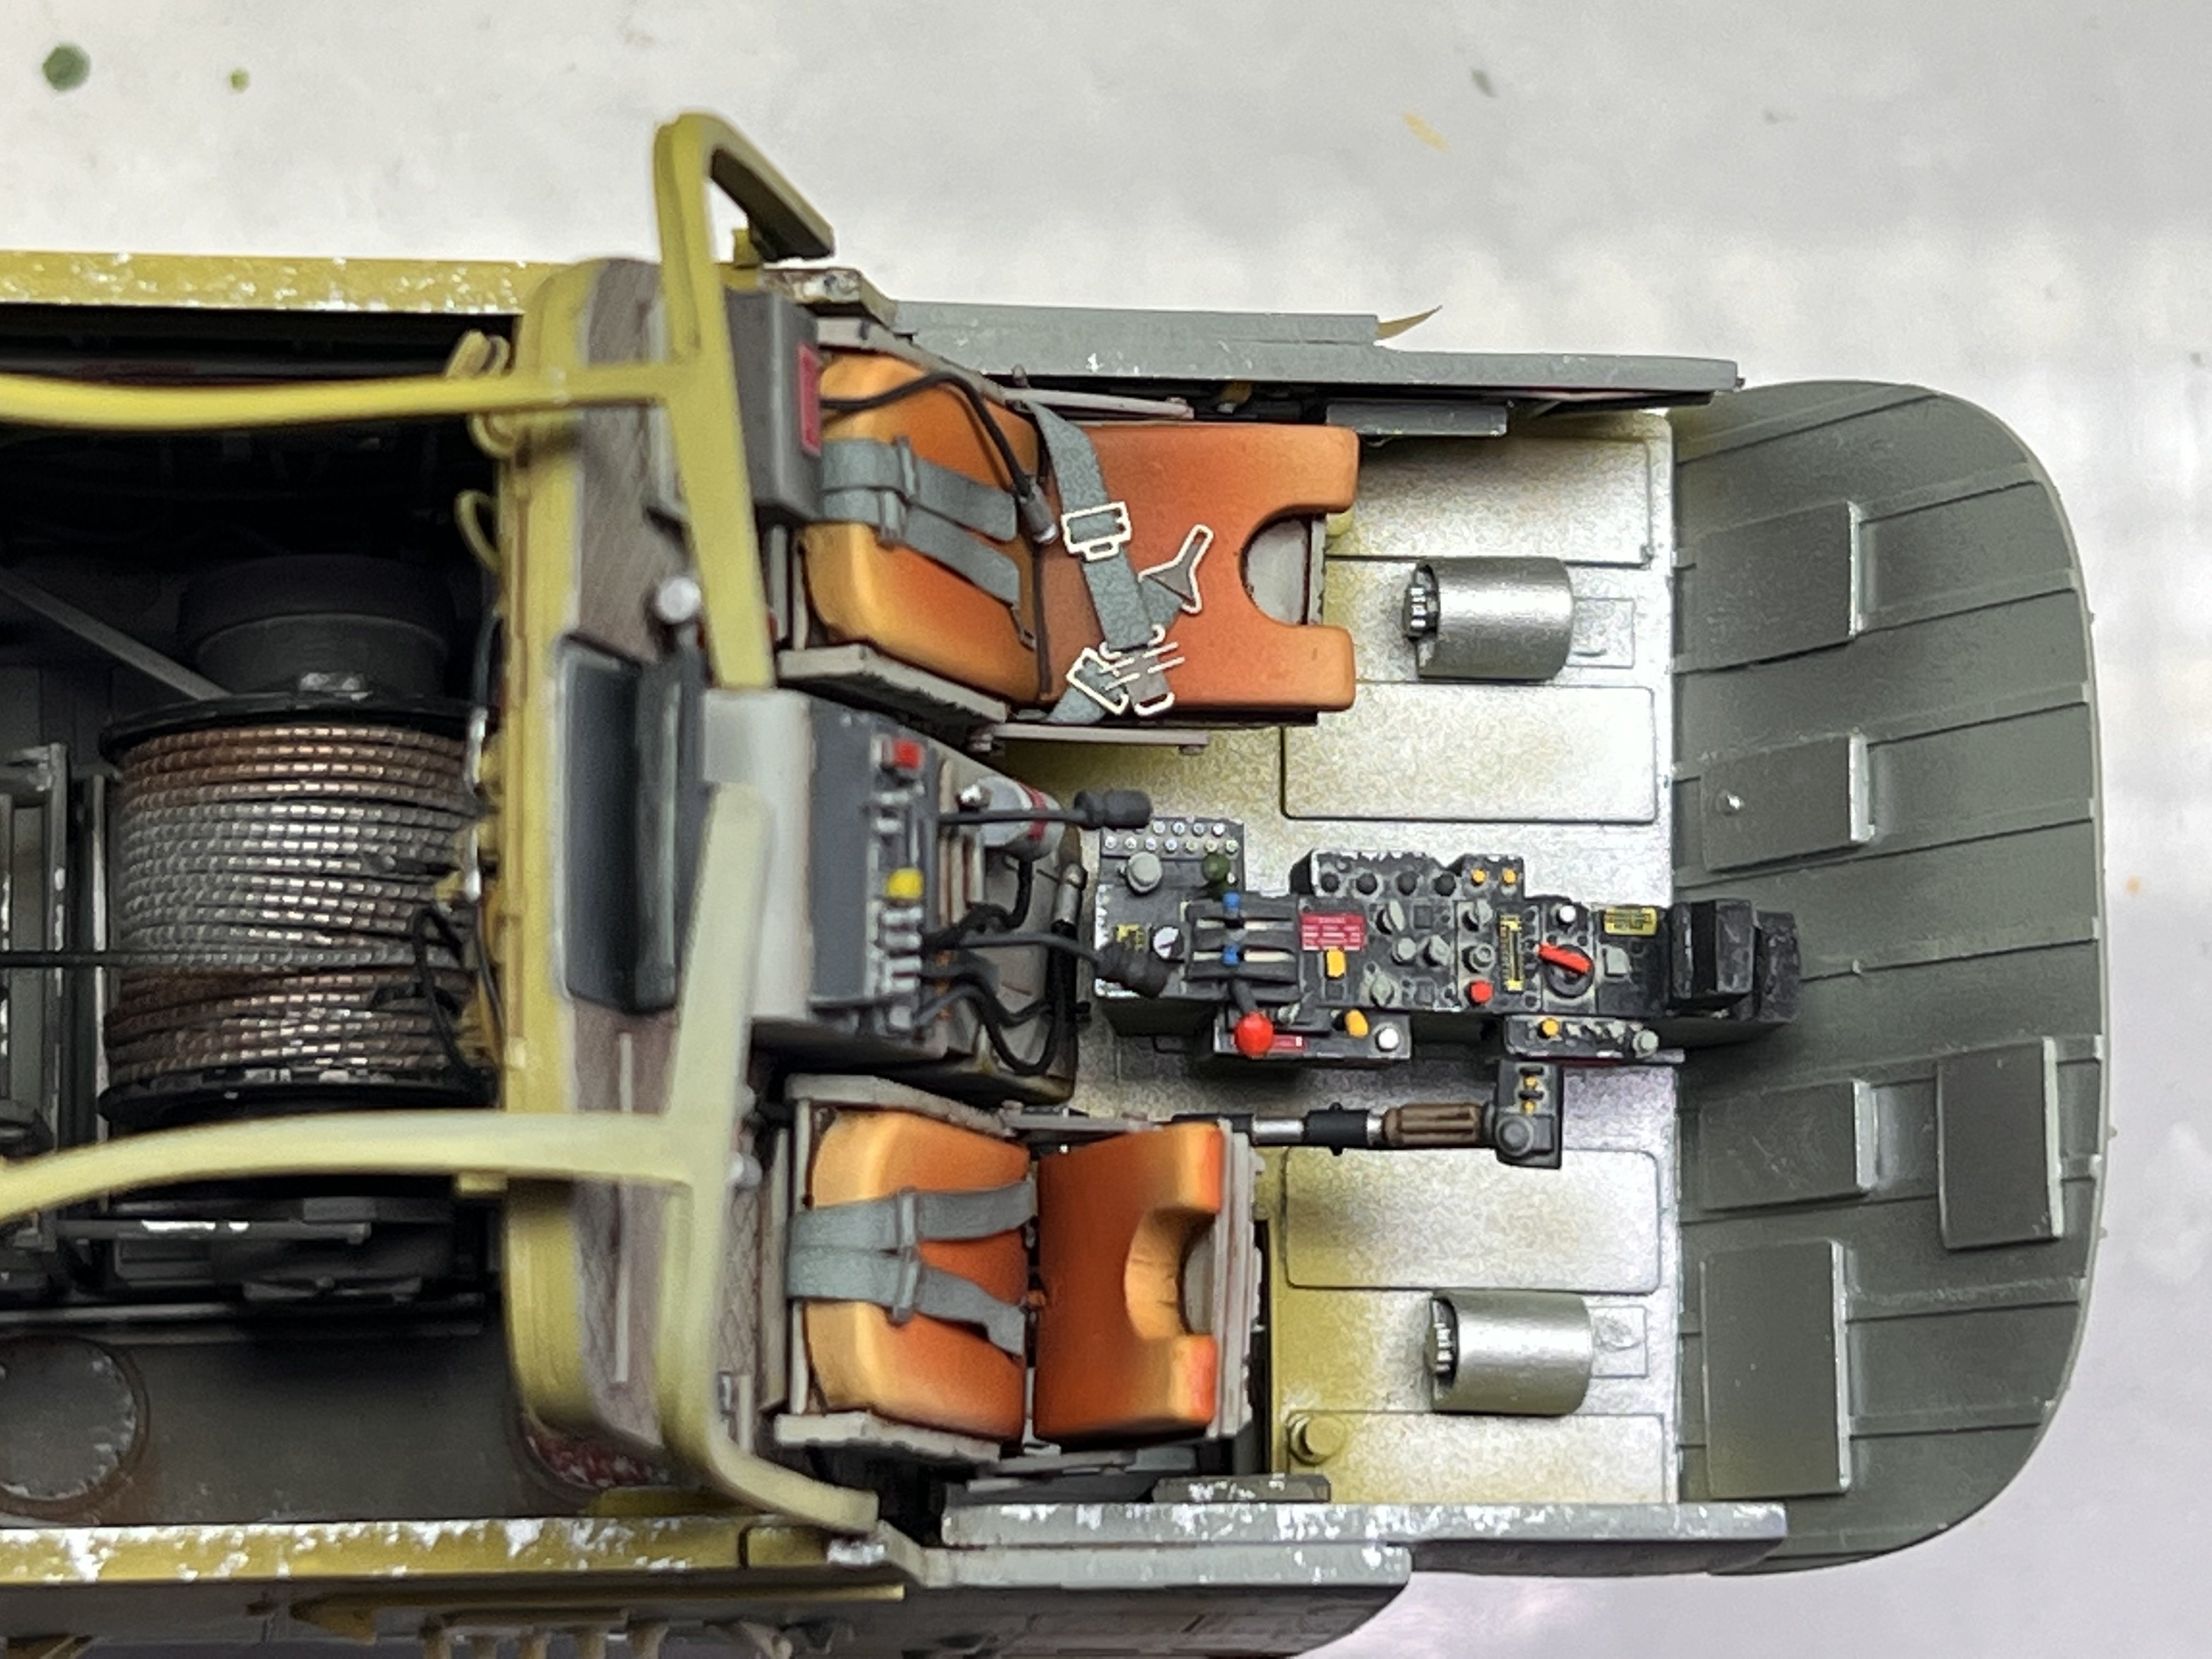
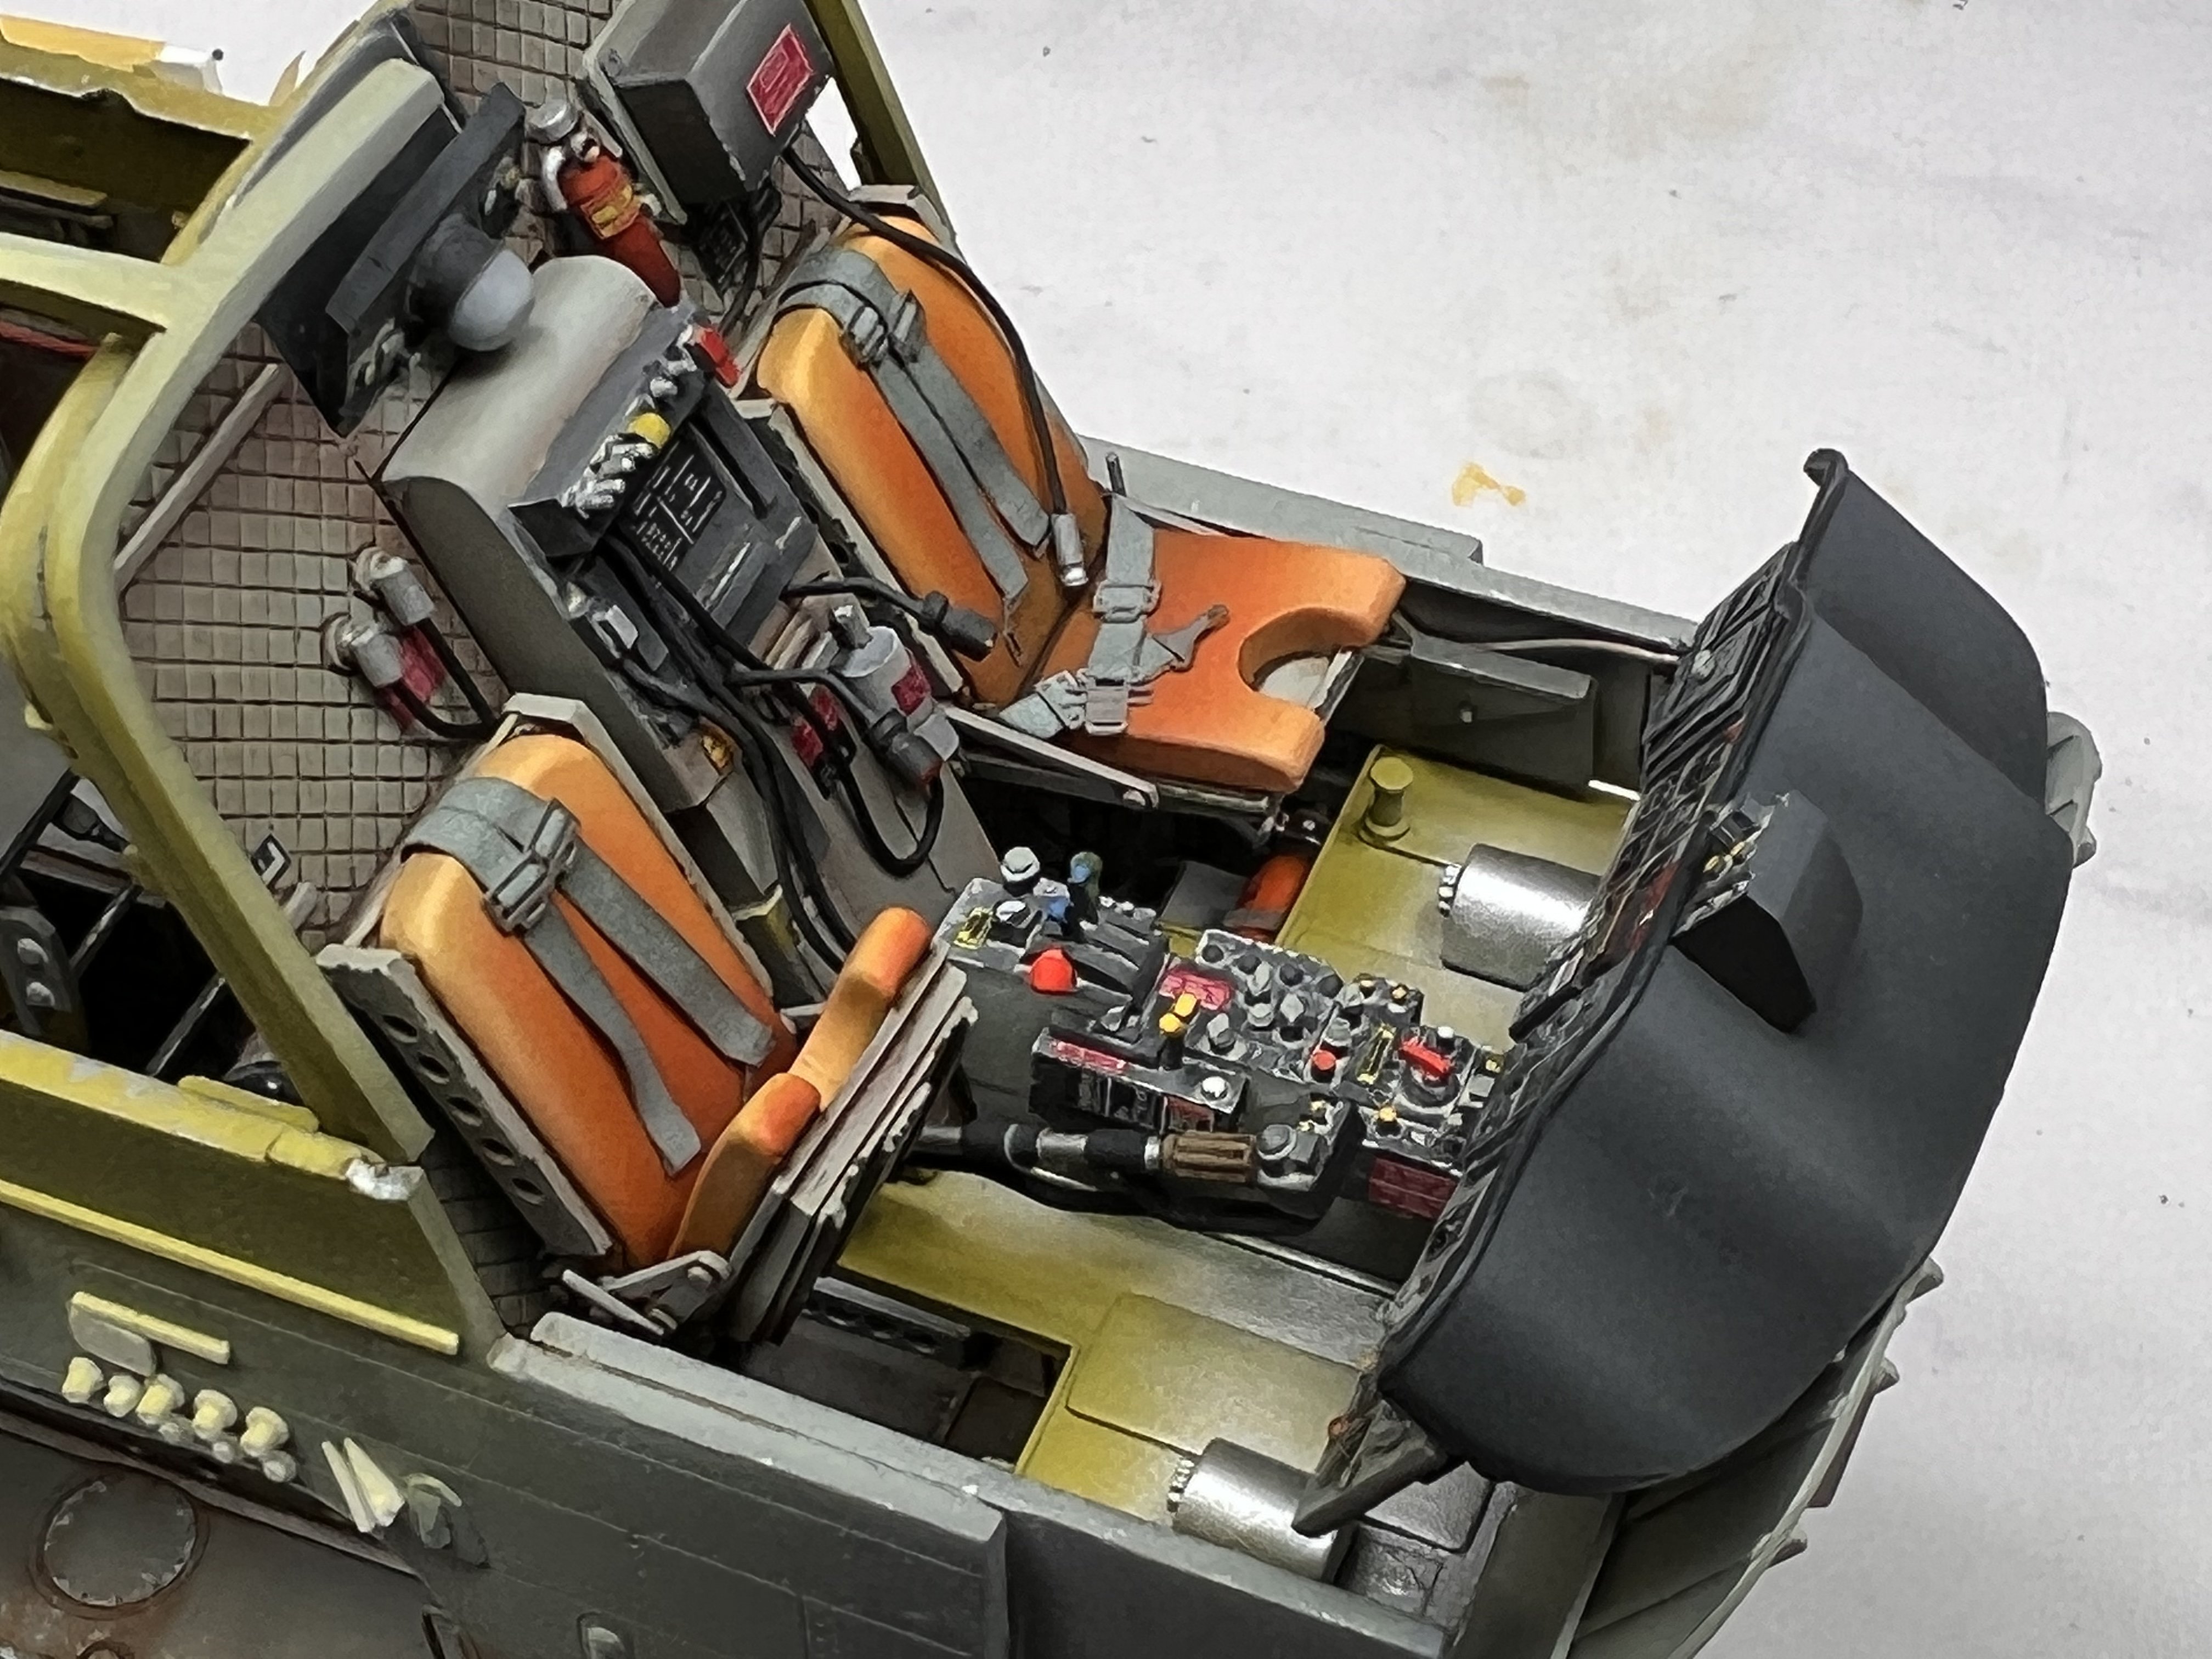
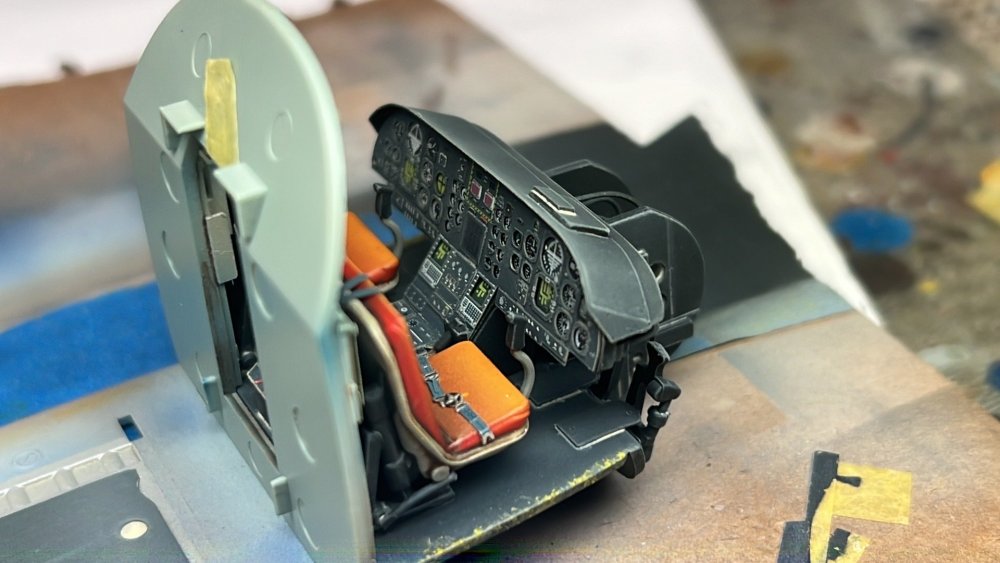
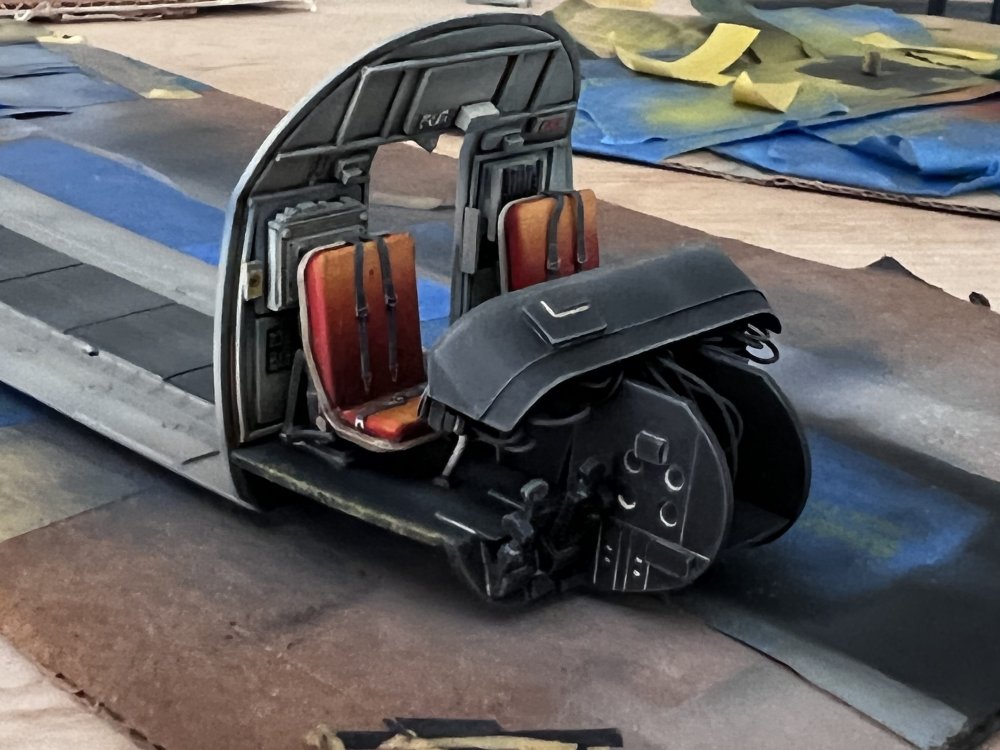
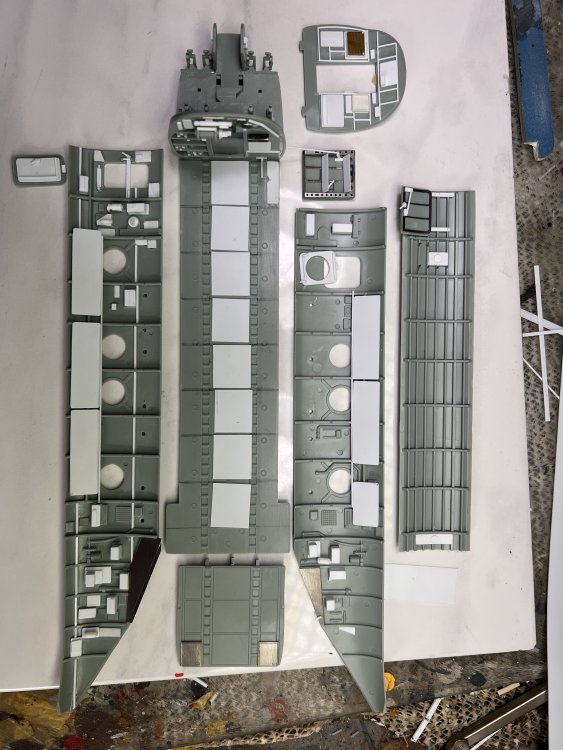
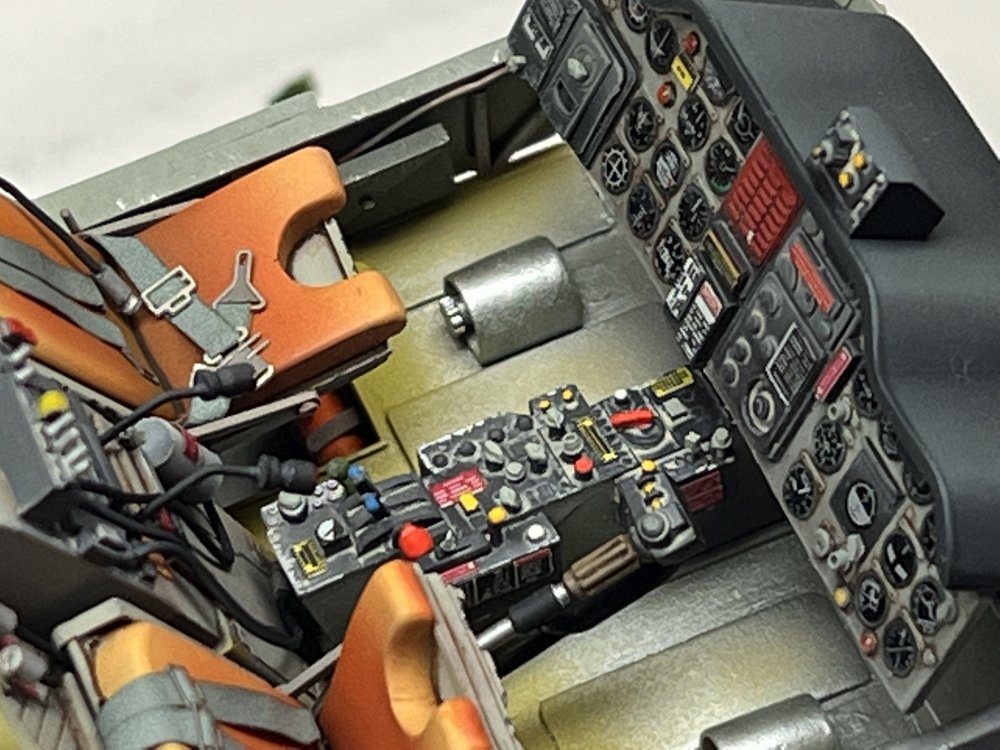
Middle console. To be honest I am not really happy with my work on that but it’s done so moving on. Still have to finish the floor.
-
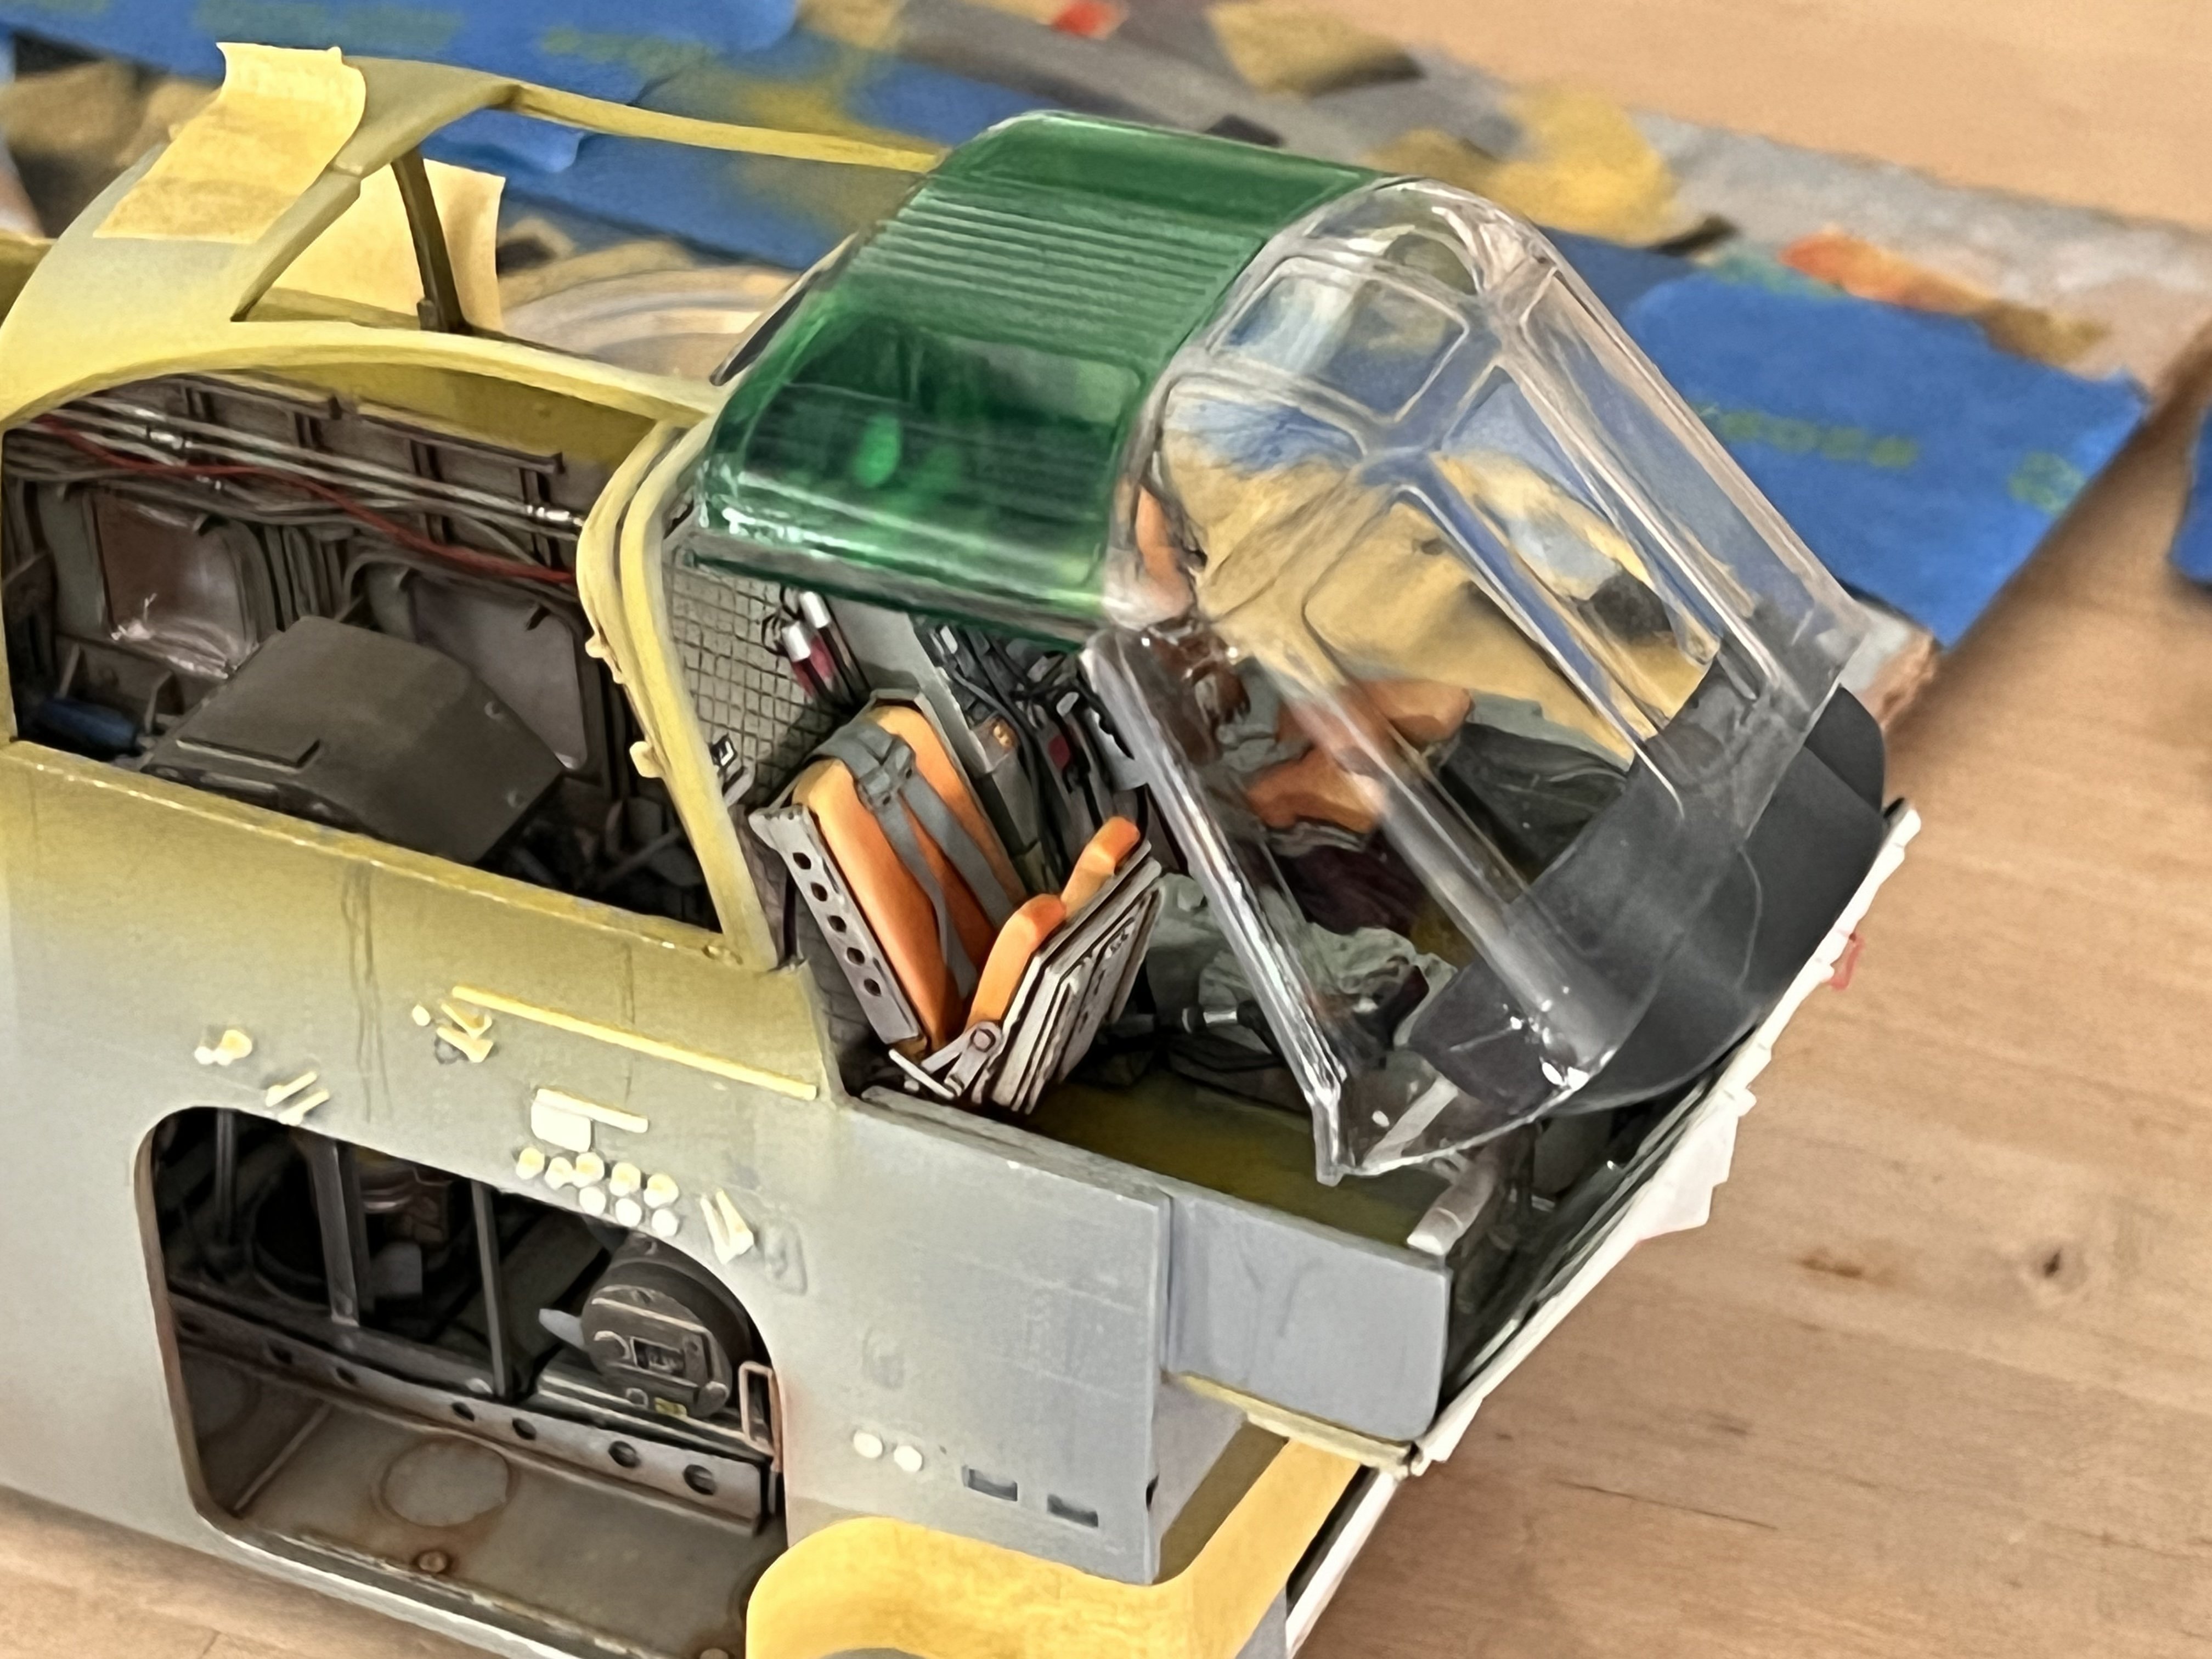
Dipped canopy in Future first and let it cured for a week then airbrushed Tamiya clear green in thin coats.