JohnB
-
Posts
7,256 -
Joined
-
Last visited
Content Type
Profiles
Forums
Events
Gallery
Everything posted by JohnB
-
Completed: https://forum.largescalemodeller.com/topic/21024-hasegawa-p-40n-cmi-rfi/
-
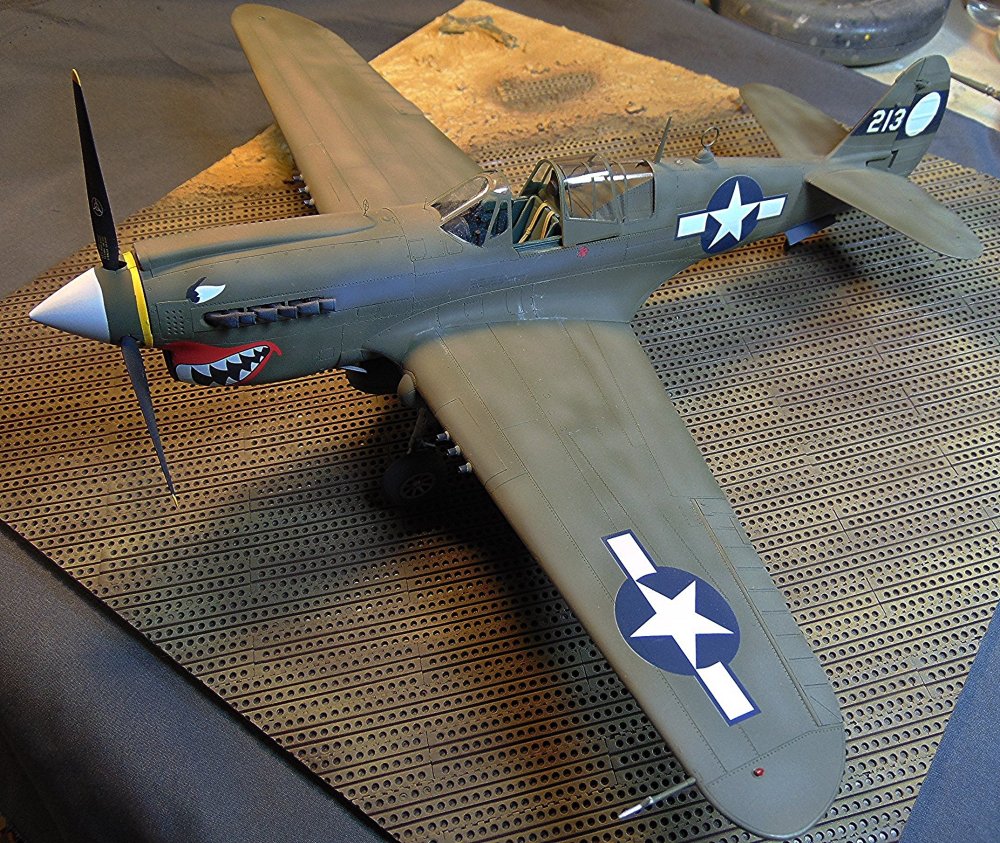
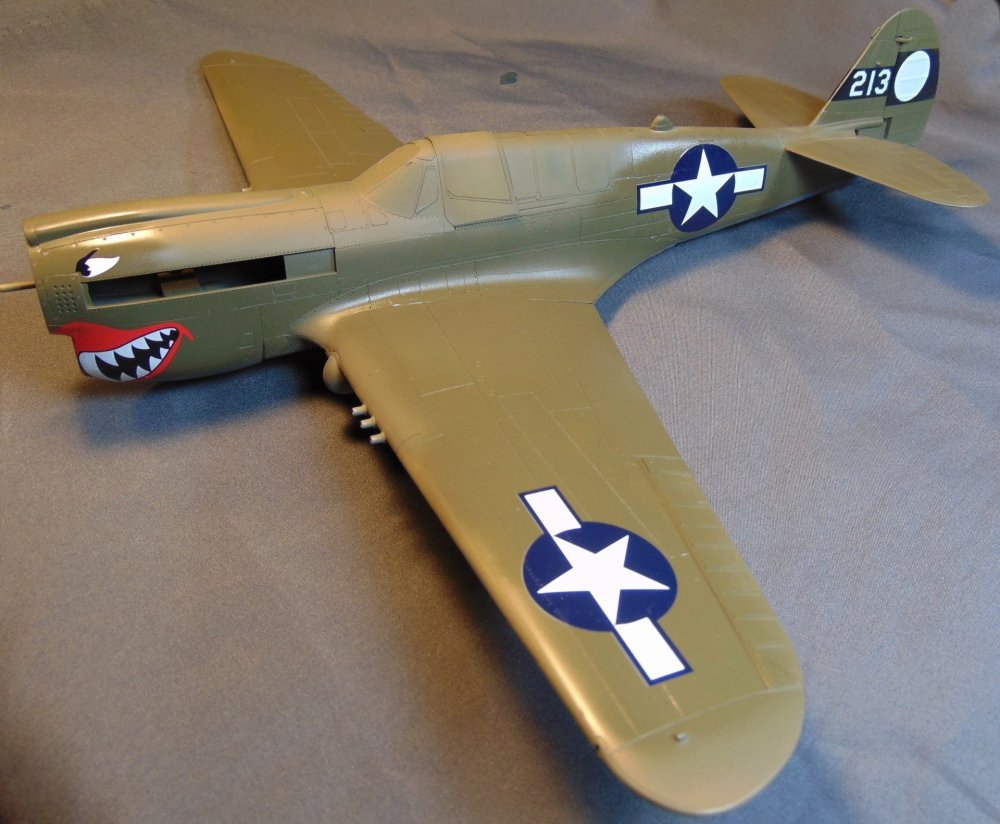
I'm calling this one done. OOB except belts, PE gun sights and replacement prop from my stash. Exterior painted with Testor's enamel, interior with AK acrylic. Decals are from Superscale, my decal stash and the kit. 🙂 I like the results and I hope you do also.


-
- 1
-

-
Decaling nearly finished. 🙂
-

Kotare Bf109K-4 with AIMS decals
JohnB replied to denders's topic in LSM 1/32 and Larger Aircraft Ready for Inspection
Looks good! Nice work. -
Certainly not a difficult build LOL. Good fit, etc. 🙂
-
Paint soon! 🙂
-
Coming right along.
-
Should look good!
-
This one has been on my shelf for a good while. Since it's hard to find anymore I had intended to just keep it but decided I may as well build it. So here goes.


-
Kotare Bf 109K-4 with AIMS decals -- Finished
JohnB replied to denders's topic in LSM 1/35 and Larger Work In Progress
Nice build! I like it. 🙂 -
Outstanding!
-
Miniart P-47N to be re-done
JohnB replied to JohnB's topic in LSM 1/48 Aircraft Ready for Inspection
Since this one didn't turn out very well I've decided to strip it and start over. The NMF just didn't work out.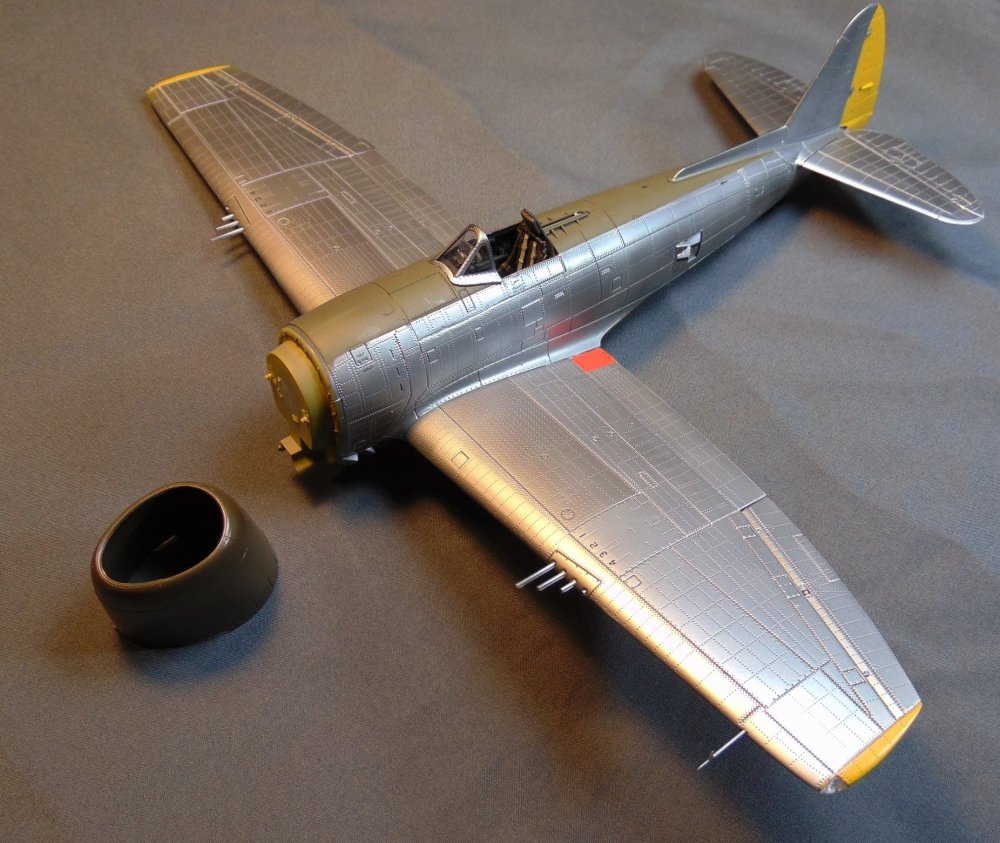
-
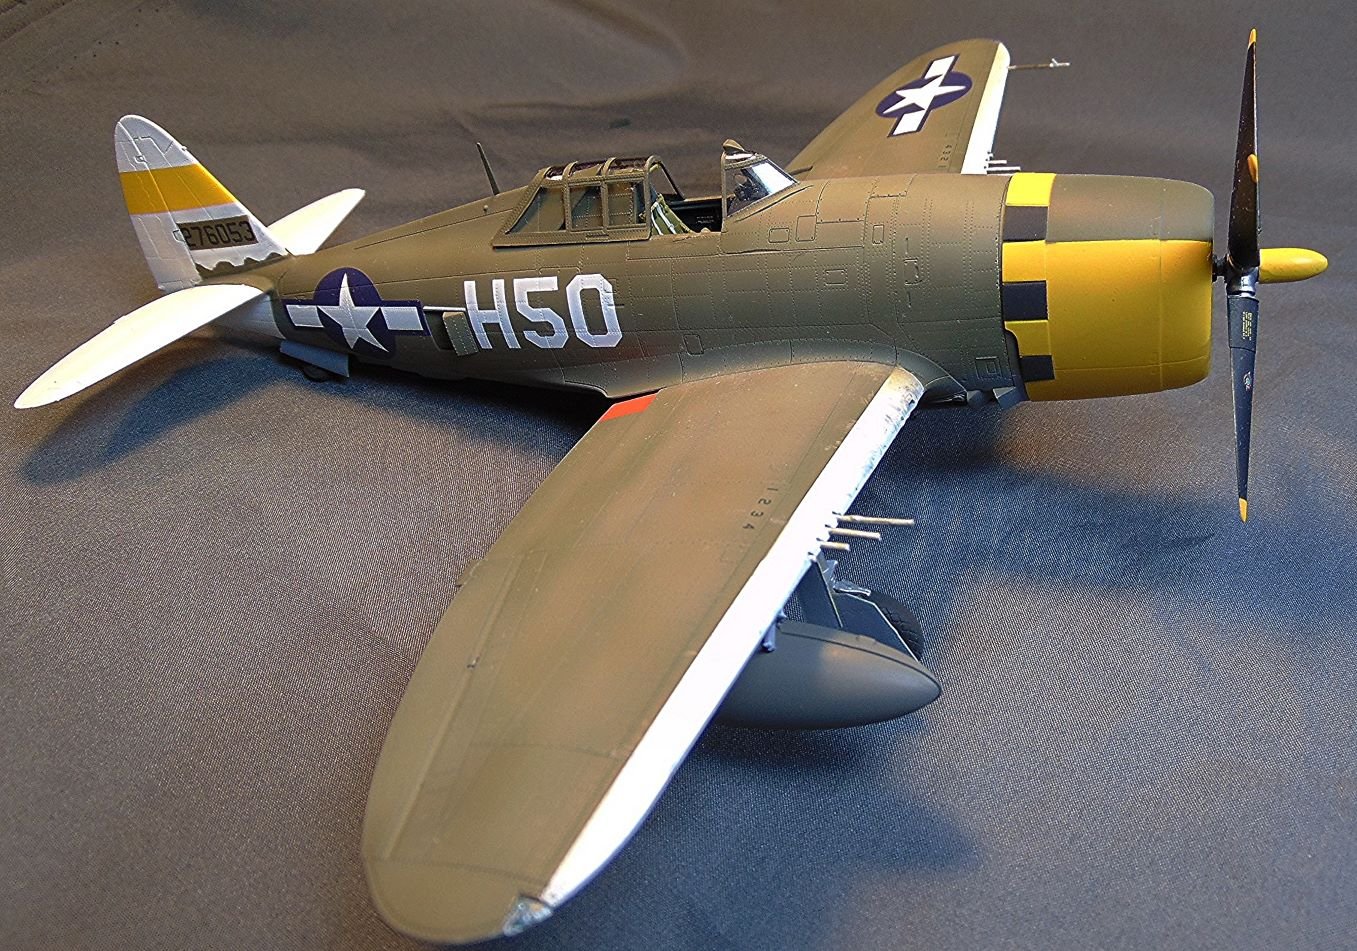
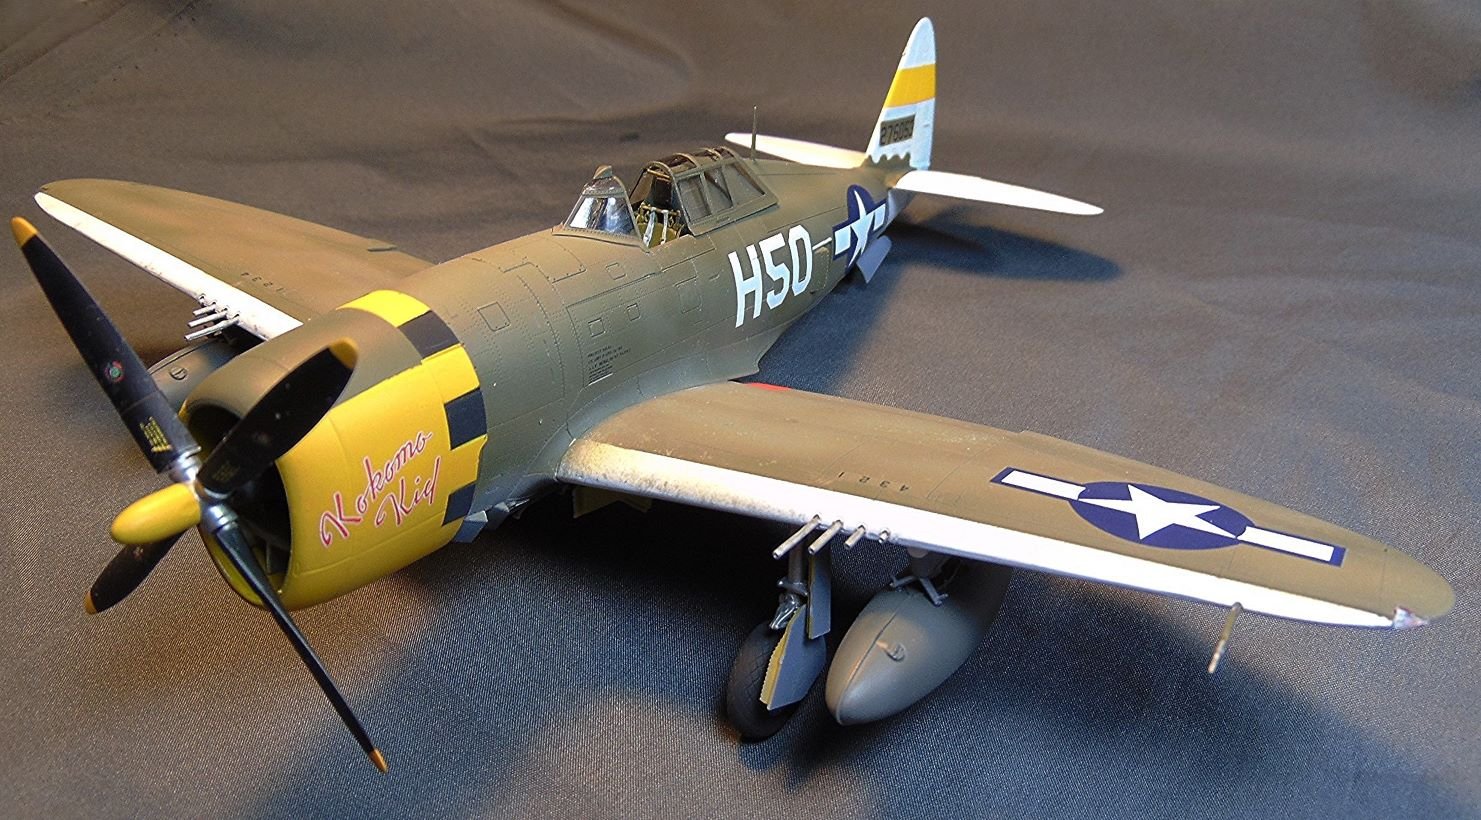
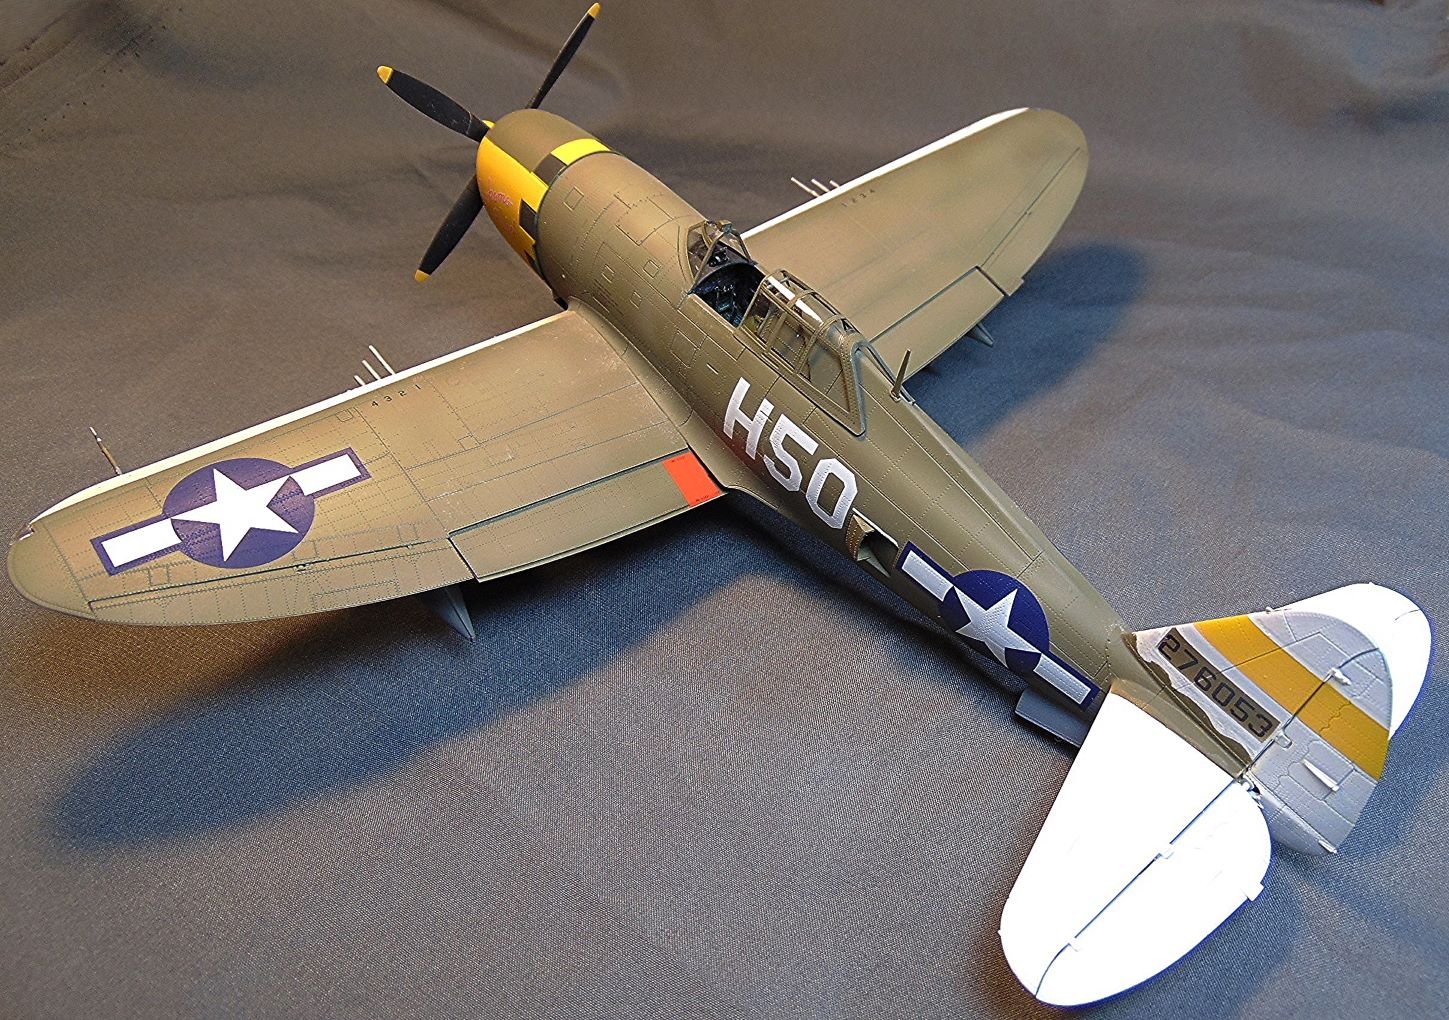
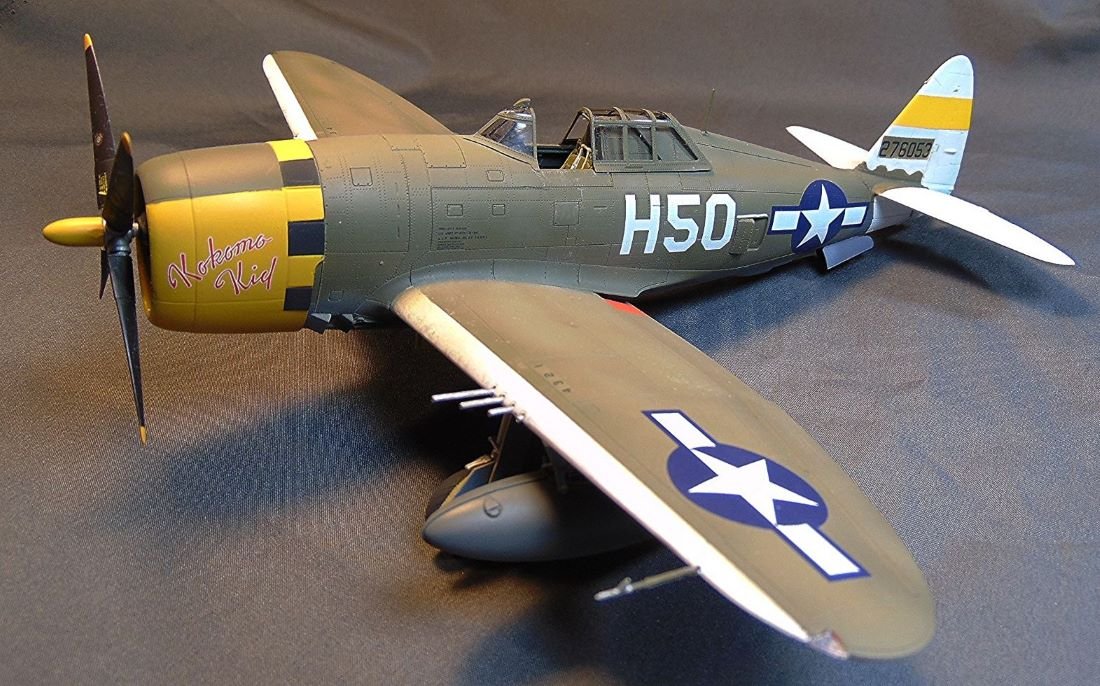
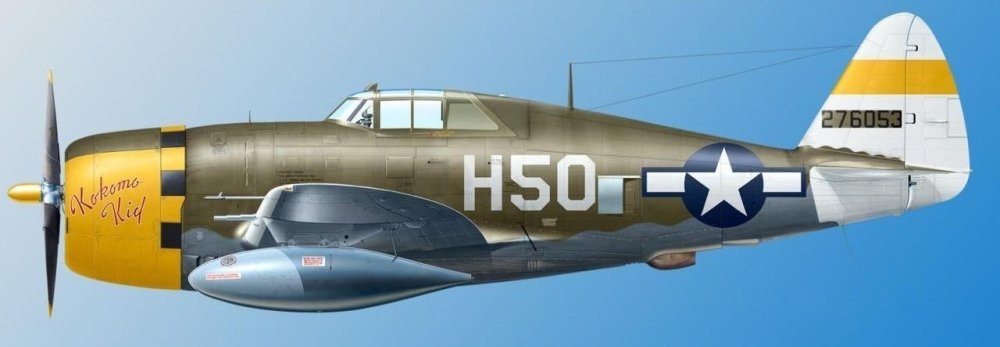
Completed. https://forum.largescalemodeller.com/topic/21011-p-47-razorback-kokomo-kid-rfi/
-
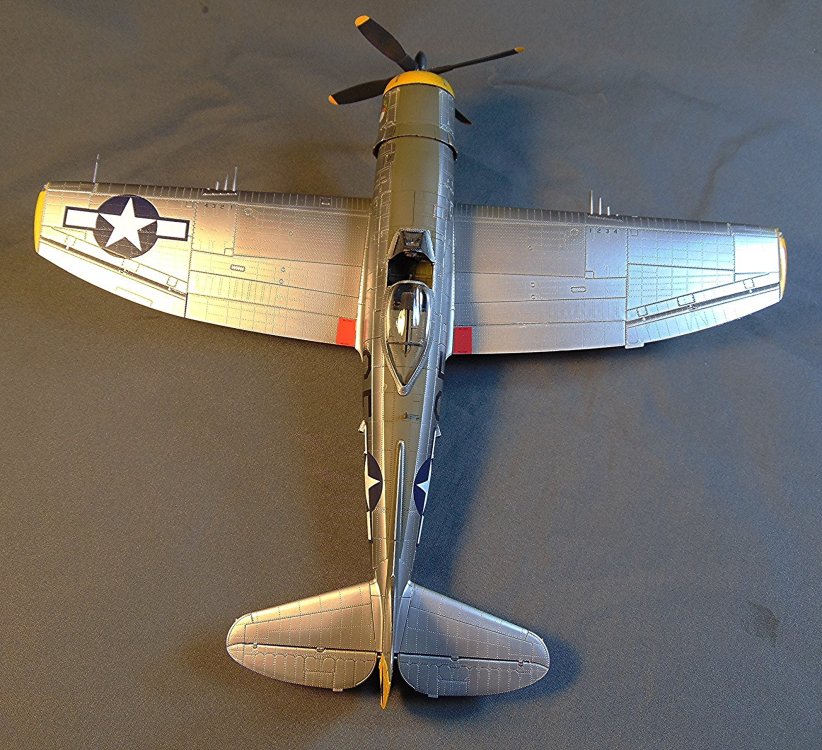
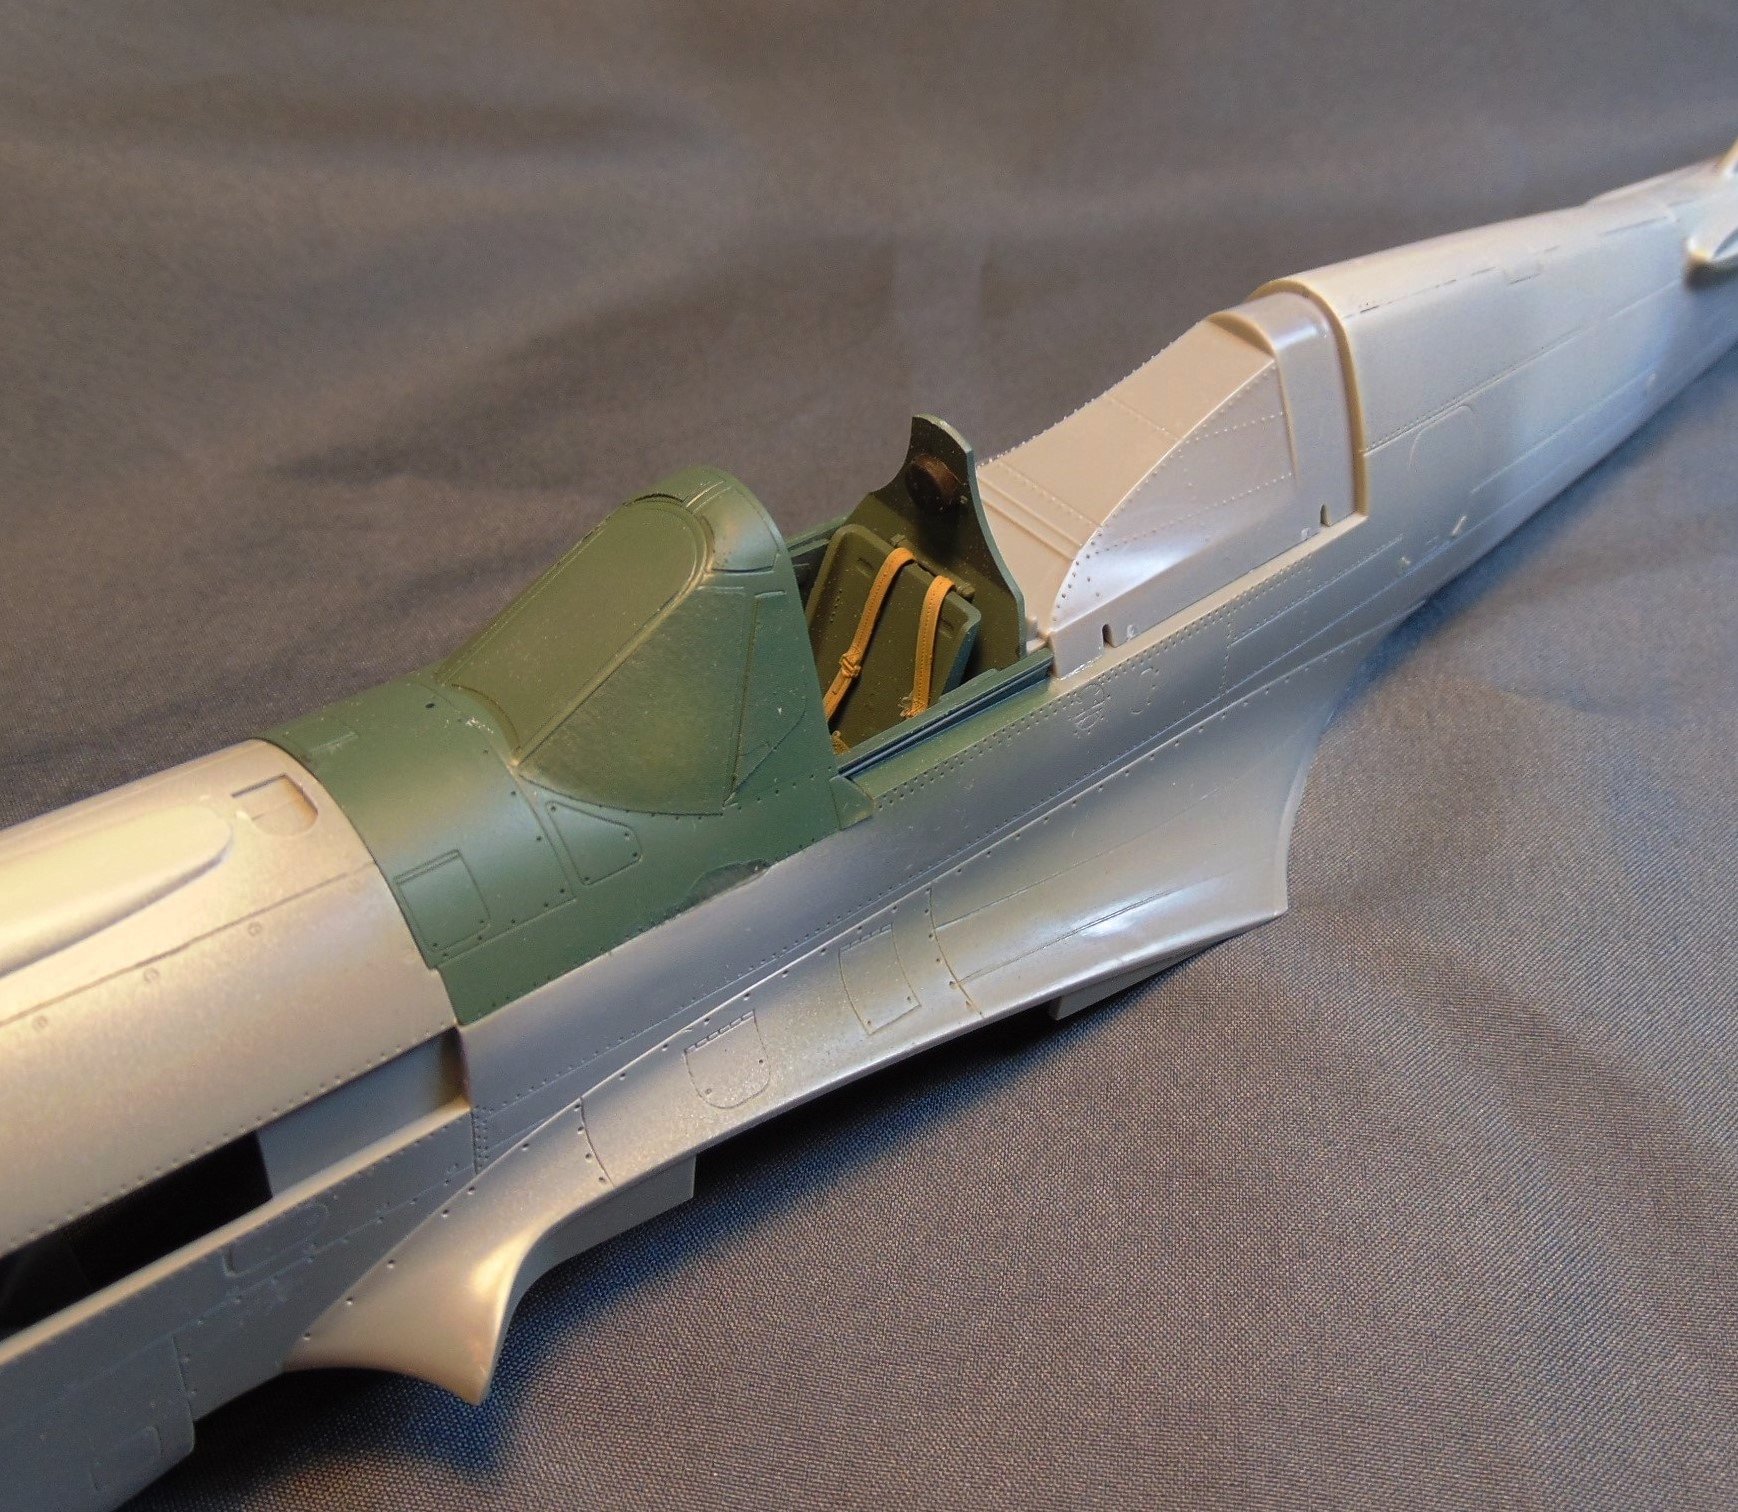
This Miniart P-47 turned out much better that my previous "N". Before starting I over sprayed everything with Alclad Flat Grey Primer and Micro Filler to try to minimize the rivet details. It's OOB except for the Monogram cowling and prop. Painted with Testors and Tamiya. Decals are from the kit. 🙂


-
- 2
-
-
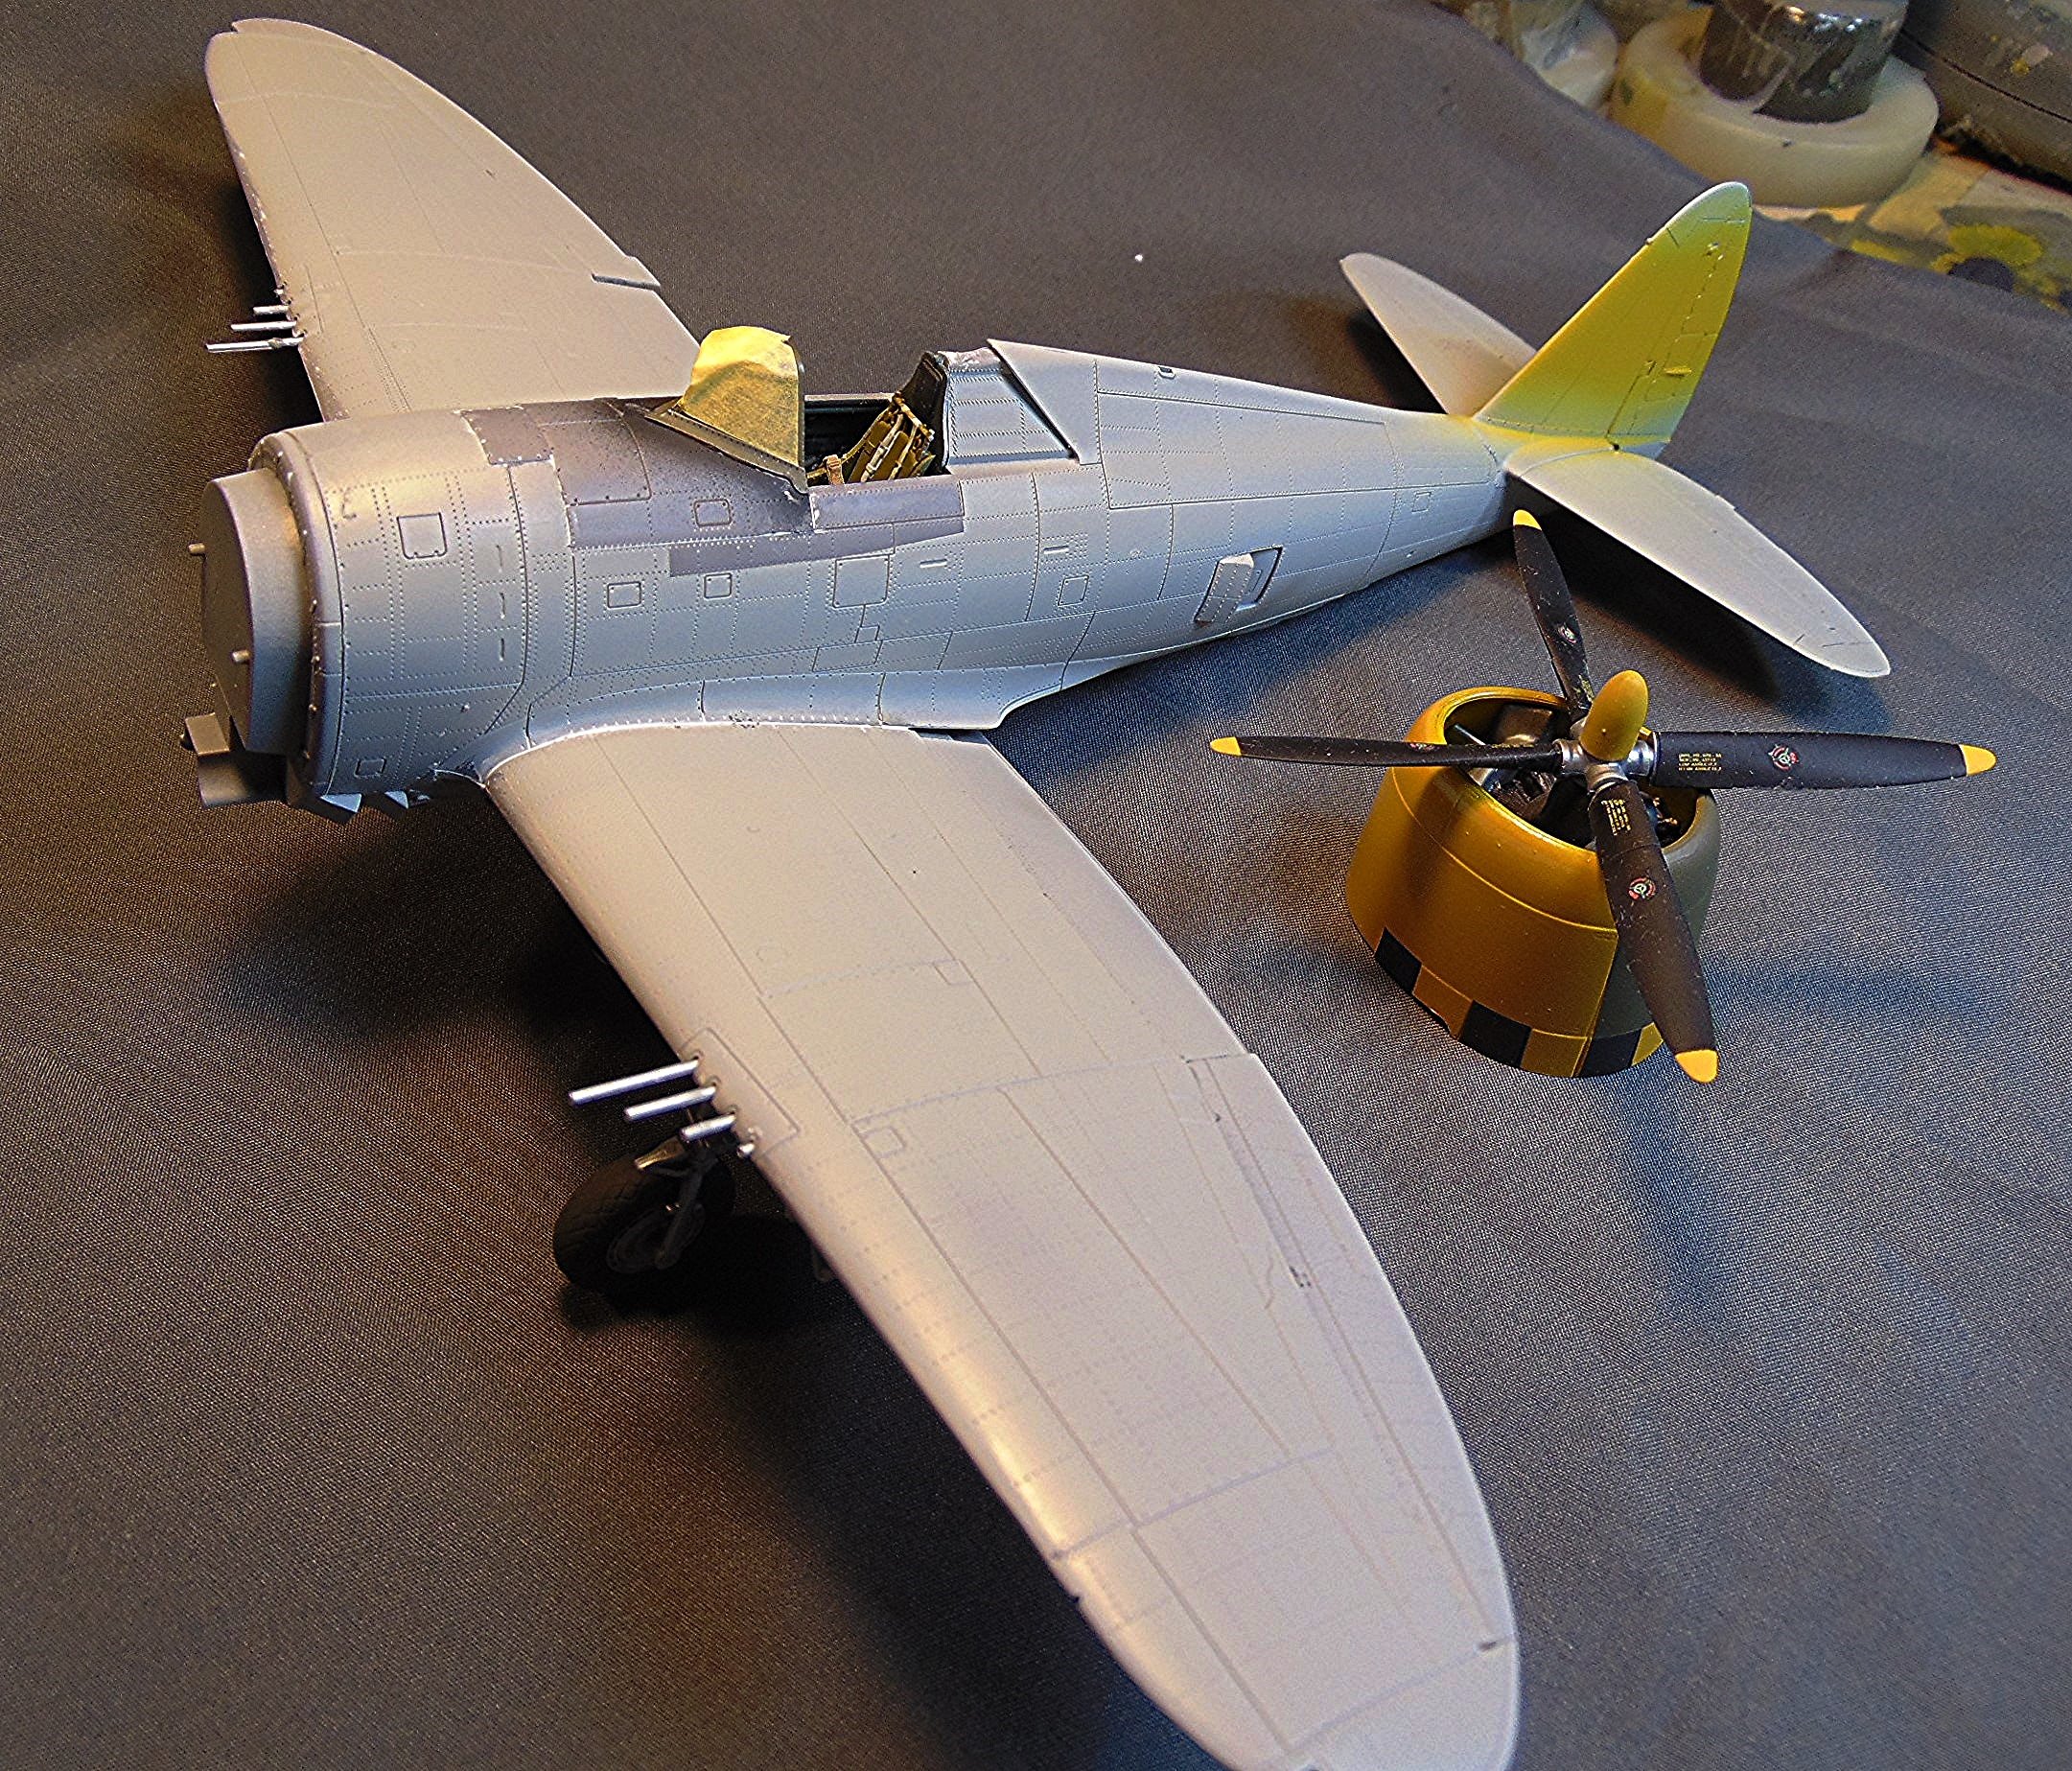
About done with painting except for a few touch ups.
-
I think the Miniart windscreen and canopy is more accurate Hubert. Too bad about the rivets though.
-
Miniart P-47N to be re-done
JohnB replied to JohnB's topic in LSM 1/48 Aircraft Ready for Inspection
I looked at several on-line reviews of the Miniart P-47's and saw nothing but praise for the kits. No mention whatsoever of the over done rivets although none of the photos of NMF builds are sharp and clear closeups. I don't know what to think!!! 🙄 I wonder if my kit was a aberration. -
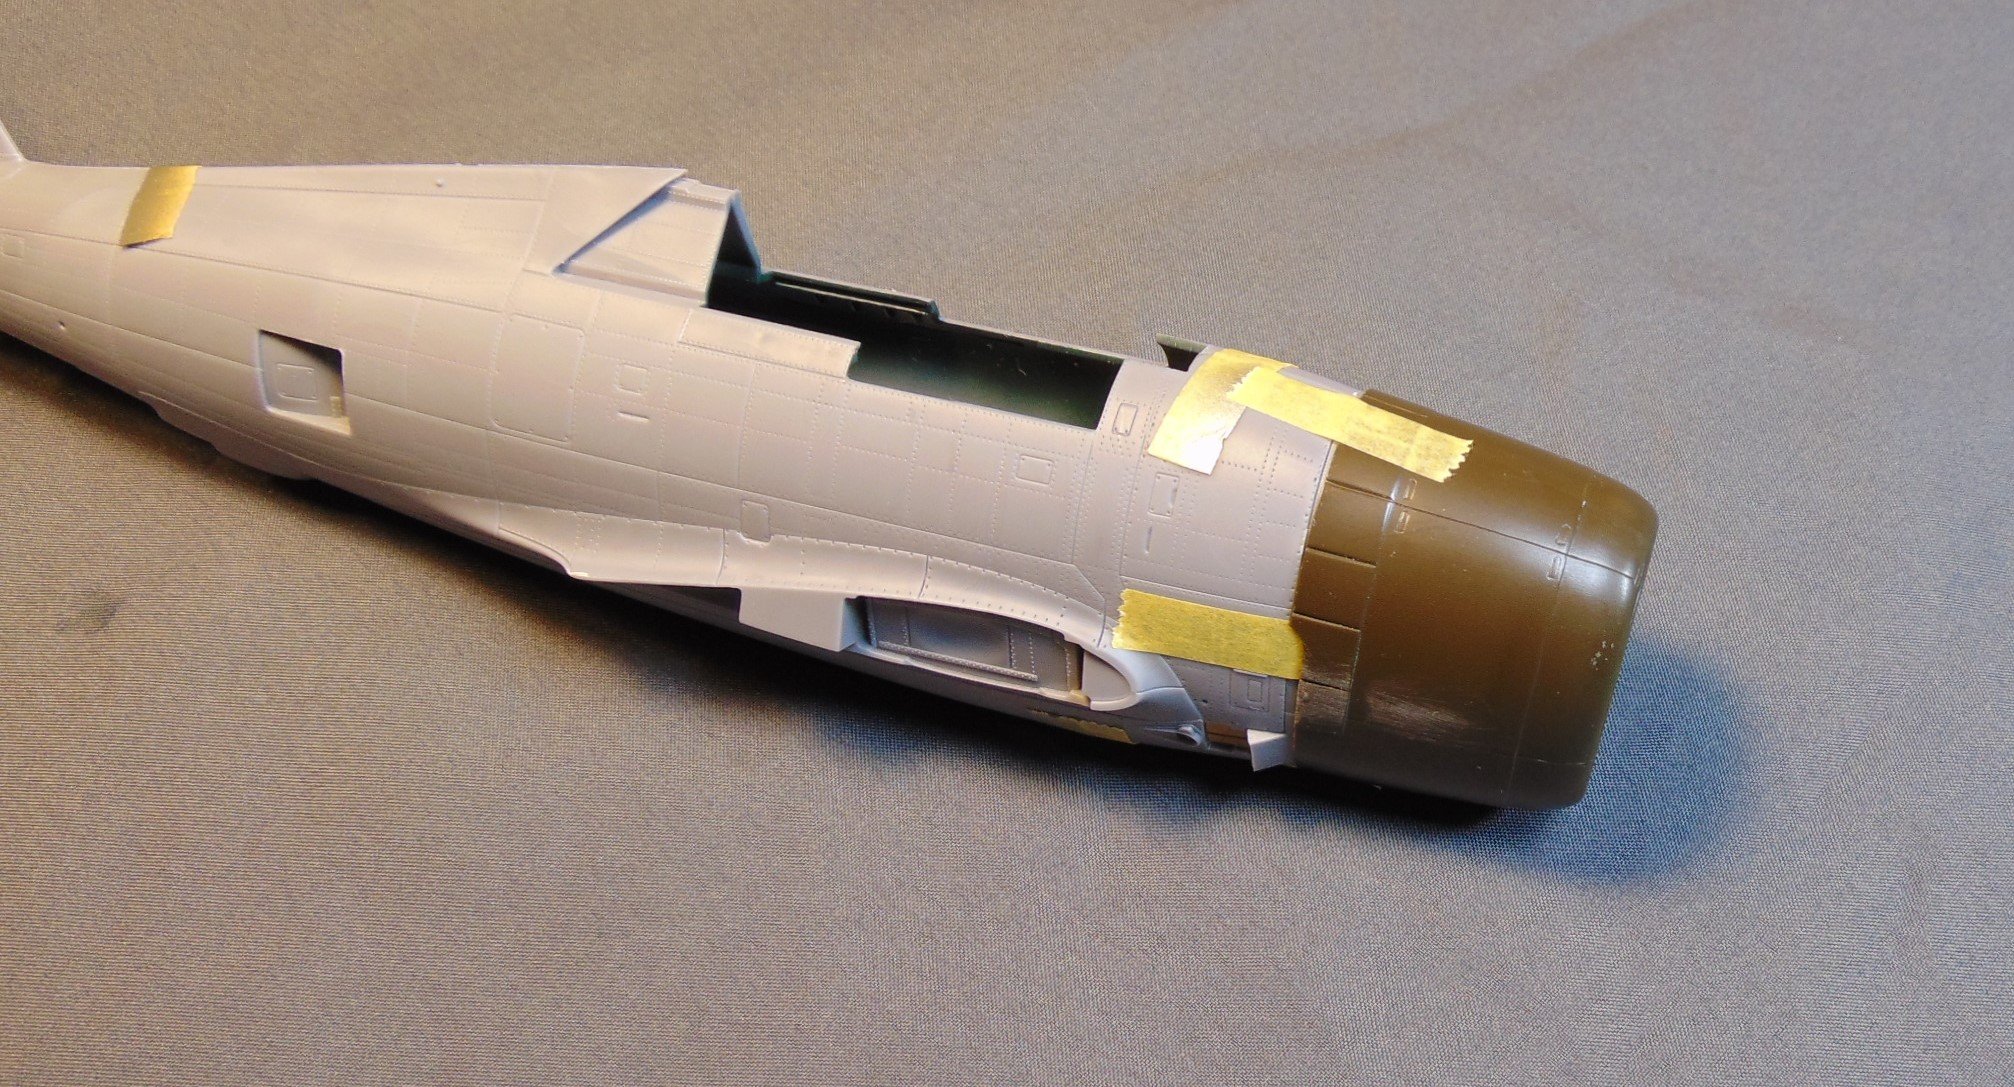
Good progress. I oversprayed the model with Alclad Grey Primer/Micro Filler to try to reduce the rivet details. Next step is paint the white tail and the wing leading edge areas.

-
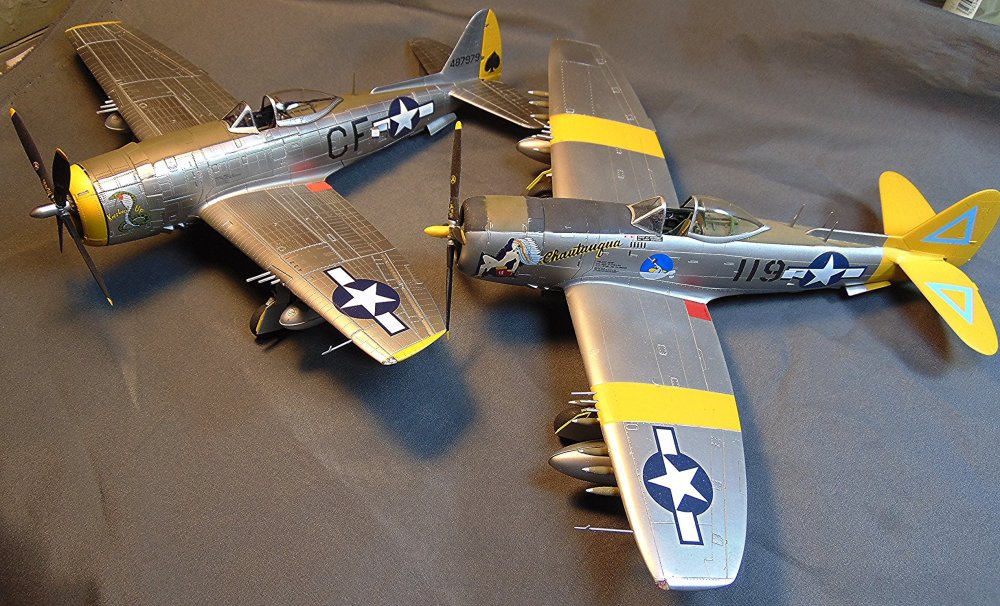
The big plus for the Academy kit is no rivets. The Miniart rivets are far too accentuated and it, to me, detracts from the looks. I'm working on a Miniart razorback which I oversprayed with Alclad Grey Primer and Micro Filler to try to reduce the visibility of the rivets. We'll see how that works out. In future I'll go with Hasegawa, Tamiya or Academy when it comes to P-47's.
-
Hmmmmmm.....BIG difference. If I decide I want to build another 1/48 P-47 I guess I'll go with Academy. I have a Miniart P-47D-30 I'll let go if anybody wants it. 🤪
-
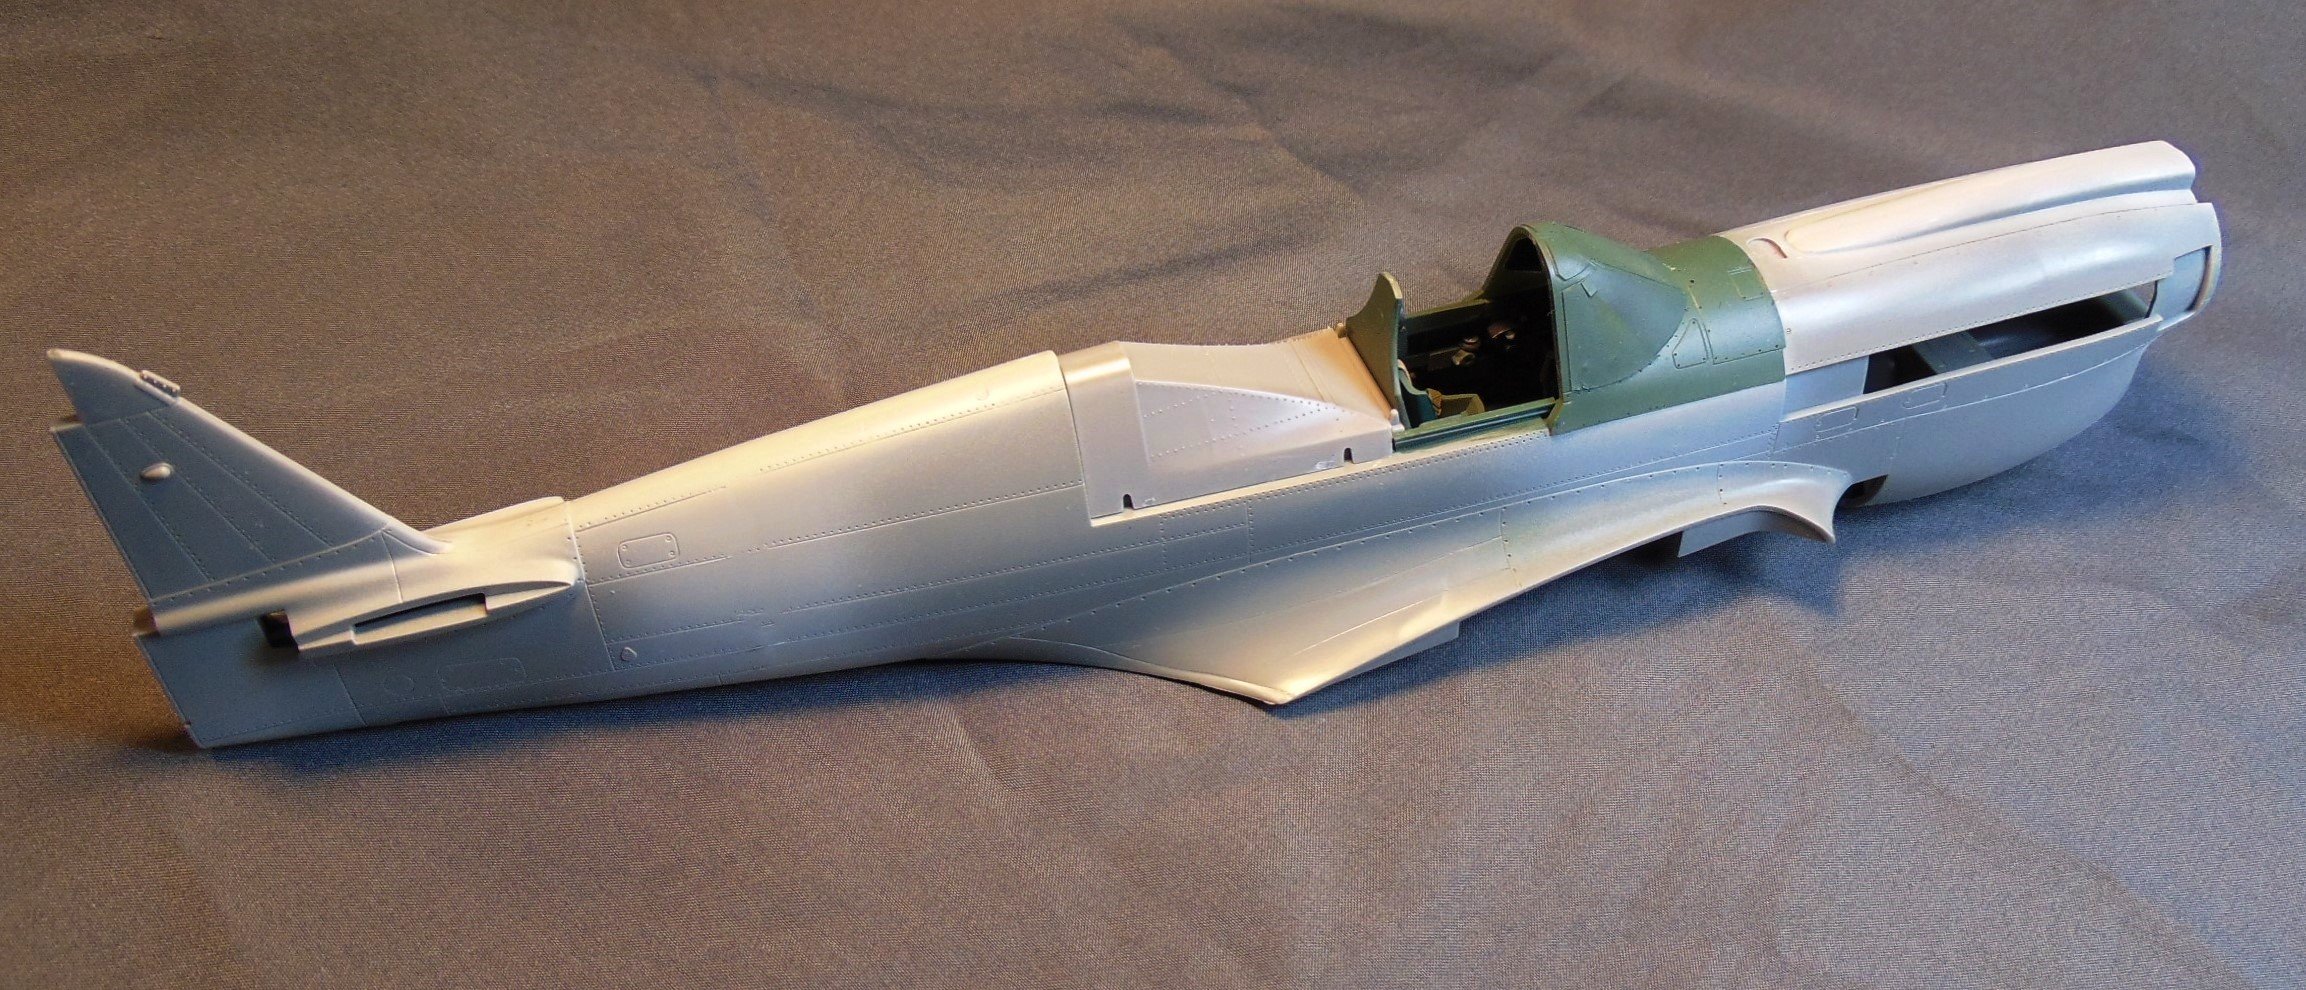
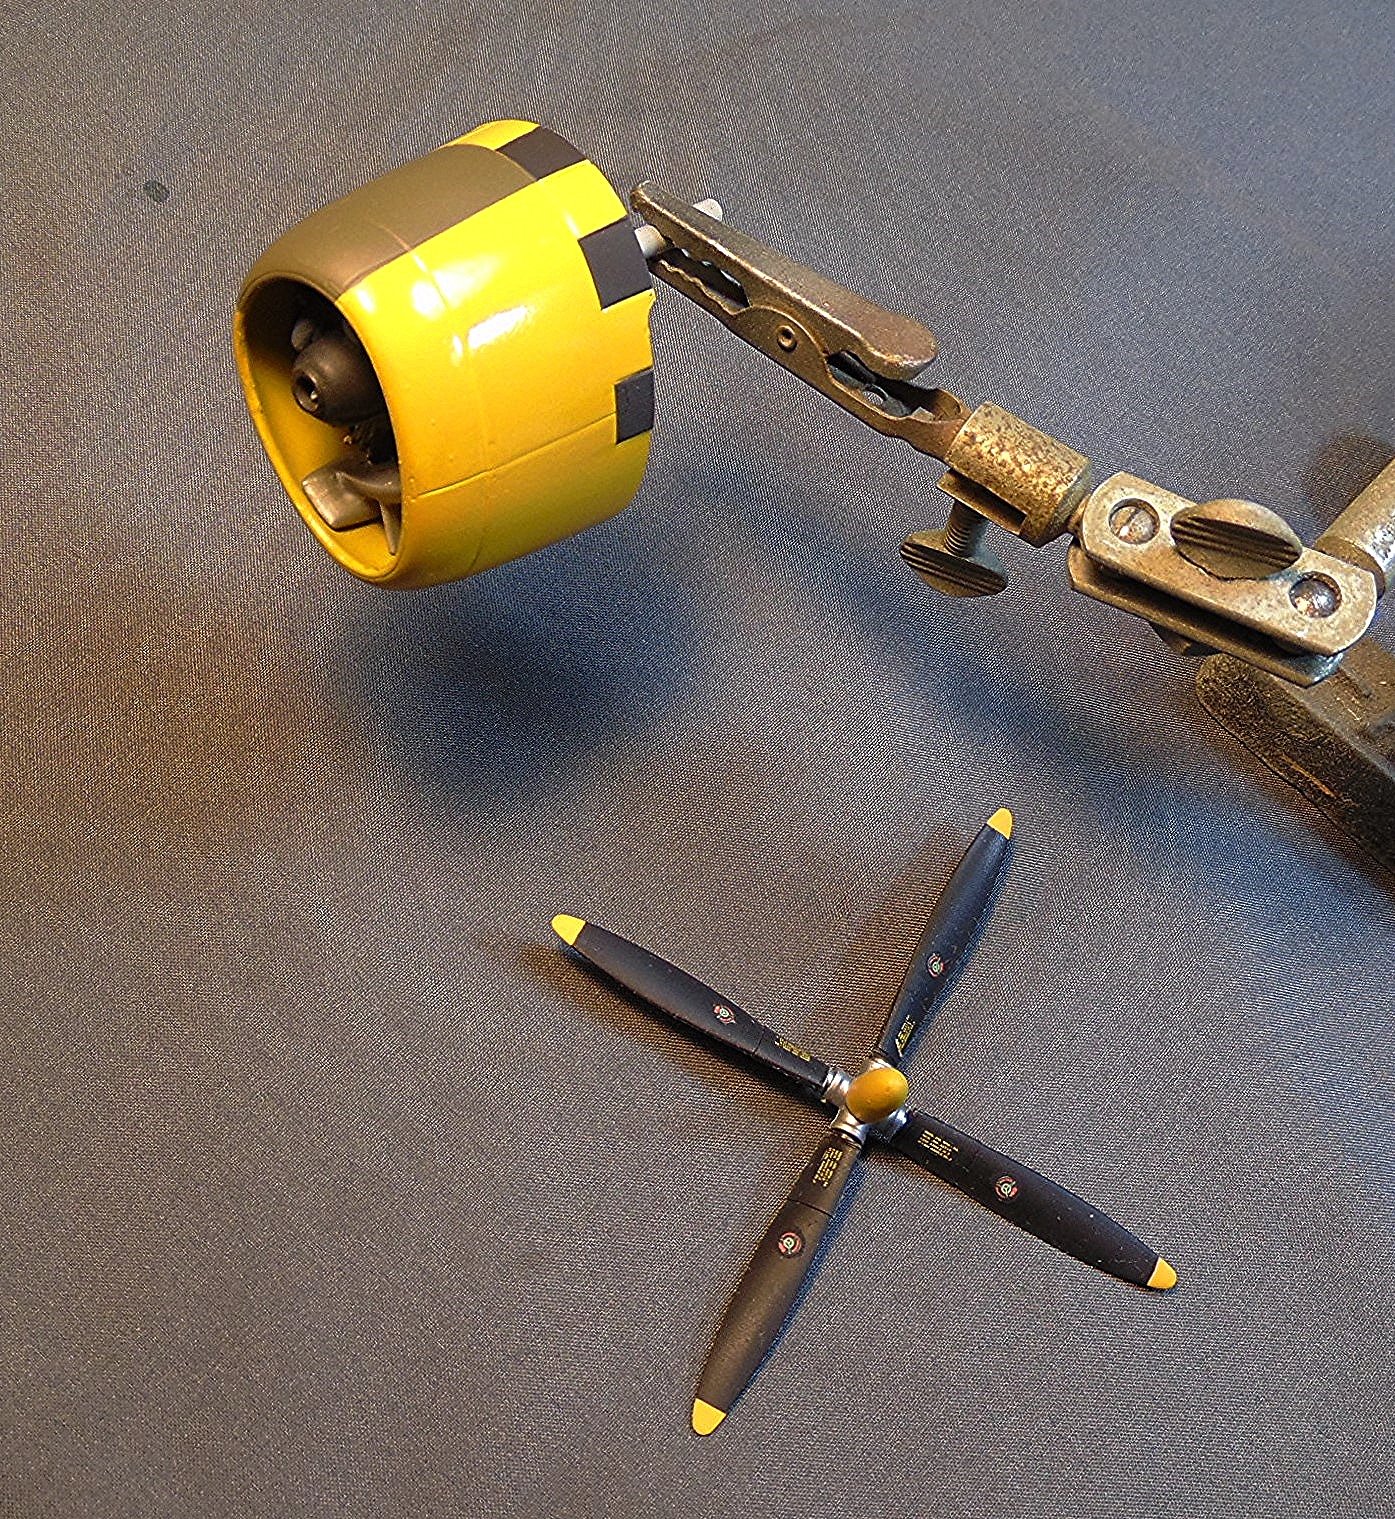
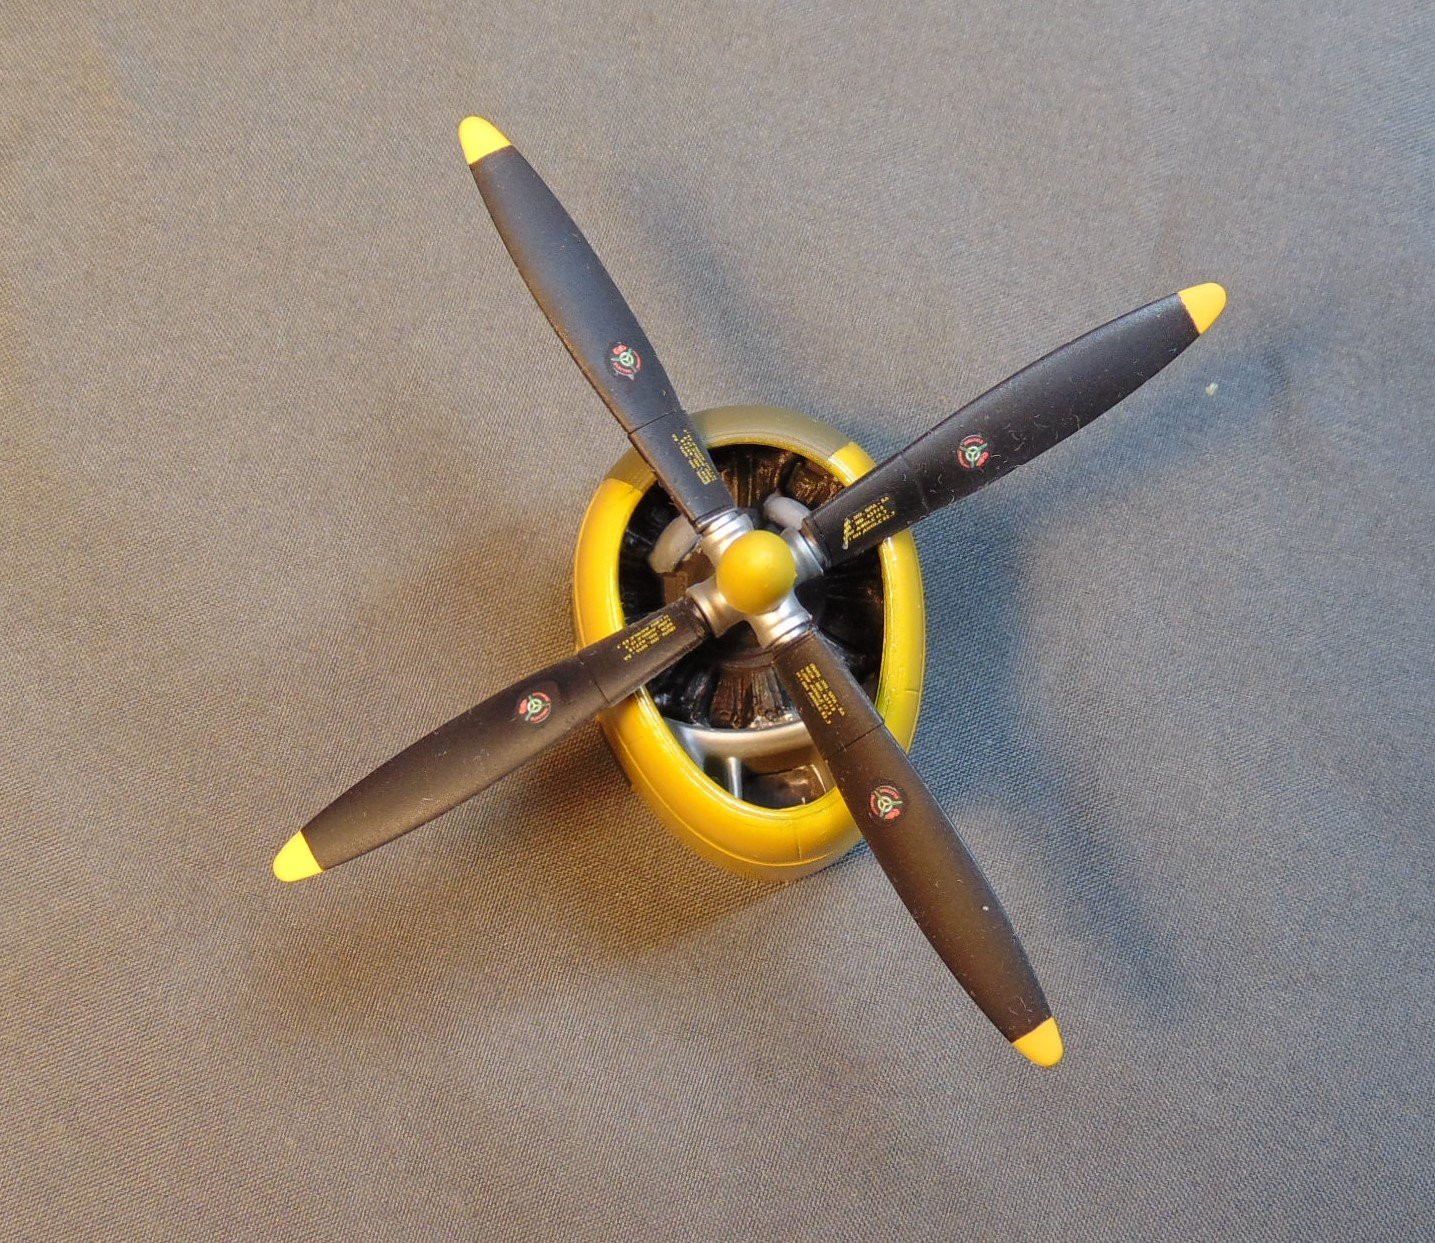
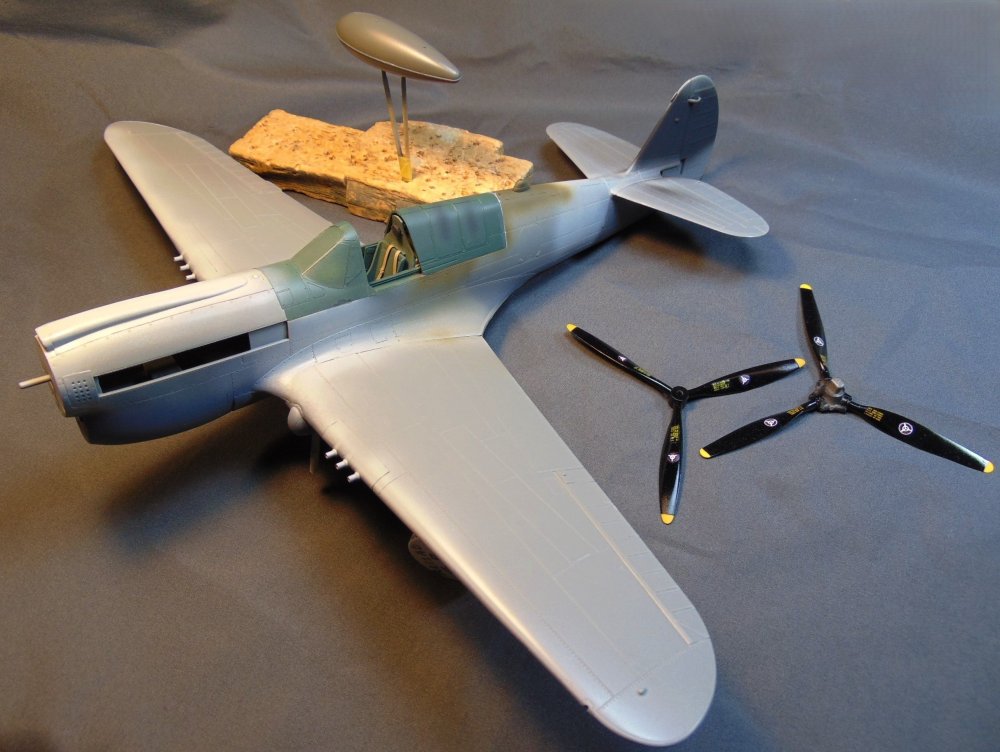
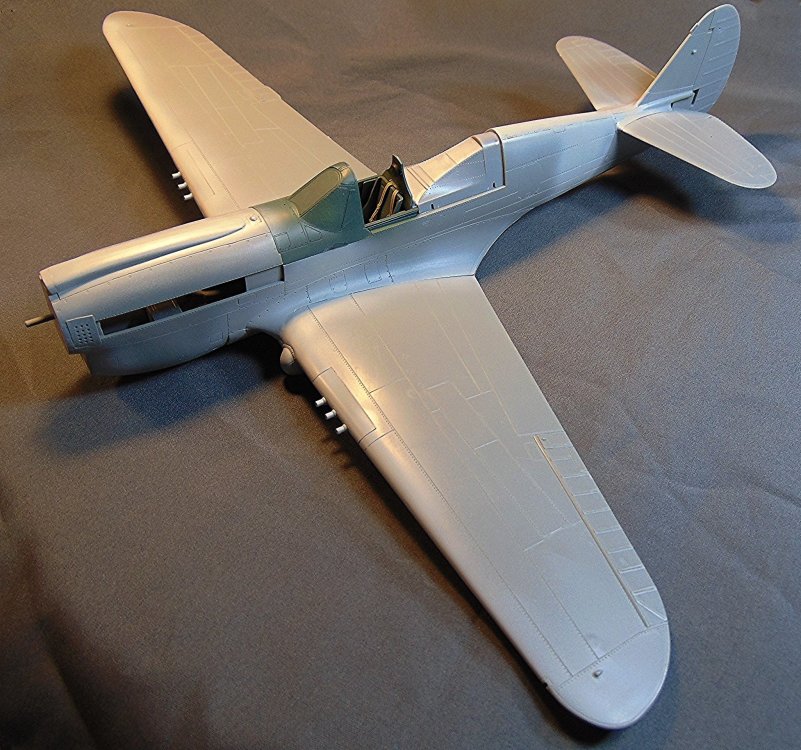
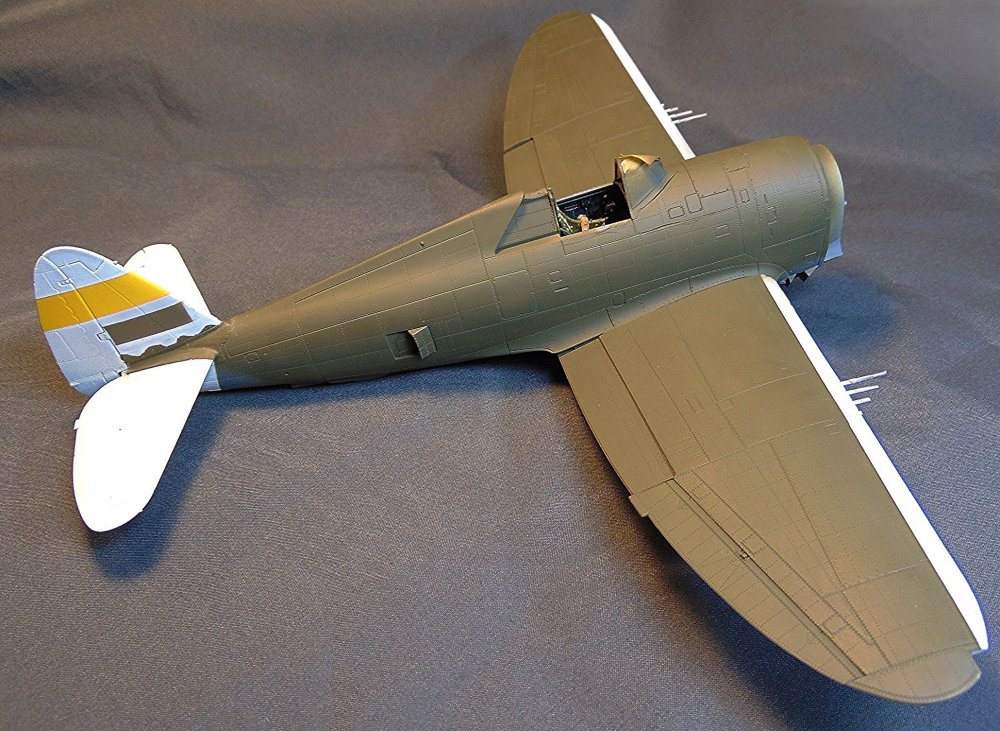
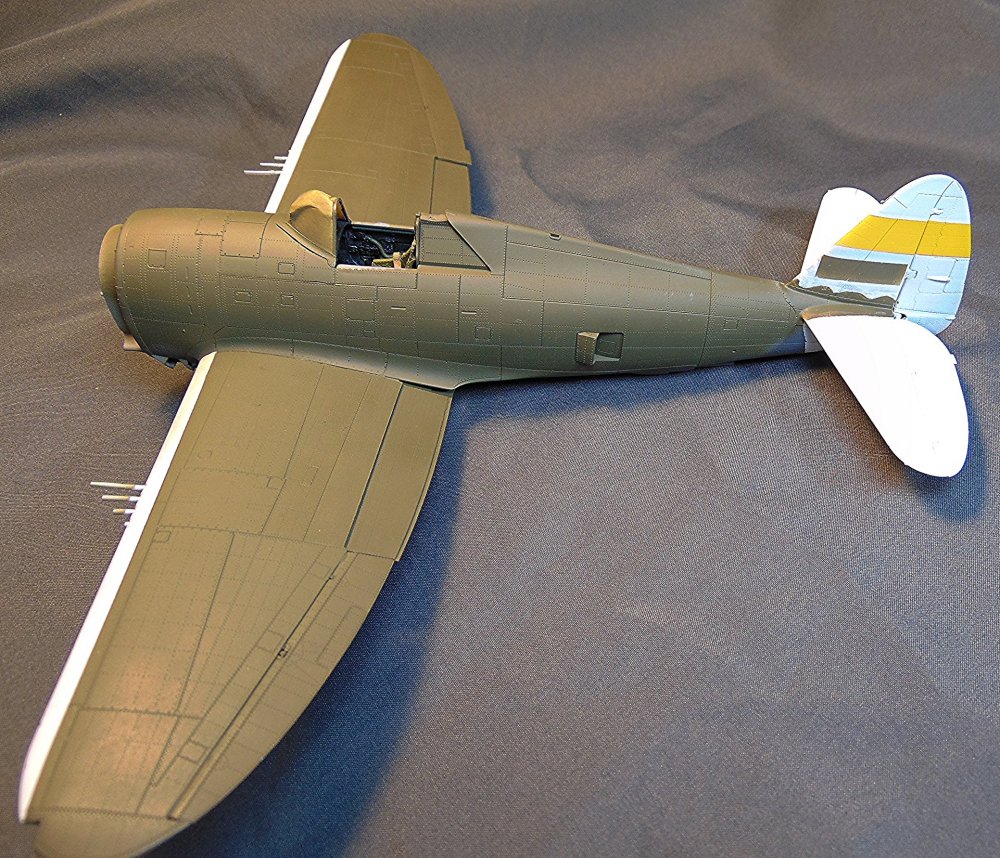
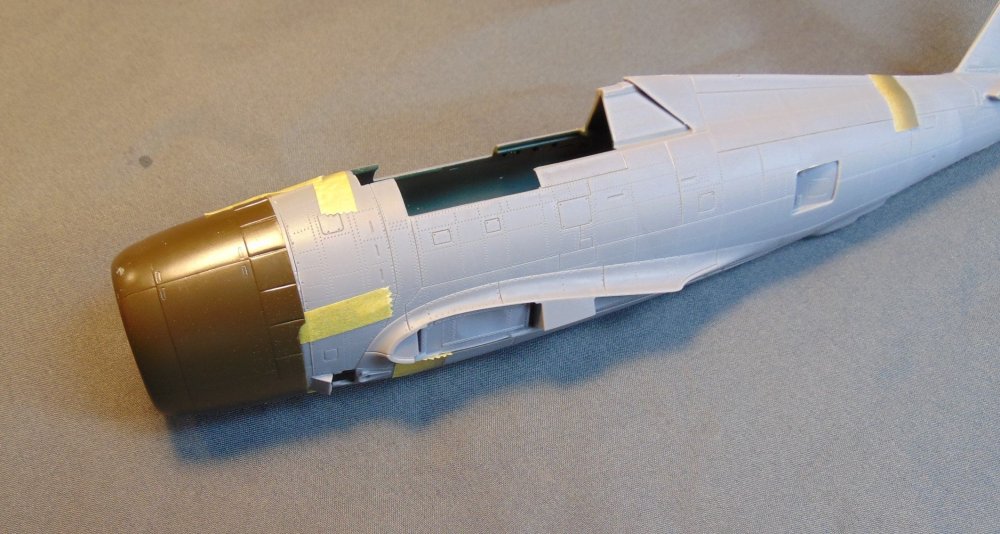
This one is next up. Ought to be a colorful eye catcher. 🙂 I'm replacing the VERY fiddly kit cowling with a Monogram cowling and engine front. Fits okay after a little trimming to the inner surfaces.


-
Miniart P-47N to be re-done
JohnB replied to JohnB's topic in LSM 1/48 Aircraft Ready for Inspection
Thank you Martin! I very much appreciate the kind comment. 🙂 A razorback "D" is next. 🙂 -
Miniart P-47N to be re-done
JohnB replied to JohnB's topic in LSM 1/48 Aircraft Ready for Inspection
Look closer Kevin. I did 3 different shades on panels. -
Done a RFI. https://forum.largescalemodeller.com/topic/20997-miniart-p-47n-done/
-
Calling this one done. It's a nice kit with mostly good fit. The 4 piece cowling can be a bit of a hassle. I'd much rather a one piece cowling a la Monogram. The rivet detail, unfortunately, is very over done and really shows on a NMF model. However, the decals are great. Nice and thin and the carrier film just disappears after application. I replaced the kit prop with one from my stash which is accurate for this a/c. Painted with Alclad. I intend to build some more of the Miniart P-47's since it's enjoyable to build and there are MANY schemes available.