JohnB
-
Posts
7,247 -
Joined
-
Last visited
Content Type
Profiles
Forums
Events
Gallery
Everything posted by JohnB
-
Thank you! The Tamiya 10mm masking tape is just about the right size for them which makes it a lot easier.🙂
-
Thanks Kevin! 🙂
-
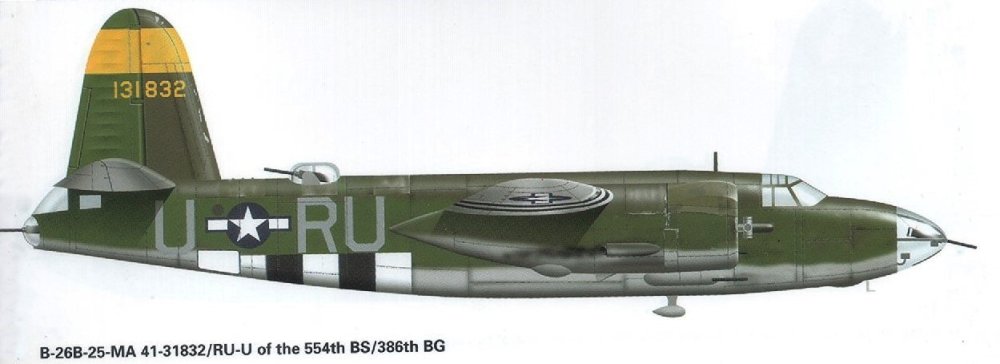
Thanks Dennis. I'm getting ready to start decaling but I'll have to come up with enough "U's" of the correct size, etc. I'll probably have to make them on my computer. 🤪
-
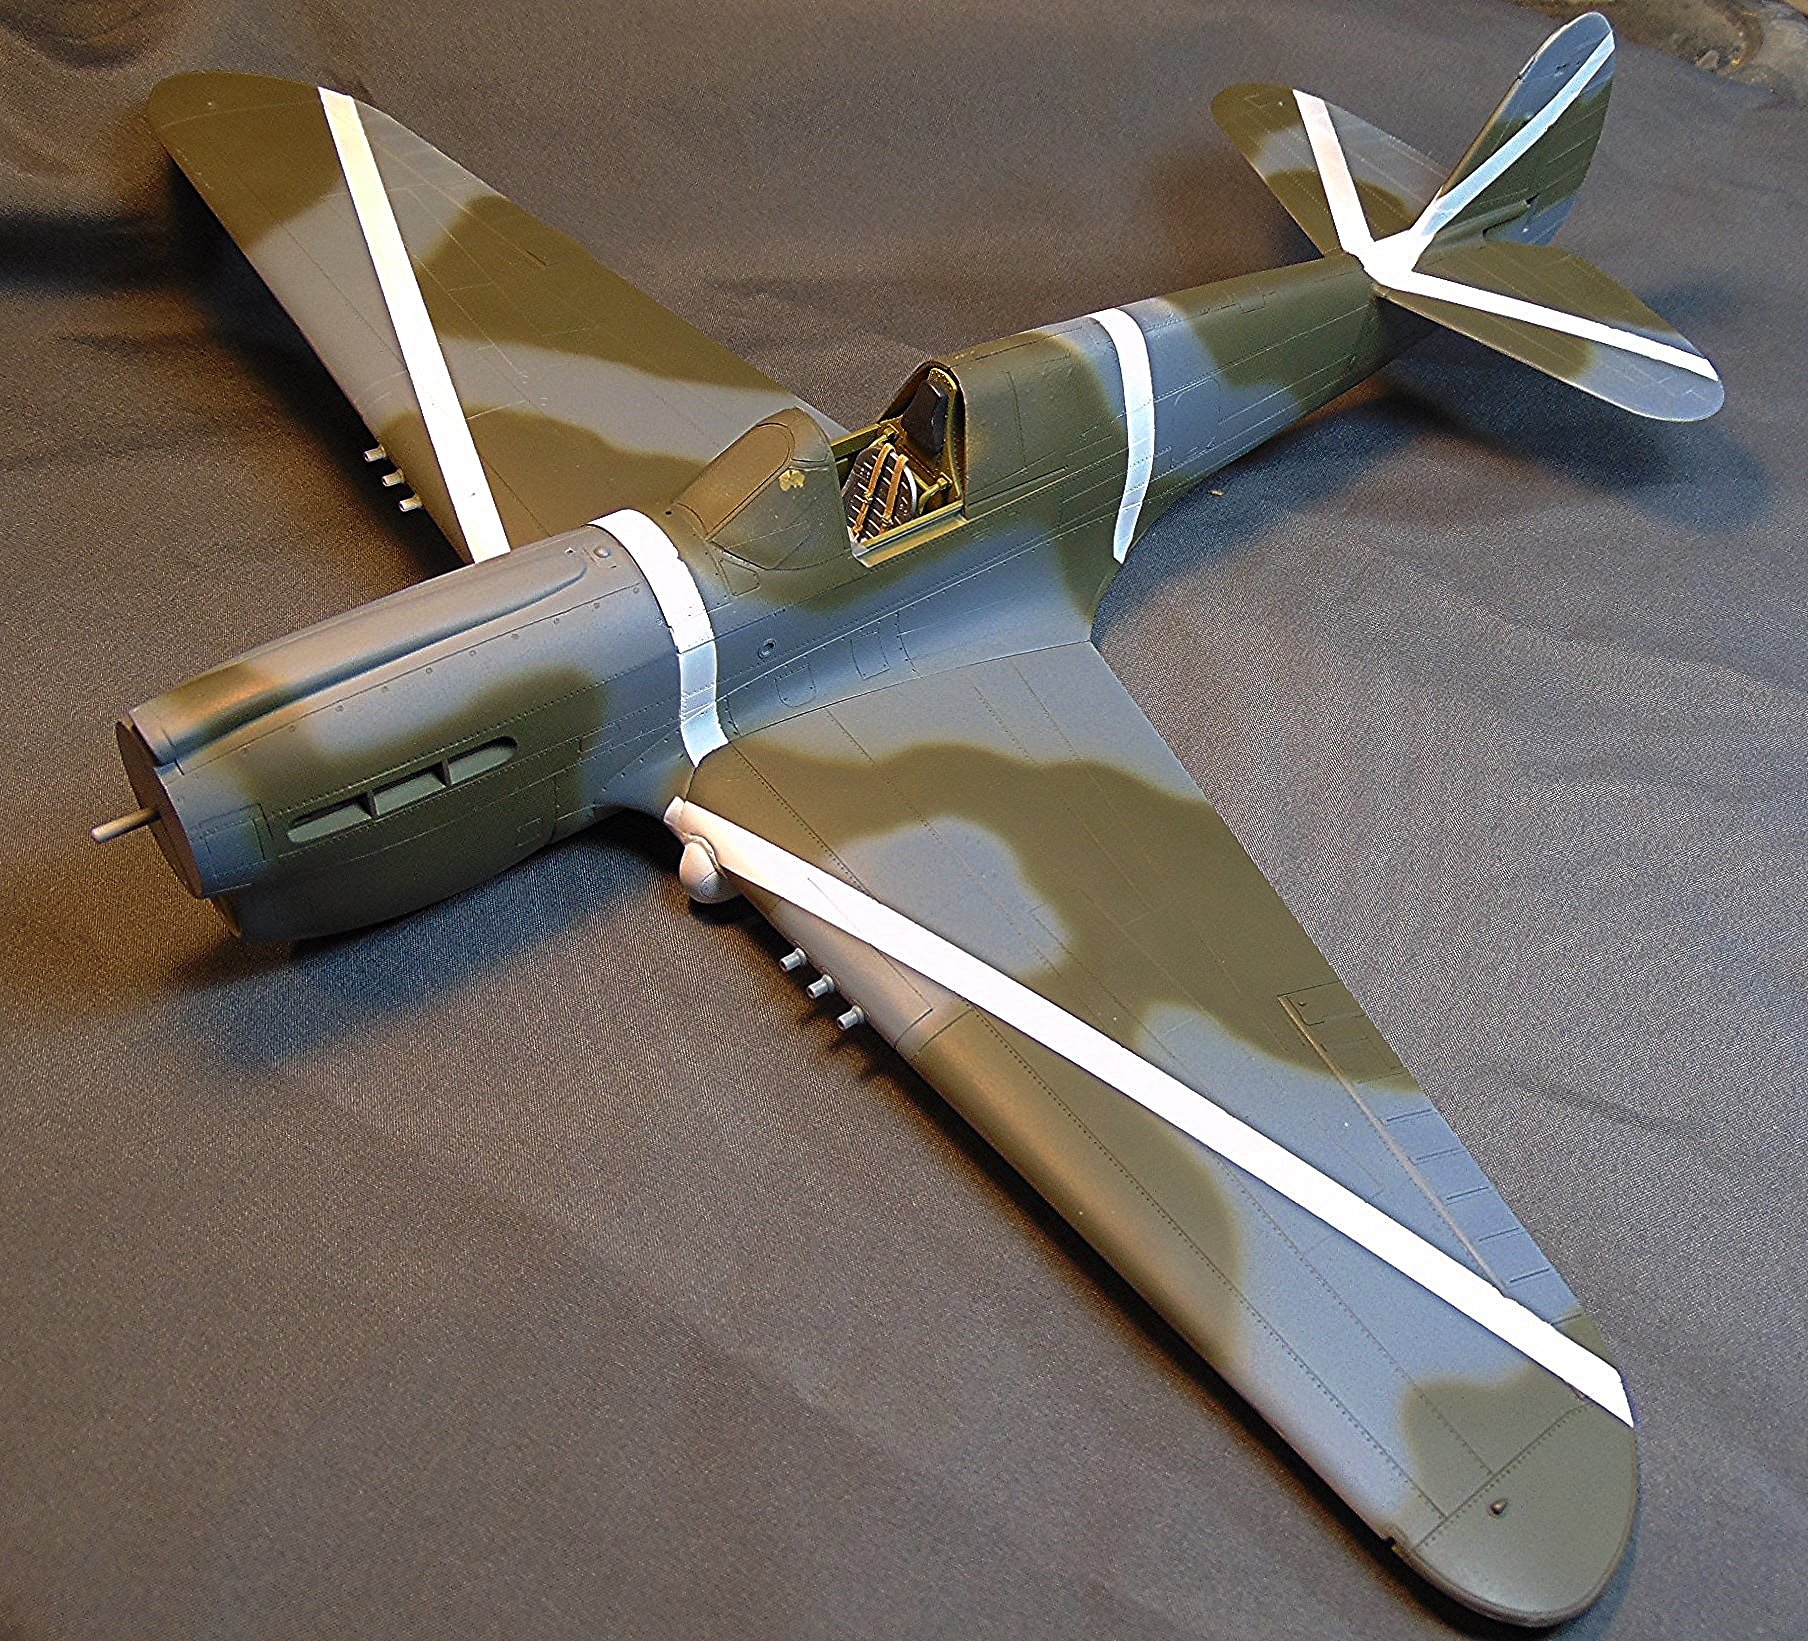
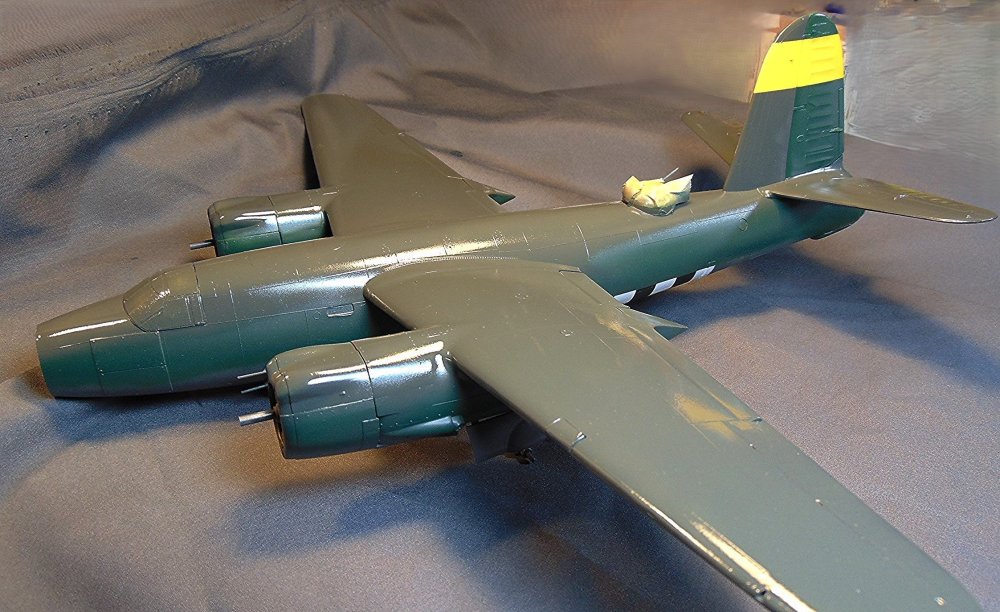
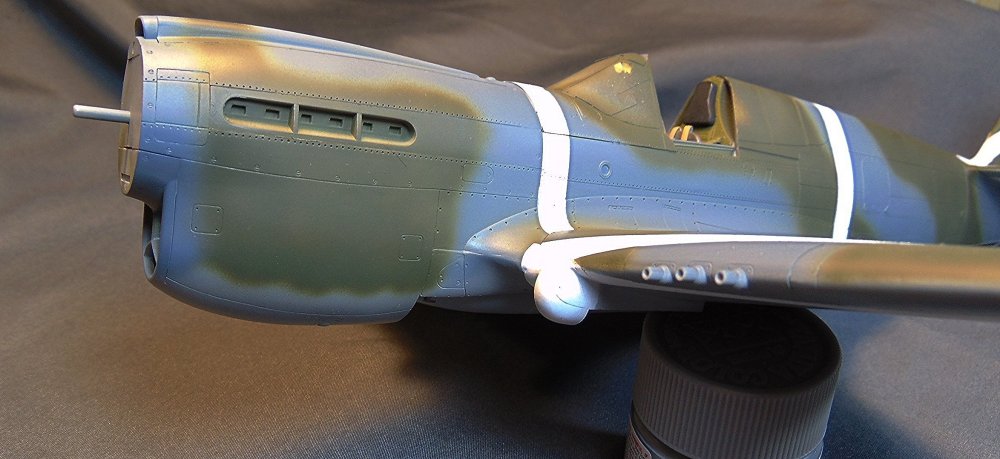
Painting coming along well so far. I'm not real sure I like the Medium Green but I figure it'll look alright after decaling and over spraying with clear flat. Fingers crossed. 🙂

-
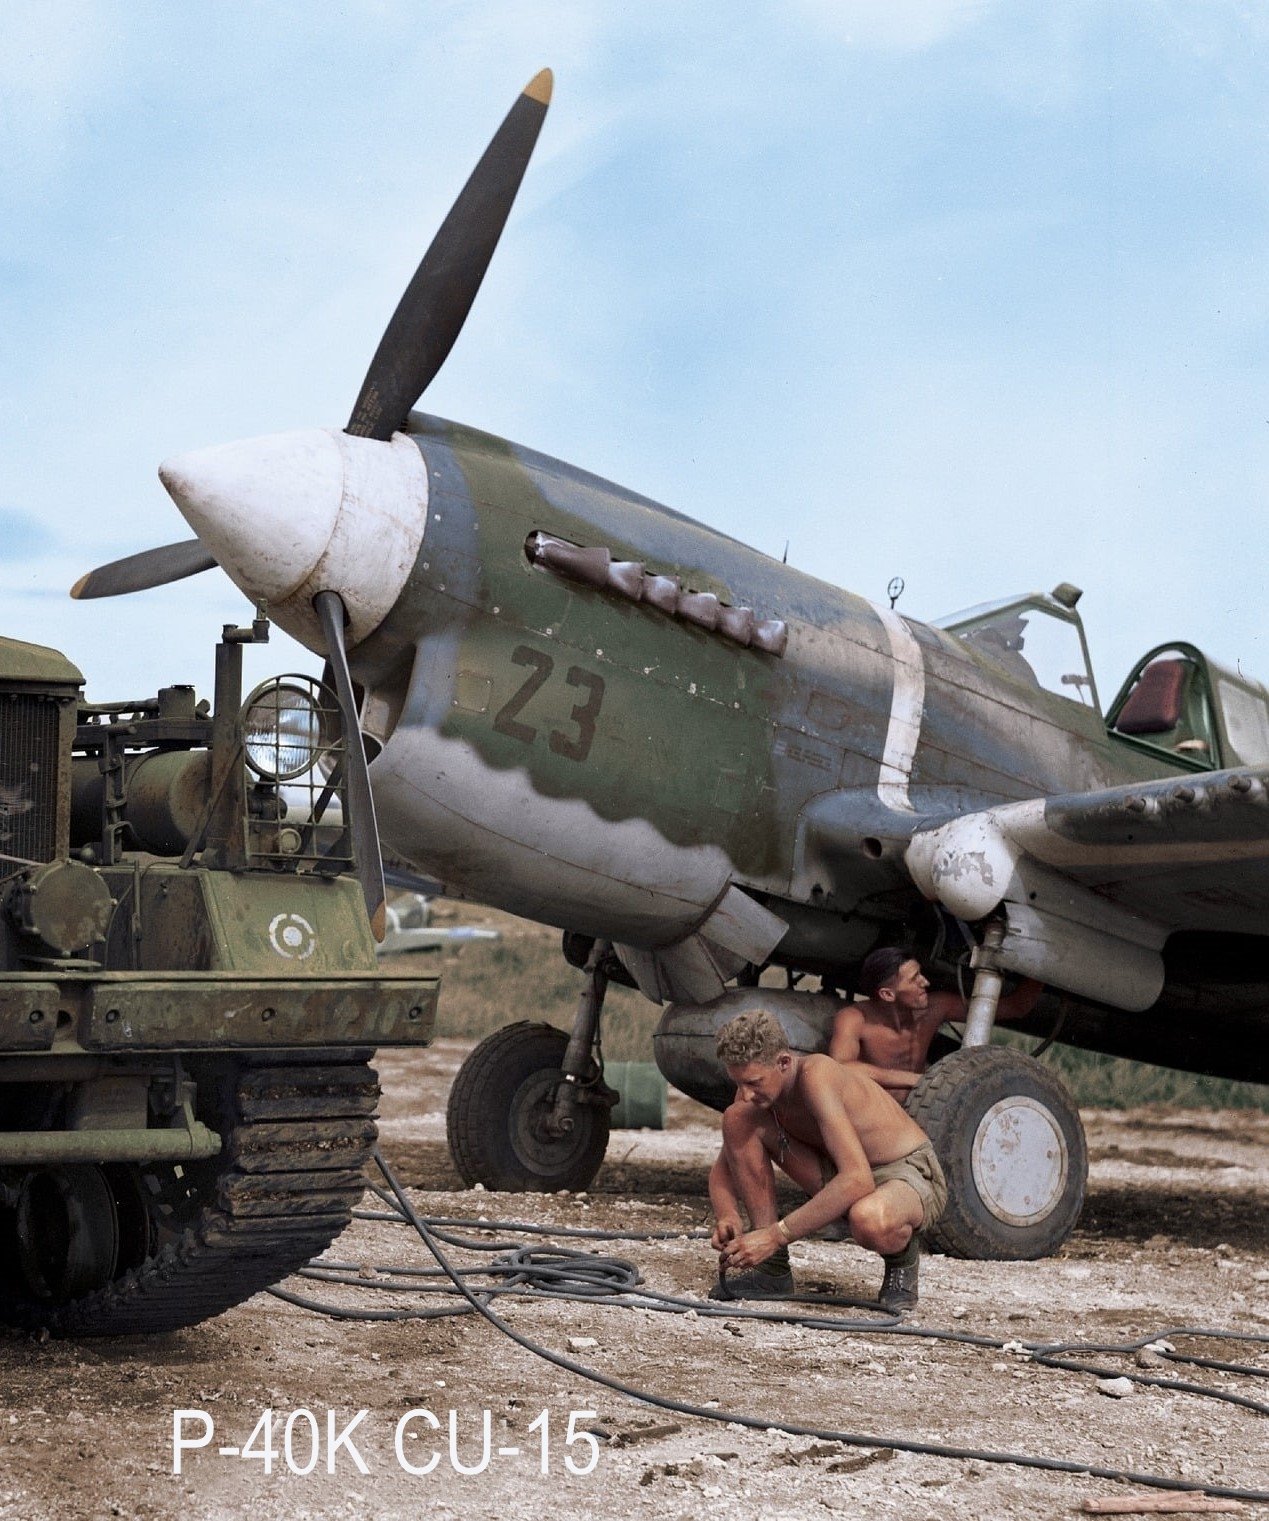
Here's the a/c I'm building. A little out of the usual. 🙂
-
I'm short on space too Kevin. I've been putting some of them away in boxes. At least it keeps them from getting dusty!
-
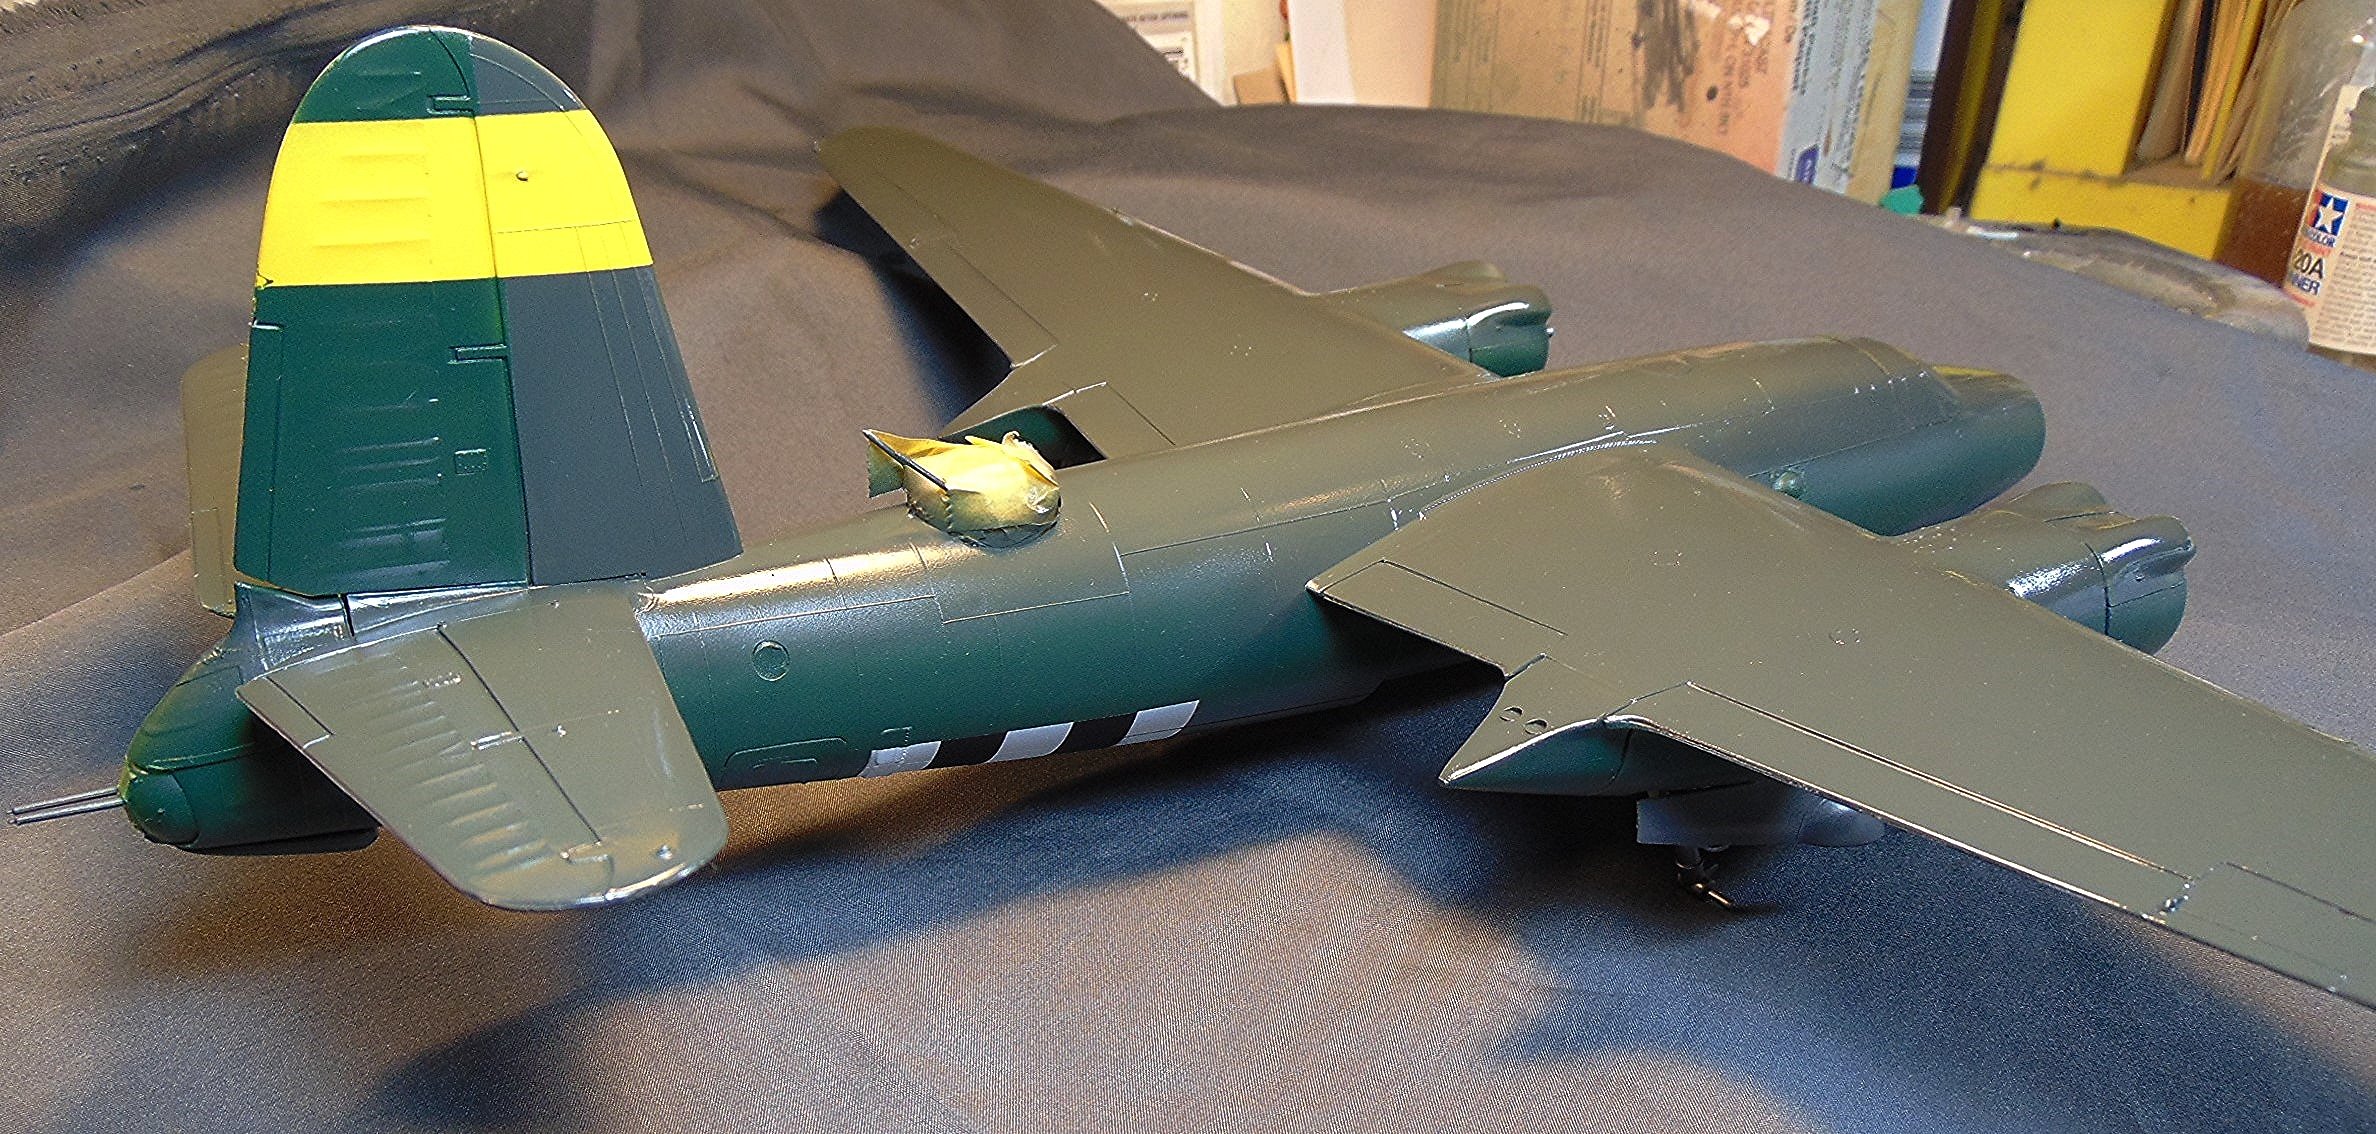
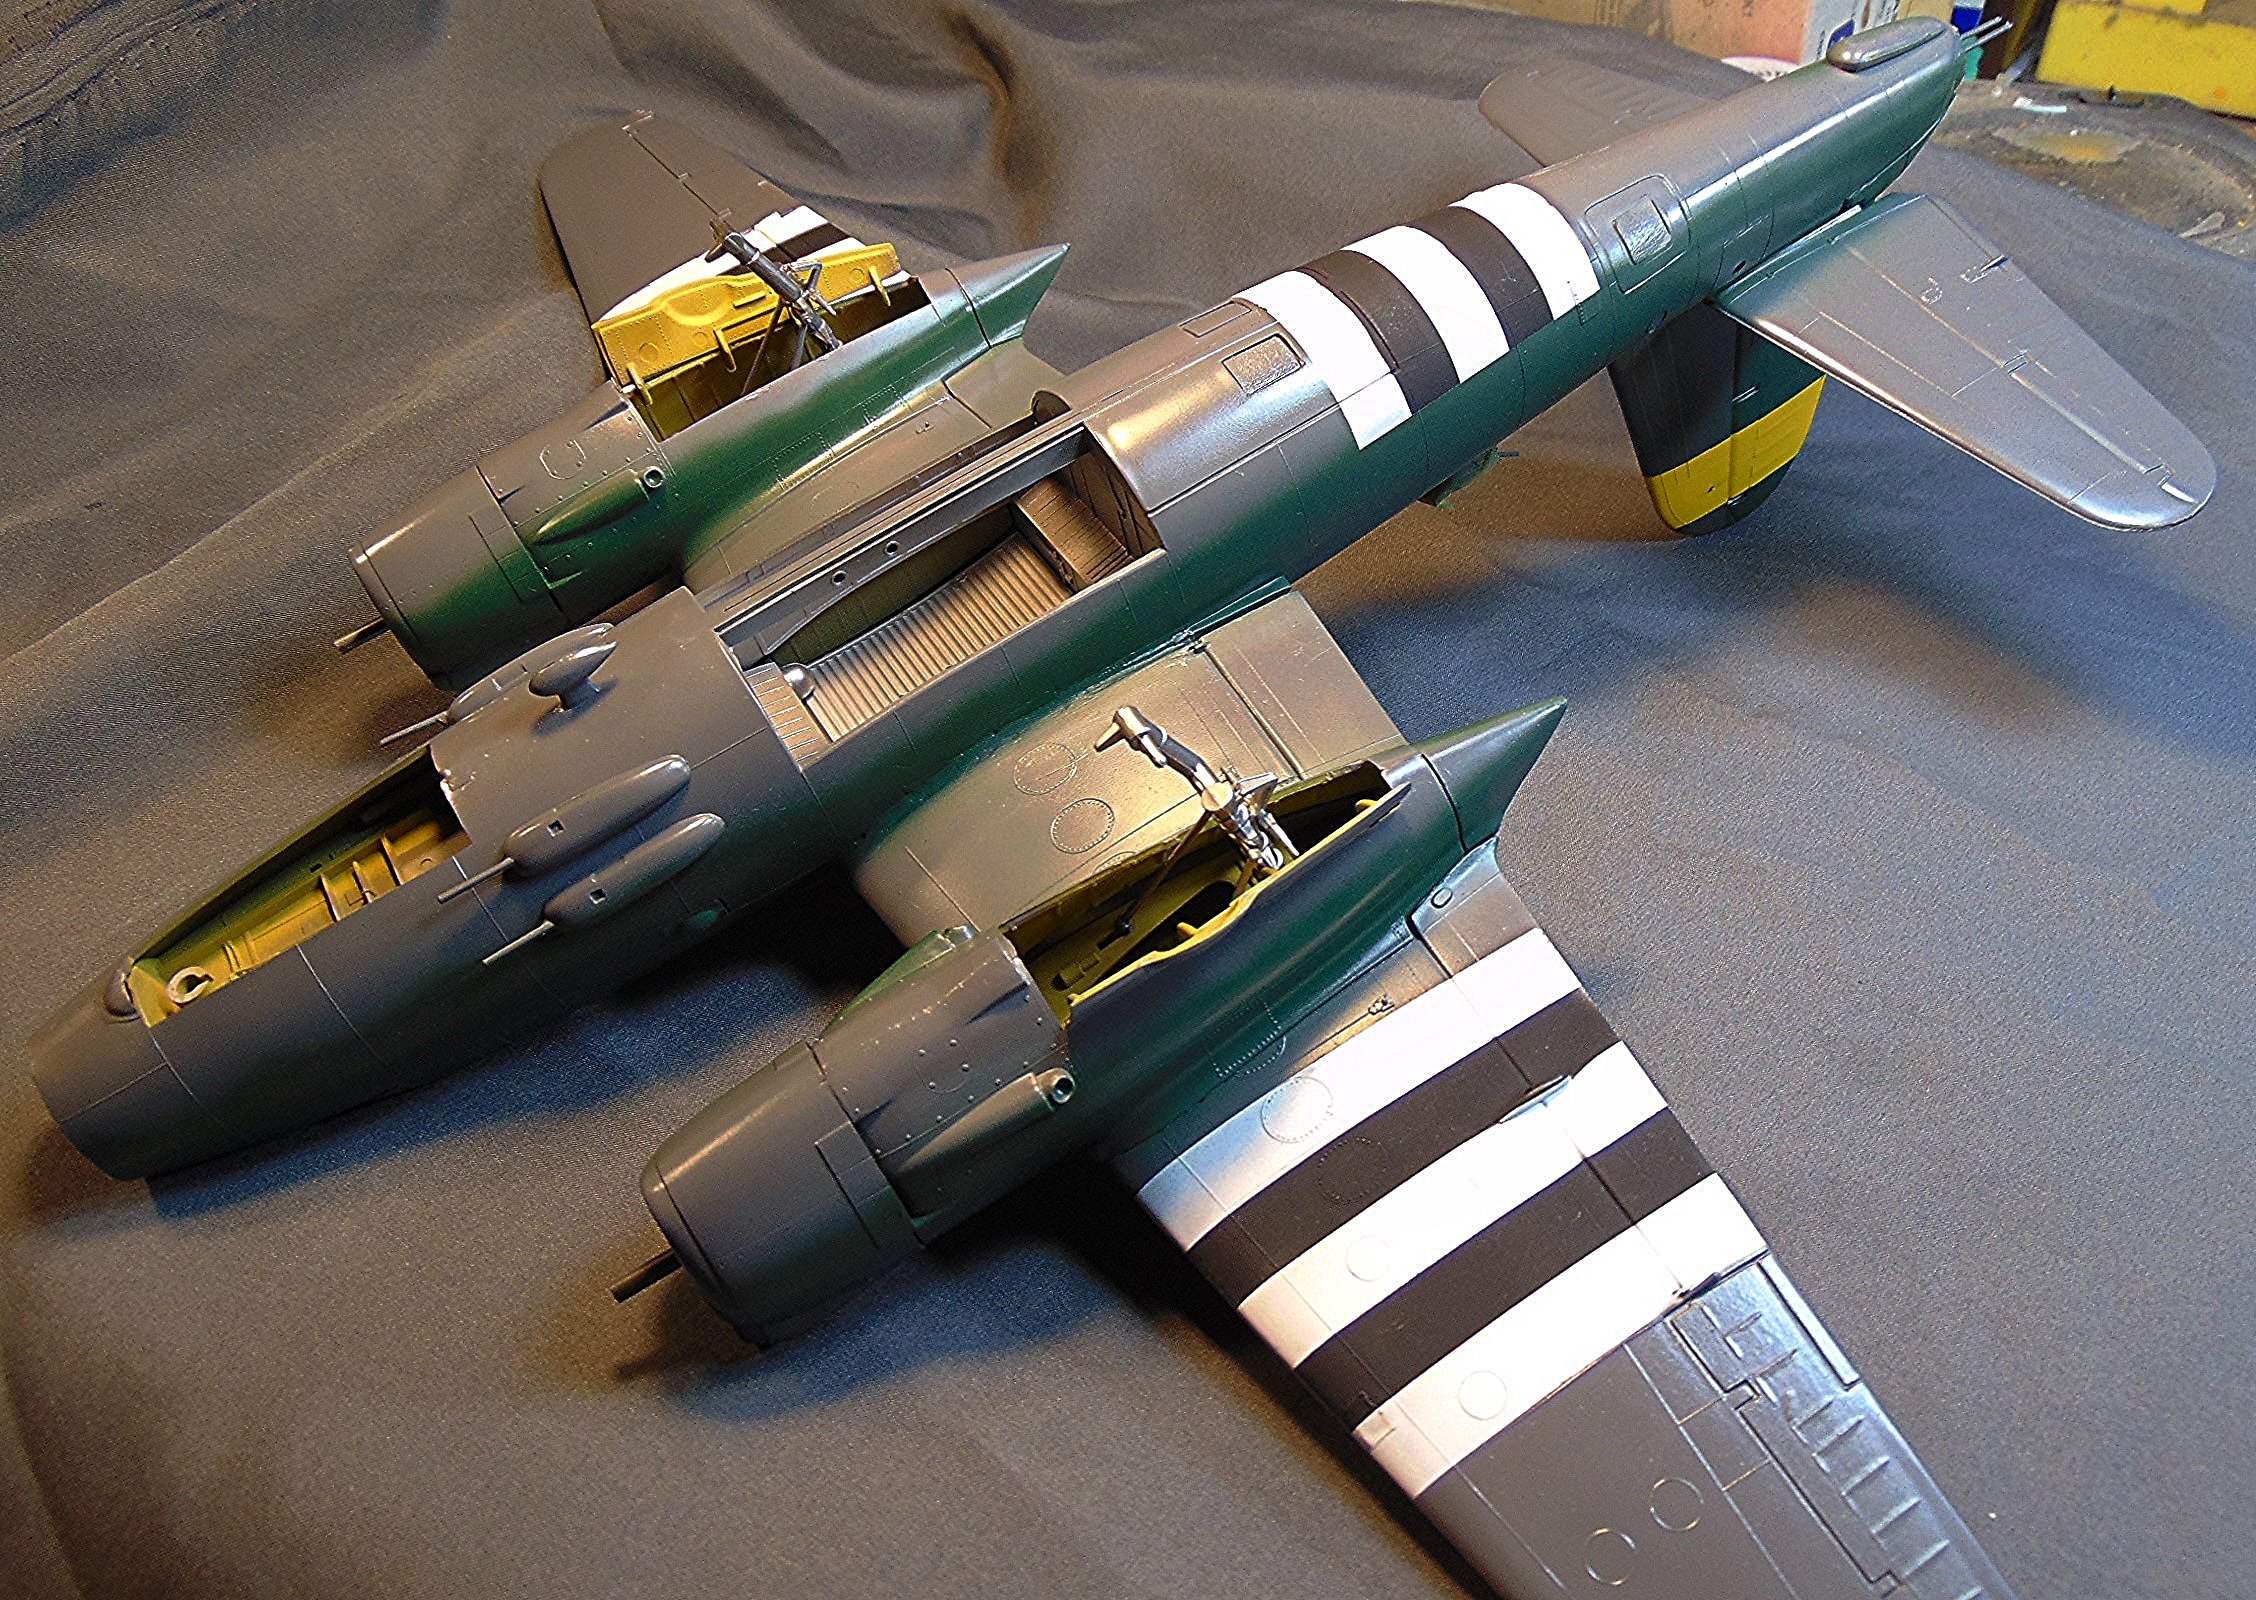
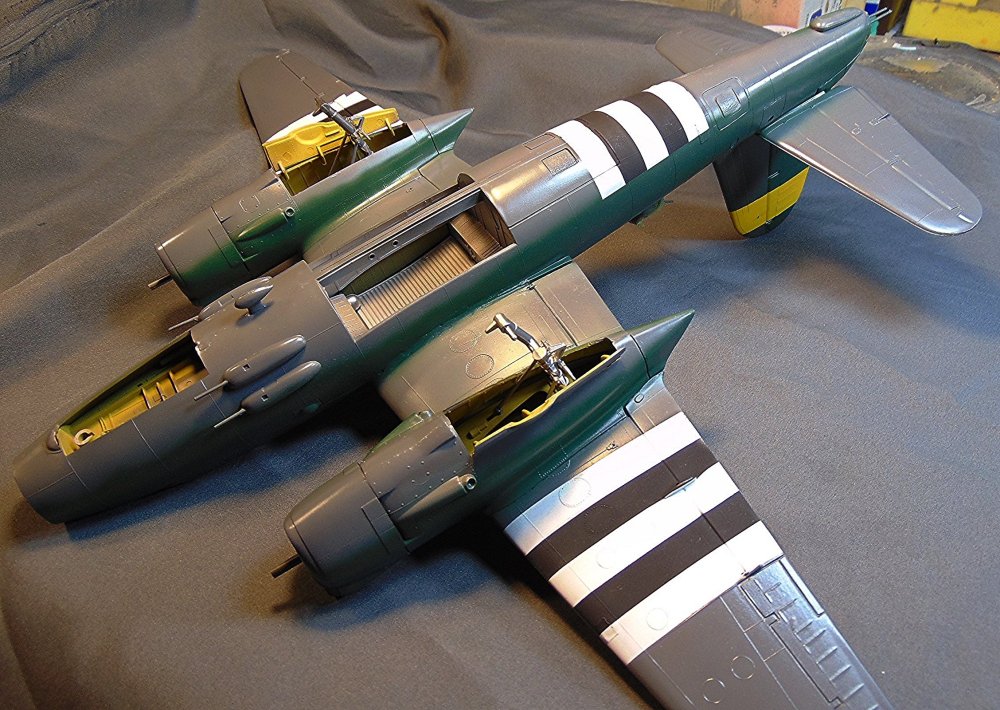
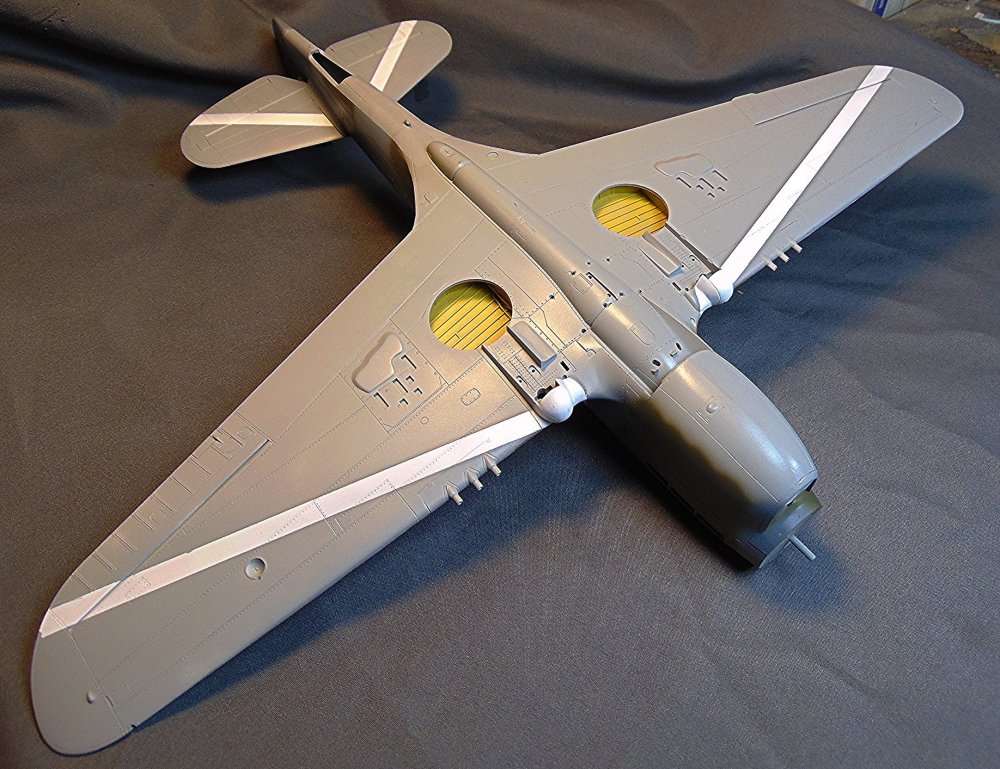
Painting under way. Invasion stripes with Tamiya and undersides with Xtracolor. Uppers will also be Xtracolor. 🙂

-
Agreed, thanks.
-
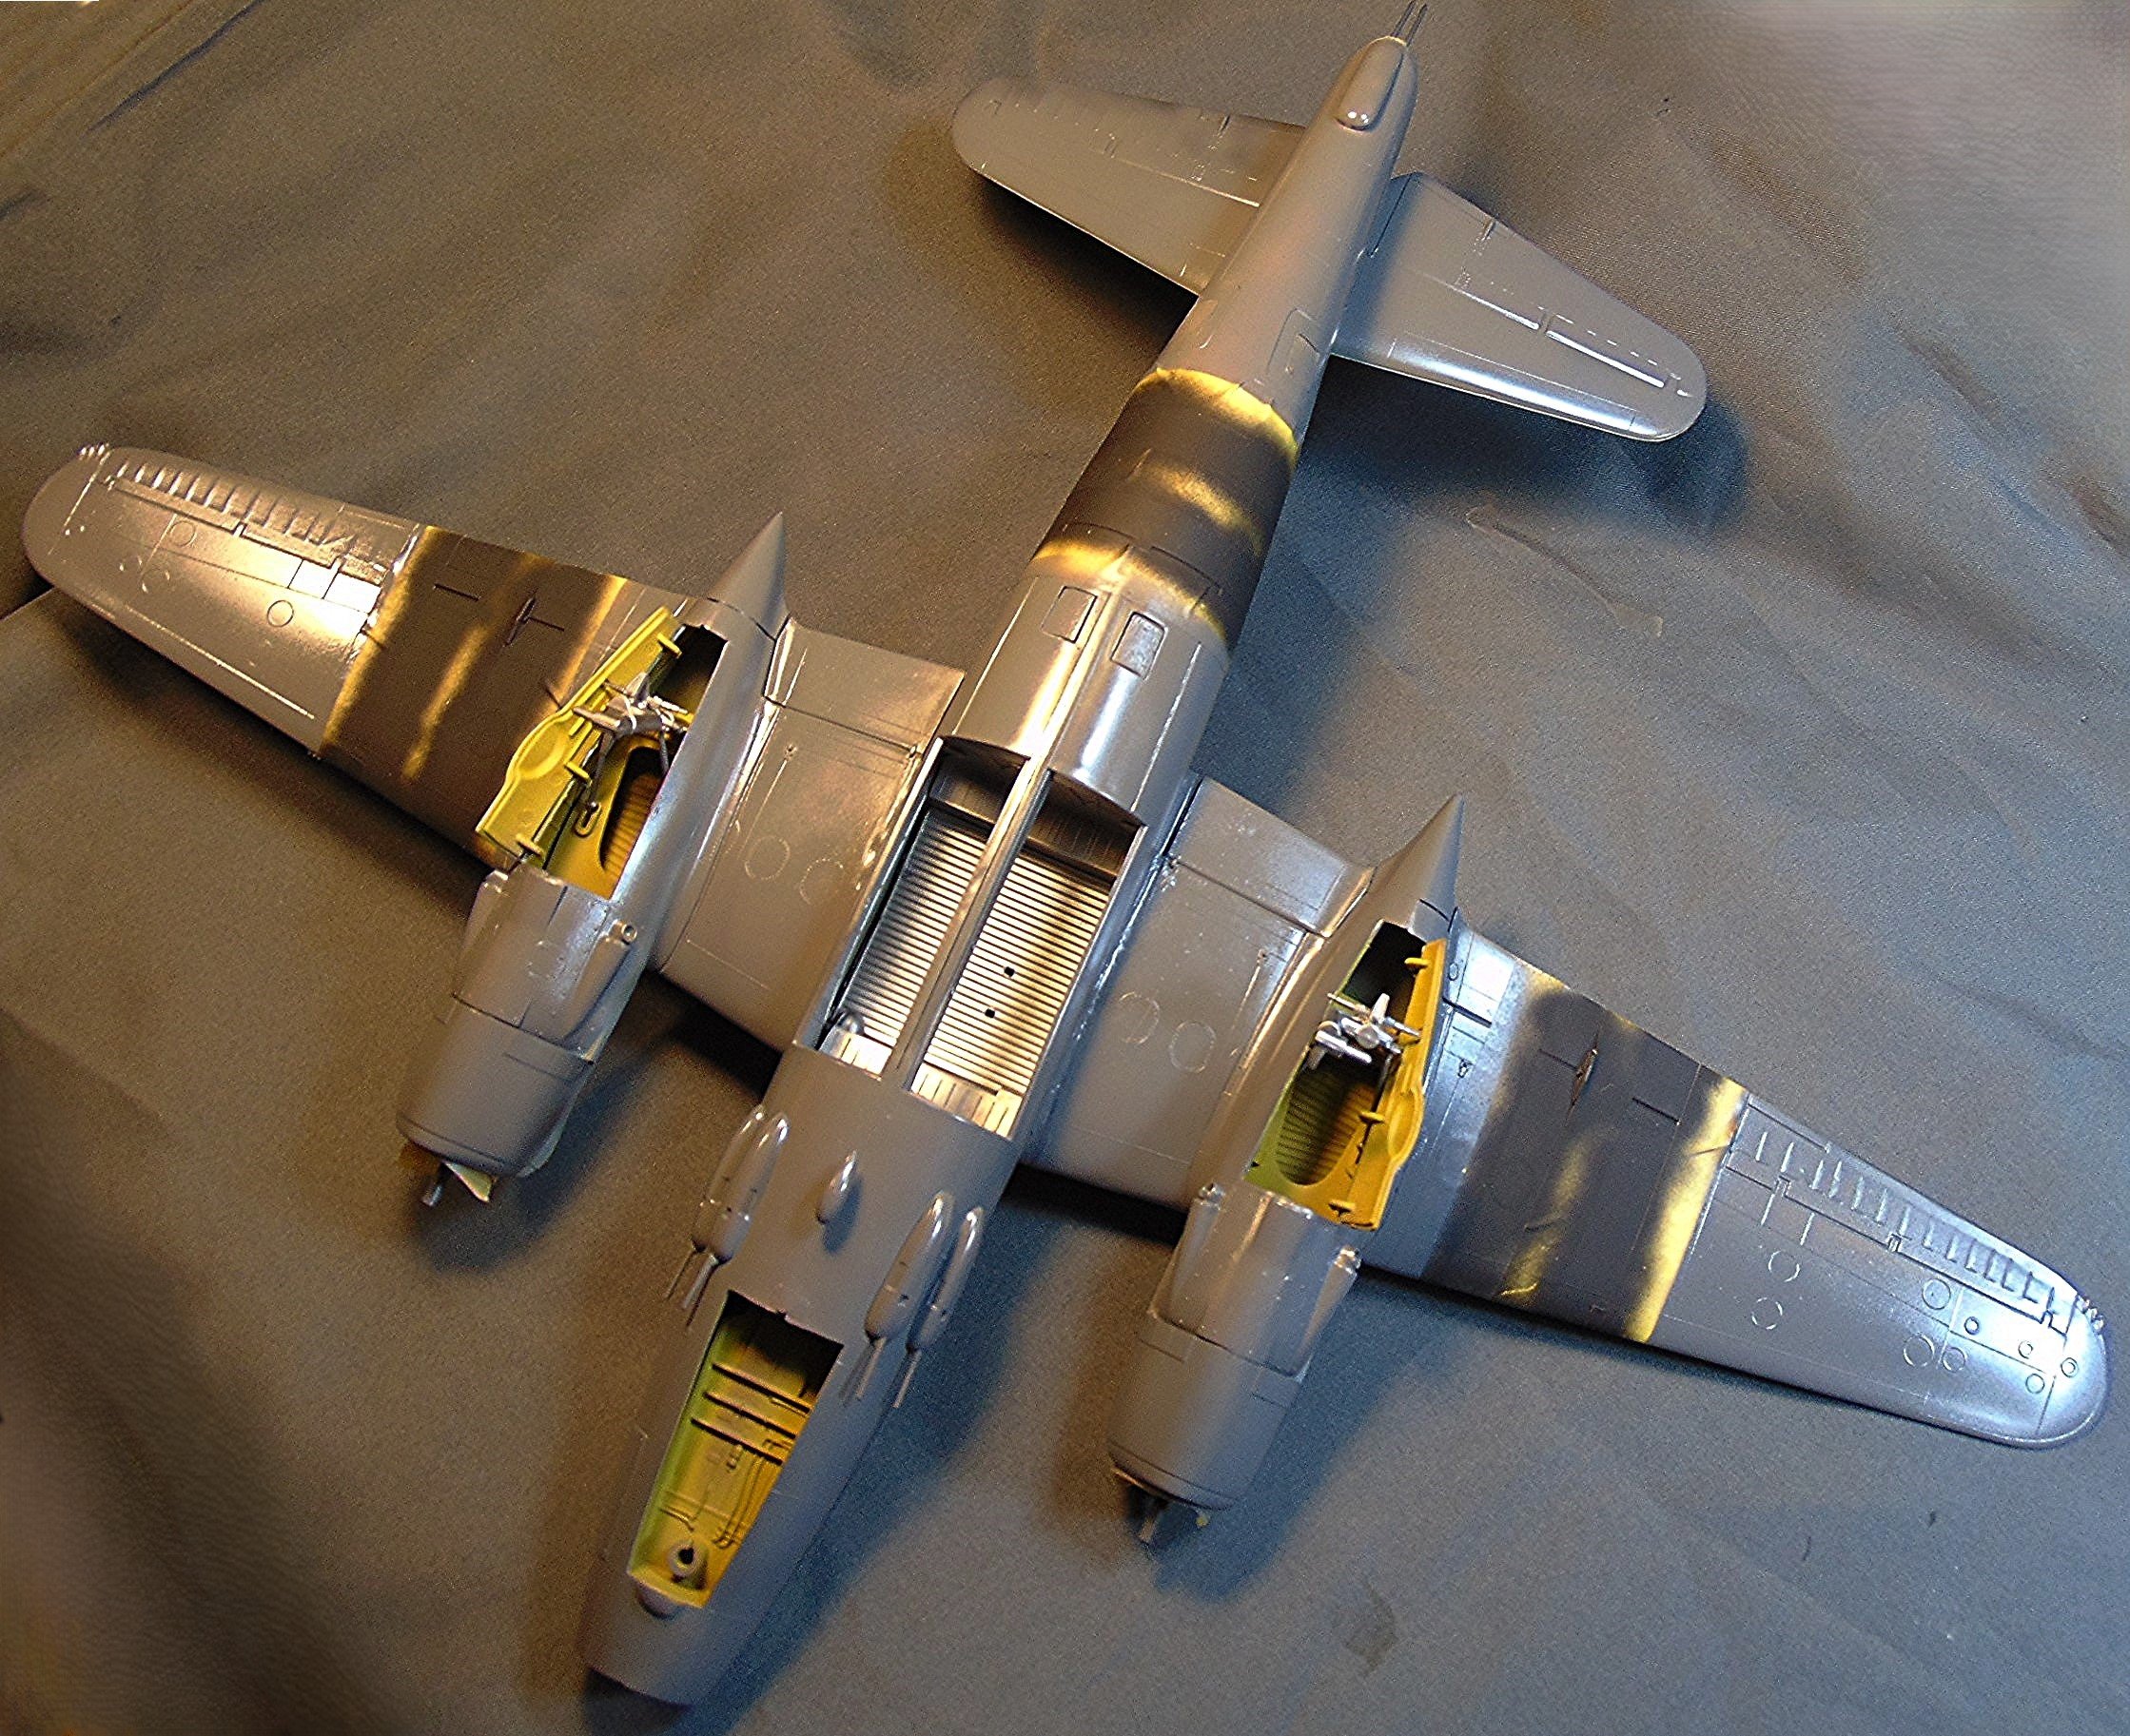
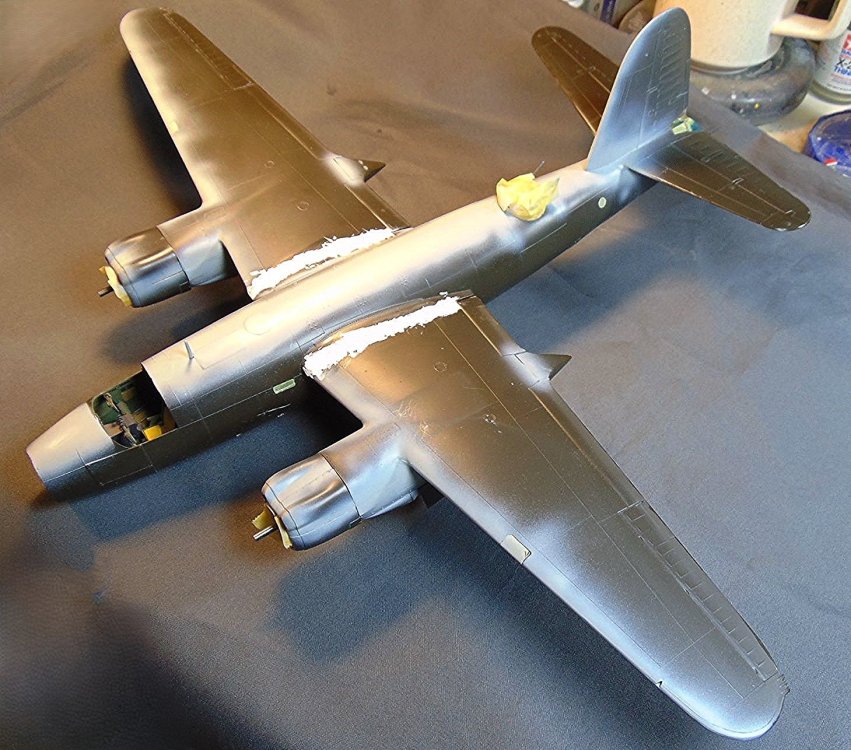
Coming along. A fair amount of sanding and puttying is needed.
-
Thank you! 🙂
-
I figured the time was right to get back on this one. It's been sitting partially done for quite a while. 🙂
-
I've had this kit for a good while and have worked on it some from time to time. I decided to re-start it and hopefully finish the build this time. It's a good kit even with the raised panel lines.

-
The main problems so far were nearly everything on the engine. Lots of fitting and re-fitting and never getting anything, especially the exhausts, to fit. The cockpit, etc was ok. I didn't want to keep fighting the engine assembly so it was to the SOD. Kids love snow for sure.
-
I'll be glad when it's all gone Kevin! LOL I may get back on the Skyraider at some point but for now it'll stay on the SOD.
-

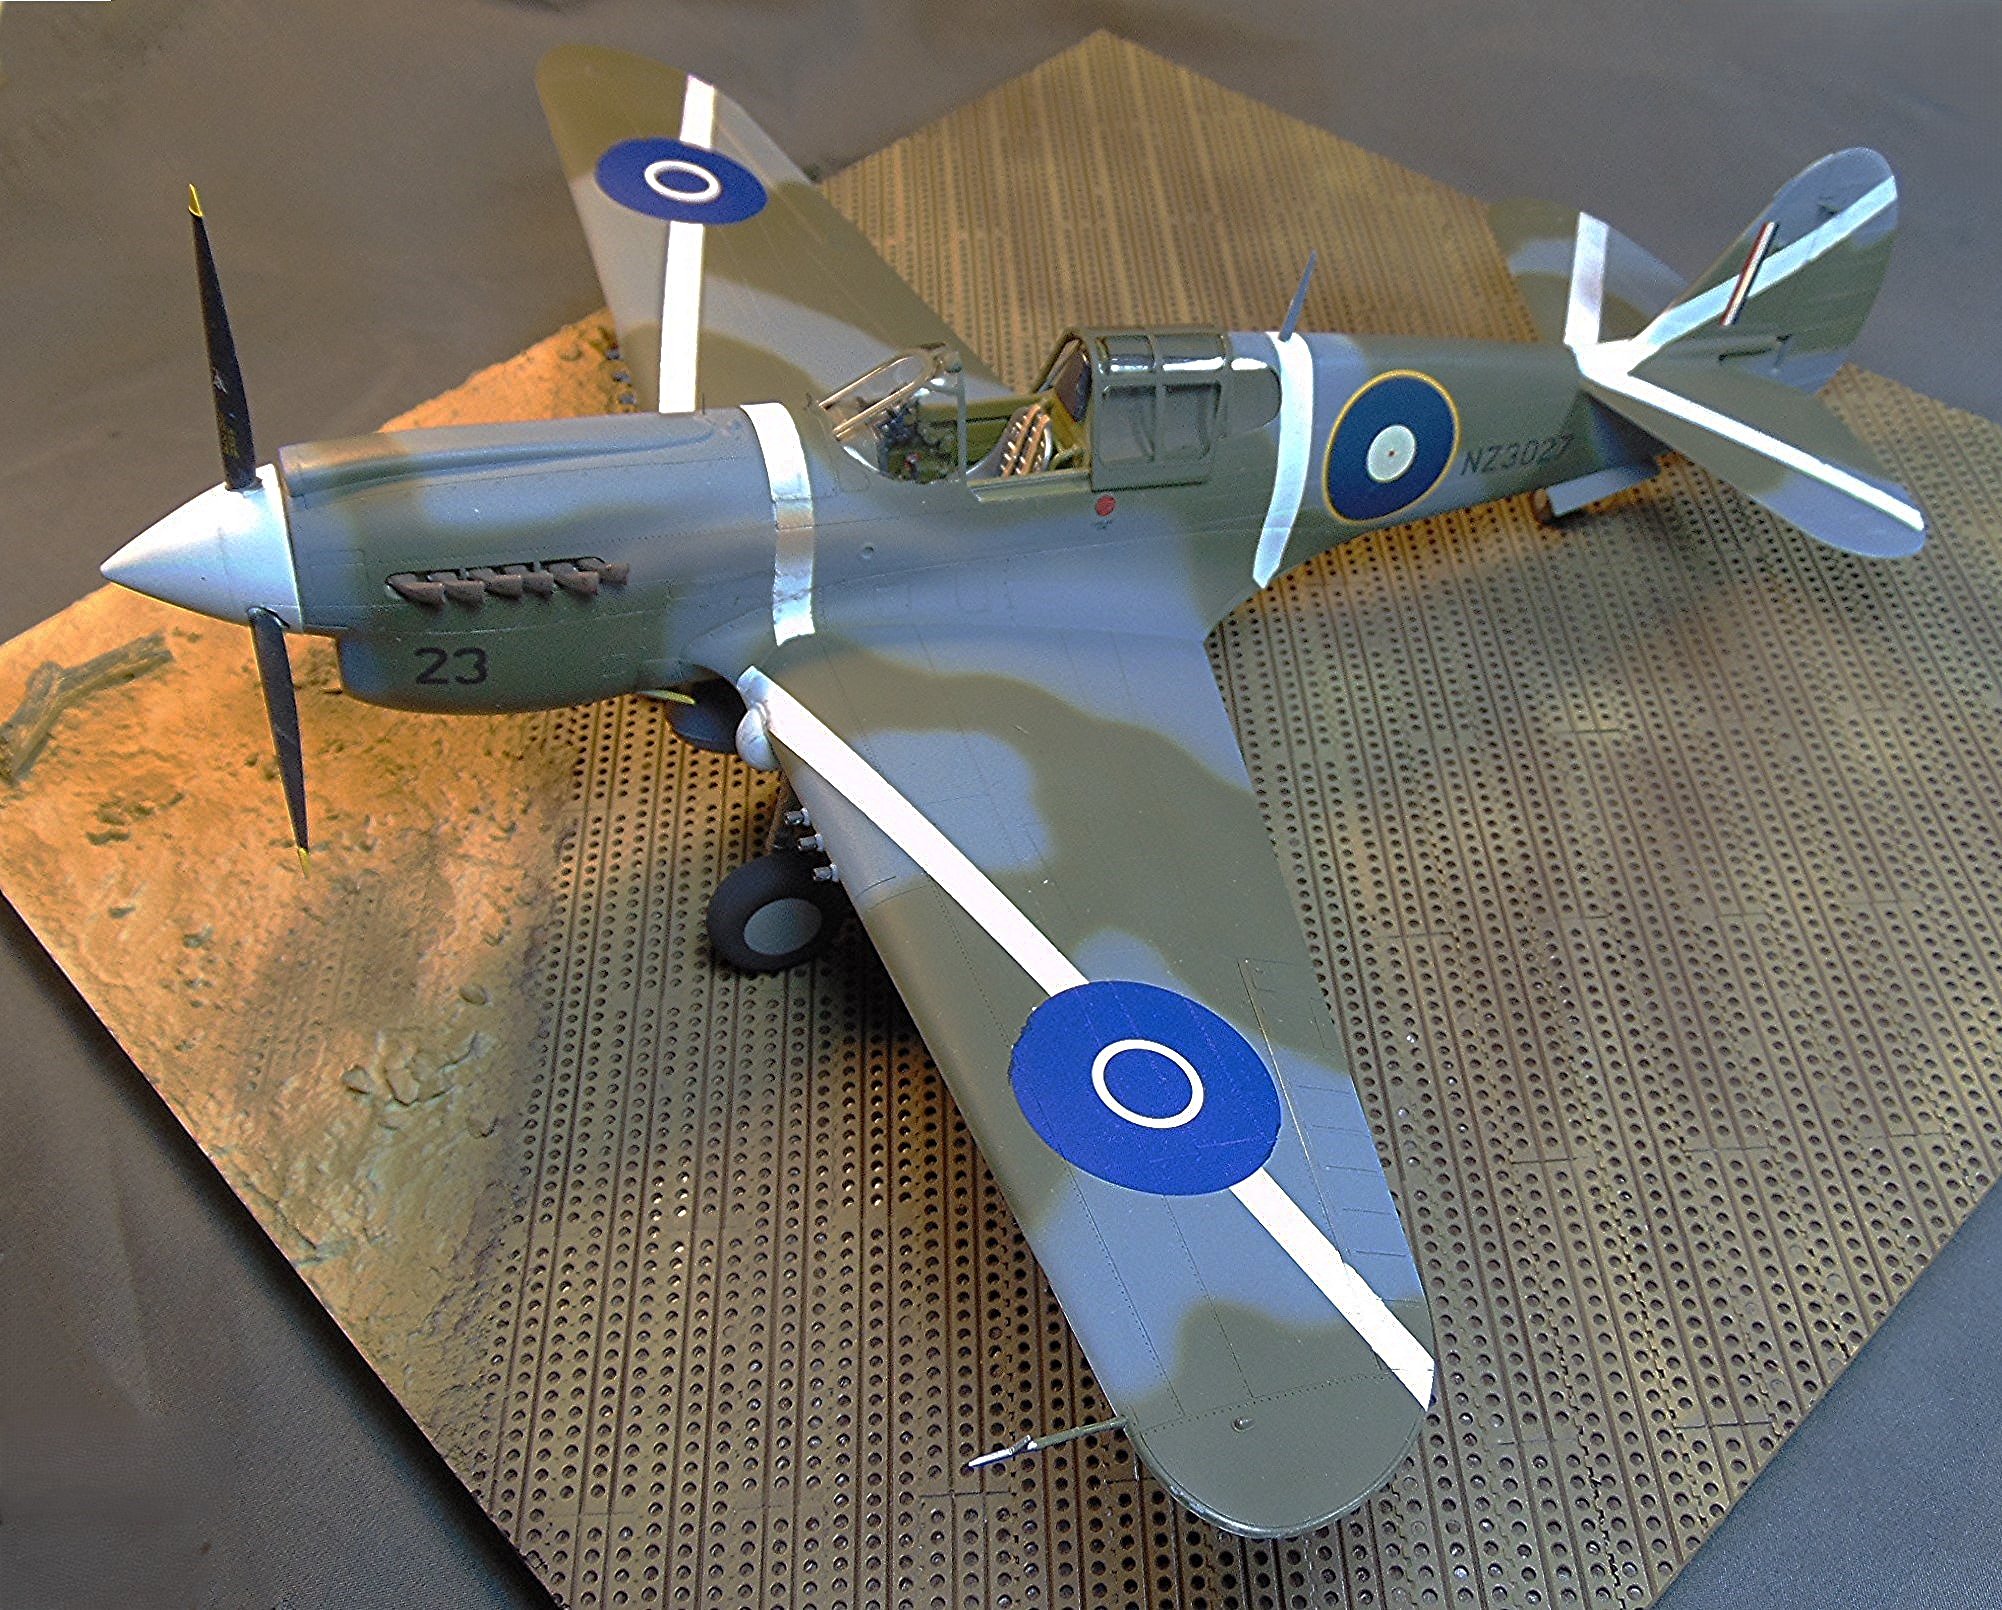
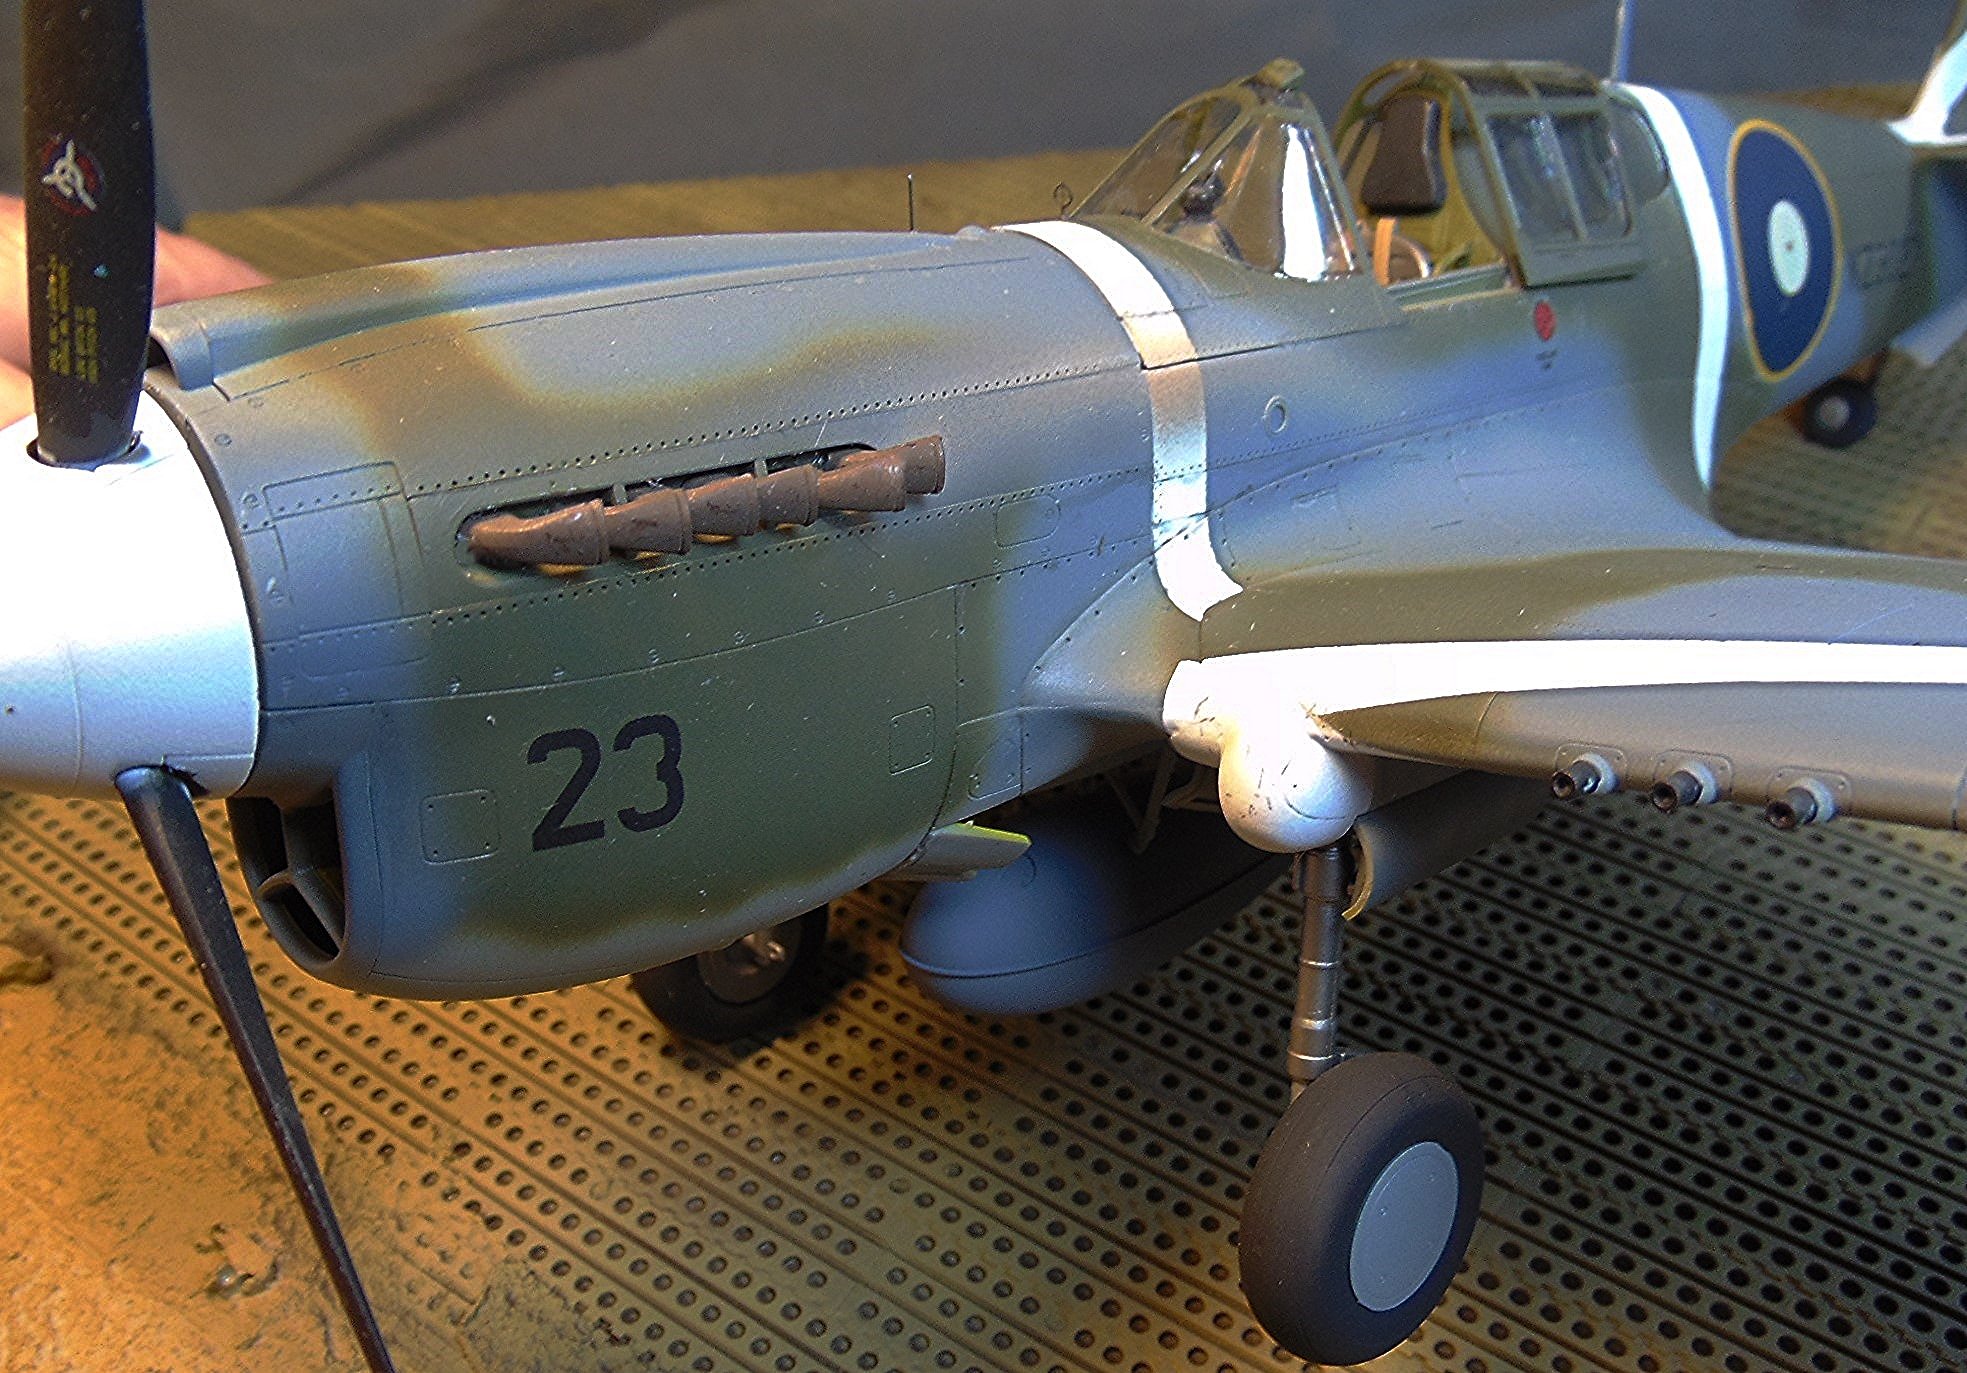
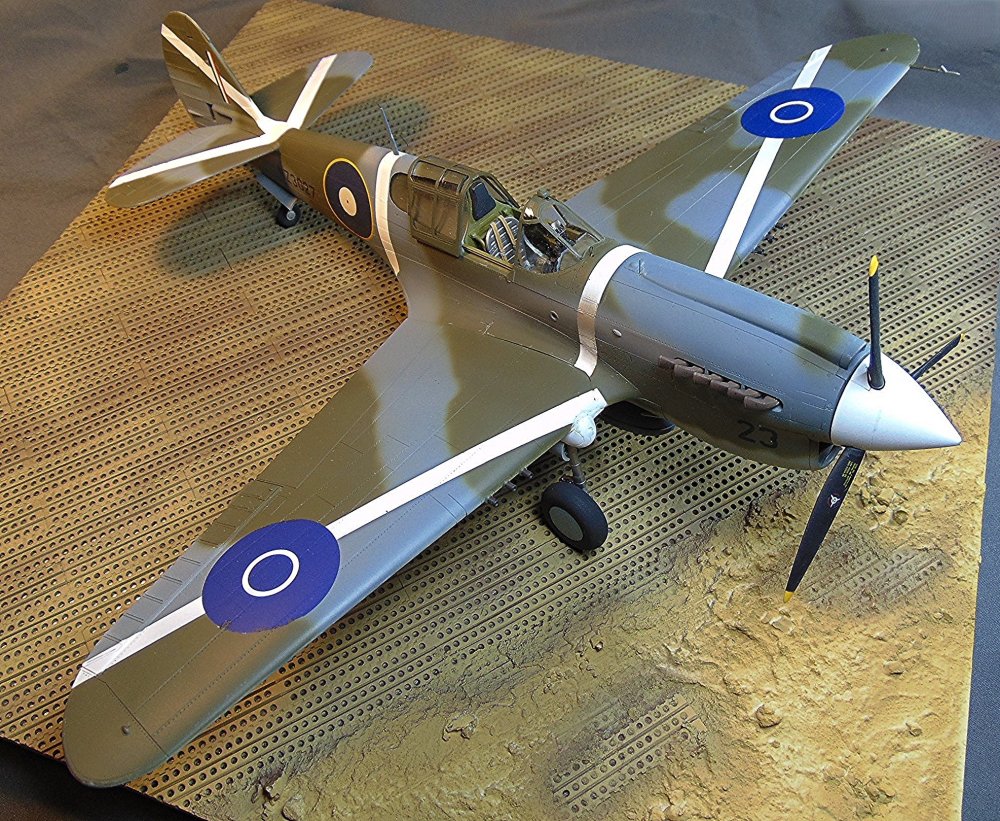
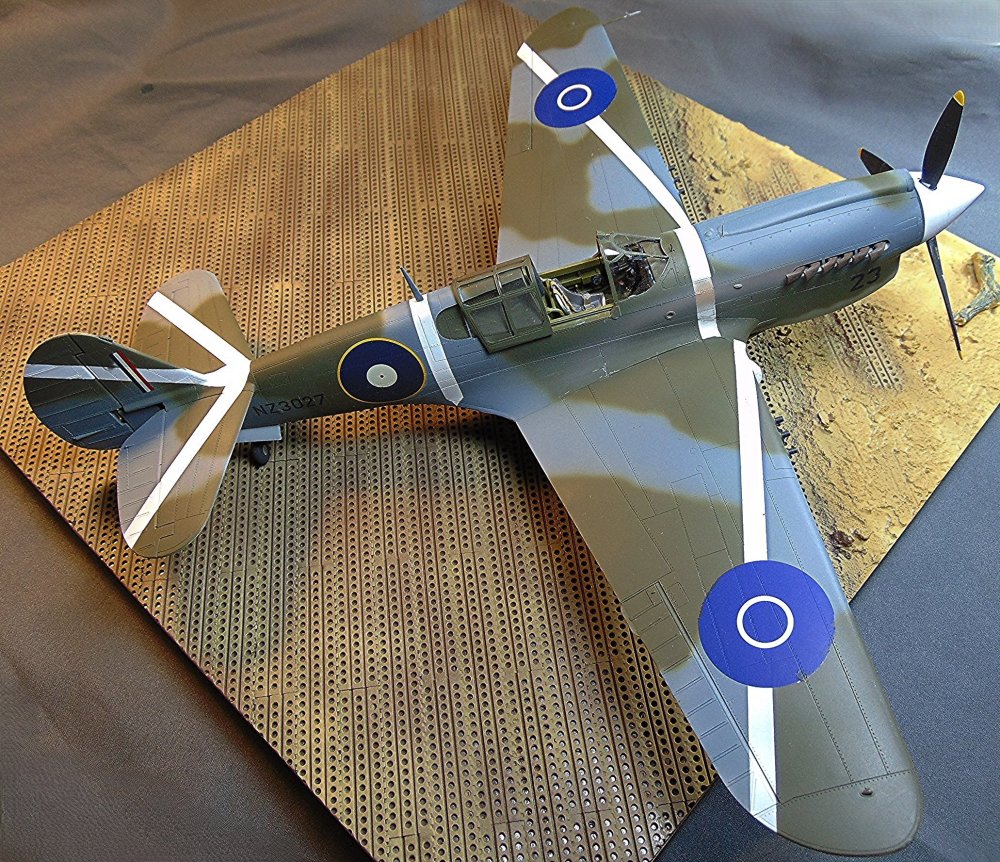
Hasegawa RNZAF Kittyhawk (P-40K-15) done
JohnB replied to JohnB's topic in LSM 1/32 and Larger Aircraft Ready for Inspection
LOL Thank you Martin. I'm pleased that you like it! 🙂 -
Hasegawa RNZAF Kittyhawk (P-40K-15) done
JohnB replied to JohnB's topic in LSM 1/32 and Larger Aircraft Ready for Inspection
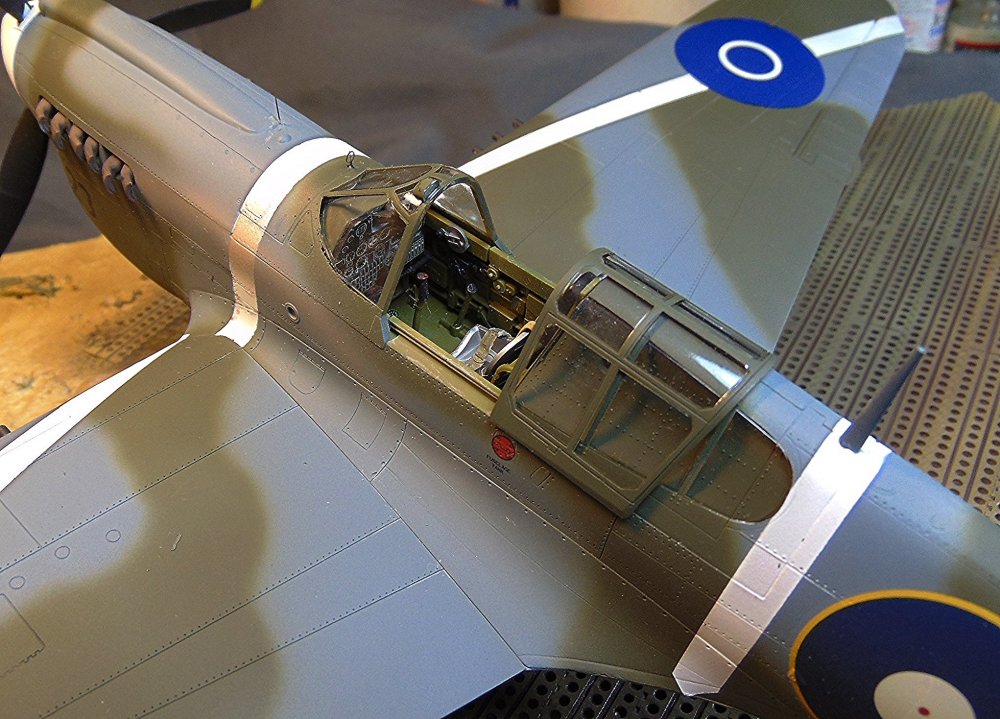
Thank you Kevin. Very much appreciated. I wish I had thought to remove the little nav light recesses below the cockpit. Too late now! -
All done. https://forum.largescalemodeller.com/topic/20951-hasegawa-rnzaf-kittyhawk-p-40k-15-done/
-
Finished with this one. Painted with Tamiya acrylics. Decals are from the kit and my decal stash. I'm glad to be finished with it. I hope you like it.


-
I see it now Kevin, thanks.
-
Touch-up? Where Kevin? I intend to leave it like it is as I don't see any need for any touch-up. 🙄 What am I missing?
-
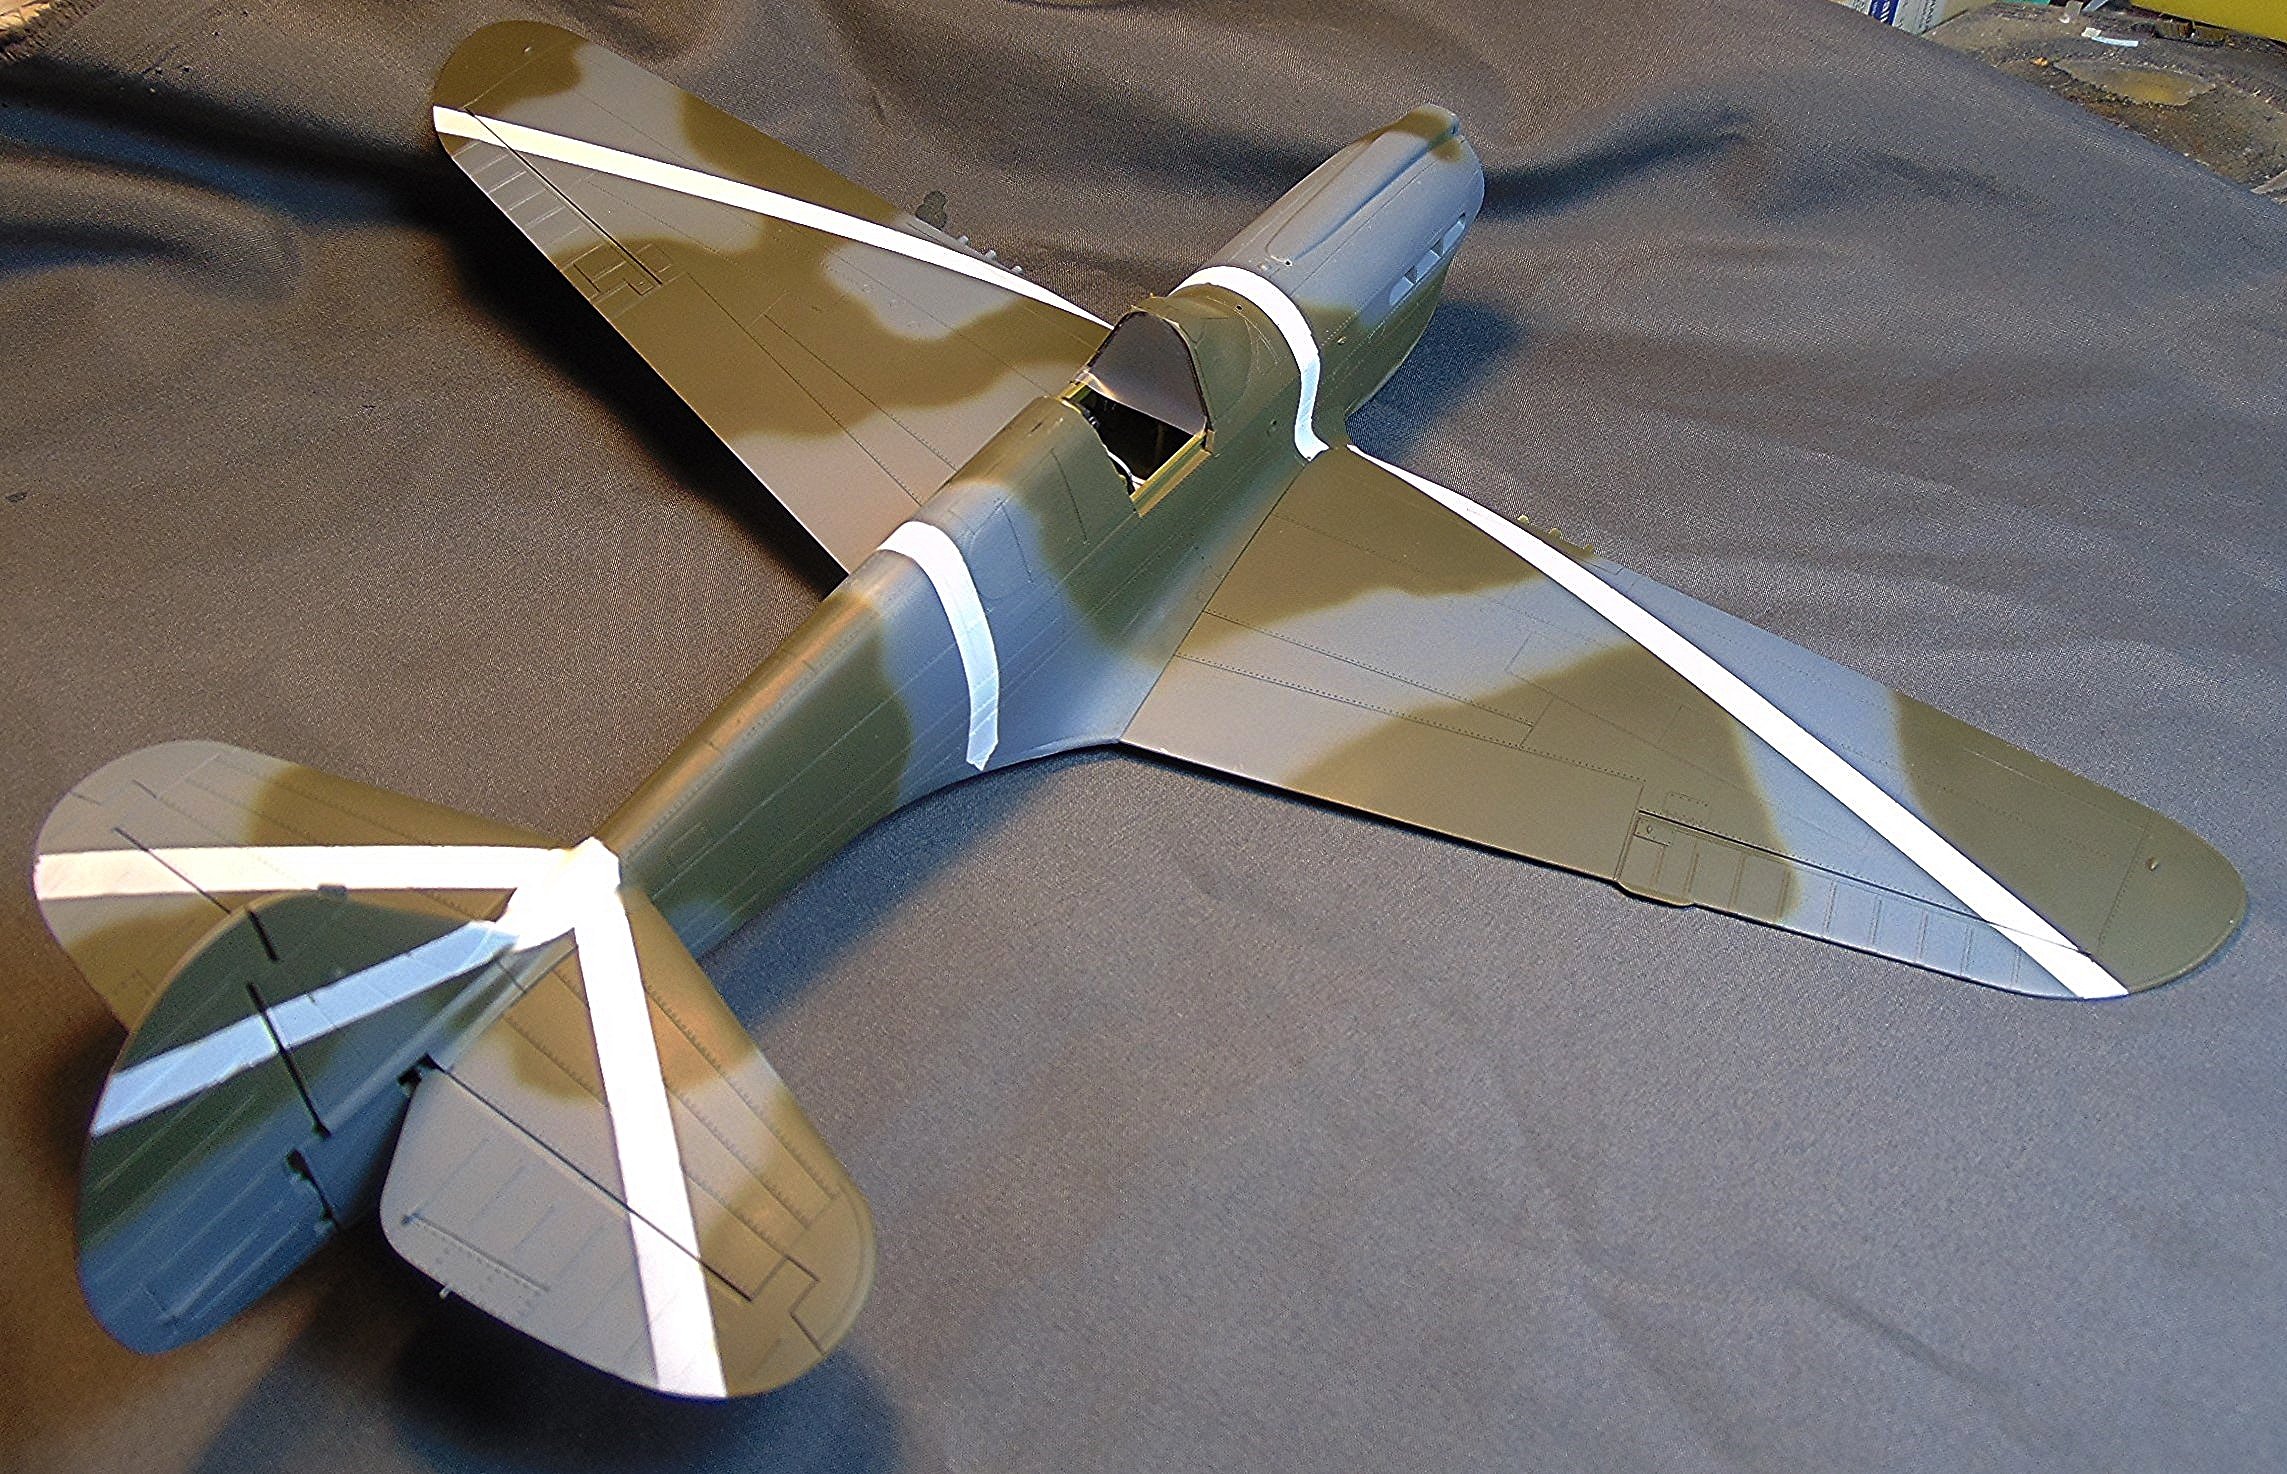
Camo done! 🙂Still a long way to go though.


-
A little different this time. 🙂
-
About ready for the camo! 🙂