JohnB
-
Posts
7,247 -
Joined
-
Last visited
Content Type
Profiles
Forums
Events
Gallery
Everything posted by JohnB
-
Miniart has several P-47 kits available and I plan to build several starting with this "N". 🙂
-
Yes it's Trumpeter Kevin. I'm glad you like it! 🙂 Thanks.
-
You are very welcome Martin! 🙂
-
I was checking my two copies of ONI-208-J looking for a specific ship (AWA Maru) and I decided to re-post this for some of you that might not have seen the original posting a while back. I think they are a VERY interesting and valuable piece of WW II history. Usually when you read a book written by a ex WW II submariner you will see some references to these. I'm very pleased to have these in my collection of WW II militaria. 🙂
-
LOL Martin. Thanks.
-
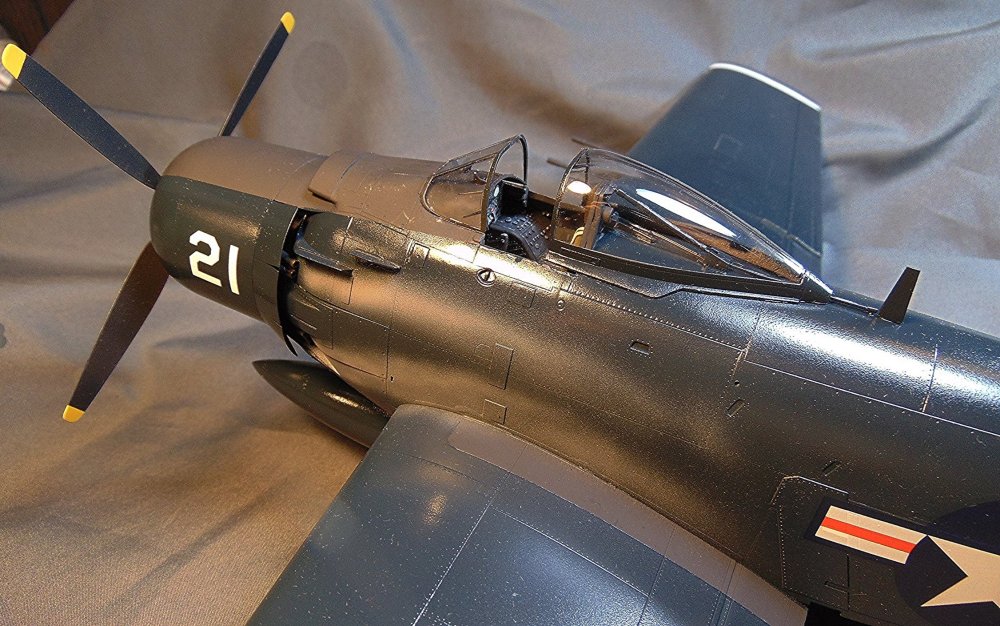
All done with this one.
-
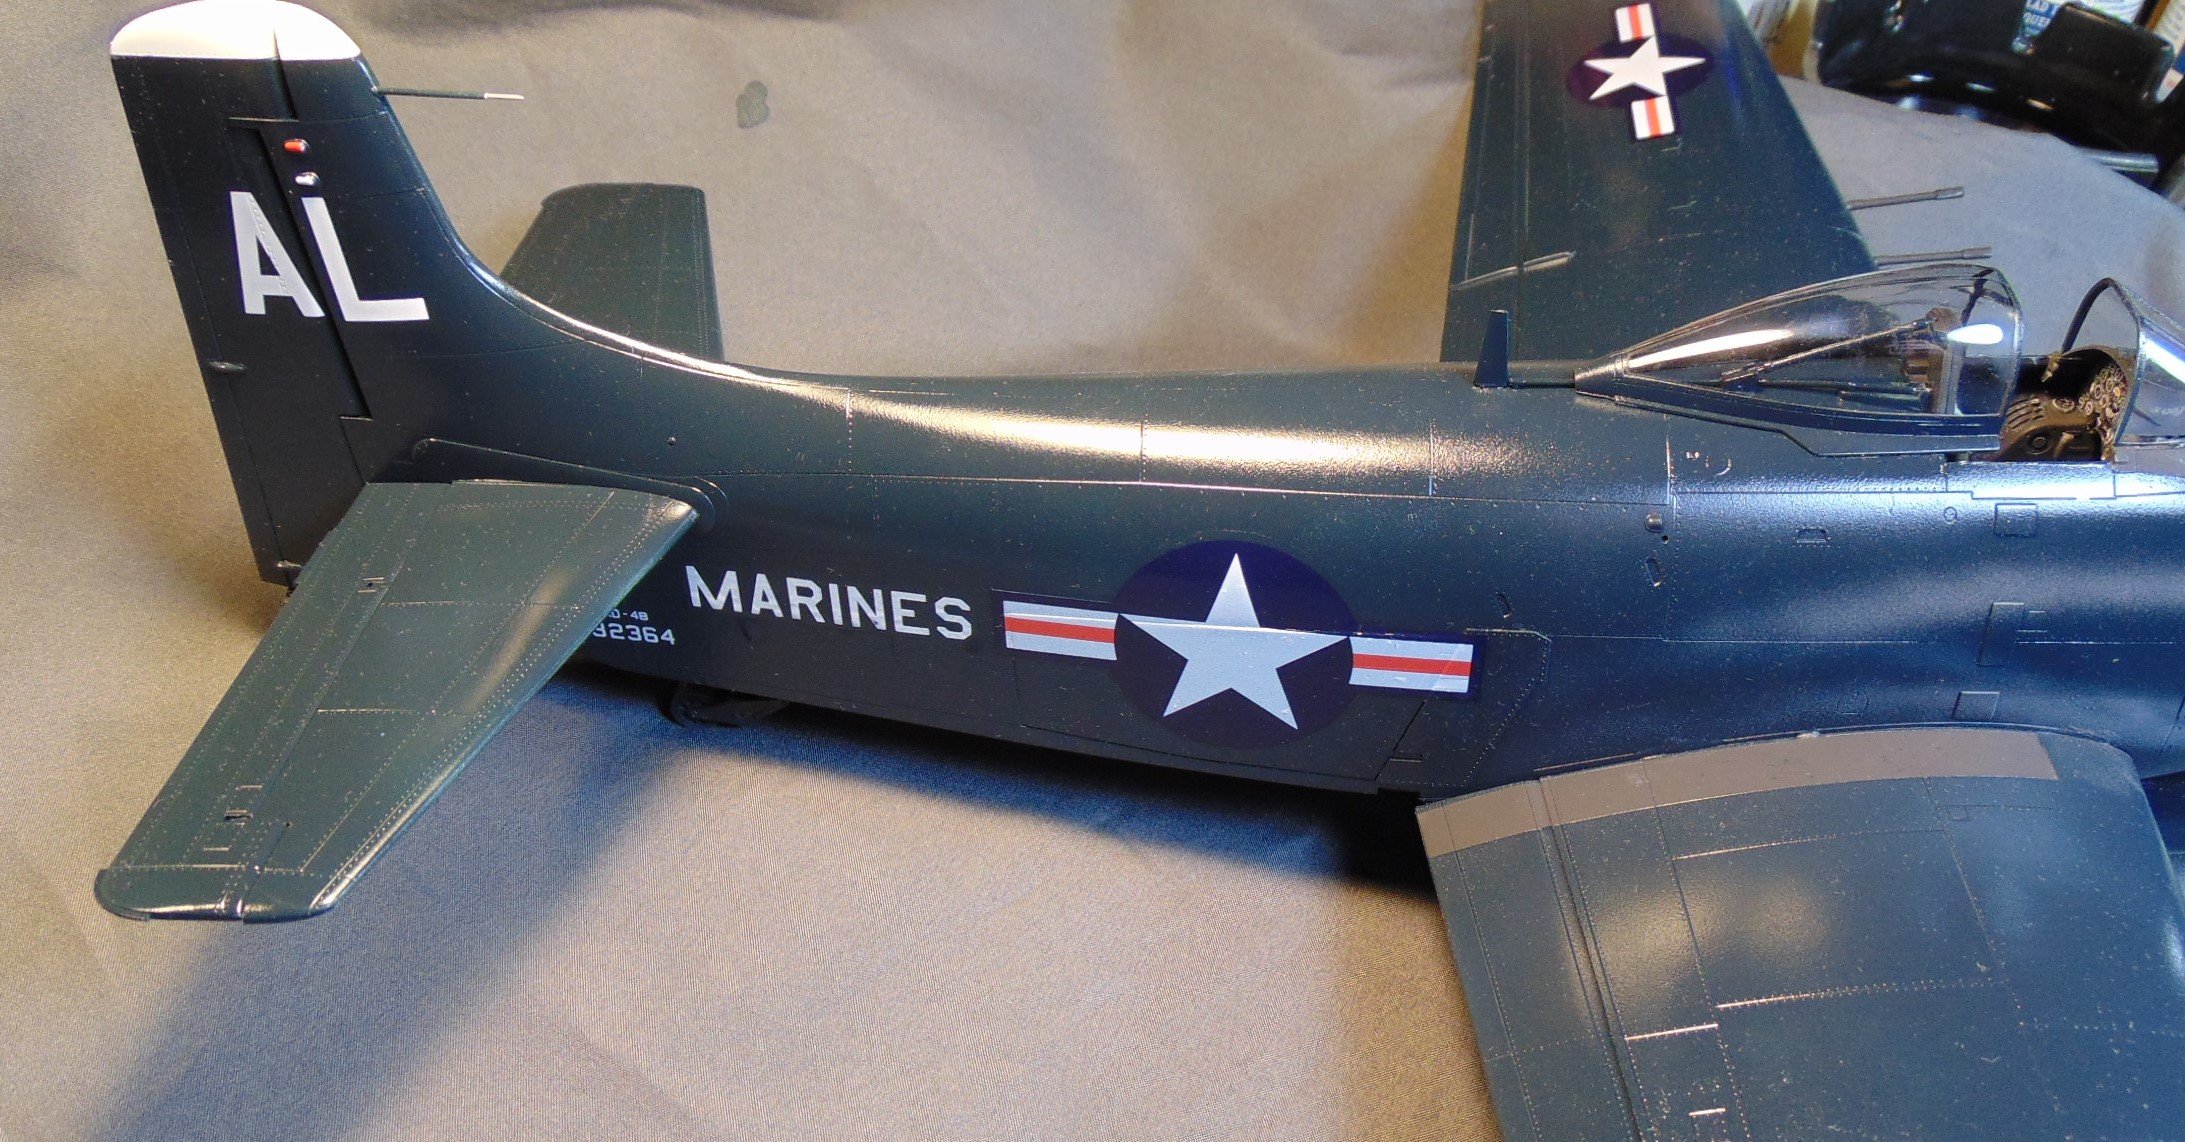
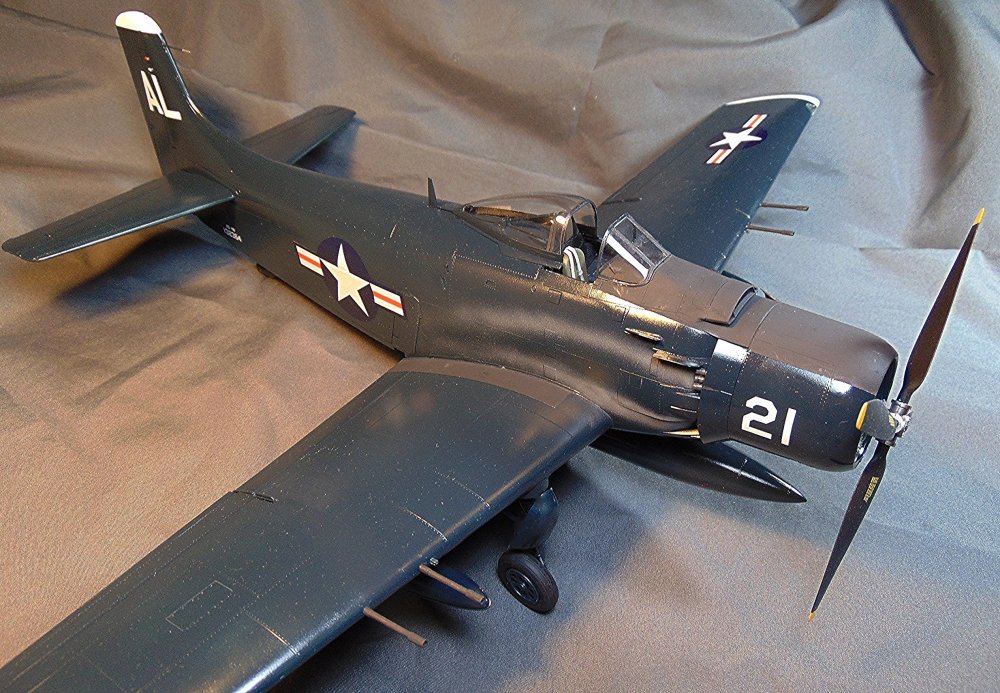
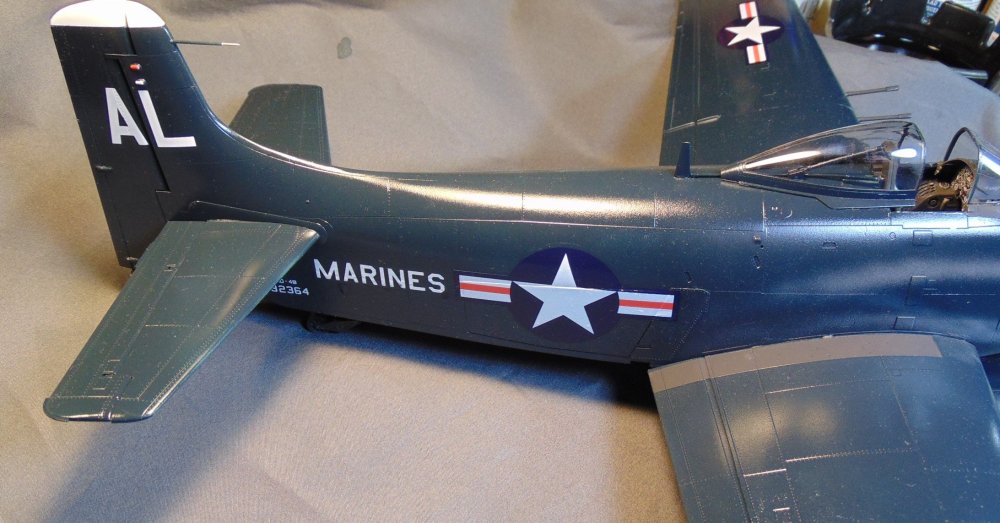
I'm calling this one done. I decided to add the "Marines" decals since this WAS supposed to be a USMC a/c! 🙂
-
Thanks Martin! 😃
-
Thanks Kevin.
-
Thanks Paul! 🙂
-
For sure Kevin! LOL
-
Thanks Kevin. Actually the decals are from my stash. 🙂 I didn't want to use the old ones as they don't look very "useable".
-
🙂
-
Here ya go Fran. 1/48 it is. I don't remember whether it's plastic or resin but I THINK it's resin.
-
Thanks. I remember it as being resin and 1/48 Fran. I'll do some checking to be sure, etc.
-
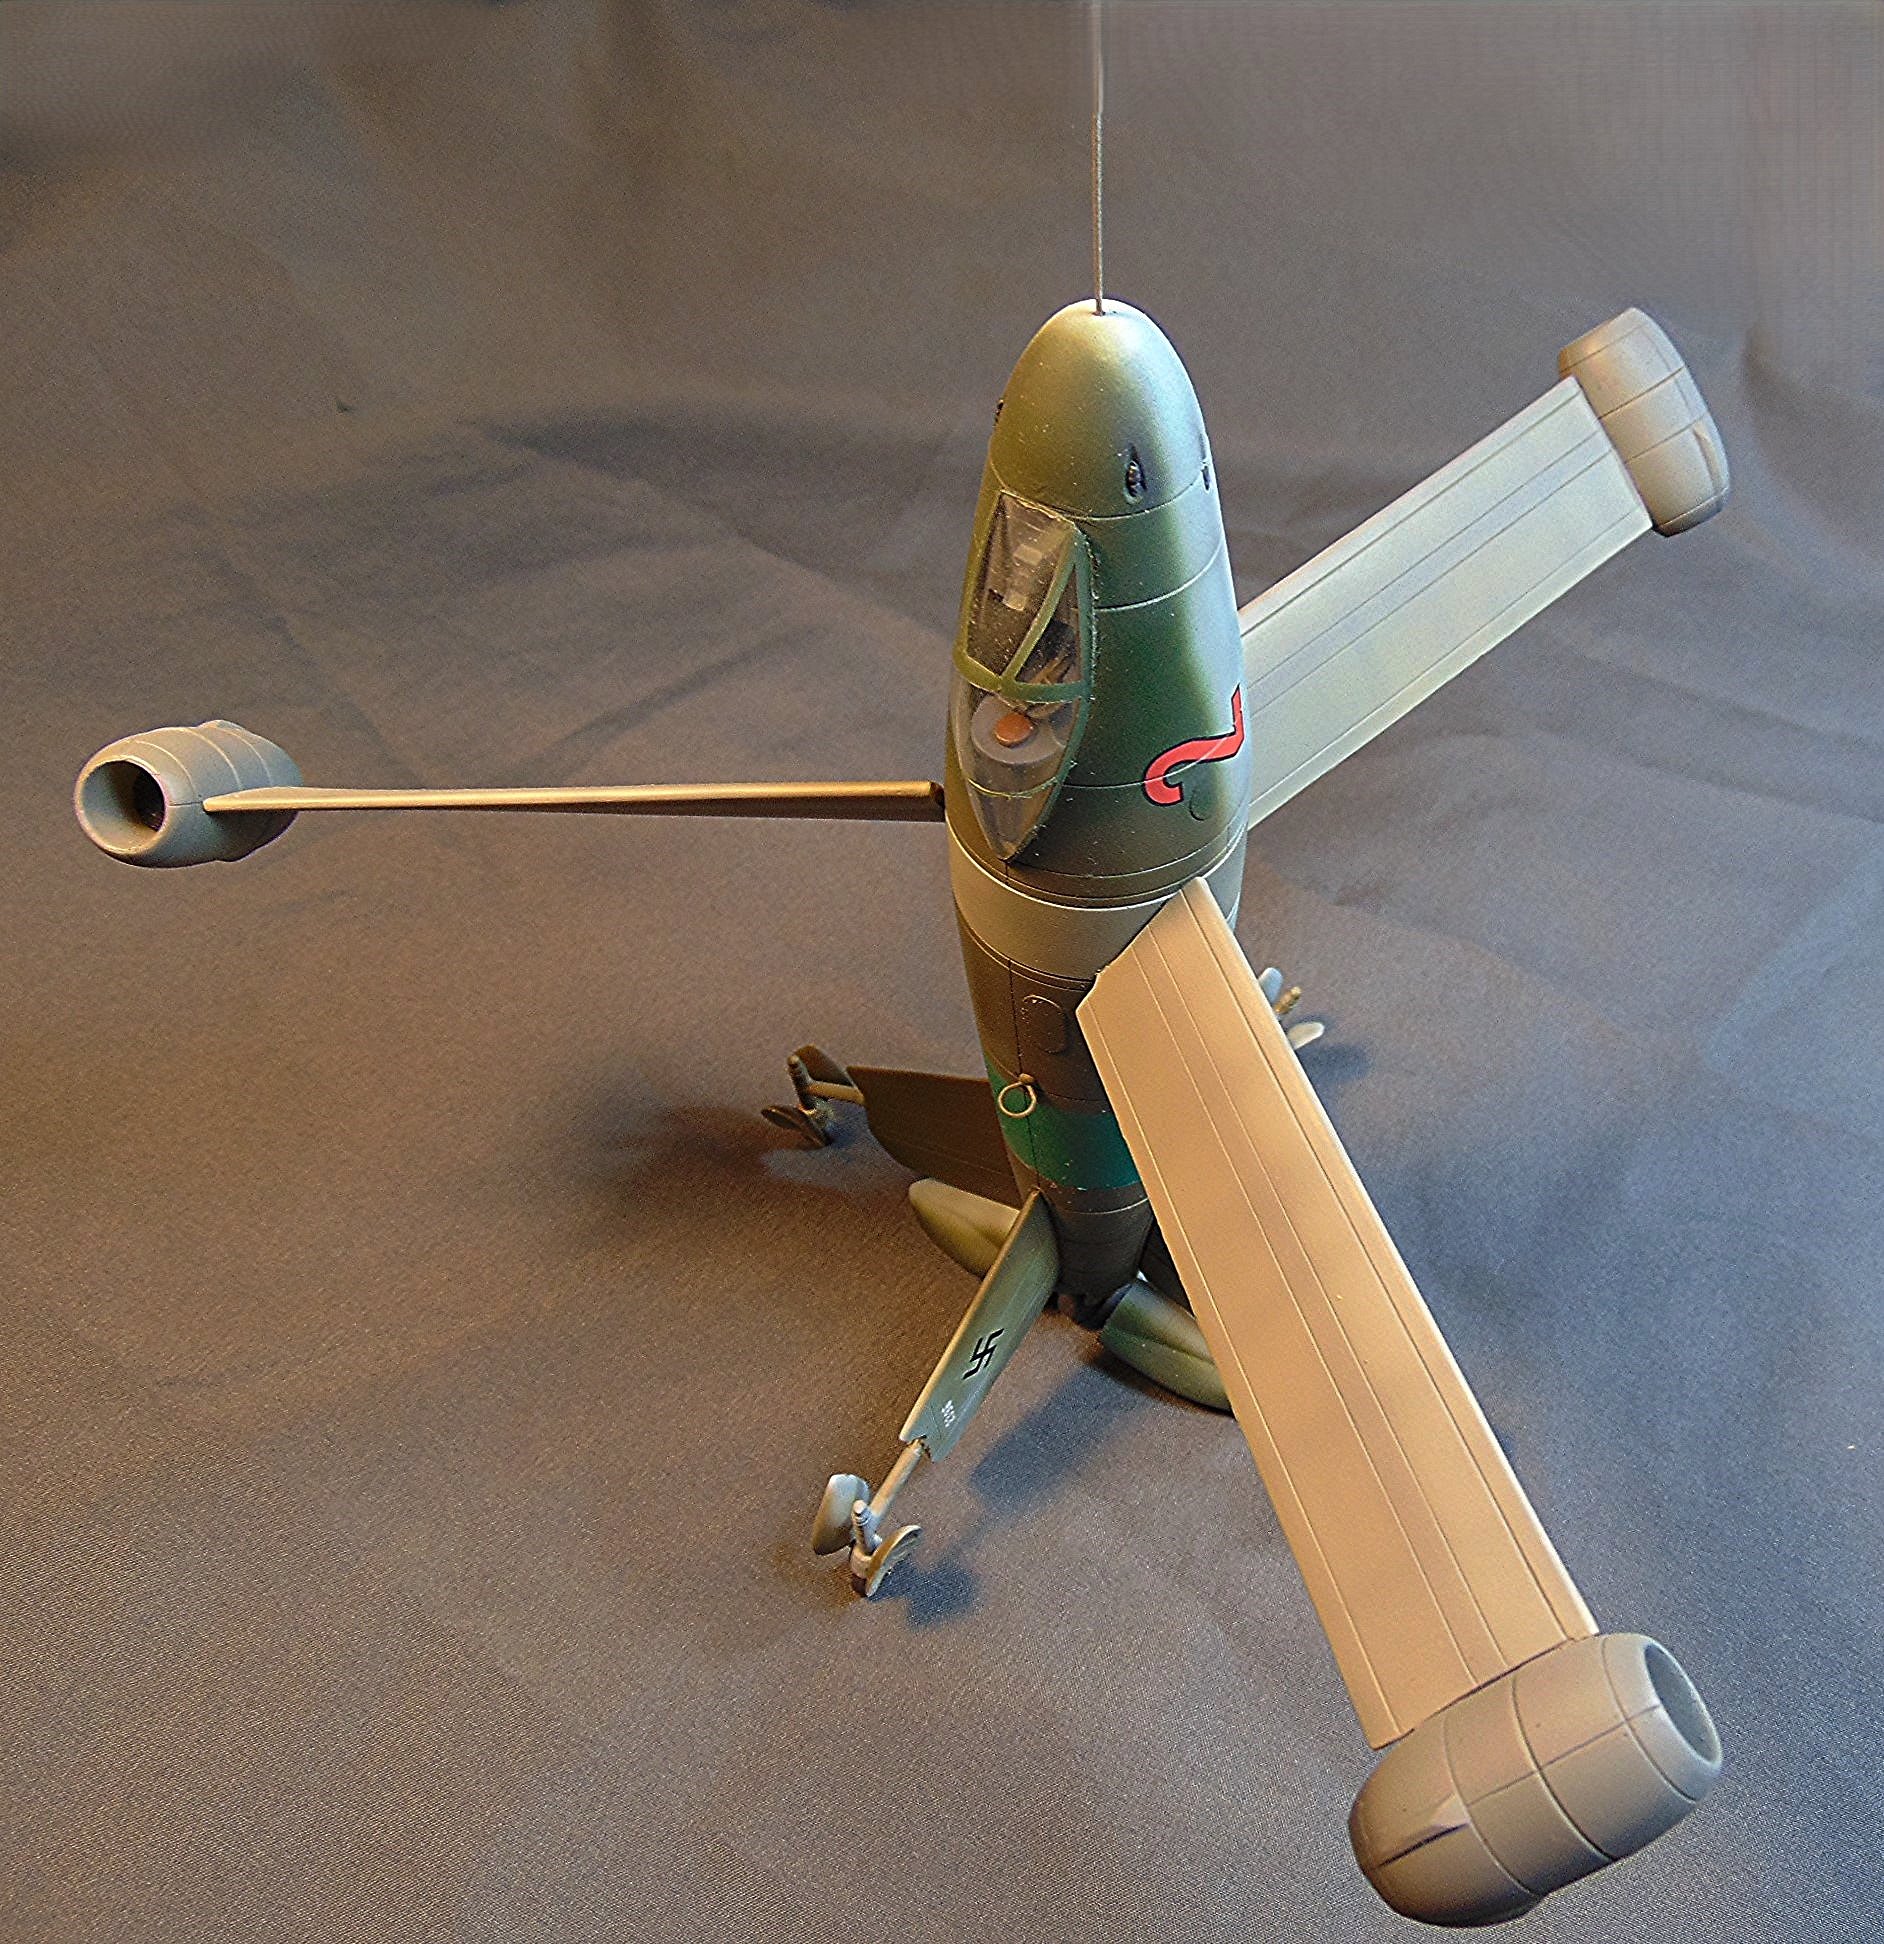
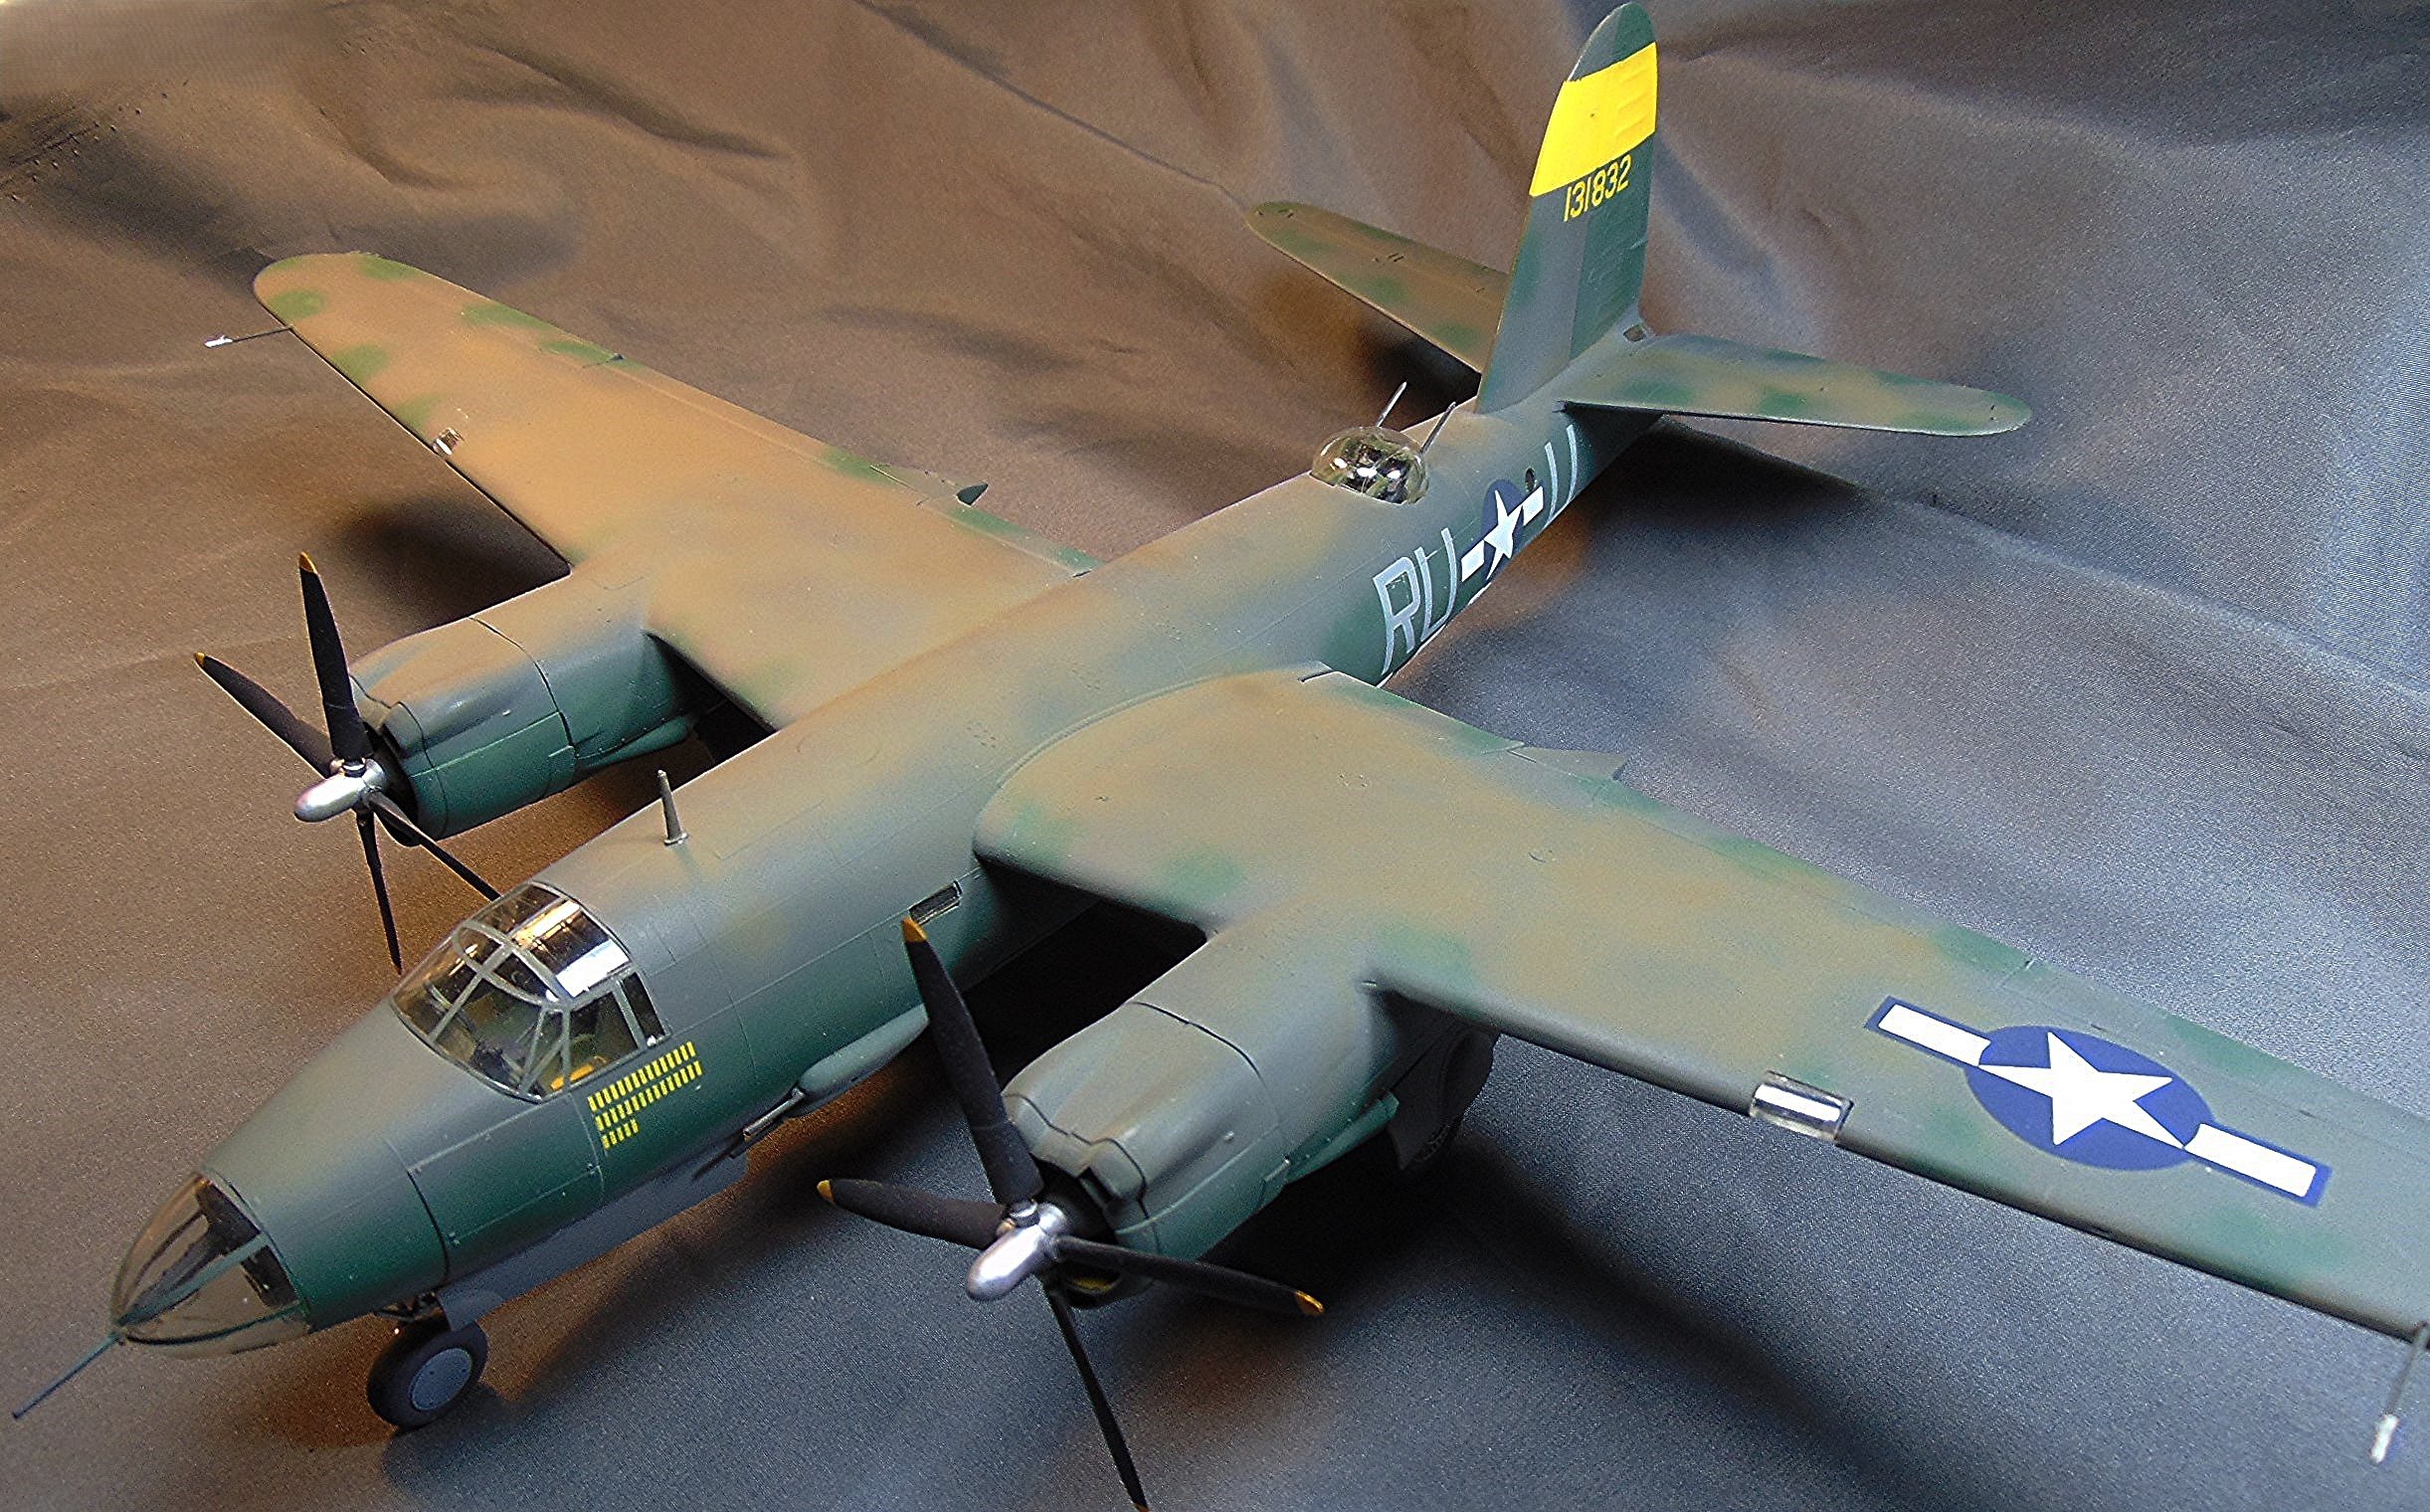
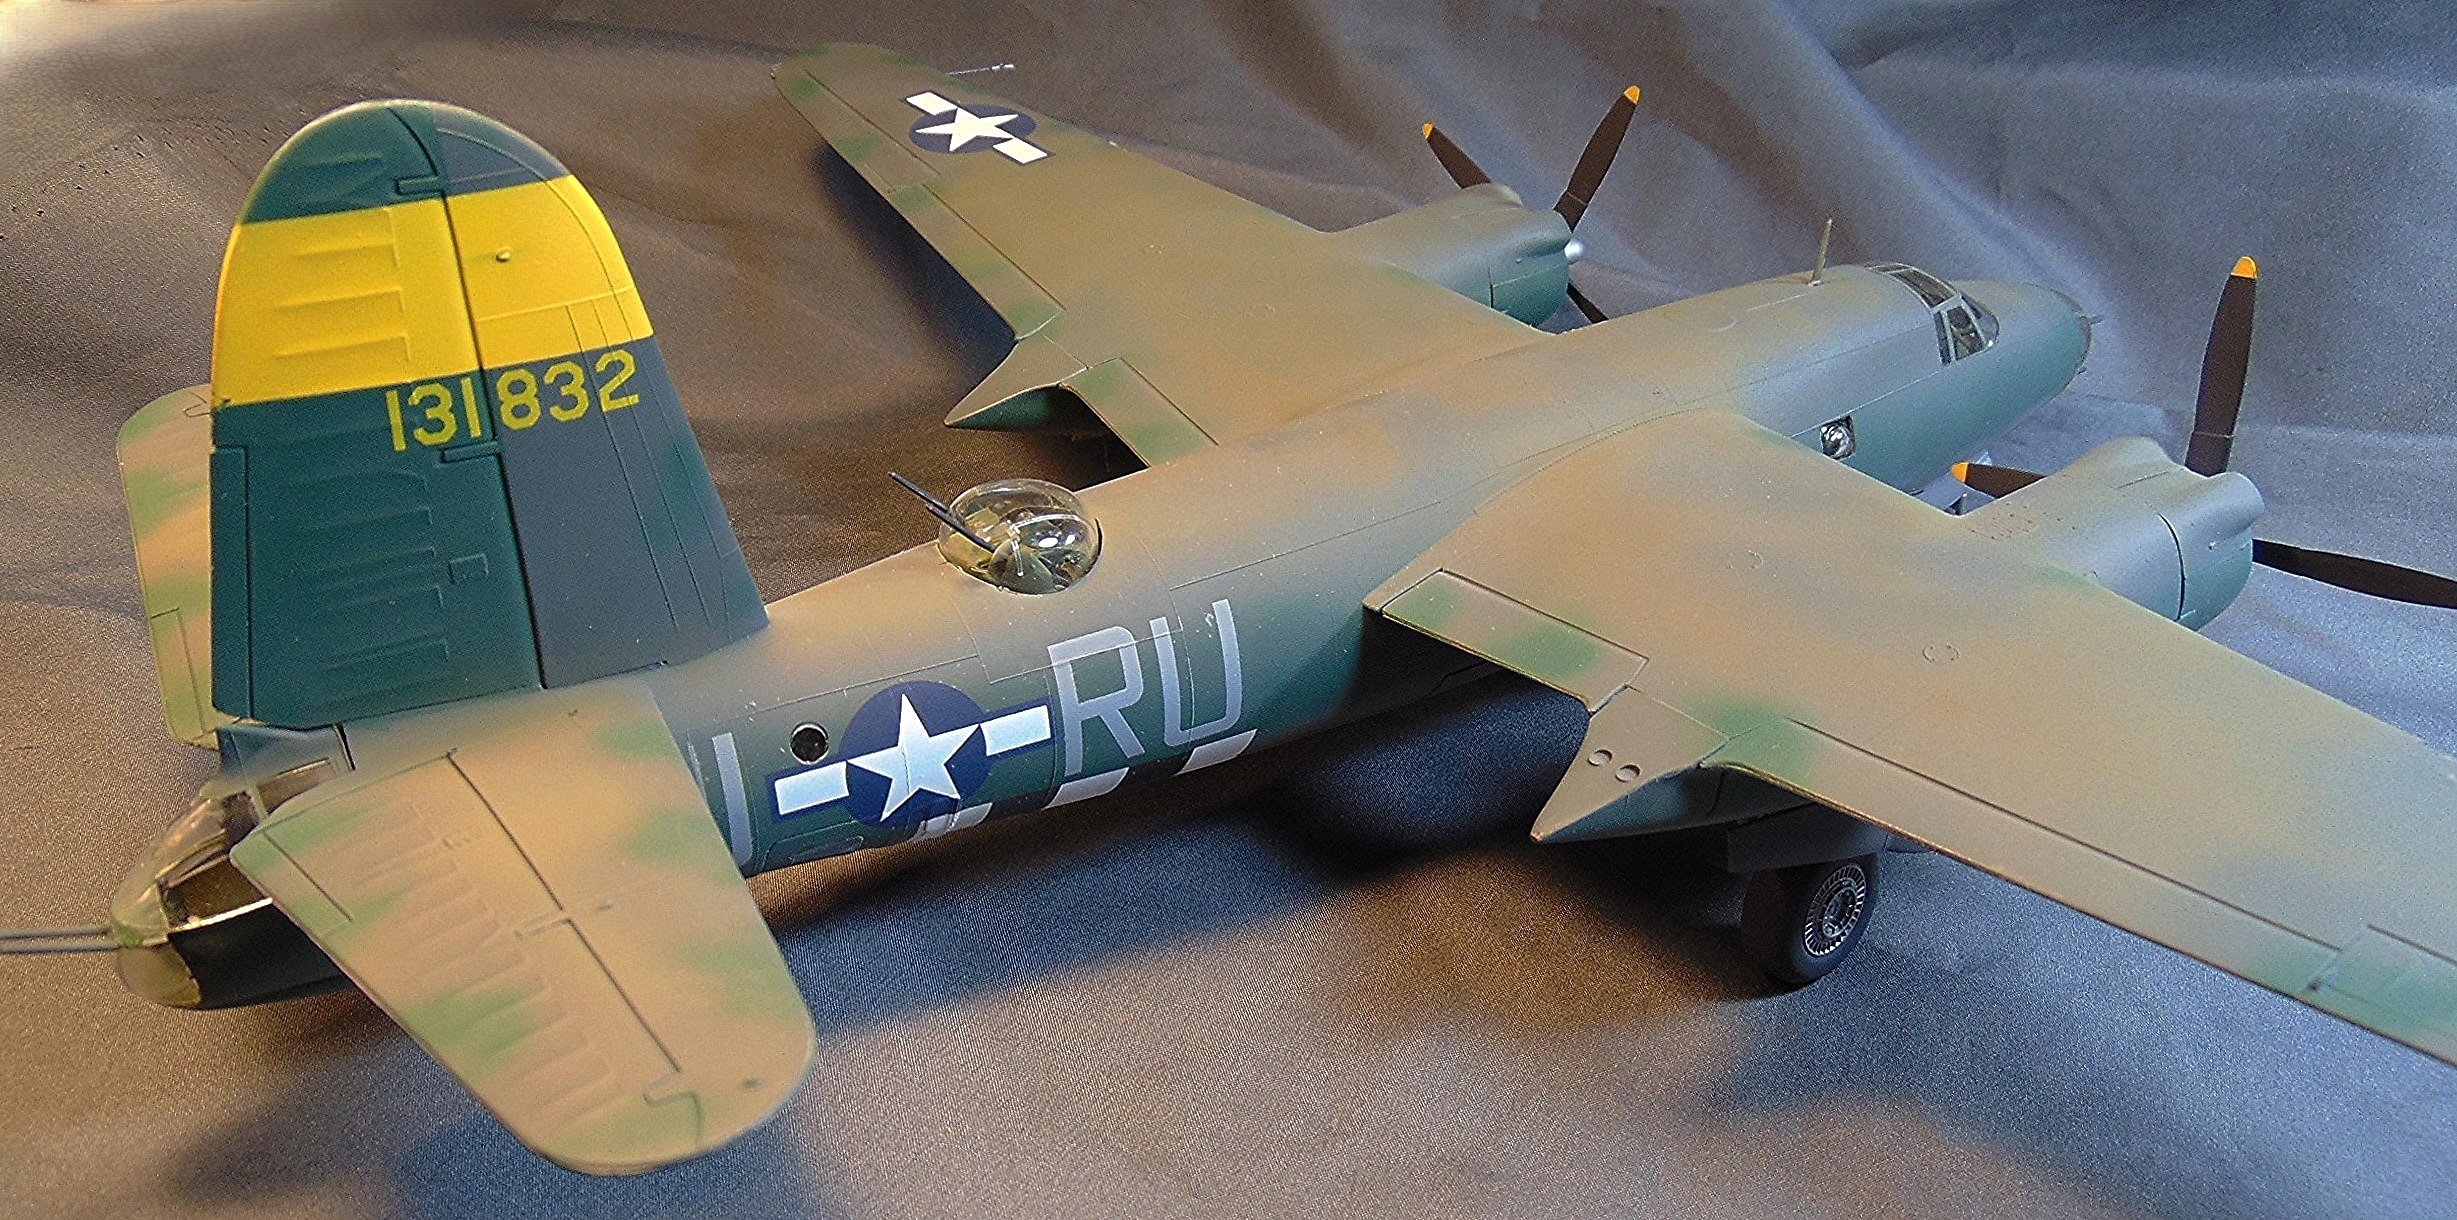
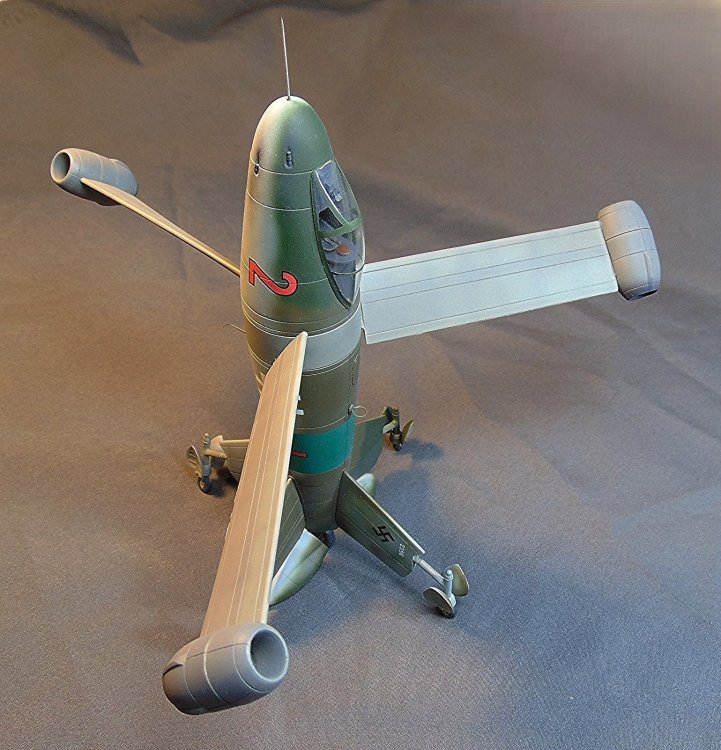
I built this model several years ago and I enjoyed the build. I thought I'd post a couple of photos here for you guys. It's a 1/48 resin kit by (I think) MiniArt. I'm considering getting another one to go with it. 😃


-
Thanks Dennis. I don't think it turned out as well as I'd hoped due to the OD overspray on the top sides. I may go back and do some remedial painting in a bit. I'm glad you like it though. 🙂
-
Finished: https://forum.largescalemodeller.com/topic/20966-monogram-b-26-done/
-
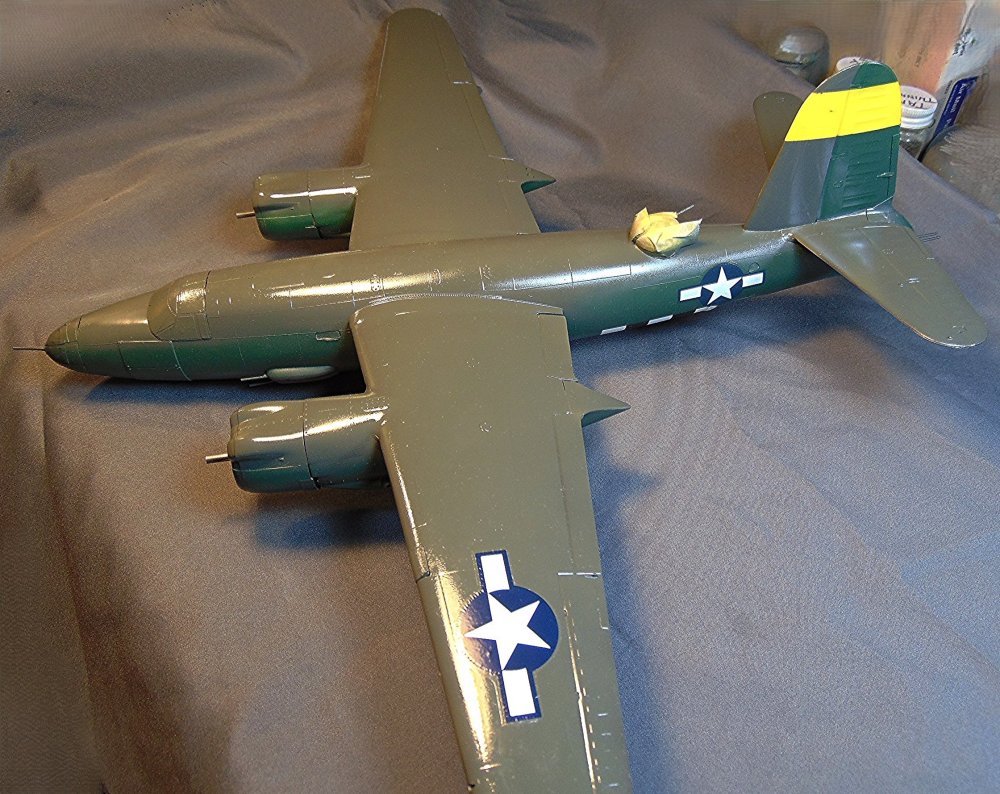
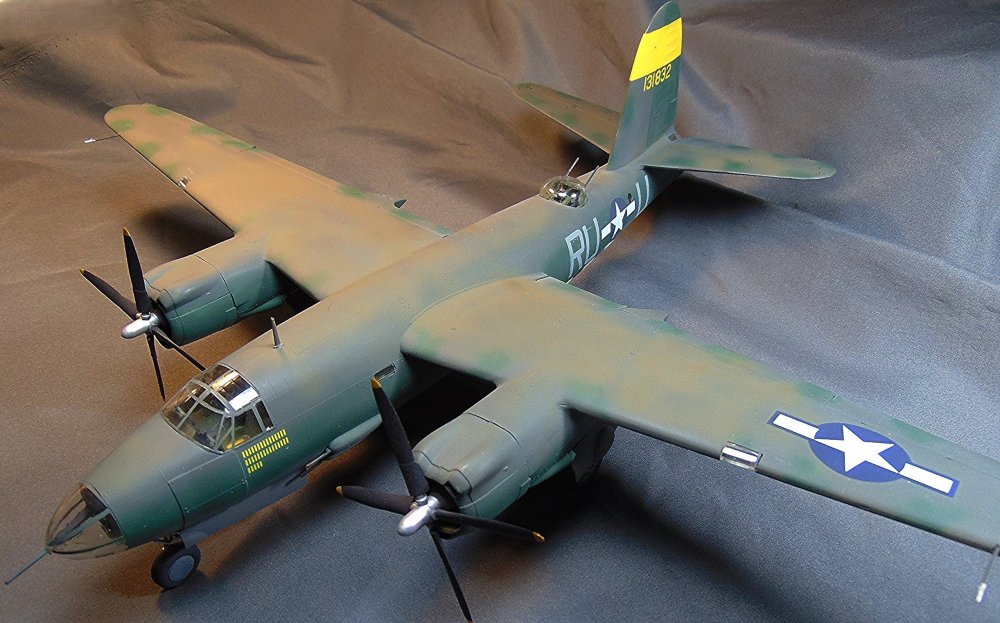
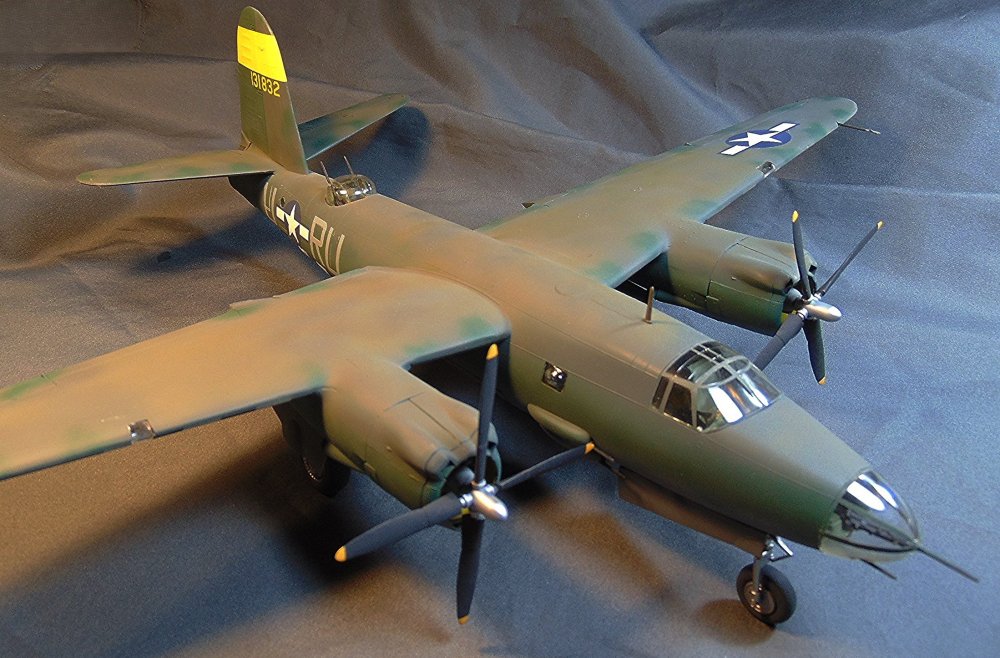
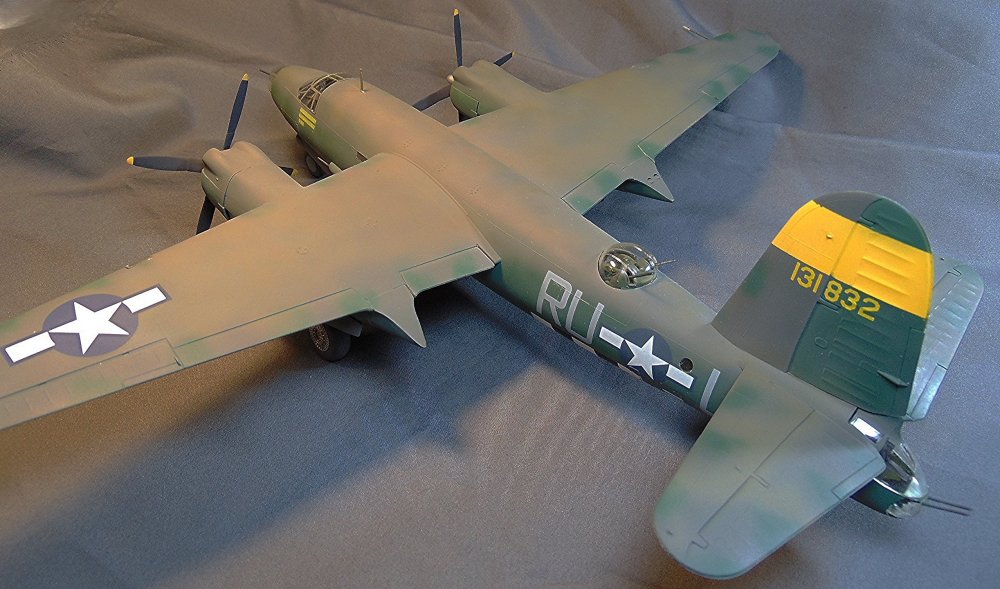
All done with this oldie.

-

Hasegawa RNZAF Kittyhawk (P-40K-15) done
JohnB replied to JohnB's topic in LSM 1/32 and Larger Aircraft Ready for Inspection
Thanks Vince!! 🙂 -
Time for some decaling. 😃