JohnB
-
Posts
7,296 -
Joined
-
Last visited
Content Type
Profiles
Forums
Events
Gallery
Everything posted by JohnB
-
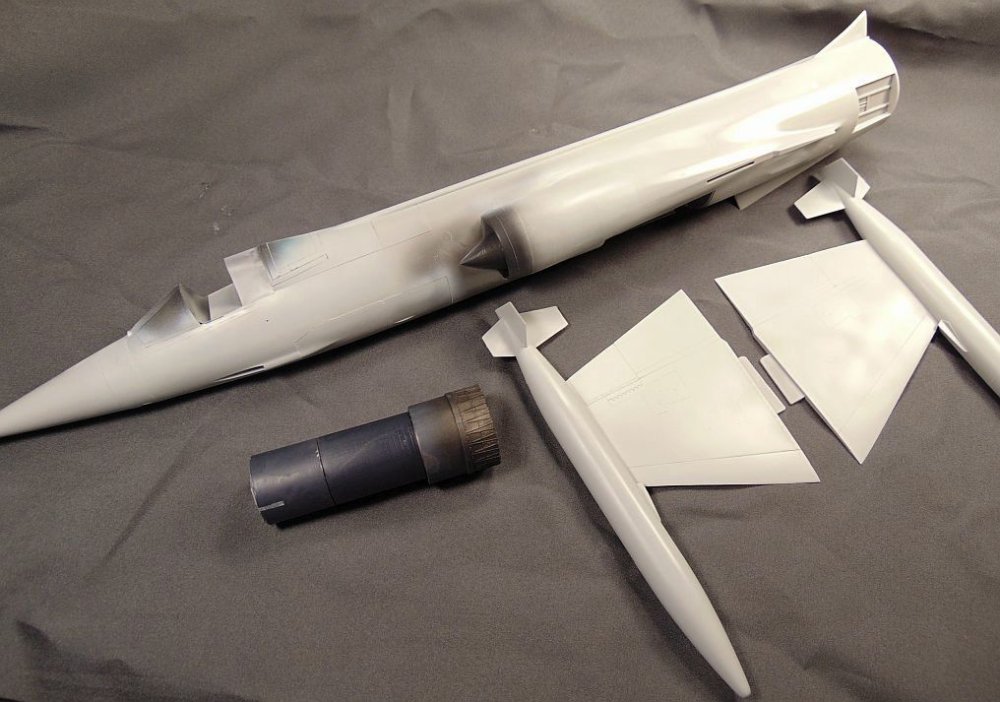
About ready for priming then start the NMF application.
-

Fisher F9F finished
JohnB replied to JohnB's topic in LSM 1/32 and Larger Aircraft Ready for Inspection
Thank you Kevin! I'm pleased with it too. Now if I could only get the drooping wings on the twogar straightened up I'd get it built. I've tried and tried with marginal luck so I finally put it back in the box for "later". 🤪 -
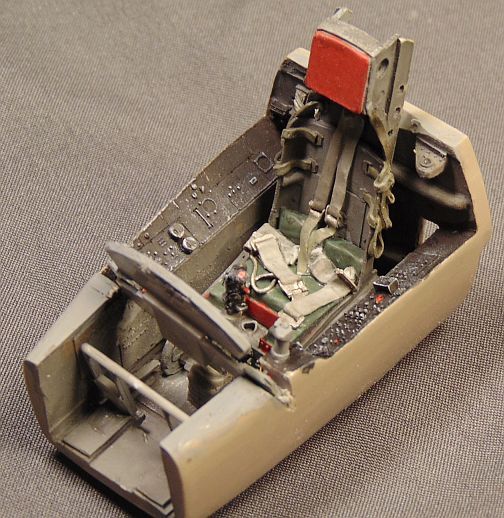
Thanks! That AMS cockpit and seat add a lot to the model as the kit ones are pretty spartan.
-
Thanks Kevin. An easy kit to build with few problems. The only real fit "problem" was the two intakes but a little strip plastic and some putty fixed that right up. I plan to attach the wings and tail tomorrow.
-
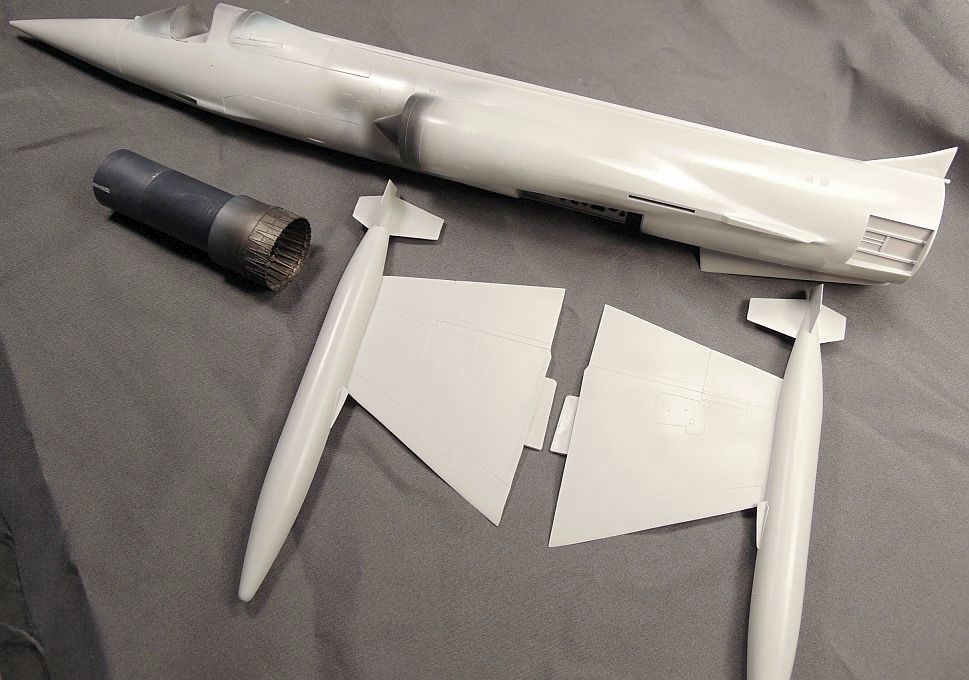
Progress as of today. About ready to attach the wings, exhaust setup and rear fuselage. The exhaust is from ResiKit.
-
Thanks Carl. I think so too. In NMF it really looks good.
-
AMS cockpit and seat done.

- 94 replies
-
- 11
-

-

-
I hope it will turn out like I expect. All those panel shades should be eye catching.
-
Thank you! I agree 100%. Something a little bit different.
-
As it stands now.
-
LOL More like break out the Alclad!
-
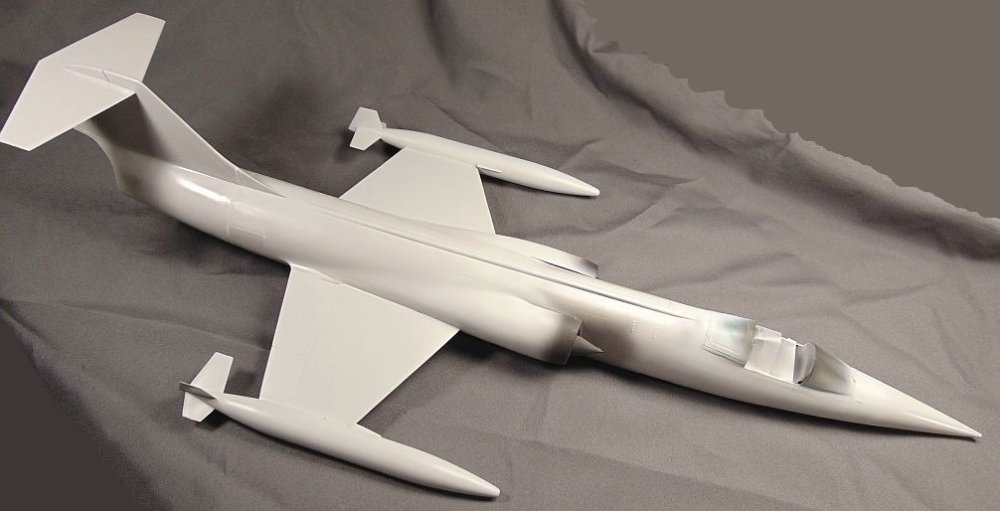
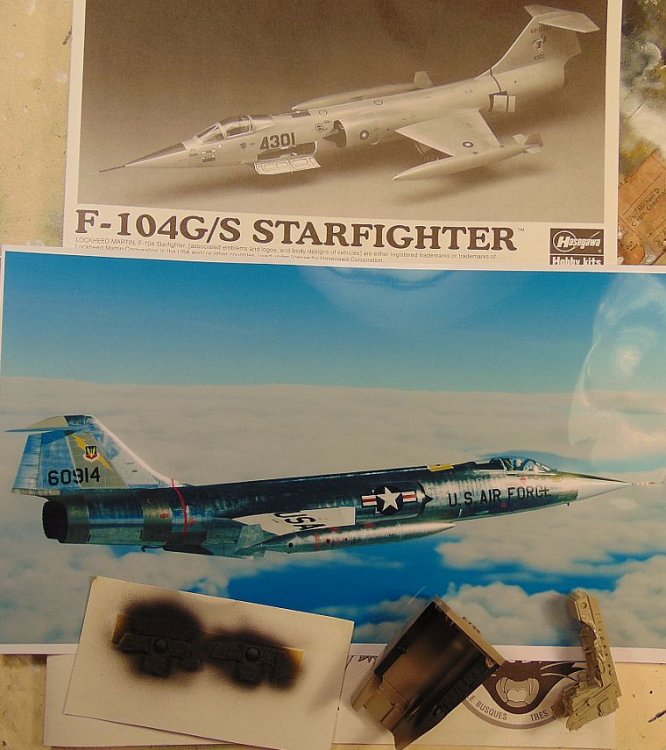
I've had this kit for some time so now I think I'll go on and get started on it while I'm waiting for the masks for the P-51 racer. I want to do it in NMF USAF colors even though the G/S's were mostly used by other countries. I've looked all over for a good decal sheet but had no luck so I'll go to my decal stash and cobble together what is needed (fingers crossed). I've found a number of photos on line of USAF G's so I don't think I'll have any problem finding one I like. This should be a easy build although it is a fairly old kit with some fit problems.
-
I don't have one either.
-
Nope, I haven't done that one. I've used my laser printer on a lot of my builds. Sure gives you more latitude for markings and subjects.
-

-
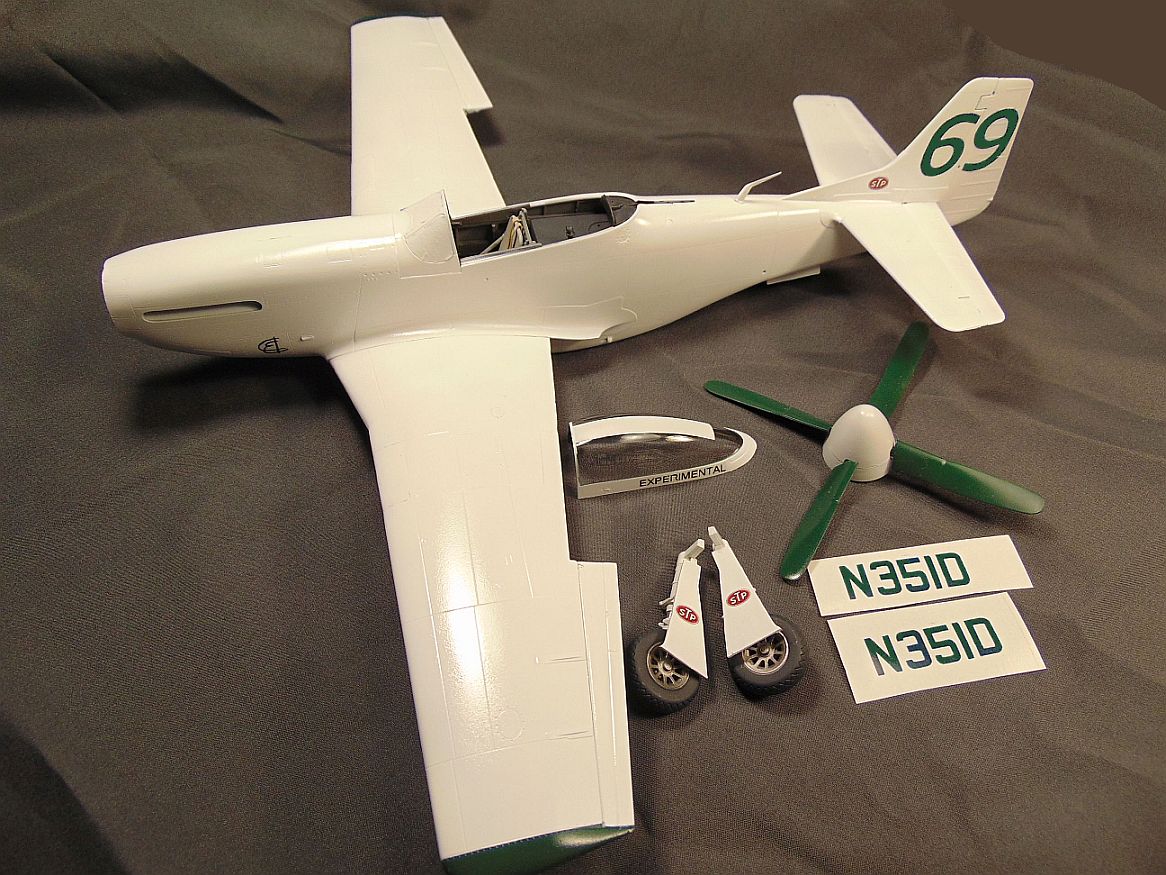
Thank you Gaz. I decided to try to make my own N number decals instead of waiting for the masks. I was pleasantly surprised to find the right font configuration on one of my old decal sheets. Of course they were a bit too big and they were RED but, using my scanner, computer, and laser printer they worked out fine. Now I'll clean up the edges some and then overspray them with clear gloss and they will be ready to use.
-
Thanks Paul. I'm pleased that you like 'em!
-
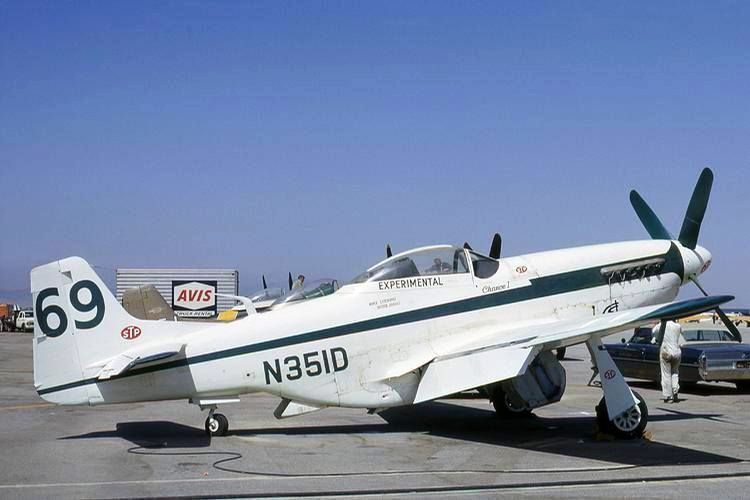
LOL Paul! Mustangs and Corsairs. Some of the P-51 racers really have some nice schemes and that is what has attracted me to them. I want to do others with the cut down canopy but I haven't come up with a workable solution for that so far.
-
LOL Hubert! Yep, another P-51 racer. I'm enjoying building something a little different but still warbird related.
-
Thanks Harv. It looks like you are the only one taking any interest in this. I appreciate it.
-
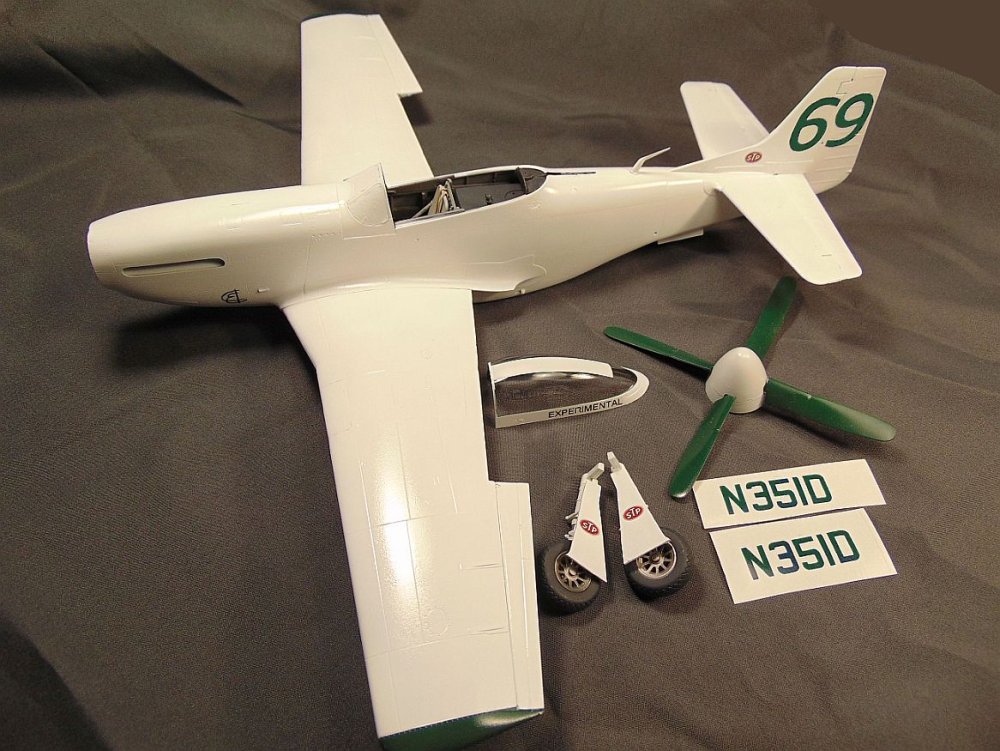
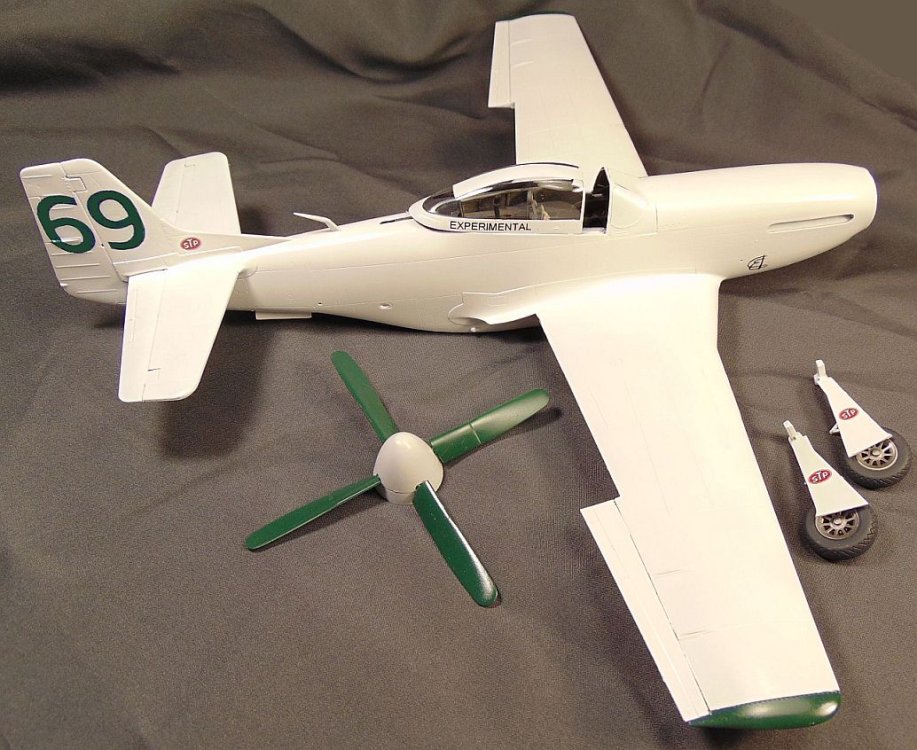
I've gone as far as I can without the masks. This is my progress so far. I made all the markings here using my computer and laser printer.
-
PCM-1/32 Reggaine Re.2005-Finished
JohnB replied to KevinM's topic in LSM 1/35 and Larger Work In Progress
Looks like it's coming along well Kevin. -
So I discovered I’ve been cleaning my airbrush wrong for 10+ years
JohnB replied to ScottsGT's topic in General Discussion
LOL I'm not interested in what Paul Budzik or anyone else says, I'm sticking with my "museum piece". I have two other "museum pieces" I rarely use, a Paasche F and a Binks. -
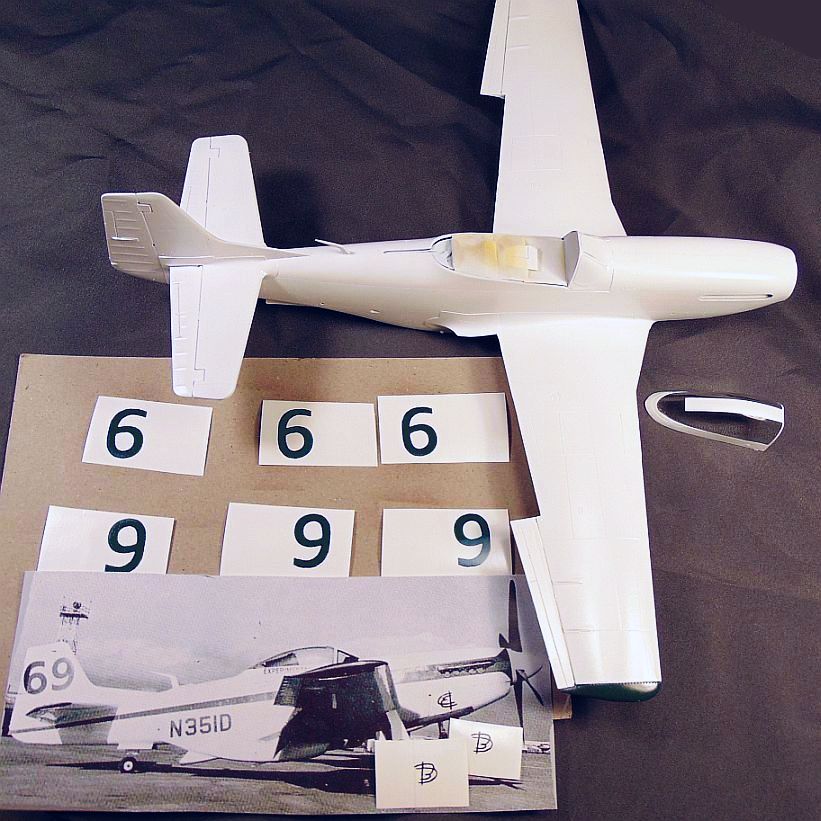
Waiting for the masks to show up "sometime this week" I'm told. I'll set it aside until then as I've gone as far as reasonable for now. 🙃
-
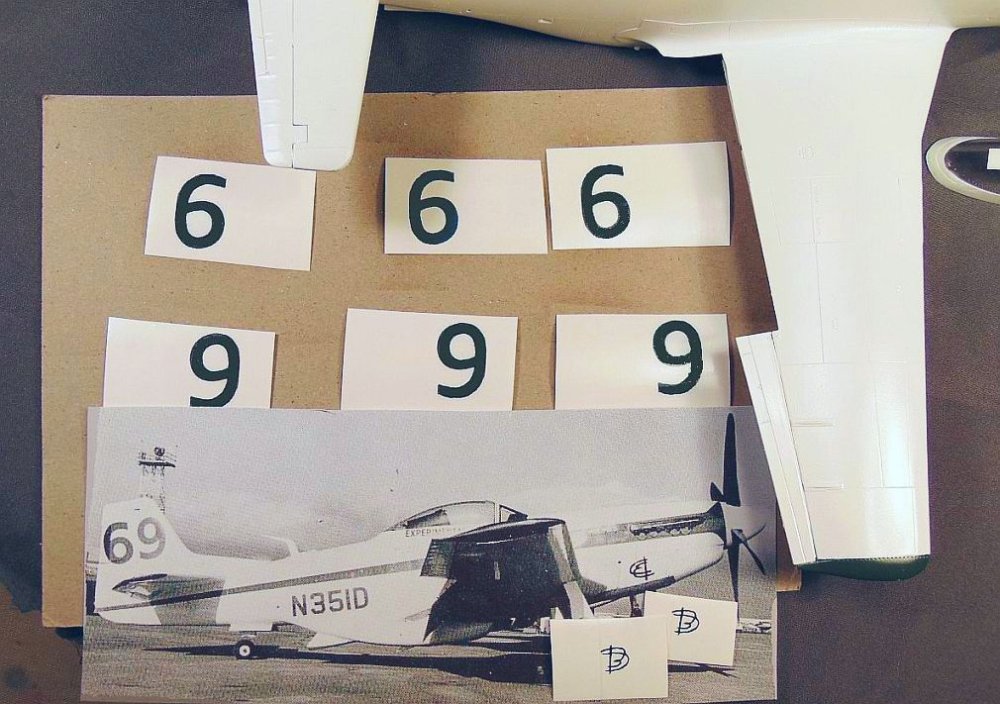
Making some good progress. Got the gloss white finish applied using Tamiya acrylic. I hardly ever use acrylics but their gloss white is really nice. I researched the internet to find the right style numbers for the tail. I downloaded and resized them then added the green. I then printed them out on my laser printer. The funny looking markings under the nose I drew by hand then scanned them and sent them over to my computer for sizing, etc. I then printed them out on my laser printer.(Oops! I see I set them down backwards but you get the idea!) Haven't heard anything from the mask maker so it may be that I'll have to do the stripes myself. I hope not as I would rather have some good masks for them and the N numbers.