
Martinnfb
-
Posts
11,426 -
Joined
-
Last visited
Content Type
Profiles
Forums
Events
Gallery
Everything posted by Martinnfb
-
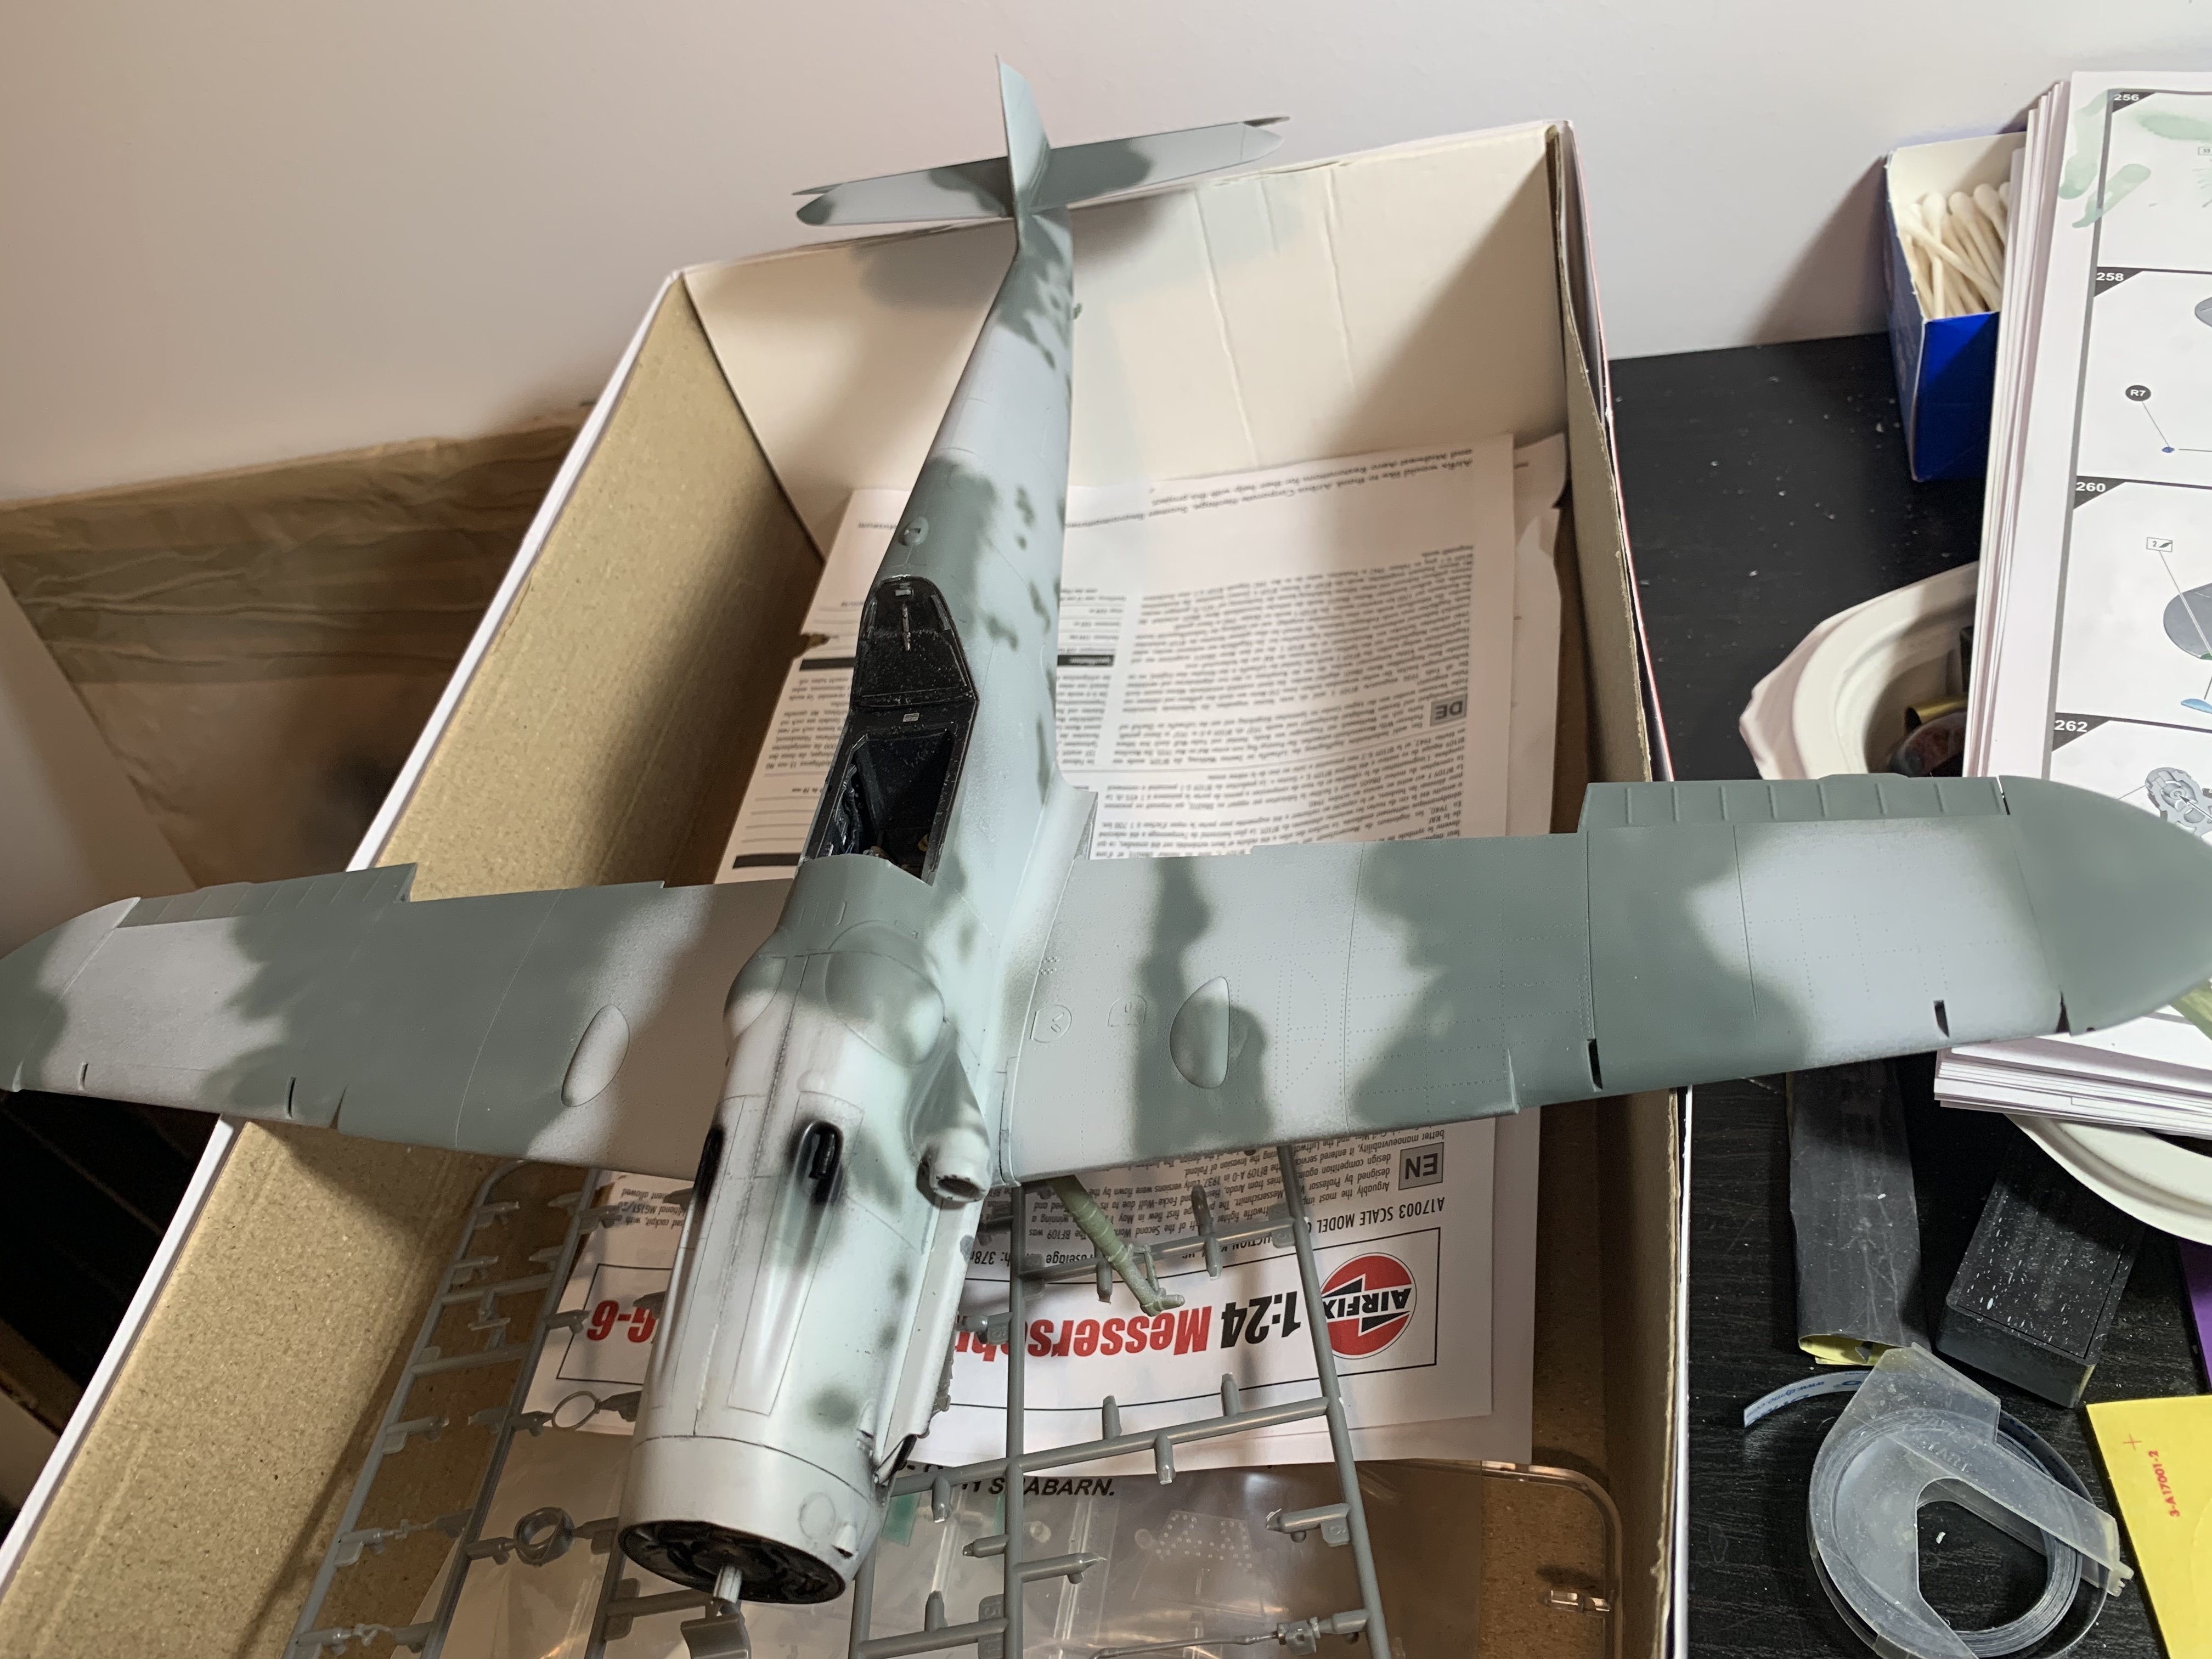
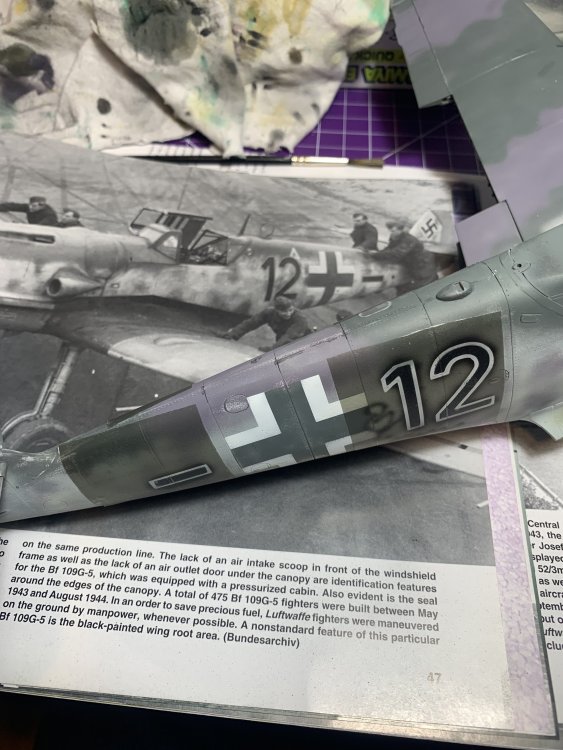
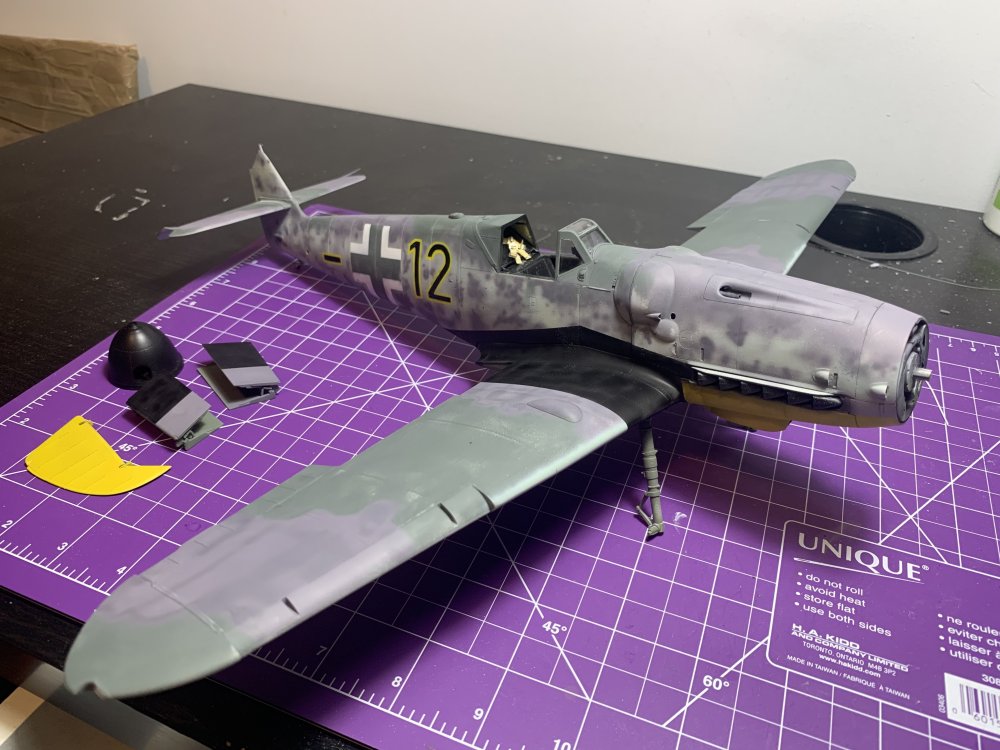
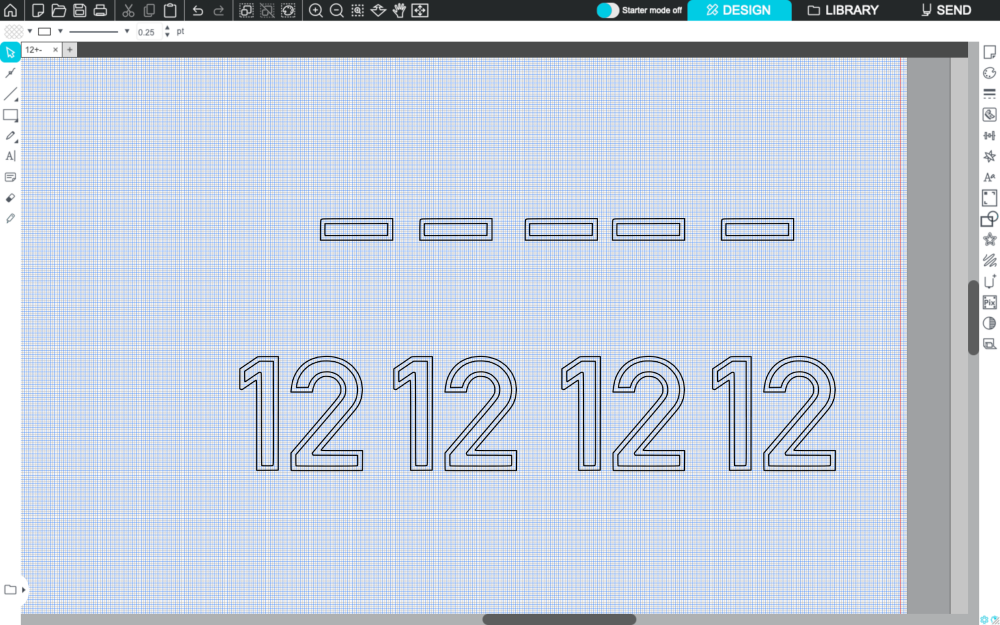
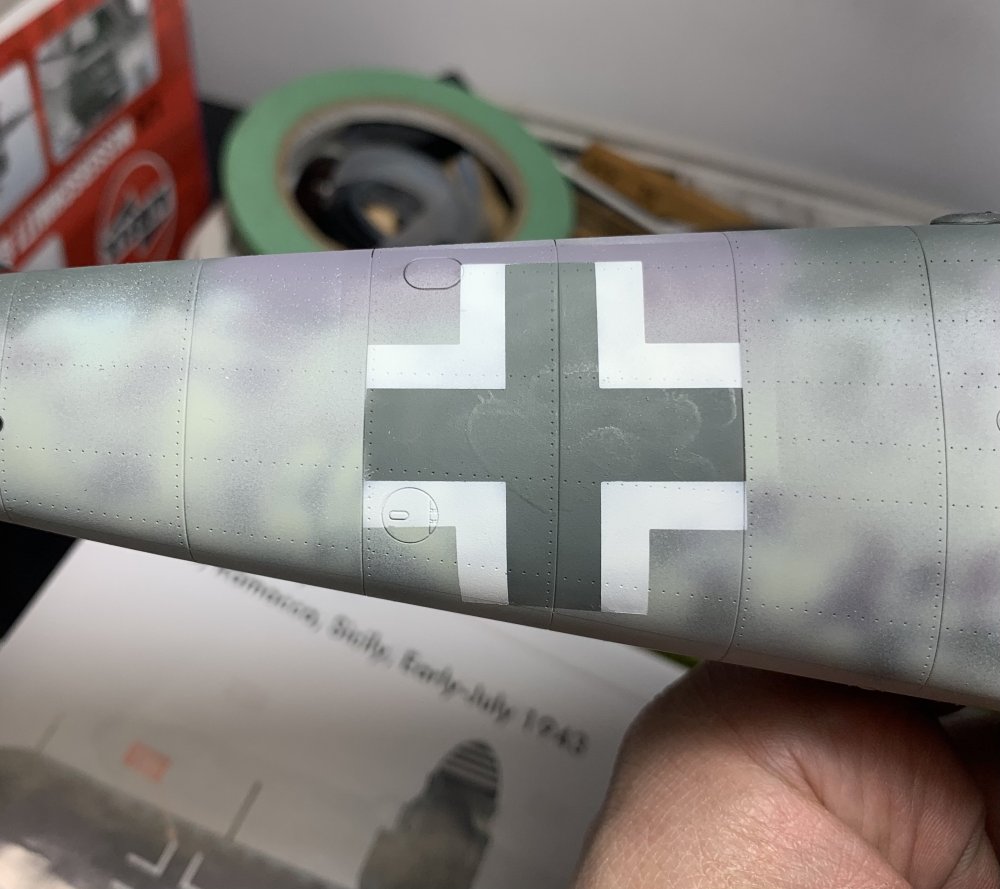
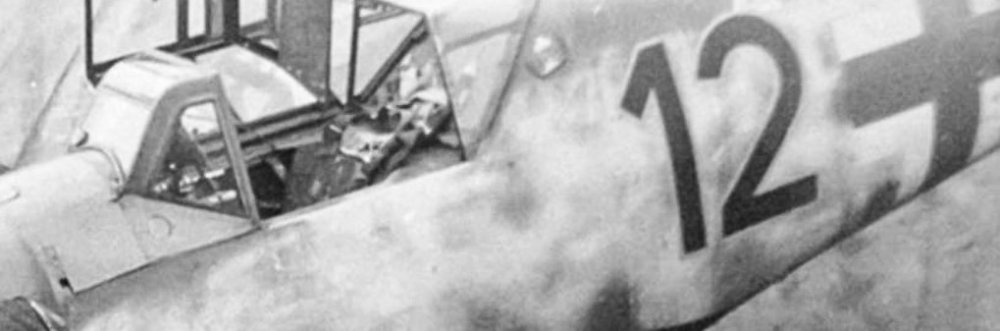
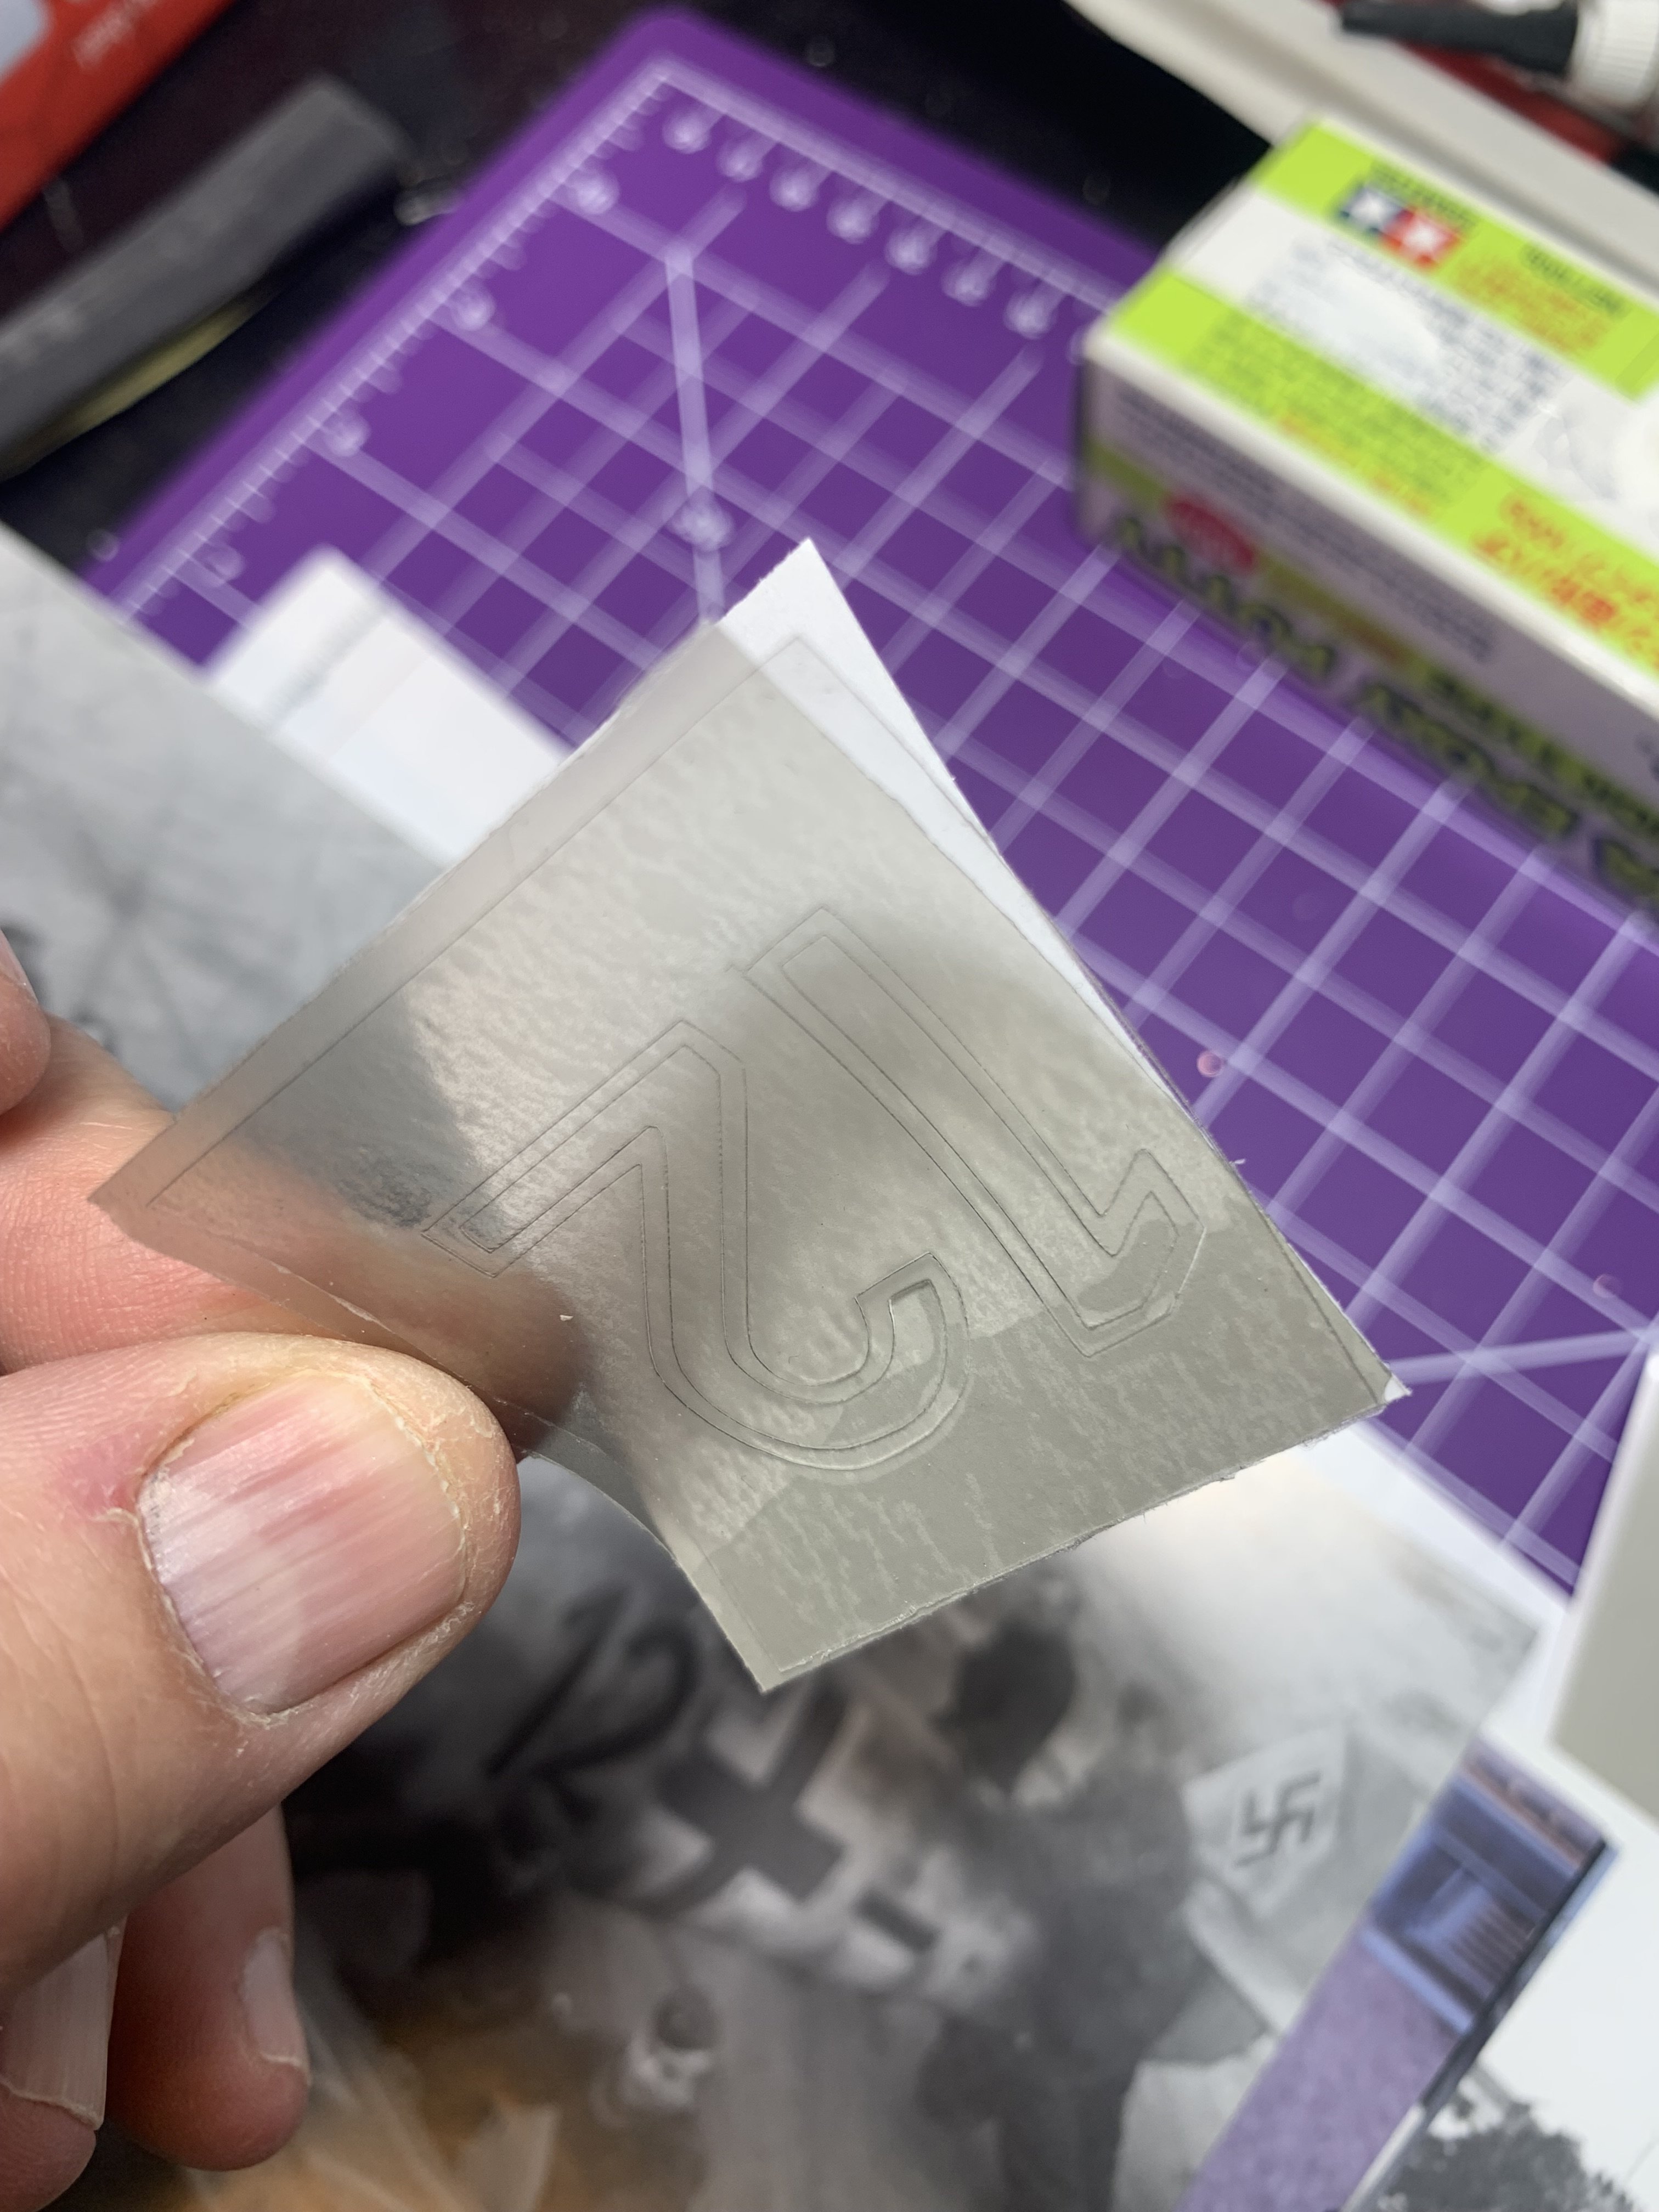
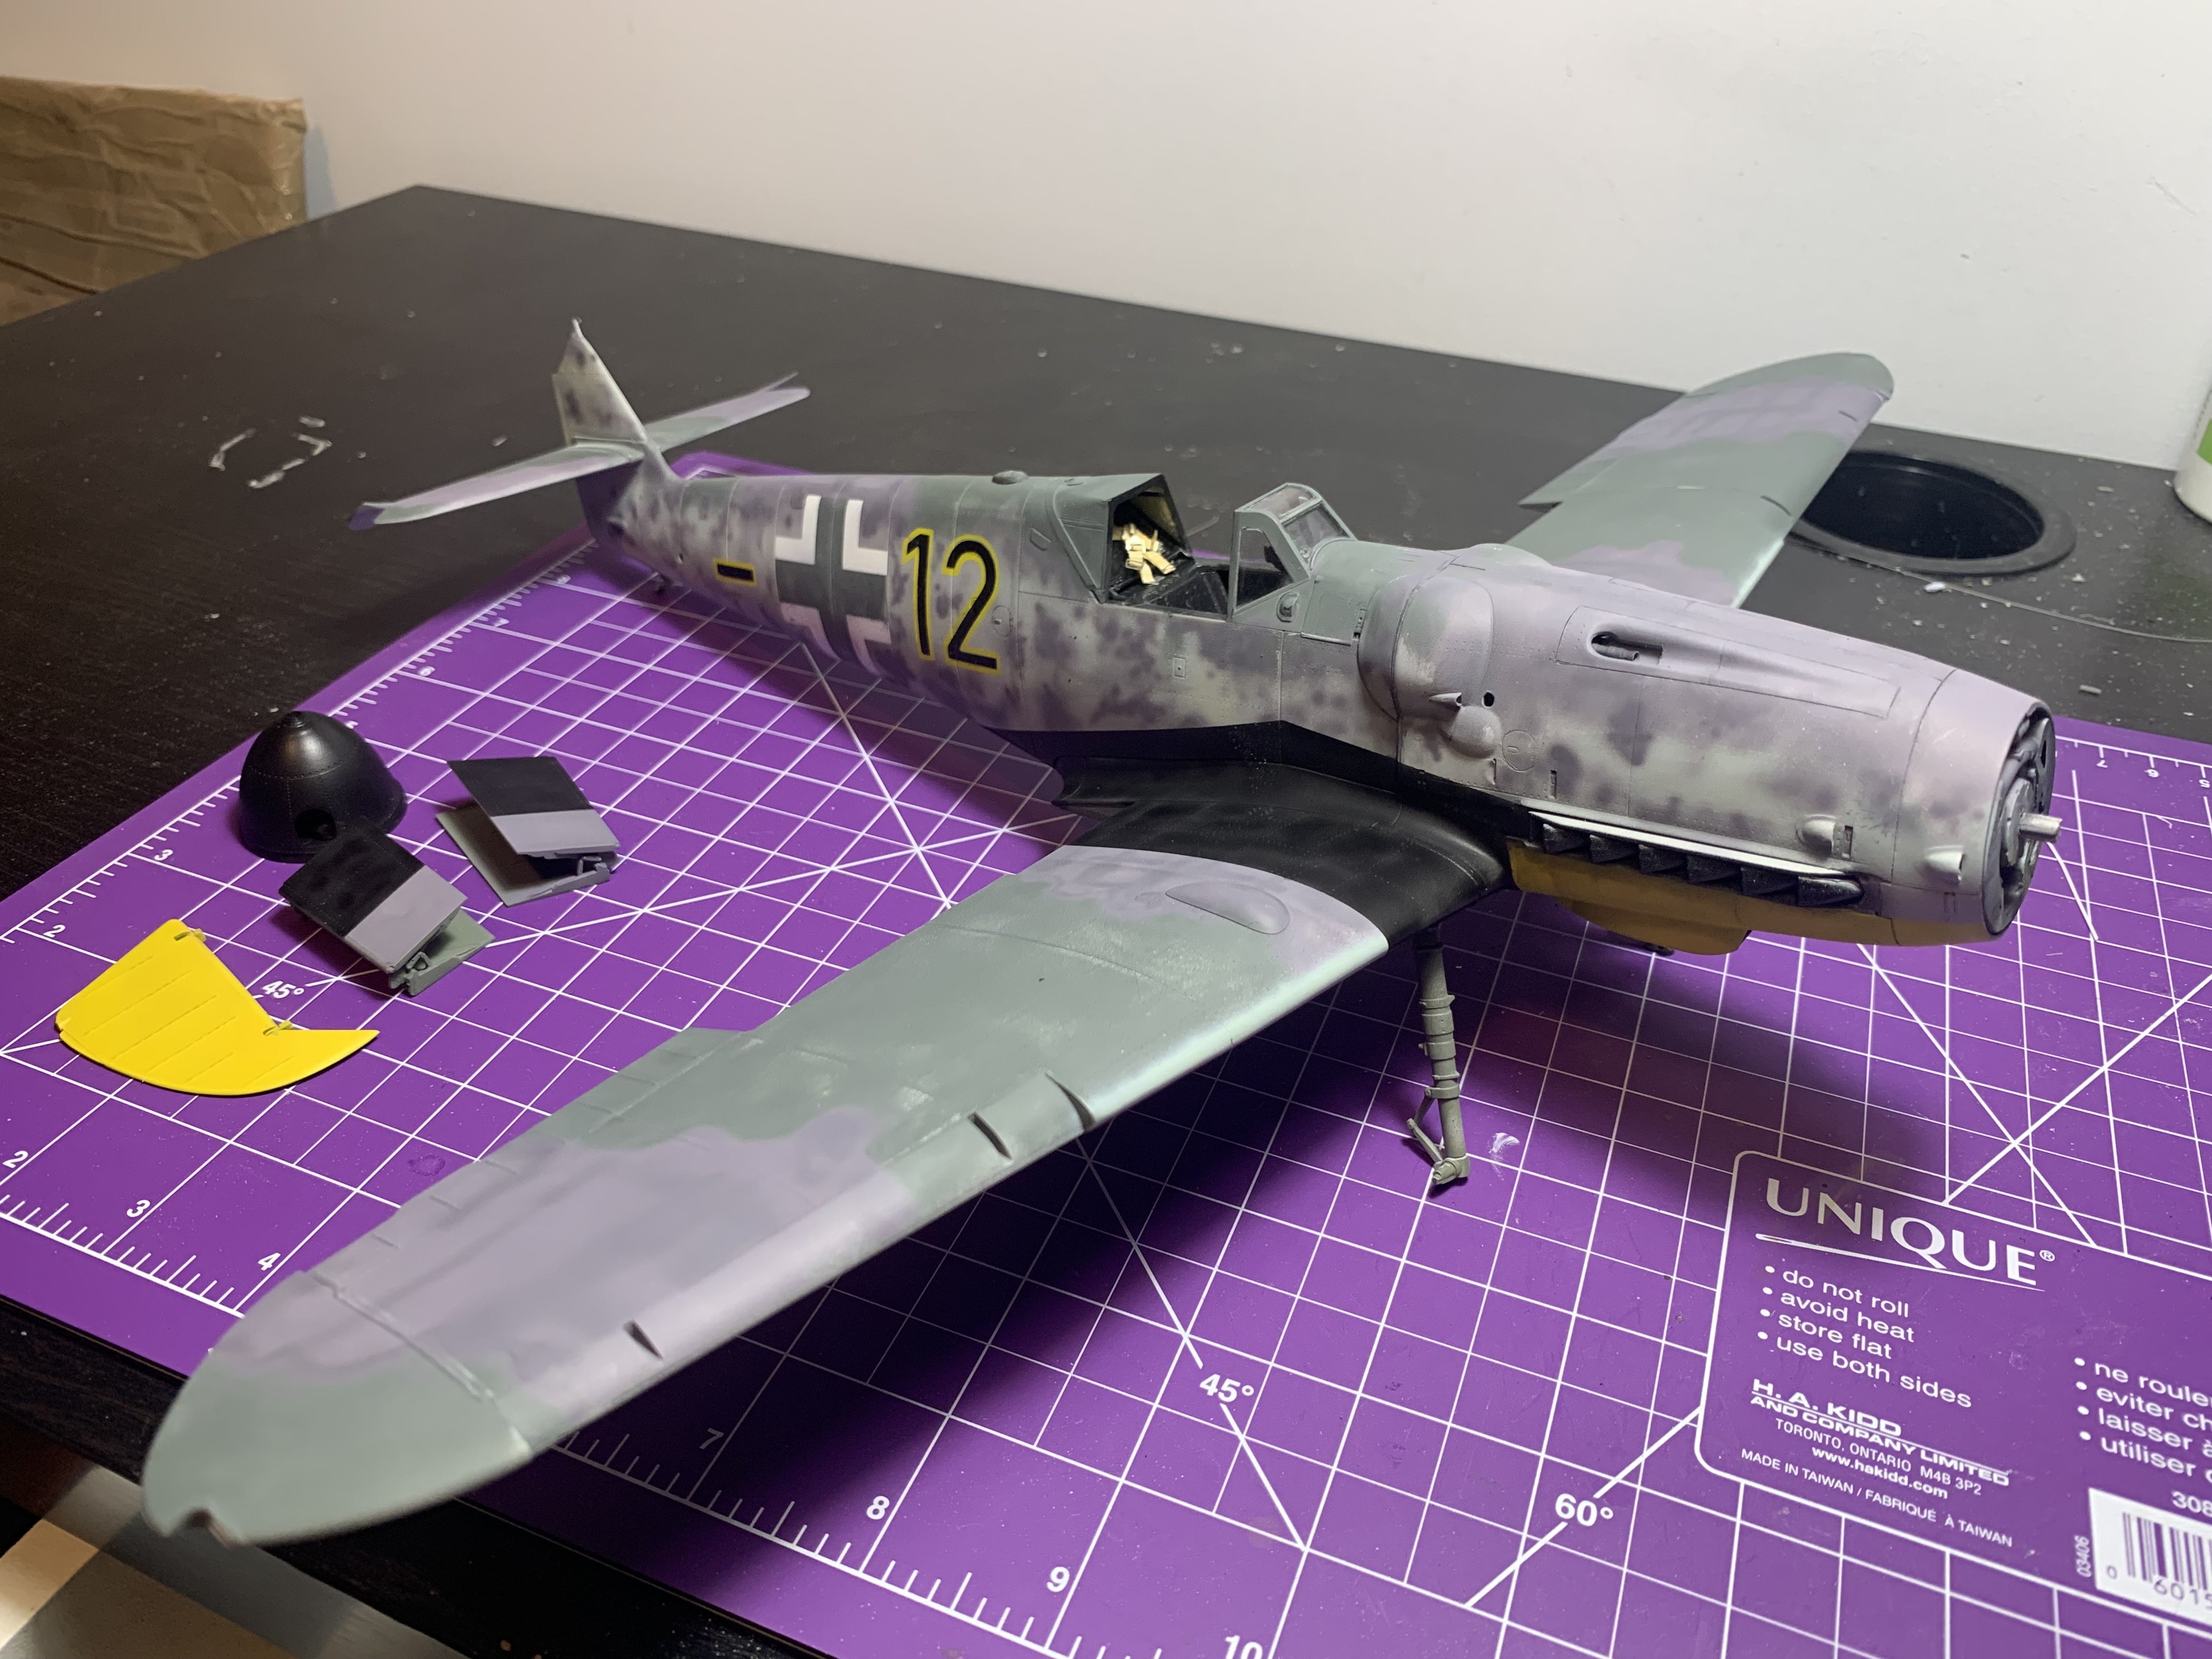
Masked the code numbers, I rarely using pure black but this time it was needed because of the swastika decals that will be easier to blend.


-
Definitely worth the money. In case you wonder the font is Alte DIN 1451 Mittelschrift
-

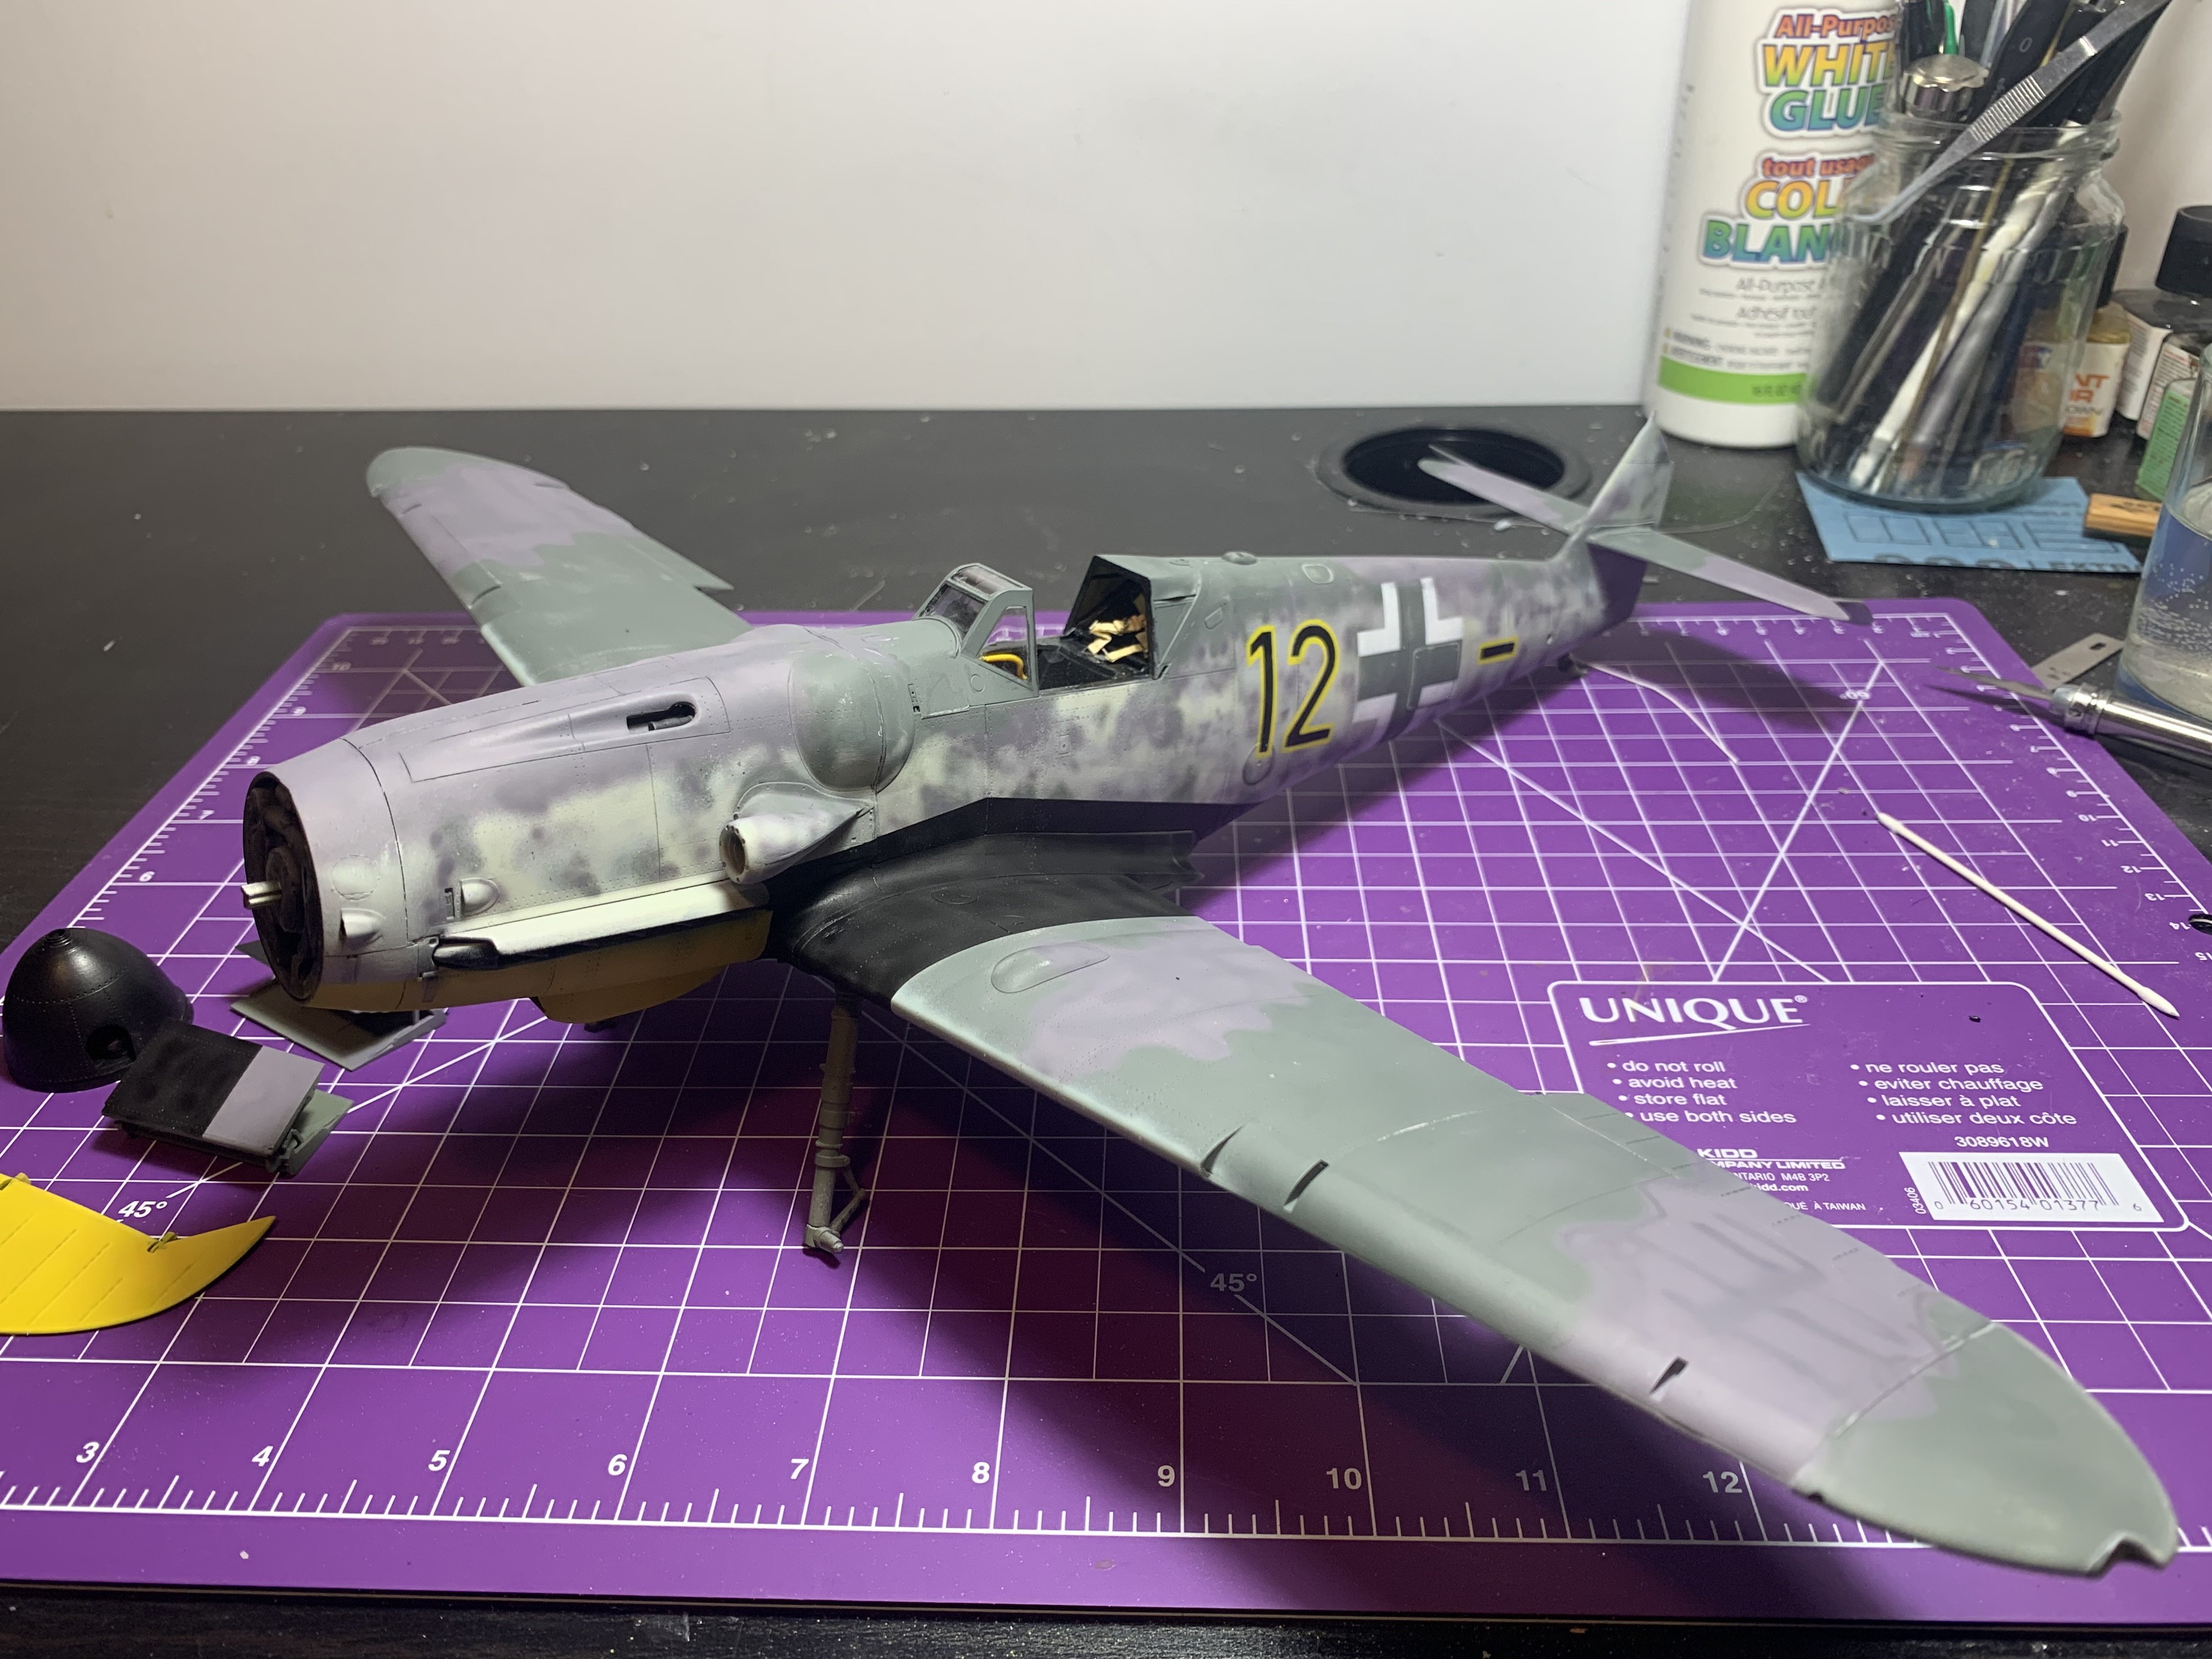
Kotare Bf 109K-4 with AIMS decals
Martinnfb replied to denders's topic in LSM 1/35 and Larger Work In Progress
Now we're talking. -
What is on your bench right now ? Share a picture :)
Martinnfb replied to Martinnfb's topic in Modelling Discussion
That looks really good. -
Mistakes happened , I would rip it off and build it without it as per the provided picture. Its an easy way out and you don't see them build like that very often, or never.
-
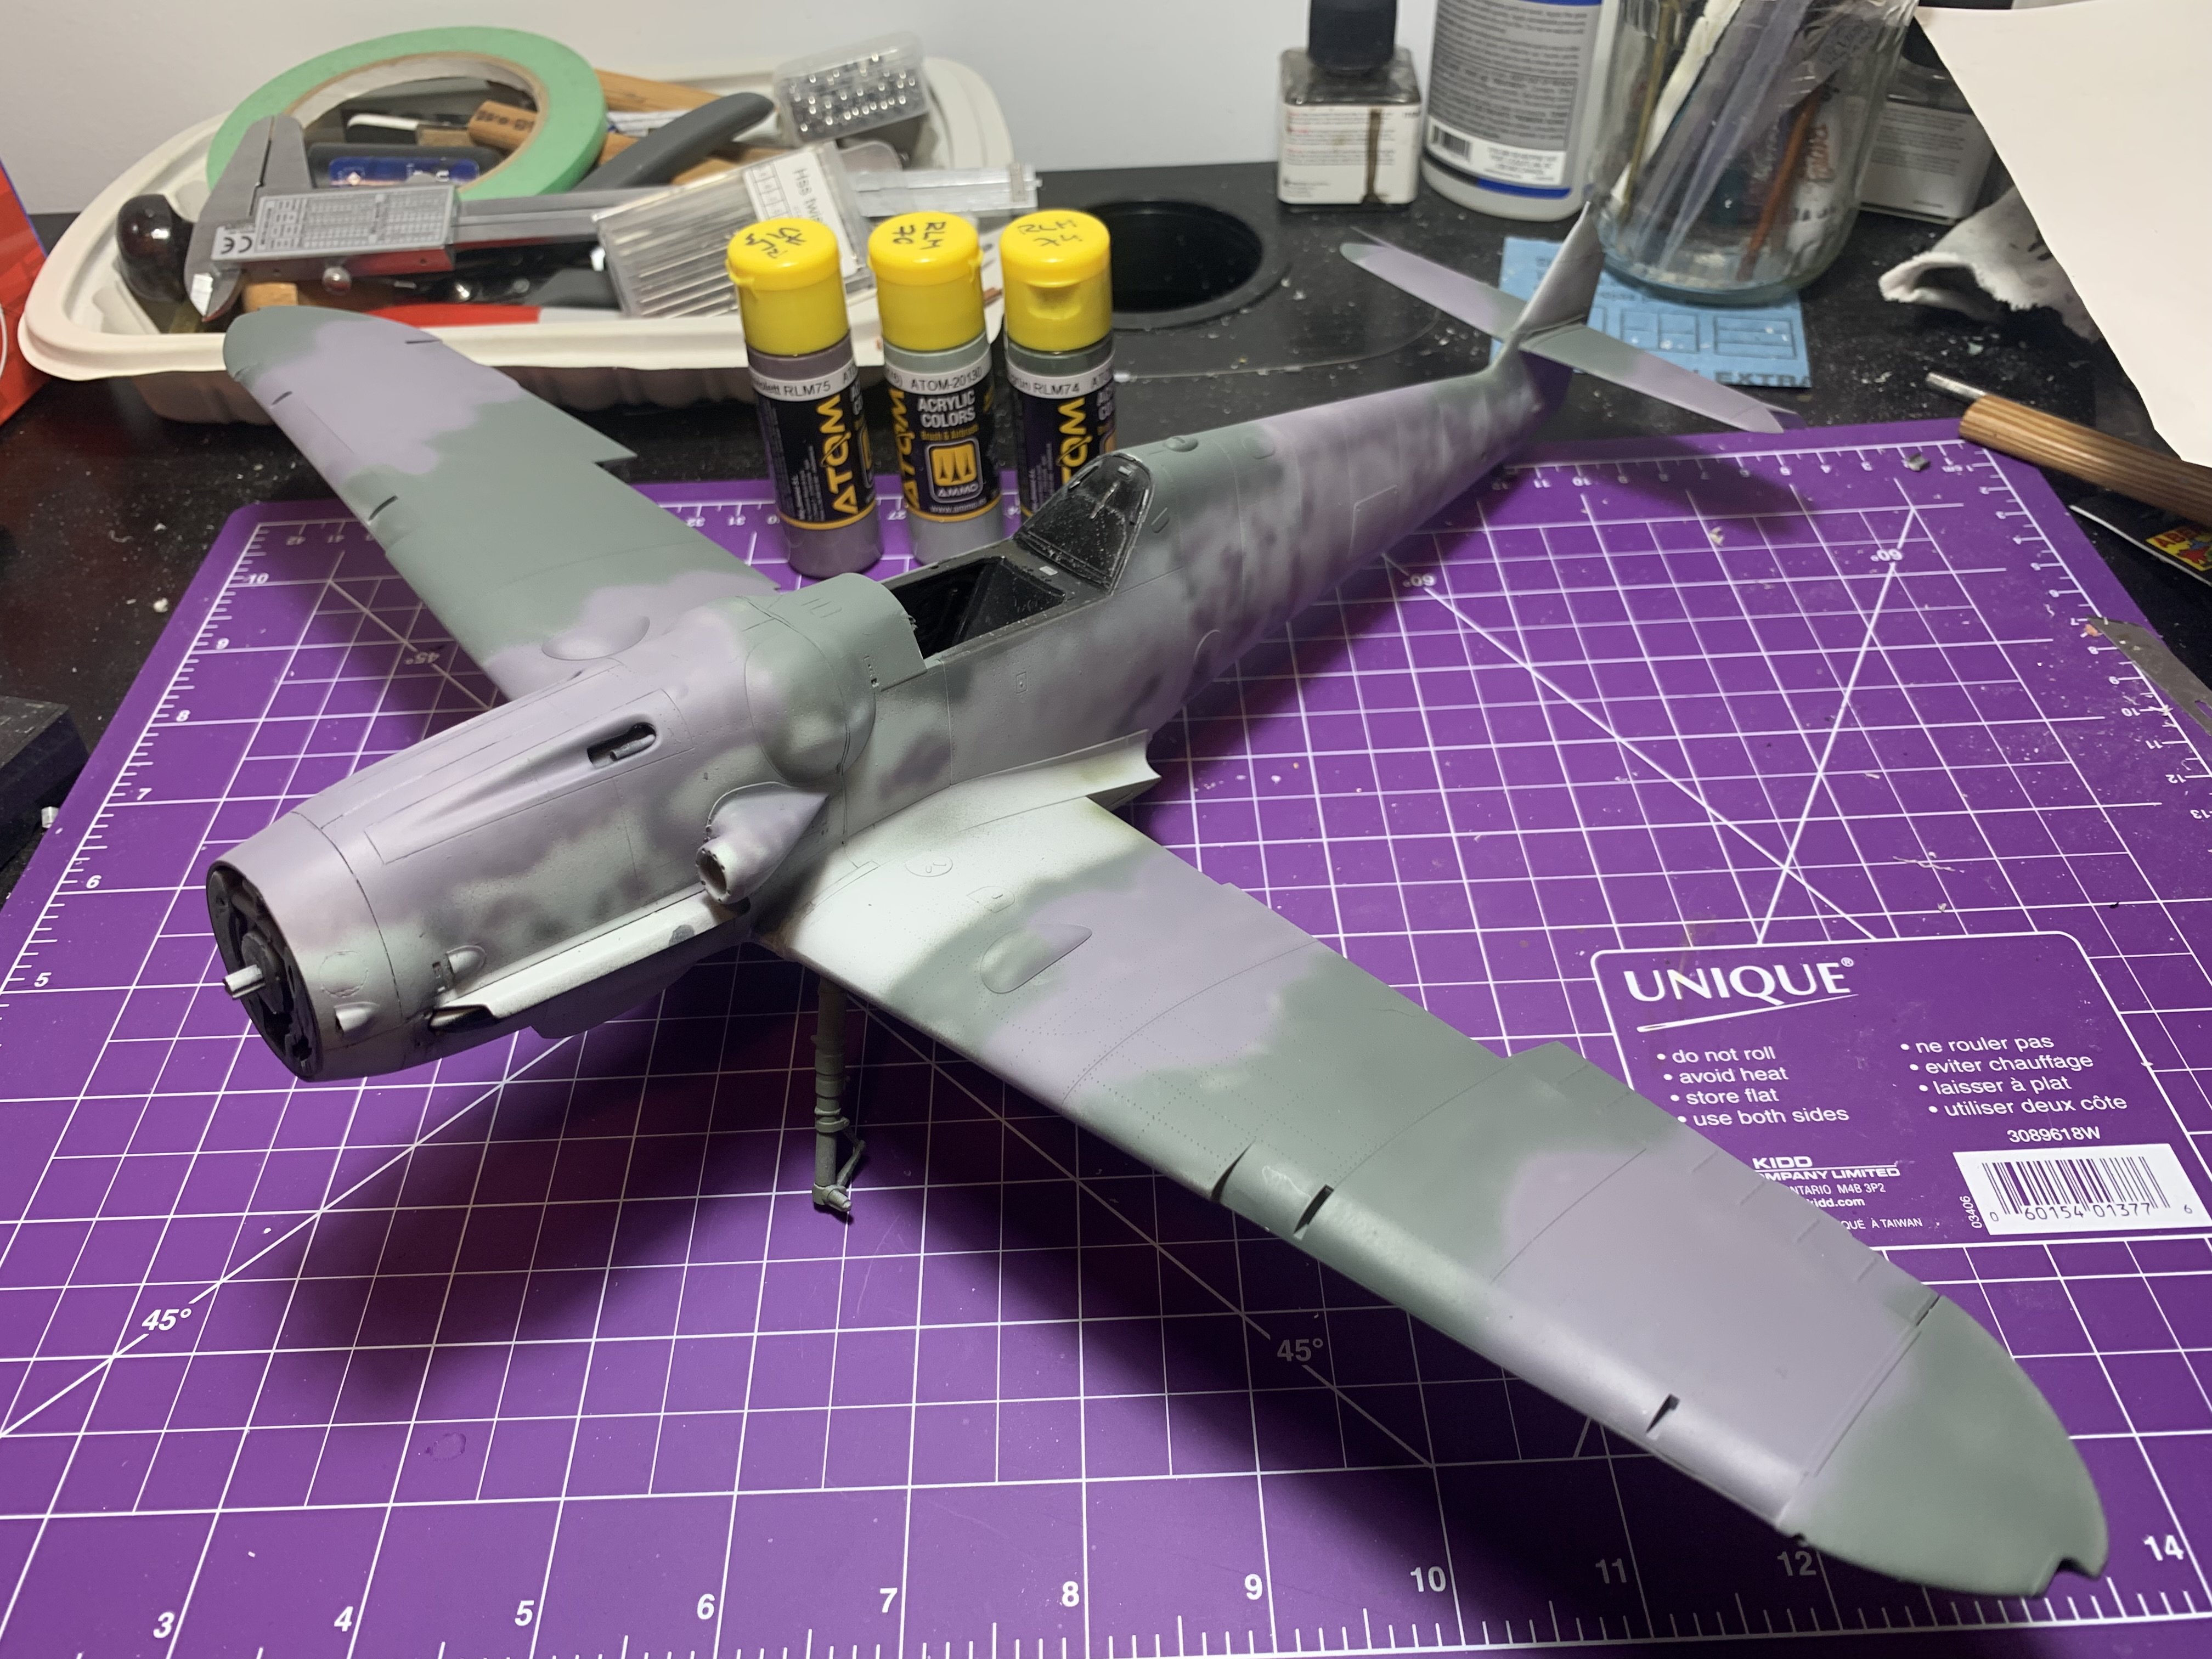
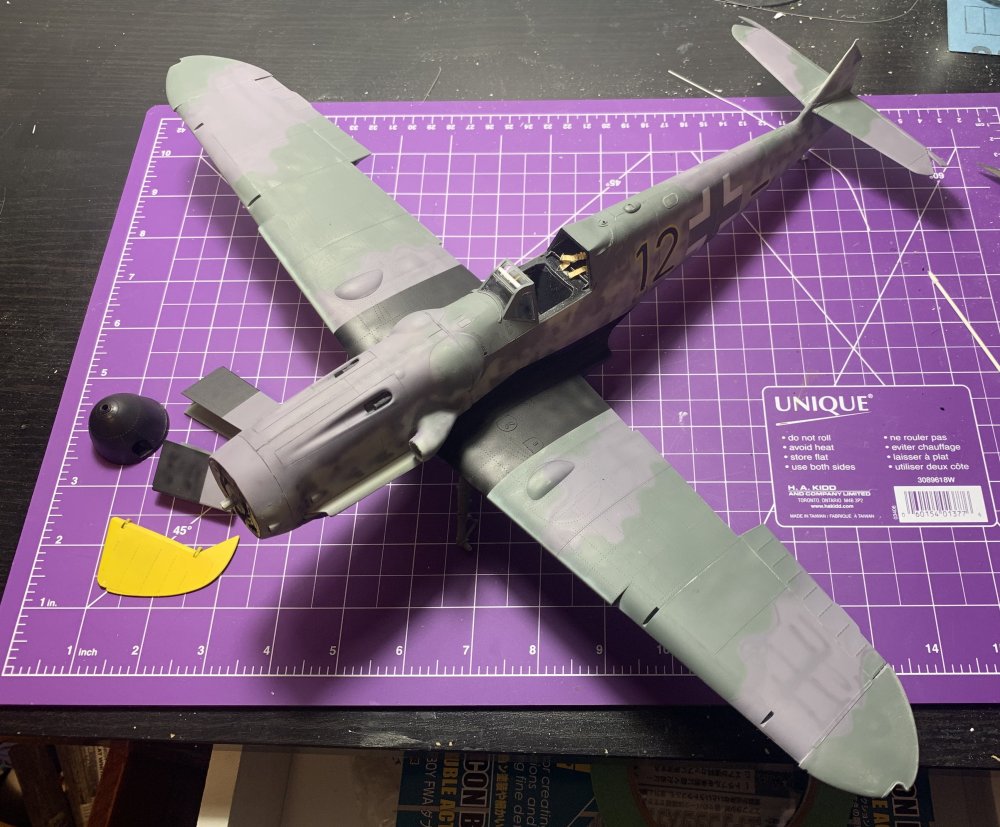
Definitely a must, this thing is huge . I am testing the new ATOM paint and trying all kinds of thinners, little expensive guinea pig, but there is no time for hesitation
-
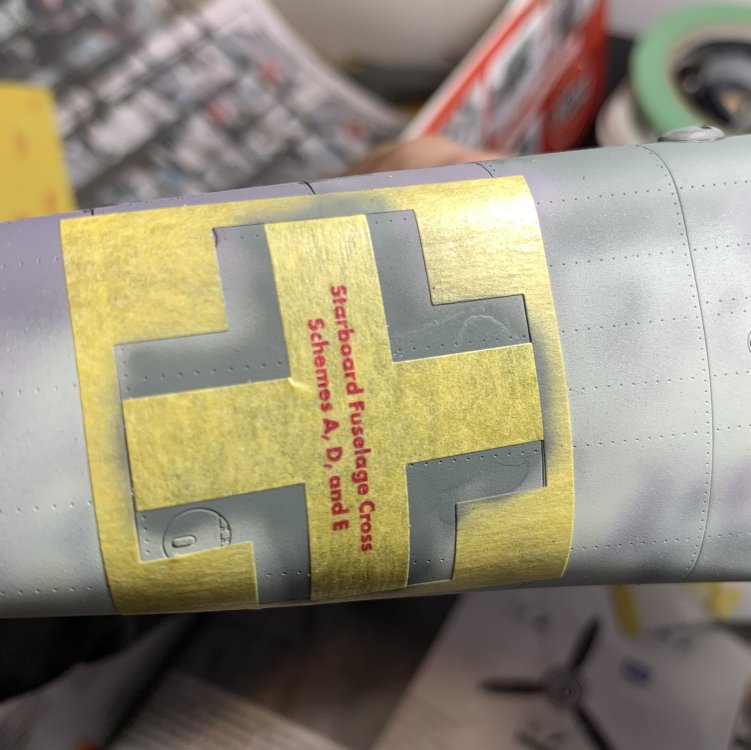
Some of you were wondering about the quality and fit of the masking tape provided by Airfix. Well, it does the job. I didn’t use transfer tape, just slapped it on off hand. The material is slightly softer than Kabuki, but its adhesive allows you to play around with the placement. Good call over all, I just wish they would provide also the rest of insignia crosses. And yeah, my compressor overheated and started spitting water, nota biggie.
-
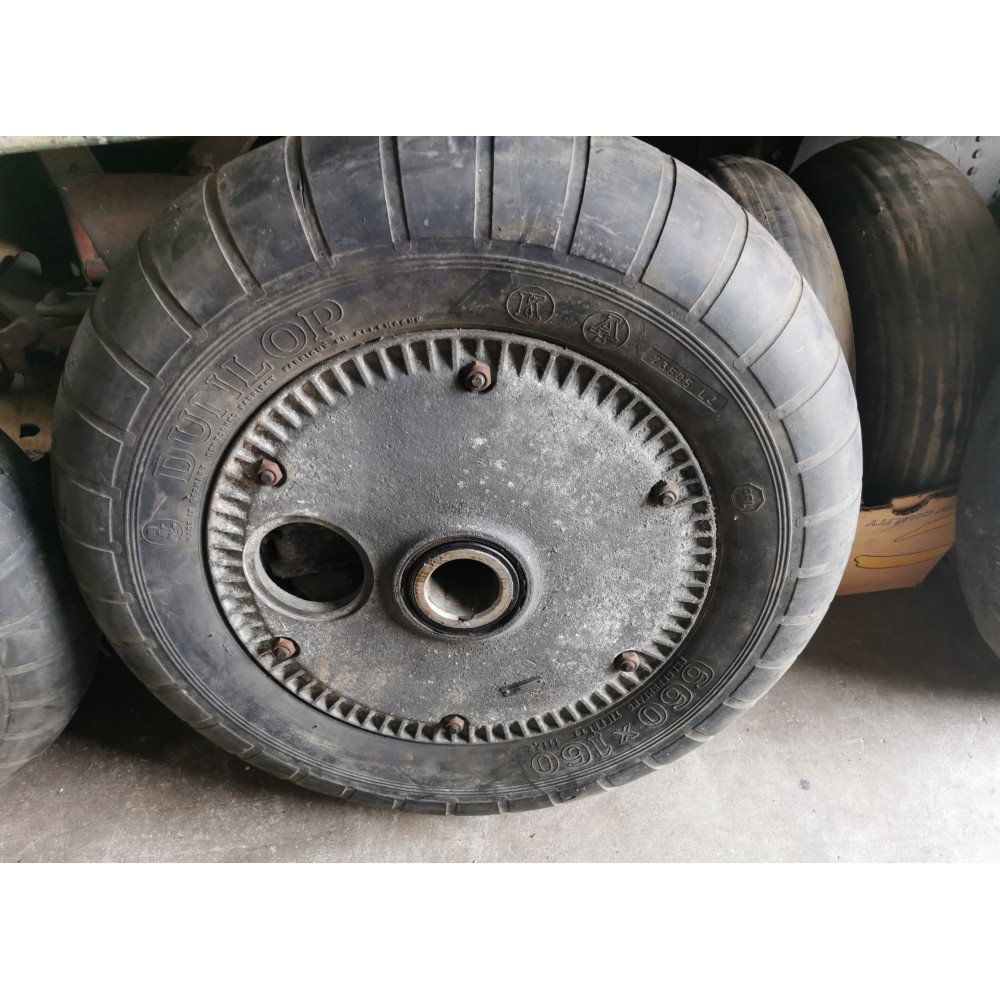
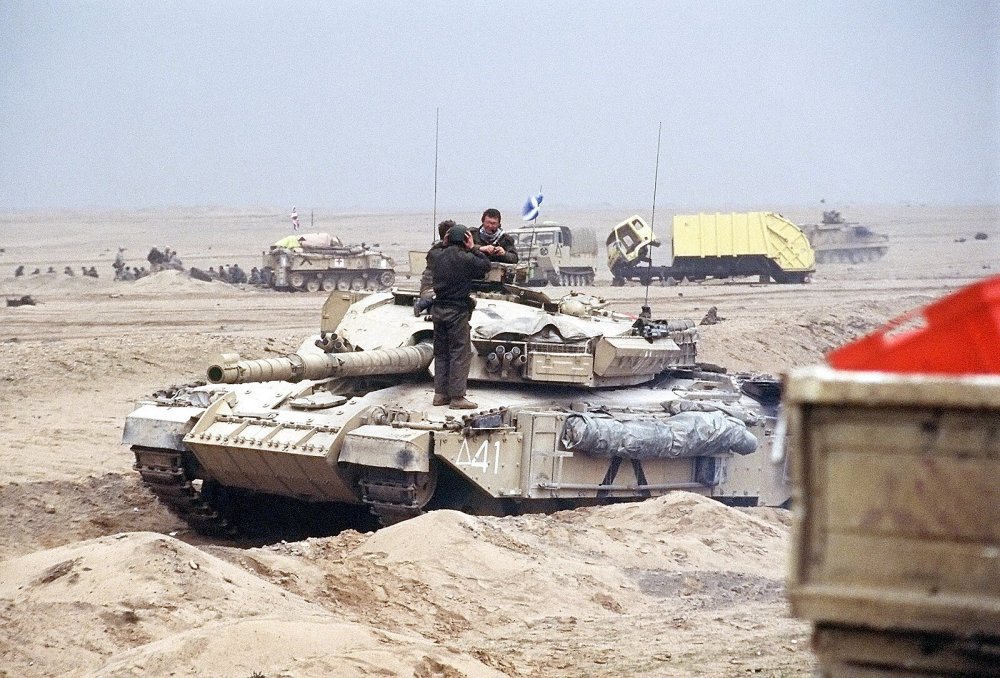
Here's a picture of Mk.3 without the front armour.
-
There is this as an option https://www.scorpion-miniature-models.co.uk/product-page/smm3546A-challenger-1-and-2-era-toe-armour
-
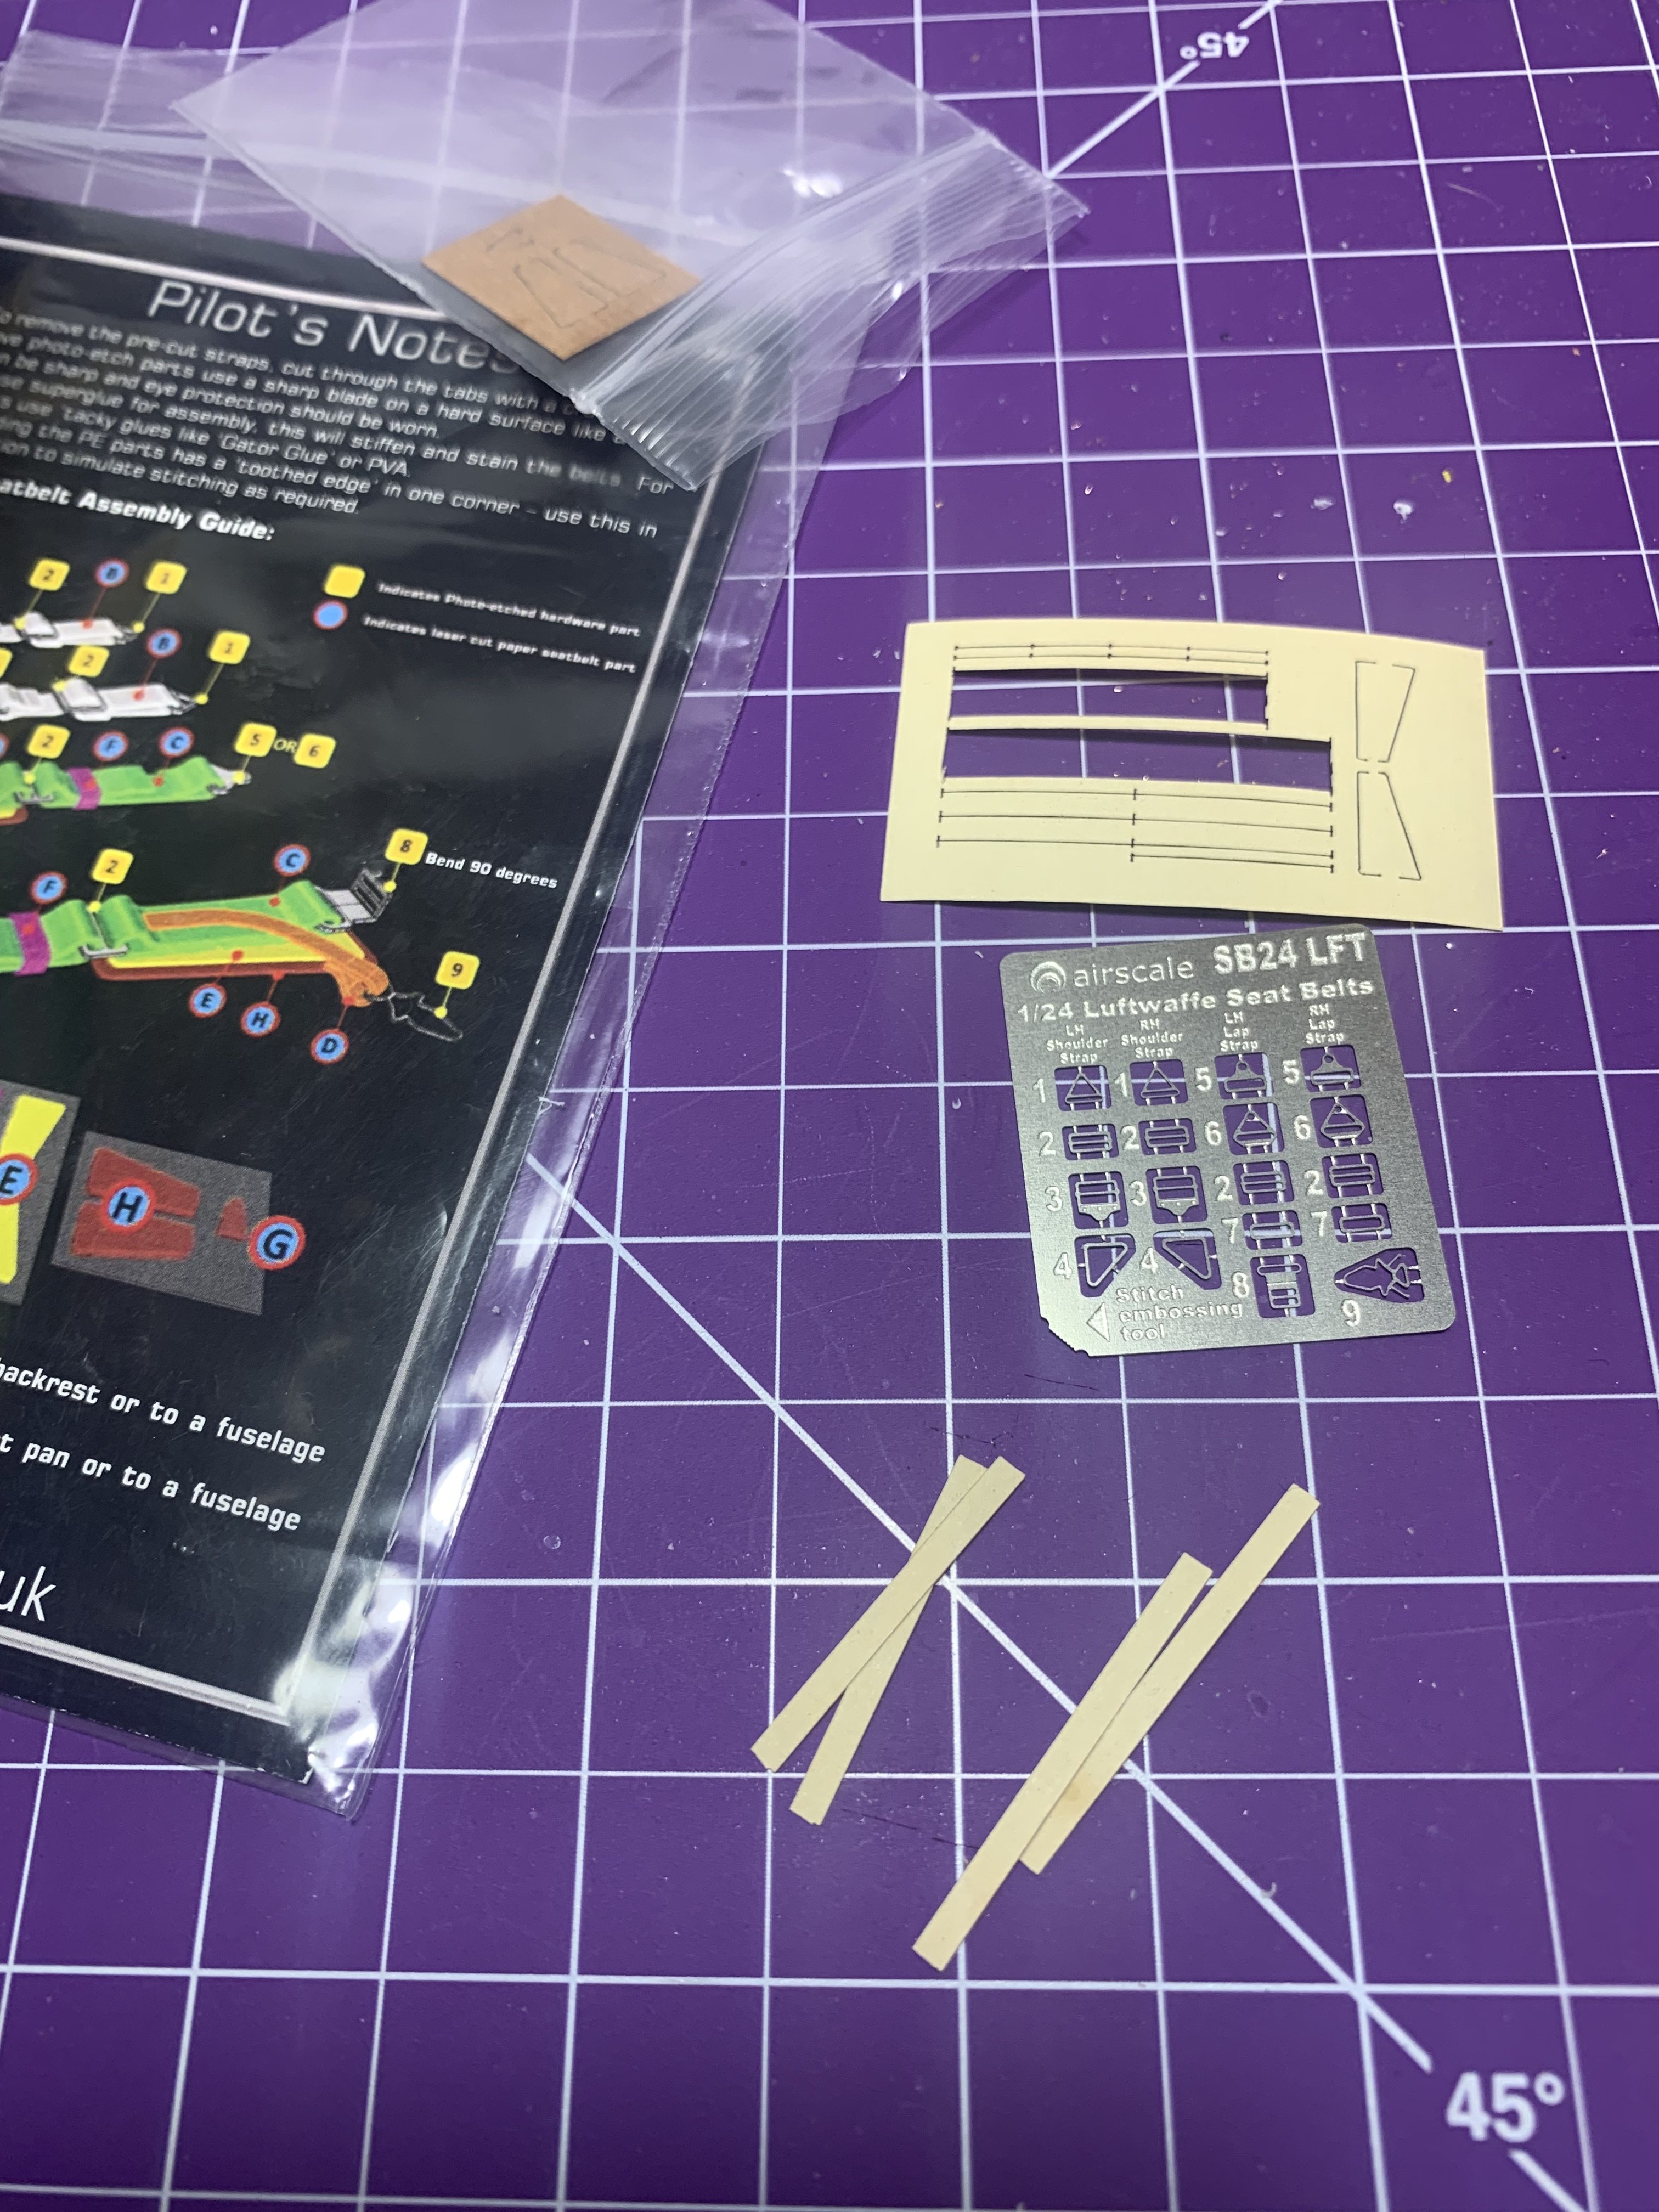
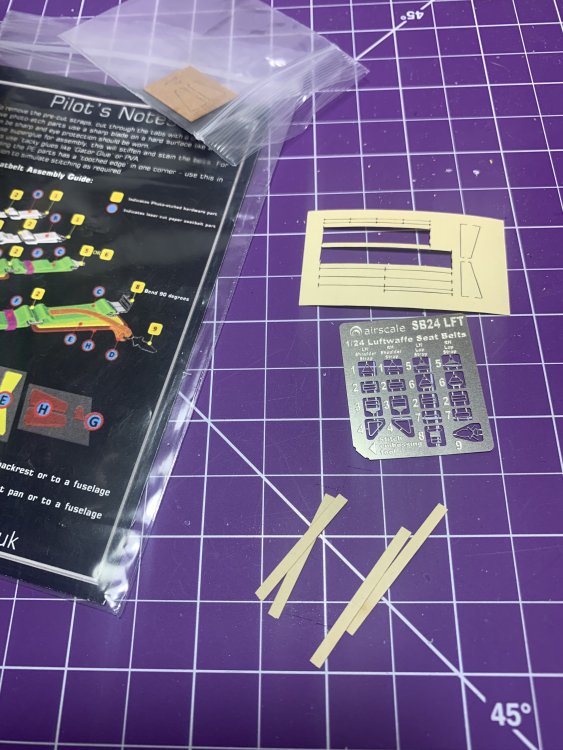
Thanks Guy, yes there are seatbelts, but plastic molded in the universal vertical position and I can’t really imagine how to crumple them in the back, so I opted to go with the paper ones, an easy way out
-
Hi Ralph, it seems that the perforated part D14 is supposed to be placed upside-down with the holes in the lower part, yours is in the upper.
-

-1000x1000.thumb.jpg.c0311b01561c999cdb1f80077eec3a49.jpg)
-
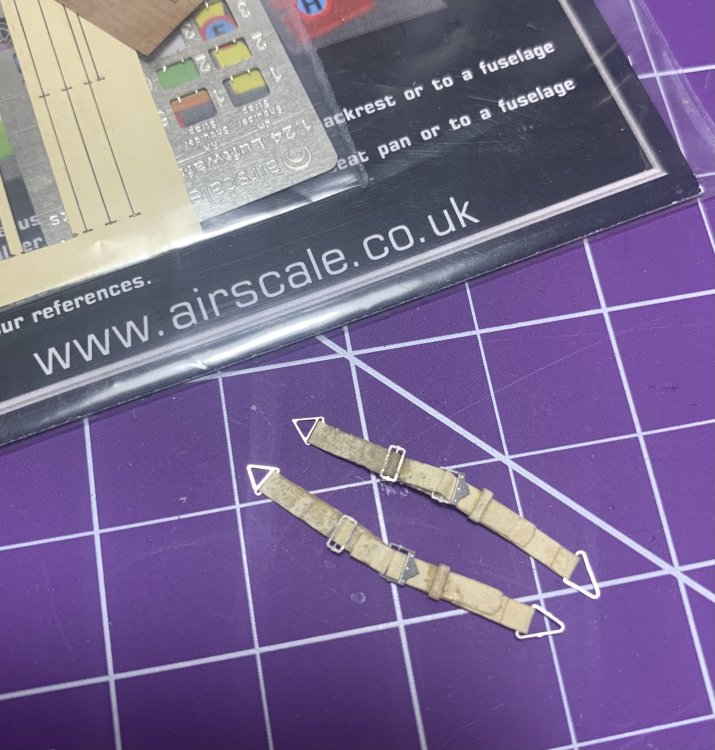
@airscale Peter's belts are pure gold.
-
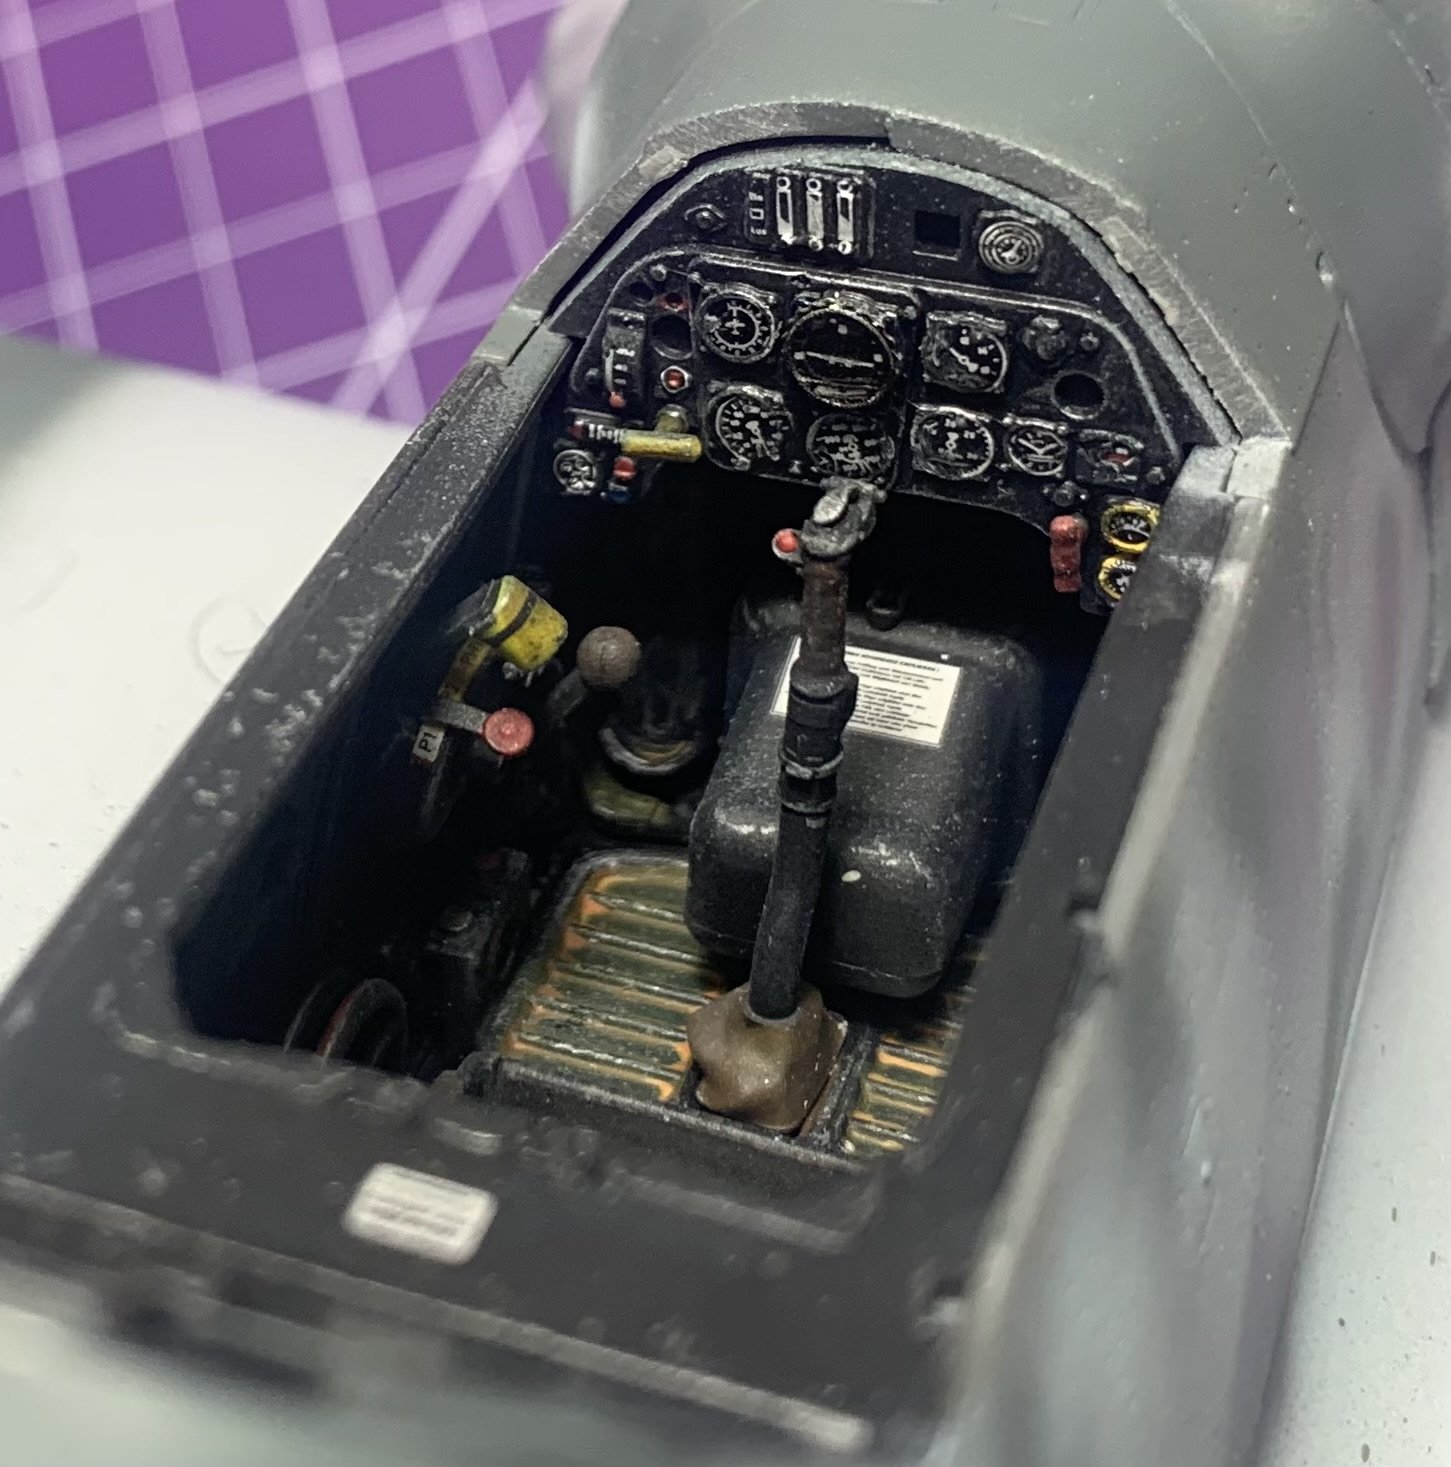
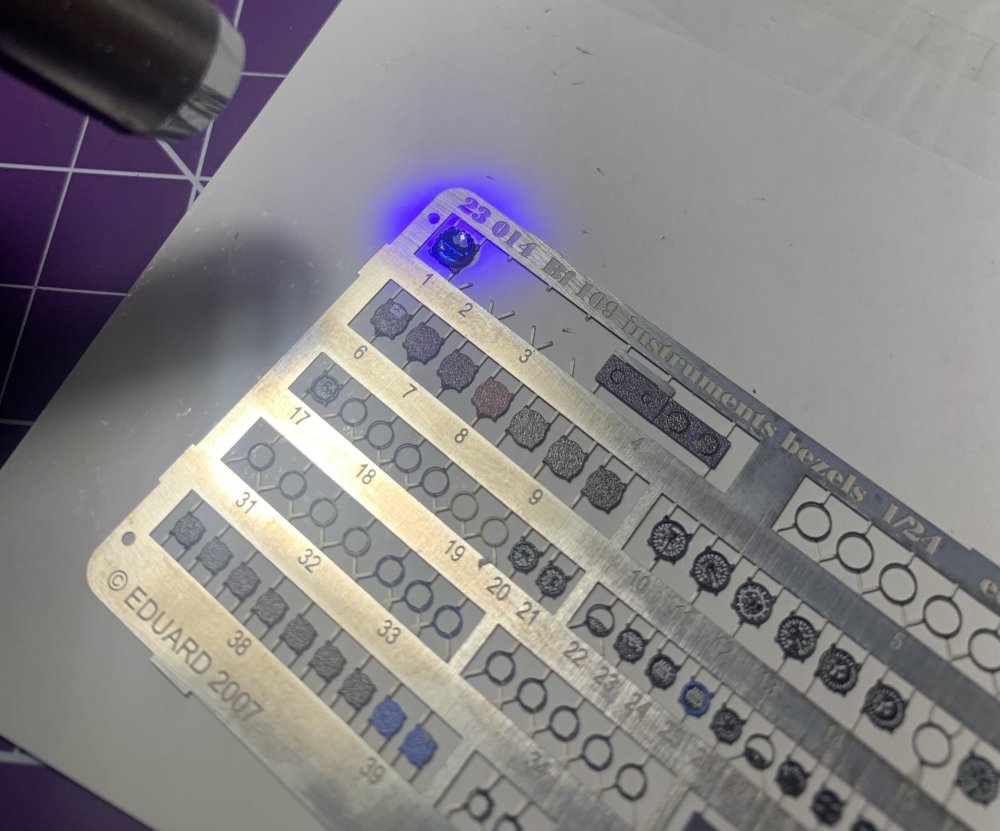
Artificial Horizont decal shifted on me, Eduard 109 bezel set 23014 came to the rescue. Now I feel I should replace all of them. Remember, AOOB


-
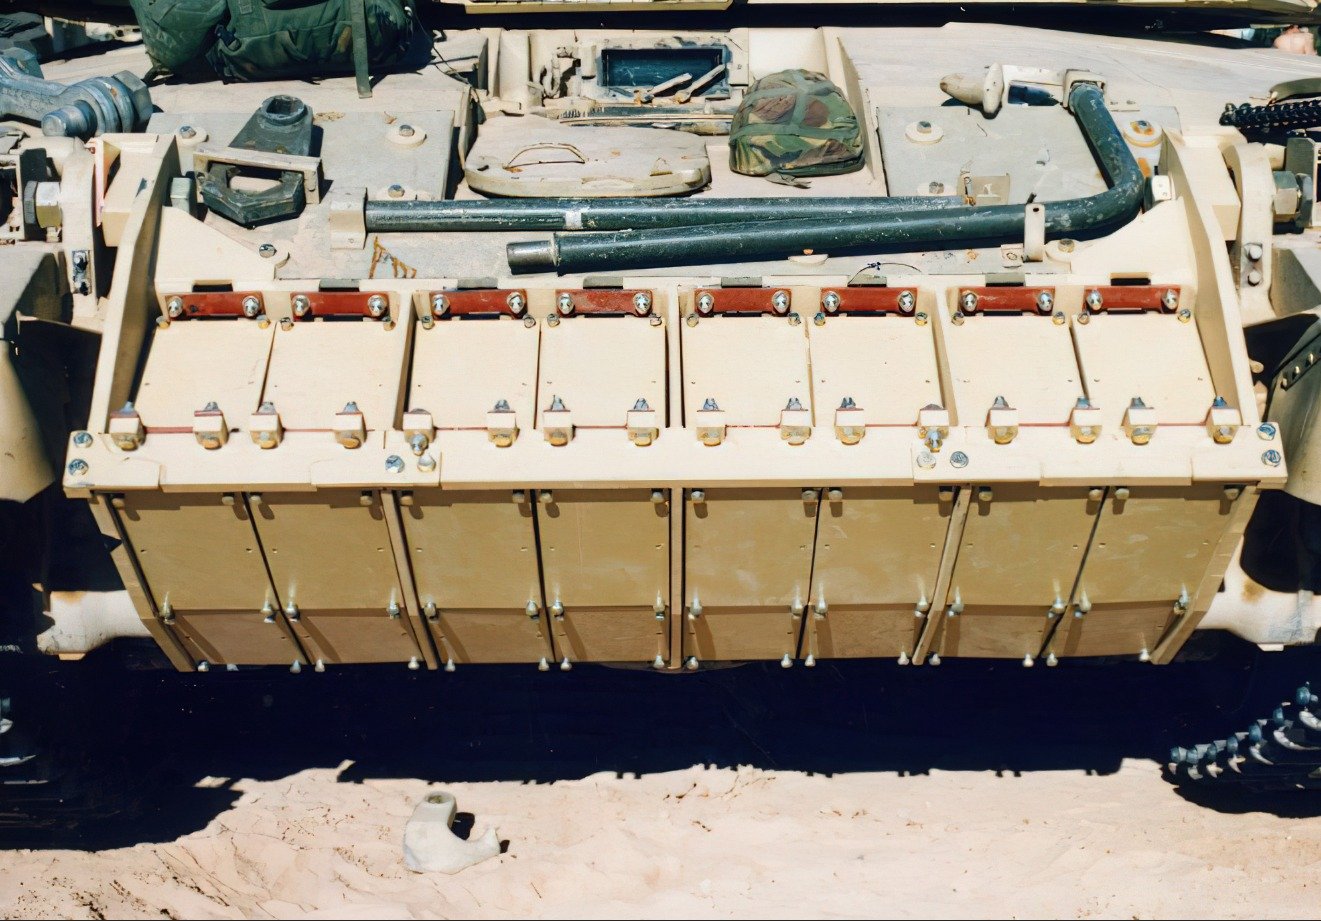
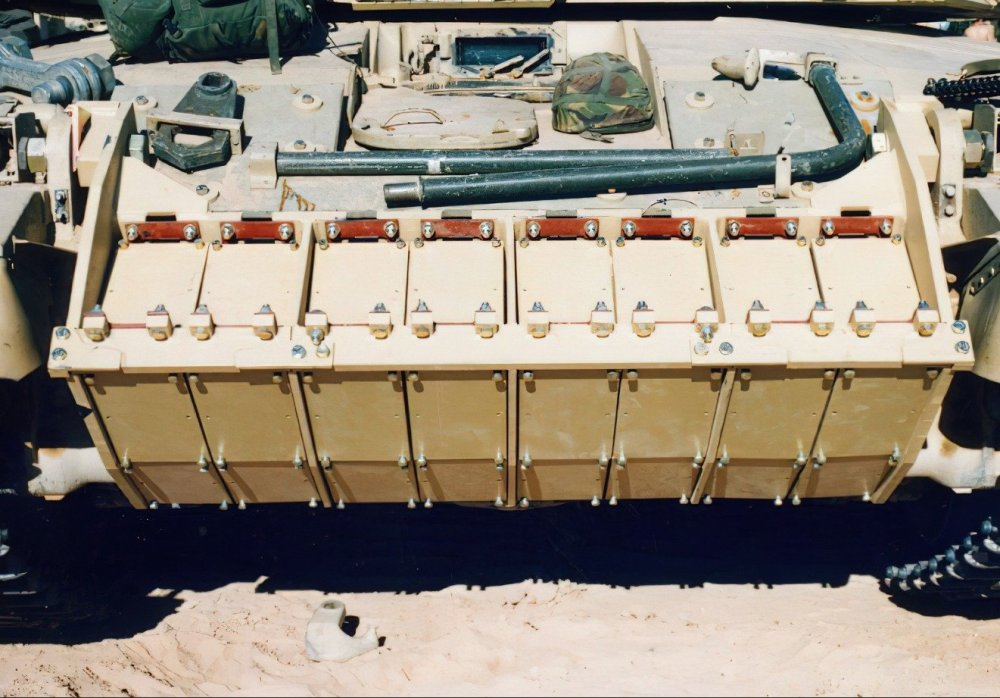
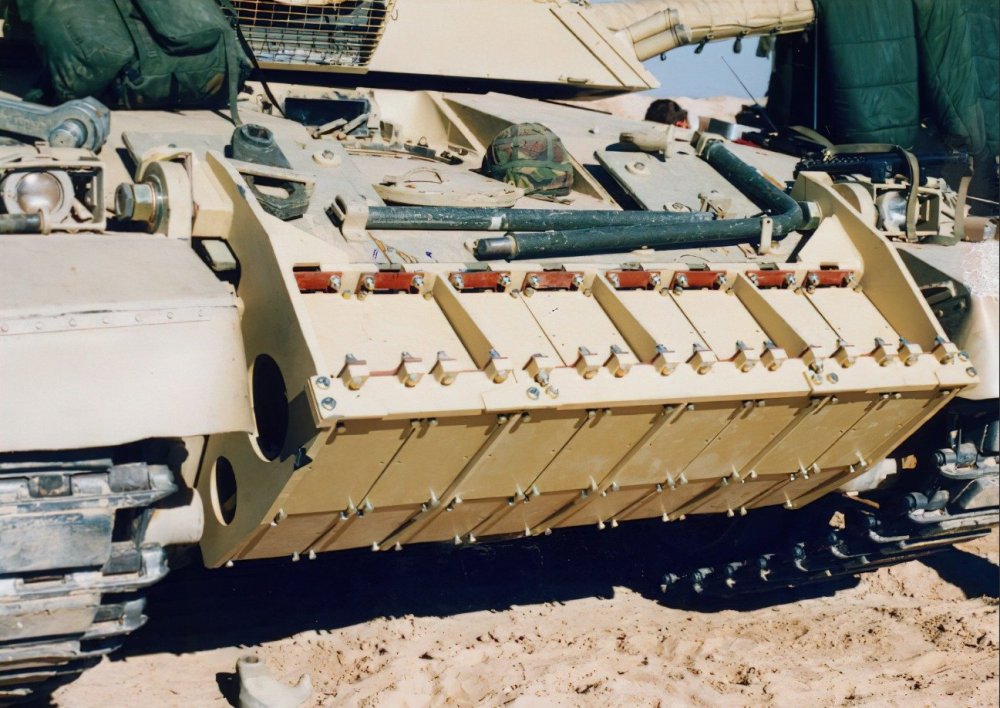
because it's wrong, the added appliqué ERA armour is mounted on a front plate attachment point creating a physical gap with the top not protruding from the silhouette of the vehicle.
-
Reminds me about this movie. It was a nice story
-
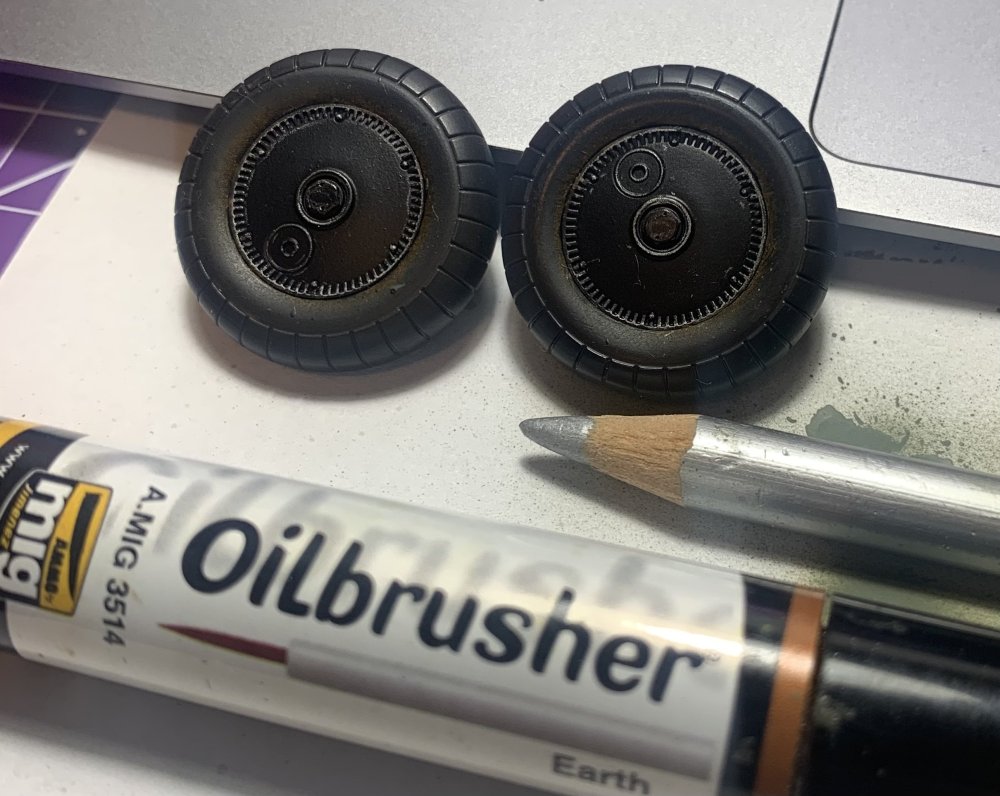
Thank you , I have to admit I like them, first time there's a product that I can hand brush and air brush with great results. really impressed.
-
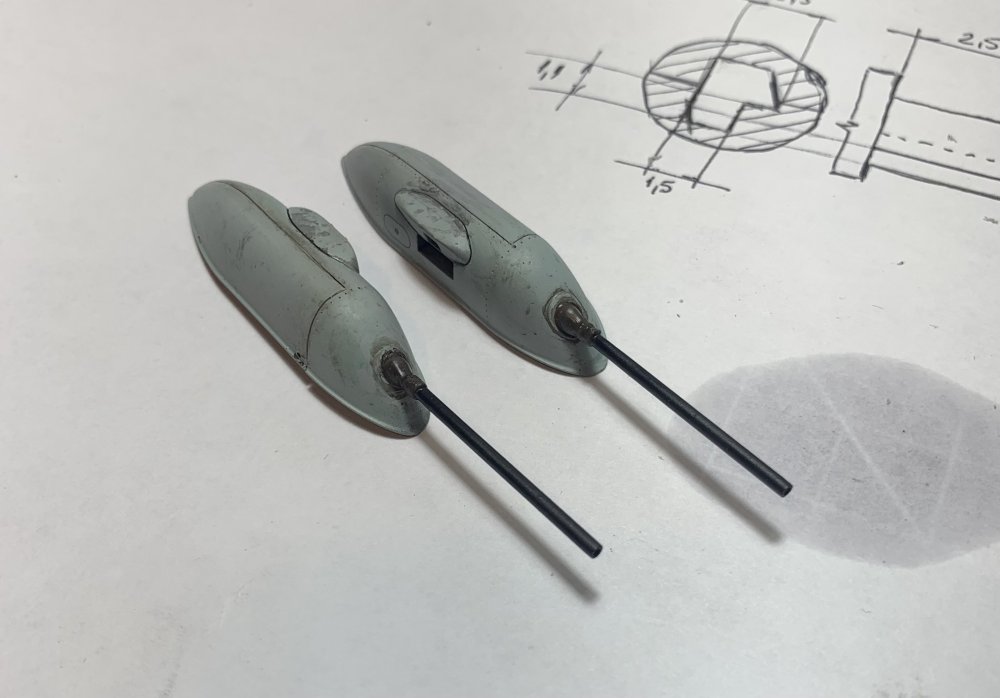
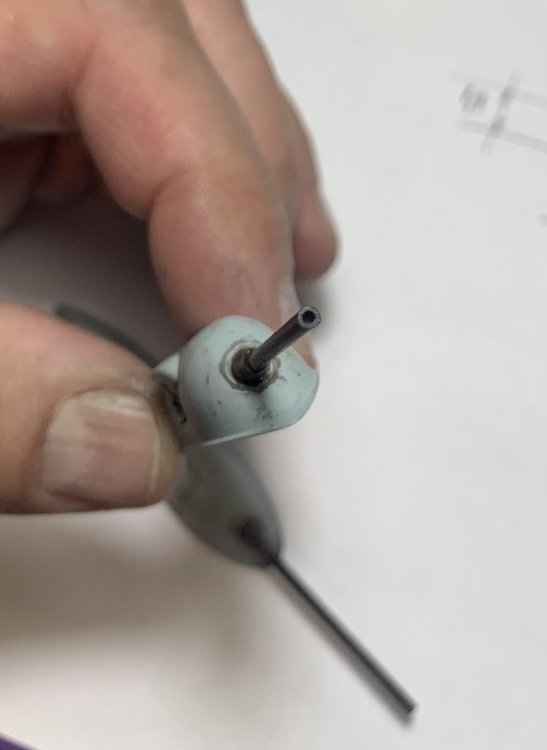
Fantastically designed radiator flaps mechanism.
-
From Arctic Bandit to Twilight Sparkle, at this stage the paint looks so stark.


-
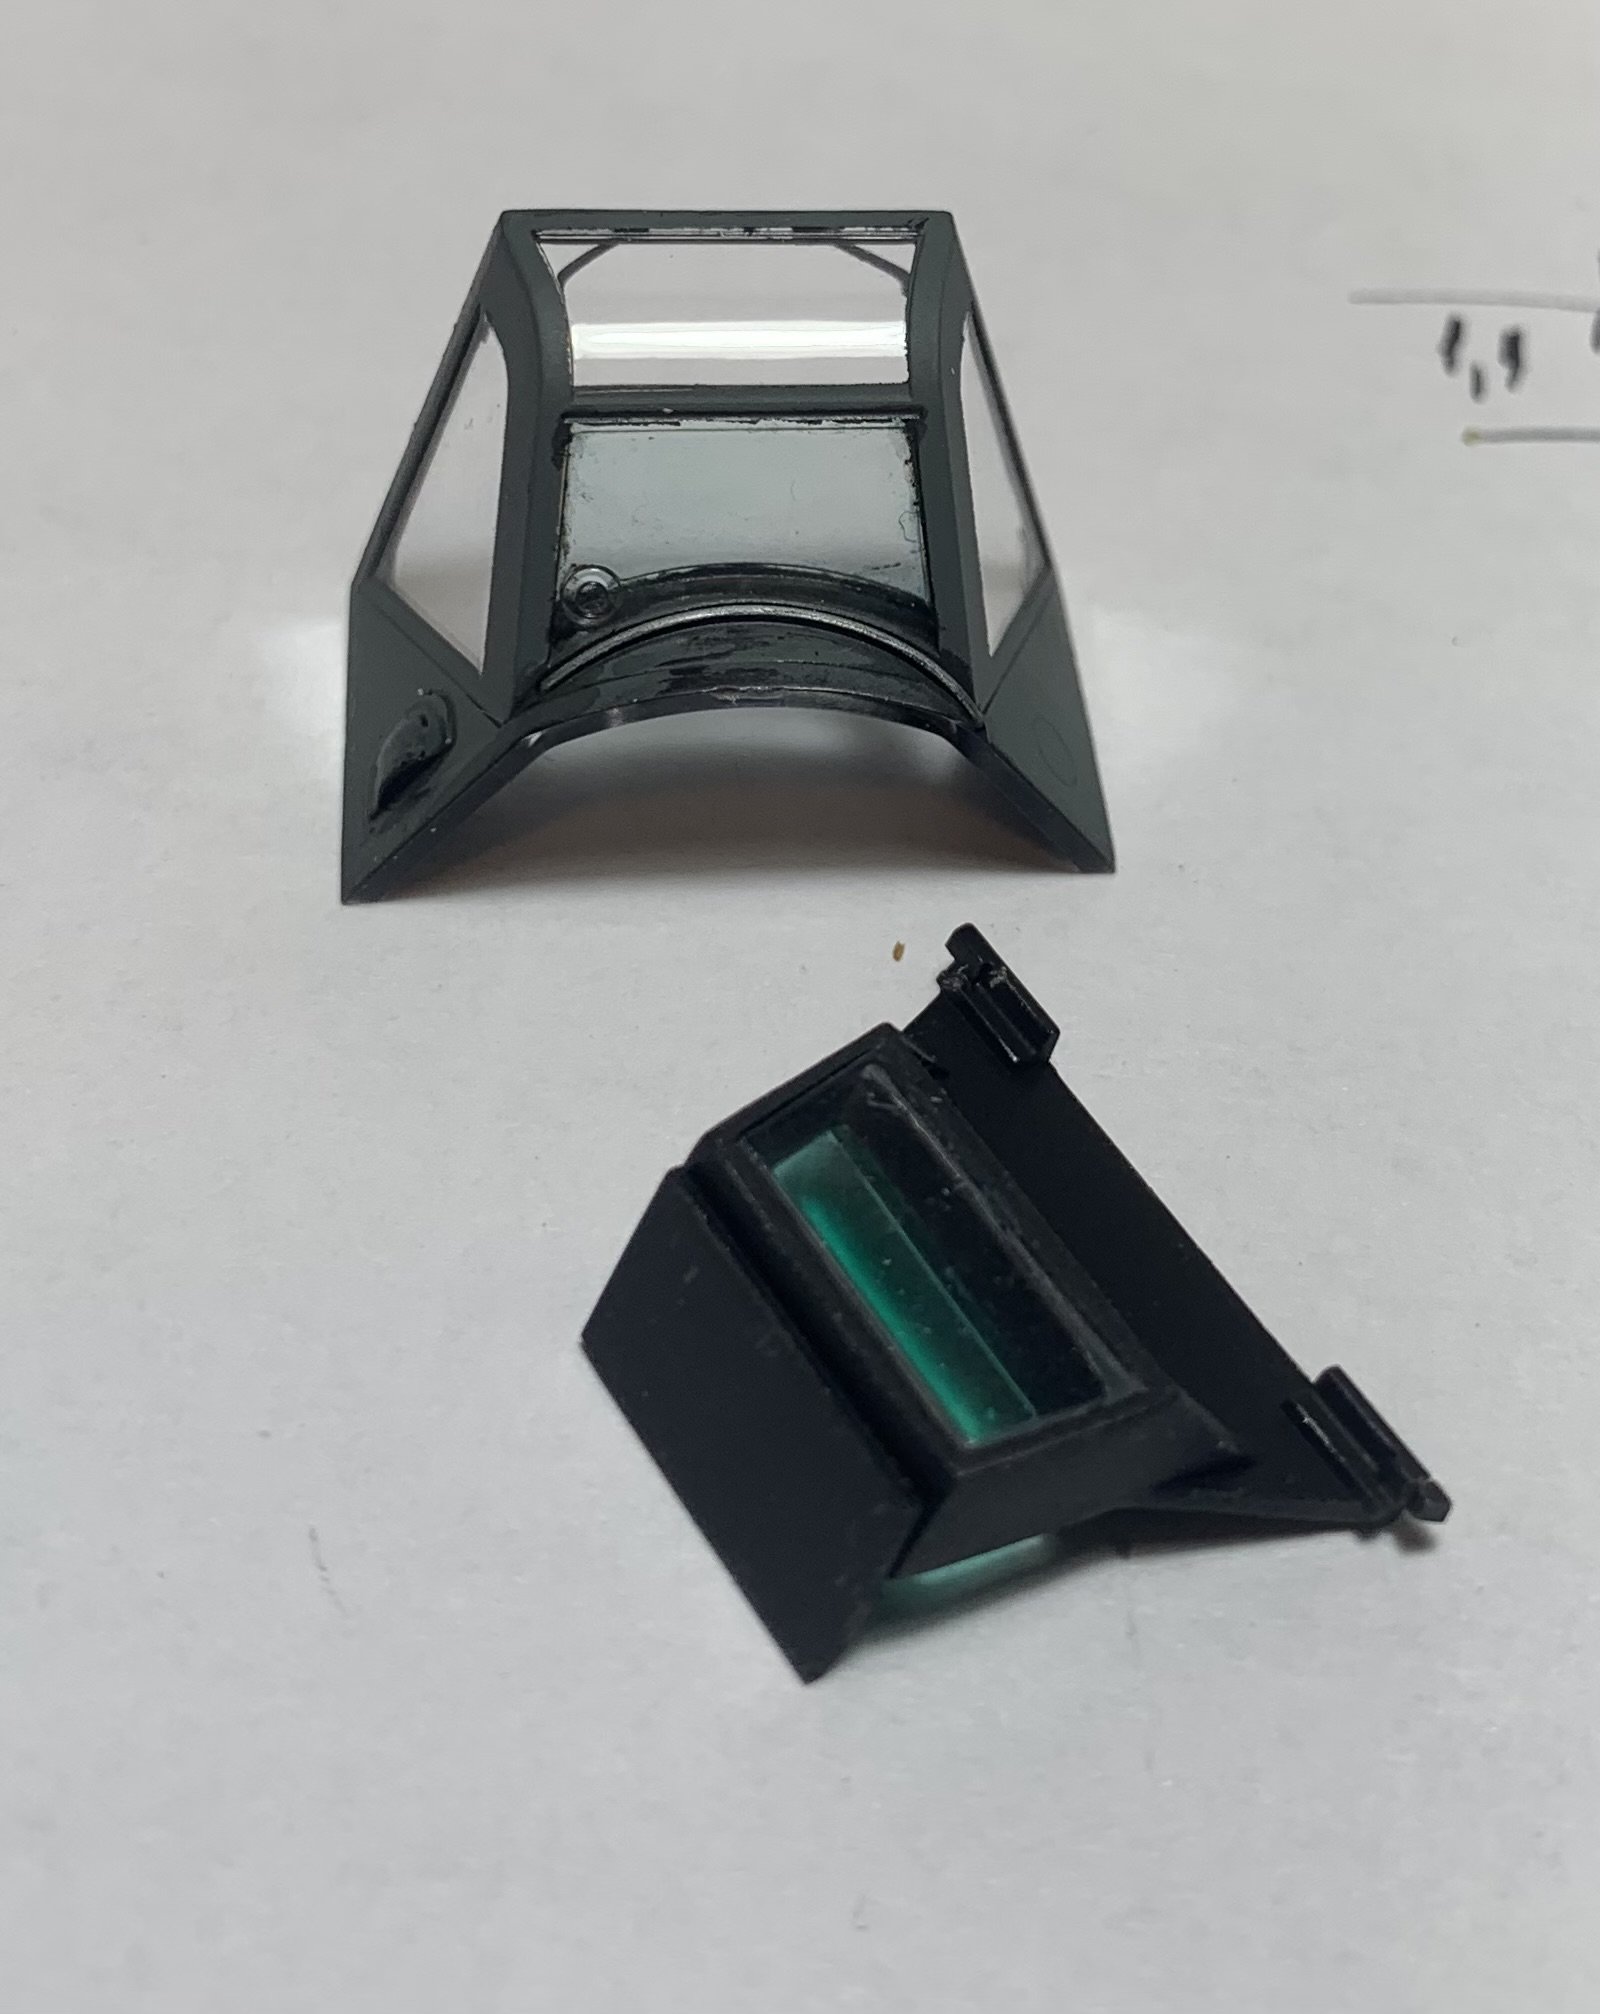
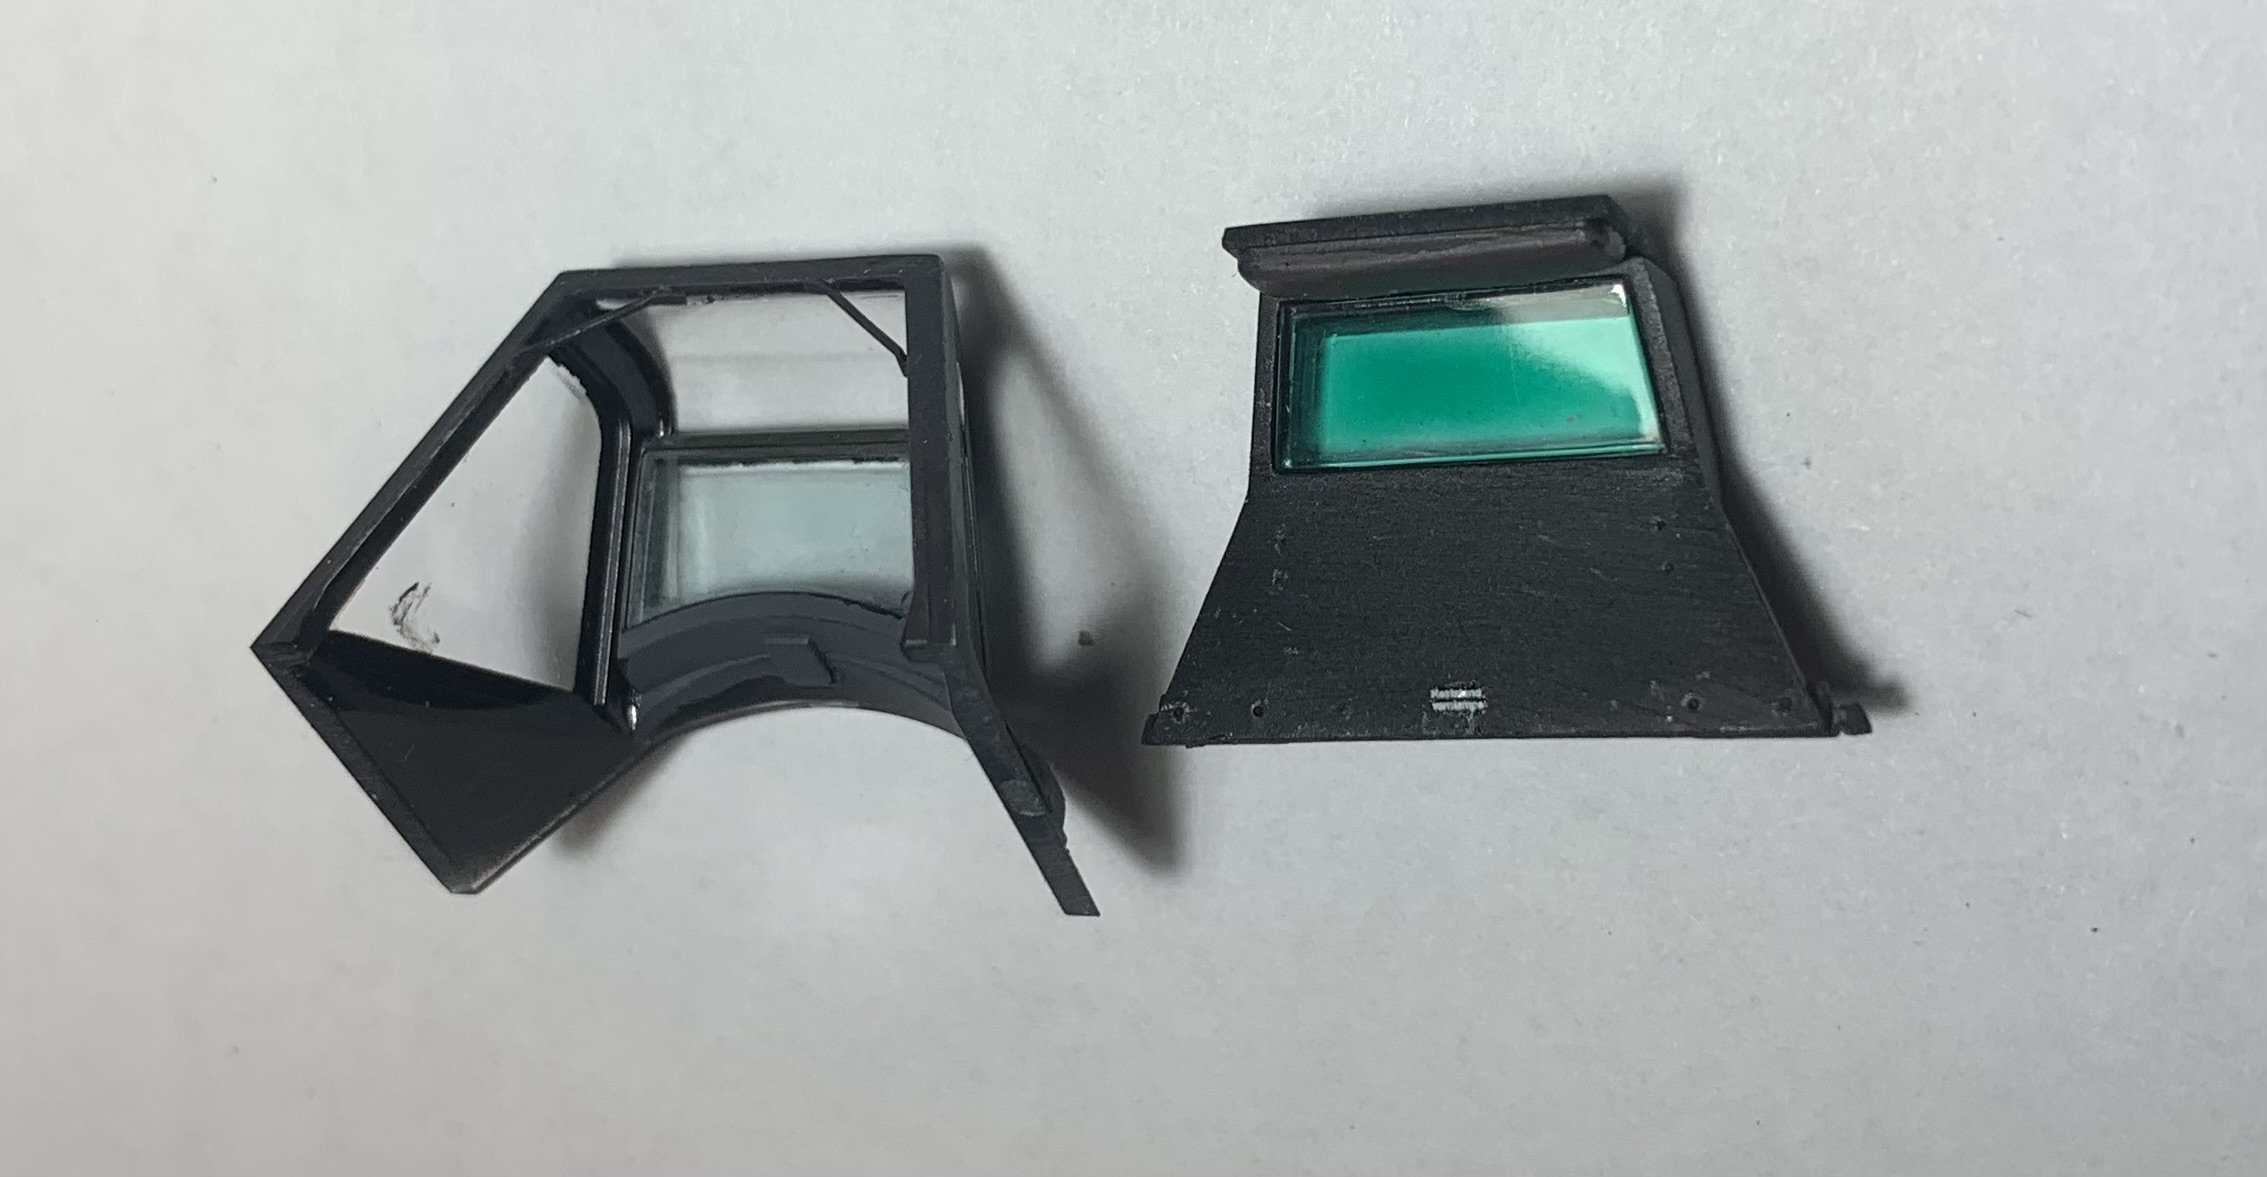
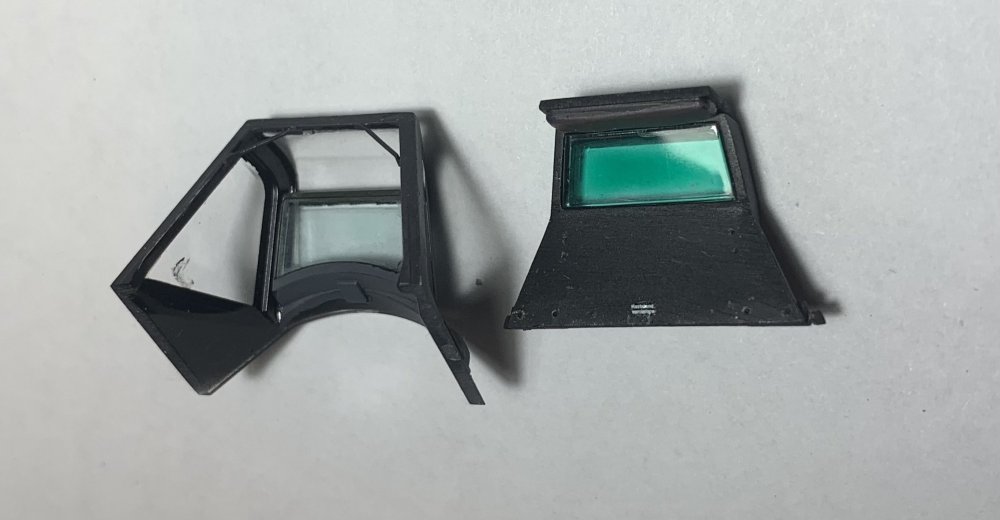
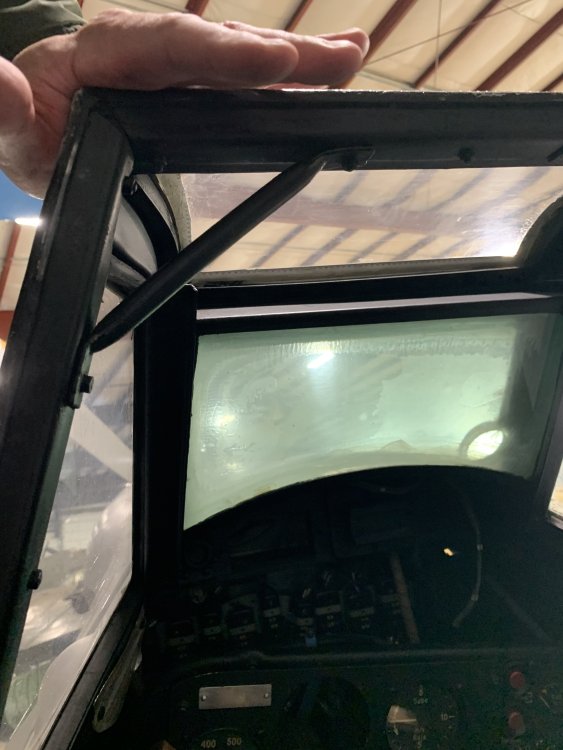
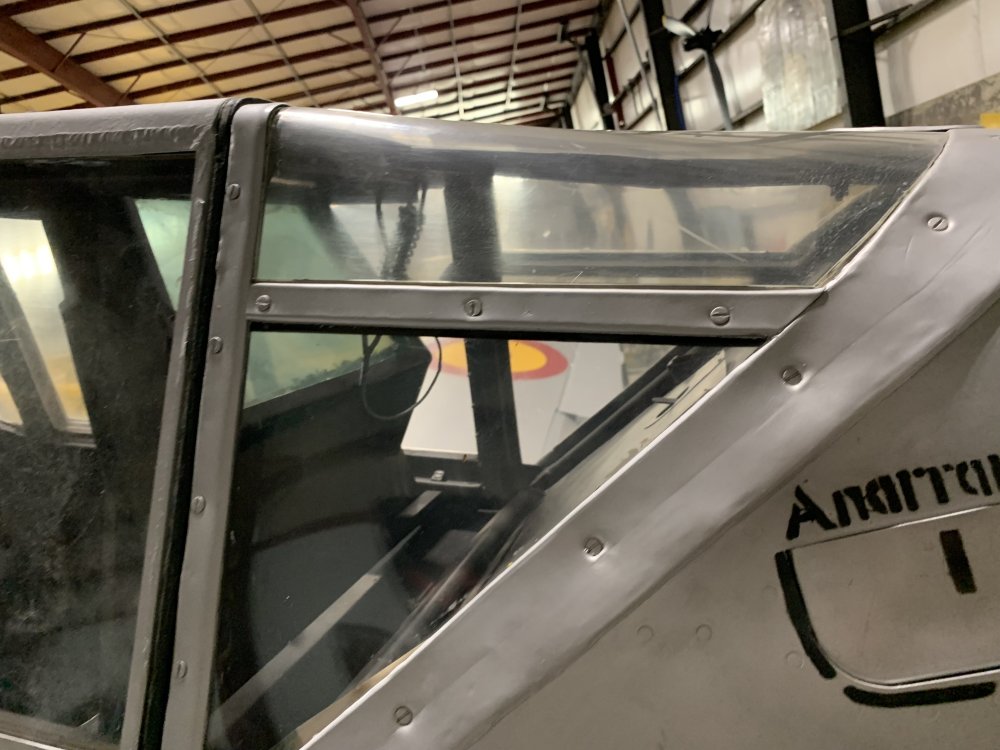
Glassware is excellent. Only addition was green tint on the armour plates and handholds on the frame. the headrests has a cushion and double glass just like the real thing. Well done Airfix.


-
Hasegawa Ki-44 Shoki
Martinnfb replied to Spitfire's topic in LSM 1/32 and Larger Aircraft Ready for Inspection
Lovely work Dennis, me likey. Cheers Martin -
Just for the size . Side by size with 1/32 Havoc

-
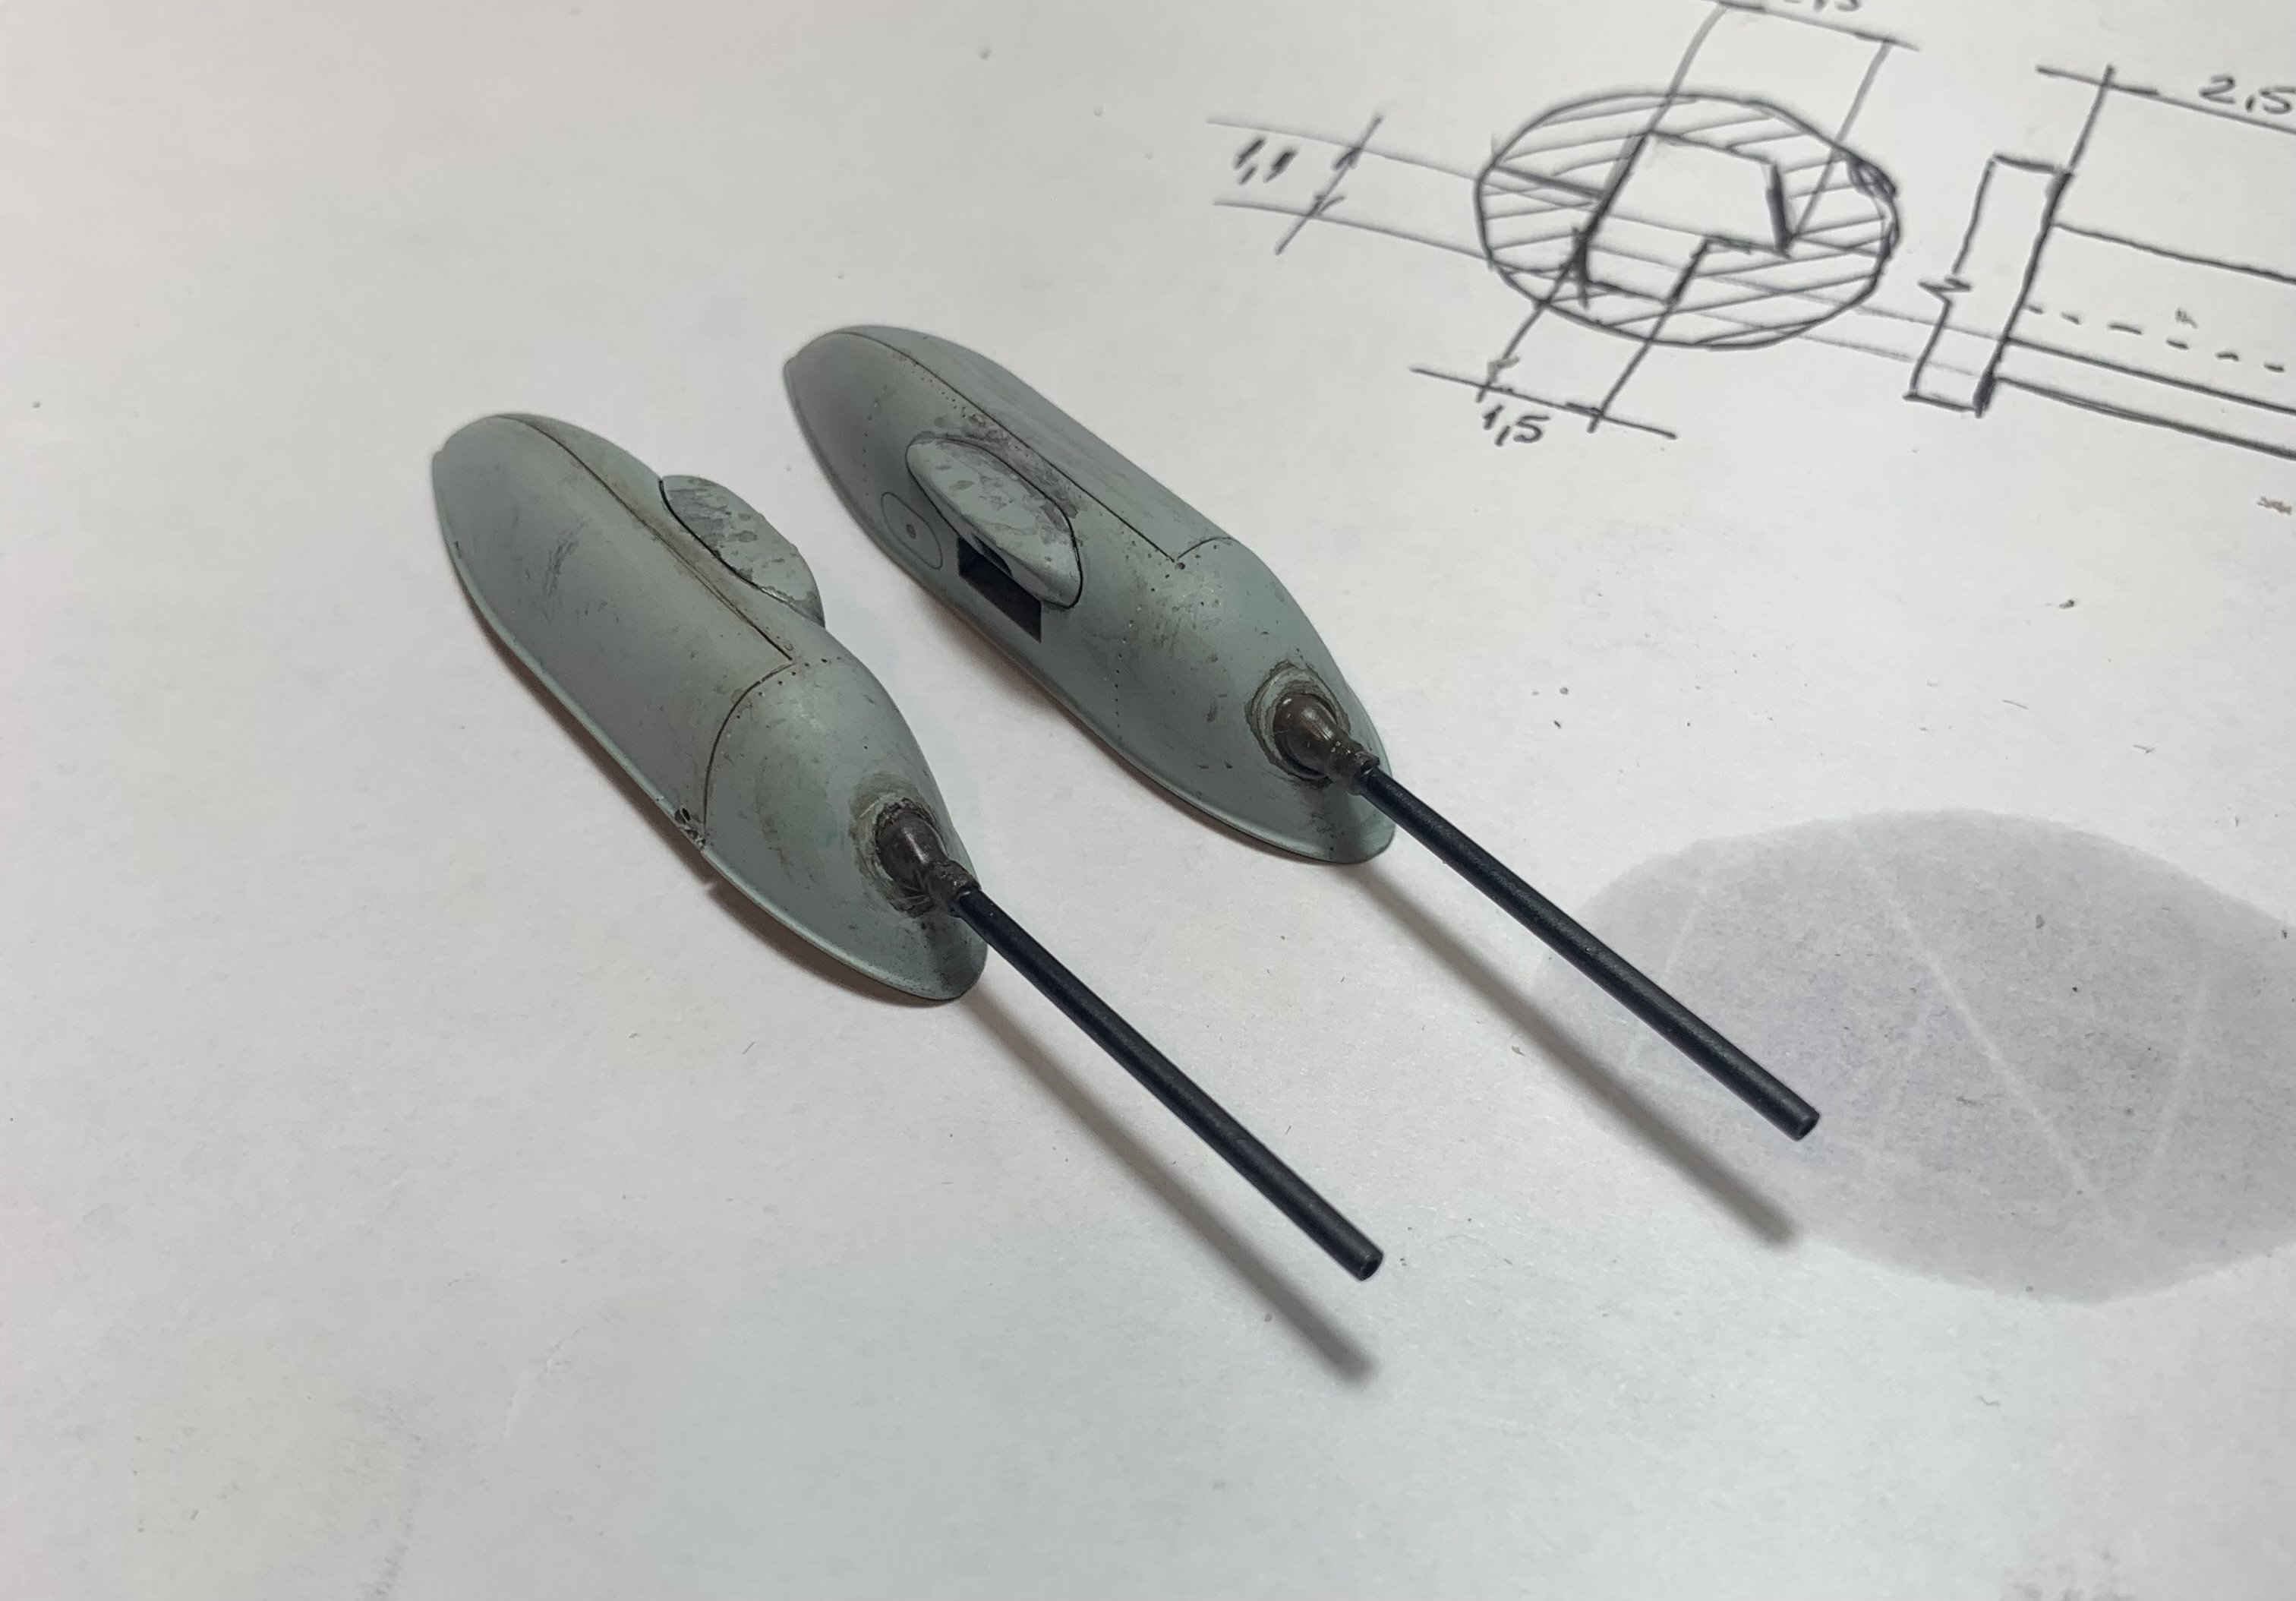
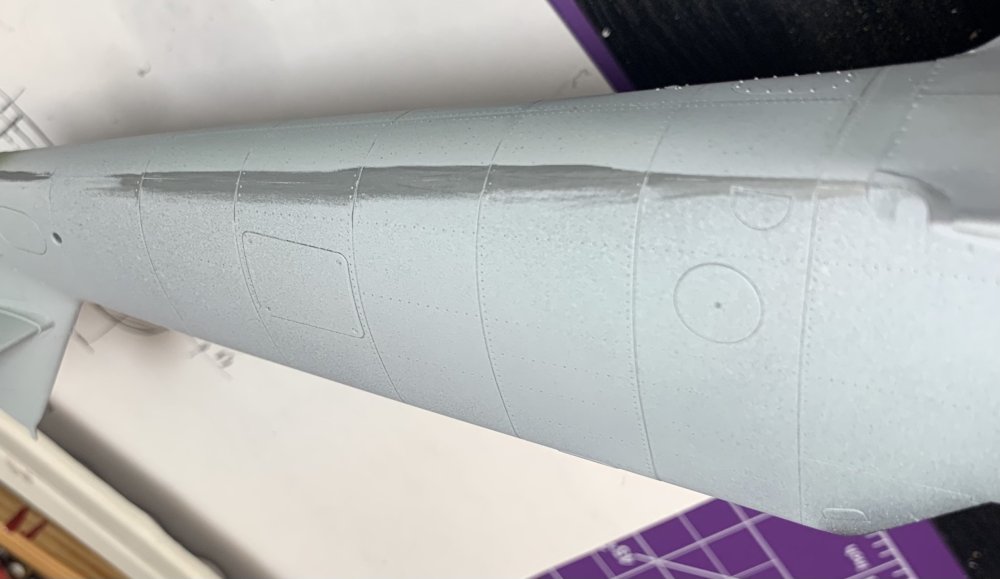
Gondolas are assembled with a little bit of general schmutz applied over it just to separate the worn look from the rest of the wing. There was also another pesky seam line that sneak by my weak eyesight.
-
You're just tired Ernie, yore not the one that gives up easily .
-
Fuuuuuuuu^$%$ ! Brutal.


-1000x1000.jpg.a29f46a84cbc8f4f1691f9b2ee587946.jpg)