Jump to content

Martinnfb

Members
  • Posts

    10,553
  • Joined

  • Last visited

Everything posted by Martinnfb
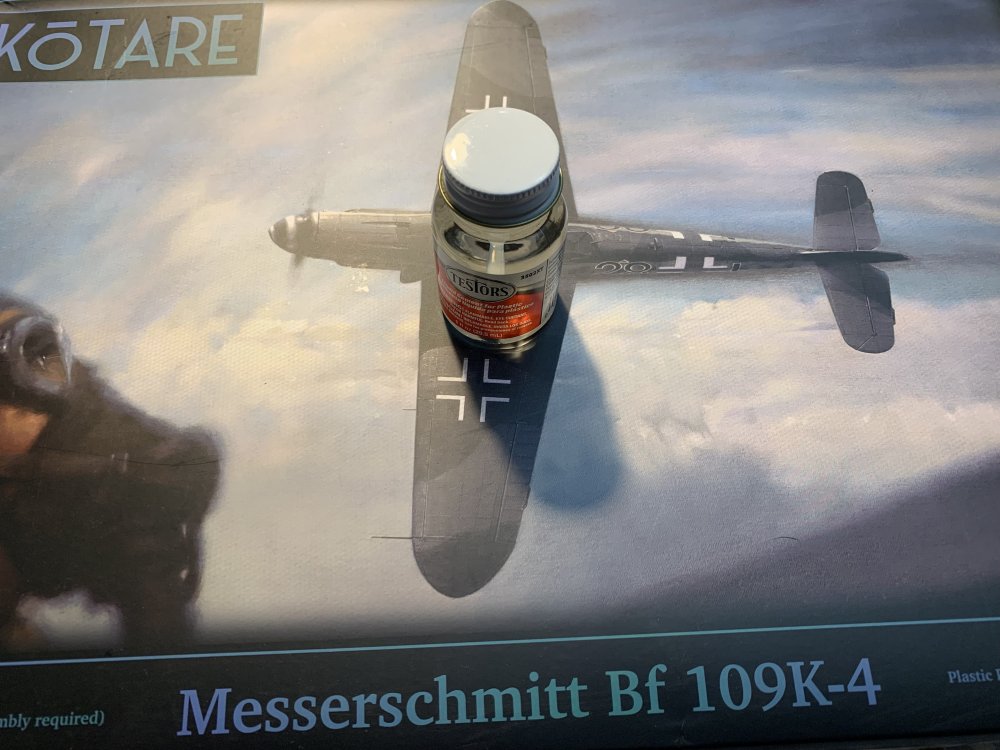
  1. PART 9: Ursula they said , use the Uschit Ban Der Rosten wooden decals, life will be easier. Not really, there’s a visible raster imbedded in the decal and the pattern is repetitive to oblivion. Notwitwstanding the fact the decals are pain to work with. I tried and opted for acrylic paint instead. Less realistic, but aesthetically appealing .
  2. PART 8: Akimov I did everything right ! , and yet the engines were too short and somewhat drowning in the fuselage, first I tried evergreen stripes to build a replacement nozzle rings, eventually opting for brass. Not great, not terrible. ☢️
  3. PART 7: Surfacing The more I study the intricacy of the real airframe, the more I realized that I can basically start from a clean slate in therms of the surface detail, talking about joints, anchors, fasteners, trims and covers.
  4. PART 6: Rolling We shall agree that the focal point of this beauty of the mighty front wheel.
  5. PART 5: Wingie Thingie And this point it pretty clear the Takom didn't completed its homework regarding airframe research and the front engine cowling was sightly misshapen. And again more putty, this time the shrinkable white revenge , again from Tamiya. As it was shrinking along I had the time to add the wings, I mean, duuh Dope ! ....was definitely used over the plywood, but for our purposes we will stick with the bare look of nature.
  6. PART 4: Sticky fingers Adding few more layers to recreate the desired thickness brought me the edge of mental unsettledness. As a cure I opted to slap together the inner frame enchilada. What can I say, it was a sloppy hand job. And we will not talk about that anymore....
  7. PART 3 : Dunes At this stage, there was no way back. Realizing that the lower, leading portions of the intakes need to be flatter and more pronounce as they curve to the fuselage with some more depth, I started sanding with a grit. Creating dunes of resin dust in the process. See what I did there ?
  8. PART 2. The Blob When you look closely at the intake there is a small eyebrow leading to the top end, sort of a LERX, ZM kit has it molded, but Takom cheap out on plastic or something. Tamiya resin putty is the way to go . Behold, the blob!
  9. PART 1: Intro Few days ago I received this kit as a birthday gift from Carl. I know, he is awesome. Ever since I saw the renders I knew that something does not look right, so I dug in and started hacking plastic with great intensity, speed and with complete disregard for future consequences. First and the most obvious was the tooth created by leading edge extending over the intake. Easy, just sand and blend it. ZM nose above, better but not quite right either.
  10. And many more to come. 🎂 @BlrwestSiR
  11. Not at all Paul. This kit is falling together by itself. The issues with assembly were self inflicted. I was rushing, with focus on reshaping the intake area. So I knew that re-scribing and filling will be necessary. To be honest, considering the complexity of the frame, this is actually really nice kit. the puttied bits are my doing the rest is click-clack.
  12. Lovely work and stellar presentation. Thank you for sharing. Cheers Martin
  13. I woke up and all of sudden the fuselage is assembled... not counting the nose section. ZM on the top
  14. Another belated birthday gift, this time from a good friend
  15. You guys really think that this was a battle damage?
  16. Those will be taken care of by our new land shark. Soon or later
  17. That looks bloody real Rod, stunning finish, Bravo! Martin
  18. Out of curiosity I picked up these two.
  19. Also, I appreciate the choice of marking.
×
×
  • Create New...