Jump to content

Martinnfb

Members
  • Posts

    11,426
  • Joined

  • Last visited

Everything posted by Martinnfb
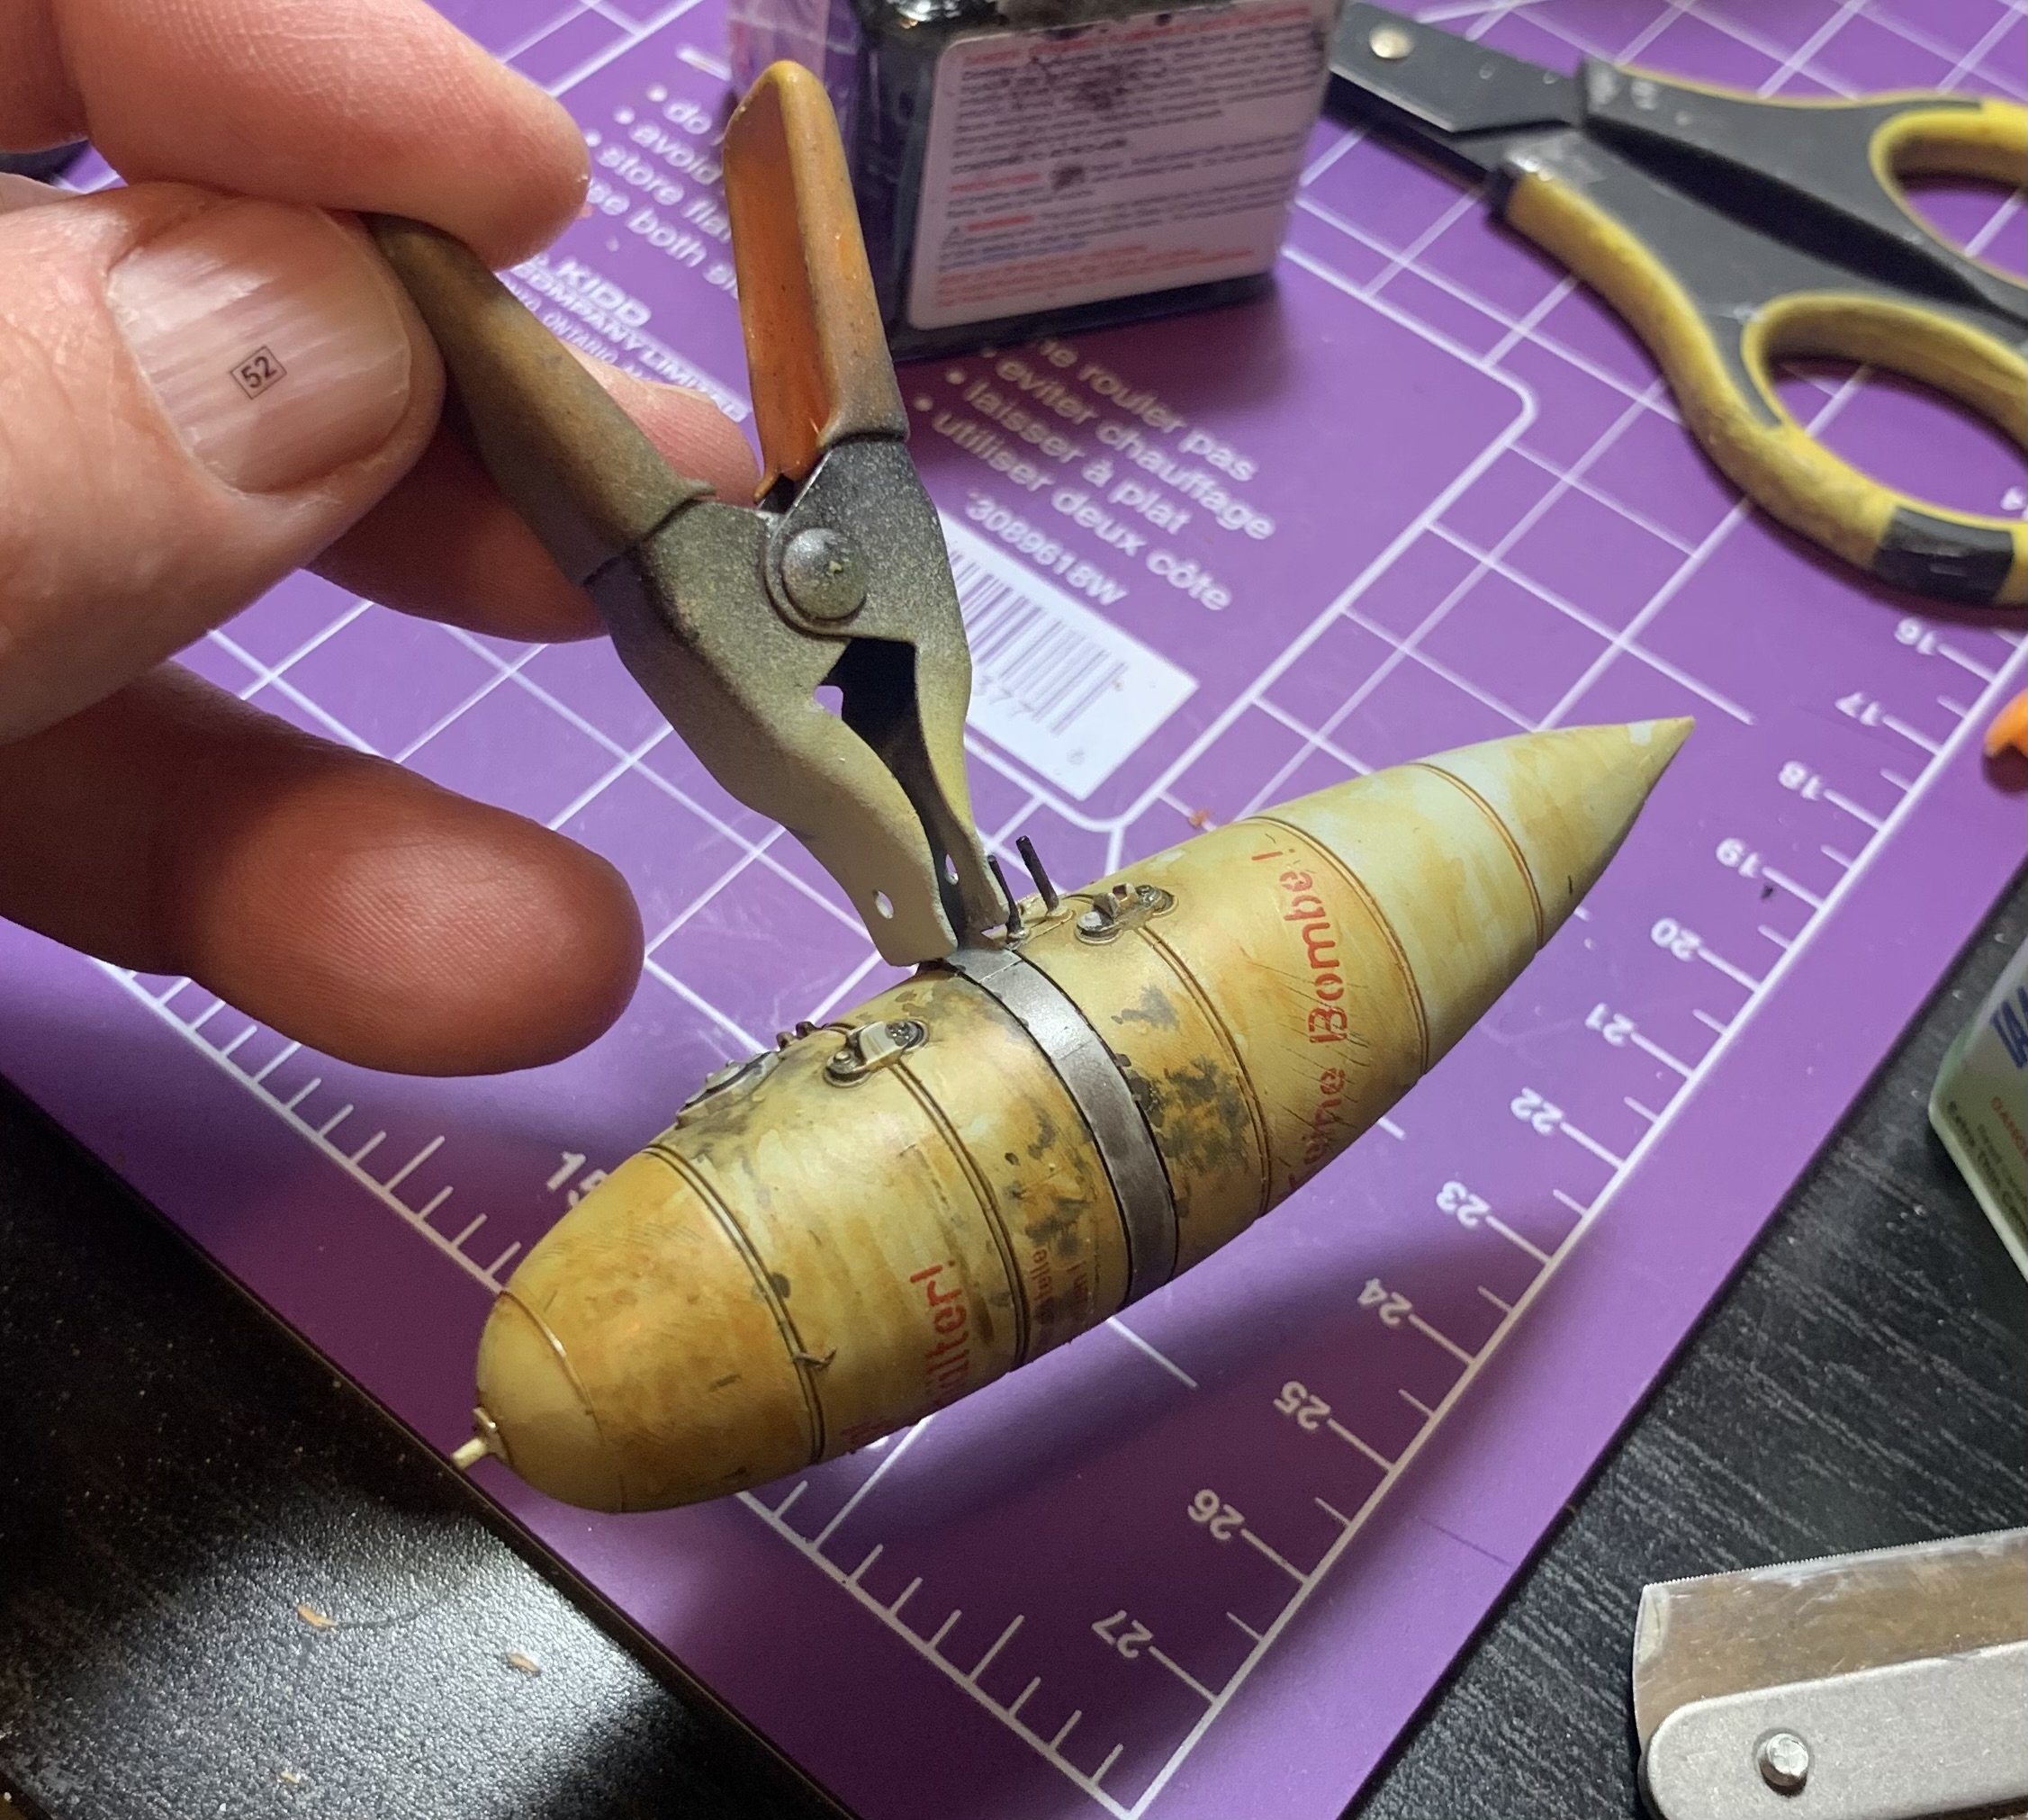
  1. Not an easy build, but once done, she's going to shine! Cheers Martin
  2. Well, it is what it is. Still beautiful kit, just takes some tlc. such us gondolas, I took out the protruding ammo feeds that would be entering into the wing. Just don’t feel like hacking the wing. The plastic barrels are nice from the box, actually very nice . This time with hollow ends, but I have brass ones on hand so that will be addressed shortly. I know , the plan was to go OOB, so scratch it and we will call it AOOB, Almost Out Of The Box.
  3. This model was designed to be build in the open configuration, closed up version was an afterthought. It is lacking detail where is not needed for the open version. Gondolas are back on the table , nothing to see there just lots of hacking and blobs of putty.
  4. I am ok with sanding seams, the point is I have to see them first
  5. Well seems like ages filled with putty and mild frustration. I managed to create a semi decent seam line at the front and scribed some seal along the rear. Then placed the hinge decal on top. After priming the top I realized that the hing is sinking in. What are you sinking about hinge? and then I discovered the famous seam line that I failed to sand enough.
  6. You’re most welcome Chris. That’s what friends are for. hopefully this kit will bring some pleasant change after the whole B-52 ordeal.
  7. I'm not saying that You guys are needy, but let the putty dry for a minute
  8. Thank you guys. The placards are from the Airfix decal sheet tyt is actually quite comprehensive, minus the selection of markings, which is utterly boring considering the endless options to shine. I tried new ATOM series paint from Ammo and the result is satisfactory. To the point that I’ve purged the rest of my Mig and Arcus paint.
  9. Guns needed to be drill out. Brass ones would be nice. But this will do.
  10. Thank you guys, today was painting day. Everything black black paintmatters….
  11. Really nice model John. Well done. Cheers Martin
  12. Look Mom , I’m spitting three shades of grey.
  13. @airscalePeter has been creating some goodies for the Trumpeter kit, so I used them. Had to butchered some fine detail, but it’s better than raw plastic.
  14. We will get to the canopy later, all I can say it’s clear, there’s no inner detail which would be something to address by aftermarket guys. The undercarriage is , well, something different. I was contemplating to insert a steel rods into the hollow legs, but the laziness took over and we won’t talk about it anymore. However!!, I did stuffed putty into the cavity to dampen the vibrations from the struts. Will it help? , only Will knows. damn , I’m getting all languagee this late at night.
  15. Yes, it is unfortunate, but not a deal breaker. To be honest, I haven't noticed it while looking at the promo pictures. There is more to mention, I just need take some measurement .
  16. Long time ago when I lived in Kent, I made an appearance at the local IPMS chapter. Meeting a whole bunch of great modellers, mostly old gentlemen that were willing to share their impressive knowledge of figure making and realistic painting. One of them showed me a similar way, where he used a bunch of wires taken from an old TV ( yes it was long time ago), coiled them up into a future tree trunk and once a while let a strand of wires out for branches. Then he brush-coated the whole thing with plaster of Paris creating an interrupted layer of bark looking surface. The cool part was the fact that he was able to create roots and branches from big to small, simple and brilliant .
  17. MM spinner on AIRFIX base plate
  18. Trumpeter - Model Monkey - Airfix @Model Monkey is the best, however, being designed for TRP kit, the diamenter is 1mm too short. It doesn't take much to fit it in, I might take that route
  19. Airfix designed the power egg to be assembled in two ways, with open and closed cowling. Instead of downsizing the engine, they have you to sand it downs a bit in case you’re closing the cowling around it. The whole process is trouble free. I cracked the lower seam line as I was drilling the missing hole for the coolant reservoir drain/ purge valve. The intake received some basic details like attachments point for tropical filter and welding seams( to be tamed). Ventilation vents on the sides need some work or straight out aftermarket ones.
×
×
  • Create New...