Landlubber Mike
-
Posts
1,276 -
Joined
-
Last visited
Content Type
Profiles
Forums
Events
Gallery
Everything posted by Landlubber Mike
-
Hey neighbor! The great thing about this subject and the kit is that there are so many options with decals and other aftermarket. Almost too many! I couldn't decide, so I have two sitting in the stash that I'm going to convert to a U3 photo reconnaissance version (using CMK 4112 and AIMS 48D016 decals) and the other as a two-seater night fighter (using CMK 4113 and EagleCals #170). I tend to like to make life difficult for myself and not build OOB though. Another thing I'm going to do is show off the Jumo engines. Aires and Quickboost make a really nice full sized engine if you're looking to go that route. Lots of options! Looking forward to your build!
-
Awesome Kevin - great choice!
-
P-47D "RAID HOT MAMA"
Landlubber Mike replied to k5ikl's topic in LSM 1/32 and Larger Aircraft Ready for Inspection
Great work Jerry! Love your choice of nose art 🤗 -
Special Hobby Whirlwind
Landlubber Mike replied to Peterpools's topic in LSM 1/35 and Larger Work In Progress
Wow, that looks really great Peter, nice job! -
Nice job Martin!
-
Revell Me262 B-1a/U-1 Nachtjäger "Red 12"
Landlubber Mike replied to CANicoll's topic in LSM 1/35 and Larger Work In Progress
Holy cow, that looks really nice!! -
Wow Fran, Santa (or Kevin) came early for you this year. You must have been a good boy!
-
P-51 Bardahl Special 2022 version next up
Landlubber Mike replied to JohnB's topic in LSM 1/35 and Larger Work In Progress
What a cool looking P-51! One alternative approach to the bolts that is sometimes used on the wooden ship modeling side is to drill all the way through, and then insert rod into them. Or, you can find appropriate sized pins, glue them, and then cut the heads off. You can get insect pins for pretty cheap which come in plenty of sizes. Not sure what is the easiest, but looking forward to seeing what you come up with! -
Aftermarket “stash” organization
Landlubber Mike replied to ScottsGT's topic in Modelling Discussion
I store them in my kits the best i can, otherwise have boxes marked for stuff that won't fit. I use the Notes feature on my iPhone to record every kit and piece of AM I have for it so I don't double buy. -
Fisher F9F finished
Landlubber Mike replied to JohnB's topic in LSM 1/32 and Larger Aircraft Ready for Inspection
Looks great John! Great paint and decal work! -
Wow, that's really well done! And I thought I was going to go crazy working in 1/72 scale!
-
That camo is amazing! Are you using an airbrush for everything, or are you hand painting some things like the red portions?
-
Thanks Peter, really appreciate it. I rely heavily on an Optivisor for this kind of work!
-
Looks like a blast, have fun!
-
Special Hobby Whirlwind
Landlubber Mike replied to Peterpools's topic in LSM 1/35 and Larger Work In Progress
Looking really great Peter! Love that camo scheme! -
Thanks very much Rob, really appreciate it! Getting me ready for the upcoming "in the water" group build 👍
-
Thank you Fran!
-
Another ZM Bf109G!
Landlubber Mike replied to Bill_S's topic in LSM 1/35 and Larger Work In Progress
That's looking really great! Engine is fantastic. Hope you're feeling better. -
Thanks guys, really appreciate it!
-
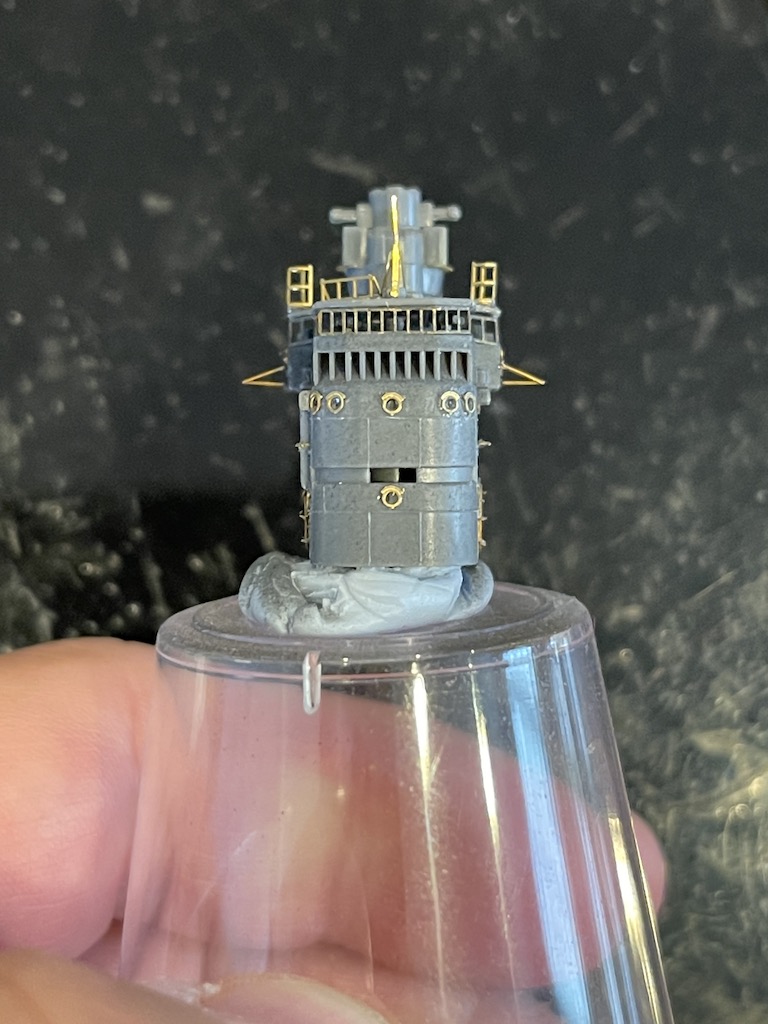
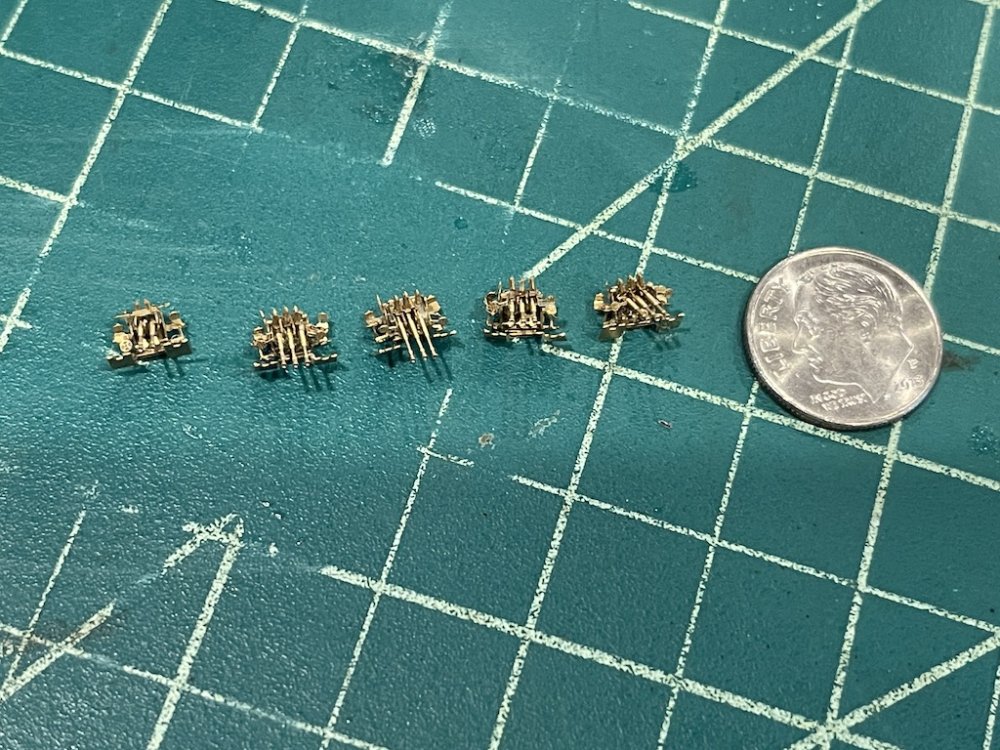
I have a 1/200 Bismarck in the stash, and I bought a bunch of Northstar figures for it. Lots of duplicates in the various sets, but they are fairly inexpensive if you can find them. One warning about Northstar - I've had bad experiences ordering from them. First time they told me they sent me "extras" as a gift. Turns out a bunch of the items I ordered they gave me the wrong item and substituted different figures. Then they apologized and said they would send me new ones, so I placed a second order (stupidly) and they never shipped it. So, I definitely wouldn't buy directly from them.
-
These I believe were from Ion Models - I bought them on eBay and from Freetime Hobbies. I also have figures from Tori Factory (bought from eBay - they came from Korea I believe) and Pro Studio (same thing). They are resin and pretty easy to detach from the plugs, and come in many different poses. I also have figures from Northstar - they stink! Much bigger than the figures from the other companies, and worse yet, they are printed way too close on the same plug so it's almost impossible to paint and remove them without busting them.
-
Thank you Gus, really appreciate the kind words
-
If you'd like, sure. I'm very flattered that you would ask, there are a lot of incredible modelers here!
-
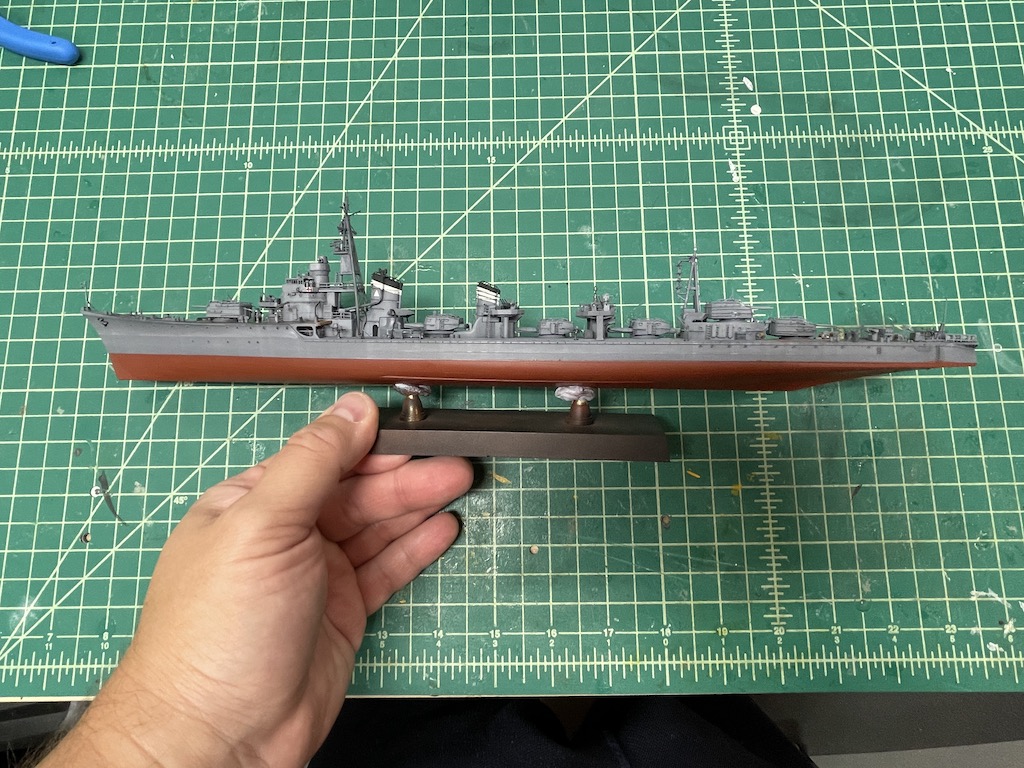
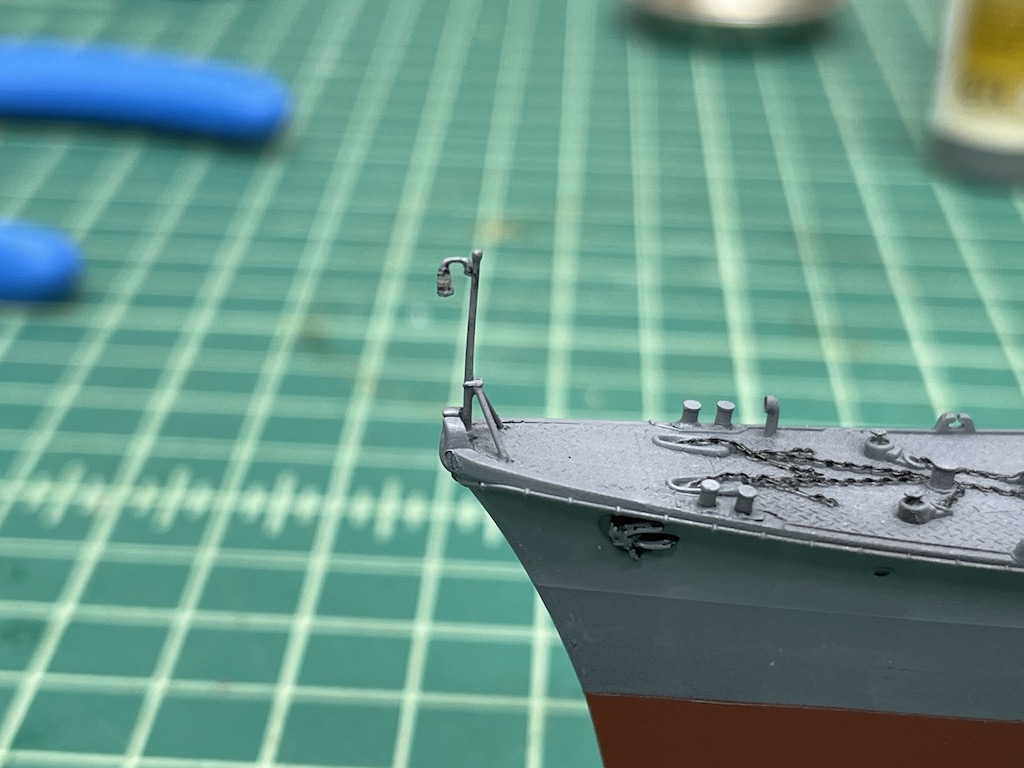
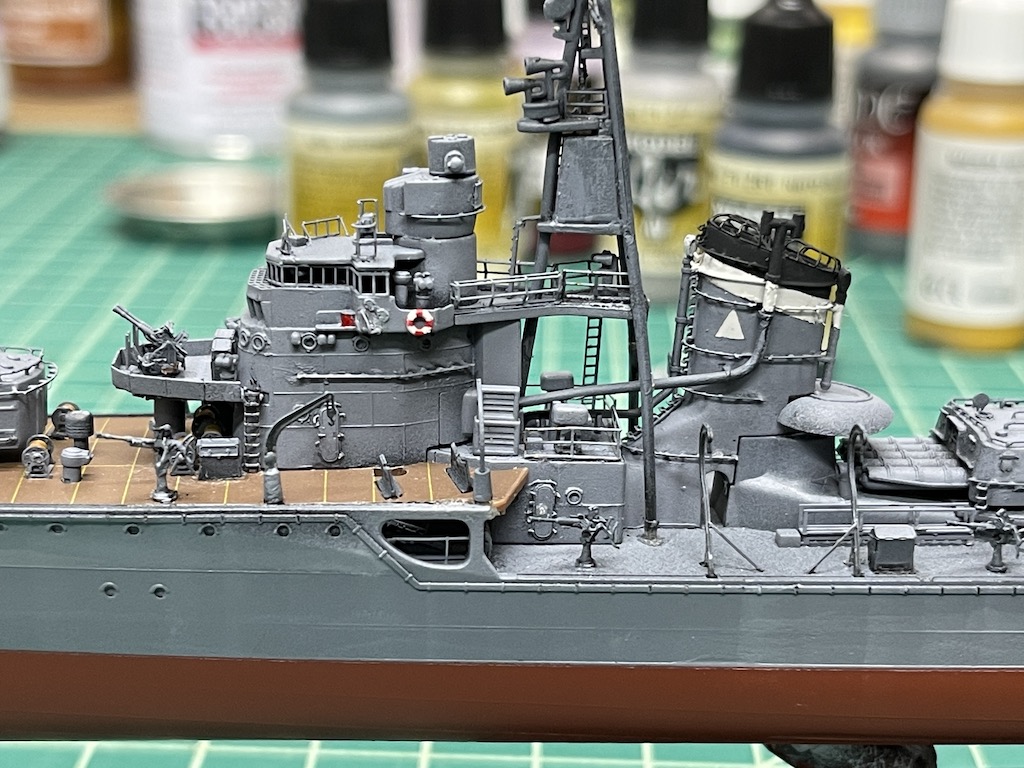
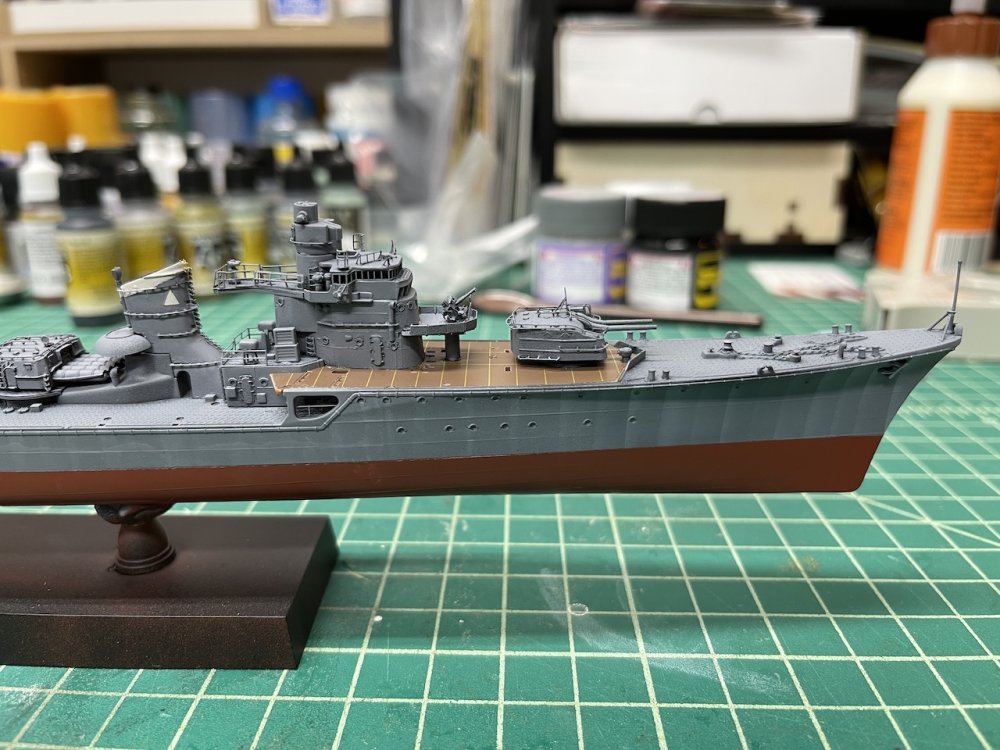
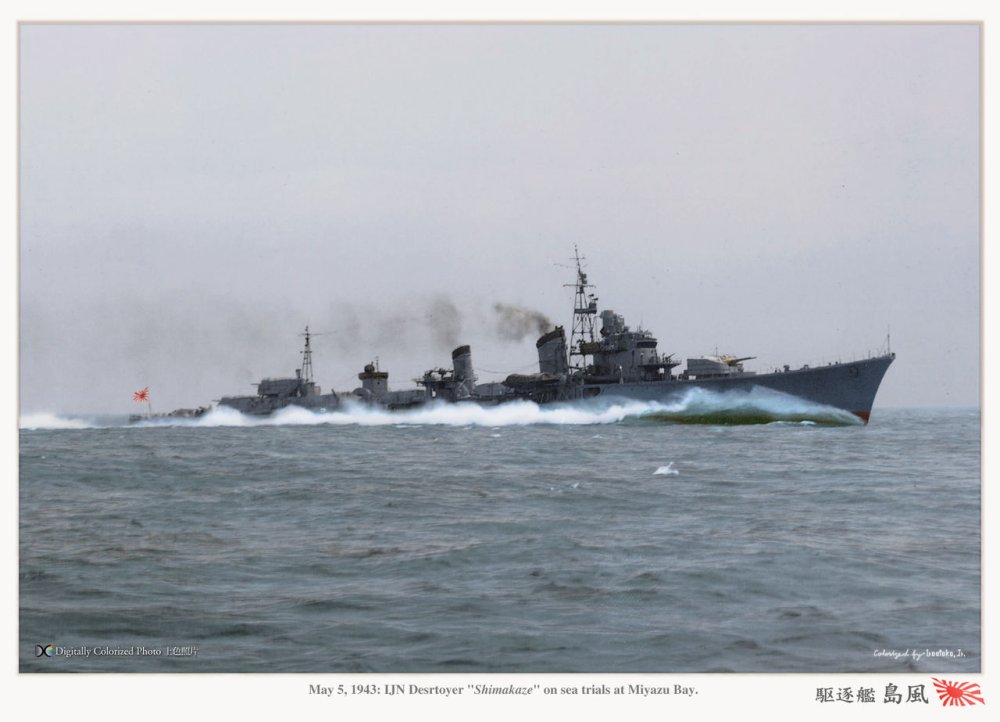
Pics of the real thing and some of the construction:


-
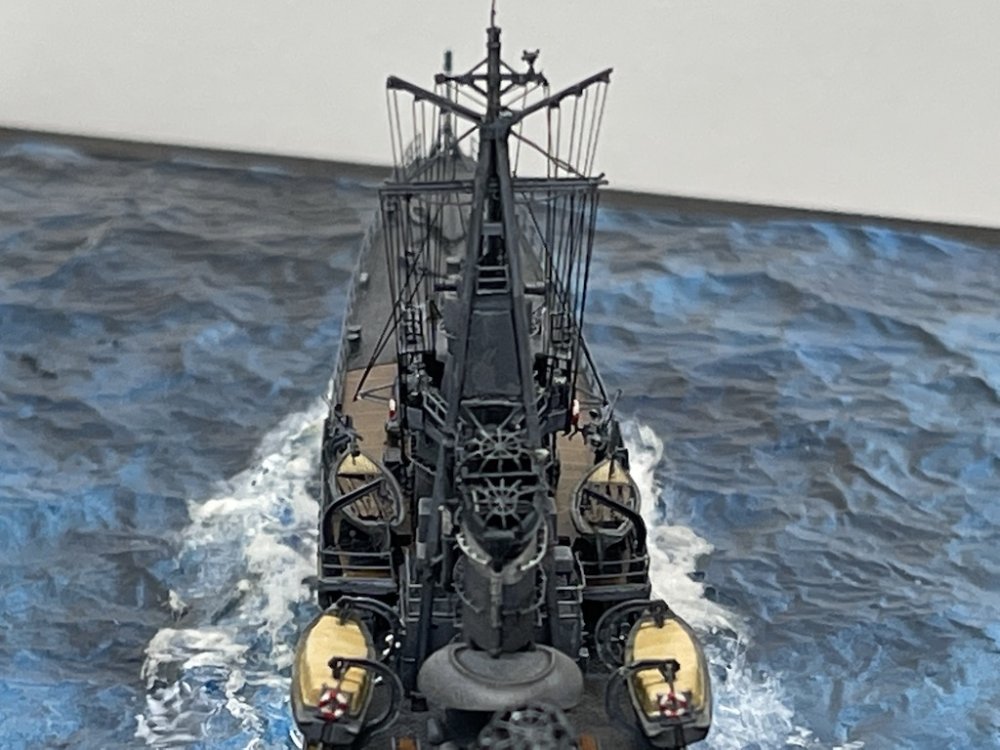
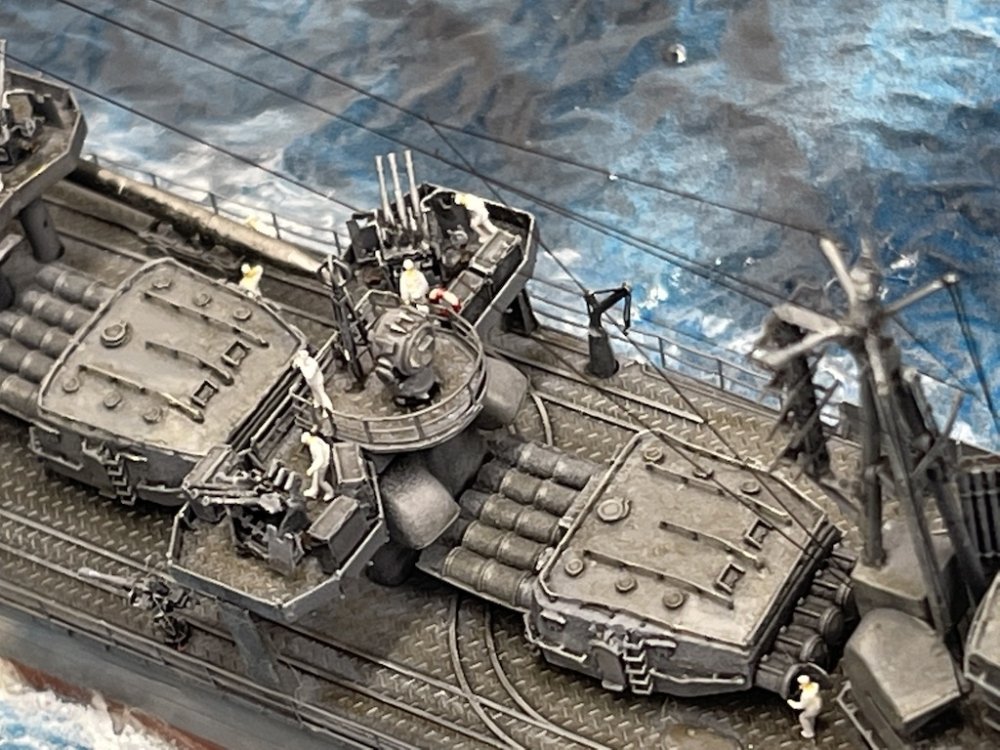
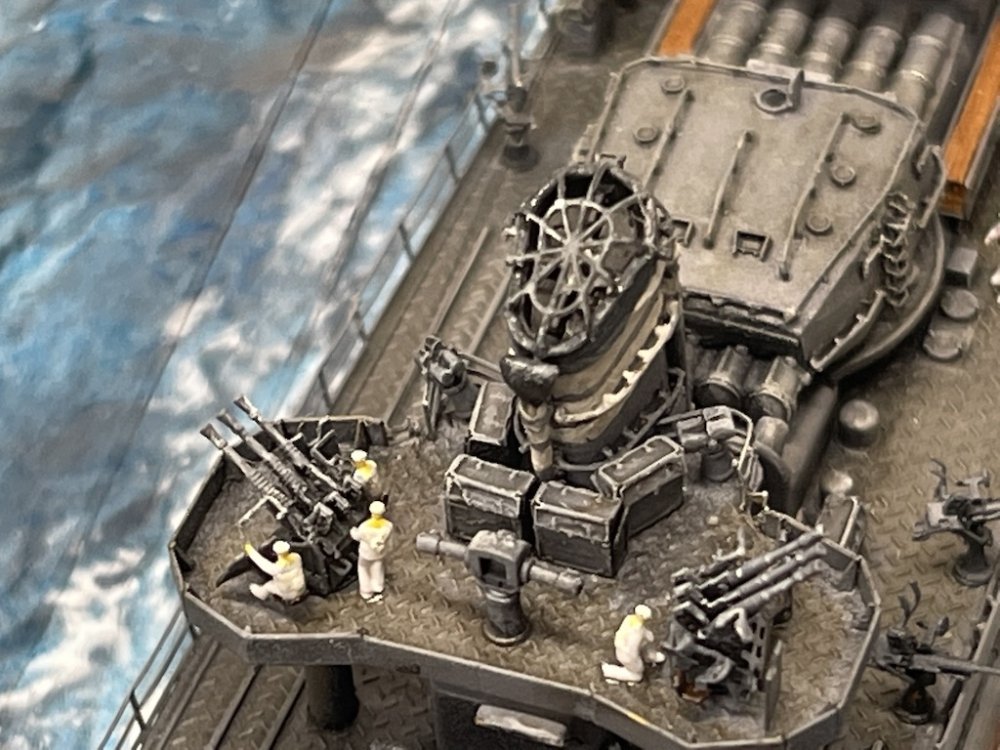
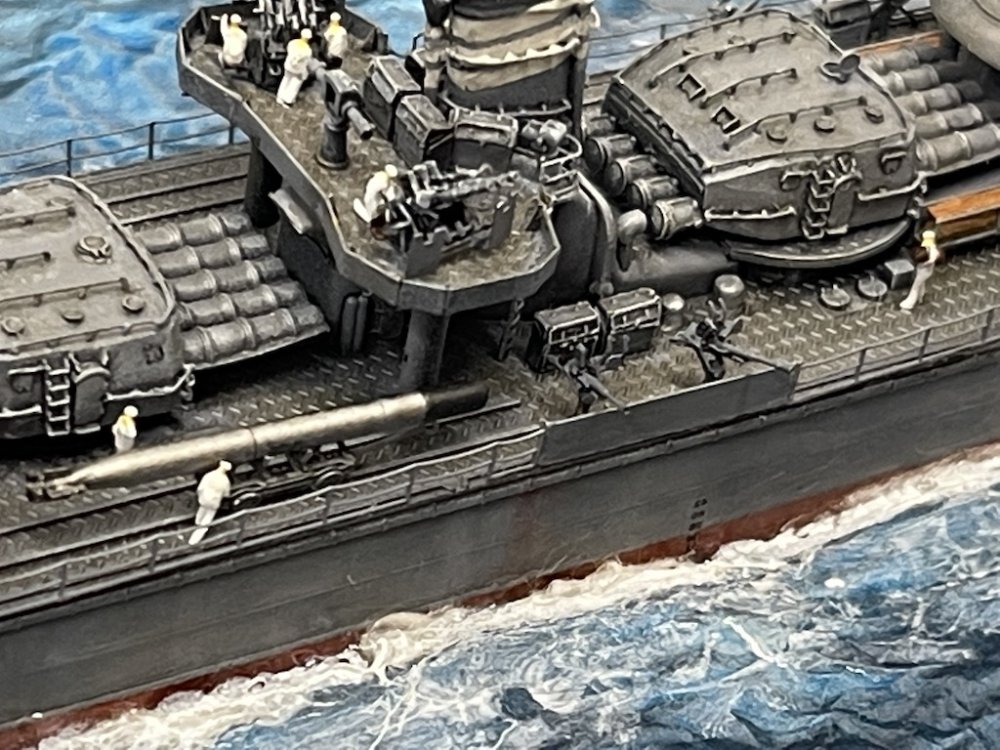
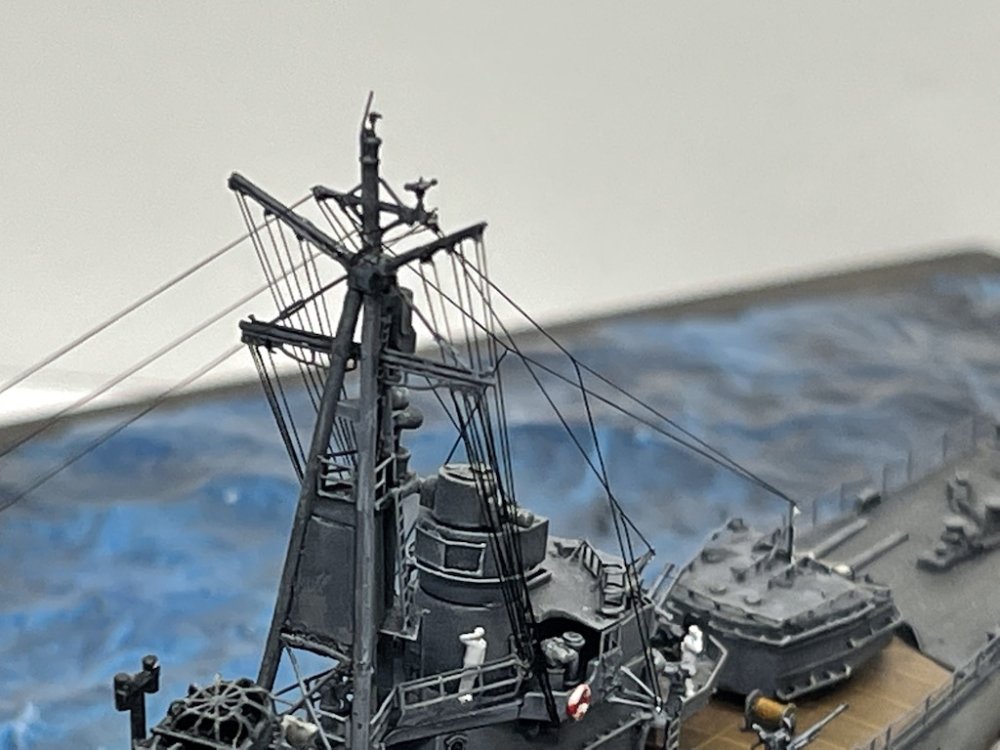
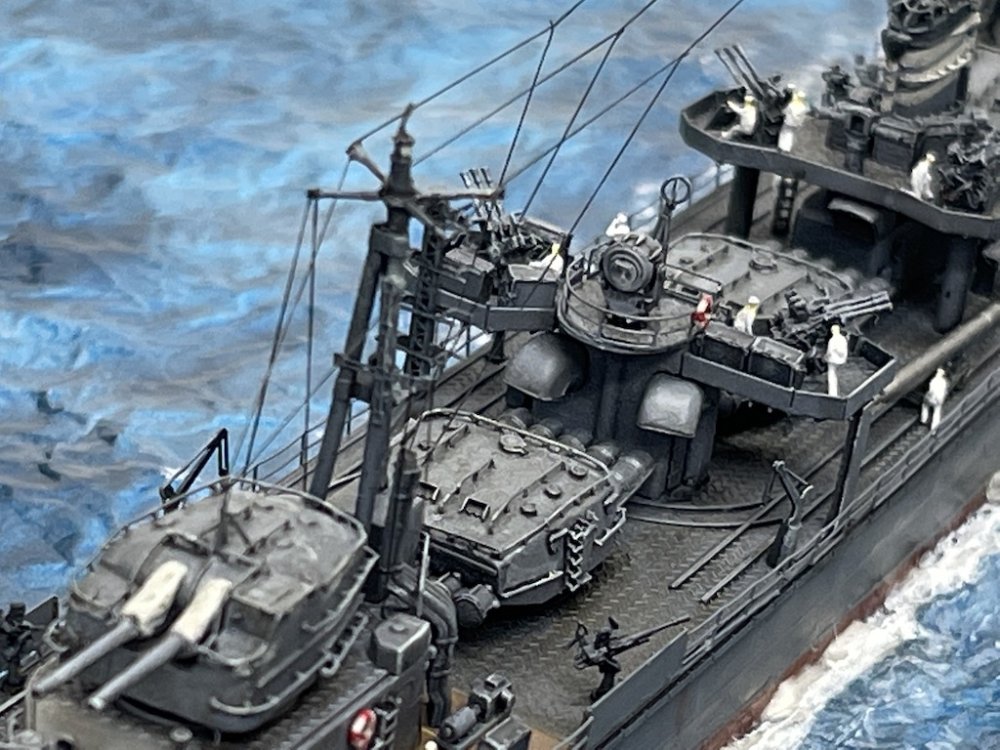
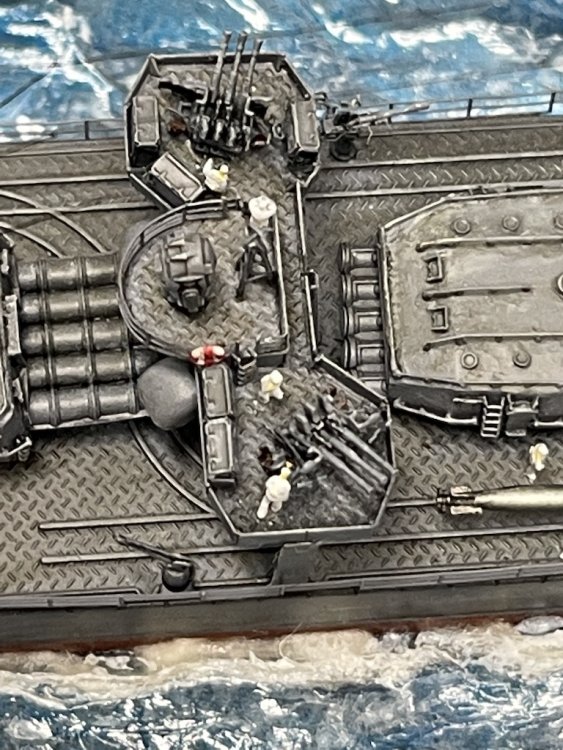
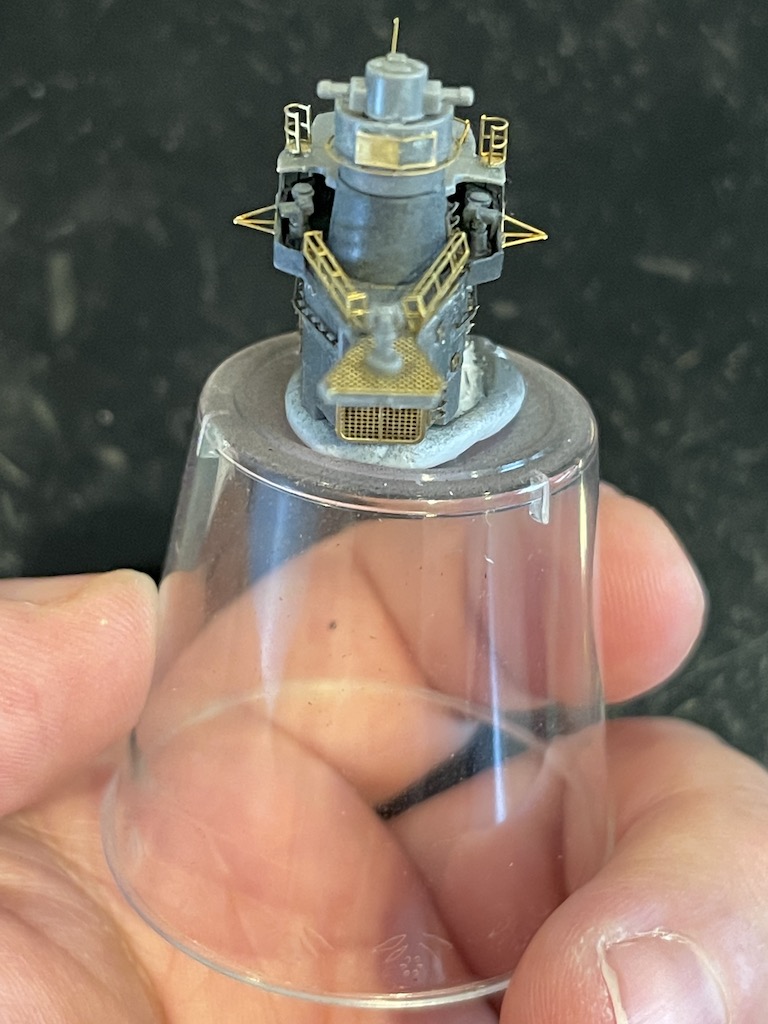
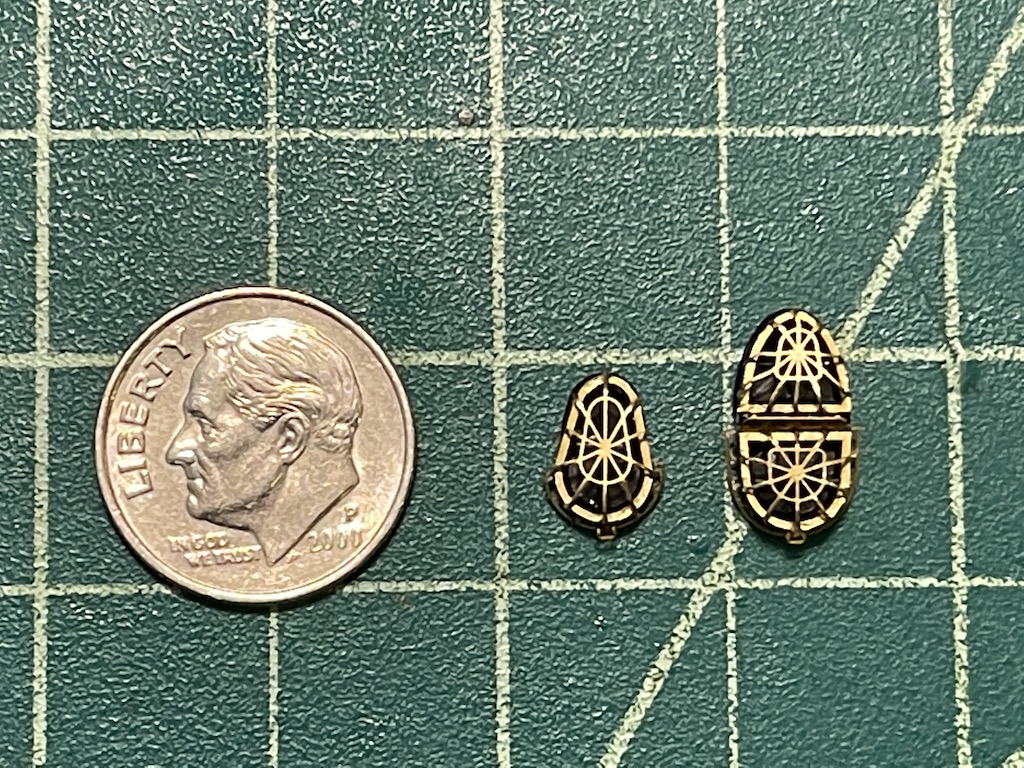
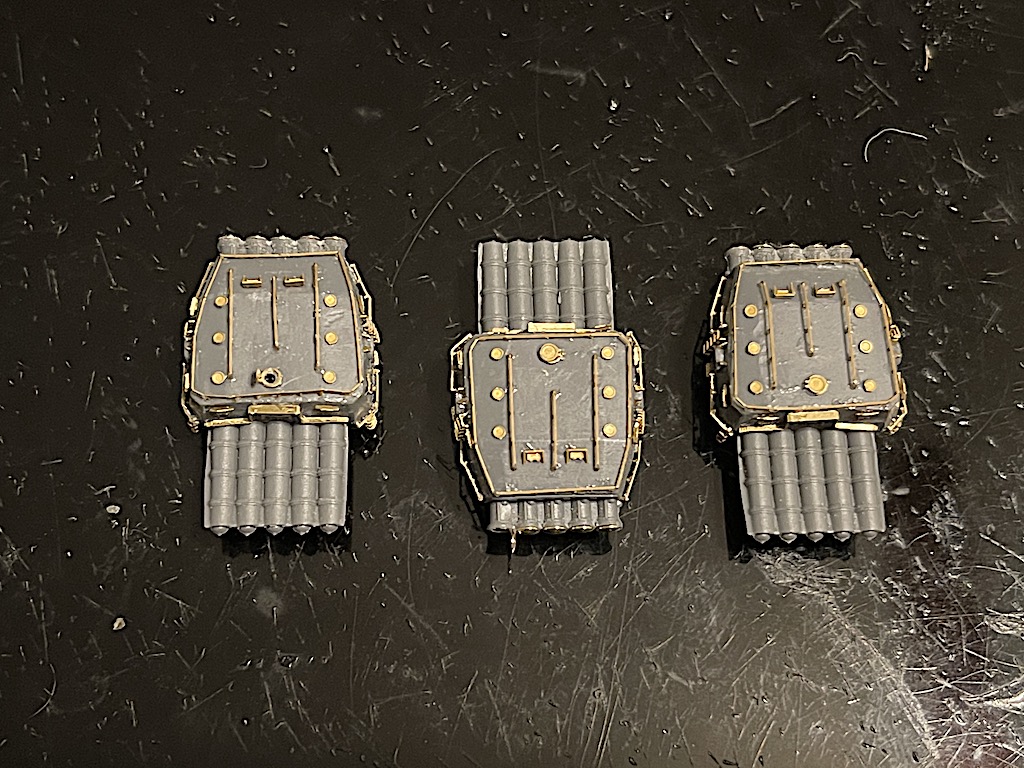
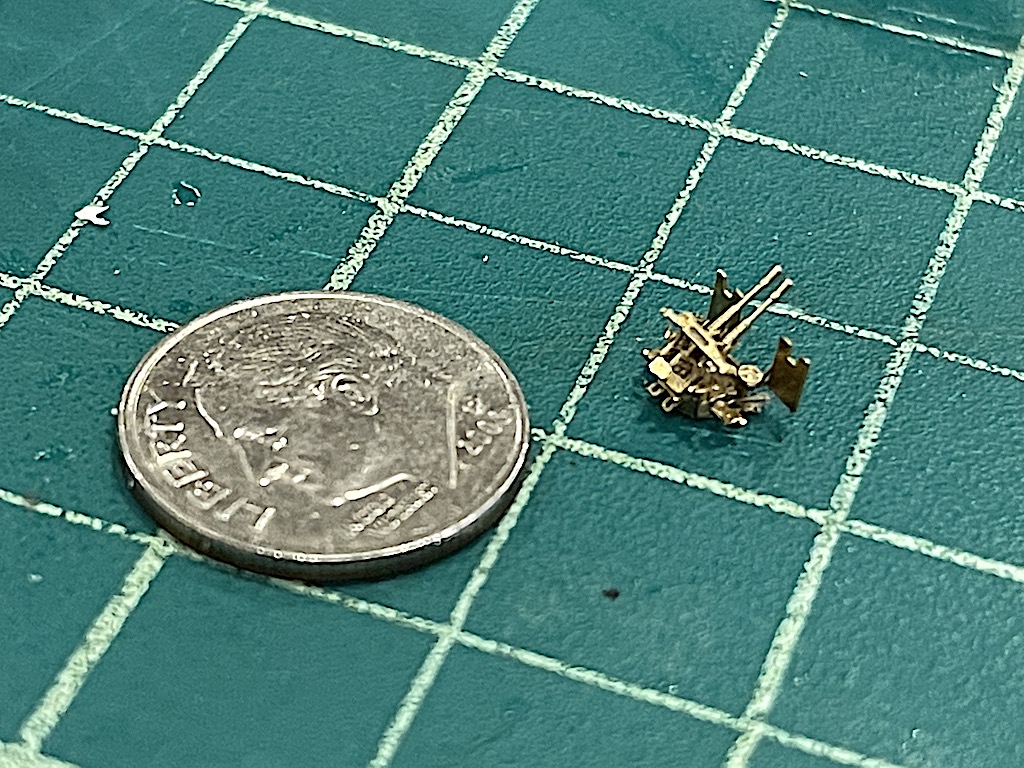
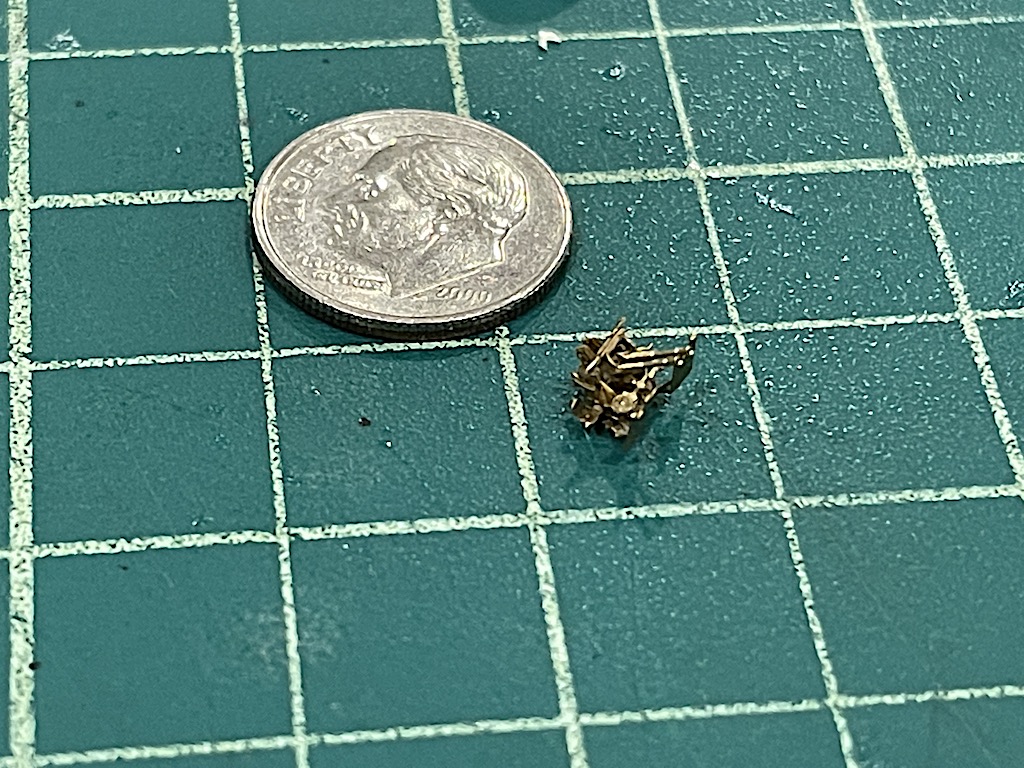
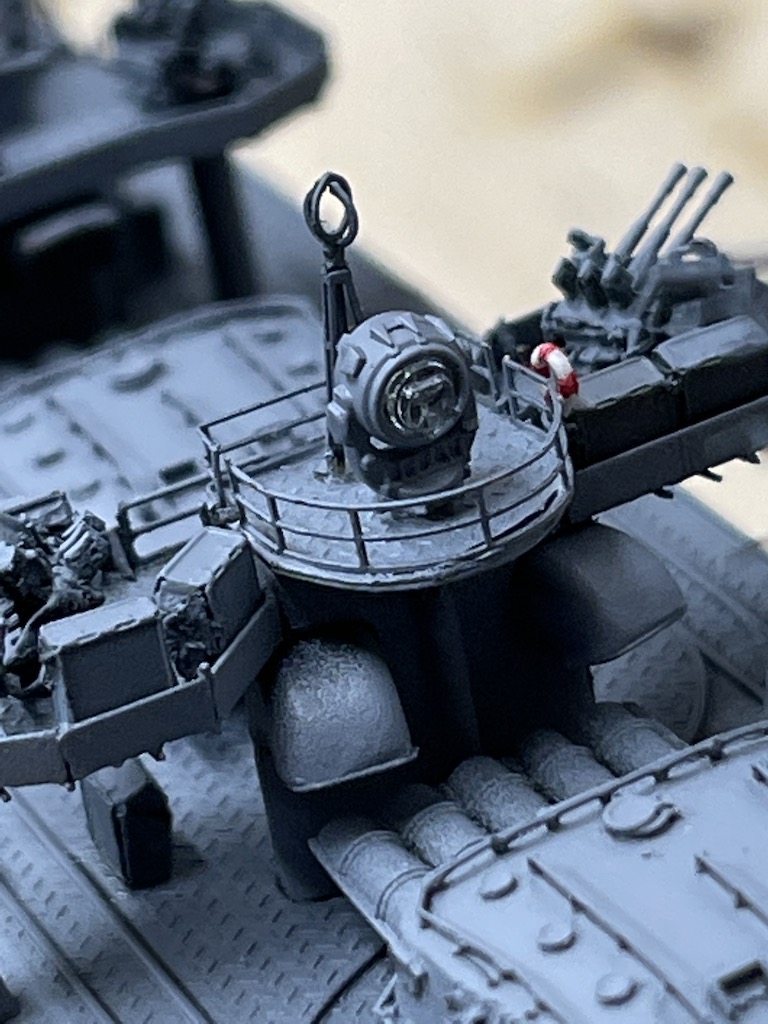
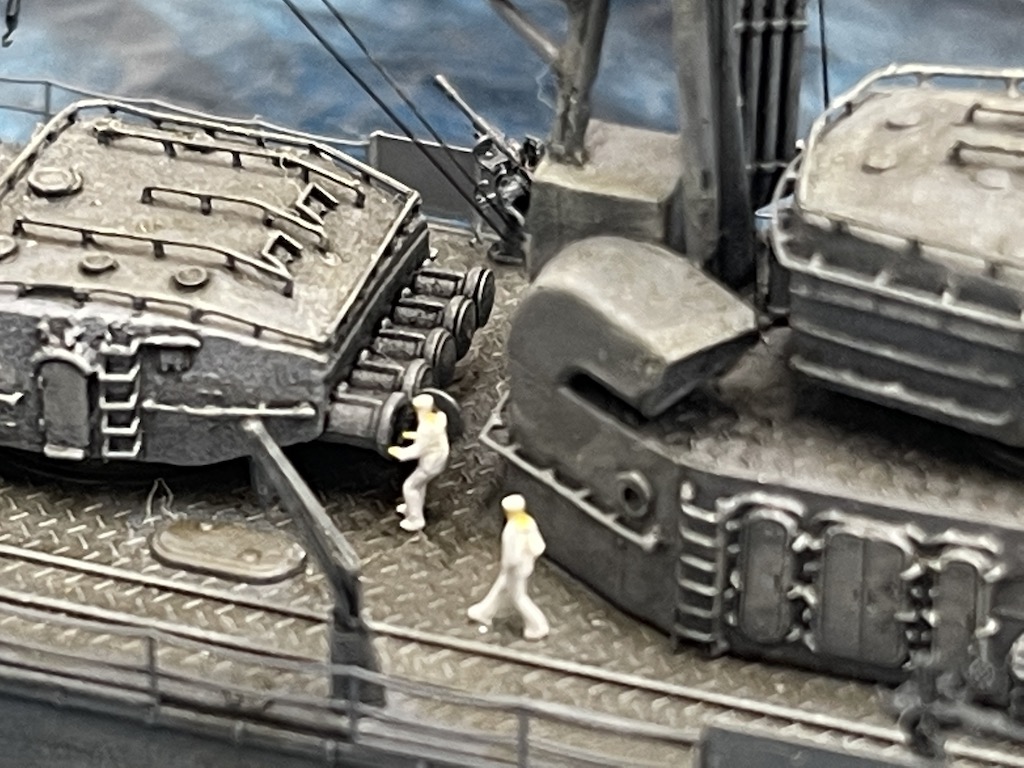
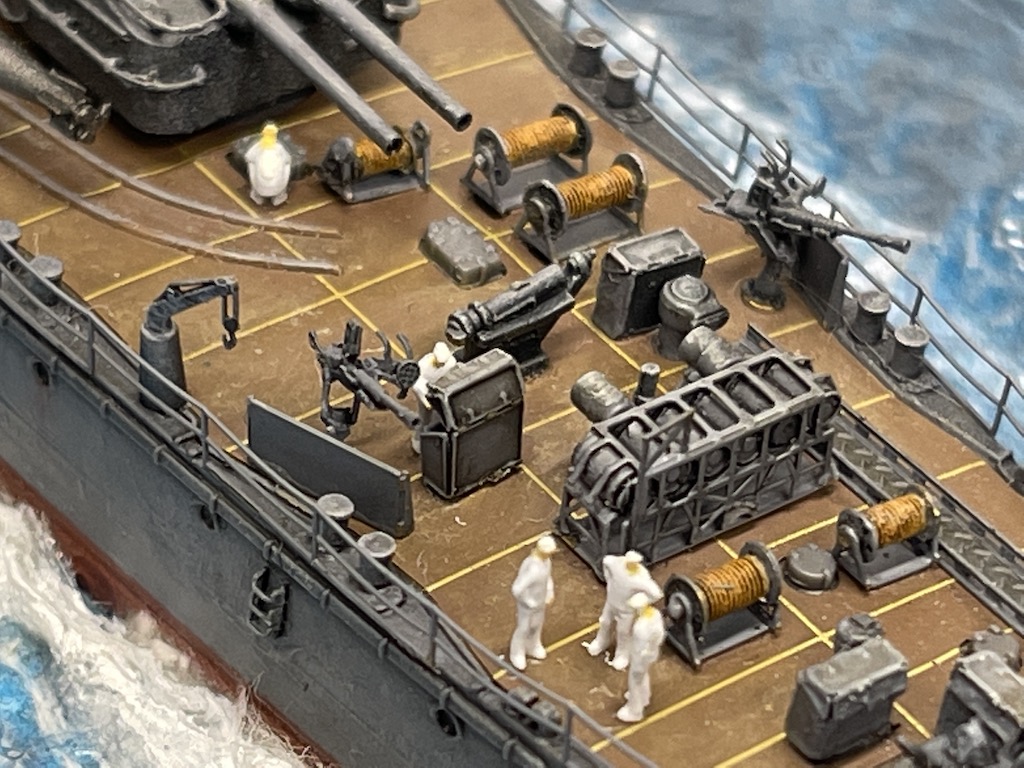
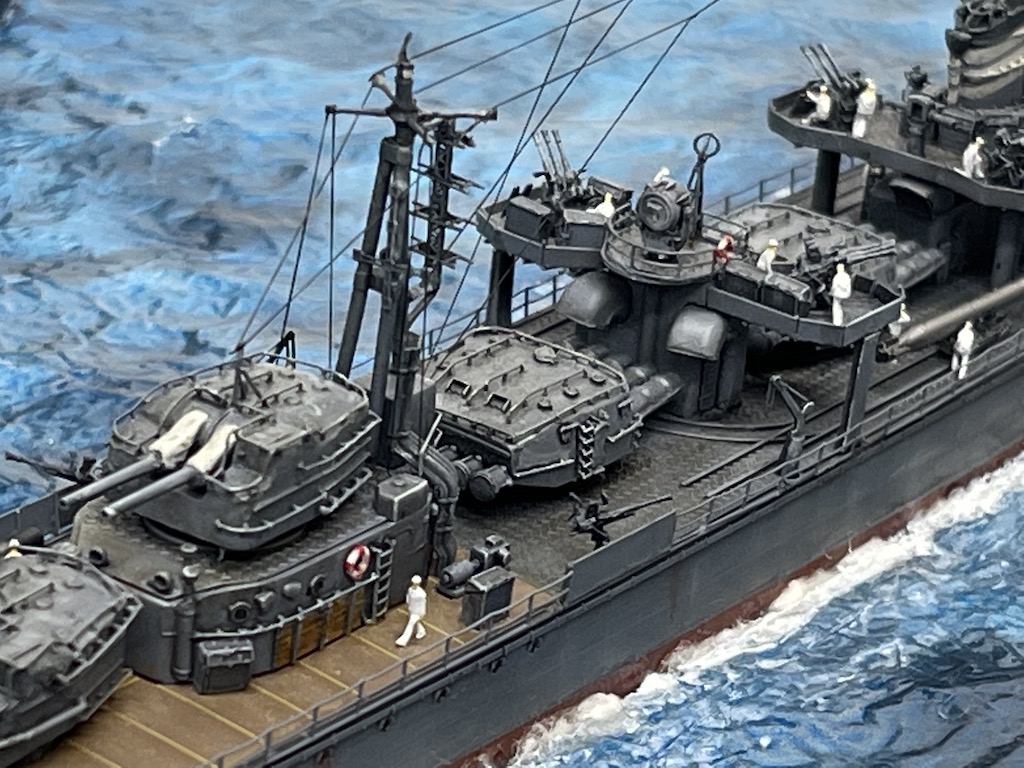
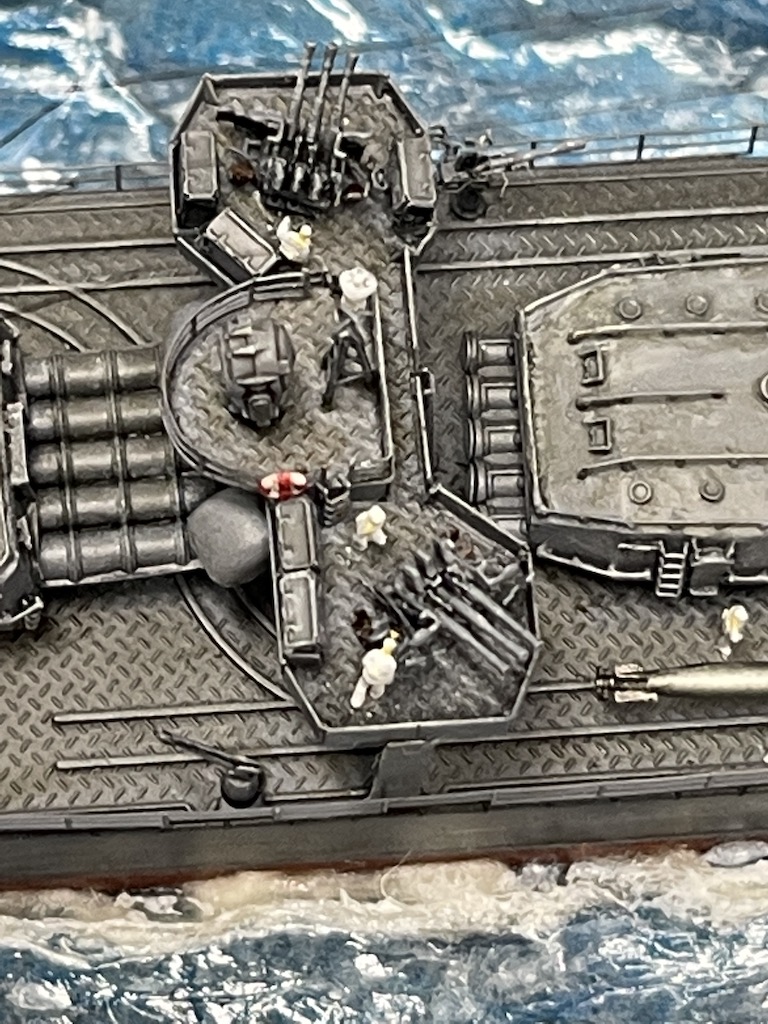
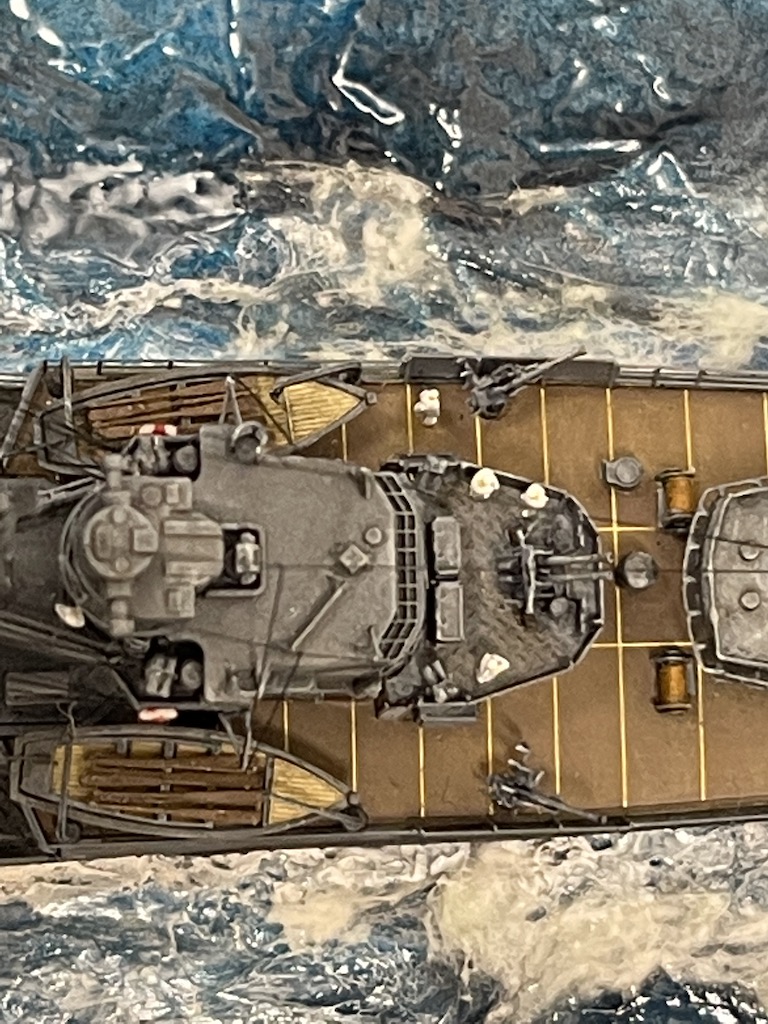
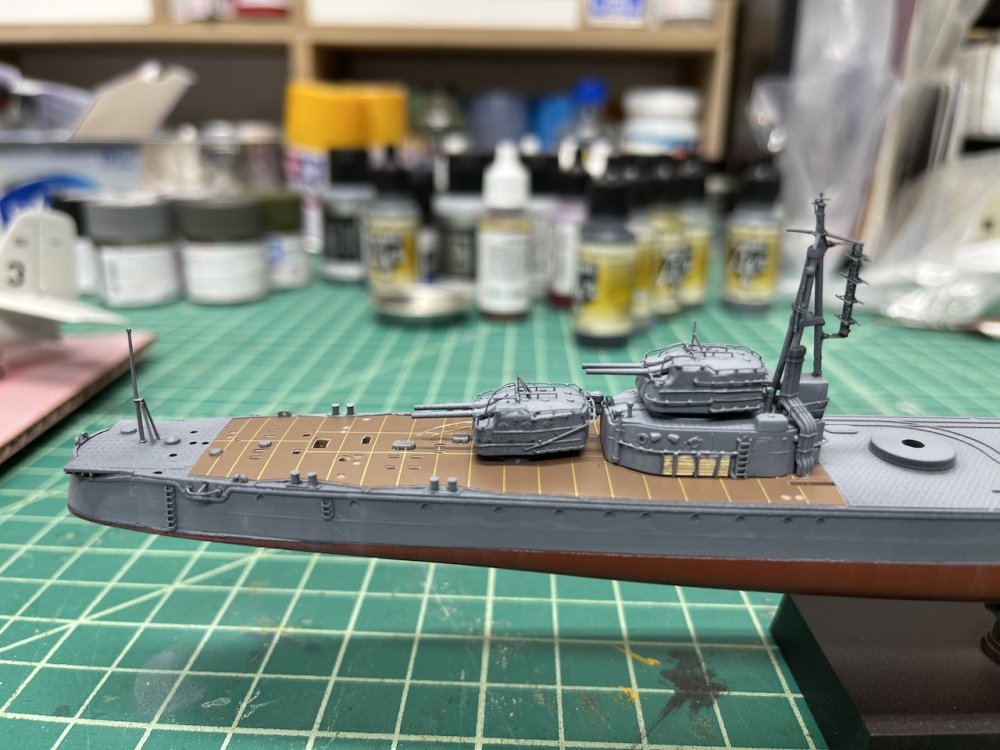
Some detail pics: