Landlubber Mike
-
Posts
1,276 -
Joined
-
Last visited
Content Type
Profiles
Forums
Events
Gallery
Everything posted by Landlubber Mike
-
Fisher Twogar back on the bench
Landlubber Mike replied to JohnB's topic in LSM 1/35 and Larger Work In Progress
Nice work John! Glad you didn't need to wear a cup! 🤣 -
Fisher Twogar back on the bench
Landlubber Mike replied to JohnB's topic in LSM 1/35 and Larger Work In Progress
Good luck John. Hope you don't have to resort to the, uh, techniques shown in Martin's video. I'm still not quite sure what the hell that was. -
GWH Curtiss P-40B; The Flying Tigers
Landlubber Mike replied to Peterpools's topic in LSM 1/35 and Larger Work In Progress
I'm just getting around to catching up on here, and came across your log. What a beauty Peter!! Really nice job! -
Looks great Chris, very nicely done!!
-
Hasegawa F-104 finished
Landlubber Mike replied to JohnB's topic in LSM 1/32 and Larger Aircraft Ready for Inspection
Came out really great! For as fantastic as it looks, amazing it sat on the SOD. -
How did I miss this?? What an awesome job Martin, congrats on a beautiful build!
-
Wow, that looks really fantastic! Nice job!
-
I considered picking this up a month or so ago as it looks like a cool, not often modeled subject. But, I'm in the middle of a SH 1/48 Brewster kit, and the fit issues are such that I don't know that I have it in me to do too many more of these - took me forever to get to the point of filling and priming! I do have a 1/32 Buffalo on the shelf as well, hope it's a little easier to put together.
-
It's your hobby, do it the way you want to. I have multiple builds going. Probably less efficient in some ways in getting models done, but then again, I feel more engaged and energized in the hobby if I work on different things at once. Sometimes too I just need a mental break from a particular model, so rather than stop modeling for weeks/months, I'll just pick up another and stay active. I found that happening a lot with wooden model ship building. After spending weeks planking the hull, or rigging, I'd just get burned out and step away from the bench for long periods of time. Having something else to work on keeps me at the bench.
-
Thanks Hubert, I haven't used SAC landing gear yet. Isn't it marketed as being stronger than kit plastic?? That's disappointing to know...
-
Yeah, pretty big if you know what the plane actually look like. Some also say the side bubbles aren't spaced apart correctly (one person thought it was because the bubbles are too big and thus look too close together), and also something about the orientation of the engines.
-
I'm sure the model doesn't think it's that easy when the last 15% is lopped off! I didn't realize that the floats on the plane actually folded down from the wingtips. That's pretty cool!
-
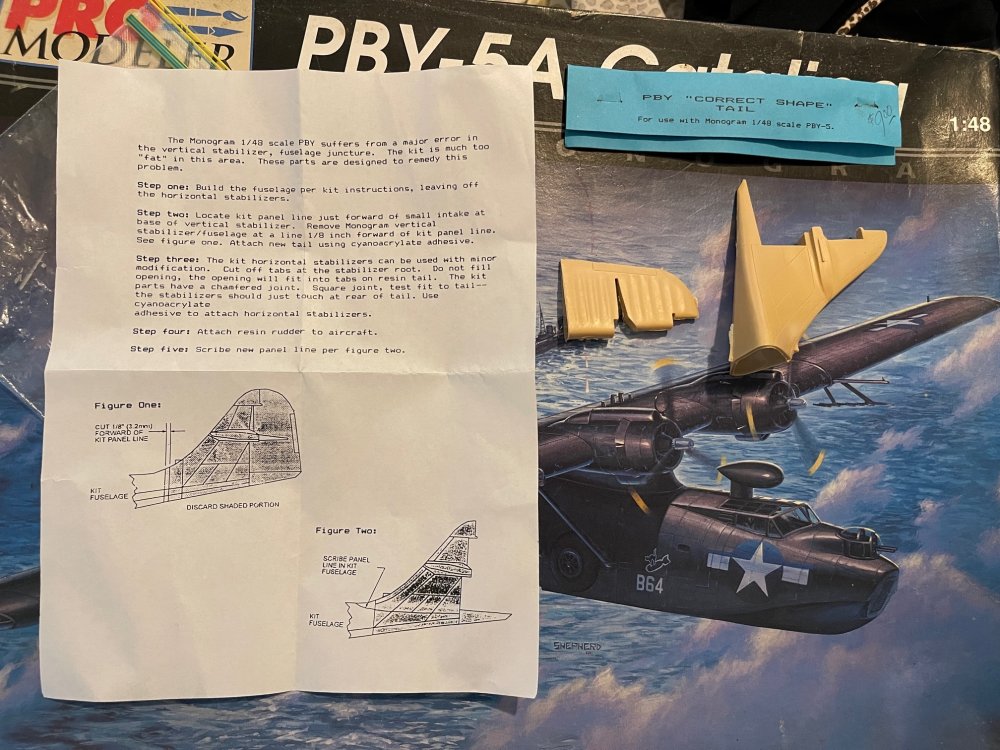
It's too fat and doesn't have the pinched in profile. Here is a picture from Britmodeller showing the difference:
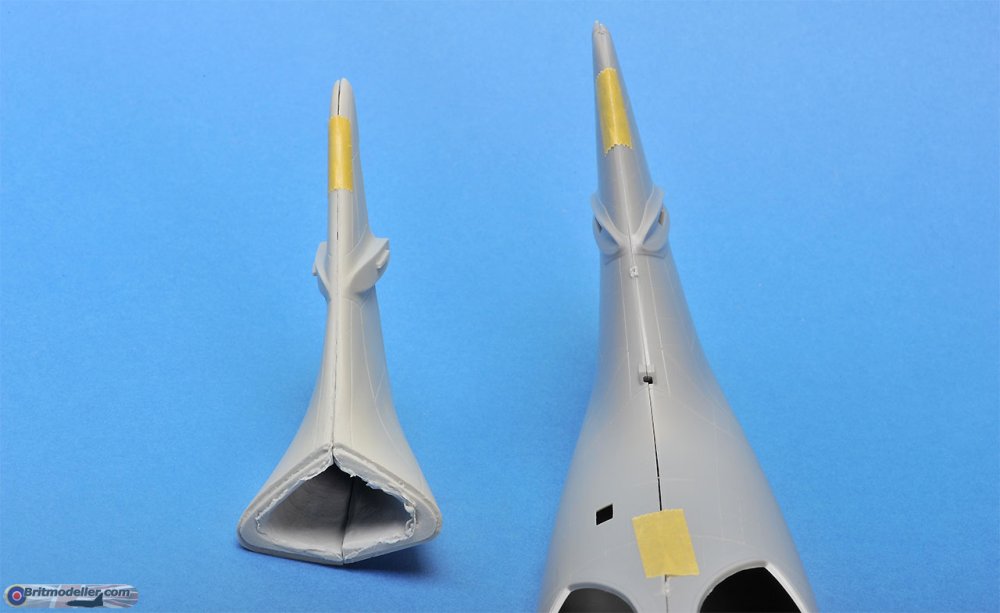
-
Looks really good! Did you do the spots with an airbrush? I might have to send you mine to paint!
-
How are you going to do it in flight? Do you have a stand? Apparently this model needs something like 200g of nose weight to avoid being a tail sitter - and I'm not sure if that includes just the base kit, or adding the Belcher tail and other resin AM 😳 One guy who built it using the Belcher tail said his landing gear collapsed - and that's after he tried hollowing it out as much as possible. I've got the Scale Aircraft Conversions landing gear, but wonder if that is even strong enough to support the plane.
-
Carl, I bought this kit on eBay with some AM, and this tail was in there. I always assumed it was Belcher (no indication on the labeling but it seems to have an instruction sheet using similar words to what Chris' looks like). Maybe it is the early version since it appears solid: Chris, great choice! From what I've seen online, the Belcher corrected tail fixes one of the biggest problems with the kit. I know Belcher came out with other conversion sets as well, including your 6A tail. For aftermarket, True Details made a bunch of sets - cockpit, wheels, and beaching wheels. Moskit also has exhausts that pop up on eBay here and there. The Eduard PE sets look really nice to dress up the undercarriage (48825) and the floats (48826). There's also an exterior set (48827) and Brassin wheels (648192). Some of them are harder to find than others. I believe I have an extra set of floats and exterior PE if you're interested. I also have an extra Quickboost engine (48061) - bought two of them thinking there was only one engine in the packet, but there were two 🤬
-
Great start Sasha!
-
PCM-1/32 Reggaine Re.2005-Finished
Landlubber Mike replied to KevinM's topic in LSM 1/35 and Larger Work In Progress
Very nice job - very cool looking lines on this plane. -
Coming along quickly and looking great!
-
Awesome choice Kevin! Looking forward to both builds!
-
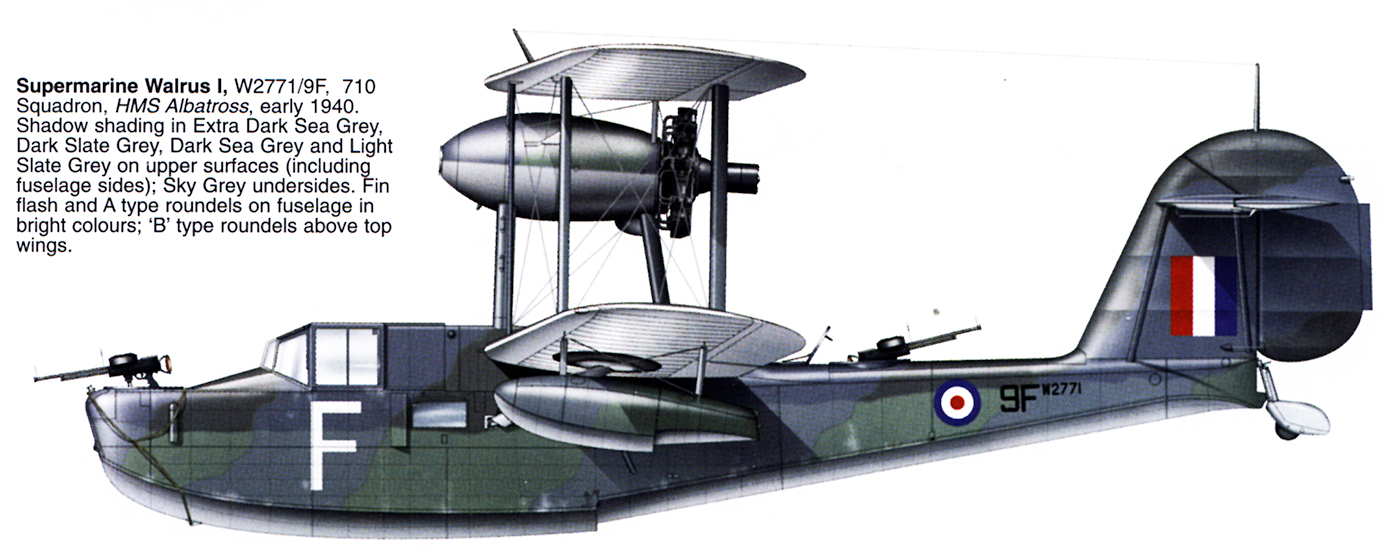
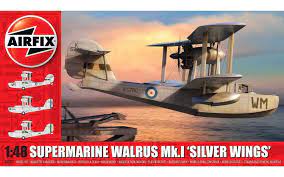
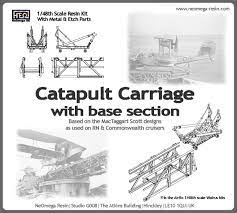
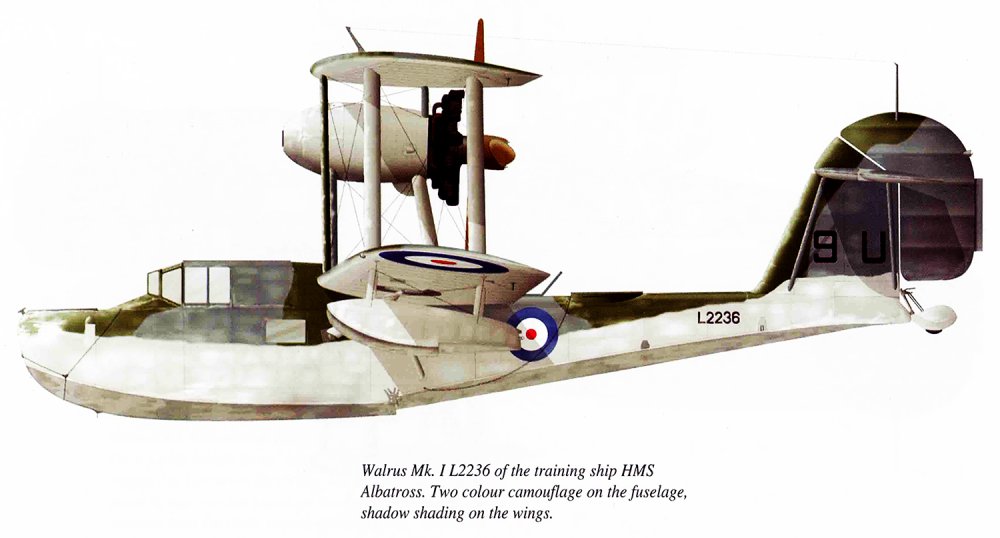
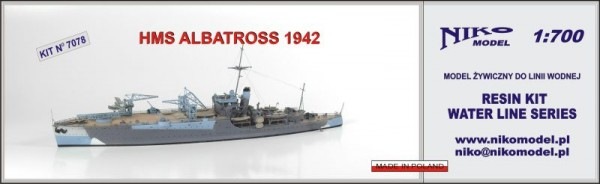
I've been giving this one some thought too. I have a bunch of float planes like the F1M1 Pete, the HpH Walrus, and the Kitty Hawk Kingfisher. I also have a bunch of ships in 1/350 and 1/700 scale I can do, but having just completed my IJN Shimakaze destroyer, I think I want to push myself into something new. If you guys are ok with non-LSMs as part of the group build, I was thinking of building the 1/48 Airfix Walrus: on top of the NeOmega catapult set: Since I didn't want to build the Walrus using a silver scheme, this past week I was researching camo schemes for the Walrus that were launched from ship catapults. I found a couple that were with the HMS Albatross and ordered the related decal and masking sets. Here are the two schemes I'm leaning towards - more likely the first to have something a little different from the HpH kit and I confirmed there was a non-trainer version with the Vickers guns: I was all excited to do this, but then to top it off, this week while researching the camo schemes and the HMS Albatross, I happened to come across this 1/700 kit from Niko models of the Albatross that includes a Walrus for the catapult, which happened to be on sale at Free Time Hobbies. I immediately placed the order and it looks like I managed to snag the last one: So, now I'm thinking of putting together a combined display of the Airfix Walrus on a catapult representing one of the planes on the HMS Albatross, with the 1/700 version of the Albatross having the same Walrus plane in miniature as part of the overall display. Sort of like here is a close-in shot of the Walrus on the catapult, and here is the pulled back miniature version of what the Walrus looked like on the full ship. I'm thinking a two tiered display with the 1/48 Walrus/catapult as the main, higher tier of the display, with the 1/700 version presented on a lower tier to the side and/or front of the main Walrus. I know I'm committing a double sin of not using large-scale models, but is this ok for the group build?


-
Special Hobby Whirlwind
Landlubber Mike replied to Peterpools's topic in LSM 1/35 and Larger Work In Progress
I just saw the bad news Peter, so sorry to read that. Must have felt nice throwing it really hard into the bin though - I've been there more than a few times before but never had the courage to do that. Hobby should be fun, not stressful! I'm working on the Special Hobby 1/48 Buffalo. Needs a lot of extra care and attention as well. -
F4U-1A Corsair Tamiya 1/32
Landlubber Mike replied to DocRob's topic in LSM 1/35 and Larger Work In Progress
I'm a little late to the party Rob, but man, that cockpit work is really incredible. Amazing job! Love your engine work thus far as well. Hope you're feeling better and enjoyed your trip! -
What a fantastic model Sasha! Amazing job! I also really like your display base for it.
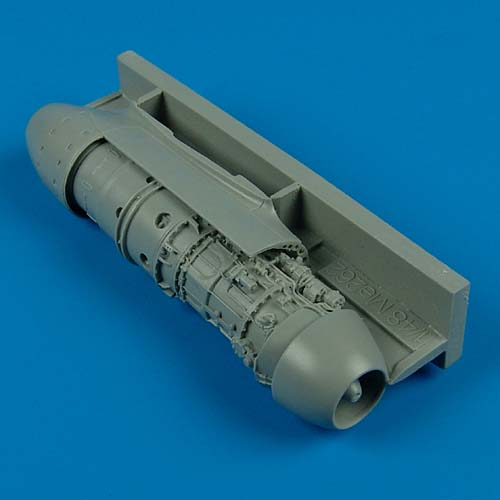
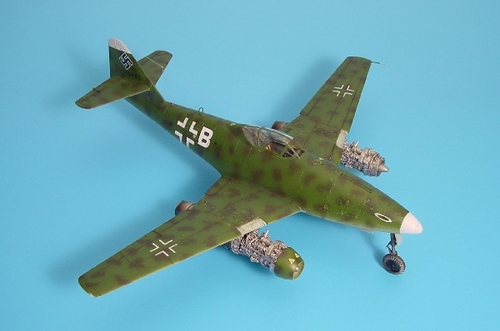
-
Yeah, they make it way too easy to spend money in this hobby! I bought my first Me262 on eBay loaded with aftermarket, then found some of the other CMK conversion sets and added them, so ended up buying a second. The CMK conversions are 4111 (A-1a/V056 fighter conversion), 4112 (A-1a/U3 photo conversion), 4113 (B-1A/B1a/U1 night fighter two seater conversion). I don't know if CMK is still making them, but you can often find them on eBay or some of the big online sellers. This is the Quickboost Jumo engine (48289) - looks like it may be discontinued, but has really nice detail Aires 4222 is a full detail set with two engines, cockpit, wheels, control surfaces, etc.: Not trying to make you spend extra money!