CANicoll
-
Posts
1,928 -
Joined
-
Last visited
Content Type
Profiles
Forums
Events
Gallery
Everything posted by CANicoll
-

MERRY CHRISTMAS AND HAPPY NEW YEAR !!
CANicoll replied to Tecnikit's topic in LSM Vendors and Sponsors
Pretty! -
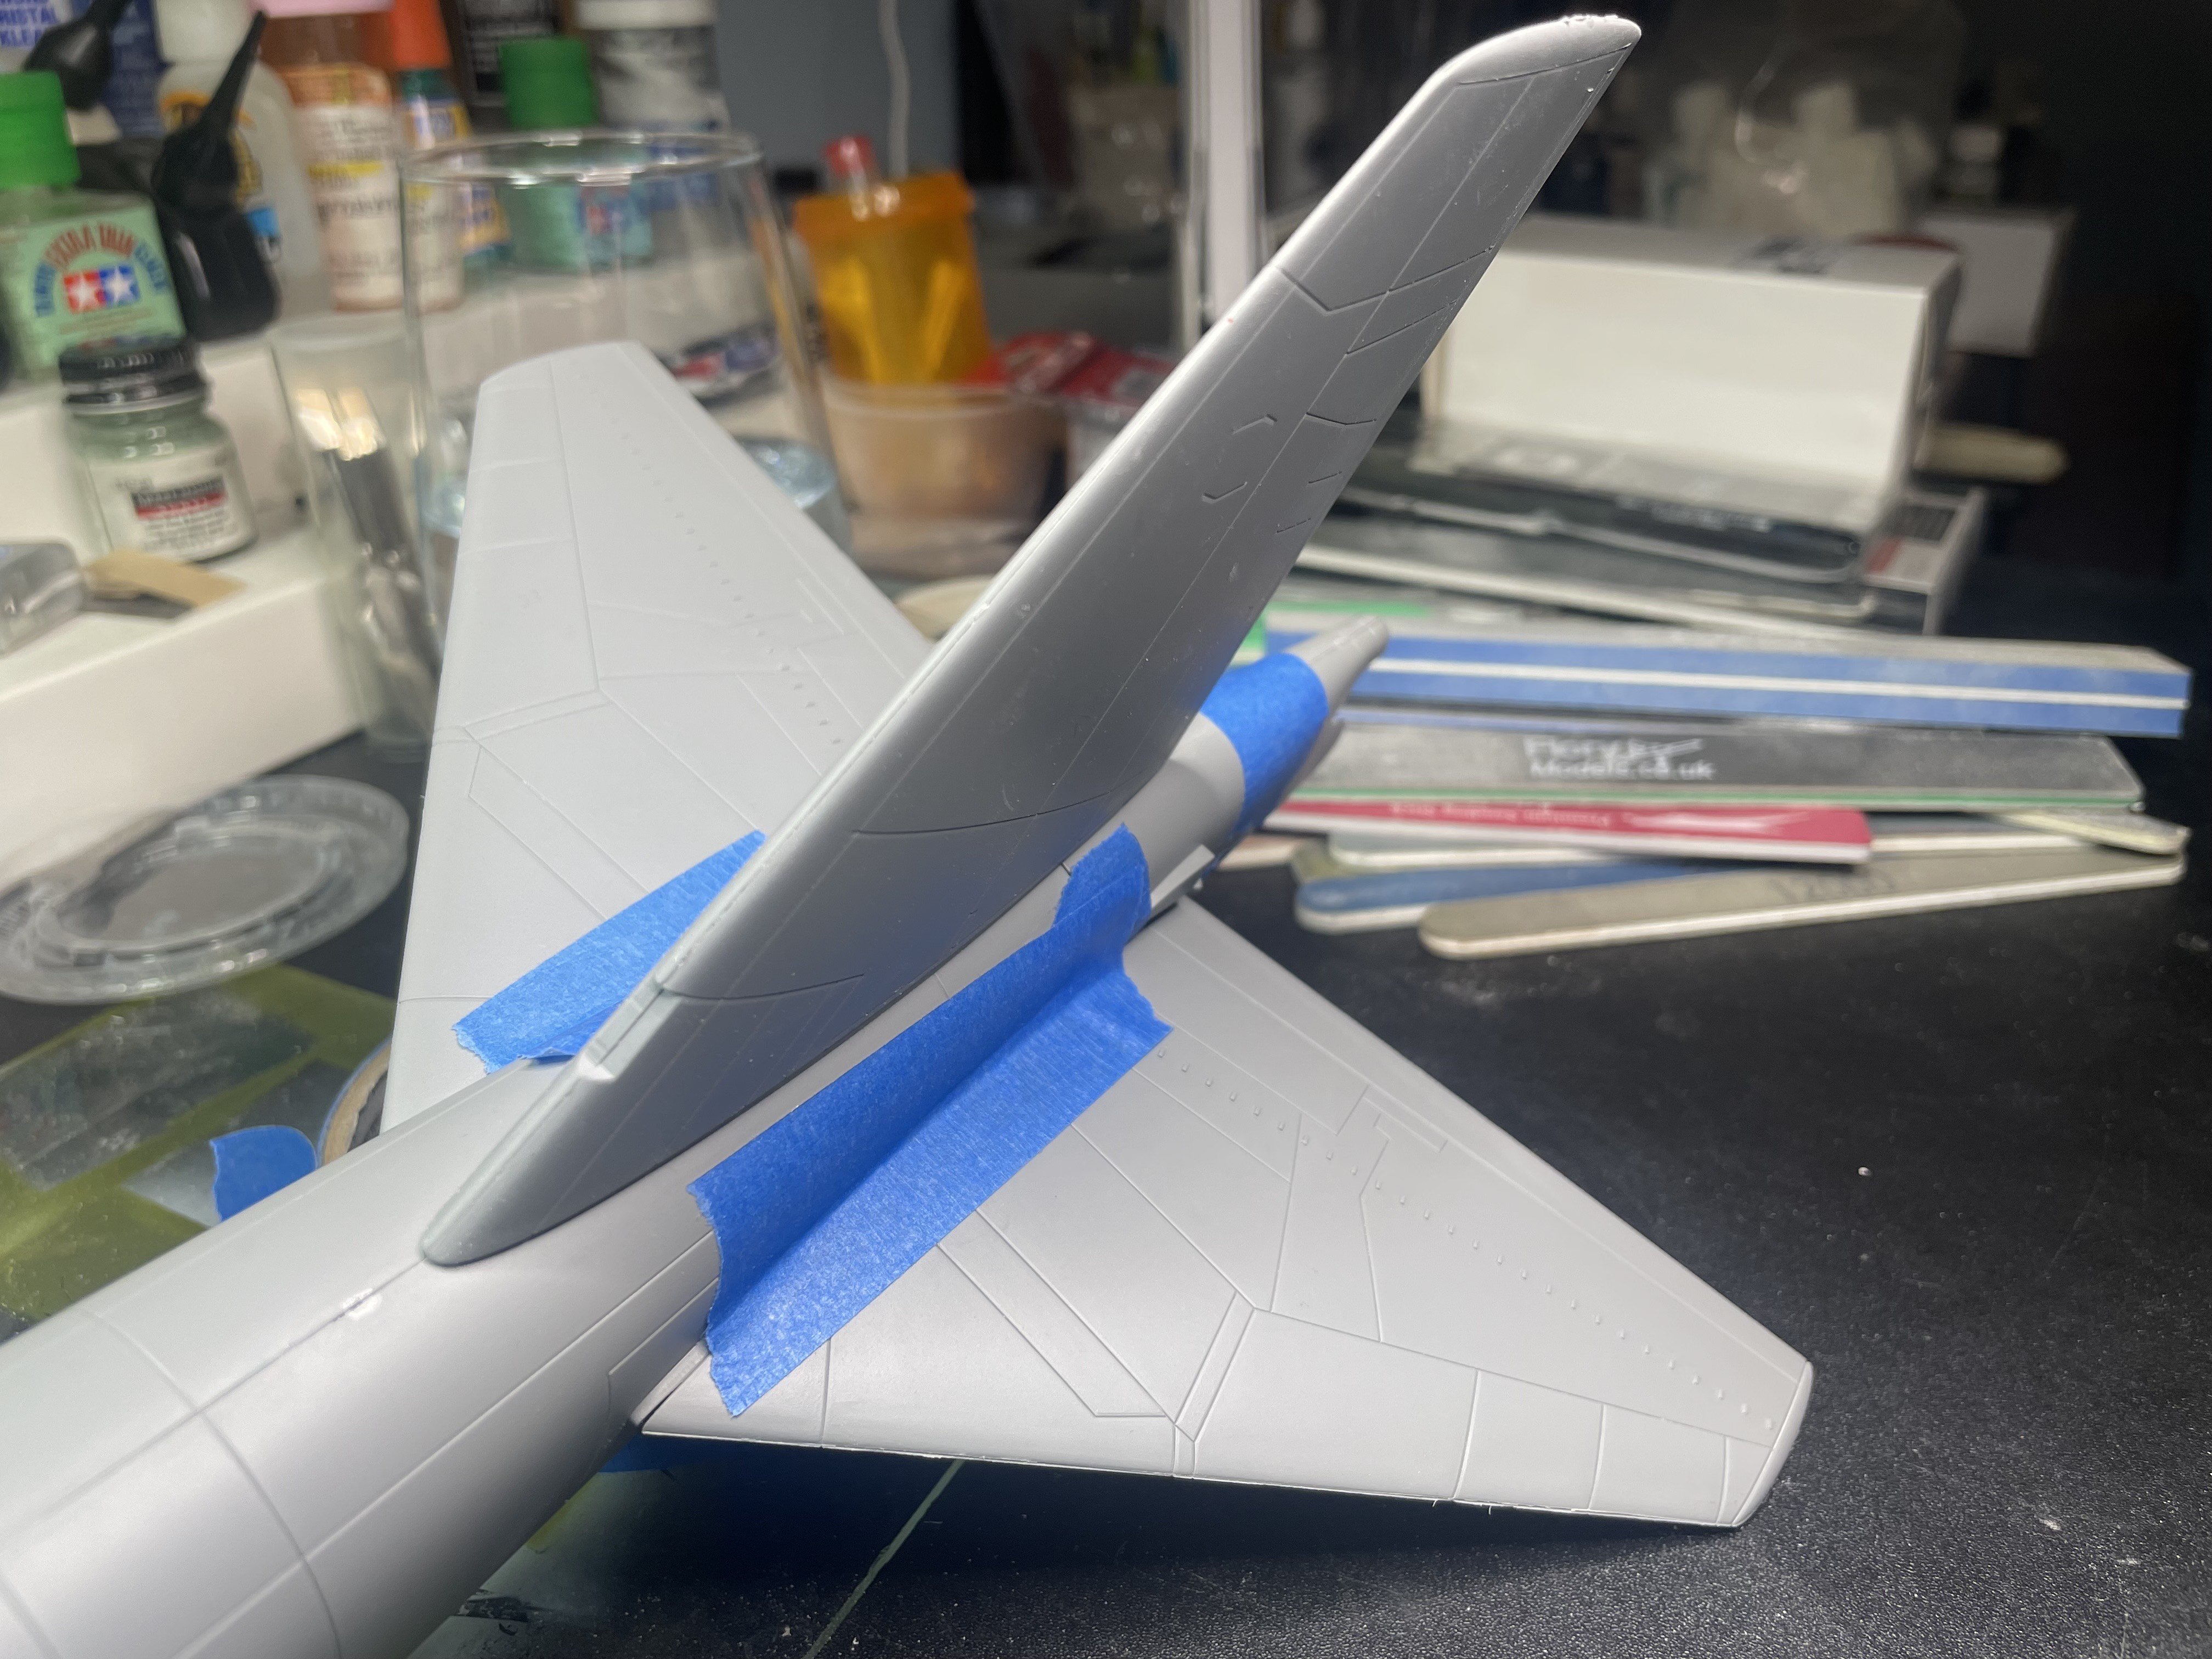
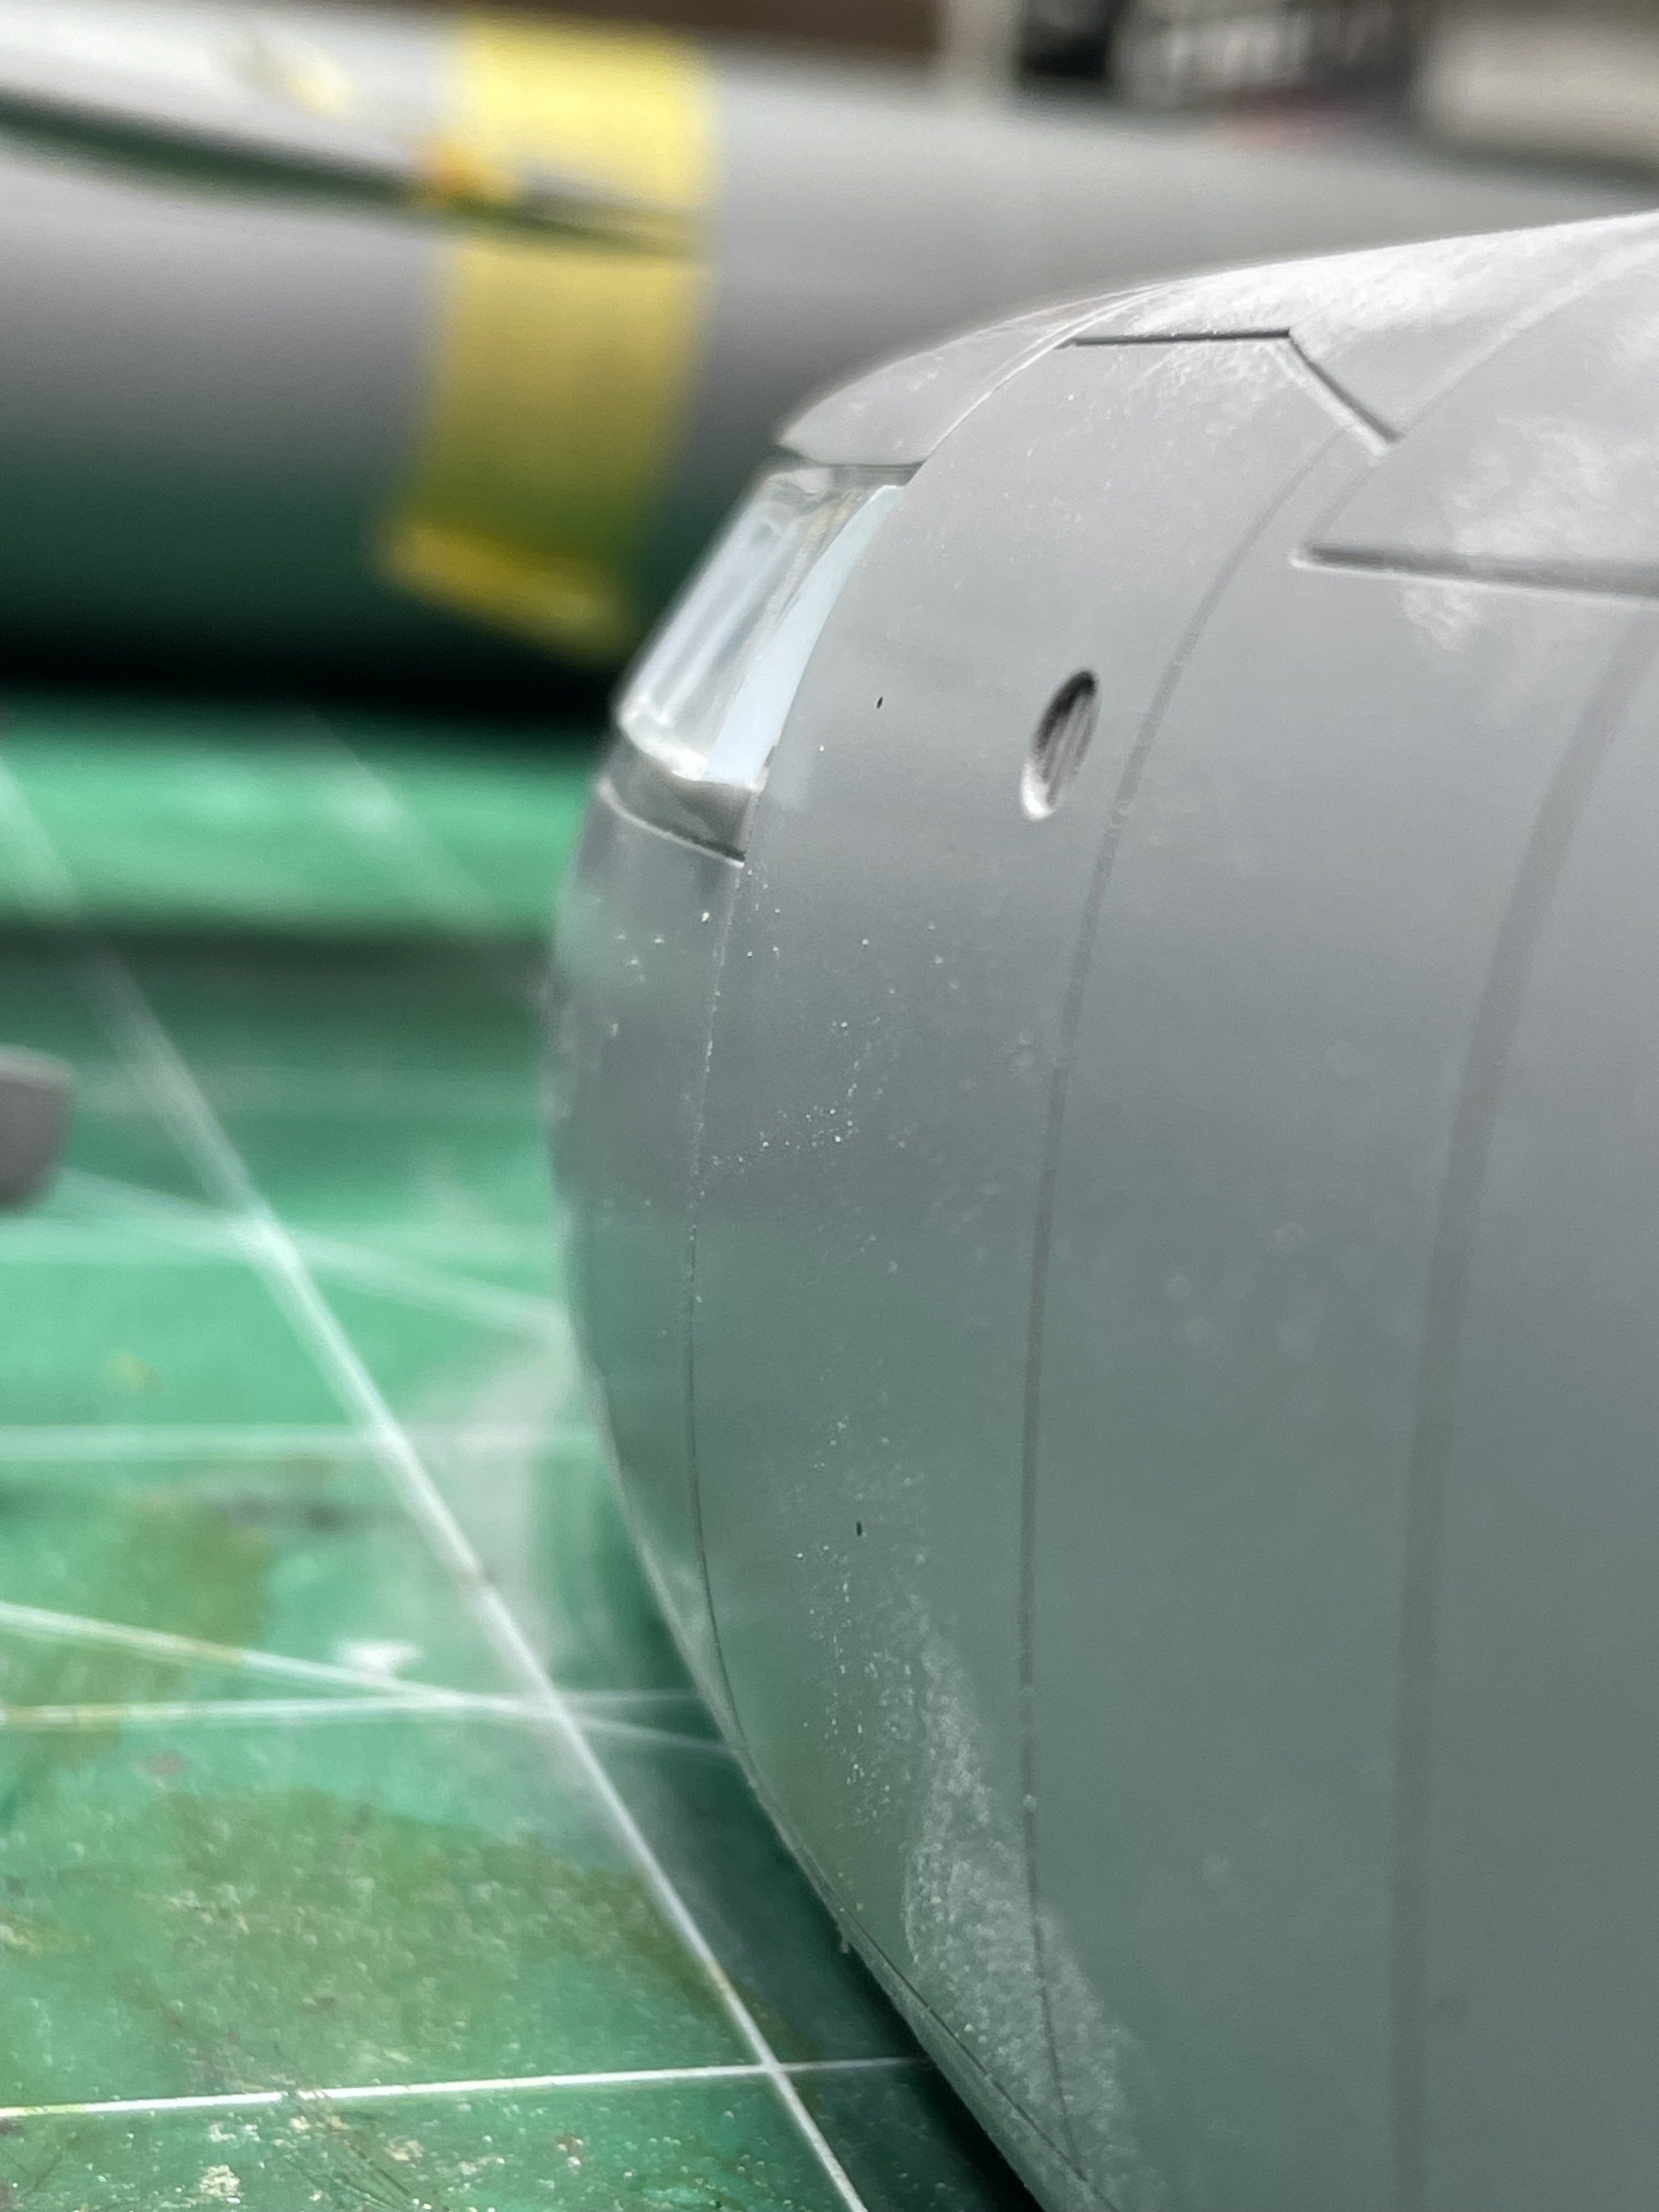
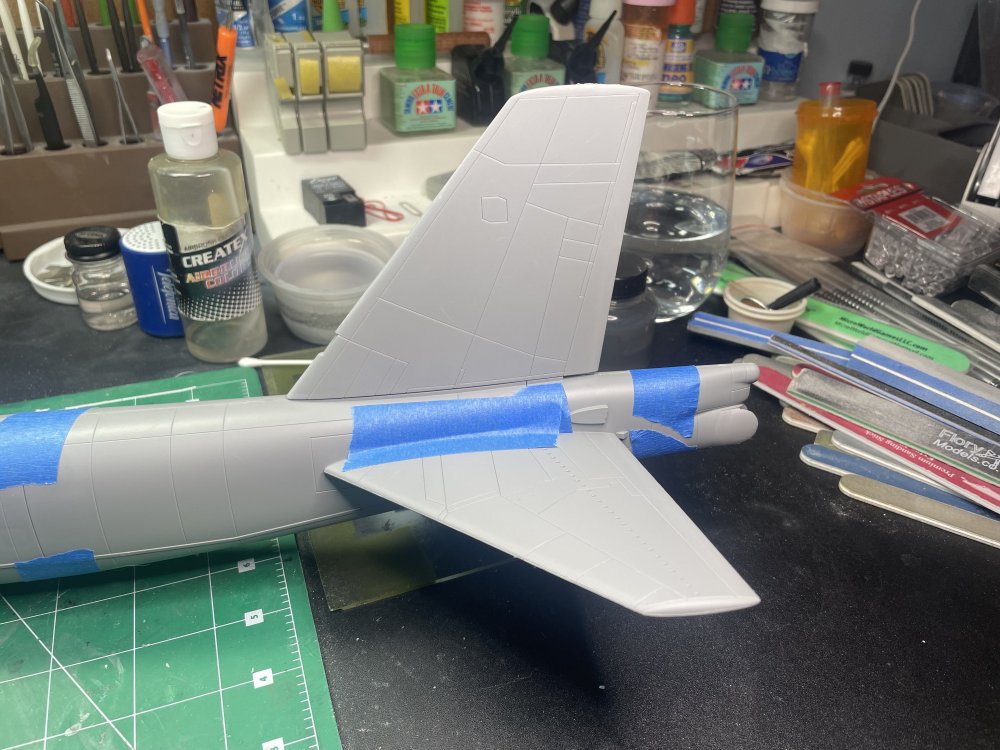
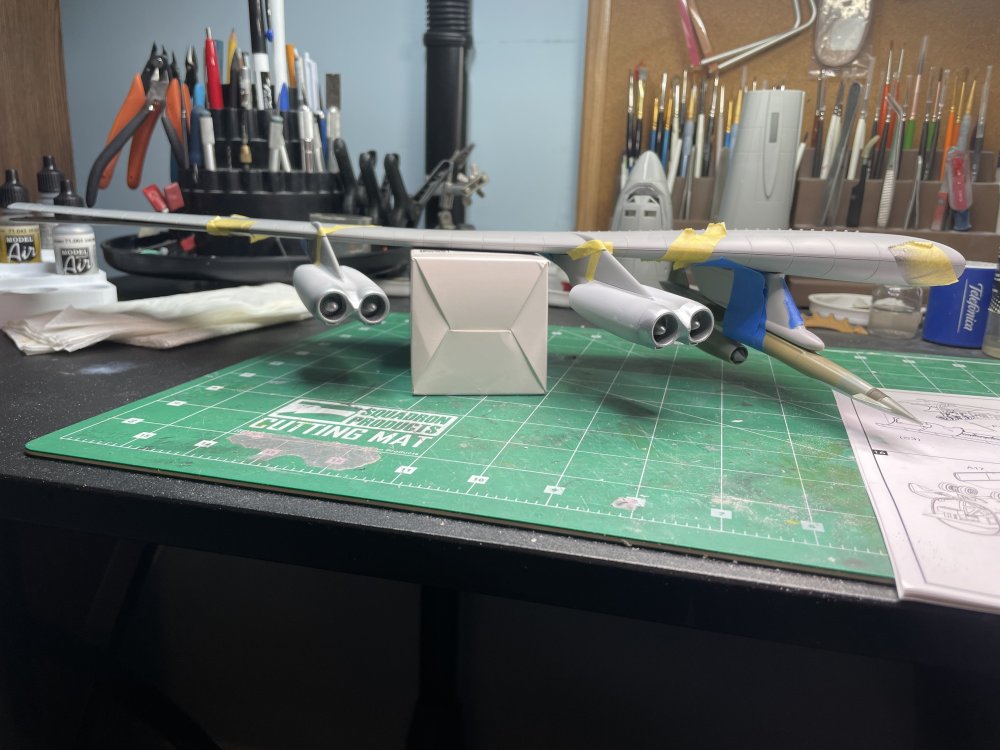
Was able to spend a bit of time at the bench, but not as much as I had thought, over the holidays. Started painted the engine nacelles, which basically are one color of each on each side. The intakes are camo on top, bare metal under. Will be masking the back part of the engine for a gunmetal panel. The Bulldog pylons still need to be adjusted to fit the wing profile. Getting out the Dremel tool for that one. The canopy glass had some fit challenges. The main windscreen fit PERFECTLY! As did the triangular windows. After a bit of sanding. Fits flush. The rectangular pieces needed to be sanded down on one end and underneath, but they then fit pretty well. The triangular pieces still have the clear canopy glue drying. Applied the Eduard masks which fit well. The framing in the windscreen is proud so easy to mask.


-
What did you use for the undercoat? It is shiny!!
-
John, I am very surprised at the fit problems you are having with the Revell kit. Like you, I've built several of each - Tamiya and Revell - and never ran into the fit problems you are having. Yes, Tamiya fits perfectly, but what you are seeing with the wing root gap is a huge surprise to me. But agree that the Revell wing is a better representation of the actual Mustang puttied wing. Not sure why Tamiya didn't pick up on that. I remember trying to fill in the wing with Mr. Surfacer and went mad with all of the coats needed to fill in the wing. I do seem to remember that neither Revell or Tamiya captured the oil canning of the flaps. I used AMUR's resin flaps - beautiful things! Your grafting of the Tamiya tail looks perfect. Nice work John!
-
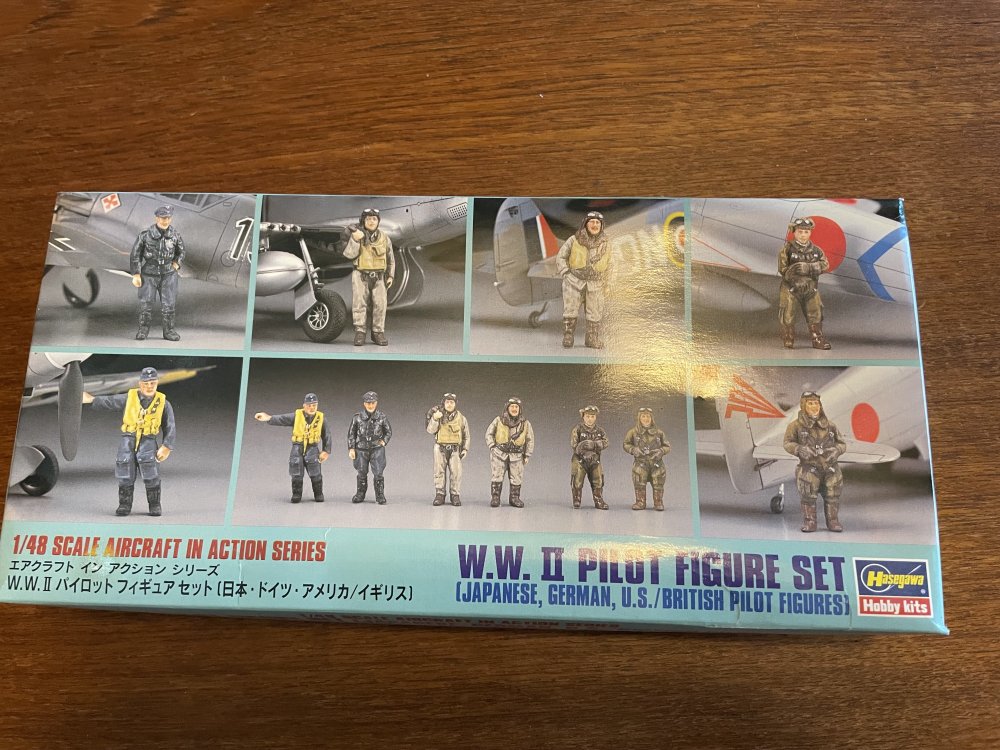
Any thoughts on the ICM 1/48 B-26 Marauder? Is it worth $100?
CANicoll replied to CANicoll's topic in Modelling Discussion
Cool, thanks, Fran! I may have to splurge... -
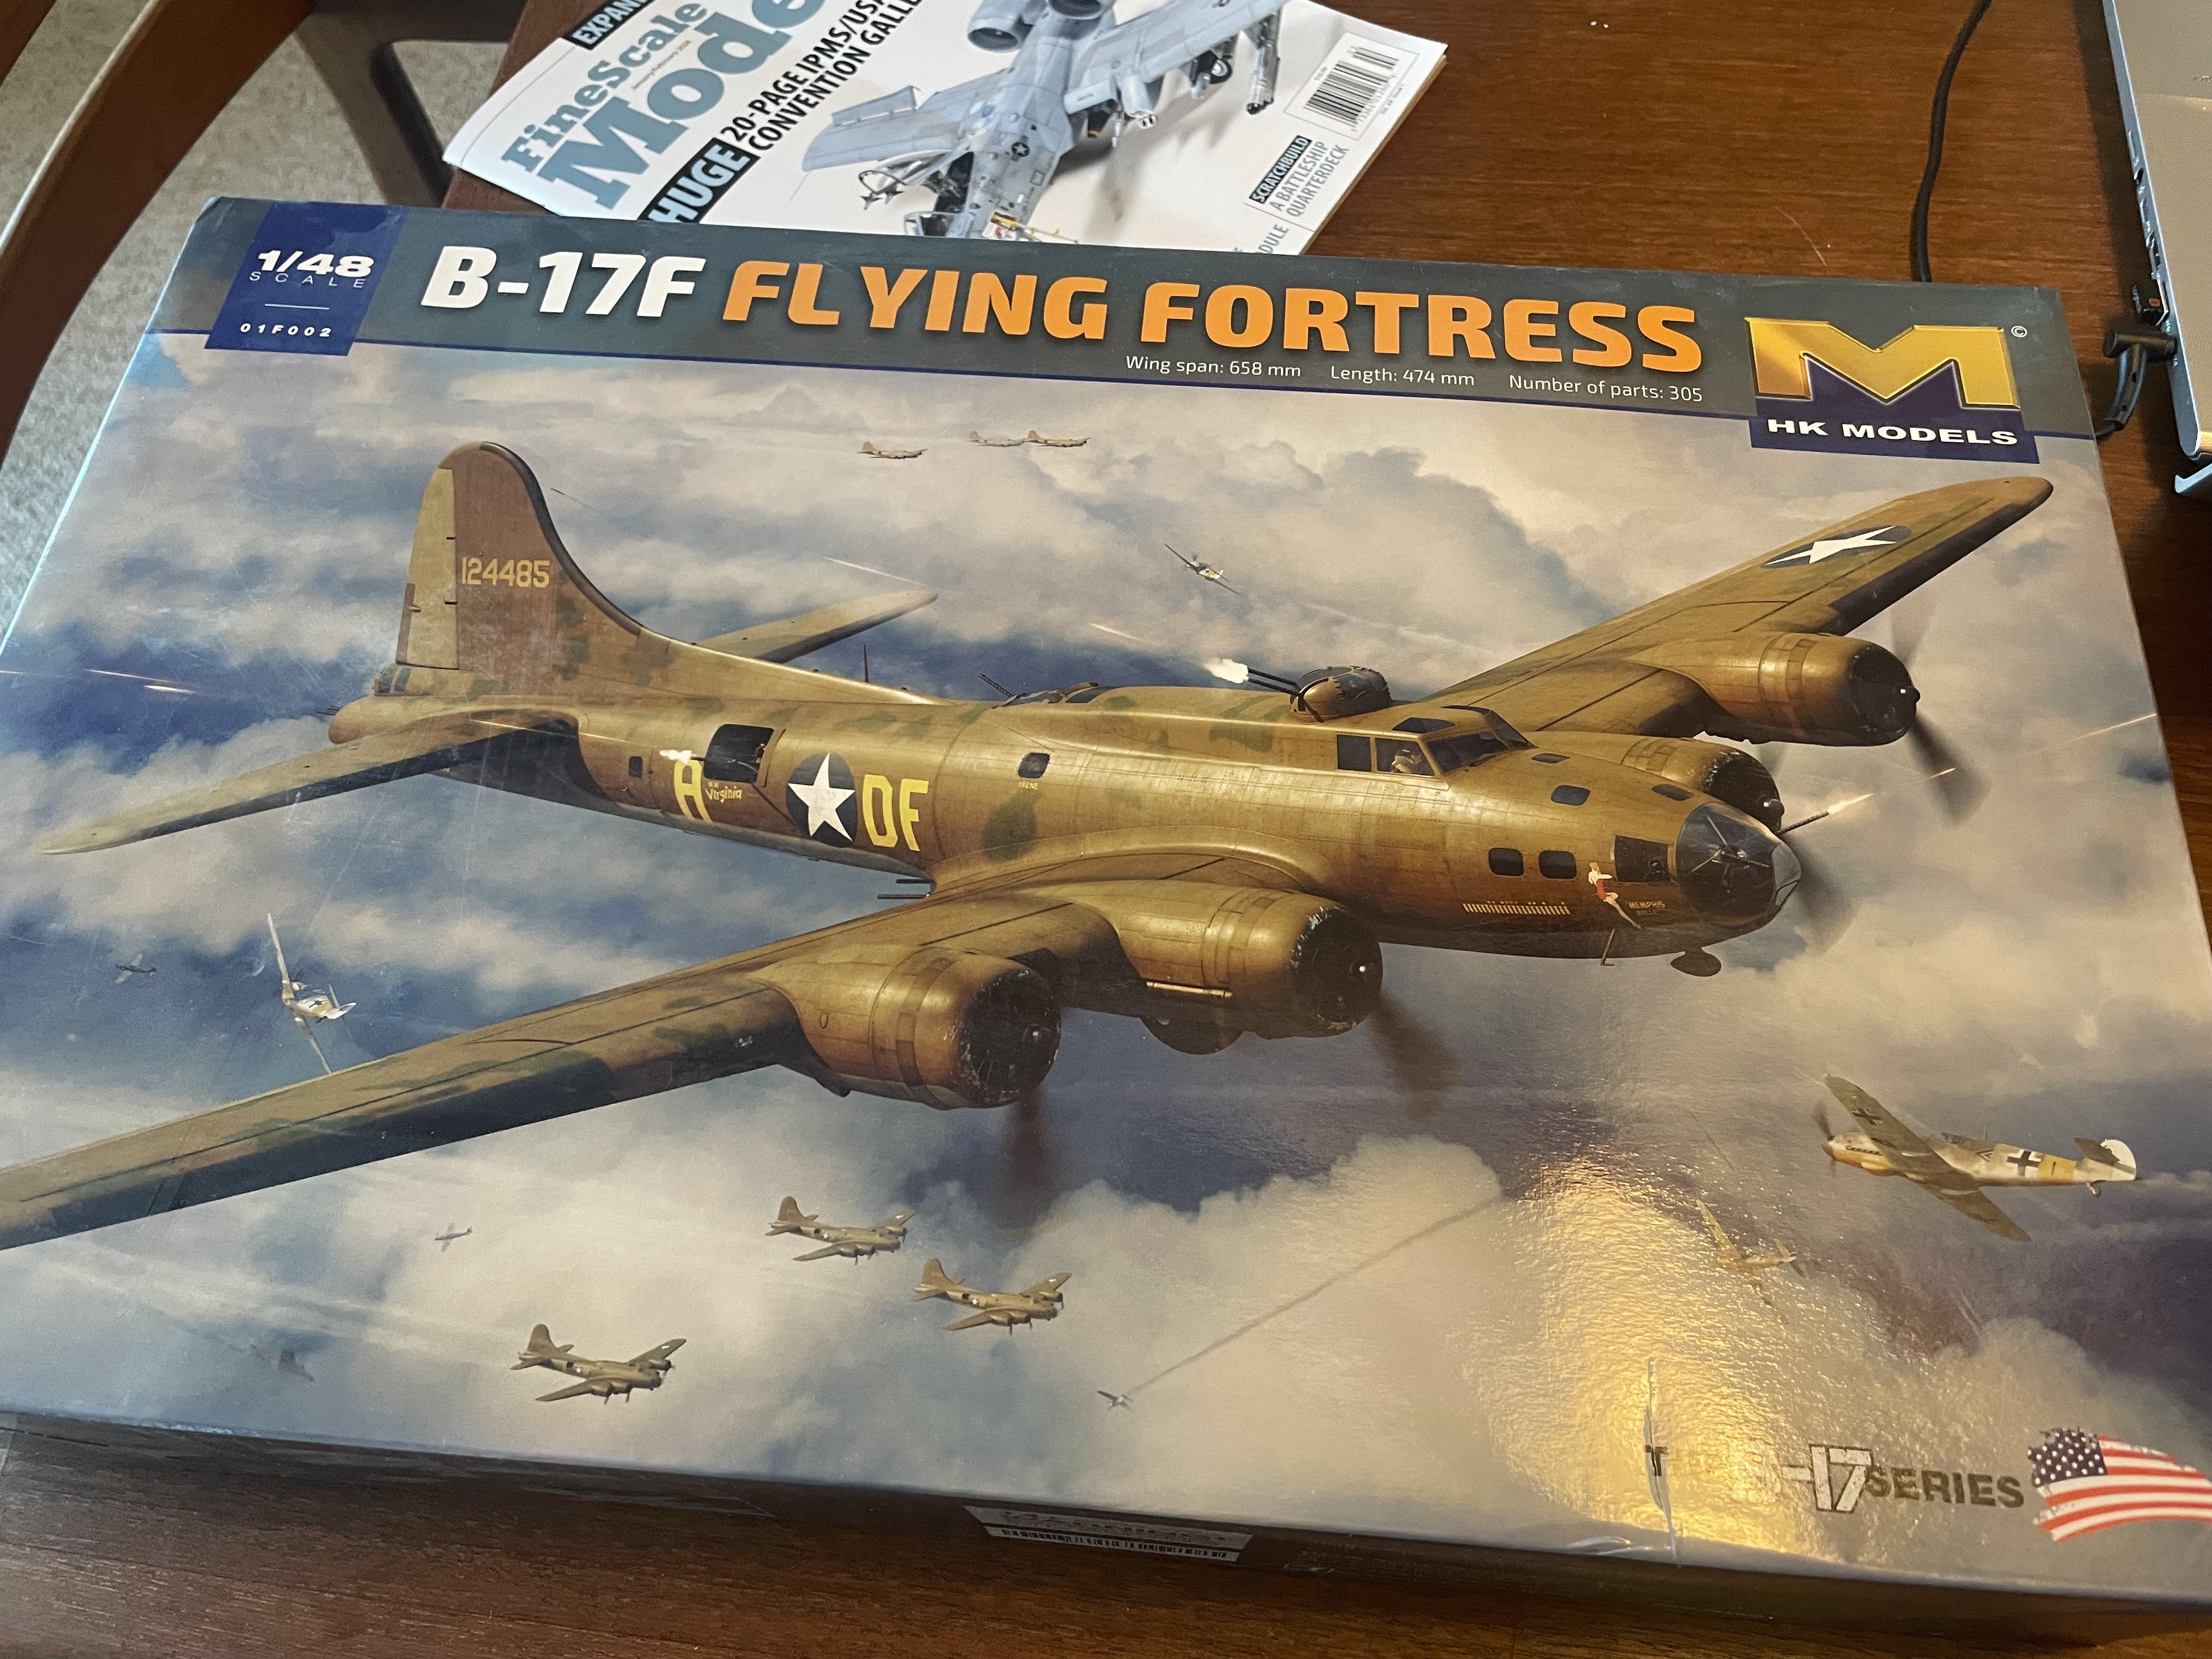
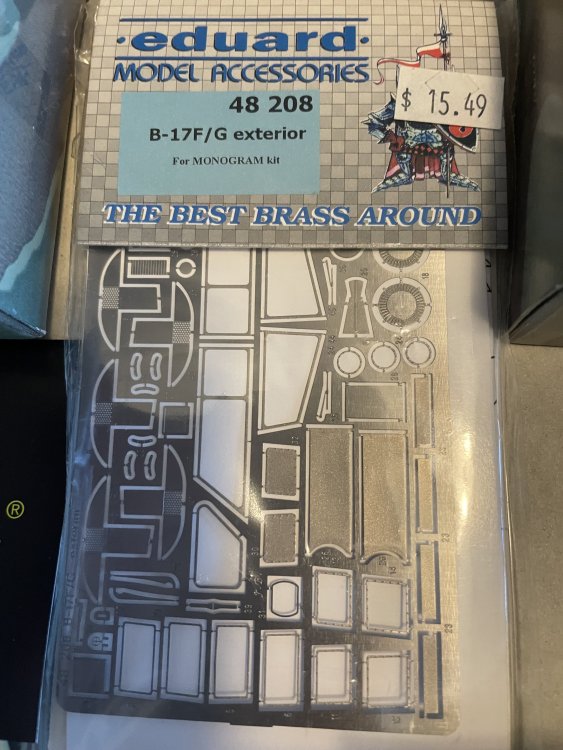
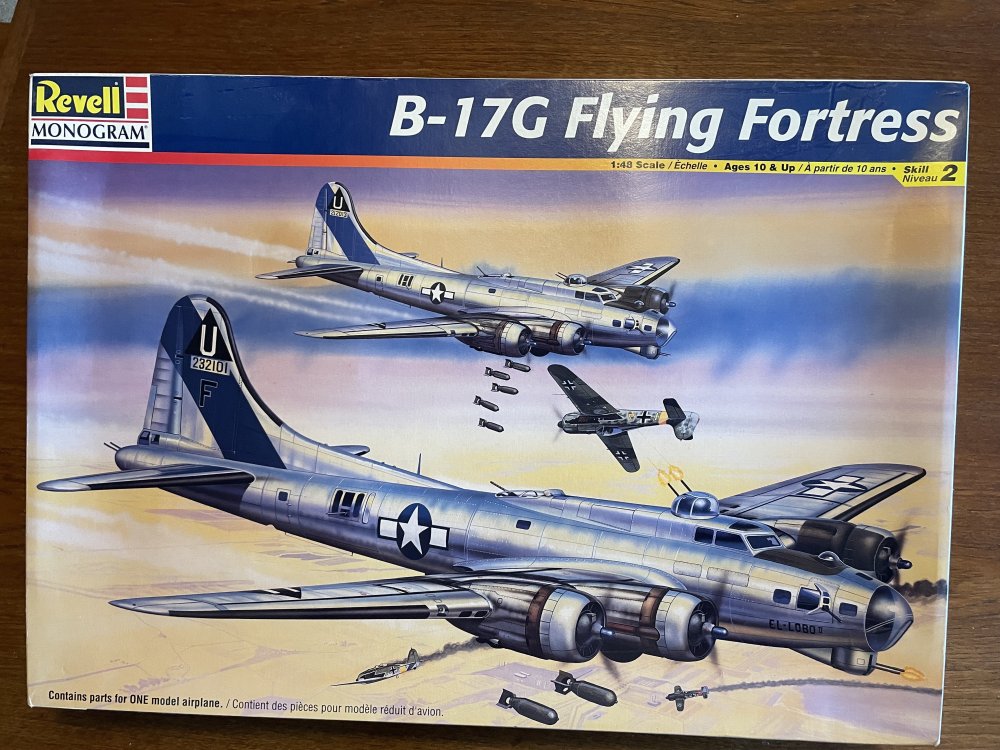
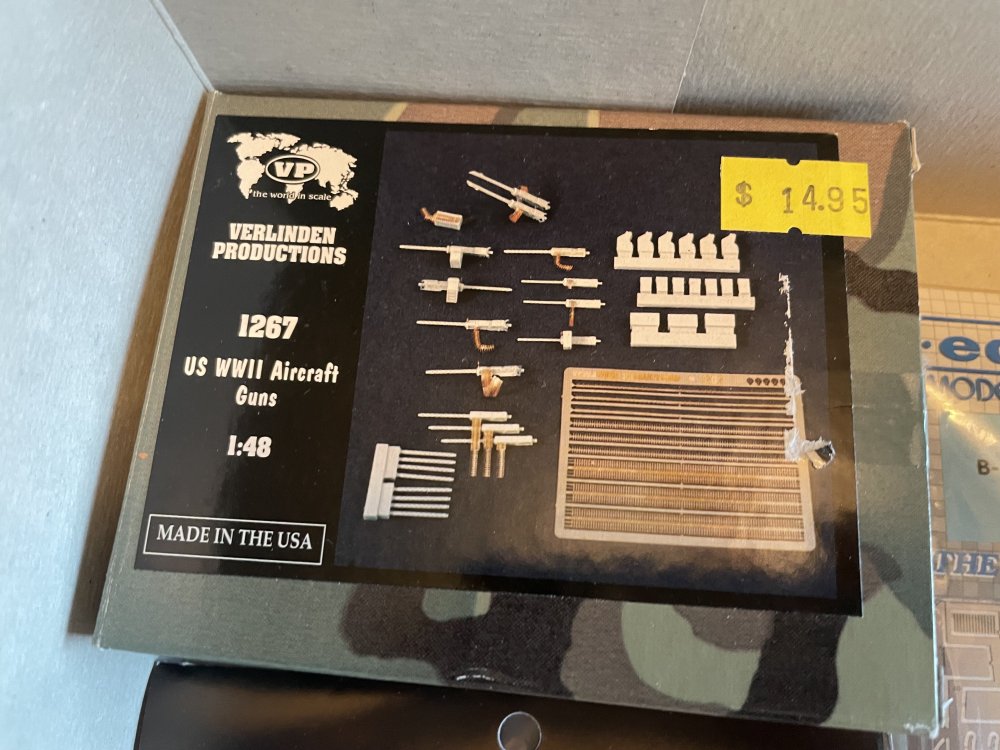
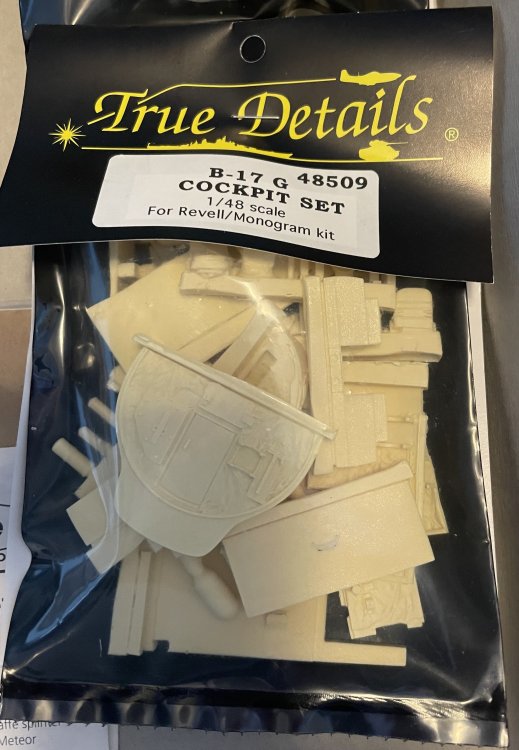
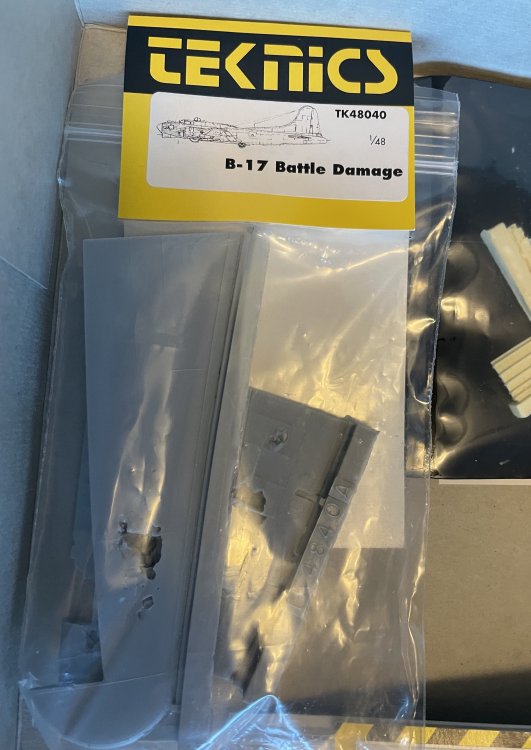
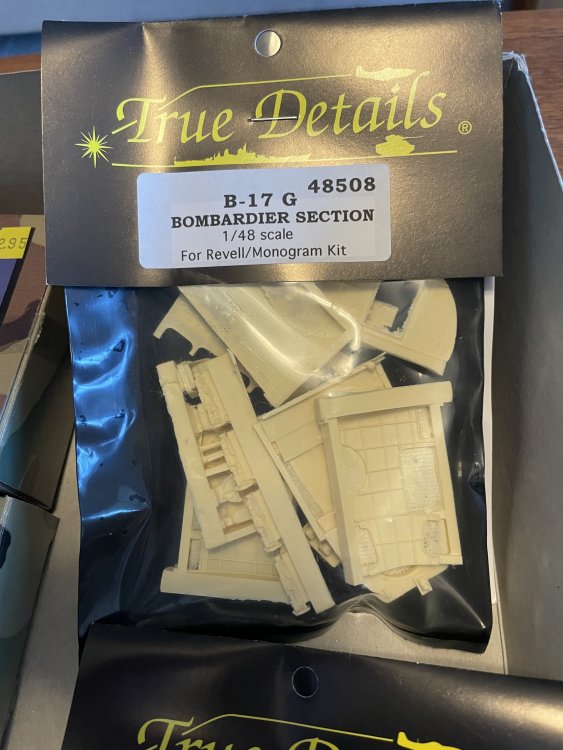
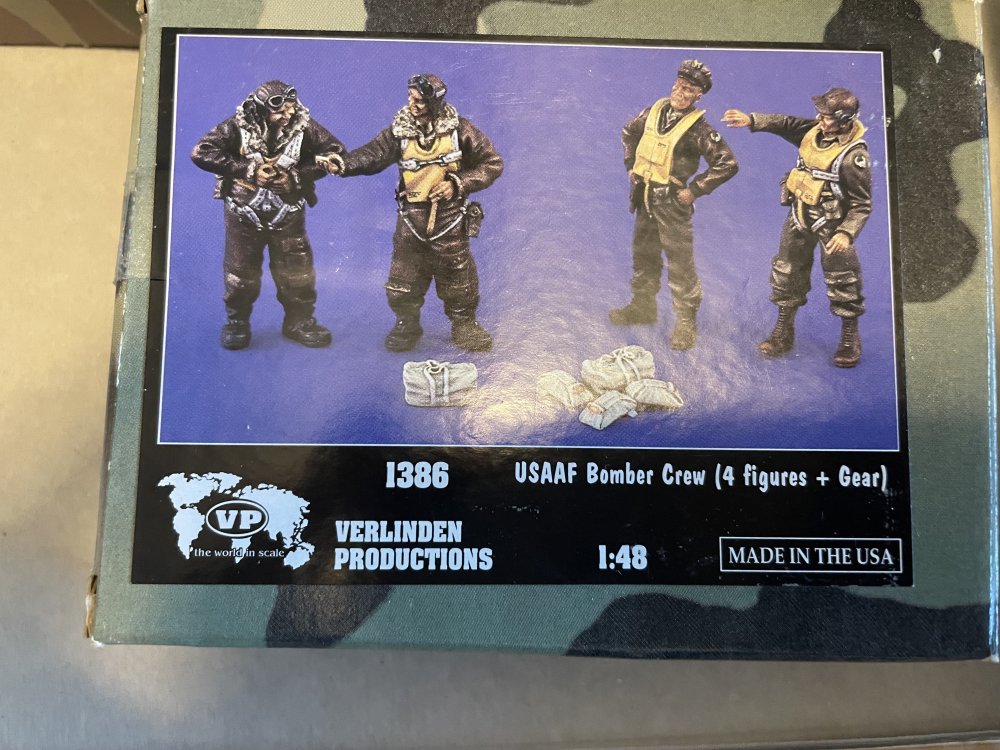
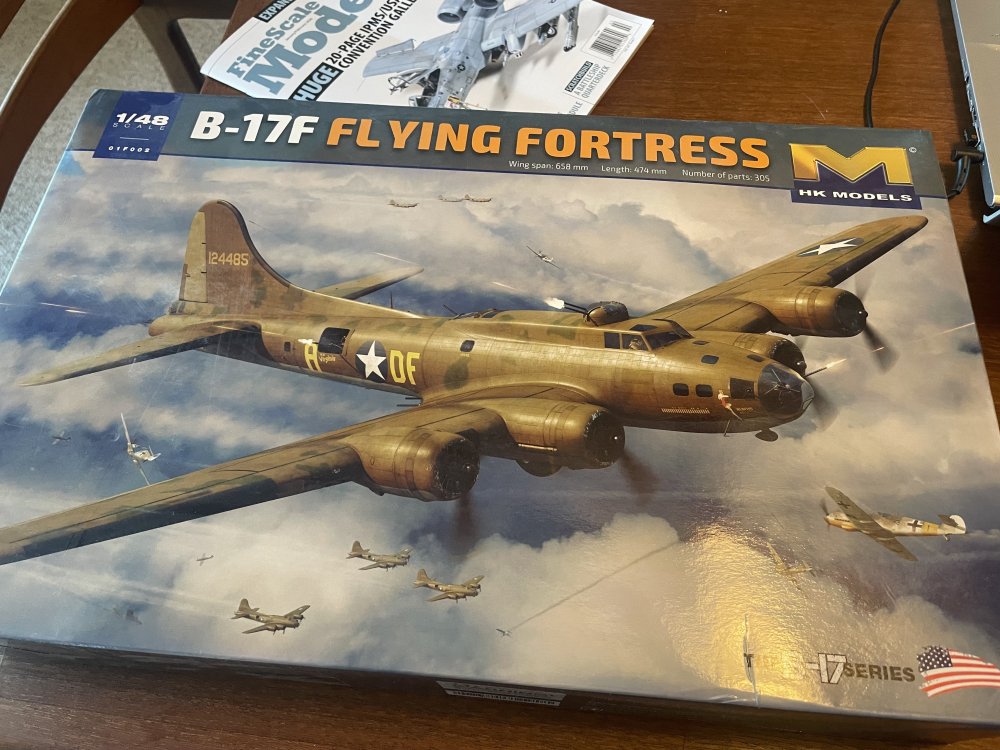
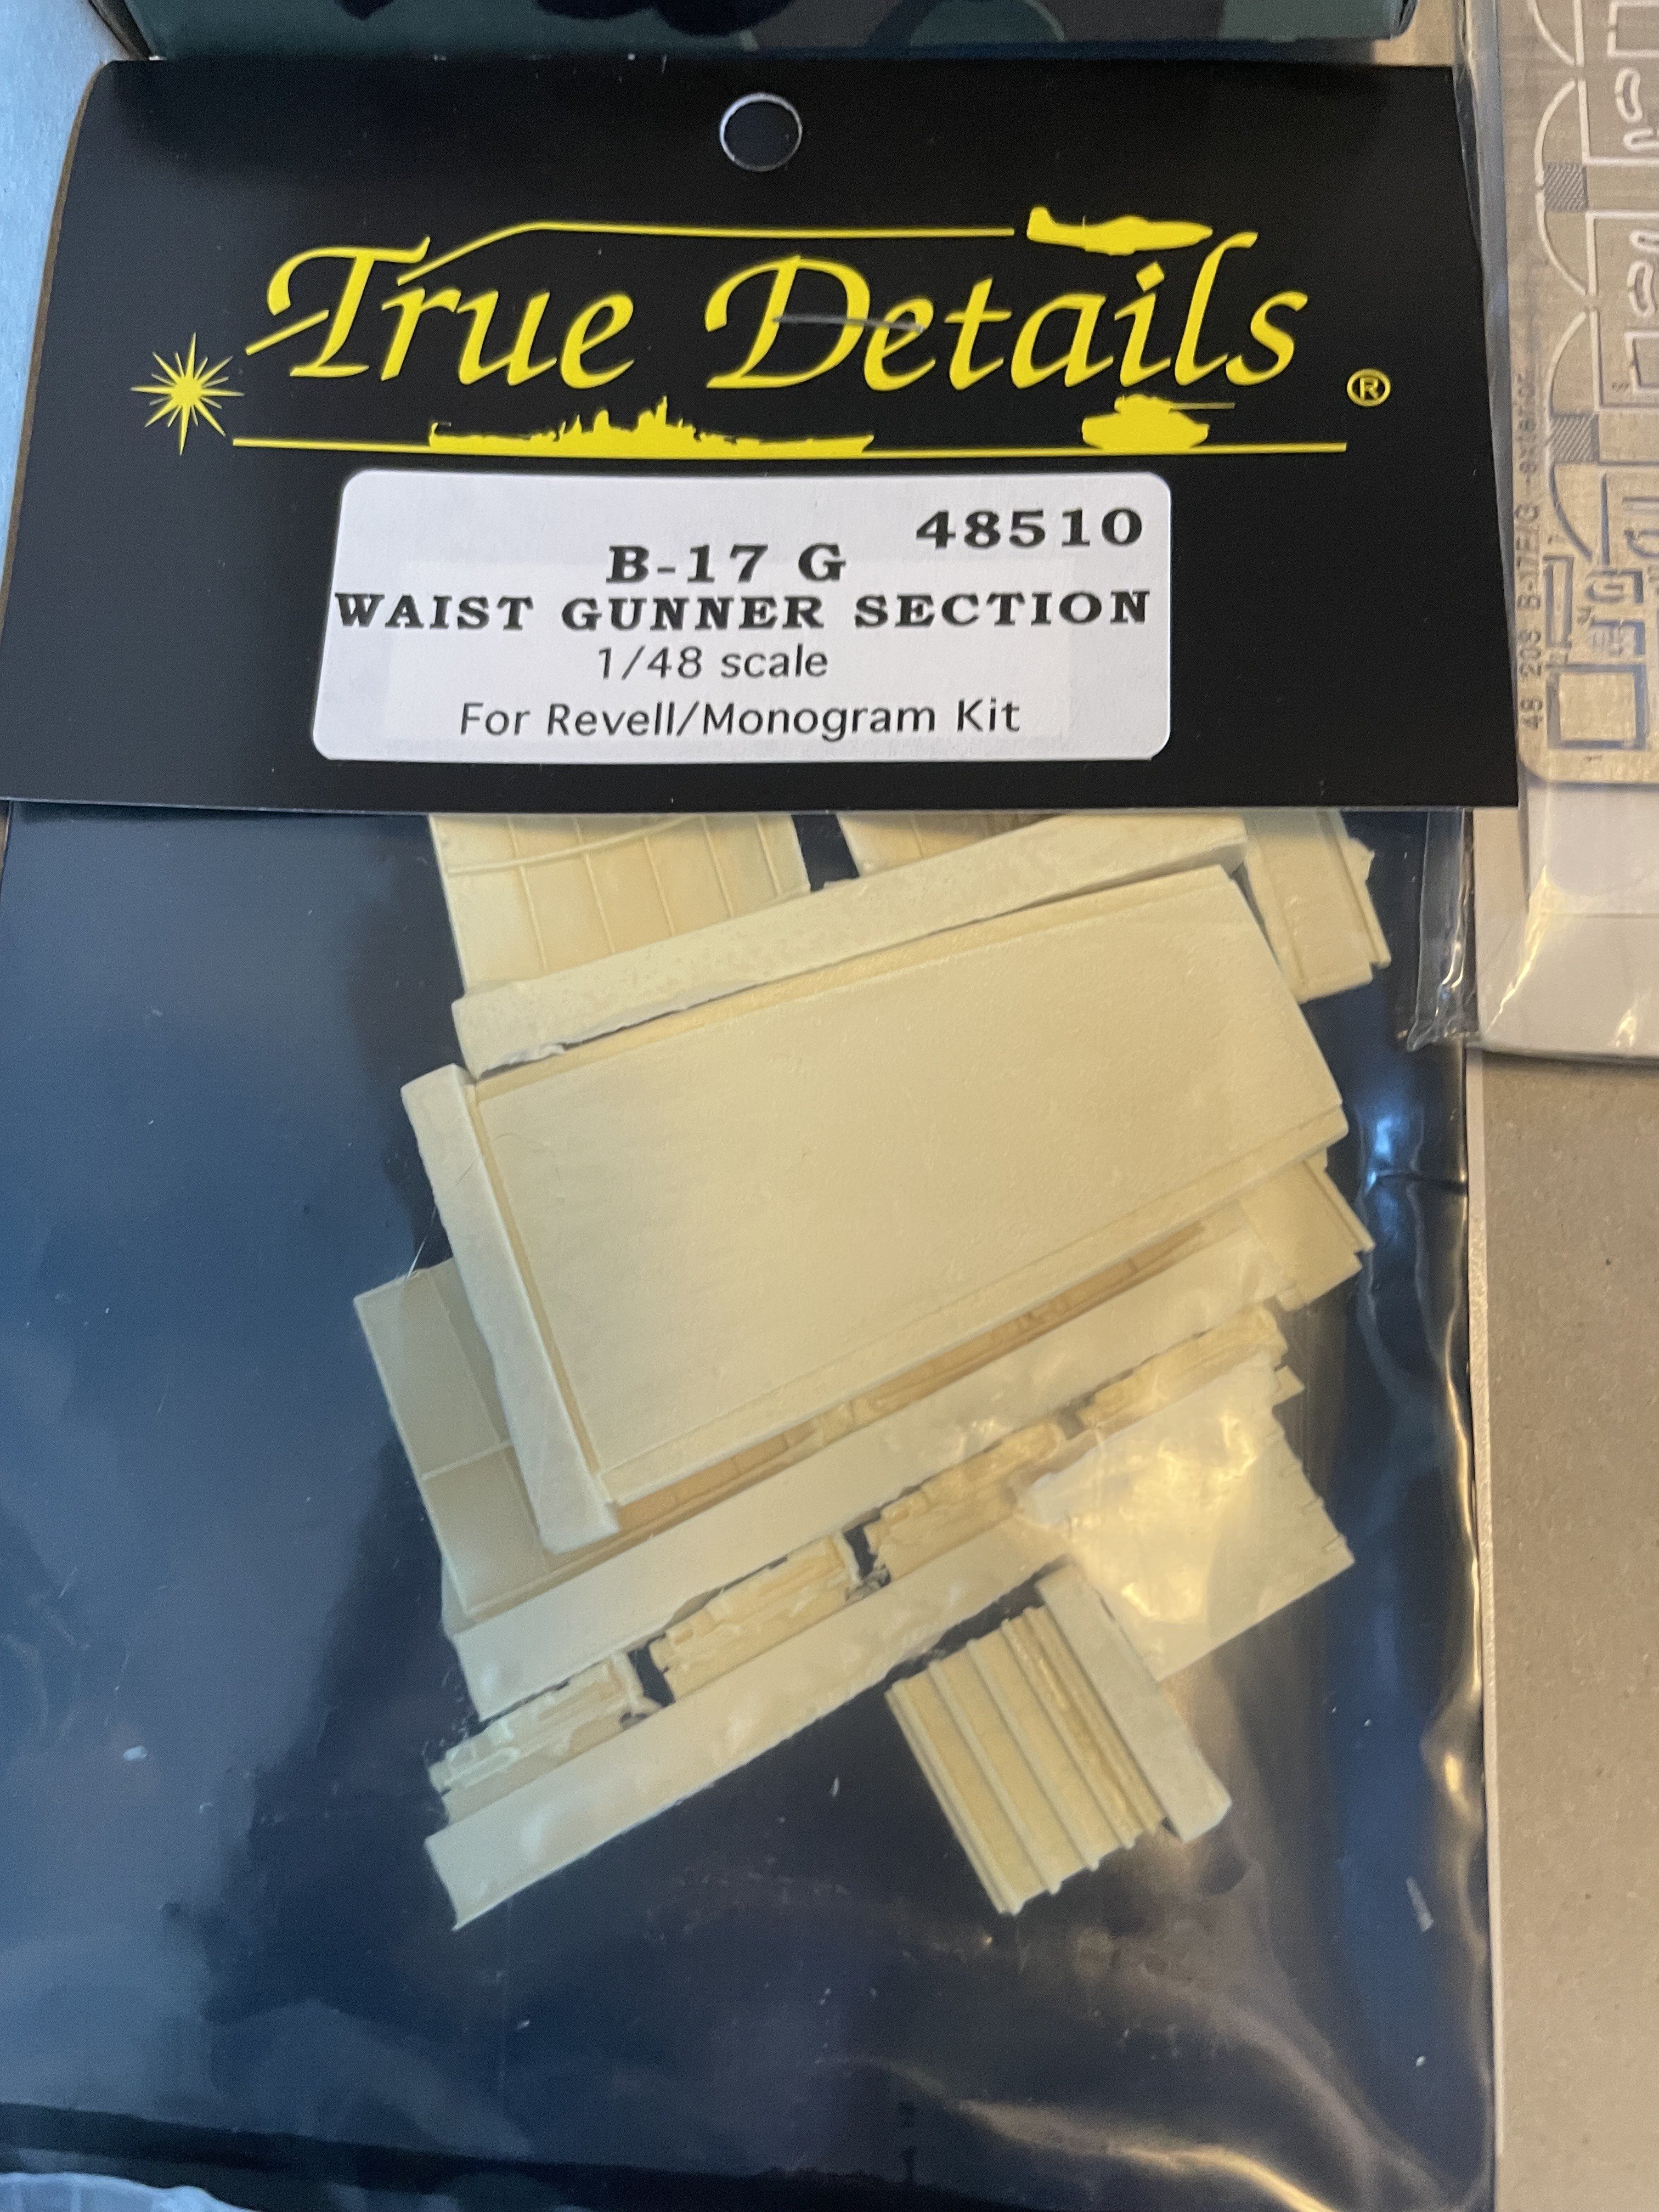
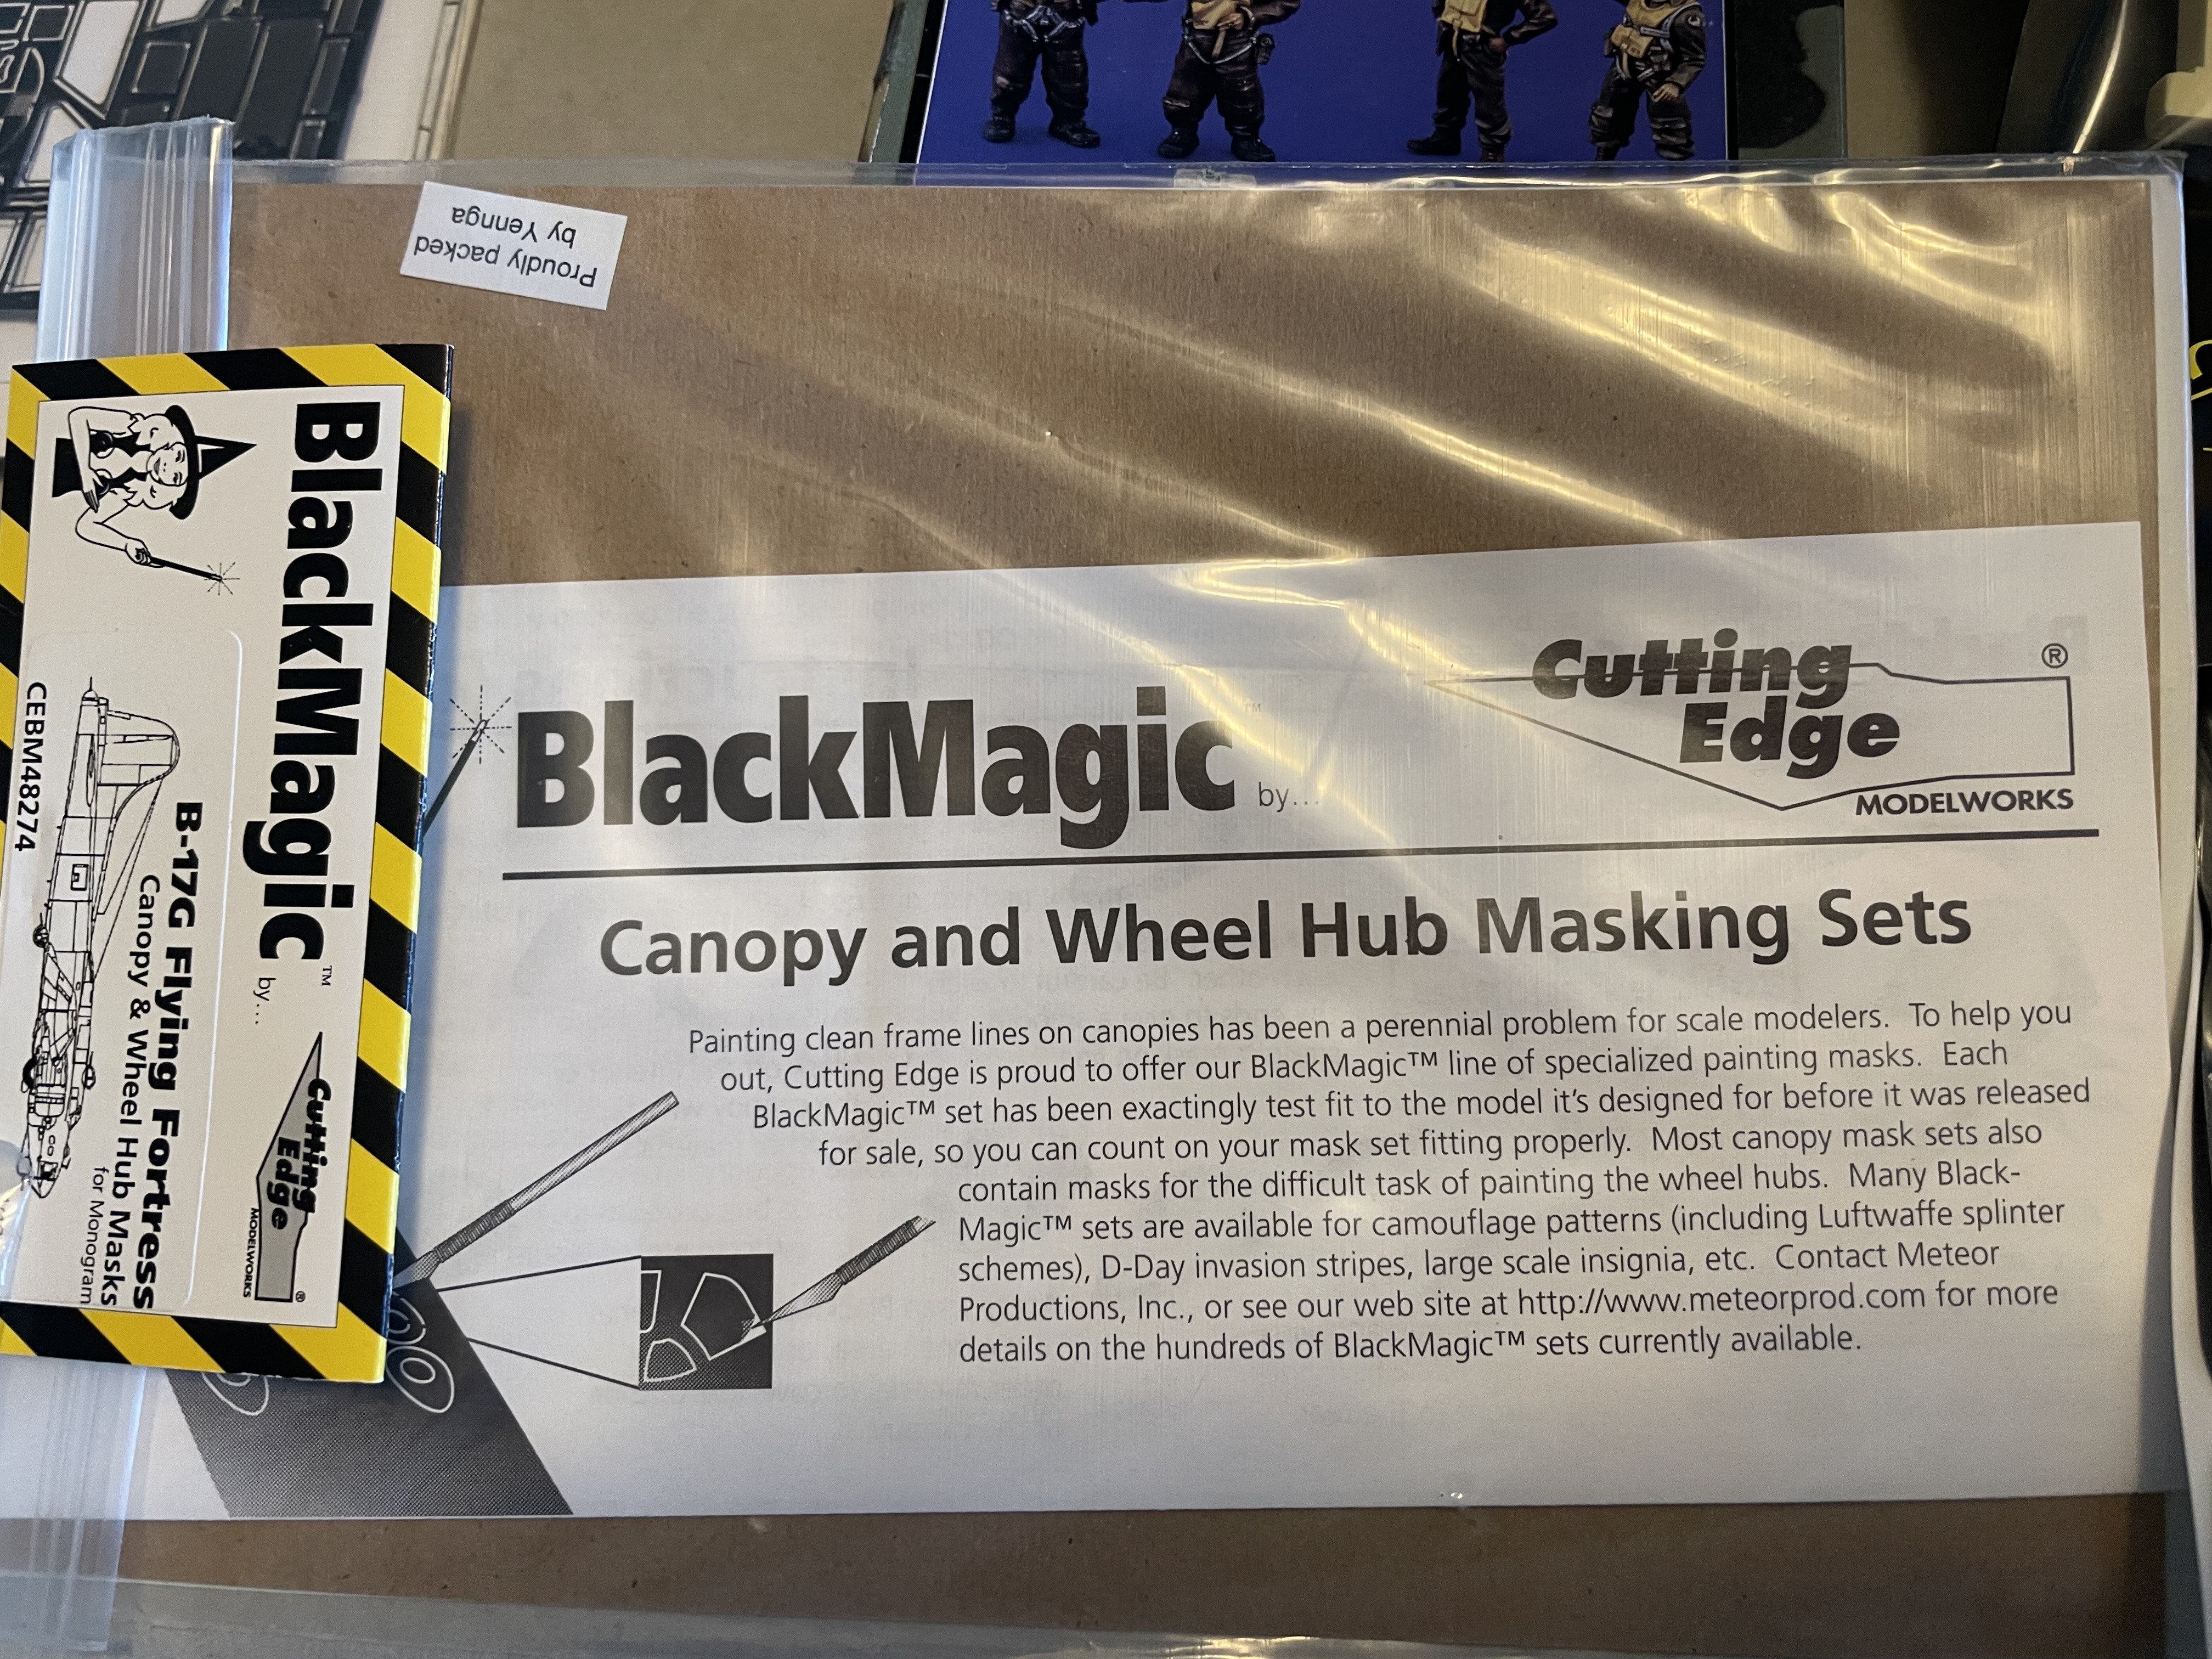
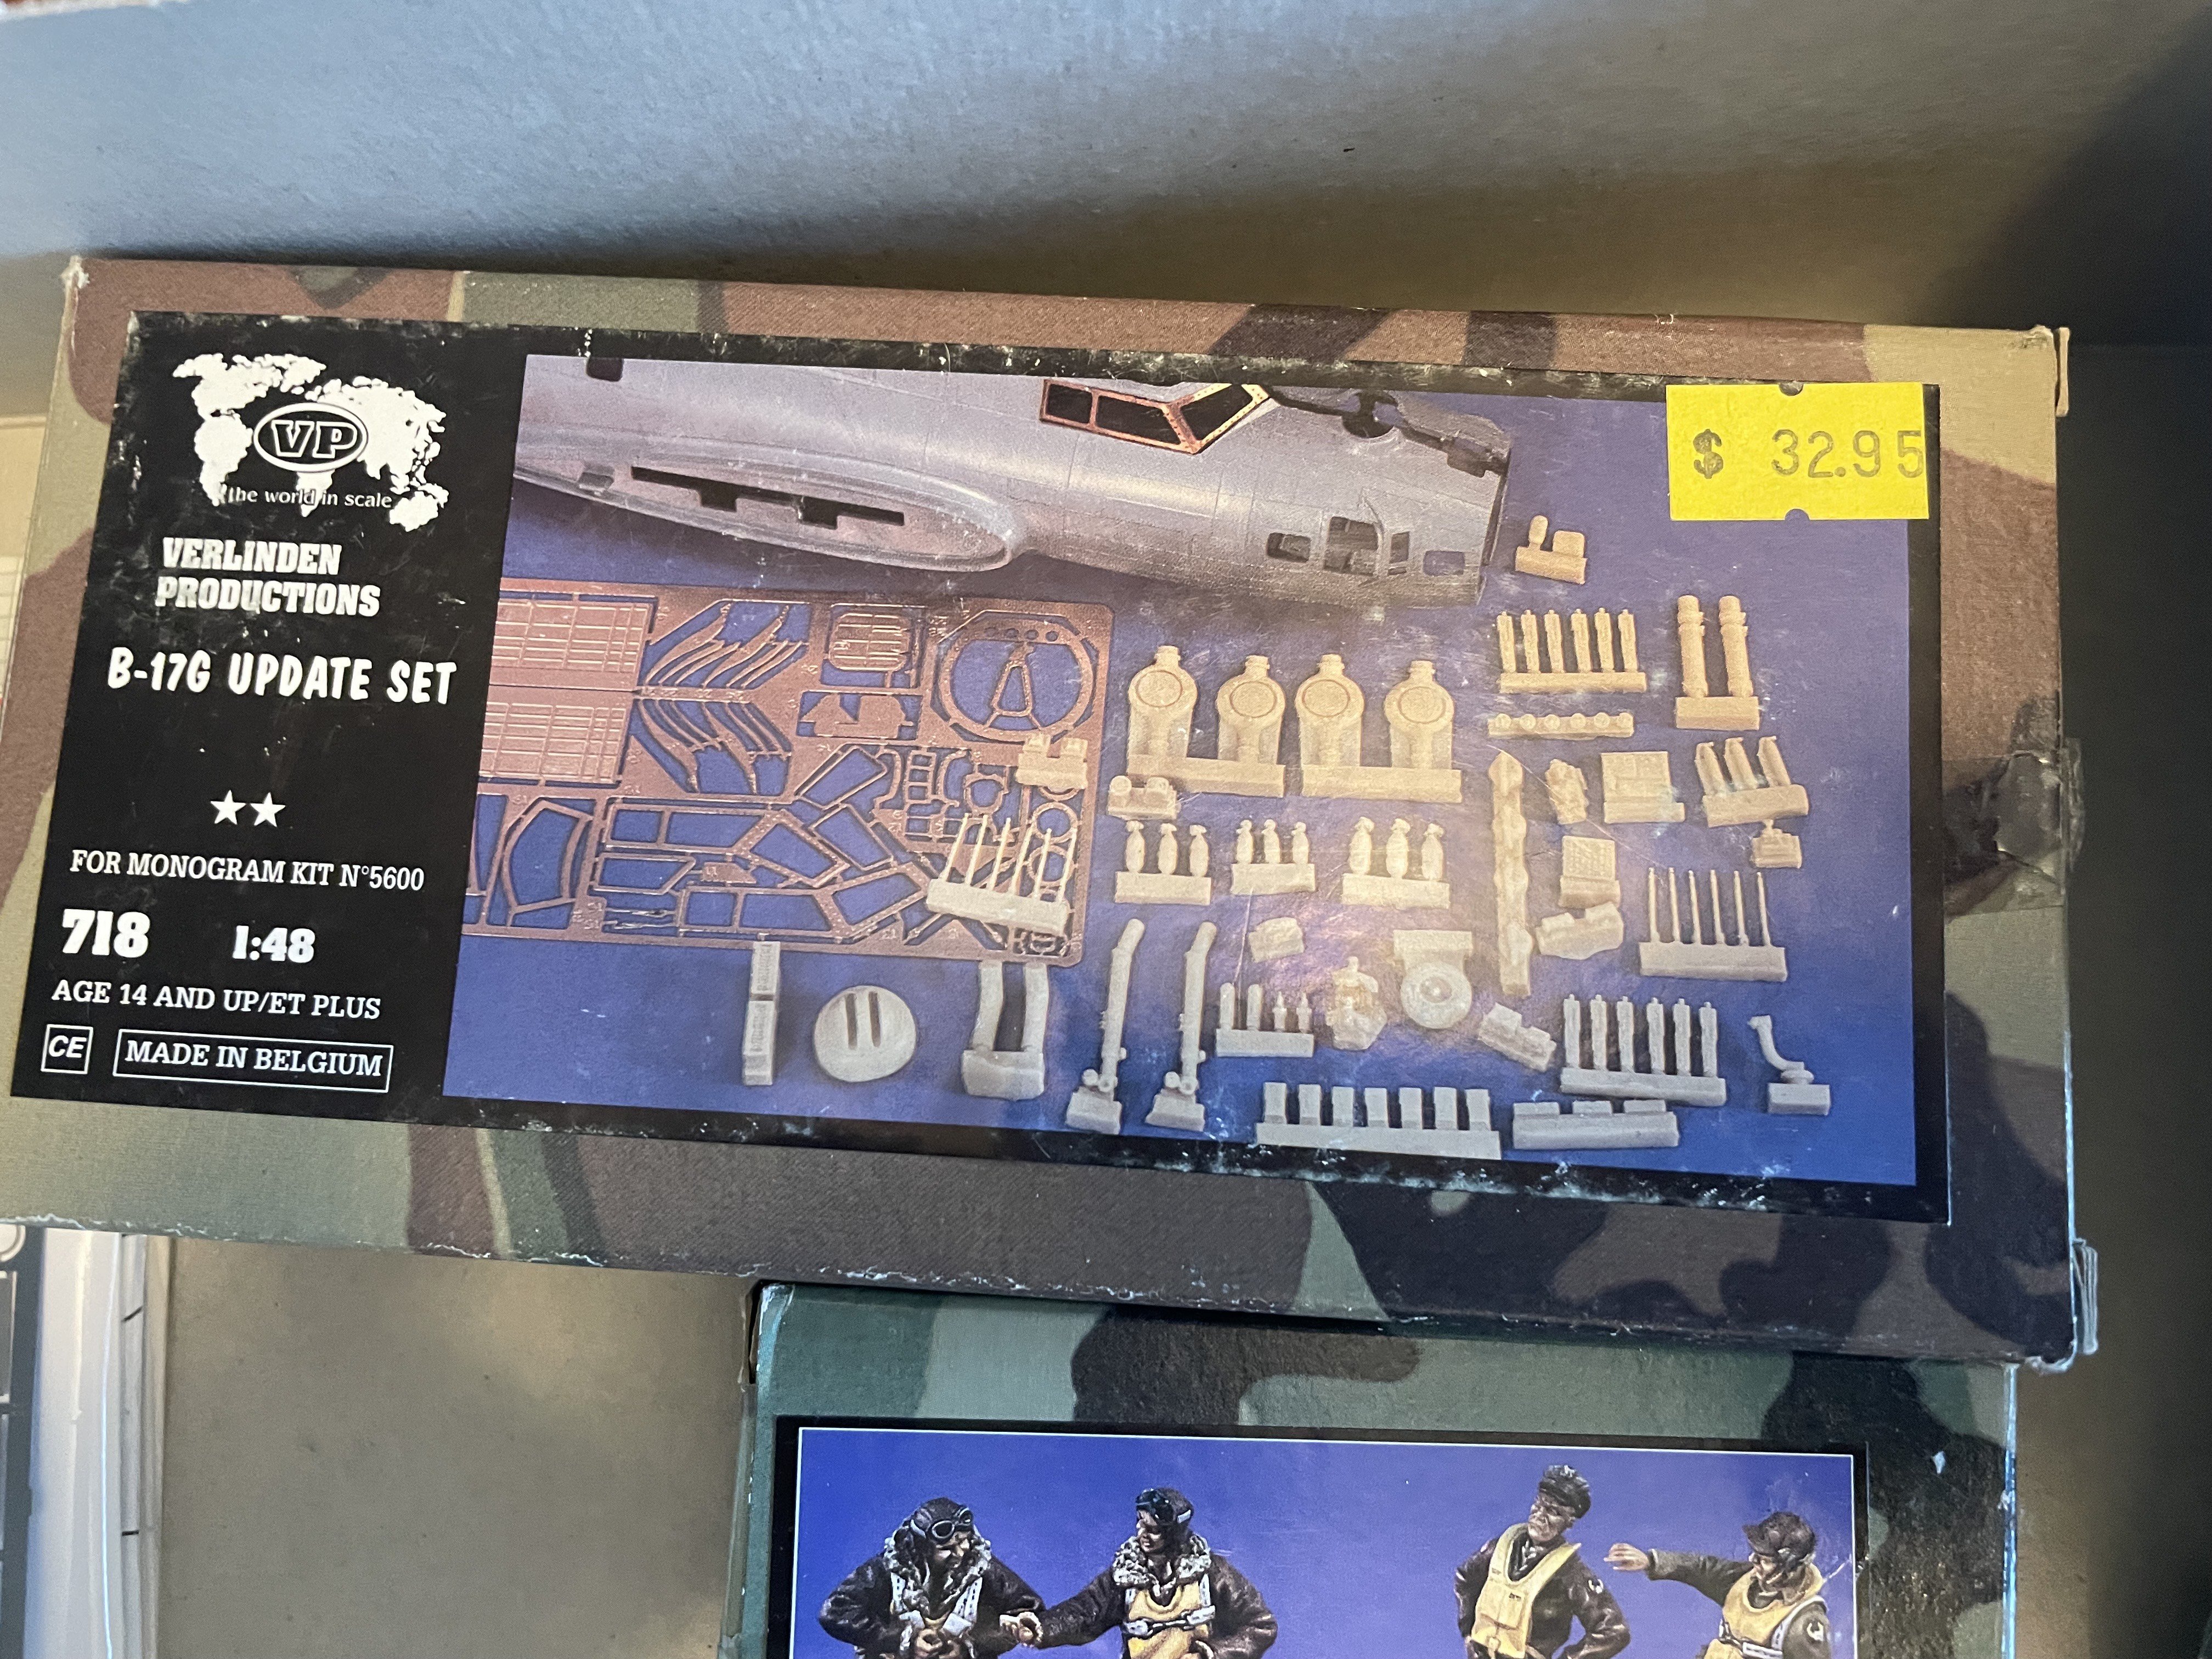
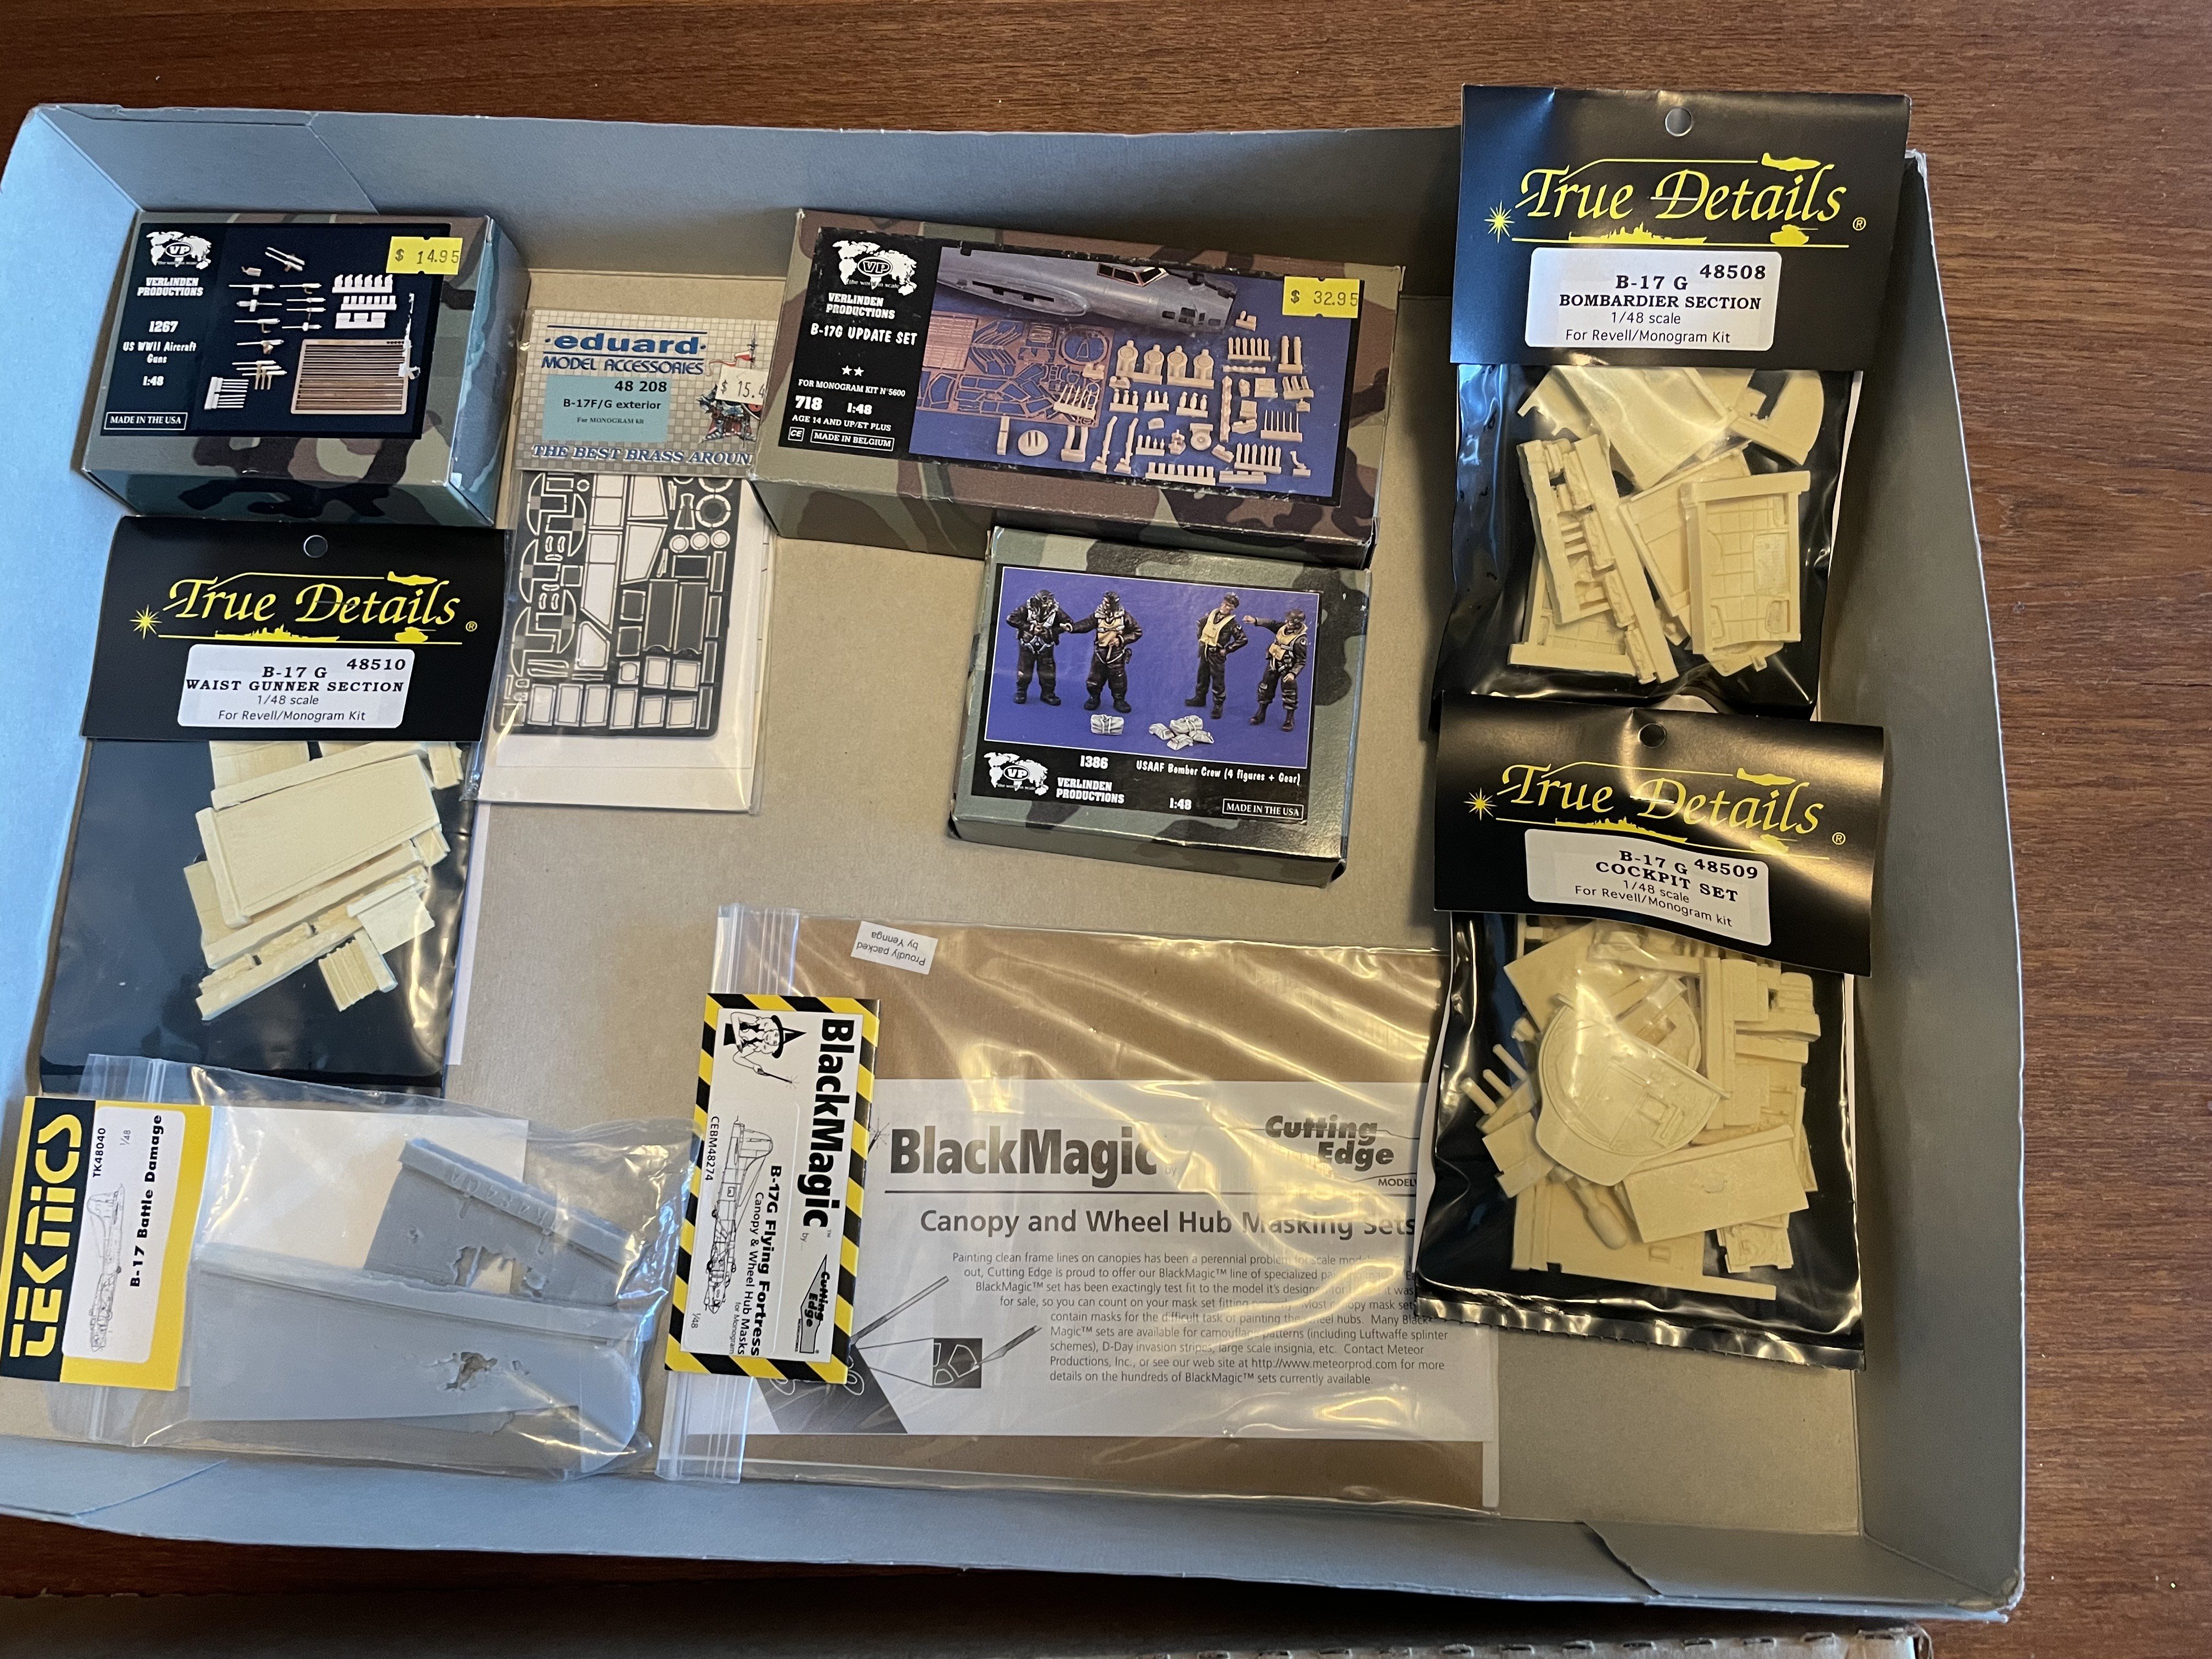
Not sure what to do with all of this. I was about to put the plane up for sale but then I opened the top and found ALL THESE GOODIES!!!. Trying to figure out if they will fit any other 1/48 B-17 kit... I have built at least half a dozen of the Monogram B-17s, including the ProModeler kit with the interior. But this takes the cake... And the goodies!! I was shocked to open the box and find all of these add-ons. I didn't know this stuff even existed, but I must have at some point as I did buy them!


- 8 replies
-
- 10
-

-

-
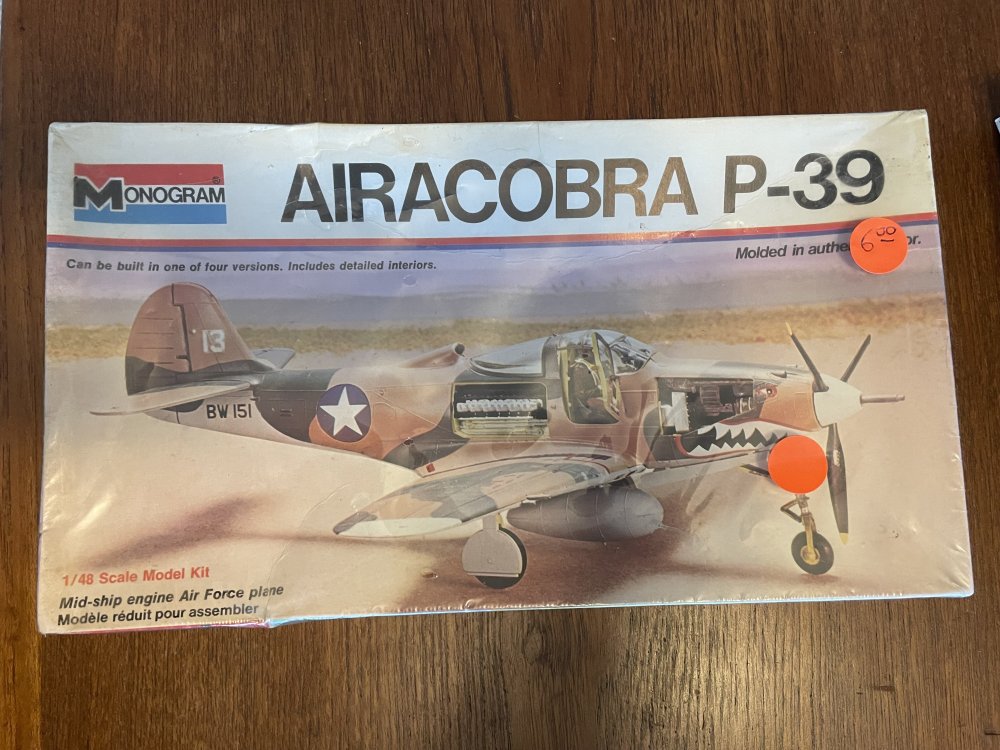
I'm clearing out my closets and have finally hit the hobby closet. NOT a lot of good stuff here, but if you are interested, happy to ship to you. Warning - shipping to Canada has proven to be a problem (sorry Martin!!). This kit is still in the original wrapping - un-opened! Opened but also has a resin cockpit of unknown origin... I haven't opened these kits in YEARS!! The Fokker Kit is unopened! I've never seen this kit before. It is interesting. Bond Gyrocopter is spoken for!


.thumb.jpeg.d4a9c21e5a9c8804cc811a8528d7f233.jpeg)


.thumb.jpeg.1b8d49bb593a35dec554fcefd5473f43.jpeg)
-
- 2
-
-
Hubert. Thoughts are with you, your family and your son. 😢 Hugs, my friend.
-
John, Beautiful job grafting the Tamiya tail onto the Revell kit! I've built both and actually prefer the Revell kit especially for the cockpit detail. Merry Christmas! Chris
-
Merry Christmas and Happy Holidays to everyone! I hope everyone has a safe and happy holiday season. You all are terrific!
-
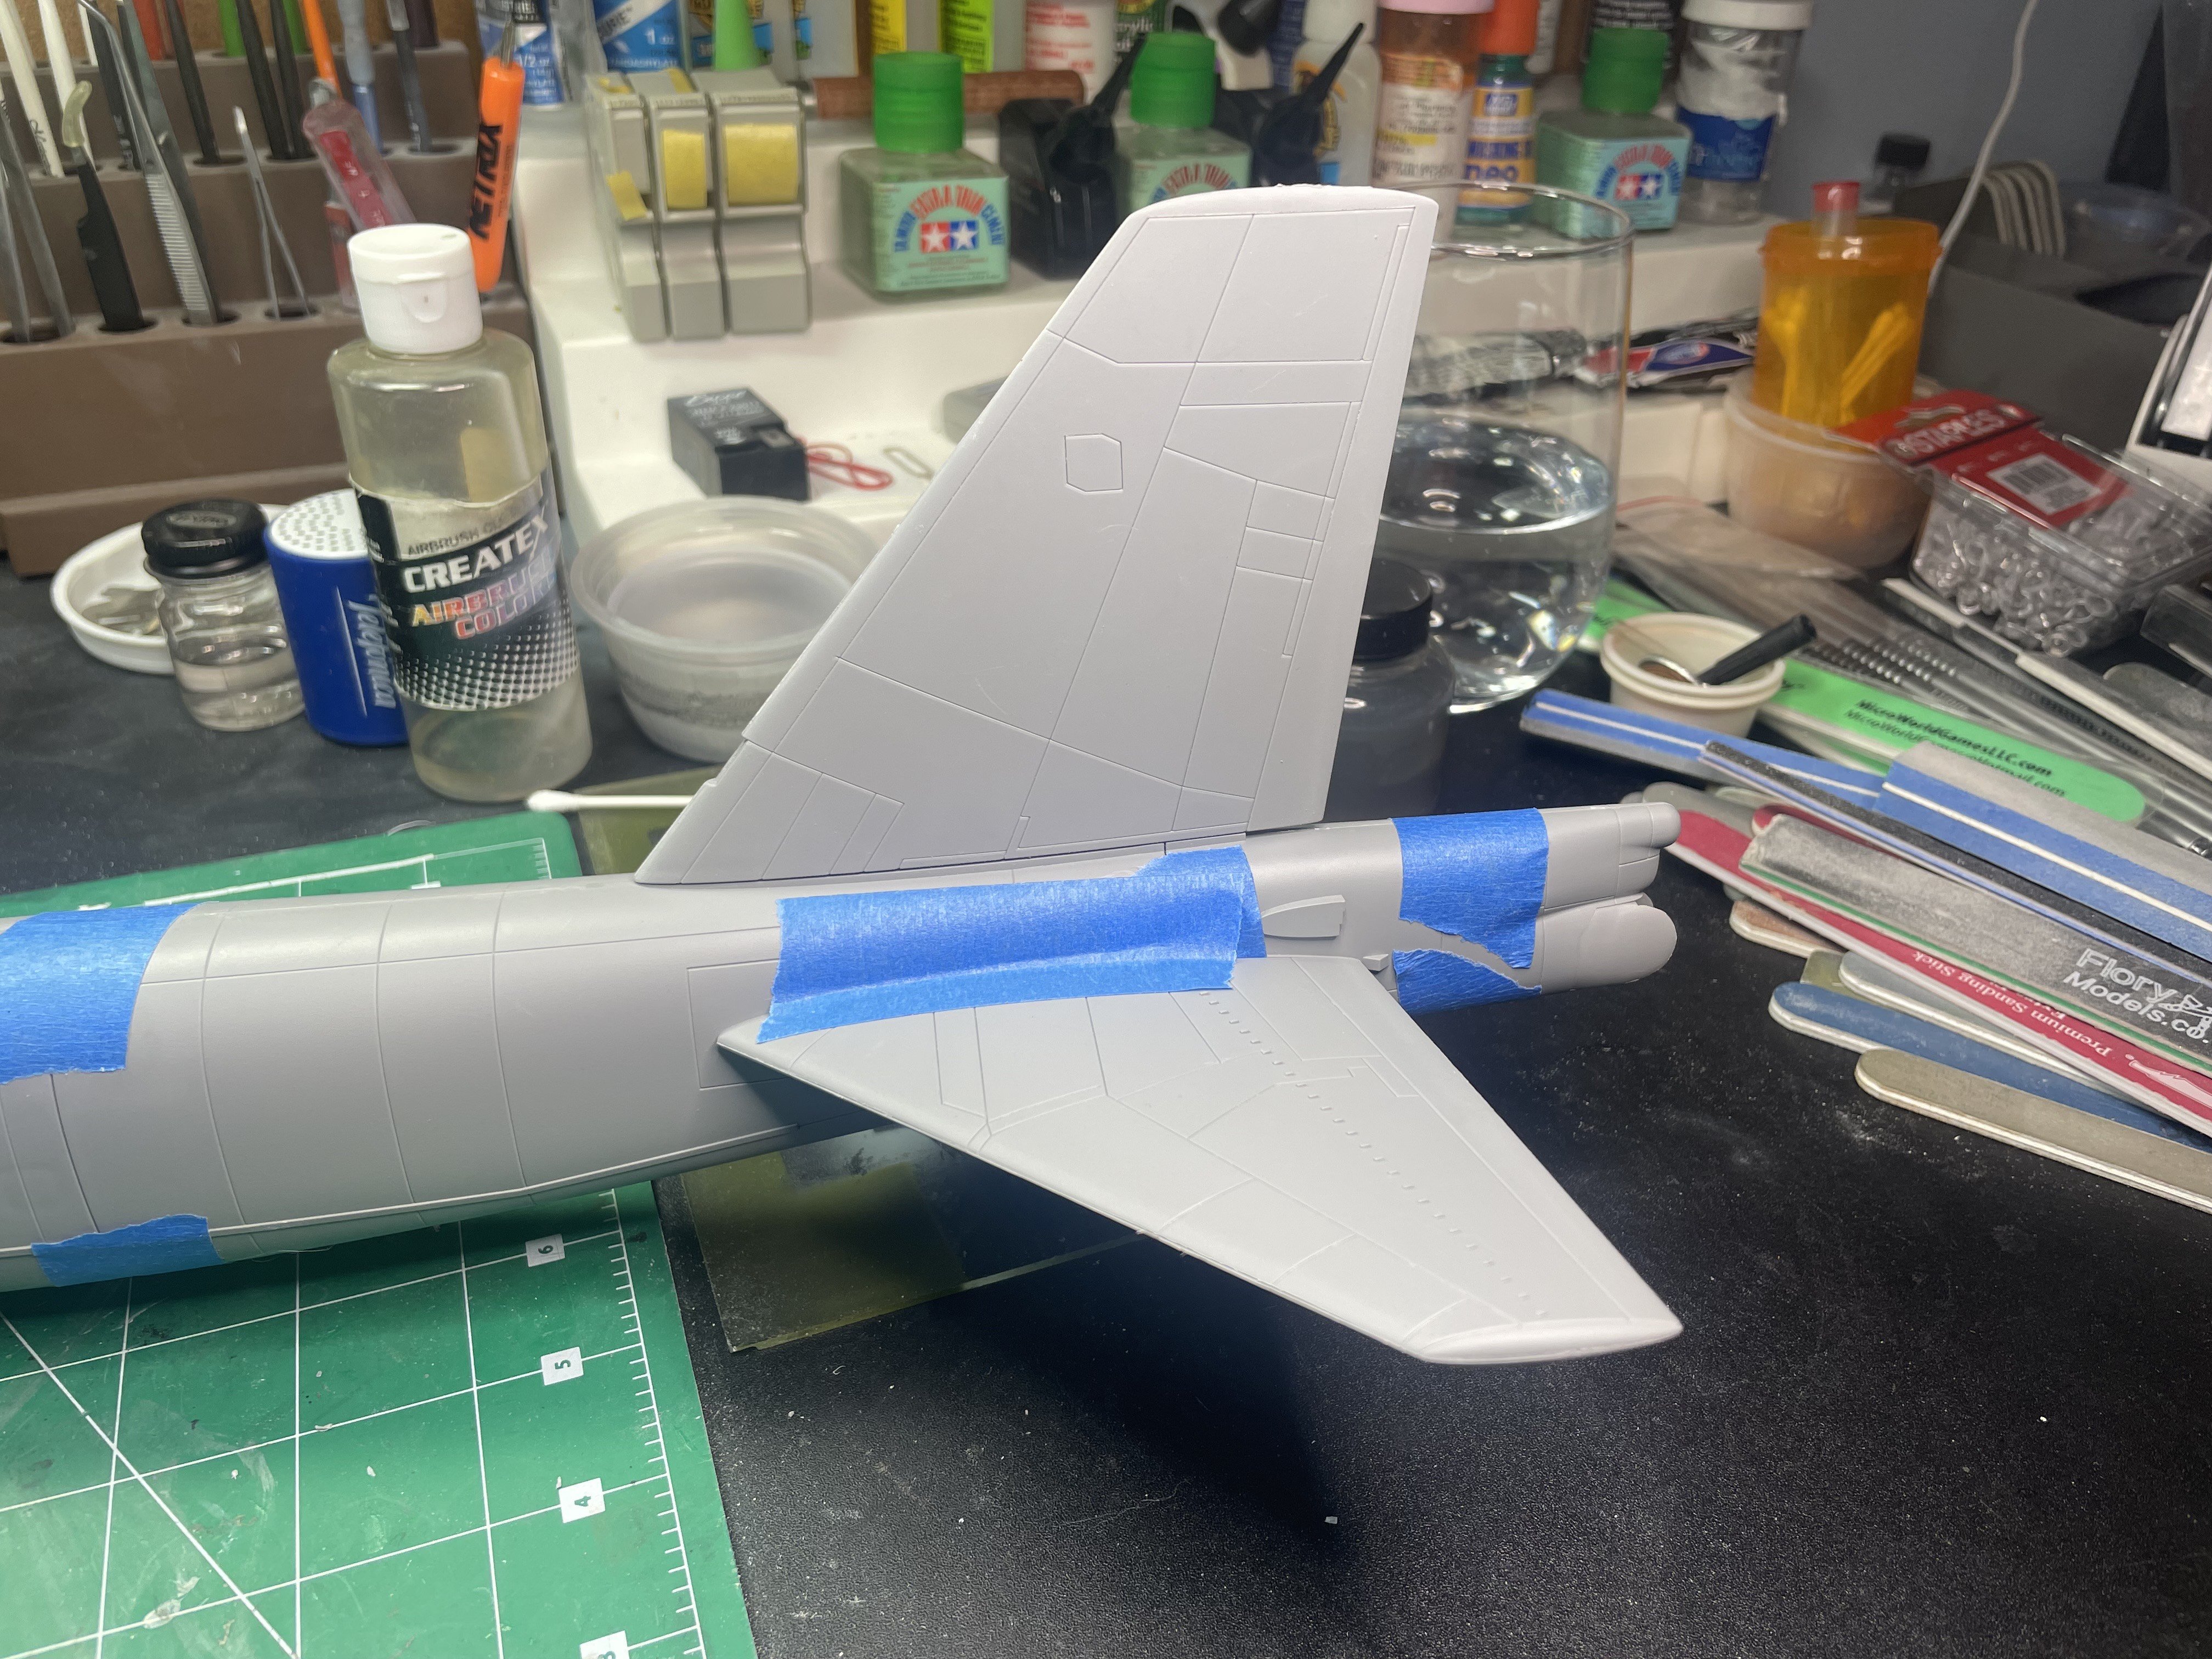
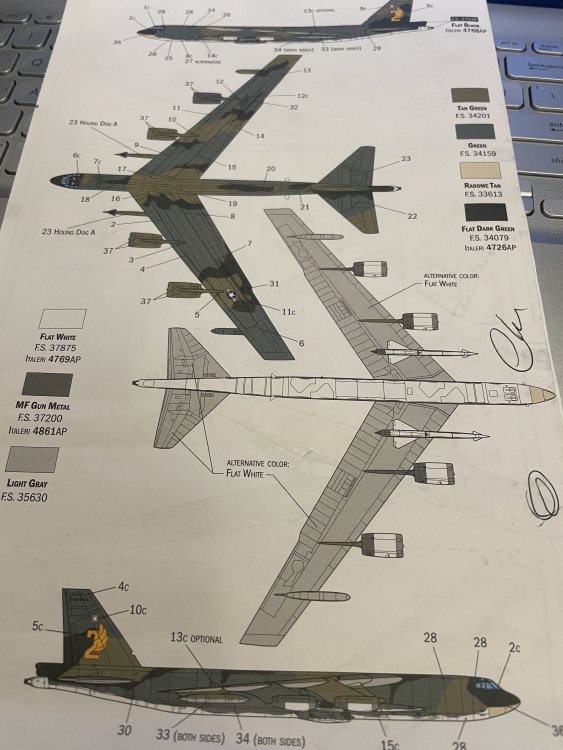
Carl, That is pretty much what I am thinking, too. Maybe even modify the camo scheme so that the fuselage join line is one color on each side. I still have a fair bit of body and seam work, but I want to get started painting the engines and wings. That's a whole 'nother project onto themselves...
-
Ernie, SOOO good to have you back! This has not been a great year, but how much can one person take? I feel for you and Joy. Glad to see you with us again. We missed you! Chris
-
I'm not sure how I am going to paint the beast!!!
-
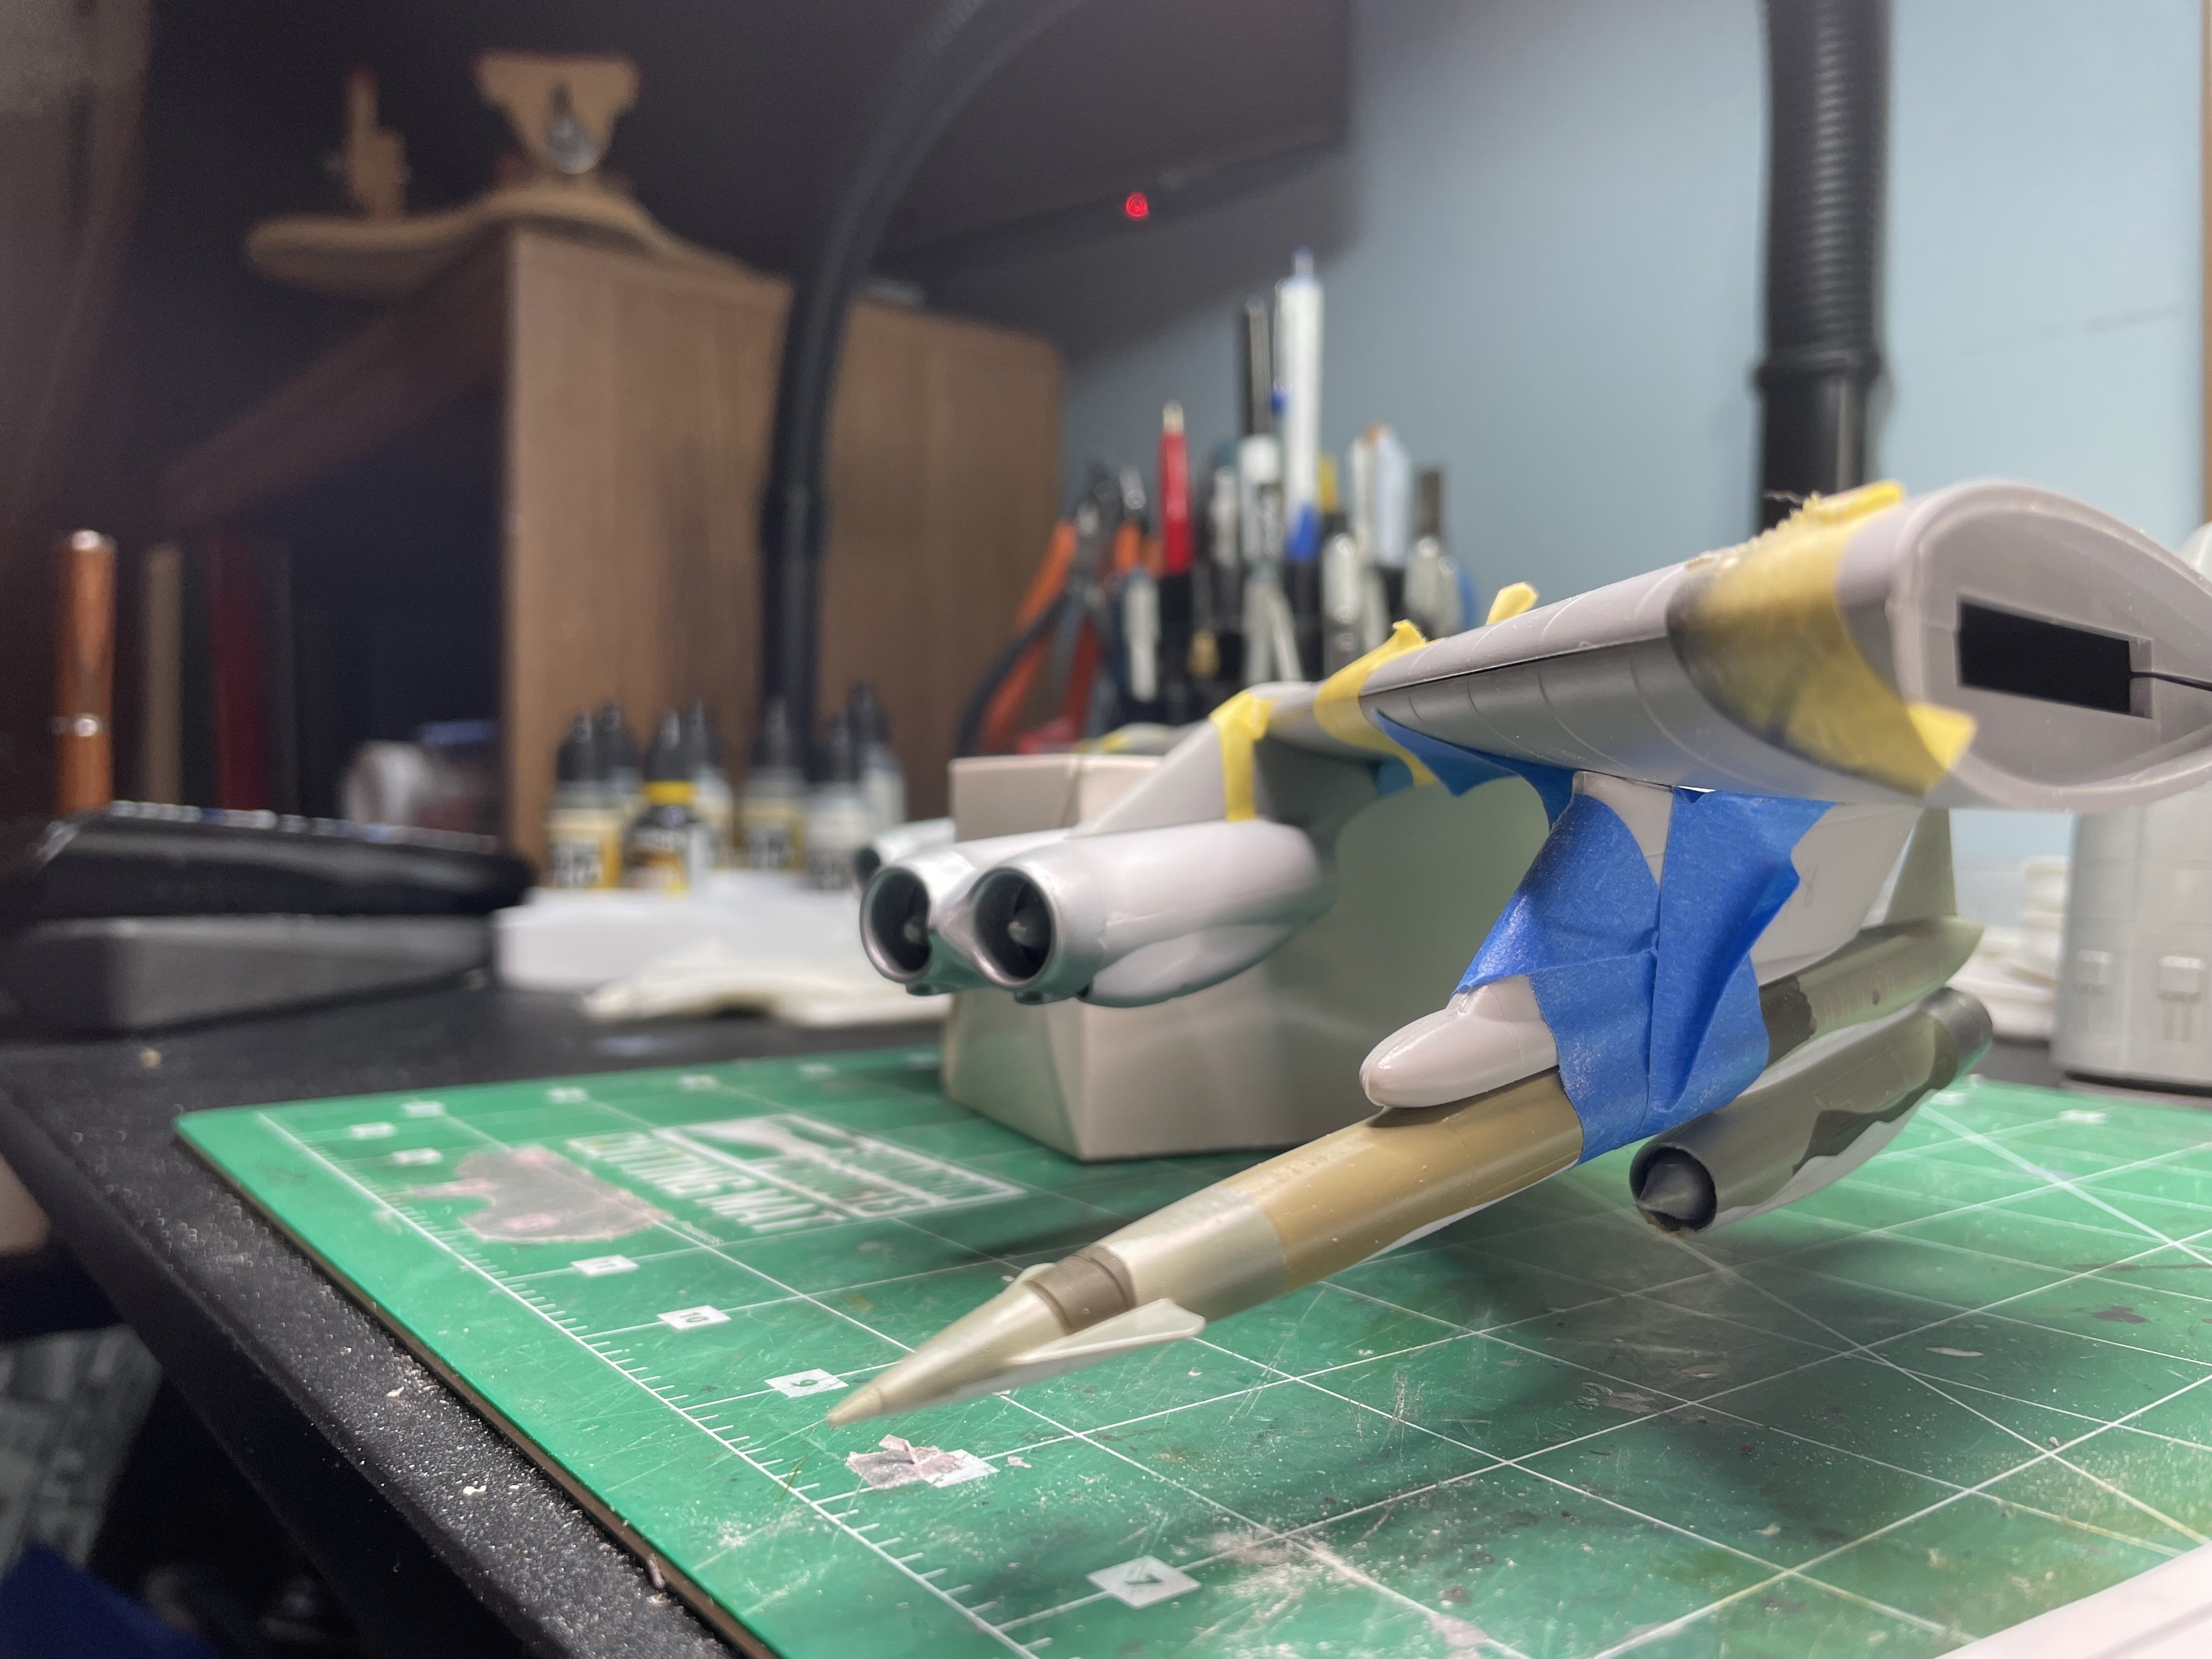
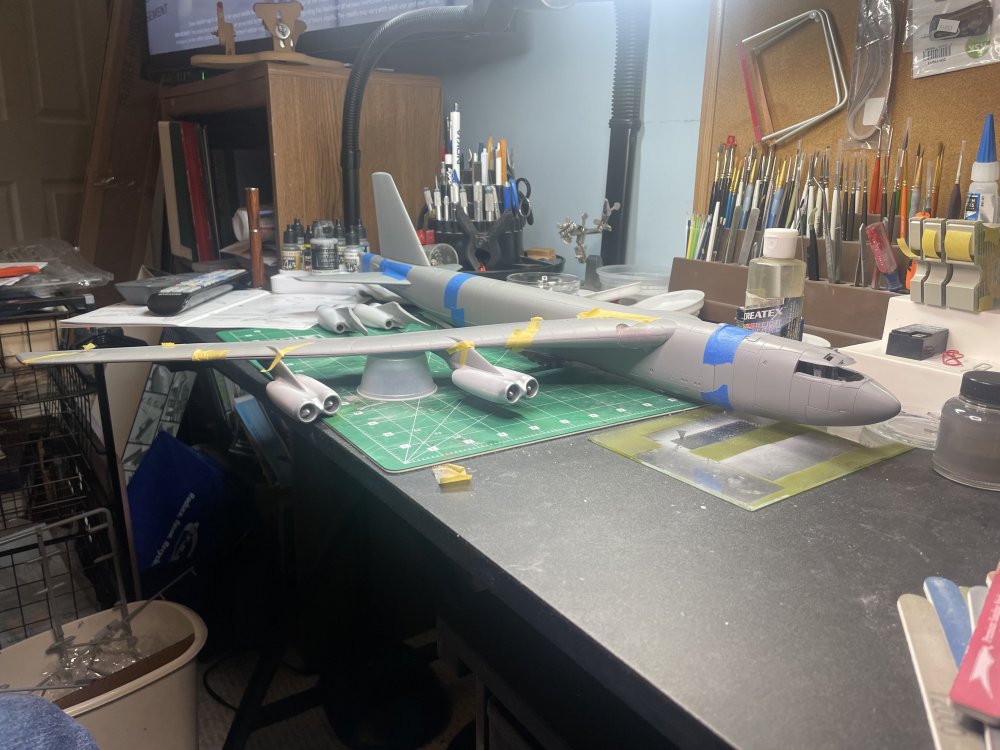
Dry fitting all the main pieces together to see what I am up against. Size for one thing!! I think there is more styrene in the tail pieces than in most 1/72 aircraft kits. The fits don't seem horrible (he says now...) but we will see when it comes time to really put it together. First up is painting the engines and pylons which get camo colors, then painting the underside of the wings and fuselage, then the topside camo. Mostly decided how to attach the Hound Dog missile and pylon which will take a bit of work using the Dremel tool to get the pylon to meet up with the underside of the wing. Still figuring out what to do with the clear pieces...


-
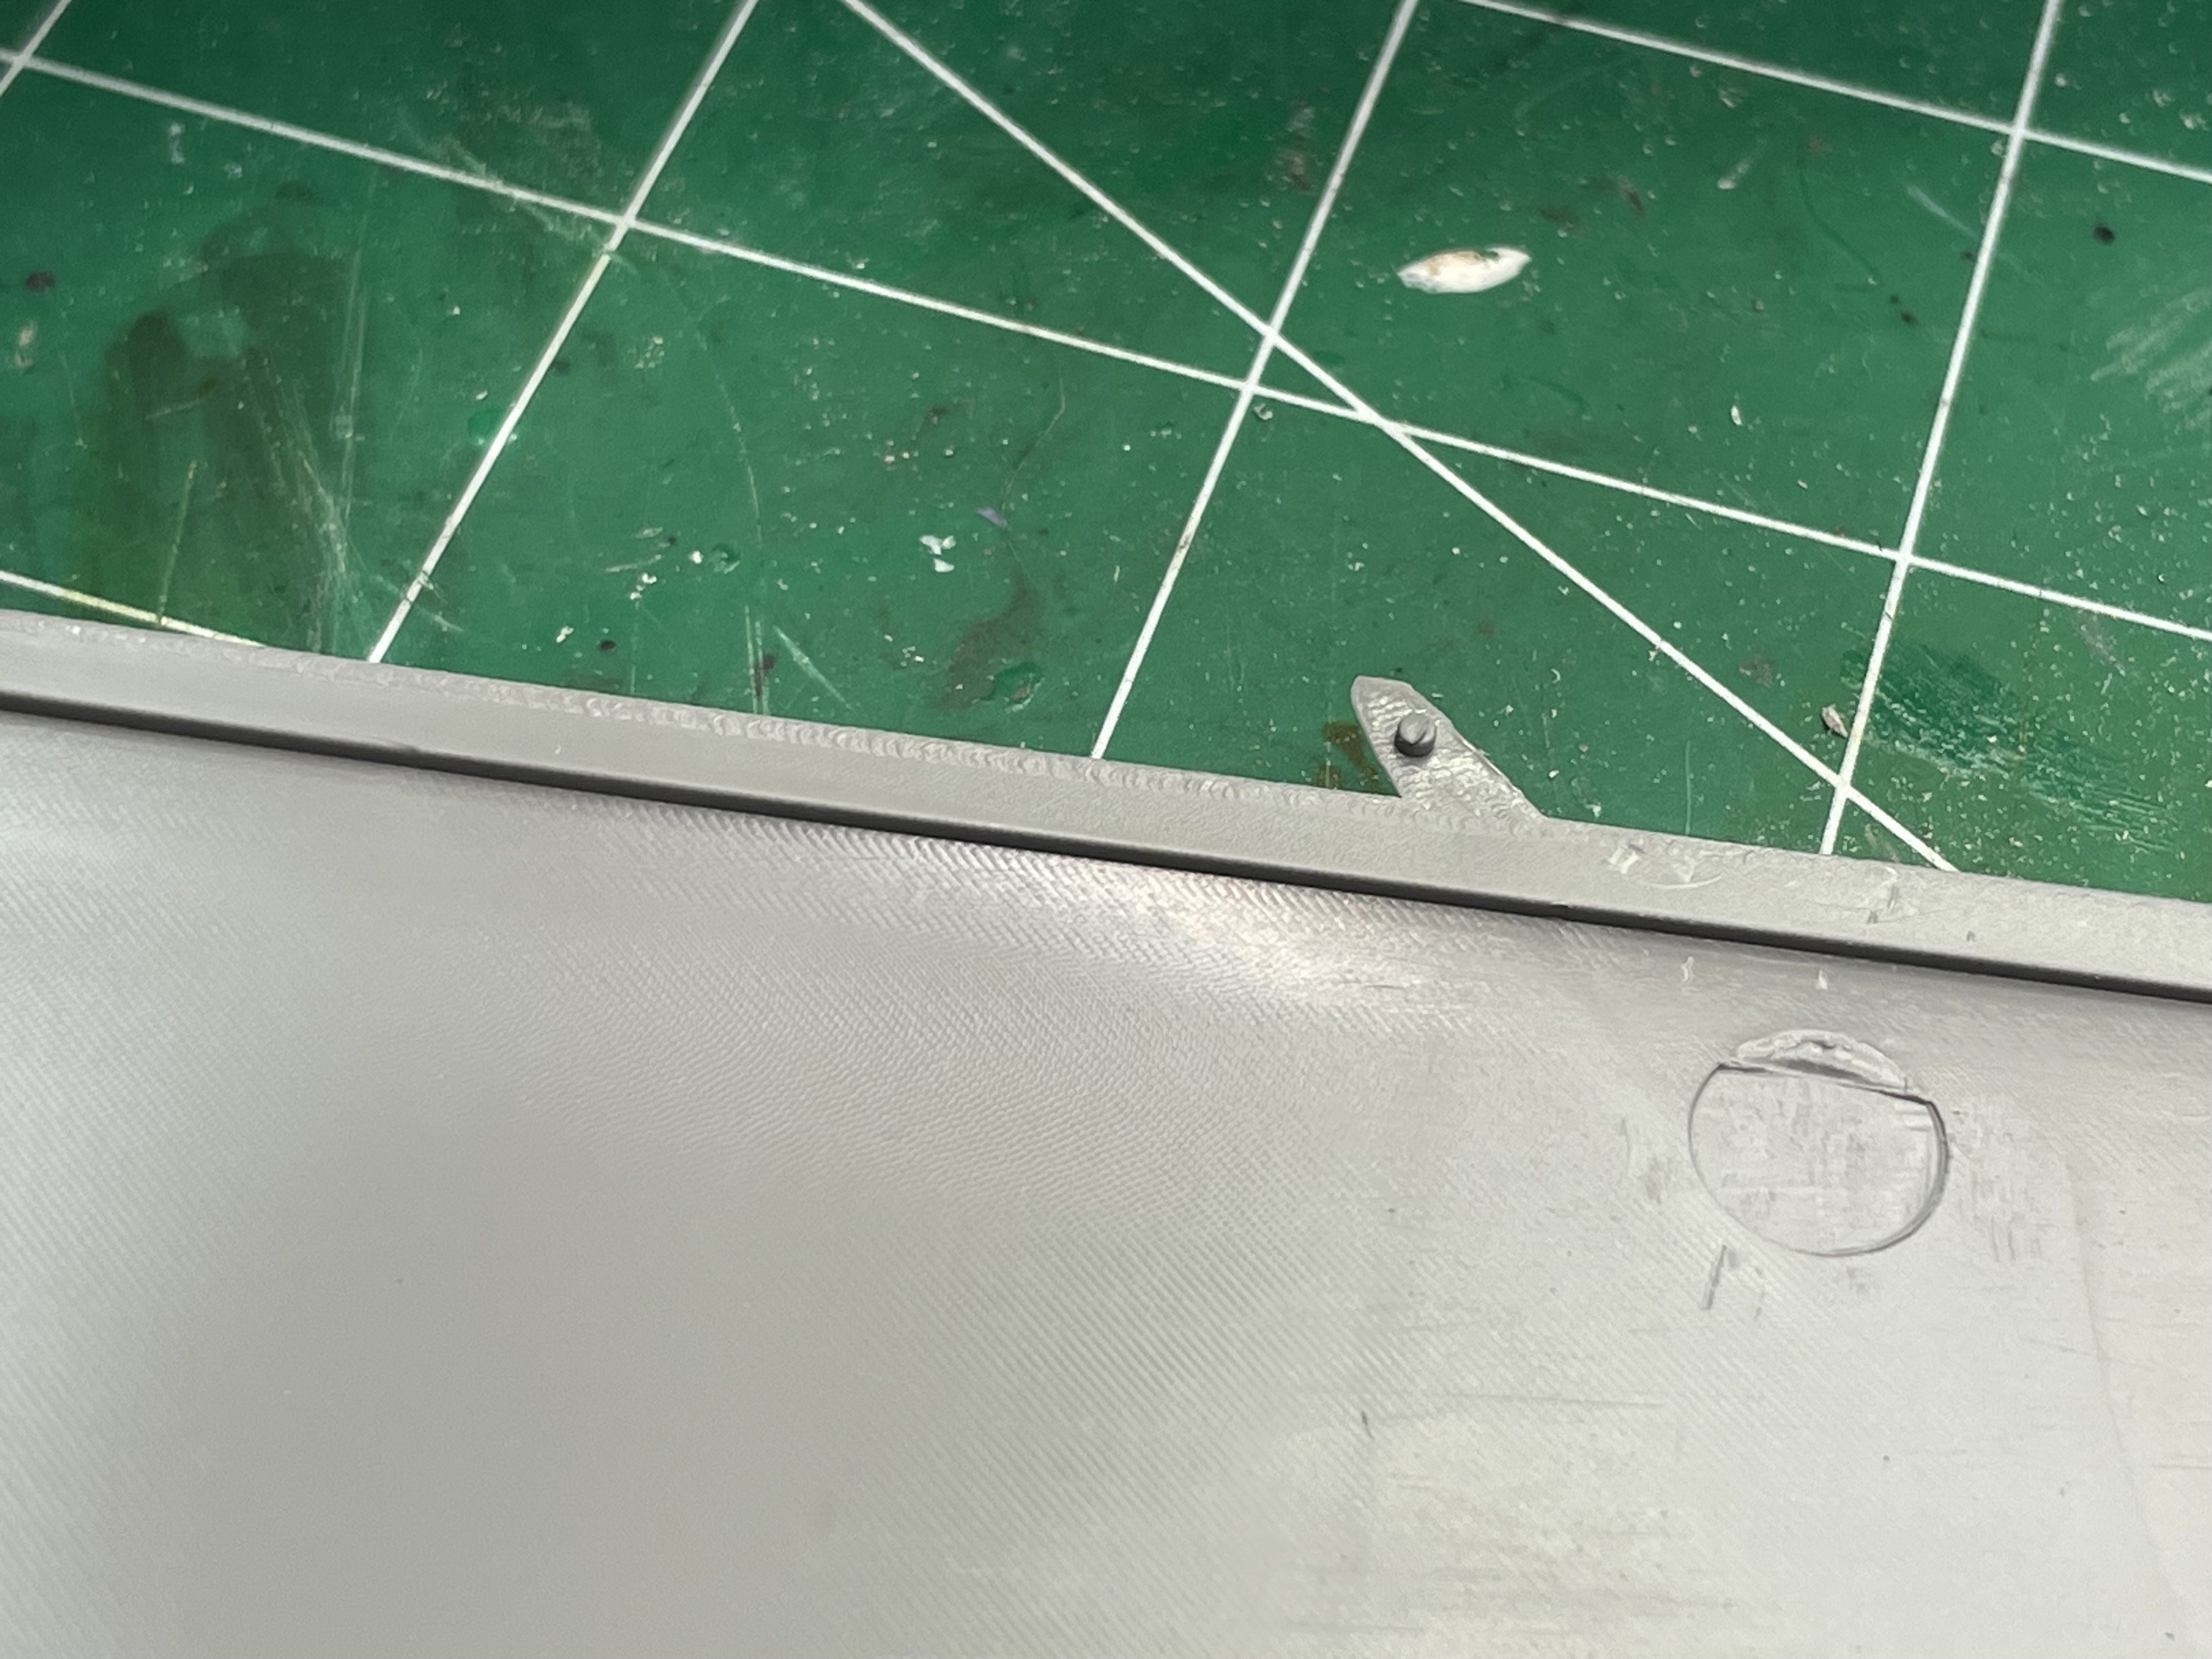
Just some building notes before getting back to actual building. While this kit has some challenges, in a way it is like building an old kit - you have to kind of know what you are doing to make it work. There is some guess work to how things fit together (the best way, versus just fitting) and lots of opportunity for additional detailing - which, like in all bombers, nearly none of it will be visible once the fuselage is closed up. A real shame since the MC kit accurately shows the multi-level cockpit and so much could be done with the electronics - ditto the instrumentation - lots of space to take up. The lack of clarity in the clear pieces is a disappointment but will have to see if polishing helps with that at all. The fuselage is in four pieces, which makes for a much smaller box than the Italeri kit, but also now have three places where a tight fit will be needed to make the plane look right. Speaking of the fuselage - the lack of pins to properly align the halves is a big challenge. I'm literally going inch by inch with the Extra Thin trying to keep the two halves aligned. Thinking back, I probably could/should have put in some long sprue pieces under the joins to help align the fuselage pieces. Why didn't I think of that sooner? The alignment issue I hope does not come back to bite me when I get the engines attached. They COULD have put another pin at the back of the pylon to positive align the engines correctly. We will see!!
-
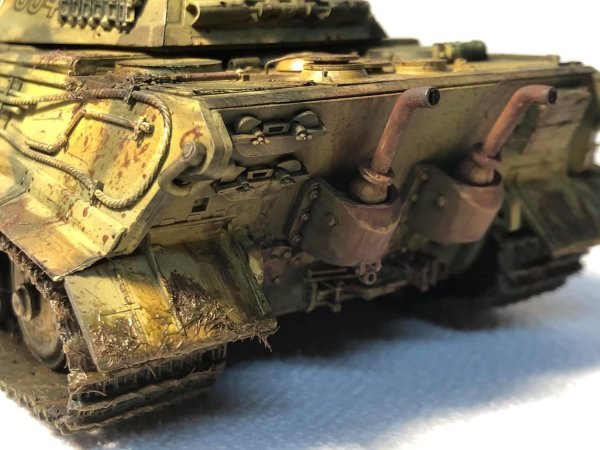 Beautiful weathering work!!!
 -
Oh, I'm sure it will! I hope the B-29 gets there soon! Must be getting there on horseback...
-
Thanks to @Martinnfb look what arrived today! I was trying to clear out closet space by getting rid of the 1/48 B-29 but he talked me into taking this off his hands. What a guy!! Cheers, Martin!
-
Thanks John!!
-
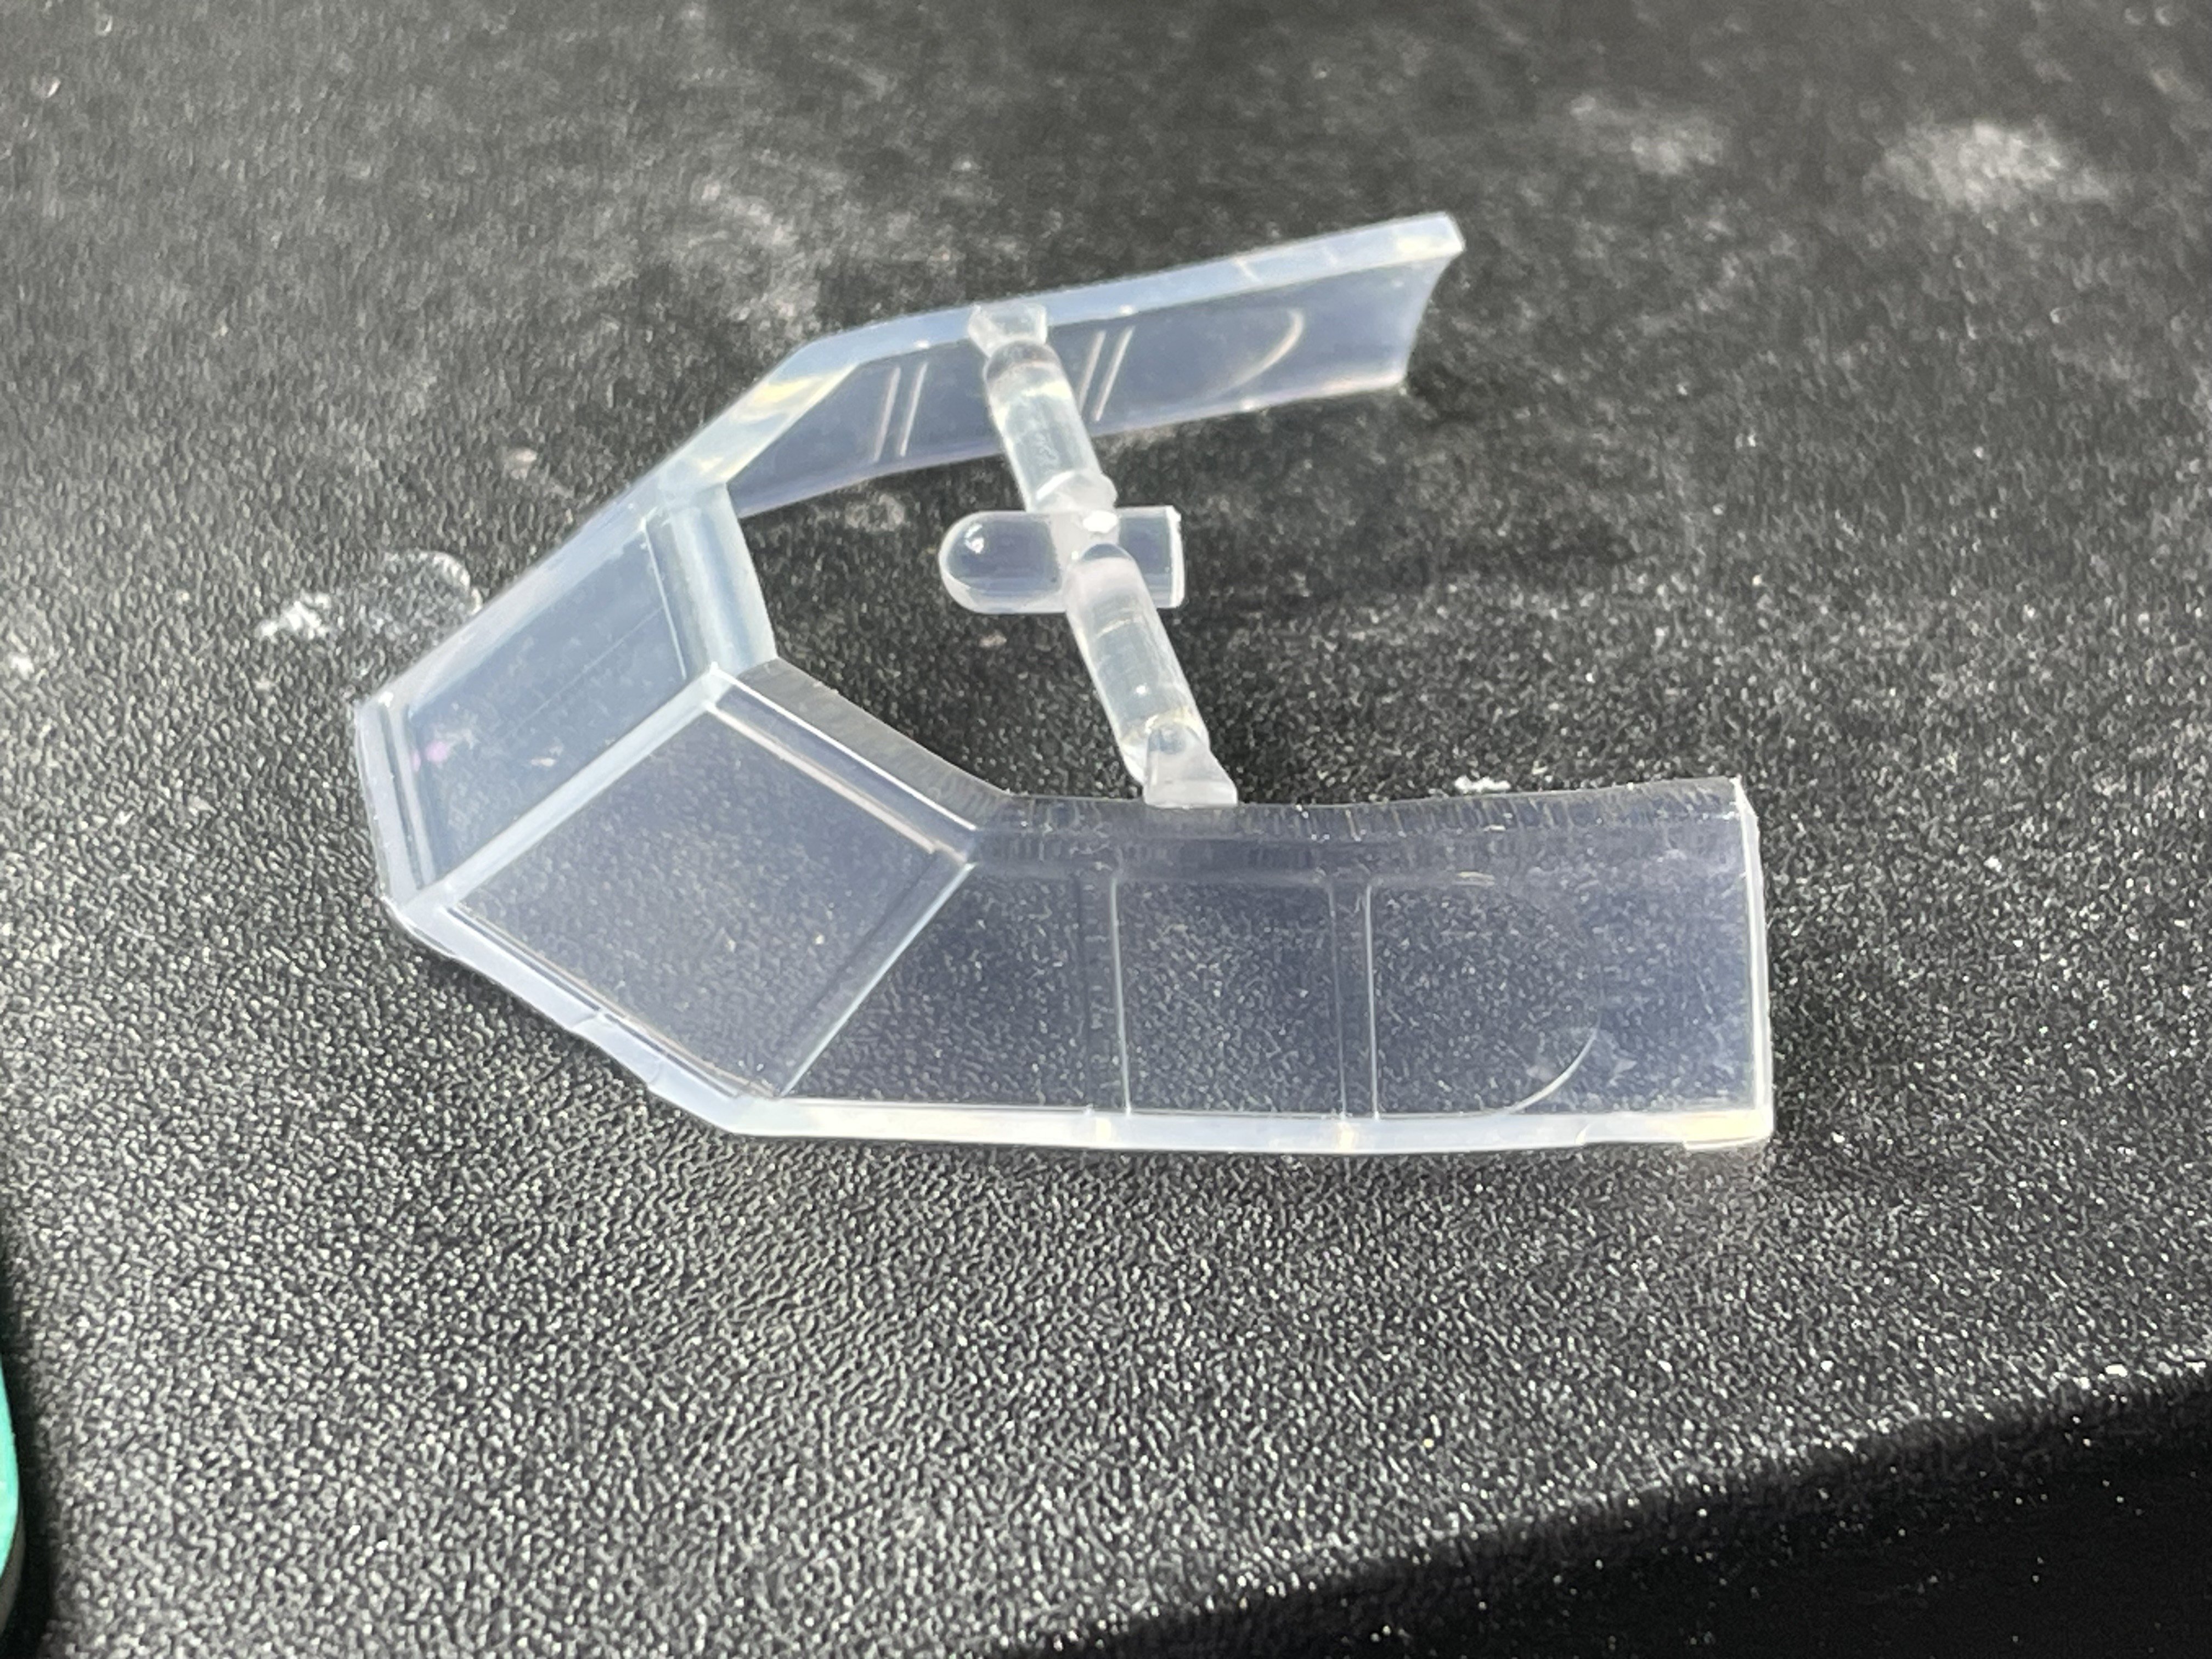
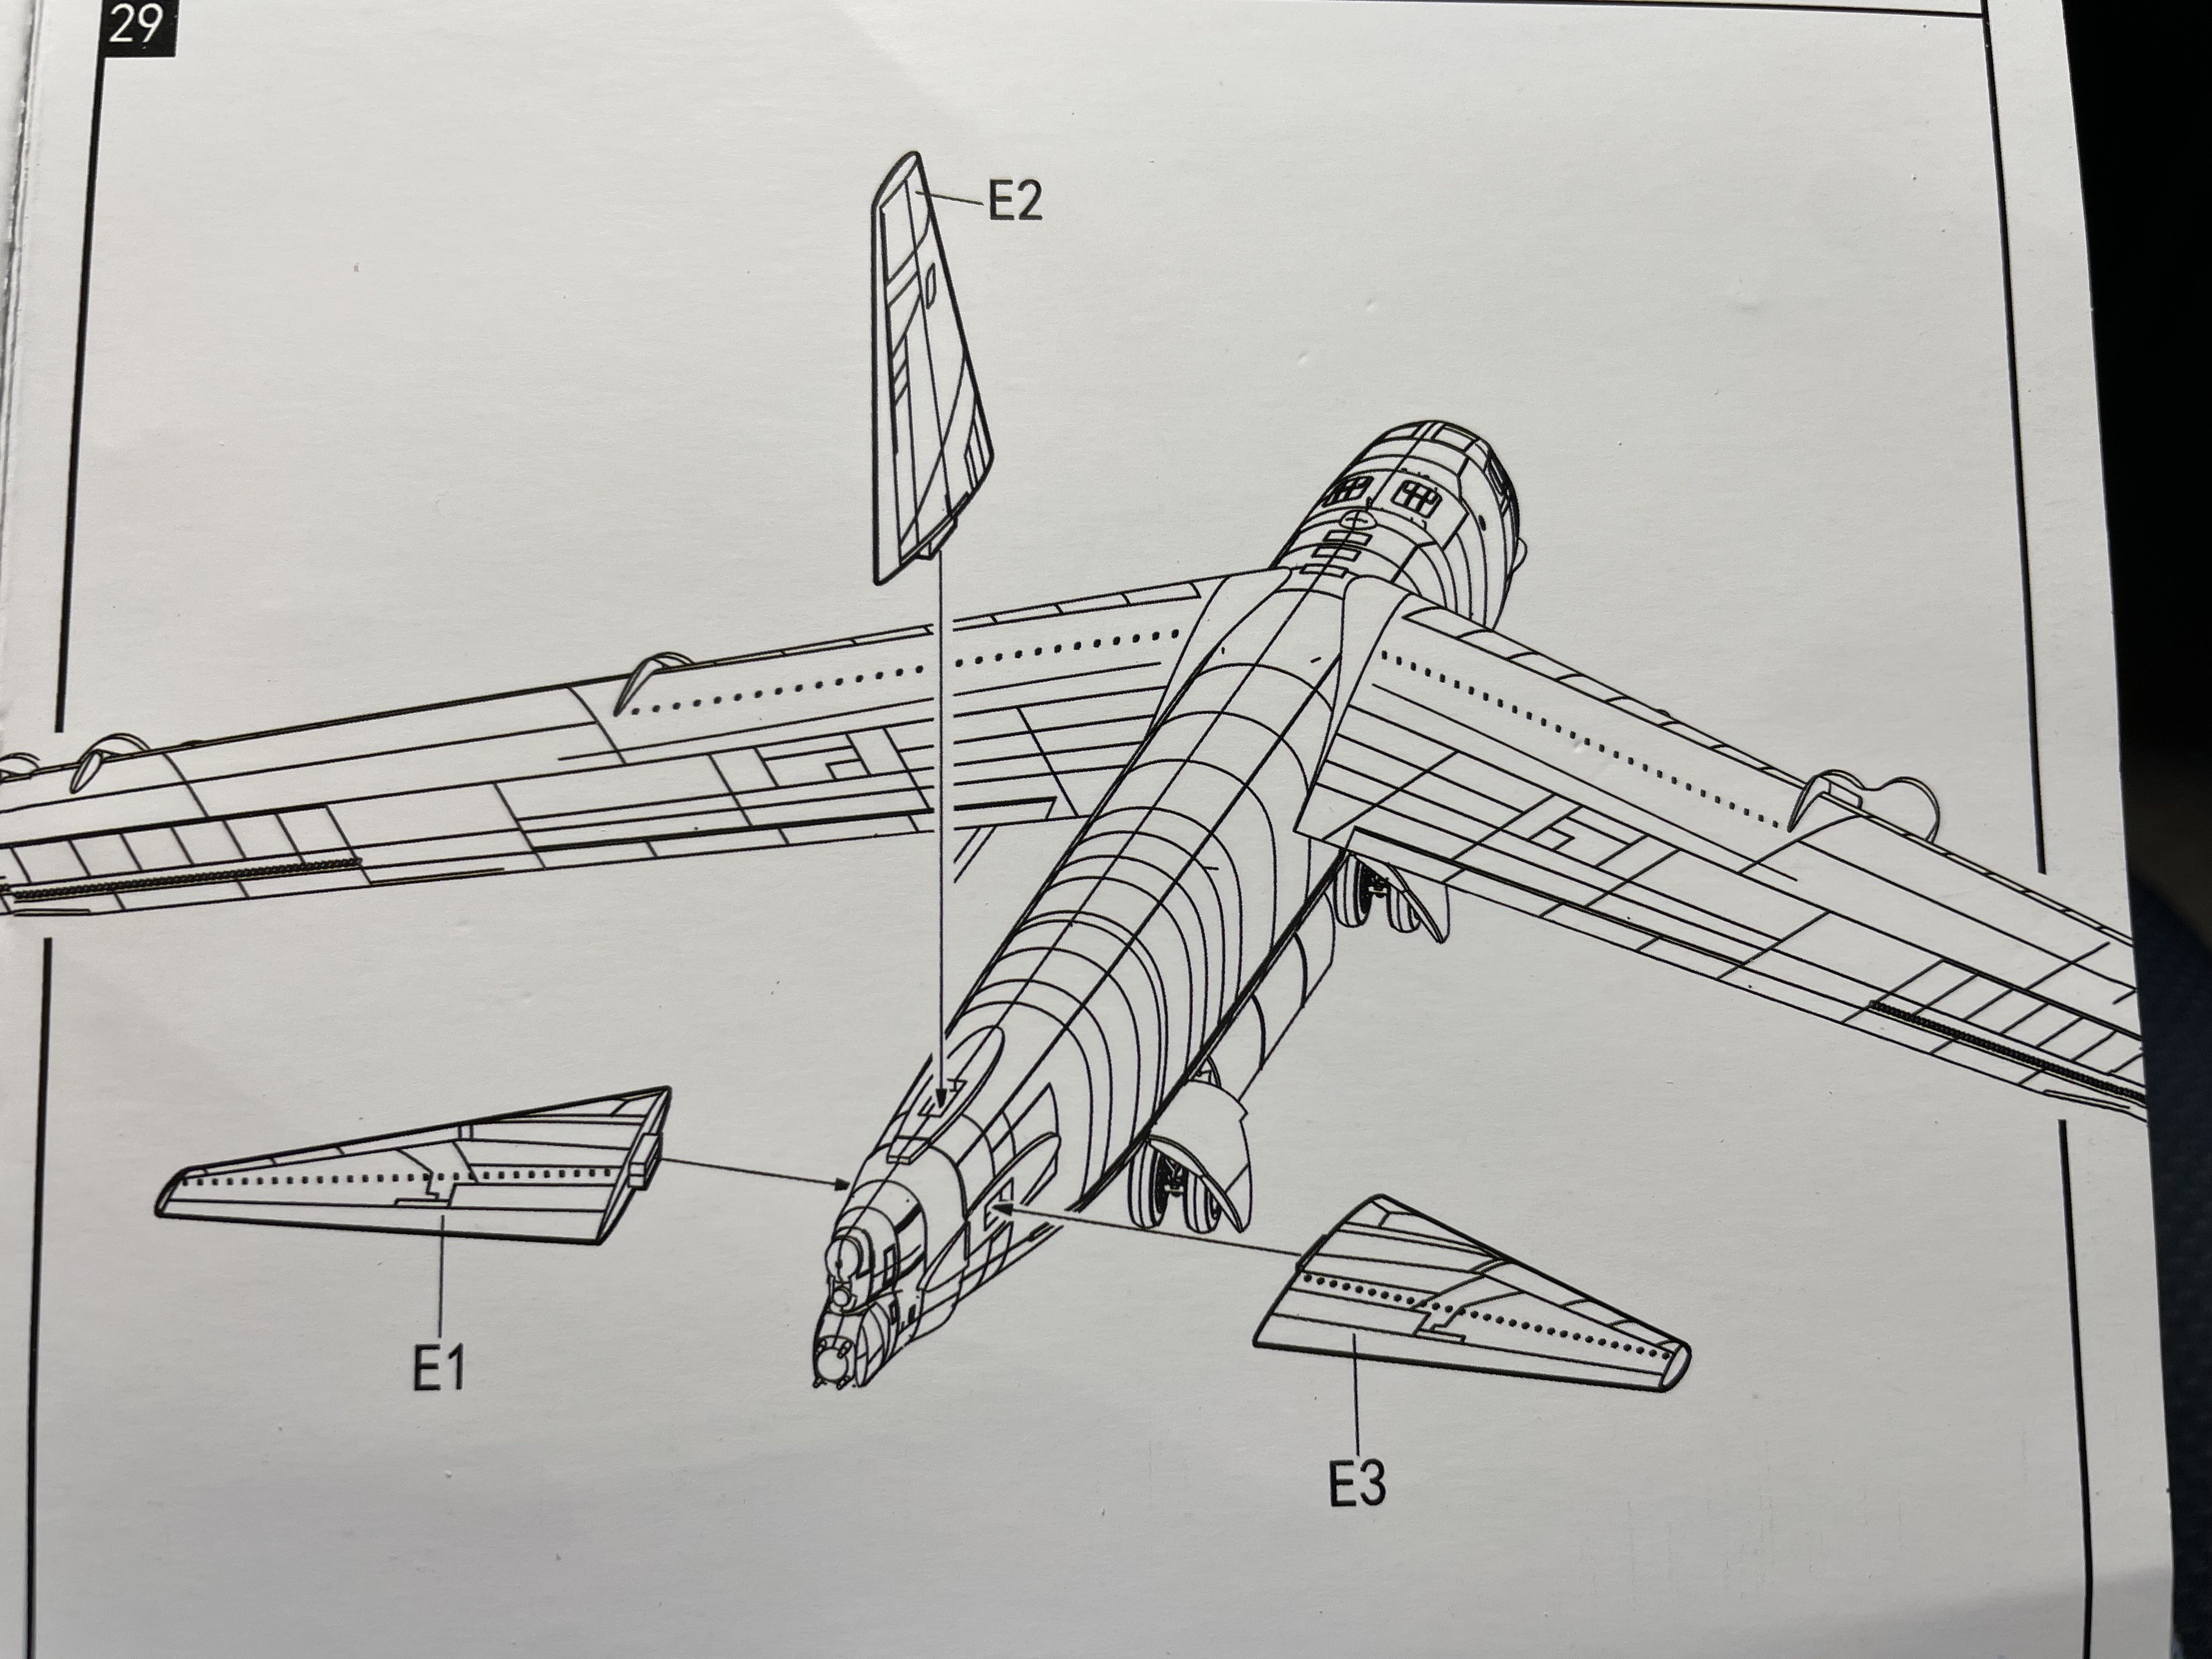
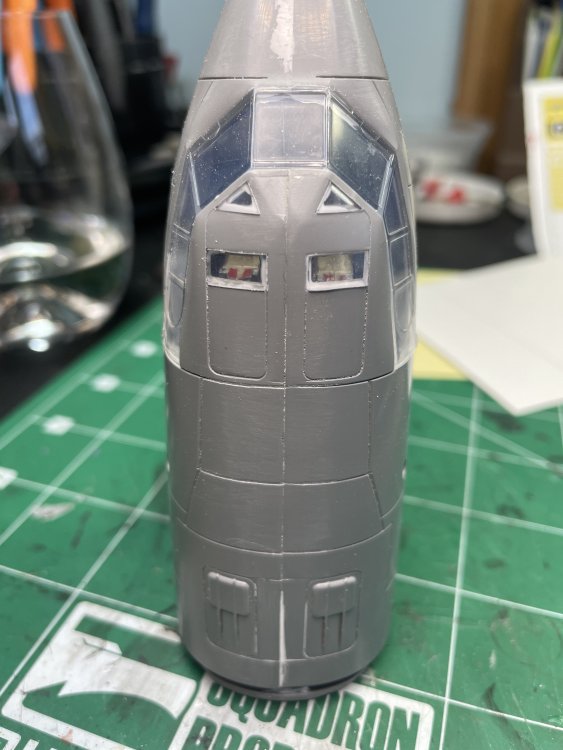
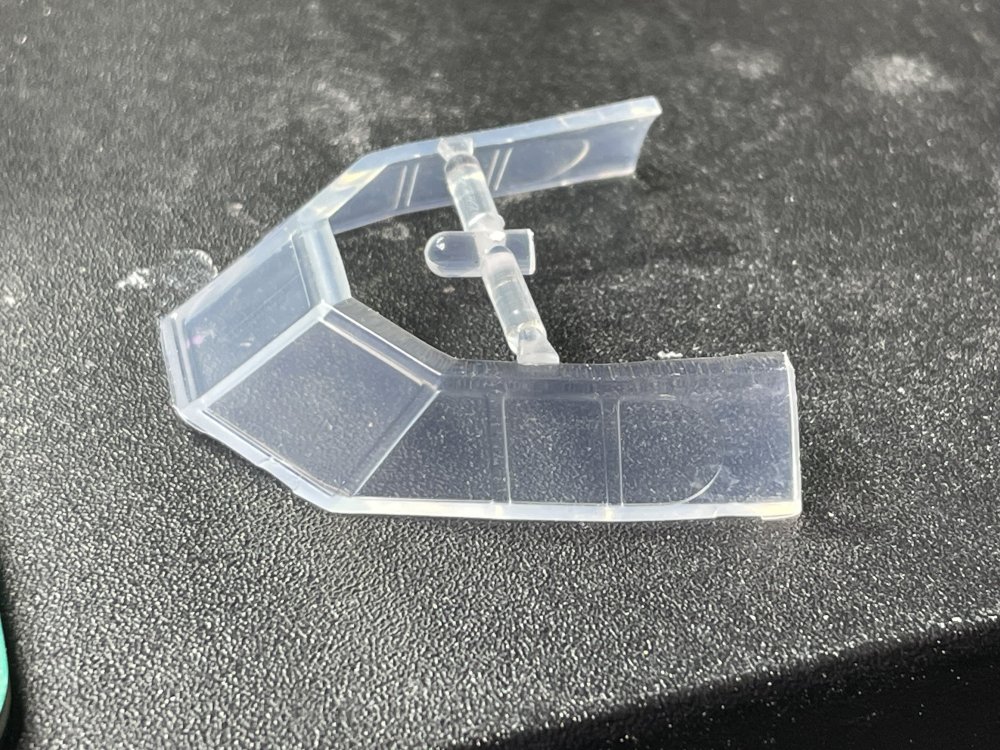
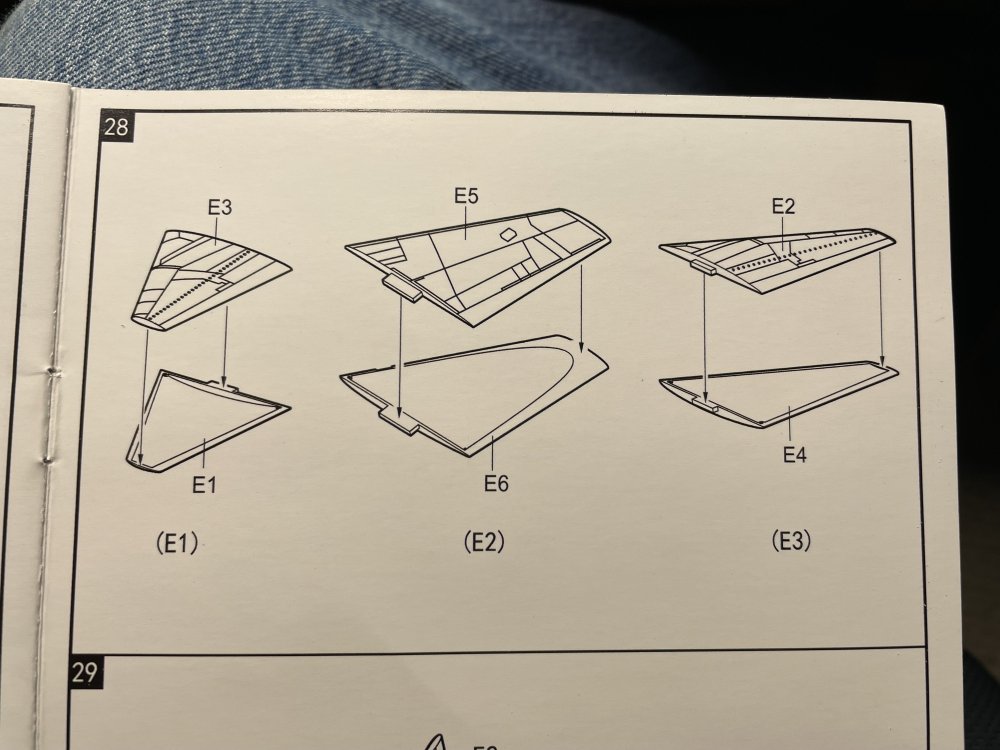
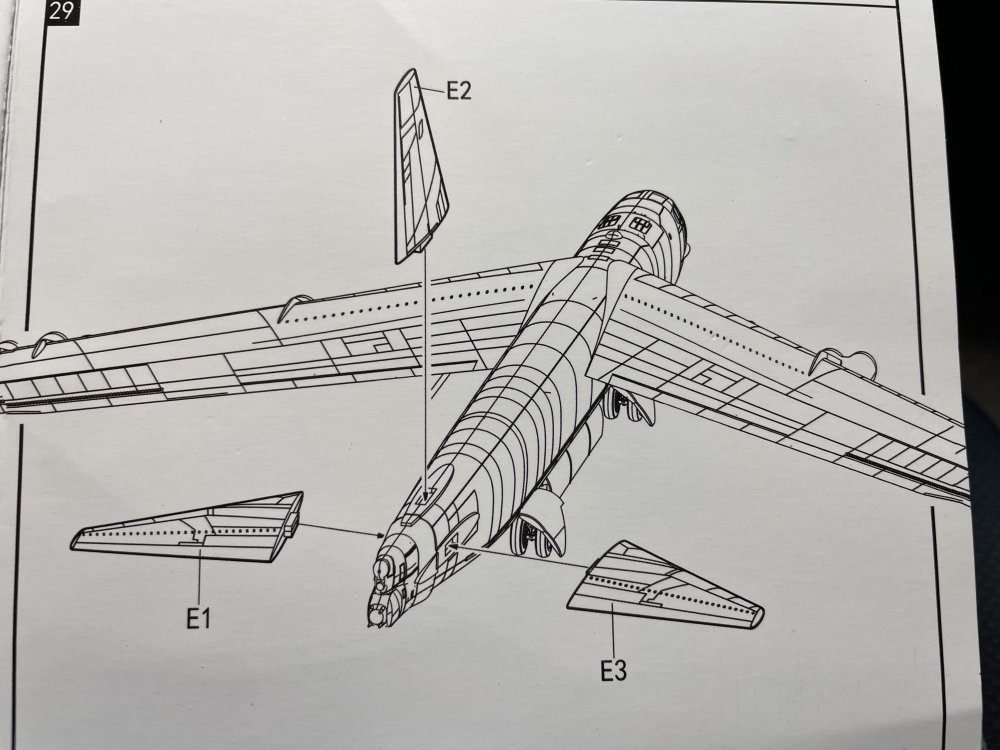
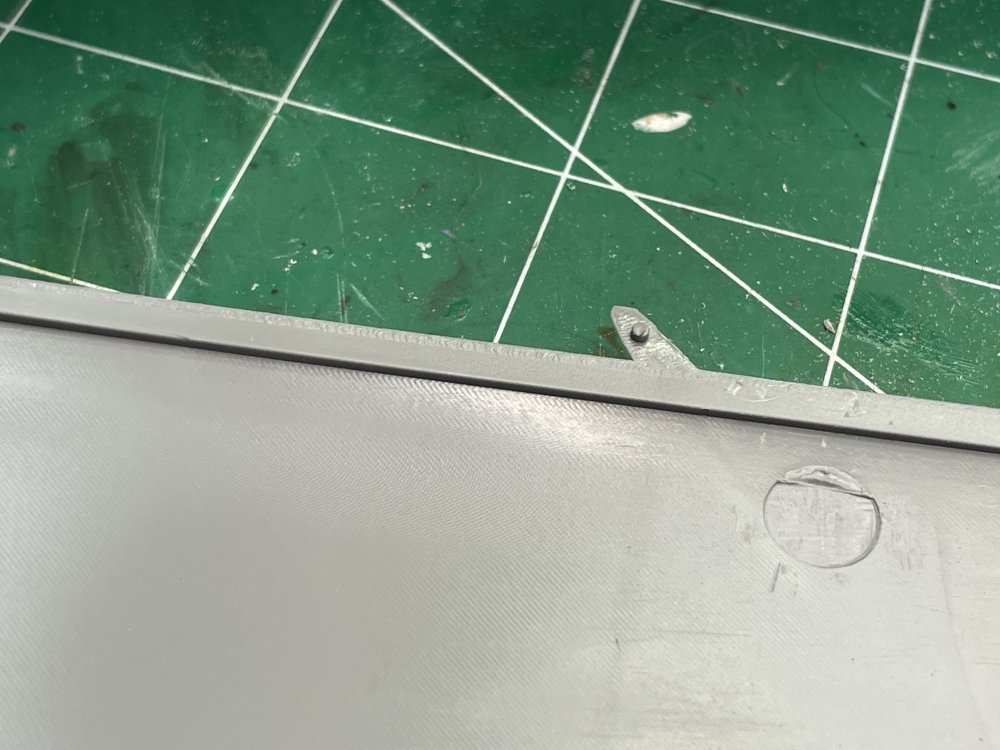
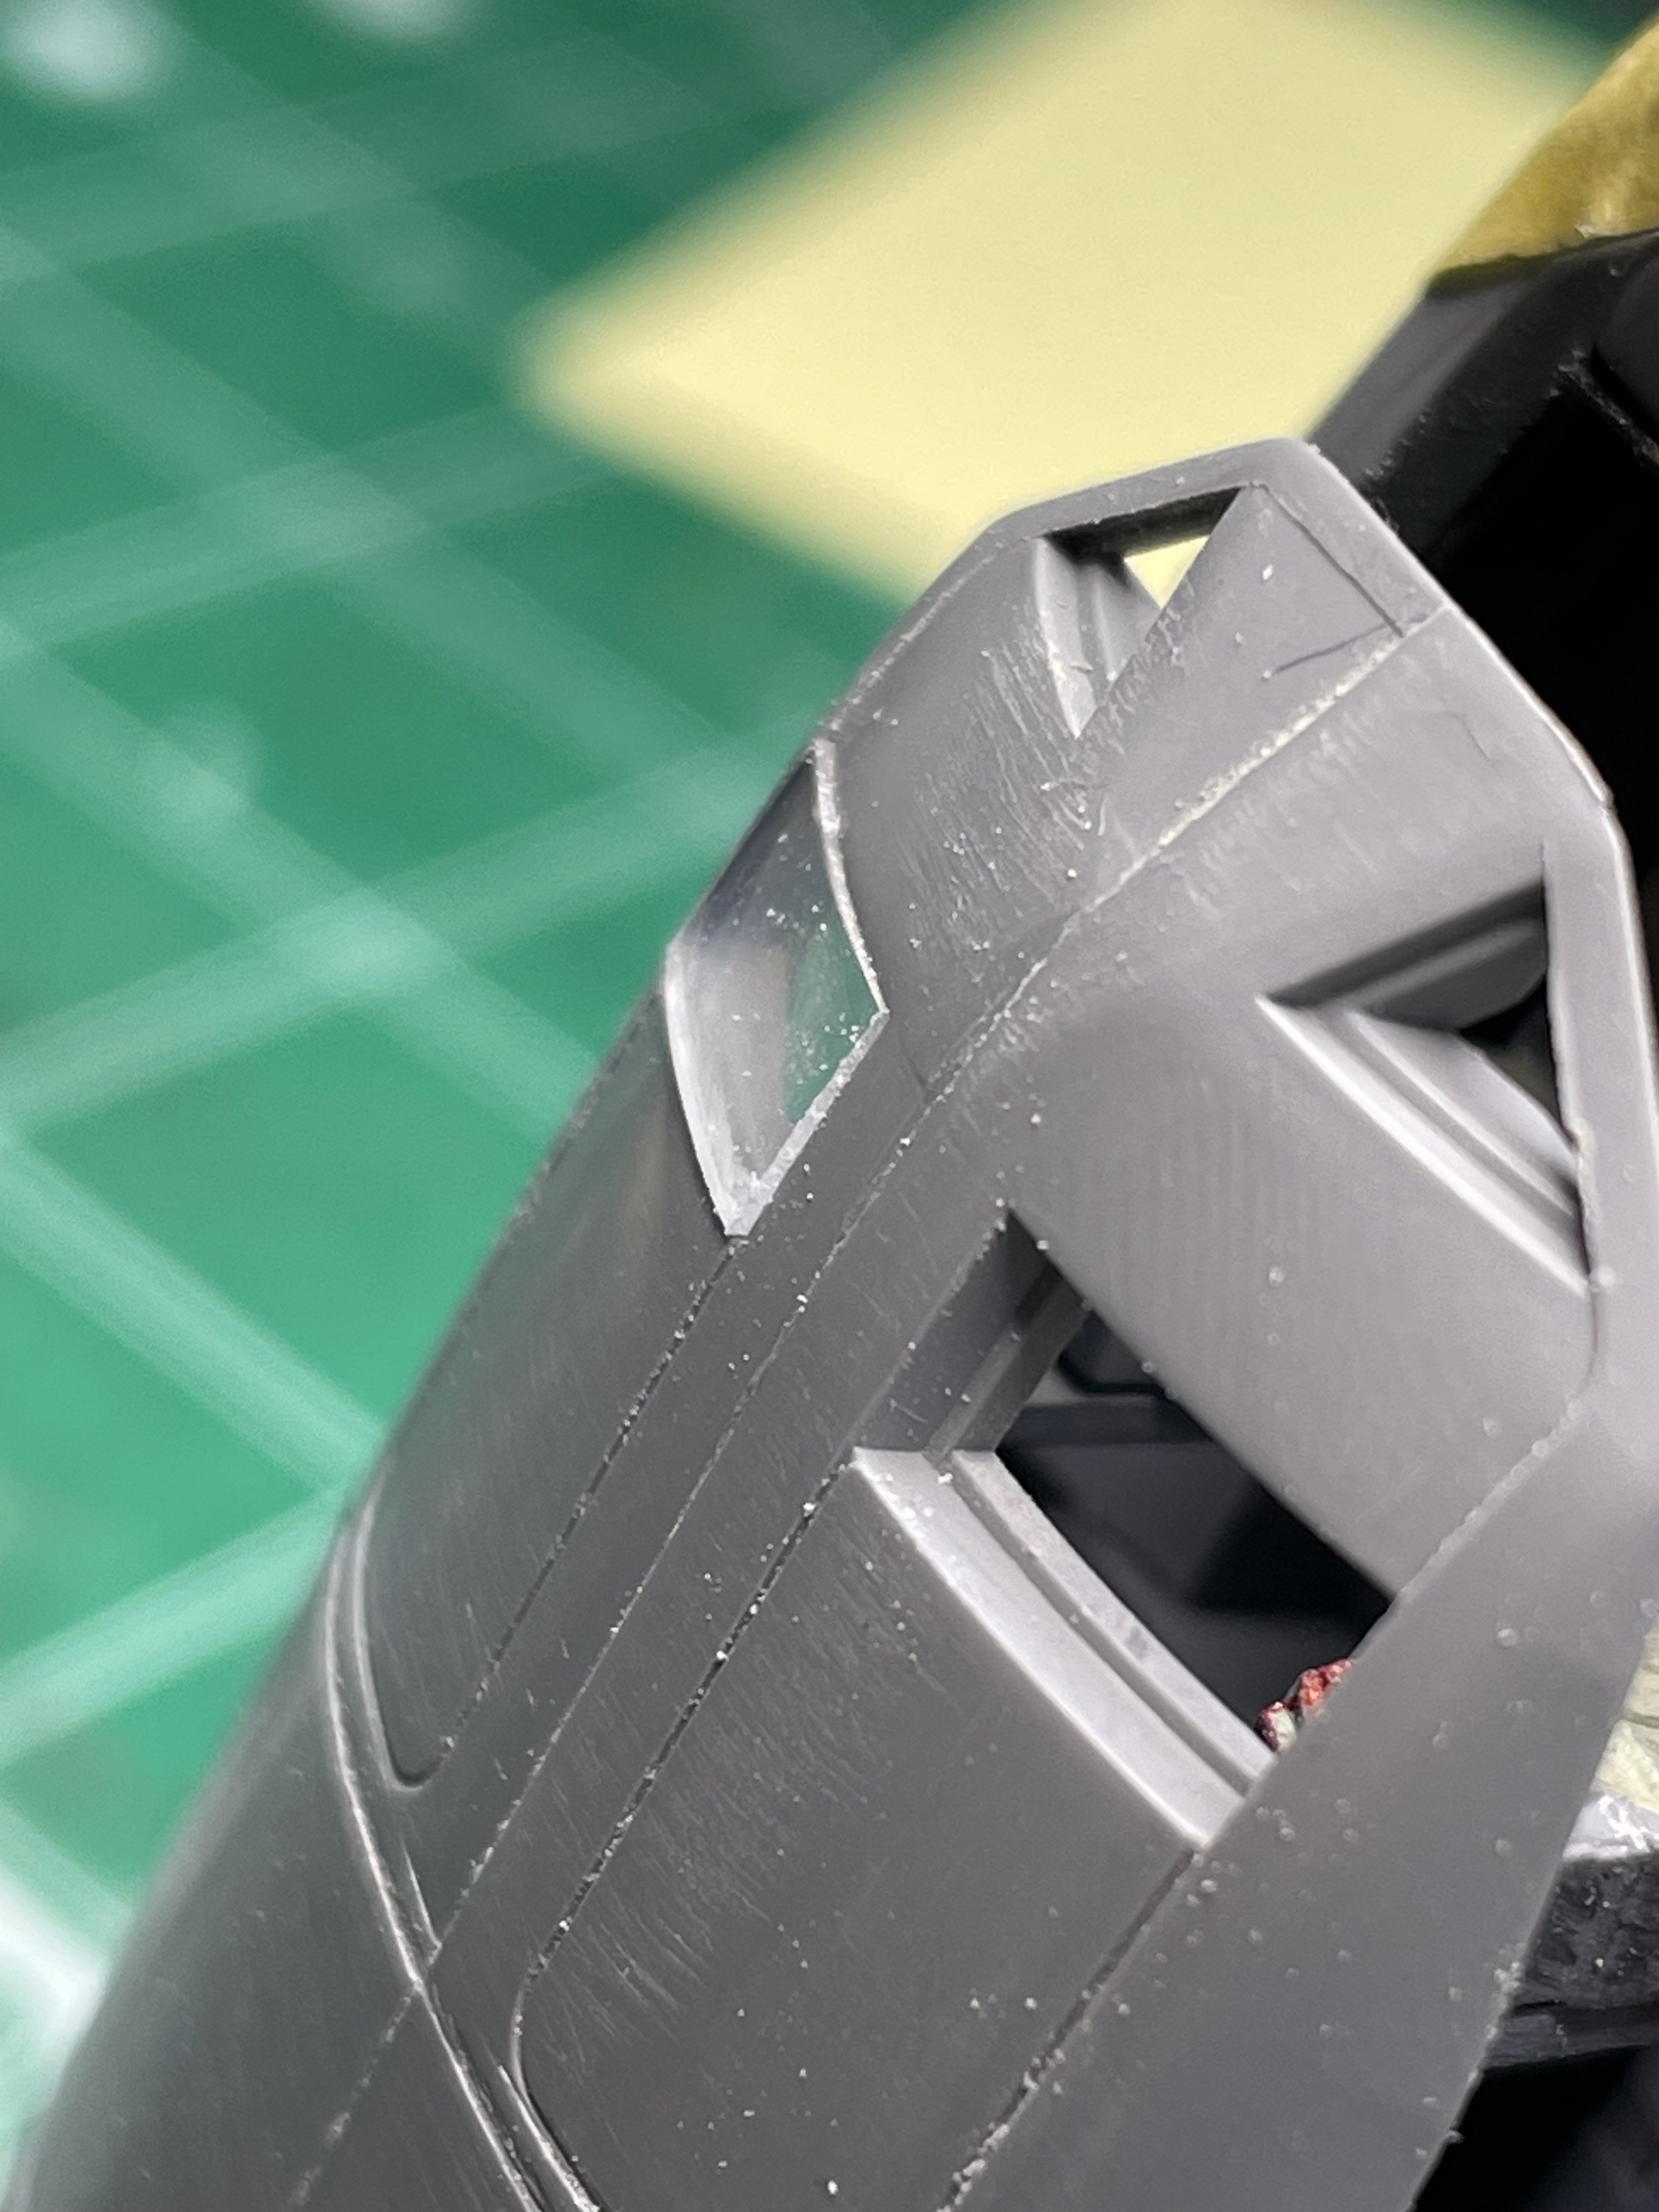
Was getting ready to install the "Clear" parts when I found they are not so clear. I've never seen anything like this before. I washed the windscreen in dish soap, and windex but that did not improve the clarity. I have the NOVUS polishing kit to try next. The fit may be a challenge as well but since I still have that piece across the top, that may be spreading the sides out. And another anomaly in the instructions. The stabilizers and tail pieces are Parts E1-E6 as shown below. Pretty standard. Them MC decided to reuse E1, E2 and E3 to identify the left, right and tail pieces. They do that a lot so it is something to watch for. Stay tuned!


-
HK 1/32 B-25J Strafer next
CANicoll replied to JohnB's topic in LSM 1/35 and Larger Work In Progress
Wow. Nice looking so far!! Super work. -
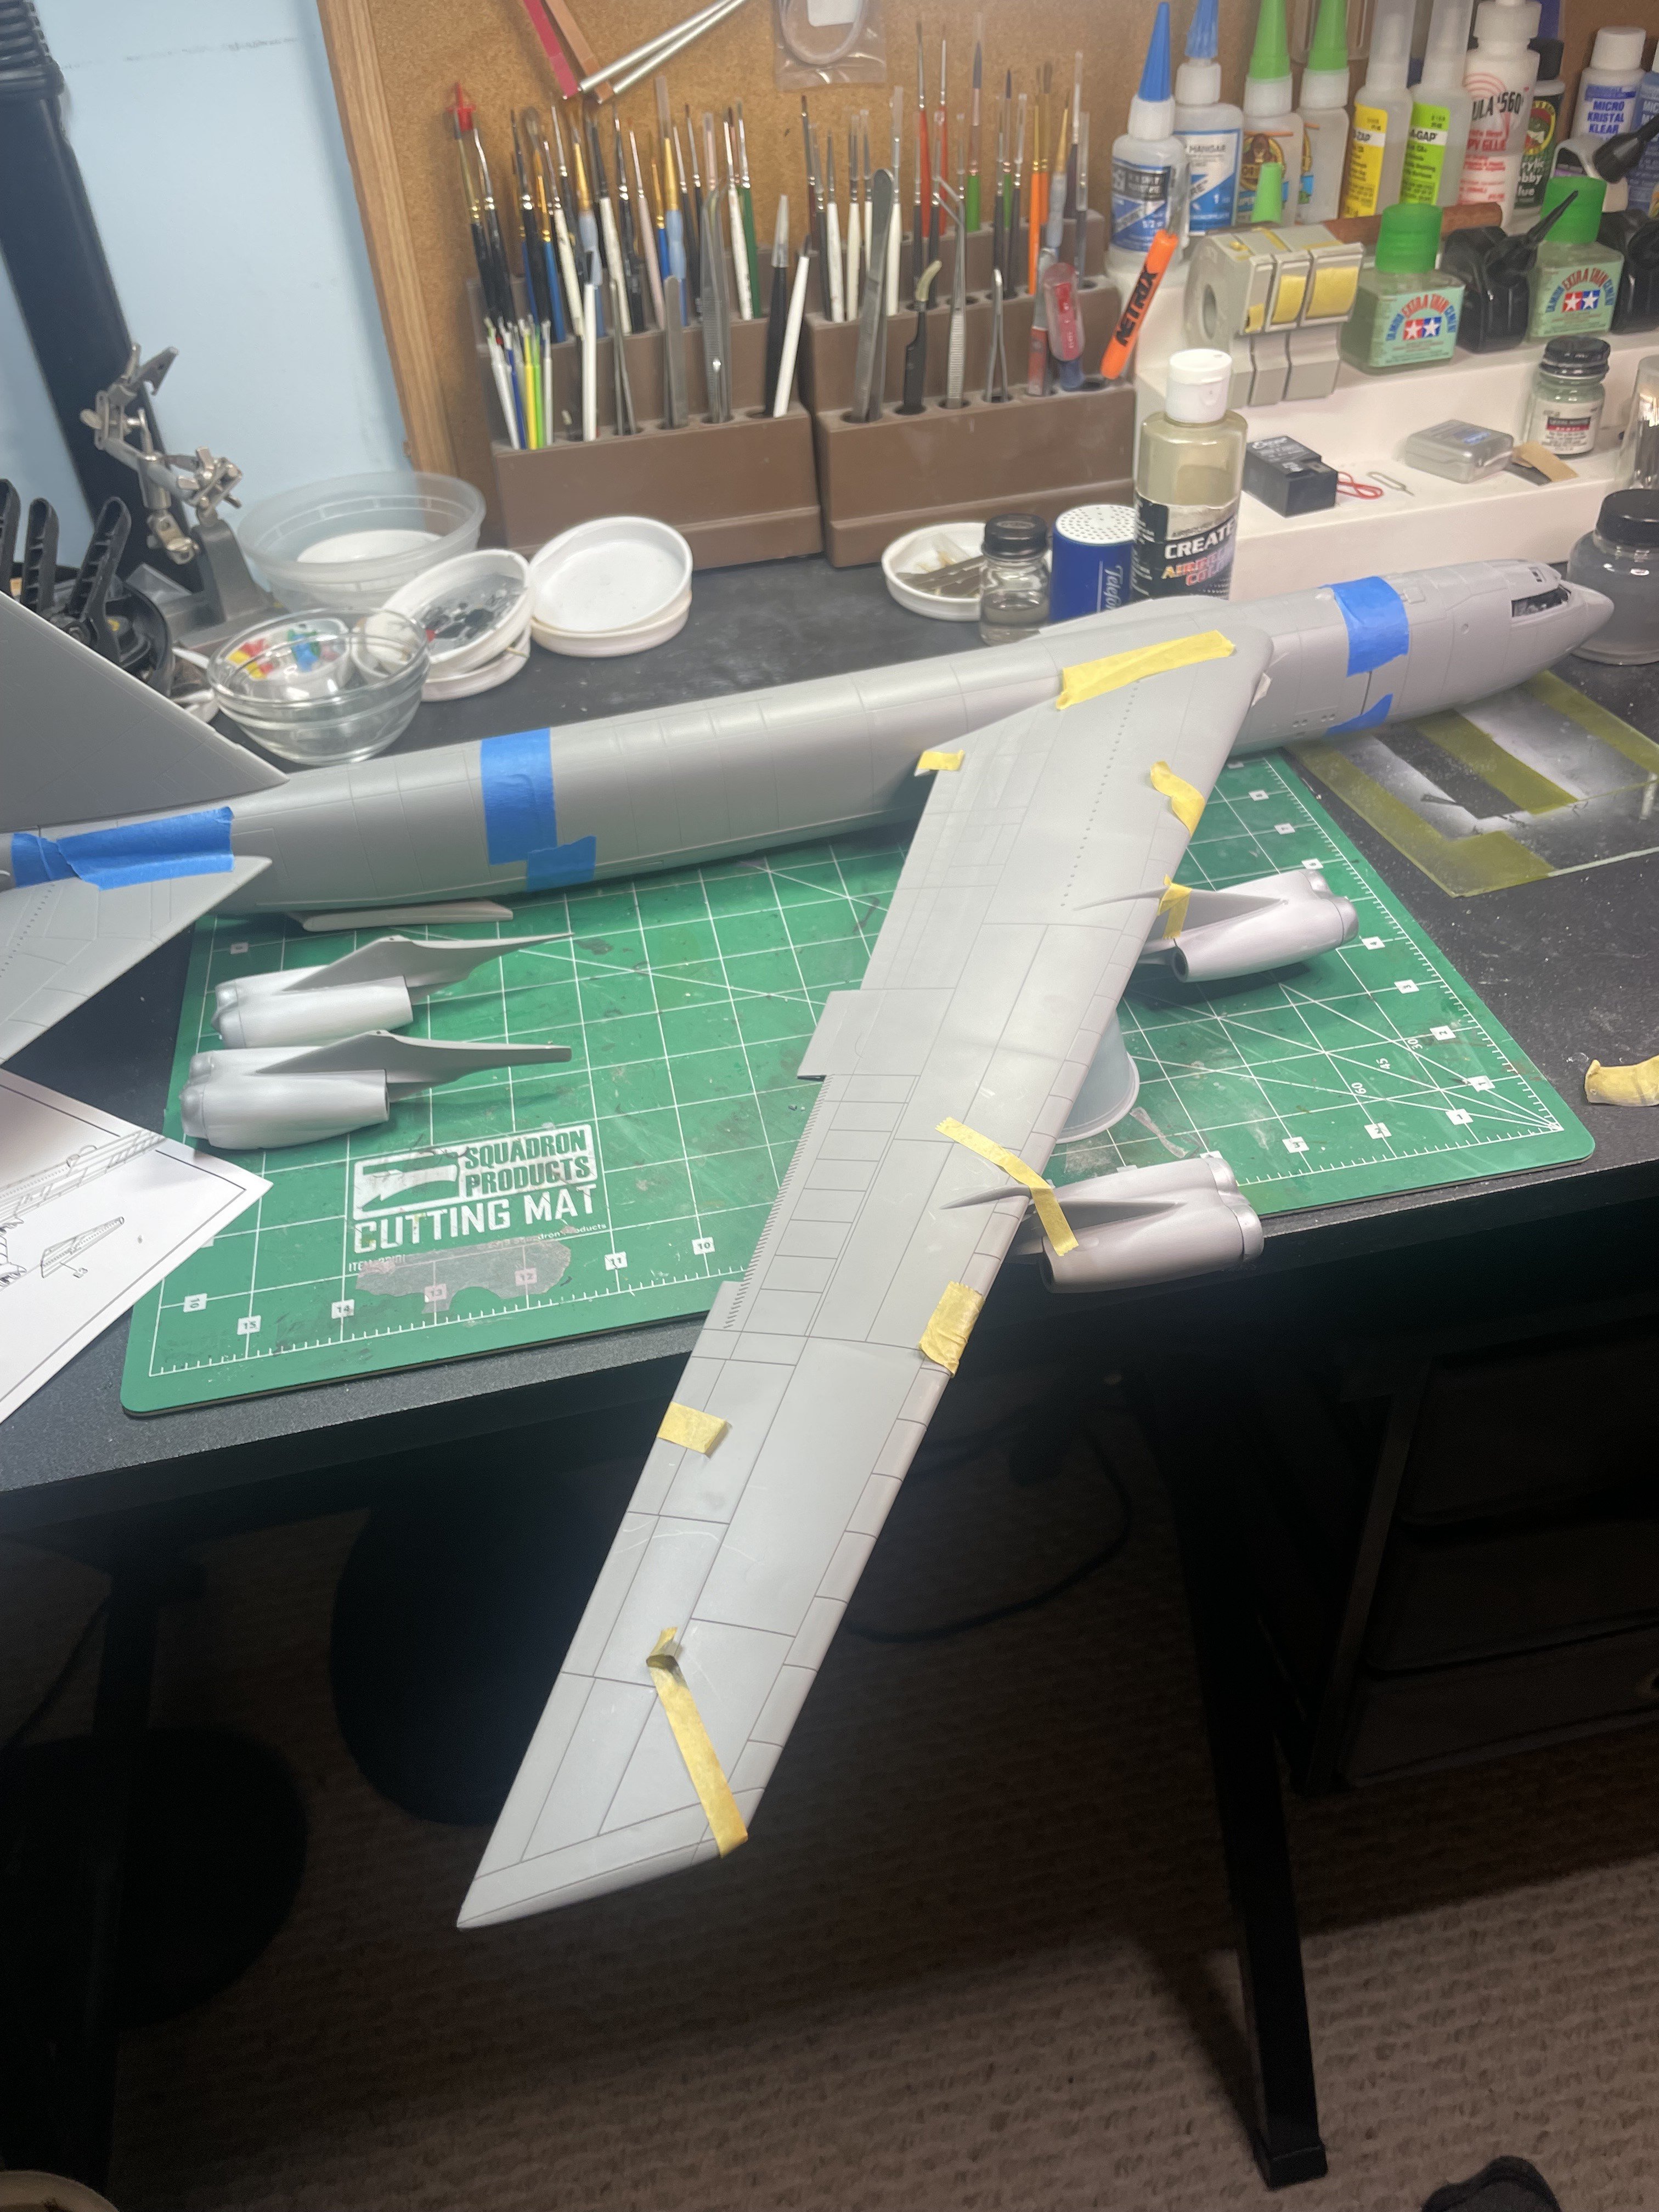
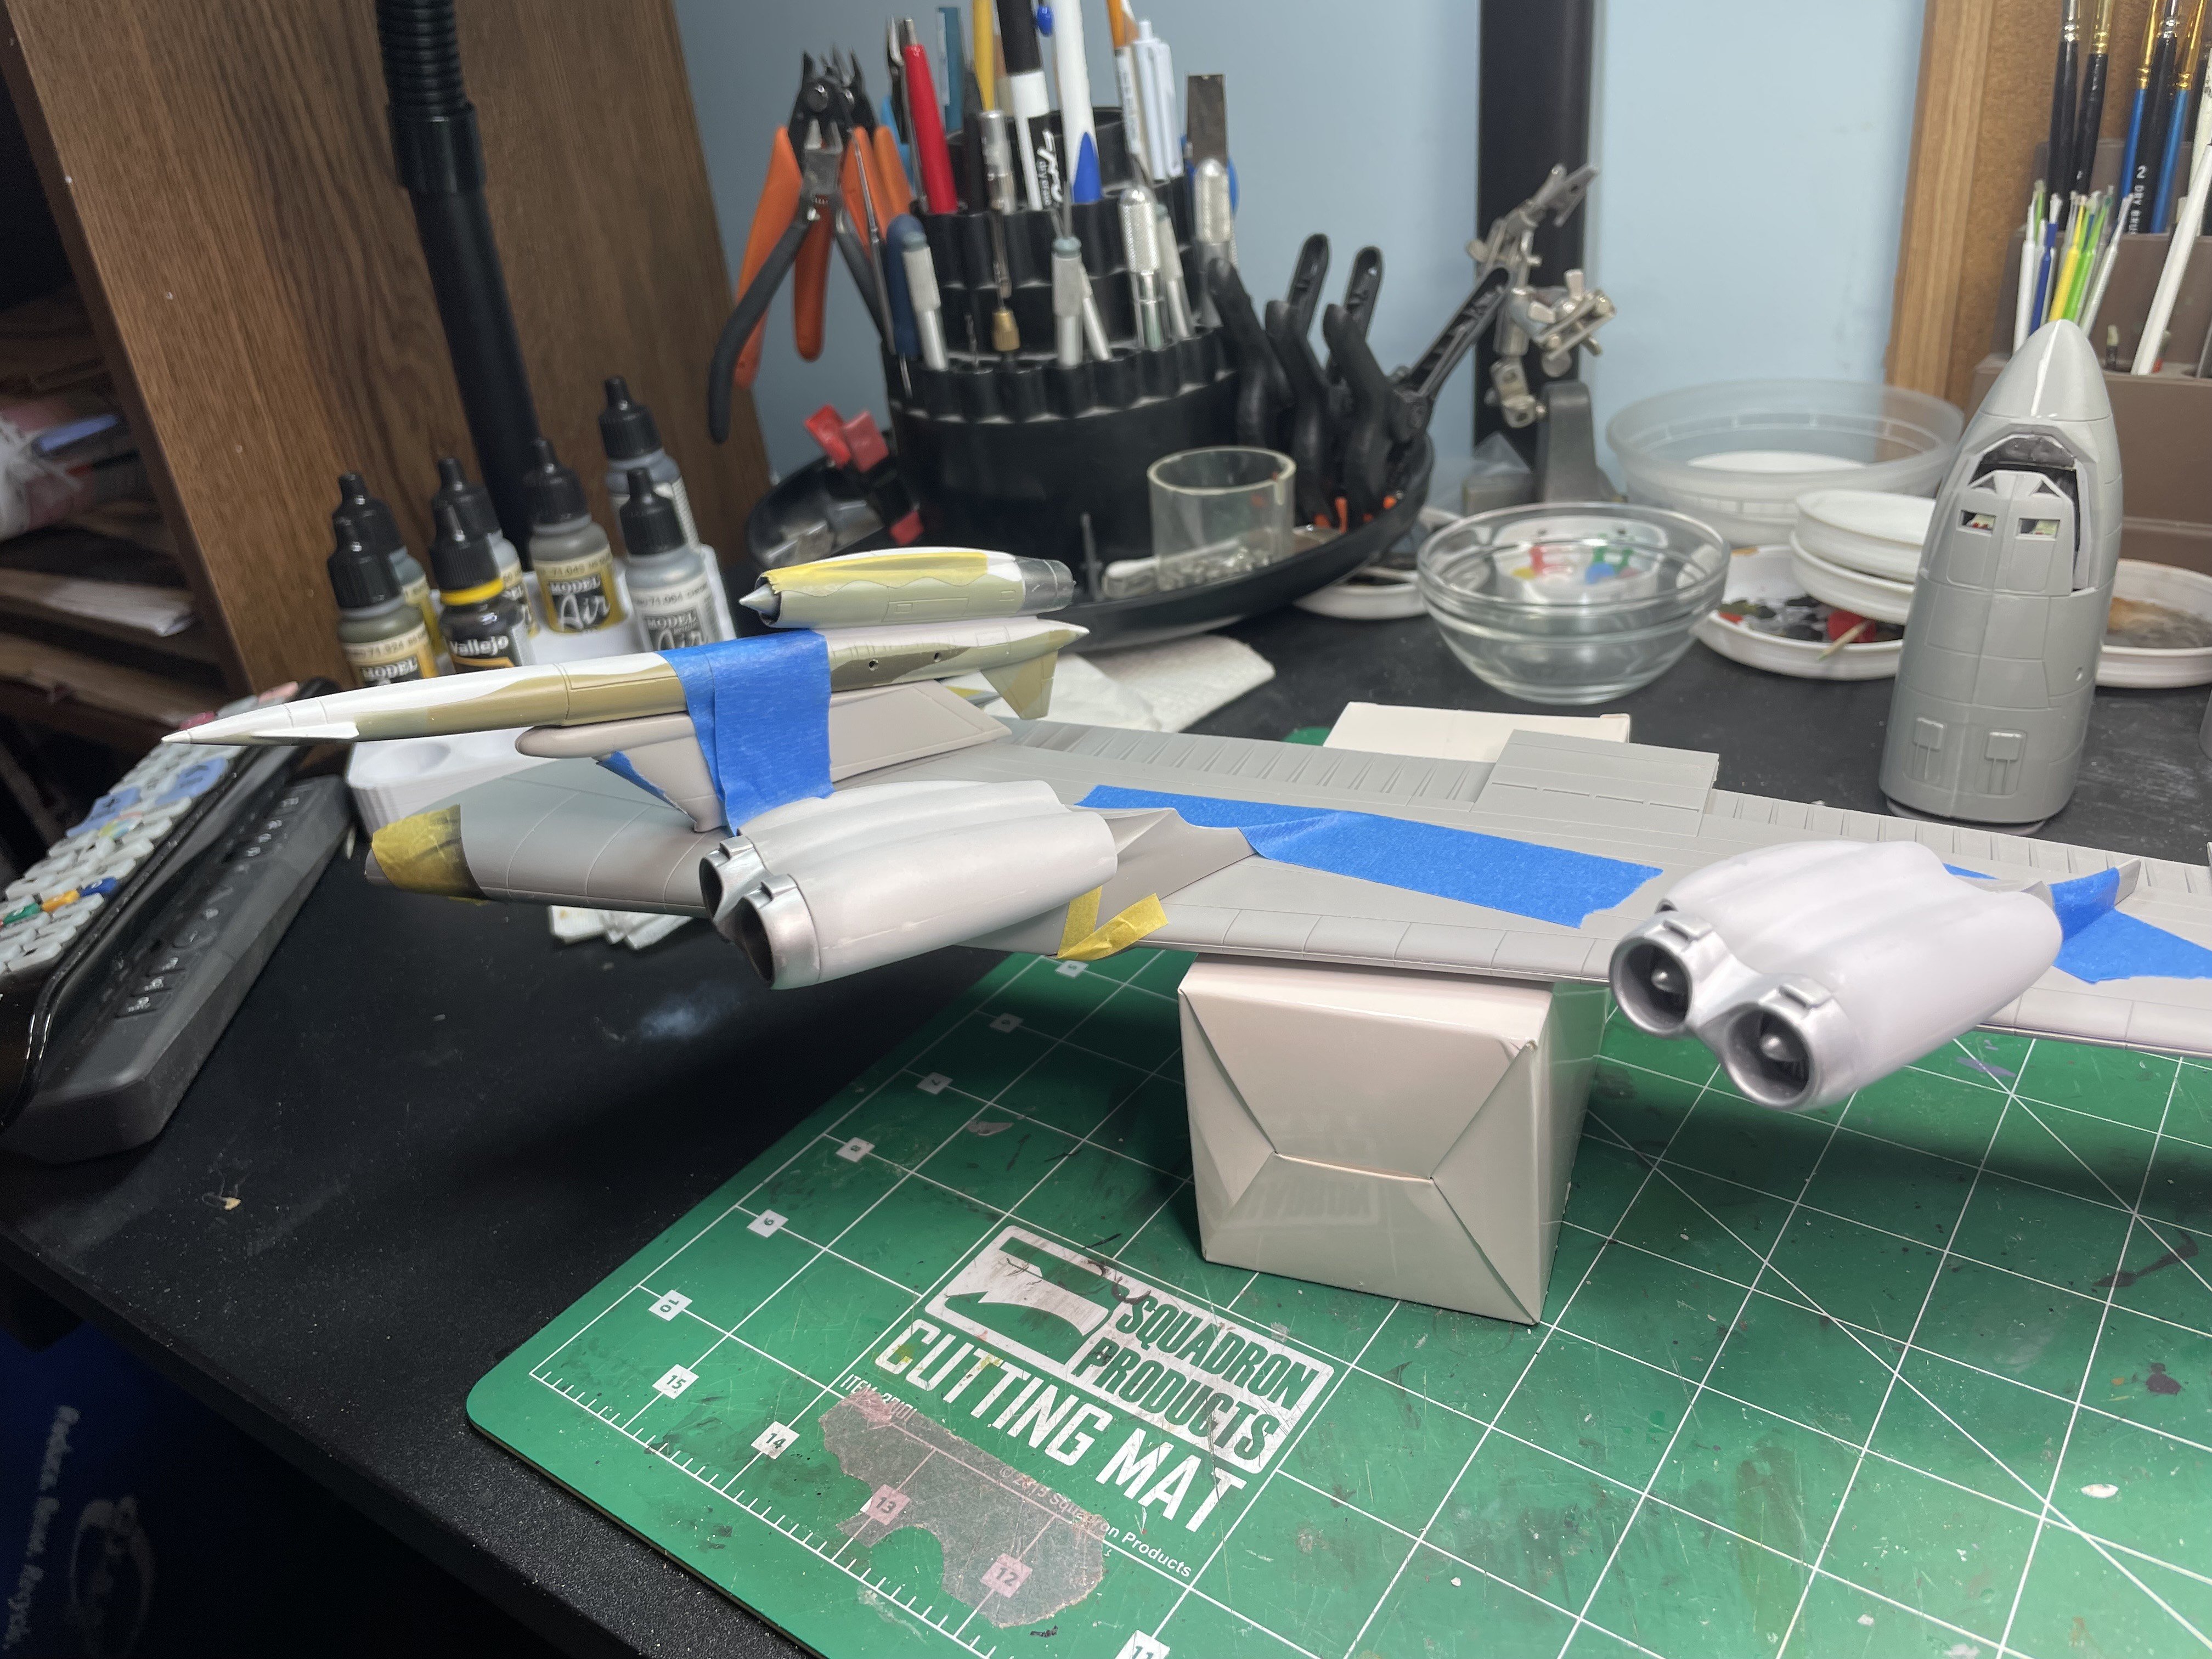
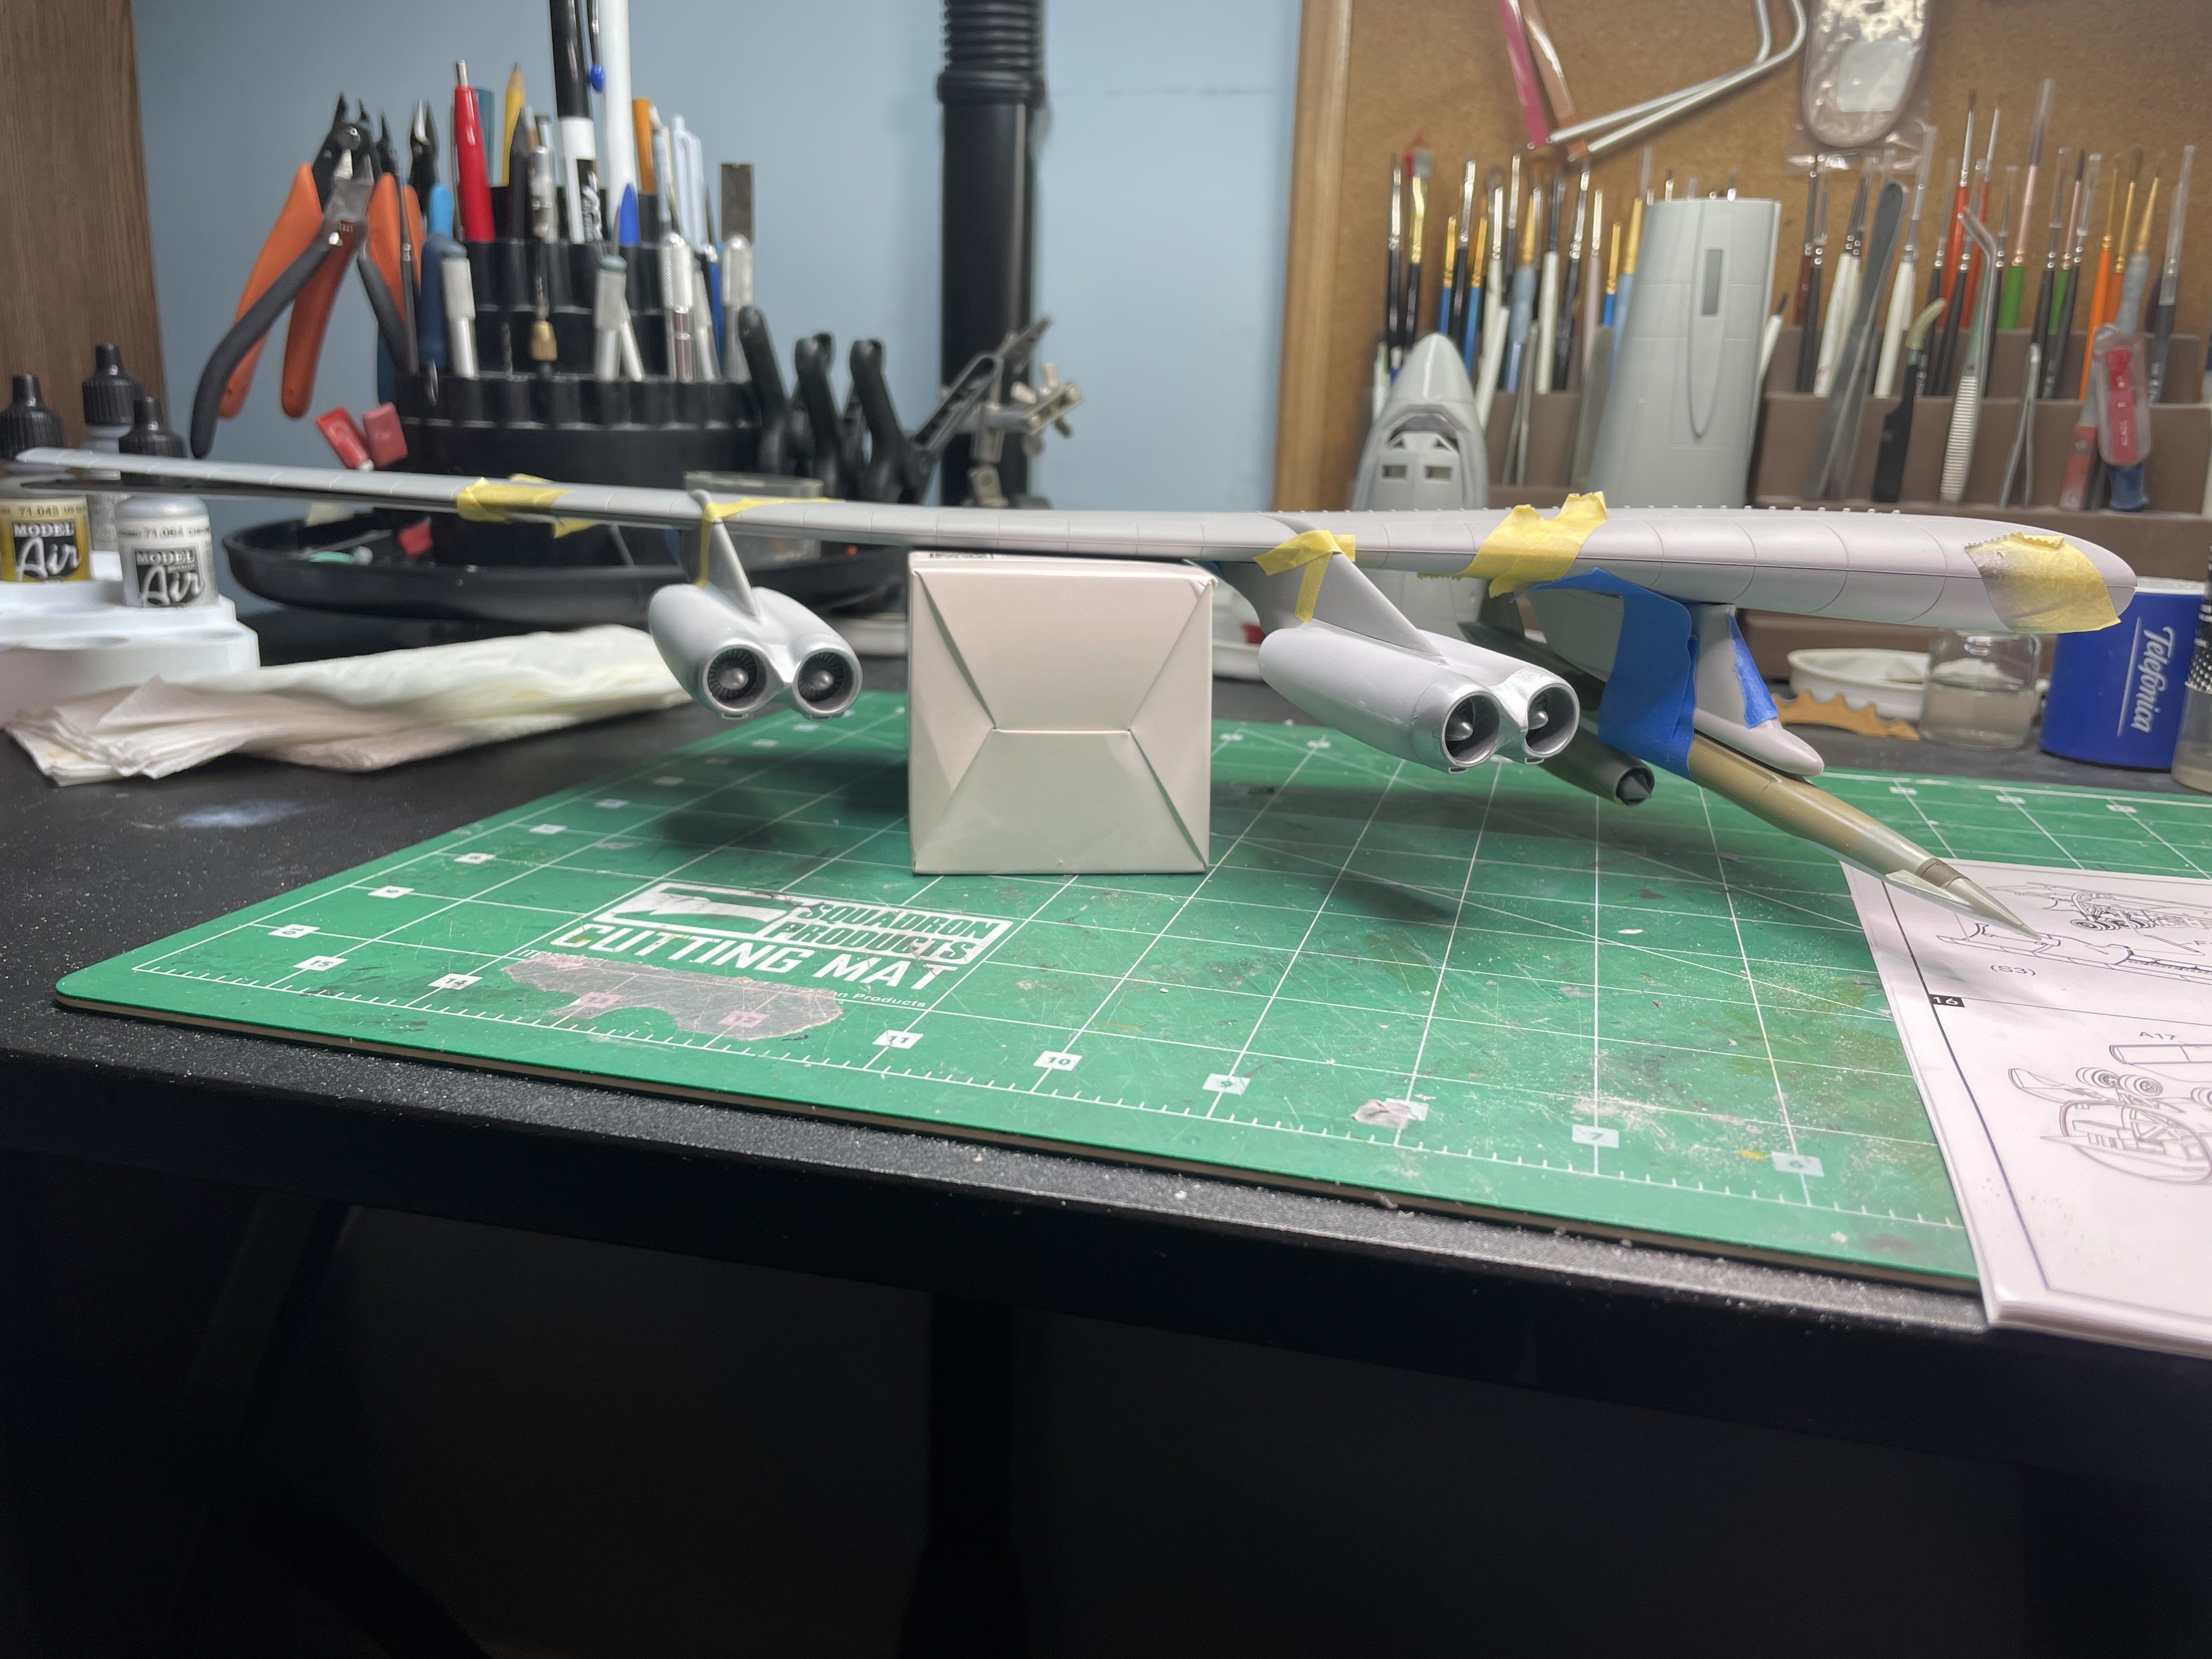
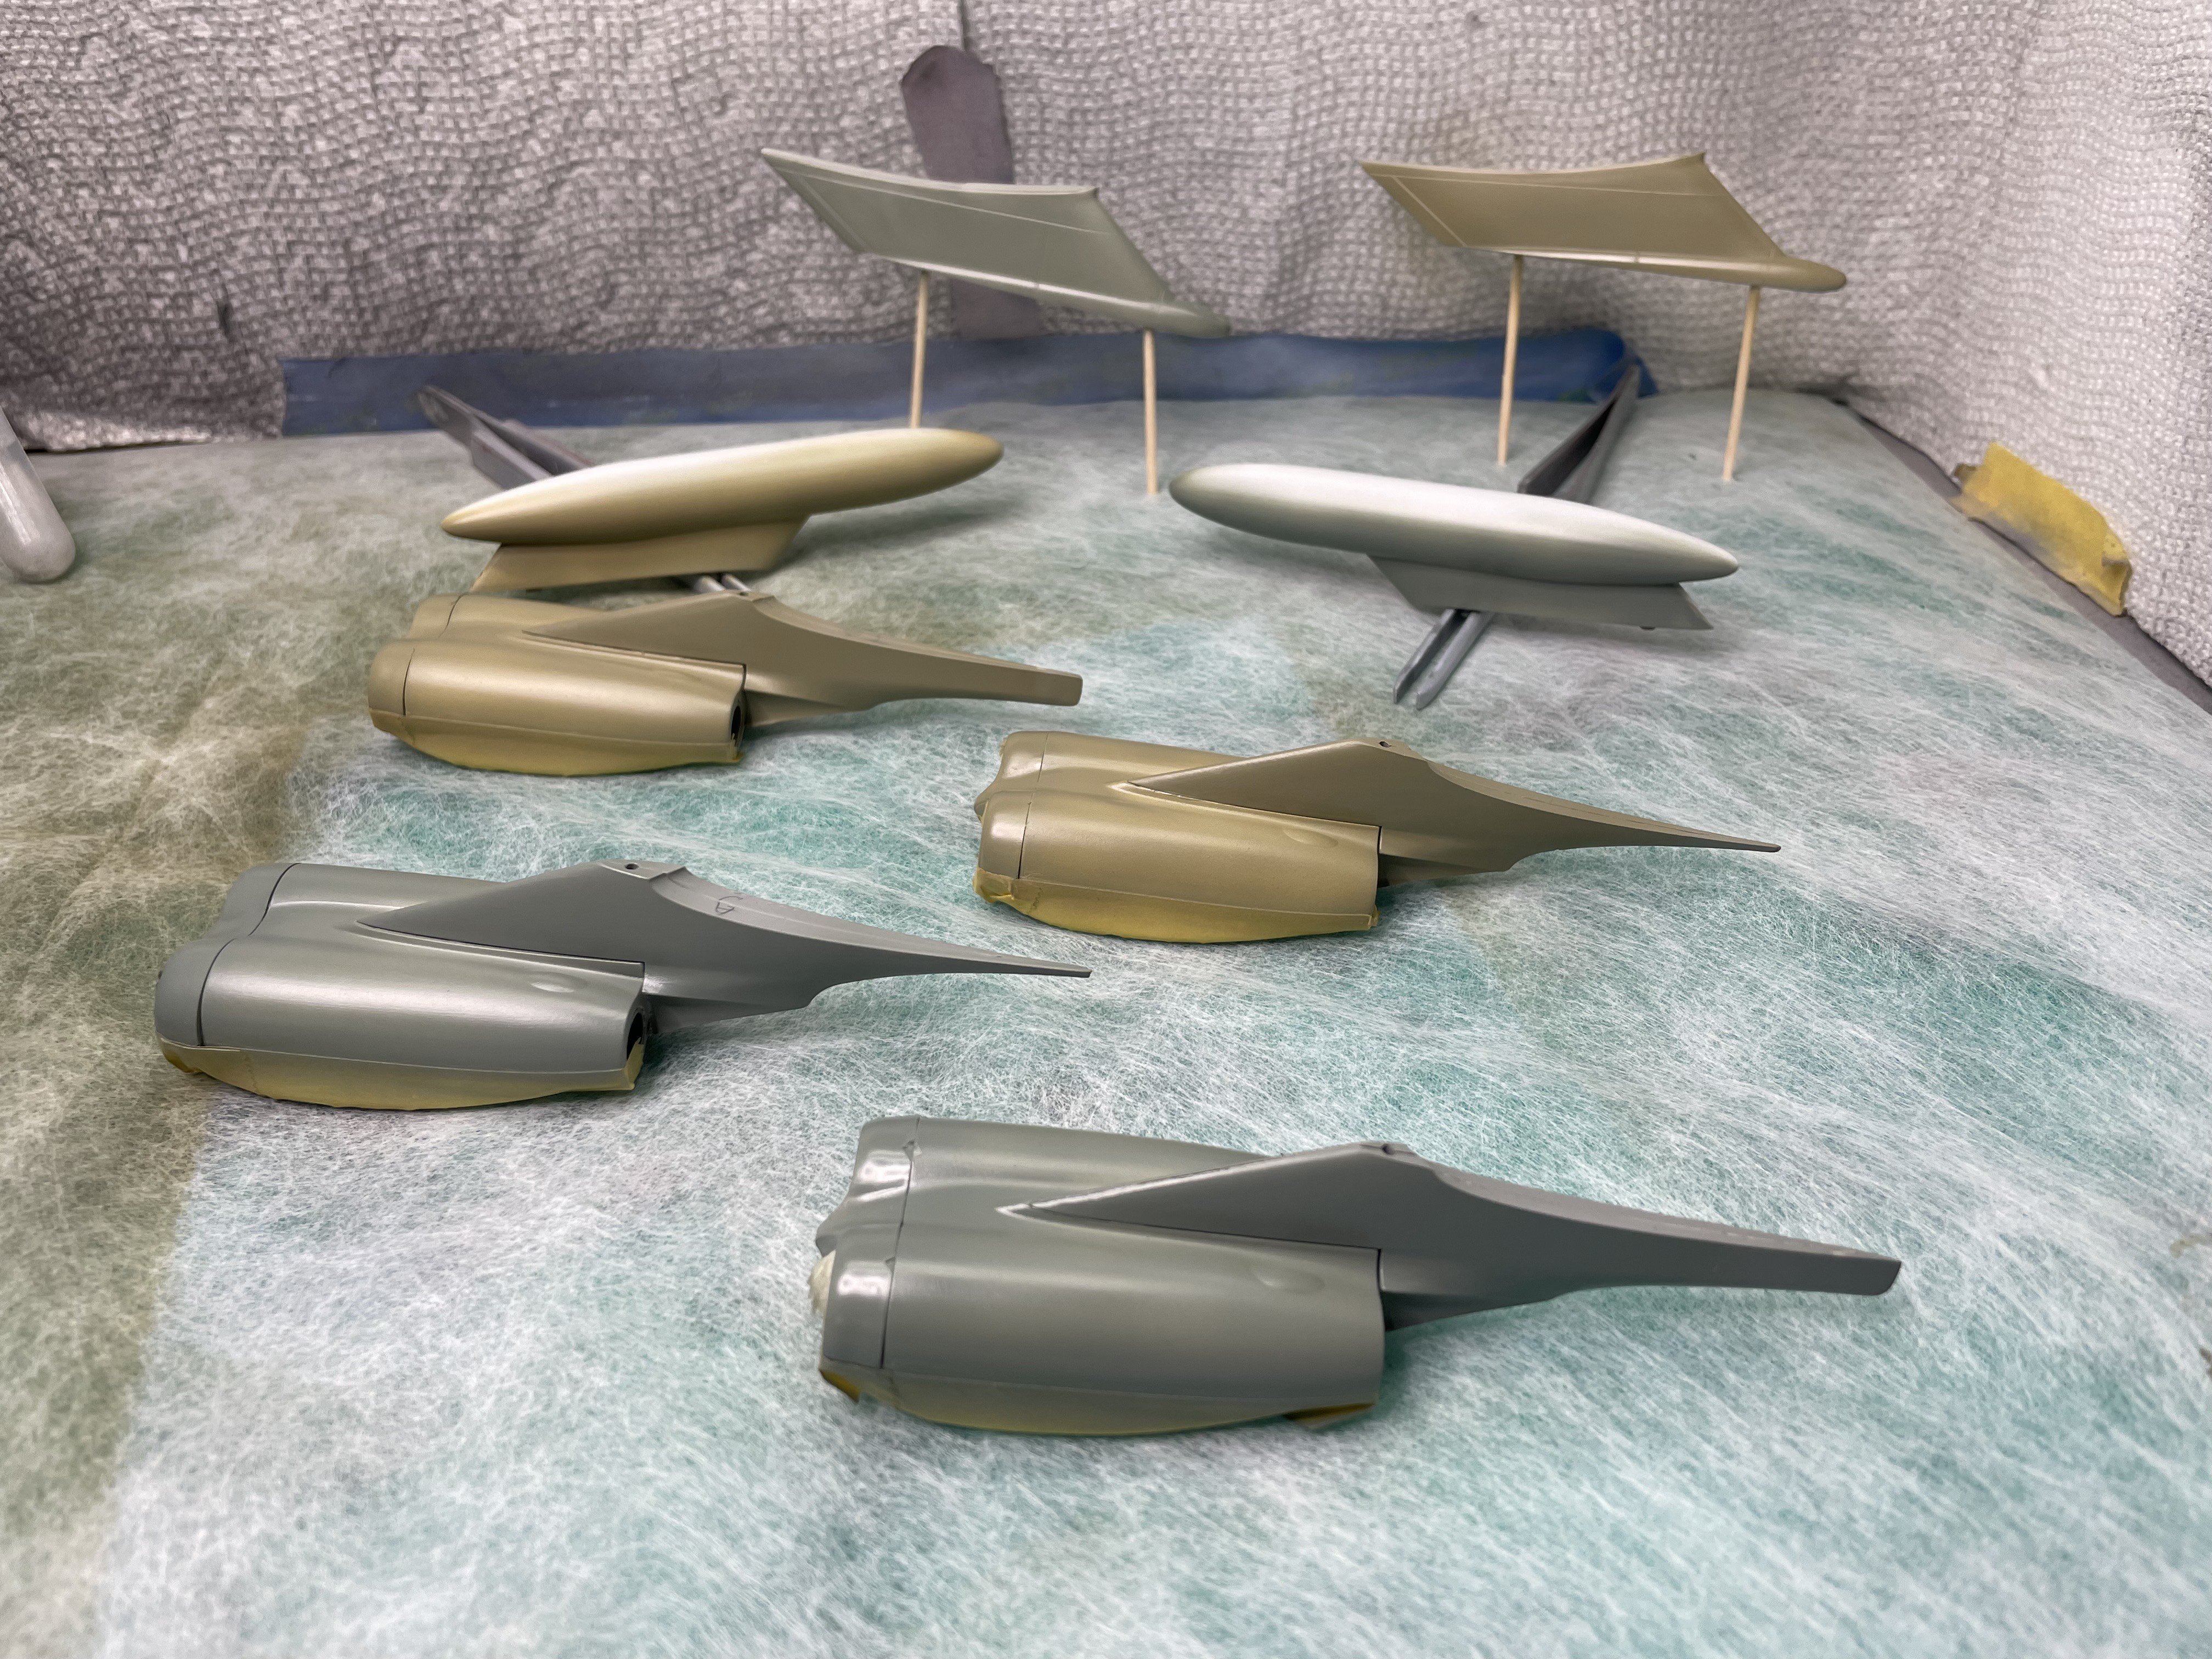
Making progress on the wing after getting the engine nacelles together and figuring out which of the engine pylons go with which nacelles. According to the instructions, there are two different configurations. For the life of me, I can't tell the difference with the exception of the join between the nacelles and the pylons is slightly different between the inner and out engines. Back to my oft-repeated refrain... a lack of location capability is a liability here. Believe it or not, this is the only pin to join the pylon to the wing; The big challenge is then making sure the engines are facing in the right direction. Here is my first attempt at a mock-up: Right now using the fuselage/wing join line as the guide. Also, as you can see, playing with attaching the Italeri pylon and the Hound Dog missile to the wing. Might work! I did some sanding to try and match the wing profile - and if it works, I'll use some screws from inside the wing to secure the missile pylon to the wing. Have to see about sliding it forward to level out the missile. Hoping to get this into paint in the next two weeks. This is the intended scheme...


-
it did! I didn't even know to look for it. When I ordered some new Cleaner, it came with it. Yay!
-
That it would be! I could cut it in half.
-
Mike, Thanks and you too! No!! Incredibly helpful and the 'gunky' comment rings a bell. I think I'm dealing with very old paint. I have so much I hate to pitch it all. I will likely start mixing in a glass jar to check on the consistency and might have to use one of those battery-powered spin mixers to really mix it up. I sprayed some MRP this morning and it sprayed beautifully, as you would expect. Where did you get that handy little tool you show above? I'm going to have to get one... UPDATE: I found the tool! It is coming as part of a cleaning package. Cheers!


.jpeg.23b8052c247dfe47cc2b76e6ad9c7061.jpeg)
.jpeg.76b65aecd2fd775bbcf3e89c7fdc16eb.jpeg)