CANicoll
-
Posts
1,930 -
Joined
-
Last visited
Content Type
Profiles
Forums
Events
Gallery
Everything posted by CANicoll
-

Eduard Spitfire Mk. XVI Bubbletop 1/48
CANicoll replied to CANicoll's topic in LSM 1/48 Work in Progress
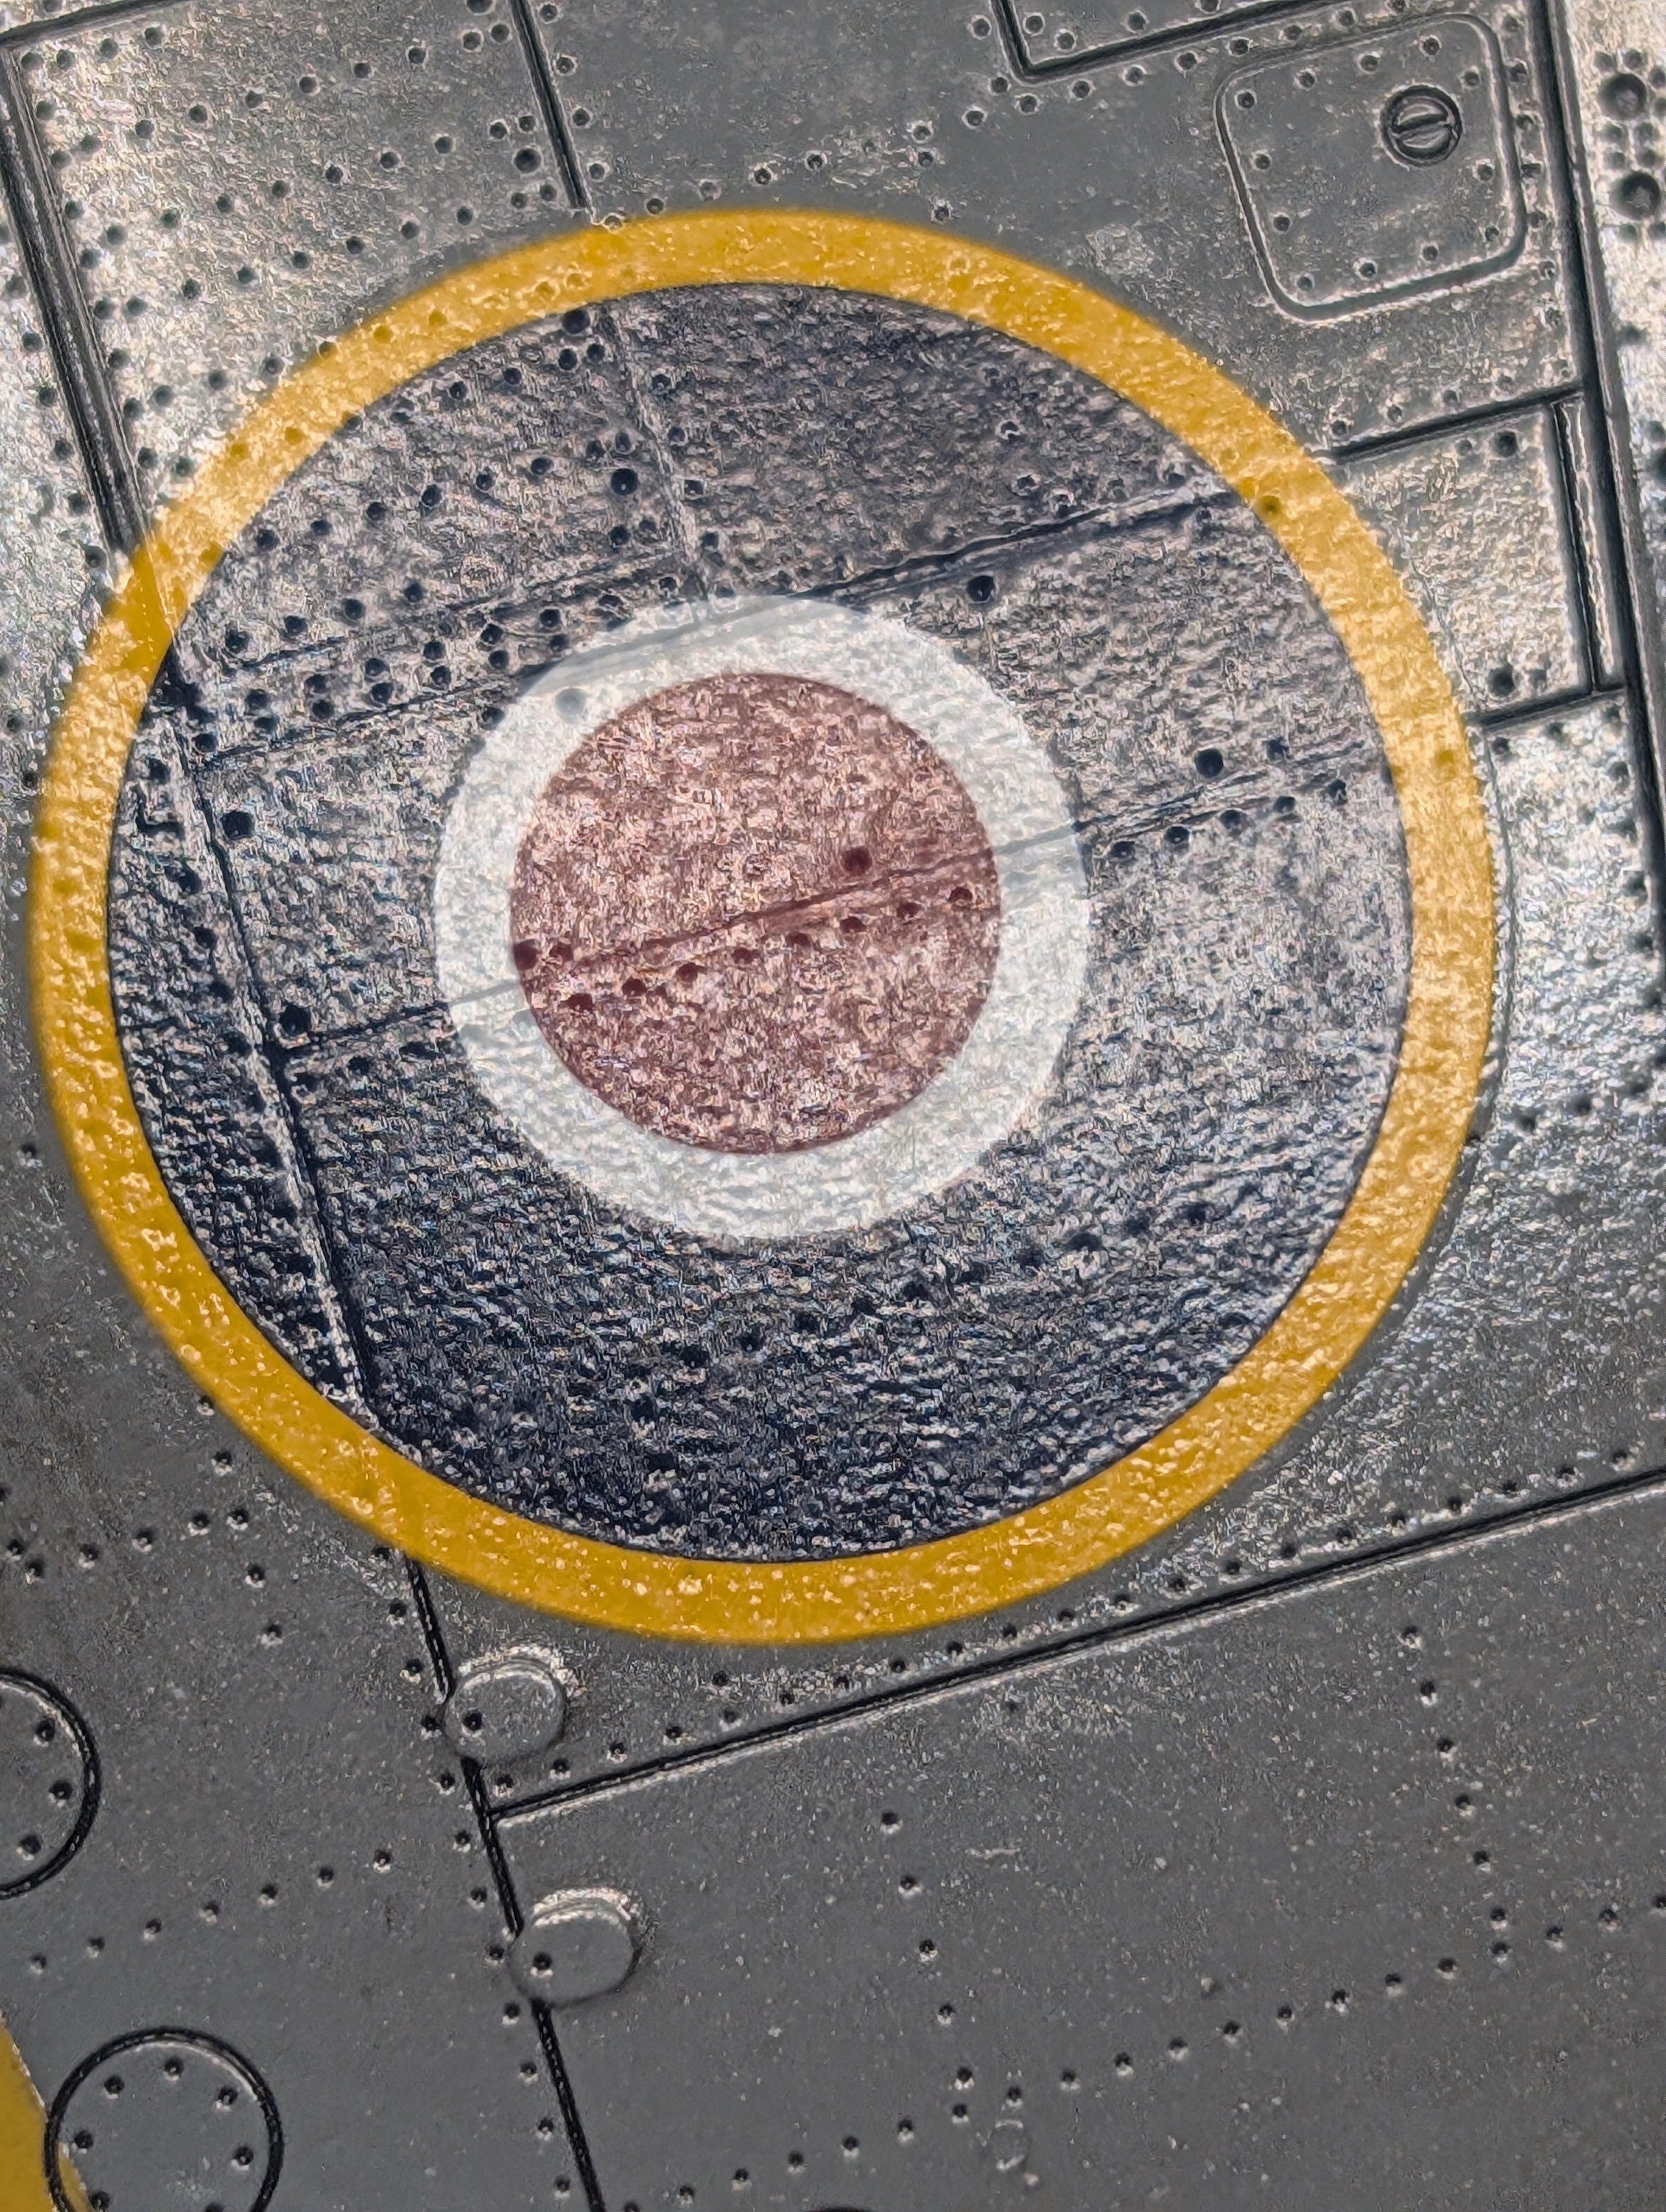
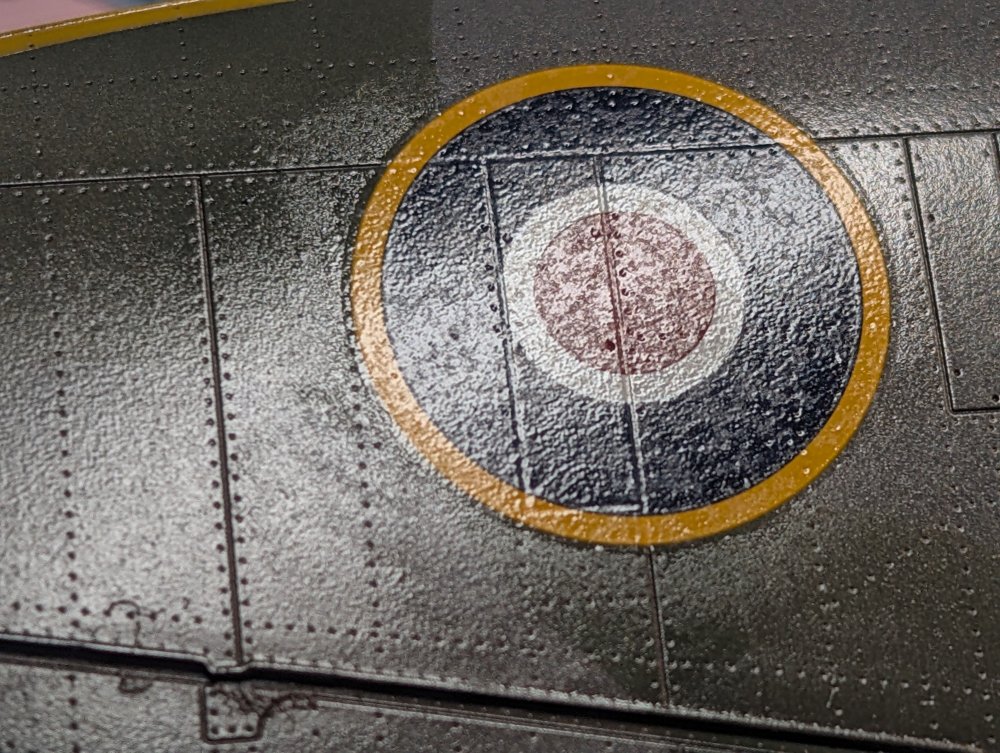
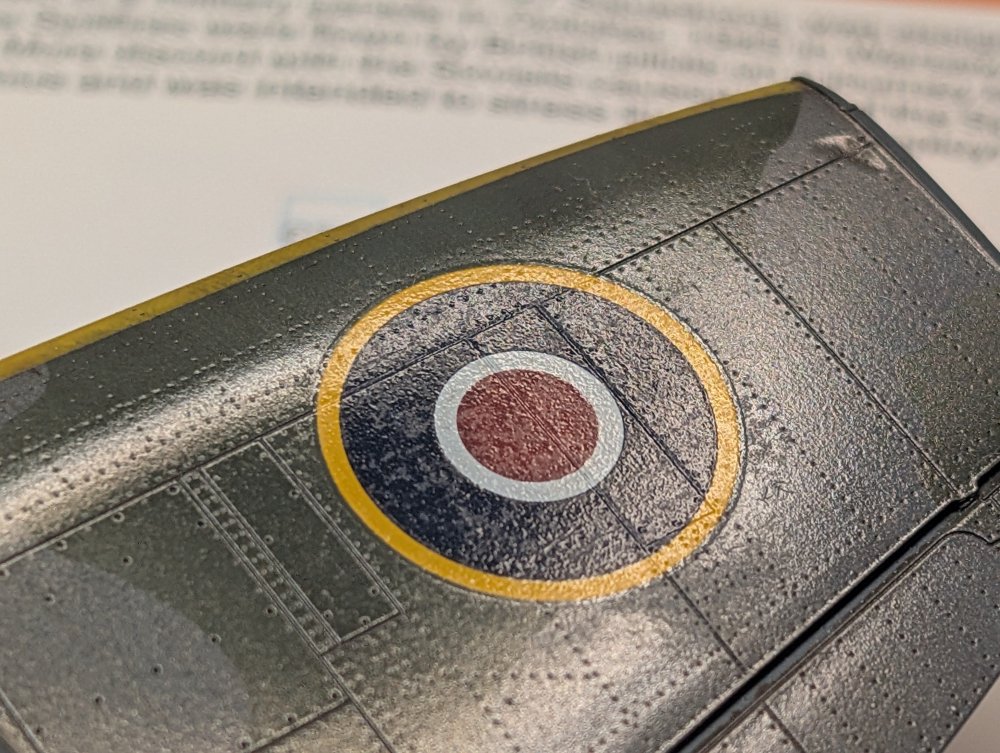
Hi Gus and Kevin, thanks but yeah, mine are from 2015 so can't lift the clear carrier film. These are currently shown before the top clear coat so hopefully the film will disappear. Here is how things look now, sorry for the out of focus pic: The decals are doing pretty well settling down into the detail. I've applied about 90% of the stencils so far. SADLY, This is one of two places where I've found parts of a fingerprint in the wash. And a little bit that didn't get painted. Coming together...
-
Cobra Coupe - Le Mans - Model Factory Hiro 1/12
CANicoll replied to DocRob's topic in LSM 1/35 and Larger Work In Progress
That is stunning!!! -
Eduard Spitfire Mk. XVI Bubbletop 1/48
CANicoll replied to CANicoll's topic in LSM 1/48 Work in Progress
Thanks Mike!! The MRP and Vallejo paints are playing well together. Looking forward to seeing how it all comes together after this is all said and done. Still a ways to go to get there. Been applying the stencils... -
Eduard Spitfire Mk. XVI Bubbletop 1/48
CANicoll replied to CANicoll's topic in LSM 1/48 Work in Progress
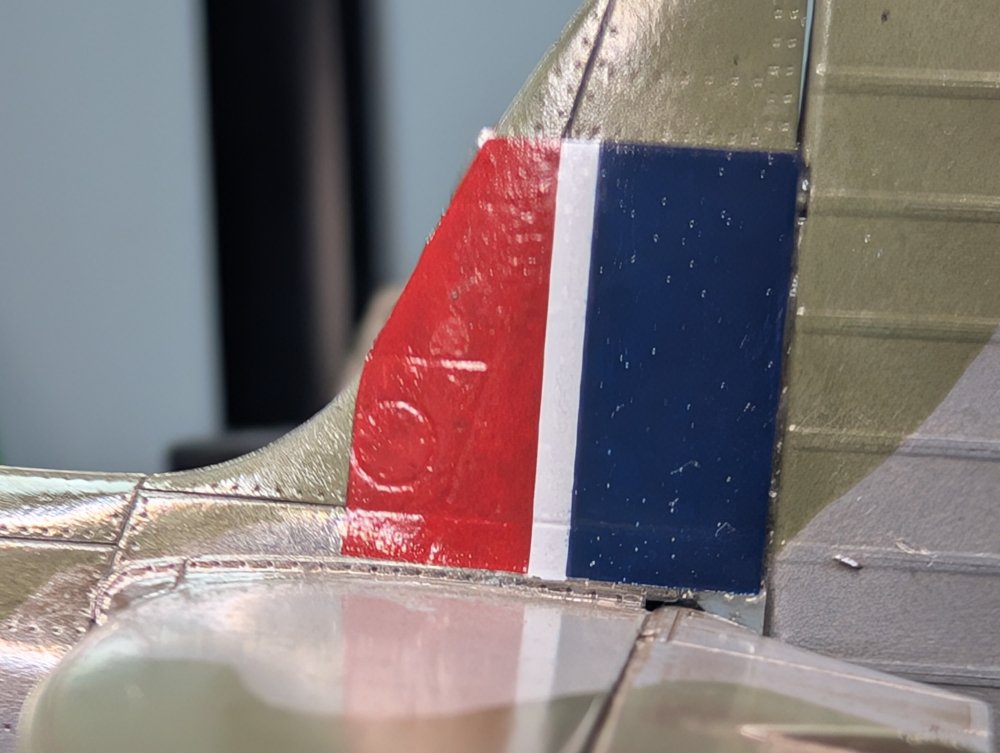
I completely forgot that the canopy on this model Spitfire actually covers part of the rear fuselage. I've painted the camo, but underneath the masked canopy is still the bare-metal fuselage. Oops! Will deal with that after decaling. -
Cobra Coupe - Le Mans - Model Factory Hiro 1/12
CANicoll replied to DocRob's topic in LSM 1/35 and Larger Work In Progress
Beautiful!!! And I see what you mean by the paint abrasion on the test fitting. But all good! Just fantastic work, Rob. The gauges and the Cobra Dash Placard look like the real thing. Such a pleasure to follow along. -
Eduard Spitfire Mk. XVI Bubbletop 1/48
CANicoll replied to CANicoll's topic in LSM 1/48 Work in Progress
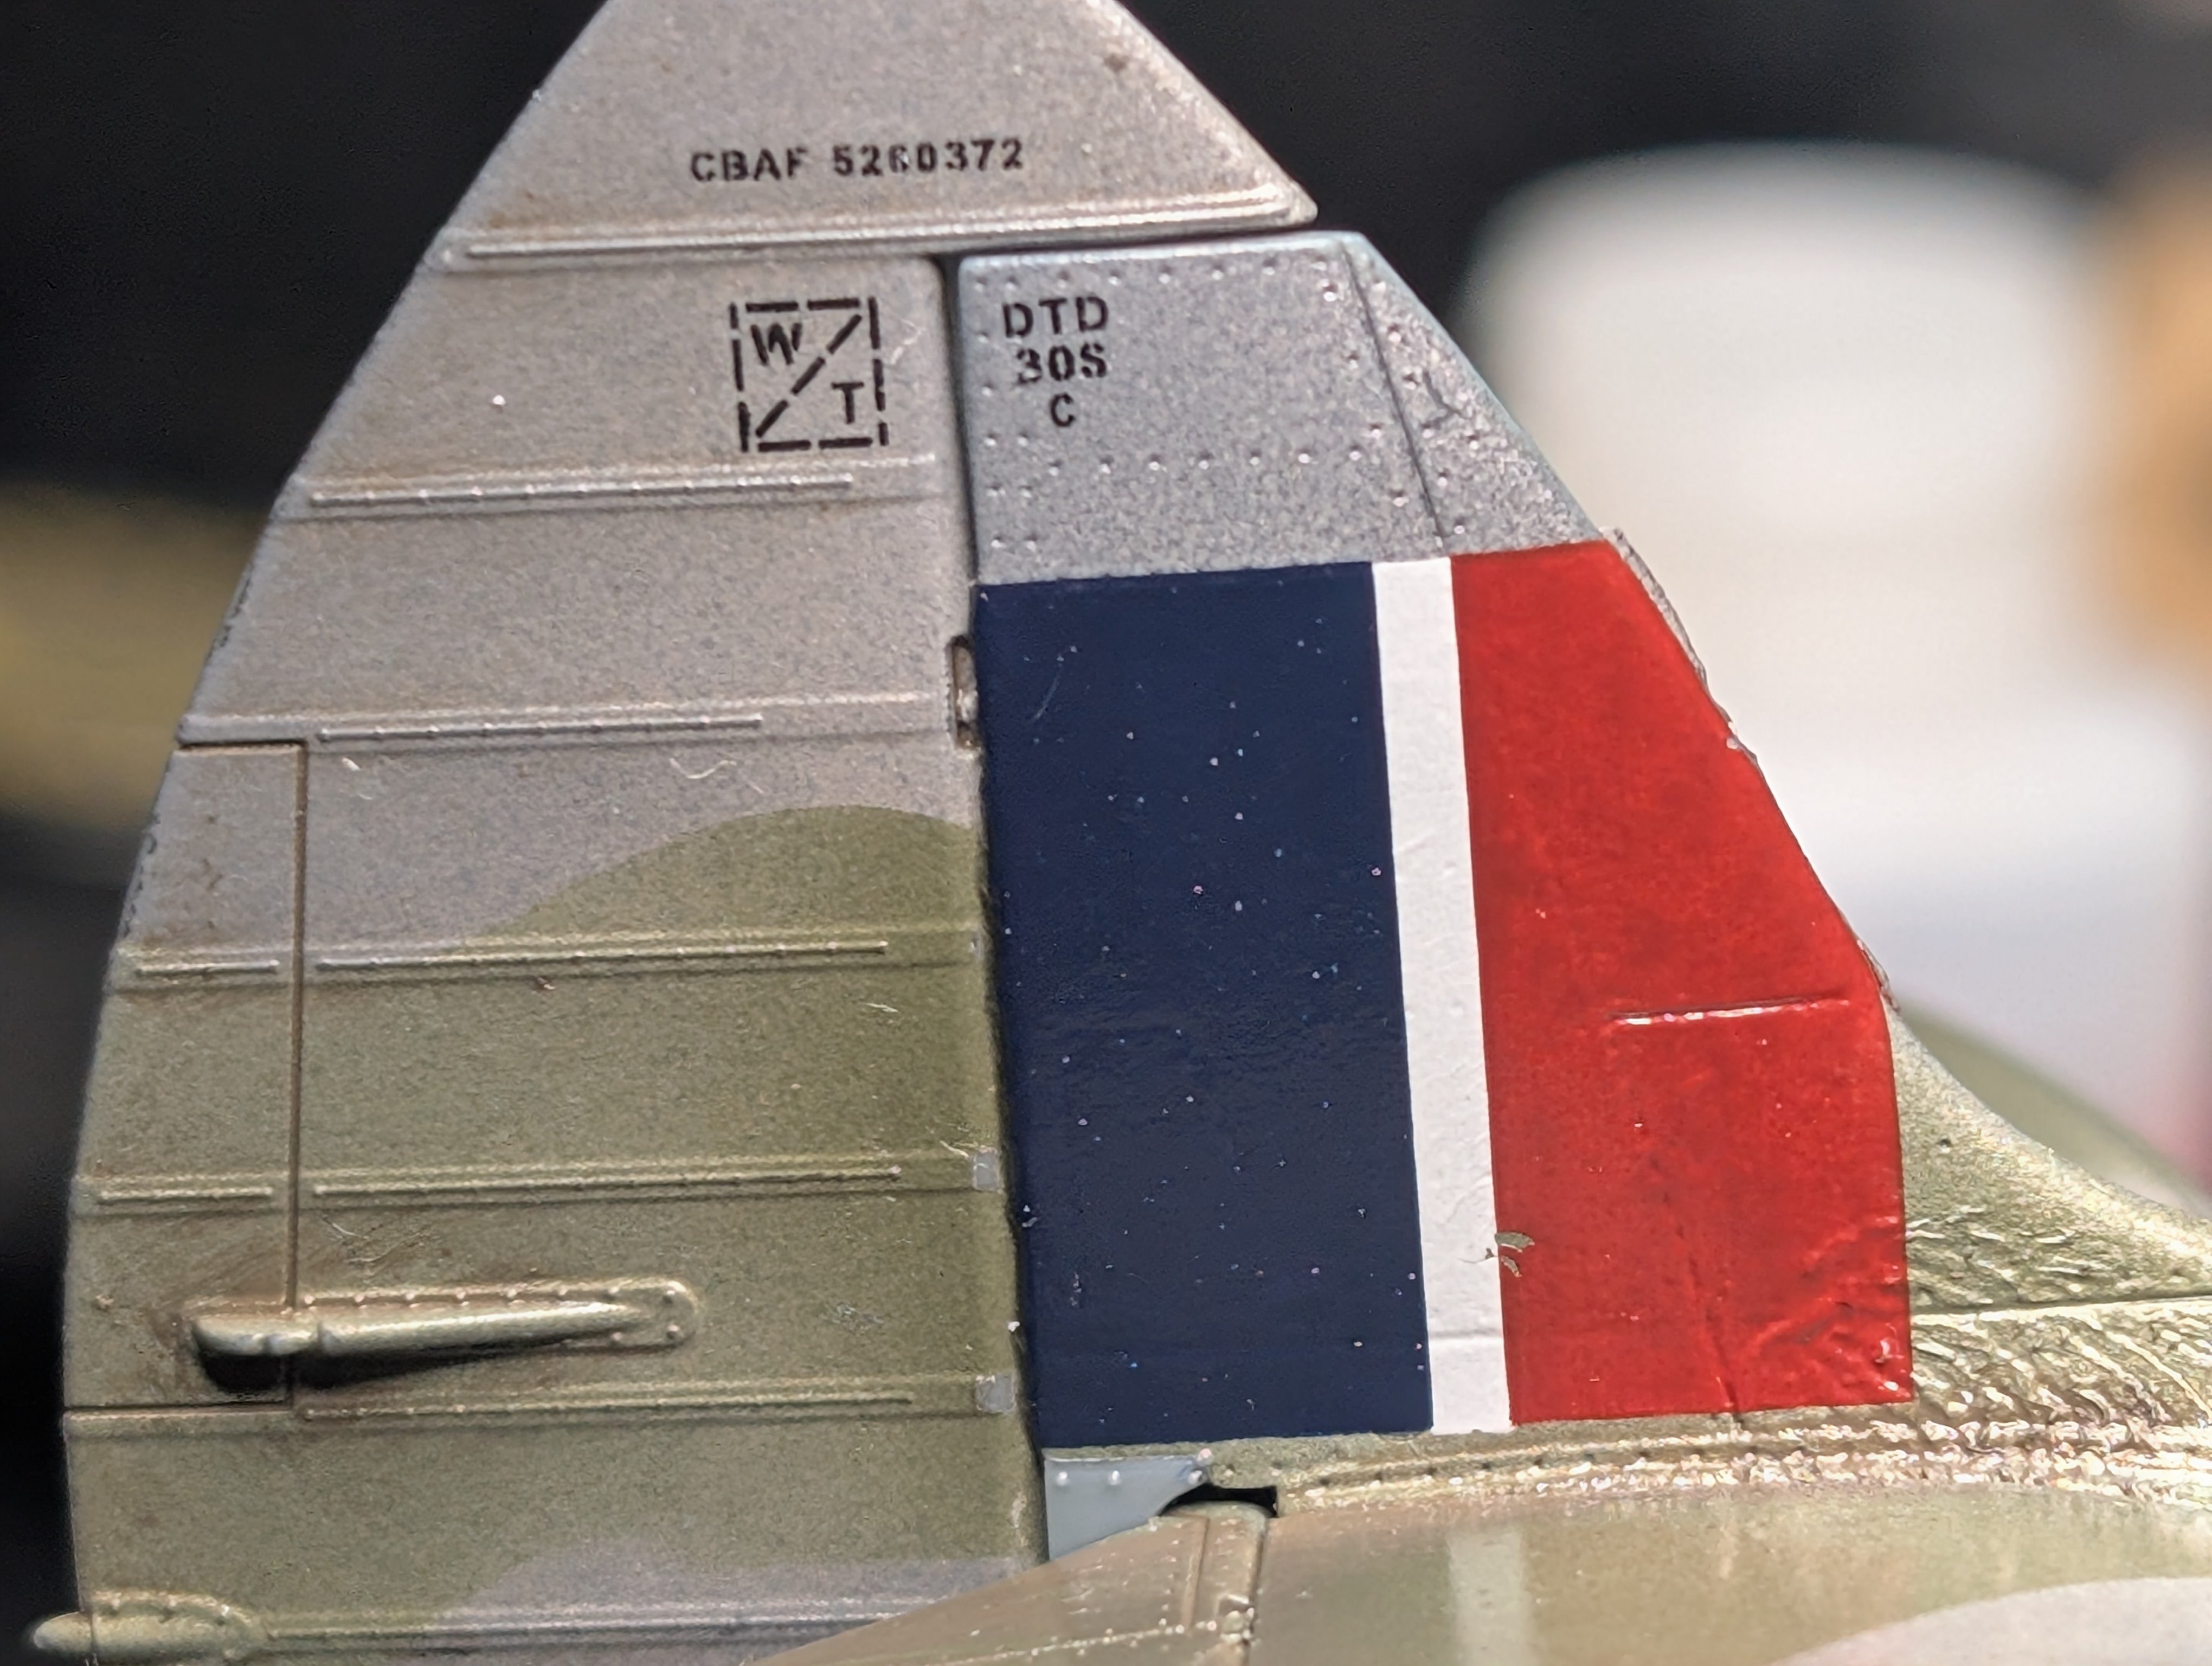
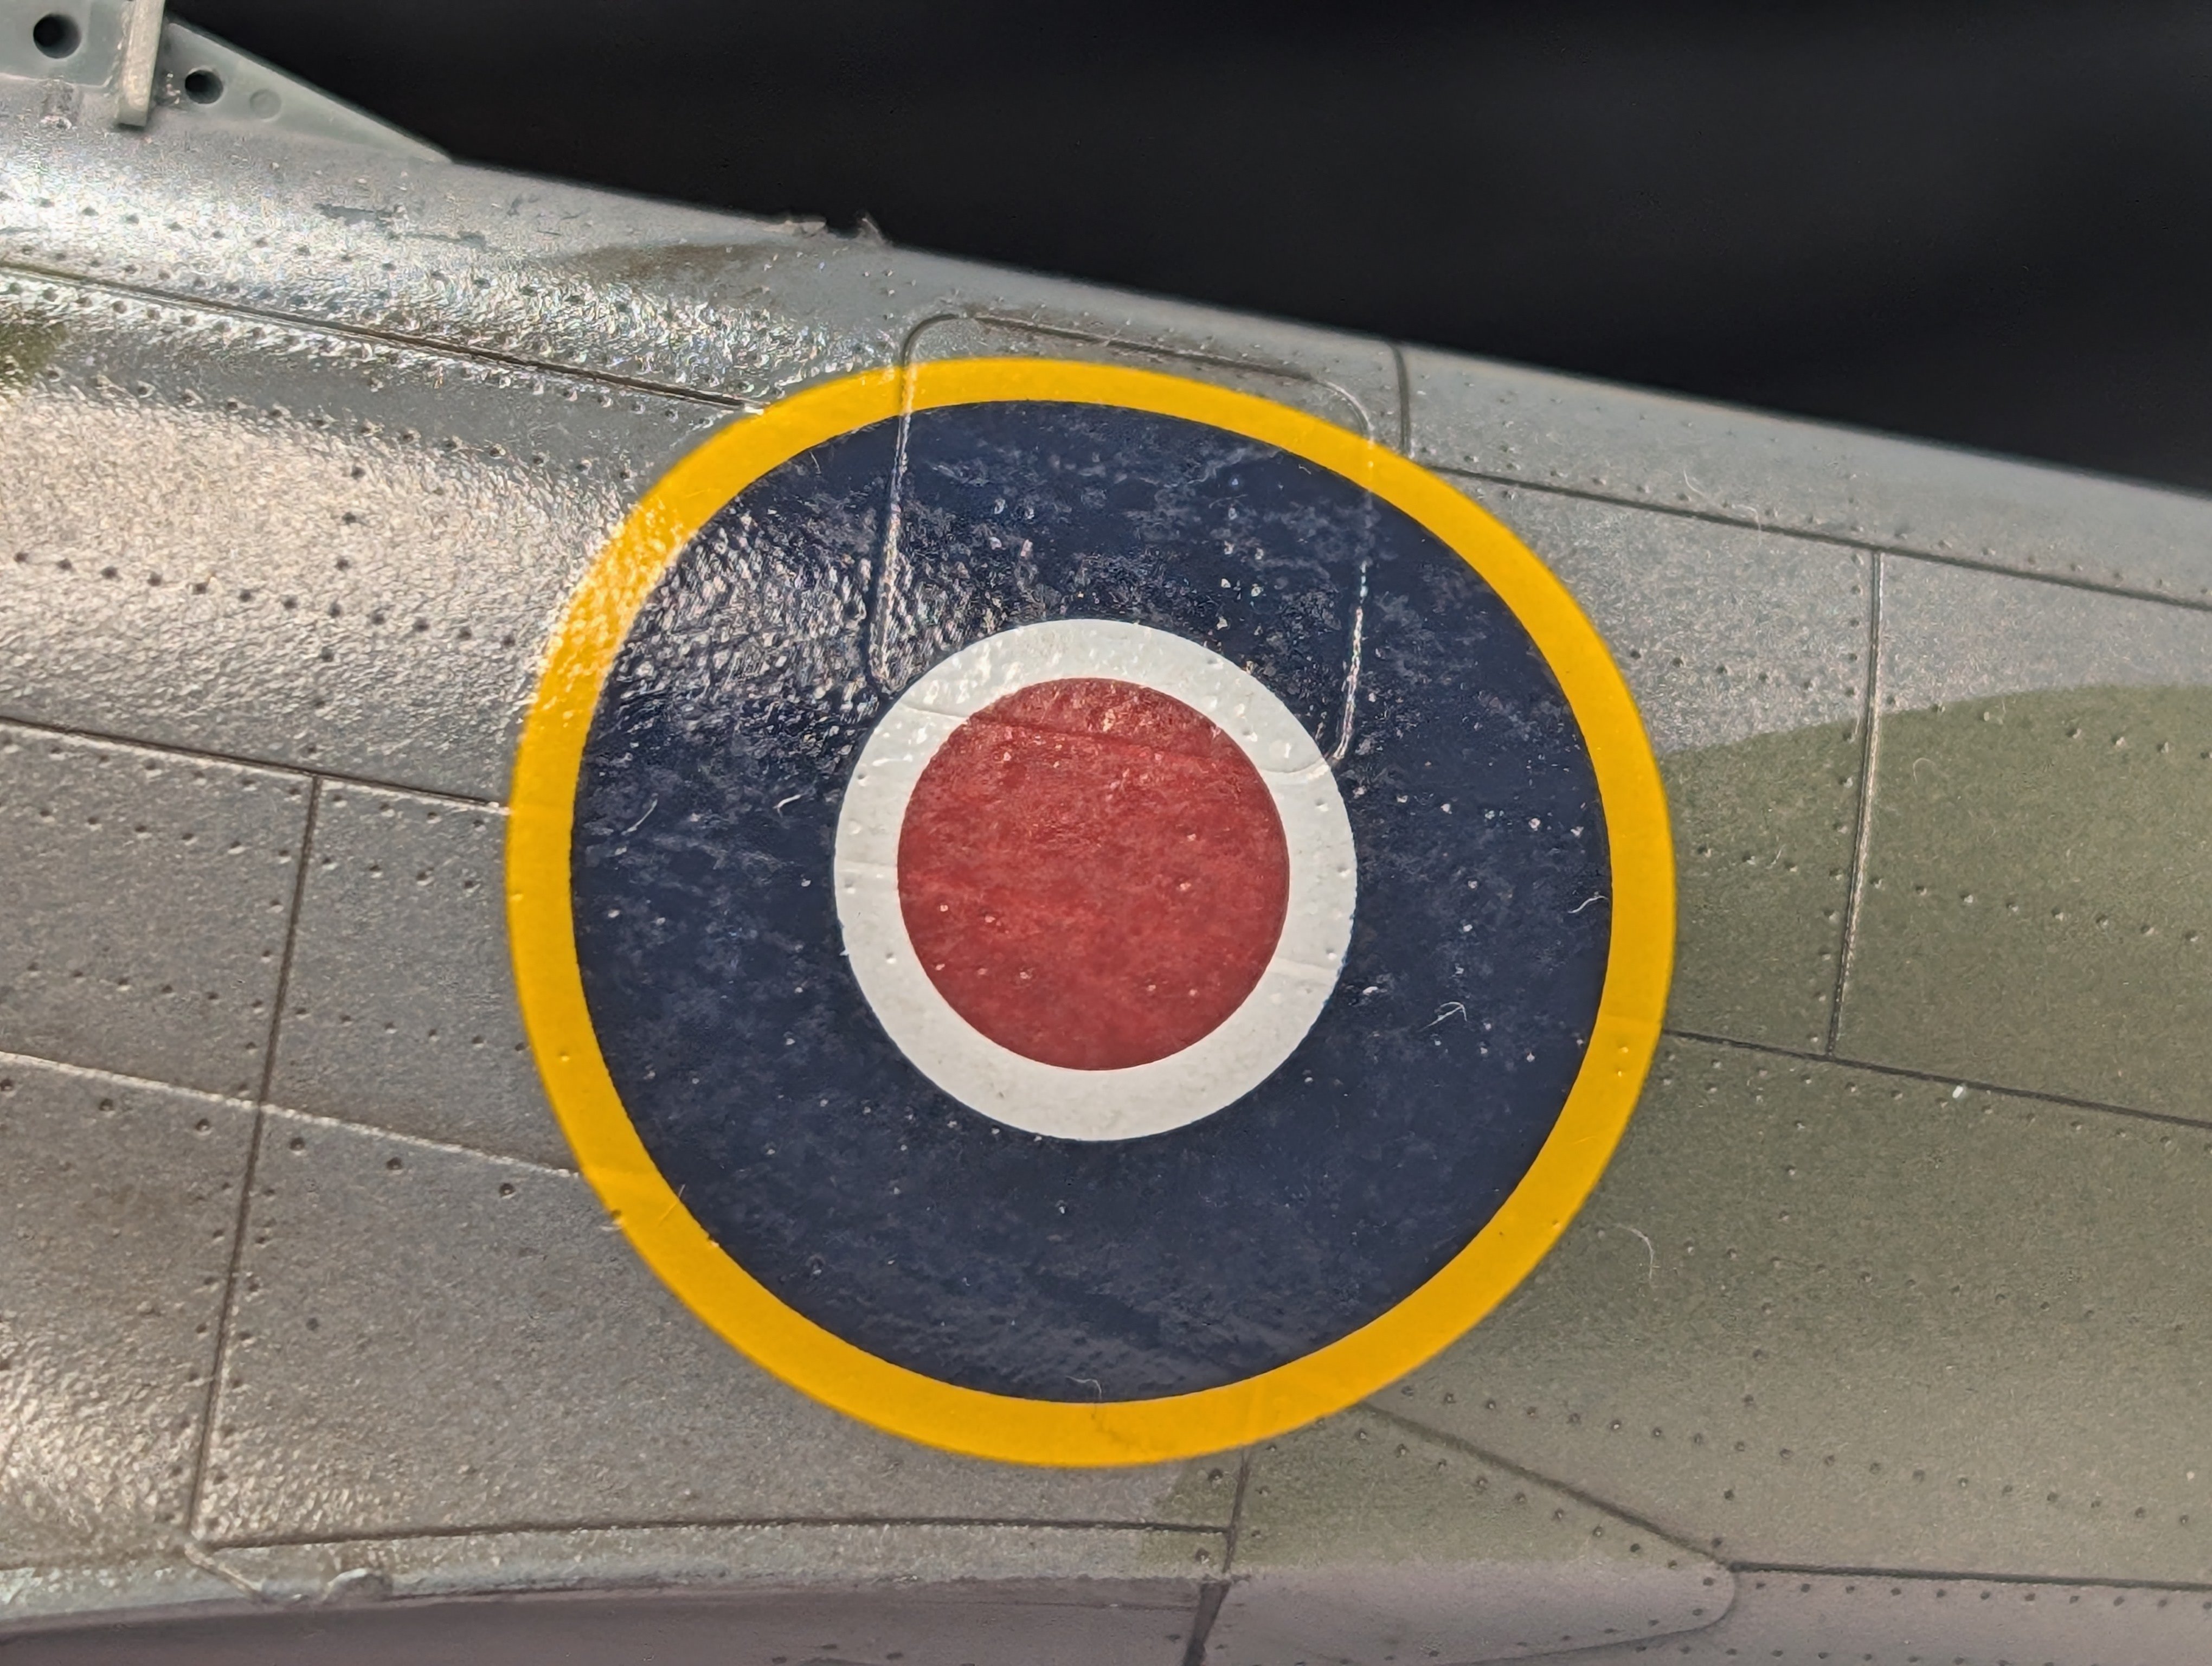
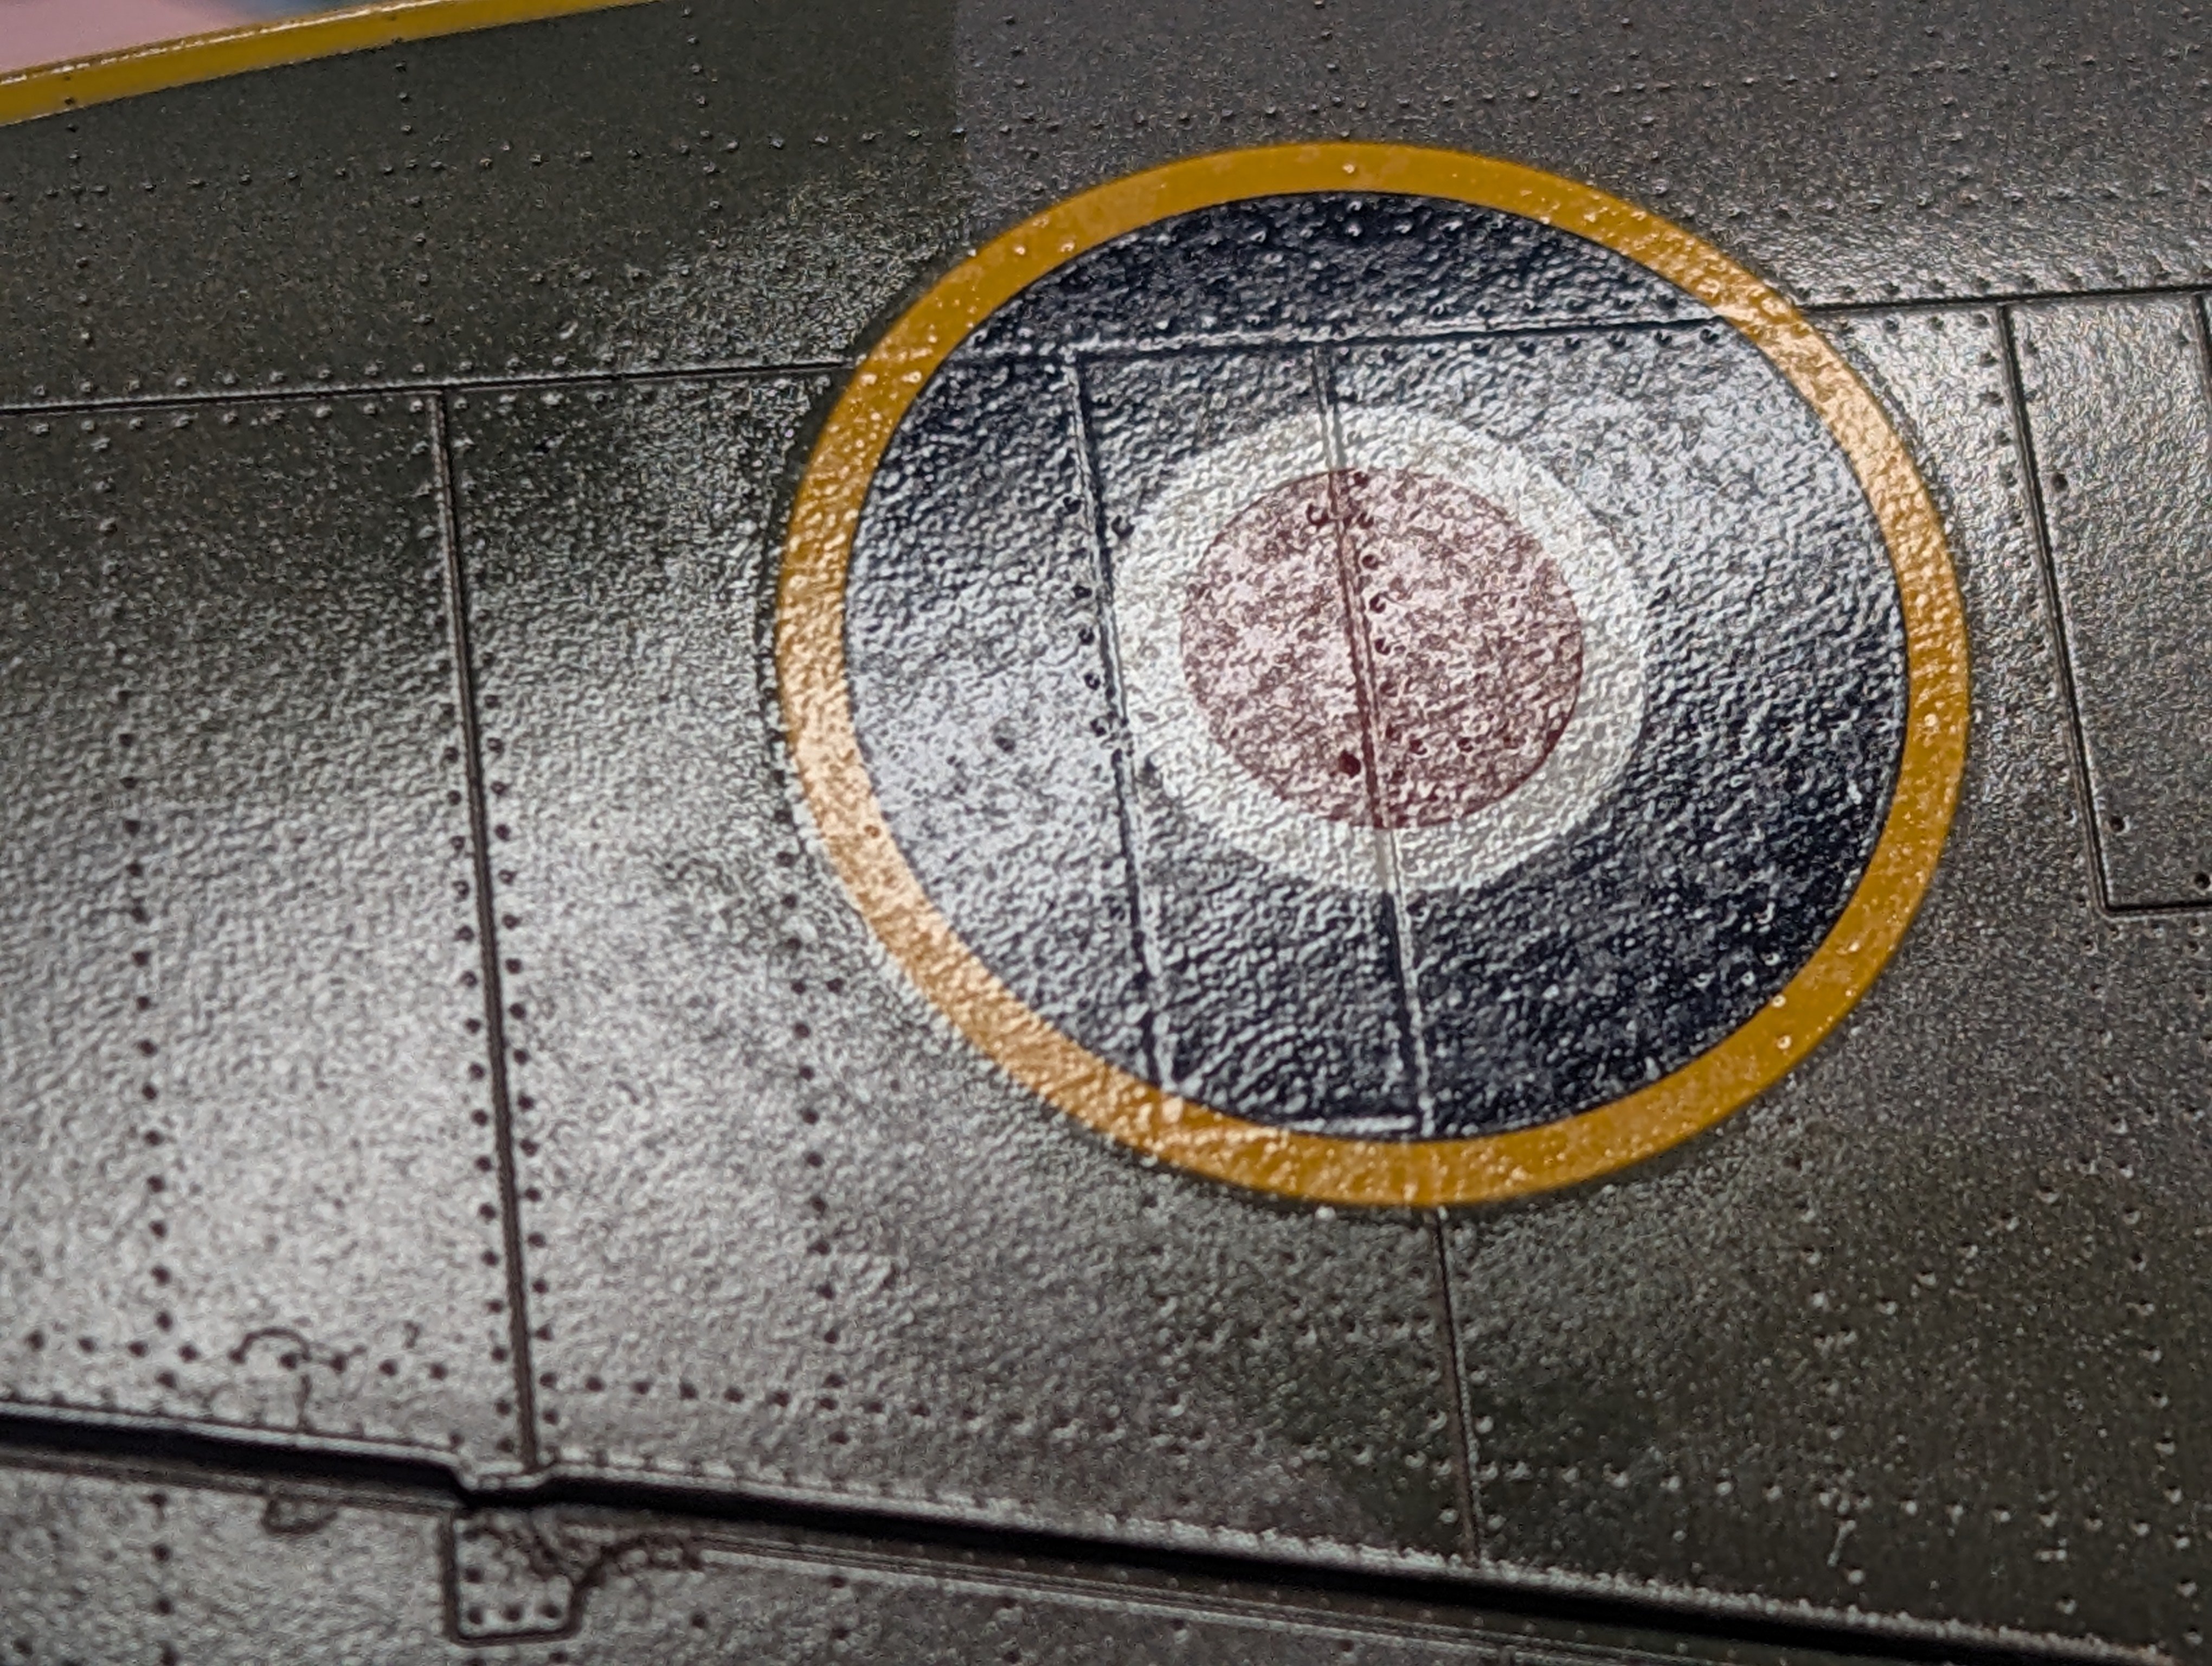
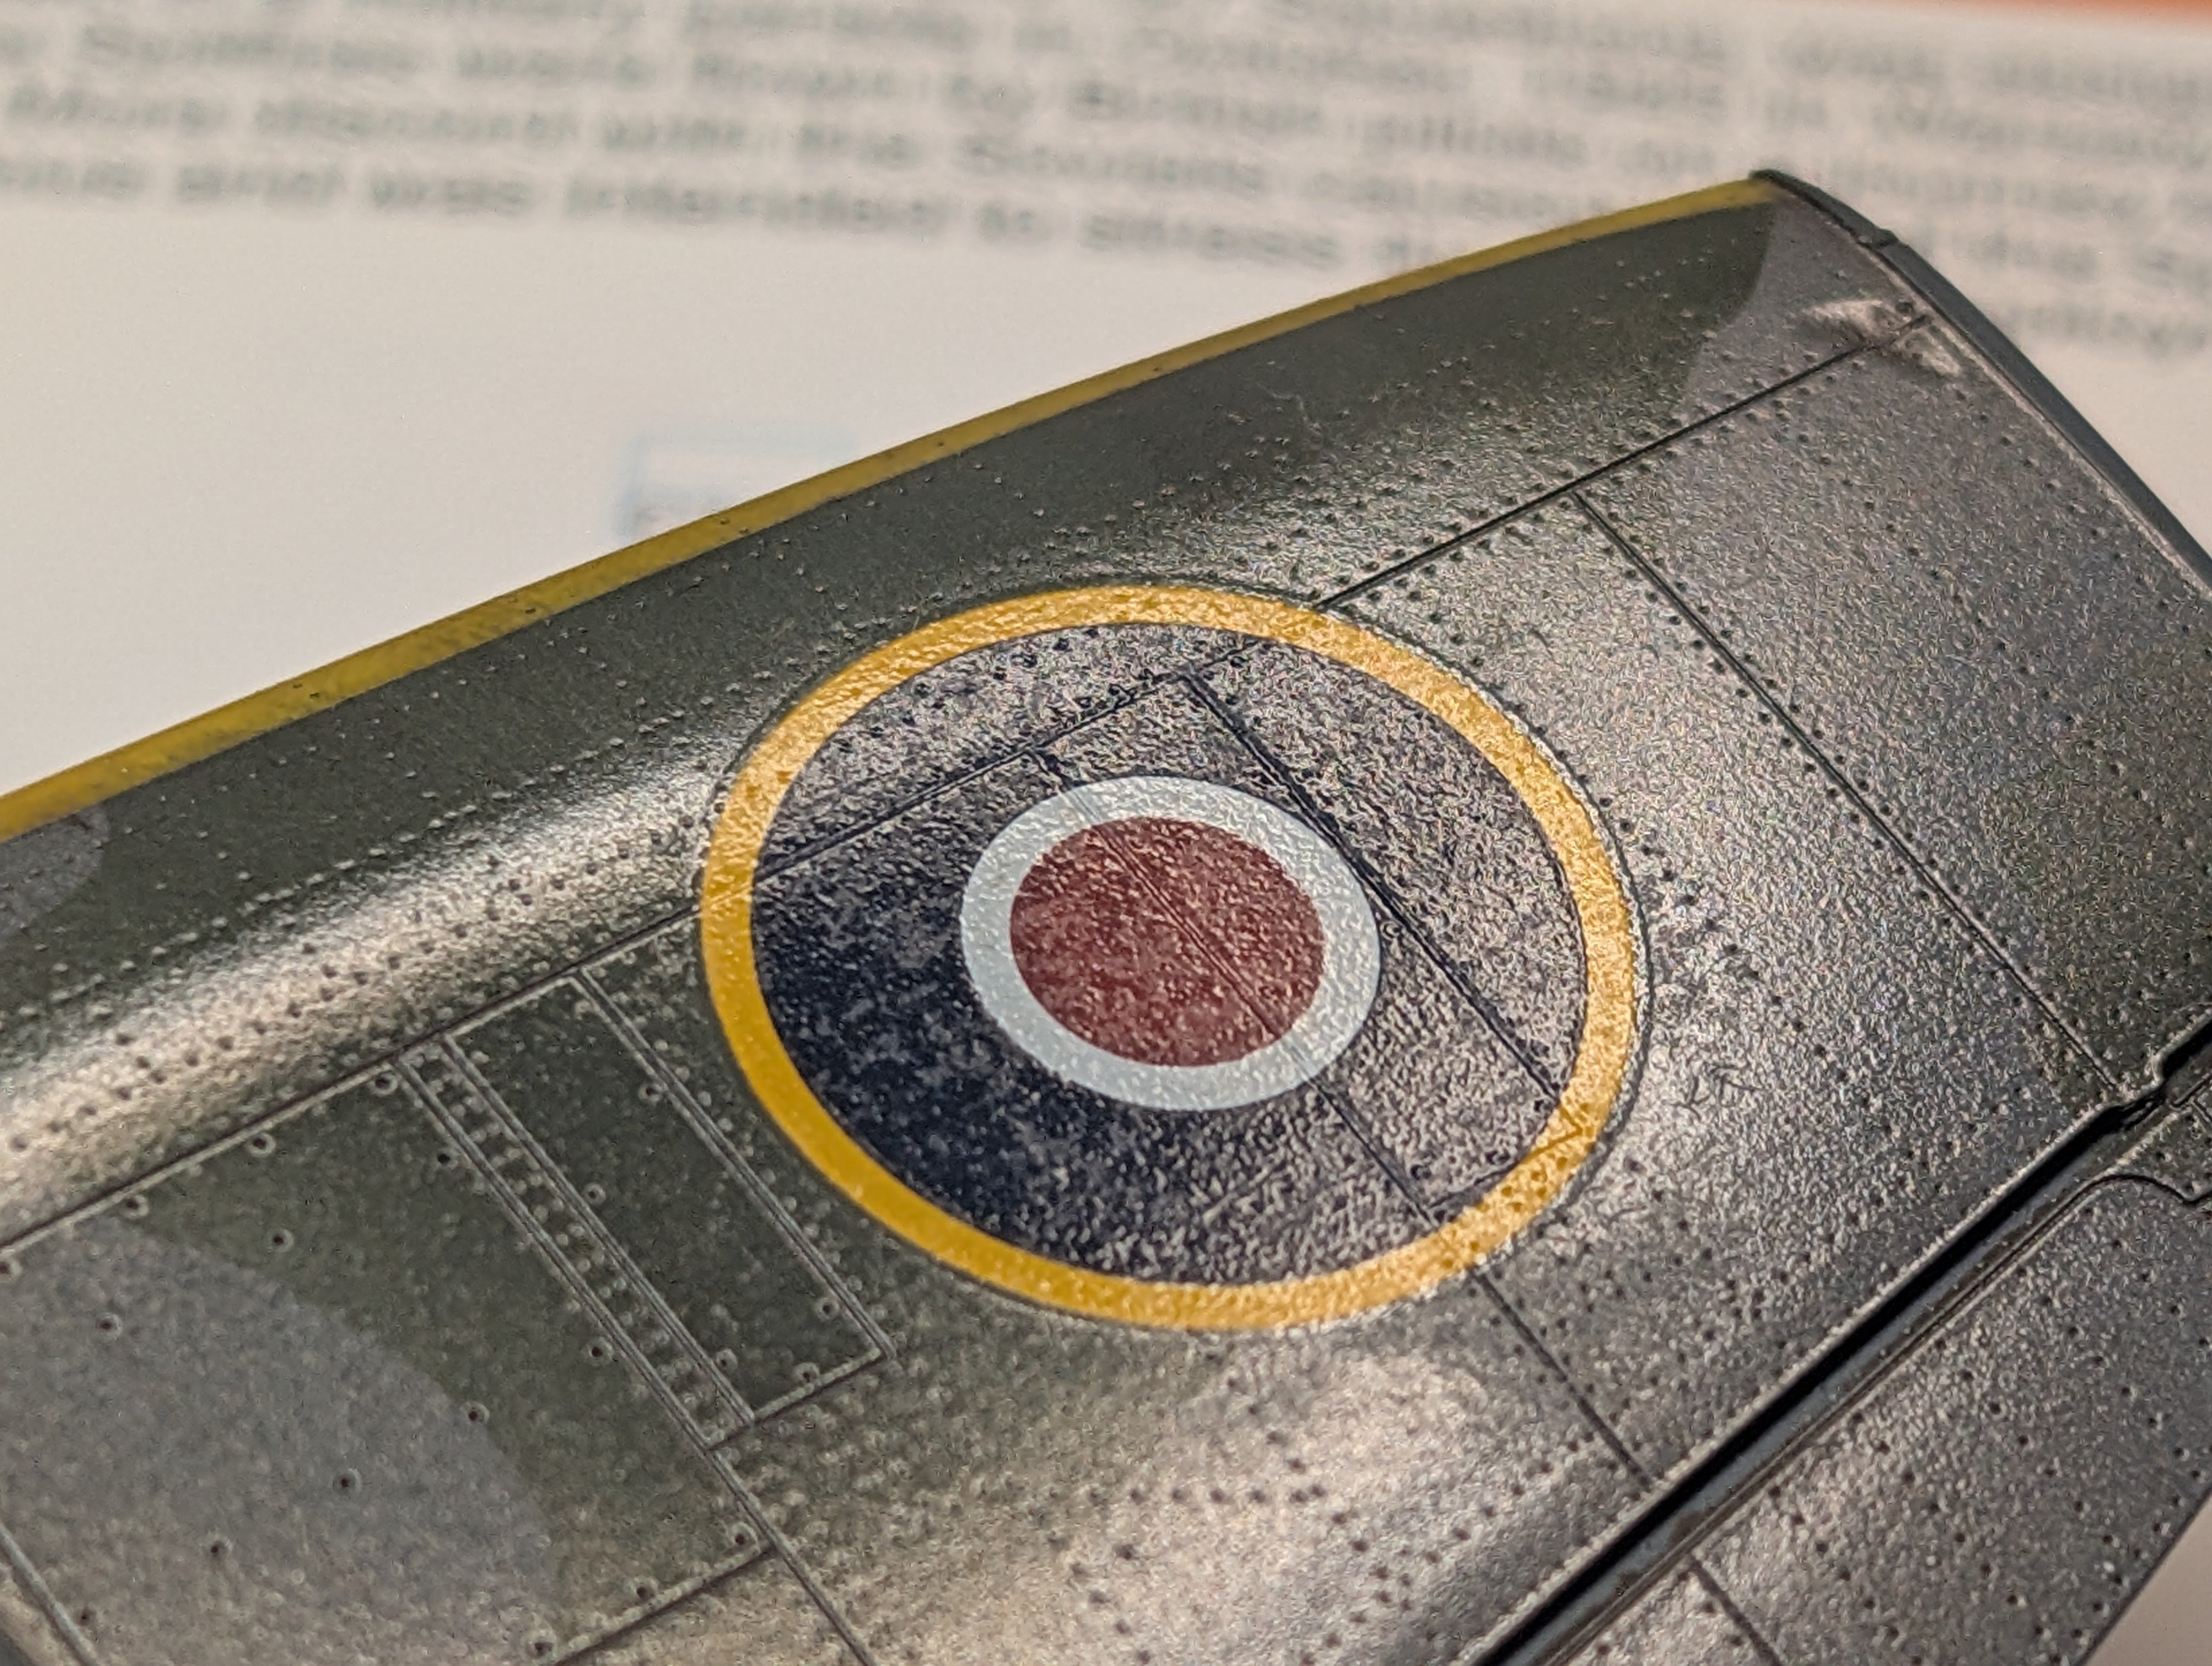
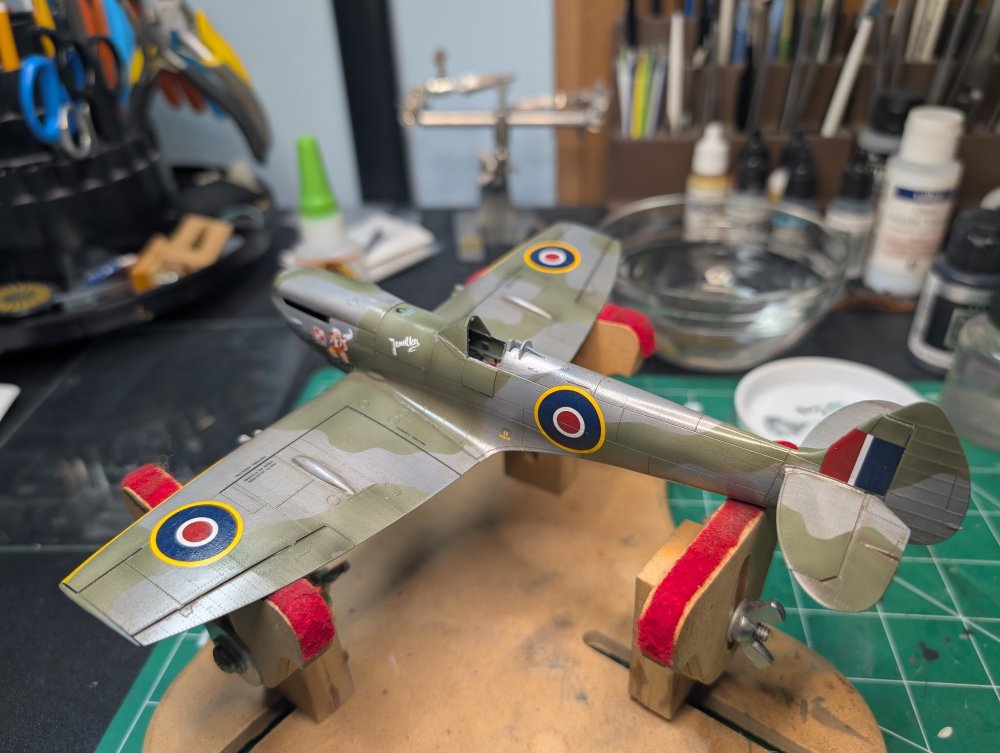
Making progress on the markings. I tried to find some masks to paint the markings. However, I'm not sure what size roundels these are so rather than wait, I used the Eduard roundel decals as the AM decals I have for this aircraft are from 2003. At least the Eduard ones are from 2015. I've had bad luck with old decals in the past. Working on really getting the decals to settle down into the fine detail on the Eduard wings. LOTS of MicroSet and MicroSOL. Some pressure with a damp paper towel. Trying a little bit of Solvaset as well. Sparingly. For some reason, I don't seem to have good results trying to use a hair dryer... So far so good. Hoping the pictures show the decals snuggling down into the details. Once they are snuggled down as much as I think they will, will hit them with a gloss coat and then the washes.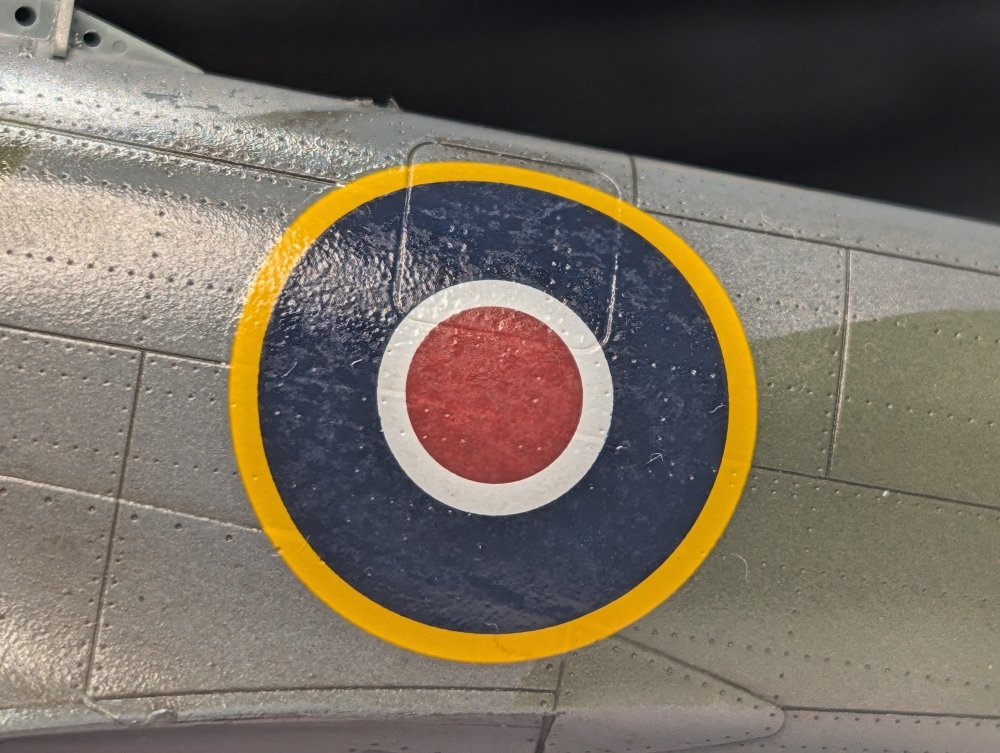

-
Eduard Spitfire Mk. XVI Bubbletop 1/48
CANicoll replied to CANicoll's topic in LSM 1/48 Work in Progress
Yep, I'll definitely be re-weathering over the markings. -
Eduard Spitfire Mk. XVI Bubbletop 1/48
CANicoll replied to CANicoll's topic in LSM 1/48 Work in Progress
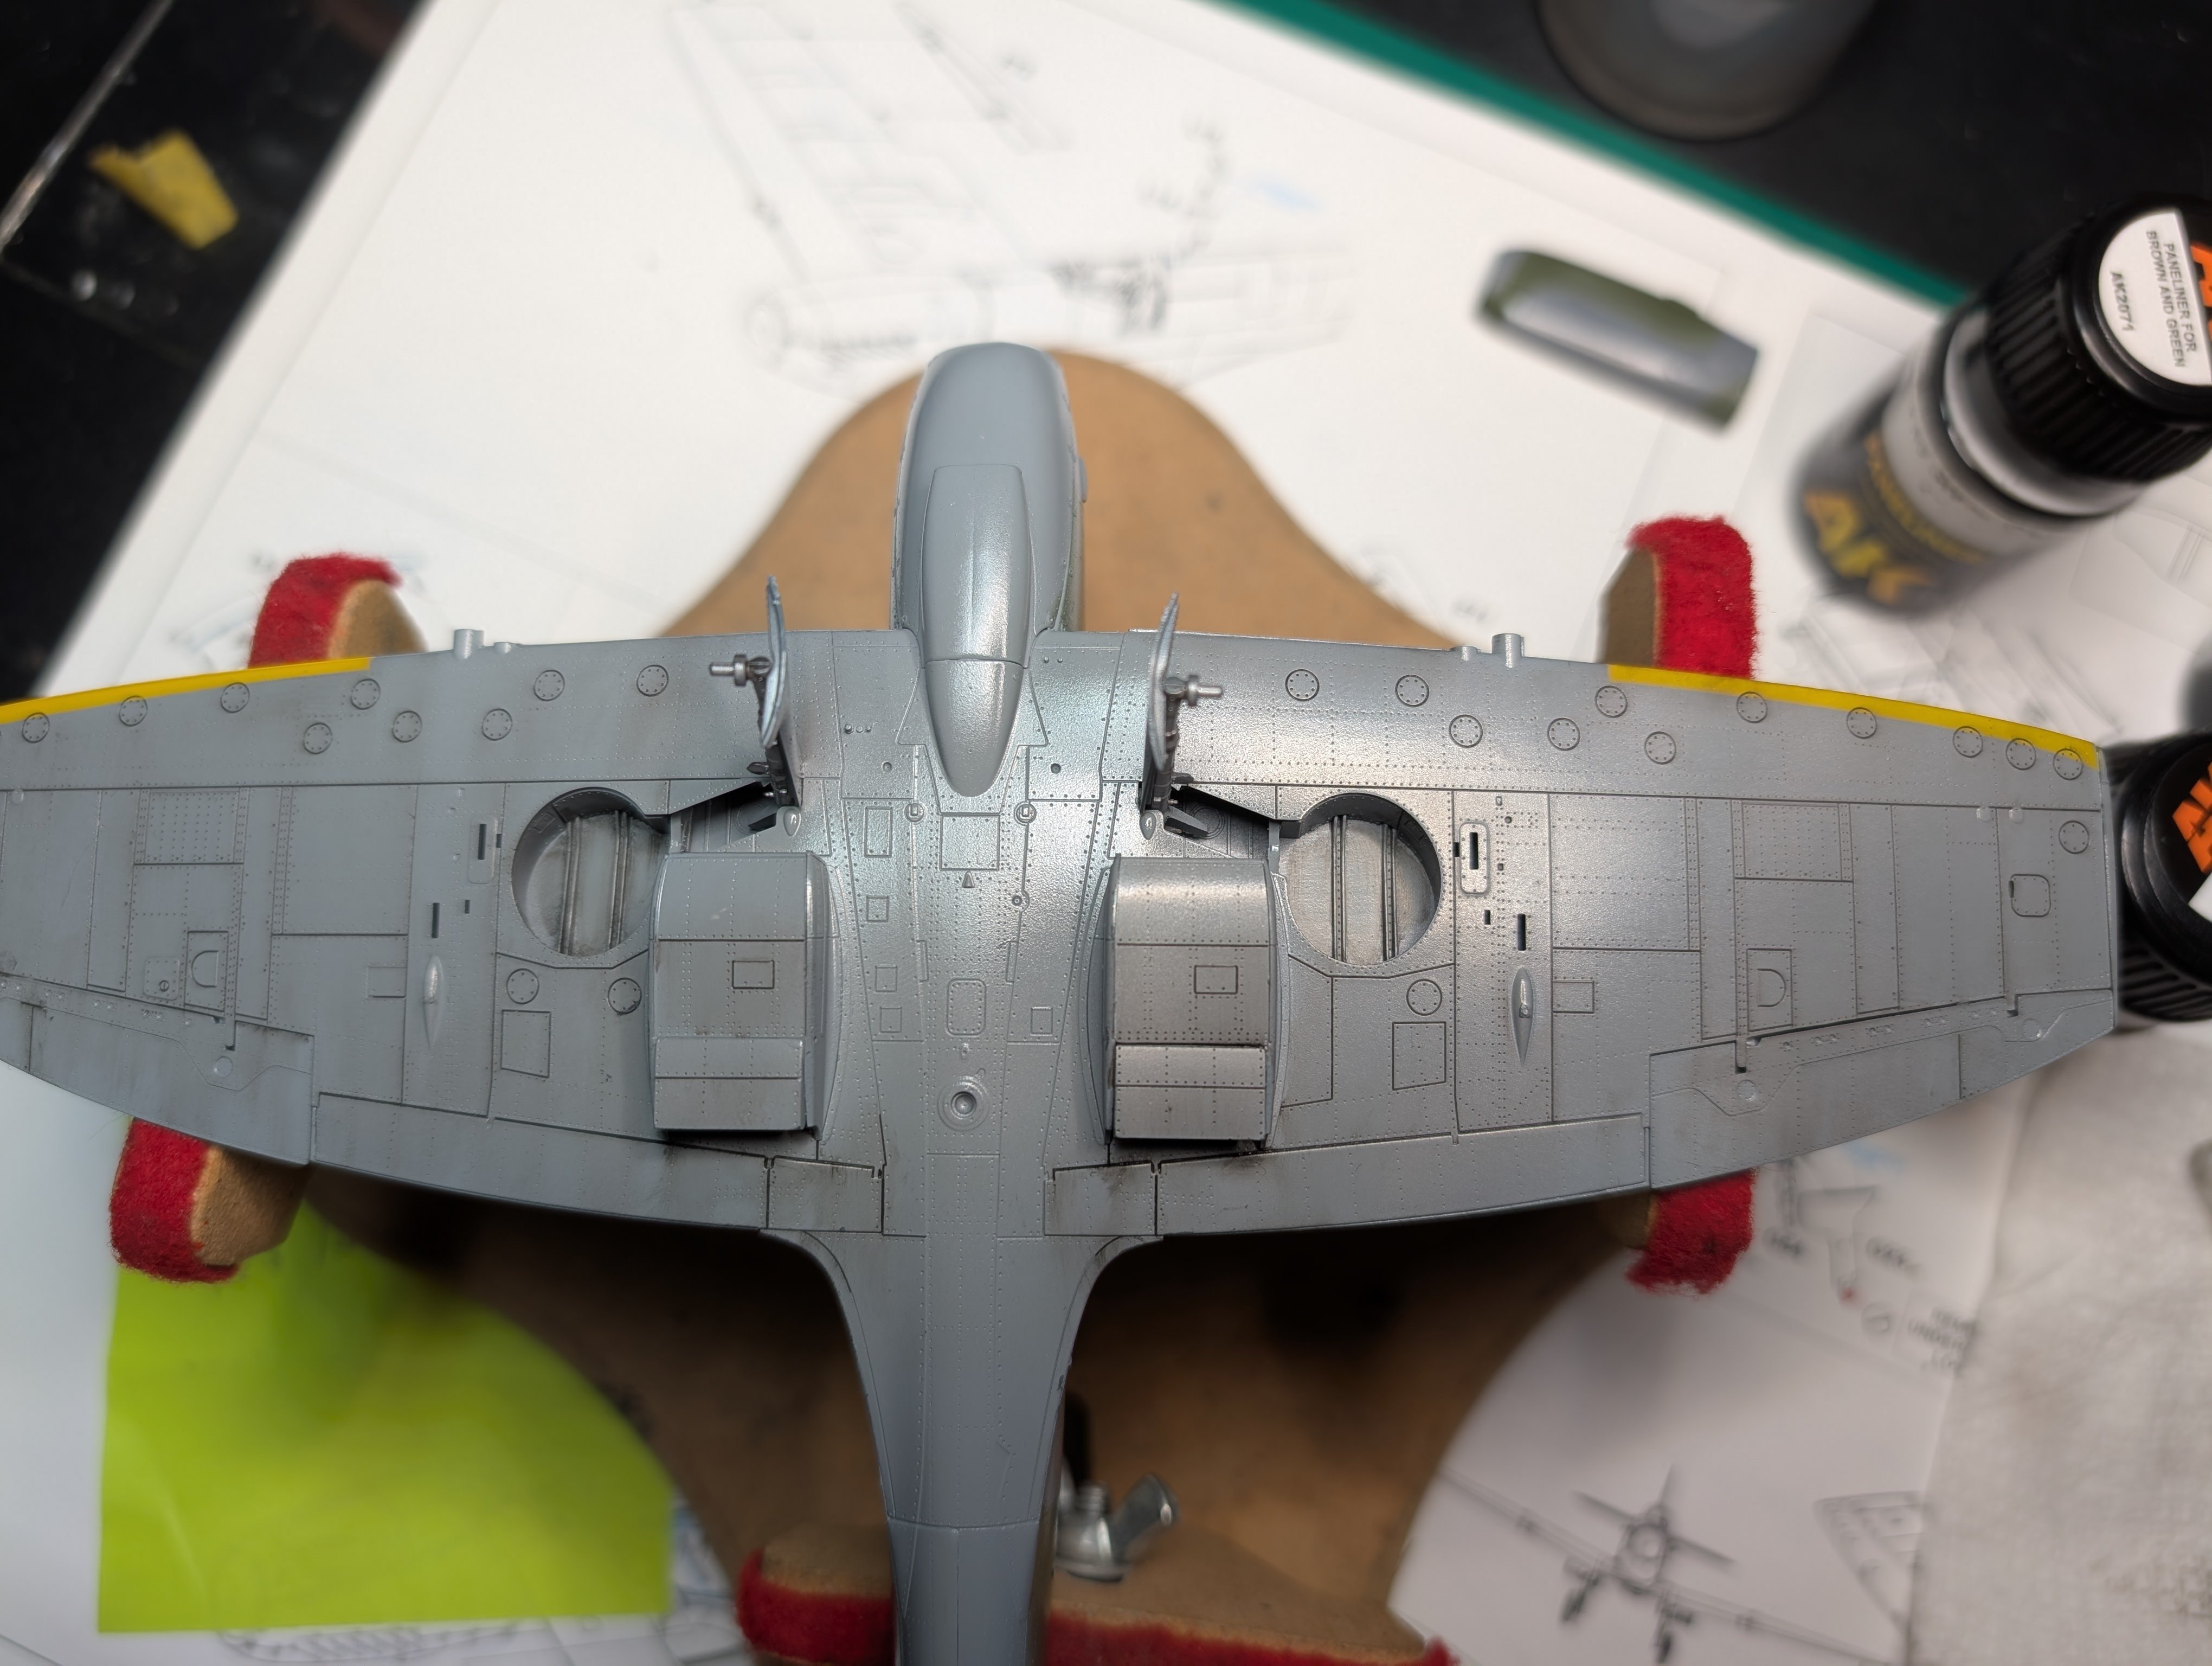
Hopefully a slightly better view of the brown wash on top. As Rob suggested, it definitely blends in the camo nicely. One thing about the AK Washes, and this is not really any different than any other wash, but gotta watch handling the plane. SO easy to unintentionally wipe off the wash just by handling. I may end up doing the wings, top and bottom, while holding the fuselage, then sealing the wings with a clear coat. Then holding the wings while I work on the fuselage. Then the decal mess will start. Yes, I have the stencils for the Spit to apply. I'm beginning to question my build order here. Should have done the decals before weathering perhaps. I've worked it both ways before...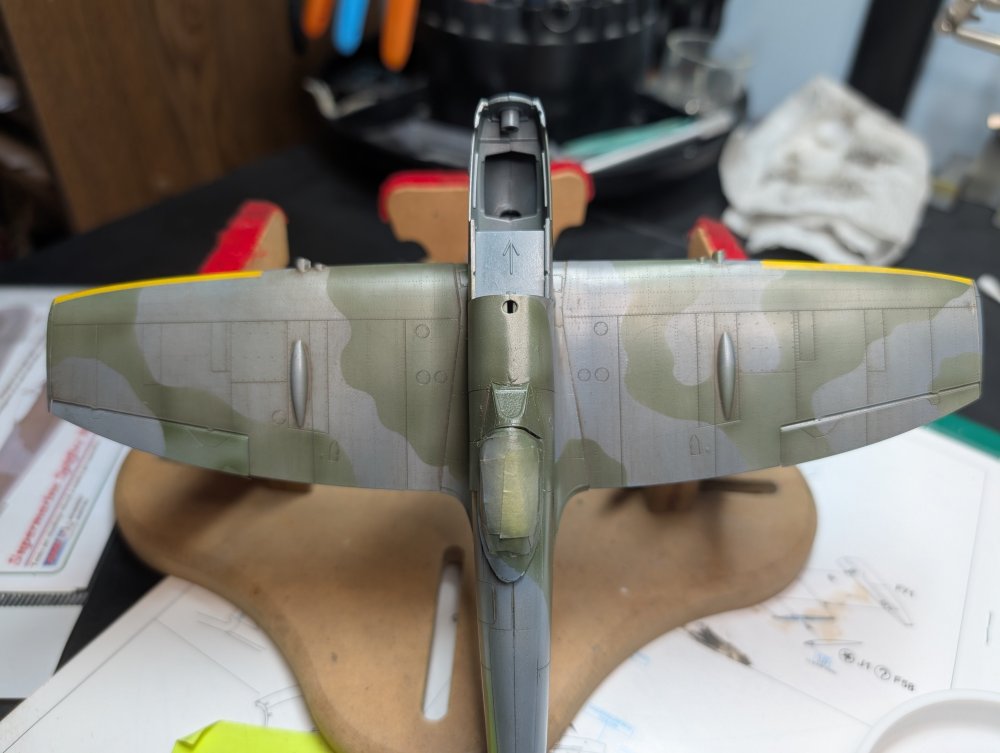
-
Eduard Spitfire Mk. XVI Bubbletop 1/48
CANicoll replied to CANicoll's topic in LSM 1/48 Work in Progress
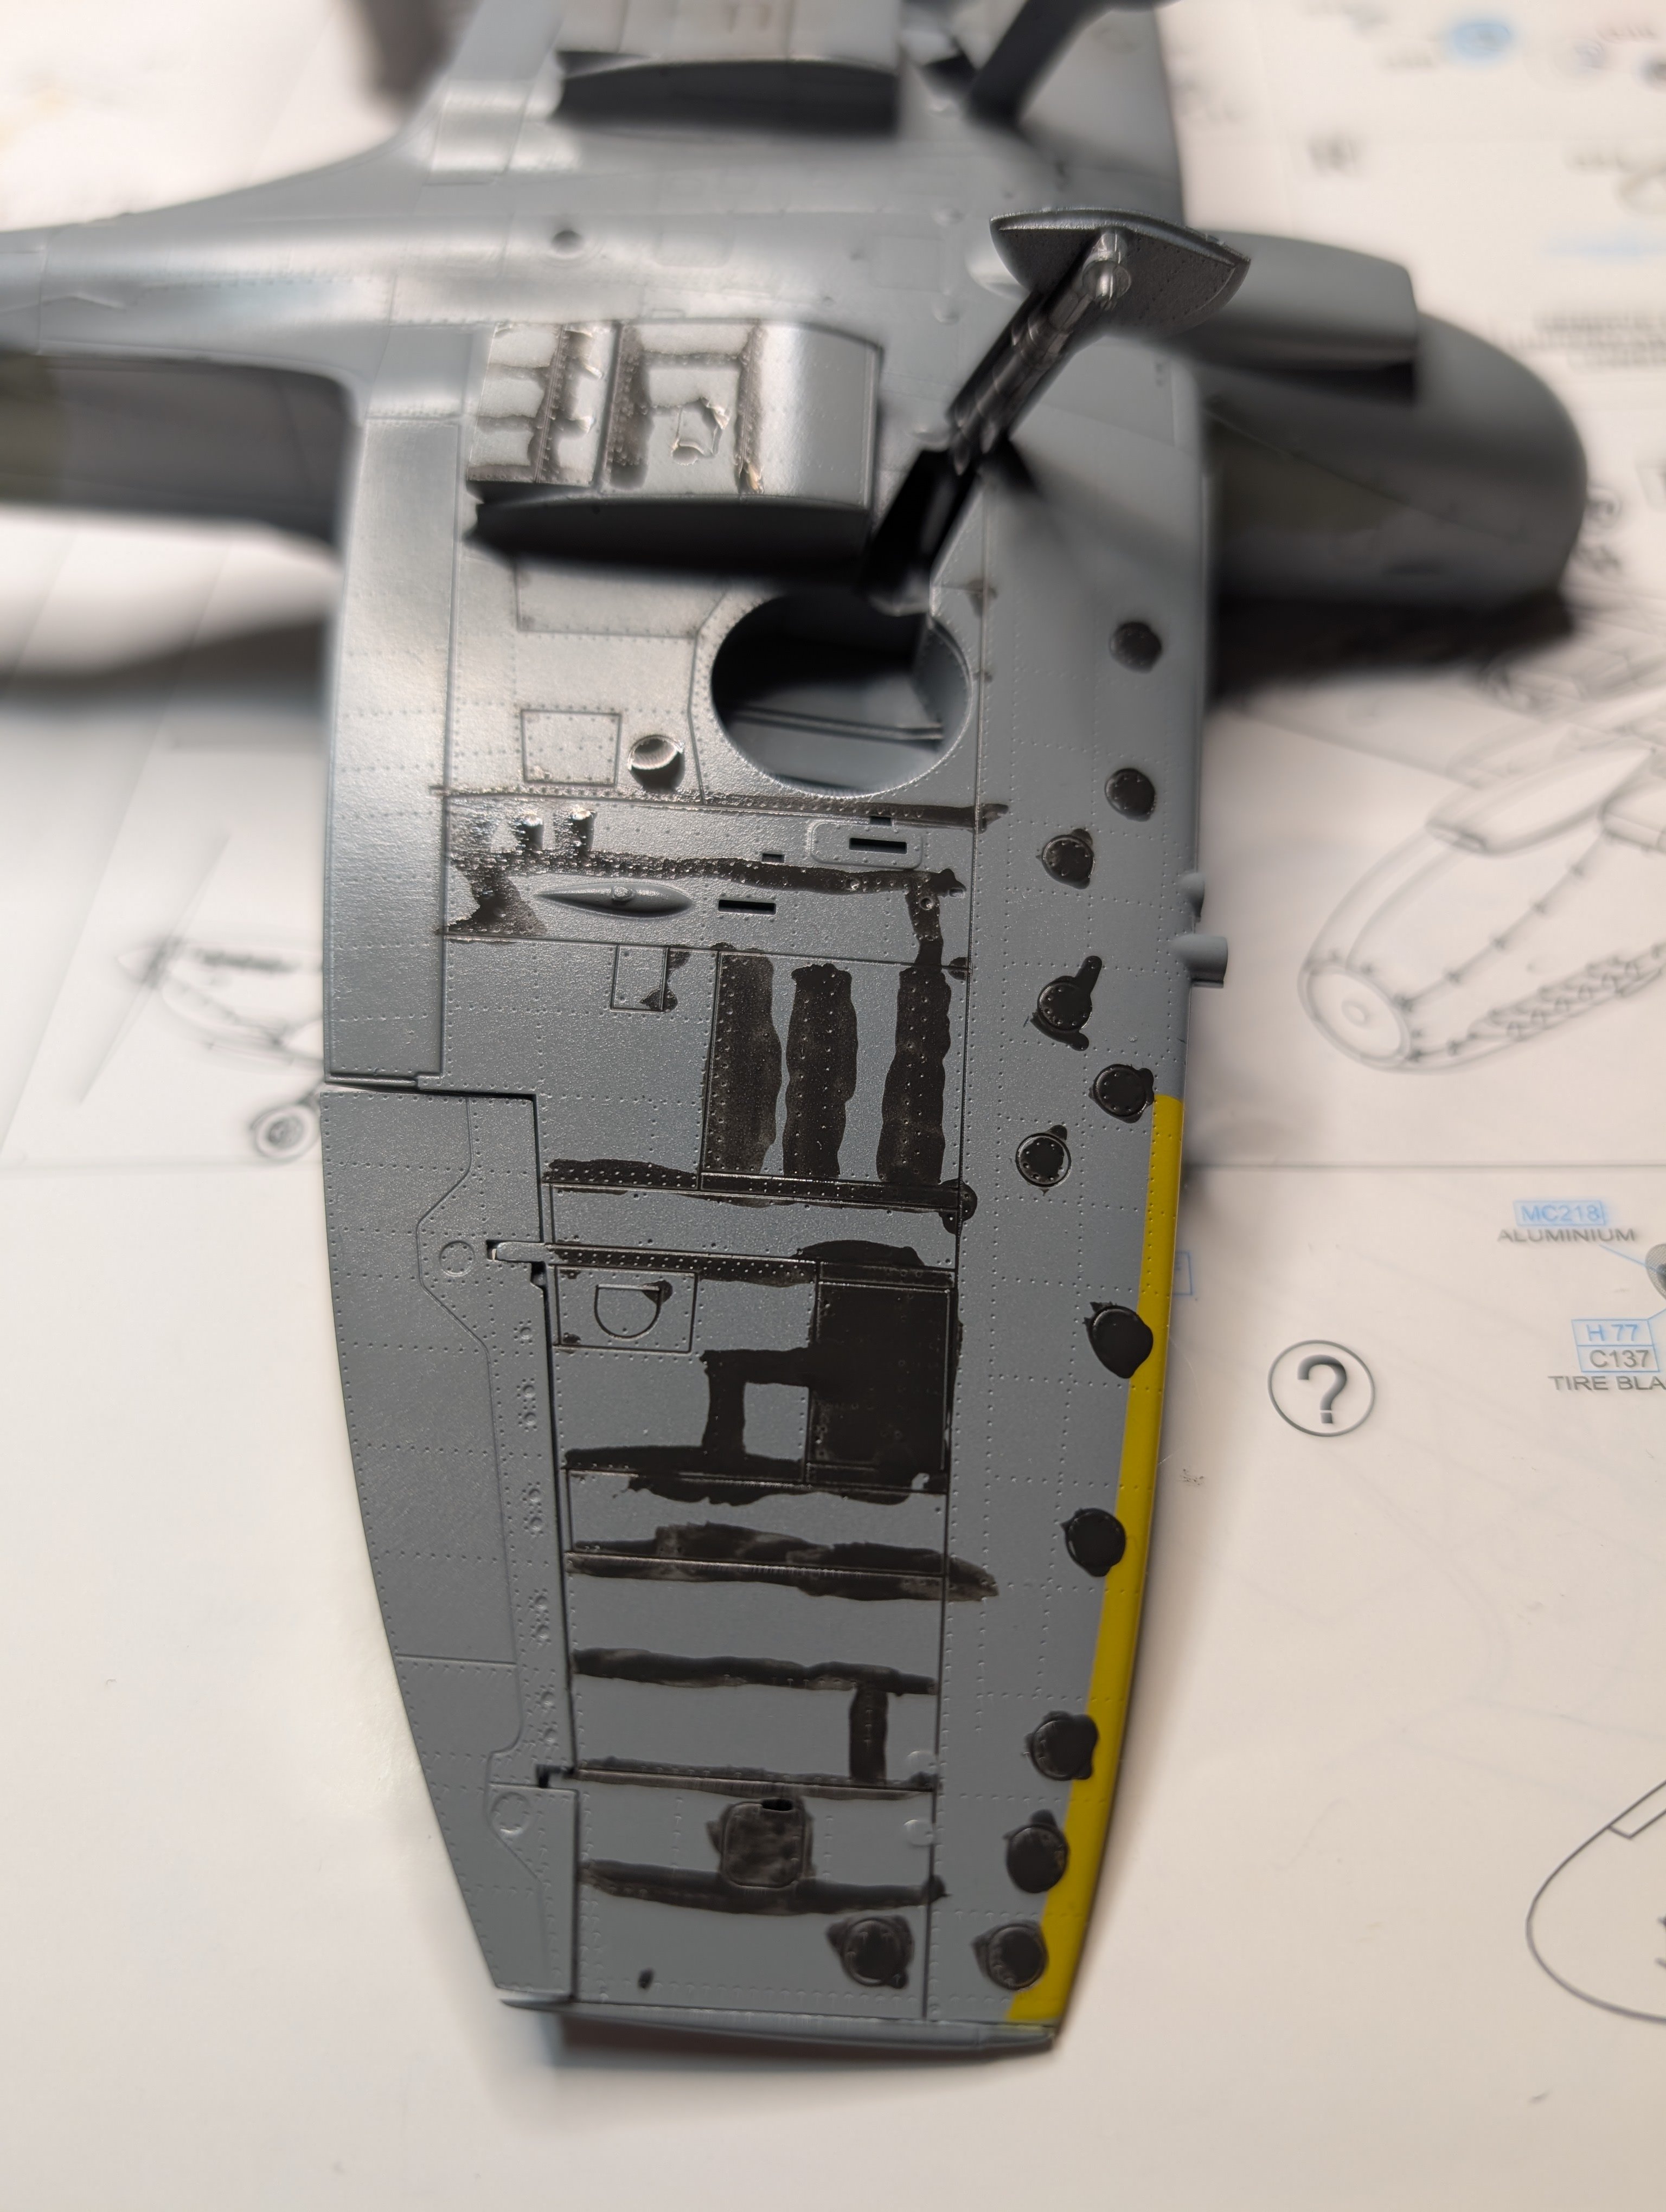
Thanks Mike and John! I'm slowly trying the AK products but like what I've seen so far. Playing with the AK washes, black/dark gray underneath, brown on top. Starting to work on the stains just with the wash. More to come. Trying the brown on top. Liking it so far... Very hard to see in the photos. I'll work on that. I keep knocking off the left aileron so finally just decided to leave it off for now, ditto the rudder.

-
Cobra Coupe - Le Mans - Model Factory Hiro 1/12
CANicoll replied to DocRob's topic in LSM 1/35 and Larger Work In Progress
Rob, Super recovery! I can't see what you do, but this looks perfect to me. That shine is unreal. -
Eduard Spitfire Mk. XVI Bubbletop 1/48
CANicoll replied to CANicoll's topic in LSM 1/48 Work in Progress
Carl, you were reading my mind! That is exactly how I was planning on duplicating the effect. Thanks for sharing your picture. -
Eduard Spitfire Mk. XVI Bubbletop 1/48
CANicoll replied to CANicoll's topic in LSM 1/48 Work in Progress
Thanks Rob! -
Cobra Coupe - Le Mans - Model Factory Hiro 1/12
CANicoll replied to DocRob's topic in LSM 1/35 and Larger Work In Progress
Rob, FULLY understand your frustration but agree with everyone else. When I have something like this happen, (more often than I care to admit) I put it down overnight and sleep on it. Come back the next day and think again about what my options are. Time doesn't cost you anything and I'm willing to bet that you will come up with a few thoughts on how to address. Good luck!! Chris -
Eduard Spitfire Mk. XVI Bubbletop 1/48
CANicoll replied to CANicoll's topic in LSM 1/48 Work in Progress
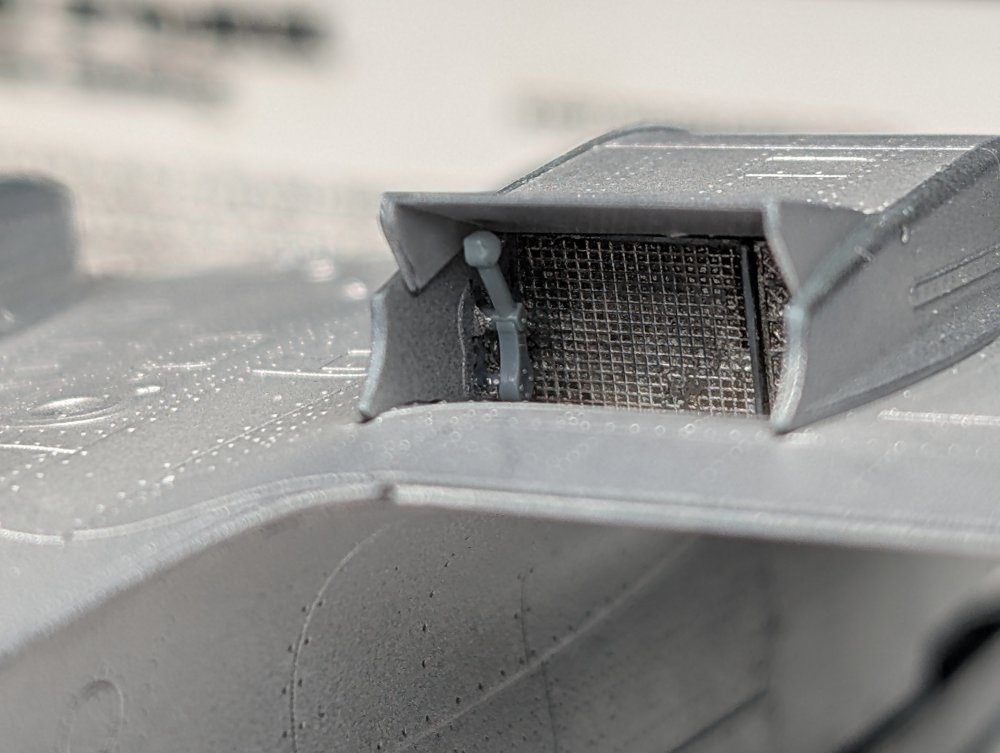
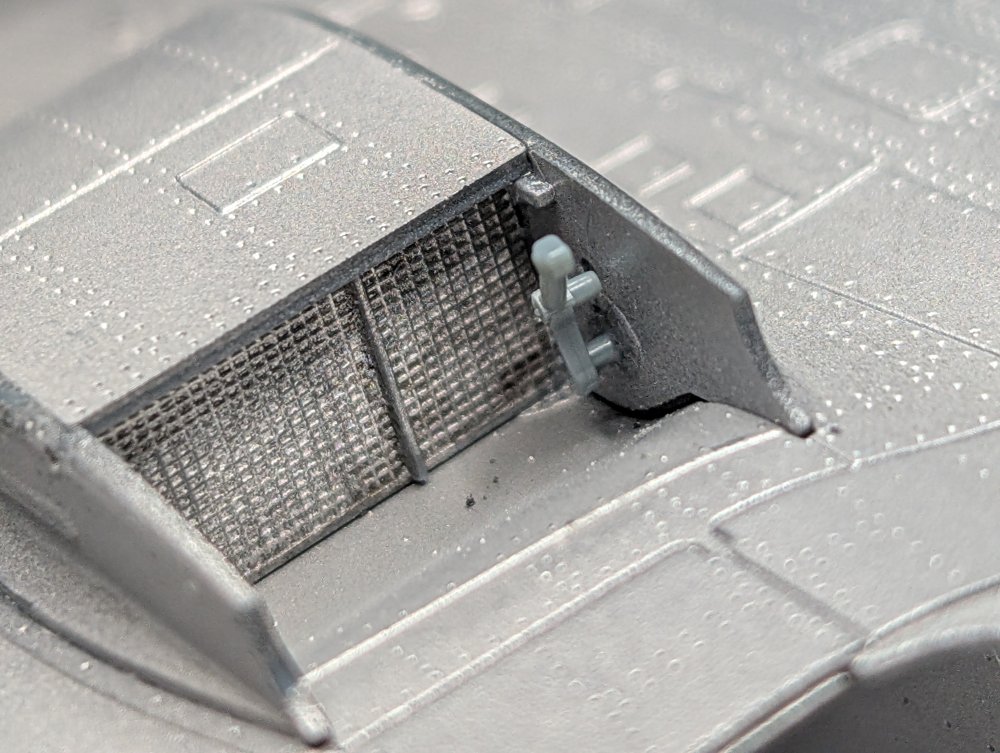
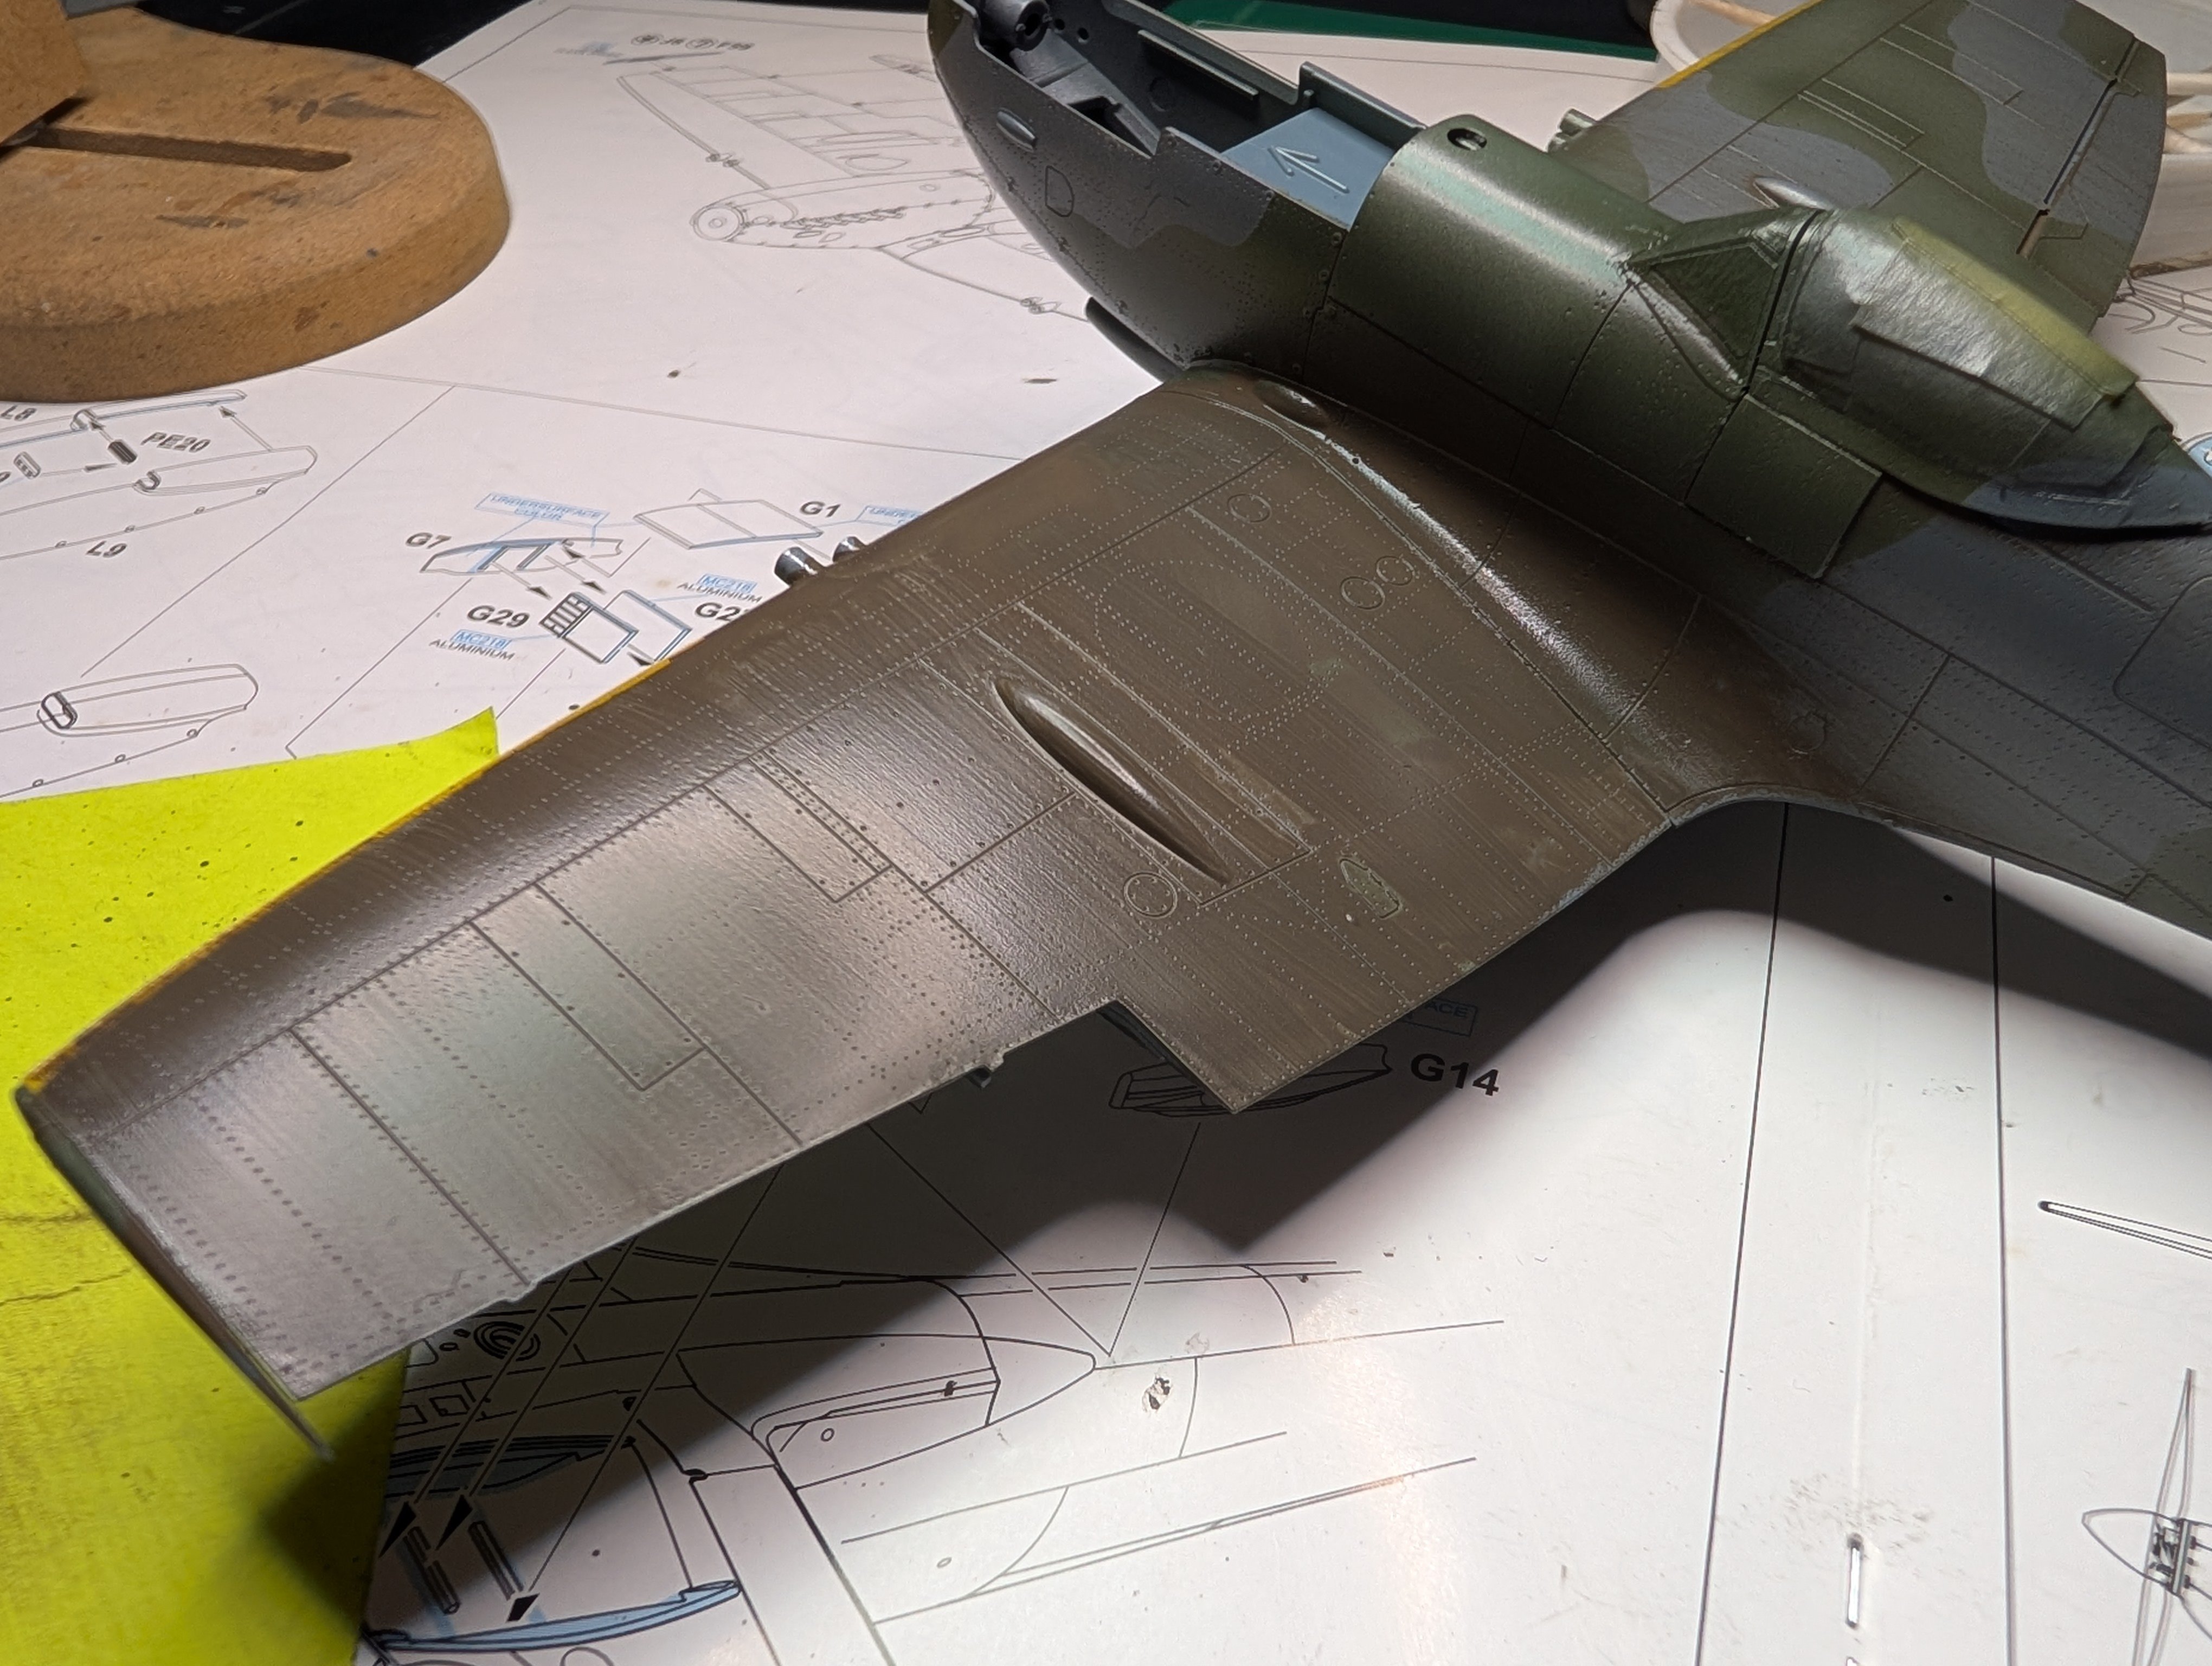
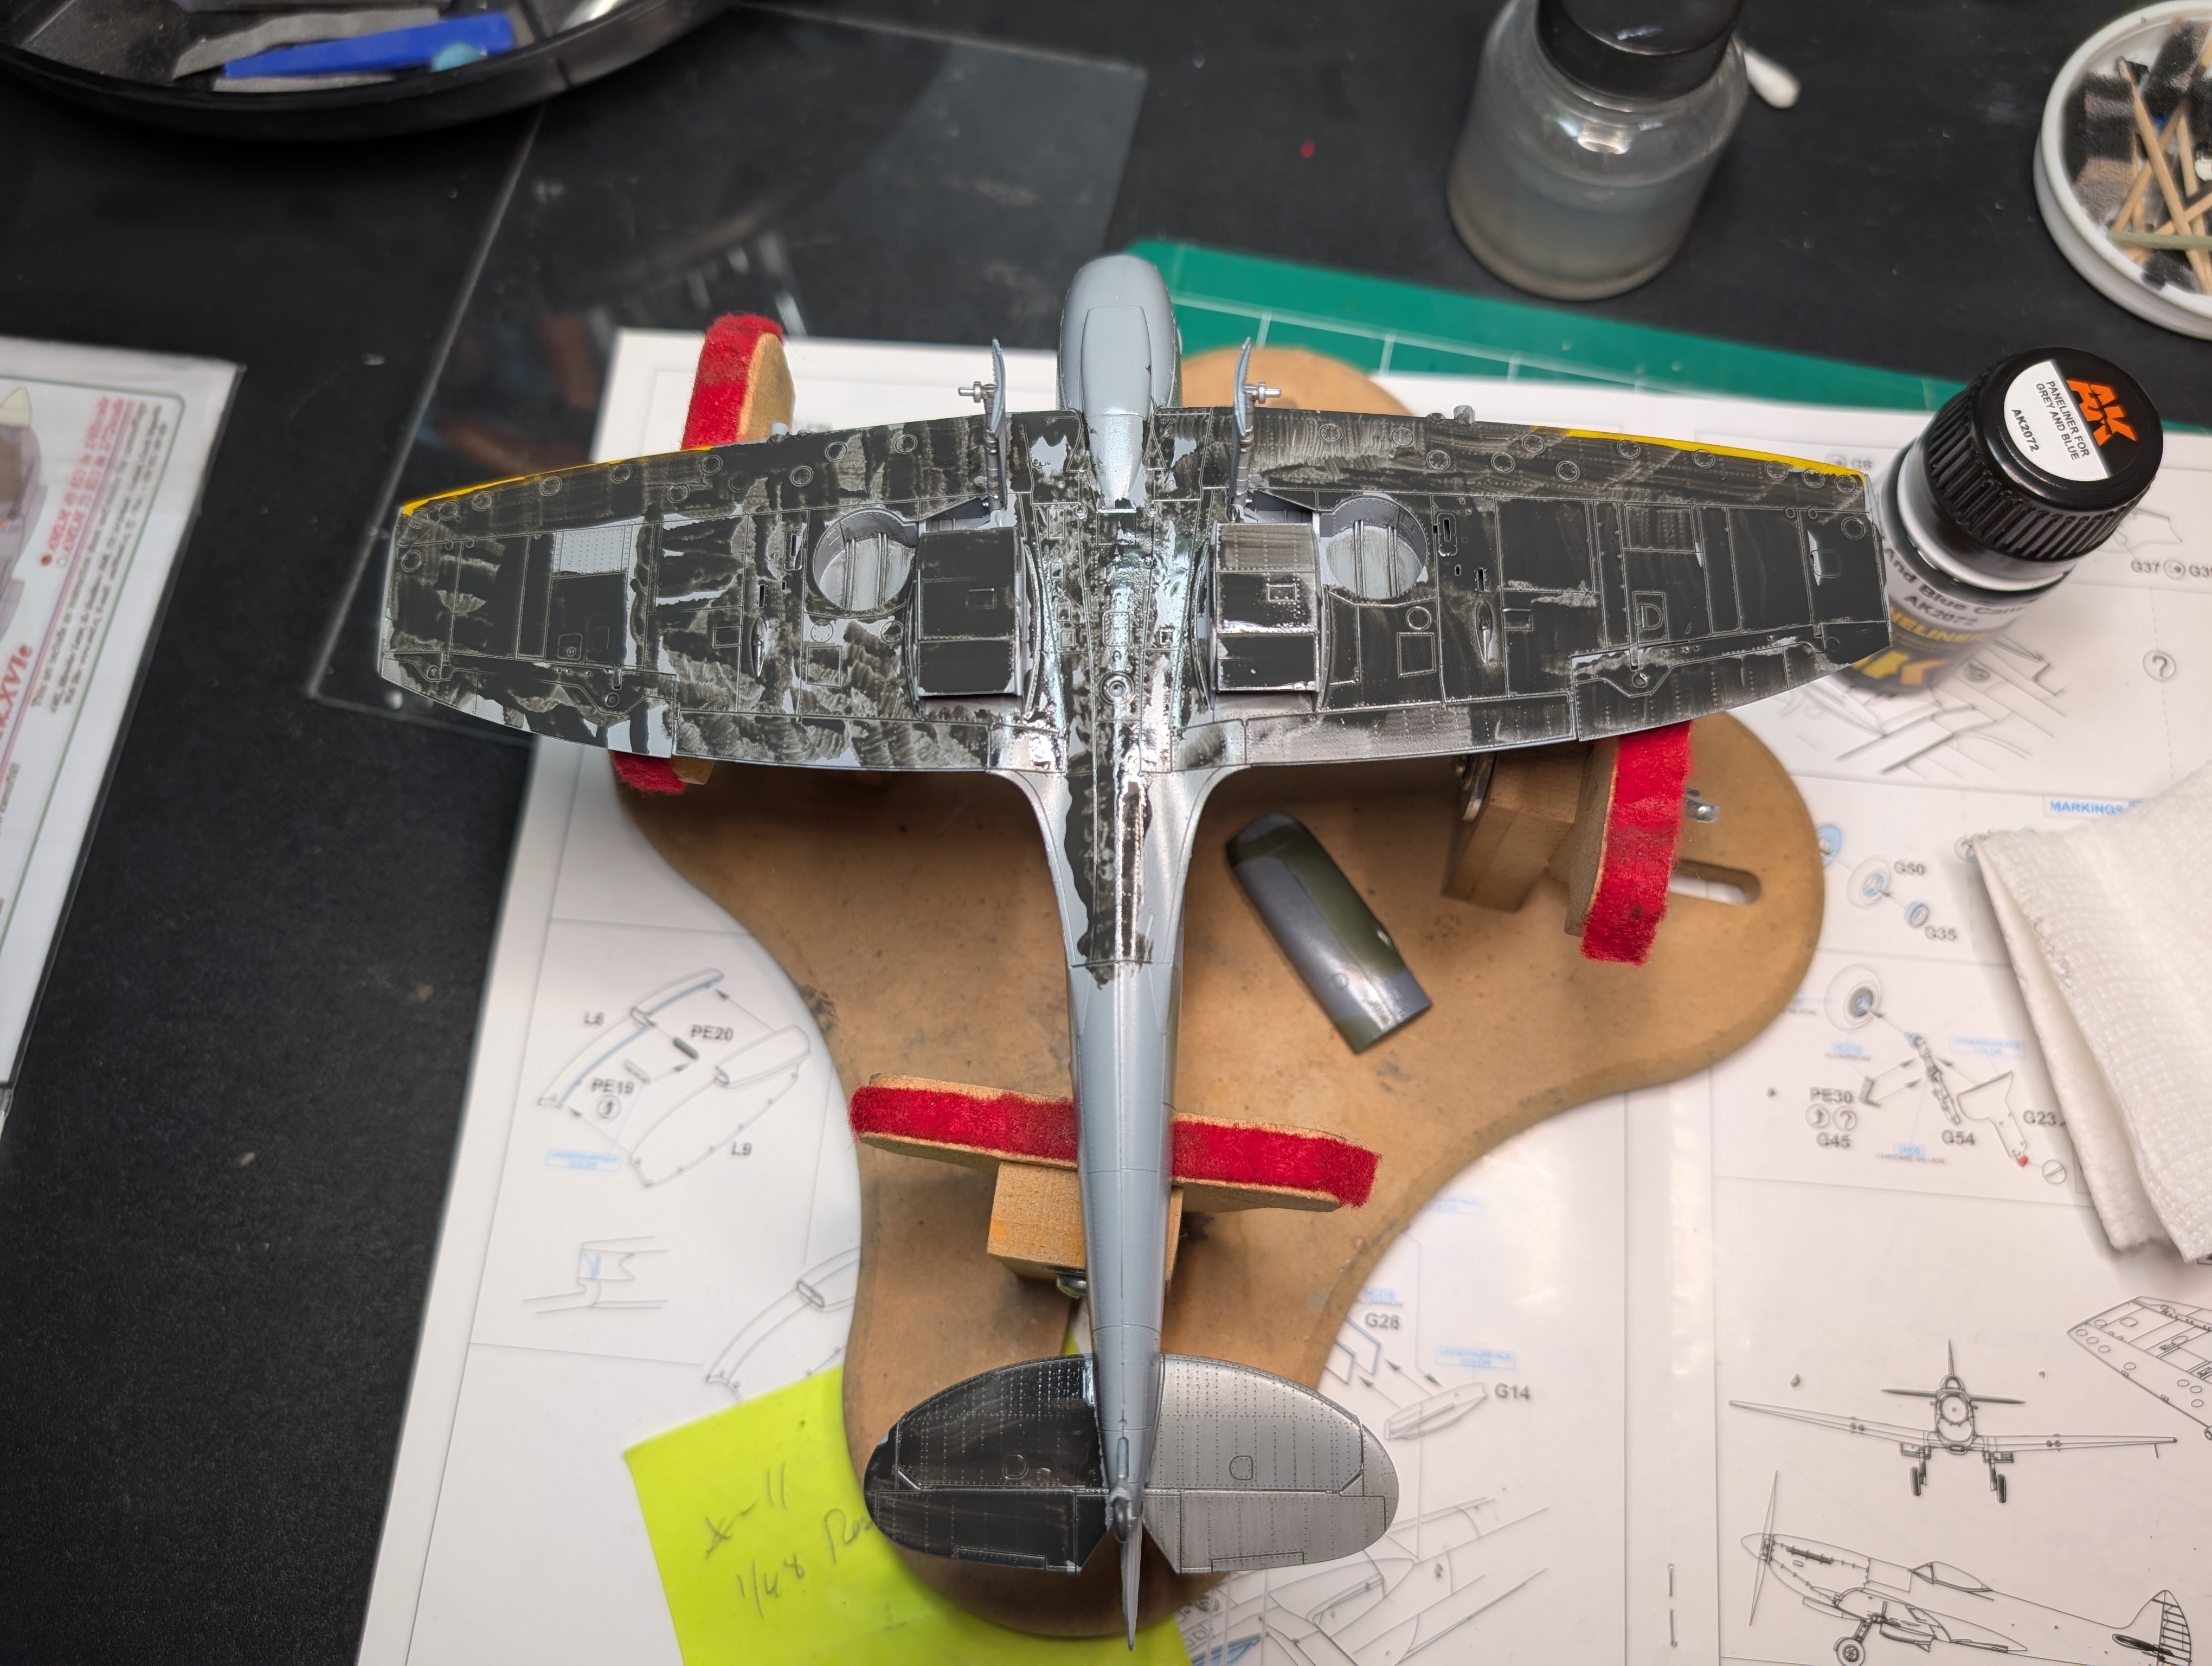
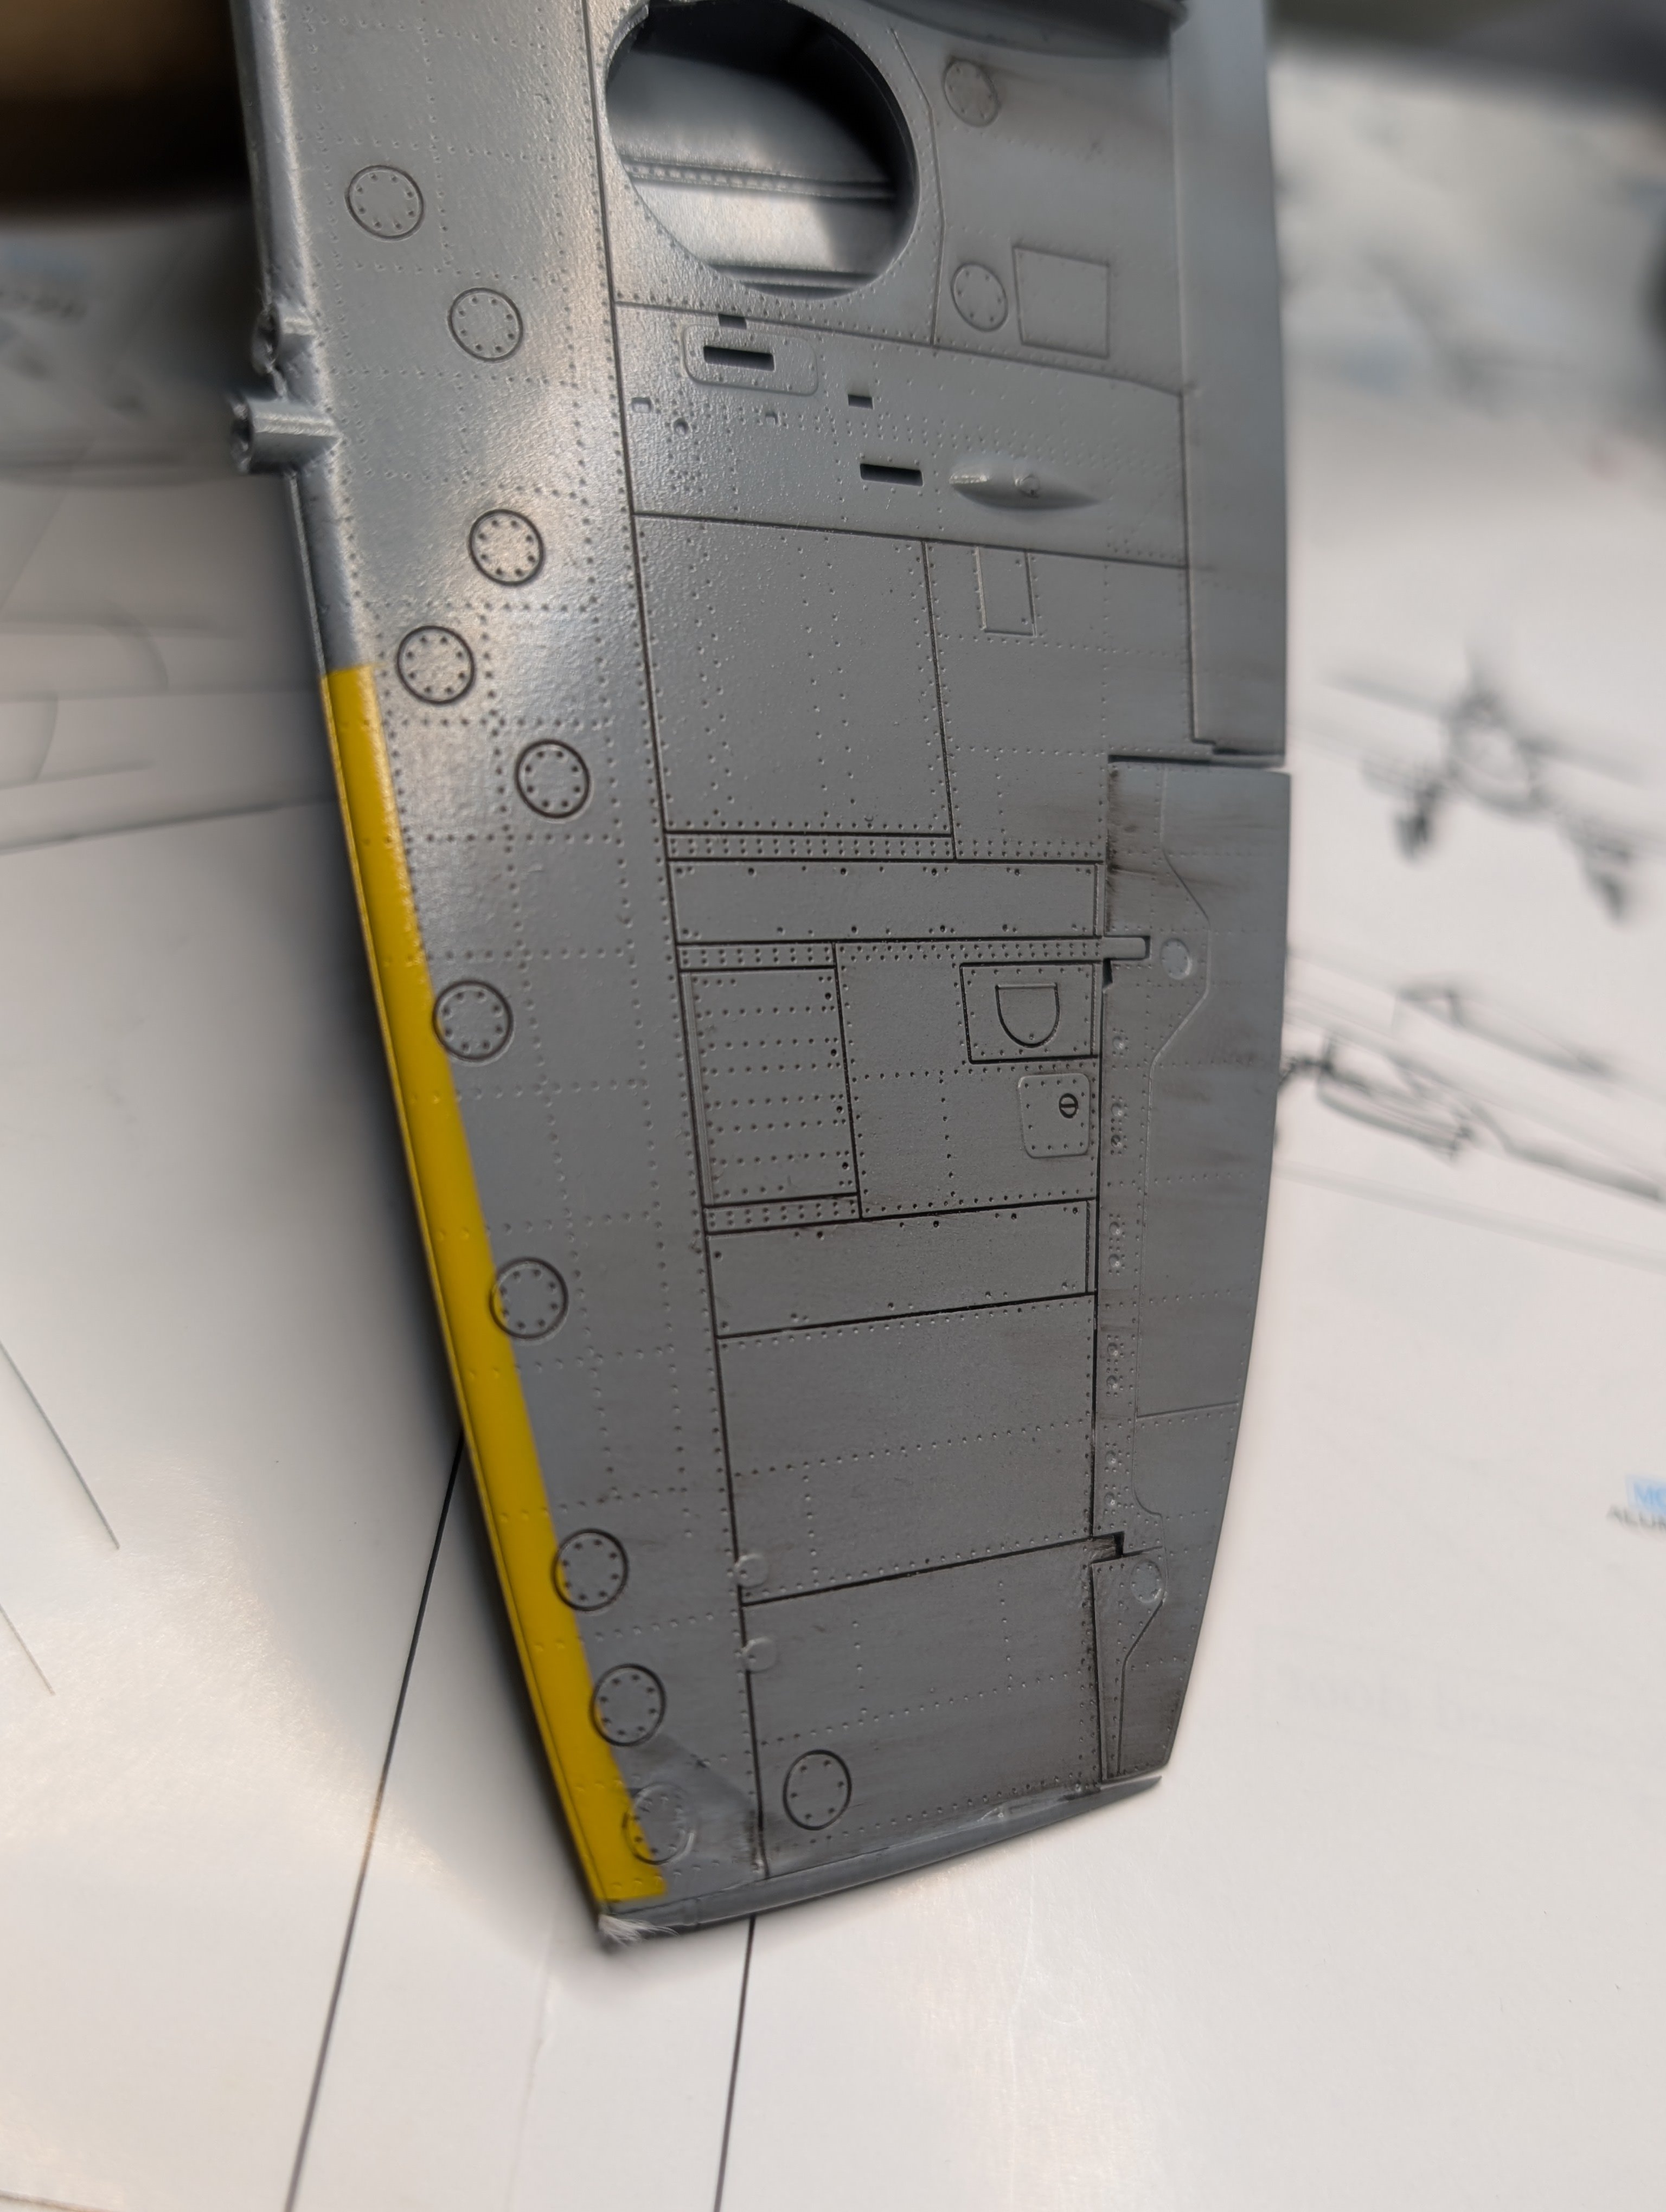
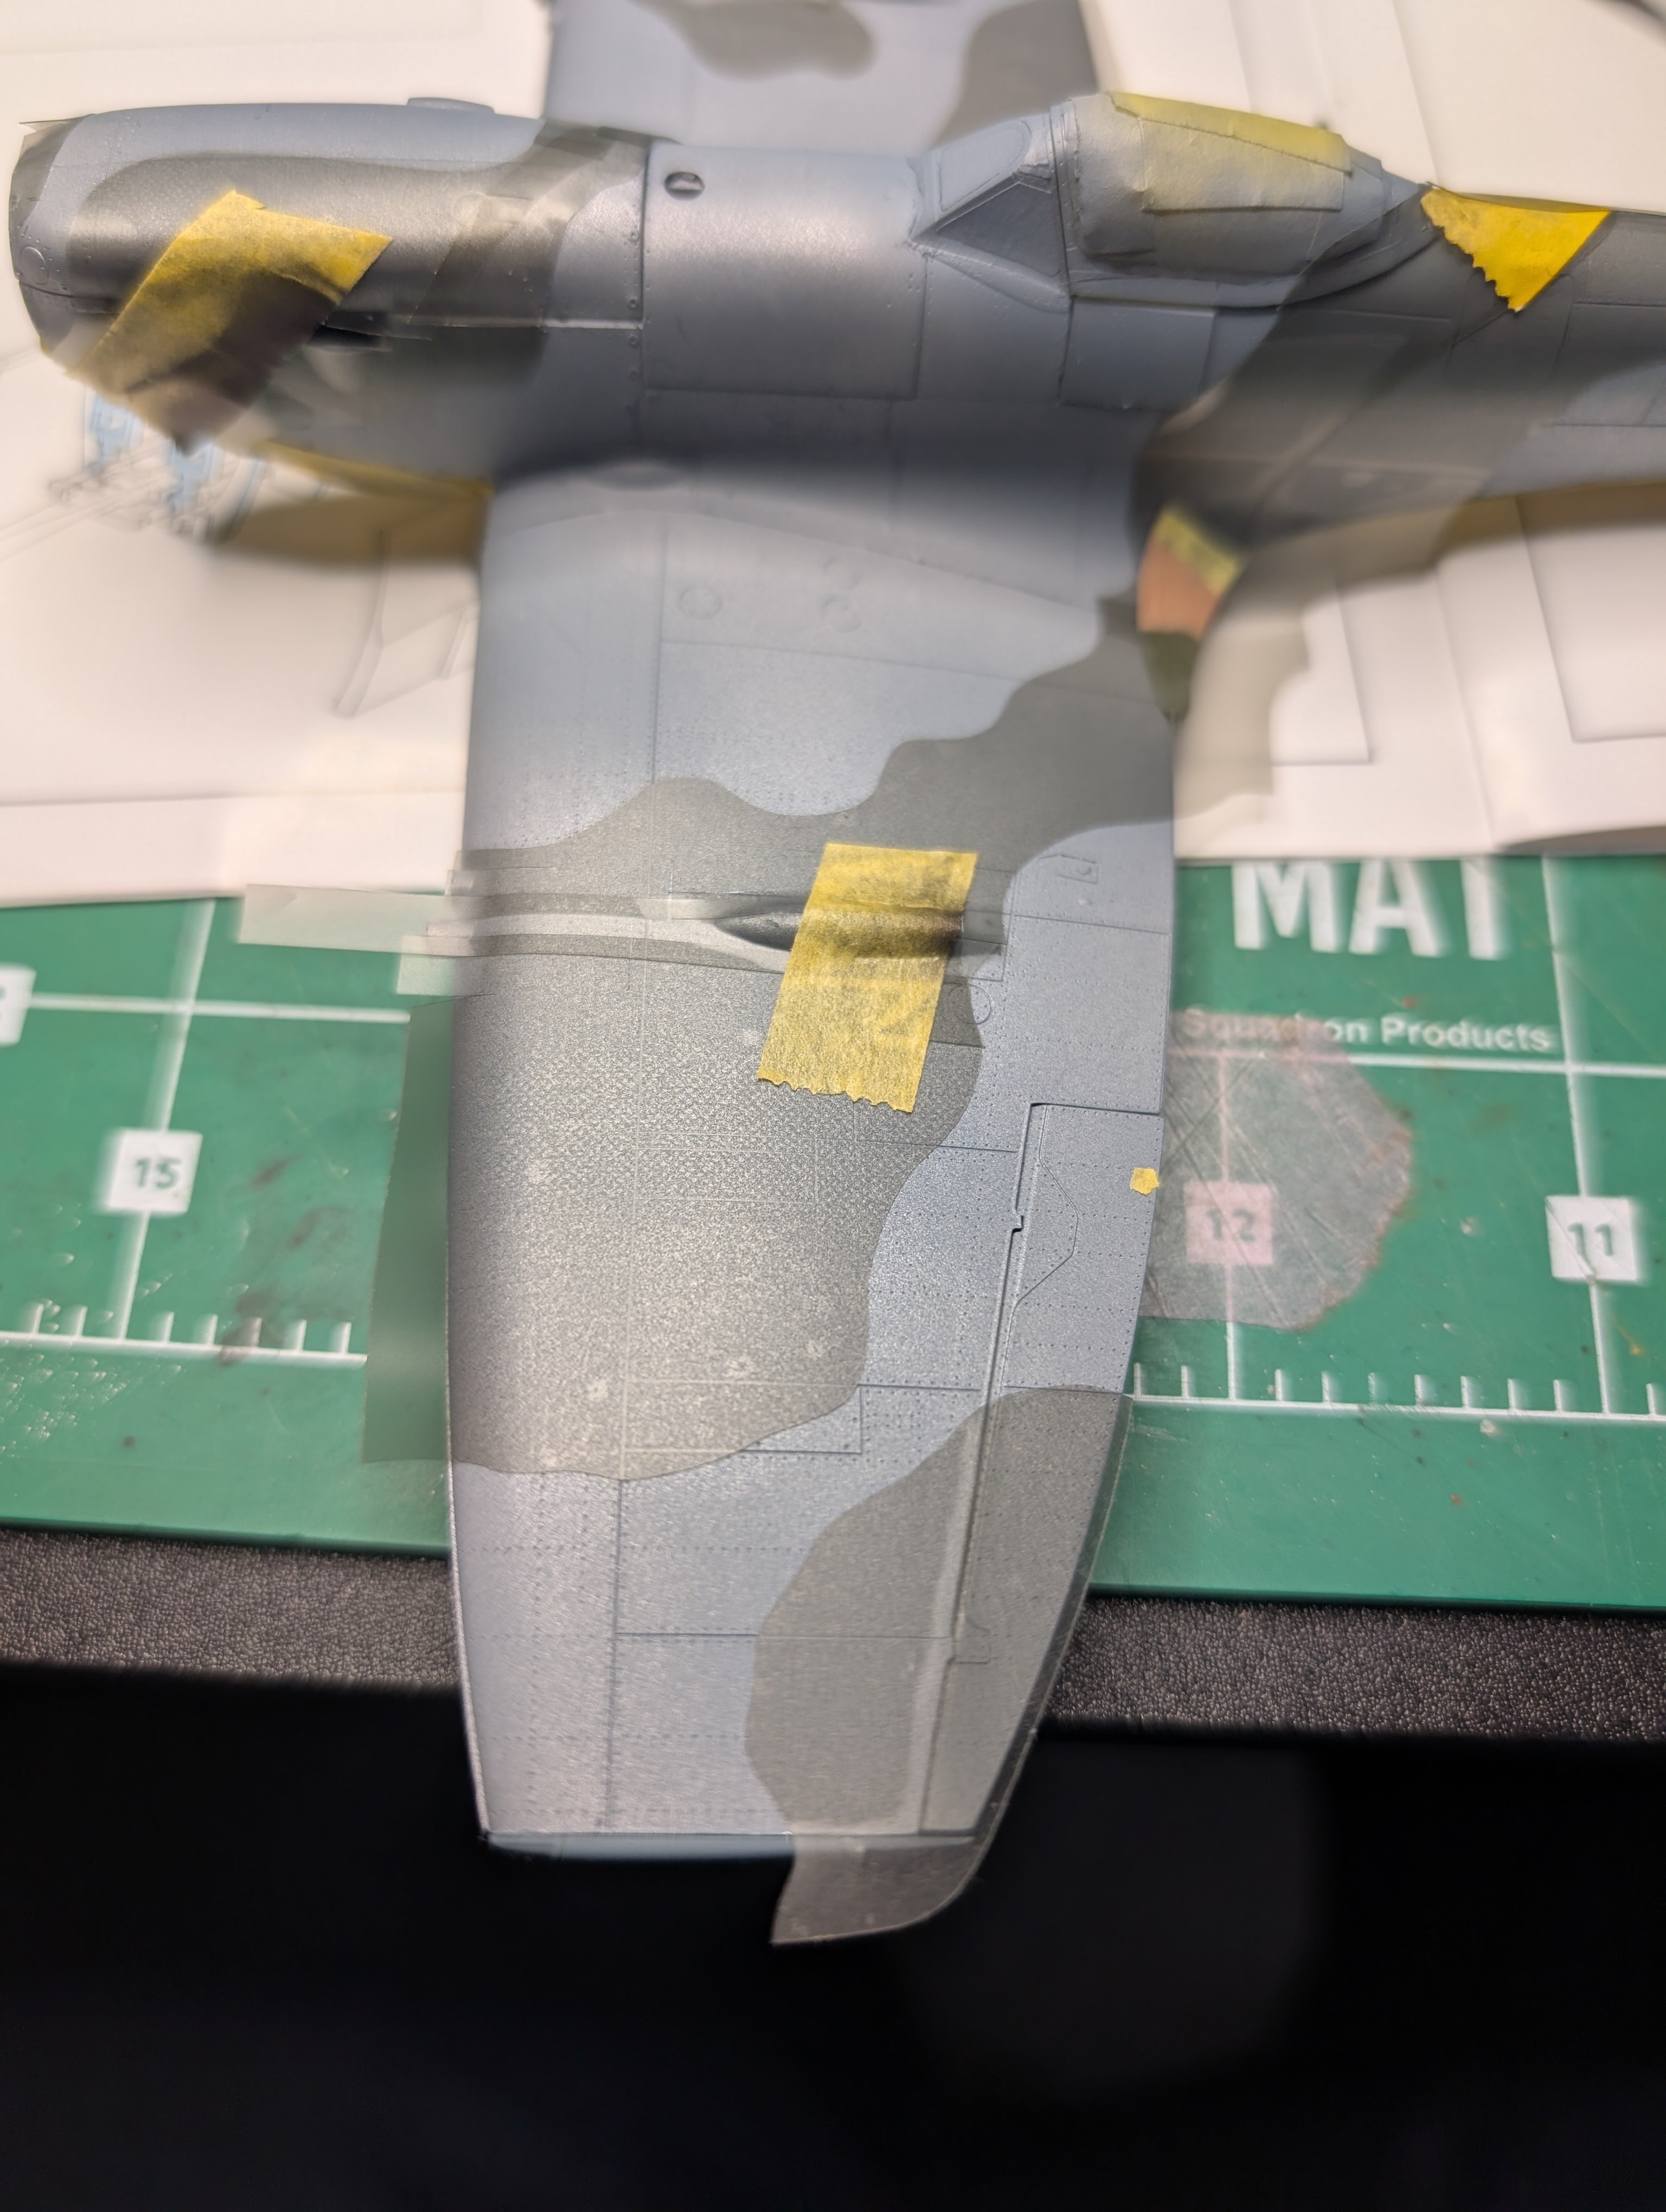
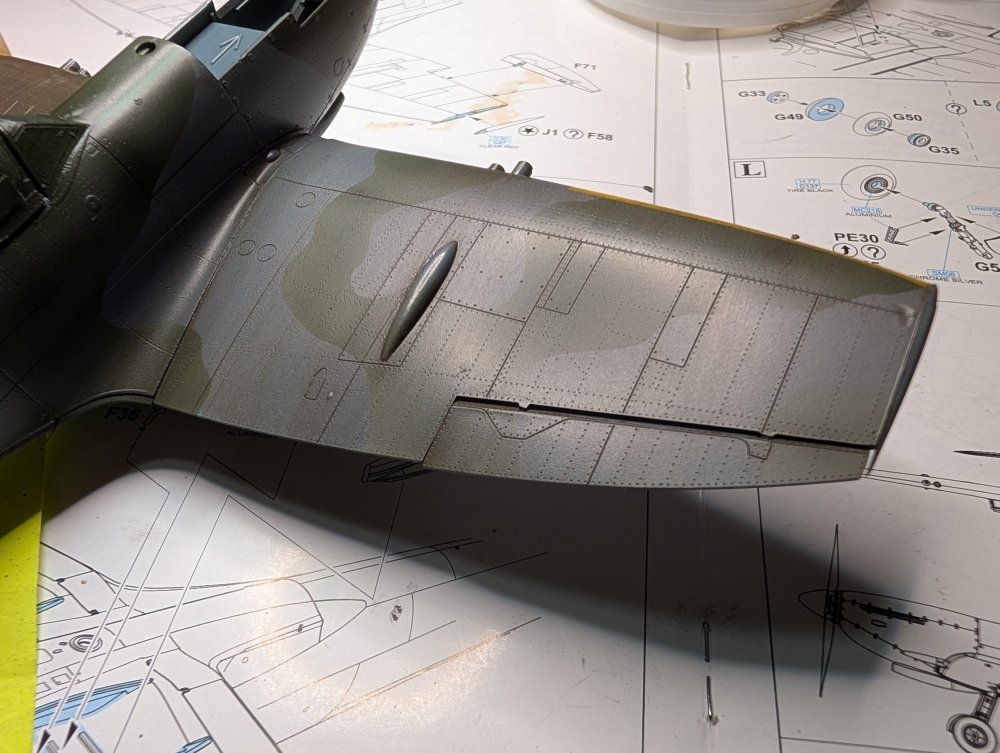
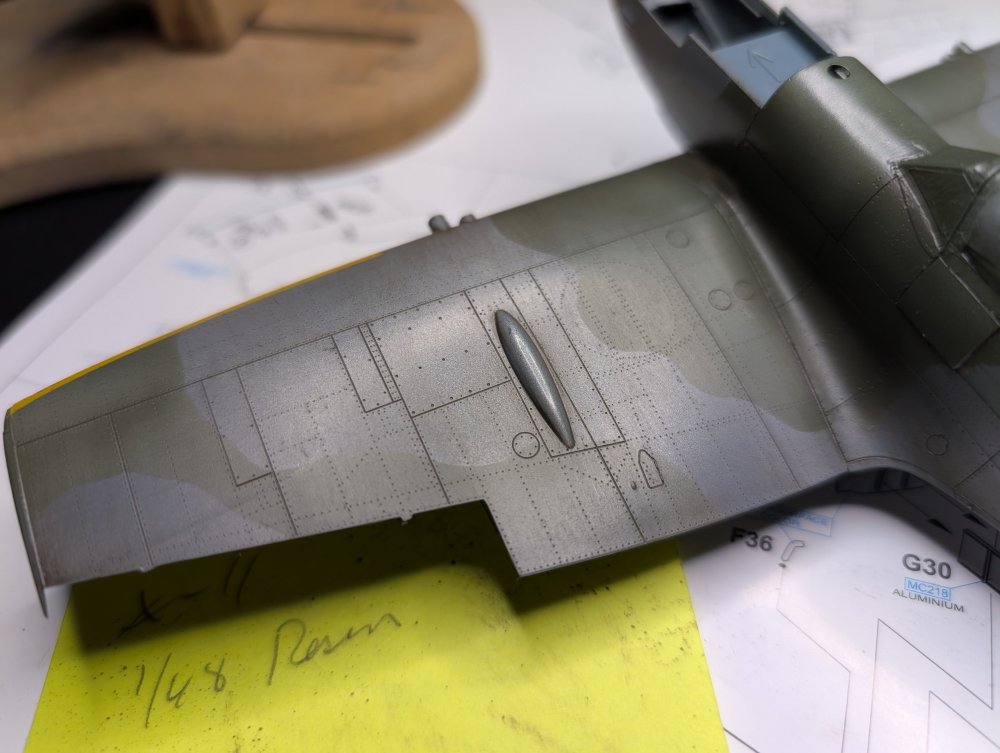
Making progress. Applied the nice Tamiya X-11 gloss coat in preparation for the weathering and washes. Liking the AK Interactive Paneliner series which flows really nicely over the X-11, and wipes away predictably making weathering easier. The Eduard kit has some beautiful rivet and panel line detail which the washes pick up very well. Still have a lot of the rivet detail to appl the wash to. Masked the panel and sprayed MRP yellow along the leading edge of the wing. Showing off some of the wash detail in the rivets. Lots more to work on. Out of the box, found there is an interesting divot near the wing tip at the bottom. Not sure where that came from, but rather than try to fix it, I'm leaving it. Here is the contrast between washed areas (both sides of the wings) and pre-wash (center of the fuselage). I've seen how heavily oil stained the center section of Spitfires are so will be looking to replicate that look. Also have to fix the underwing cooler flap that came loose on the right side of the photo. Left off the cannon covers on the wings to keep from knocking them off.


-
Eduard Spitfire Mk. XVI Bubbletop 1/48
CANicoll replied to CANicoll's topic in LSM 1/48 Work in Progress
Hi Rob and thanks! Yes, definitely looking to do more weathering on top, but have not thought about the direction yet. Like your suggestion of the hint of brown veeery lightly sprayed! I'm open to other suggestions, too. Thanks!!! -
Cobra Coupe - Le Mans - Model Factory Hiro 1/12
CANicoll replied to DocRob's topic in LSM 1/35 and Larger Work In Progress
I did the same. My father had a three bay-two lift gas station. But looking at those instructions, I thought better. But man I love that body style... -
Cobra Coupe - Le Mans - Model Factory Hiro 1/12
CANicoll replied to DocRob's topic in LSM 1/35 and Larger Work In Progress
Rob, just beautiful! The color and stripes are perfect. -
Your IPs always look fantastic. Great Dry Brushing. Funny, I saw the gauge and the filler and was just pondering that when I scrolled down and saw your message. Saved me from getting up and checking the Mustangs in my case.
-
Another P-40E to P-40K build!
CANicoll replied to ScottsGT's topic in LSM 1/35 and Larger Work In Progress
Wow, Scott, that looks amazing. I do like the Quinta stuff, but you've integrated it perfectly. -
Eduard Spitfire Mk. XVI Bubbletop 1/48
CANicoll replied to CANicoll's topic in LSM 1/48 Work in Progress
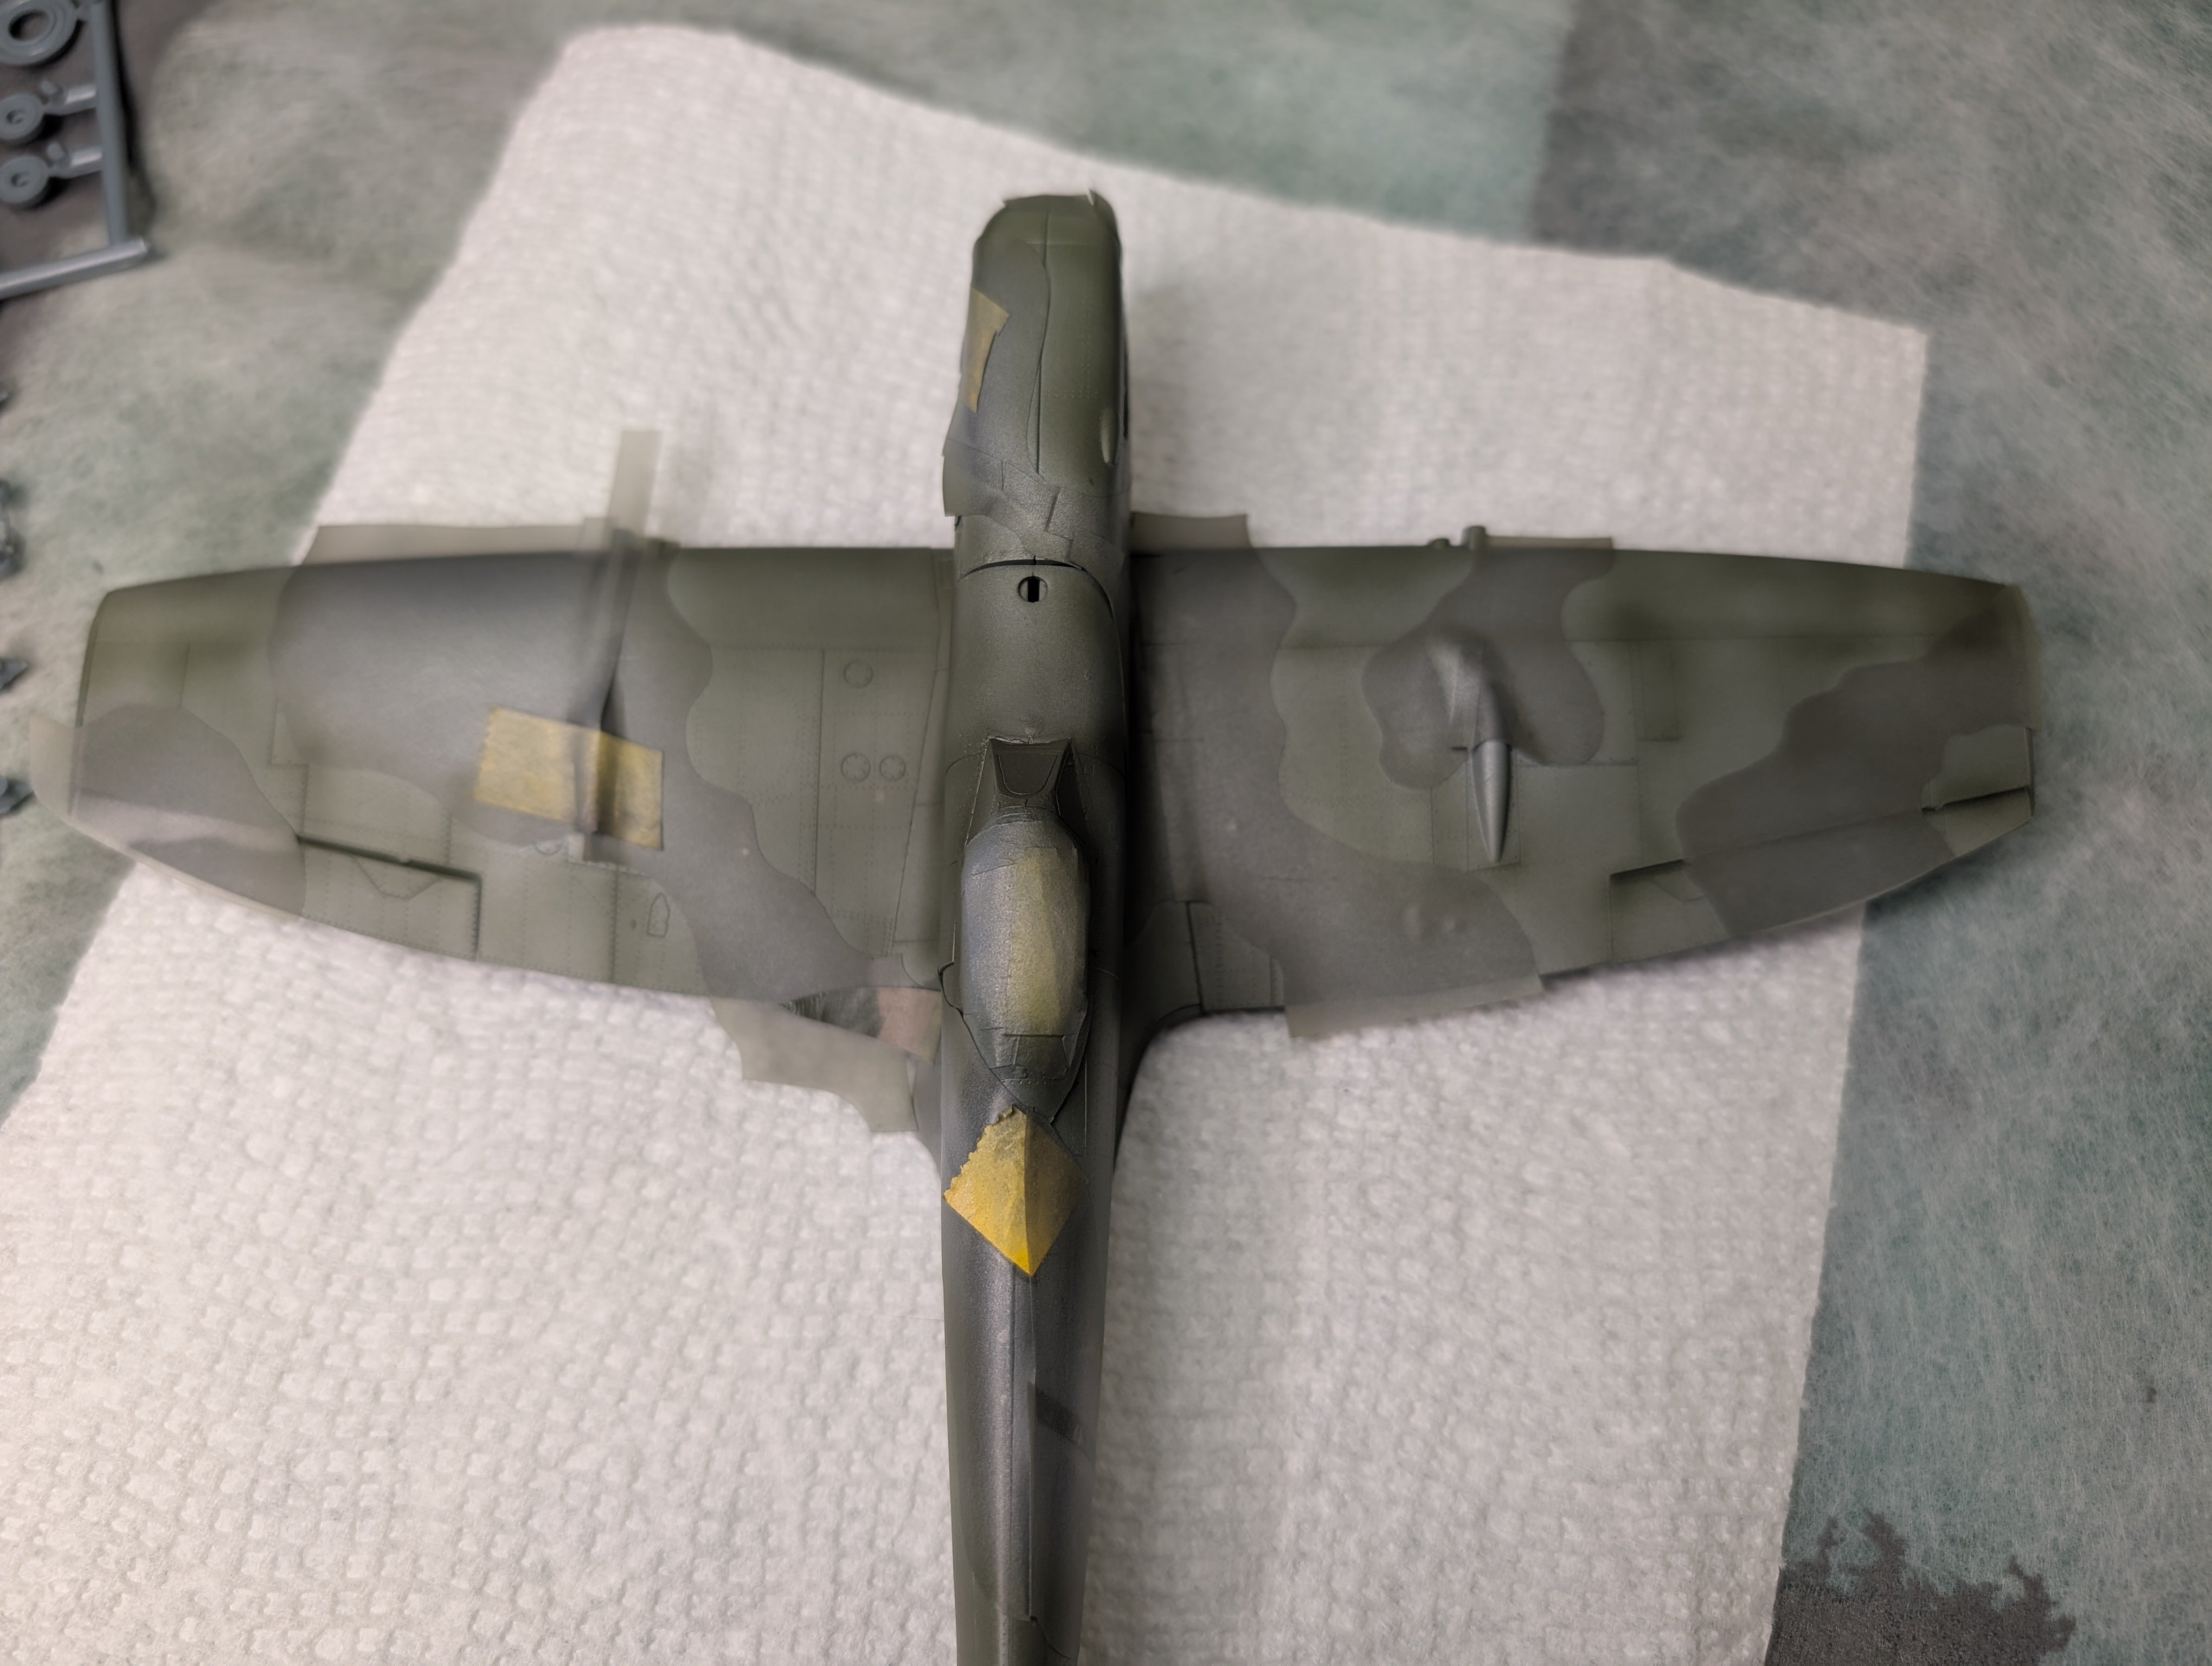
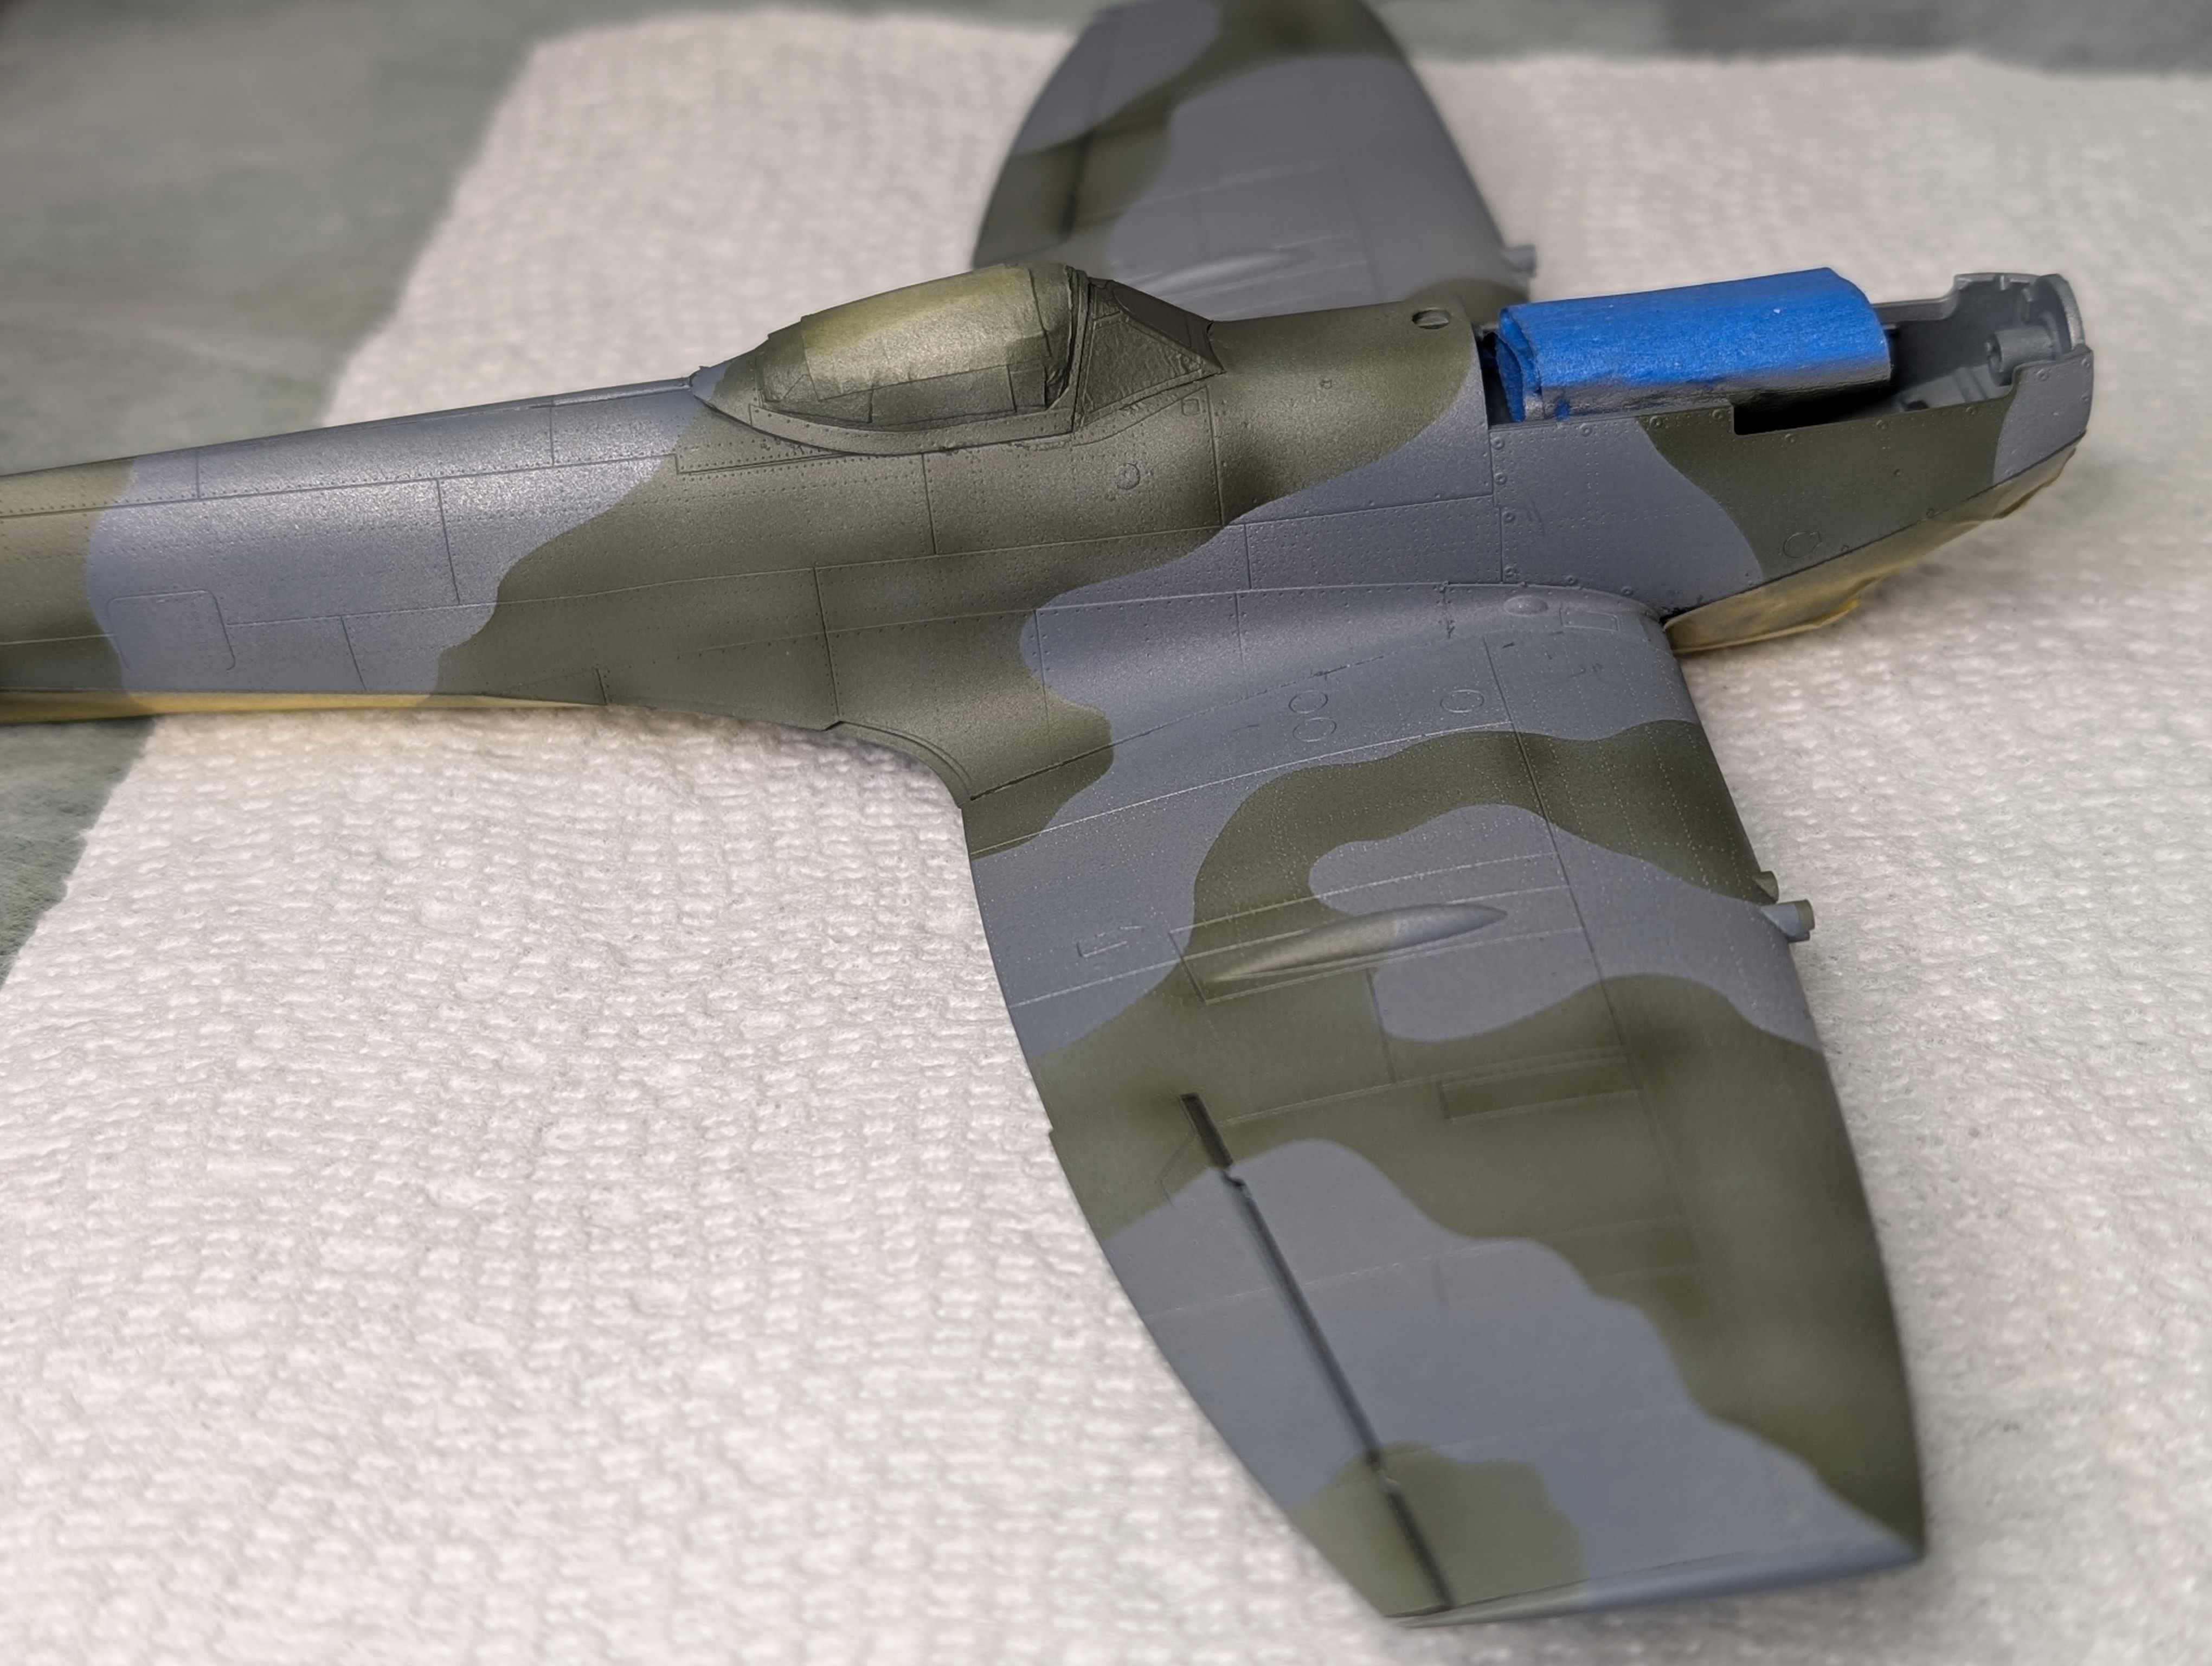
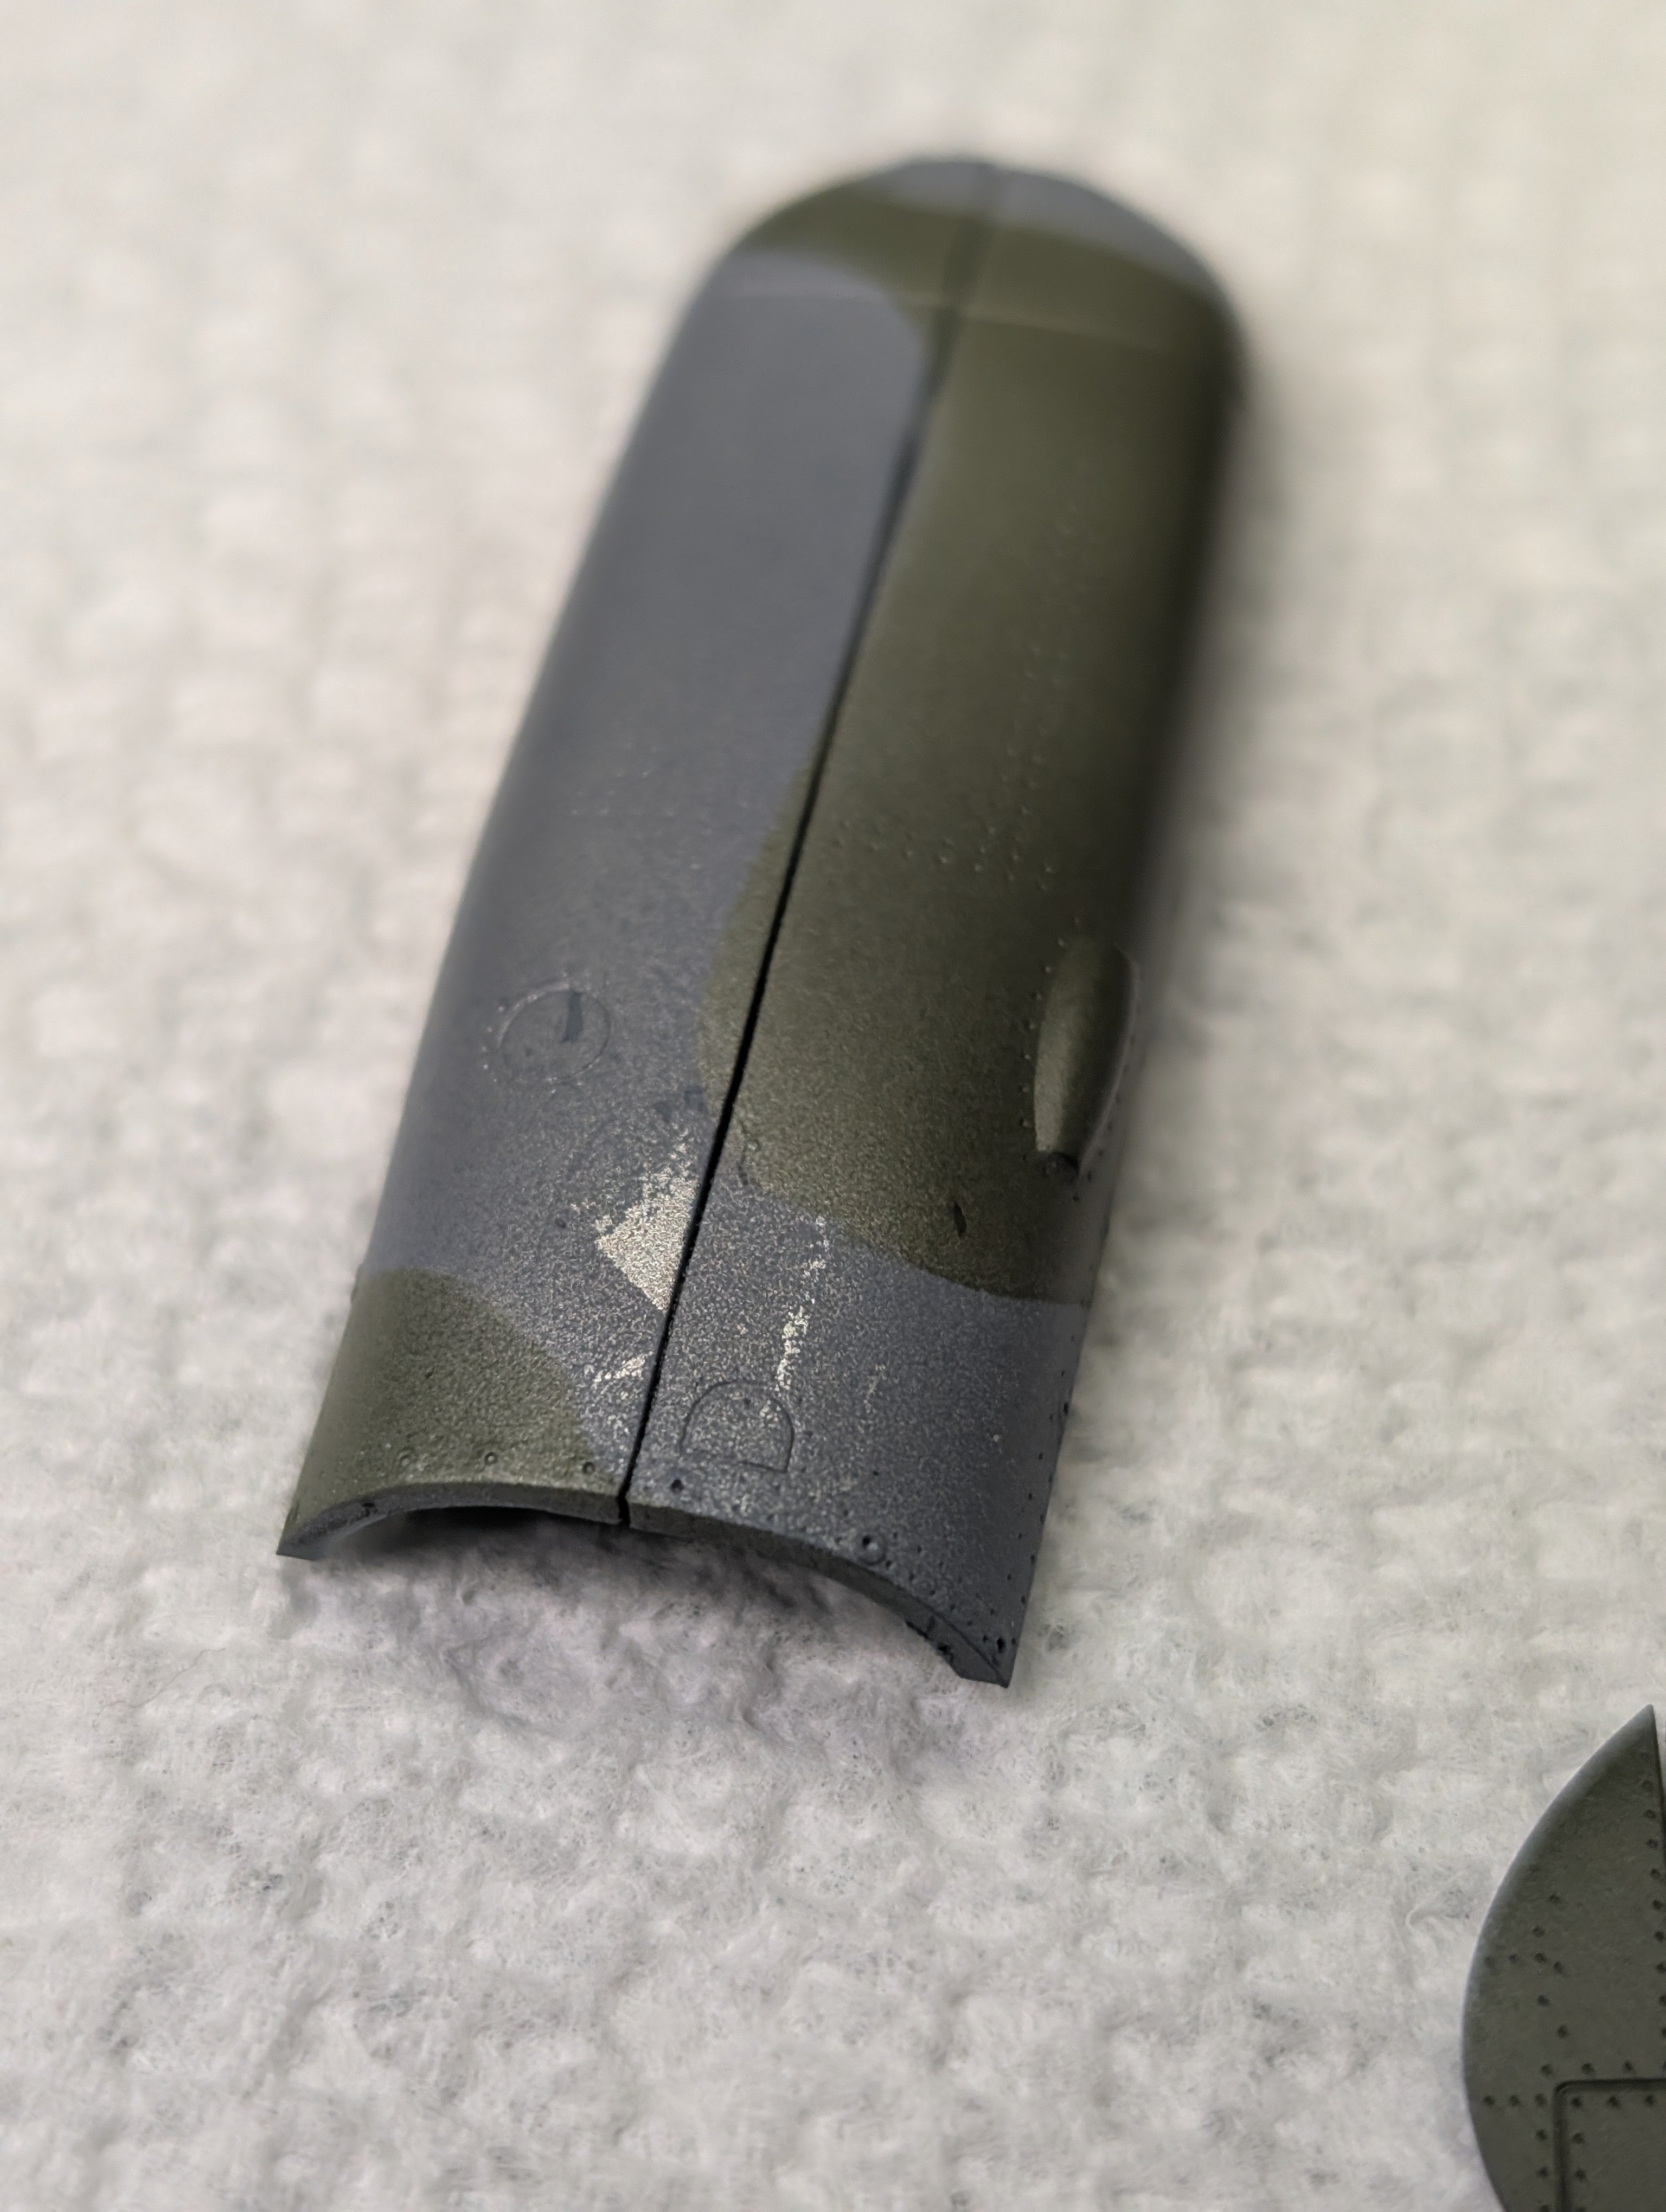
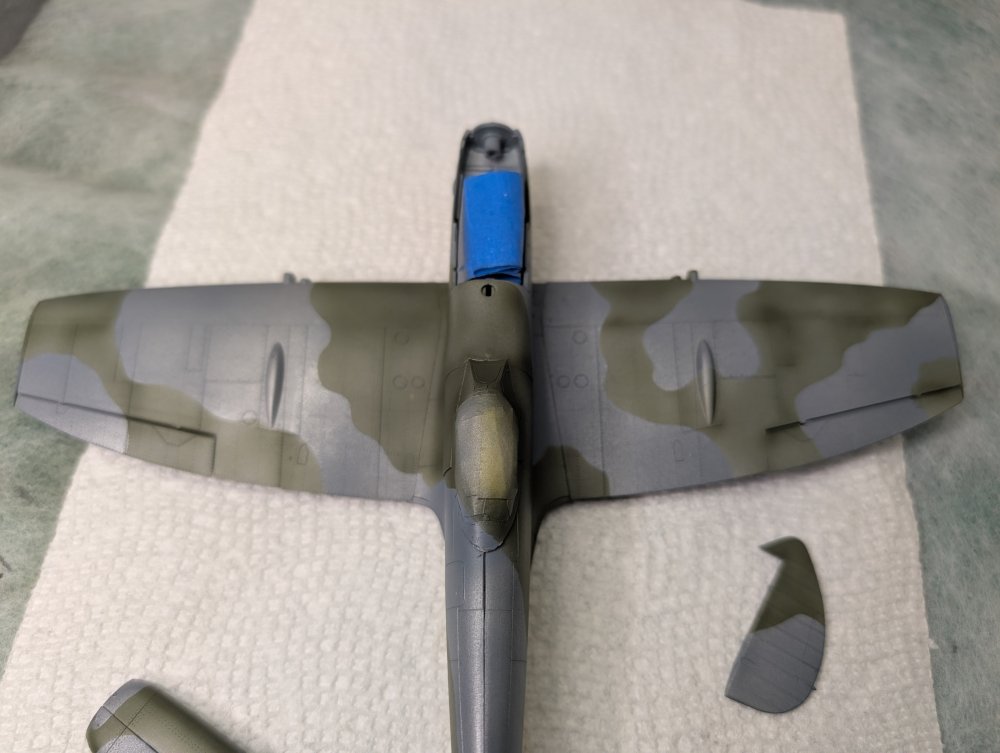
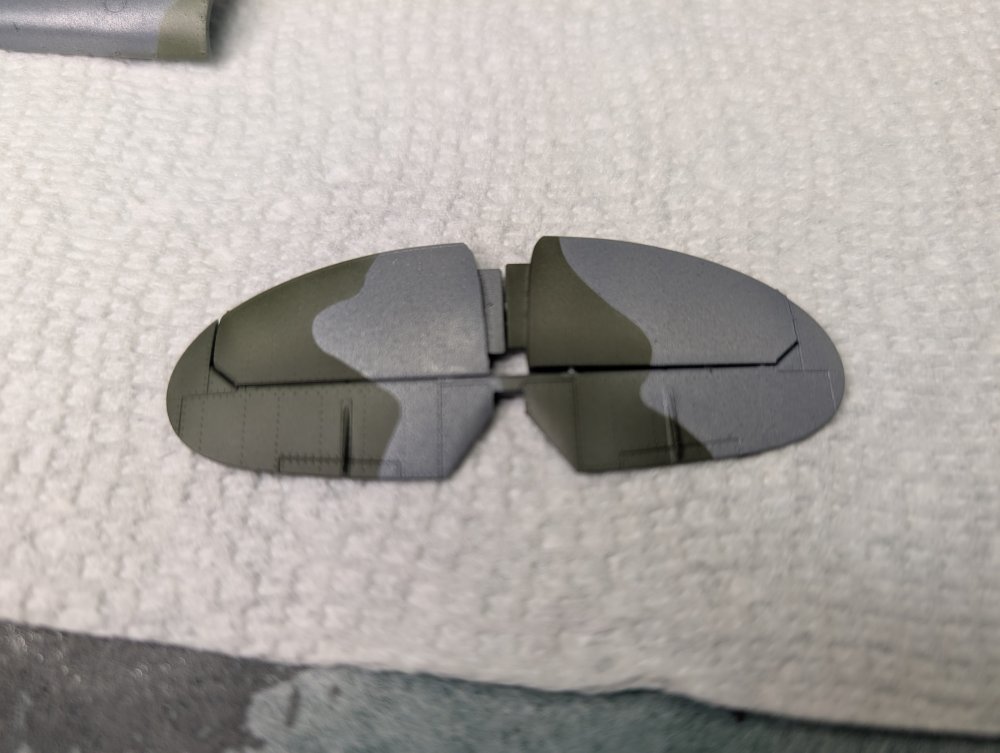
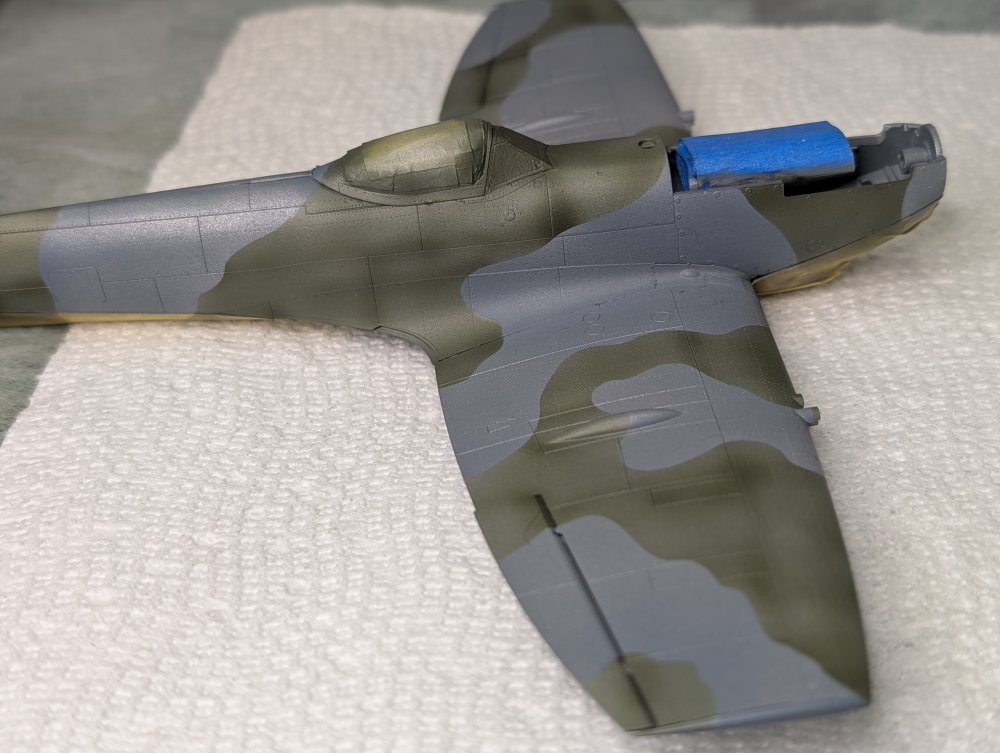
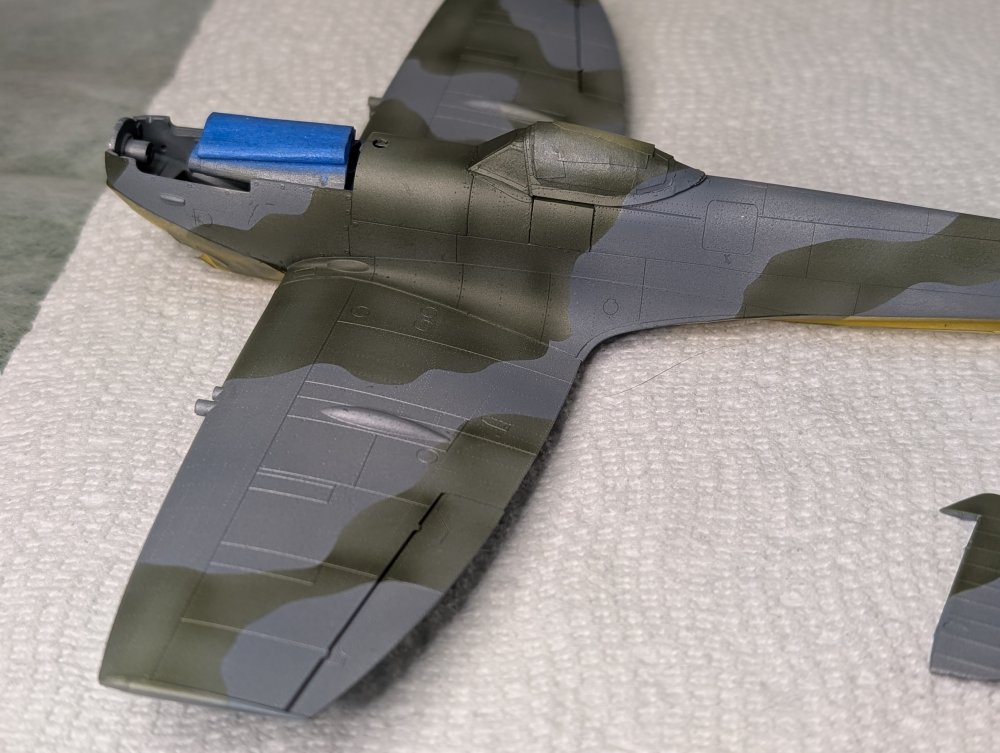
After letting the Vallejo Model Air cure for a few days, bit the bullet to lay down the MRP Dark Green. I hope the effect comes through the pictures. I'd like some of the demarcation lines to be more faded, but I may try working on them in a day or after I'm sure the MRP is fully dried. With Masks: Masks removed: Had a little bit of paint lift on the top cowling. Will probably paint a fresh square over the area like a patch. Or might just see about touching it up... More to come!


-
Eduard Spitfire Mk. XVI Bubbletop 1/48
CANicoll replied to CANicoll's topic in LSM 1/48 Work in Progress
Mike, I think its an 'age' thing... -
Eduard Spitfire Mk. XVI Bubbletop 1/48
CANicoll replied to CANicoll's topic in LSM 1/48 Work in Progress
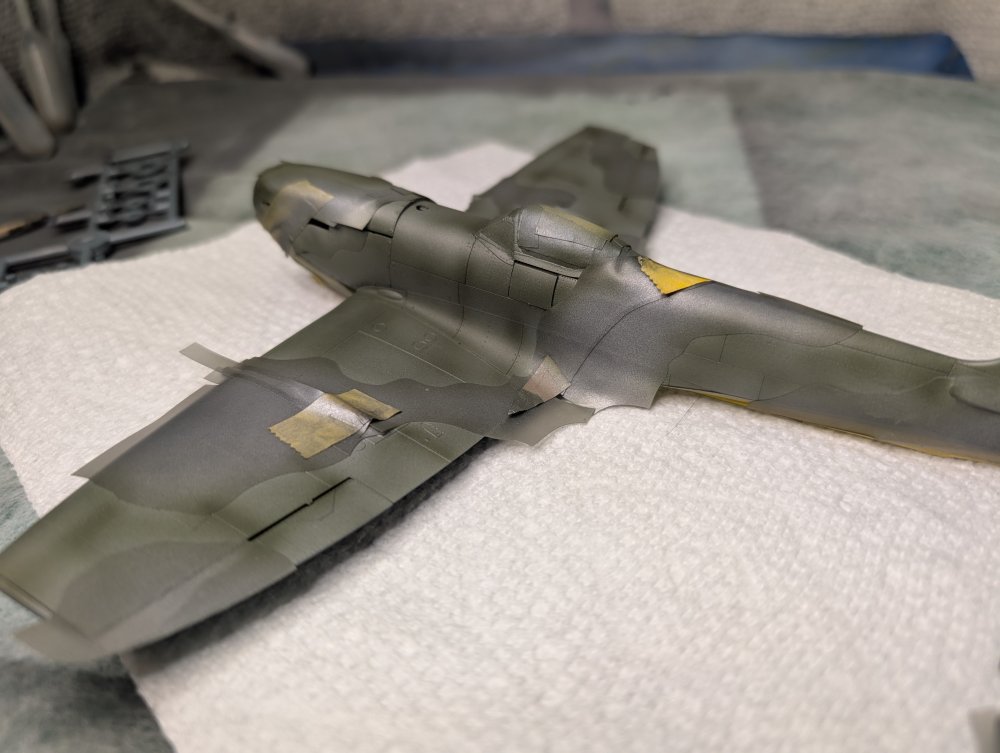
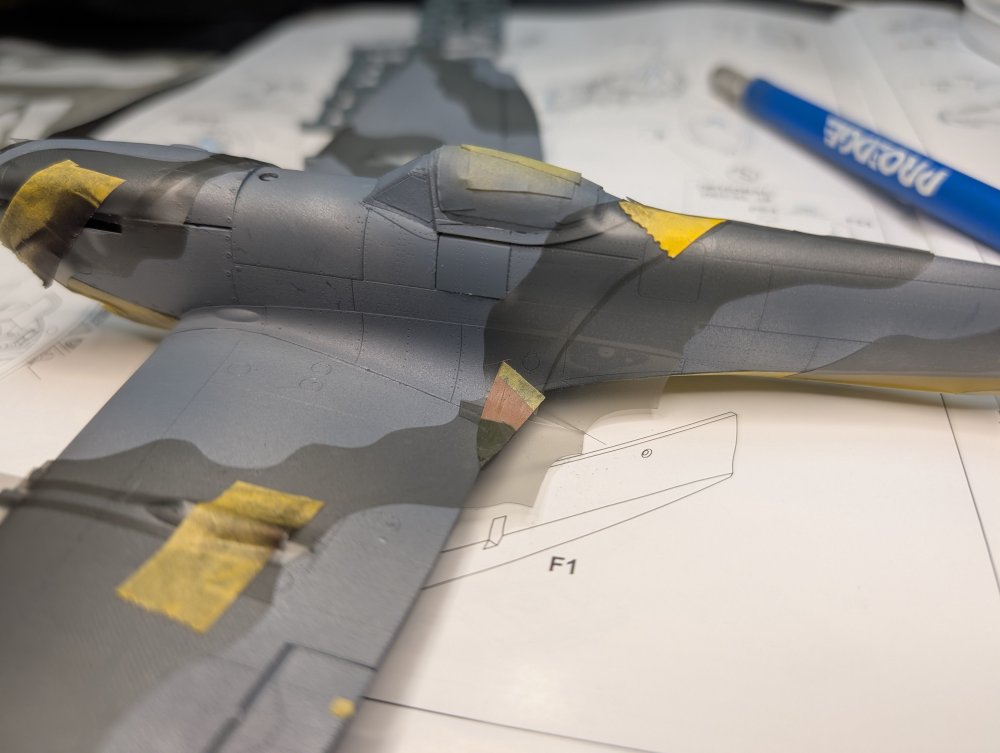
Applied the masks, which are not specifically for the Eduard kit, however I didn't think they would fit this poorly. The tape is to hold down the vinyl masks. You can see how far off the model the masks are. Also did a minor overspray with the flat aluminum to see if I can replicate the Ocean Gray spray effect. Was getting ready to spray the RAF Dark Green when I realized I didn't have any Vallejo RAF Dark Green. I have MRP Dark Green, but wanted to say with the acrylic Vallejo. Went to the LHS and the Vallejo Dark Green was... Brown. I've run into this before where the Vallejo color was just not close. However, picked up the USAF Dark Green to see if it was close. Close, but it bothers me that it isn't the right color. Now I have to wait for the Vallejo Flat Aluminum to cure before spraying the MRP Dark Green.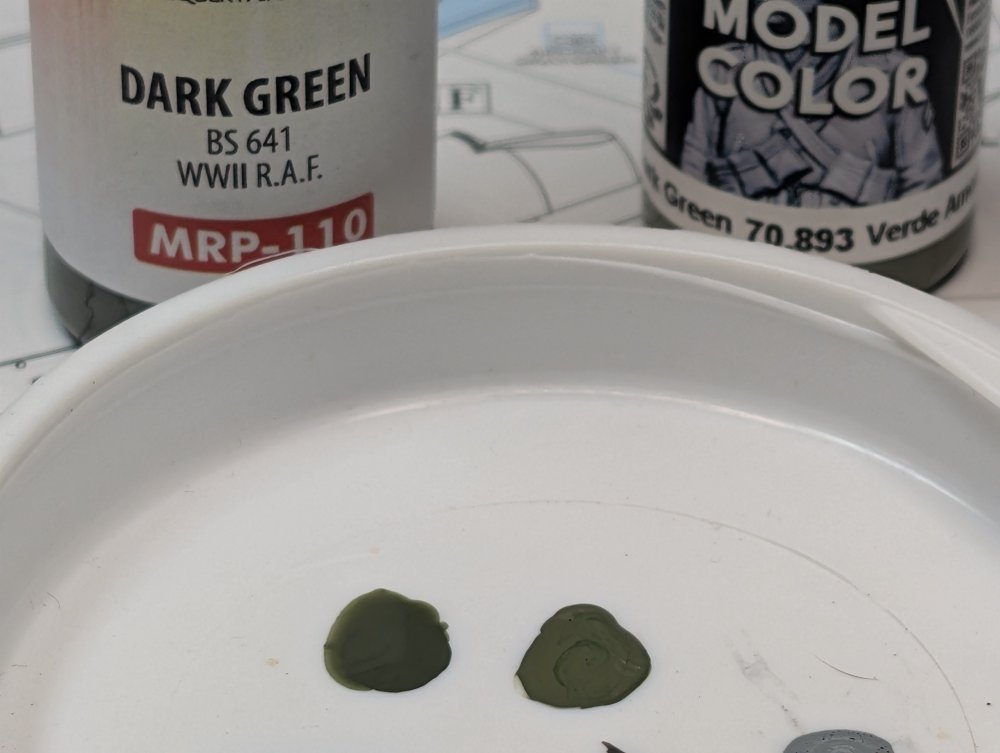

-
Eduard Spitfire Mk. XVI Bubbletop 1/48
CANicoll replied to CANicoll's topic in LSM 1/48 Work in Progress
Cheers, Jbert! -
Eduard Spitfire Mk. XVI Bubbletop 1/48
CANicoll replied to CANicoll's topic in LSM 1/48 Work in Progress
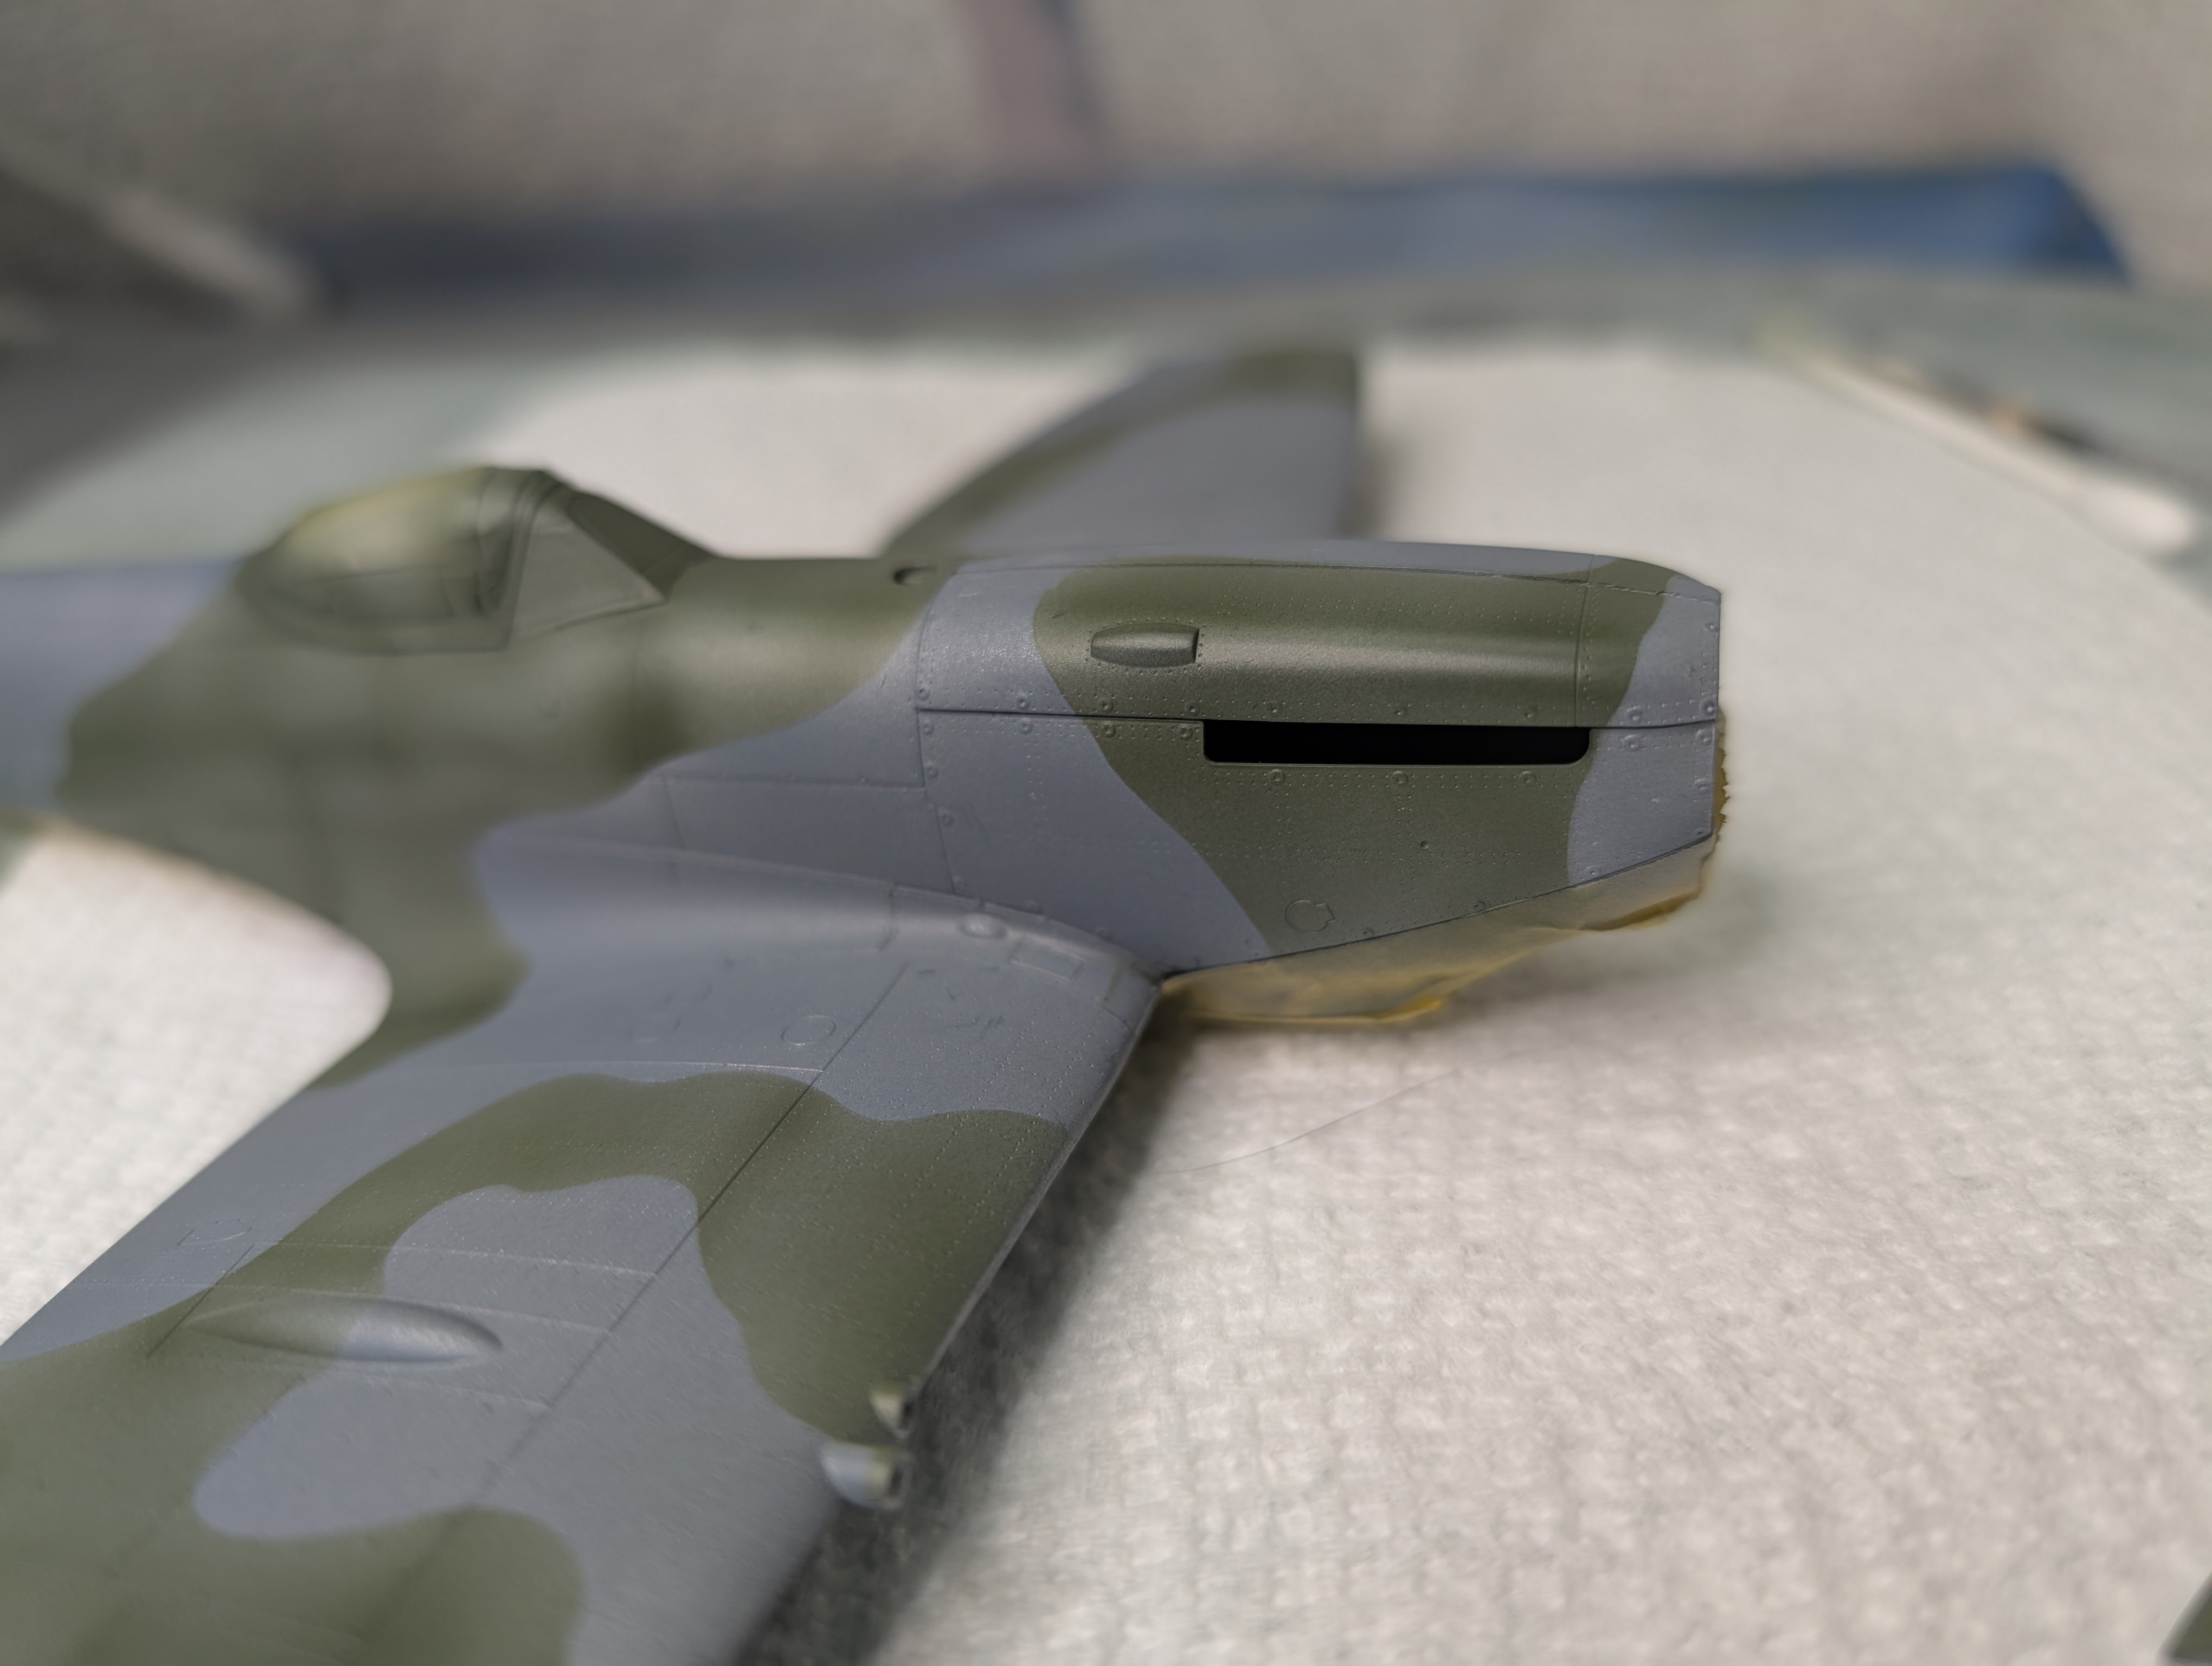
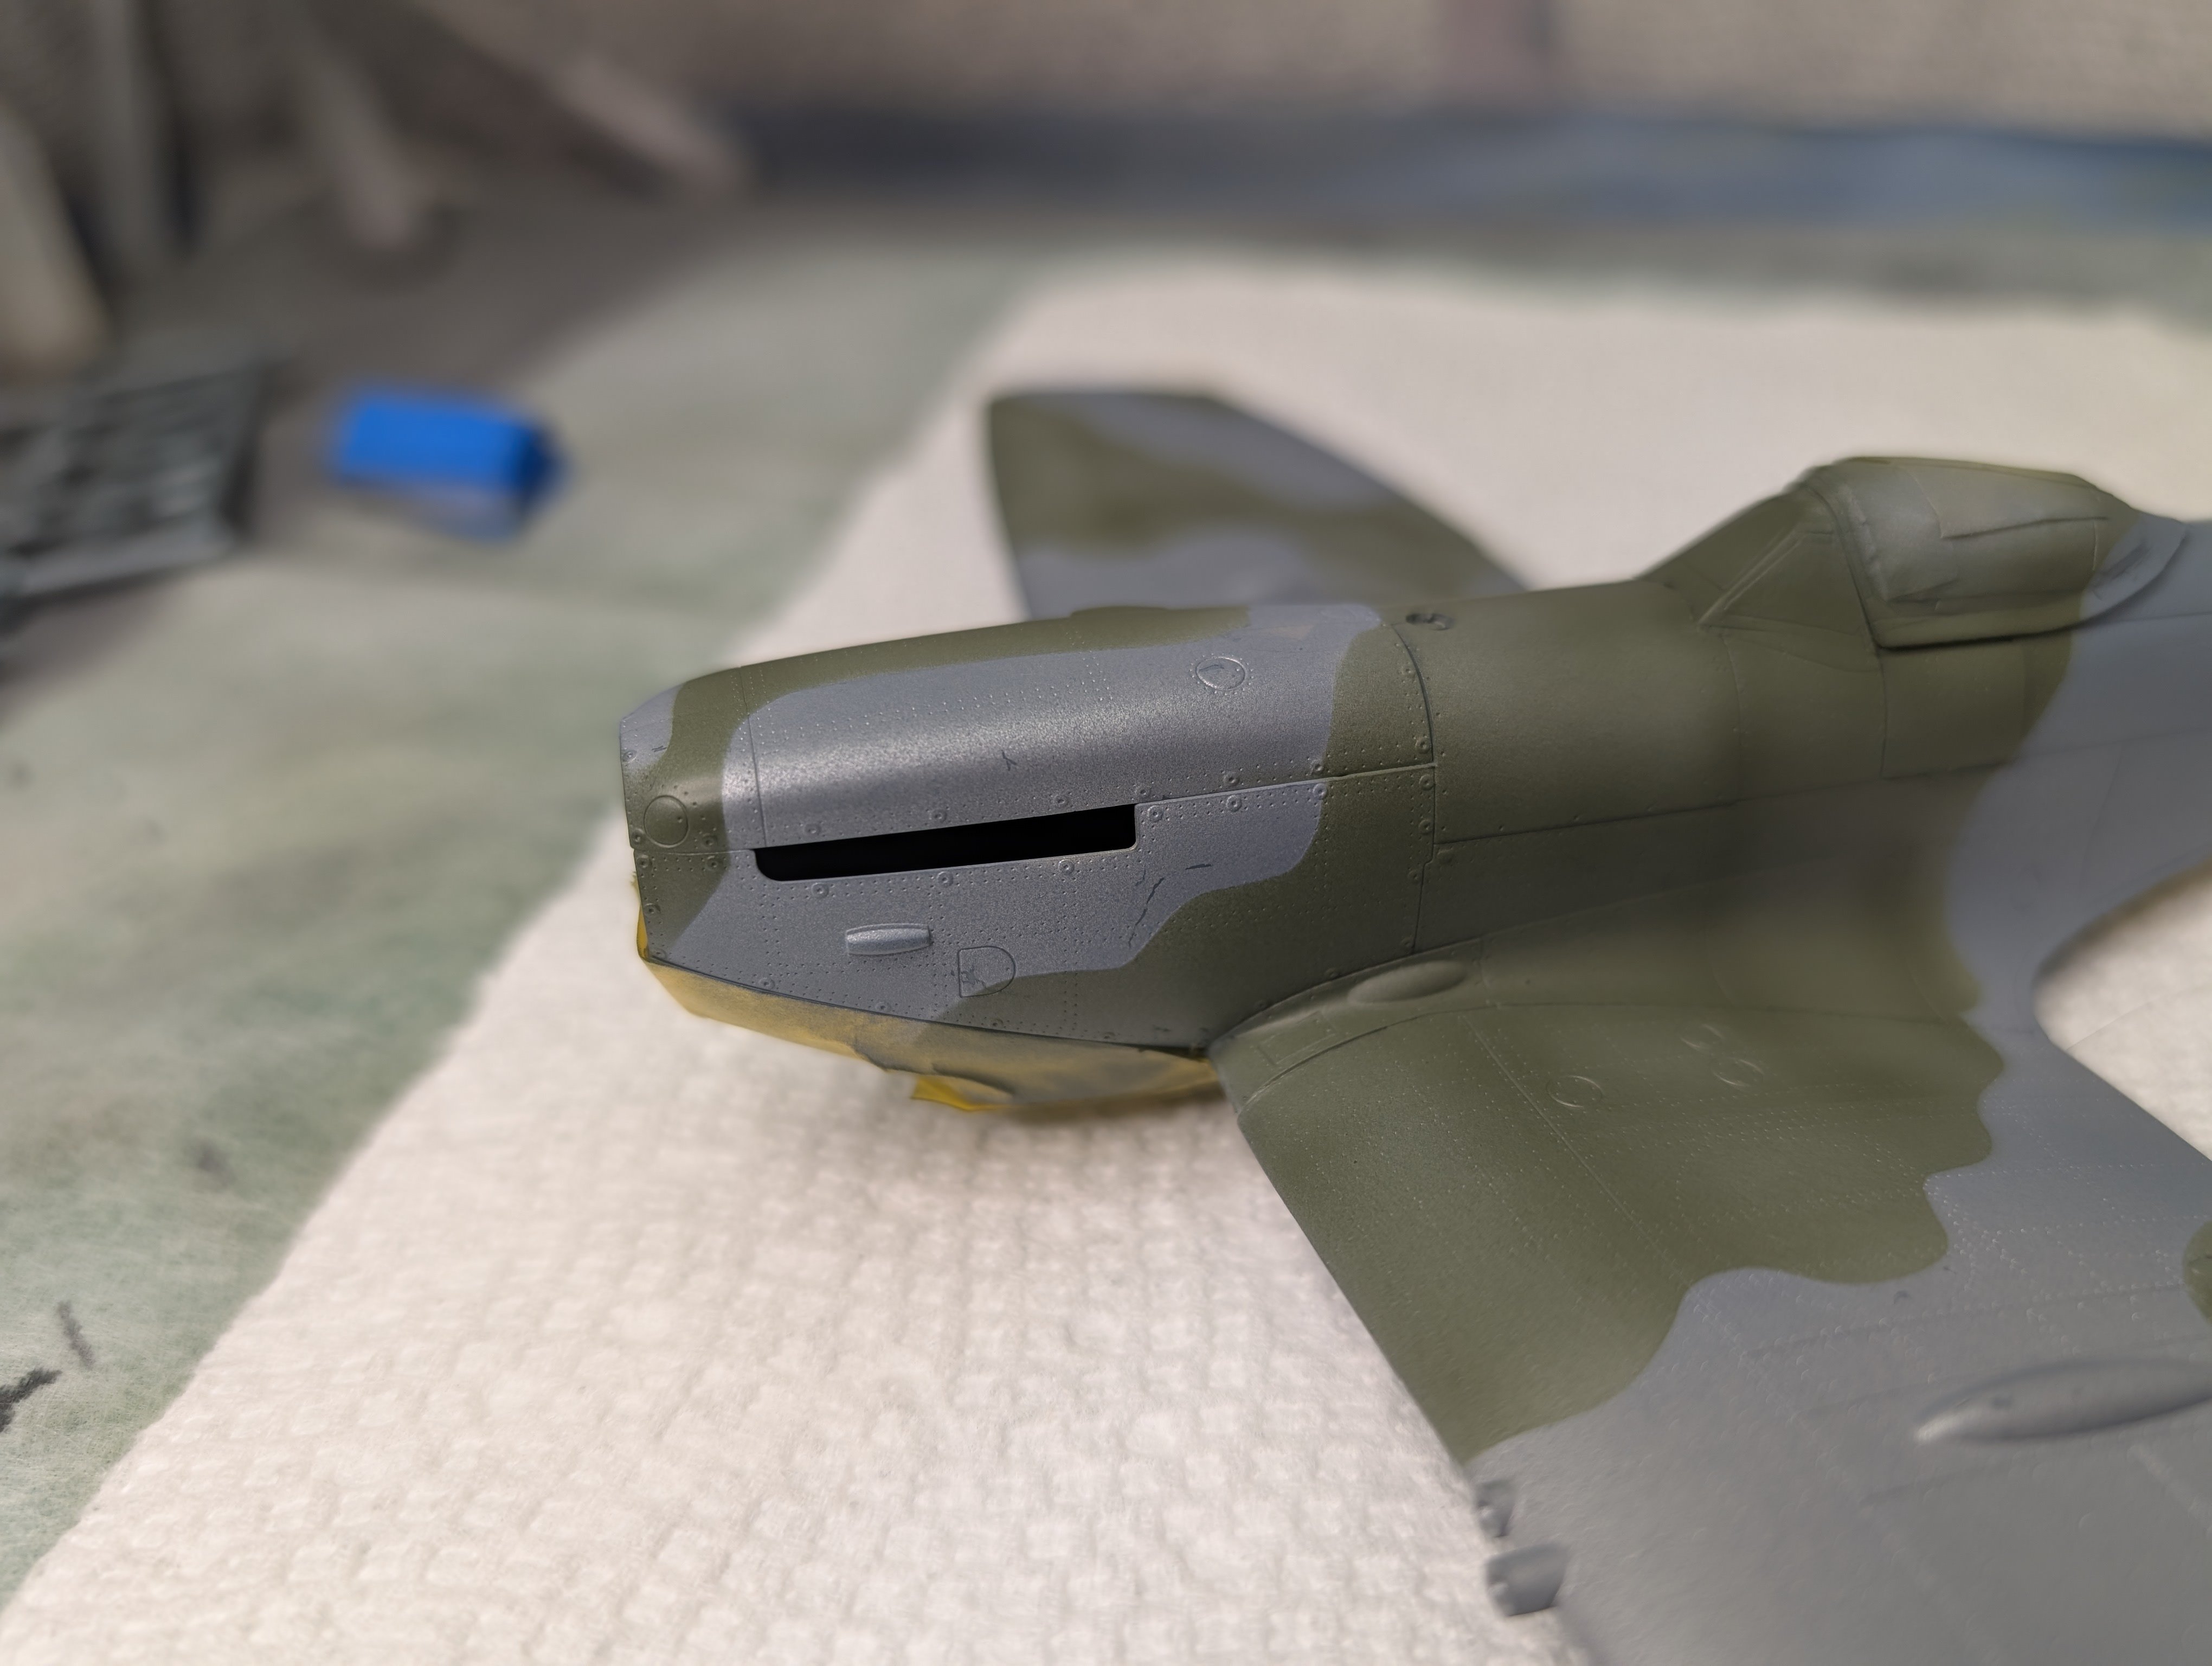
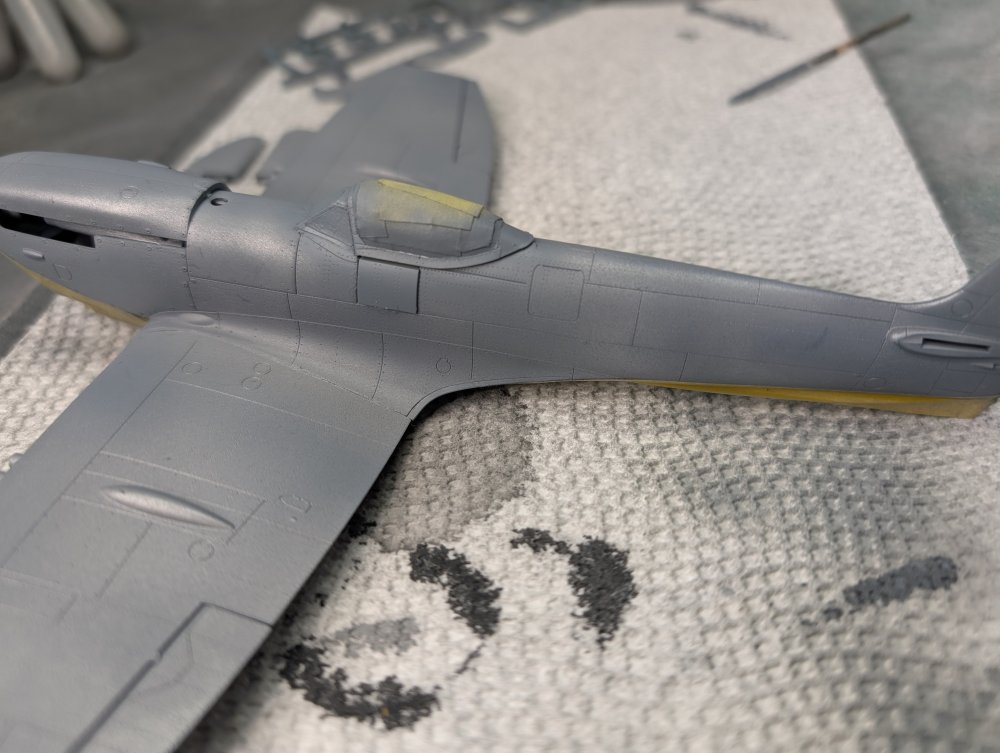
Rob, I cleaned my airbrush again after spraying the topcoat, and cleaned it again and even MORE stuff from previous sessions came out! Here is the first spray of the top camo color - Ocean Gray. This gives you an idea of the effect I'm looking for - a worn paint job. I'll see how it looks tomorrow and before I spray the dark green. I may need to do another coat before the next step and might need to respray some of the aluminum once I get the camo masks on, to achieve a similar effect. This is a place-holder door and am hoping not a lot of spray got into the cockpit. That would not be fun.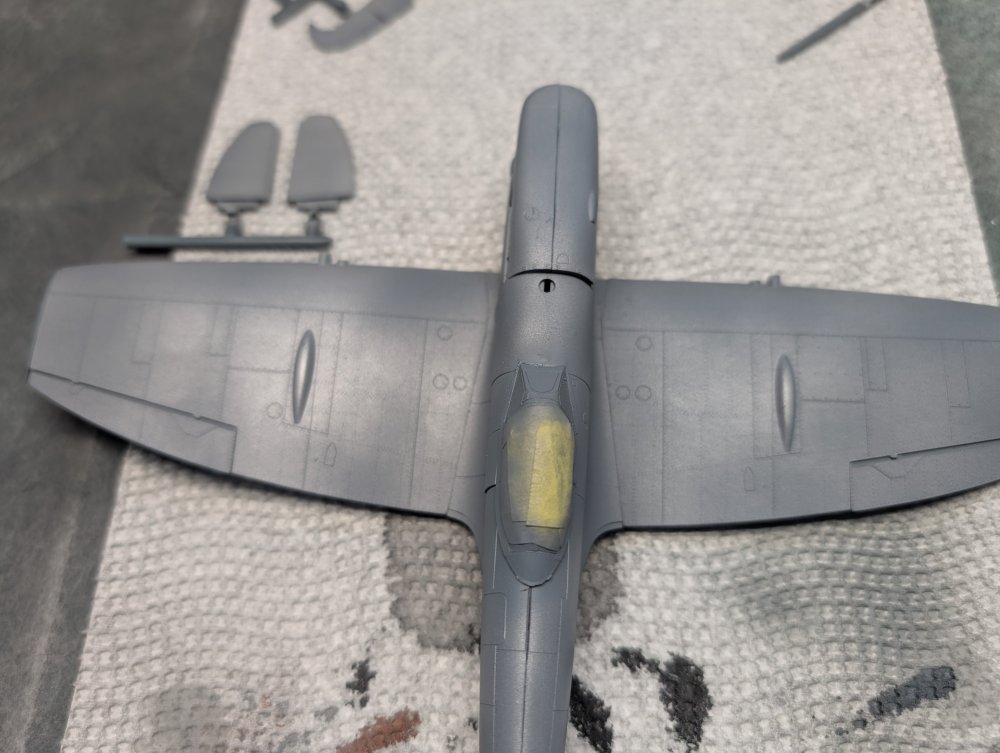
-
Eduard Spitfire Mk. XVI Bubbletop 1/48
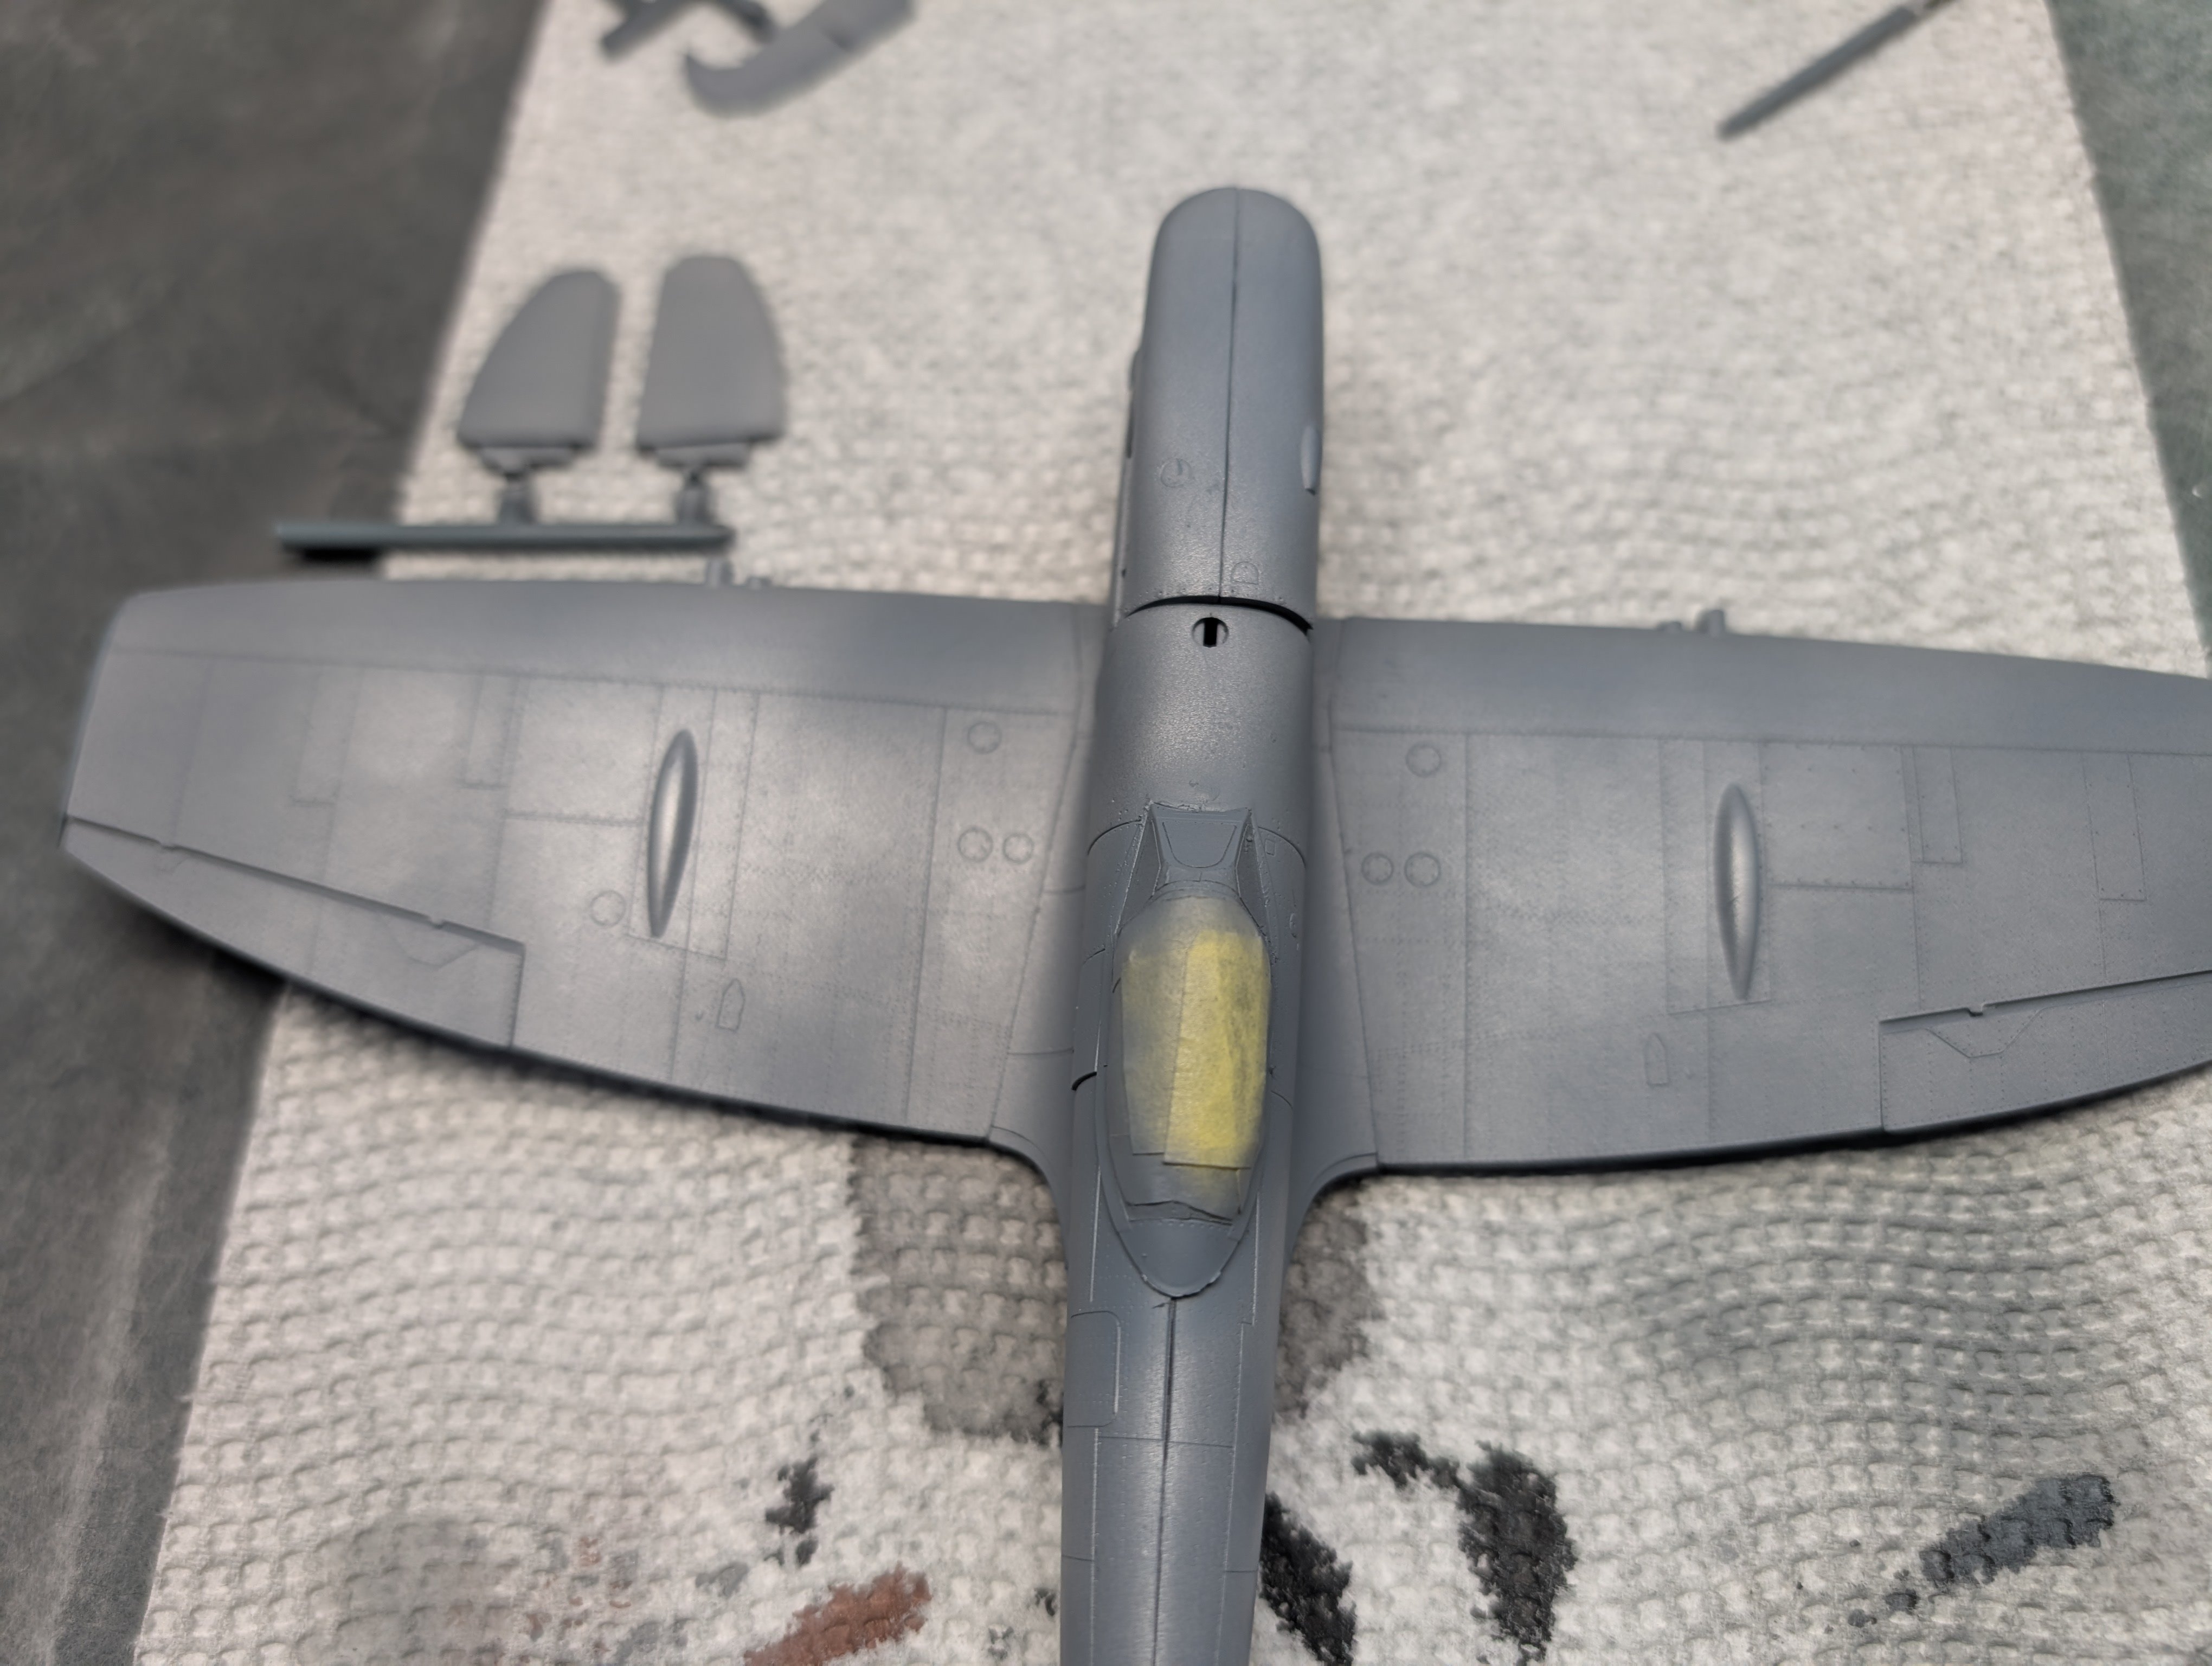
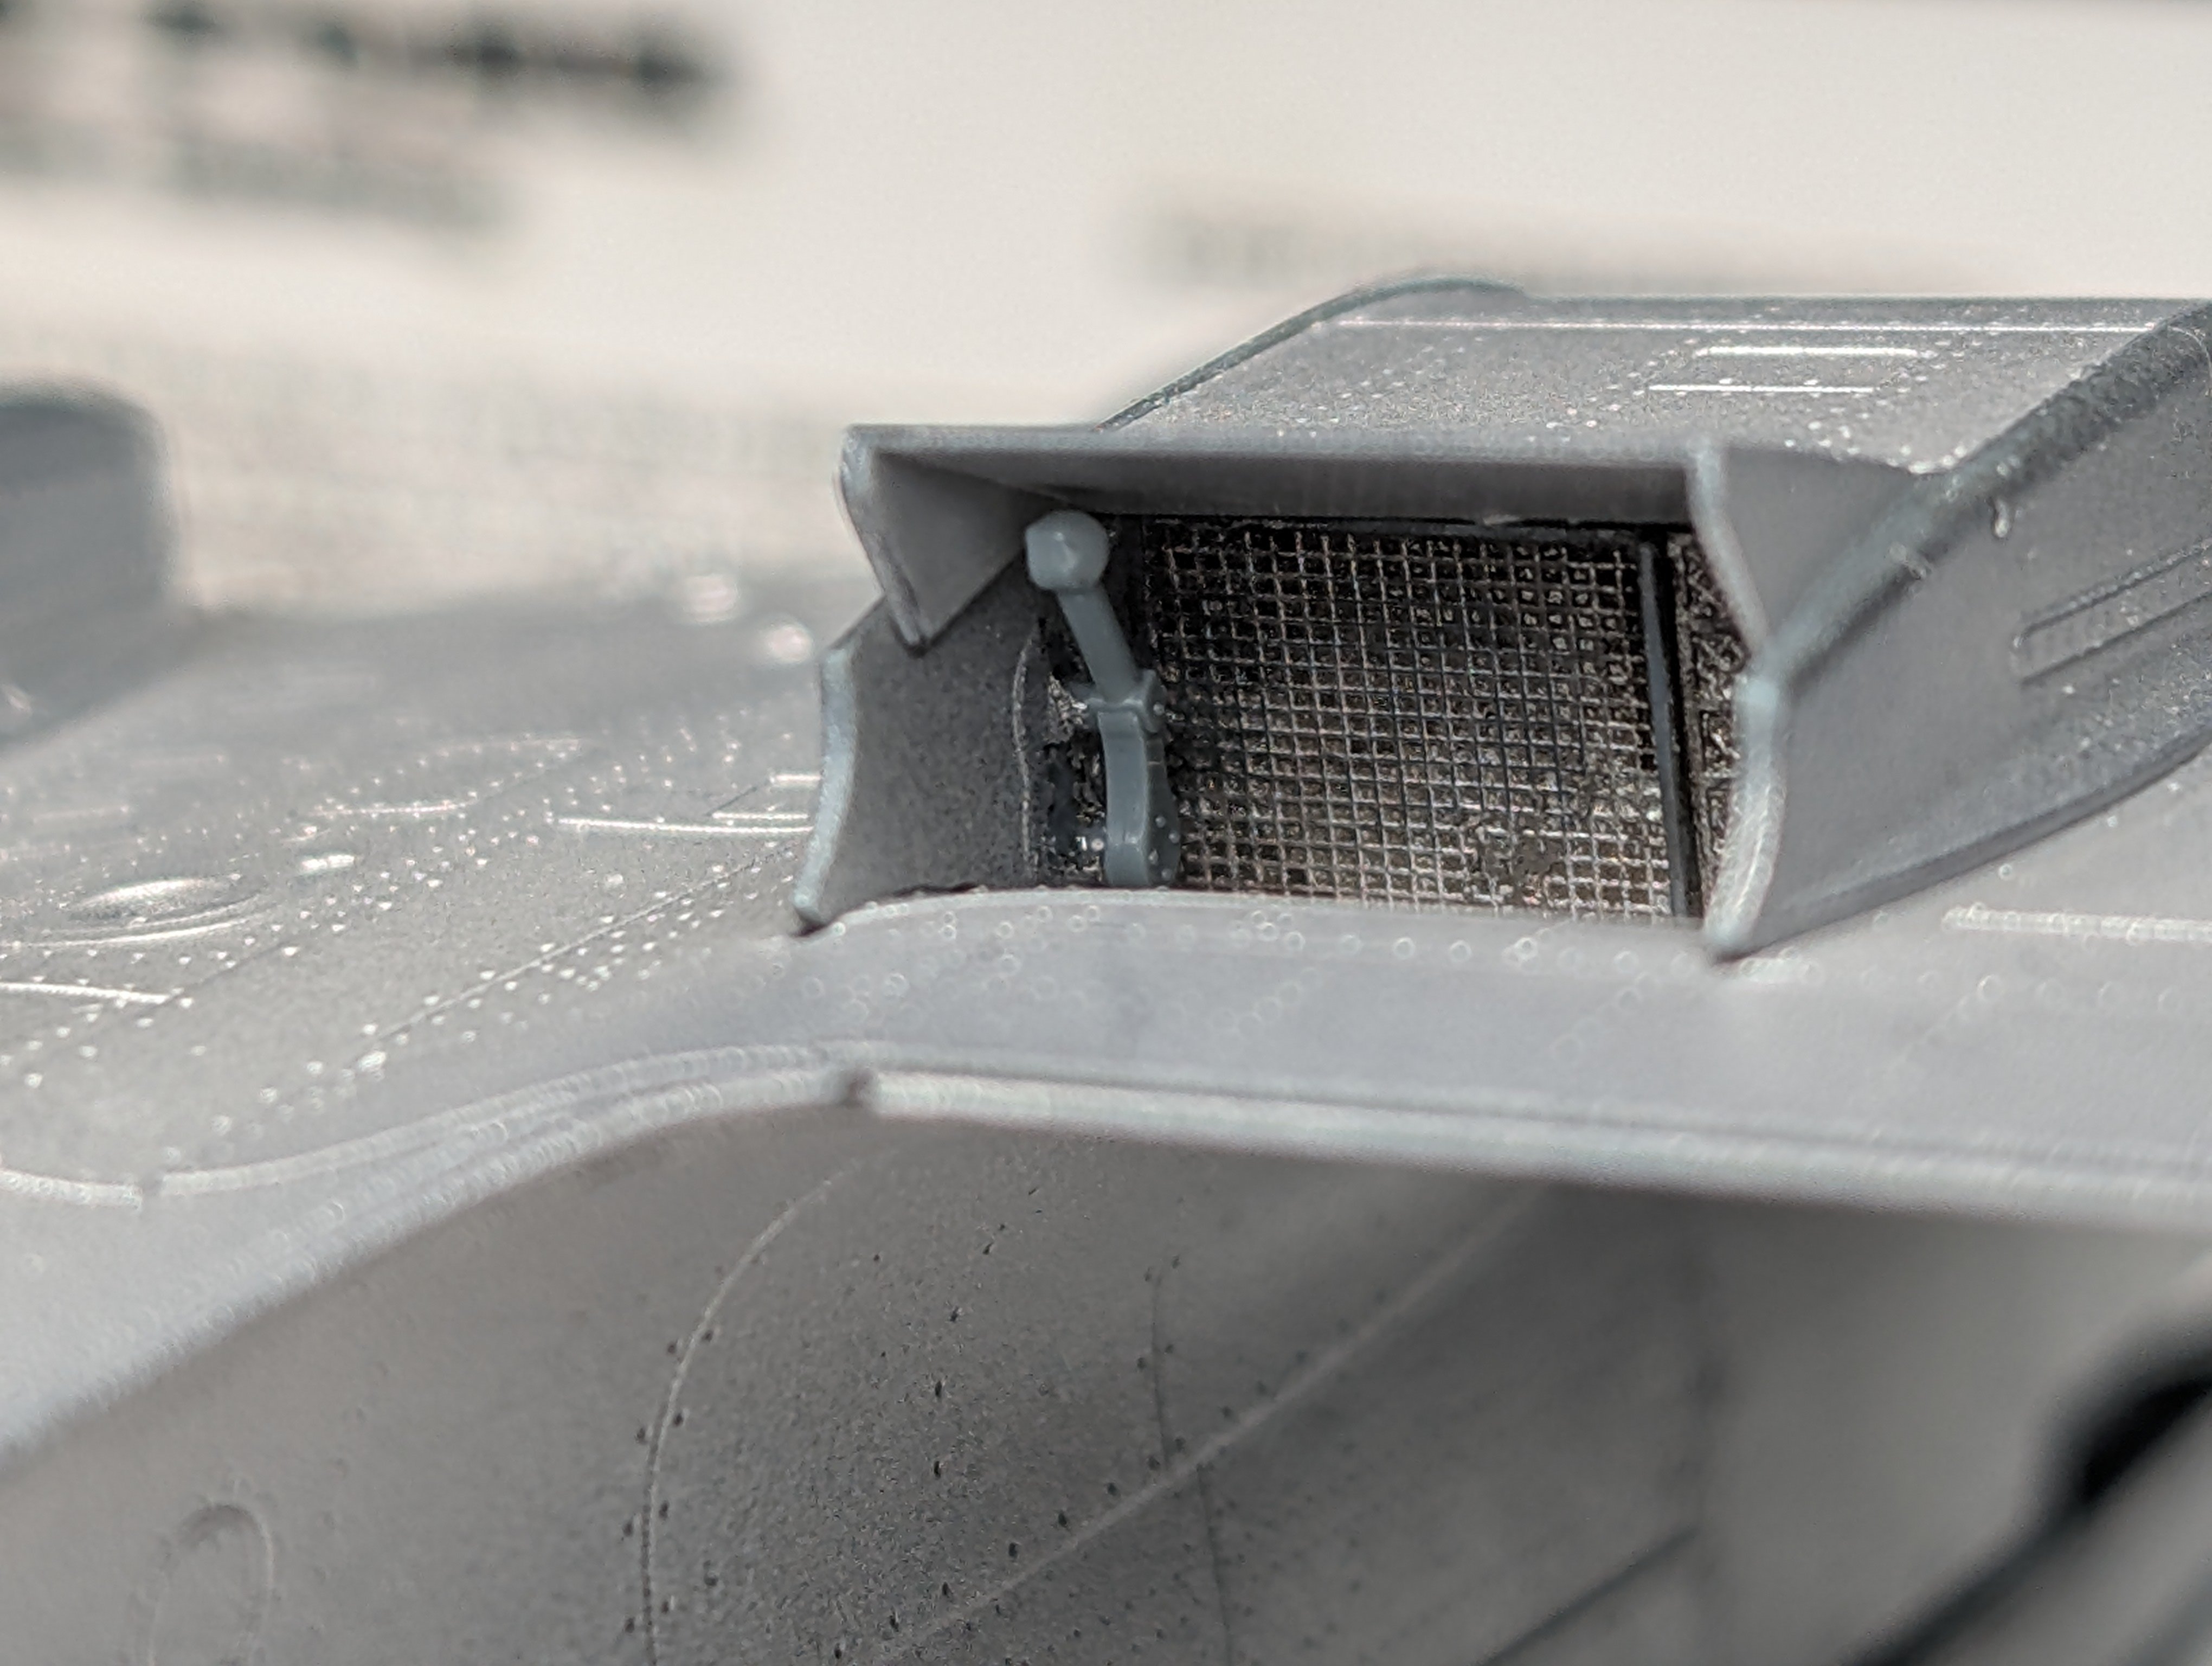
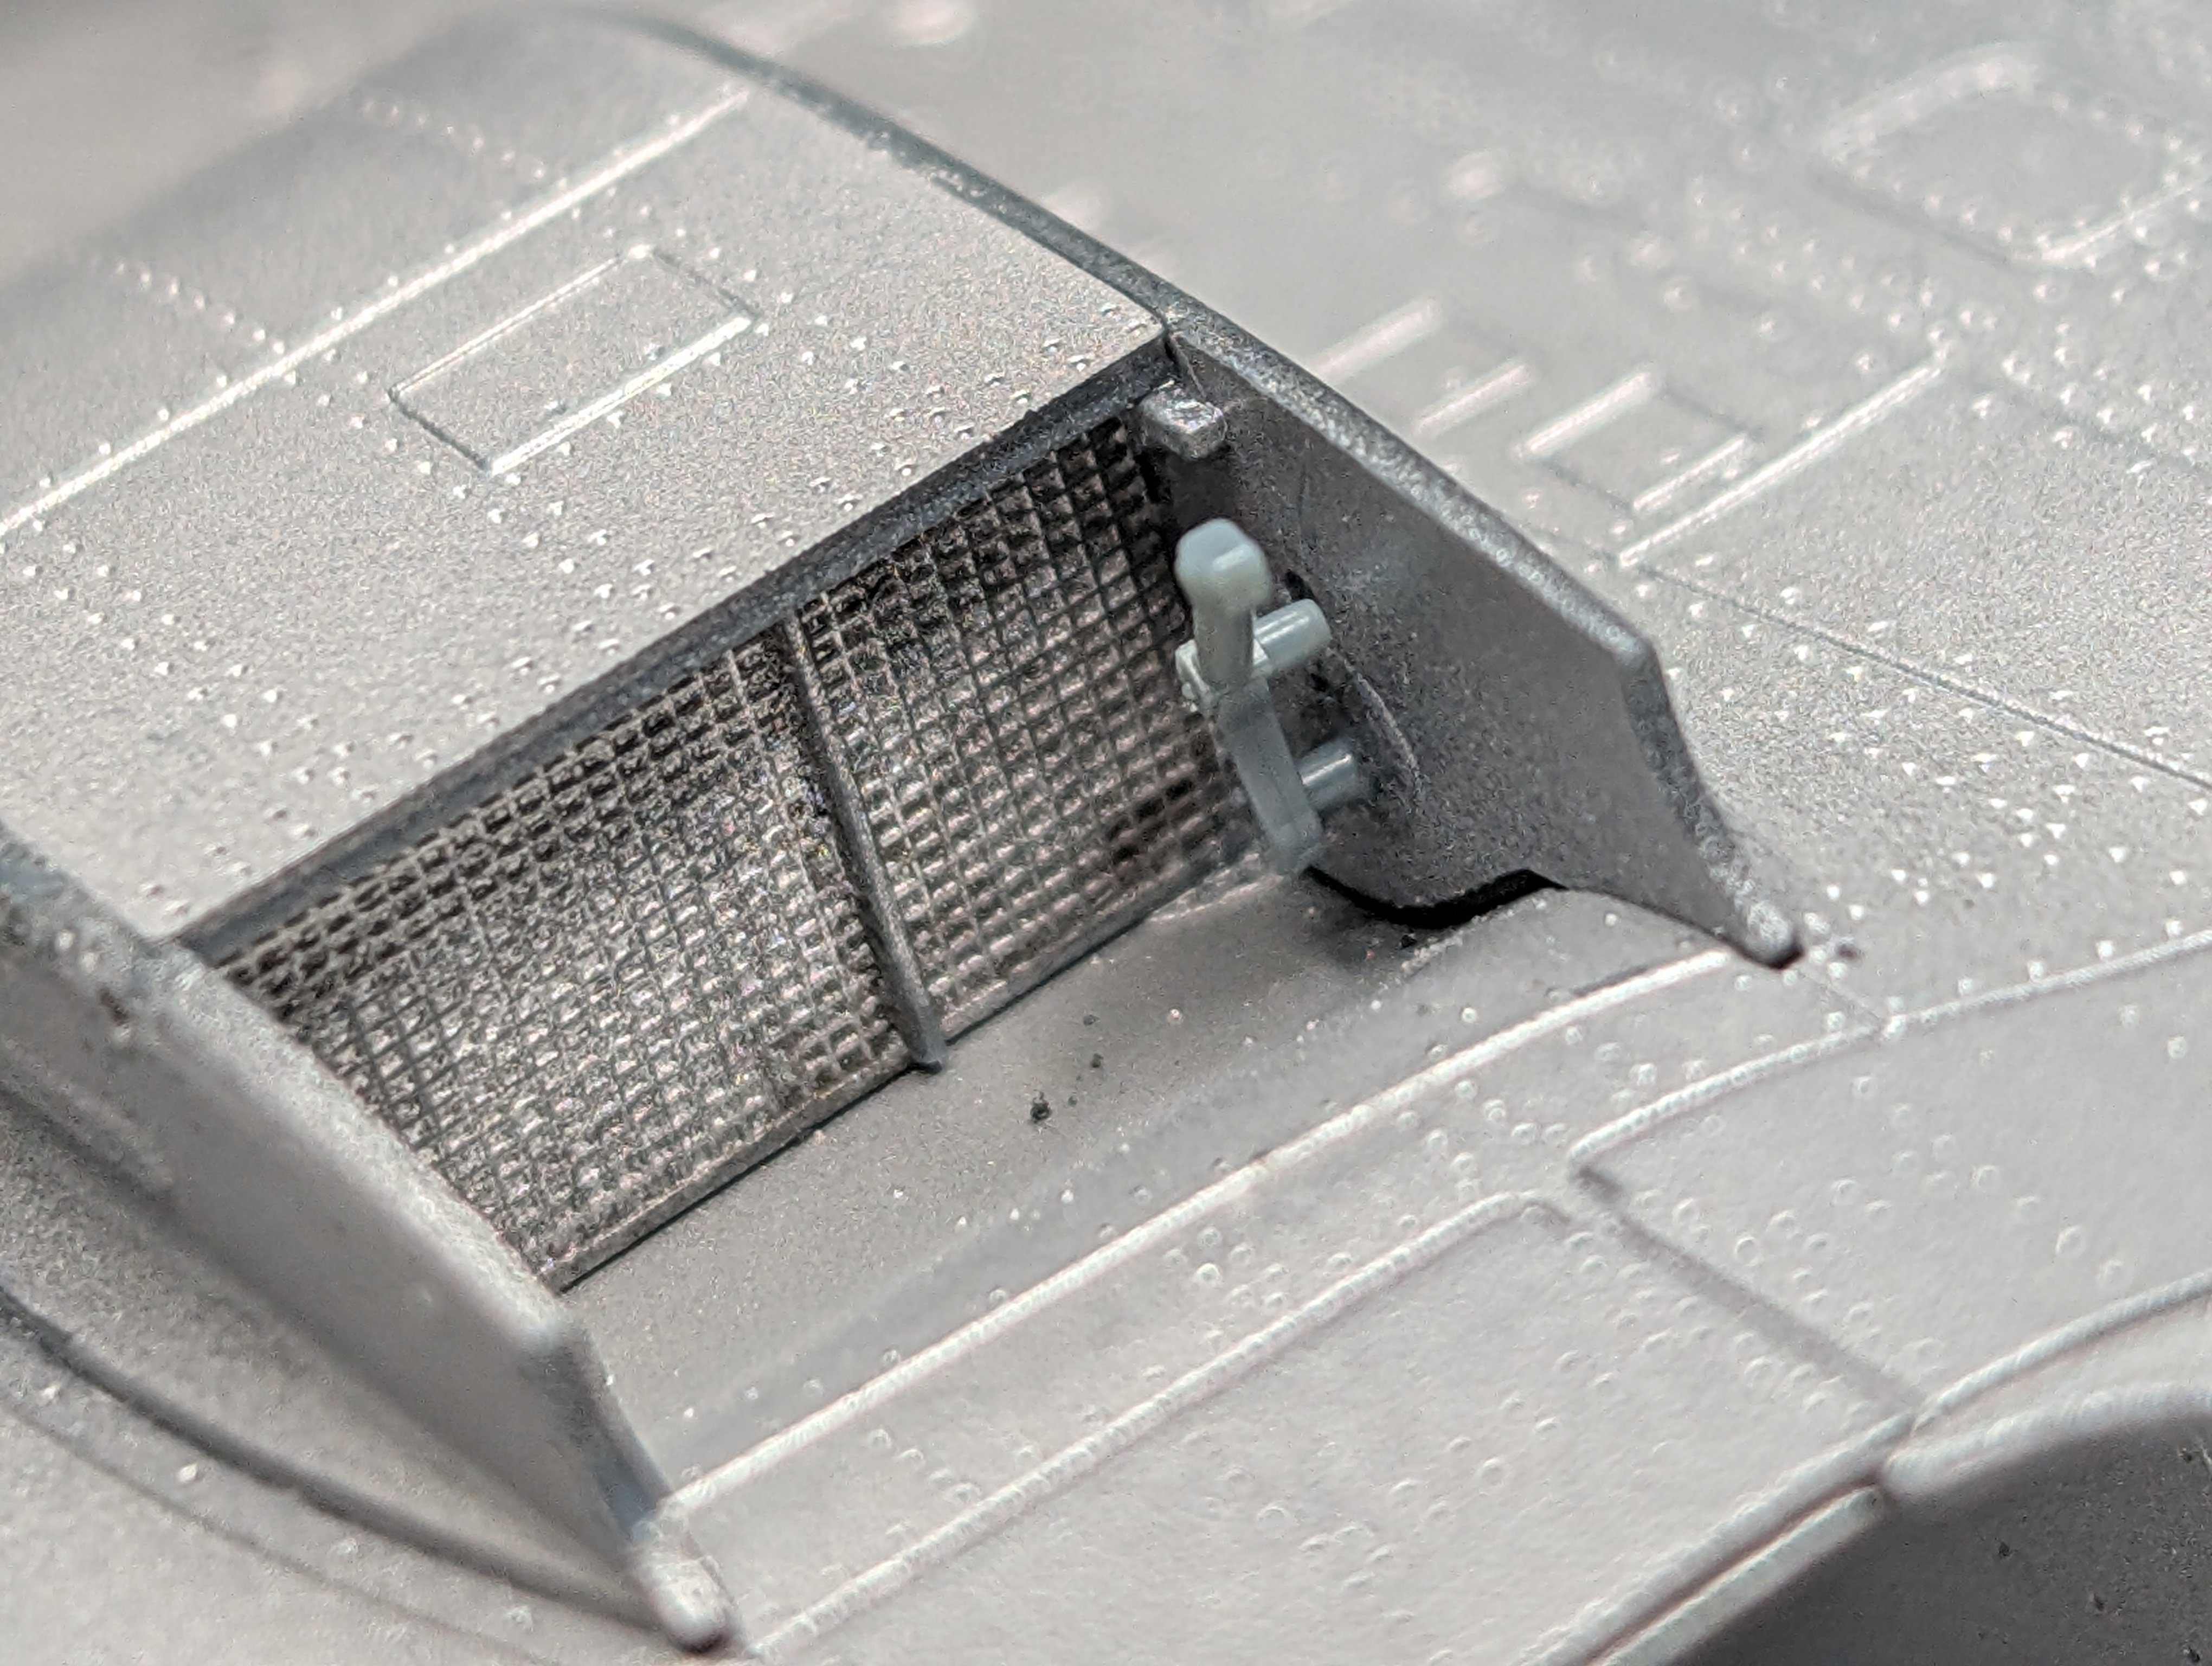
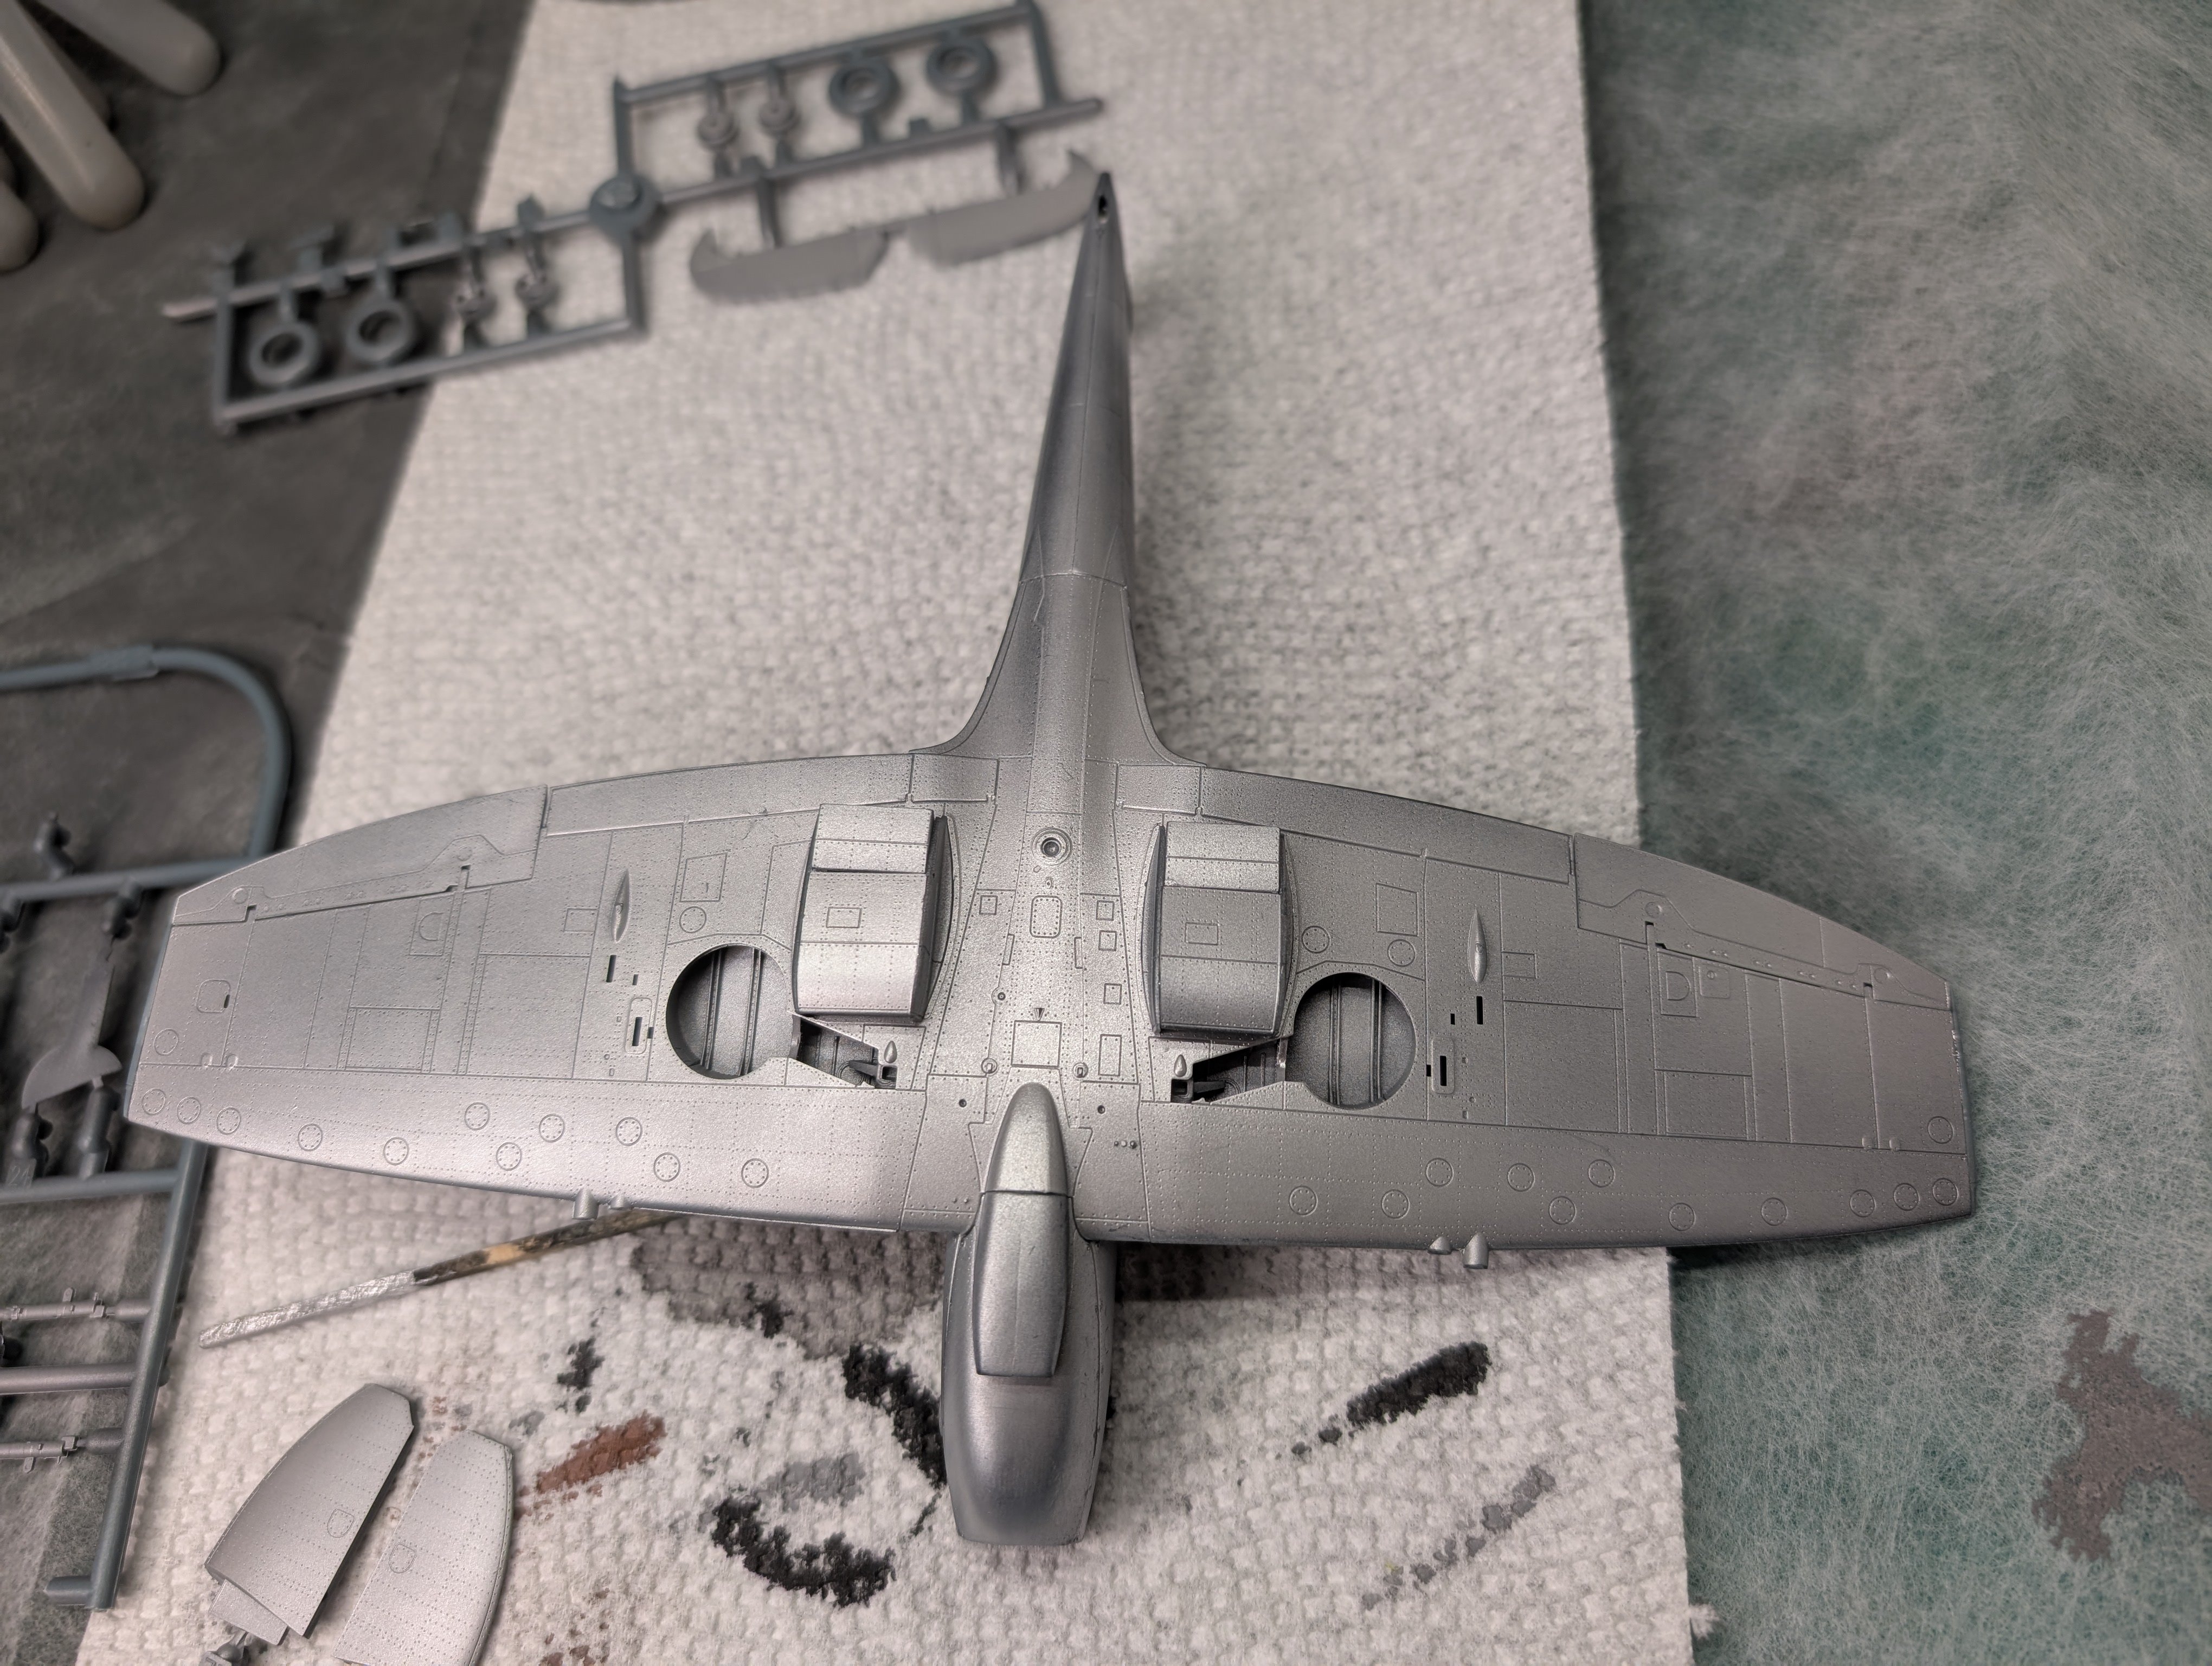
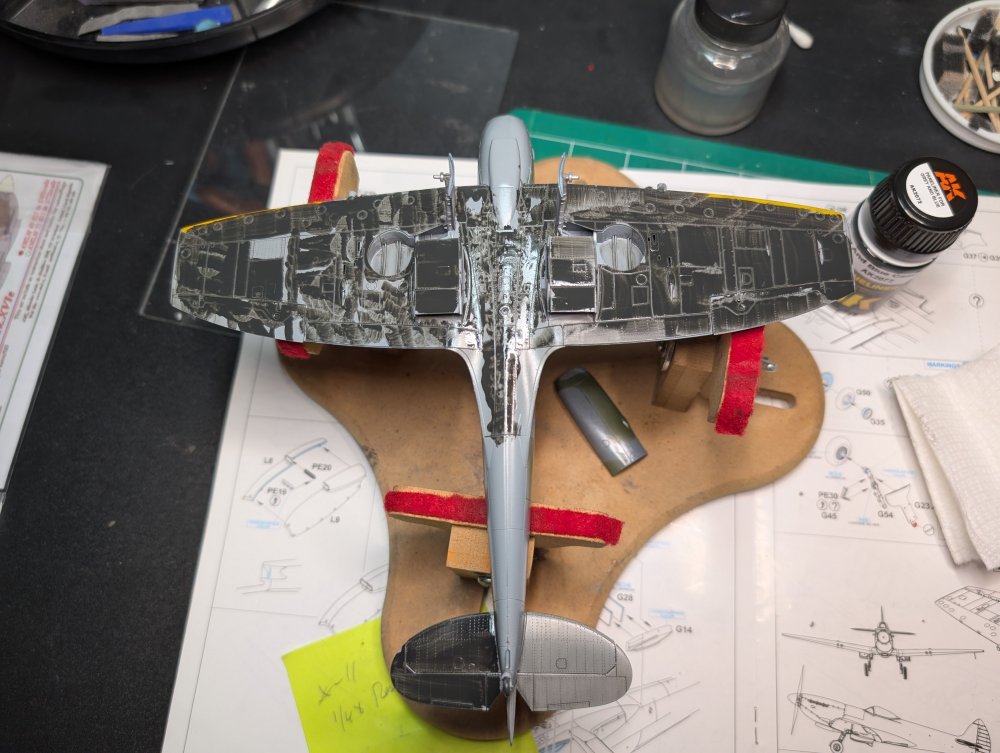
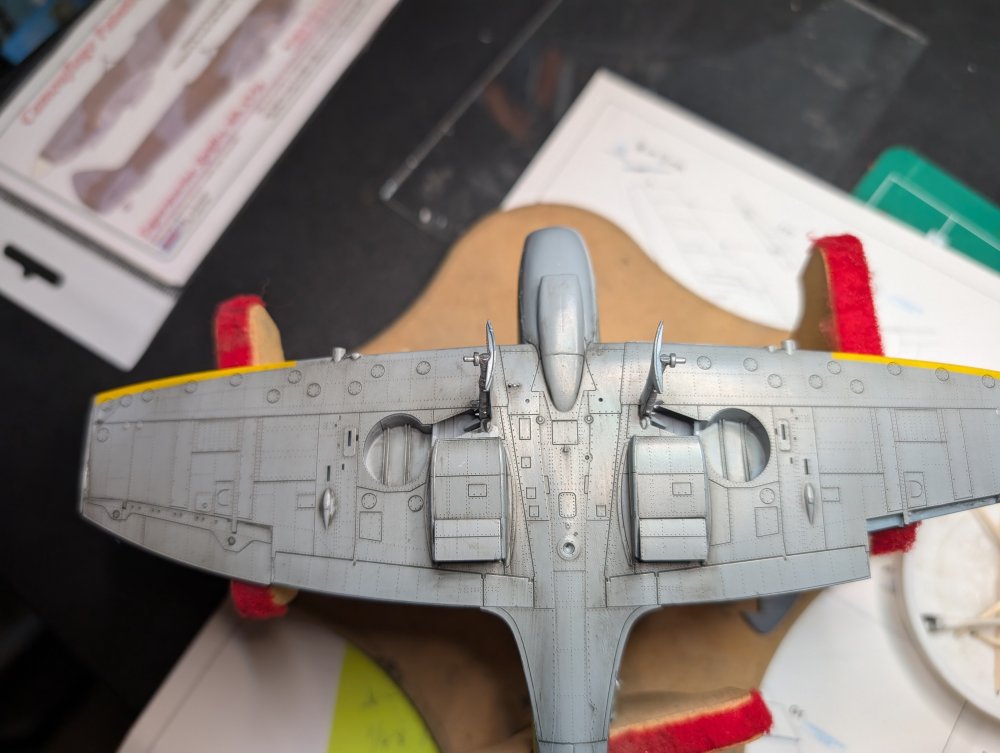
CANicoll replied to CANicoll's topic in LSM 1/48 Work in Progress
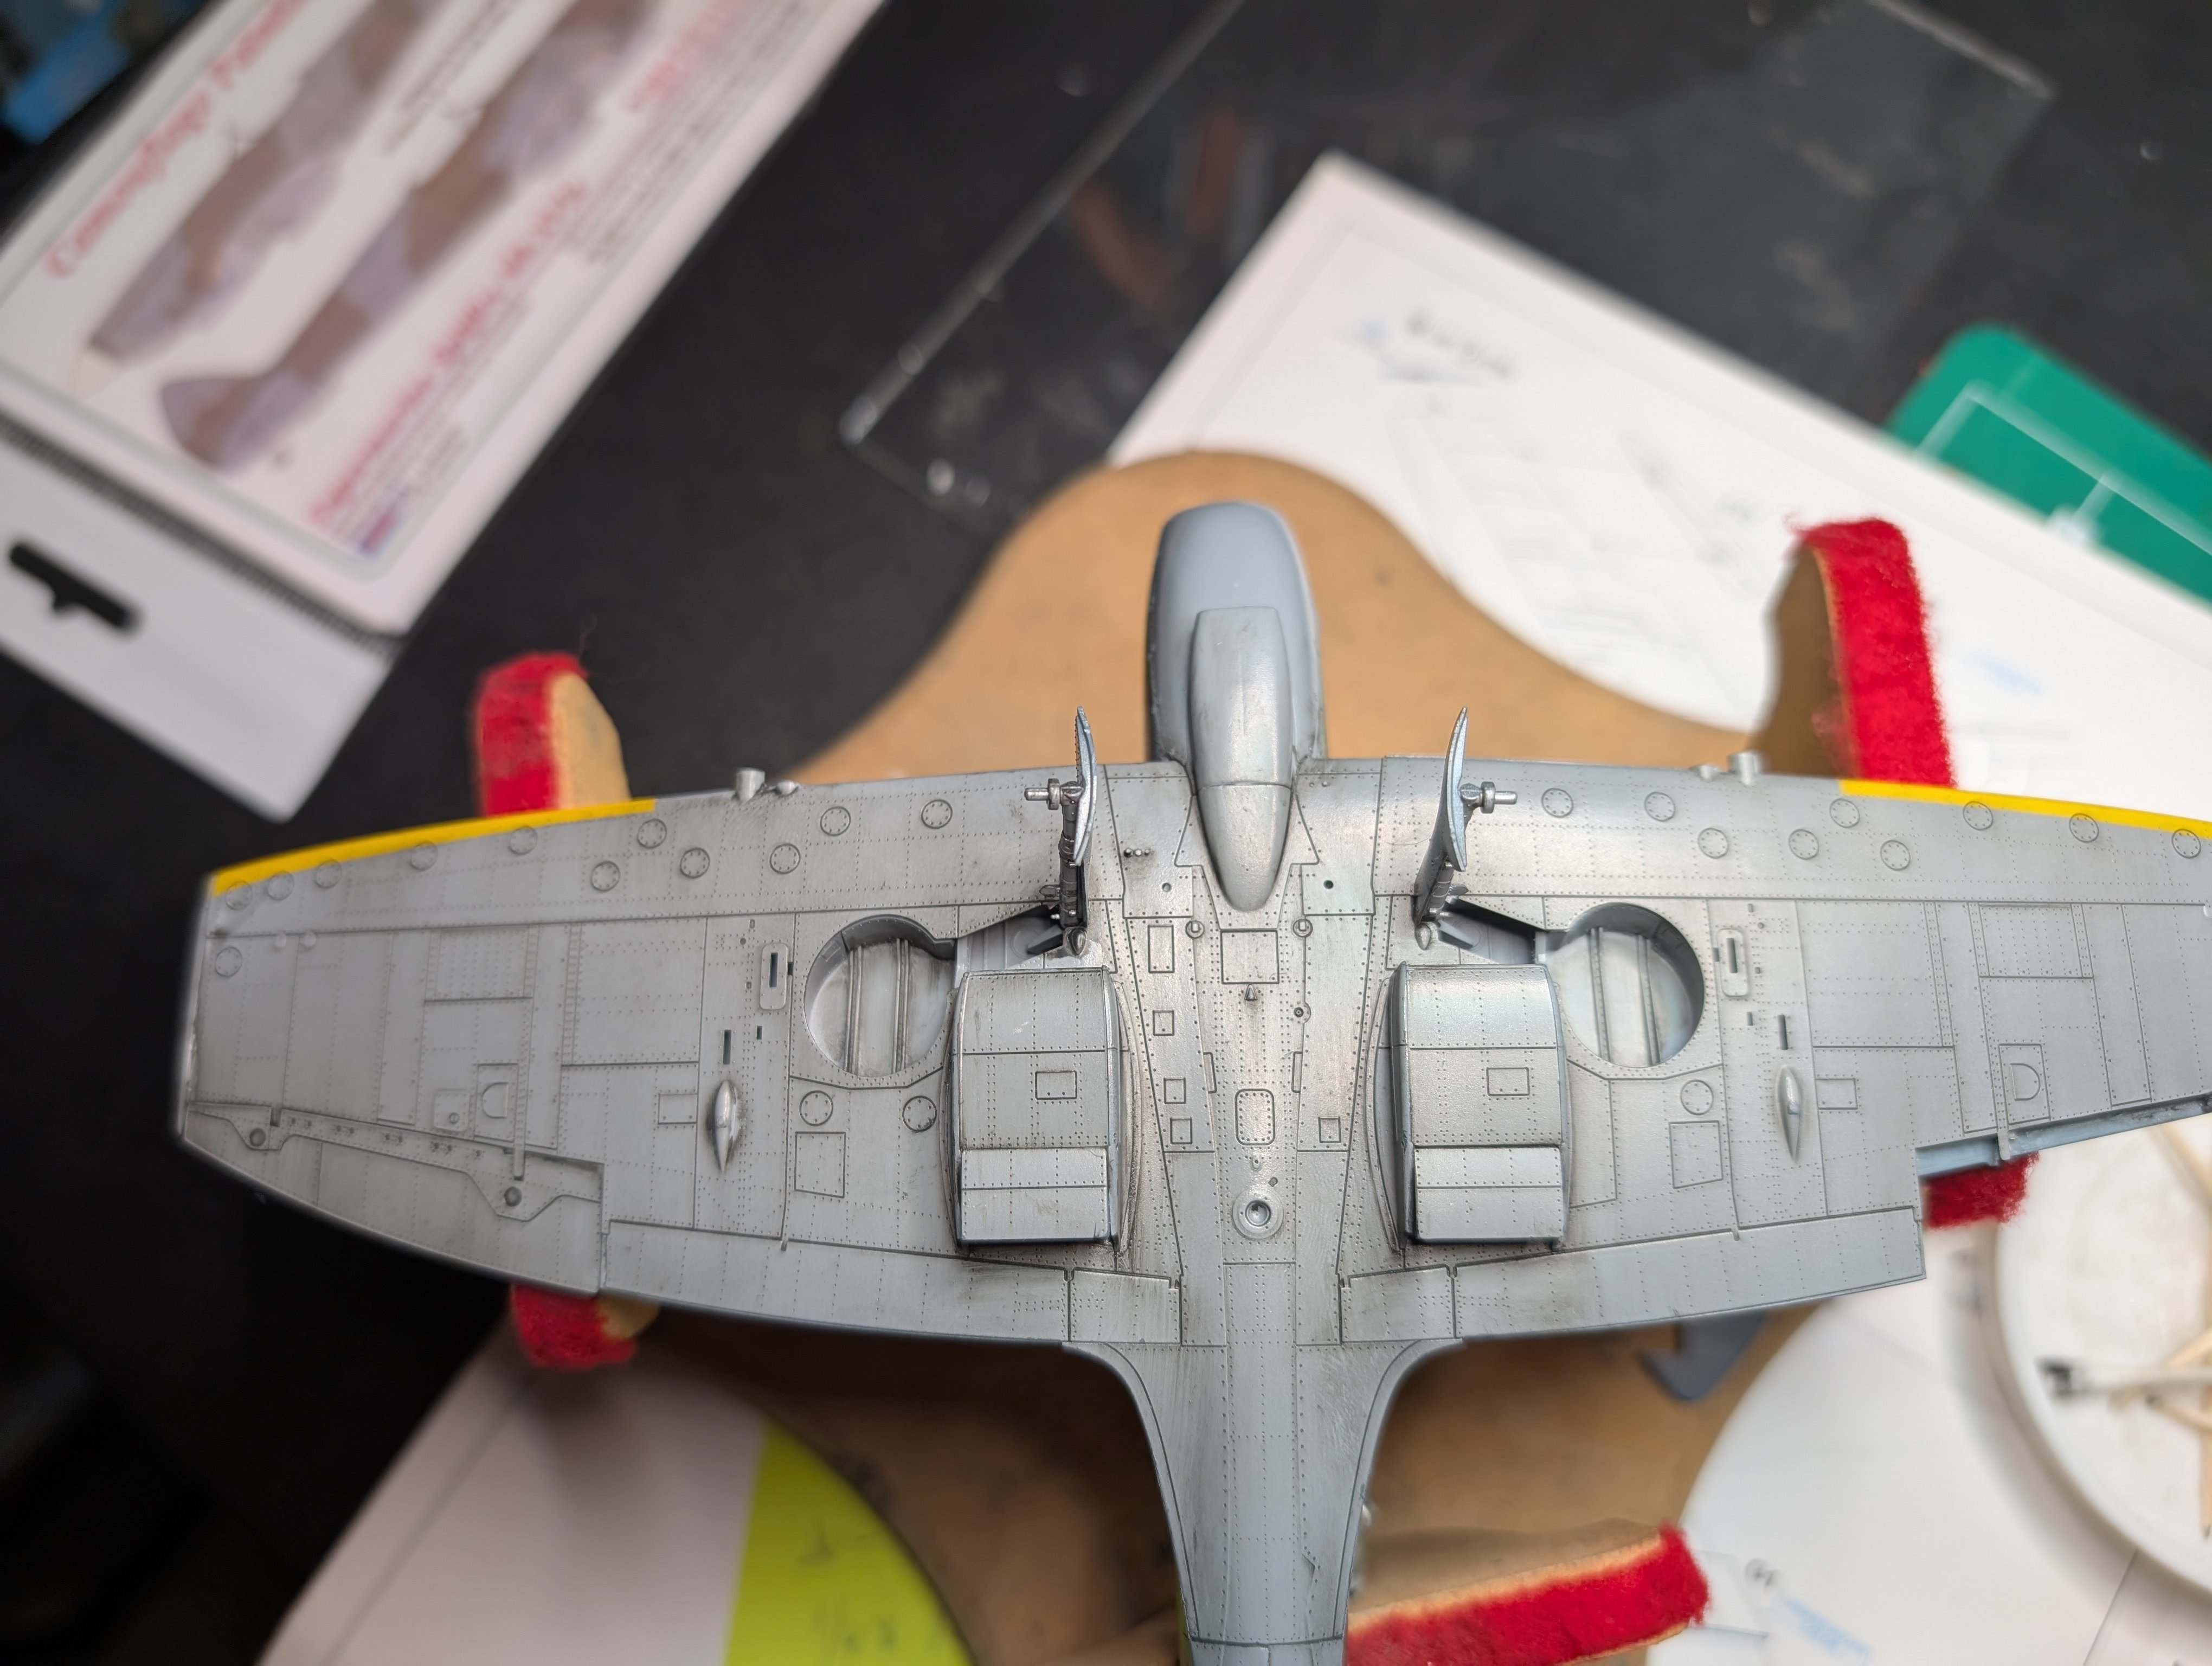
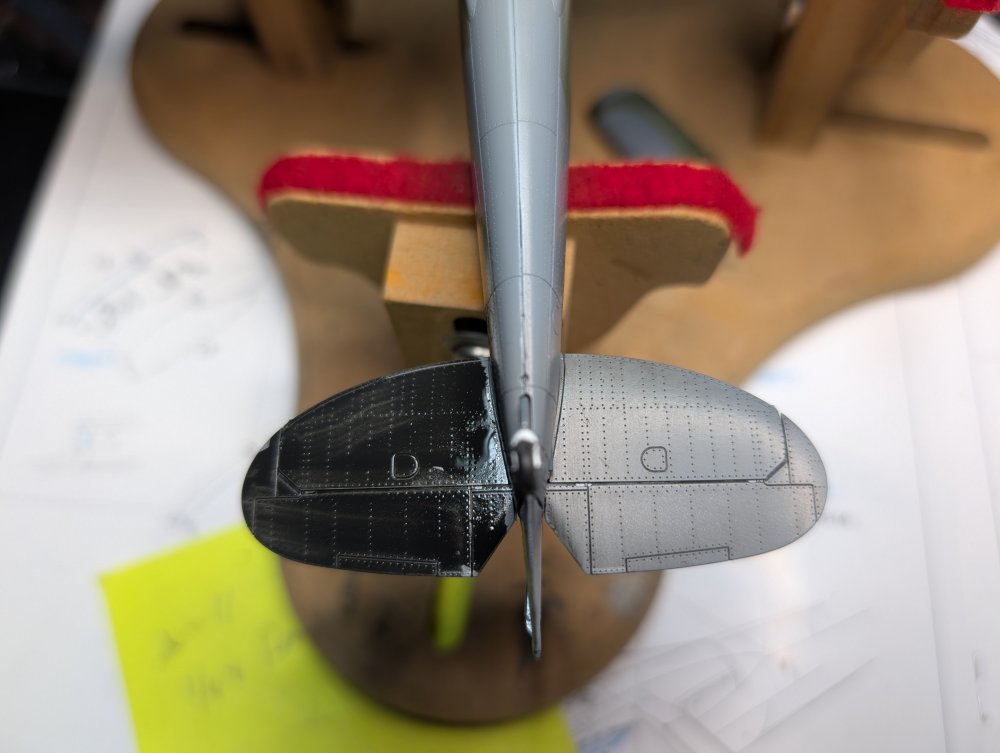
Ok, after doing some research having some problem definitively finding the color of primer which was used on the later Spitfires. Best I can find (@Britmodeller) is that there was a light gray primer used on the airframe and back part of the wings. I've applied the color to the lower surfaces and was moderately successful in getting some 'wear' to show through. VERY hard to see in photographs so will have to work on that. Just realized I forgot to take pictures of the painted underside. oops. Here is the silver coated underside. I don't expect to show a ton of wear here, more some dirt and oil stains. Amazing the detail, like the actuators for the radiator flaps. Definitely overscale and hard to see, but they are there. If I had the thought, I'd have seen about doing PE actuators. SuperBowl Sunday here in the states, but planning on getting some bench time this morning/early afternoon. Have the canopies masked already, so will do the gunsight and get that installed, then the canopies, door and topside camo painting. For paint I was hoping to use MRP but realized I have RLM and US SEA colors in abundance, but not many of the RAF colours, at least of the colors I need. So using my Vallelo Model Air paints which are spraying well so far. Did a major cleaning session of my Grex airbrush last night. OMG. How was it even spraying? I always take my Iwata HP-C apart after a session, but usually only do the "blow-back" cleaning of the Grex. I need to do better, especially with the acrylics. I think the lacquers clean more thoroughly directly than the acrylics.