CANicoll
-
Posts
1,928 -
Joined
-
Last visited
Content Type
Profiles
Forums
Events
Gallery
Everything posted by CANicoll
-
You are right, he has been absent. I hope he's just off on holiday or something benign.
-
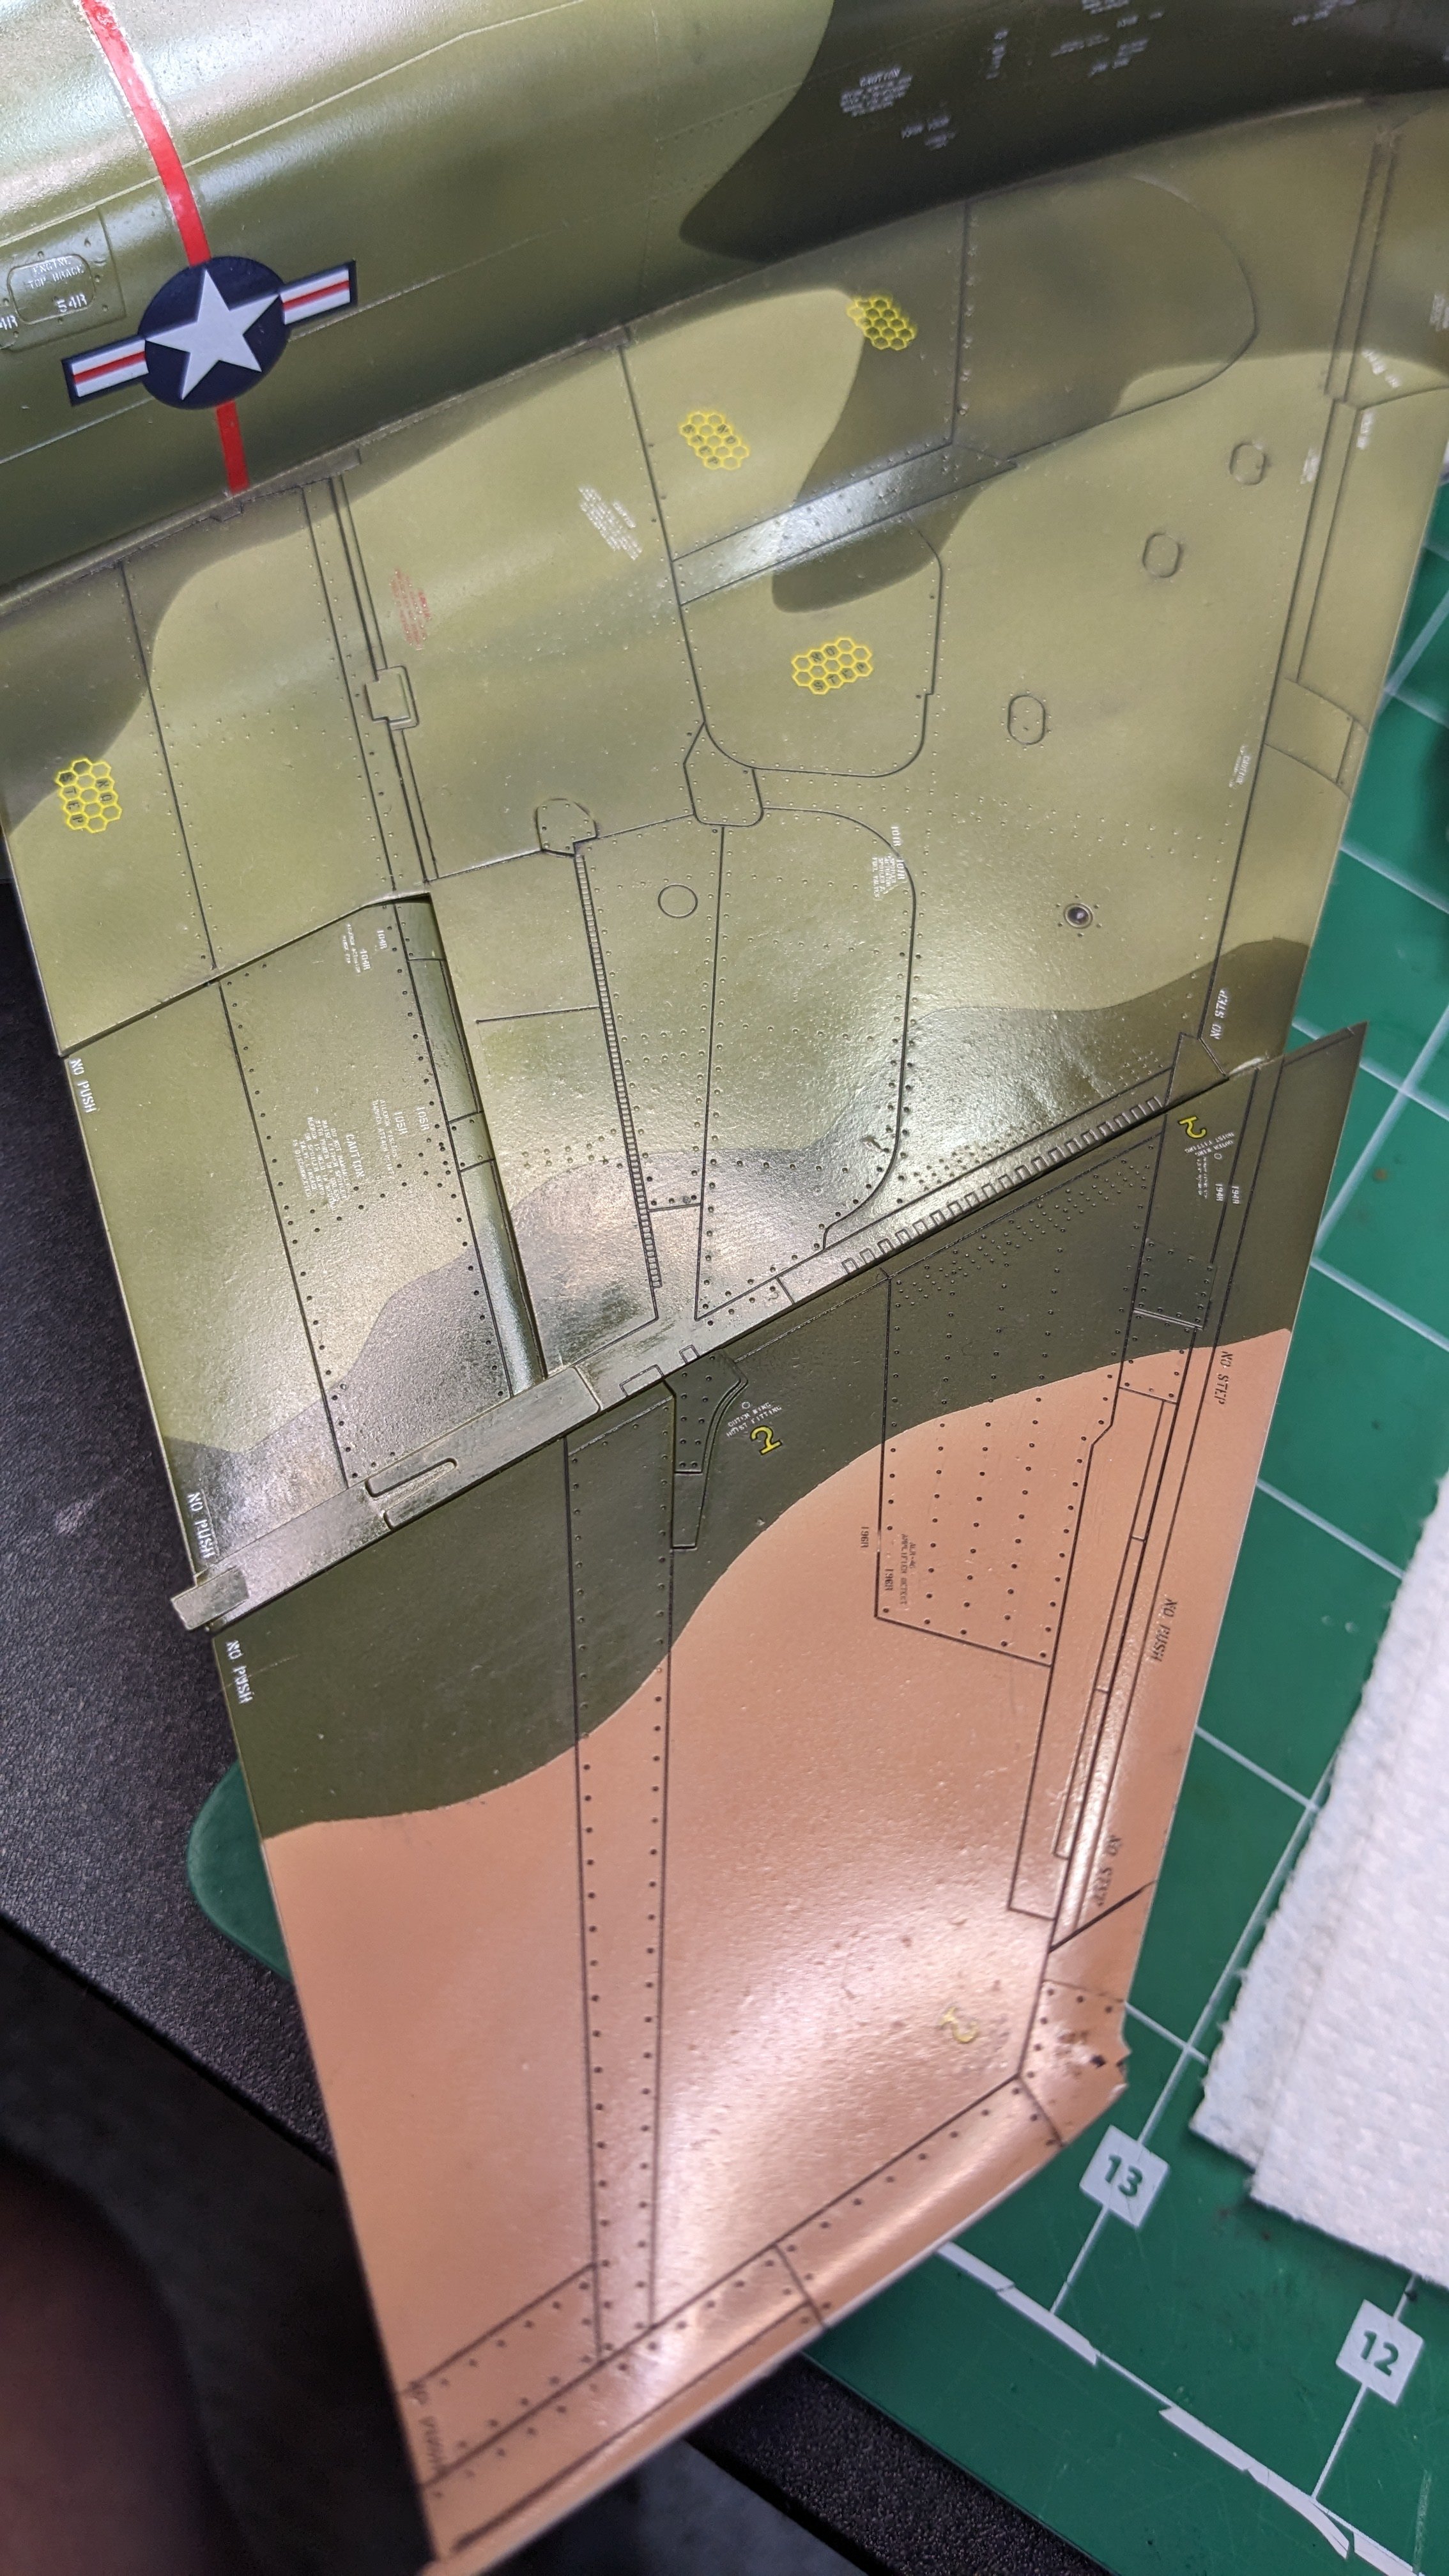
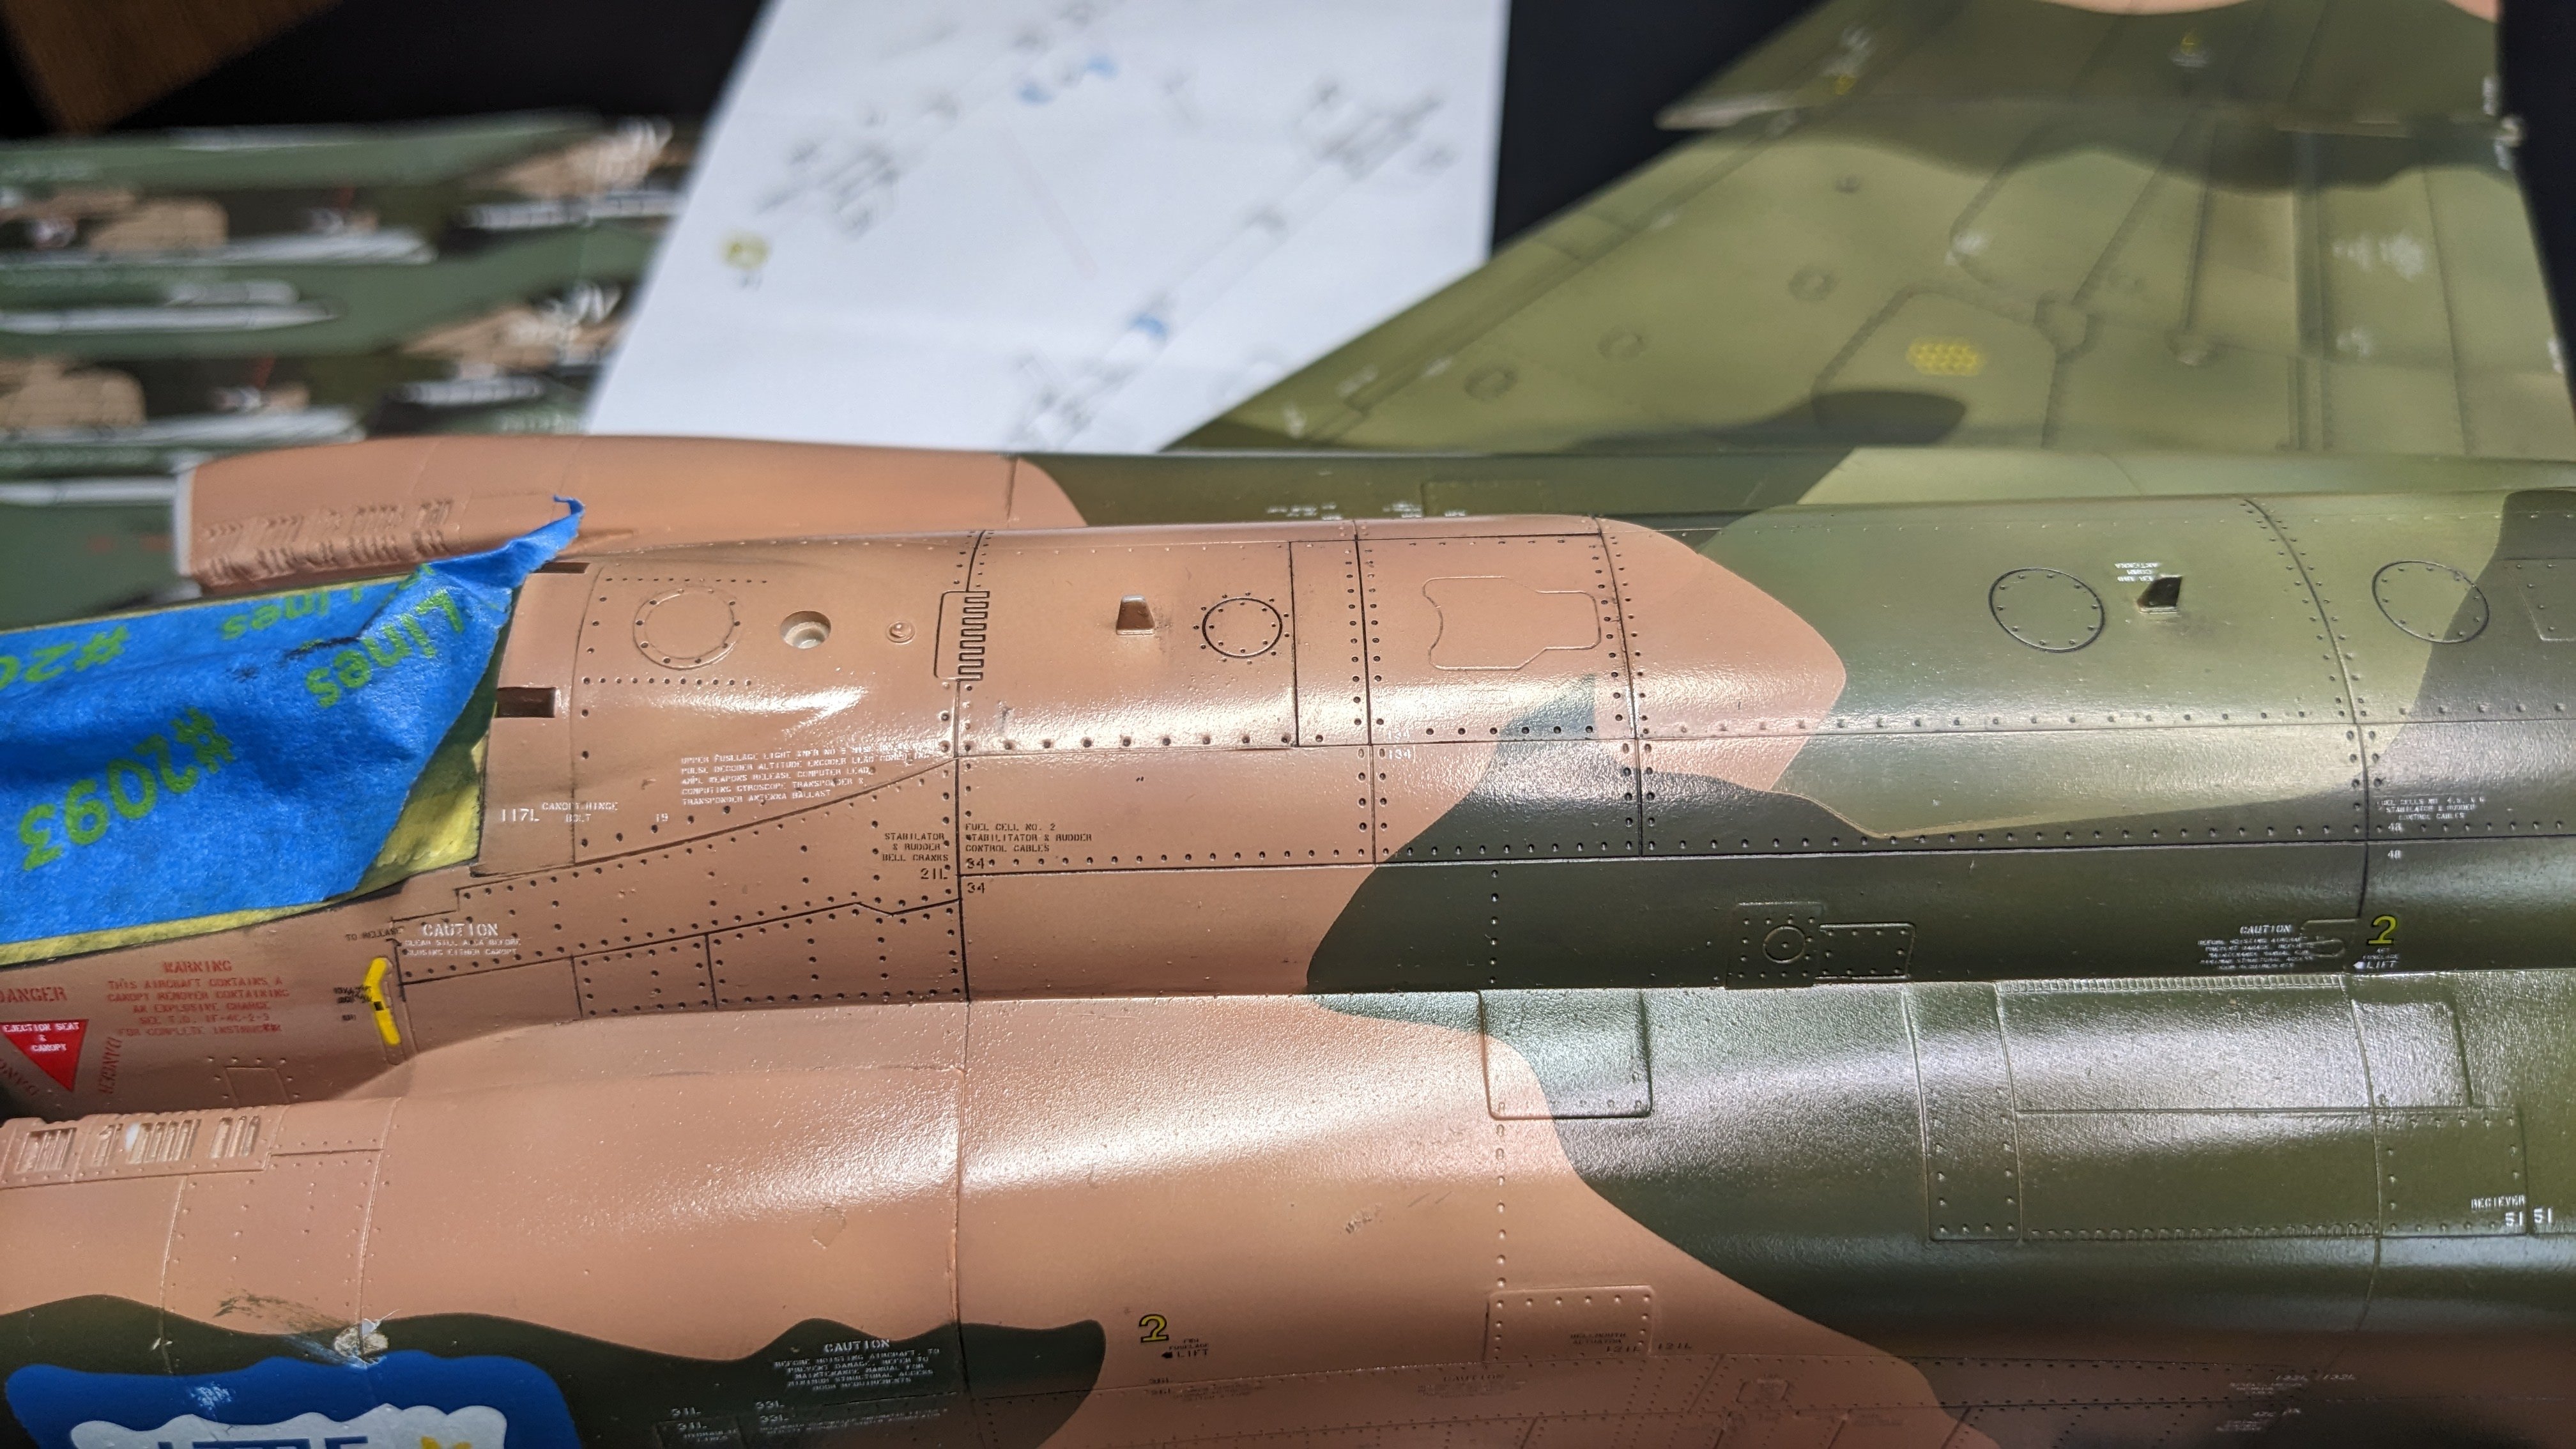
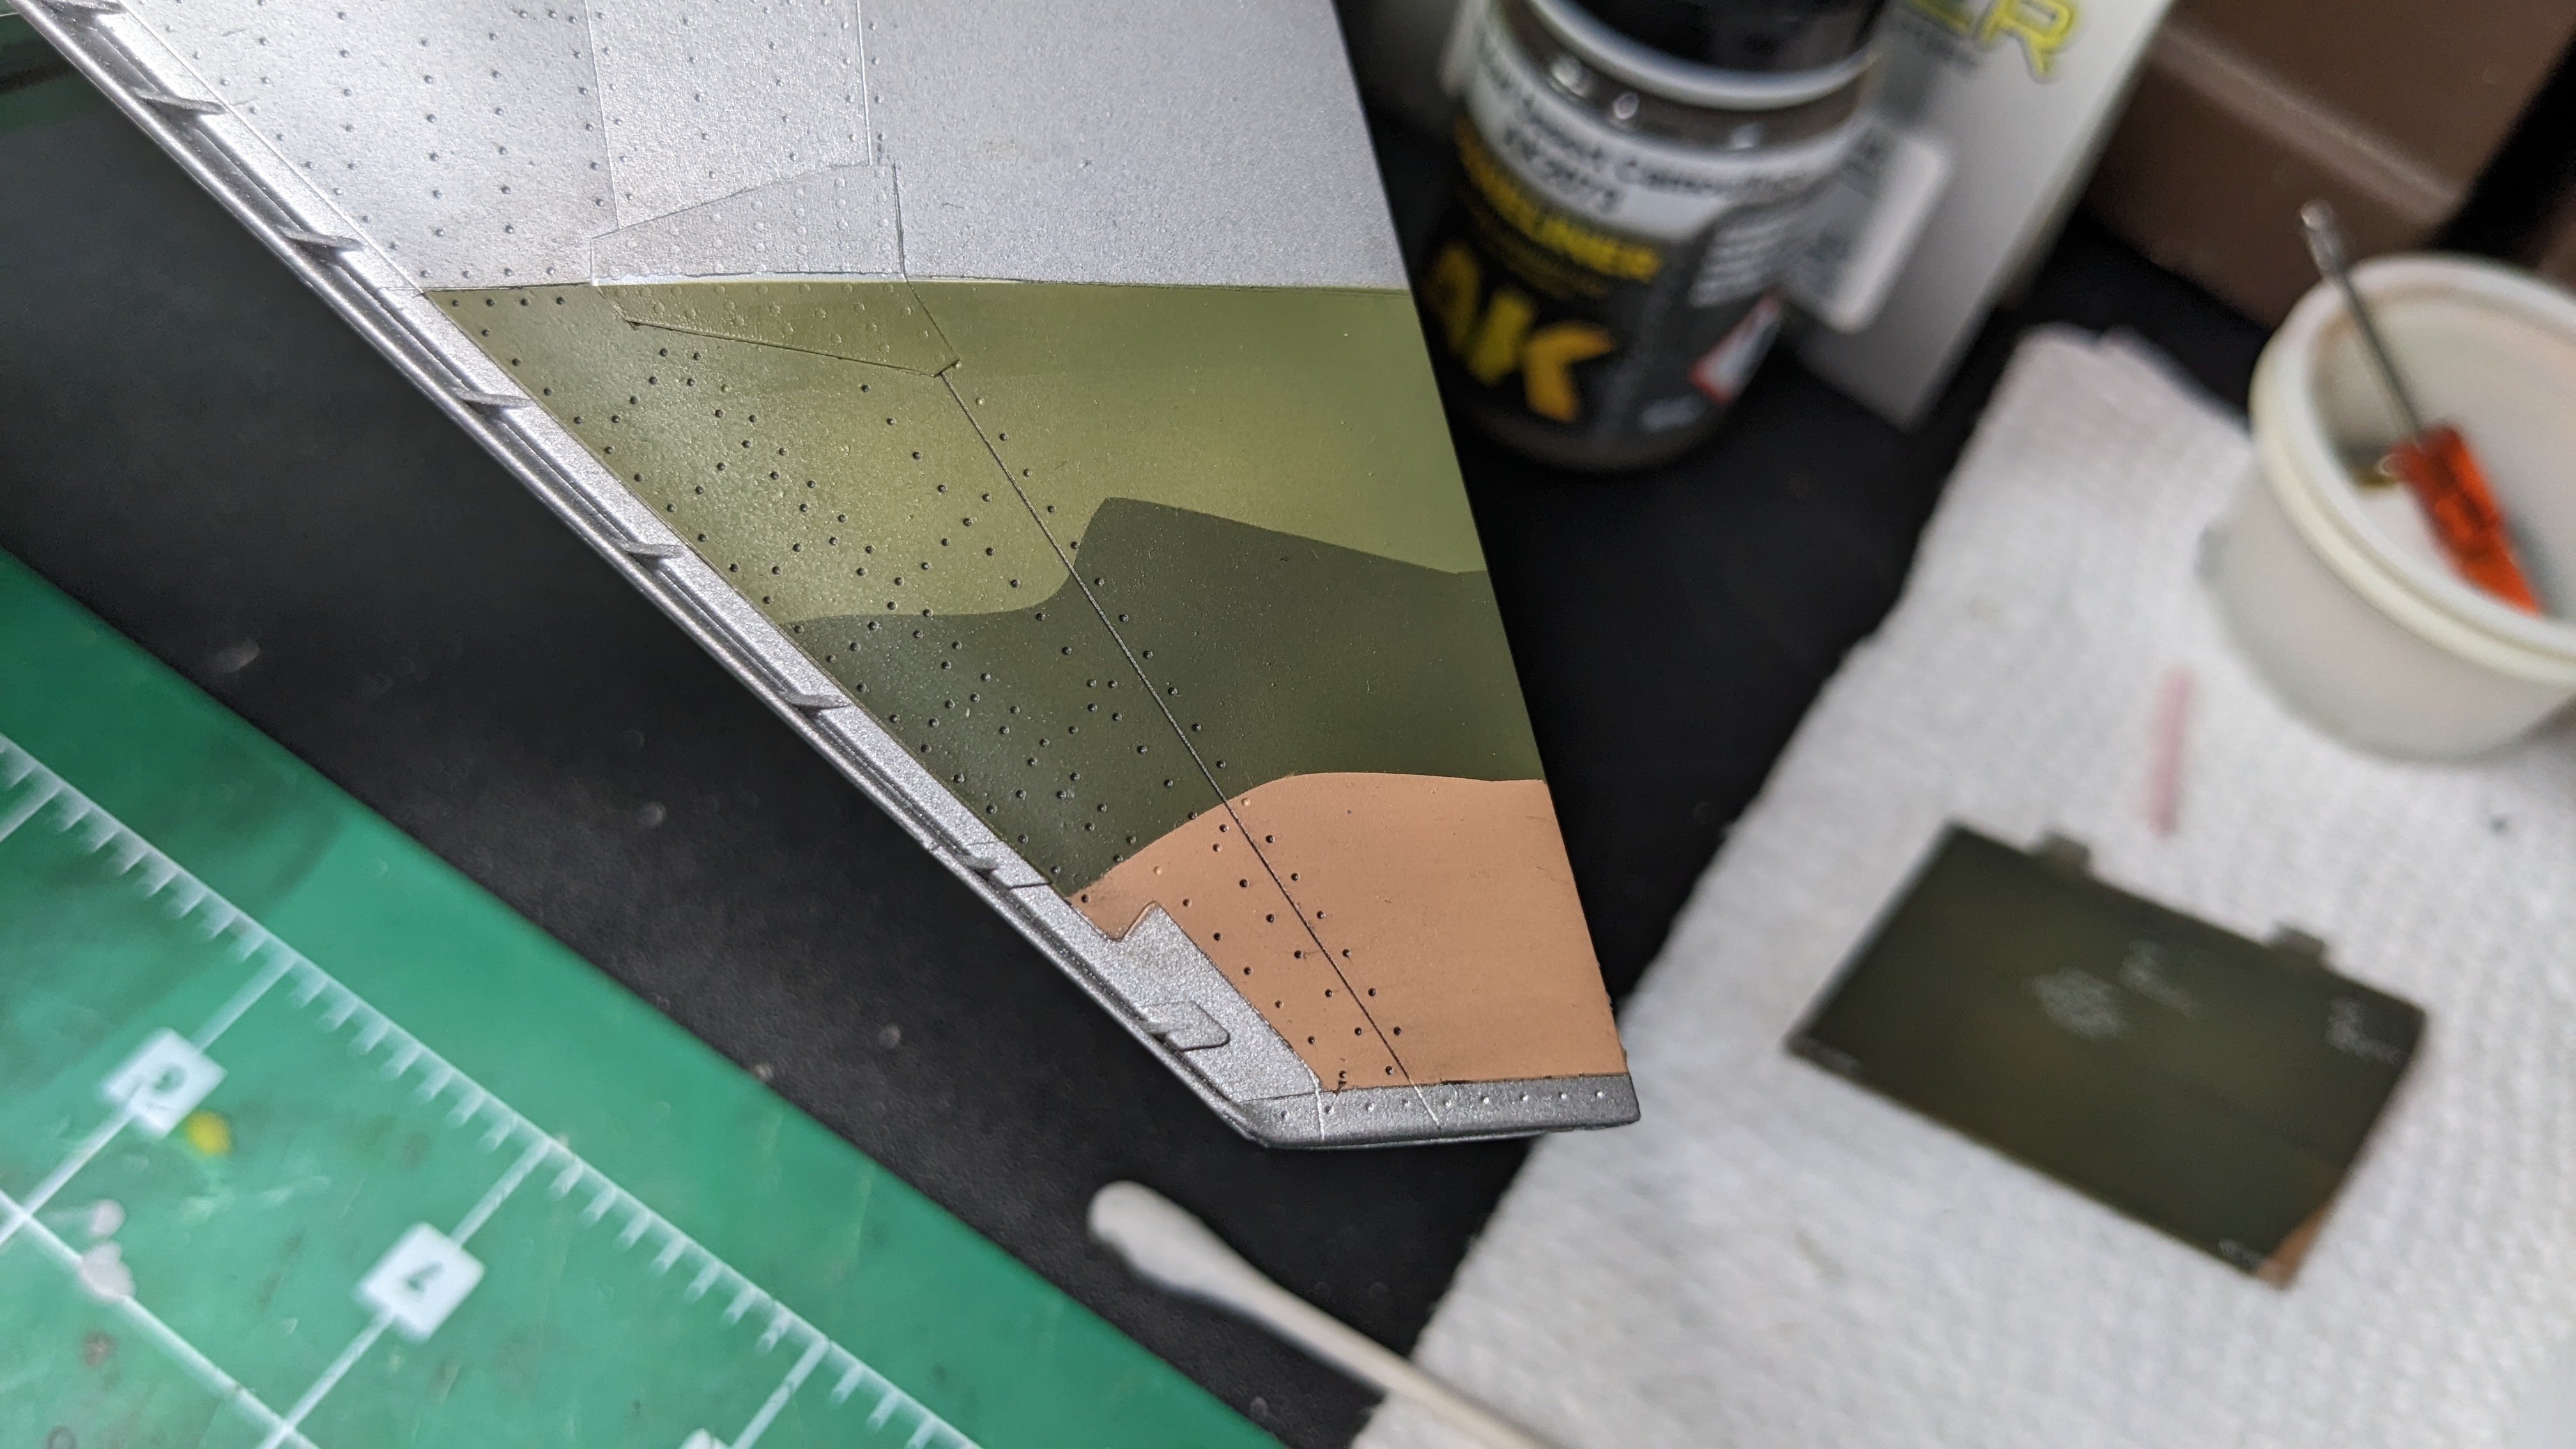
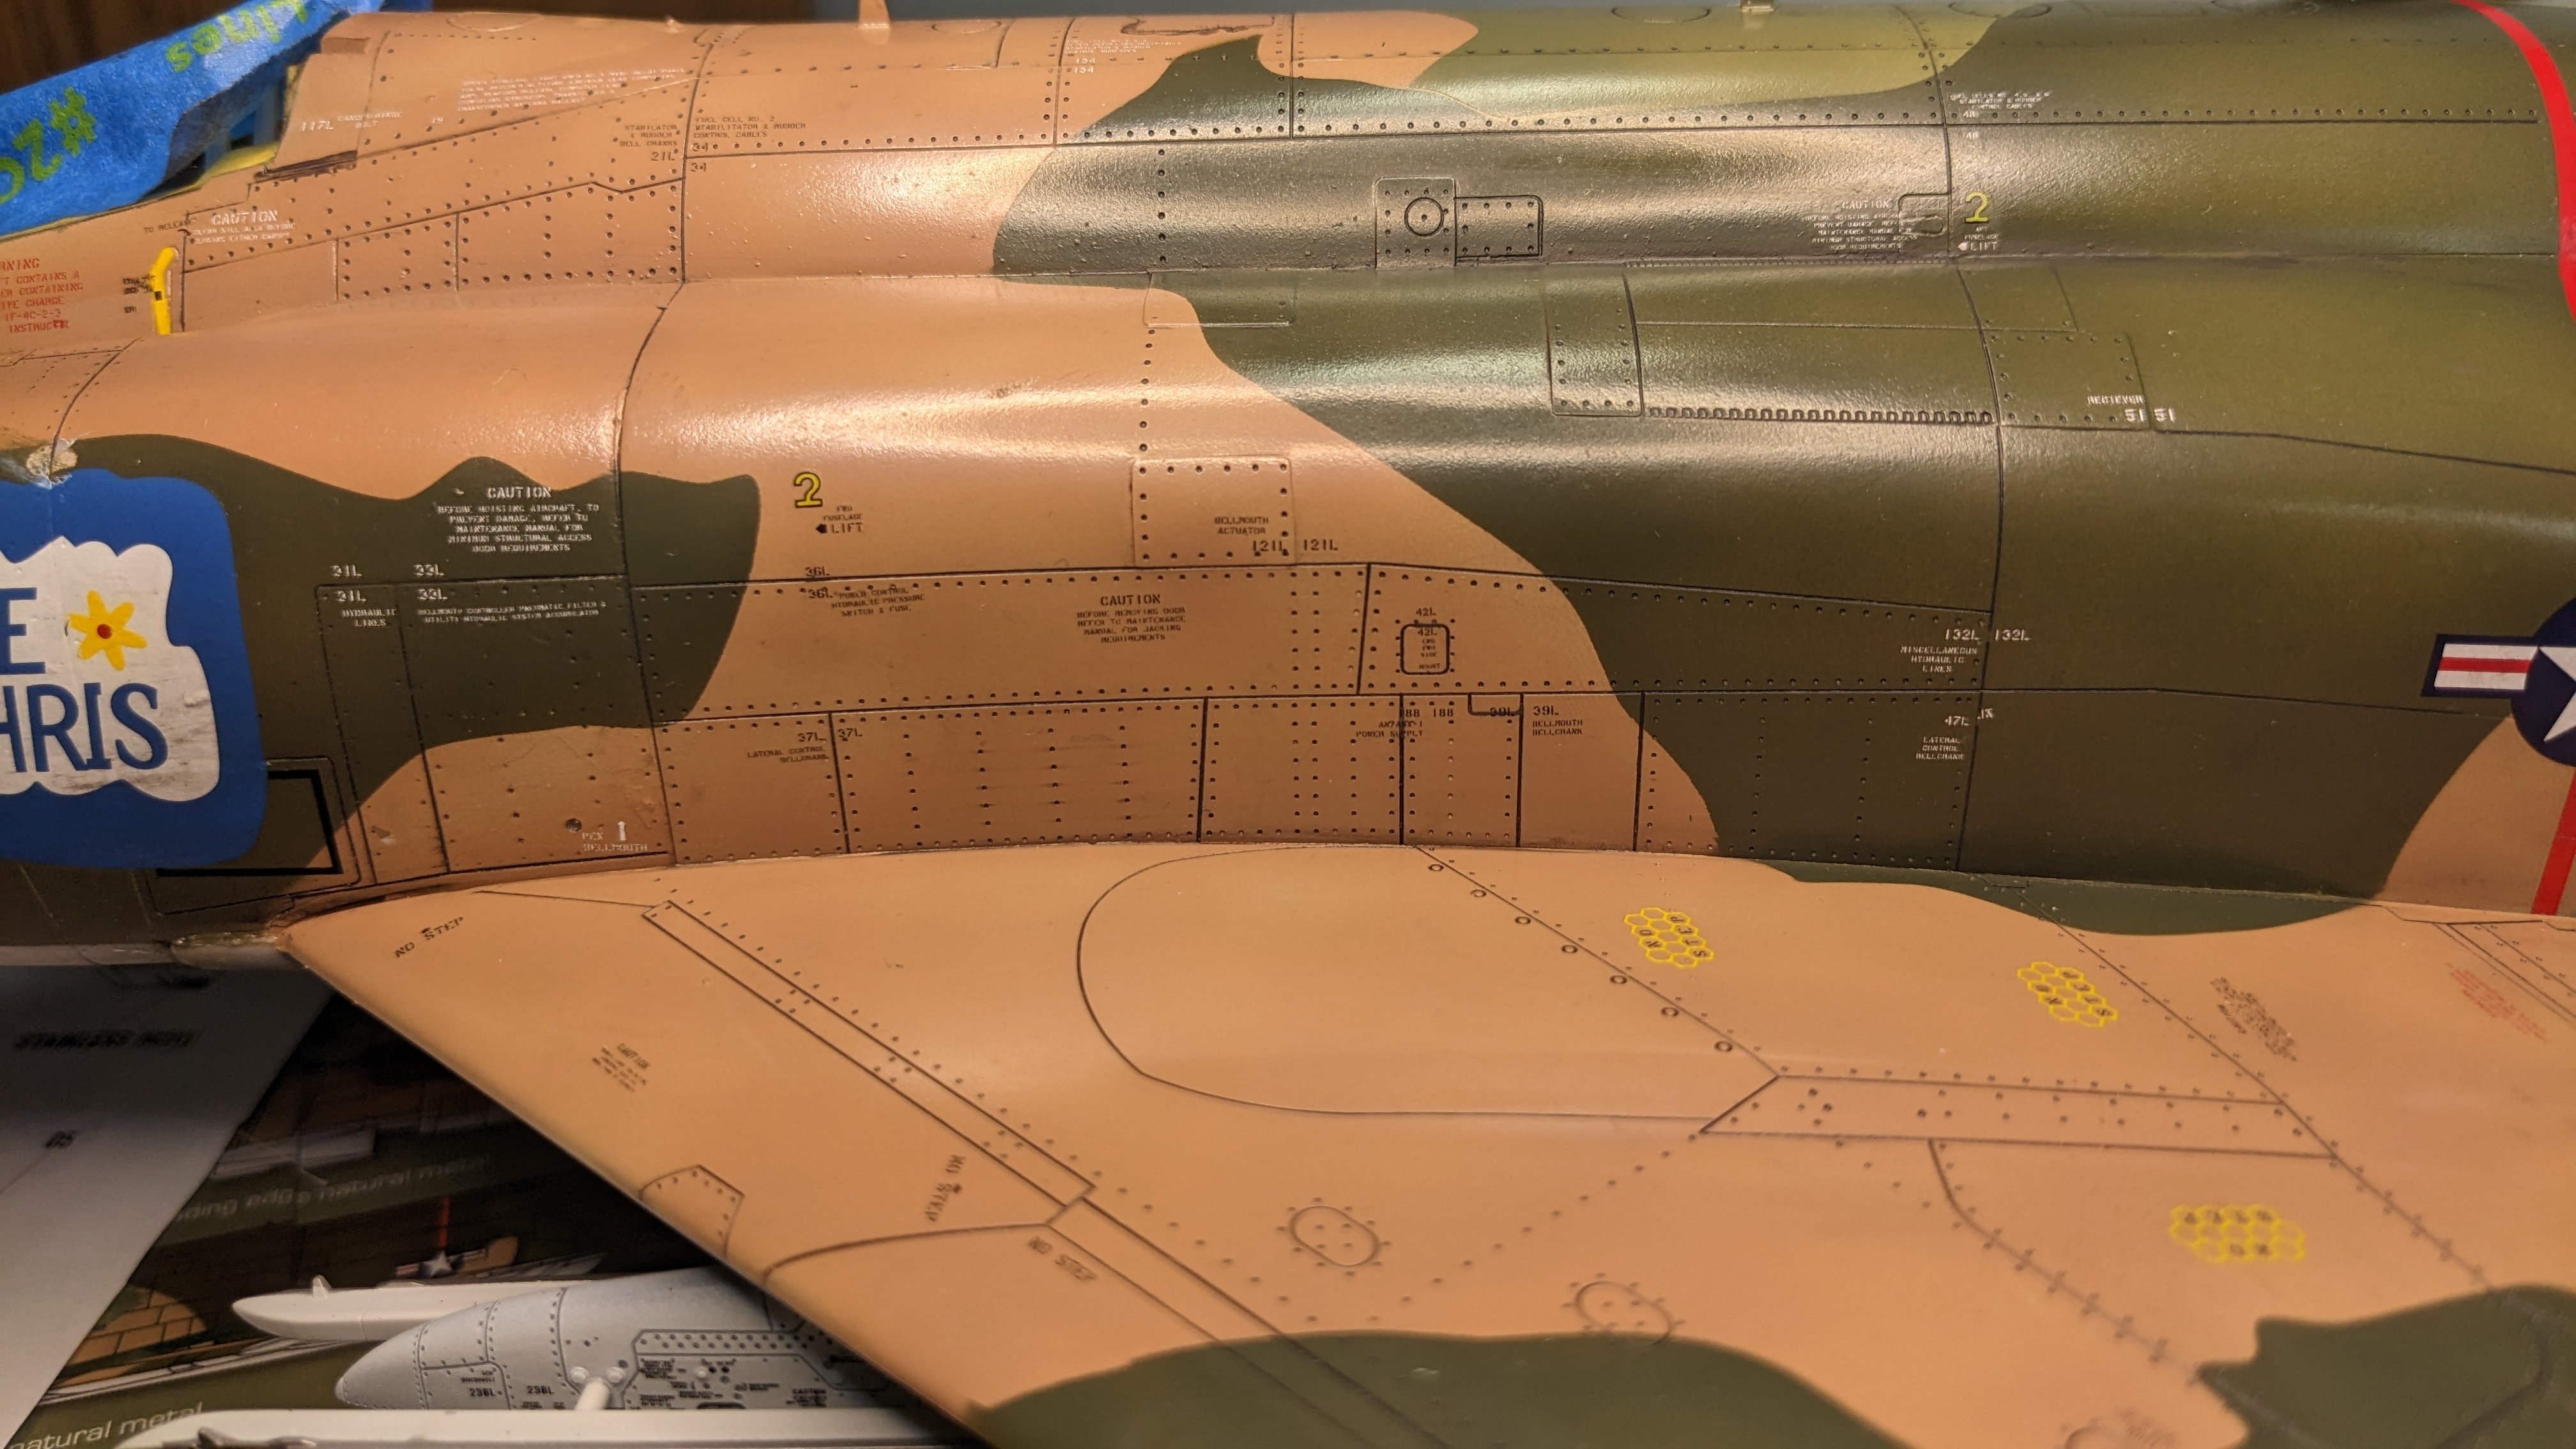
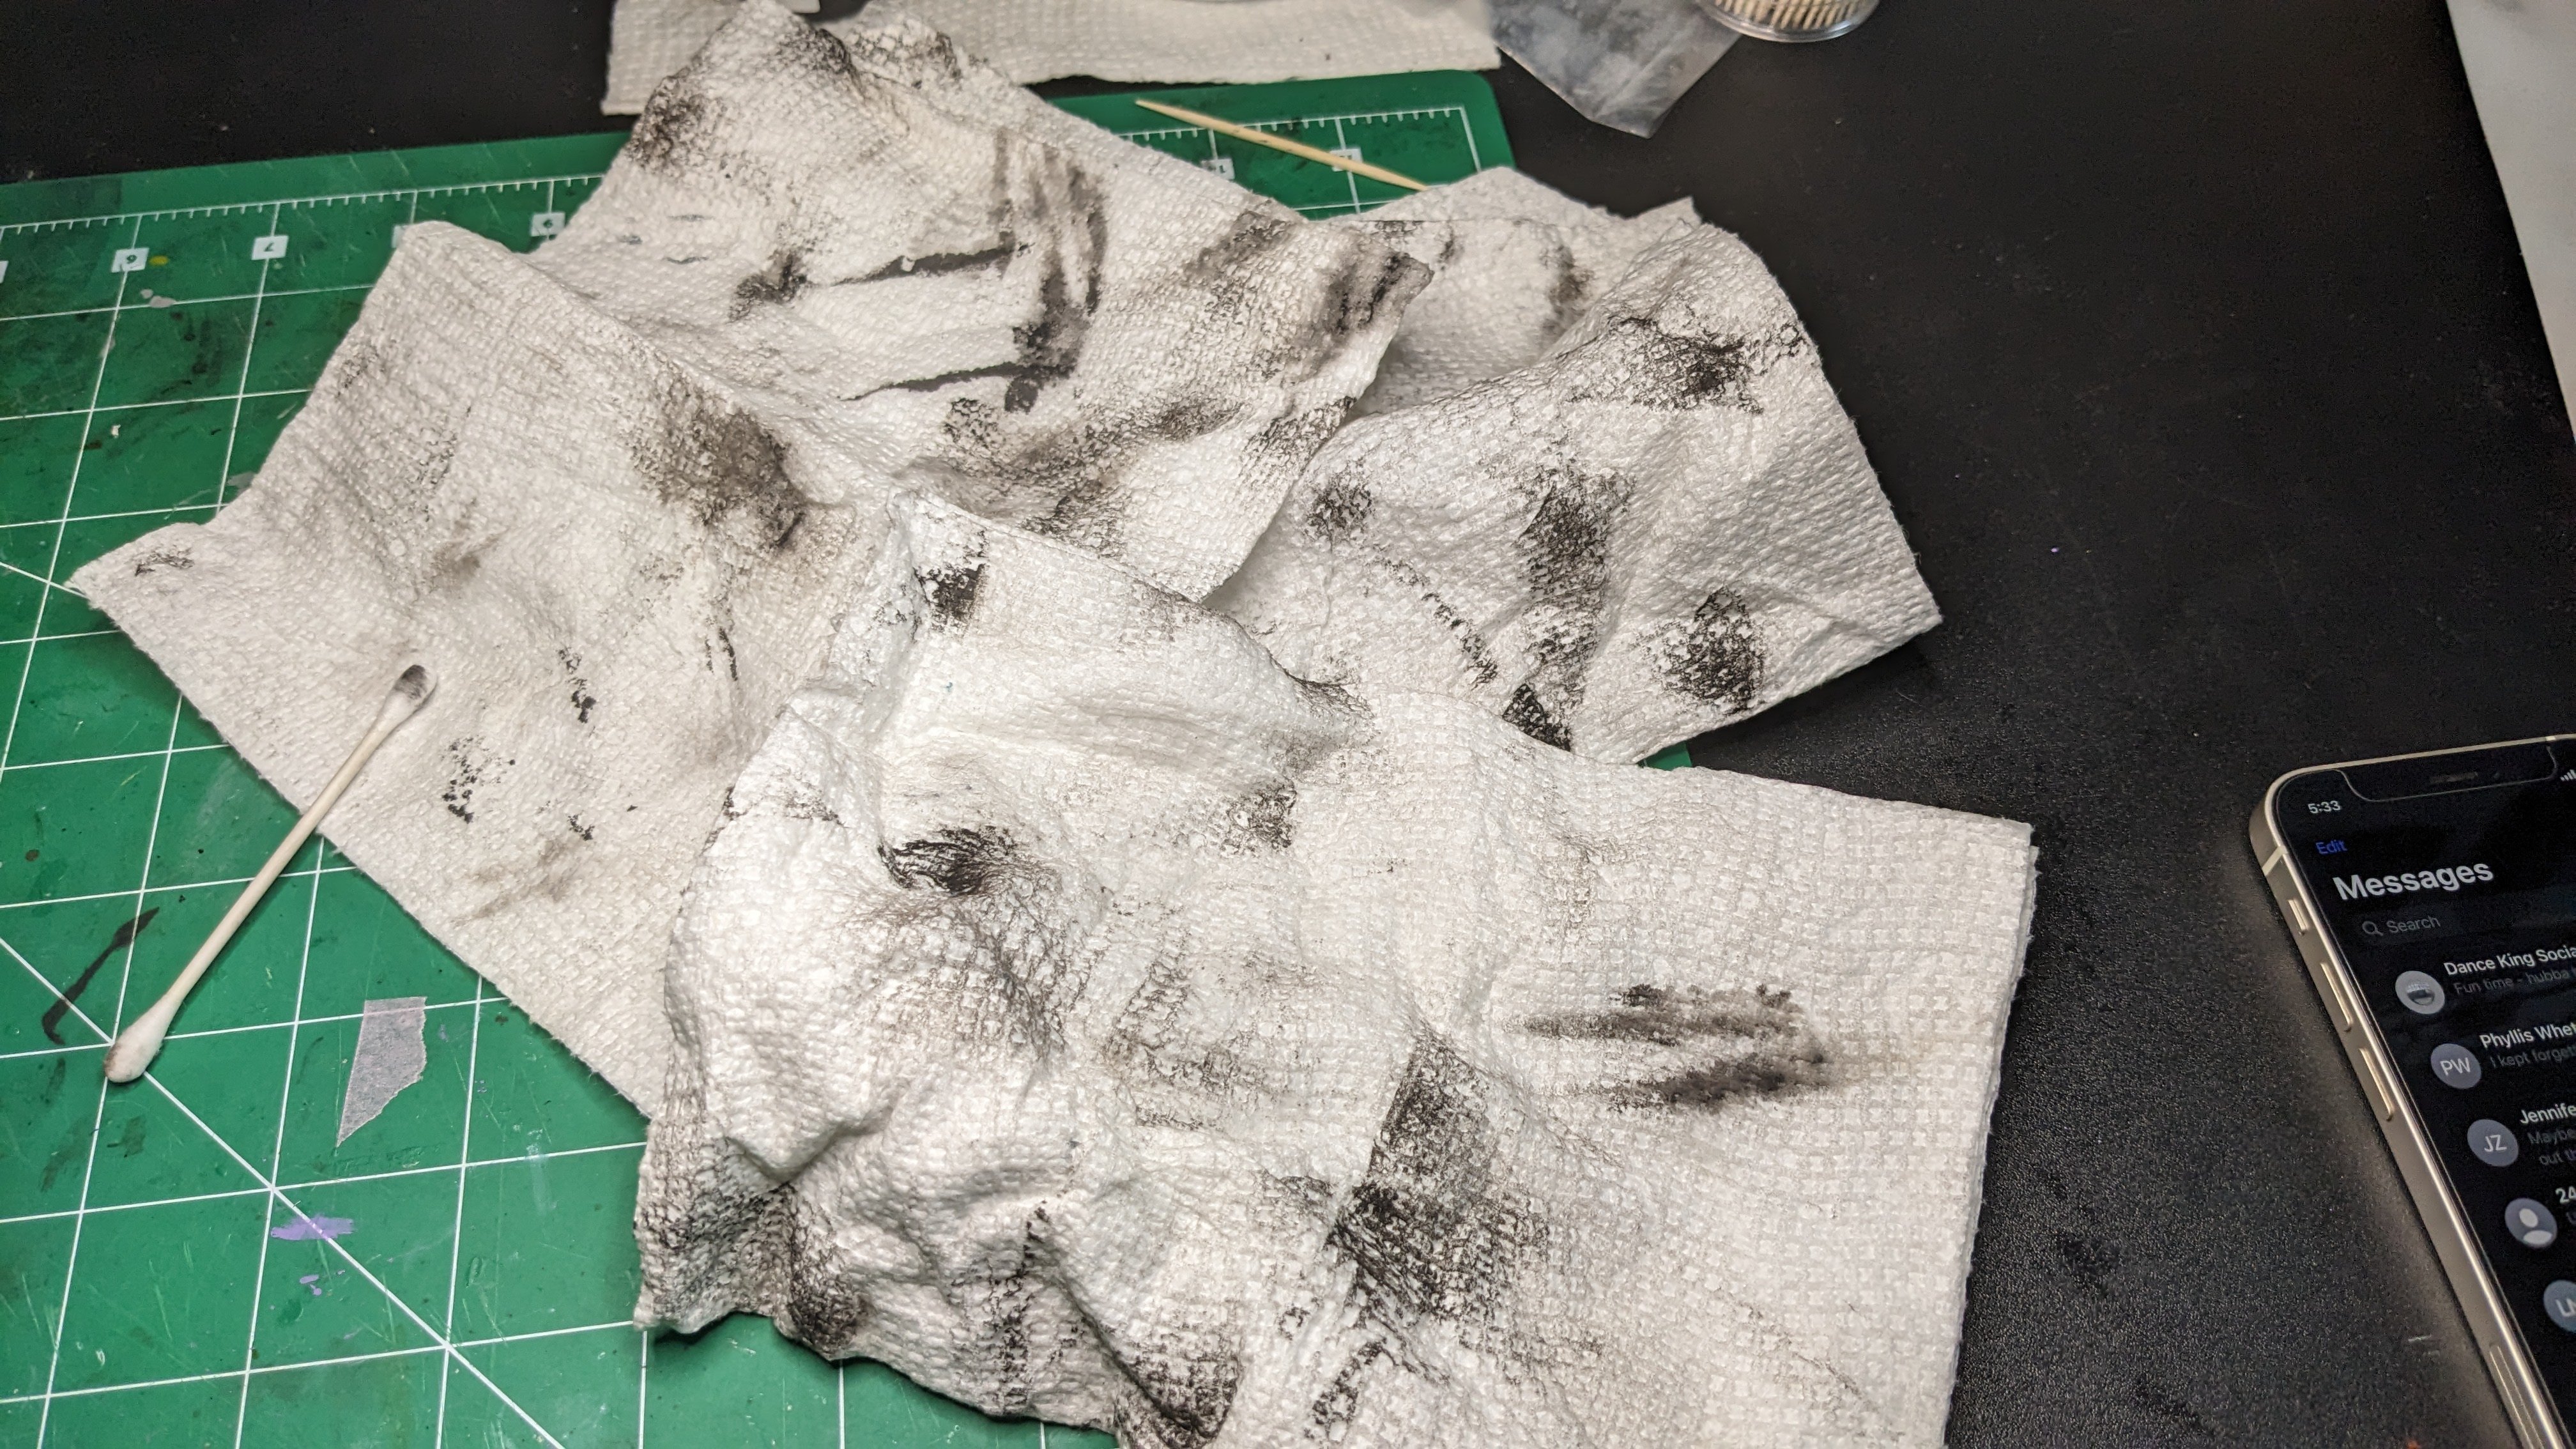
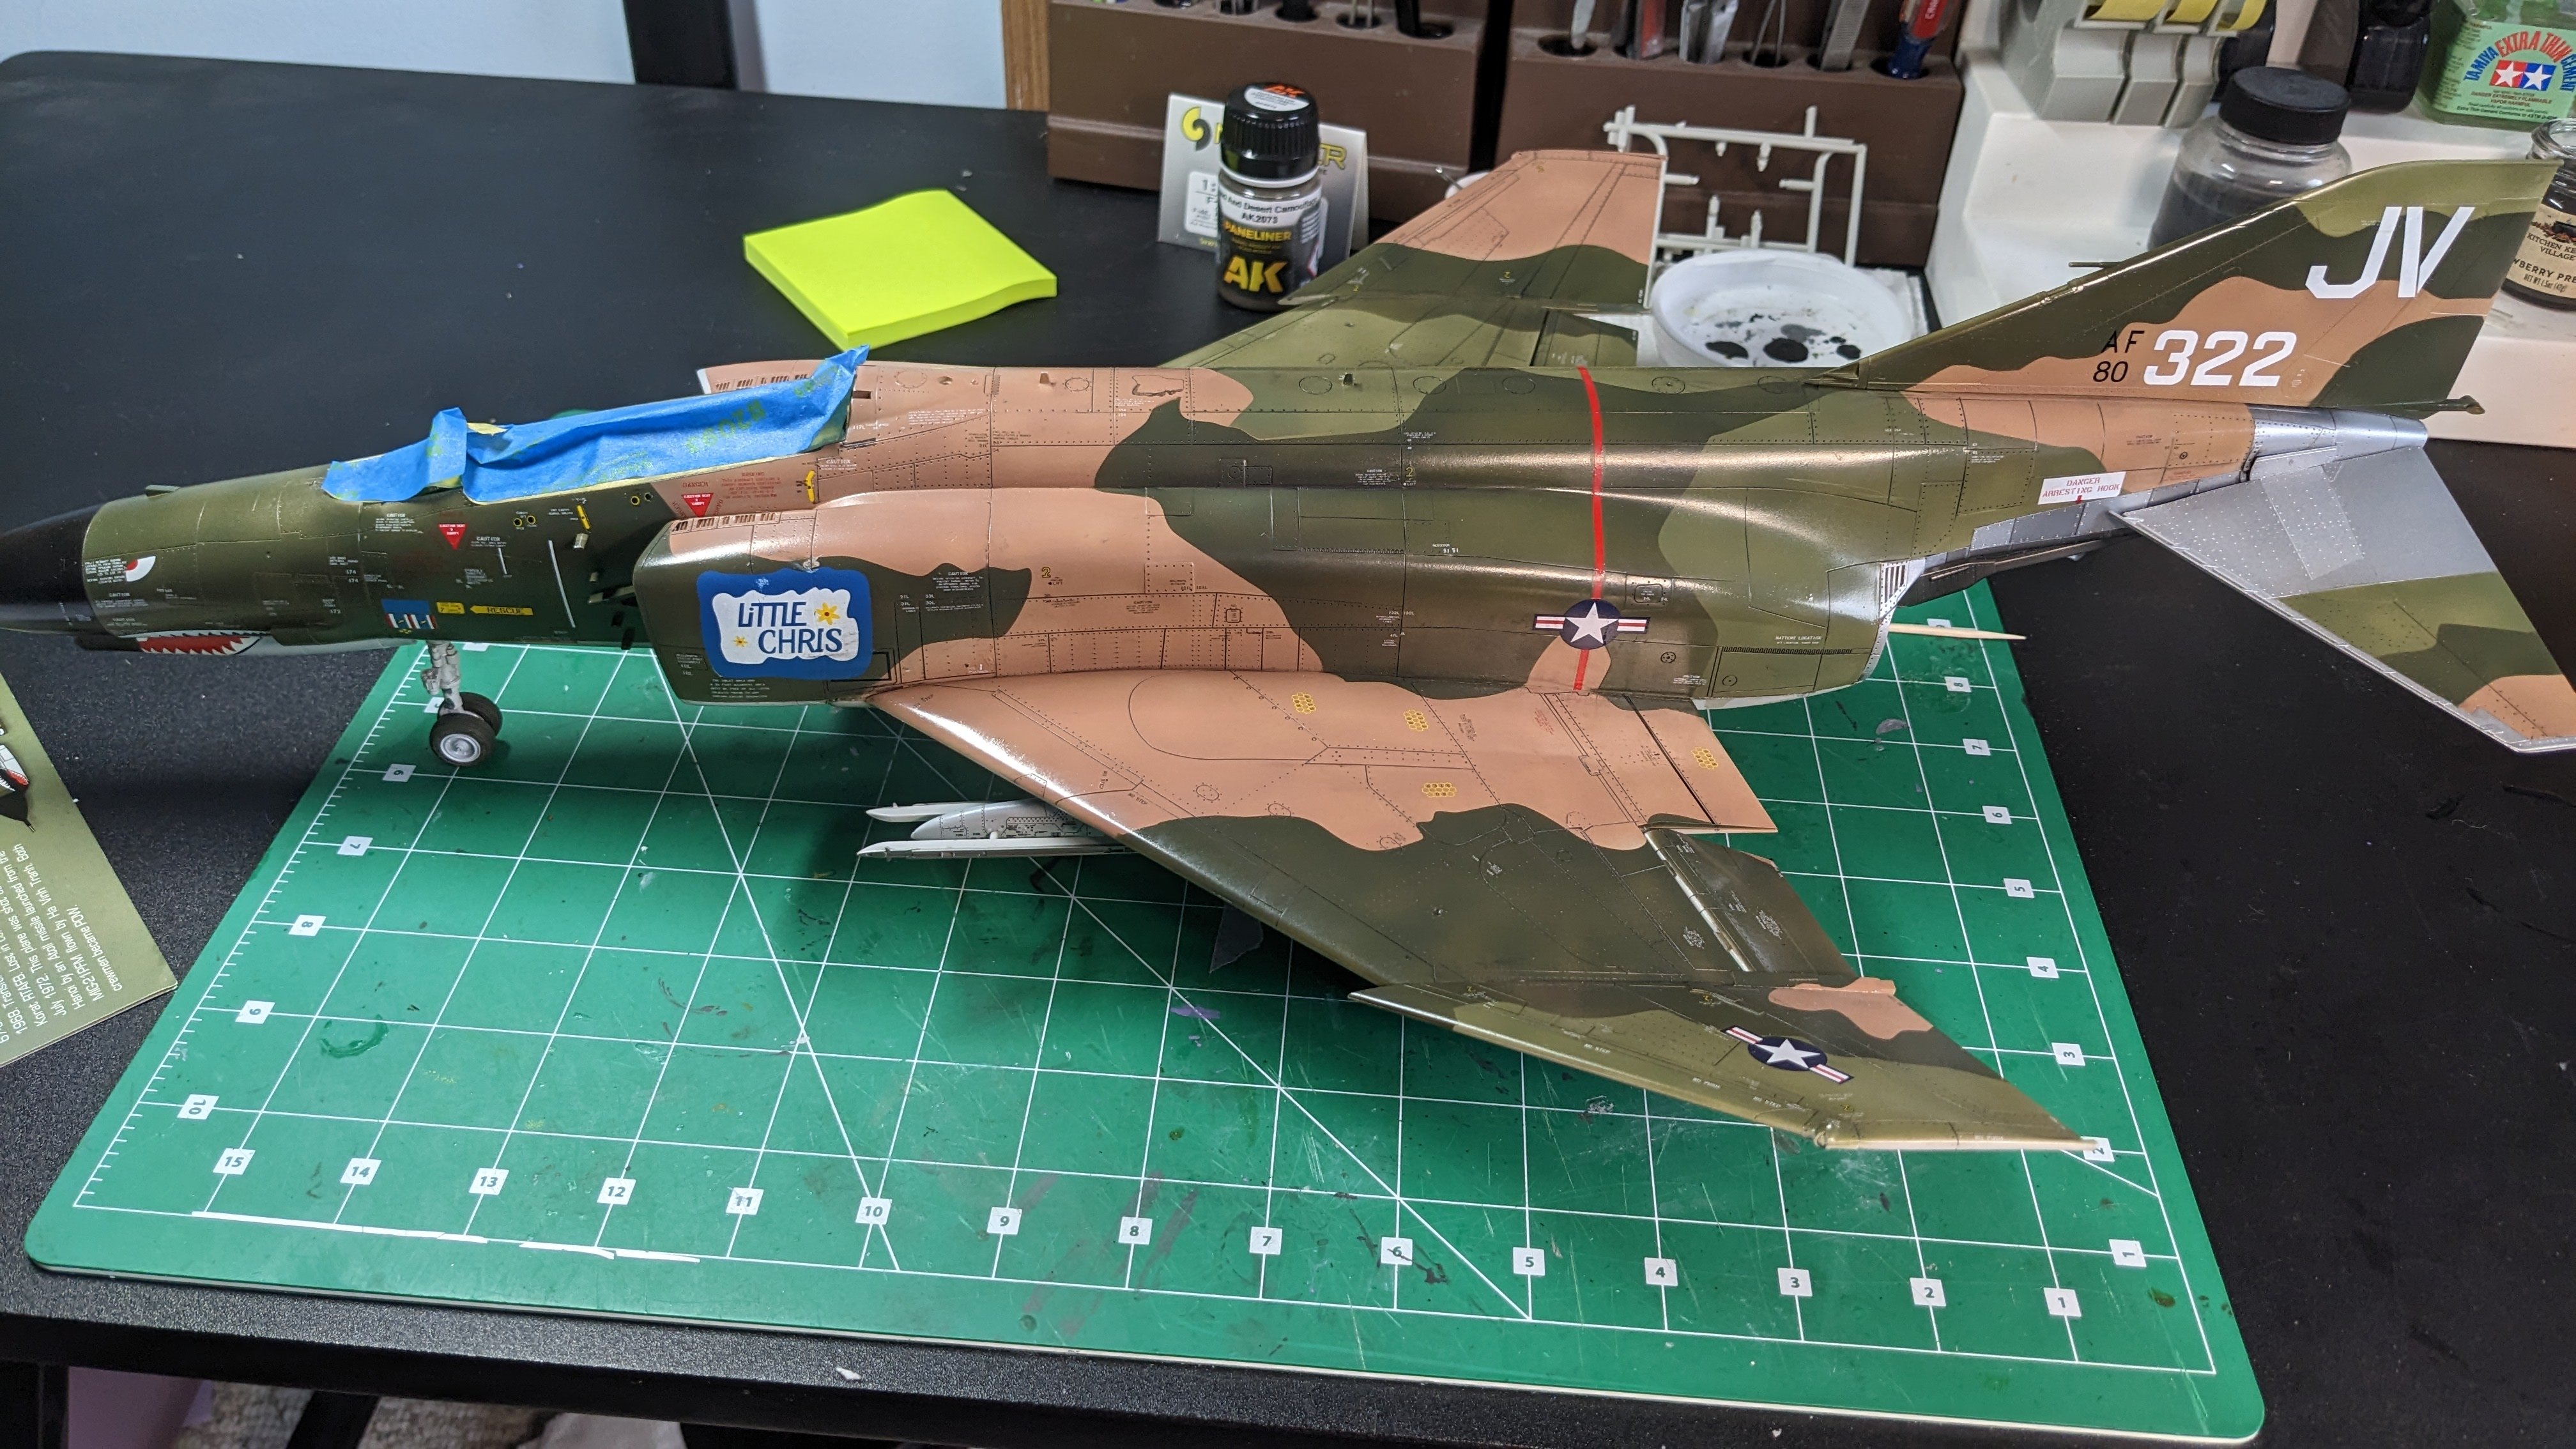
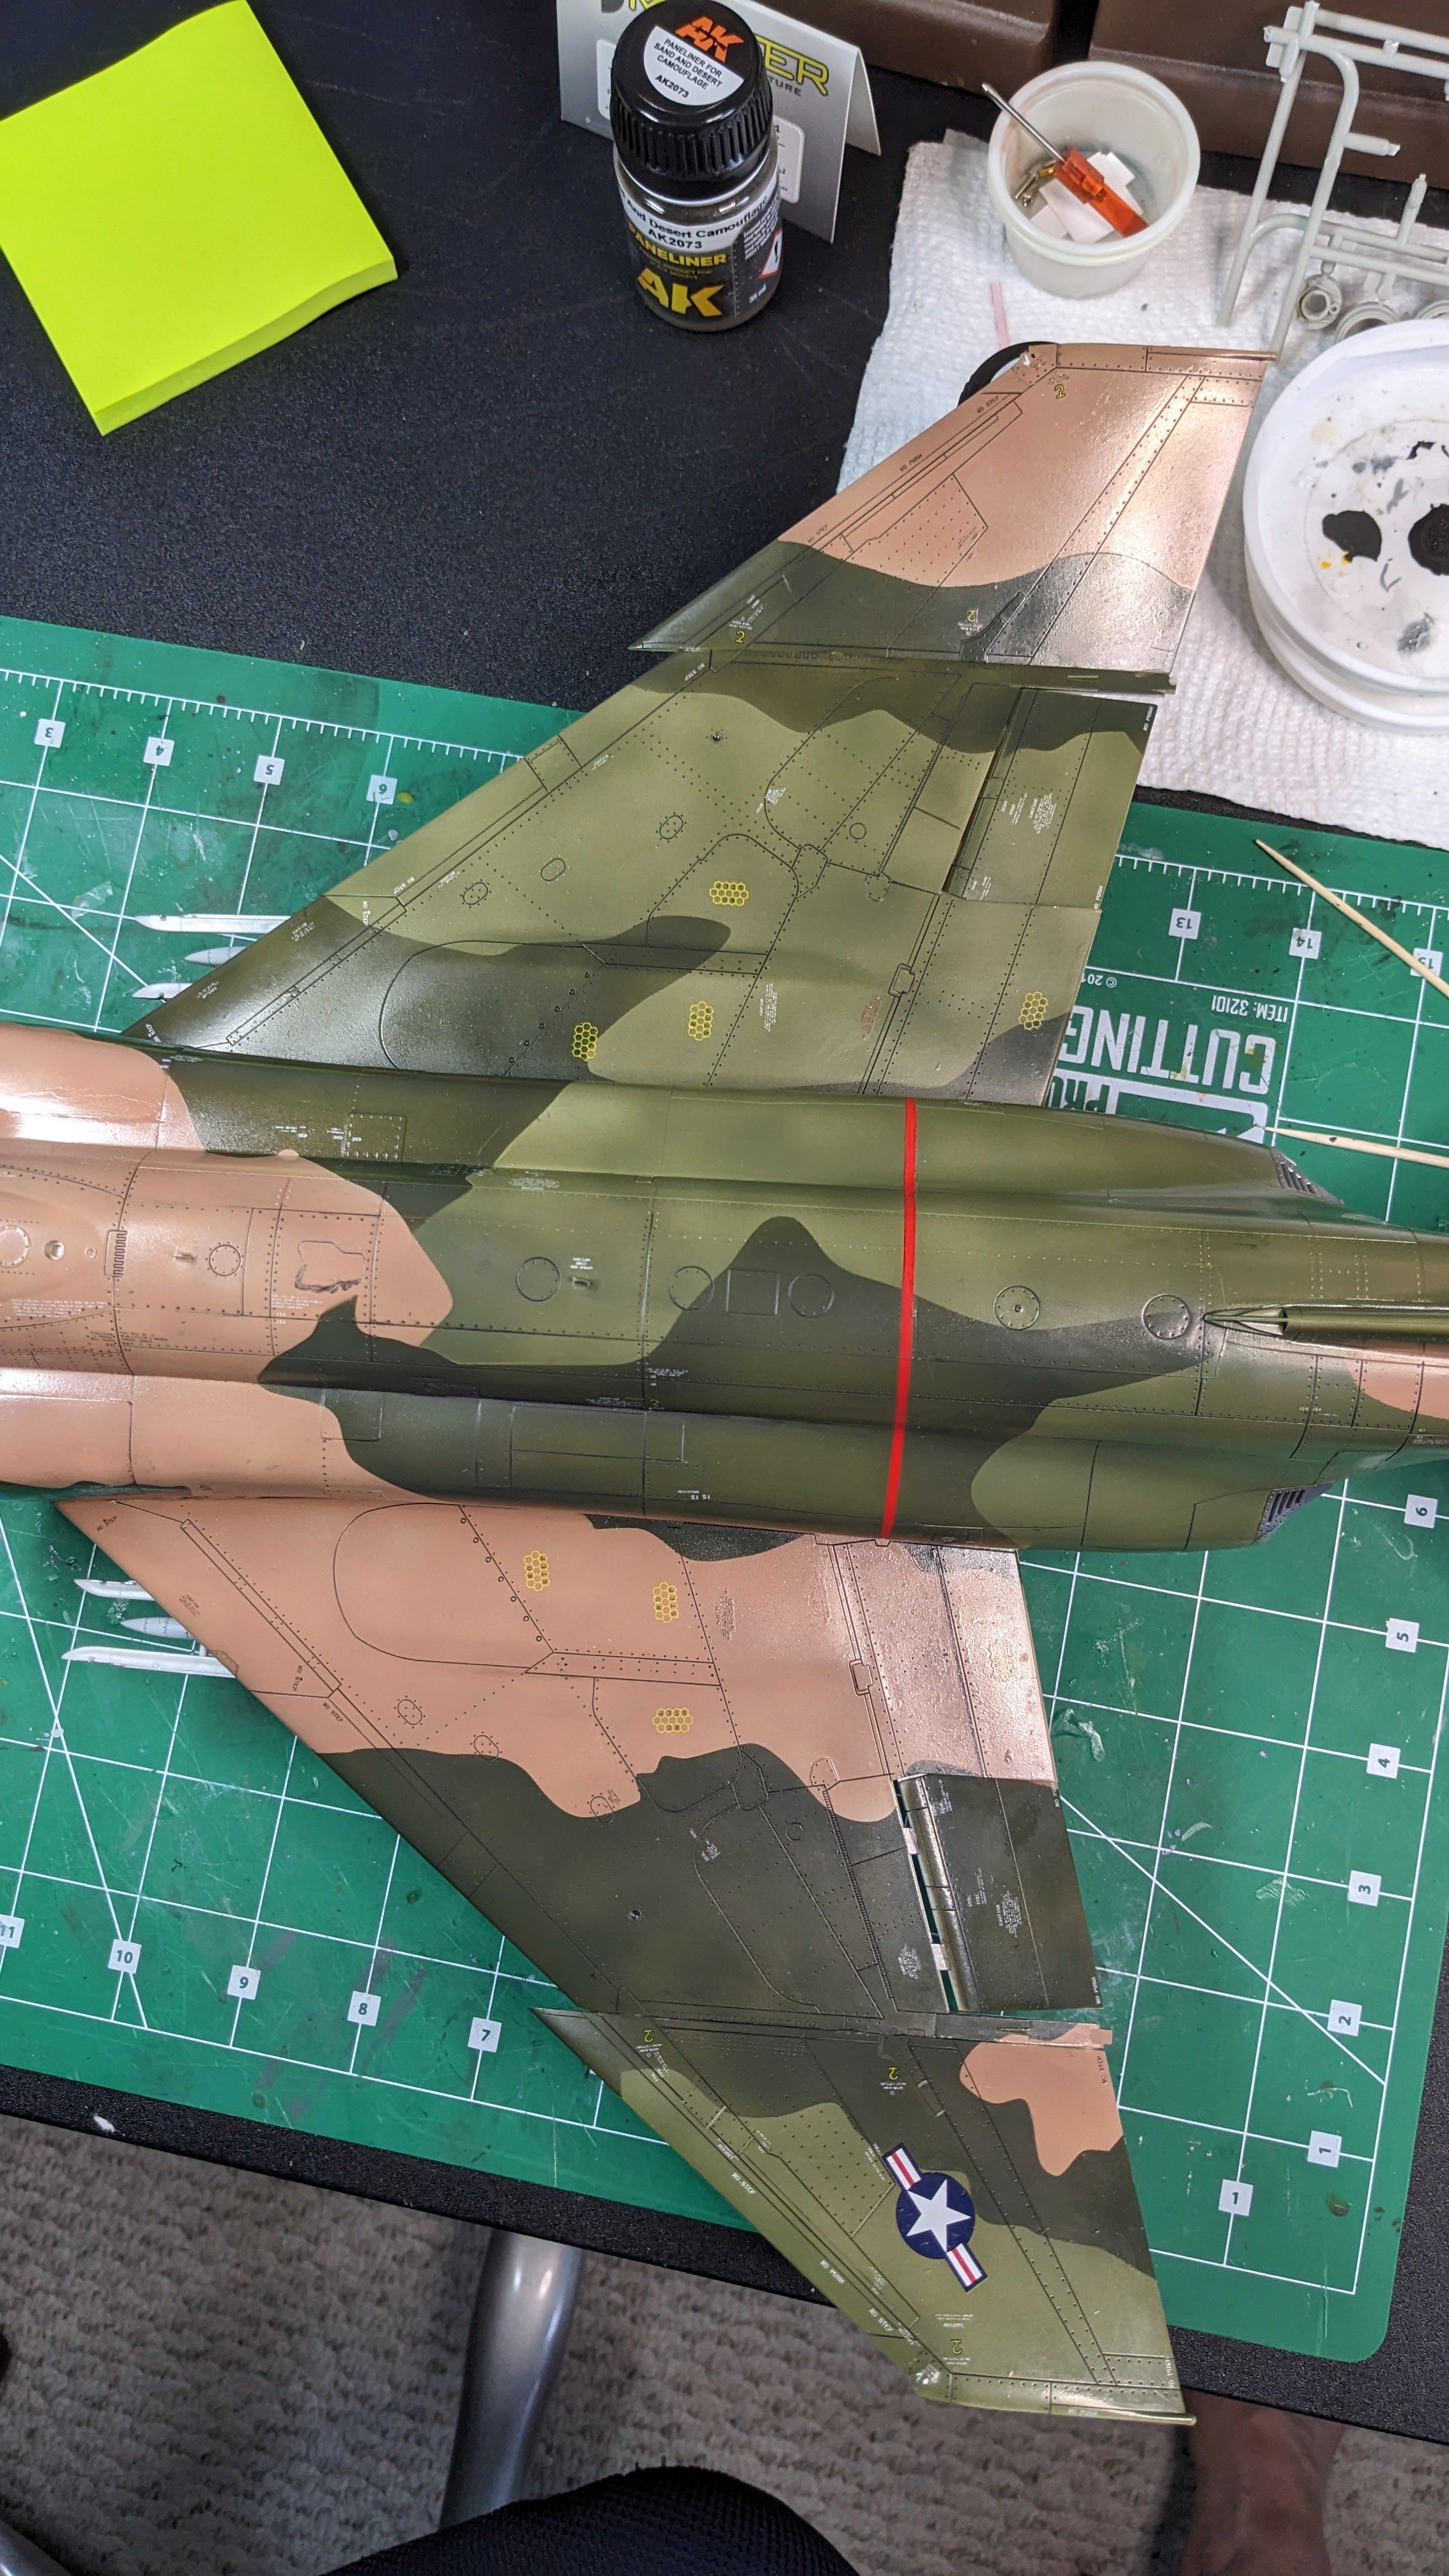
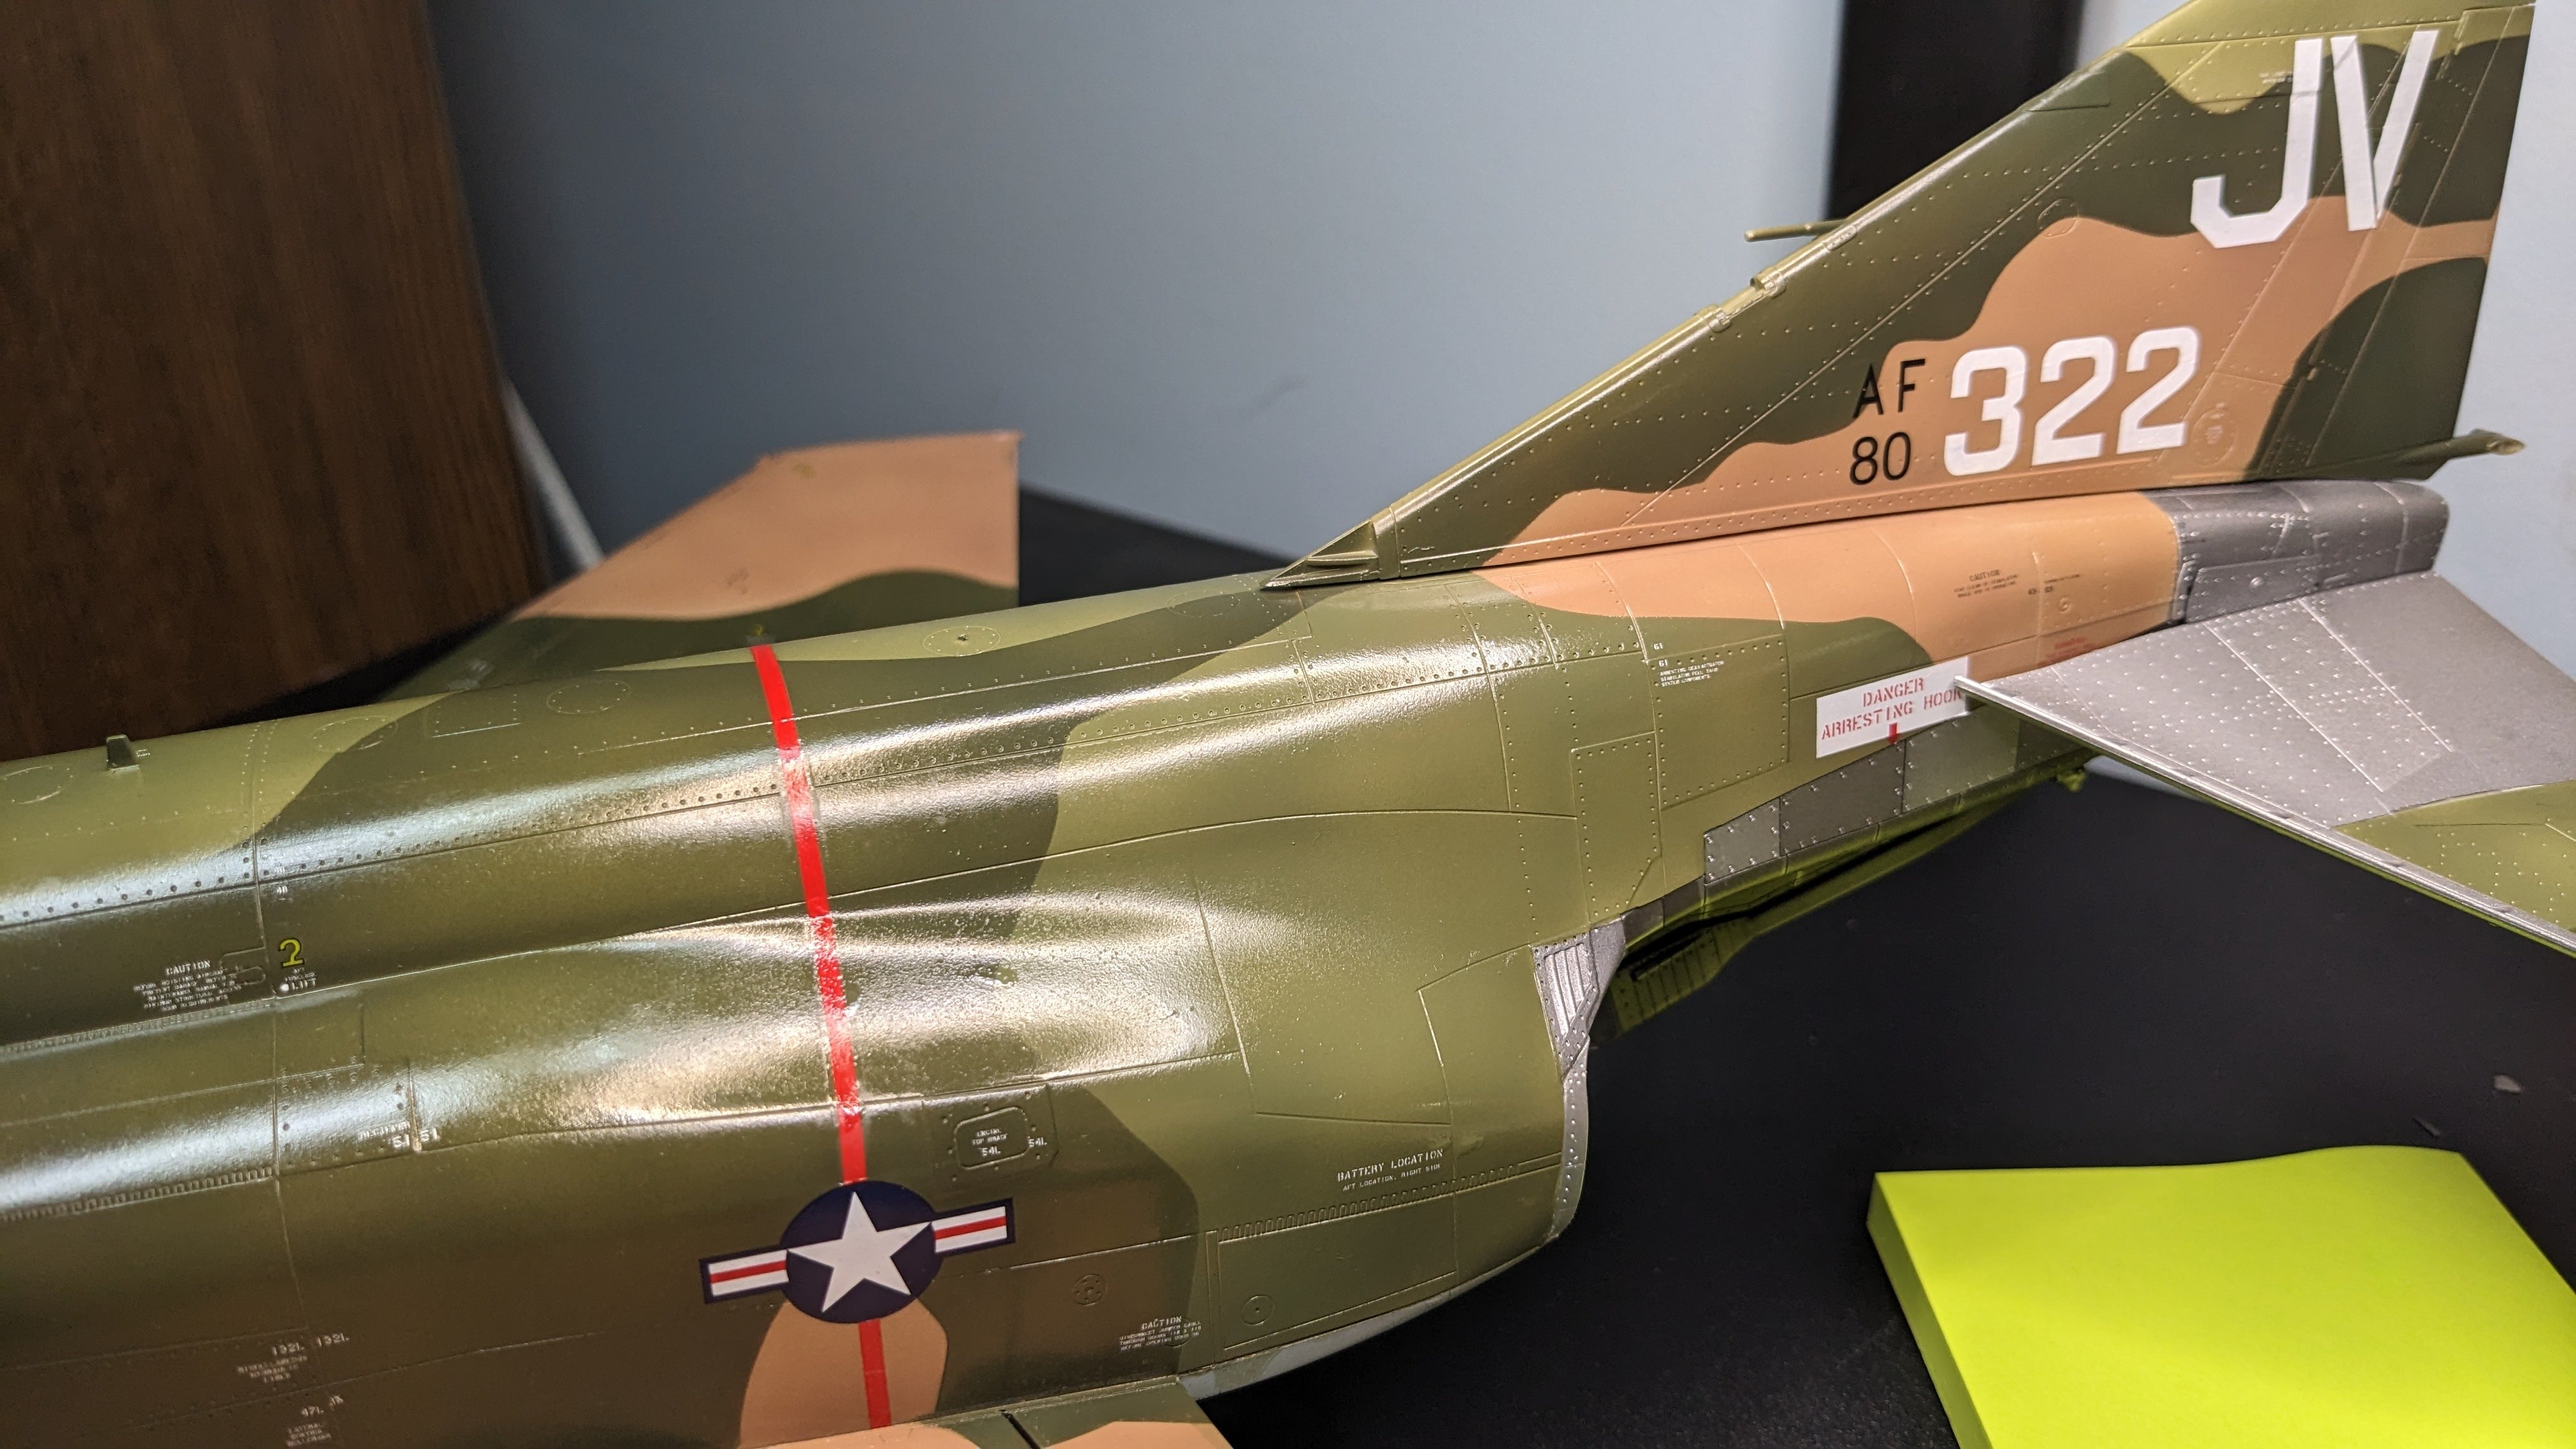
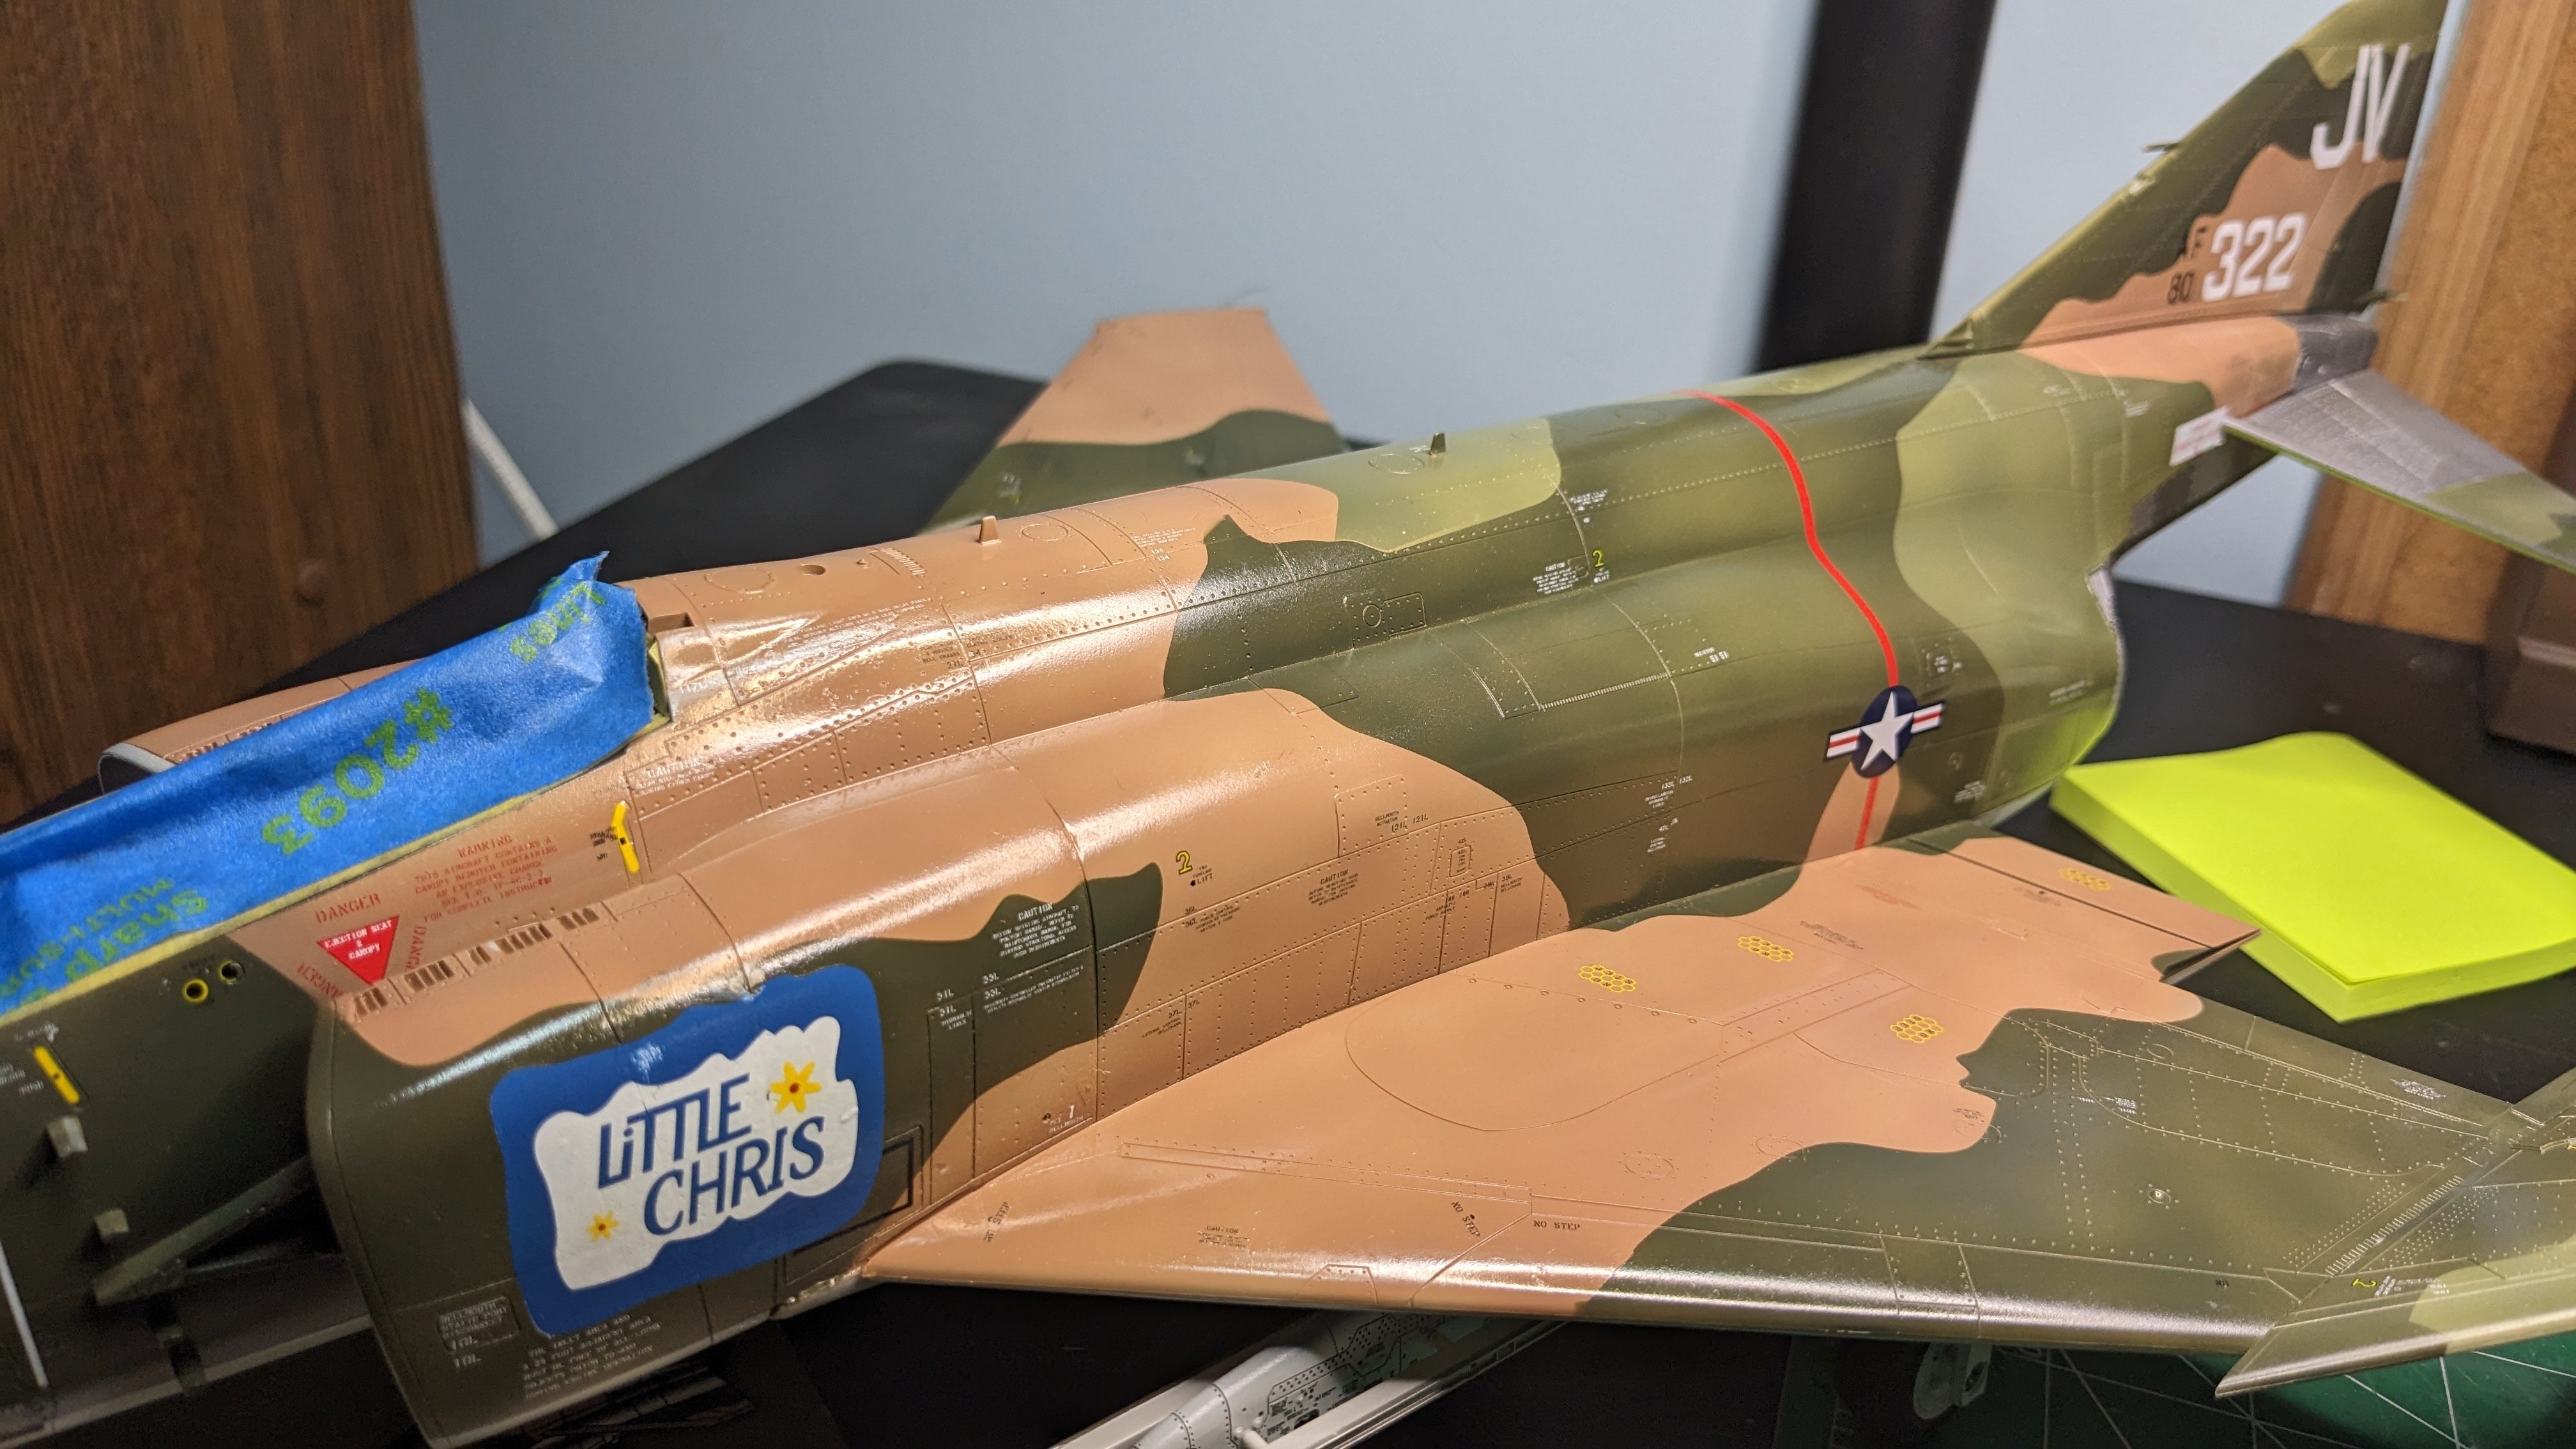
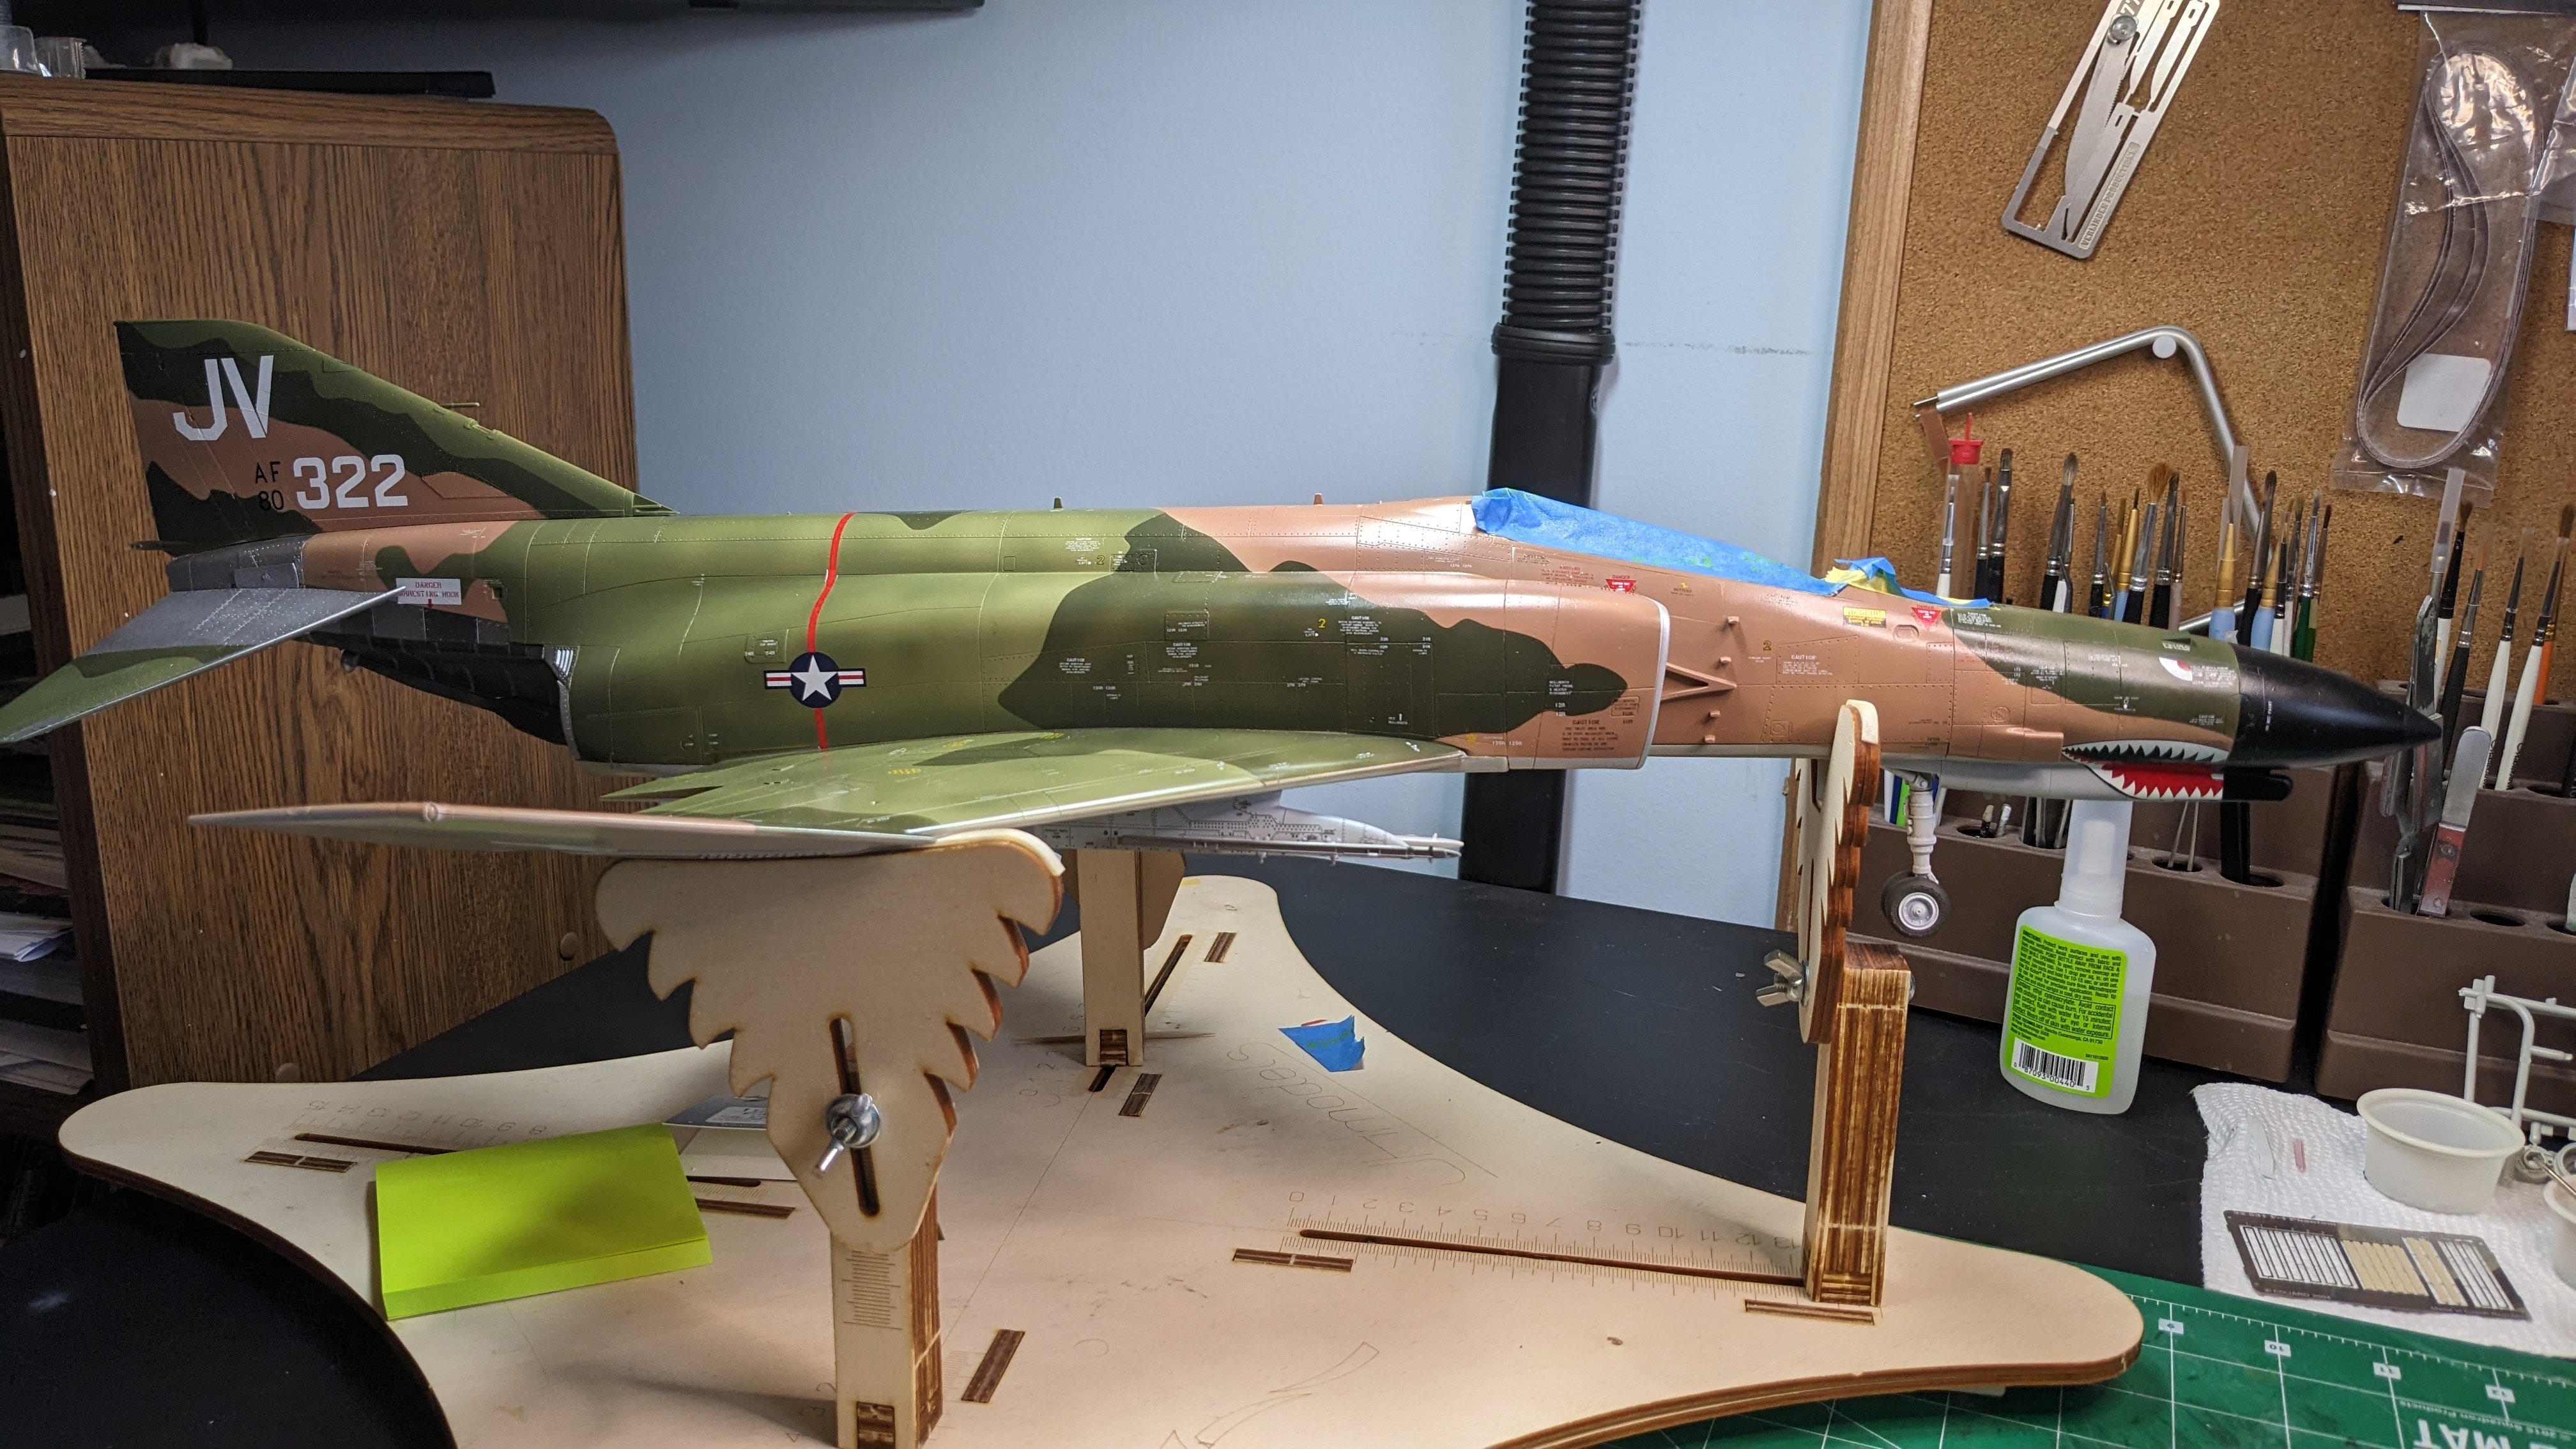
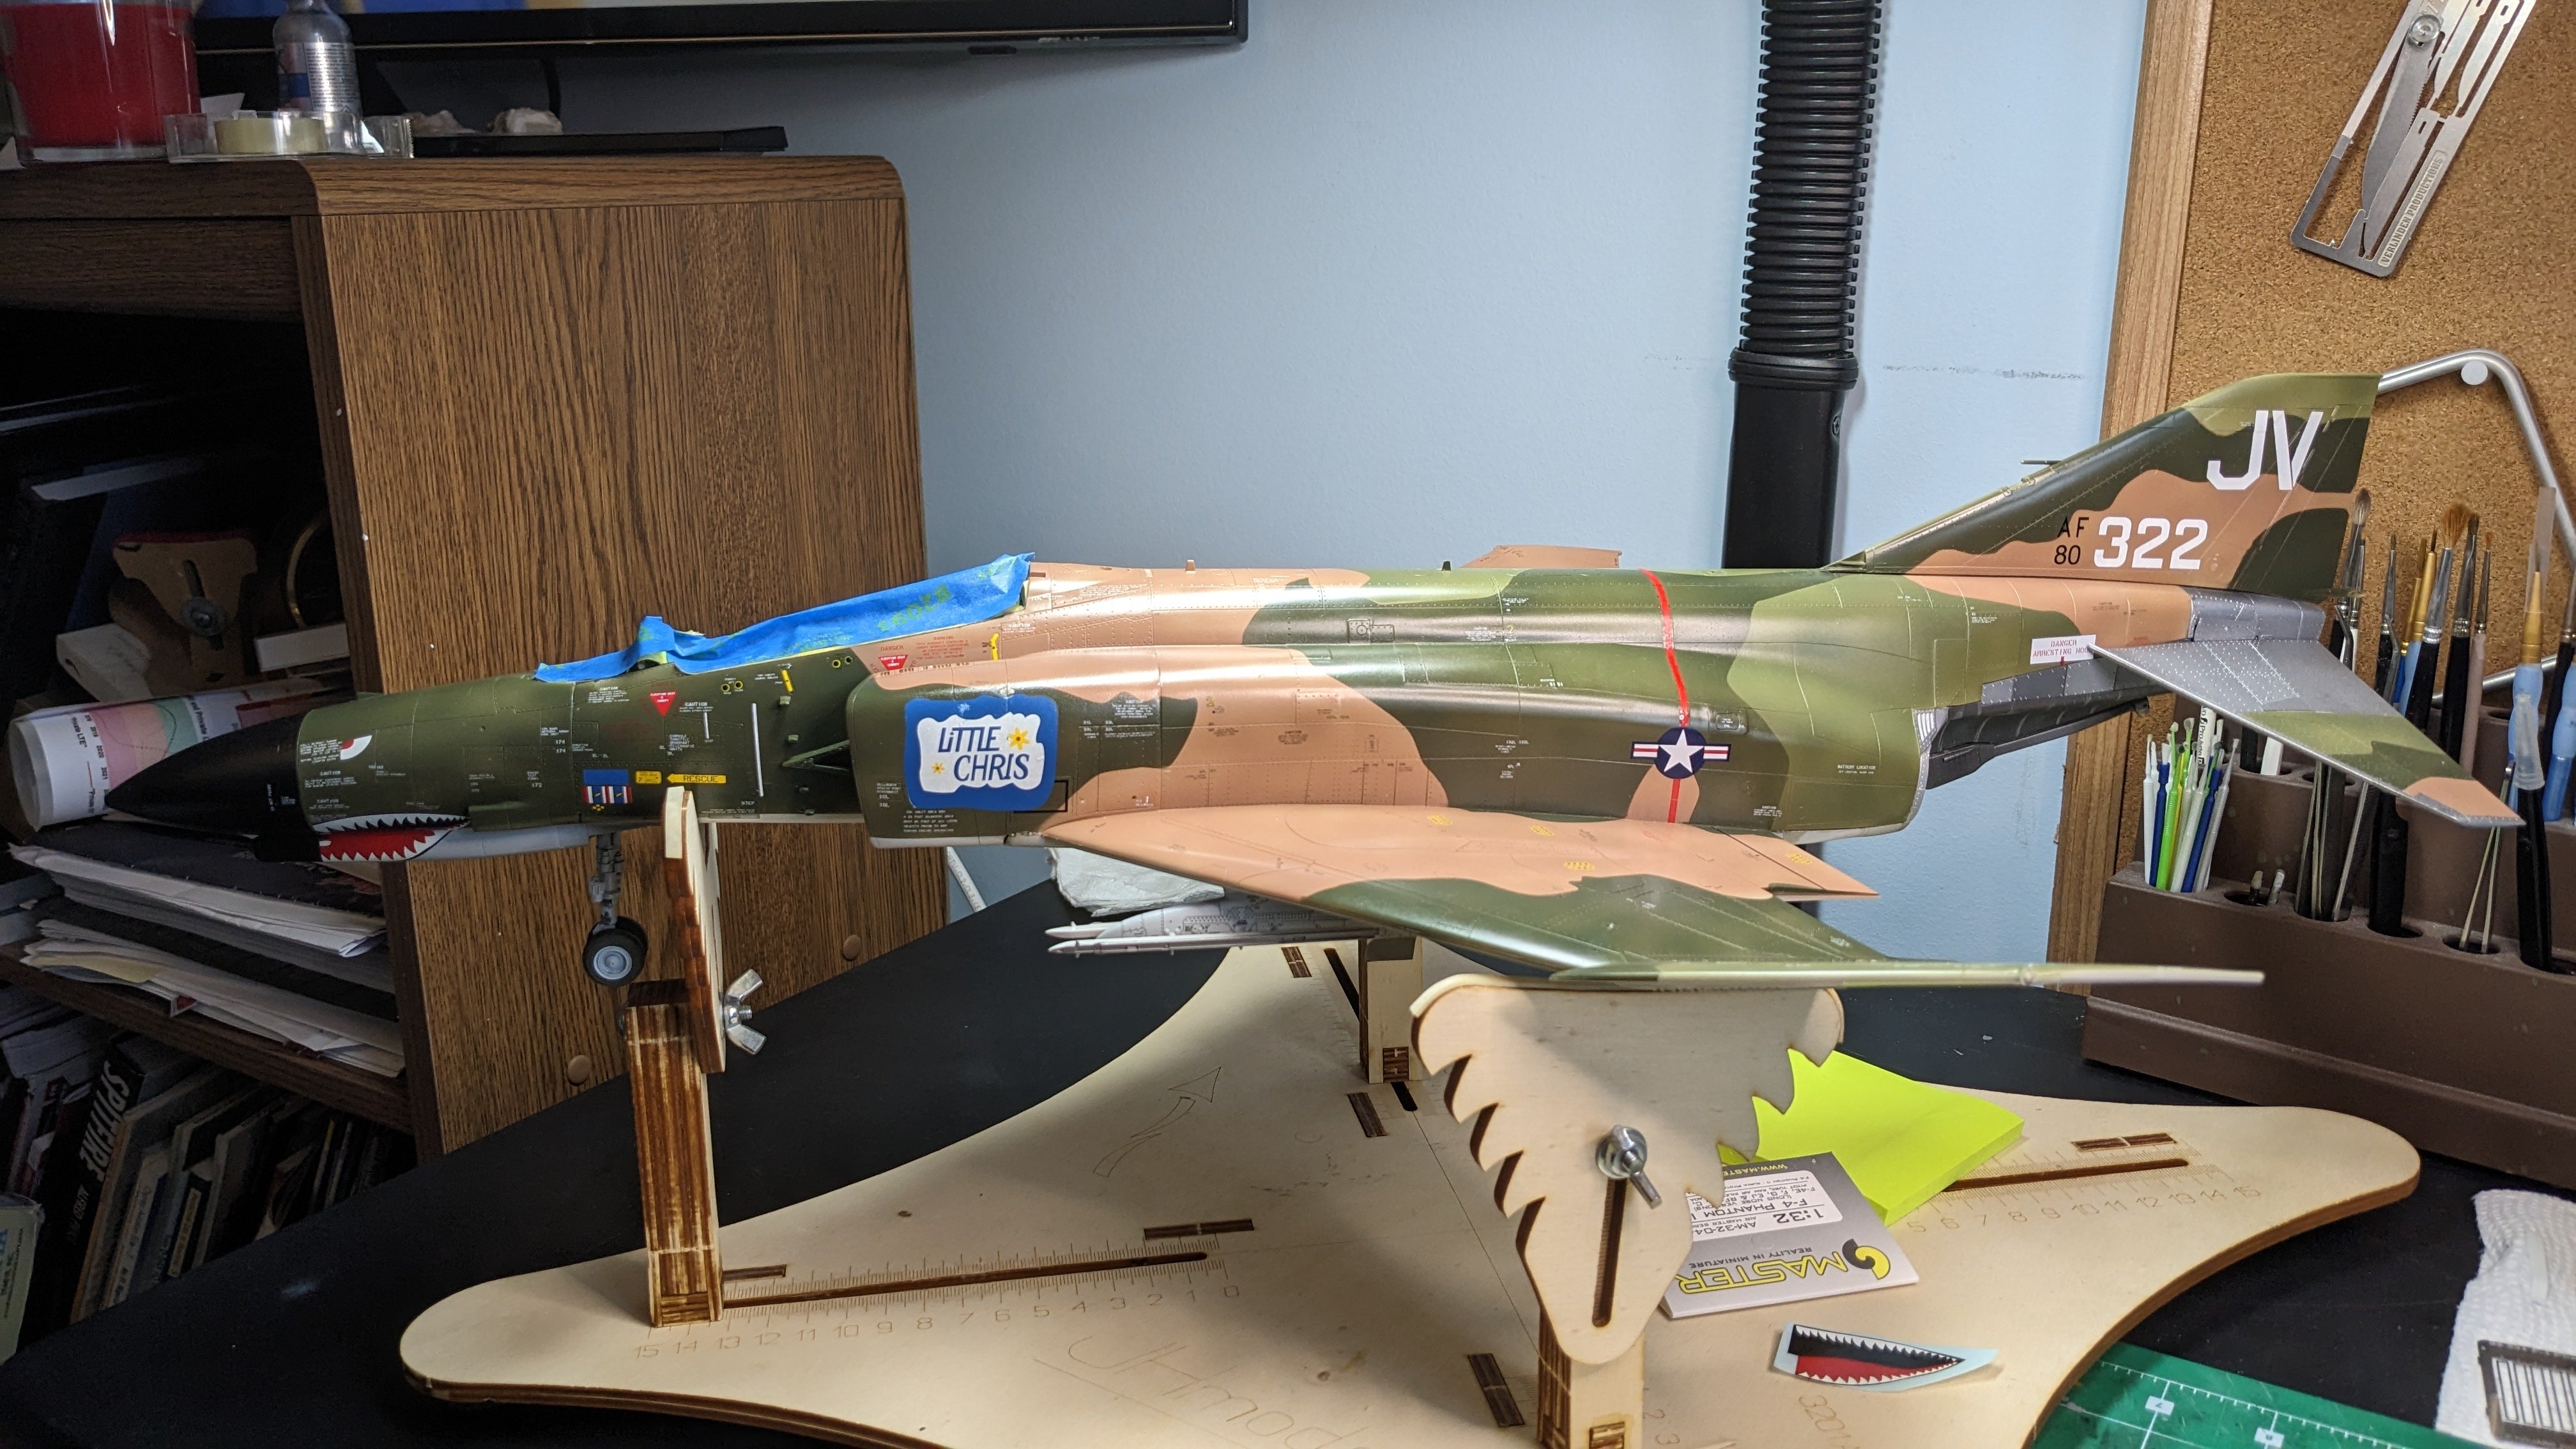
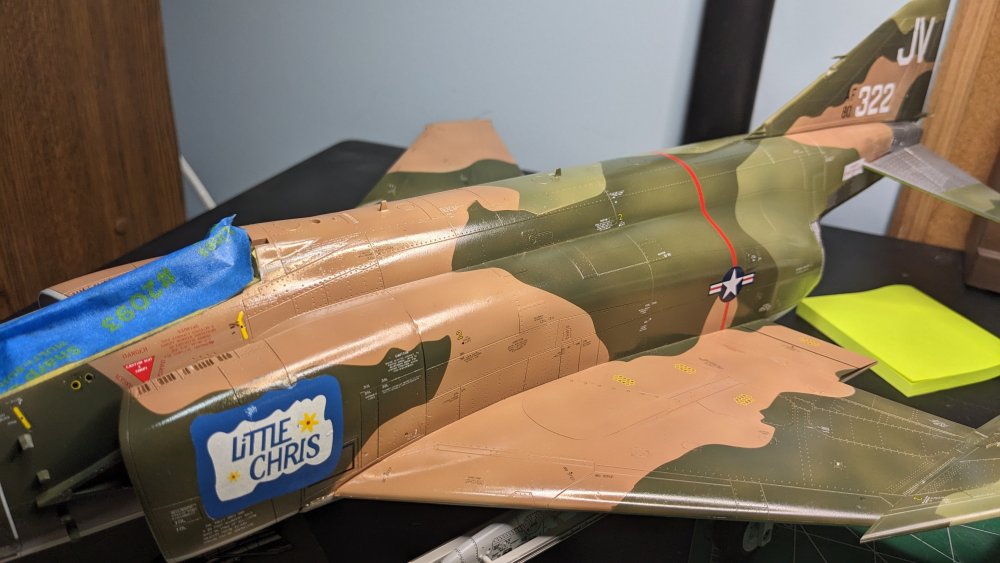
 Spent almost four hours at the bench today, working primarily on the washes and a bit of detail painting on the Sidewinders. The Wash. The AK Interactive Paneliner worked pretty well. Learned a few things: best to clean out the cap and remix when you first open the bottle. I found a LOT of sediment in the cap - when I tried to use the cap to dip my brush into. MUCH thicker than what was in the bottle. Overall, the Paneliner ran very well on the deeper panel lines, to the tune of up to two inches or so best case. Usually, the panel line run was only about 1/2 inch or so. AK suggests using odorless turpentine/Turpenoid to remove the excess however I did not have a lot of success with that. Instead pretty much all of the Paneliner came up. Used a dry paper towel instead. Was able to do the tops of both wings, and most of the left side and top of the fuselage. Still need to go back and redo a few places for consistency but making progress. Will do the 'metal' rivets as well. Question for you: Is the wash too dark? It would be a big job to remove at this point, but wanted to throw that out there to get your opinion. Probably need a picture from further back than close up... The pile of paper towels used to remove the excess Paneliner. Honestly, I simply wipe off after the Paneliner has dried for about 4-5 minutes.
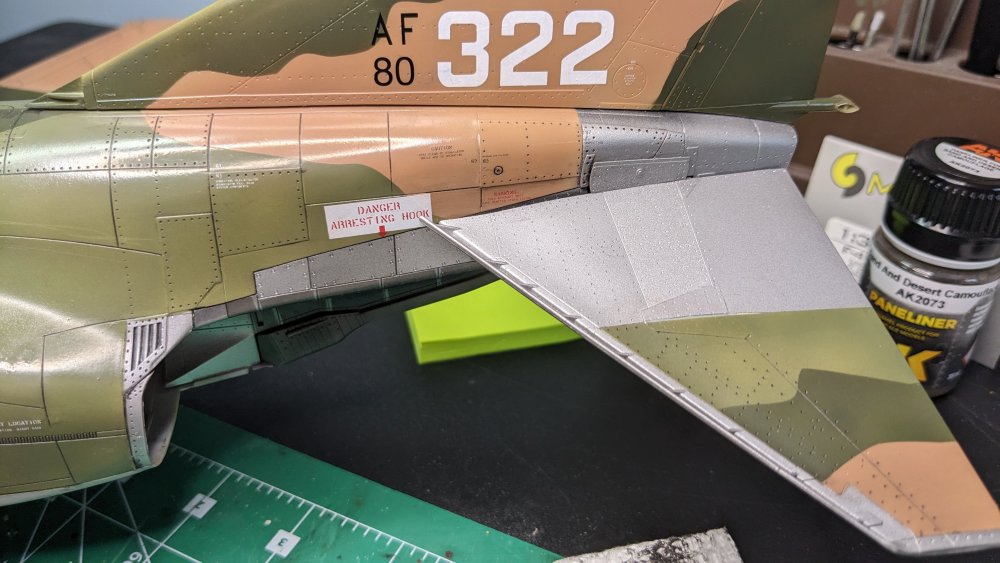


-
Thanks Rob - I even pulled out the hairdryer after your previous comment but no dice. I'm going to live with it as it. I think some time I'll get out my paint mule and try out the heat thing on that. I've made various washes over the years, but I had a gift card to a vendor and could not think of anything I needed so thought I would try these. Thank you, Peter! I learn a lot from you and everyone here about how to address challenges that come up. I do like the X22 and interestingly I did a test spray with the Alclad Clear last week. It went down terribly - very pebbly - so I put it aside and forgot about it. Picked it up the next day and wow! Glossy and perfectly flat. Will do a write-up about the AK Paneliners and the ResKit bits. I have to say, their customer service is amazing. I hope Ukraine is able to survive.
-
Cobra Coupe - Le Mans - Model Factory Hiro 1/12
CANicoll replied to DocRob's topic in LSM 1/35 and Larger Work In Progress
Looking awesome!! Wow, each bolt.... -
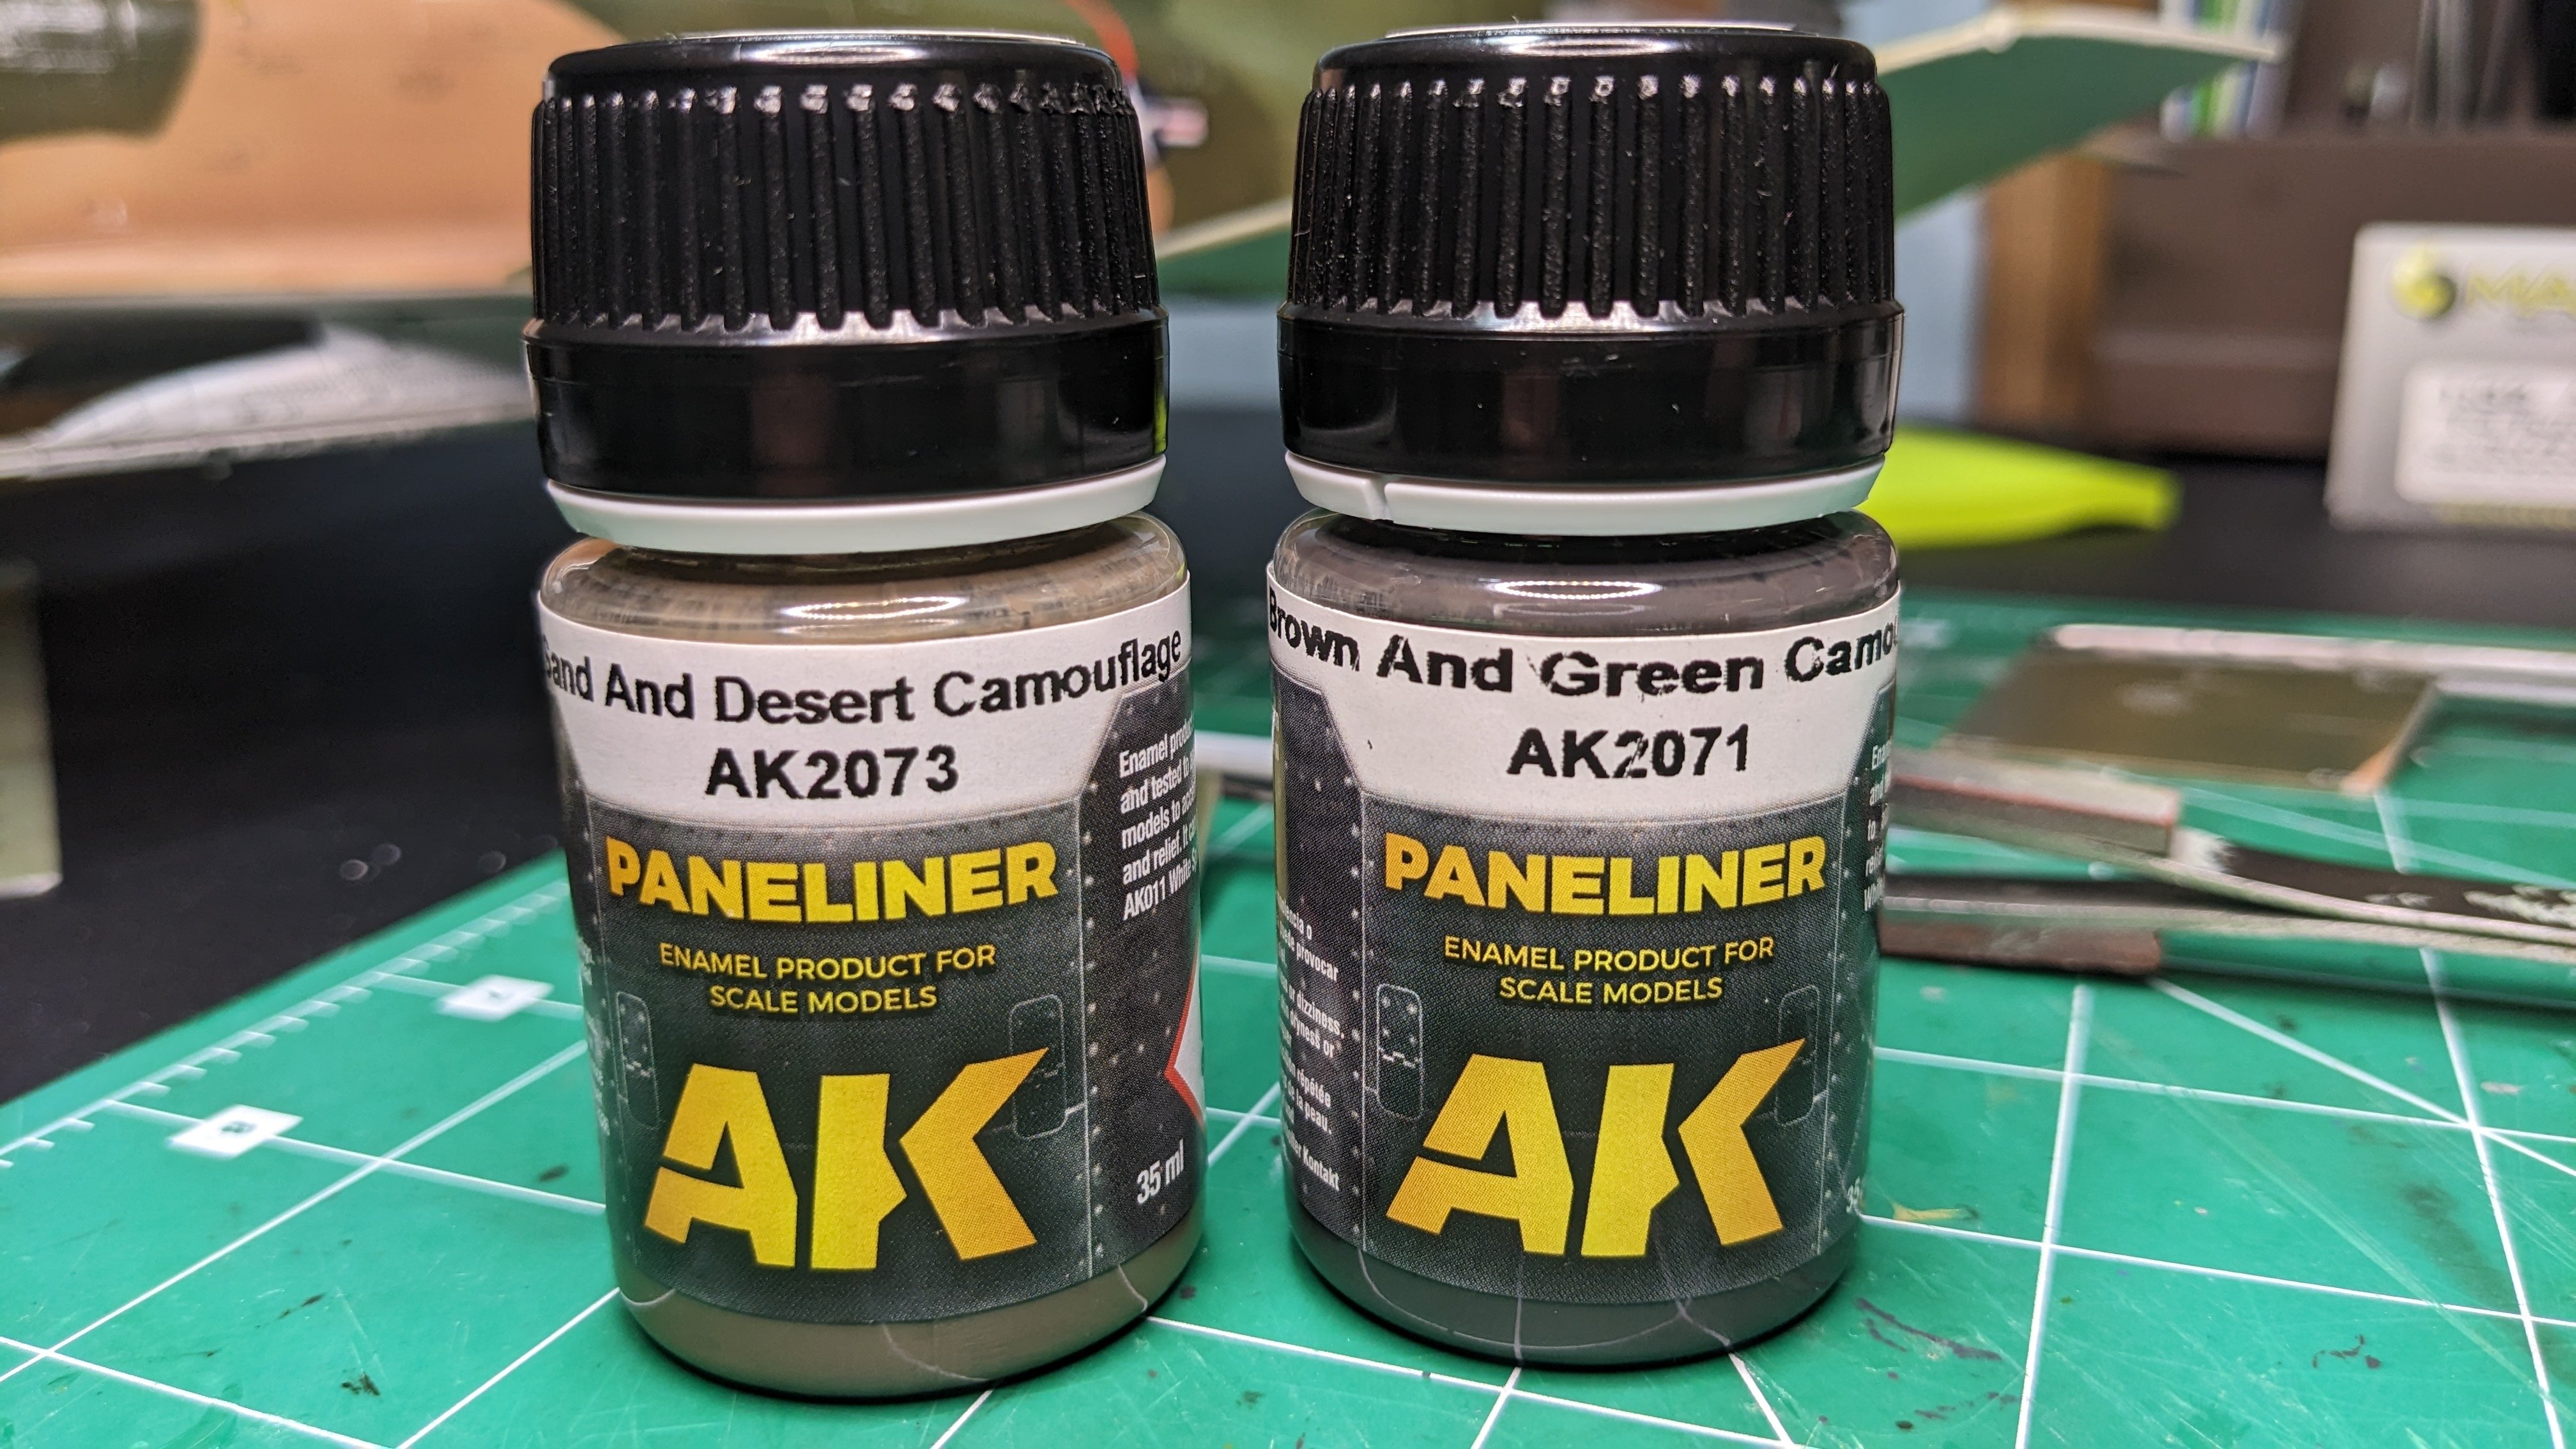
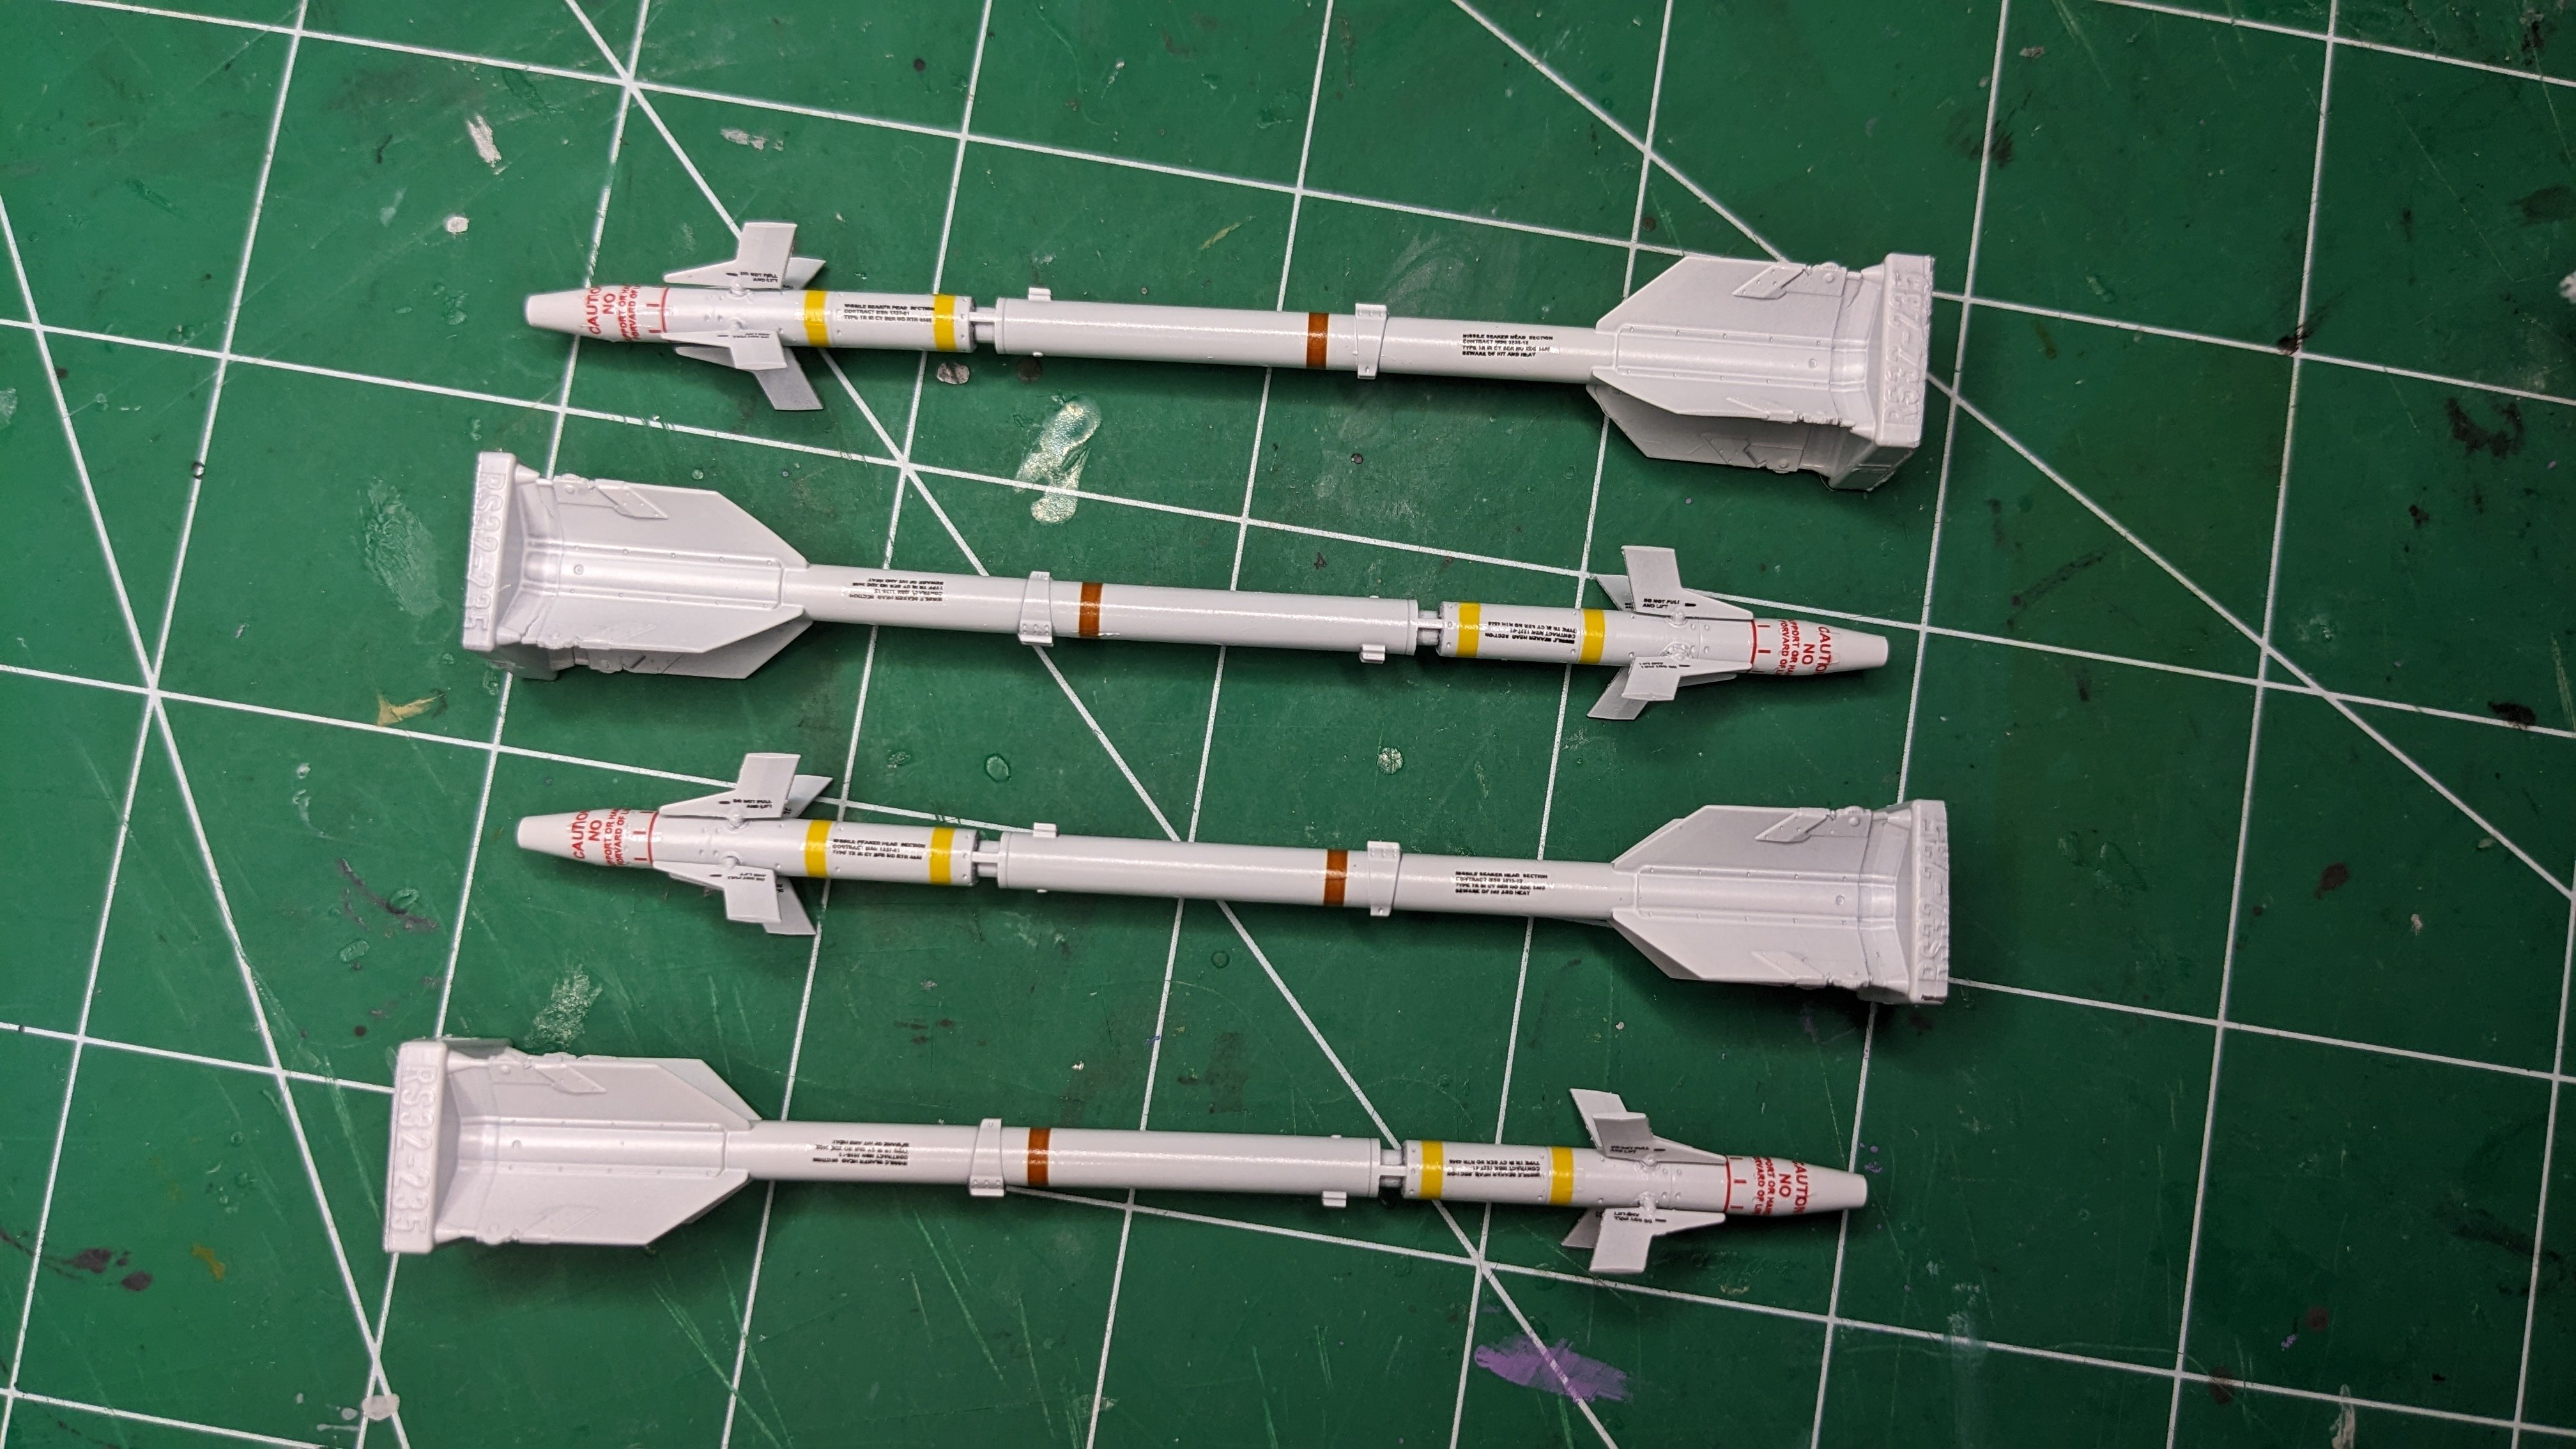
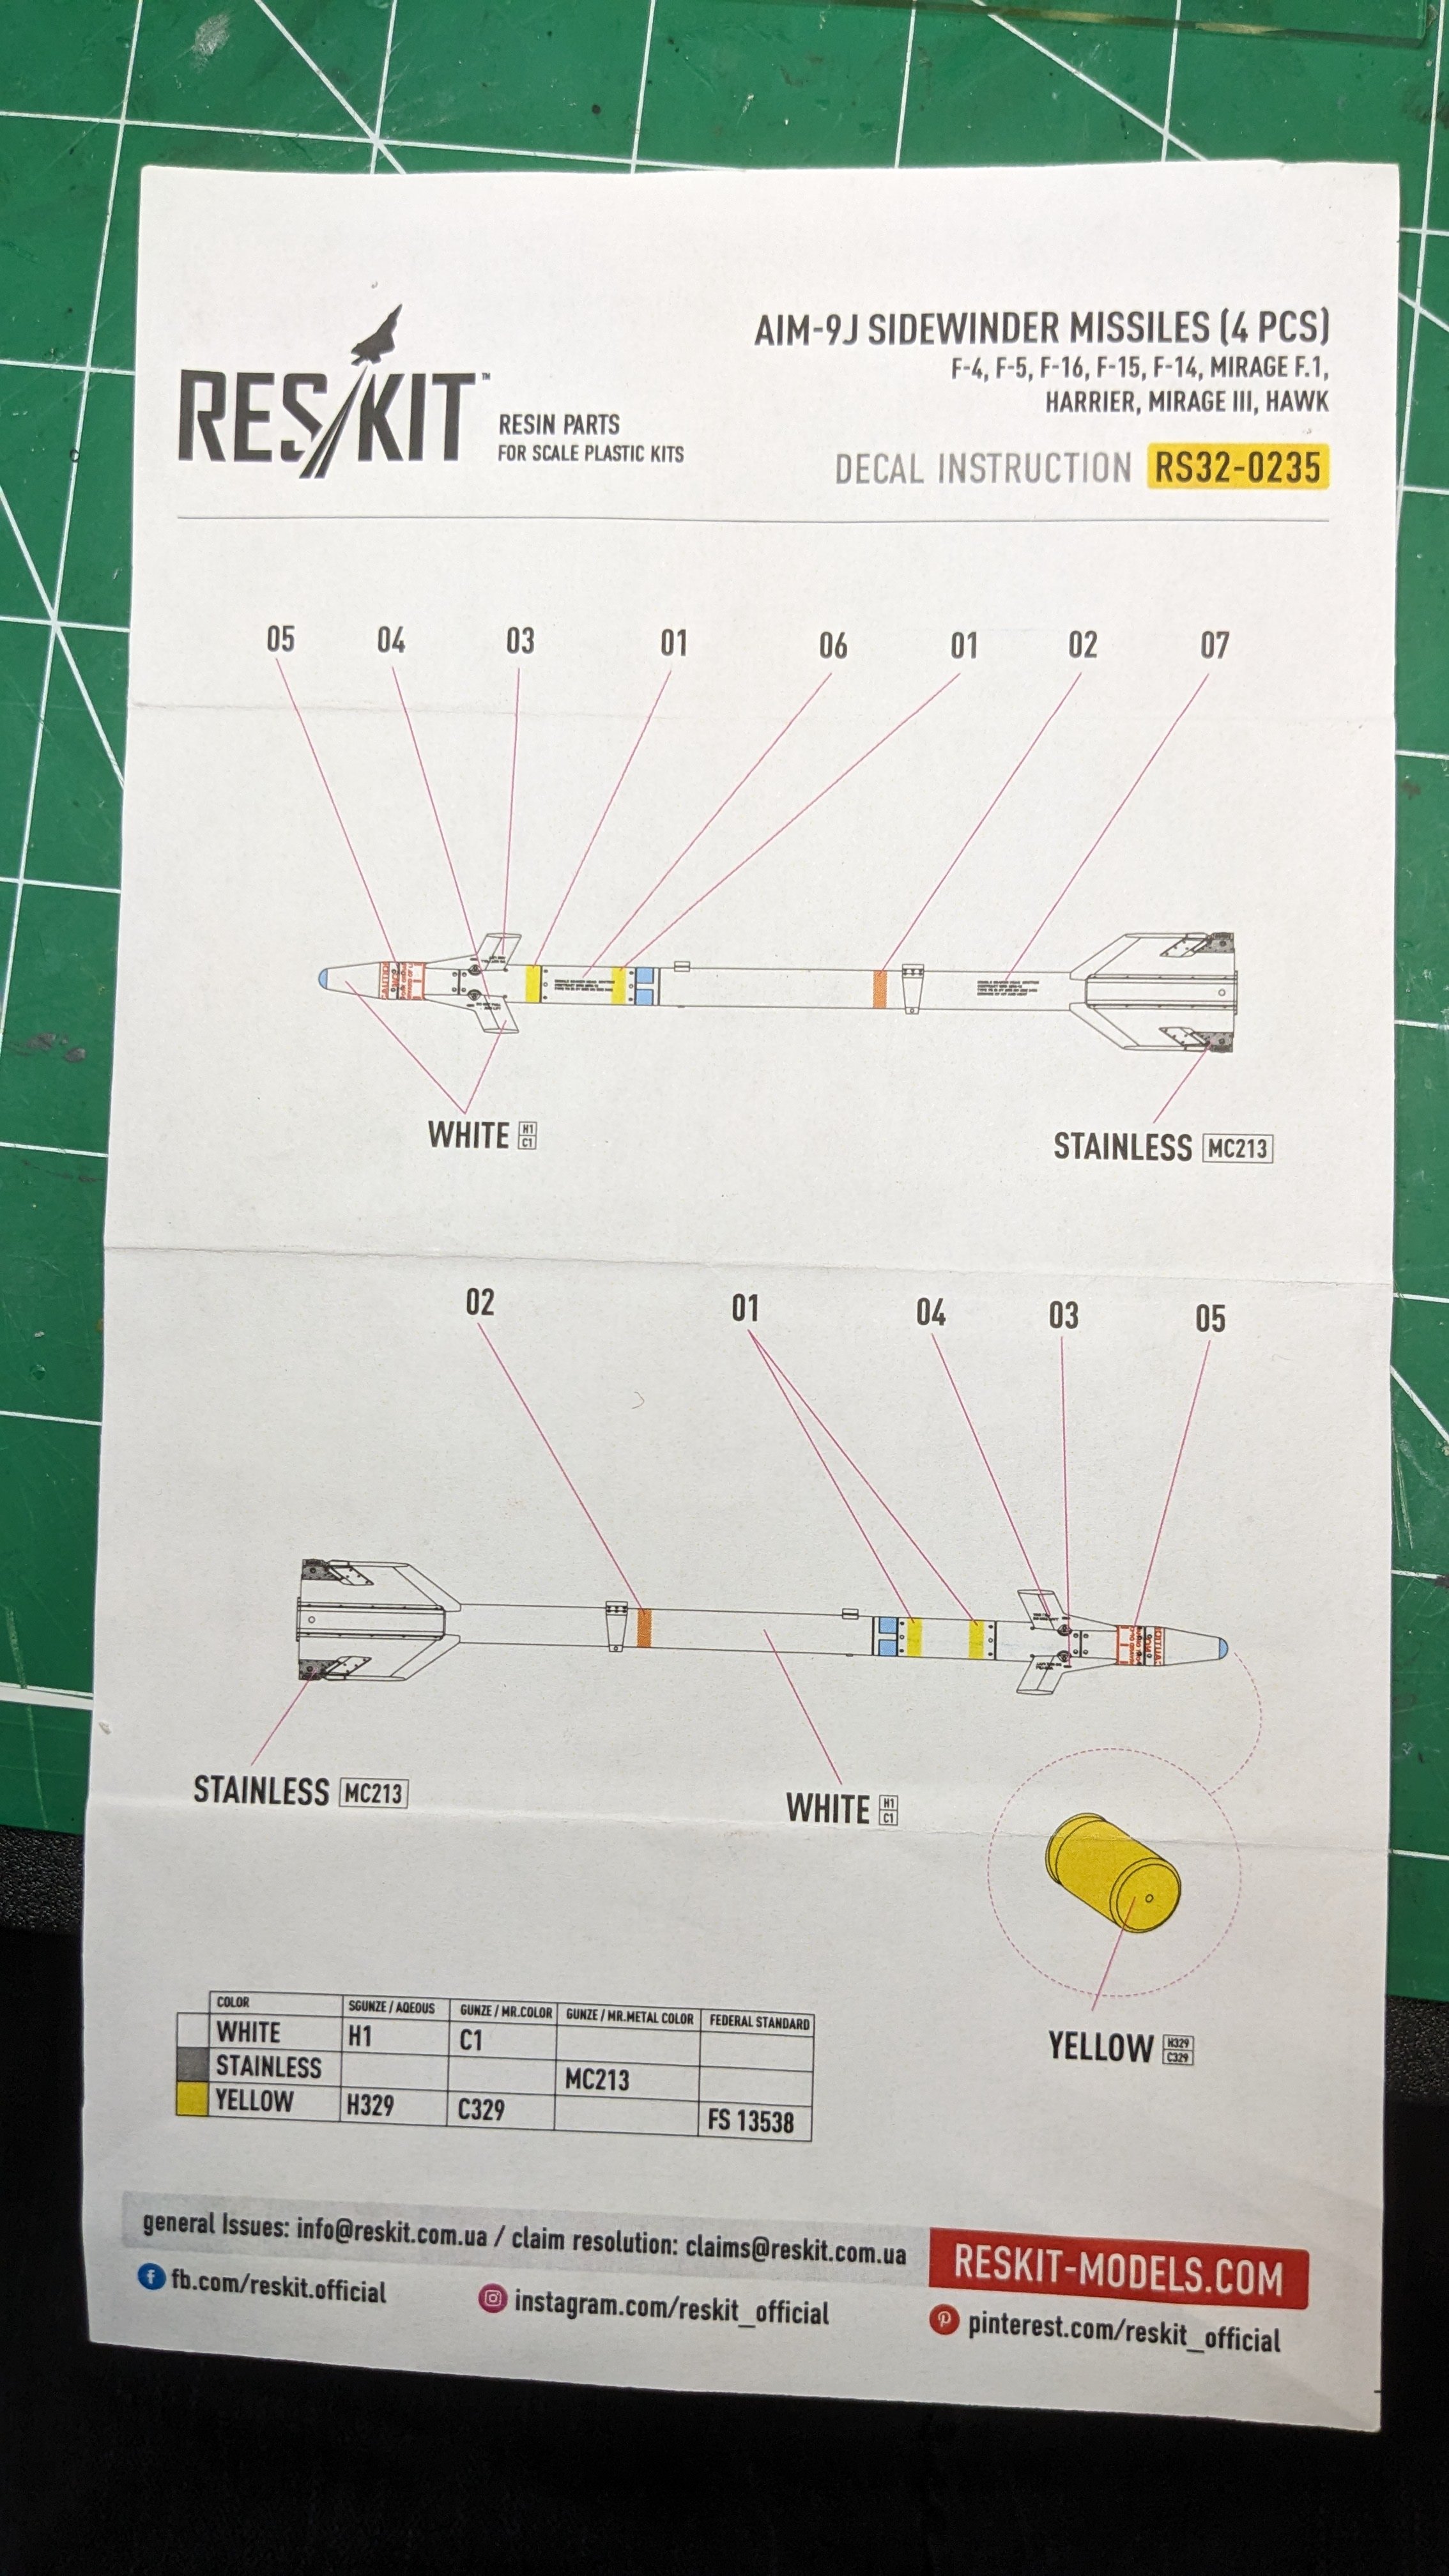
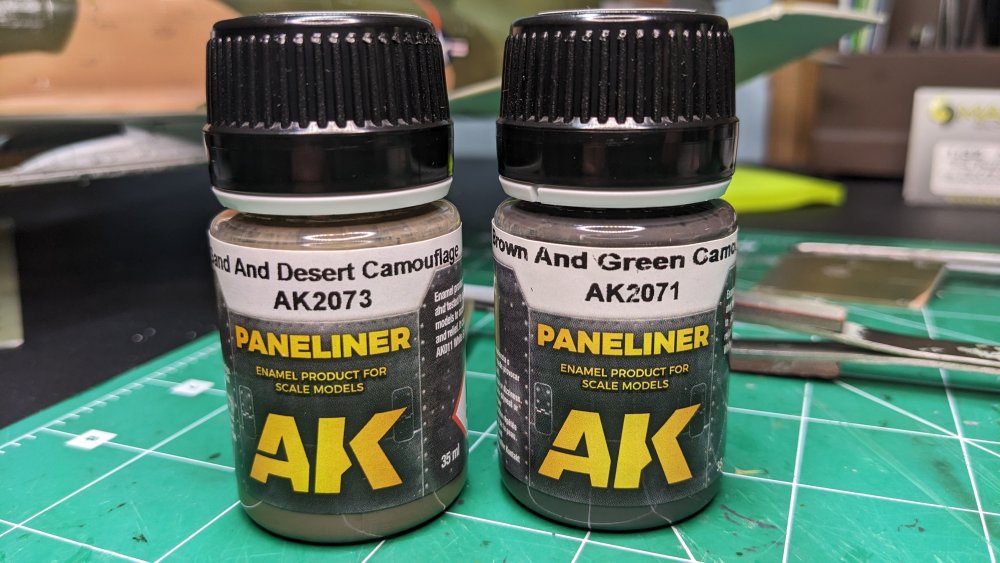
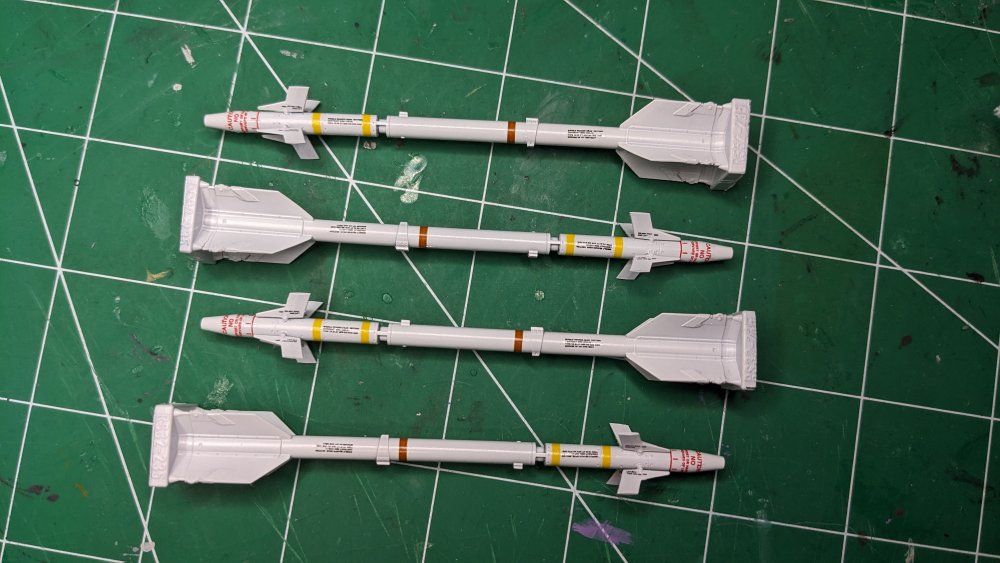
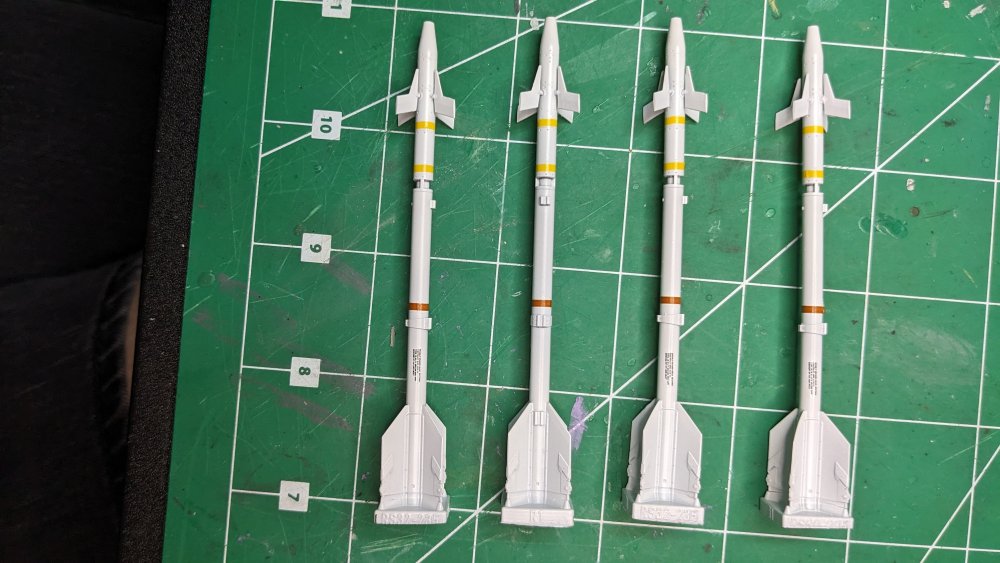
This build has been interesting and continues to push my comfort zone and boundaries. Trying new things and working out new skills. From the resin and 3D armament, to over 200 stencils, plus the Sidewinders have 56 of their own stencils. The Quinta cockpit set with resin ejector seats. Grafting on Resin intakes which required a lot of fitting and heart-stopping cutting, and the resin exhausts. A 1/32 jet with angled wingtips, heat stressed metal, tried clear resin canopies (oh well), white metal landing gear. Enormous camo masks which were for a different model F-4 (and started out with and F-4EJ not an F-4!). The finish has been primarily MRP lacquer acrylics, augmented with some Vallejo Model Air especially for the primer, and of course both Alclad and Vallejo Metal paints, and finally some Tamiya X-22 Acrylic Clear coat. I want to try the AK Interactive Paneliner washes, but they are enamel based and with the bad experience I just had with Solvaset and MRP clear - to be safe I wanted an acrylic clear coat. So used the X-22 (which I have not used in YEARS) thinned about 65% with X-20A. It sprayed on a bit bubbly but is drying to a nice clear glossy finish. Sidewinders decals are complete. Letting them try, will check to see if any MicroSOL is needed, then they will get a final gloss clear coat. Some details to be painted on the rear fins - stainless steel tabs and then the PE engine exhaust added. There are three clear pieces to be added: a clear 'collar' just aft of the second yellow stripe, and then the camera lens in the nose. Nose caps are provided, but such a shame to cover up all that detail! The sidewinders are actually kind of bendy - not like the Sparrows which are thicker and a bit warped, but not a lot to do about it. The Tamiya X-22 provides a nice smooth shiny base for the AK Interactive Paneliner. Had to look up how to spray it, and found the thinning is critical. I don't usually thin that much (2/3rds), but it worked out really well. I have learned with primers and clear-coats that they may not go on all that smoothly, but to just let them be and they (usually) level out. I did mask the metal tail pieces. Will let this dry for at least a day so in the meantime will be working on the landing gear. Here are the two paneliners I'm planning on using. Has anyone used these before? Any tips? Definitely will be working on the paint mule first.

-
I just had to!!
-
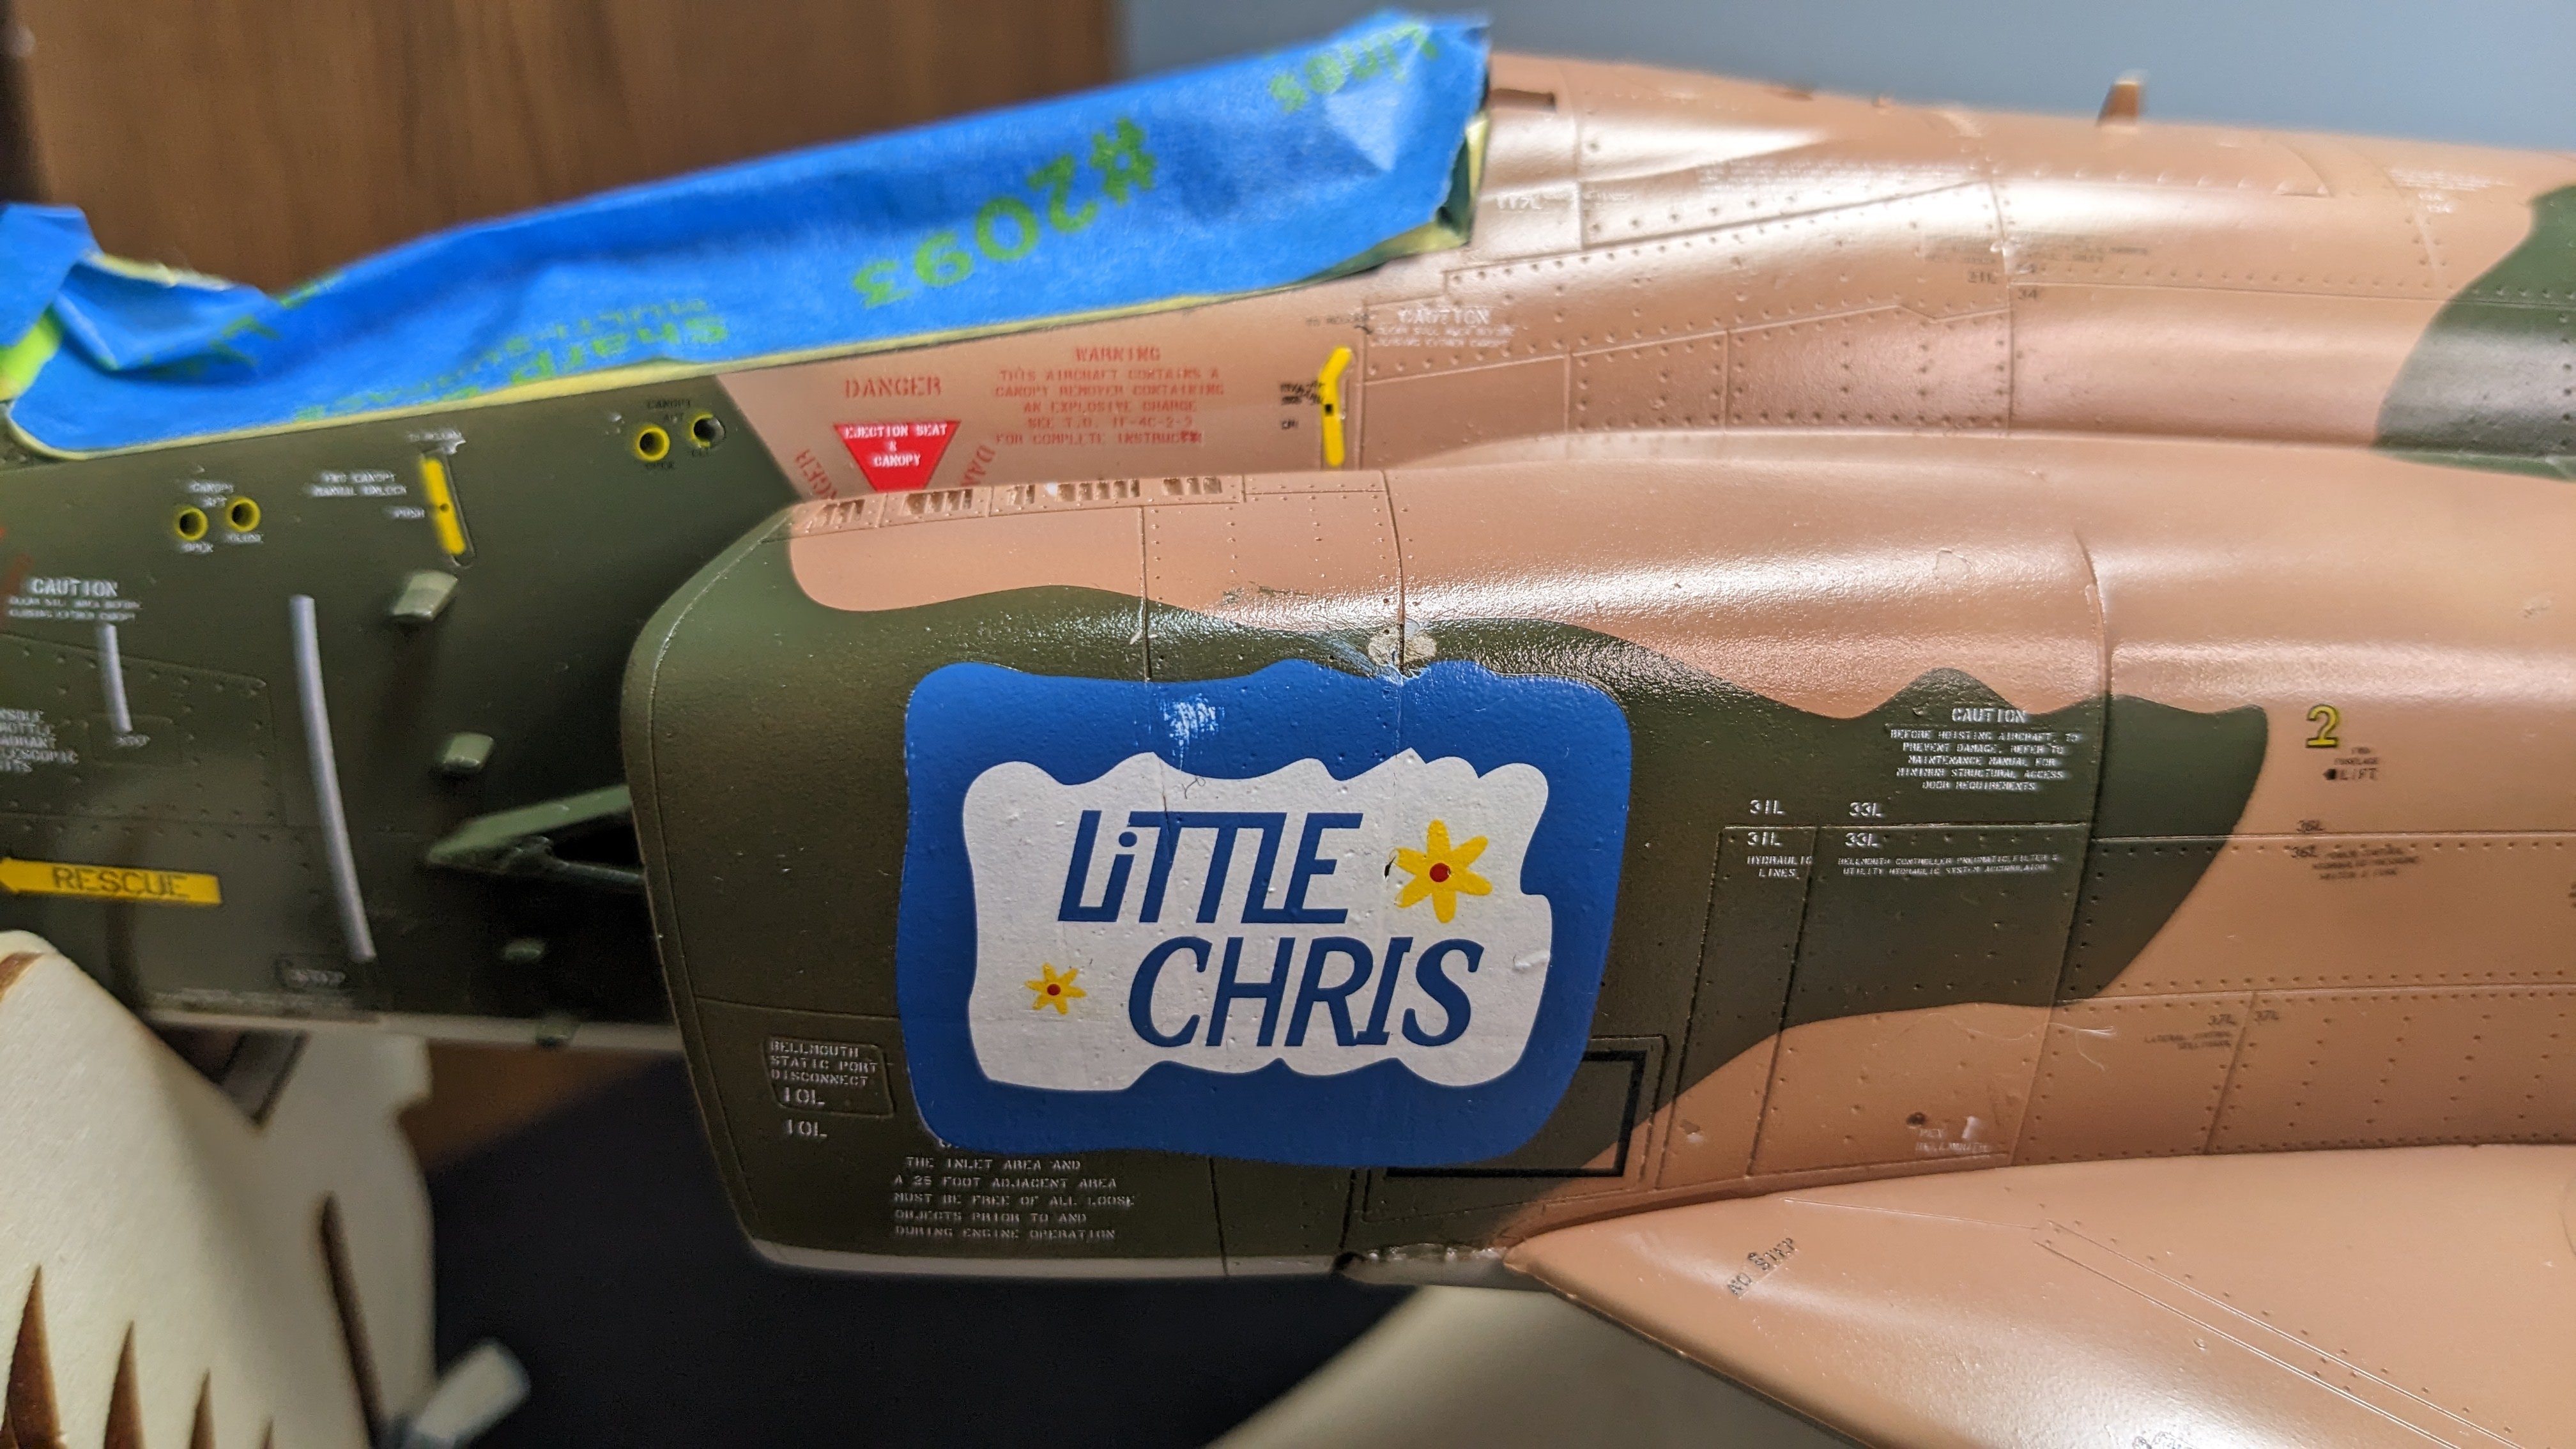
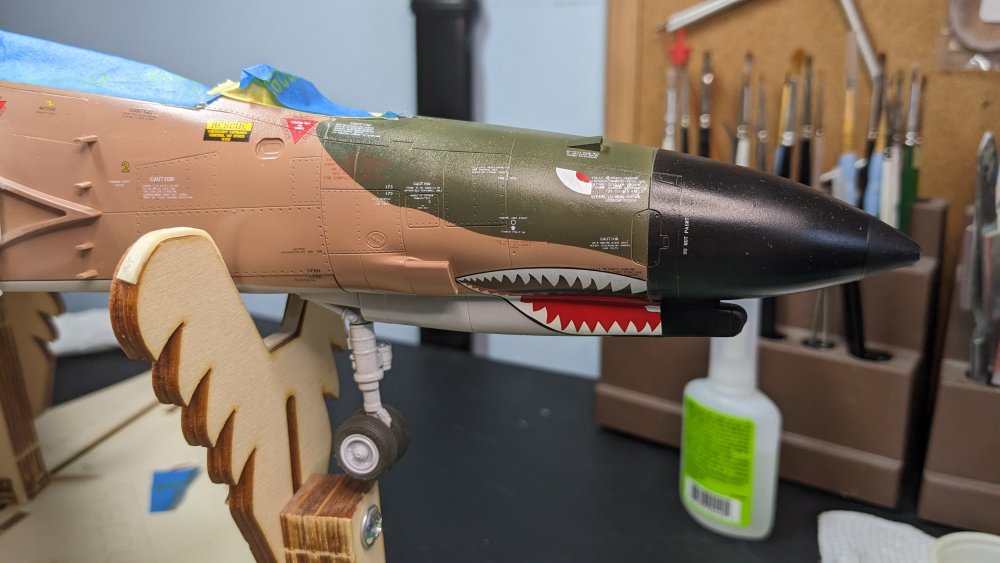
Peter, thanks for your comments - I did the MicroSOL thing over and over, nearly a dozen times, but could not get the name to settle down into the panel lines. Solvaset, almost immediately got the decal to settle, but then not. Maybe due to the thickness of the decal? Carl, agreed on the shark mouth on the F-4. Just looks too cool to me, too so I will be waiting for your build. I had zero problems with the Zotz nose checkers on my 1/32 P-51D so I'm thinking it must be the age of the decals and maybe they were not stored very well. So I have some touch-up to get to... Off to do some stencils on the Sidewinders
-
Your diorama work is terrific, I have no clue where to even start. Thanks for sharing your work.
-
Nice work! What do you use to replicate the road, stream, etc? Also very interested in how you lay down the static grass.
-
What is on your bench right now ? Share a picture :)
CANicoll replied to Martinnfb's topic in Modelling Discussion
Nice work!! -
What is on your bench right now ? Share a picture :)
CANicoll replied to Martinnfb's topic in Modelling Discussion
Hubert, Those figures are awesome and I love how you painted the angle of the light. That is really resourceful! -
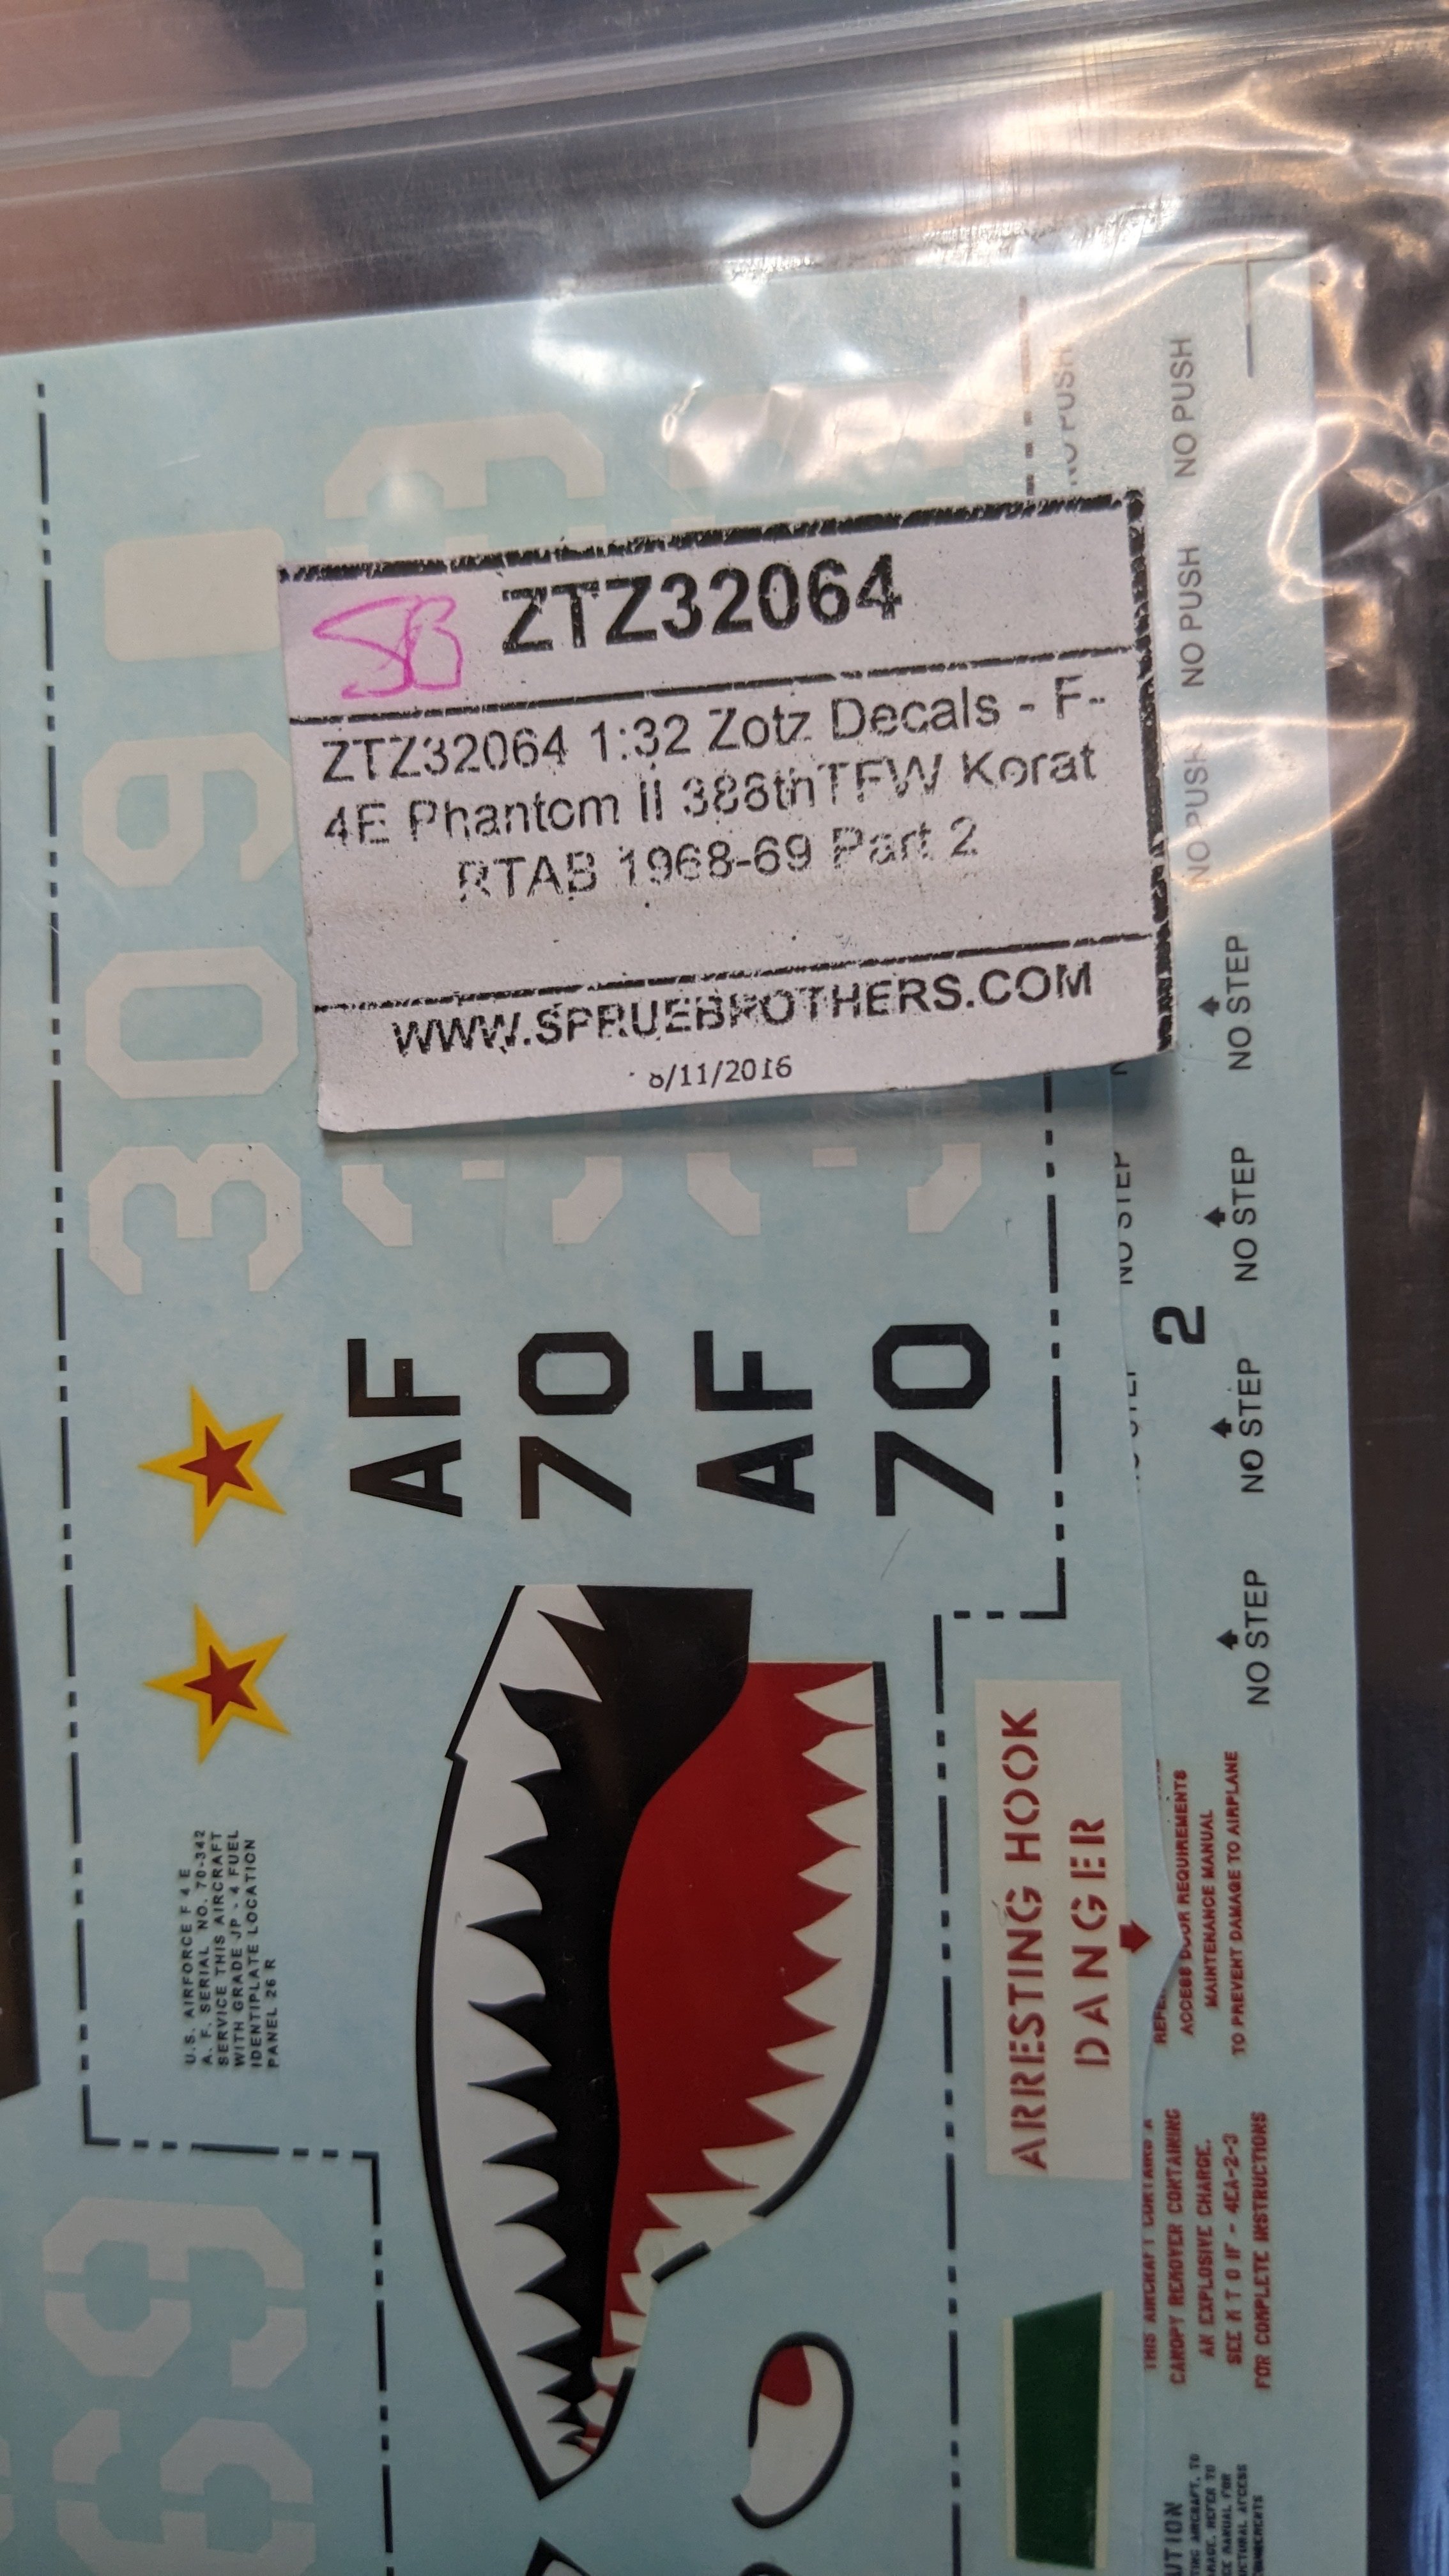
I think I may have discovered one of the issues with the Zotz decals: They are old. Despite my buying them in the past few years, I see the date on the SB label significantly predates my build: 8/11/2016!!!! Making good progress on the Sidewinders. However, there are still 40 decals to go on the missiles! Each front fin as decals/stencils on each side. That is 32 decals, right there. UGH. Decals 03 and 04 are the stencils on the front fins...


-
Late, but as promised, got the unit markings and the face put on the ship. Definitely not going down into the panel lines - the Zotz decals are certainly thick. I maybe should have put a base of Solvaset down, but I used MicroSOL. Will see how it goes. Here is where the Solvaset removed some of the paint from the blue surround of the decal, and also some of the dark green camo. Which had TWO clear coats that had been fully cured. Who knew??? Next up is decaling the Sidewinders which are painted white now and have a coat of MRP Gloss Clear which has cured for 24 hours now.


-
Or look people and shops up in the yellow pages, then have to CALL and talk to someone, who may direct us to someone else.....
-
Wow, what a read, Maru! Thanks for posting! Nice to see you back on. Cheers Chris
-
Peter, I had a similar experience with the F-4 bits from ResKit - only 1 vendor had it all, and they were in Australia. Even then I had to wait for something to come in stock. Getting frustrating to have to wait on the essentials like a certain color of paint. I'm getting to the point where if I don't have it now, and can't find it quickly, then it's an OOB build. The thing about shipping is that the rates you pay are not the rates the company pays. Where I work we ship parts around the world. There are times people will pay $25 for shipping a $30 part, but it costs us $11 in shipping (FedEx) or we charge $16 for USPS, but we pay $6. I hate to see that.
-
Cobra Coupe - Le Mans - Model Factory Hiro 1/12
CANicoll replied to DocRob's topic in LSM 1/35 and Larger Work In Progress
Rob, If you can't find it there, let me know and I'll send you a tube. Easily found on Amazon. There is also JB Weld which is a metallic epoxy compound. Good luck! Chris -
Scott, the Cutlass is looking amazing! Nice job and better job avoiding the heat - Heat index here was 107. Ridiculous! Then, that leads to massive thunderstorms with 50MPH bursts. Nasty stuff.
-
Peter, I hear you on the display-or-not debate regarding the engines. I built three Tamiya Mustangs, all with removable cowlings and did up the engines, and I never take the cowlings off unless I'm showing one to someone, which is rare. I also built two Revell Mustangs without engines, and I enjoyed those immensely as the cockpits are a delight of detail and it was a much faster build. I think the 'poor' fit of the cowlings really is reminiscent of the actual aircraft - kind of like the oil canning found on some aircraft. Cant wait to see how yours turns out.
-
Have fun everyone!!
-
Promise to meet THAT deadline!!! I'm hoping for Aug 1.... THANK YOU!!!
-
While waiting for the clear coat over the wing insignia to dry, as well as the primer on the Sidewinders and touching up the nose cone, I got the unit identification added, as well as some personal markings. Pictures to come tomorrow hopefully after successfully adding the sharks' mouth decals (sorry!) But I learned a few lessons: 1. Zotz decals are very resistant to MicroSOL and MicroSET. Even with a blow dryer... I didn't seem to have problems with their nose checkers on my Tamiya 1/32 Mustang Big Beautiful Doll. However, ONE application of Solvaset seems to put the decal into the panel lines, only for the lines to disappear over time. DO NOT use anything to try and push the decal into the panel lines... see number 2 below... 2. Notice I said ONE application.... I went back over the decal with the Solvaset brush, and yes, some of the color of the decal came off. WTH? 3. Solvaset will also eat through MRP Clear, and MRP Paints. That I didn't know... So, continuing to make progress, despite ongoing stumbles...
-
Cobra Coupe - Le Mans - Model Factory Hiro 1/12
CANicoll replied to DocRob's topic in LSM 1/35 and Larger Work In Progress
Rob, Also sorry to hear about your dog. Pets are such a key part of our lives. Do you have access to something like this:?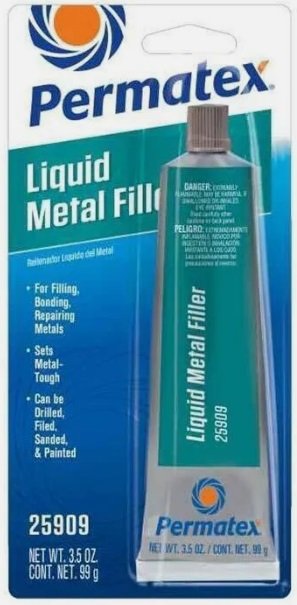
-
I spray MRP at about 8-10 psi, and Vallejo Model Air at about 15-16 psi after thinning at least 30%. I've not had spitting problems with the MRP, so I'm sure my issues are related to thinning and pressures with the acrylics.
-
I'm one of those behind so would be delighted at an extension, but also feel deference to those folks who were able to meet the deadline. My missing the deadline was all on me - late start and fits and starts.