CANicoll
-
Posts
1,928 -
Joined
-
Last visited
Content Type
Profiles
Forums
Events
Gallery
Everything posted by CANicoll
-
John, thanks!! I'll do my best. 🙂 Carl - It does, but I really like the black undersides. Should be fun! Going to be 'in-flight' which means none of that very complicated landing gear and not doing the cockpit as you can't really see it if the cockpit isn't open. Kinda feel like I'm cheating, actually!
-
Great video! Thanks for posting, PW
-
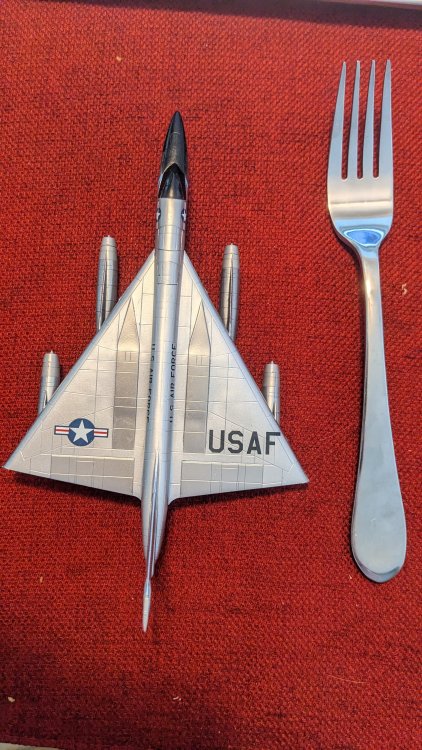
I'm with you, Peter! Very tempting to do a finely polished B-58, in all of its metal splendor. Years ago I did do a 1/144 B-58. Tiny by comparison...

-
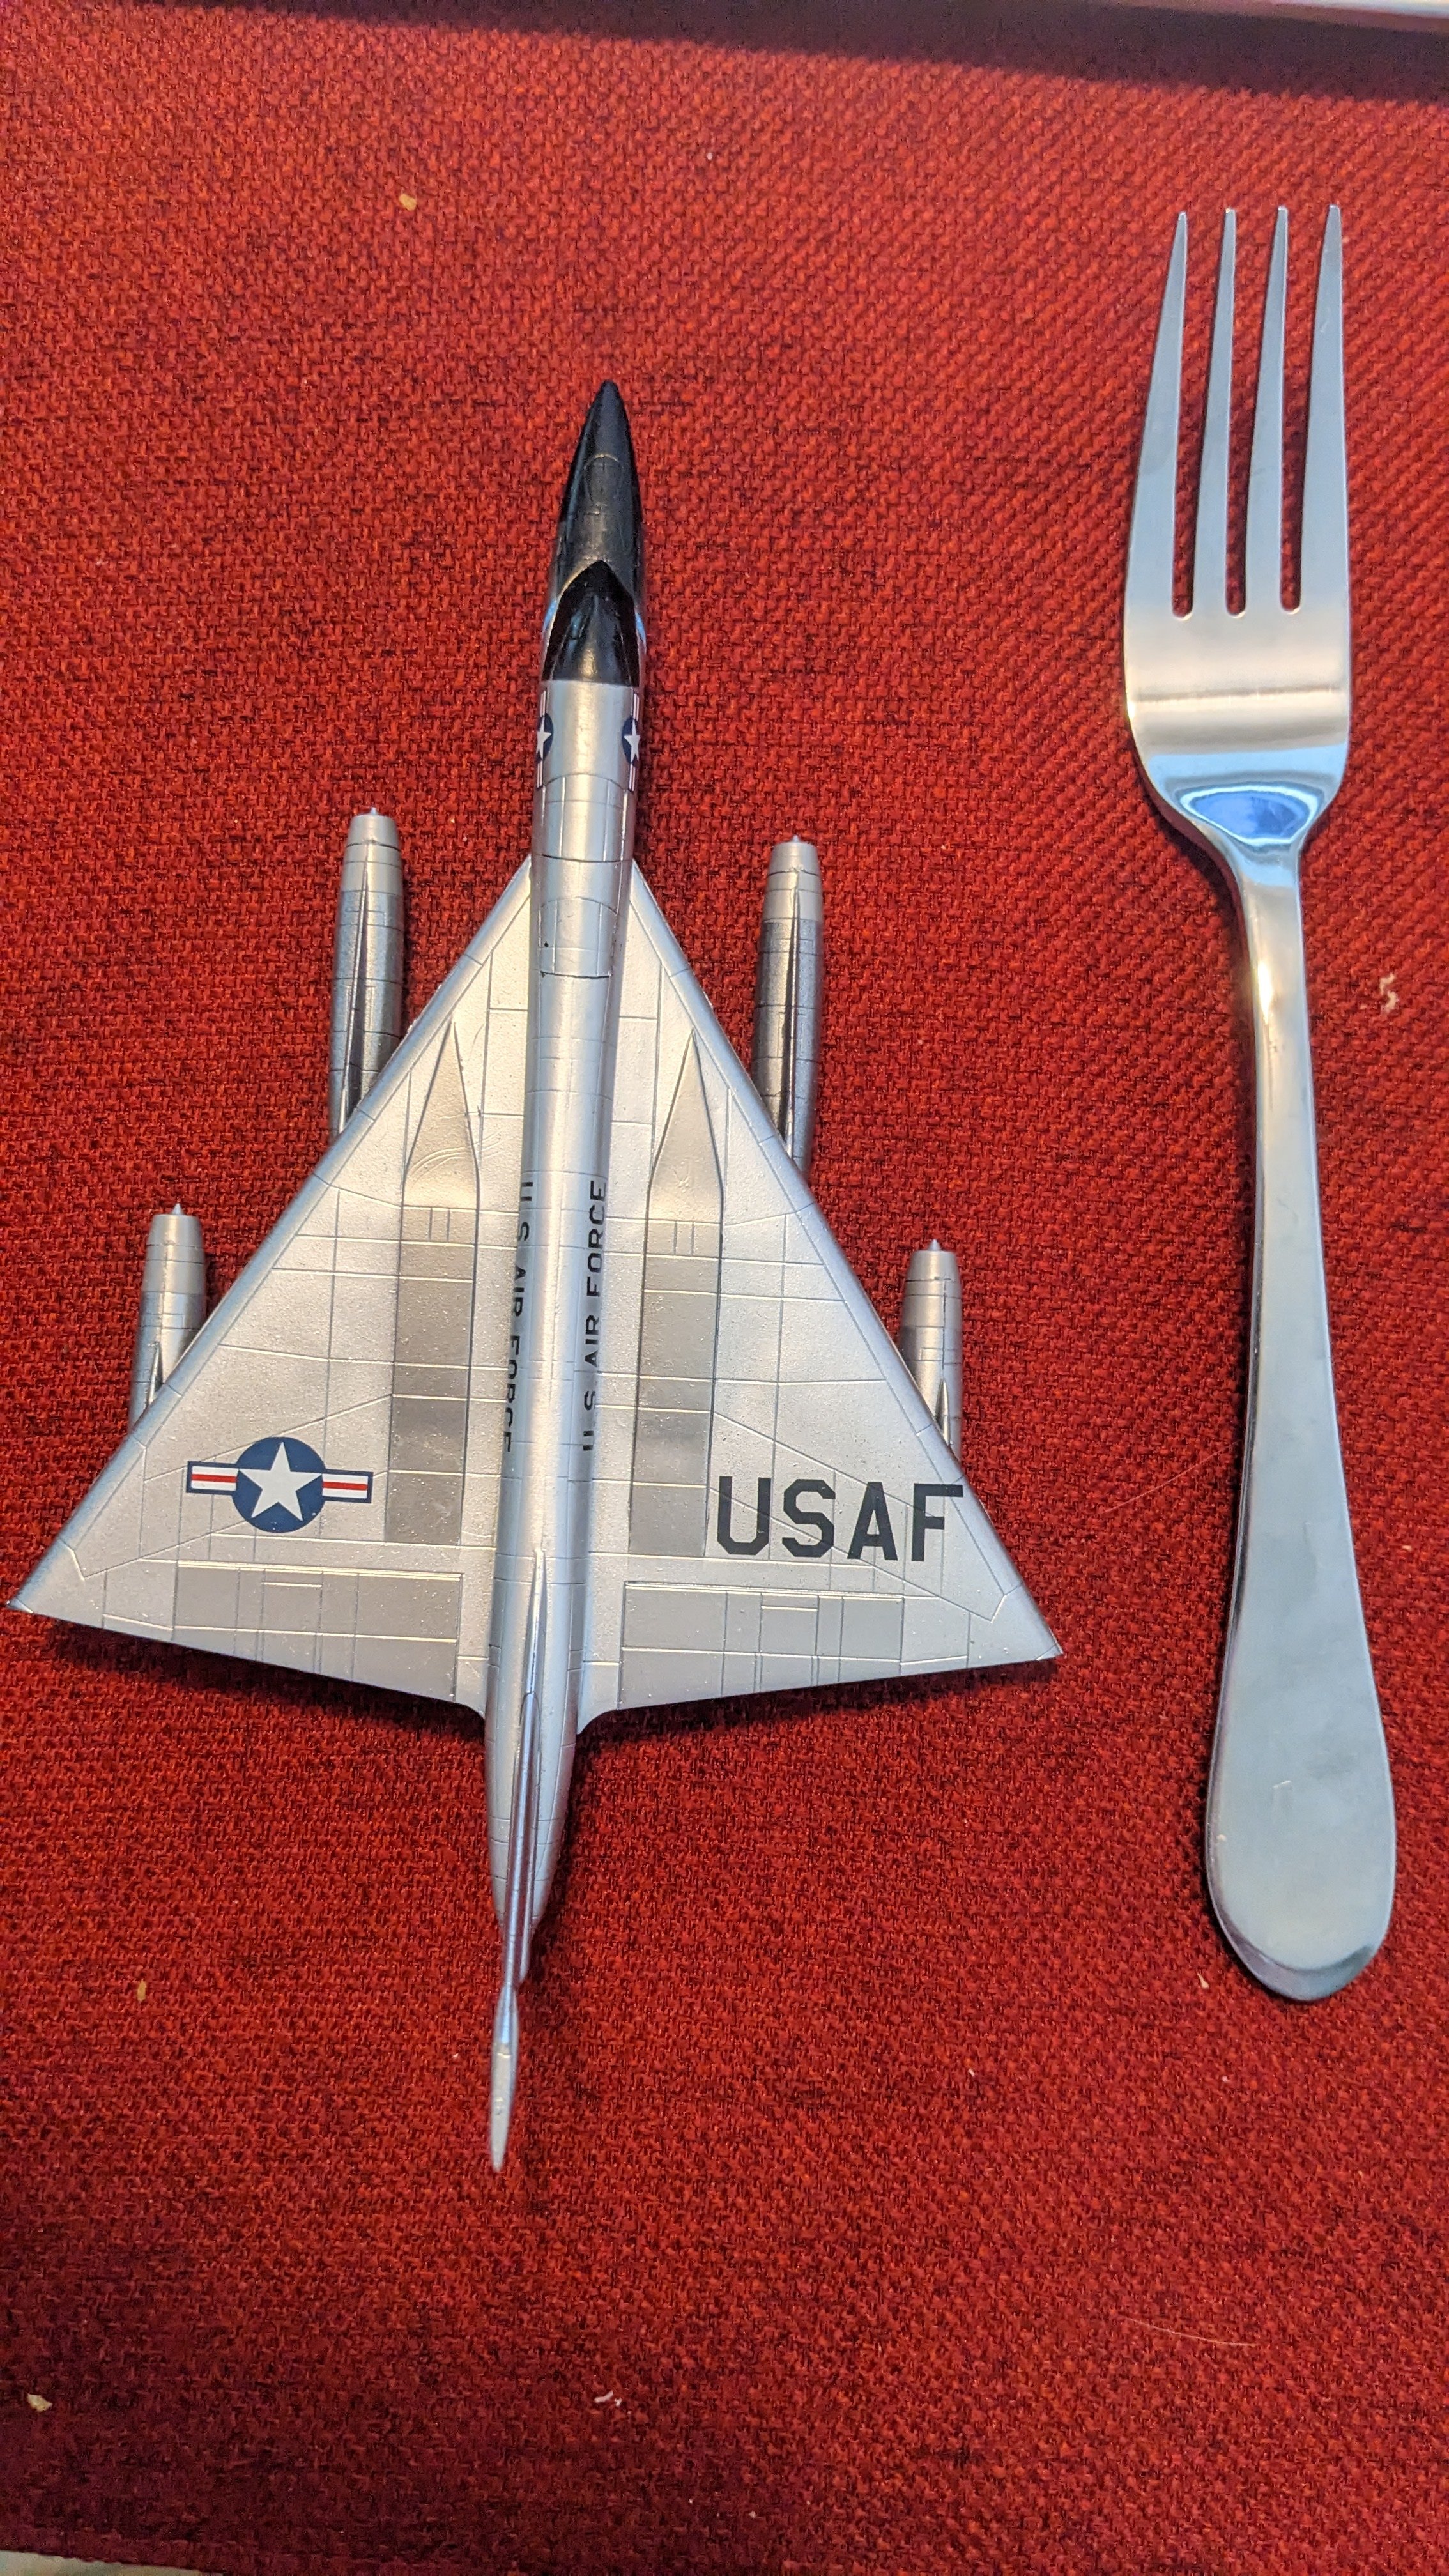
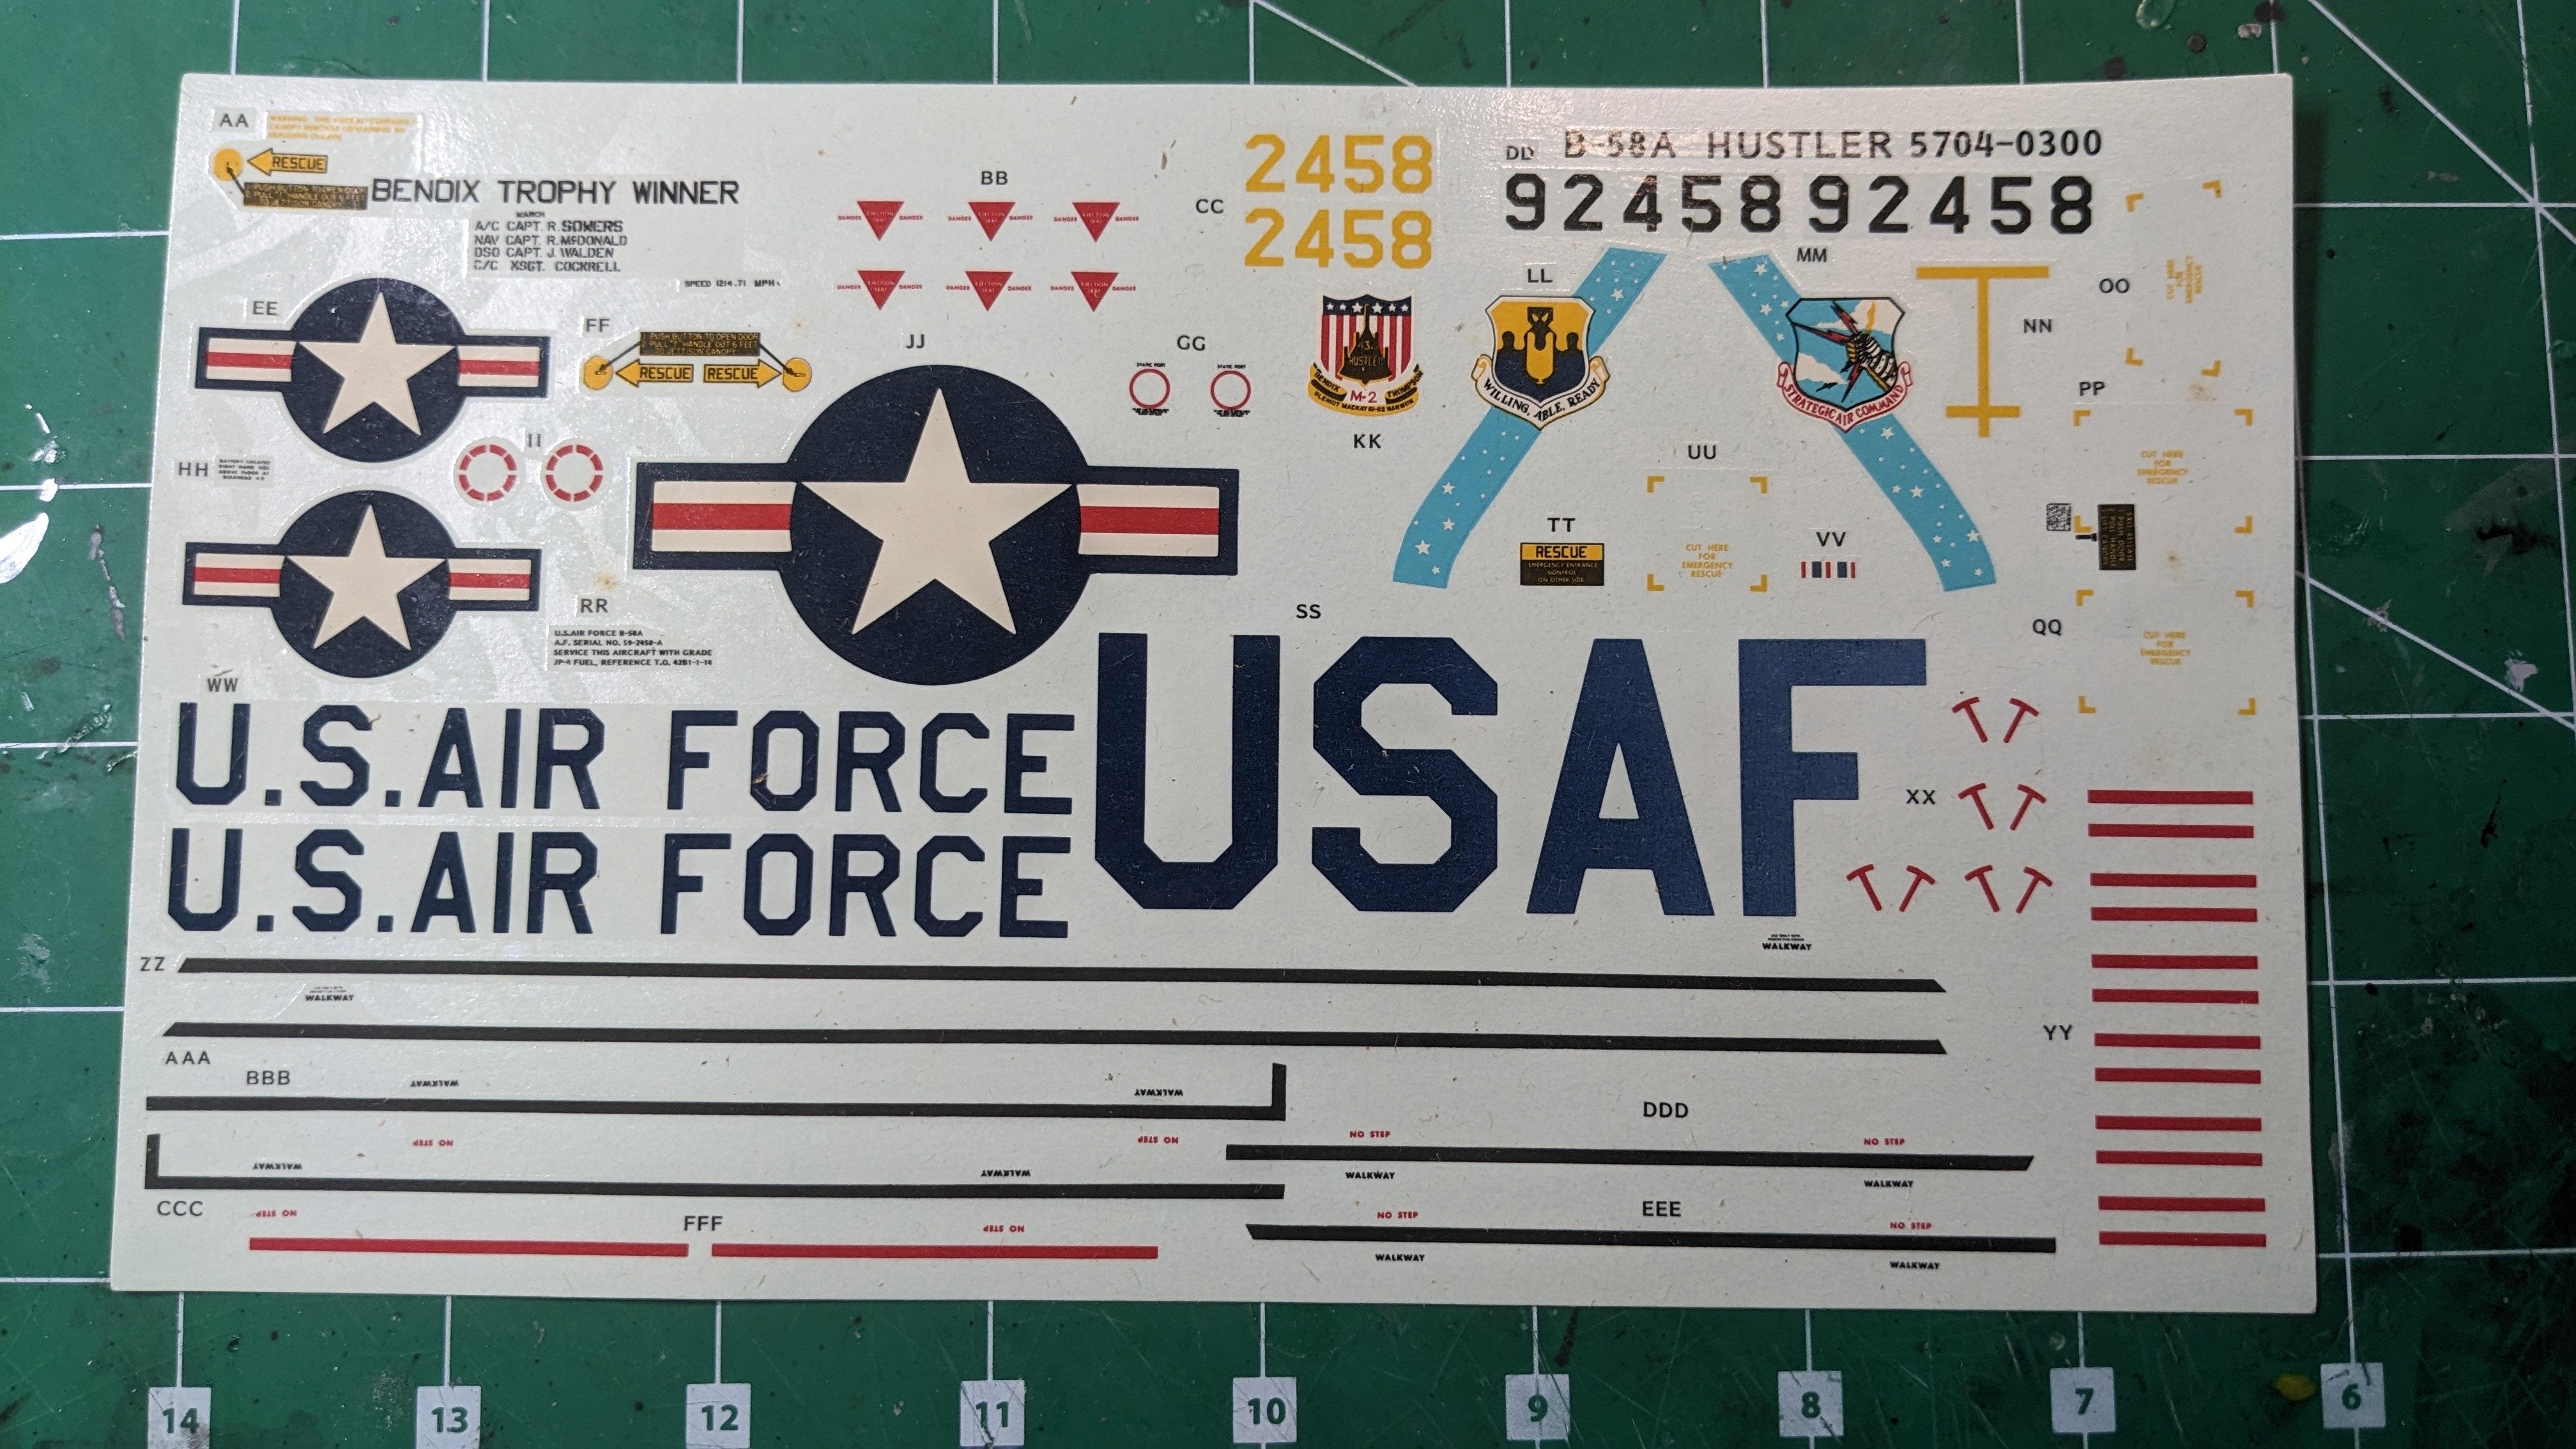
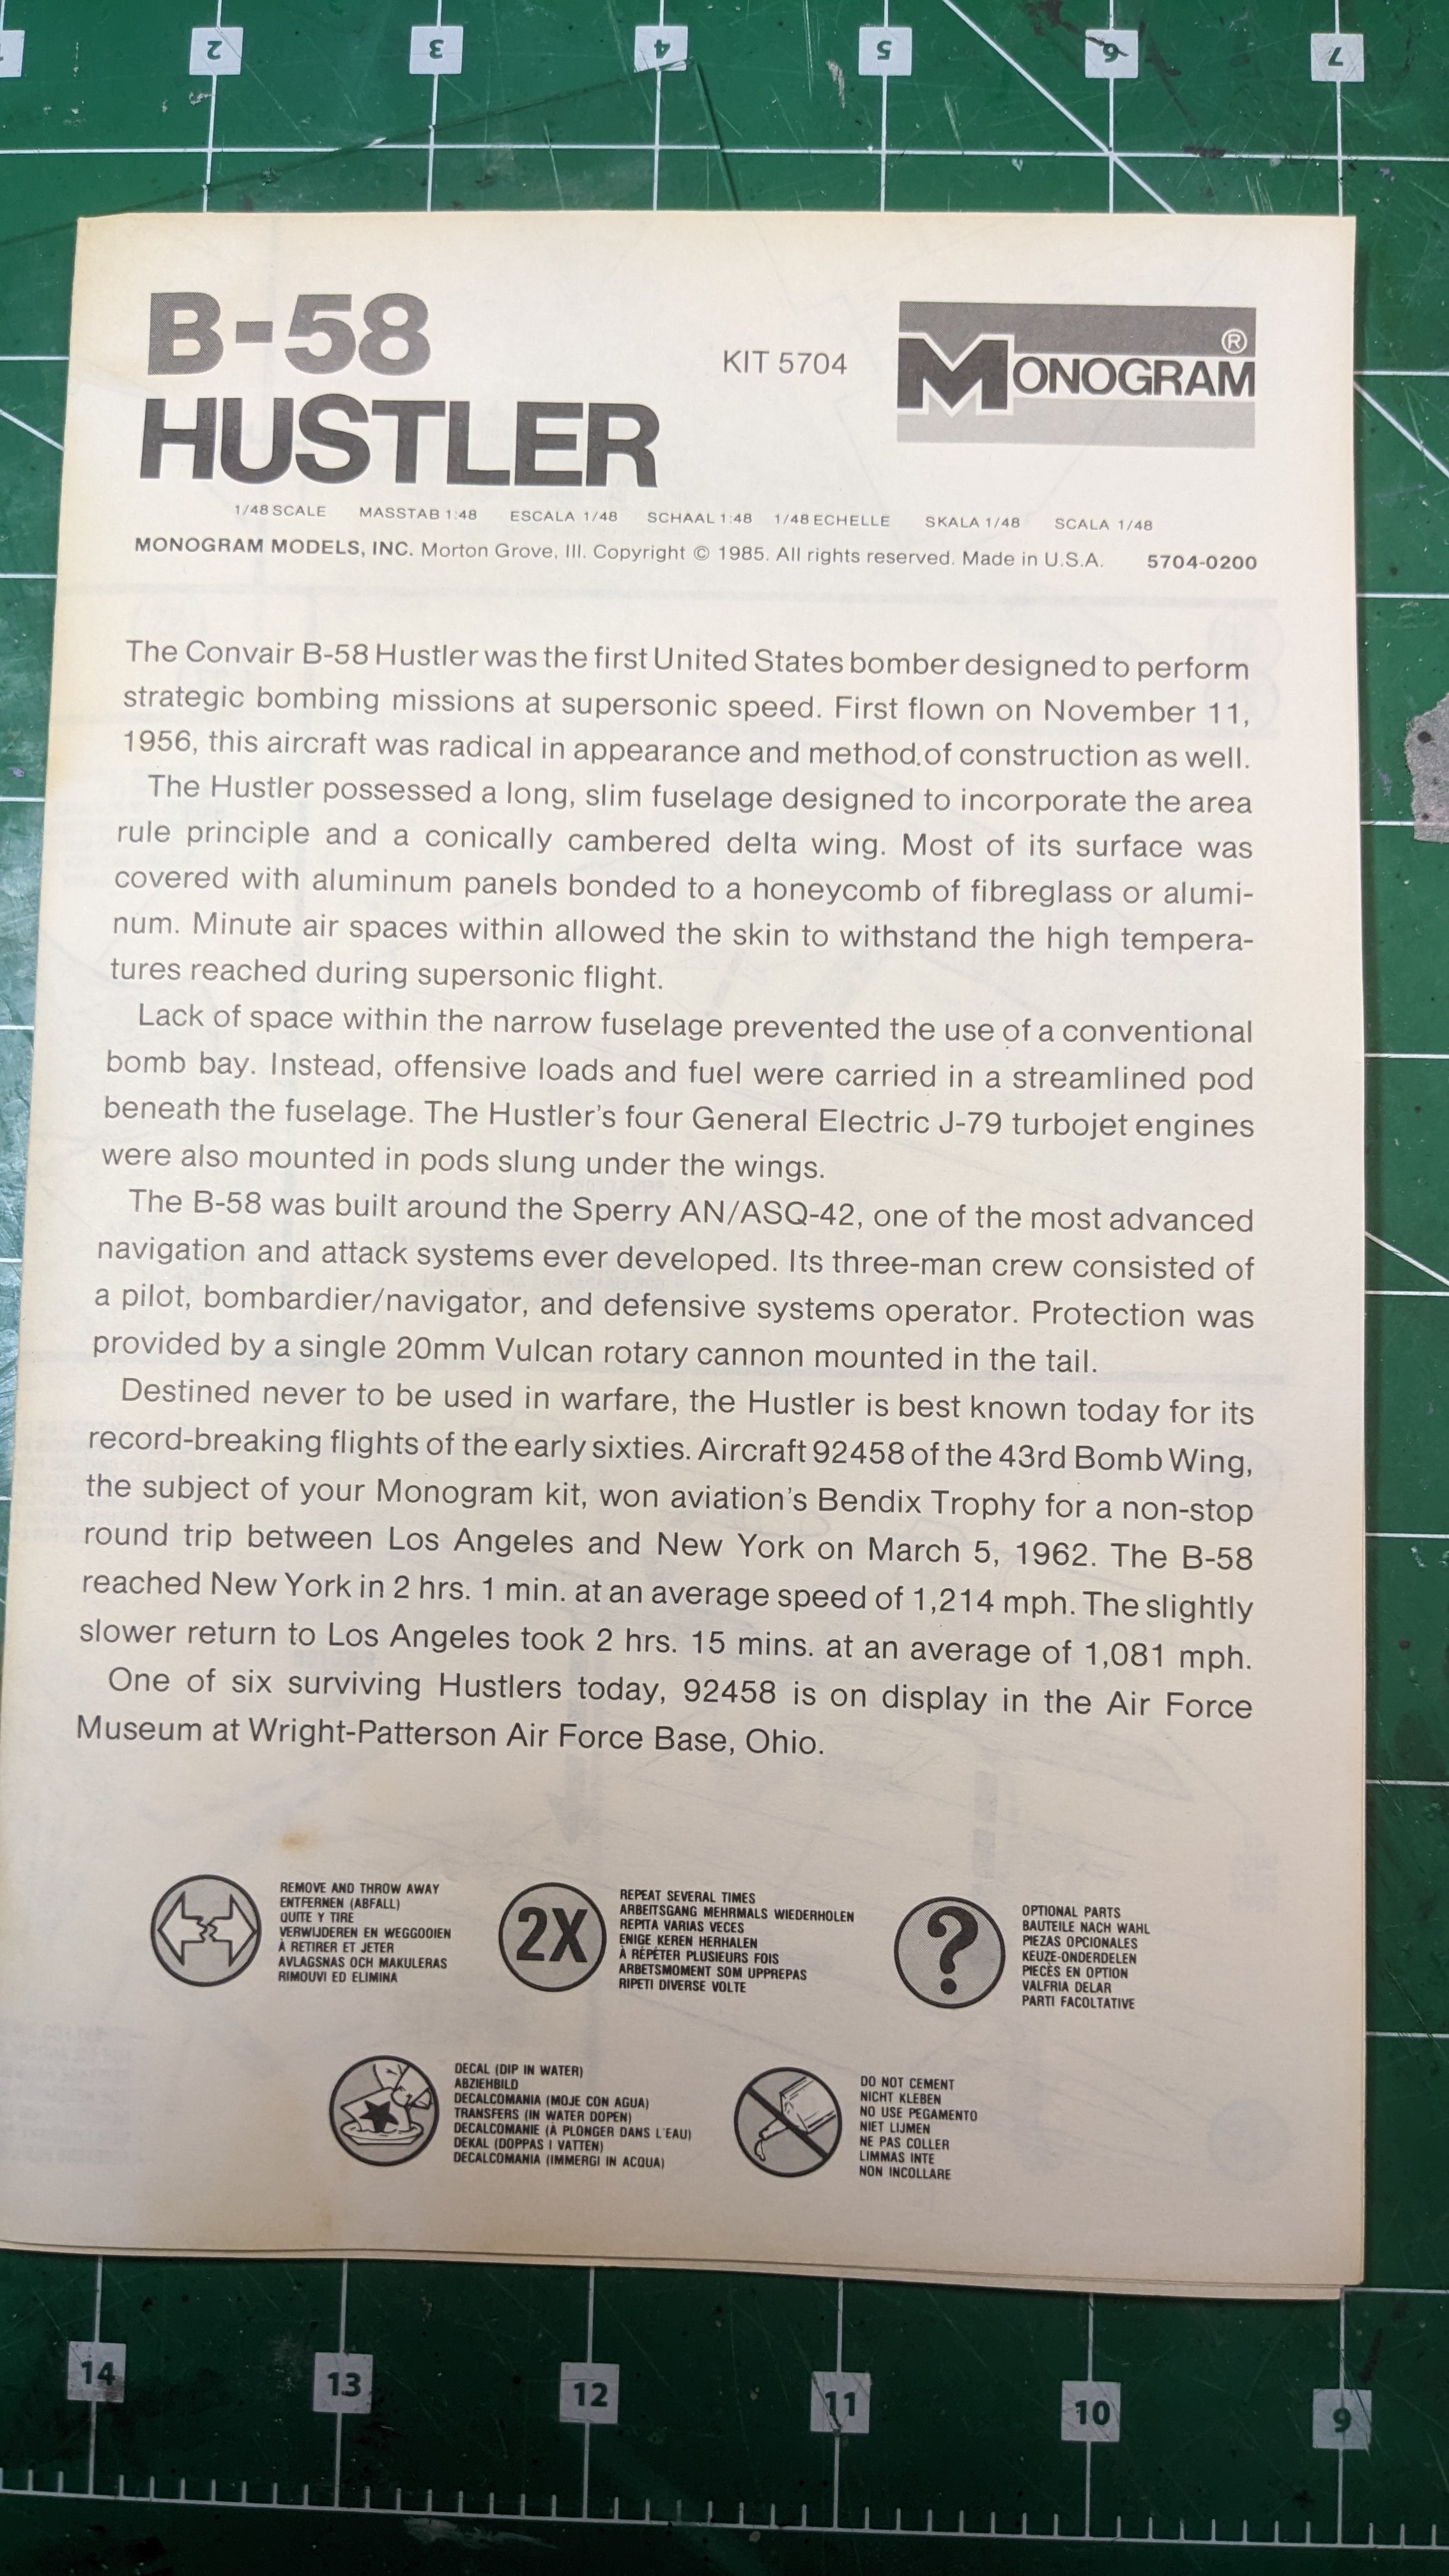
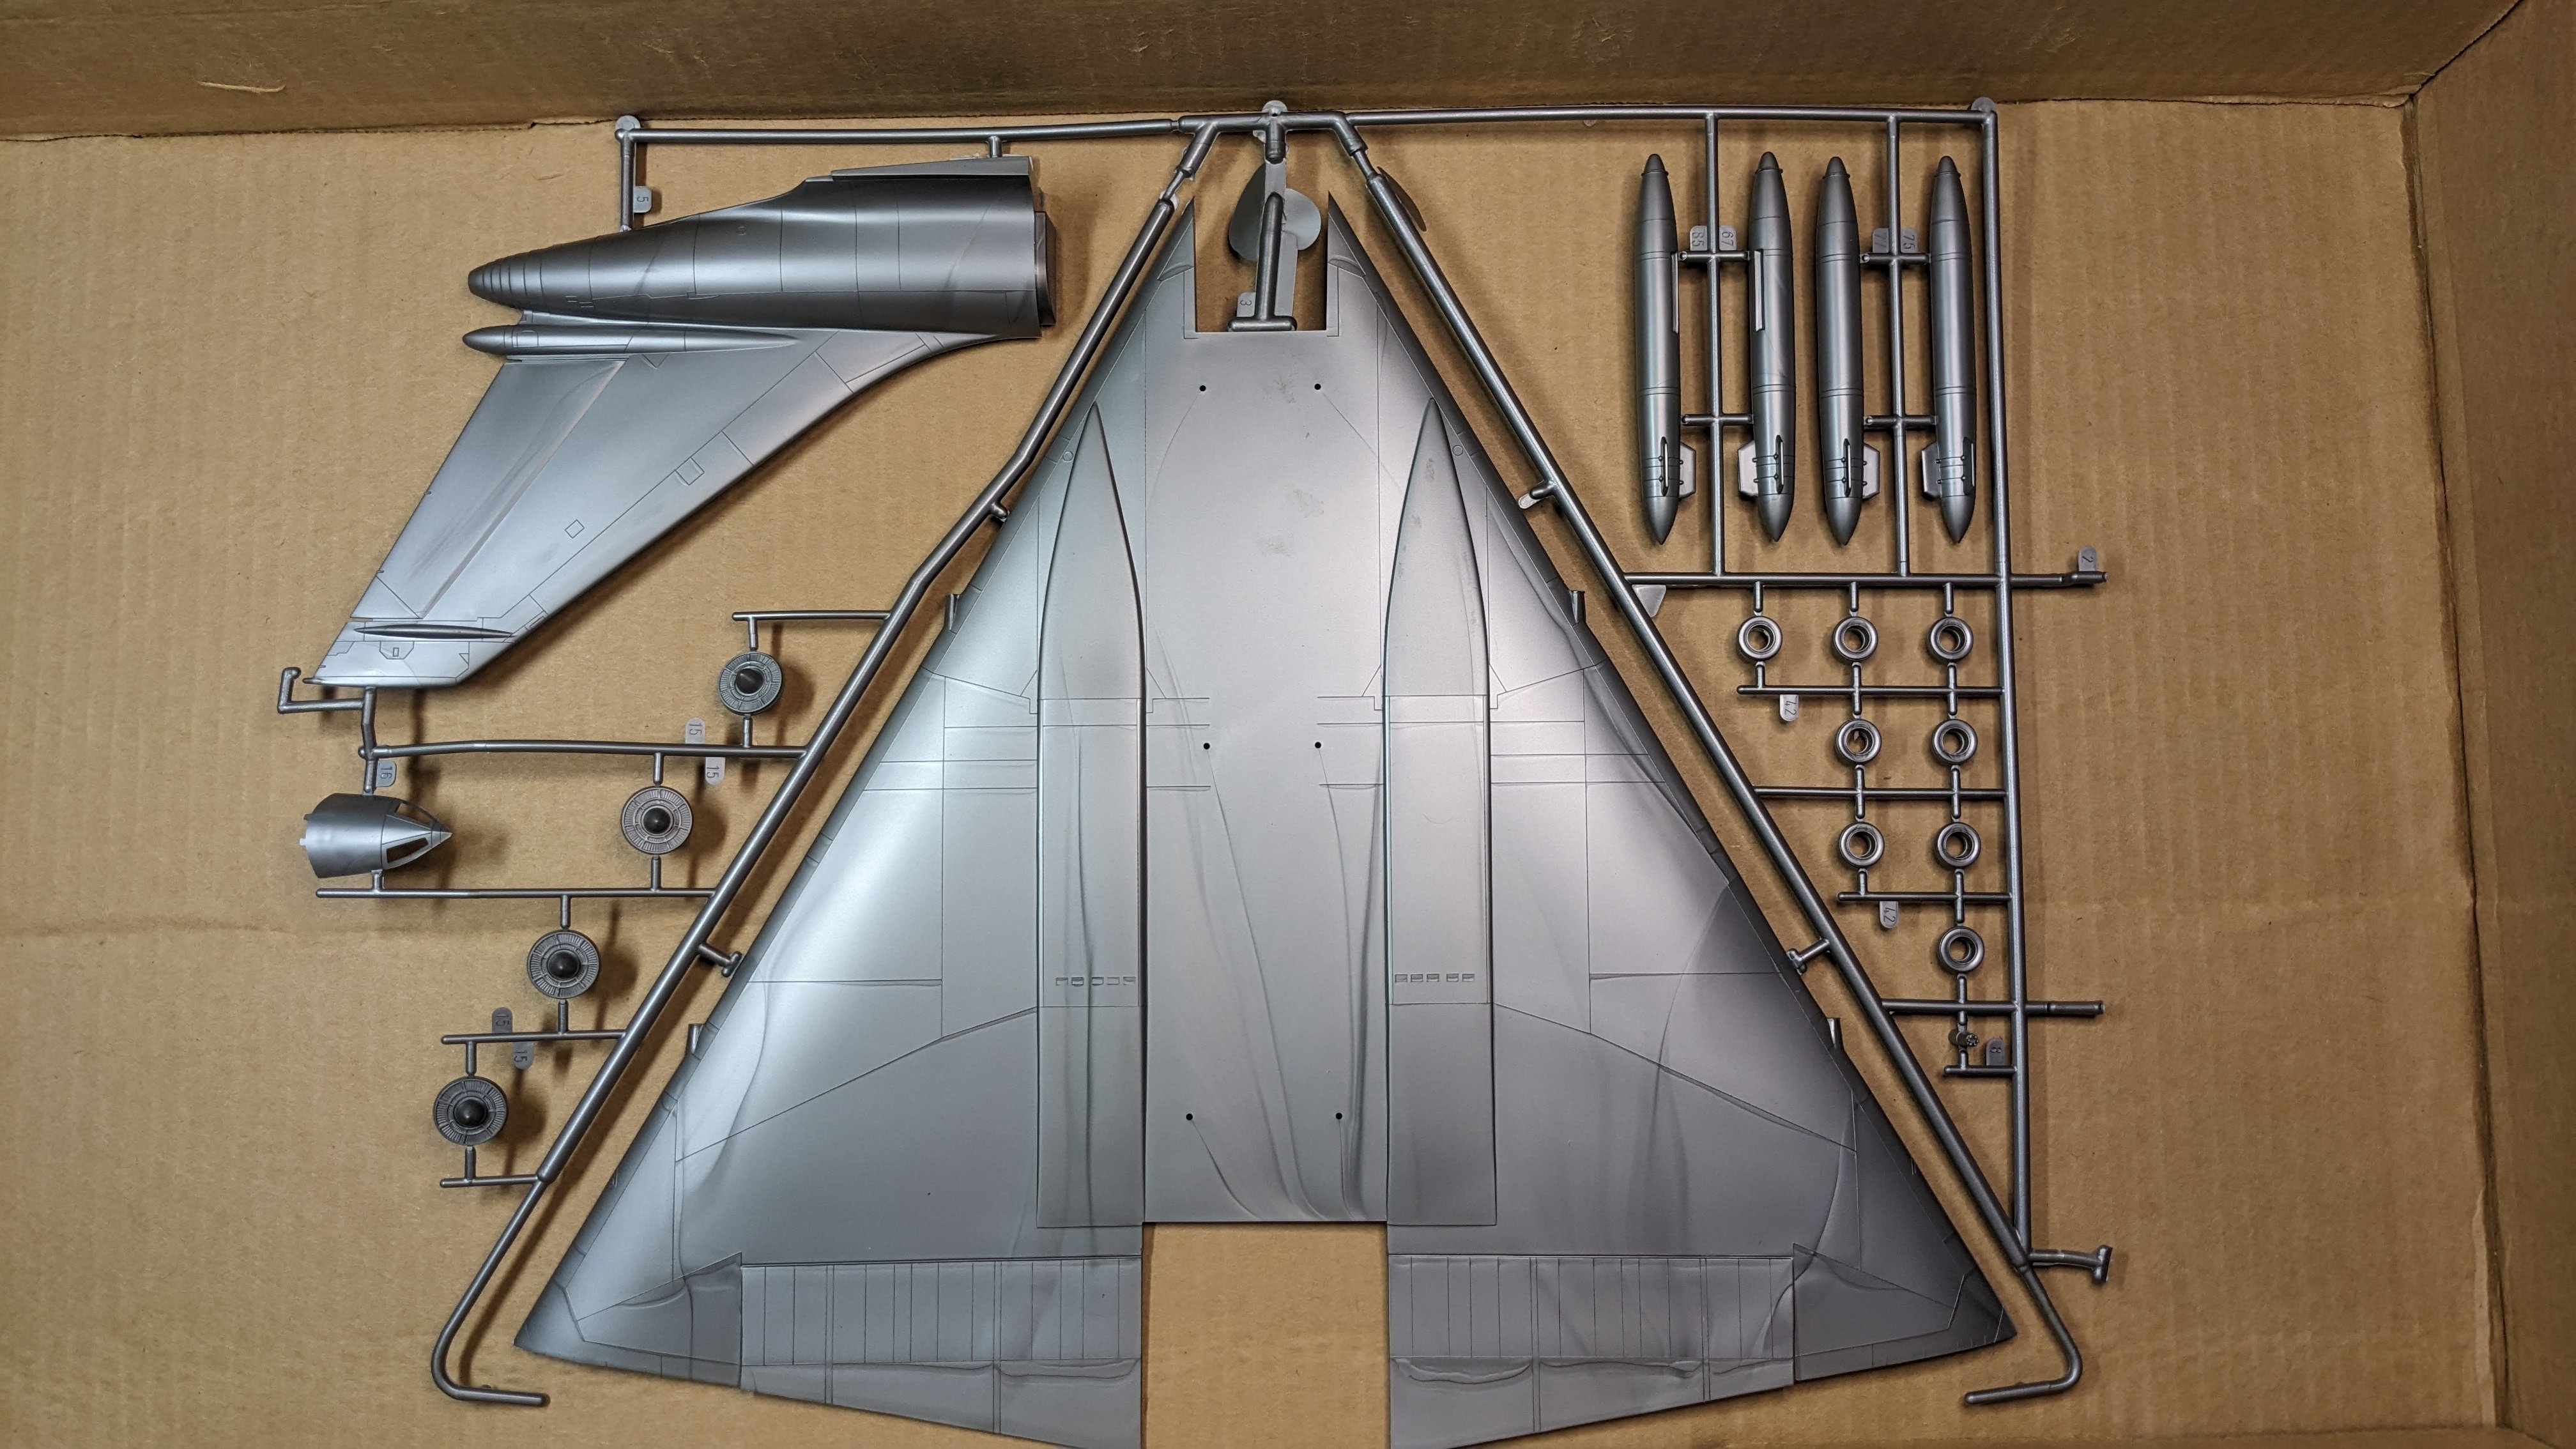
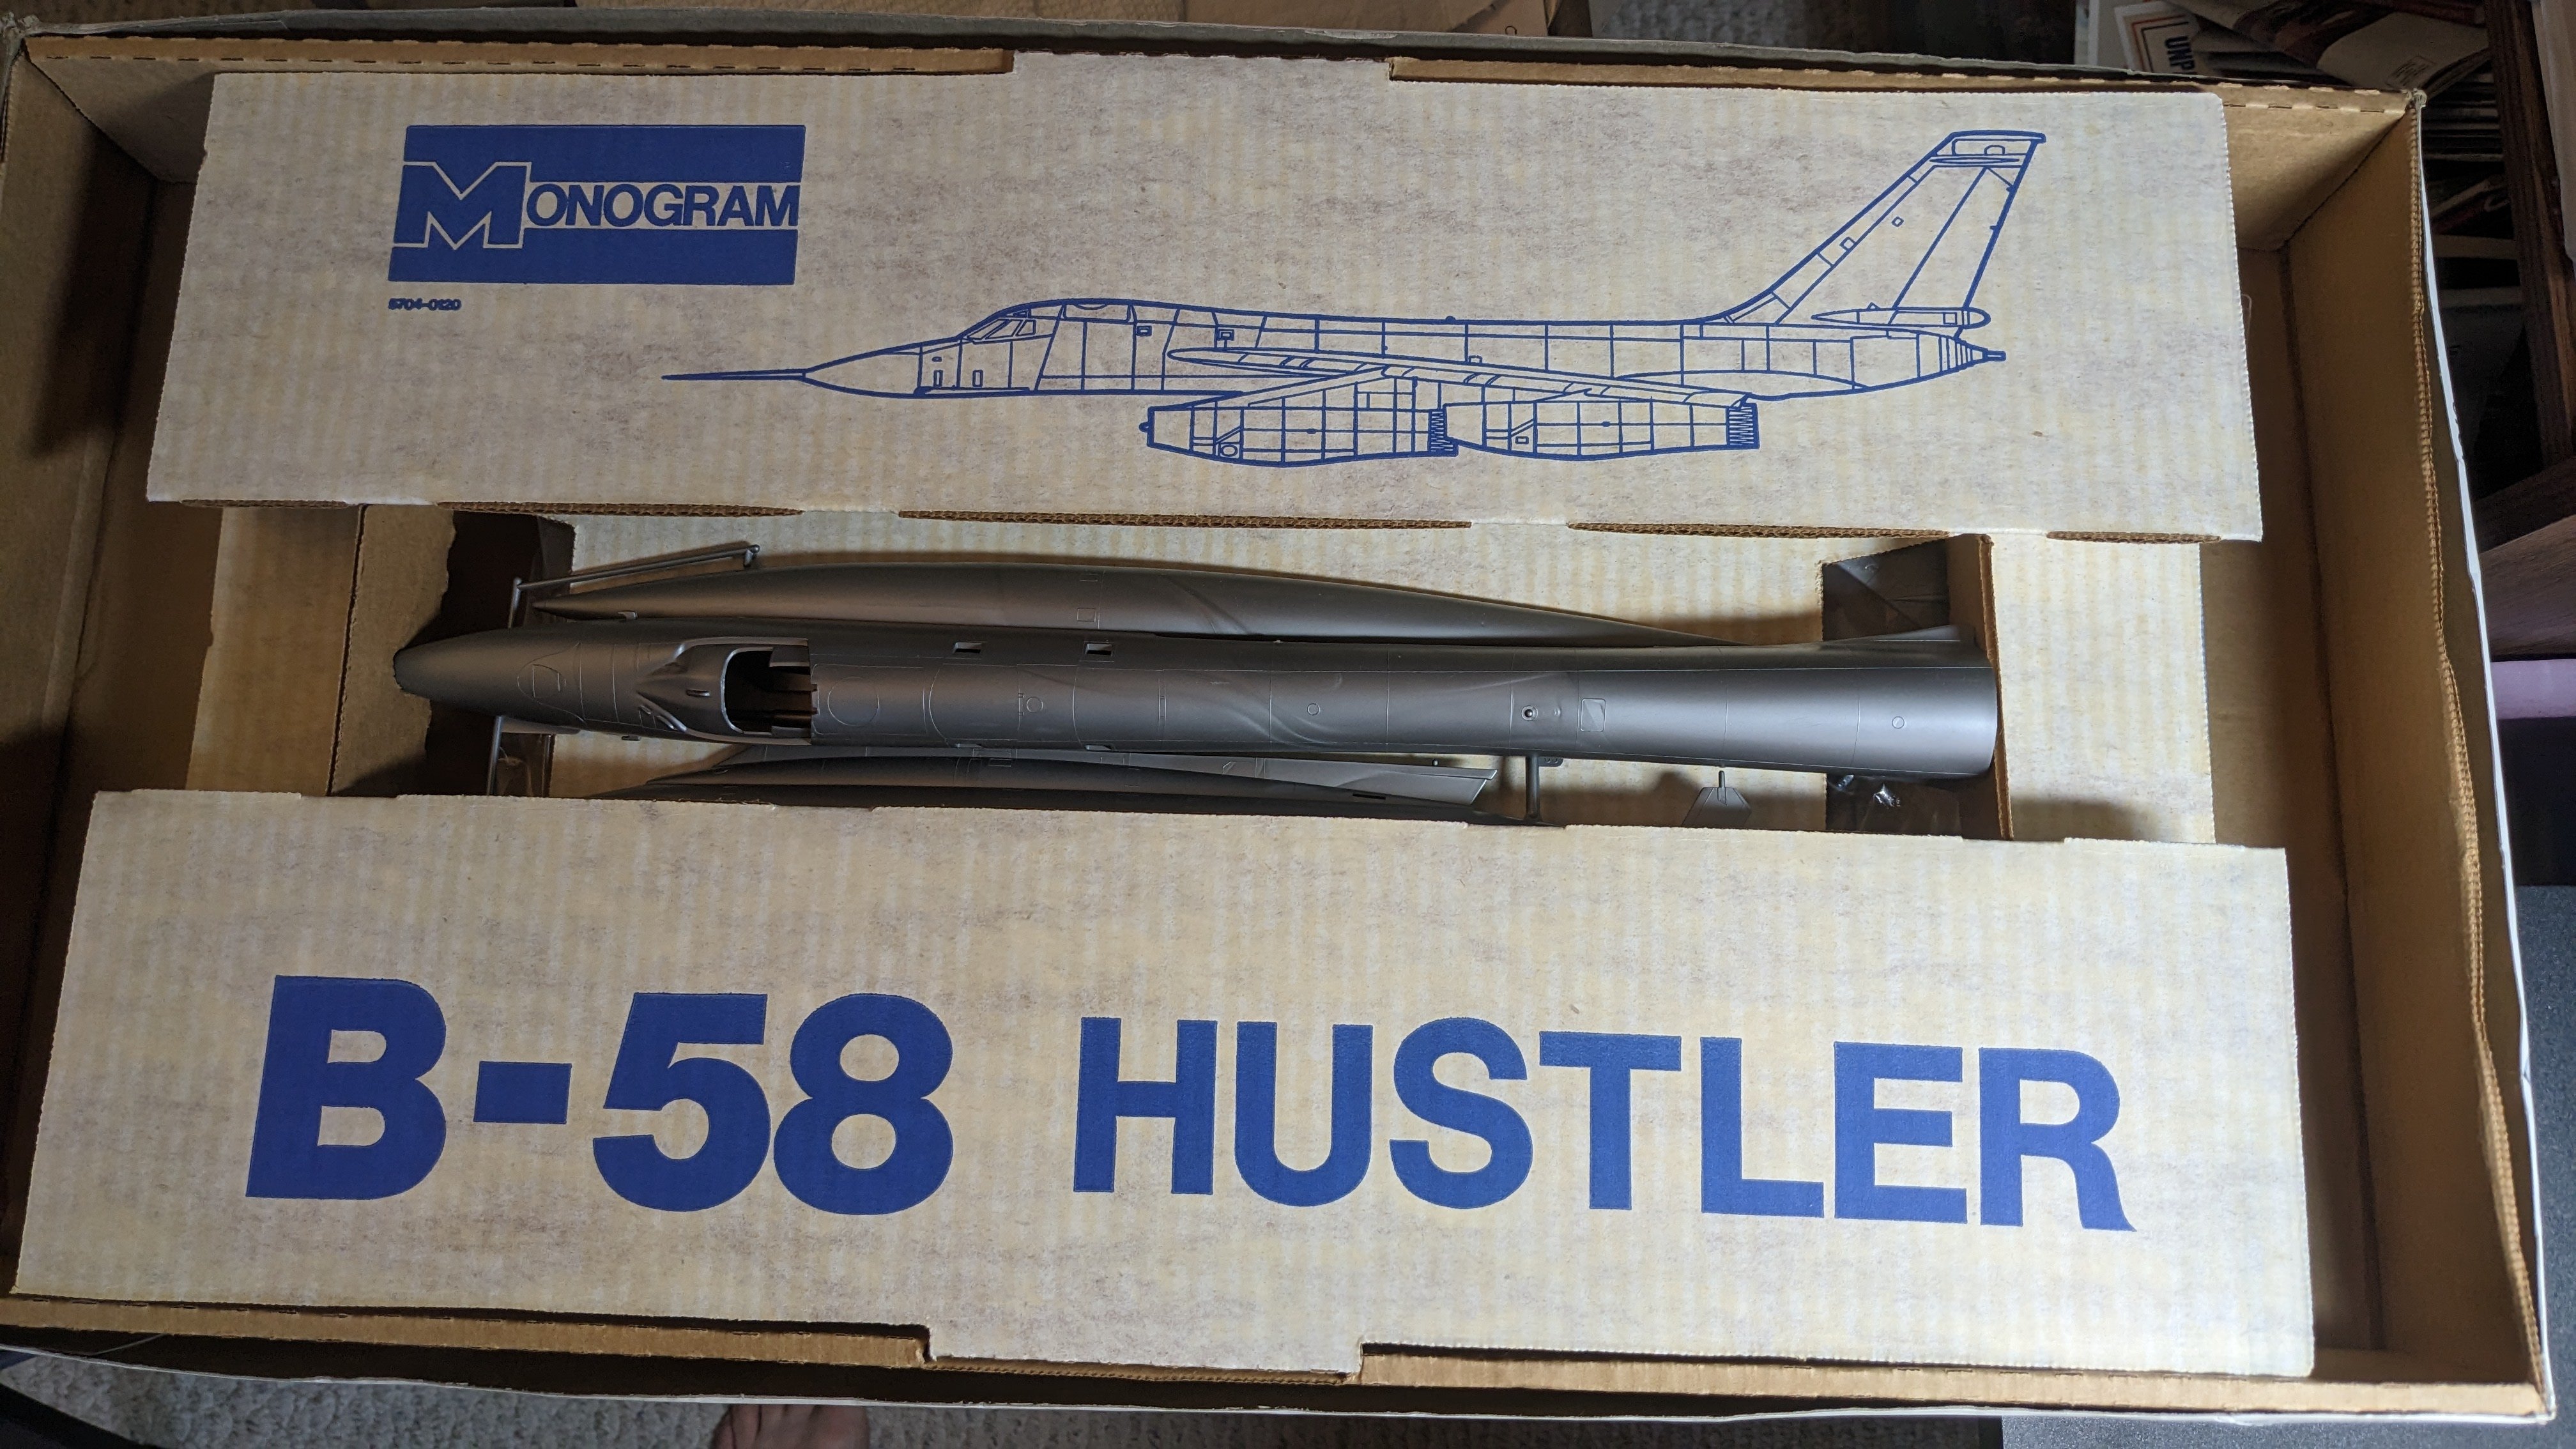
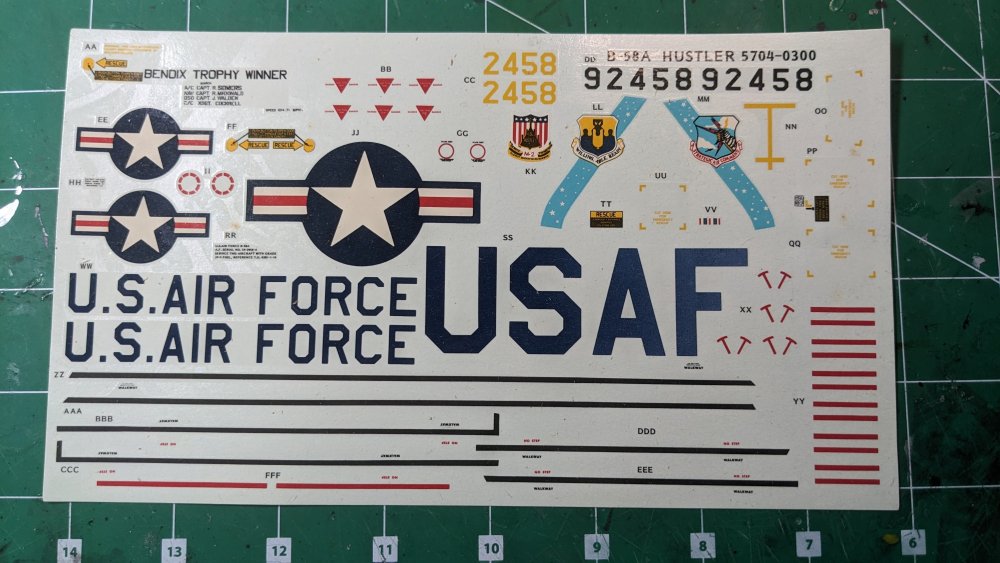
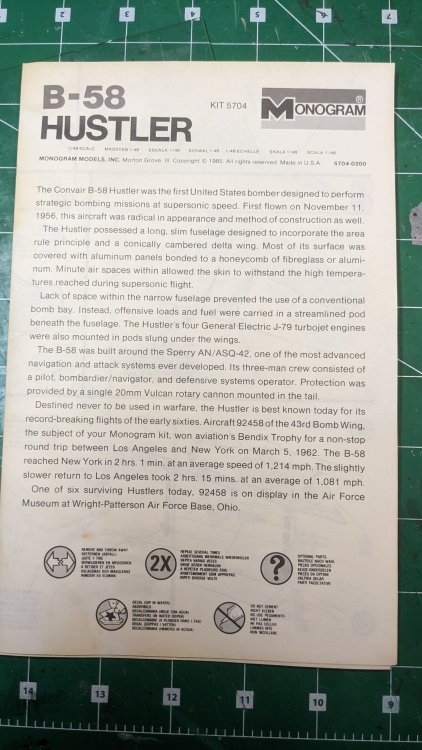
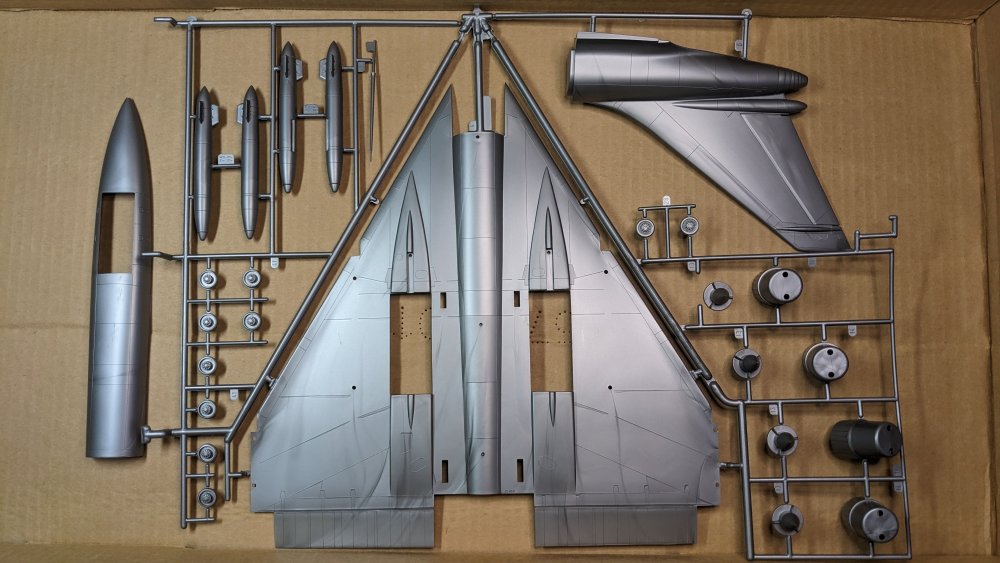
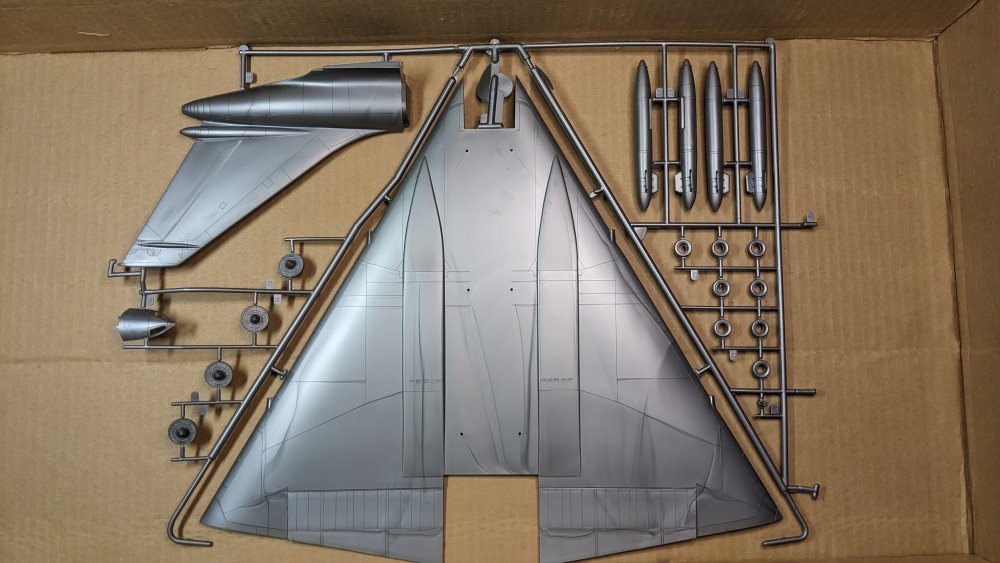
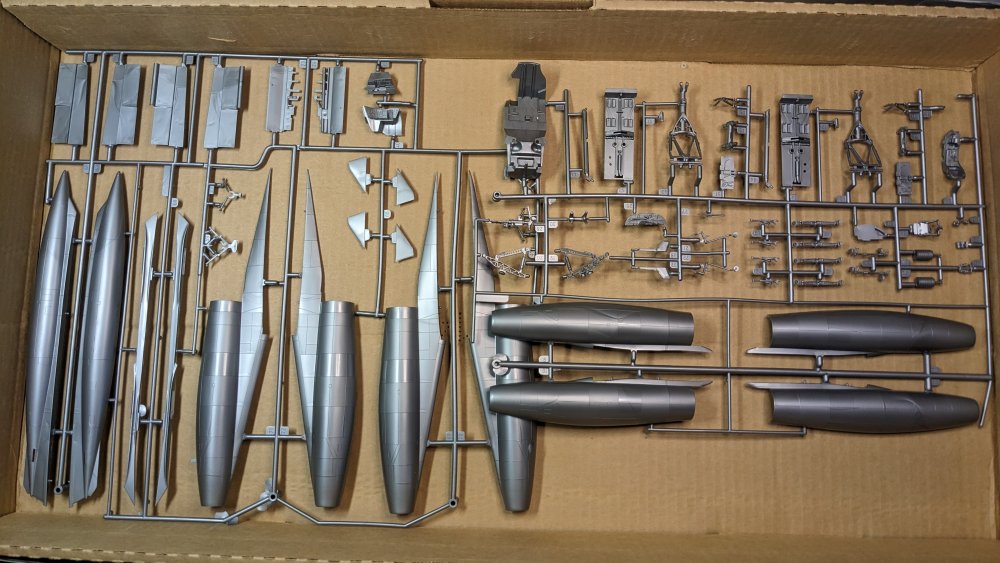
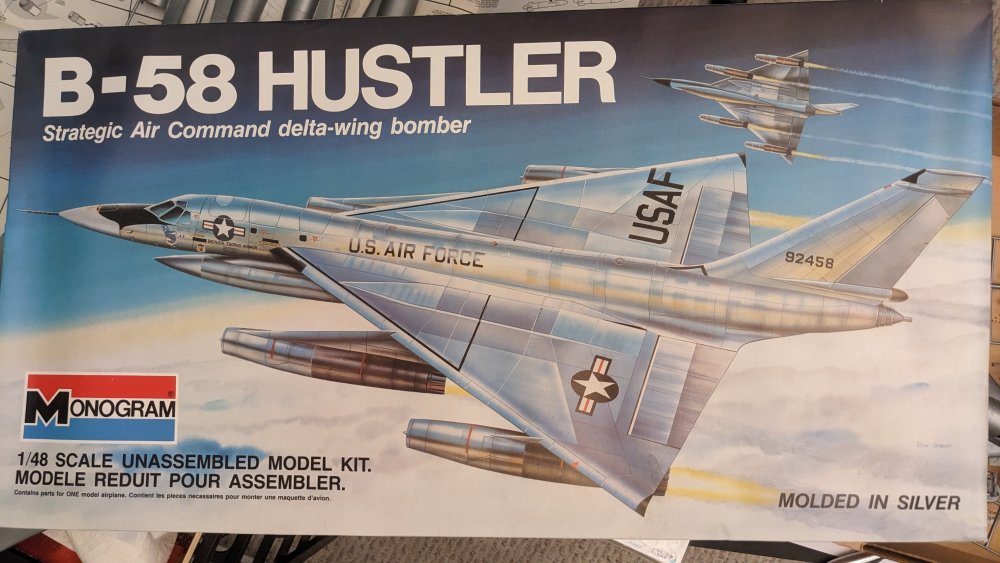
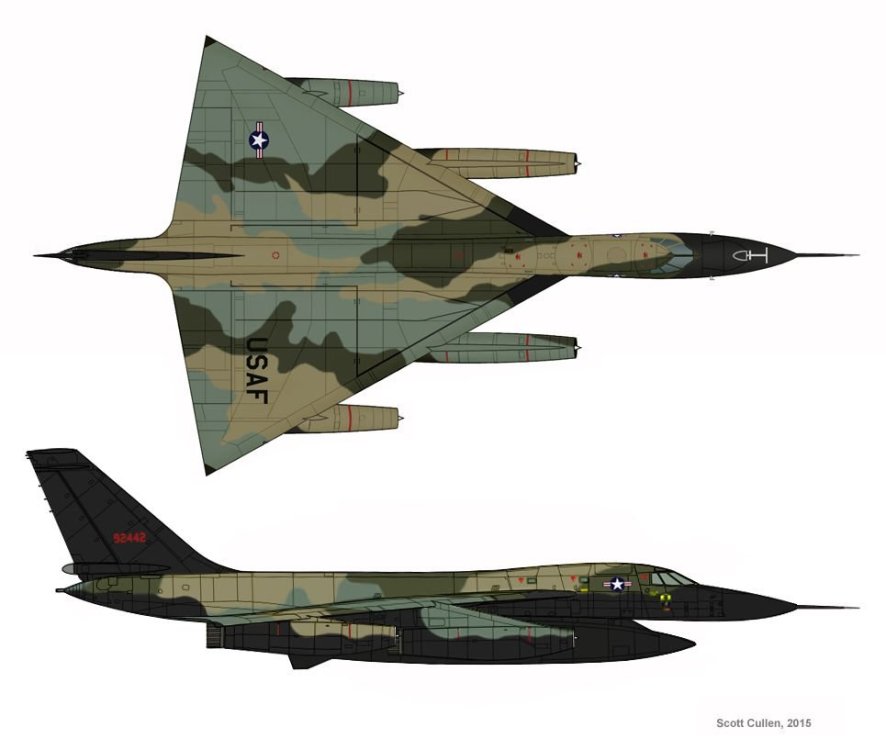
Decided to see if I can do this as a 'Quick' build. I have had this kit for a long time, and it is so old the instruction booklet is browning, and the decals, well, lets just say they have a patina to them. I thought the Tamiya 1/32 F-4EJ box was big... Ha ha ha! Taking off the top gives you this nice one-piece top of the fuselage. Lots of parts banging around. One of the belly tanks somehow got under the fuselage top. Individual Sprues The clear parts are actually very clear. These have not been touched yet, but I'm planning on blacking out the 'windows' anyway. The instruction booklet is so old it is no longer on white paper... Speaking of old, the decals are definitely taking on a yellow hue. Unfortunately, the only AM 1/48 B-58 decals I could find (on Ebay) are 21 years old!! And one set was going for $79!! Nope.... As much as I would like to have those SAC ribbon and shield decals, I have another idea for the scheme in mind. It is a 'what if' but I like it! Will see about doing the camo freehand - maybe!! Will see about paring it with my F-4 SEA Phantom II. The only problem is, the B-58 in 1/48 scale is larger than the F-4 in 1/32. Wow.


- 44 replies
-
- 10
-

-

(WIP) Curtiss A-8 „SHRIKE” 1:48 Czech Model
CANicoll replied to Kriss's topic in LSM 1/48 Work in Progress
Looking good! -
Beautiful work, John!!
-
Tamiya F-4E "Little Chris" 388th TFW, Korat: RFI, Take 2
CANicoll replied to CANicoll's topic in The Great Twins Broup Bluild
Thanks Mike! How are you doing with all of our heat?? -
Completely agree.
-
Carl, How much were they asking for it? I've had mine for years. Need to find a decent set of masks or decals for it that are not older than I am! Maybe they make a set for a desert scheme?!!
-
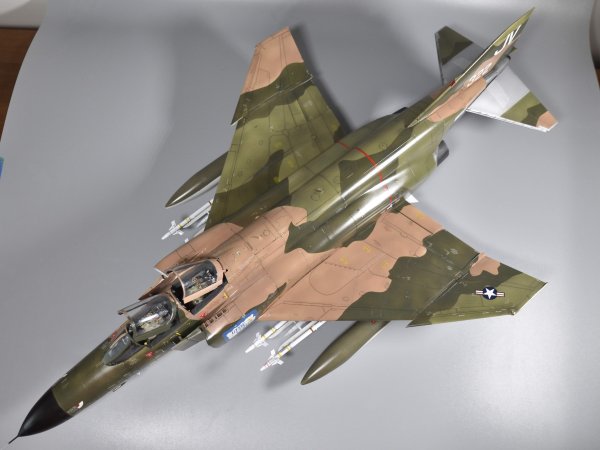
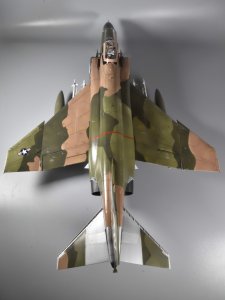
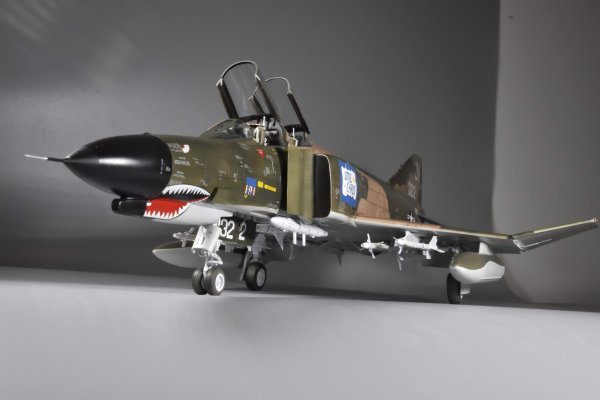
From the album: Tamiya 1/32 Korat F-4E
-
Tamiya 1/32 Korat F-4E
Images added to a gallery album owned by CANicoll in Gallery of COMPLETED Aircraft models
-
-
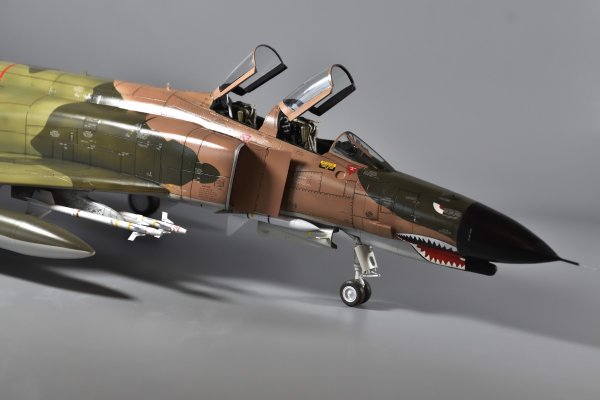
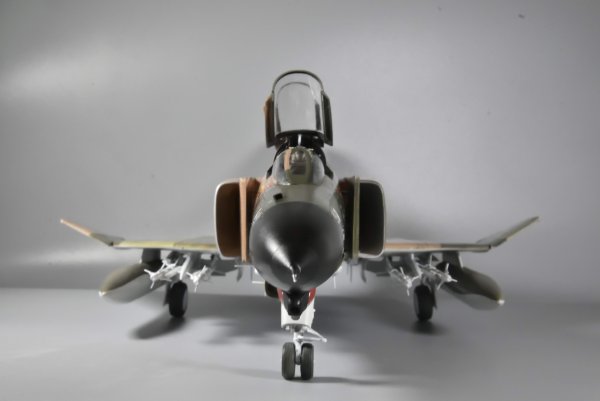
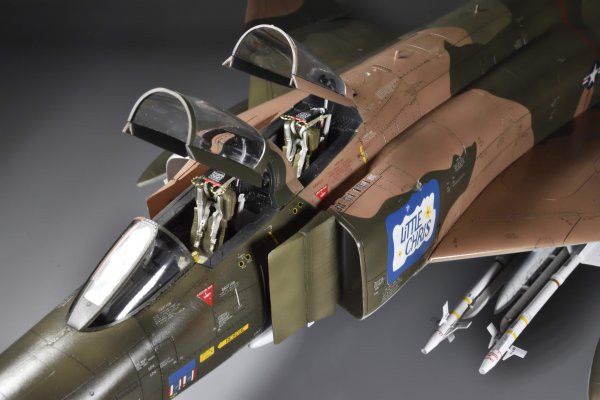
From the album: Tamiya 1/32 Korat F-4E
-
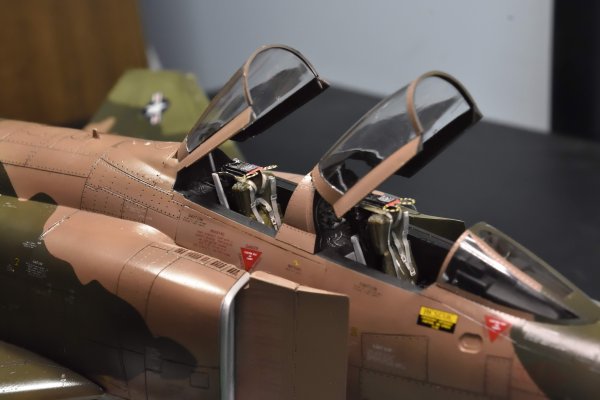
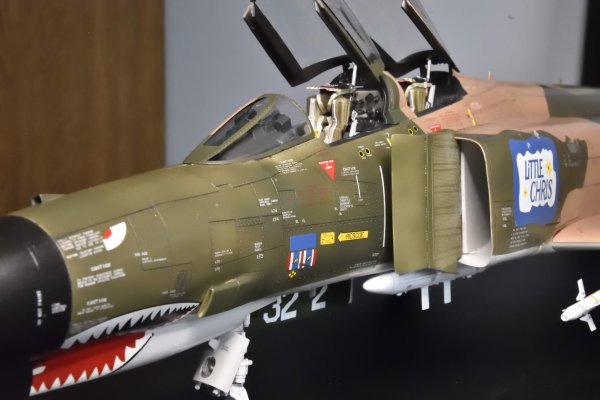
From the album: Tamiya 1/32 Korat F-4E
-
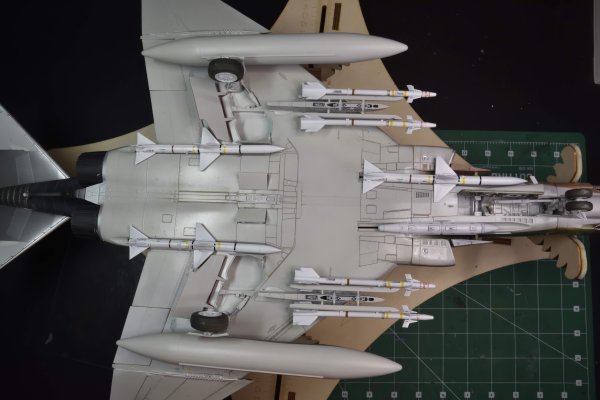
From the album: Tamiya 1/32 Korat F-4E
-

From the album: Tamiya 1/32 Korat F-4E
© CANicoll
-
From the album: Tamiya 1/32 Korat F-4E
© CANicoll
-
From the album: Tamiya 1/32 Korat F-4E
© CANicoll
-
From the album: Tamiya 1/32 Korat F-4E
© CANicoll
-
From the album: Tamiya 1/32 Korat F-4E
© CANicoll
-
From the album: Tamiya 1/32 Korat F-4E
© CANicoll
-
@Martinnfb Does the B-58 Hustler qualify for the 'Winning' Category? Here are the credentials: The B-58 won five major aeronautical trophies, including the Thompson, Bleriot, Mackay, Harmon, and Bendix. The Hustler also set more records than any fighter or bomber aircraft in the world, in itself a record. It set 14 world speed records in international competition. and 19 world speed records, including coast-to-coast records. https://www.b58hustlerassn.net/b-58-history/trophies-records
-
Intermediate Twin GB beauty pageant Winner !!!
CANicoll replied to Martinnfb's topic in The Great Twins Broup Bluild
Martin, EXCELLENT idea since there was an original date and lots of people got their builds in on time. @mark31 - Terrific build but also display. The in-flight allows for a much better view of the armament and underside. Congrats on the Tamiya F-4J! -
I just saw this, too! What a totally awesome diorama!! This is so cool Scott - Love it! Is there a build thread somewhere? Interested in the rust effect.
-
Absolutely!! Happy Birthday and MANY happy returns!
-
It is disappointing that the decal companies have these problems. I think a lot is, as you pointed out, how they were stored. My 'old' decals I've kept in a separate case, air tight and away from humidity. I have quite a few of the Pyn-up decals stored that way. But excellent solution you found - the markings and stencils look terrific on the desert scheme.