JeroenPeters
-
Posts
4,867 -
Joined
-
Last visited
Content Type
Profiles
Forums
Events
Gallery
Everything posted by JeroenPeters
-
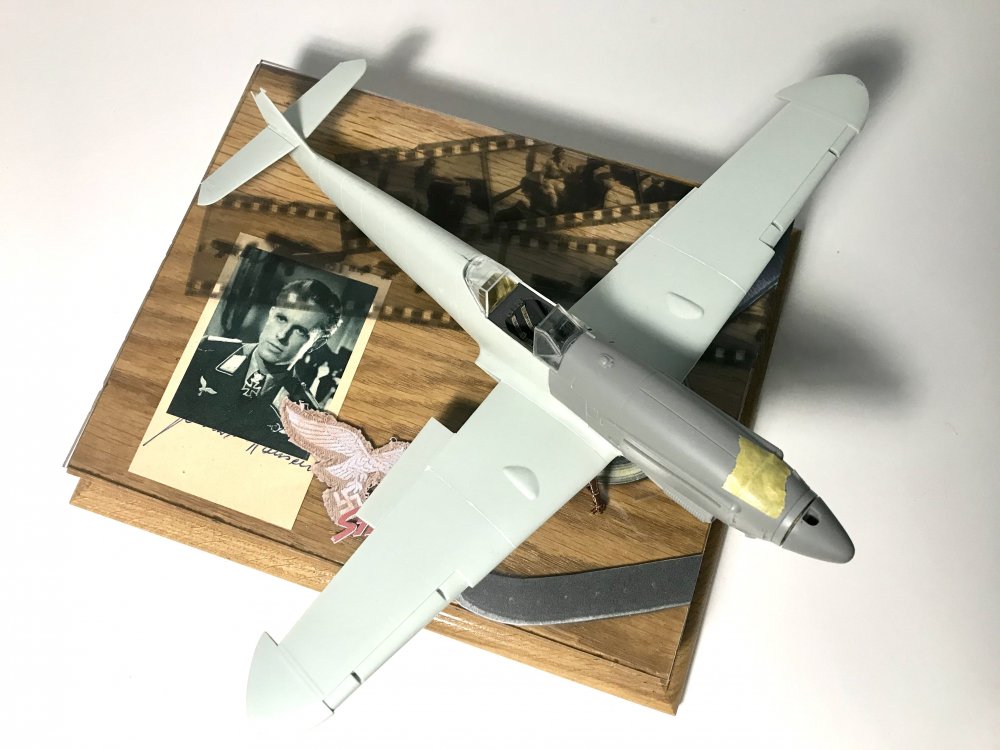
 Almost done with primer. RLM 63 paint from AK arrived so ready to rock and roll!
-
I’m glad i’m not alone! So often my wife asks: how long will you be? I have supper on the stove. About 15 minutes is my steady reply. By now she knows better...
-
Had a lot of trouble getting the primer right. Tried several. AK, Mig, Alclad etc... mixed them with several thinners. Then tried 3 different airbrushes. Iwata, Colani and Tamiya. When i found the right combination i got this far. More tomorrow...

-
A new shades of Proper Plane wood decal has released
JeroenPeters replied to Proper Plane's topic in Aircraft Reviews
Thank you Karim. I have removed the first line of your reply to keep things peaceful and quiet. Stay safe everyone!- 18 replies
-
- 3
-

-
- proper plane
- decal
- (and 1 more)
-
A new shades of Proper Plane wood decal has released
JeroenPeters replied to Proper Plane's topic in Aircraft Reviews
Ok guys! Shall we agree to disagree and leave it at that? That would be great.- 18 replies
-
- 7
-
-

-
- proper plane
- decal
- (and 1 more)
-
Thank you Antonio! just ordered the AK rlm 63 since Gunze does not have it. At least not my supplier. much appreciated!
-
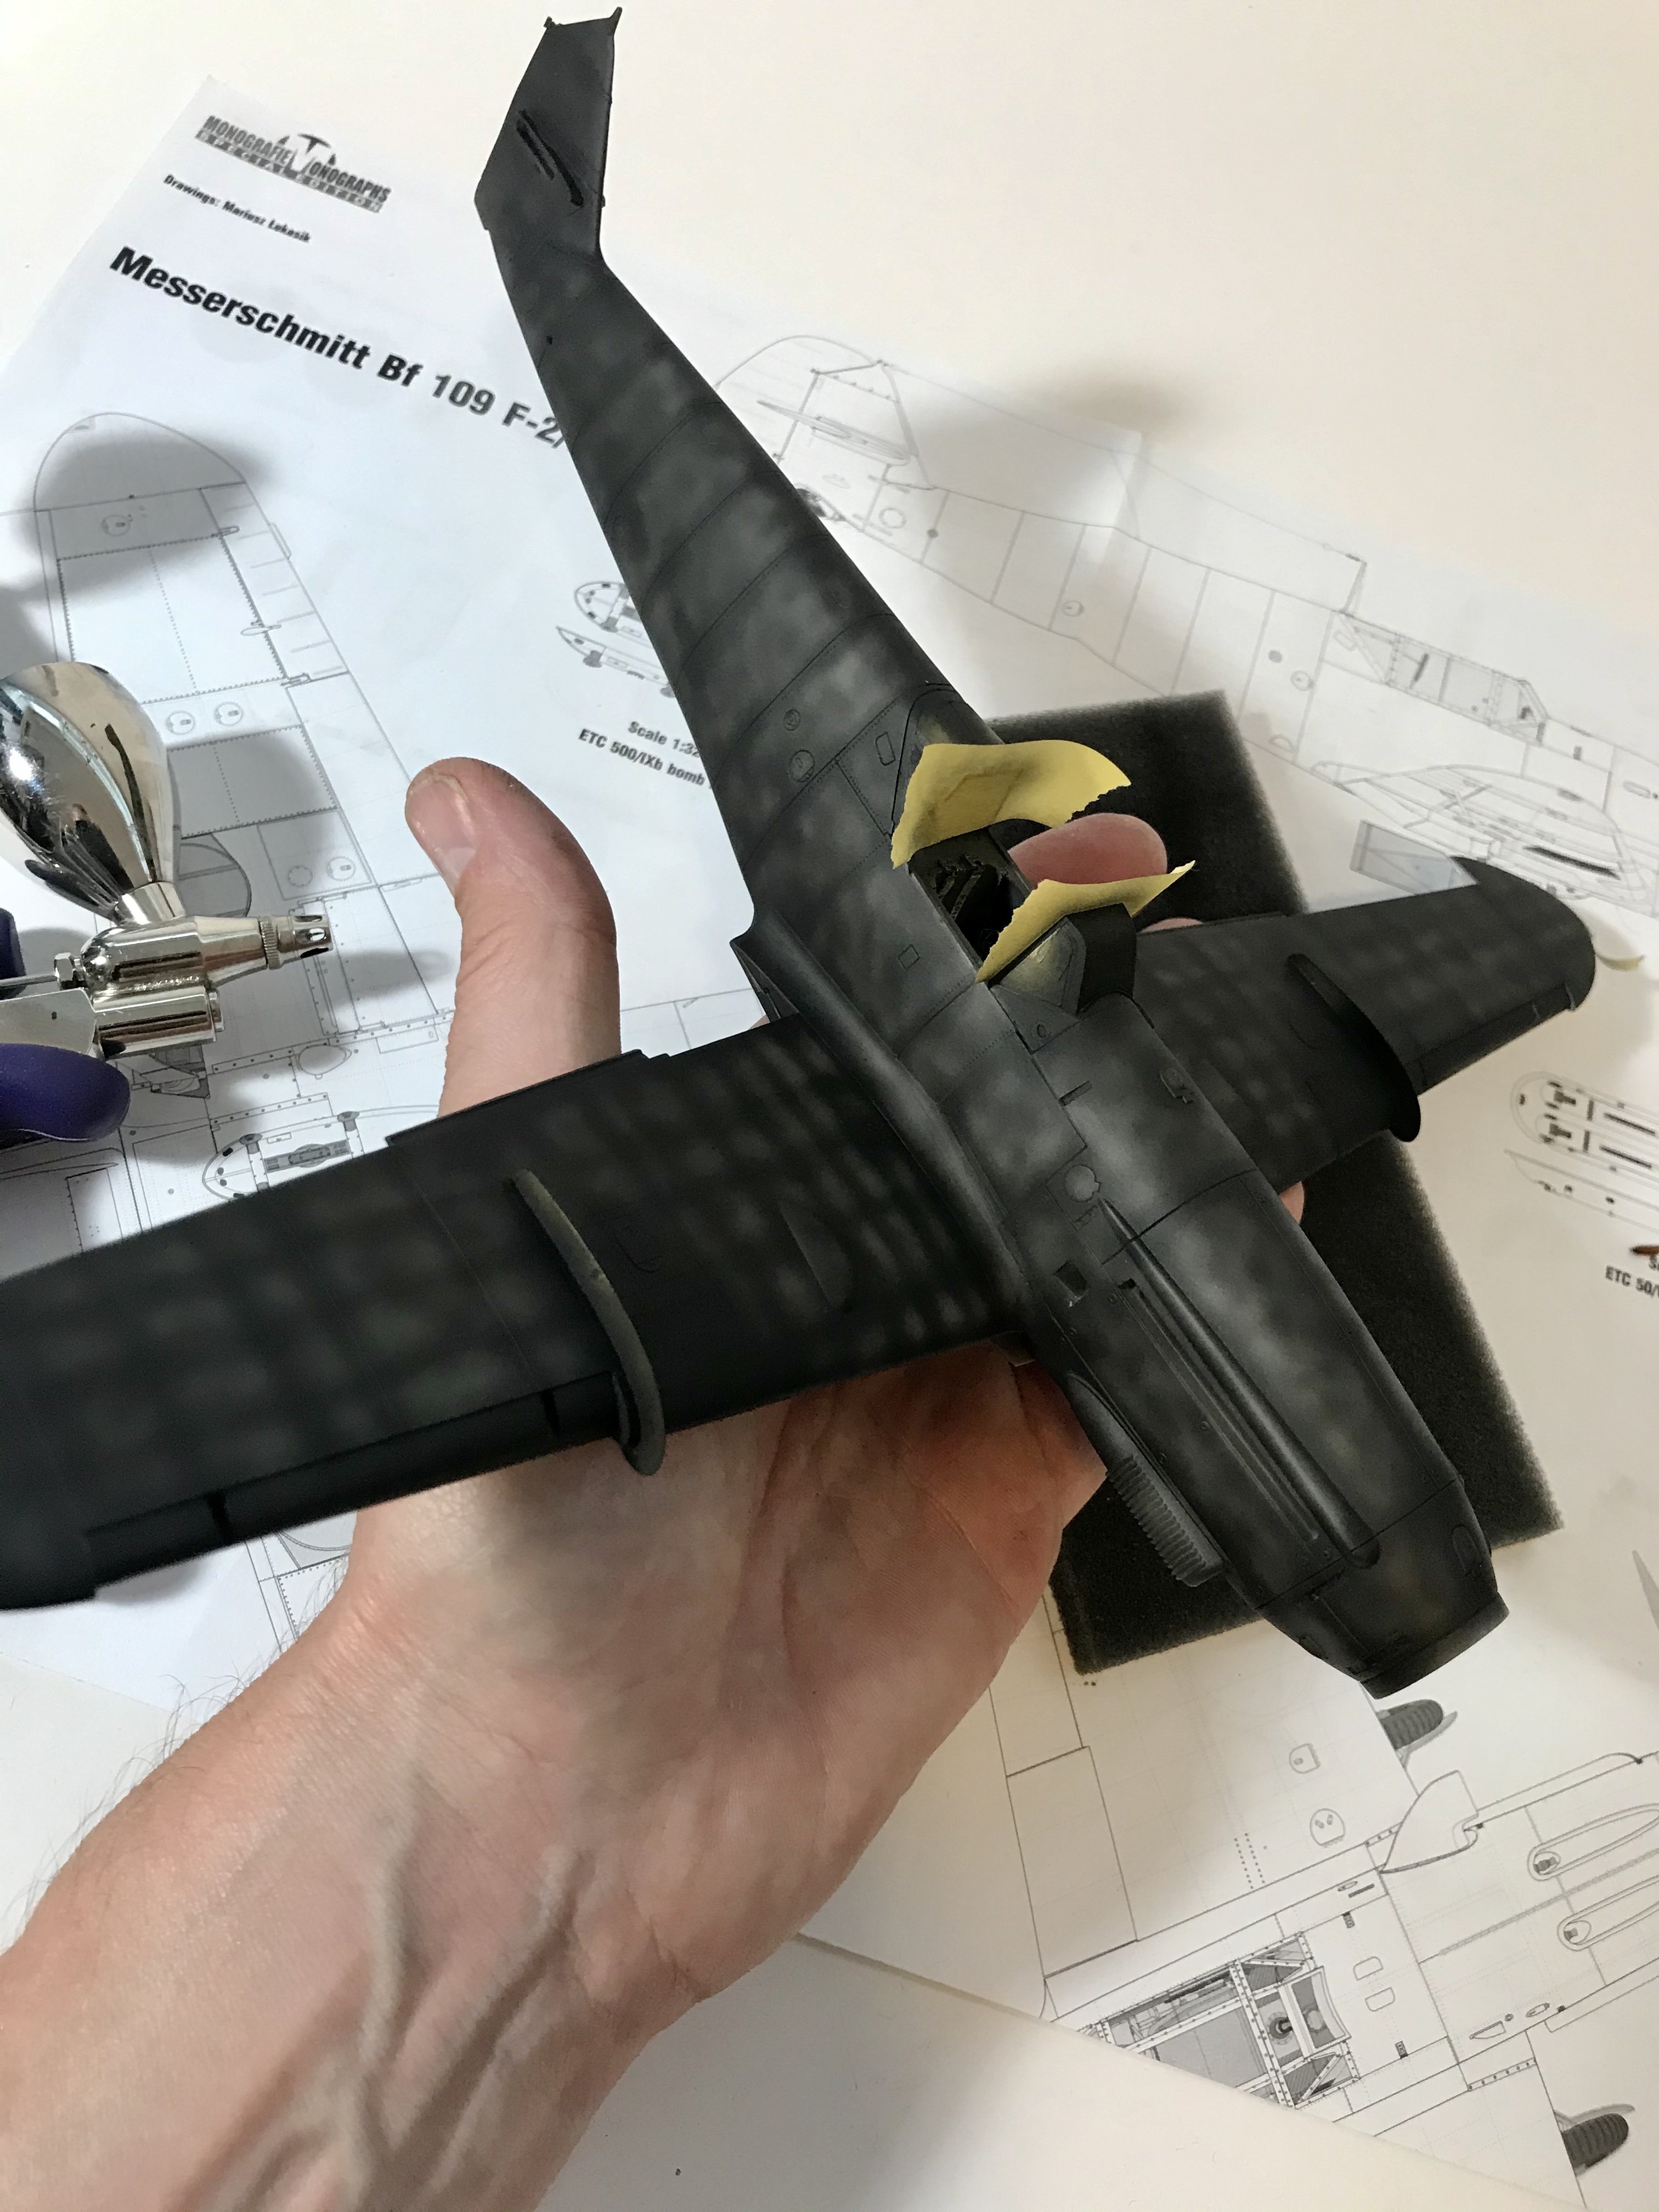
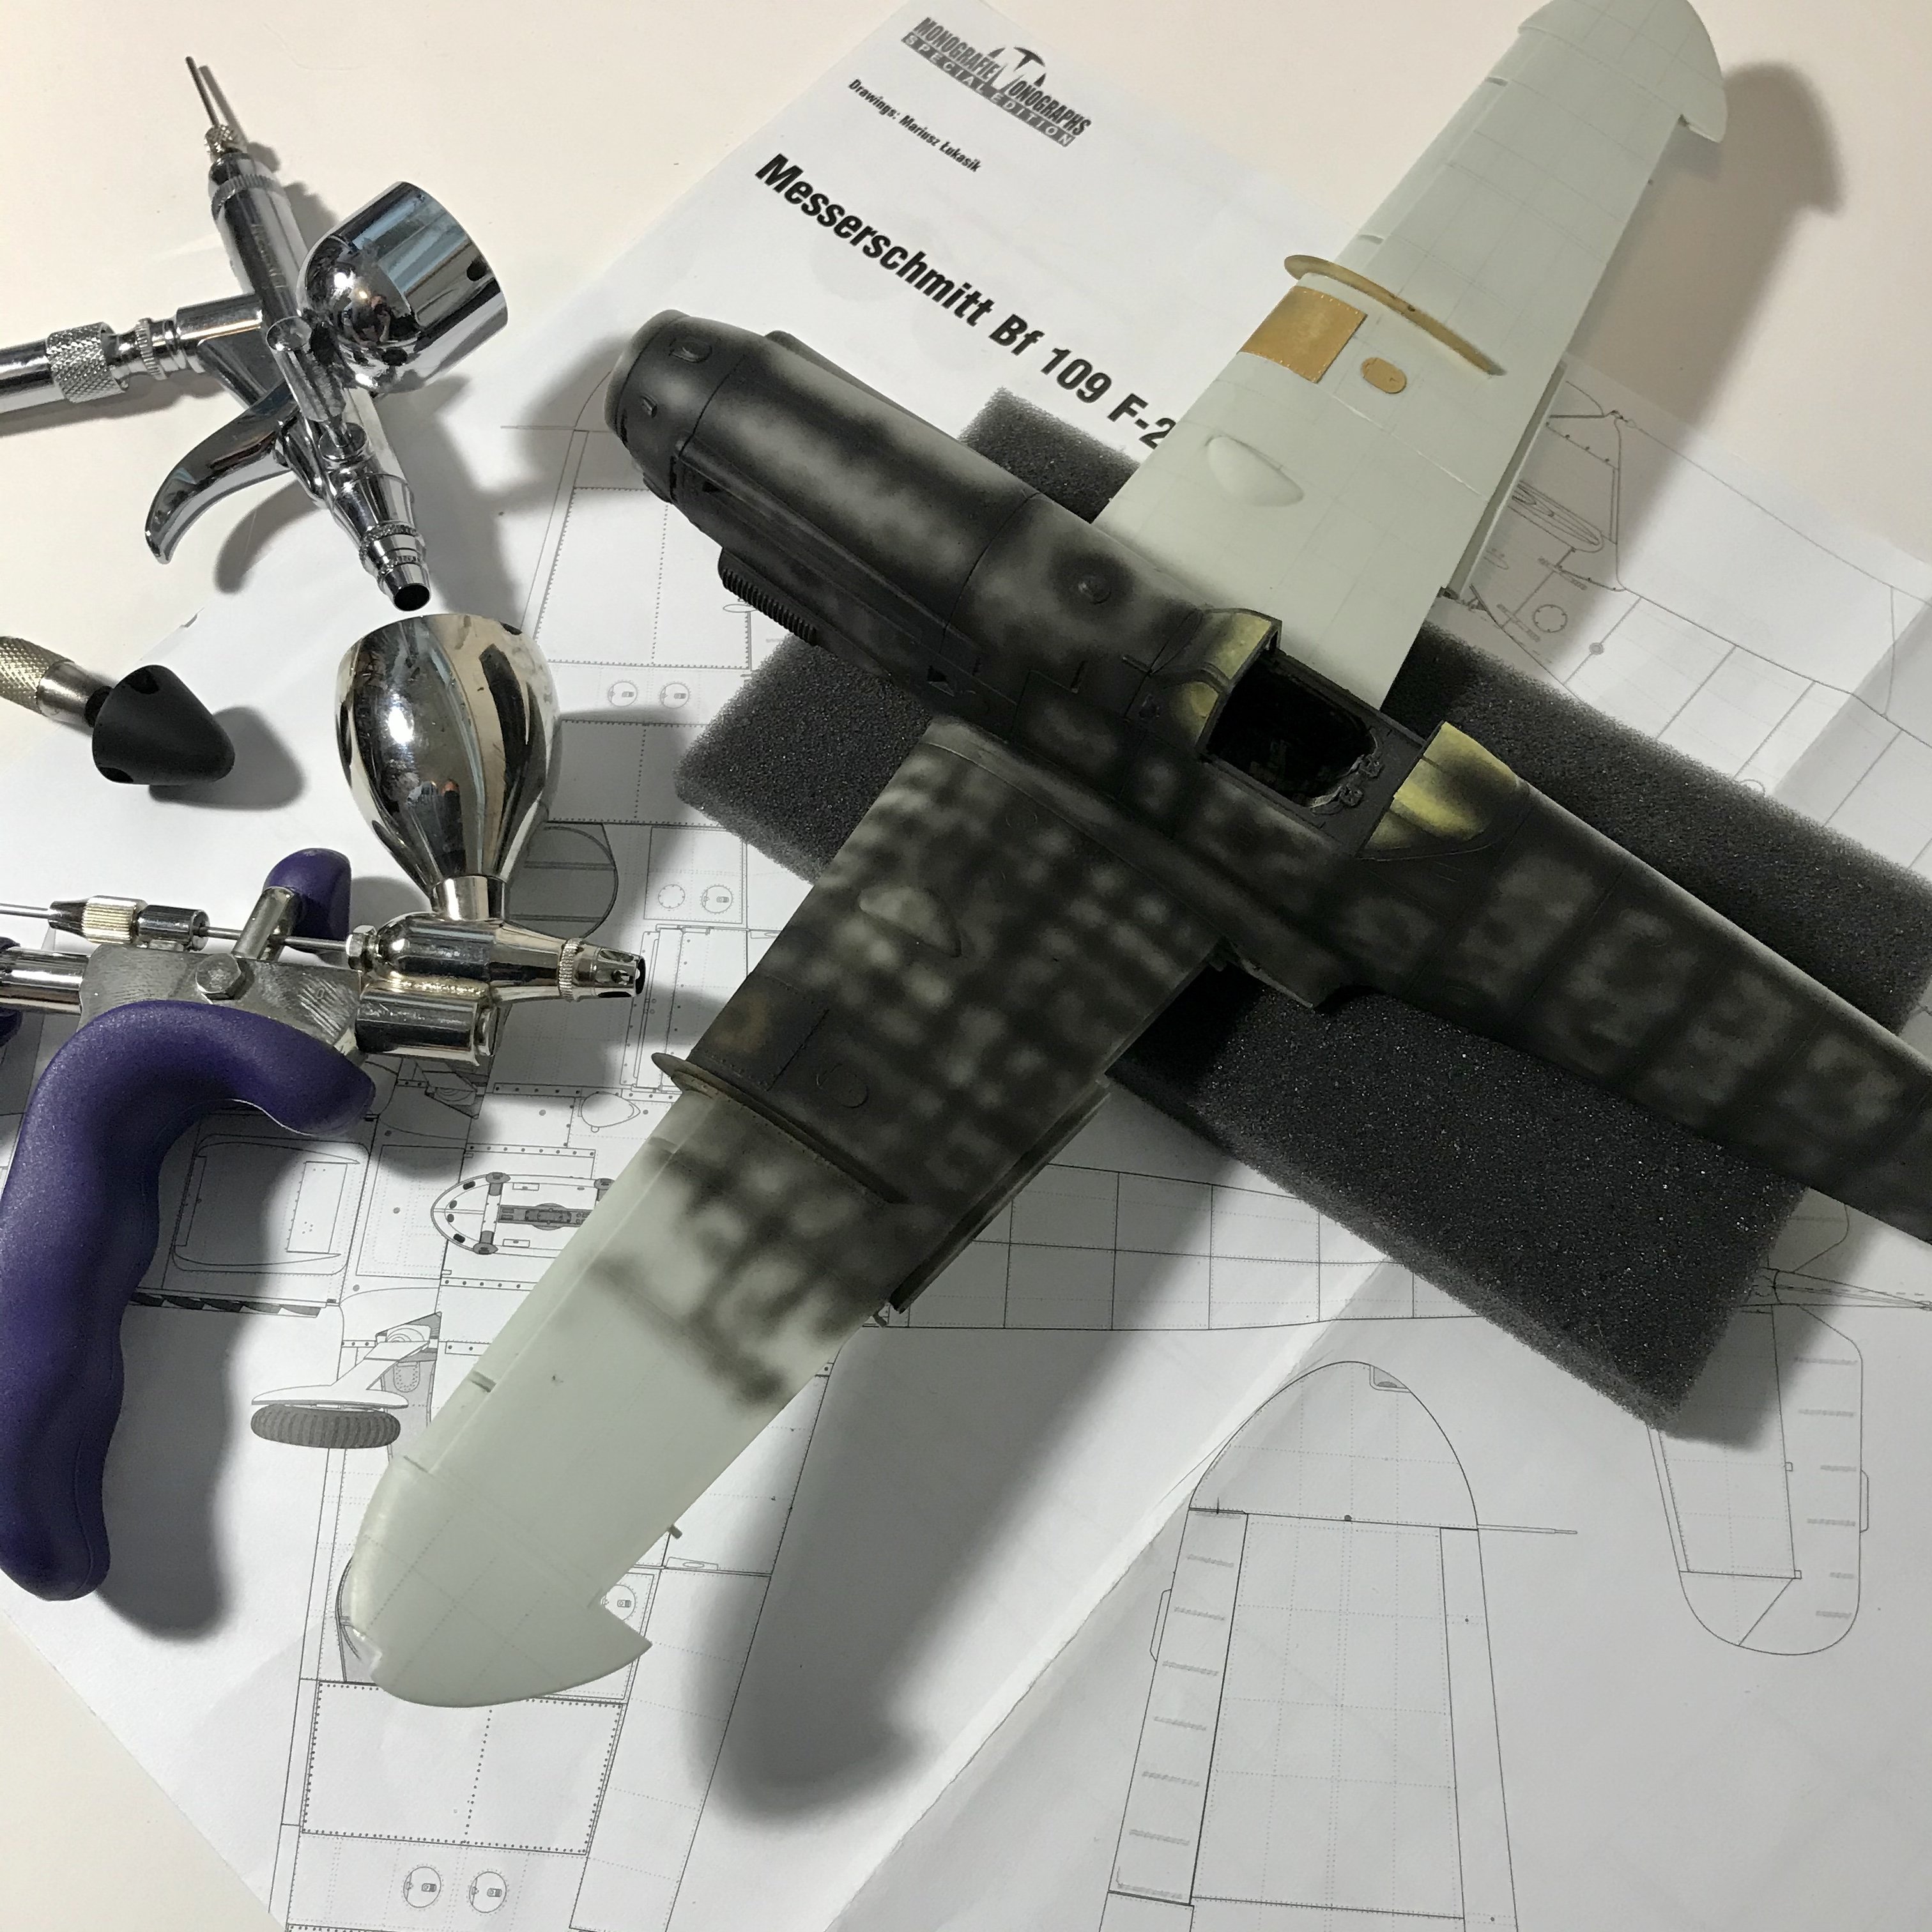
Now to pick the right colour. The instructions call for all over ‘barrack grey’. In other words: mouse grey. no idea what to go by at this moment...
-
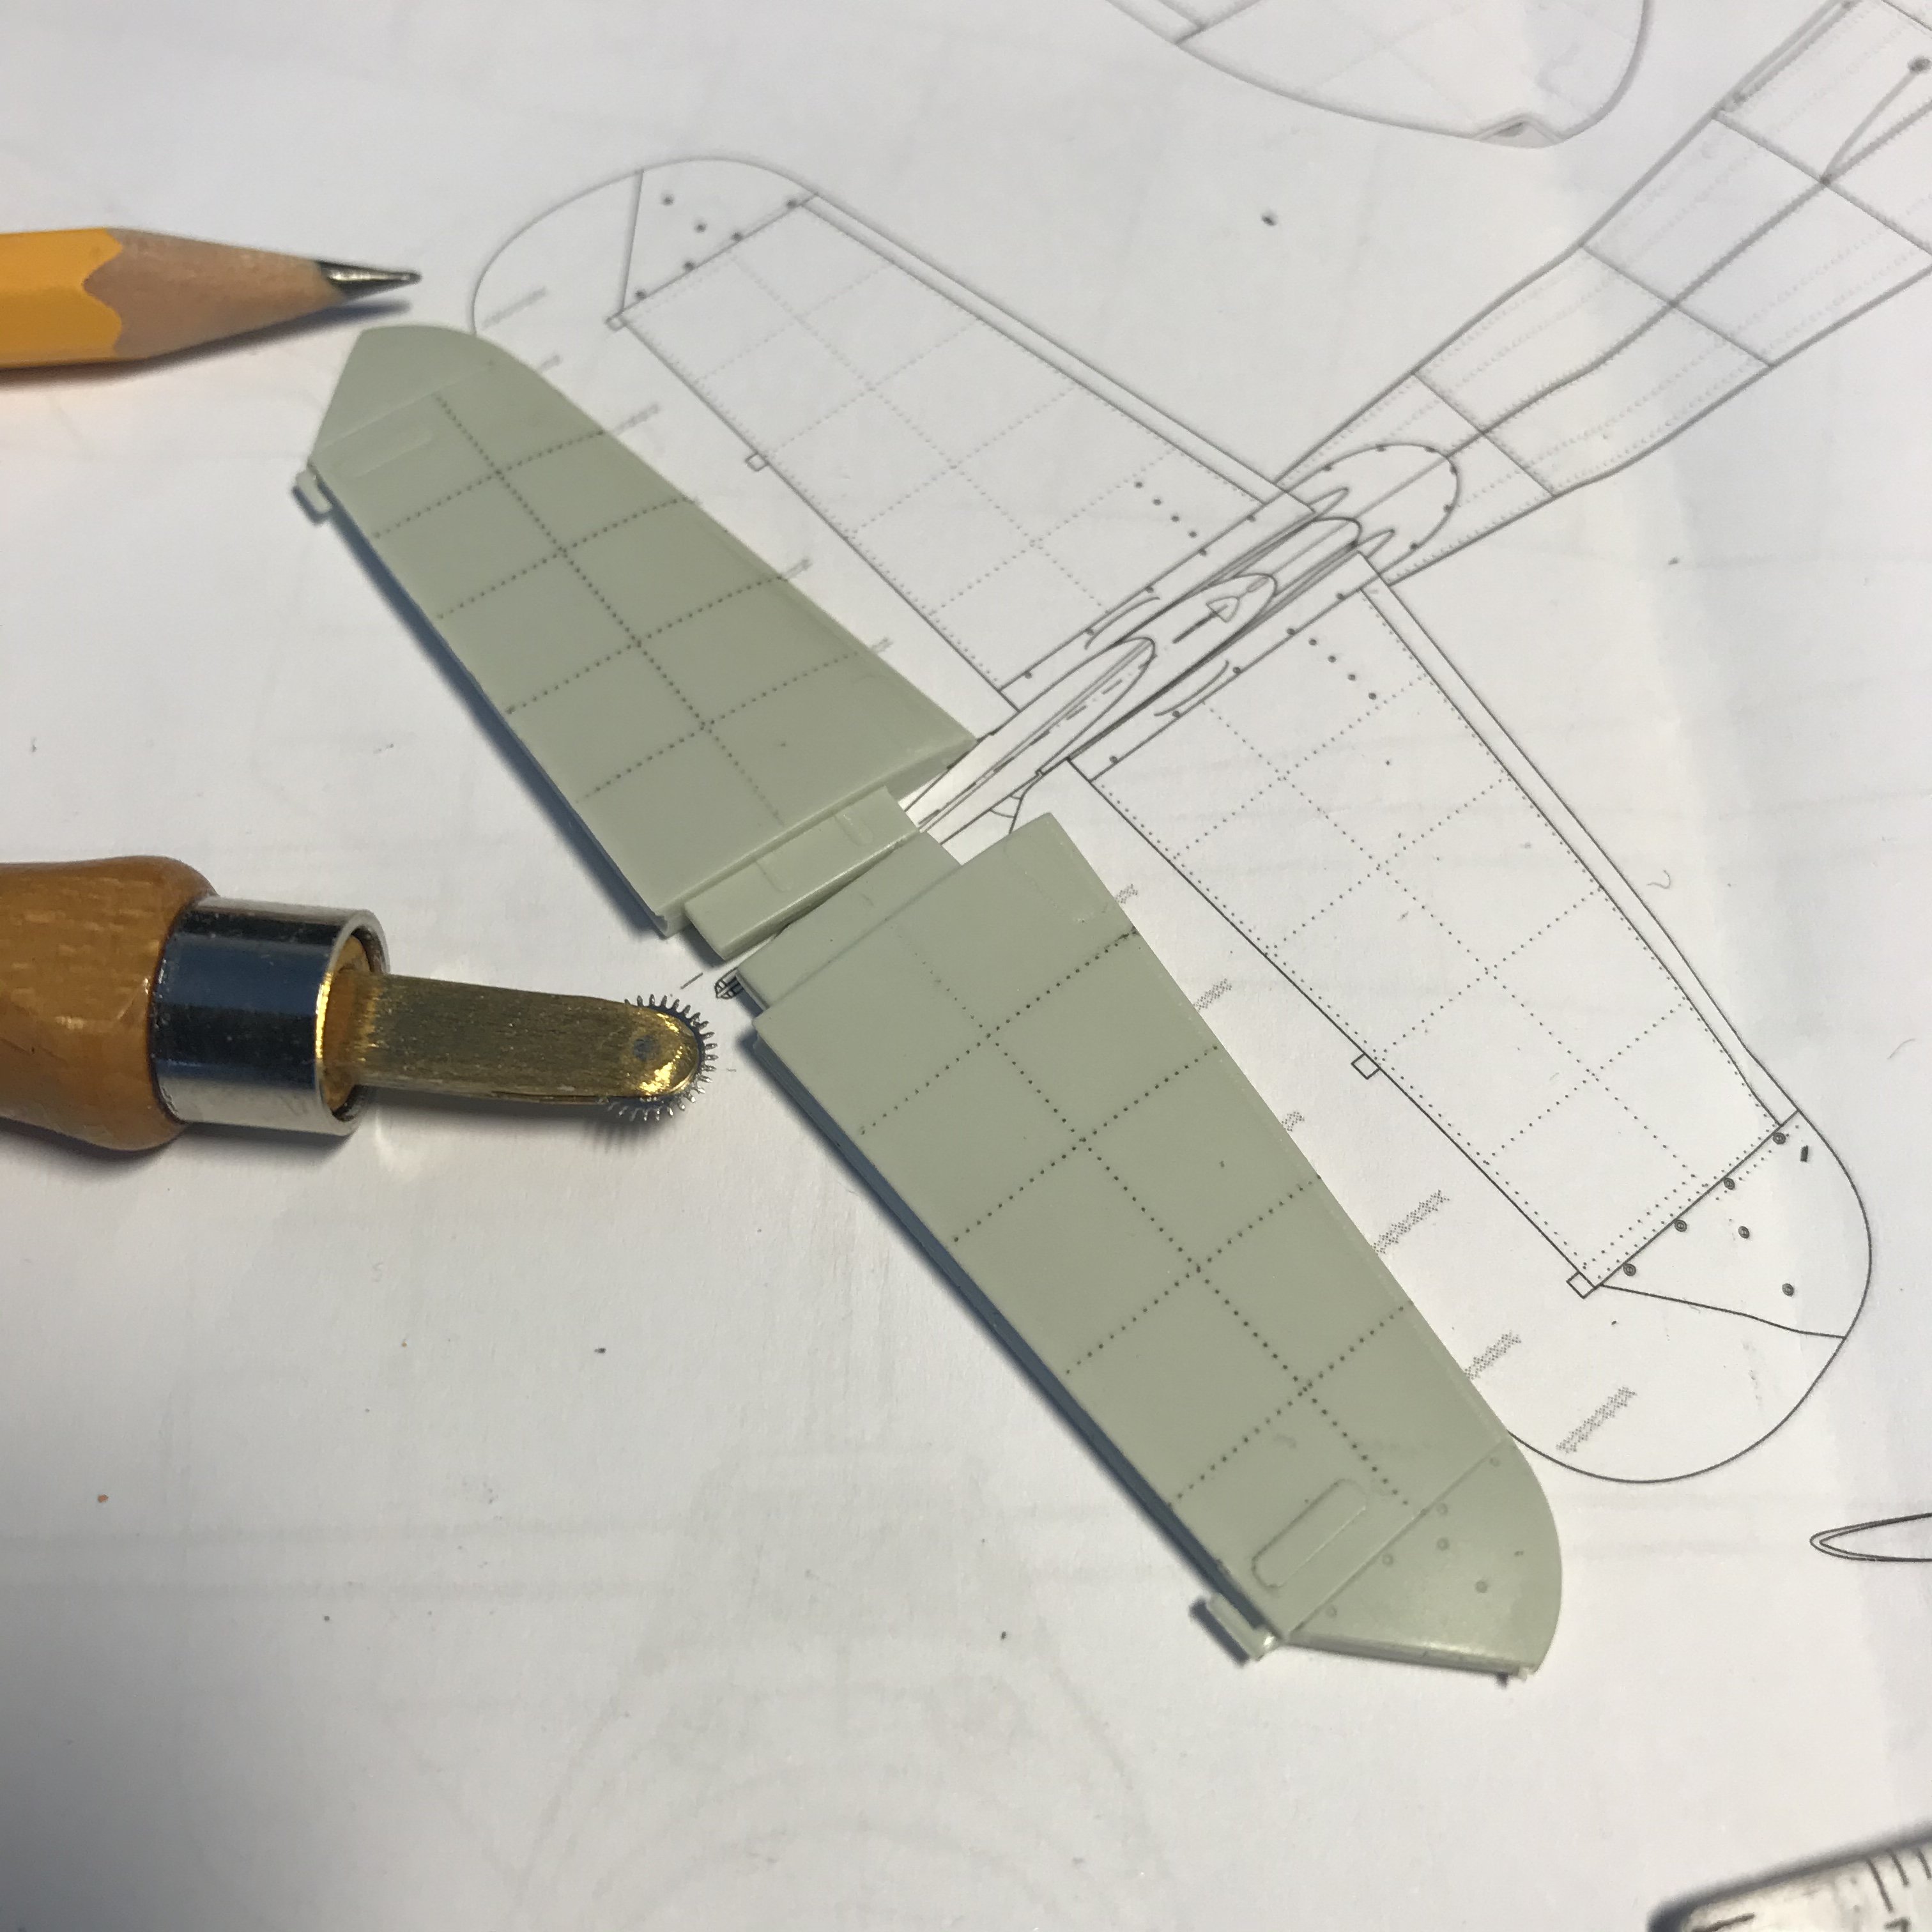
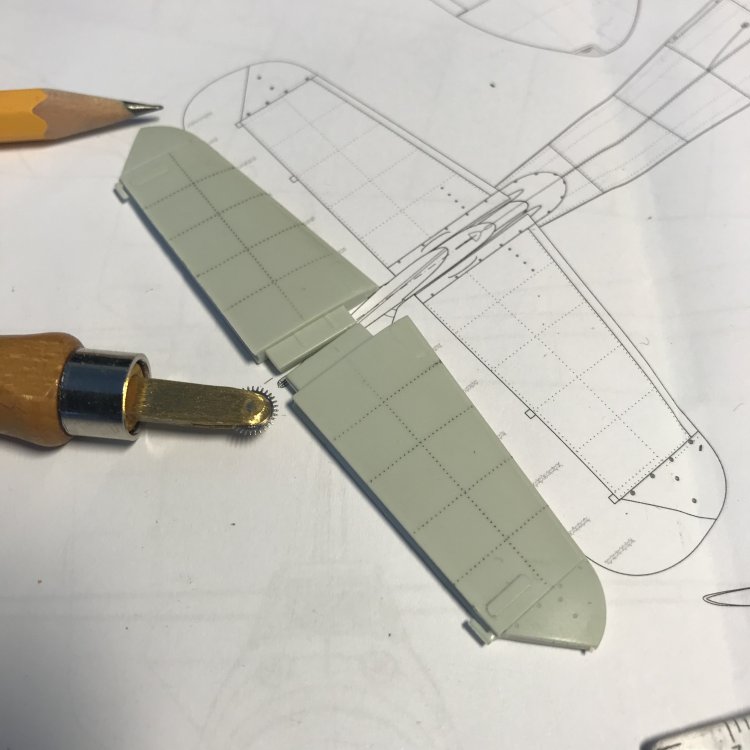
Rivets done!

-
More rivets...

-
Rivets almost done..
-
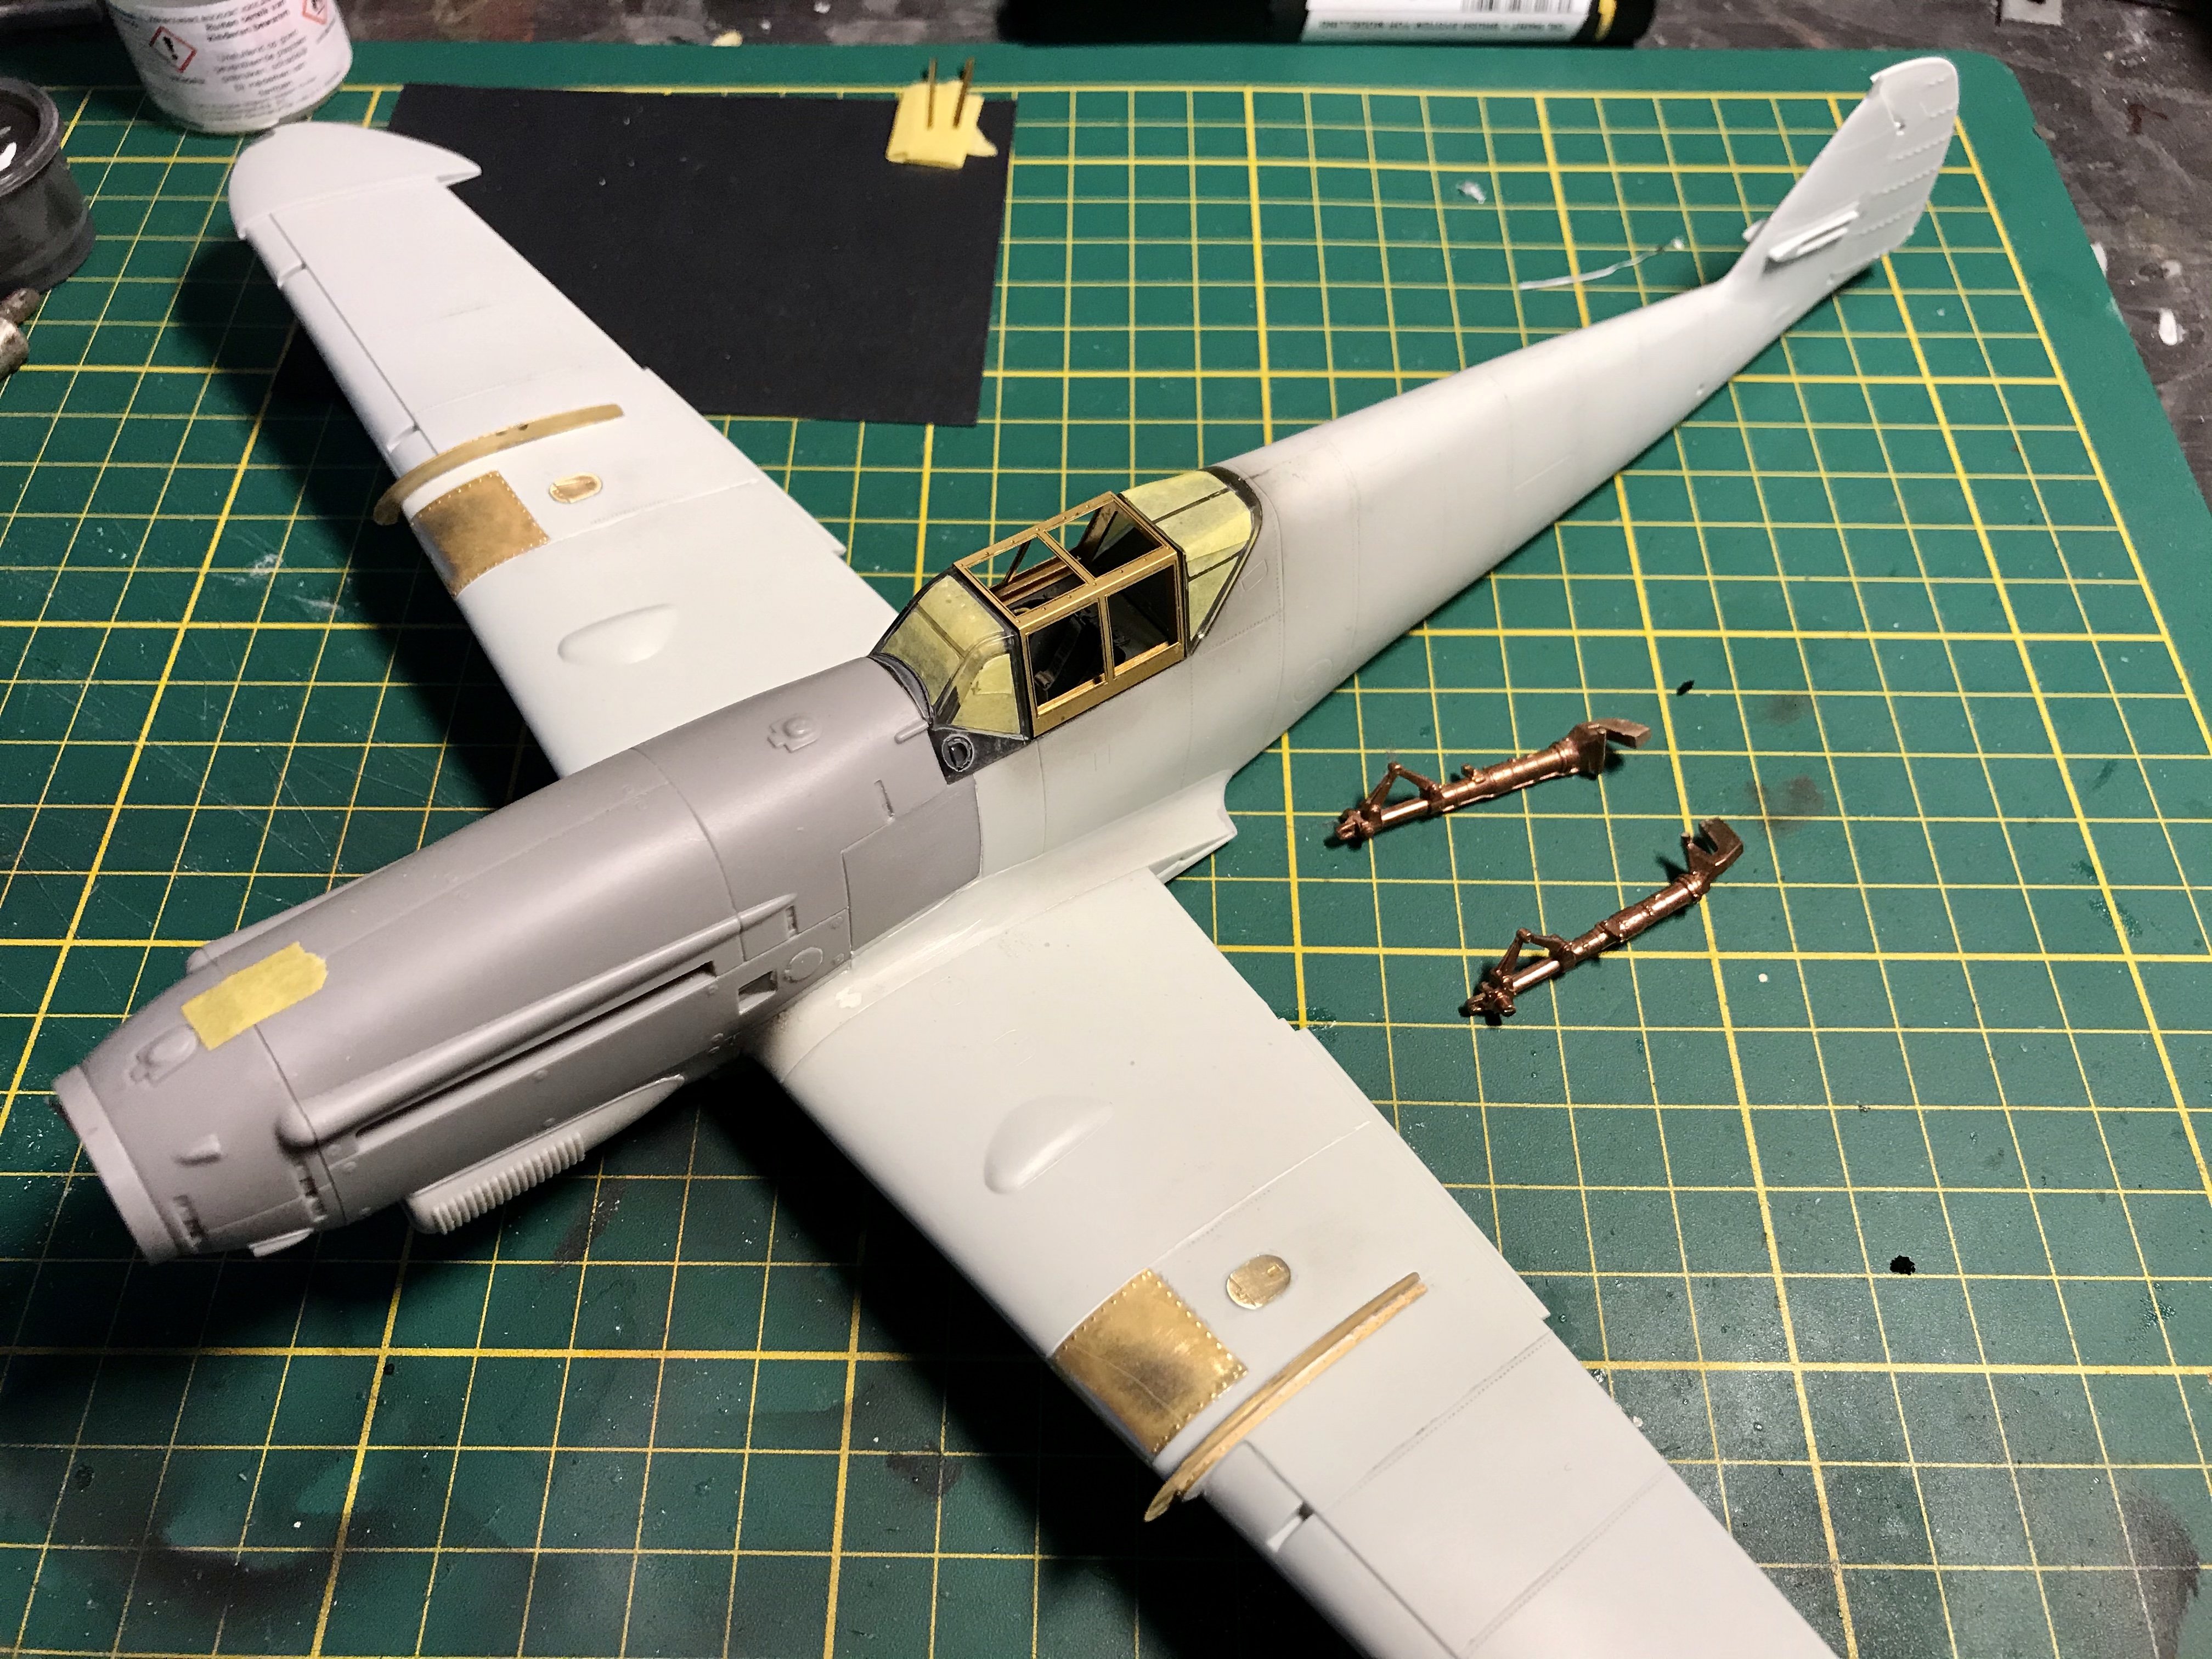
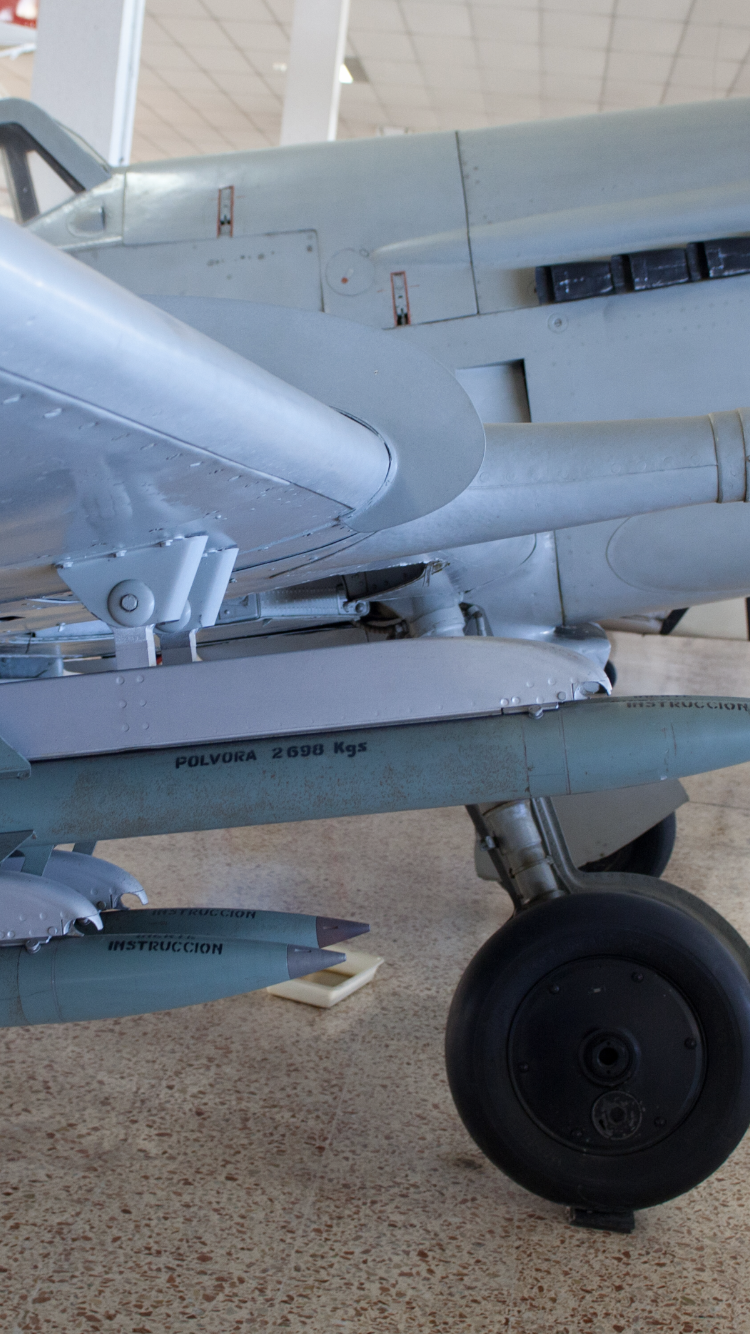
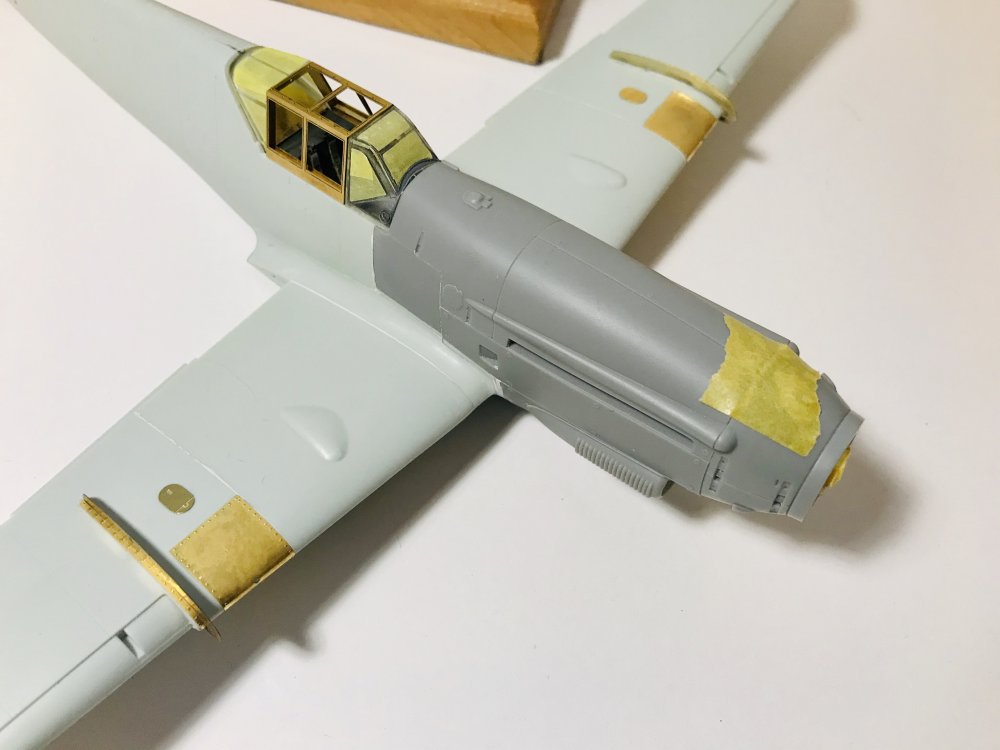
I made a mistake. The fairings were included in the set!! So i took it all of and followed the instructions like I should have done in the firsts place.

-
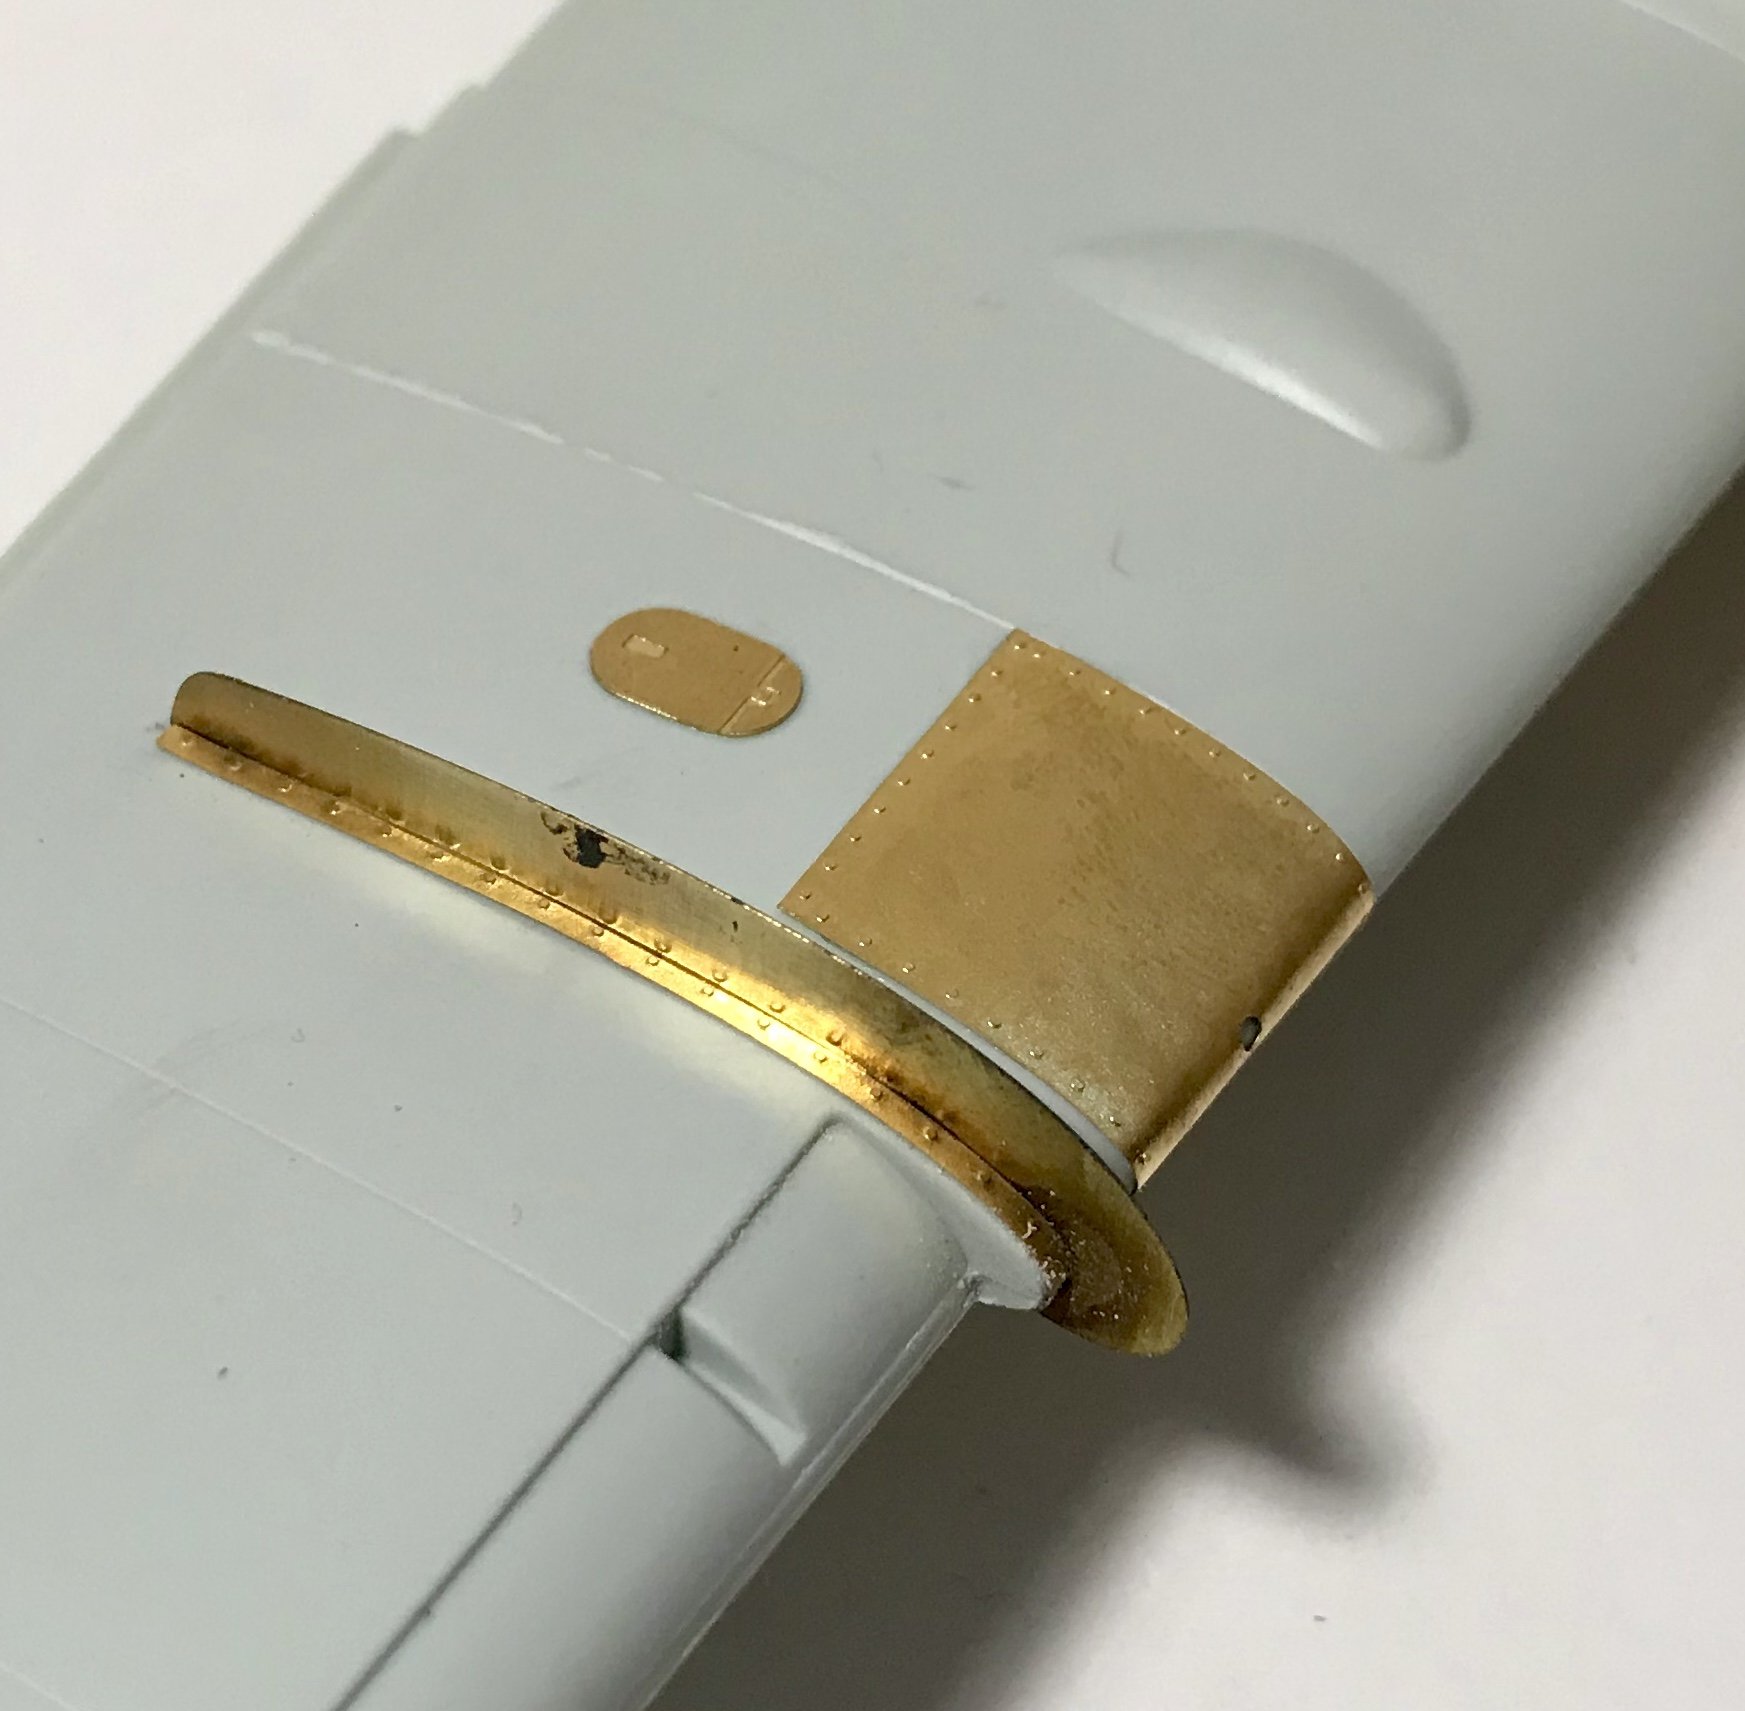
Added the fairings. Also added a thin Plastic strip as a base for the fairing as can be seen in reference.


-
1/25 scale AMT Caterpillar D8H build
JeroenPeters replied to CrankyCrafstman's topic in LSM 1/35 and Larger Work In Progress
Impressive stuff! -
MiniArt U.S. Bulldozer
JeroenPeters replied to Axeman's topic in LSM 1/35 and Larger Work In Progress
Really cool weathering. Lovely -
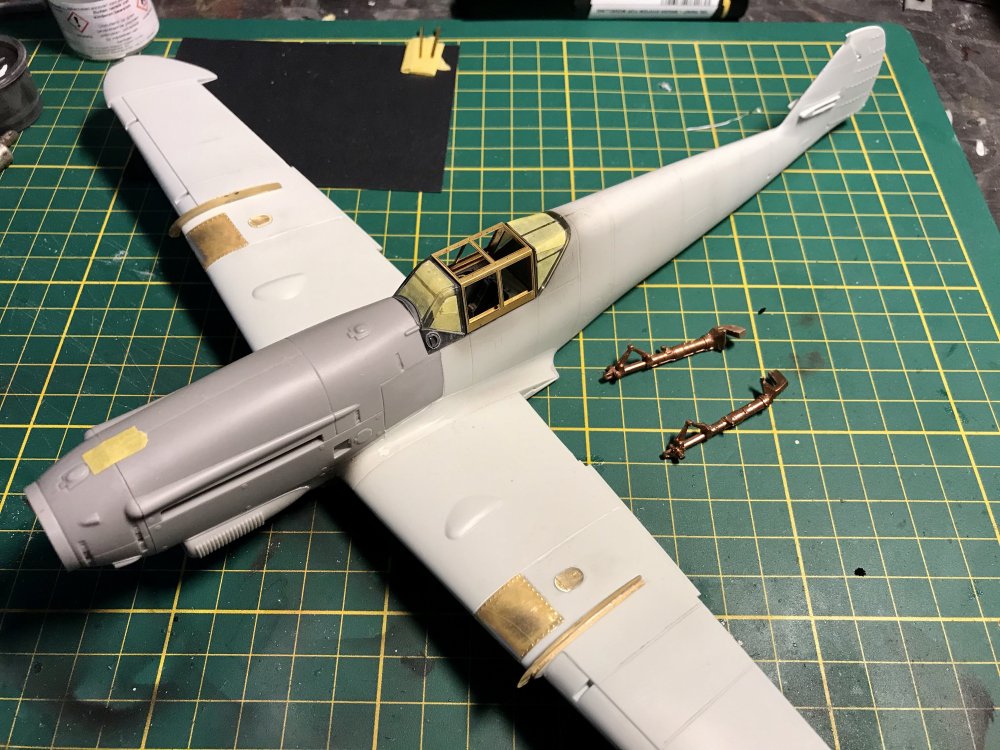
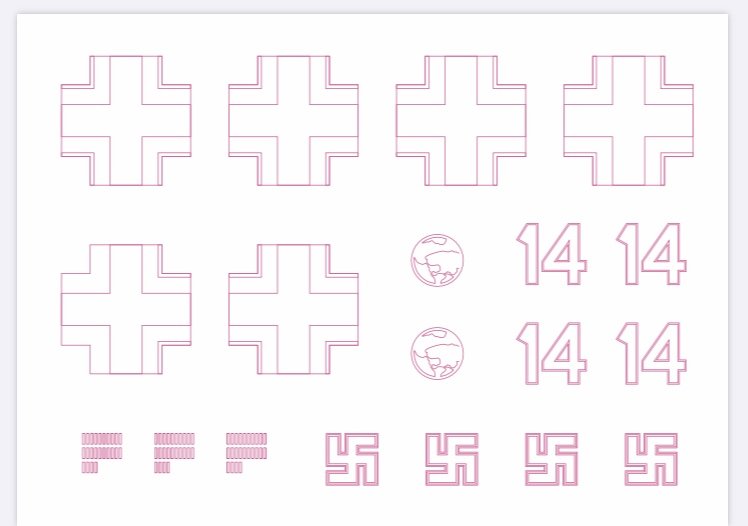
Drew up the masks today:
-
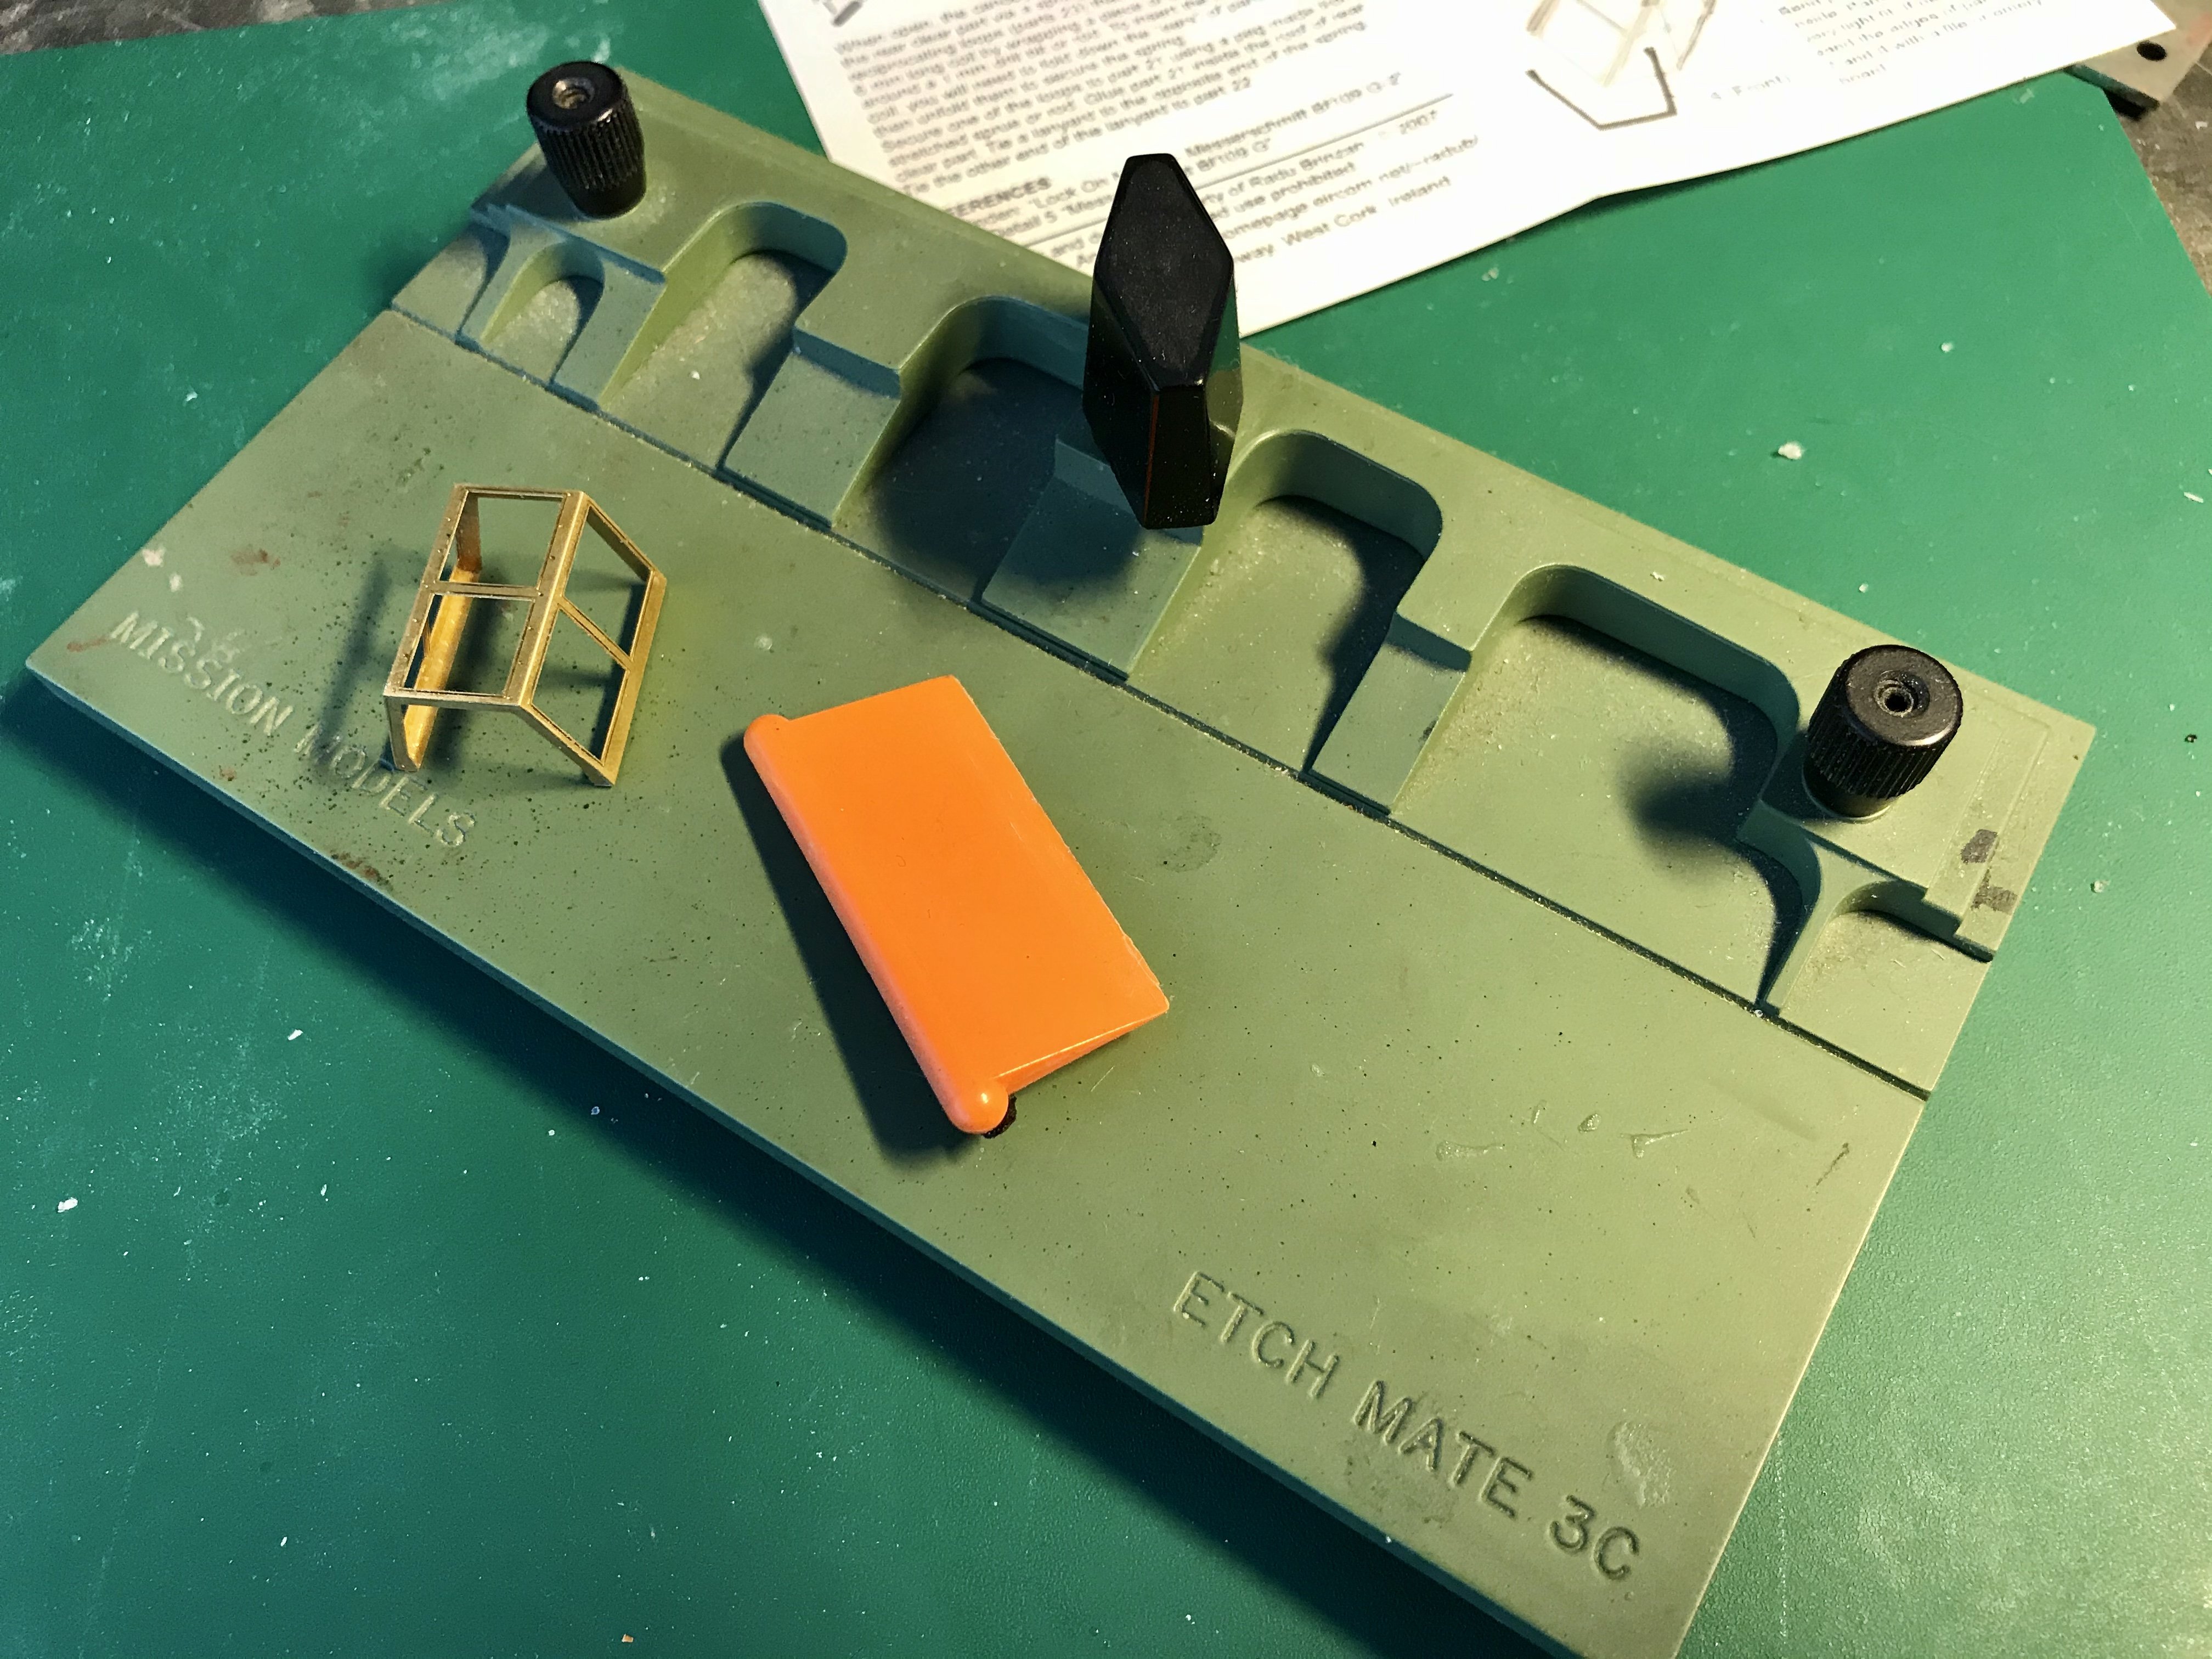
I use my very old Mission Model bender. By no means perfect

-
Building another Radu canopy.
-
Some more dry fitting
-
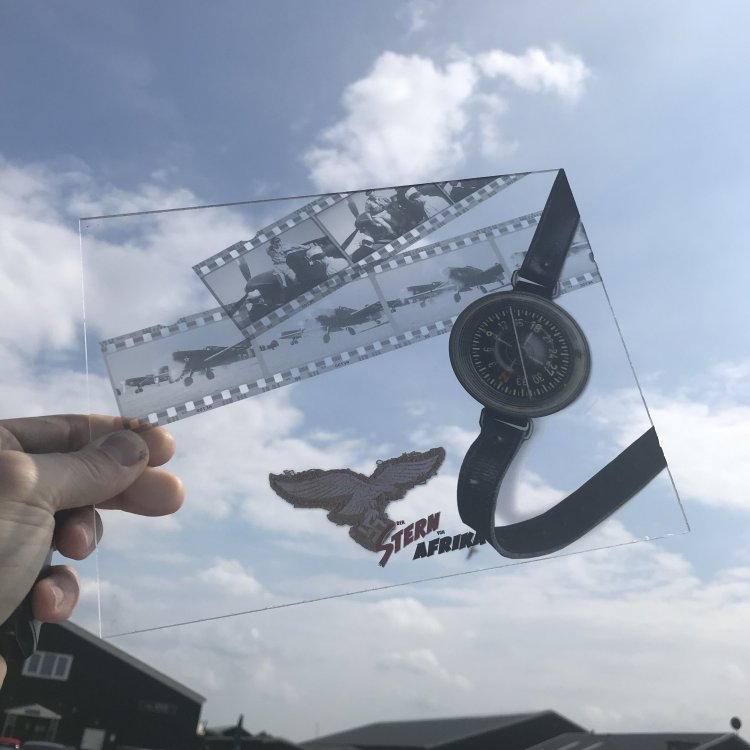
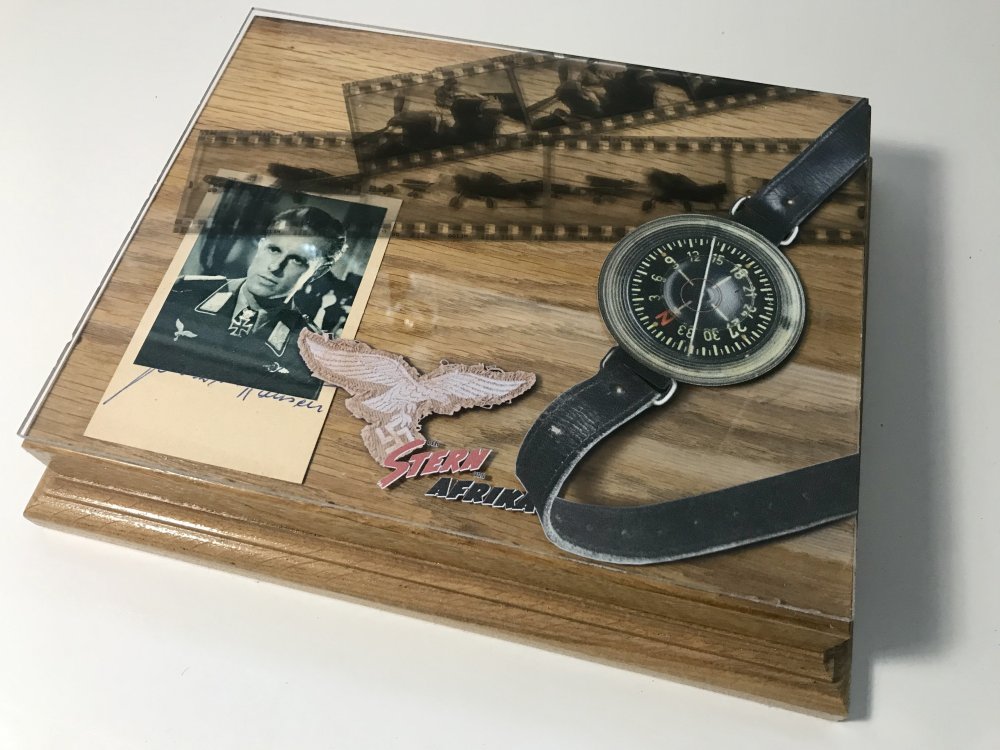
Thnx. I drew the strap shadow myself in a way it pops out
-
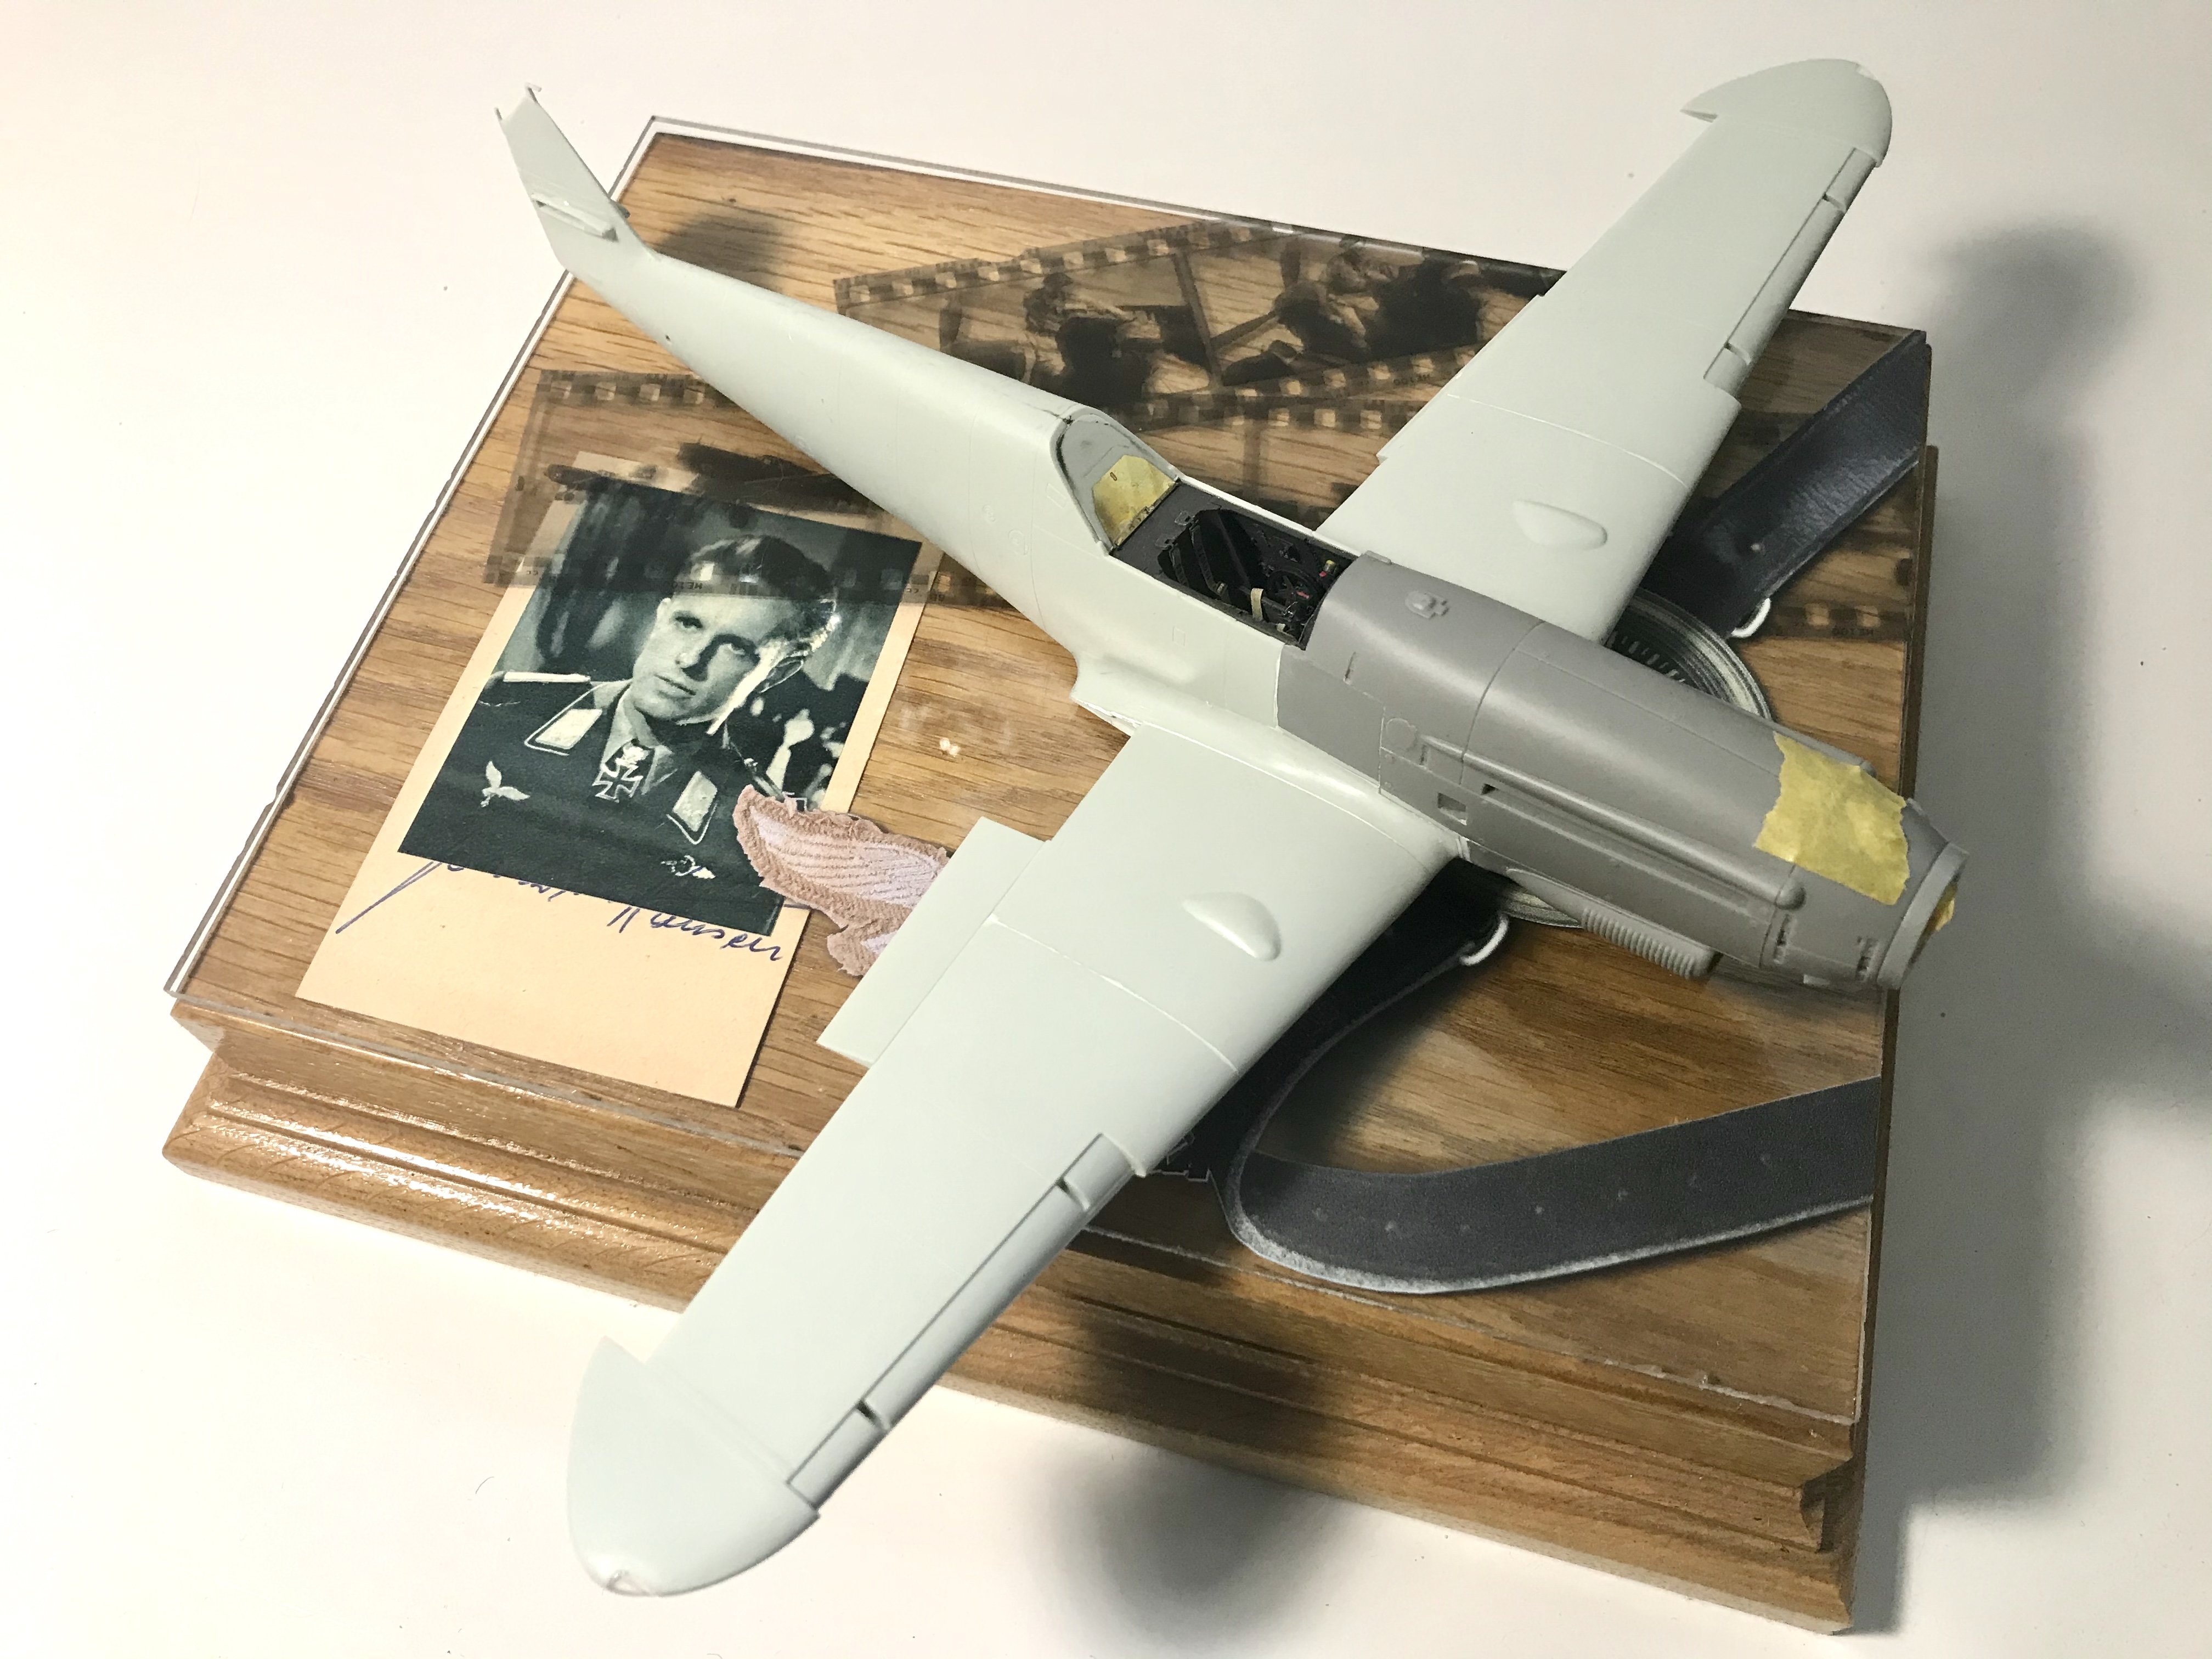
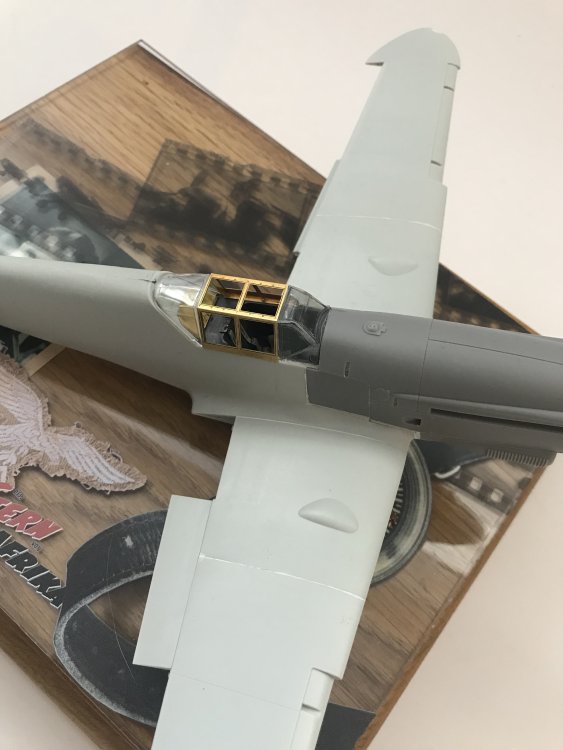
Tried something new. I designed artwork in the Star of Africa theme and had it printed by Projectcolor. The signed photo of the 1956 star of the movie is sandwiched between the wooden base and perspex. 4 screws will hold it in place.

-
1:32 scale - Siemens-Schuckert D.III
JeroenPeters replied to sandbagger's topic in LSM 1/35 and Larger Work In Progress
Lovely detail work. I have this kit with the Part photo etch set in the stash. Bookmarked this! -
Hahaha! thnx. You’re too kind. I tend to only use Gunze mr hobby colour. Thinned with Gunze levelling thinner.
-
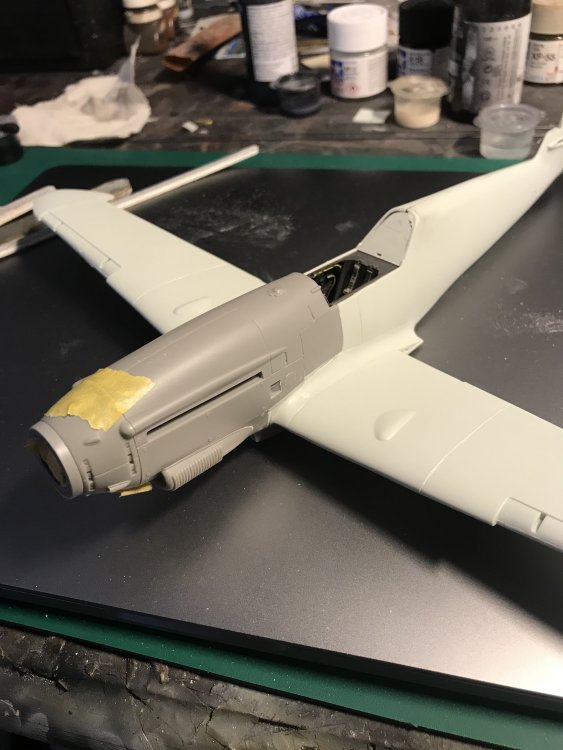
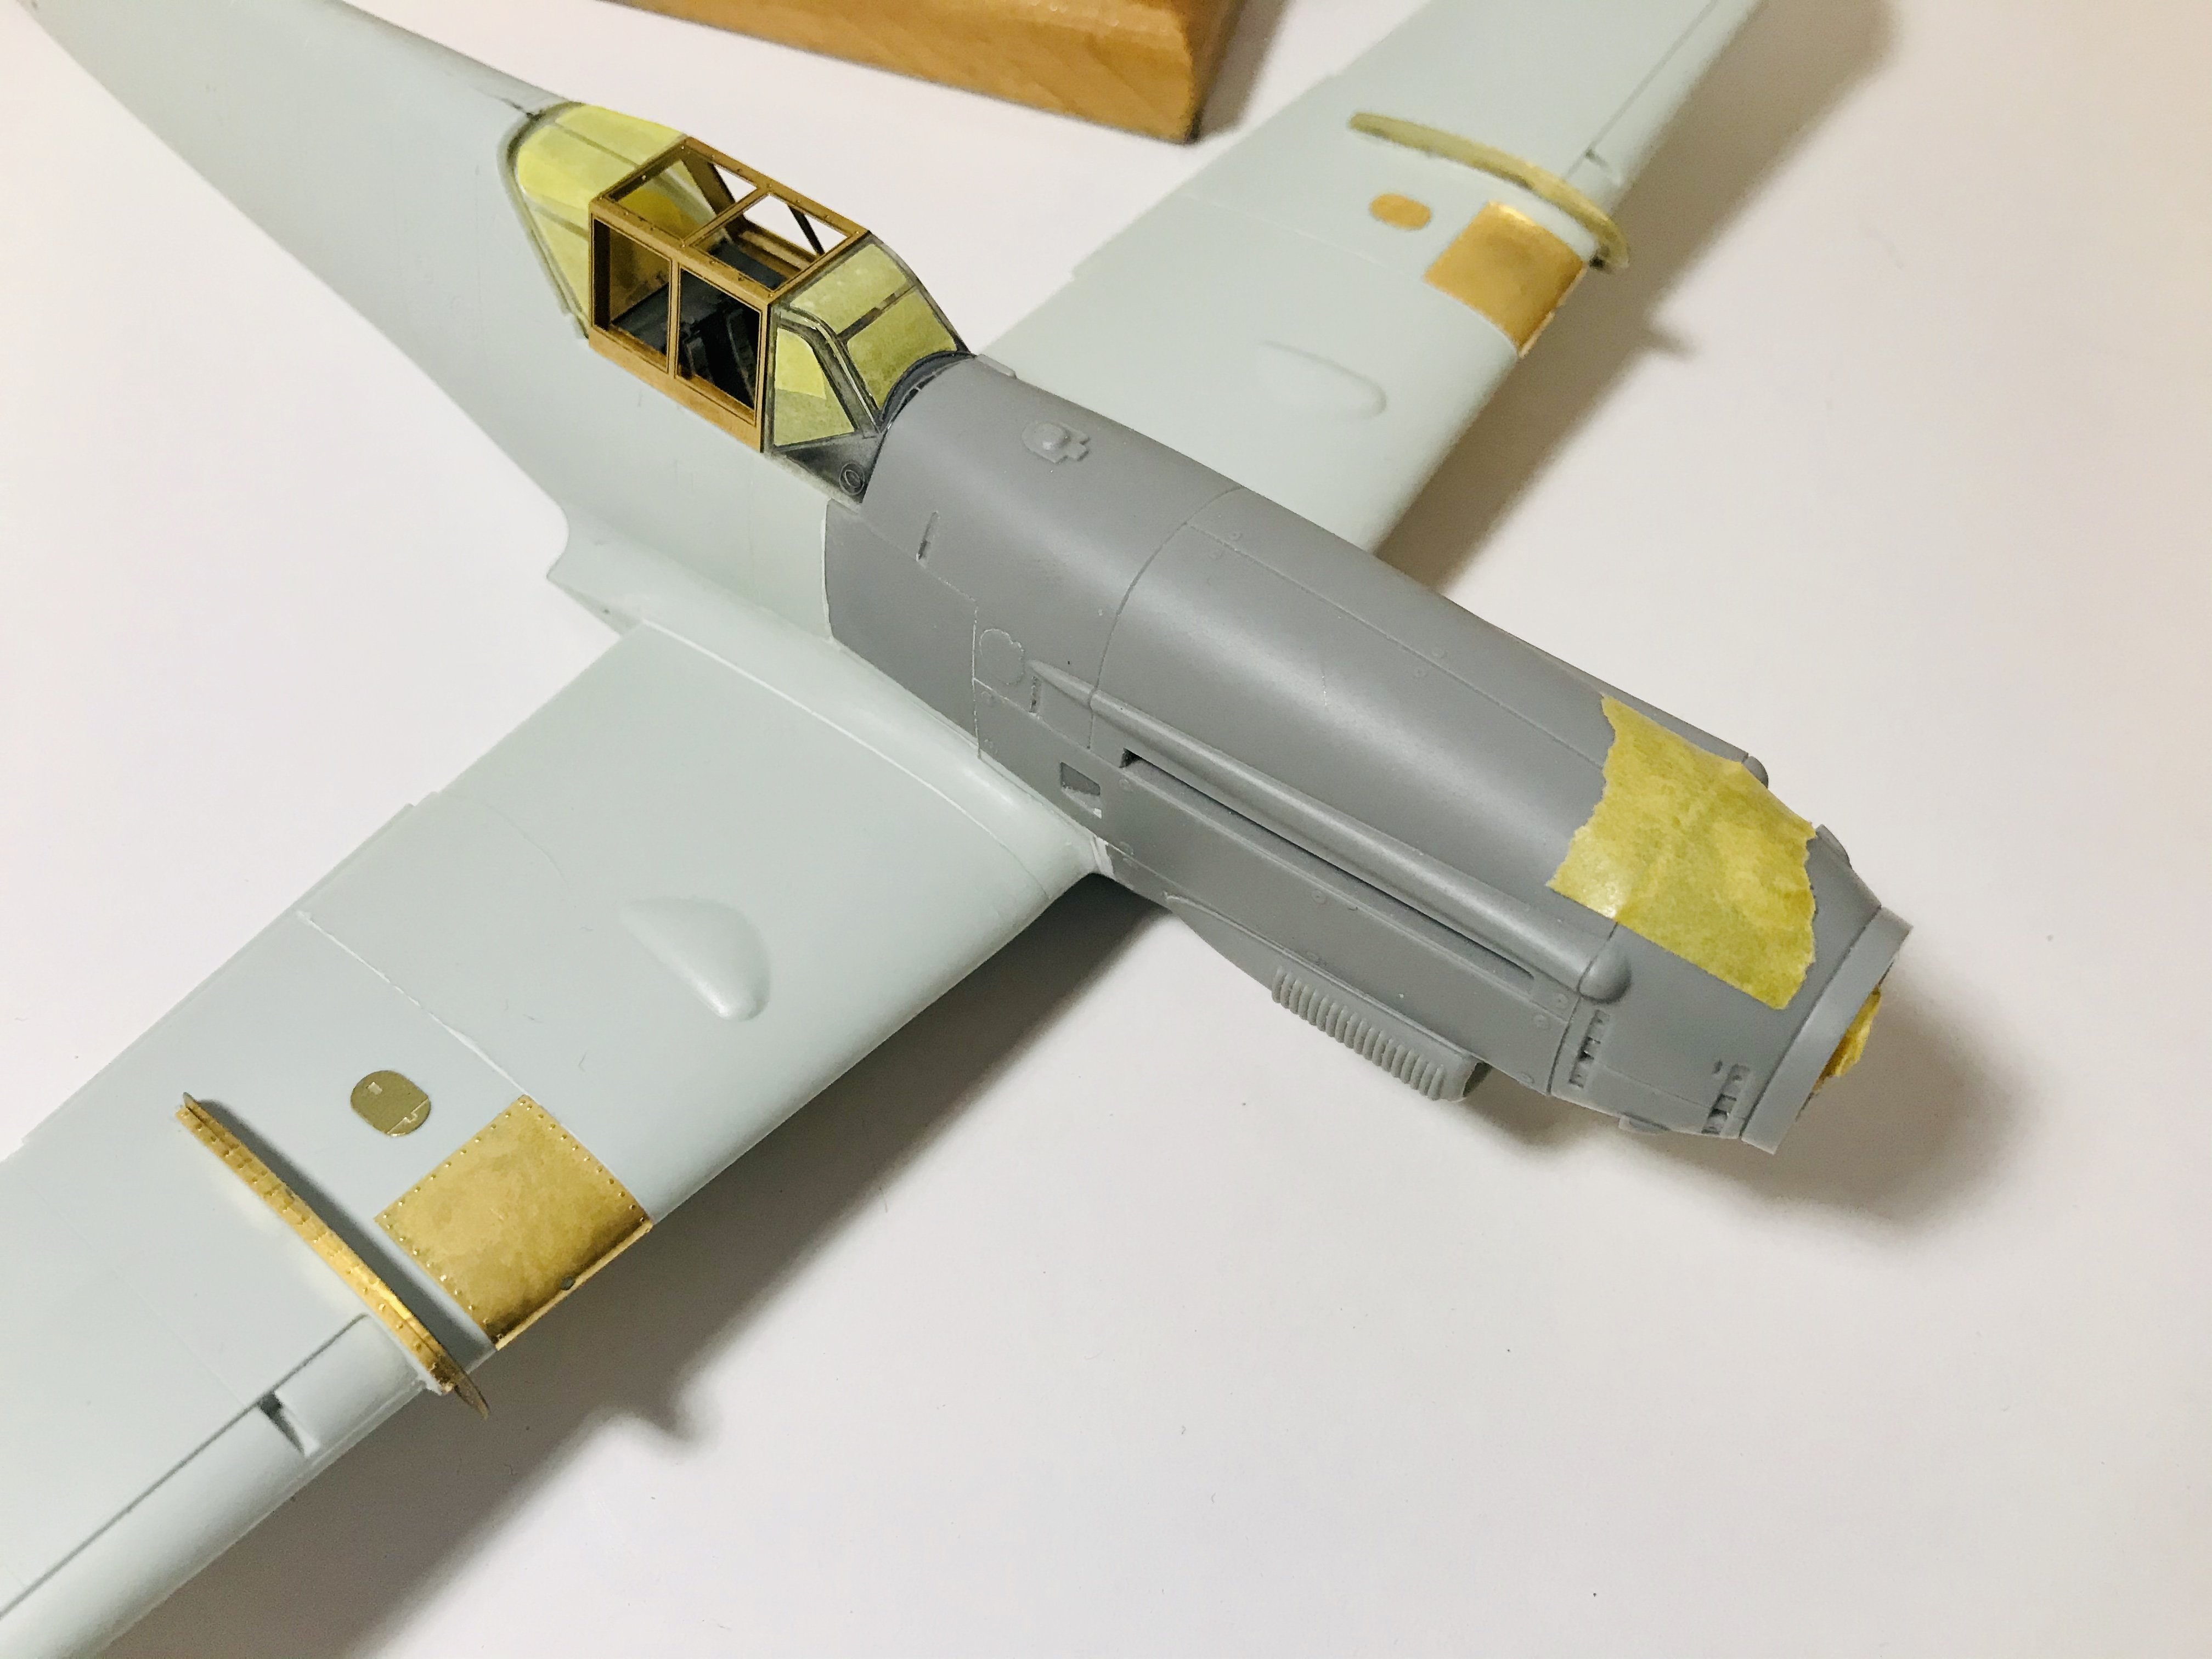
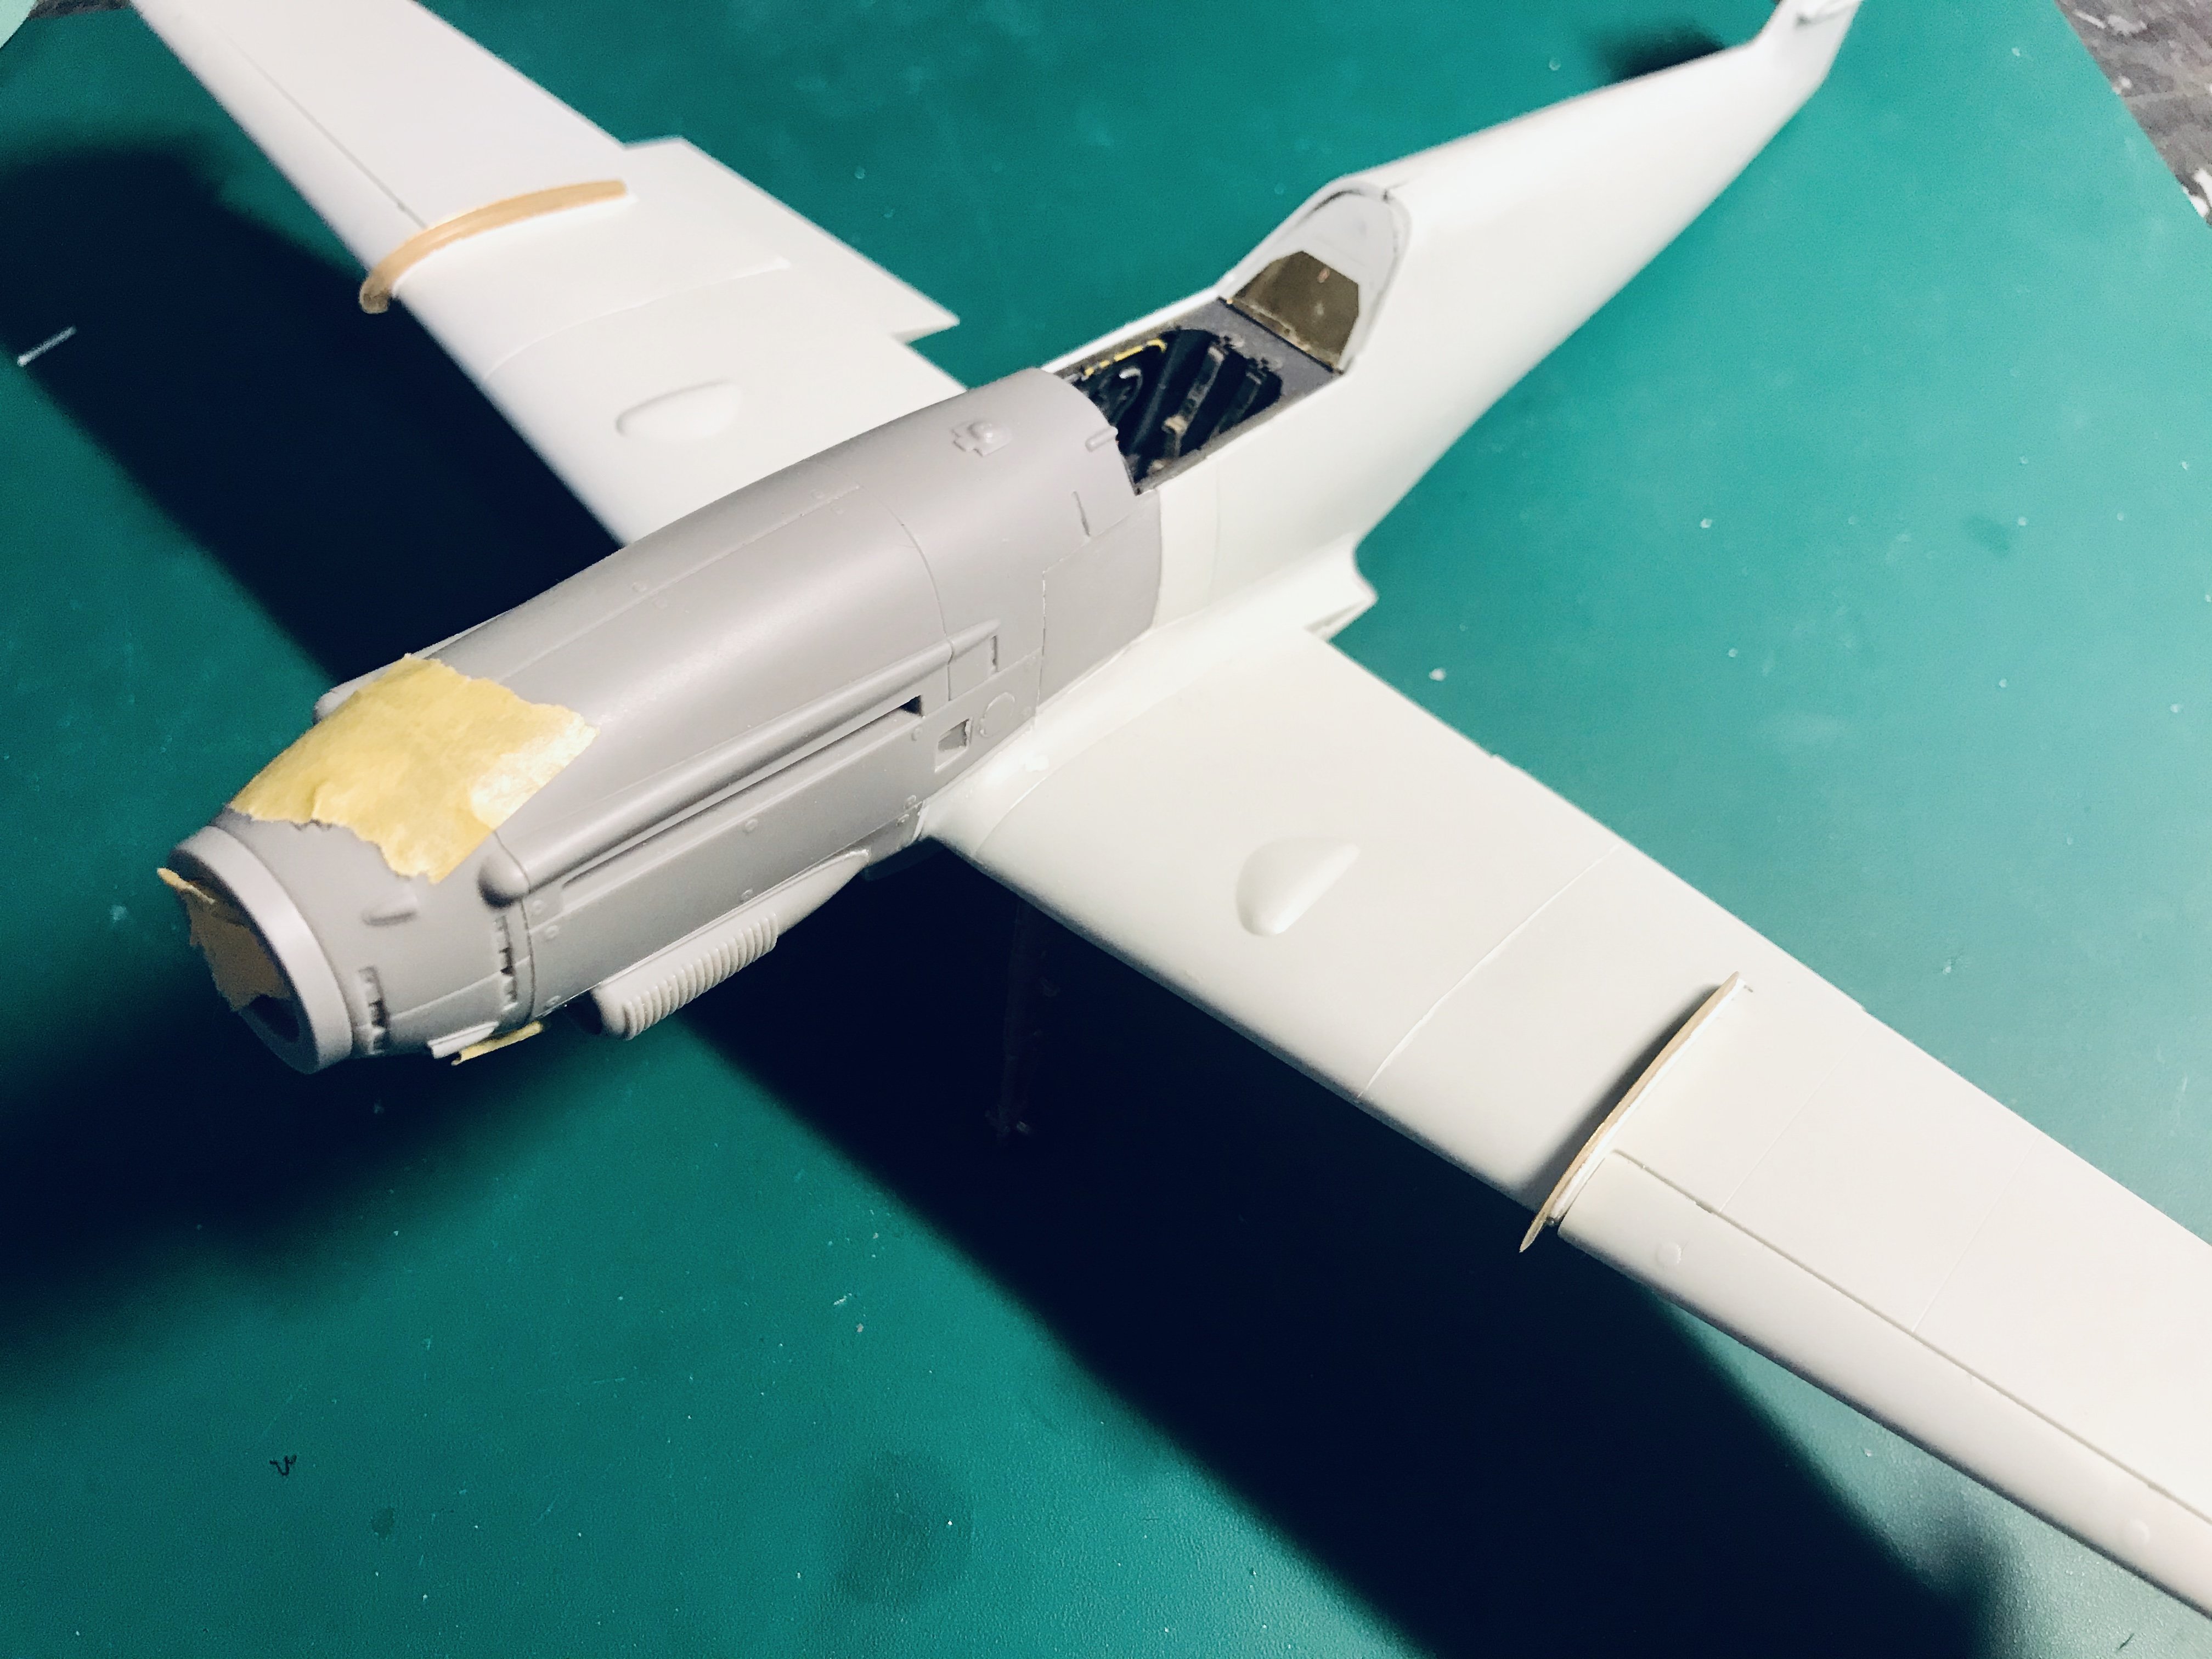
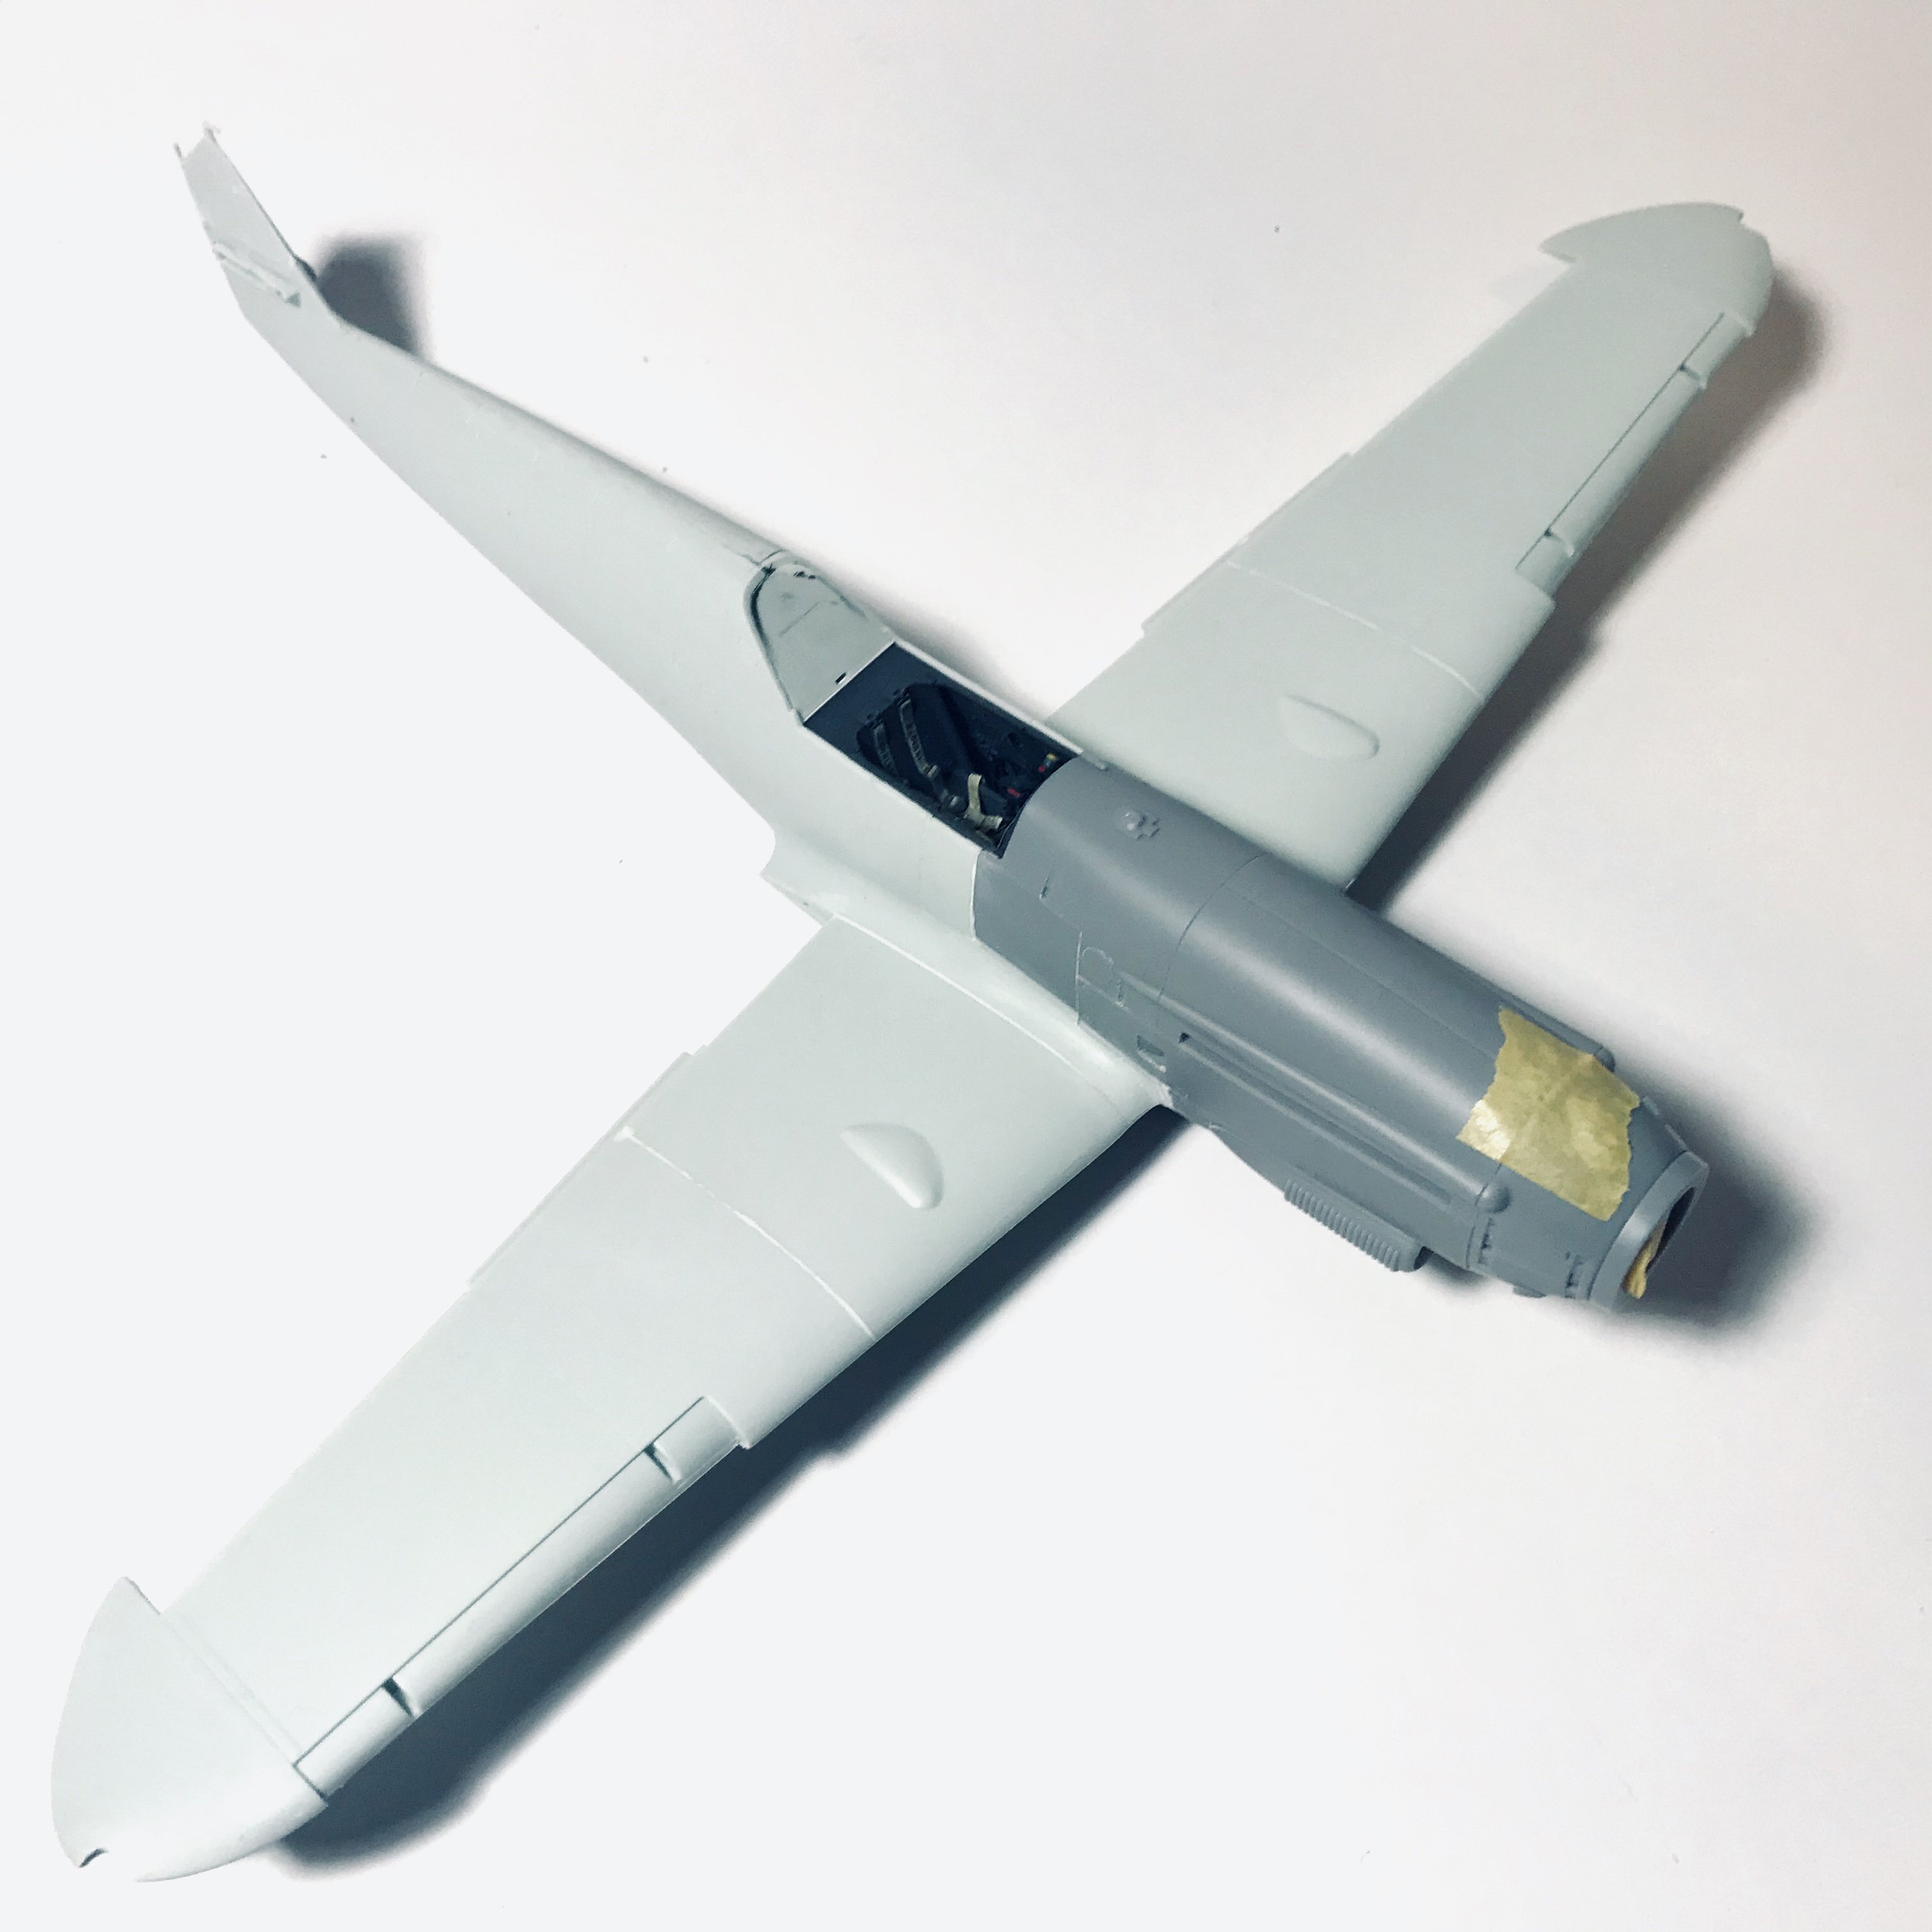
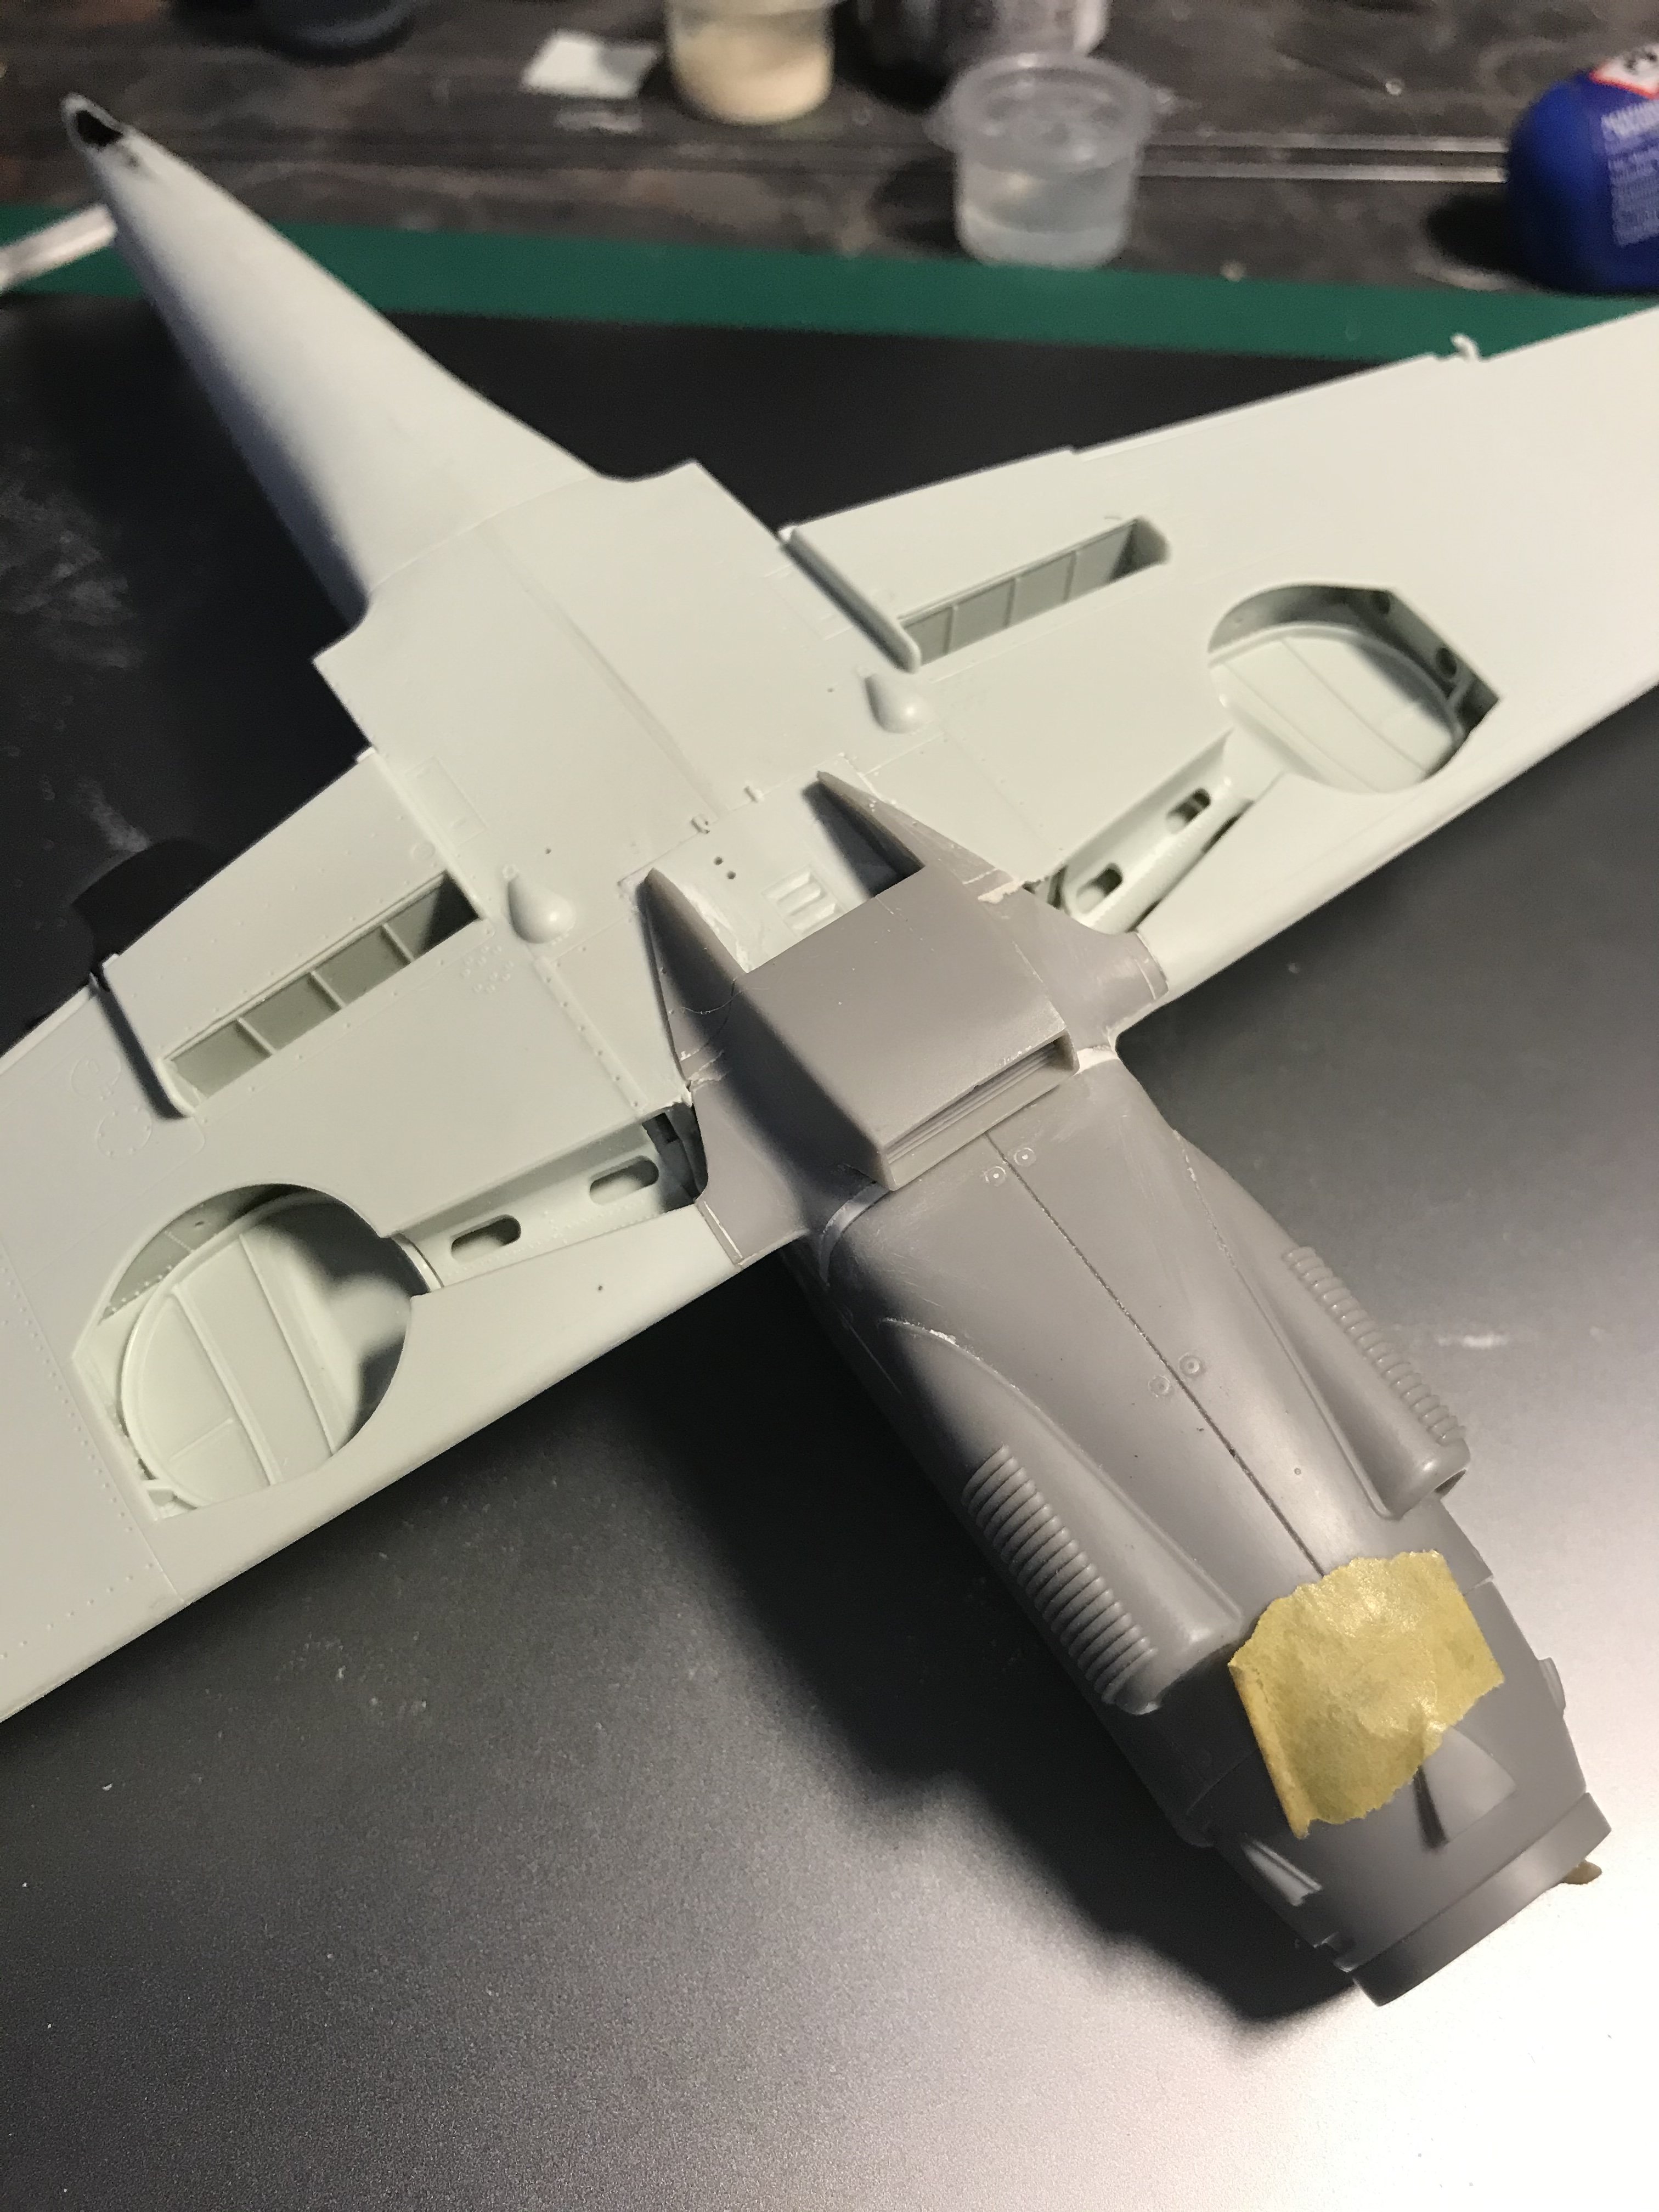
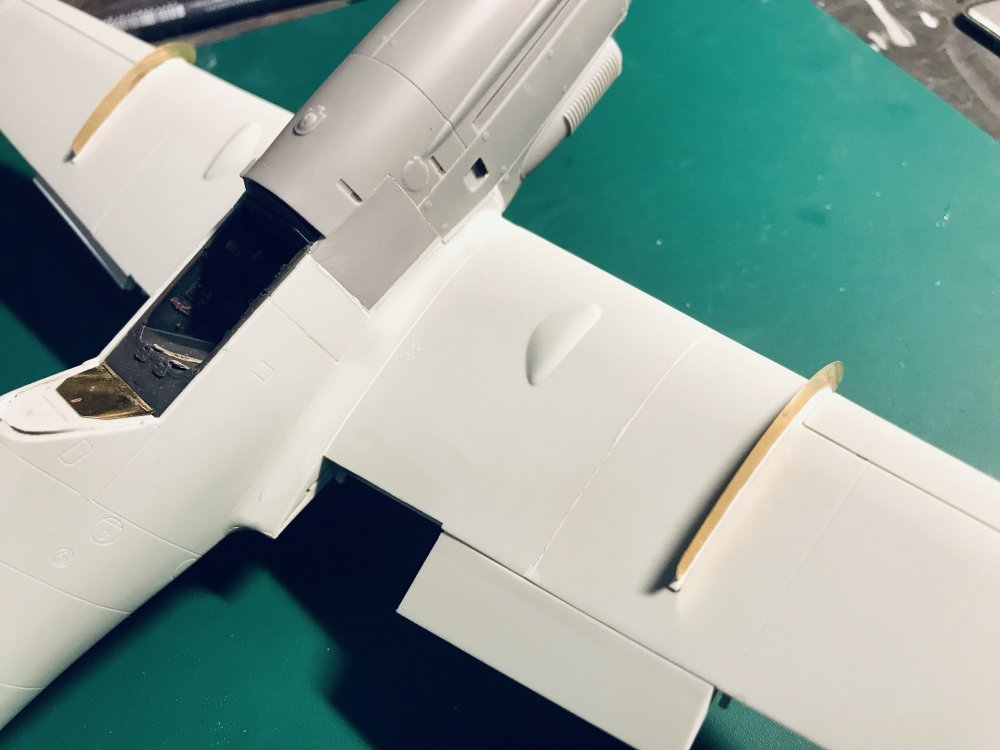
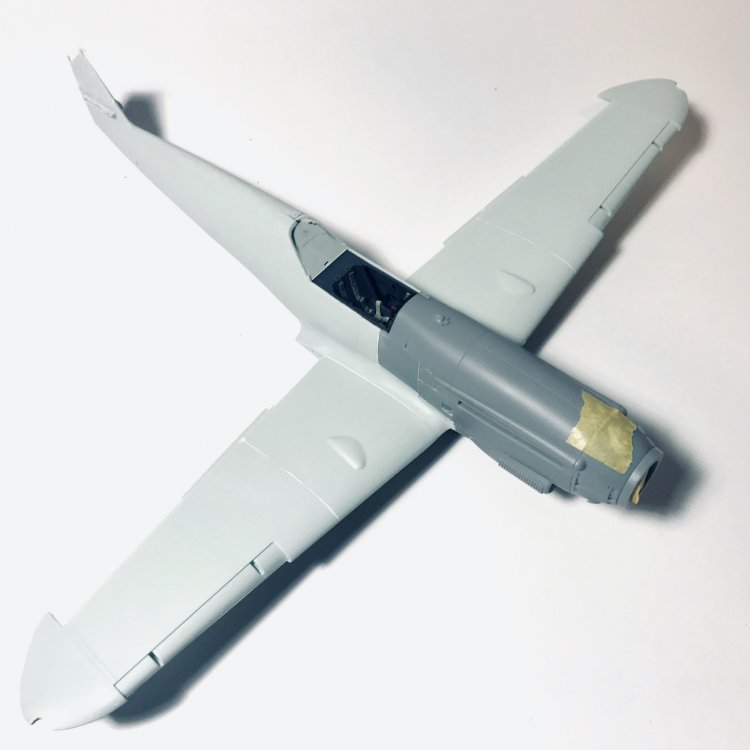
Wings on. Sanding, some rescribing and polishing.
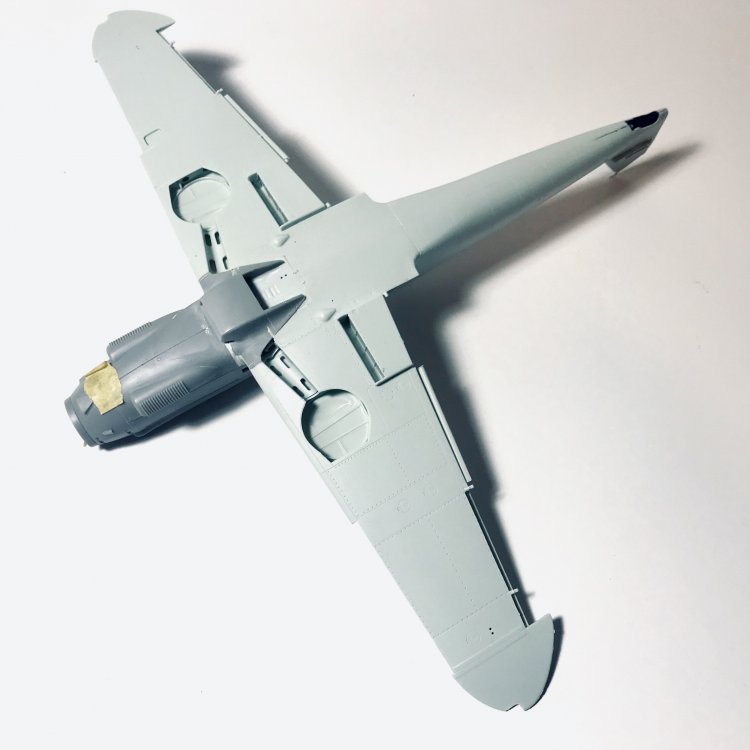
-
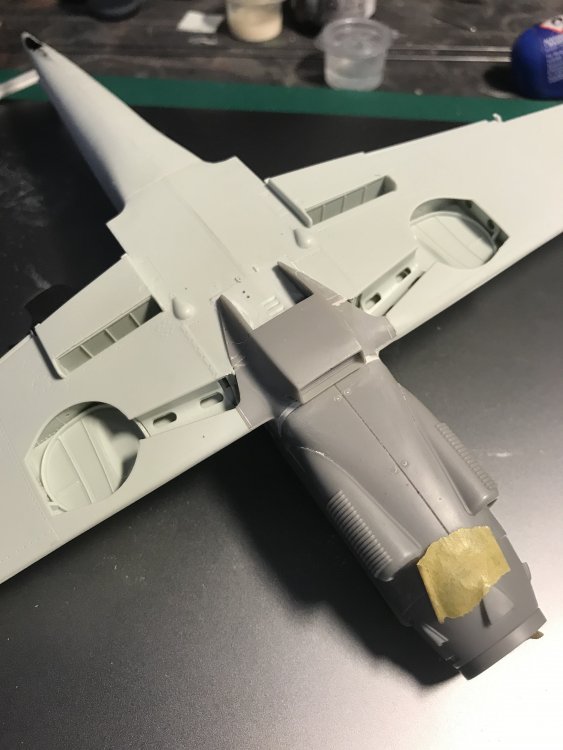
The biggest headache was the oil cooler. You need to cut out sections of the underwing and compensate for the adjustment made to the higher sit of the nose. I think i’ve got it..