Wingco57
-
Posts
3,925 -
Joined
-
Last visited
Content Type
Profiles
Forums
Events
Gallery
Everything posted by Wingco57
-

RN FG-1 Phantom 1/32 scratch conversion
Wingco57 replied to Wingco57's topic in LSM 1/35 and Larger Work In Progress
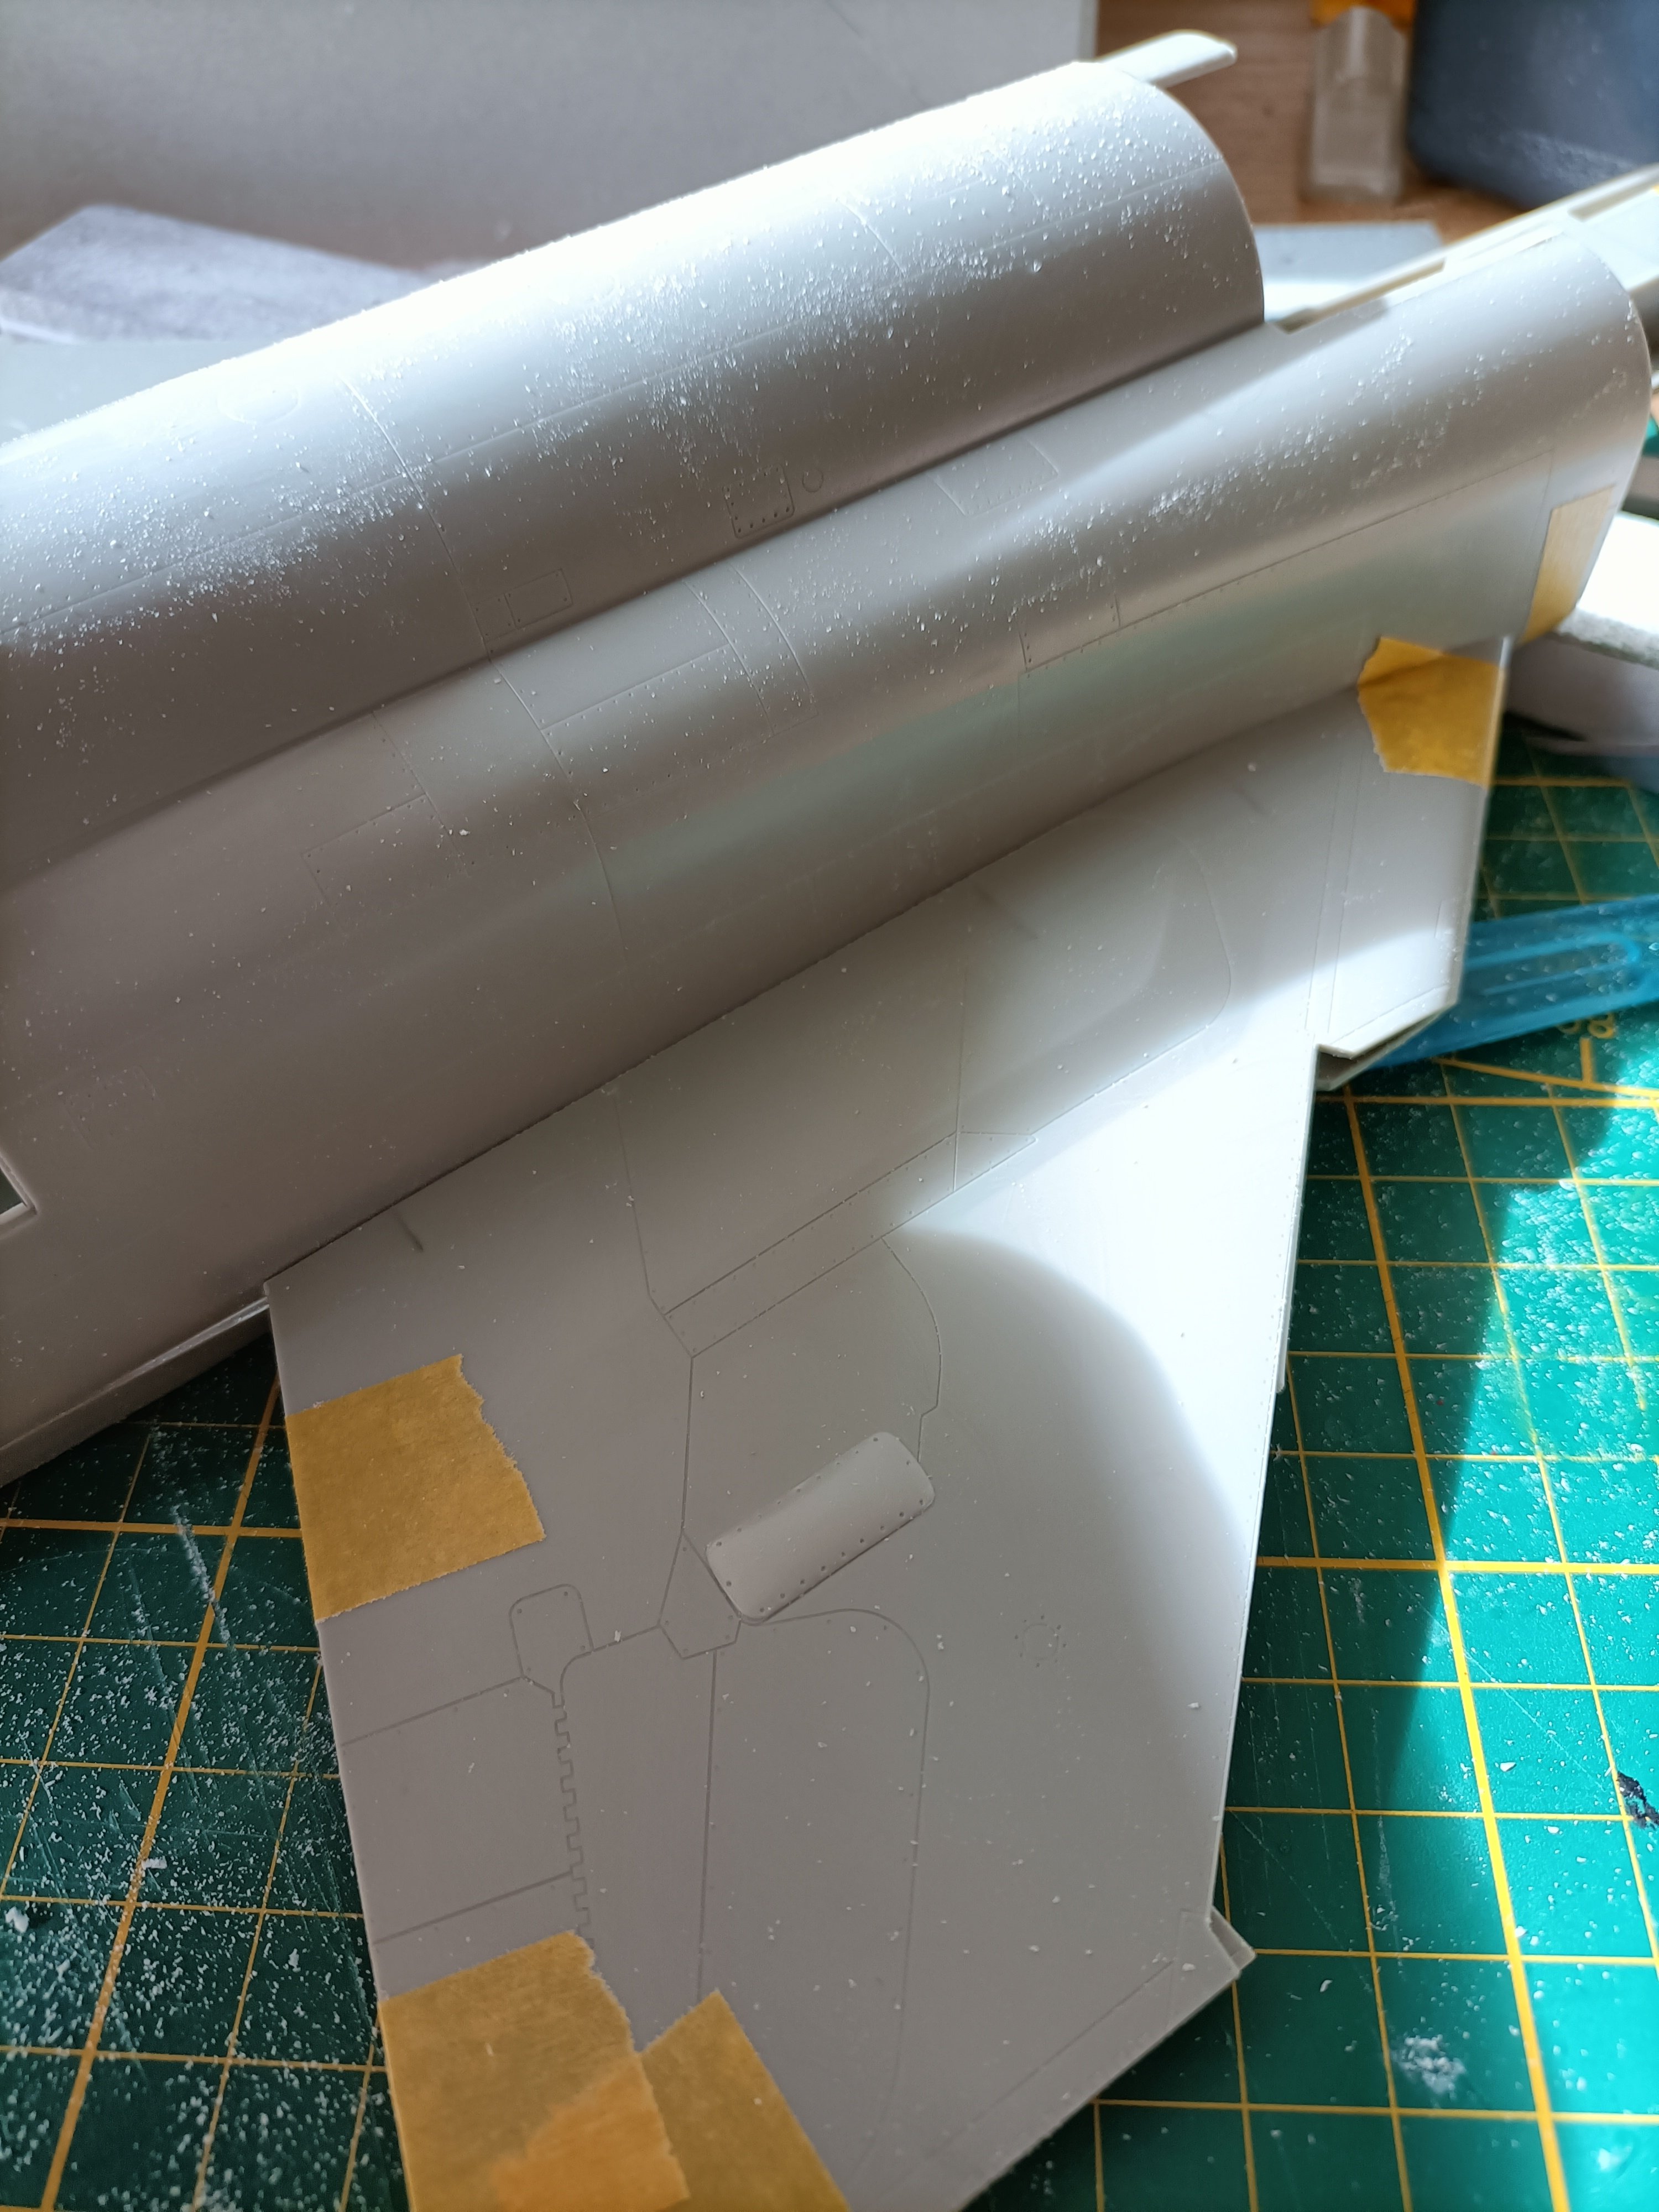
A smidgen of putty, some sanding and as smooth as a baby's bum.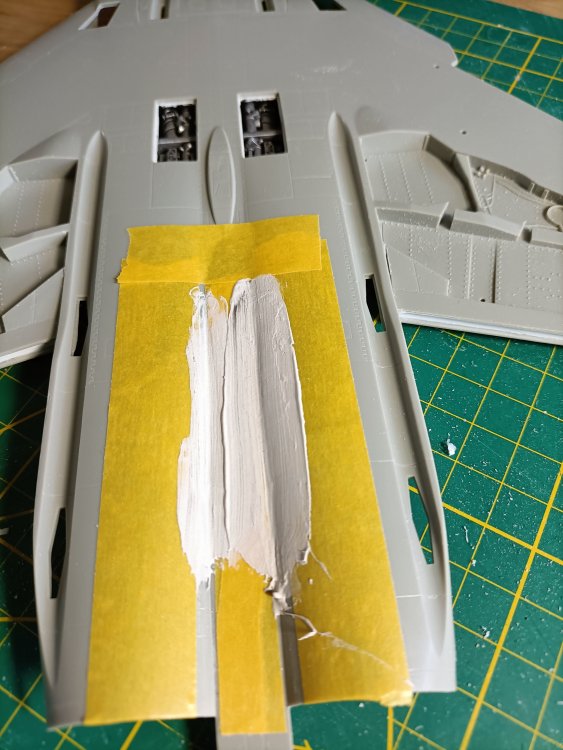
- 76 replies
-
- 5
-

-
- revell
- 1/32 phantom
- (and 1 more)
-
Looks great john. Forget the frustration and enjoy the modelling.🙂
-
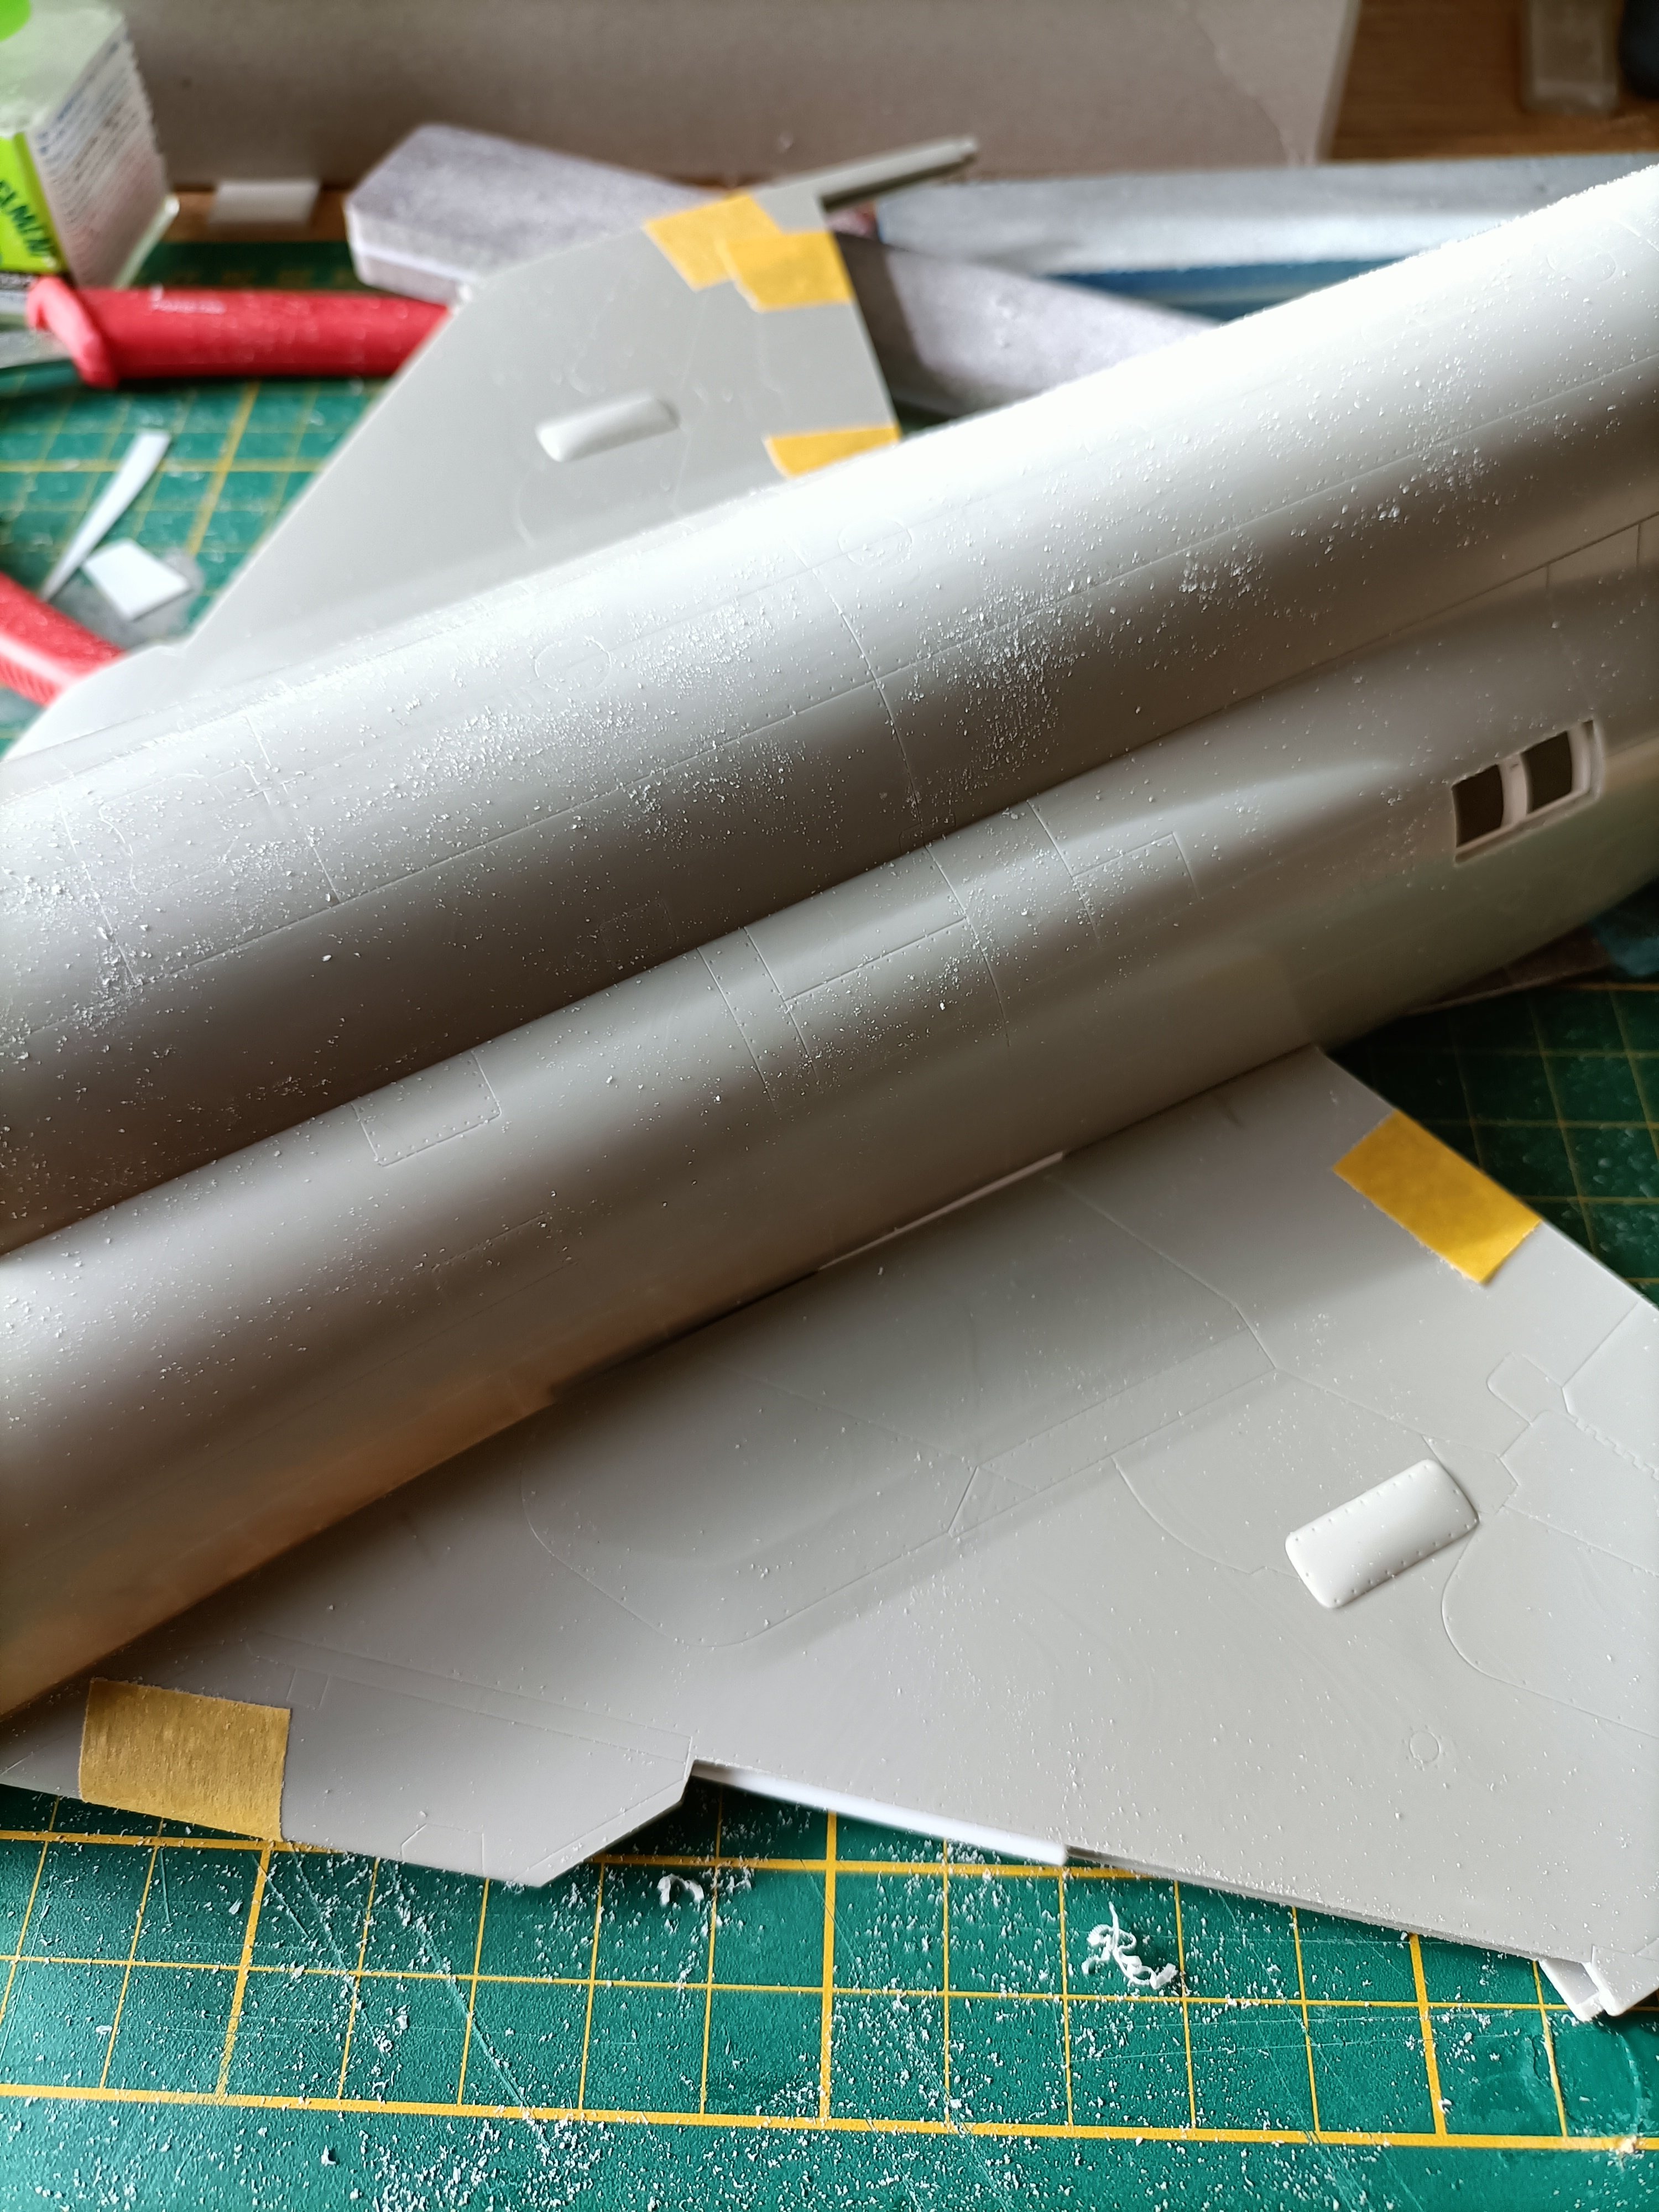
RN FG-1 Phantom 1/32 scratch conversion
Wingco57 replied to Wingco57's topic in LSM 1/35 and Larger Work In Progress
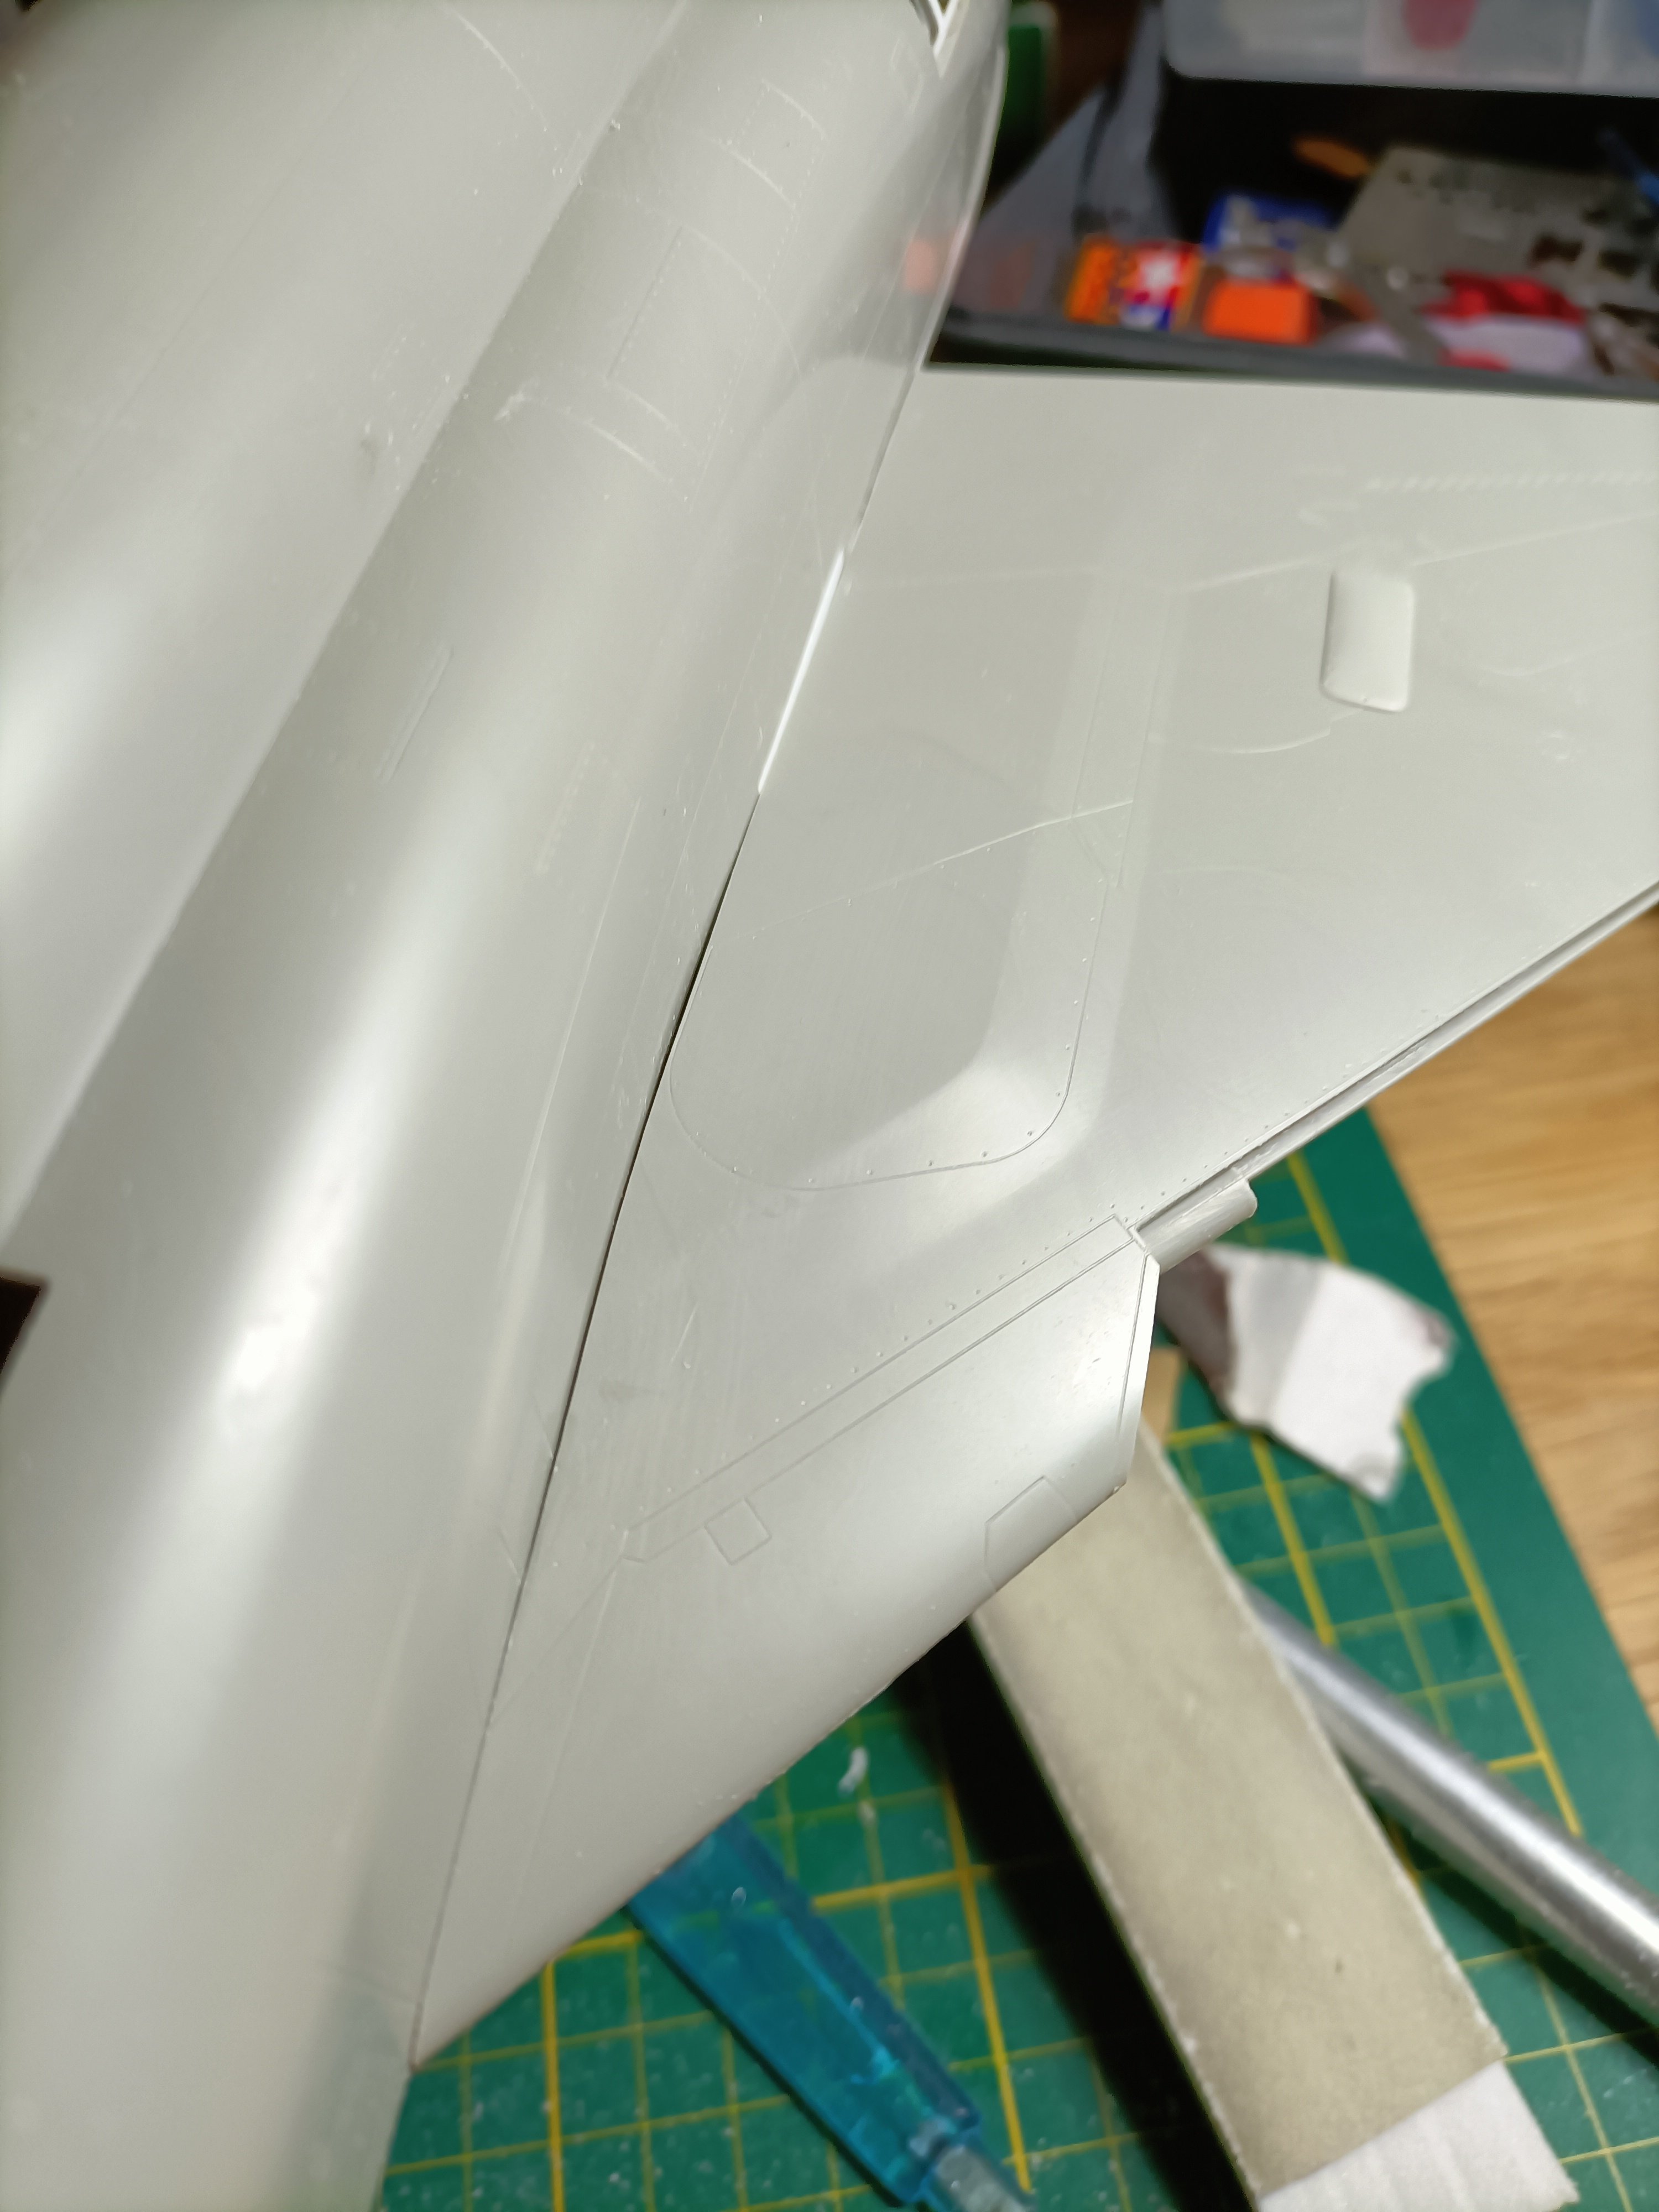
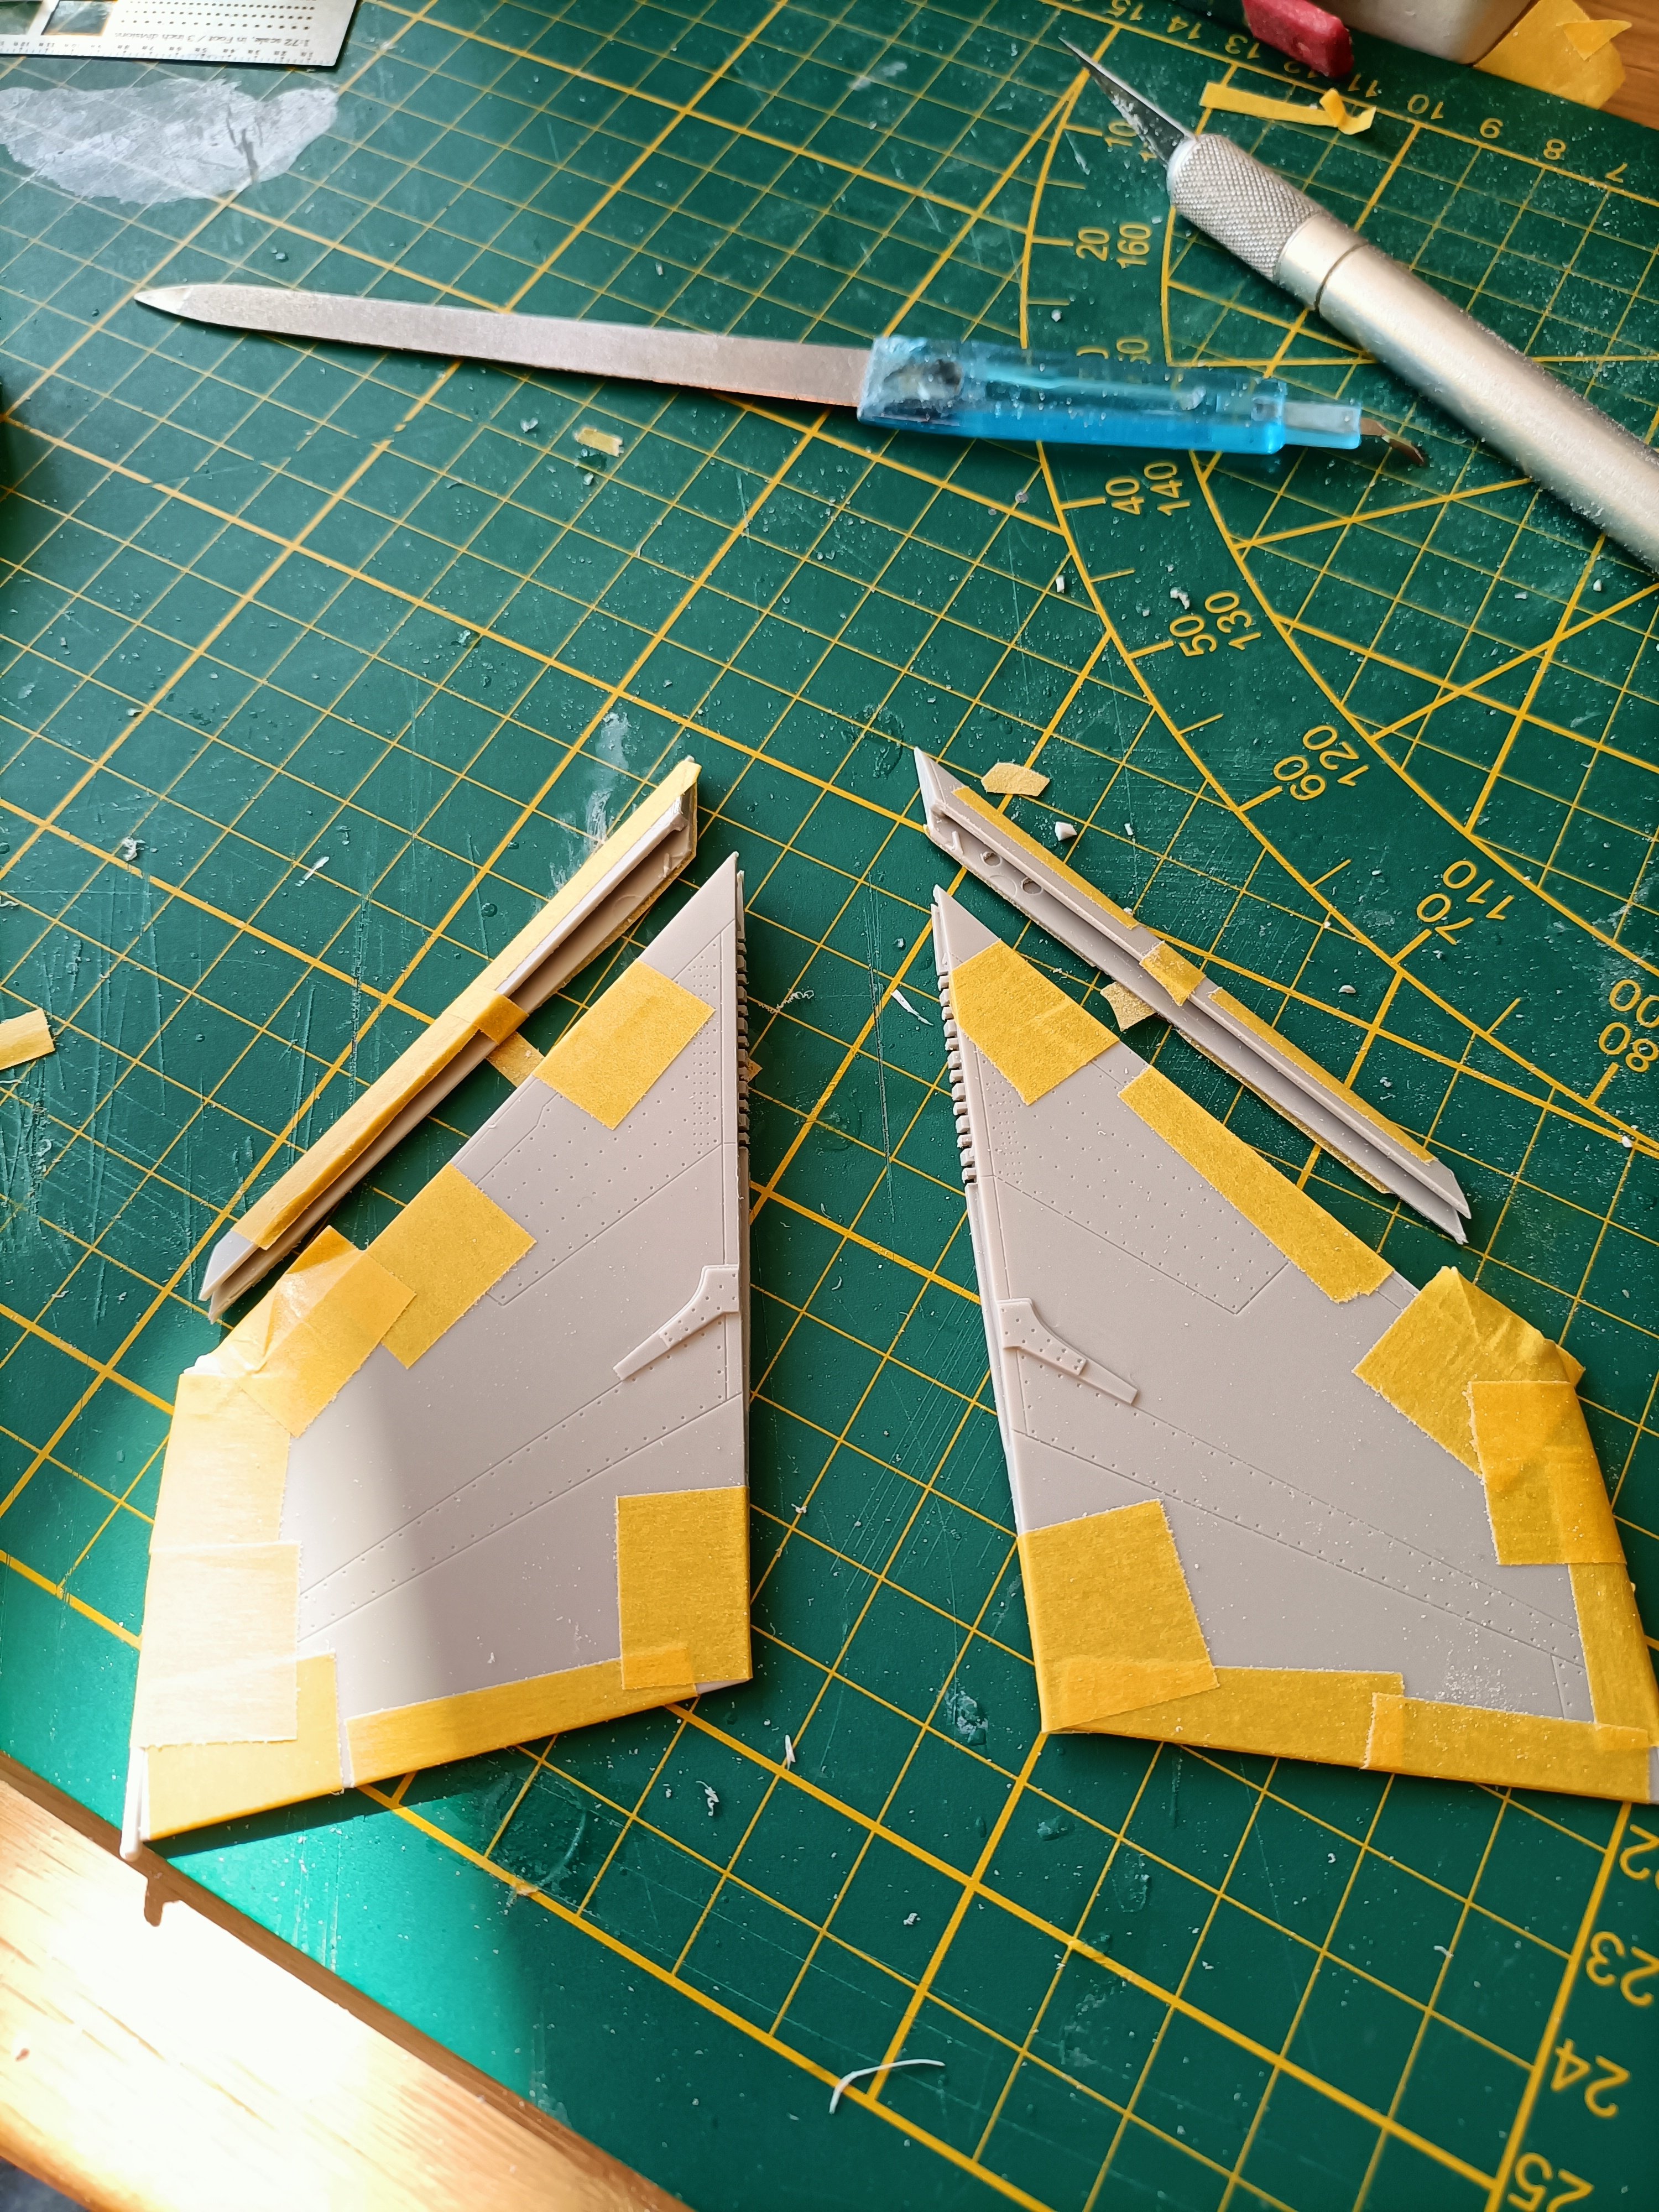
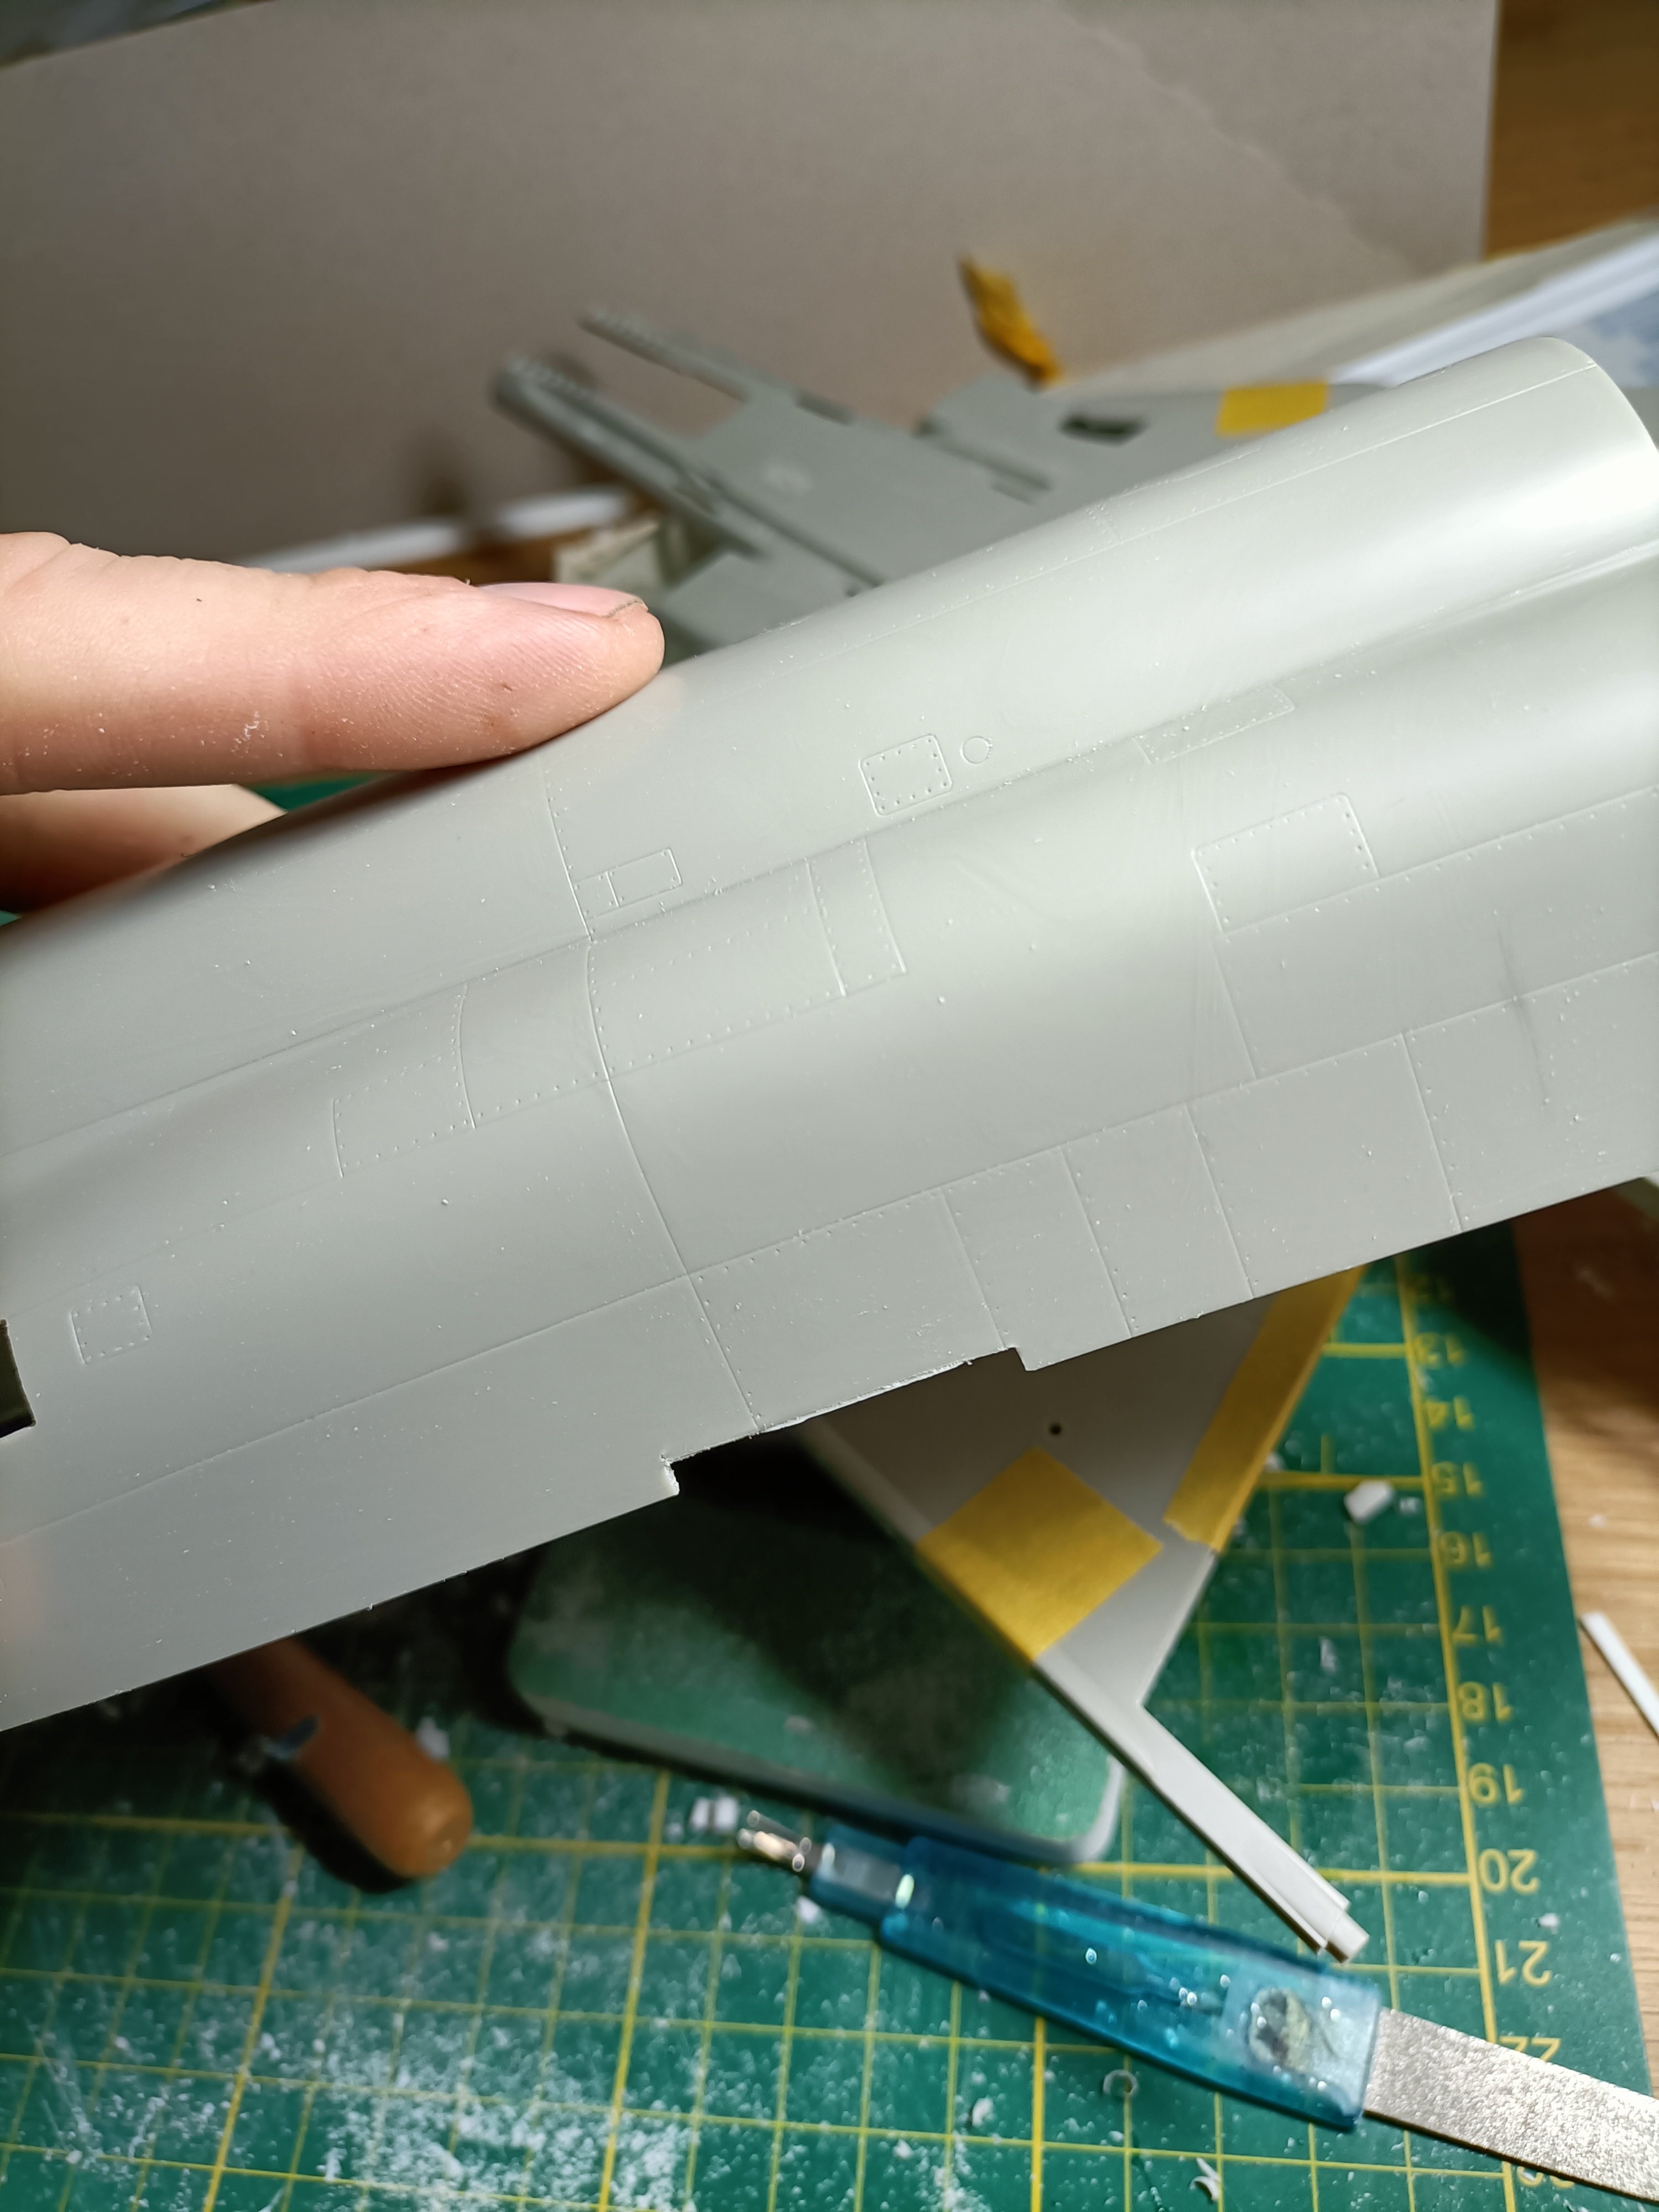
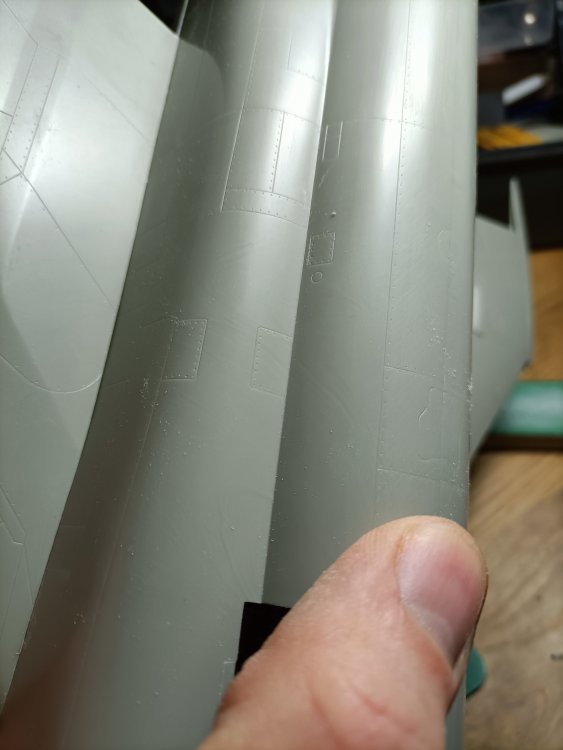
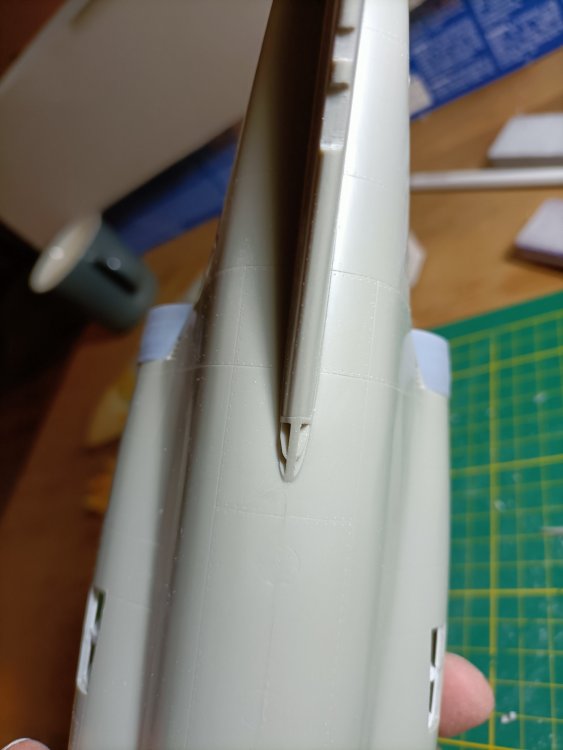
Some more sanding and the surface is smooth already. Only the gaps need a bit of filler. Very pleased with the result. Also had to sand the inside edges of the upperwings to avoid anhedral. Managed to get very tidy joins.
- 76 replies
-
- 5
-
-
- revell
- 1/32 phantom
- (and 1 more)
-
RN FG-1 Phantom 1/32 scratch conversion
Wingco57 replied to Wingco57's topic in LSM 1/35 and Larger Work In Progress
Thanks Anthony, It sure looks better.
- 76 replies
-
- 5
-
-
- revell
- 1/32 phantom
- (and 1 more)
-
RN FG-1 Phantom 1/32 scratch conversion
Wingco57 replied to Wingco57's topic in LSM 1/35 and Larger Work In Progress
First light sanding.
- 76 replies
-
- 2
-
-
- revell
- 1/32 phantom
- (and 1 more)
-
RN FG-1 Phantom 1/32 scratch conversion
Wingco57 replied to Wingco57's topic in LSM 1/35 and Larger Work In Progress
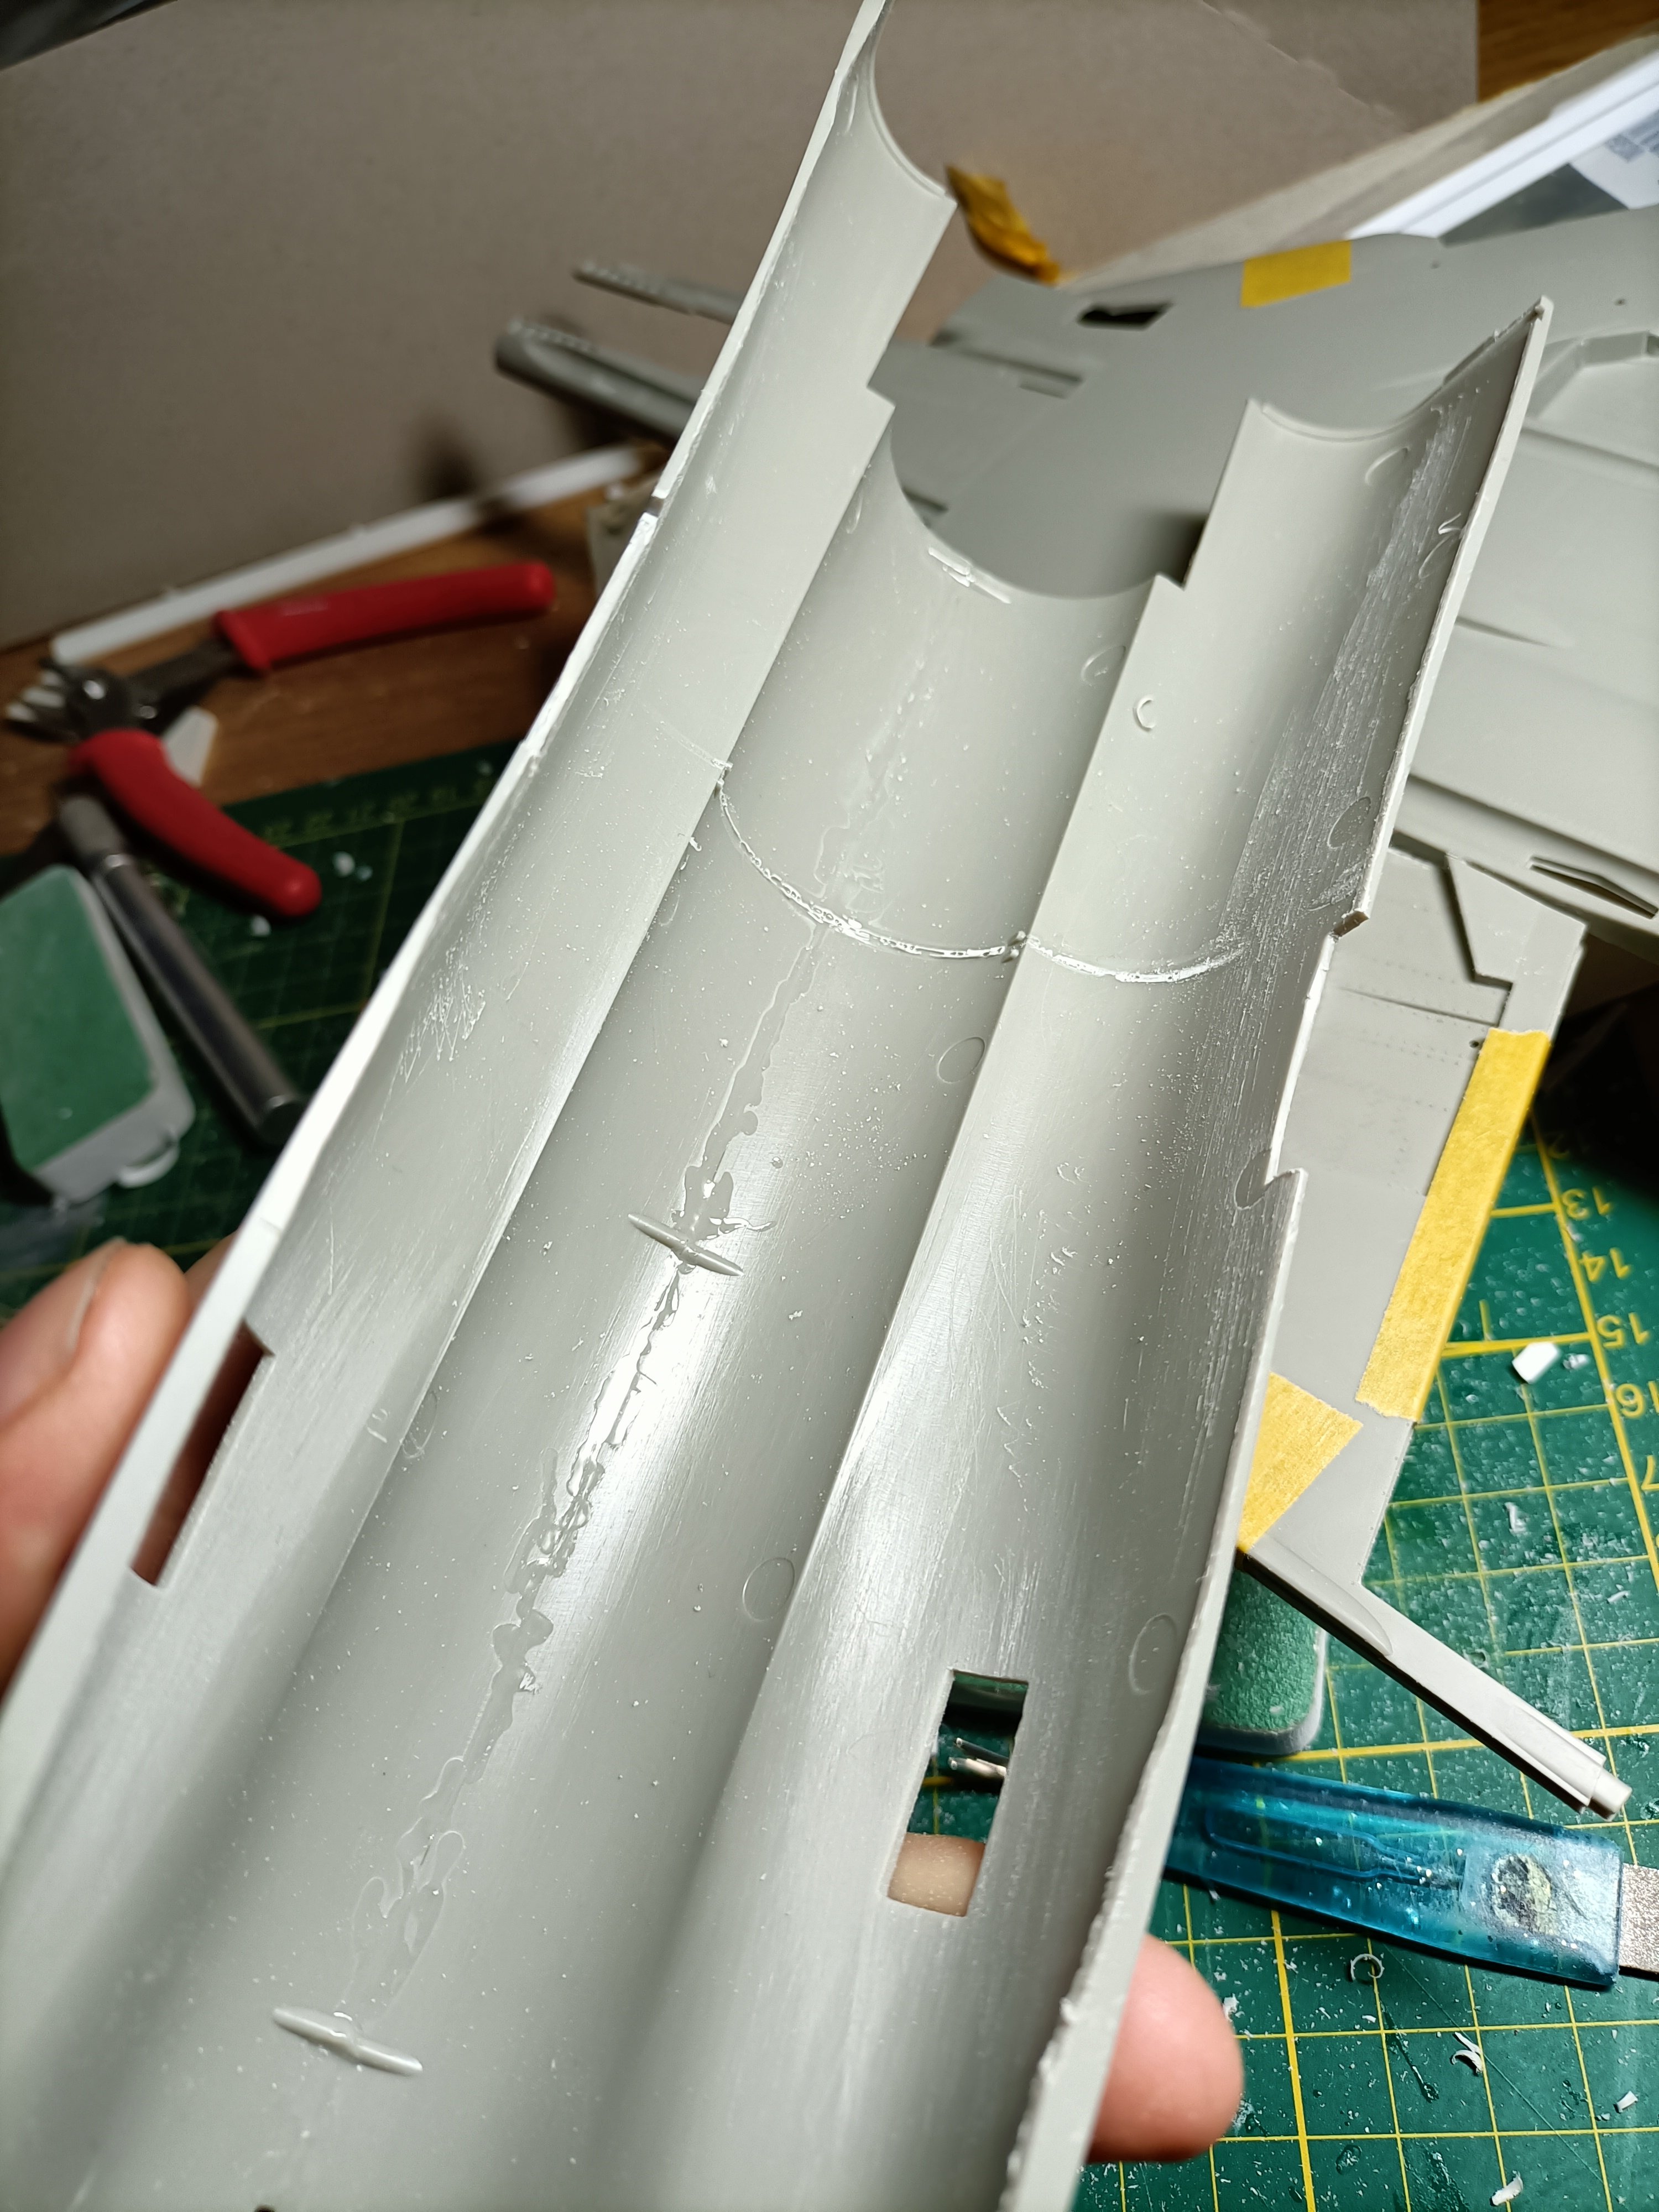
That's the plan. I hate fillerqueens and try to use as much kit styrene if possible. But due too the curves some filler is needed, bur not too much (fingers crossed). The other side is done too. After a good soak in glue it needs to harden. With luck it will be one solid mass.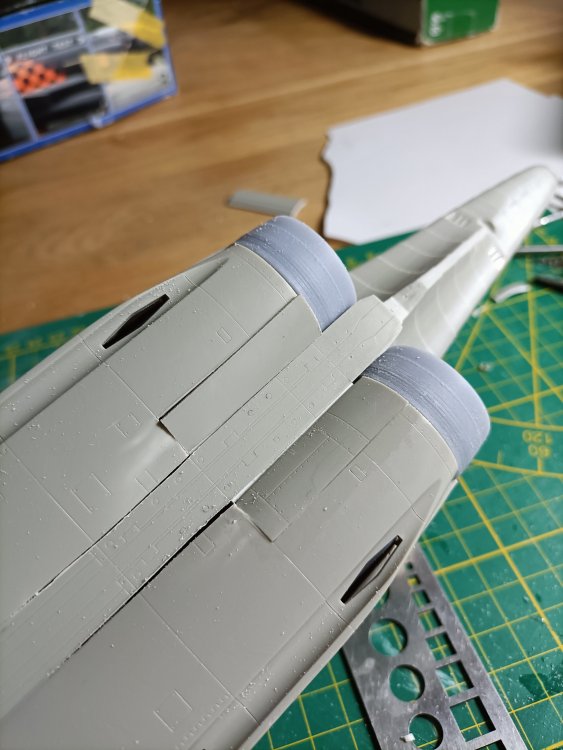
- 76 replies
-
- 4
-
-
- revell
- 1/32 phantom
- (and 1 more)
-
RN FG-1 Phantom 1/32 scratch conversion
Wingco57 replied to Wingco57's topic in LSM 1/35 and Larger Work In Progress
- 76 replies
-
- 2
-
-
- revell
- 1/32 phantom
- (and 1 more)
-
RN FG-1 Phantom 1/32 scratch conversion
Wingco57 replied to Wingco57's topic in LSM 1/35 and Larger Work In Progress
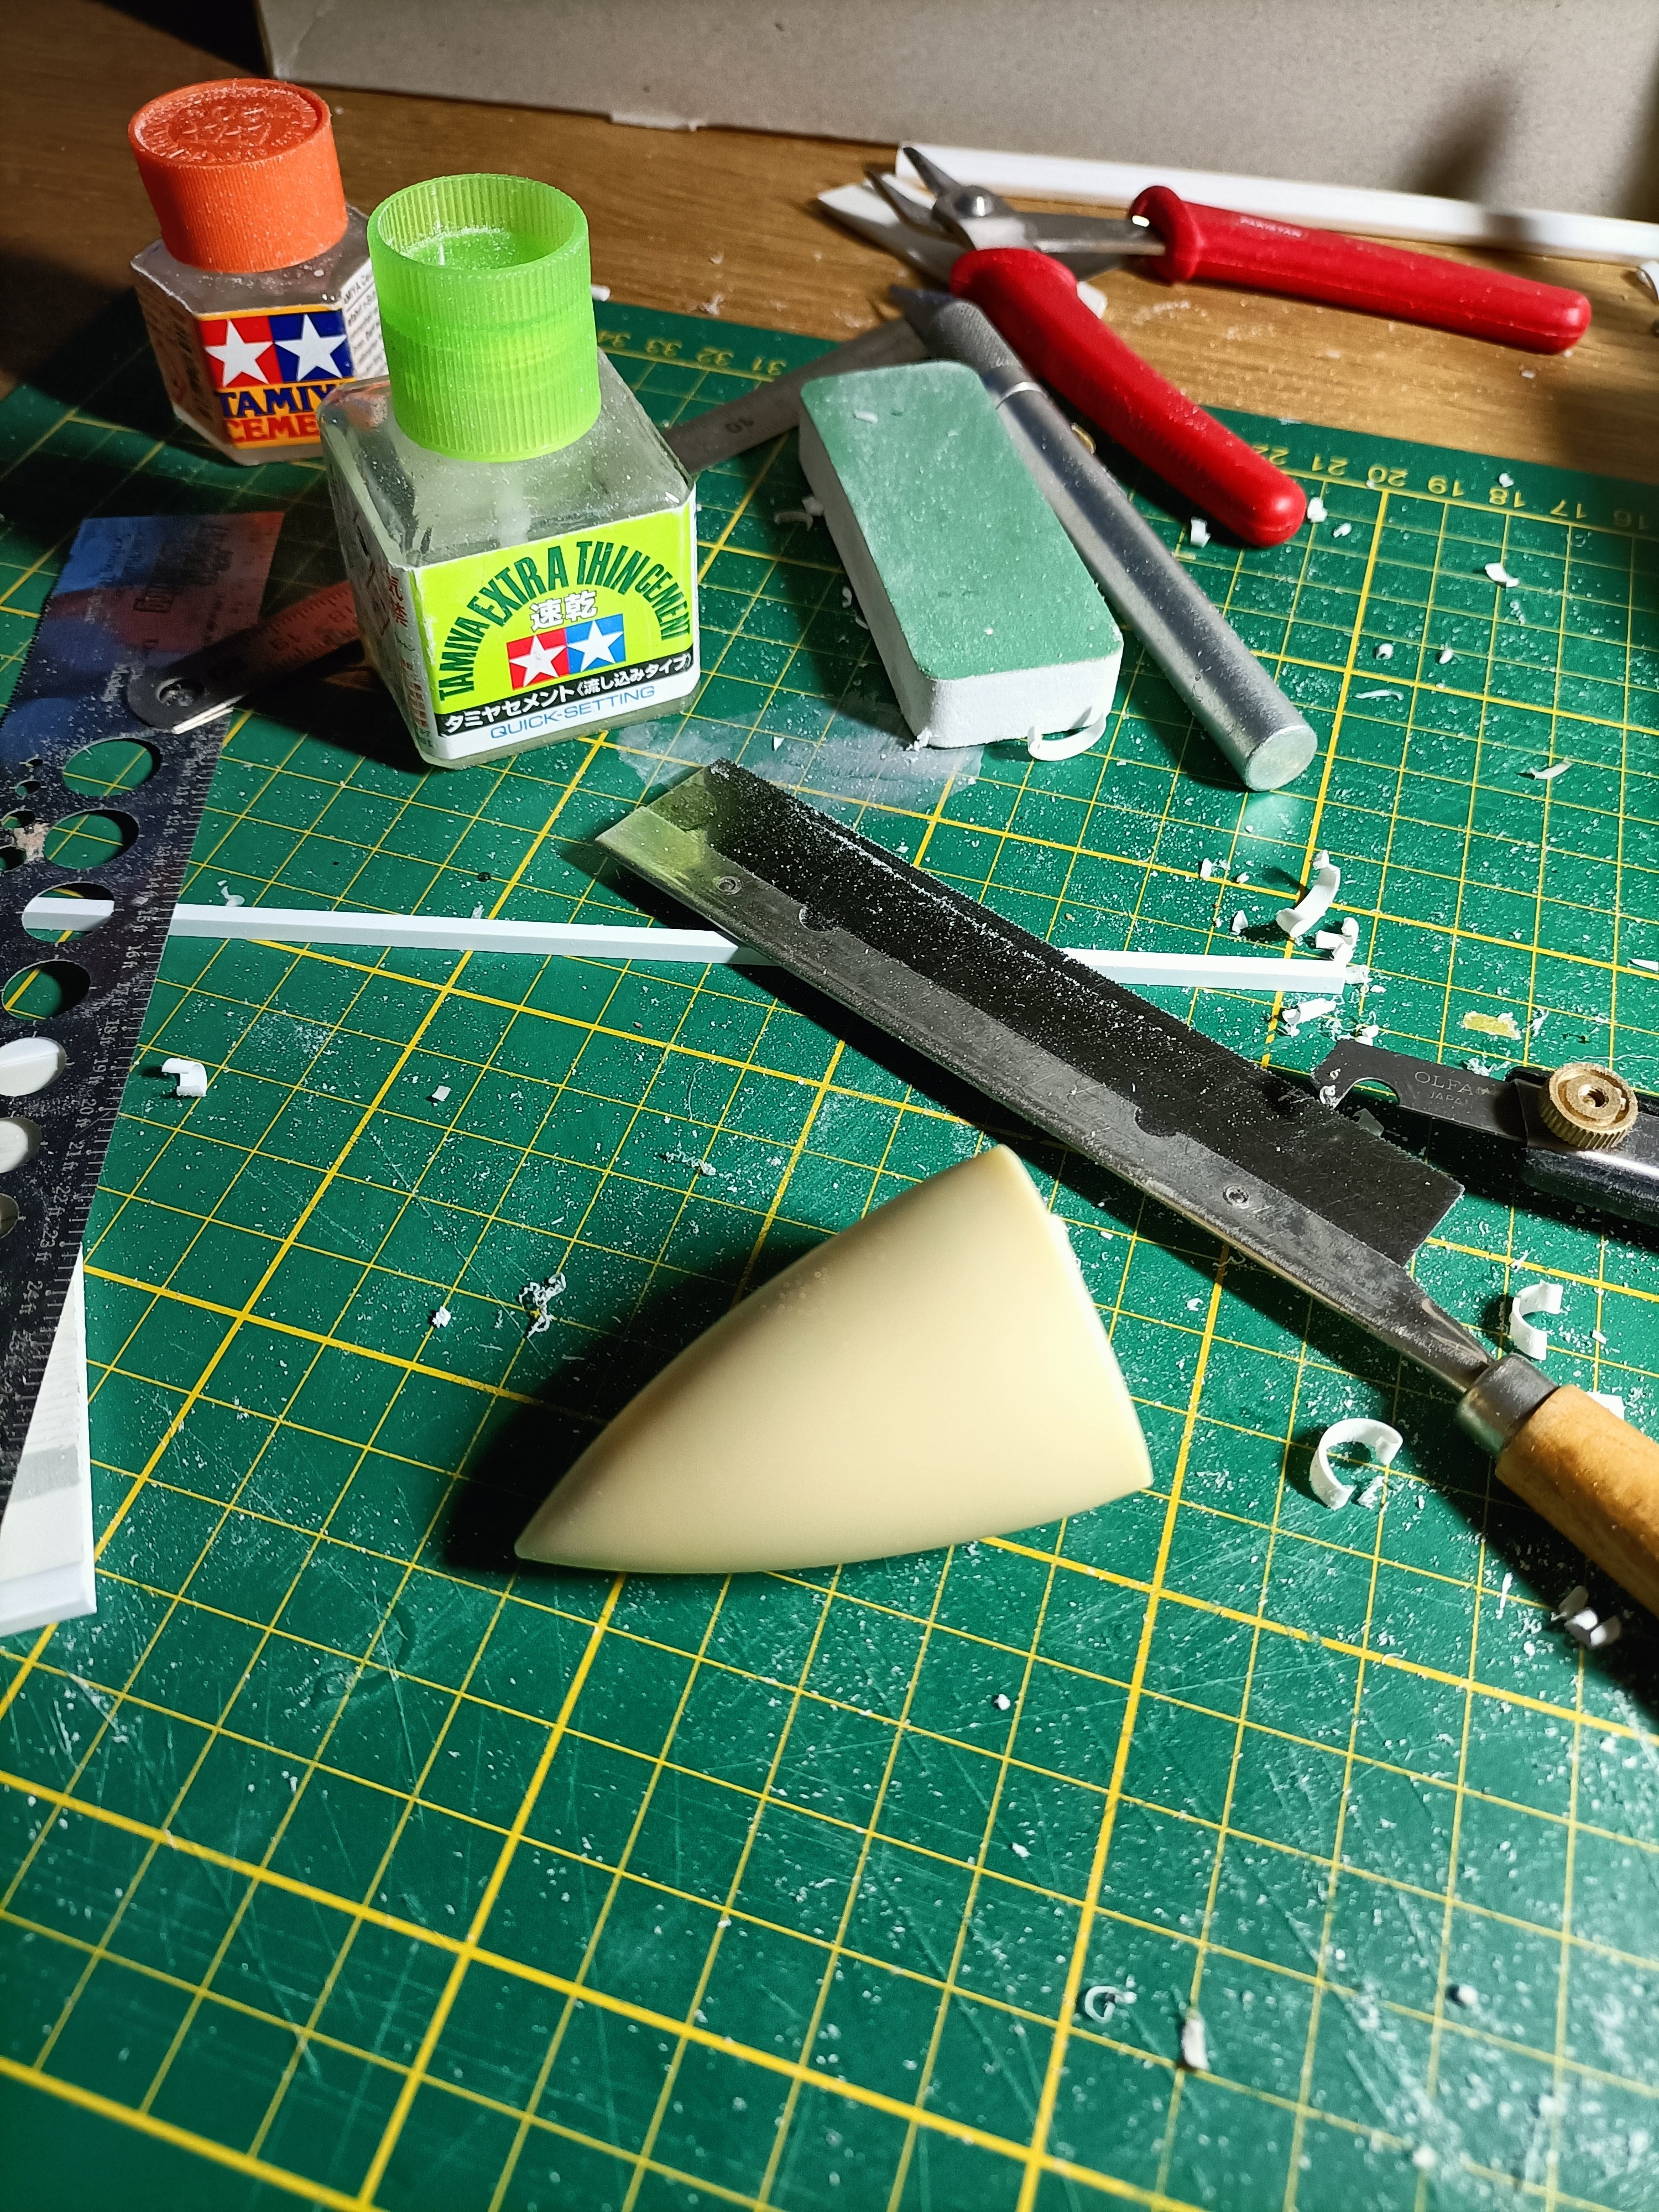
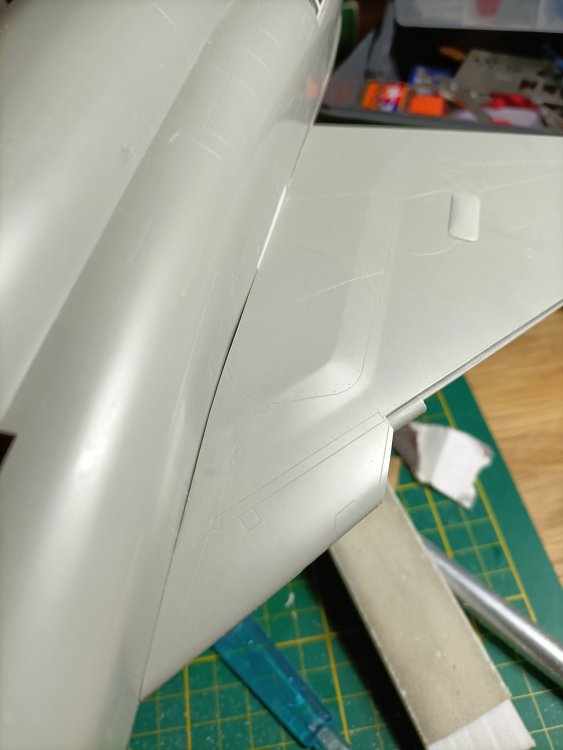
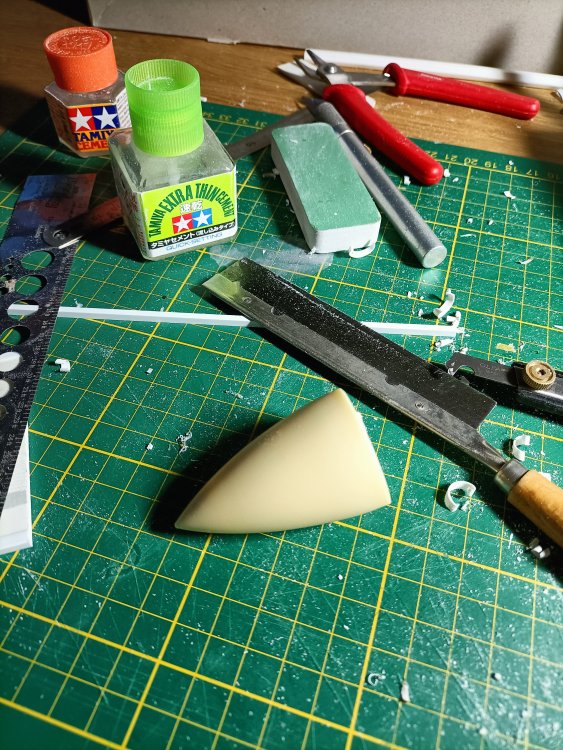
I wouldn't call it engineering, but "aanklooien". Using some leftovers from the FGR-2 I cut a part that has the correct curvature and transplanted in place. Not bad. So far so good.

- 76 replies
-
- 3
-
-
- revell
- 1/32 phantom
- (and 1 more)
-
RN FG-1 Phantom 1/32 scratch conversion
Wingco57 replied to Wingco57's topic in LSM 1/35 and Larger Work In Progress
Thanks Anthony, it sure is fun. But is seems we are the only ones talking here.🤔- 76 replies
-
- 1
-
-
- revell
- 1/32 phantom
- (and 1 more)
-
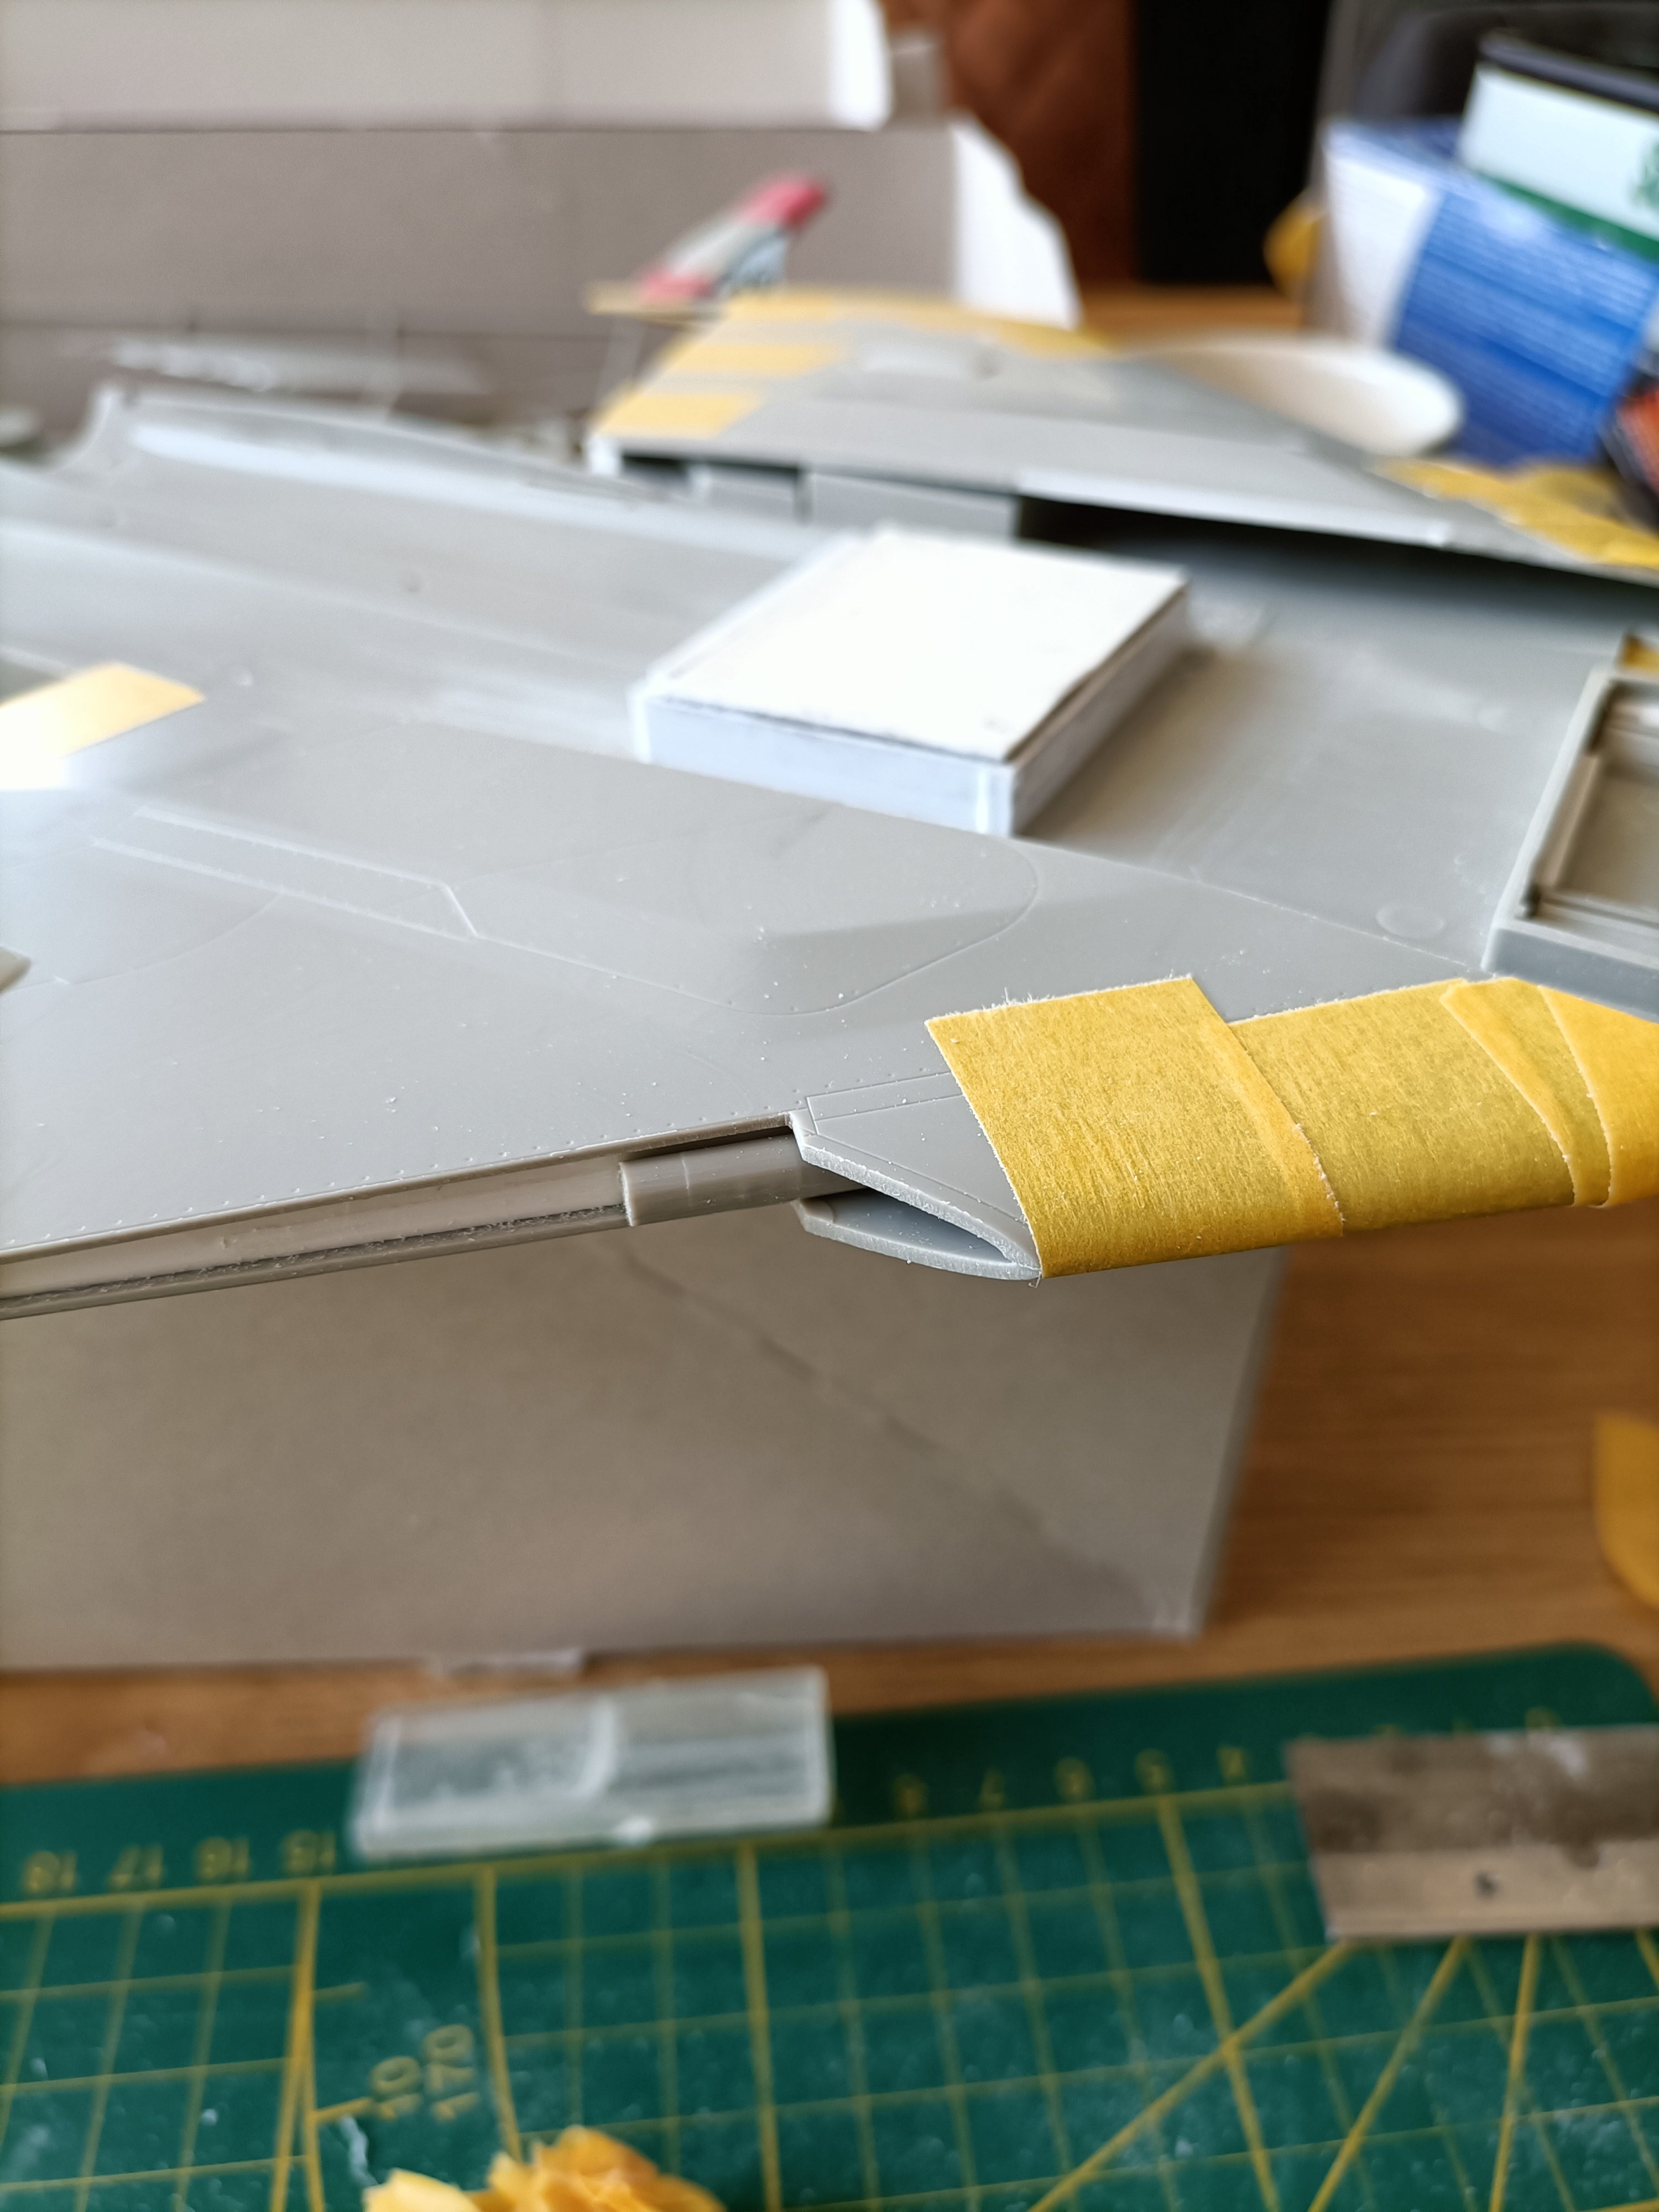
RN FG-1 Phantom 1/32 scratch conversion
Wingco57 replied to Wingco57's topic in LSM 1/35 and Larger Work In Progress
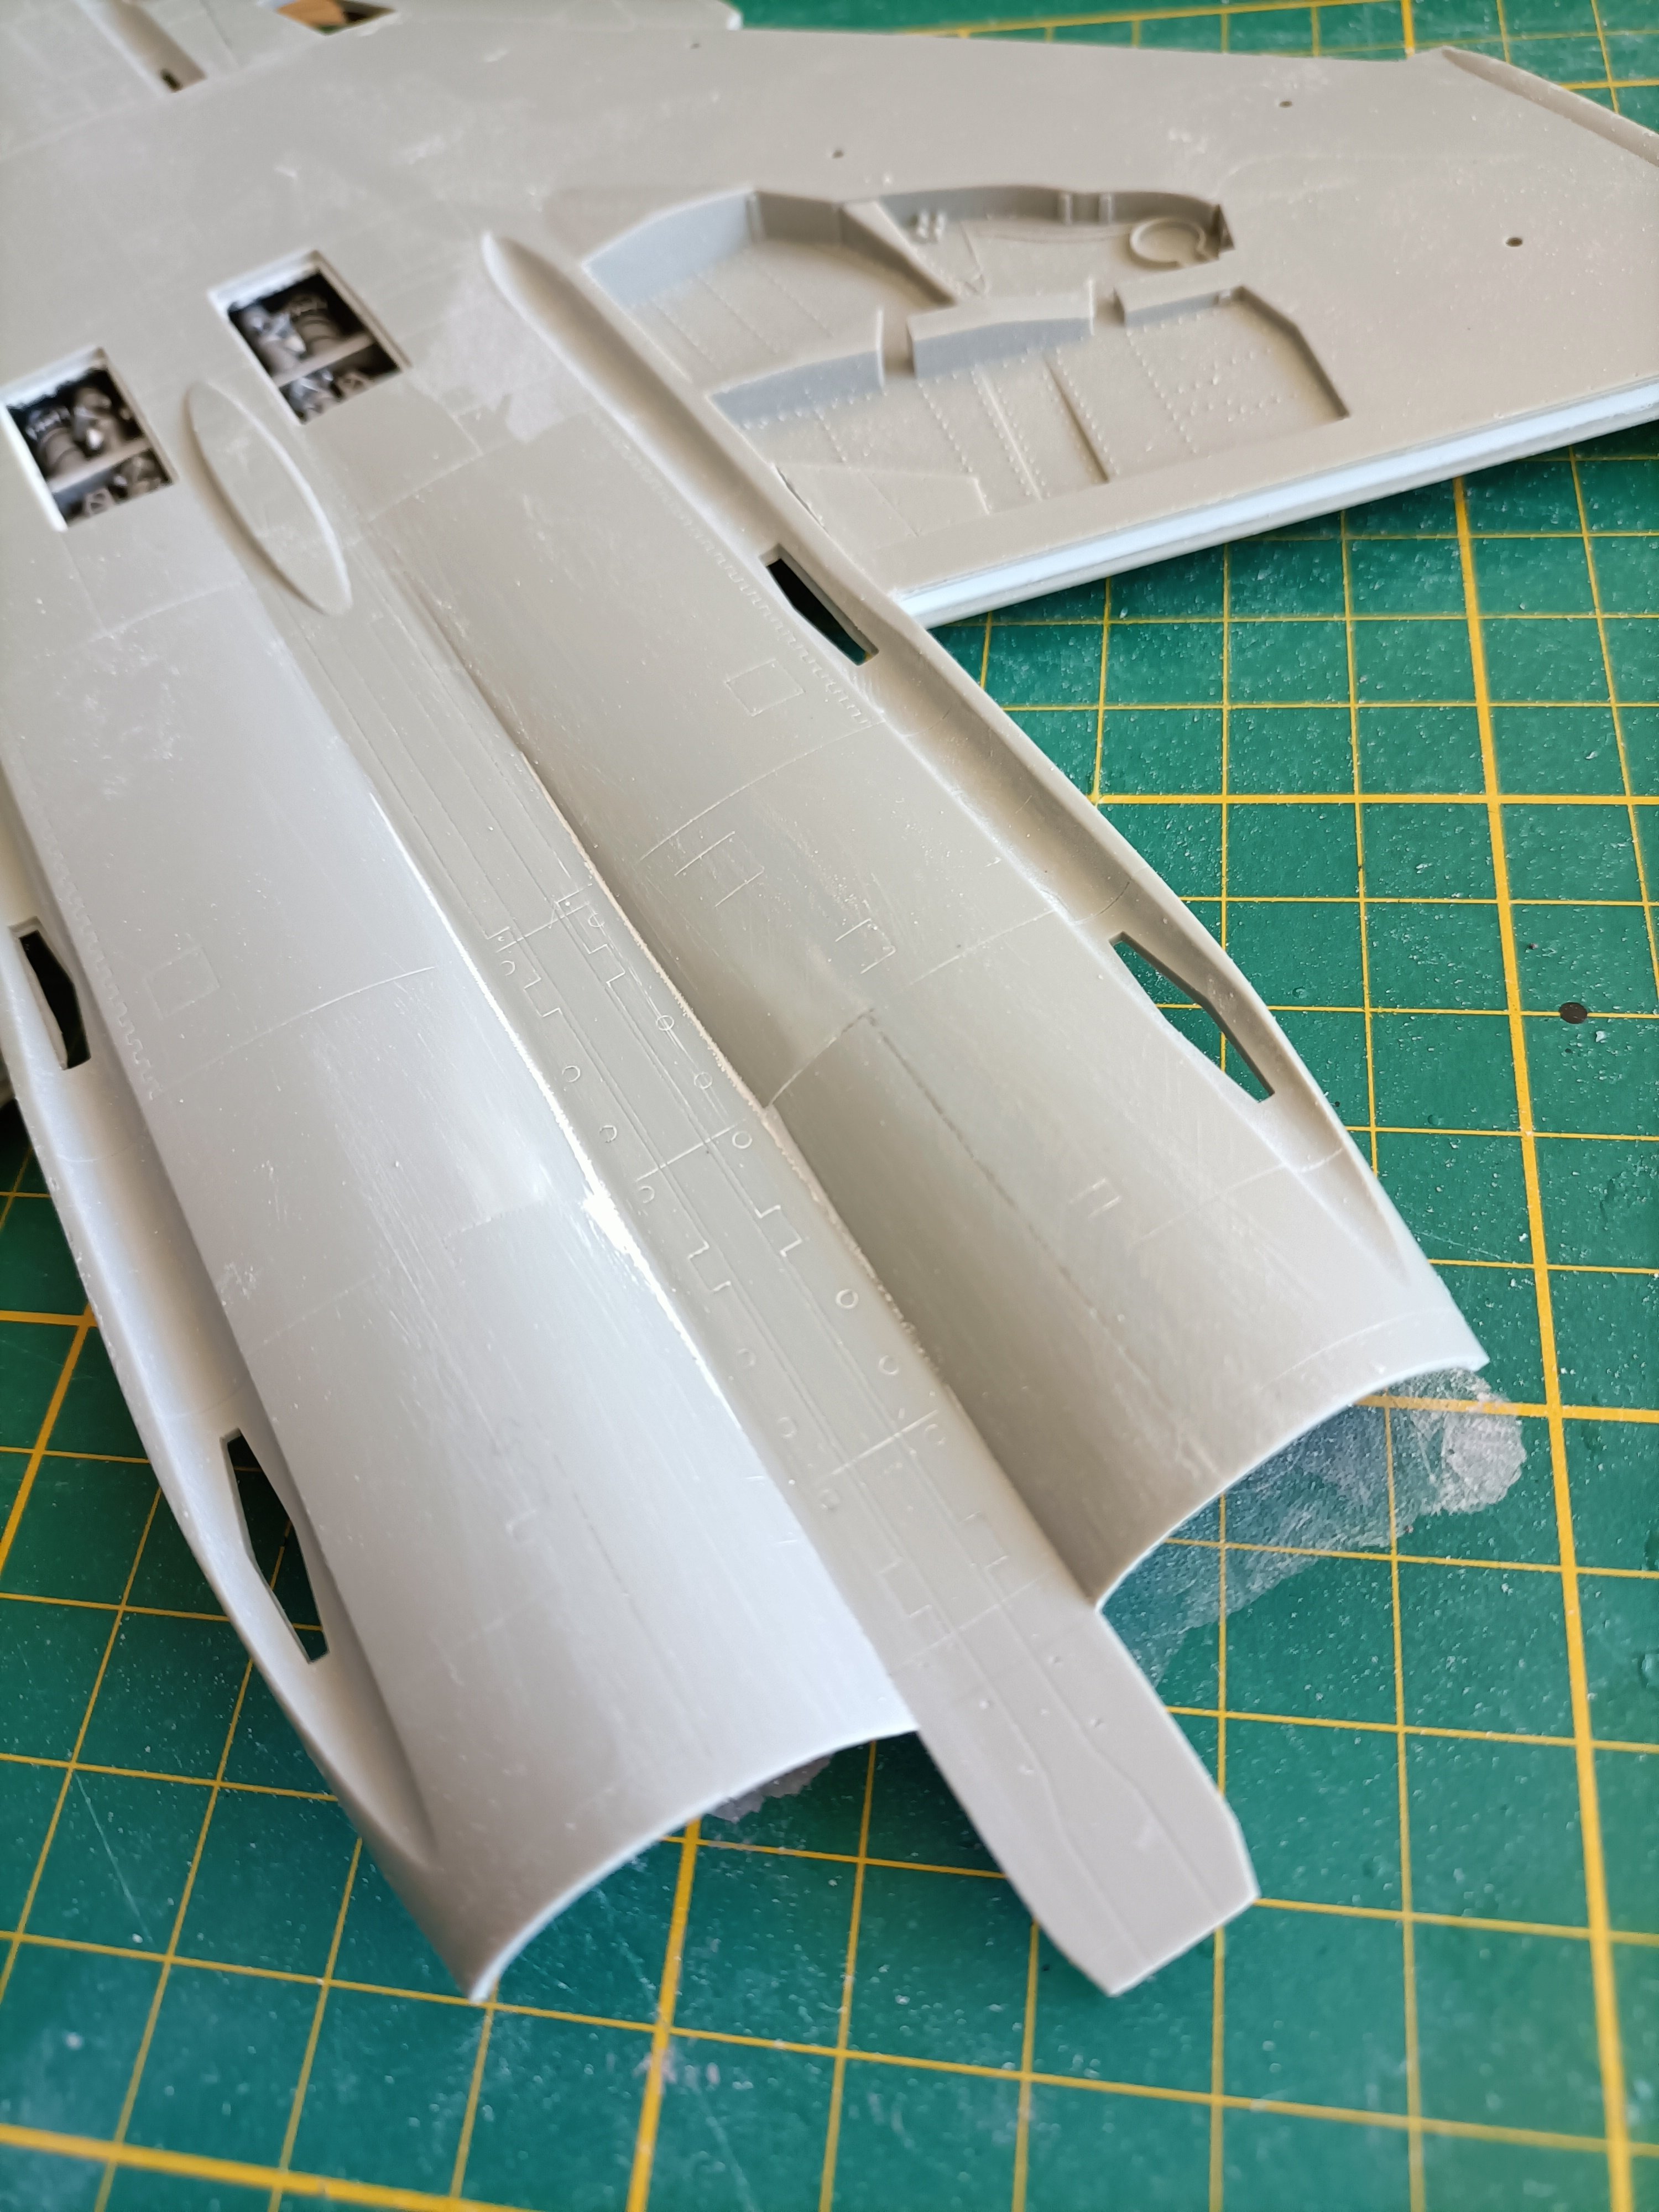
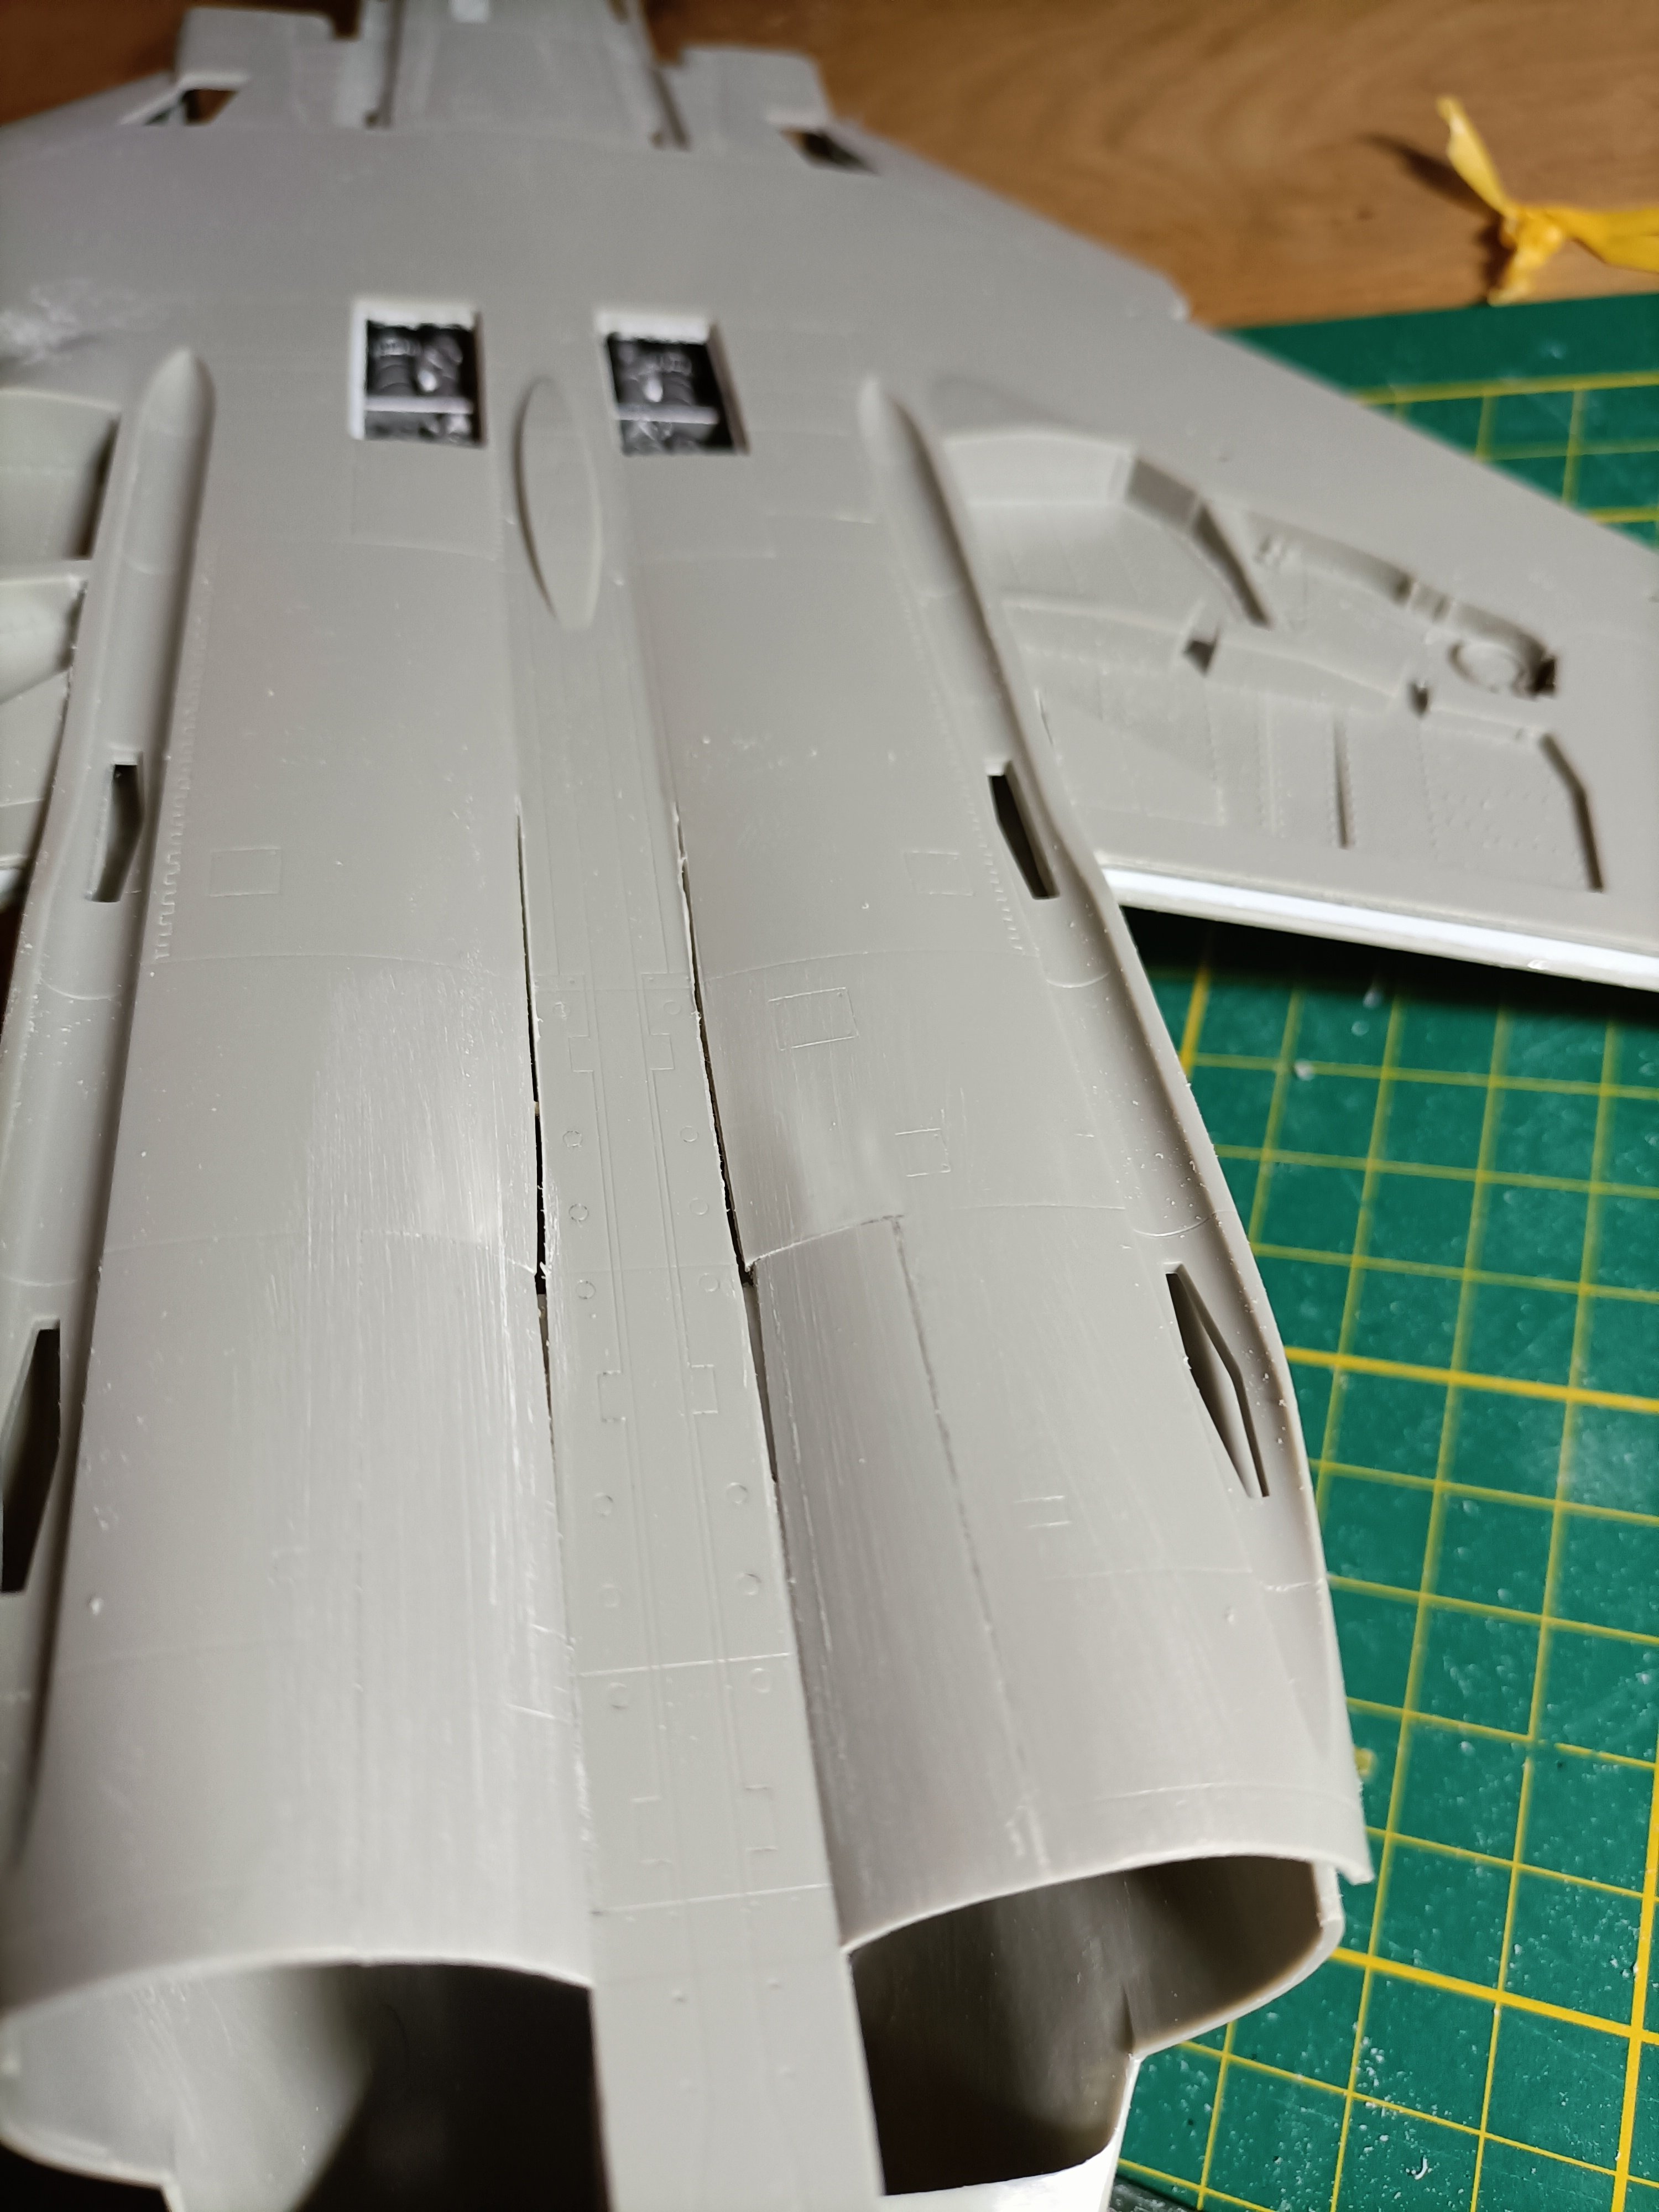
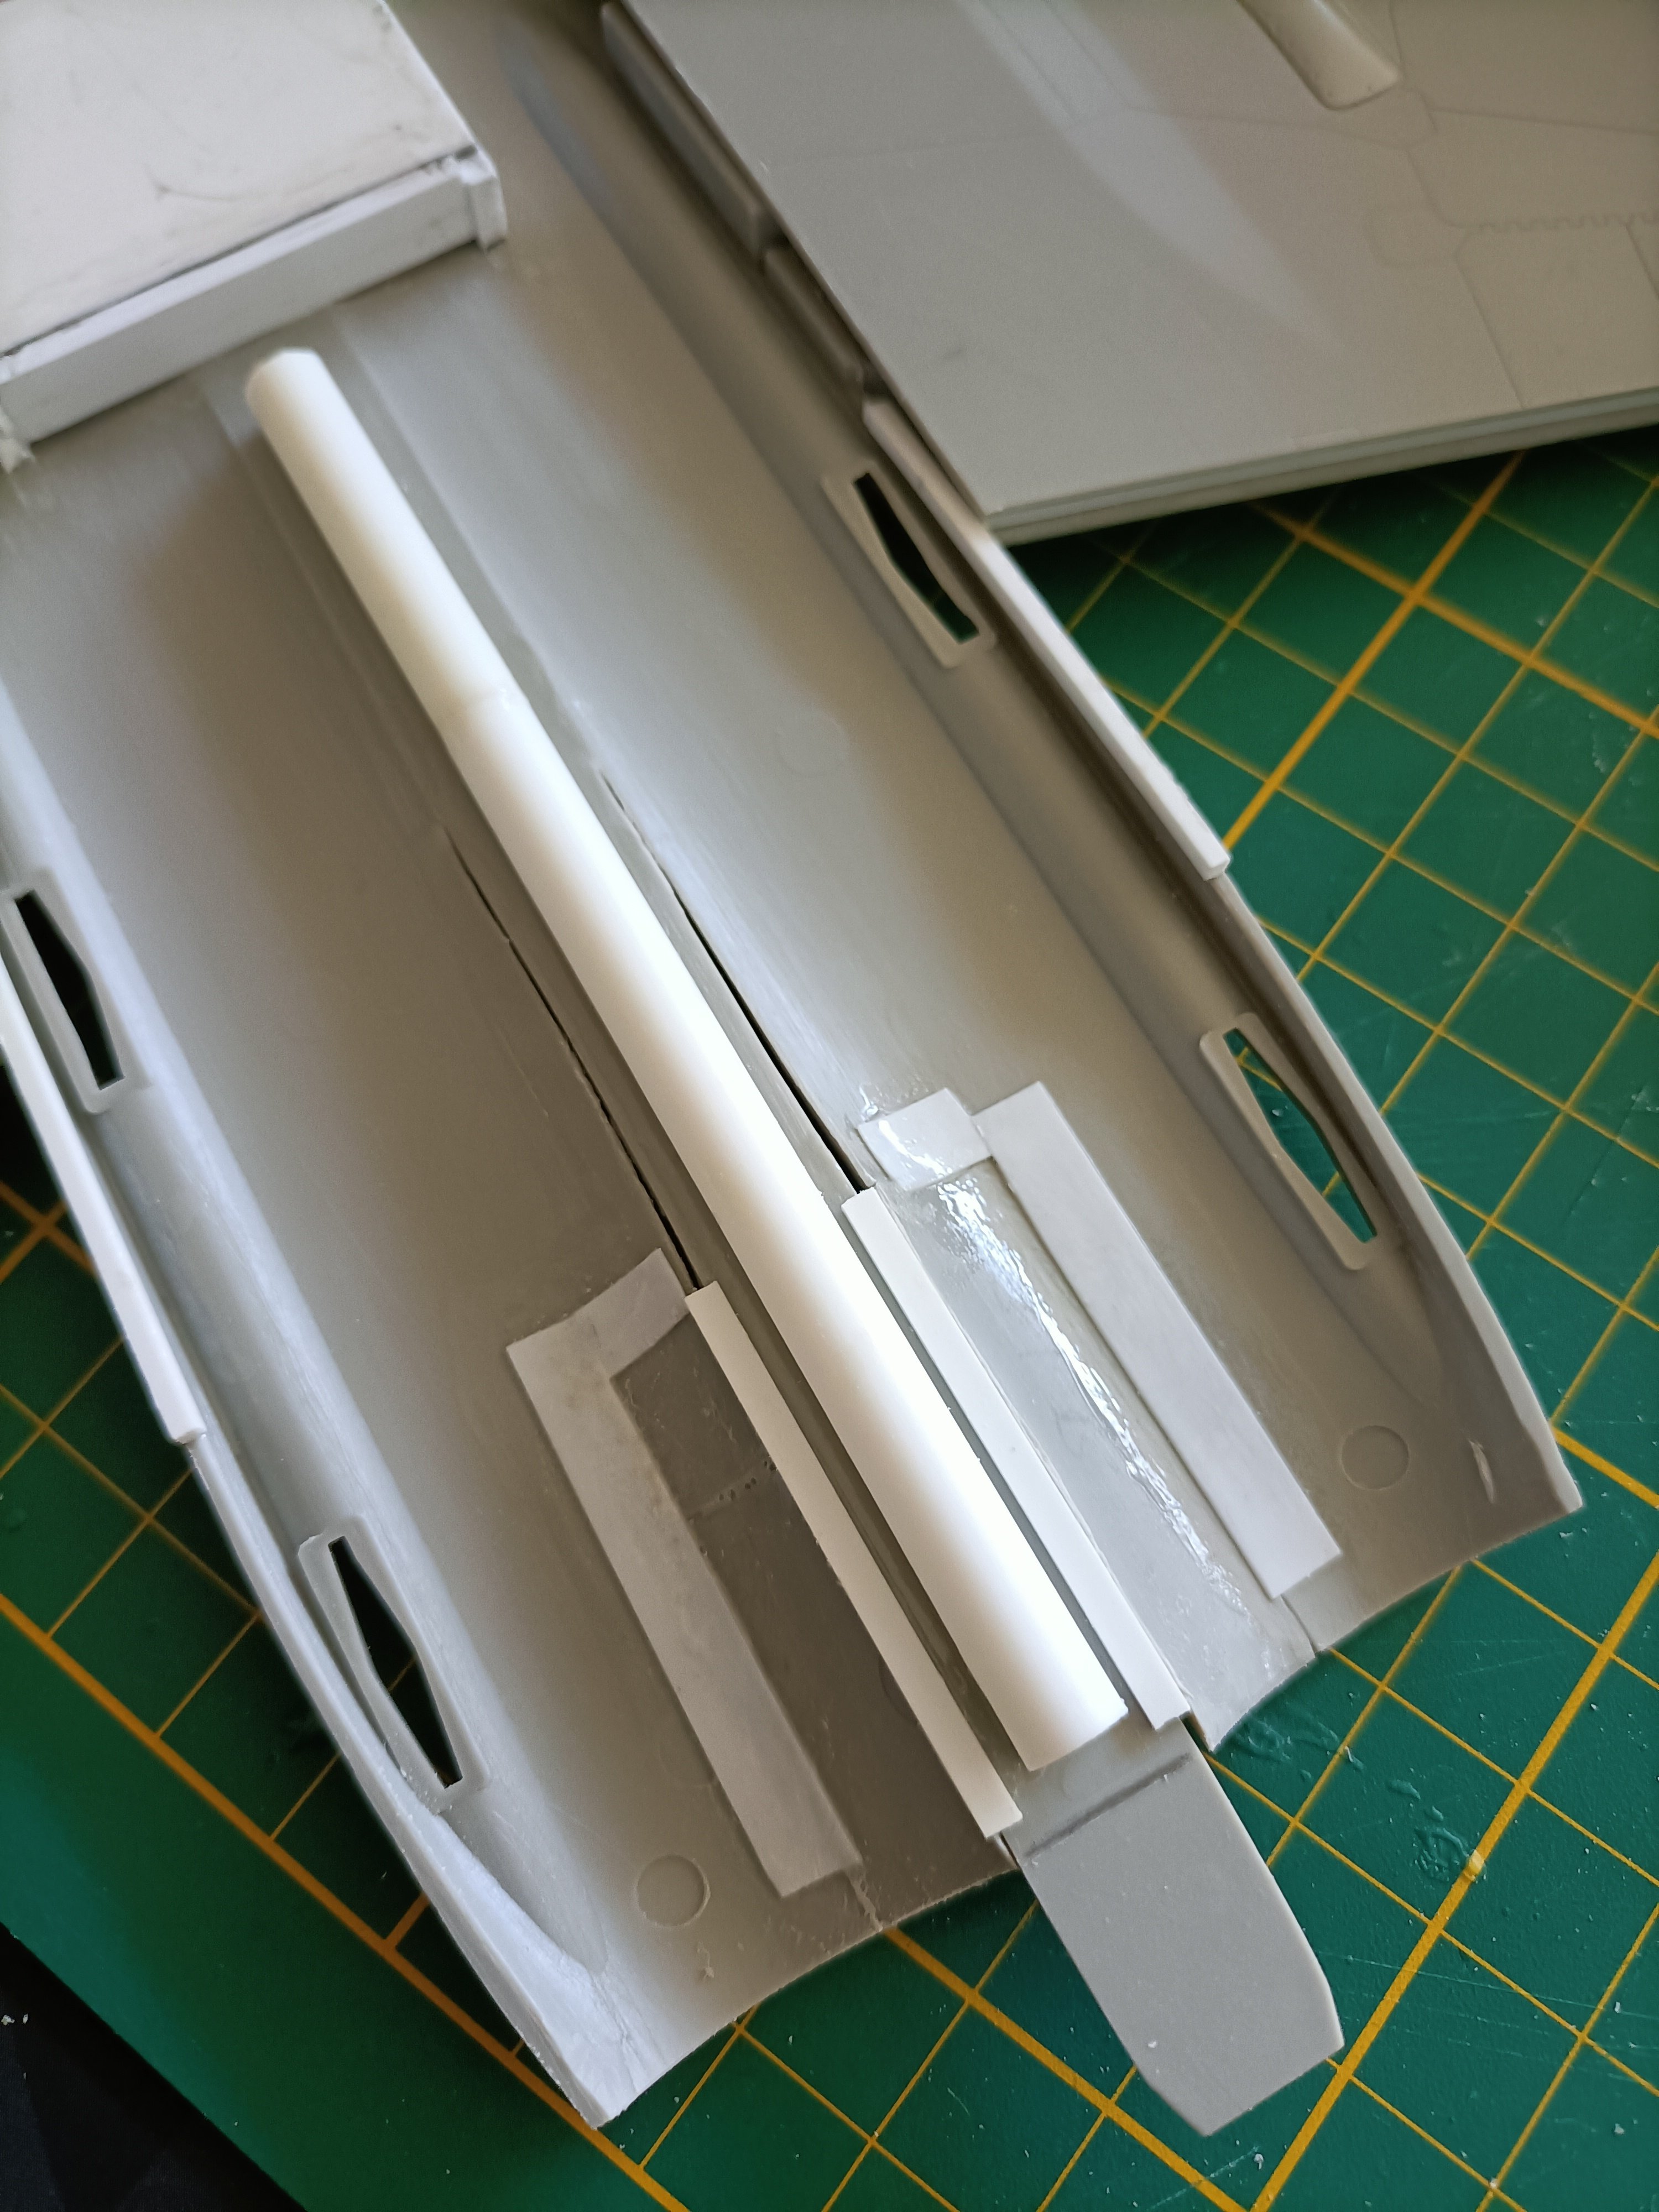
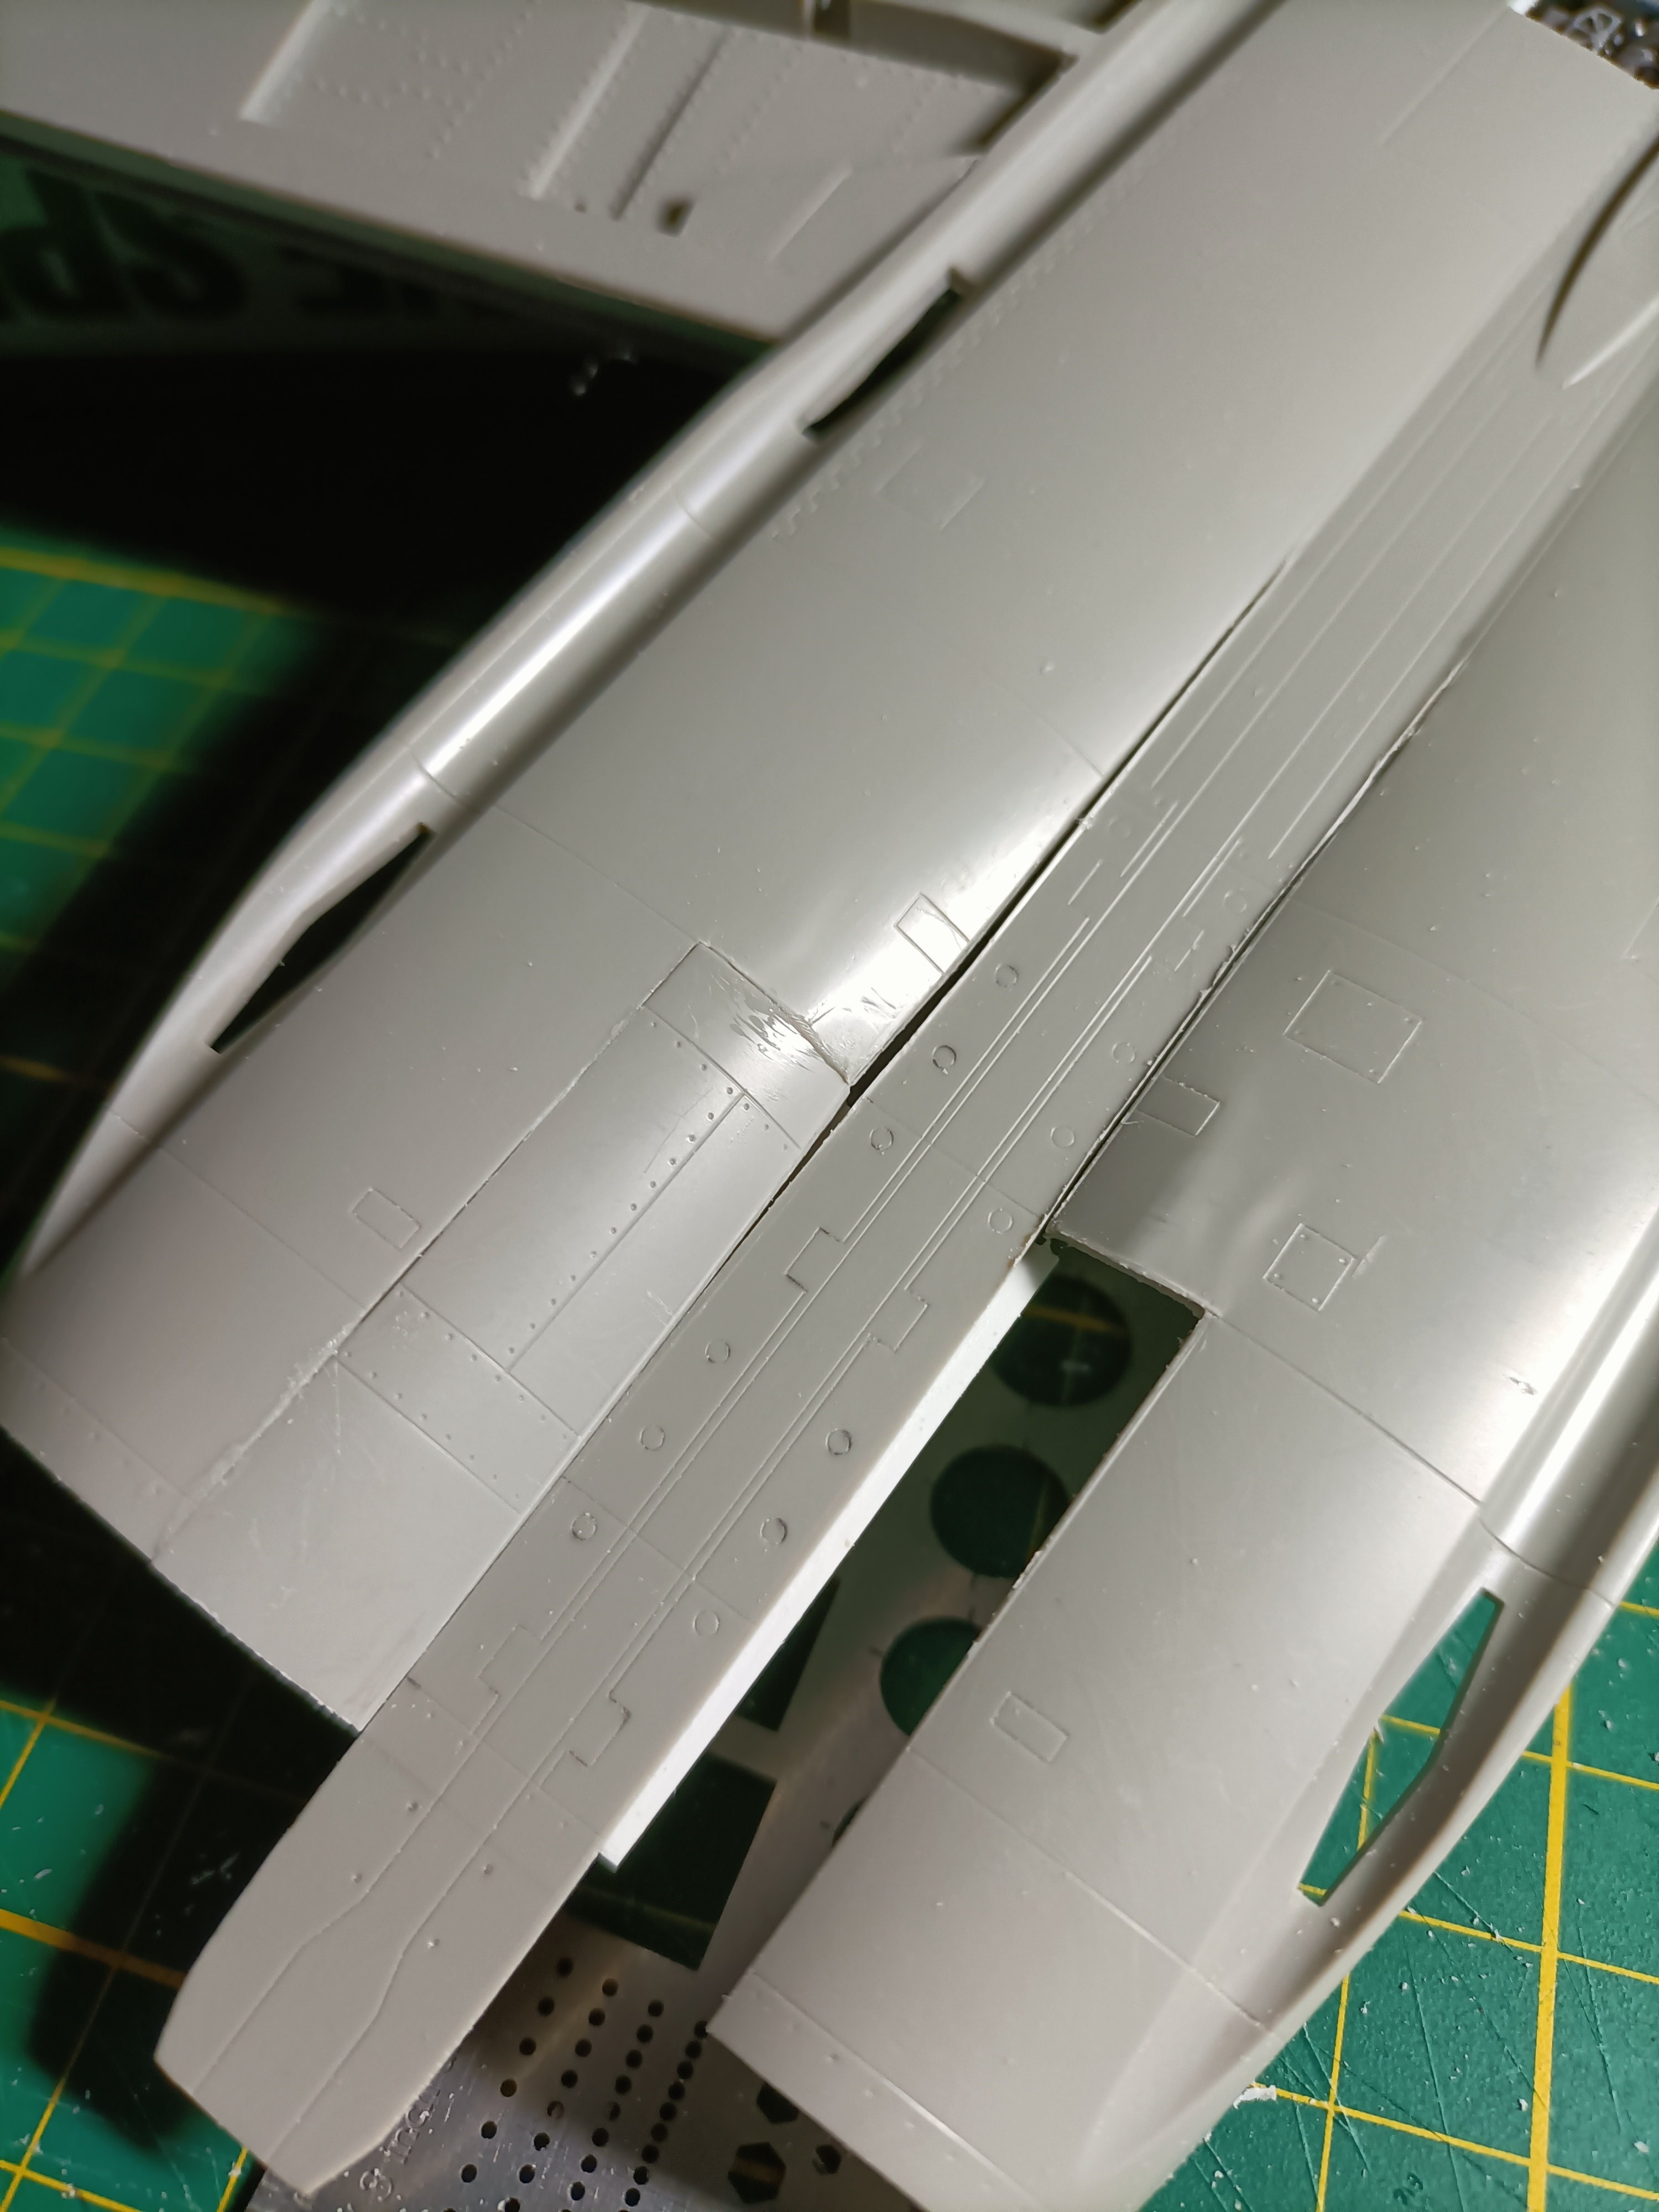
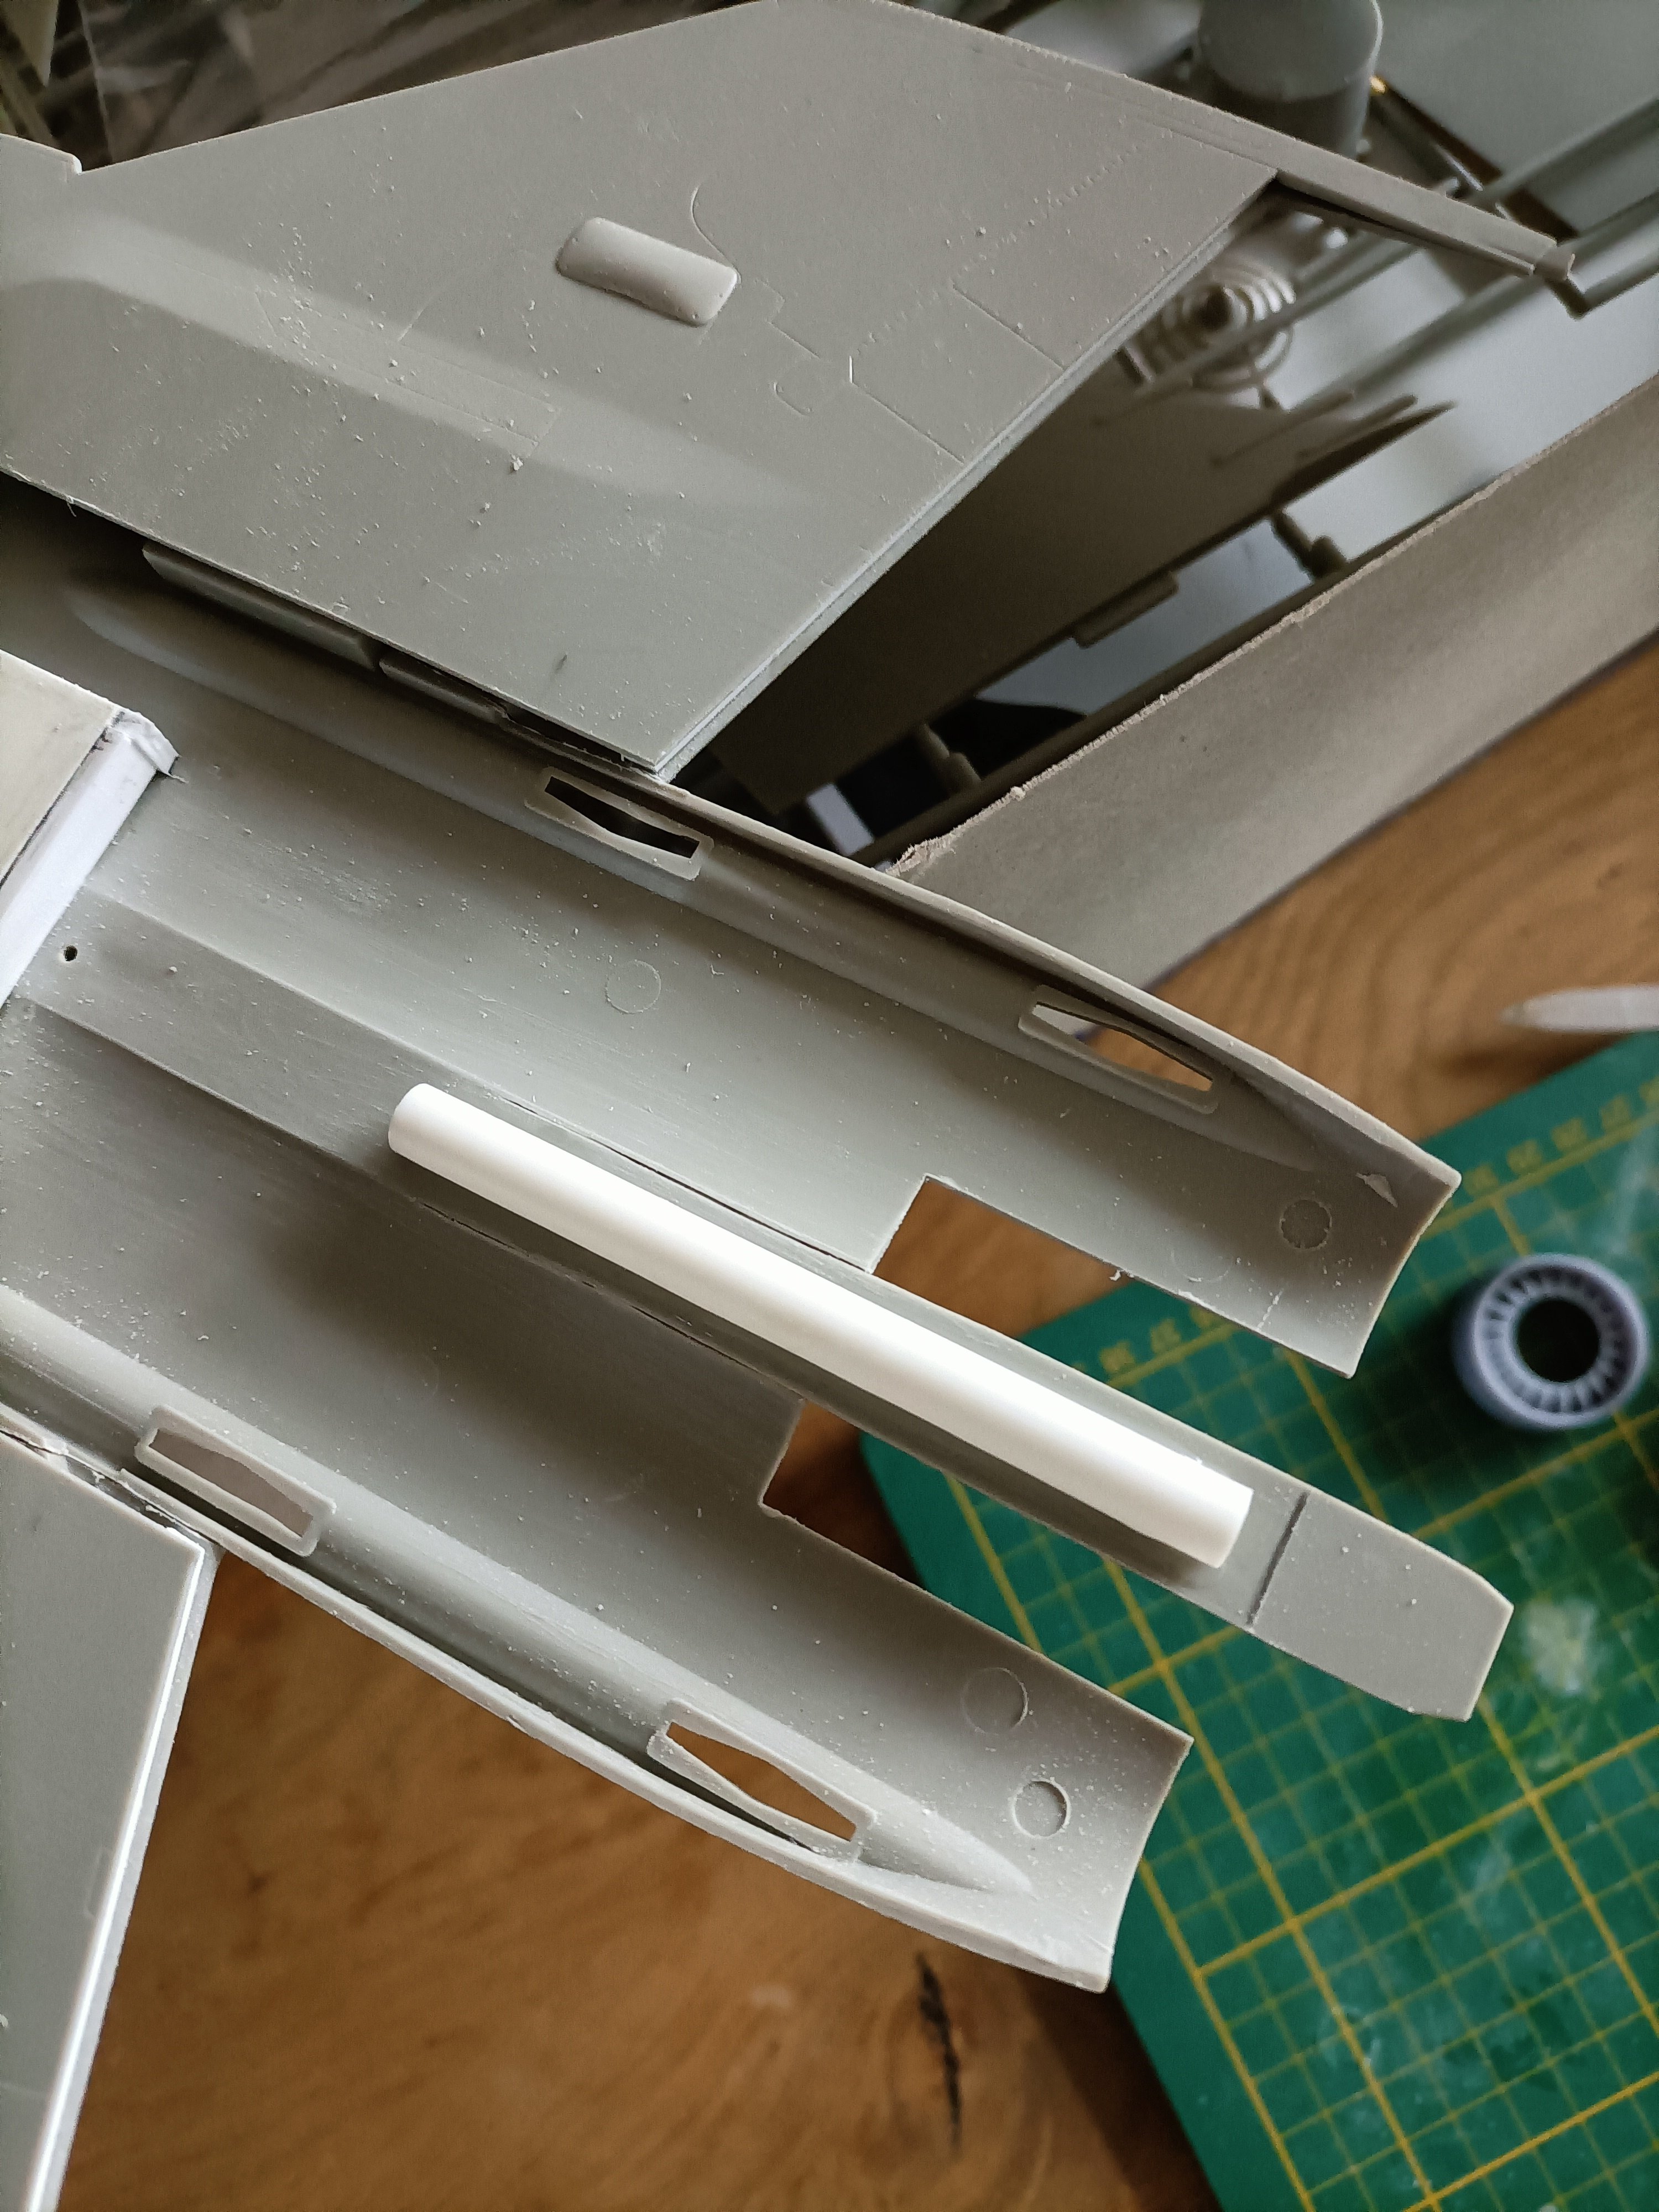
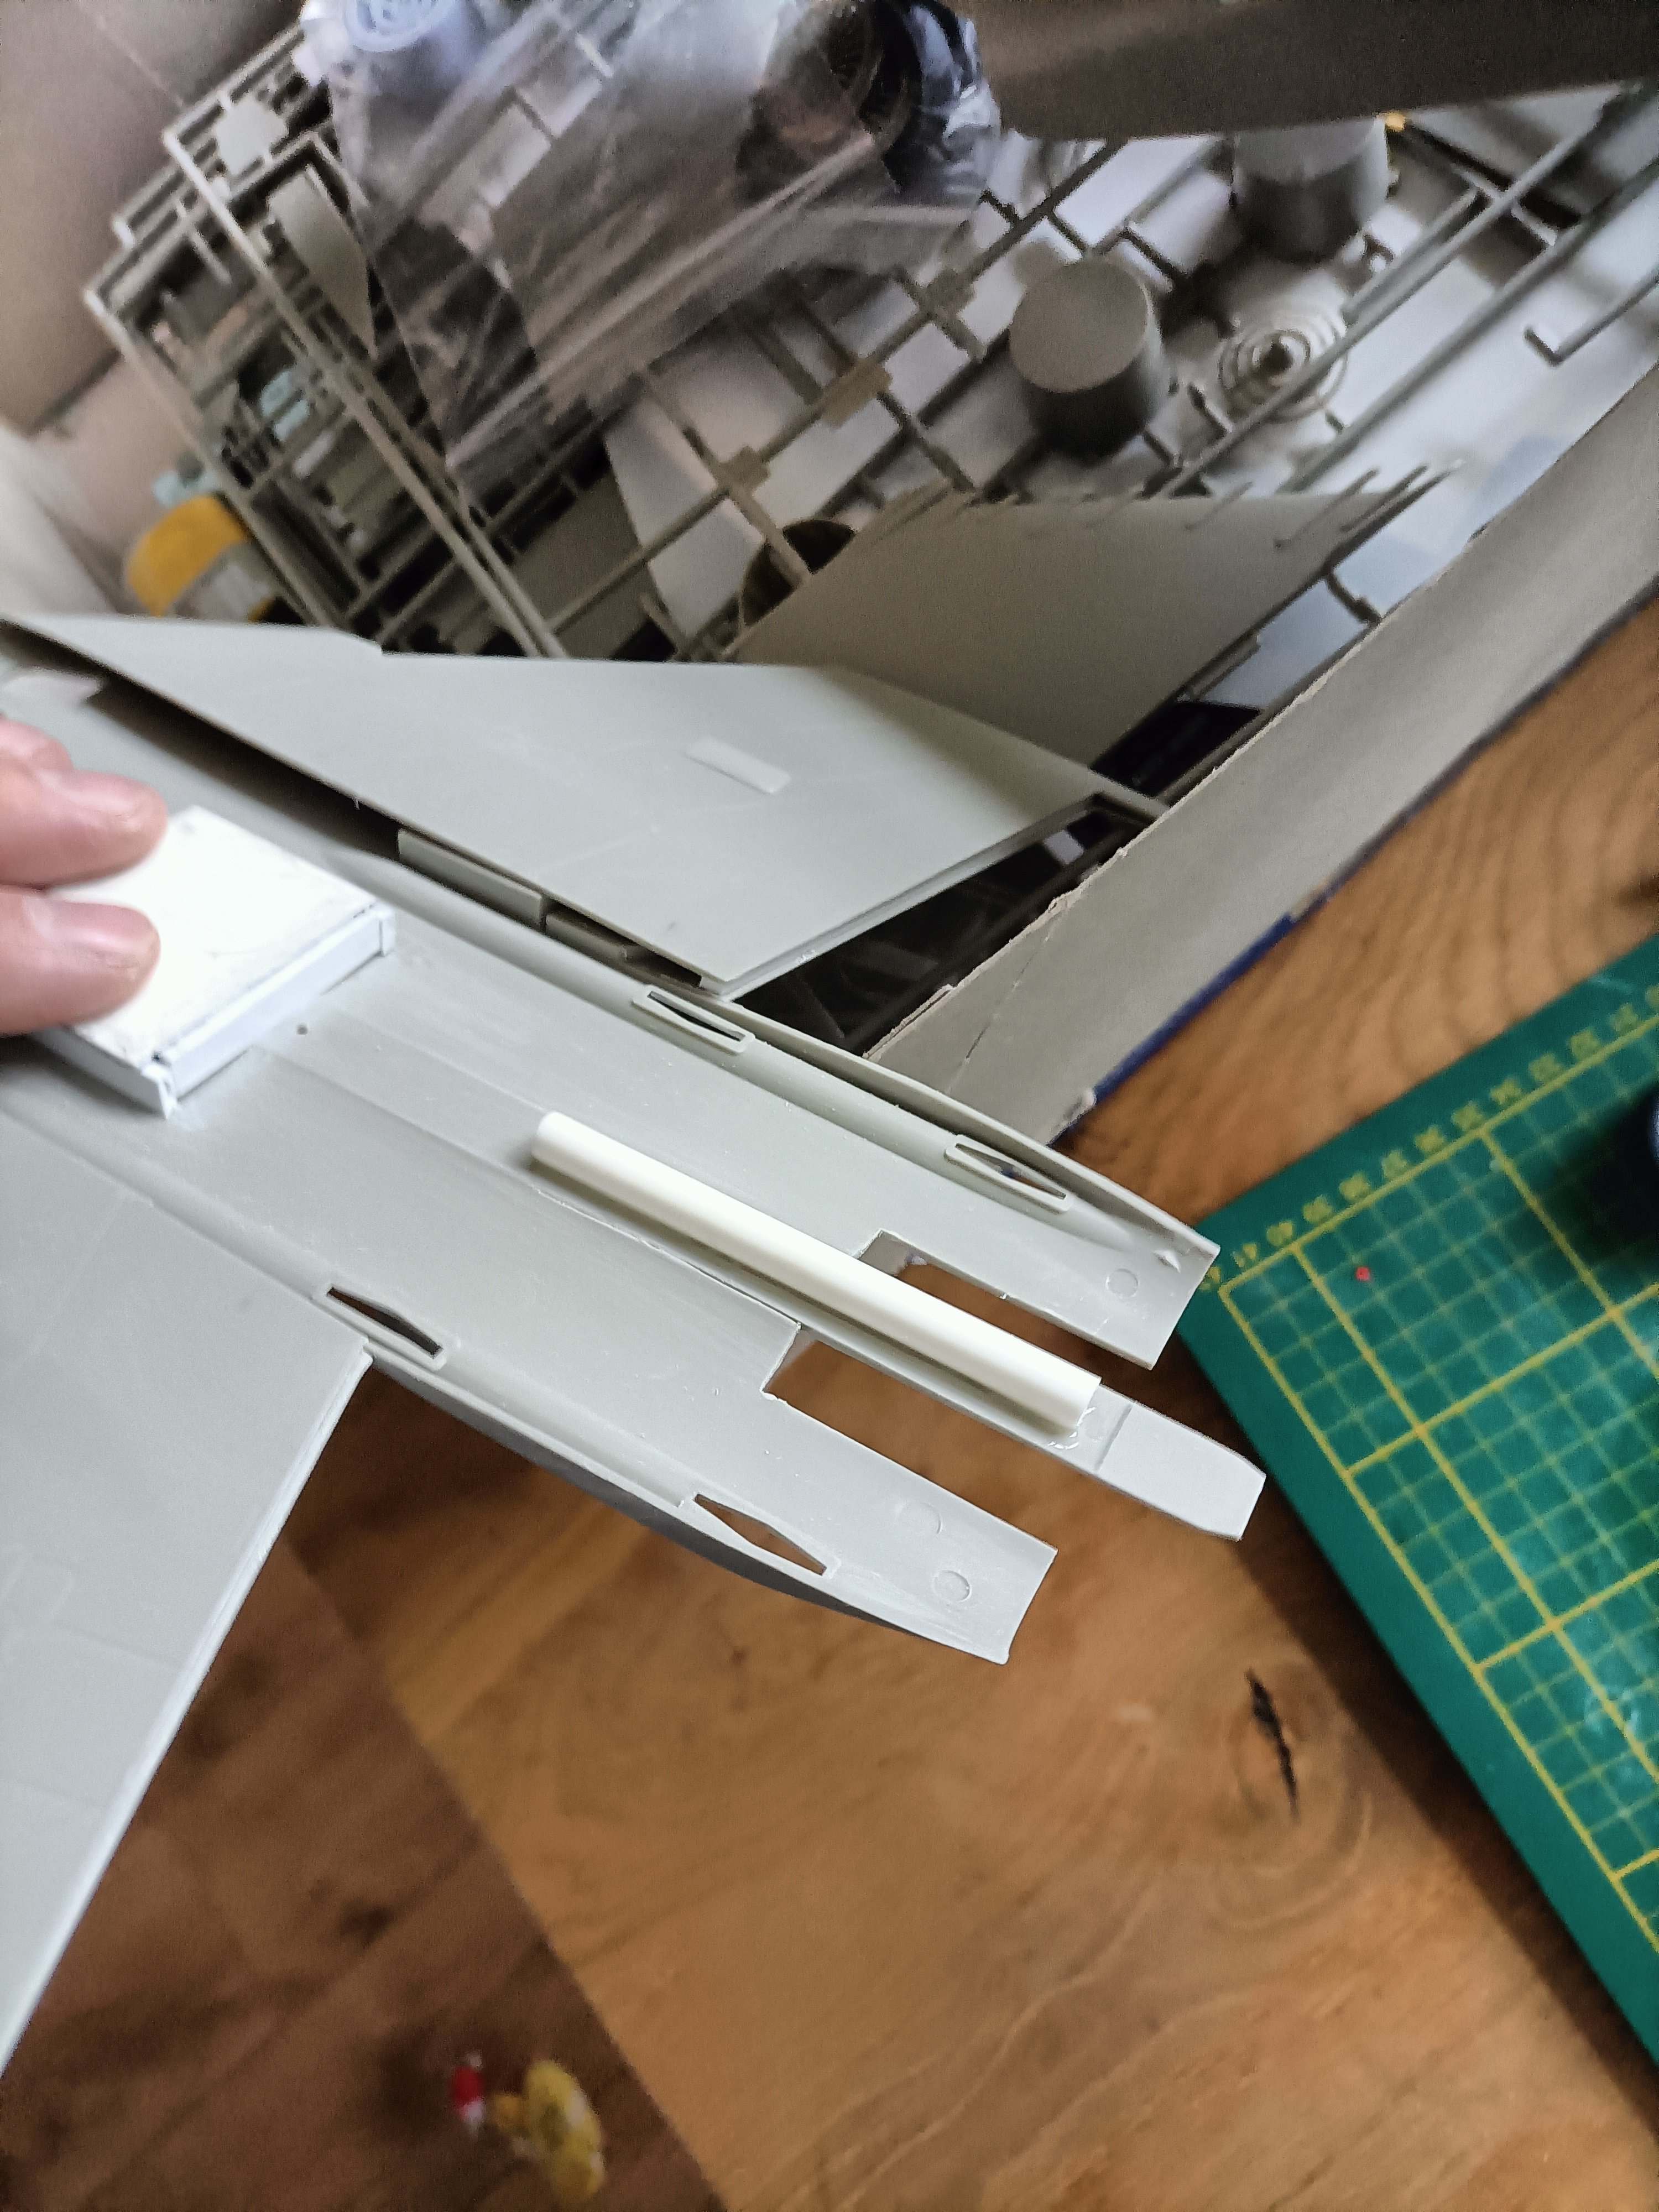
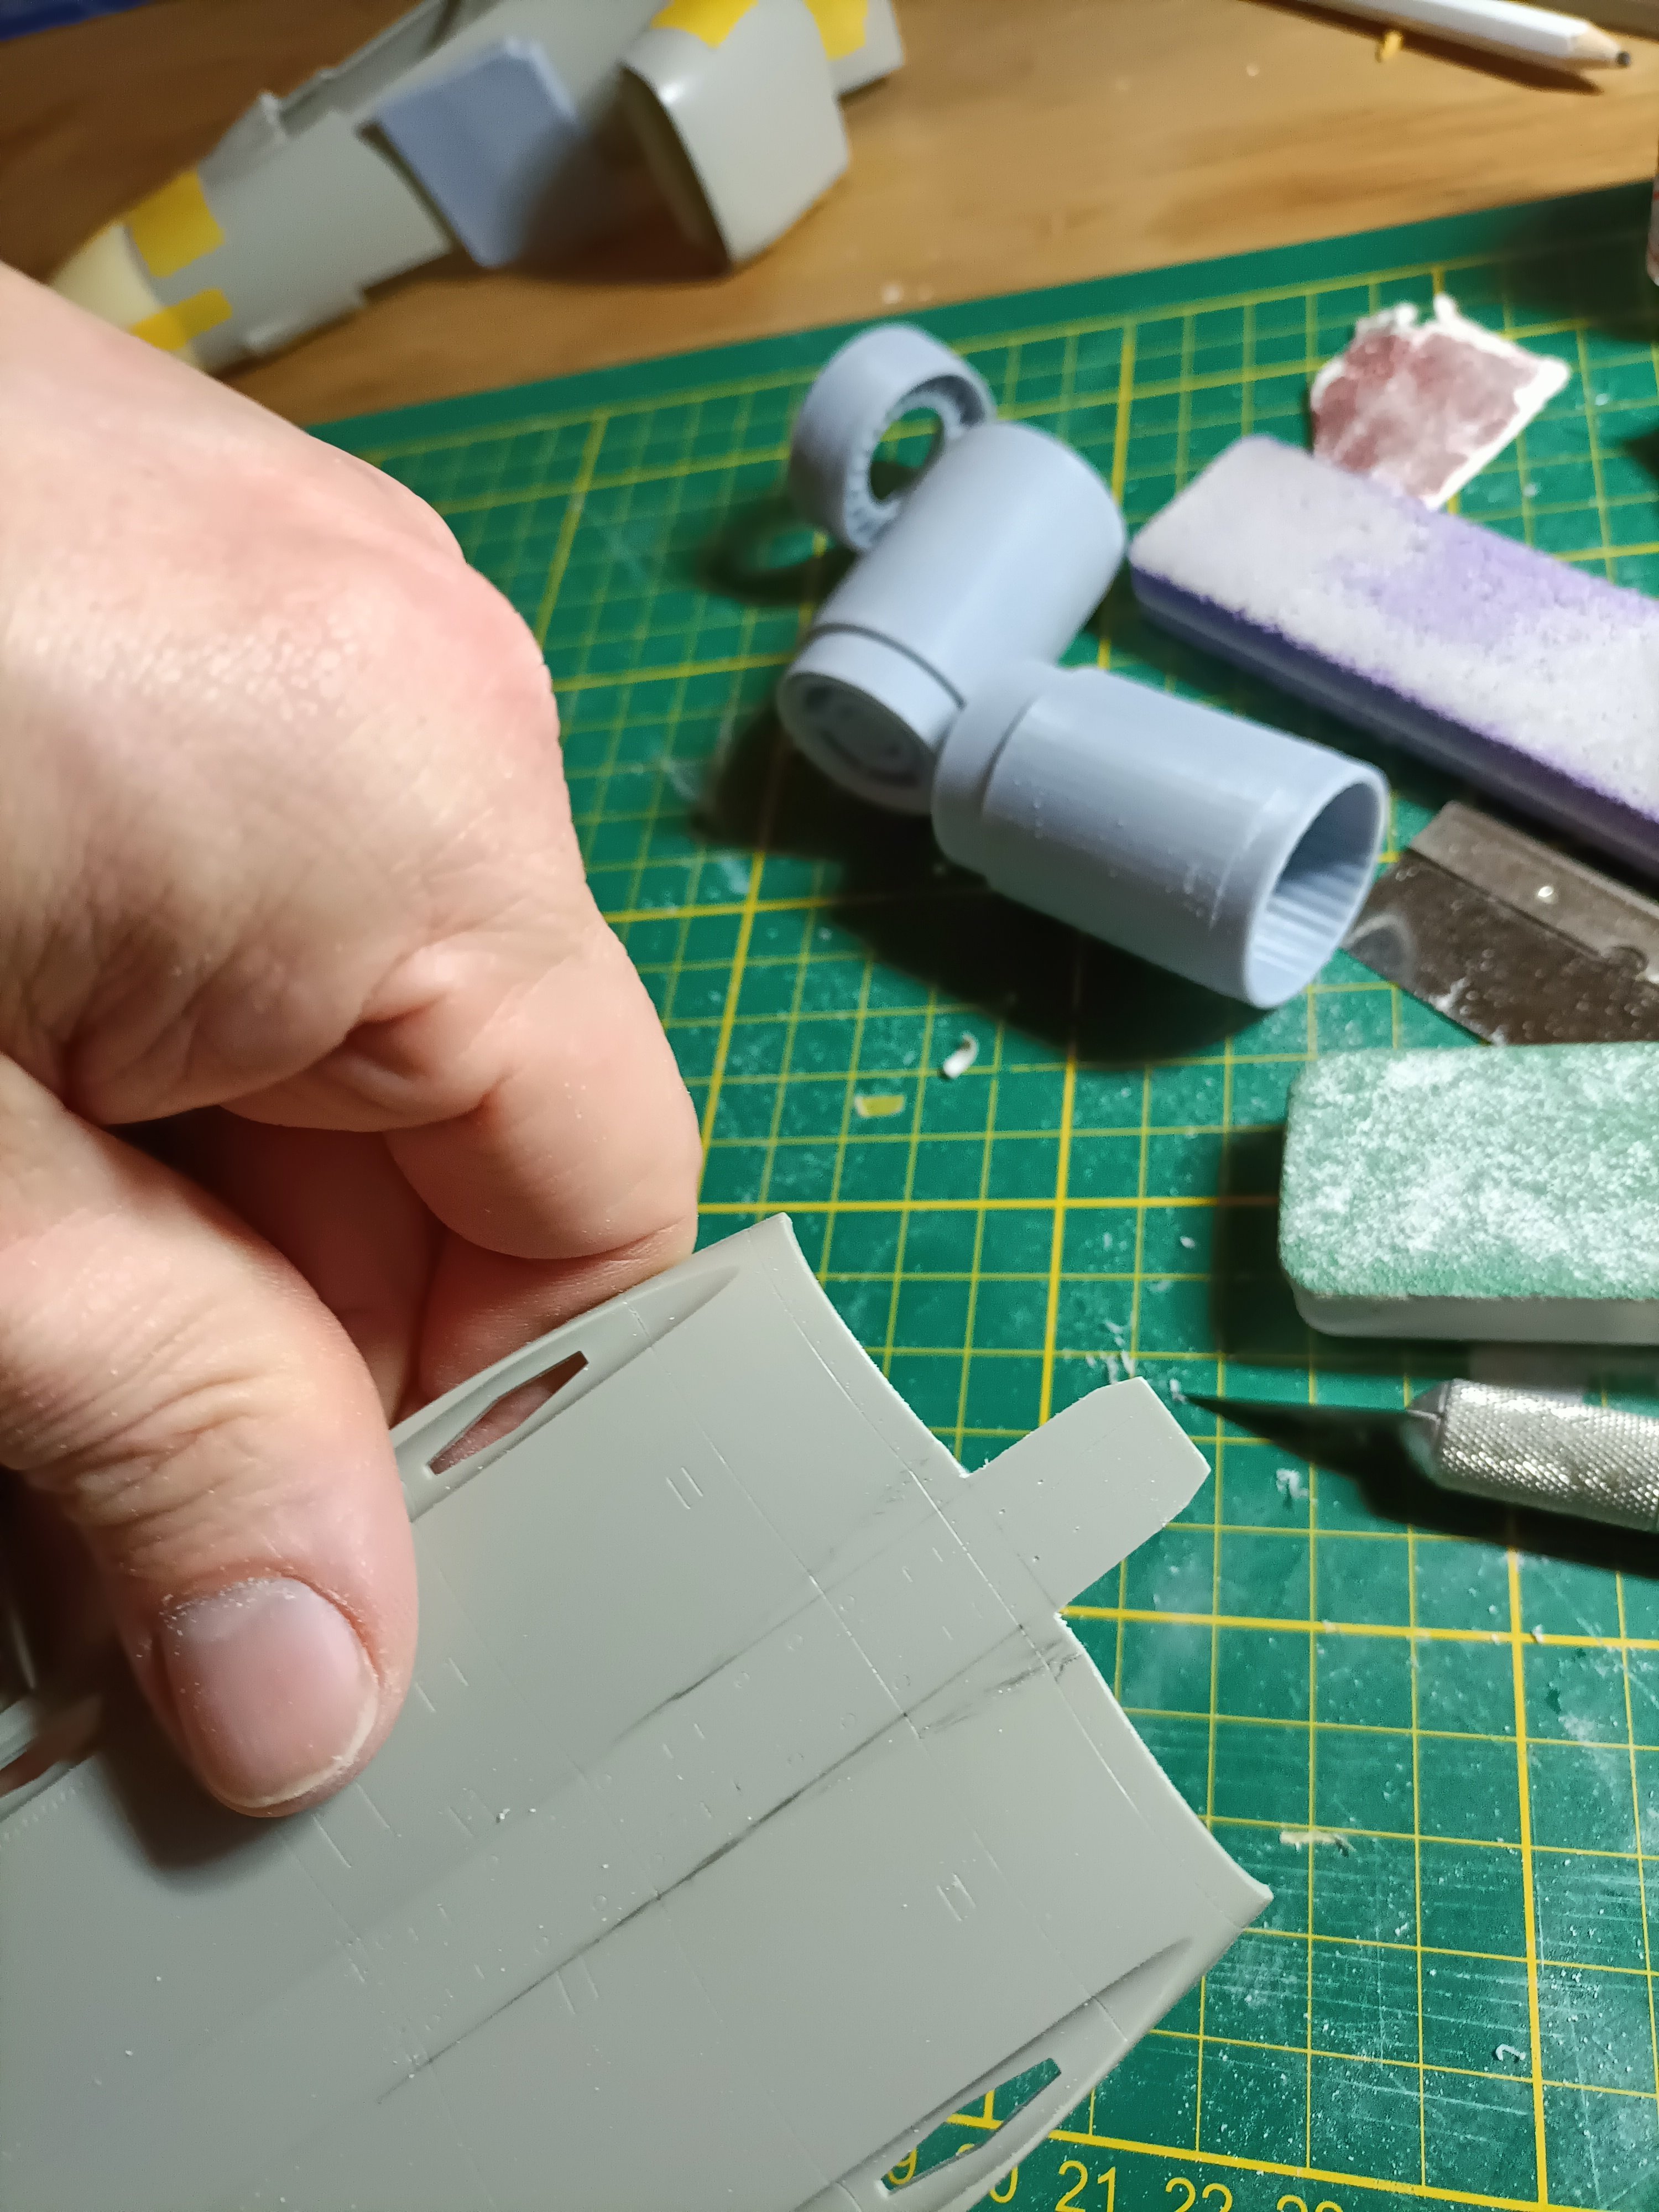
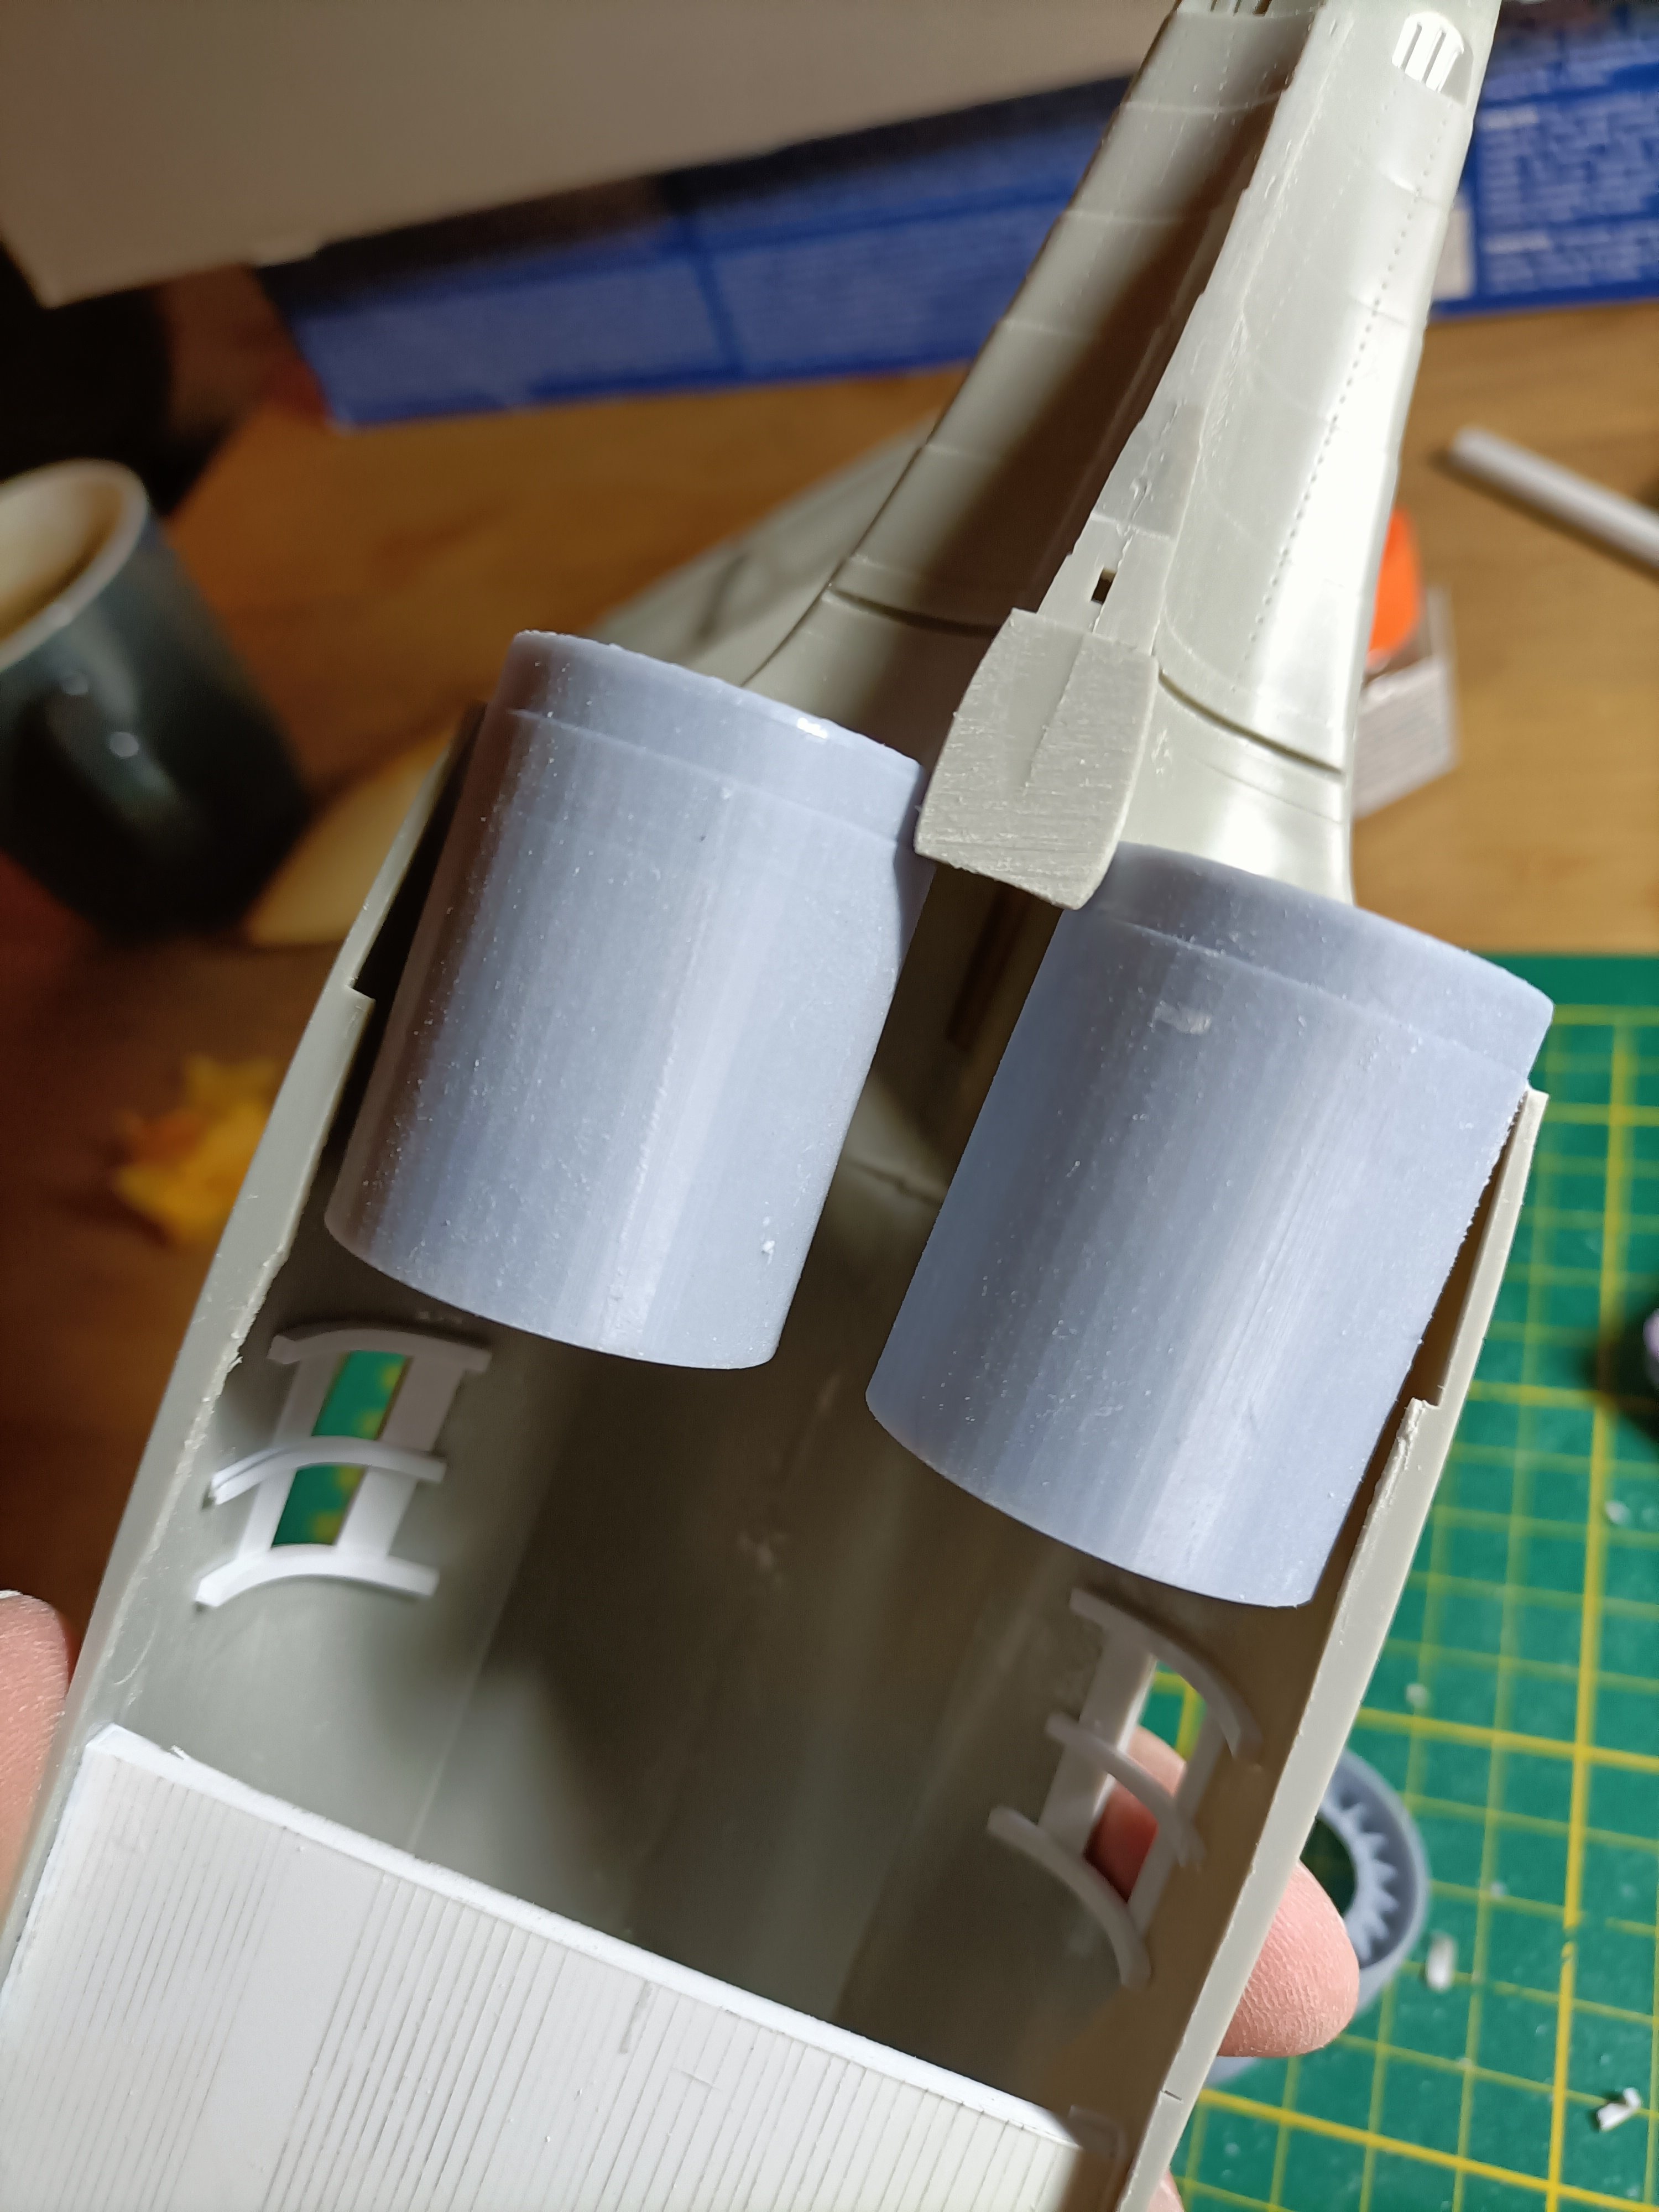
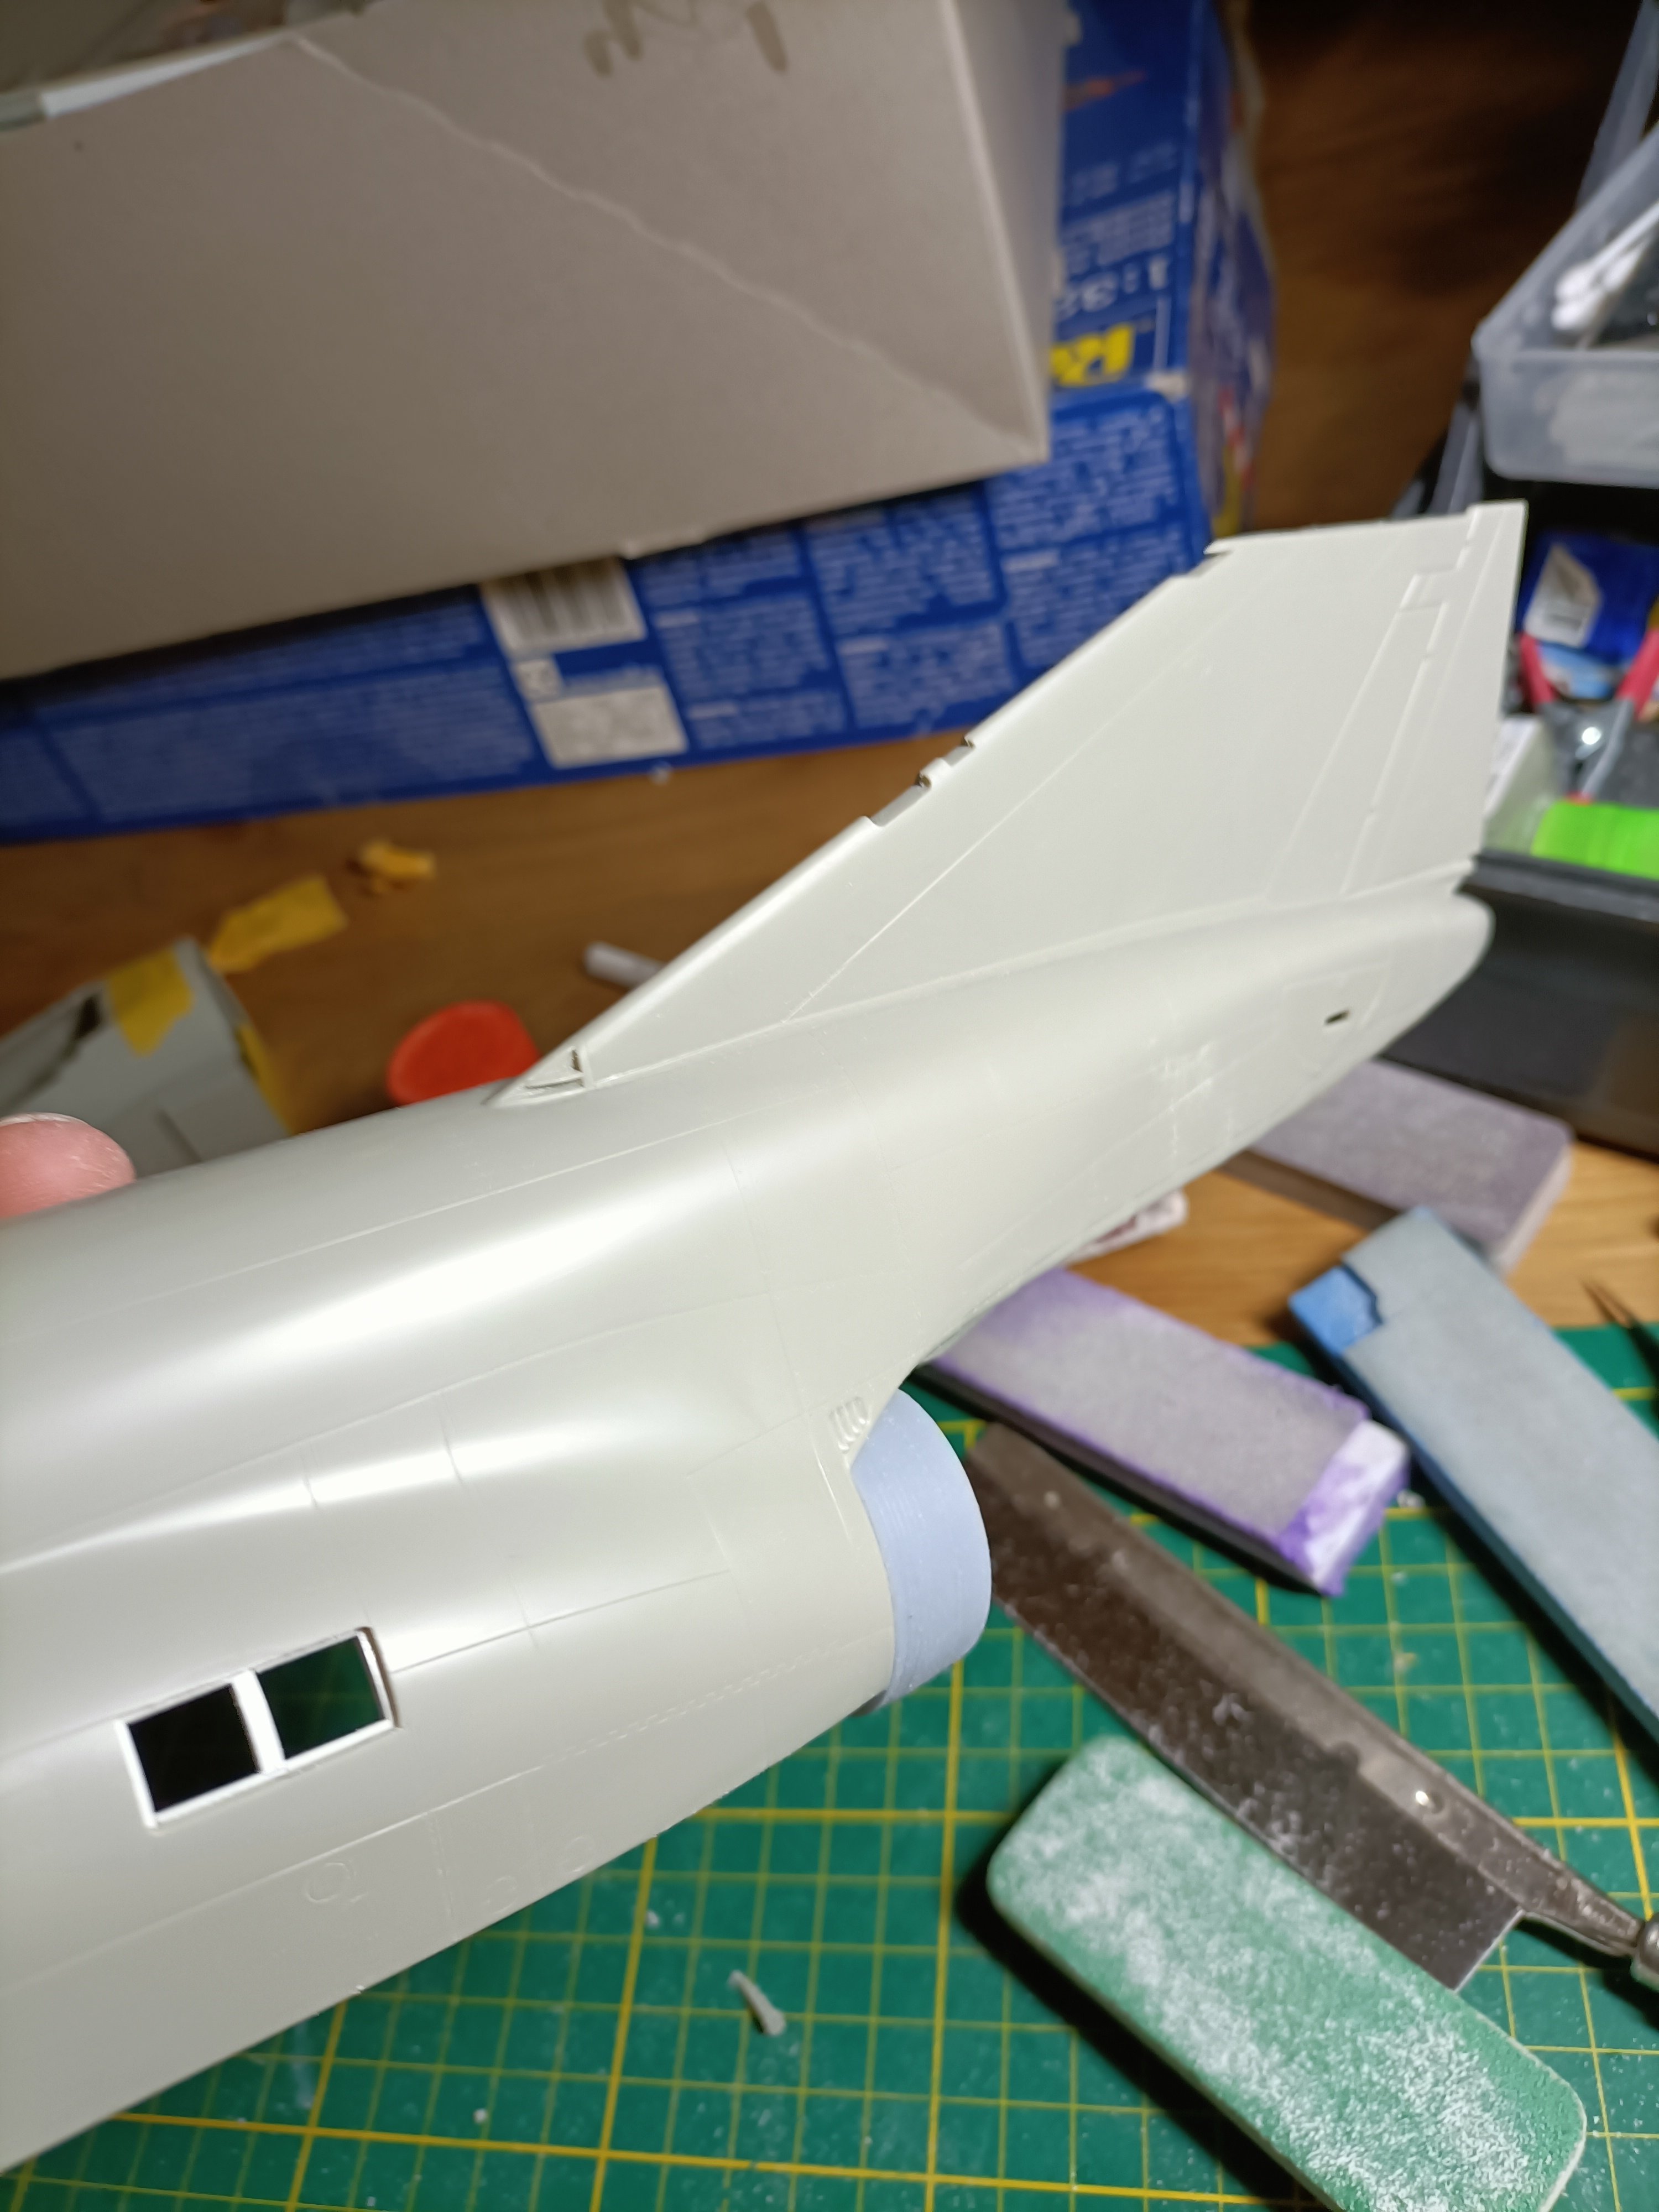
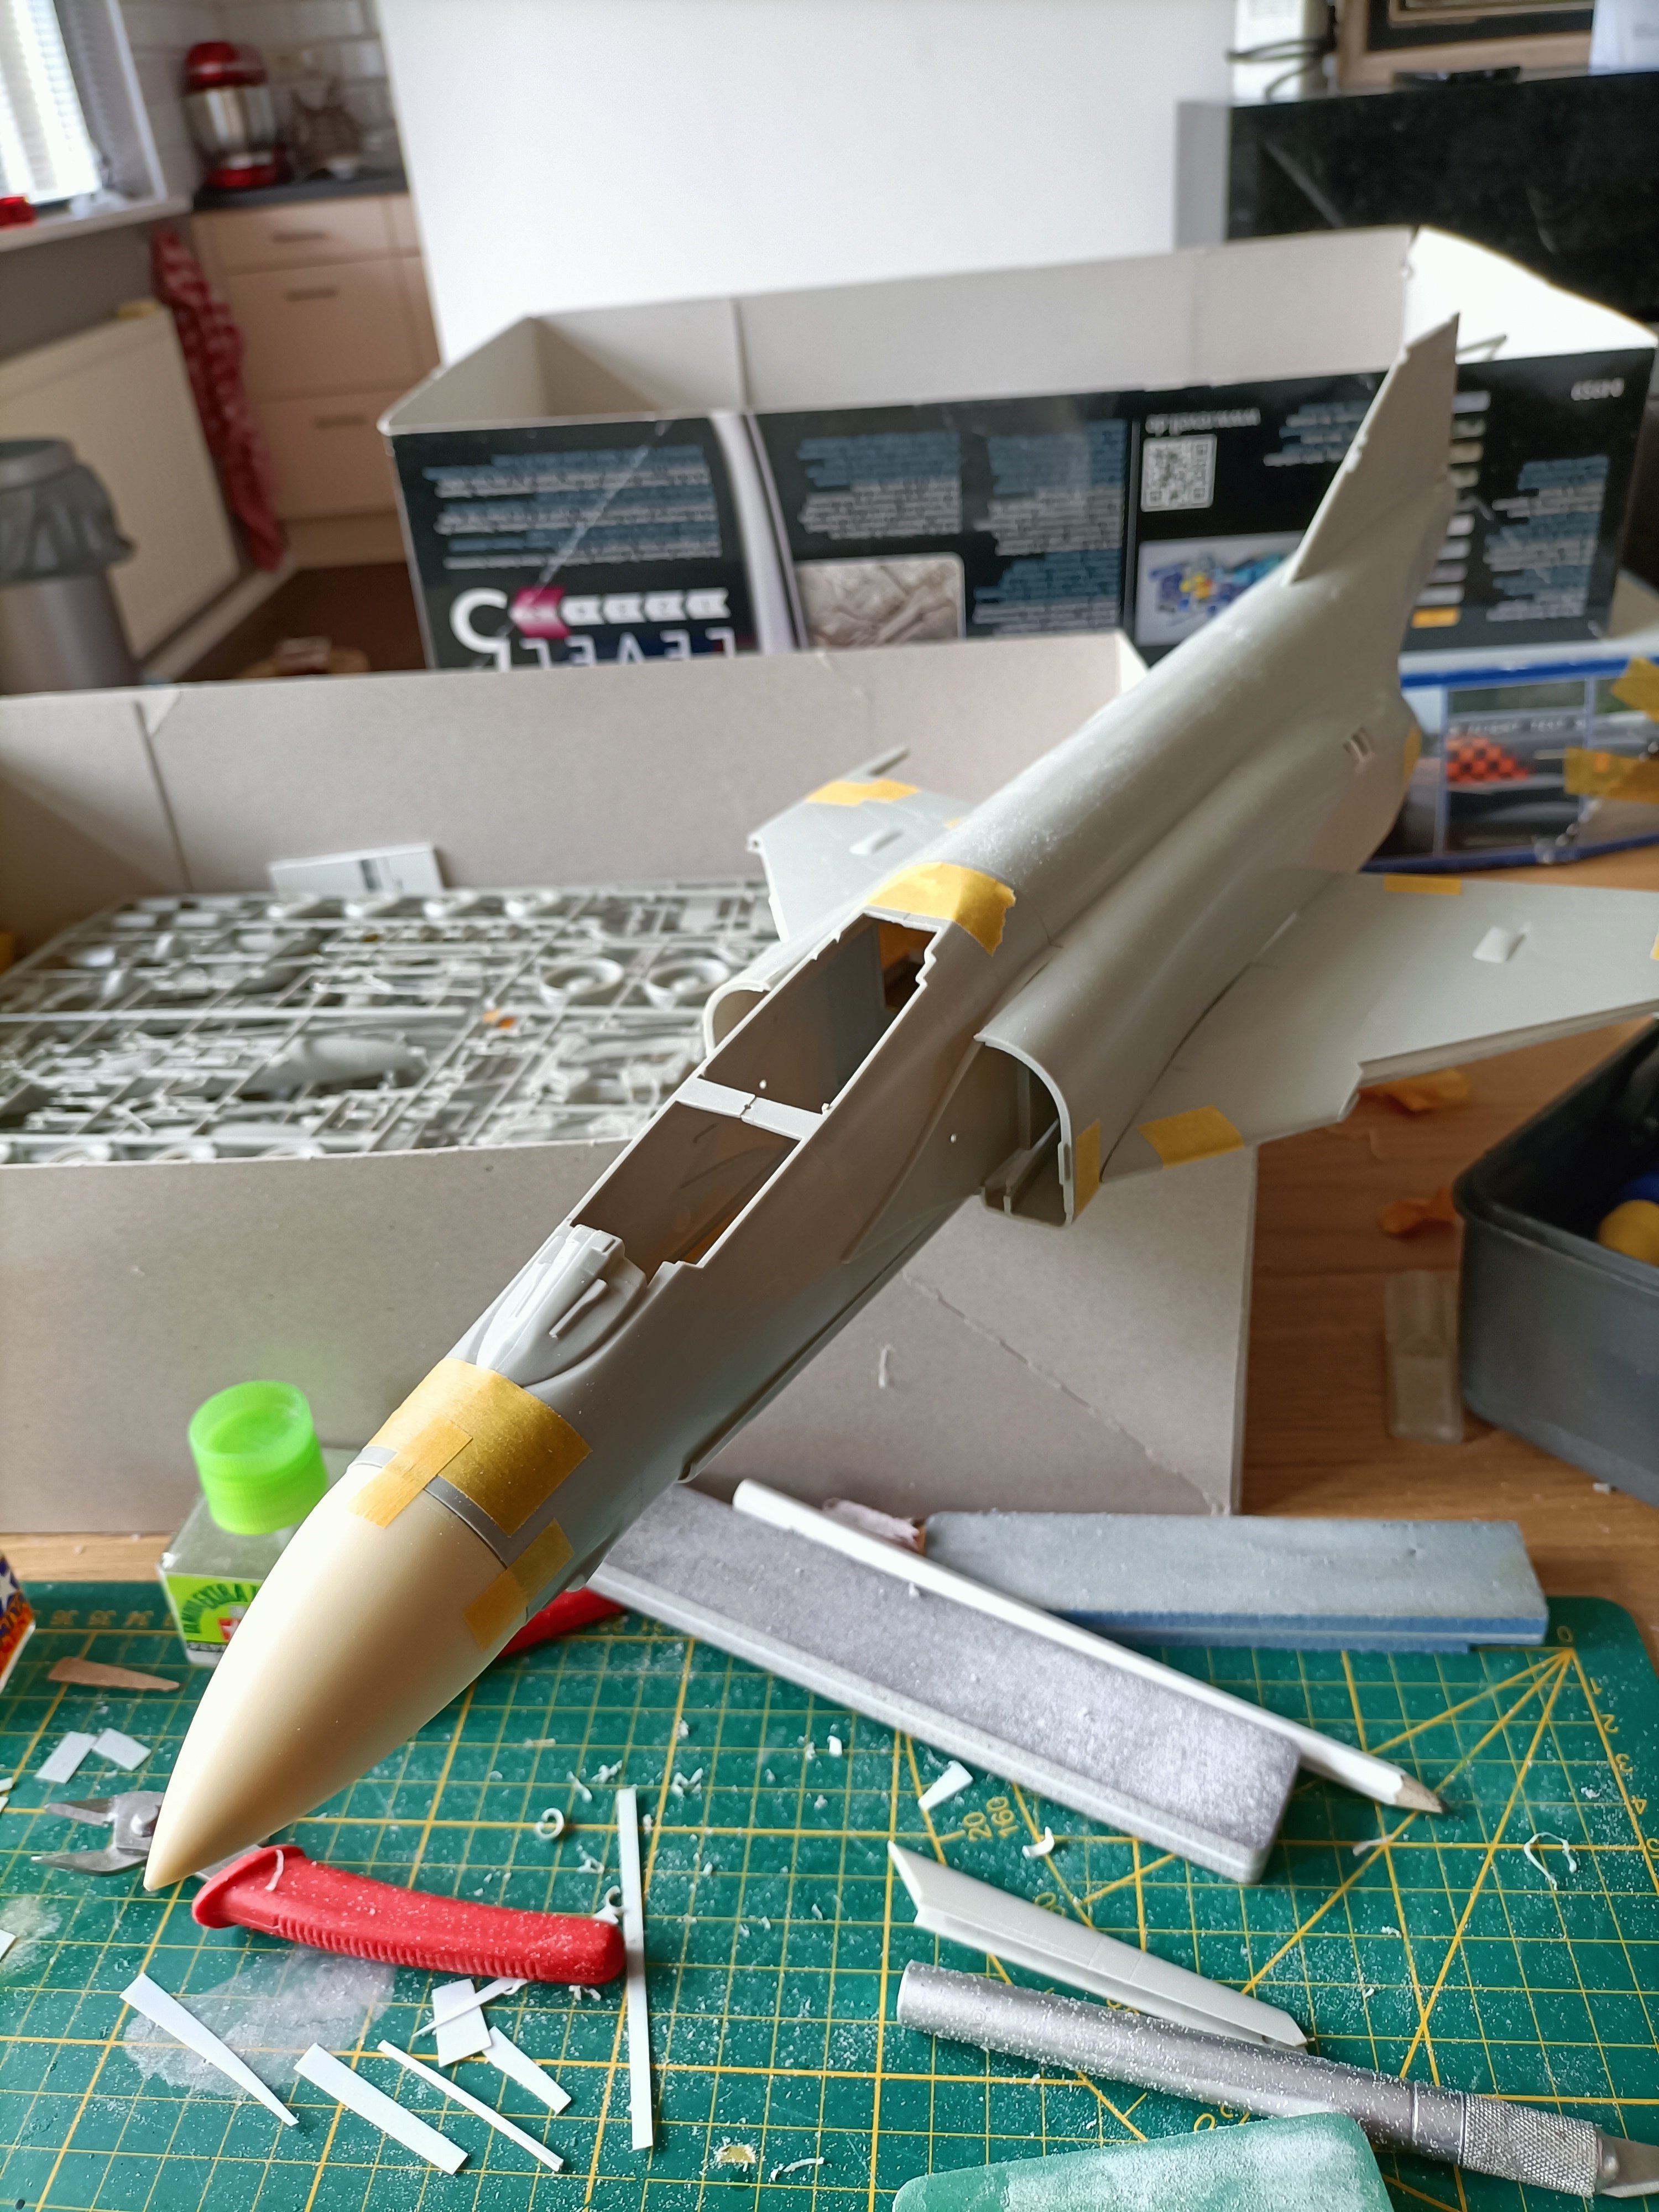
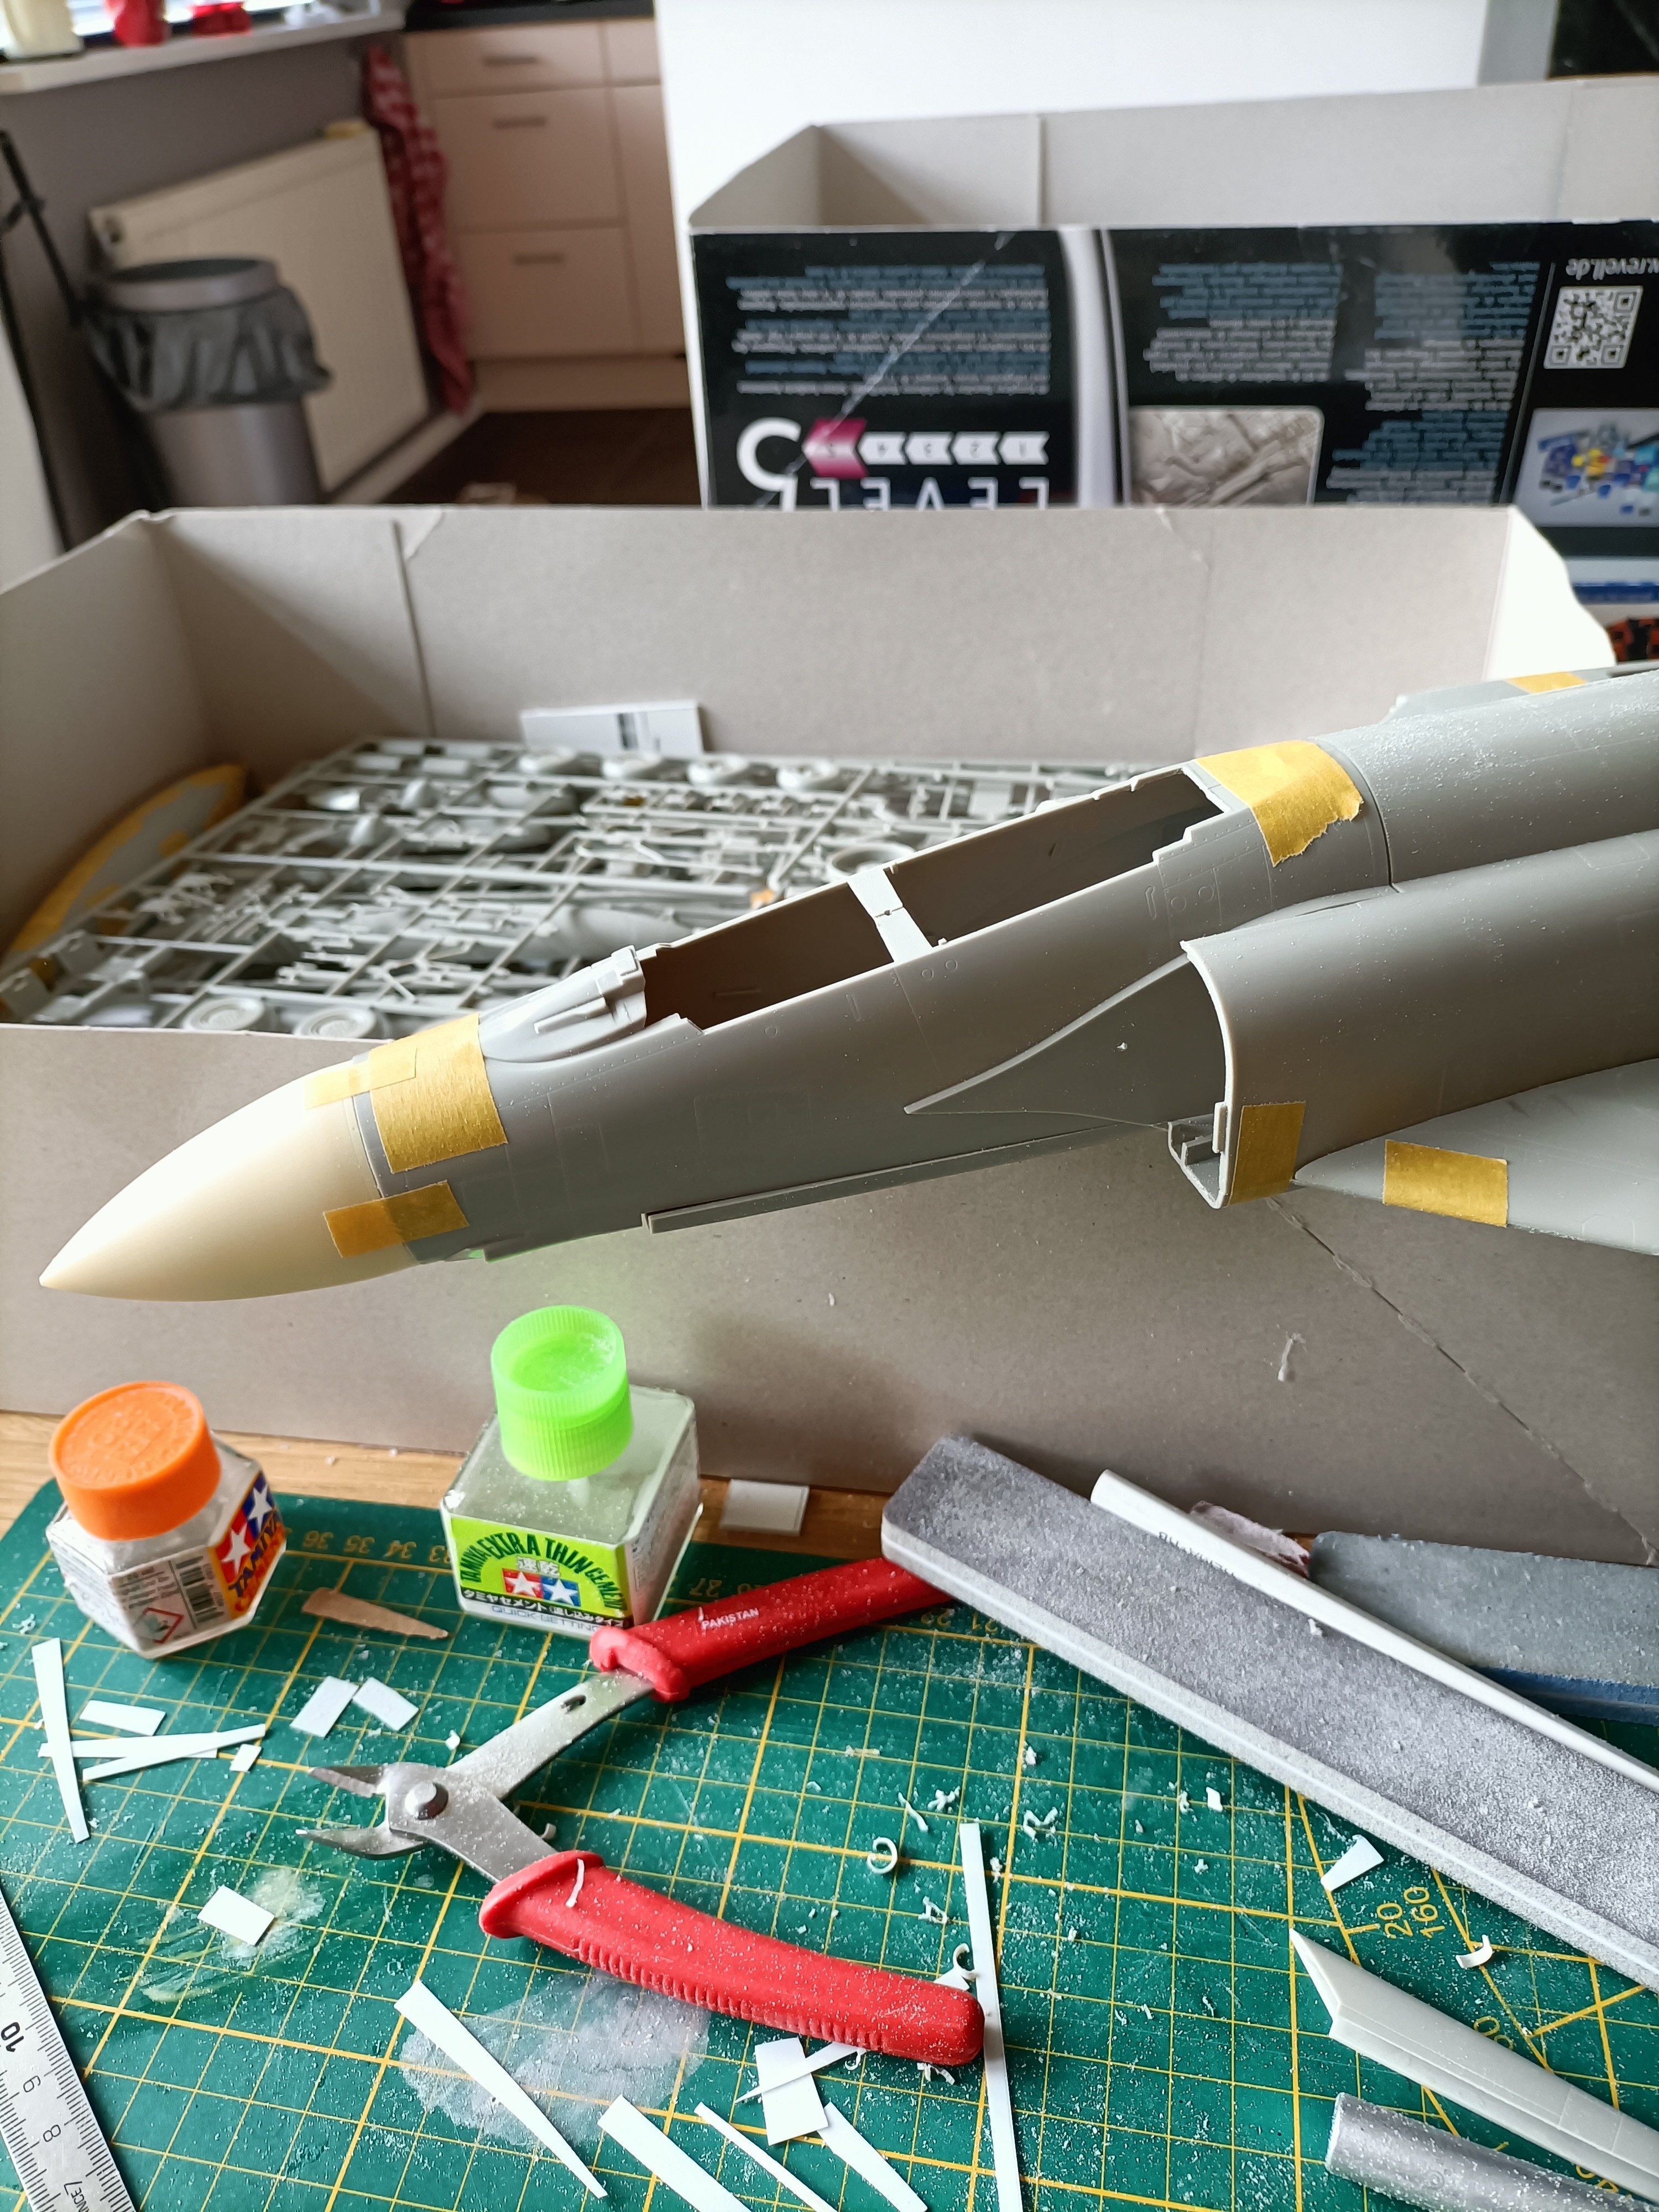
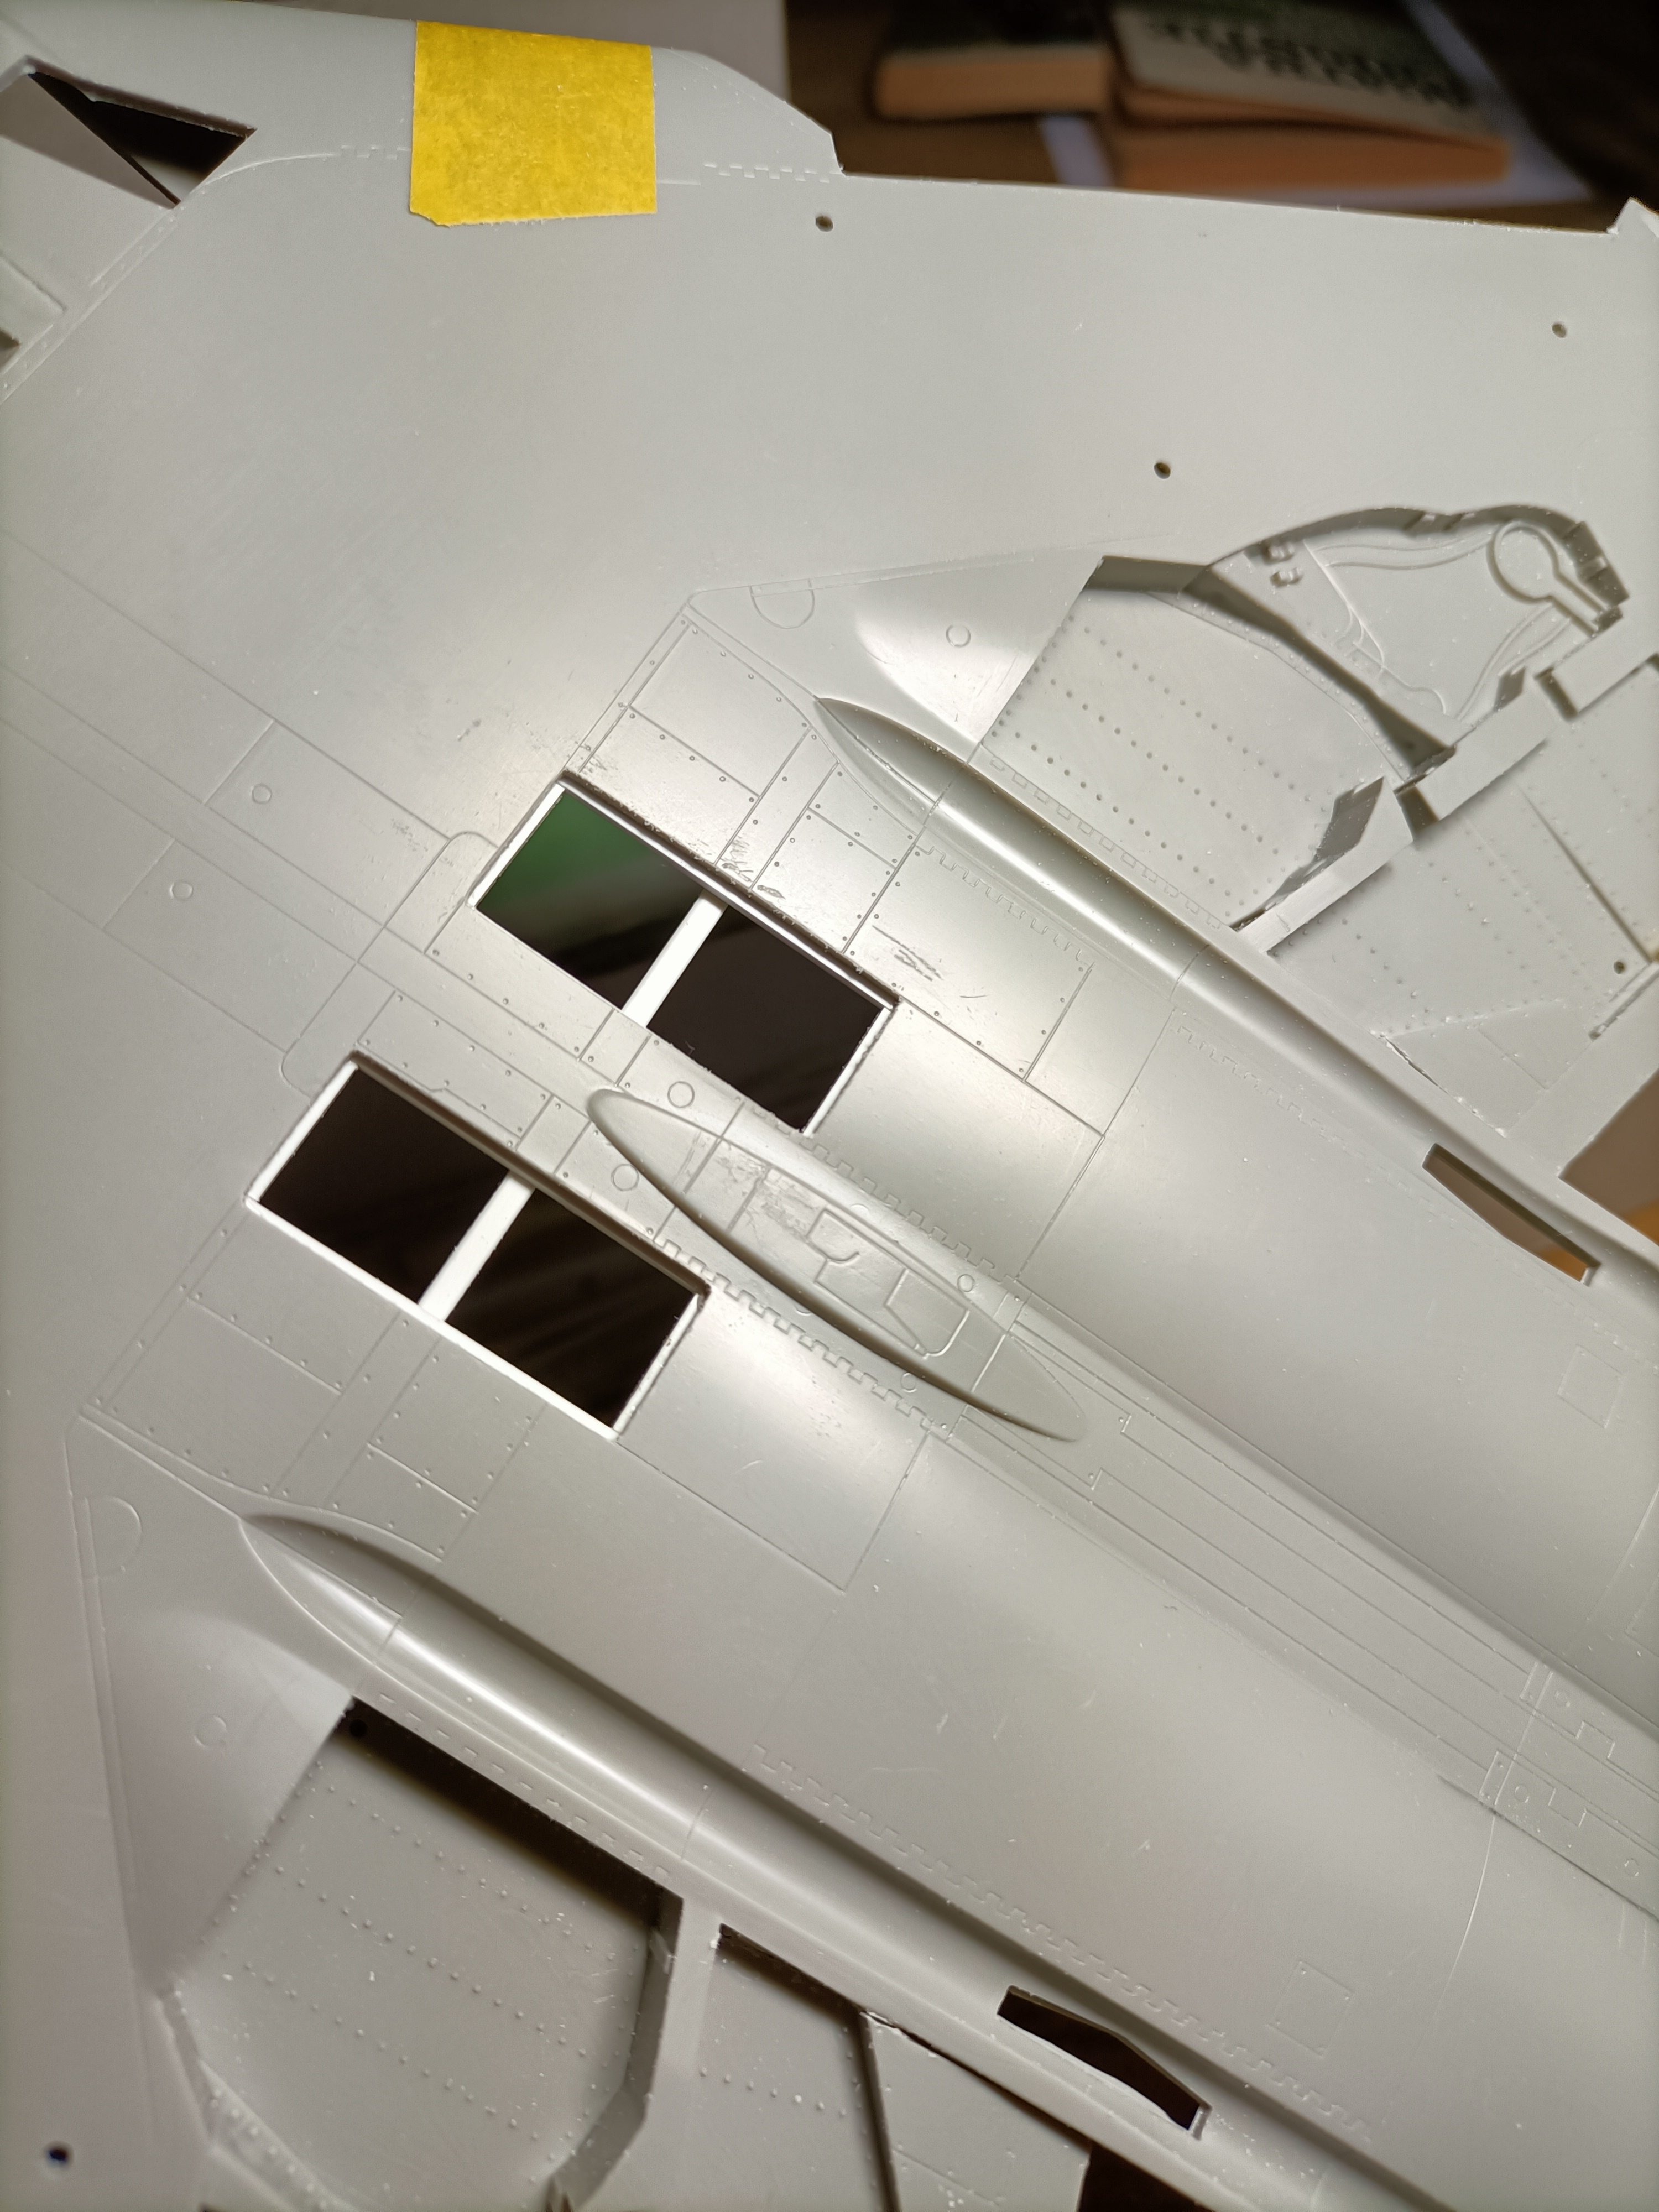
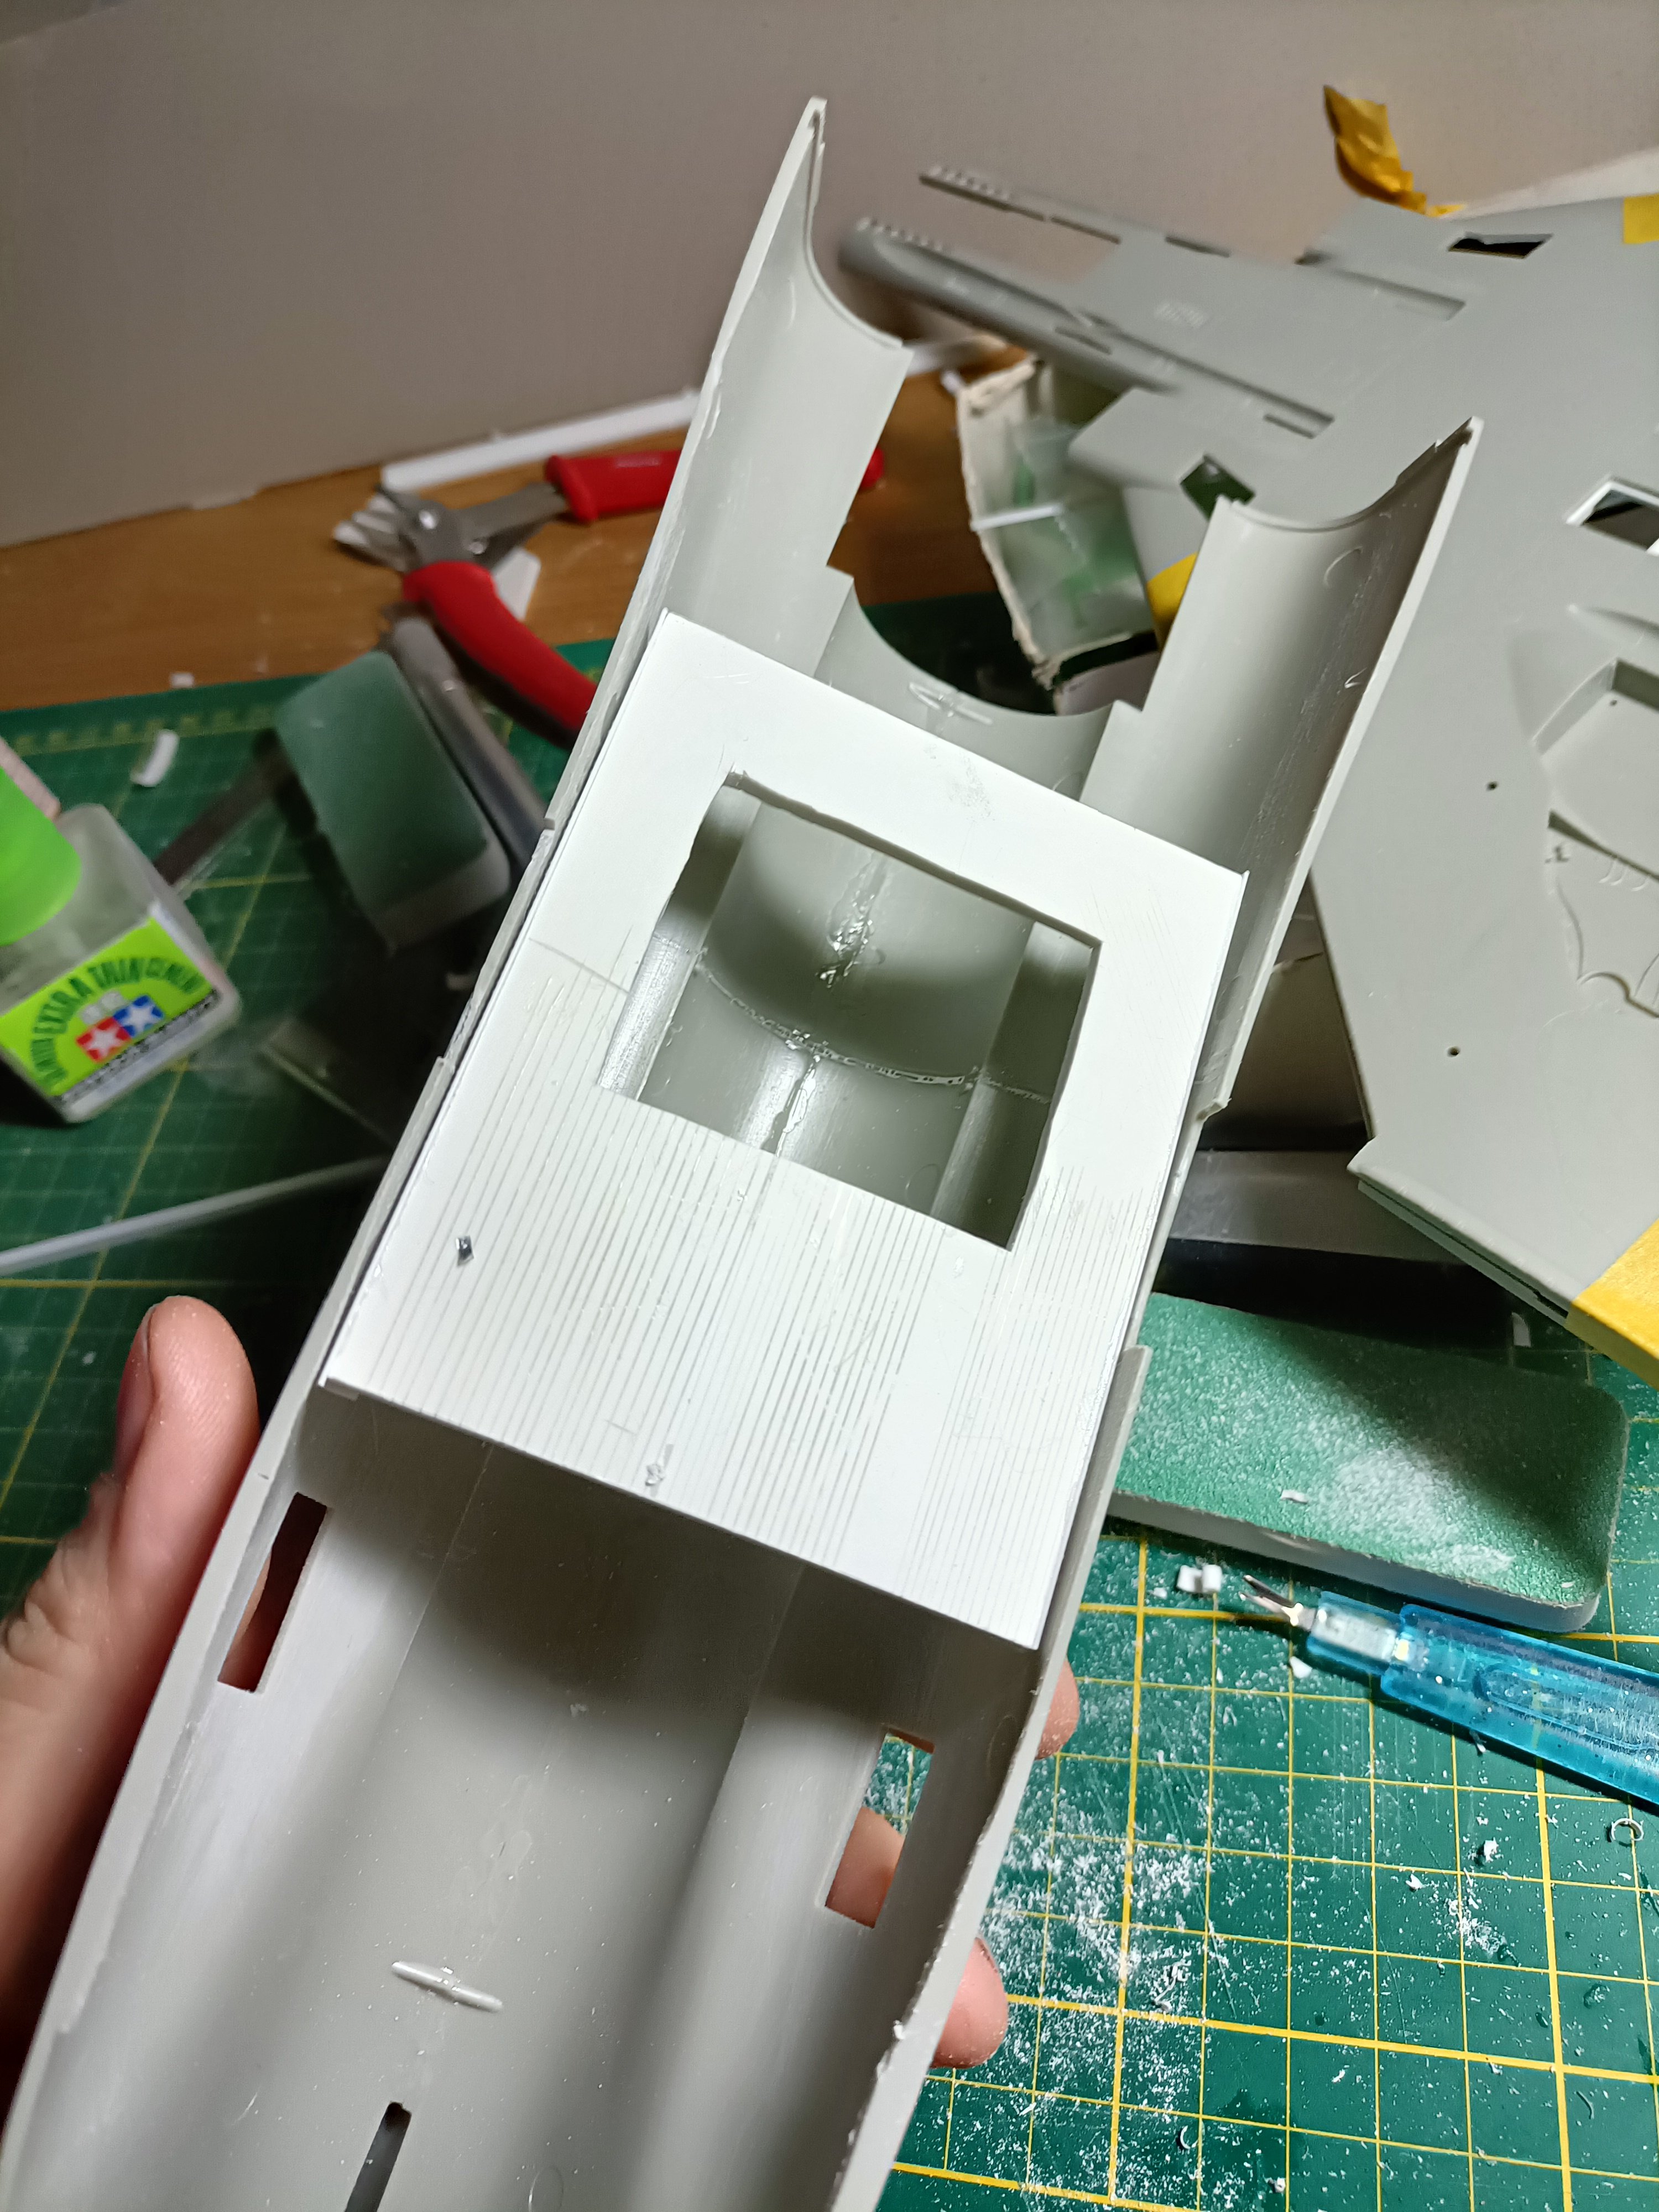
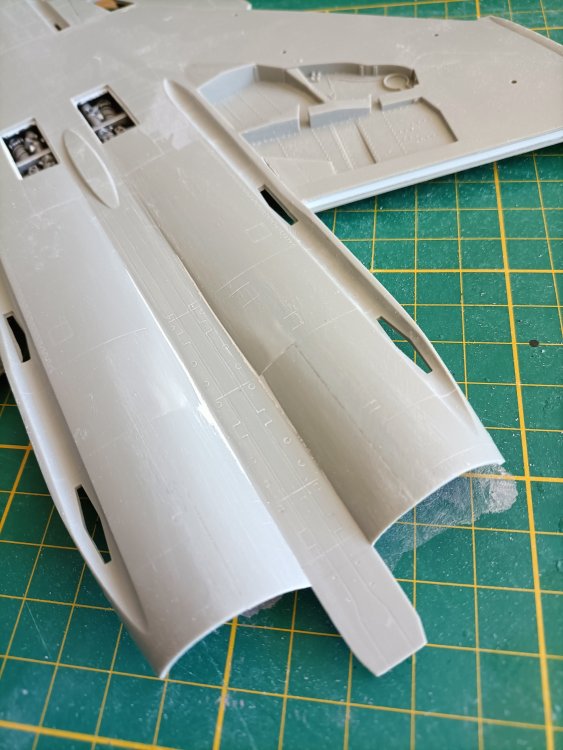
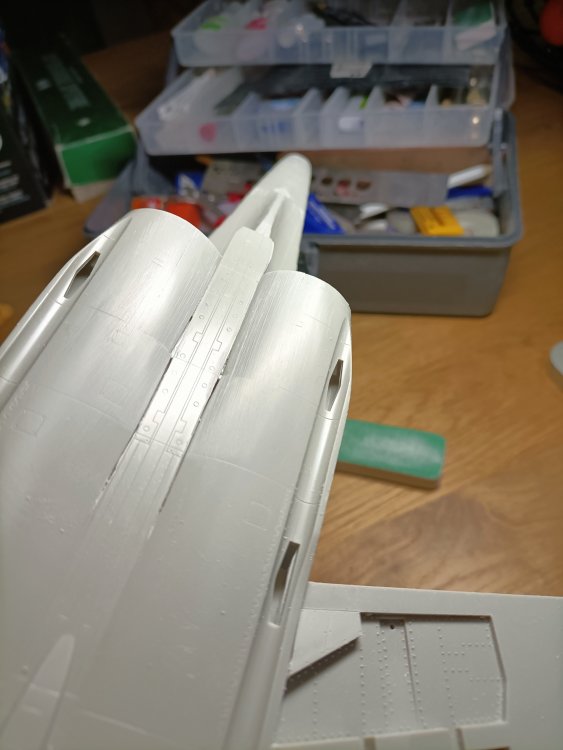
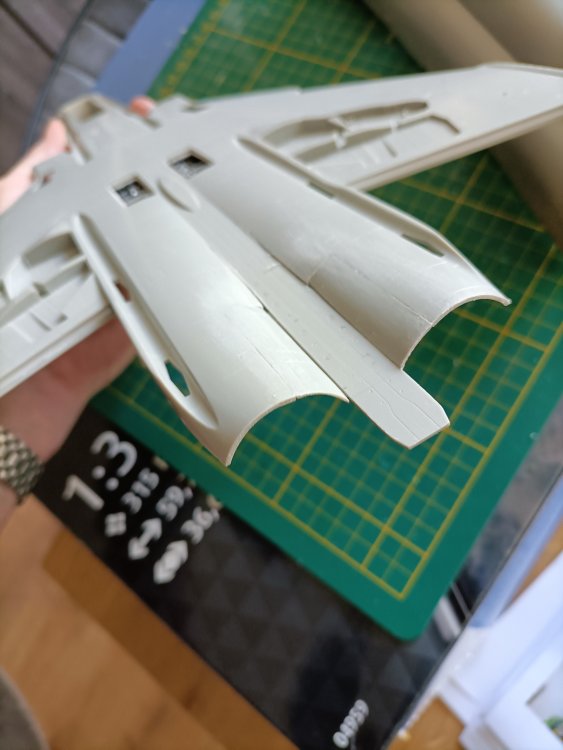
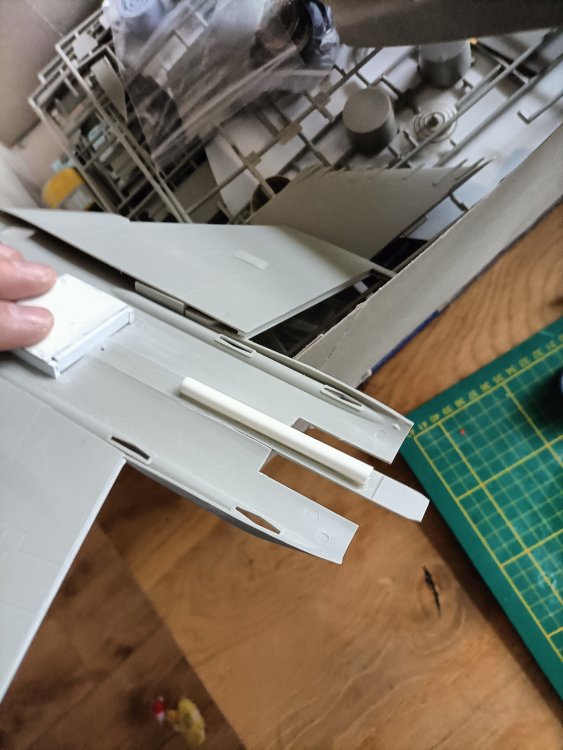
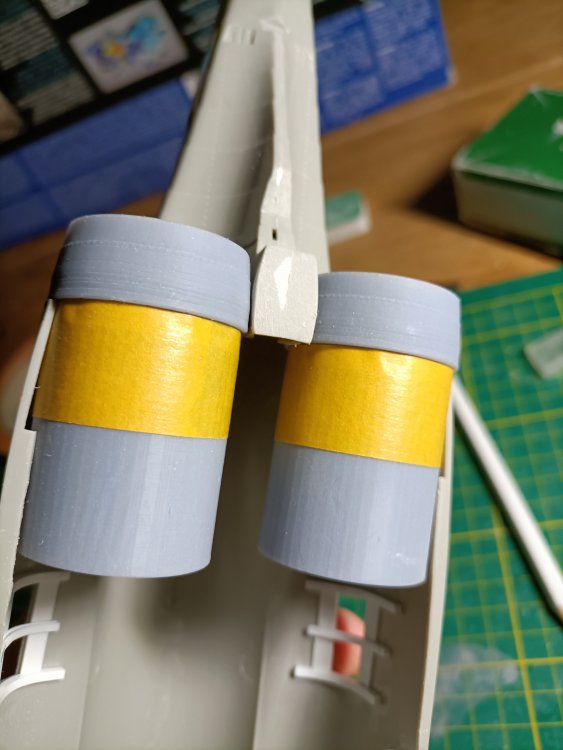
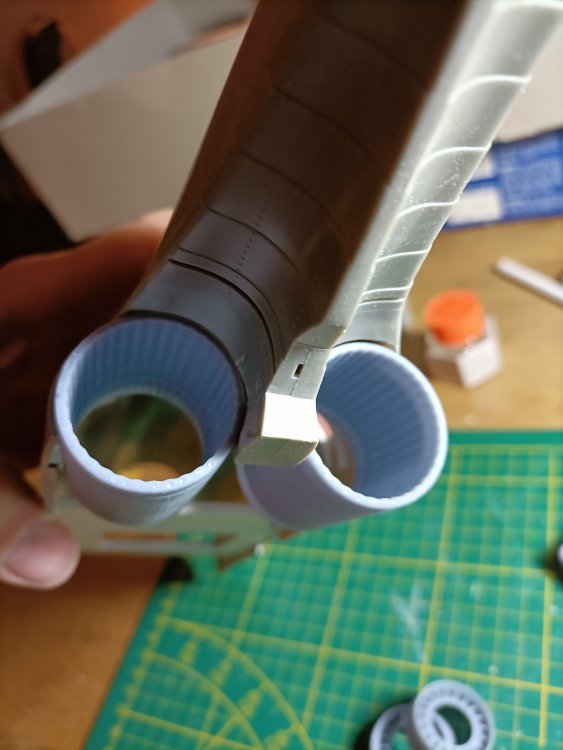
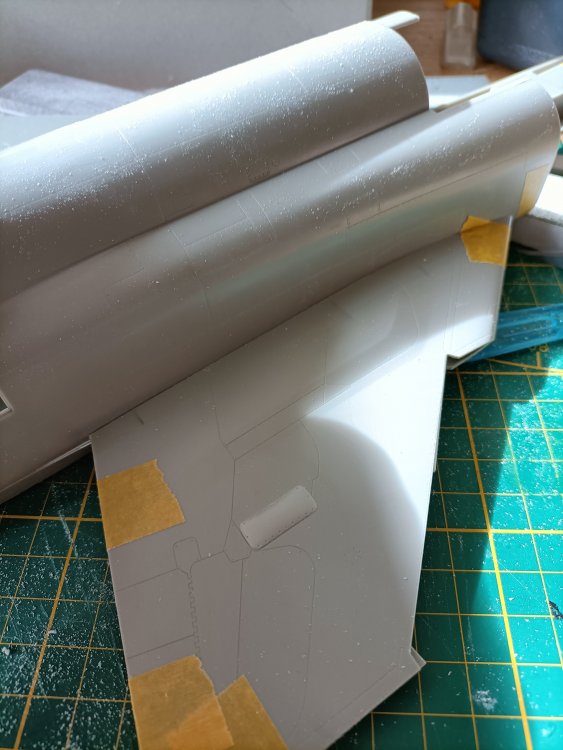
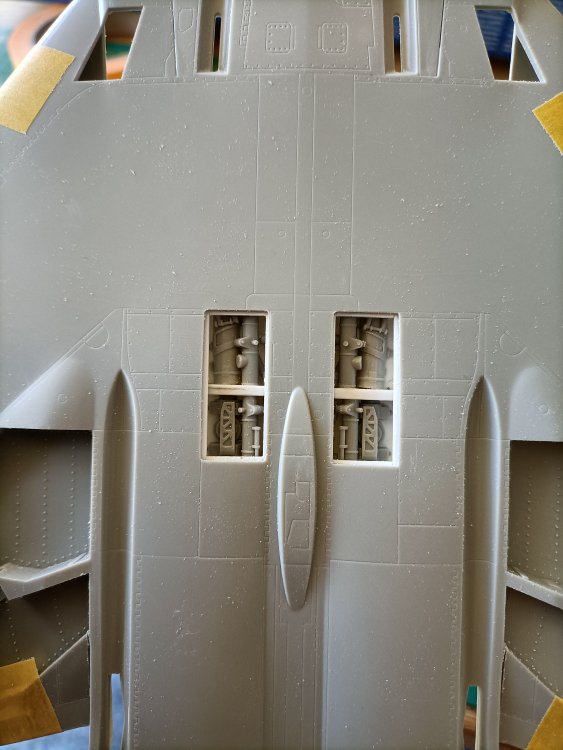
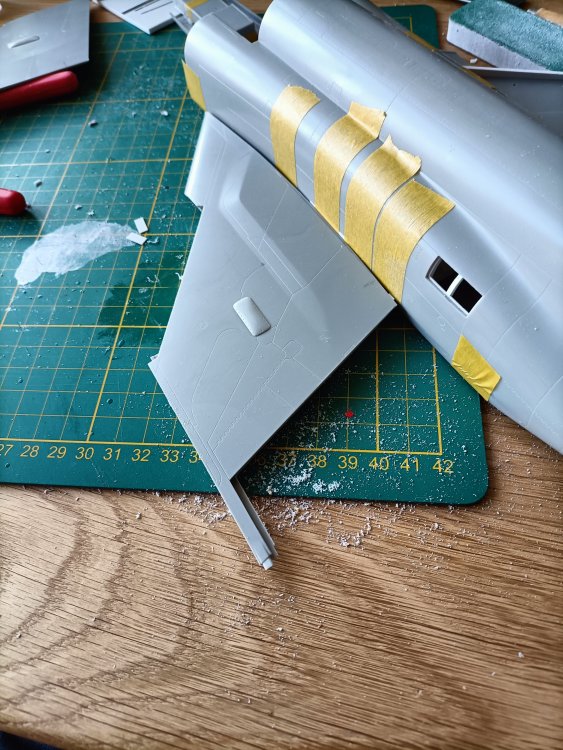
Some more work being done. Due to the Aerocraft parts being bang on regarding dimensions, it takes some thinking how to tackle things and doesn't compare to my previous FGR-2 build. As you can see I cut out sections to fit curved pieces to build up the bigger undersurface area as the bulk below the wings is very visible, basically being to thick tubes. After that it's a matter of filling in the pieces and new wedge shaped curved pieces at the sides. I also enlarged the glueing area in the centre section where I built the auxiliary door compartment. Strenght is paramount here. This is fun.


- 76 replies
-
- 5
-
-
- revell
- 1/32 phantom
- (and 1 more)
-
RN FG-1 Phantom 1/32 scratch conversion
Wingco57 replied to Wingco57's topic in LSM 1/35 and Larger Work In Progress
Wielding the mighty saw......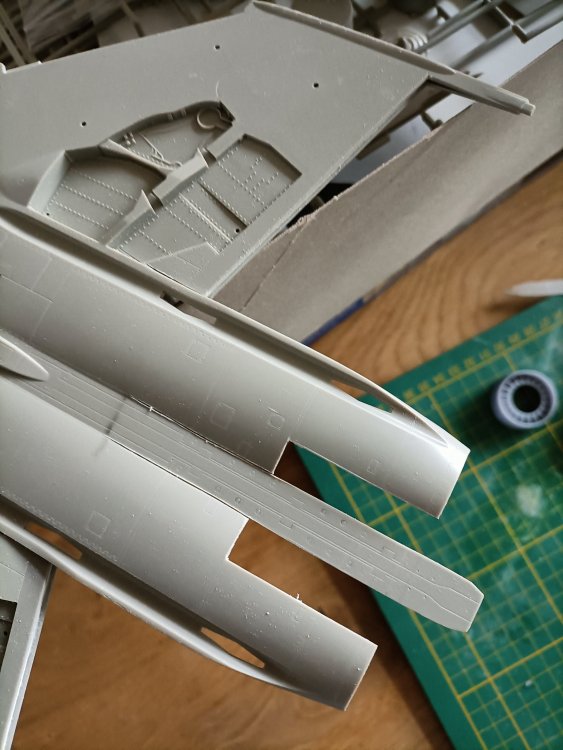

- 76 replies
-
- 3
-
-
- revell
- 1/32 phantom
- (and 1 more)
-
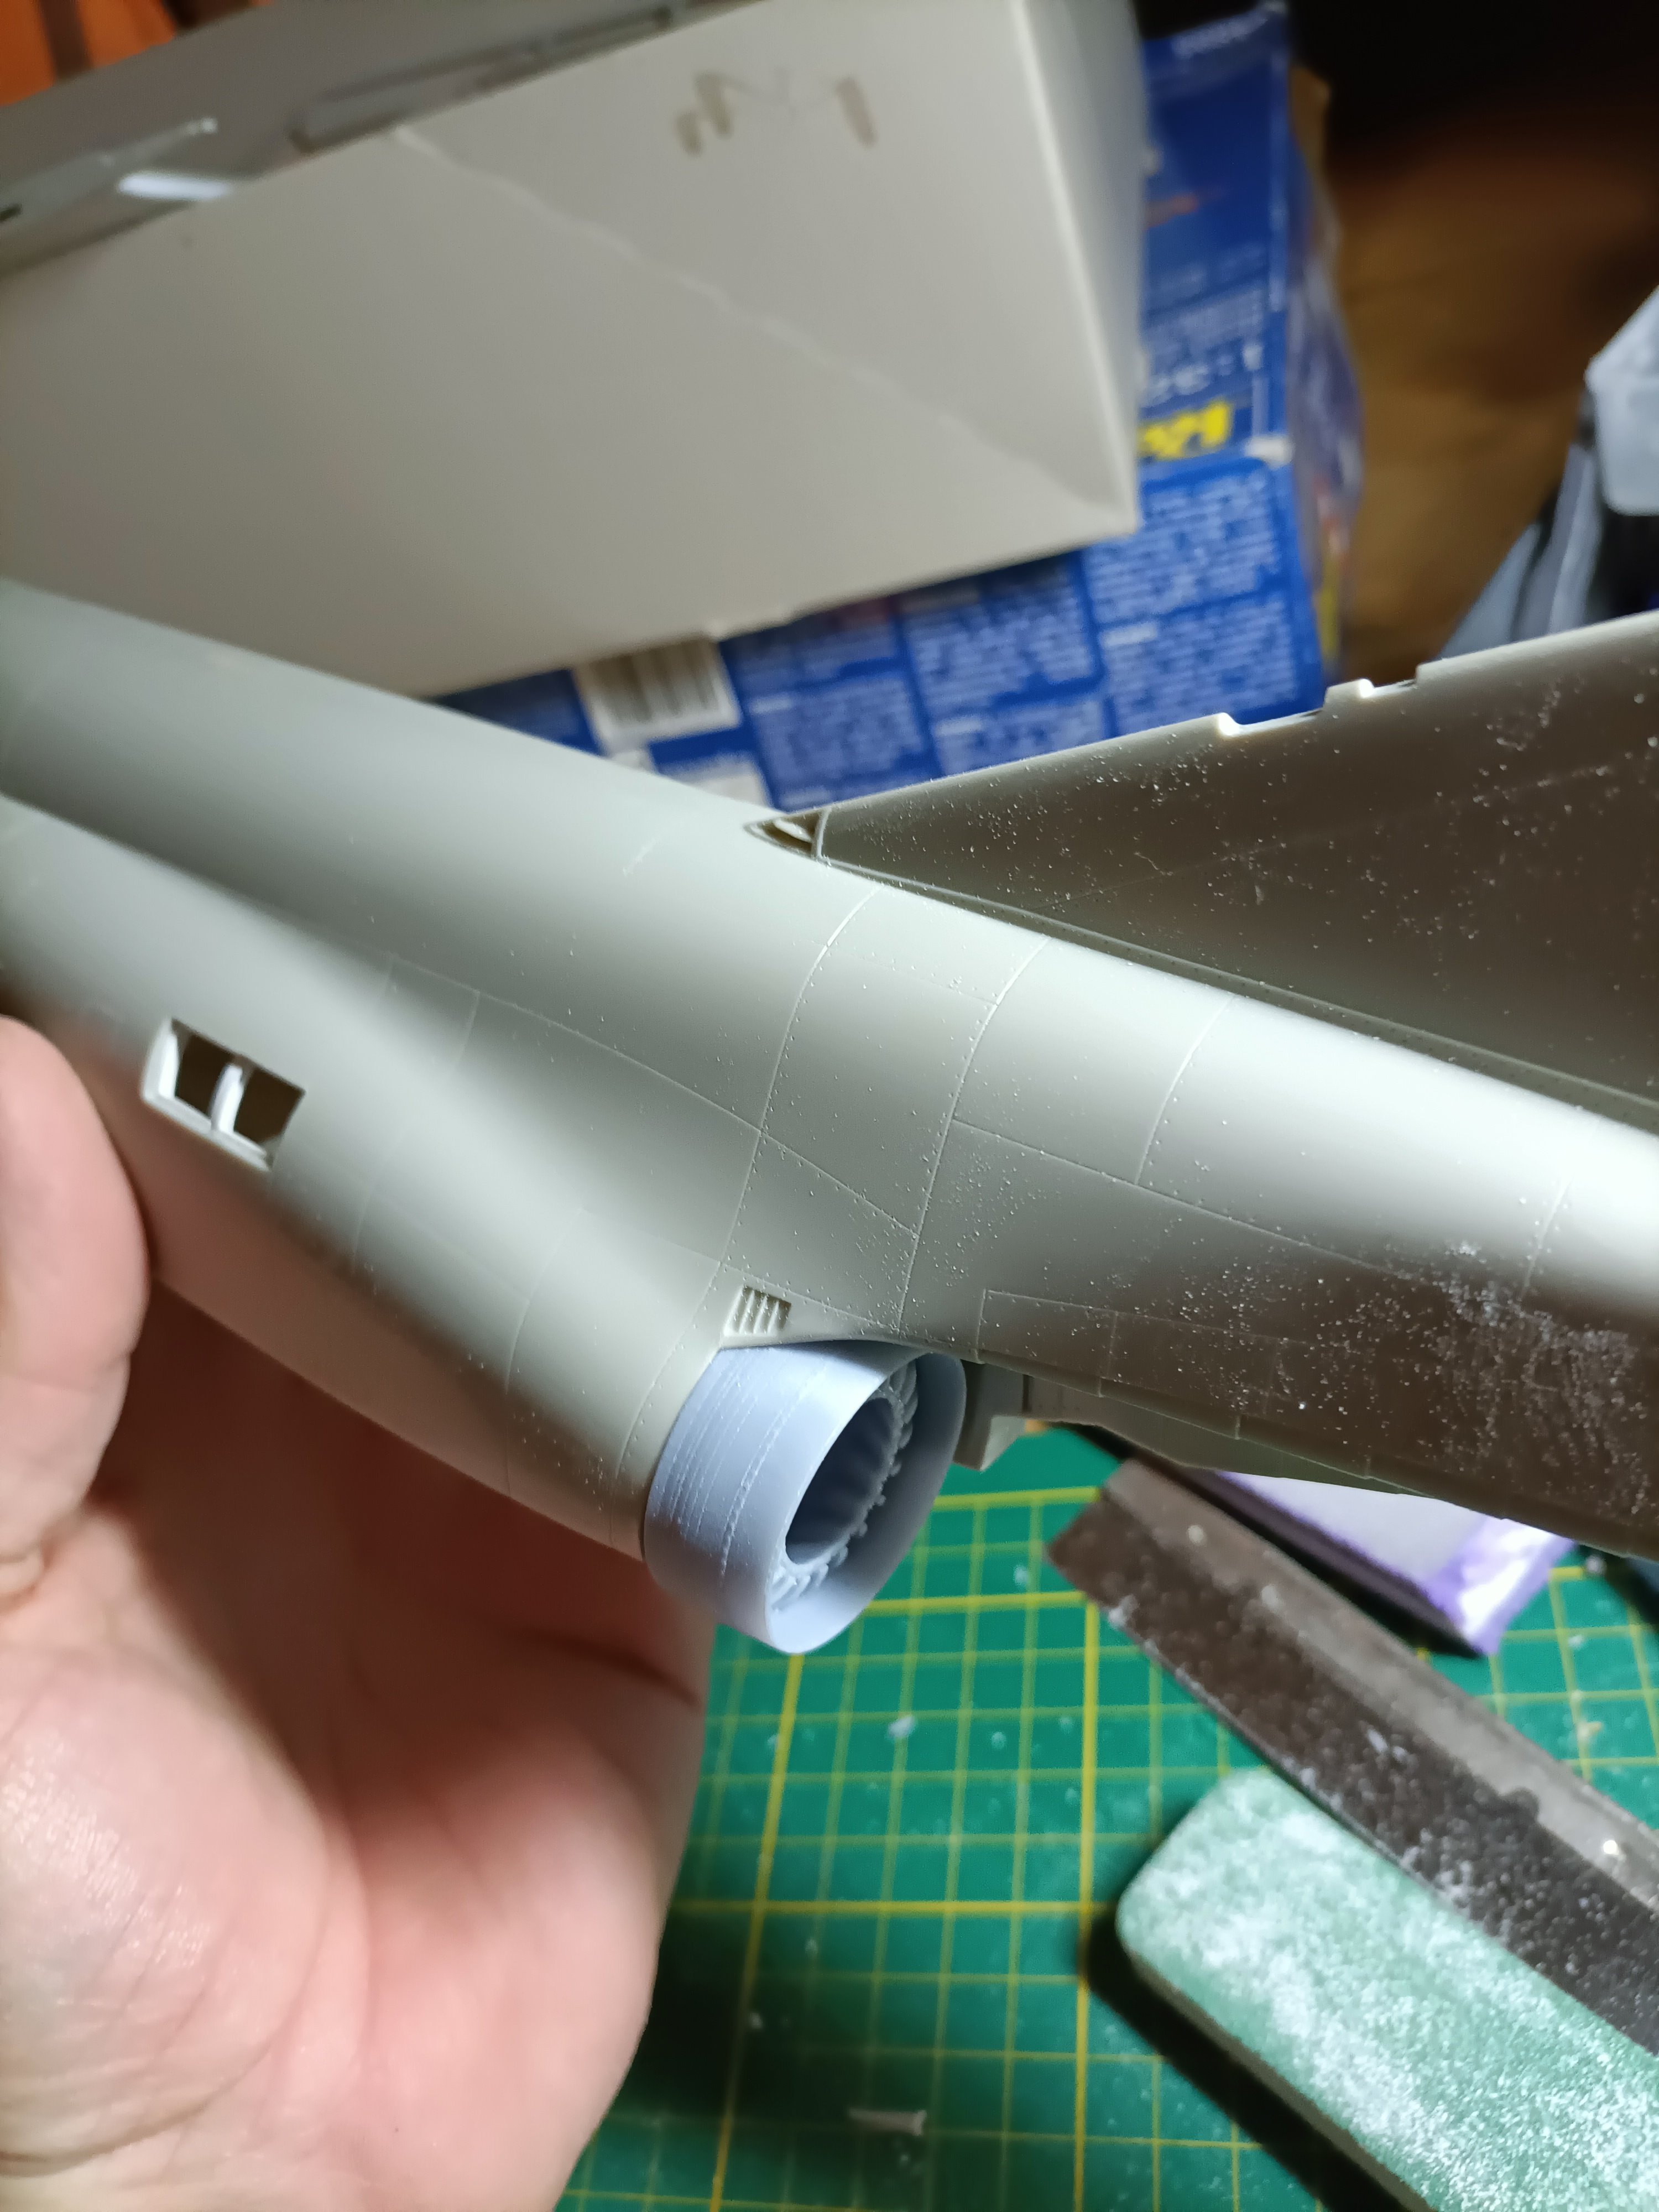
RN FG-1 Phantom 1/32 scratch conversion
Wingco57 replied to Wingco57's topic in LSM 1/35 and Larger Work In Progress
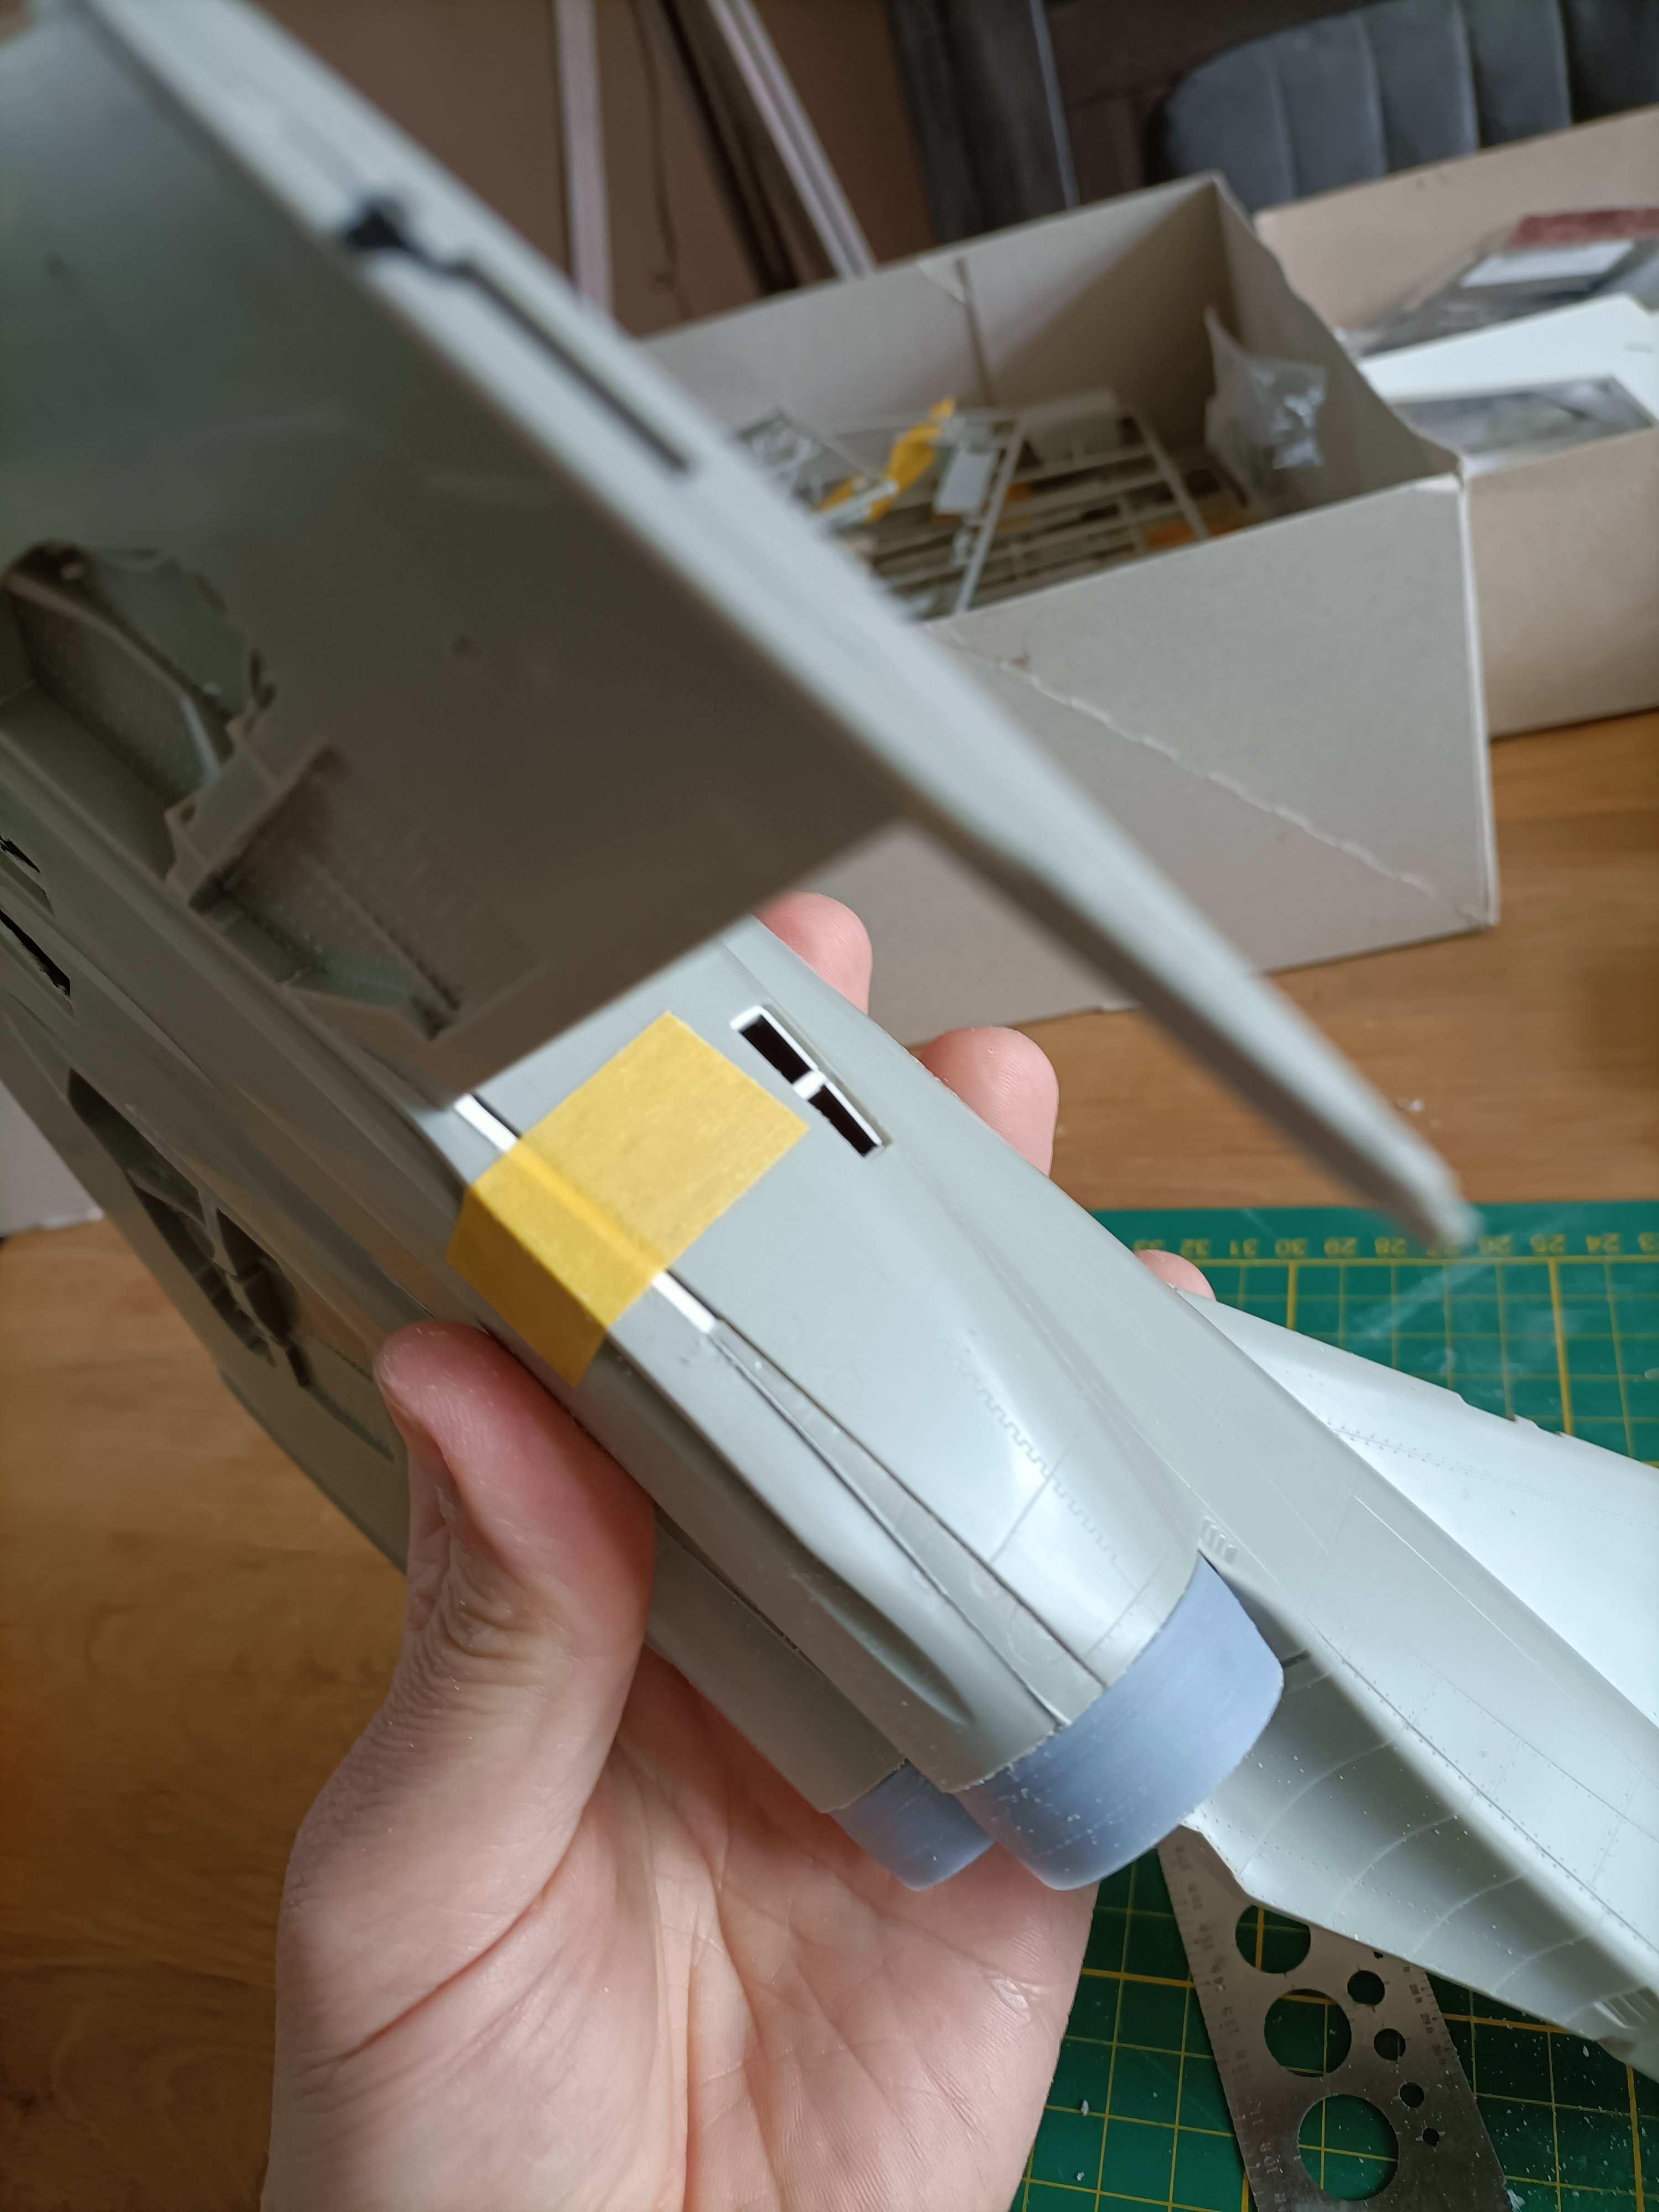
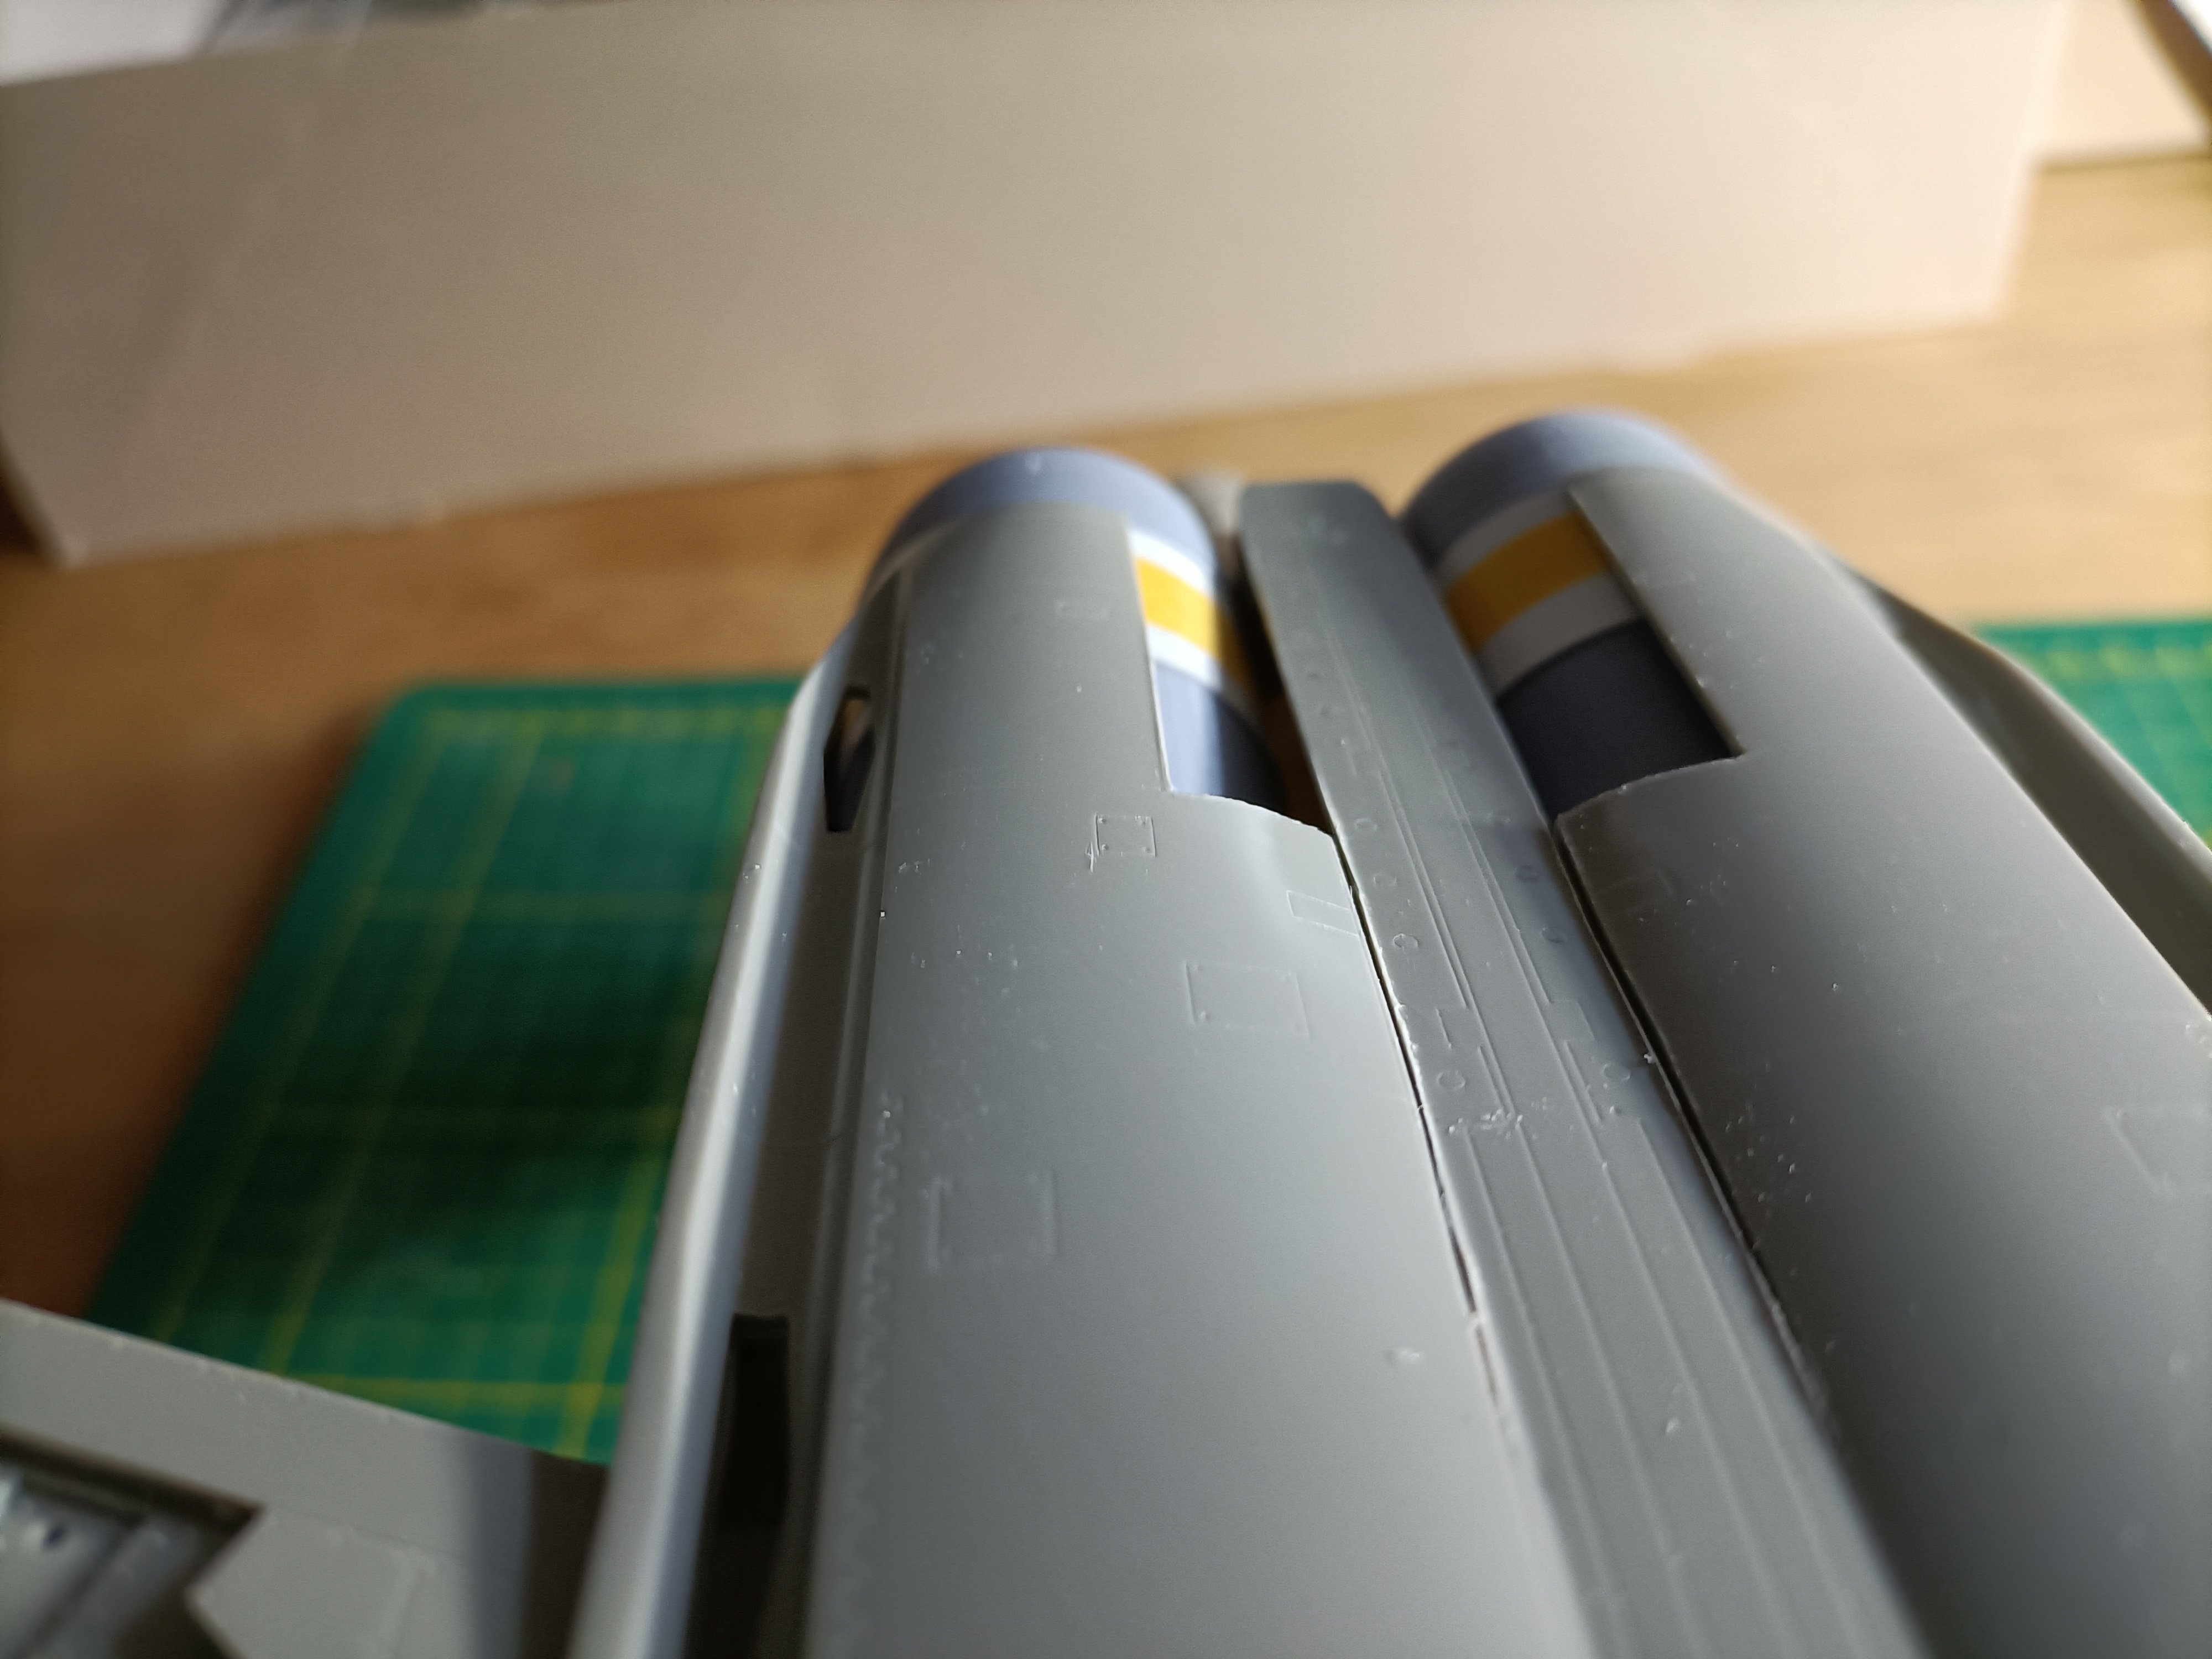
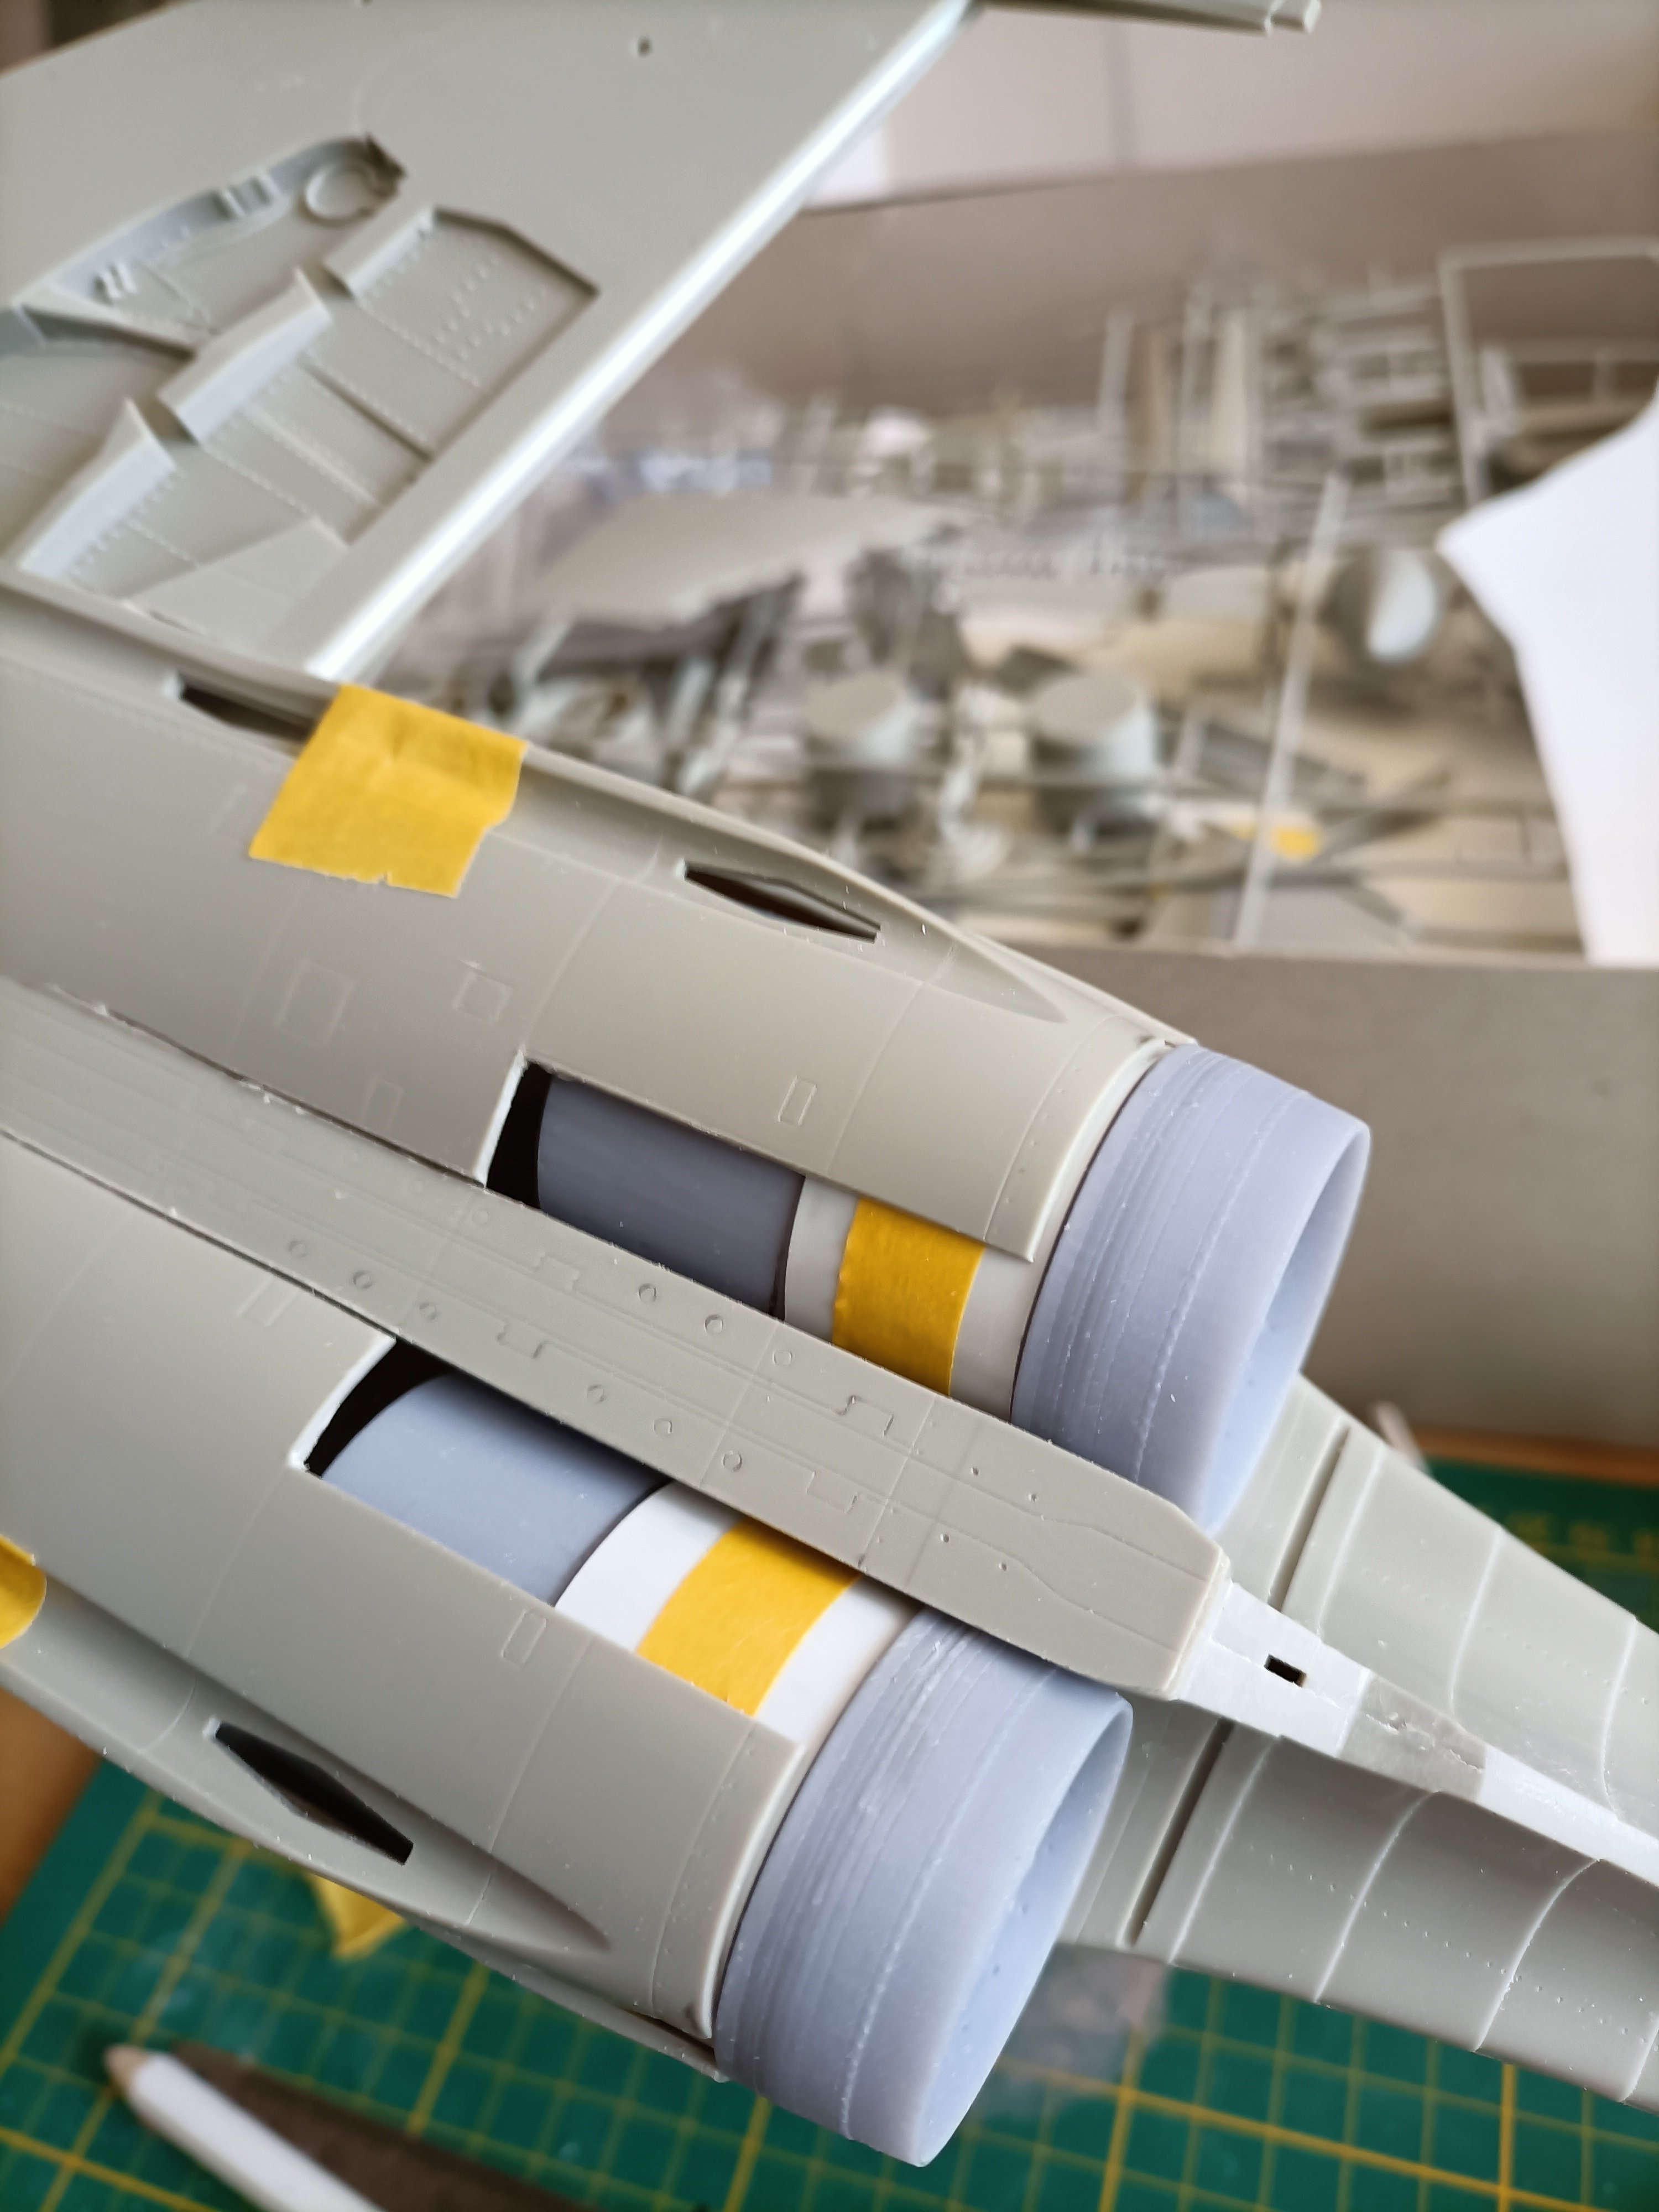
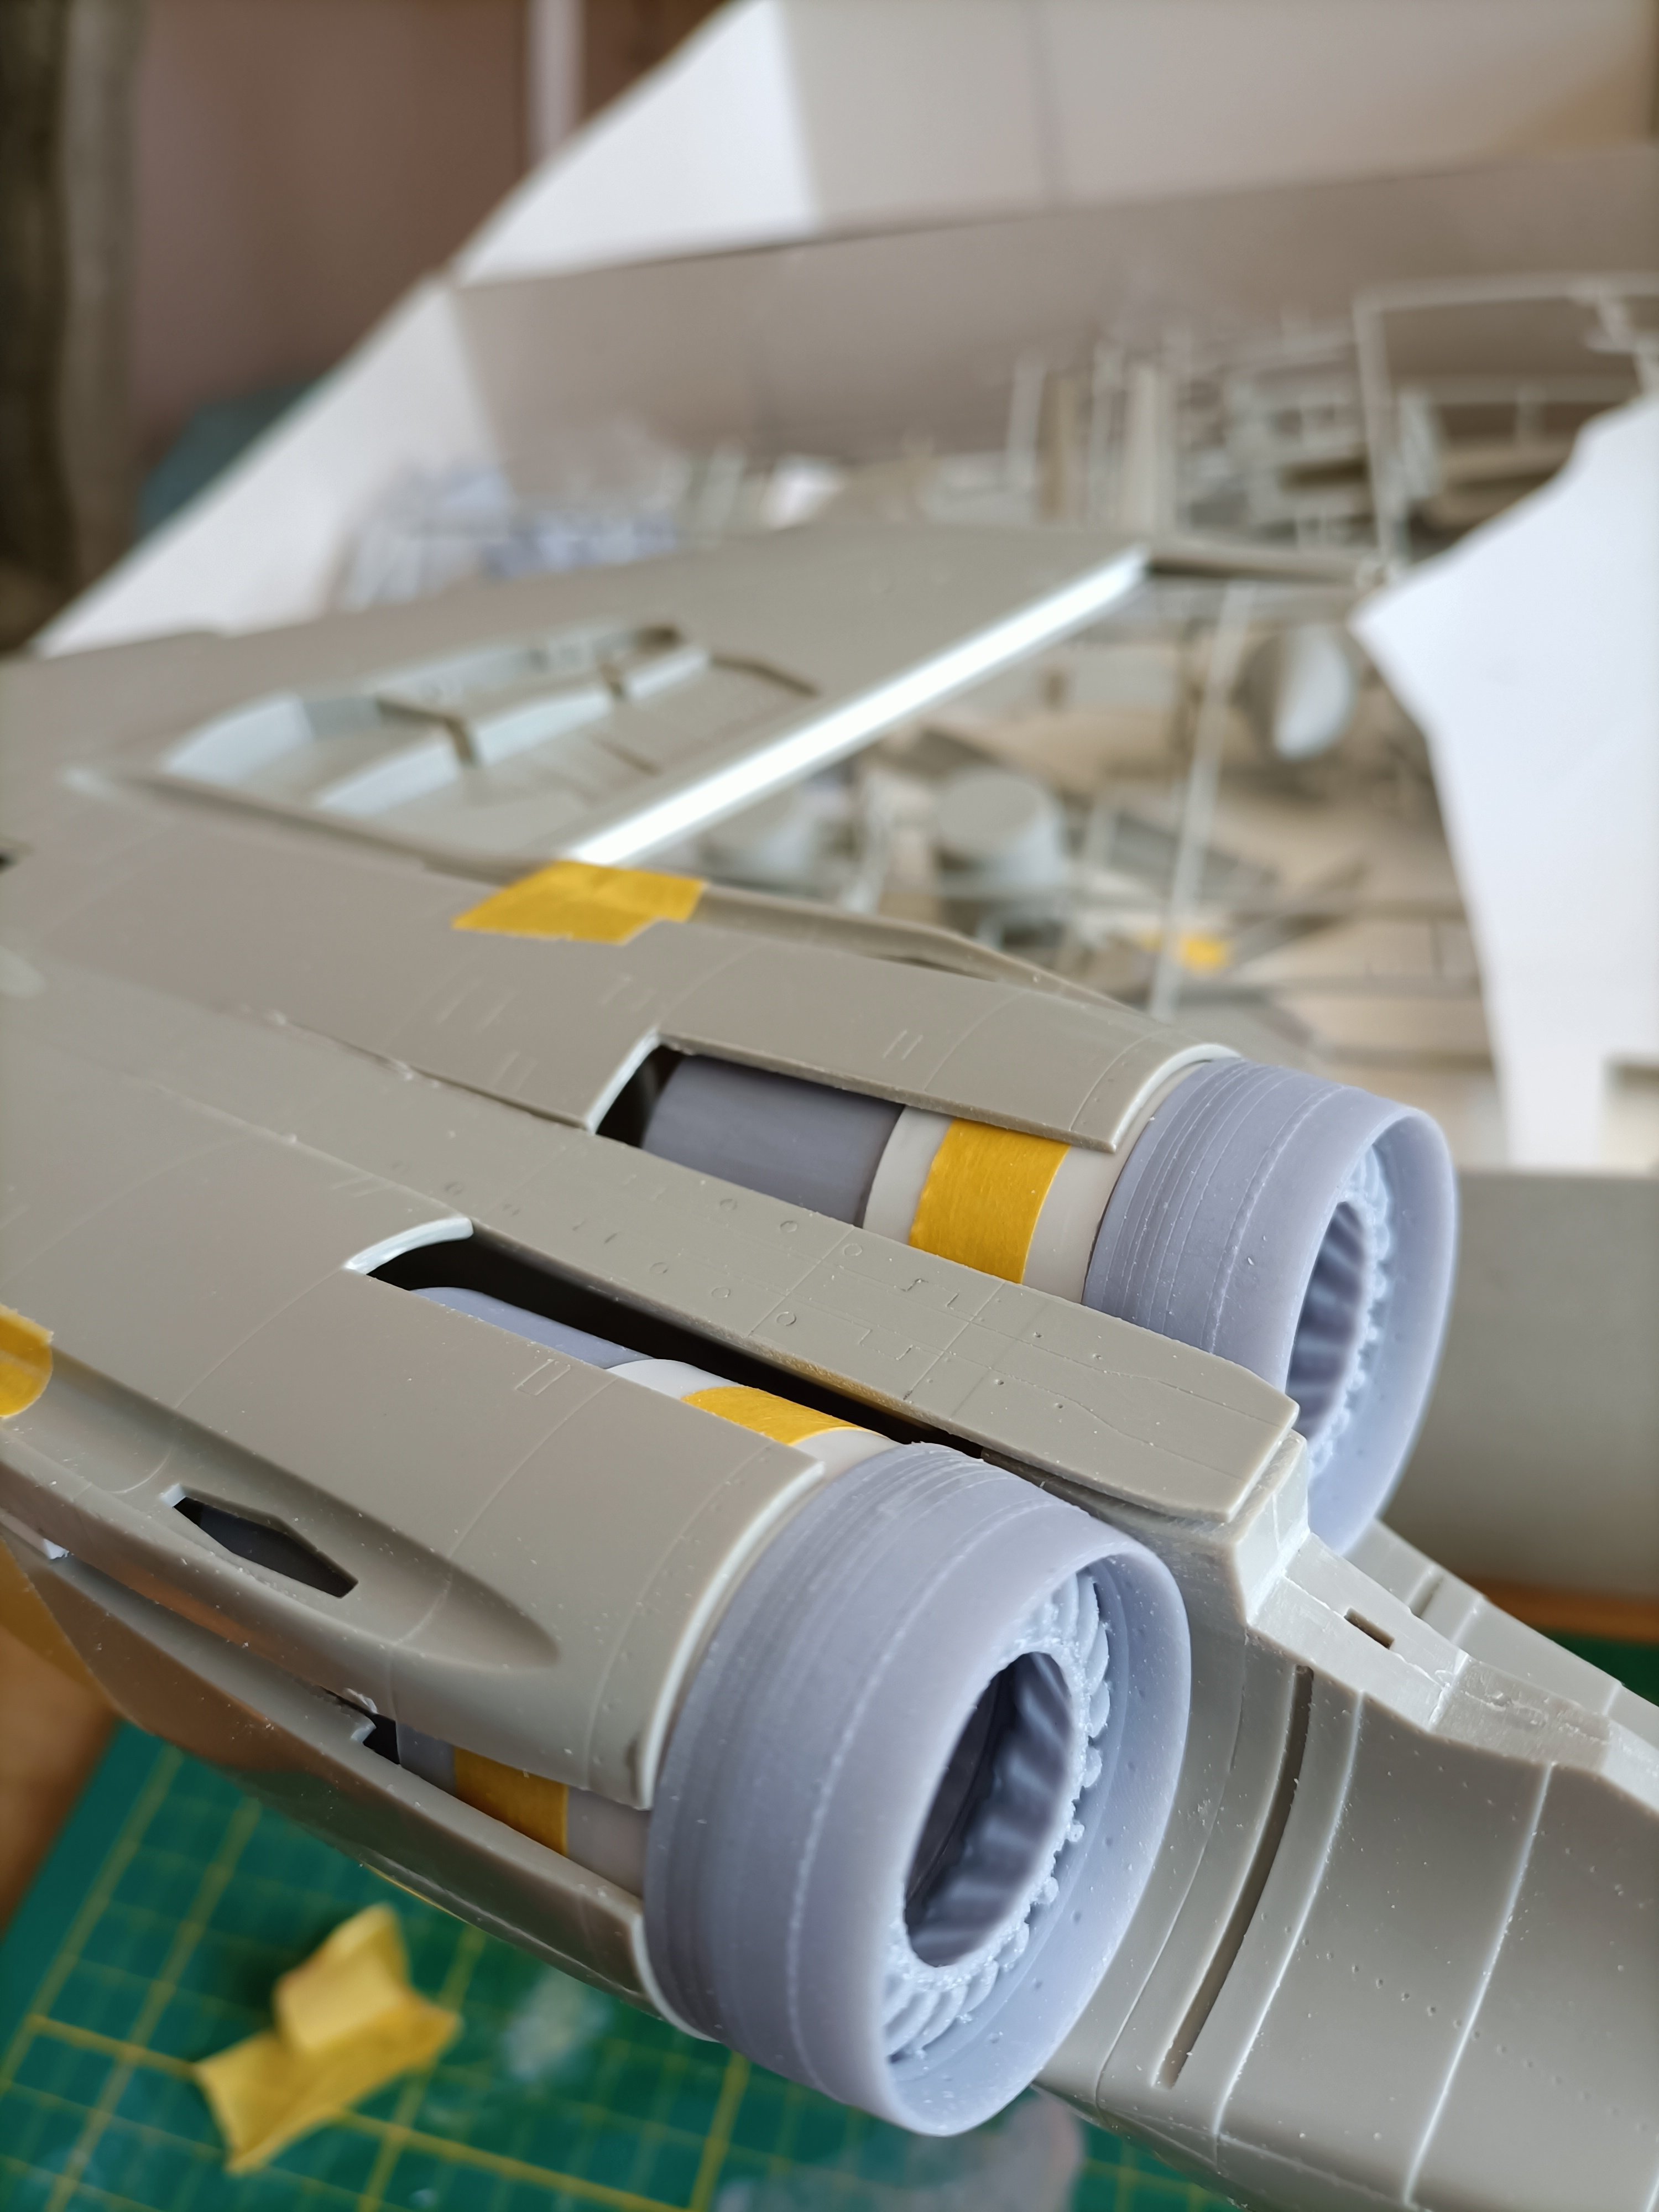
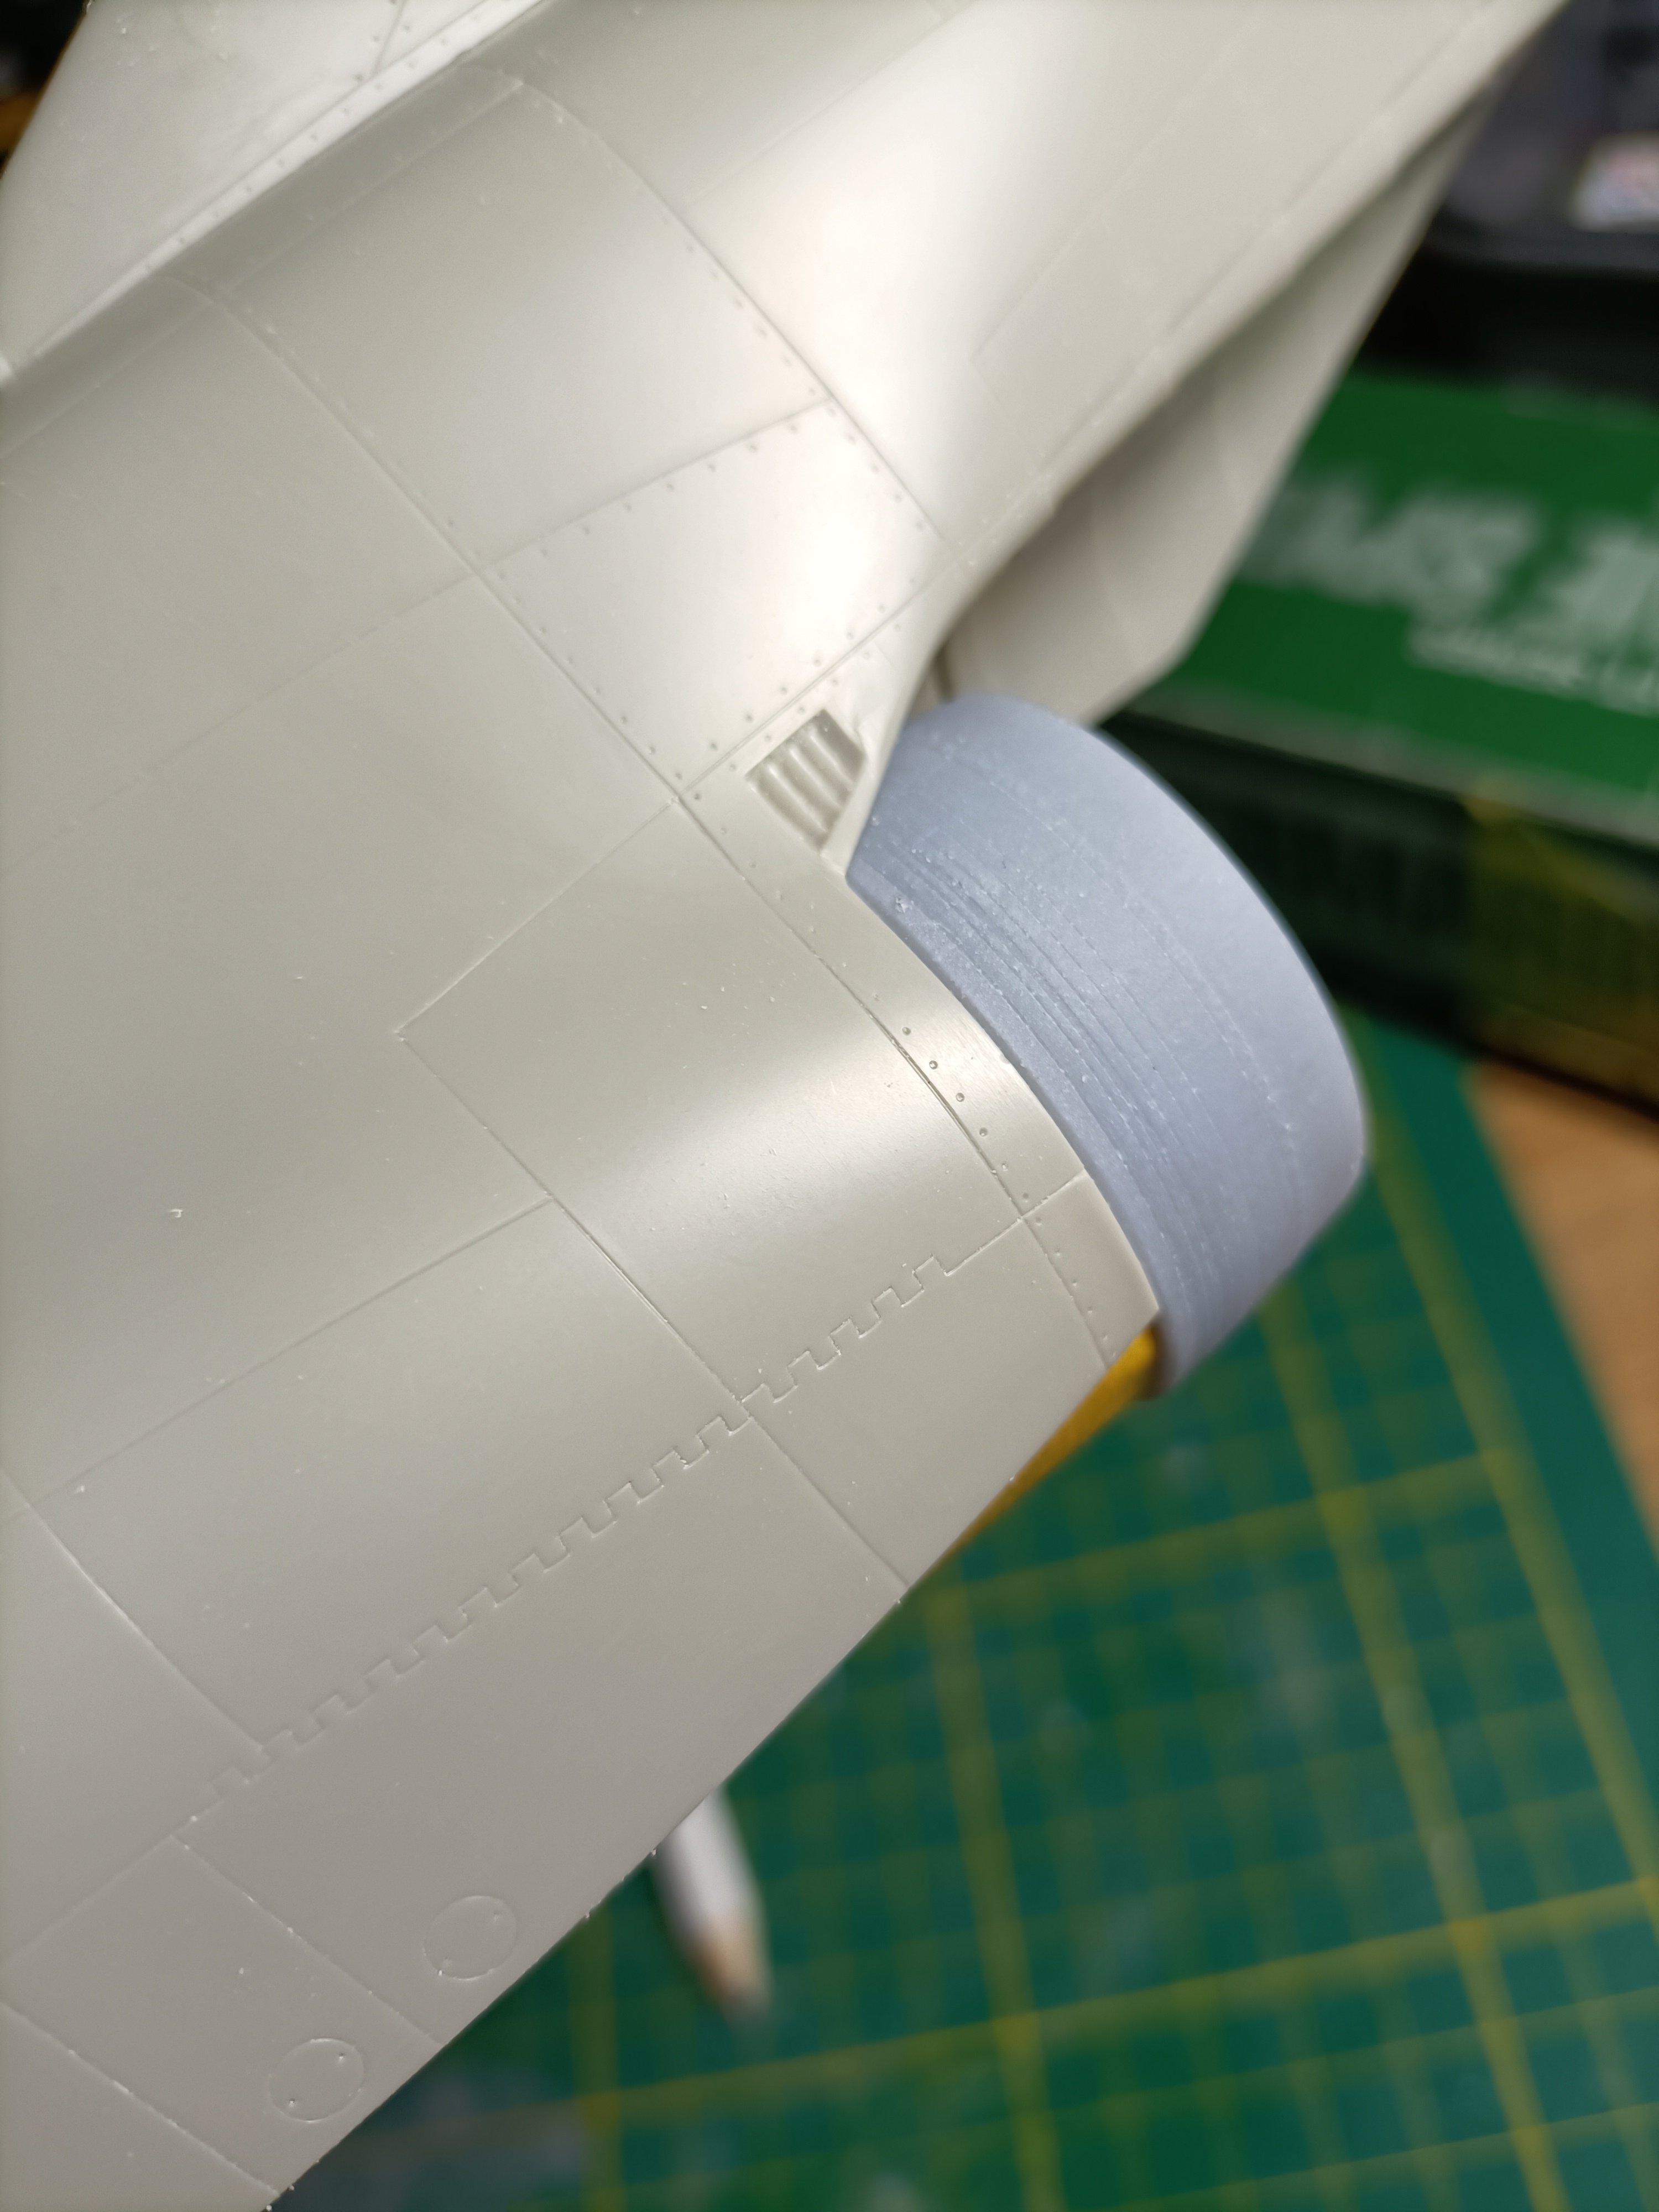
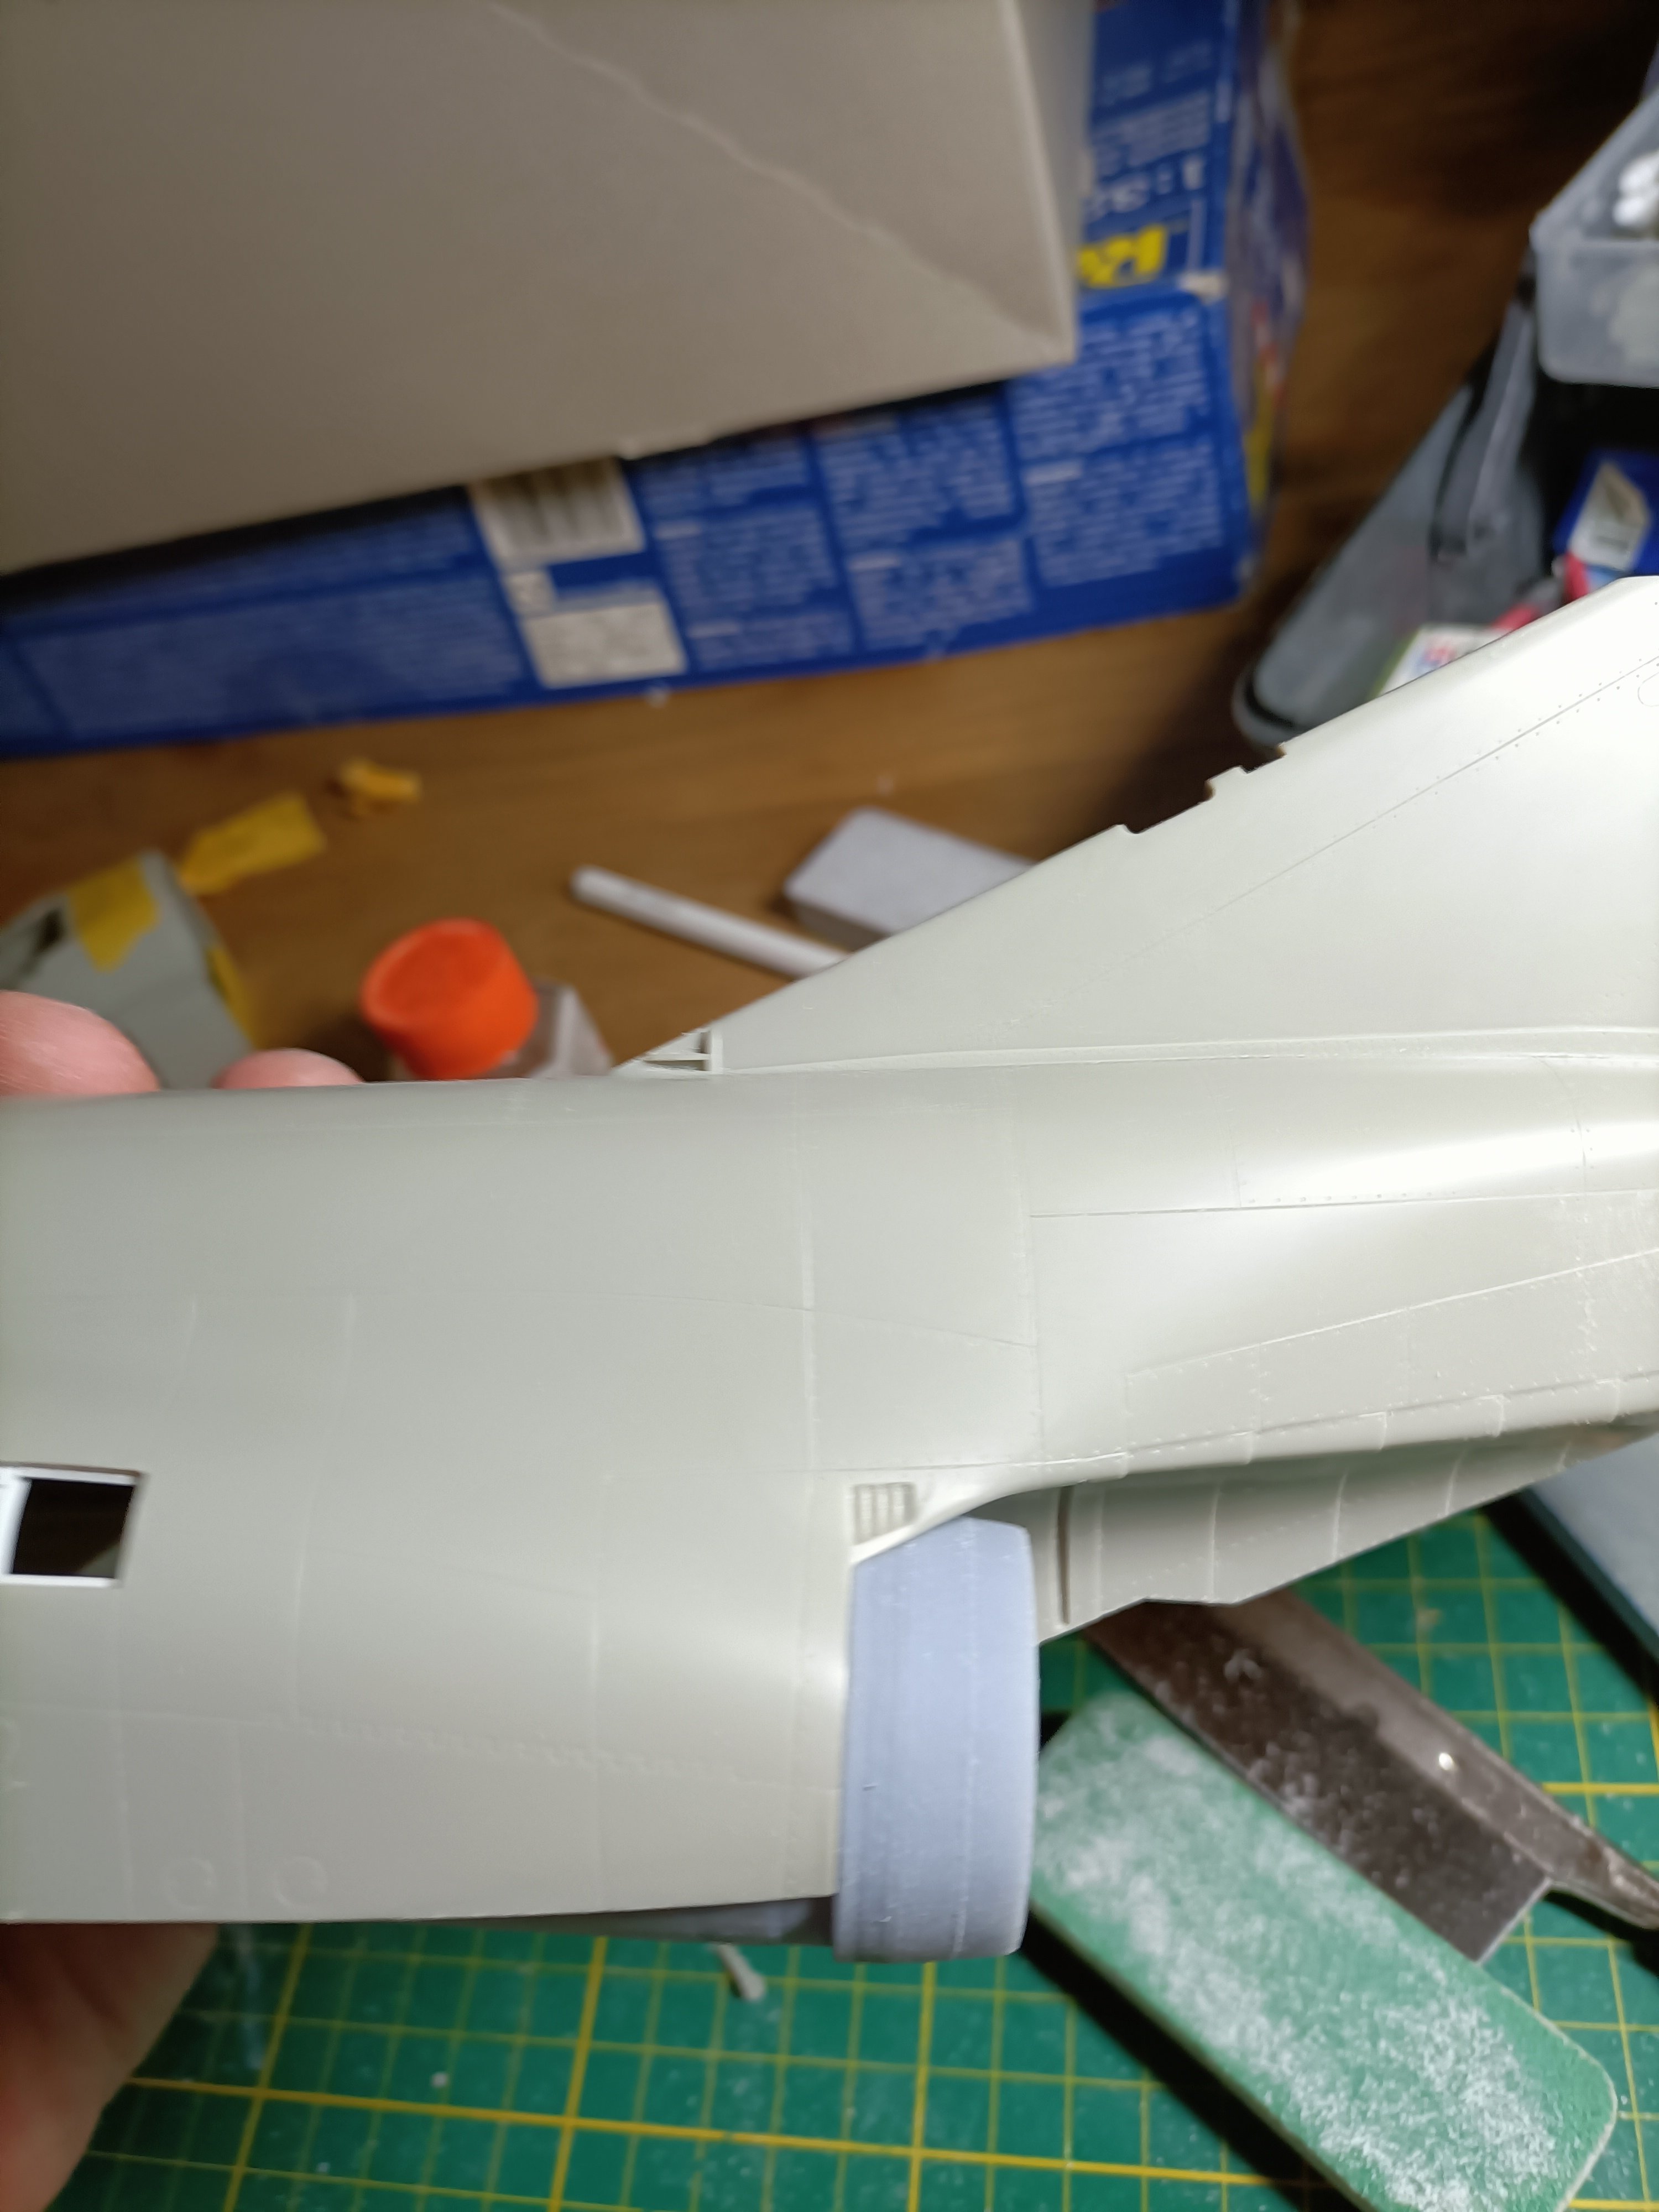
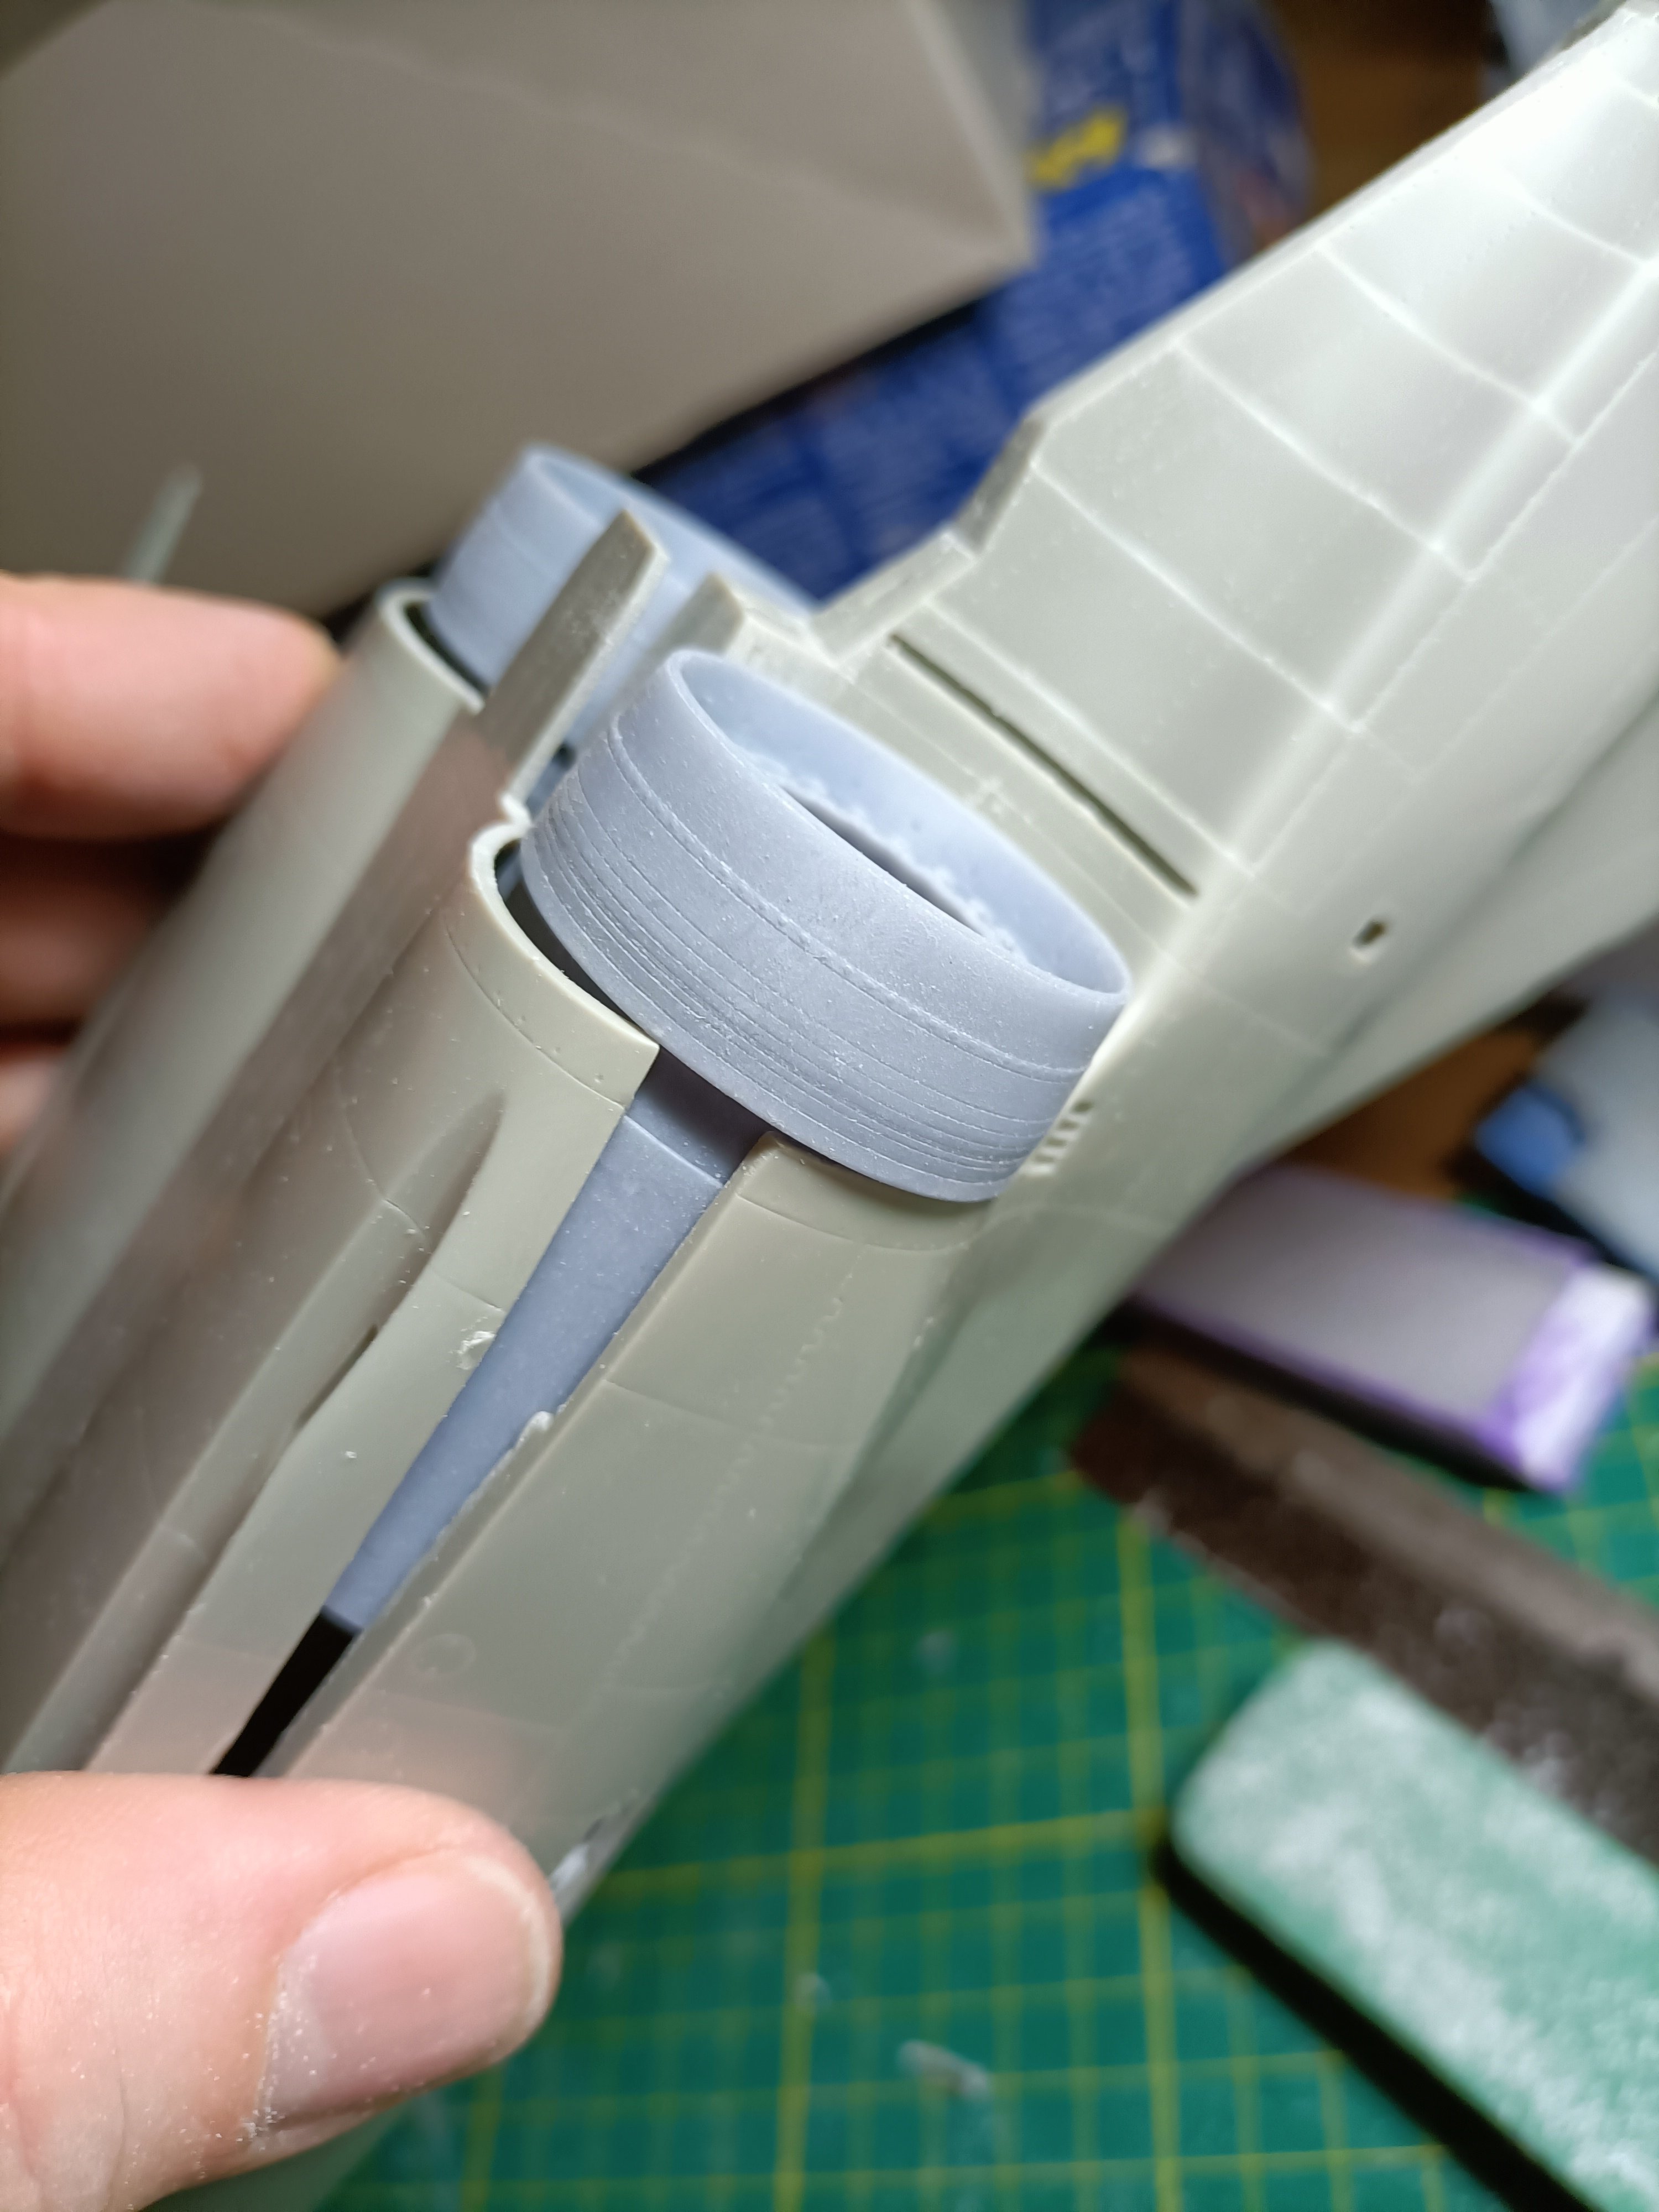
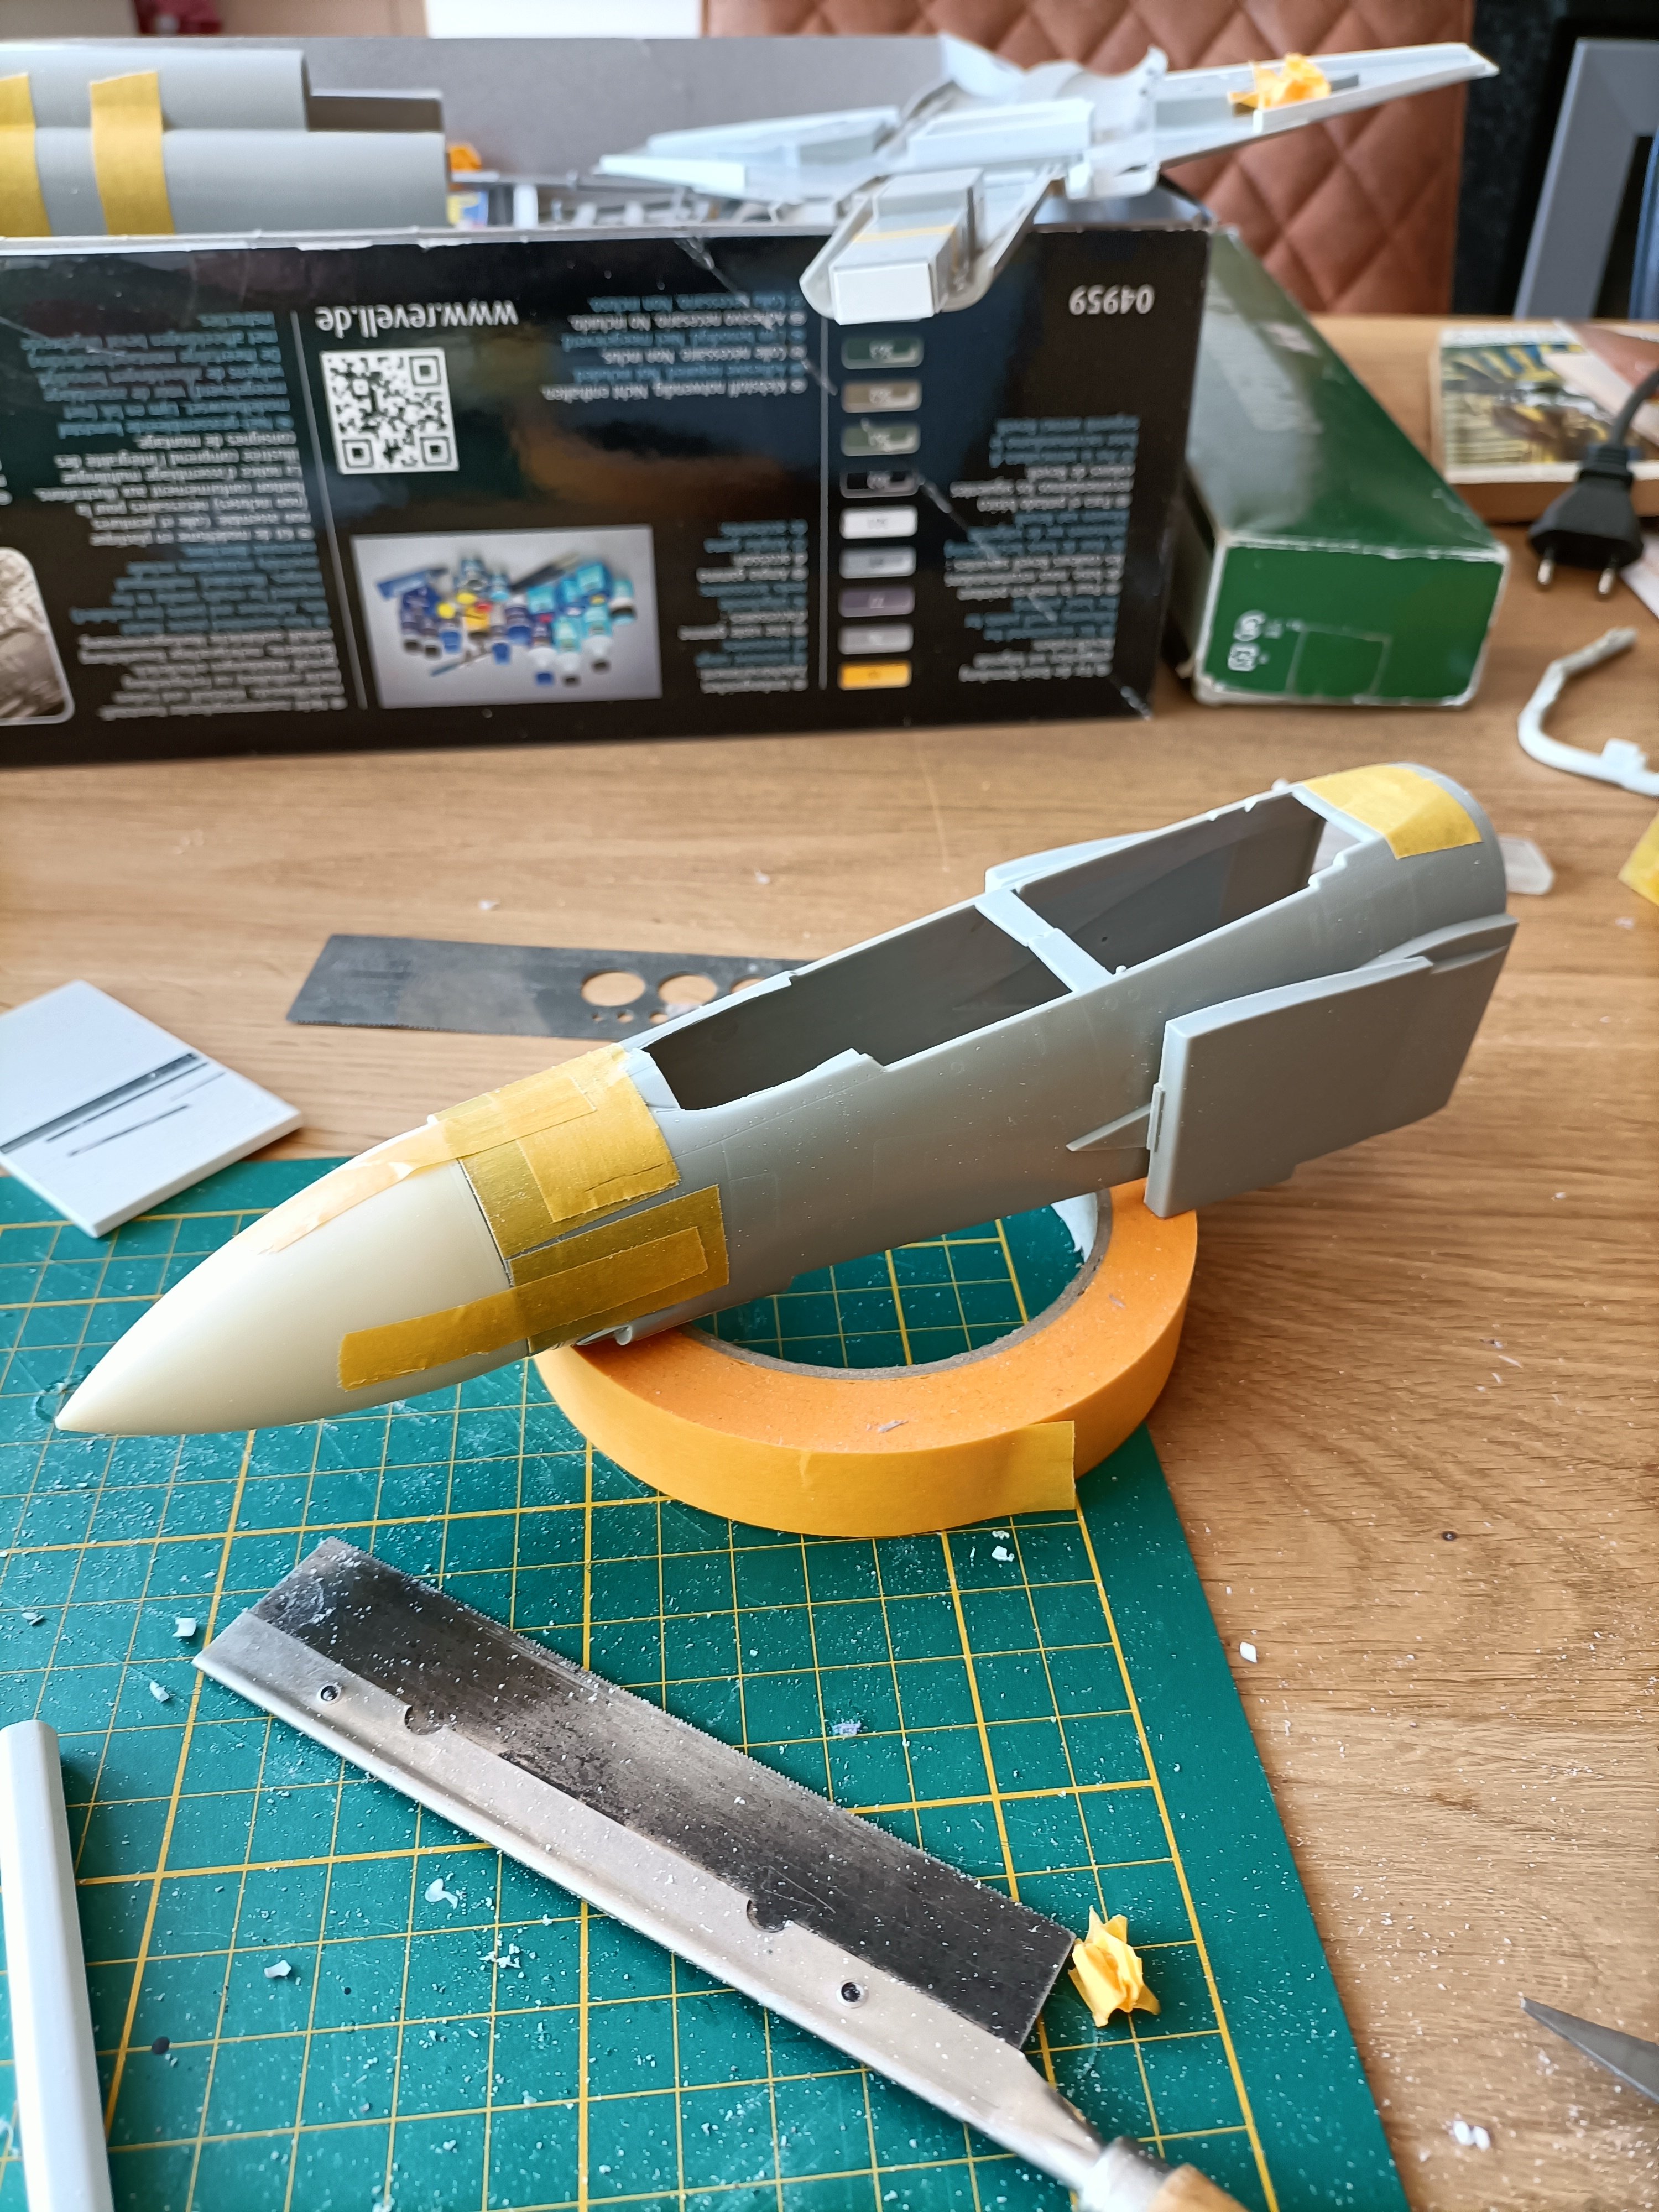
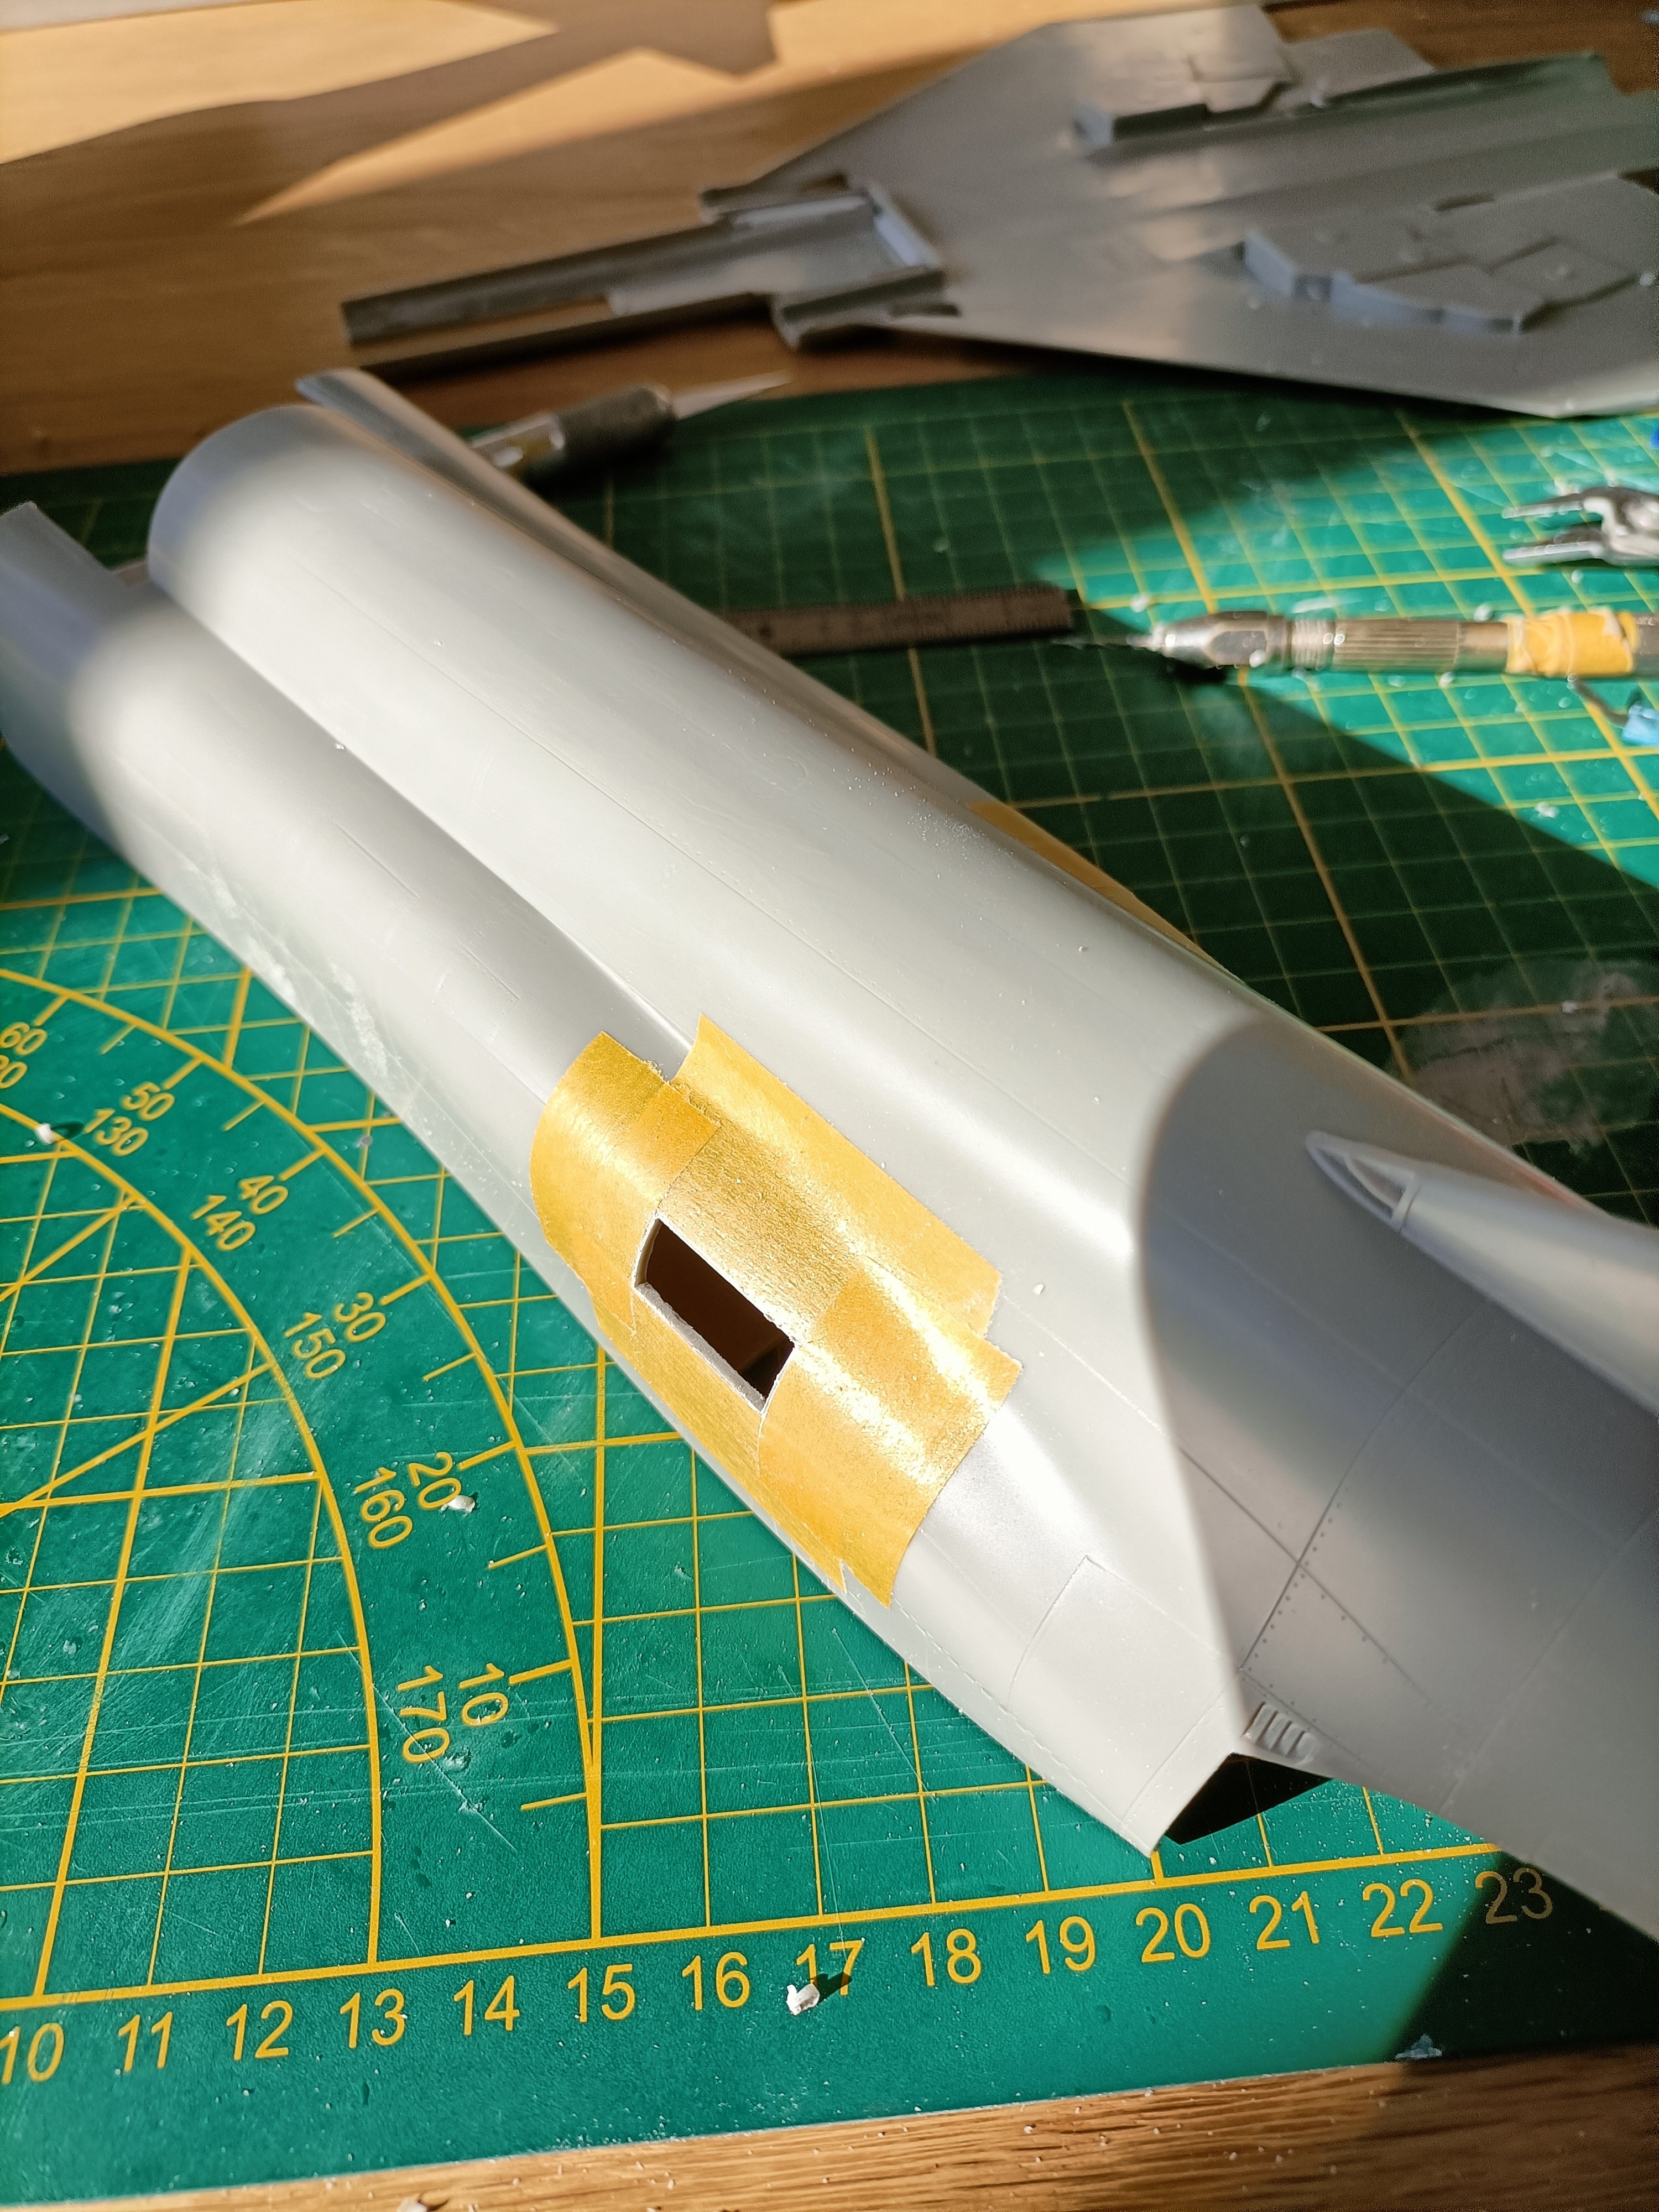
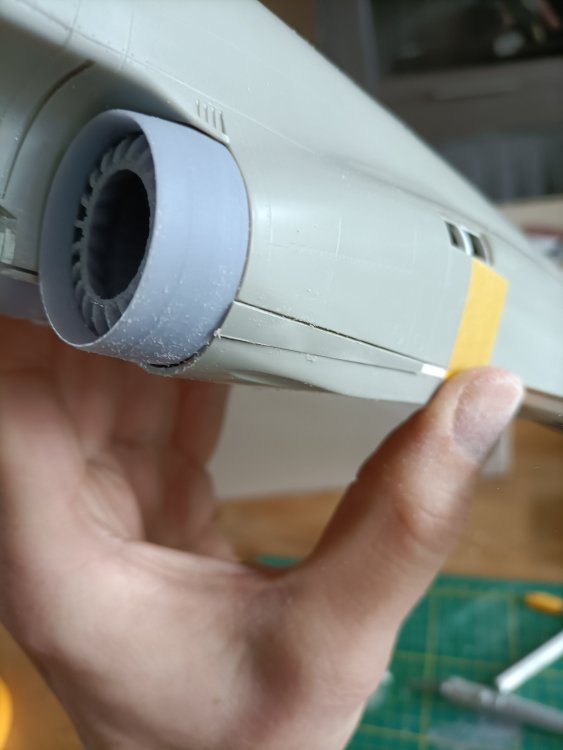
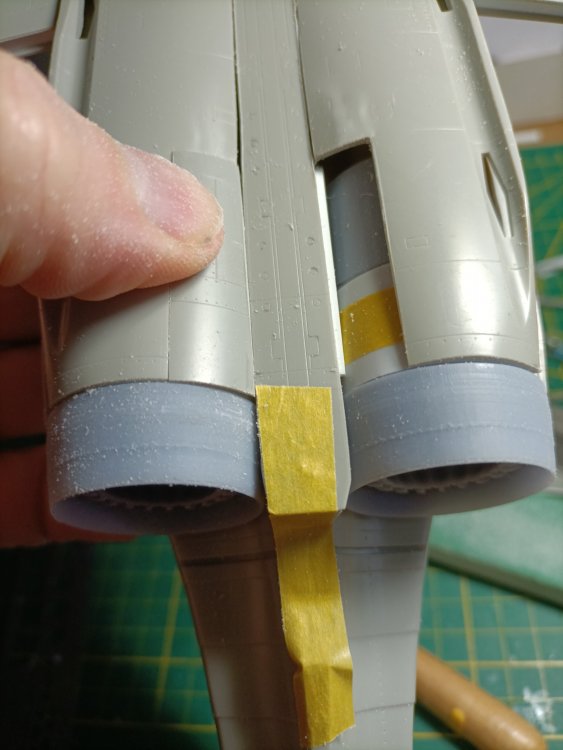
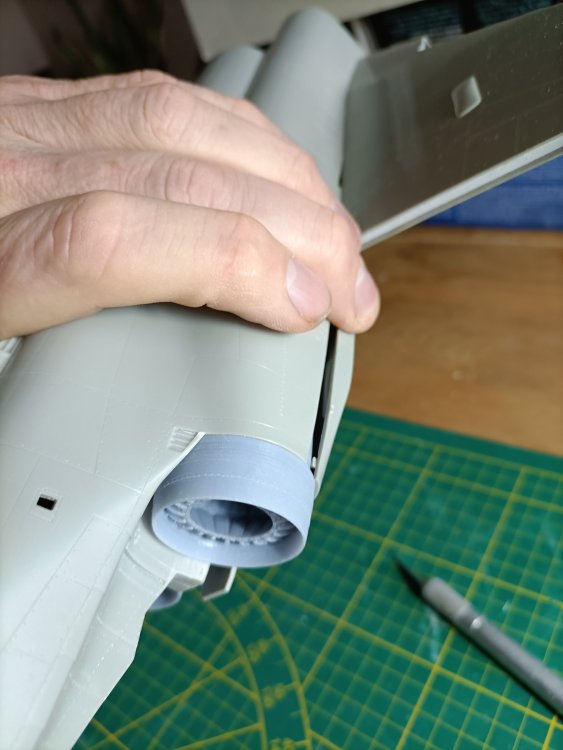
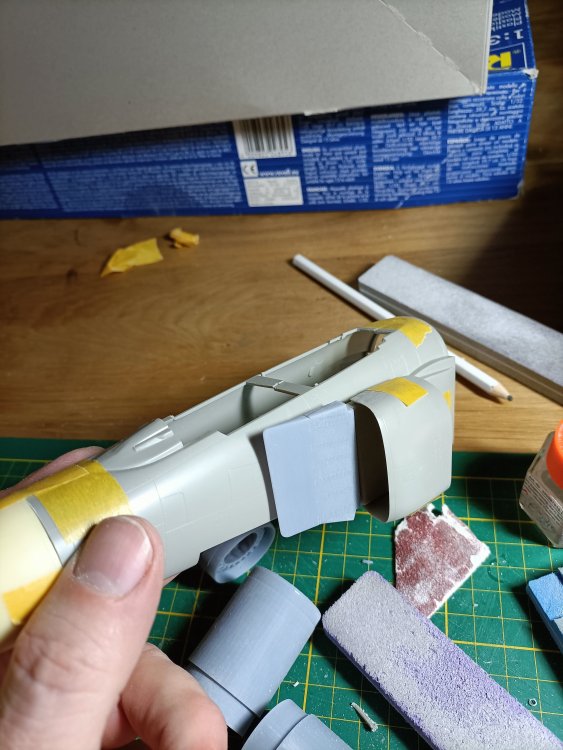
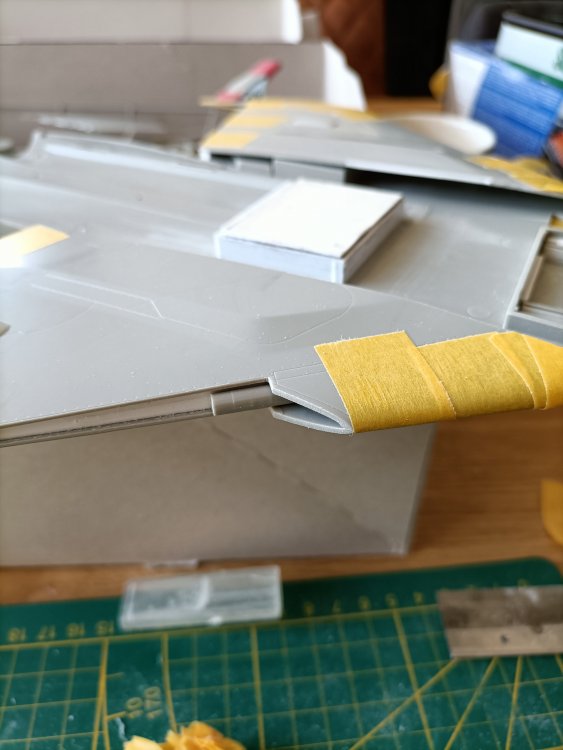
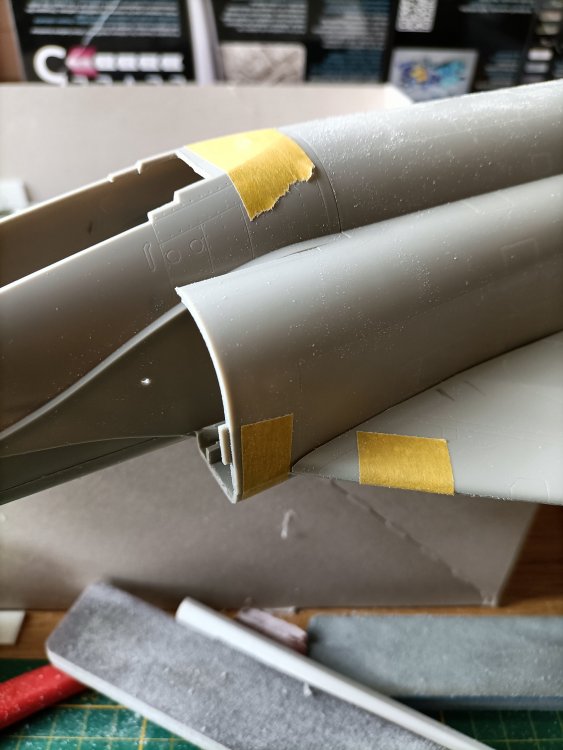
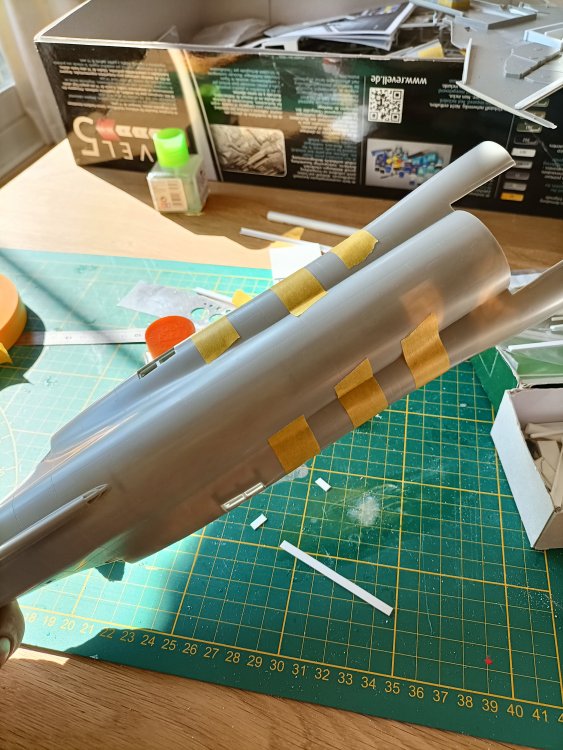
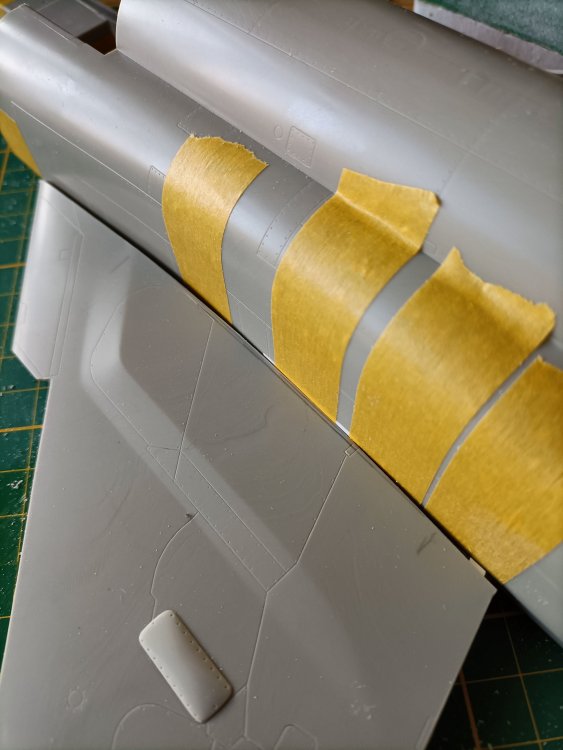
Thanks Anthony, and I did just that and the fit was indeed a lot better. Using tape I made the collars a bit thicker and achieved a very good fit. On the lower fuselage I have marked out the area that needs cutting out. The centre bit needs to be lowered and curved bits transplanted to show the flowing lines of the bulkier Speys. Very pleased about the quality of the printed parts.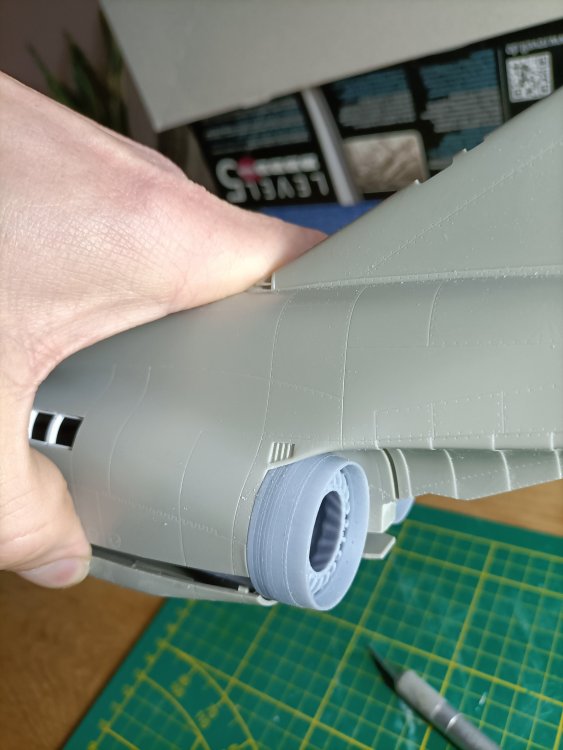


- 76 replies
-
- 5
-
-
- revell
- 1/32 phantom
- (and 1 more)
-
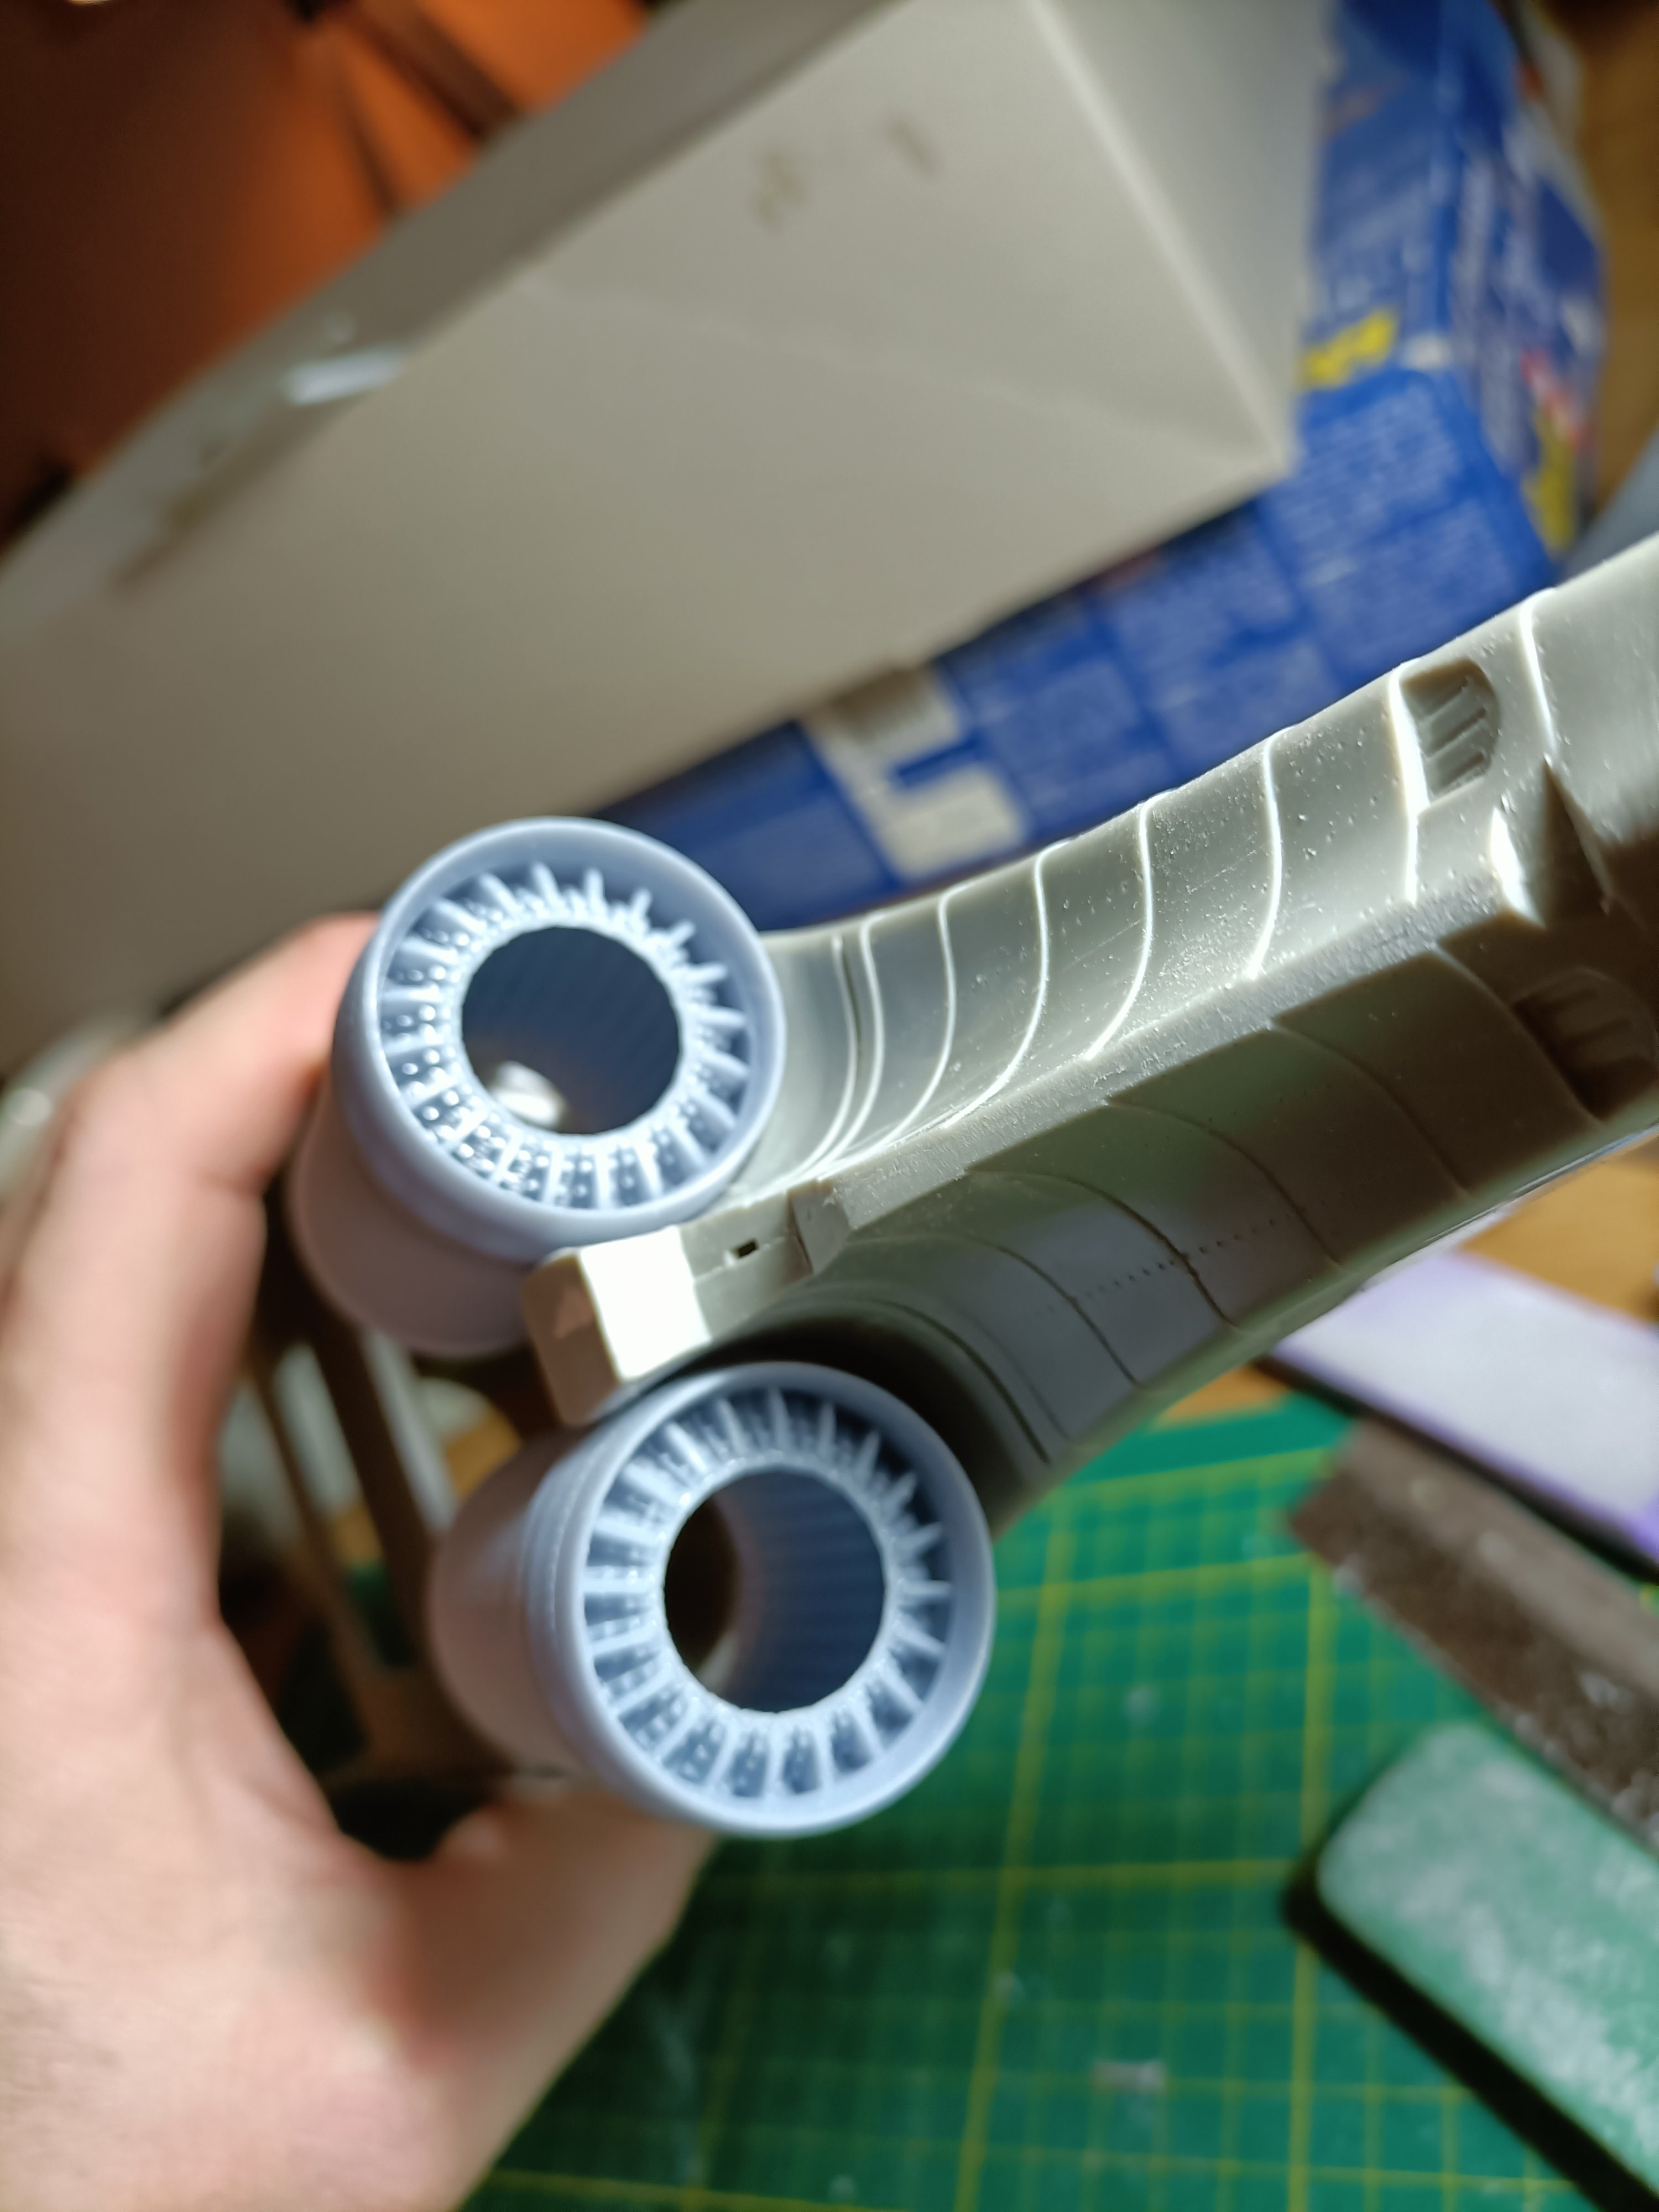
RN FG-1 Phantom 1/32 scratch conversion
Wingco57 replied to Wingco57's topic in LSM 1/35 and Larger Work In Progress
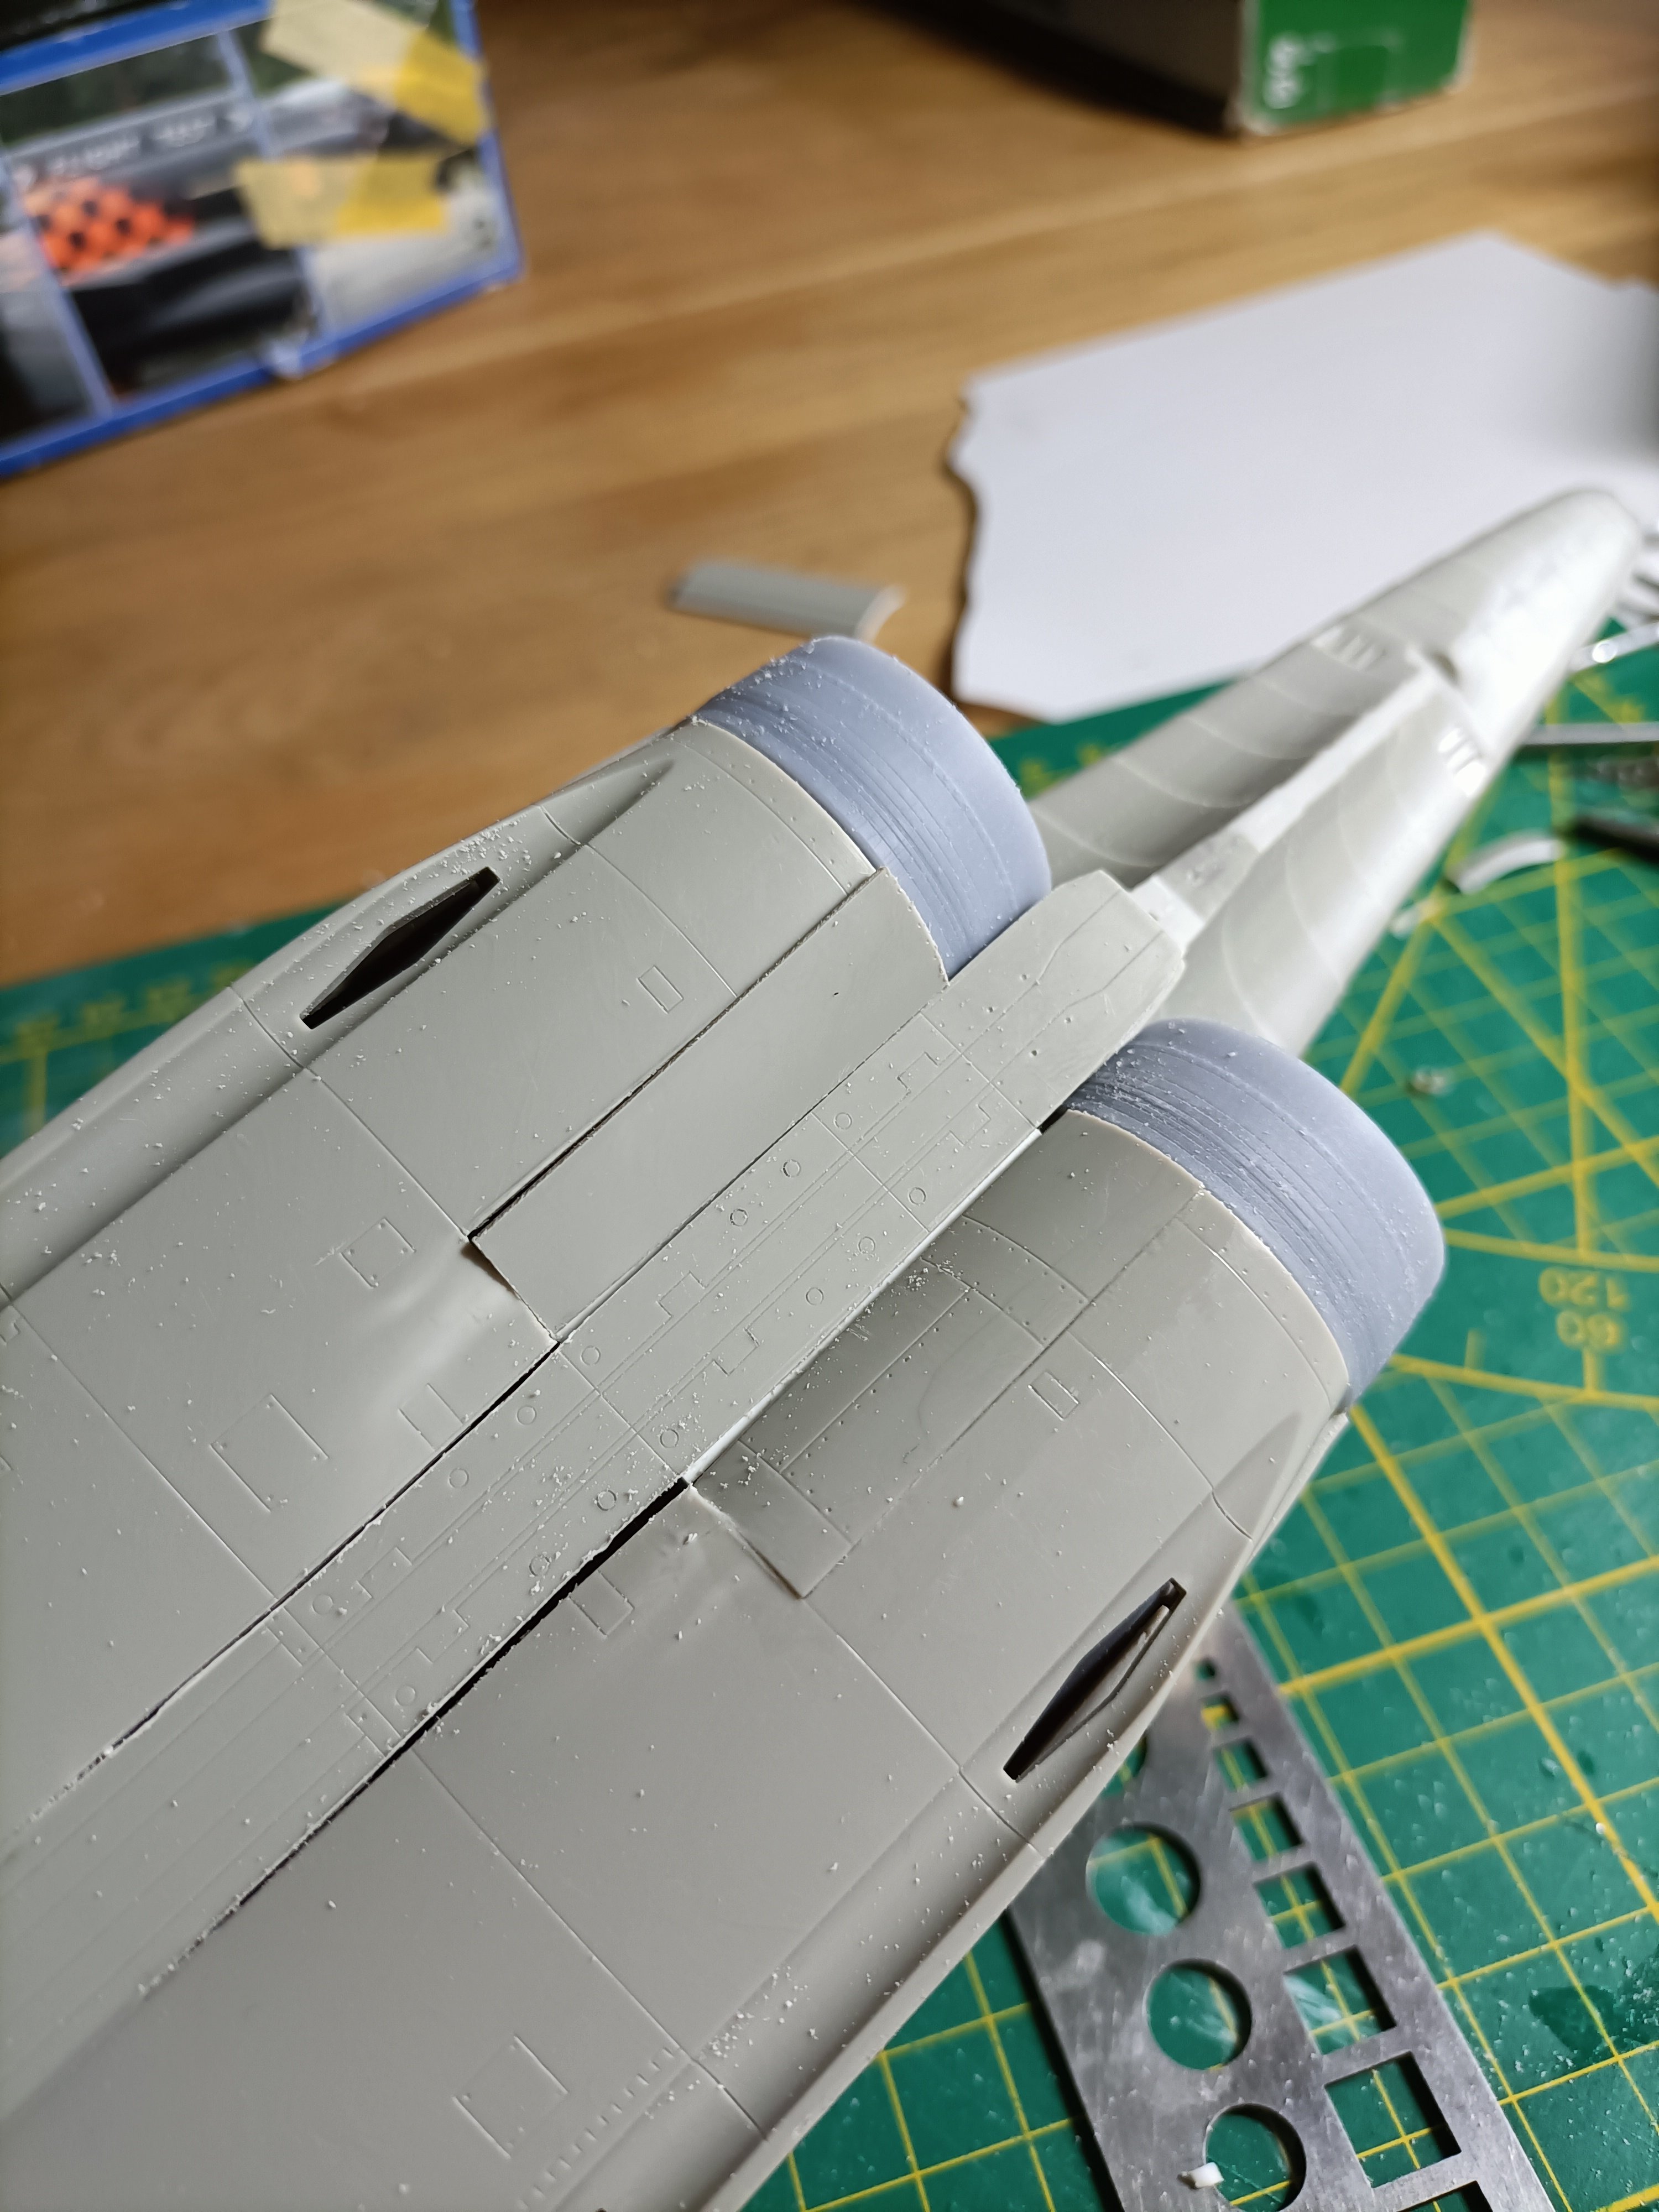
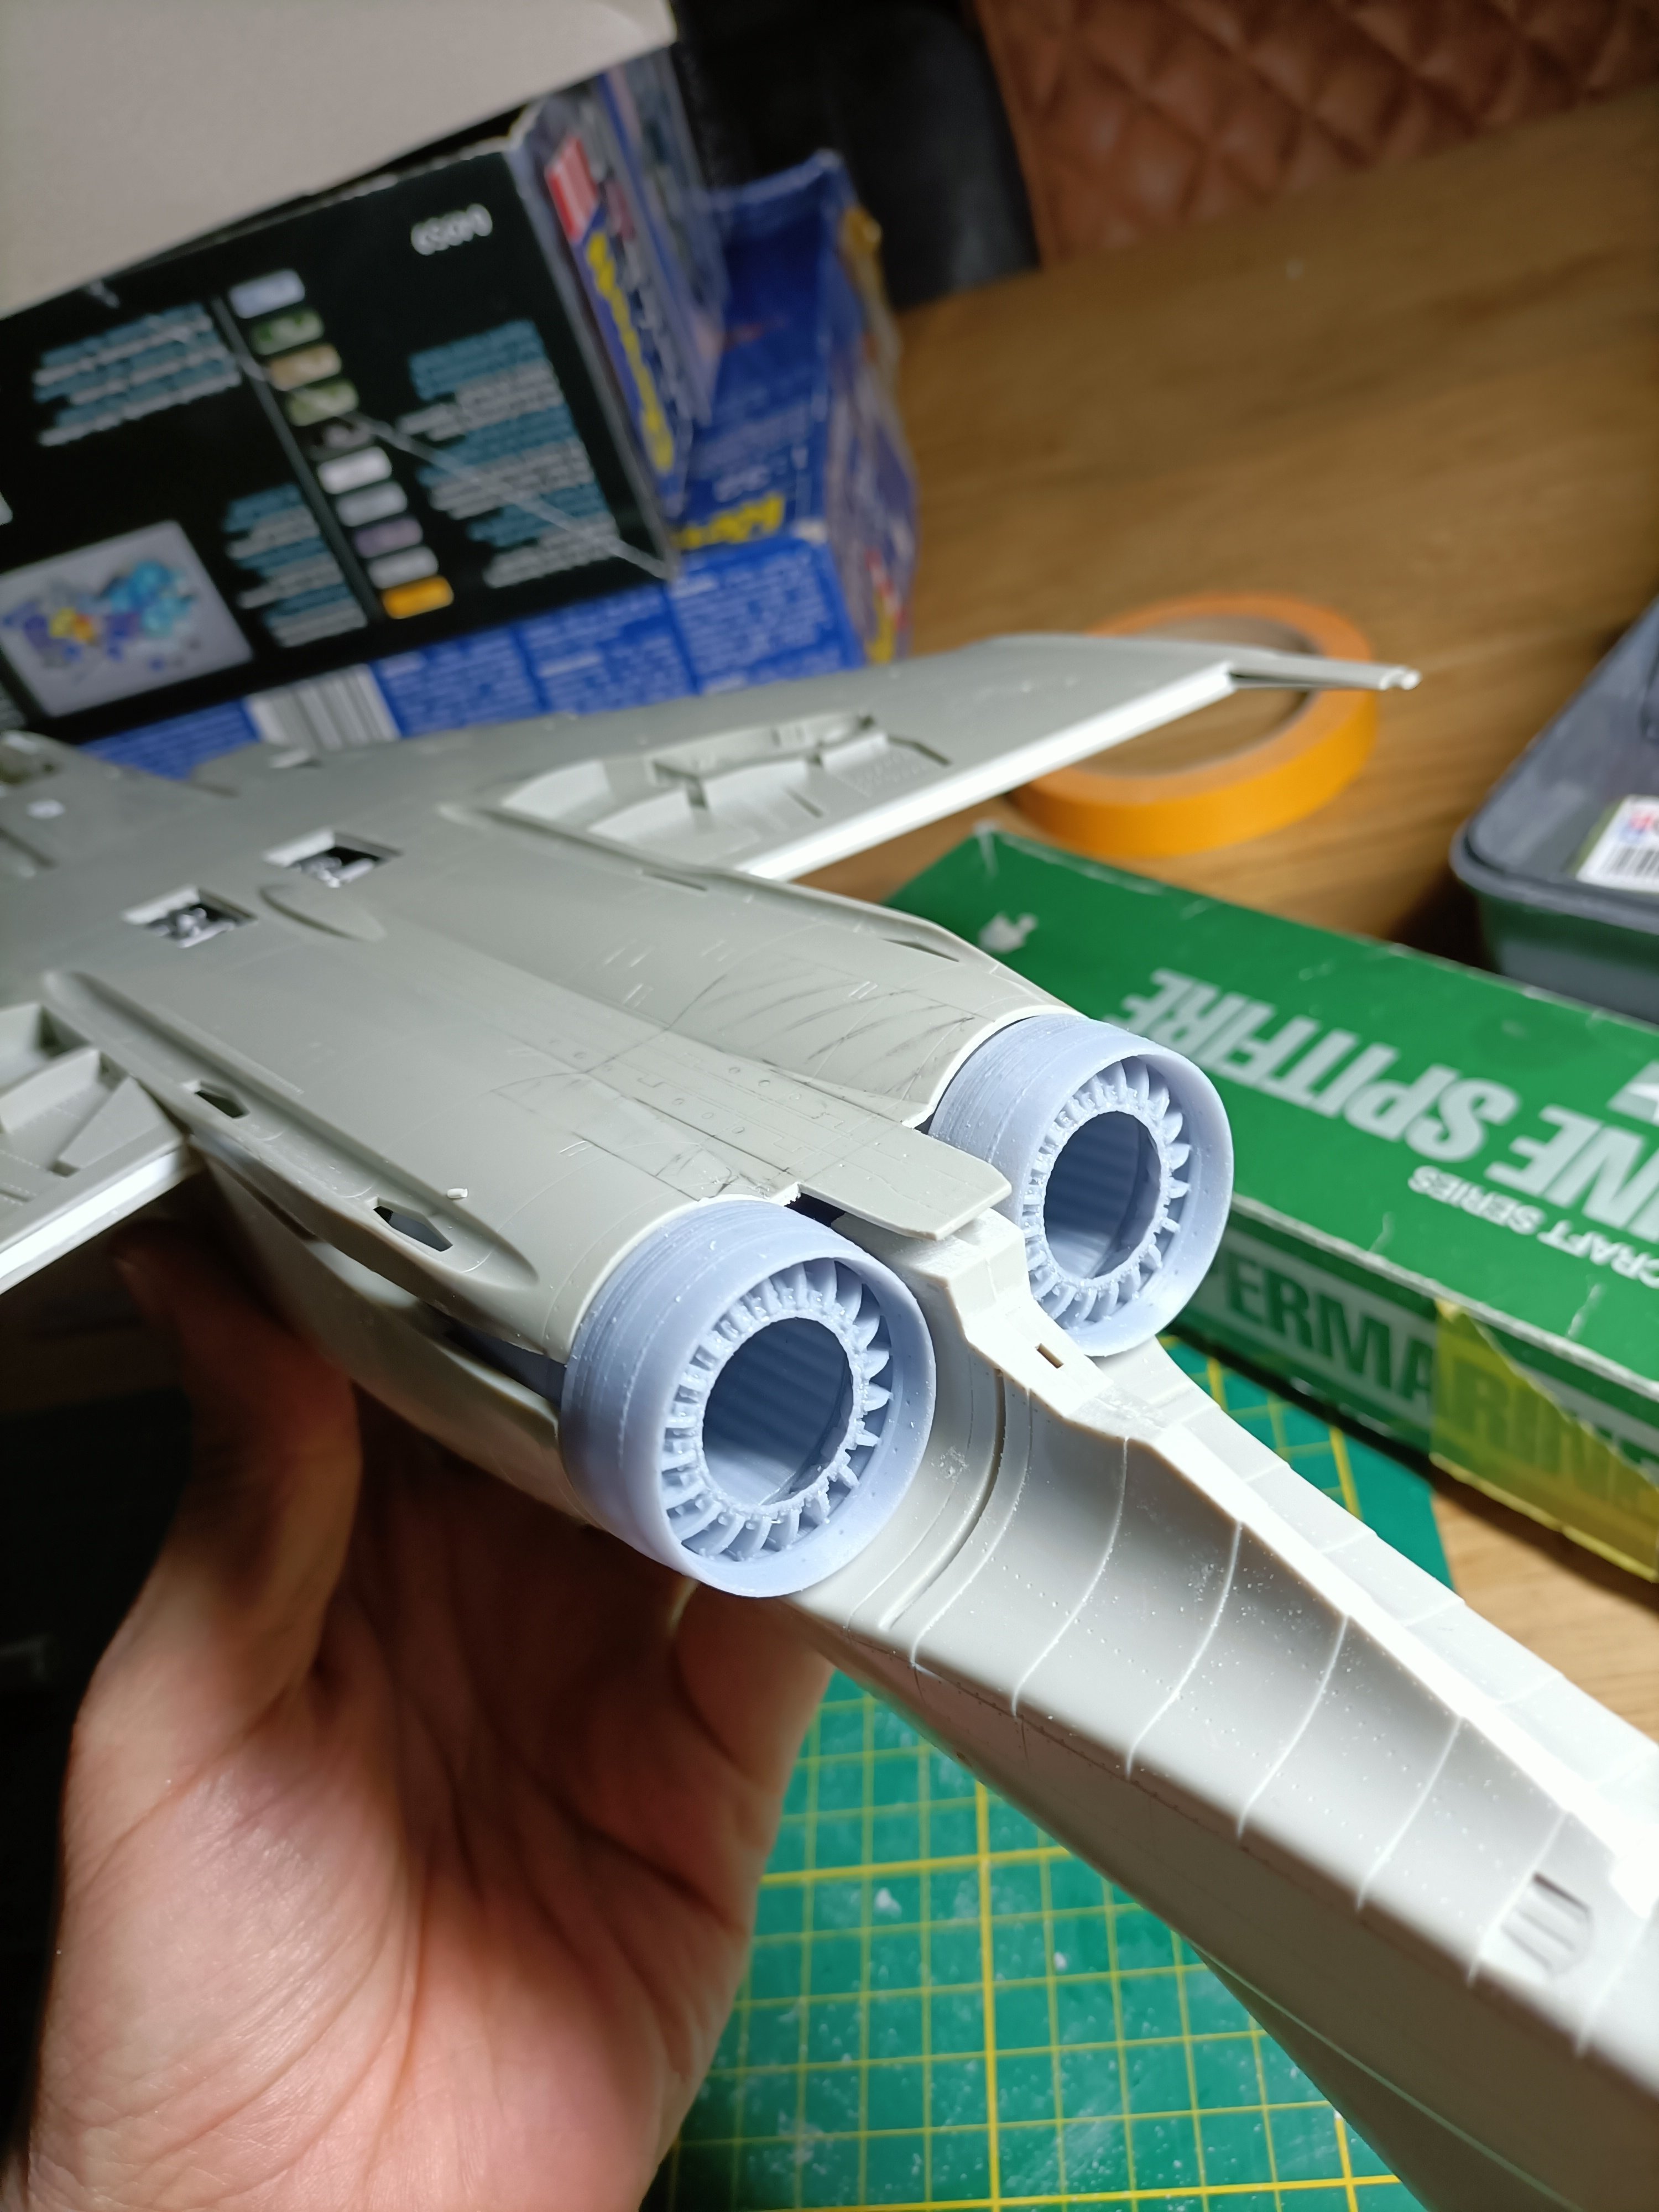
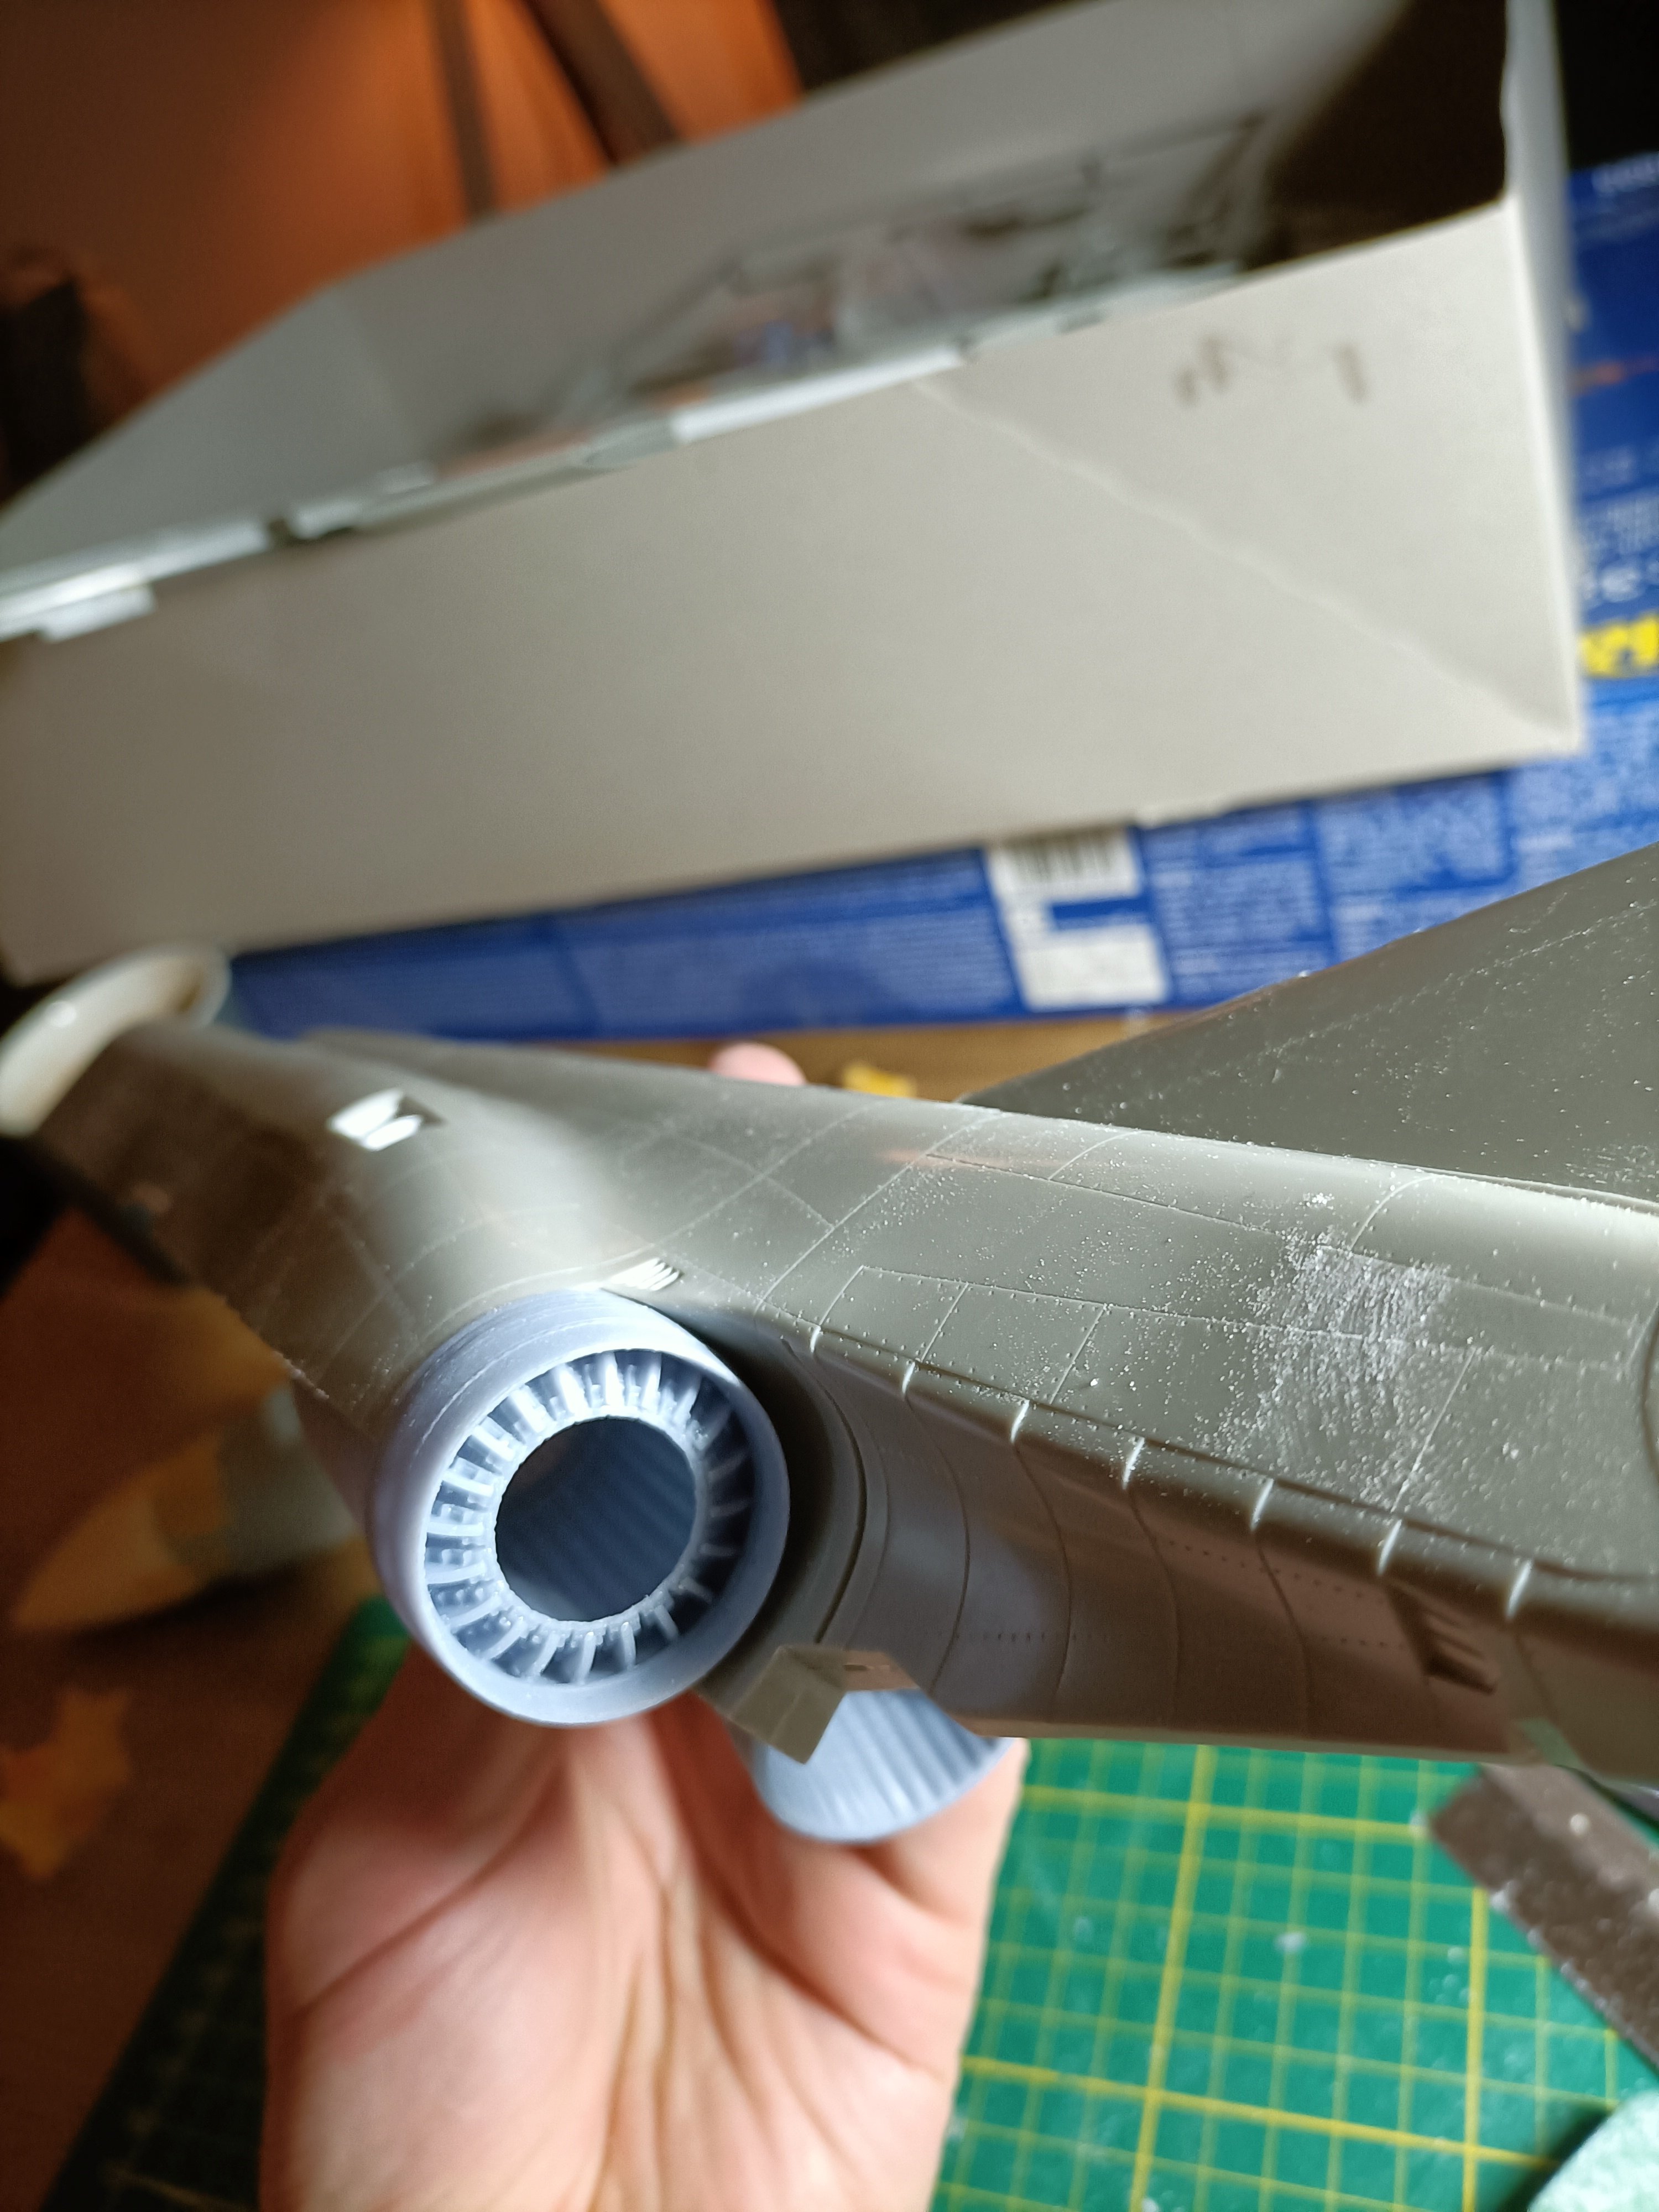
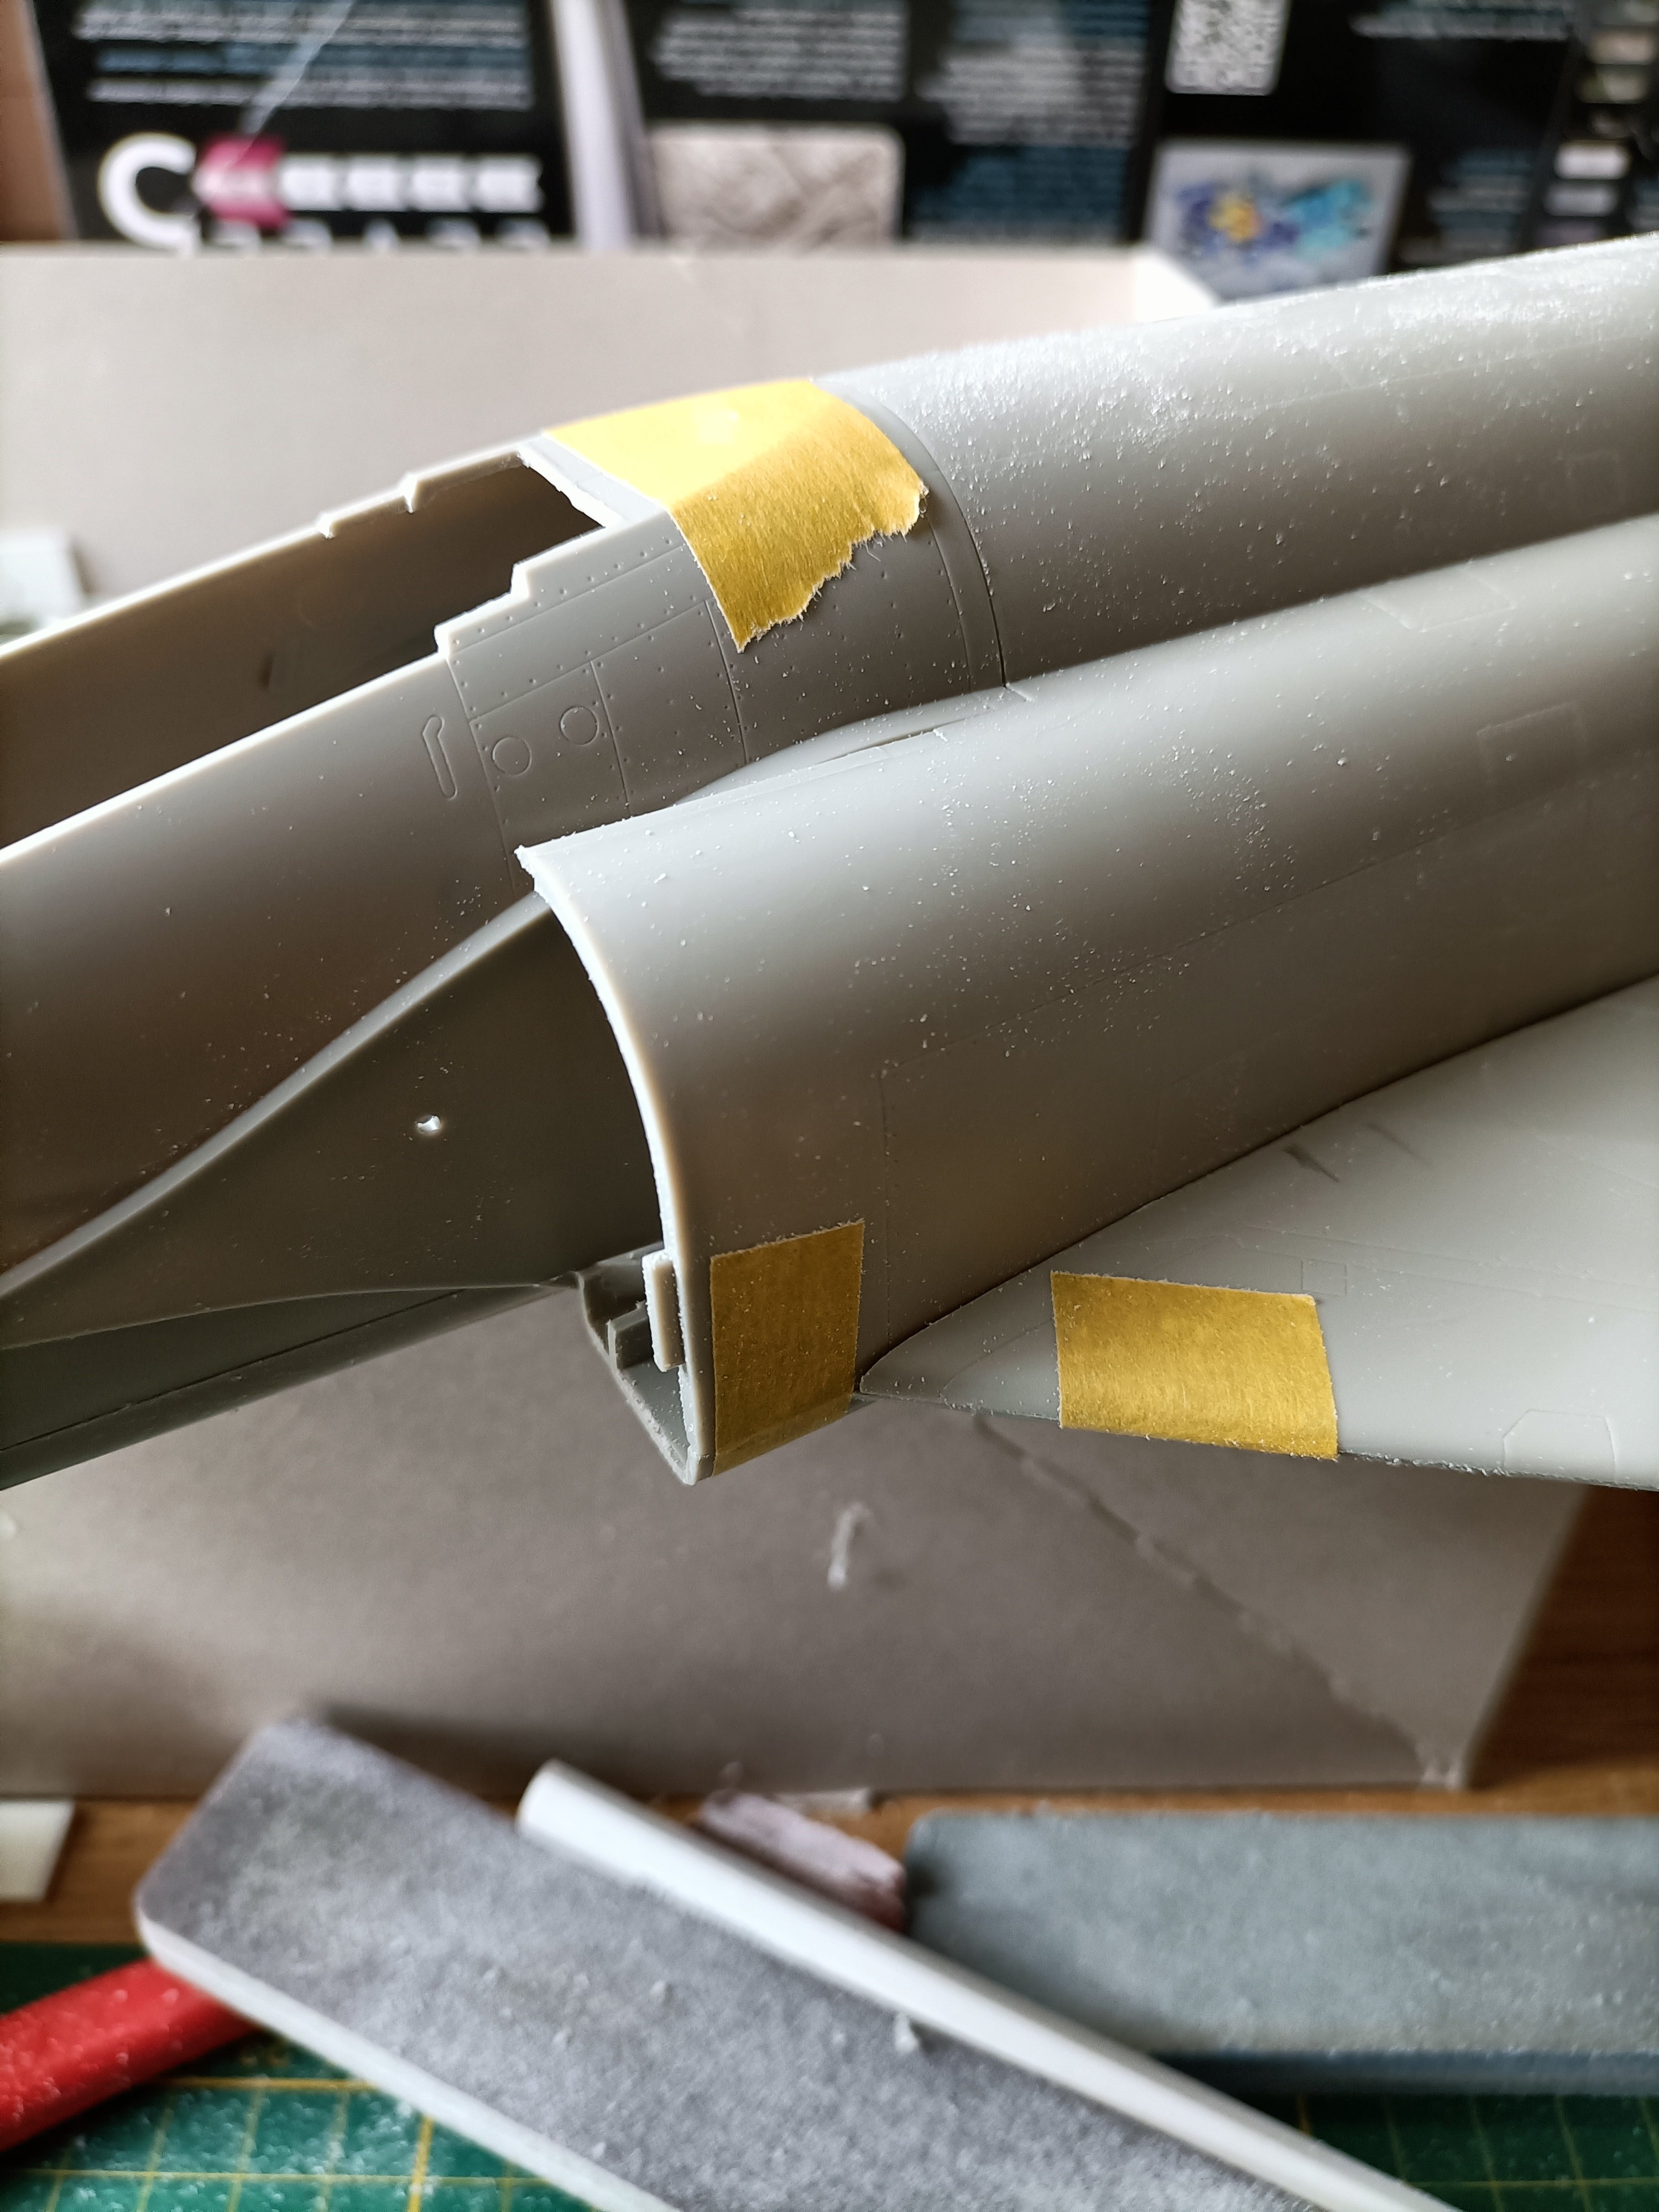
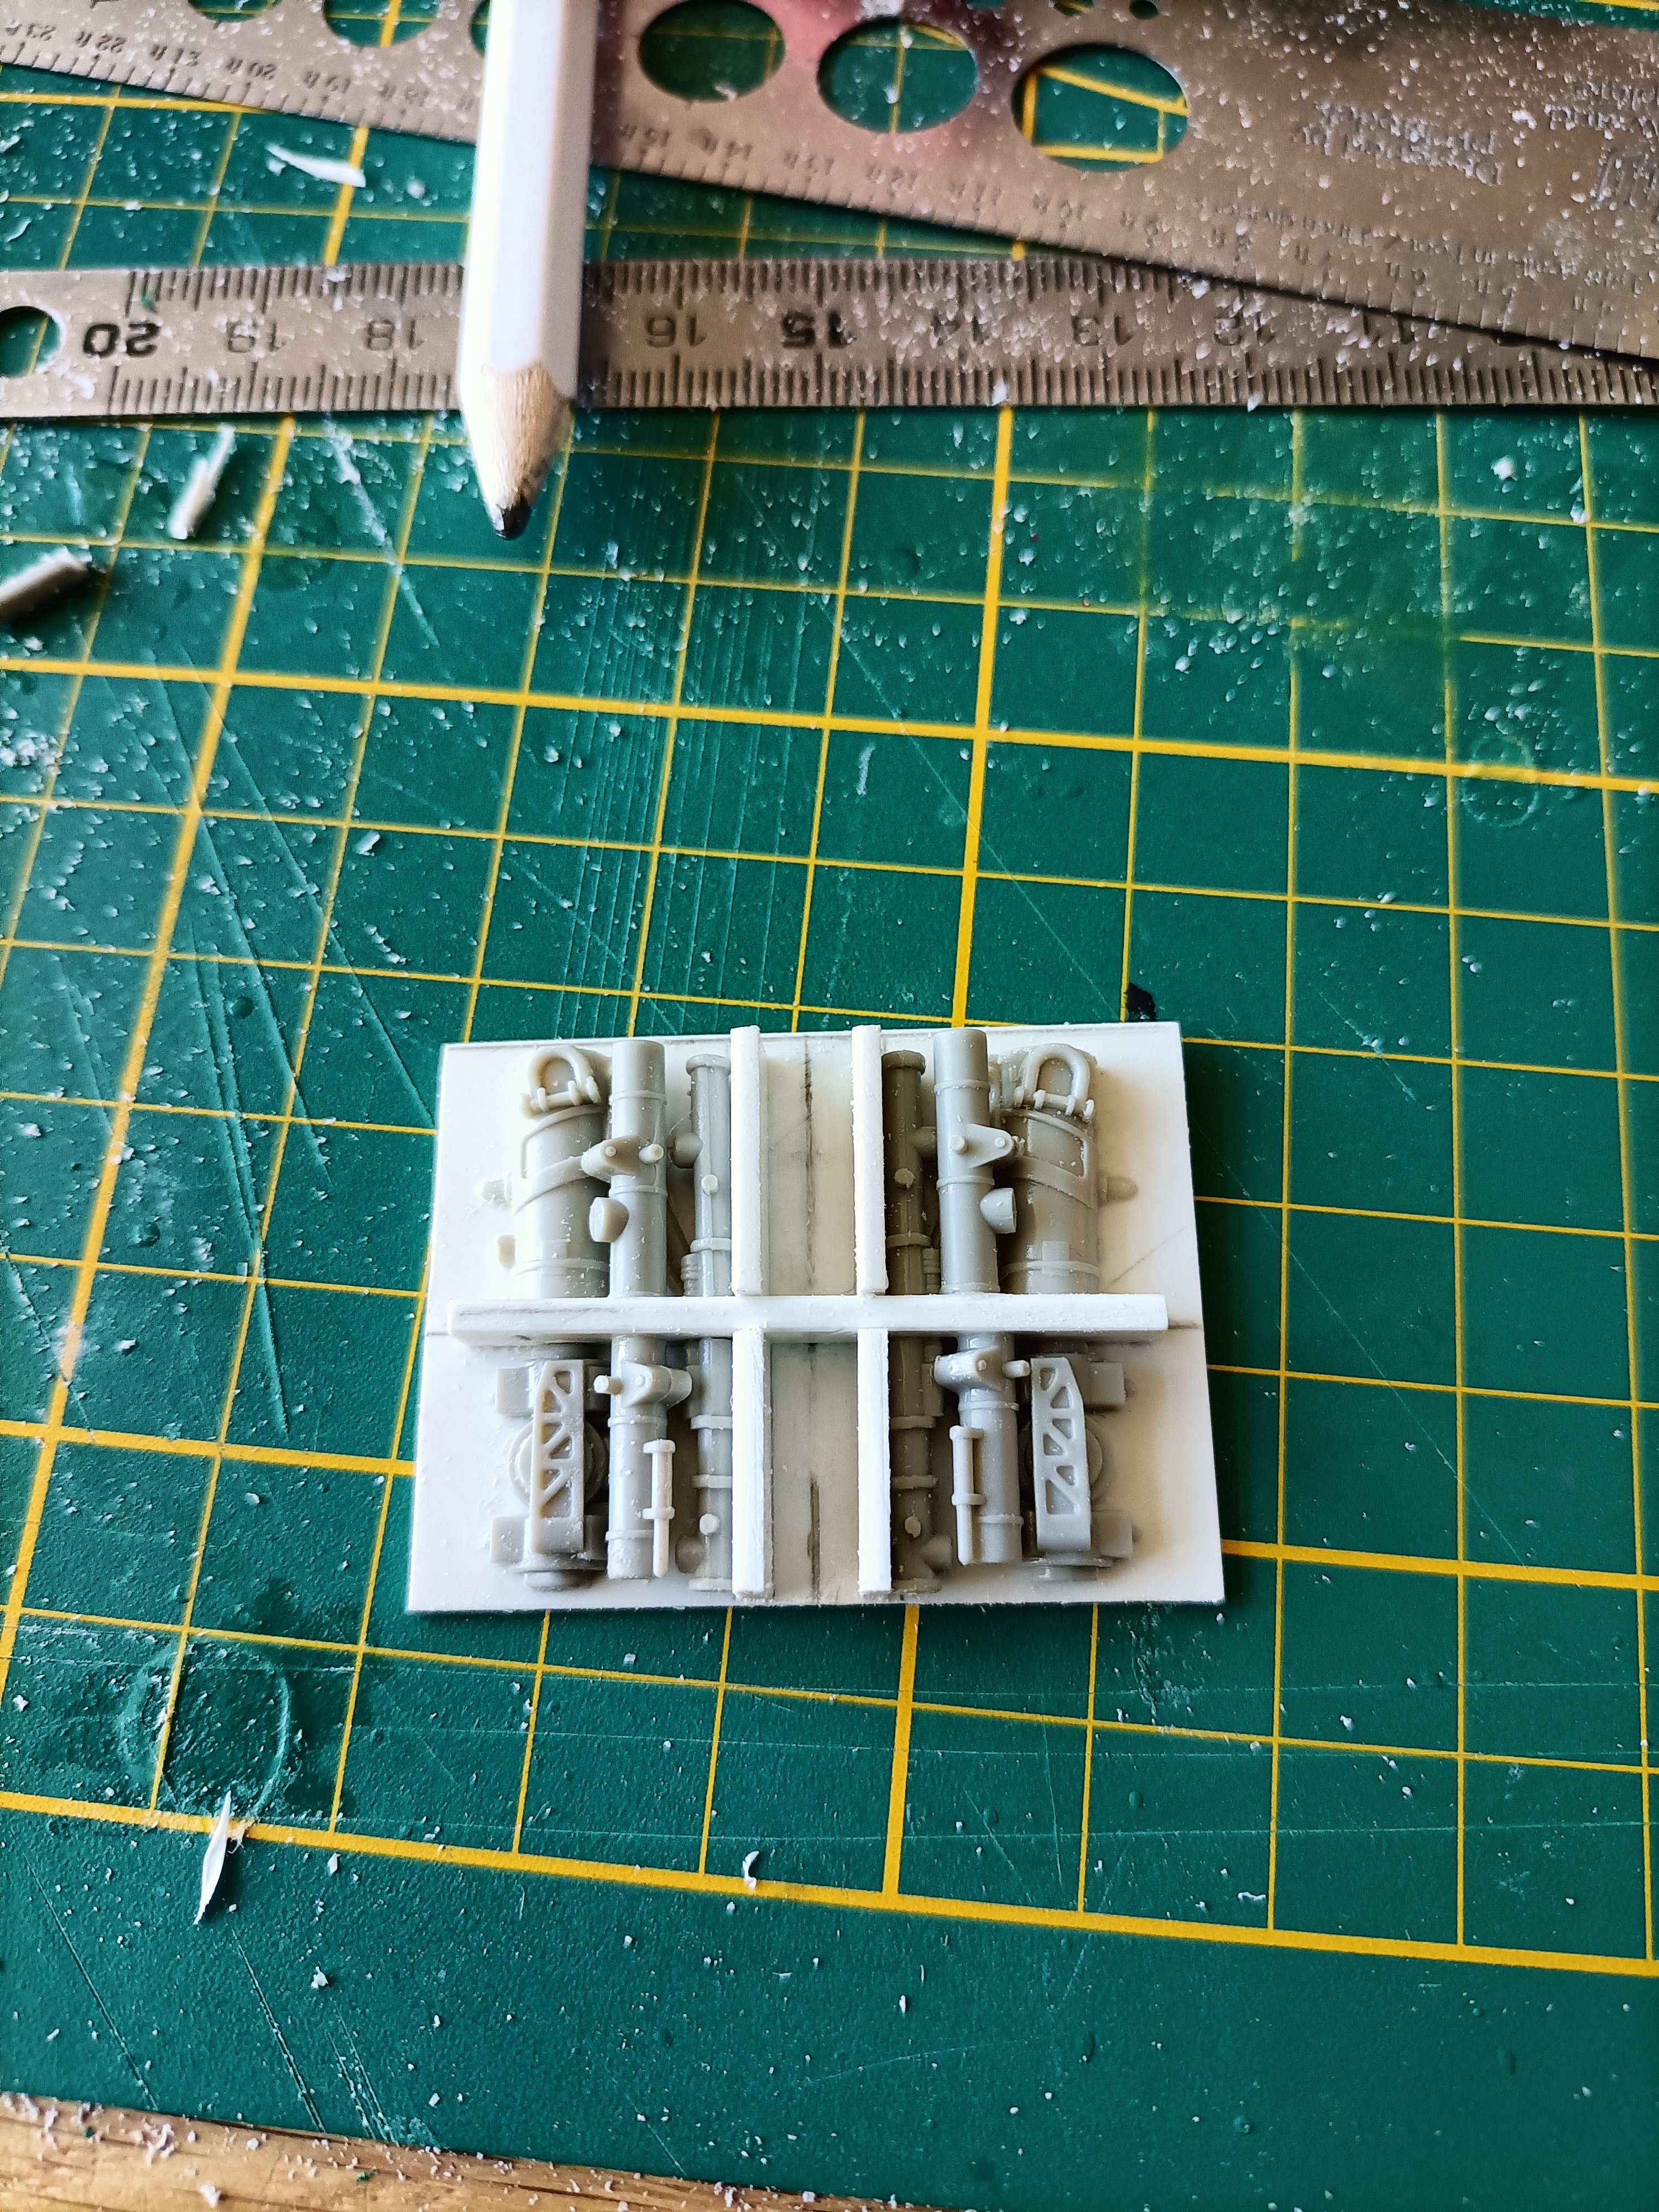
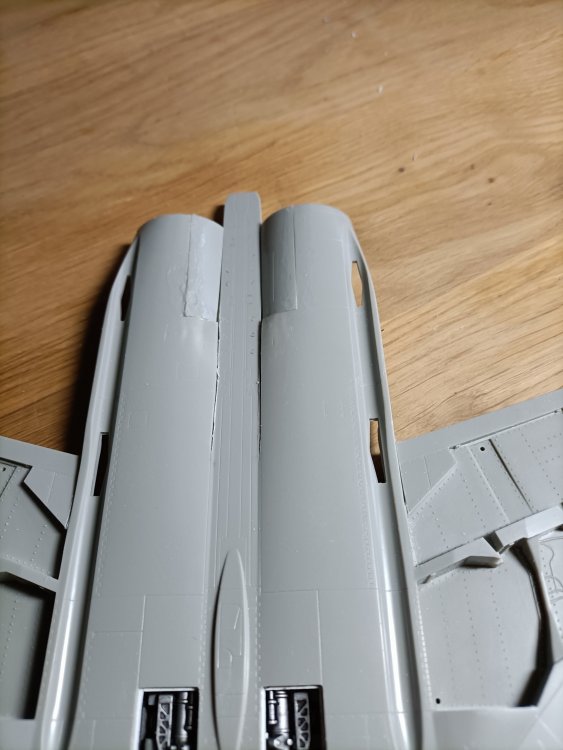
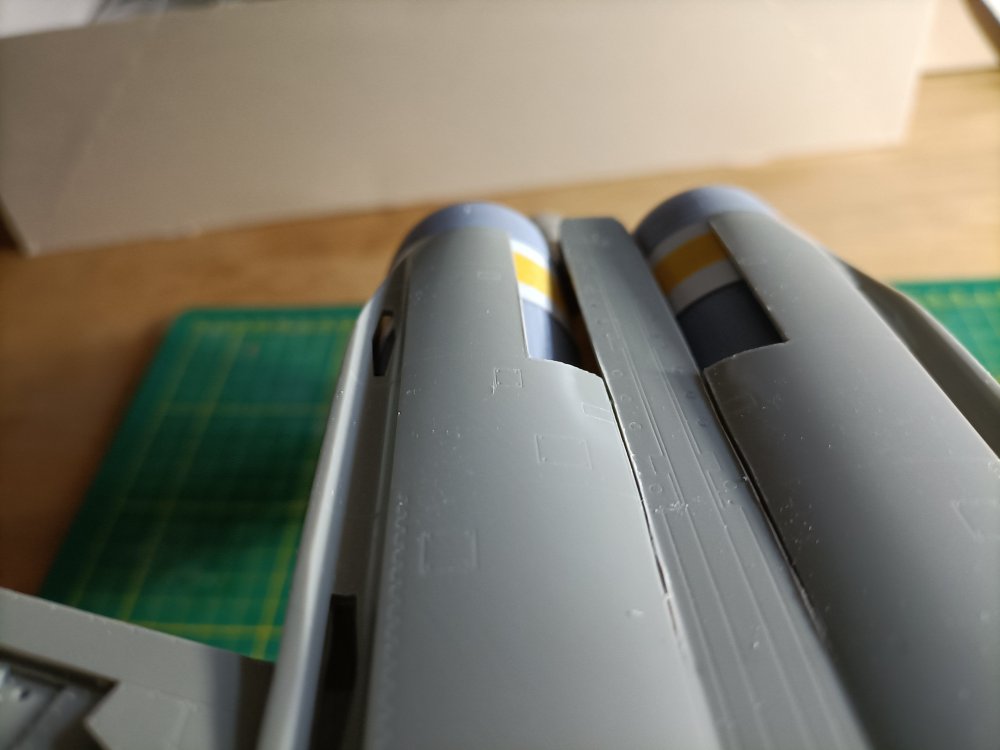
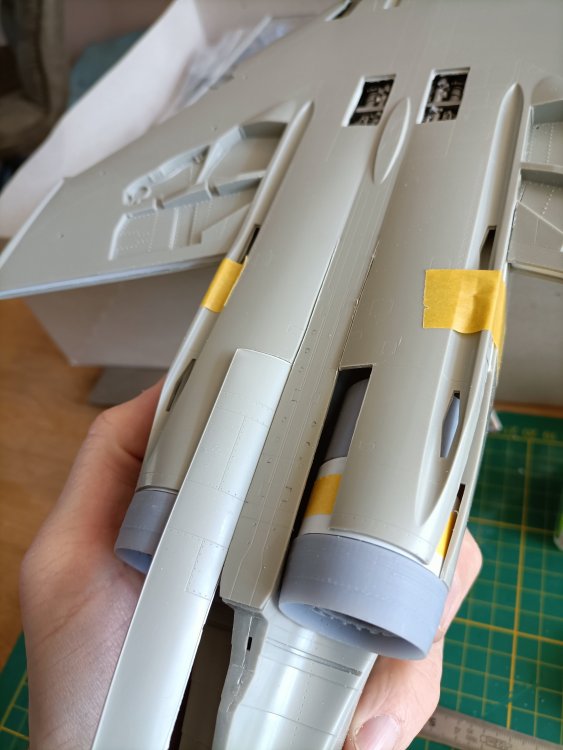
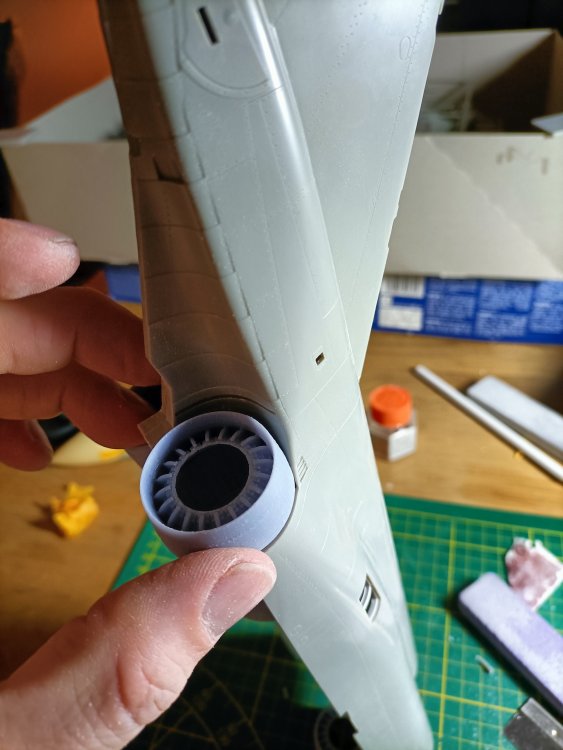
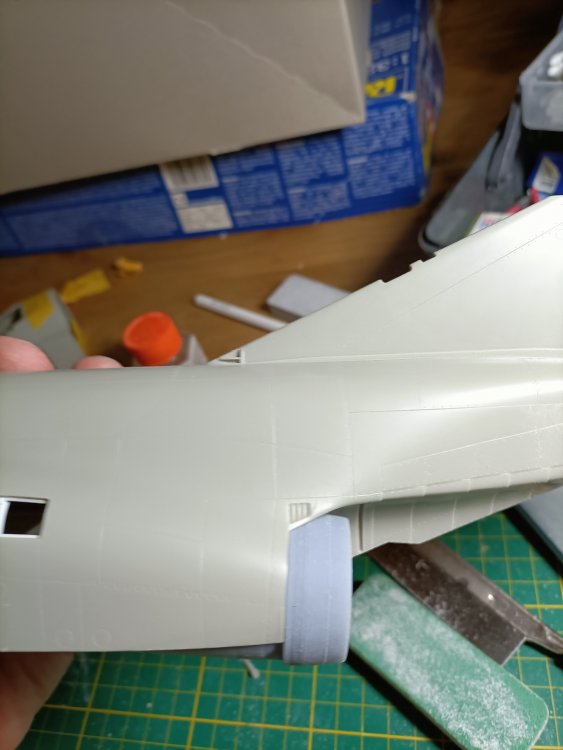
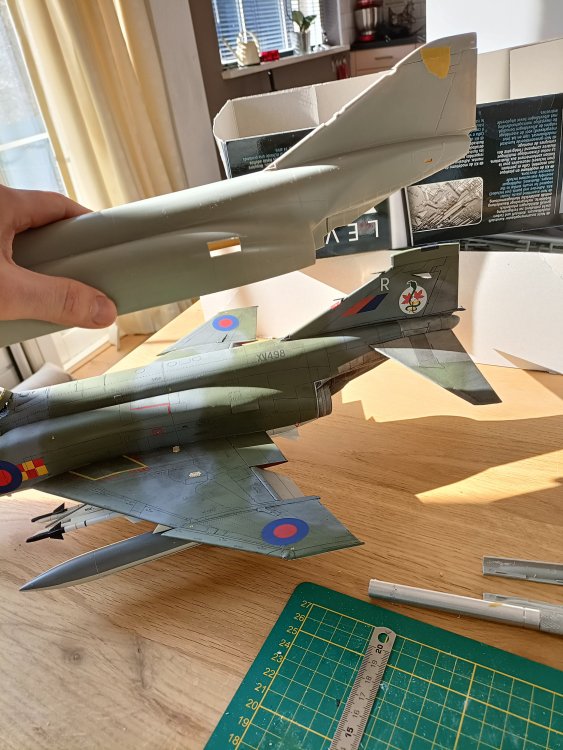
The build was stalled a bit because I was awaiting the conversion parts courtesy of Ali from Aerocraft Models. Postie is a bit slow these Brexit days. But it was well worth the wait. To say I am impressed is an understatement. The parts are gorgeous and the exhaust pipes are even bulkier than on my FGR-2. The splitterplates look quite different than the Revell parts, perhaps a bit thicker, but some sanding will sort that out. Testfitting the exhaust pipes shows that a lot of work needs to be done, but not very complicated. And I am pleasantly surprised that they fit reasonably well. The revell styrene is soft and flexible. The bulk of the Spey Phantom looks great and seen from above the straight line is apparent. No area rule here, although the topwings need more sanding to prevent anhedral. Can't wait to get started again.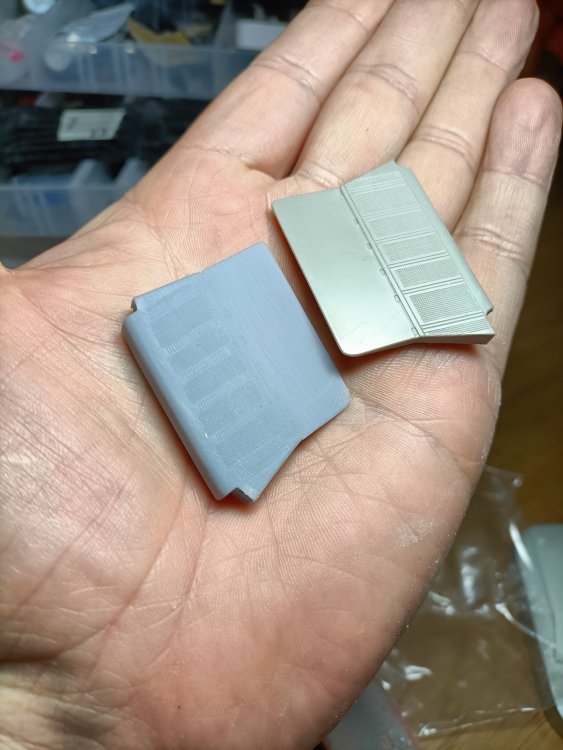


- 76 replies
-
- 4
-
-
- revell
- 1/32 phantom
- (and 1 more)
-
These particular aircraft were newly delivered from the factory and had very few hours.
-
RN FG-1 Phantom 1/32 scratch conversion
Wingco57 replied to Wingco57's topic in LSM 1/35 and Larger Work In Progress
Some more dabbling.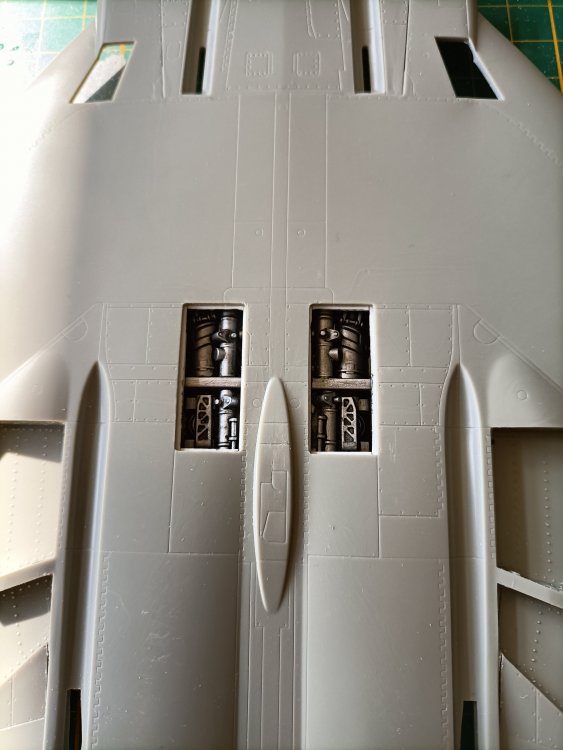

- 76 replies
-
- 4
-
-
- revell
- 1/32 phantom
- (and 1 more)
-
Yess, looking good especially with the Citroen DS backseat.
-
Nice save, those sidewalls look great.
-
RN FG-1 Phantom 1/32 scratch conversion
Wingco57 replied to Wingco57's topic in LSM 1/35 and Larger Work In Progress
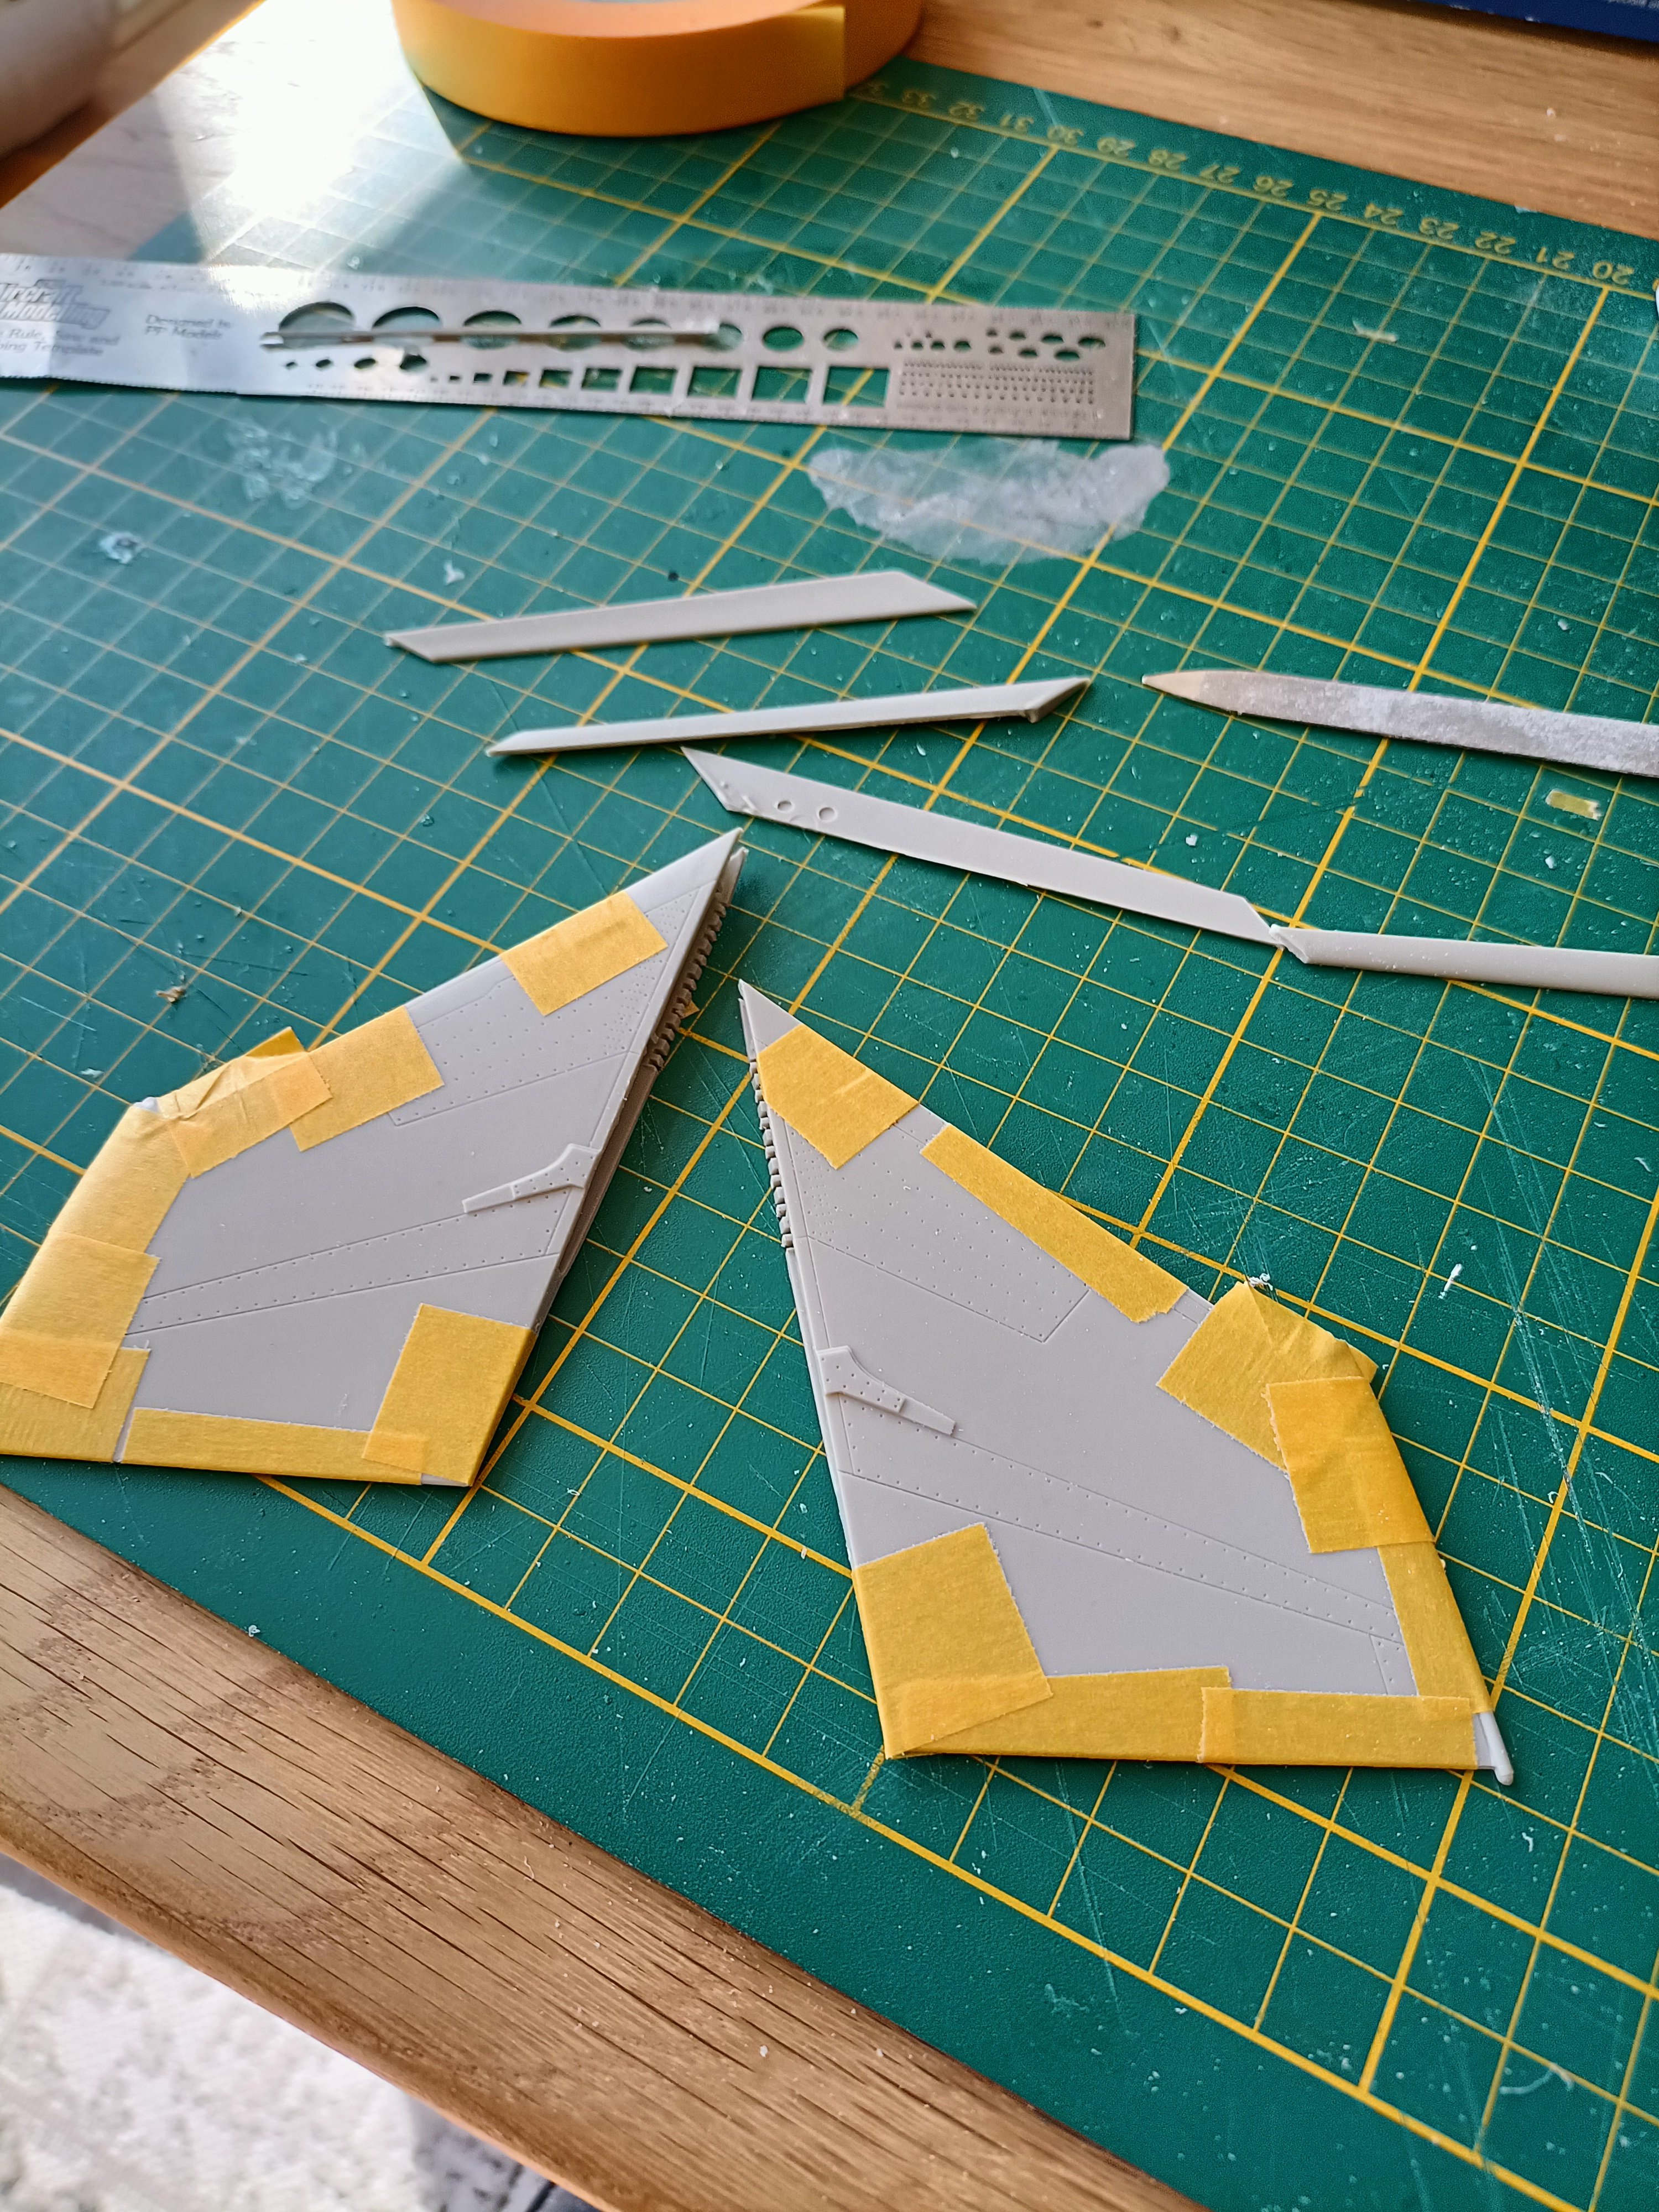
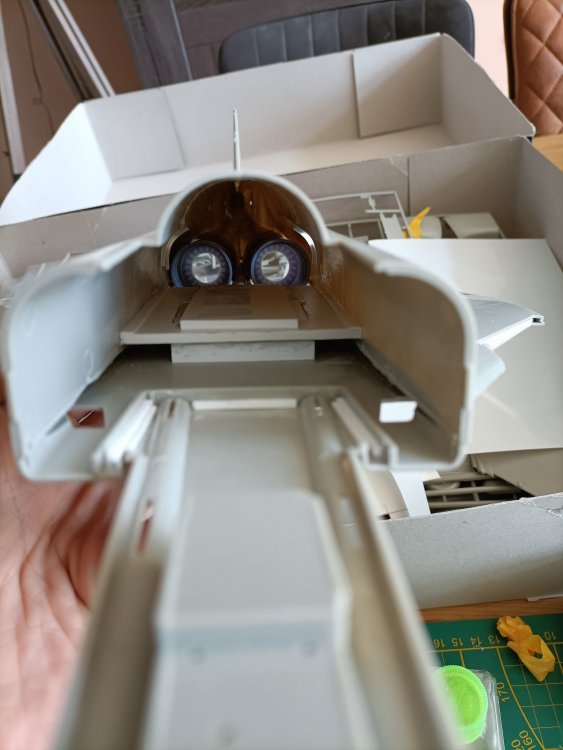
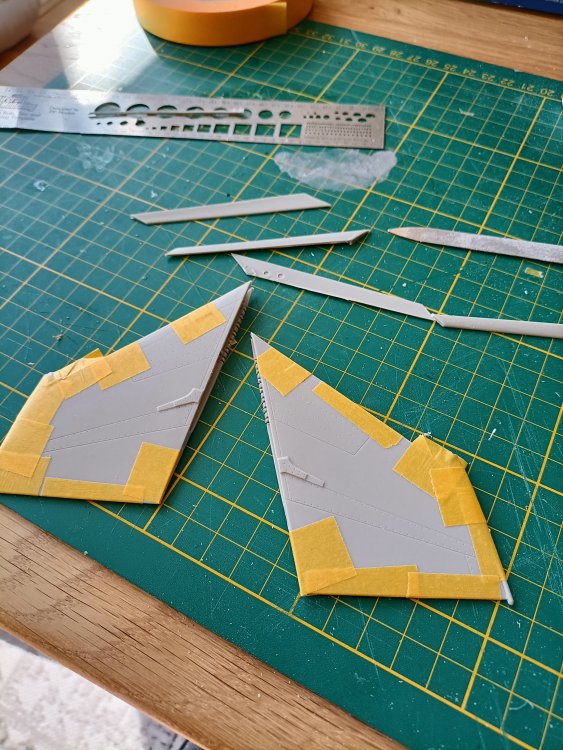
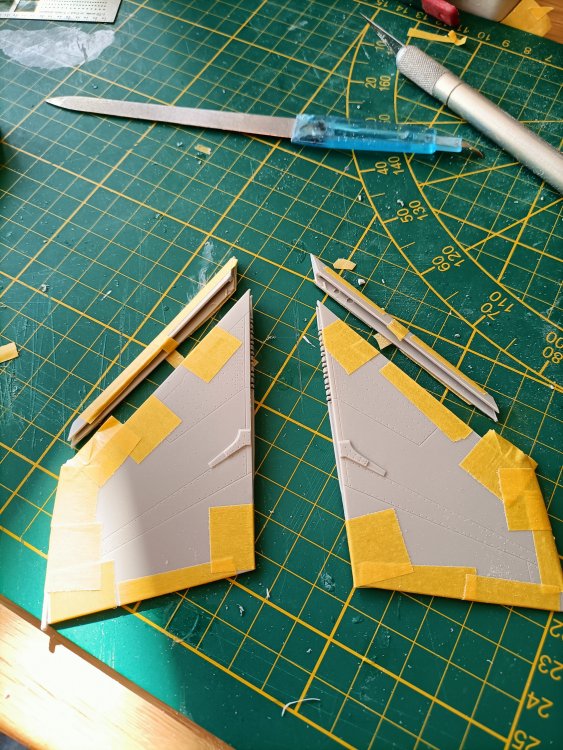
With the widening of the midfuselage the upperwings don't fit anymore. Some fettling was needed to get a good result. Did some Gizmology on the ventral auxiliary intakes just to look busy. accuracy is not paramount here. Thanks to Carl for sending me spare Tamiya outerwings, thanks mate, very grateful for that. The slats have been cut out already. As soon as the Aerocraft exhaust pipes arriveI can modify the rear section.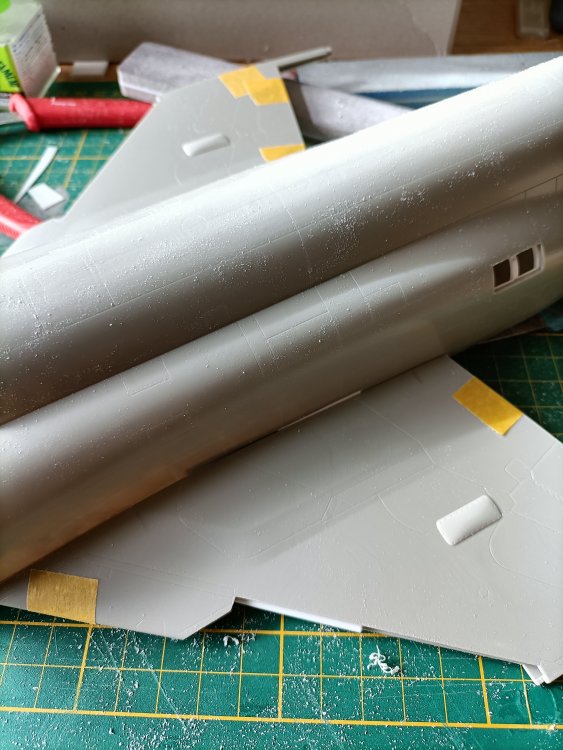


- 76 replies
-
- 7
-

-
-
- revell
- 1/32 phantom
- (and 1 more)
-
RN FG-1 Phantom 1/32 scratch conversion
Wingco57 replied to Wingco57's topic in LSM 1/35 and Larger Work In Progress
Thanks Anthony, Compared to your masterpiece mine is a rushjob, but an enjoyable one. After comparing with references the nose was still too long and I had to shorten it further. Now it looks better. 🙂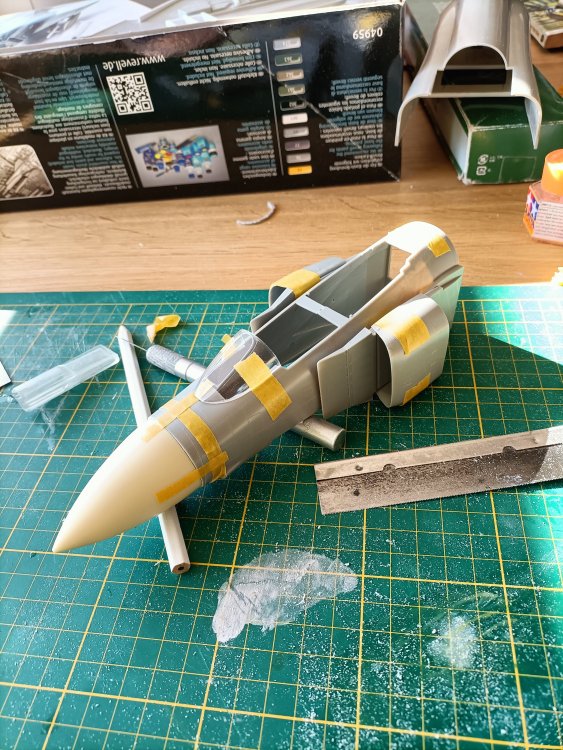
- 76 replies
-
- 3
-
-
- revell
- 1/32 phantom
- (and 1 more)
-
RN FG-1 Phantom 1/32 scratch conversion
Wingco57 replied to Wingco57's topic in LSM 1/35 and Larger Work In Progress
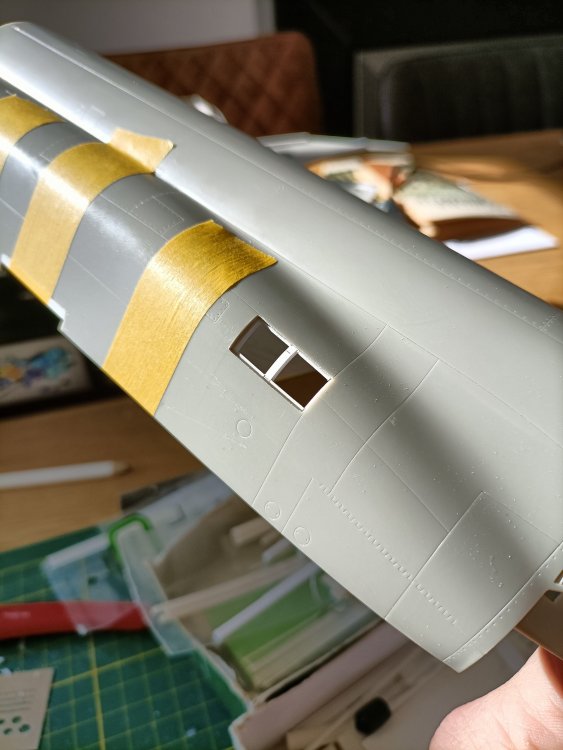
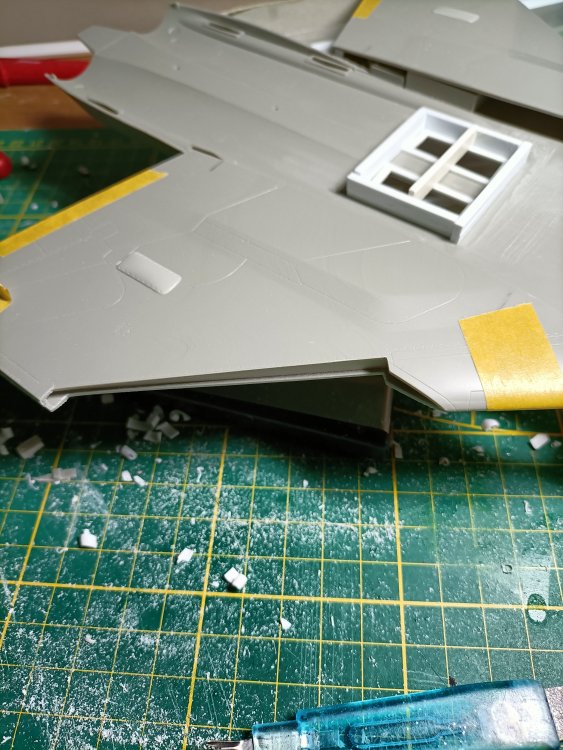
Some more progress on the aux. air doors structure. Also glued the widening piece firmly to the fuselage. You can clearly see the width and the waist is almost gone. Now the upperwing pieces do not fit anymore. Some rigoureus sanding will take care if that. And the resin nose has been made to fit. This is done on the spare nose so I can make a better cut on the definitive one.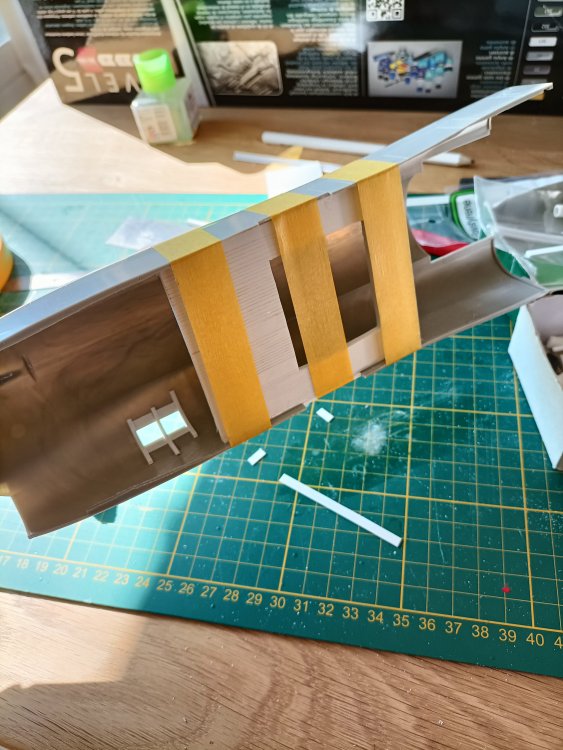

- 76 replies
-
- 5
-
-
- revell
- 1/32 phantom
- (and 1 more)
-
Chaps, I really like this build. But it annoys me reading repeated remarks by some posters about the inaccuracies of the kit. No kit is perfect. Carl is enjoying this project and that is what counts. My opinion only of course. Cheers Cees
-
RN FG-1 Phantom 1/32 scratch conversion
Wingco57 replied to Wingco57's topic in LSM 1/35 and Larger Work In Progress
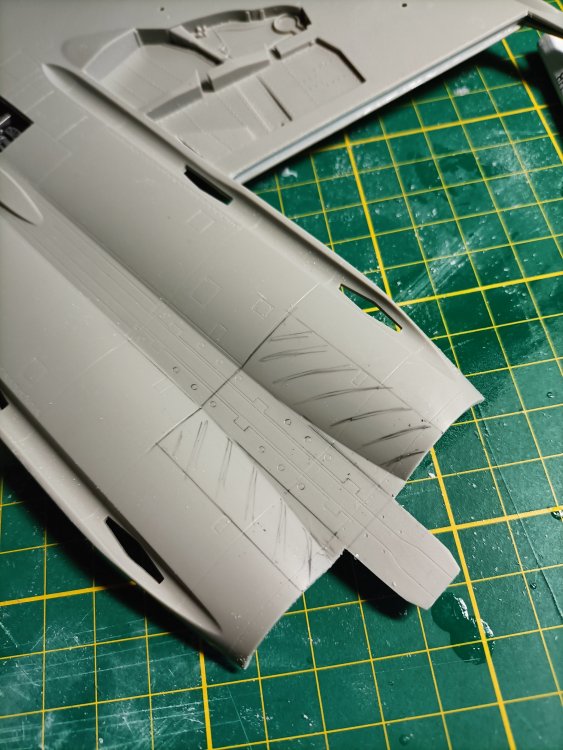
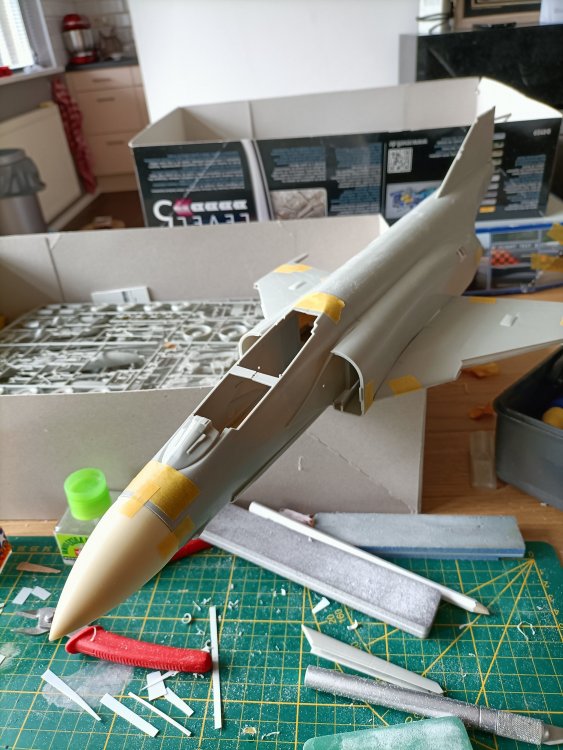
Some work having been done. Leading edge slats cut out. From thick plasticard I plan to modify the waist so the area rule (coke bottle shape) dissappears by clamping the sides to get a straight line. This also needed a cutout in the sides for the undercarriage bays to make room. I also received the Flightpath resin short nose. Sooo, plenty of things going on.


- 76 replies
-
- 6
-
-
- revell
- 1/32 phantom
- (and 1 more)
-
Not in favour of this. The line is very very thin. My opinion of course. Cheers Cees🙂
-
Jawohl!
-
RN FG-1 Phantom 1/32 scratch conversion
Wingco57 replied to Wingco57's topic in LSM 1/35 and Larger Work In Progress
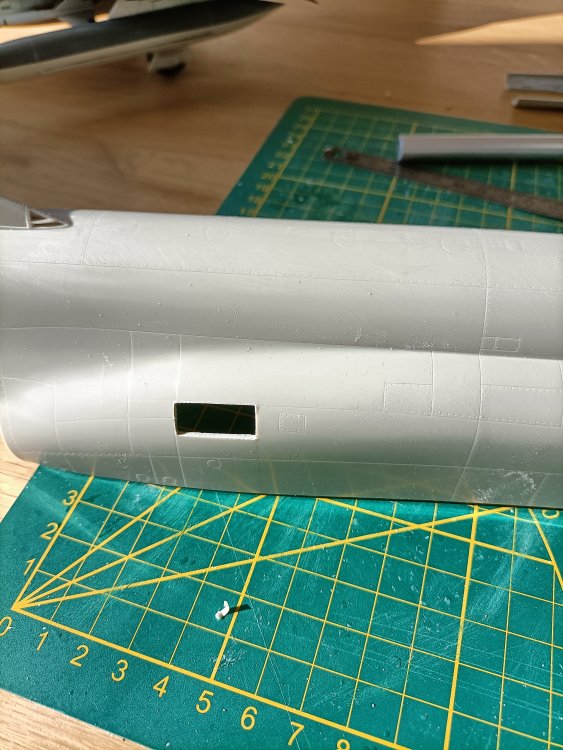
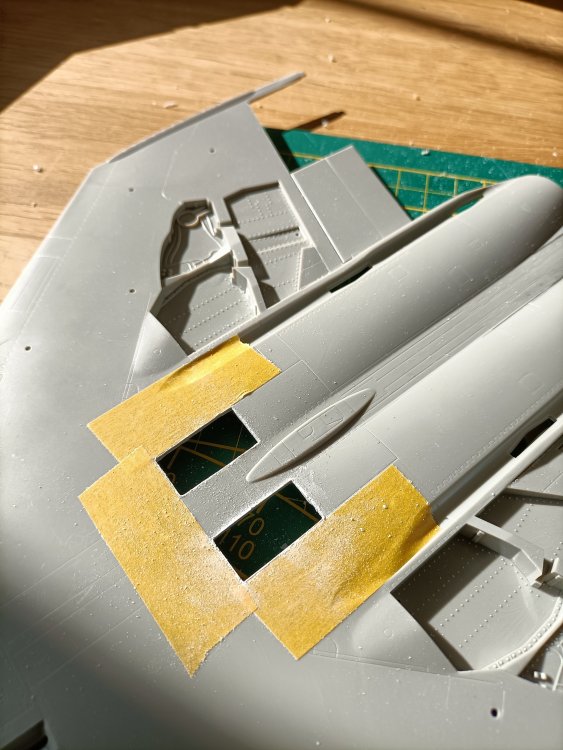
Time for some cutting. The auxiliaury doors in the sides and wing undersurface were marked out and cut out. Compated to the FGR2 this model will be more advanced, I hope.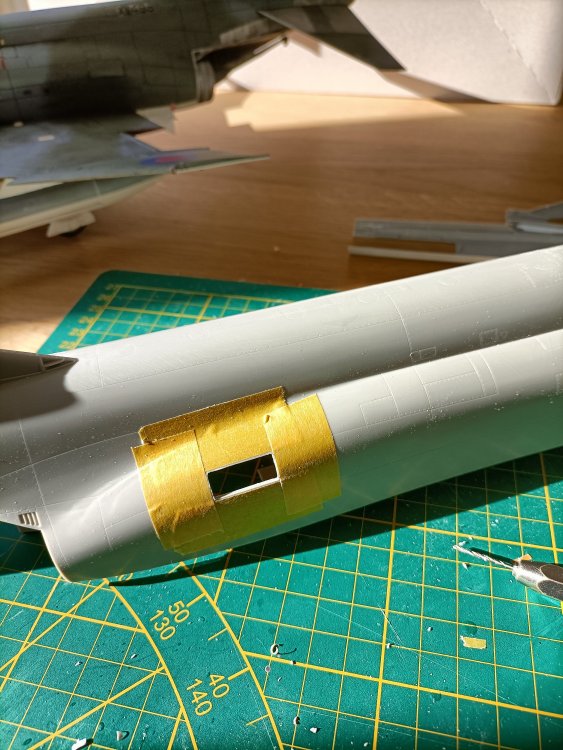

- 76 replies
-
- 6
-
-
- revell
- 1/32 phantom
- (and 1 more)