Wingco57
-
Posts
3,925 -
Joined
-
Last visited
Content Type
Profiles
Forums
Events
Gallery
Everything posted by Wingco57
-

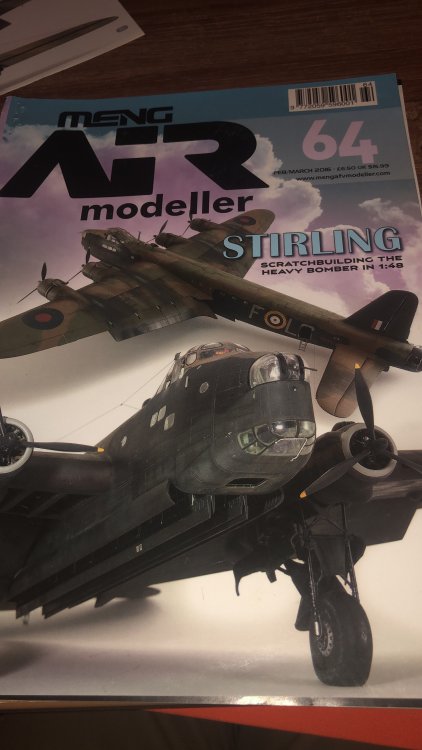
Daft project or is it? 1/32 Short Stirling III
Wingco57 replied to Wingco57's topic in LSM 1/35 and Larger Work In Progress
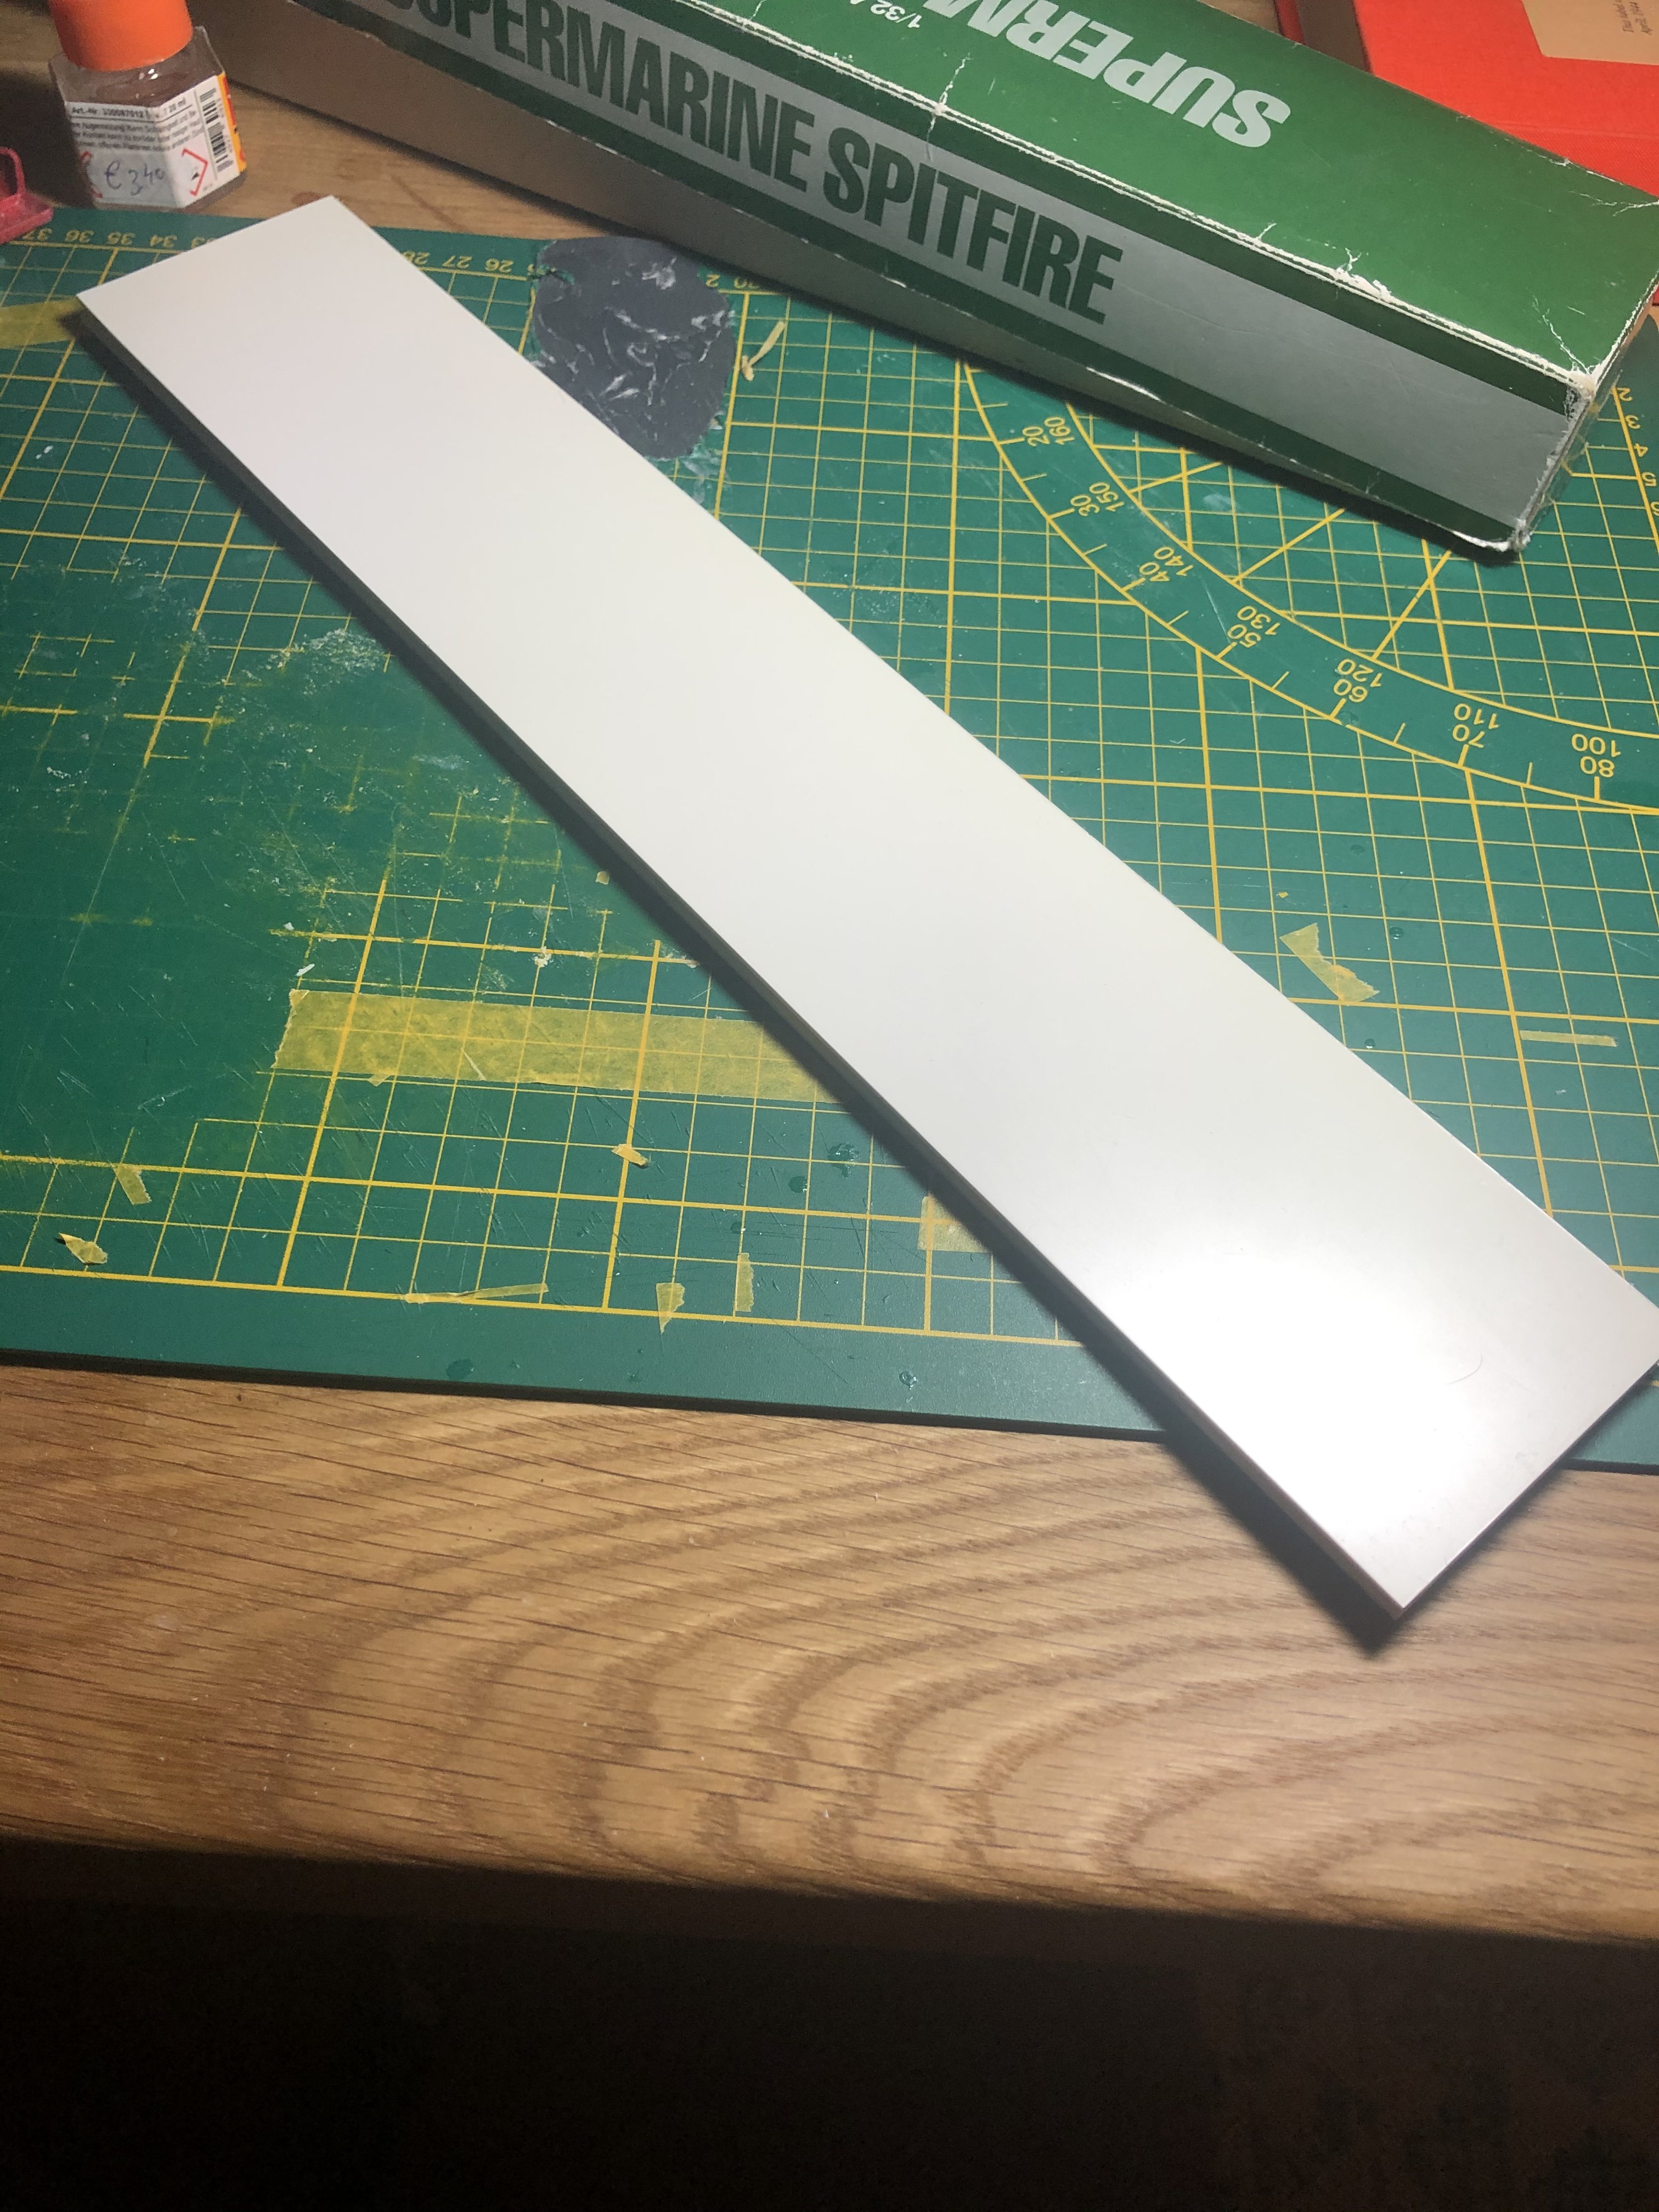
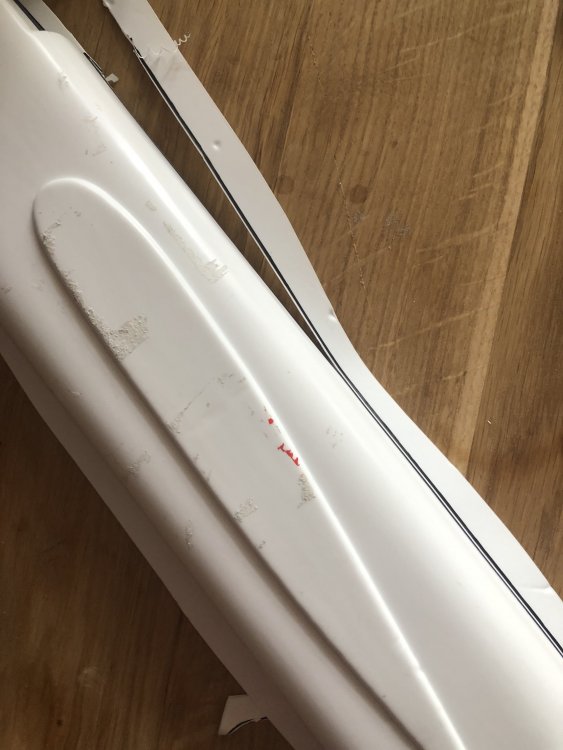
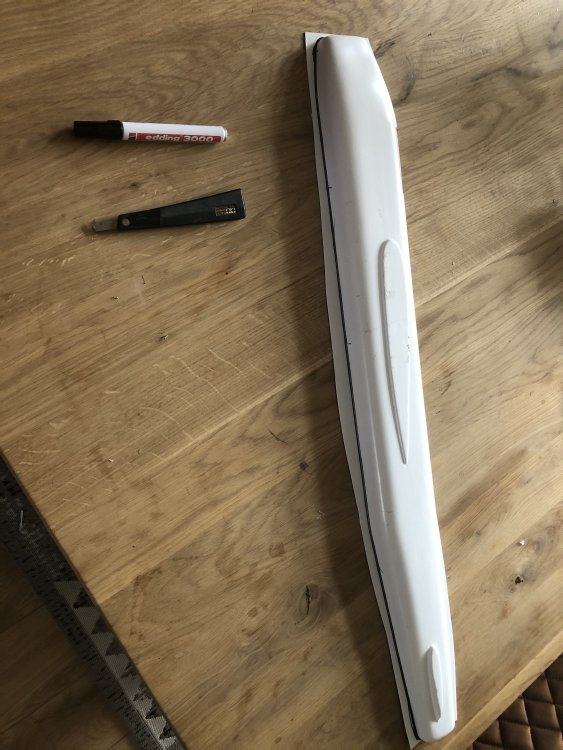
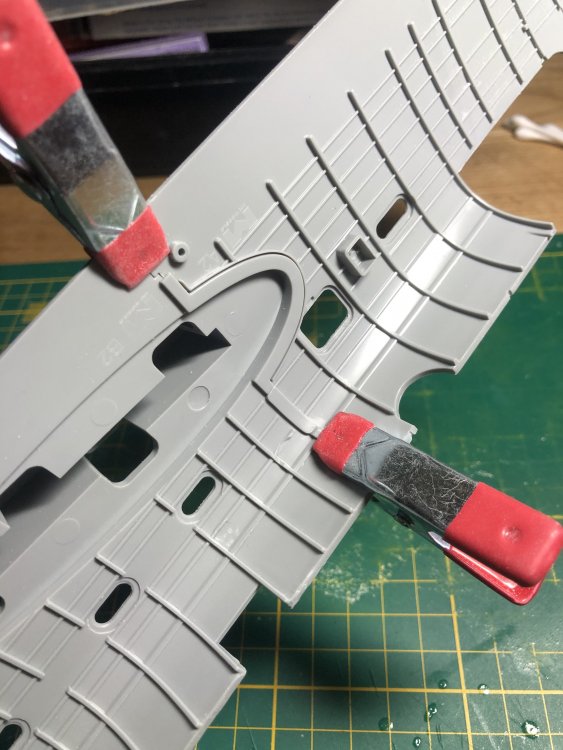
And after some sanding a dryfit looks to be satisfactory.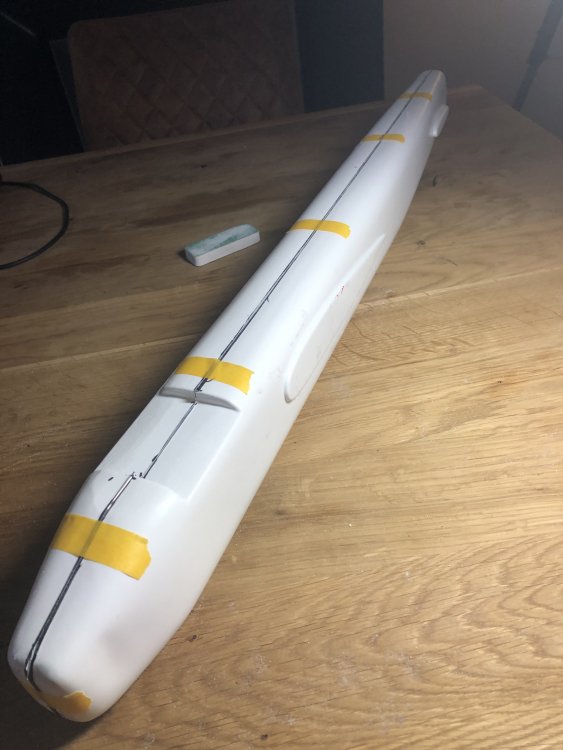
-
Daft project or is it? 1/32 Short Stirling III
Wingco57 replied to Wingco57's topic in LSM 1/35 and Larger Work In Progress
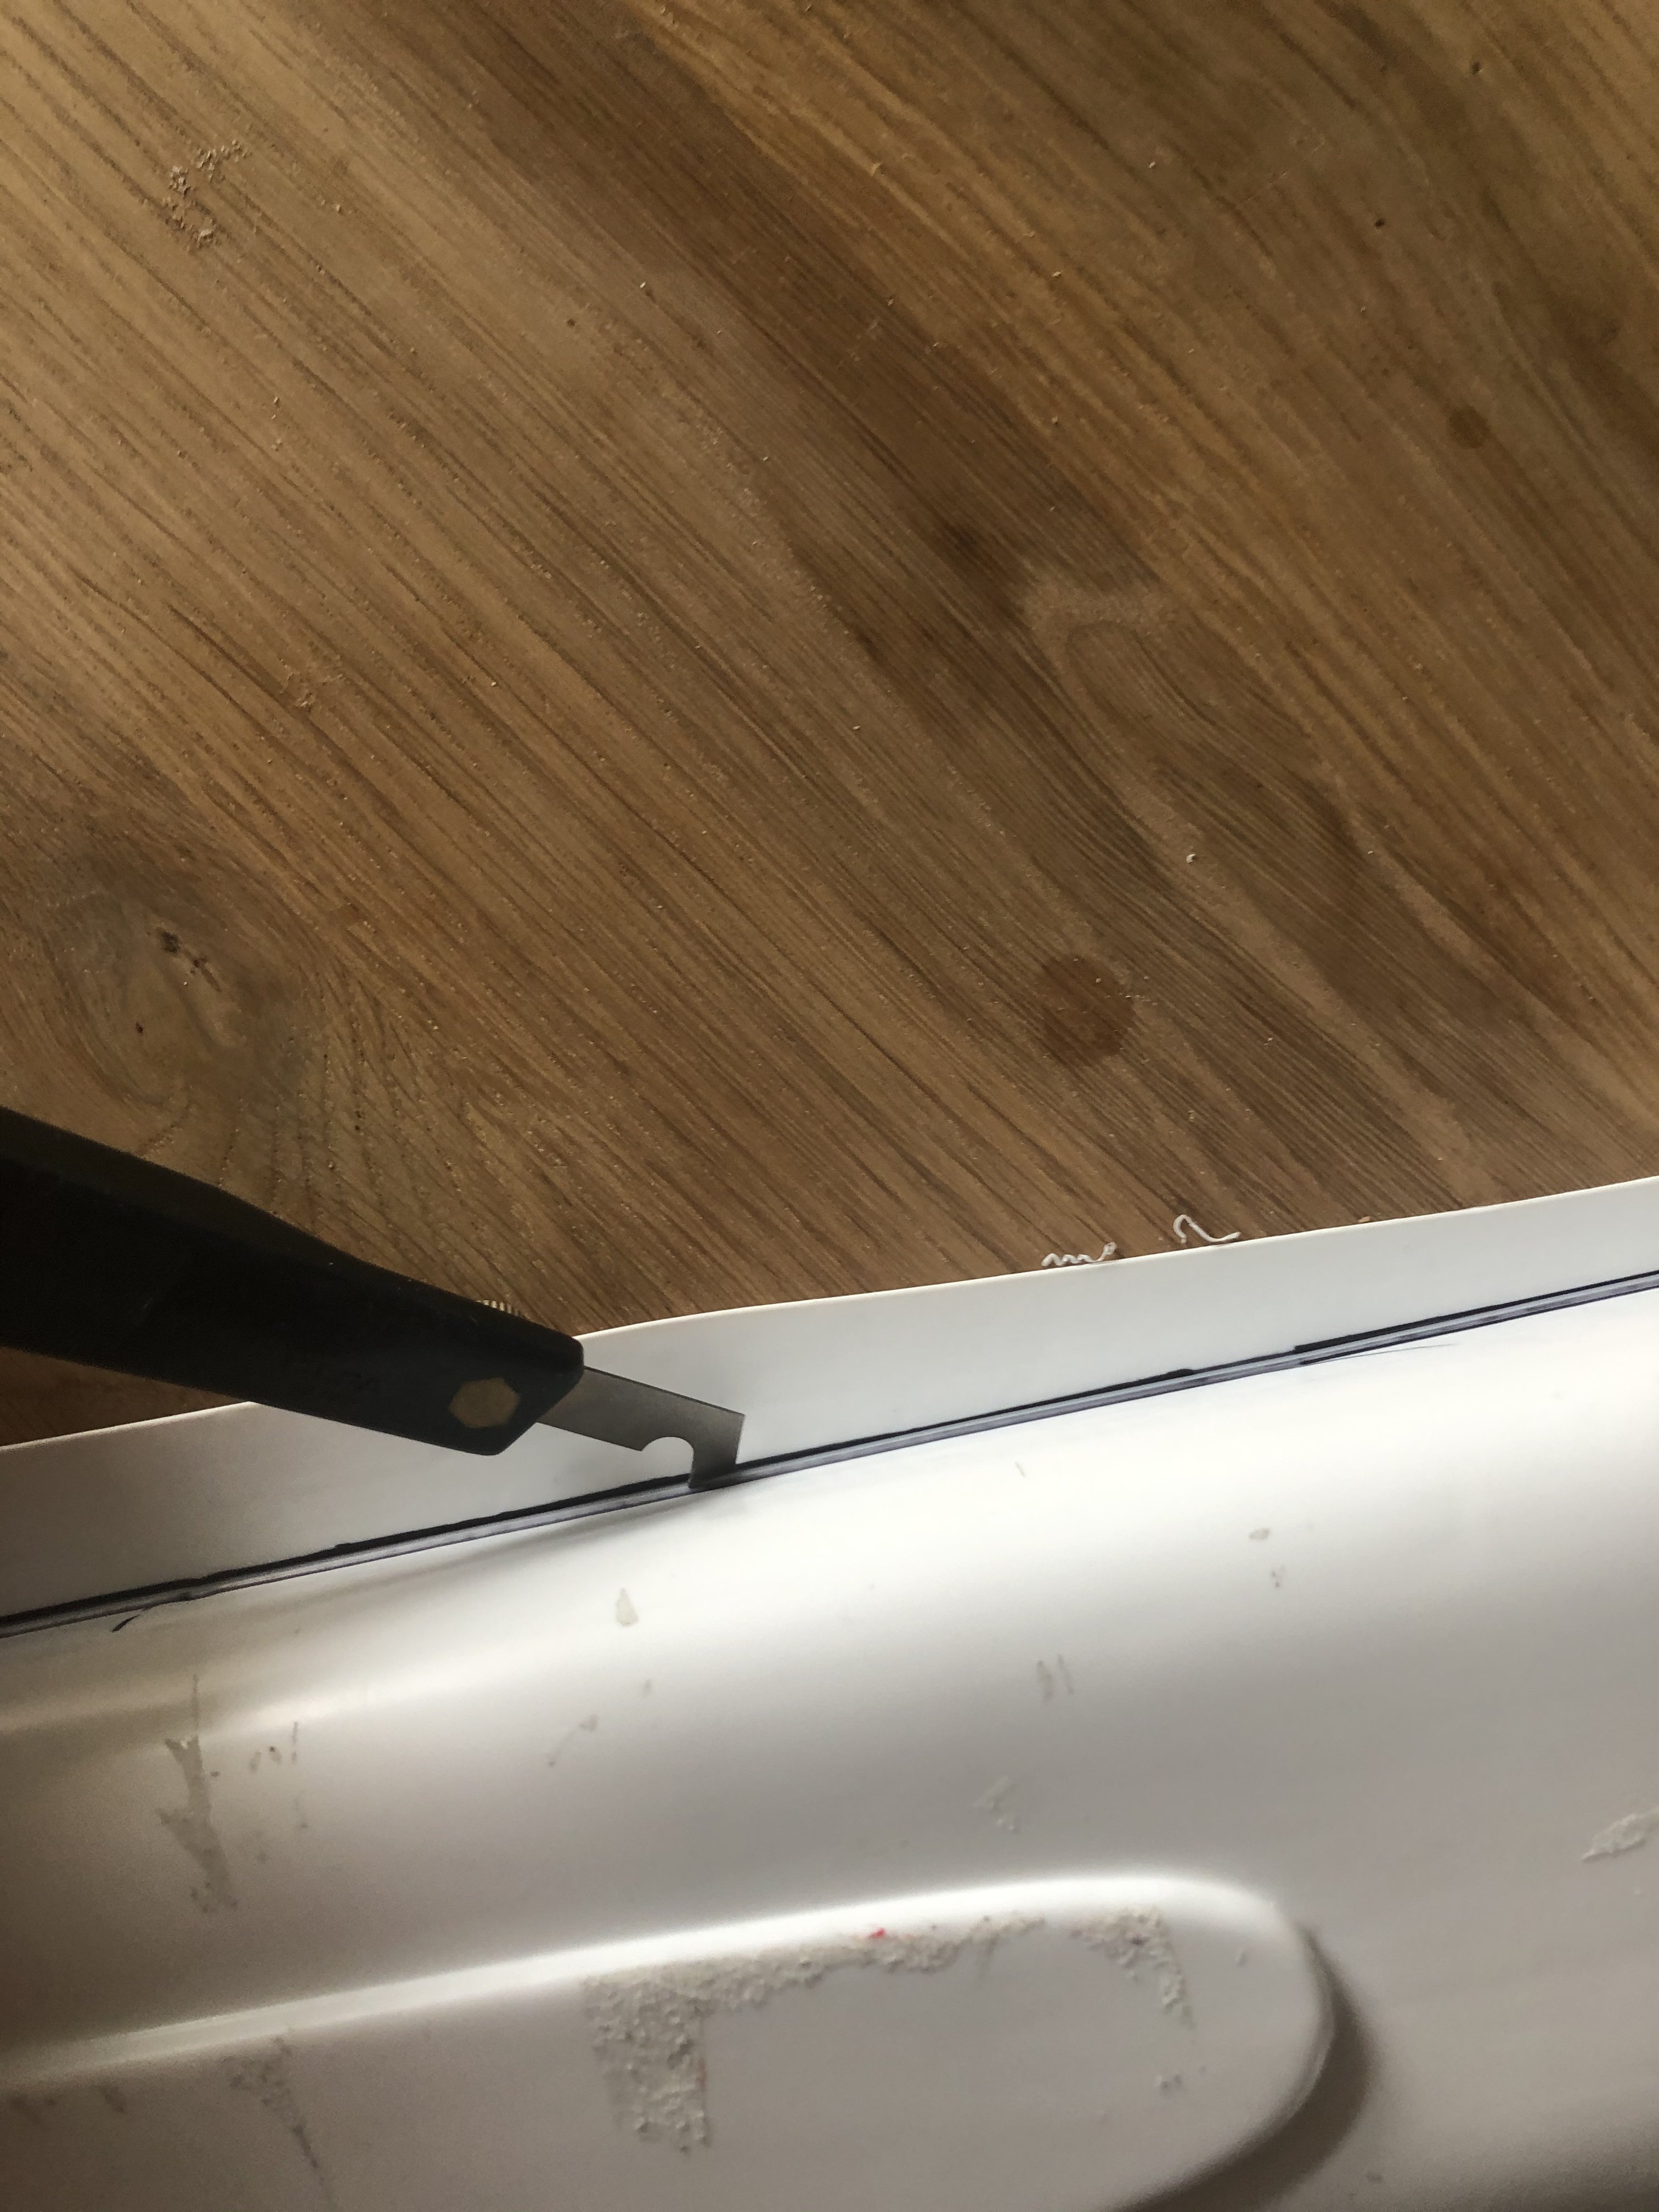
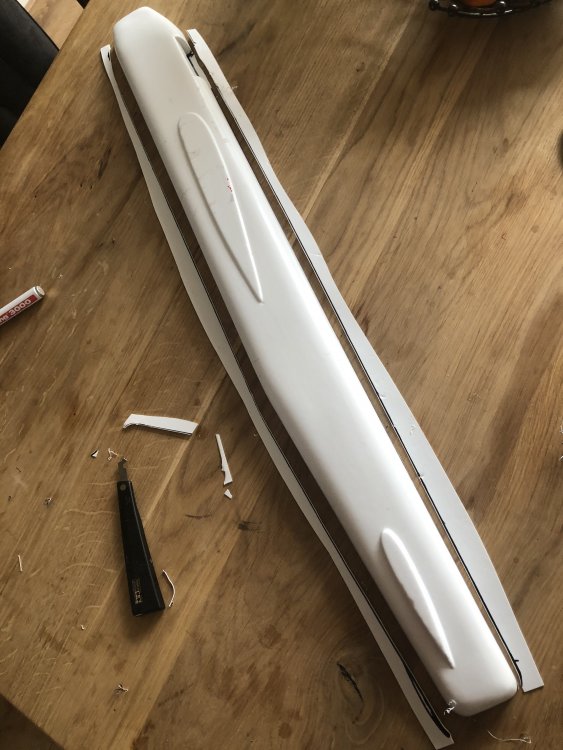
It already is at almost a metre in length. it was time to free the fuselage halves from the sheet. Not very difficult. Just mark out the area to be cut, use a Tamiya scriber, in my case, and break off the excess. Then sand until the white plastic near the cut has disappeared. Until next time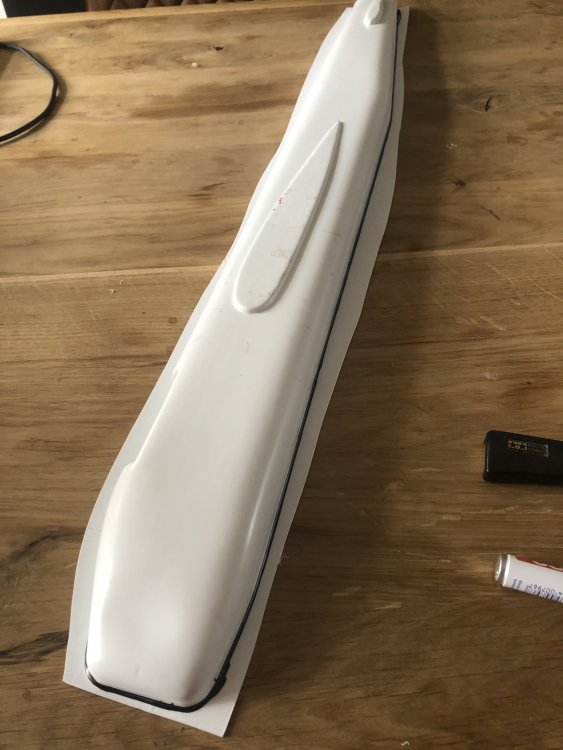

-
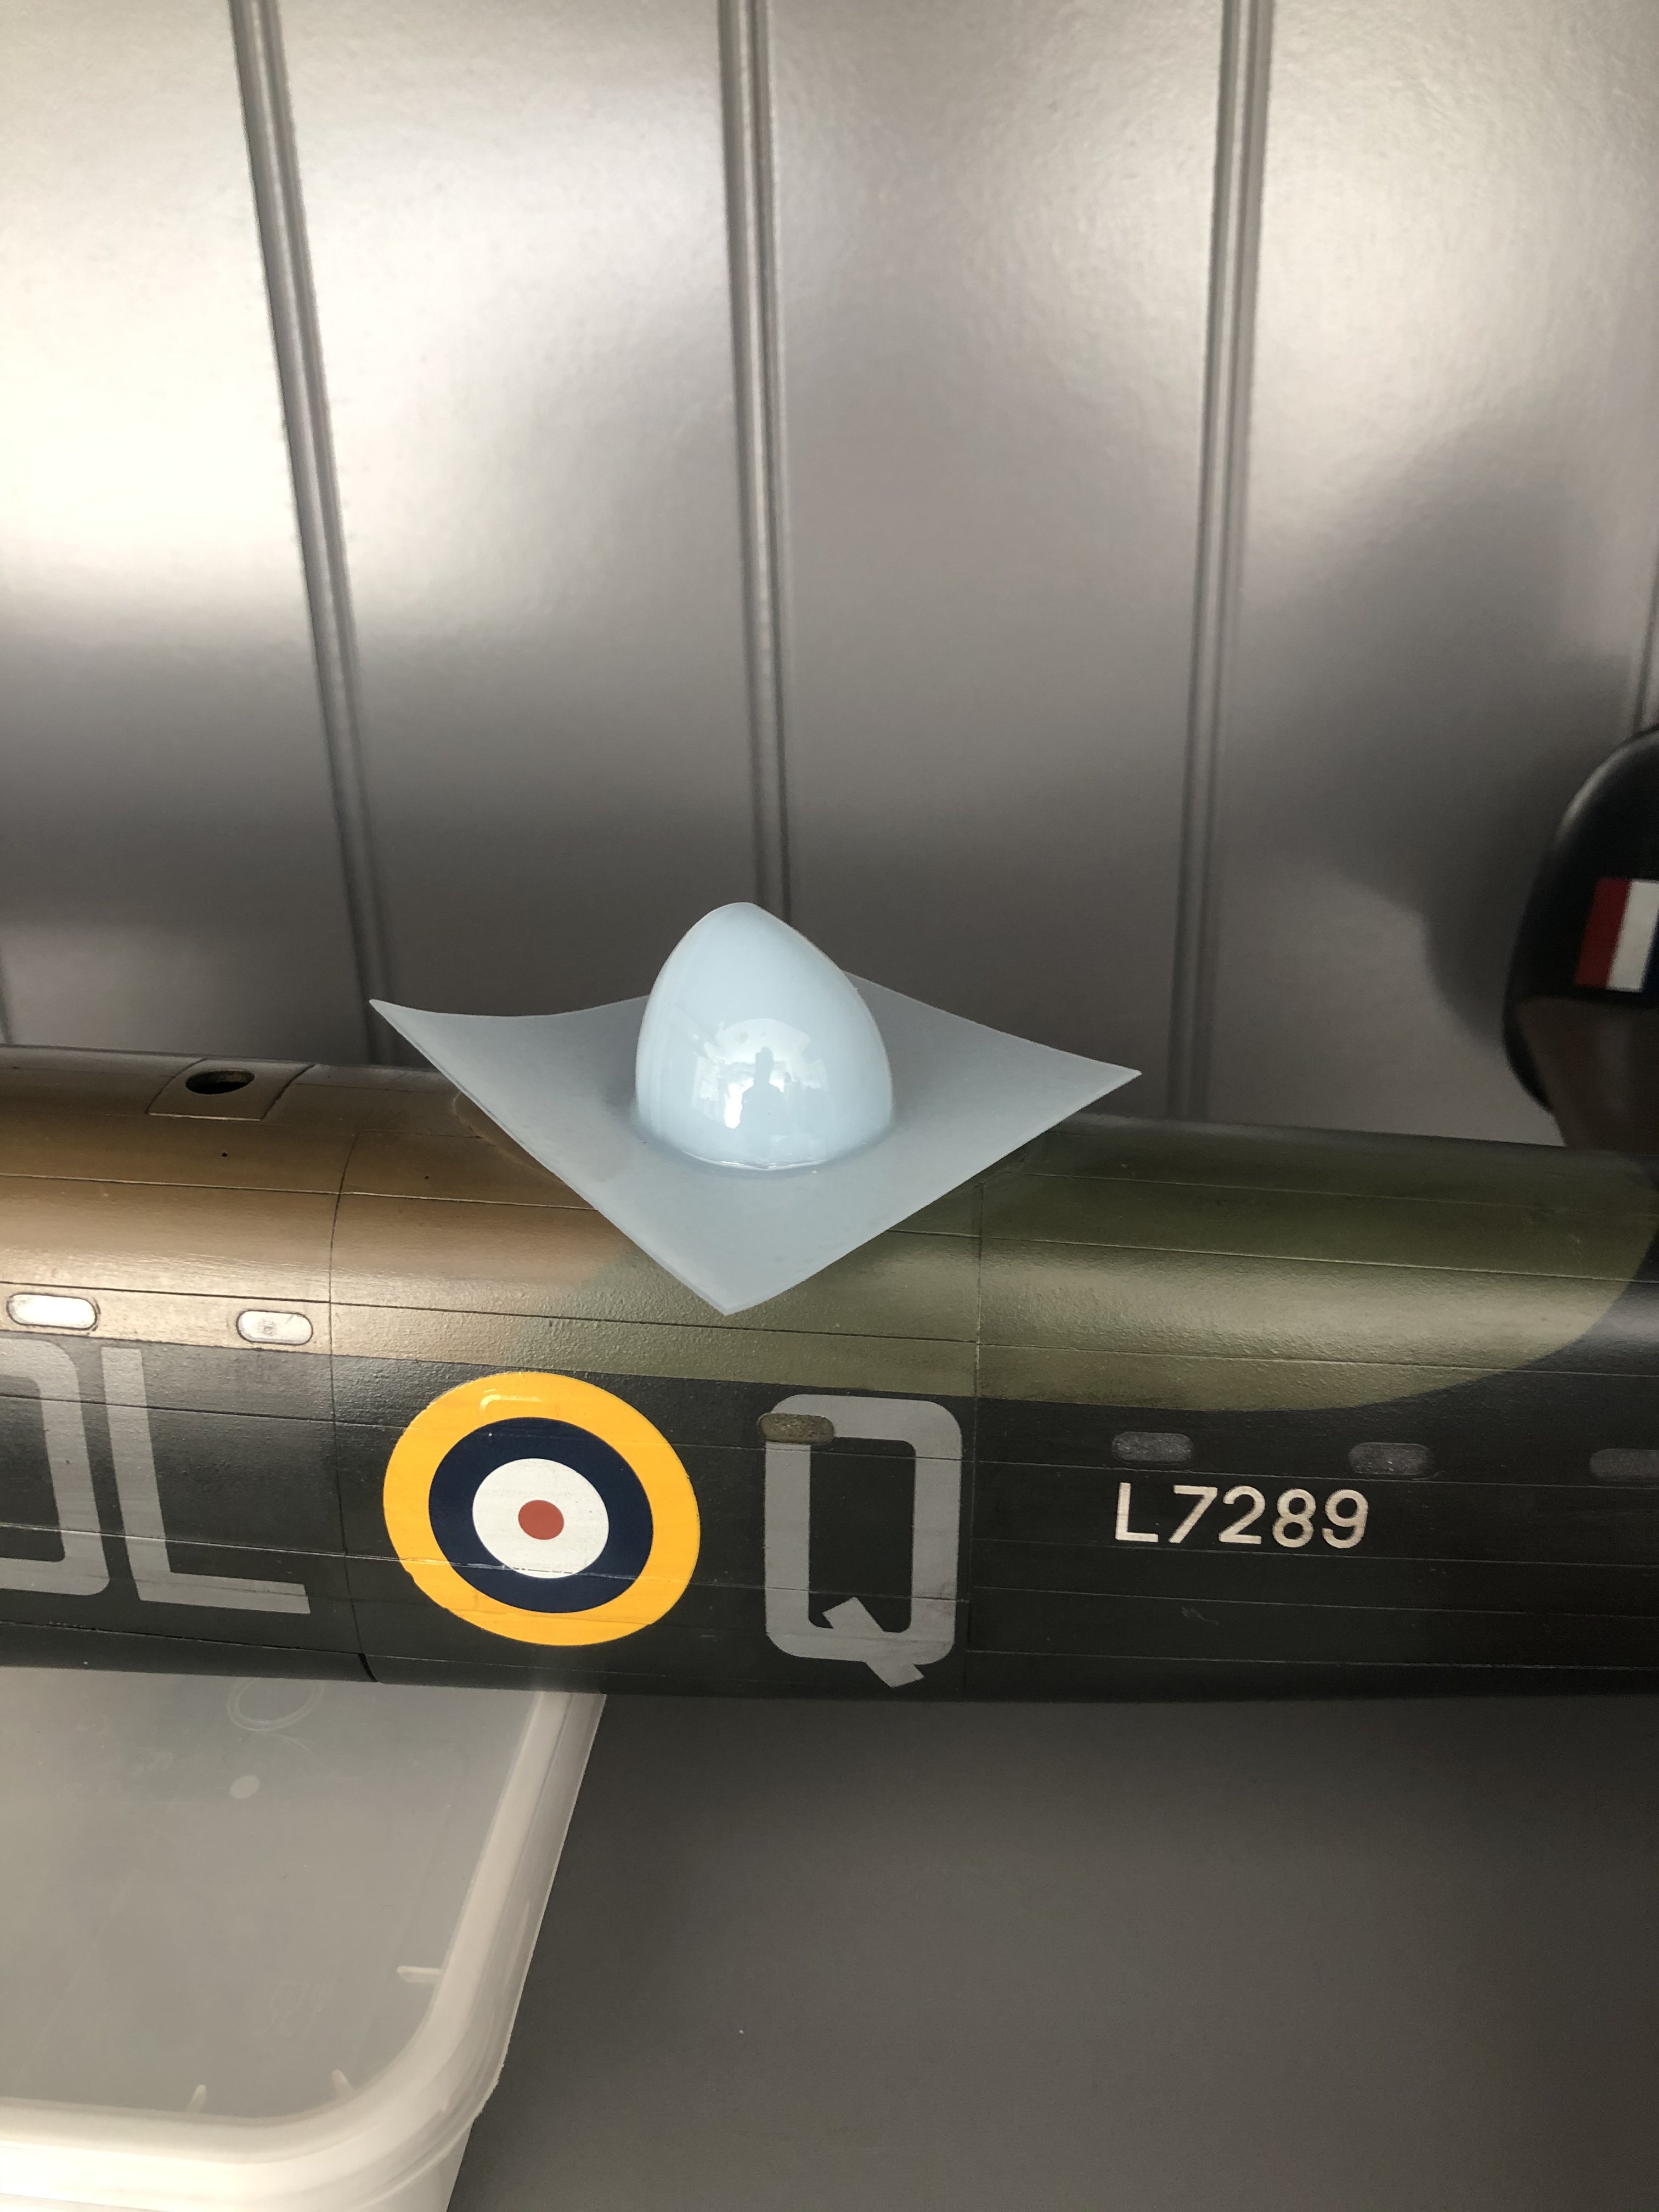
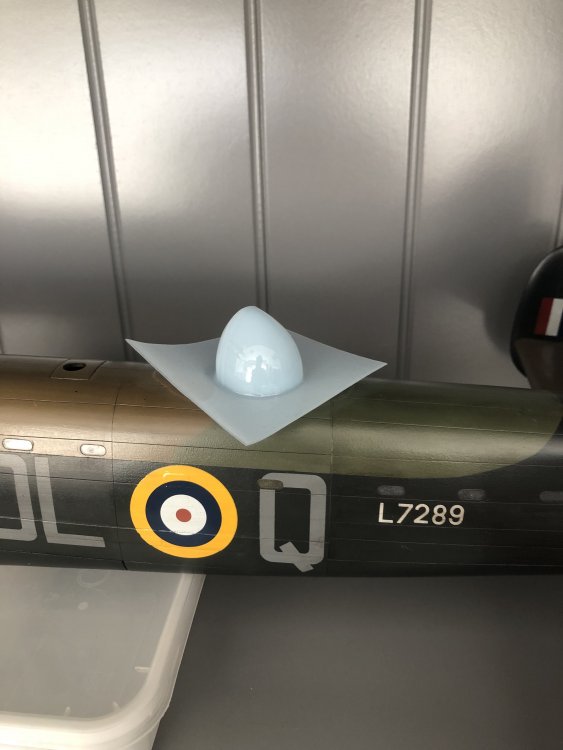
The Vacform Stirling provided two FN7 transparencies that would come in handy for the Manchester. The framing is too prominent but the general shape can be used to make a Milliput mould.
-
Fw190A-8 3/JG1 crash Vreeland
Wingco57 replied to JeroenPeters's topic in LSM 1/35 and Larger Work In Progress
Did you make an apointment with LHS to visit for a duration of ten minutes? Time for me to have a visit again, it's been too long. -
Daft project or is it? 1/32 Short Stirling III
Wingco57 replied to Wingco57's topic in LSM 1/35 and Larger Work In Progress
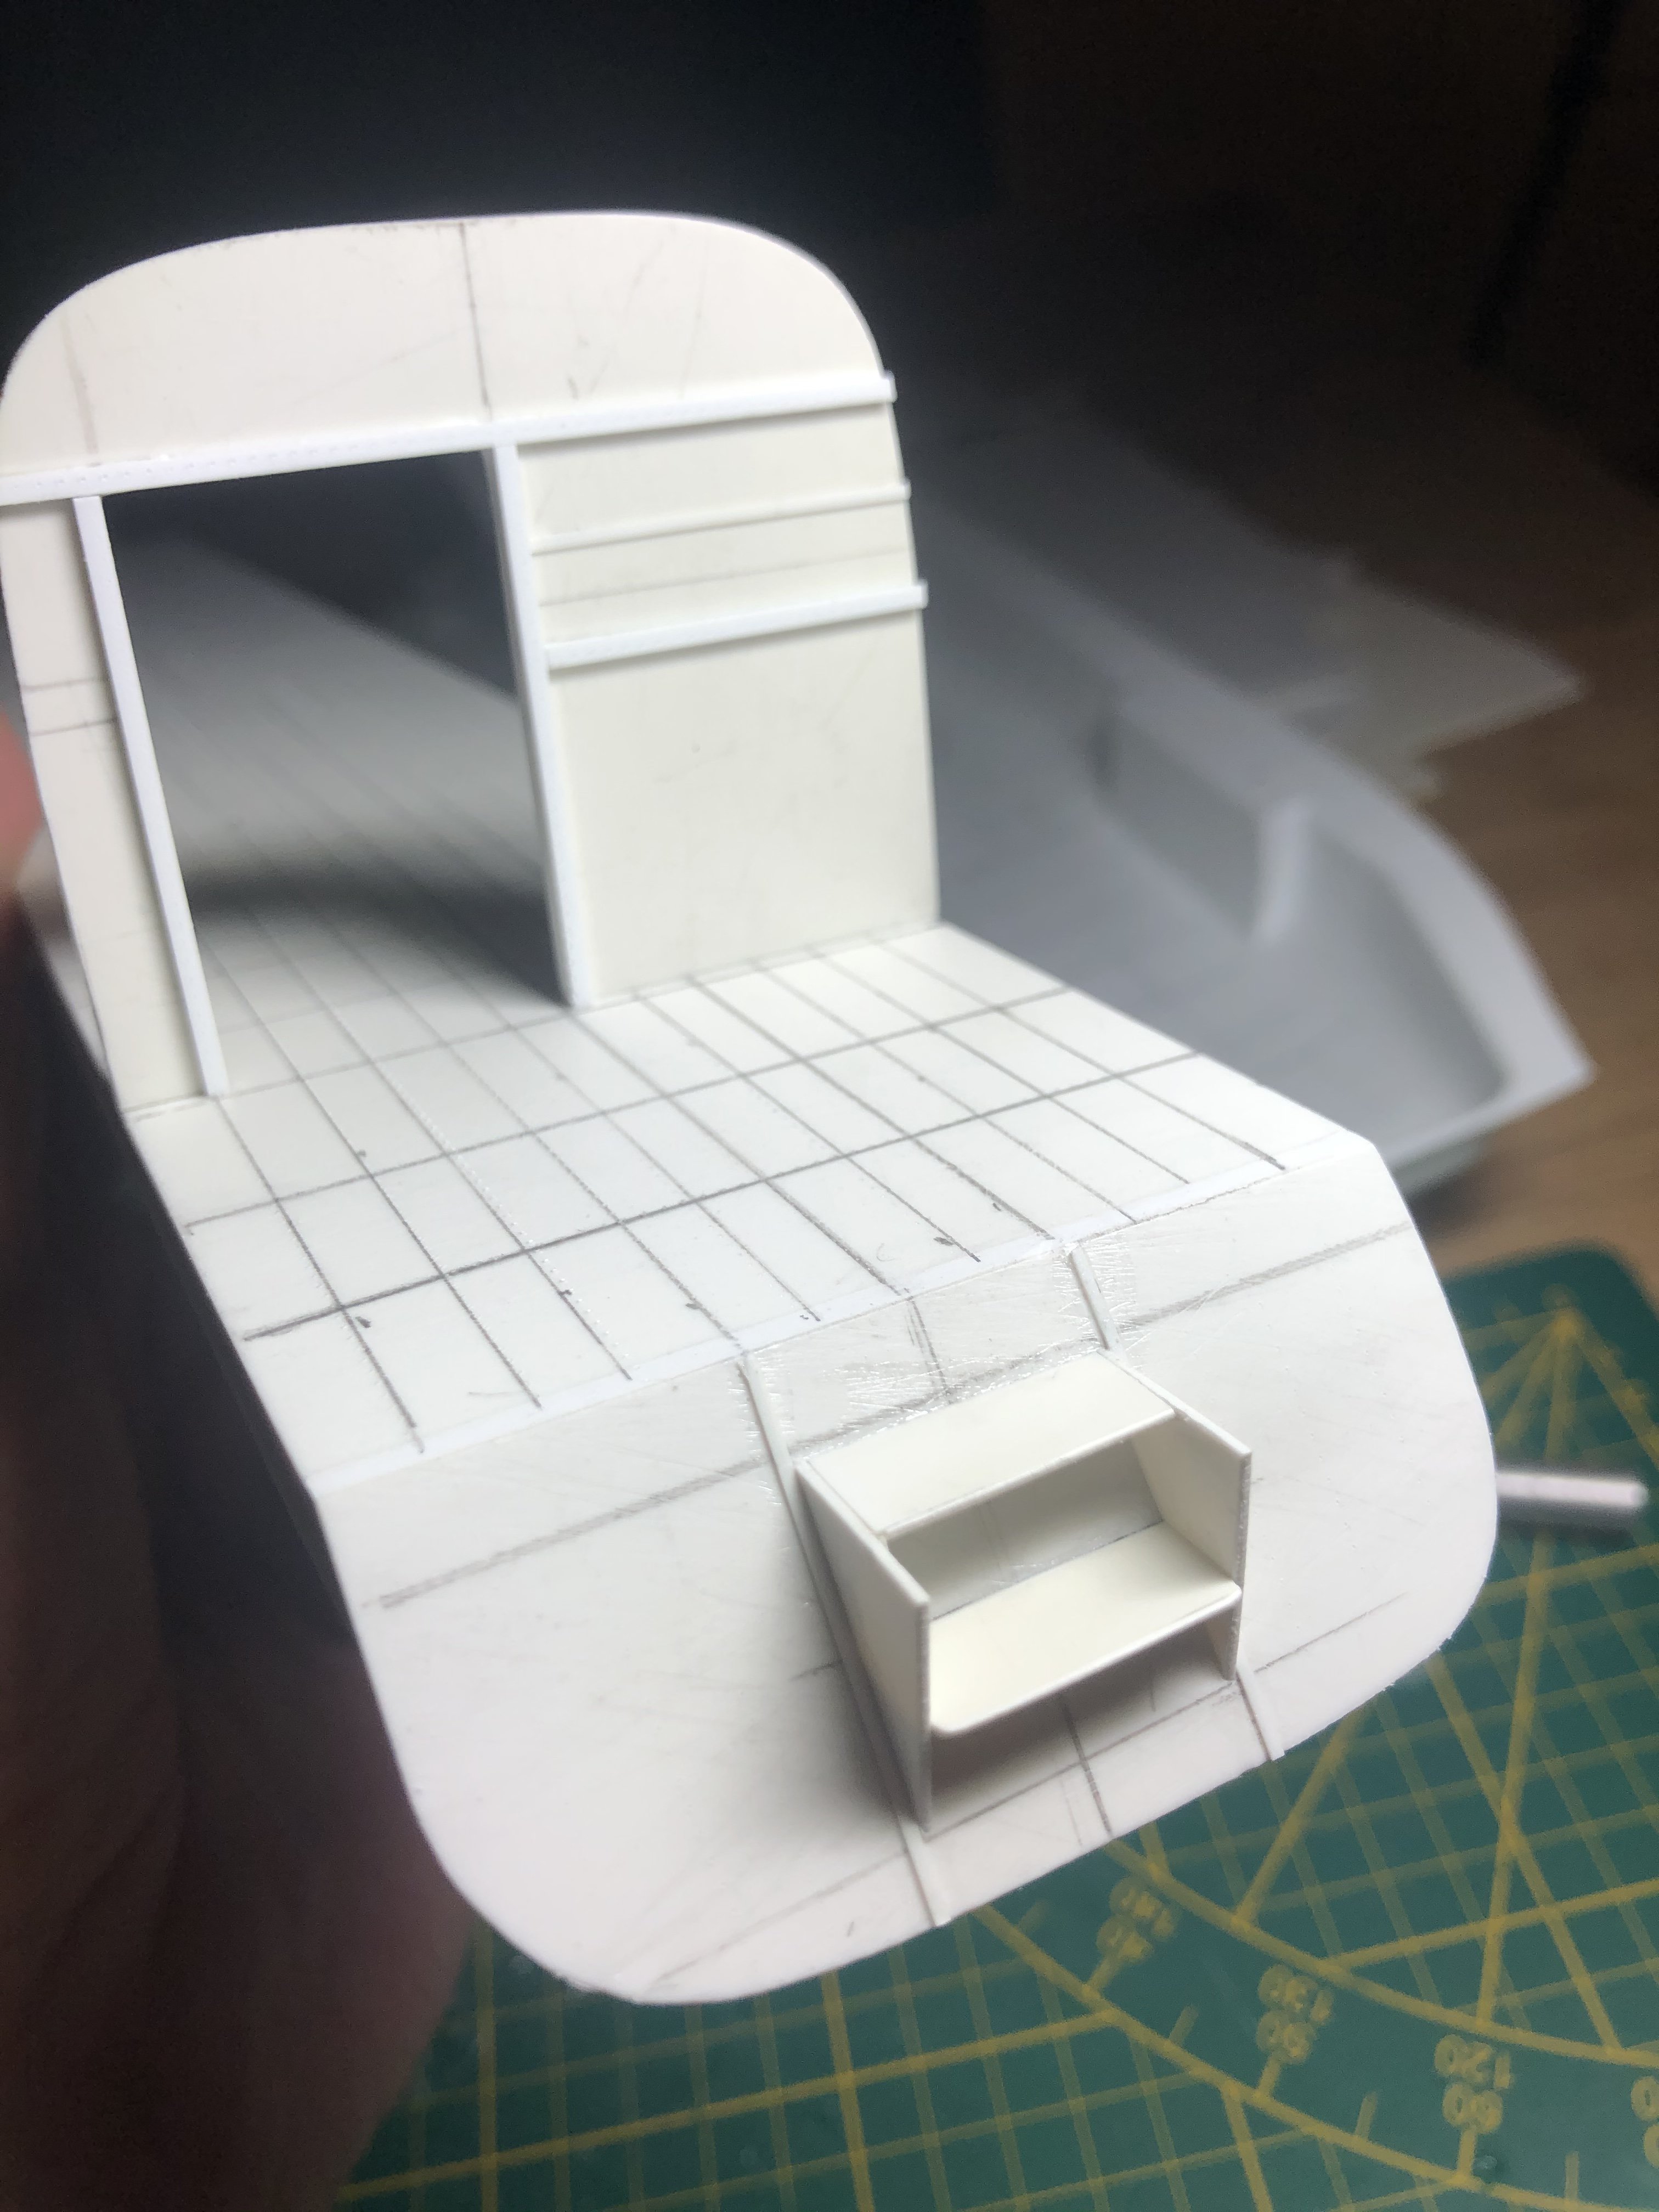
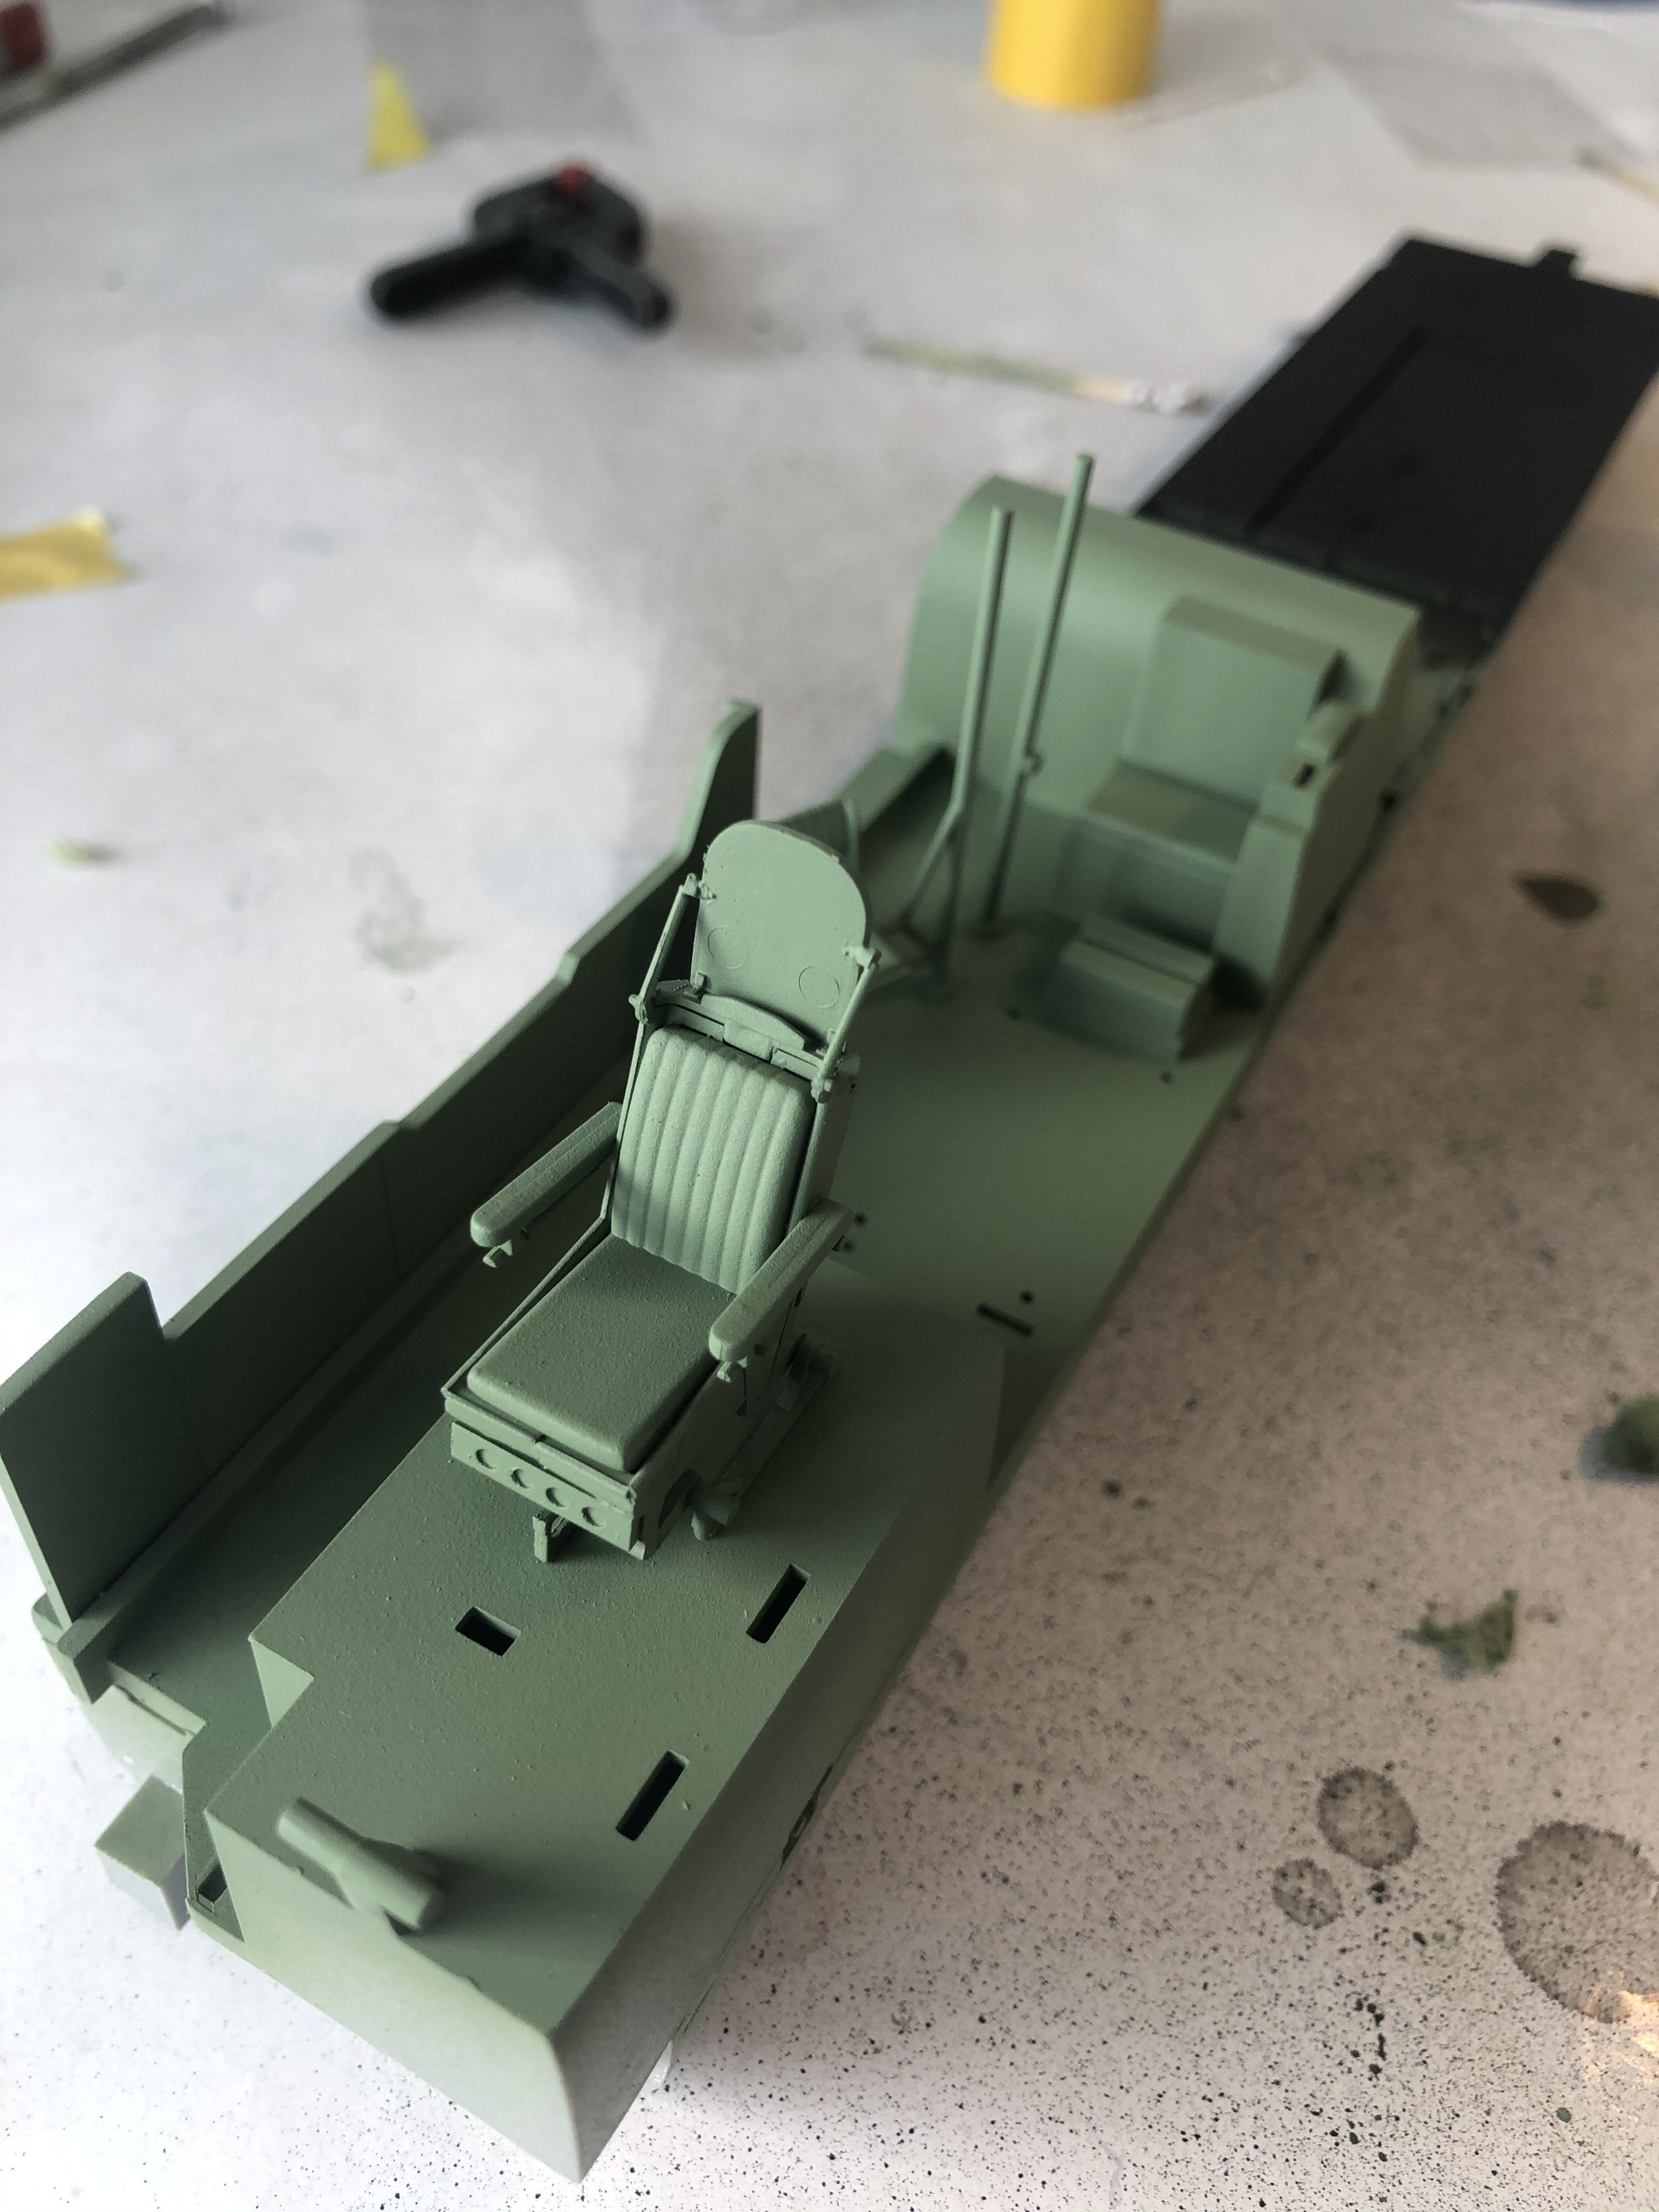
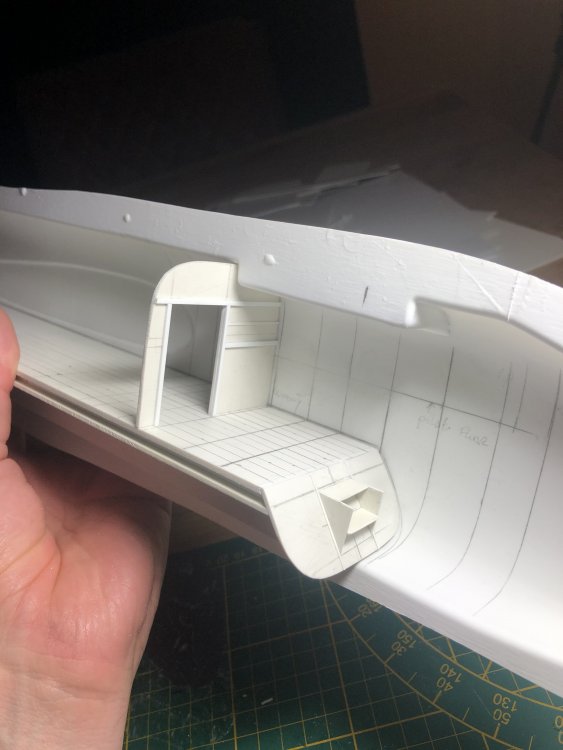
Been rivetting the mainfloor and completed the basic bulkhead. Testfitting the pilots floor to the mainfloor. As soon as good info is available on the exterior panels I will start engraving.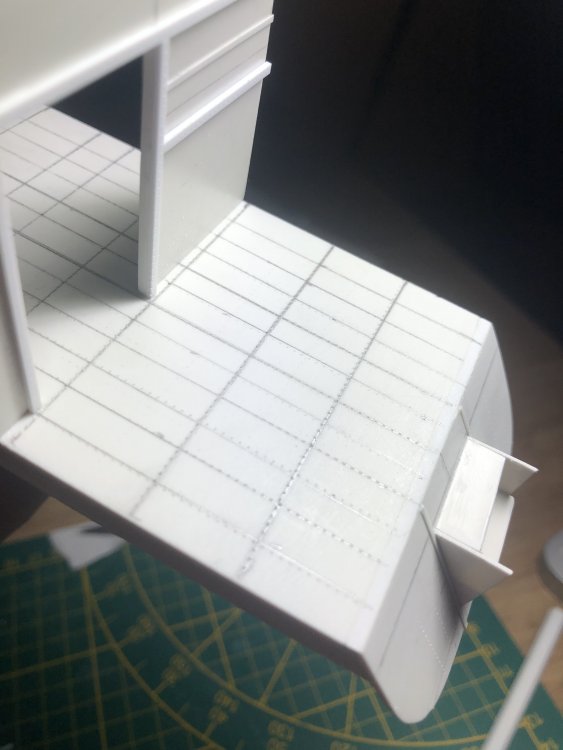

-
Daft project or is it? 1/32 Short Stirling III
Wingco57 replied to Wingco57's topic in LSM 1/35 and Larger Work In Progress
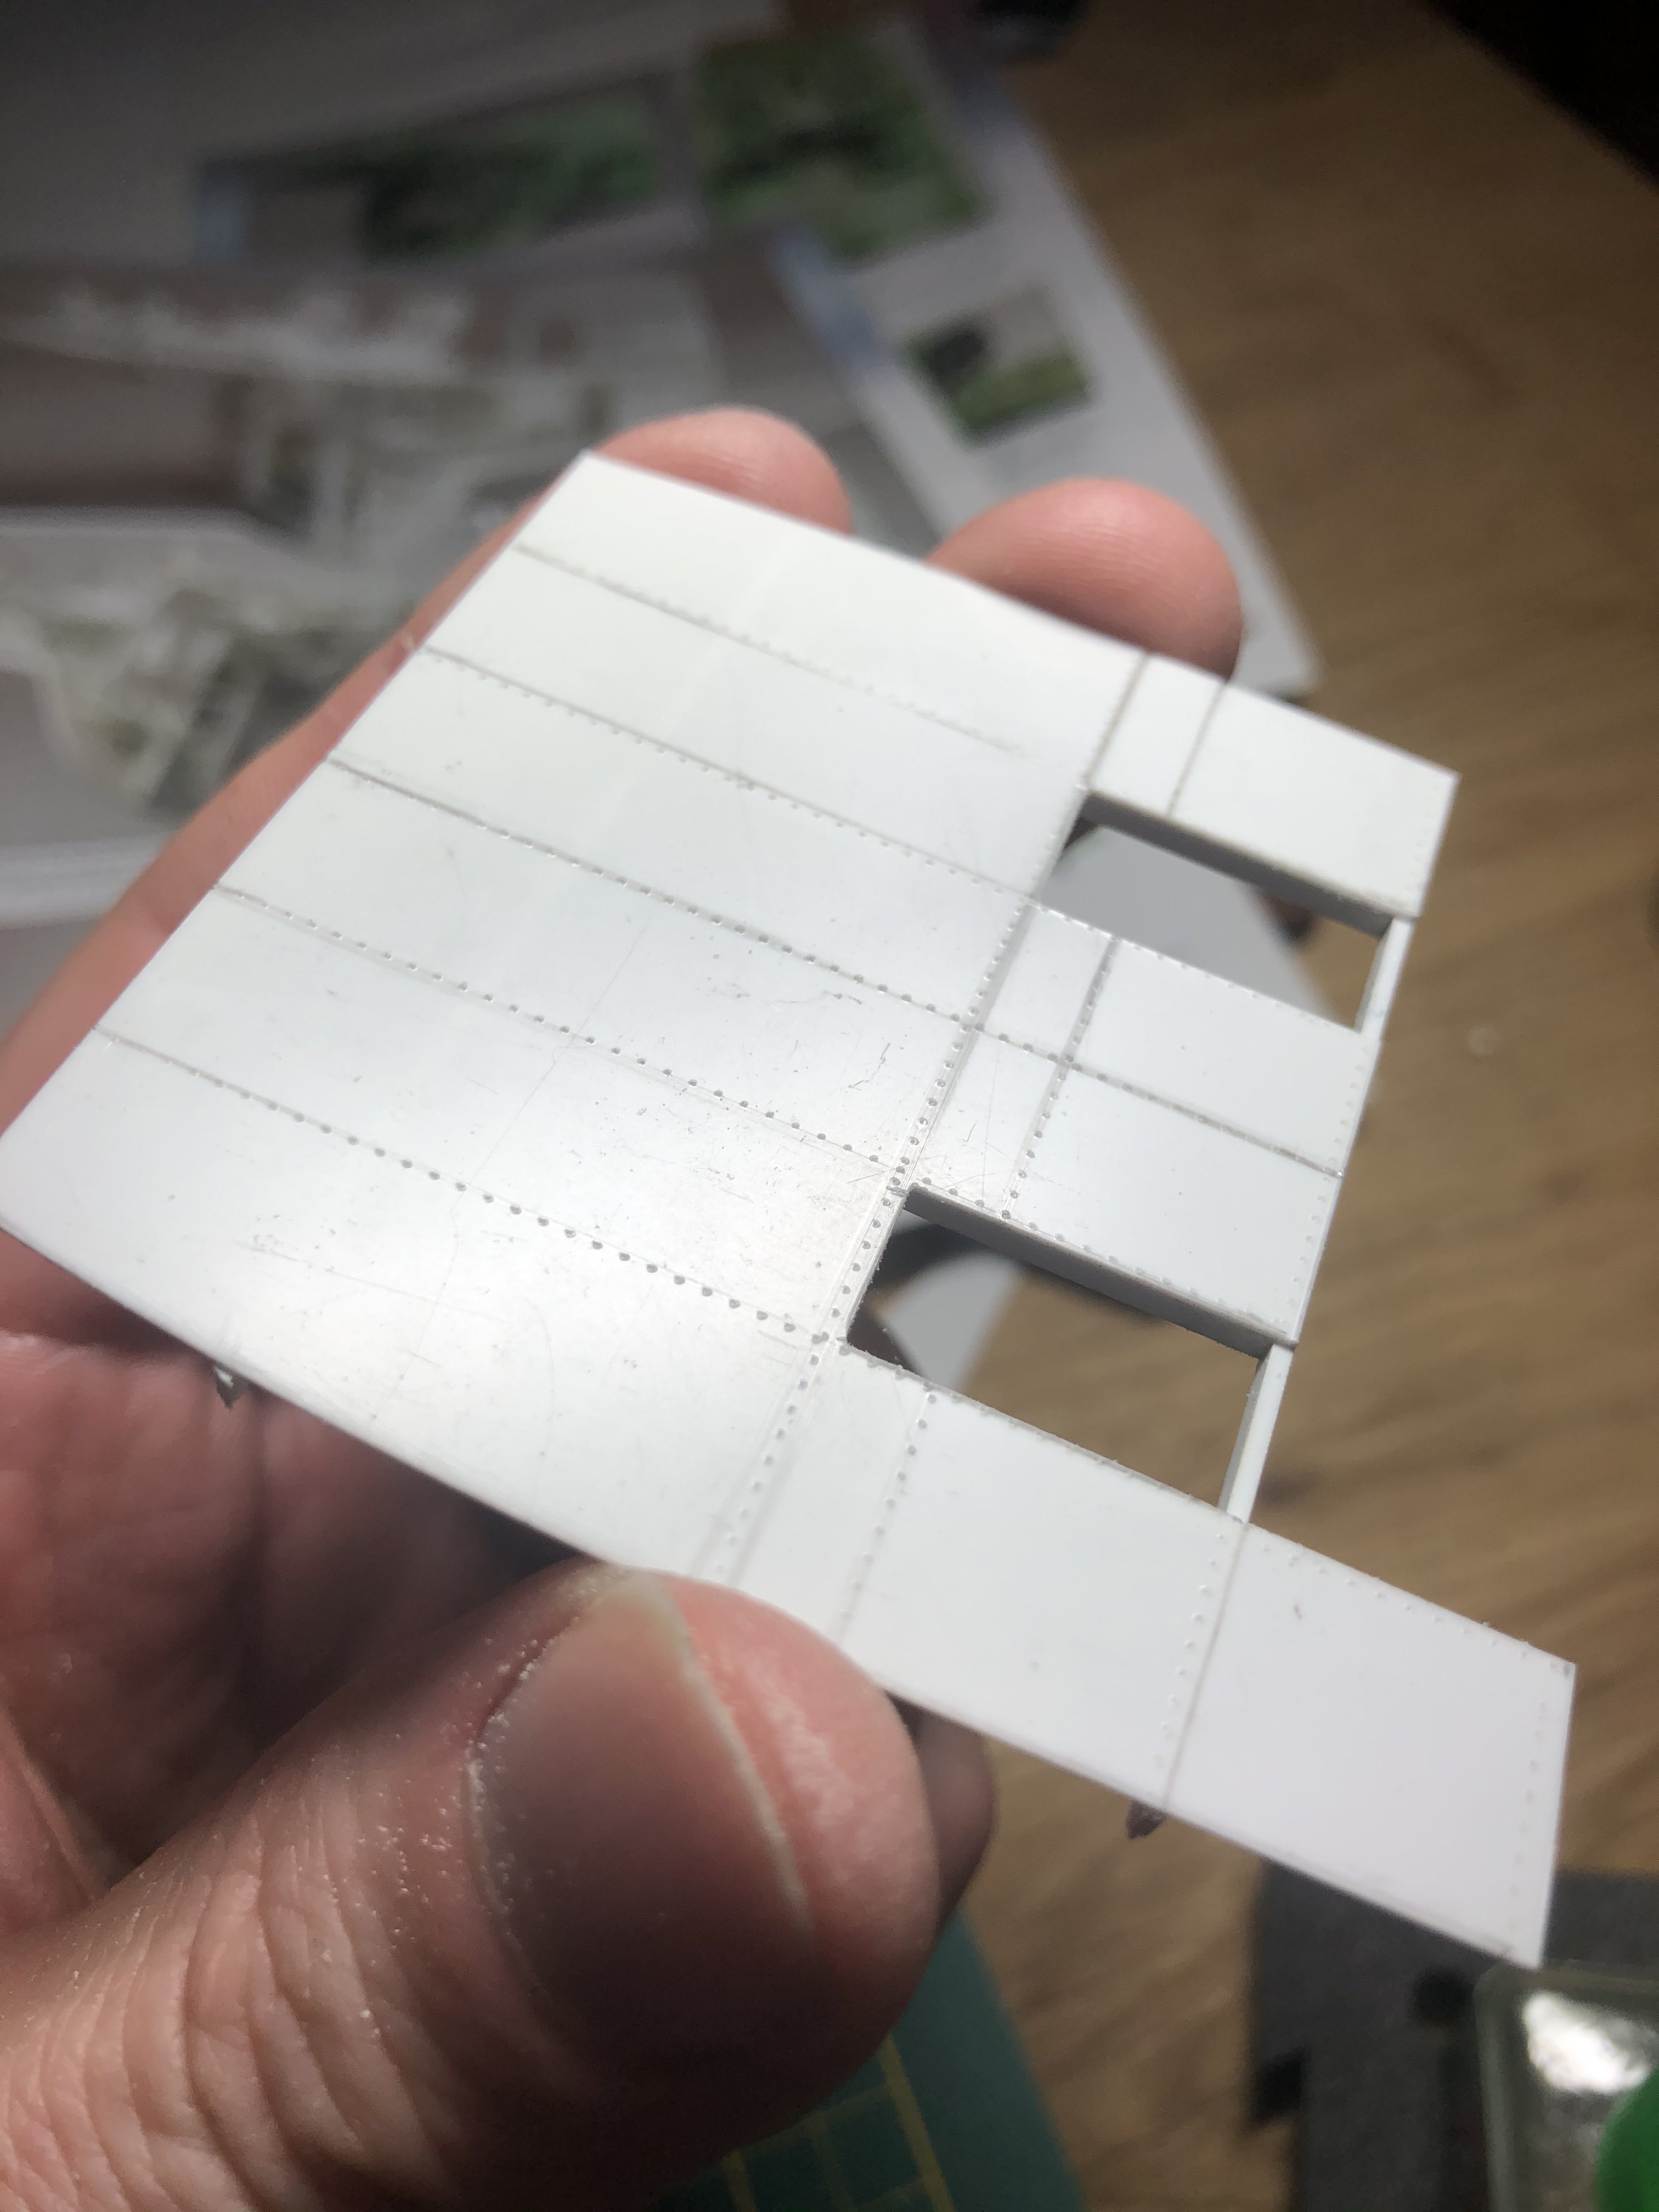
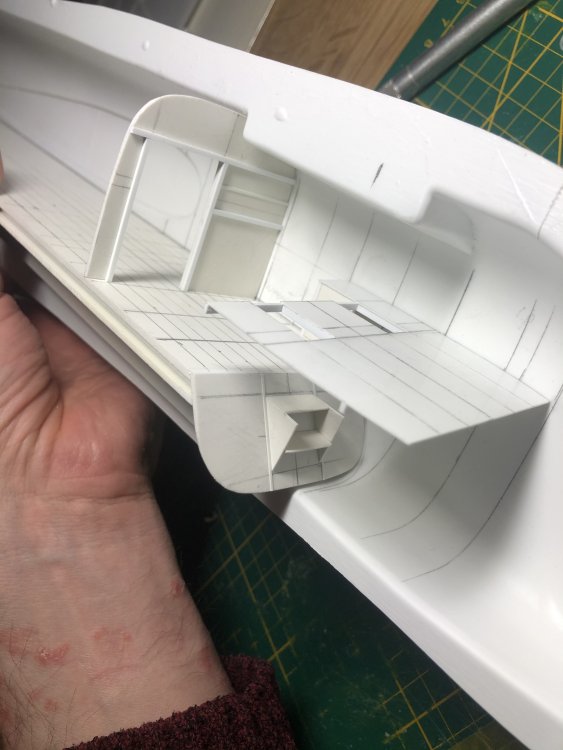
Adding rivets on the pilots floor and adding structure underneath.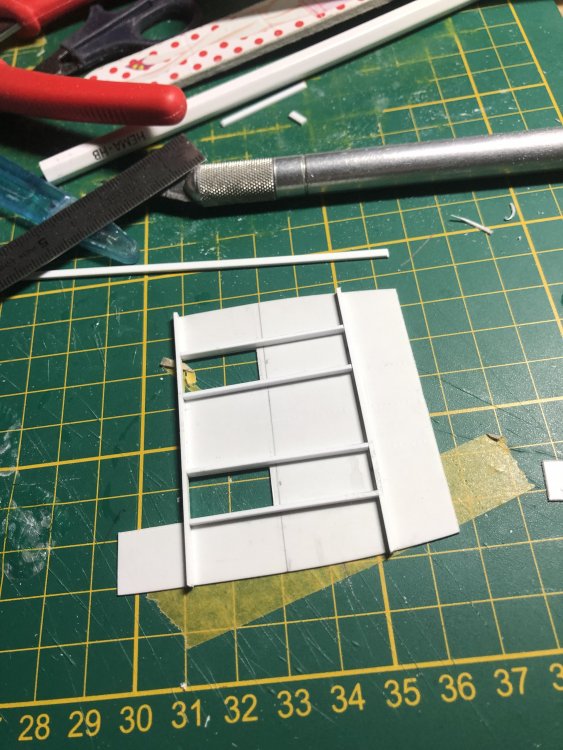

-
Daft project or is it? 1/32 Short Stirling III
Wingco57 replied to Wingco57's topic in LSM 1/35 and Larger Work In Progress
As always, that's what buddies are for. -
Daft project or is it? 1/32 Short Stirling III
Wingco57 replied to Wingco57's topic in LSM 1/35 and Larger Work In Progress
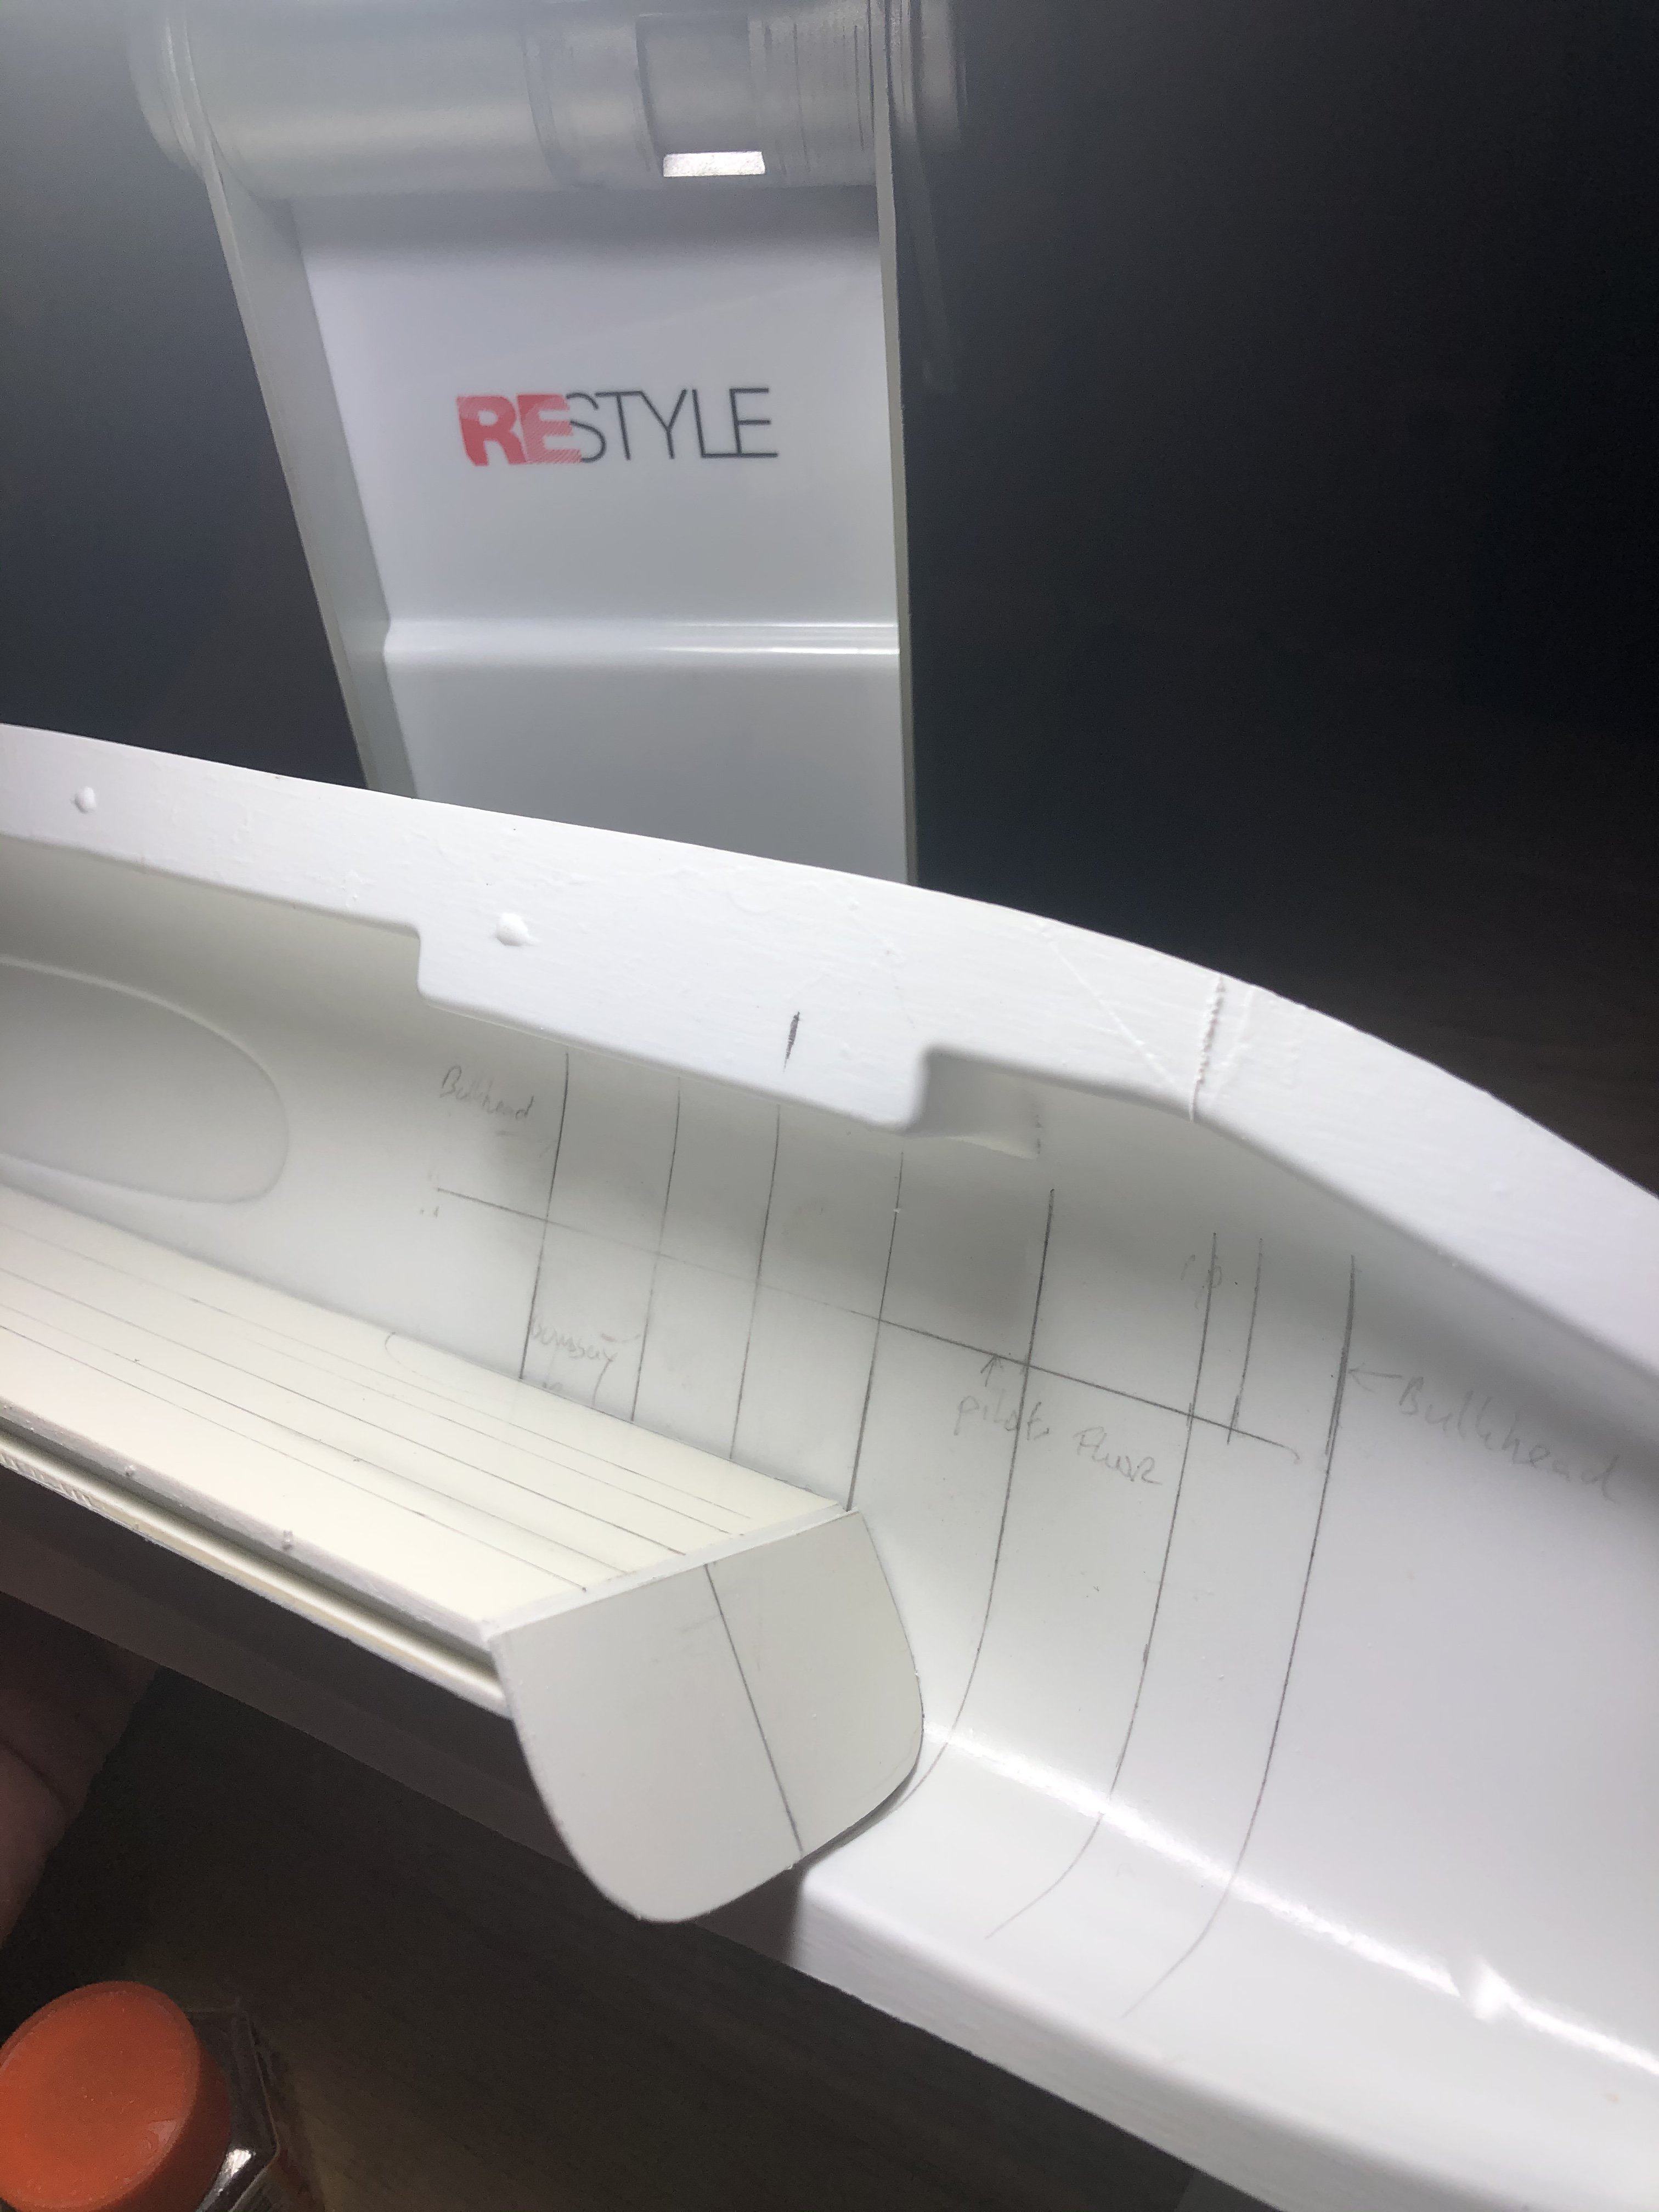
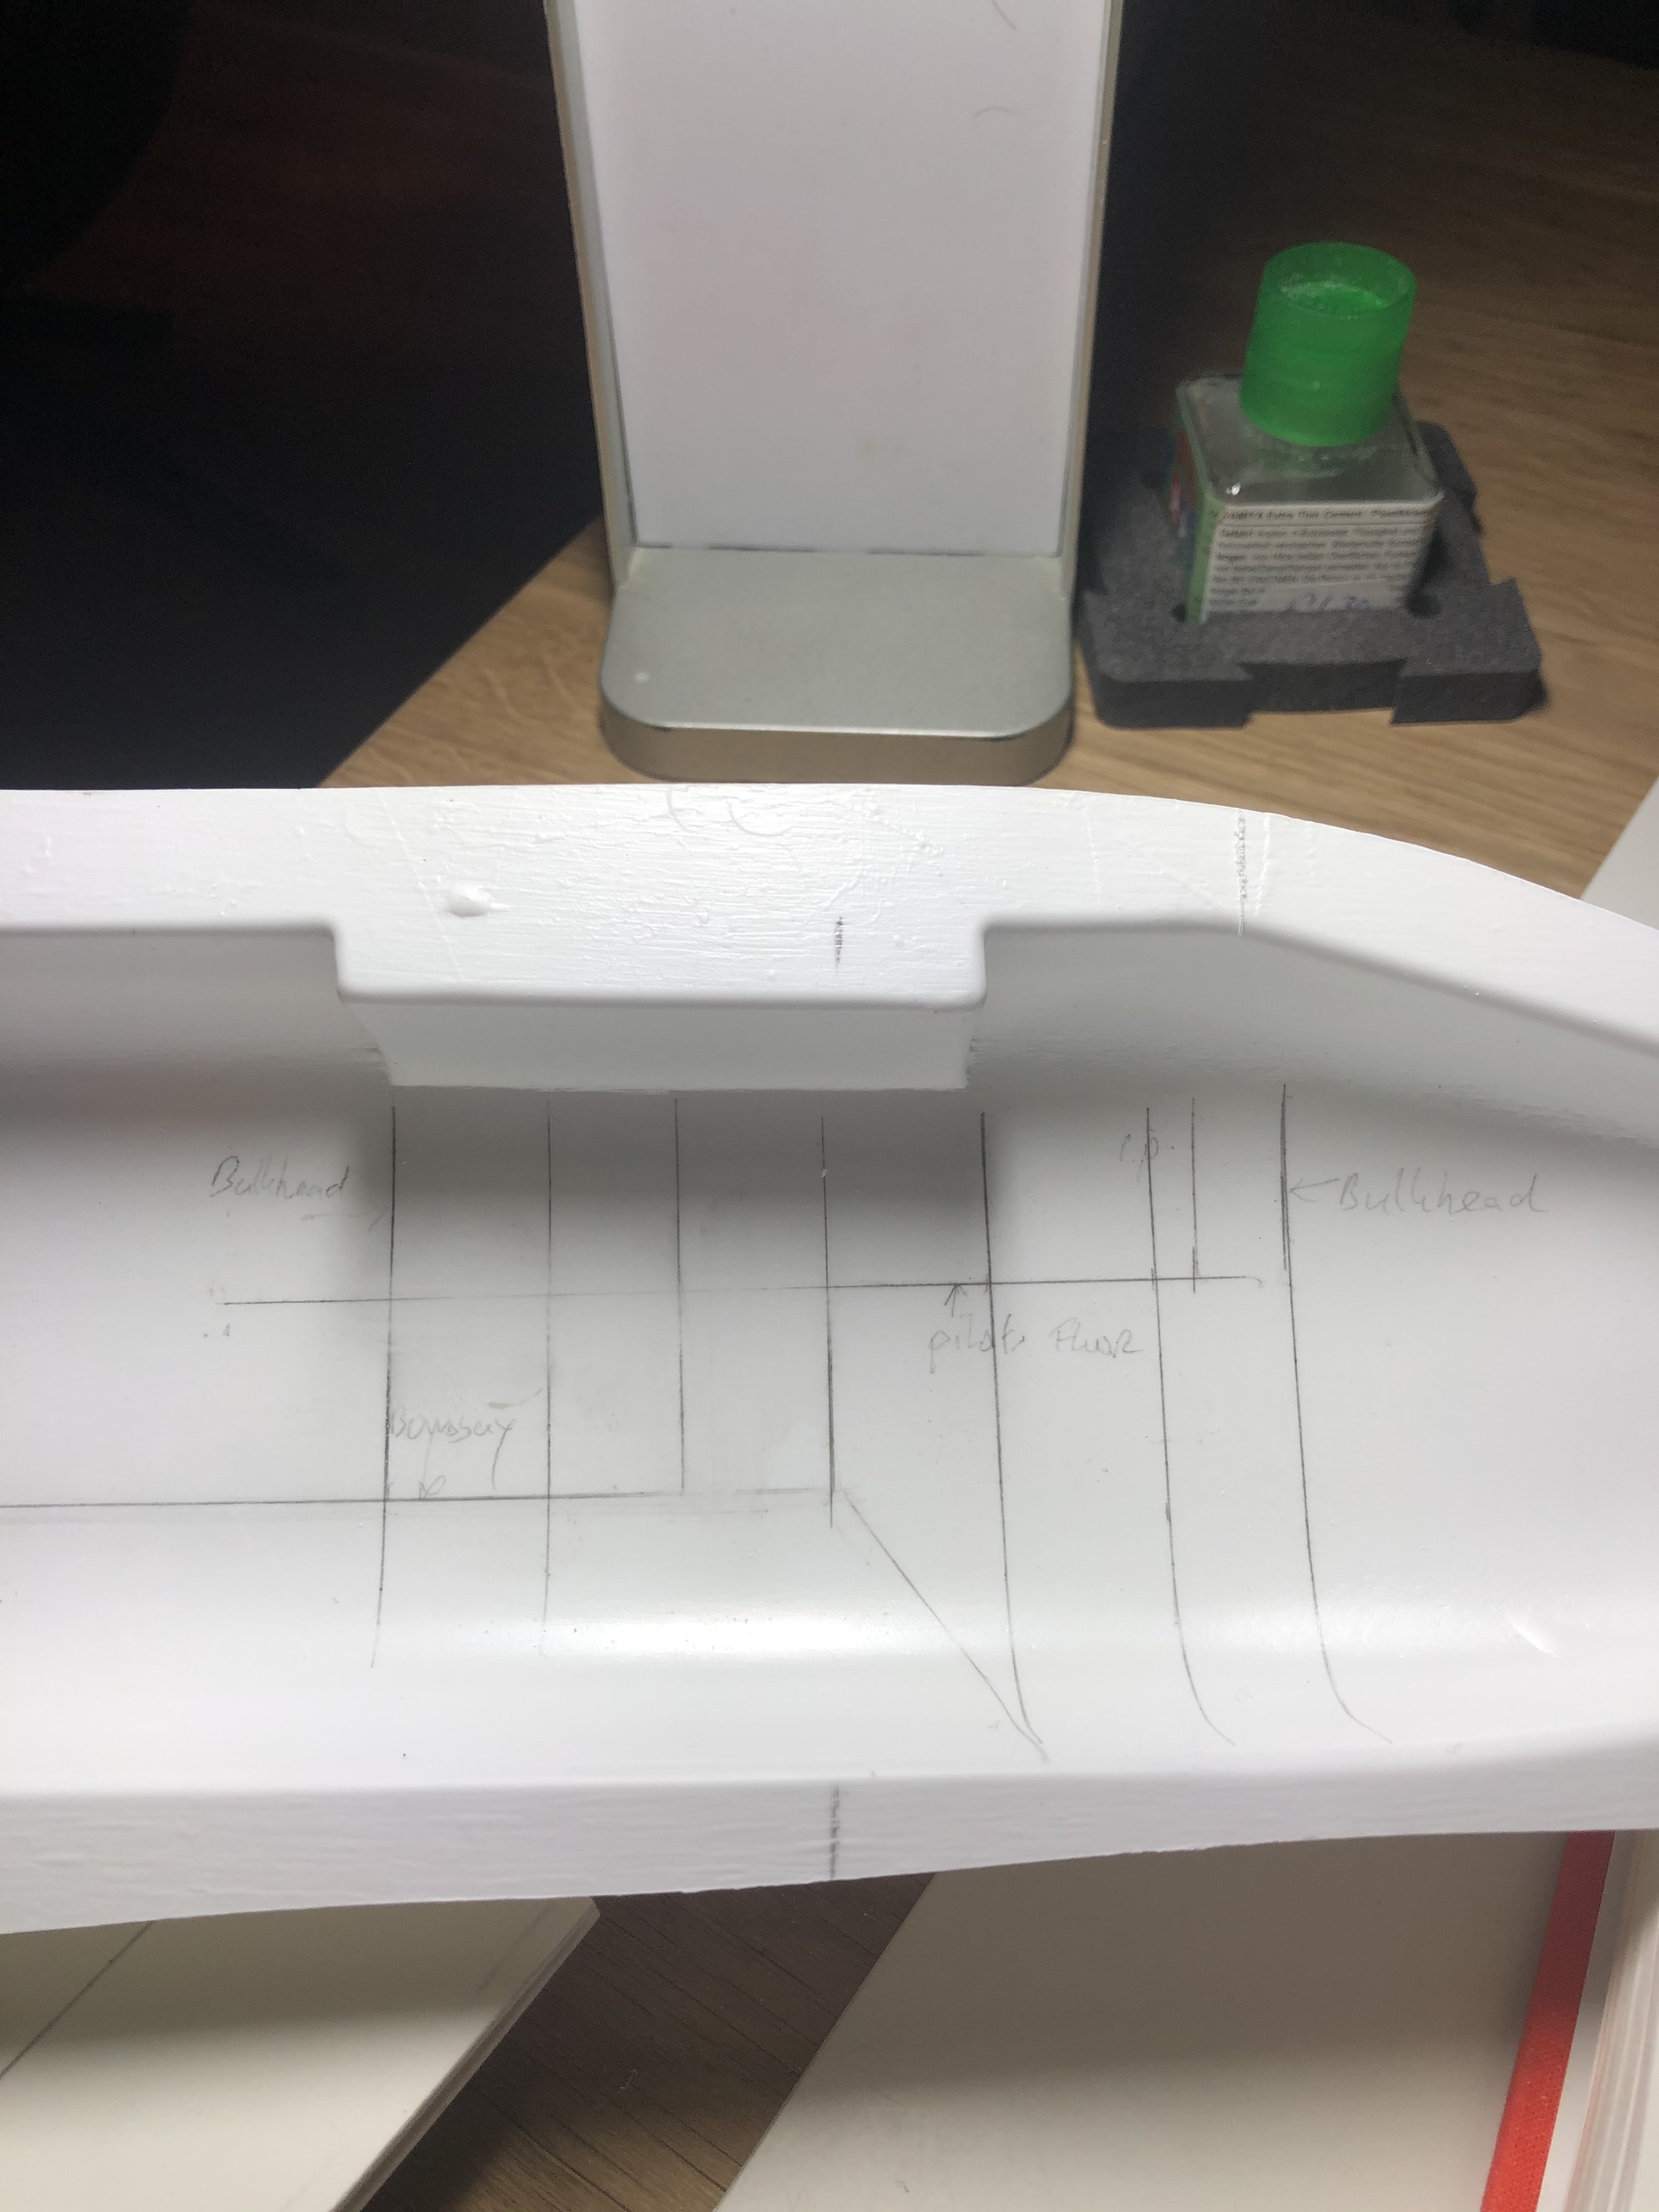
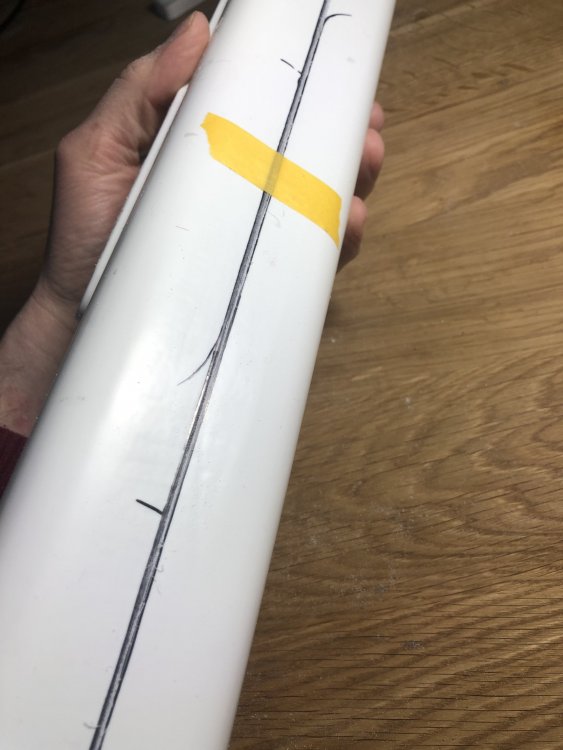
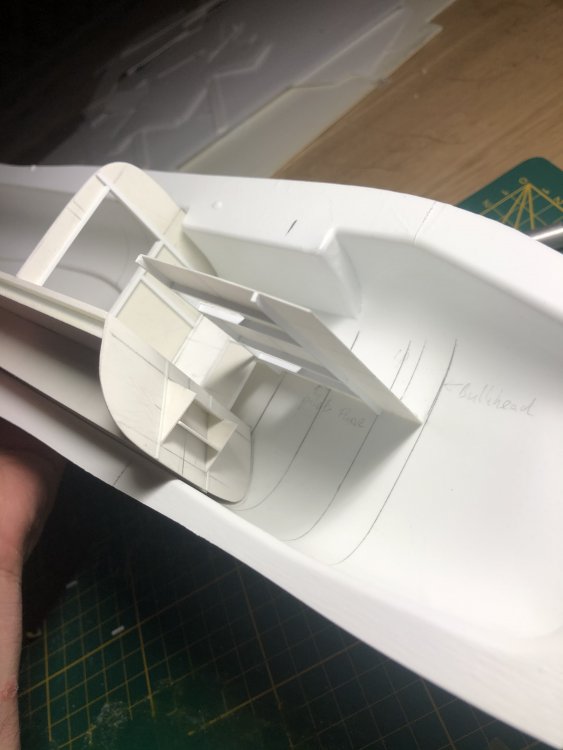
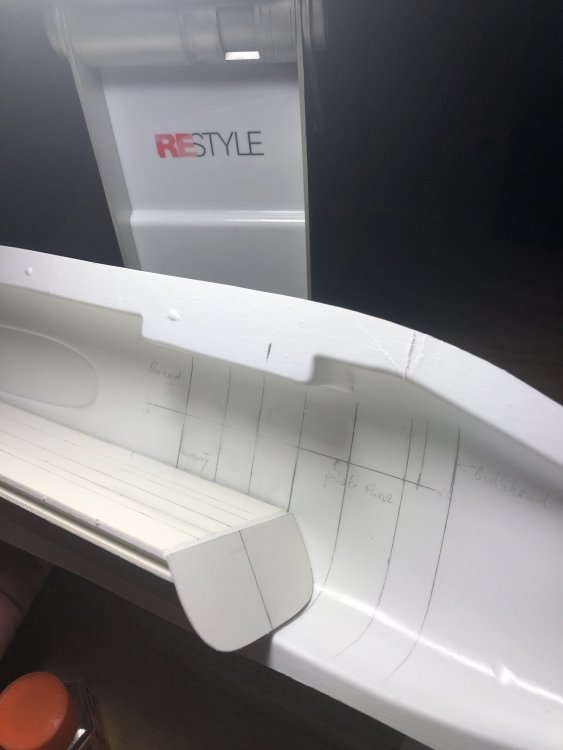
Sone more work being done. Added the bombbay sloping bulkhead. Cut the pilots floor and marked out the frame positions in the port fuselage half. I haven’t cut the fuselage halves from the sheet yet to preserve the strength when engraving the exterior panellines.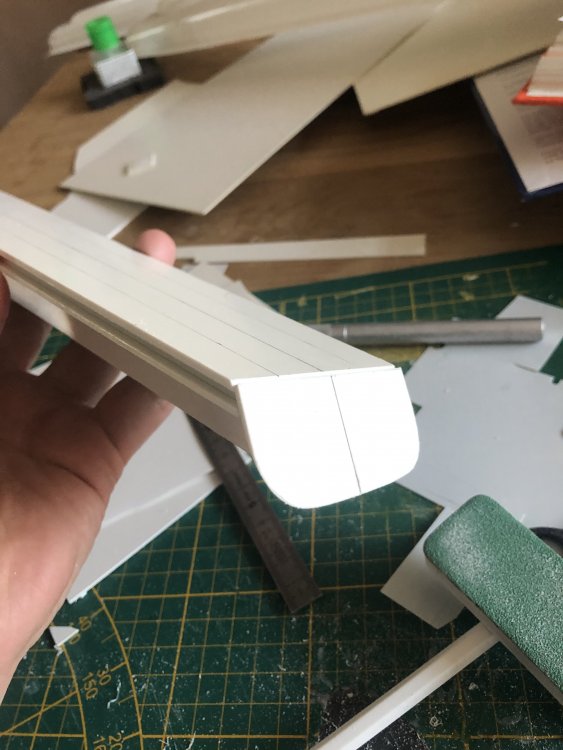

-
Daft project or is it? 1/32 Short Stirling III
Wingco57 replied to Wingco57's topic in LSM 1/35 and Larger Work In Progress
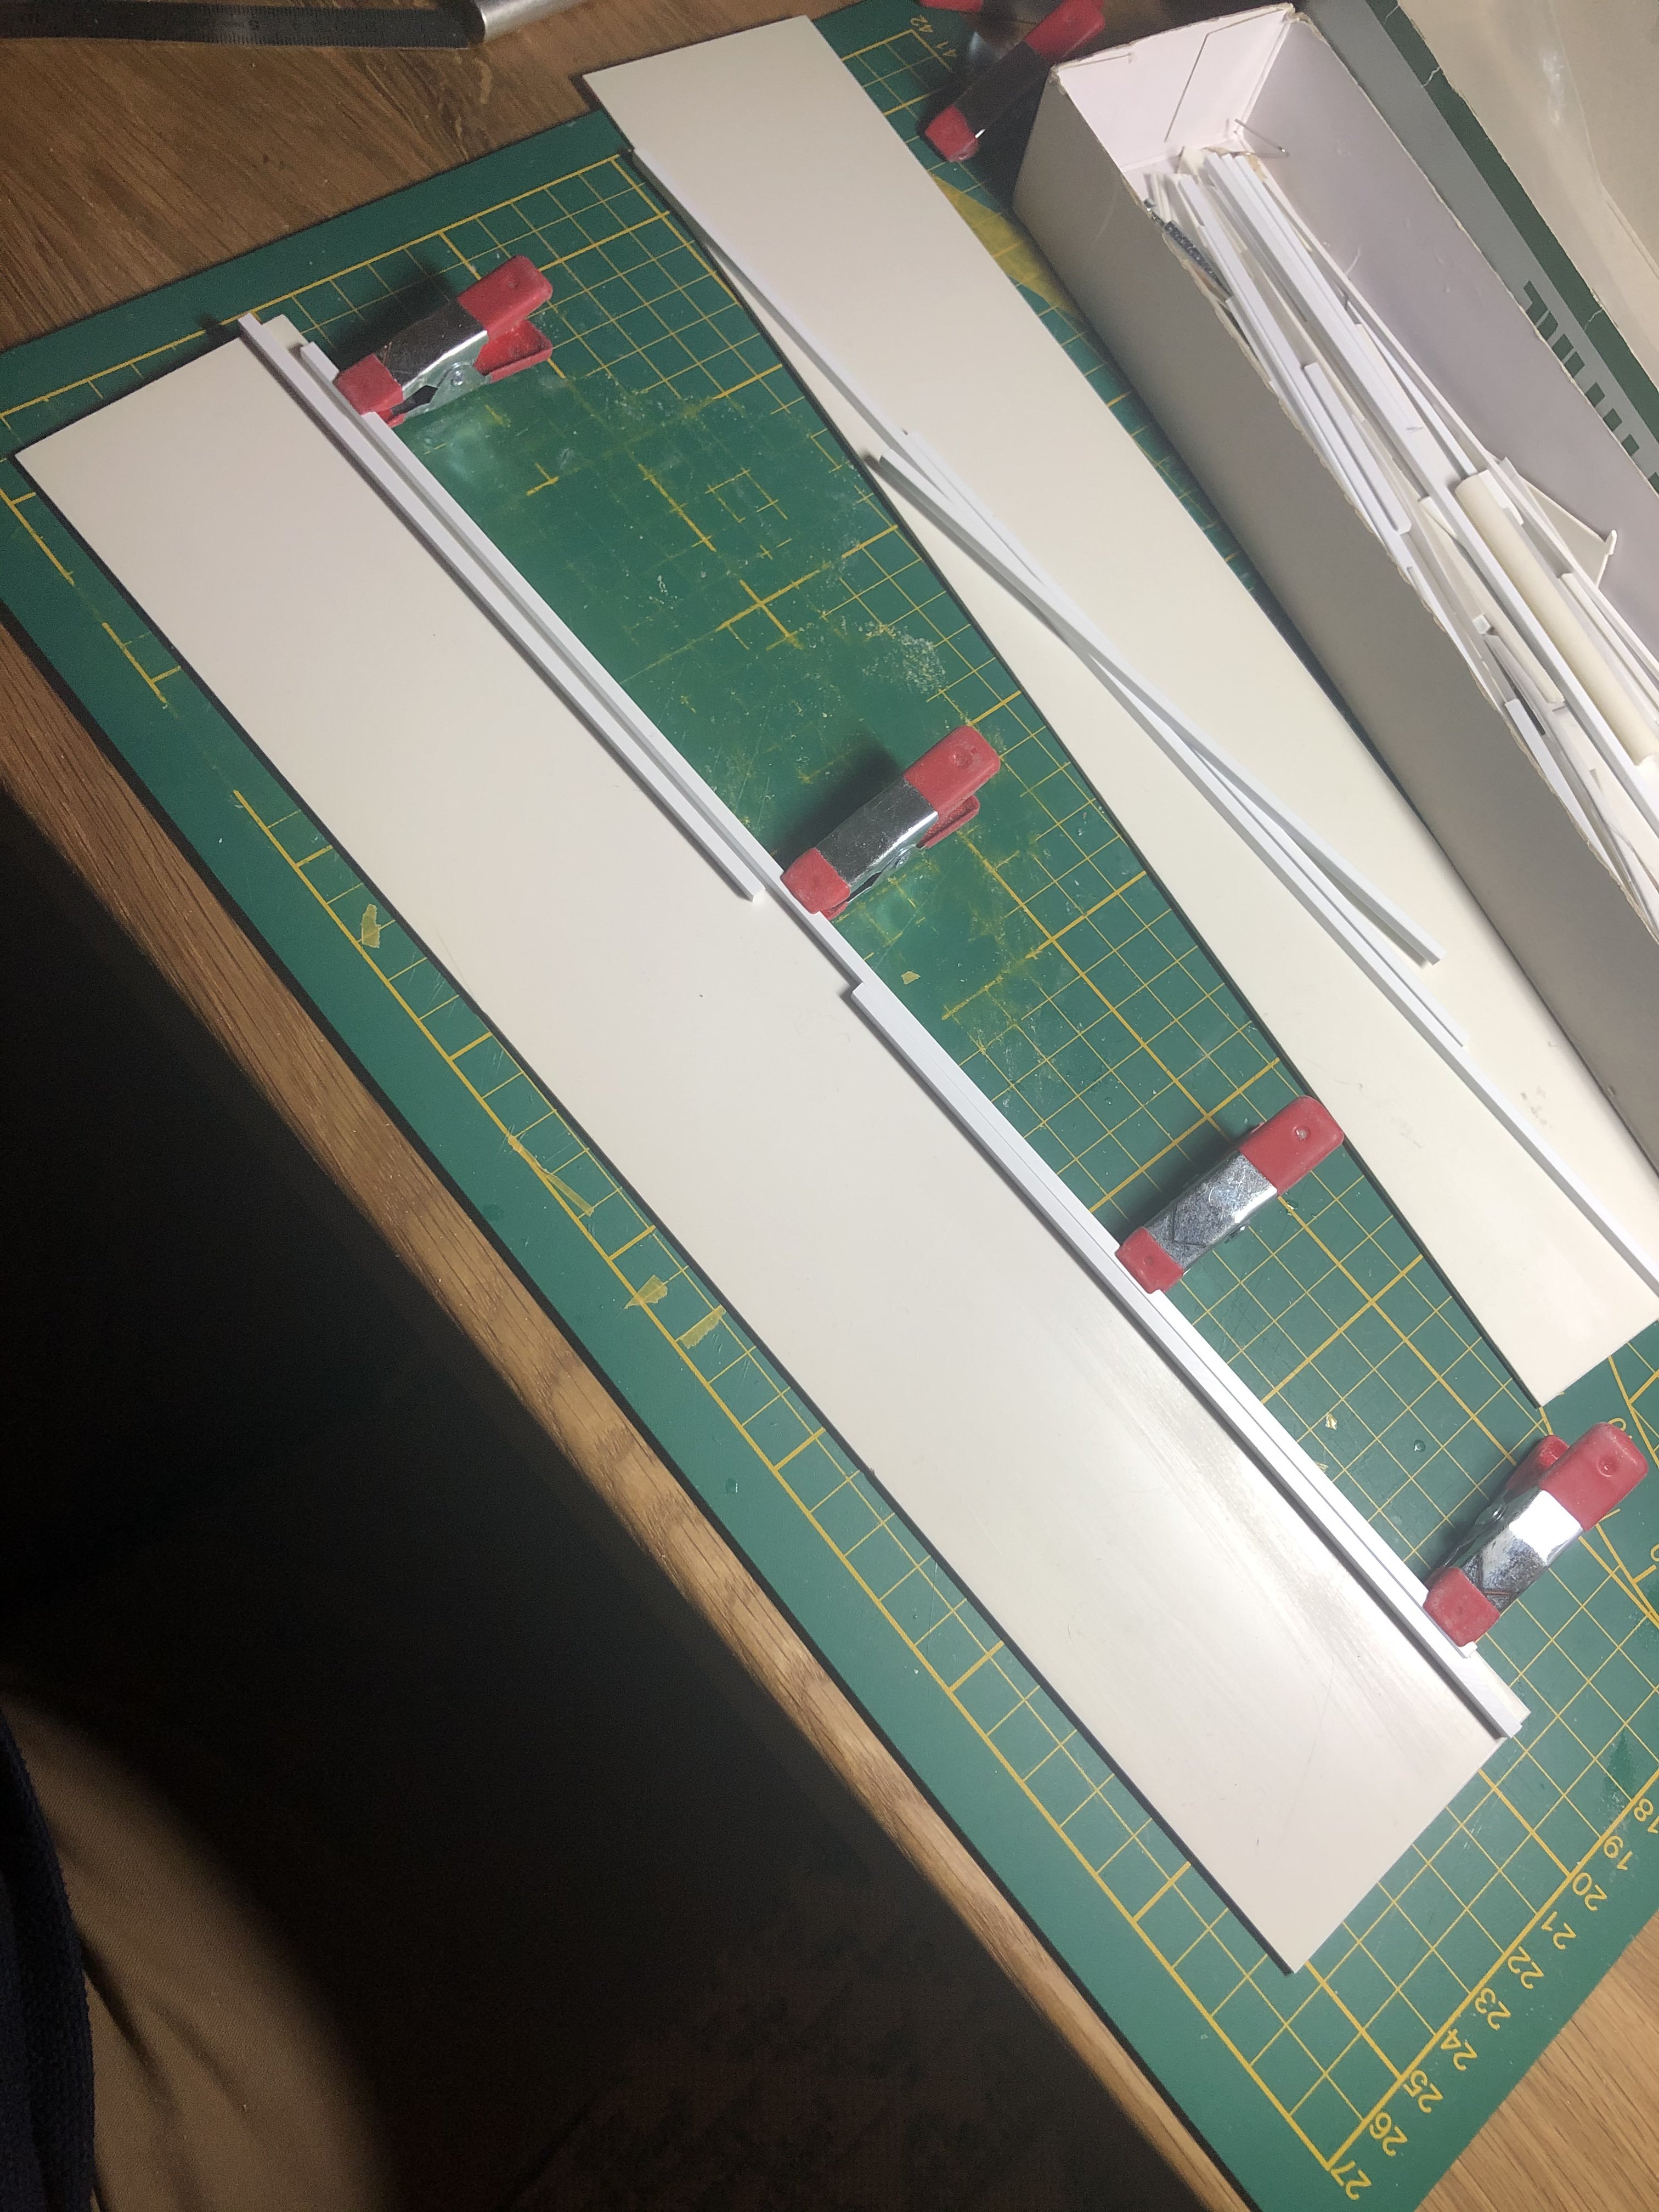
Some more work done on the floor.
-
Daft project or is it? 1/32 Short Stirling III
Wingco57 replied to Wingco57's topic in LSM 1/35 and Larger Work In Progress
Just did -
Daft project or is it? 1/32 Short Stirling III
Wingco57 replied to Wingco57's topic in LSM 1/35 and Larger Work In Progress
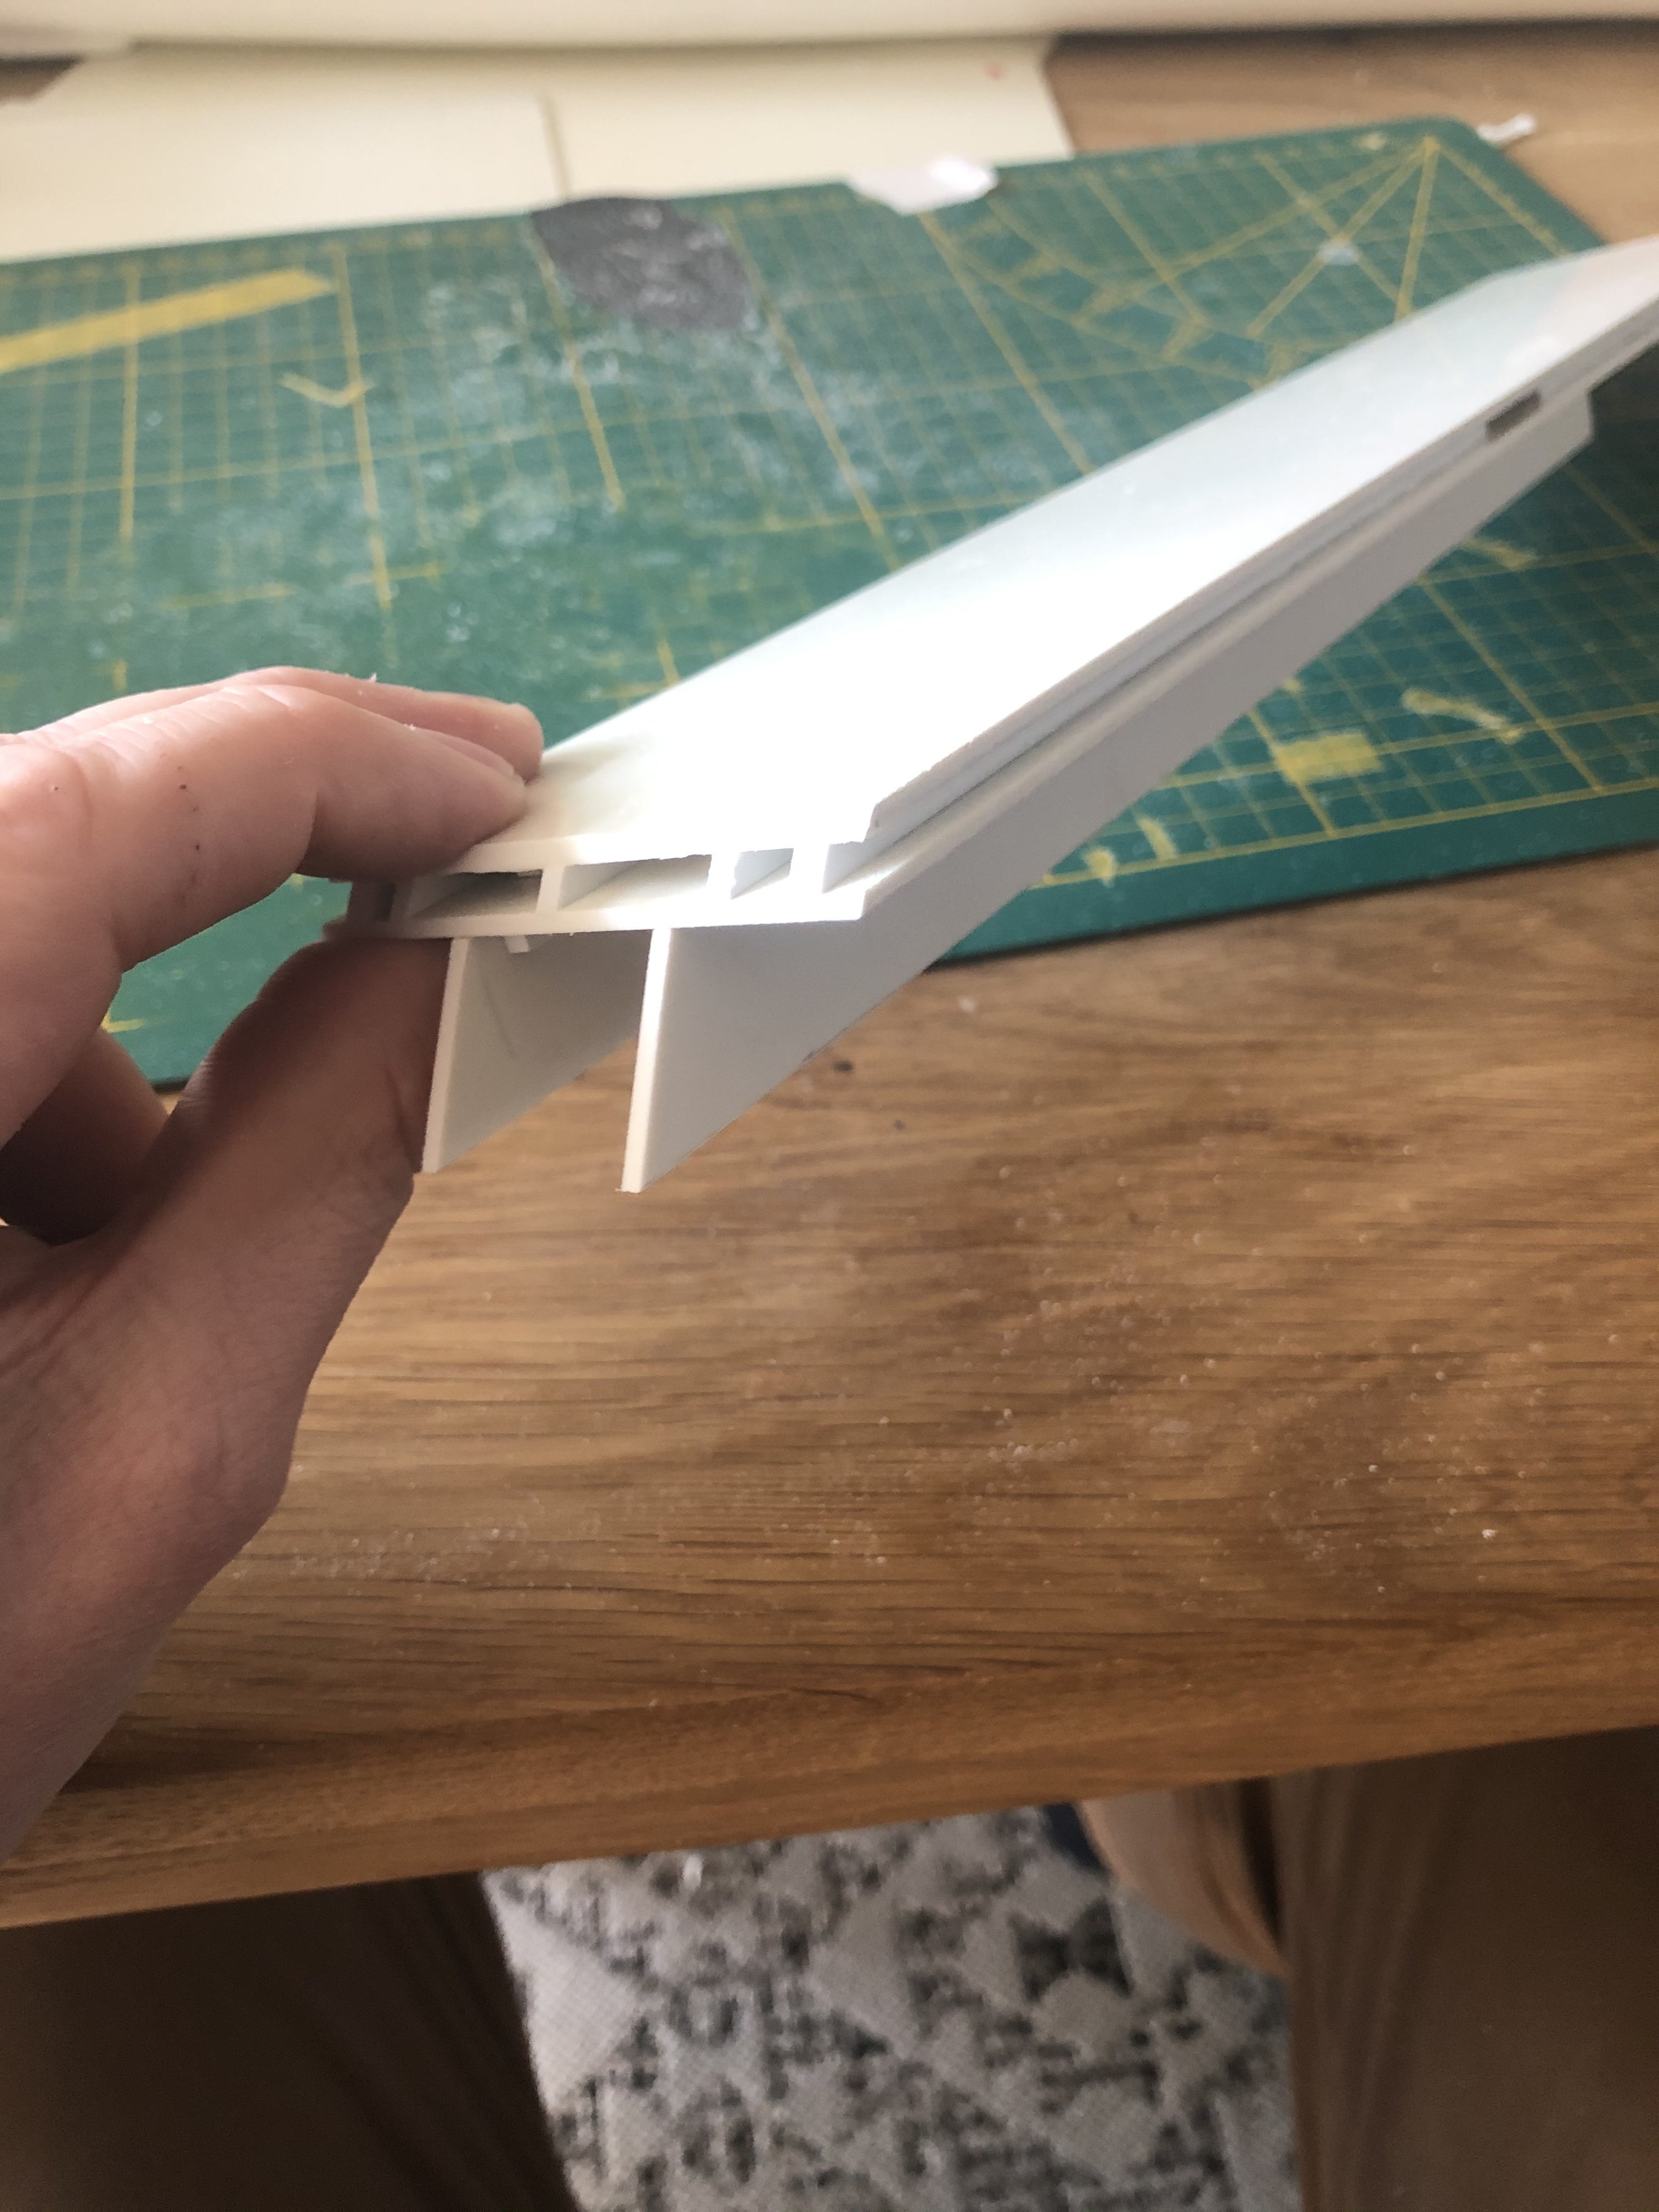
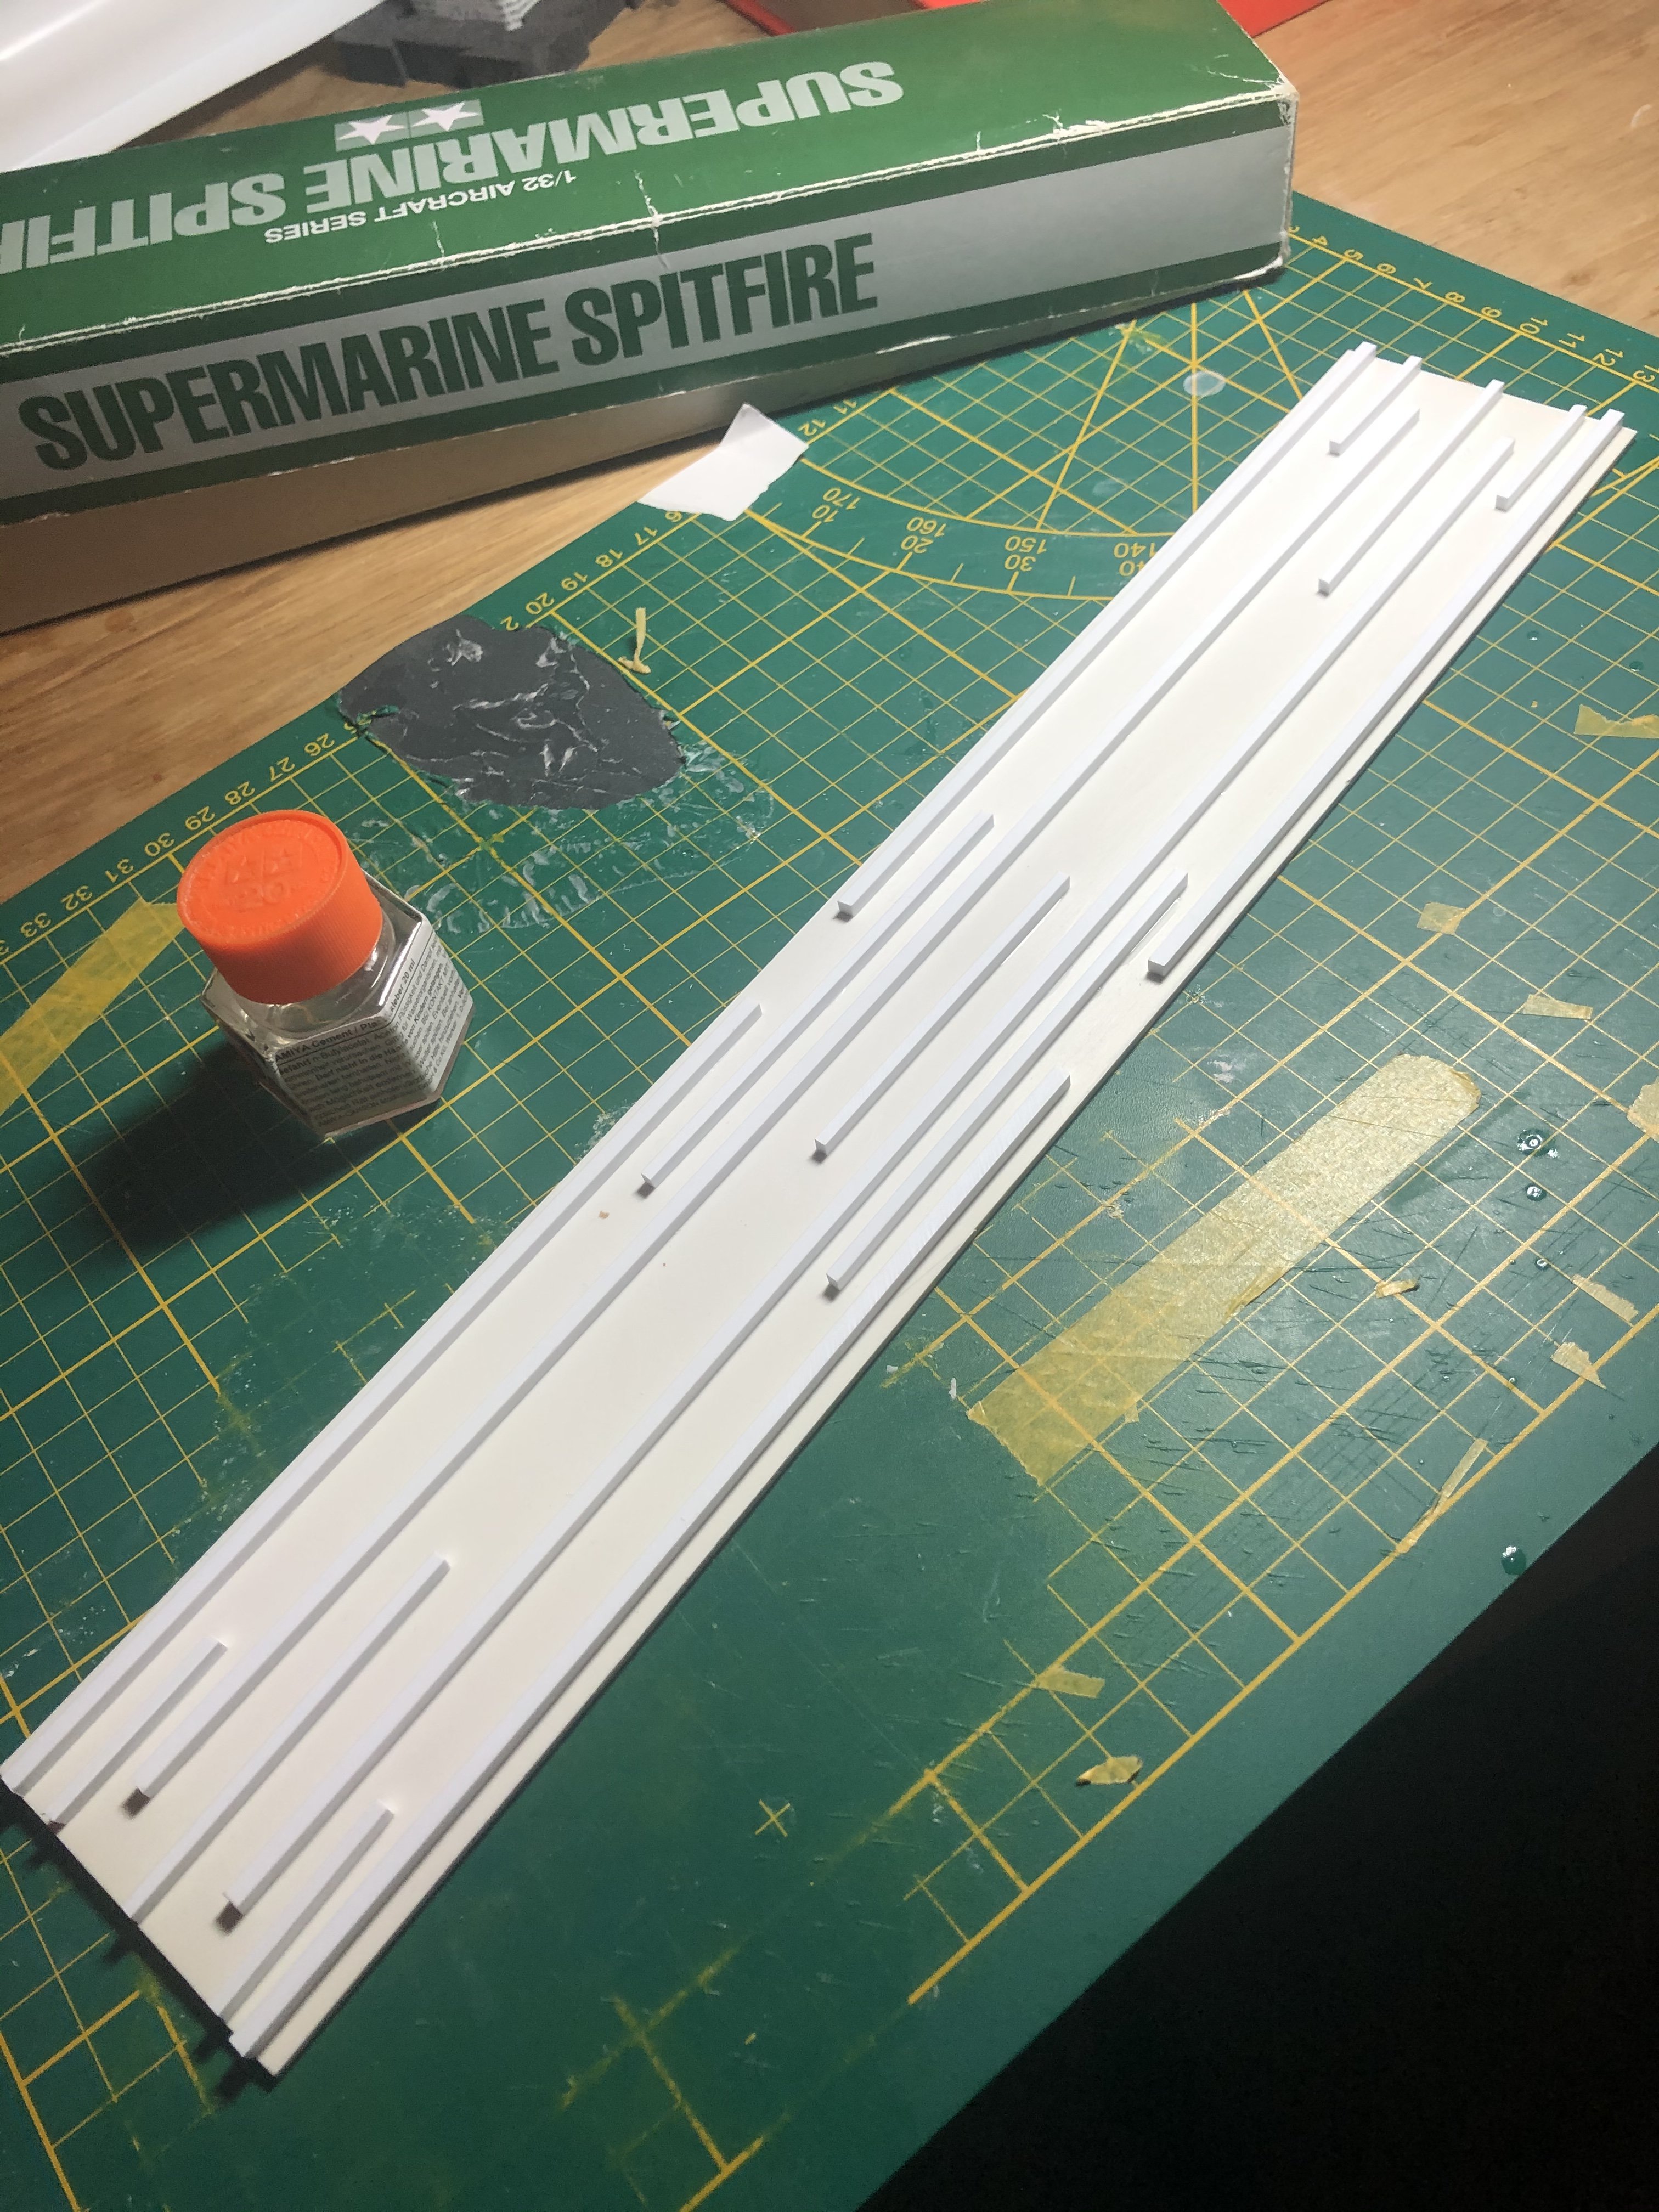
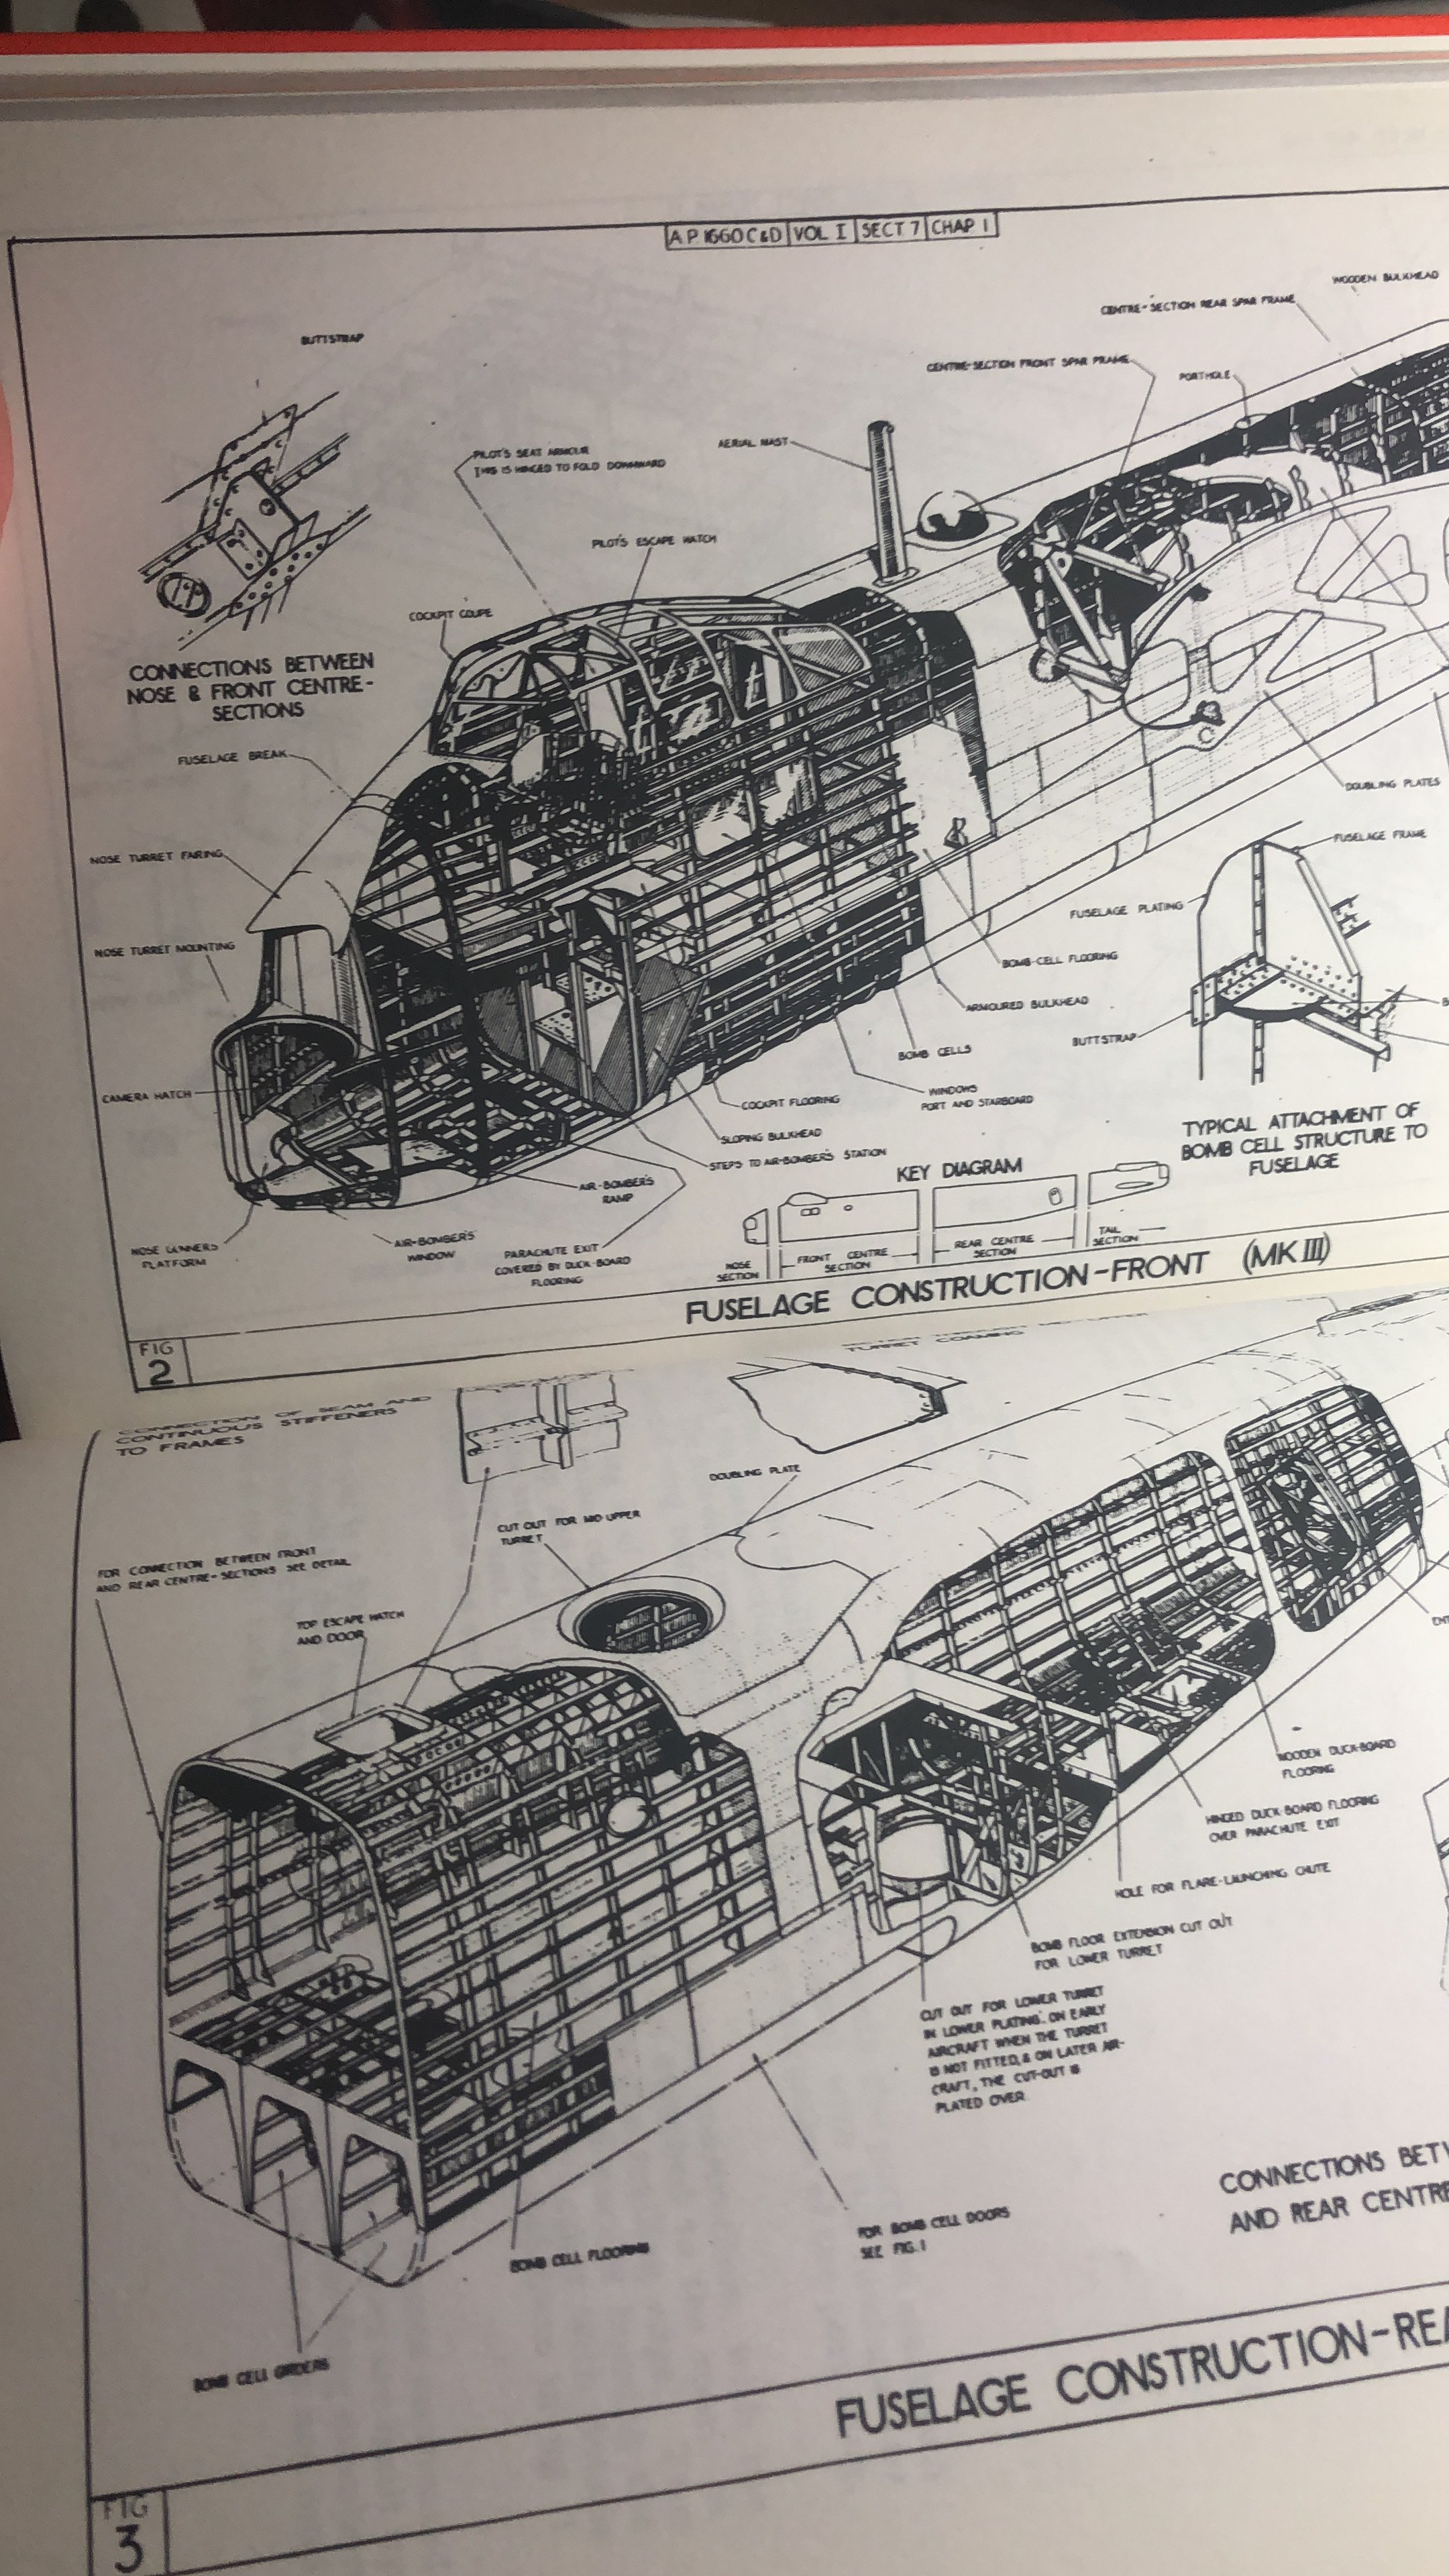
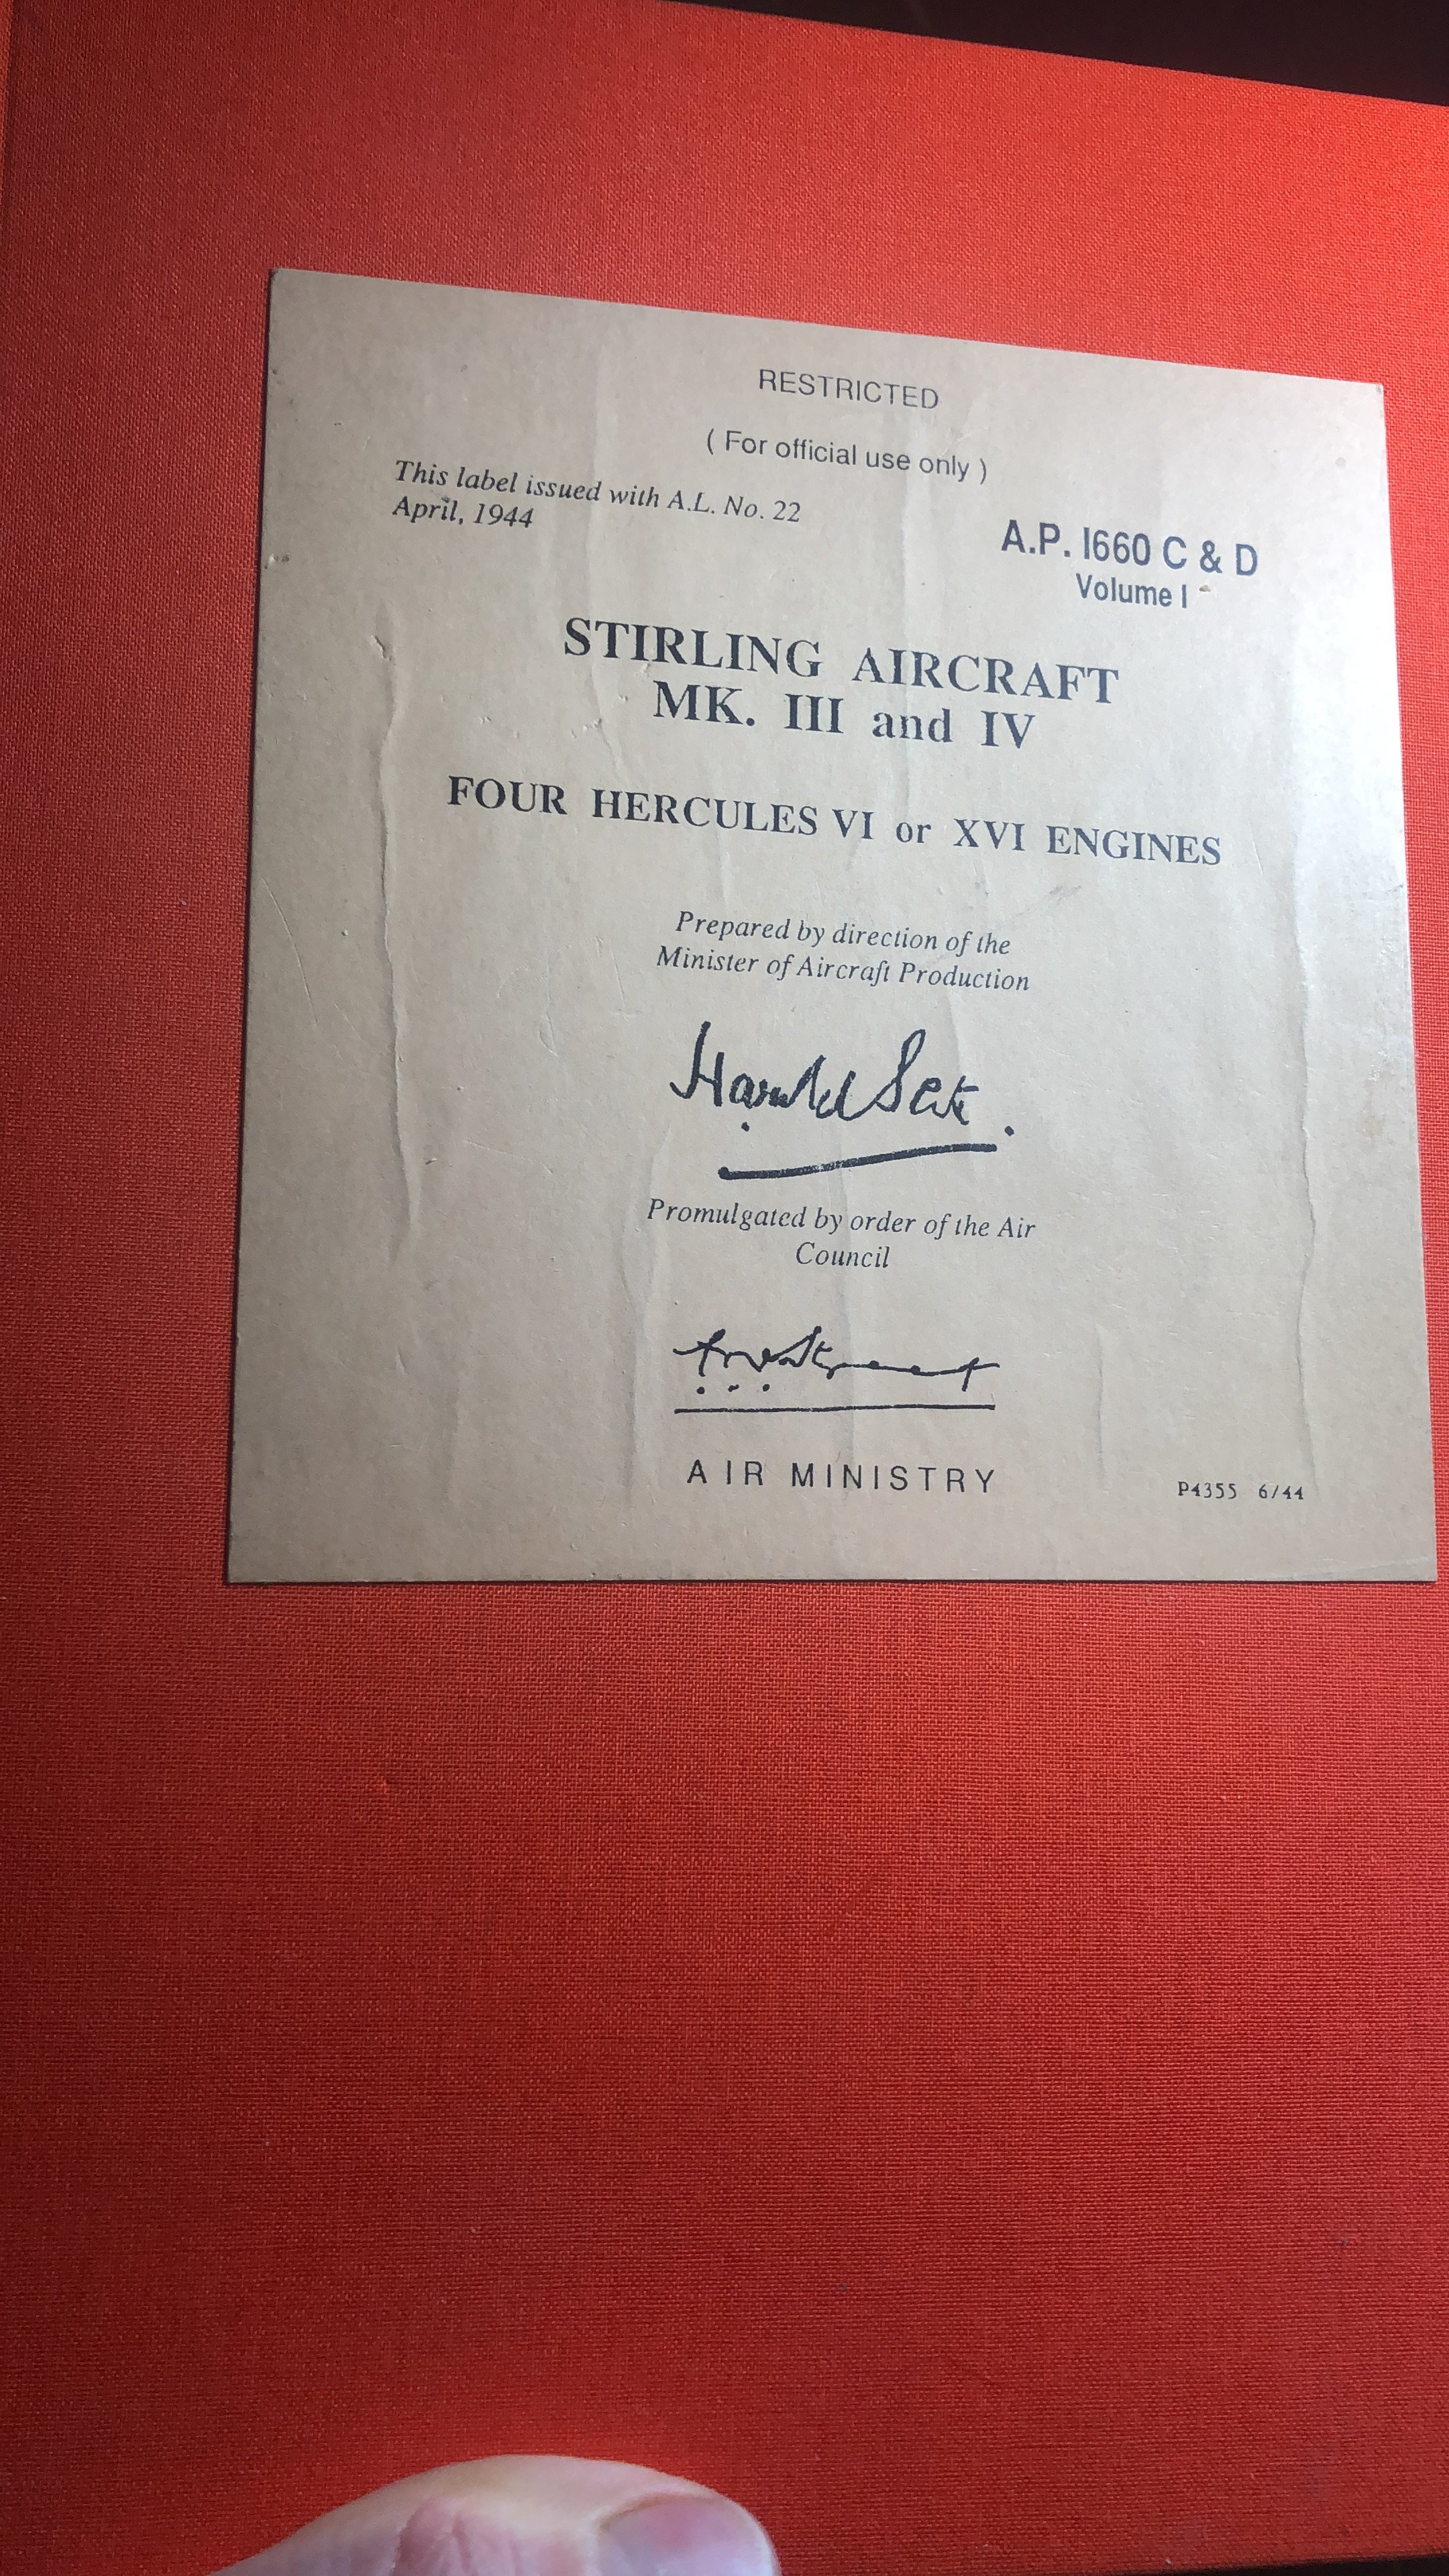
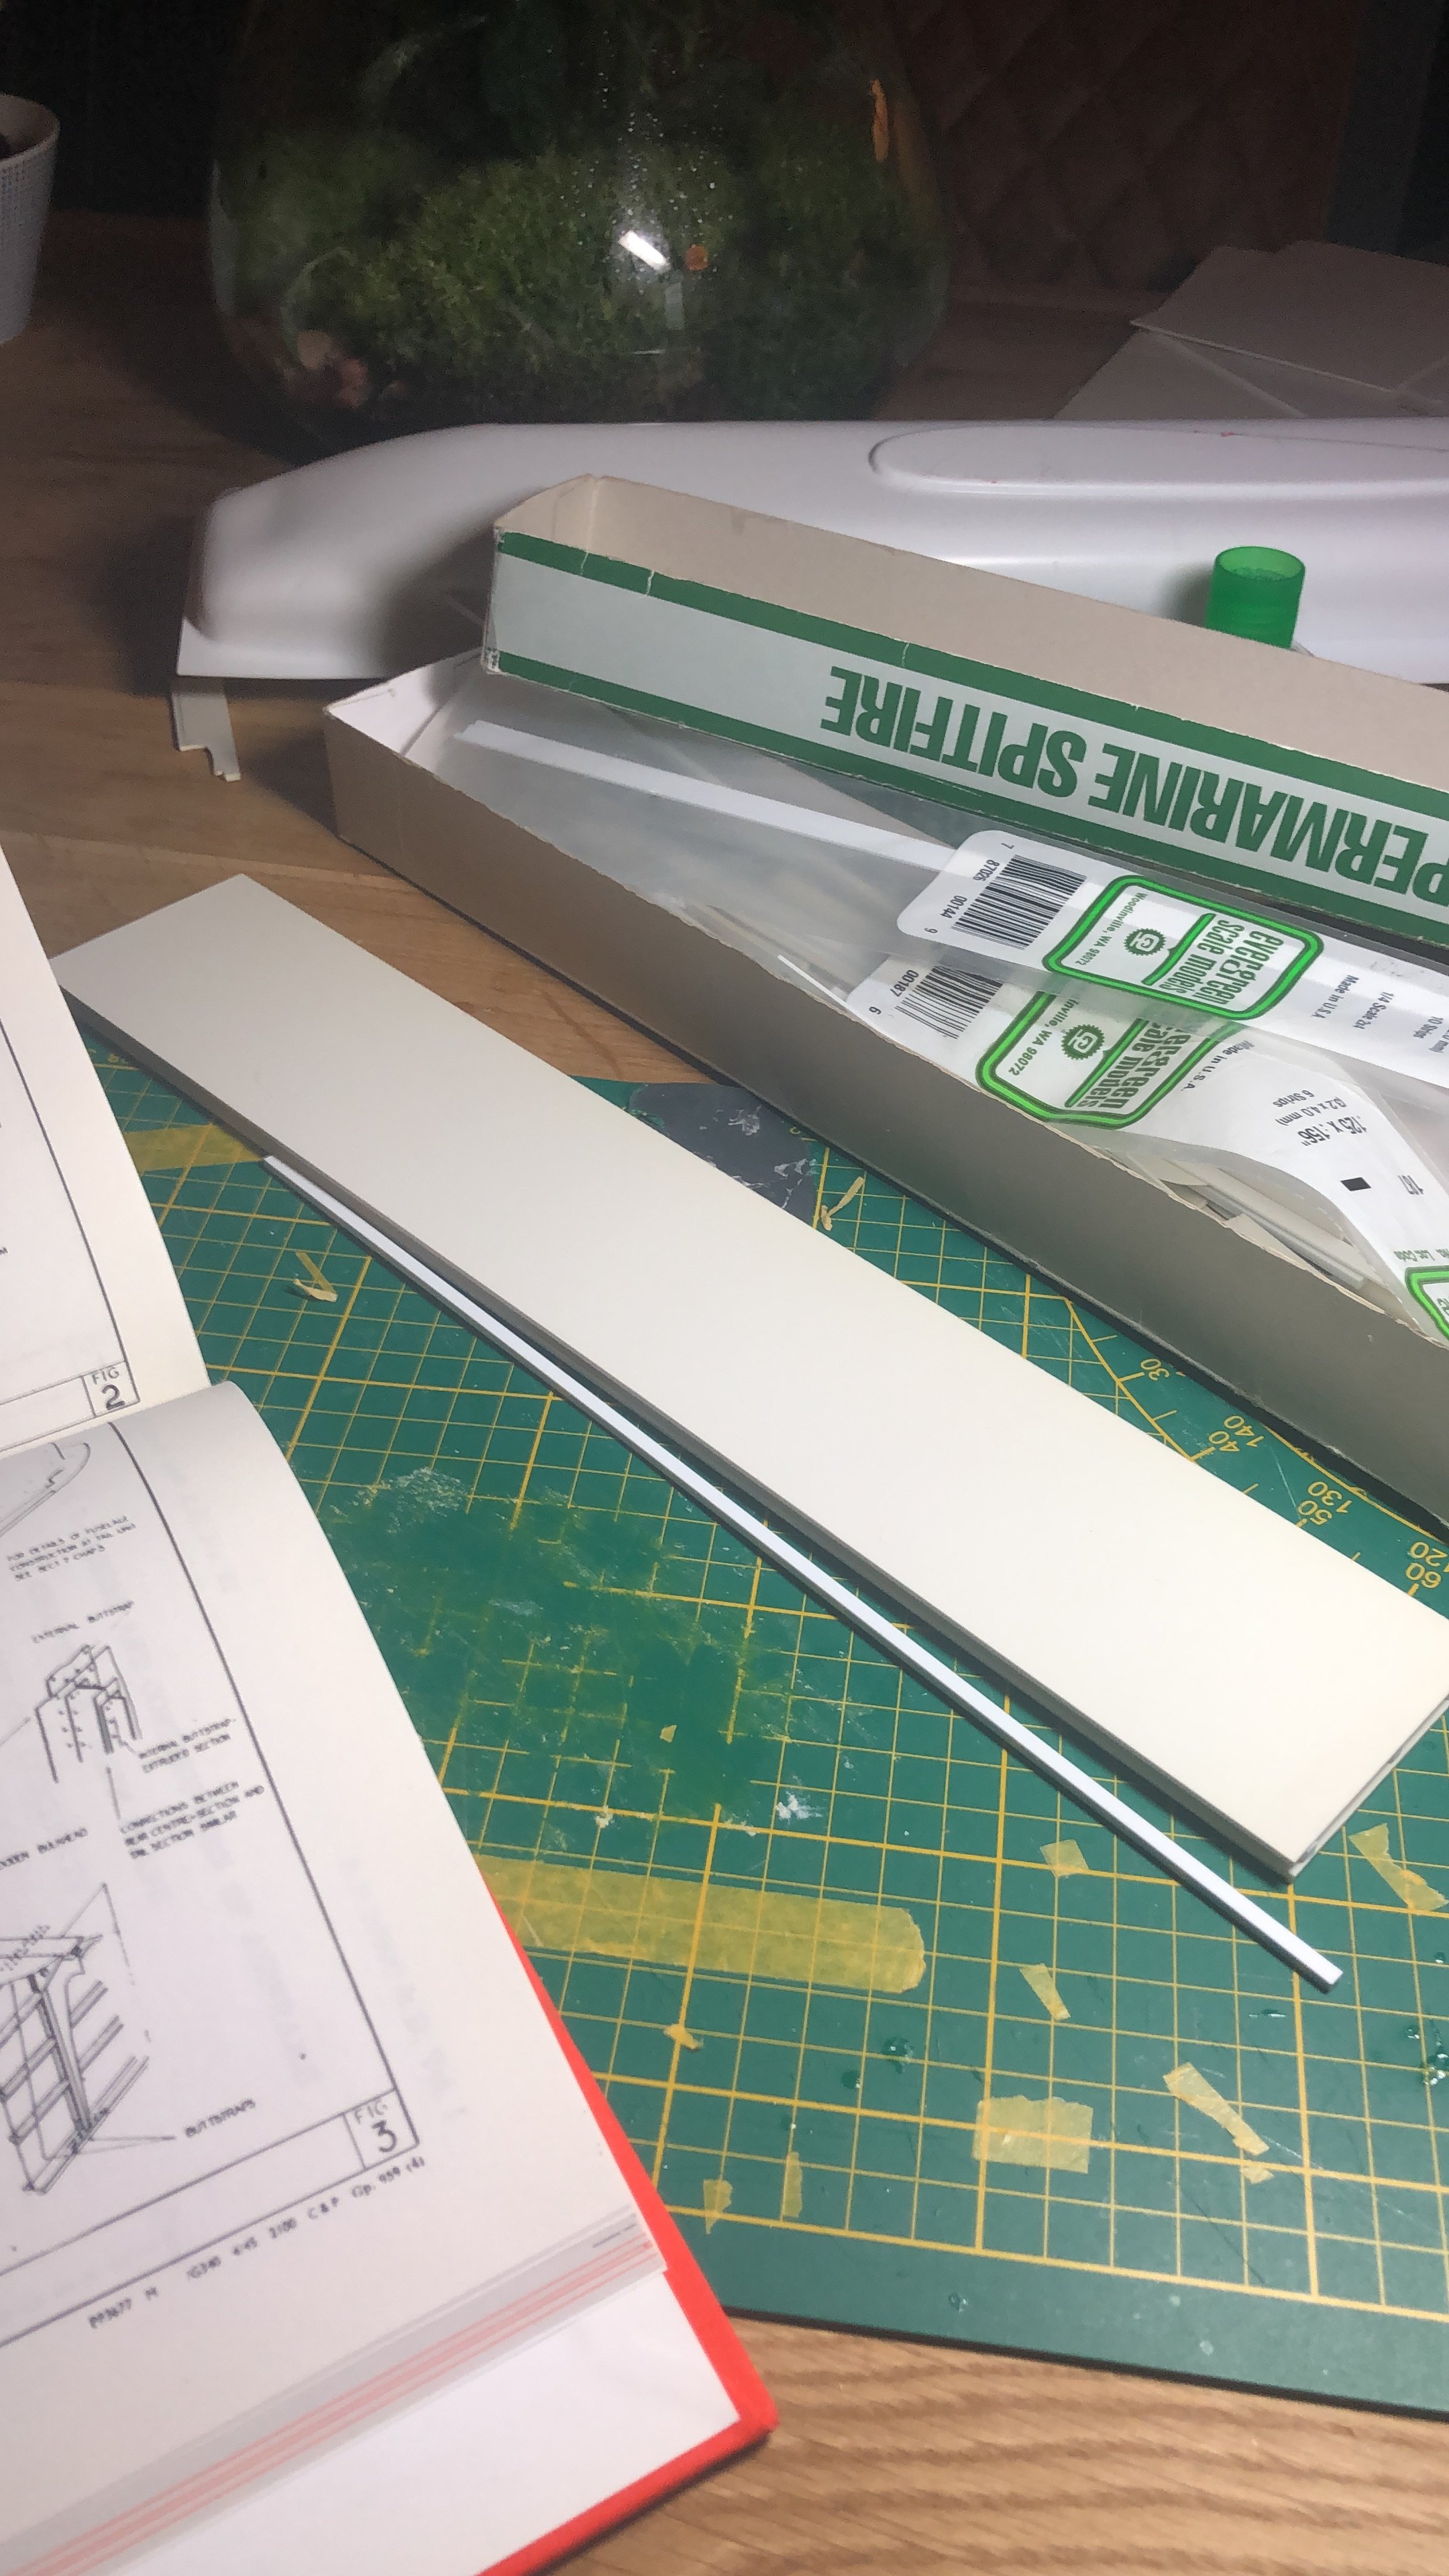
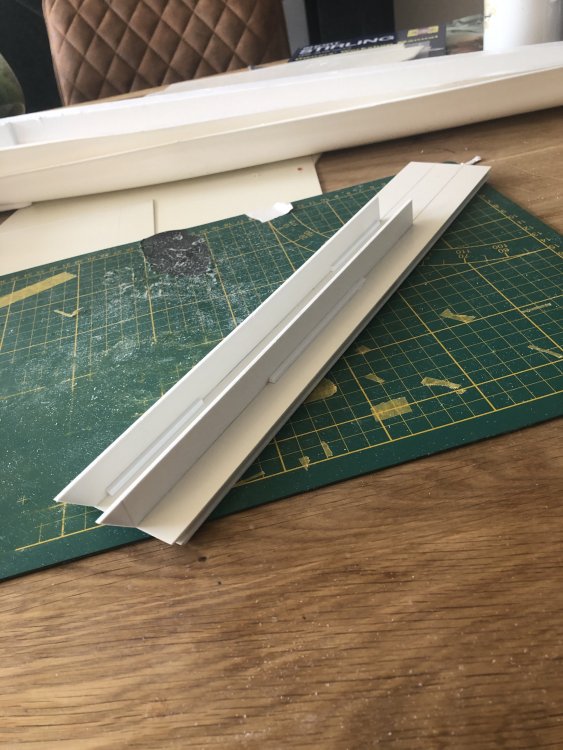
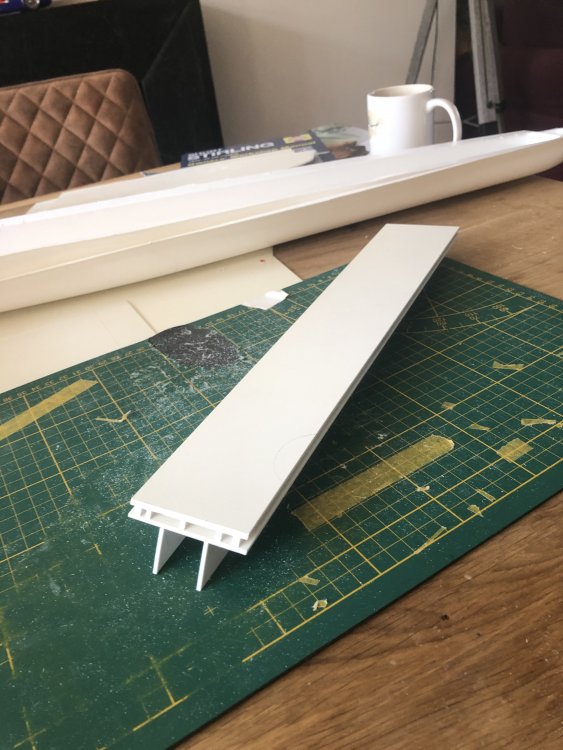
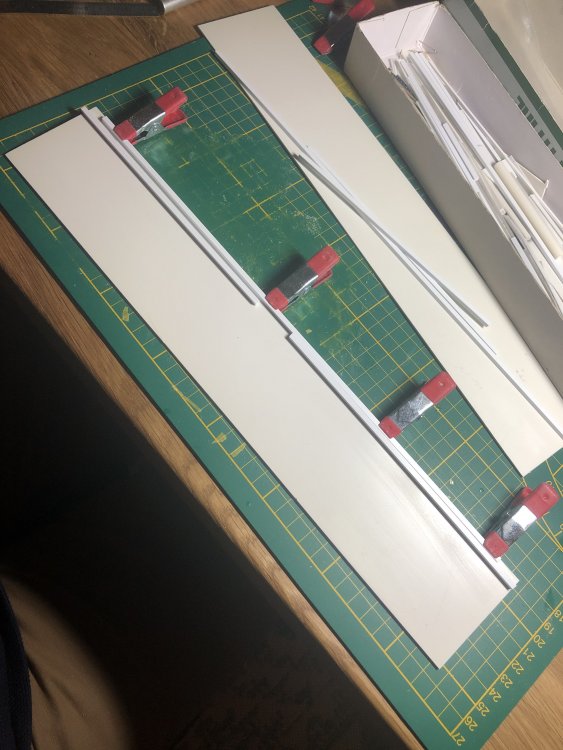
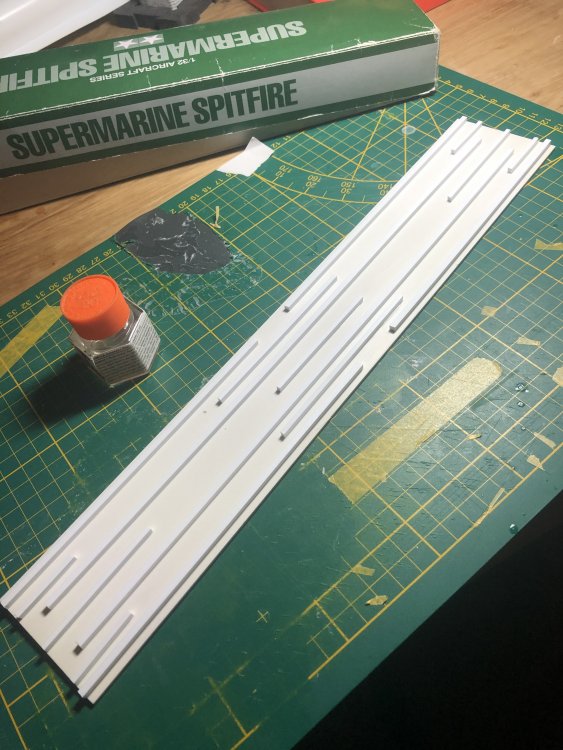
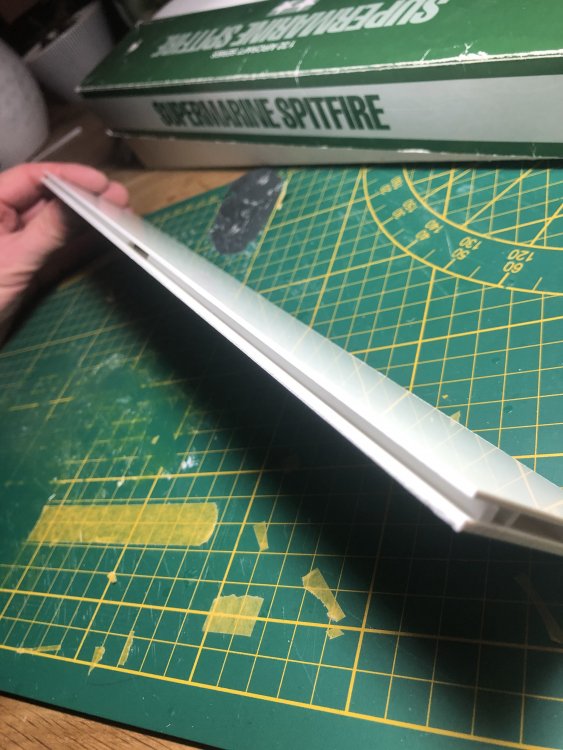
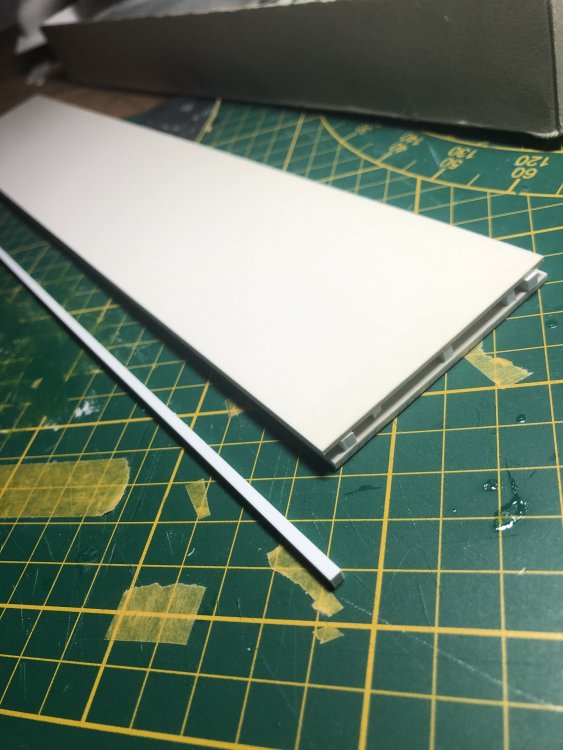
Knowing myself I couldn’t wait of course and started with the mainfloor which also serves as the roof of the bombbay. Two sheets of plasticard with thick strips in between make for a strong unit. two similar strips will be glued in the fuselage halves and slide between the grooves of the floor. This makes the fuselage structure very sturdy and it needs it. Plenty of reference material too.


-
Lancaster ND644 in 32nd scale
Wingco57 replied to FME erk's topic in LSM 1/35 and Larger Work In Progress
The lid of that jar has the same colour als their interior green colour. I made almost made the same mistake on my Dambuster last week -
Daft project or is it? 1/32 Short Stirling III
Wingco57 replied to Wingco57's topic in LSM 1/35 and Larger Work In Progress
Thanks Dennis, I don't doubt that a complete example could be waiting to be found and recovered but we'll see about that one. Never say never and the Stirling Project is busy reconstructing a forward fuselage in the UK. I have a soft spot for the Stirling as well from an early age ever since I was given the Airfix kit without instructions by a schoolmate of mine and he said that I should build it. I did successfully and up till that time I had never heard of the Stirling before (and the Halifax too at a later date when I got that kit as well). So actually Airfix got me started on the RAF heavies albeit in 1/72, and I understand supplied furniture to Midge Ure as well -
Lancaster ND644 in 32nd scale
Wingco57 replied to FME erk's topic in LSM 1/35 and Larger Work In Progress
Pardon me but I think the interior green is a touch on the light side, cameralighting perhaps? -
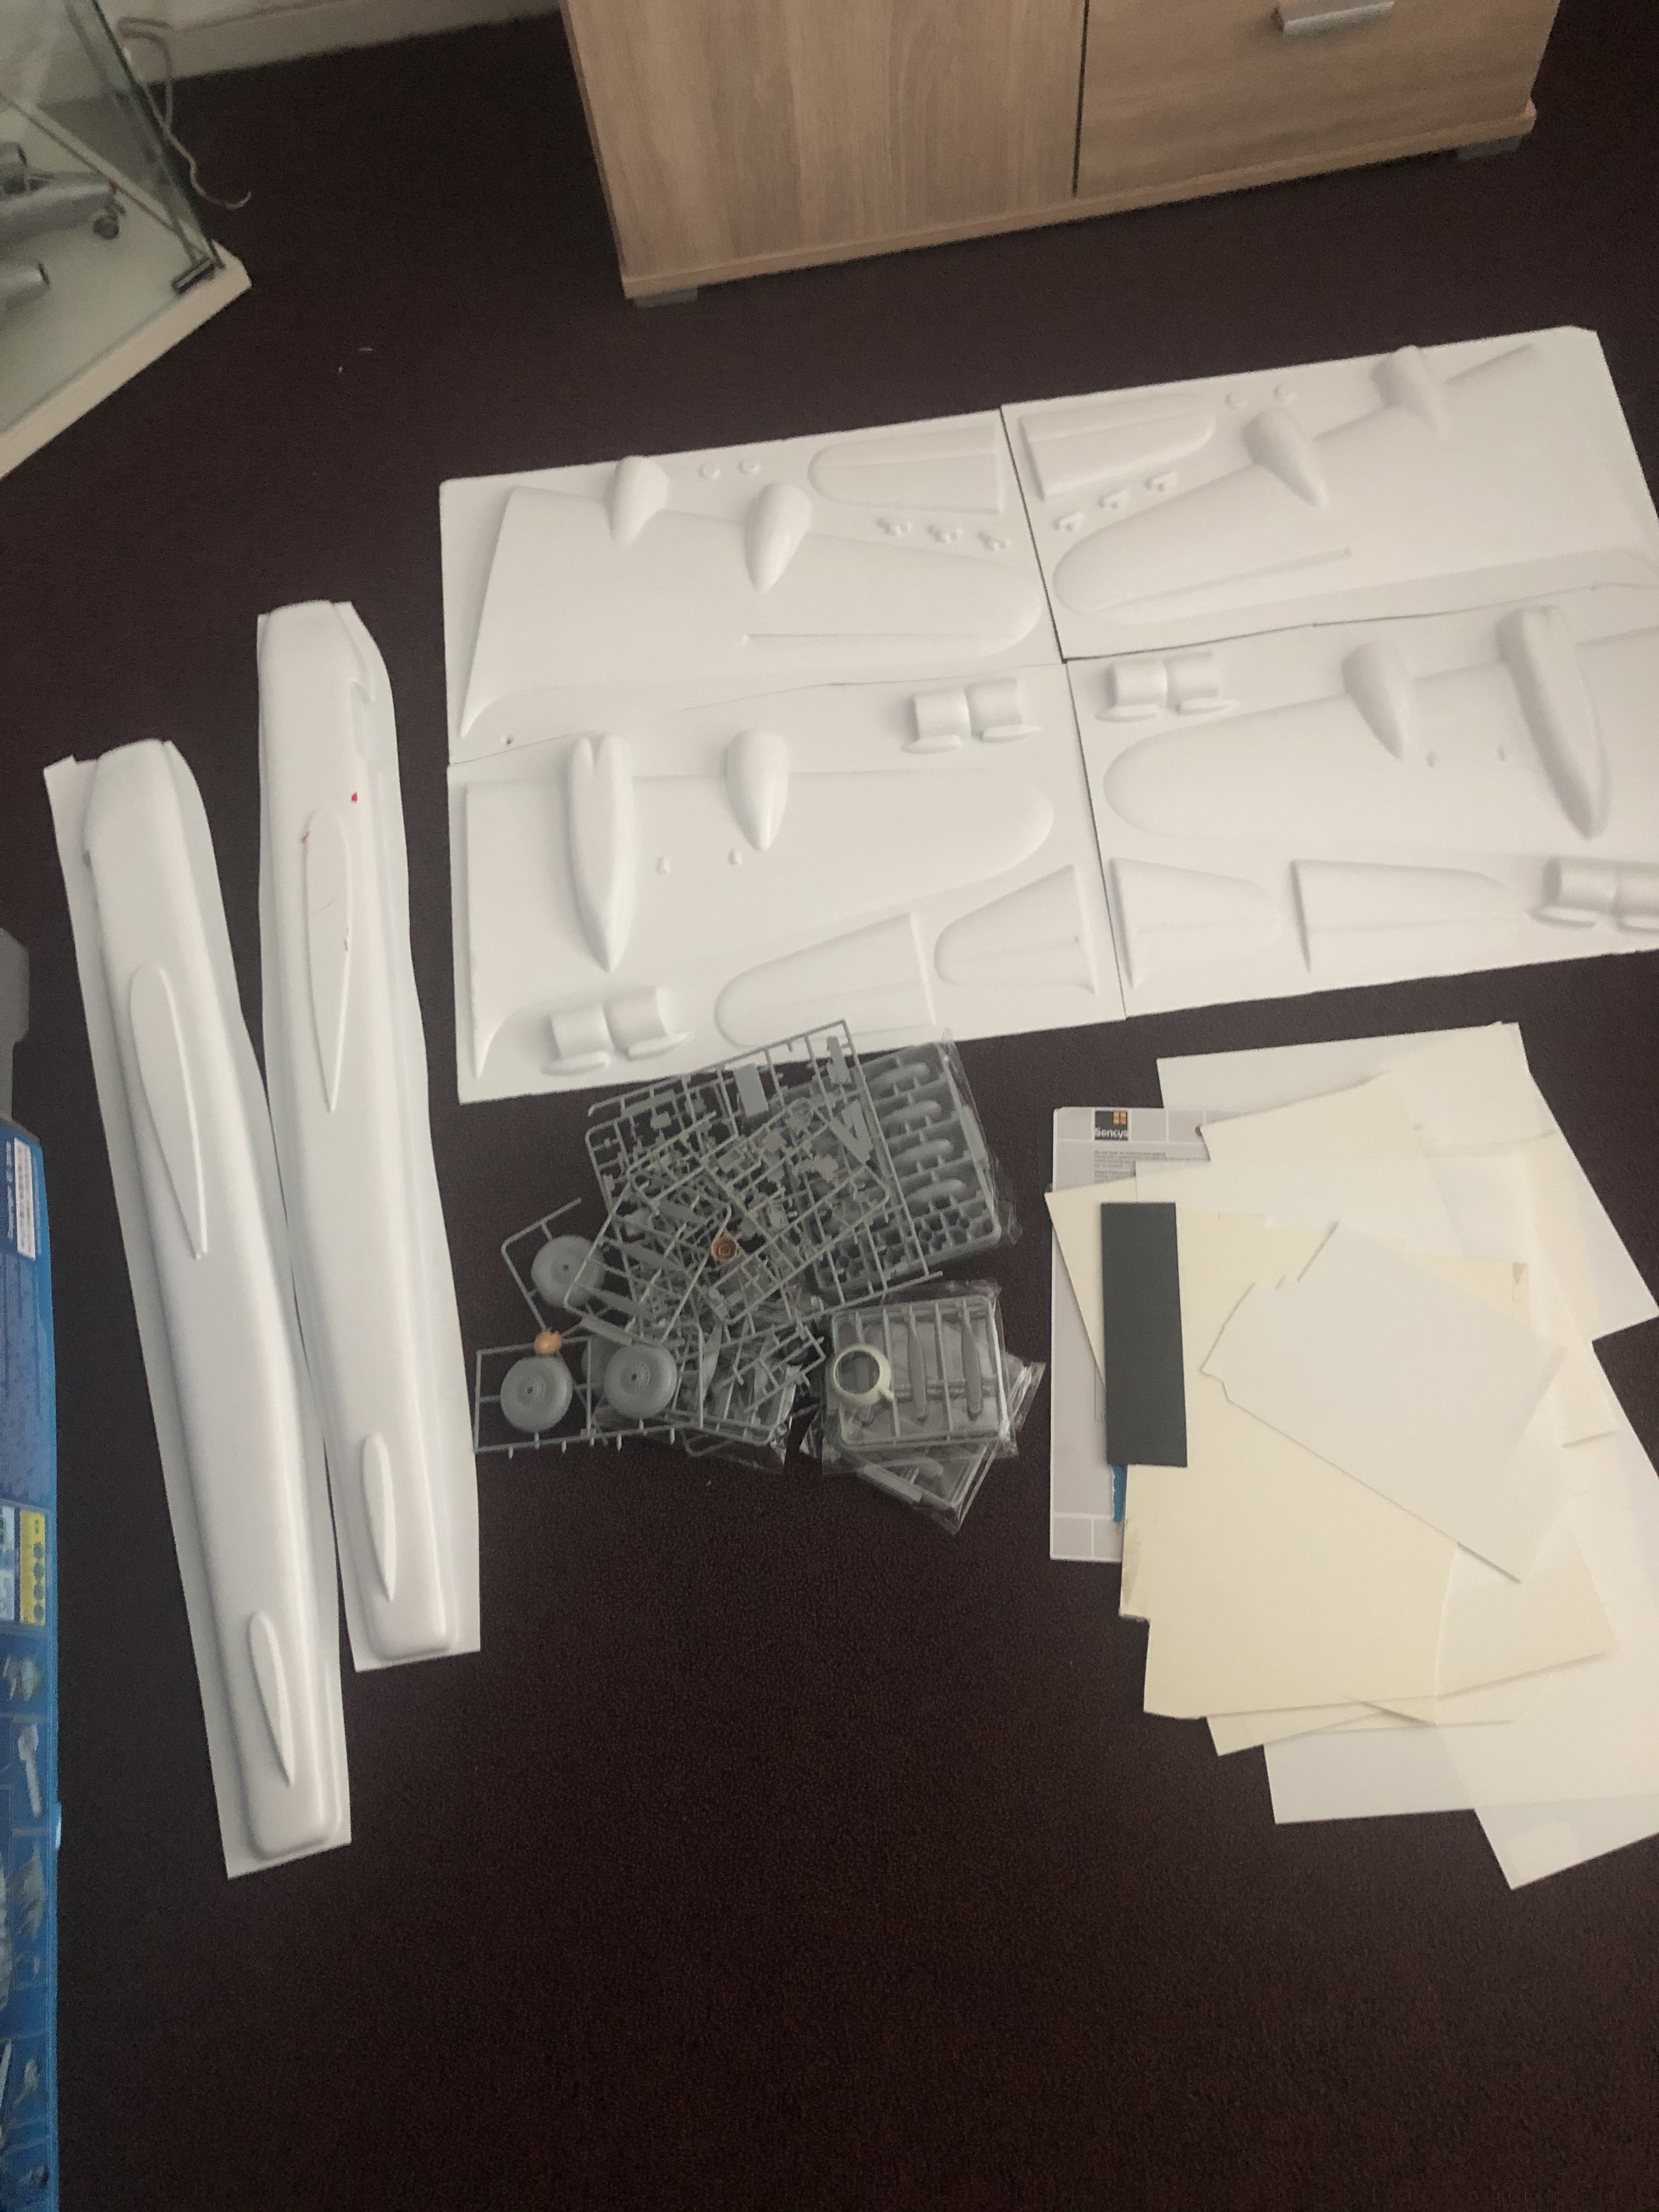
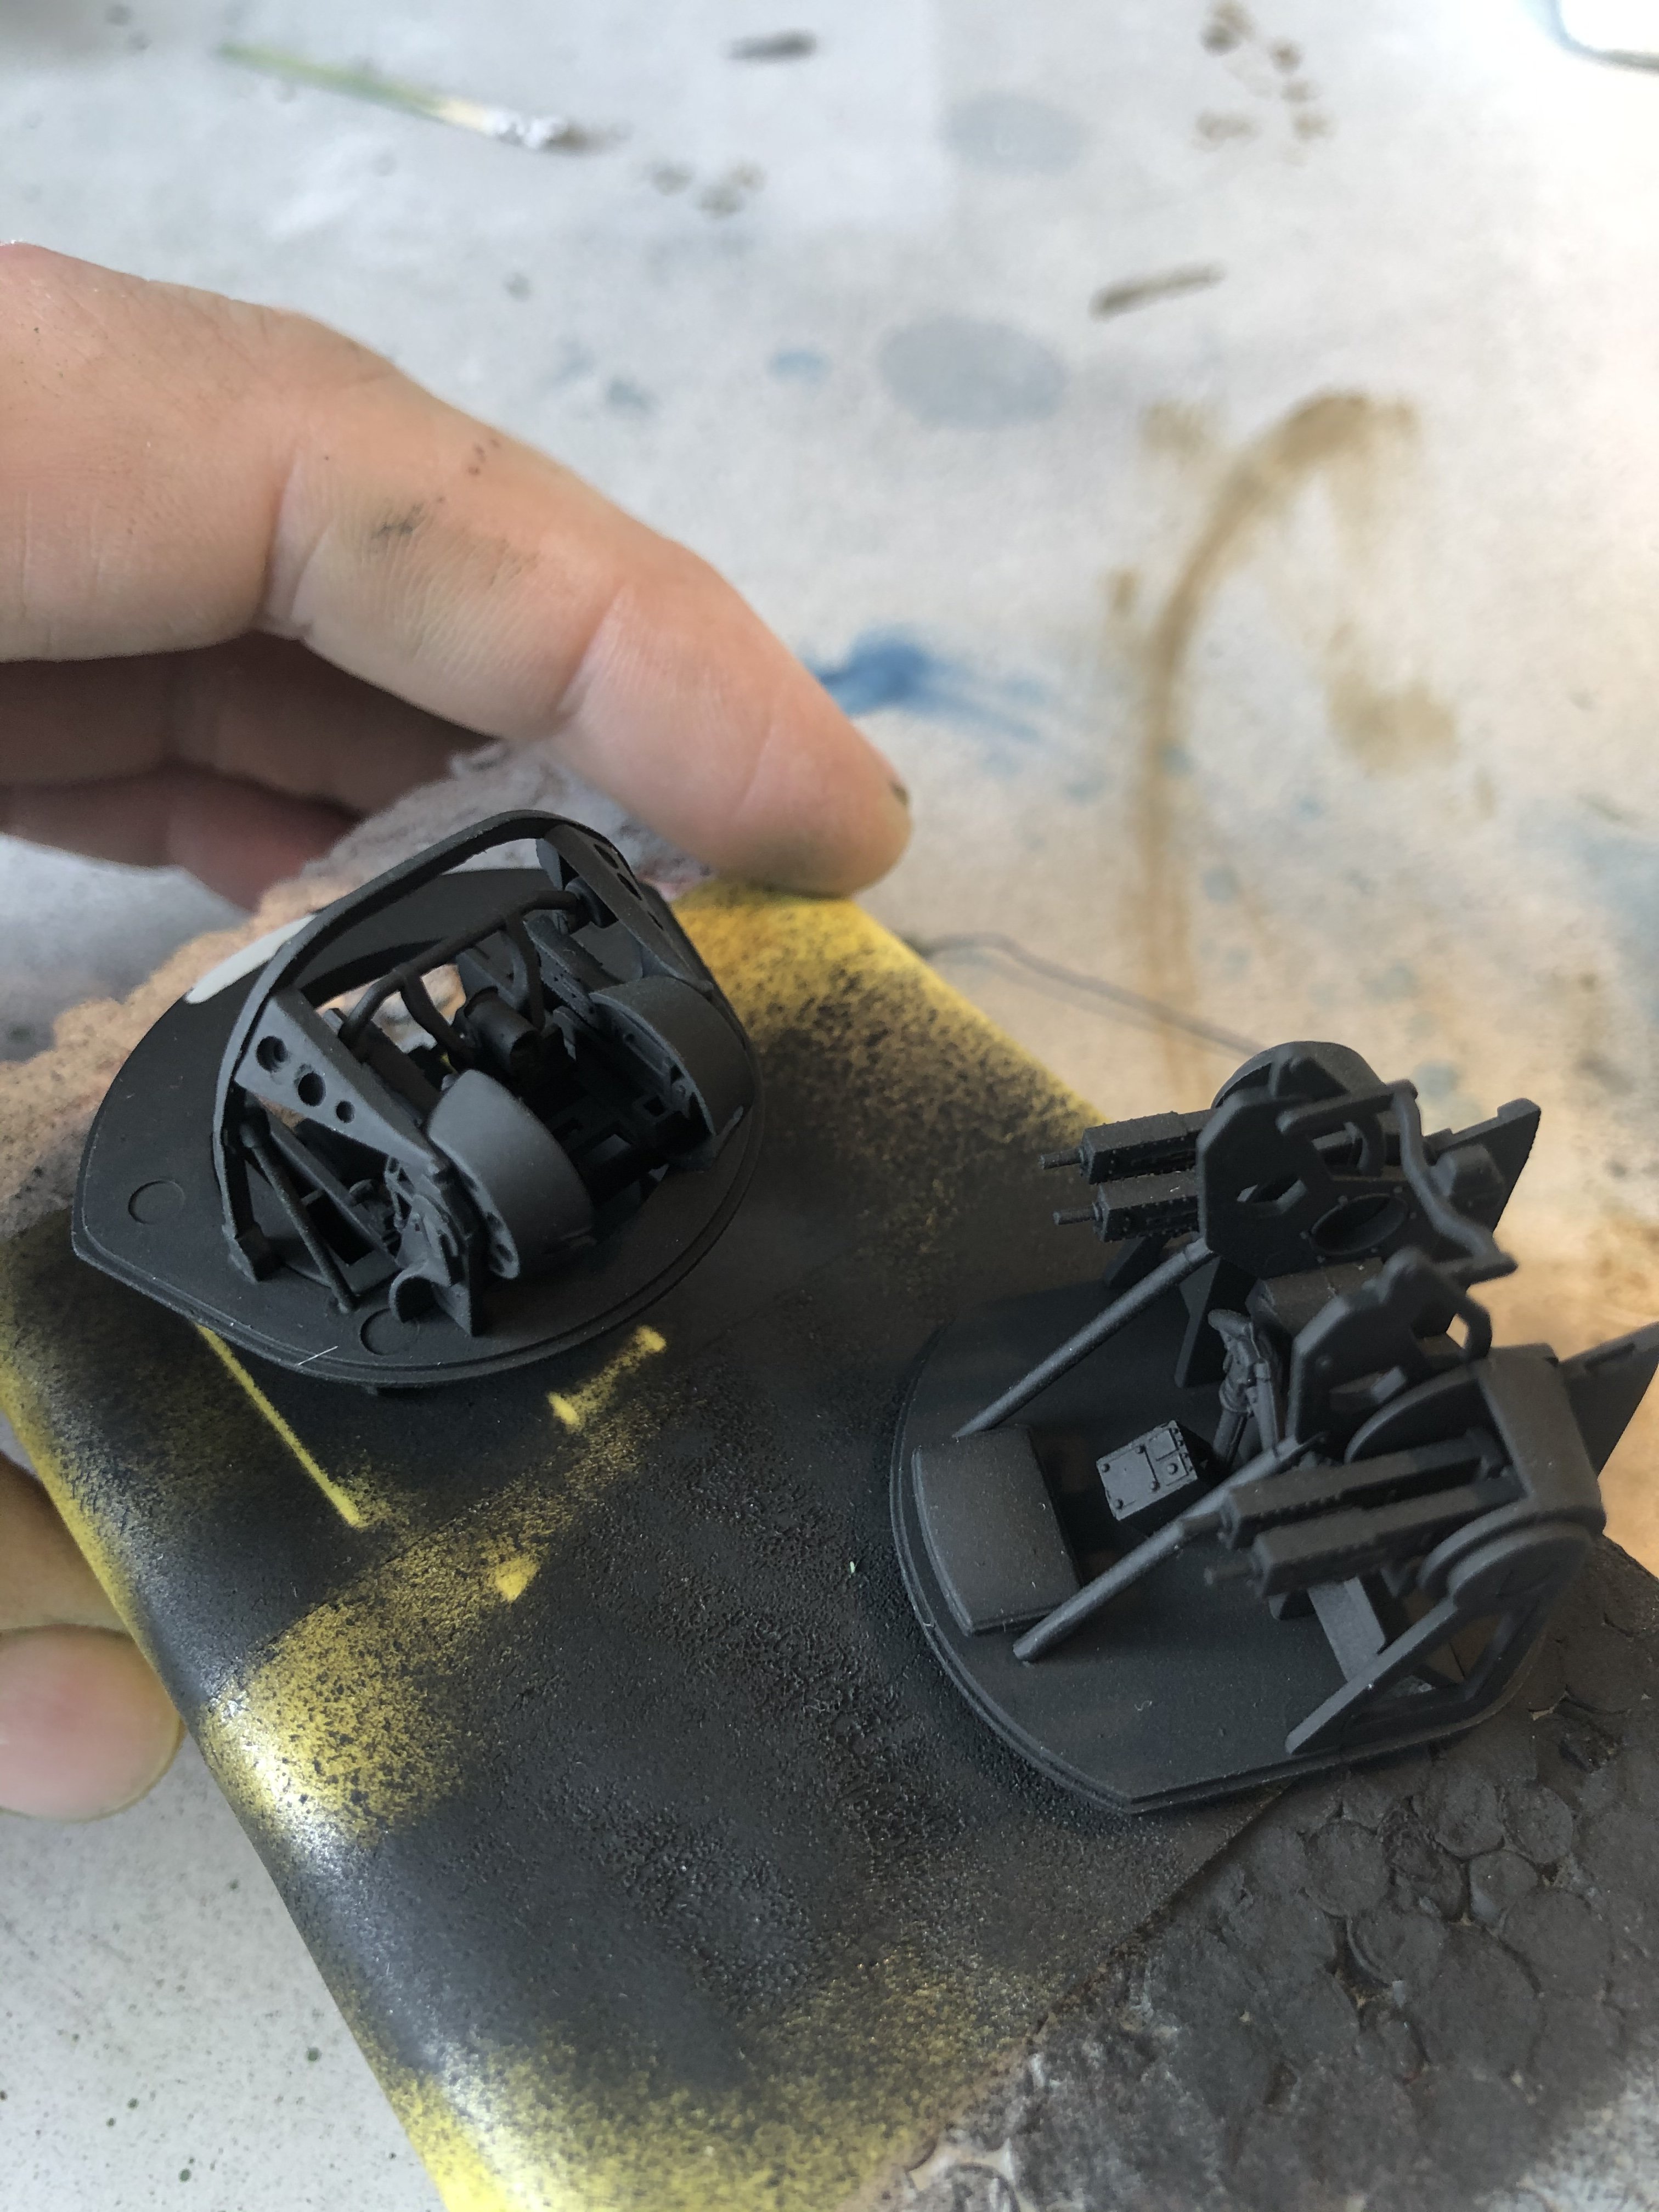
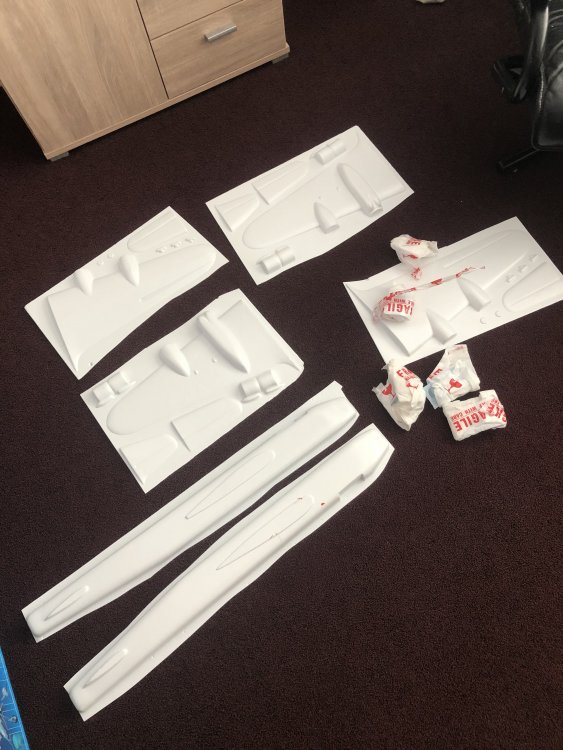
When I saw this kit on ebay recently for a good price I couldn’t help myself. A Tigger Models Vacform (ex-ID Models) is very basic but makes a nice canvas for fun scratchbuilding. Having some Lancaster spares such as complete set of turrets come in handy. Further bits from the sparesbox and plasticard will help. No rush, just having fun every now and then.

-
“Dinghy” Young’s “Dambusters” Lancaster
Wingco57 replied to Wingco57's topic in LSM 1/35 and Larger Work In Progress
Thanks Kai, See my last reply. And oops, possible distraction alert. The postman only rings once.
-
“Dinghy” Young’s “Dambusters” Lancaster
Wingco57 replied to Wingco57's topic in LSM 1/35 and Larger Work In Progress
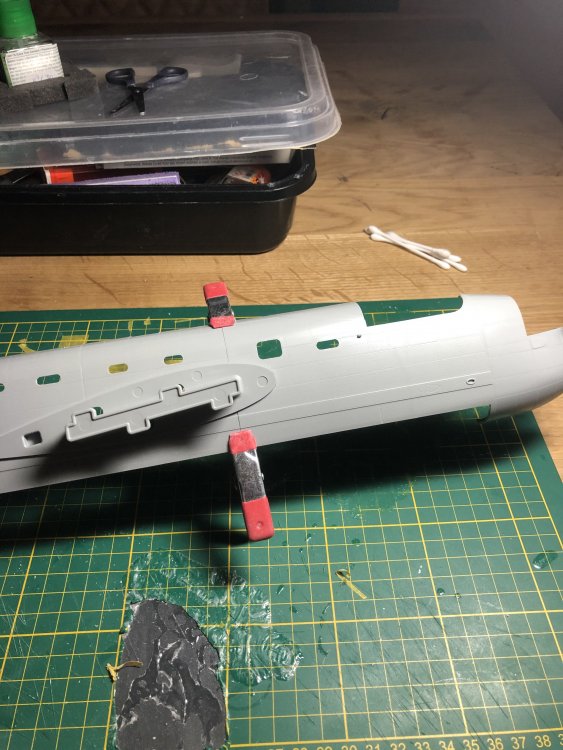
I had a look at some pics and the window was still present, saves me a filling job. Later Lancs had this window deleted (prior to deleting all further fuselage windows). -
“Dinghy” Young’s “Dambusters” Lancaster
Wingco57 replied to Wingco57's topic in LSM 1/35 and Larger Work In Progress
I have a feeling that the window forward of the Wireless operators position isn't present on later Lancs, Will have to check and if so fill them. Must be a carry-over from the Manchester. -
“Dinghy” Young’s “Dambusters” Lancaster
Wingco57 replied to Wingco57's topic in LSM 1/35 and Larger Work In Progress
Thanks Peter, what kept you Fitting the transparencies in the starboard fuselage is a nervewrecking experience to avoid smearing glue all over the place. Port to follow.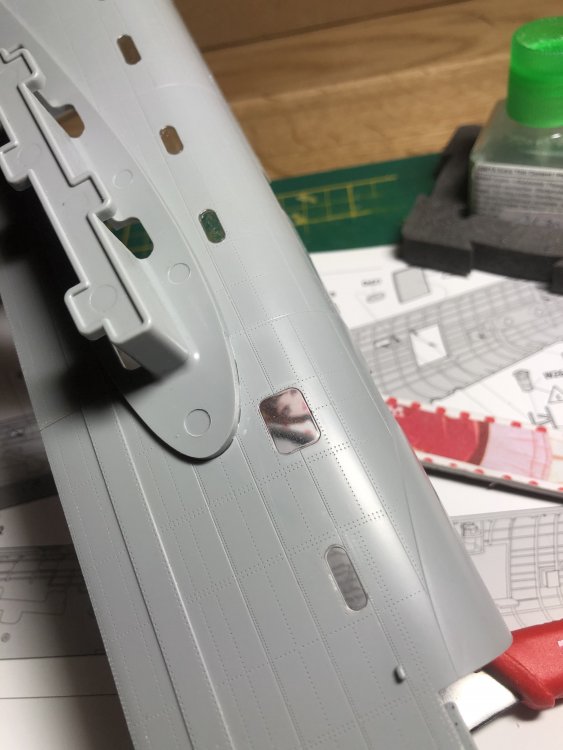
-
“Dinghy” Young’s “Dambusters” Lancaster
Wingco57 replied to Wingco57's topic in LSM 1/35 and Larger Work In Progress
Thanks, I predominantly use Tamiya acrylics. I find they spray very well and don't clog up my airbrush as Vallejo Air does. -
“Dinghy” Young’s “Dambusters” Lancaster
Wingco57 replied to Wingco57's topic in LSM 1/35 and Larger Work In Progress
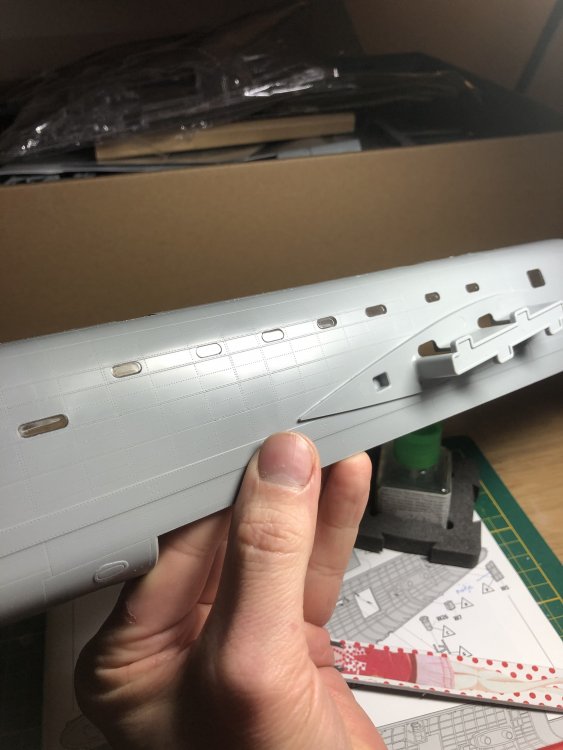
Nope, this is the 3d printed prototype that has been to Telford three times and HK Models had used this very solid spar to attach the heavy wings. It was devoid of detail so I had to add everything including the fuselage windows. in the meantime the airbrush department has started some work.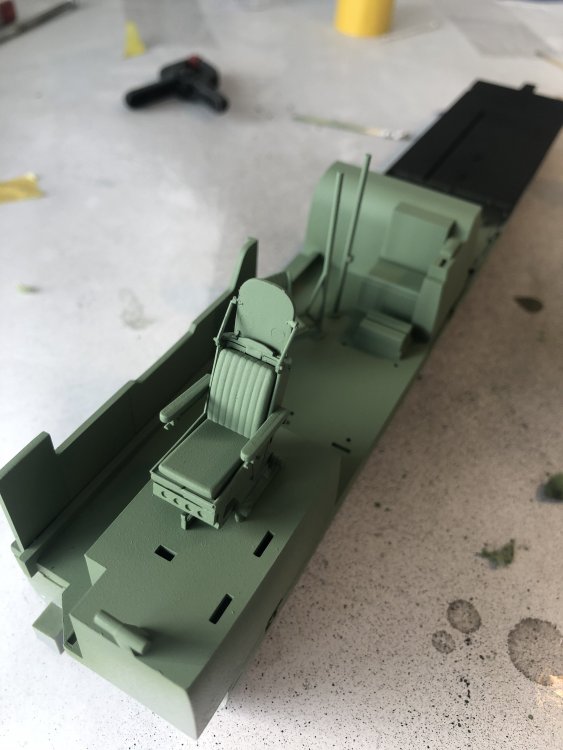
-
“Dinghy” Young’s “Dambusters” Lancaster
Wingco57 replied to Wingco57's topic in LSM 1/35 and Larger Work In Progress
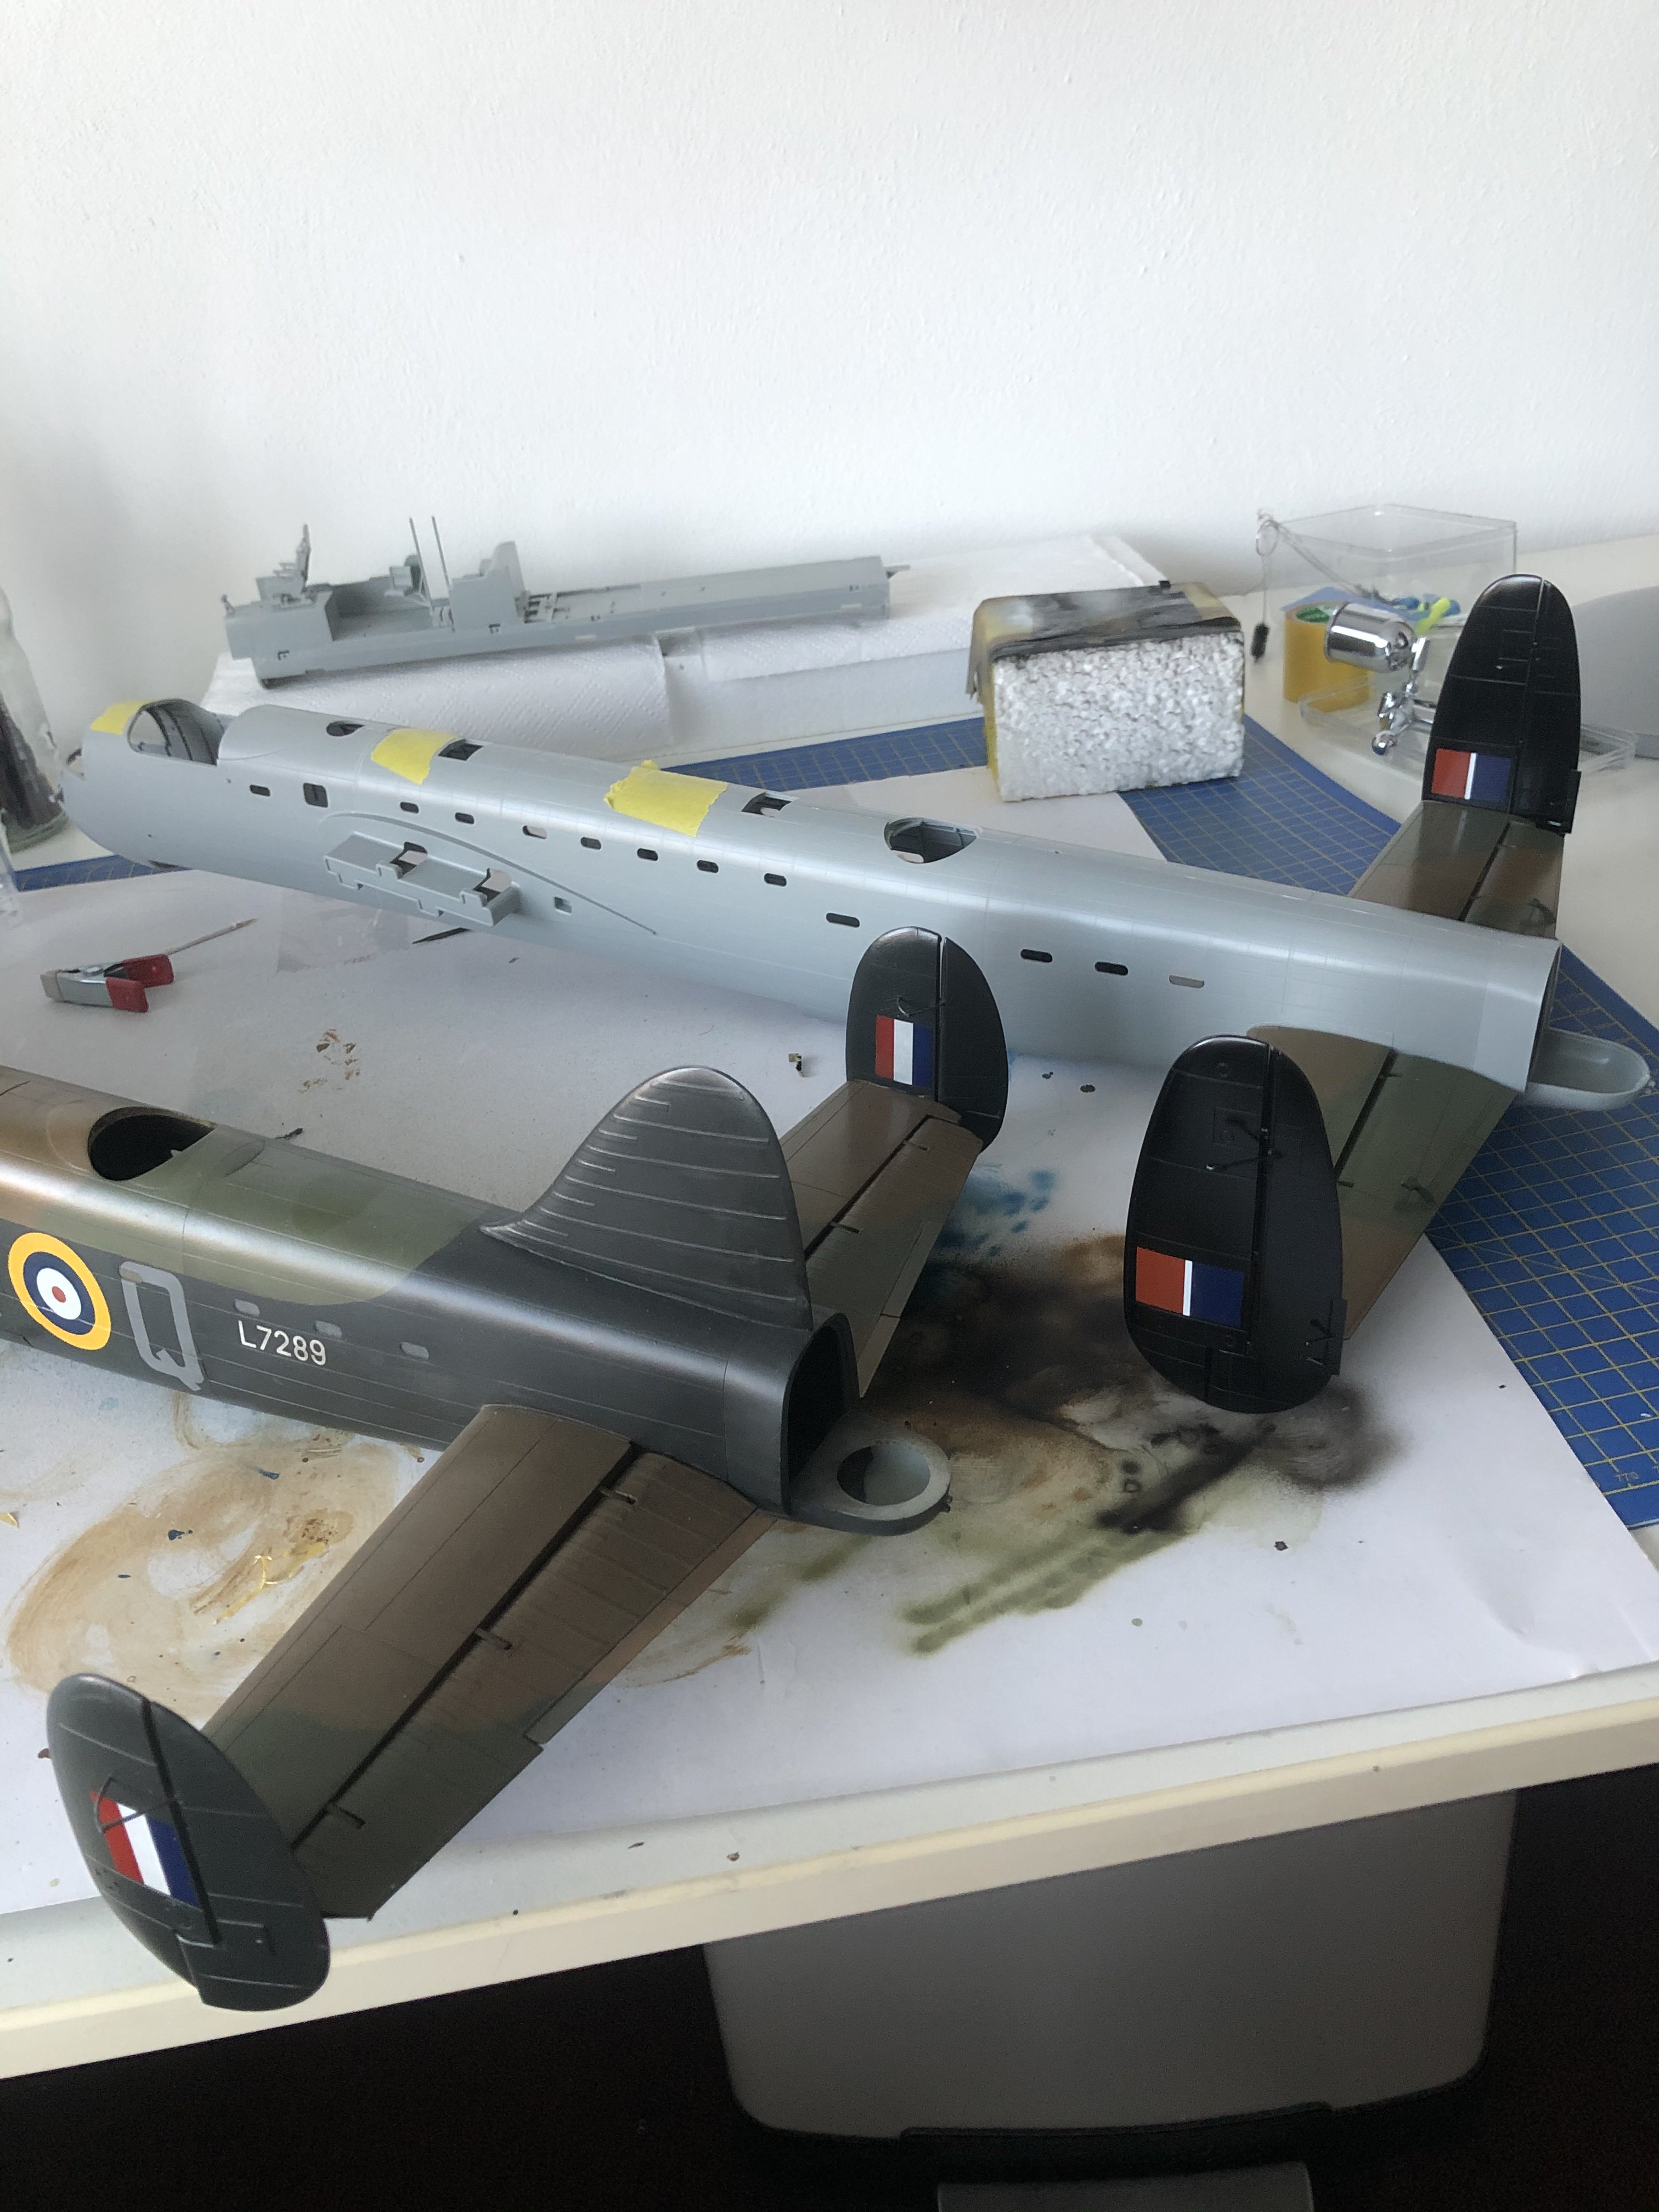
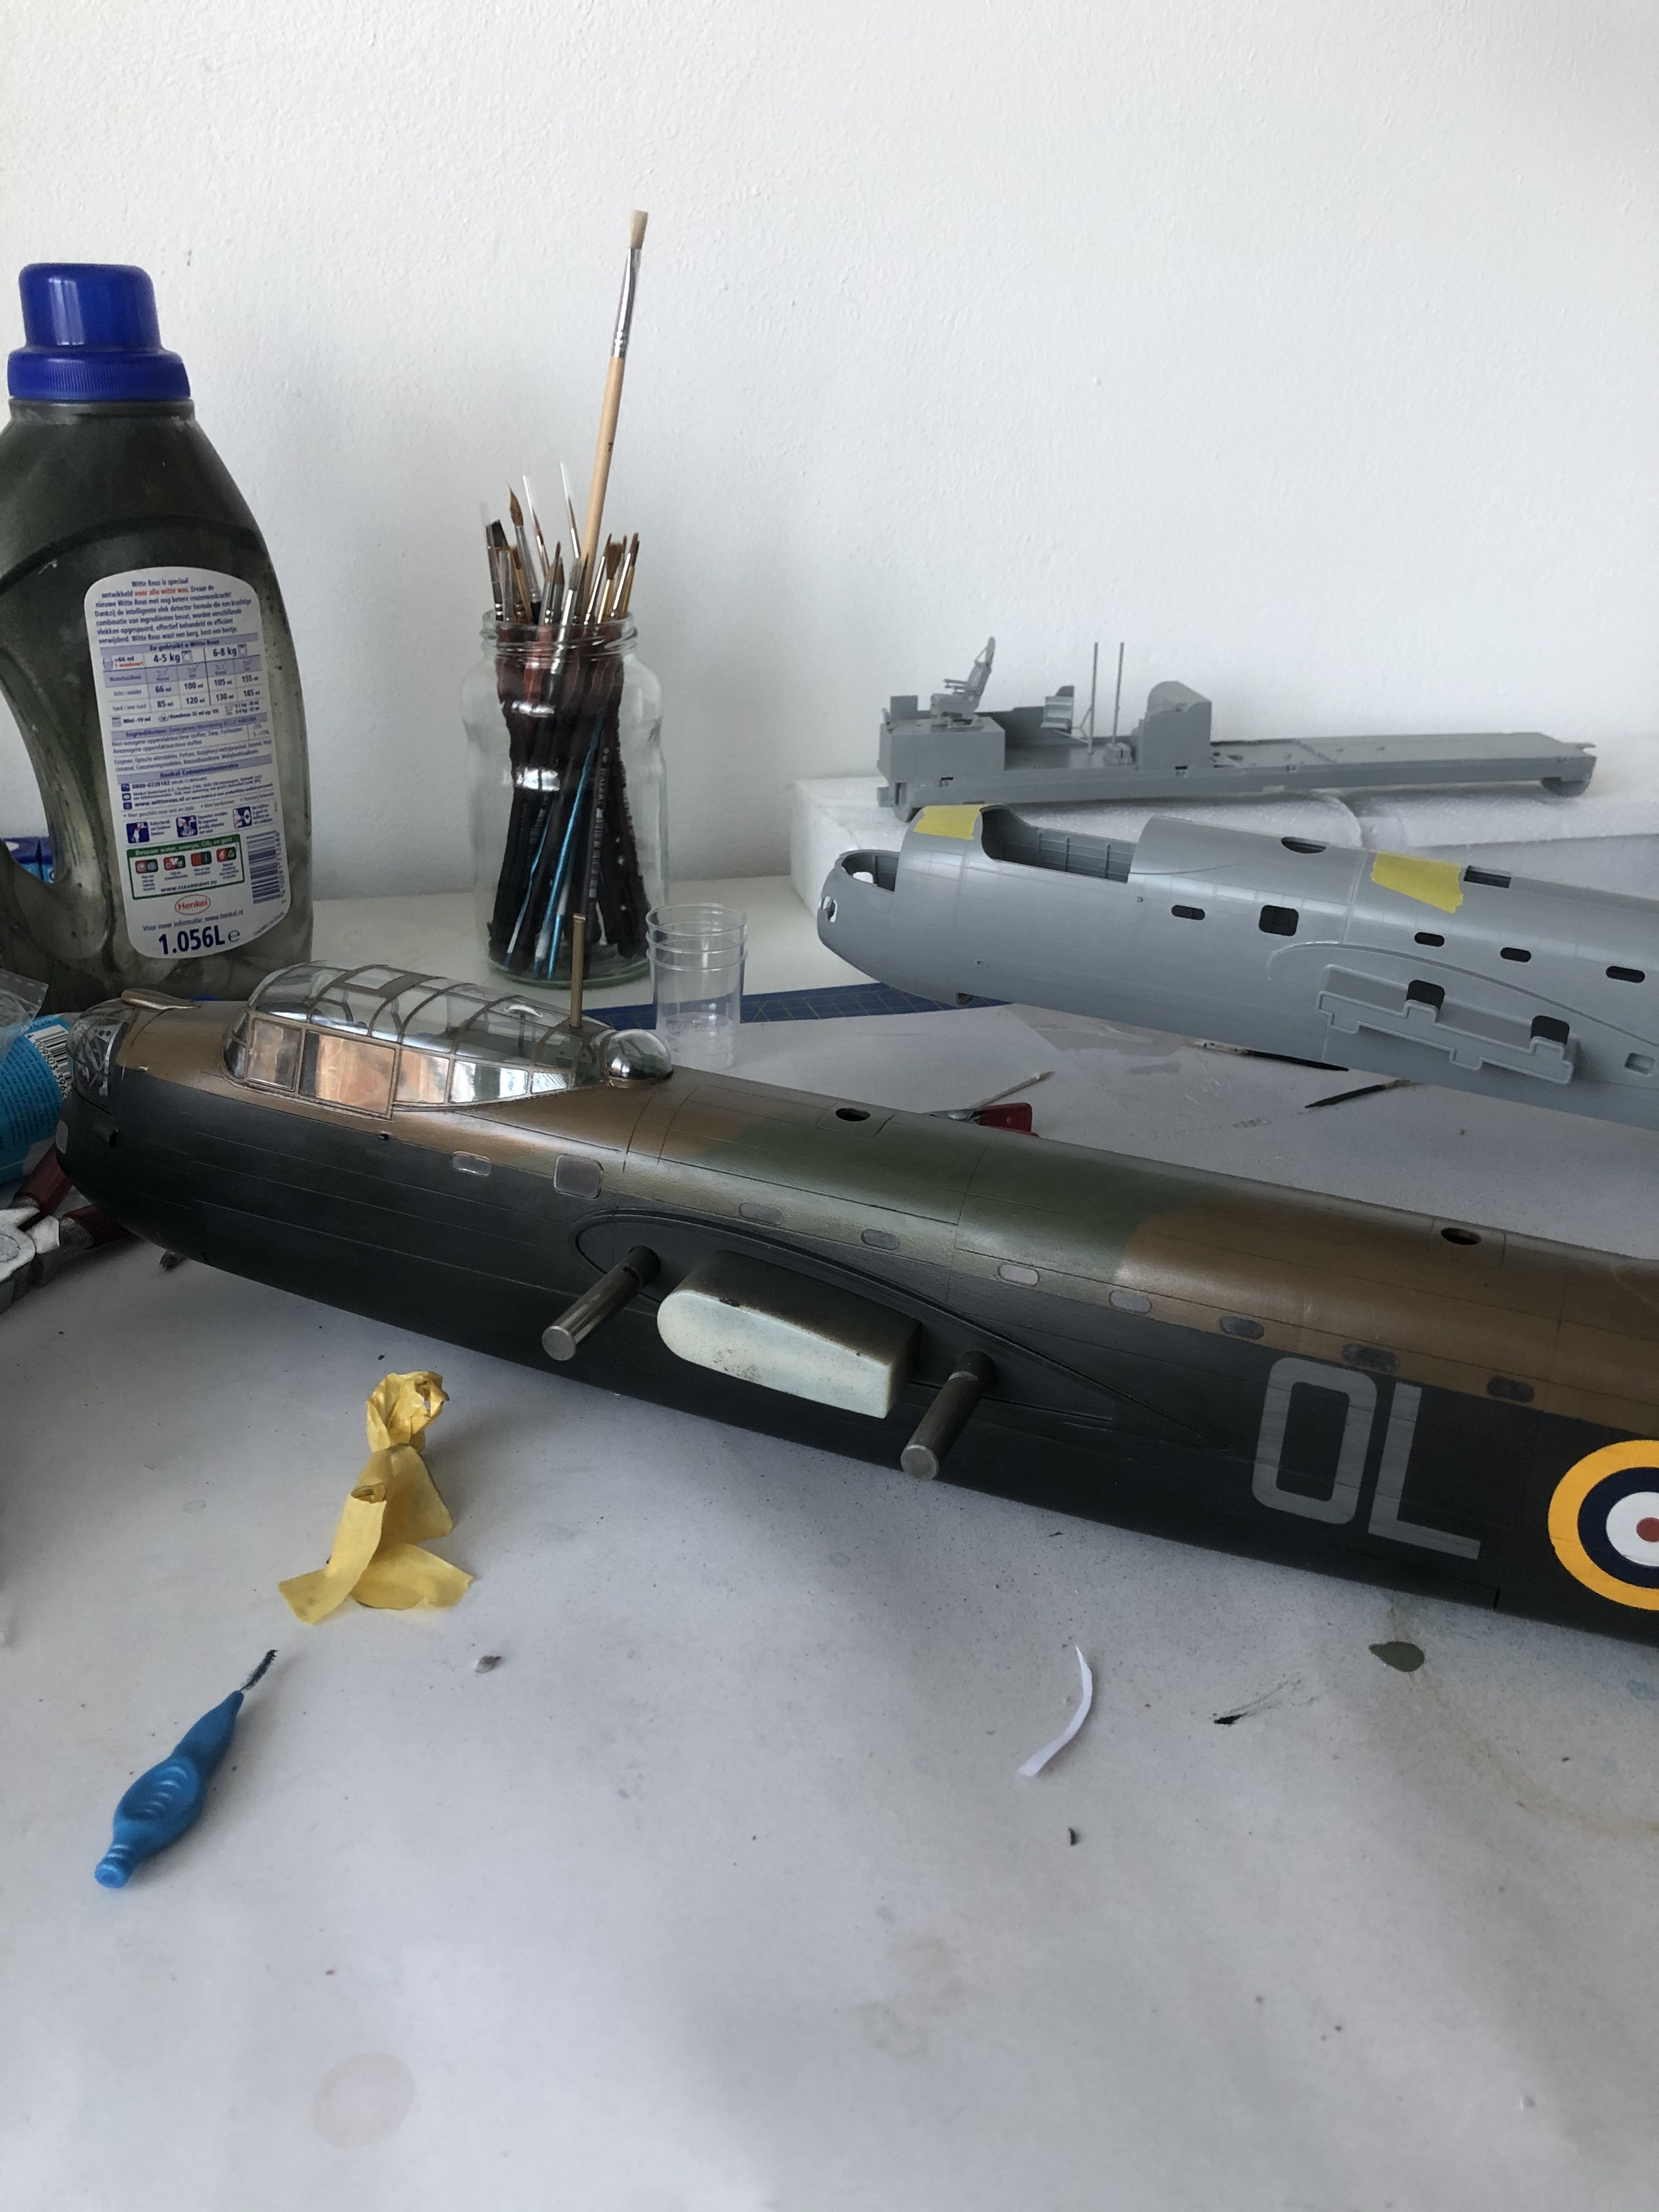
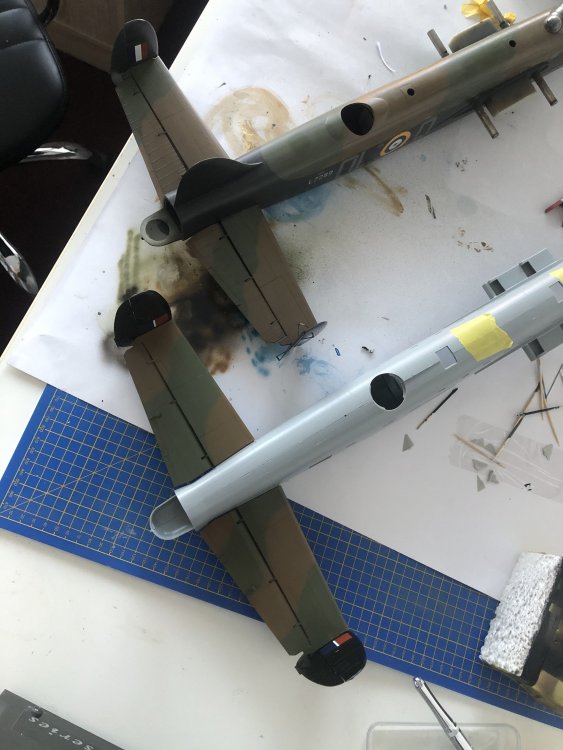
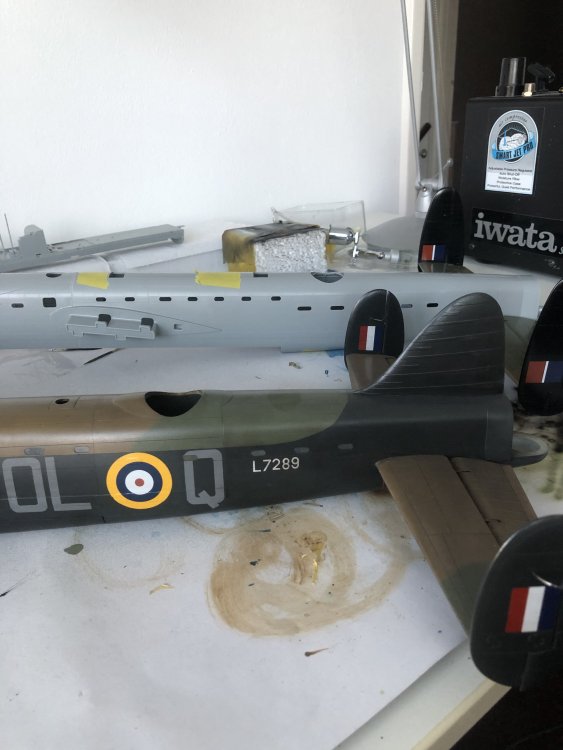
While the airbrushing department is getting started on the interior I wanted to show some comparison pics of the Manchester and Lancaster.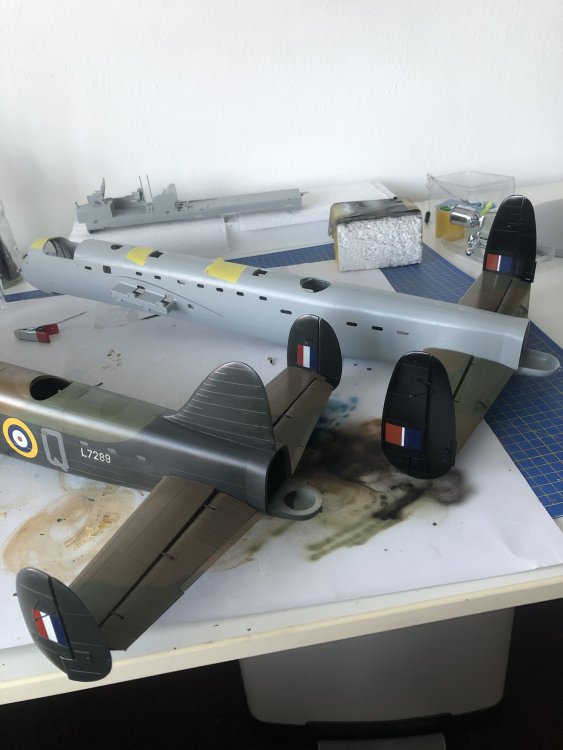

-
“Dinghy” Young’s “Dambusters” Lancaster
Wingco57 replied to Wingco57's topic in LSM 1/35 and Larger Work In Progress
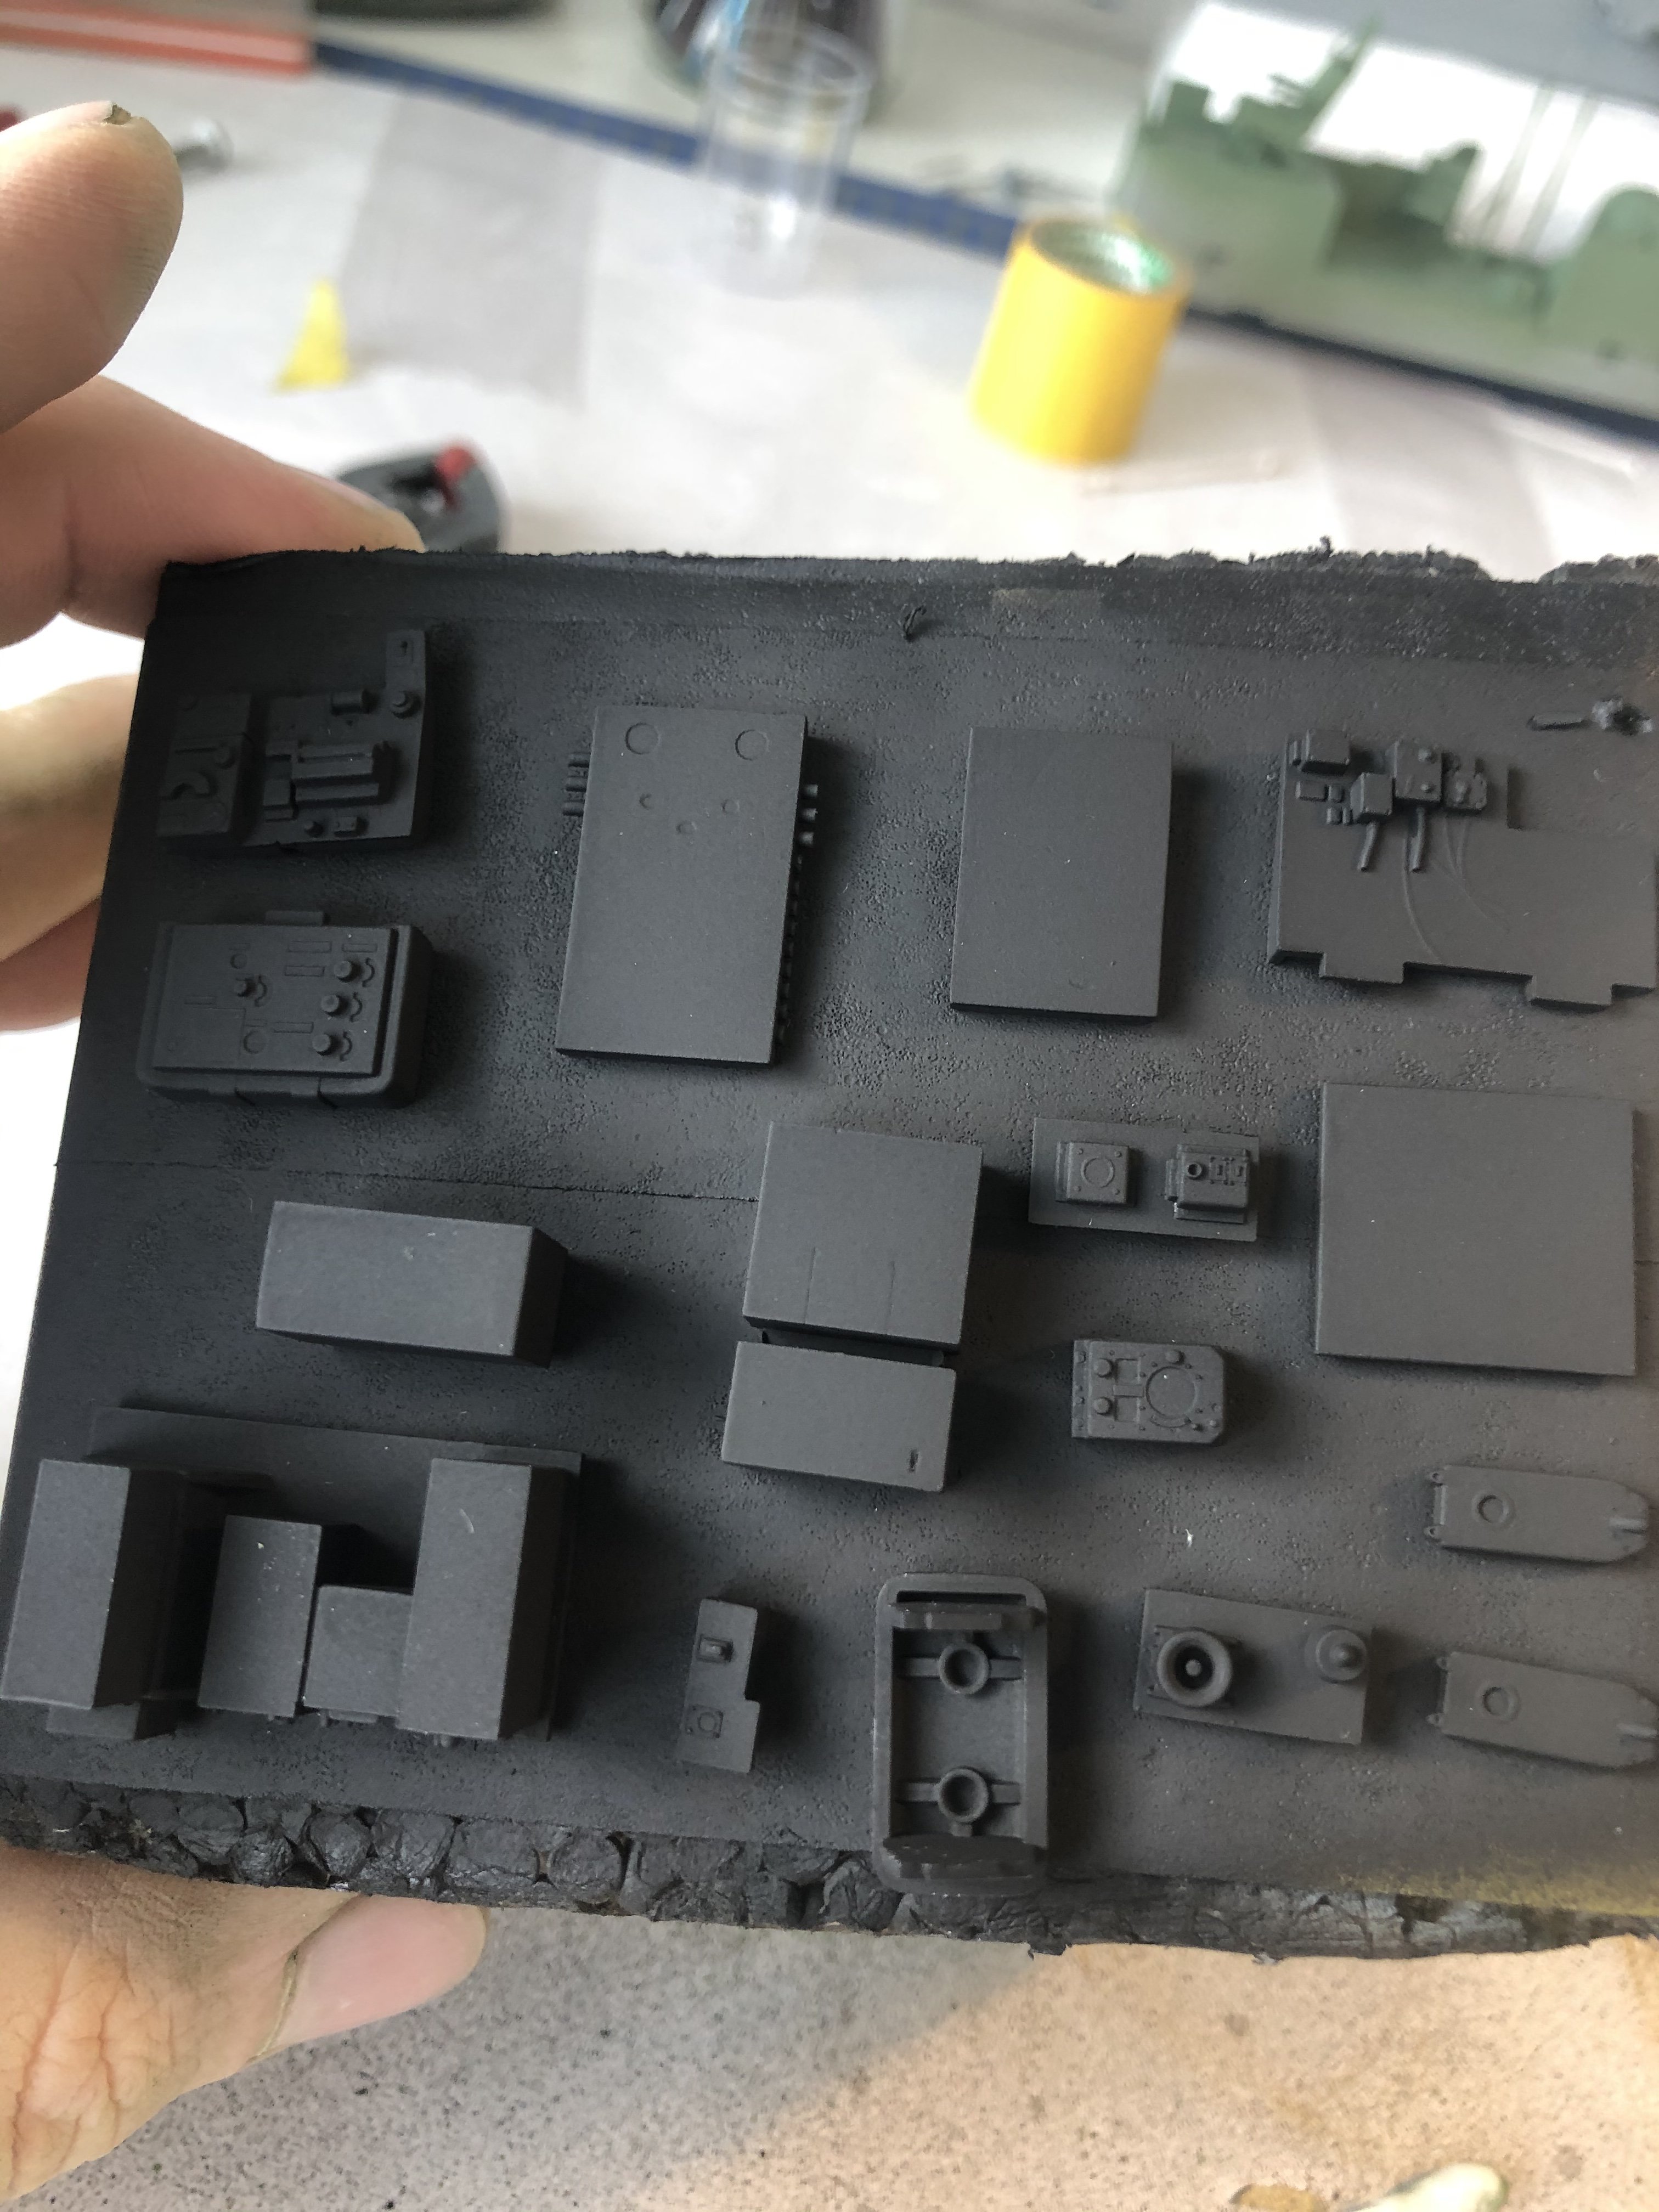
Thanks, as Jeroen says, you get to see some colour along the way instead of getting bogged down in assembling acres of grey parts without any seemingly progress. Personally I do not like overly complicated kits with lots of detail where the sun doesn't shine. I leave out most of the detail from the rear fuselage and concentrate on the cockpit-area. And tackling subassemblies and finishing them before the next makes such a large project manageable (I hope). And it may serve to rekindle interest in the Manchester again -
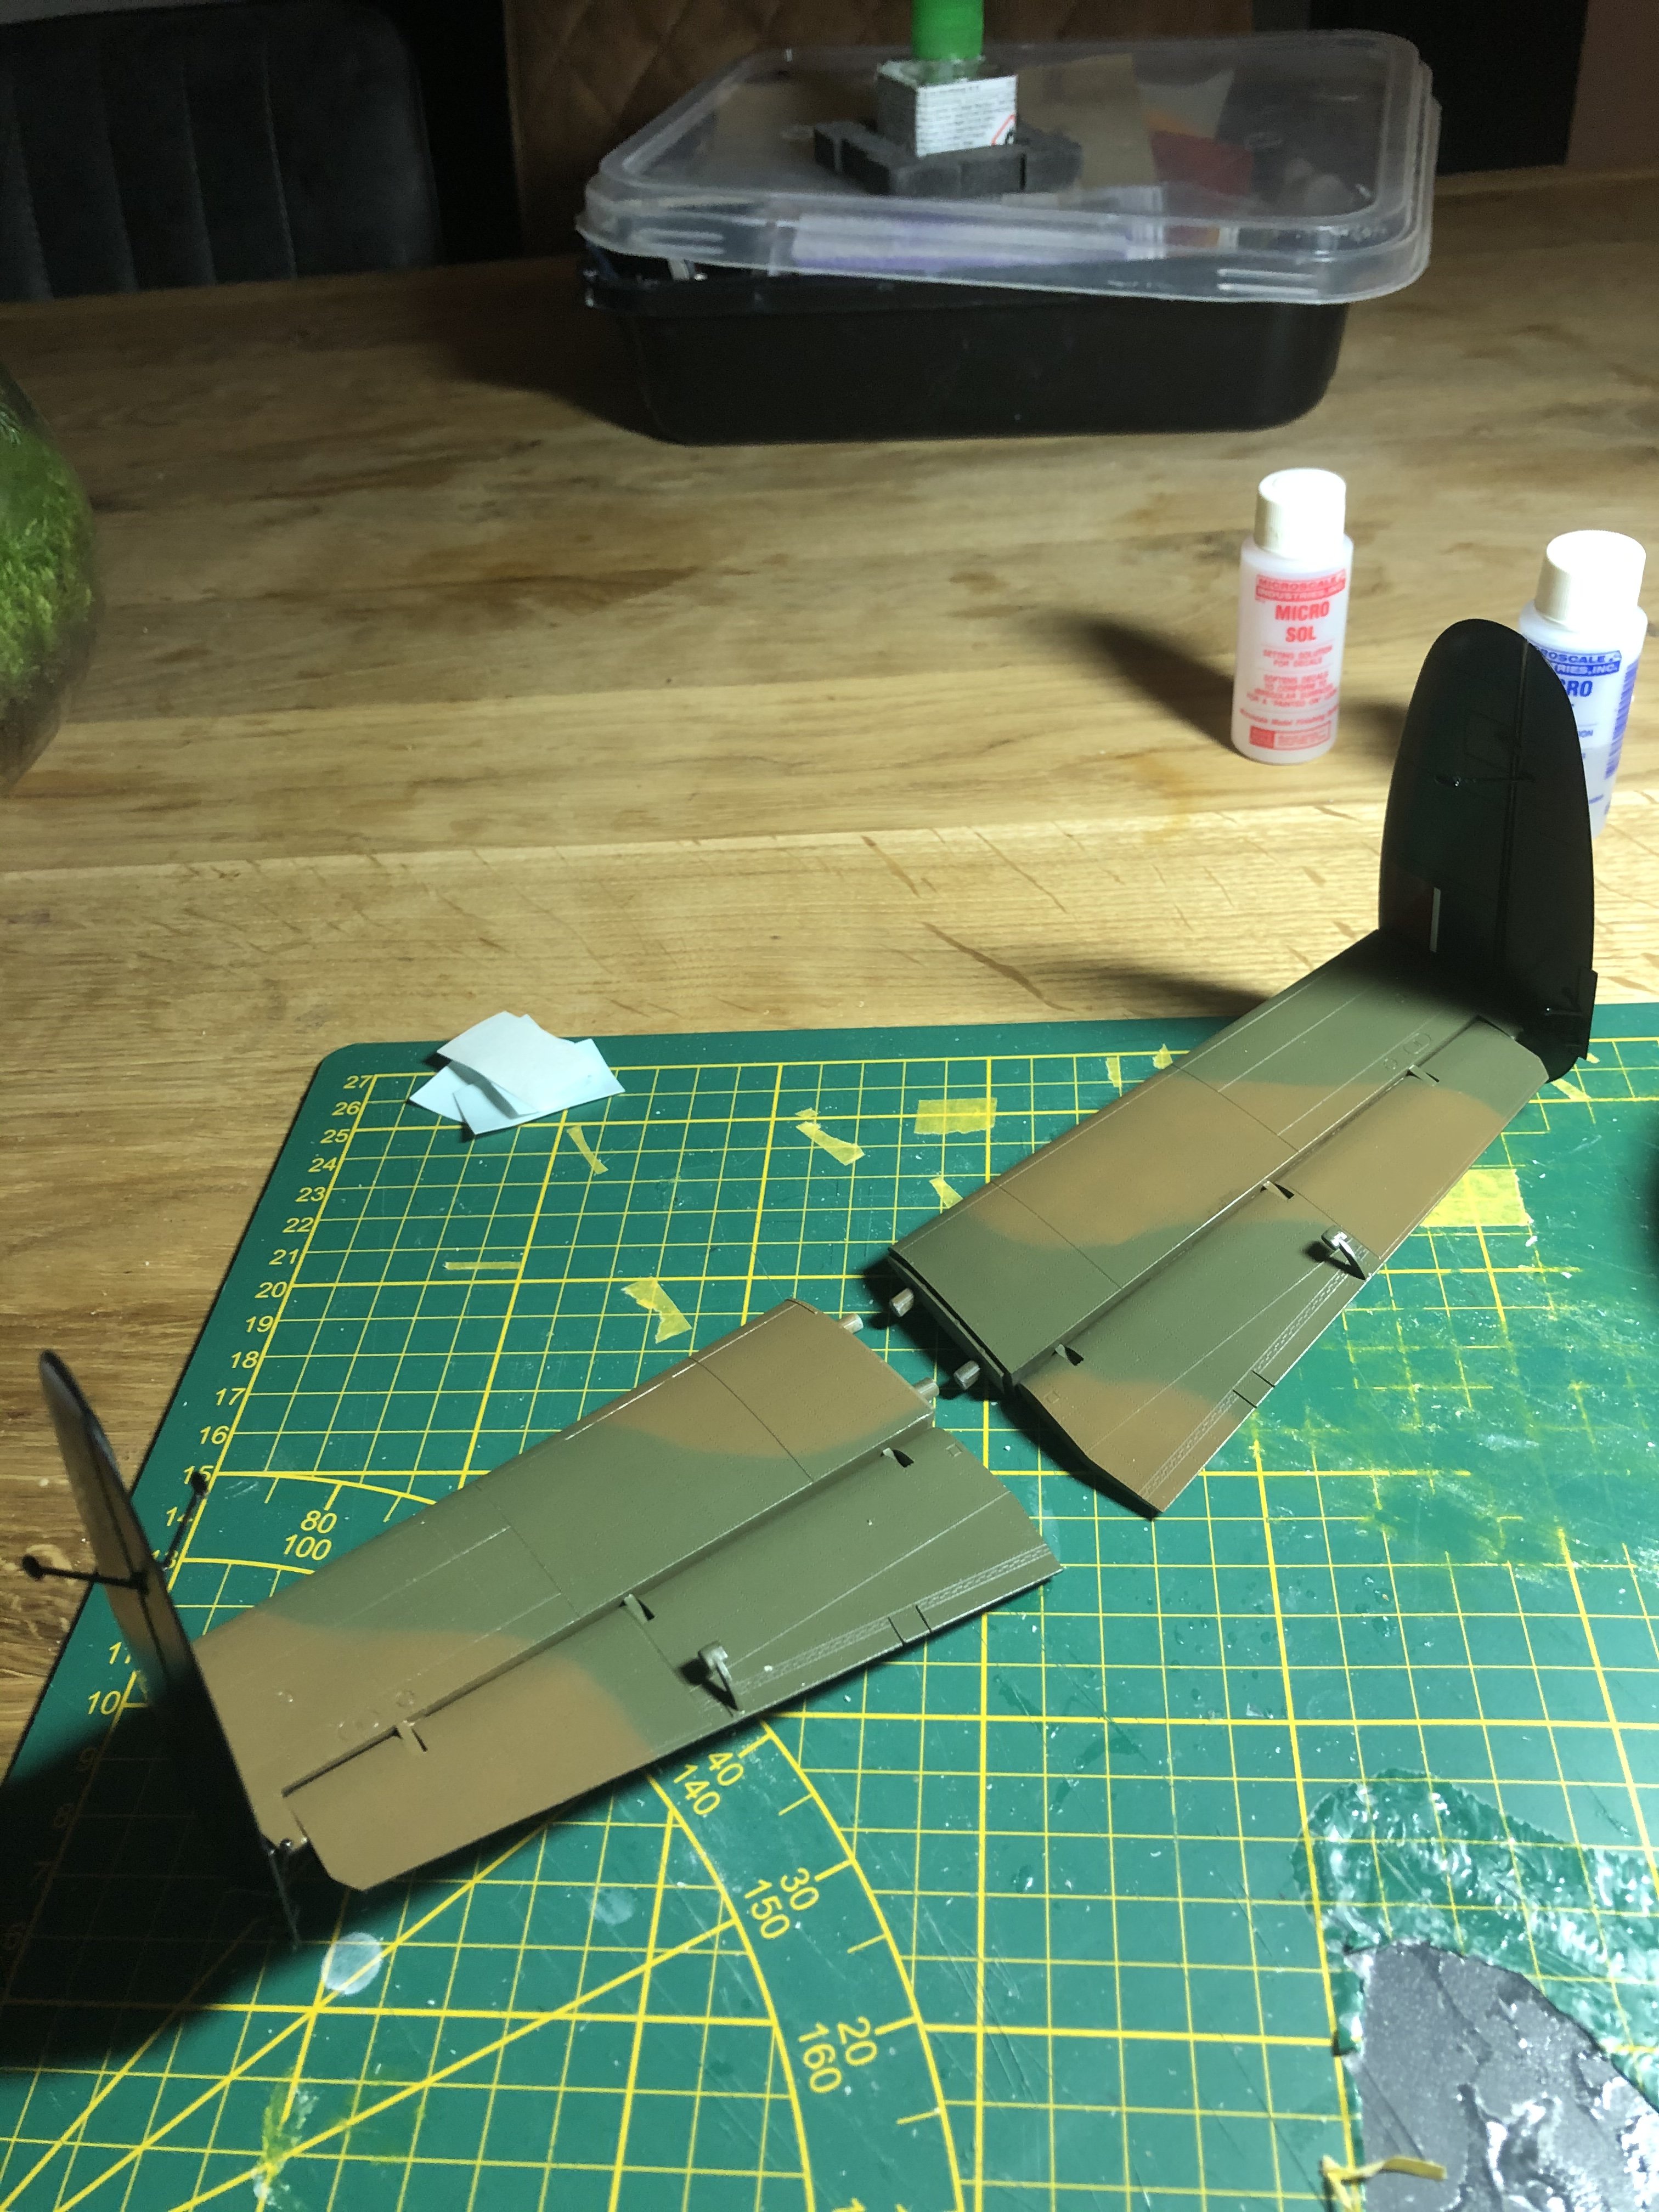
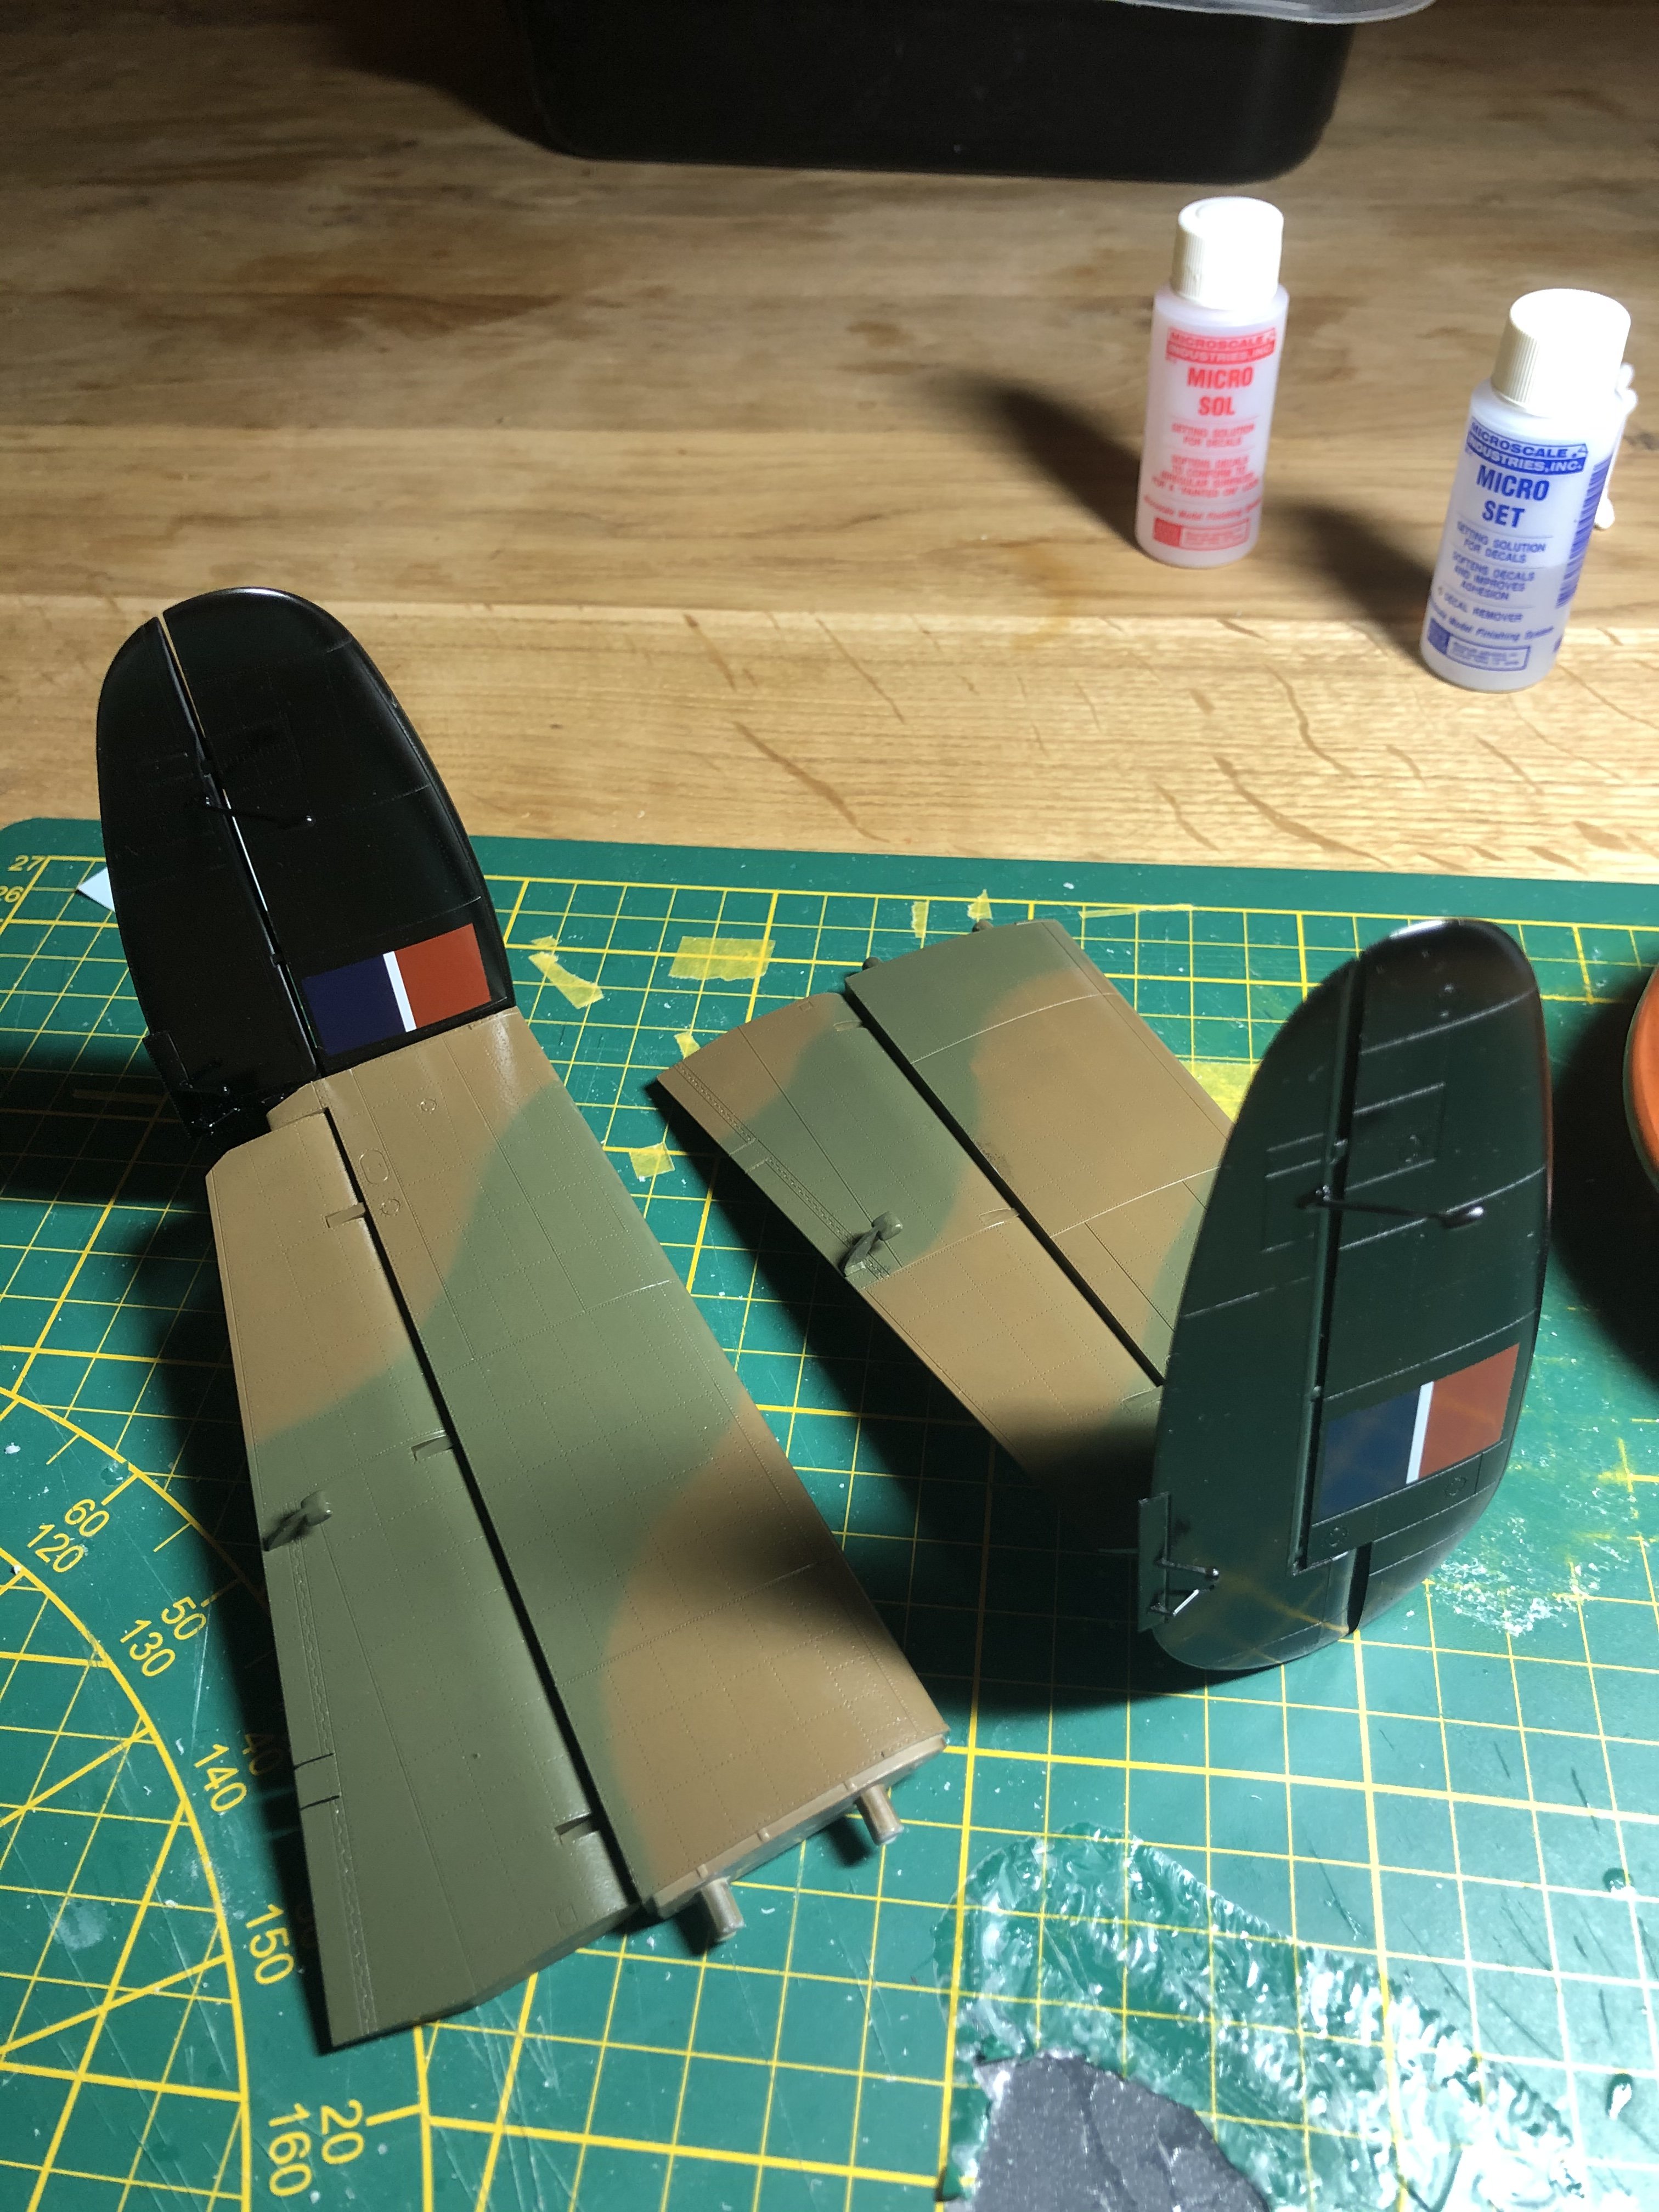
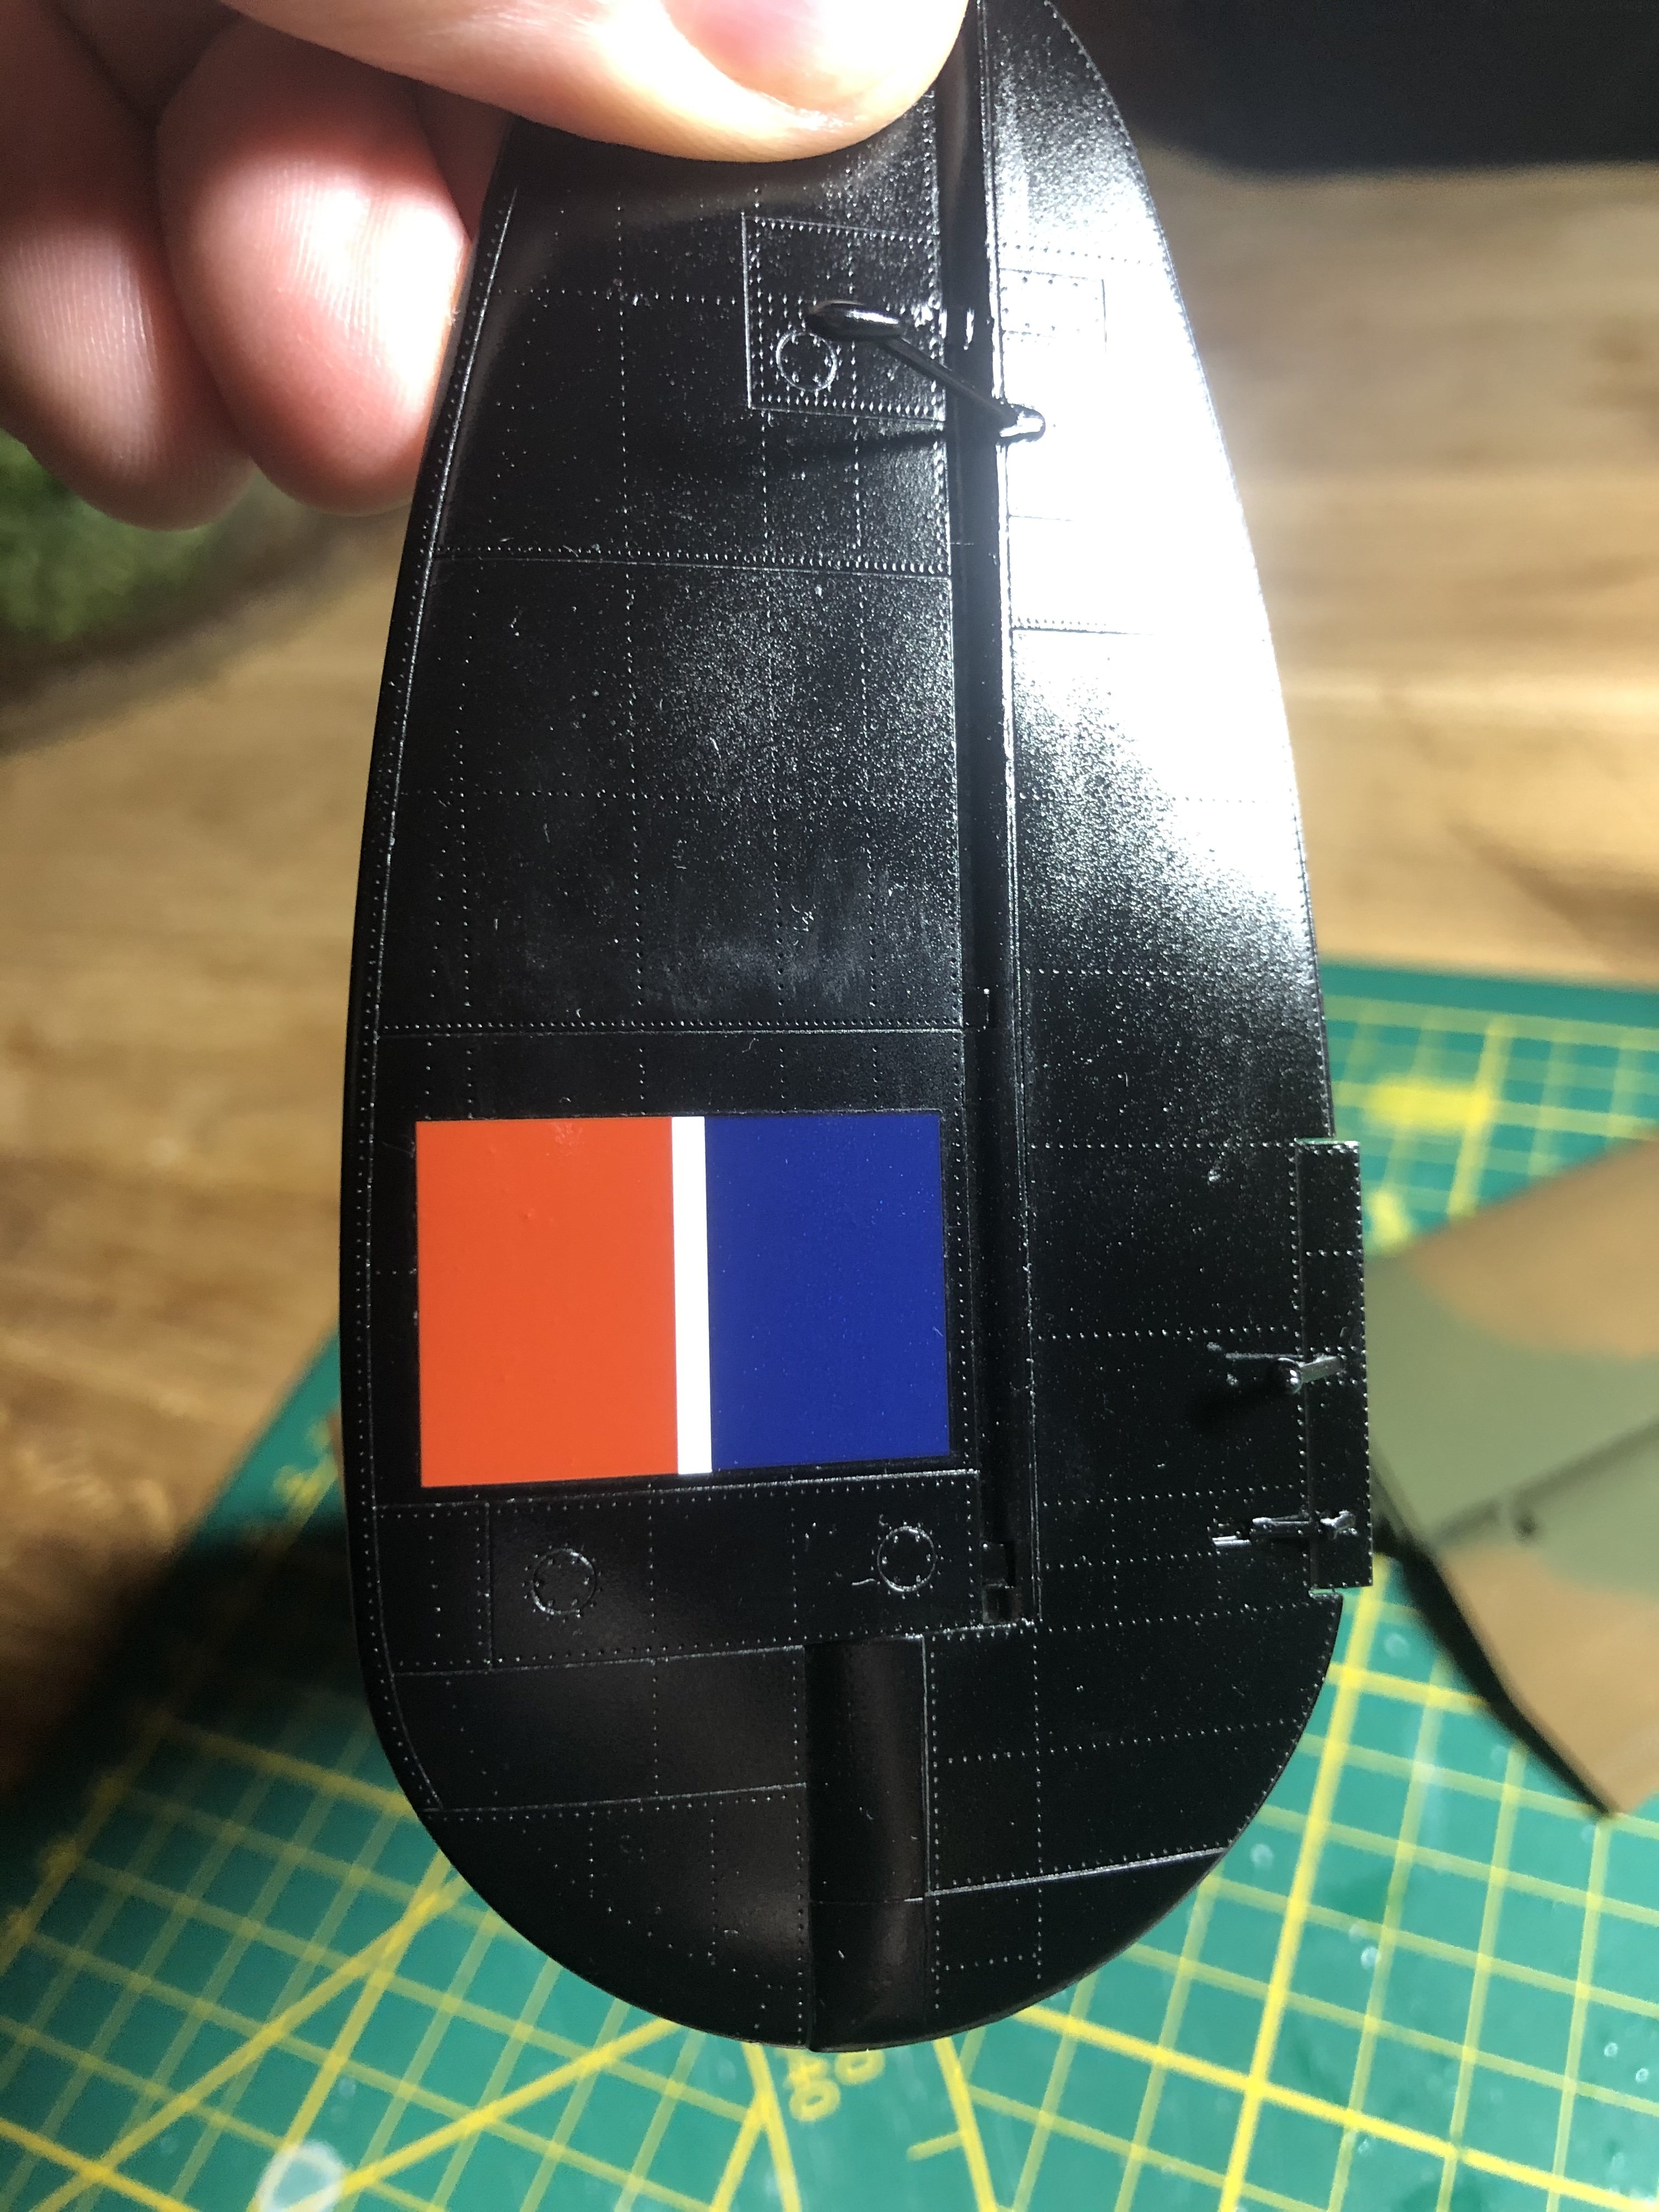
“Dinghy” Young’s “Dambusters” Lancaster
Wingco57 replied to Wingco57's topic in LSM 1/35 and Larger Work In Progress
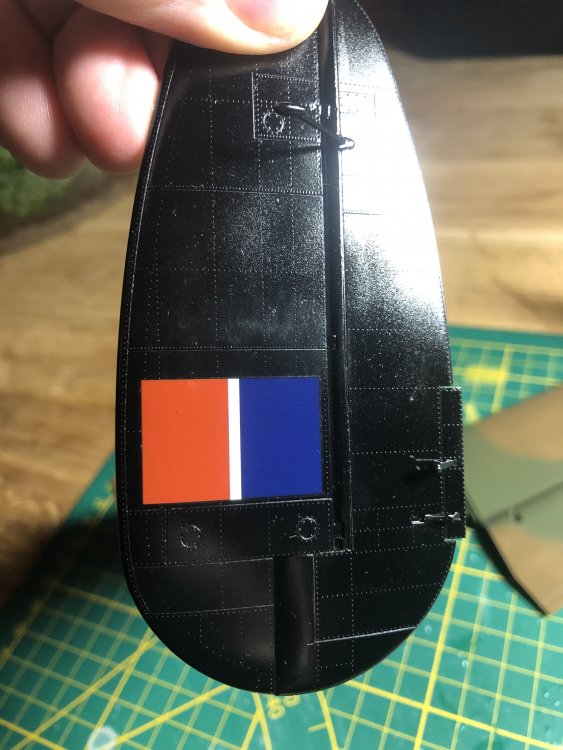
The tailplanes finish has been finished. The kit decals got on beautifully. A nice little project to keep this complex build simple. And I like simple The fuselage parts have been joined too. That airbrush department is still complaining, as they want to know when the interior parts will be sent out. Soon, very soon.

-
I got me a 1/32 vacform Short Stirling. Yes, I know........