Clunkmeister
-
Posts
7,200 -
Joined
-
Last visited
Content Type
Profiles
Forums
Events
Gallery
Everything posted by Clunkmeister
-
Mine is on order as well. They took my money, but so far, no kit. Hopefully by month end.
-
 Apparently they’re going to sell the molds and the Kate project, which is about 50% complete. Supposedly the Infinity head guy is retiring.
-
- 3
-

-
I’m thinking ol’ Ernie’s gonna have several RFI threads in June or early July

-
My Airfix 1/24 scale Typhoon
Clunkmeister replied to Irishman1's topic in LSM 1/35 and Larger Work In Progress
Looking good so far! Very nice -
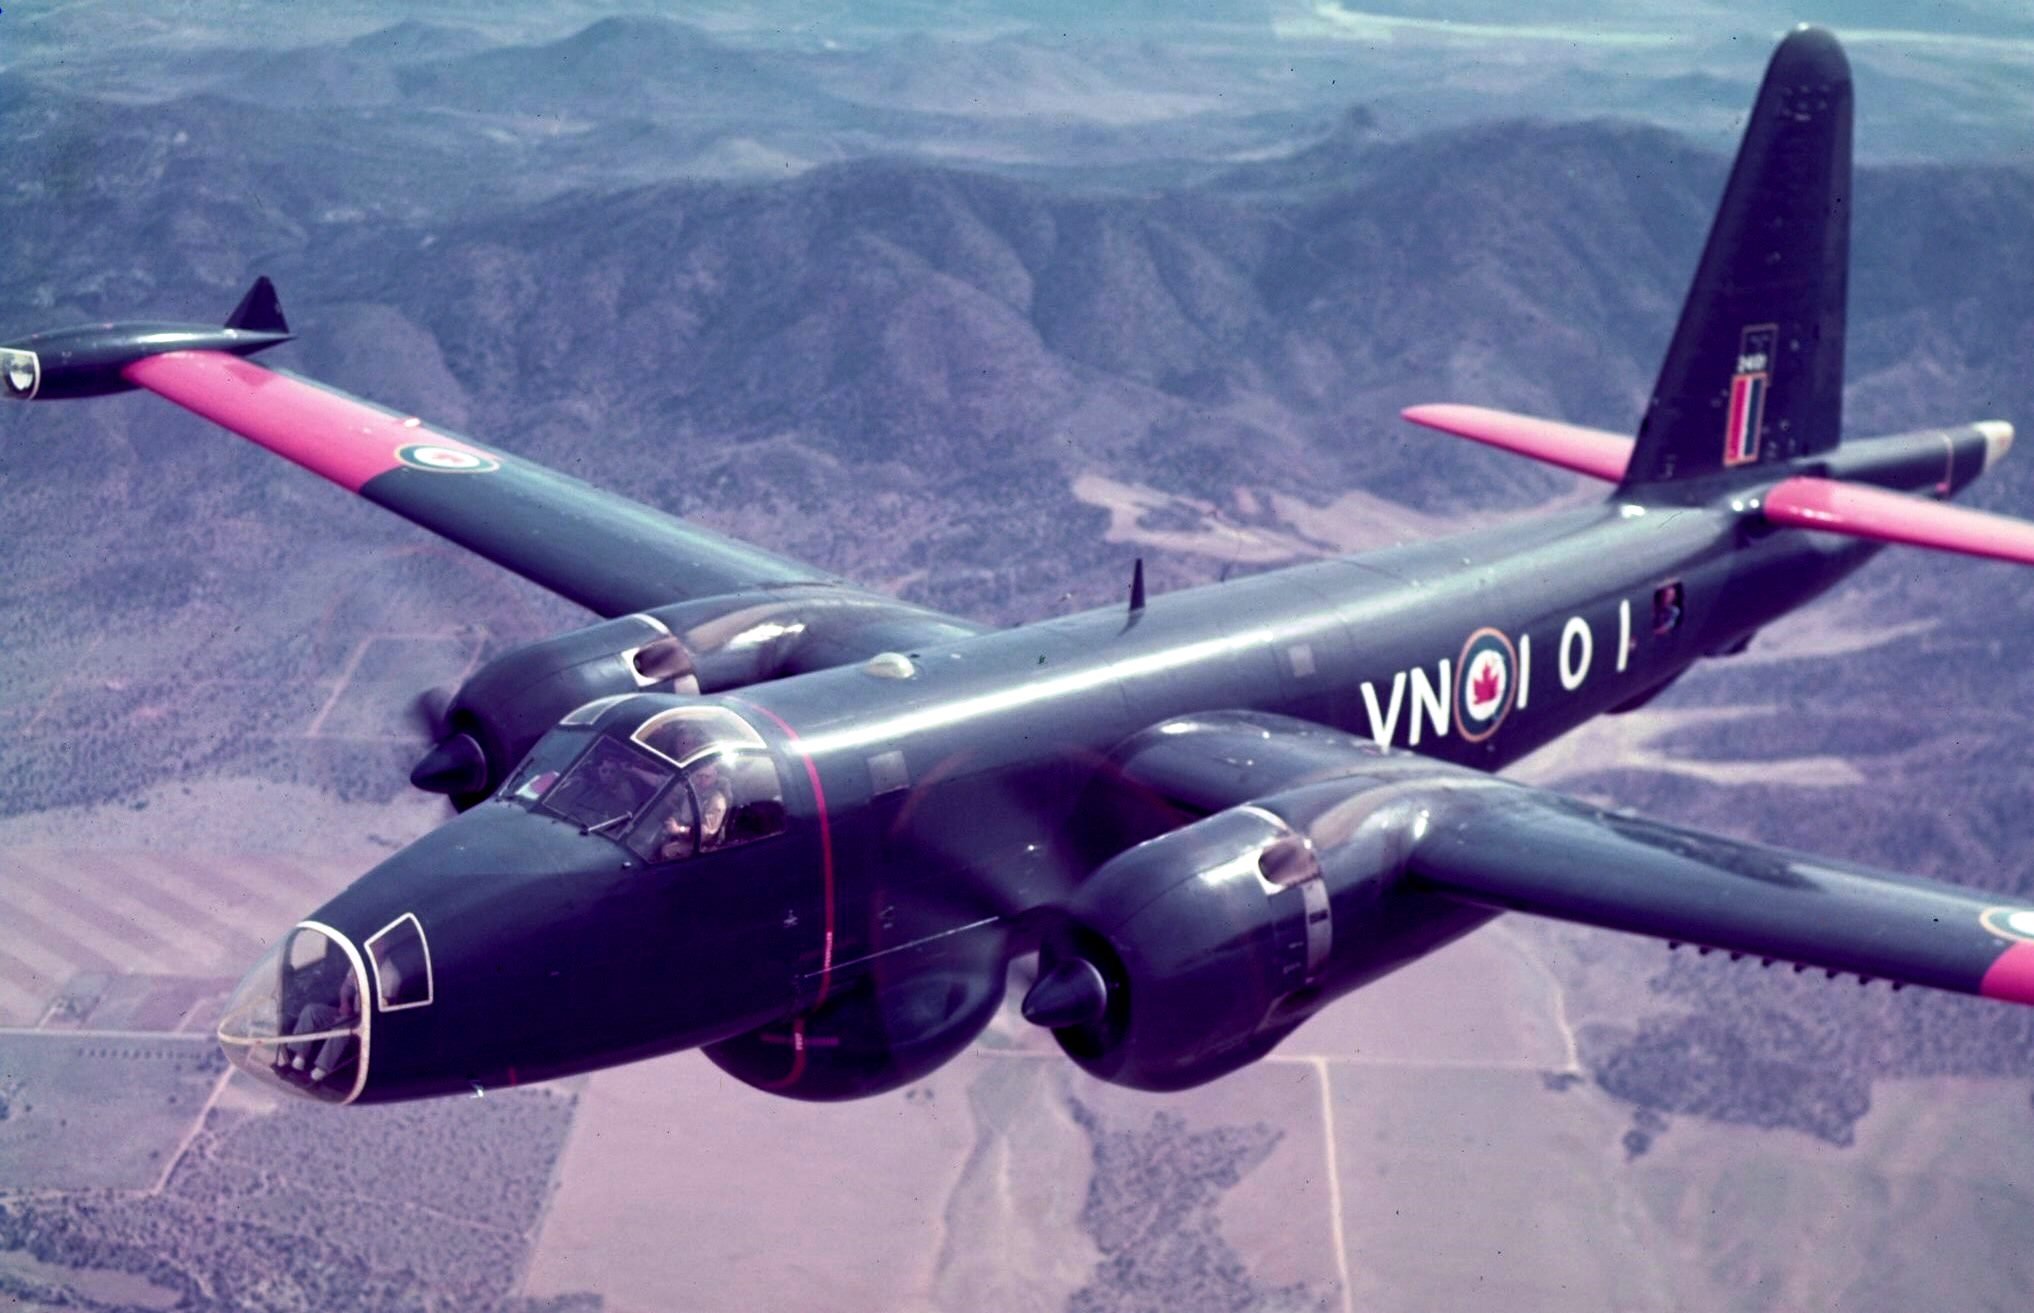
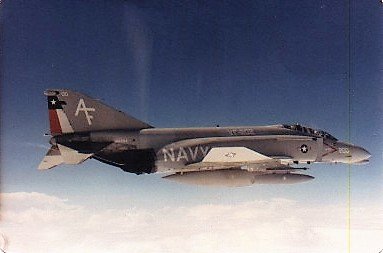
They were one seriously cool patrol bomber. An RCN Neptune in GSB,…. Ooooooh.
-
I’m hoping ZMs 190 is the short nose. We have decent A-7s and 8’s, but we need an A-4
-
Yep, reservations are now open. It’s gonna be a $450 kit, so if you want one, order now and you’ll save 20%. Thats a lot of money. No payment due yet, until production starts
-
Laminar Flow 1/32 P-51B conversion
Clunkmeister replied to Peterpools's topic in Modelling Discussion
A P-51B, model wise at least, is almost a complete new kit. Wing is different as well as the fuselage. -
Now we need a 1/16 Me.323 for that.
-
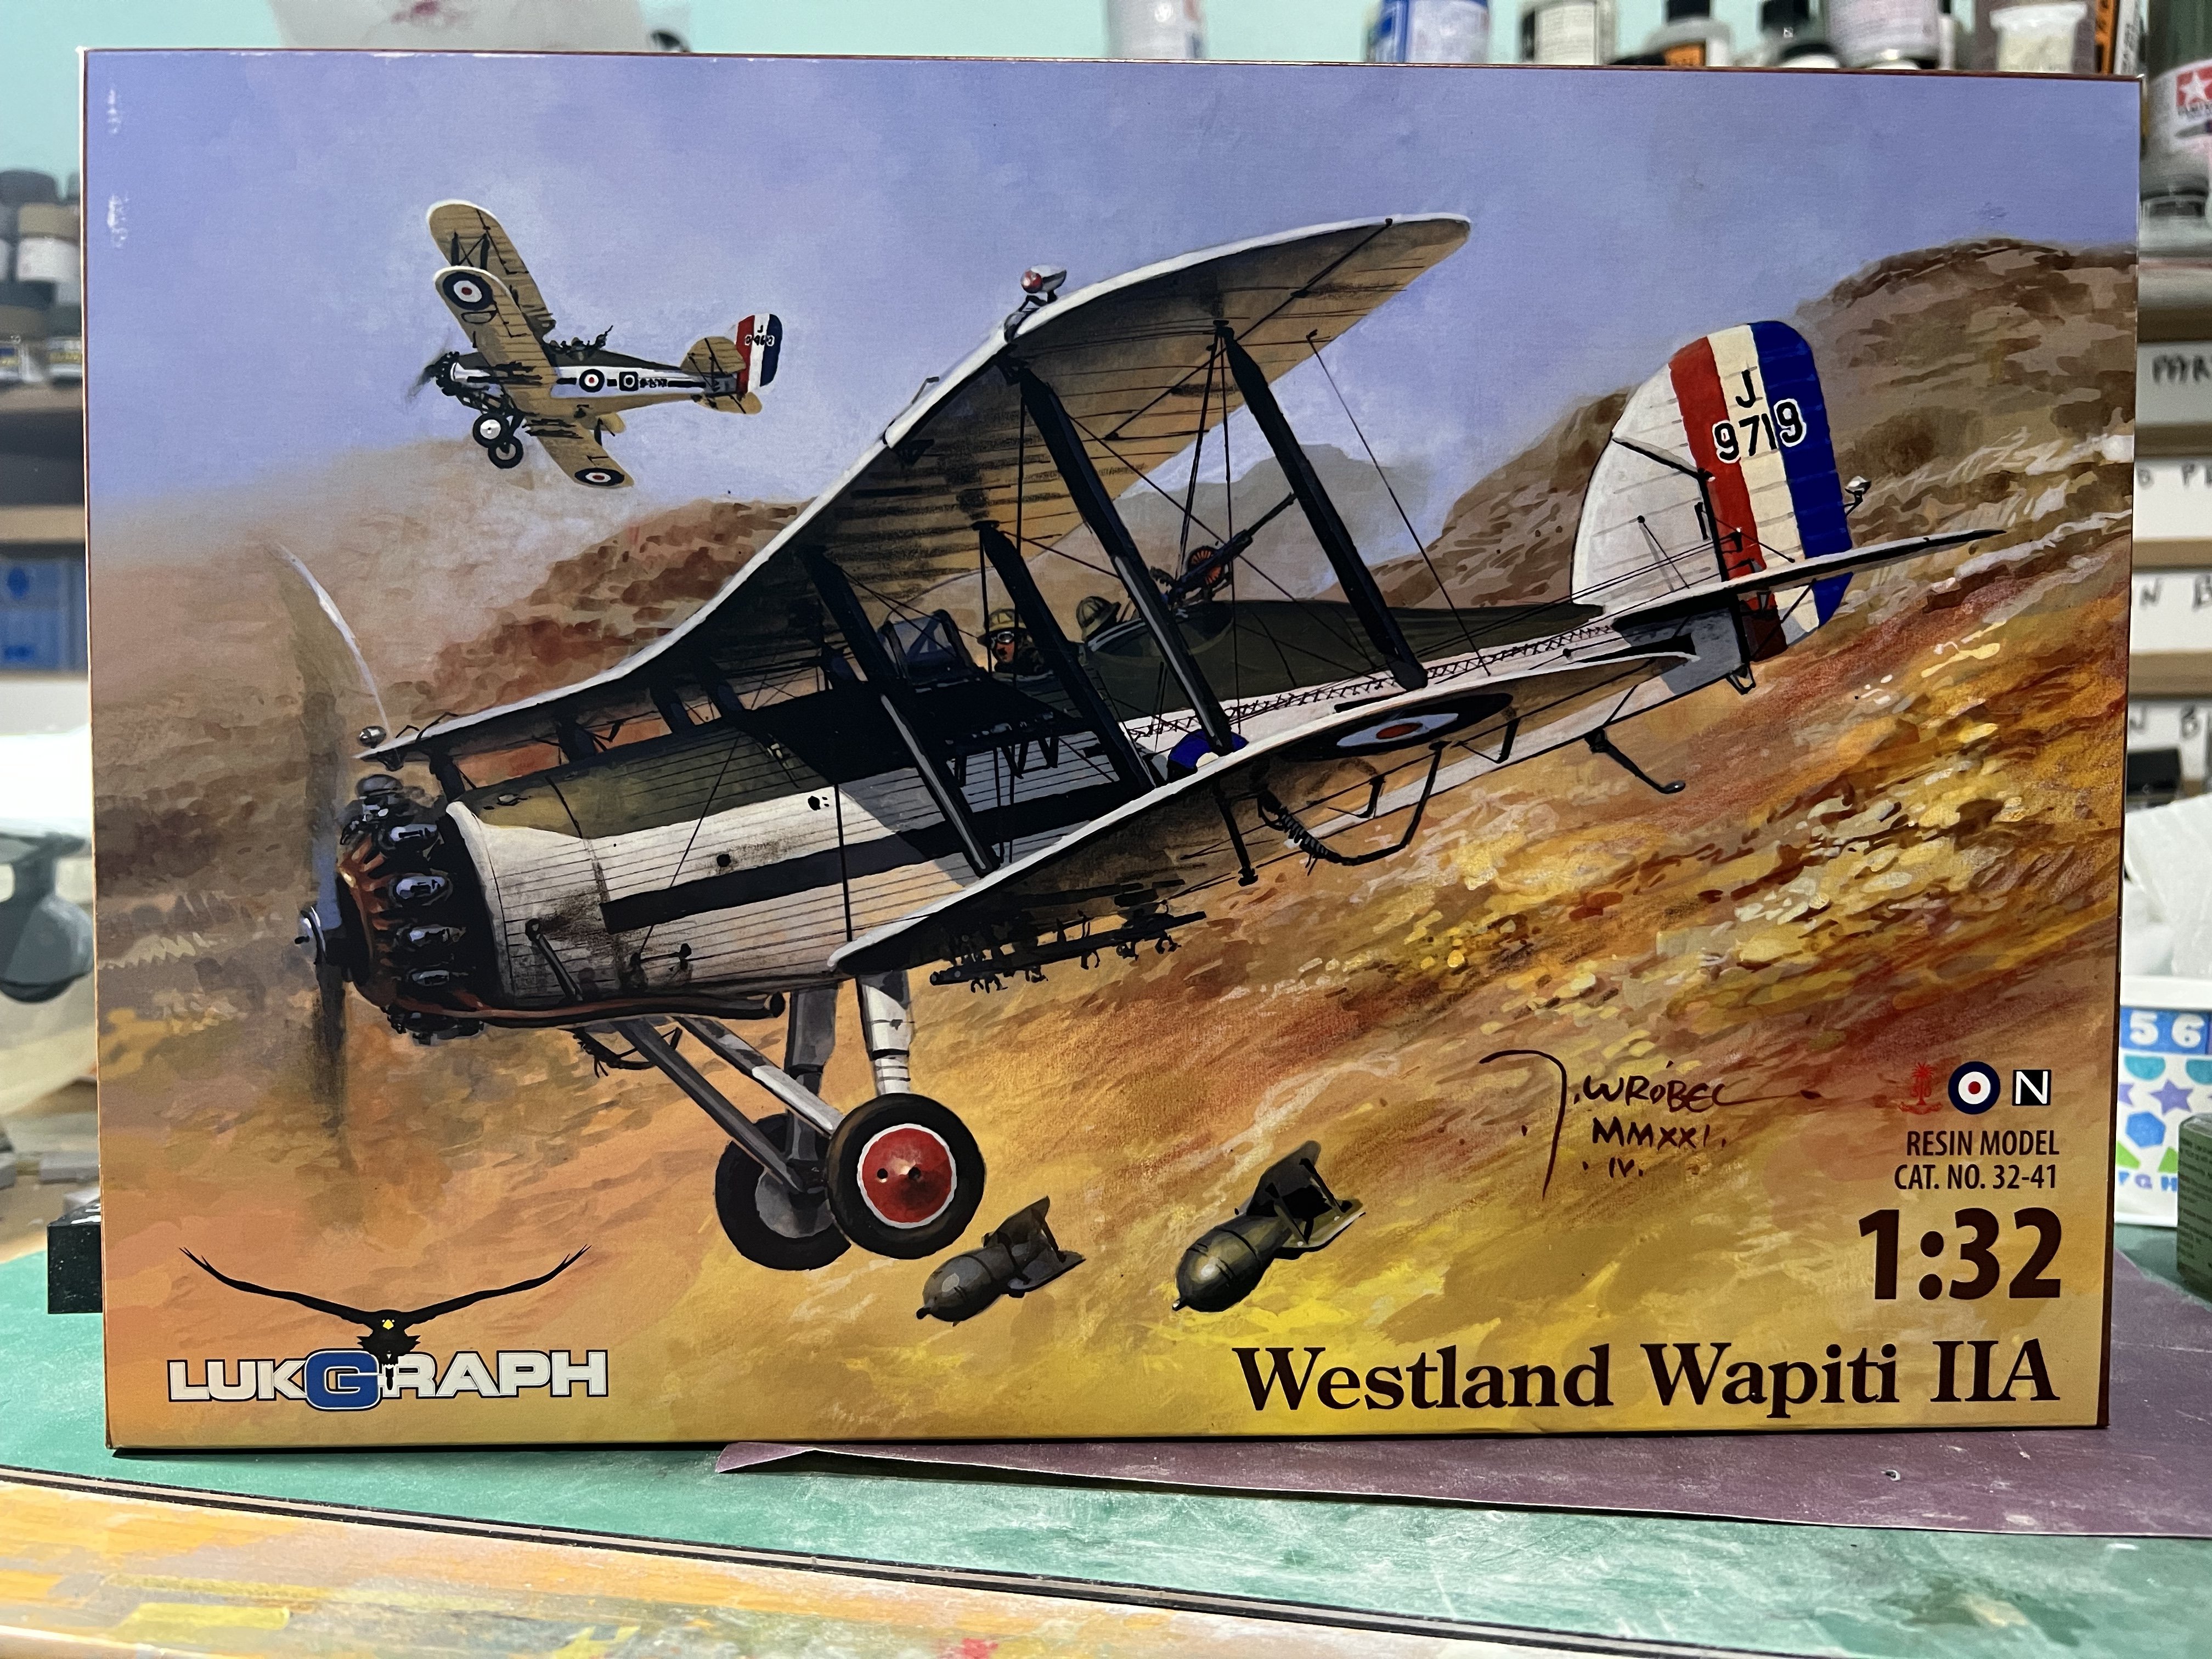
Every year, we here about the impending demise of large scale models. With Tamiya taking a break on them, and Hasegawa slow rolling new releases… But this year alone: Revell Hurricane llb ICM CH-54 Tarhe. HKM A-20 Havoc/Boston. Infinity Aichi D3A1. GWH Tomahawk. Airfix Spitfire Lukgraph Westland Wapiti And that’s just aircraft off the top of my head. Plus 1/16 armor coming out the ying yang. Yep, I’m happy. But hey, something’s got to go sideways. Maybe Border will announce all future aircraft kits in 1/35, and all future helicopters in 1/32. 😂
-
A-20 in at Sprue Bros. What a great year for 1/32!
-
Carl, I’m so incredibly disappointed in you, man. I’ve truly lost faith! THAT BENCH!?! I’ve never once seen you with such a criminally clean bench in all my days. It’s bleeding well spotless! How dare you! I find you guilty and hereby sentence you to permanent bench time until that bench is suitably cluttered with only a 10” spot left to build. 😂😂😂
-
Tamiya P-51D Early
Clunkmeister replied to Peterpools's topic in LSM 1/35 and Larger Work In Progress
Yeah I don’t see ZM ever doing a P-38, but I admit, I was surprised when Tamiya released theirs in 48. It would be amazing in 32, a d would certainly light my fire for Tamiya in a big way. -
Yeah it was certainly a tool used to keep the colonials in line
-
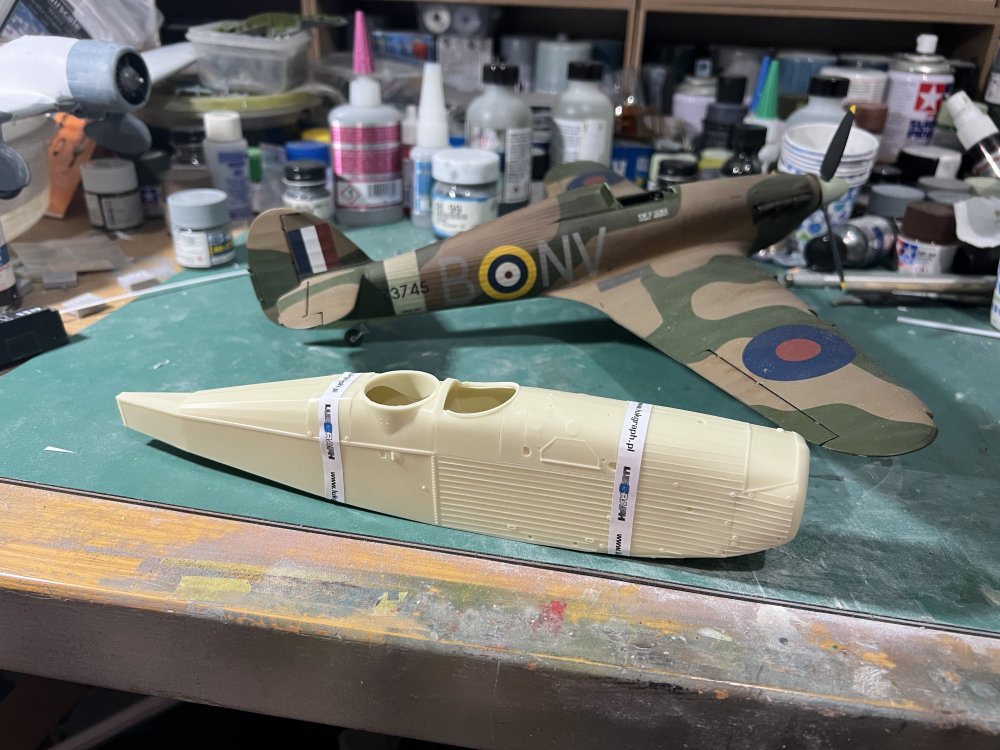
I think so, yes. They were all over the Empire, keeping His Majesty’s Loyal Subjects toeing the line. Quite honestly, I’m sure I know more than a few gentlemen my age or older from various parts of Asia Minor who most likely despise the sight of them as symbol of the heavy hand of The Crown. But, that’s politics. What I’m interested in is how it’s a great kit of an little, (ok, Never) modeled subject. And typical of what comes out of our two closely related Polish resin kit manufacturers, it is a gorgeous model. Łukasz has also really embraced 3D printing as a way to get crisper details from the multitude of small parts on a typical biplane kit. His approach I’d brilliant. It makes precise assembly easier for a modeler with limited skills with these, and reduces parts count greatly as well. Not really the right place for it, but a little blurb is doable. The Wapiti was basically meant as a “Better DH.9a”. A new half metal, half wood fuselage, air cooled radial engine, and wings and tail were standard wood parts nicked right off the DH.9a. Later production switched from wood to metal as well. The Air Ministry had specifically requested that proposals for the new design use as many standard “off the shelf” DH.9a components as possible. So it was evolutionary, not revolutionary. And as with the DH.9a, it needed long range, a good bomb carrying capability, defensive armament, and provision to carry spare wear items as required, such as wheels, spark plugs, oil and filters, magnetos, etc, along with basic hand tools to conduct repairs in the field. Finally gone was the critical but fragile radiator, pipes, etc for the Liberty V12. I can understand the wisdom of that choice.
-
This thing is HUGE! I’m looking forward to try my hand at this.

-
I have as well, and the price is right. That Squadron review’s music was kinda strange.
-
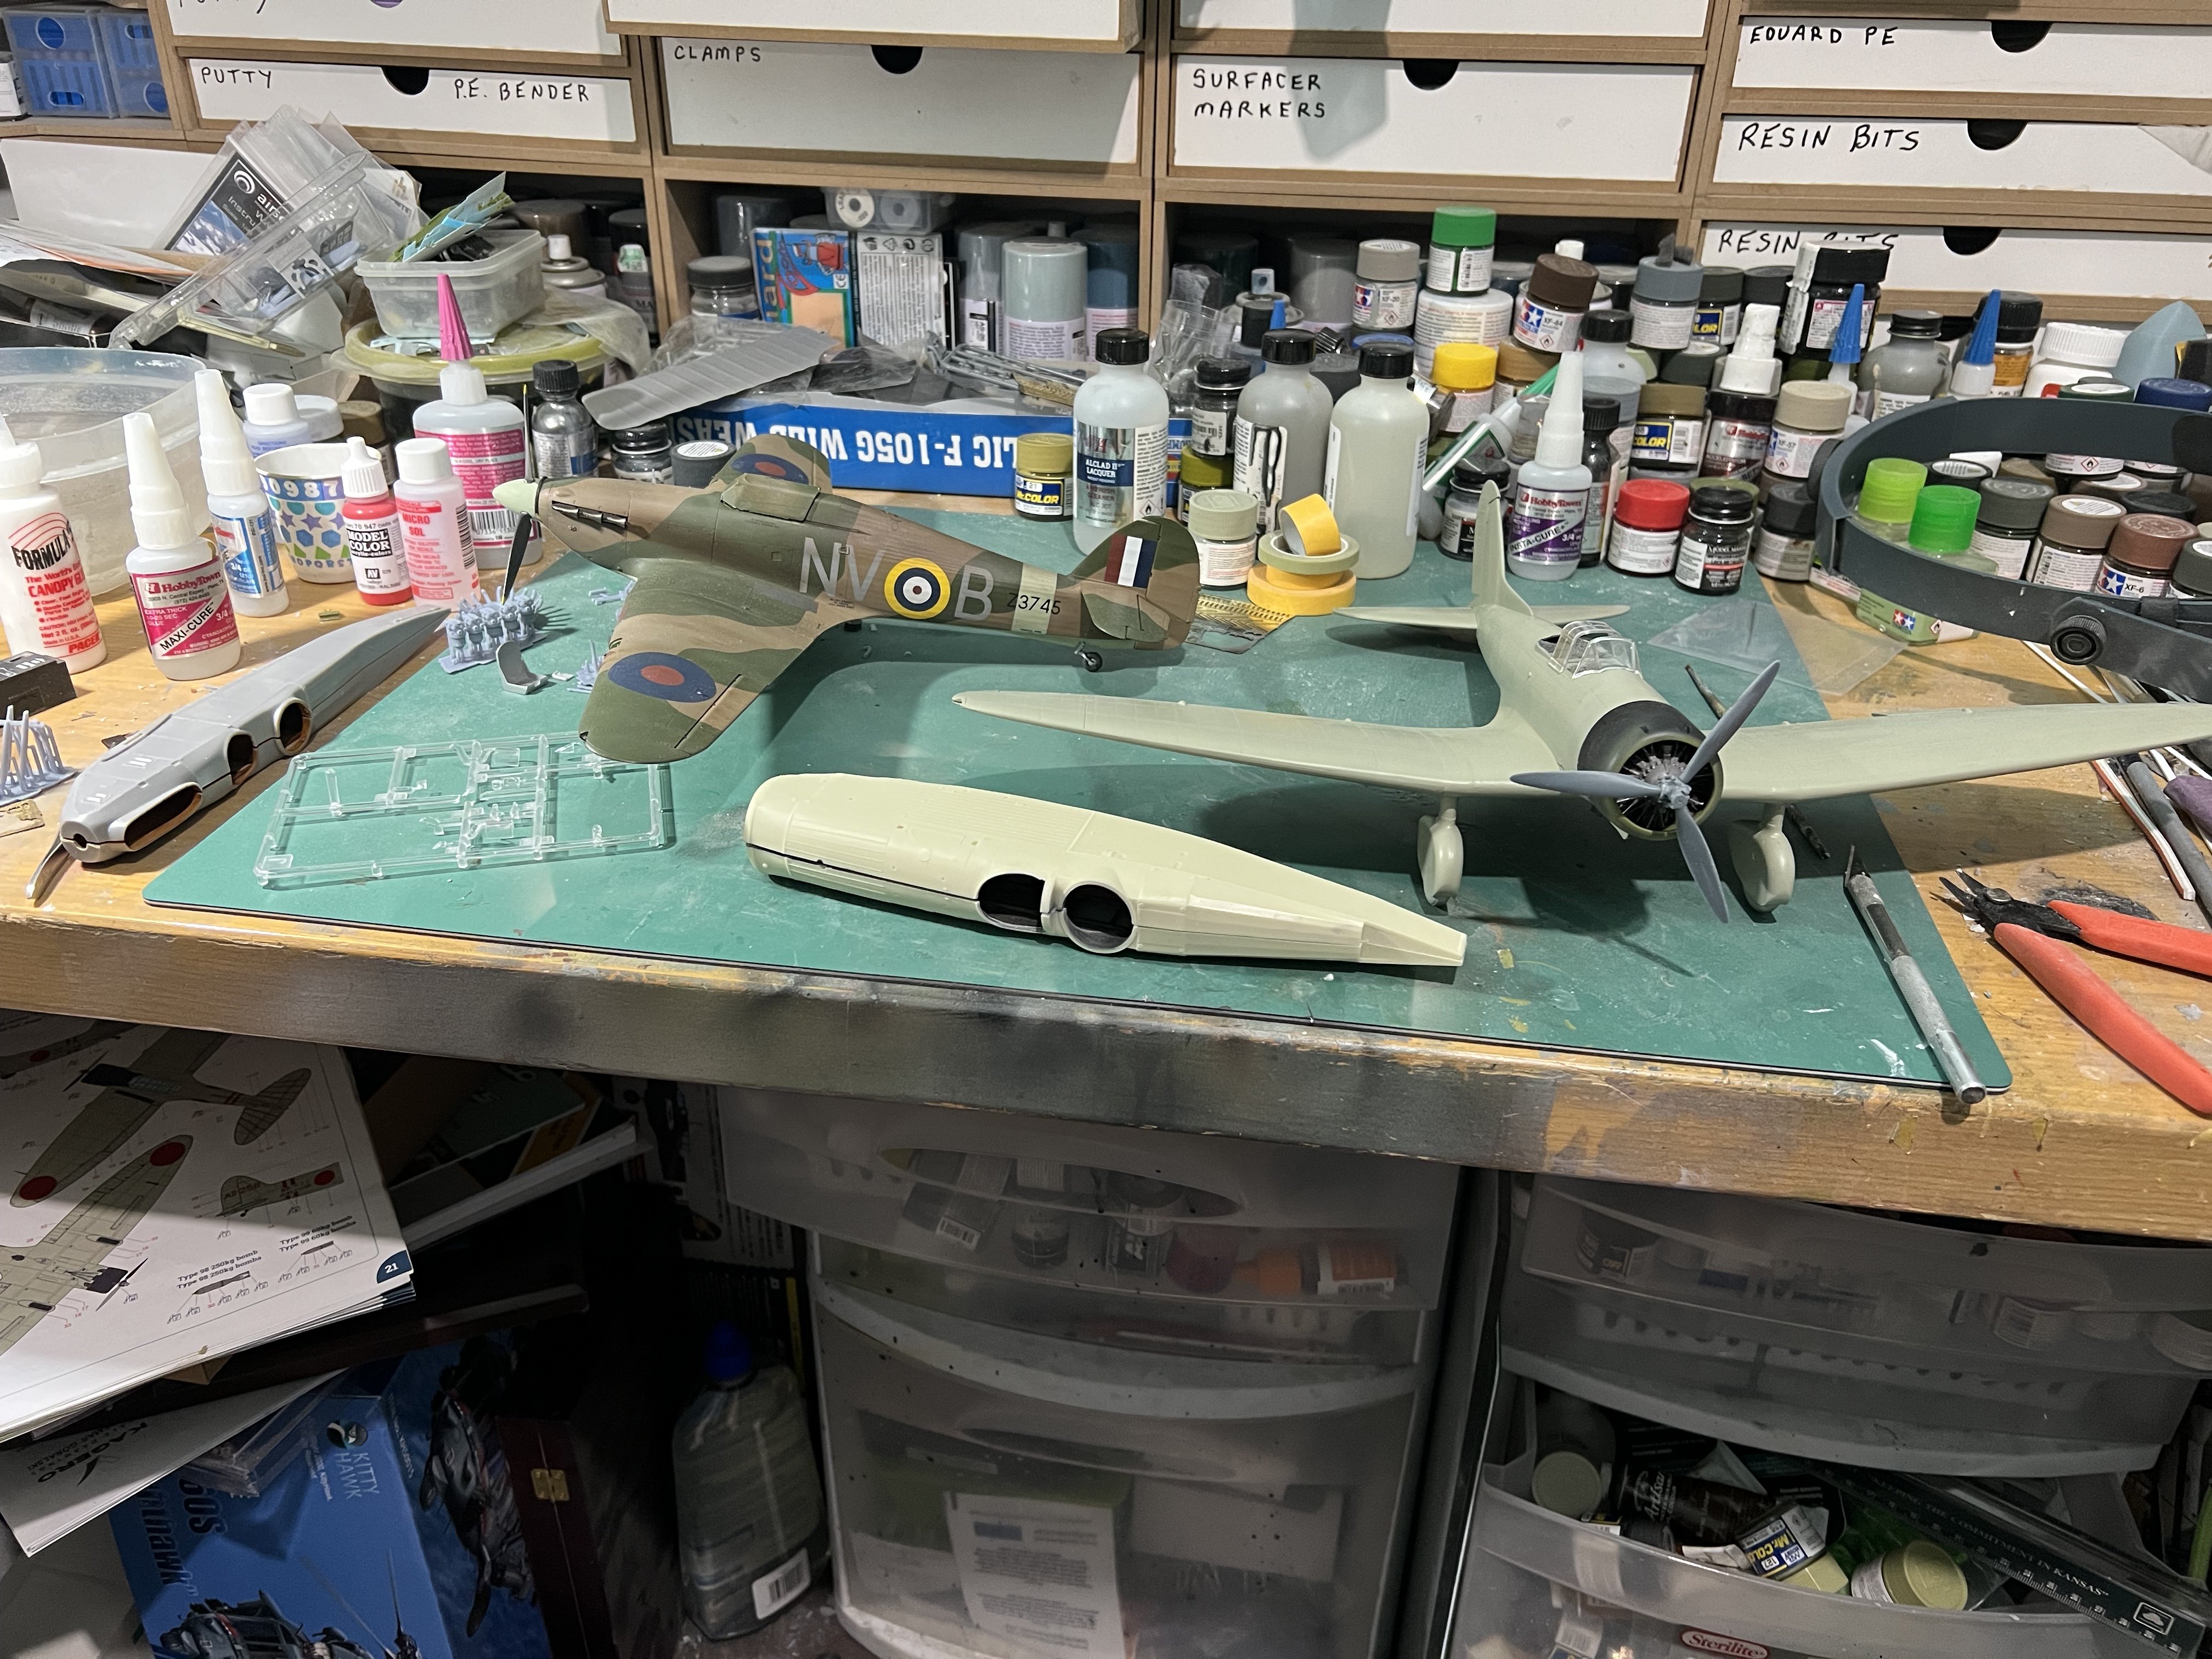
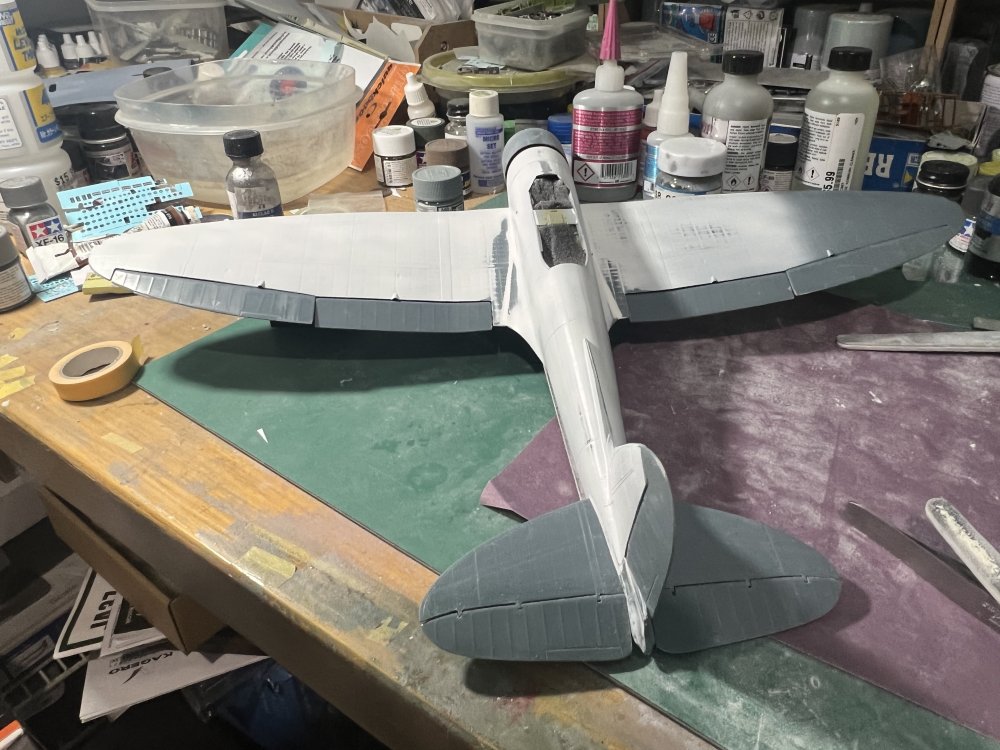
Back on the bench! Hoo Rah!


-
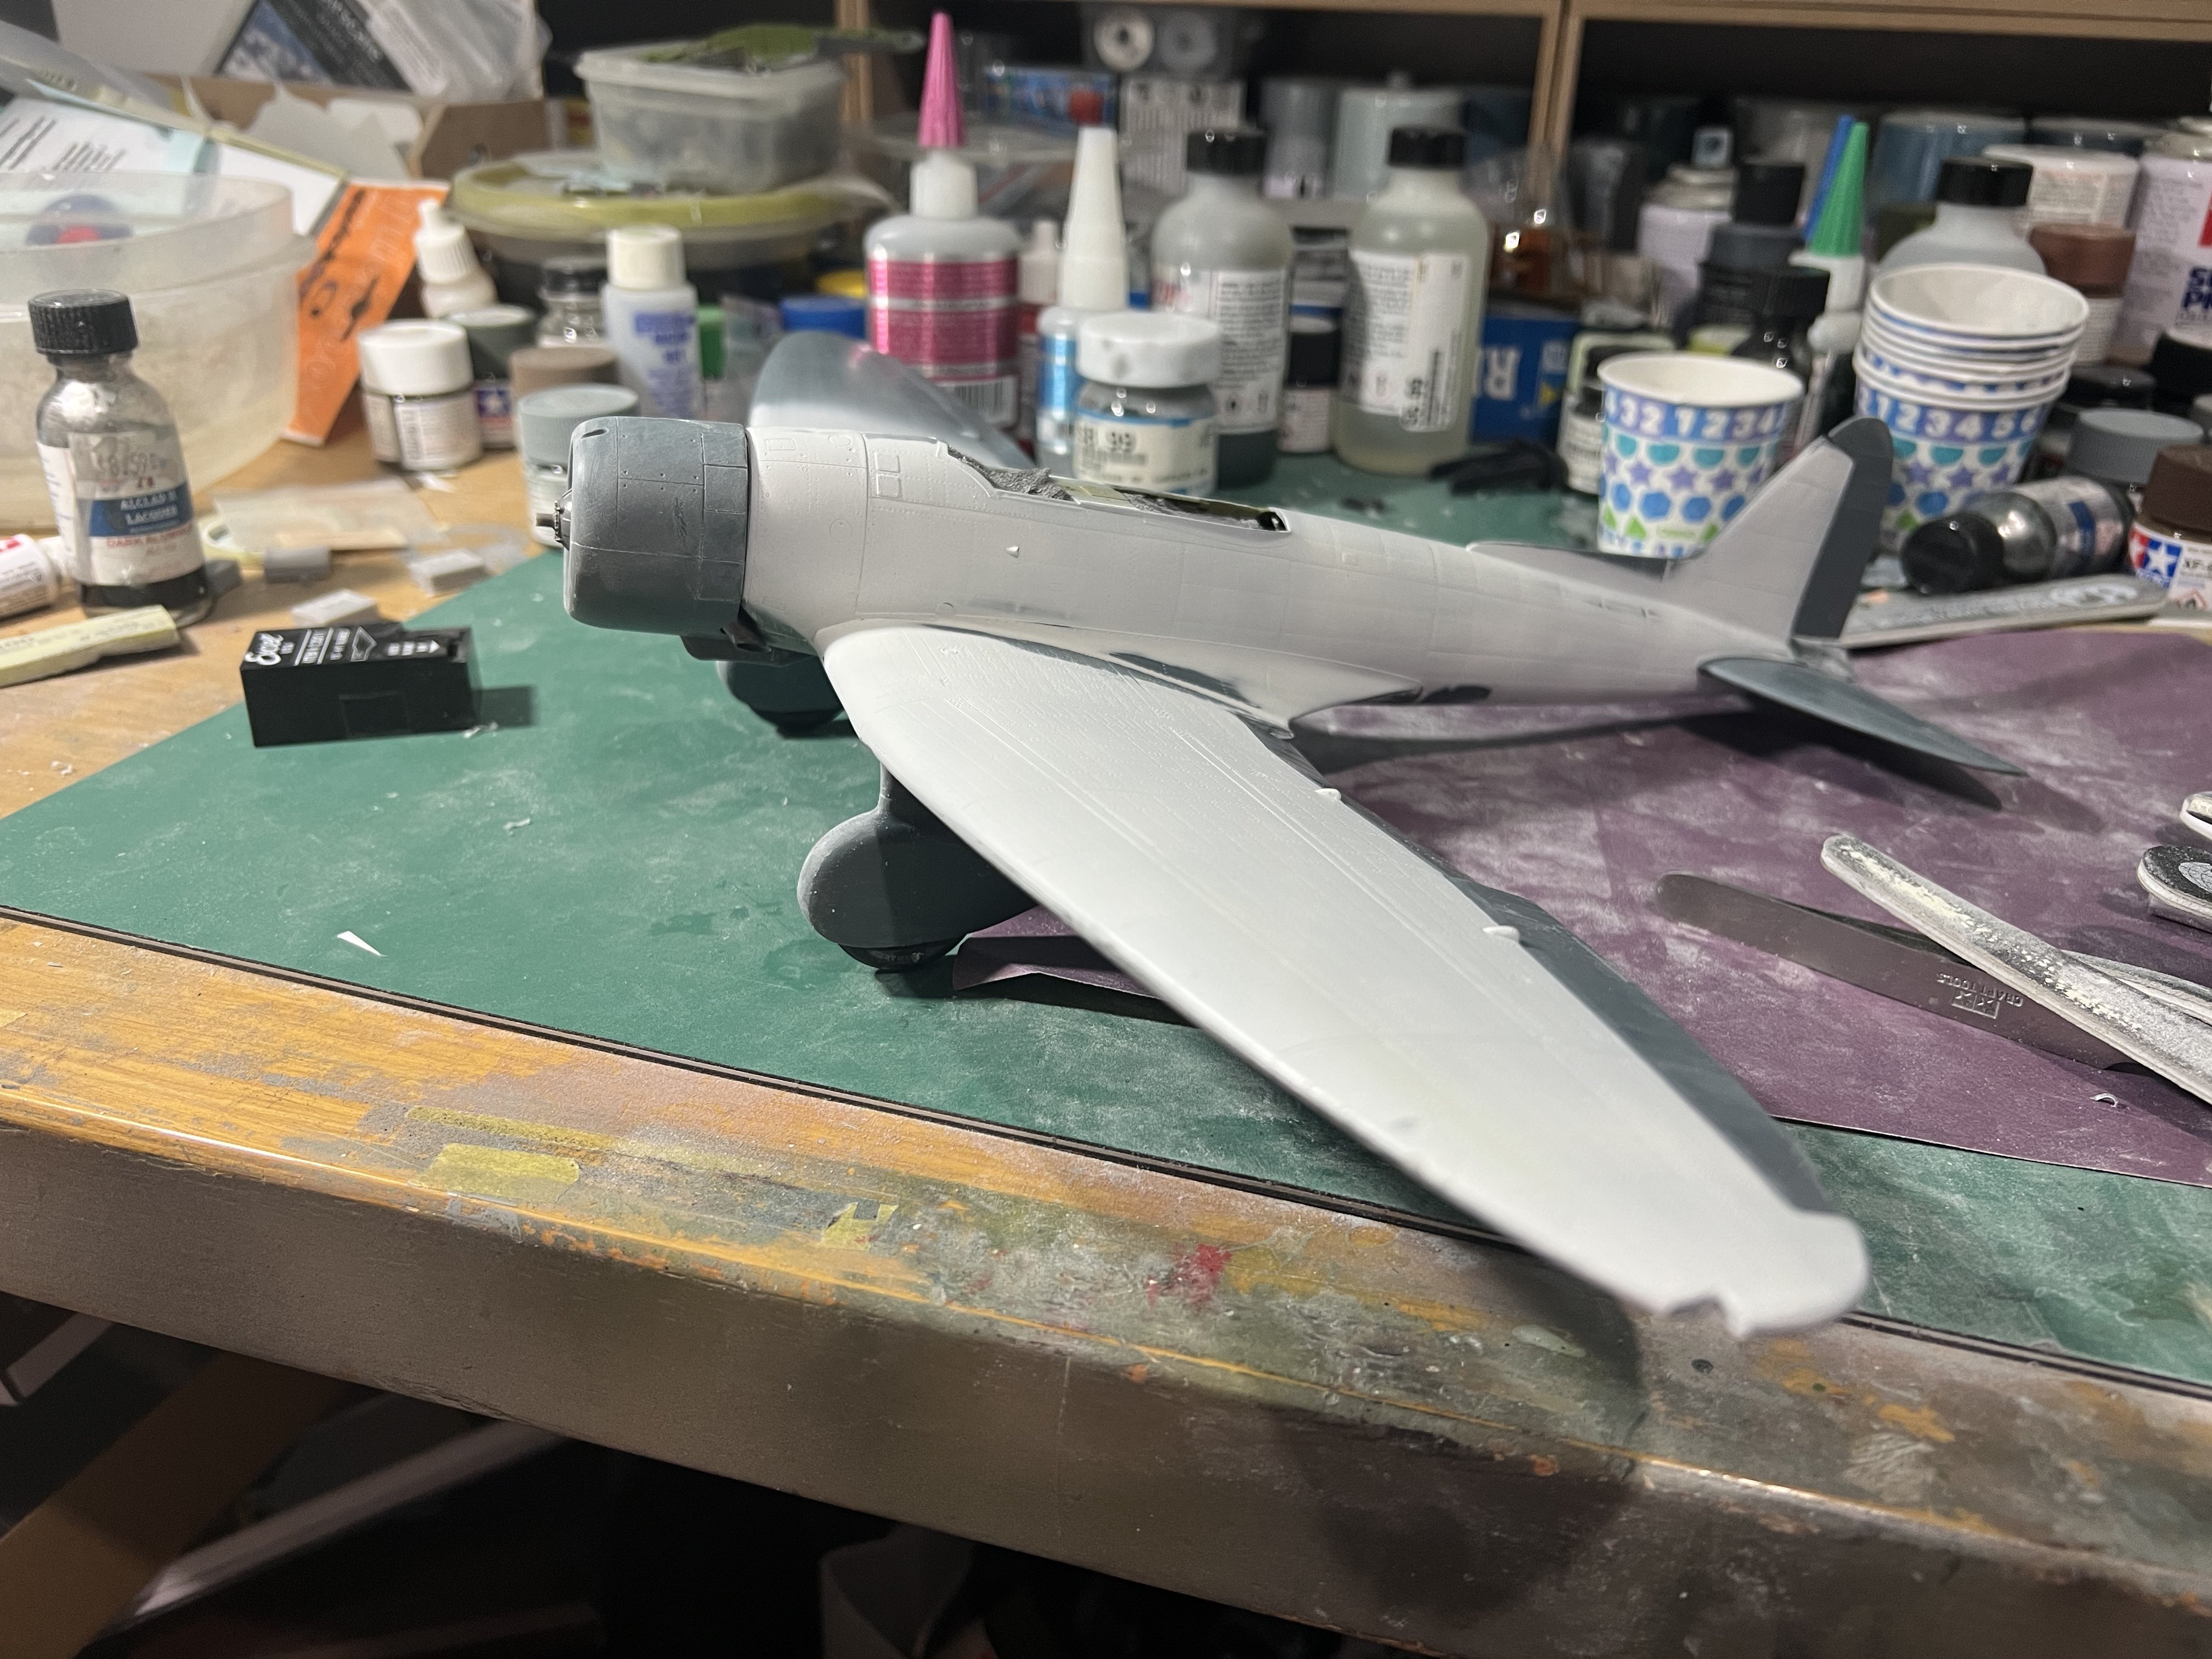
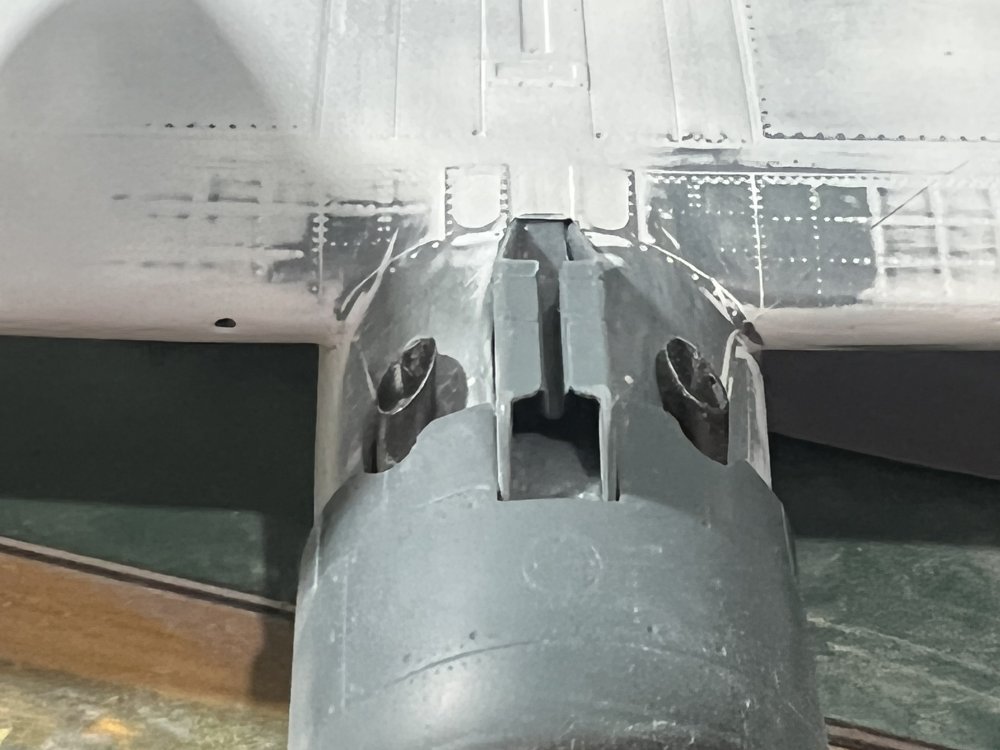
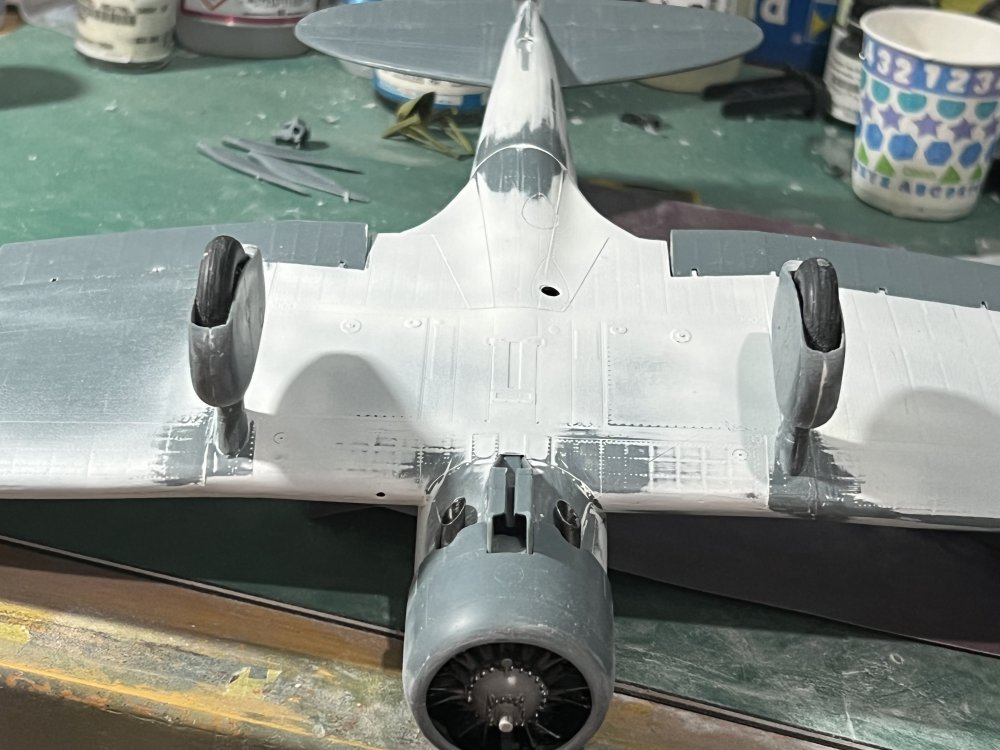
A bit of picking away at this kit.

-
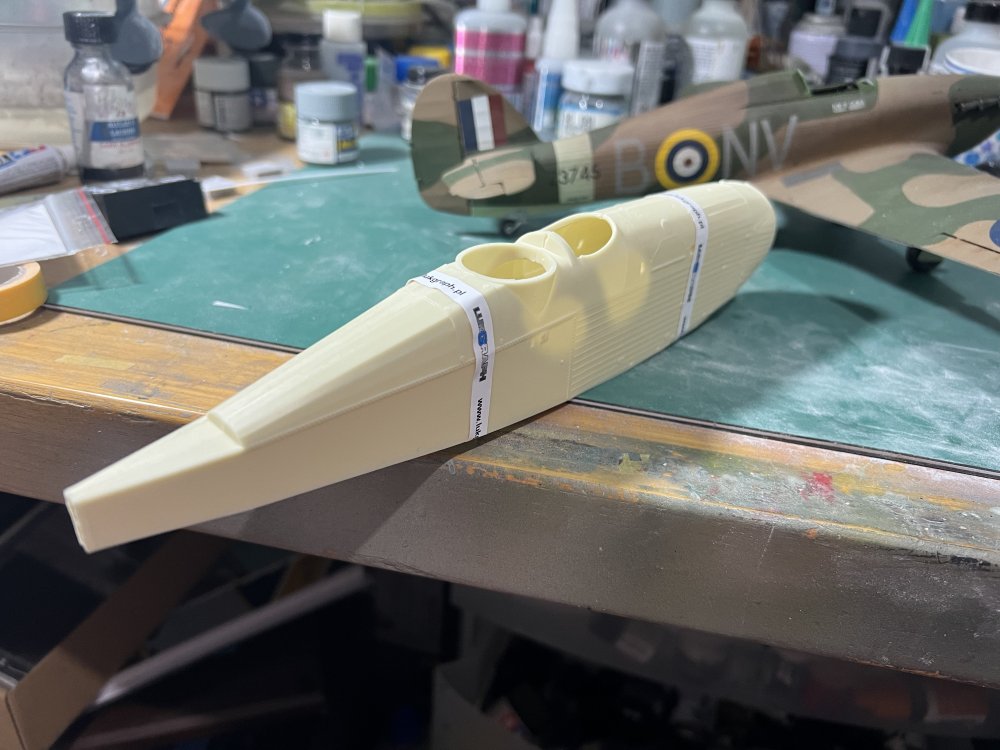
I thank you greatly for that comment. Sincerely. I’m glad some people enjoy it I try to write stuff a little differently than most, in other words, I ramble on. As an ex professional aviator, I have a passion for aircraft, especially oddball aircraft. I truly love adding a bit of historical fact, and even if the absolute facts are a bit murky, I’ll fudge the difference and state what was most likely. The absolute fact that the design team of what became the Aichi Type 99 or D3A followed the same engineering research papers as were used by Reginald Mitchell for what became the Spitfire is incredibly fascinating, and is an absolute fact. And very few people know that. The two types have much in common with each other despite being developed on the other side of the world from each other, and for quite opposite uses. I urge you to try one of these kits. It’s a fun build so far. My attention to detail is a bit odd. I firmly go by “if you can’t see it, it doesn’t matter” train of thought. I build closed up, ready for flight. I’ll open canopies, attach weapons, load belts into gun breeches, etc, but the access panels are closed. Mr Zoukei Mura must hate me 😂. I build what I can see, and ignore what I can’t.
-
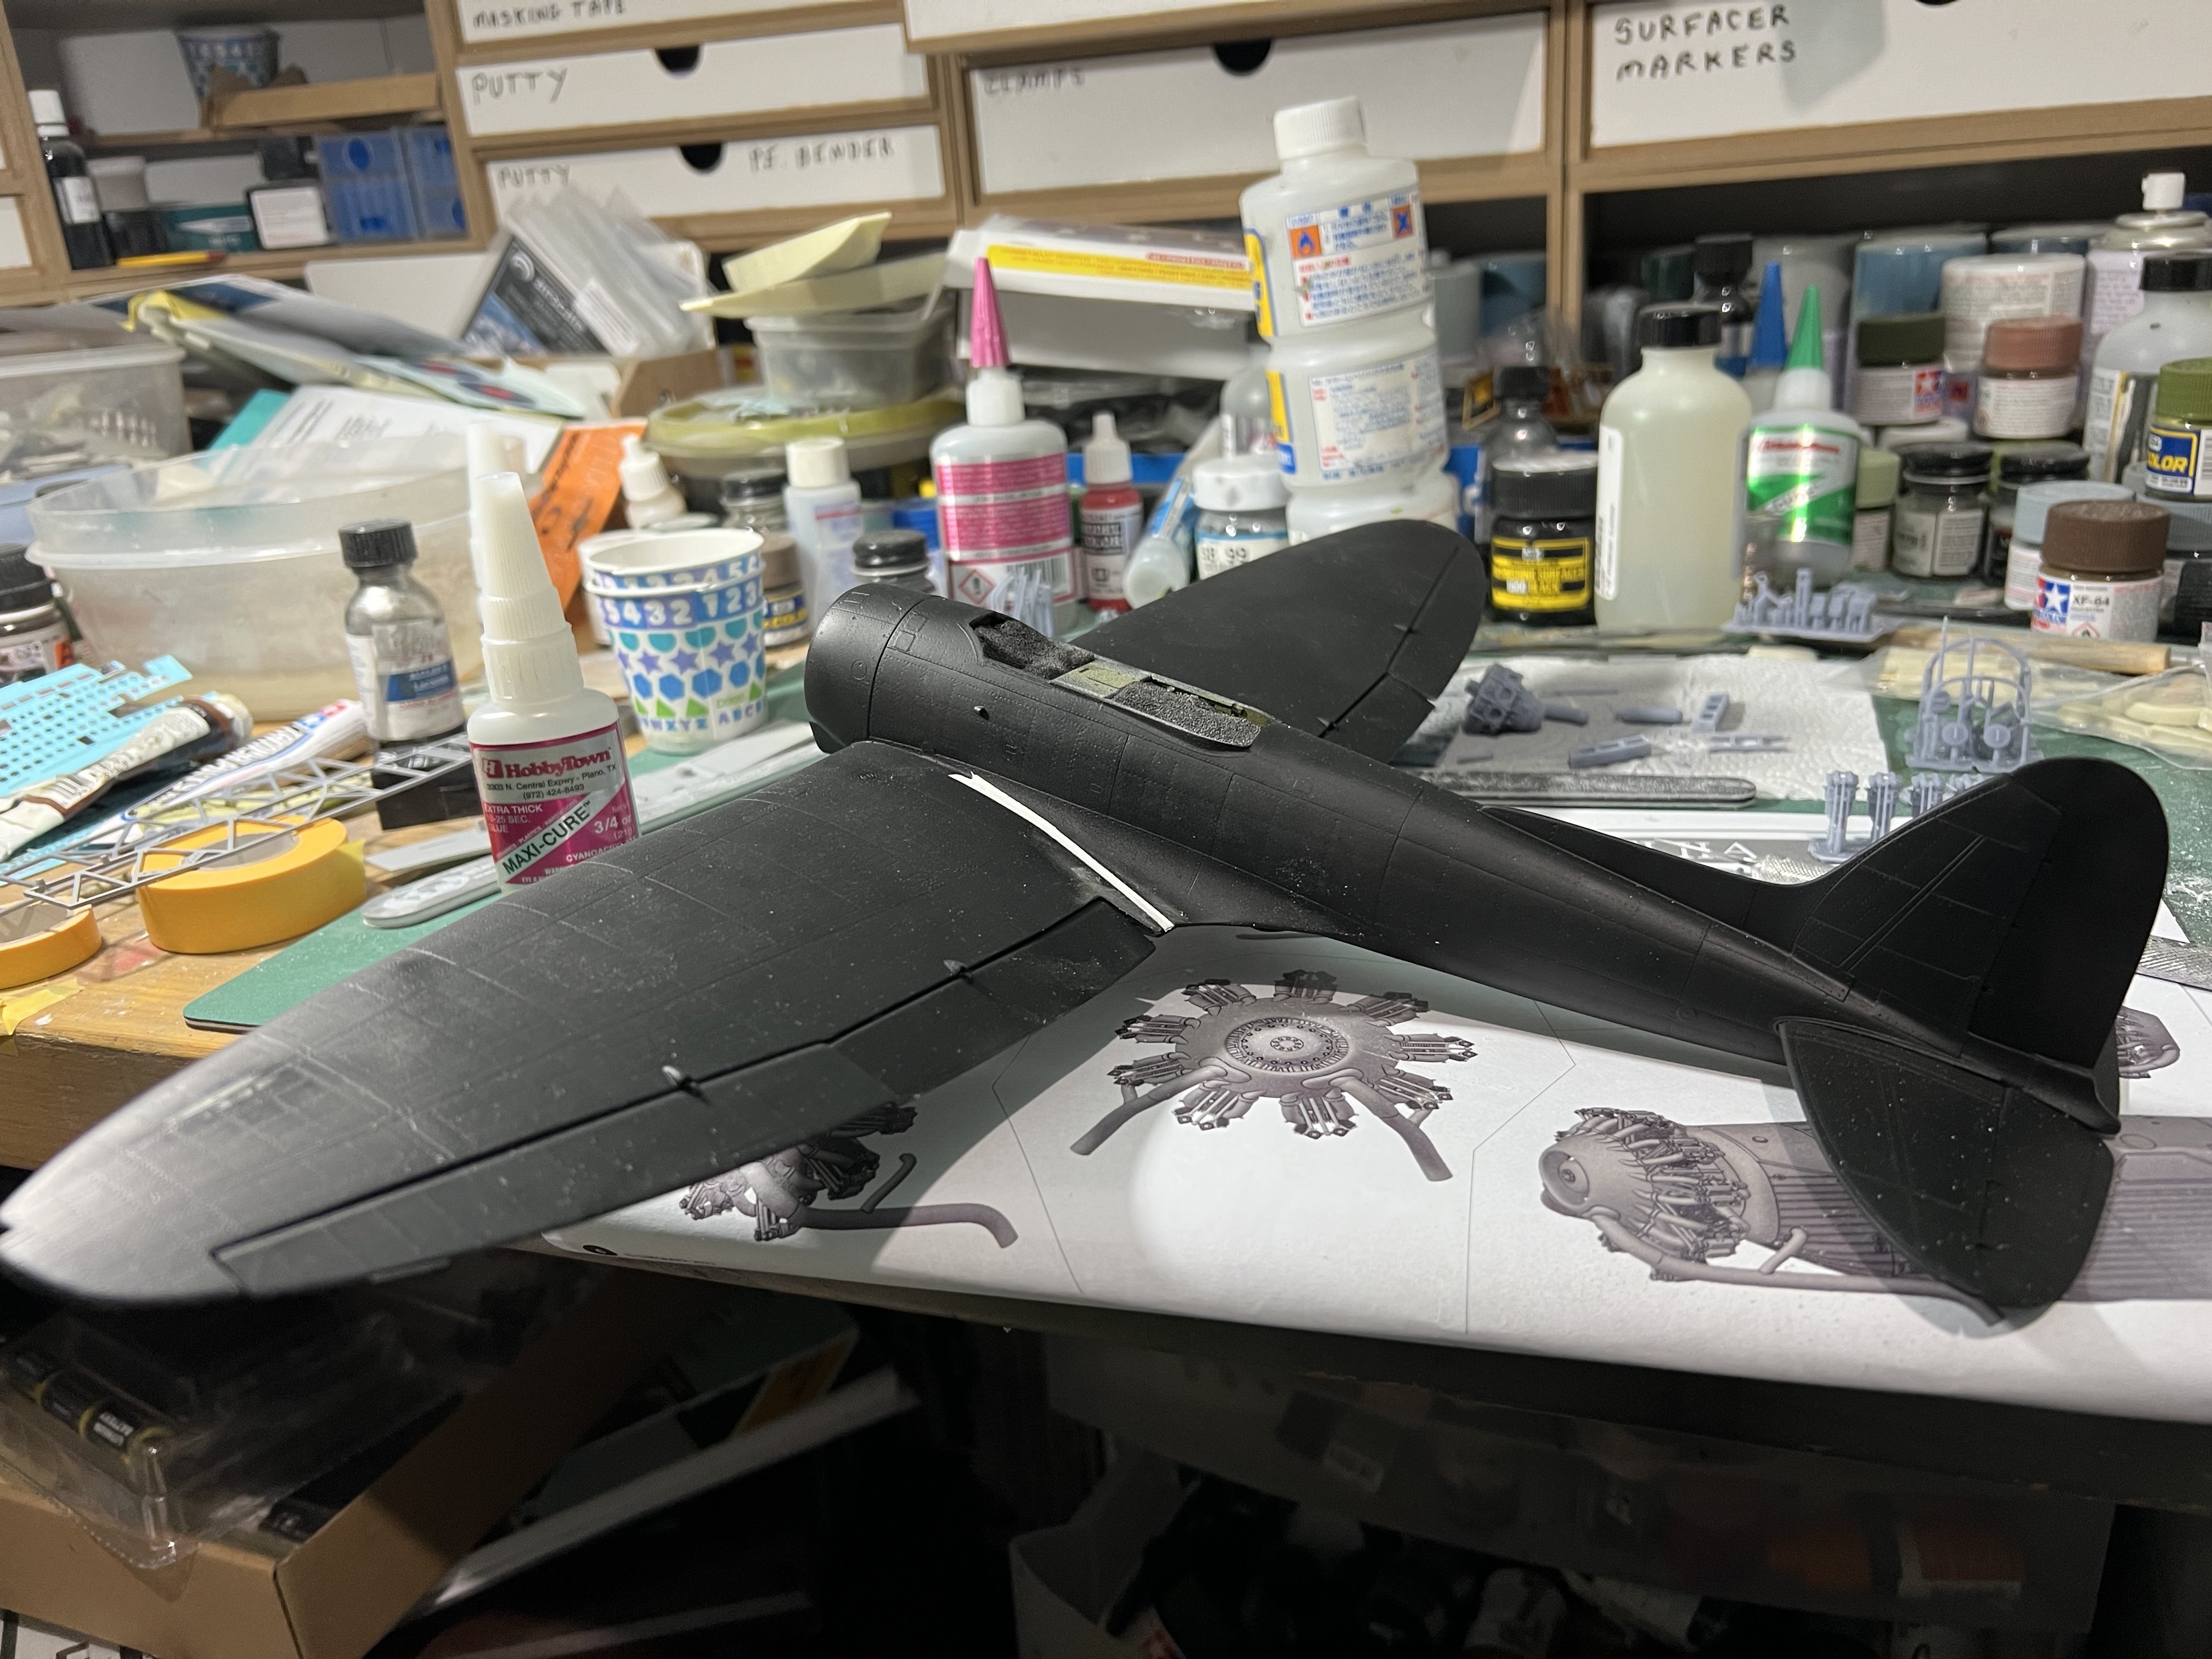
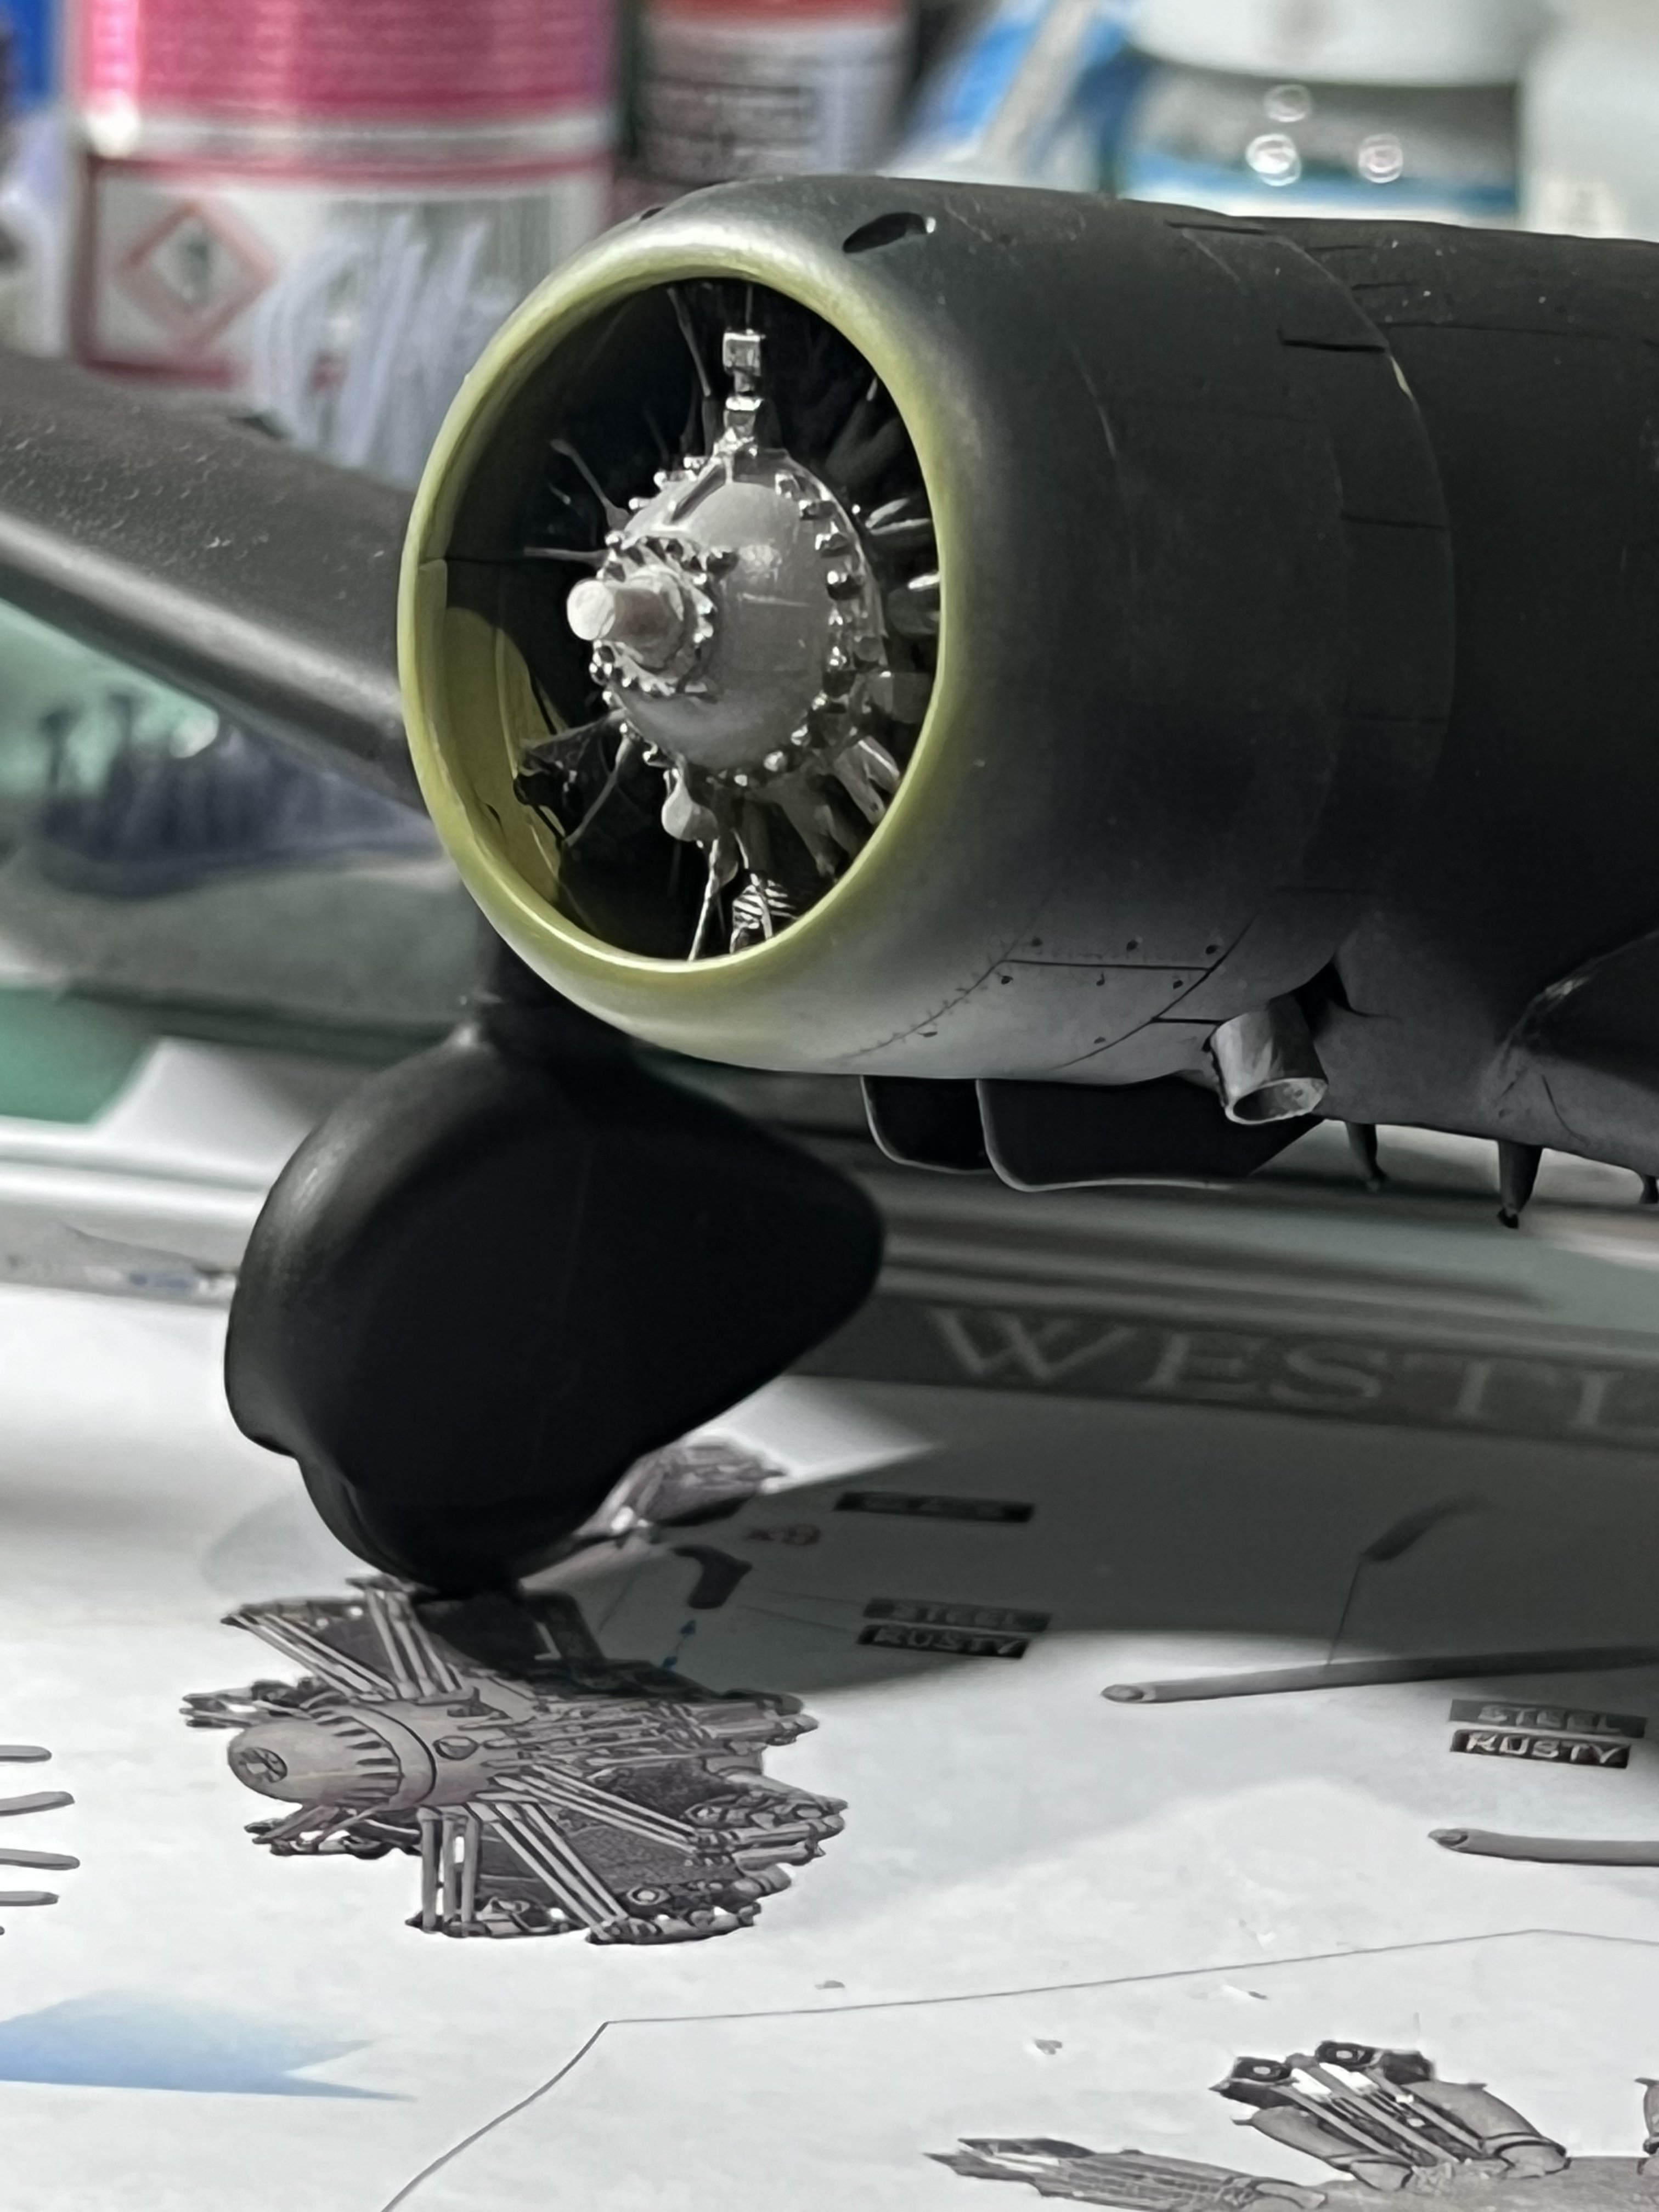
Everything’s a bit of a battle, but a great reward awaits. notice the convenient handhold for priming?

-
It appears that for now at least, we’re being spared the smoke in Texas. I’ve heard they’ve got half the Canadian and US bomber crews running 24/7, and fire crews from all Provinces and 35 States. It’s not for a lack of action, that’s for sure. Some crews, teams, and bombers have to be retained for local fires. I expect Australia will send some as well. Bot the US and Canada send crews there during our winters.
-
Tamiya P-51D Early
Clunkmeister replied to Peterpools's topic in LSM 1/35 and Larger Work In Progress
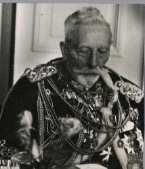
I’m not sure we’ll ever see a P-38 from a mainline Japanese manufacturer for one simple reason. Hint: he went to school at Harvard and took a road trip across this great land. And he never wanted to go to war with America.