
Clunkmeister
-
Posts
7,200 -
Joined
-
Last visited
Content Type
Profiles
Forums
Events
Gallery
Everything posted by Clunkmeister
-
 Nice build, Carl. Talk about a real Canadian icon!
 -
Tamiya Spitfire MkXVIe
Clunkmeister replied to GusMac's topic in LSM 1/32 and Larger Aircraft Ready for Inspection
Beautiful job! Gorgeous. -
Whatever happened to Dago Red? Always so very close.....
-
Nice solution John. It sure is looking great, though.
-
HK B-25J -double the fun
Clunkmeister replied to BlrwestSiR's topic in LSM 1/35 and Larger Work In Progress
Unbelievable Carl! Just gorgeous! -
1/24 Airfix Scale Mosquito build
Clunkmeister replied to PeteF's topic in LSM 1/35 and Larger Work In Progress
So let me get this straight... Pete here comes back to the hobby after what? 35 years? And he’s making many of us look like rank amateurs. Pete, seriously with my tongue out of my cheek now, this is bloody amazing work! I’ve talked to a couple other guys here who are real life aviators like us, and it sure helps when you live with a single airplane for several years and see the wear patterns and how they develop over time. That experience in itself does so very much to help a modeler create true to life realism. -
1/24 Airfix Scale Mosquito build
Clunkmeister replied to PeteF's topic in LSM 1/35 and Larger Work In Progress
That 1/4 scale Spit almost looks like an early enough vintage to have sported a two blade prop in actual service. great work on the Mossie, btw. -
Jerry Rutman P-51B build
Clunkmeister replied to Clunkmeister's topic in LSM 1/35 and Larger Work In Progress
Just sitting there with no glue, so I’d say that for a really old resin kit, once trimmed up, the fit is bloody perfect. Taking the time to get this right NOW saves all kinds of grief later. Yes, I know the cockpit coaming needs work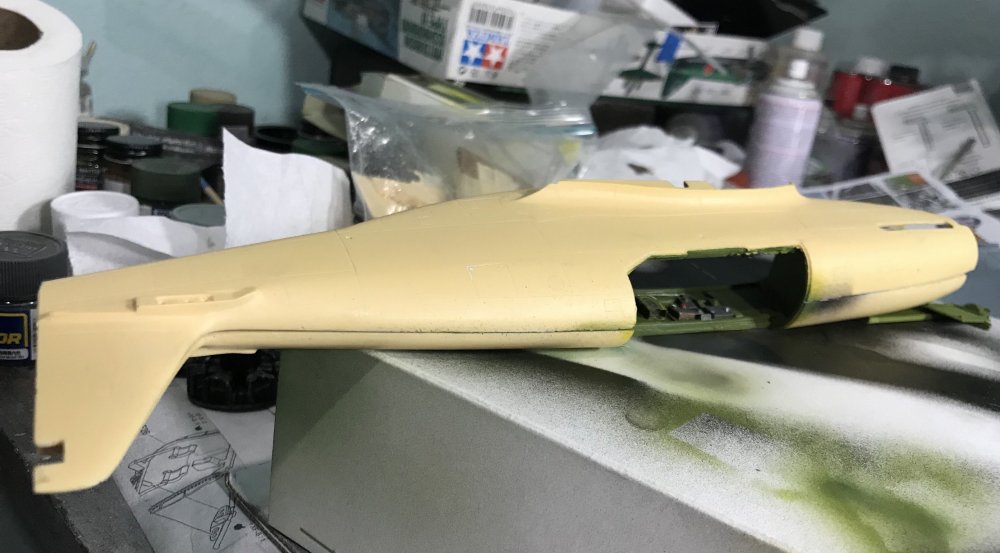
-
Yeah but Karim, 1to1, Vandy, and others weren’t there.
-
Jerry Rutman P-51B build
Clunkmeister replied to Clunkmeister's topic in LSM 1/35 and Larger Work In Progress
Back in The bench today And we’re getting somecactyalminterior work done. Its still a bit bare but its getting better. Much wiring And cabling to add. Ugh! Tone down that brown,... check. Done.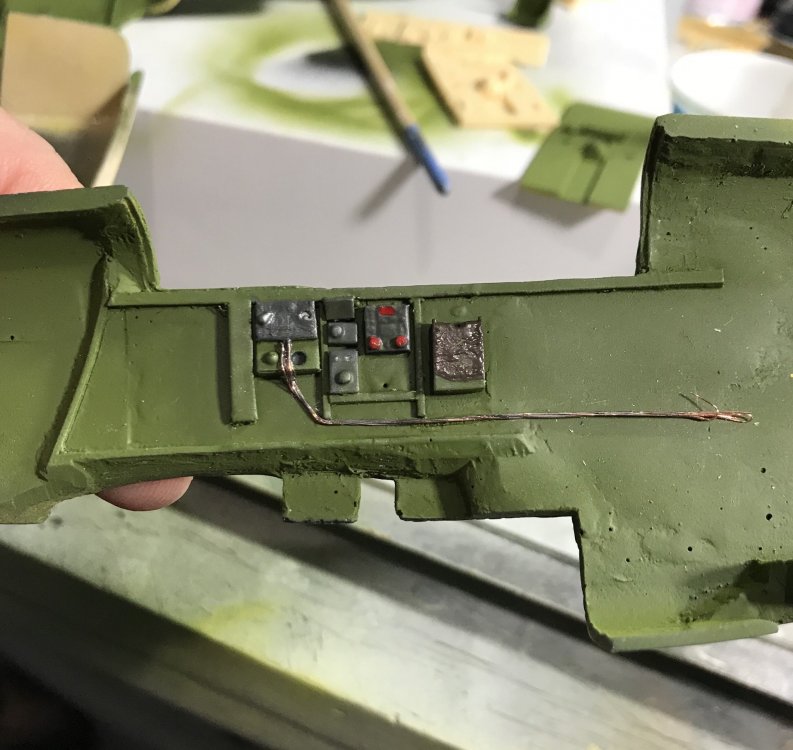

-
The gang’s all here! i can’t remember the last time I had such a big, stupid grin on my ugly face as I do right now. Now we build, we party, and we have a grand ol’ time!
-
Shane, you lucky dawg! Next year for me
-
Got a package from Russia today...
Clunkmeister replied to Clunkmeister's topic in Modelling Discussion
Yup. I believe in supporting those who make good stuff. -
Wingnut Wings Felixstowe
Clunkmeister replied to Clunkmeister's topic in LSM 1/32 and Larger Aircraft Ready for Inspection
Same thing here. I was baggage room limited in Phoenix this year. -
Karim, LOL! Look8ng forward to your builds here.
-
Wingnut Wings Felixstowe
Clunkmeister replied to Clunkmeister's topic in LSM 1/32 and Larger Aircraft Ready for Inspection
Phil, I used a combination of Gaspatch, RB, and Bob’s Buckles. Mostly Gaspatch in the visible areas because they’re very 3D. I used 2 lb Maxima monofilament line for all structural rigging, and EZ Line for control lines to the tail. -
THAT’S hilarious!
-
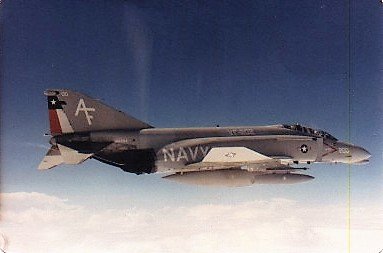
Slovak Air Force is buying F-16 block 70/72
Clunkmeister replied to Martinnfb's topic in General Discussion
As much as I’ll miss the Mug-29s, these are a definite step up from a command and control perspective. As a modeler, I love the cool Mugs, but as a military guy, this makes all the sense in the world. -
And the gang’s all here! Good times again!
-
Karim!! WElCOME, my Brother! 6ou just made my month by coming over here! OK, I’m doing the happy dance.
-
Decals in 1/32 , what would you like?
Clunkmeister replied to Martinnfb's topic in General Discussion
Martin, you know I’m all on board with Soviet subjects. I like “oddball” stuff, and Soviet flown US aircraft make some very cool subjects. La-5 and La-7 as well... I’d also like to see some expanded options for the L-39 and even the L-29 Delfin. The L-39 especially is iconic and is in every corner of the world, including all over the place in the USA, and there are so many cool schemes. Even the civilian schemes. And B-24s as well. With the Hobbyboss kits on the way, we’ll need decals. -
I’m working the back channels, Peter, so I’ll see what I can manage.
-
Got a package from Russia today...
Clunkmeister replied to Clunkmeister's topic in Modelling Discussion
Yeah, I bought 8!!!! Sets of P-51 flaps. I figured I’m good for 4 or 5 plus a buddy might want a set. The 109 stuff is superb, and the Su-35 set, well I have the perfect spot for it: on the back of my Su-35 -
Jerry Rutman P-51B build
Clunkmeister replied to Clunkmeister's topic in LSM 1/35 and Larger Work In Progress
Thanks Carl, it's coming along nicely, actually. I spent many hours fitting the main airframe before starting construction, so I expect it'll be just fine. It's definitely a Craftsman kit, no doubt, but the results are truly amazing when done. -
Jerry Rutman P-51B build
Clunkmeister replied to Clunkmeister's topic in LSM 1/35 and Larger Work In Progress
Well hey there! Yup, it’s been on my to do list for quite awhile. I want it ready for next year’s Nats Welcome to LSM, man! It’s getting to be like old times here! You’ll love it here. Not as busy as TOS, which is good in many ways. Everyone’s laid back here, no BS, no getting stomped if your views ain’t inline with those that matter. In other words, I bloody love it!!!


