DocRob
-
Posts
7,042 -
Joined
-
Last visited
Content Type
Profiles
Forums
Events
Gallery
Everything posted by DocRob
-
Keep your gun loaded, now that it's public, they will come for you. And the scalpers won't take the cars . Cheers Rob
-

RCAF Liberator GR Mk VI
DocRob replied to BlrwestSiR's topic in LSM 1/35 and Larger Work In Progress
Great work on the big bird, Carl, I just love these North Atlantic schemes and your mask and airbrush work is absolutely fantastic. Cheers Rob -
Happy Birthday Carl and all the best wishes for you and your family. Cheers Rob
-
Pz.Kpfw.I Ausf A - Dragon 6356 - 1/35
DocRob replied to Bomber_County's topic in LSM 1/35 and Larger Work In Progress
Copy Gary in all aspects. Cheers Rob -
Nice toes by the way Bill . I use the Flory washes since two years and really like them. I found Tamiya's panel liner to aggressive sometimes, especially with Future / Klear / Pledge. I liked the effect on my WWI builds a lot, where I used Aviattic decals, which have a hint of a woven structure. Perfect Plastic Putty worked well for me in the last years too, it dries up fast and is good to sand. Cheers Rob
-
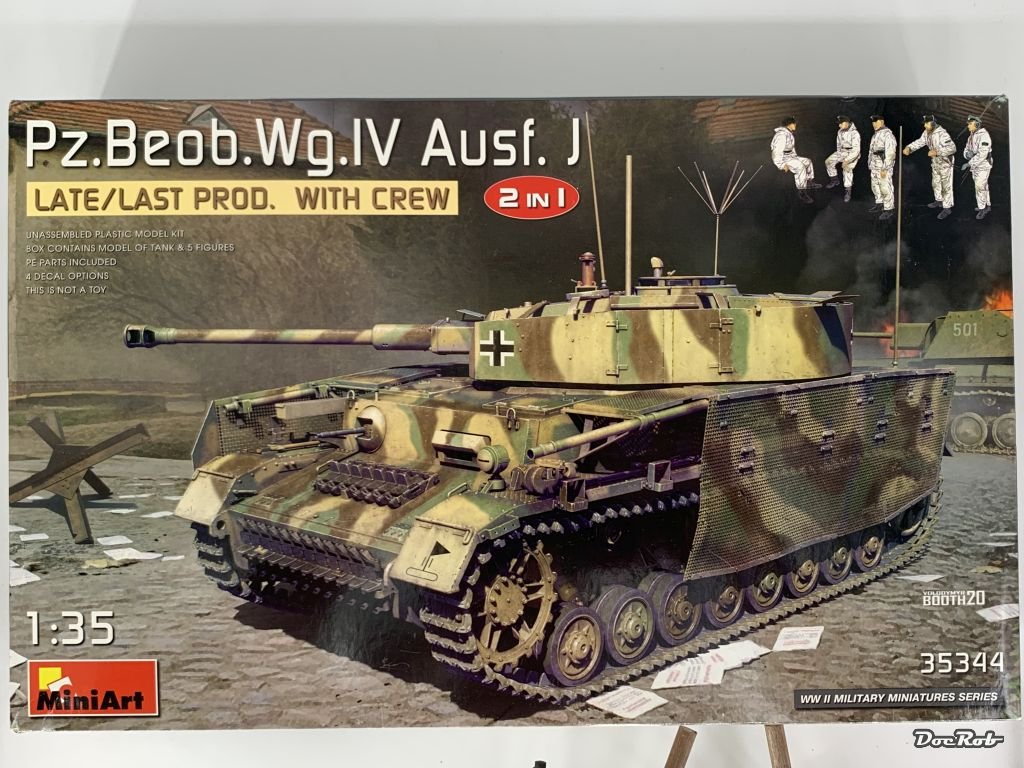
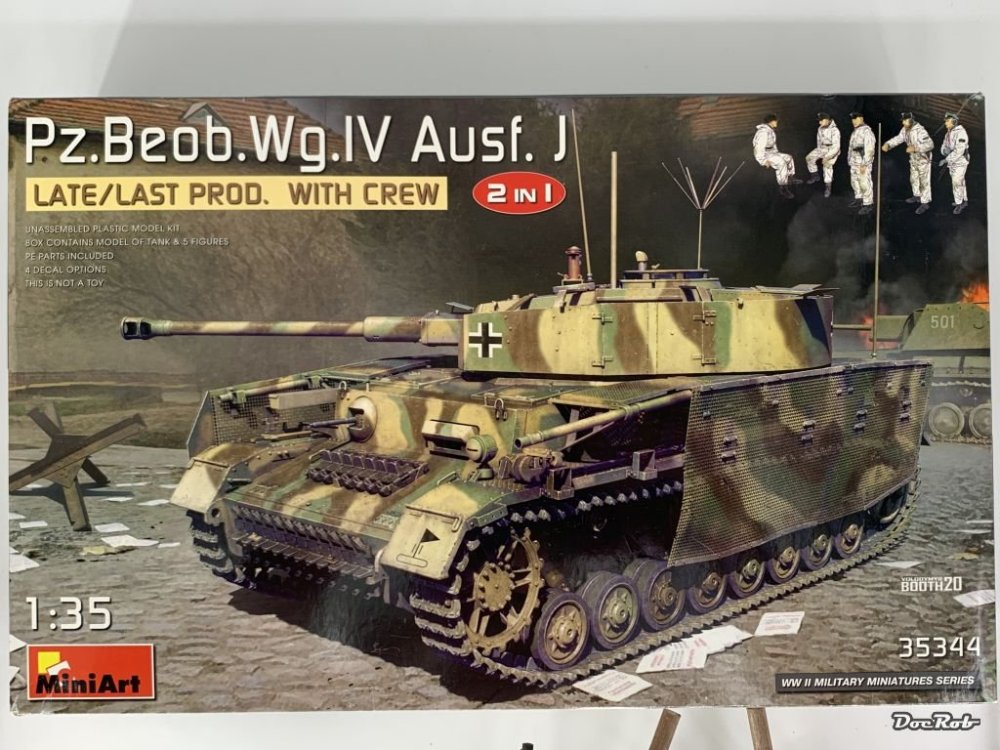
Just received this one, a very late PZ. IV. with Thoma Schürzen and winter clad crew from Miniart. The box is crammed full with parts and there is a lot to like about the kit. Workable tracks, extensive PE sheets, a one piece barrel and the crew. No need for extras on first sight. Cheers Rob
-
AH-1G Cobra 1969
DocRob replied to Rod Bettencourt's topic in LSM 1/32 and Larger Aircraft Ready for Inspection
Great build, great paintjob and weathering and like the others say, the outdoor pics look so real. A deep point of shoot helps a lot for realism. Congratulations on that beauty. Cheers Rob -
Very nice Lanc Mark, an out of the bi´+ox build of a well designed kit can be balm for the nerves after demanding builds with PE-warfare and tons of resin dust. Cheers Rob
-
Wrong questions Gary, does the paper thin fragile construction of modern cars take the recoil? Are your wipers able to clear the spent shells? Cheers Rob
- 2,035 replies
-
- 6
-

-
- car related stuff
- anything about cars
- (and 6 more)
-
I'm using my Japanese grindstone to re sharpen my blades. One side for grinding and one for honing. After that, the blades are sharper than factory fresh. Cheers Rob
-
BTW, I read in February in the Modellbaukönig blog (a very large German HS, normally well informed), that Bronco models stopped / 'paused' their production. Is that confirmed? Clearance Sale – Bronco Models (modellbau-koenig.de) Cheers Rob
-
Revell is releasing a new variant of their Me BF-109 G series in 1/32. This time it's the G2/G4 version. Messerschmitt Bf109 G-2/4, Revell 03829 (2022) (scalemates.com) Cheers Rob
-
I do, earning money, I guess . I am not so well informed, but had a slight interest into the Puma and the Dragon ones are hard to find, at least in hobby stores. For the Panzer IV, I don't know, if they are available from Dragon. They have better painting guides, more painting variants and new decals as a bonus. Cheers Rob
-
Another interesting kit from Border Models is announced in 35 scale. I guess, they made it only to have their BF-109 kit for a flyover diorama Salt into wounds modus off Image only for demonstration, source ModellingNews The Modelling News: Preview: Border Model's new 1/35th scale DKM Type VII-C U-boat conning tower & deck Cheers Rob
-
Tamiya Spitfire MK XVIe
DocRob replied to Peterpools's topic in LSM 1/35 and Larger Work In Progress
I used the stuff(at least I guess it is the same) called Panzer Putty on different occasions. I liked the controllable application, which even works with tiny details added to the surface. I tried it on my T-90 some years ago and was pleased. With a camo on a plane, I was a little dissatisfied, because the stuff is running with gravity. Worse so, but completely logical, differently with the varying thickness of application. The stuff is useful, but you have to work fast and not in the summer heat. Cheers Rob -
I'm always astonished, how good PVA glue sticks, when dried properly and not only to wood. I will use it more in plastic modelling, for clear parts mainly. Isn't there a way to glue on the foil to the canopy framing and then cut it after using toothpicks to get the contour right? This way, you have at least no stress in the foil. Does oiling the blade really helps cutting foil? I only ask, because oil and glue don't go together well and with narrow parts, like framing, the oil could prevent the glue to adhere properly. Cheers Rob
-
What is on your bench right now ? Share a picture :)
DocRob replied to Martinnfb's topic in Modelling Discussion
You mean an unapproved drug trafficante was stopped there . Nice Jeep by the way. Cheers Rob -
Tamiya Spitfire MK XVIe
DocRob replied to Peterpools's topic in LSM 1/35 and Larger Work In Progress
You took te hard way Peter, but it payed off. The camo looks absolutely consistent in your pics, not so easy to achieve with your technique, given the contours of the plane. How do you know, that Tamiya's XF colors are reference right in their interpretation. I think, it's really hard to know the exact tone, as reference pictures of the time had dismal color rendition and surviving examples aged differently, with the way they were treated and stored. Of course there were advised mixing ratios, but also much improvising. At last, your interpretation looks pretty cool. Cheers Rob -
Hey Gary come on, at least you spared masking the canopy . Earnestly, I really like your results, foiling looks so very different from painting and thank you for explaining your method so thoroughly. It may help in the future, only if.... Cheers Rob
-
Impressive work Gary, you can't beat the real thing. Thank you for showing your progress step by step. I'd love to try it on a very simple kit someday. Cheers Rob
-
Finally a soft top, I knew it . Cheers Rob
- 2,035 replies
-
- 6
-

-
-
- car related stuff
- anything about cars
- (and 6 more)
-
Courage, time, eternal wisdom, ... Cheers Rob
-
Tamiya Spitfire MK XVIe
DocRob replied to Peterpools's topic in LSM 1/35 and Larger Work In Progress
I'm very sorry to hear about your bad adventures with the paint and with removing it the hard way. Luckily on your picture the Spit looks ready to go again, fingers crossed for the windshield. My motto would have been final at this point. 'Skip it and don't strip it' Cheers Rob -
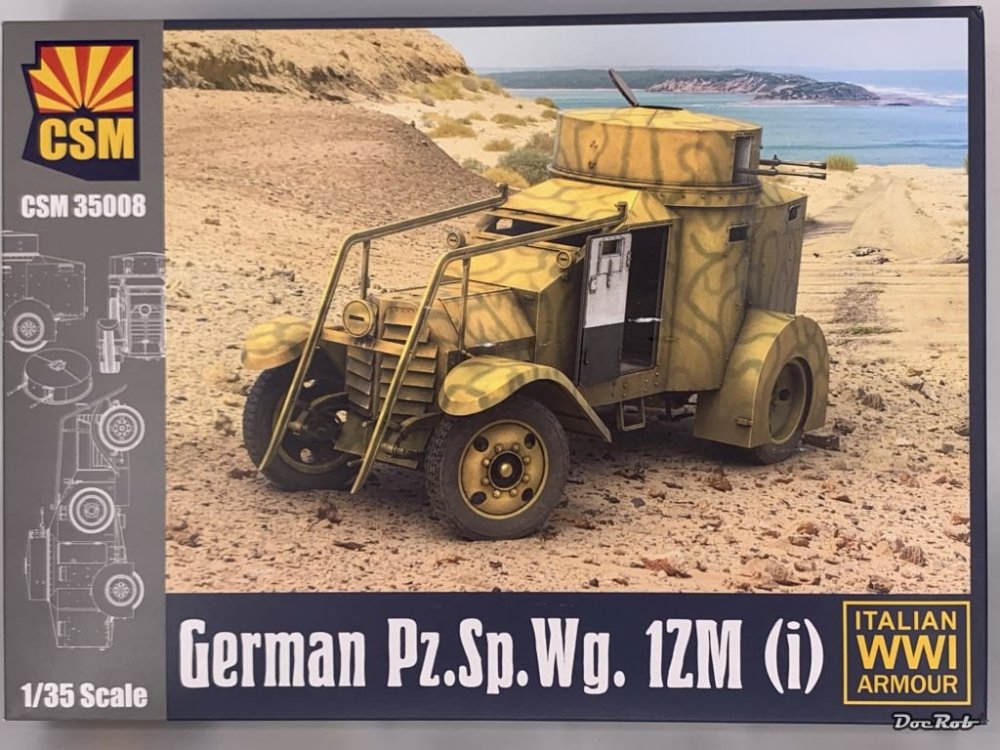
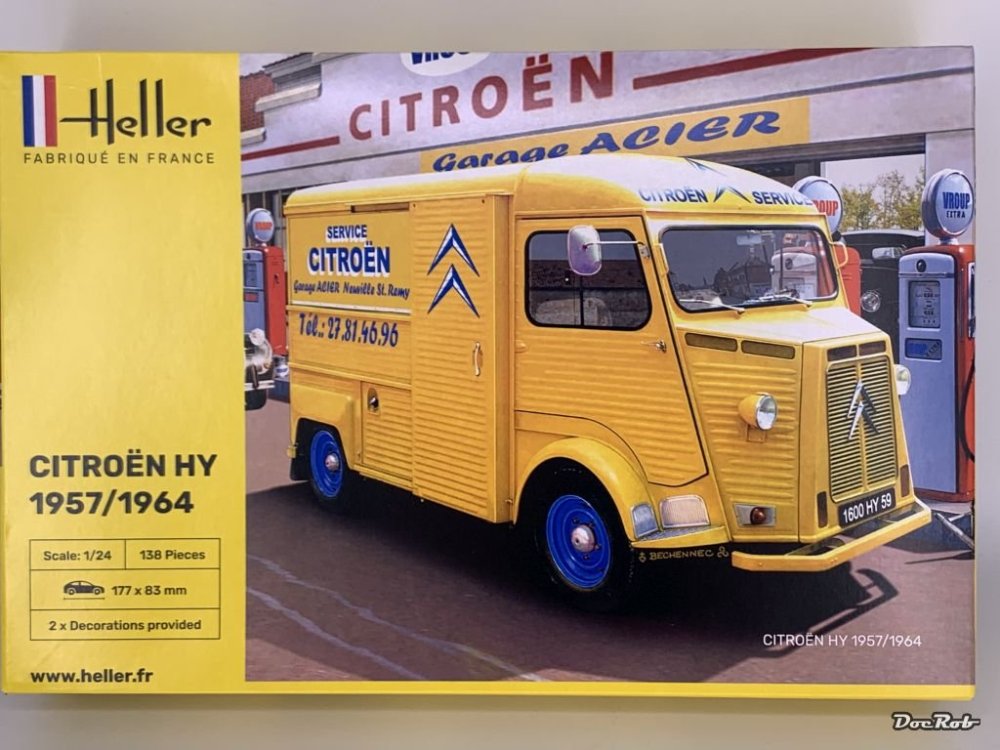
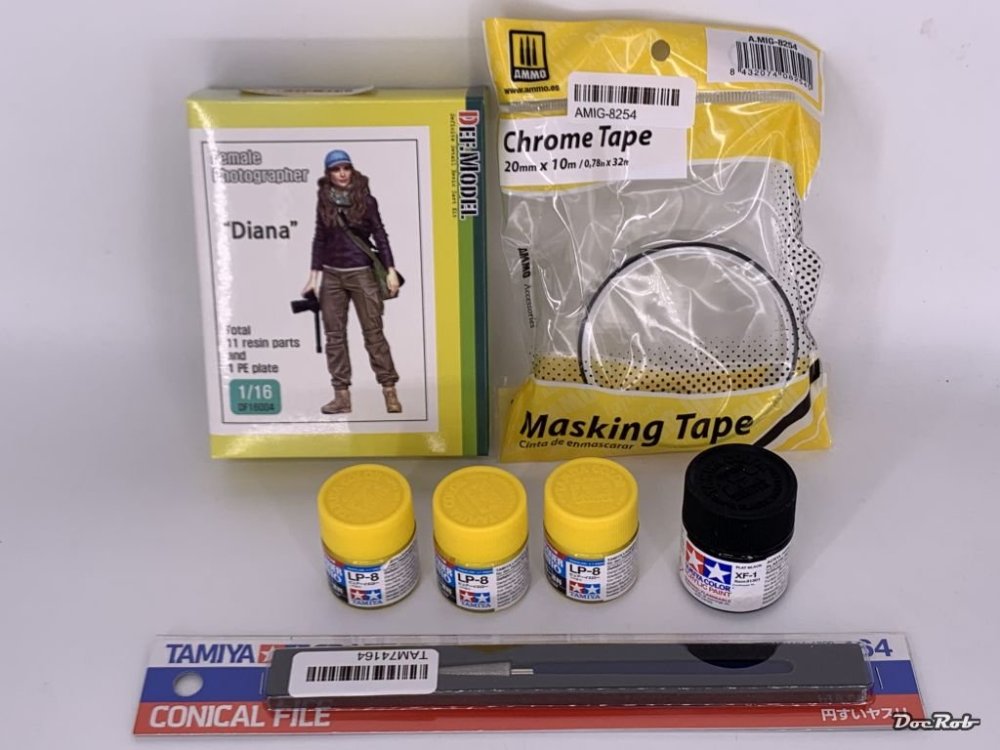
After a felt eternity, I received a packet from Germany with a lot of goodies. It seems like there is the plague called holidays erupting in Spain. During three month of summer, Spain seems to reduce all around activities about 50 percent at least . First is this incarnation of the Lancia armored car, in Italian use, mostly, but there is also a scheme from the Spanish Civil War included, how can you stop me. The kit looks great in the box, with the typical CSM manual style, which I like even more than WNW manuals. In difference to other boxings, here are rubber tires included as well, with a great shape and NO middle seam. I couldn't resist the Heller Citroen HY, a car I drove with as a passenger, many moons ago. I love vintage Citroen cars and this quirky box is no exception. The kit looks good, with rubber wheels and different hoods for a '57 or '64 model. Interesting is, that many of the body parts are cast in clear plastic. You have only to mask the windows and spray the entire thing, not a bad idea. Decals for two cars look decent and include the dashboard. Packaging was terrible, only the clear parts are stored in a sealed bag and even so a large one came loose. The other sprues are unprotected loose in the box, no wonder, two small parts are broken. This is my first Heller kit since my late teens, where I ruined a Delhaye 153 with a rattle can, which melted the body . Last but not least, some more goodies, The lovely Diana the photographer from DEF Model in 1/16 for practice figure painting, a conical file from Tamiya, which will come handy for widen holes in wood, brass or plastic, some Ammo chrome tape to test and some needed colors, the yellow for my 1/12 Tamiya Renault RE-20 Cheers Rob
-
Yup Phil, I have the Sd.Kfz. 251/22 Ausf. D with the PAK 40 mounted, along with about two kilograms of PE . Cheers Rob