JohnB
-
Posts
7,256 -
Joined
-
Last visited
Content Type
Profiles
Forums
Events
Gallery
Everything posted by JohnB
-
Completed. https://forum.largescalemodeller.com/topic/20841-revell-bardahl-special-done/
-
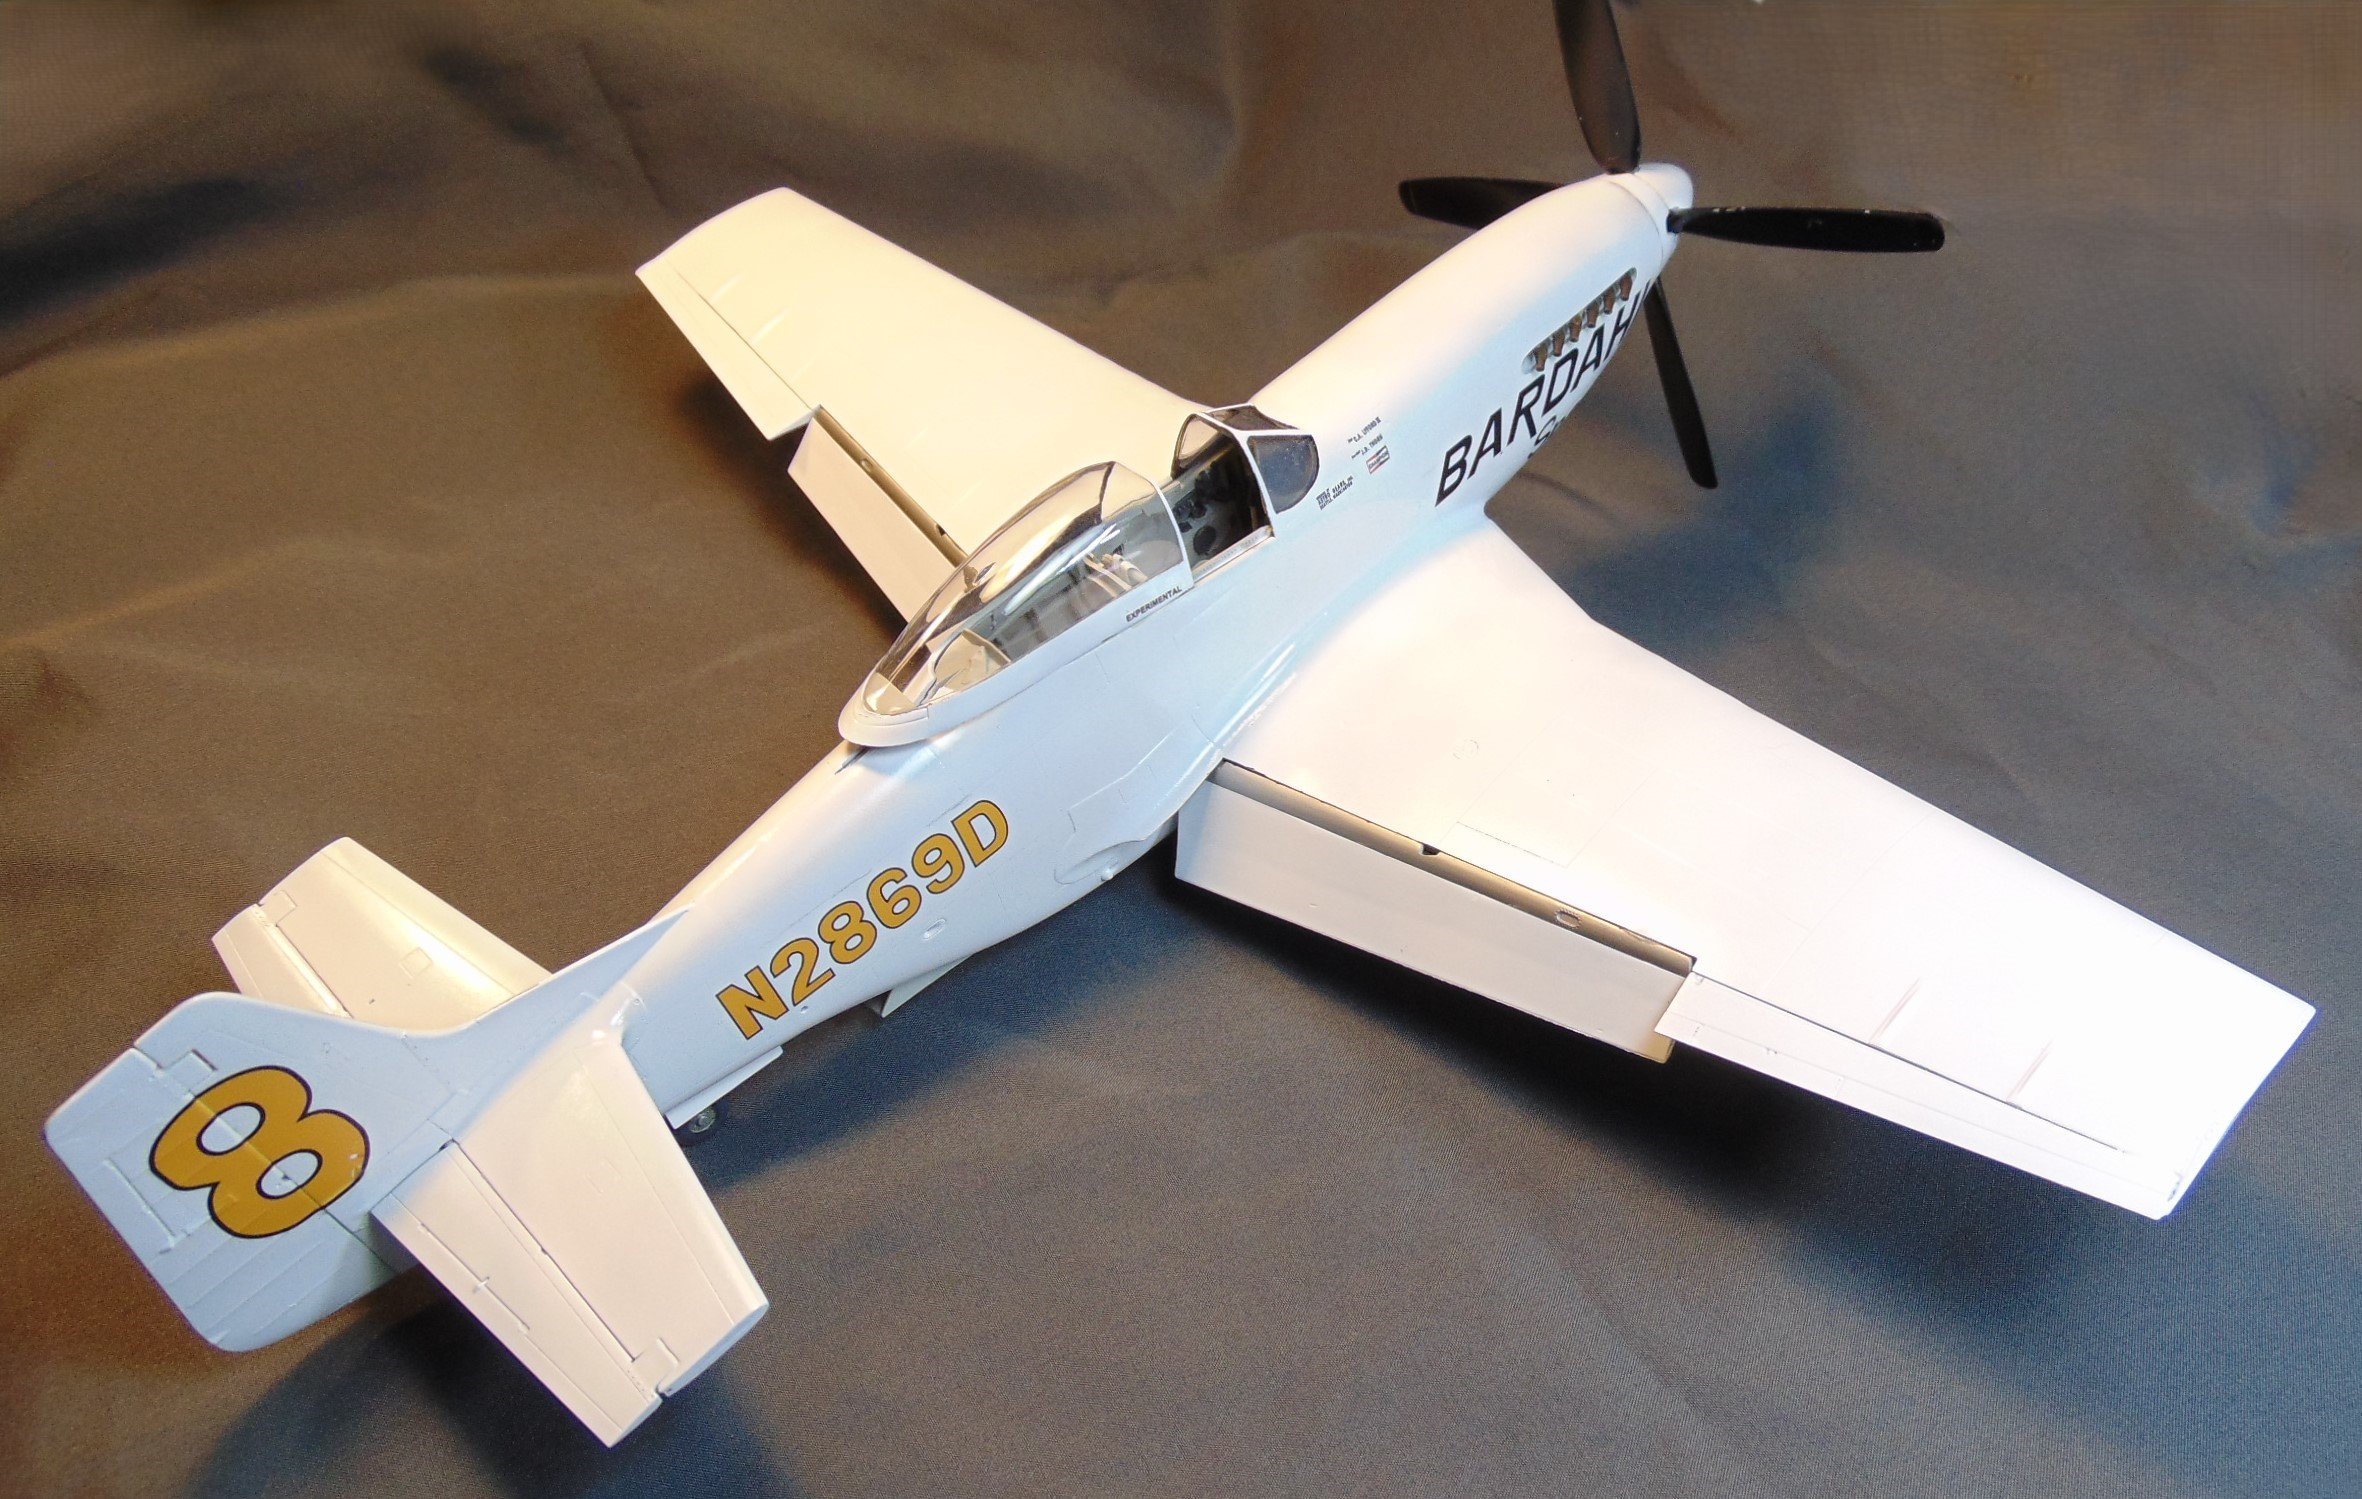
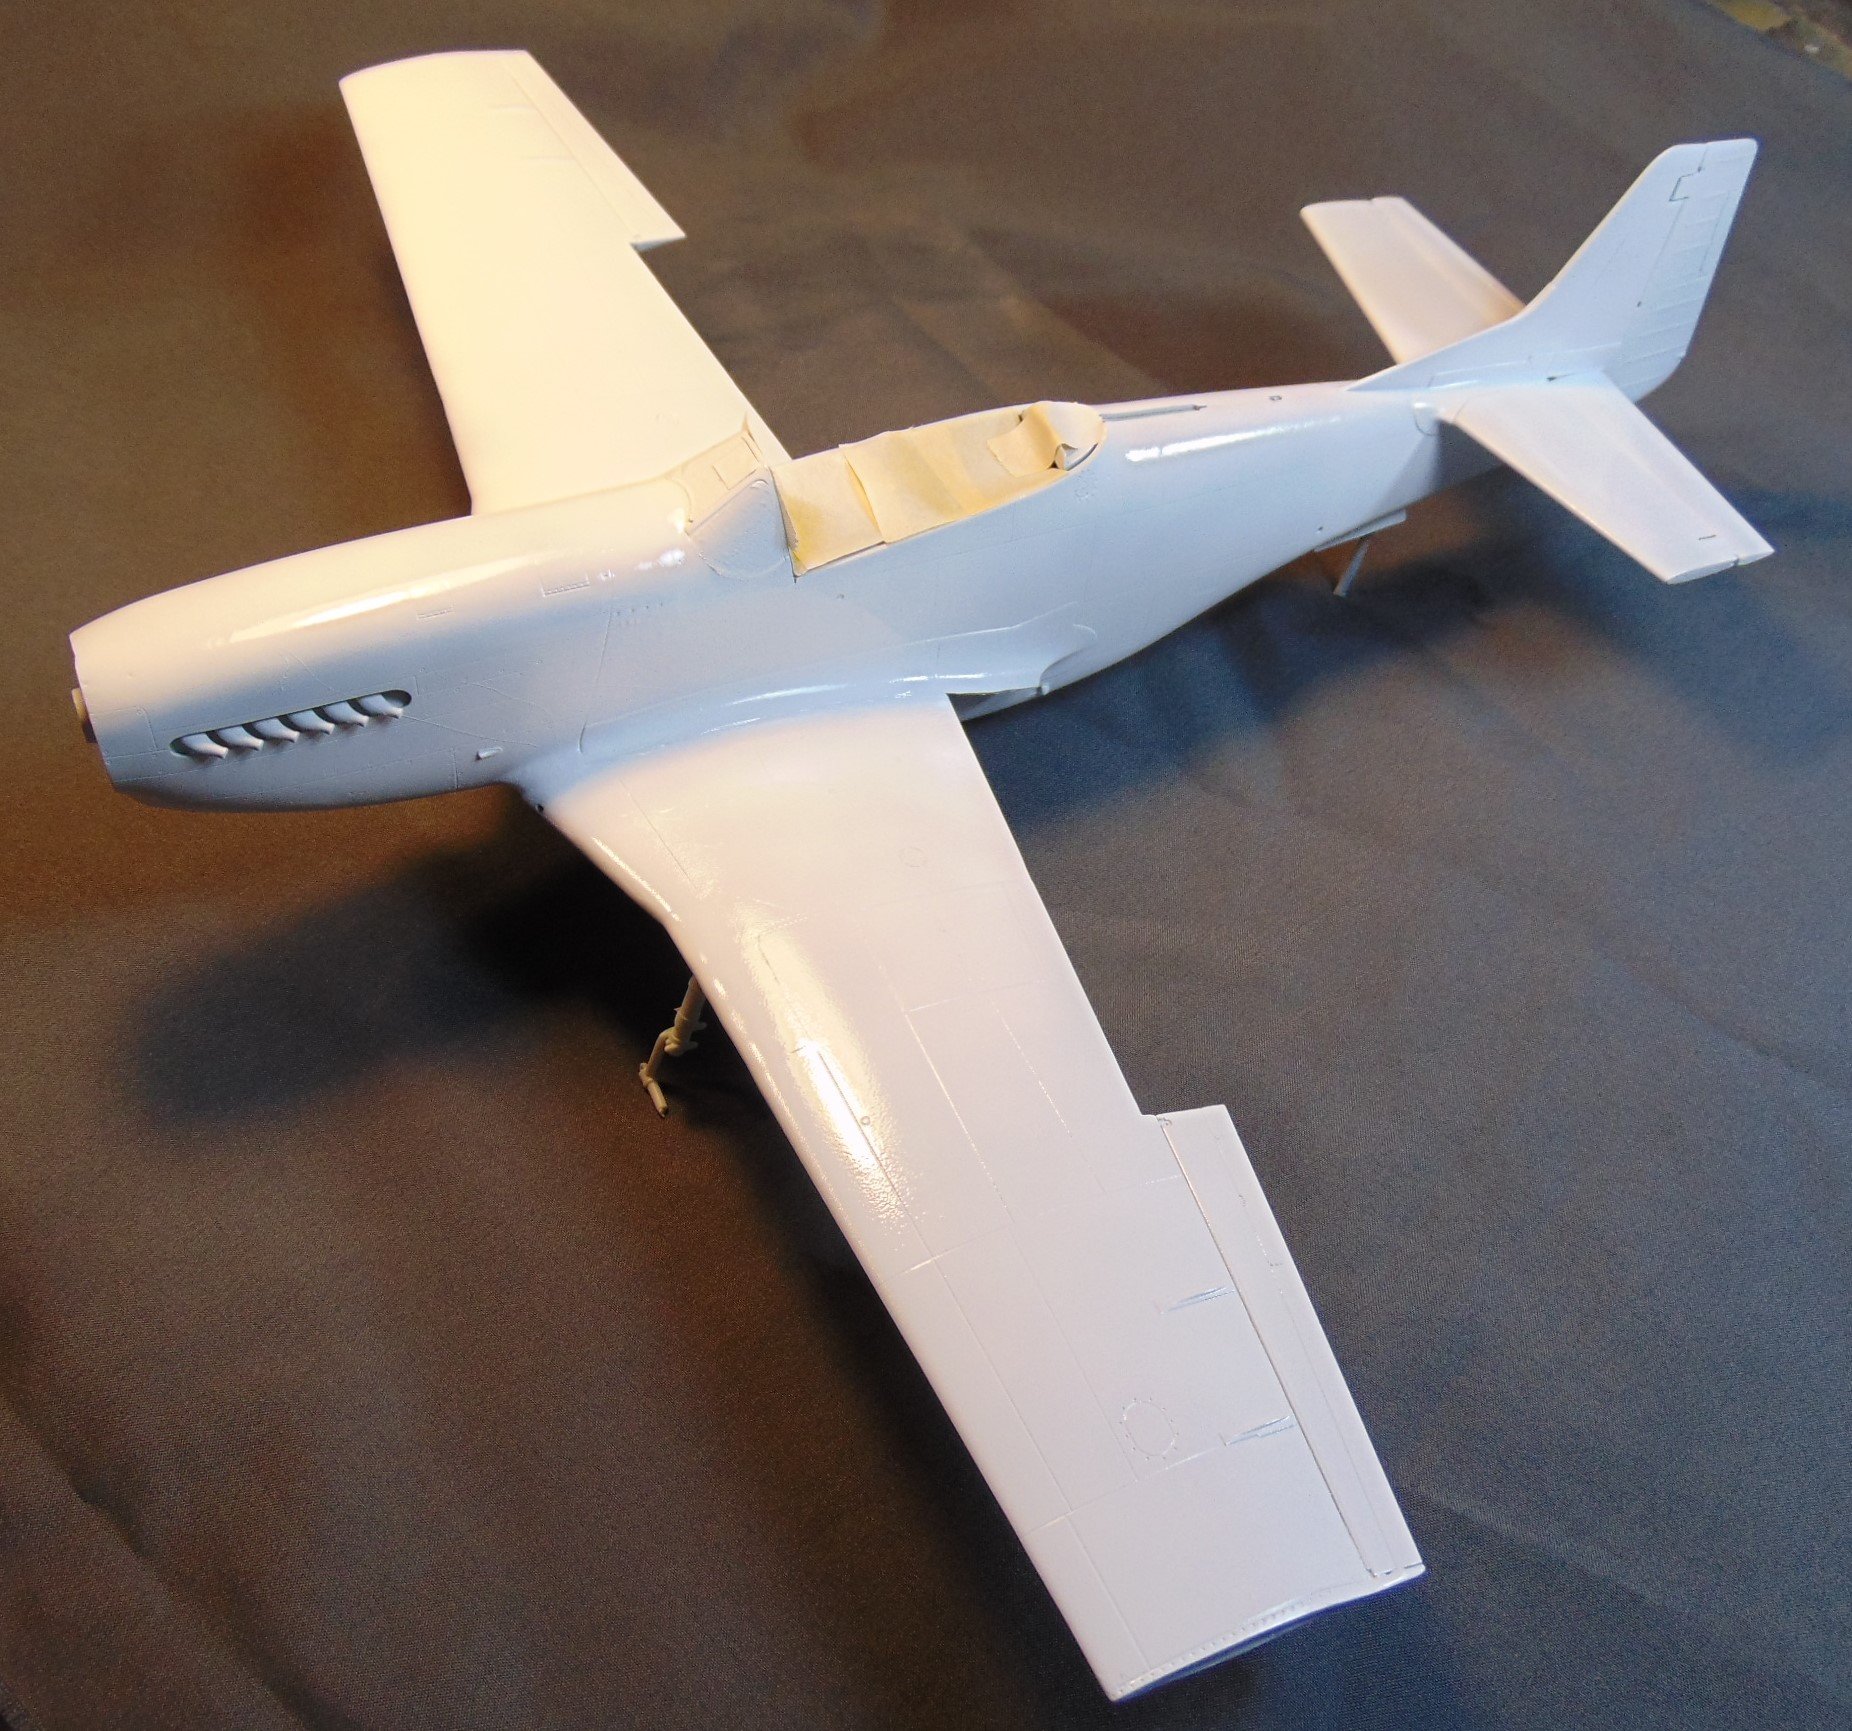
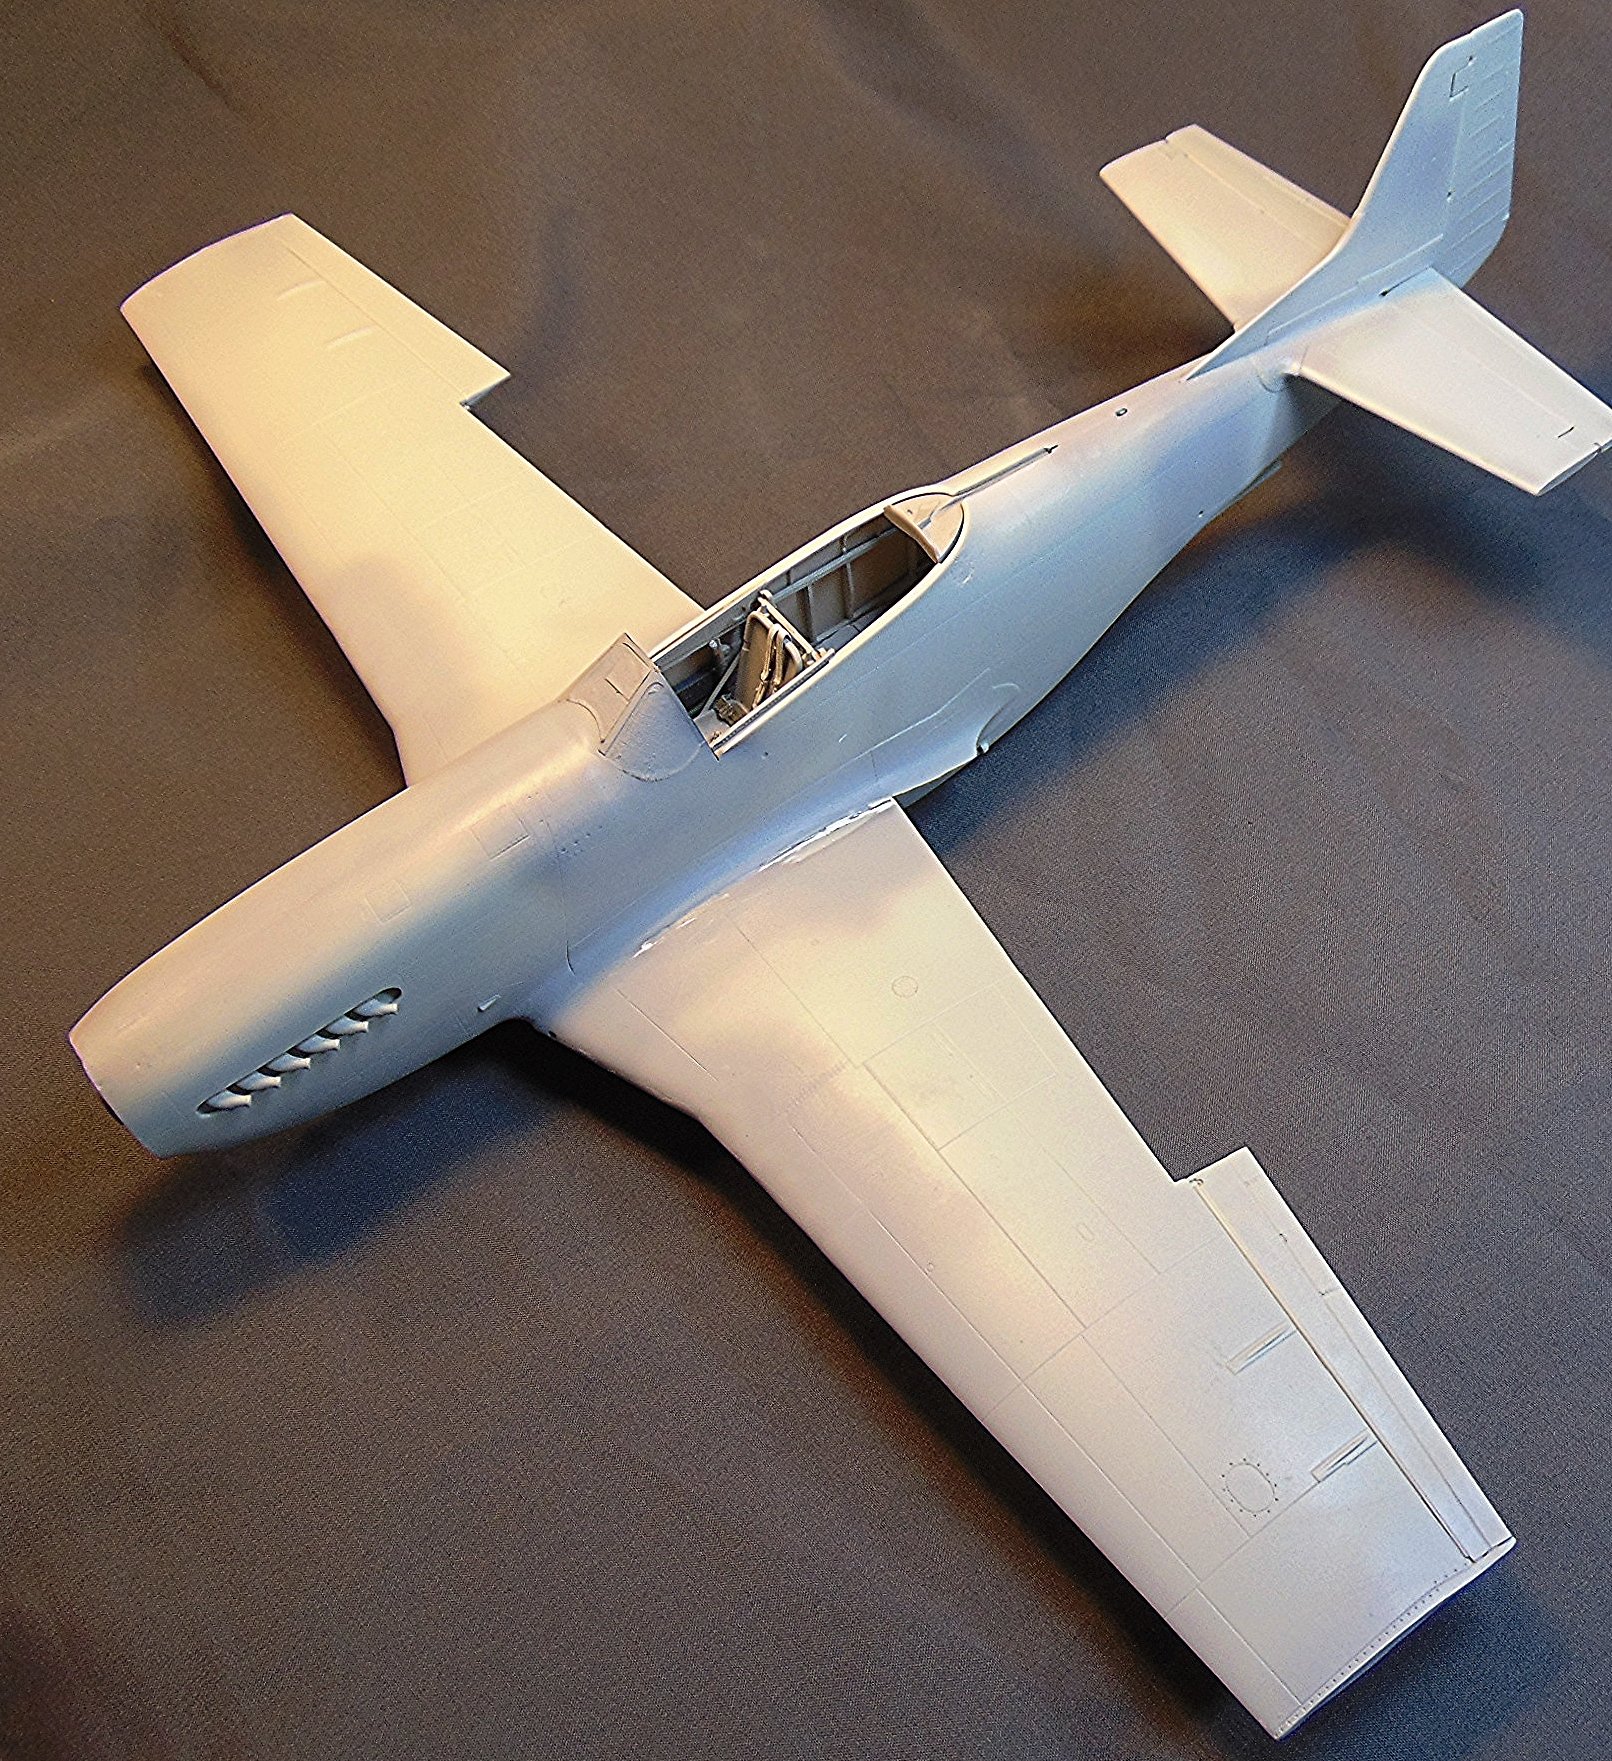
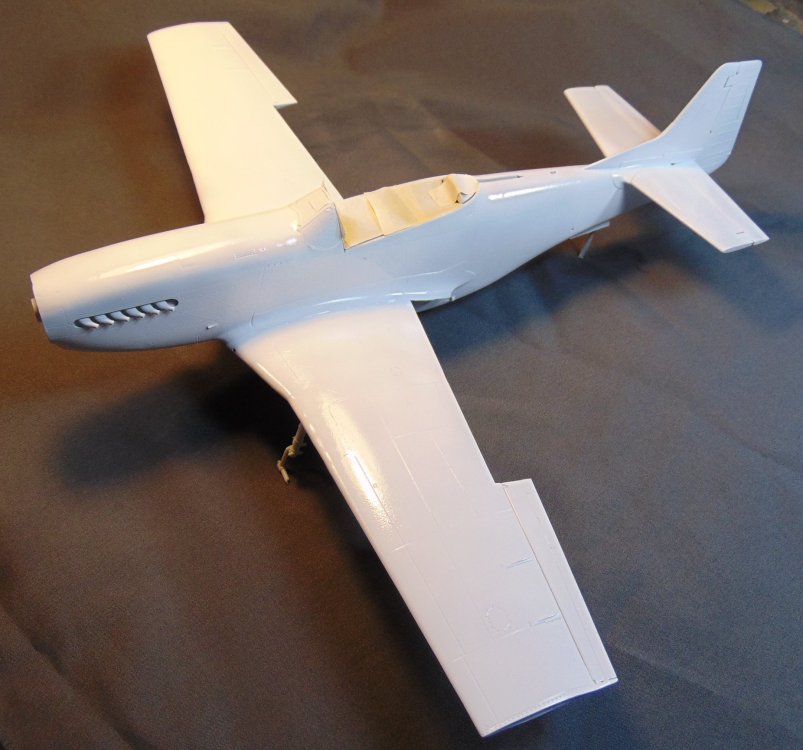
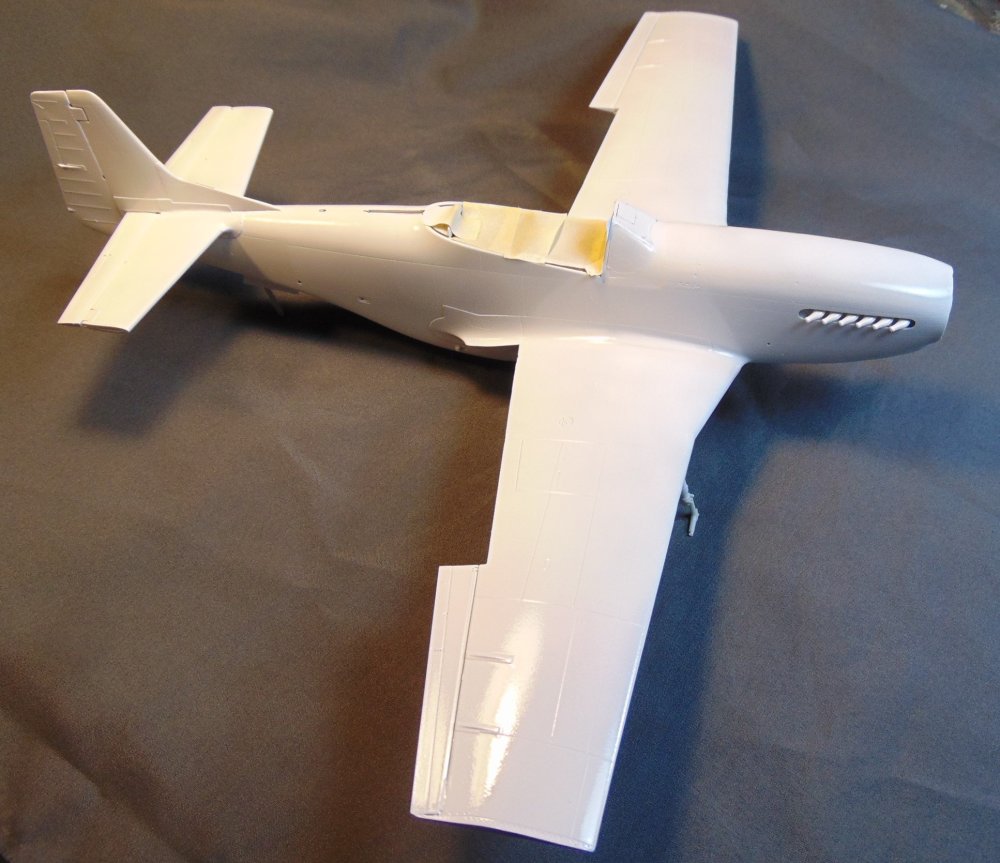
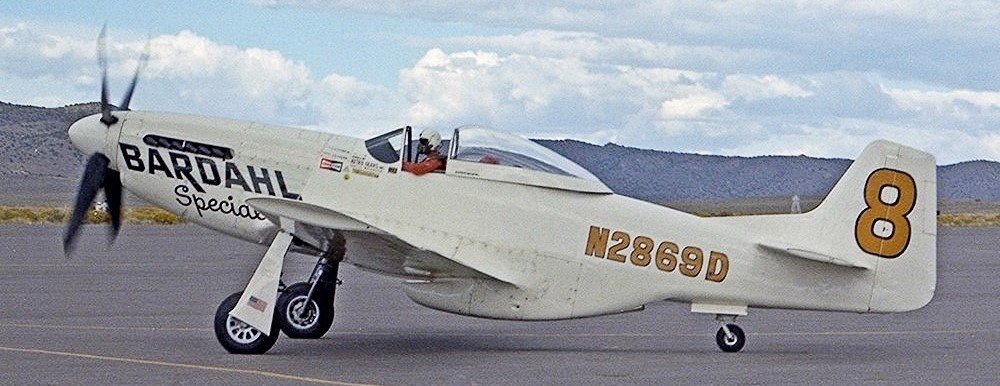
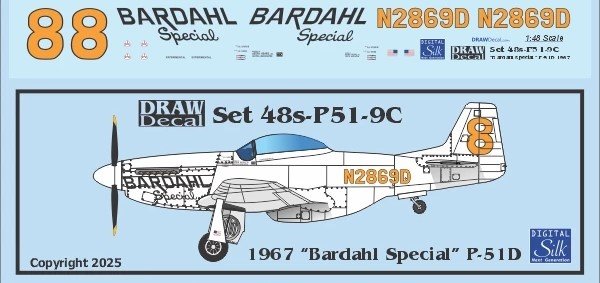
 This was the first of 4 Bardahl Special P-51's back in the 60's/70's. Since I had already modeled the others I decide to complete the line with this one. Painted with Tamiya Gloss White. Decals are from Drawdecals. 🙂
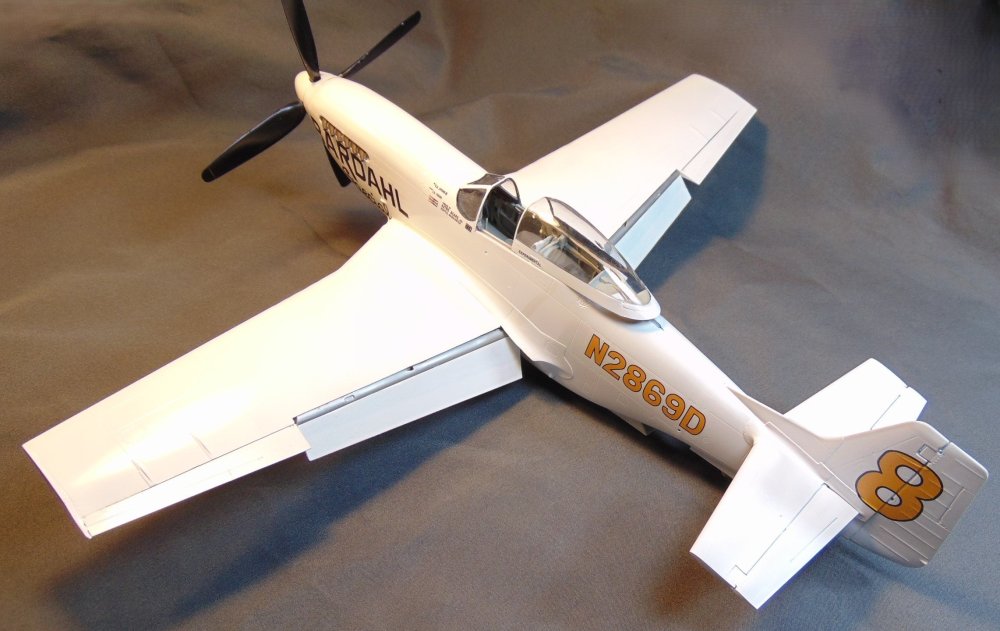

-
Painting completed except for a few little things. Decal application is next.🙂

-
Tamiya Gloss White makes a beautiful finish. 🙂
-
Making some good progress now. 🙂

-
Dedicated 1/72 catagory? Maybe, maybe not.......
JohnB replied to JohnB's topic in Problems? Suggestions? Tell us!
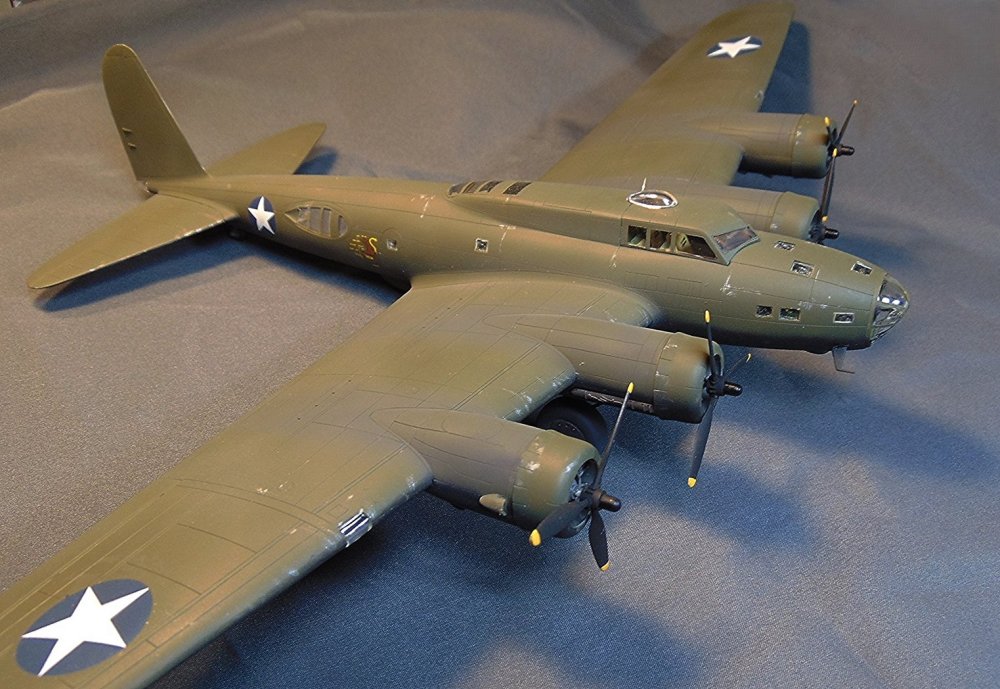
Thanks Kevin. This "D" and their "C" are the only early B-17 kits around (as far as I know). Koster had a 1/48 conversion but it's hard to find nowadays. I had one at one time but it's disappeared over time. Would have been a bear to build up. 🙄 -
Dedicated 1/72 catagory? Maybe, maybe not.......
JohnB replied to JohnB's topic in Problems? Suggestions? Tell us!
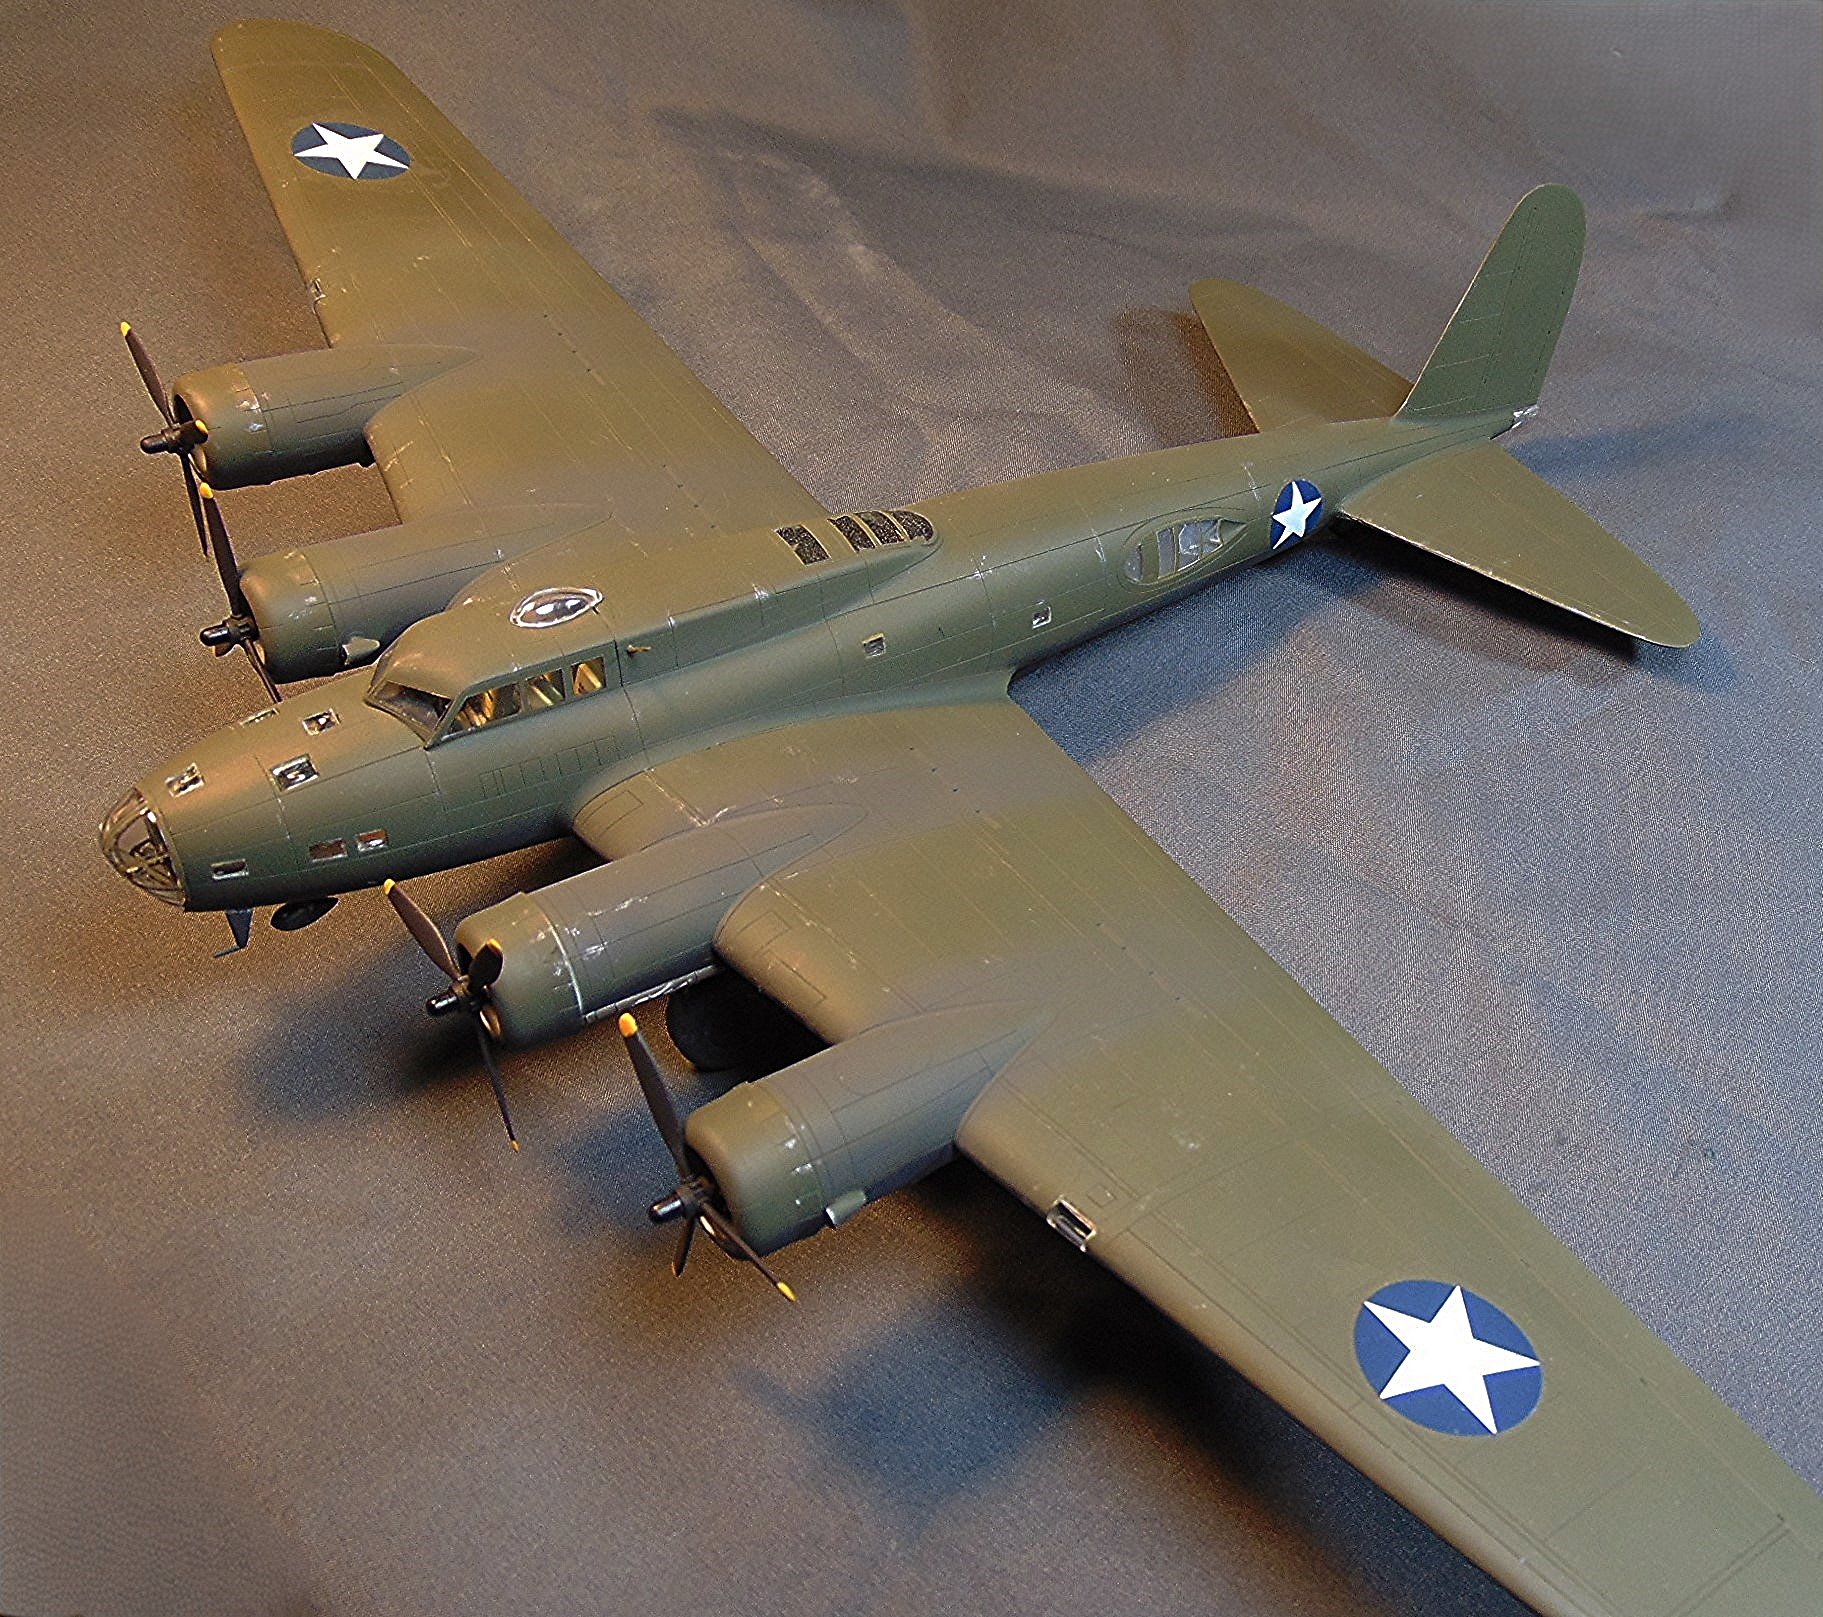
Here's what gave me the idea to post this thread. The old Academy/Minicraft 1/72 B-17D "Swoose". I had worked on it off and on for a couple of years and recently decided to go on and finish it. 🙂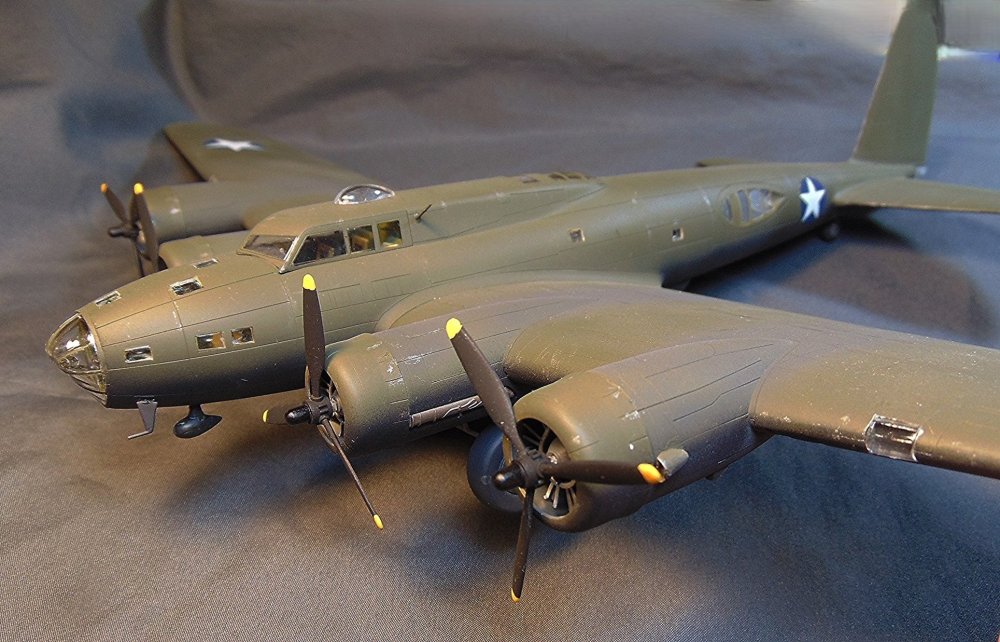

-
Now that I've had a few days away from this build I decided to go on and get it done. The fit of the wings to the fuselage was the BIG problem. I did some trimming and sanding to finally get them to attach as near to correctly as possible. Still was a bear but some CA application got them to stay in place. Now for some more sanding and the addition of some white putty, etc. and MAYBE I can get to look "presentable".
-
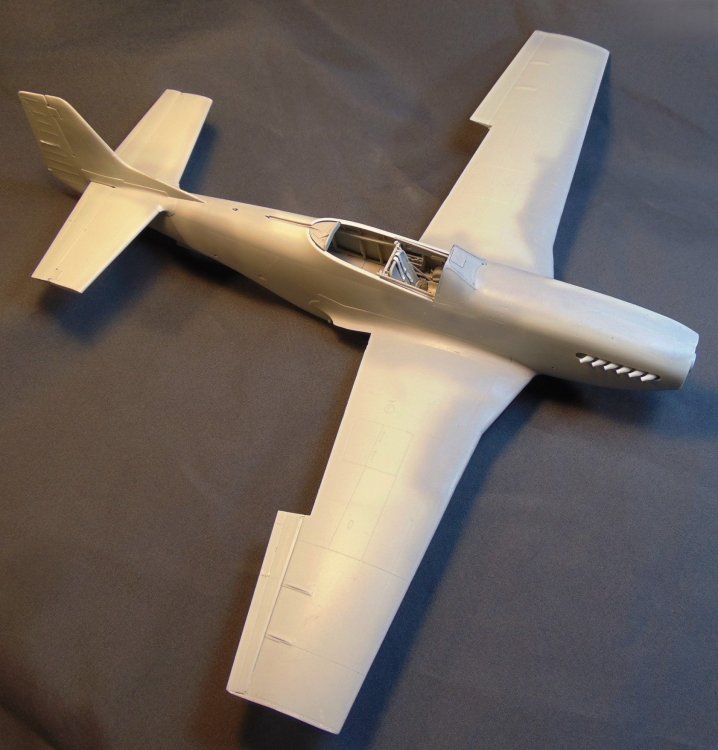
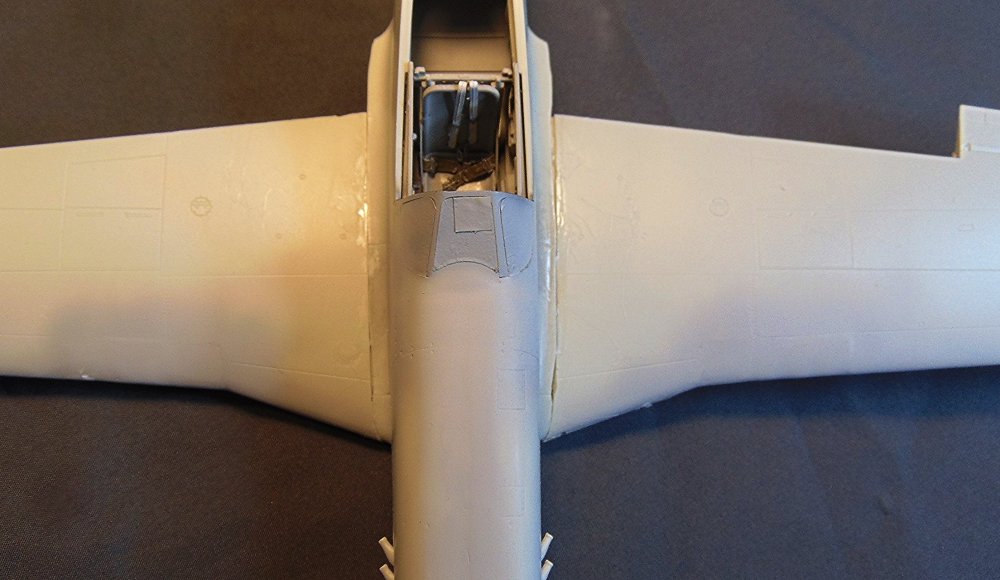
Due to way too many fit problems this SOB is now on the SOD. I've built a number of these Revell P-51 kits and all have had some fit problems but this one takes the cake. Hardly anything fits! It must have come off the very end of the production line. I'll leave it on the SOD until I'm ready to start pulling my hair out again. On to something else!
-
This will be my 3rd Bardahl Special build. This time it's in the "original" markings in 1967. My others were for later years so I think this one will go well with them. I'm using the Revell kit with Draw Decals.

-
Thank you!
-
Would be nice to have. 🙂
-
I agree, get your money back and go elsewhere. With that reputation they likely won't be in business for long.
-
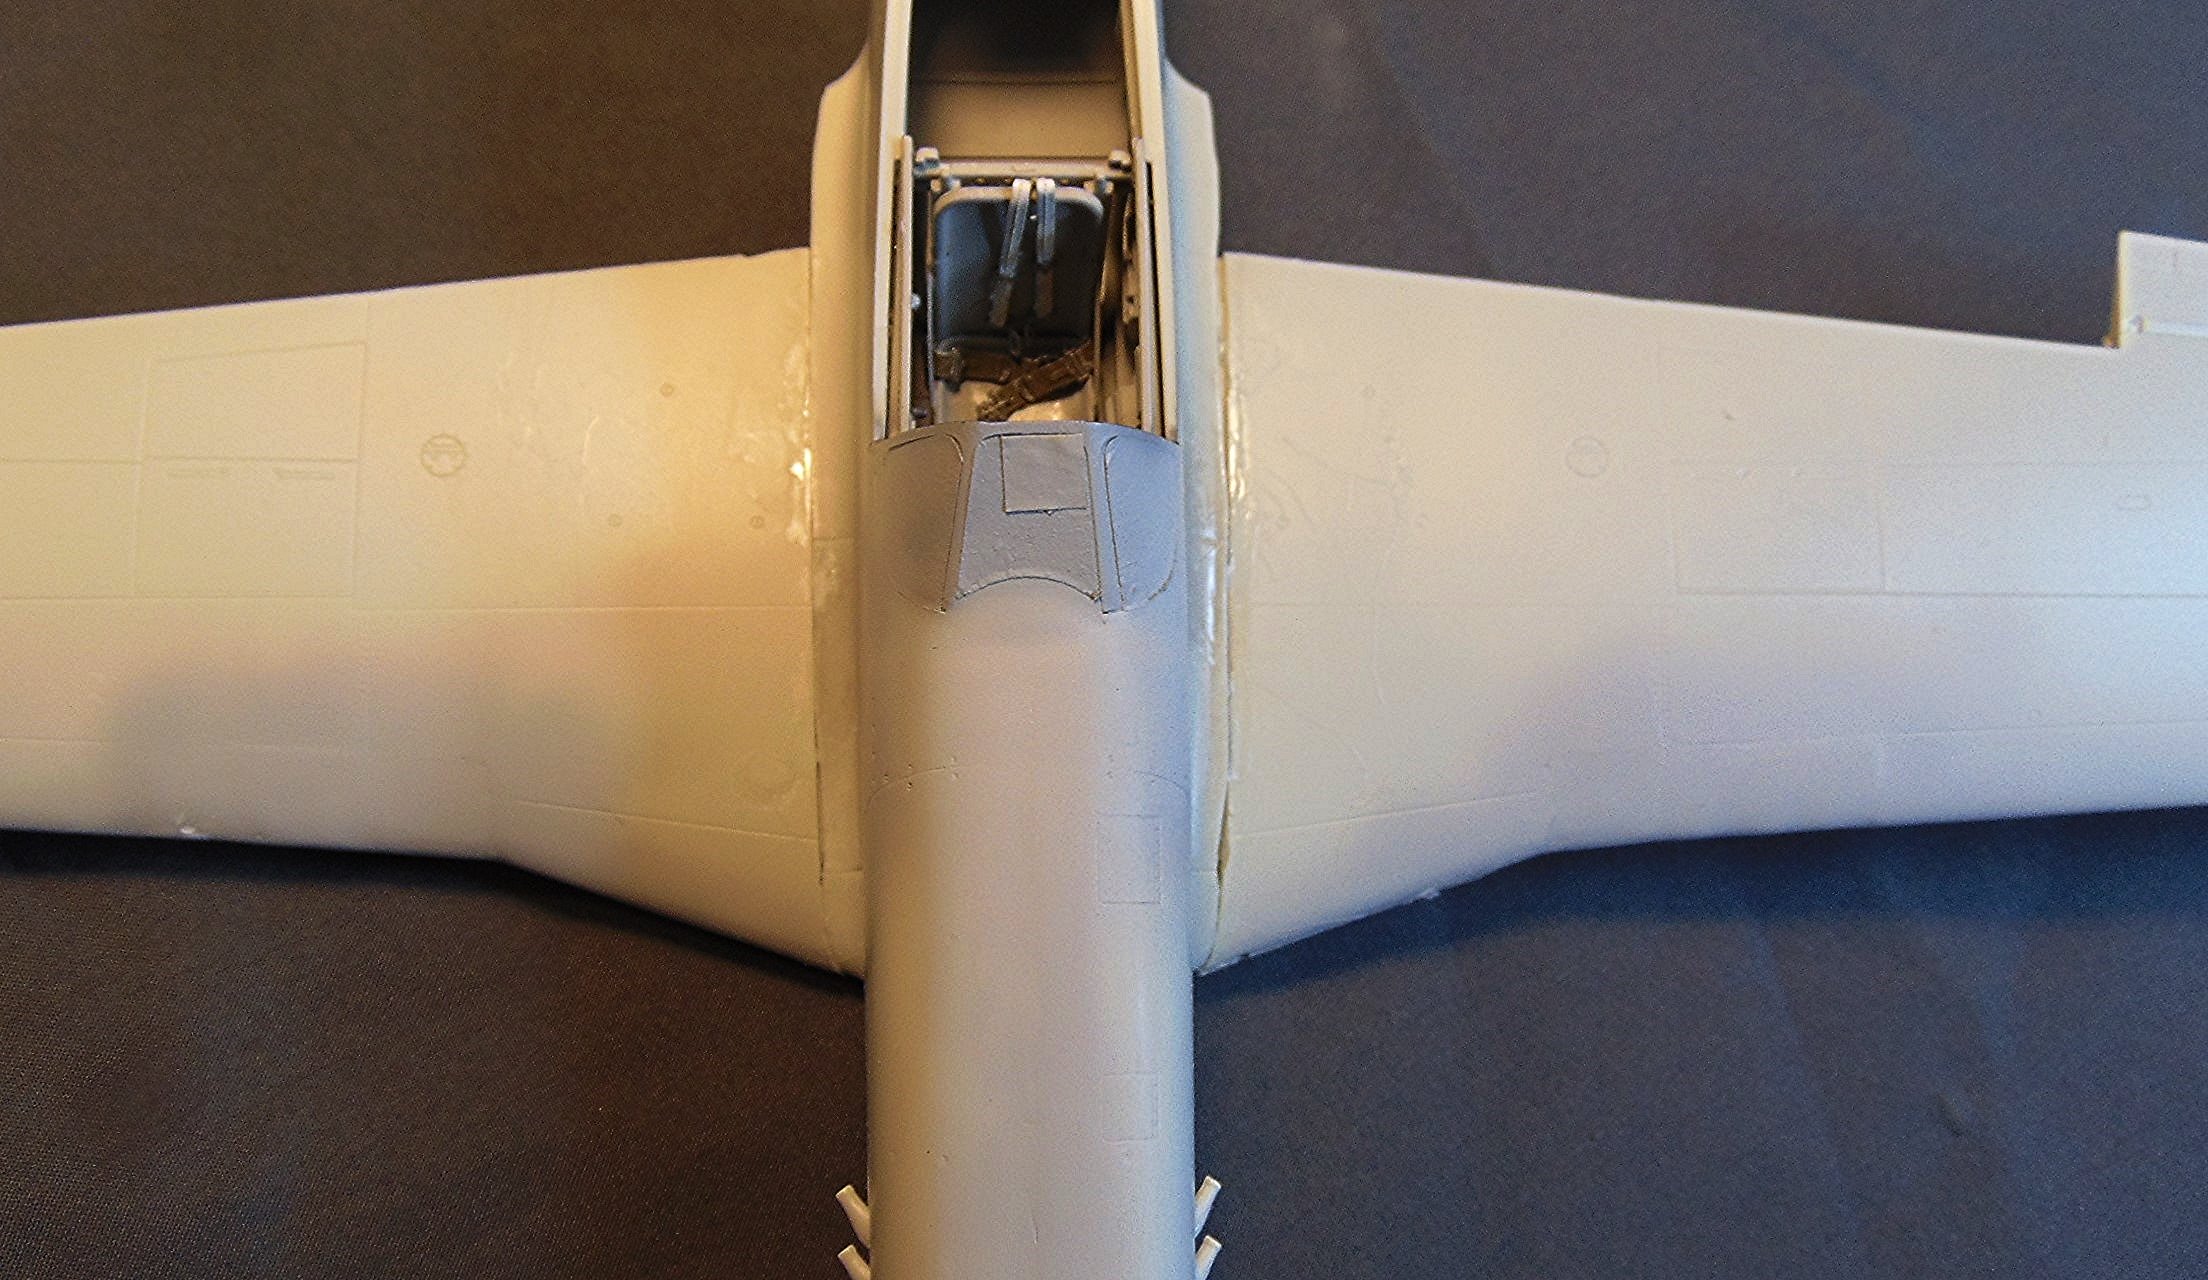
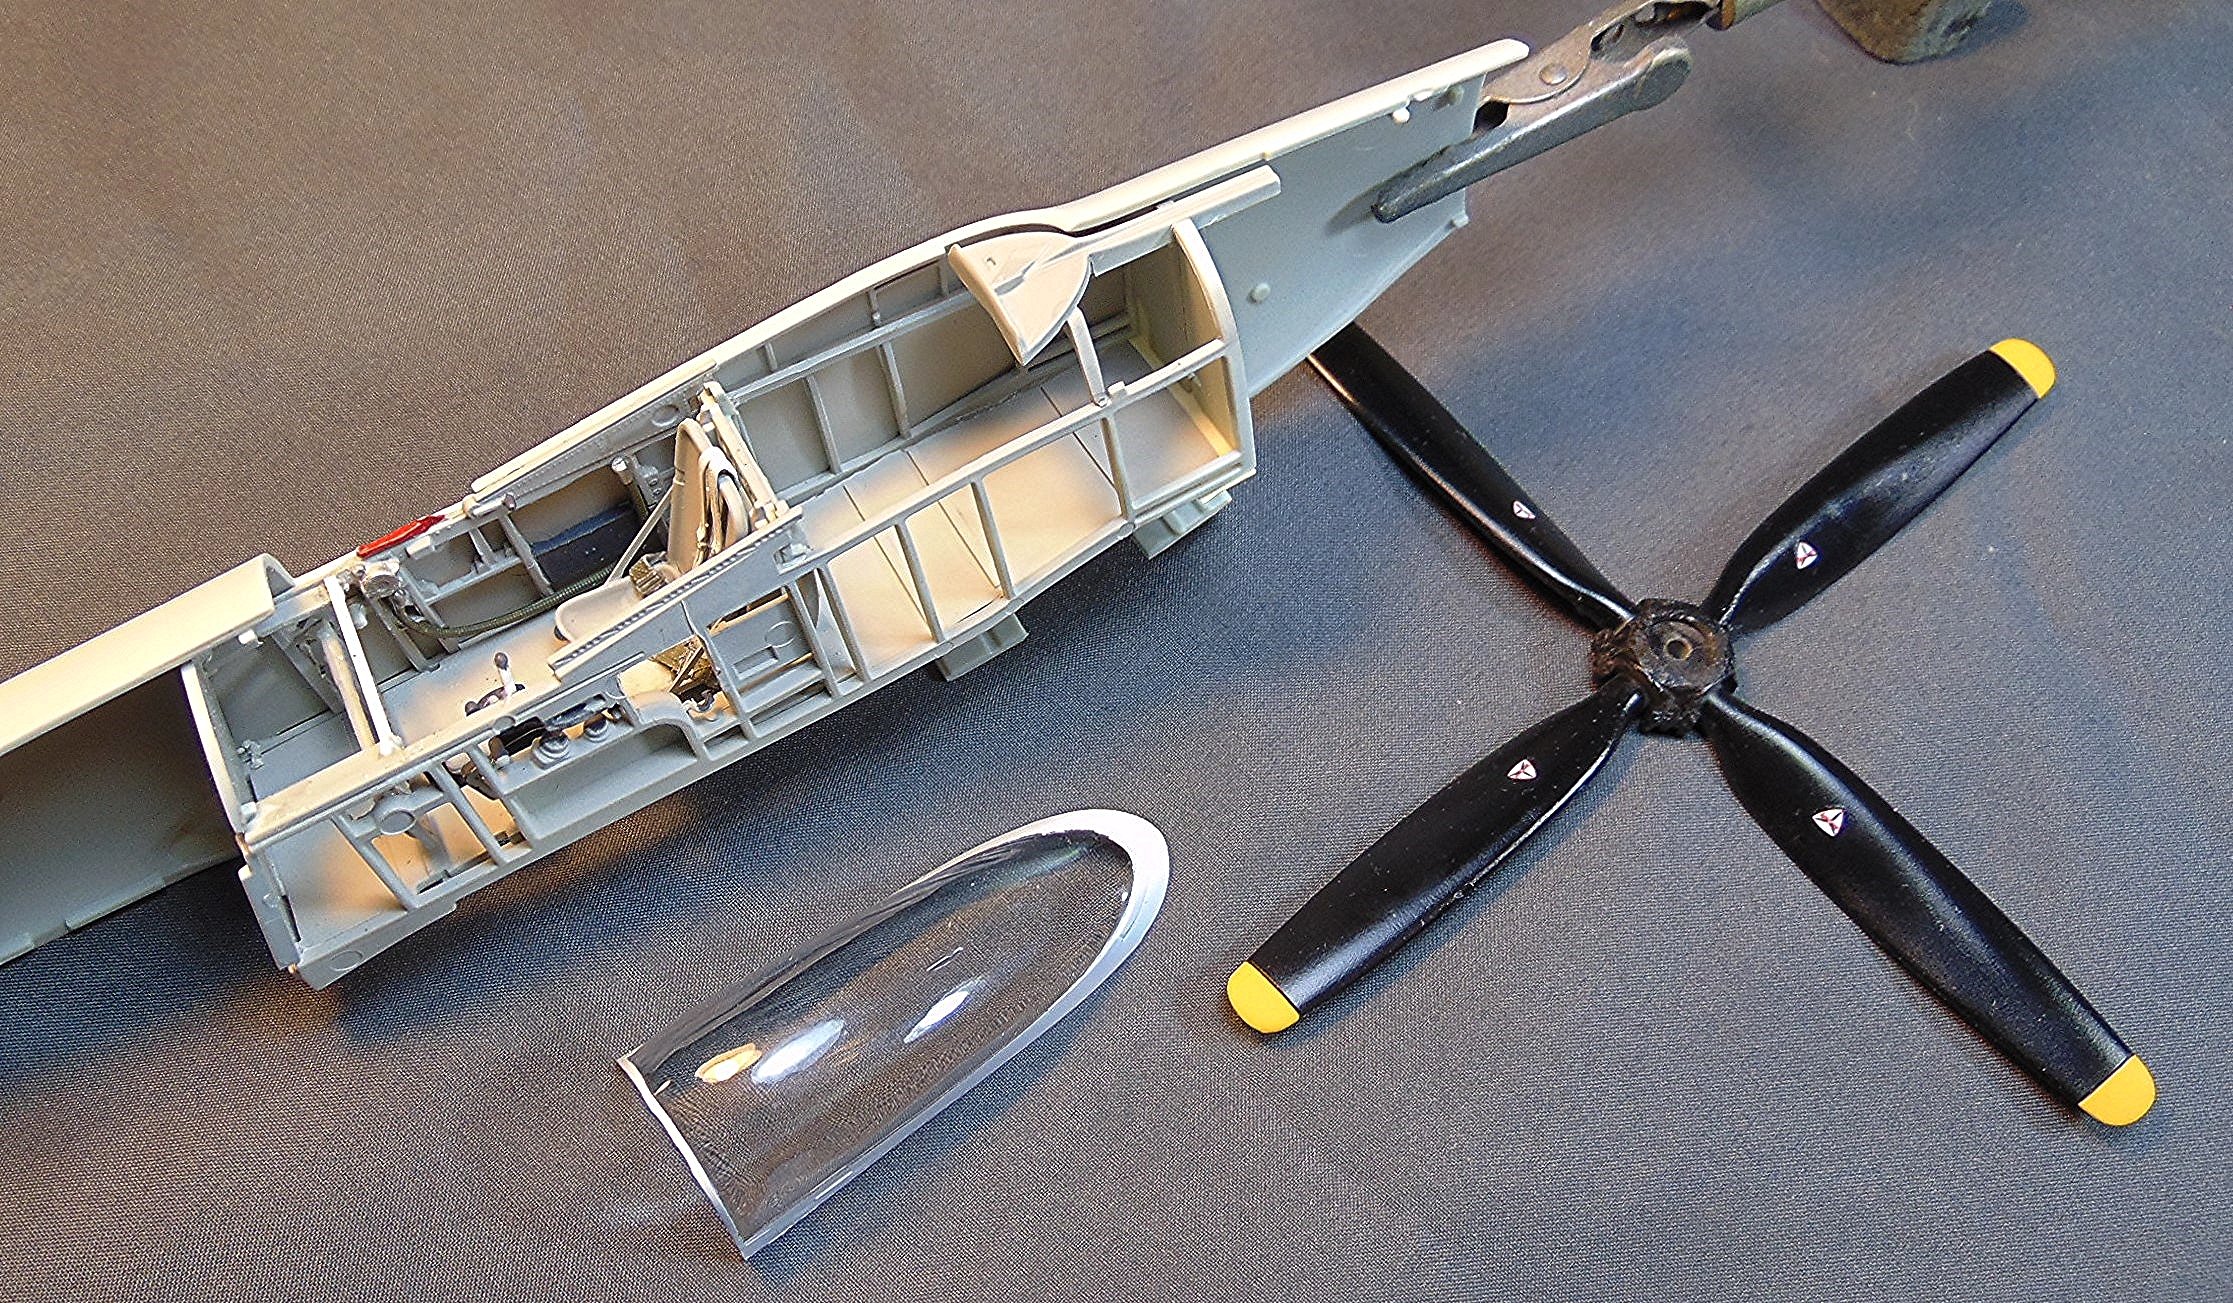
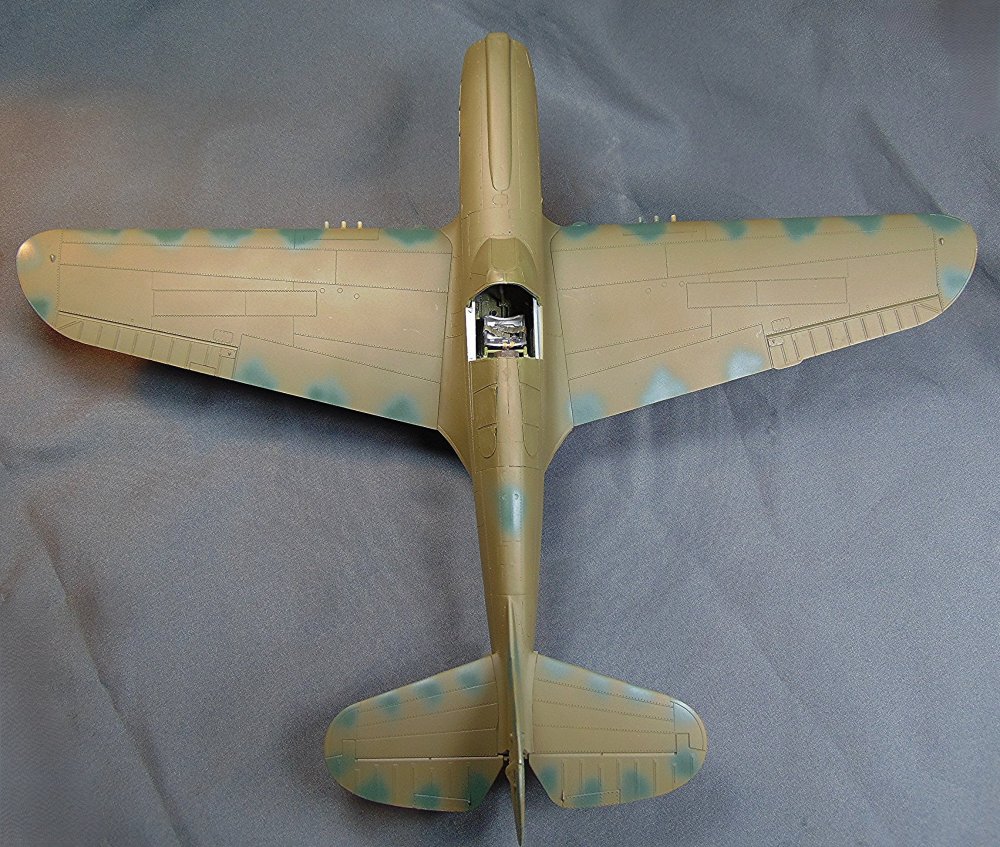
All done with this one: https://forum.largescalemodeller.com/topic/20821-hasegawa-p-40e-to-a-k-2-done/
-
I'm calling this one done. I converted a "E" to a "K" using Tim's resin tail. The only after market stuff is the belts. I painted the model with Testor's OD and Gray with Gunze green camo splotches. All decals are from my decal stash. Another P-40 build for the books! 🙂


-
- 7
-

-
Thanks Vince. I decided on Gunze 34092 after comparing several other shades. Looked best to me. 🙂
-
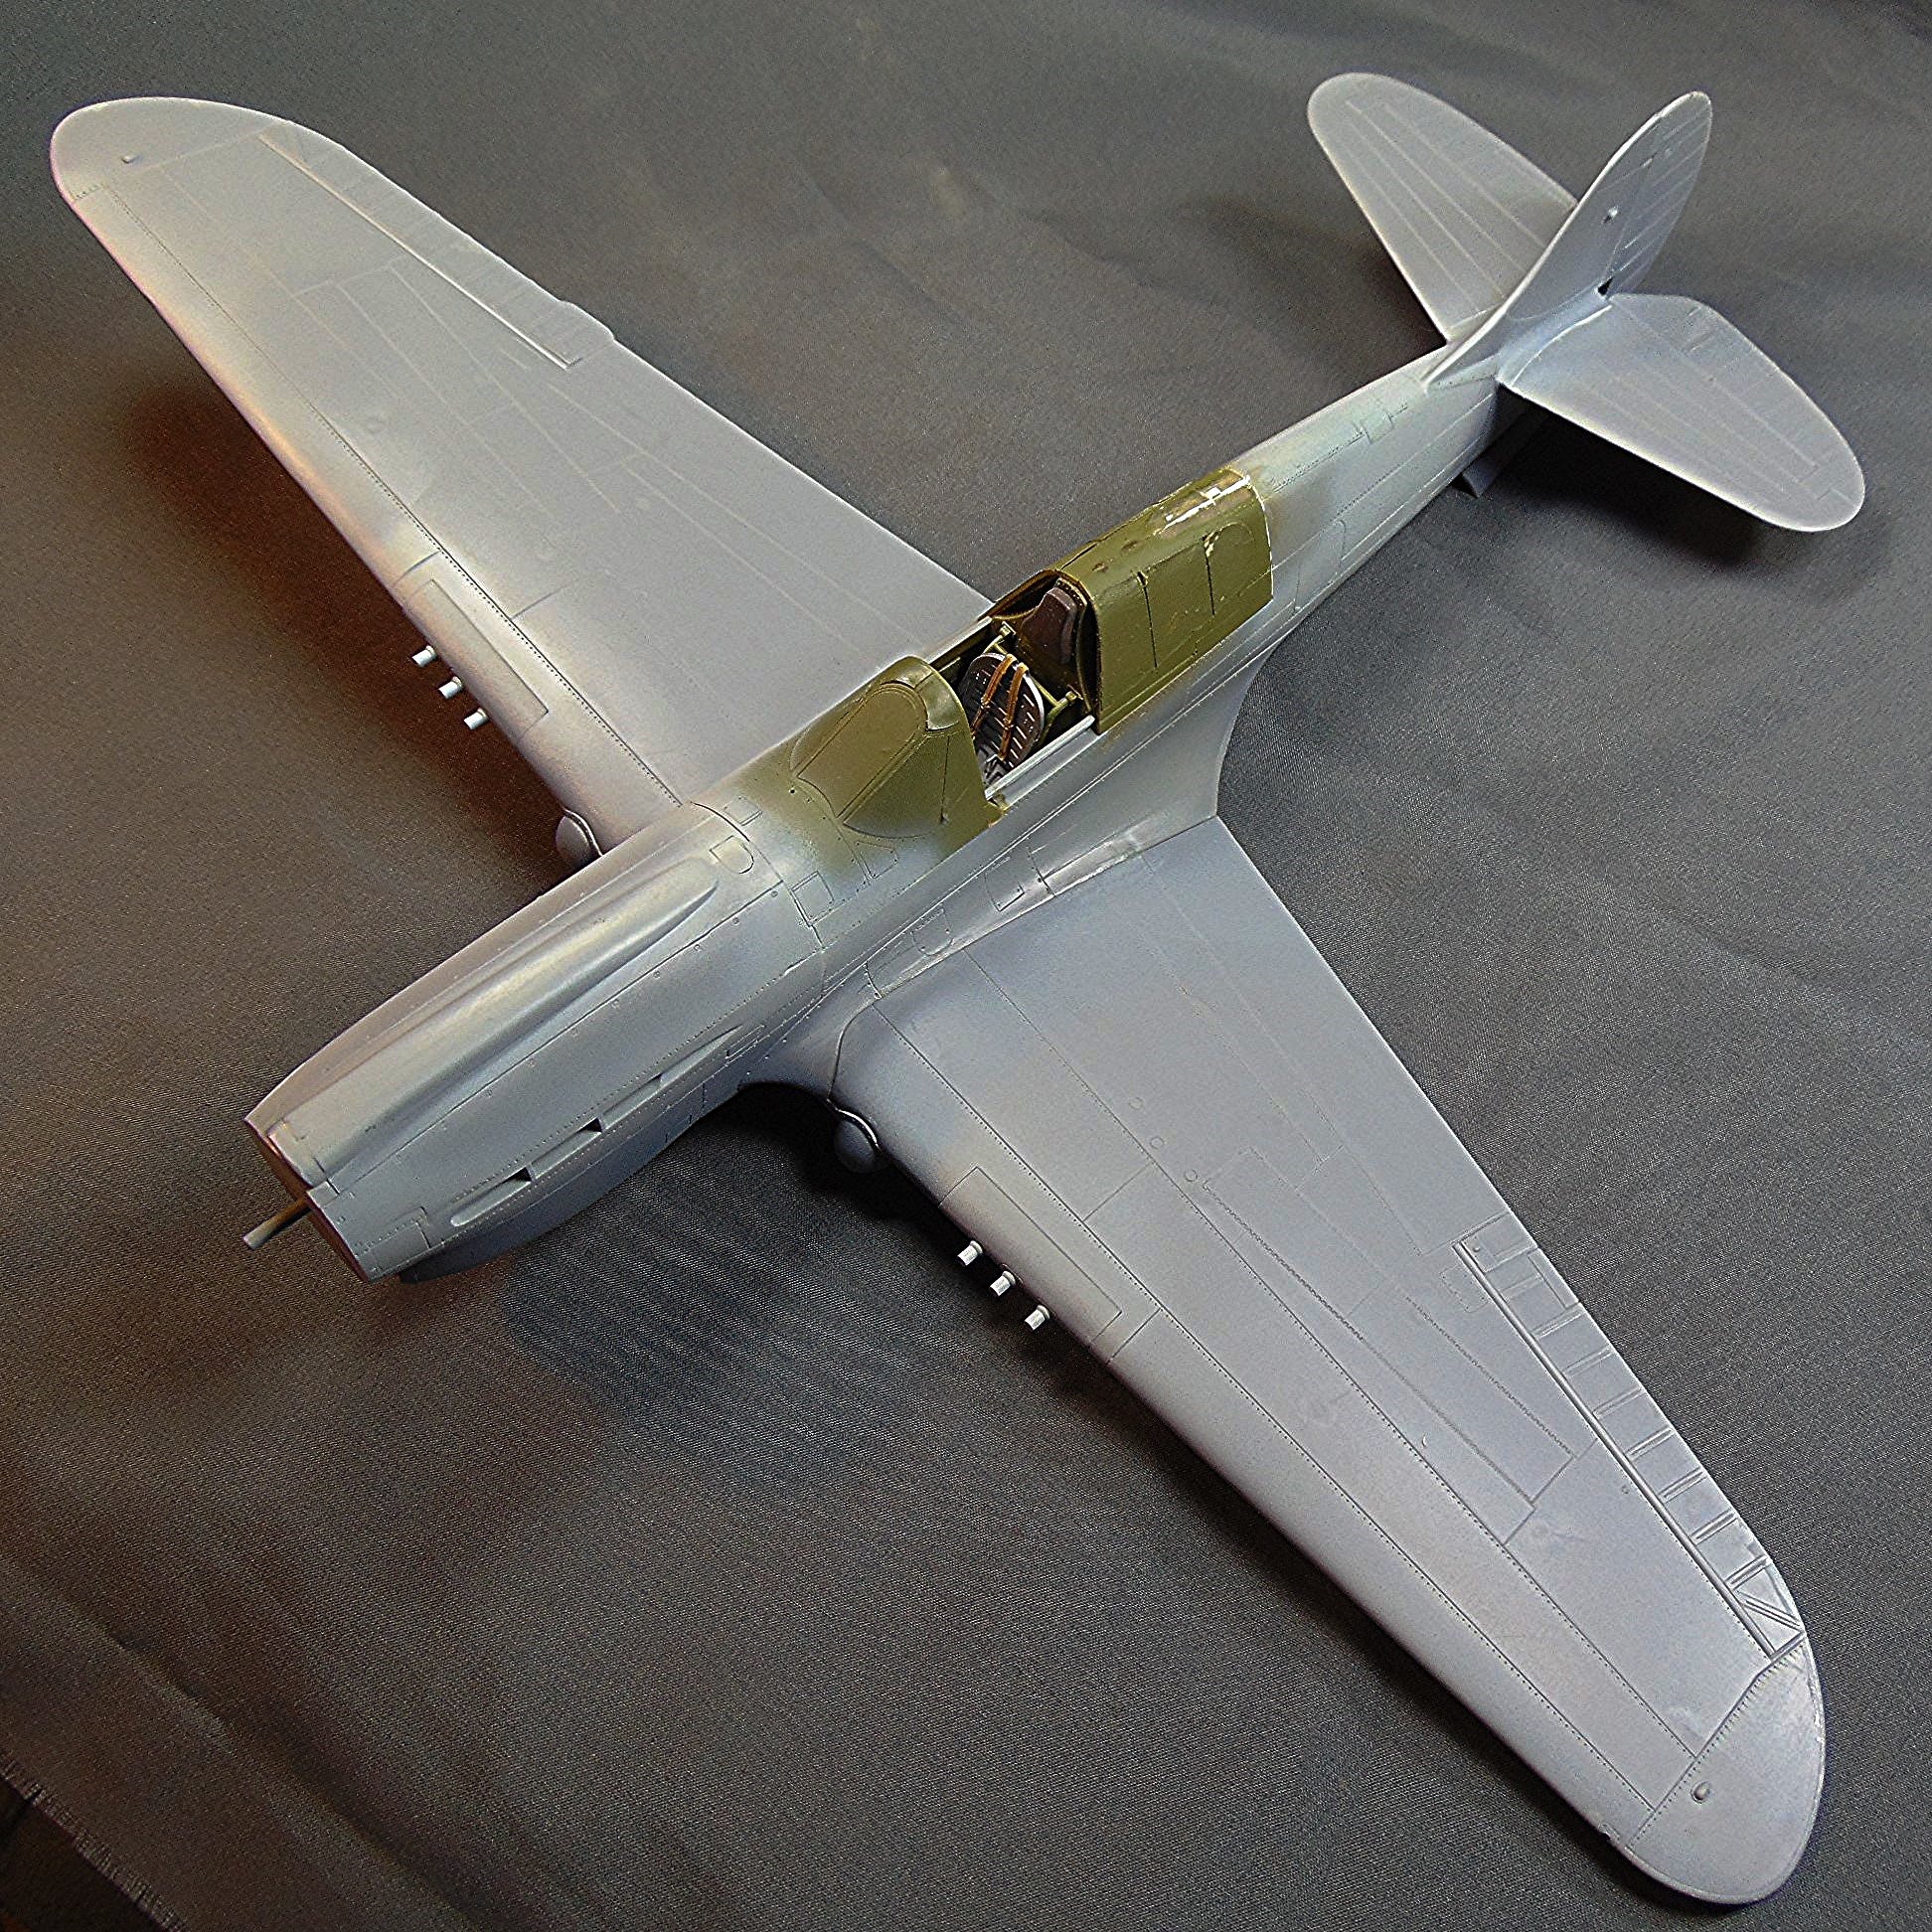
Camo done. Sure looks "different".🙂
-
Easy build. 🙂
-
So far fit has been VERY good and I'm liking it! 🙂 The under surfaces have been painted so now on to the top sides. This a/c was OD with Dk. Green splotches.
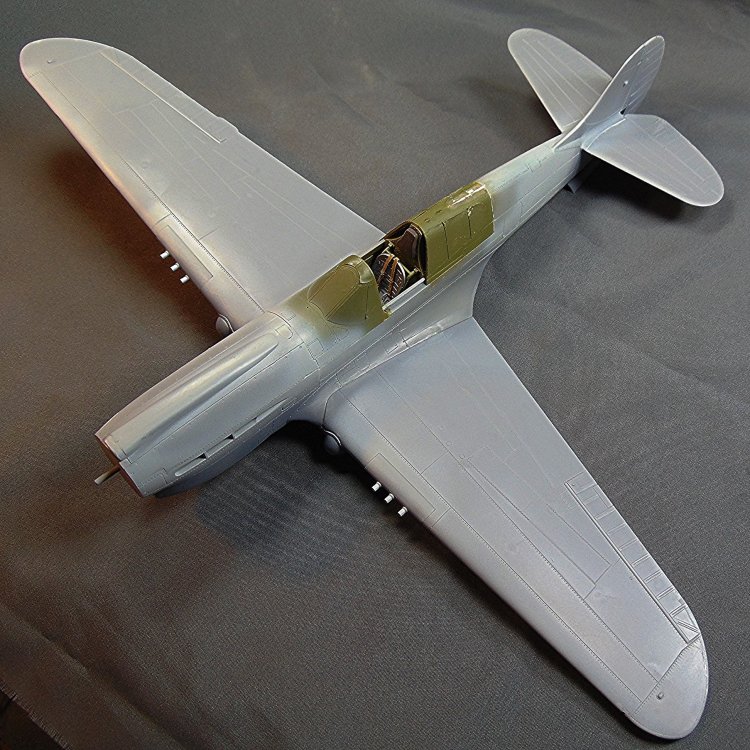
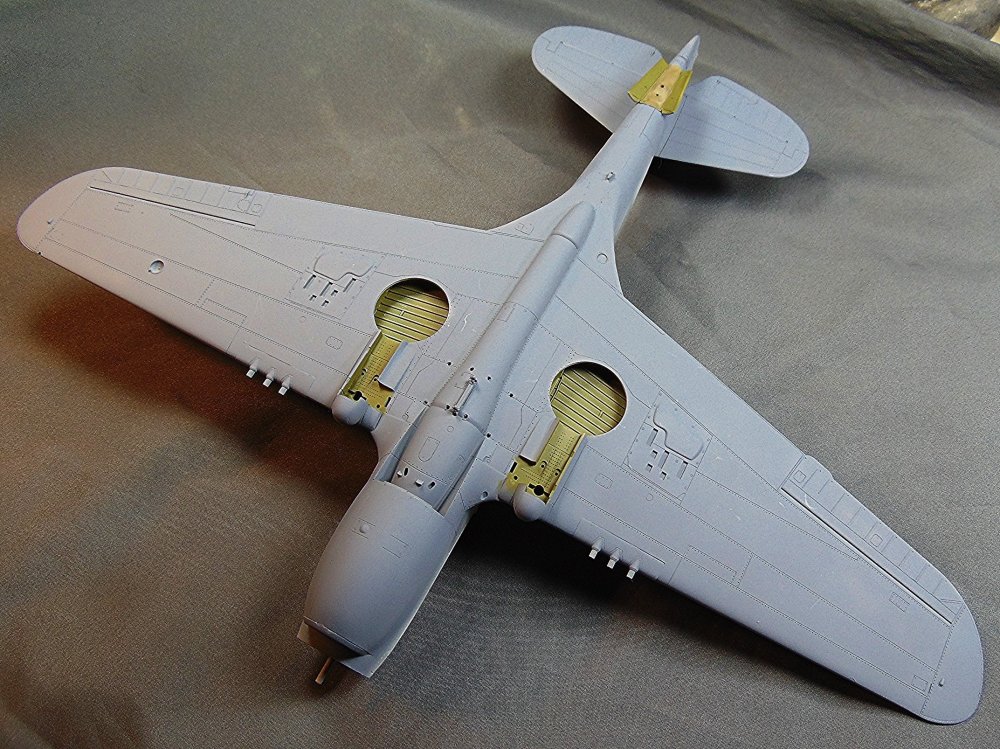
-
I'm using a resin tail from Tim Biggers to convert this "E" to a "K". This is my 2nd one and it makes for a nice conversion.


-
Tamiya A6M2 completed
JohnB replied to JohnB's topic in LSM 1/32 and Larger Aircraft Ready for Inspection
Thank you Rog! Very much appreciated. 🙂 -
Grey Matter had a nice resin conversion but I haven't been able to locate one. I guess a Trumpeter "F" could work as I could take the "F" nose and graft it on a Hasegawa kit. 🙂 PM me if you can help. Thanks.
- 1 reply
-
- 1
-
-
Tamiya A6M2 completed
JohnB replied to JohnB's topic in LSM 1/32 and Larger Aircraft Ready for Inspection
Thanks Carl. Nice comments from my fellow modellers makes it all worth while. 🙂 -
Tamiya A6M2 completed
JohnB replied to JohnB's topic in LSM 1/32 and Larger Aircraft Ready for Inspection
Thank you Dennis. I'm glad you like it. 🙂 -
Tamiya A6M2 completed
JohnB replied to JohnB's topic in LSM 1/32 and Larger Aircraft Ready for Inspection
Thanks Kevin! 😀