JohnB
-
Posts
7,240 -
Joined
-
Last visited
Content Type
Profiles
Forums
Events
Gallery
Everything posted by JohnB
-

Fisher Twogar back on the bench
JohnB replied to JohnB's topic in LSM 1/35 and Larger Work In Progress
Thanks Harv. -
Fisher Twogar back on the bench
JohnB replied to JohnB's topic in LSM 1/35 and Larger Work In Progress
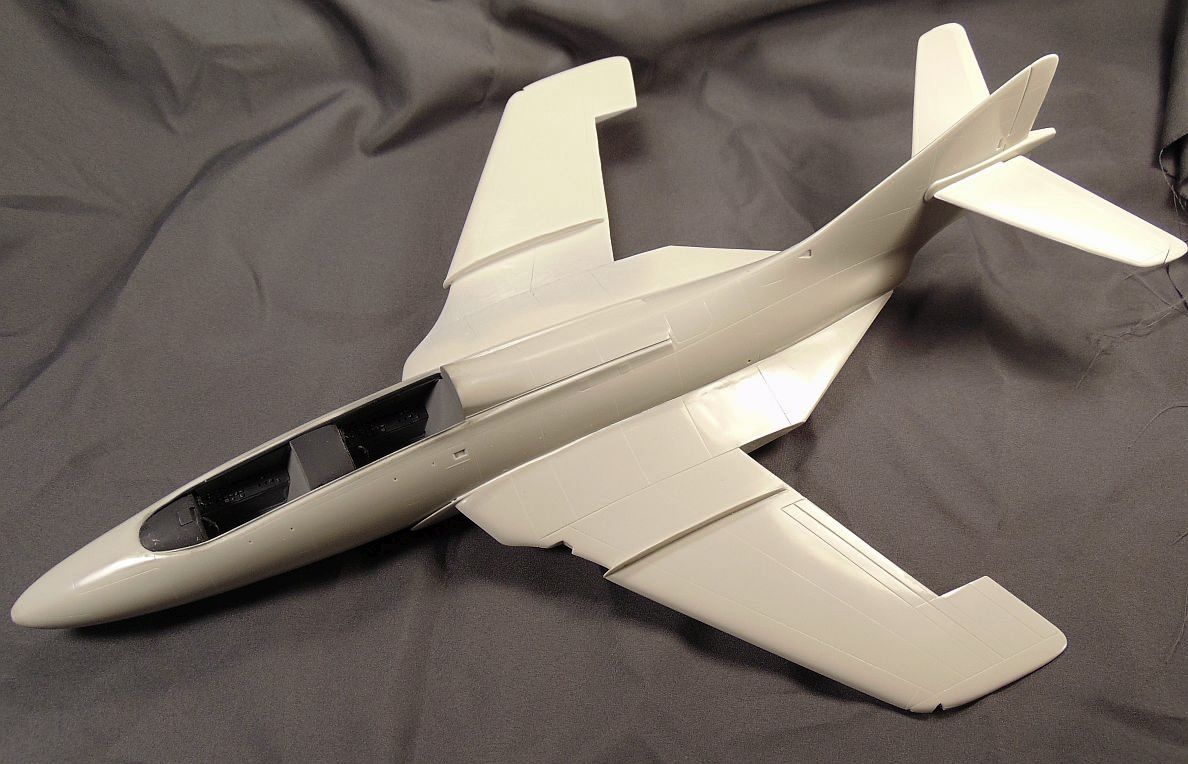
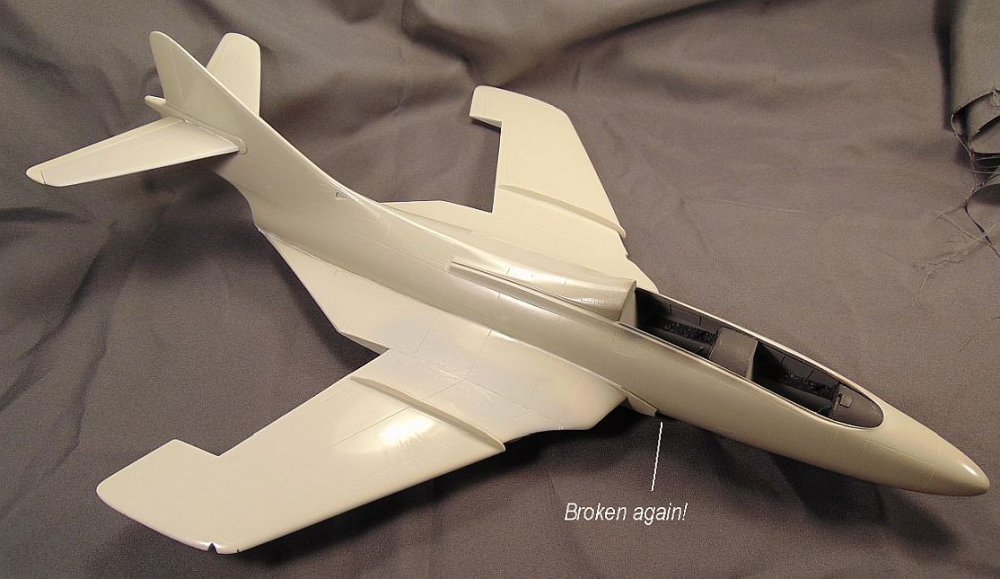
Making good progress today. Fitting the wings to the fuselage took a lot of sanding and trimming but I finally was able to get a acceptable if not perfect fit. The horizontal tail was a high cuss factor operation but thanks to a lot of CA, Zip Kicker, and strip plastic that is done. I managed to break off part of the right splitter plate for about the 4th or 5th time! VERY thin and fragile. 🤪
-
Fisher Twogar back on the bench
JohnB replied to JohnB's topic in LSM 1/35 and Larger Work In Progress
Thank you Carl. The belts on this build were a little bit tricky. Thanks goodness for CA glue and Zip Kicker! LOL -
GWH Curtiss P-40B; The Flying Tigers
JohnB replied to Peterpools's topic in LSM 1/35 and Larger Work In Progress
I agree the never to be seen parts are a waste of time and effort. 🙄 -
Fisher Twogar back on the bench
JohnB replied to JohnB's topic in LSM 1/35 and Larger Work In Progress
Thank you Peter. -
Fisher Twogar back on the bench
JohnB replied to JohnB's topic in LSM 1/35 and Larger Work In Progress
Ejection seats done and ready for test fit.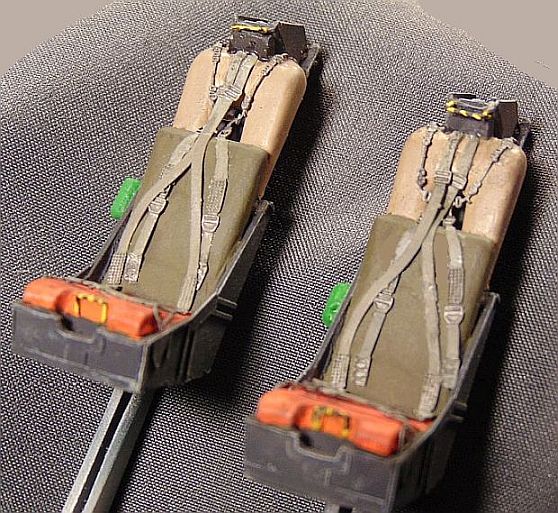


-
GWH Curtiss P-40B; The Flying Tigers
JohnB replied to Peterpools's topic in LSM 1/35 and Larger Work In Progress
Lots of parts to keep you busy. I know it's gonna look good! -
GWH Curtiss P-40B; The Flying Tigers
JohnB replied to Peterpools's topic in LSM 1/35 and Larger Work In Progress
Even though it's not NMF it still looks GREAT!!! -
GWH Curtiss P-40B; The Flying Tigers
JohnB replied to Peterpools's topic in LSM 1/35 and Larger Work In Progress
Oh man! Sorry to hear that. For some reason I figured you knew but was just mentioning it to be sure. I didn't realize you'd already done the seat. ☹️ I'm sure you must have already posted photos of the seat which I missed. Sorry. I scrolled back and found the photo of the seat. Mighty nice work! Looks great. -
GWH Curtiss P-40B; The Flying Tigers
JohnB replied to Peterpools's topic in LSM 1/35 and Larger Work In Progress
Sounds like a plan Peter. (Please don't make the mistake that some modelers make and paint the seat interior color. I feel sure you already know the seats, up to the N's, were bare metal.) -
GWH Curtiss P-40B; The Flying Tigers
JohnB replied to Peterpools's topic in LSM 1/35 and Larger Work In Progress
Lookin' good Peter! -
Fisher Twogar back on the bench
JohnB replied to JohnB's topic in LSM 1/35 and Larger Work In Progress
In my VERY humble opinion that is a risky undertaking. However, give it a try and let's see what happens.........😎 -
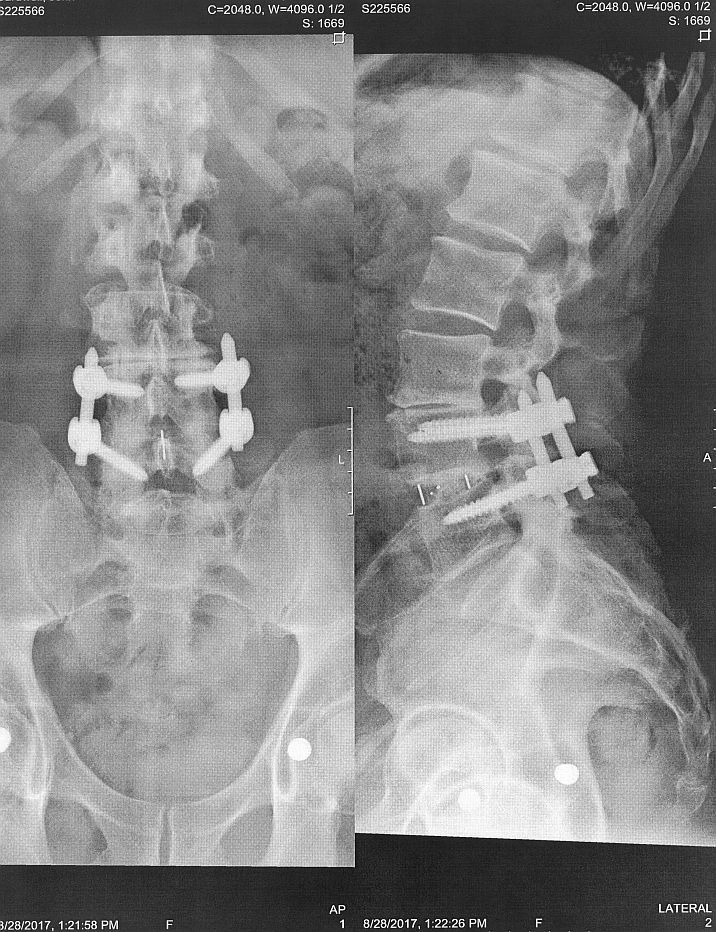
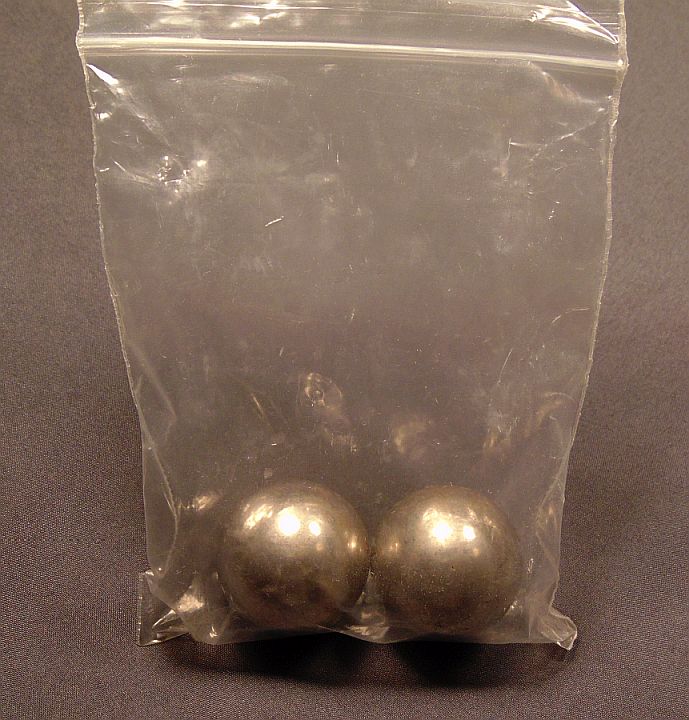
I know where you are coming from Scott! I suffered with sciatica for several years until I finally had surgery 10 years ago. Worked out well for years but now I've started having problems again. I think something has "slipped" so now I have to watch what I do such as lifting, etc. NOT going to go under the knife again if I can help it. Here's a visual aid showing my implanted "titanium hardware".

-
Fisher Twogar back on the bench
JohnB replied to JohnB's topic in LSM 1/35 and Larger Work In Progress
LOL Mike! That makes two of us! Thanks. -
Fisher Twogar back on the bench
JohnB replied to JohnB's topic in LSM 1/35 and Larger Work In Progress
I'm glad mine wasn't like that. Good luck fixing it Ernie! 🙄 -
Fisher Twogar back on the bench
JohnB replied to JohnB's topic in LSM 1/35 and Larger Work In Progress
Thanks Scott! It was about the only thing I could come up with to fix it. Kinda risky and drastic but it got the job done. LOL -
Fisher Twogar back on the bench
JohnB replied to JohnB's topic in LSM 1/35 and Larger Work In Progress
Thanks Bill. I always try to keep SOMETHING on the bench. The drawback is they multiply like rabbits!!!!! LOL -
Fisher Twogar back on the bench
JohnB replied to JohnB's topic in LSM 1/35 and Larger Work In Progress
Yes it did okay Carl. -
Fisher Twogar back on the bench
JohnB replied to JohnB's topic in LSM 1/35 and Larger Work In Progress
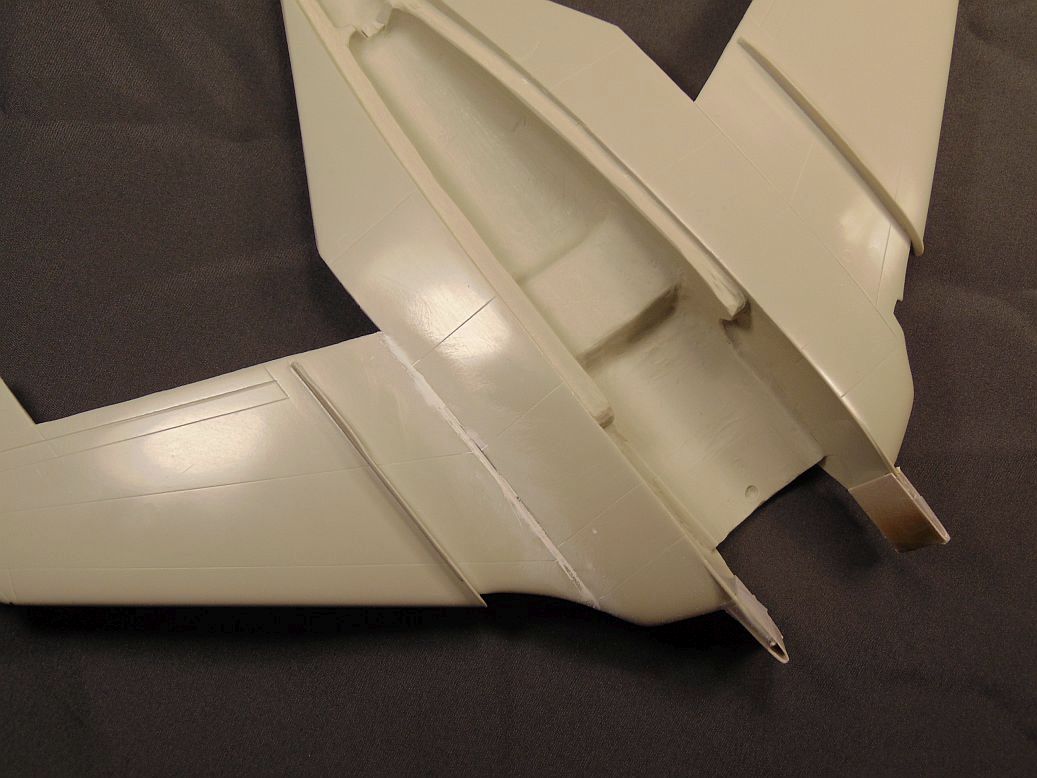
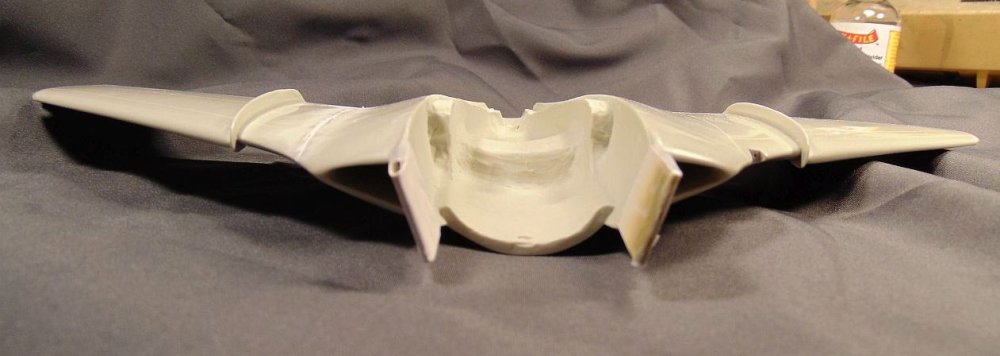
Here's a couple of shots to show the cut on top of the wing. I slid in a short strip of thin plastic in to give the putty some help There's one on the underside also but I figure you get the idea. The angle is just about right now. I'll finish sanding and smoothing it out this evening.
-
Fisher Twogar back on the bench
JohnB replied to JohnB's topic in LSM 1/35 and Larger Work In Progress
Good luck fixing that Carl. Maybe a couple pieces of thin plastic stock will work using the unbroken one as a guide. 🤞 -
Fisher Twogar back on the bench
JohnB replied to JohnB's topic in LSM 1/35 and Larger Work In Progress
Me either Mike!🤪 I got the wing re positioned okay. I slipped a couple of this pieces of strip plastic in the cuts then CA glued 'em. After that was dry I applied a coat of white putty and now I'm waiting for that to dry enough to sand. -
Fisher Twogar back on the bench
JohnB replied to JohnB's topic in LSM 1/35 and Larger Work In Progress
Me too Martin! -
Fisher Twogar back on the bench
JohnB replied to JohnB's topic in LSM 1/35 and Larger Work In Progress
-
Fisher Twogar back on the bench
JohnB replied to JohnB's topic in LSM 1/35 and Larger Work In Progress
He must be wearing one heck of a jock! -
Fisher Twogar back on the bench
JohnB replied to JohnB's topic in LSM 1/35 and Larger Work In Progress
Thanks Peter. Thinking outside the box! LOL